Uncredited photos on this page taken by: Nathan Holth and Rick McOmber. Unless stated in a caption, all photos are Copyright with All Rights Reserved. Learn about reuse of our photos.
![]()

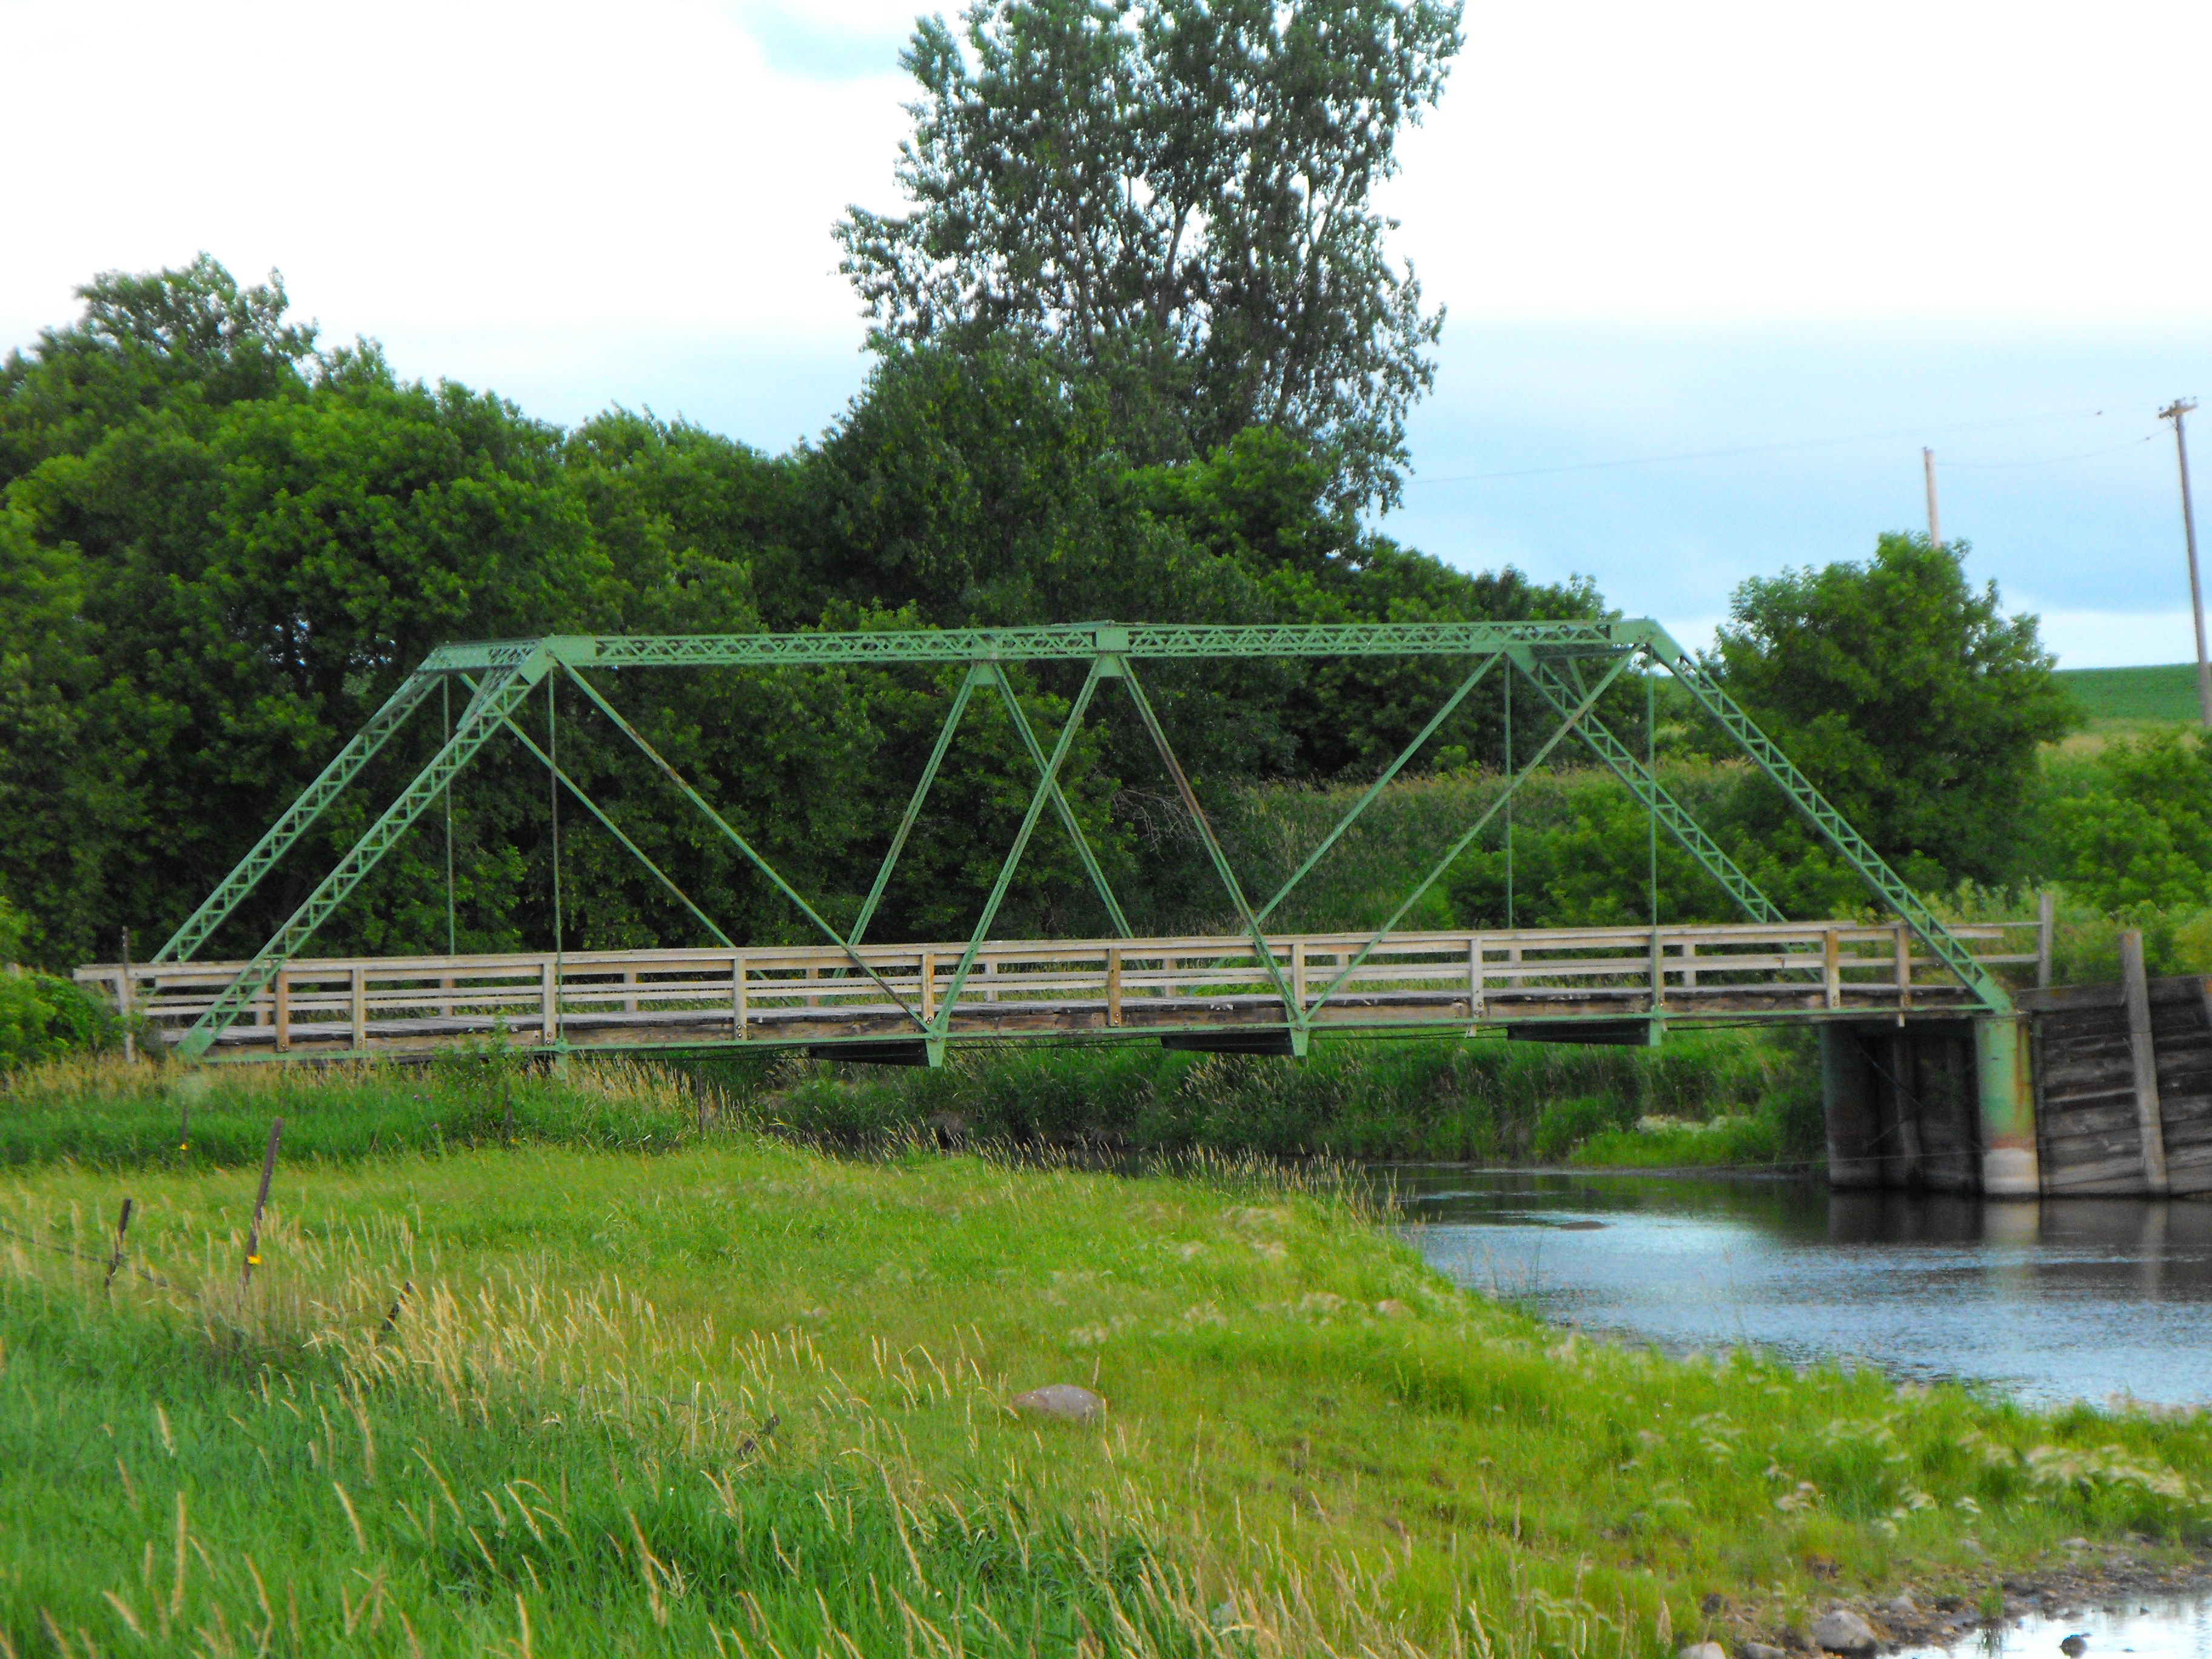
Overview of bridge from drivable road facing south.
![]()
East elevation from southeast quadrant.
![]()
Portal views facing south.
![]()


Portal views on bridge facing south.
![]()

Portal views facing north.
![]()
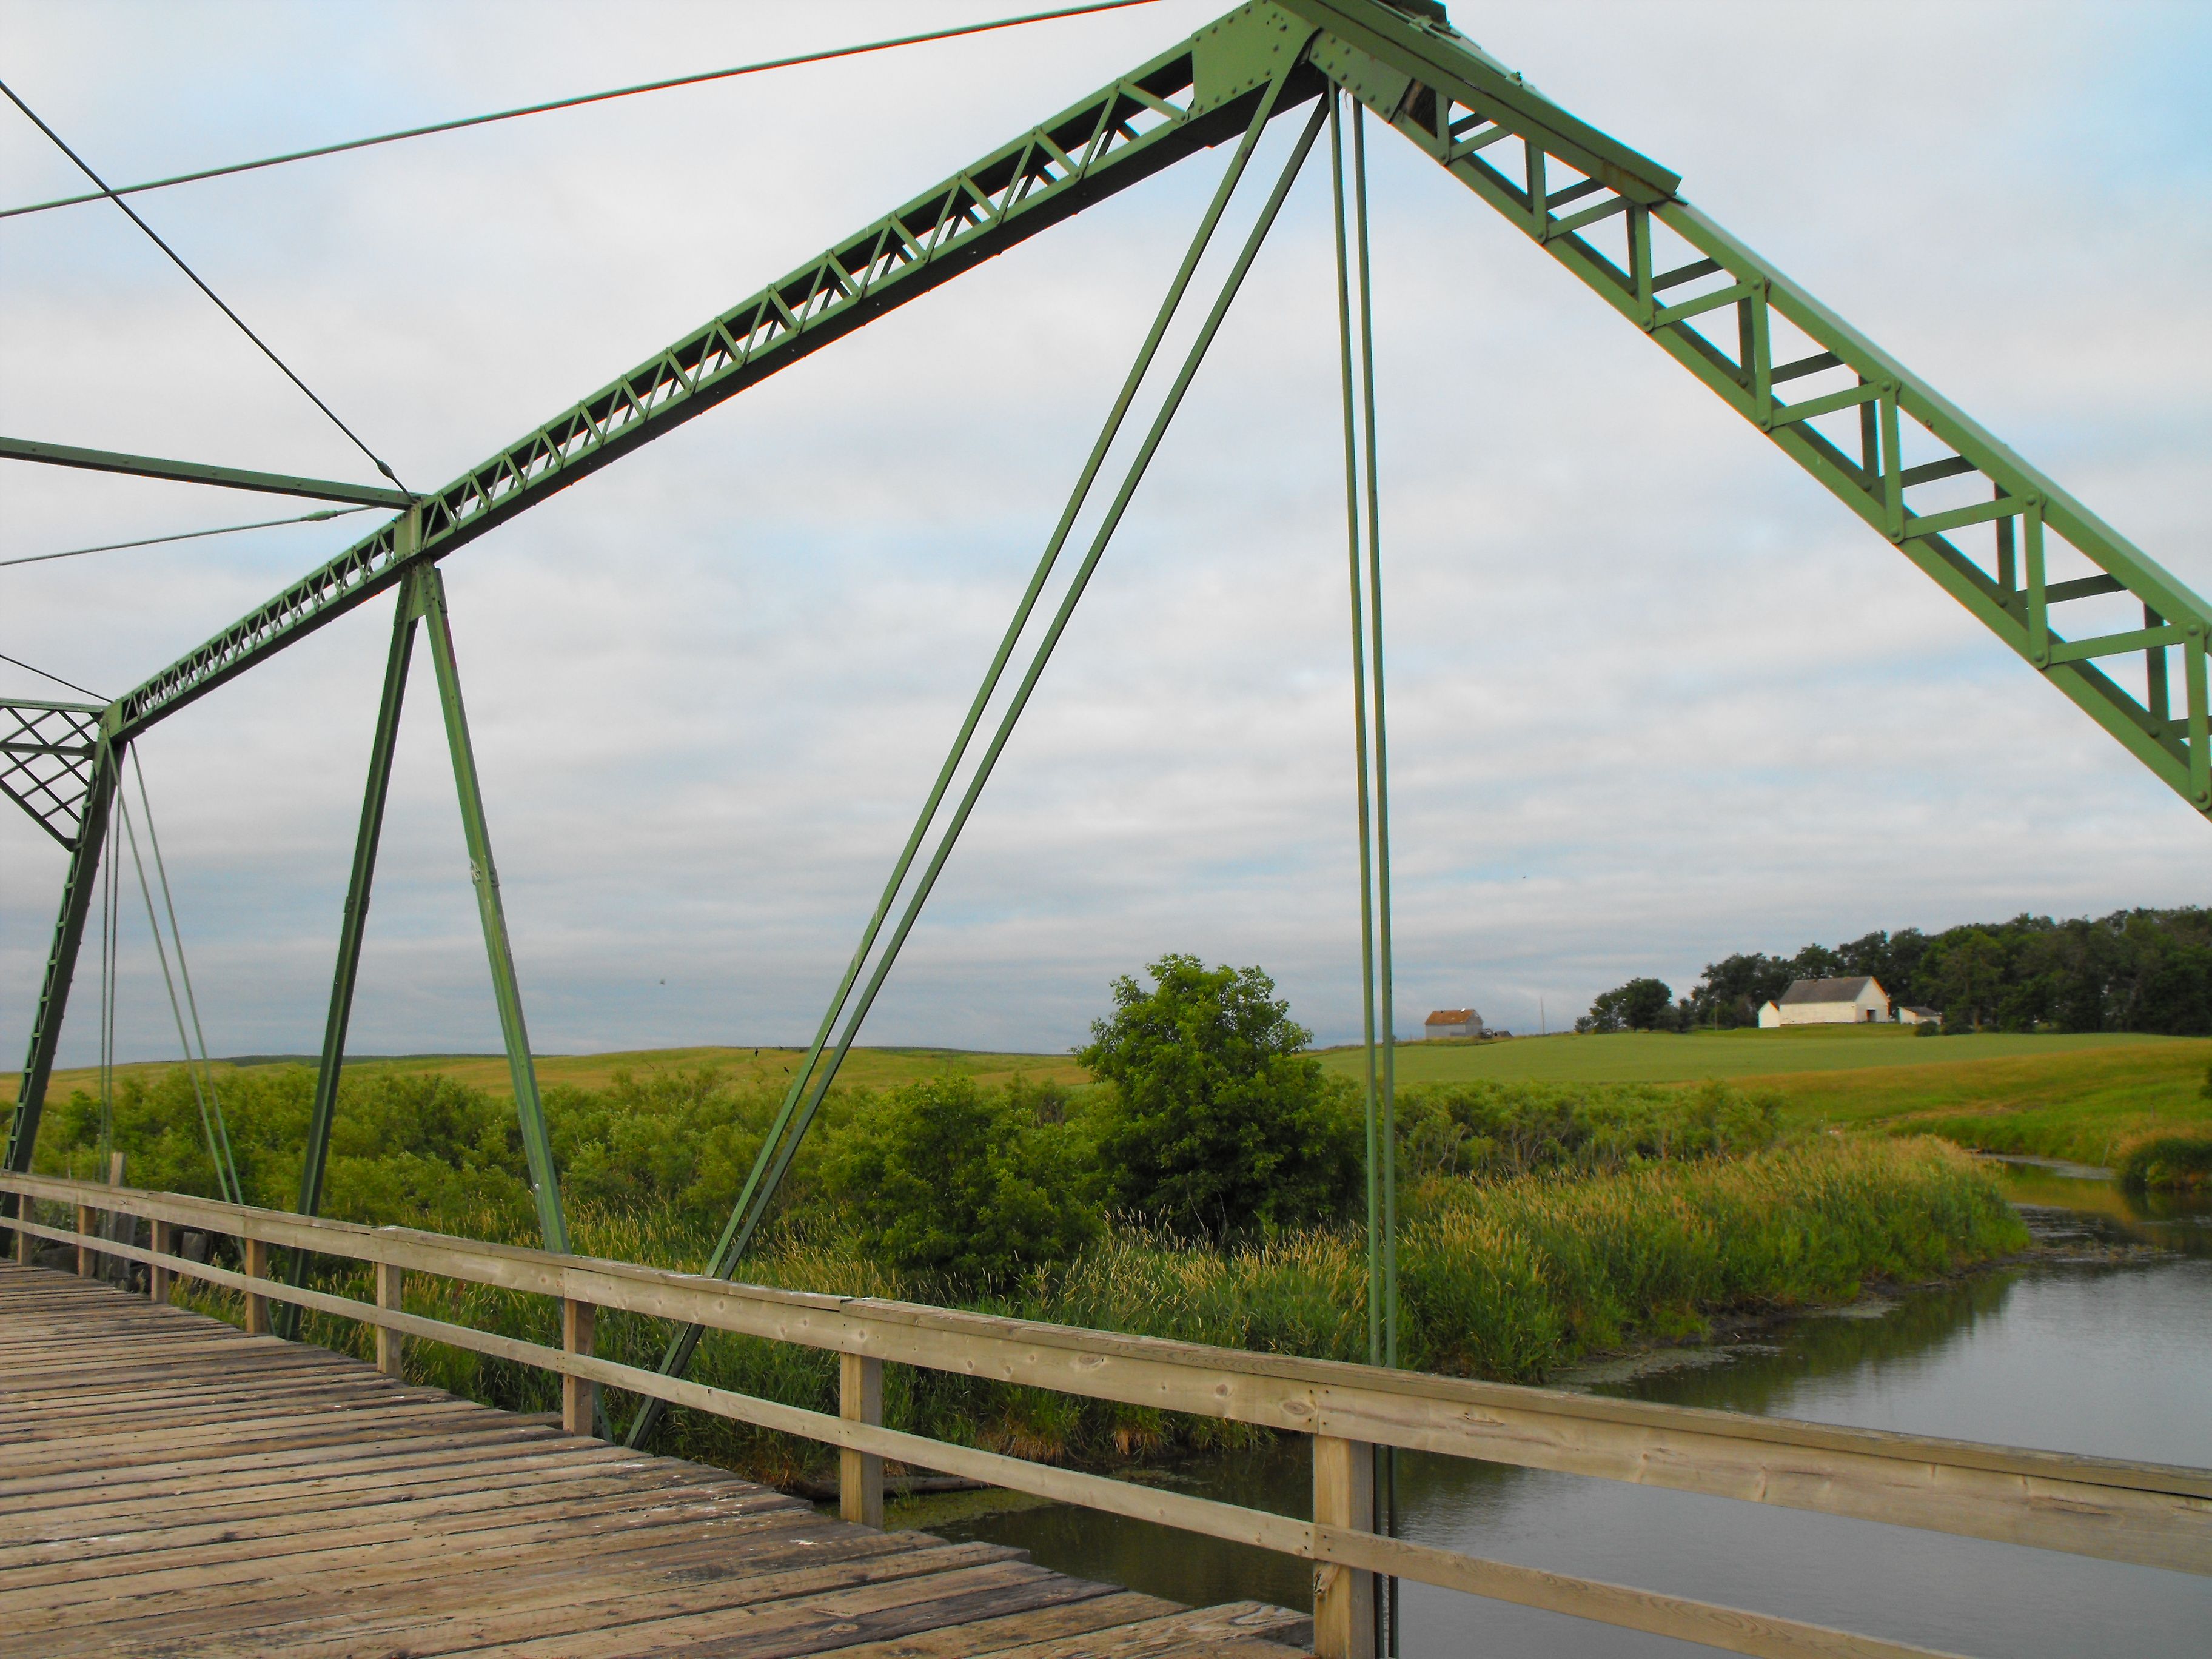
Oblique views from southeast quadrant.
![]()

Zoomed distant oblique view from northwest quadrant.
![]()


Truss web.
![]()


Scenery at bridge.
![]()

Top chord connection details at hip vertical as viewed from on bridge.
![]()


Top chord connection details at hip vertical as viewed from on bridge.
![]()

Top chord connection details at center of bridge as viewed from beside bridge.
![]()


Top chord connection details at center of bridge as viewed from on bridge.
![]()


Bottom chord connection details at hip vertical as viewed from on bridge.
![]()


Bottom chord connection details at center of bridge as viewed from beside bridge.
![]()


Bottom chord connection details at center of bridge as viewed from on bridge.
![]()

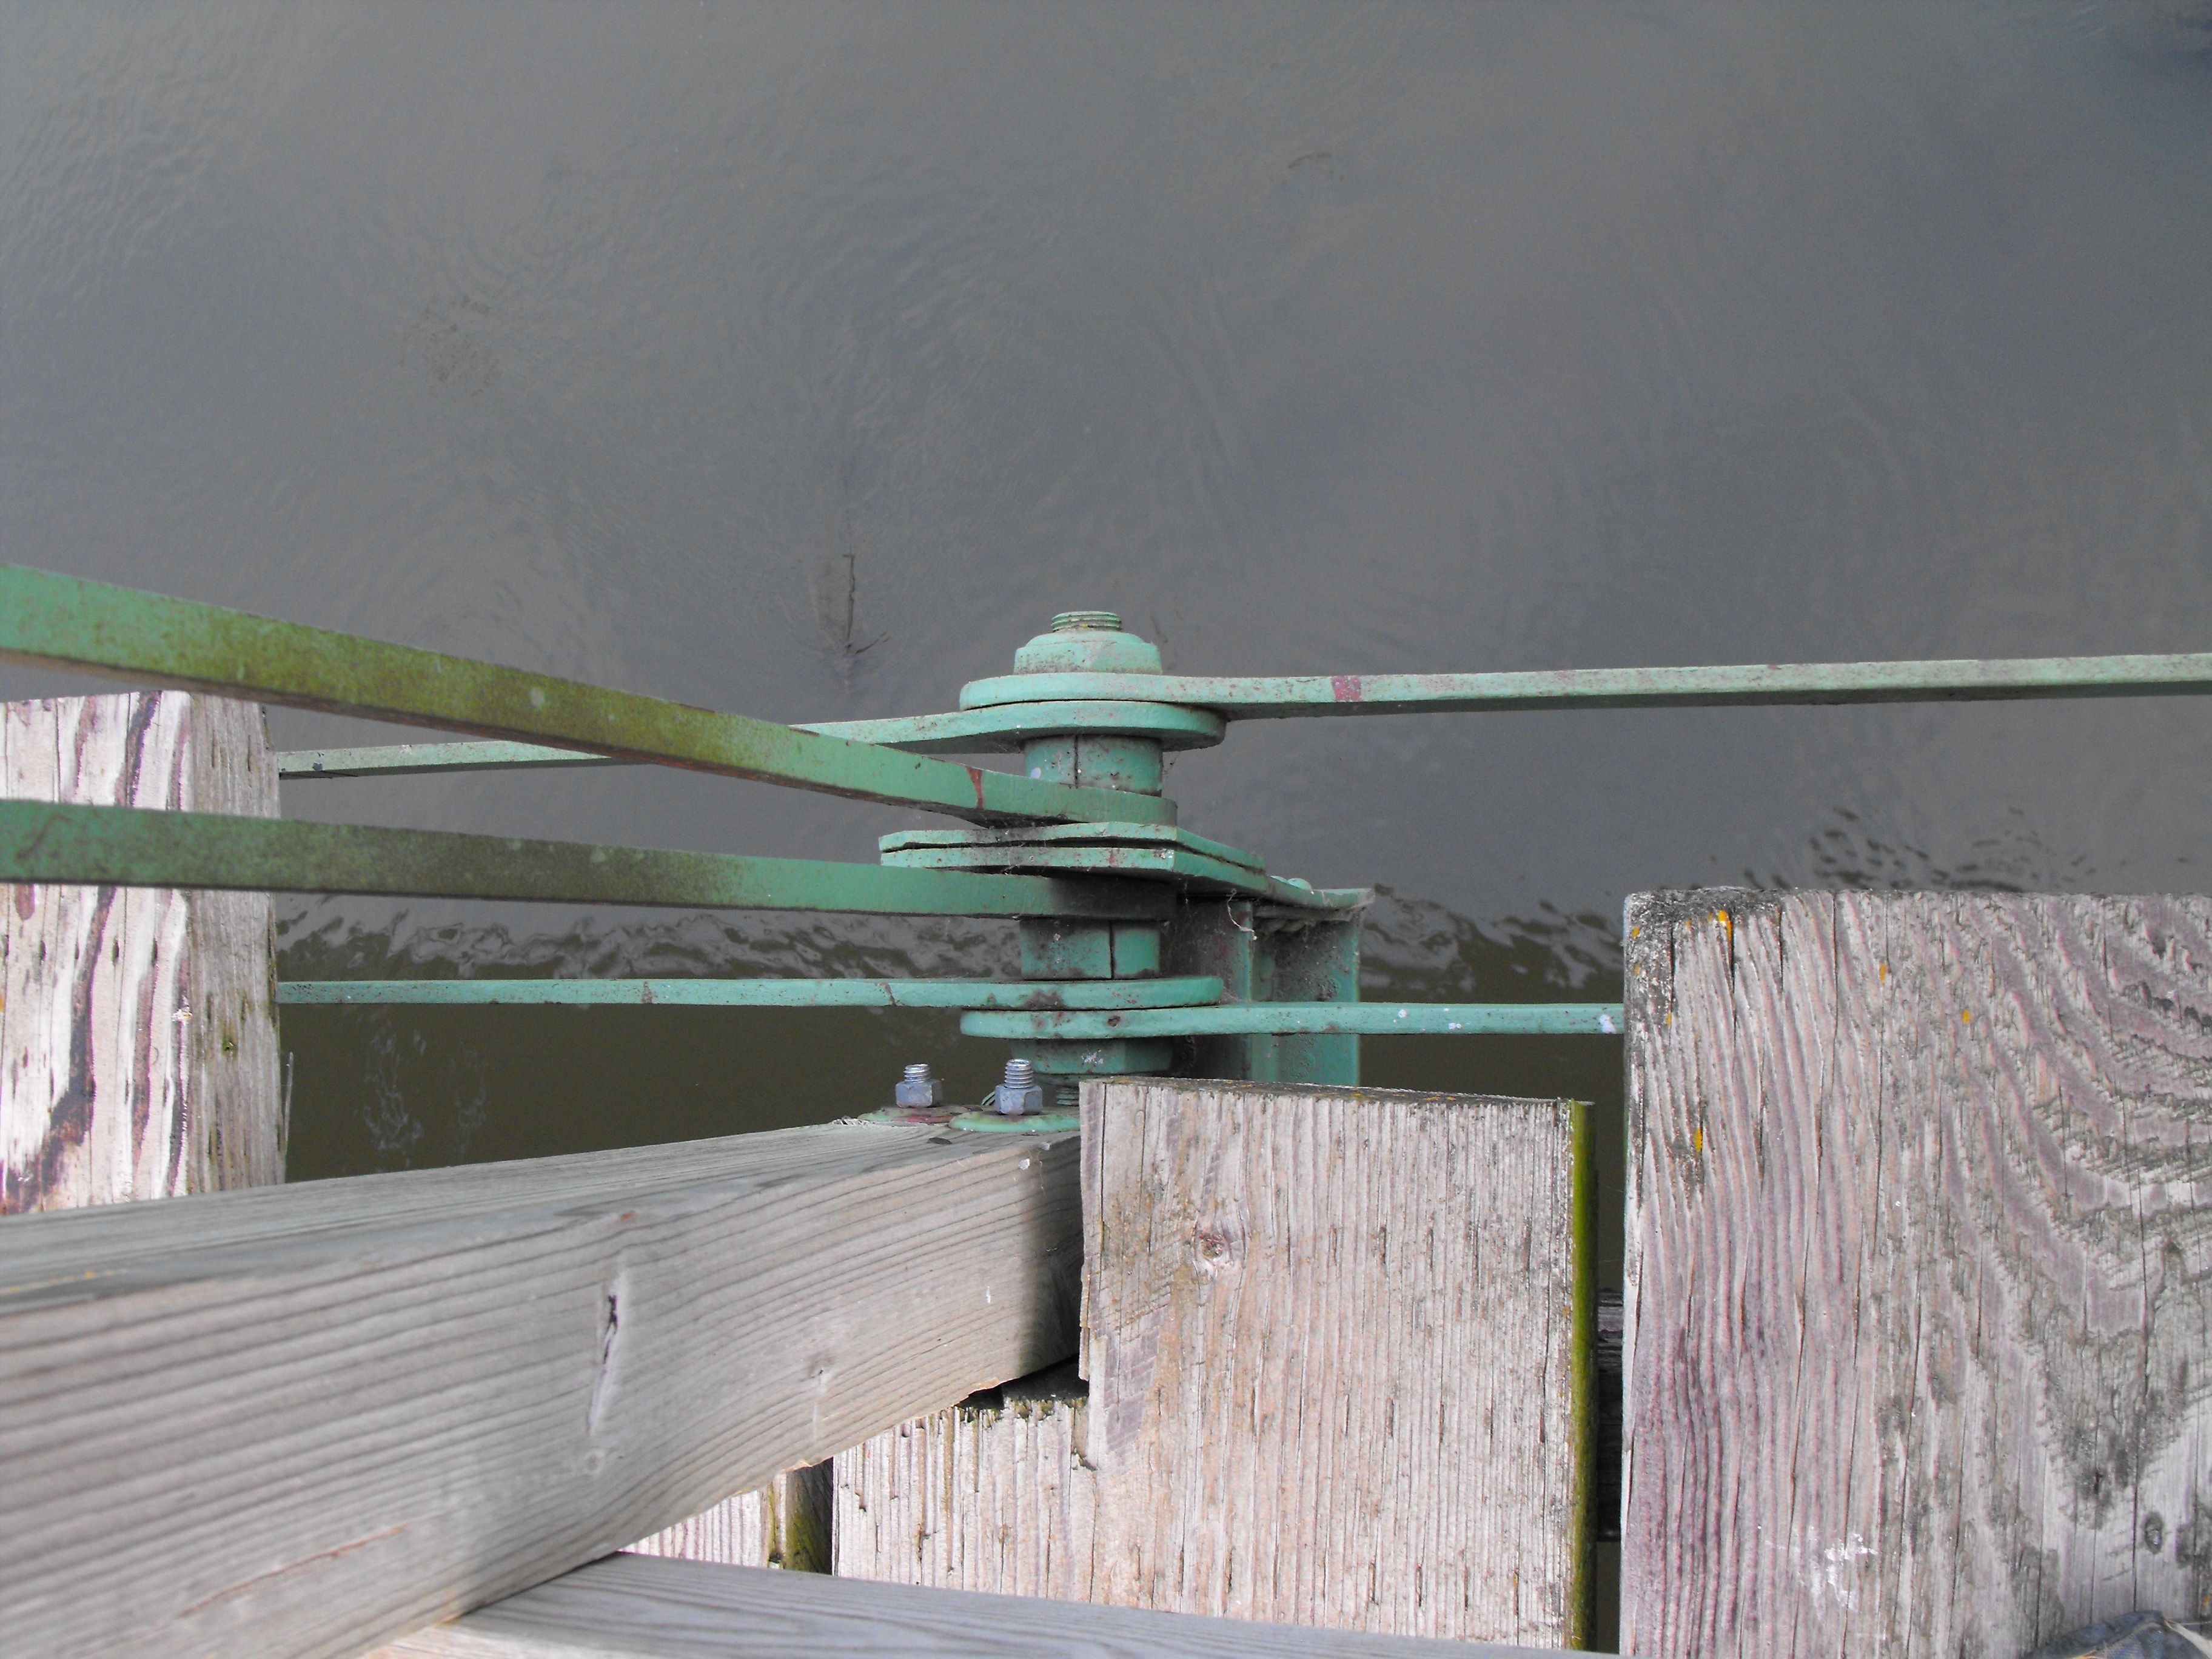
Bottom chord connection at end post including bearing plate and caisson details as viewed from on bridge.
![]()


Bottom chord connections at end post including bearing plate and caisson details as viewed from beside bridge.
![]()

Portal bracing detail.
![]()


Center diagonal member details.
![]()

Outer diagonal member detail.
![]()

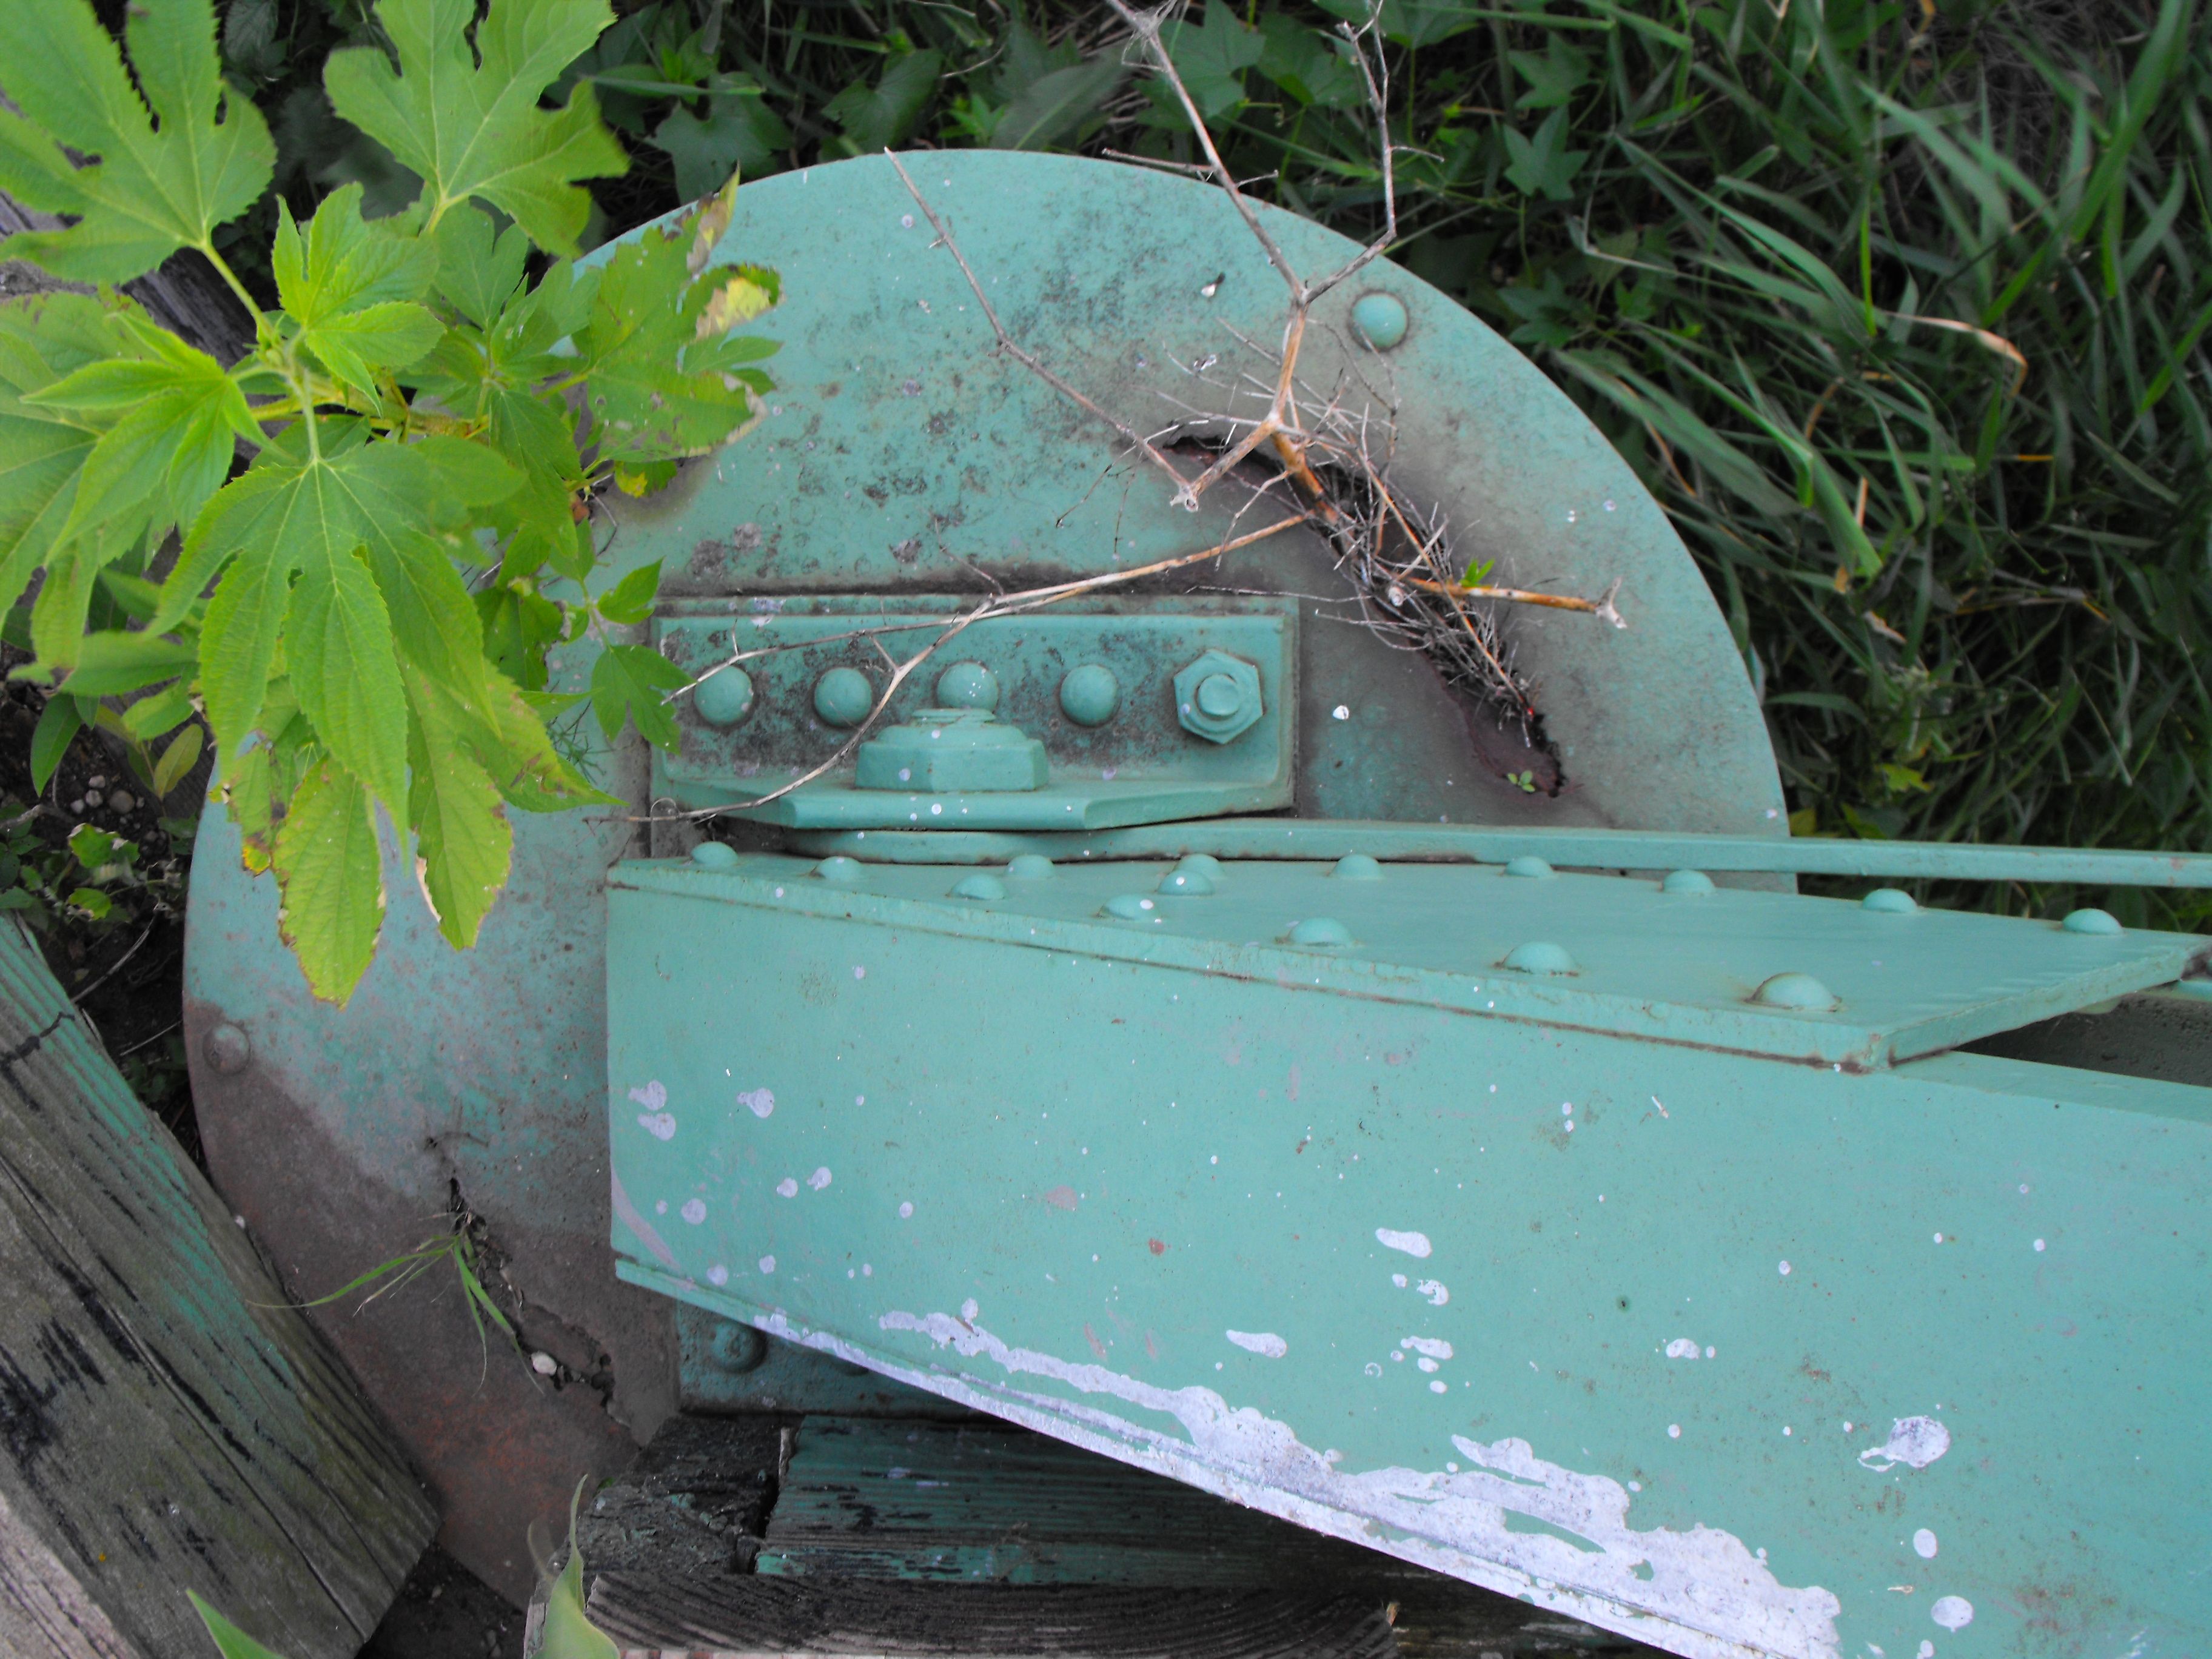
Turnbuckle.
![]()
![]()
| Back |
| Home |
| Top |

![]()