Uncredited photos on this page taken by: Nathan Holth. Unless stated in a caption, all photos are Copyright with All Rights Reserved. Learn about reuse of our photos.
![]()
Directions noted assume an east-west orientation of the bridge for simplicity.
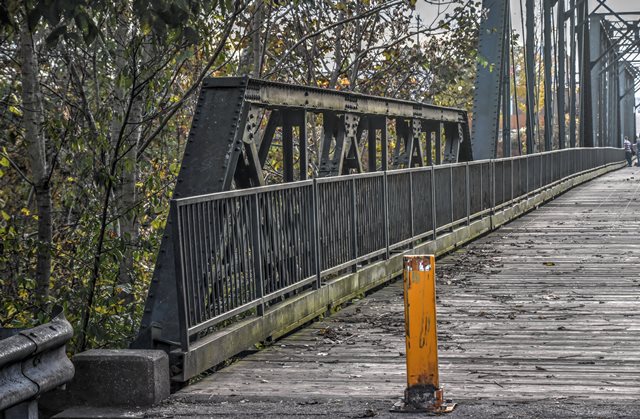
![]()


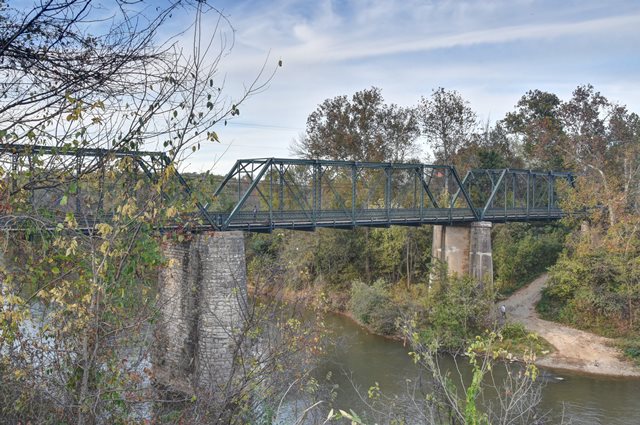
Elevation from southwest quadrant.
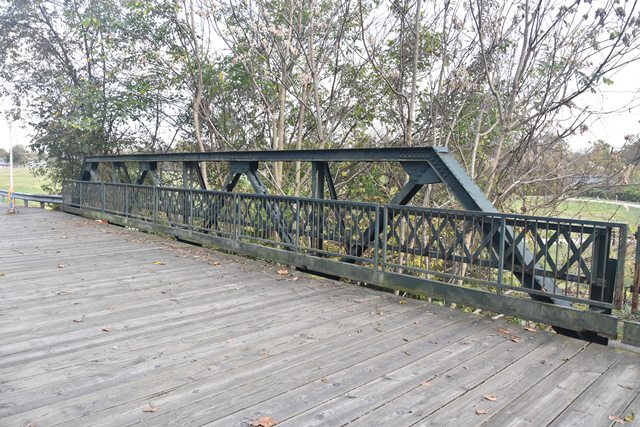
![]()


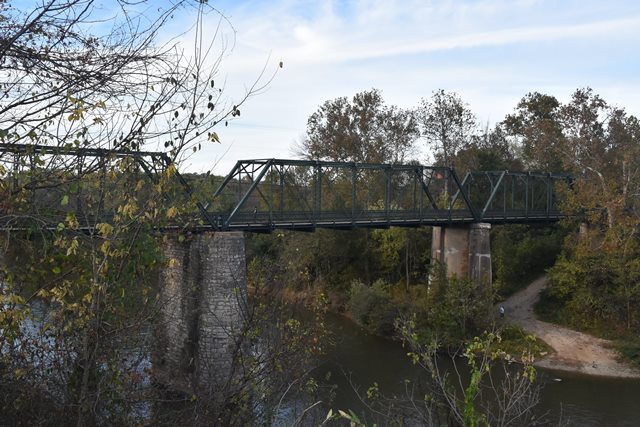
Elevation of individual spans from southwest quadrant.
![]()
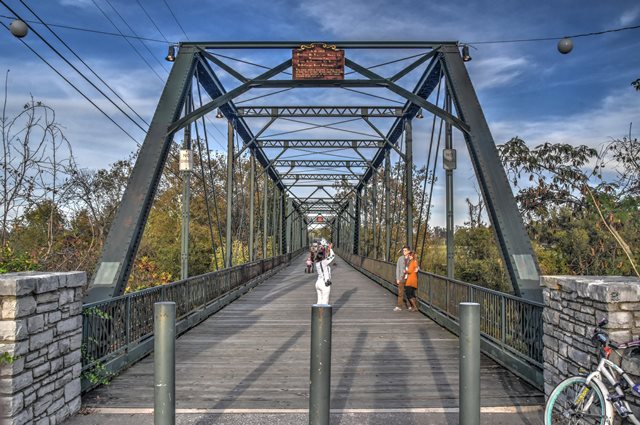


Portal views facing east.
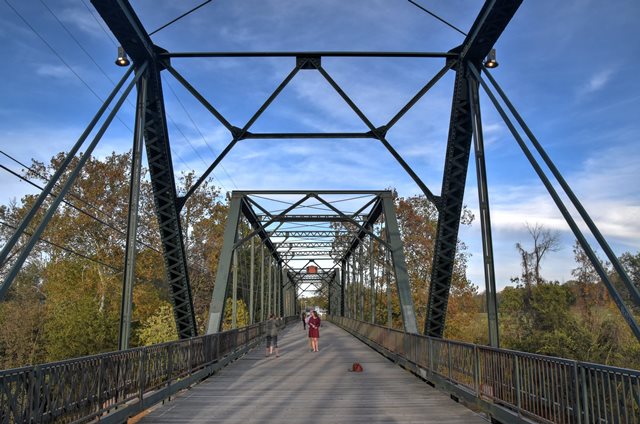
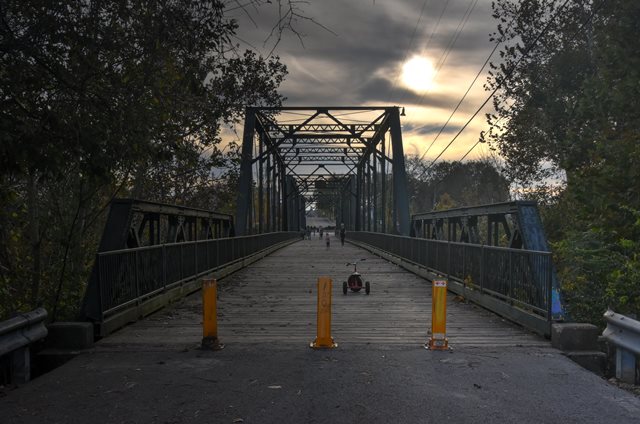
![]()
Portal views on bridge facing east.
![]()

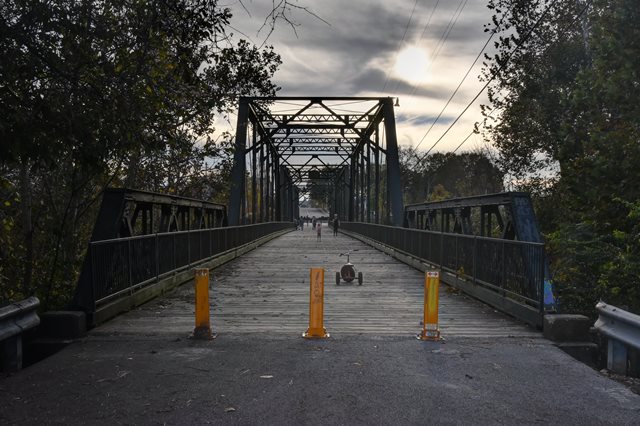


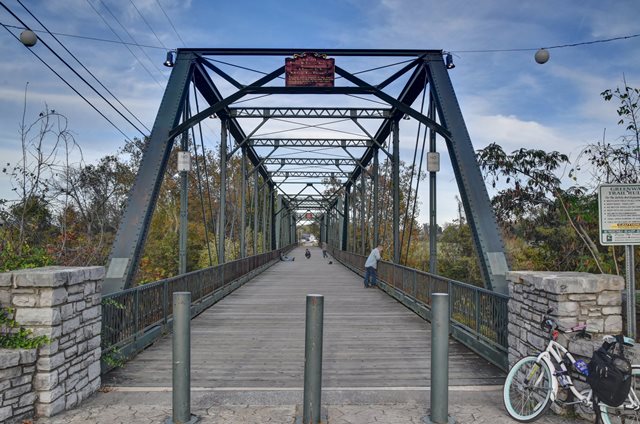
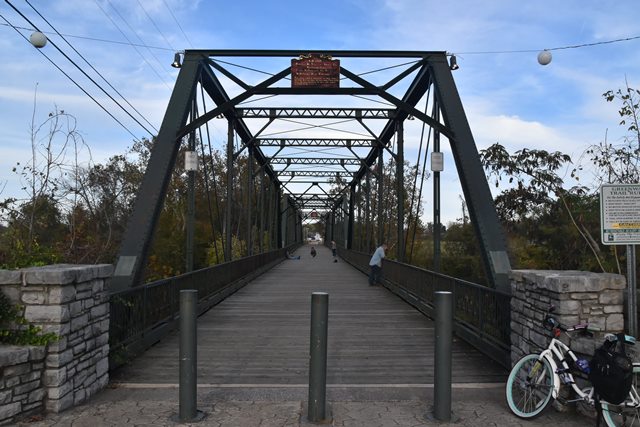
Portal views facing west.
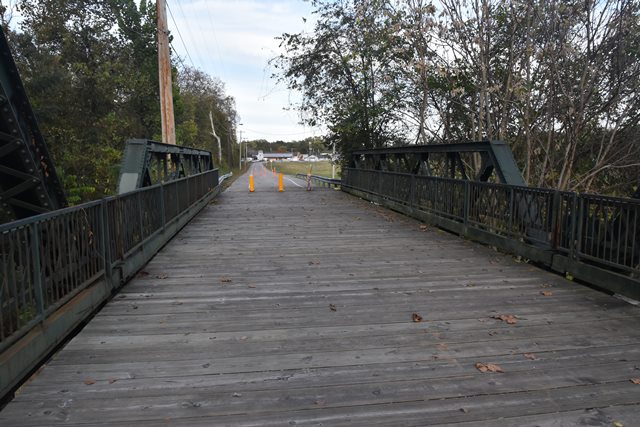
![]()


Portal views on bridge facing west.
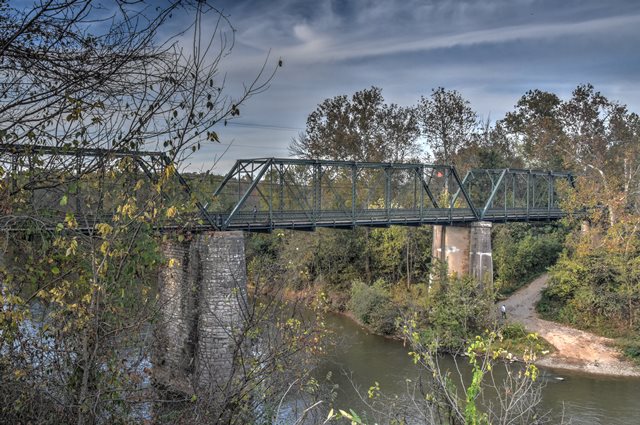
![]()

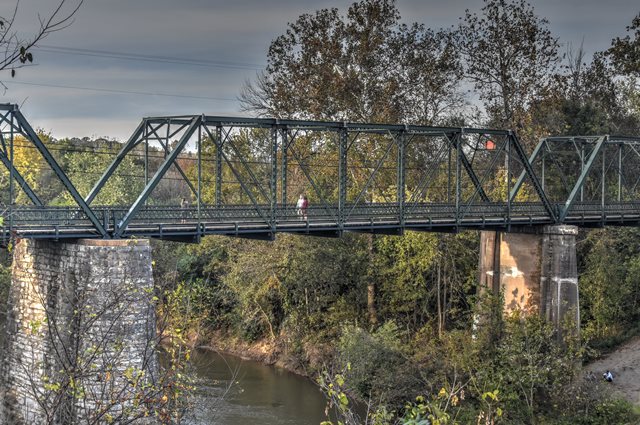
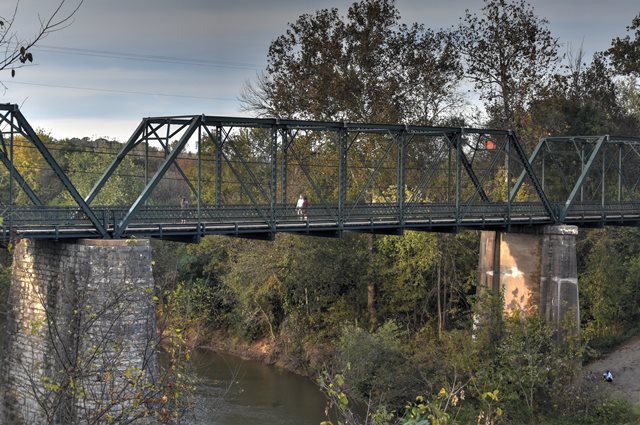
Oblique views from southwest quadrant.
![]()

Panoramic view beside bridge from southeast quadrant.
![]()


View beside bridge from southeast quadrant.
![]()


Views beside bridge from northeast quadrant.
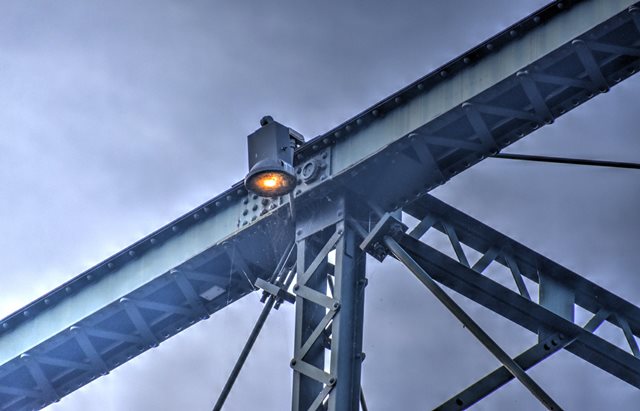
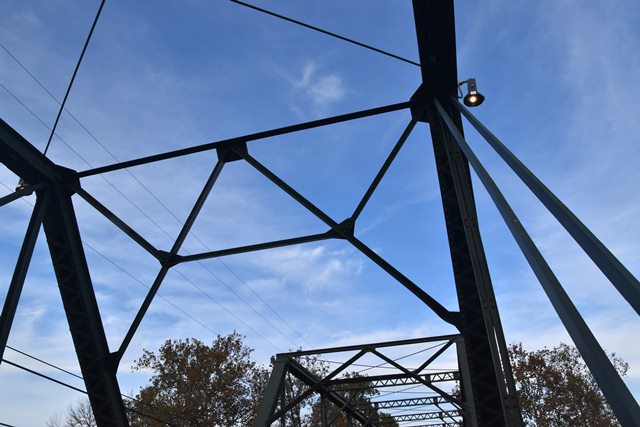
![]()


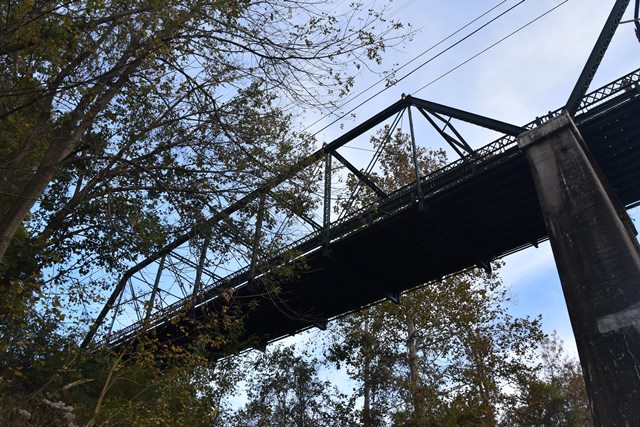

Looking up at truss spans.
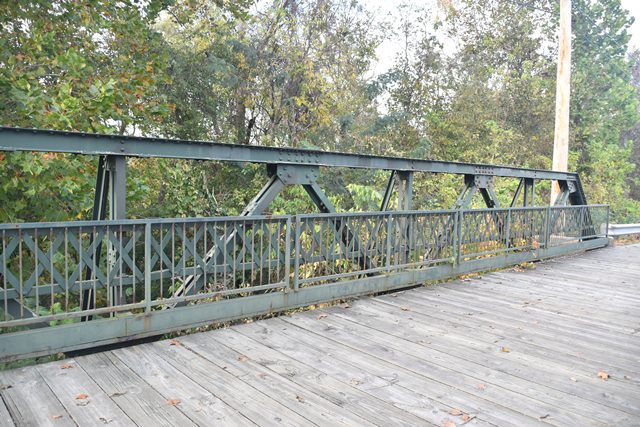
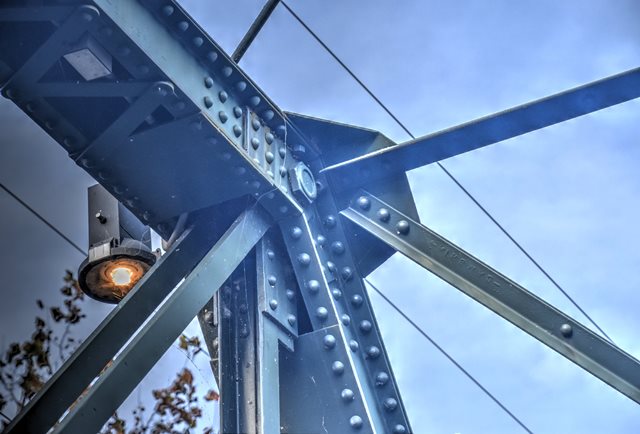
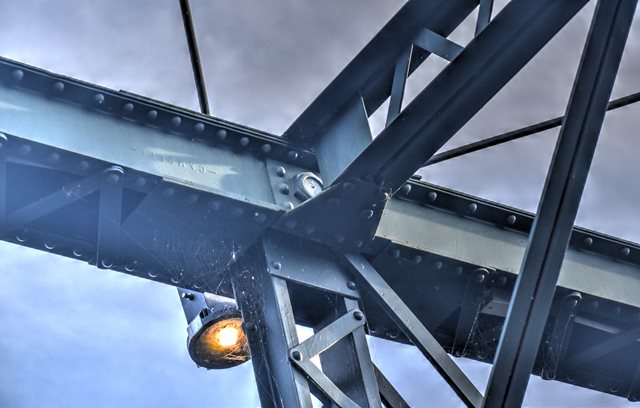
![]()


Views of through truss web.
![]()


Pony truss portal view facing east.
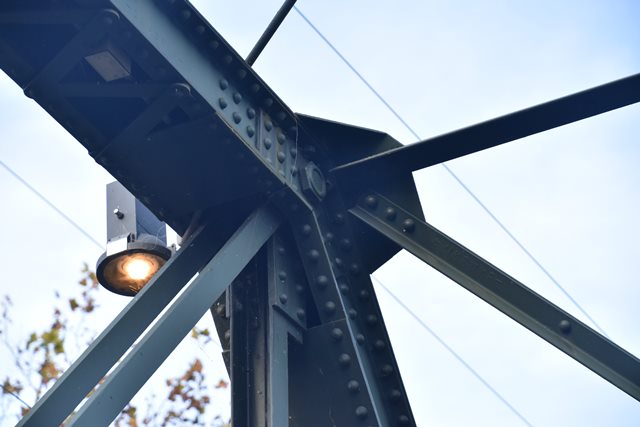
![]()


Views of pony truss web.
![]()
Various people taking photos on the bridge.
![]()

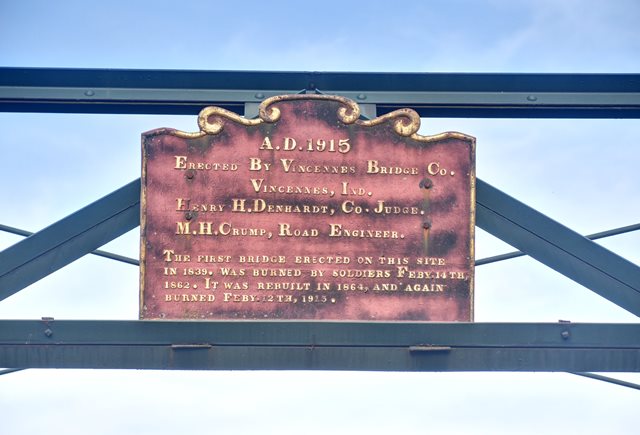


Builder plaque.
![]()


Carnegie brand on pony truss outrigger.
![]()


Illinois-G brand on vertical member.
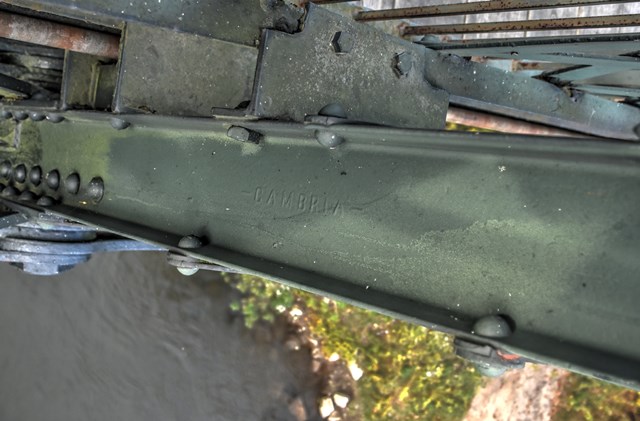
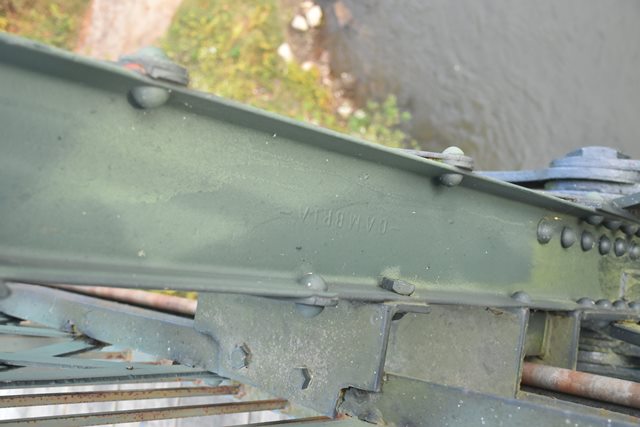
![]()


Cambria brand on vertical member.
![]()


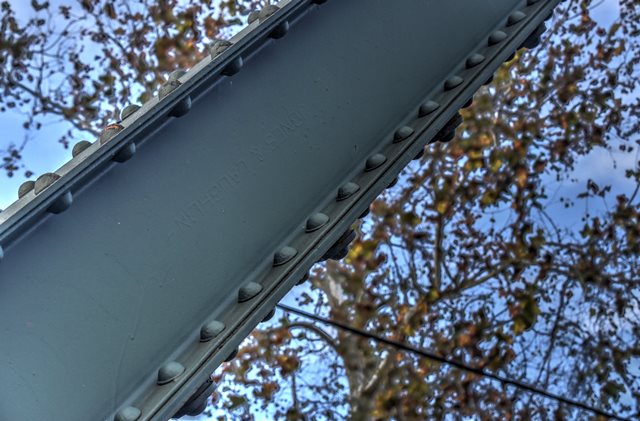

Jones and Laughlin brand on end post.
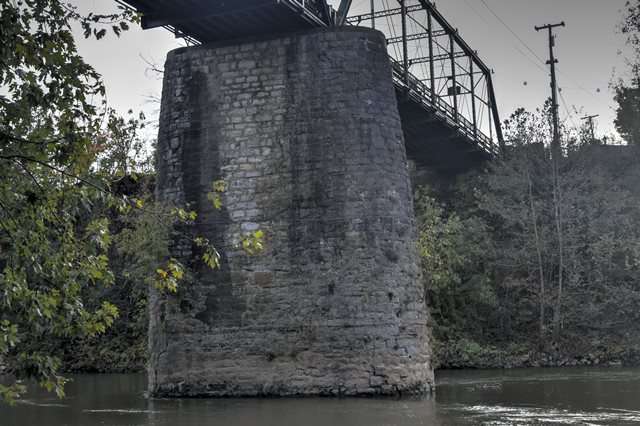
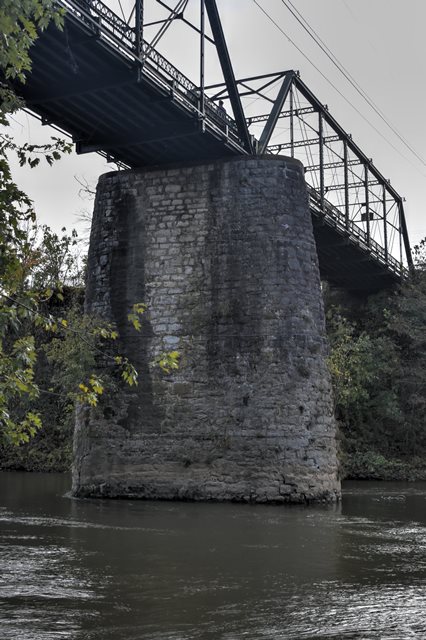
![]()
Stone pier, reportedly from 1839 bridge.
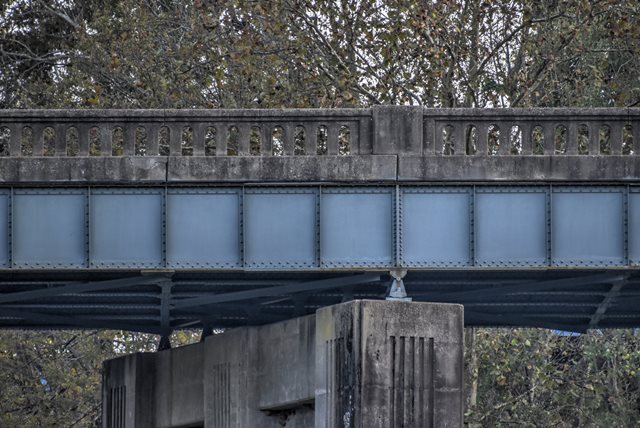
![]()


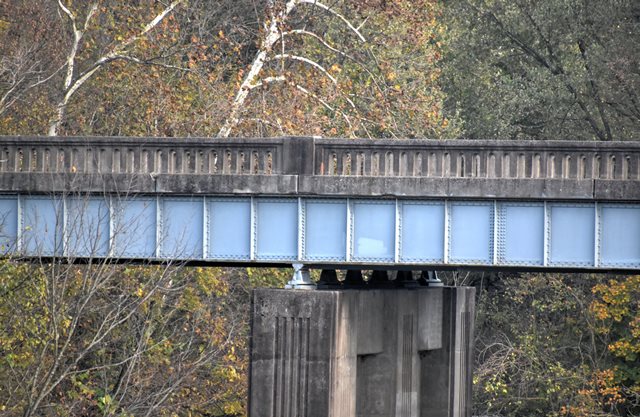
Concrete pier.
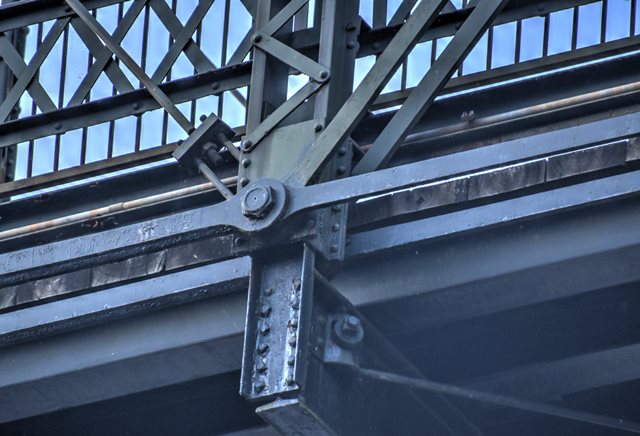
![]()


Top chord connections as viewed from beside bridge.
![]()


Top chord connections as viewed from on bridge.
![]()

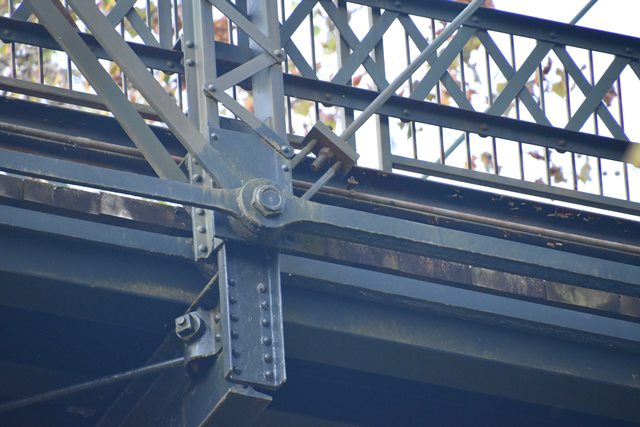


Bottom chord connections as viewed from beside bridge.
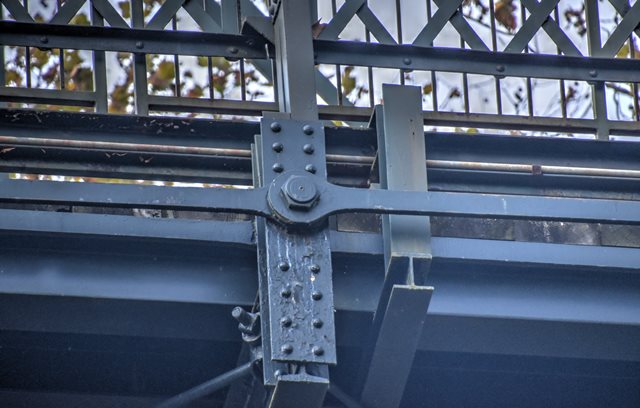
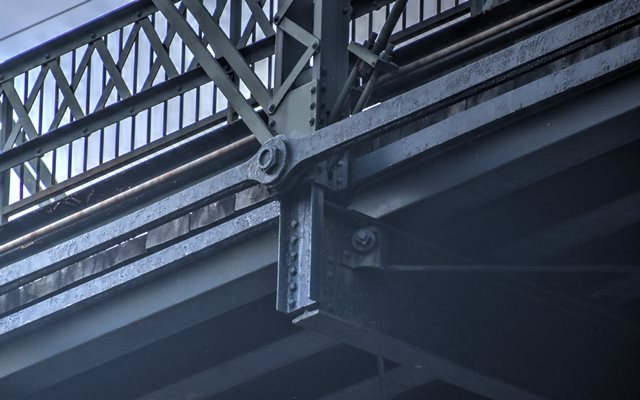
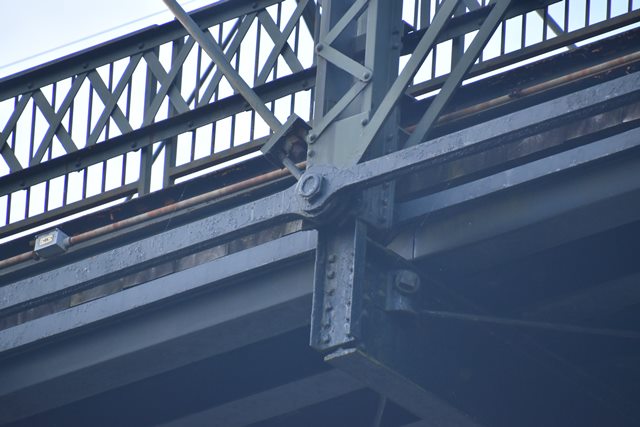
![]()


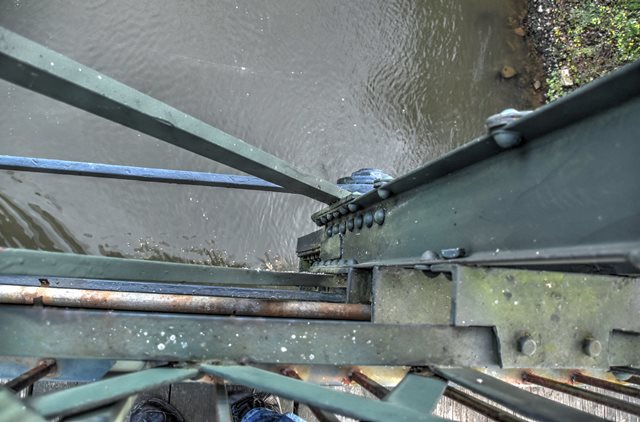


Bottom chord connections as viewed from on bridge.
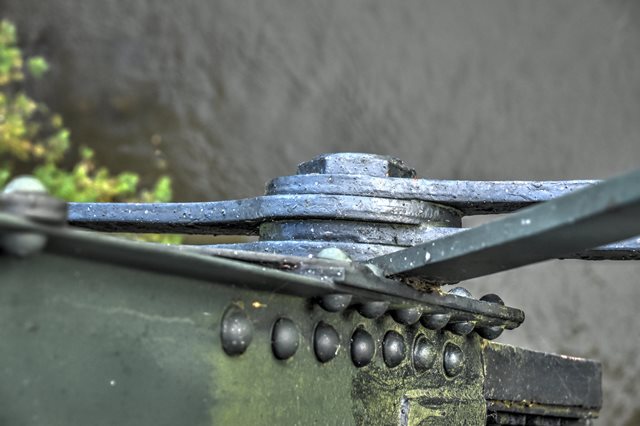
![]()


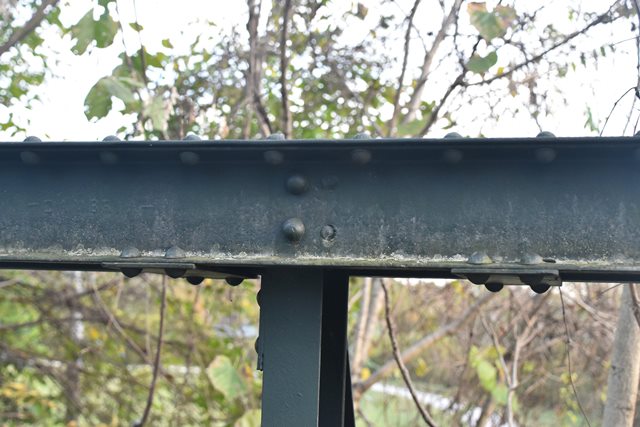


Pony truss top chord connections.
![]()


Pony truss bottom chord connections.
![]()

Pony truss diagonal member.
![]()


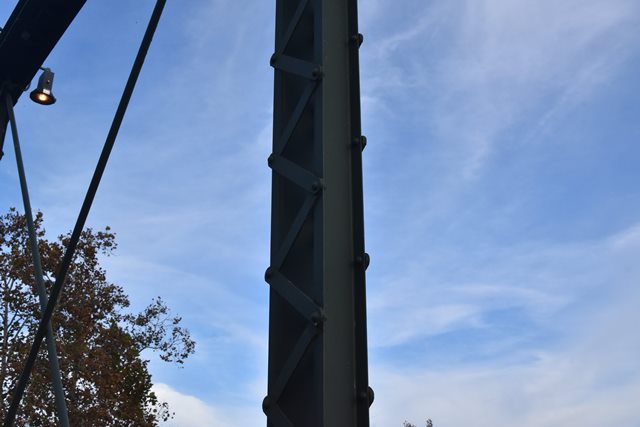
Vertical members.
![]()


Sway bracing details.
![]()

Portal bracing.
![]()

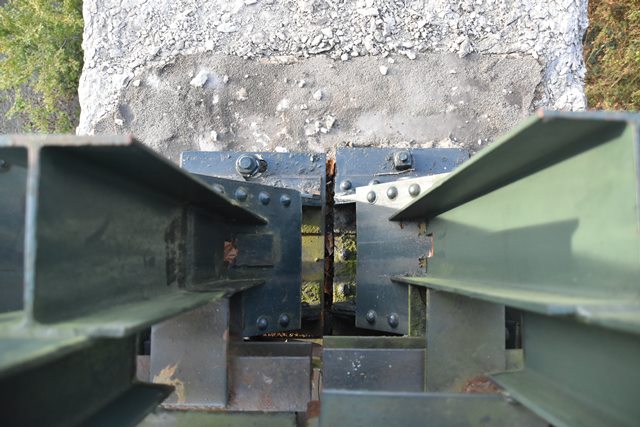
Bearings.
![]()

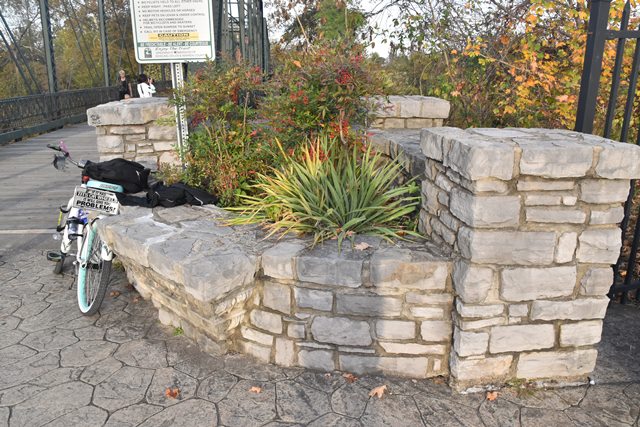
Abutment parapet.
![]()


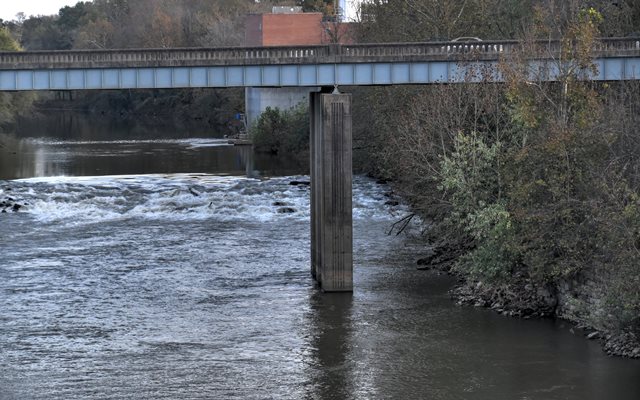


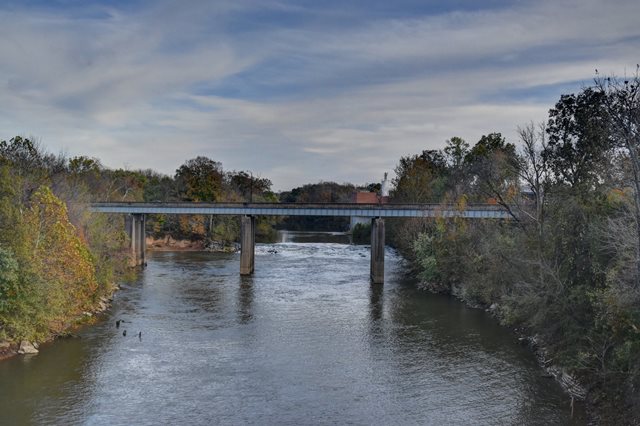
Nearby highway bridge.
![]()
![]()
| Back |
| Home |
| Top |

![]()