Uncredited photos on this page taken by: Nathan Holth. Unless stated in a caption, all photos are Copyright with All Rights Reserved. Learn about reuse of our photos.
![]()
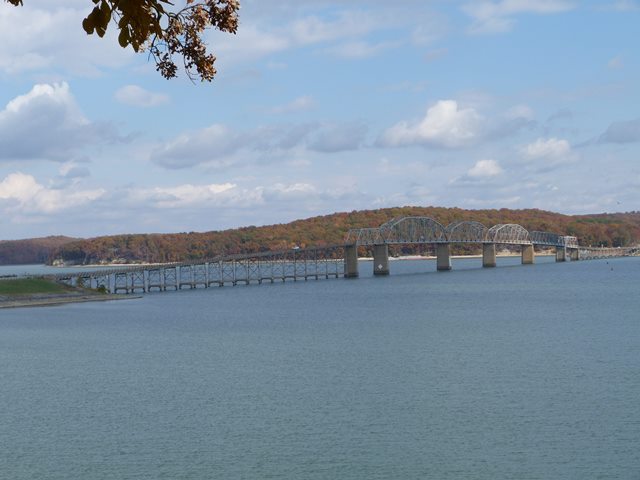
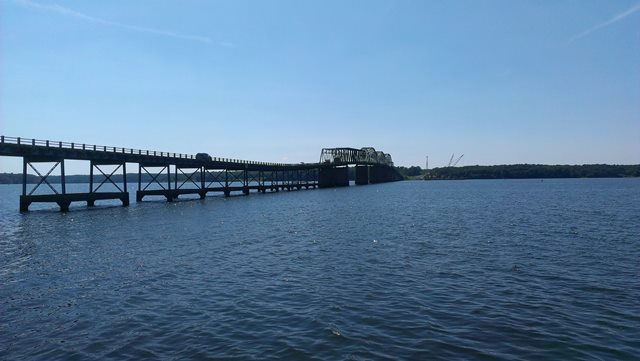
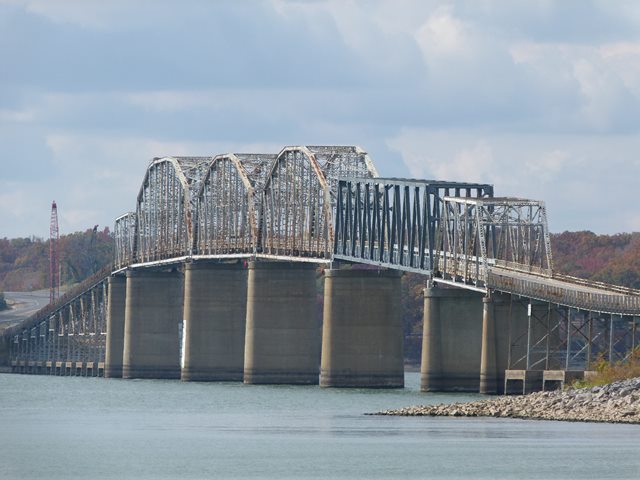
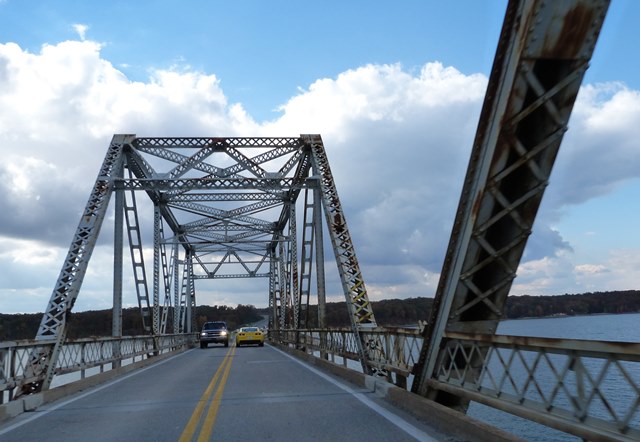
Elevation from southwest quadrant.
![]()

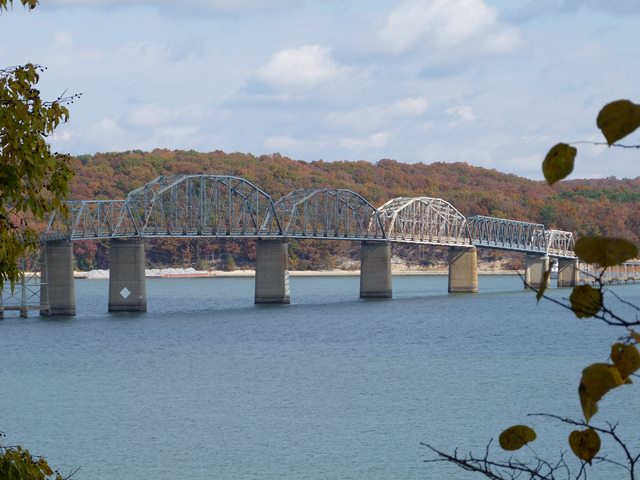

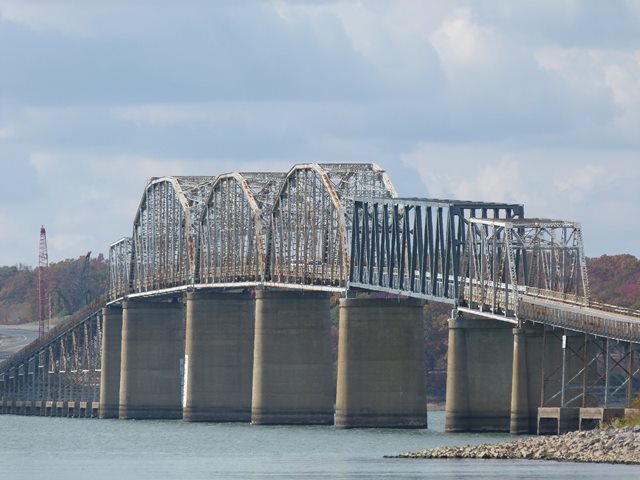
Elevation of through truss spans from southwest quadrant.
![]()


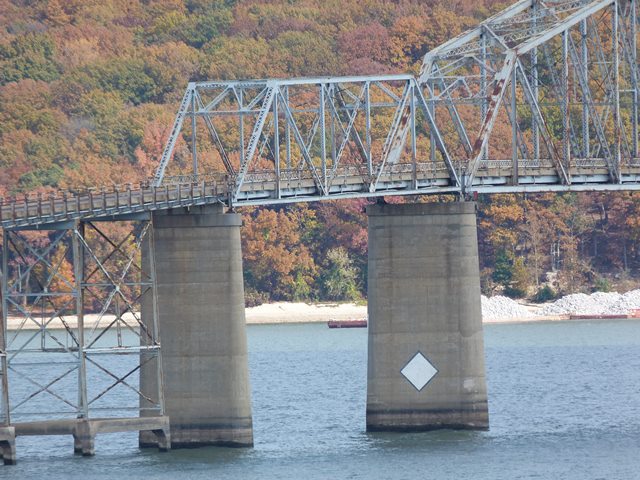
Elevation of individual through truss spans from southwest quadrant.
![]()
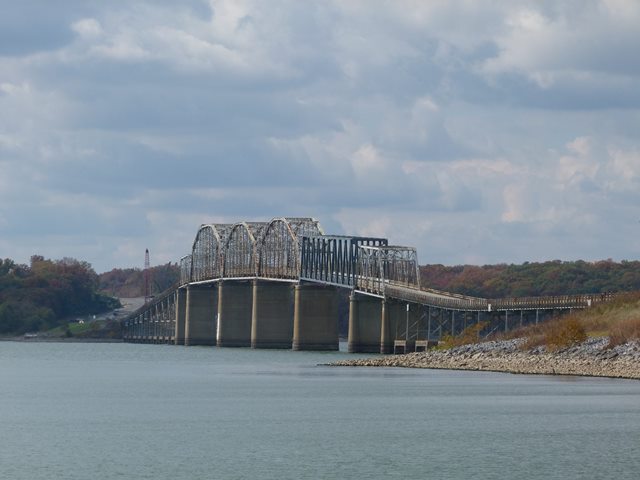

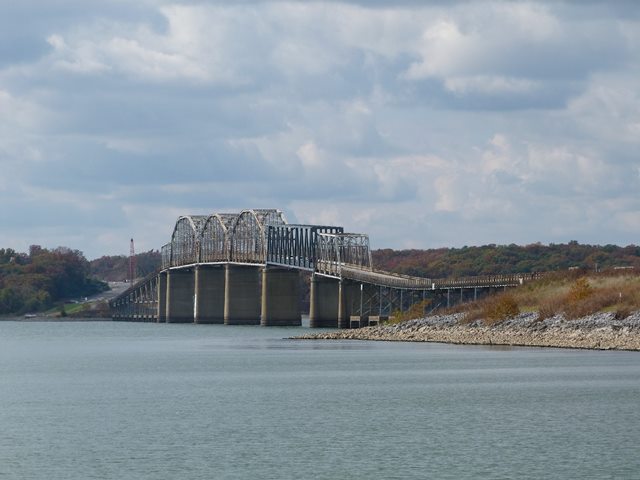
Elevation from southeast quadrant.
![]()

Photo Credit: C. Hanchey
Elevation from southwest quadrant. Photo taken before destruction of the through truss span.
![]()

Photo Credit: C. Hanchey
Portal view. Photo taken before destruction of the through truss span.
![]()

Photo Credit: C. Hanchey
Portal view on bridge. Photo taken before destruction of the through truss span.
![]()

Photo Credit: C. Hanchey
View from beside approaching roadway. Photo taken before destruction of the through truss span.
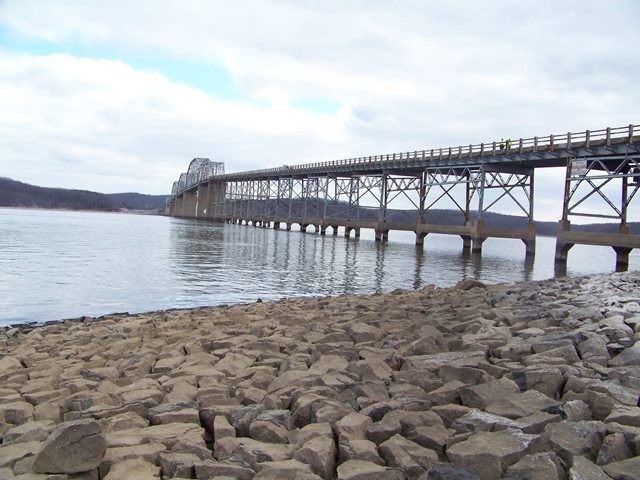
![]()
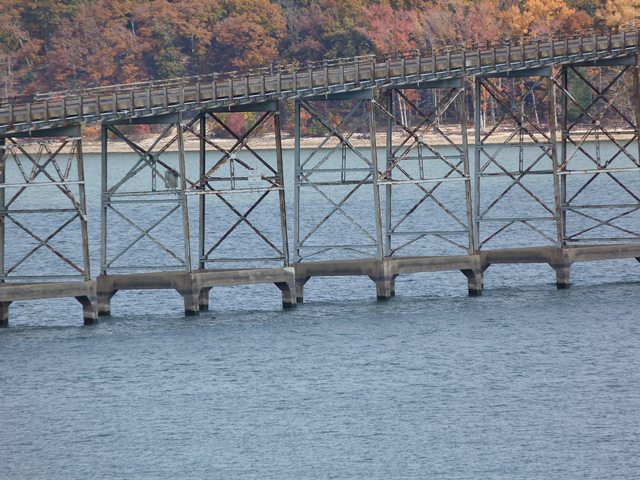
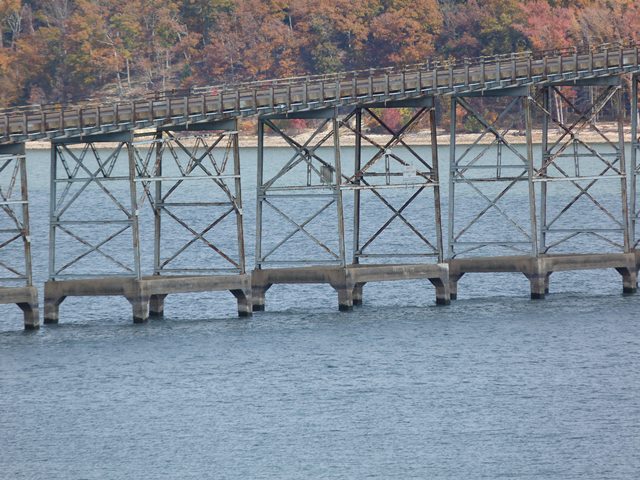

Elevation of approach spans from southwest quadrant.
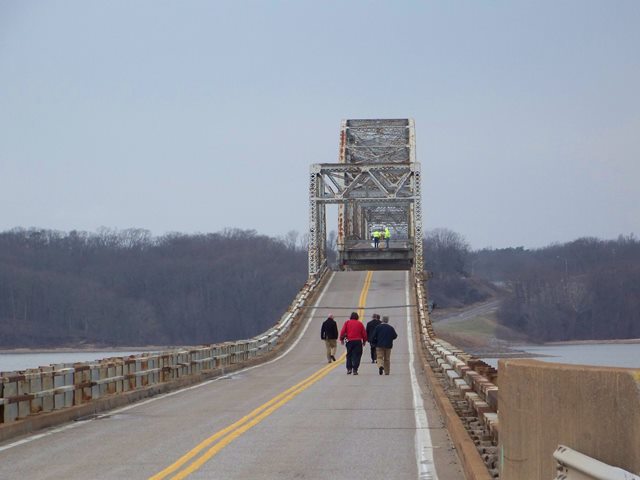
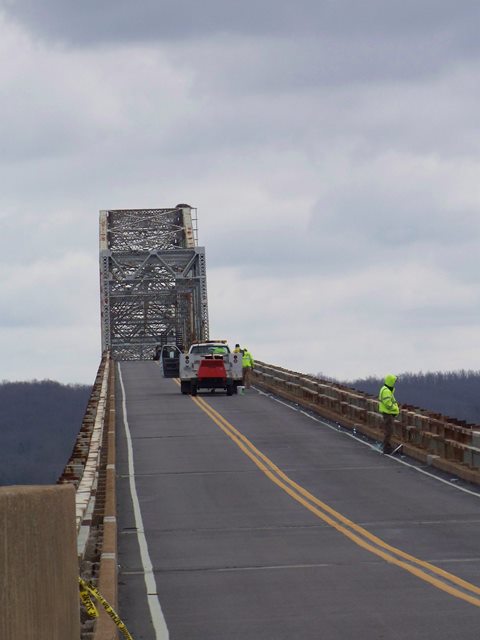
![]()
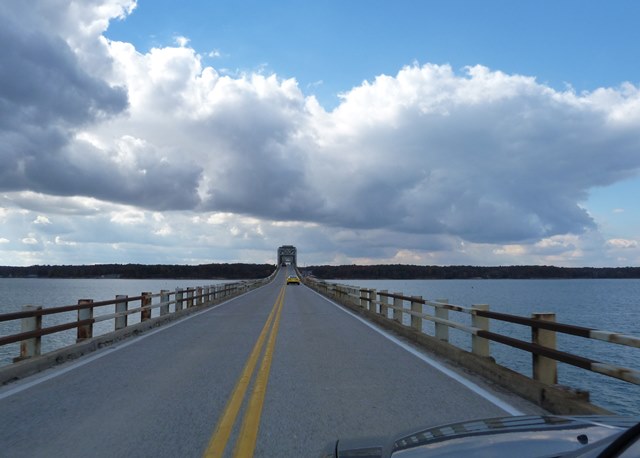
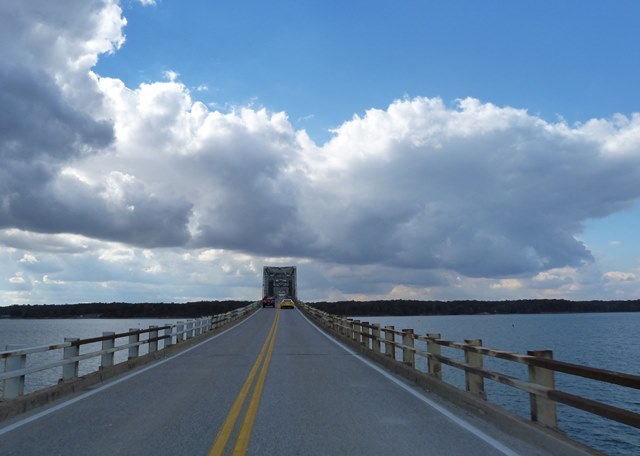

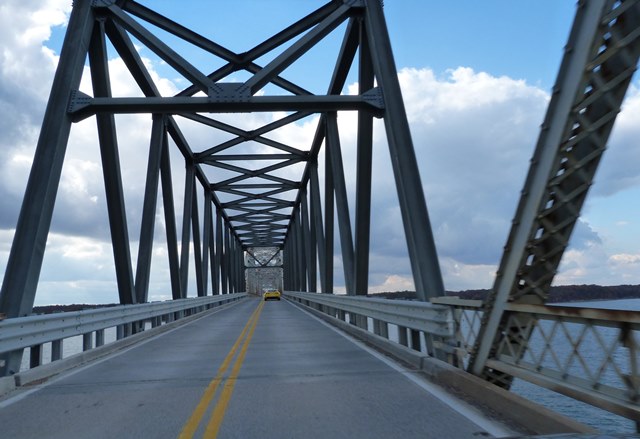


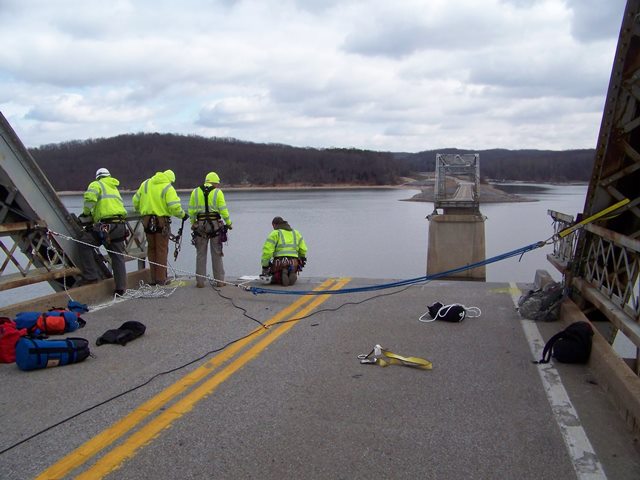
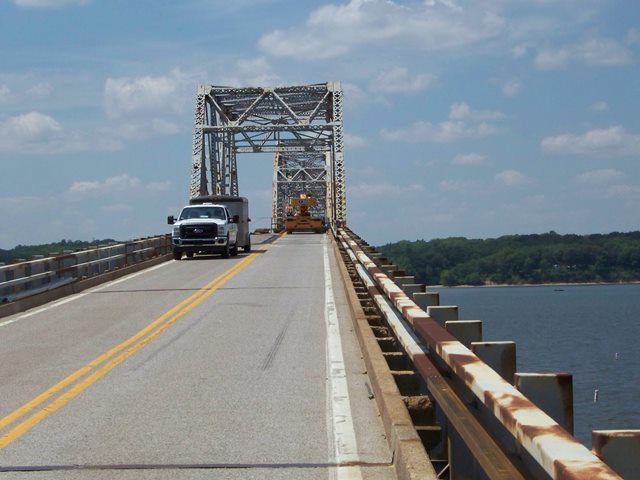
Portal views on bridge facing westbound.
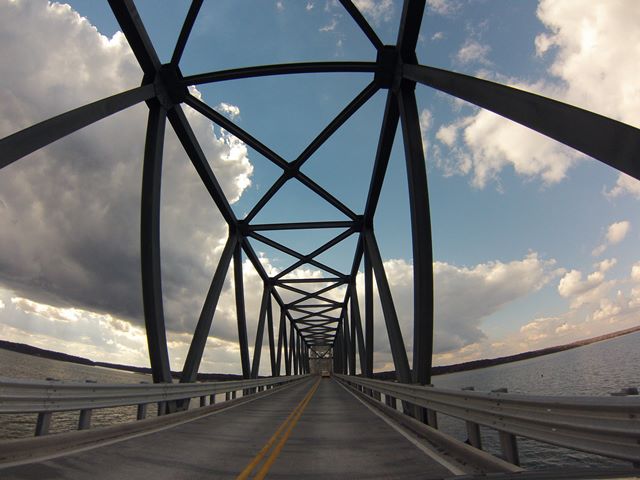
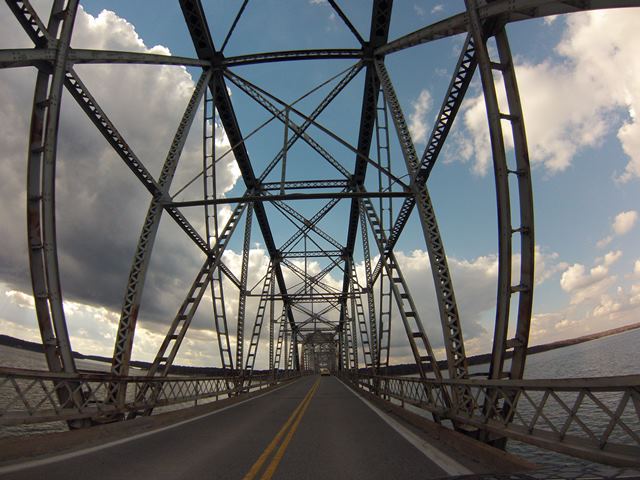
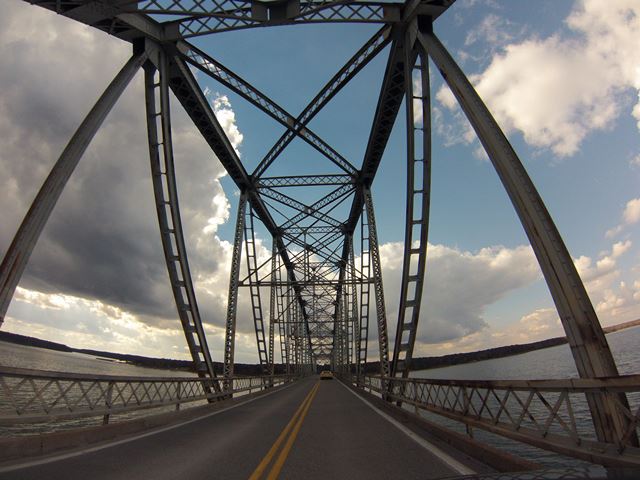
![]()


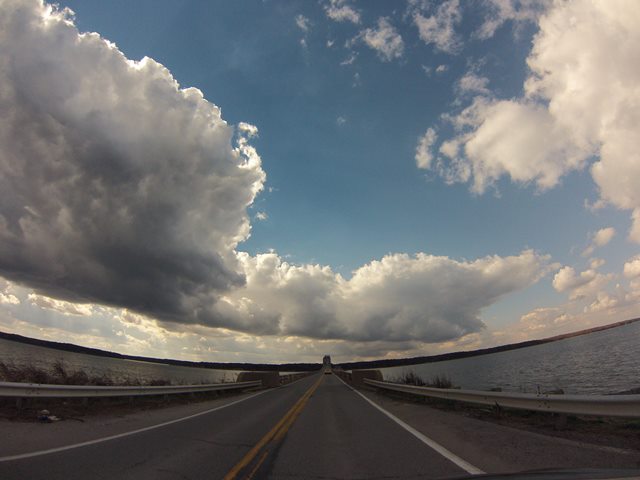


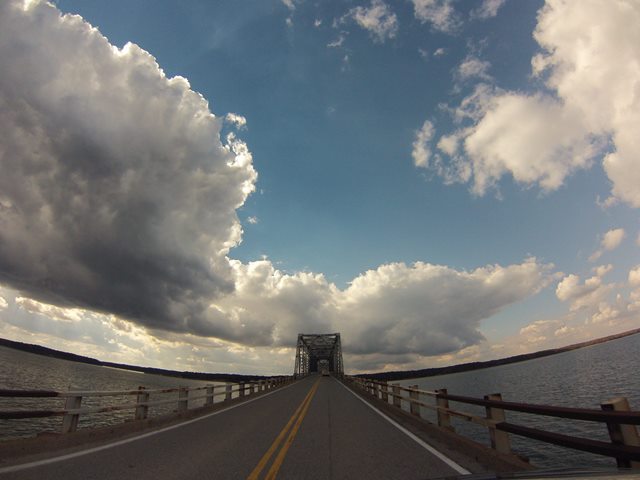


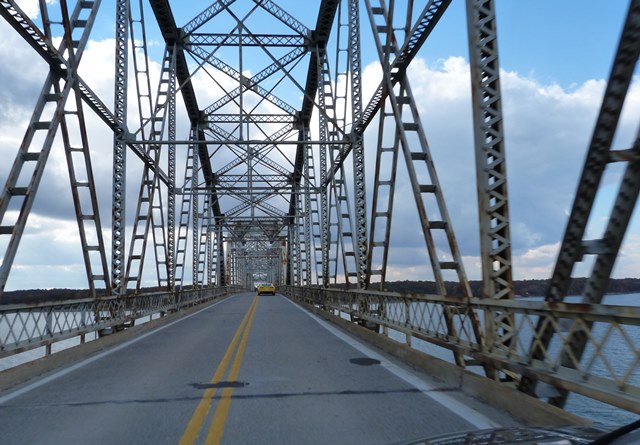
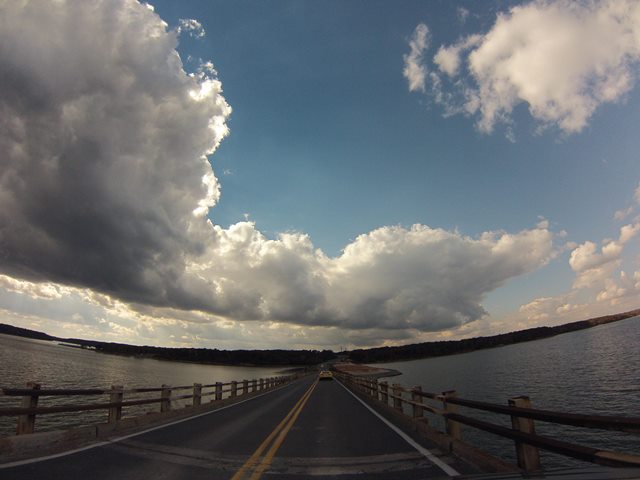
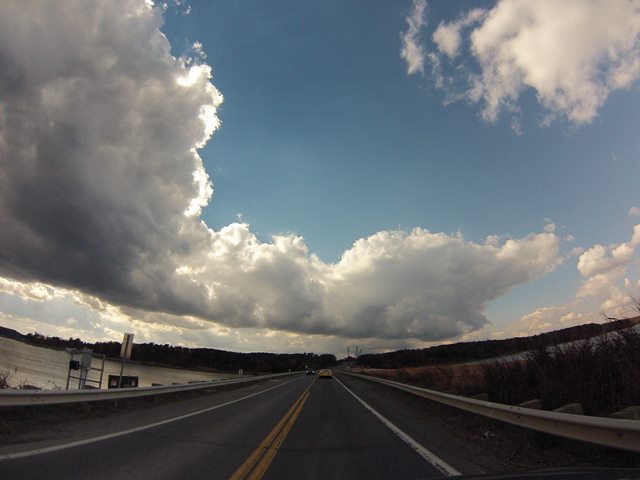
GoPro CarCam photos. Westbound crossing. Views on eastern approach spans.
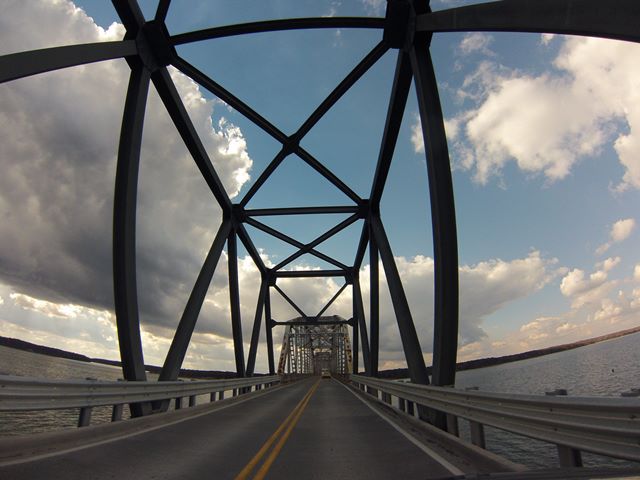
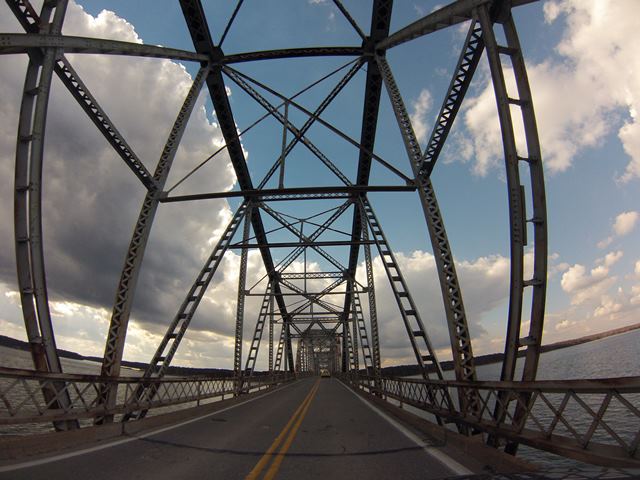
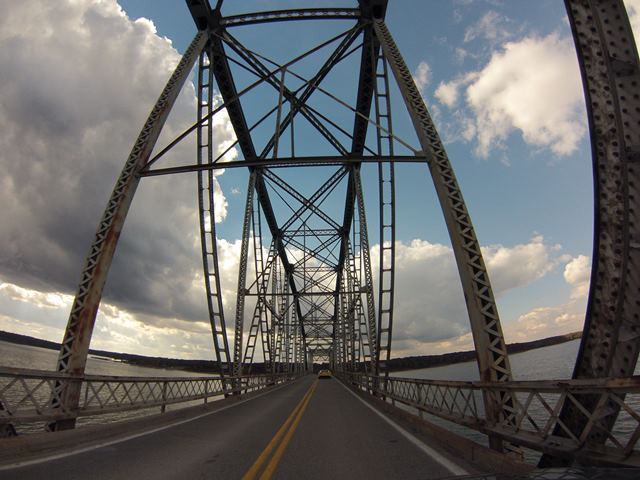
![]()


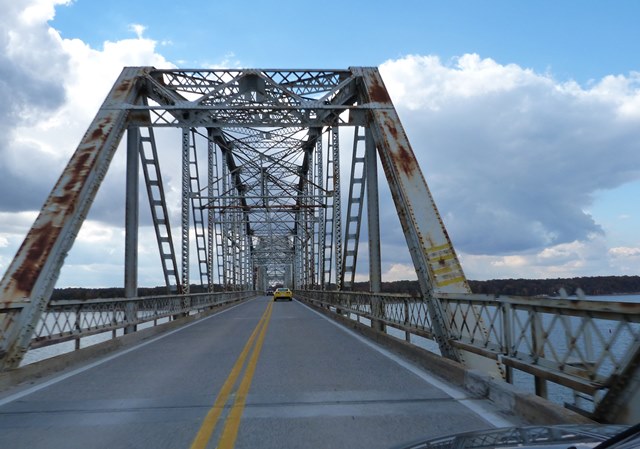
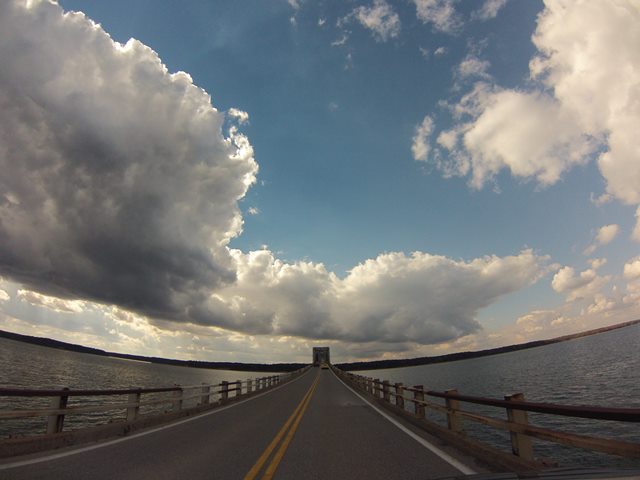
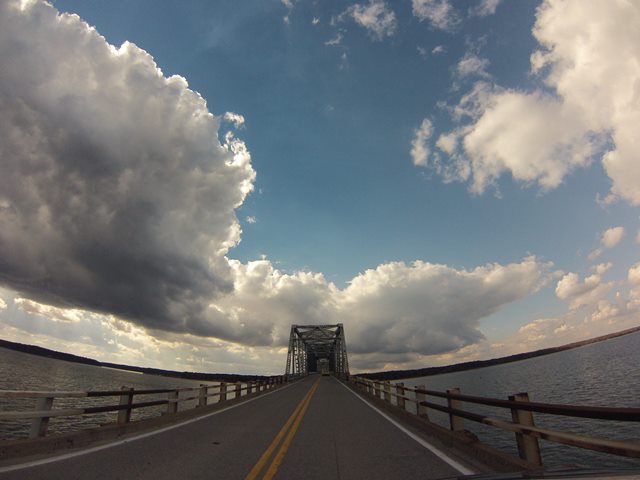
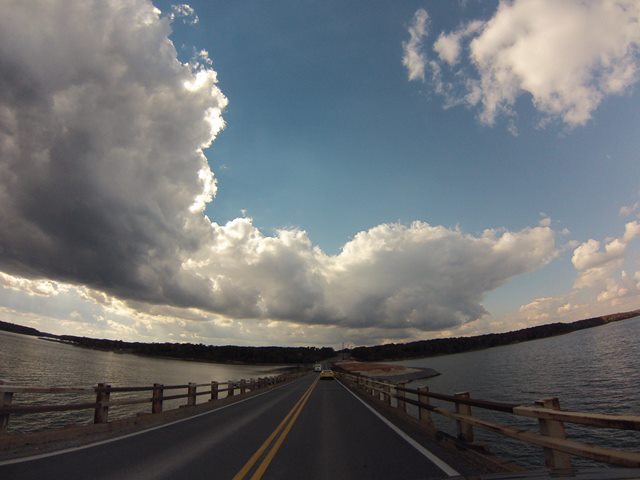
GoPro CarCam photos. Westbound crossing. Views on first through truss span.
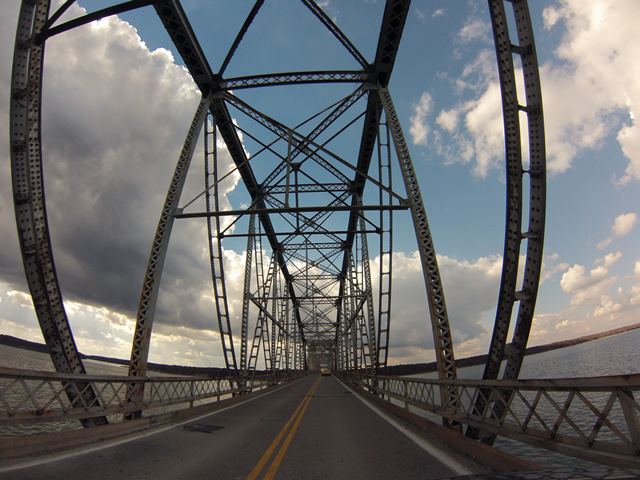
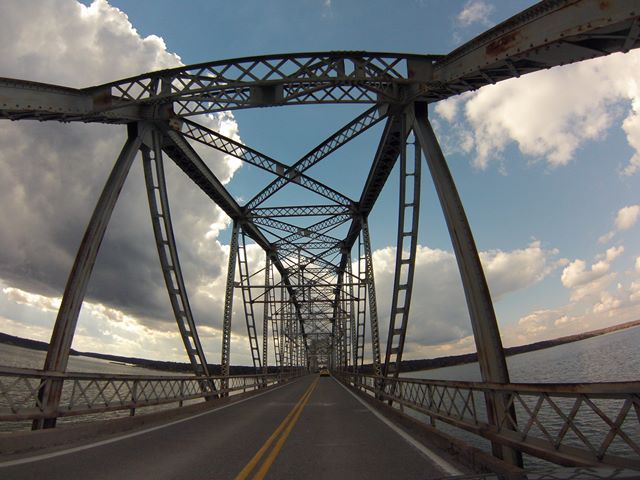
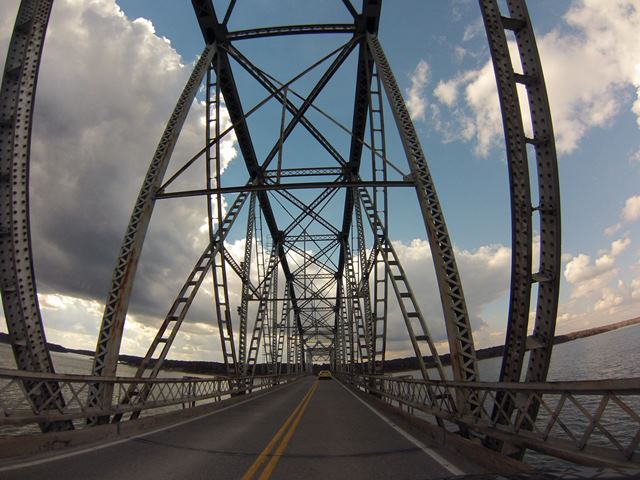
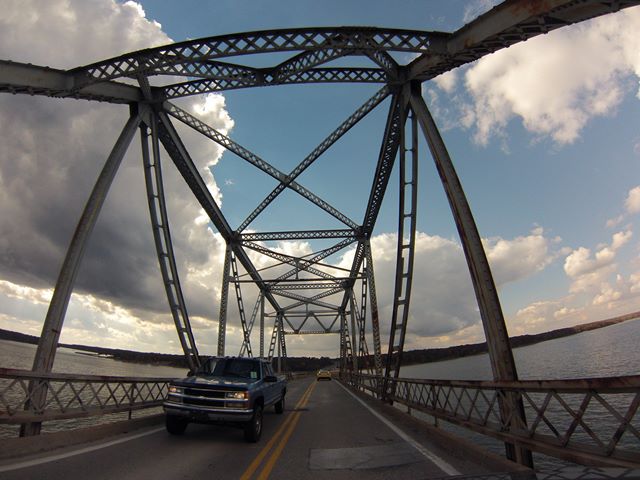
![]()


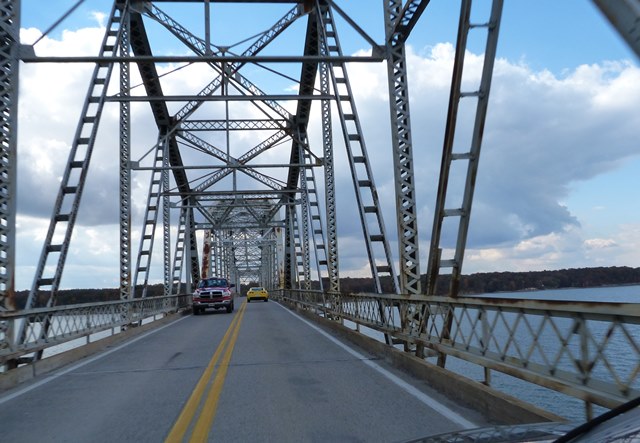
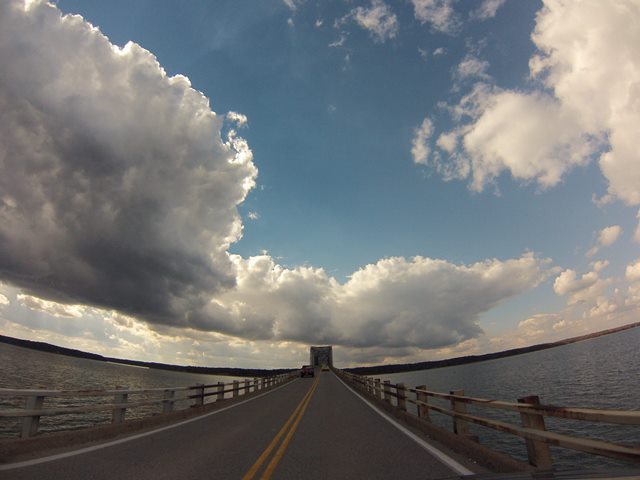
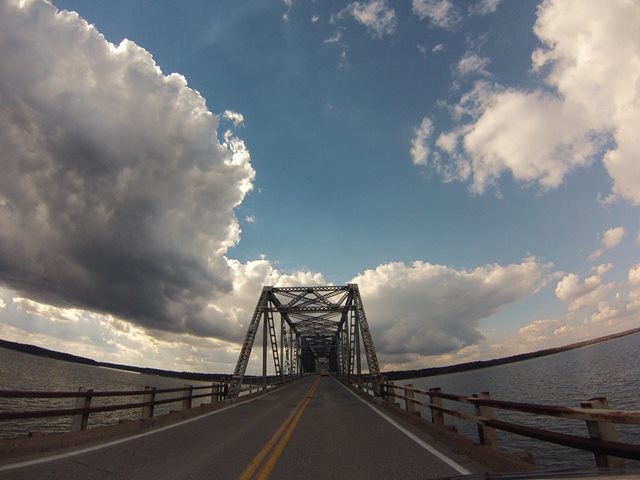
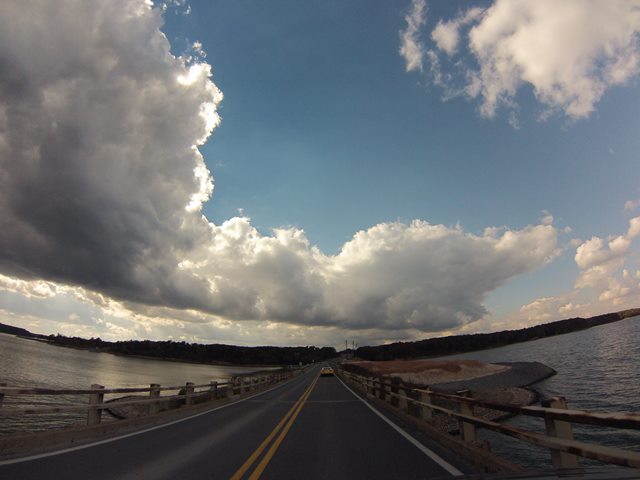
GoPro CarCam photos. Westbound crossing. Views on second through truss span. This is the replaced span.
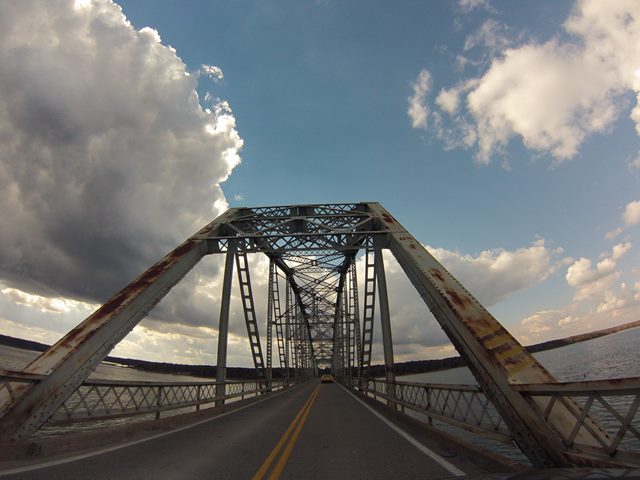
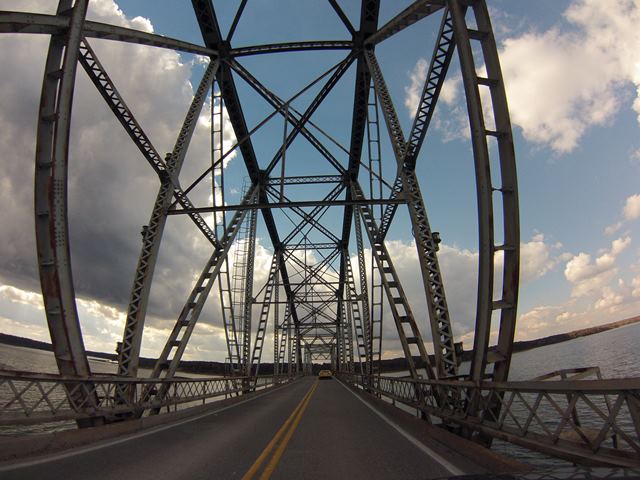
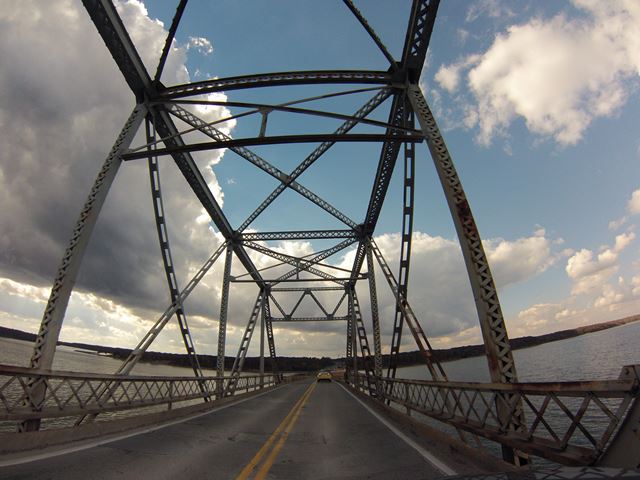
![]()


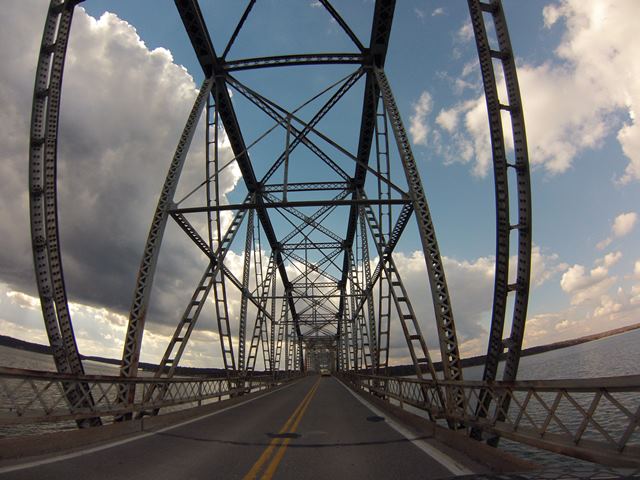


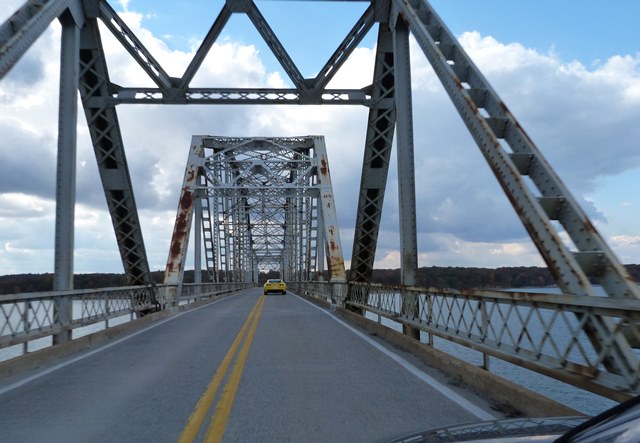
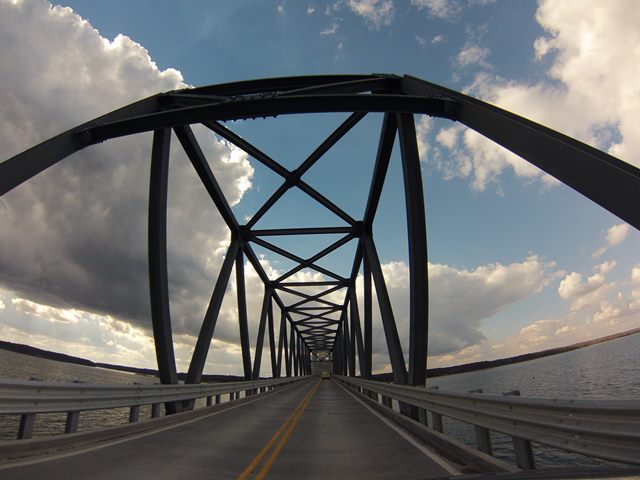
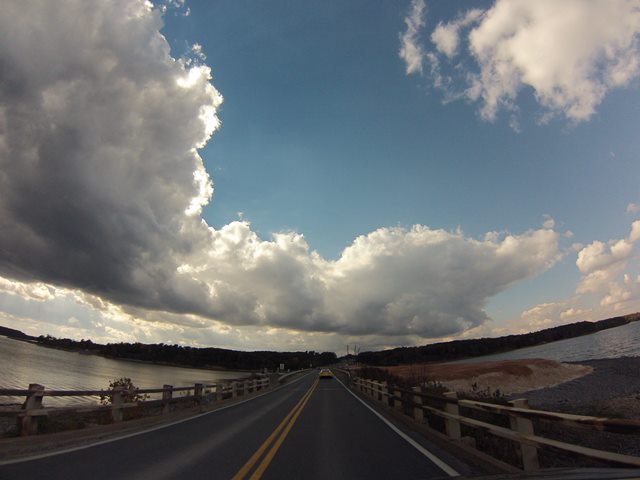
GoPro CarCam photos. Westbound crossing. Views on third through truss span.
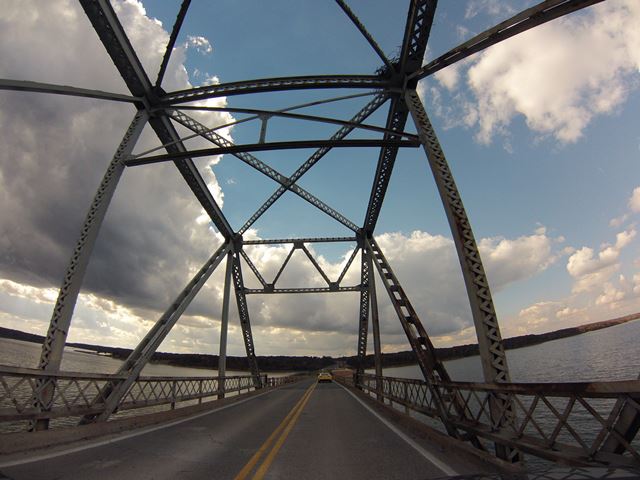
![]()


GoPro CarCam photos. Westbound crossing. Views on fourth through truss span.
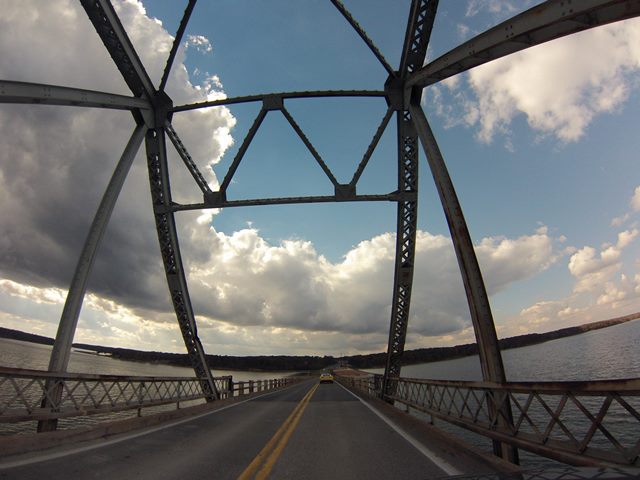
![]()


GoPro CarCam photos. Westbound crossing. Views on fifth through truss span.
![]()

GoPro CarCam photos. Westbound crossing. Views on sixth through truss span.
![]()


GoPro CarCam photos. Westbound crossing. Views on western approach spans.
![]()
Photos From KYTC Documenting Span Collapse and Replacement
![]()
![]()
Photo Credit: KYTC
Elevation before accident.
![]()

![]()
Photo Credit: KYTC
Aerial views before accident.
![]()
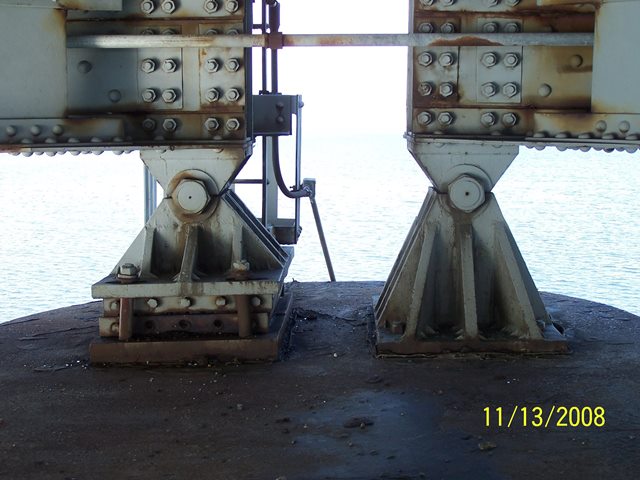


Photo Credit: KYTC
Bearings before accident.
![]()
Photo Credit: KYTC
Views showing bridge with span missing.
![]()


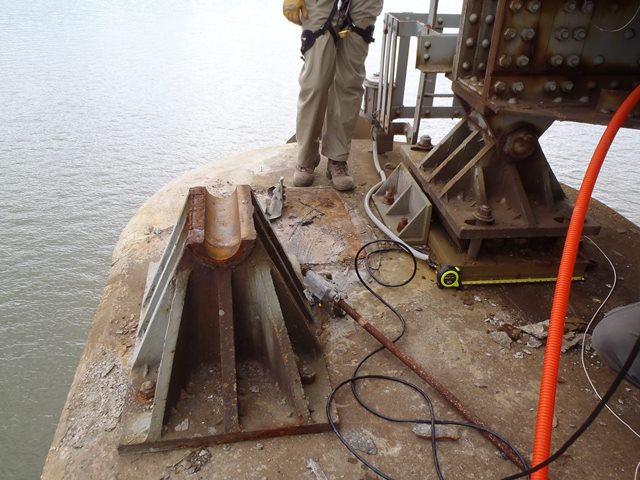

Photo Credit: KYTC
Bearings after accident.
![]()
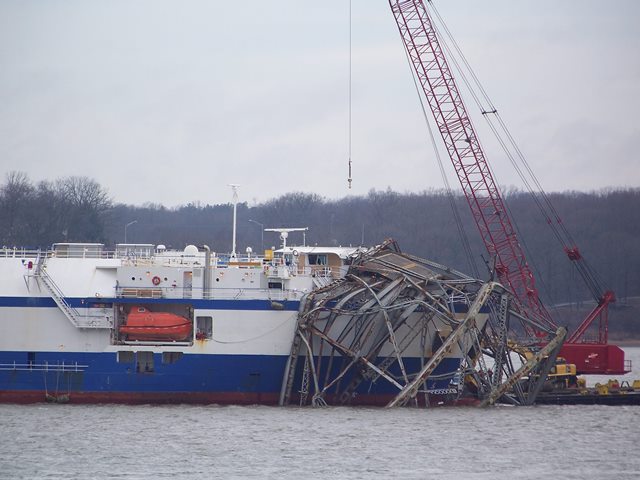


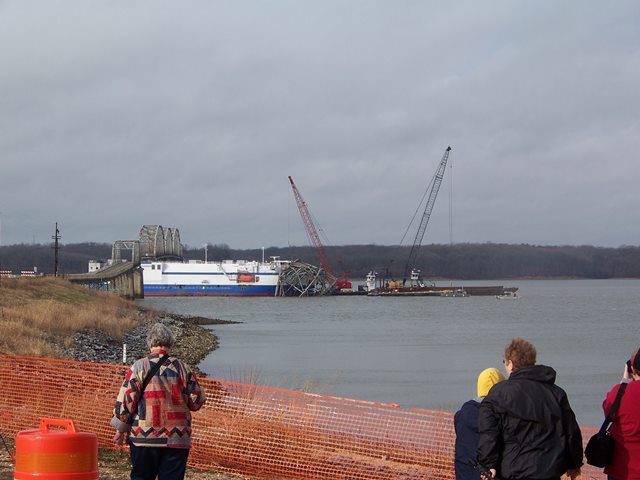


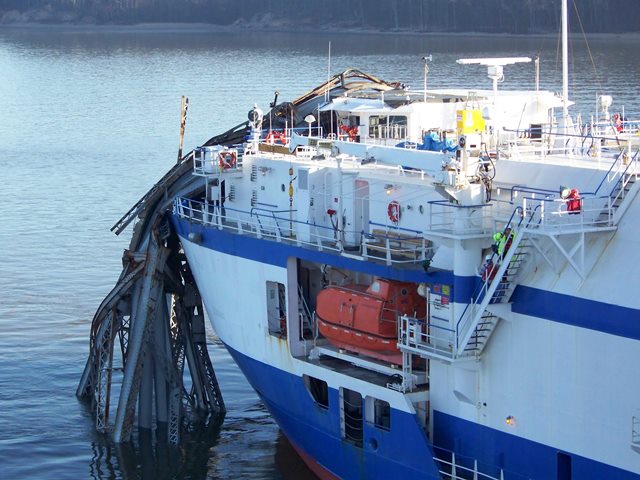
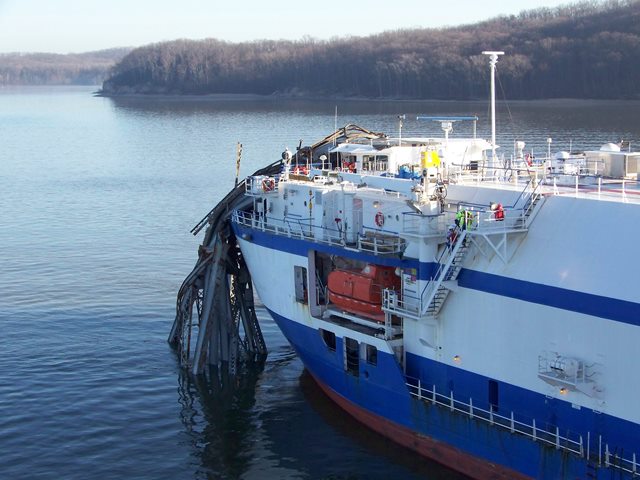


Photo Credit: KYTC
Collapsed bridge on Delta Mariner.
![]()

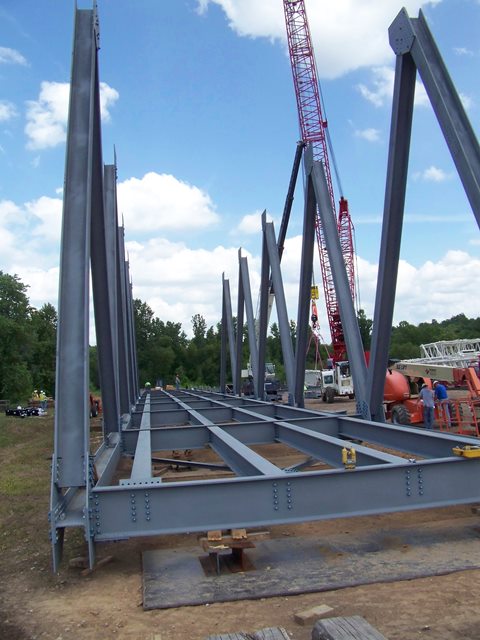

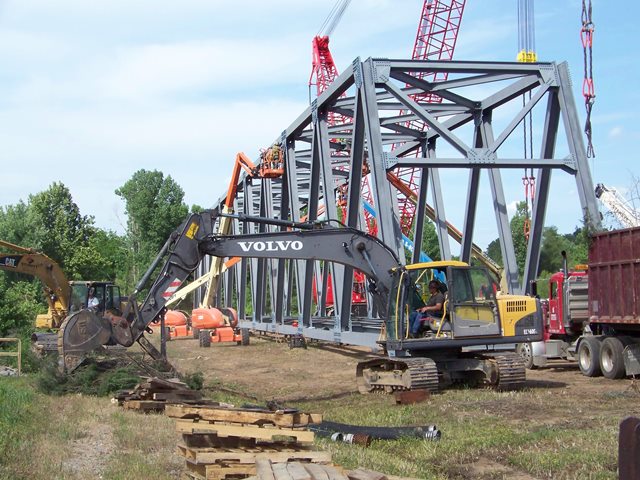


Photo Credit: KYTC
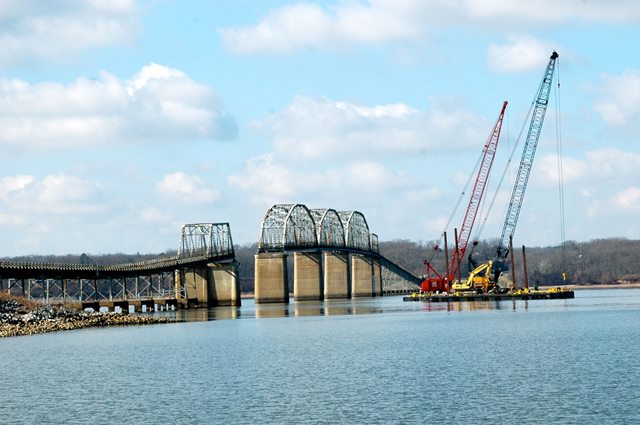
Assembling replacement truss span on the ground.
![]()
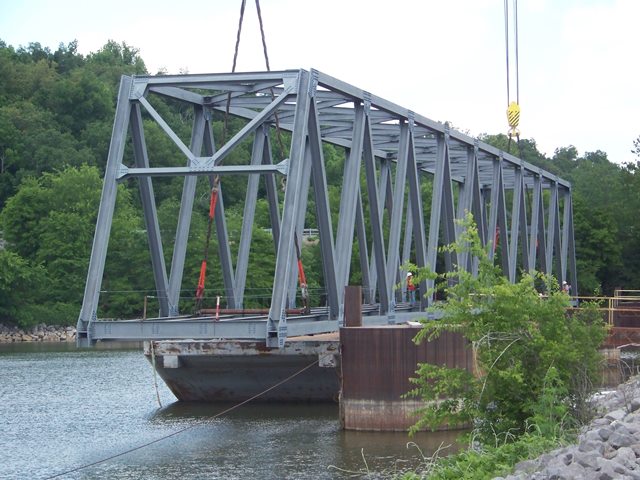
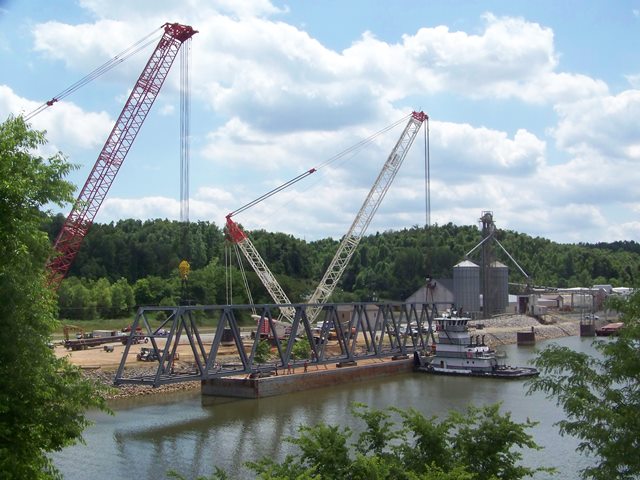
Photo Credit: KYTC
Assembled truss on barge being taken out to bridge site.
![]()

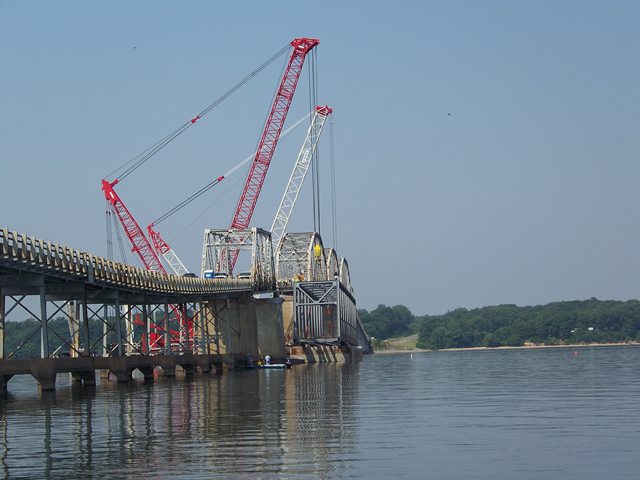


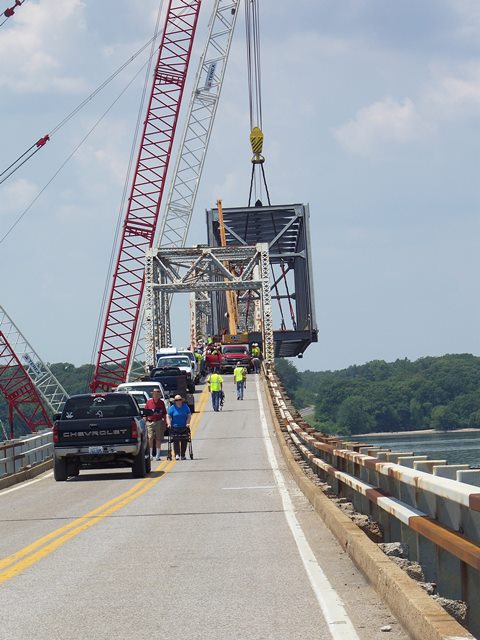


Photo Credit: KYTC
Lifting span into place.
![]()


Photo Credit: KYTC
Replacement span in place, deck installation in progress.
![]()
Photo Credit: KYTC
Views showing newly reopened bridge.
![]()
![]()
| Back |
| Home |
| Top |

![]()