Uncredited photos on this page taken by: Nathan Holth. Unless stated in a caption, all photos are Copyright with All Rights Reserved. Learn about reuse of our photos.
![]()
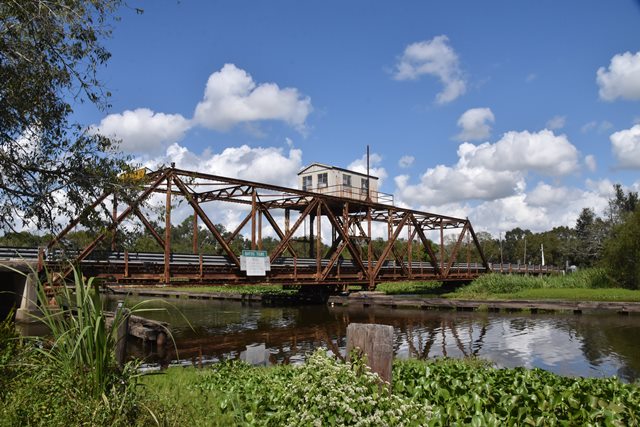

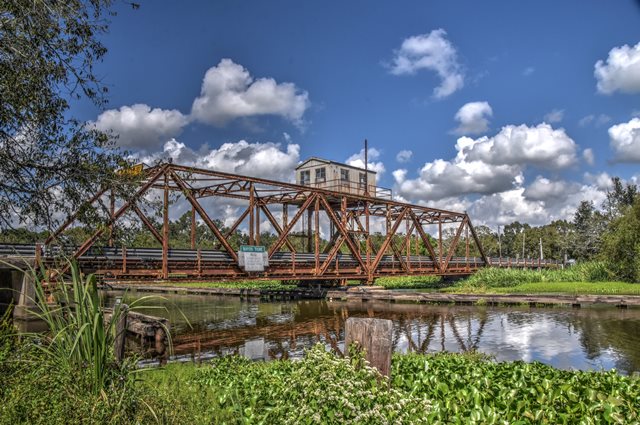

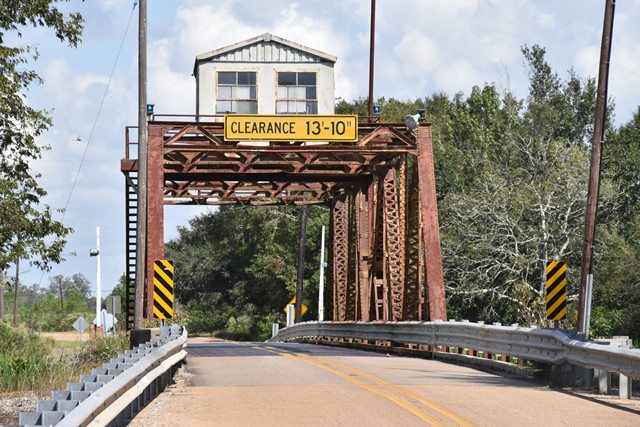
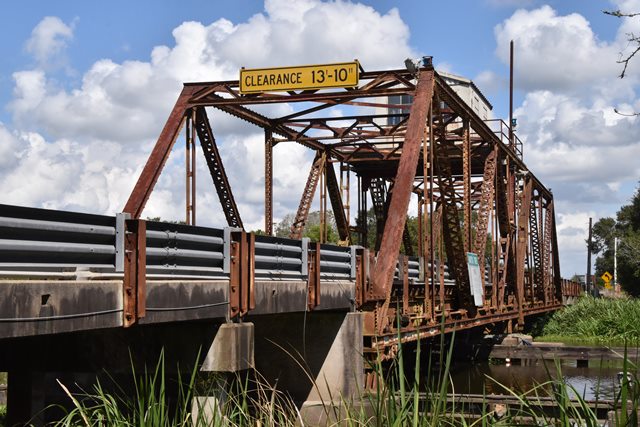
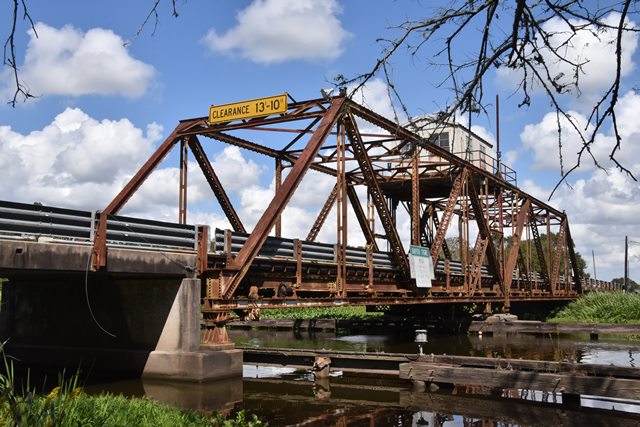
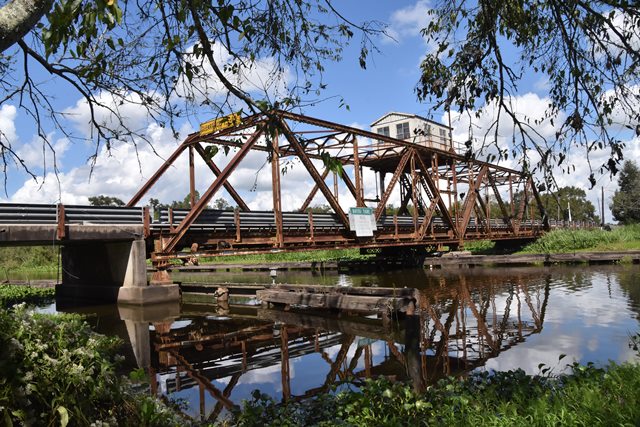
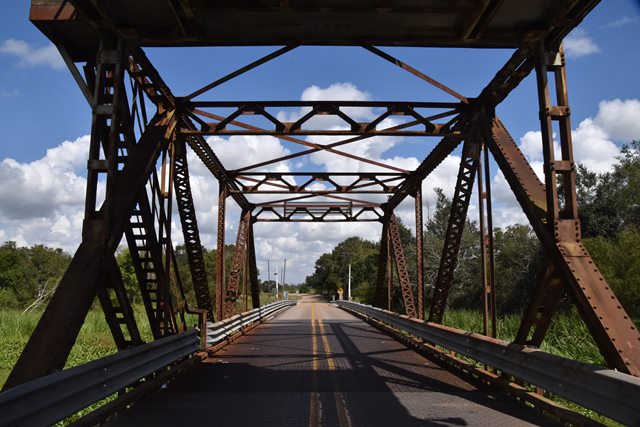
Elevation from southeast quadrant.
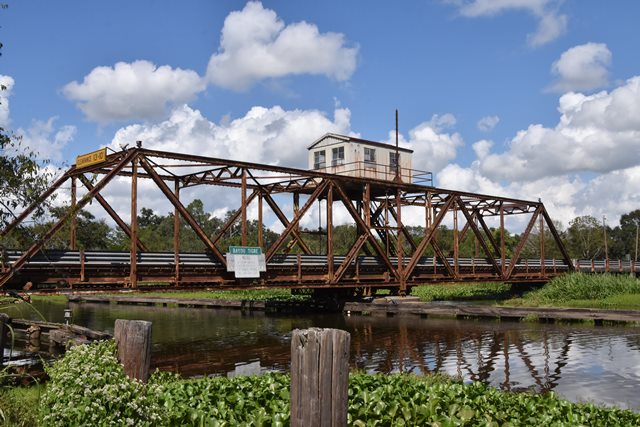
![]()
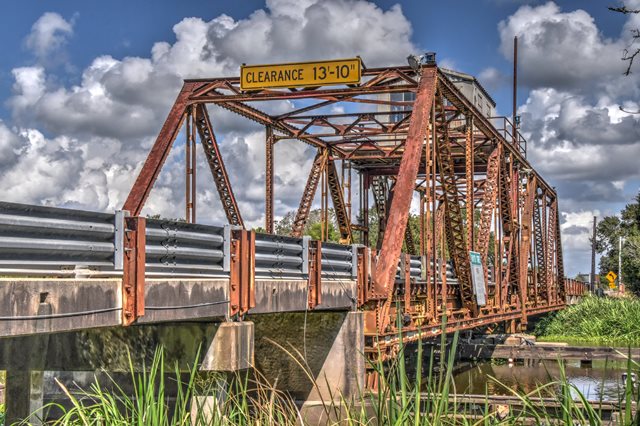


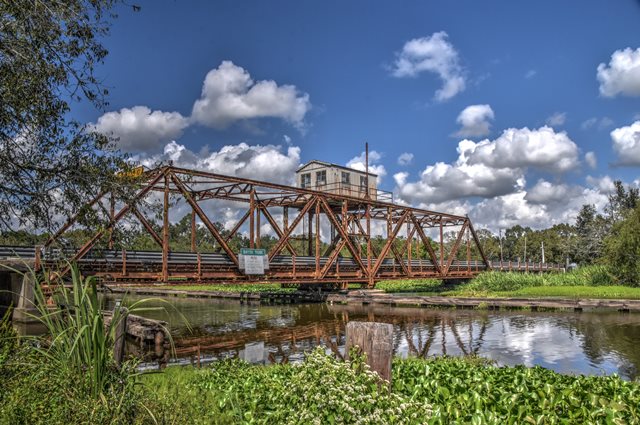
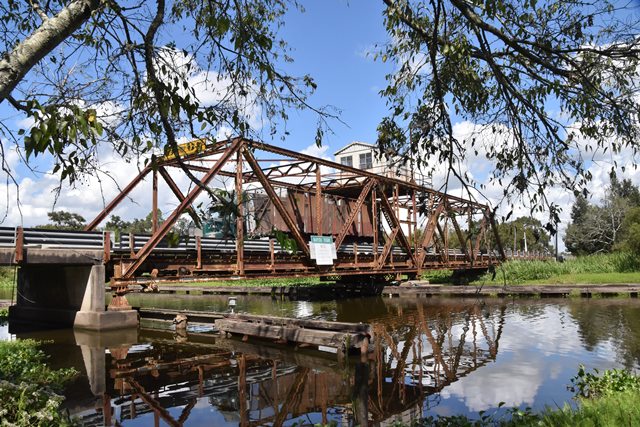
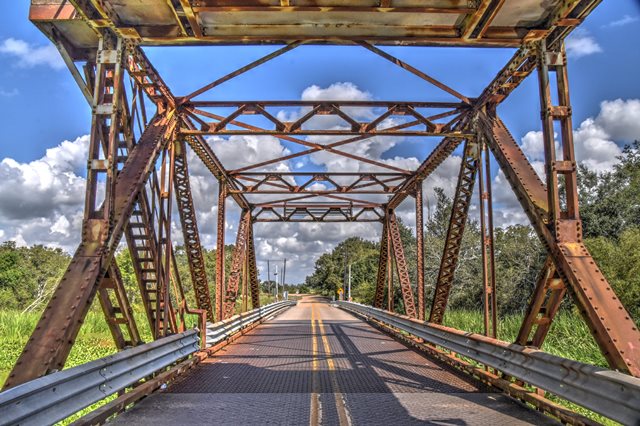
Oblique views from southeast quadrant.
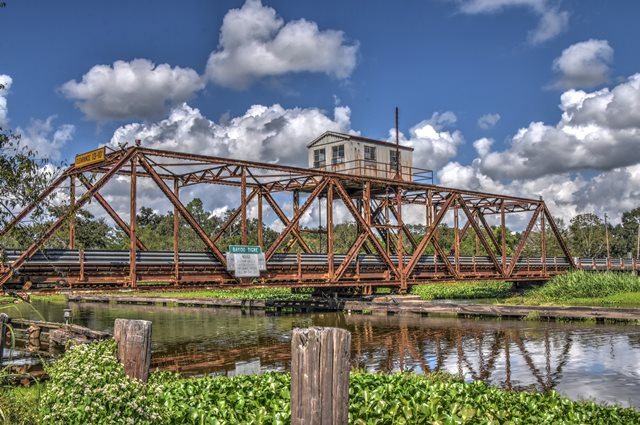
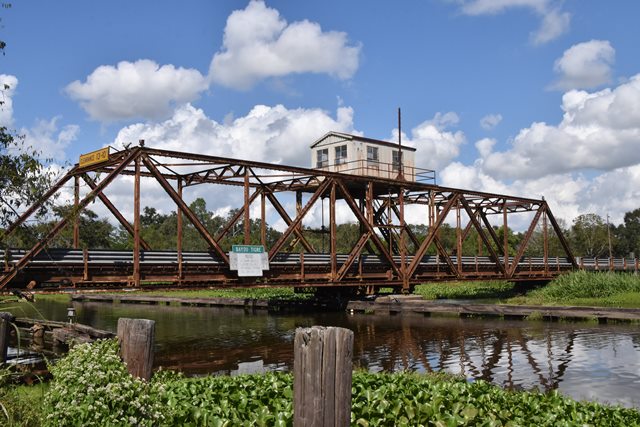
![]()
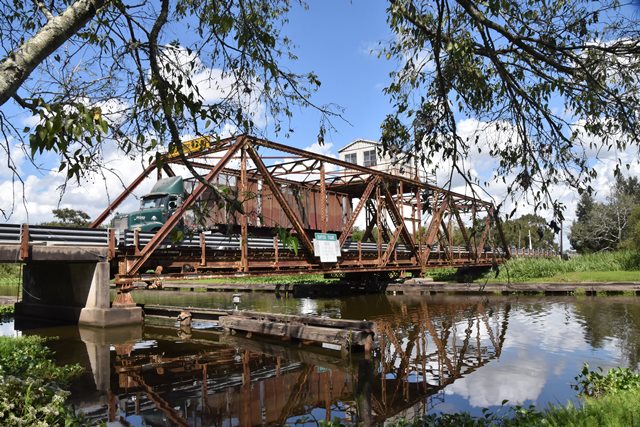
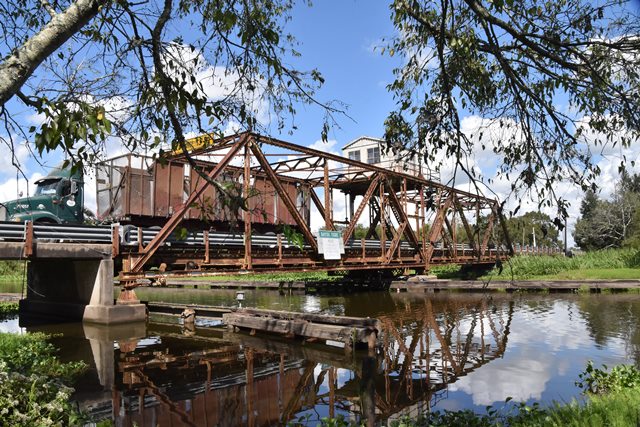
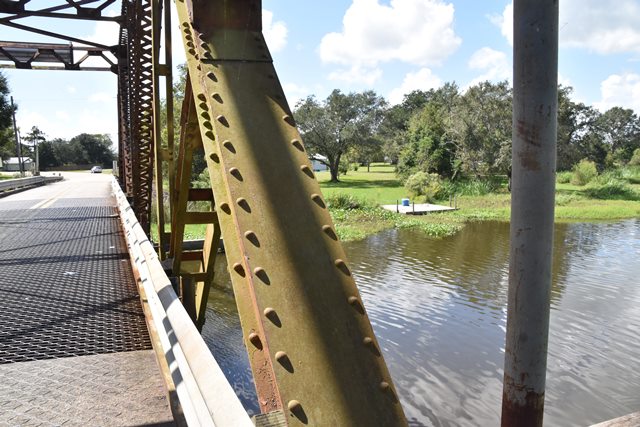
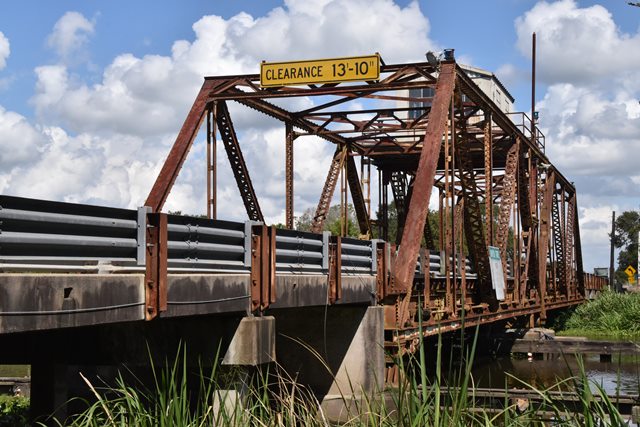
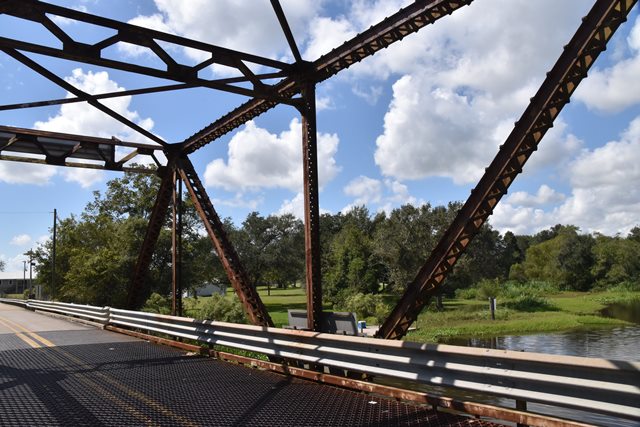
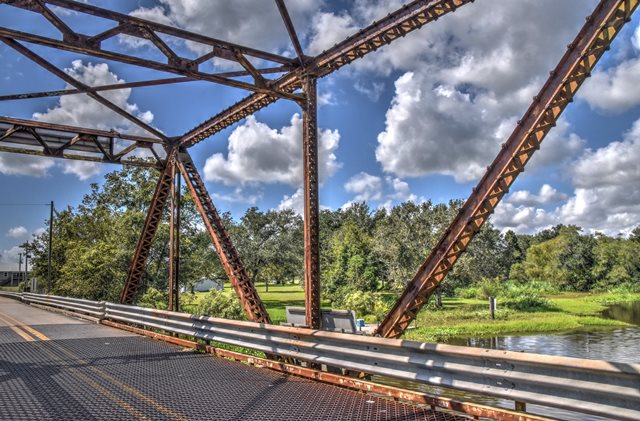
Views beside bridge from southeast quadrant.
![]()

Views facing north from bridgetender house.
![]()
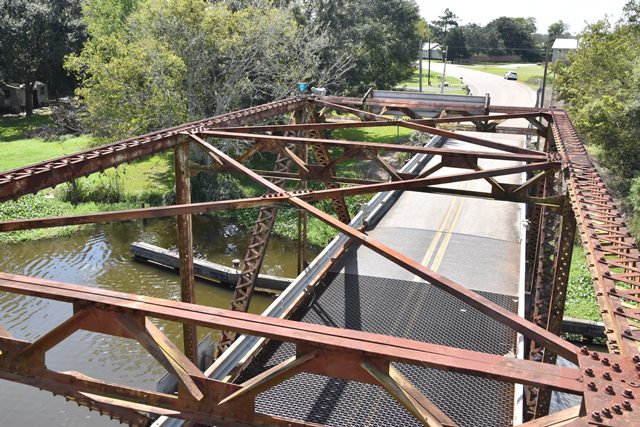

Views facing south from bridgetender house.
![]()
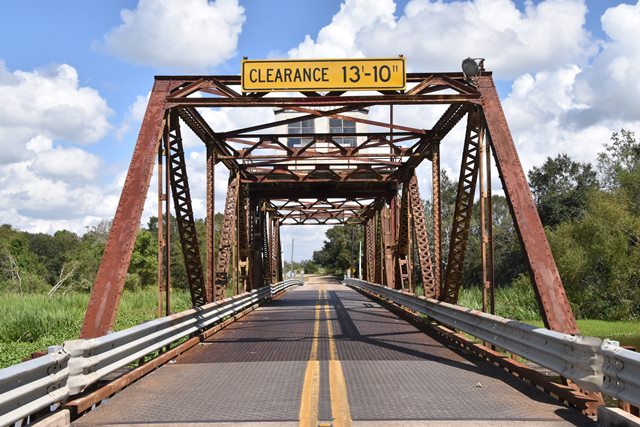
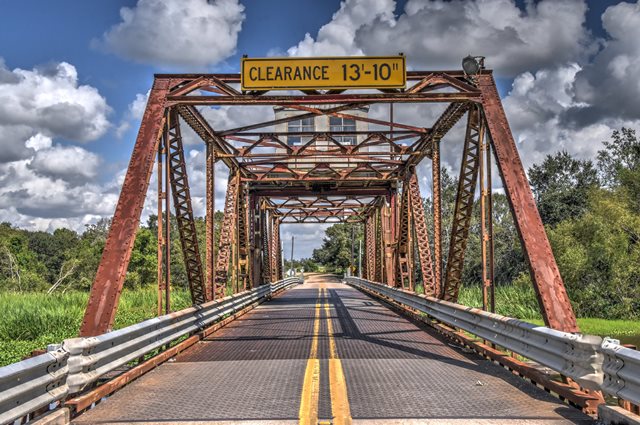
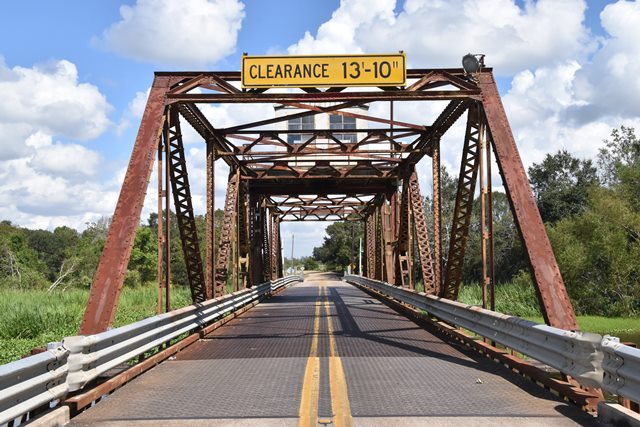
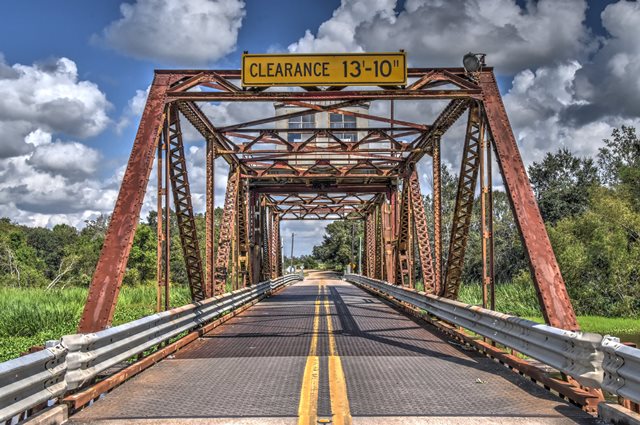
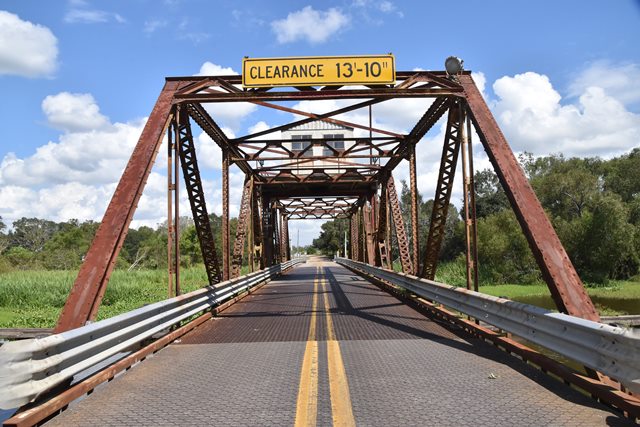
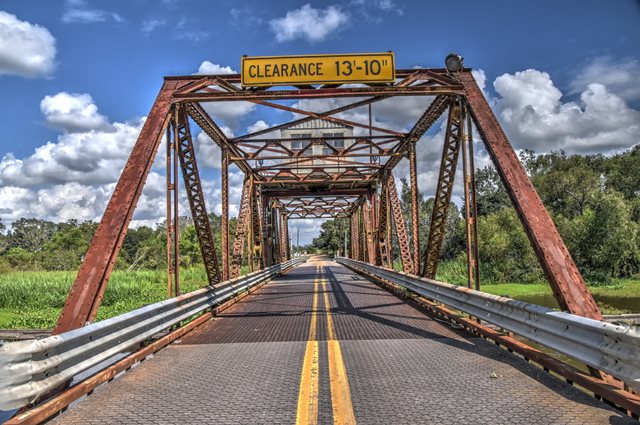
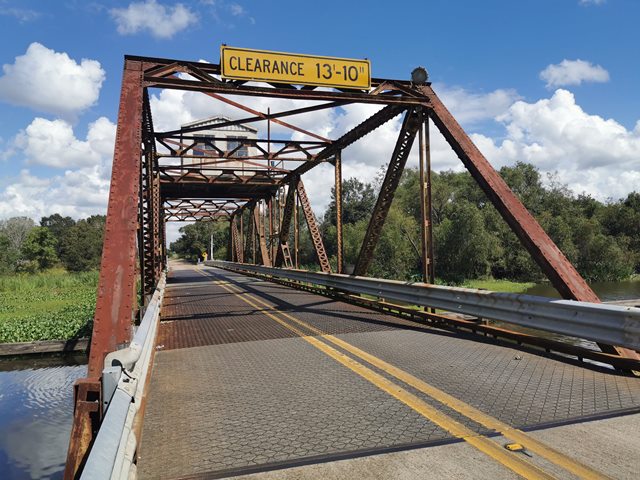
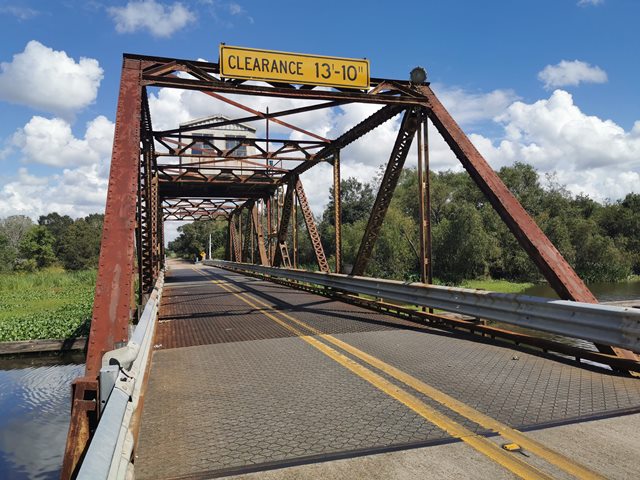
Portal views facing north.
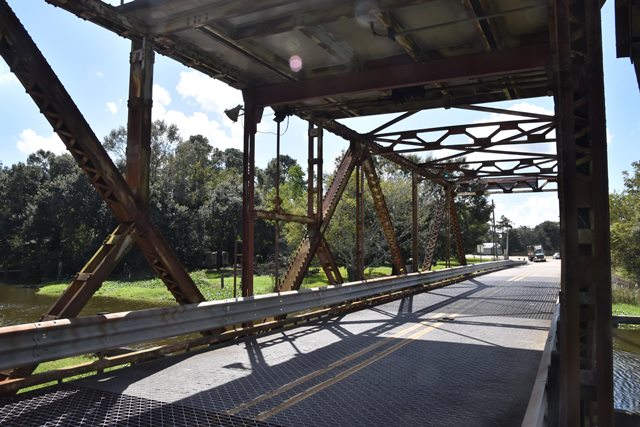
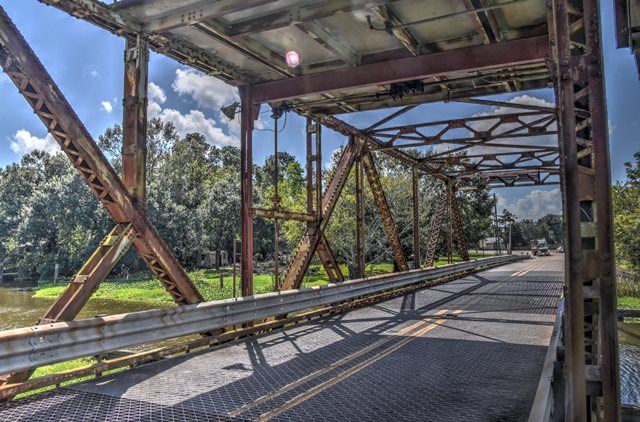
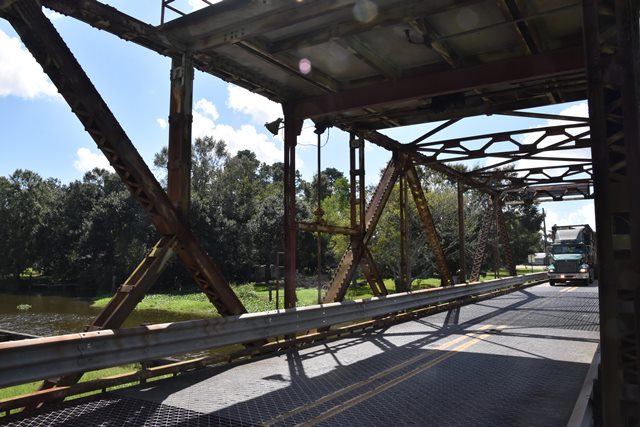
![]()
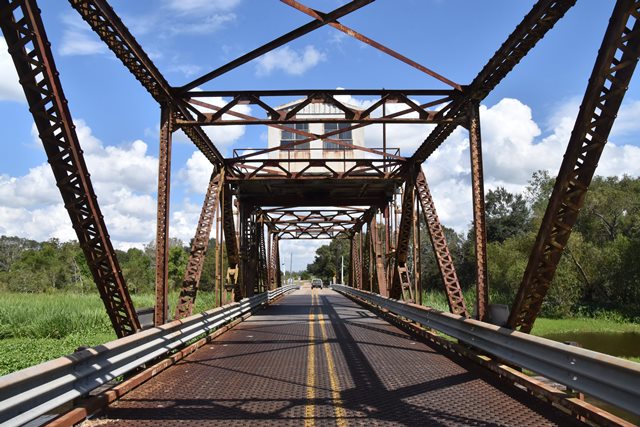
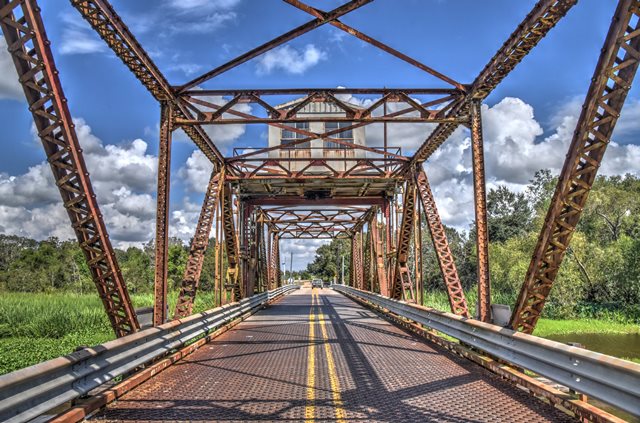

Portal views on bridge facing north.
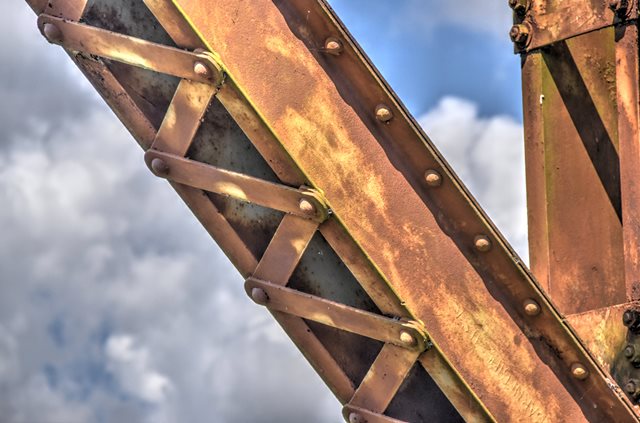
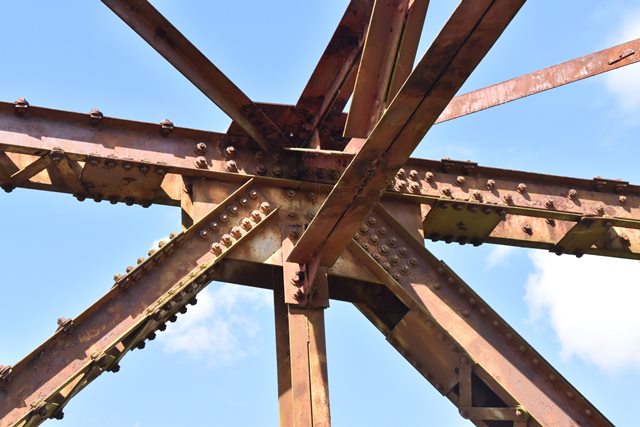
![]()


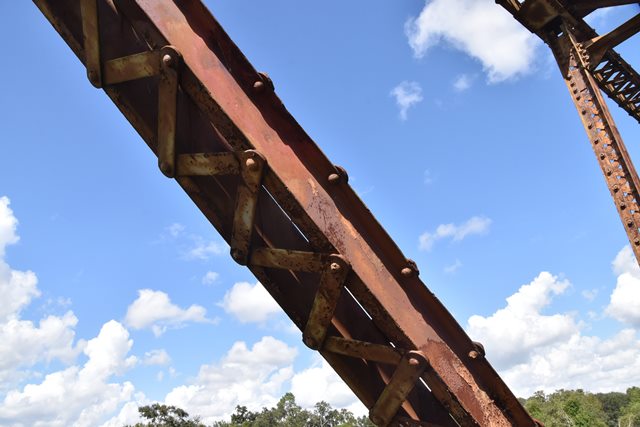
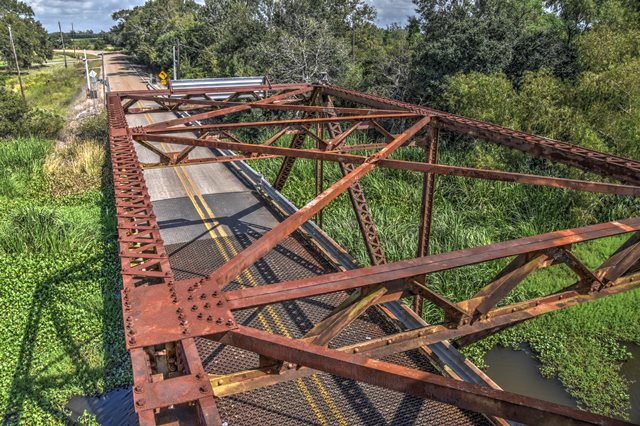
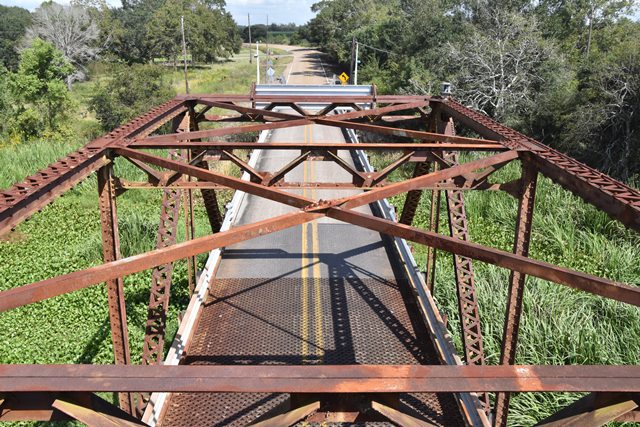
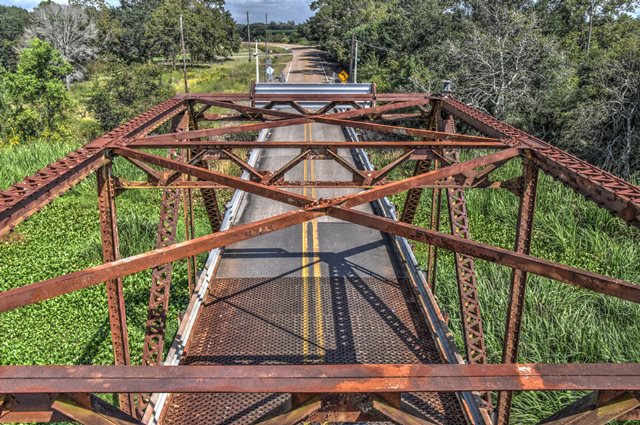
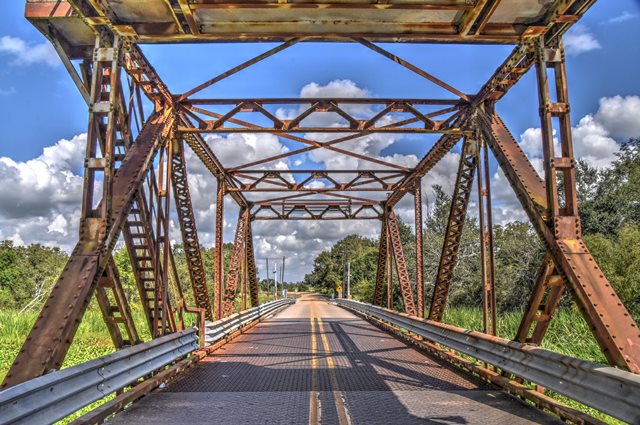
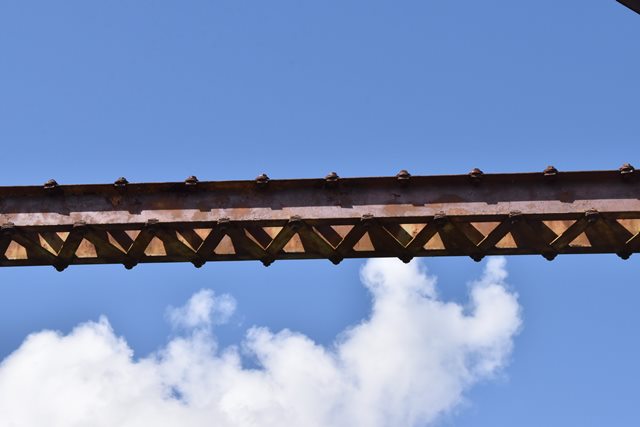
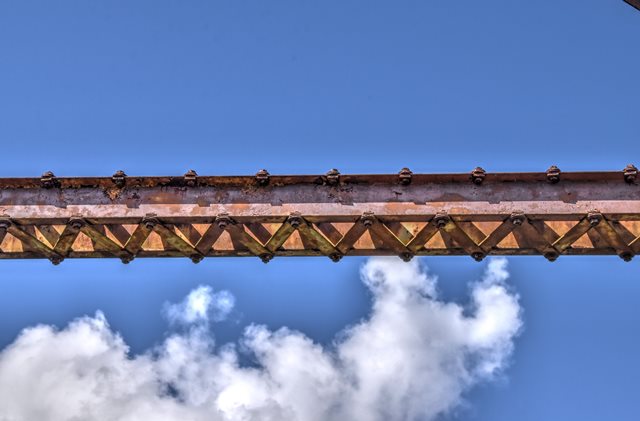
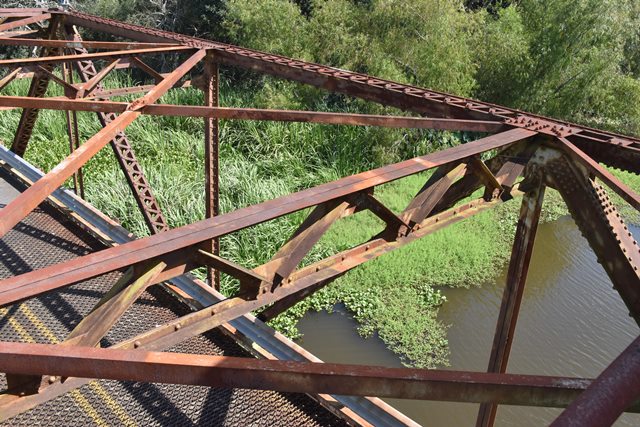
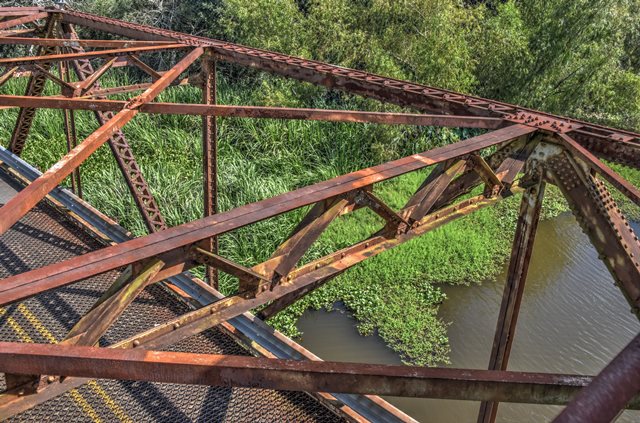
Views of truss web.
![]()
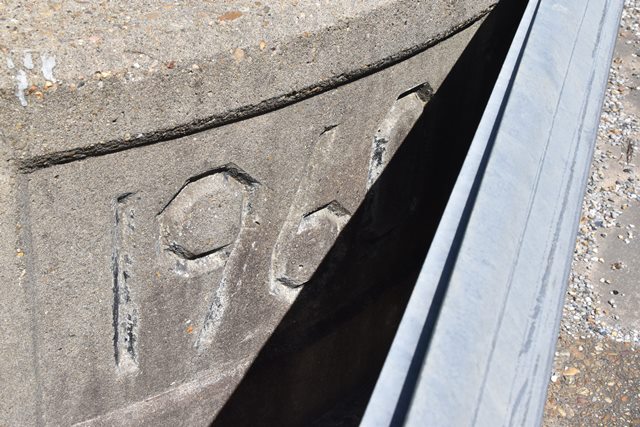
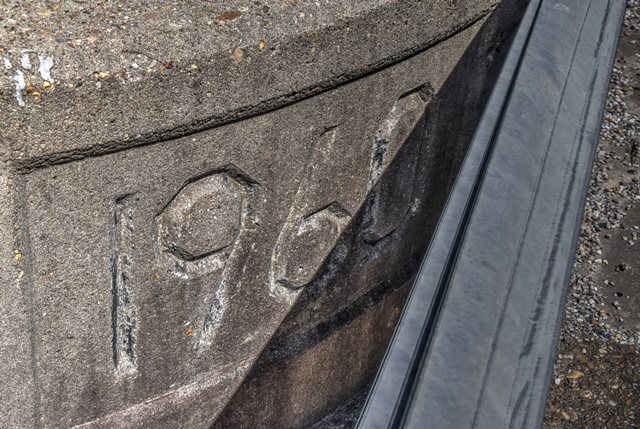
Date.
![]()
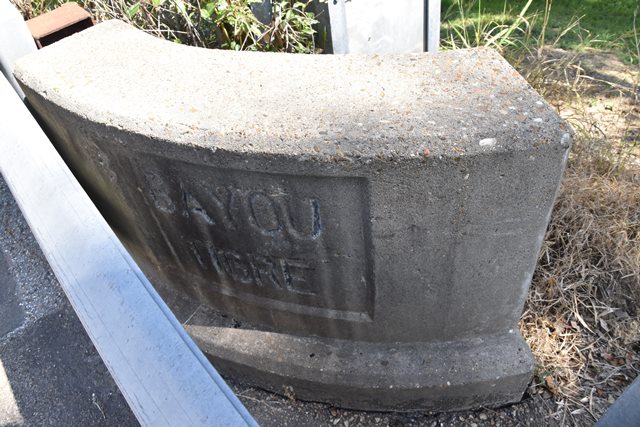
Crossing name.
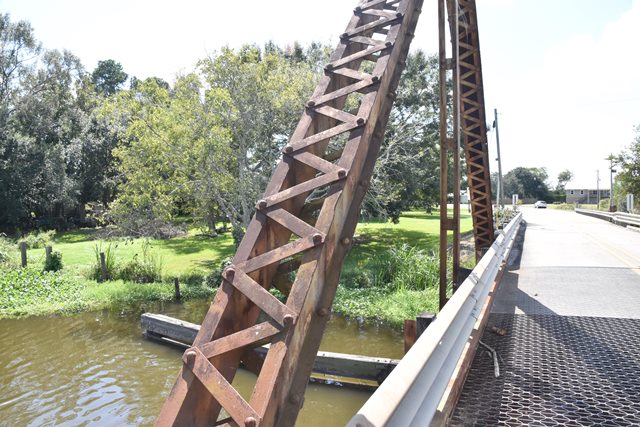
![]()
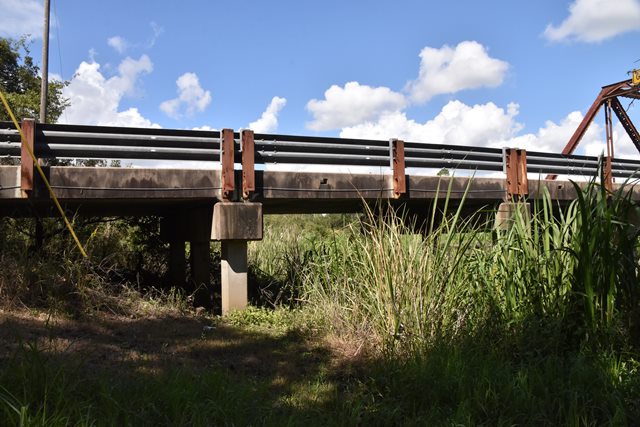
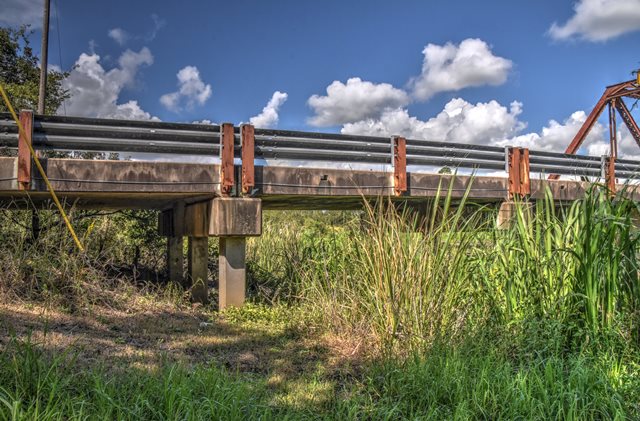
Approach spans.
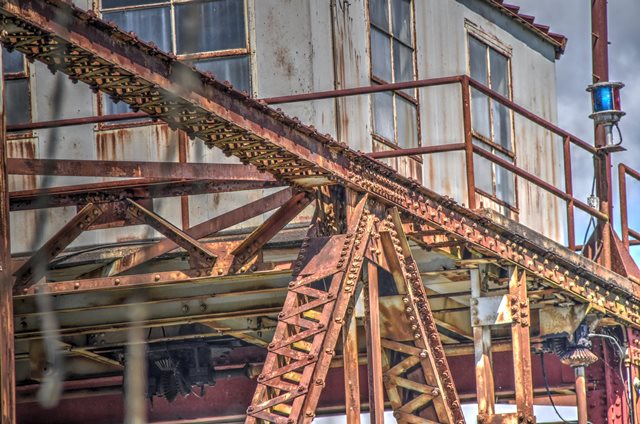
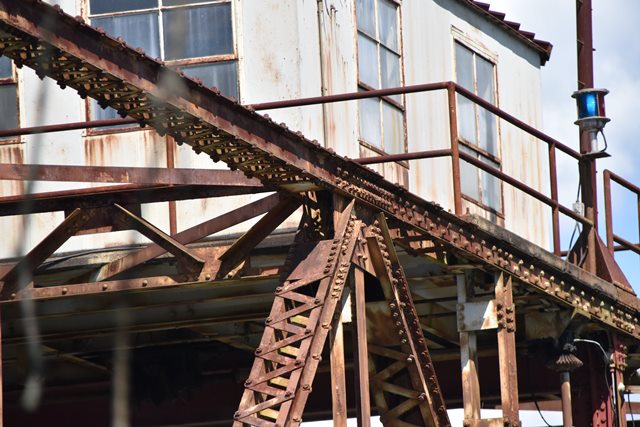
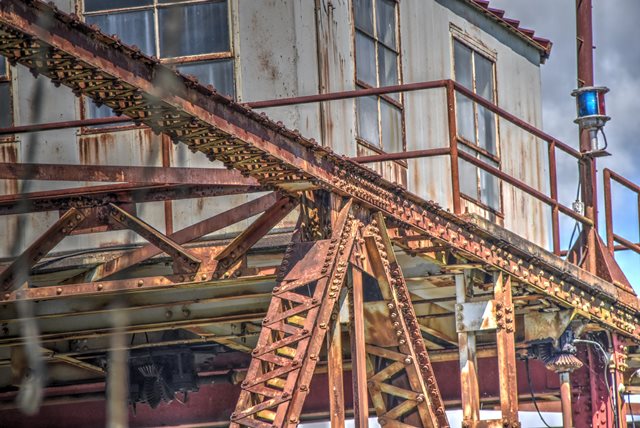
![]()
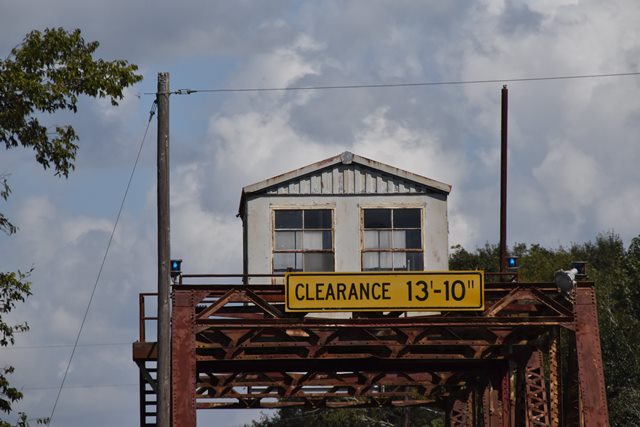
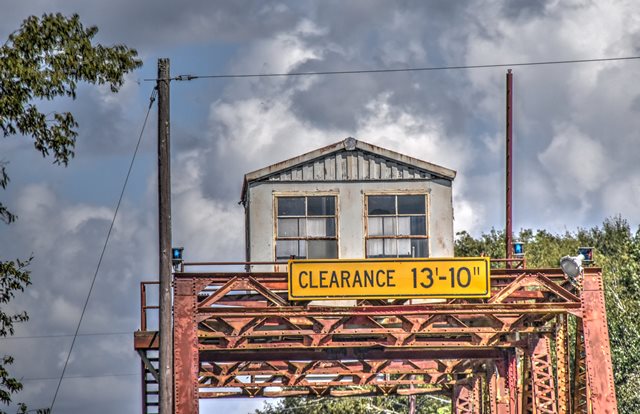
View showing bridgetender house.
![]()
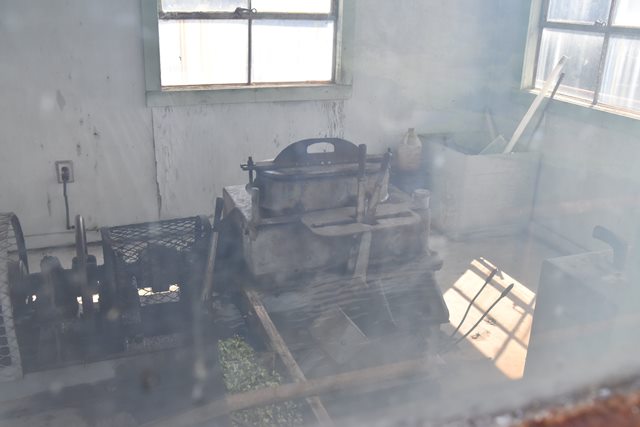
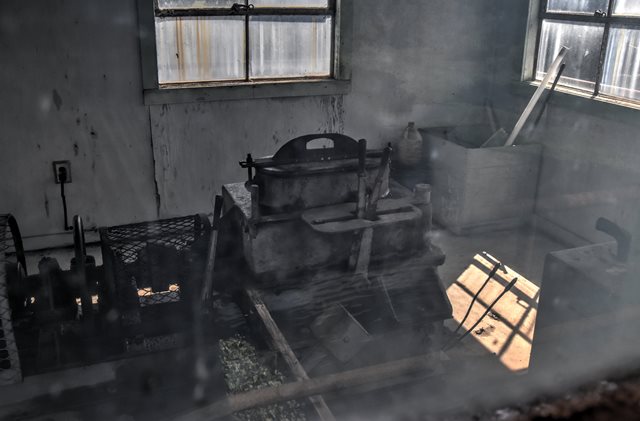
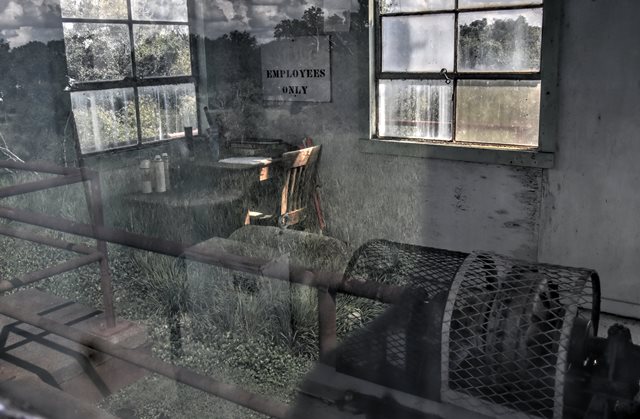
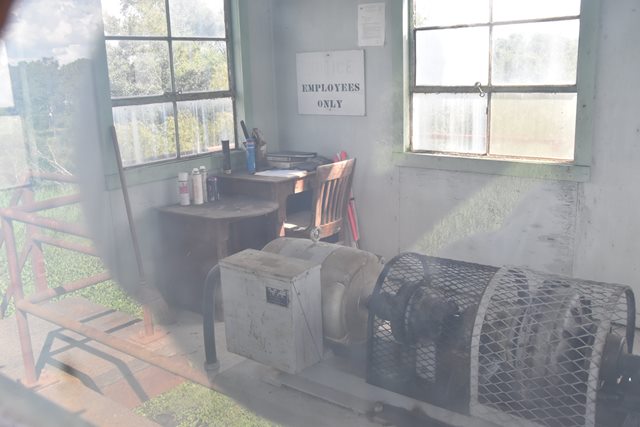
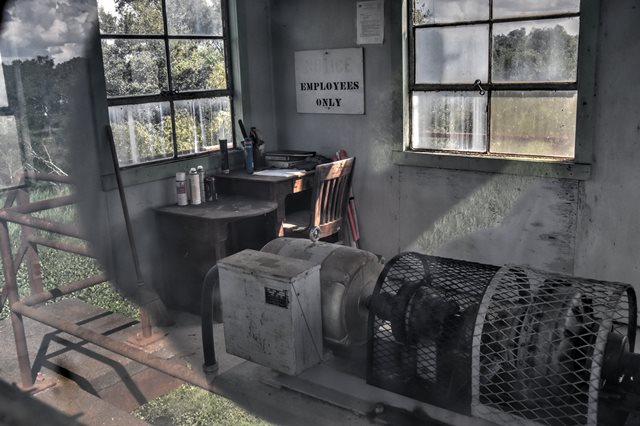
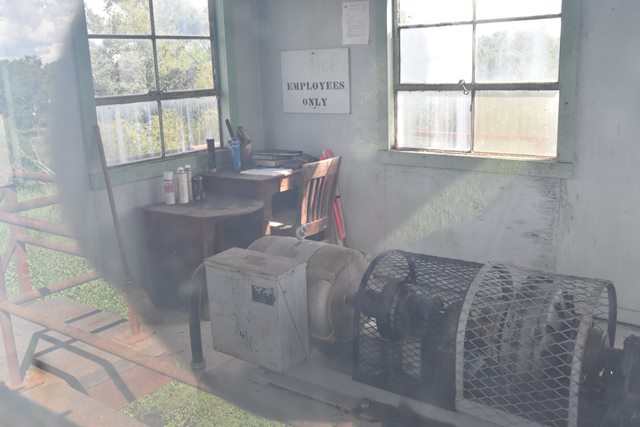
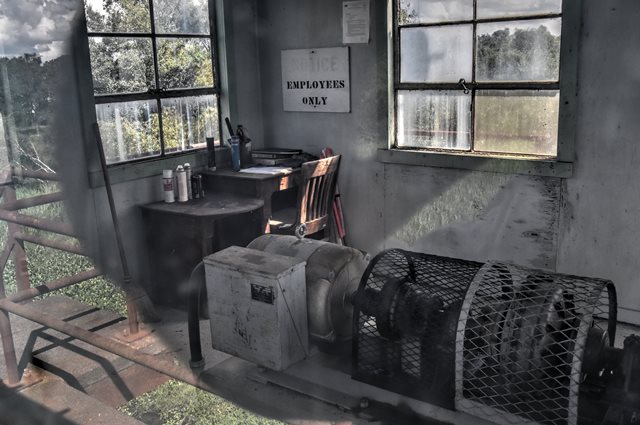
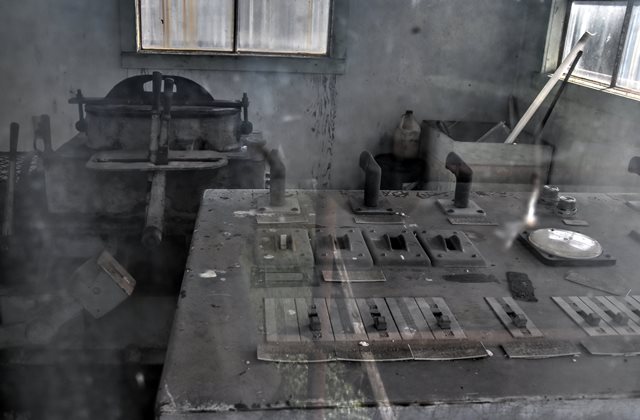
Bridgetender house interior.
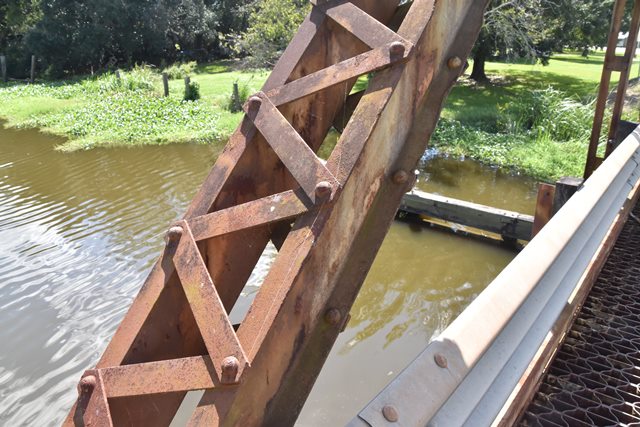
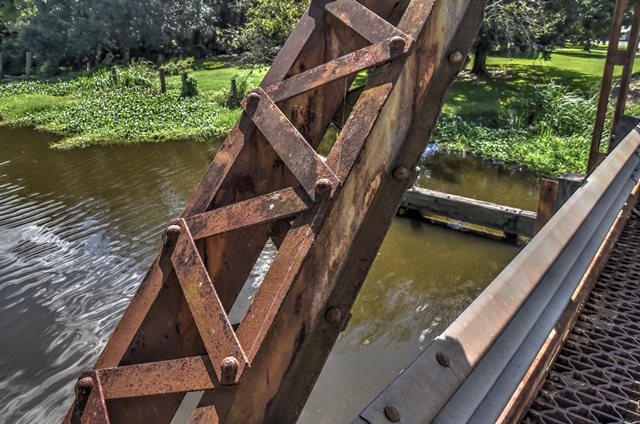
![]()
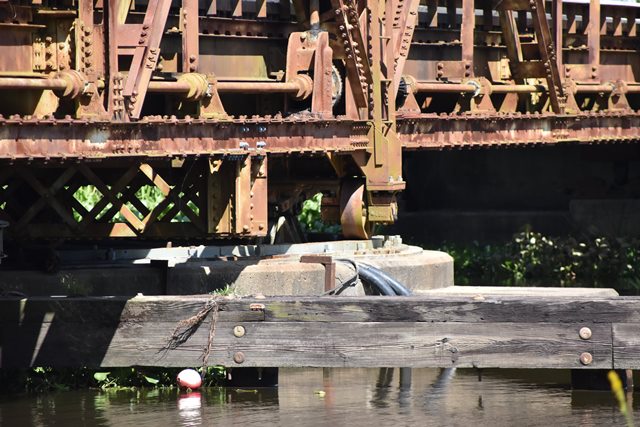
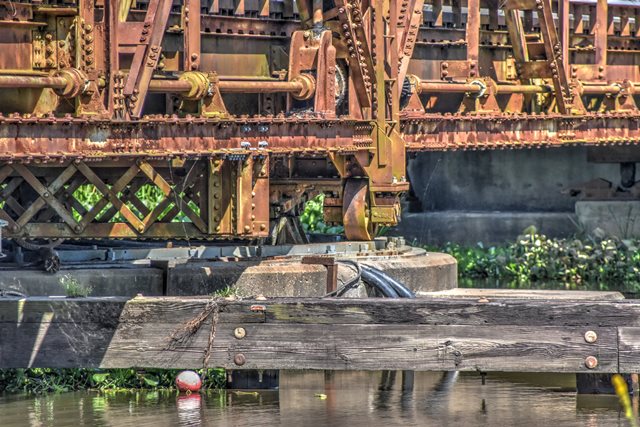

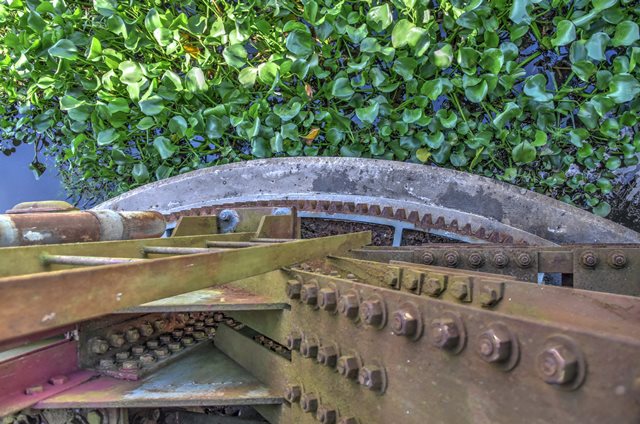
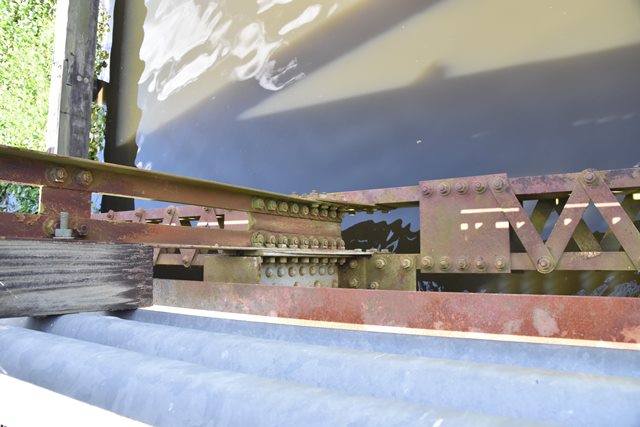
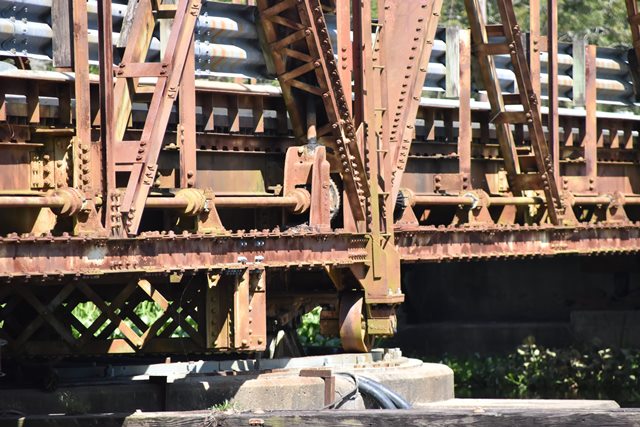
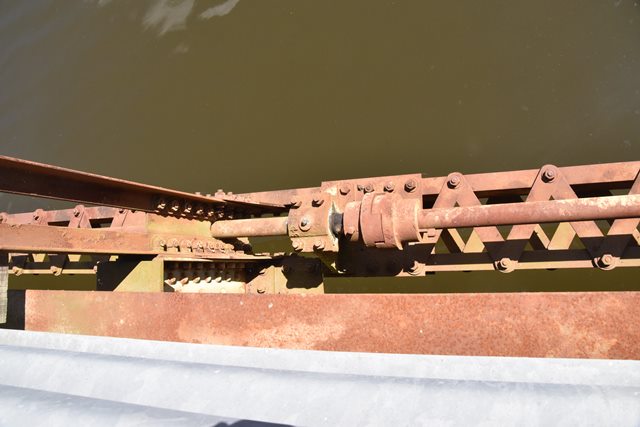
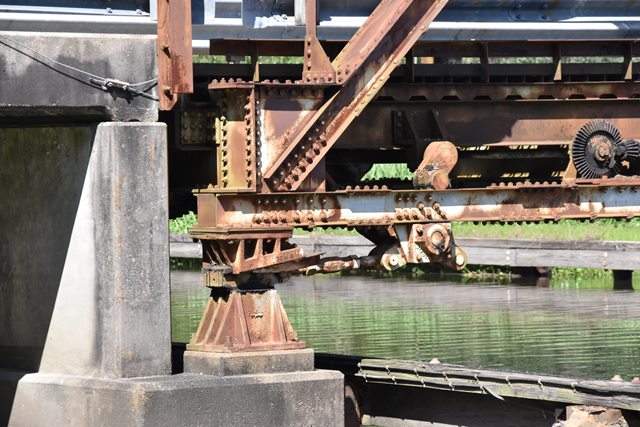
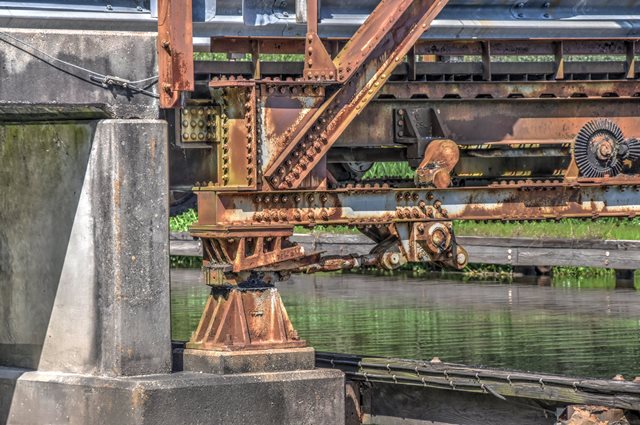
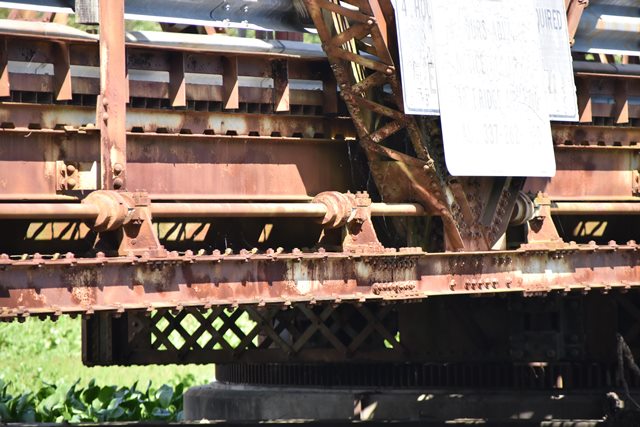
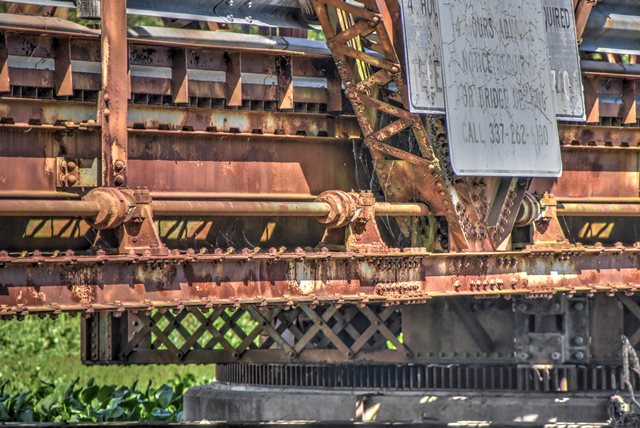
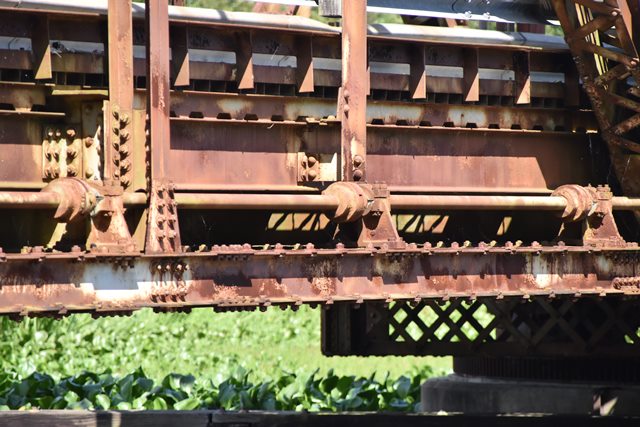
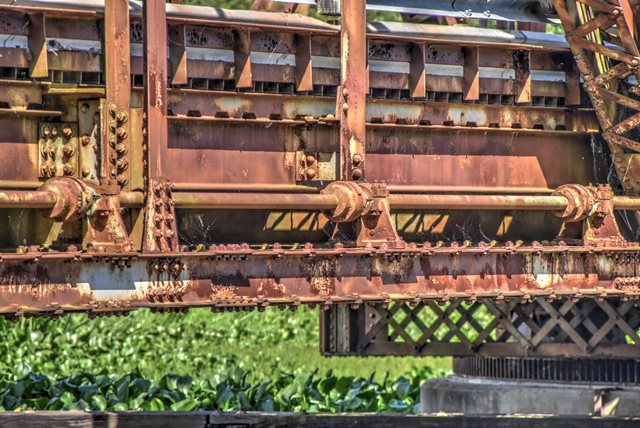
Swing pier detail.
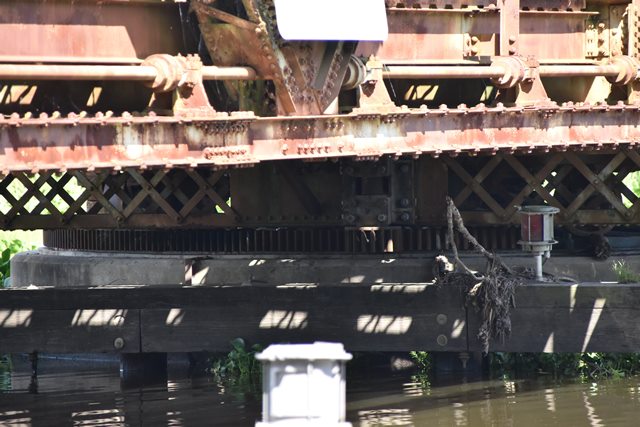
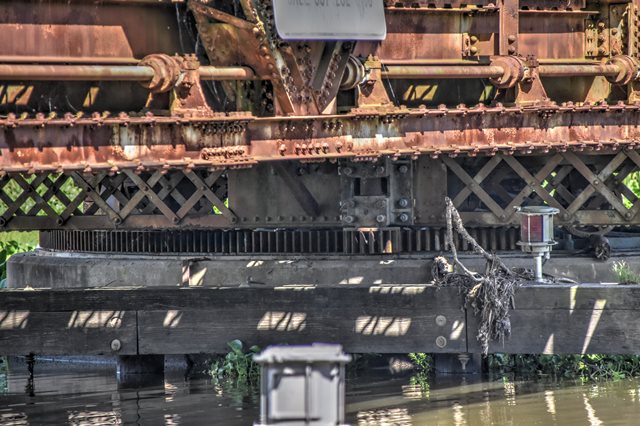
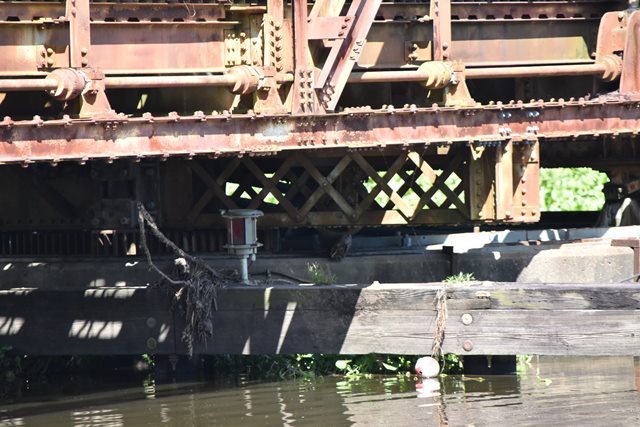
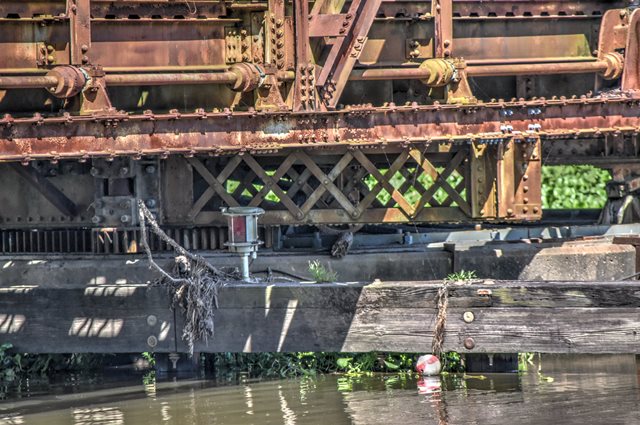
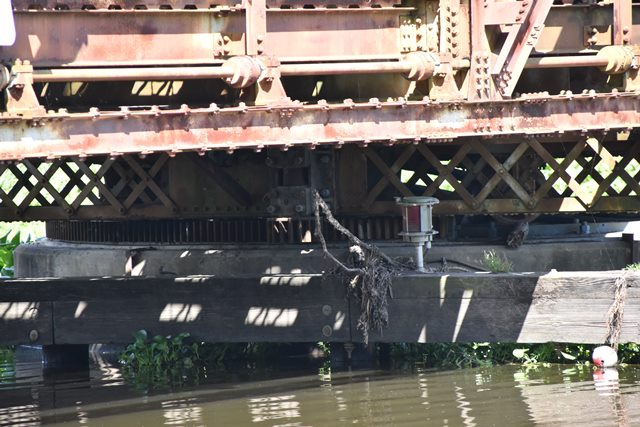
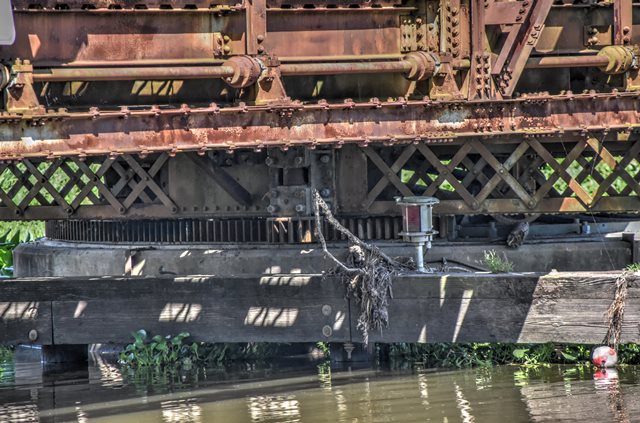
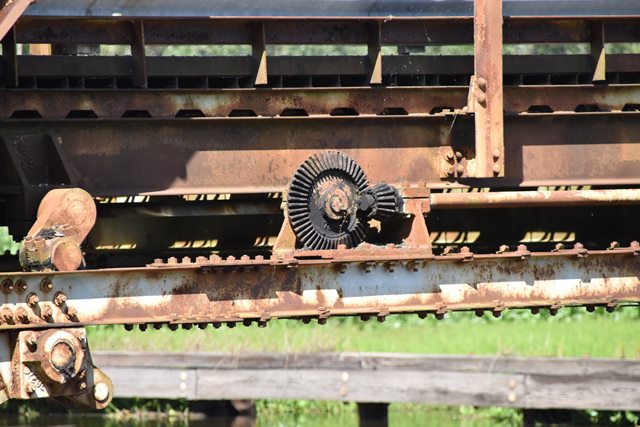
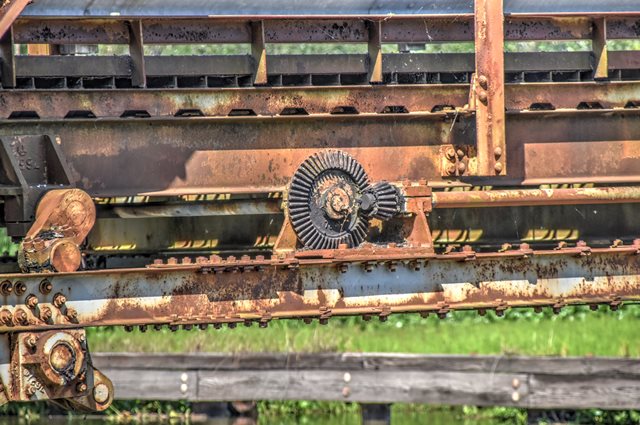
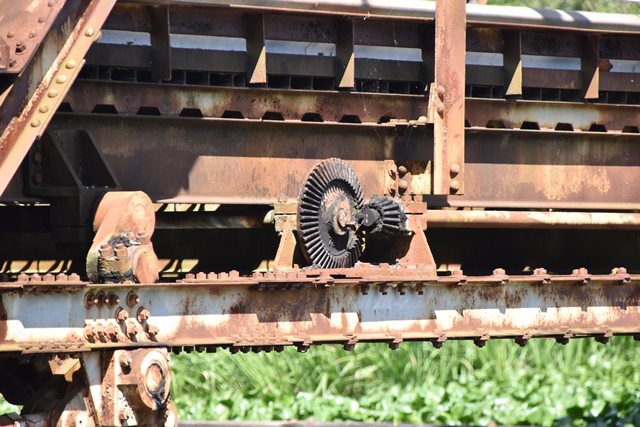
![]()
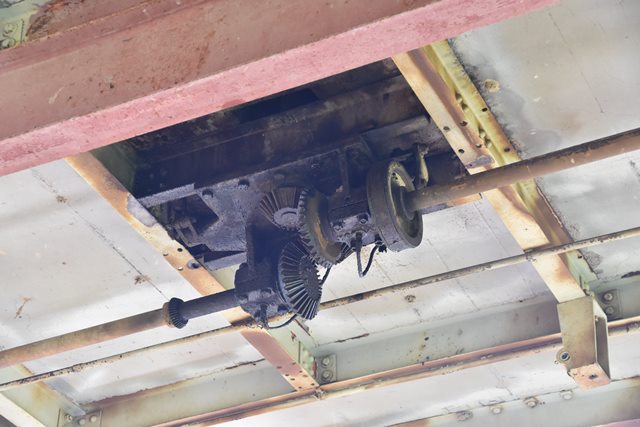
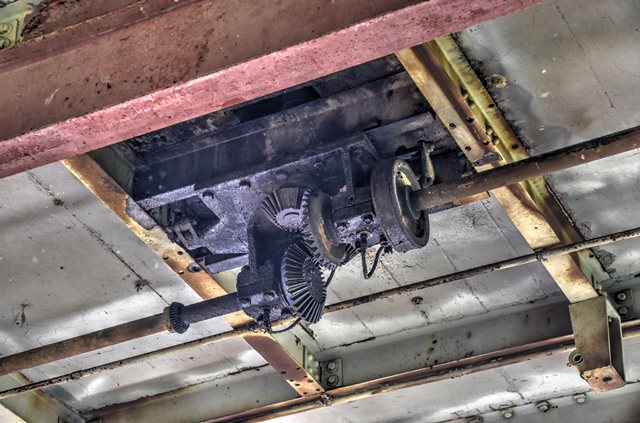
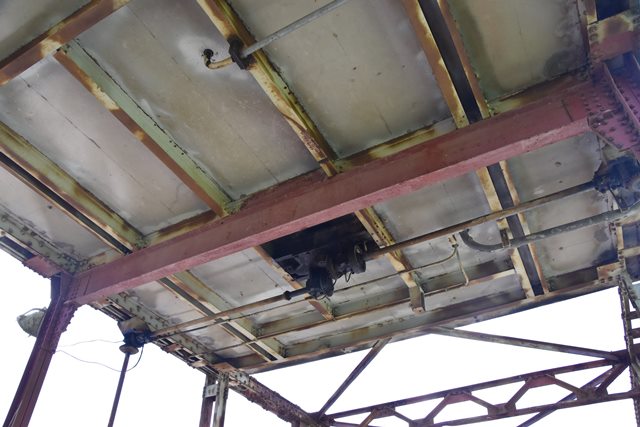
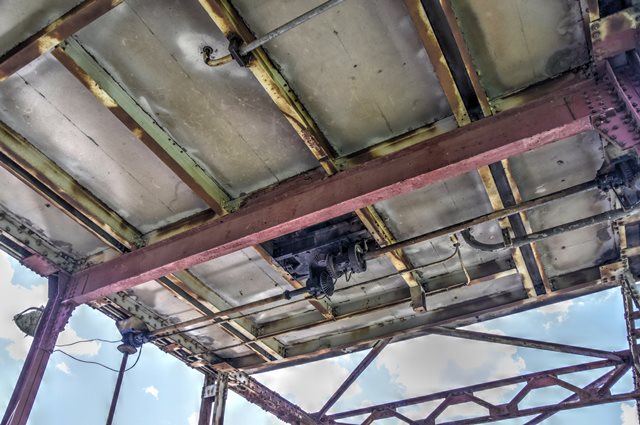


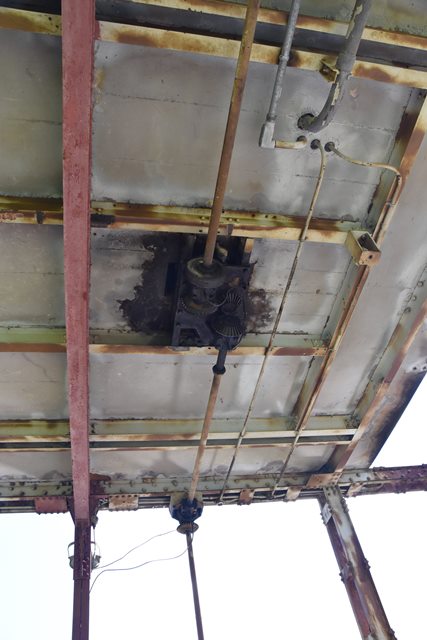
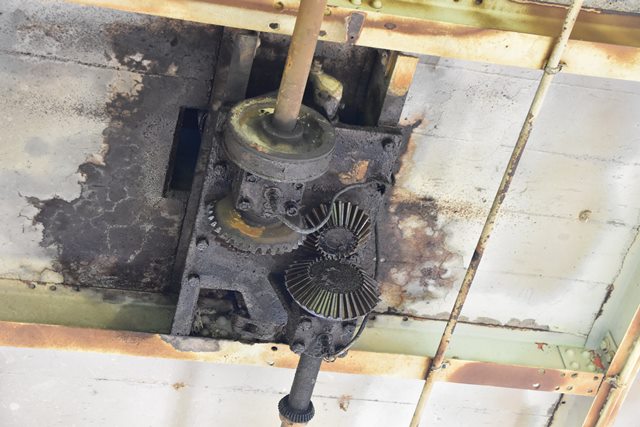

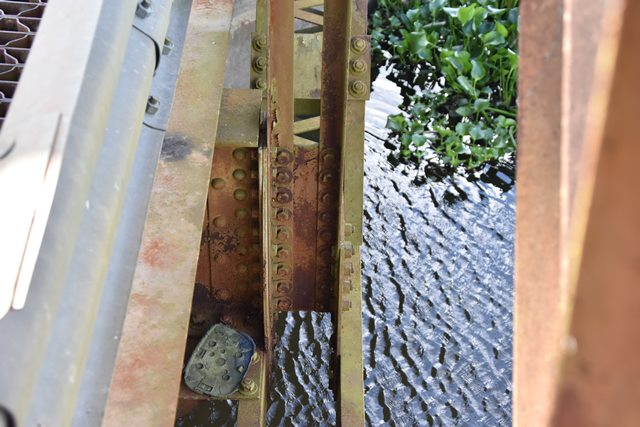
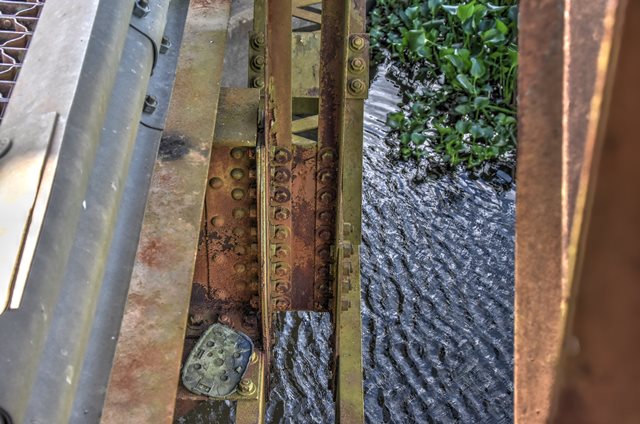
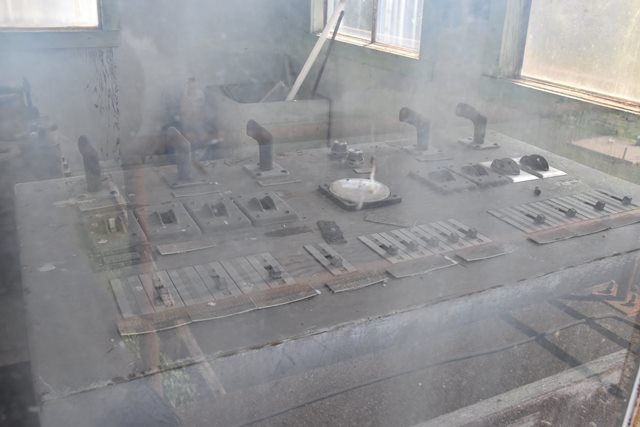
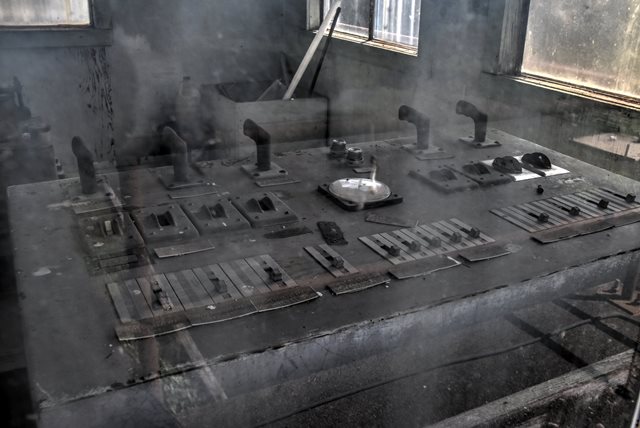
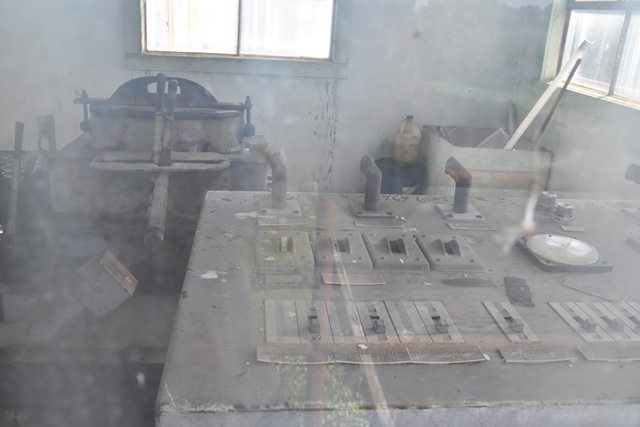
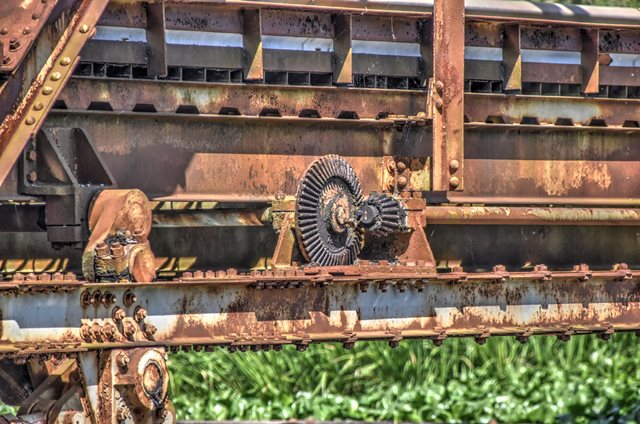
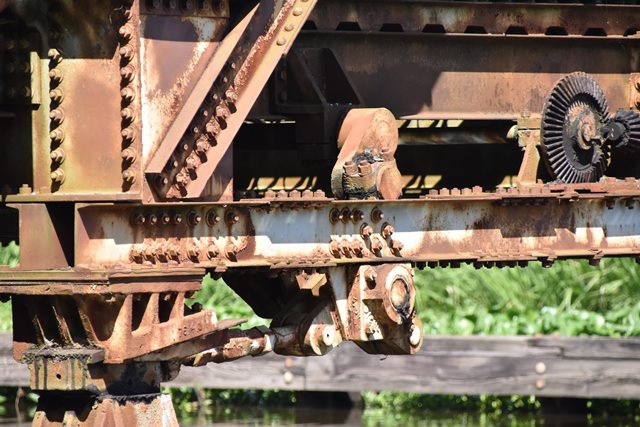
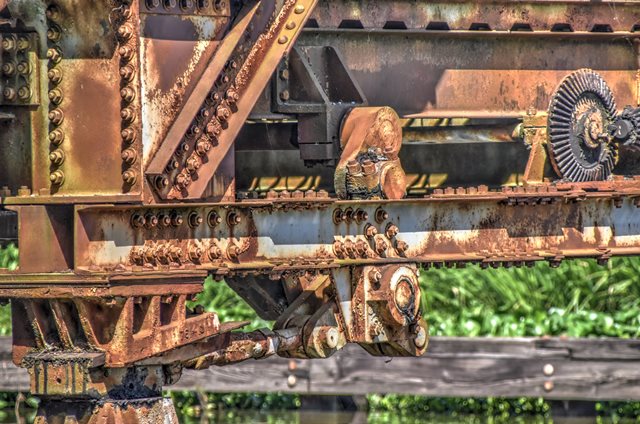
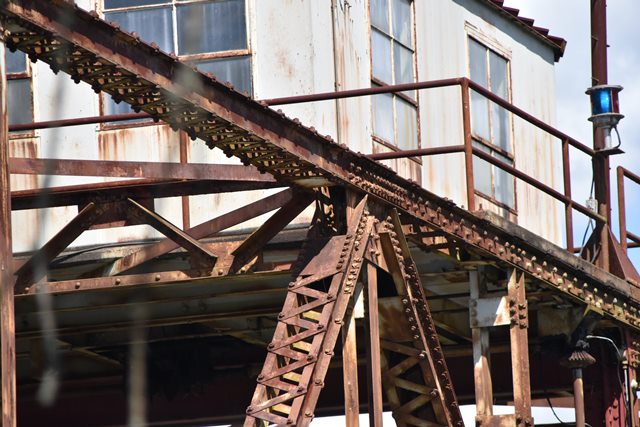
Gears and drive shaft leading from under the bridgetender house. The motor is located in the bridgetender house.
![]()
Drive shaft.
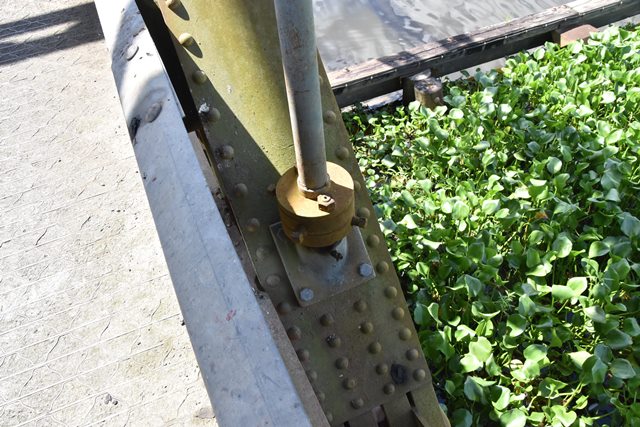
![]()
Shaft for hand-turned operation.
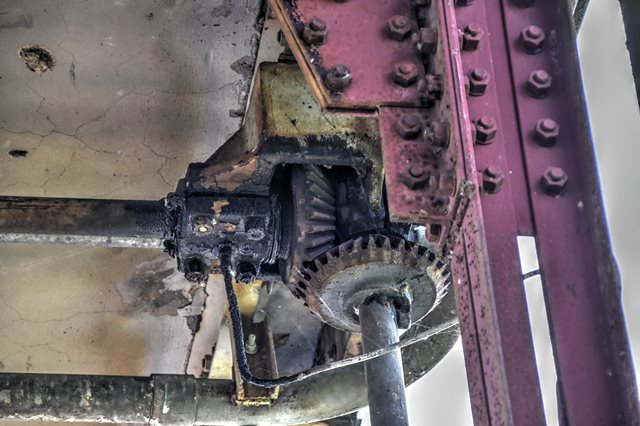
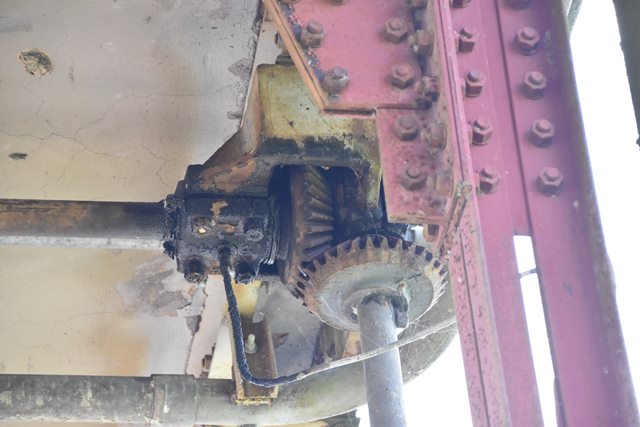
![]()


Gears near bearing.
![]()
Bearing.
![]()
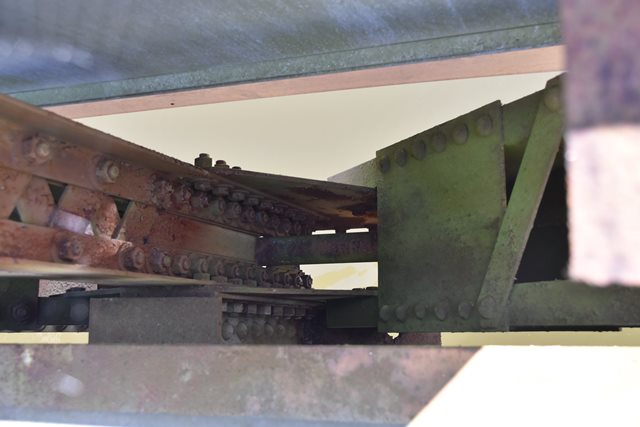
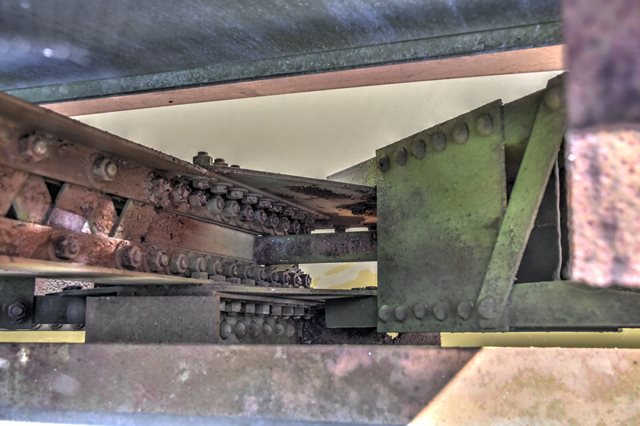
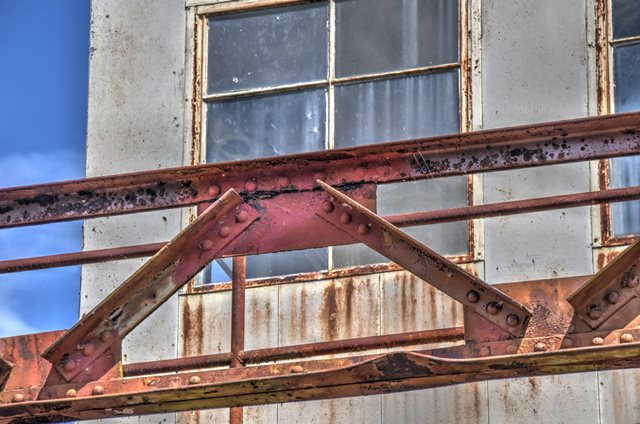
Top chord connections as viewed from beside bridge.
![]()

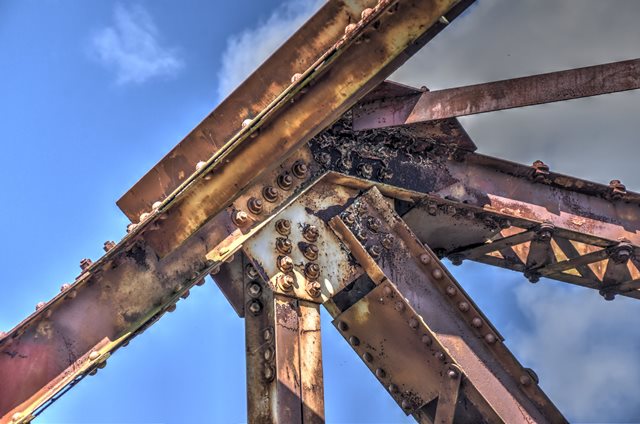
Top chord connections as viewed from on bridge.
![]()
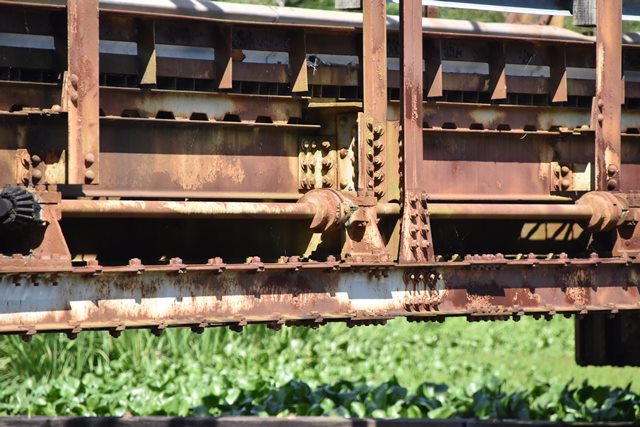
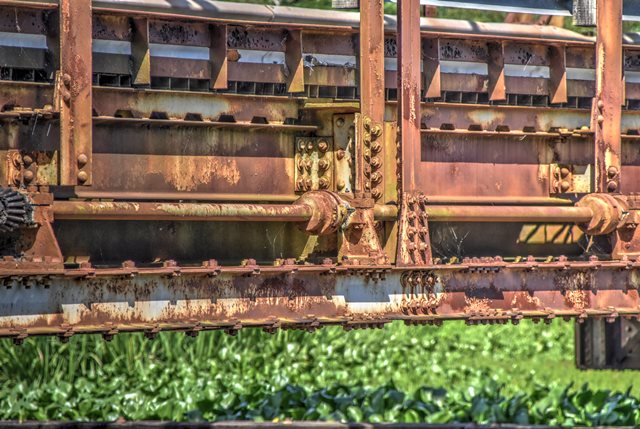
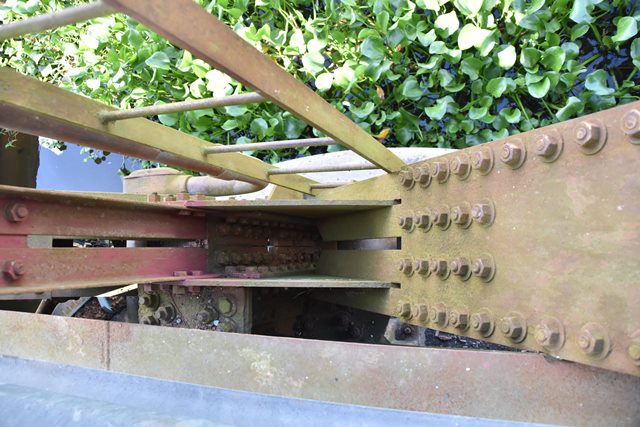
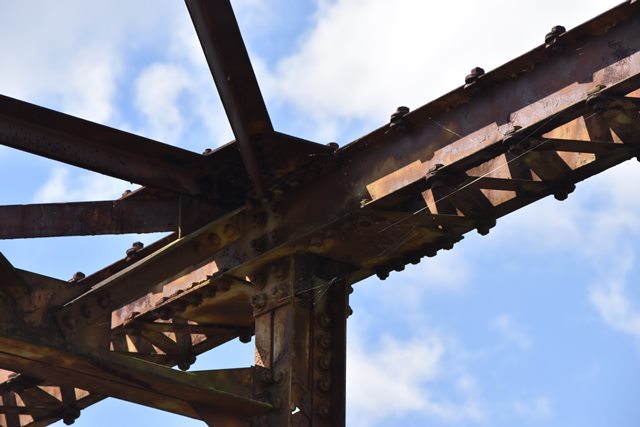
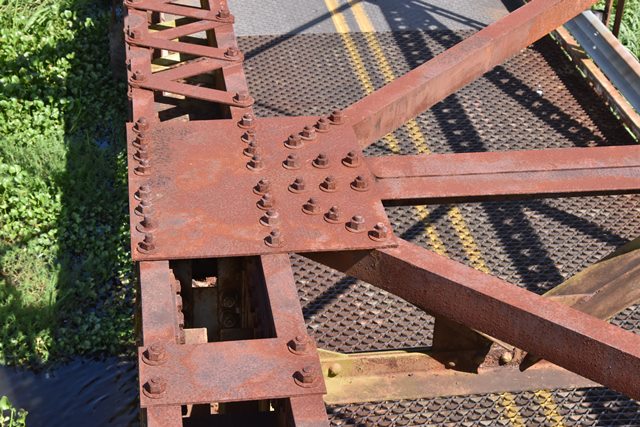
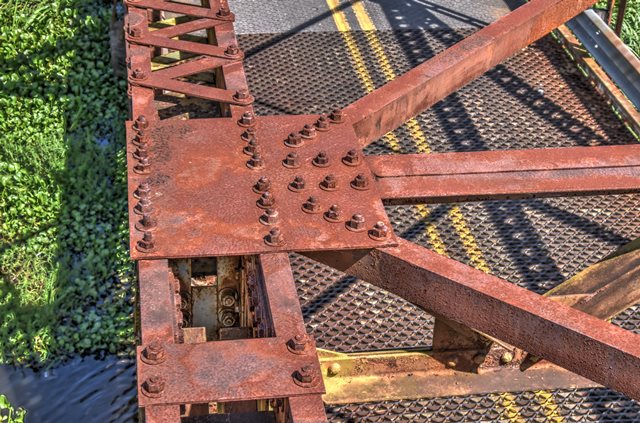
Bottom chord connections as viewed from beside bridge.
![]()
Bottom chord connections as viewed from on bridge.
![]()
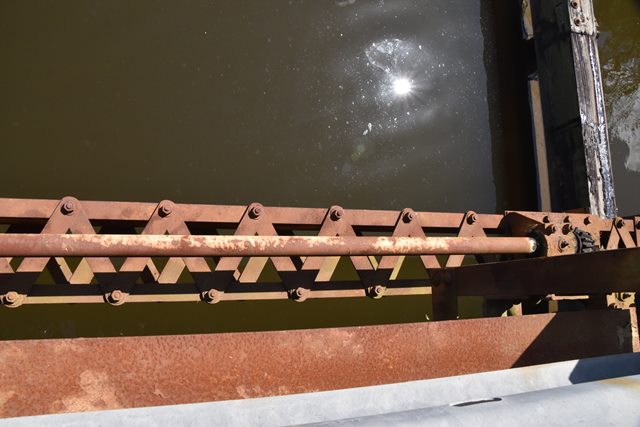
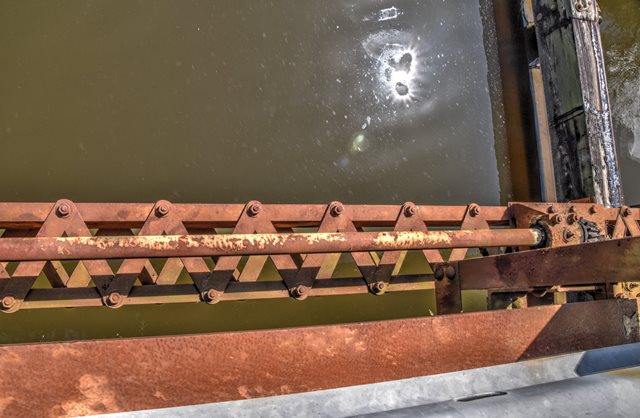
Bottom chord.
![]()
Top chord.
![]()
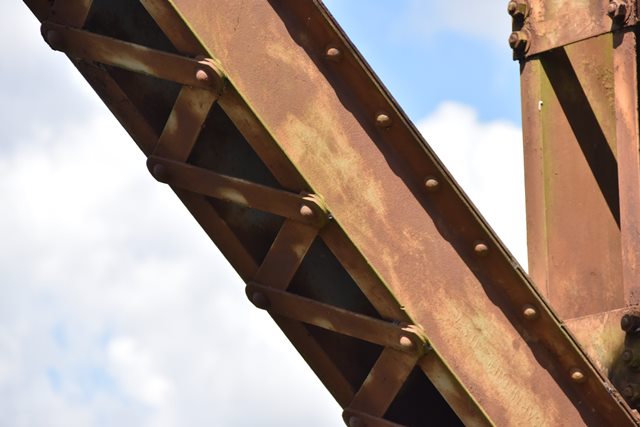
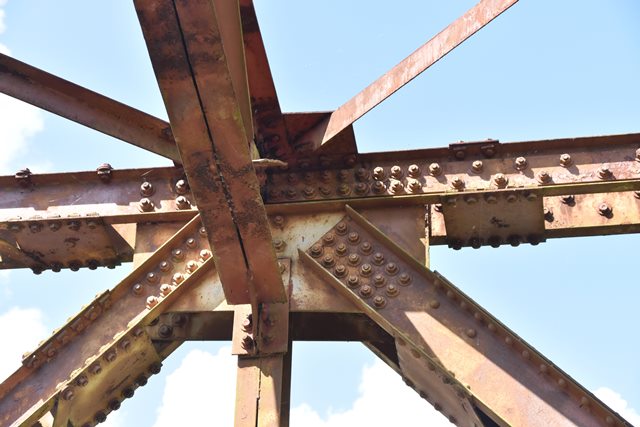
Diagonal members.
![]()
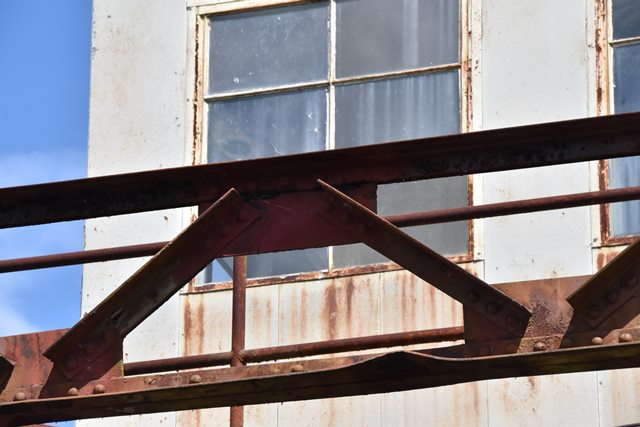
bracing connections to top chord.
![]()
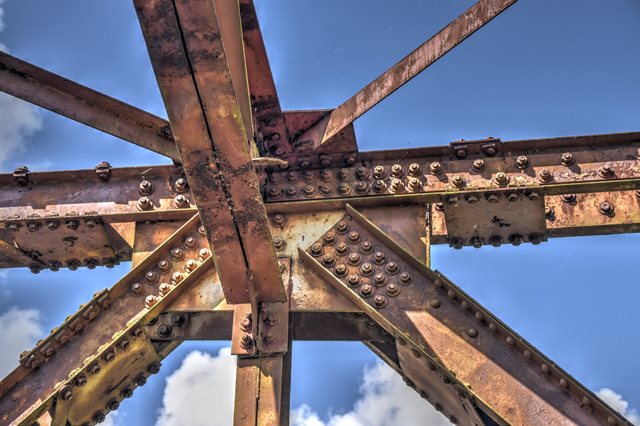
Overhead bracing.
![]()
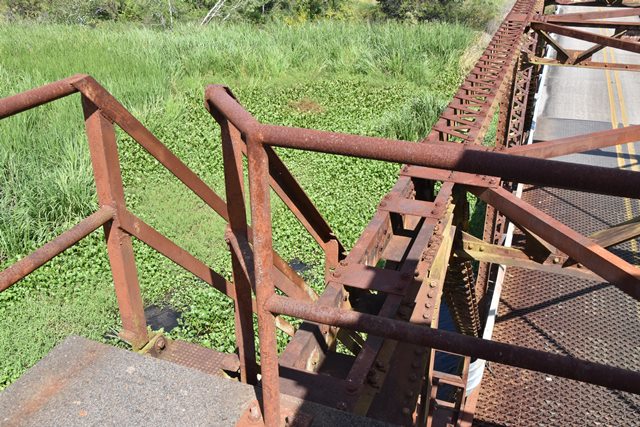
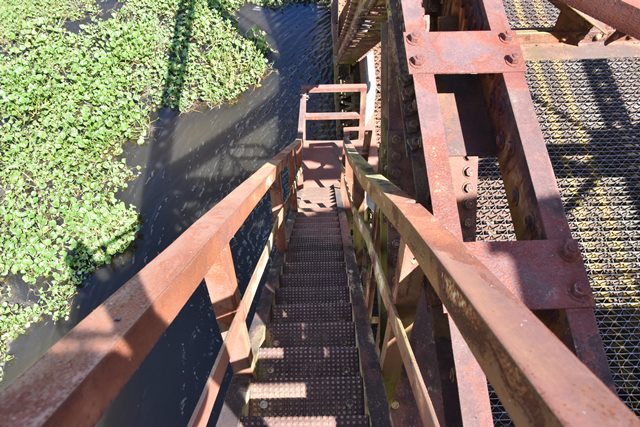
Stairway.
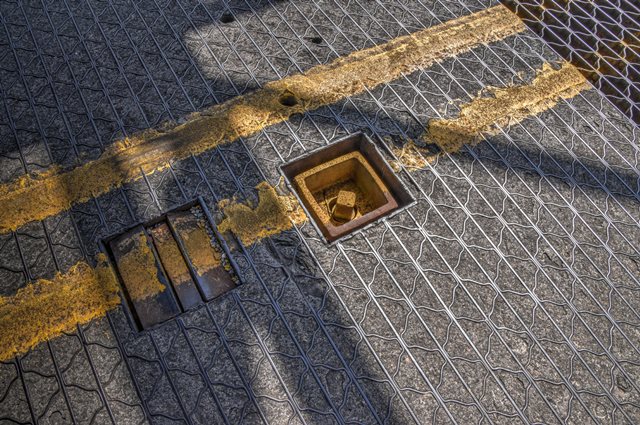
![]()
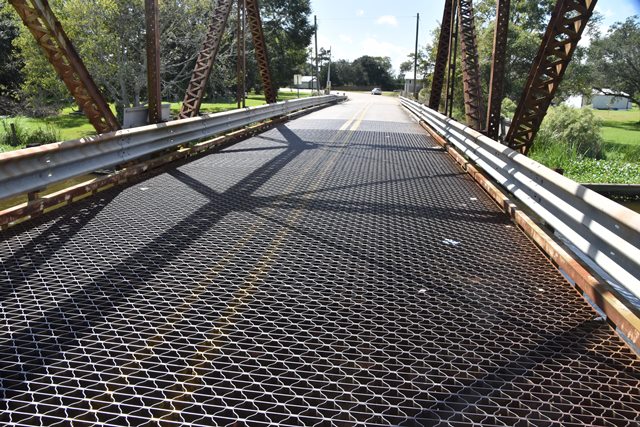

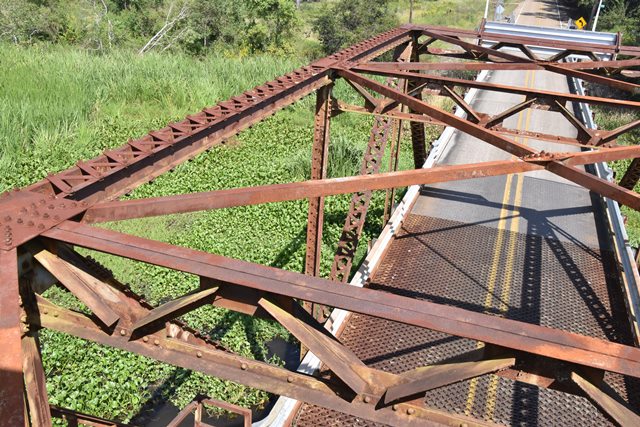
Deck.
![]()
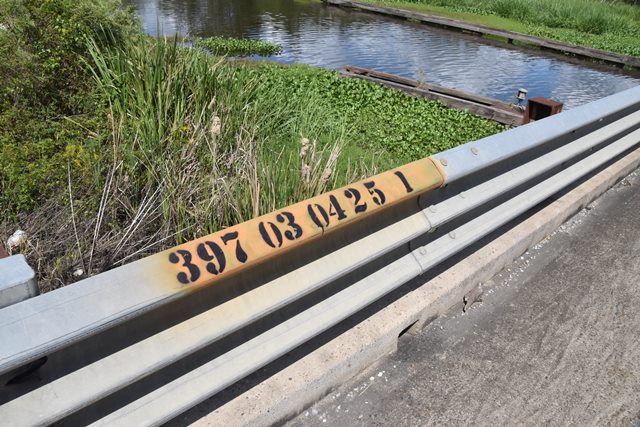
Bridge number.
![]()
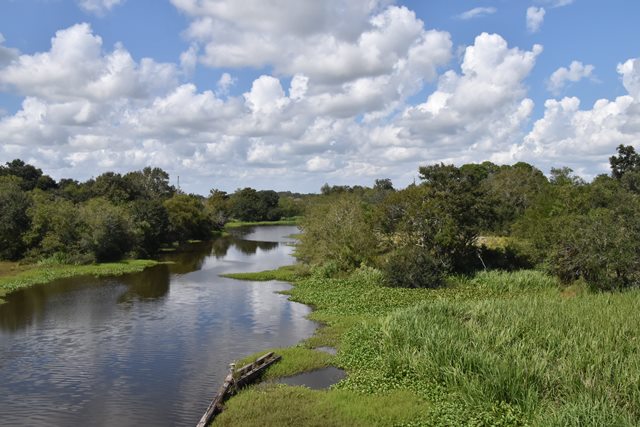
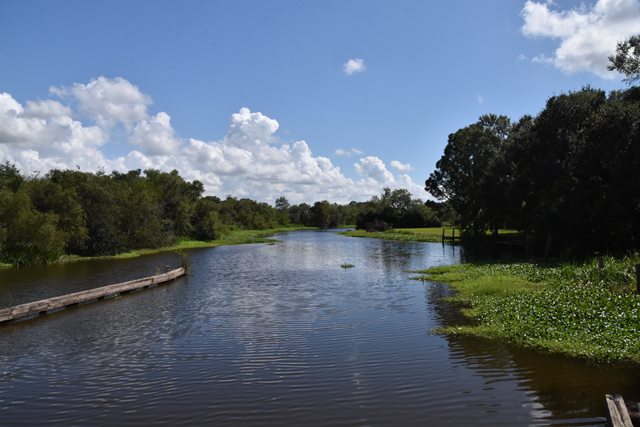

View from bridge.
![]()
![]()
| Back |
| Home |
| Top |

![]()