
Uncredited photos on this page taken by: Nathan Holth. Unless stated in a caption, all photos are Copyright with All Rights Reserved. Learn about reuse of our photos.
![]()
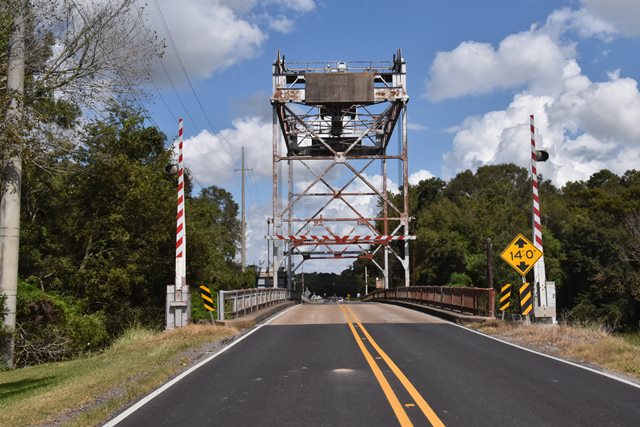
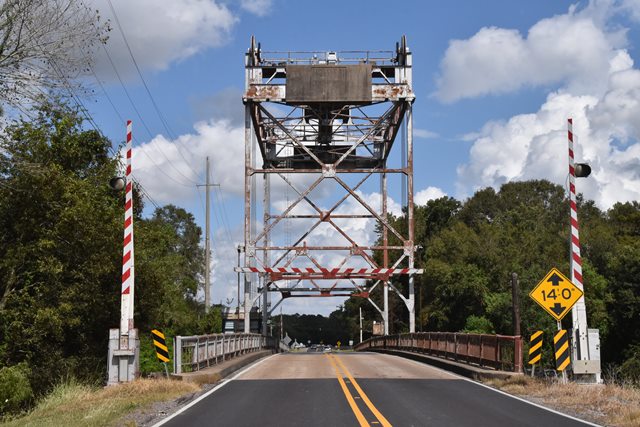


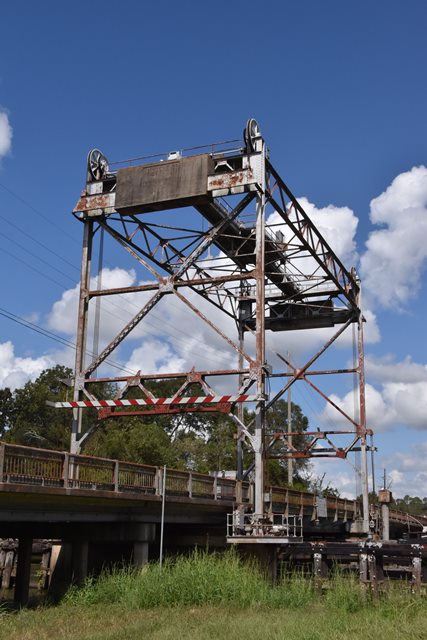
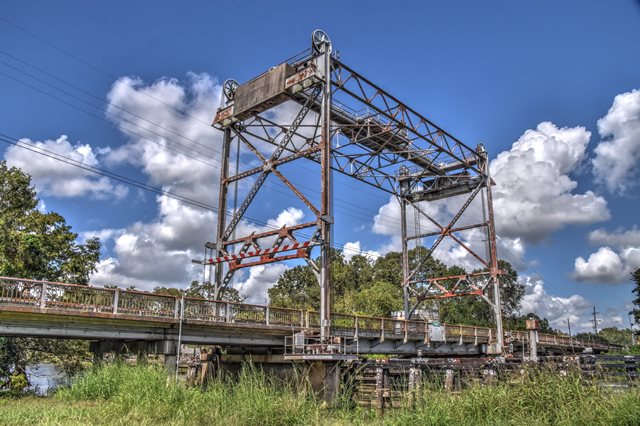
Portal views.
![]()

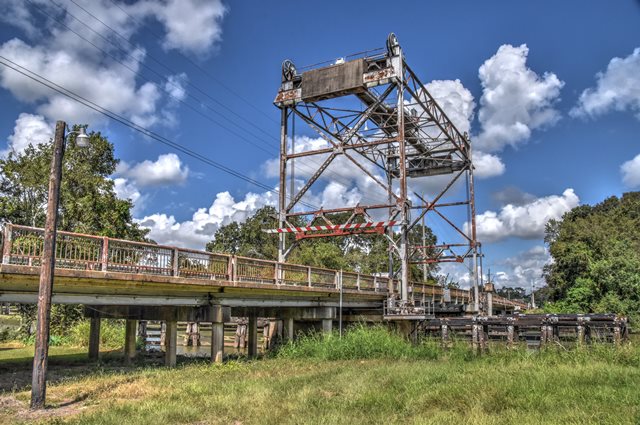
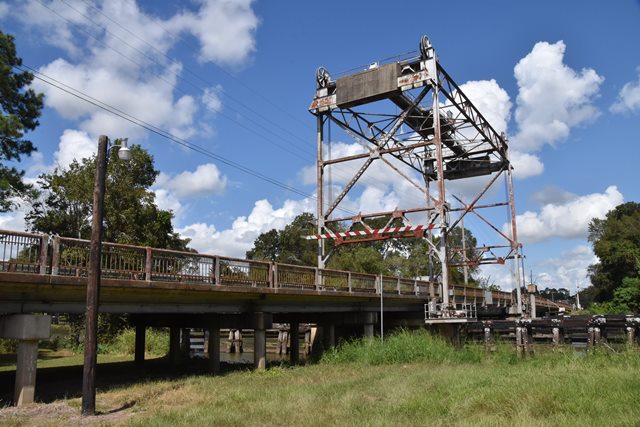
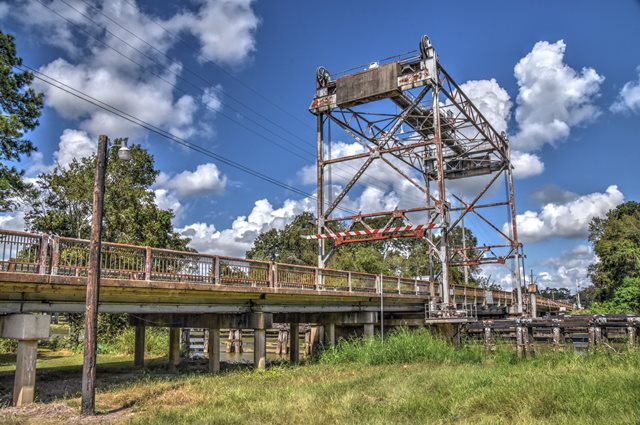


Views beside bridge.
![]()

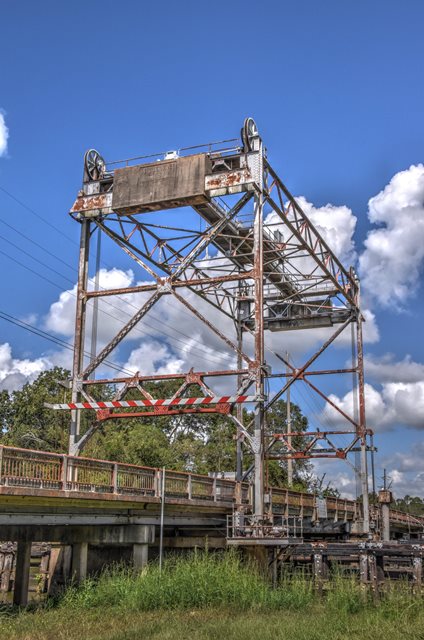
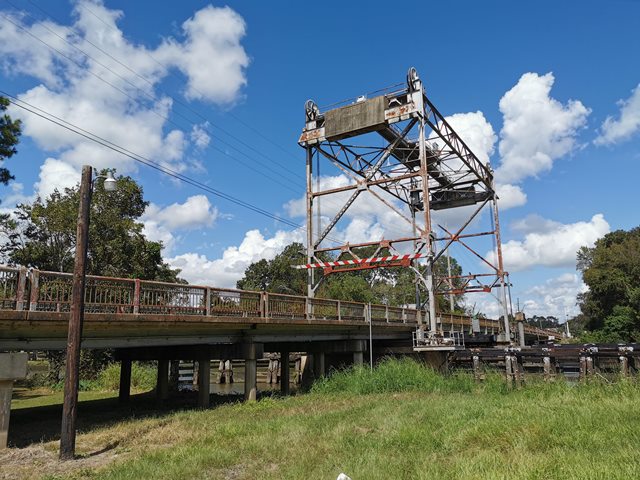
Oblique view.
![]()
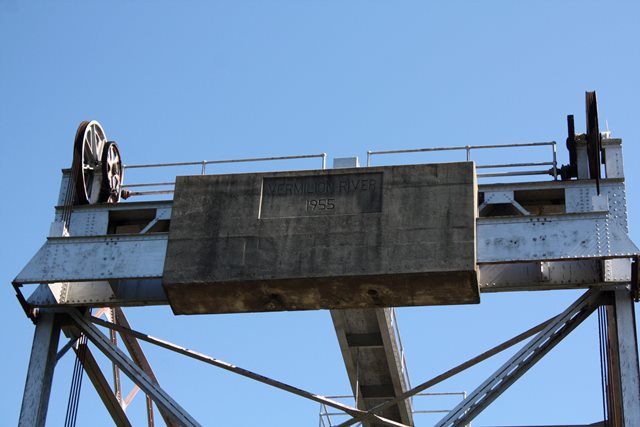
Photo Credit: C. Hanchey
Counterweight.
![]()

Photo Credit: C. Hanchey
Elevation.
![]()
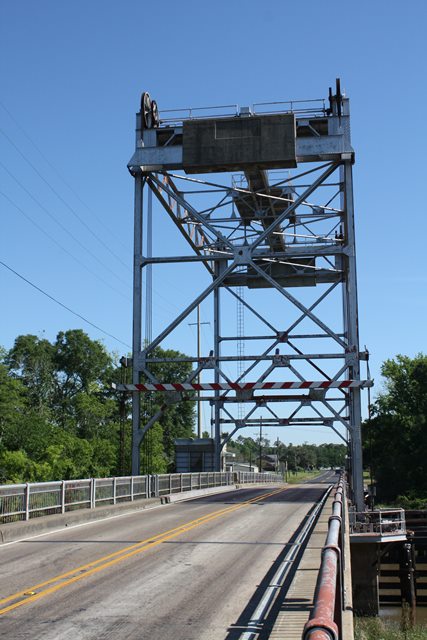
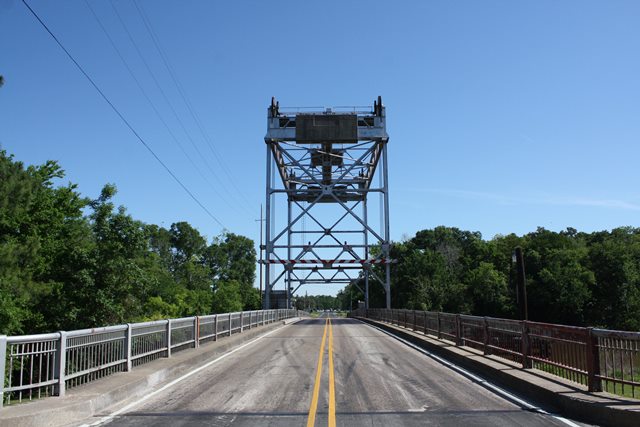
Photo Credit: C. Hanchey
Portal views.
![]()


Tower details.
![]()


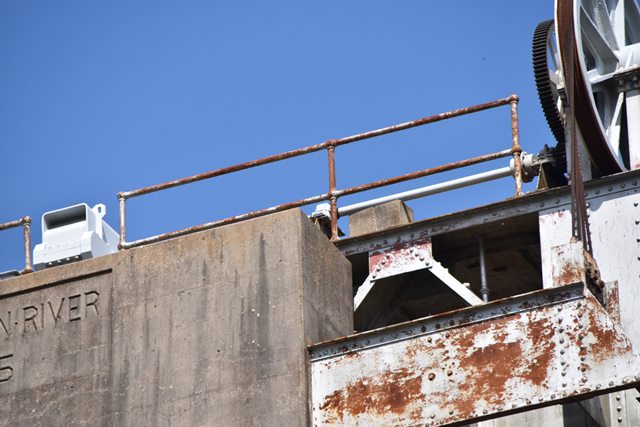
Counterweight.
![]()


Cable connections to counterweight.
![]()

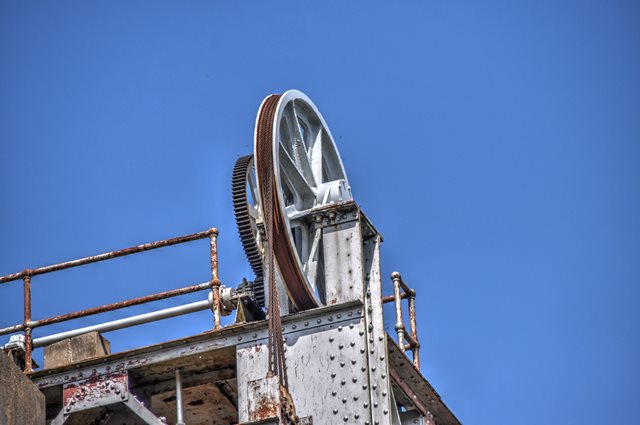


Counterweight sheave.
![]()
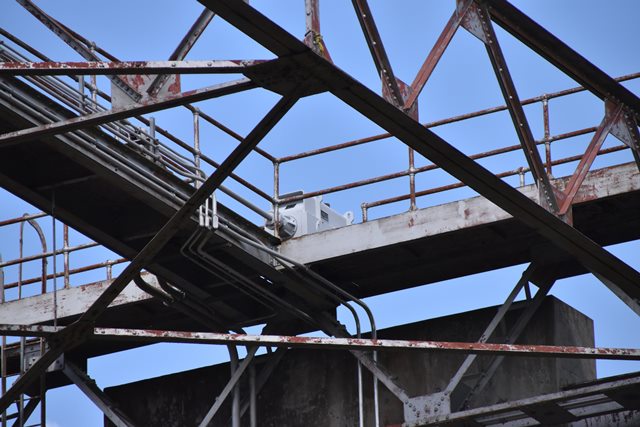
Machinery on pier.
![]()


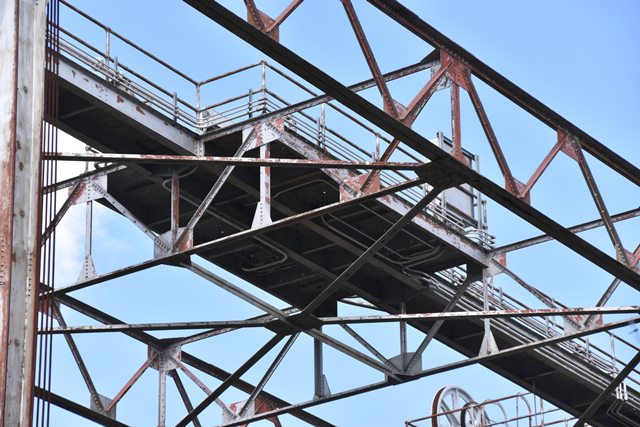

Overhead bracing.
![]()


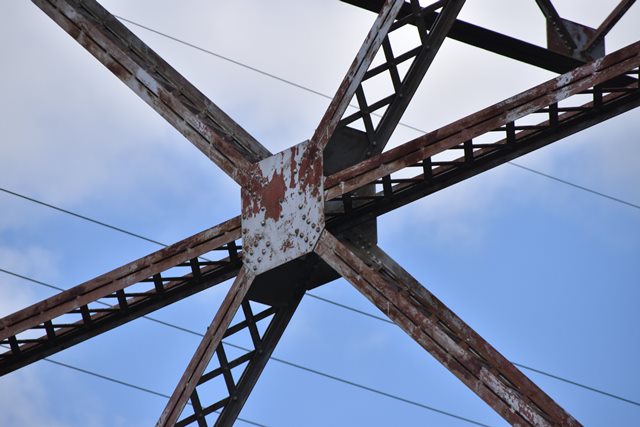


Tower bracing.
![]()


Bridgetender house.
![]()


Cable connections to lift girder.
![]()

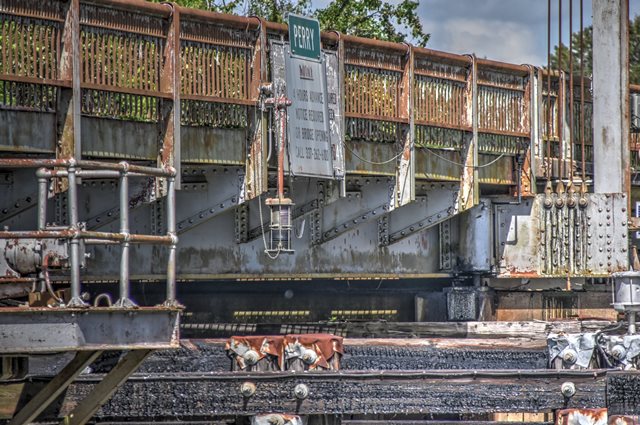
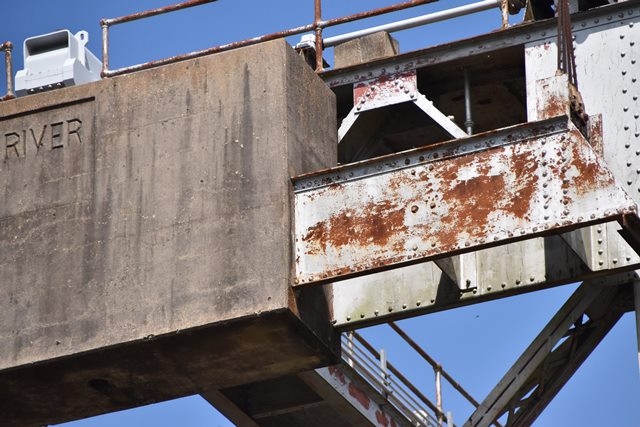
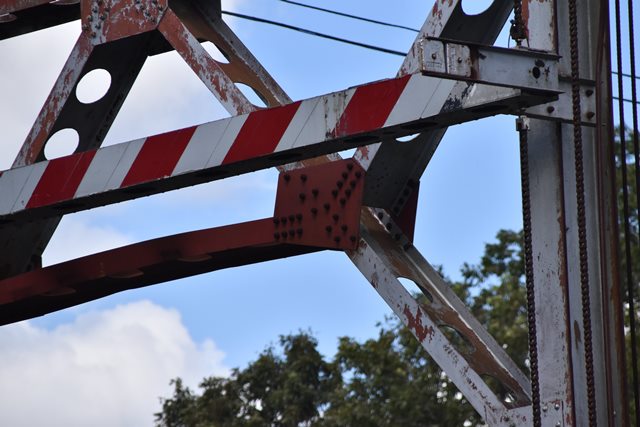
Lift span detail.
![]()


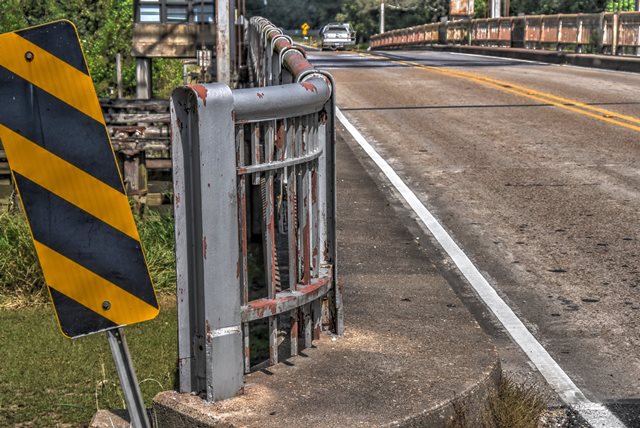
Railing.
![]()
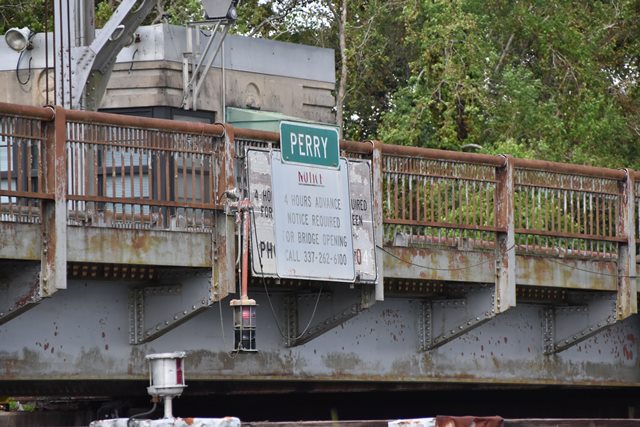

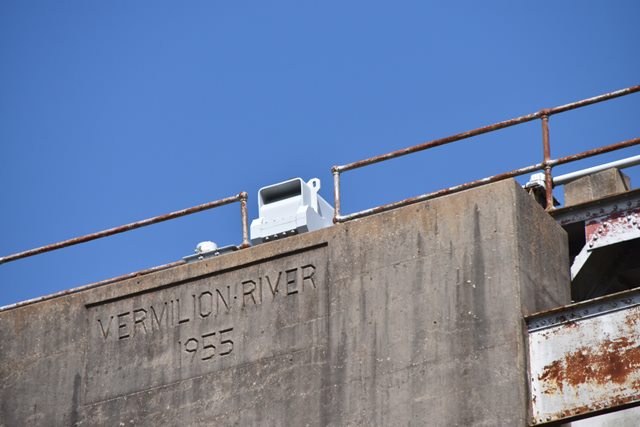
Sign for lift.
![]()

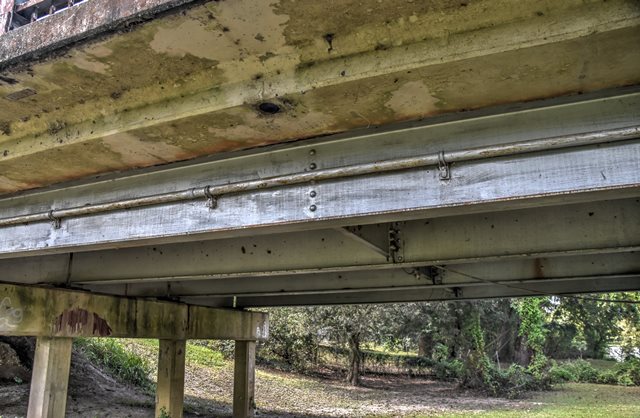


Approach beams.
![]()


Approach pier.
![]()
![]()
| Back |
| Home |
| Top |

![]()


