
Uncredited photos on this page taken by: Nathan Holth. Unless stated in a caption, all photos are Copyright with All Rights Reserved. Learn about reuse of our photos.
![]()


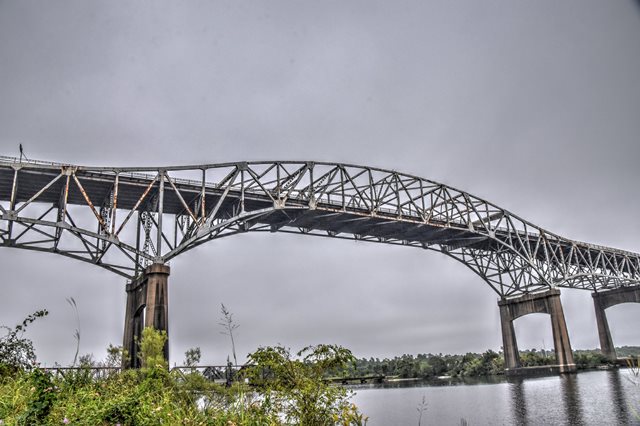


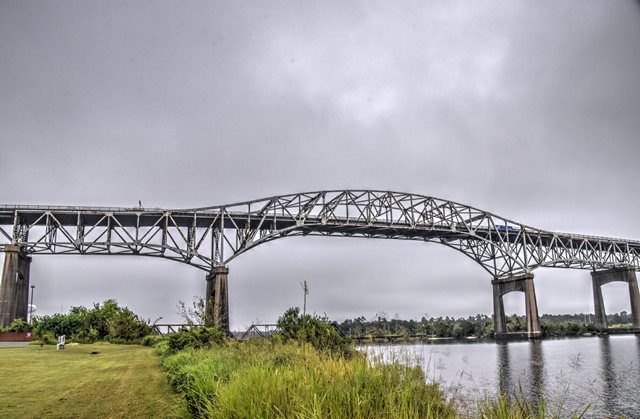
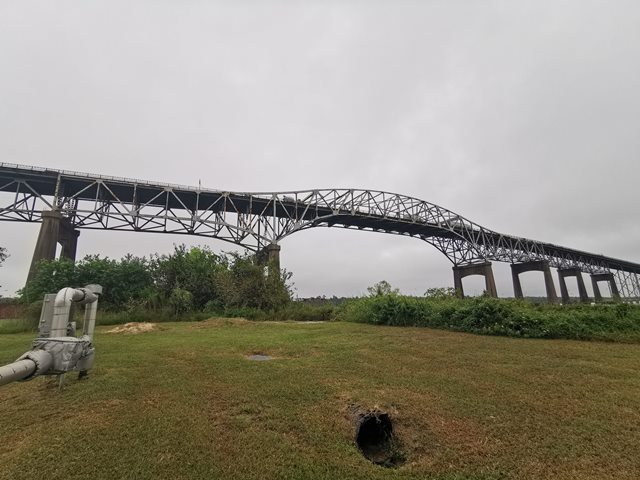
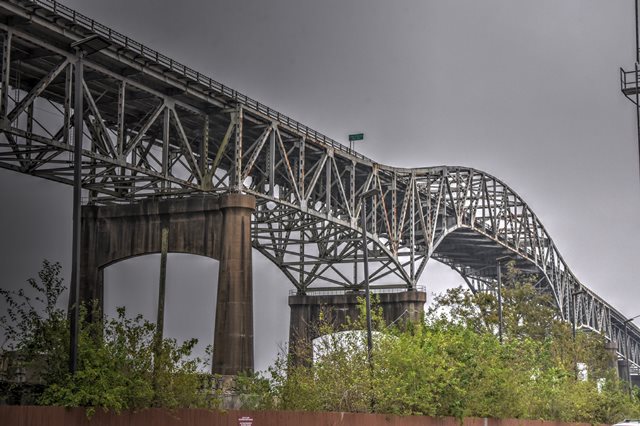
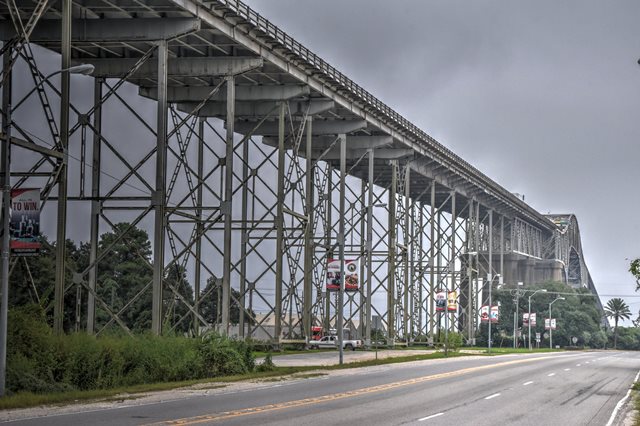
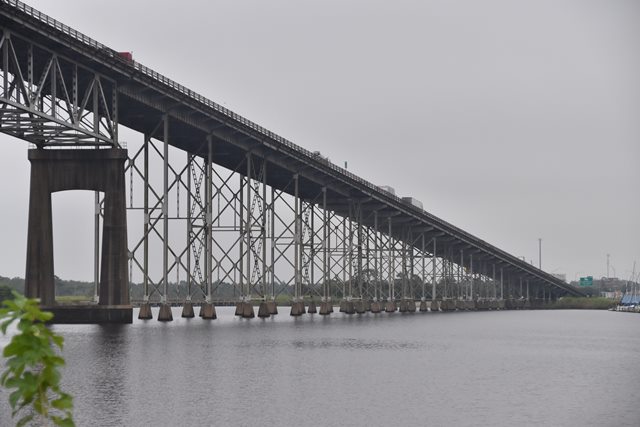
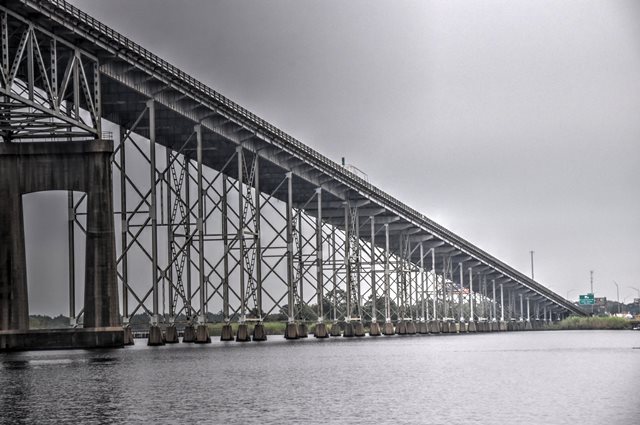
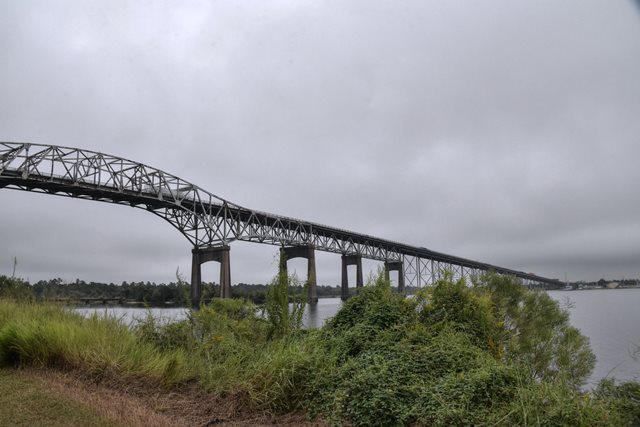
Main spans elevation from southwest quadrant.
![]()

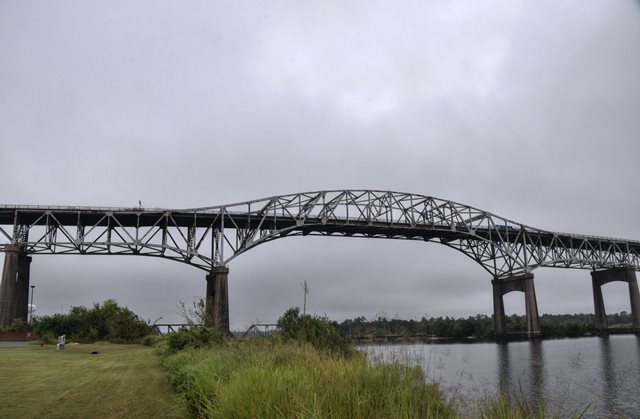


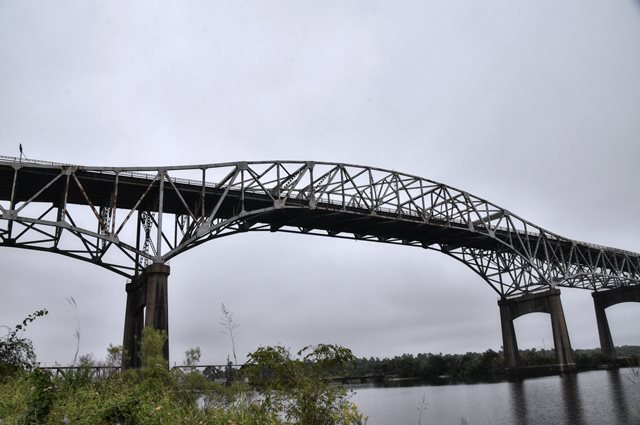
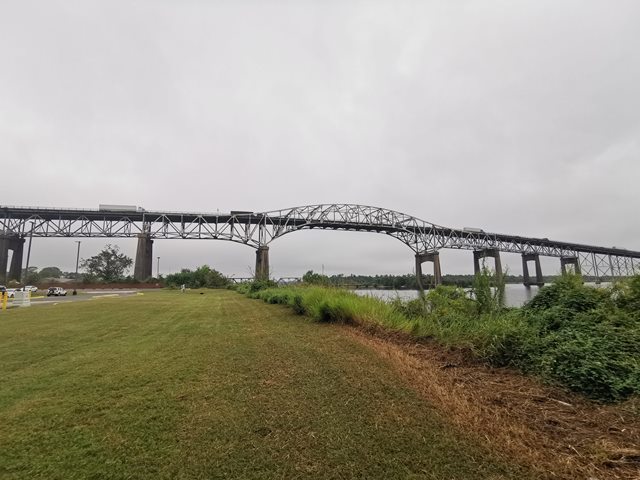
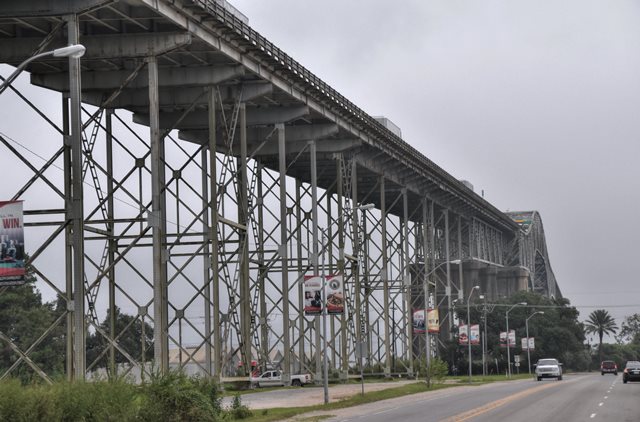
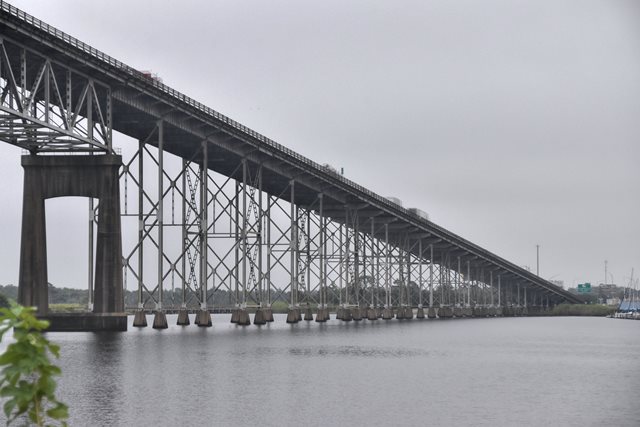
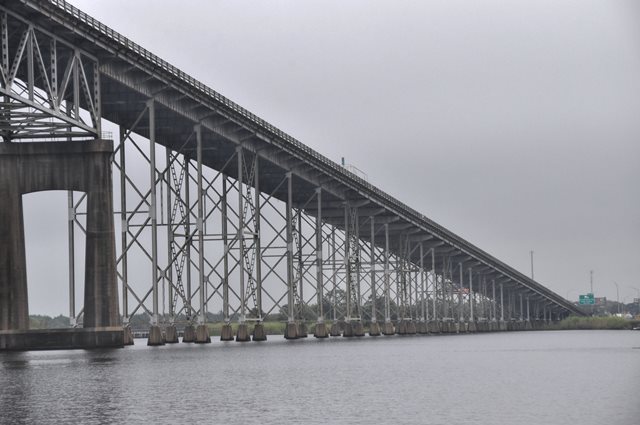
Distant main spans elevation from southwest quadrant.
![]()


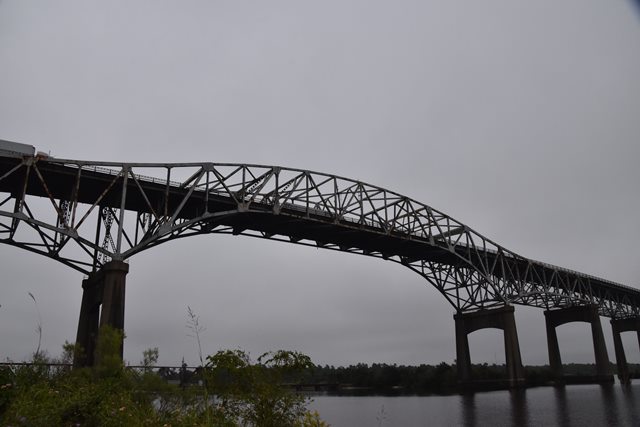
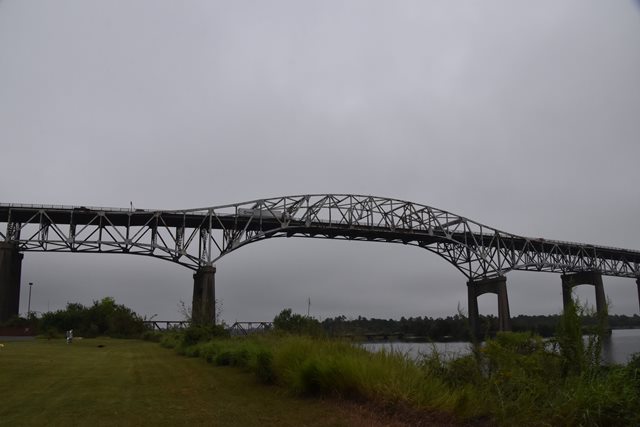
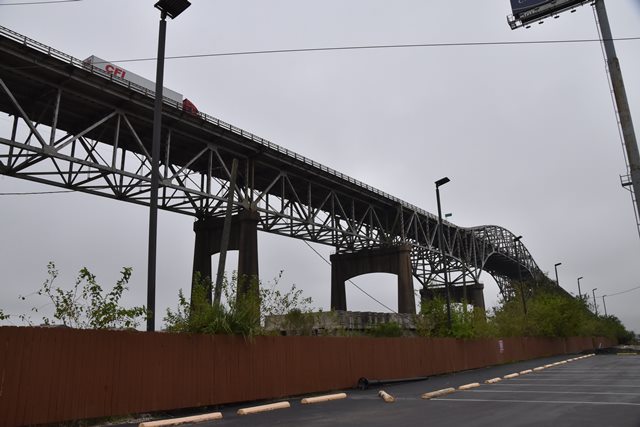
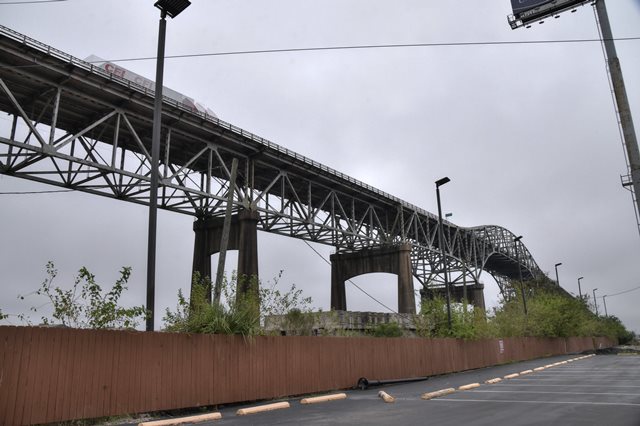
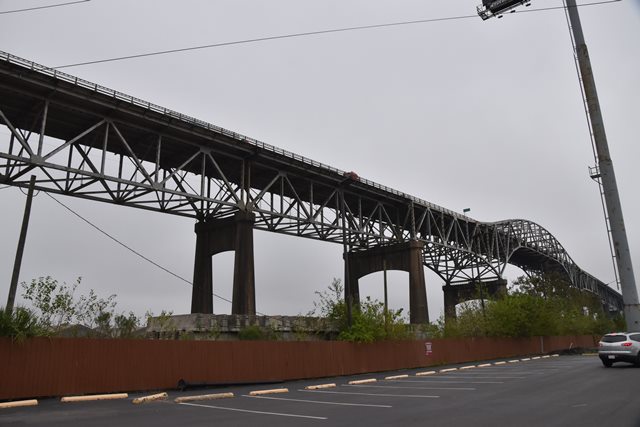
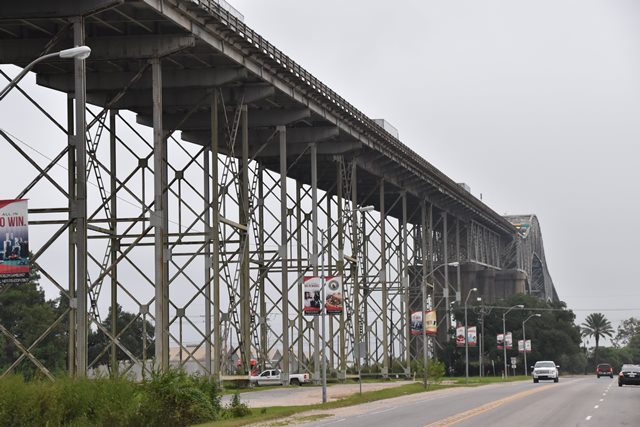
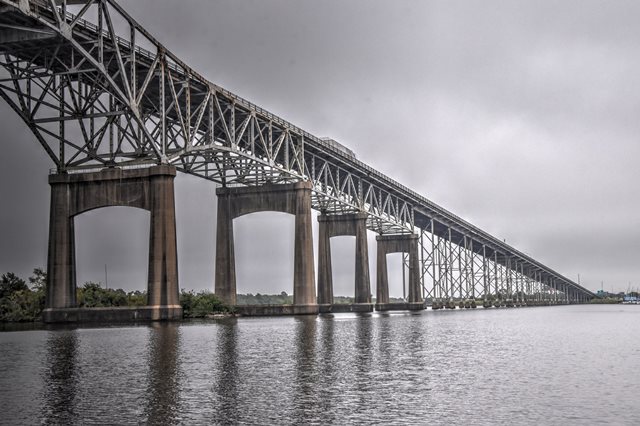
Wide angle main spans elevation from southwest quadrant.
![]()
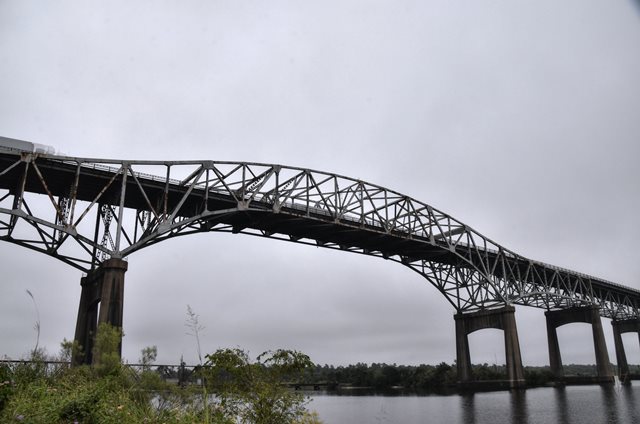
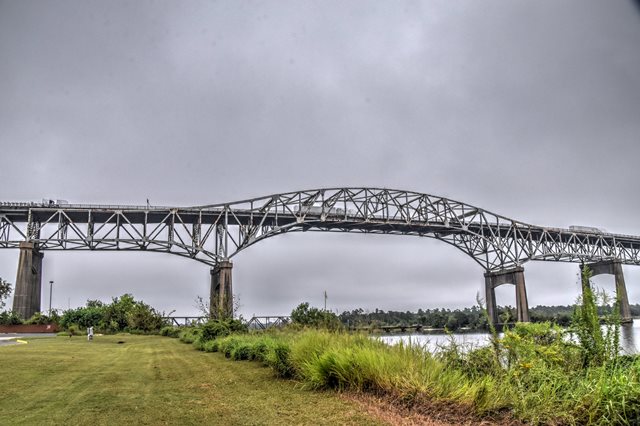
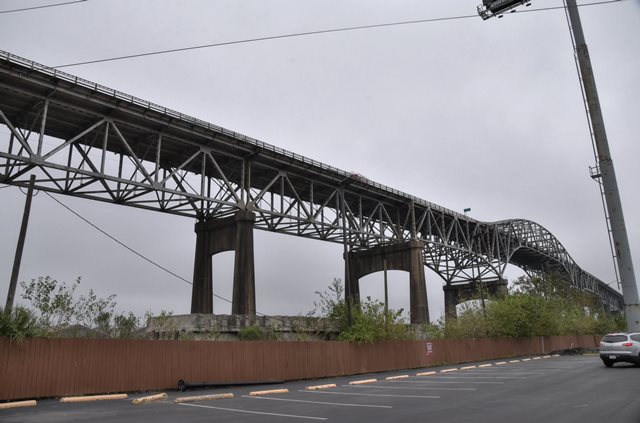
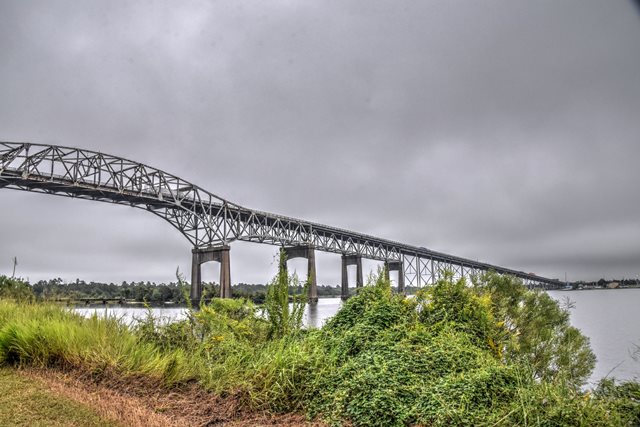
Panoramic elevation from southwest quadrant.
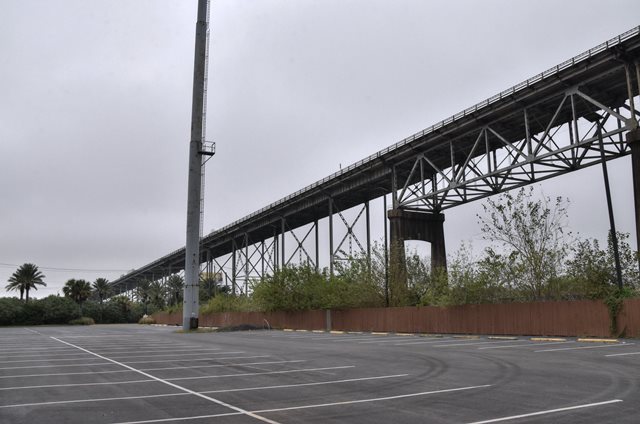
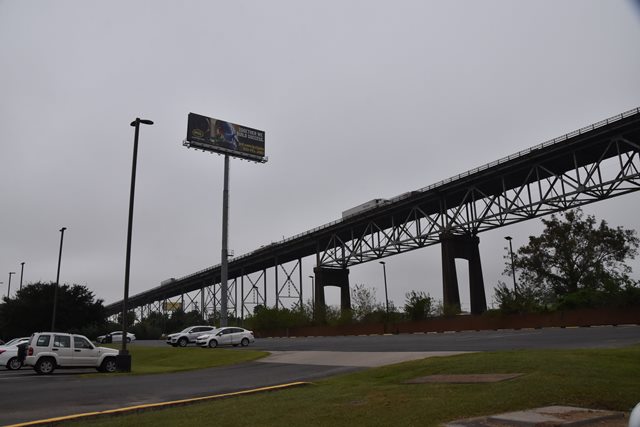
![]()


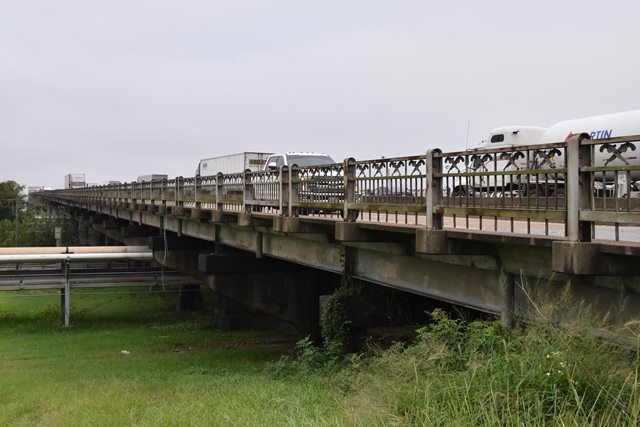
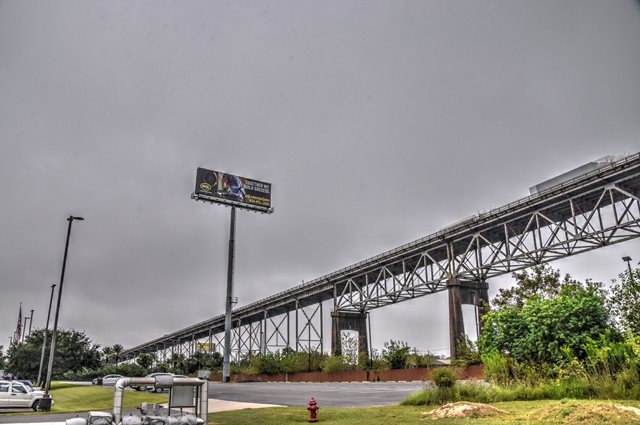
Views beside bridge from southwest quadrant.
![]()


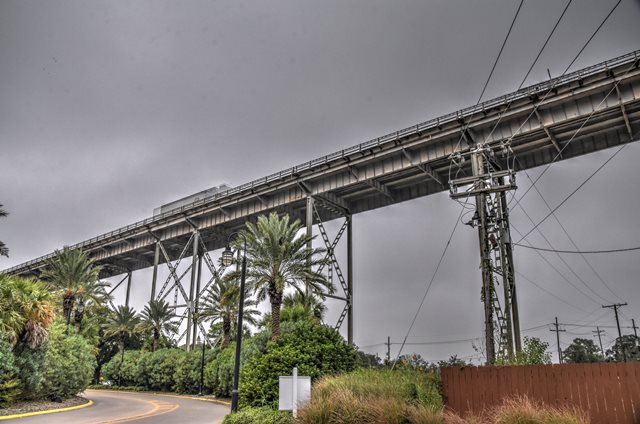
Views beside bridge from northwest quadrant.
![]()

Wide angle view beside bridge from southwest quadrant.
![]()

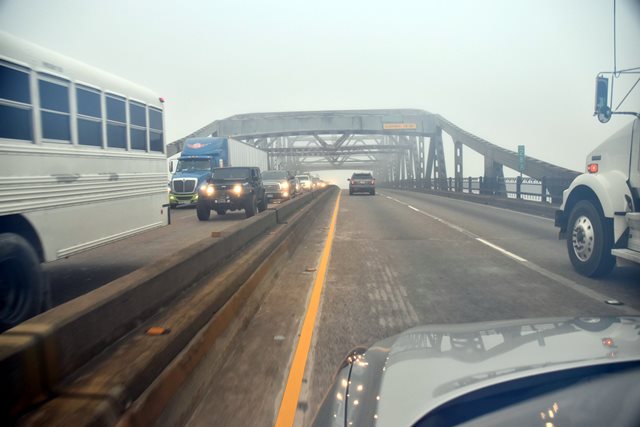

Driving westbound over bridge in heavy fog.
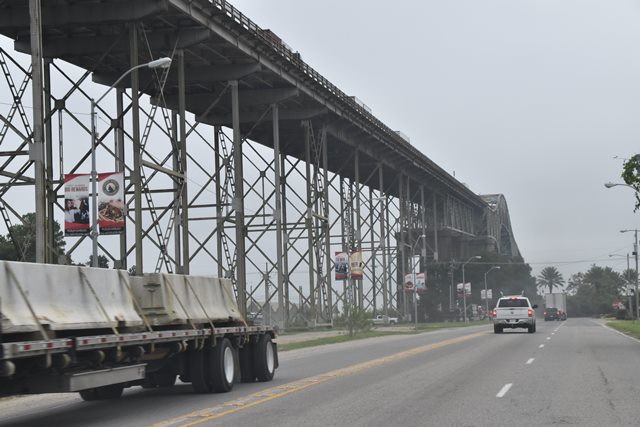
![]()


Driving eastbound toward bridge on frontage road.
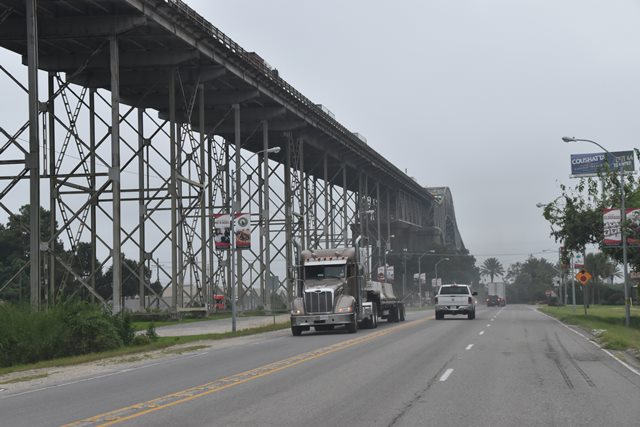
![]()


Oblique views from southwest quadrant.
![]()


Views beside west approach looking toward main spans from southwest quadrant.
![]()


Zoomed views beside west approach looking toward main spans from southwest quadrant.
![]()


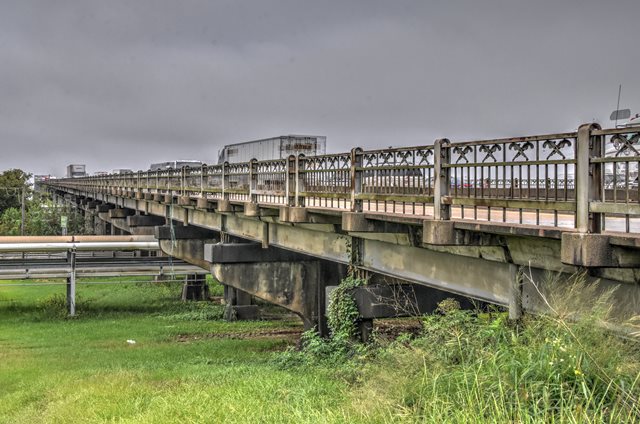
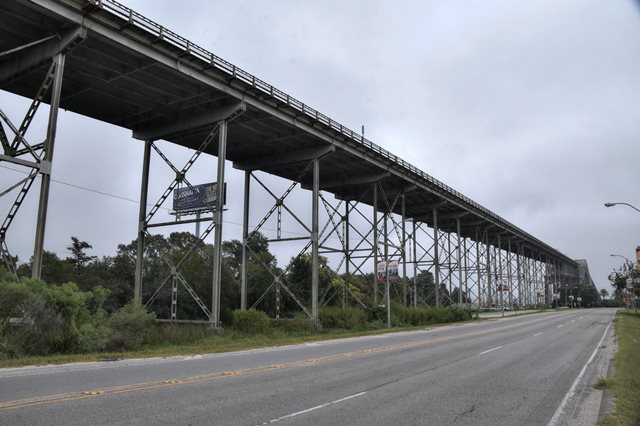
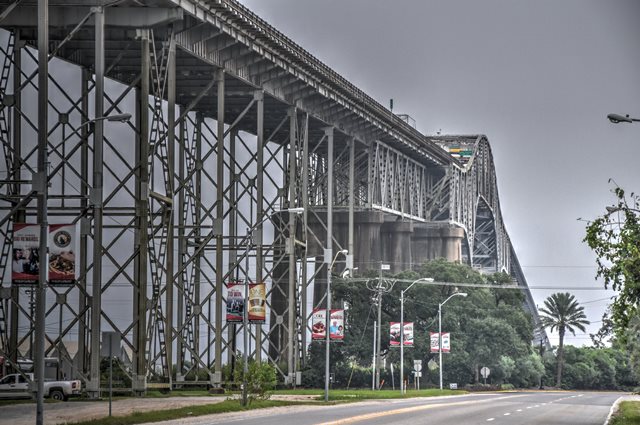
South elevation of west approach.
![]()


South elevation of east approach.
![]()

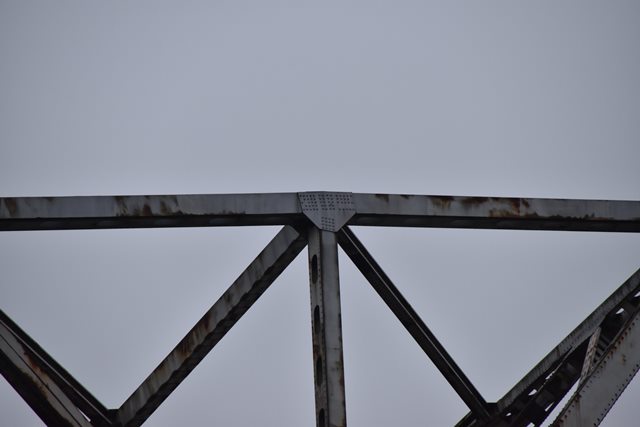
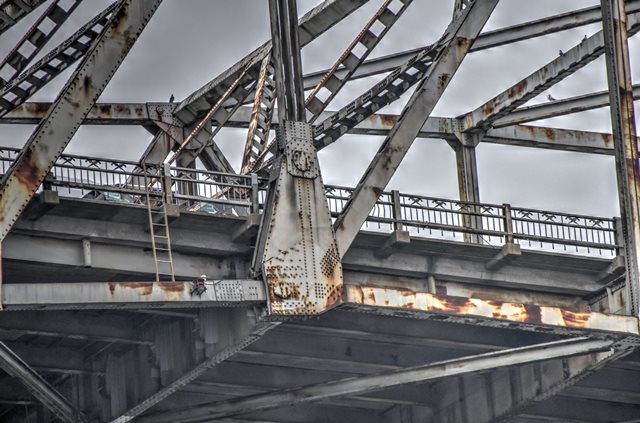
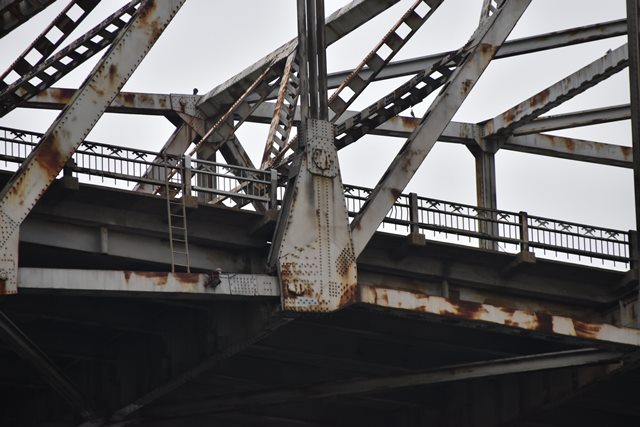
Deck truss approach span web.
![]()

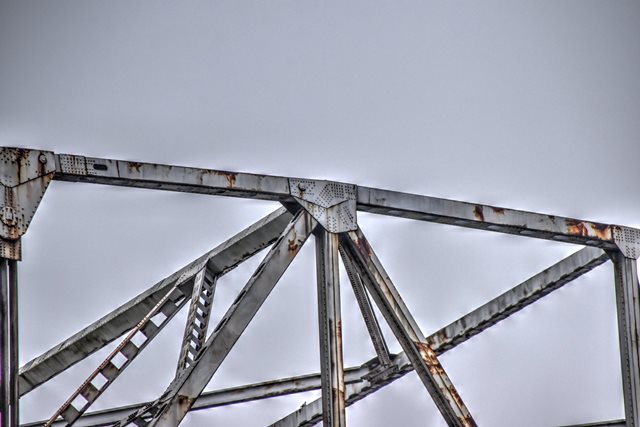
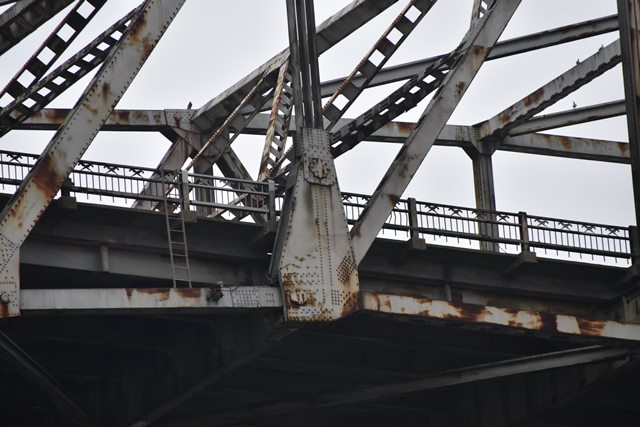
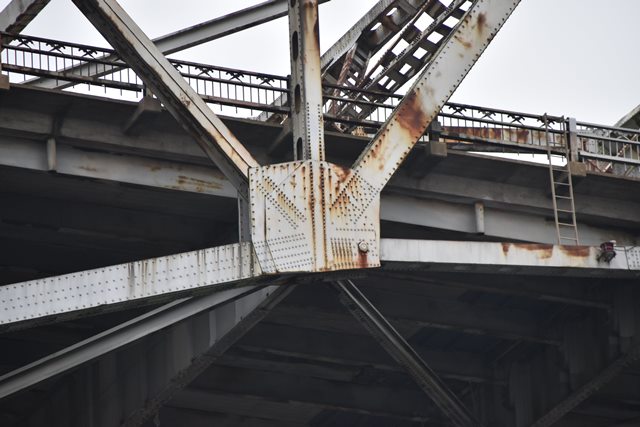
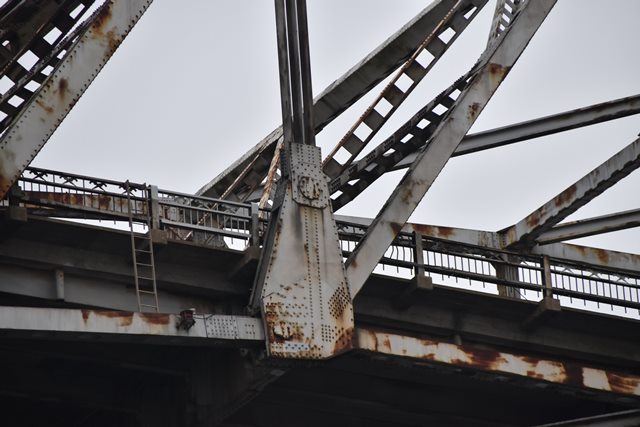
Truss web at transition from cantilever arm to suspended span.
![]()
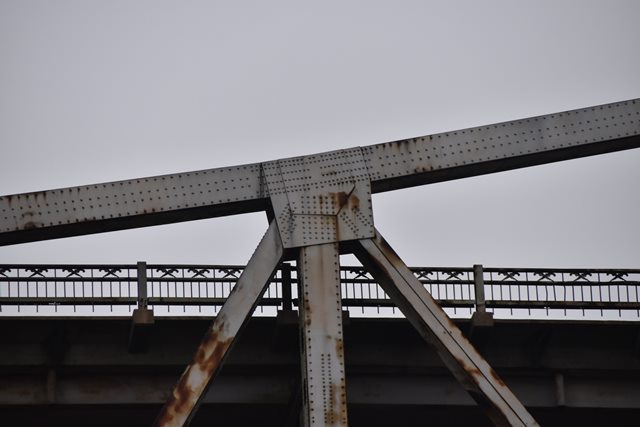


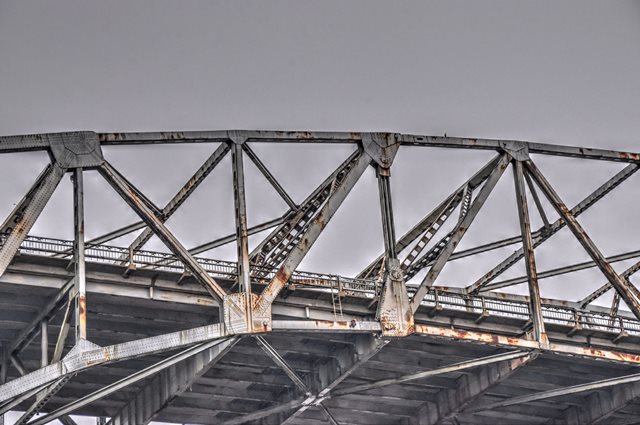
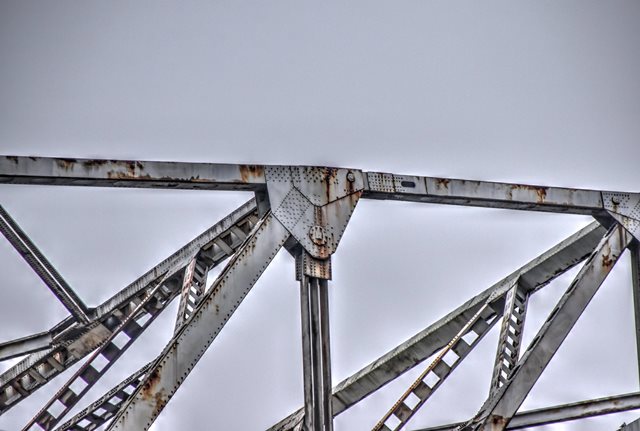
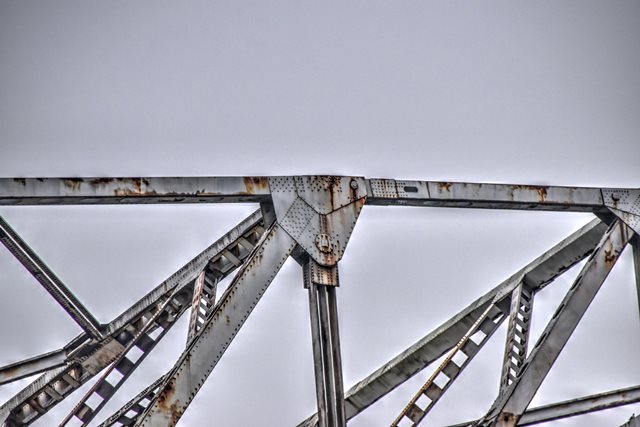
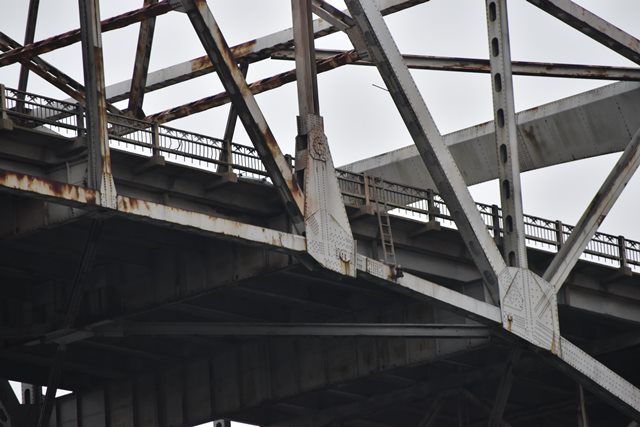
Top chord connections as viewed from beside bridge.
![]()


Bottom chord connections as viewed from beside bridge.
![]()


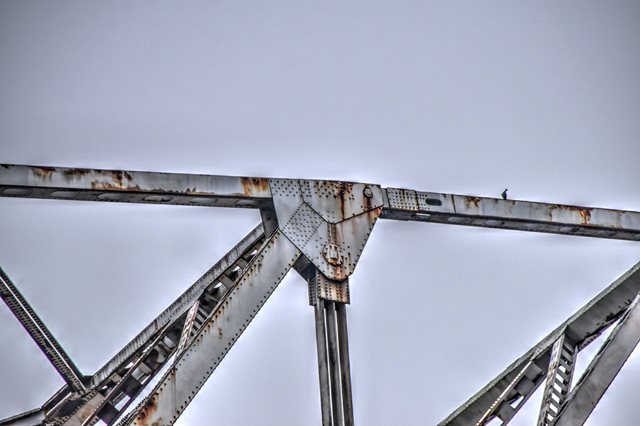
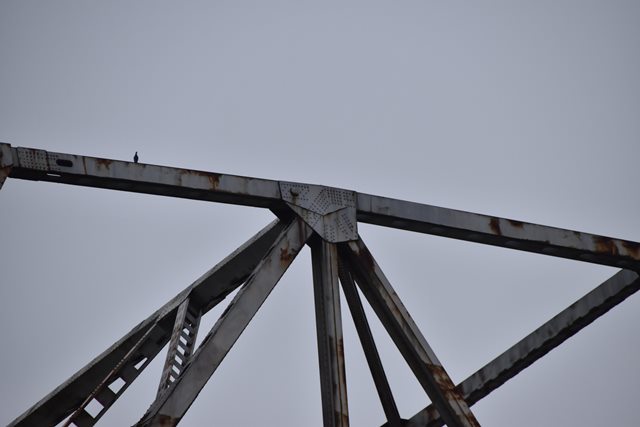


Top chord pin connections at transition from cantilever arm to suspended span.
![]()


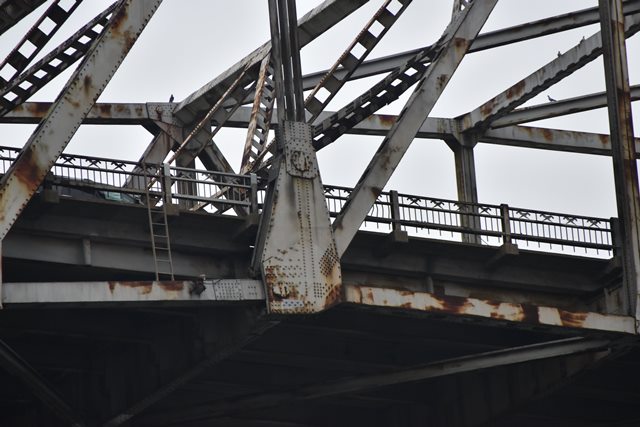


Bottom chord pin connections at transition from cantilever arm to suspended span.
![]()

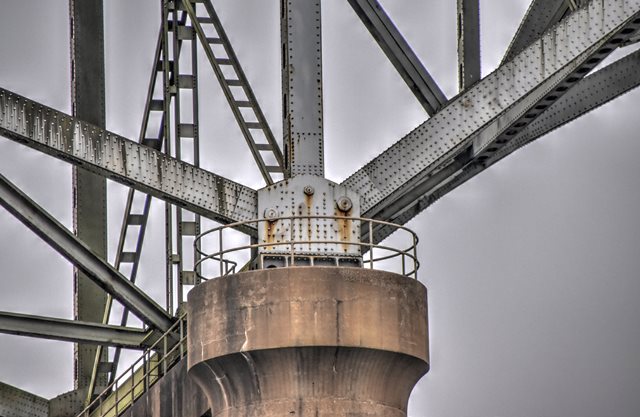


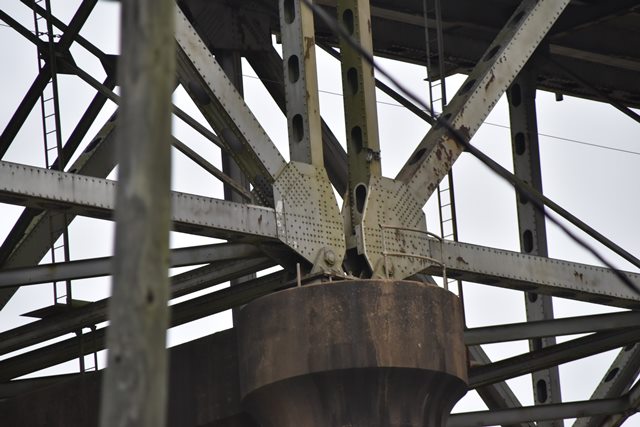

Bearing.
![]()

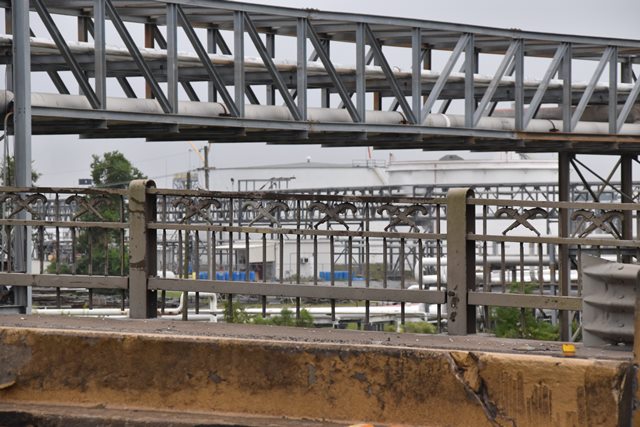

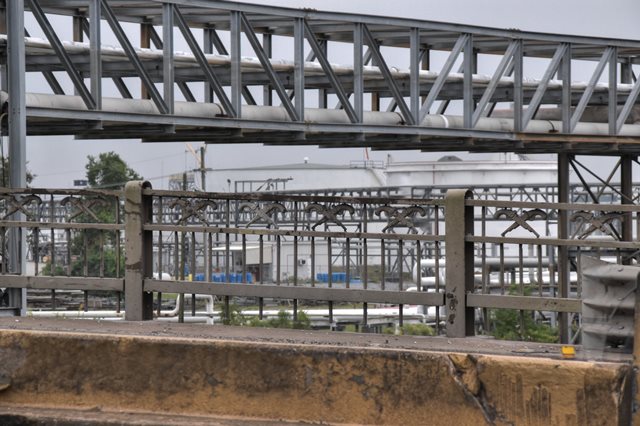
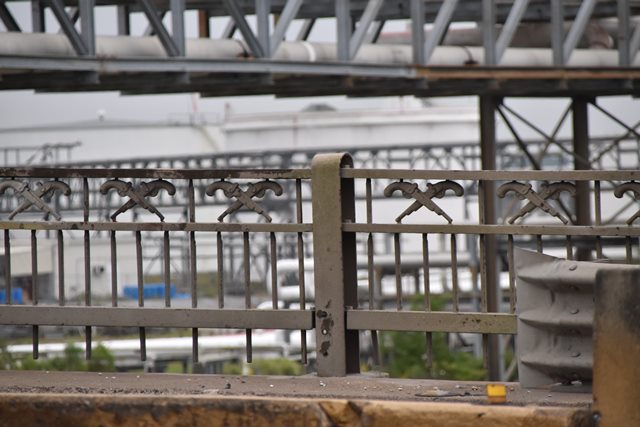

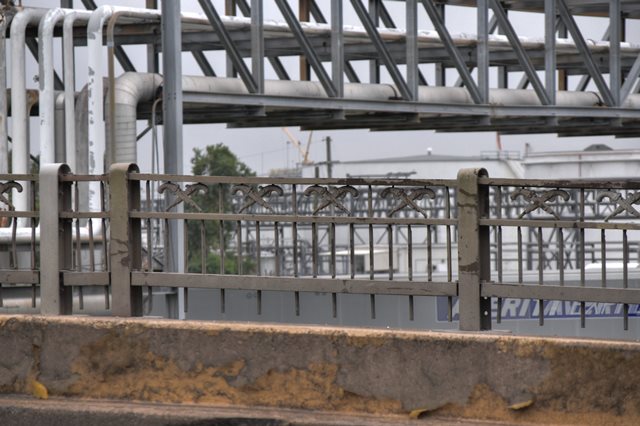
Railing, interior views.
![]()


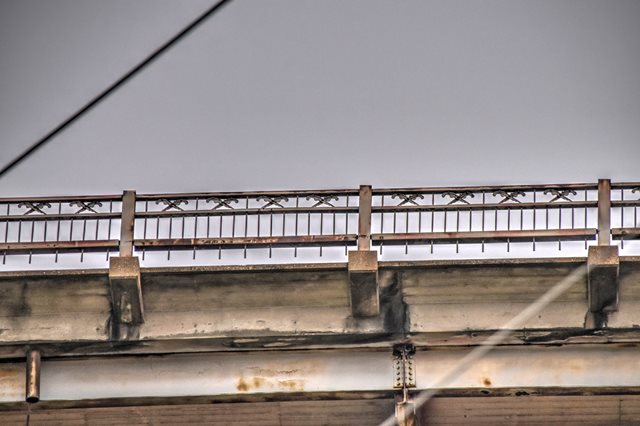


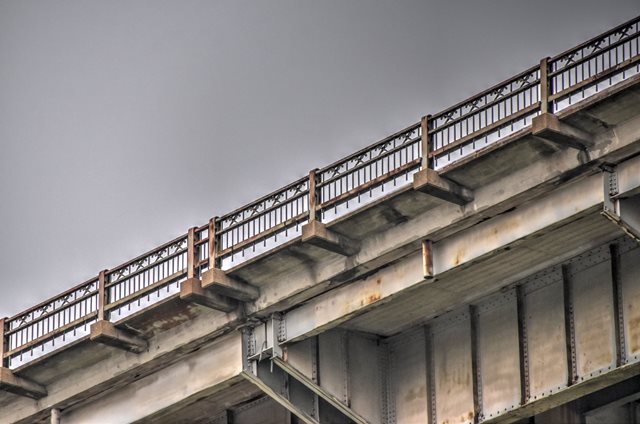


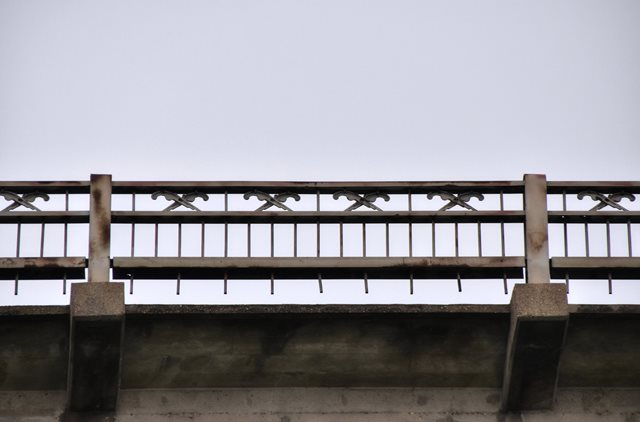
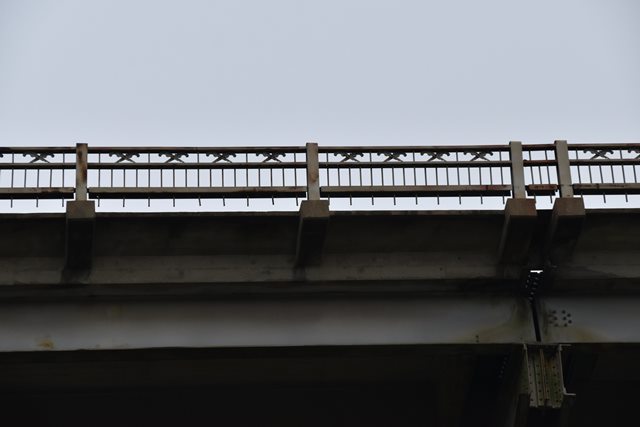

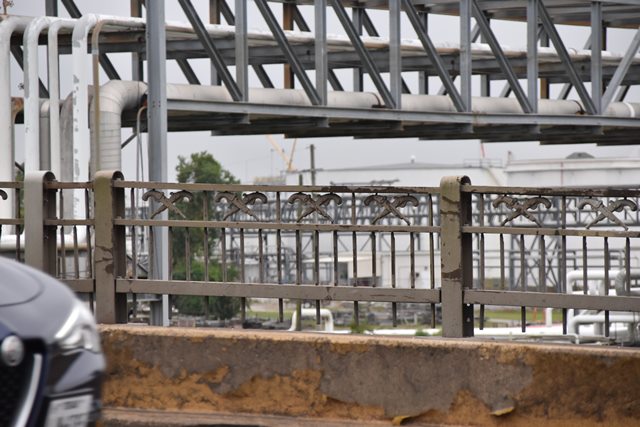
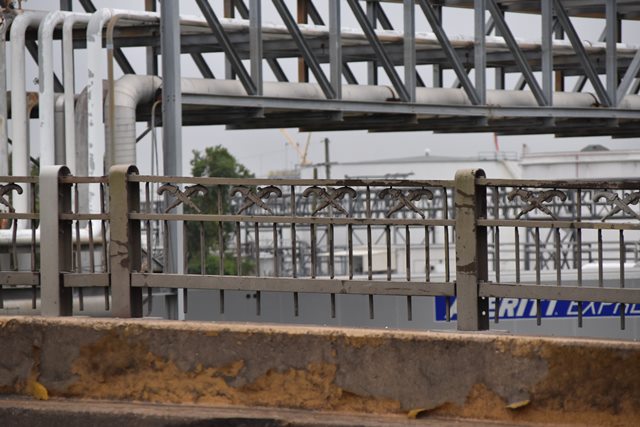
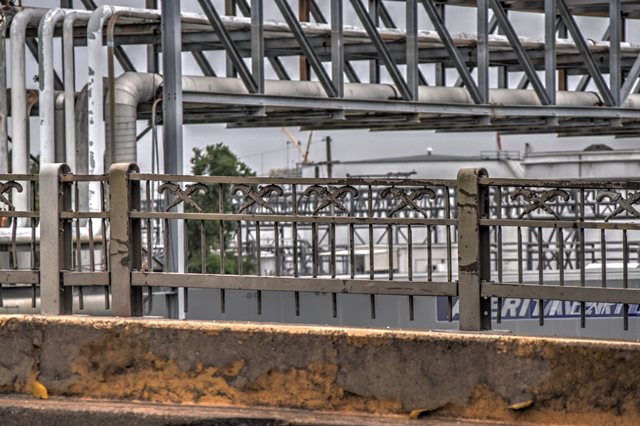
Railing, exterior views.
![]()


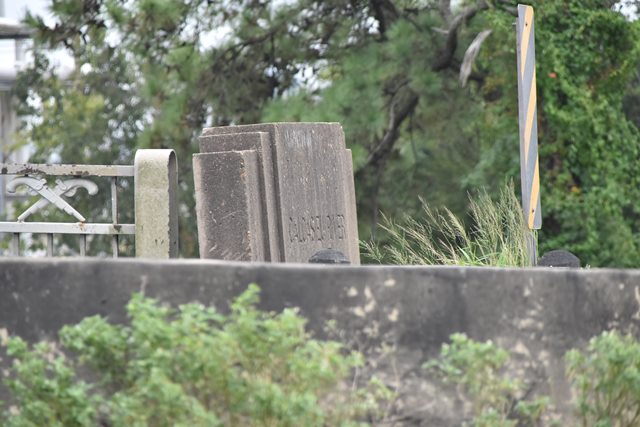

Abutment date and river name markers.
![]()

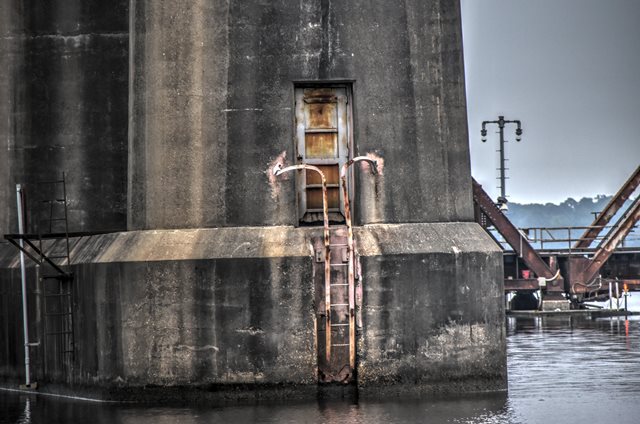
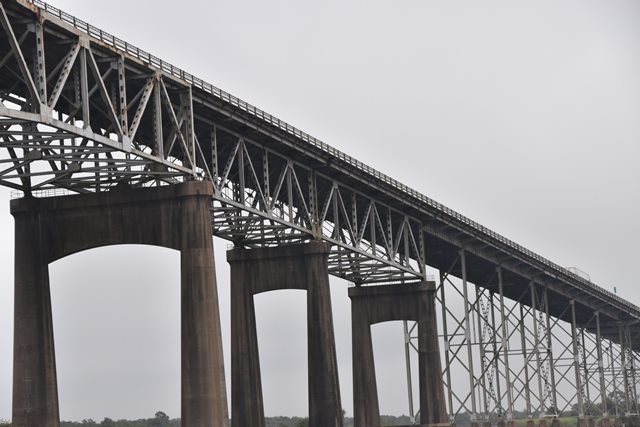
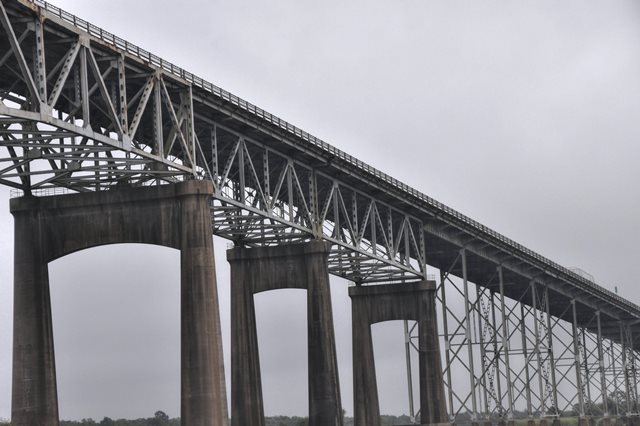
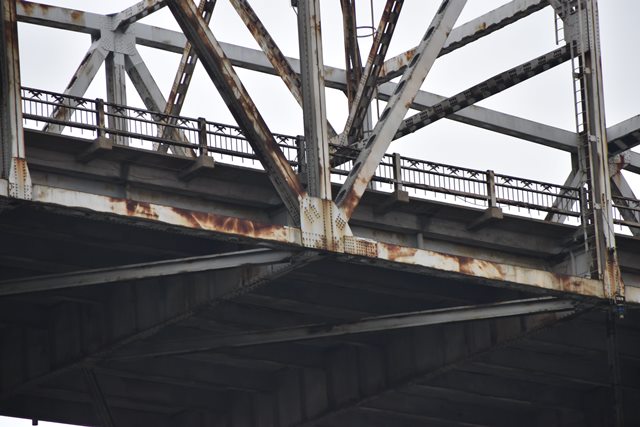
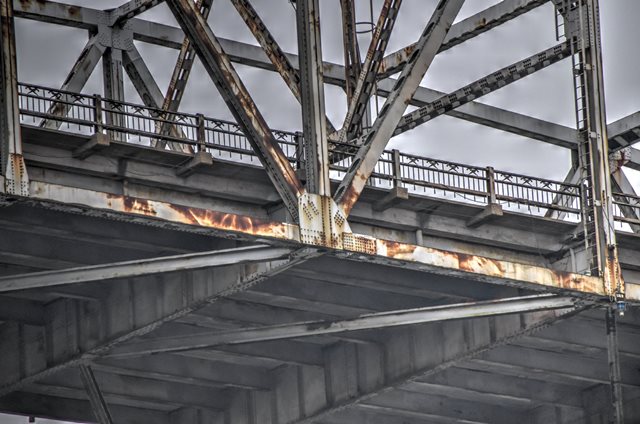
Pier detail.
![]()


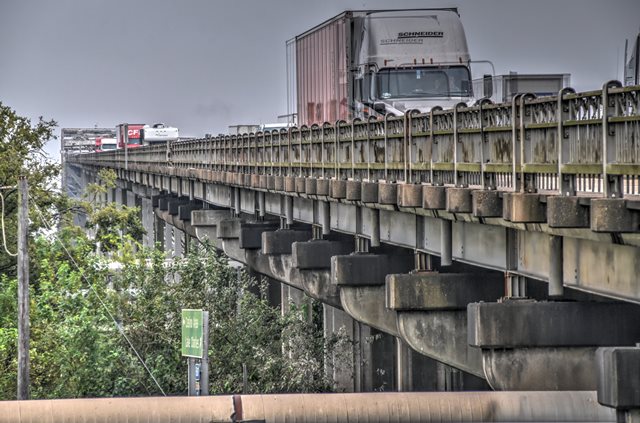
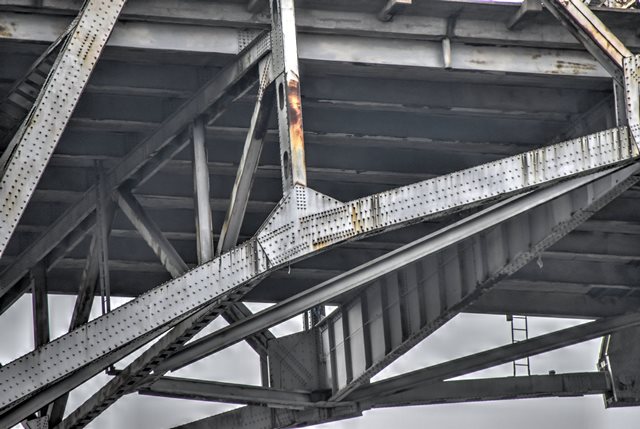
Approach girder details.
![]()


Details of bents.
![]()
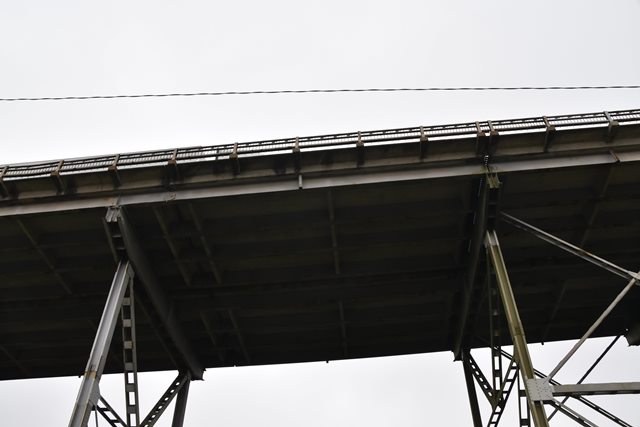


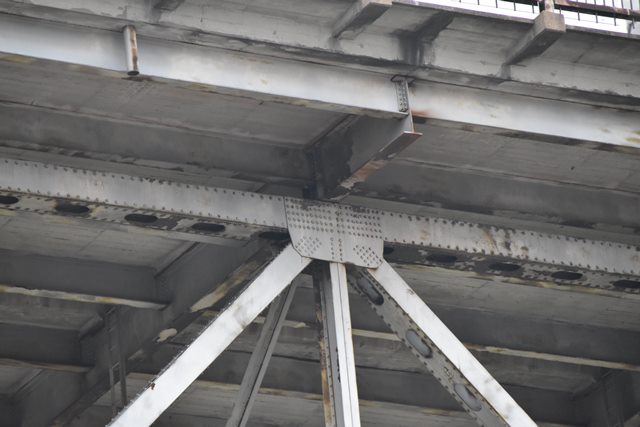
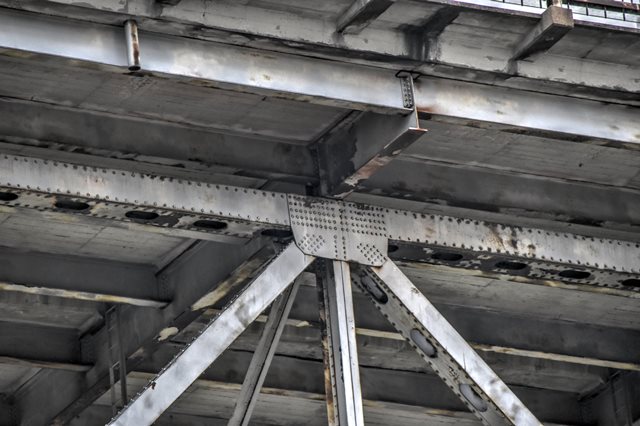
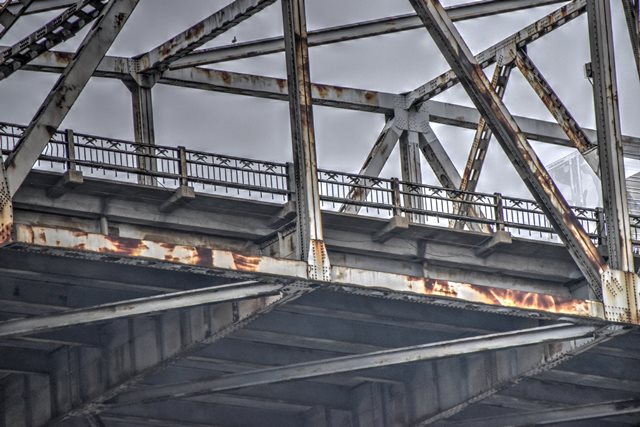
Looking up at an approach span.
![]()

Pin hinge on approach span.
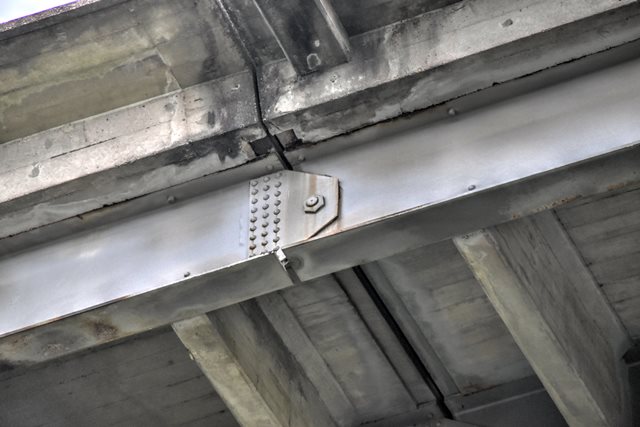
![]()


Approach beam detail.
![]()
![]()
| Back |
| Home |
| Top |

![]()