
Uncredited photos on this page taken by: Nathan Holth. Unless stated in a caption, all photos are Copyright with All Rights Reserved. Learn about reuse of our photos.
![]()
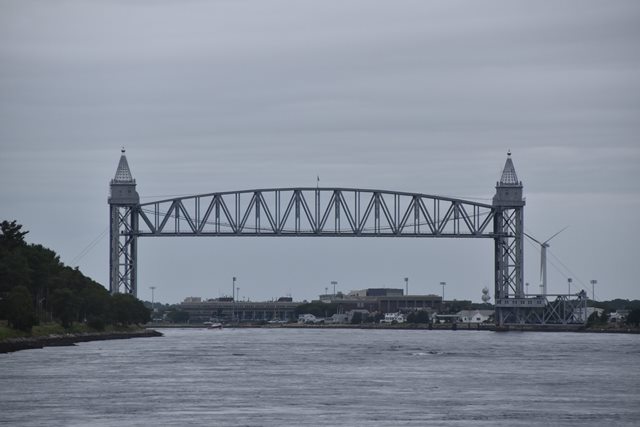


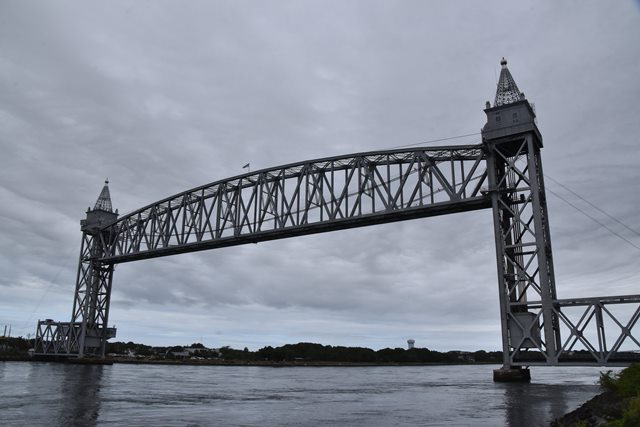
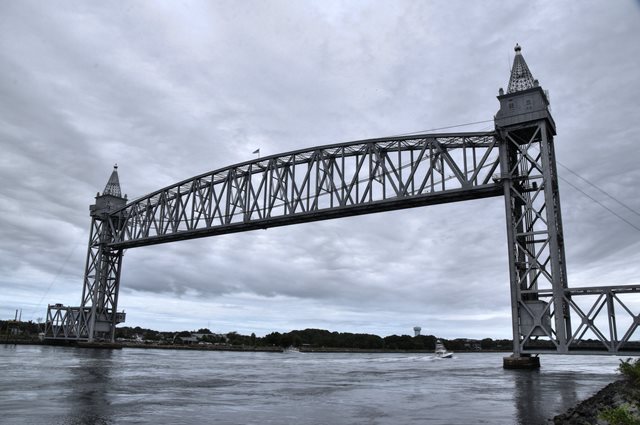
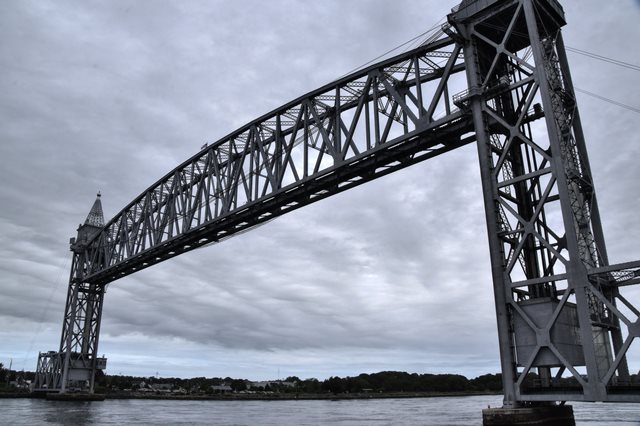
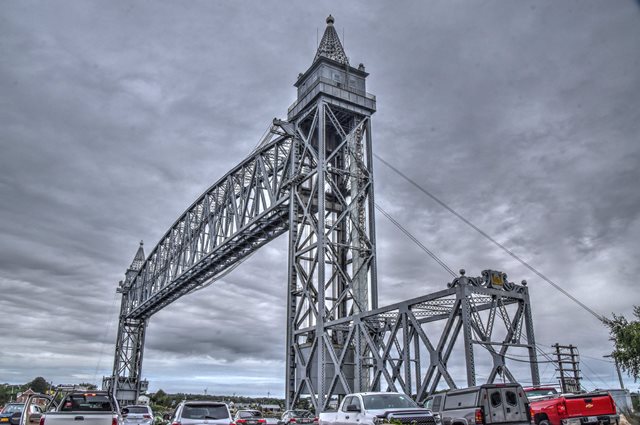
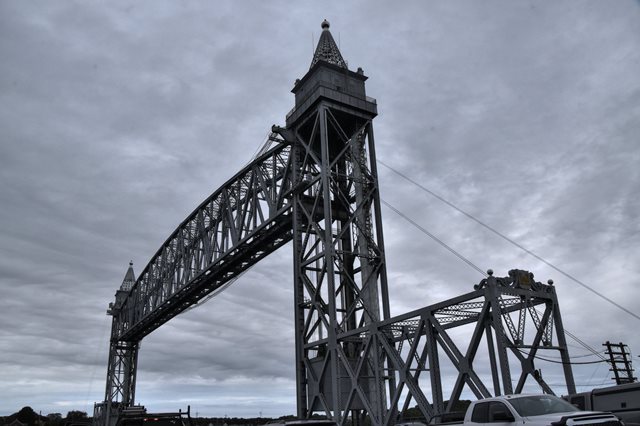
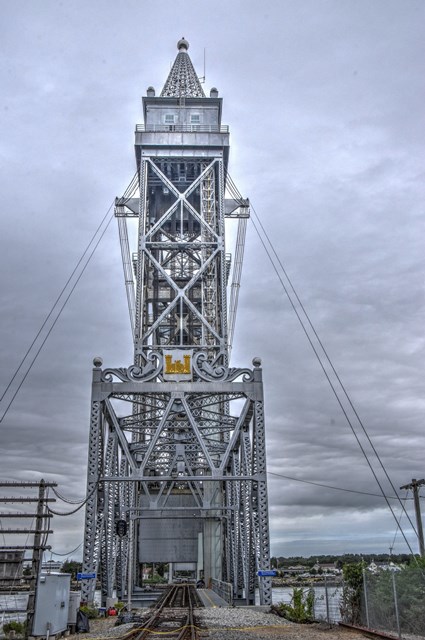
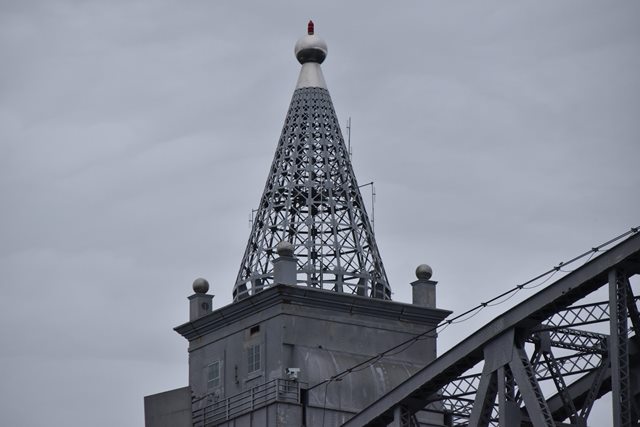
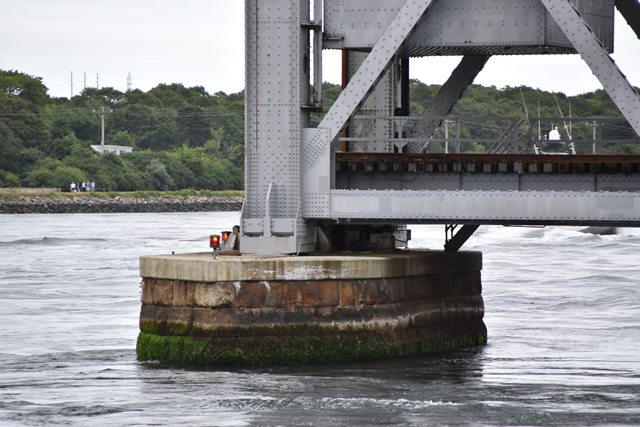
Distant north elevation.
![]()

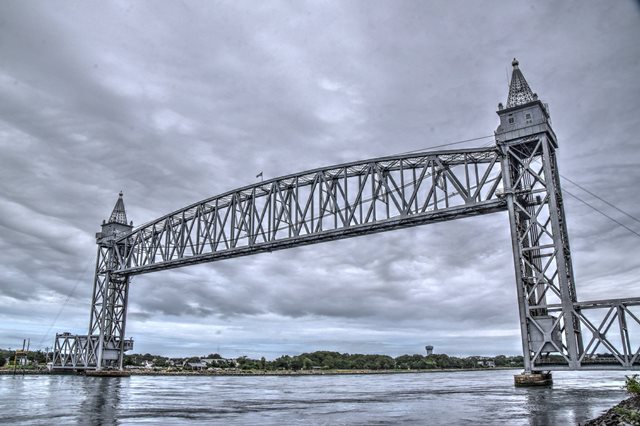


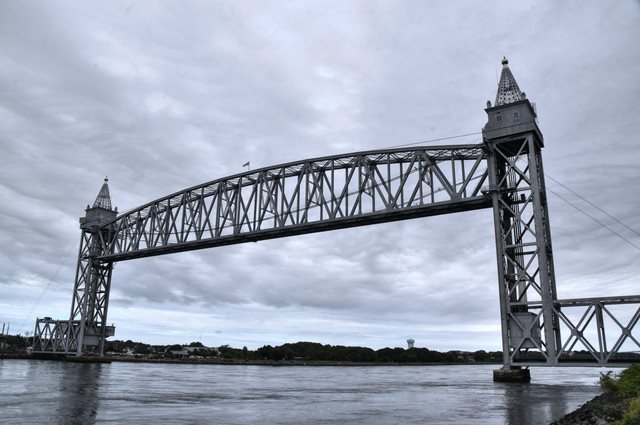


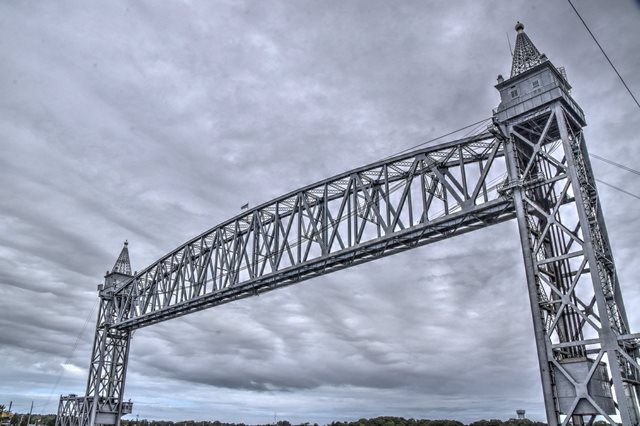
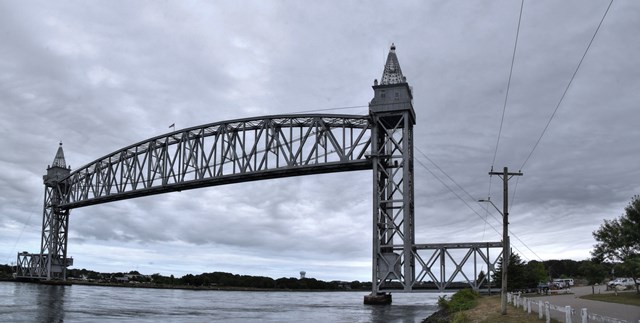
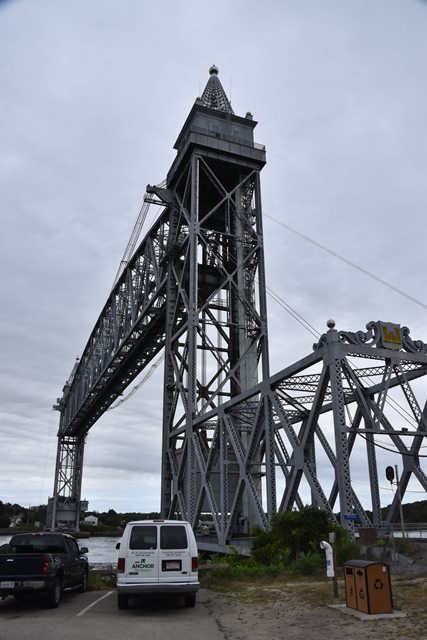
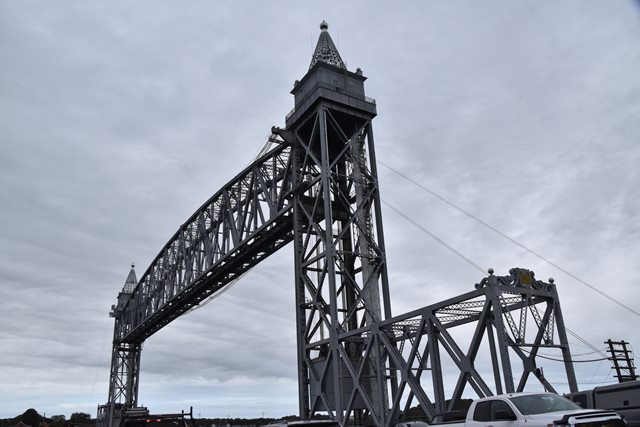
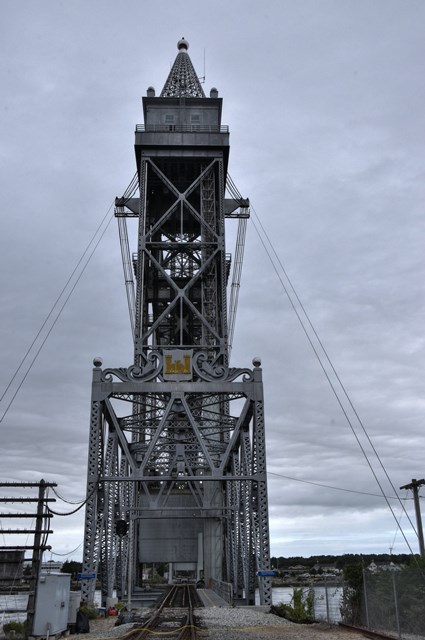
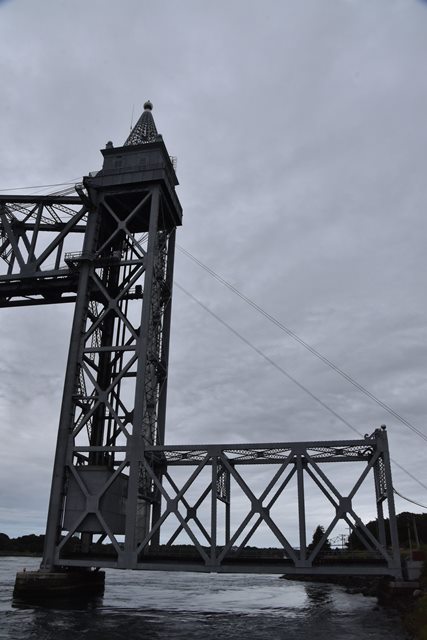
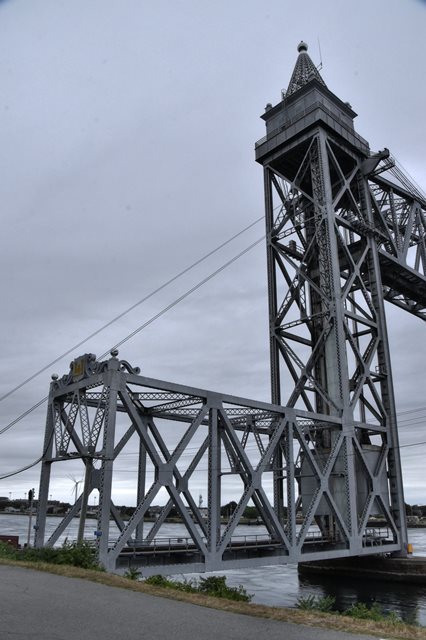
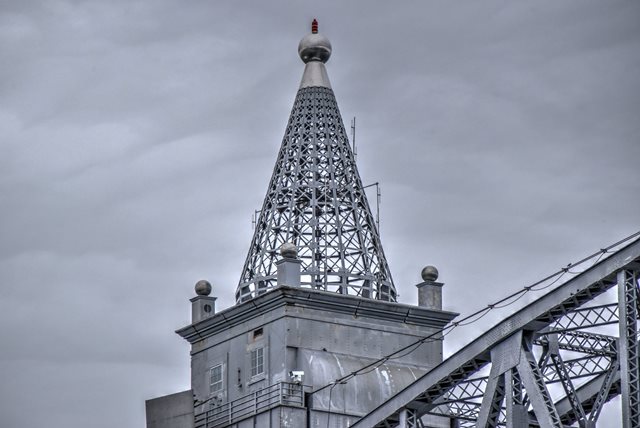
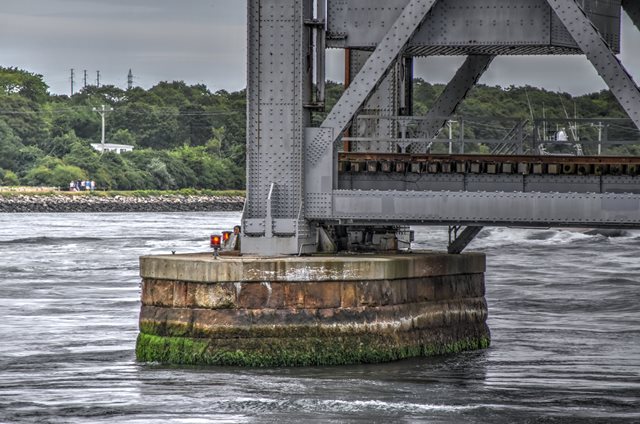
Elevation from southwest quadrant.
![]()


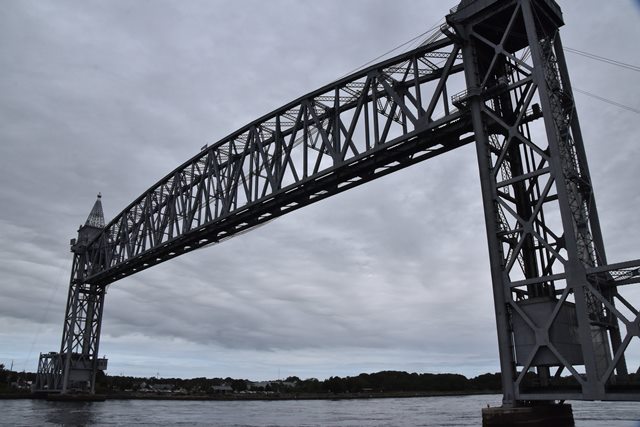
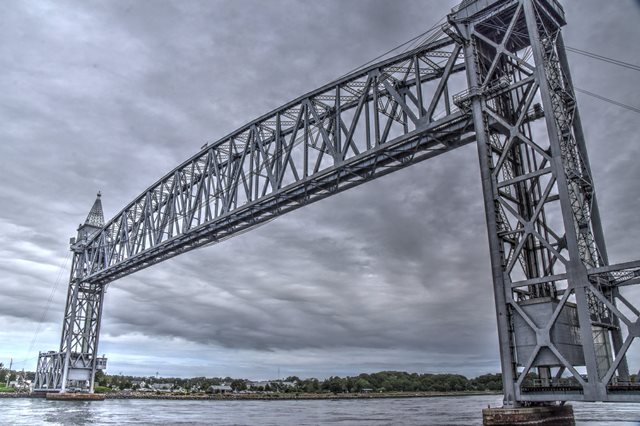


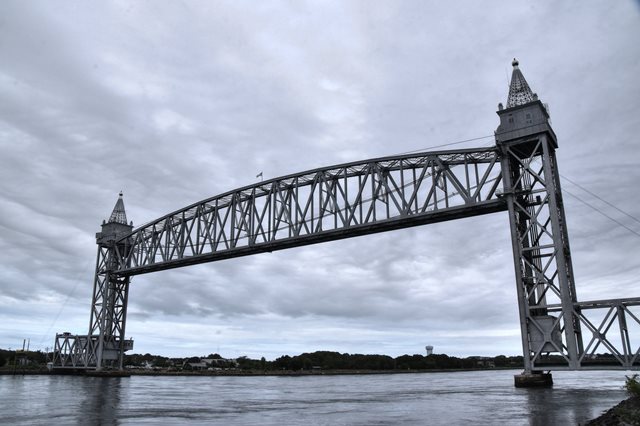
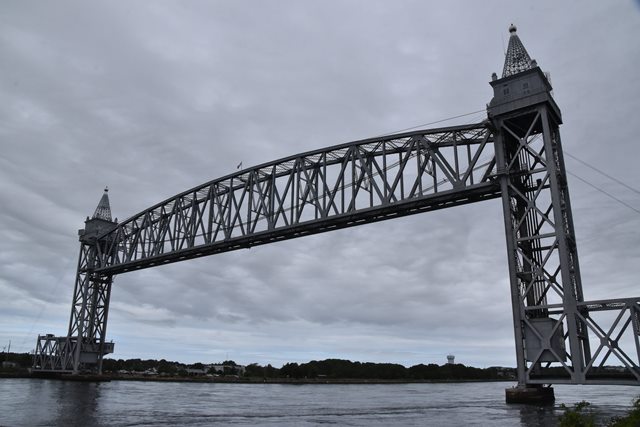
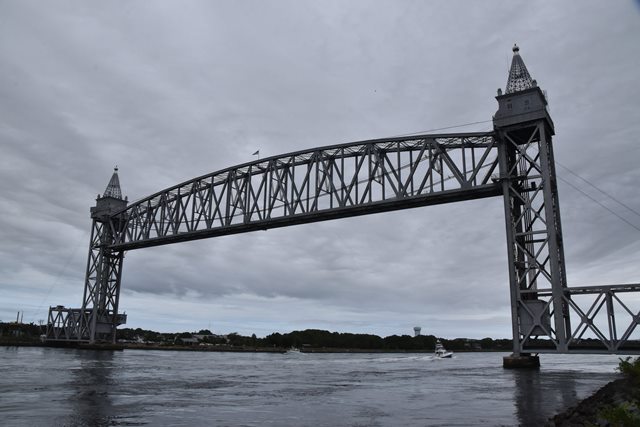
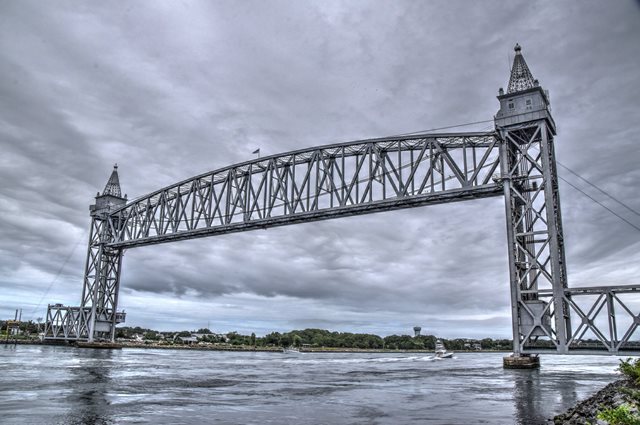
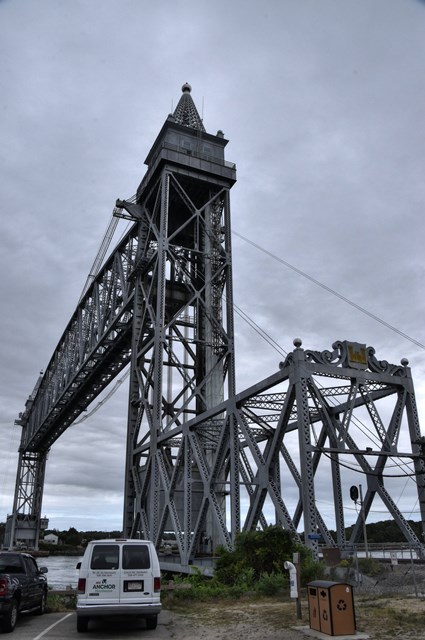
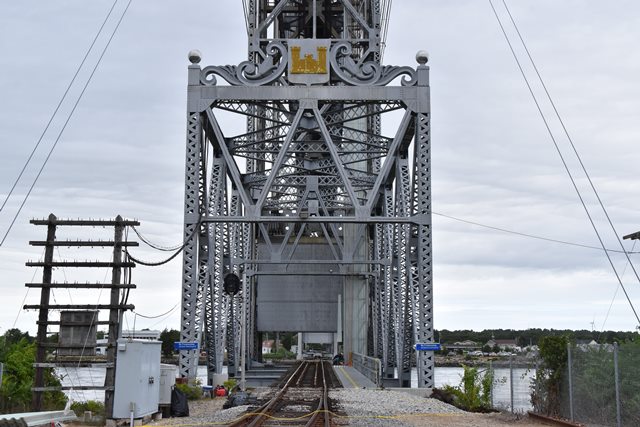
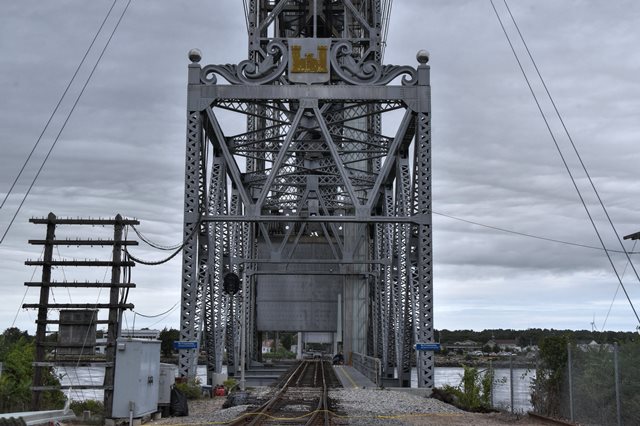
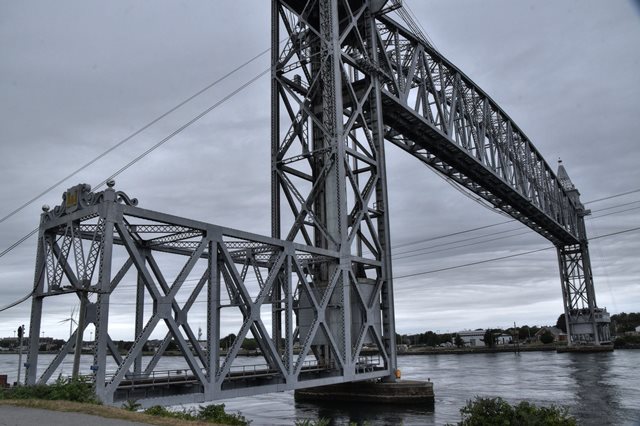
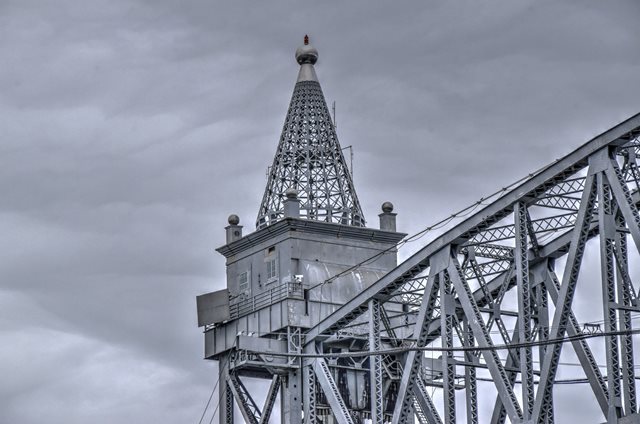
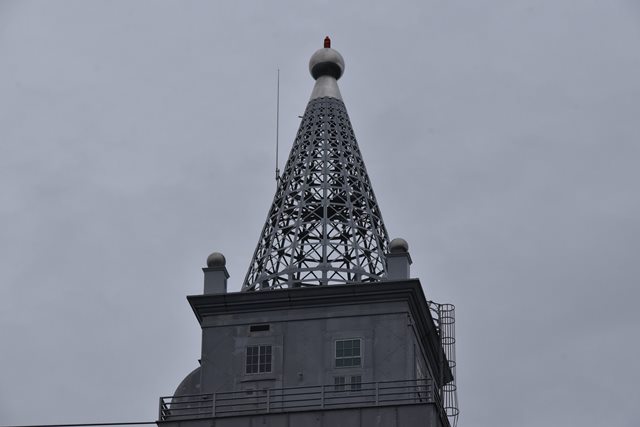
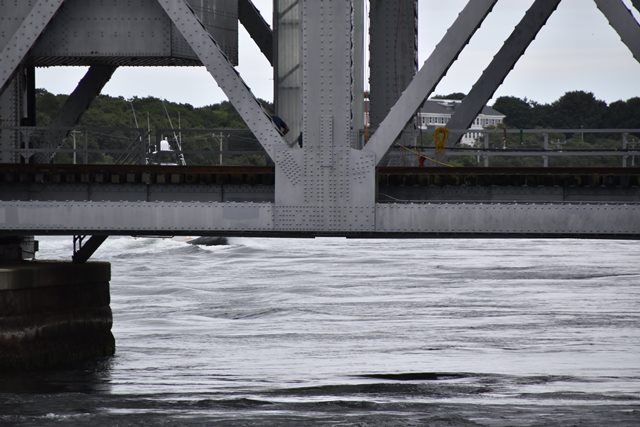
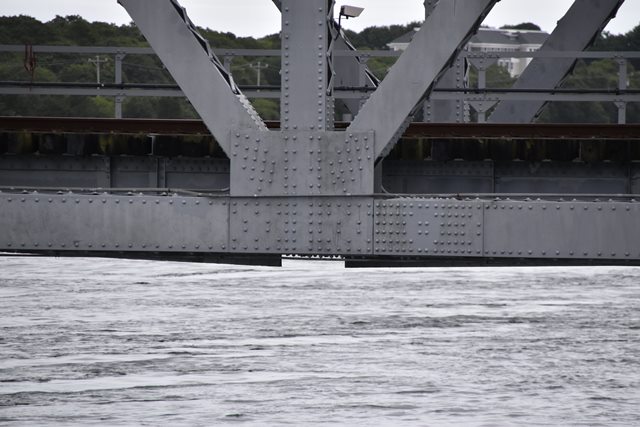
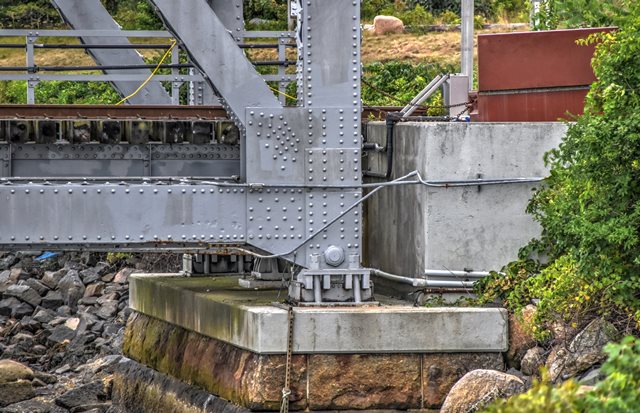
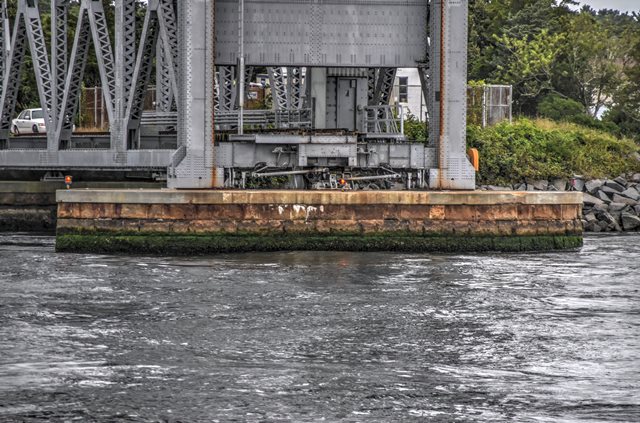
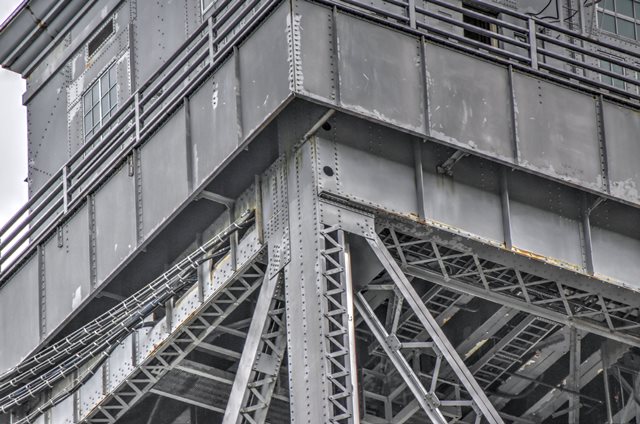
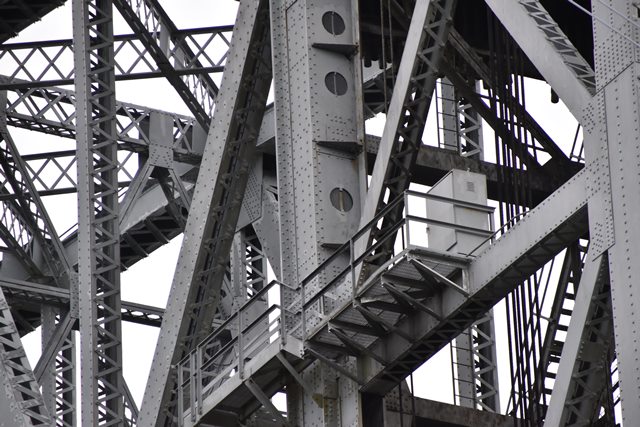
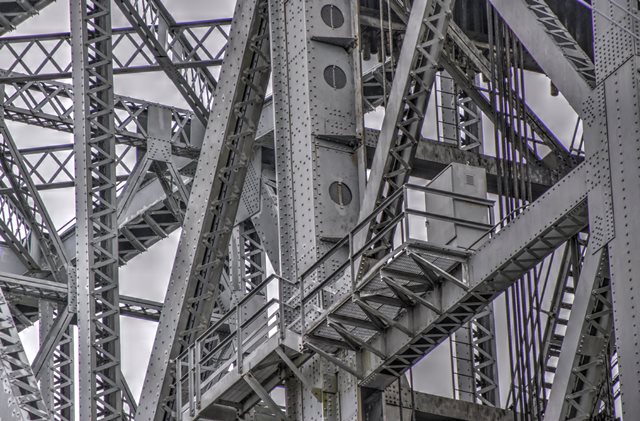
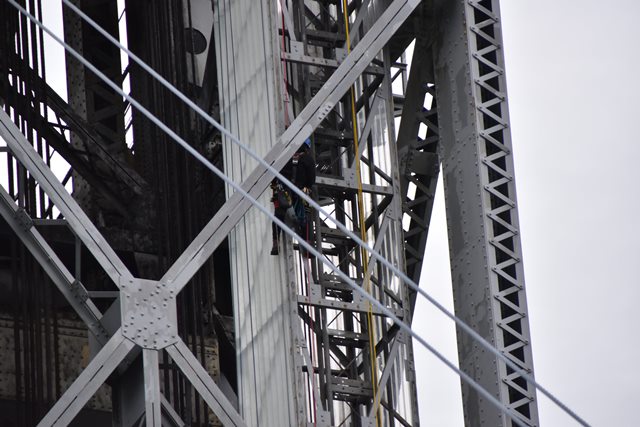
Views beside bridge from southwest quadrant.
![]()
![]()

![]()
![]()
![]()


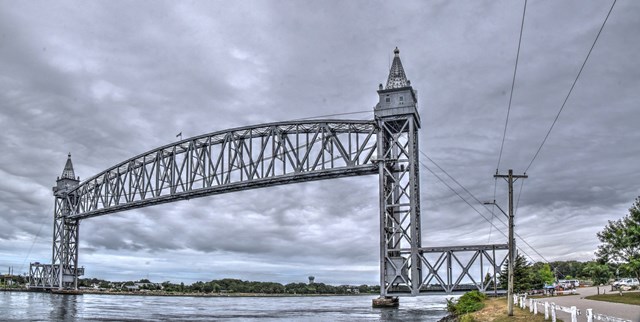
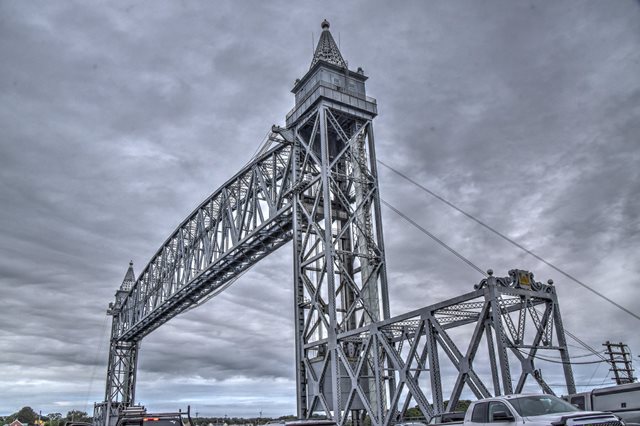
Panoramic elevation from southwest quadrant.
![]()
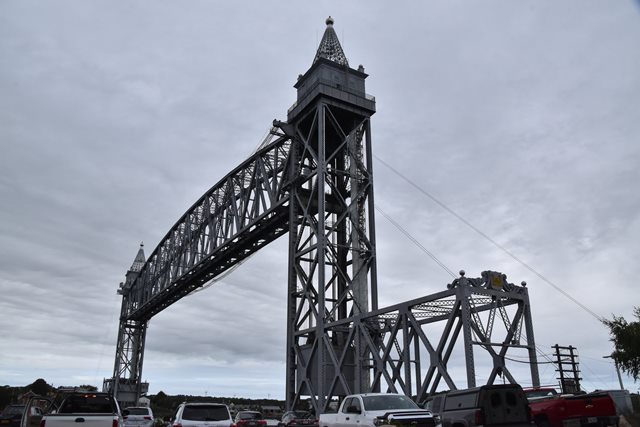


Oblique views from southwest quadrant.
![]()

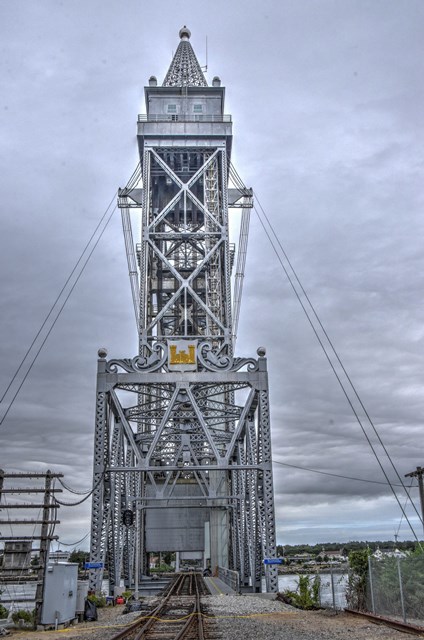
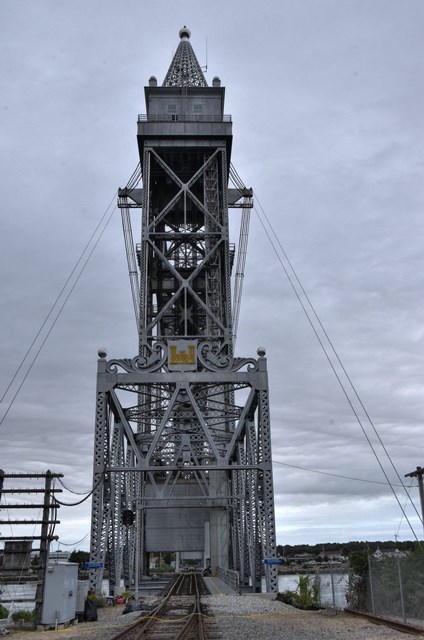


Portal views facing north.
![]()


Oblique views from southeast quadrant.
![]()

Photo Credit: Don Rogers, CC BY-NC-ND 2.0, https://flickr.com/photos/dsrogers/4011513388/
View beside bridge showing bridge in lowered position.
![]()


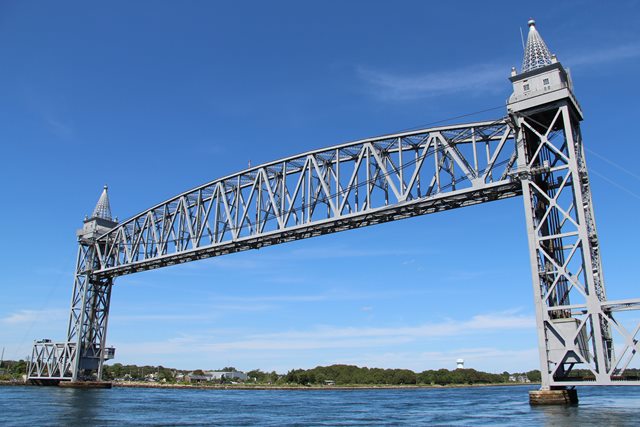
Photo Credit: C. Hanchey
Elevation.
![]()
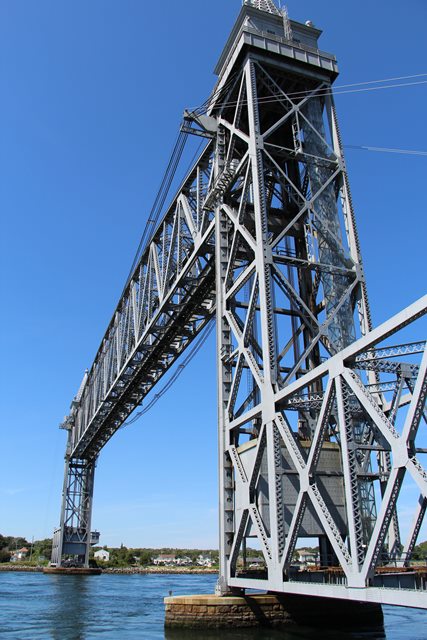
Photo Credit: C. Hanchey
View beside bridge.
![]()
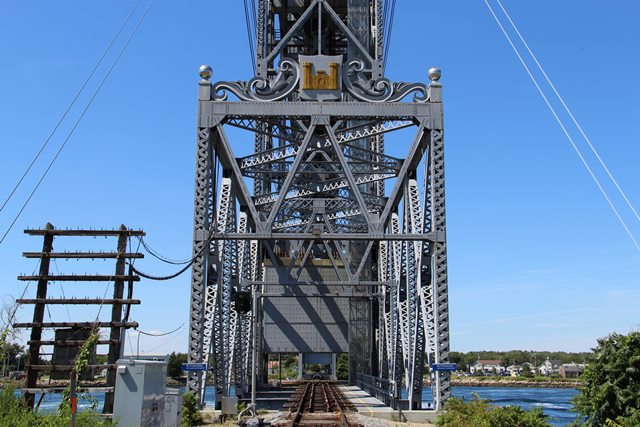

Photo Credit: C. Hanchey
Portal views.
![]()
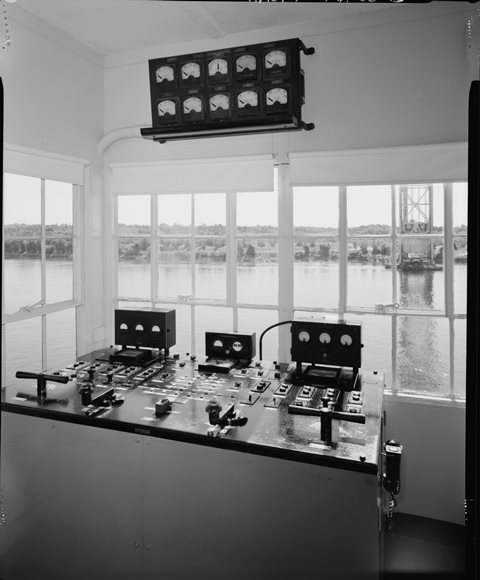
Photo Credit: Historic American Engineering Record
Control panel.
![]()
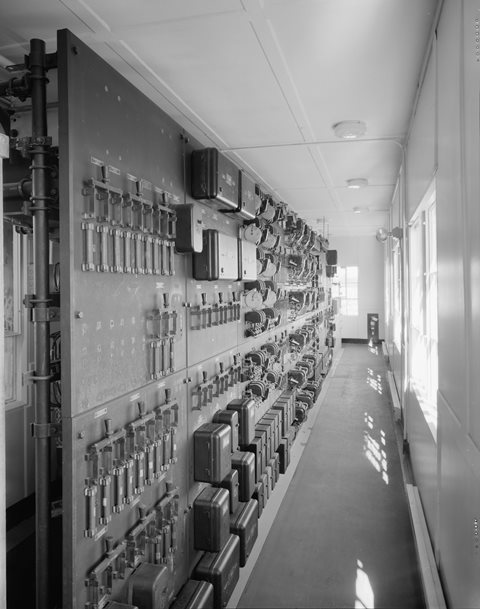

Photo Credit: Historic American Engineering Record
Electrical equipment.
![]()


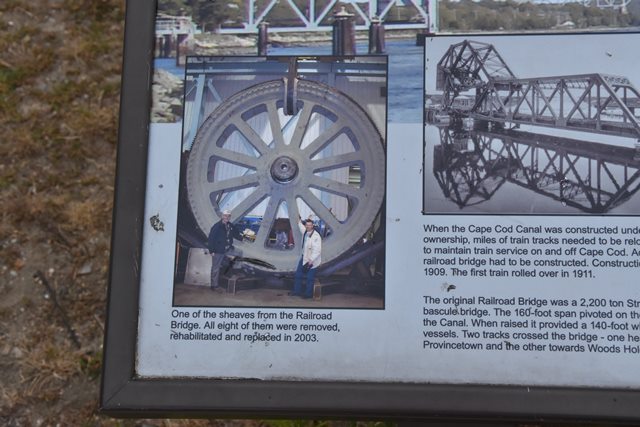
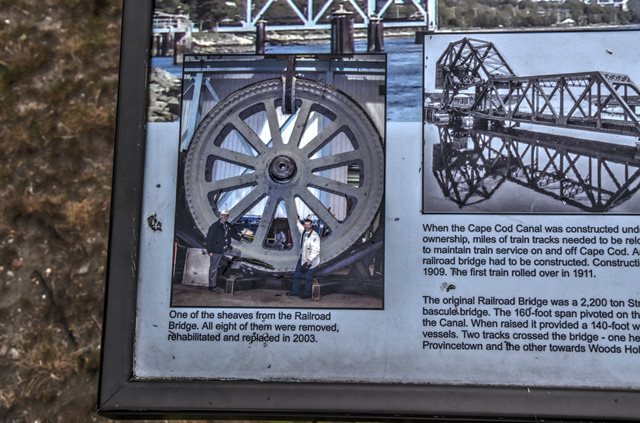

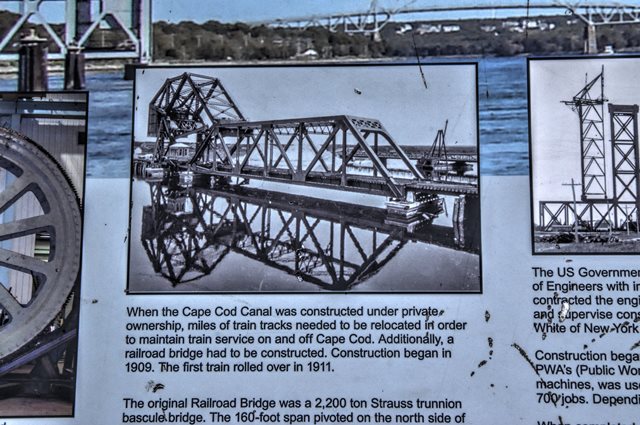
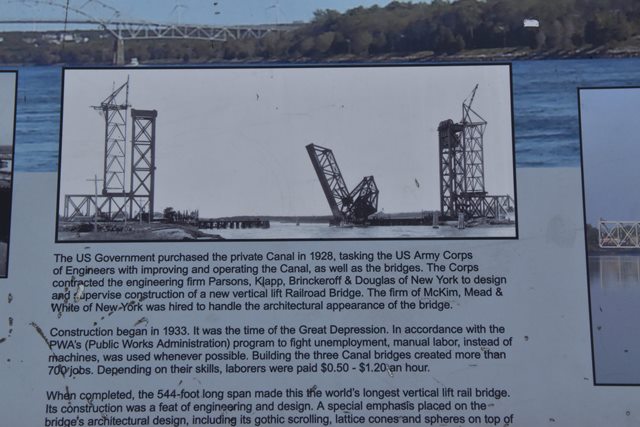

Interpretive sign.
![]()


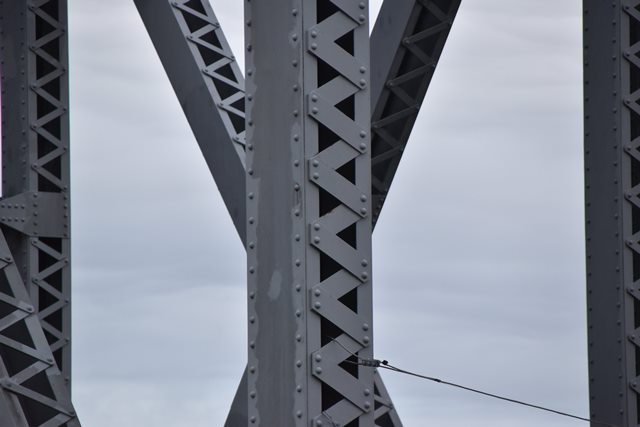
Approach truss web.
![]()


Tower and approach span.
![]()


Photo Credit: C. Hanchey
Towers.
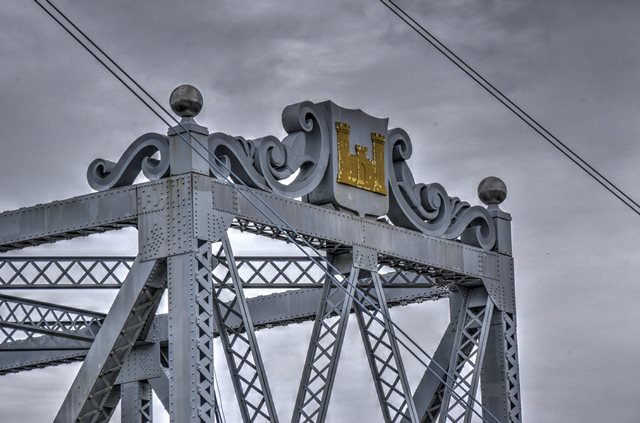
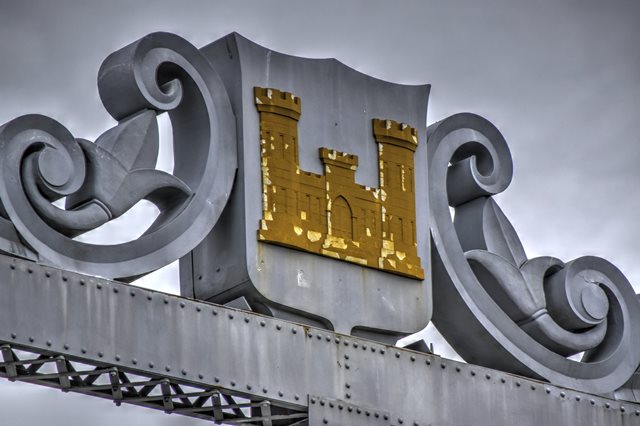
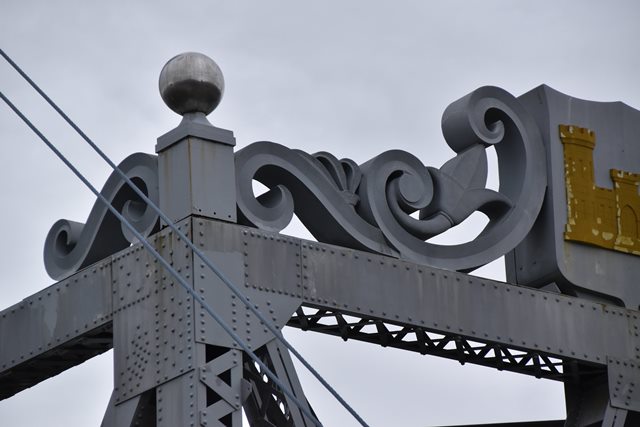
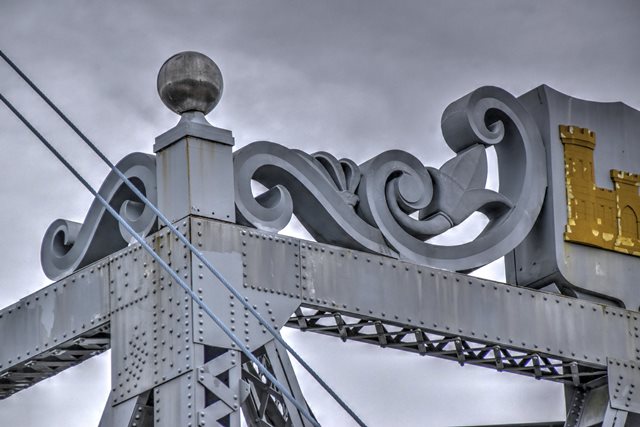
![]()

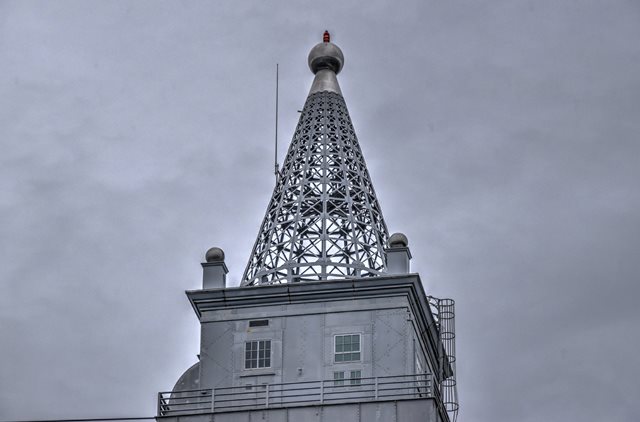

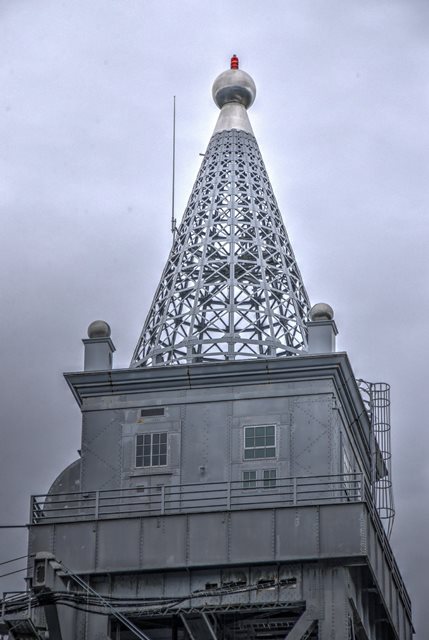


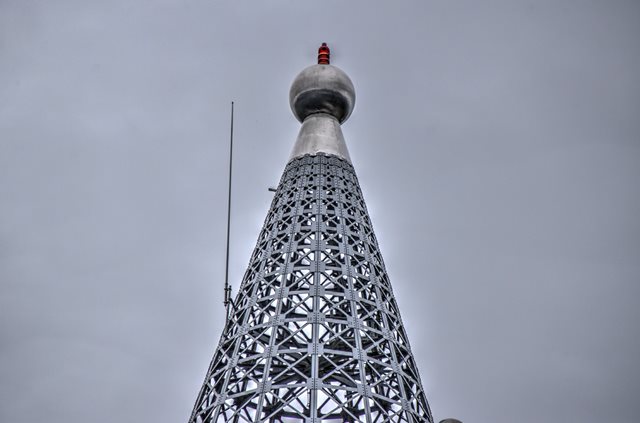

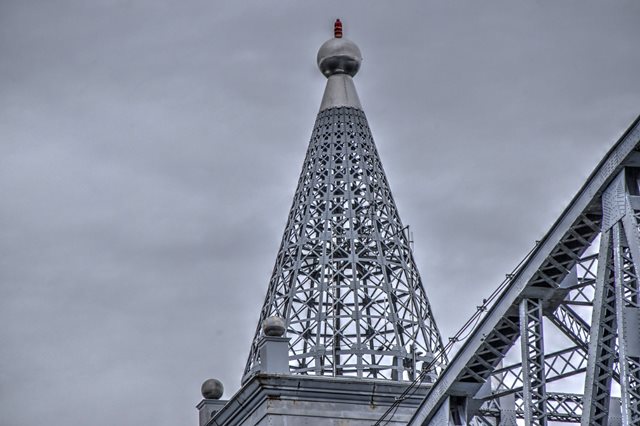

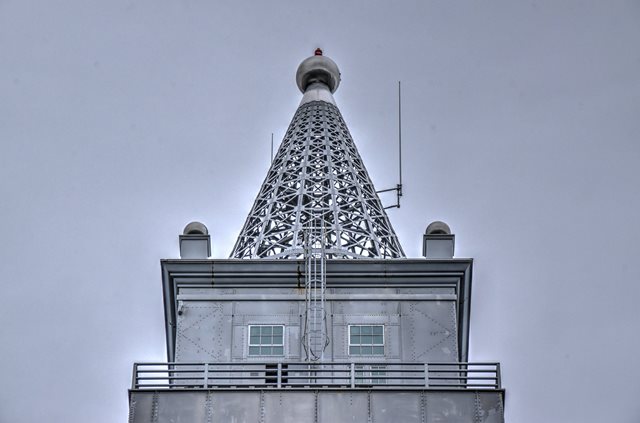
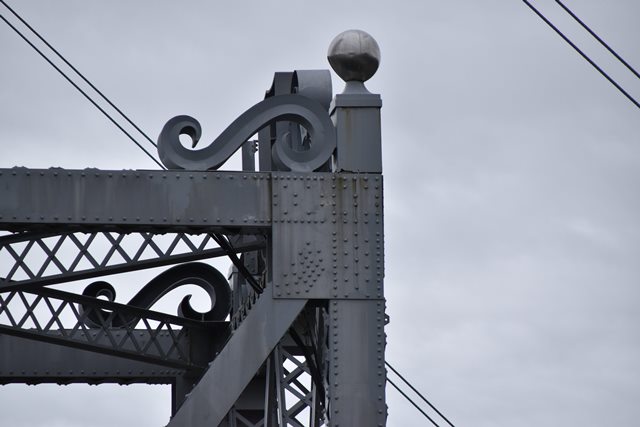
Tower finial.
![]()
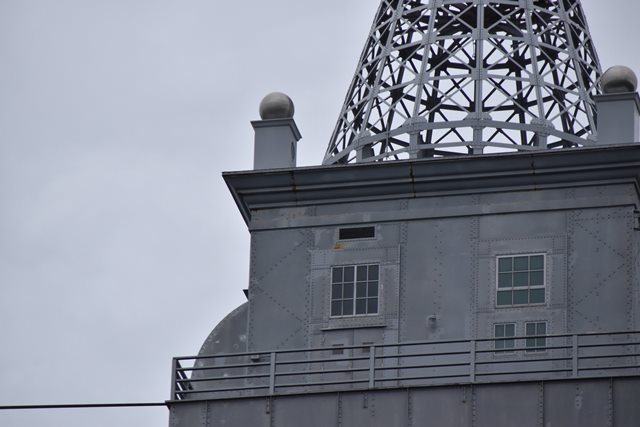
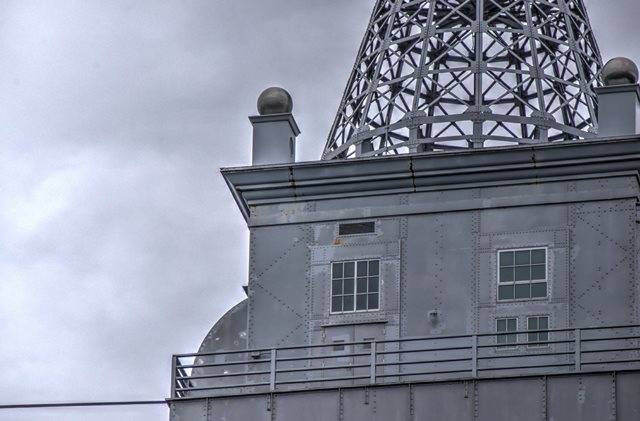

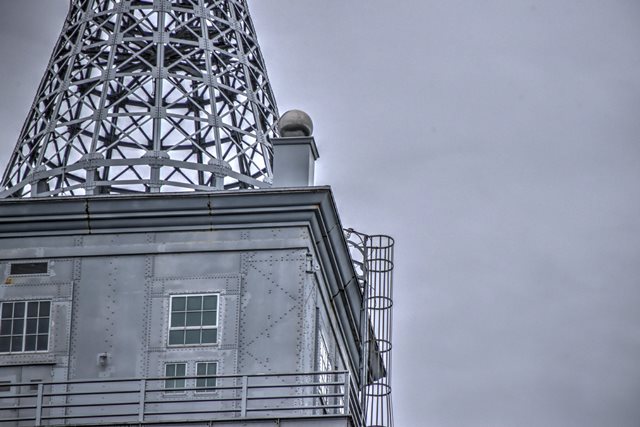


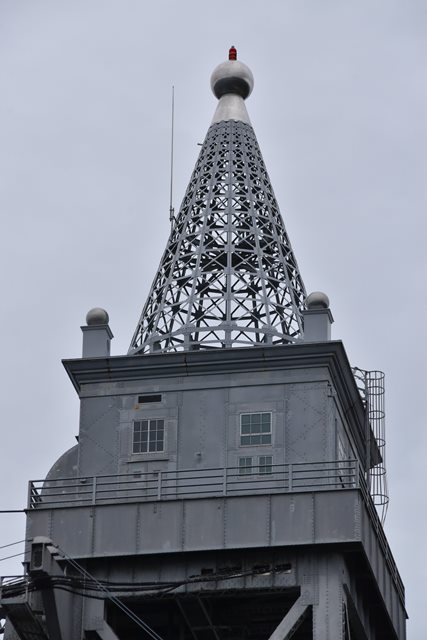
Tower house.
![]()
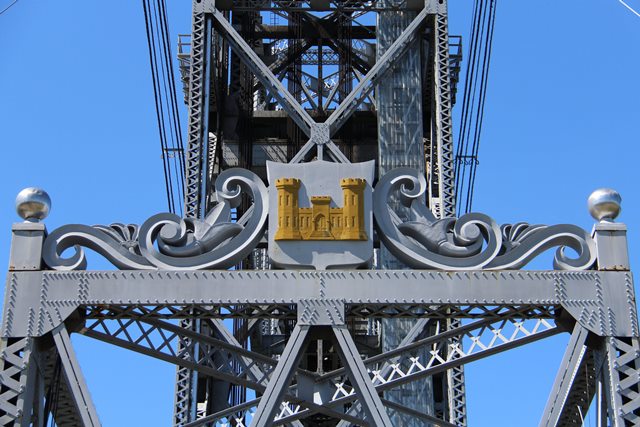
Photo Credit: C. Hanchey
Portal bracing.
![]()
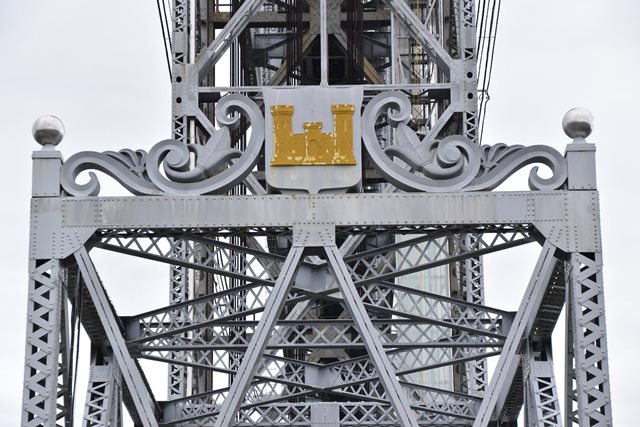


Portal bracing.
![]()


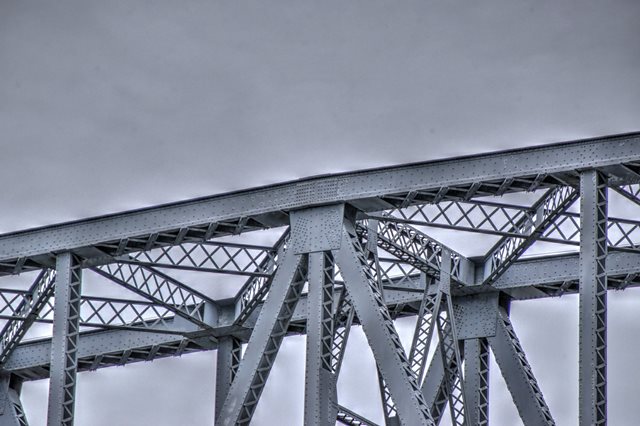

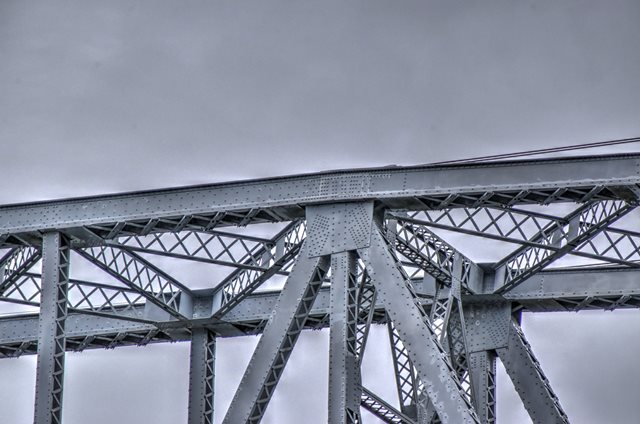
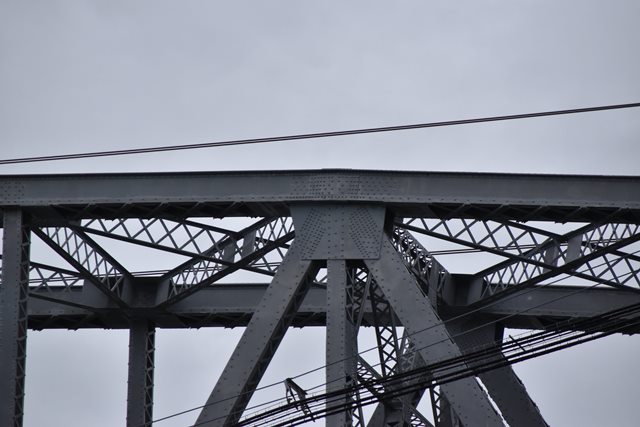

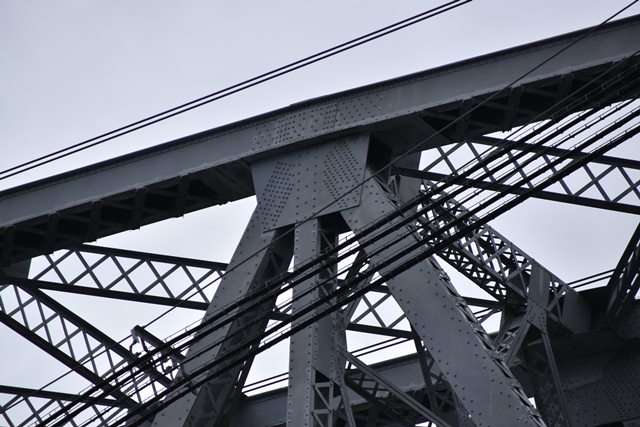


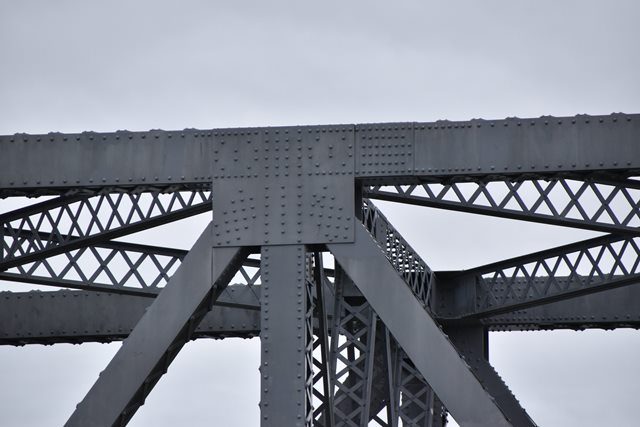


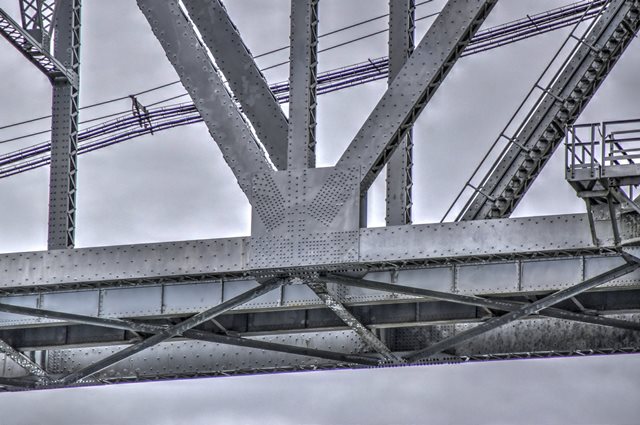
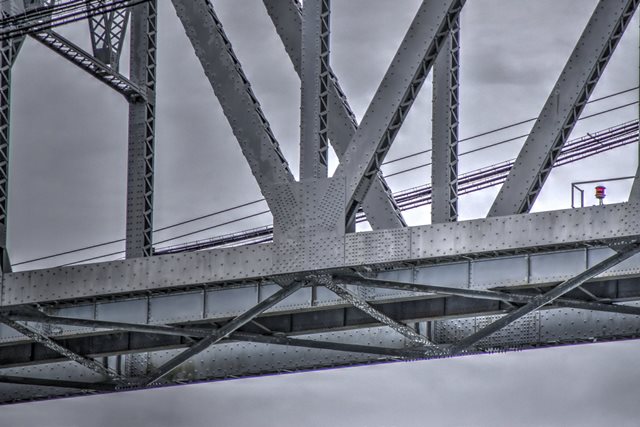
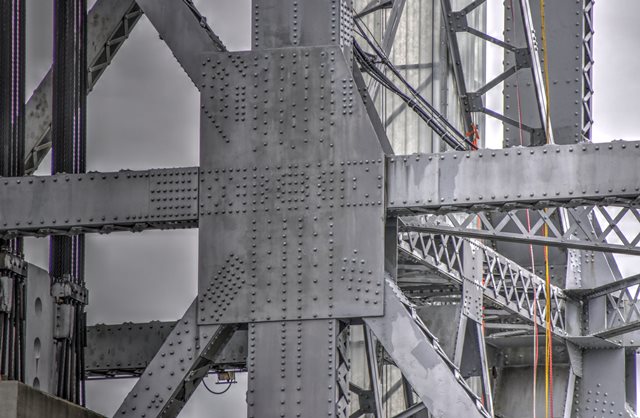
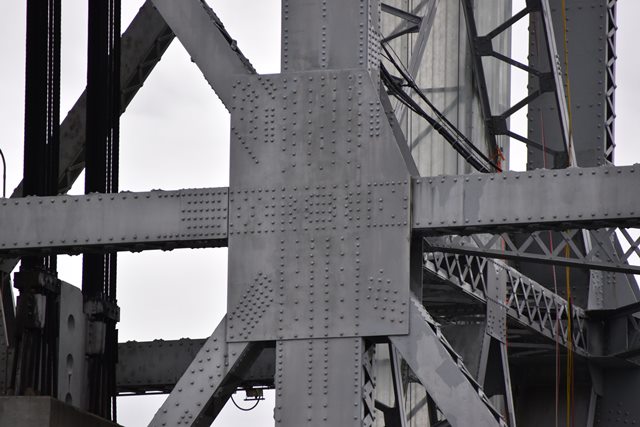
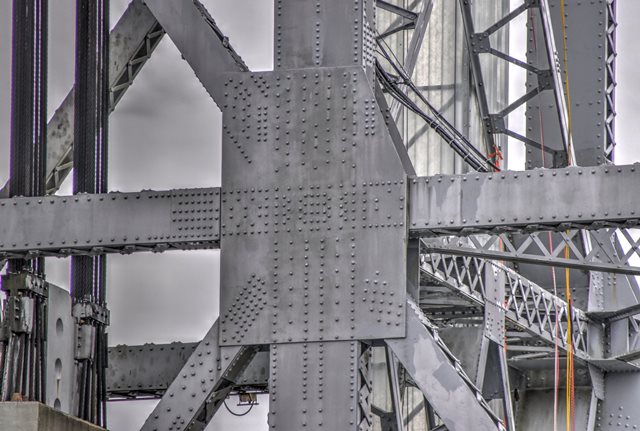
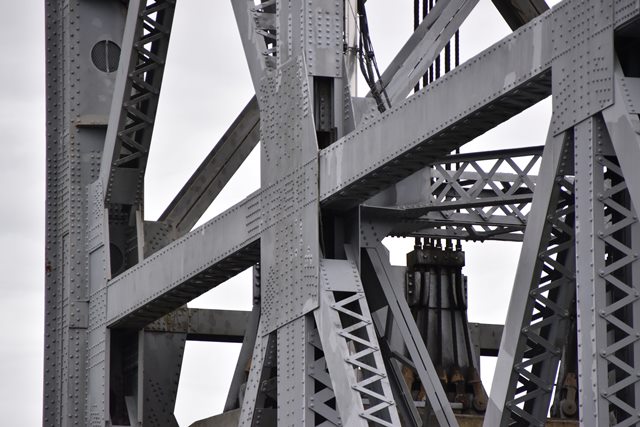
Top chord connections as viewed from beside bridge.
![]()


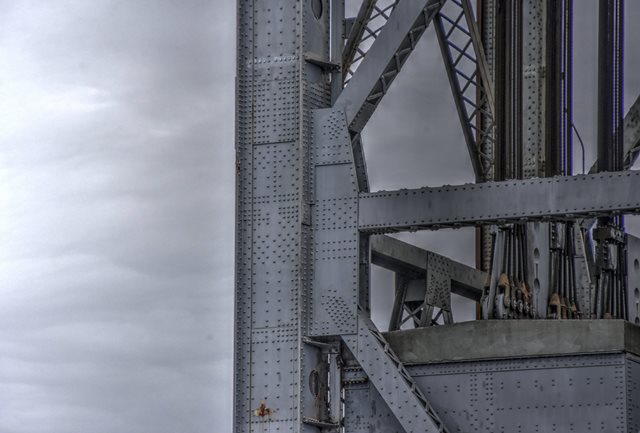
Bottom chord connections as viewed from beside bridge.
![]()


Bearings.
![]()


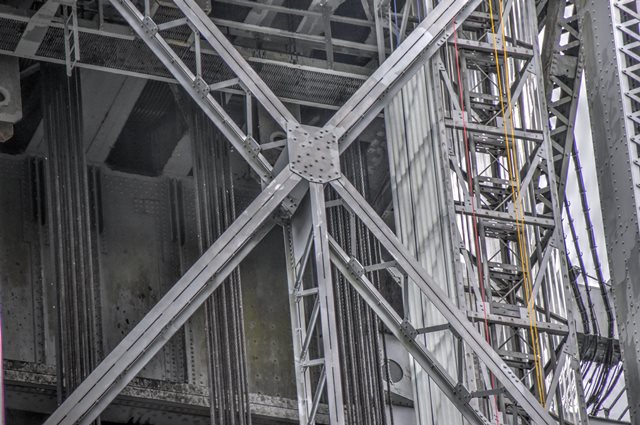
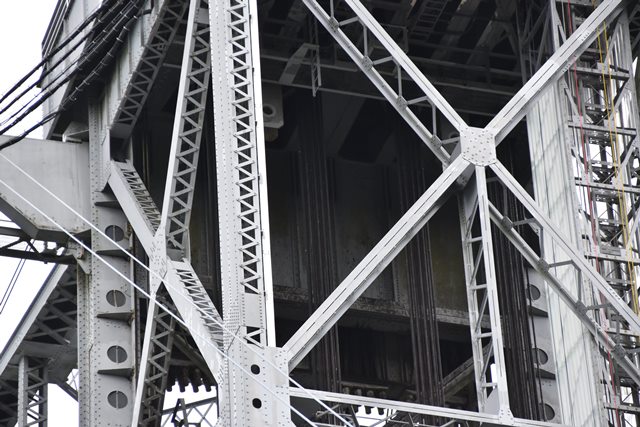


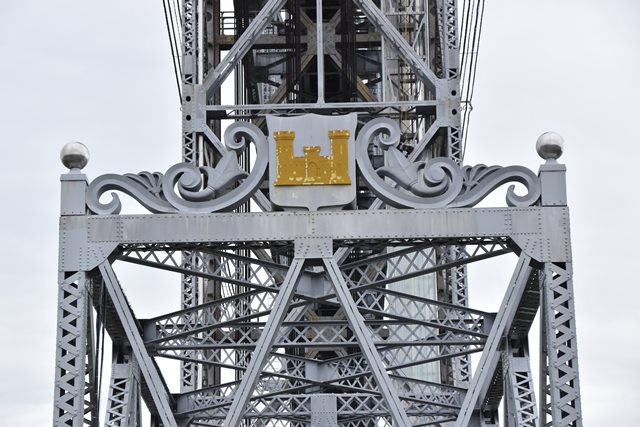
Tower details.
![]()
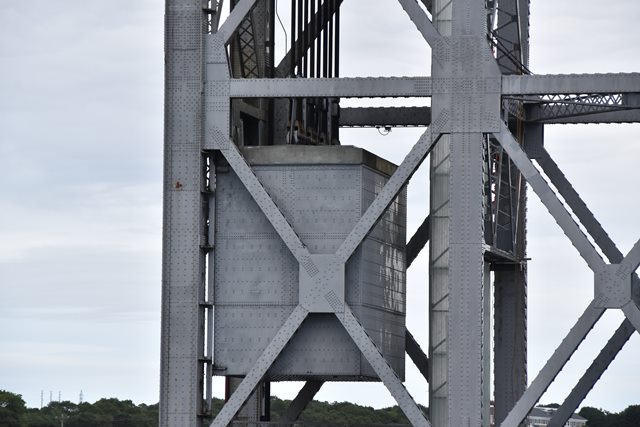


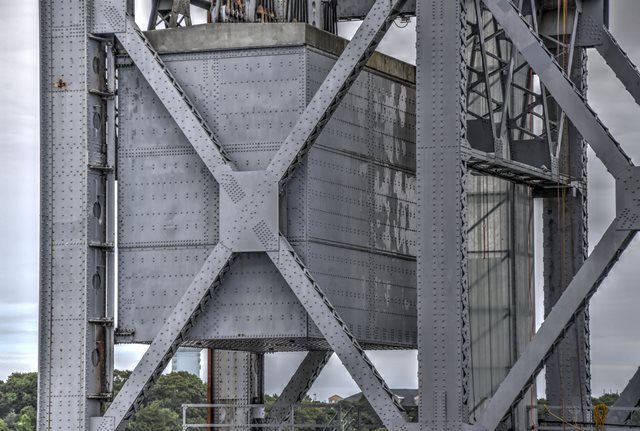
Counterweight.
![]()
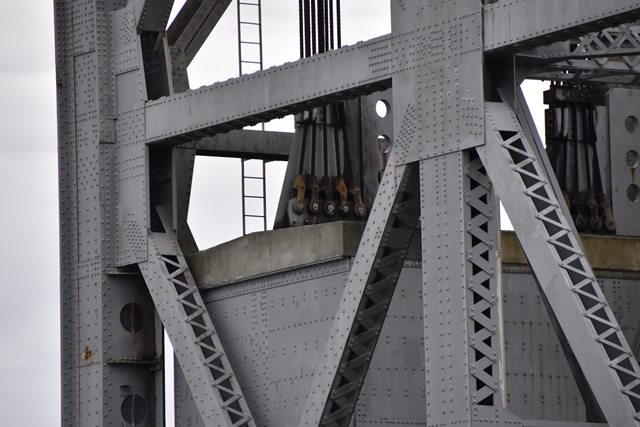
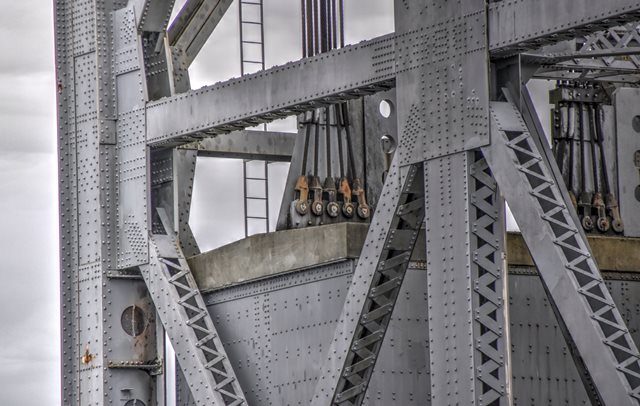

Cable connection to counterweight.
![]()
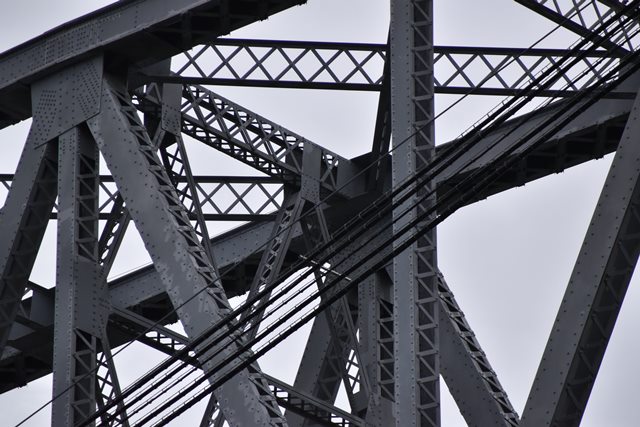

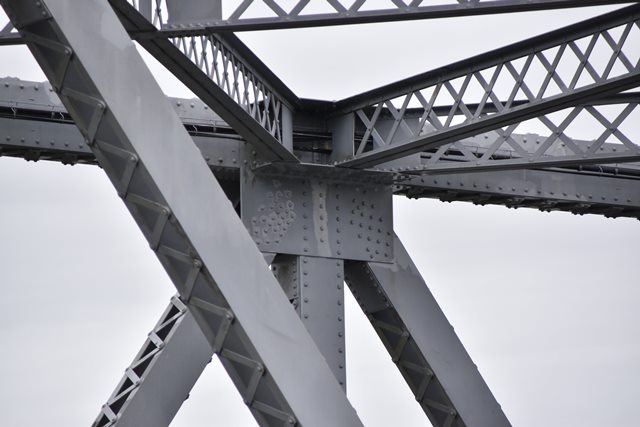
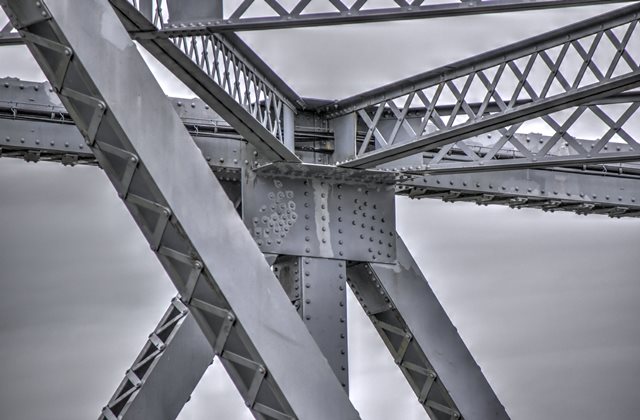
Sway bracing.
![]()


End post.
![]()

Abutment.
![]()
![]()
| Back |
| Home |
| Top |

![]()