Uncredited photos on this page taken by: Nathan Holth. Unless stated in a caption, all photos are Copyright with All Rights Reserved. Learn about reuse of our photos.
![]()


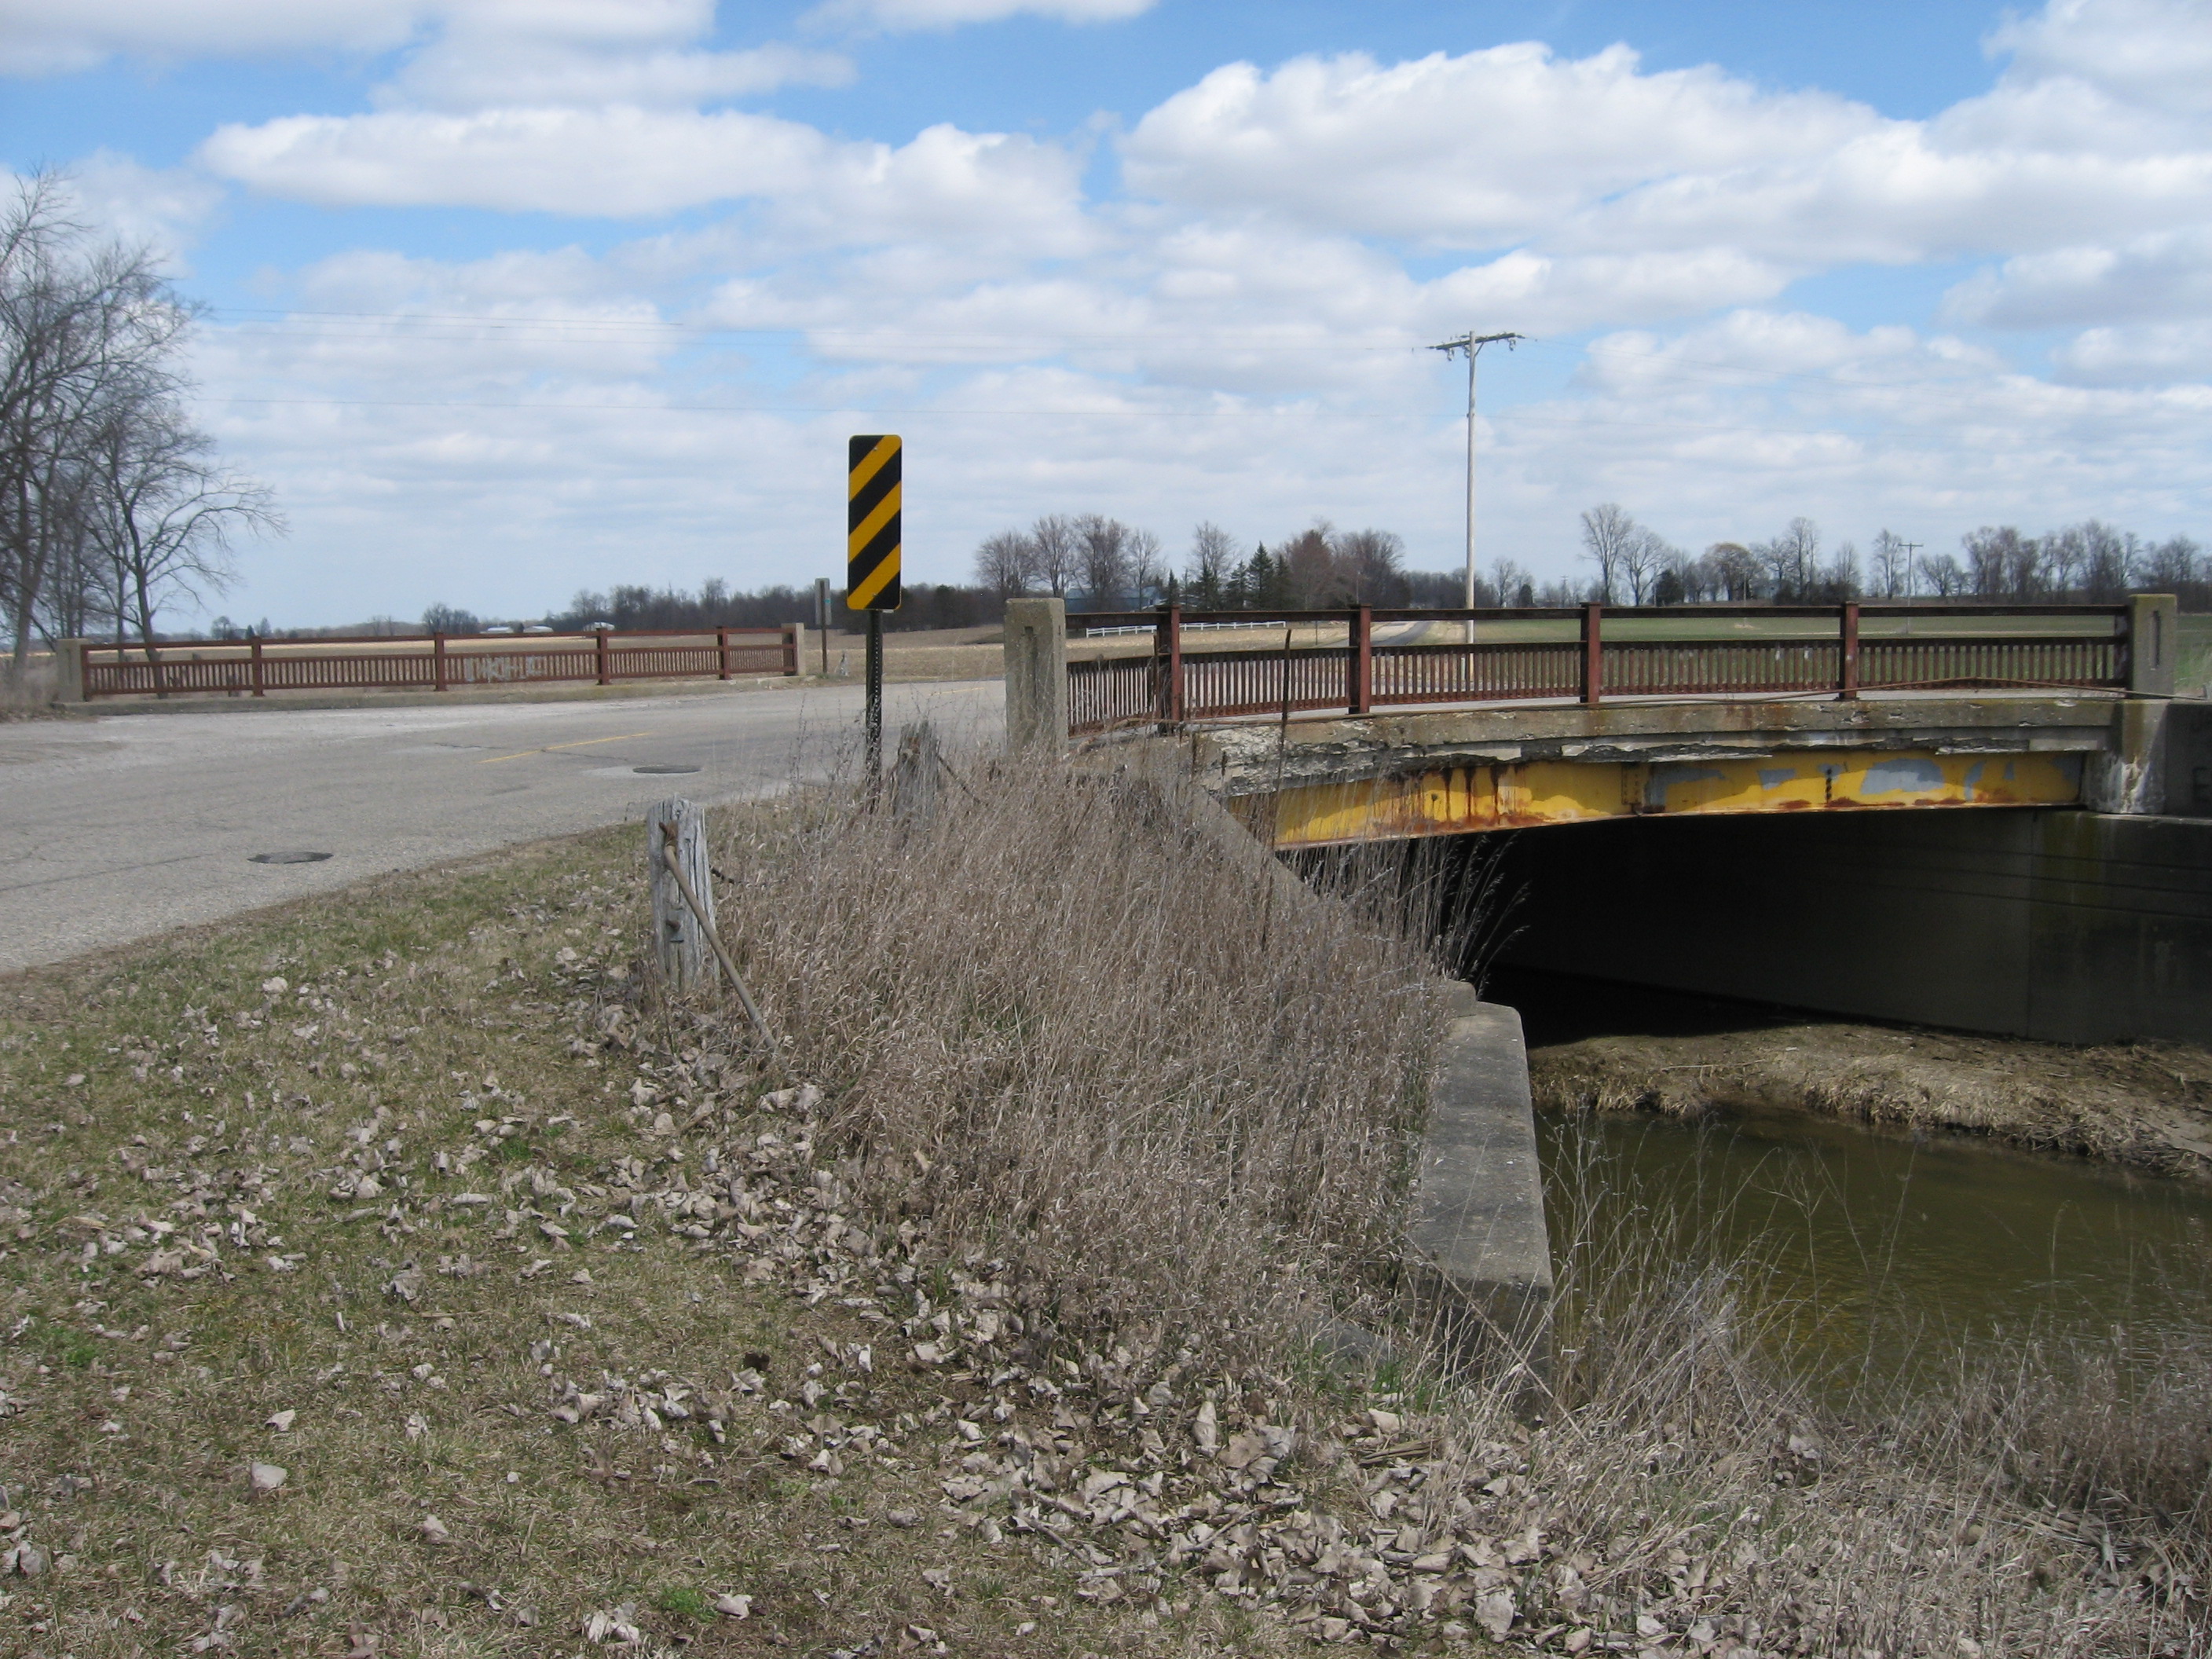
Views beside bridge from southeast quadrant.
![]()


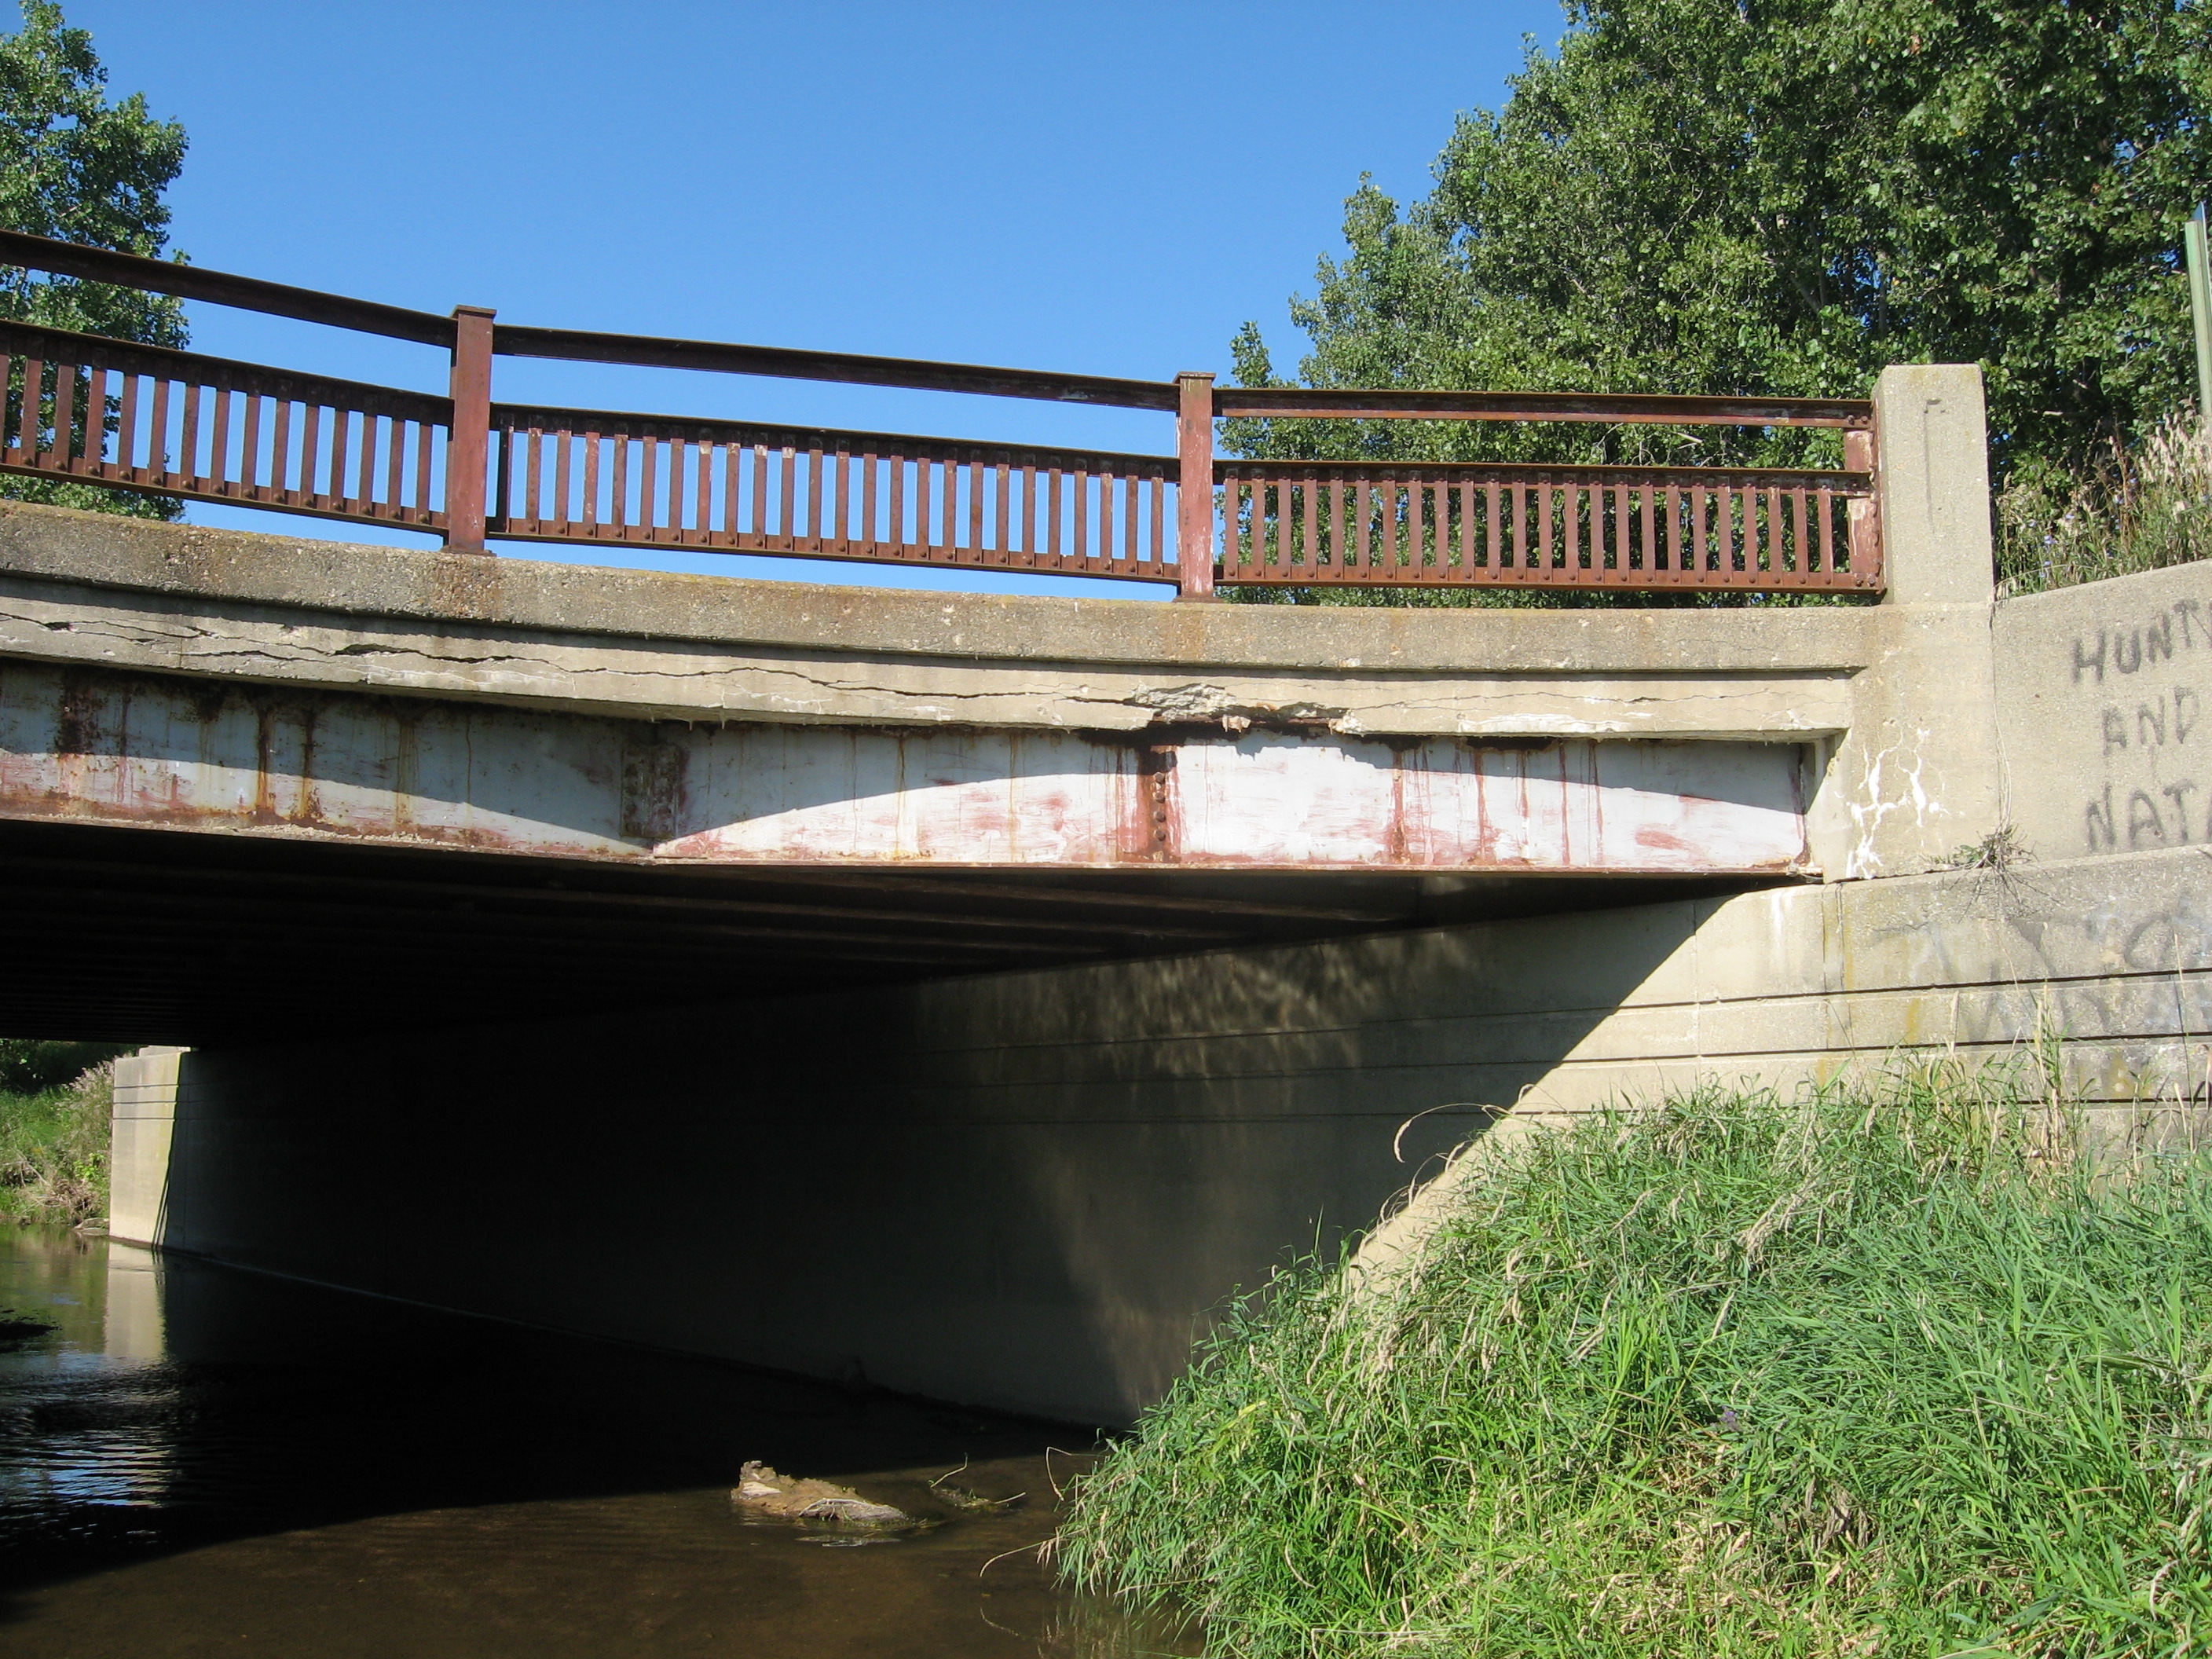
Elevation from southeast quadrant.
![]()


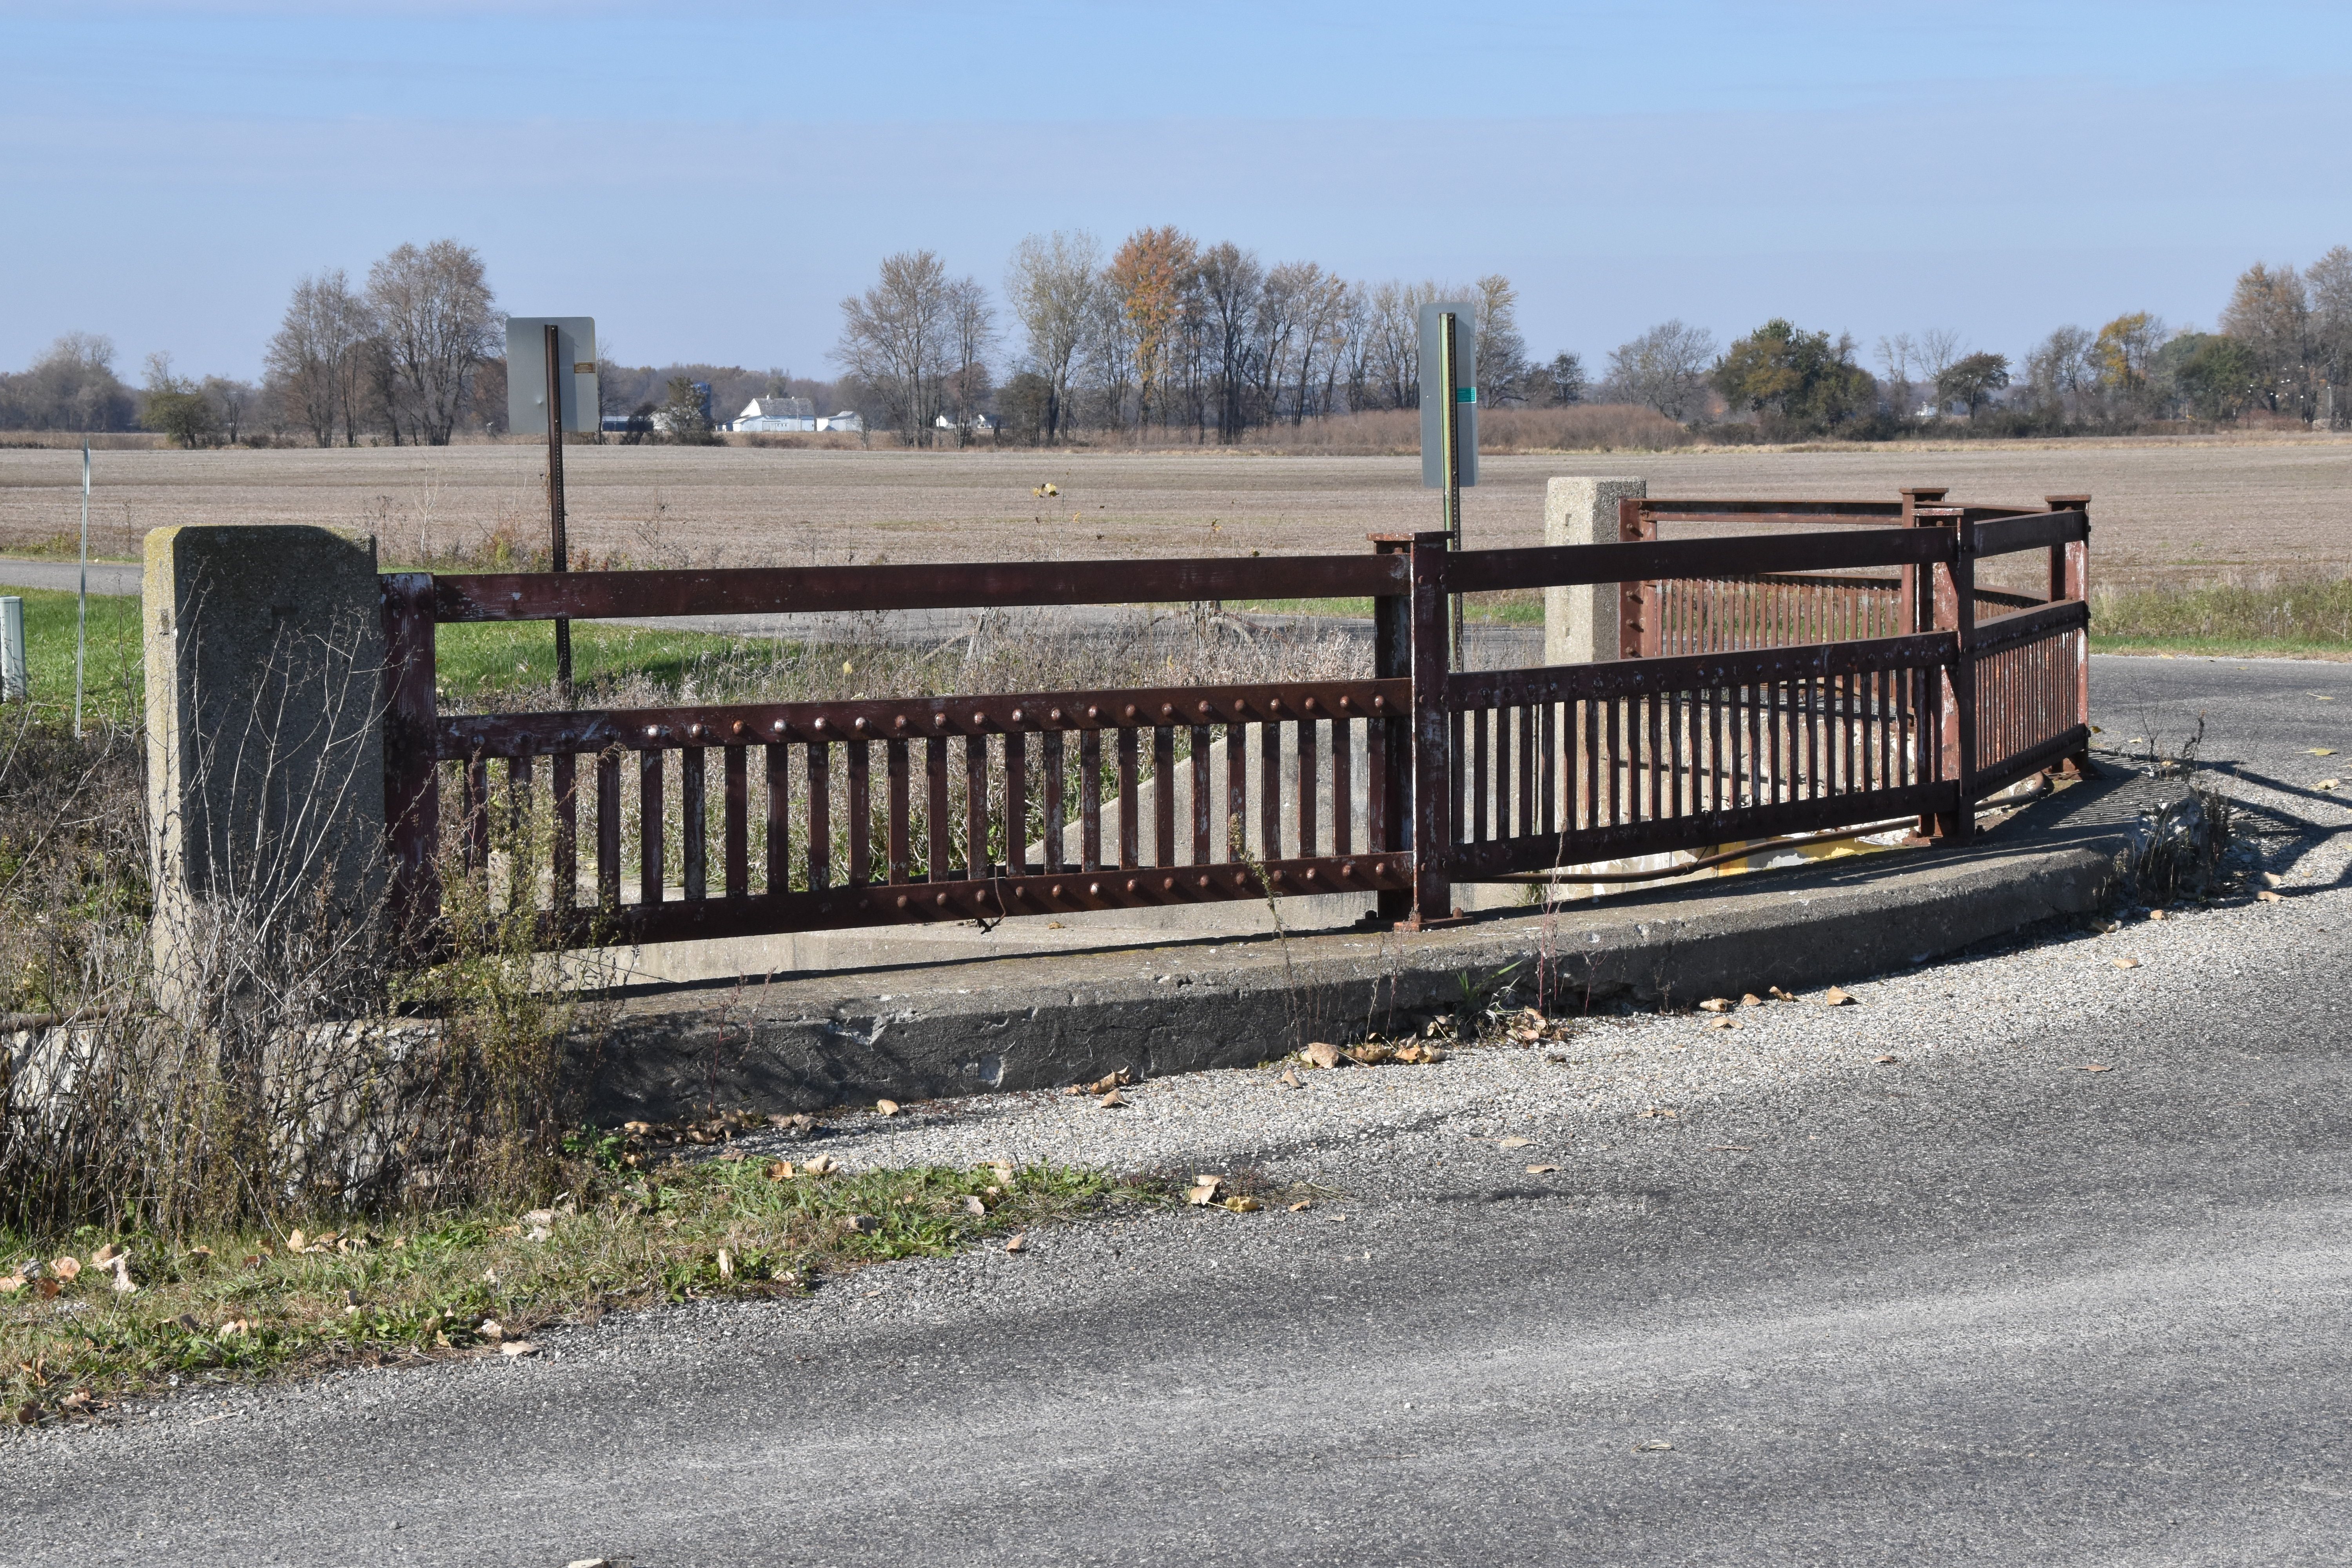
Views beside bridge from northeast quadrant.
![]()


View looking north.
![]()


Plaque.
![]()


Deck and railing overview.
![]()


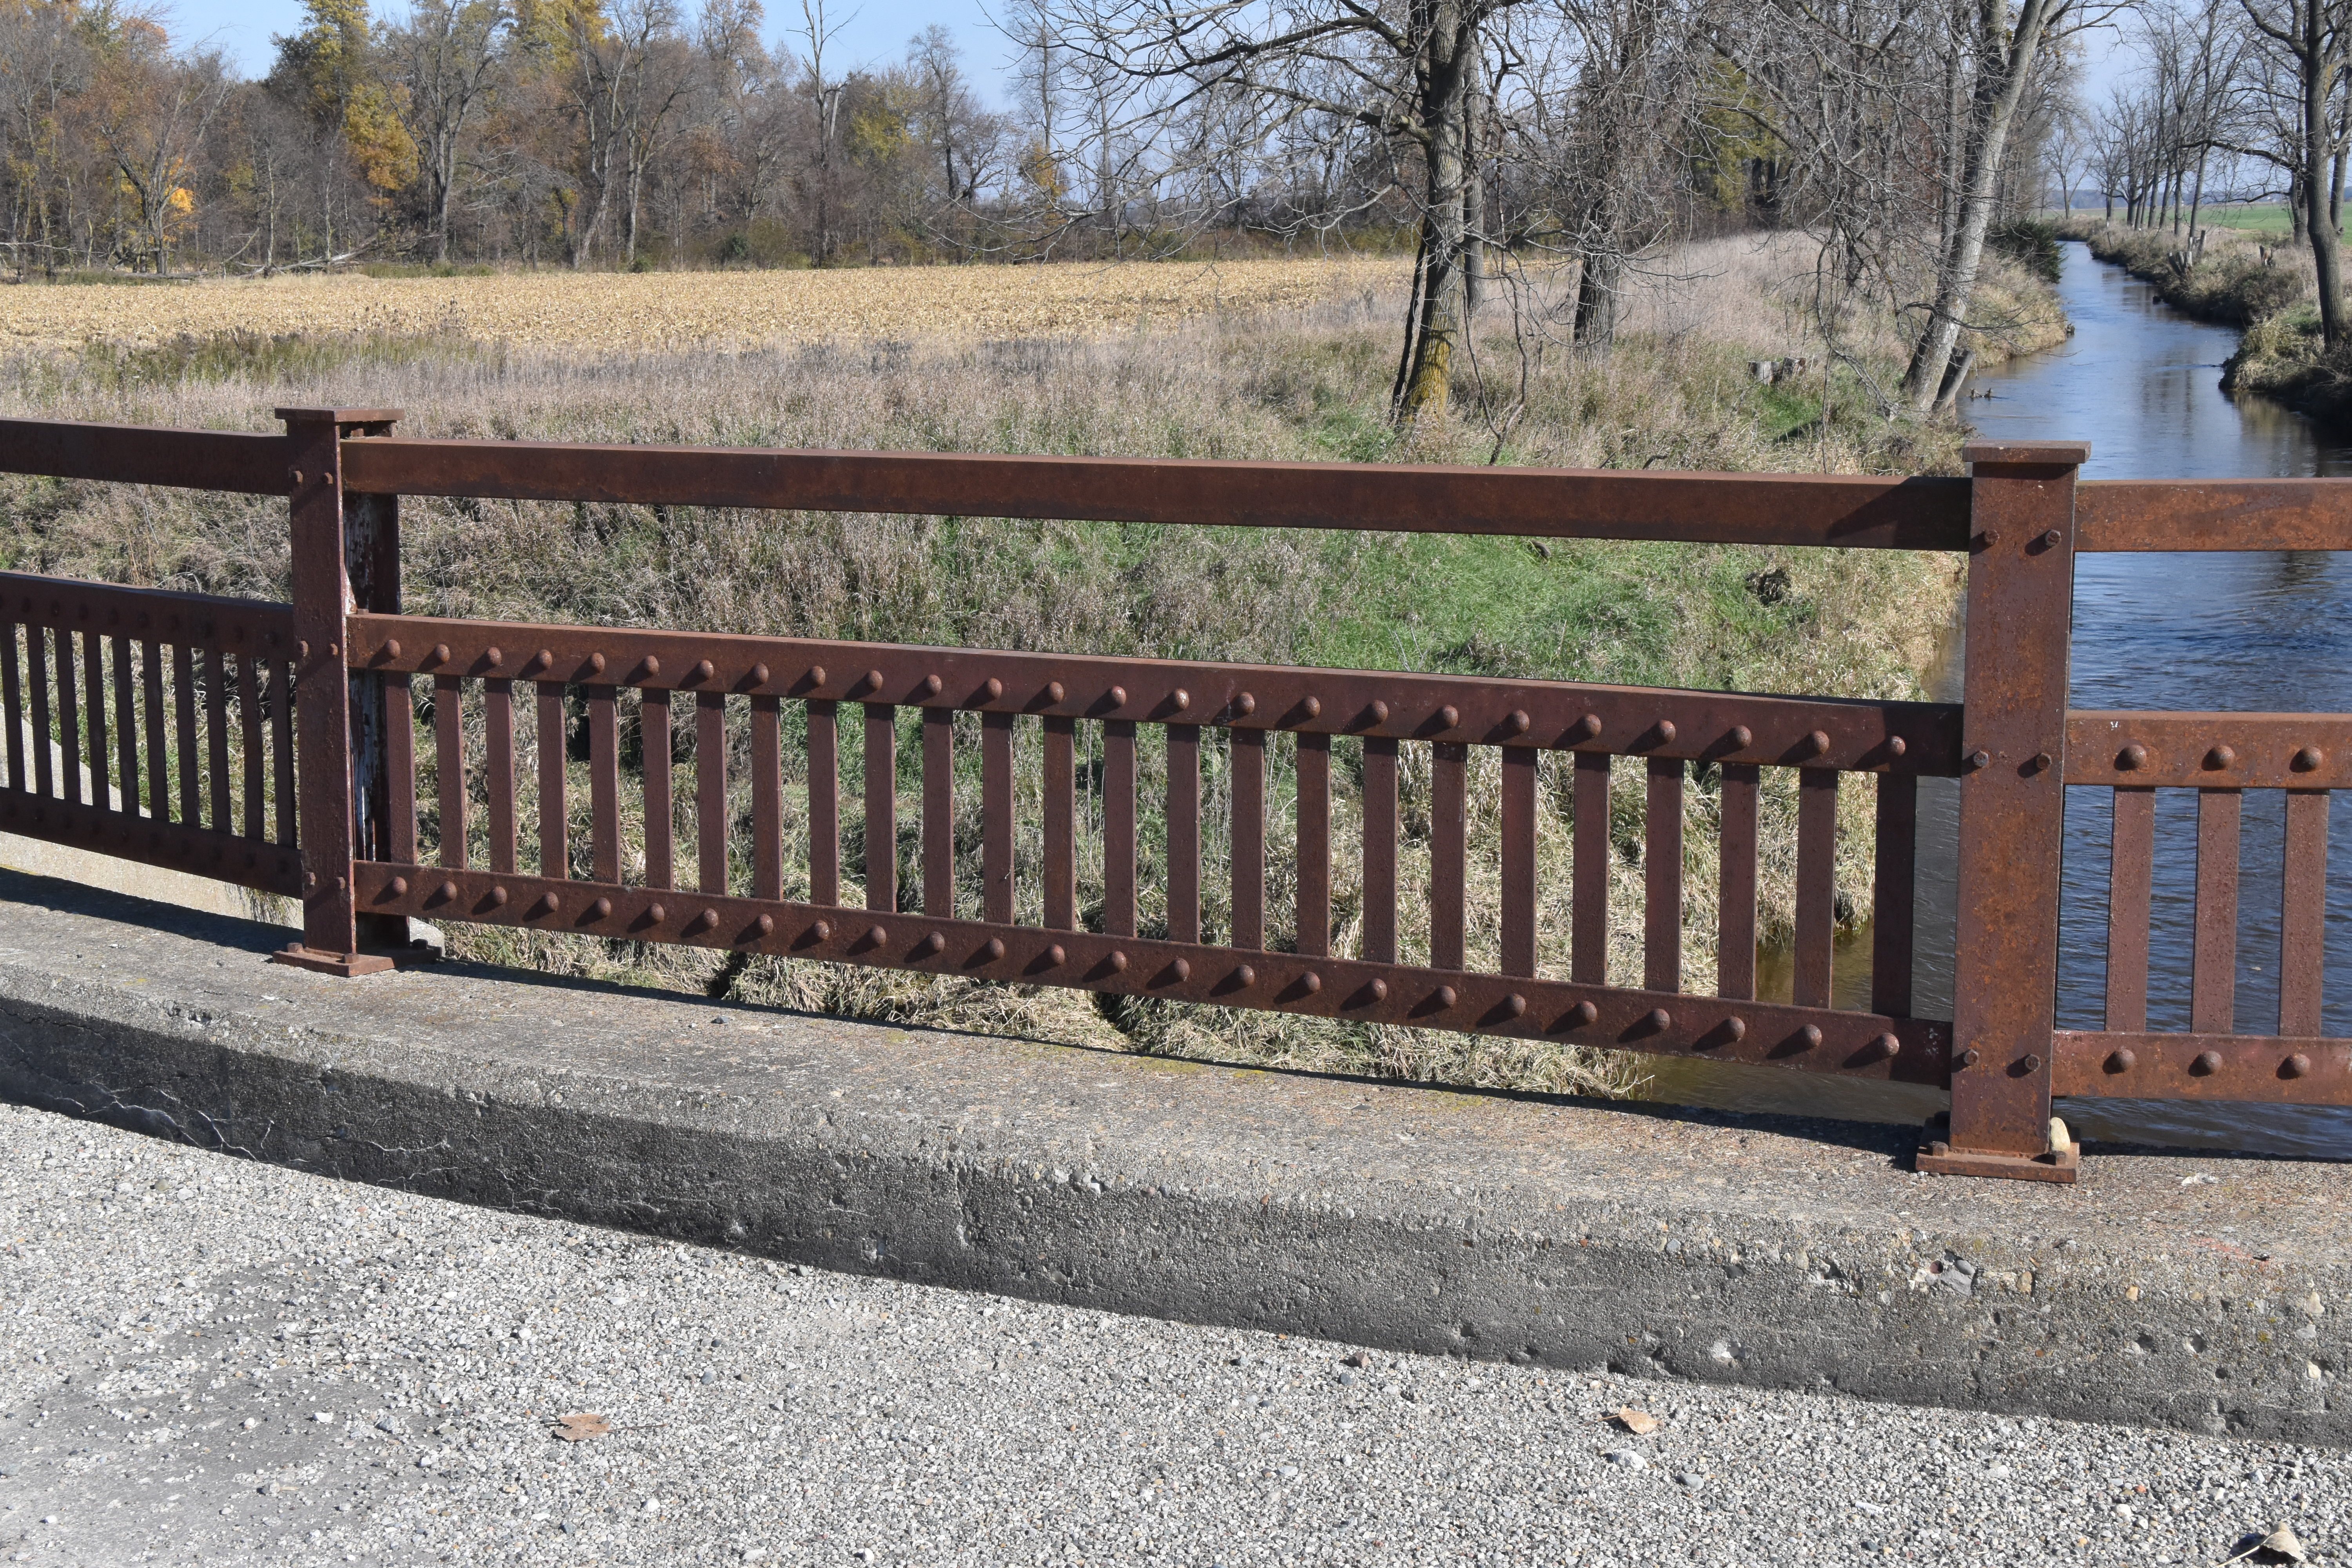


Railing.
![]()


Abutment.
![]()


Stringer detail.
![]()

Approach railing.
![]()


Photo Credit: Paul Plassman
Elevation.
![]()
Photo Credit: Paul Plassman
Elevation, closer to mid-span.
![]()
Photo Credit: Paul Plassman
Views beside bridge.
![]()
Photo Credit: Paul Plassman
Portal views.
![]()
Photo Credit: Paul Plassman
Deck and railing overview.
![]()
Photo Credit: Paul Plassman
Views under bridge.
![]()


Photo Credit: Paul Plassman
Diaphragms.
![]()


Photo Credit: Paul Plassman
Fascia stringers.
![]()


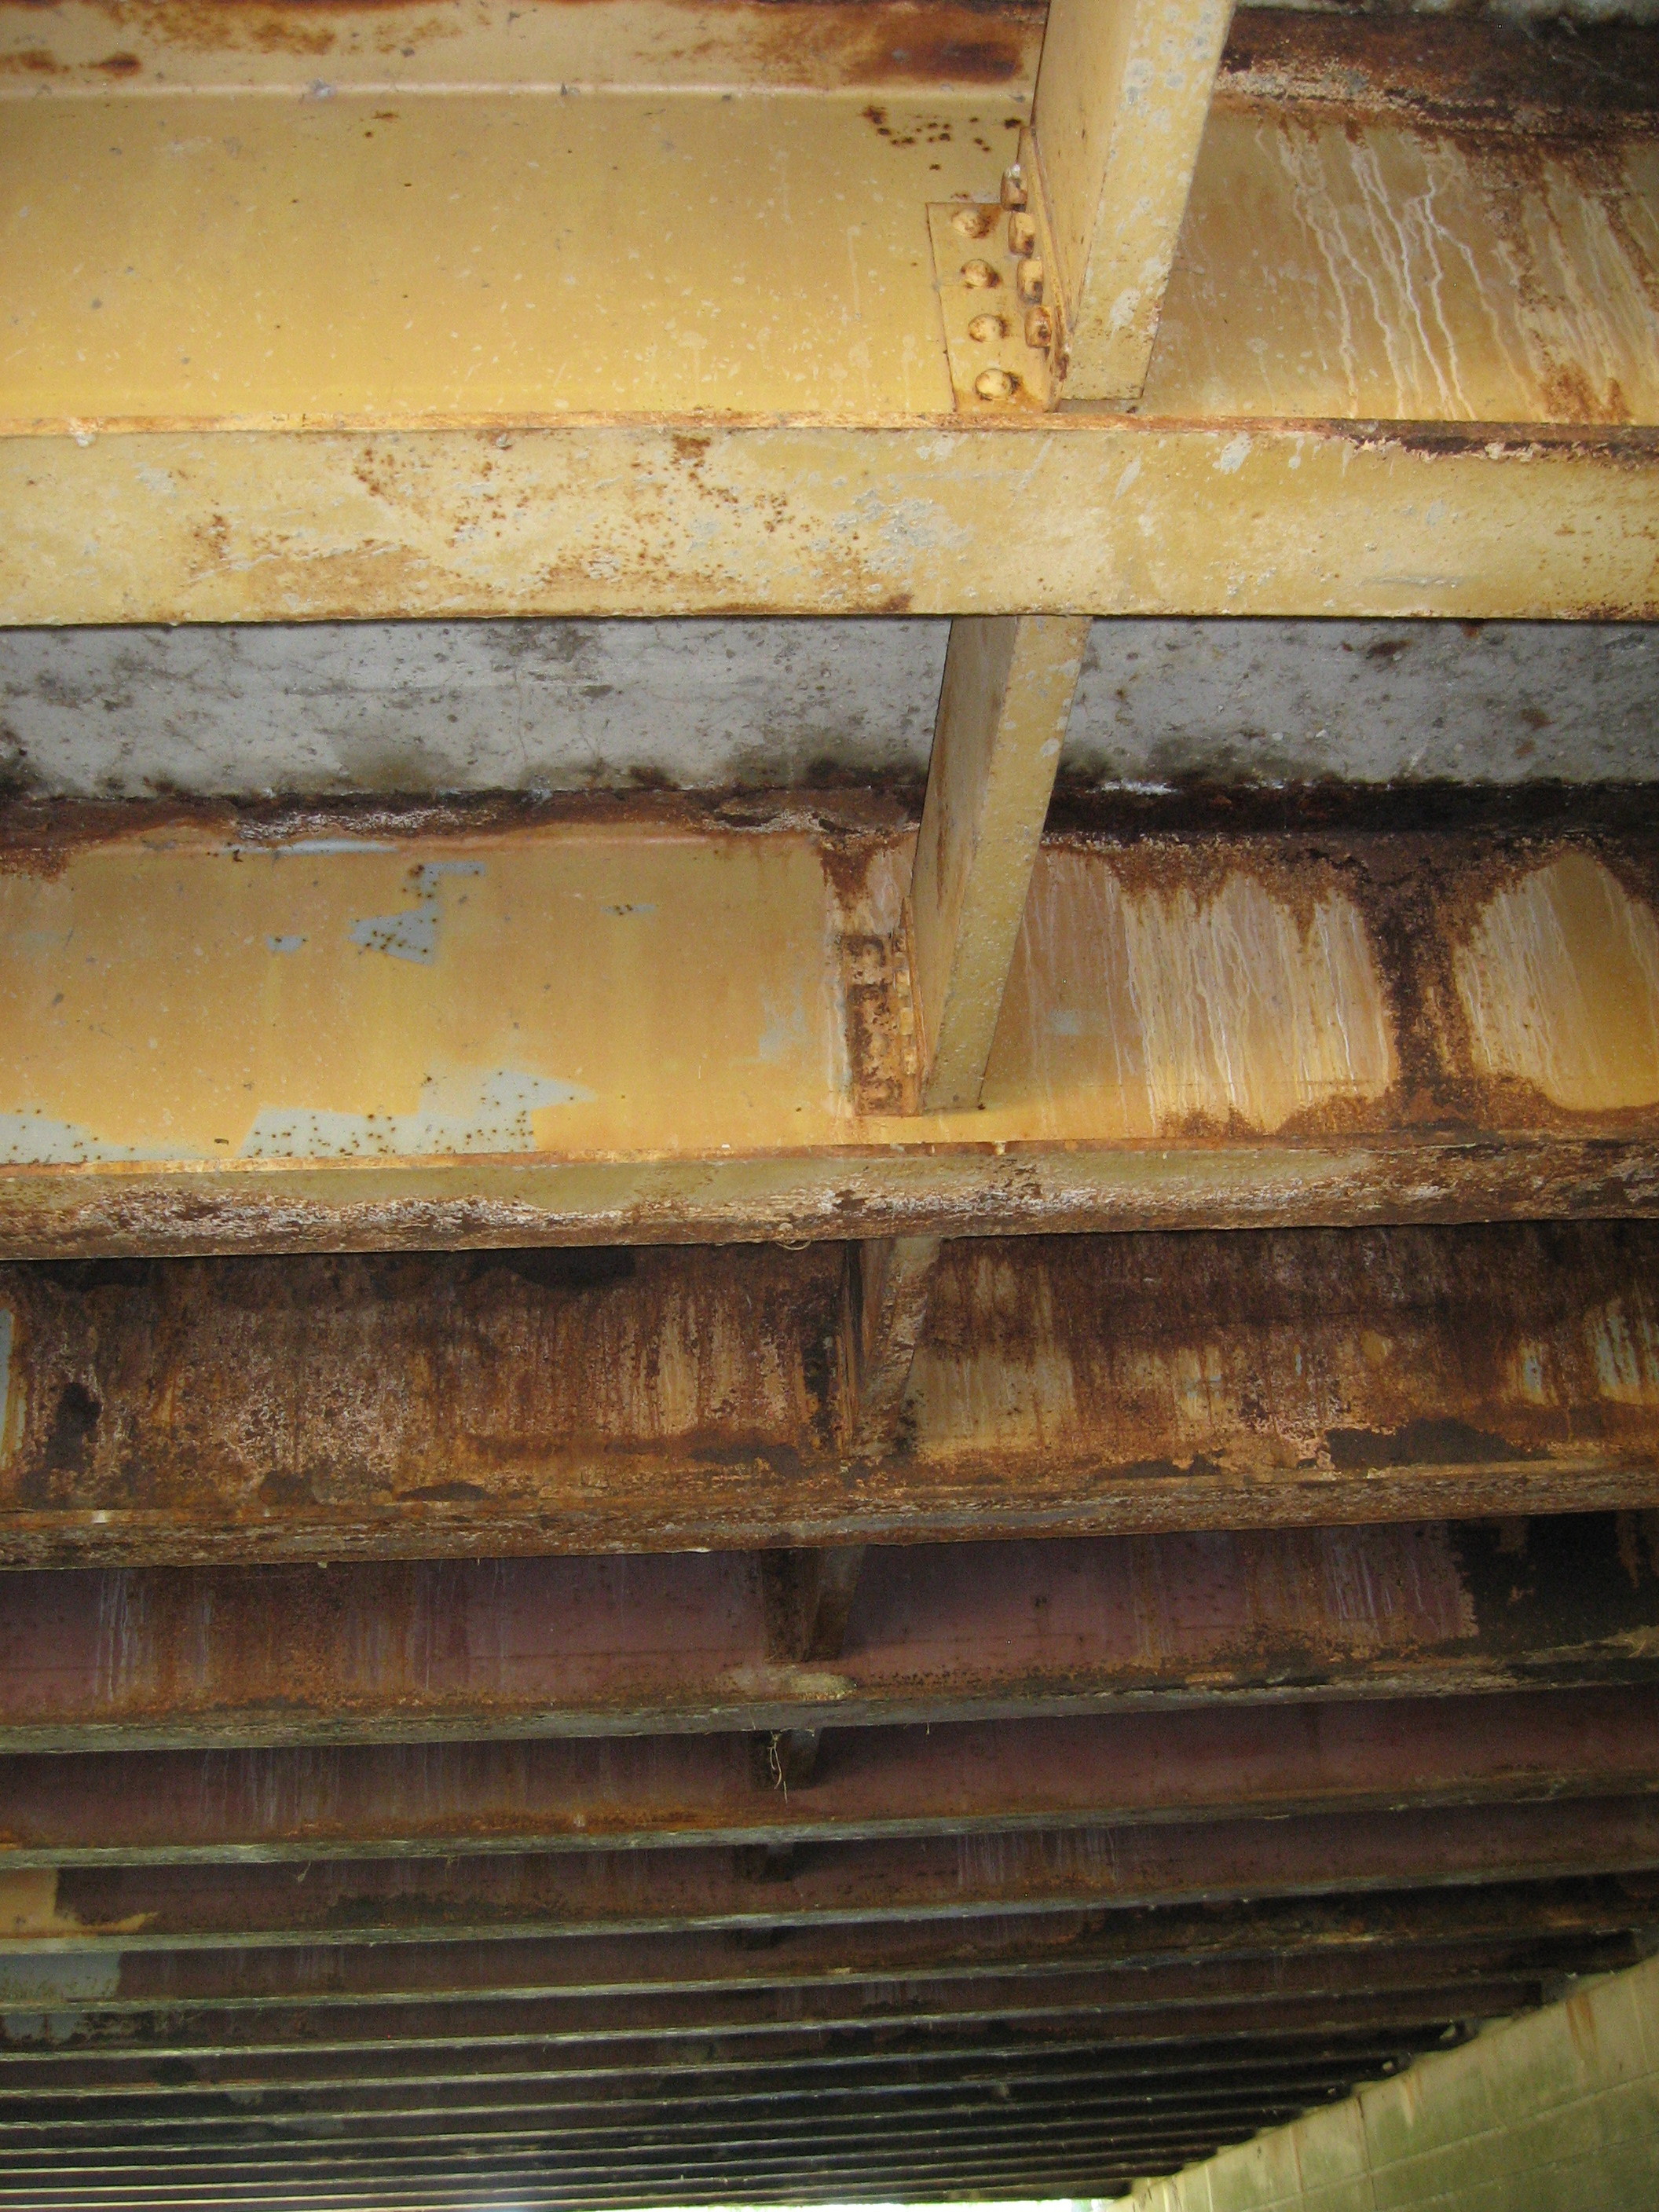


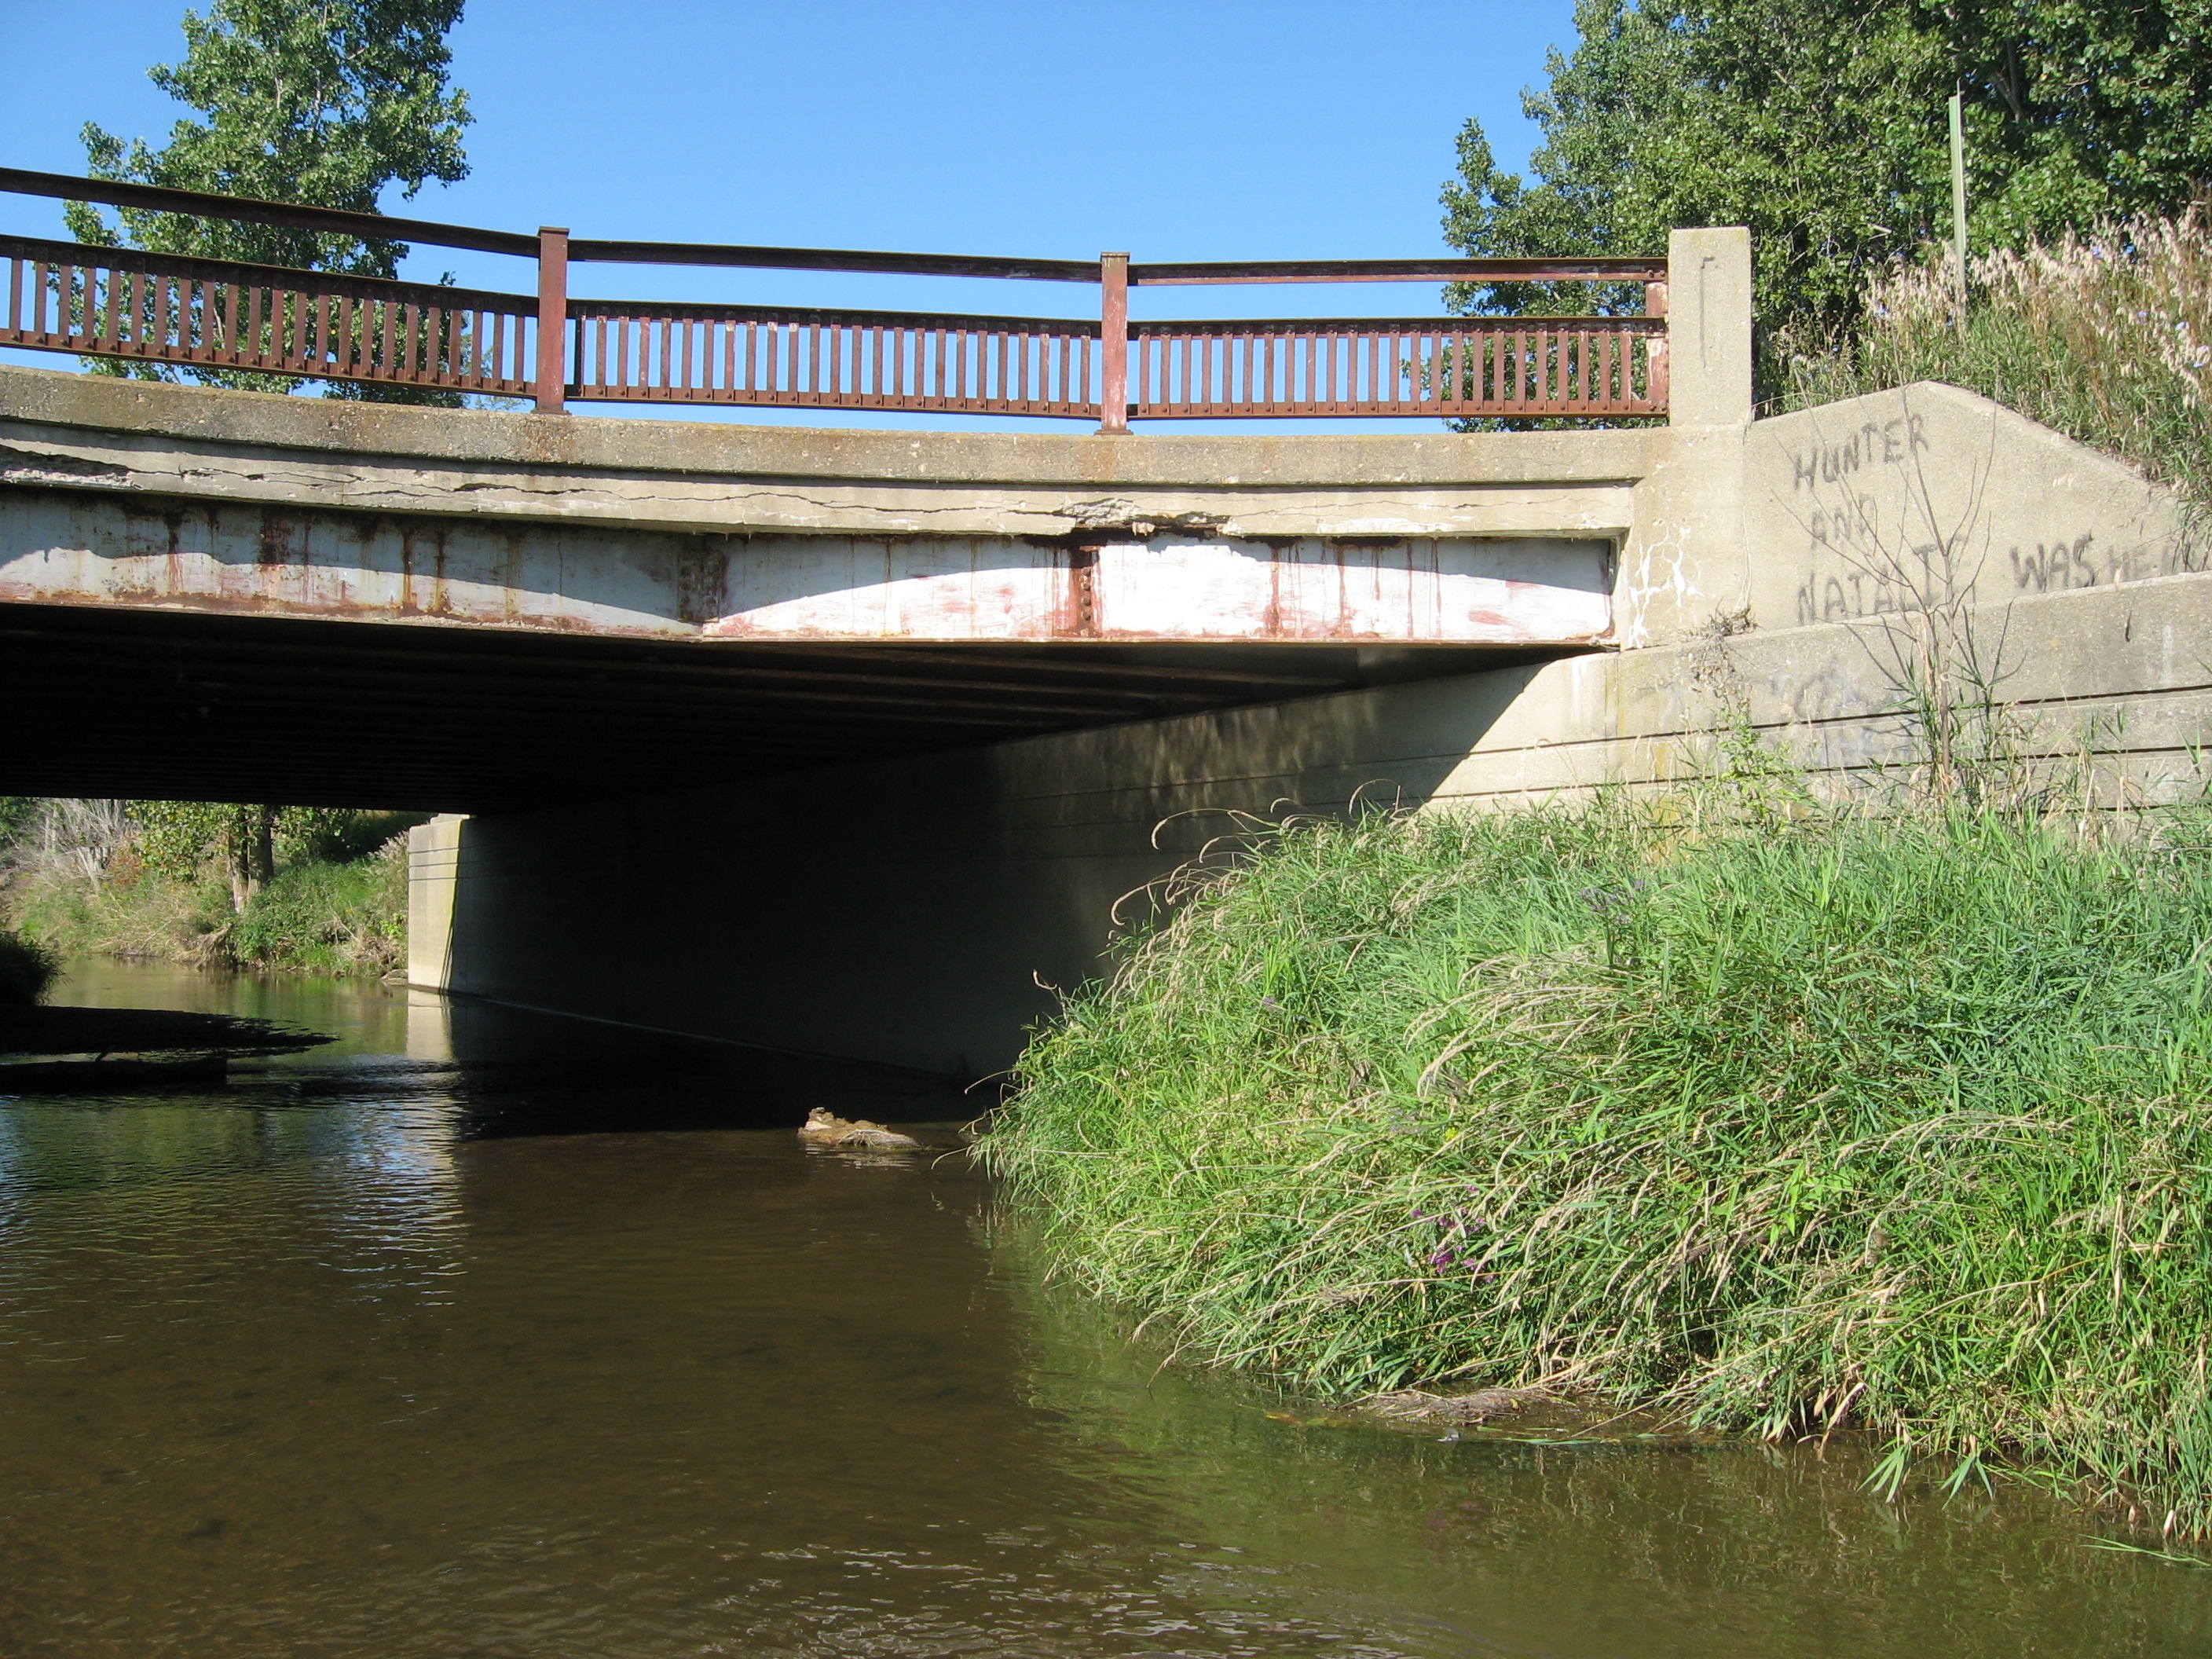


Photo Credit: Paul Plassman
Stringer details.
![]()
Photo Credit: Paul Plassman
Abutments.
![]()


Photo Credit: Paul Plassman
Railing.
![]()

Photo Credit: Paul Plassman
Posted weight limit.
![]()

Photo Credit: Paul Plassman
View from bridge.
![]()
![]()
| Back |
| Home |
| Top |

![]()