
Uncredited photos on this page taken by: Nathan Holth. Unless stated in a caption, all photos are Copyright with All Rights Reserved. Learn about reuse of our photos.
![]()

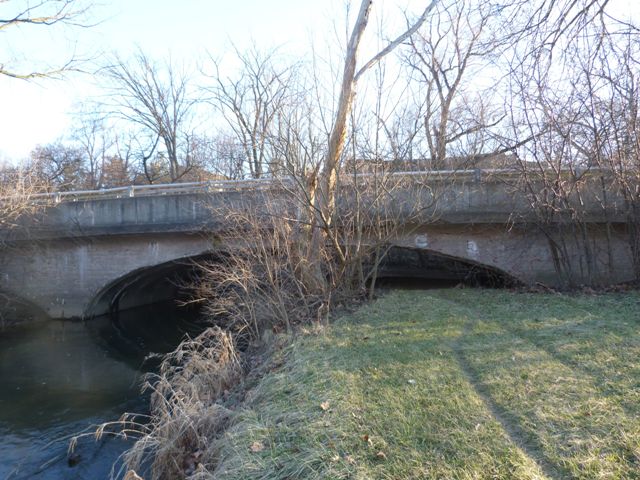
Views beside bridge from southwest quadrant.
![]()

Elevation from northwest quadrant.
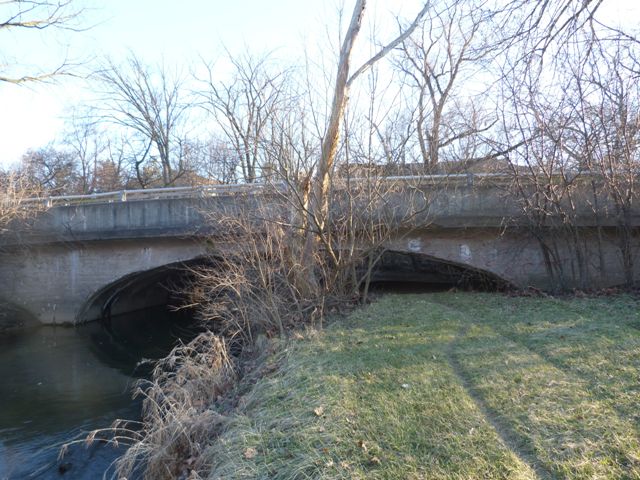
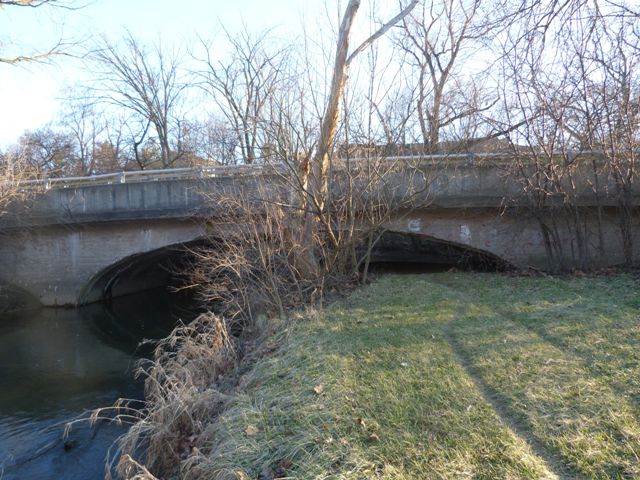
![]()
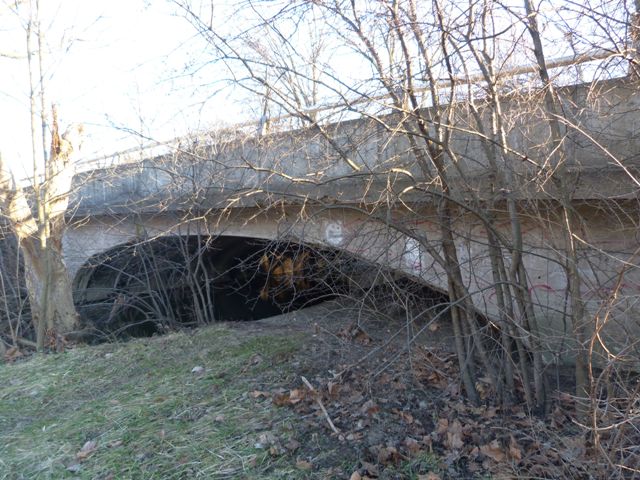


Views beside bridge from northwest quadrant.
![]()


Deck overview.
![]()


Abutment.
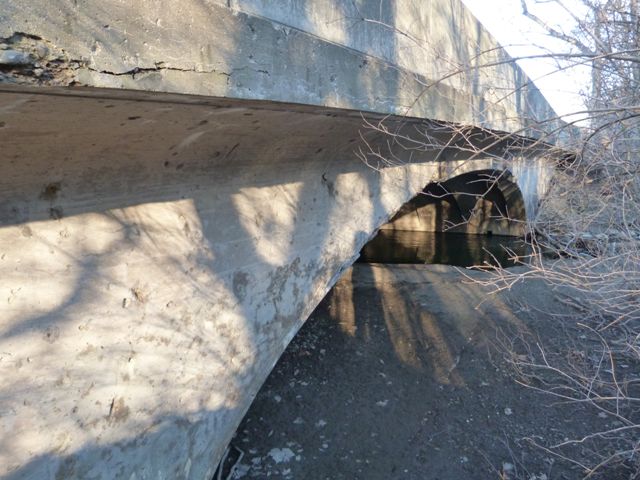
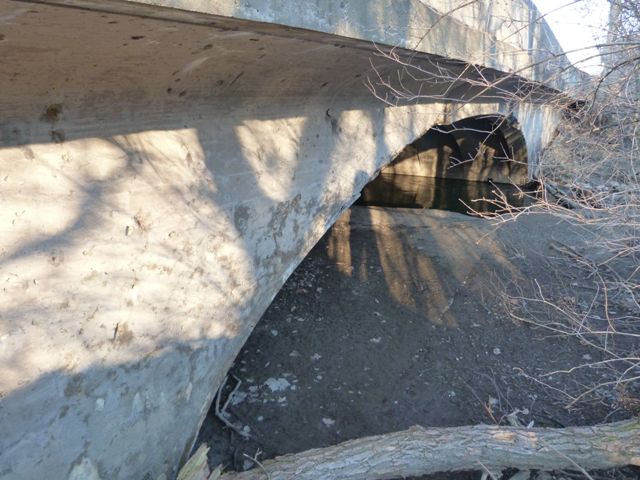
![]()
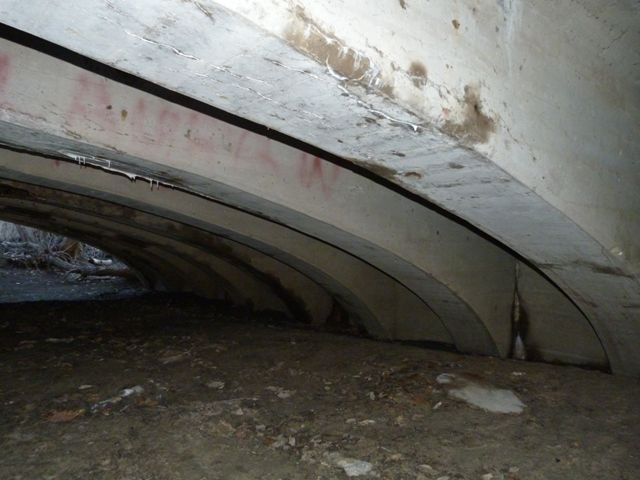


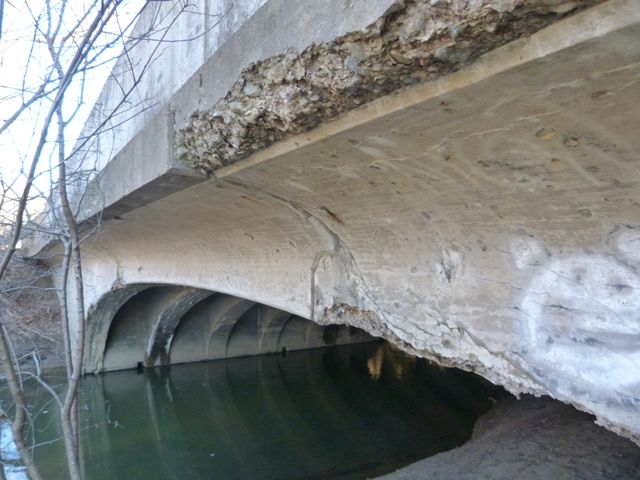
Views under bridge.
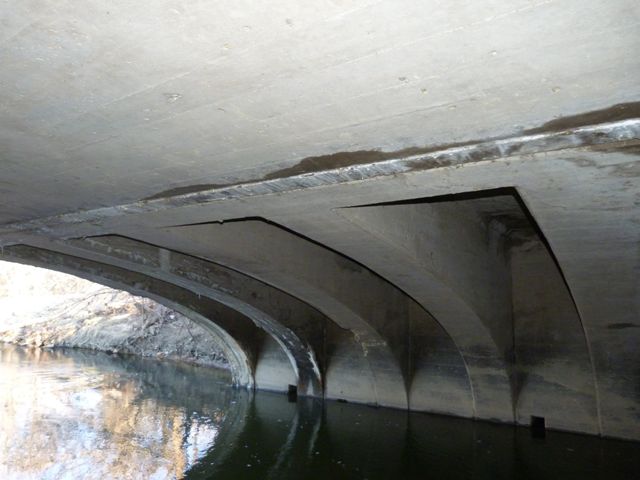
![]()

Looking at the suspended span from between arch ribs.
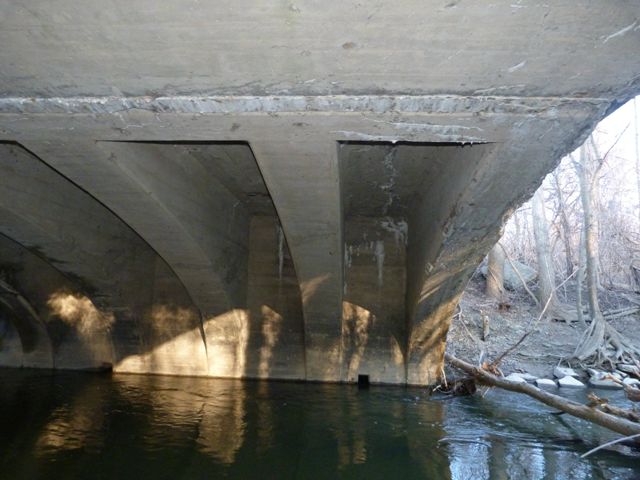
![]()
Looking at an abutment from between arch ribs.
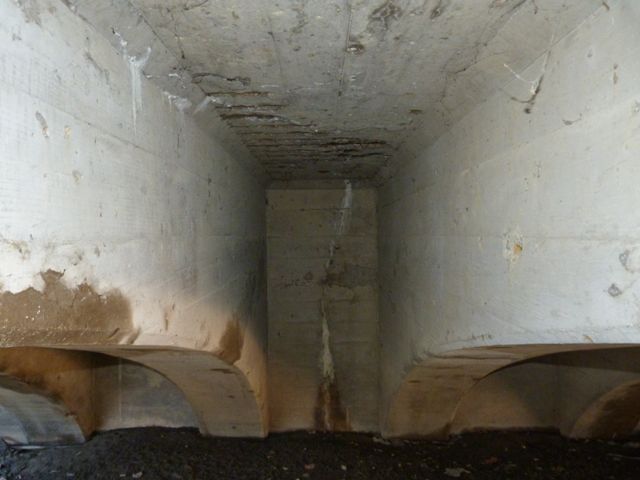
![]()

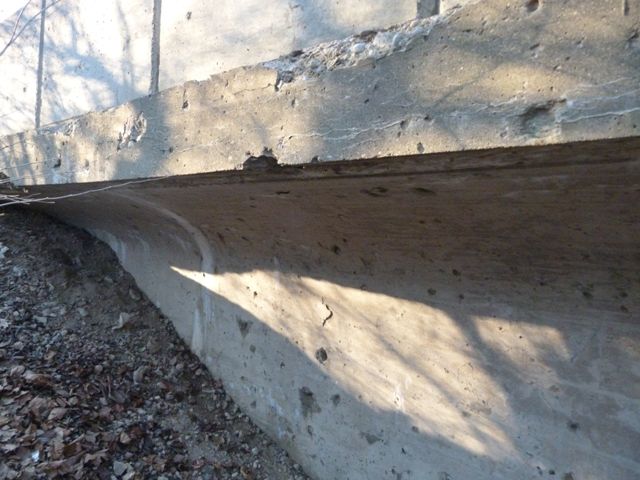
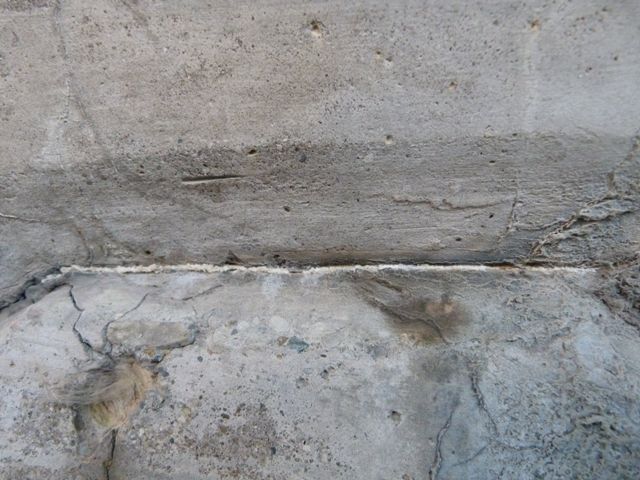
Weep hole.
![]()


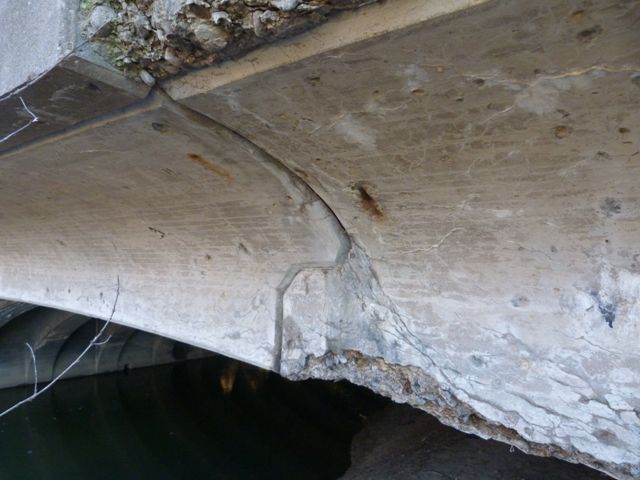
View under bridge looking up at transition from cantilever arm to suspended span.
![]()

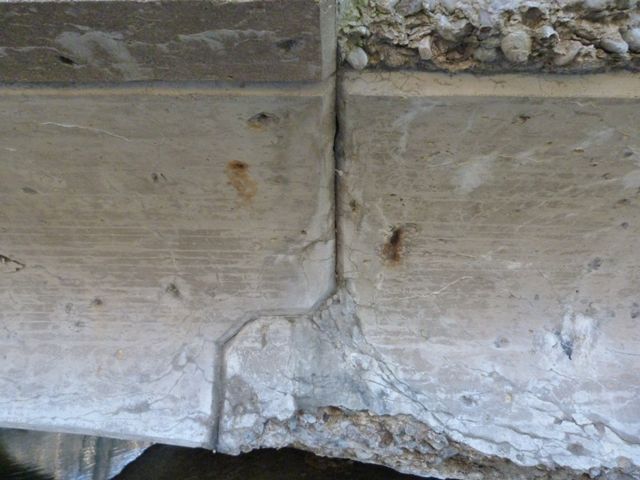

Detail view beside bridge looking at suspended span (left) and cantilever arm (right) showing the ledge upon which the suspended span rests.
![]()
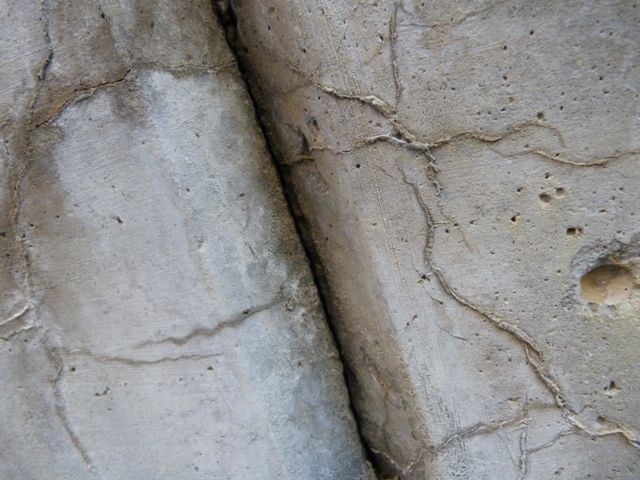
Close-up details of the seam between cantilever arm and suspended span.
![]()

Missing or stolen plaque.
![]()
![]()
| Back |
| Home |
| Top |

![]()