Uncredited photos on this page taken by: Nathan Holth. Unless stated in a caption, all photos are Copyright with All Rights Reserved. Learn about reuse of our photos.
![]()

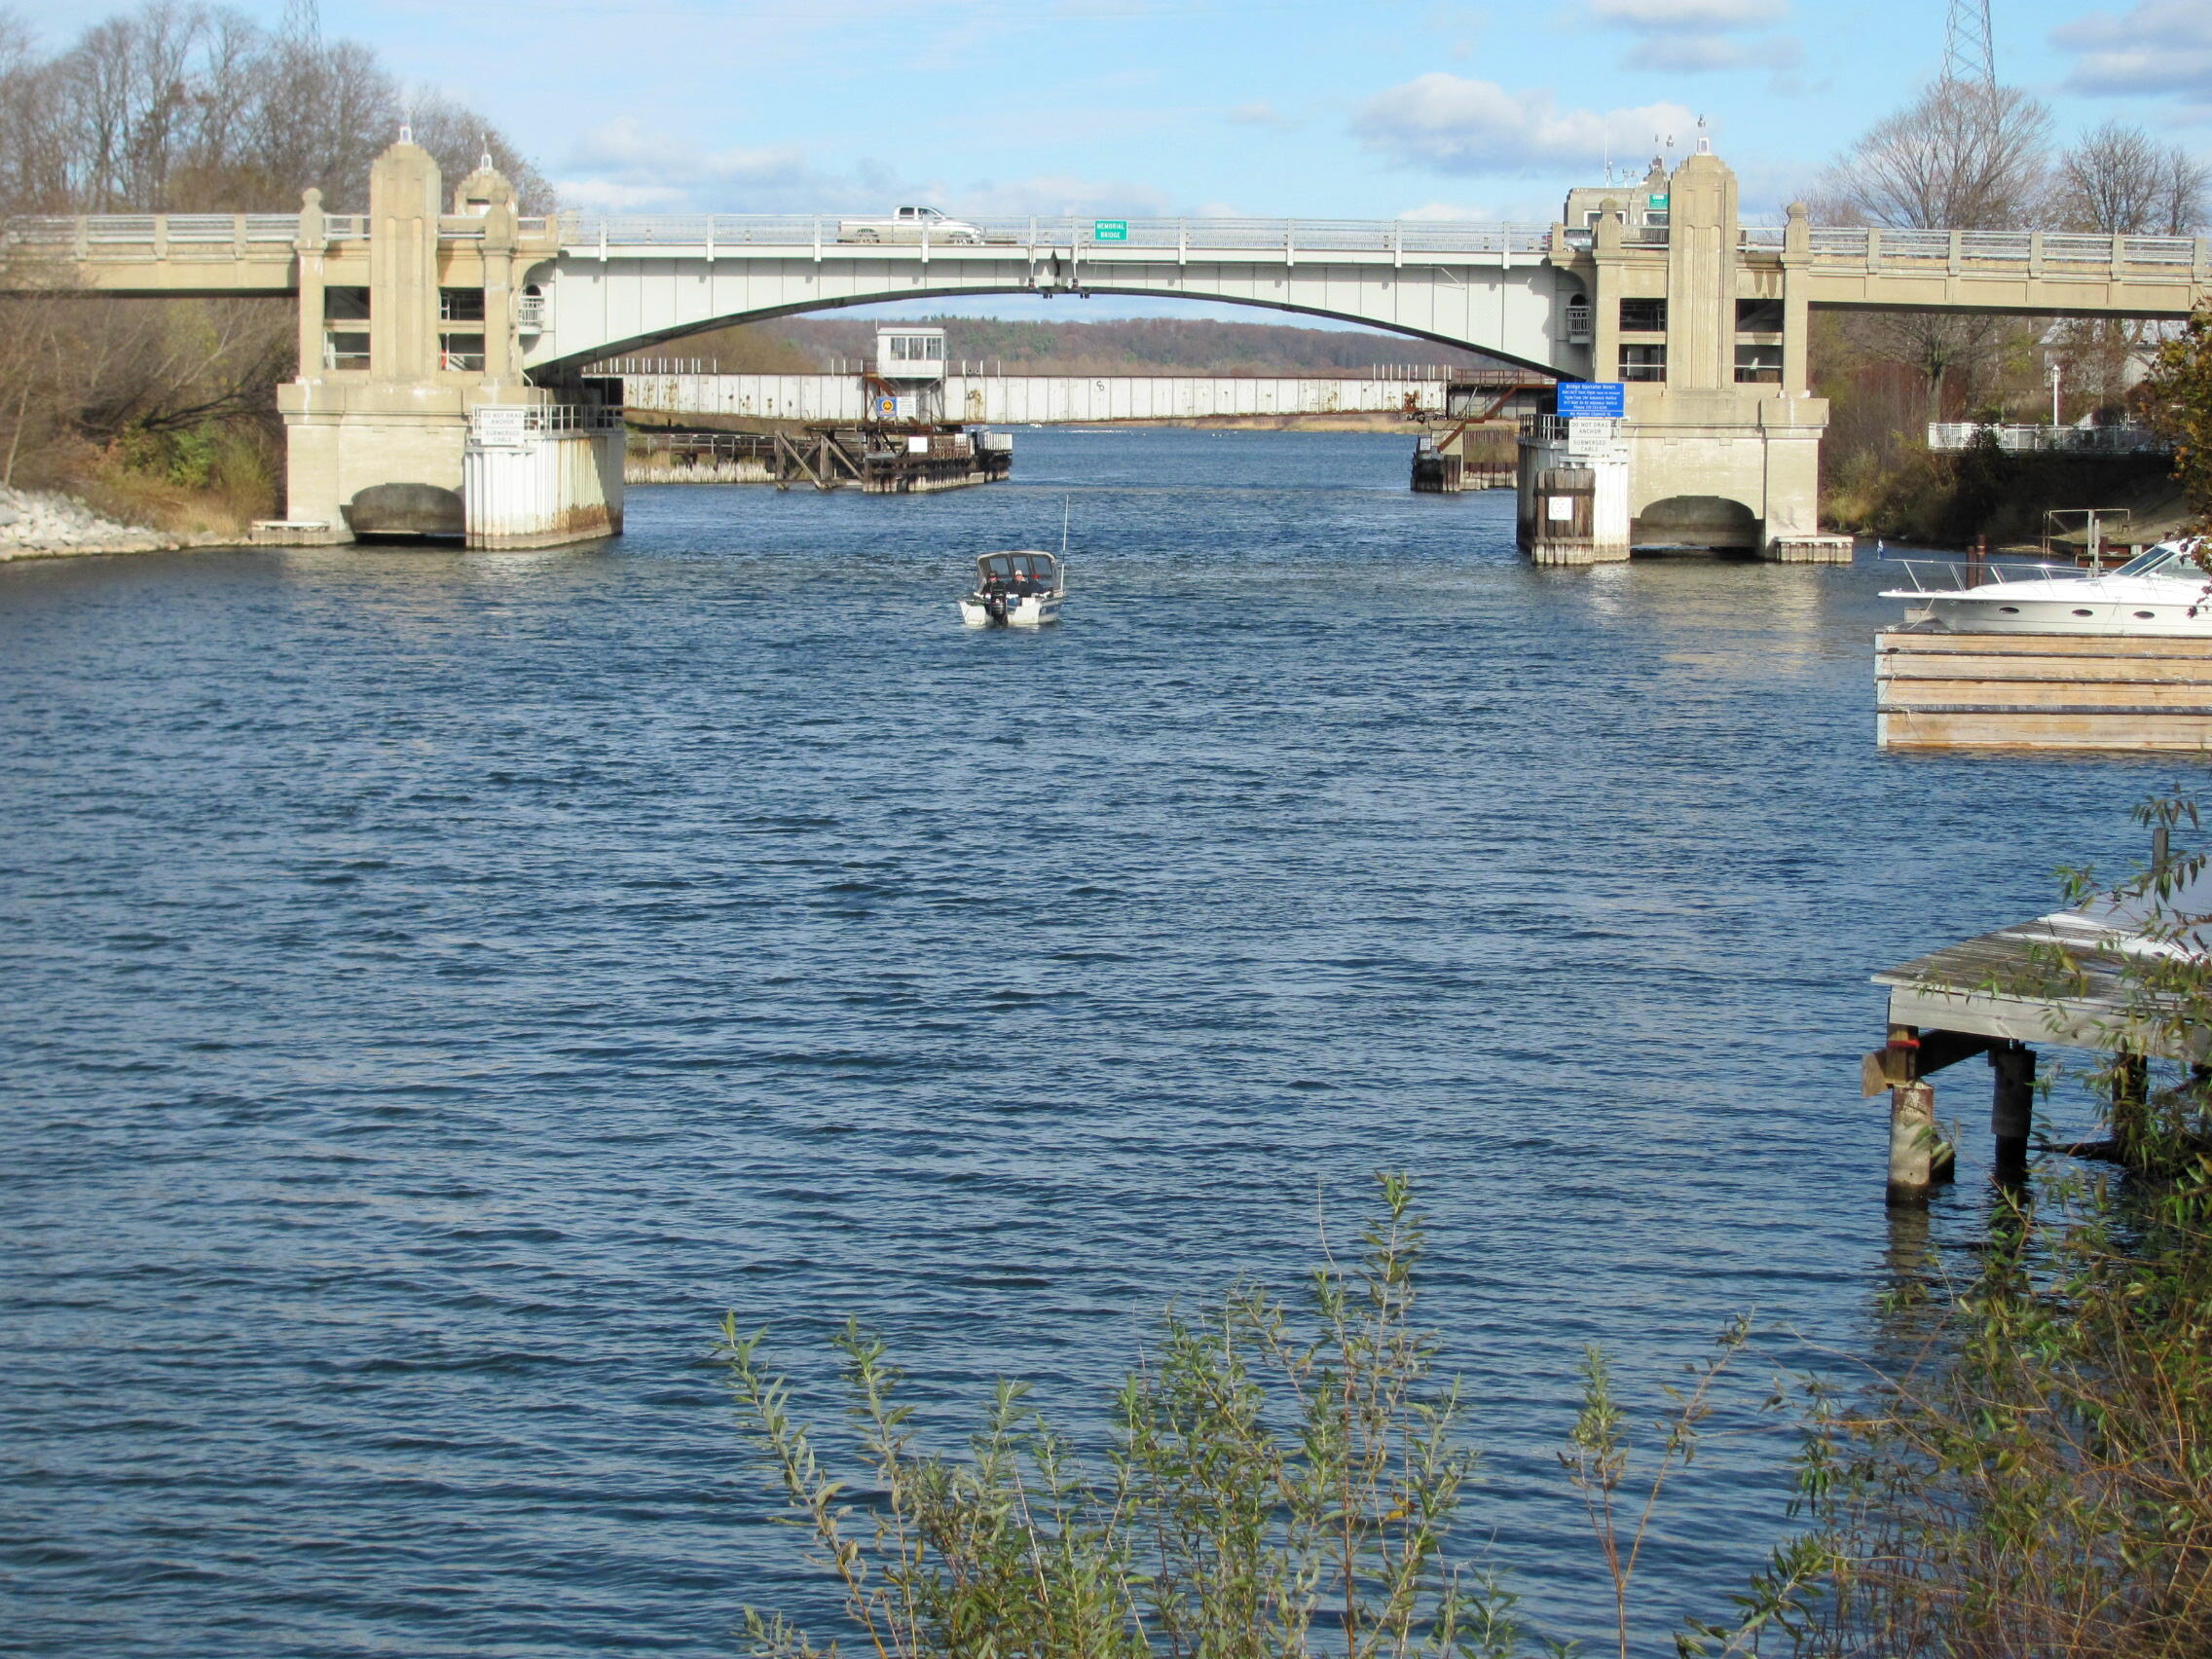

Southwest elevation.
![]()

Oblique view.
![]()

Northeast elevation.
![]()


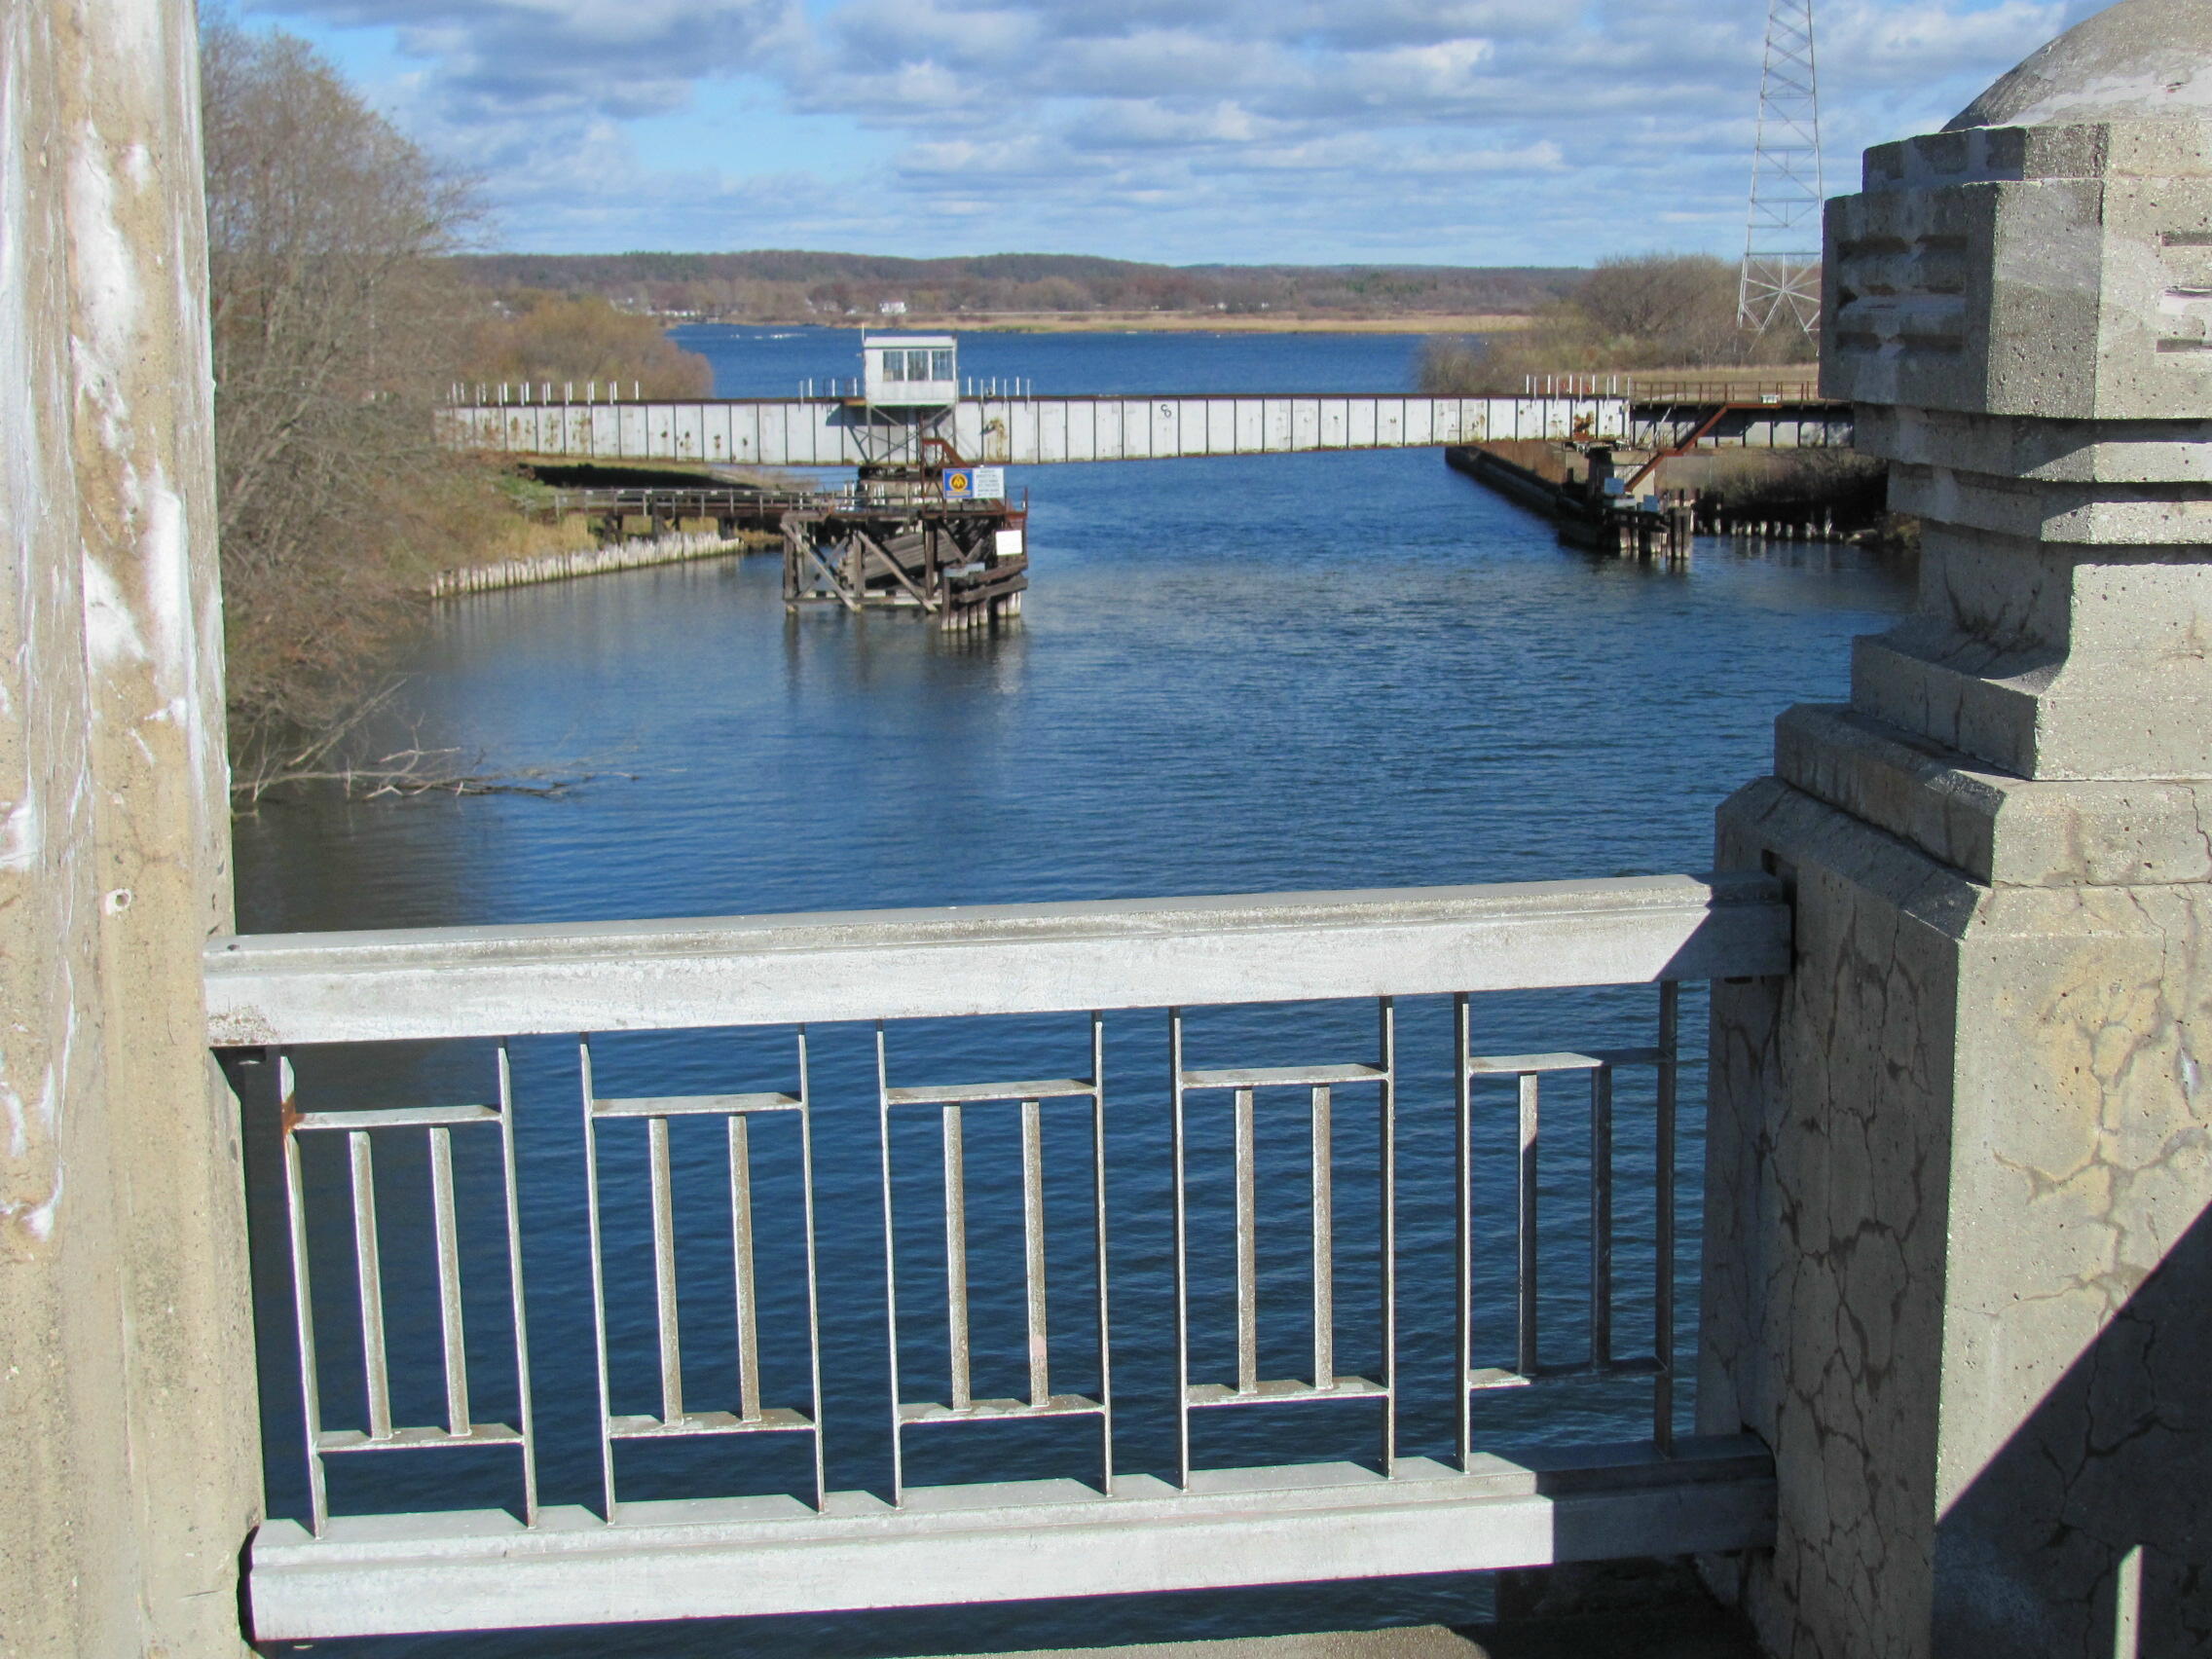
Views beside bridge.
![]()

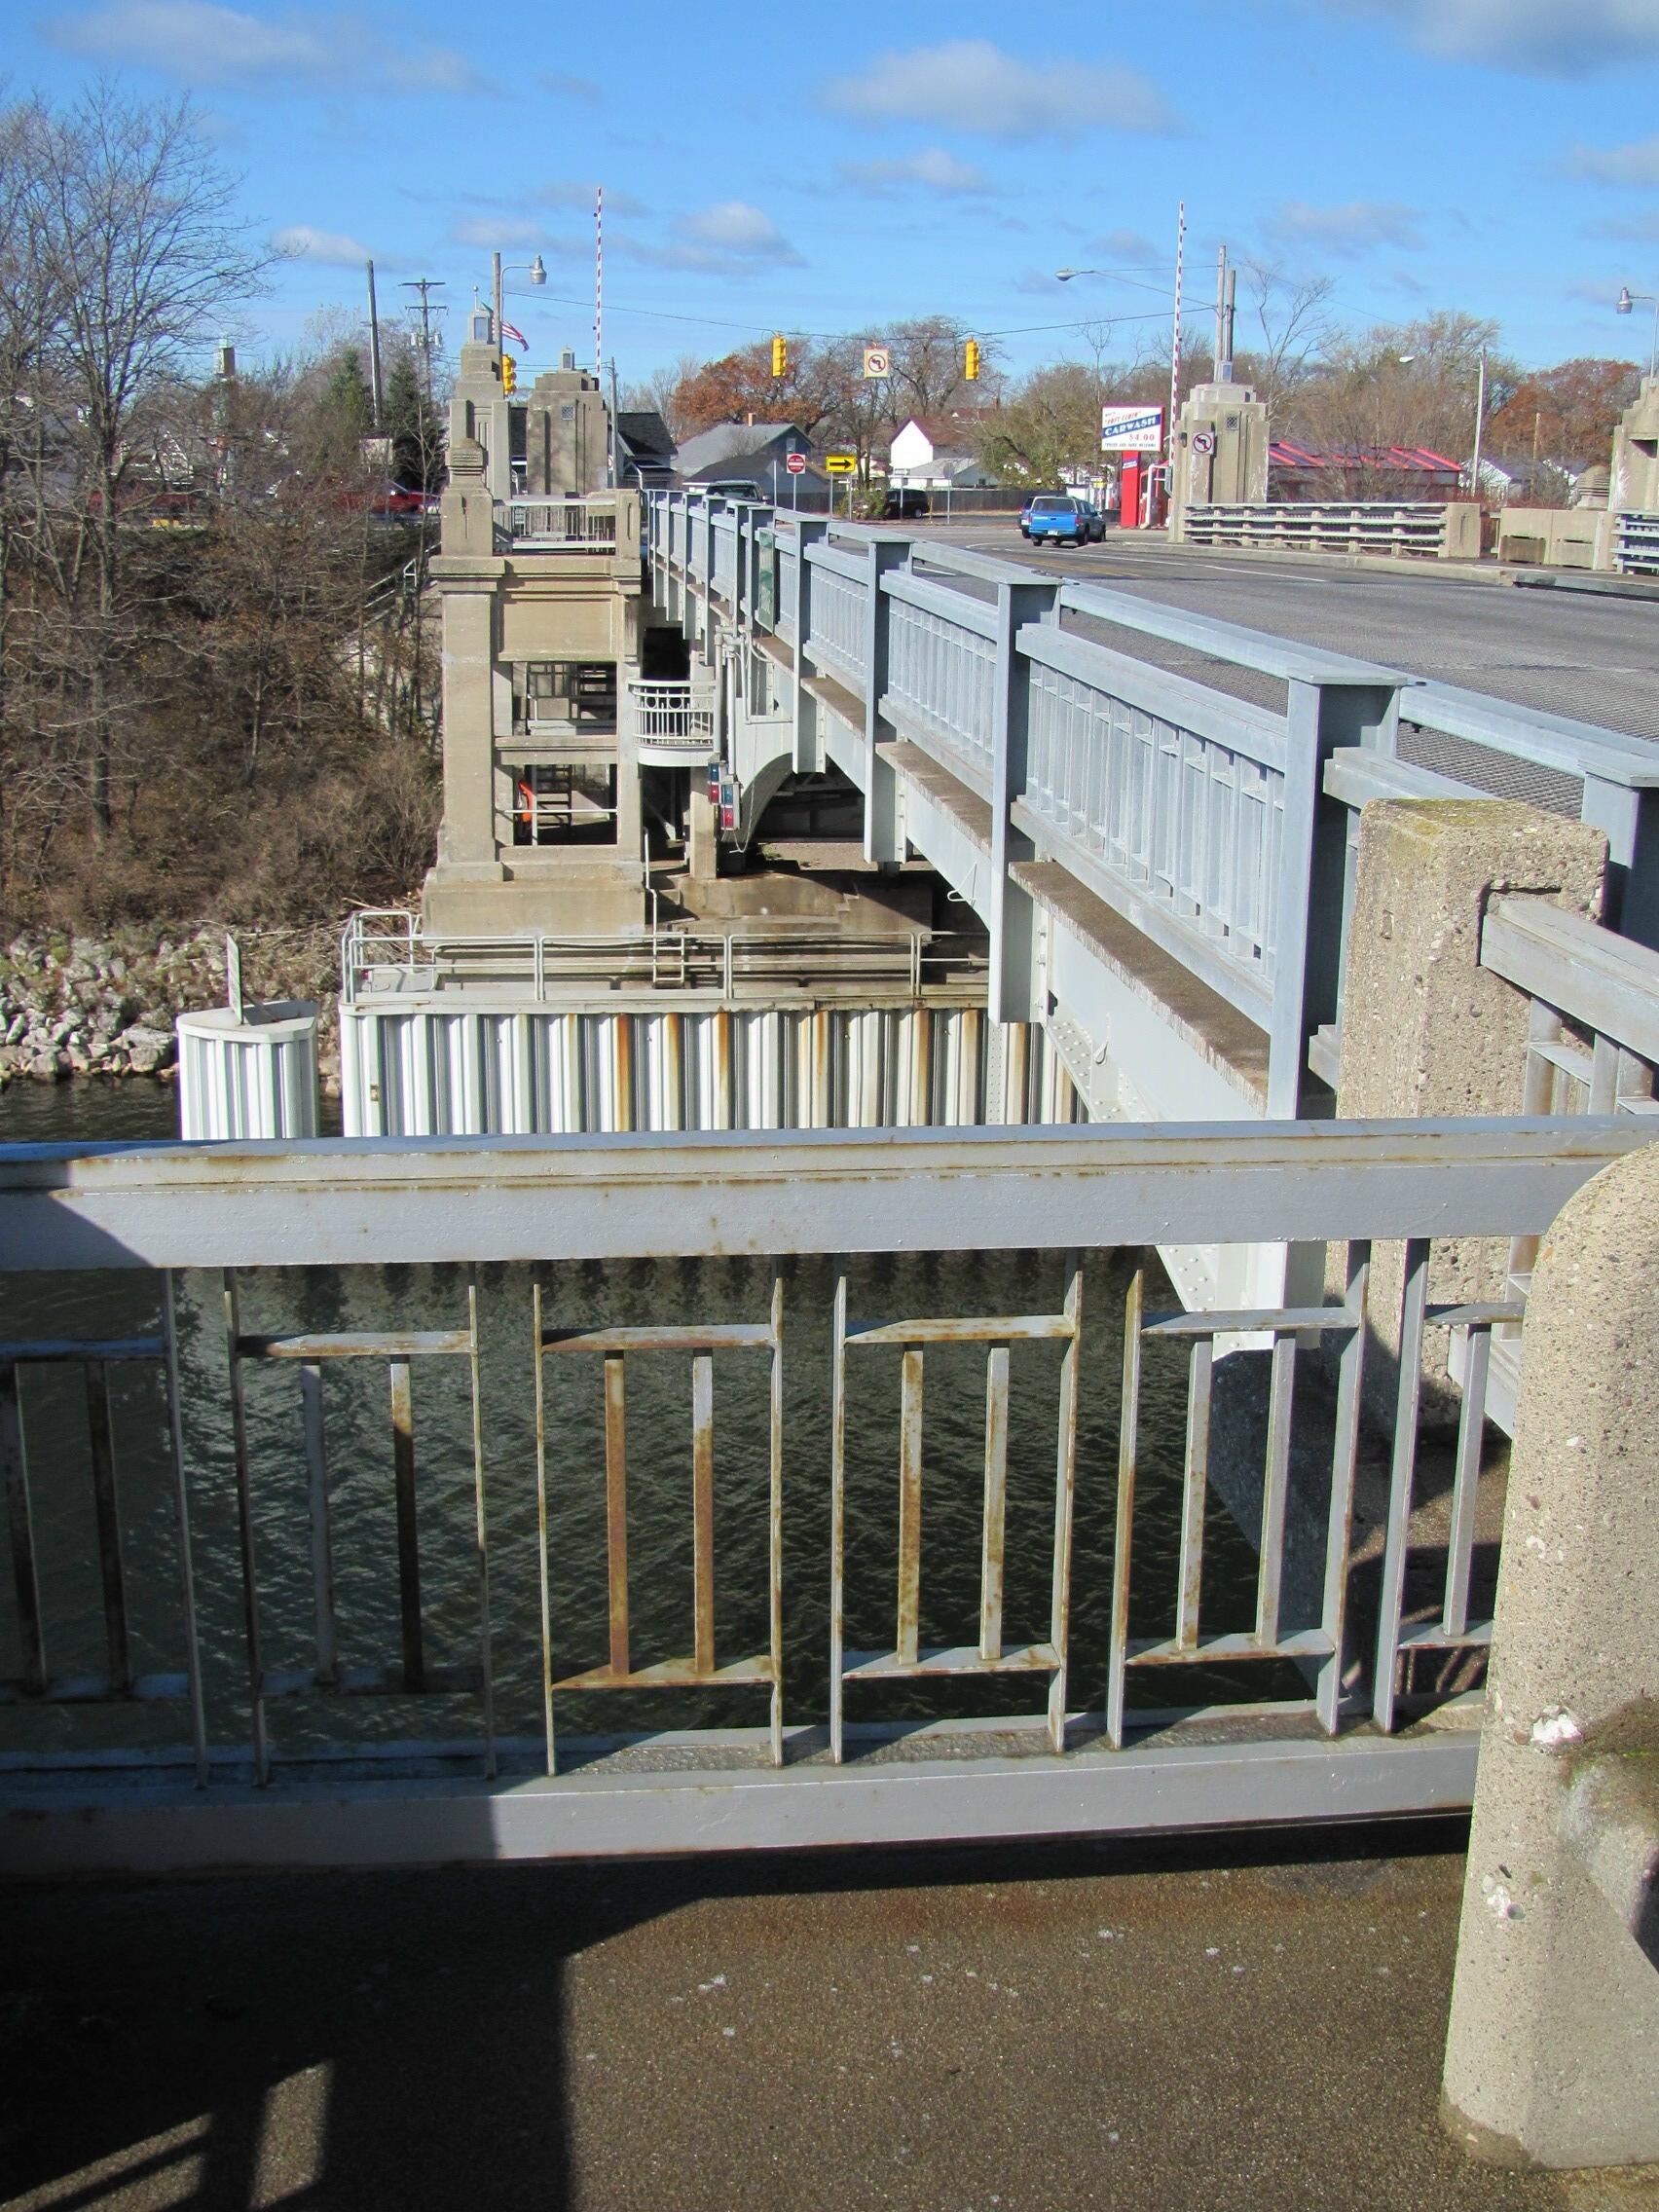
Views of bascule span from approach spans.
![]()

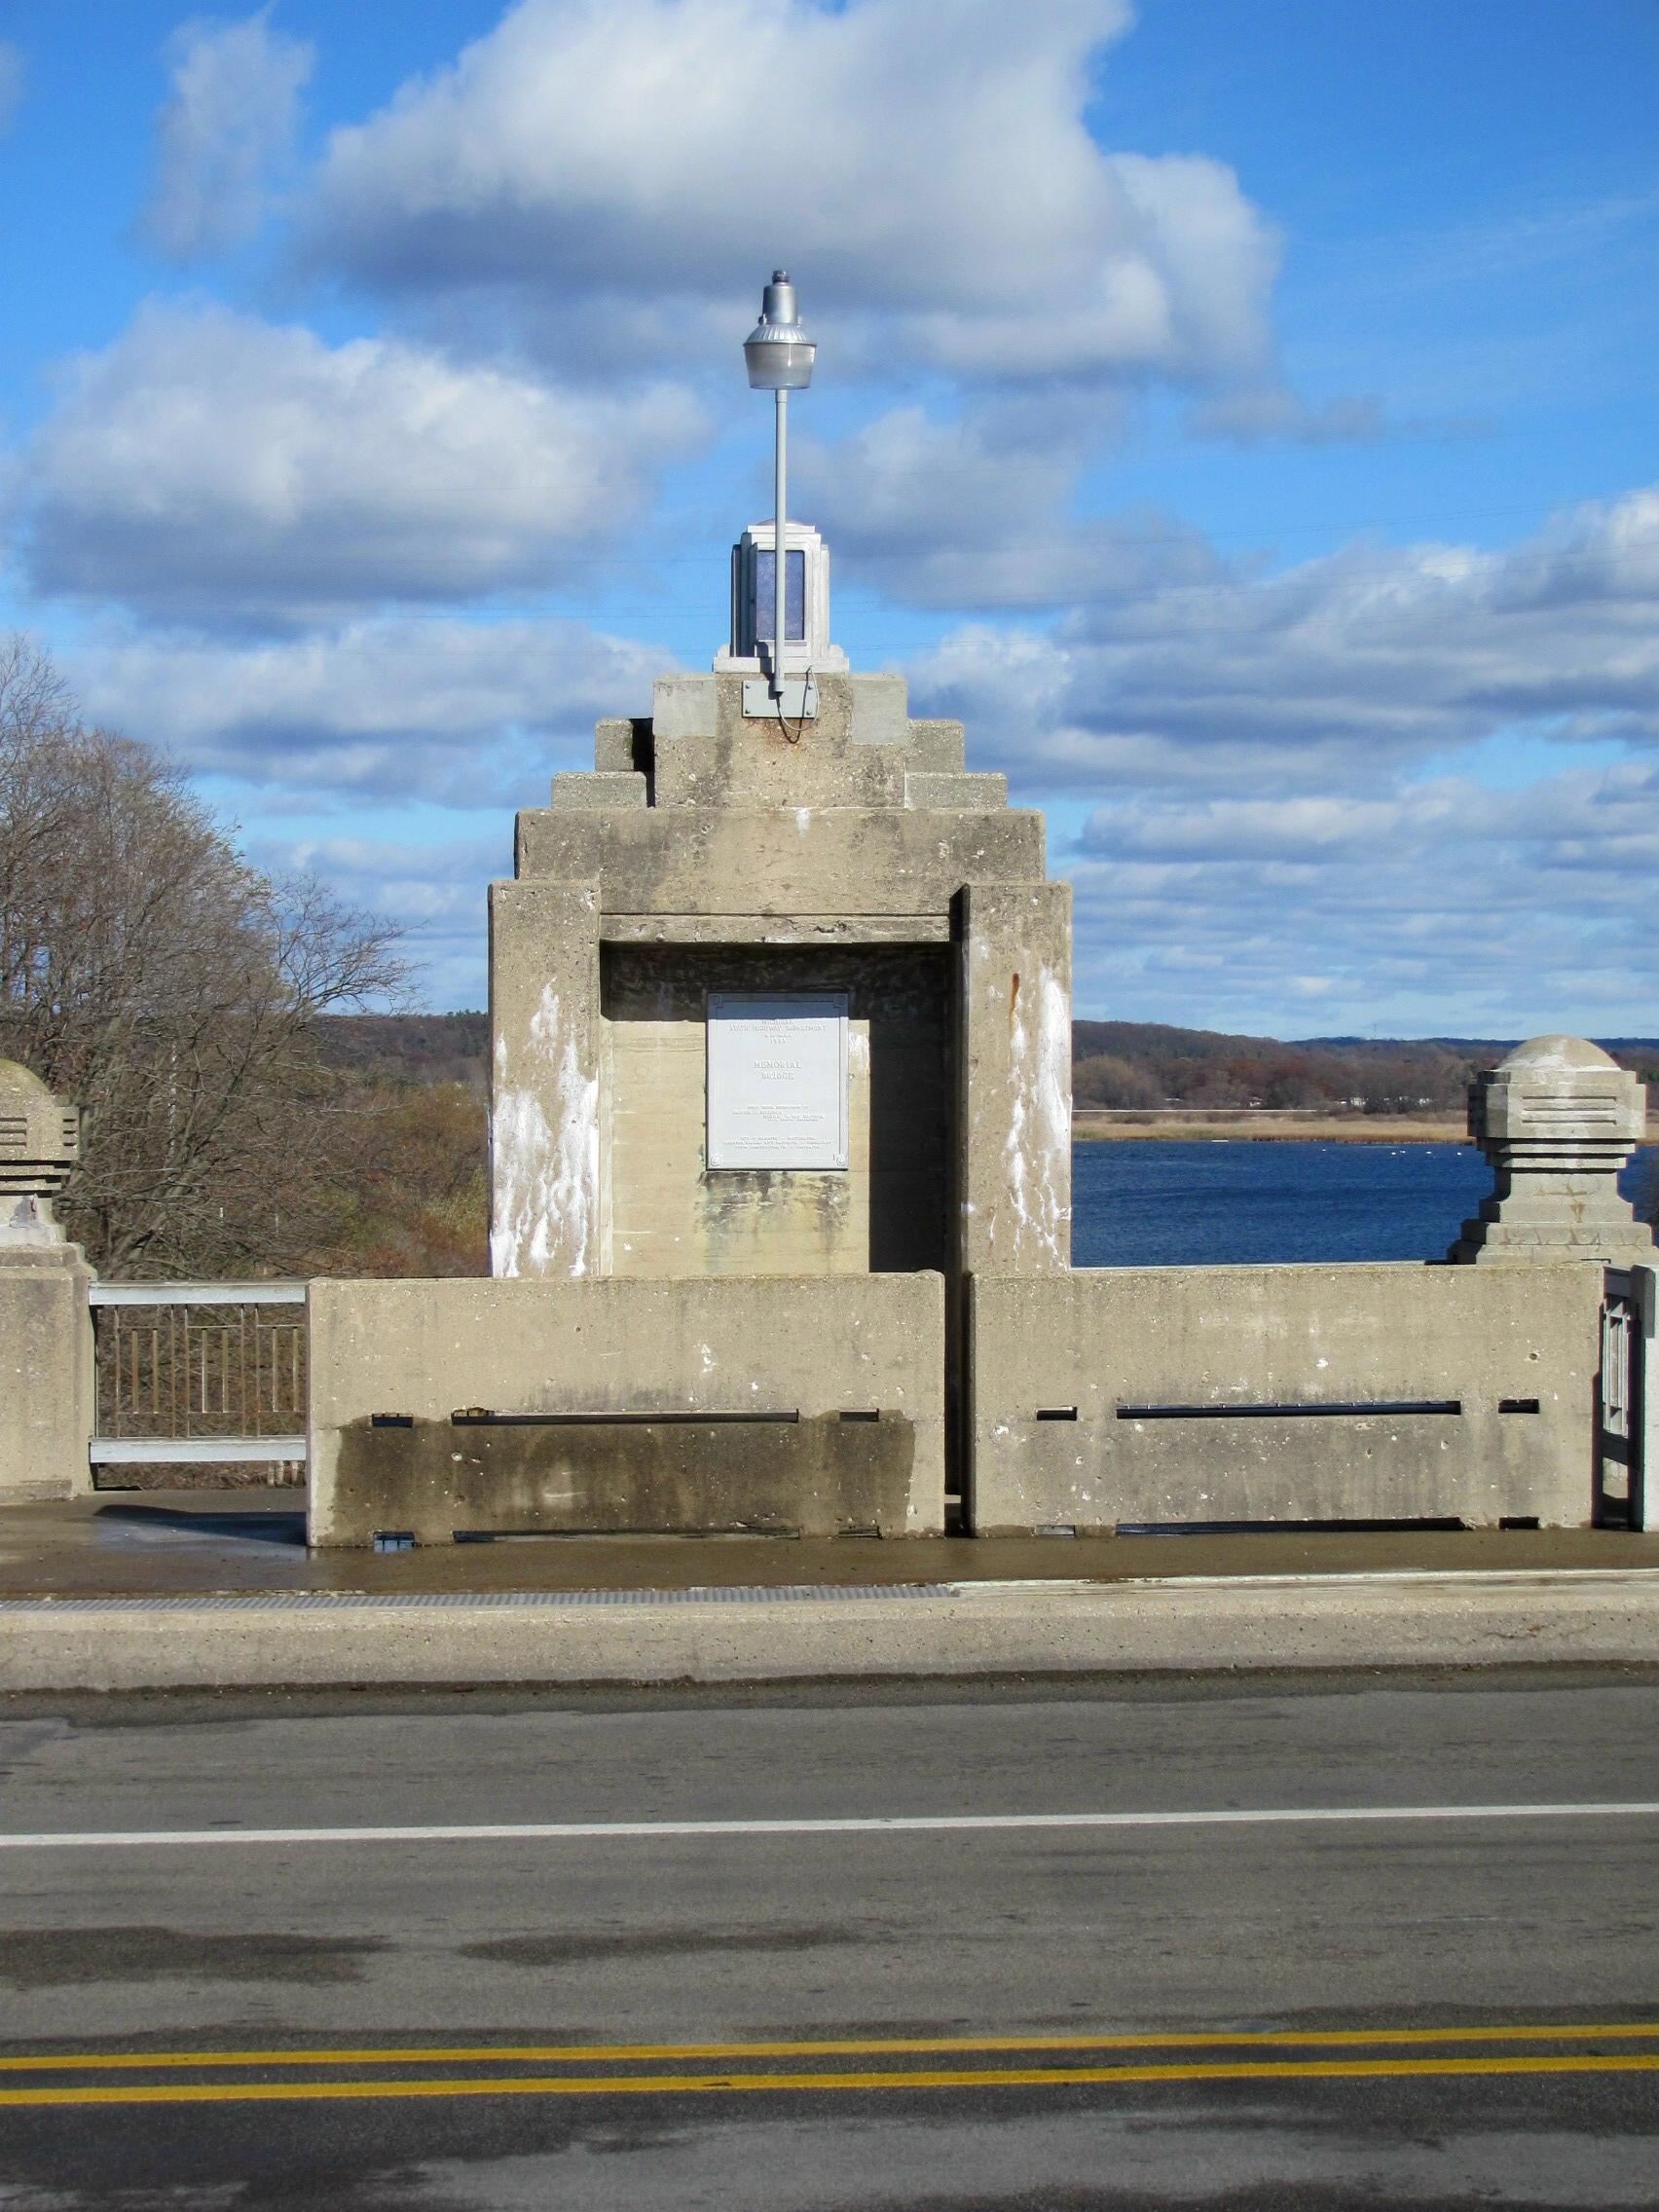
Portal view.
![]()

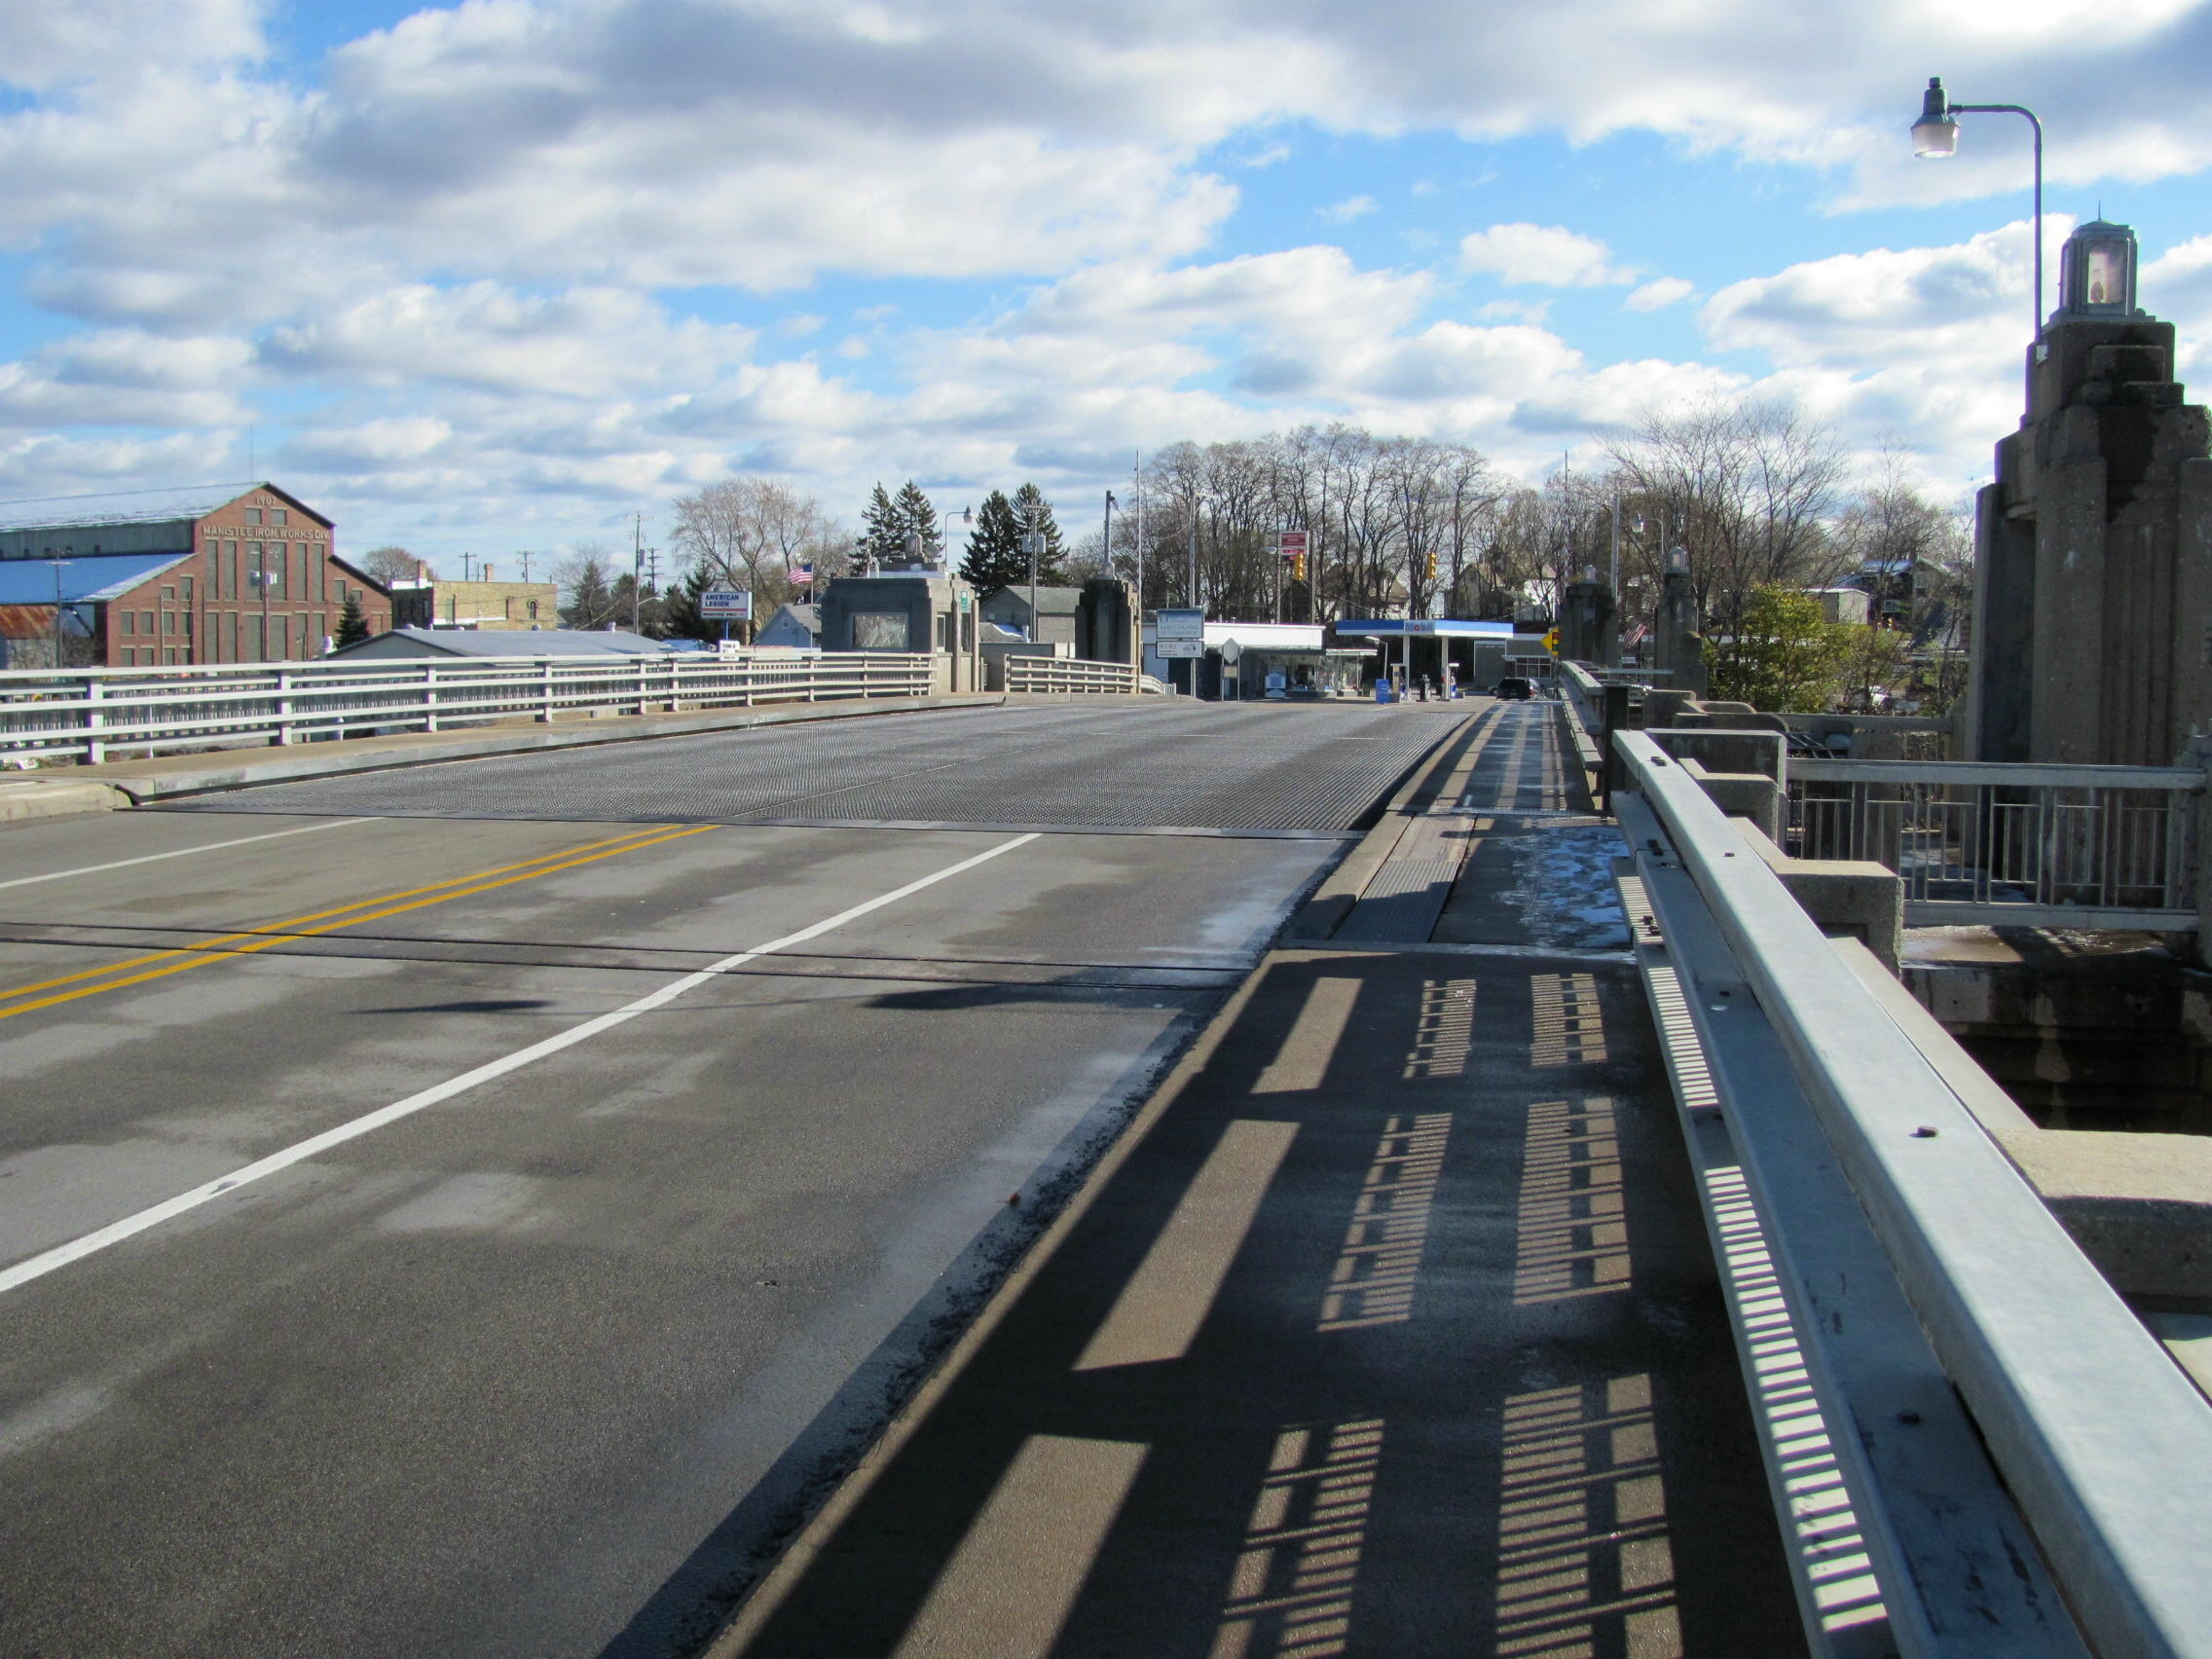
Overviews of bridge deck.
![]()


Bascule leaves.
![]()
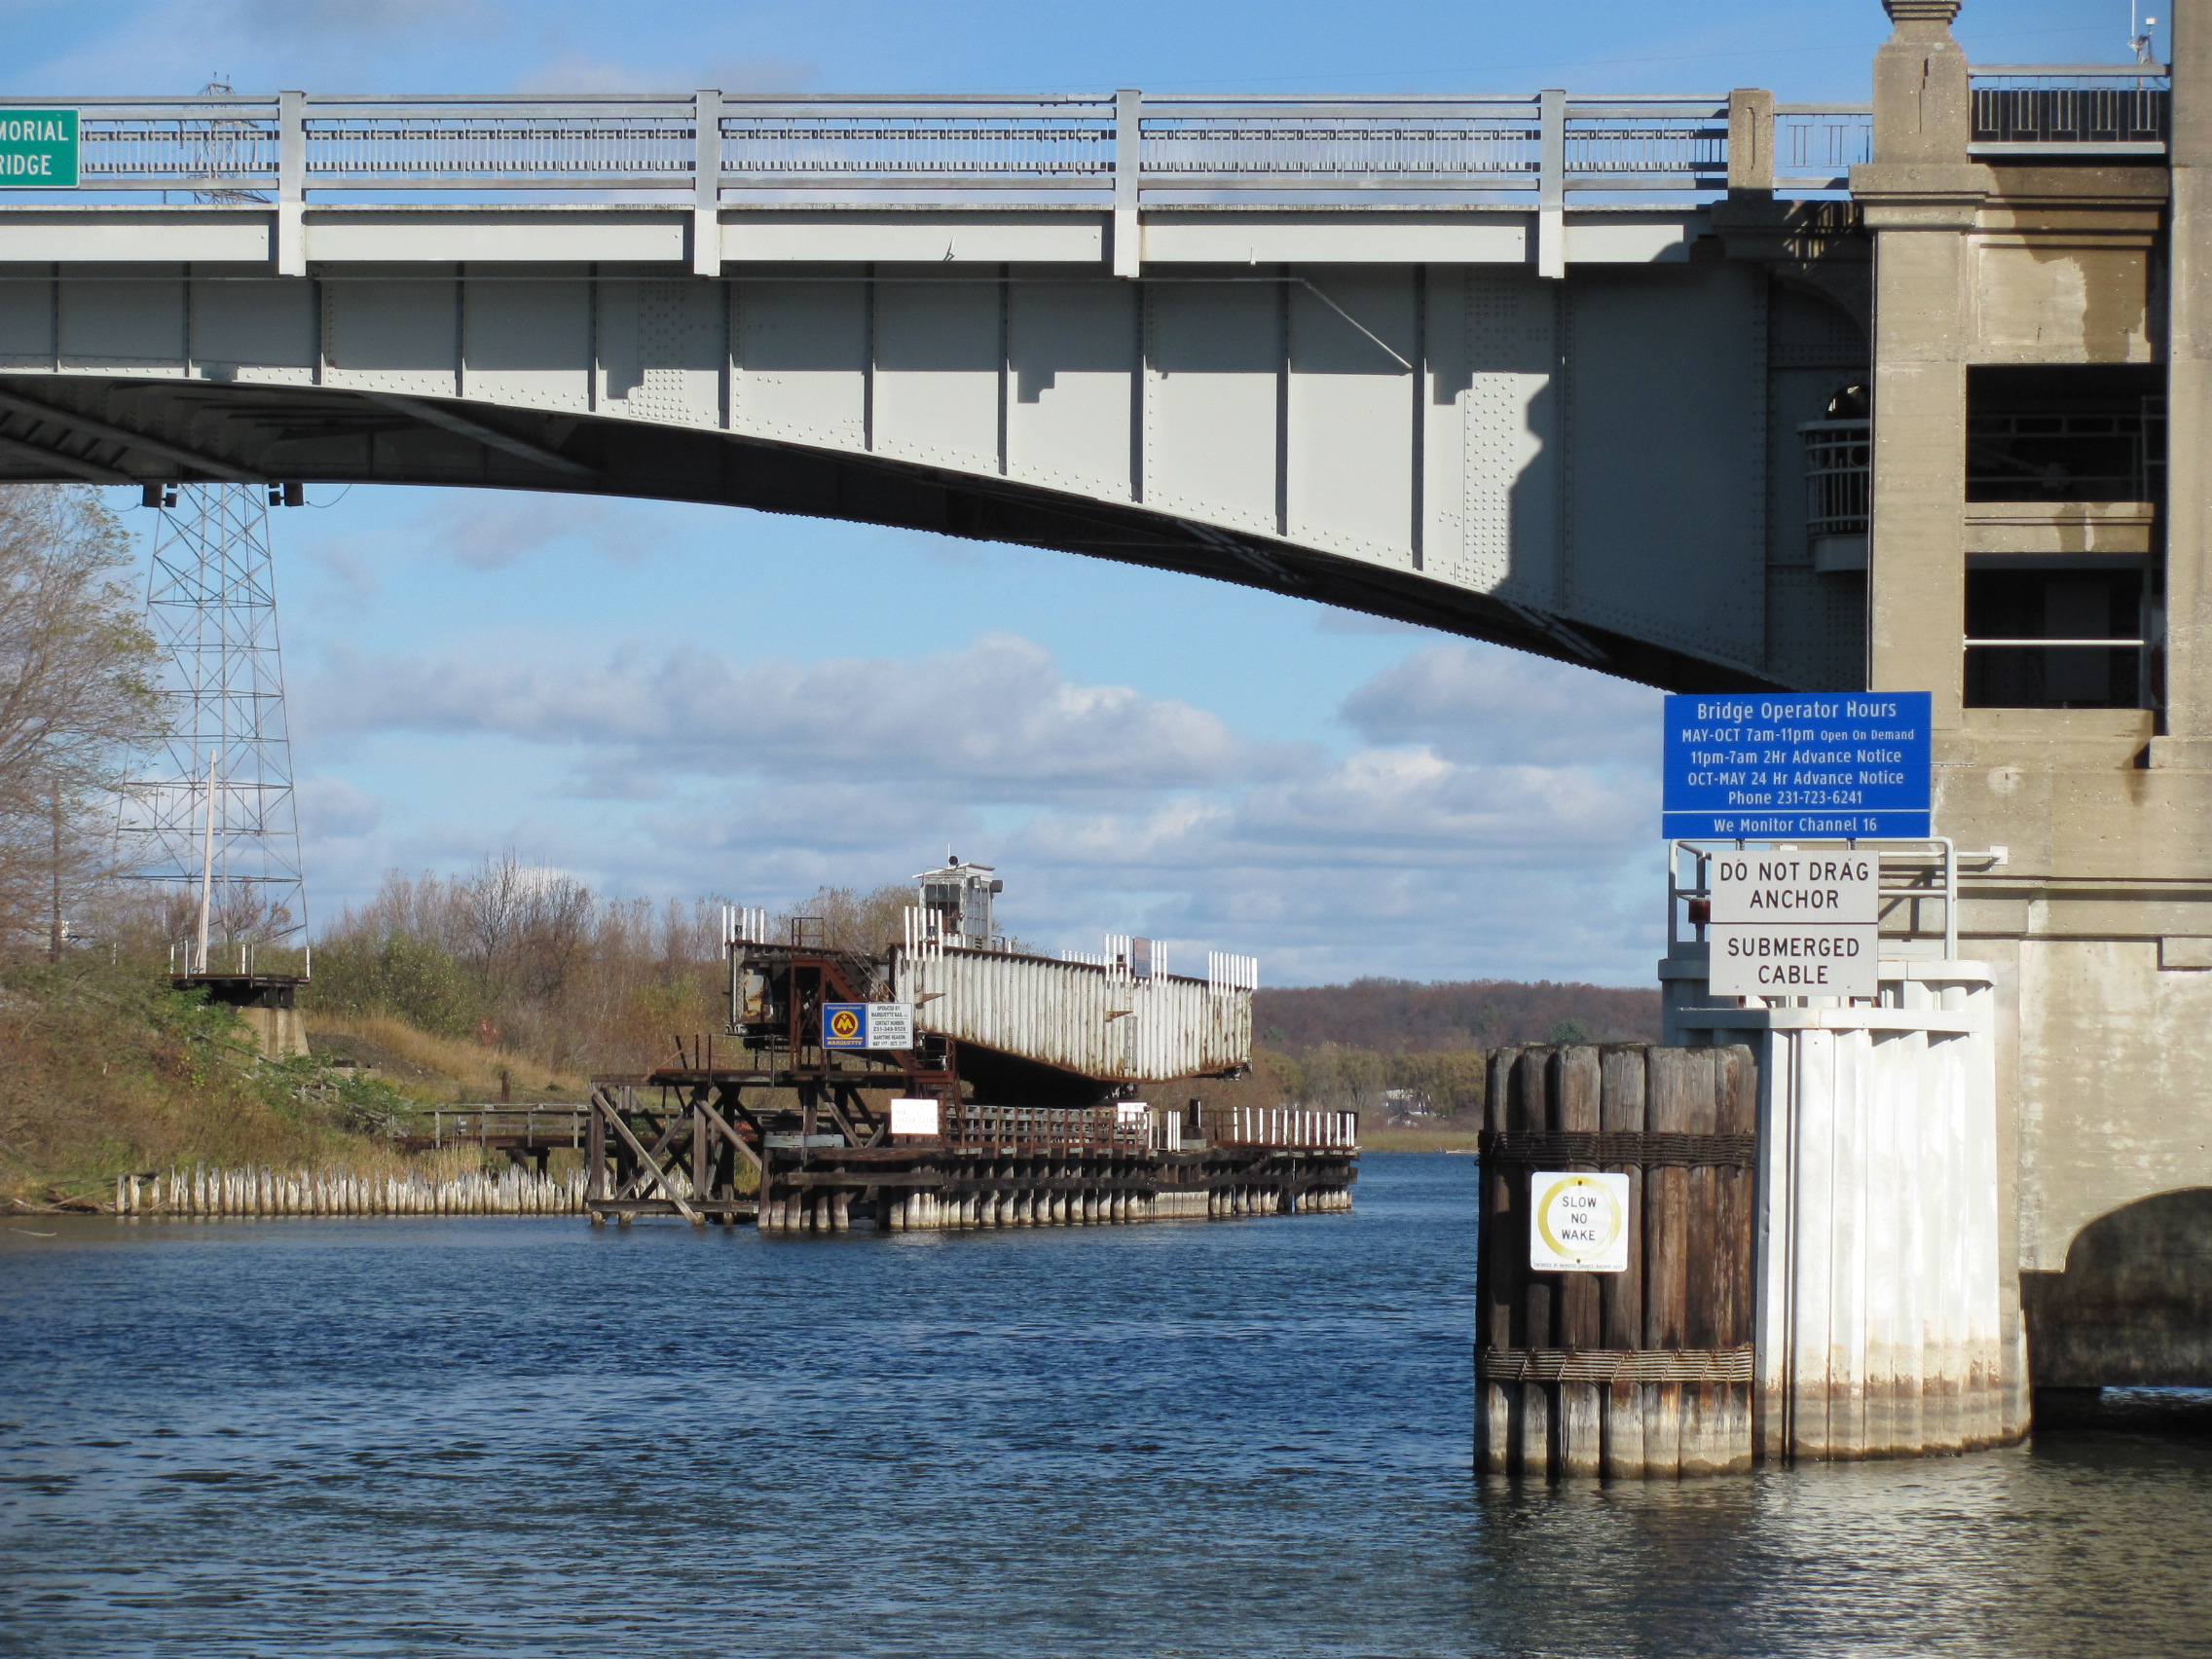
Approach span elevation.
![]()
Approach span oblique view.
![]()

View beside approach span.
![]()
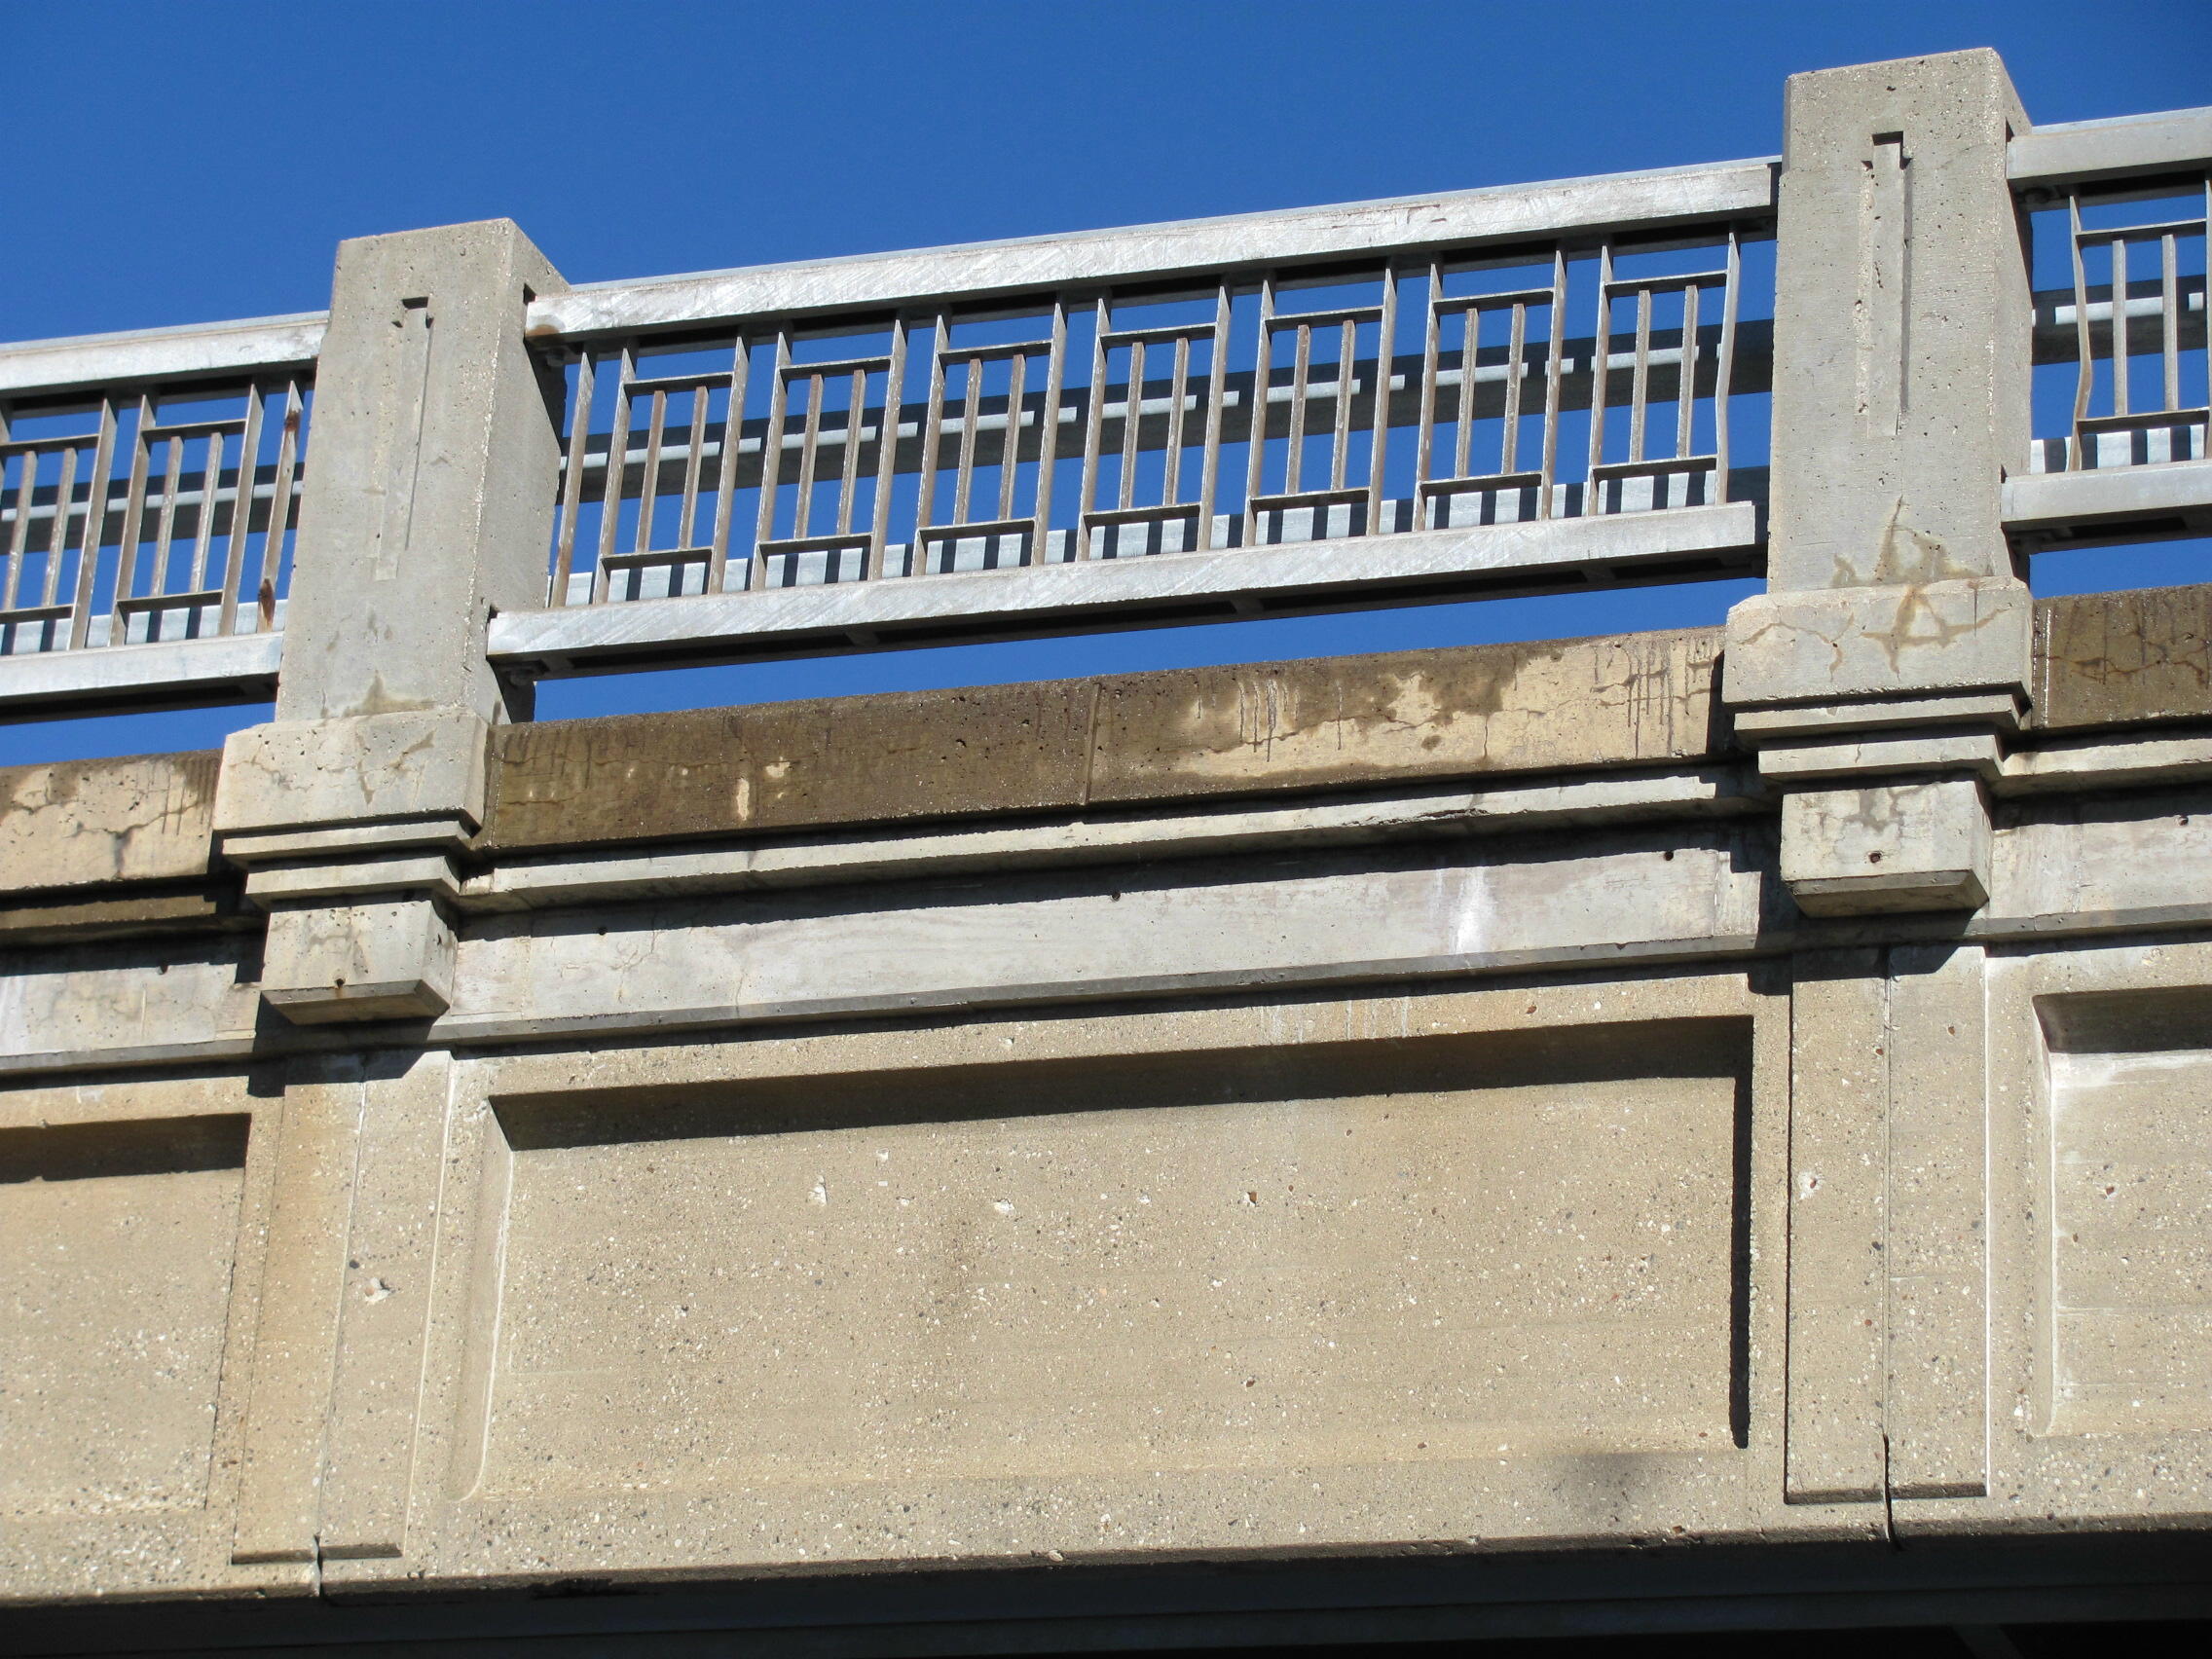
Approach span detail.
![]()


Views under approach spans.
![]()
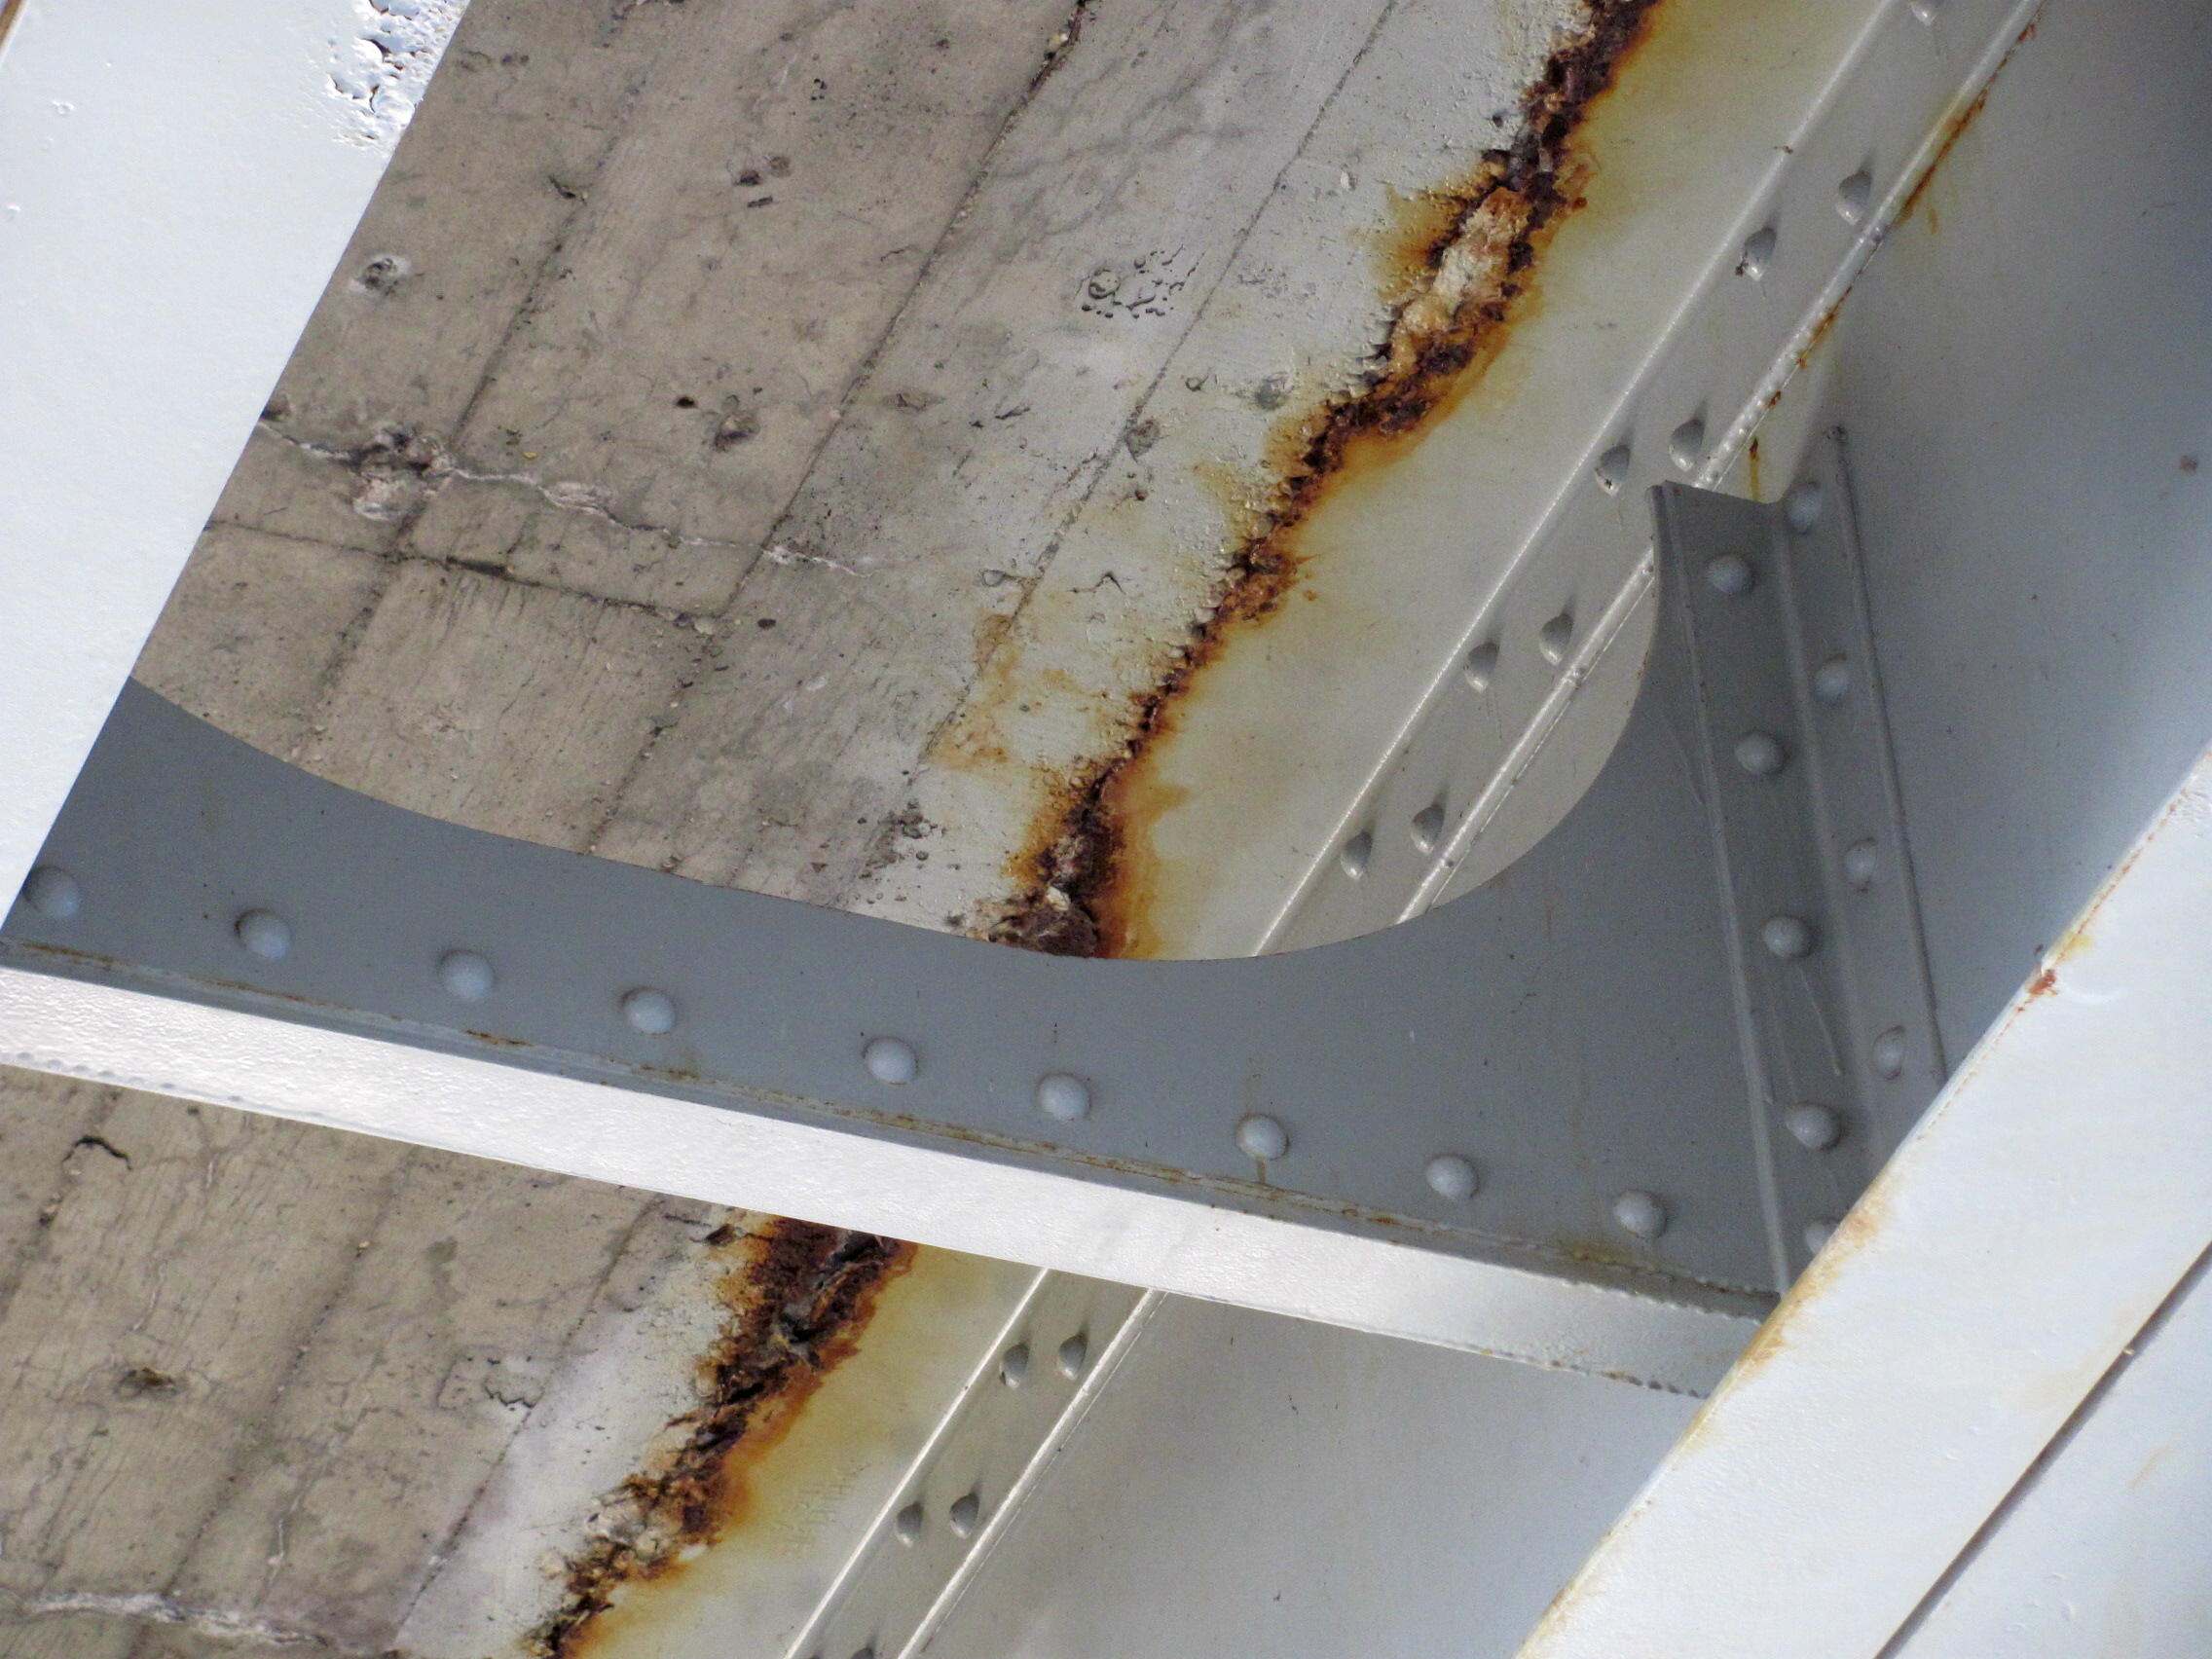
Diaphragm under approach span.
![]()

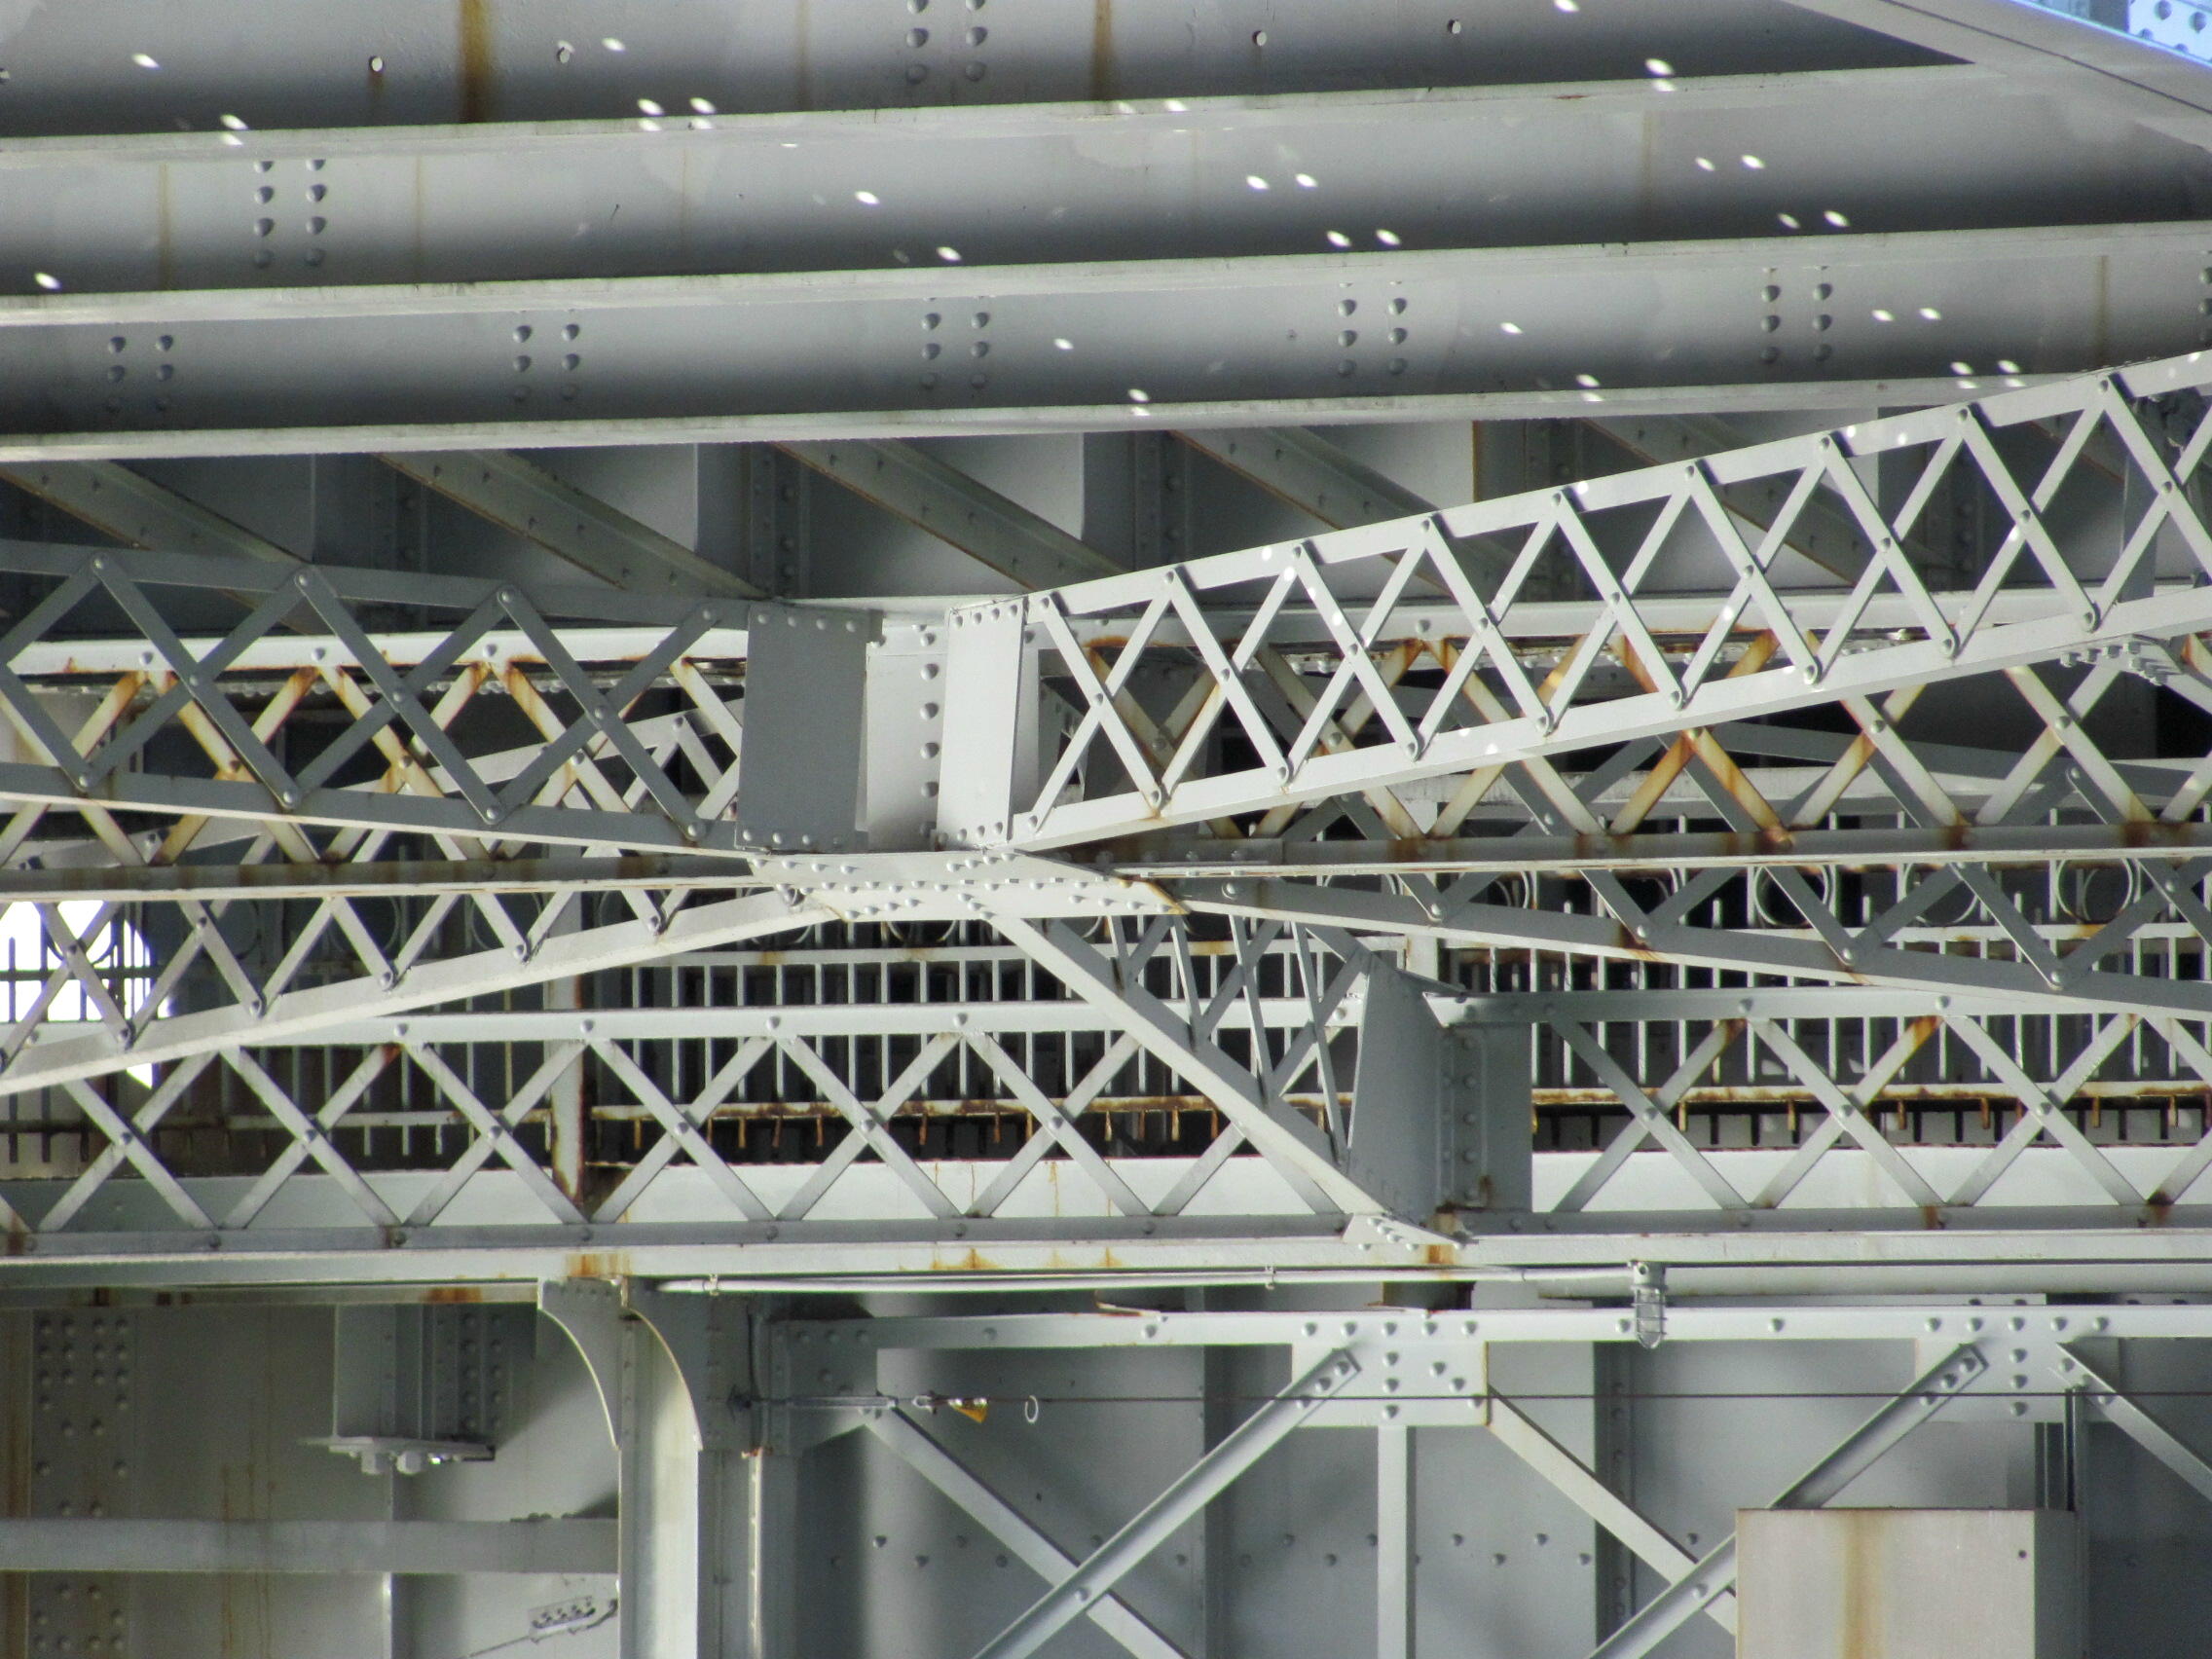
Views under bridge.
![]()
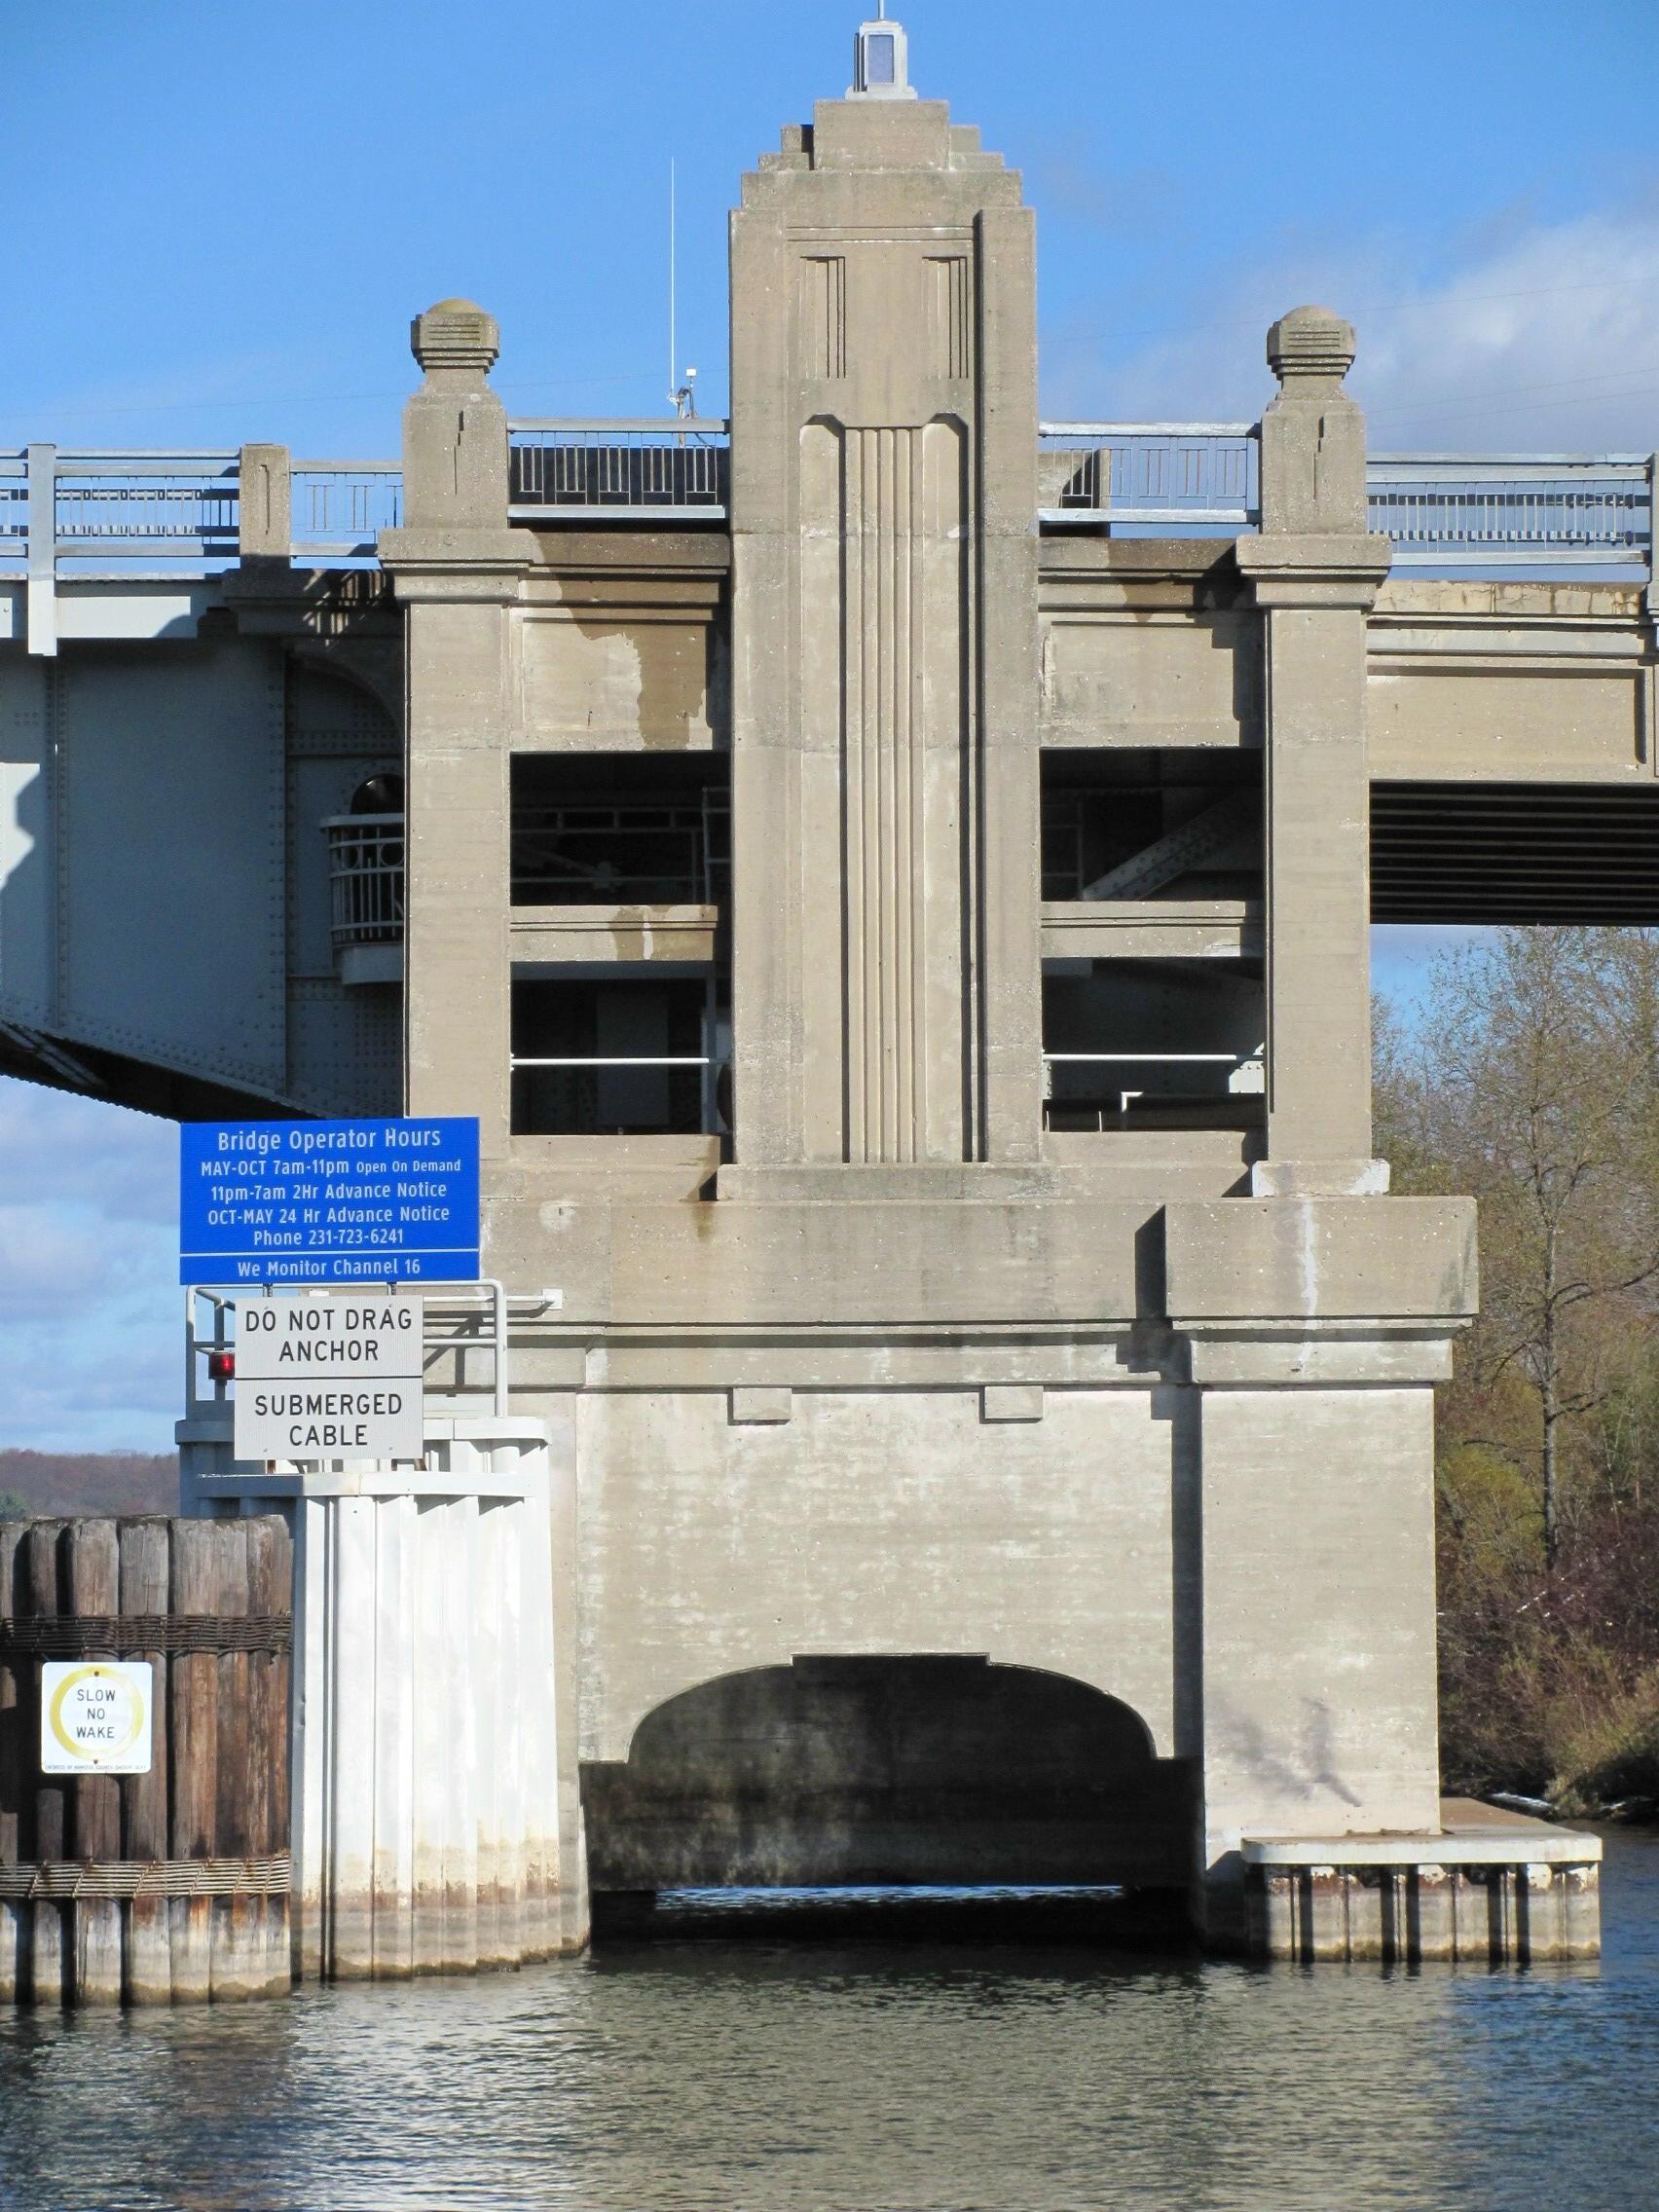
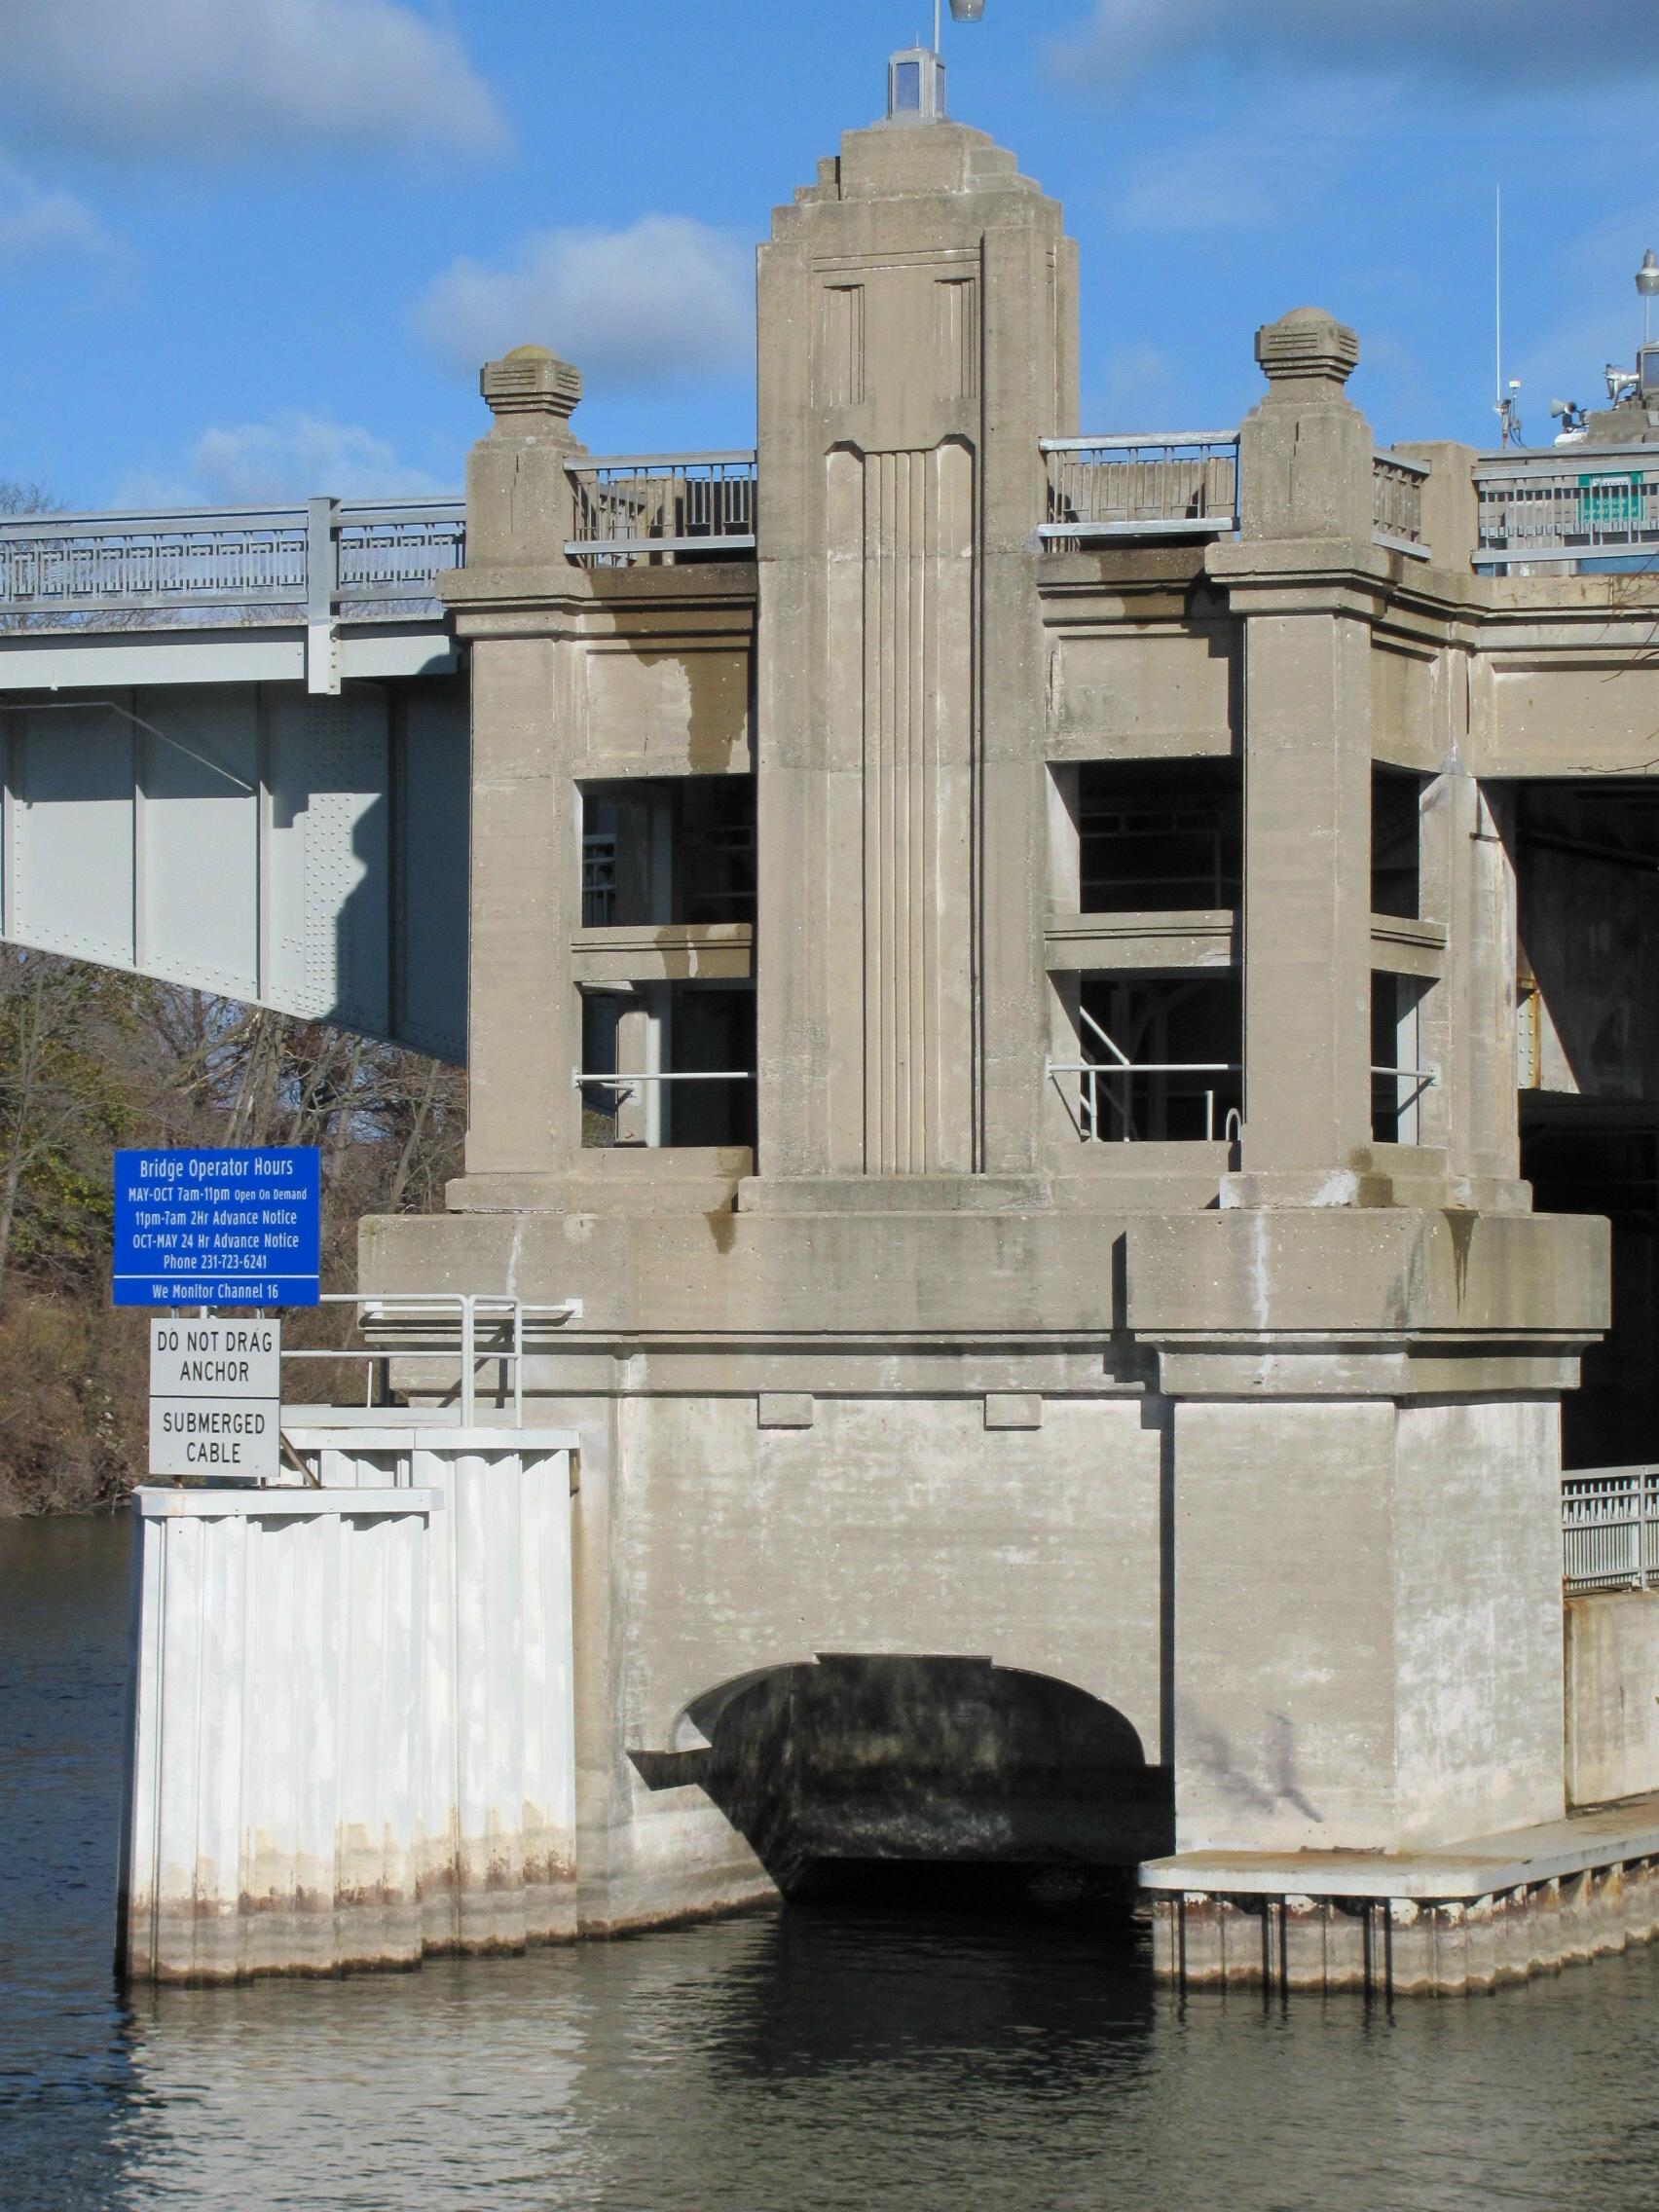
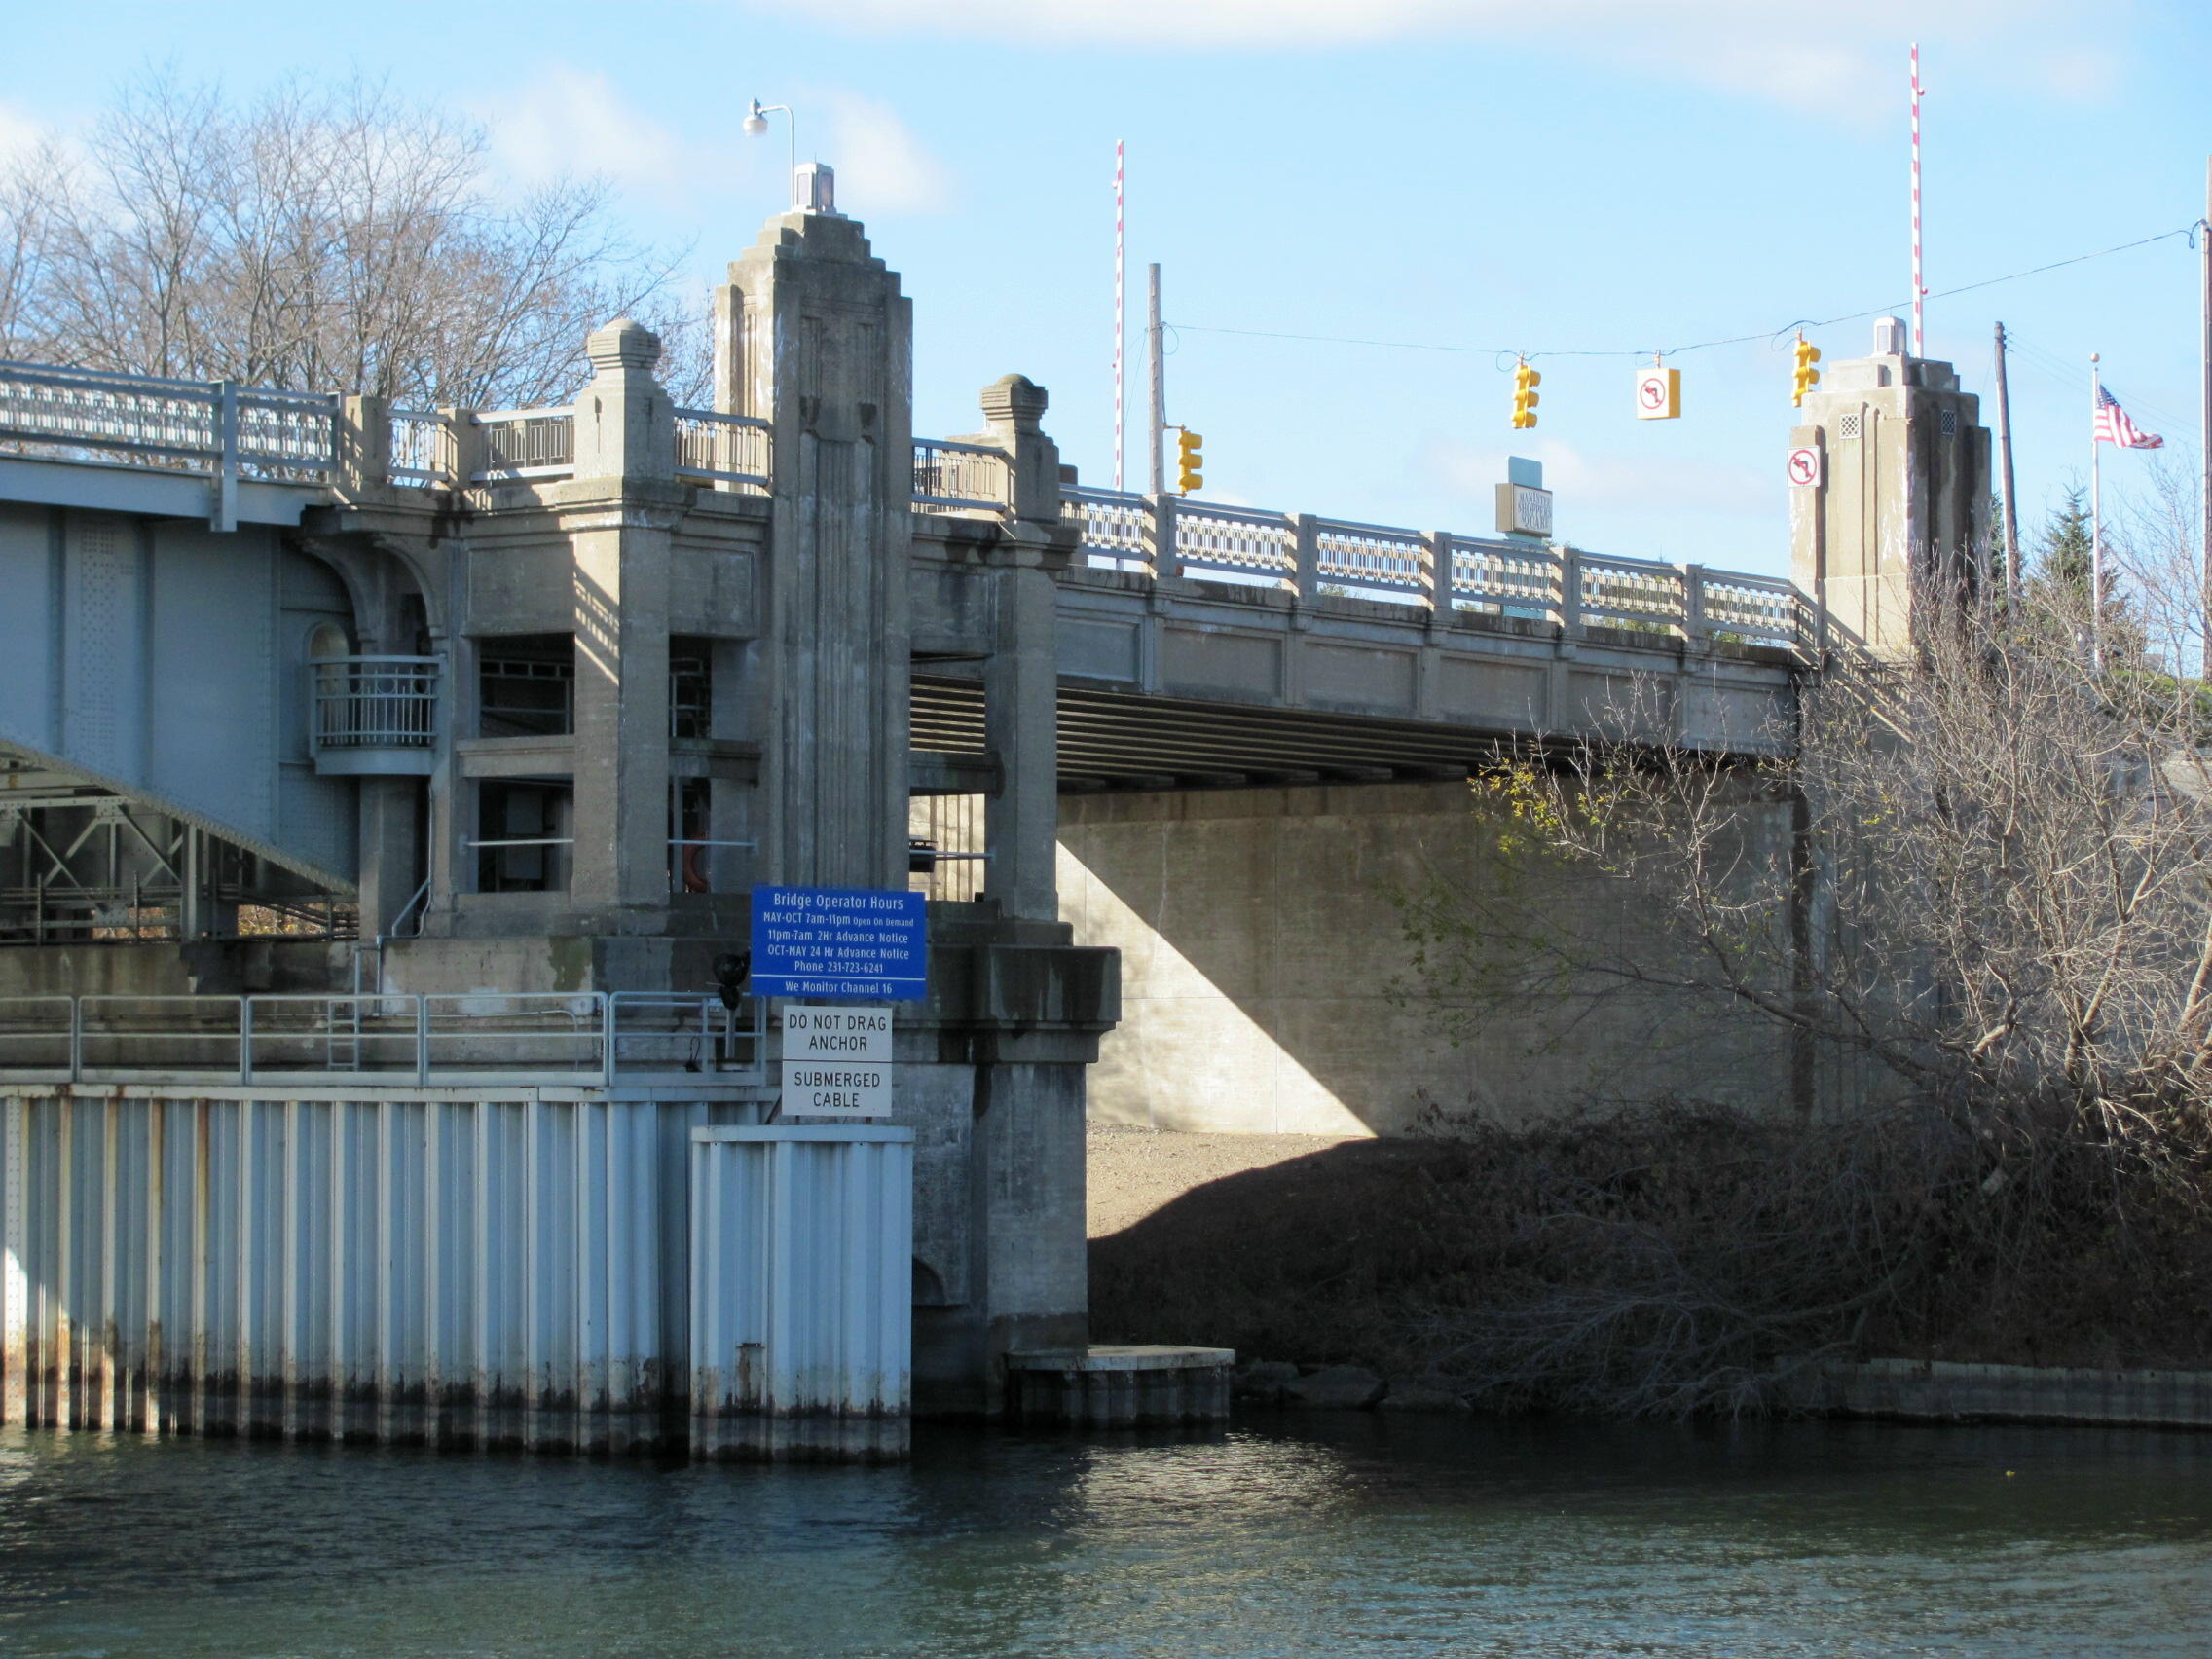
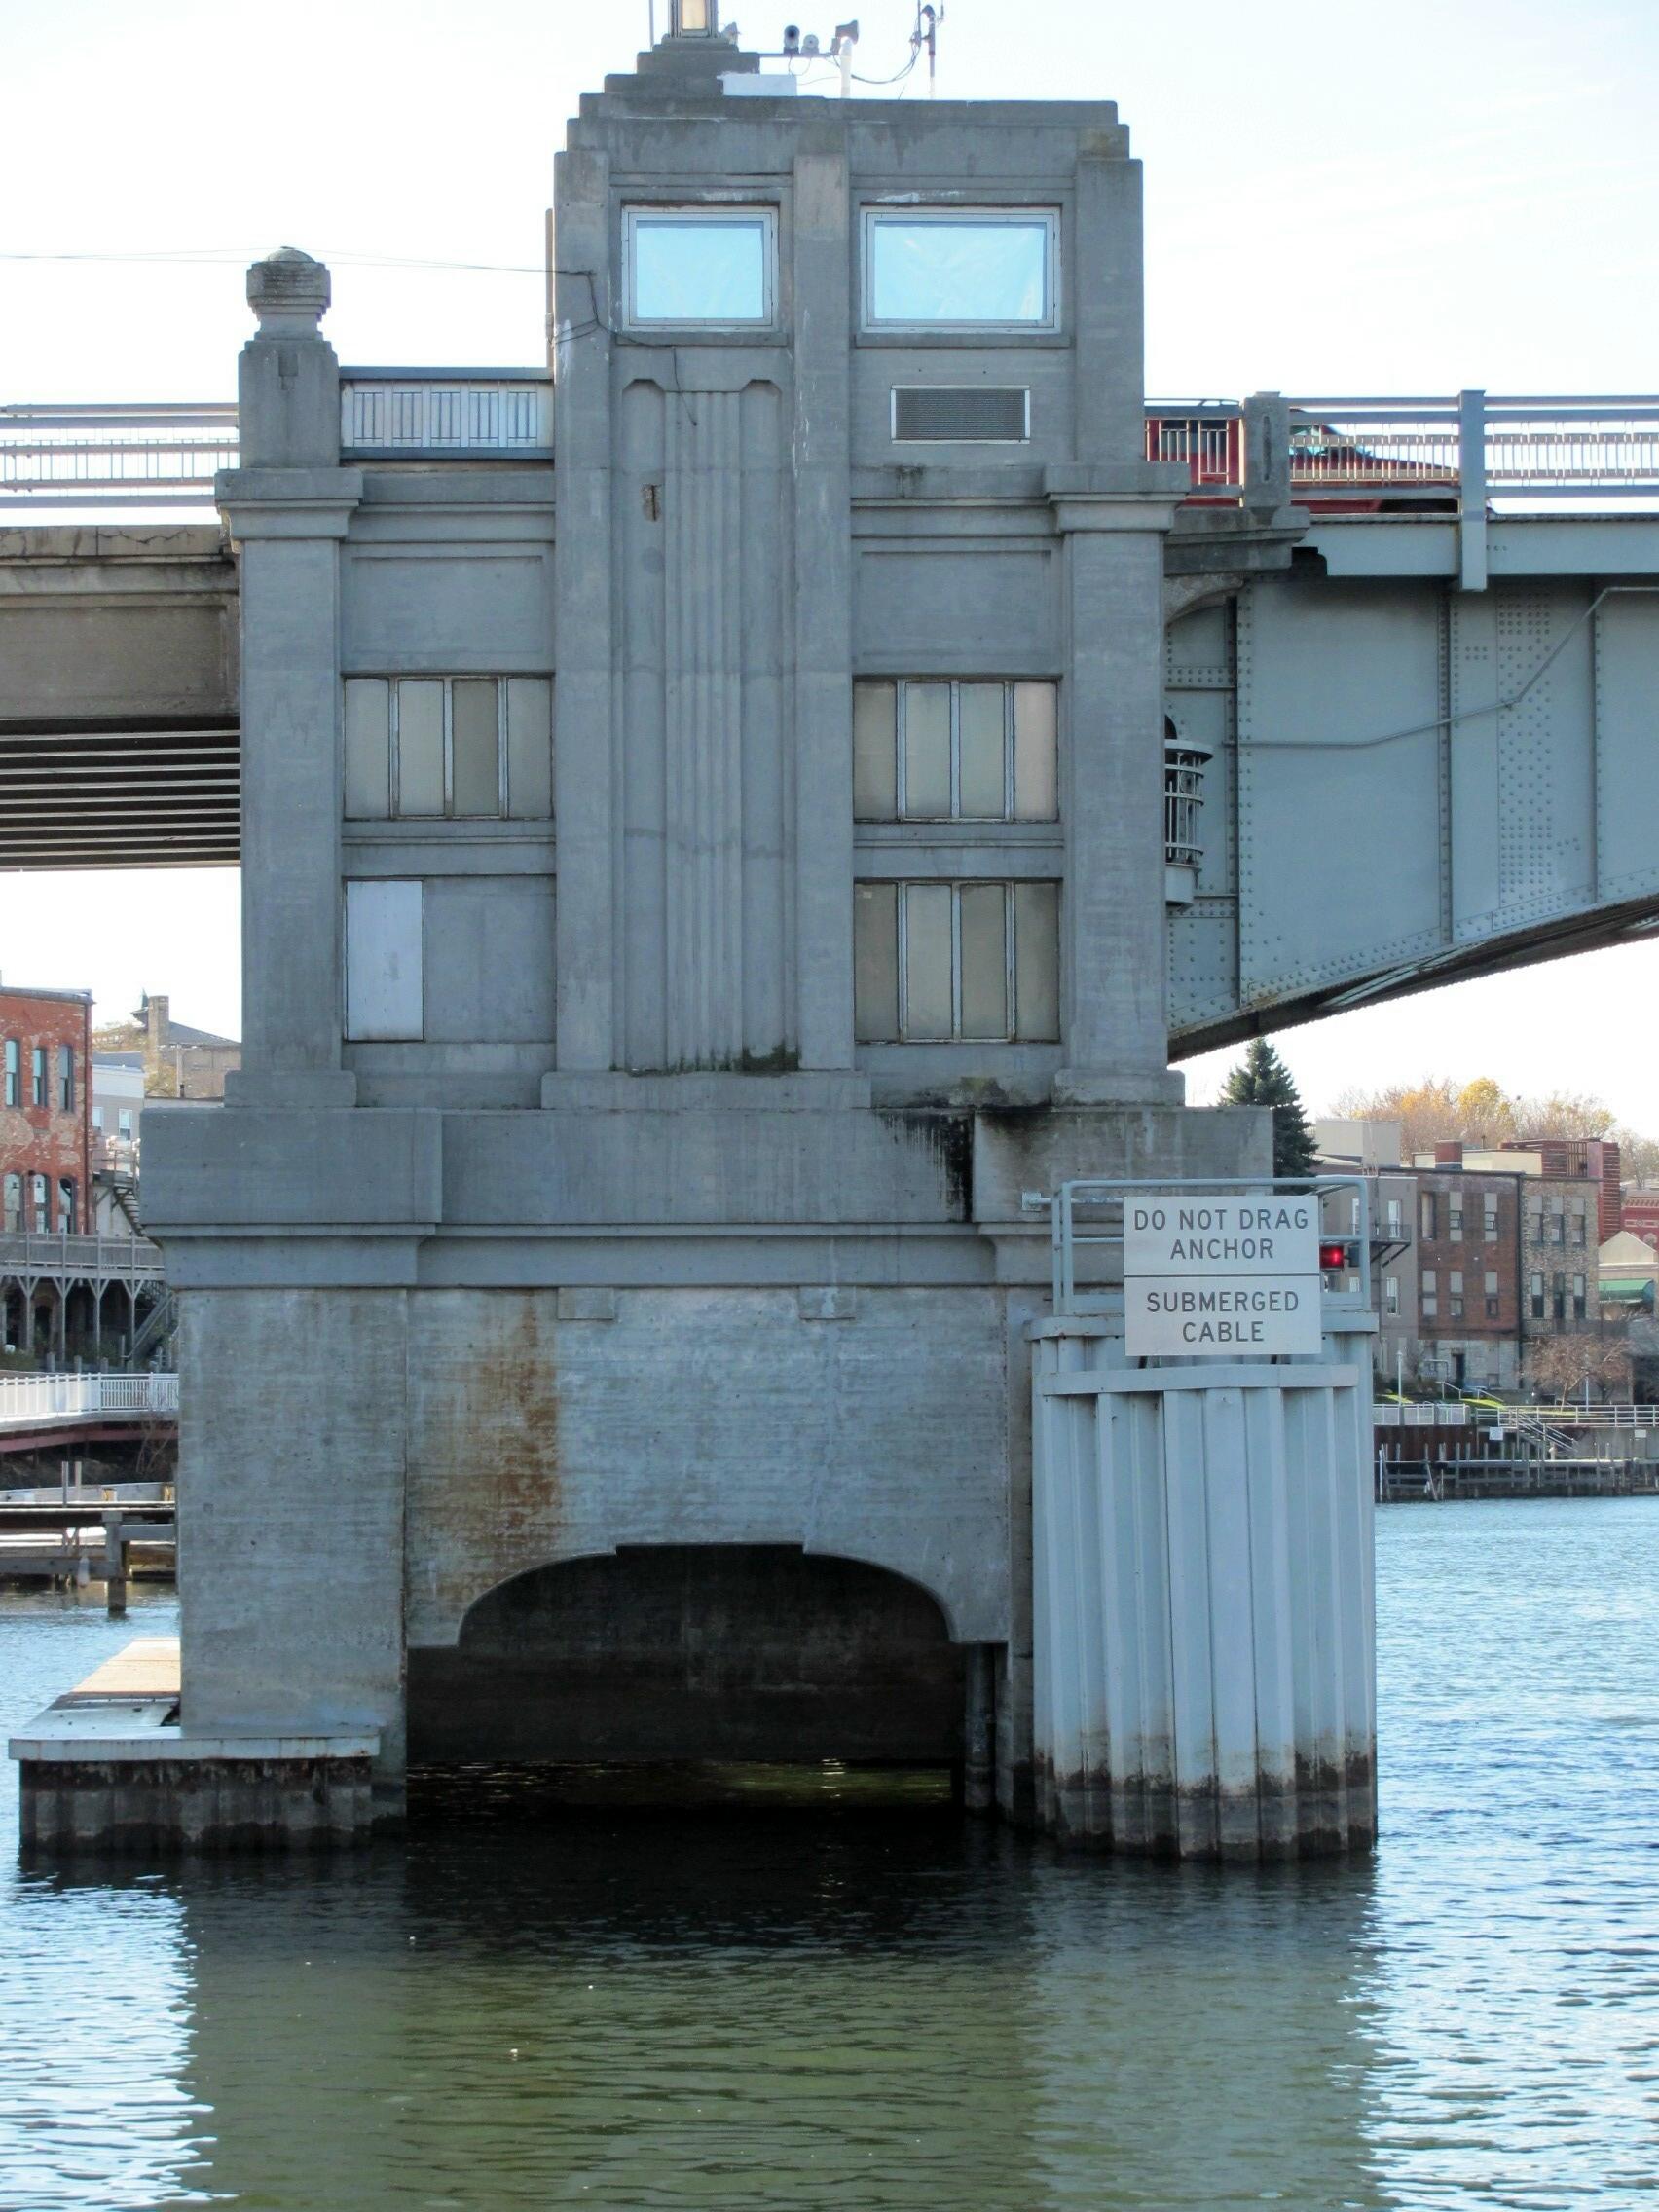
Bascule piers.
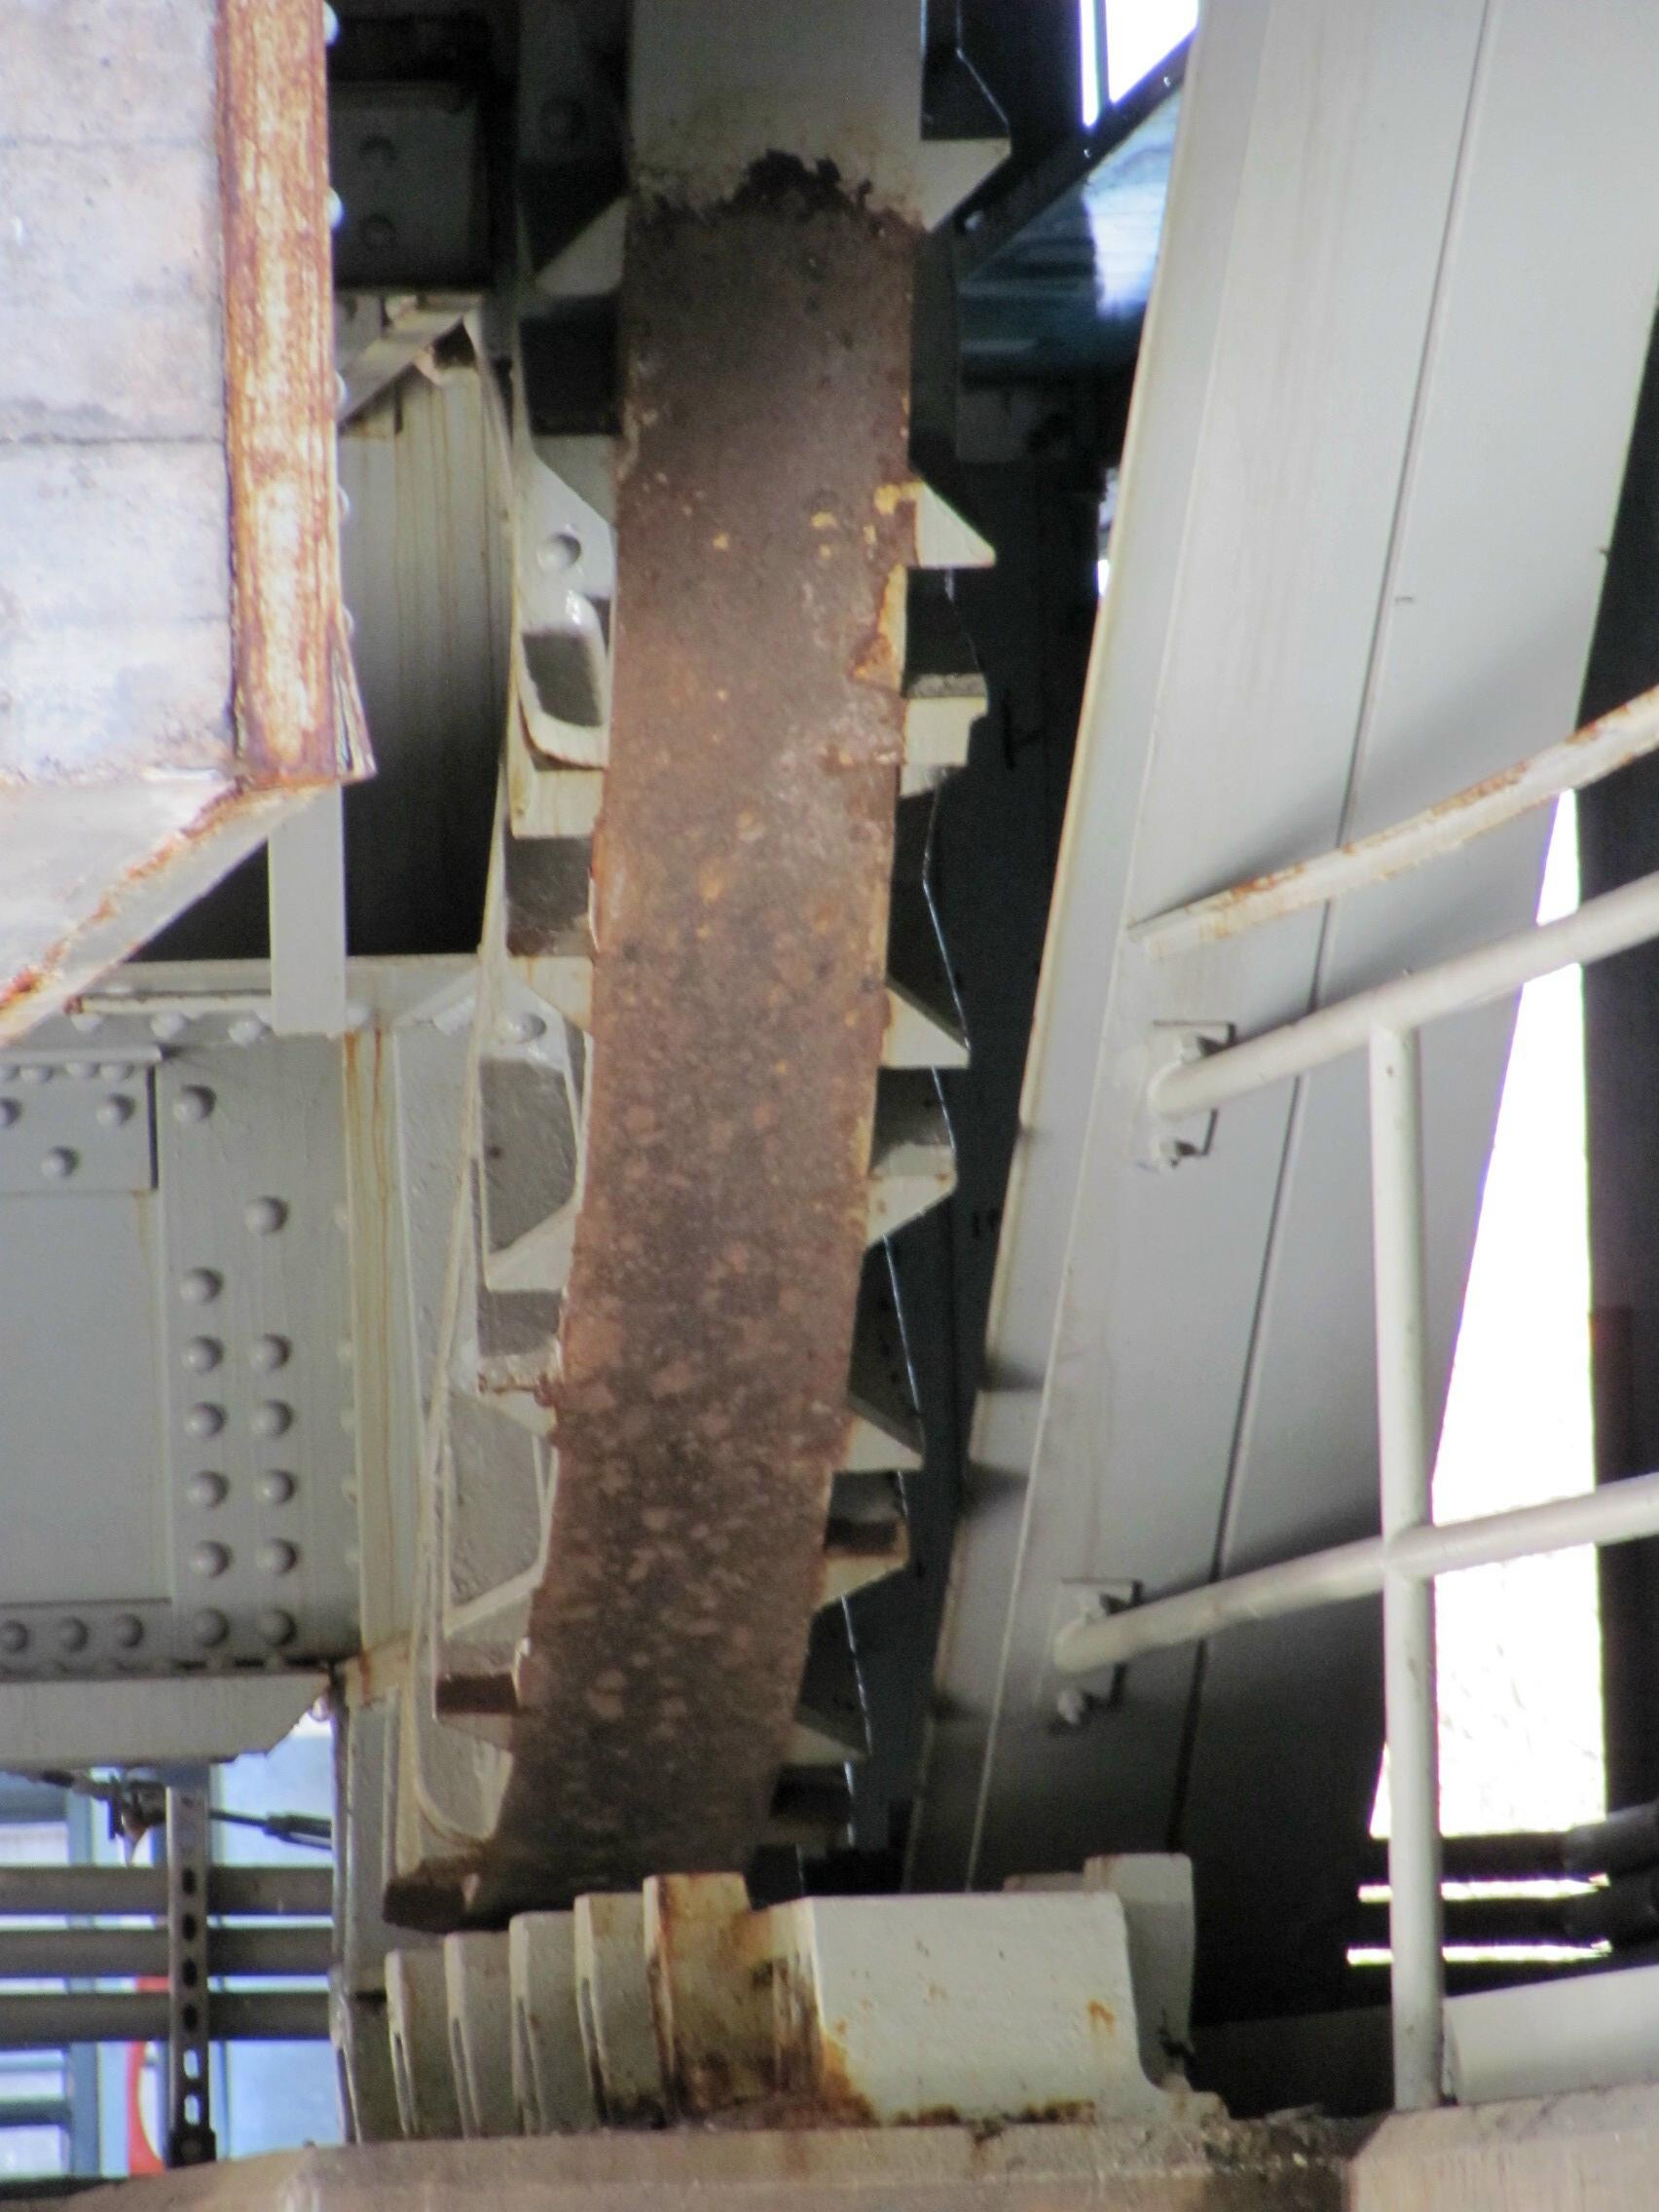
![]()
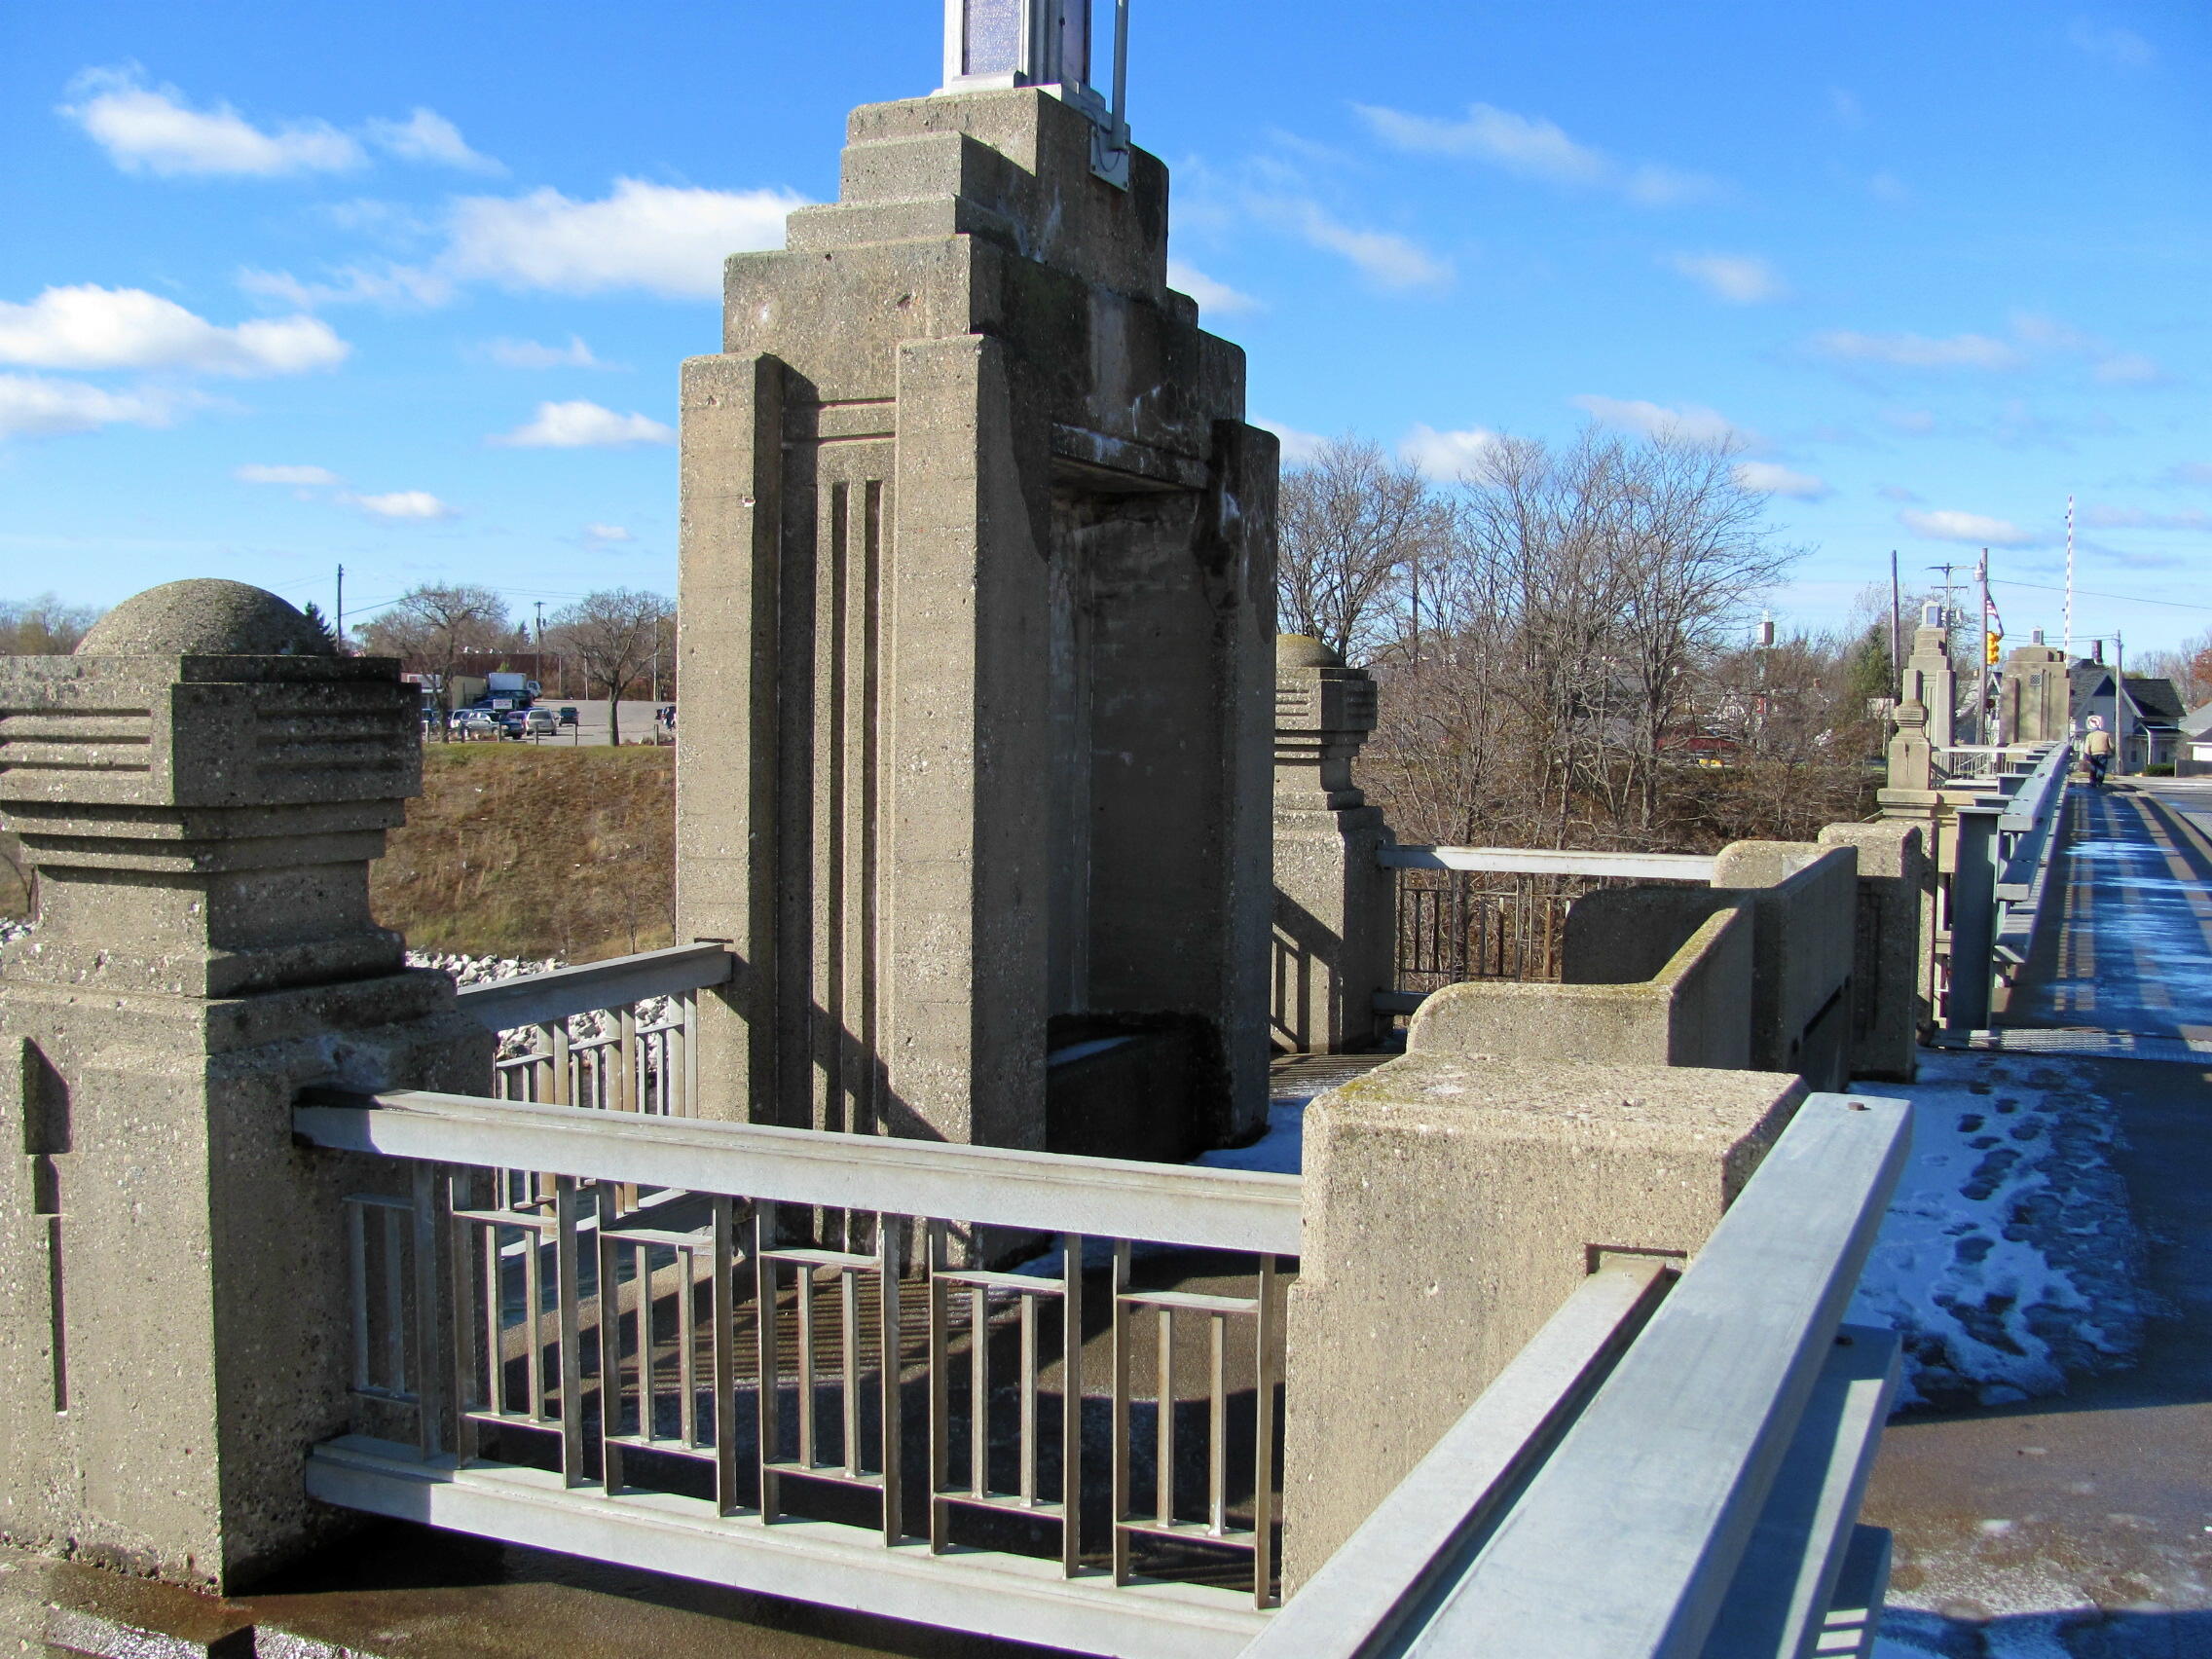

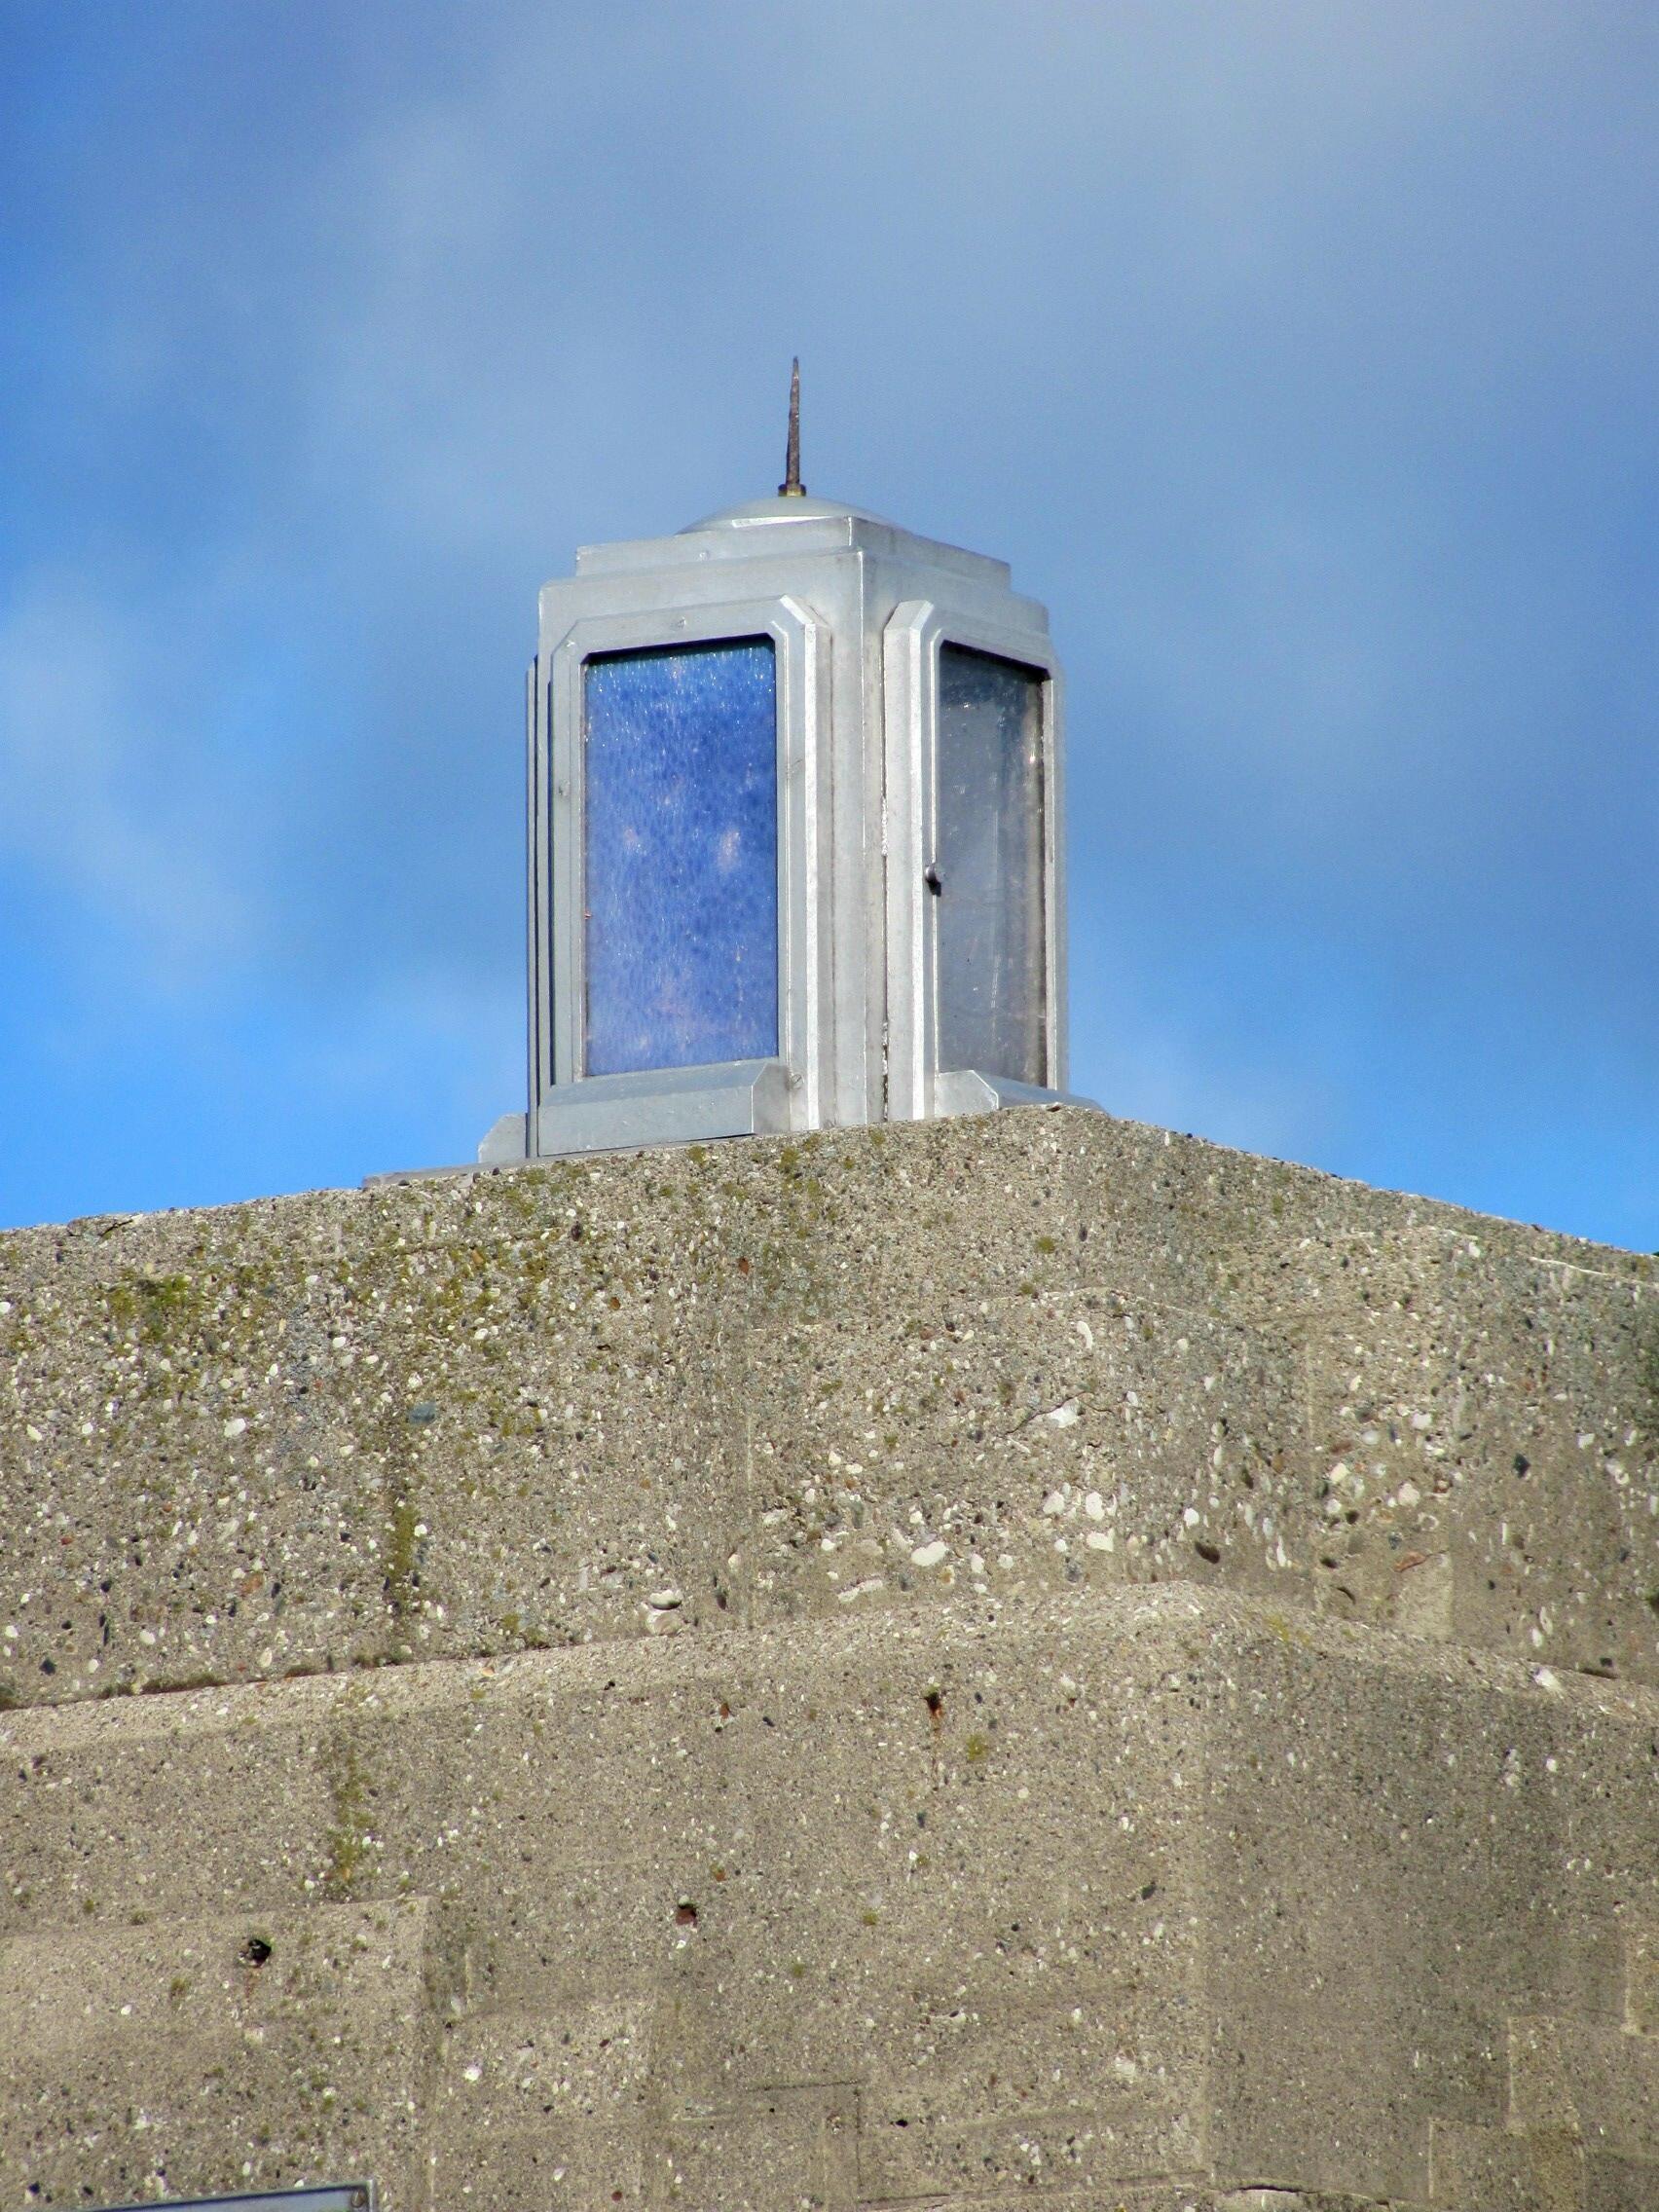
Views of the top of the bascule pier pillar at viewed from on bridge.
![]()


Bascule pier details.
![]()

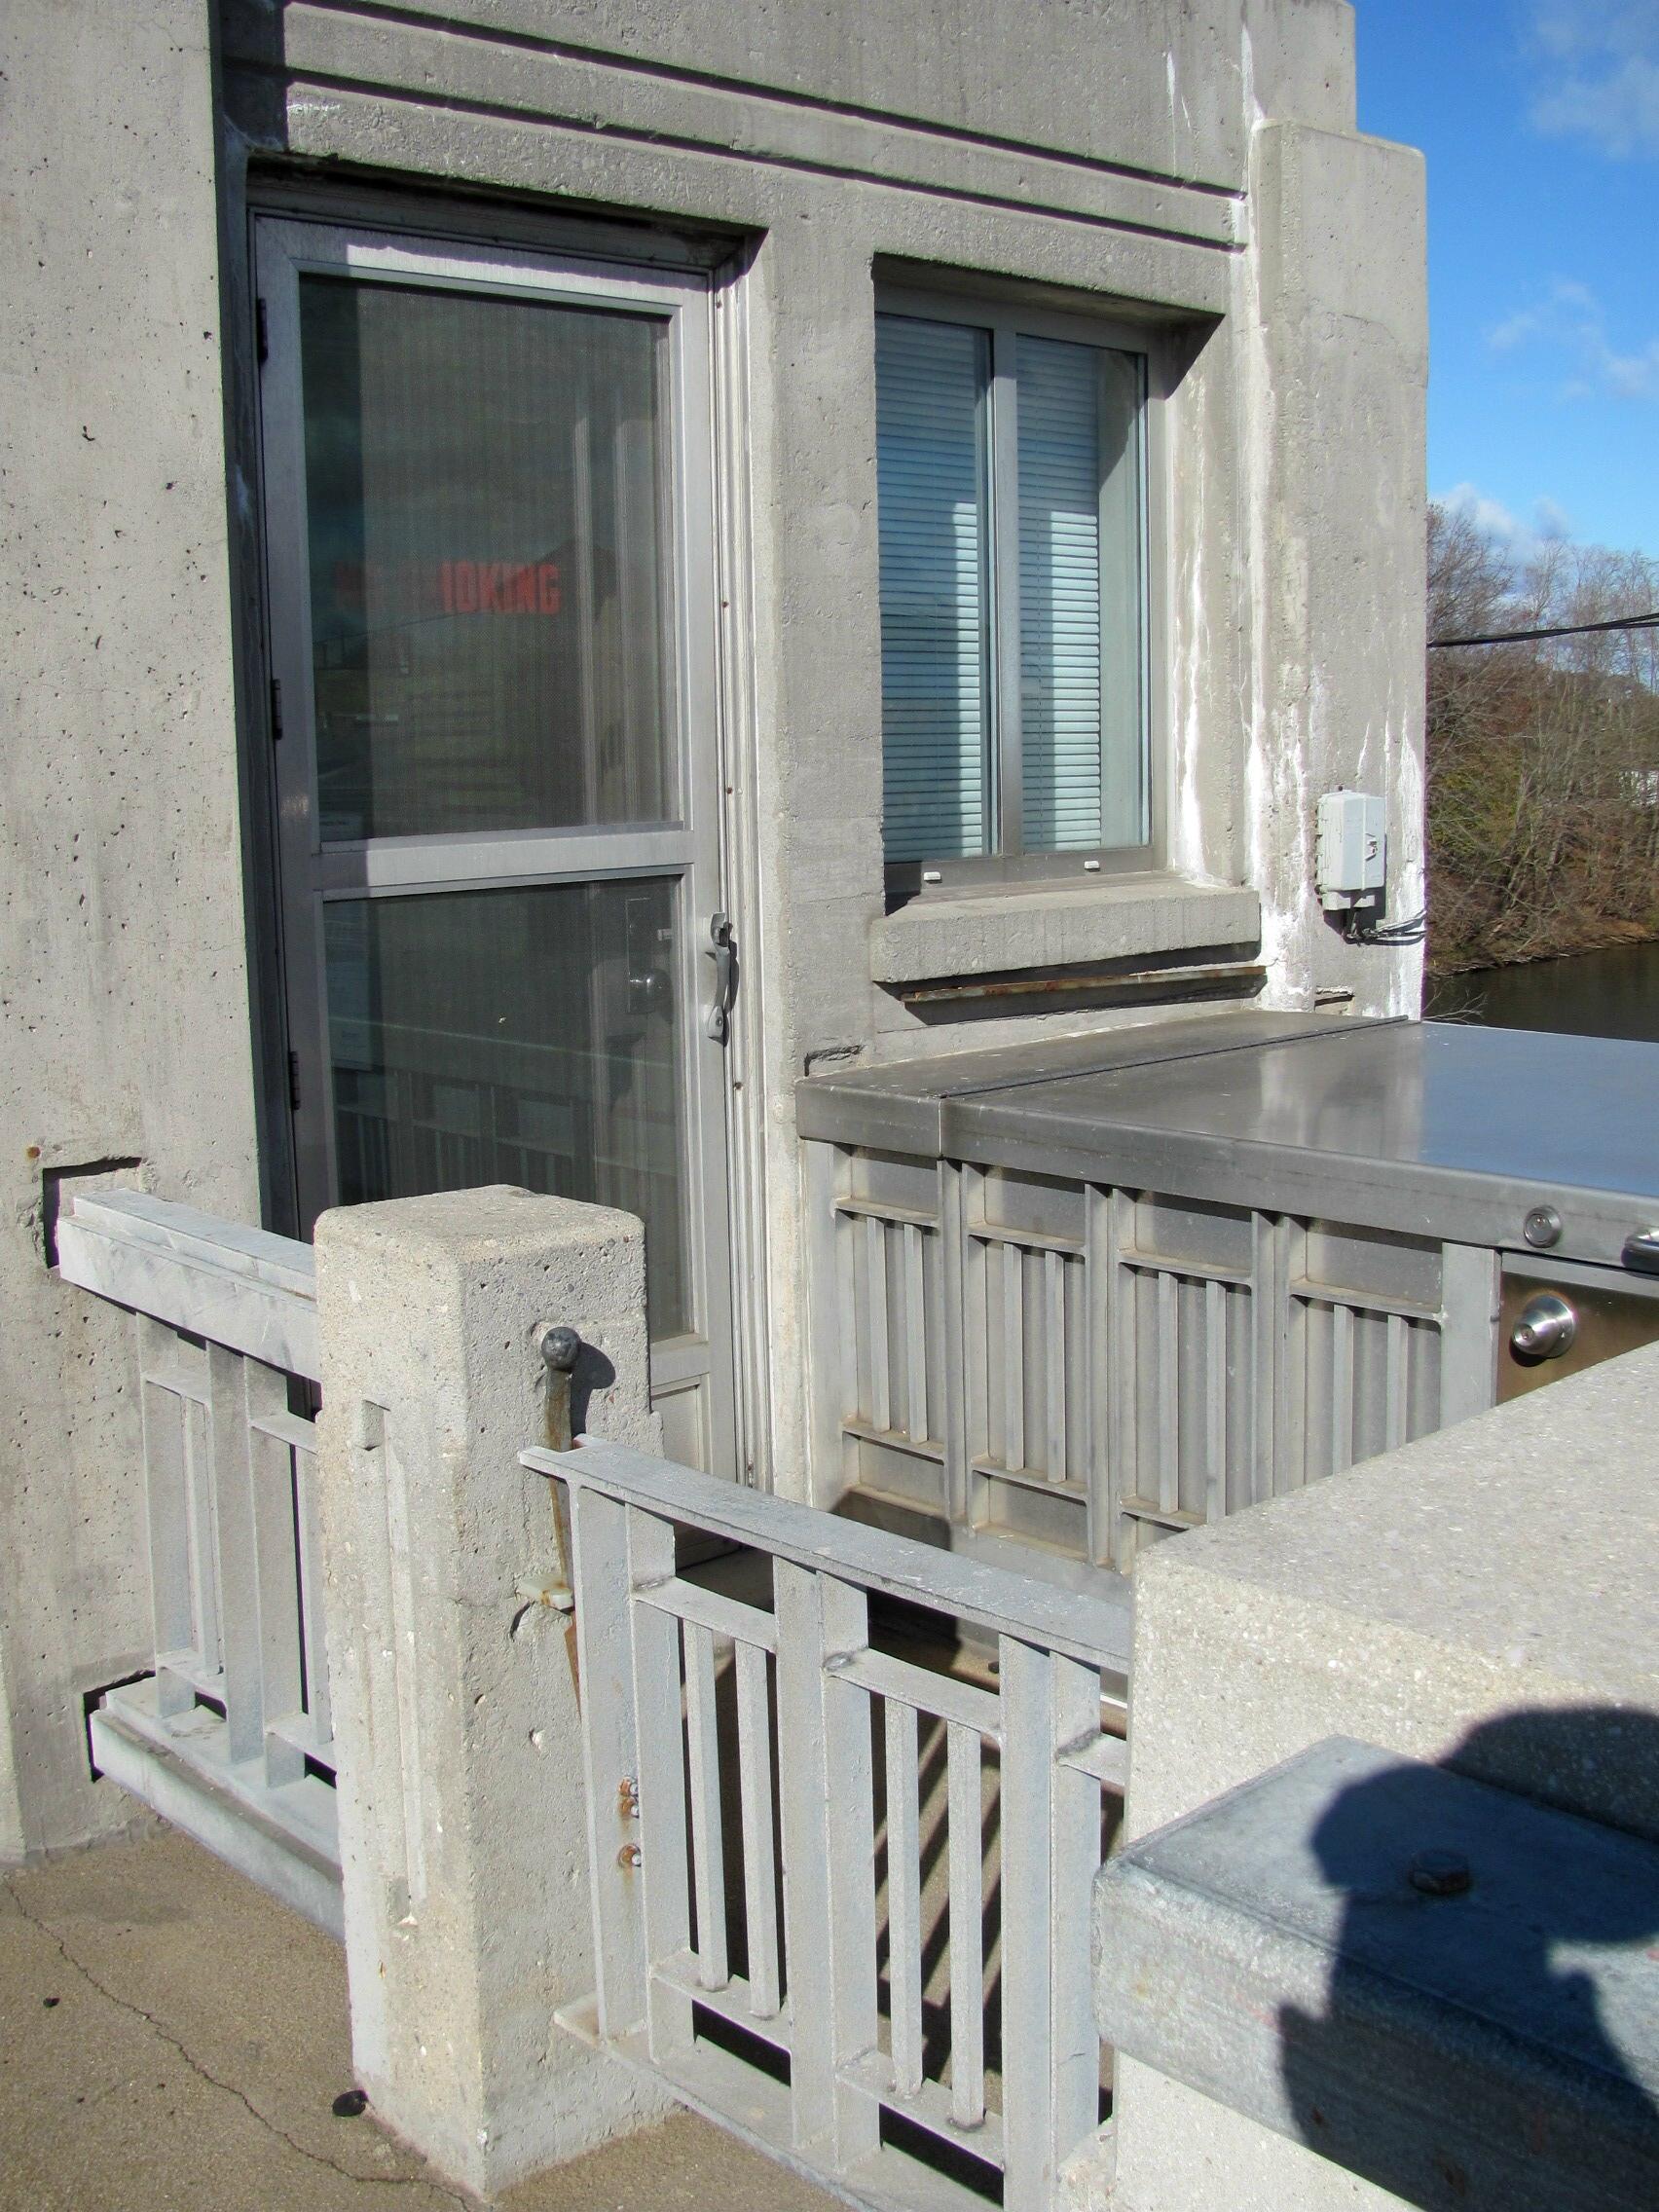
Bridgetender building.
![]()
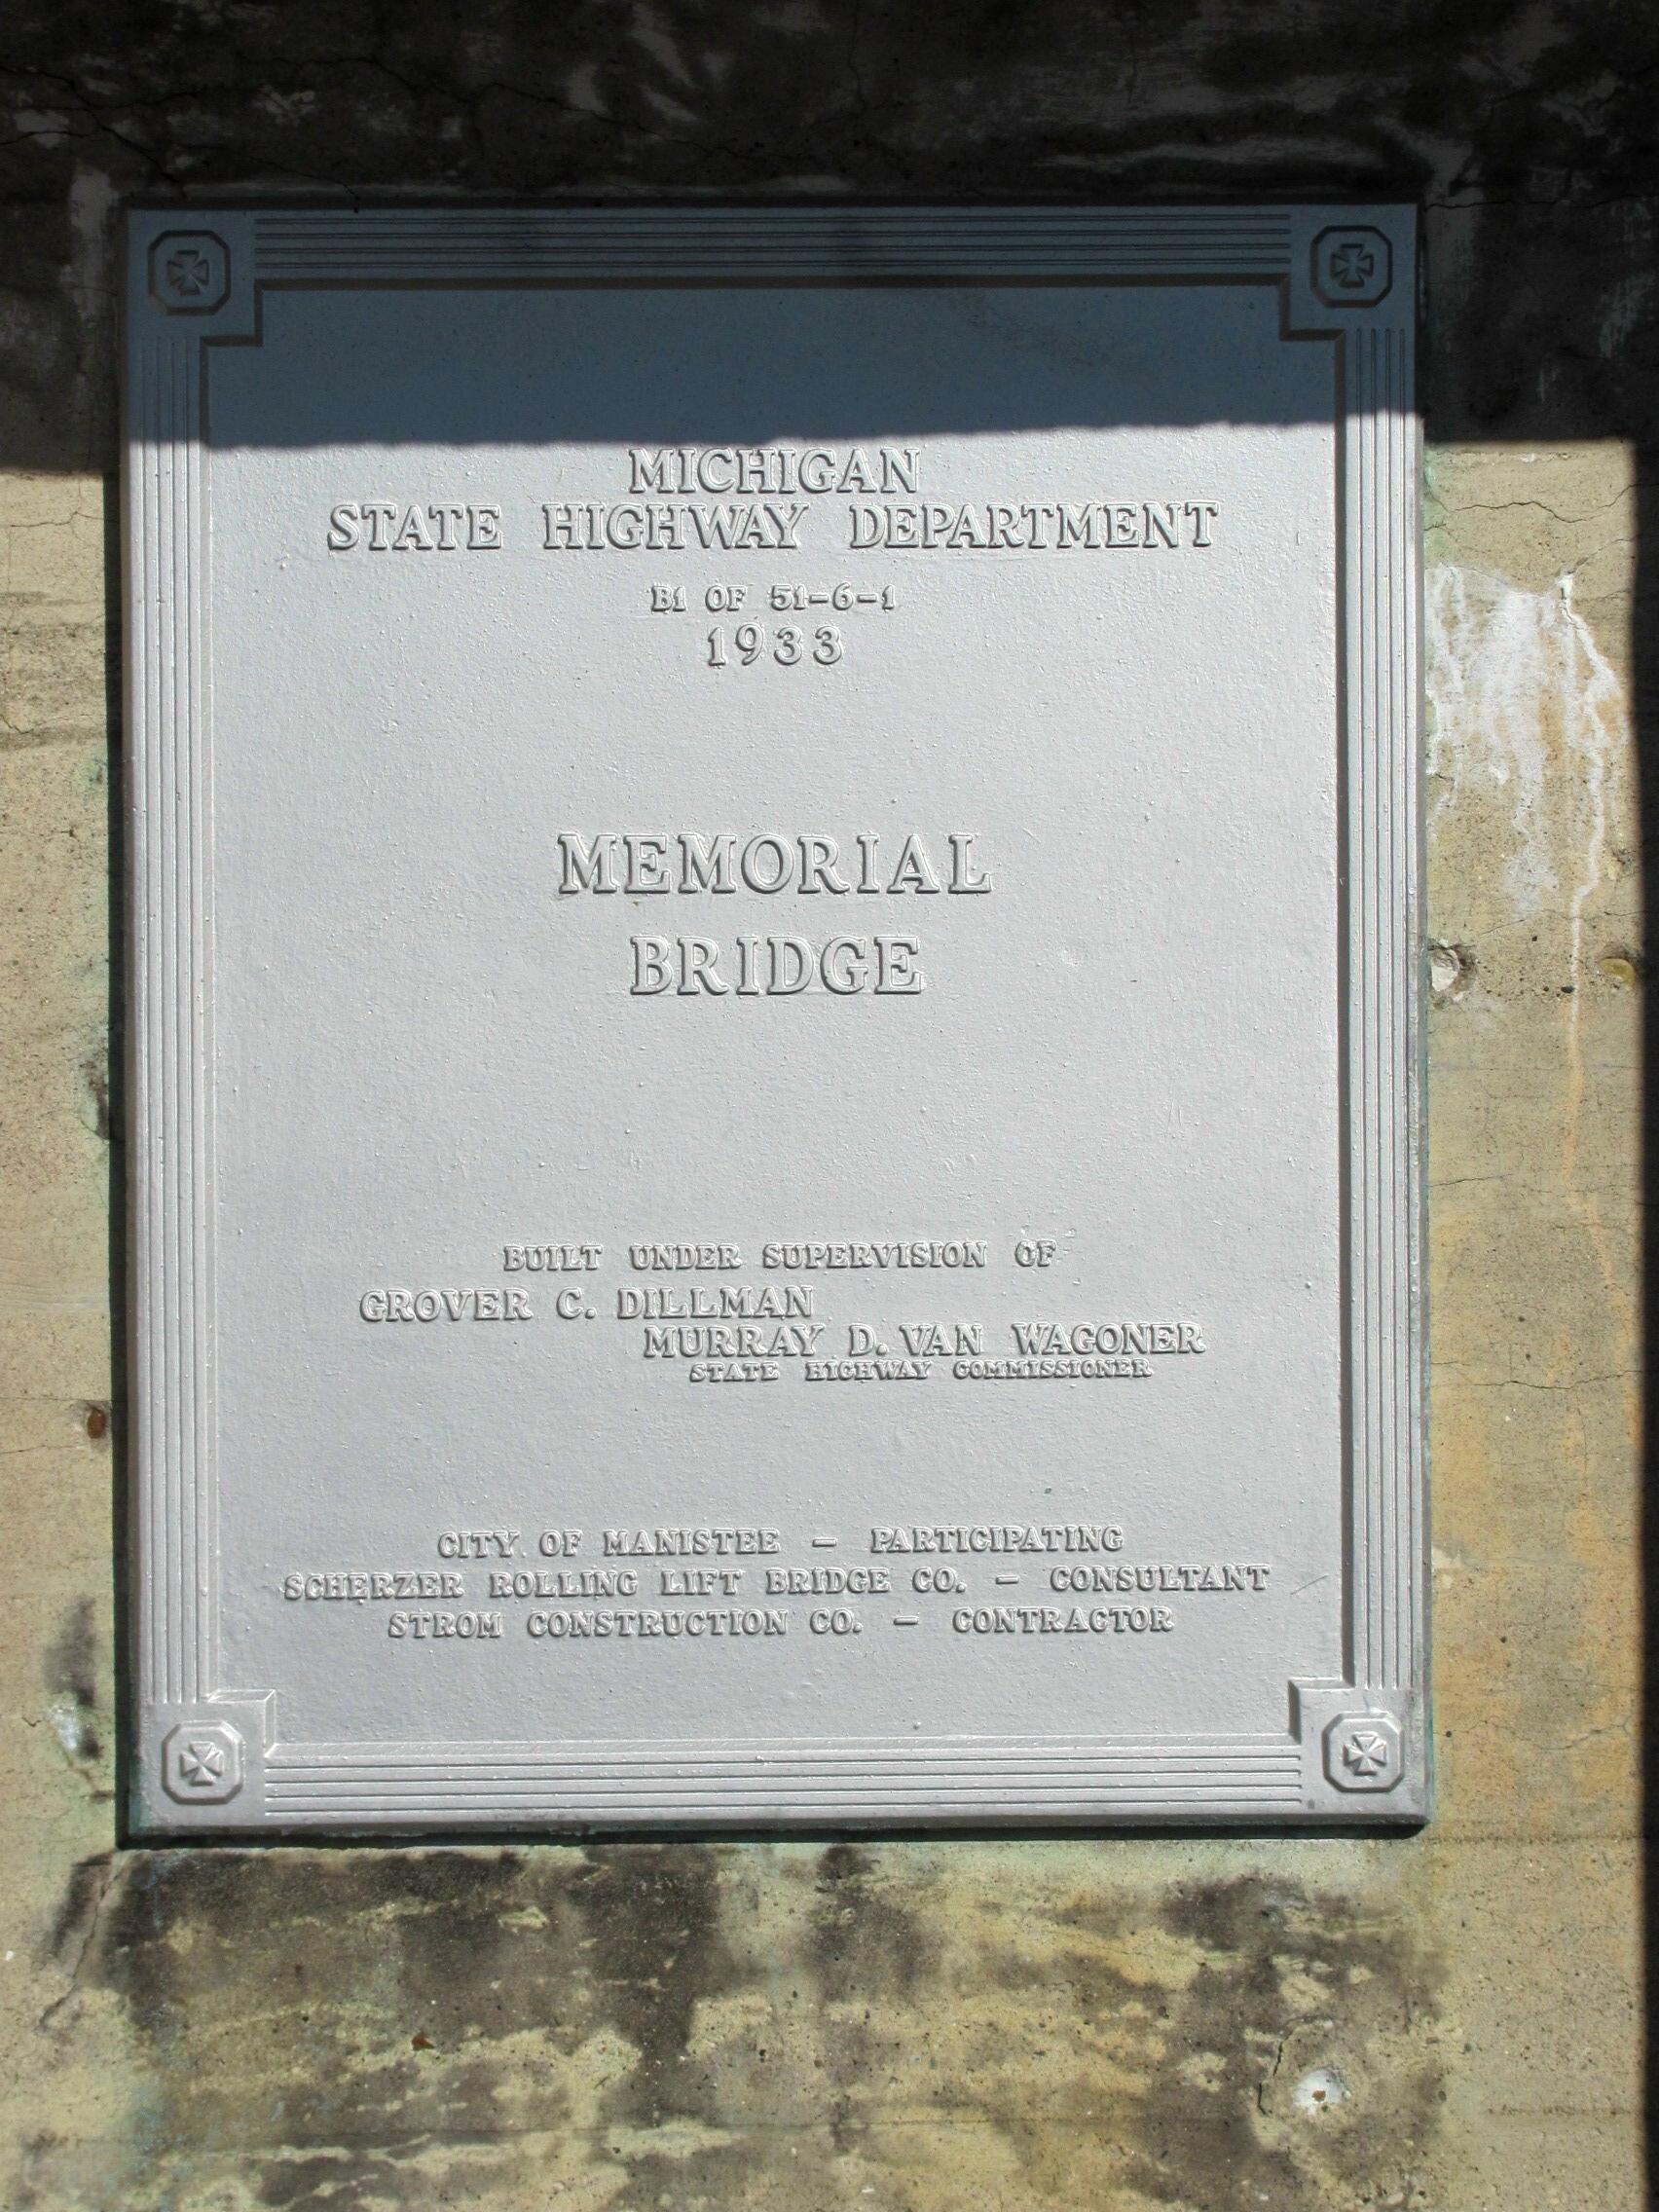
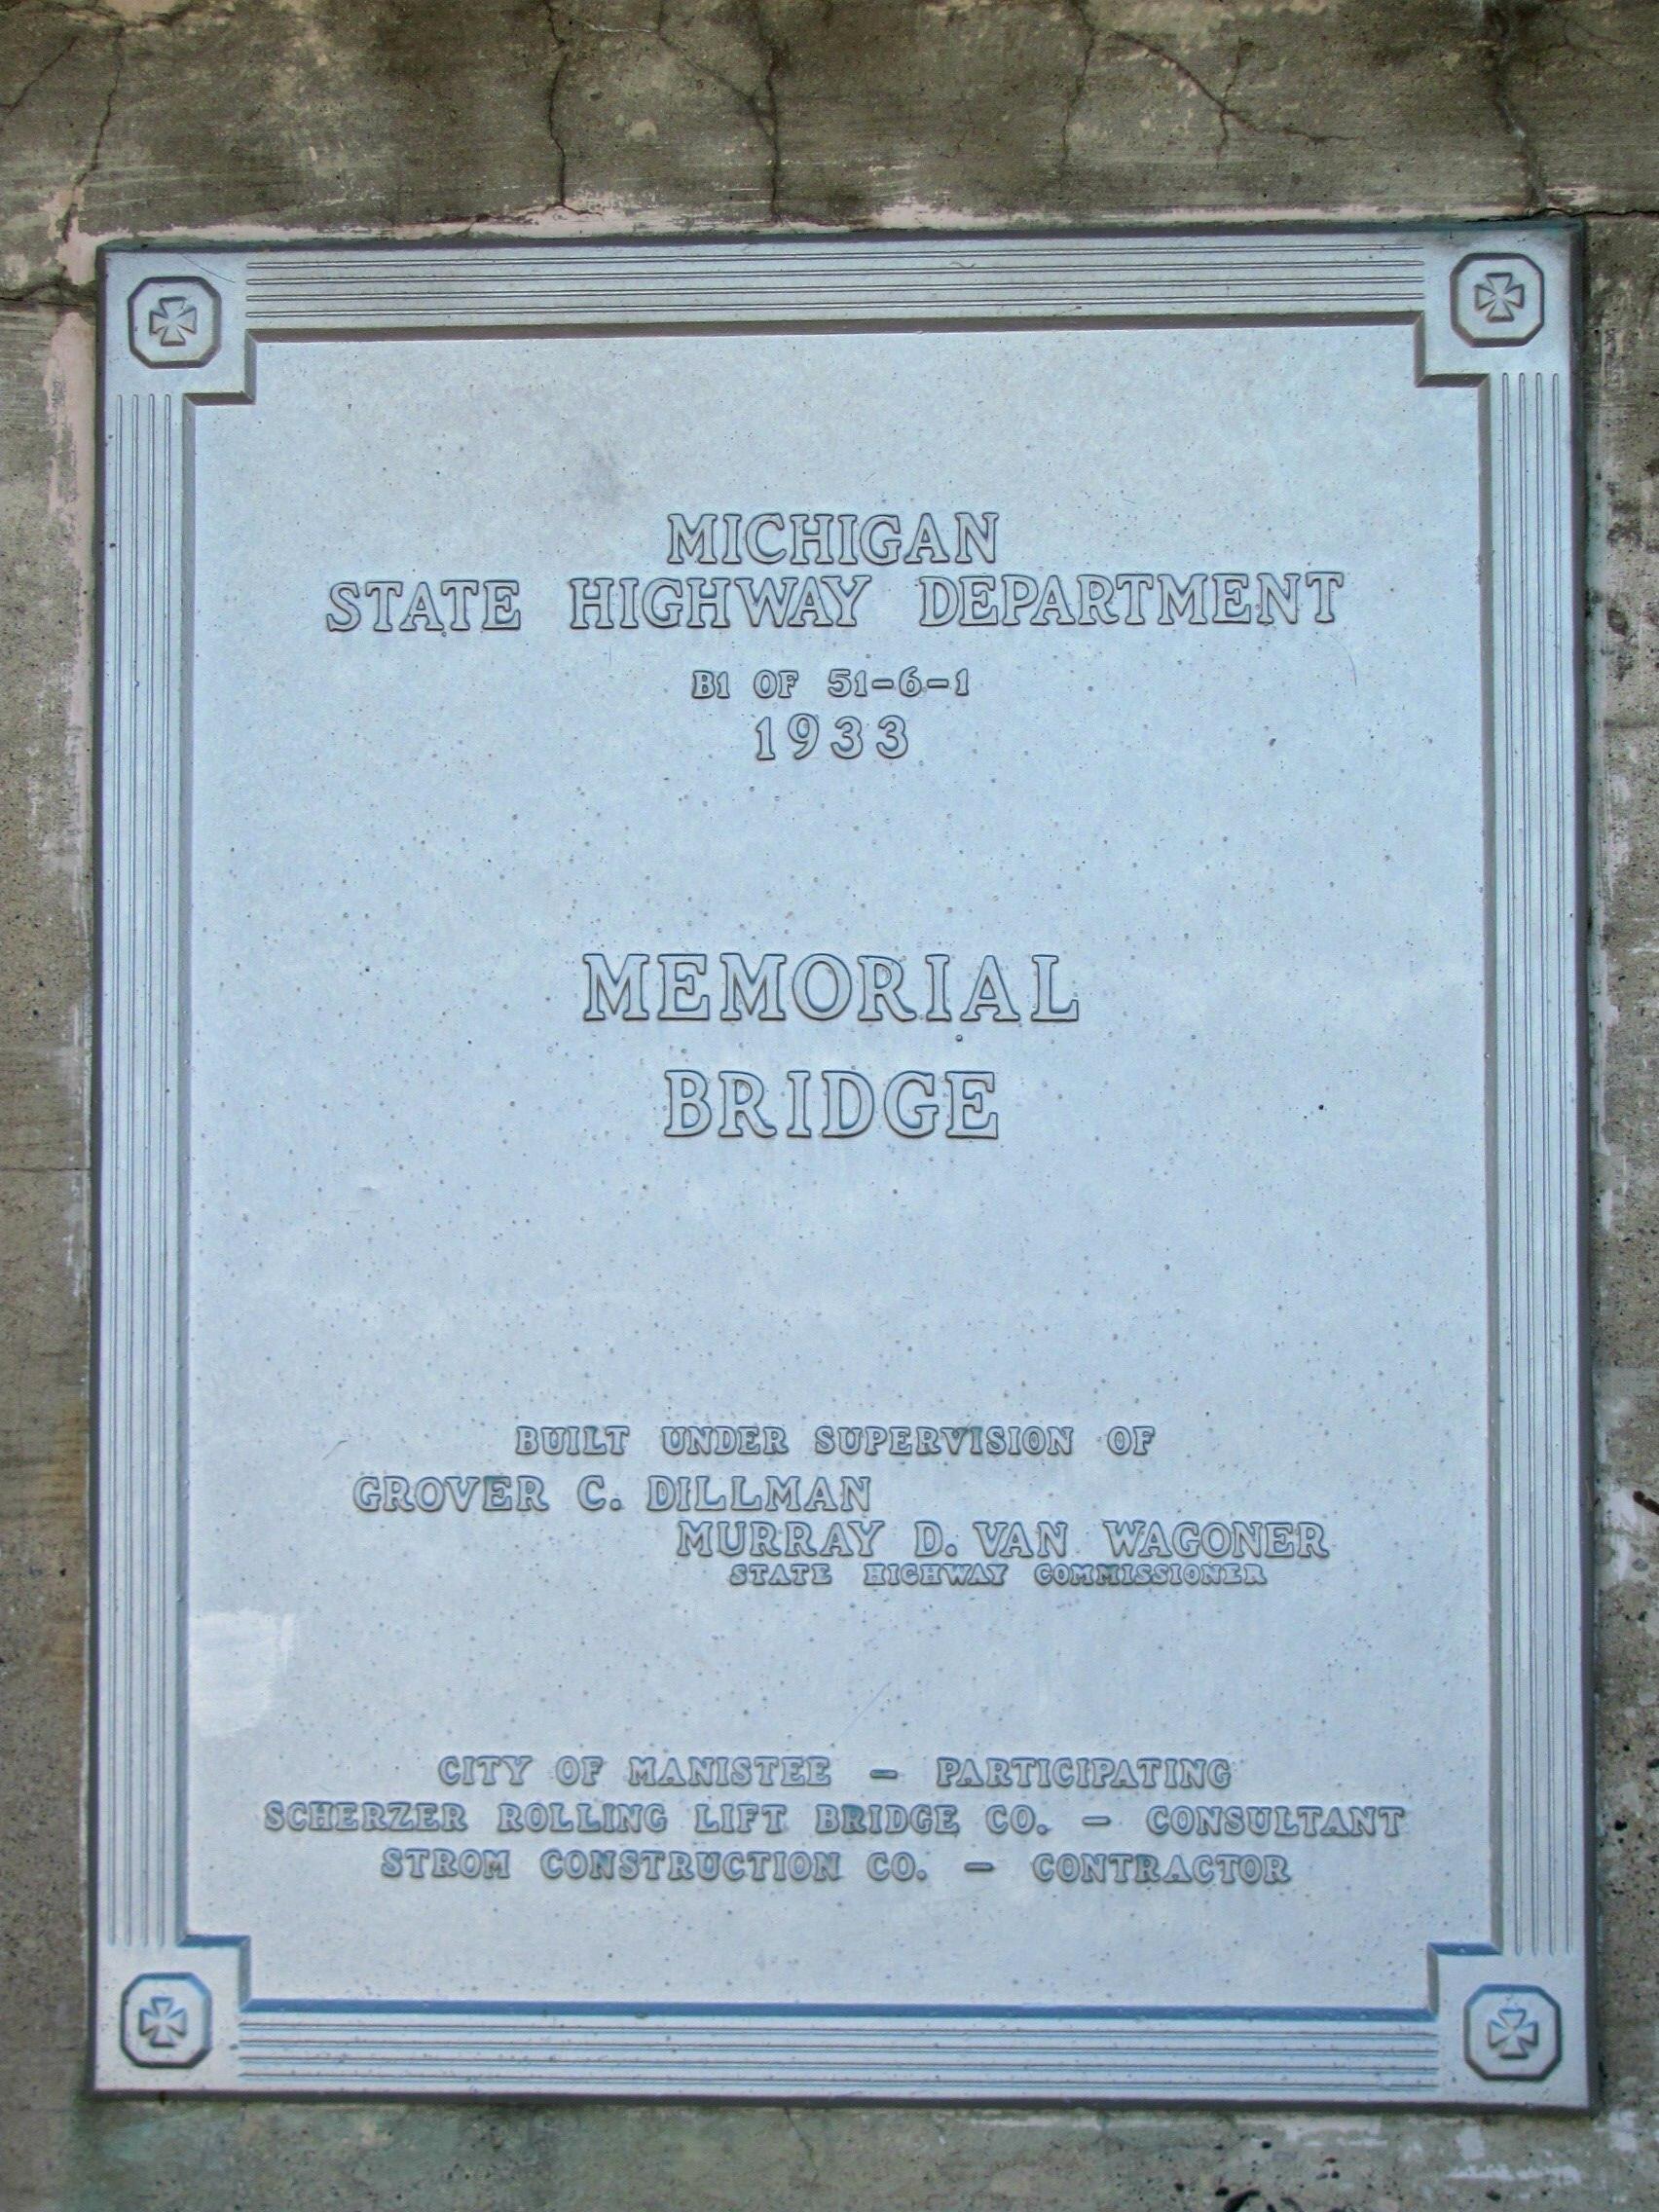
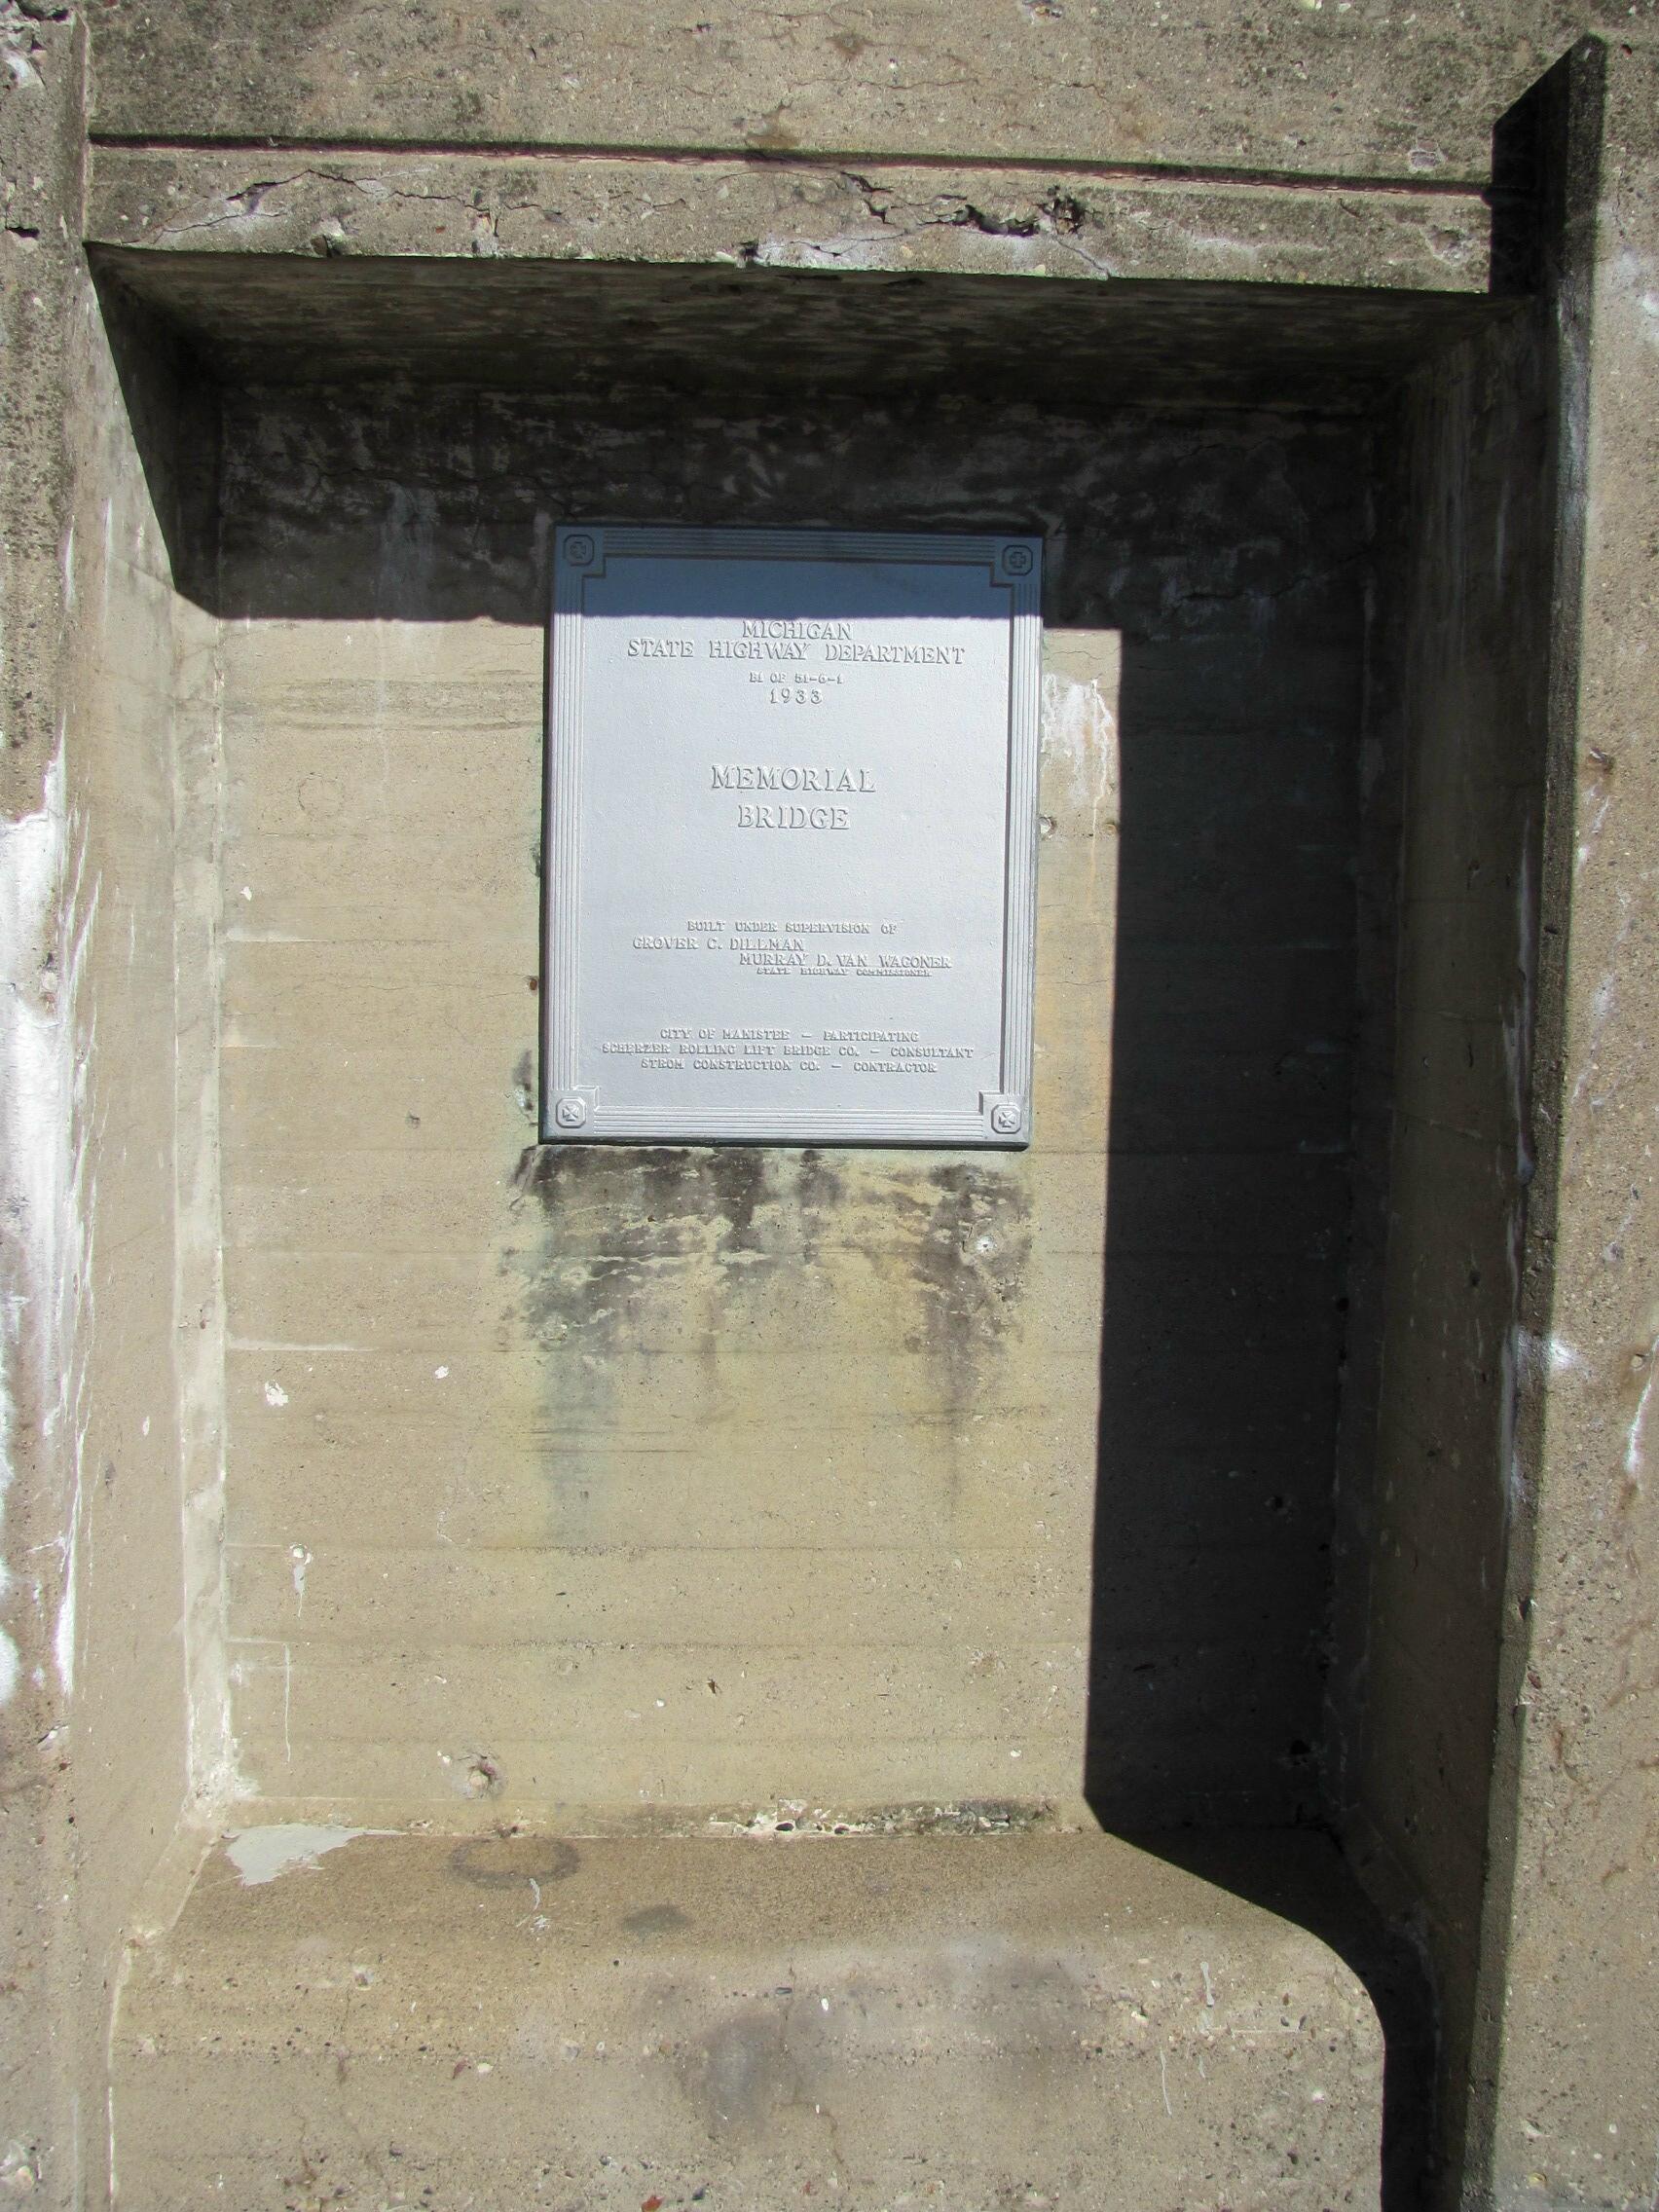
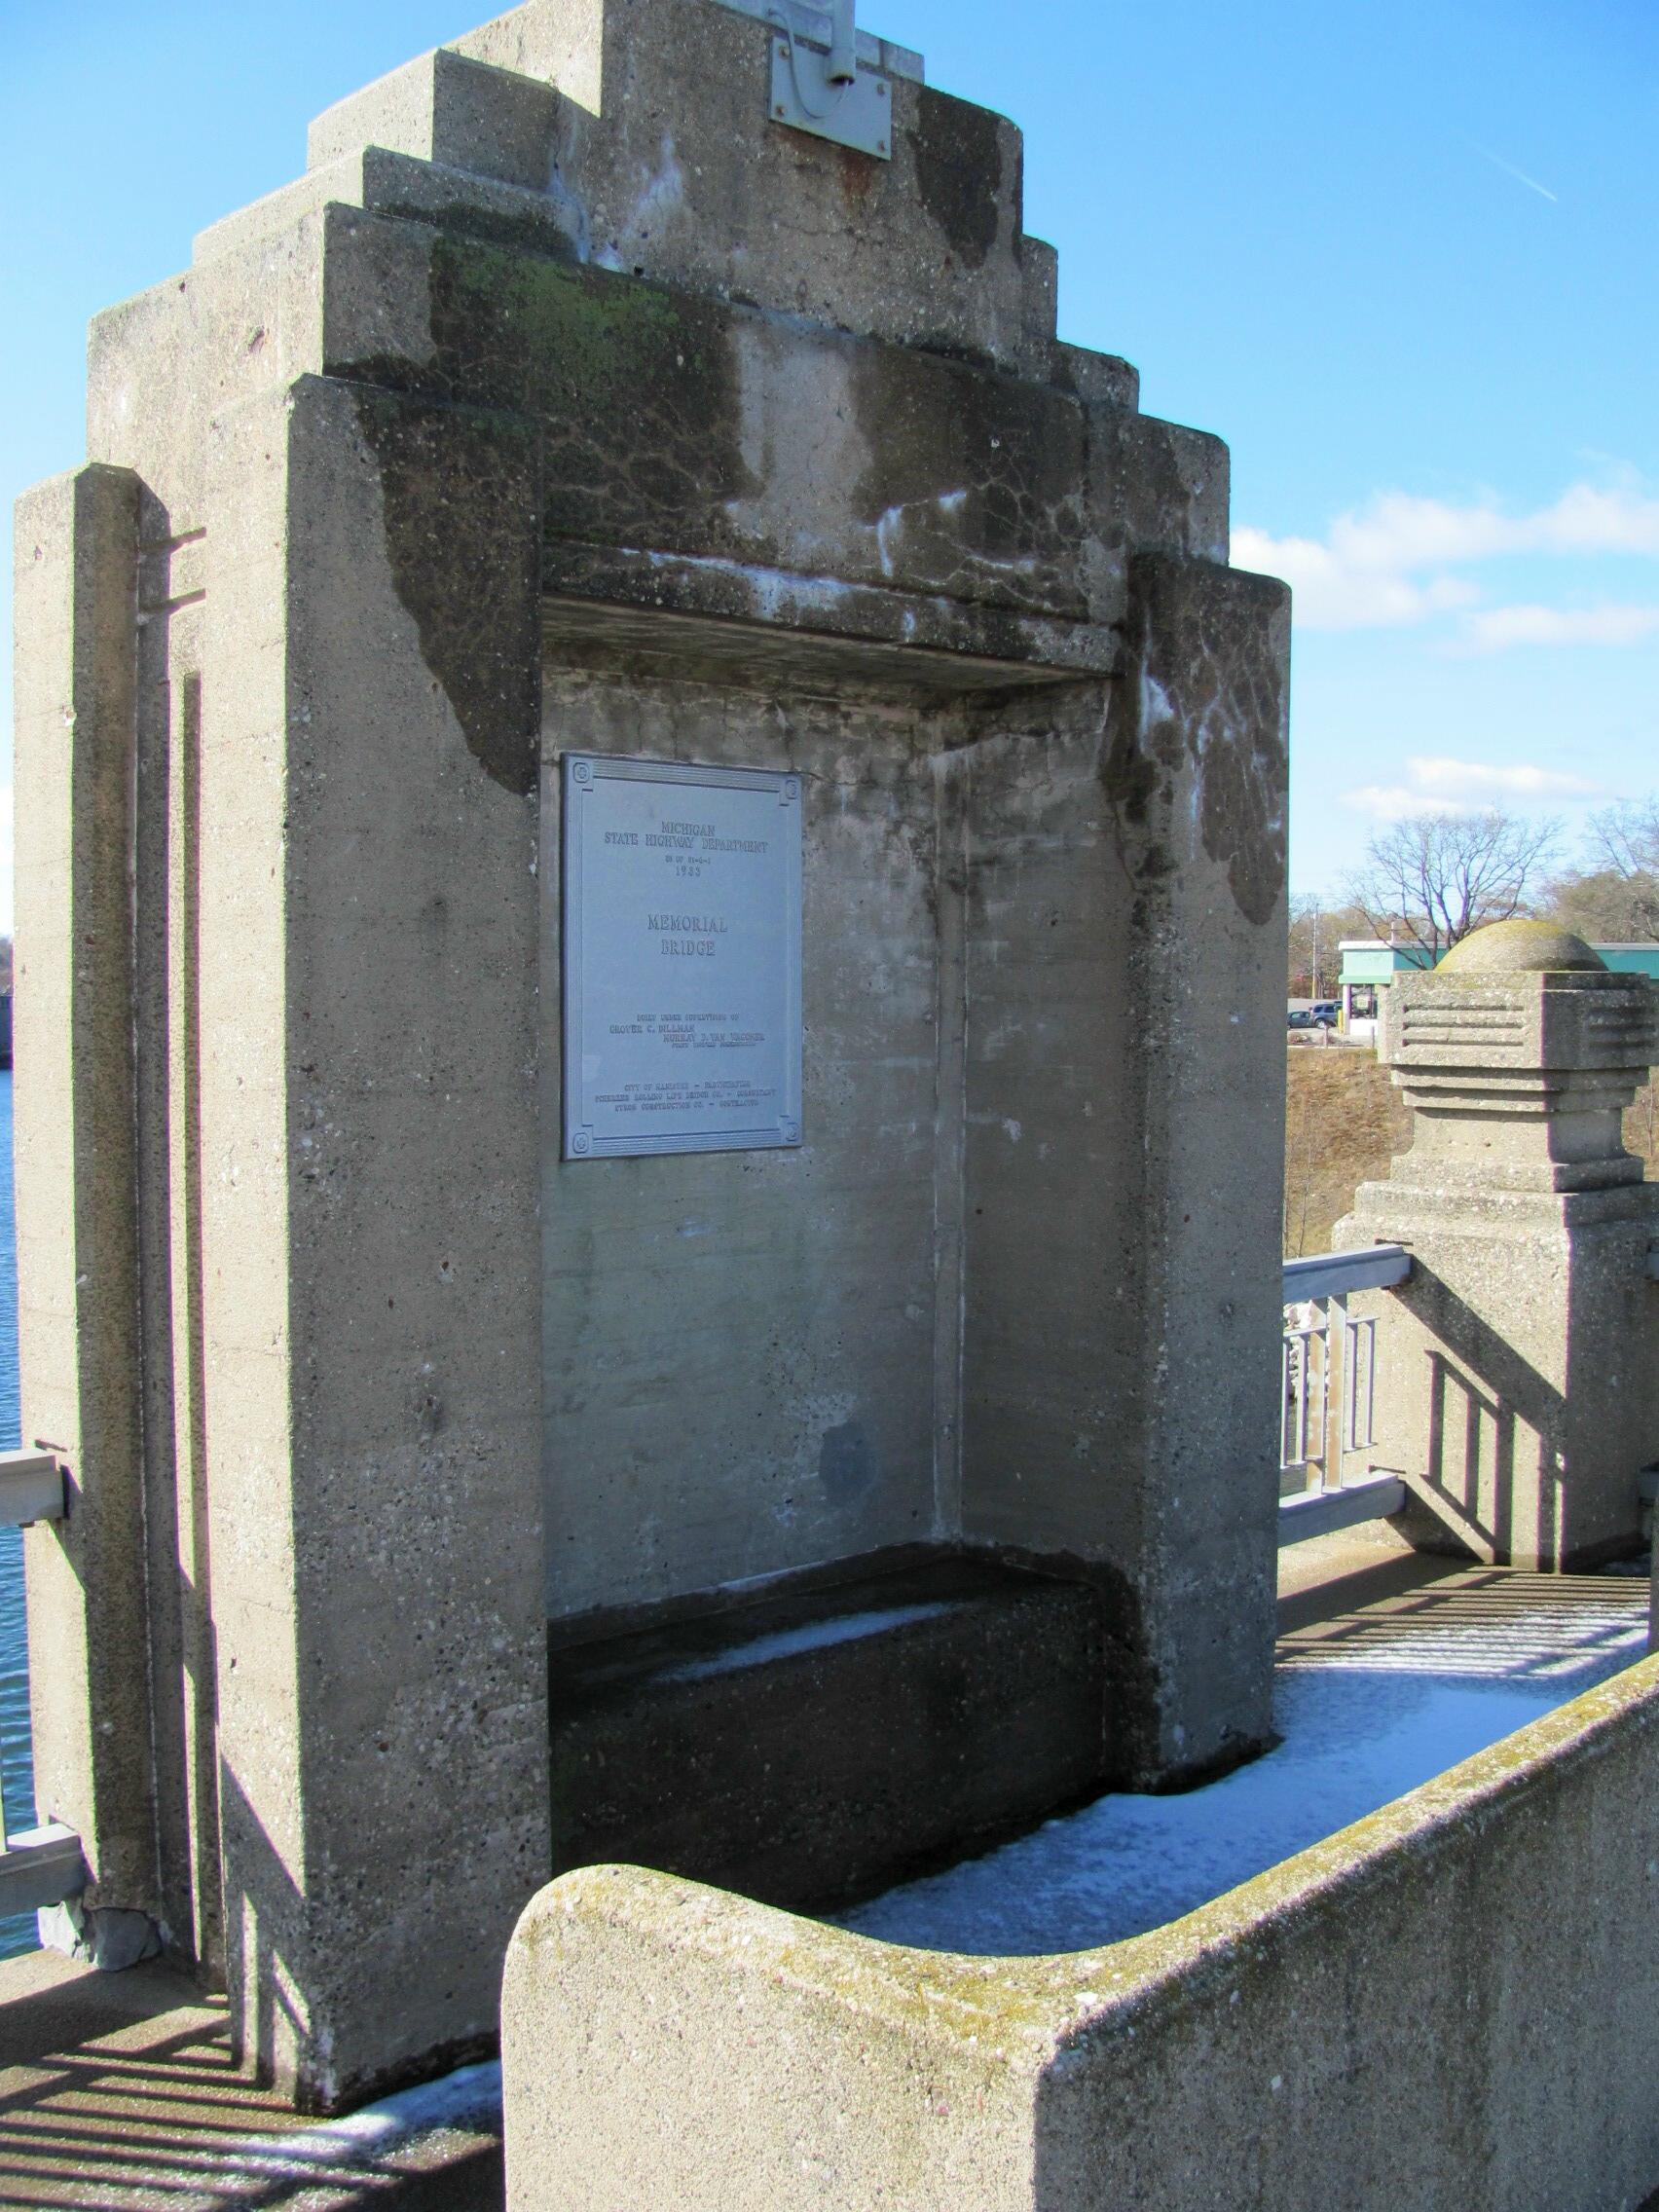
Plaque.
![]()


Type R4 railing on bridge.
![]()
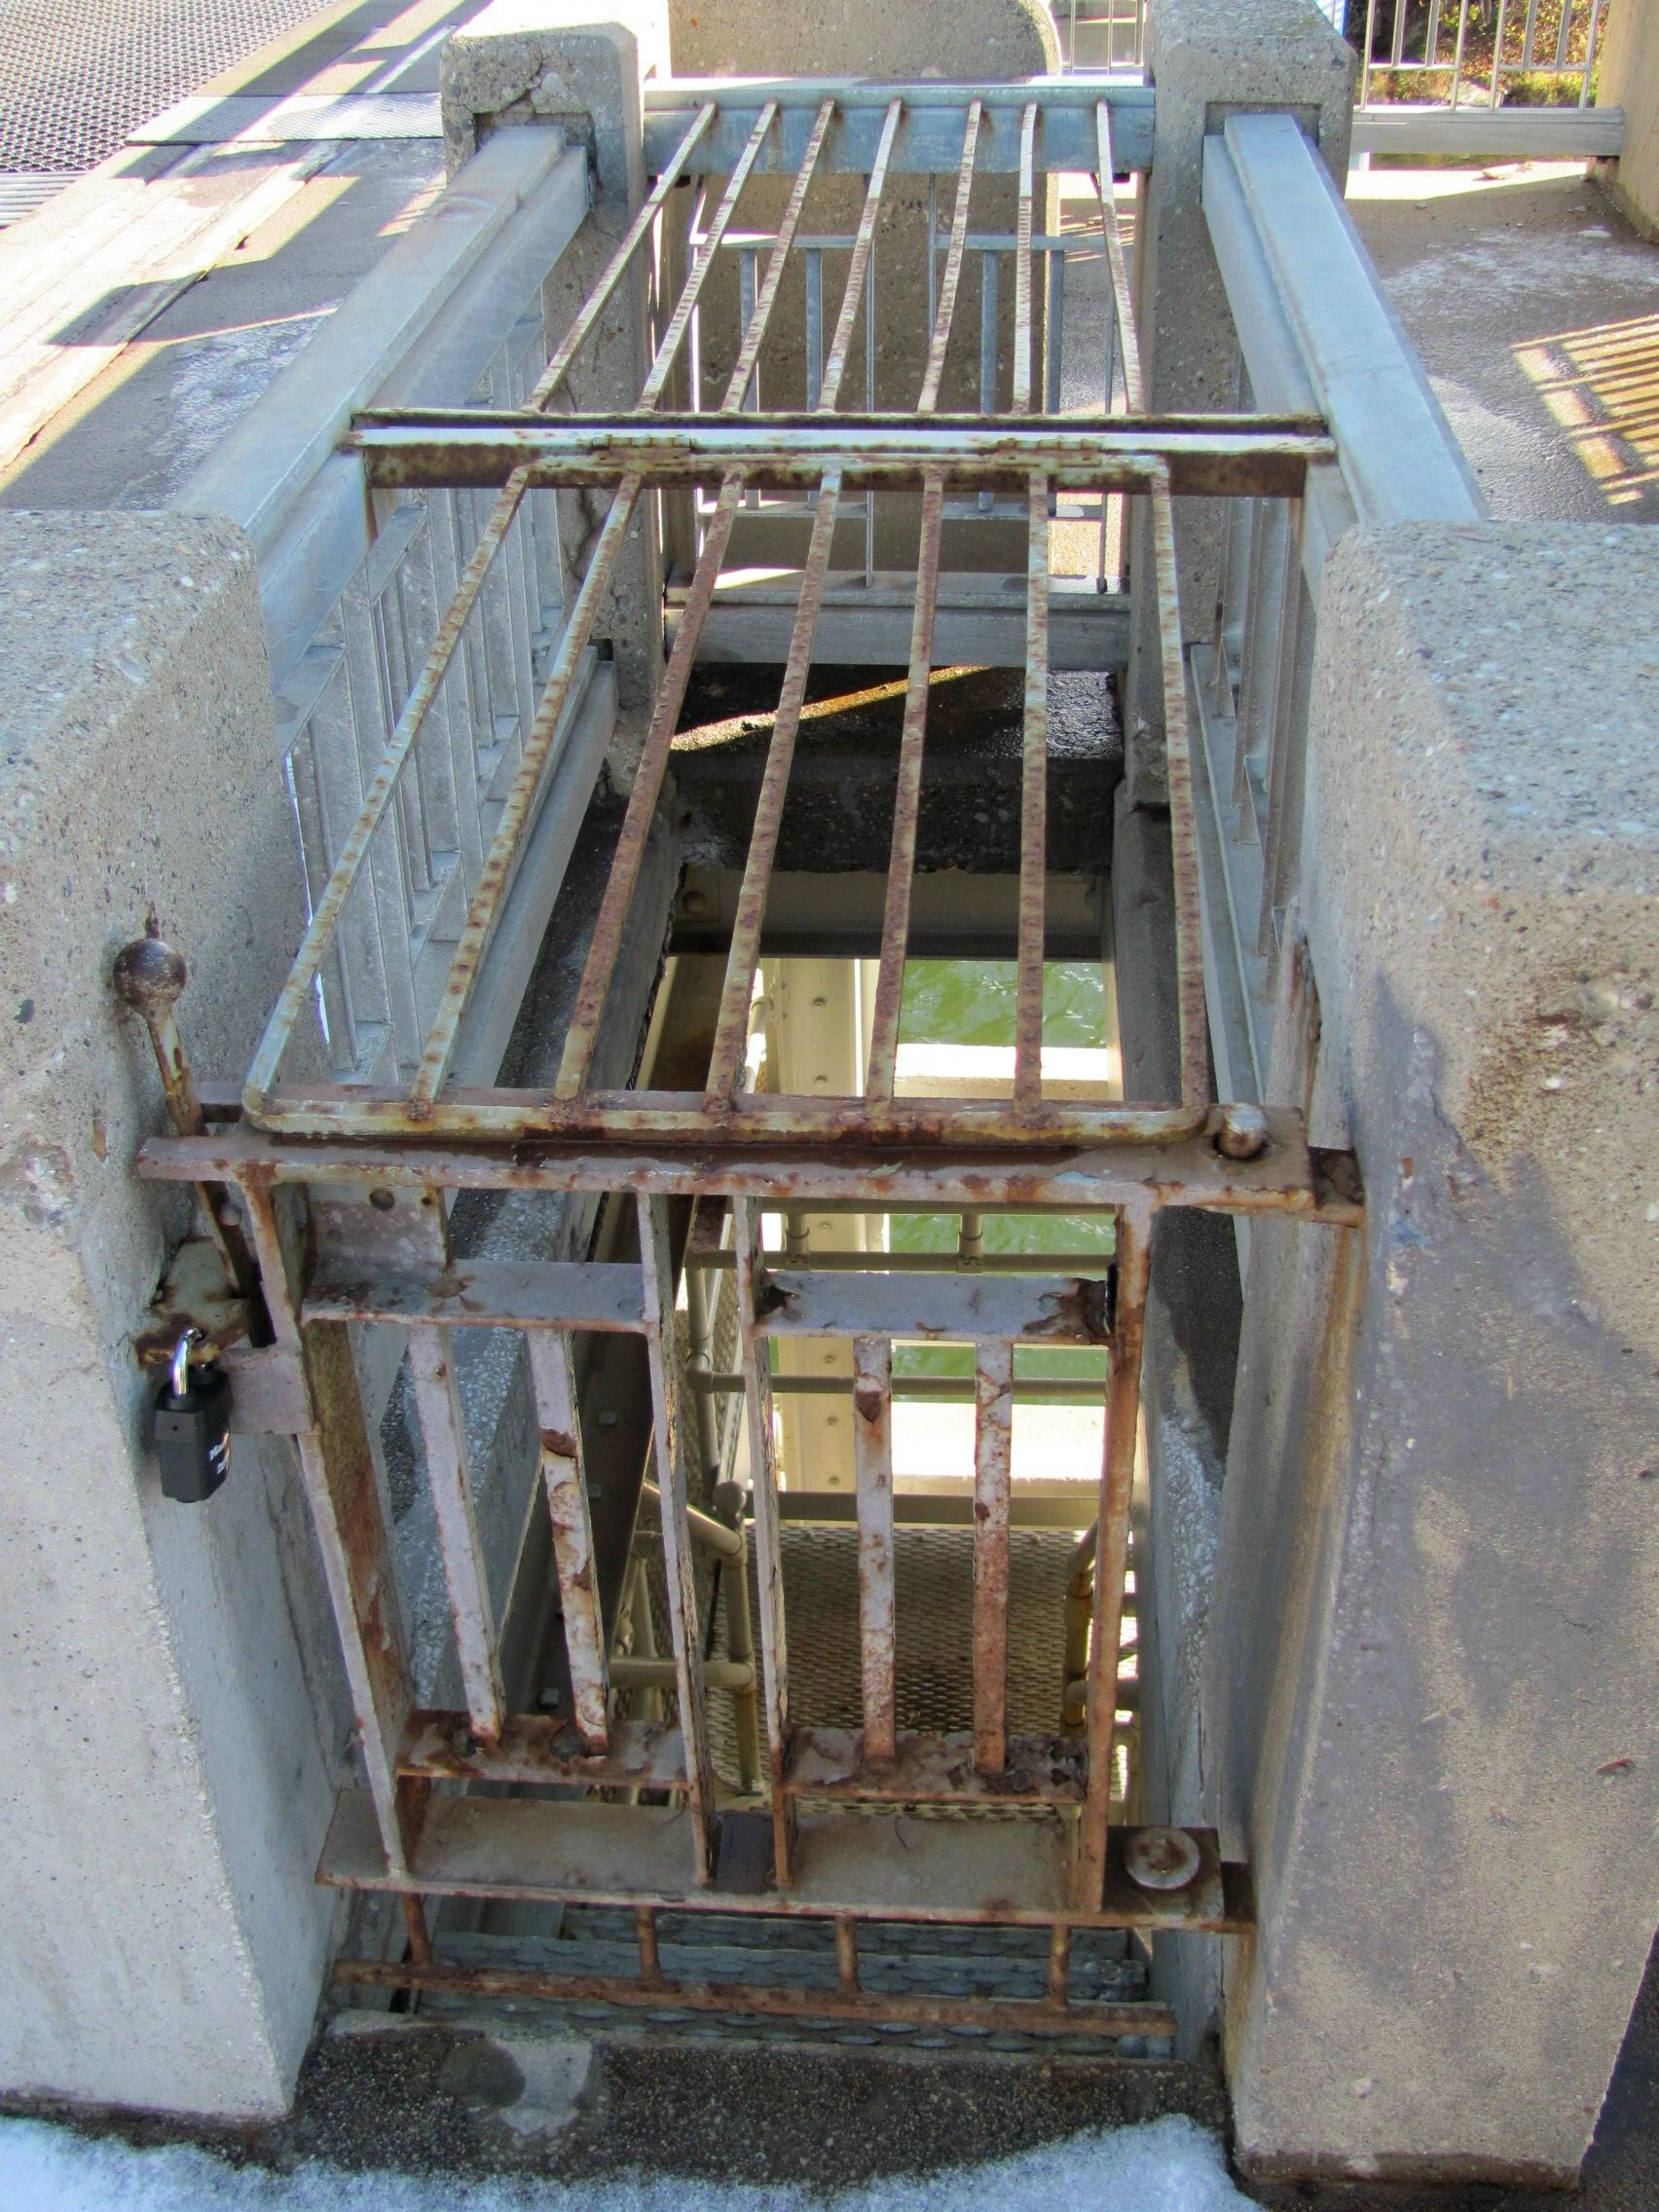
One of the gates that follows the R4 railing design. The other example can be found in the photos of the bridgetender building.
![]()

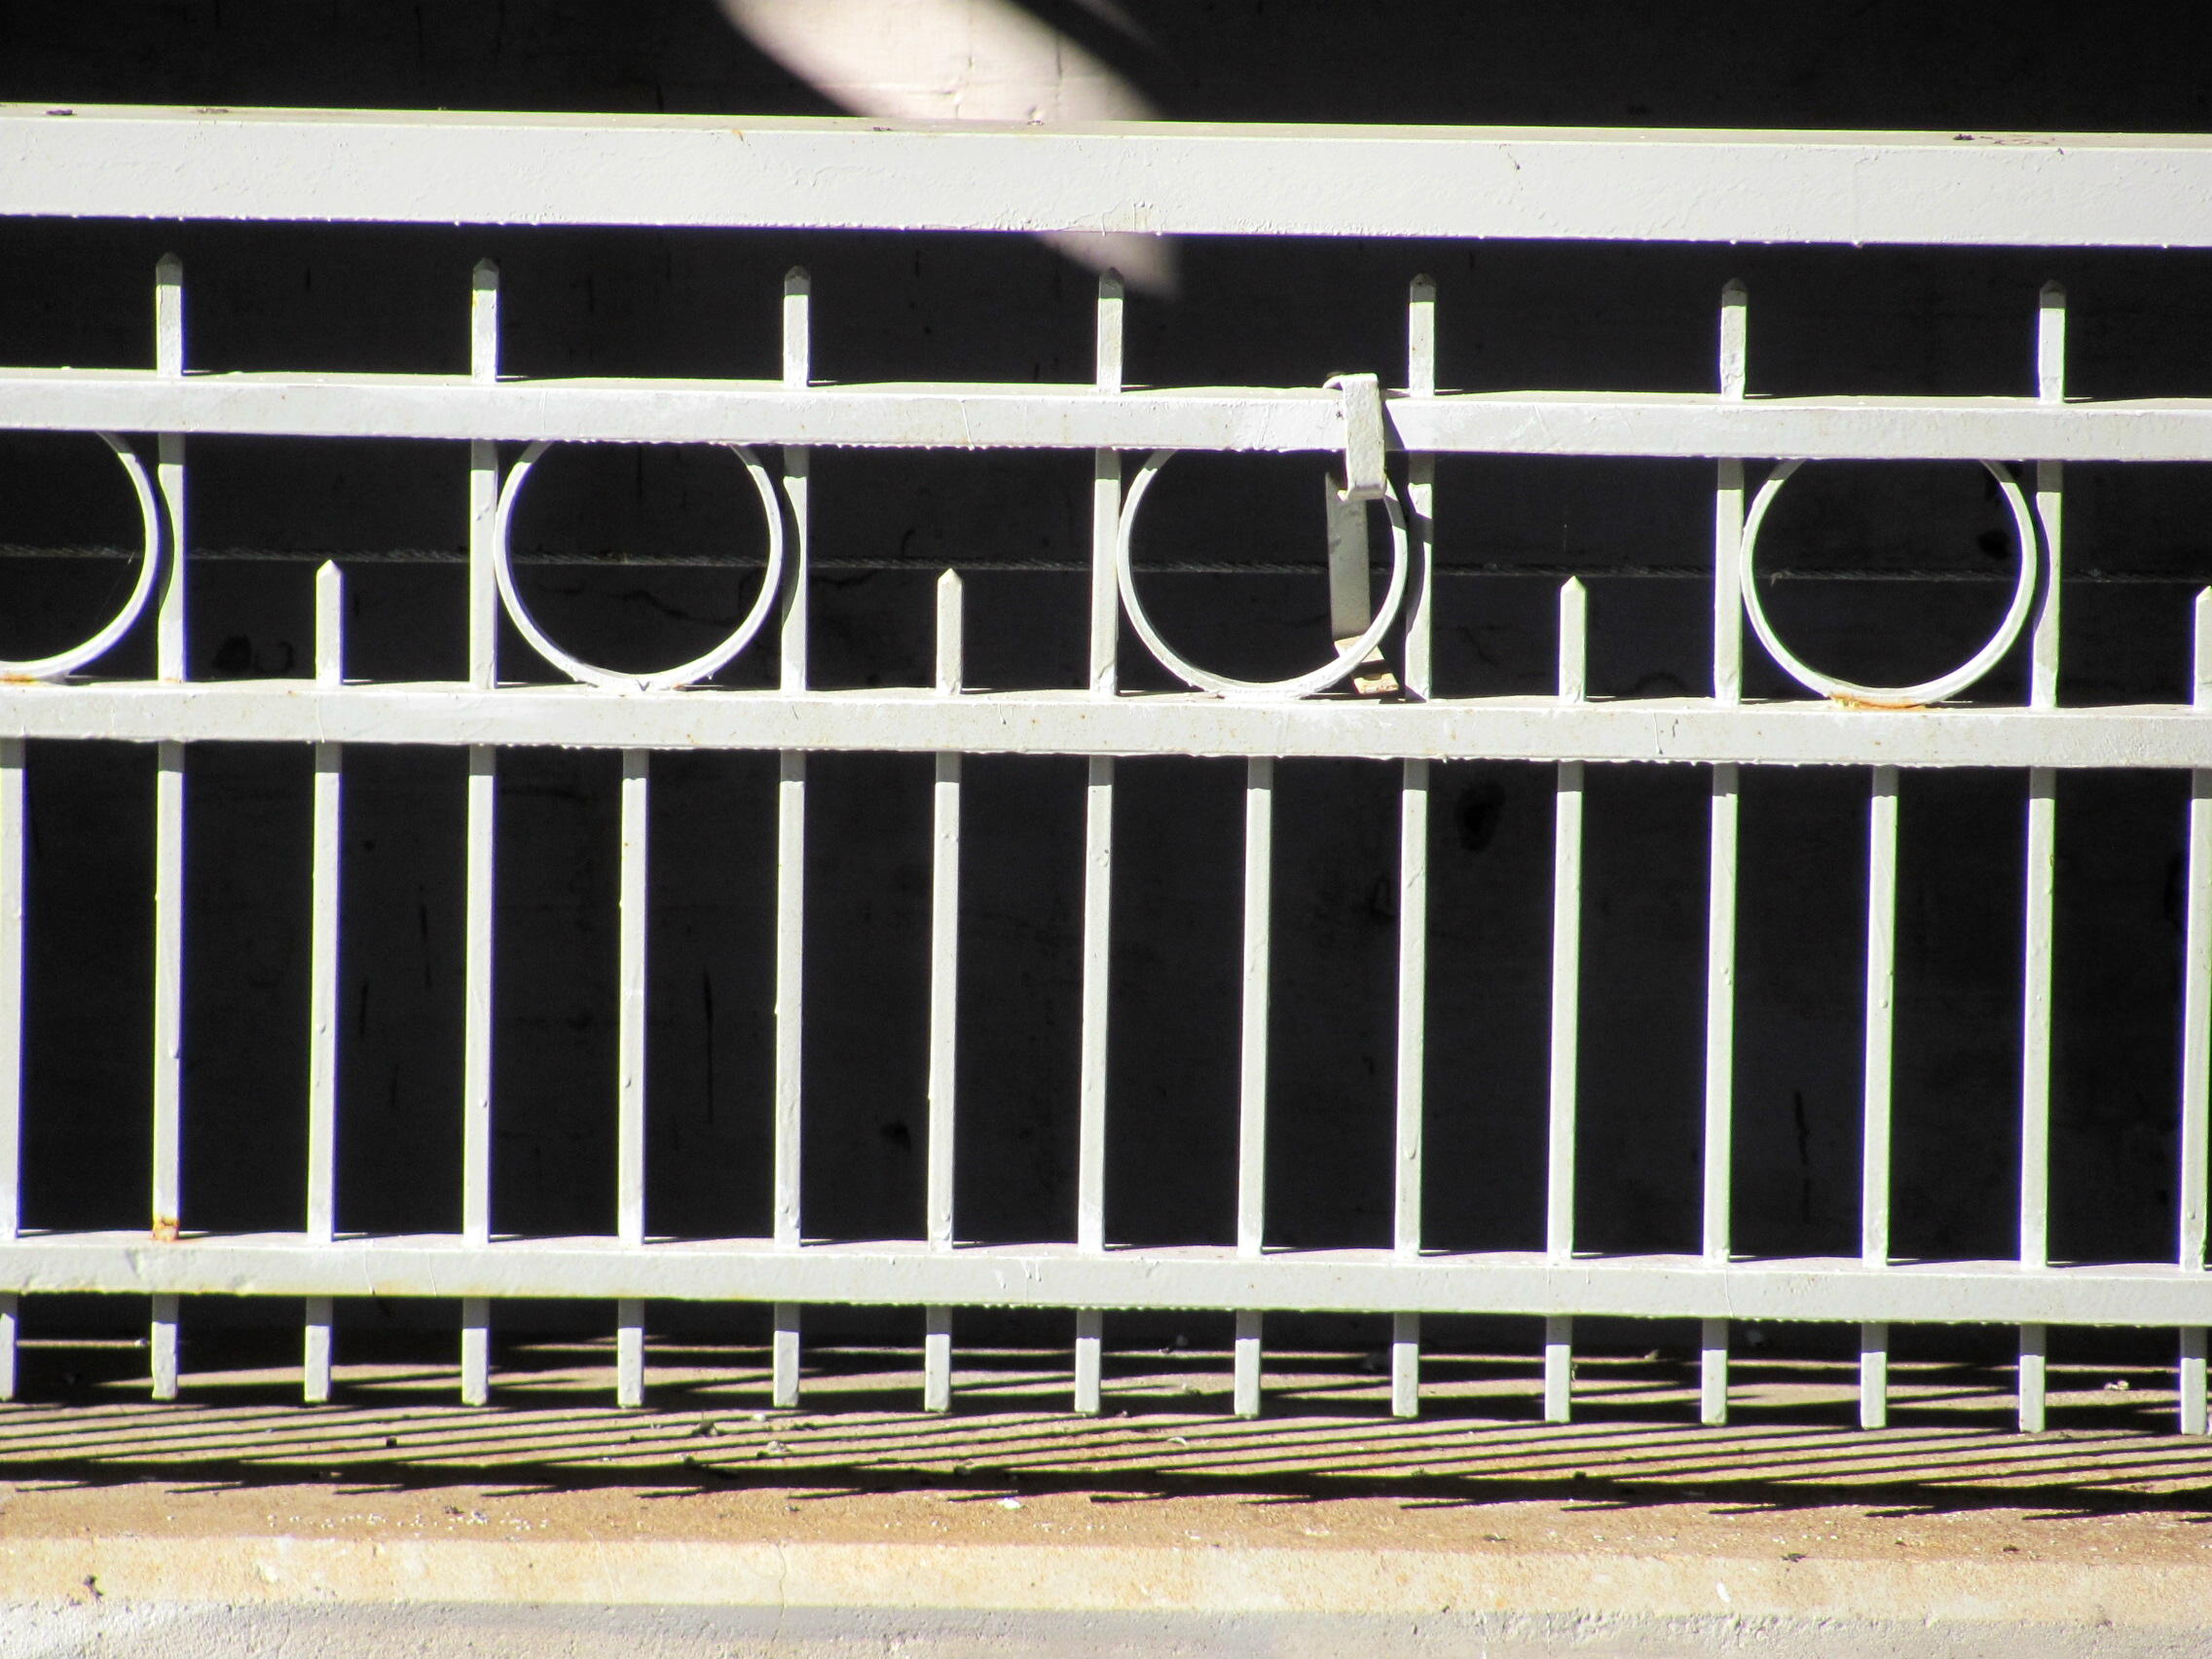
Views showing the alternative railing design employed on the bridge.
![]()

Bascule roller and track.
![]()

Concrete bench on bridge.
![]()

Abutments.
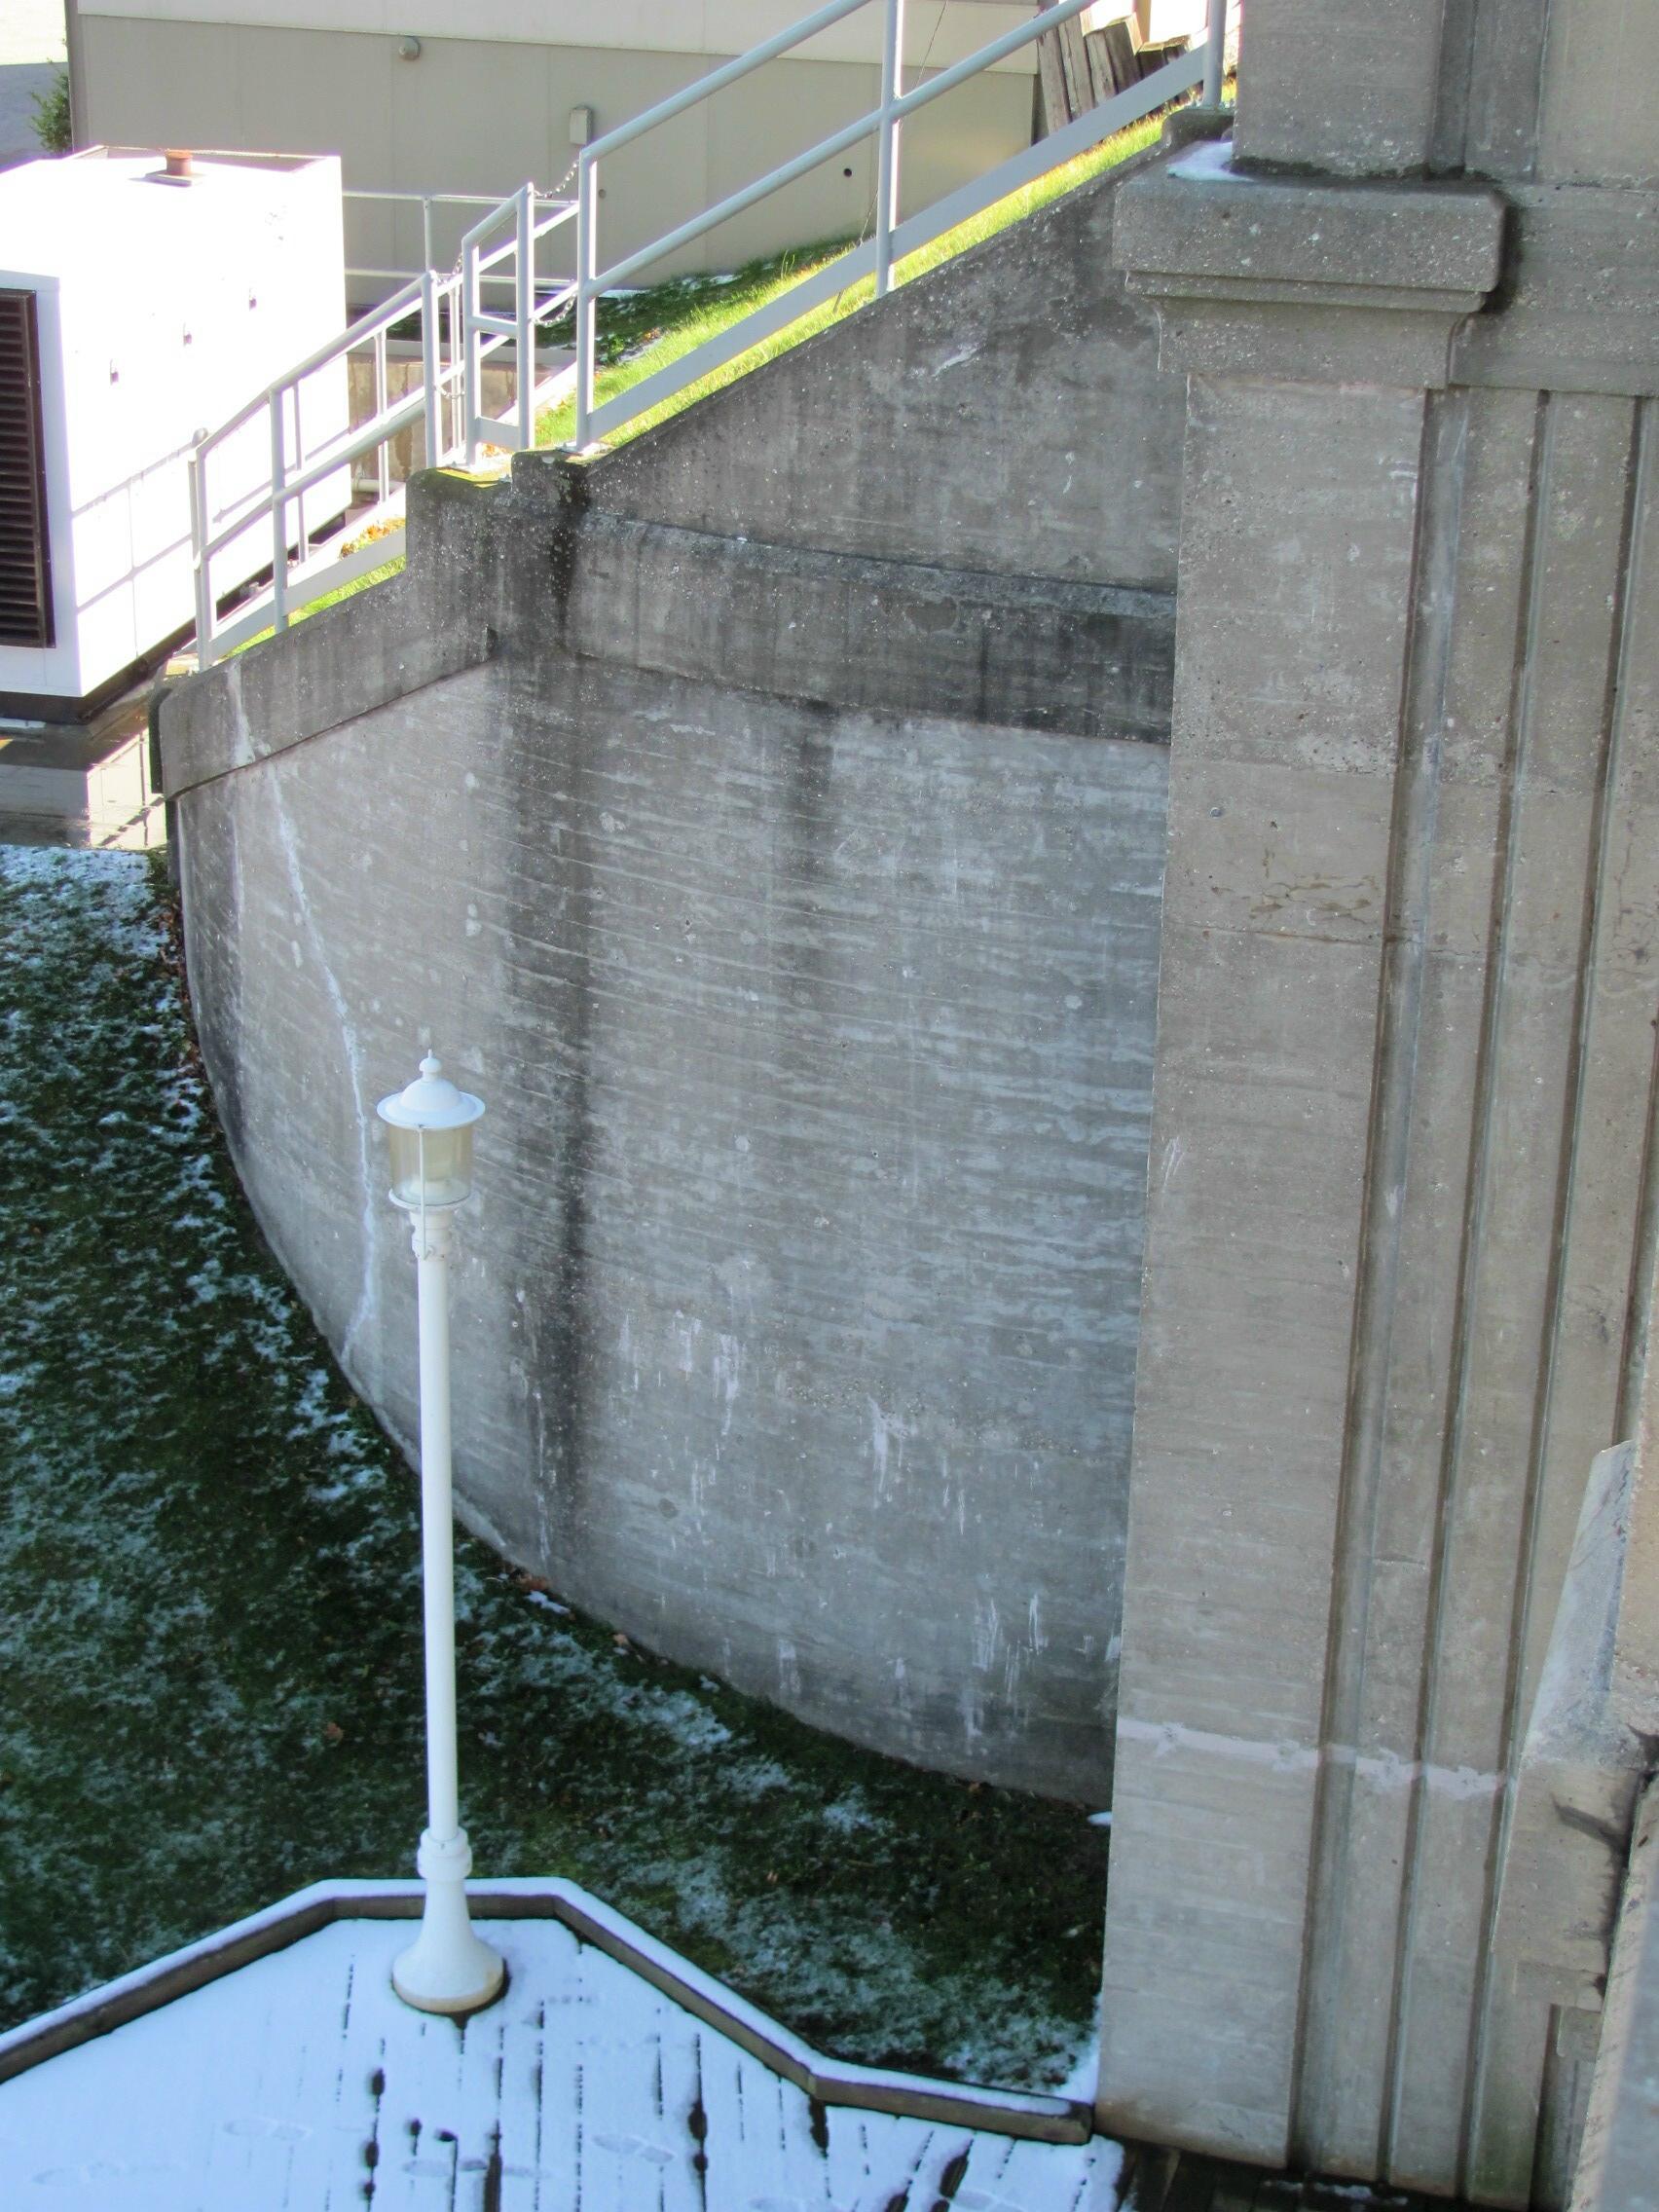
![]()

Decorative pillar.
![]()

Open grate deck.
![]()
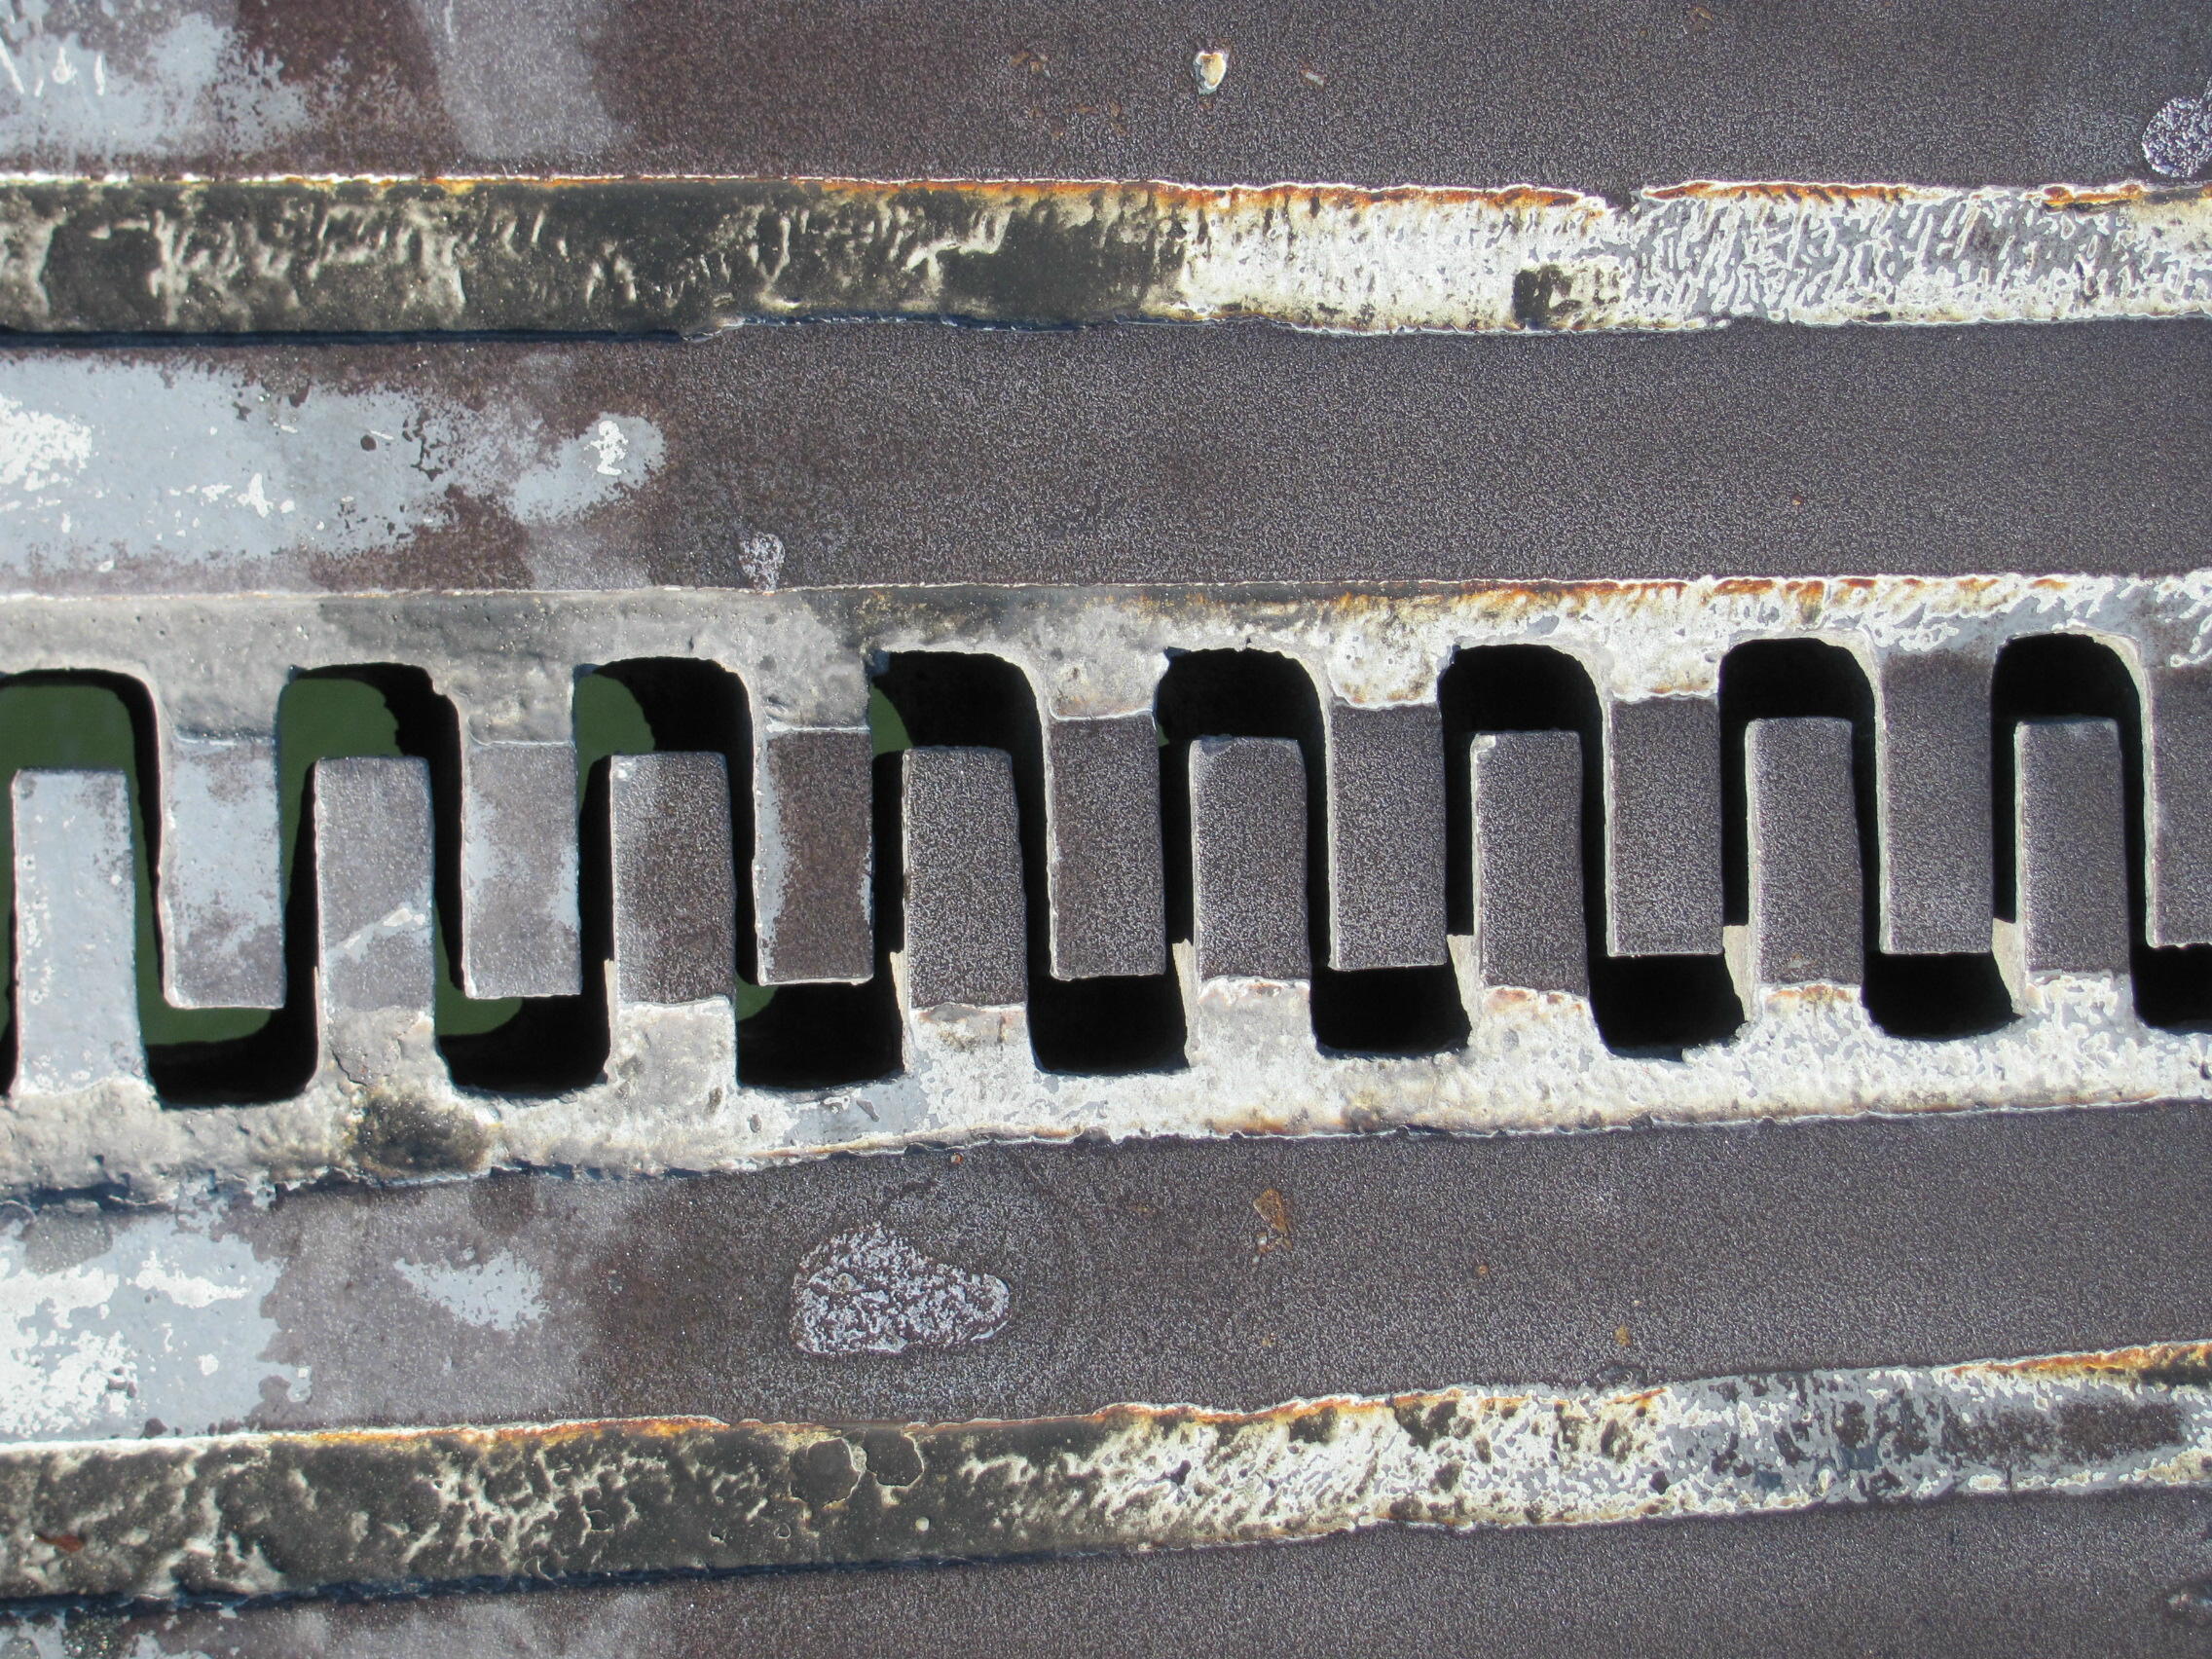
Finger tooth expansion dam.
![]()
![]()
| Back |
| Home |
| Top |

![]()