
Uncredited photos on this page taken by: Nathan Holth. Unless stated in a caption, all photos are Copyright with All Rights Reserved. Learn about reuse of our photos.
![]()
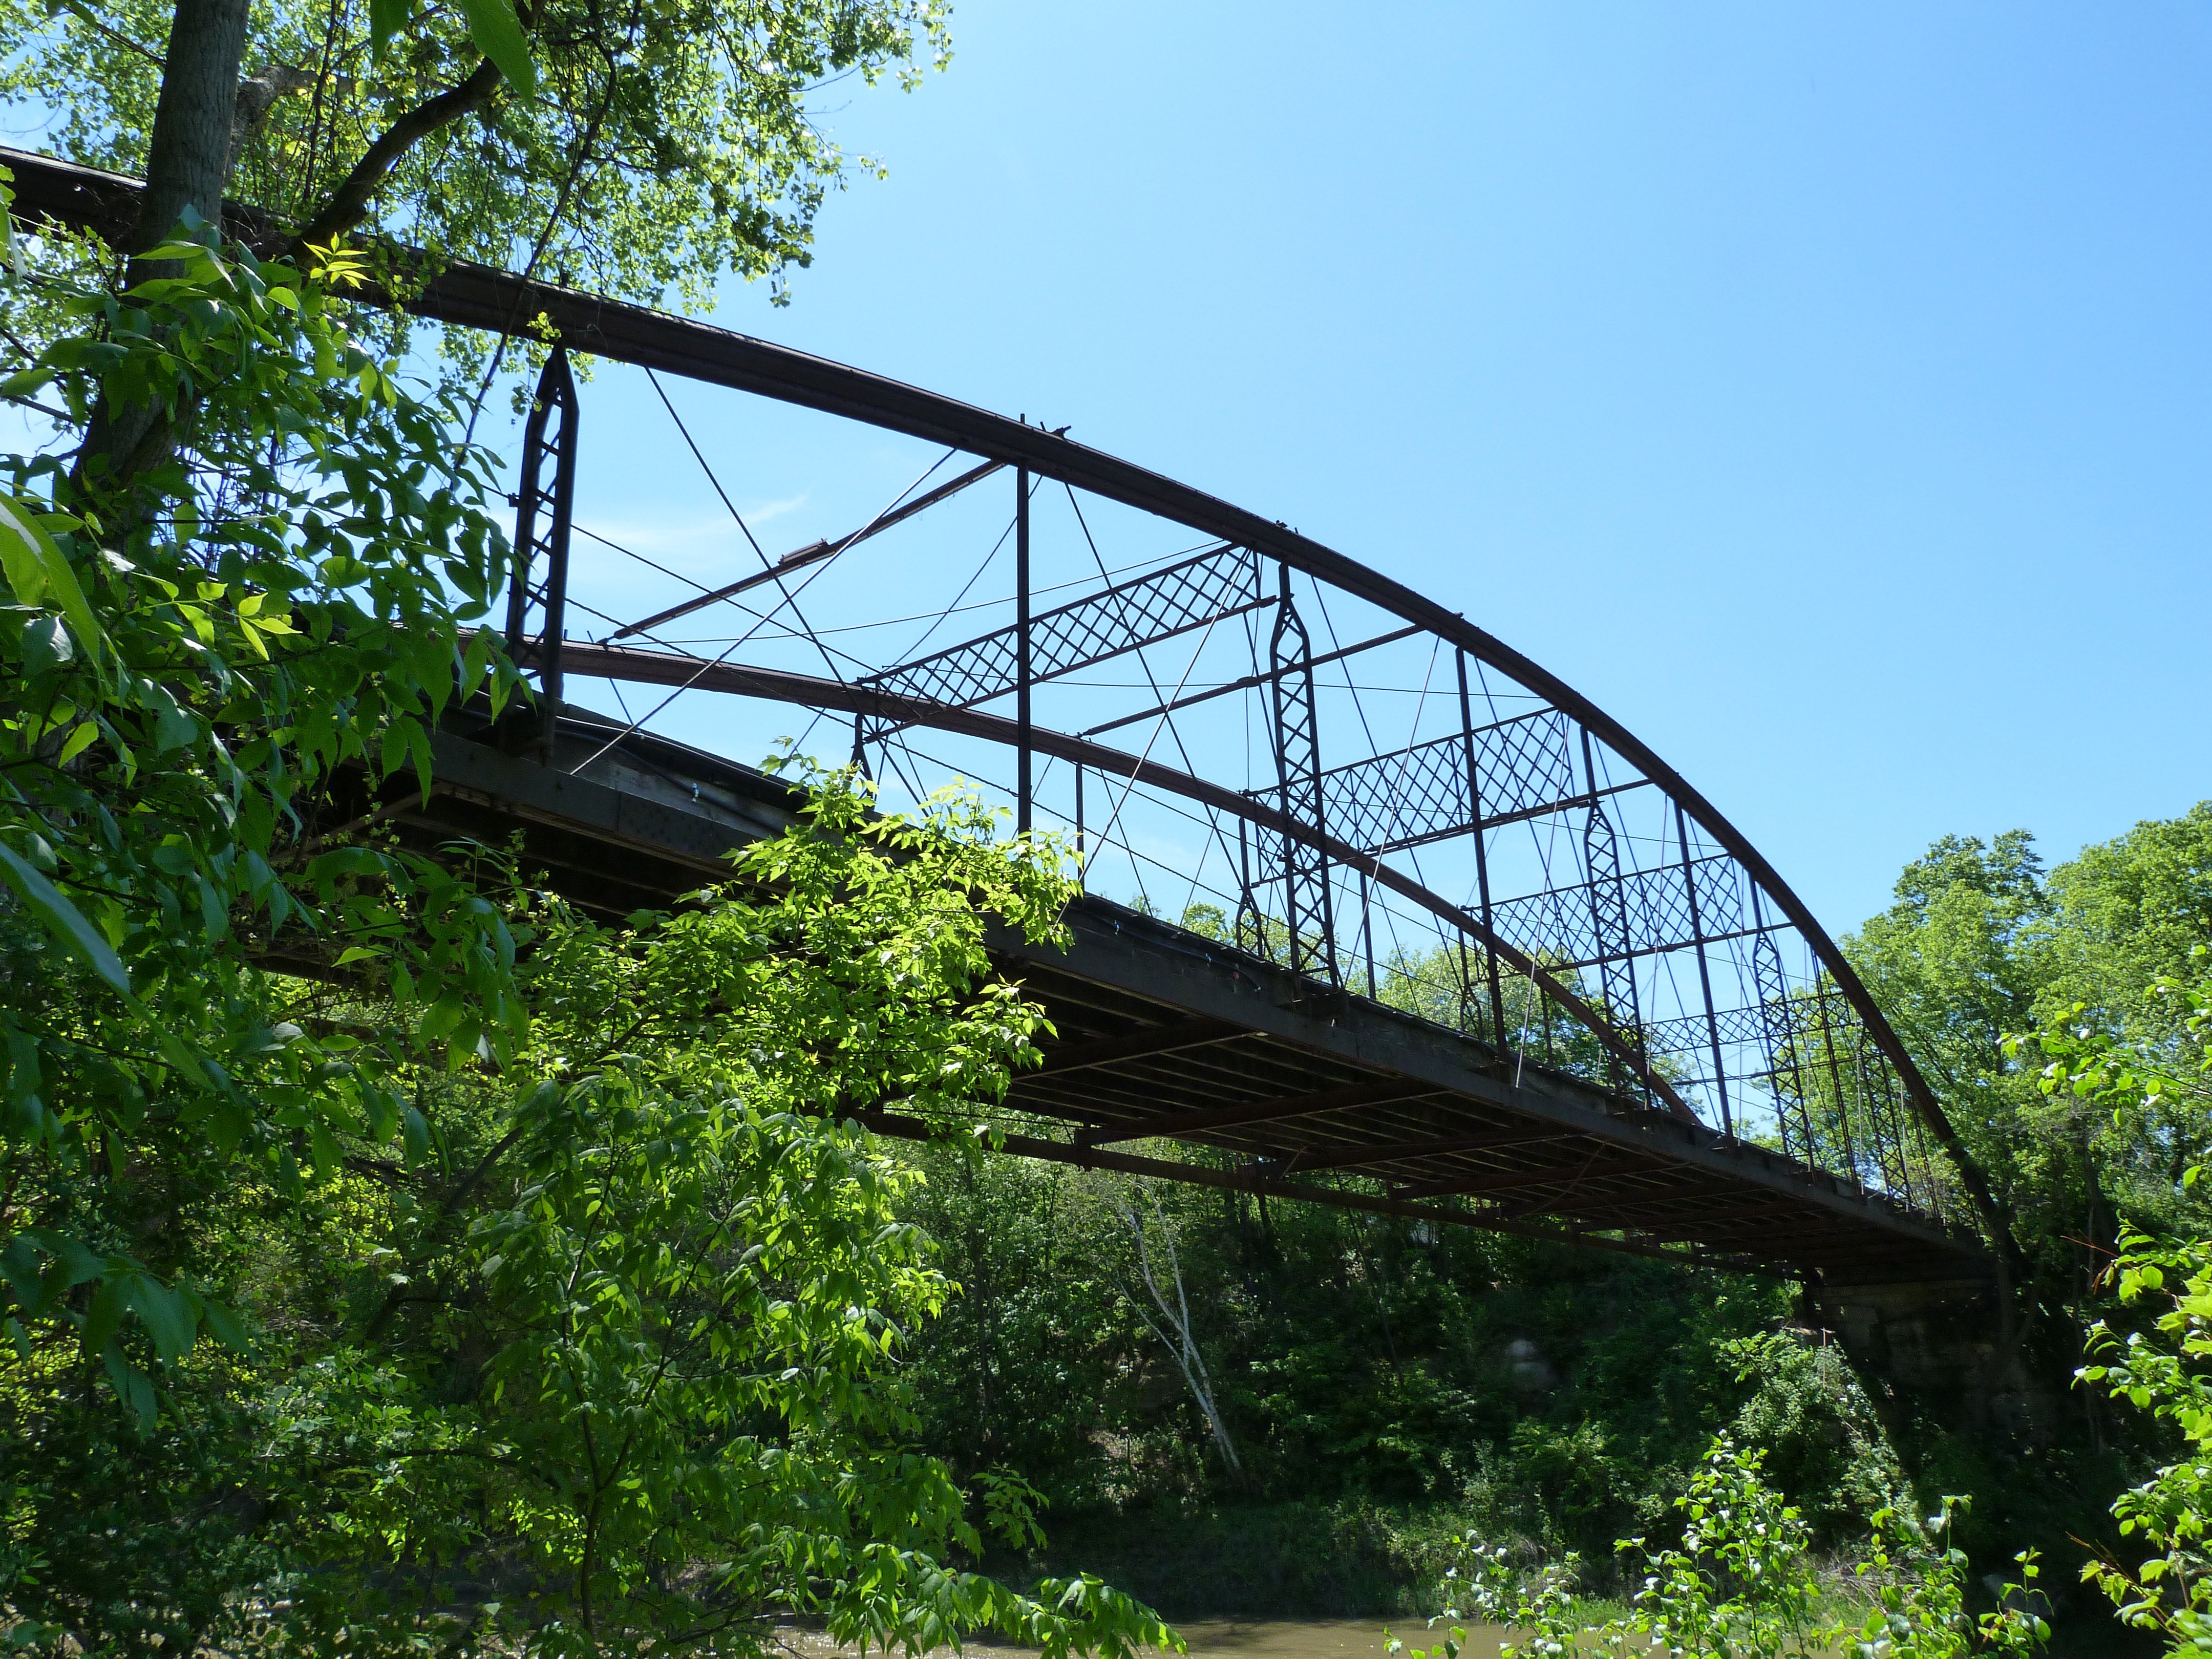

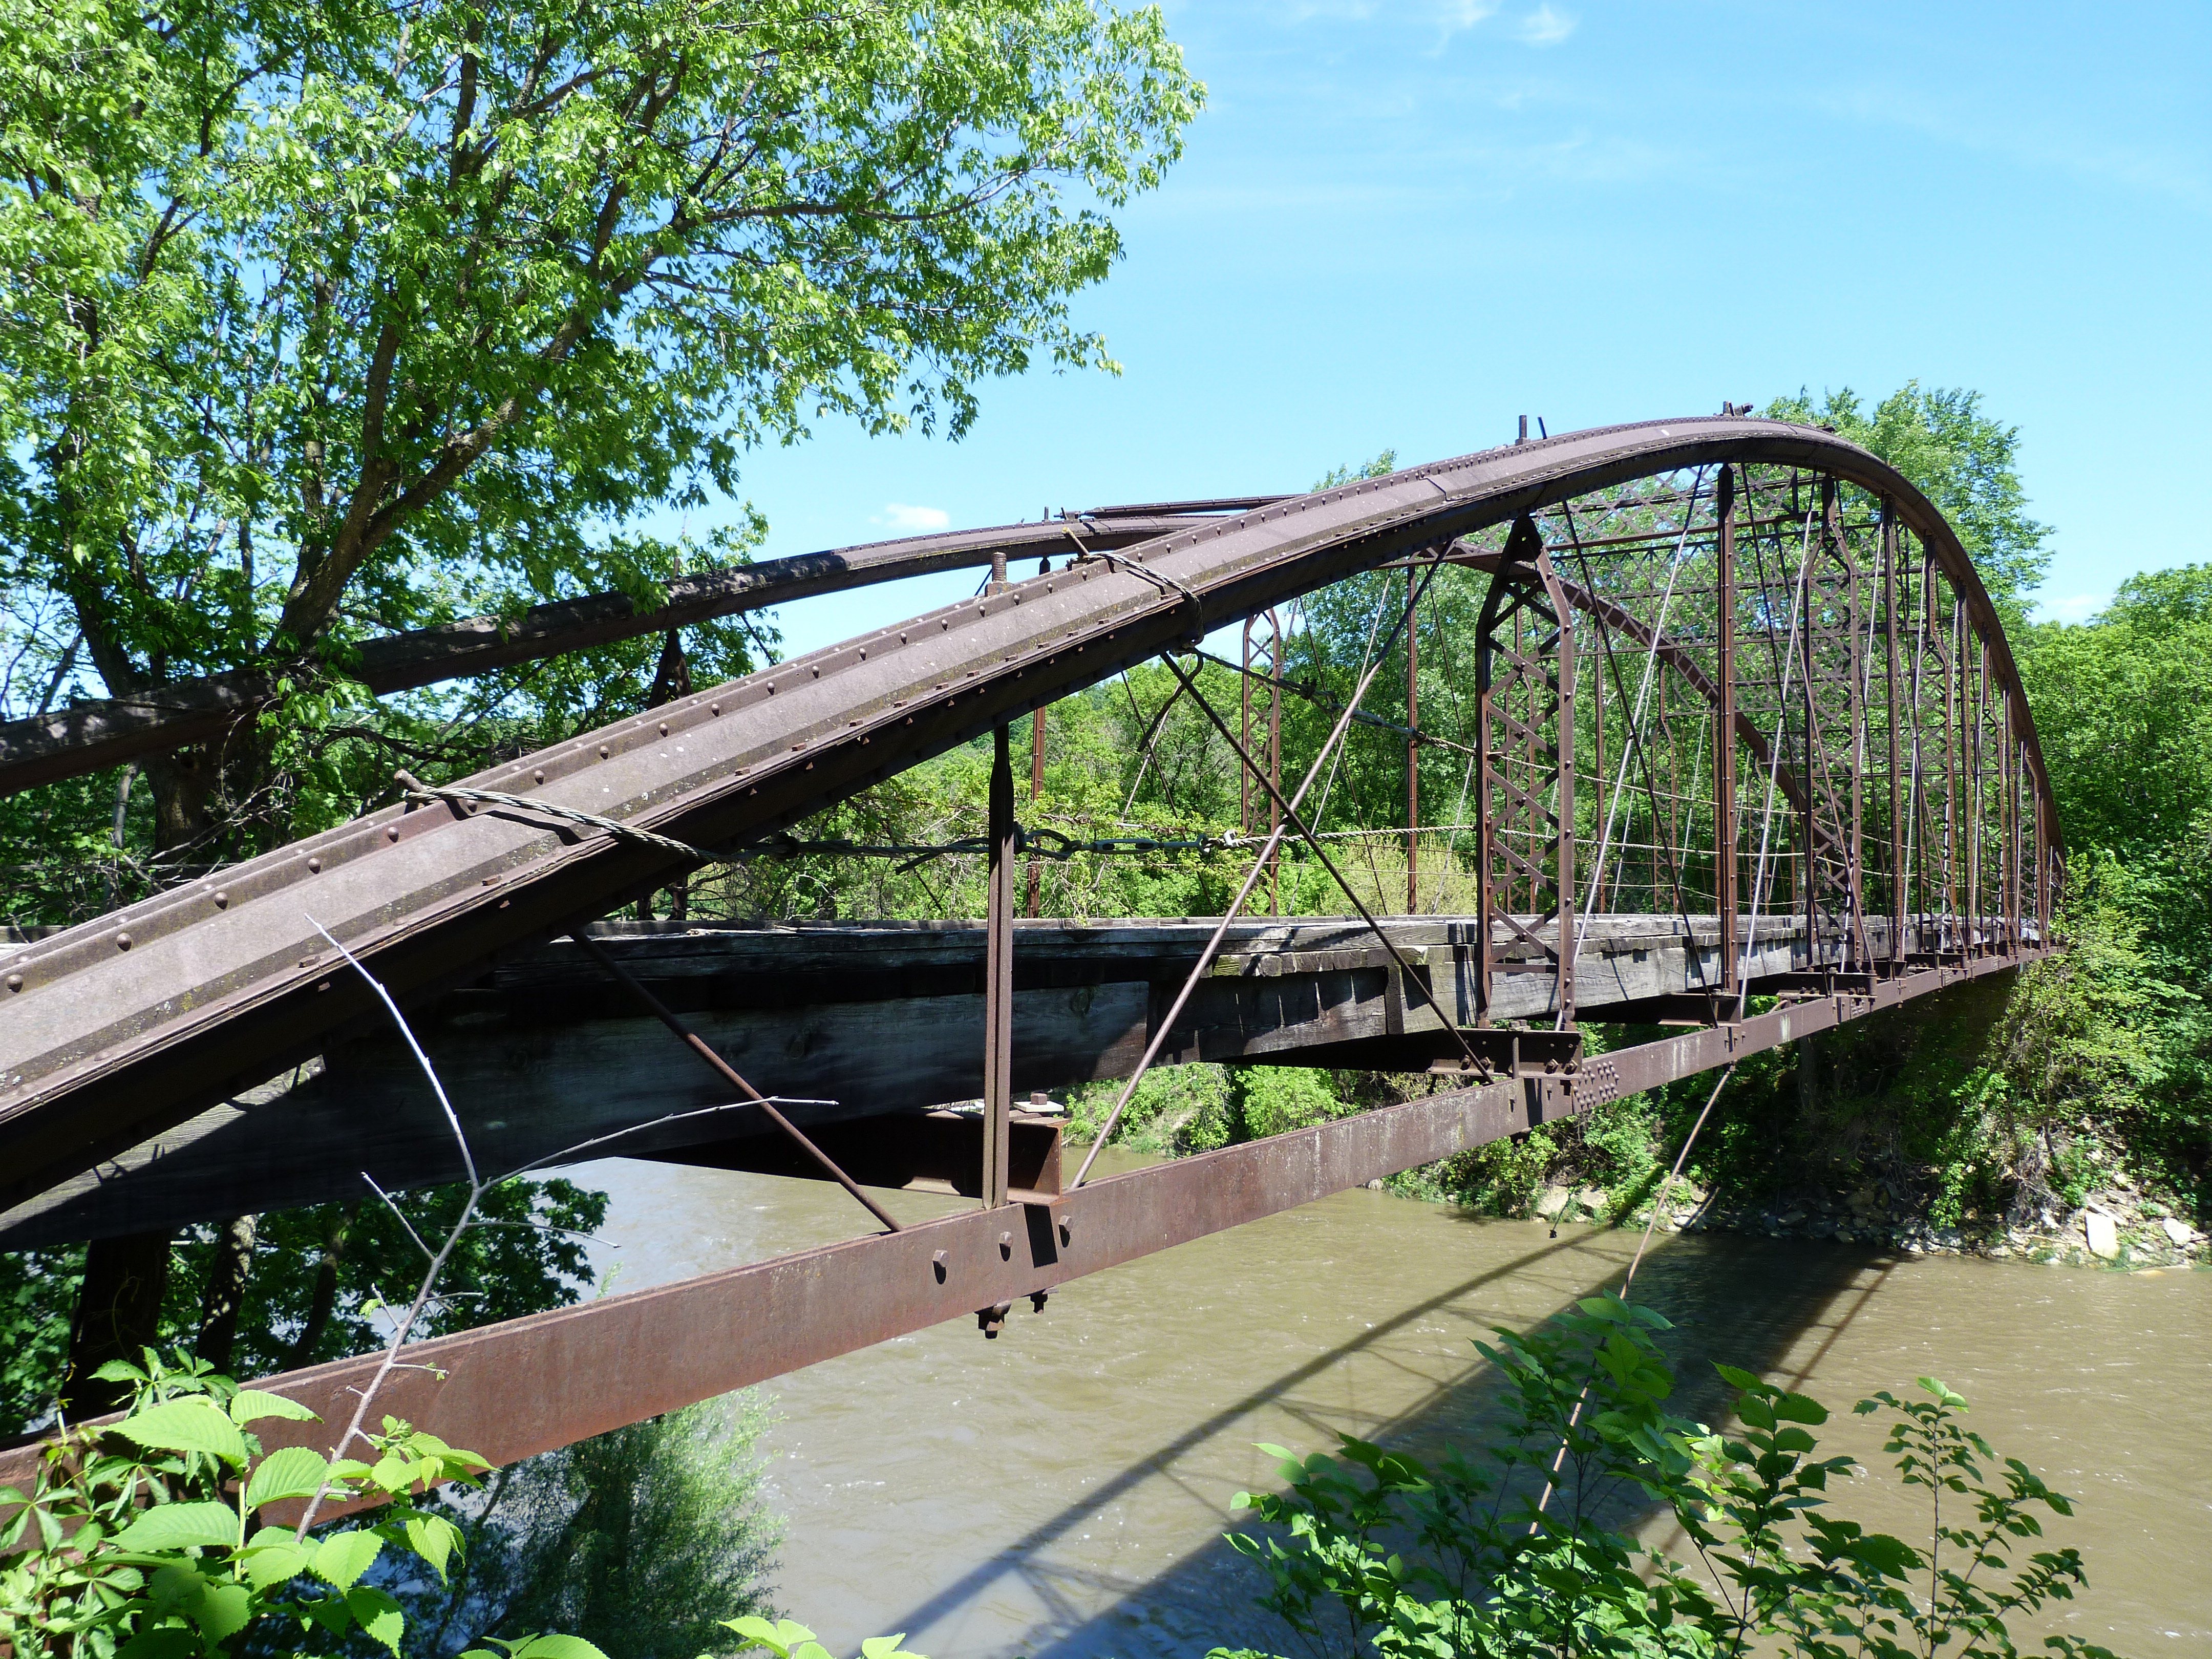
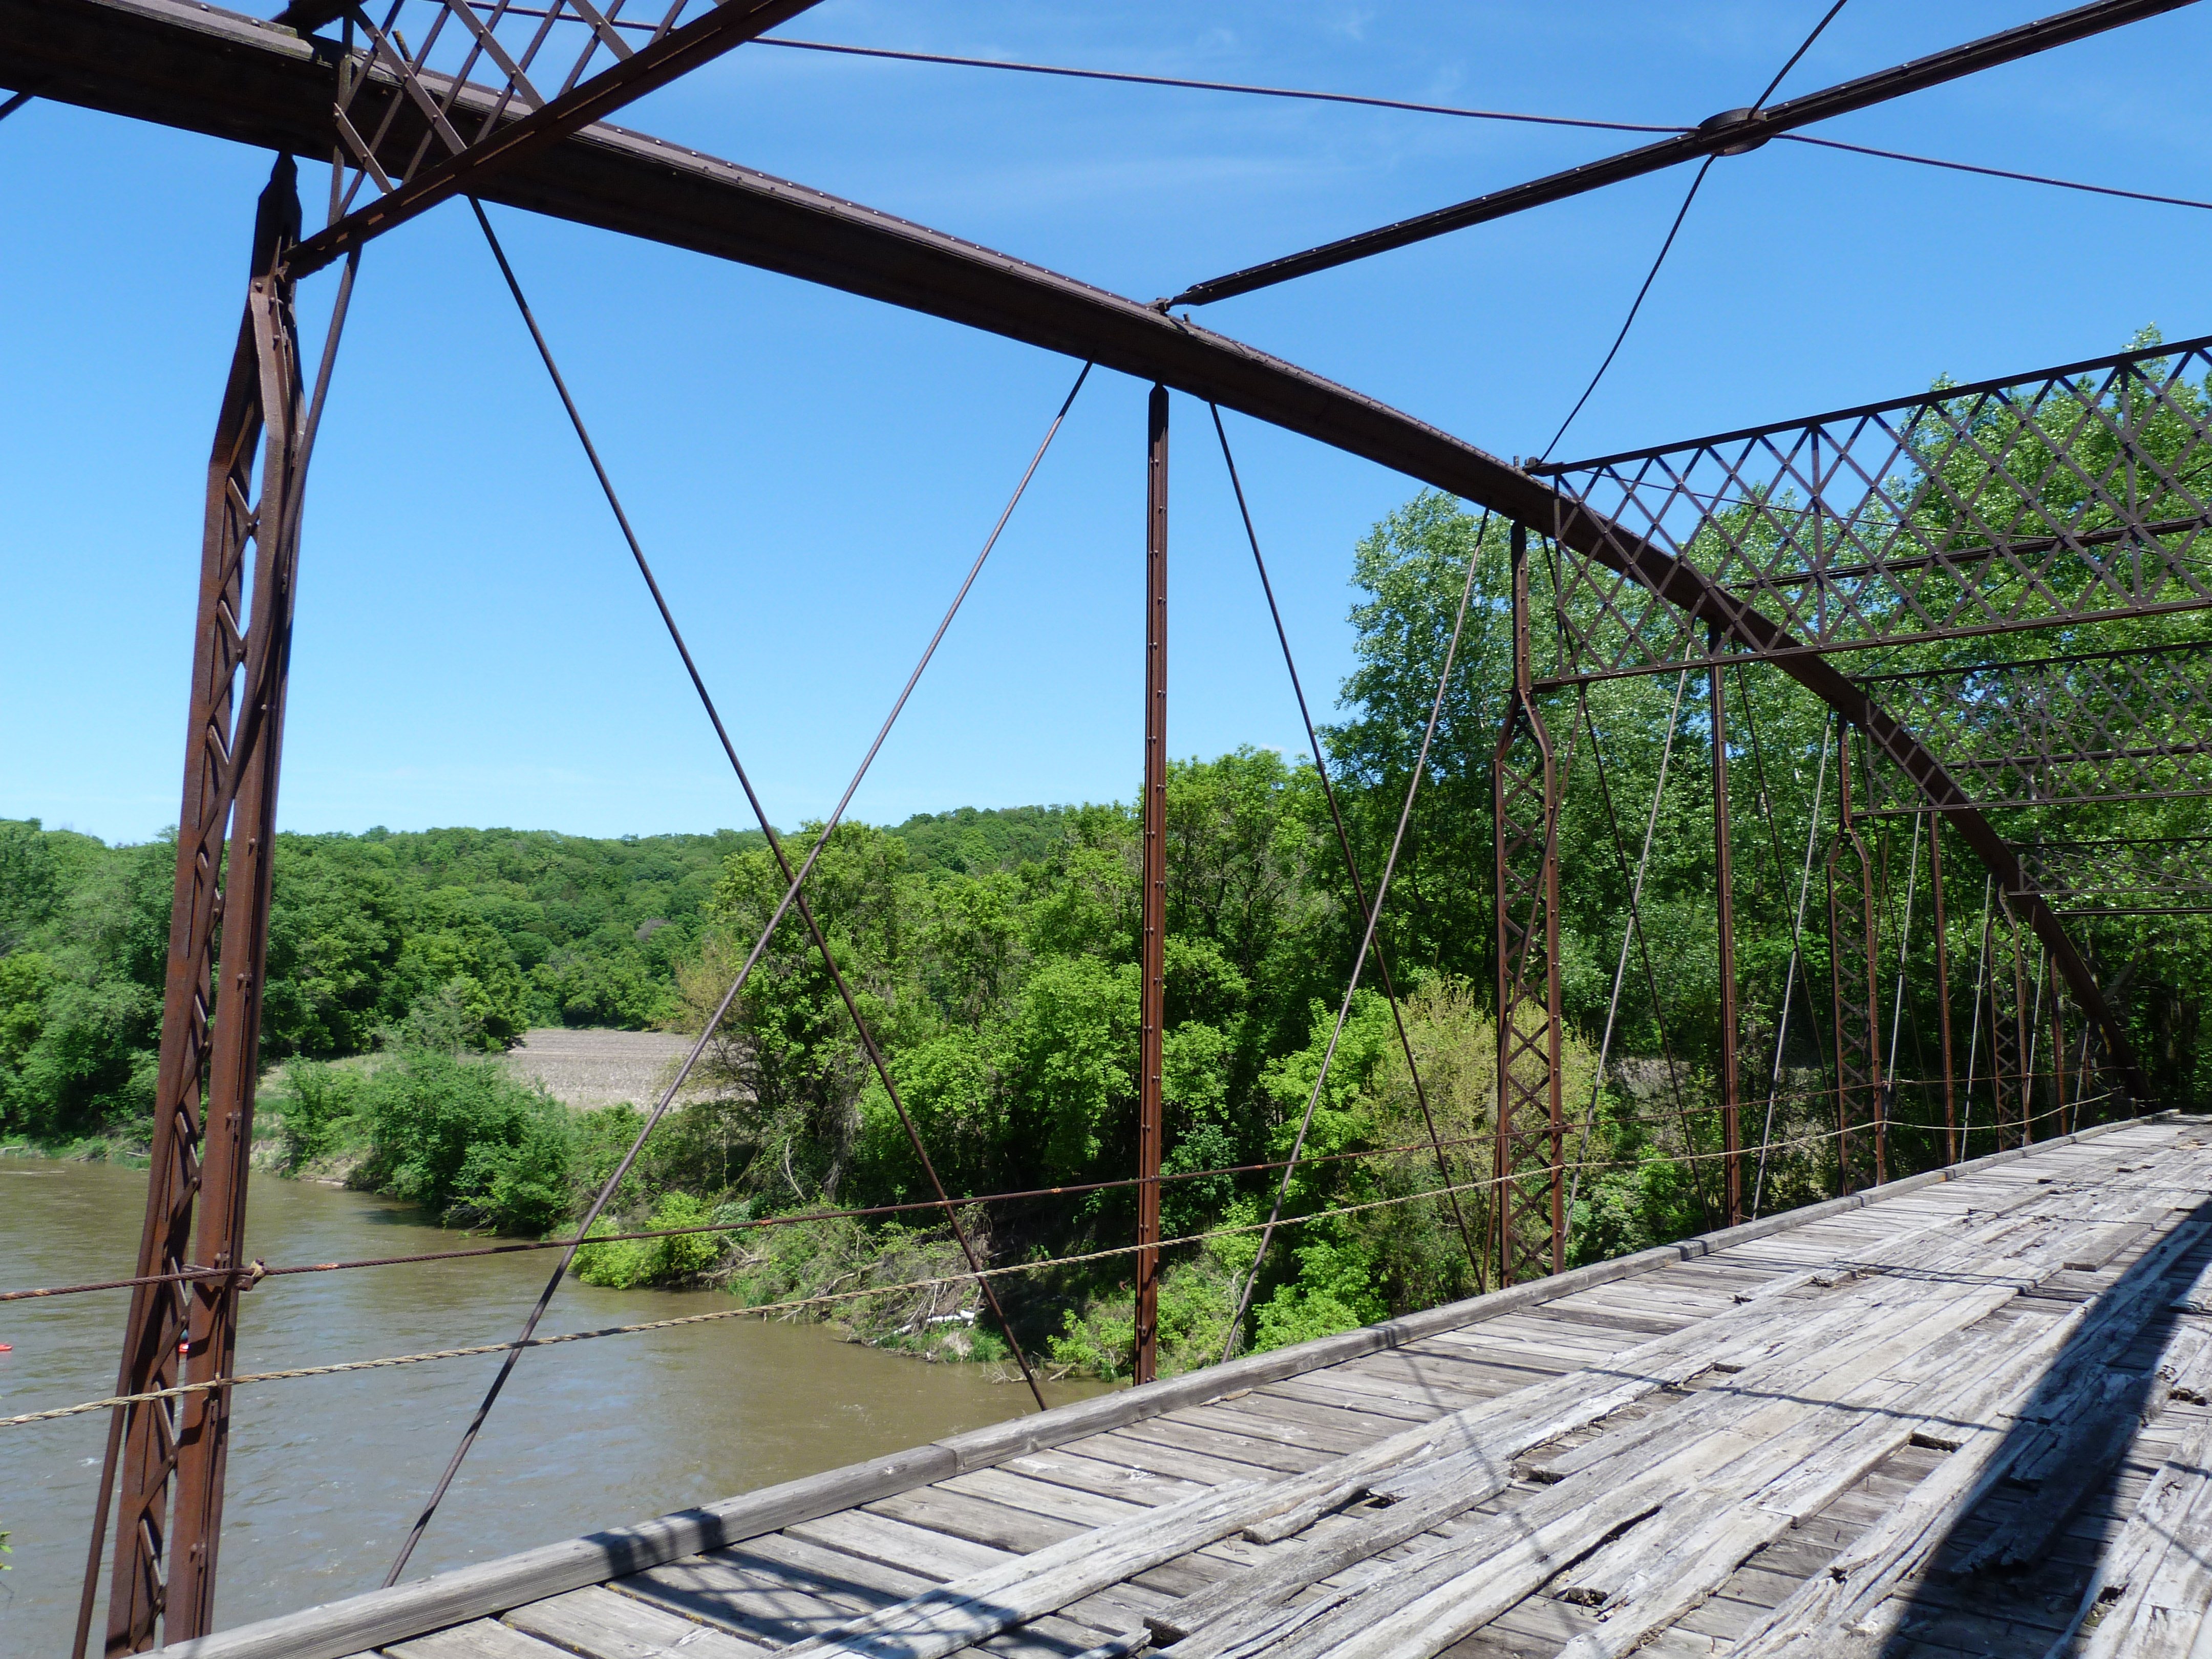
Views beside bridge from northeast quadrant. (Note: directions assume east-west alignment.)
![]()
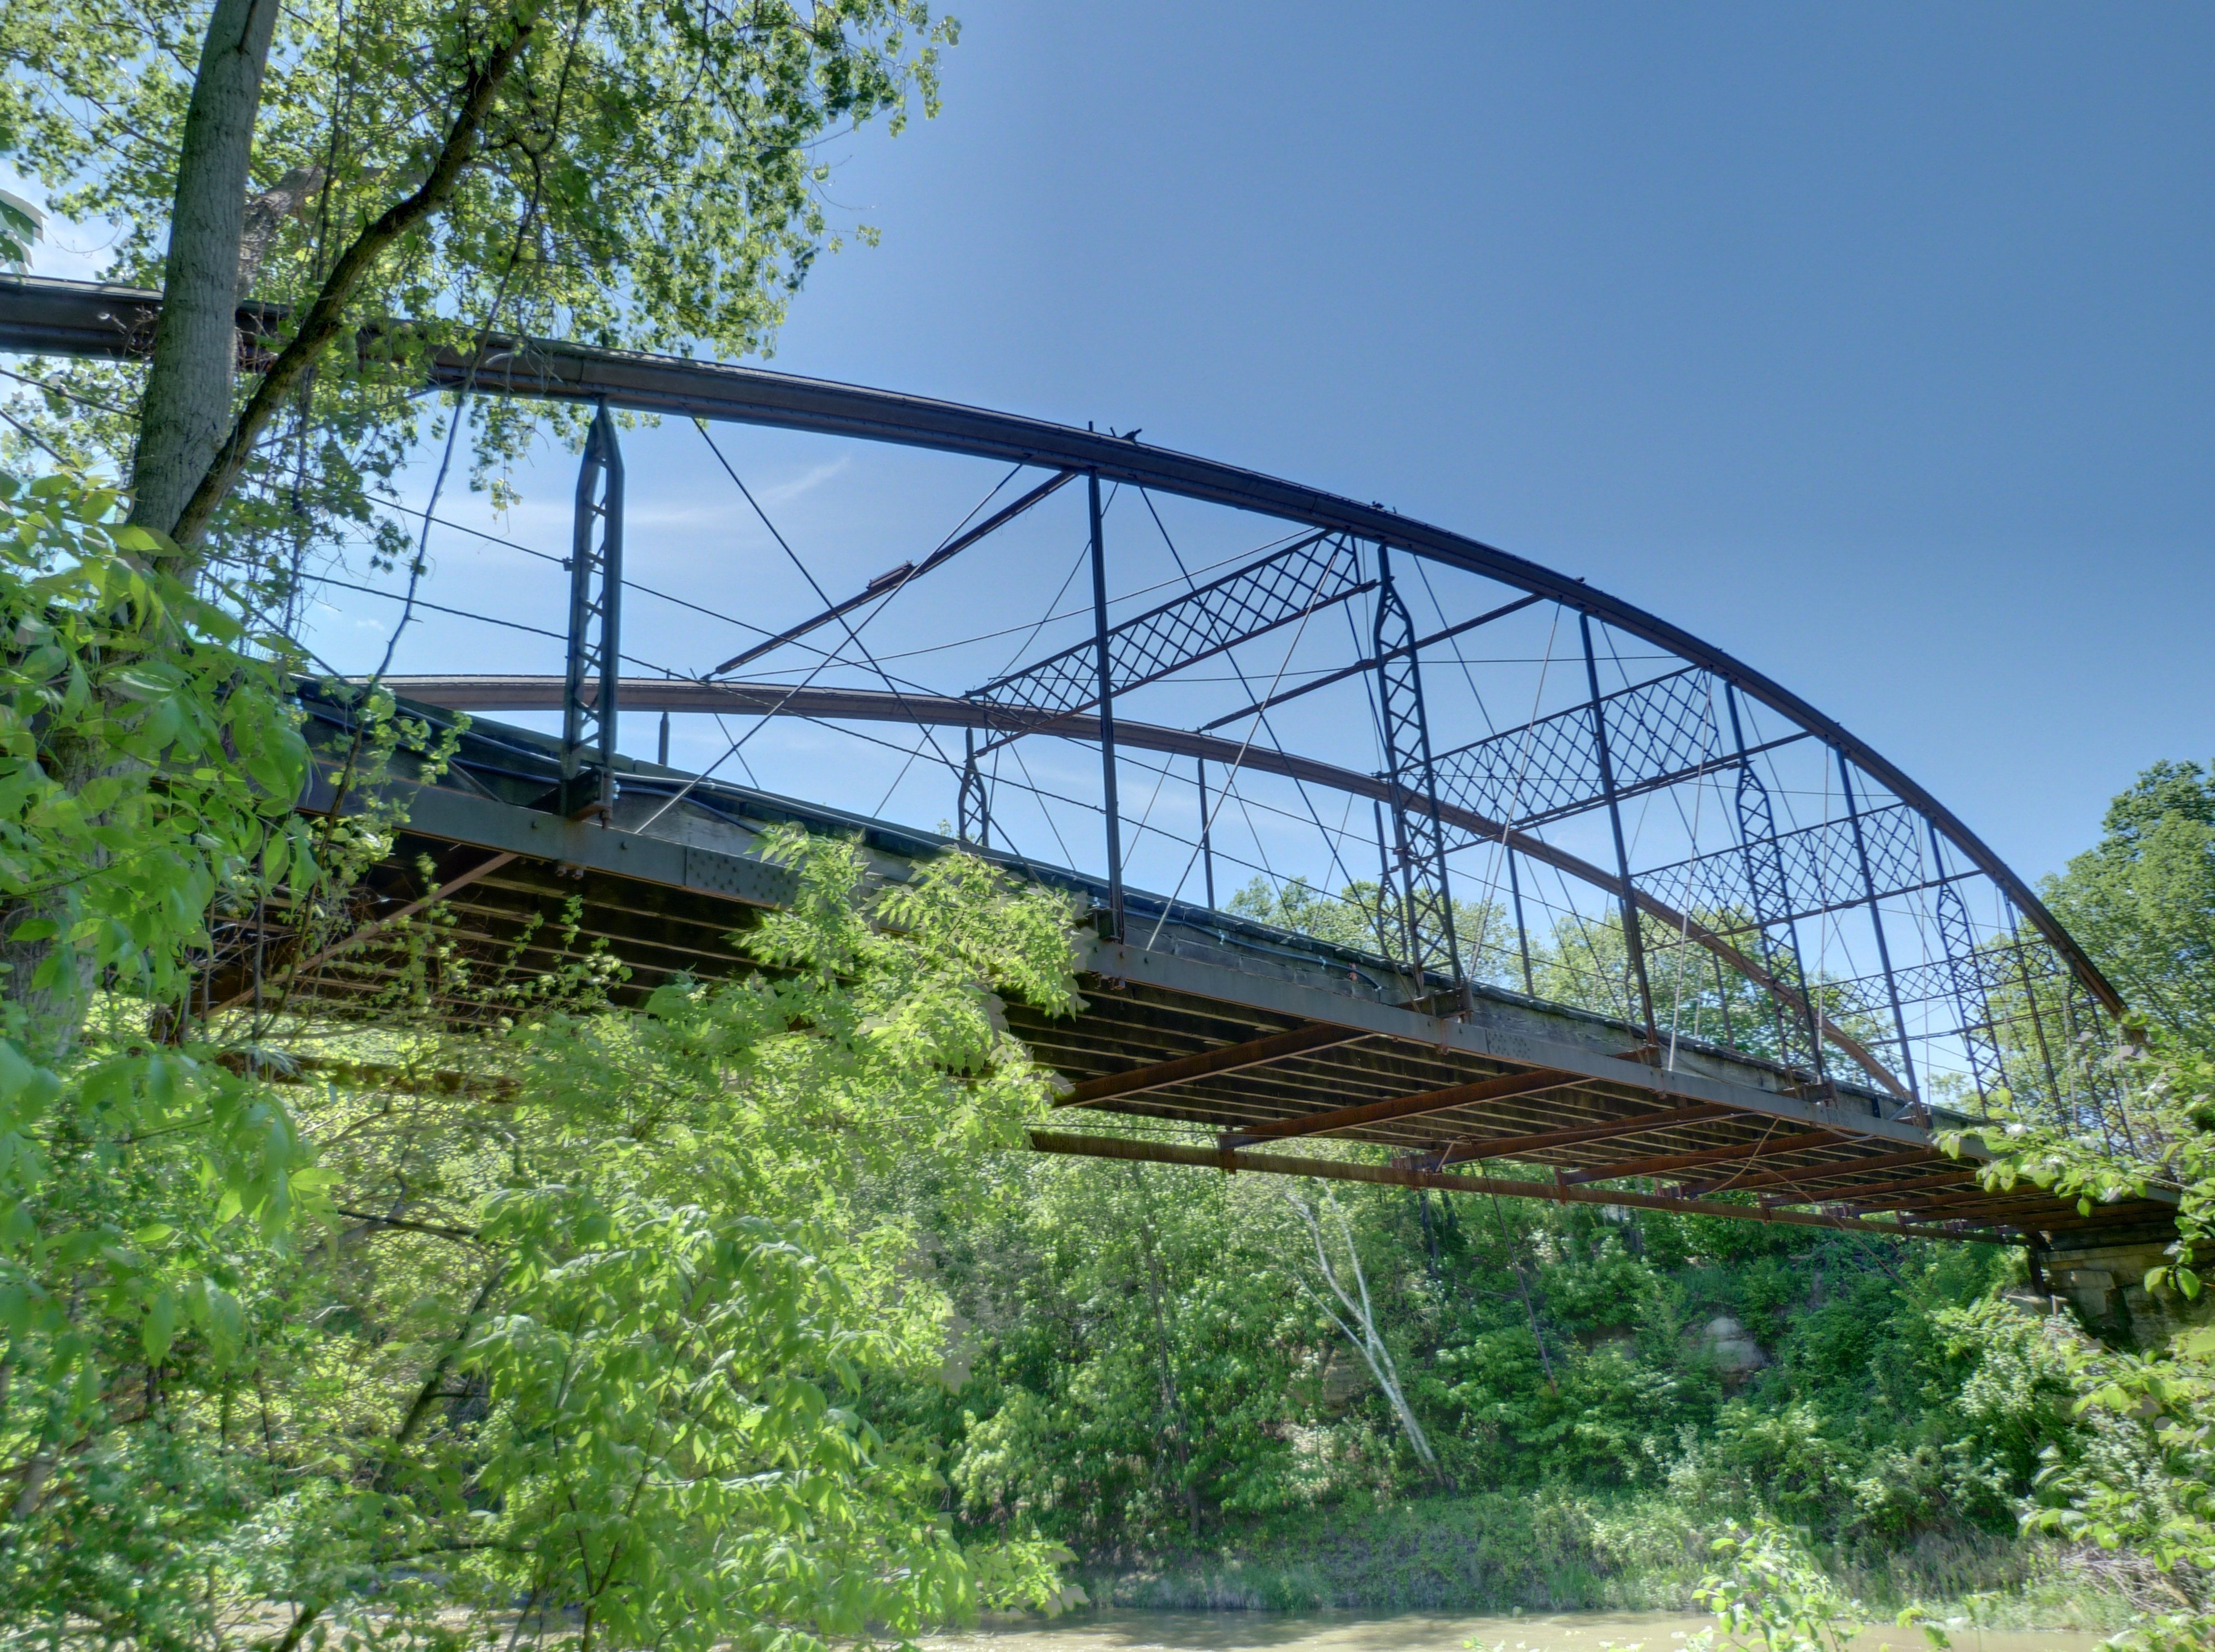

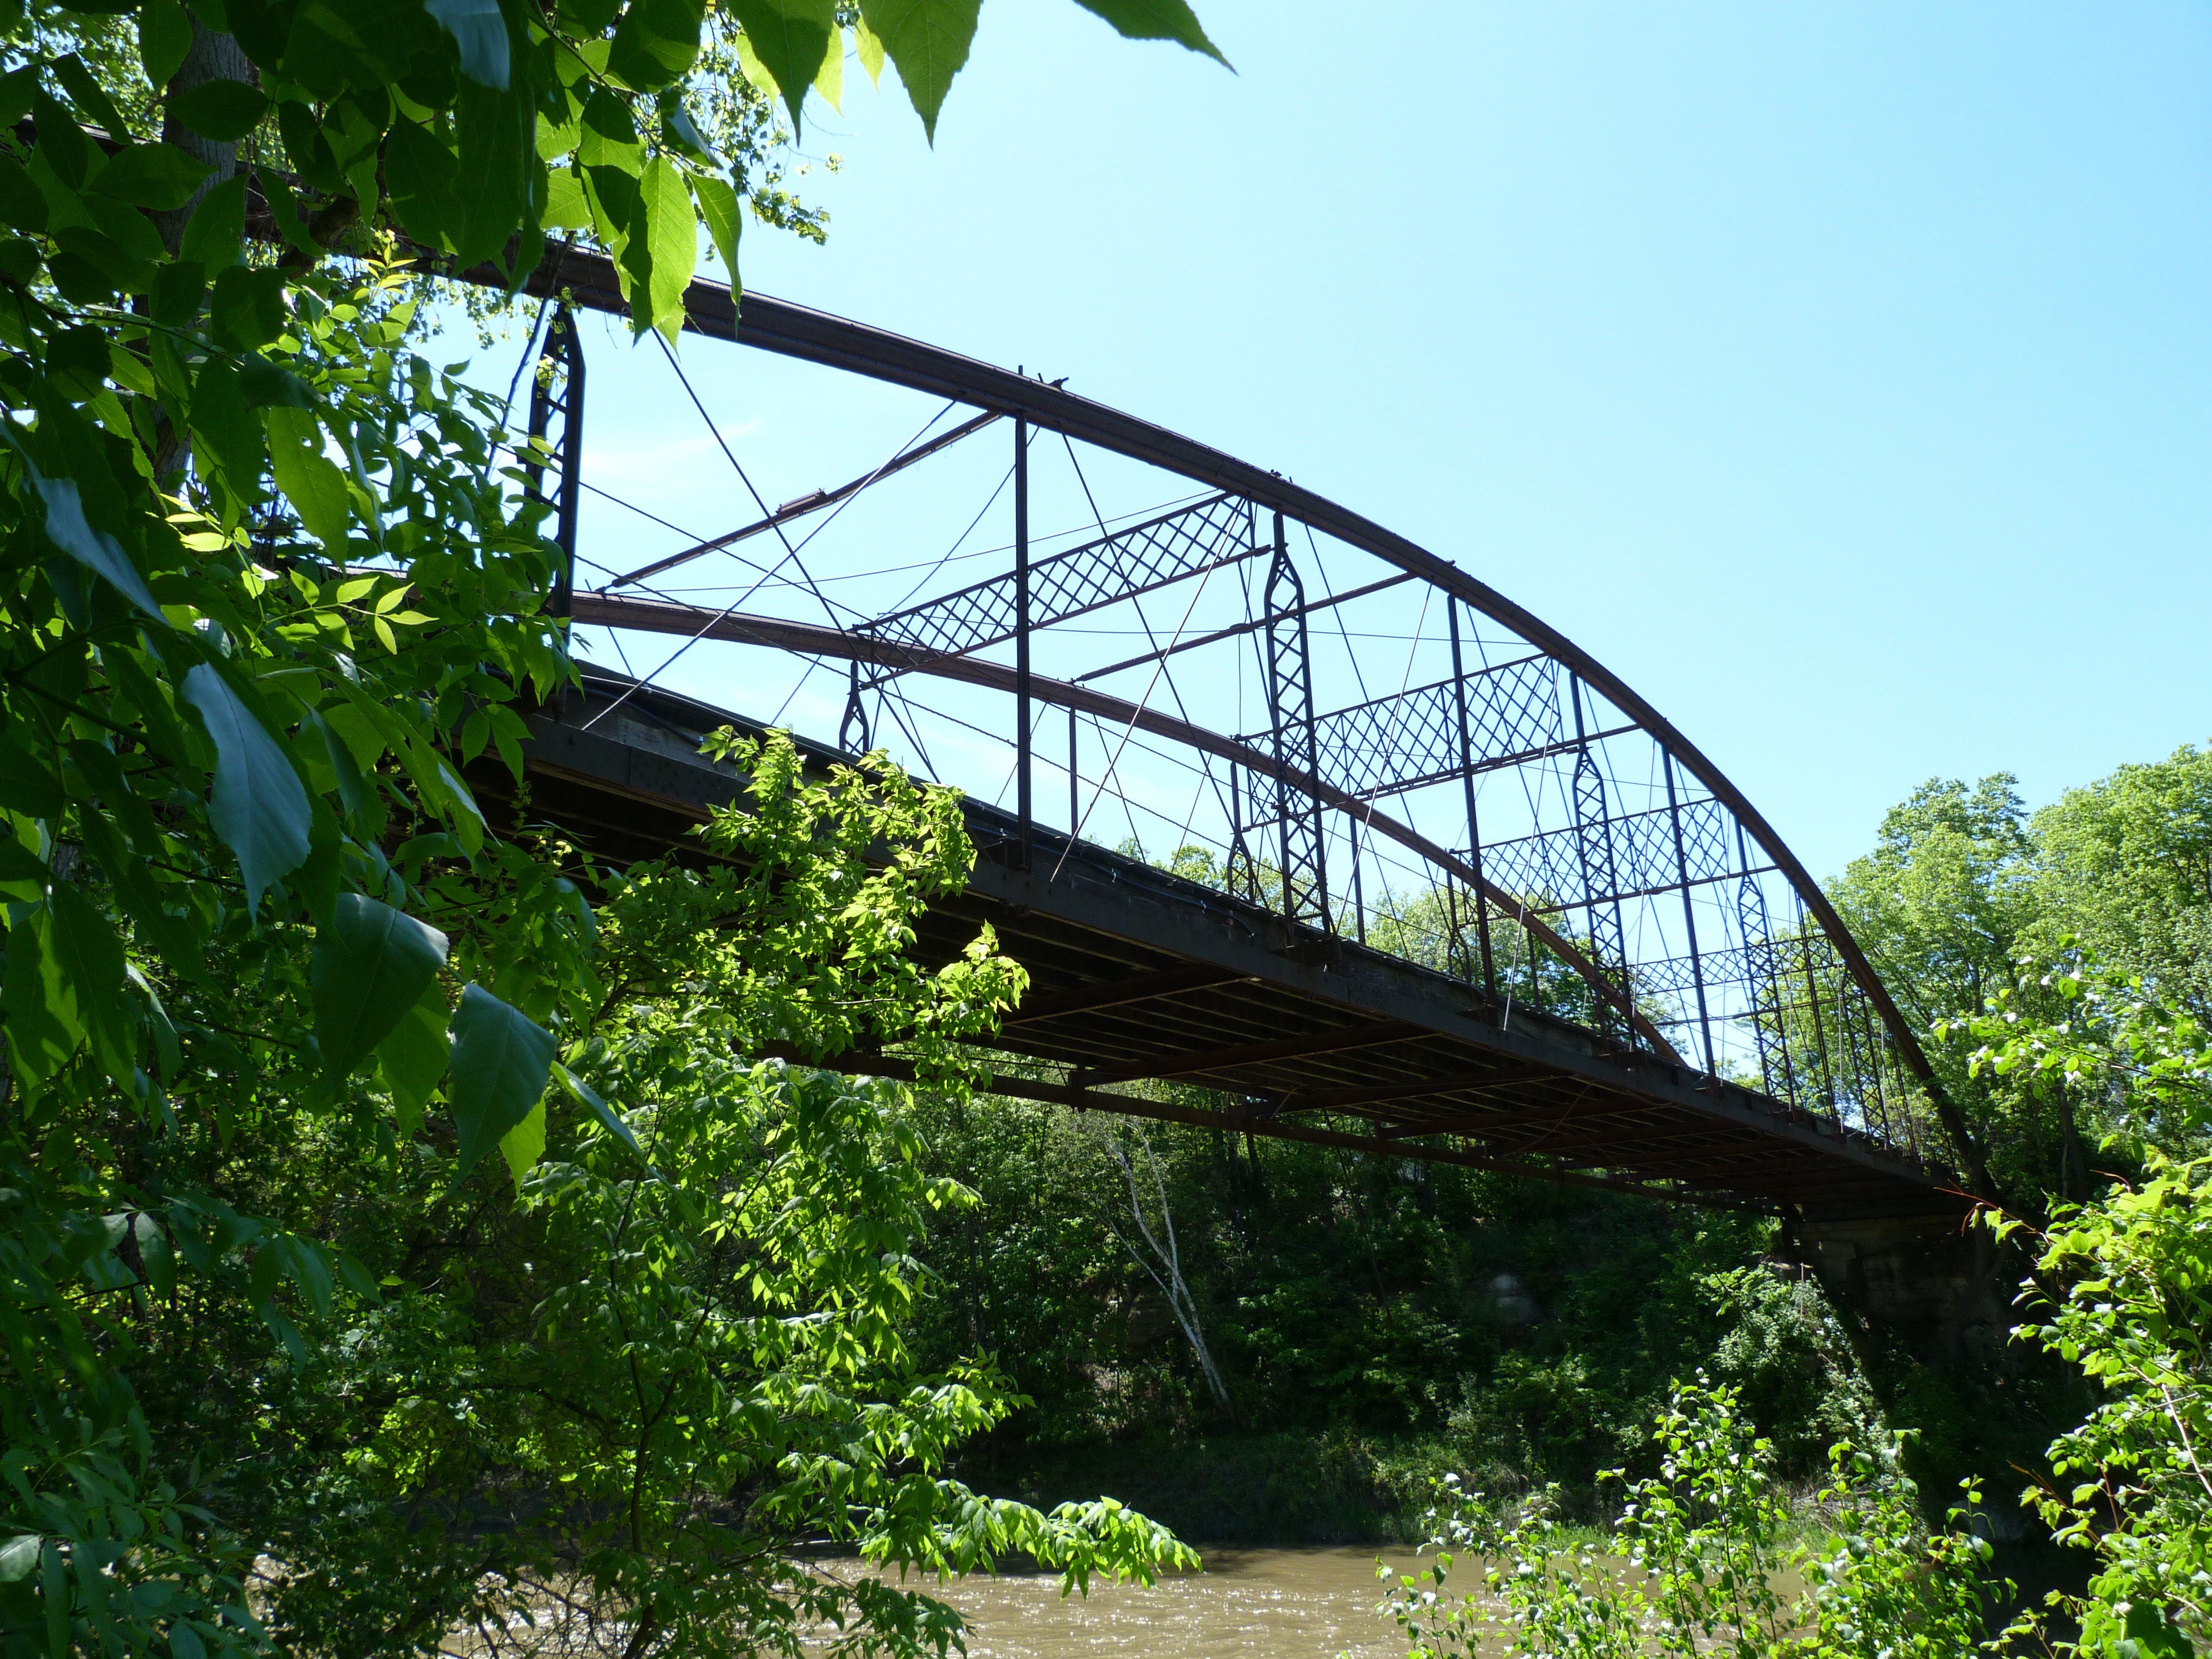
HDR Photos: Views beside bridge from northeast quadrant.
![]()


Views beside bridge from southwest quadrant.
![]()

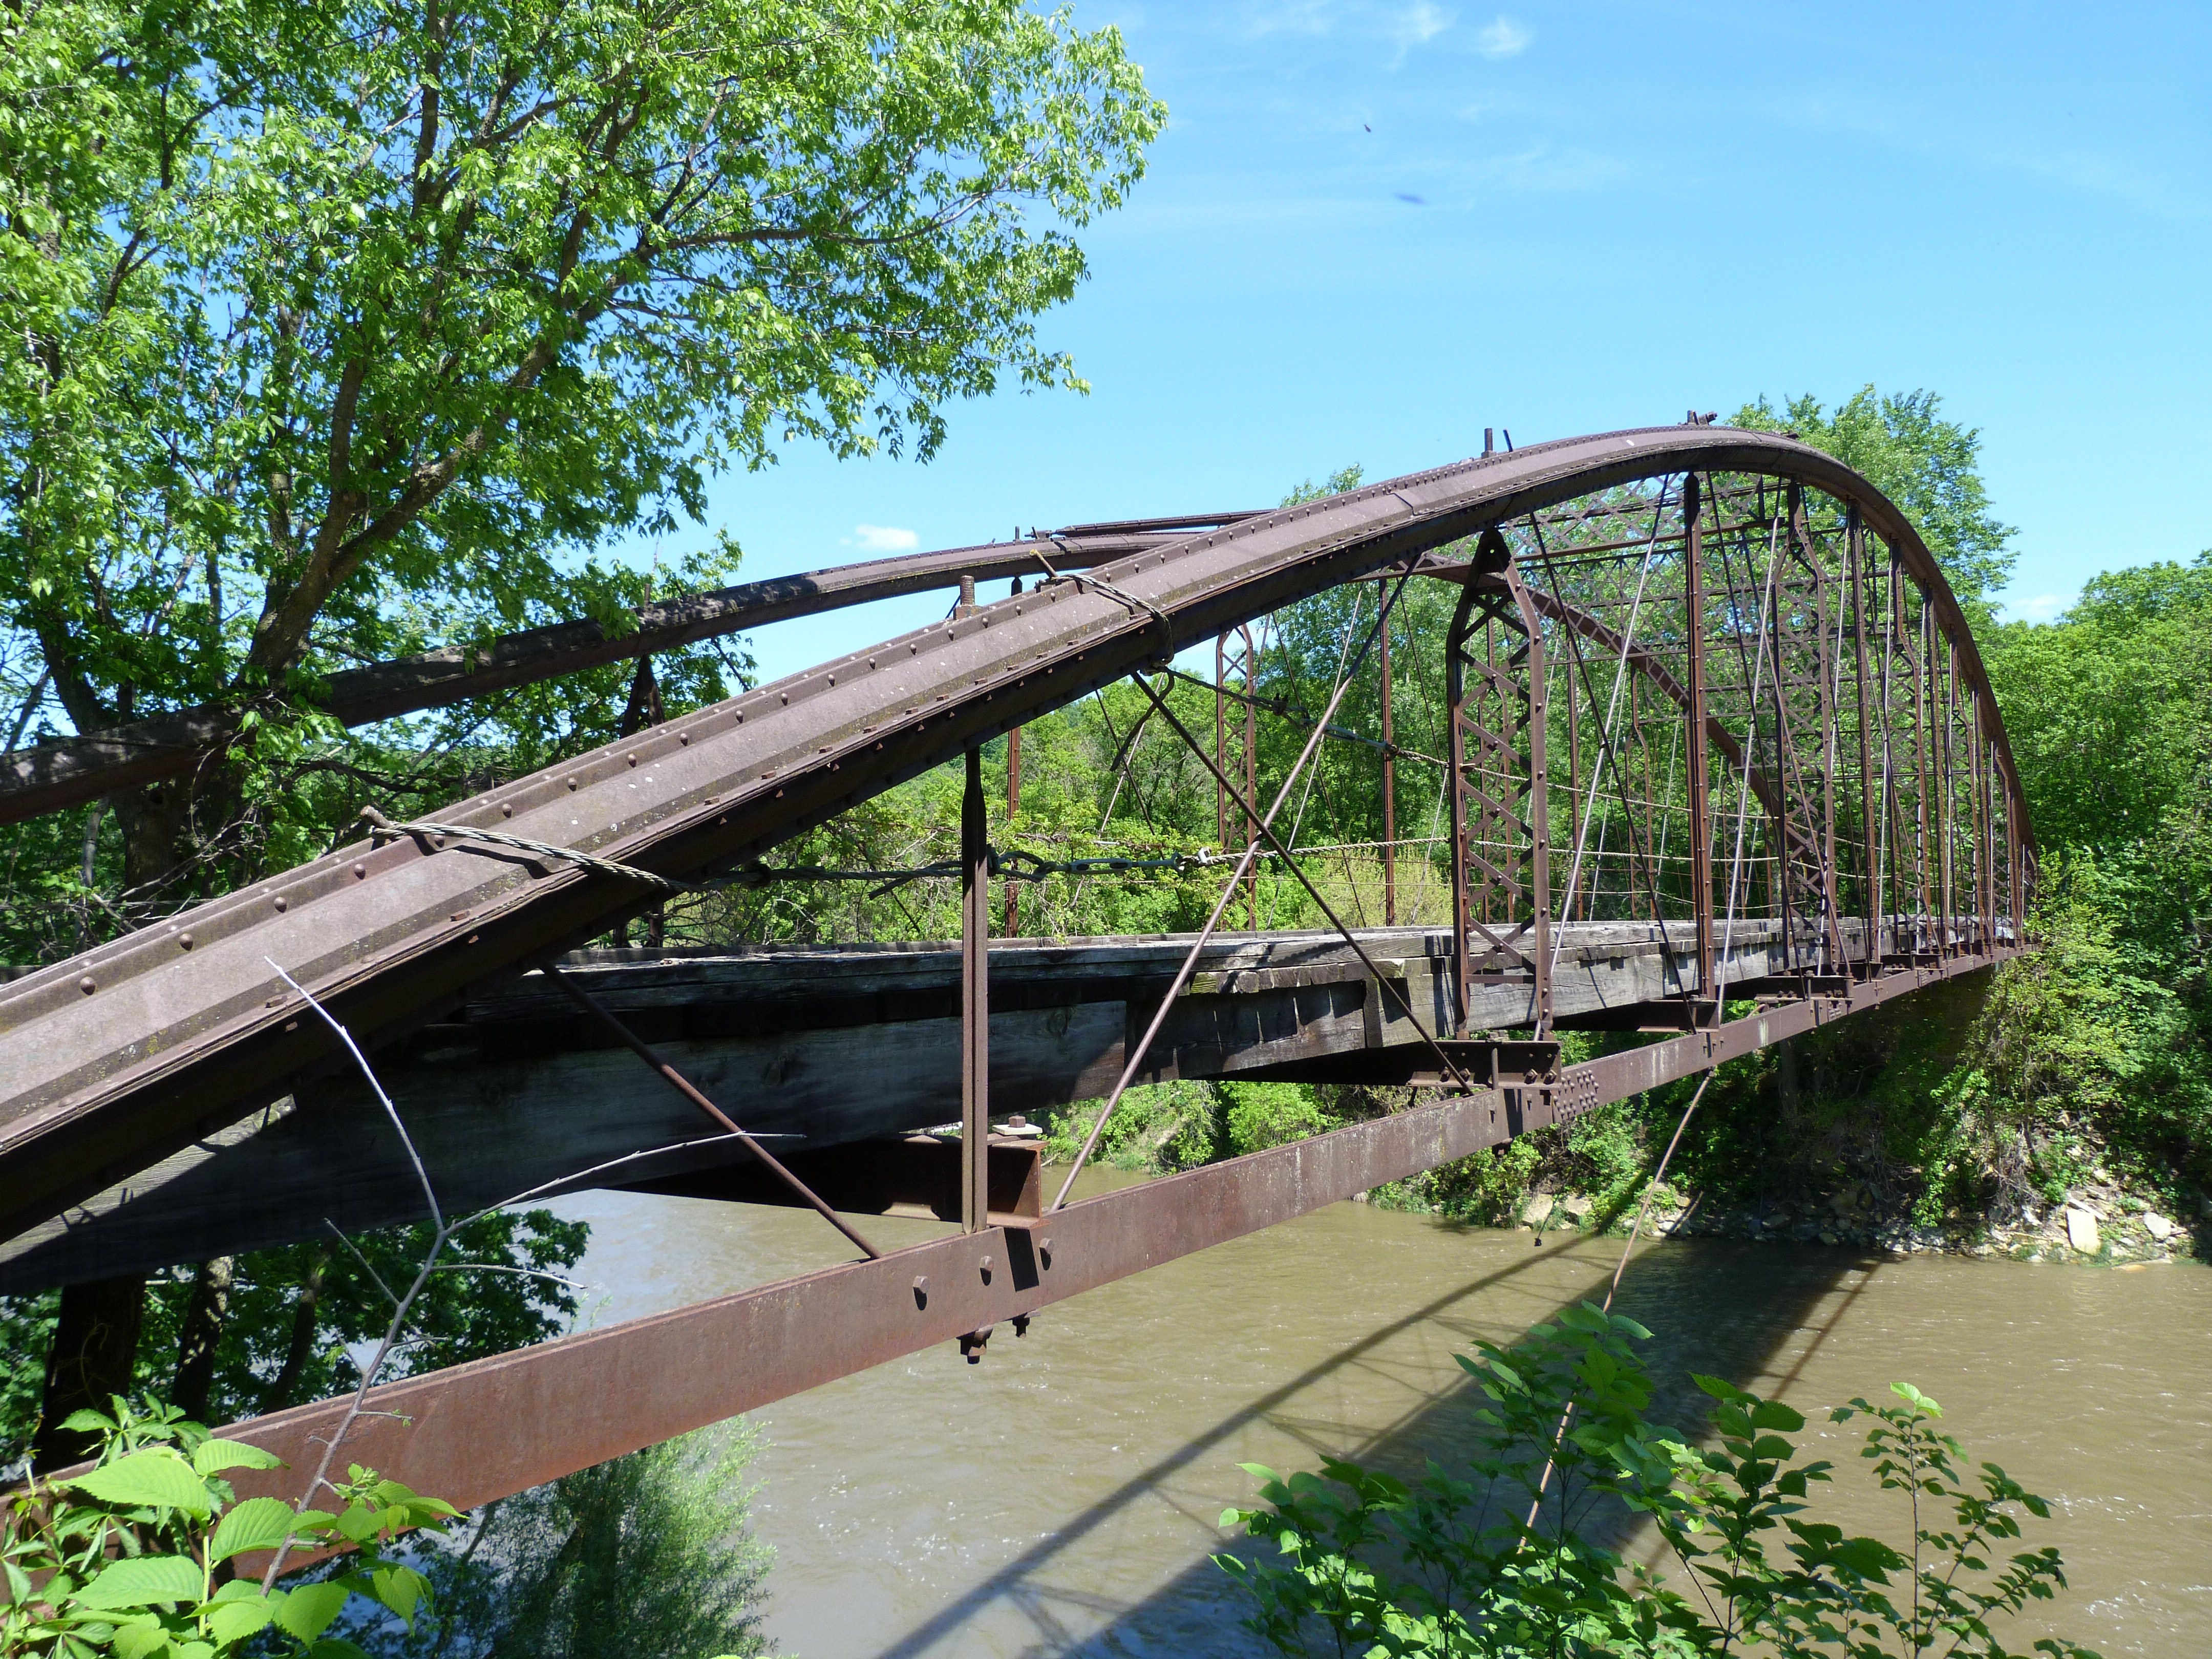
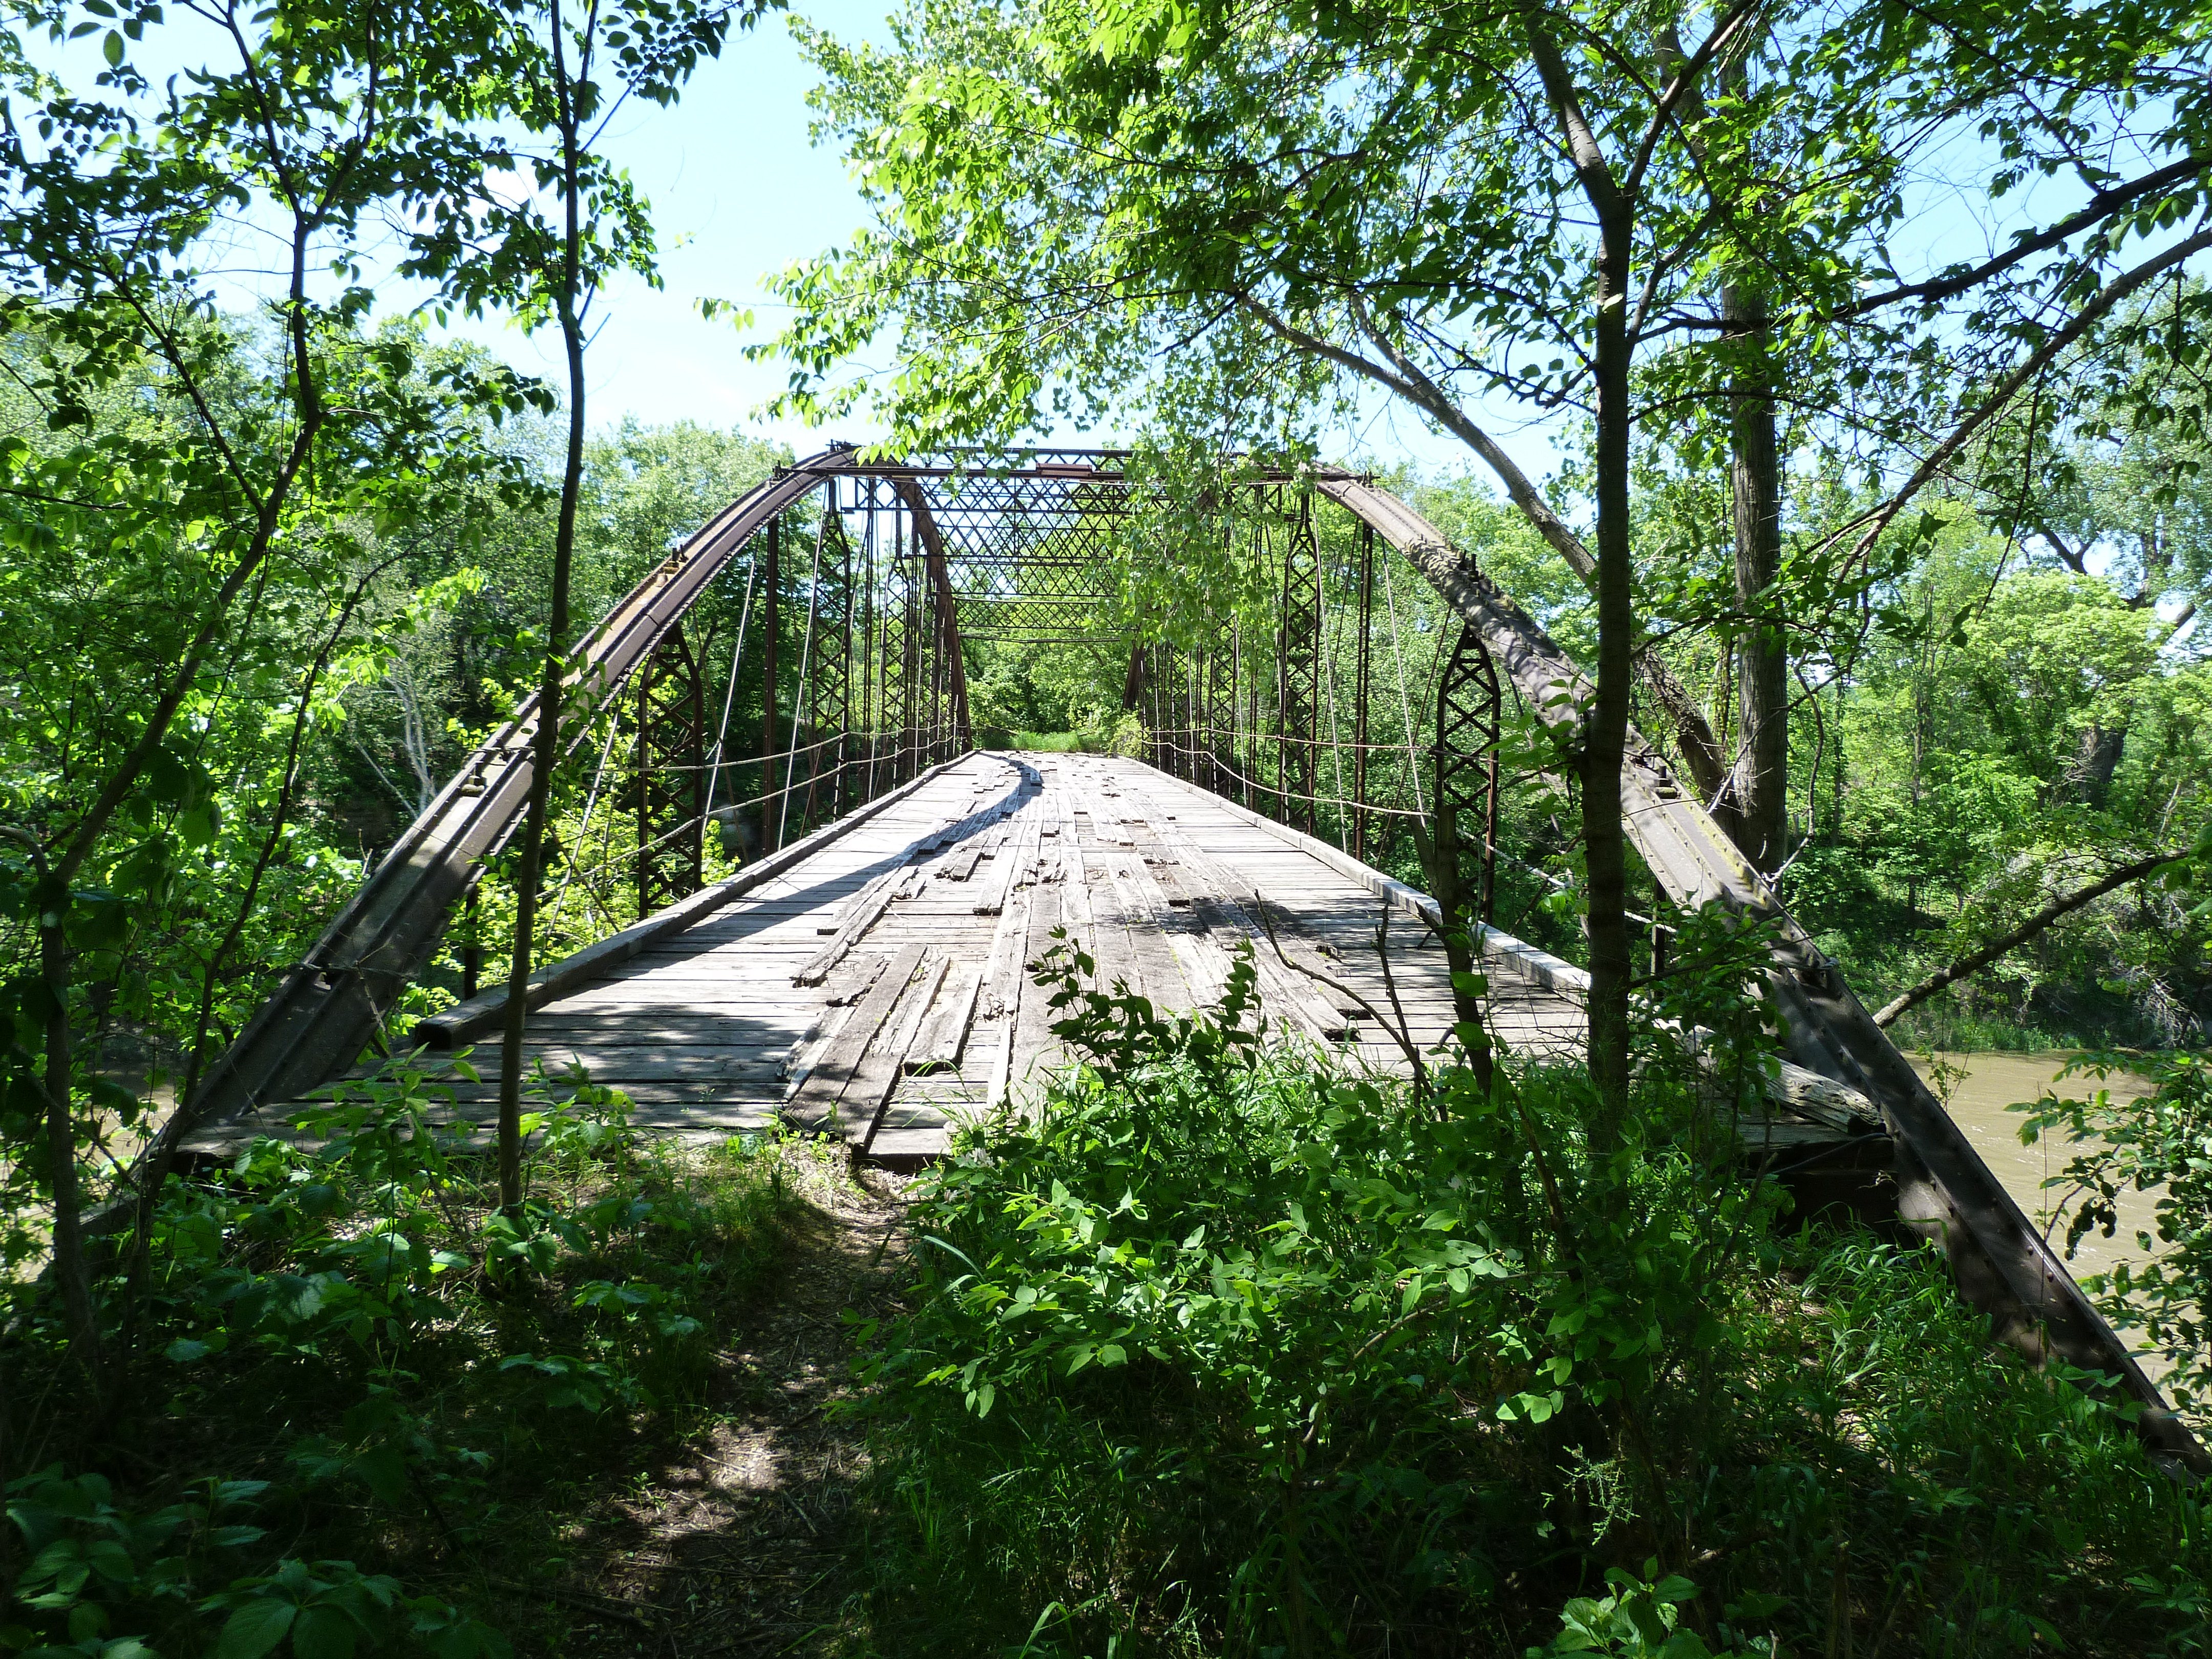
Oblique view from southwest quadrant.
![]()

Portal views facing west.
![]()

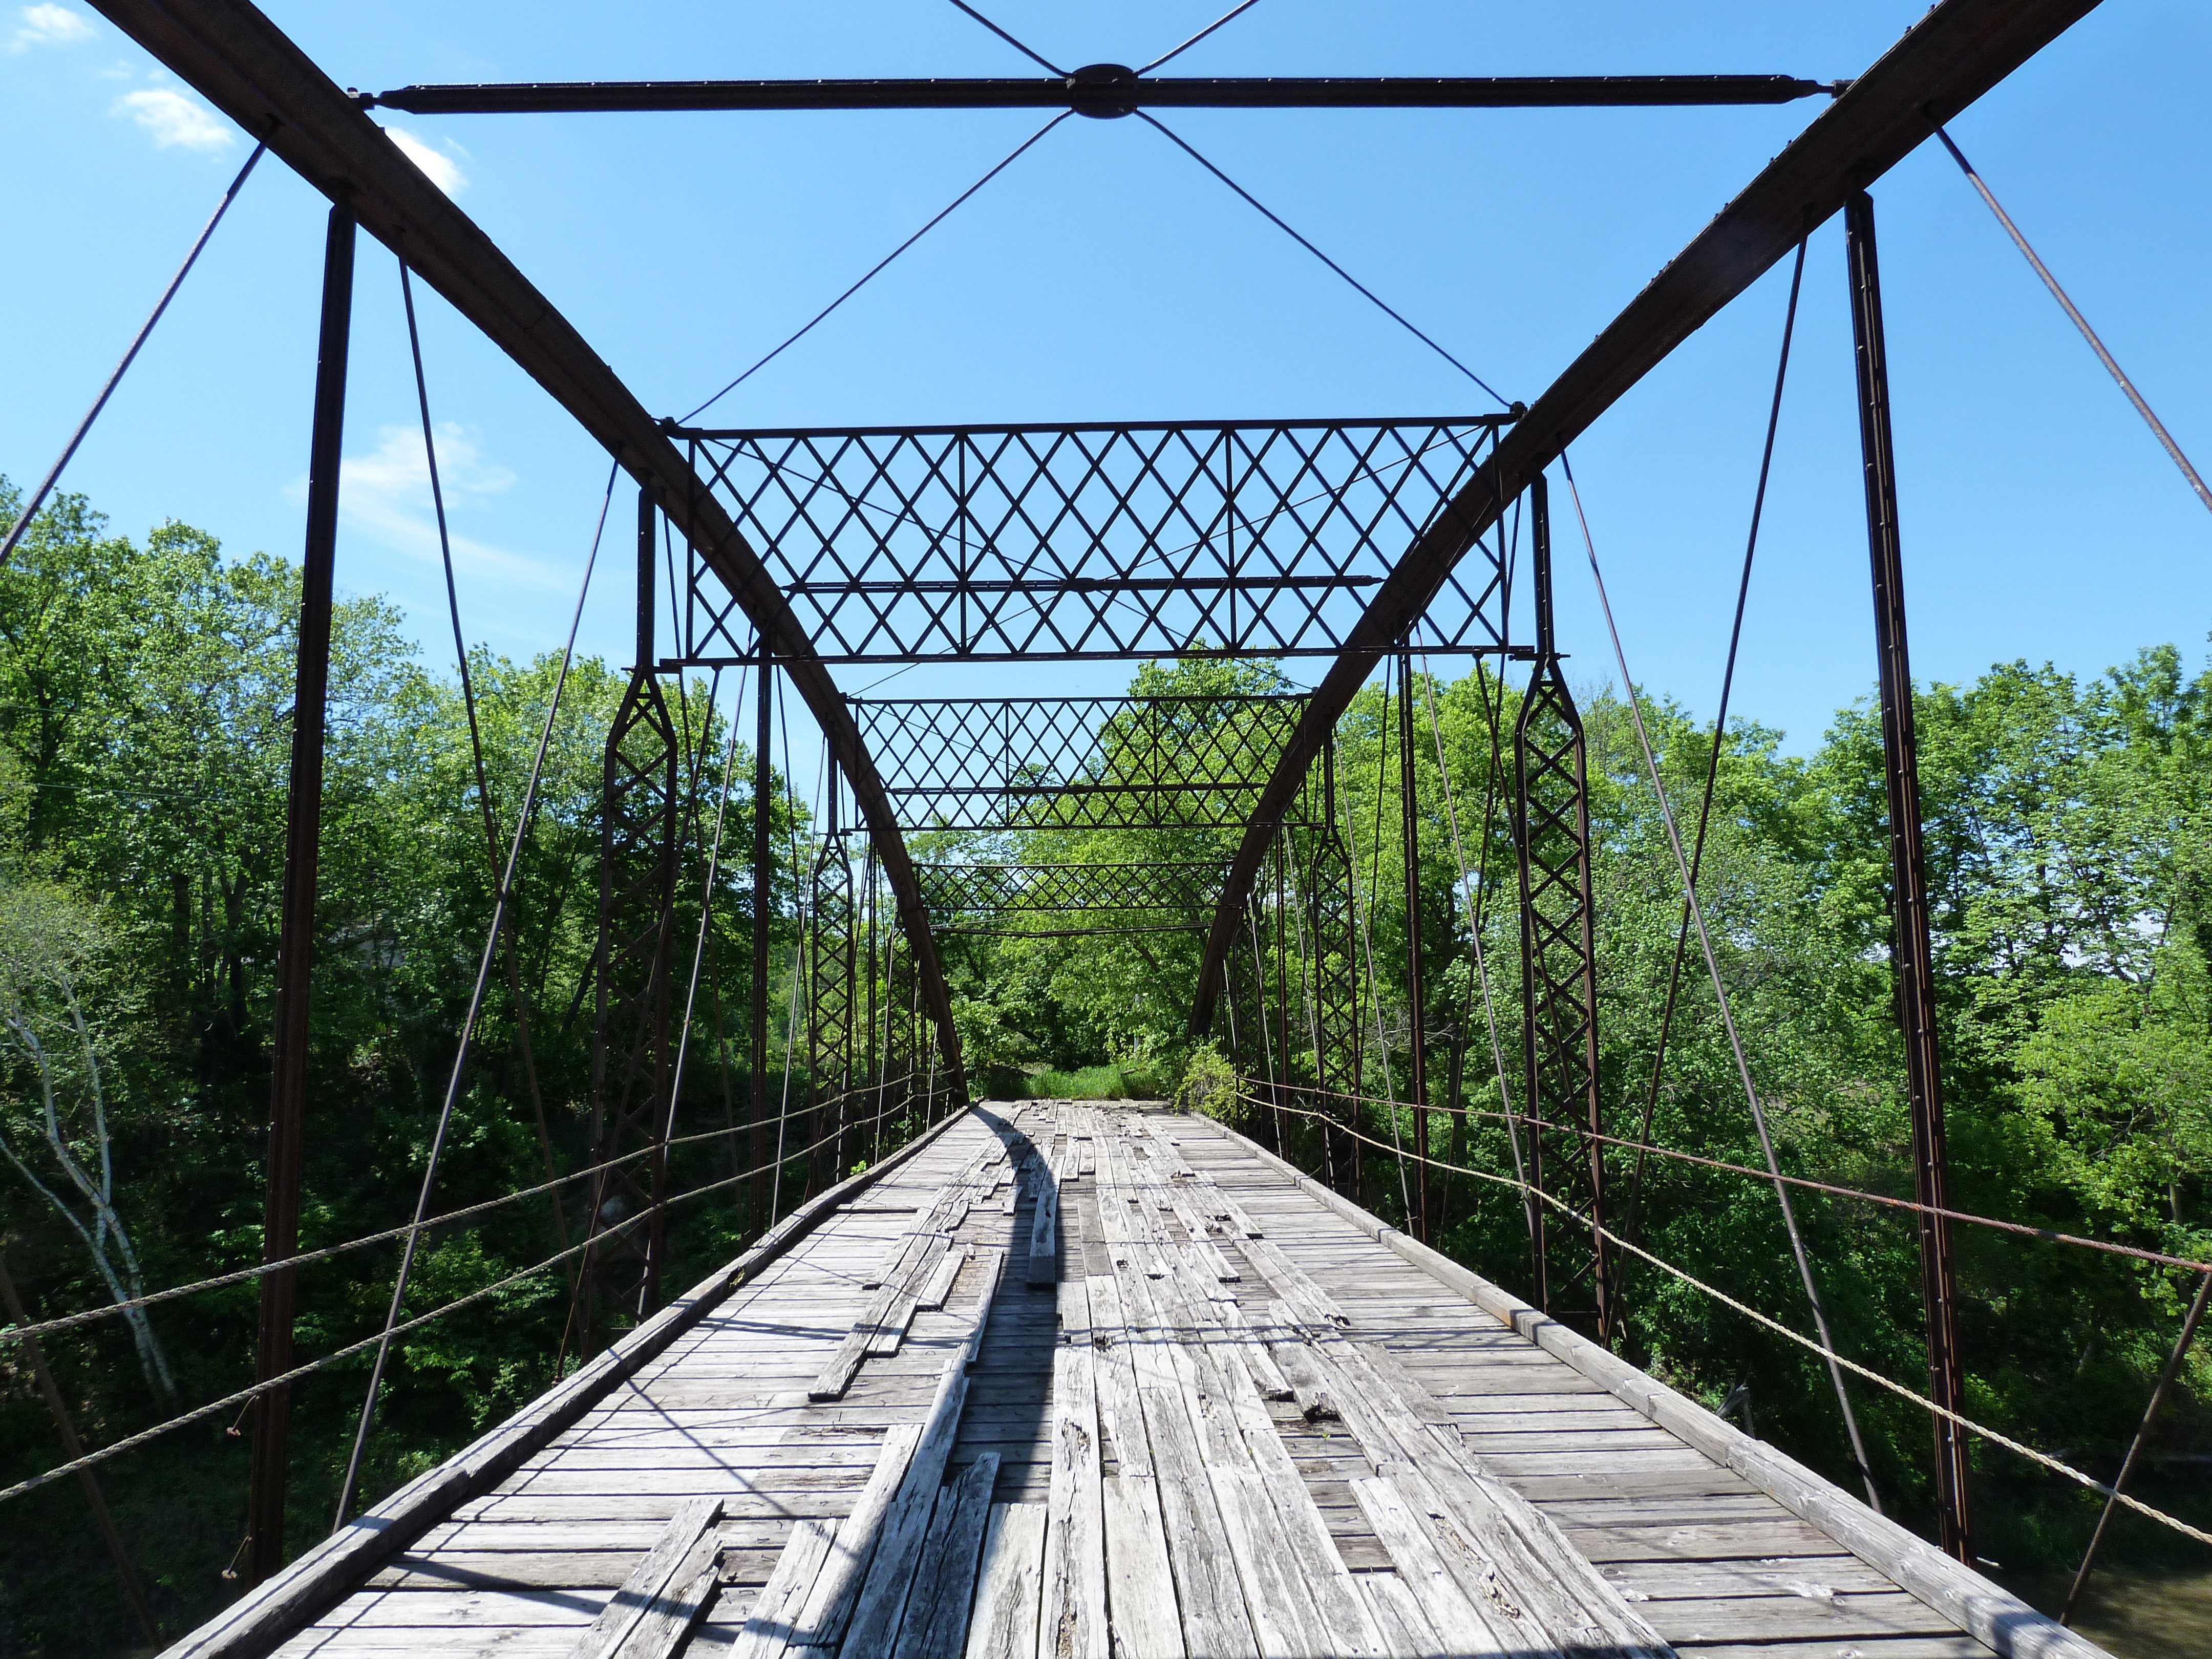
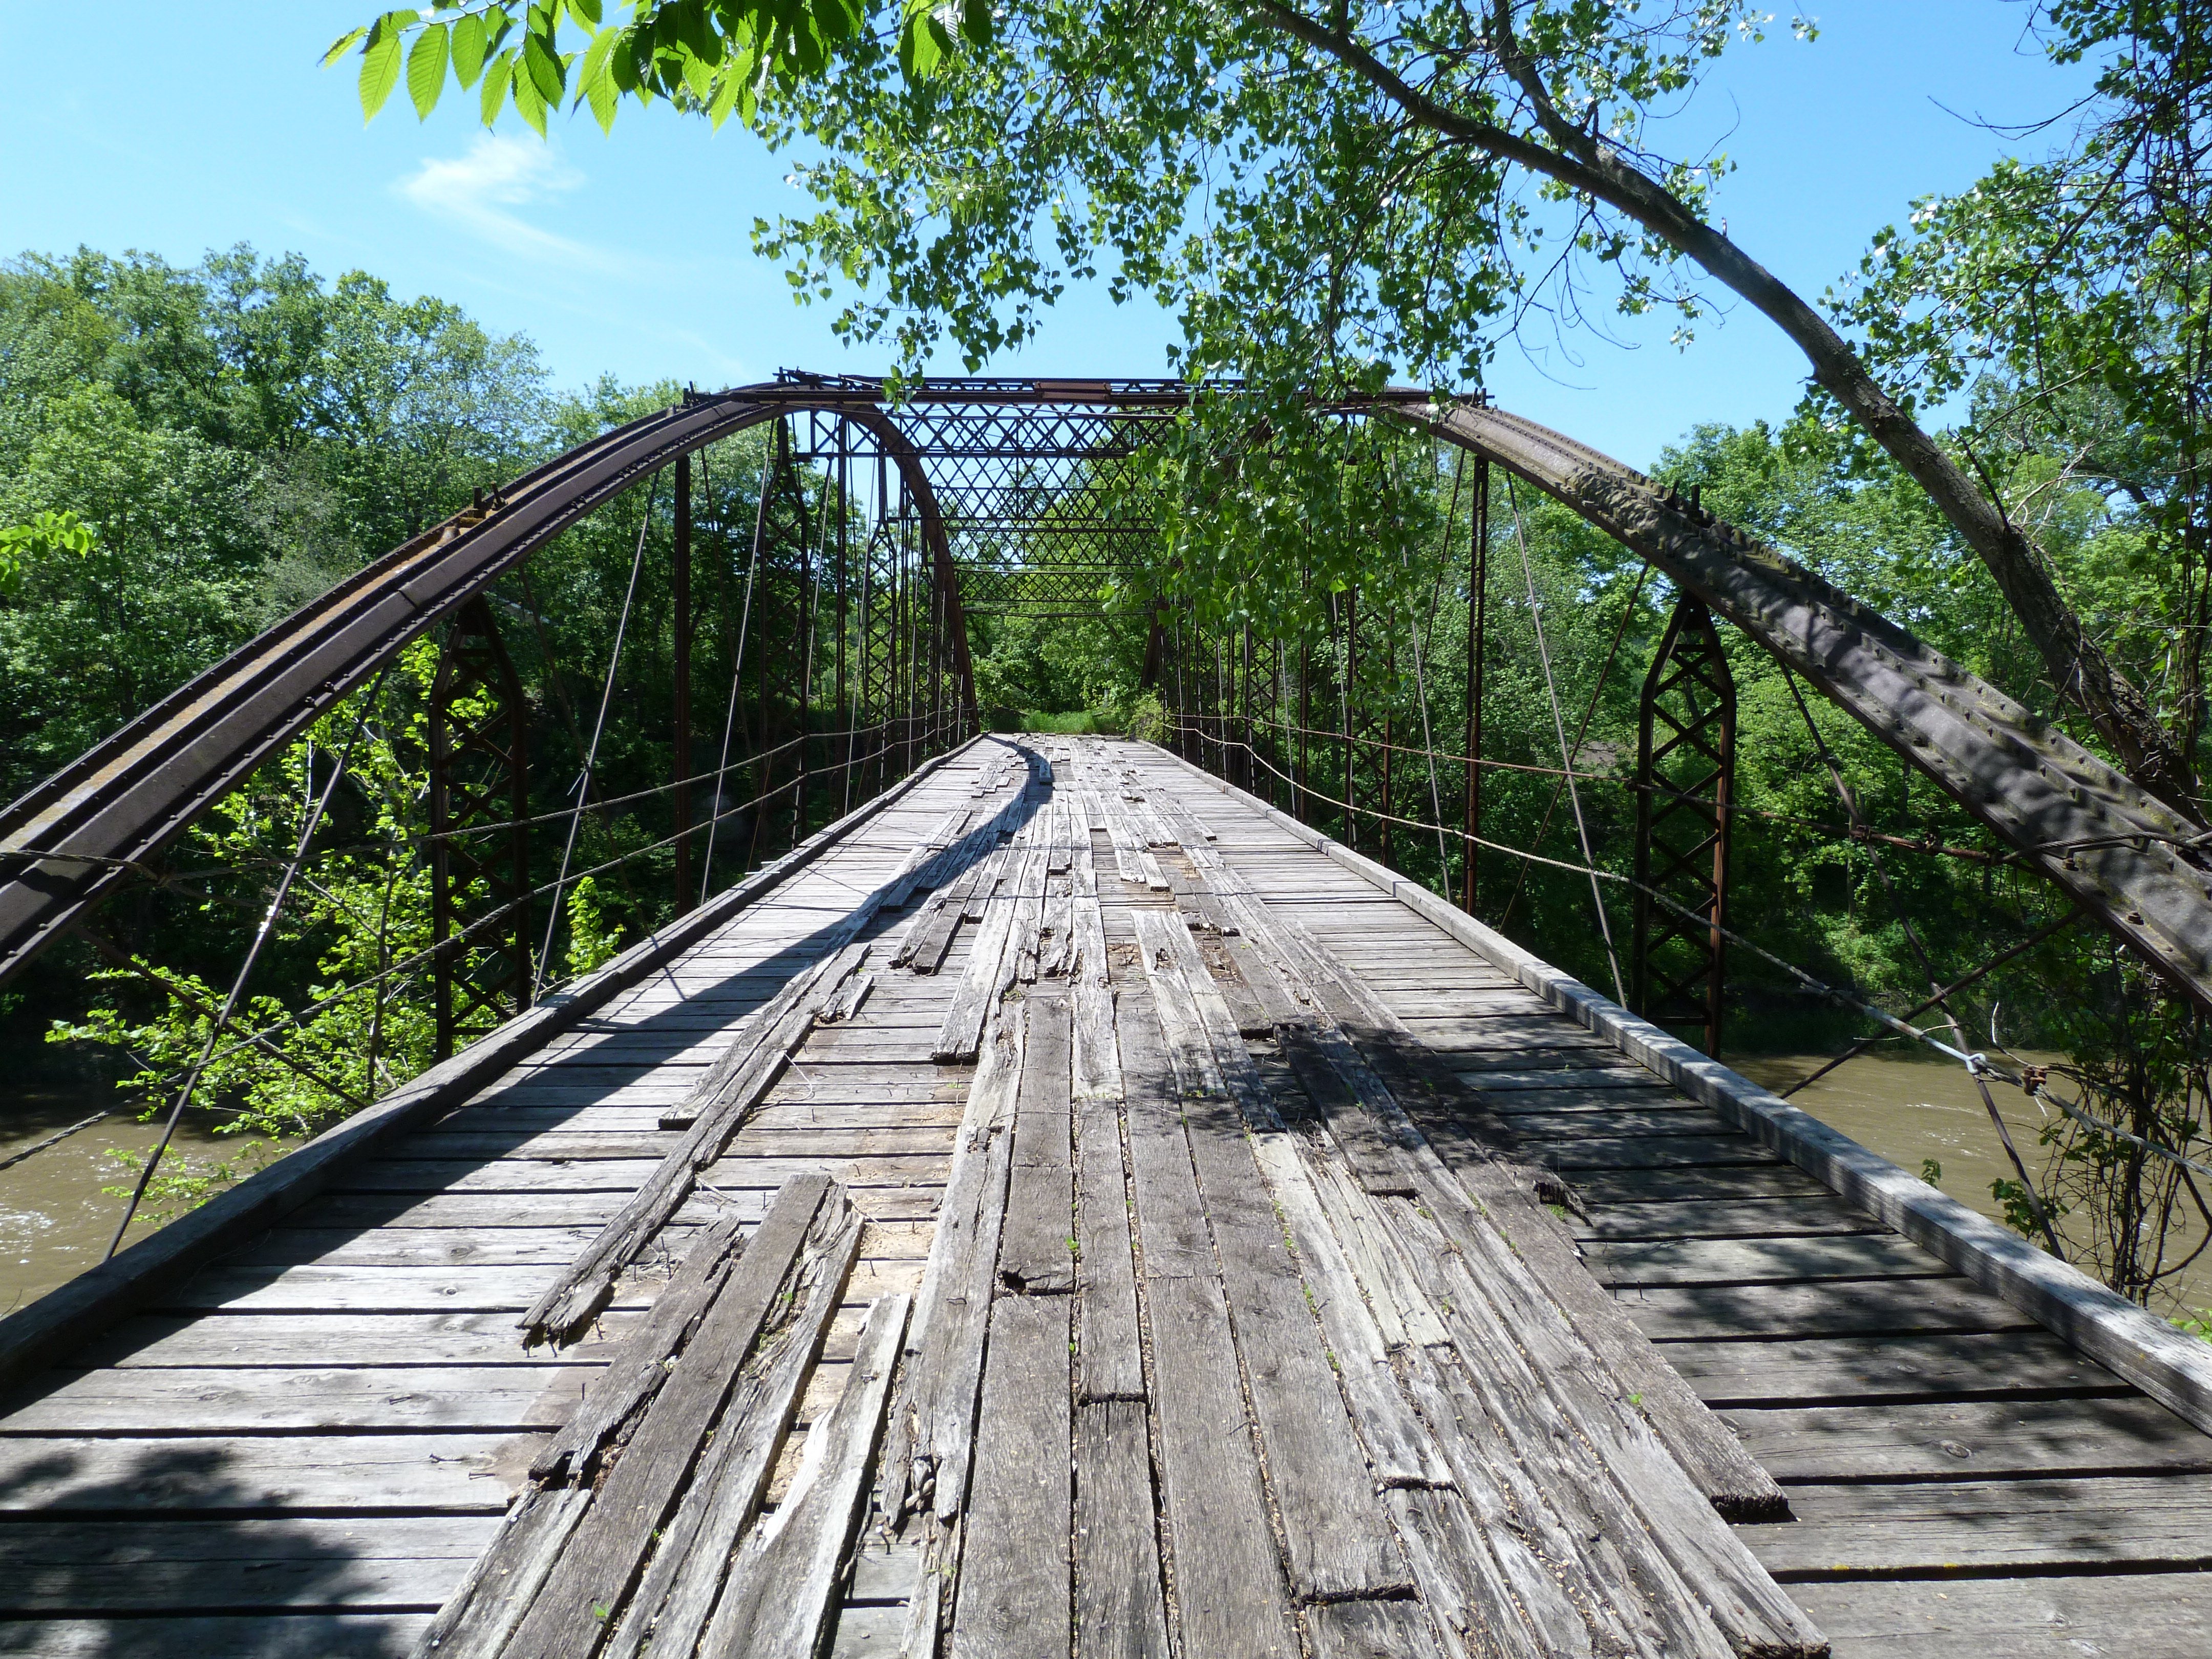
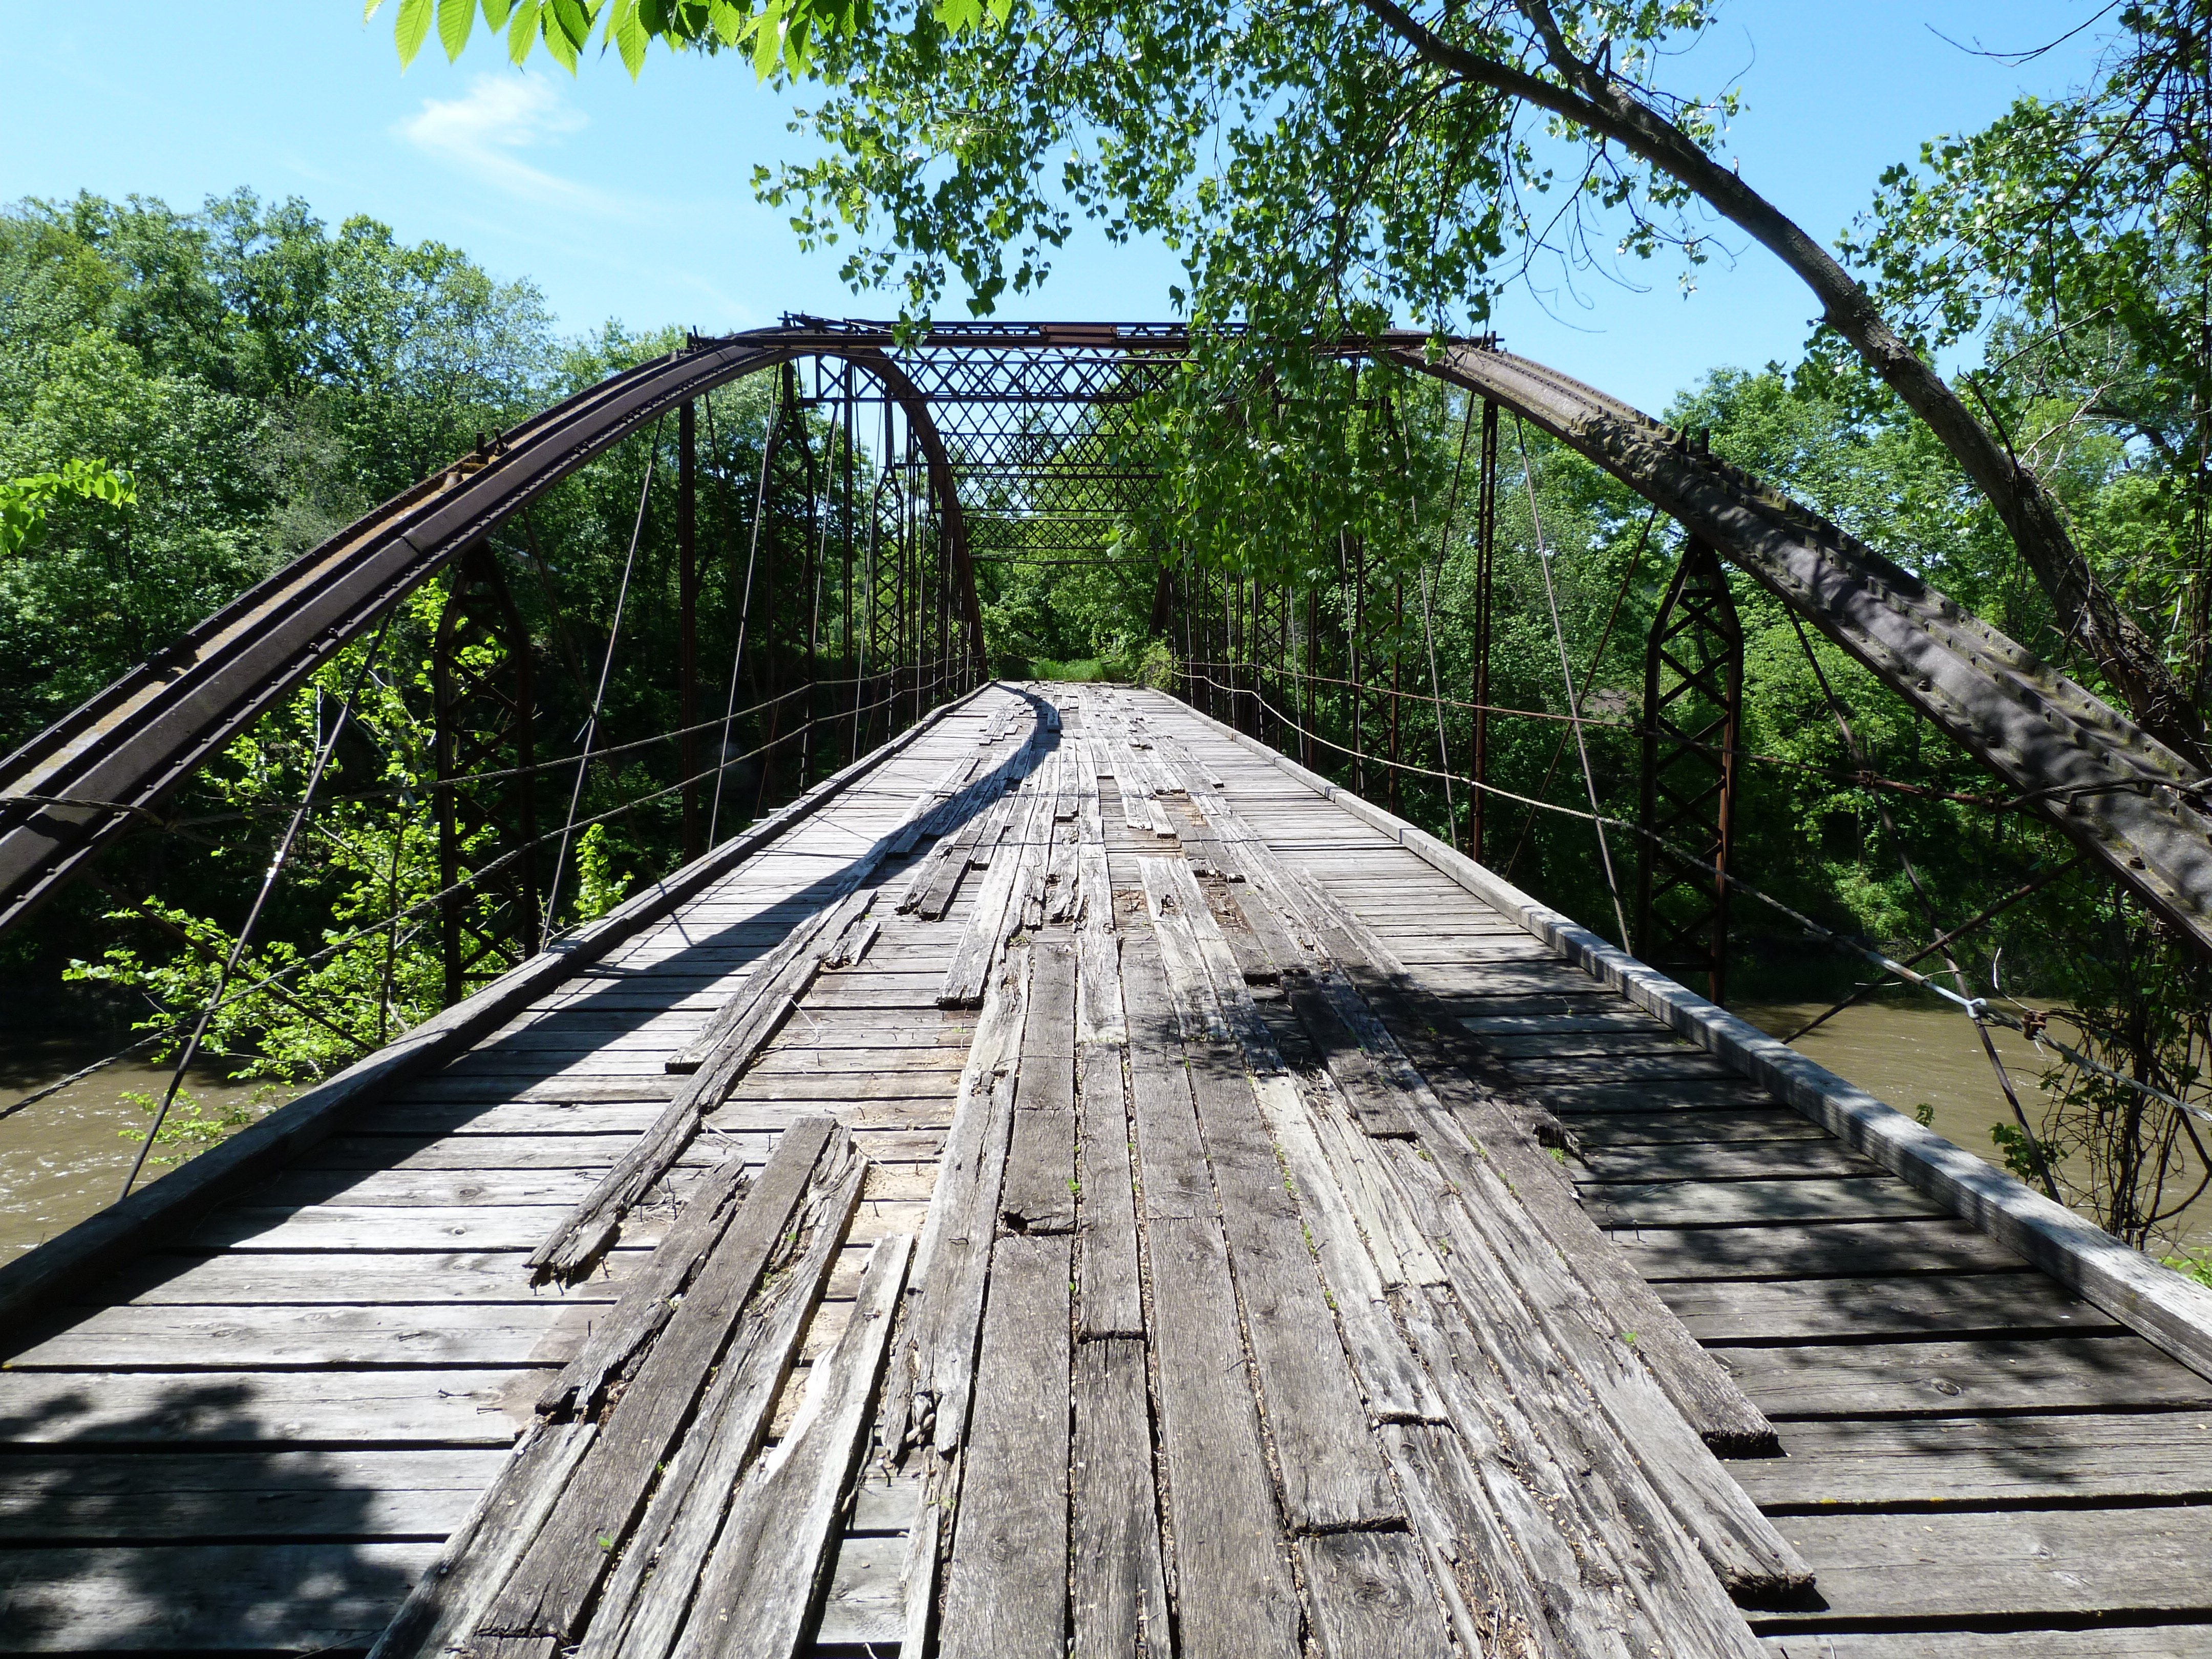
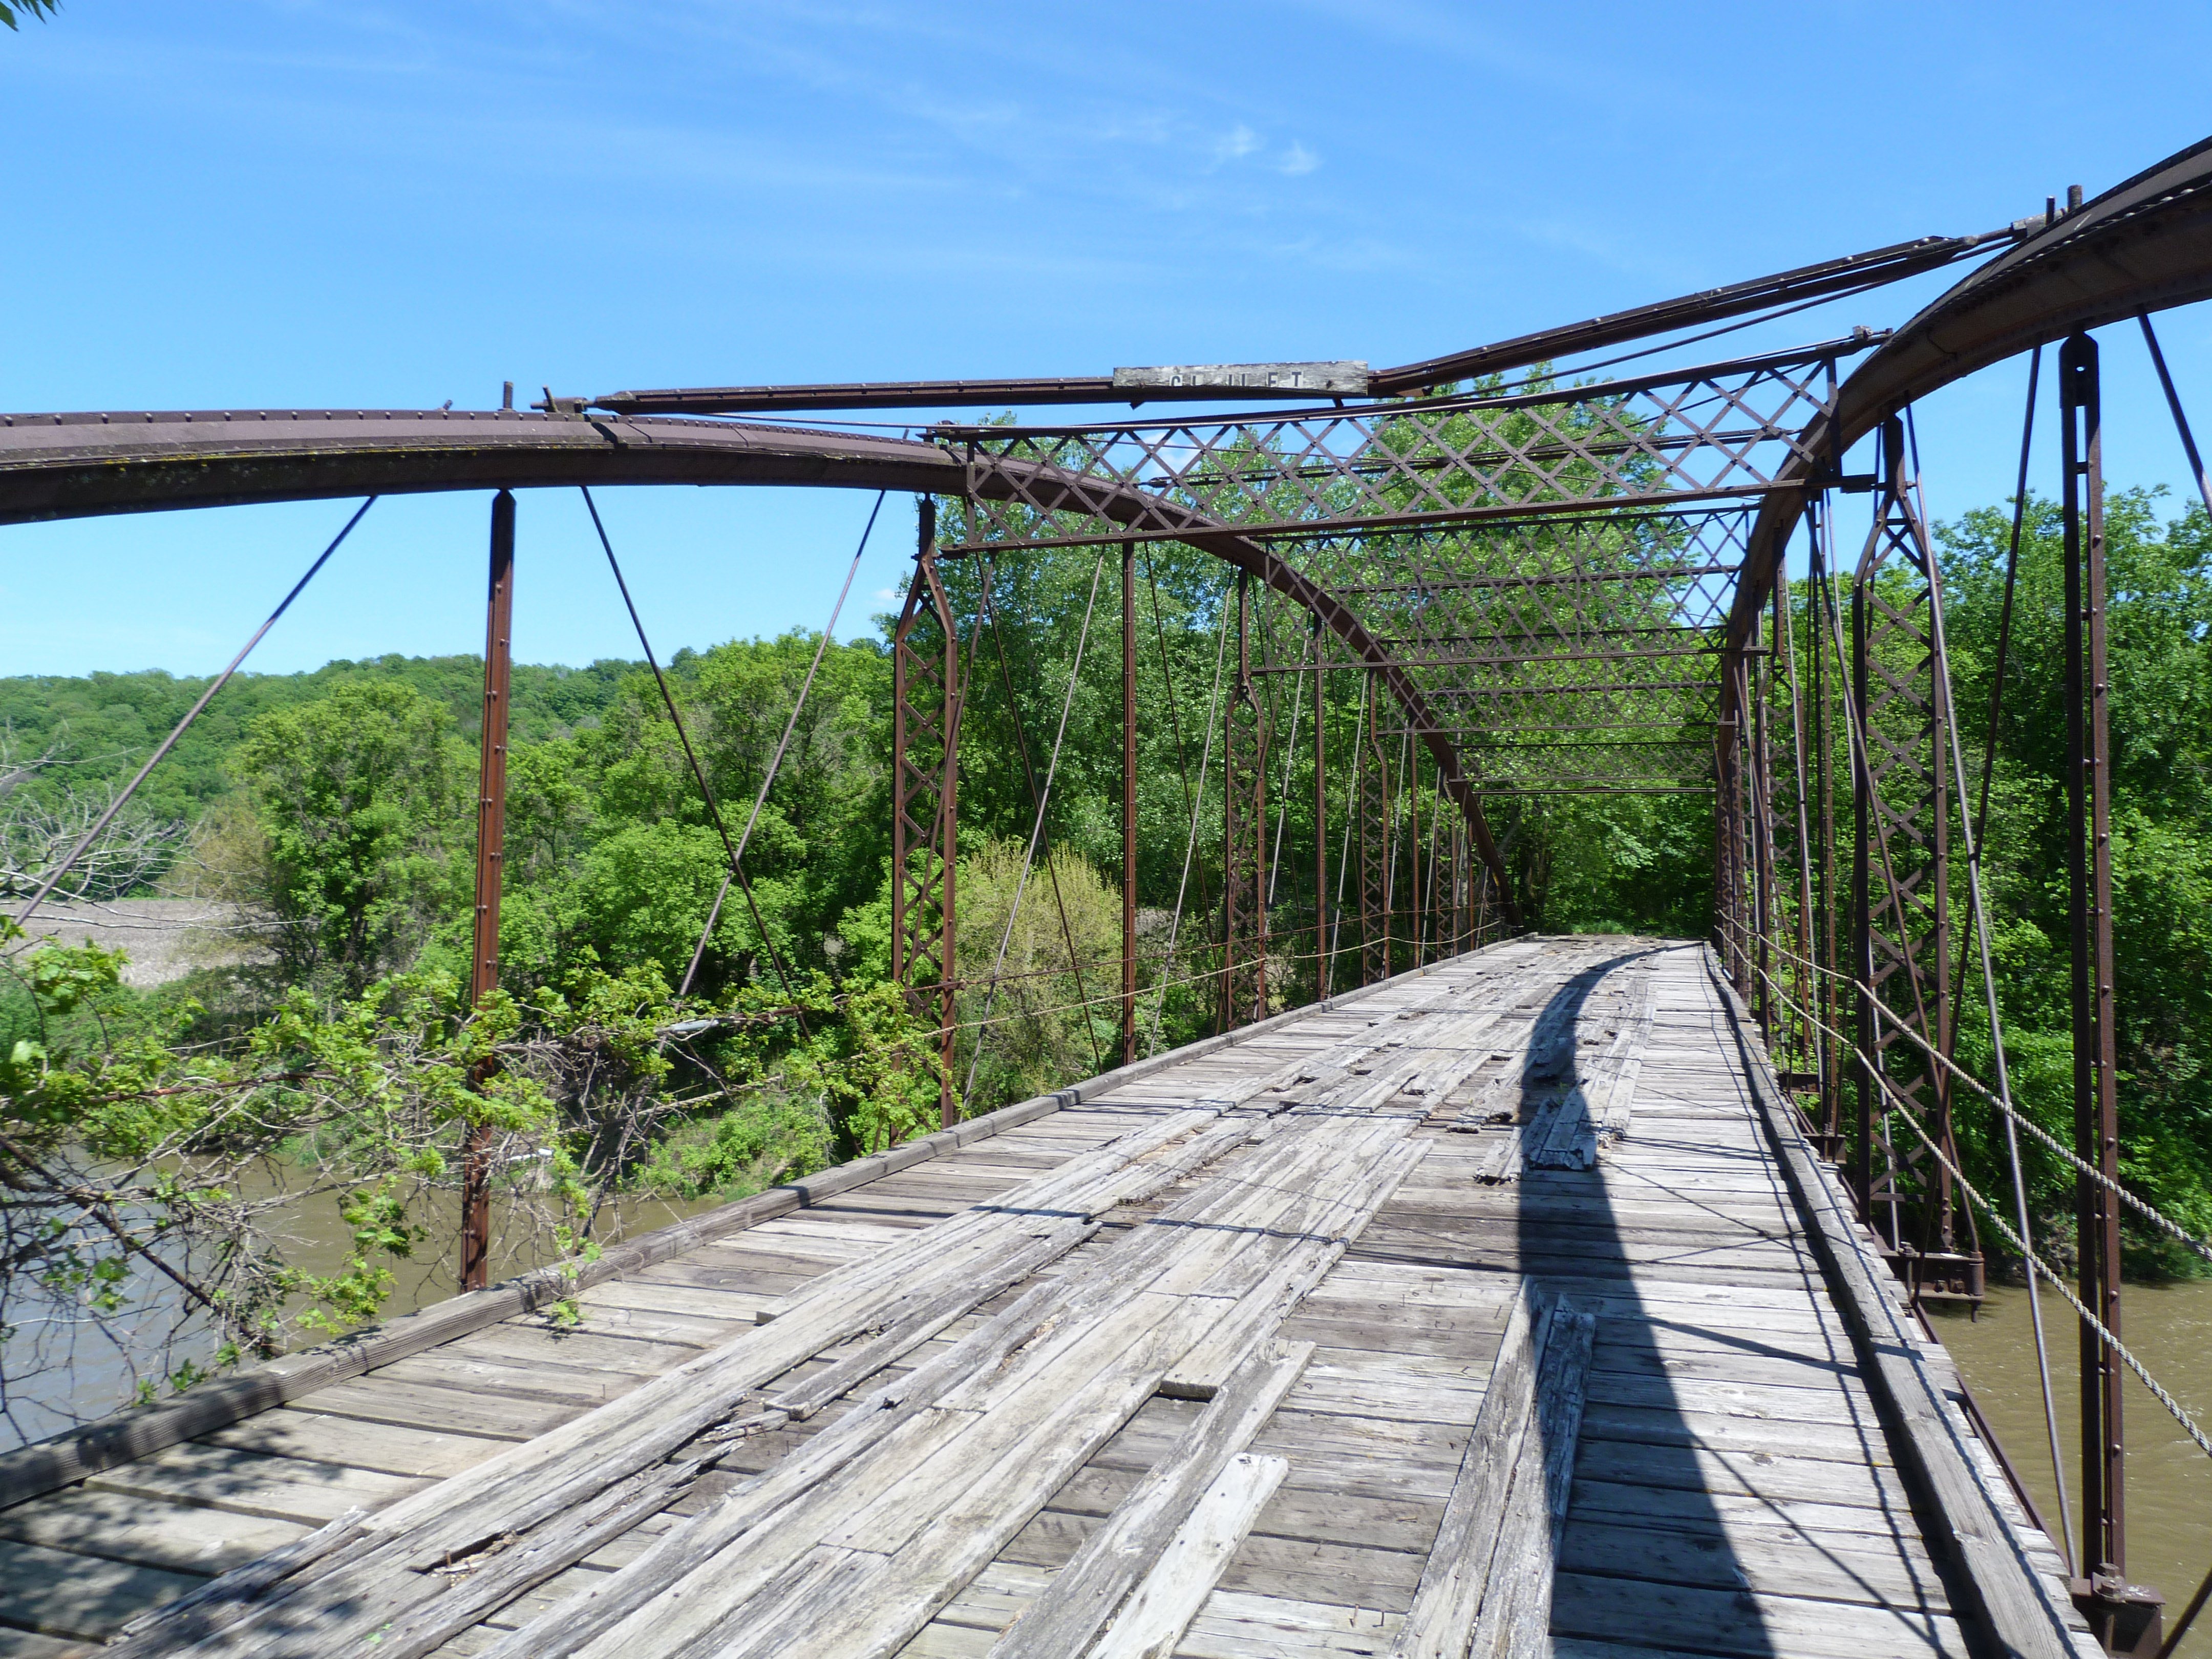
Portal views on bridge facing west.
![]()


Portal views facing east.
![]()

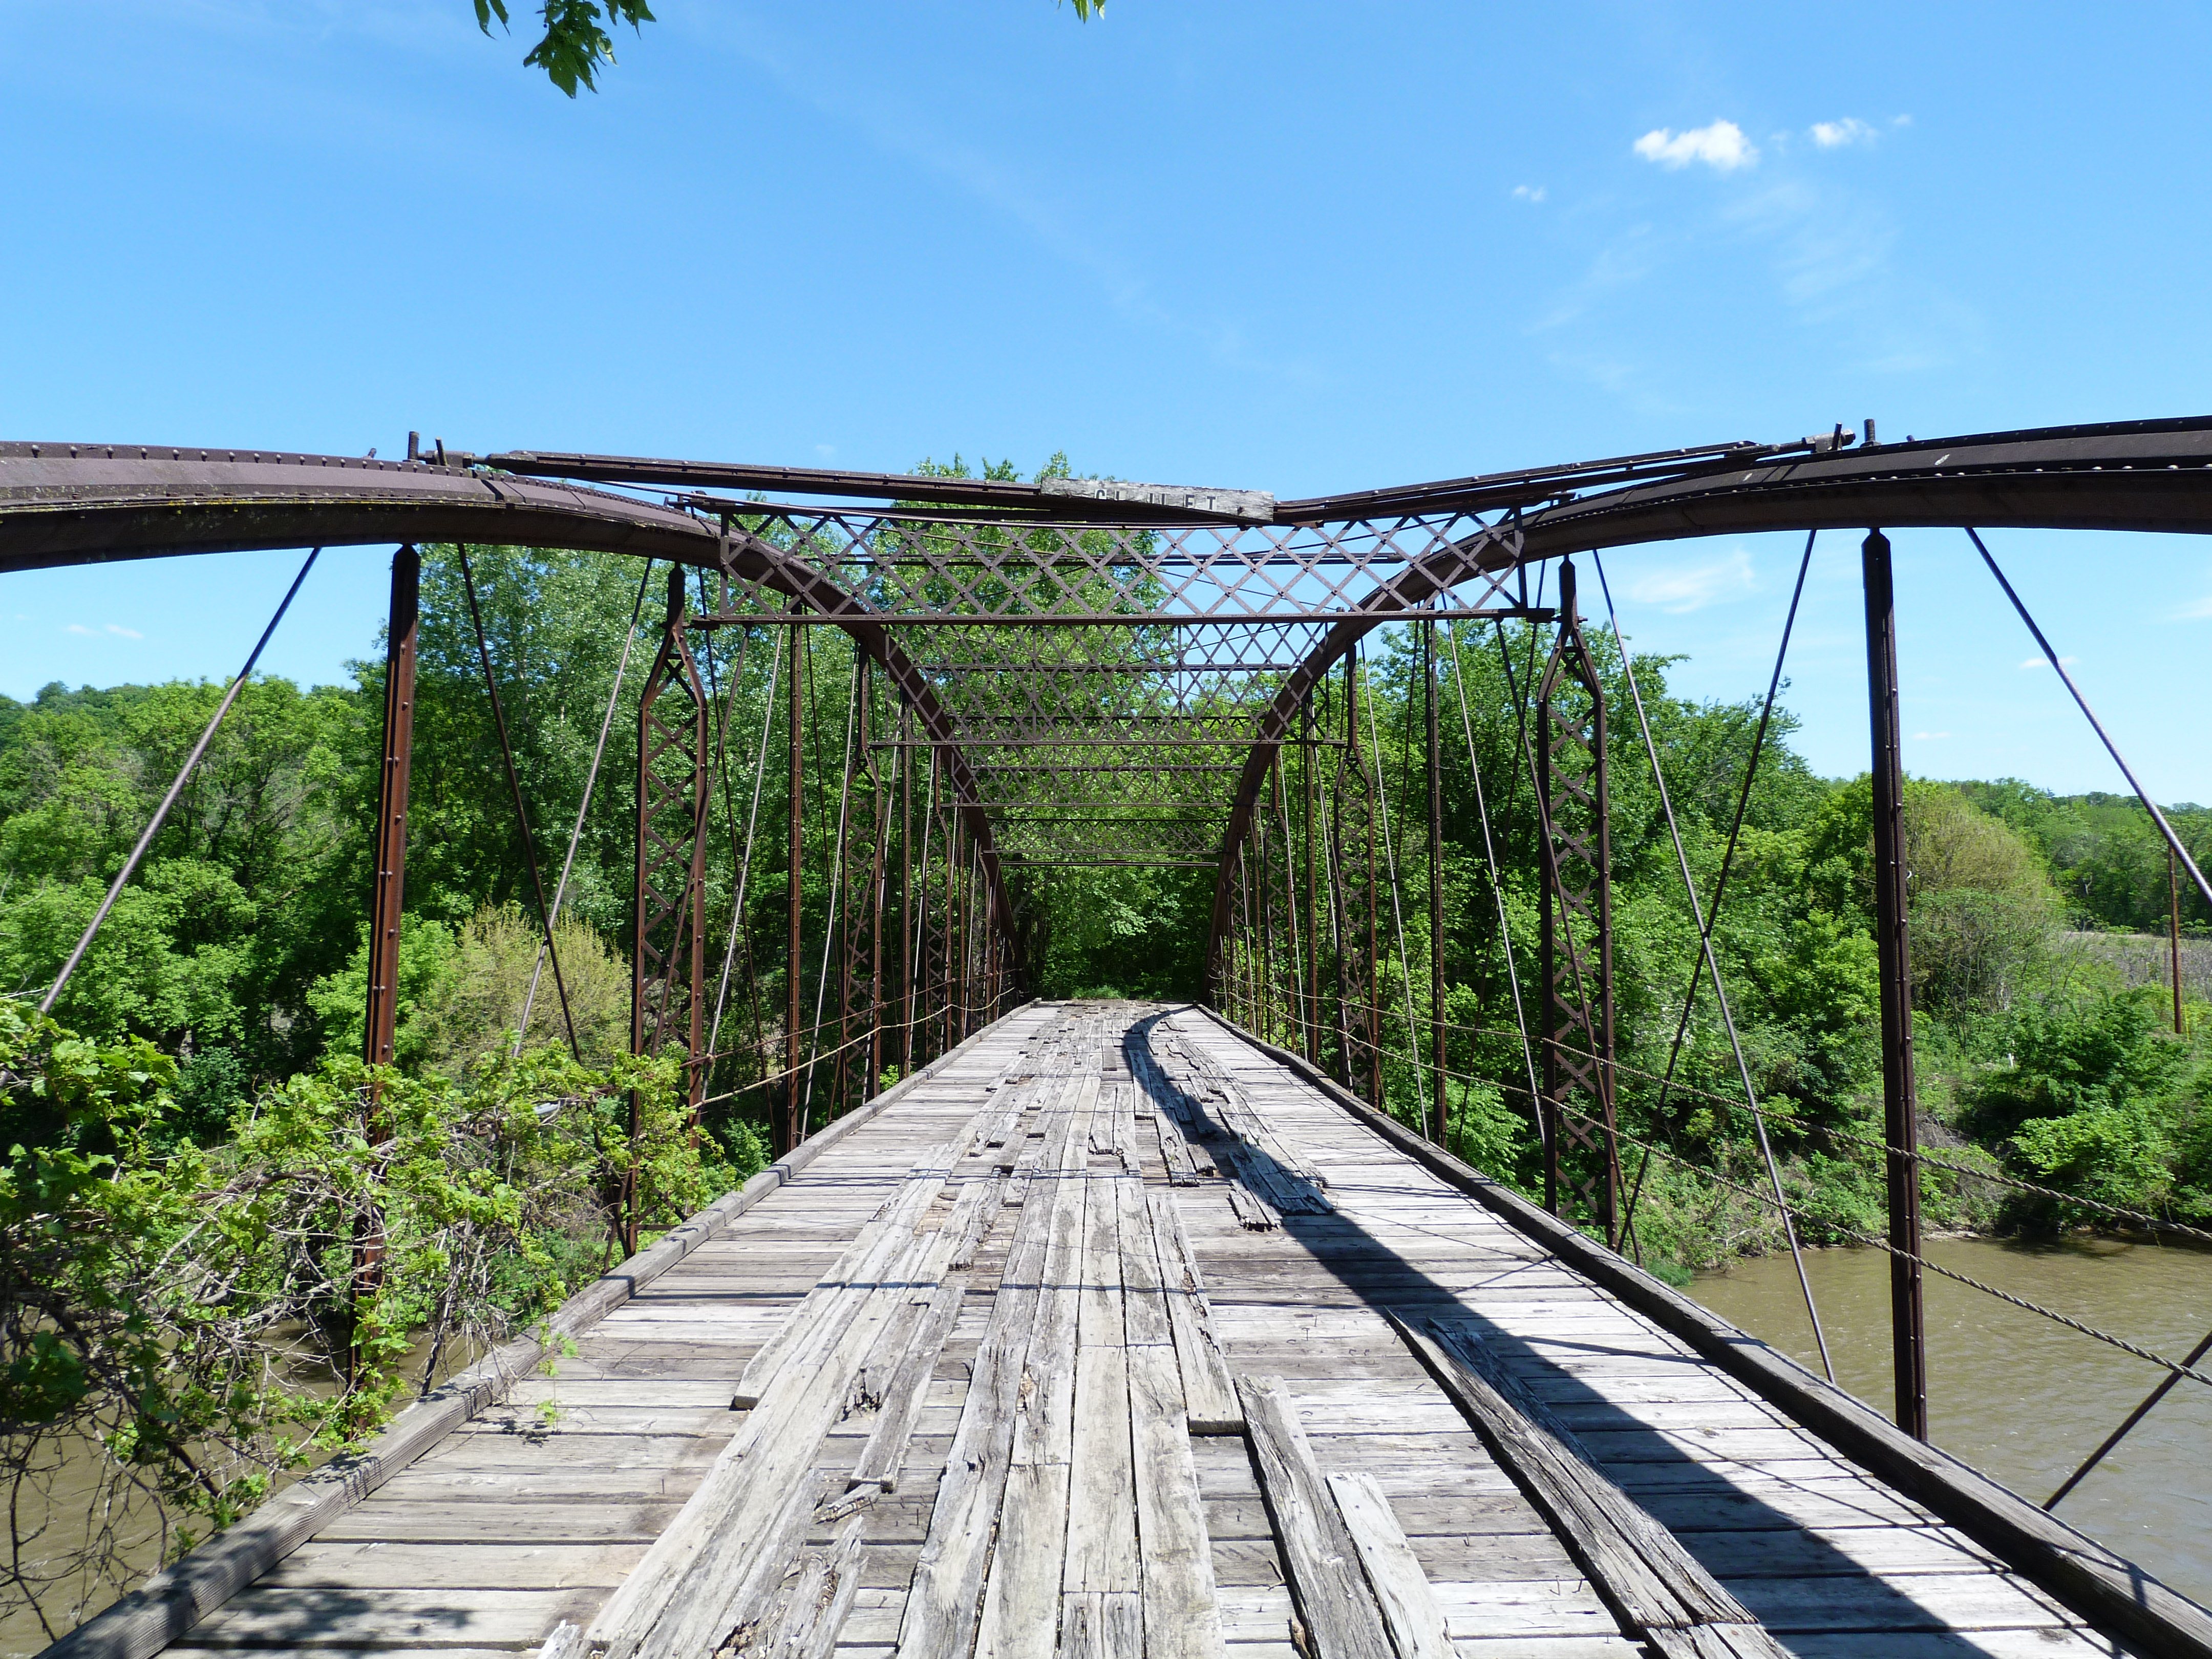


Portal views on bridge facing east.
![]()

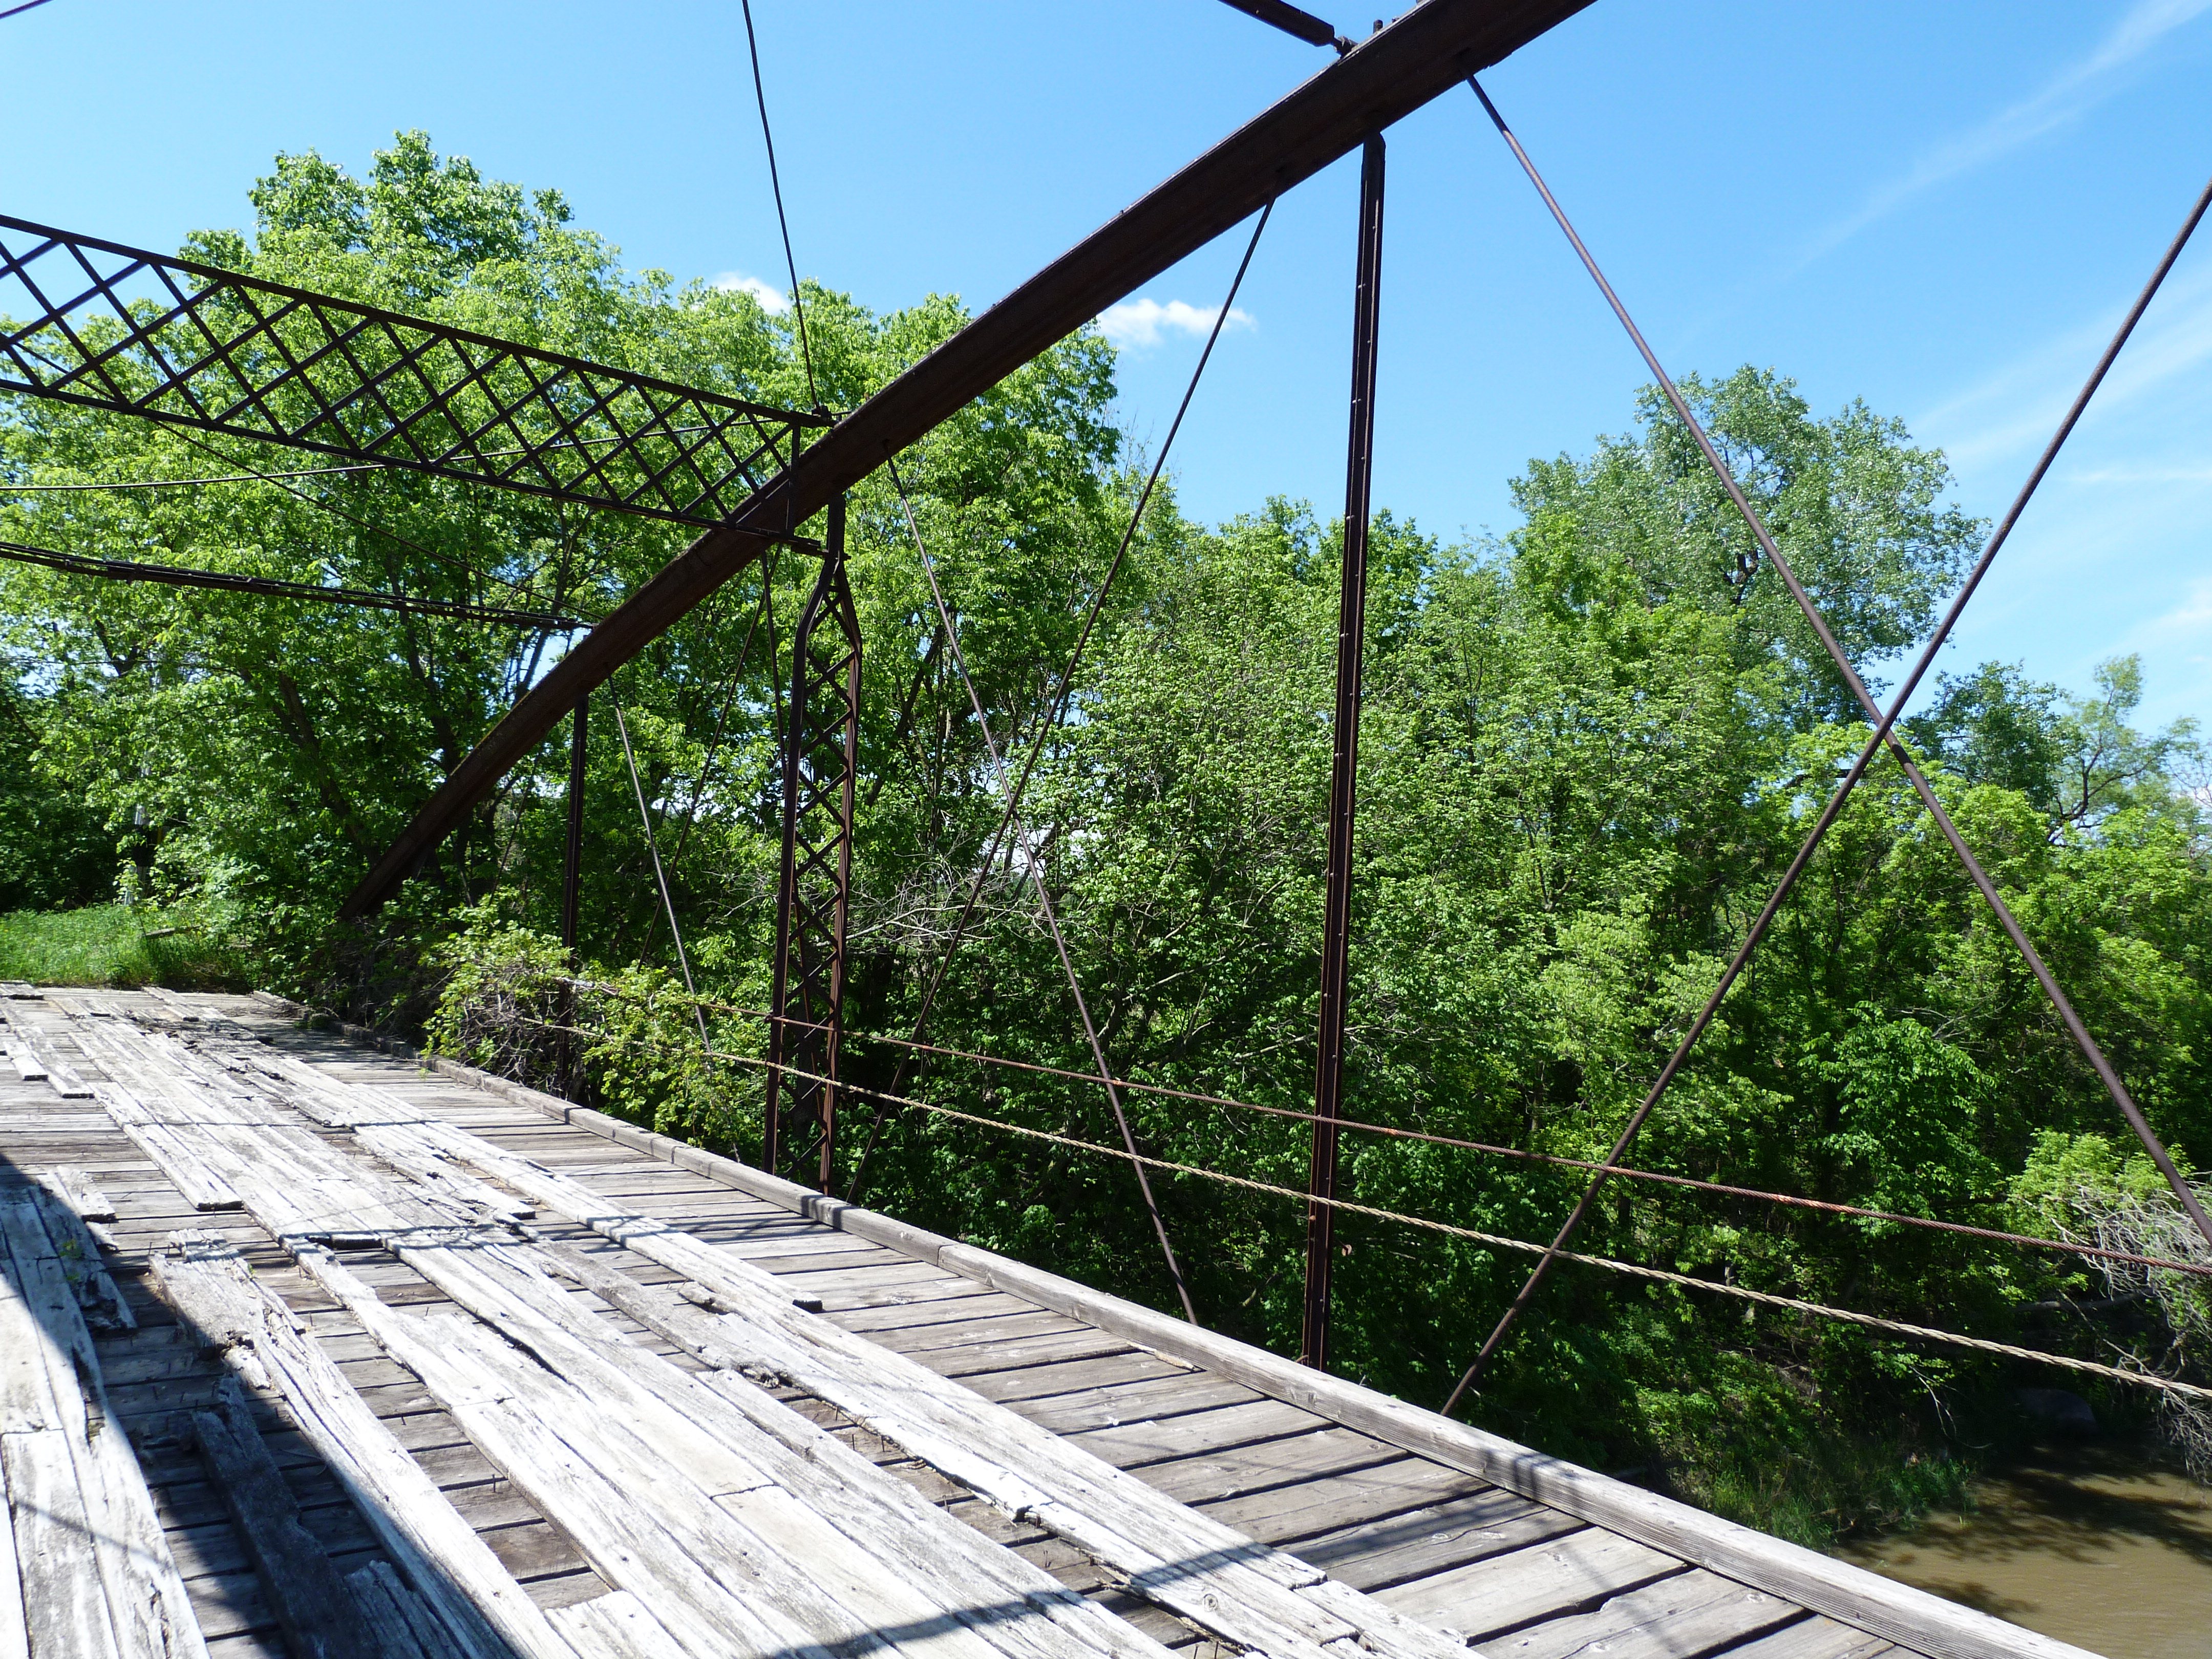


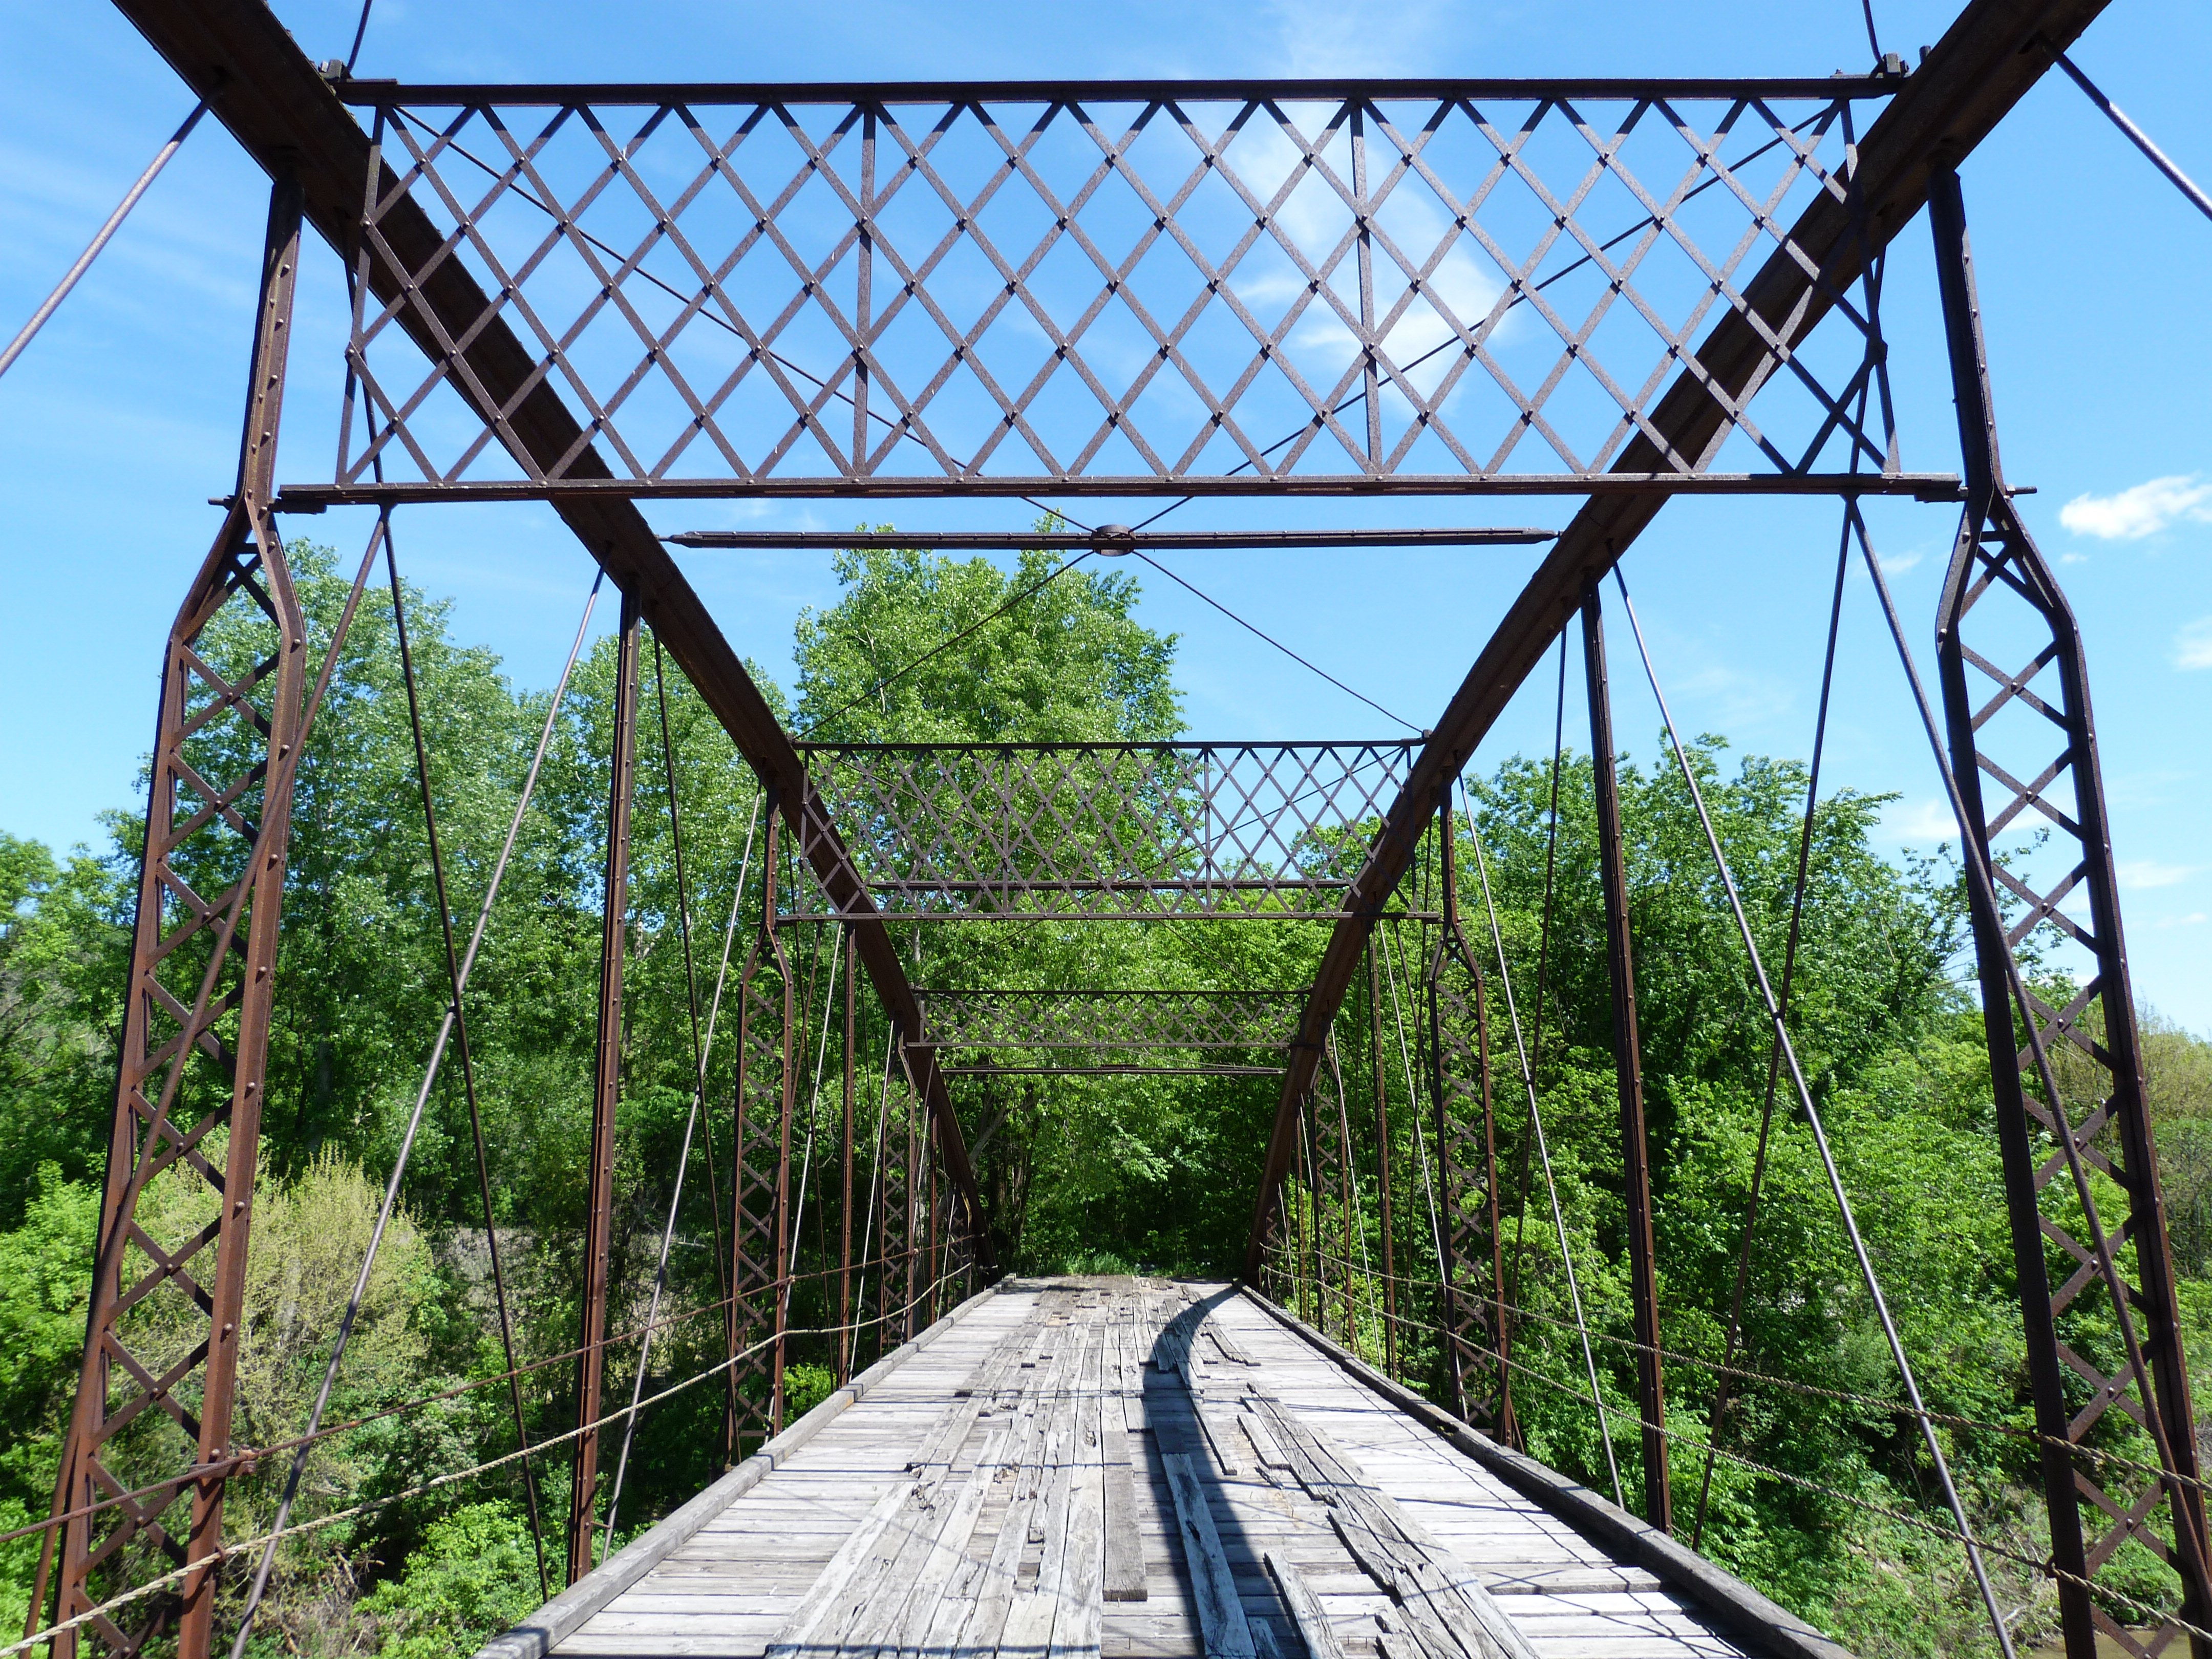
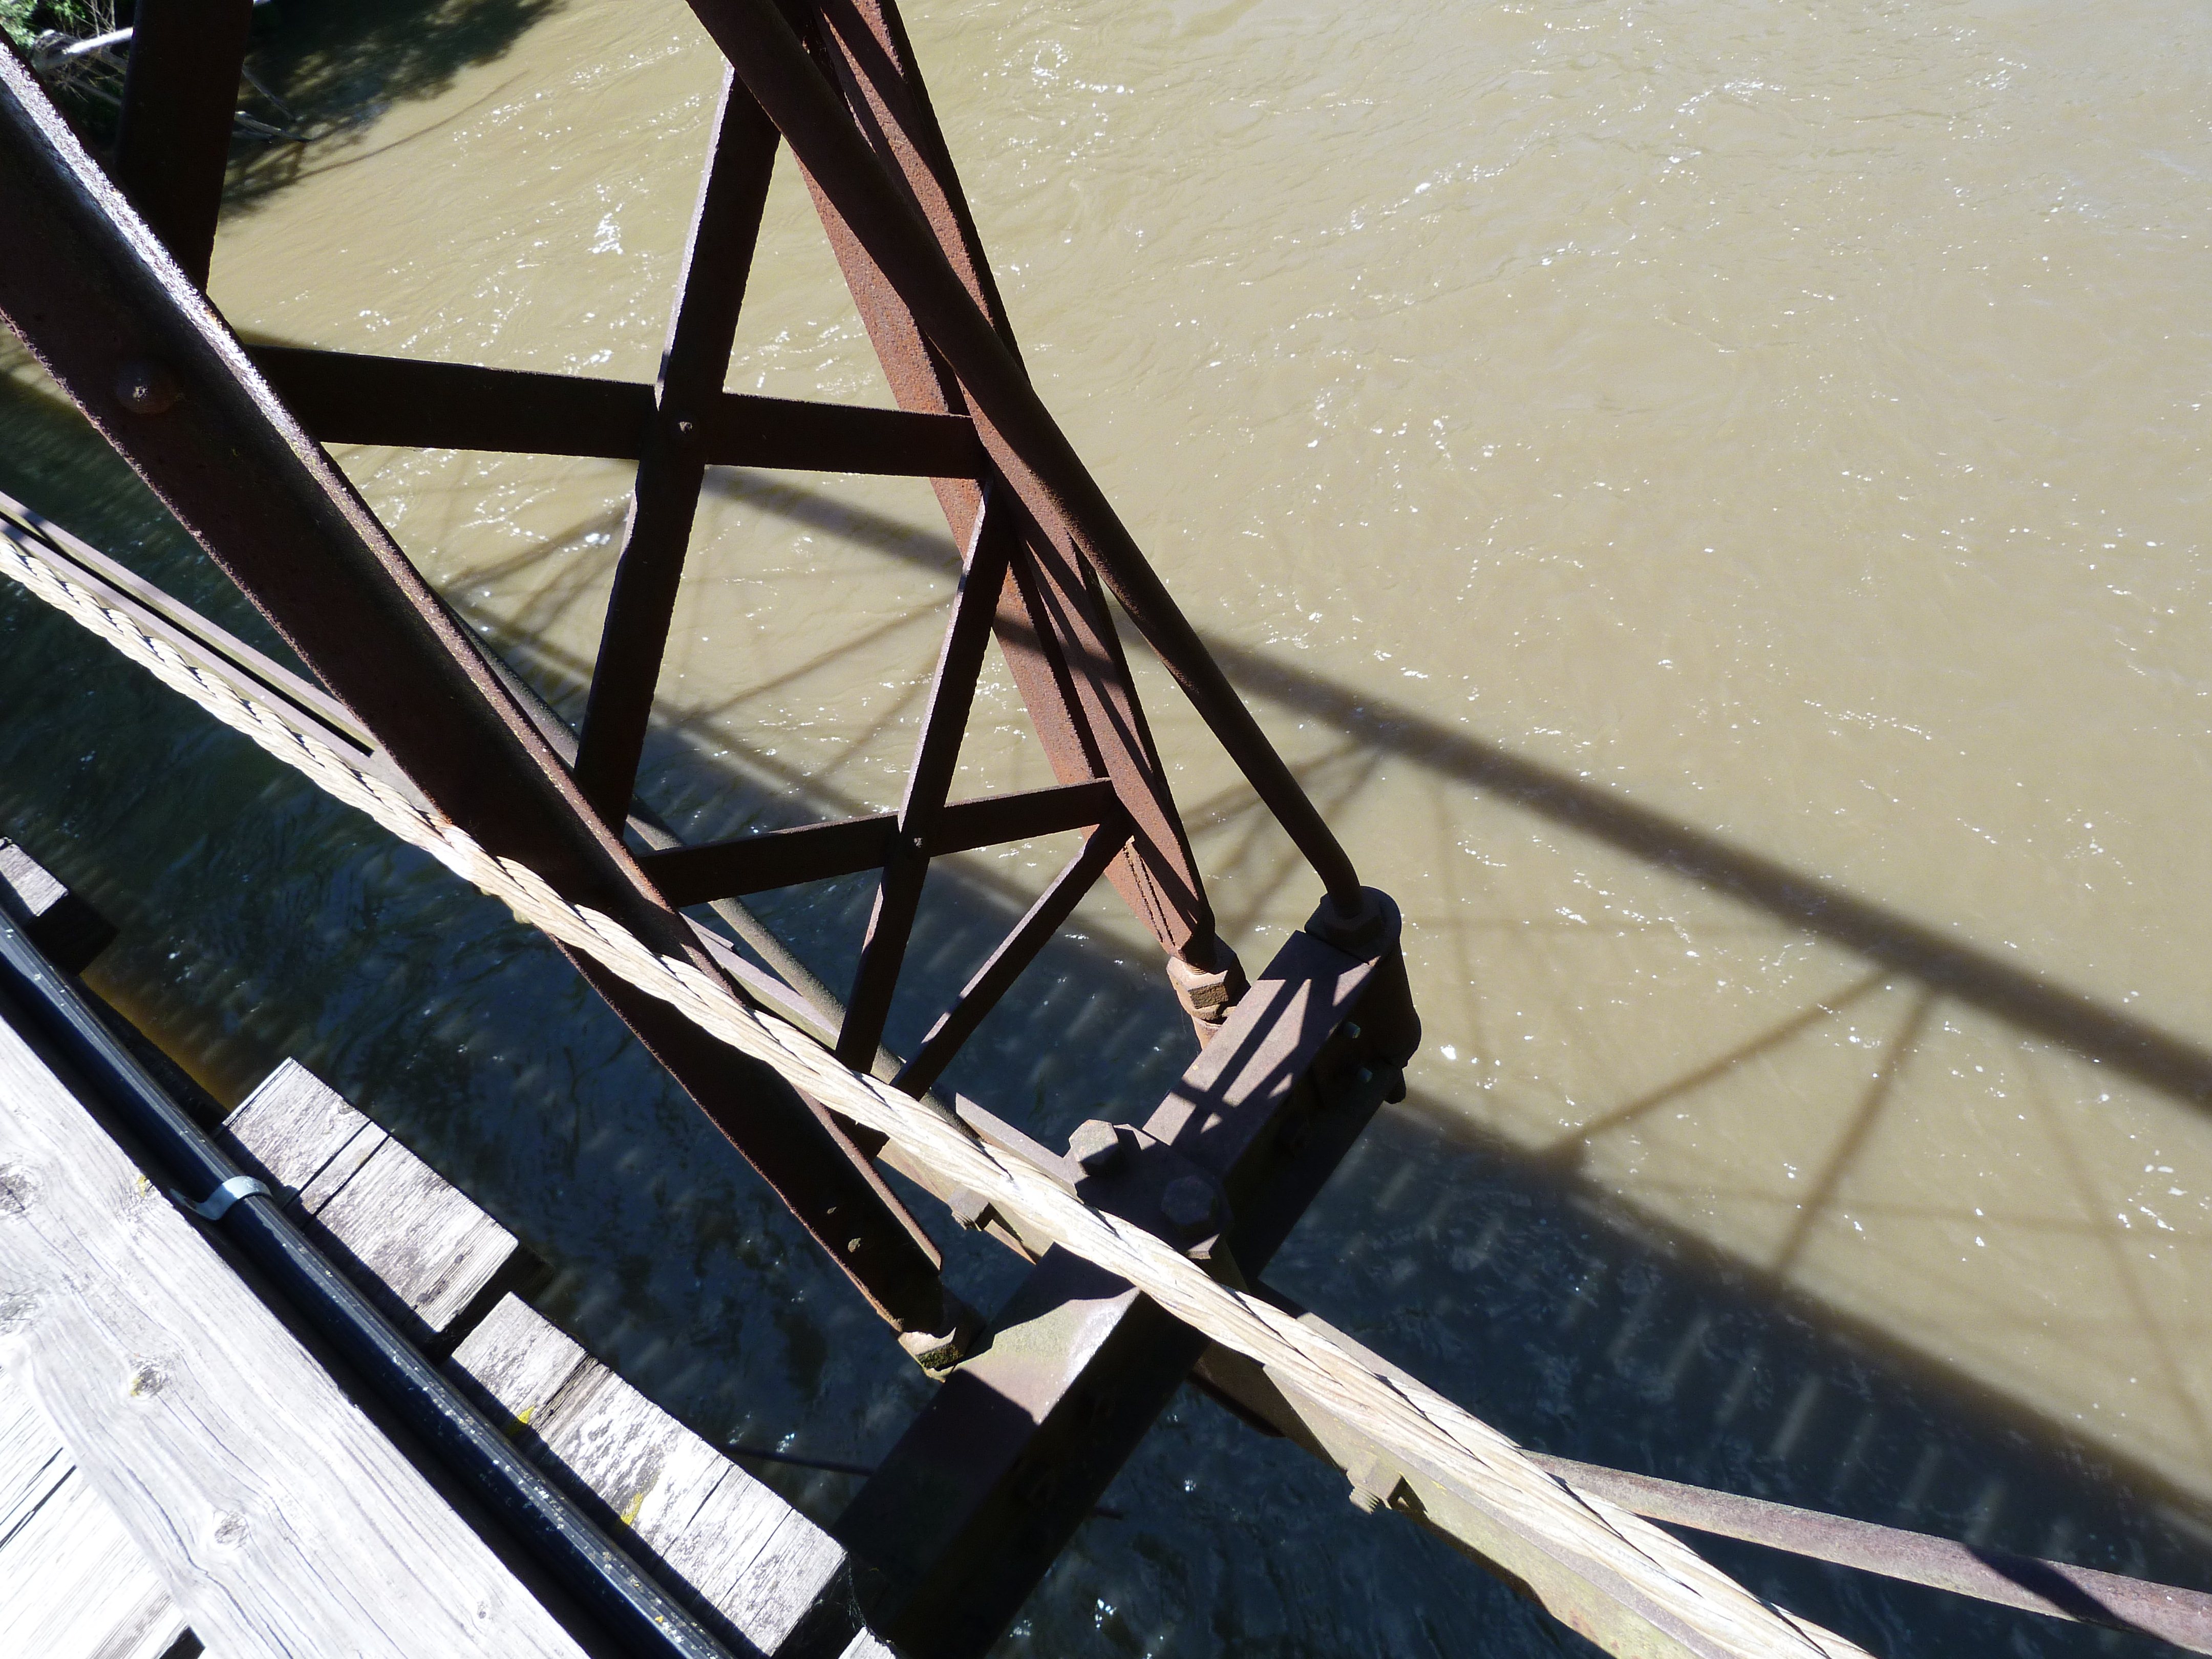
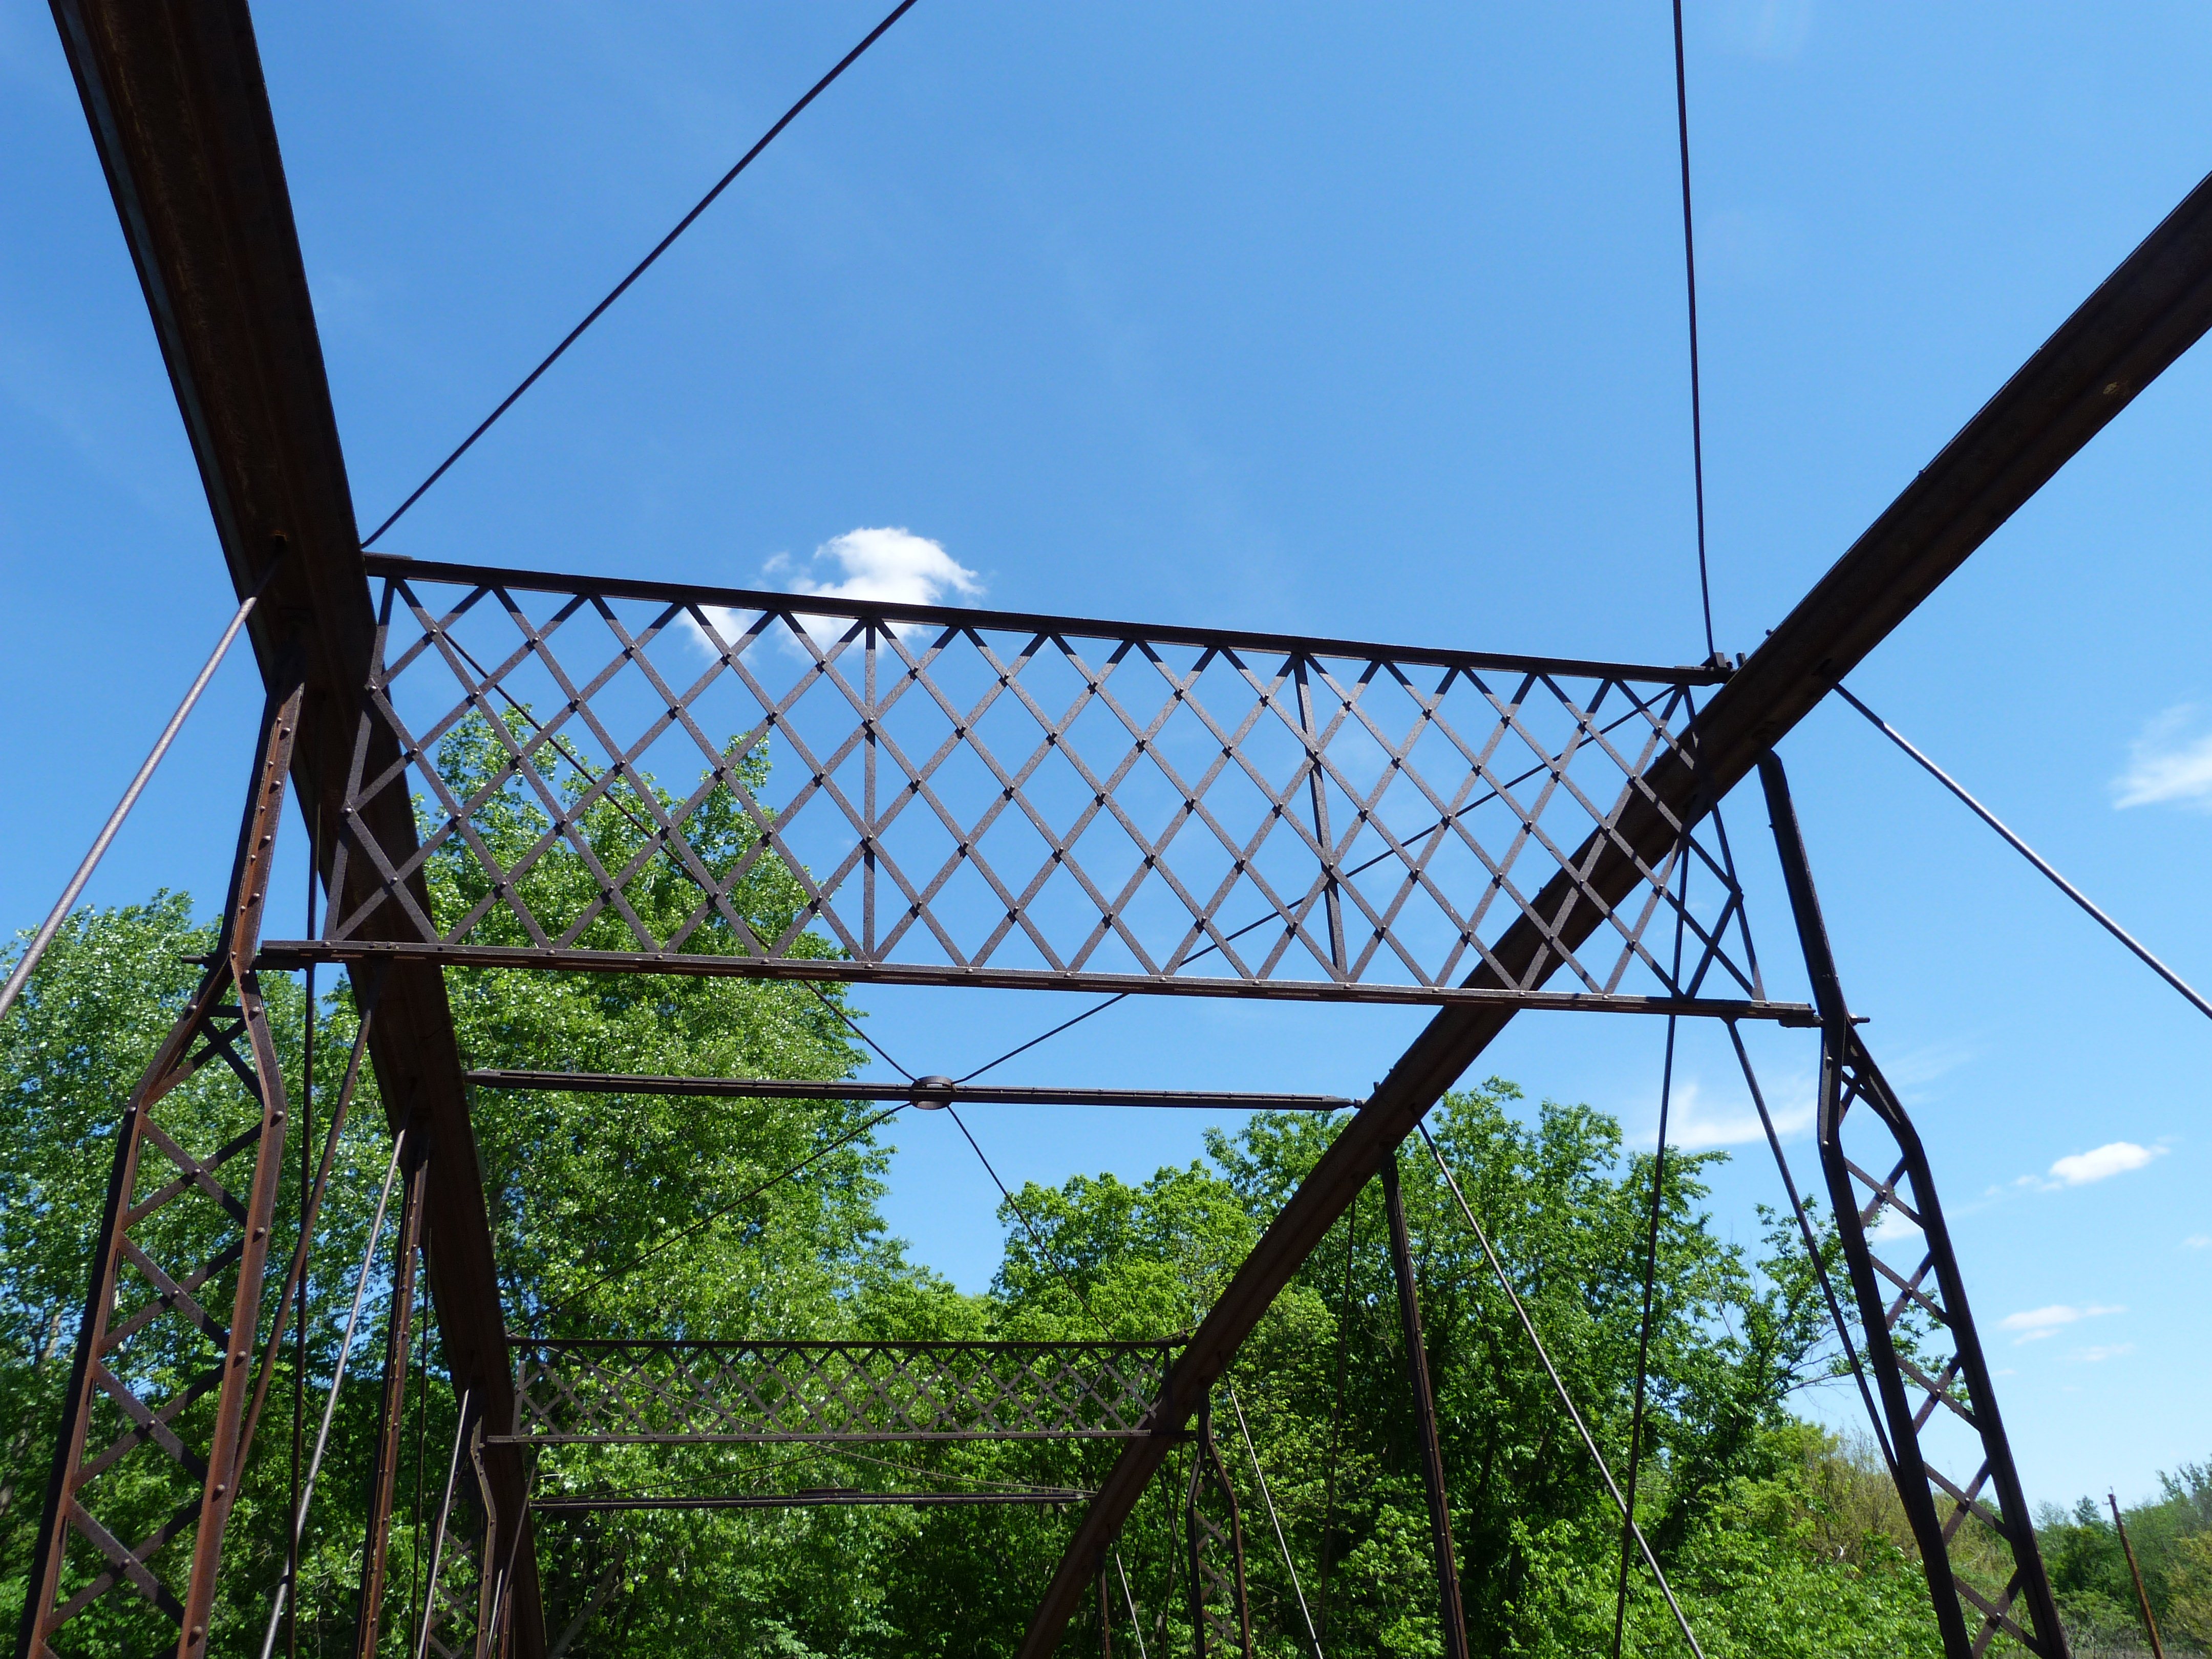
Views of truss web.
![]()

Truss panel.
![]()


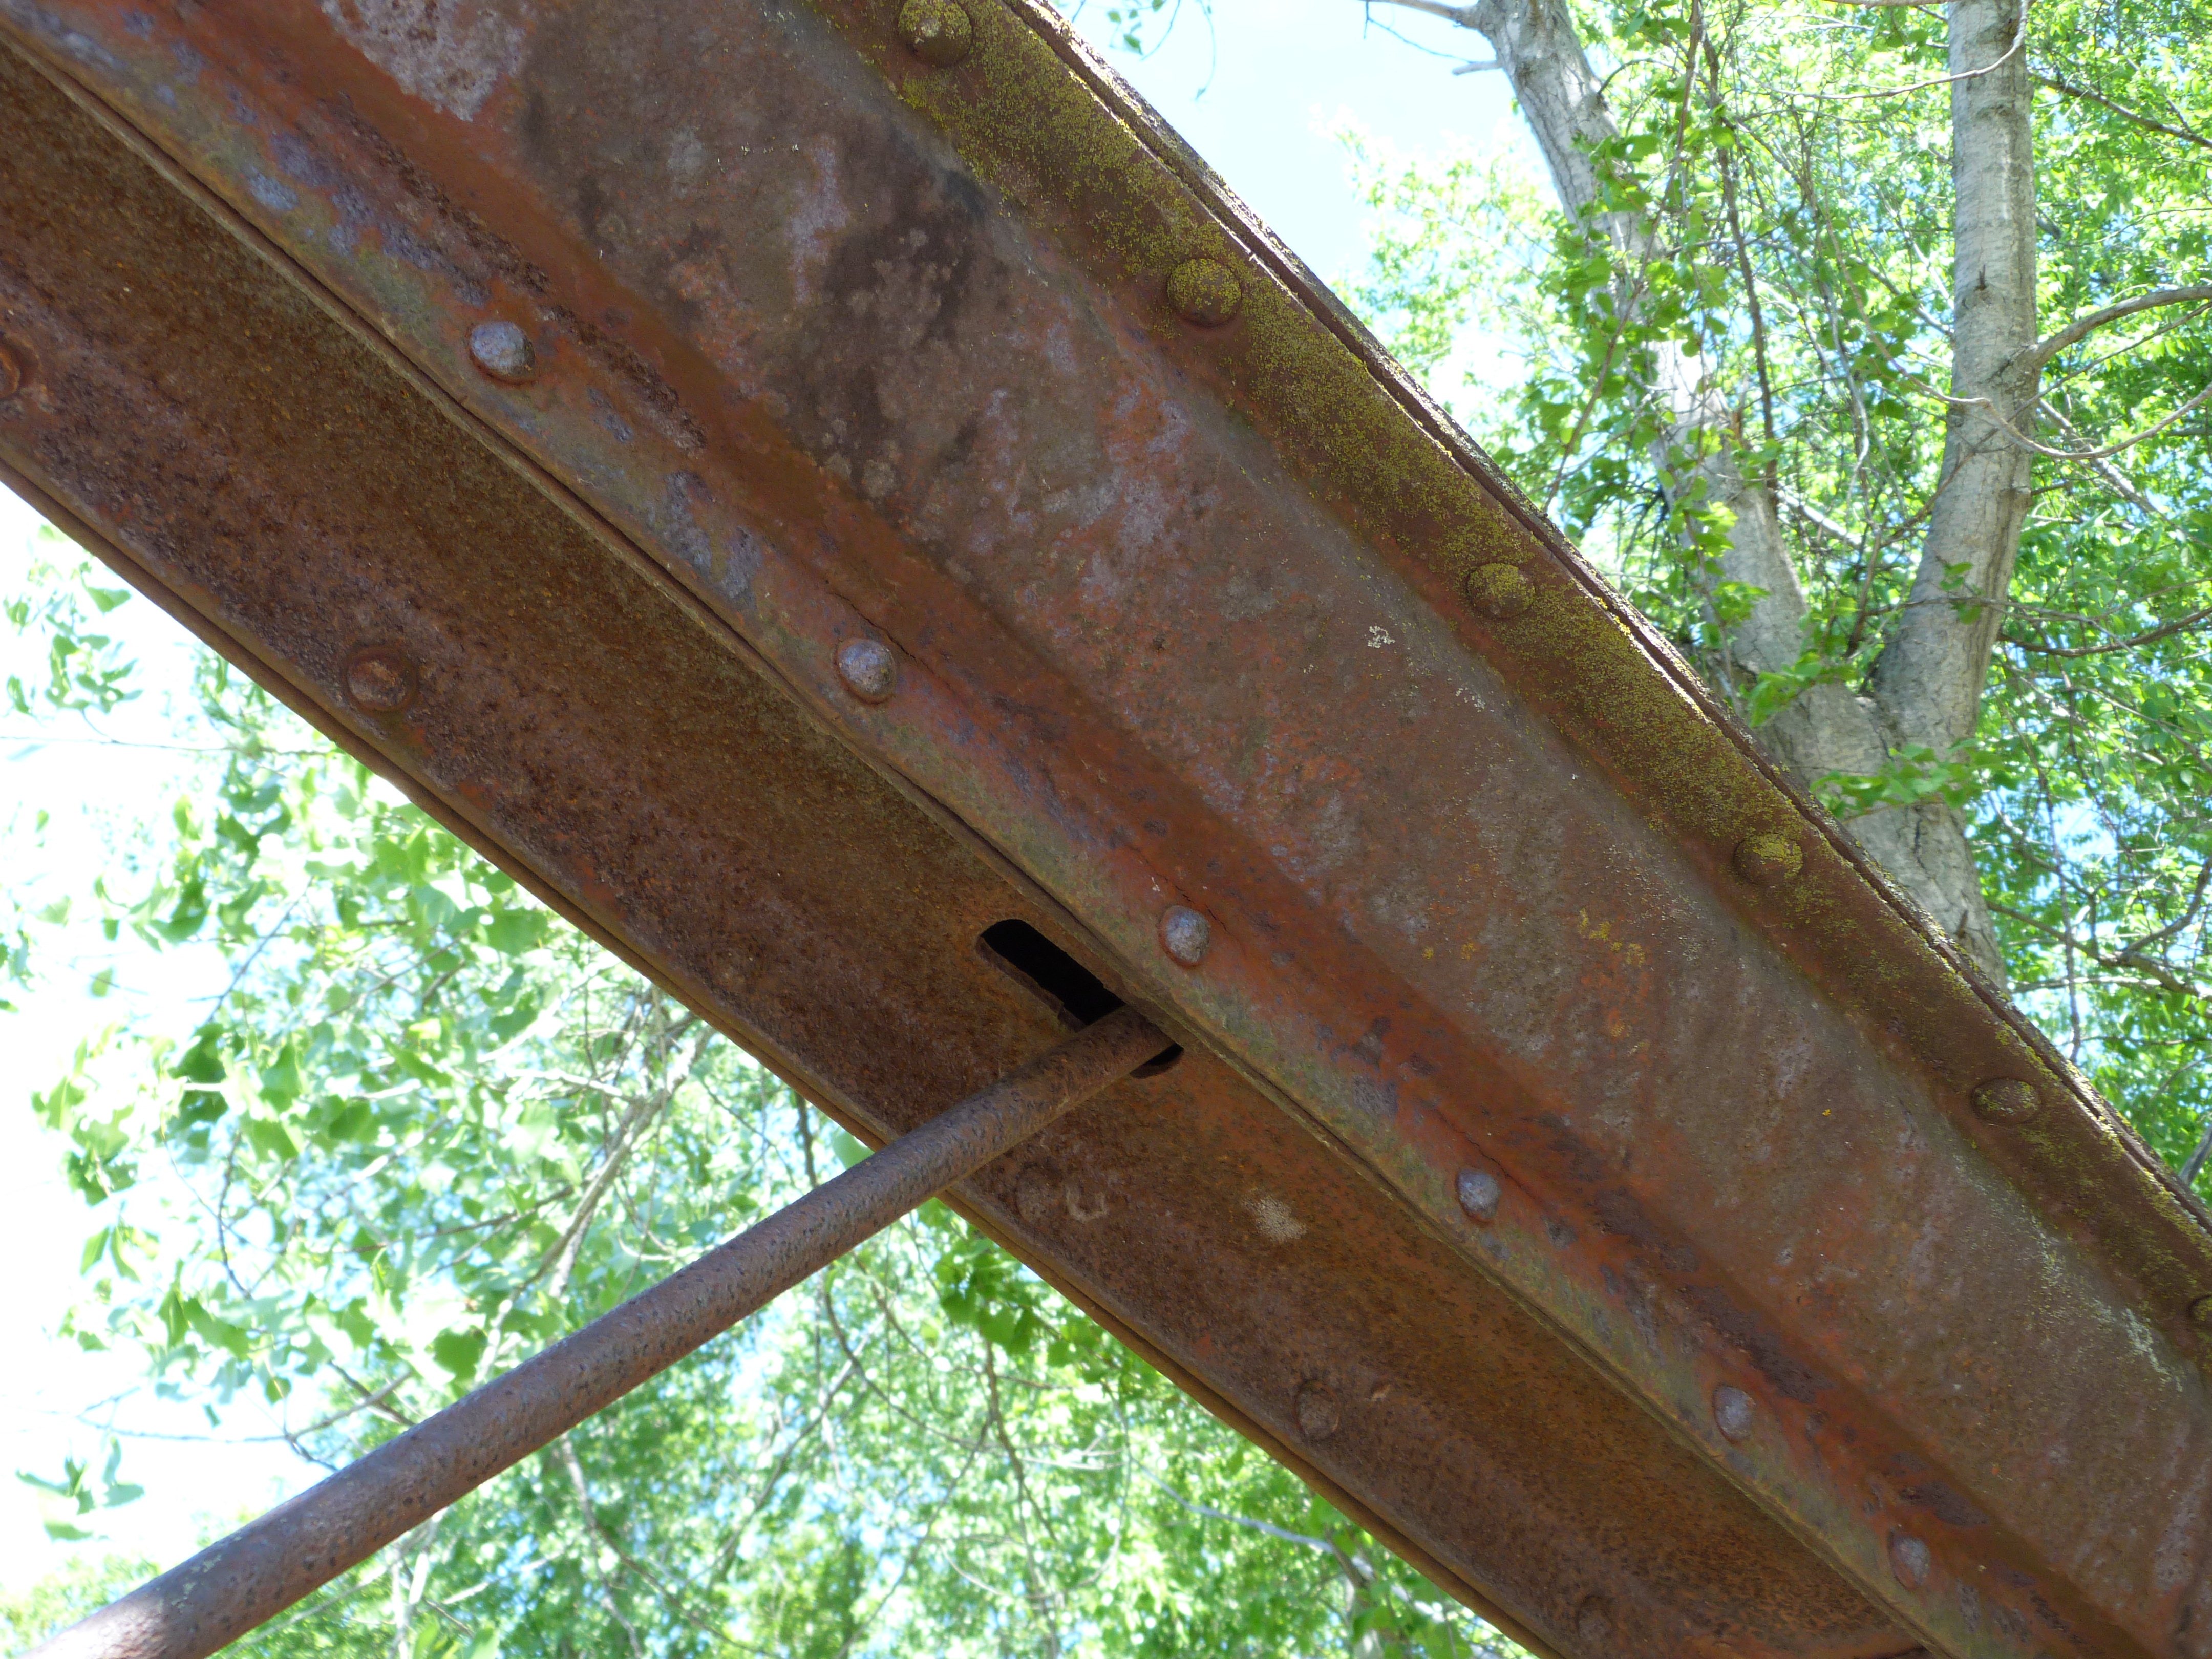
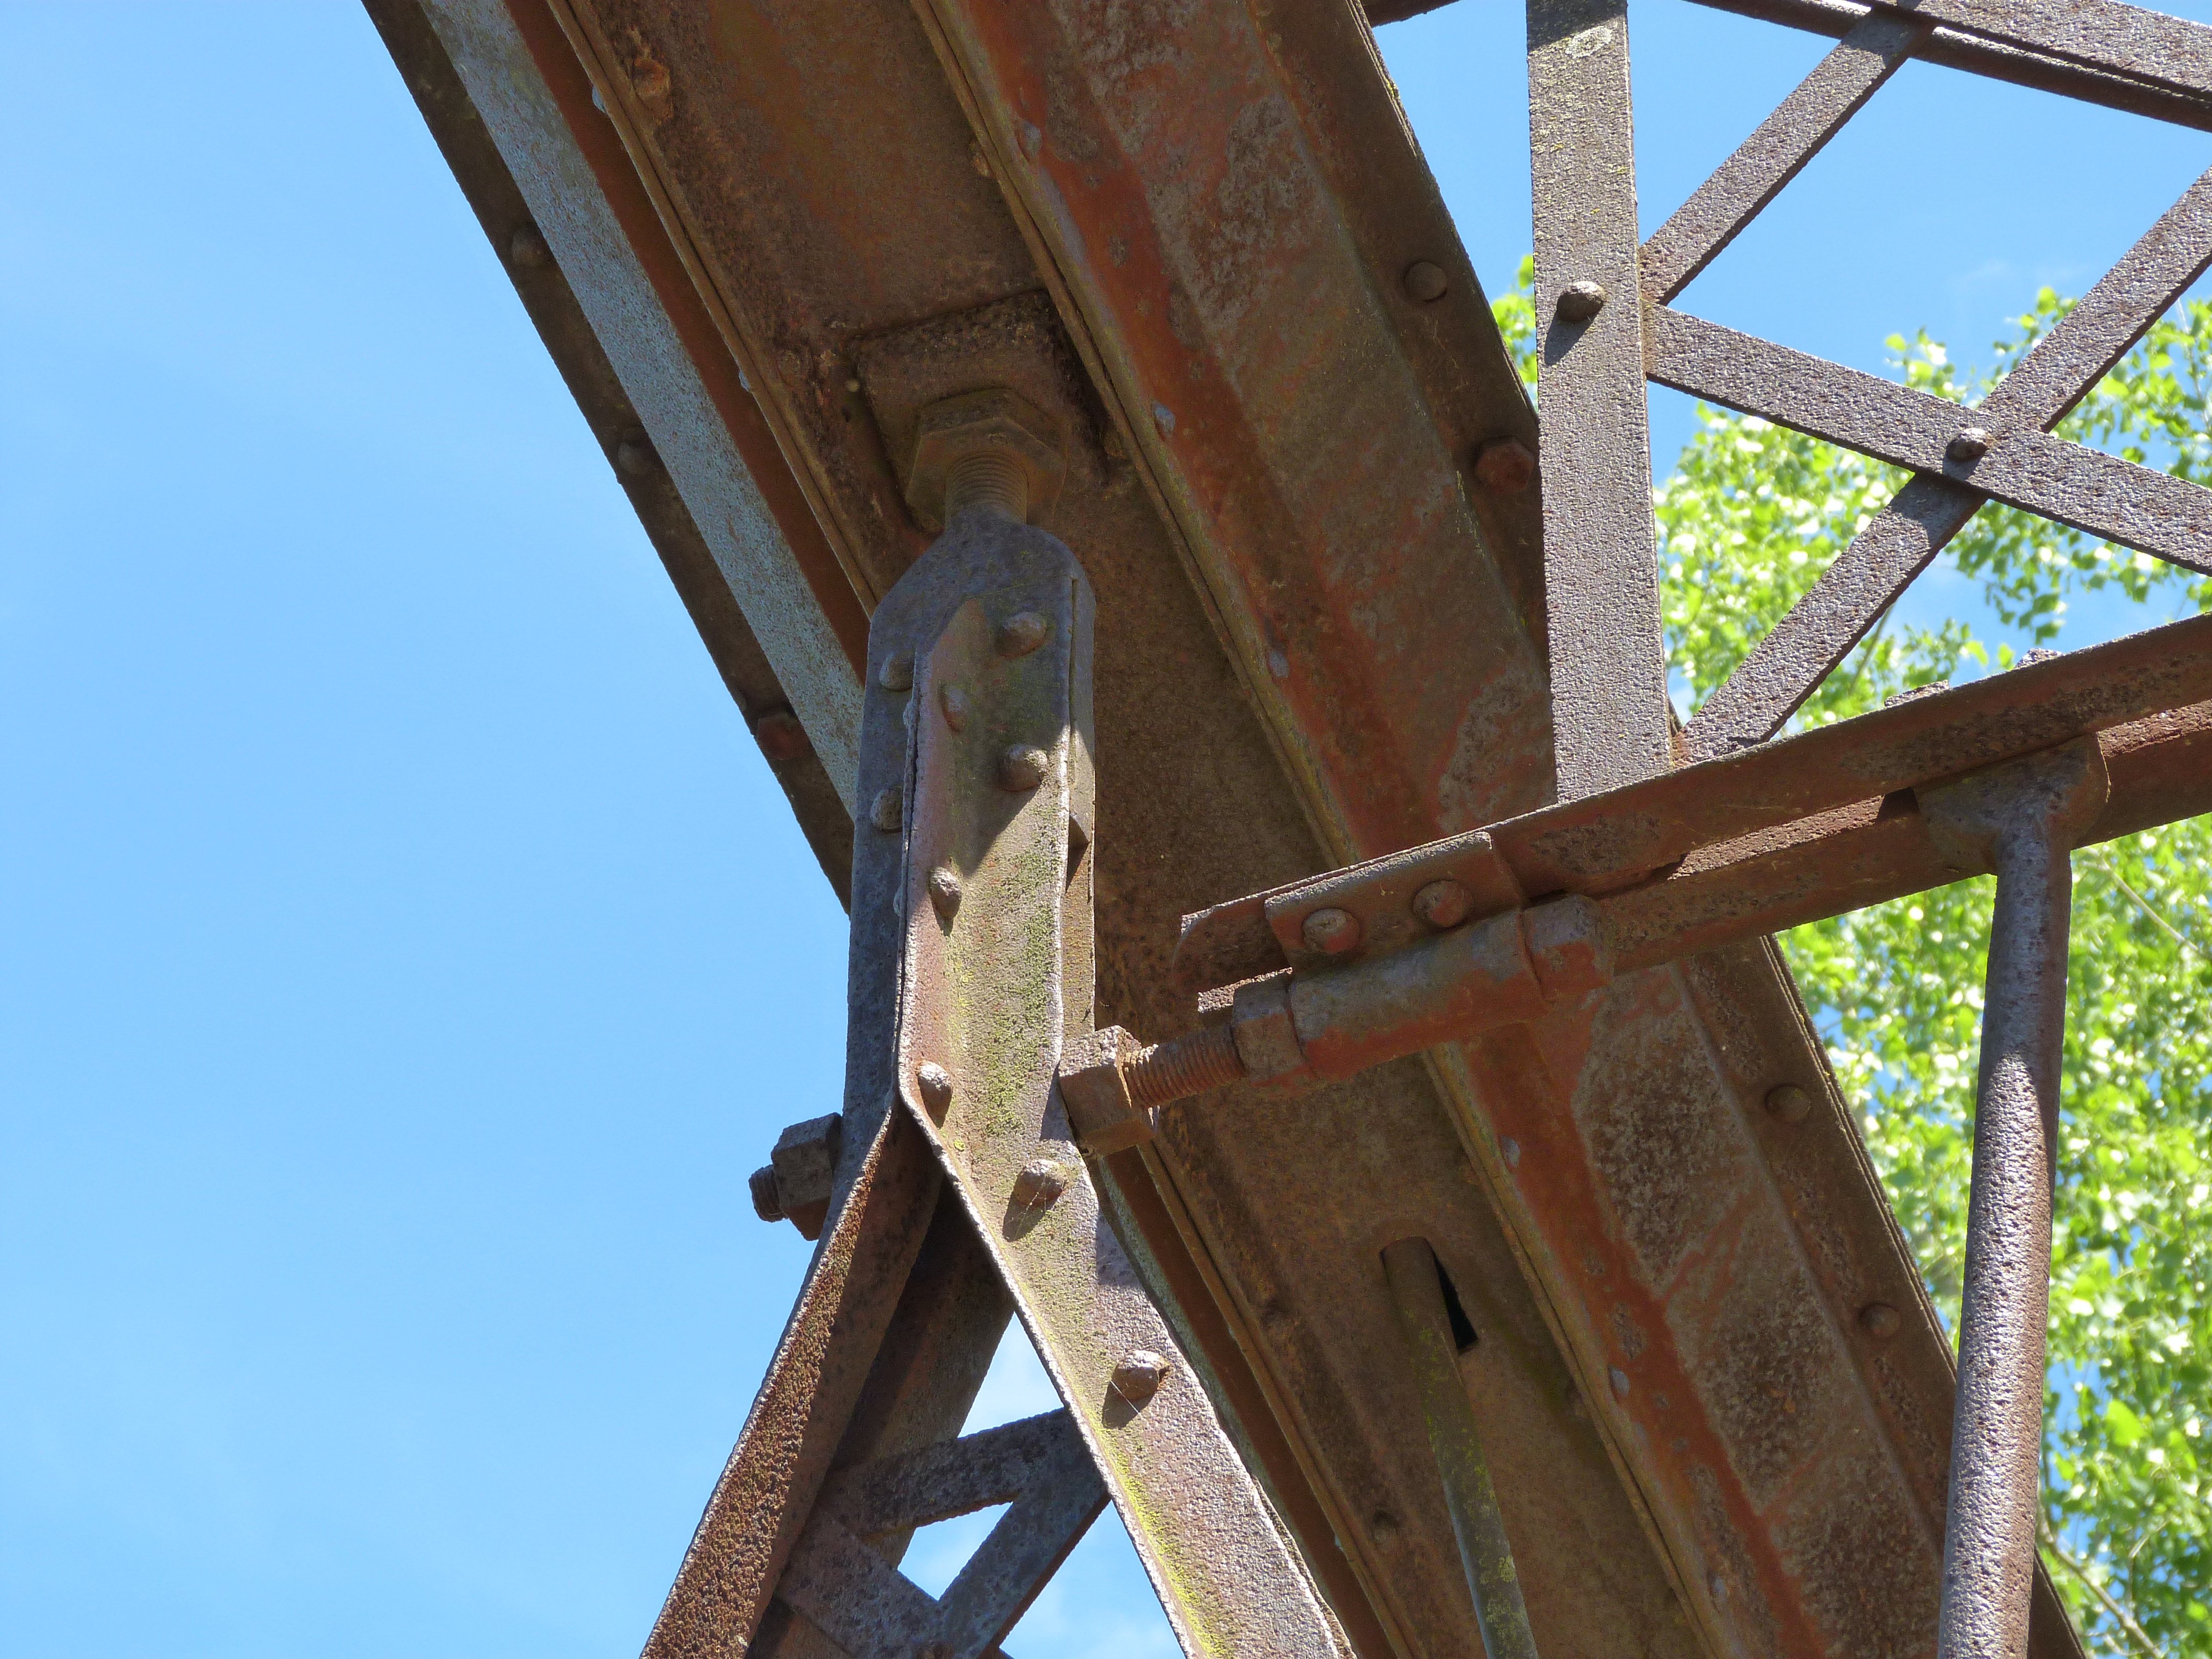
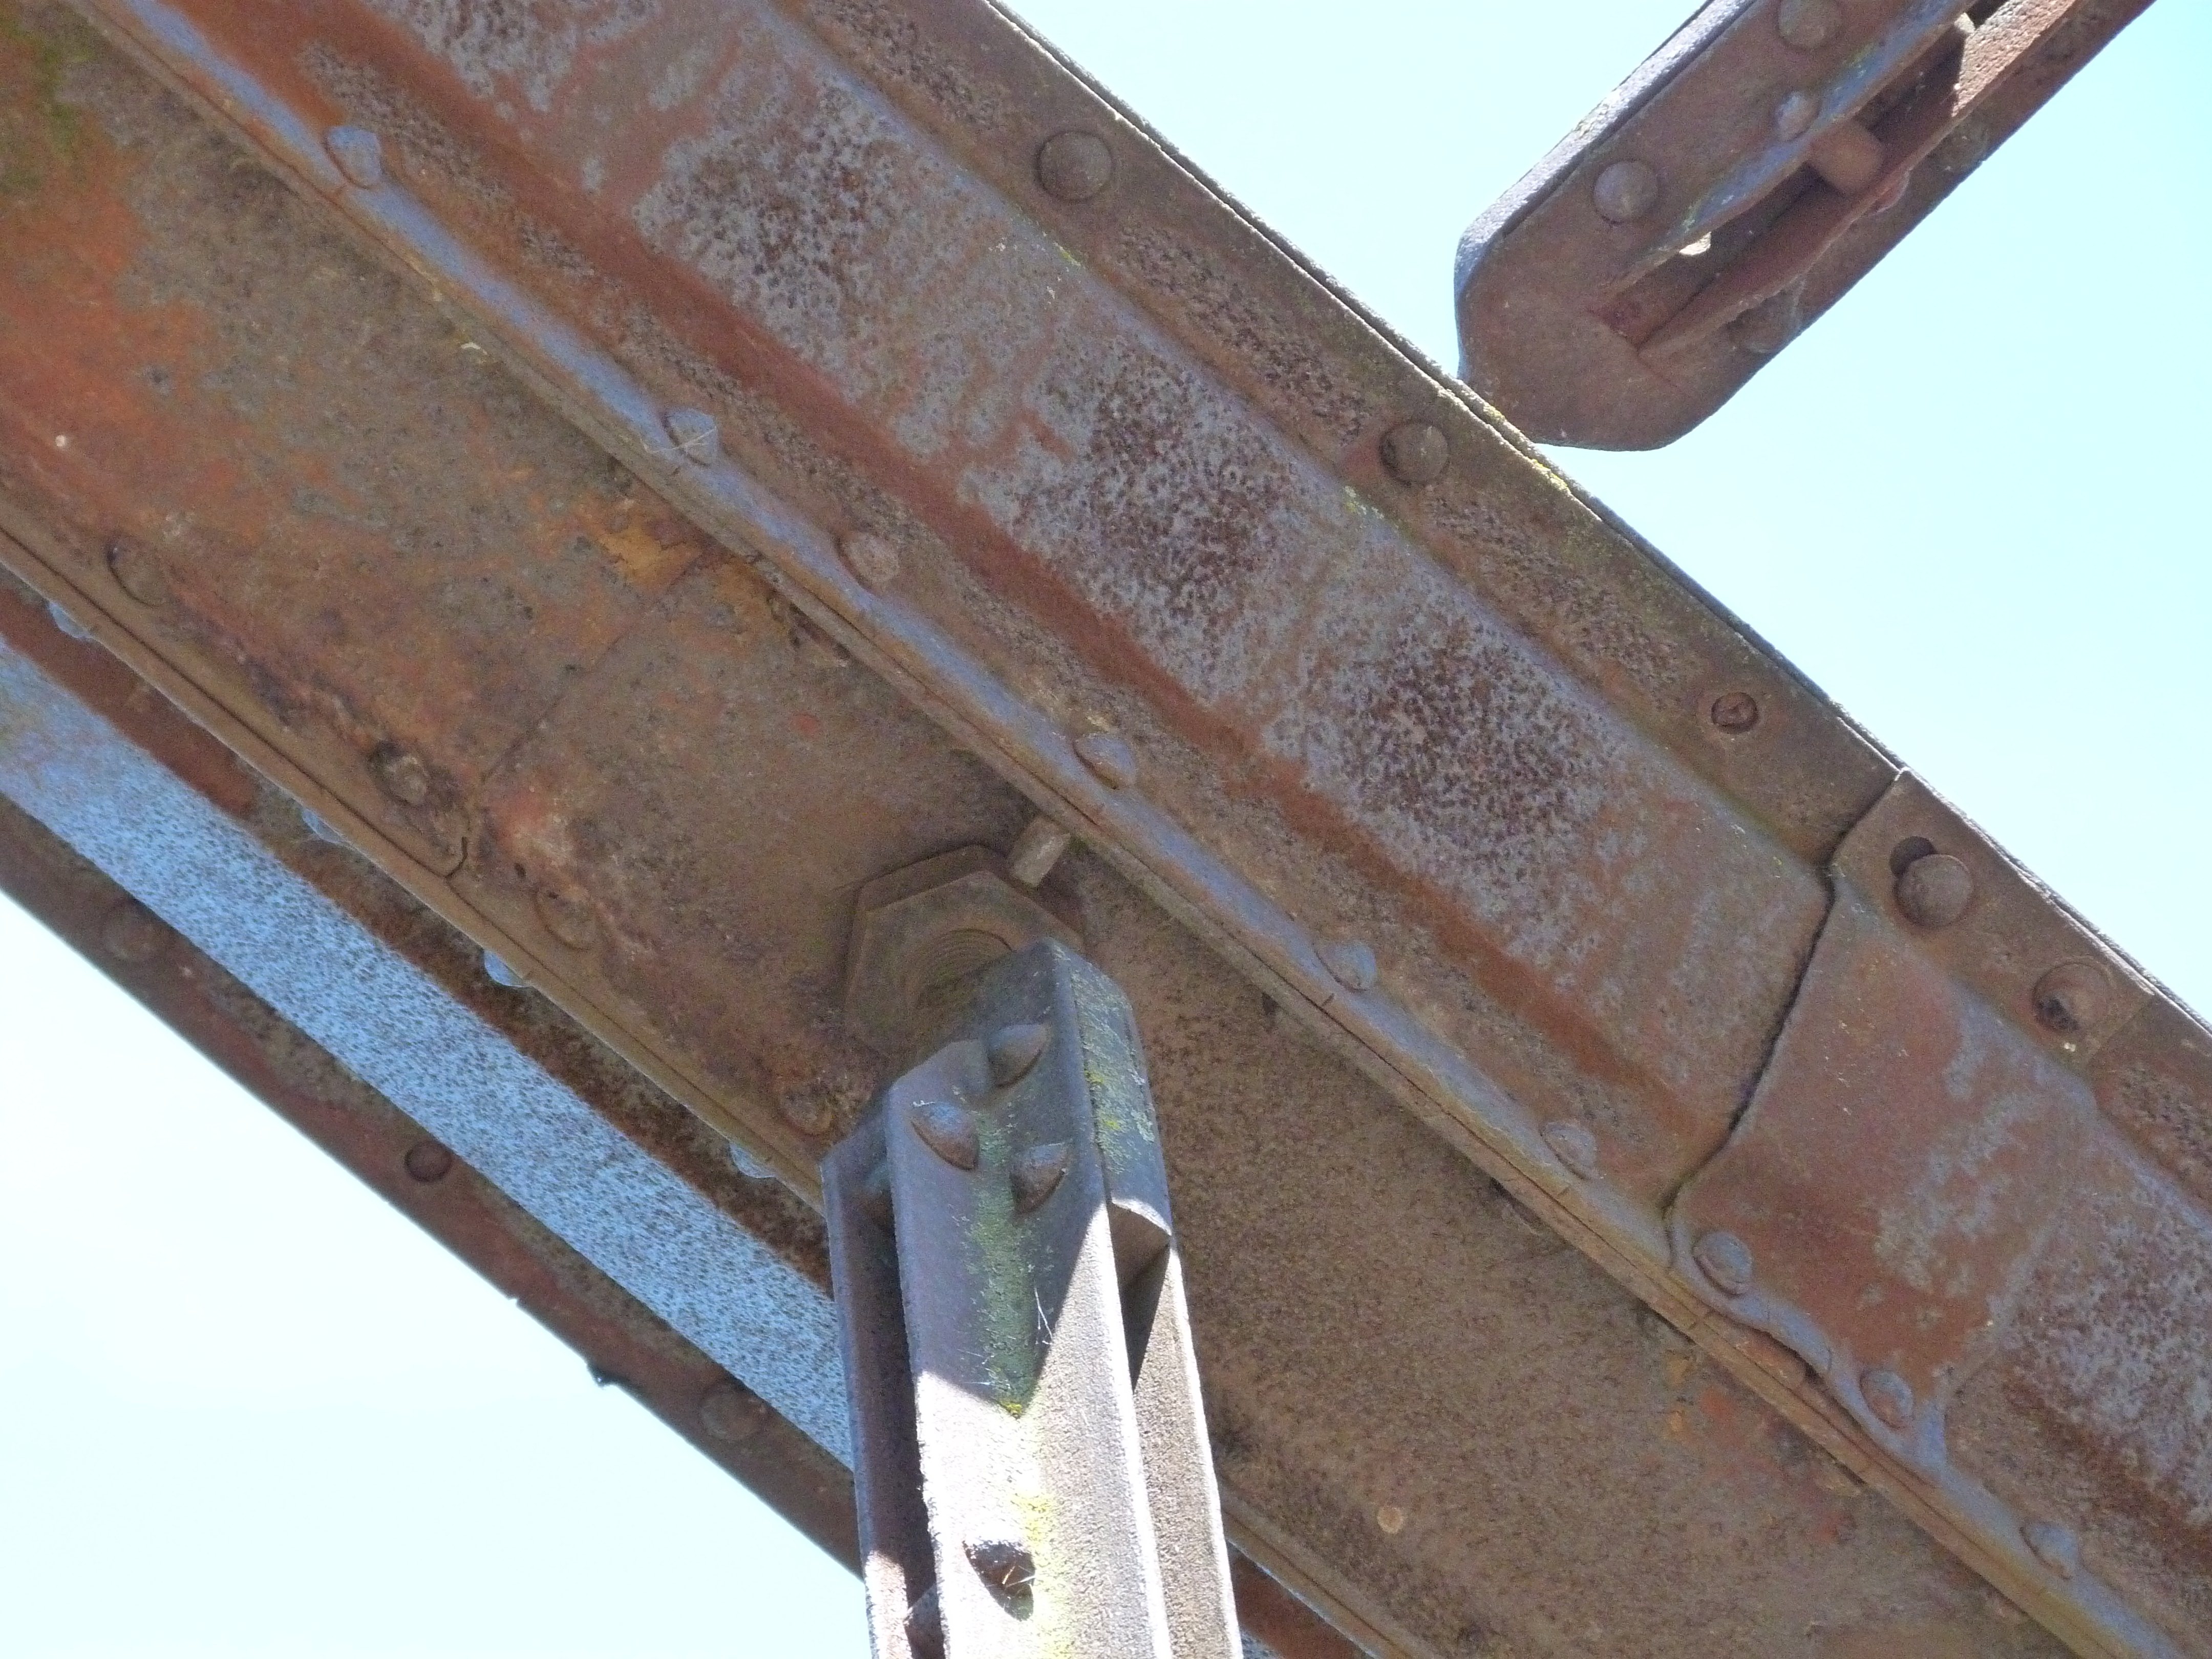
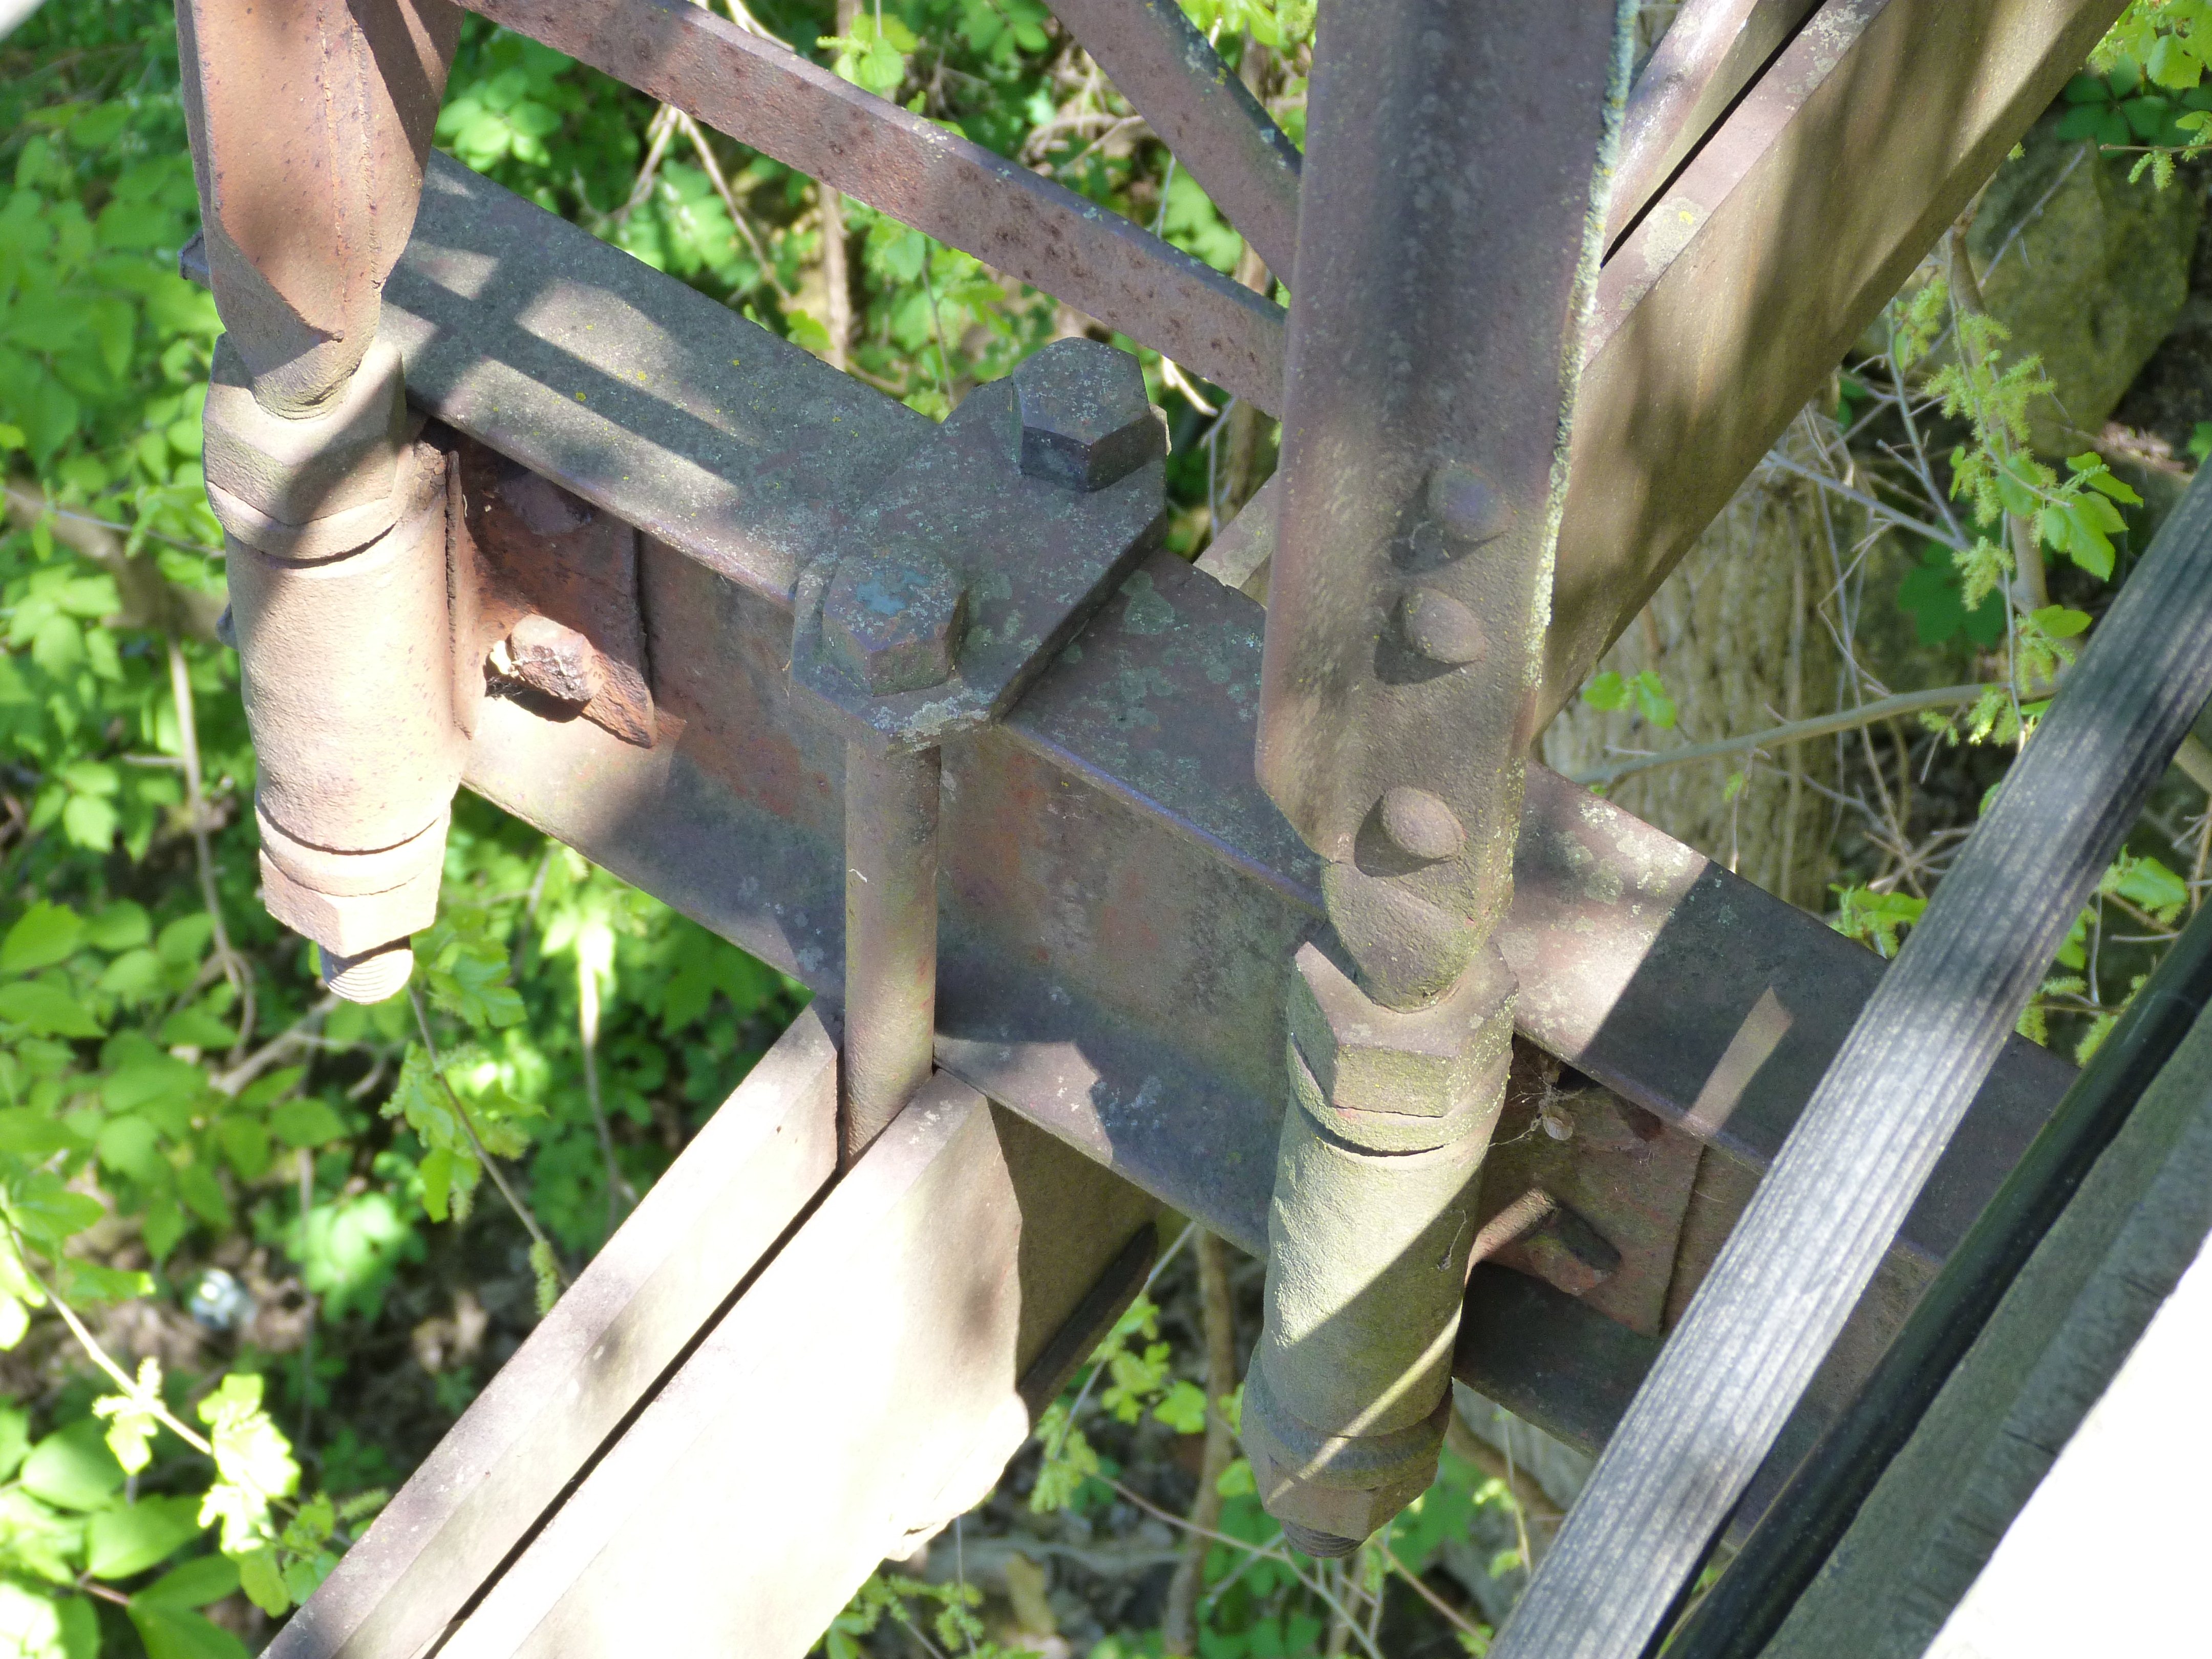
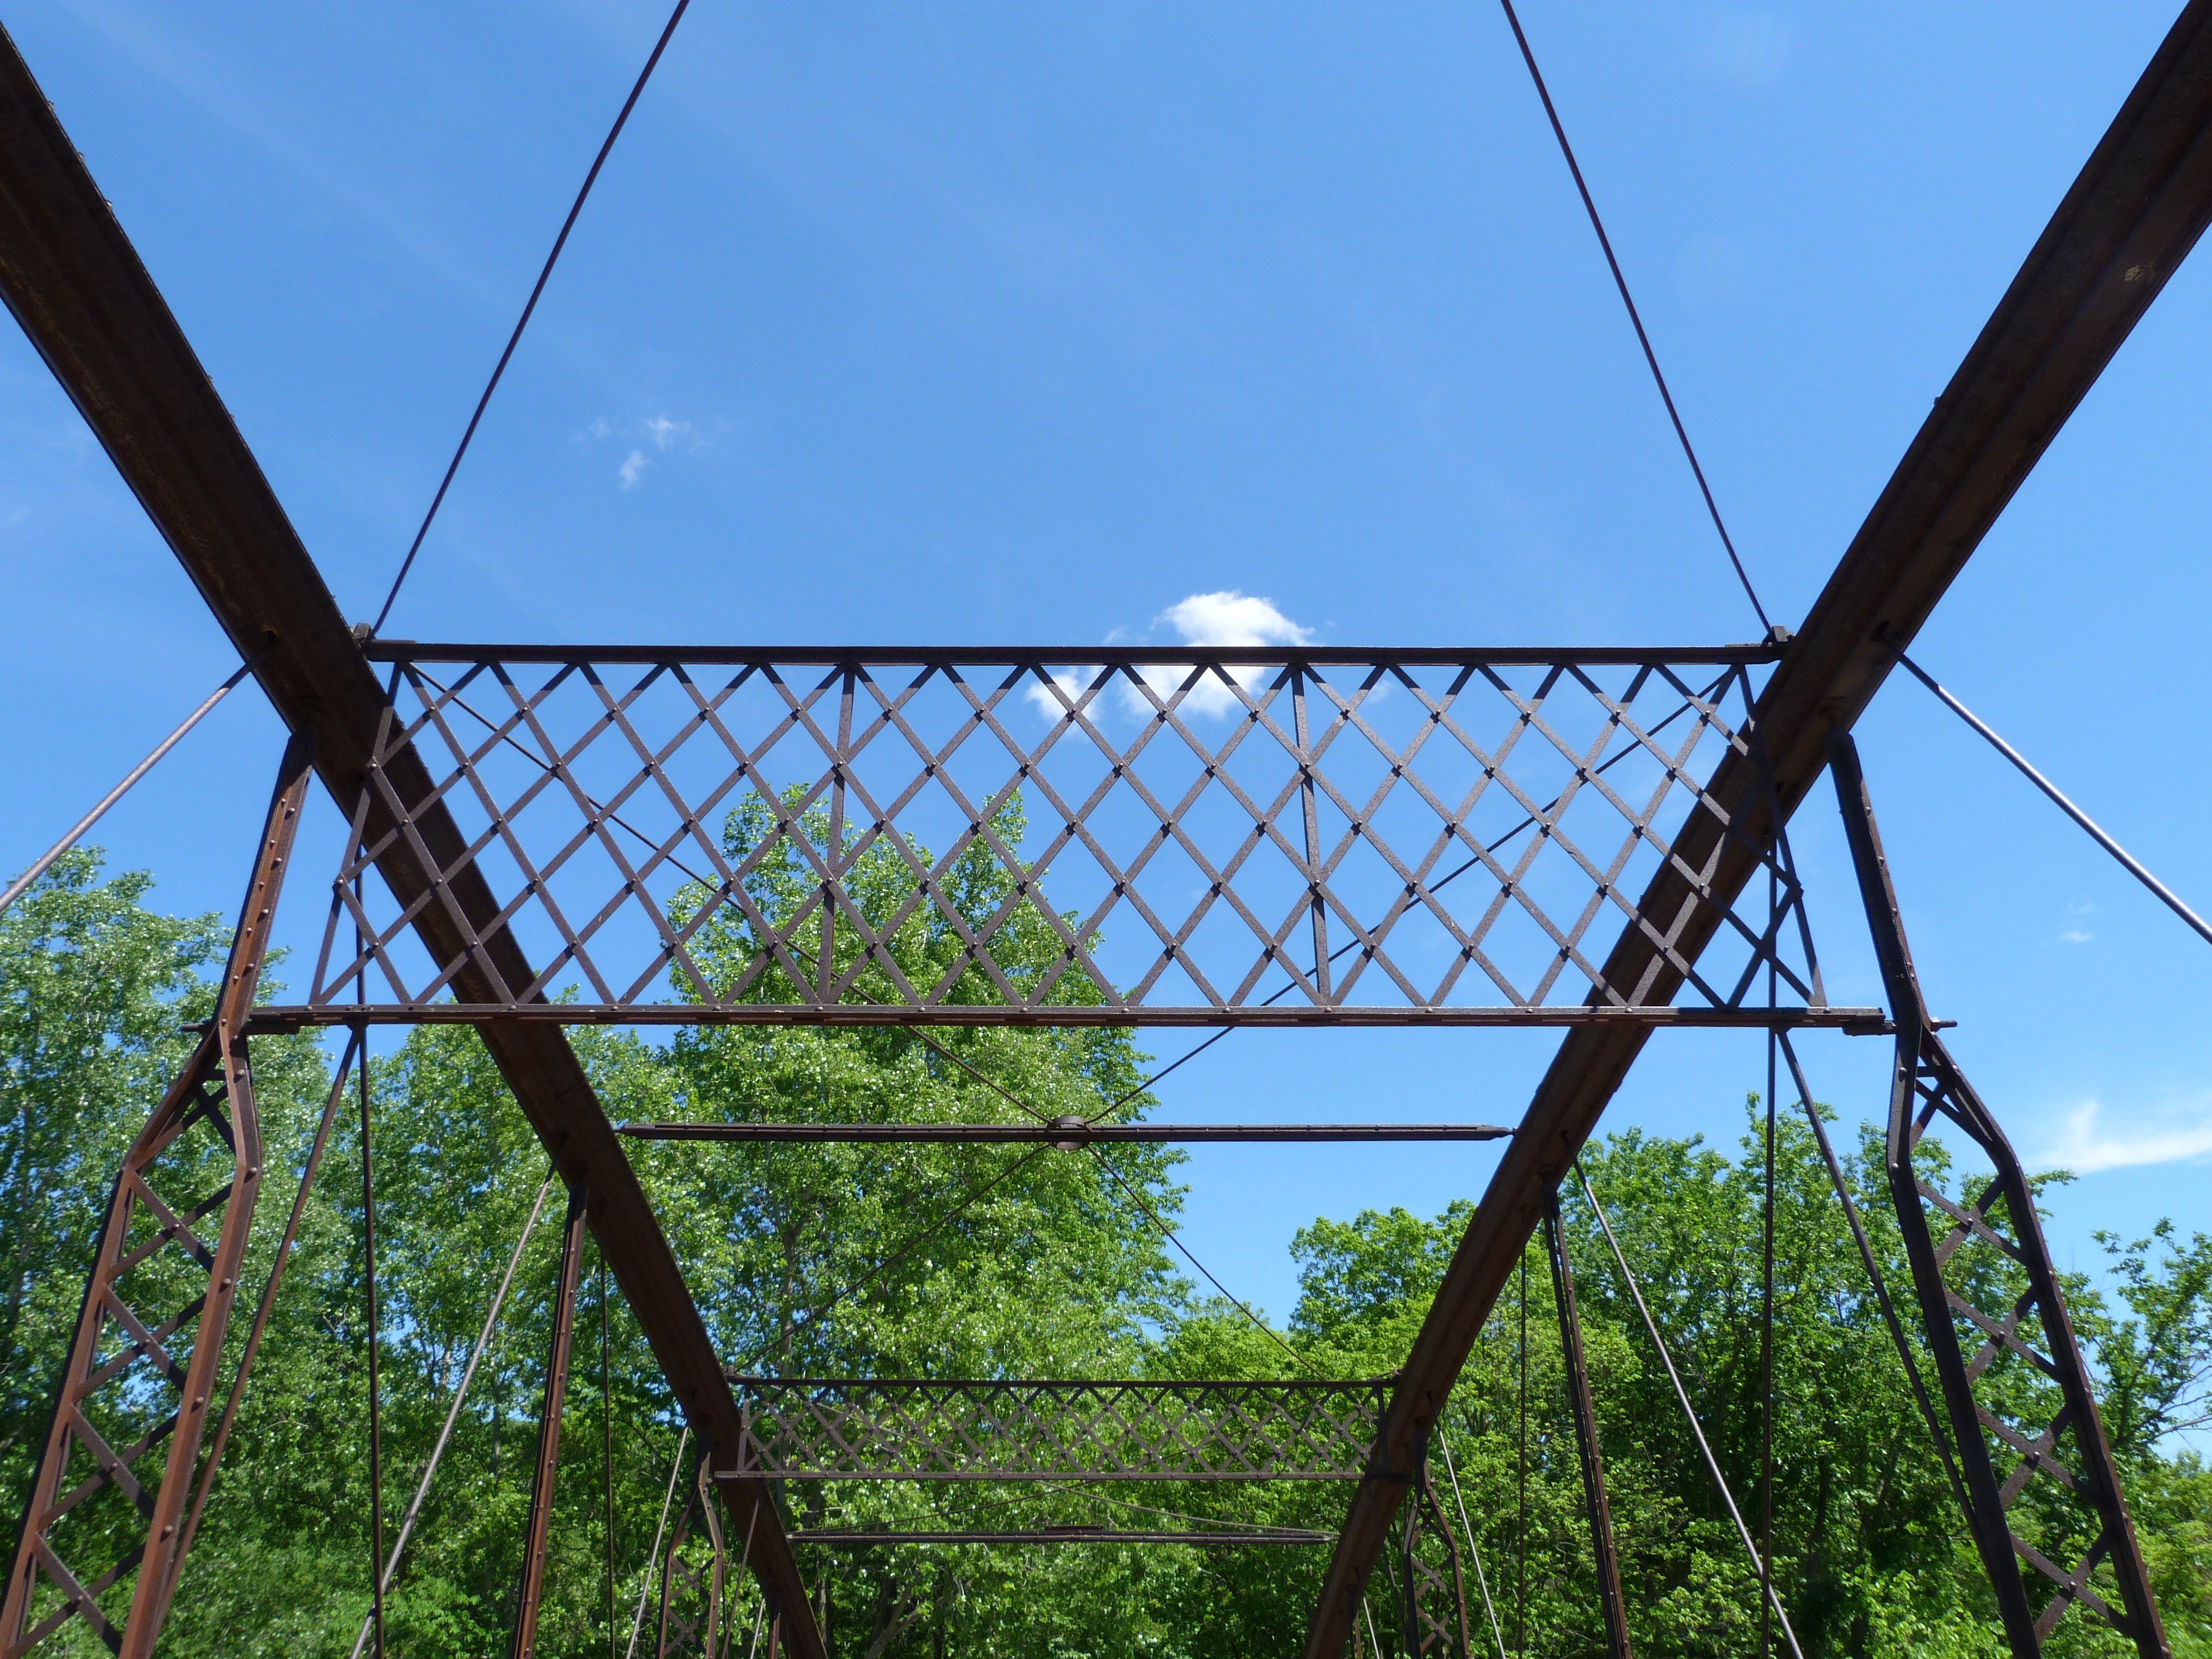
Top chord connections as viewed from beside bridge.
![]()


Top chord connections as viewed from on bridge, views below top chord.
![]()

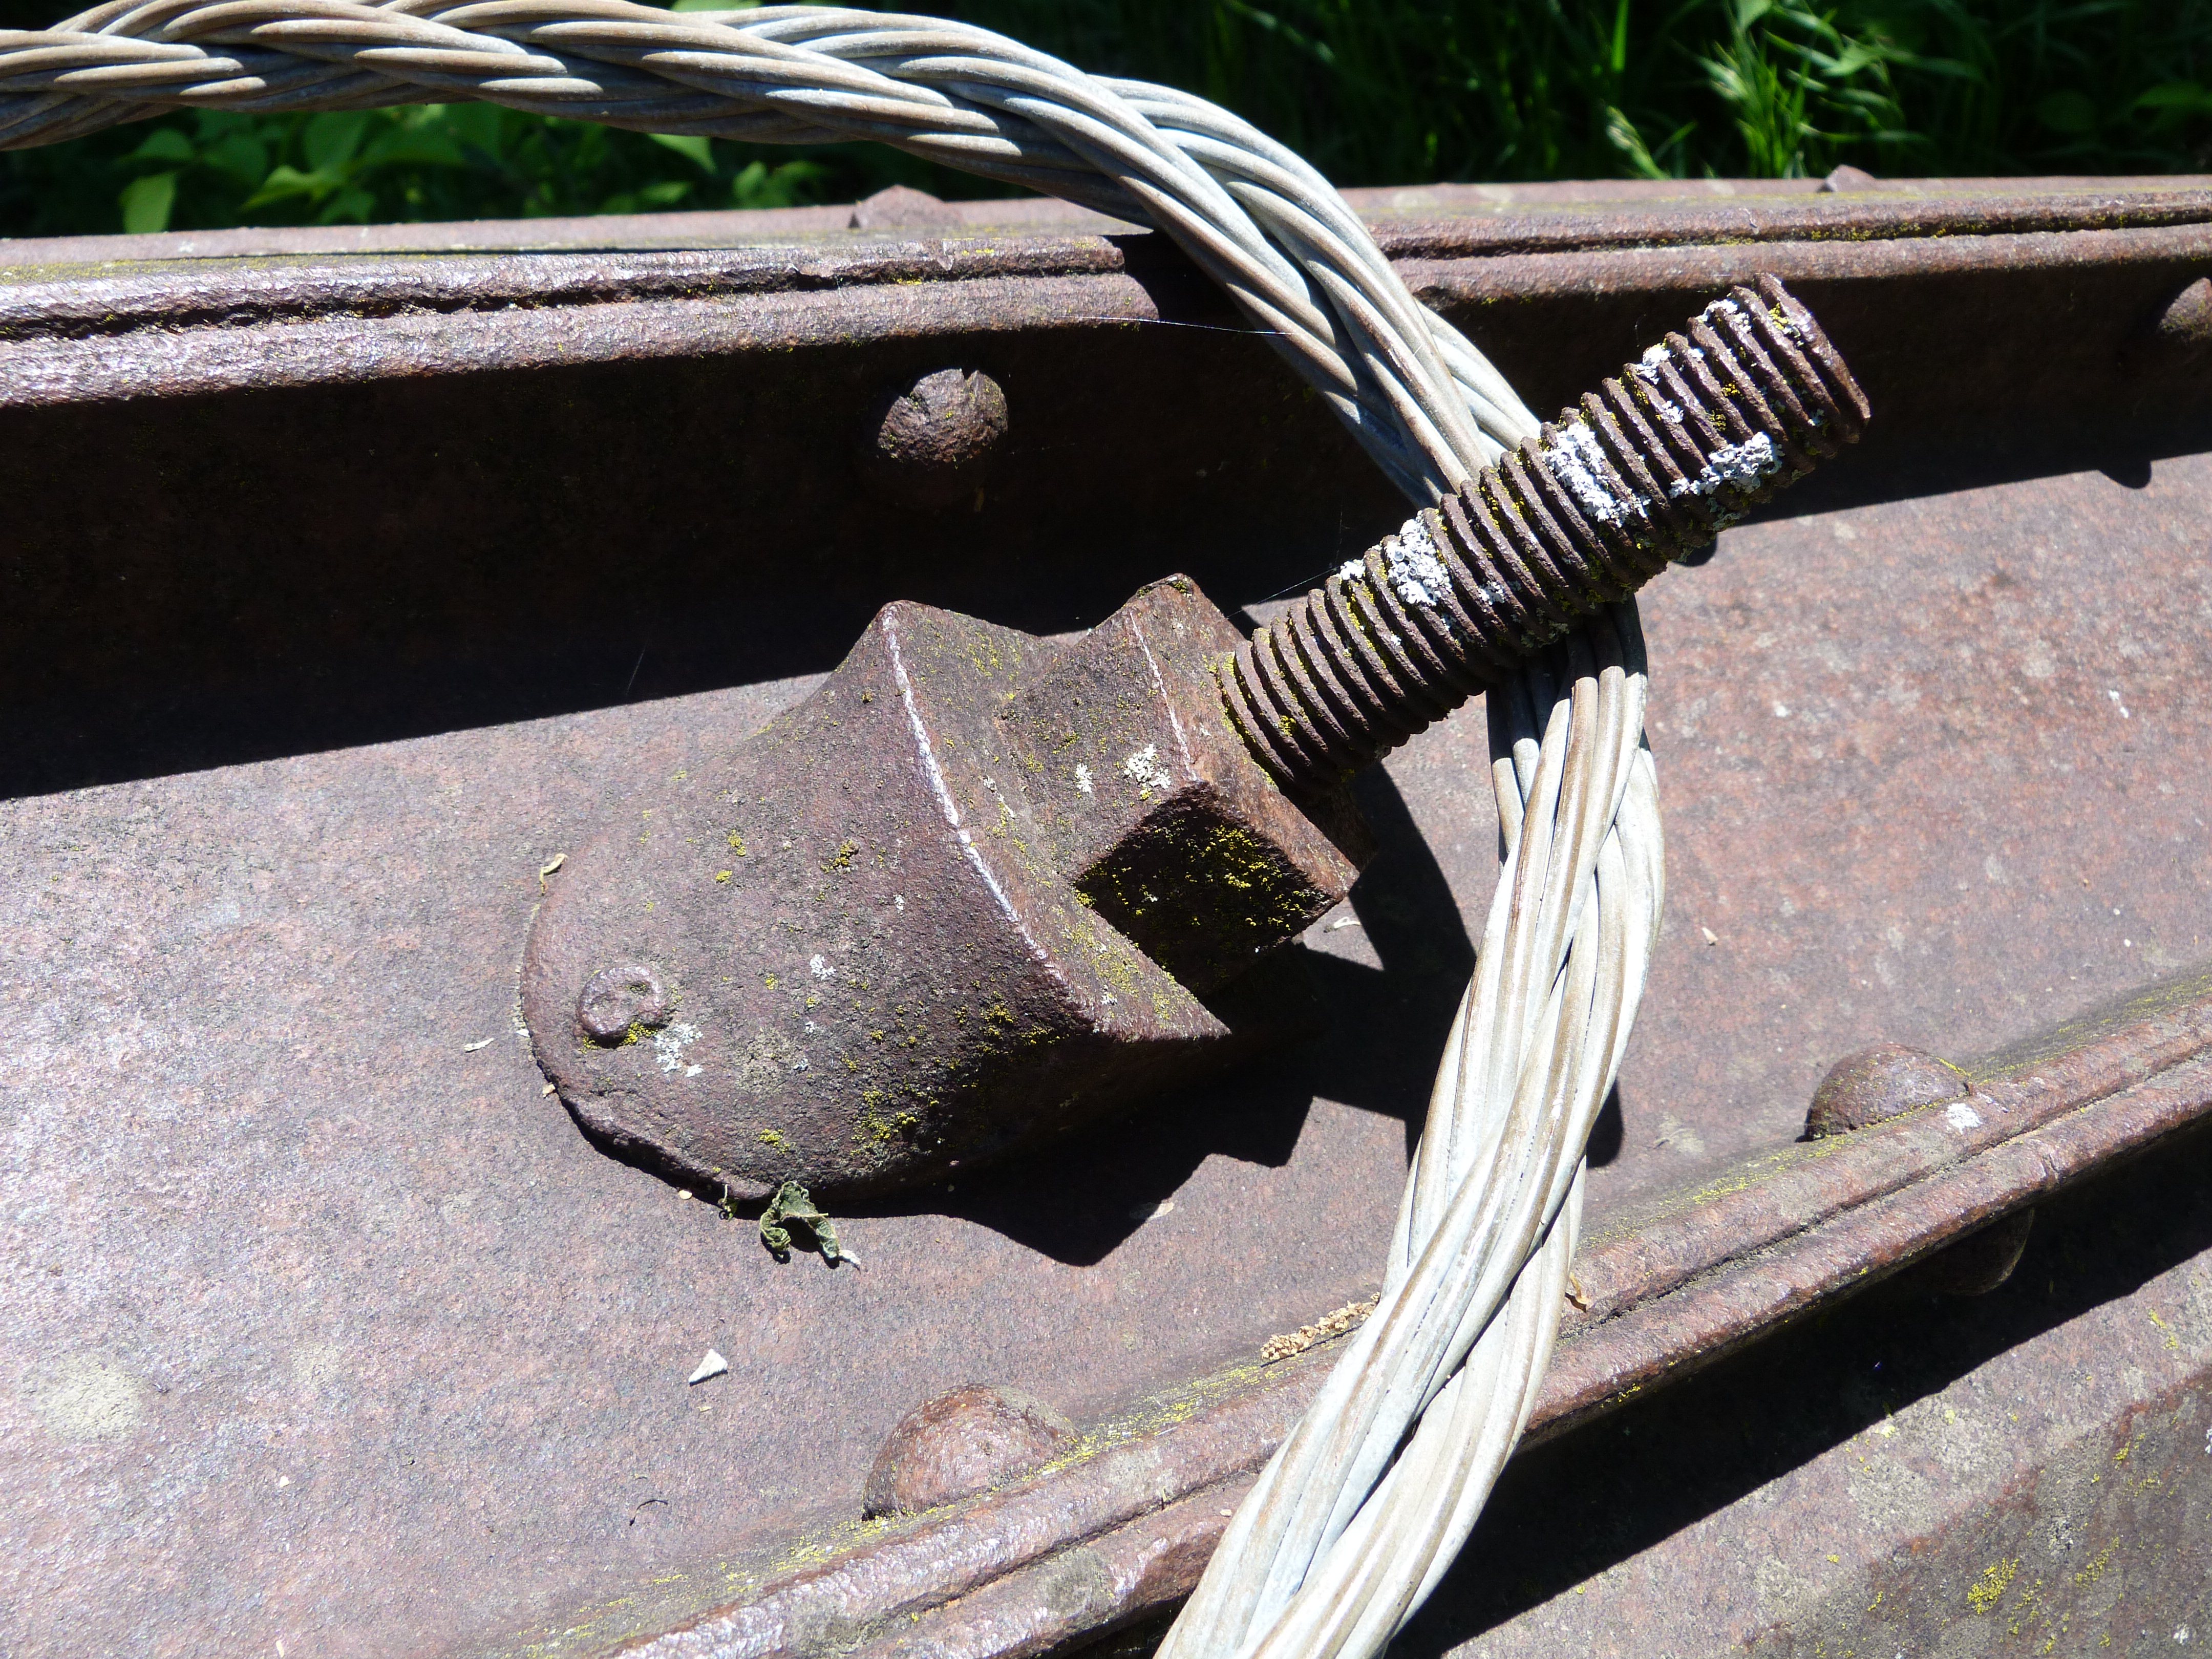


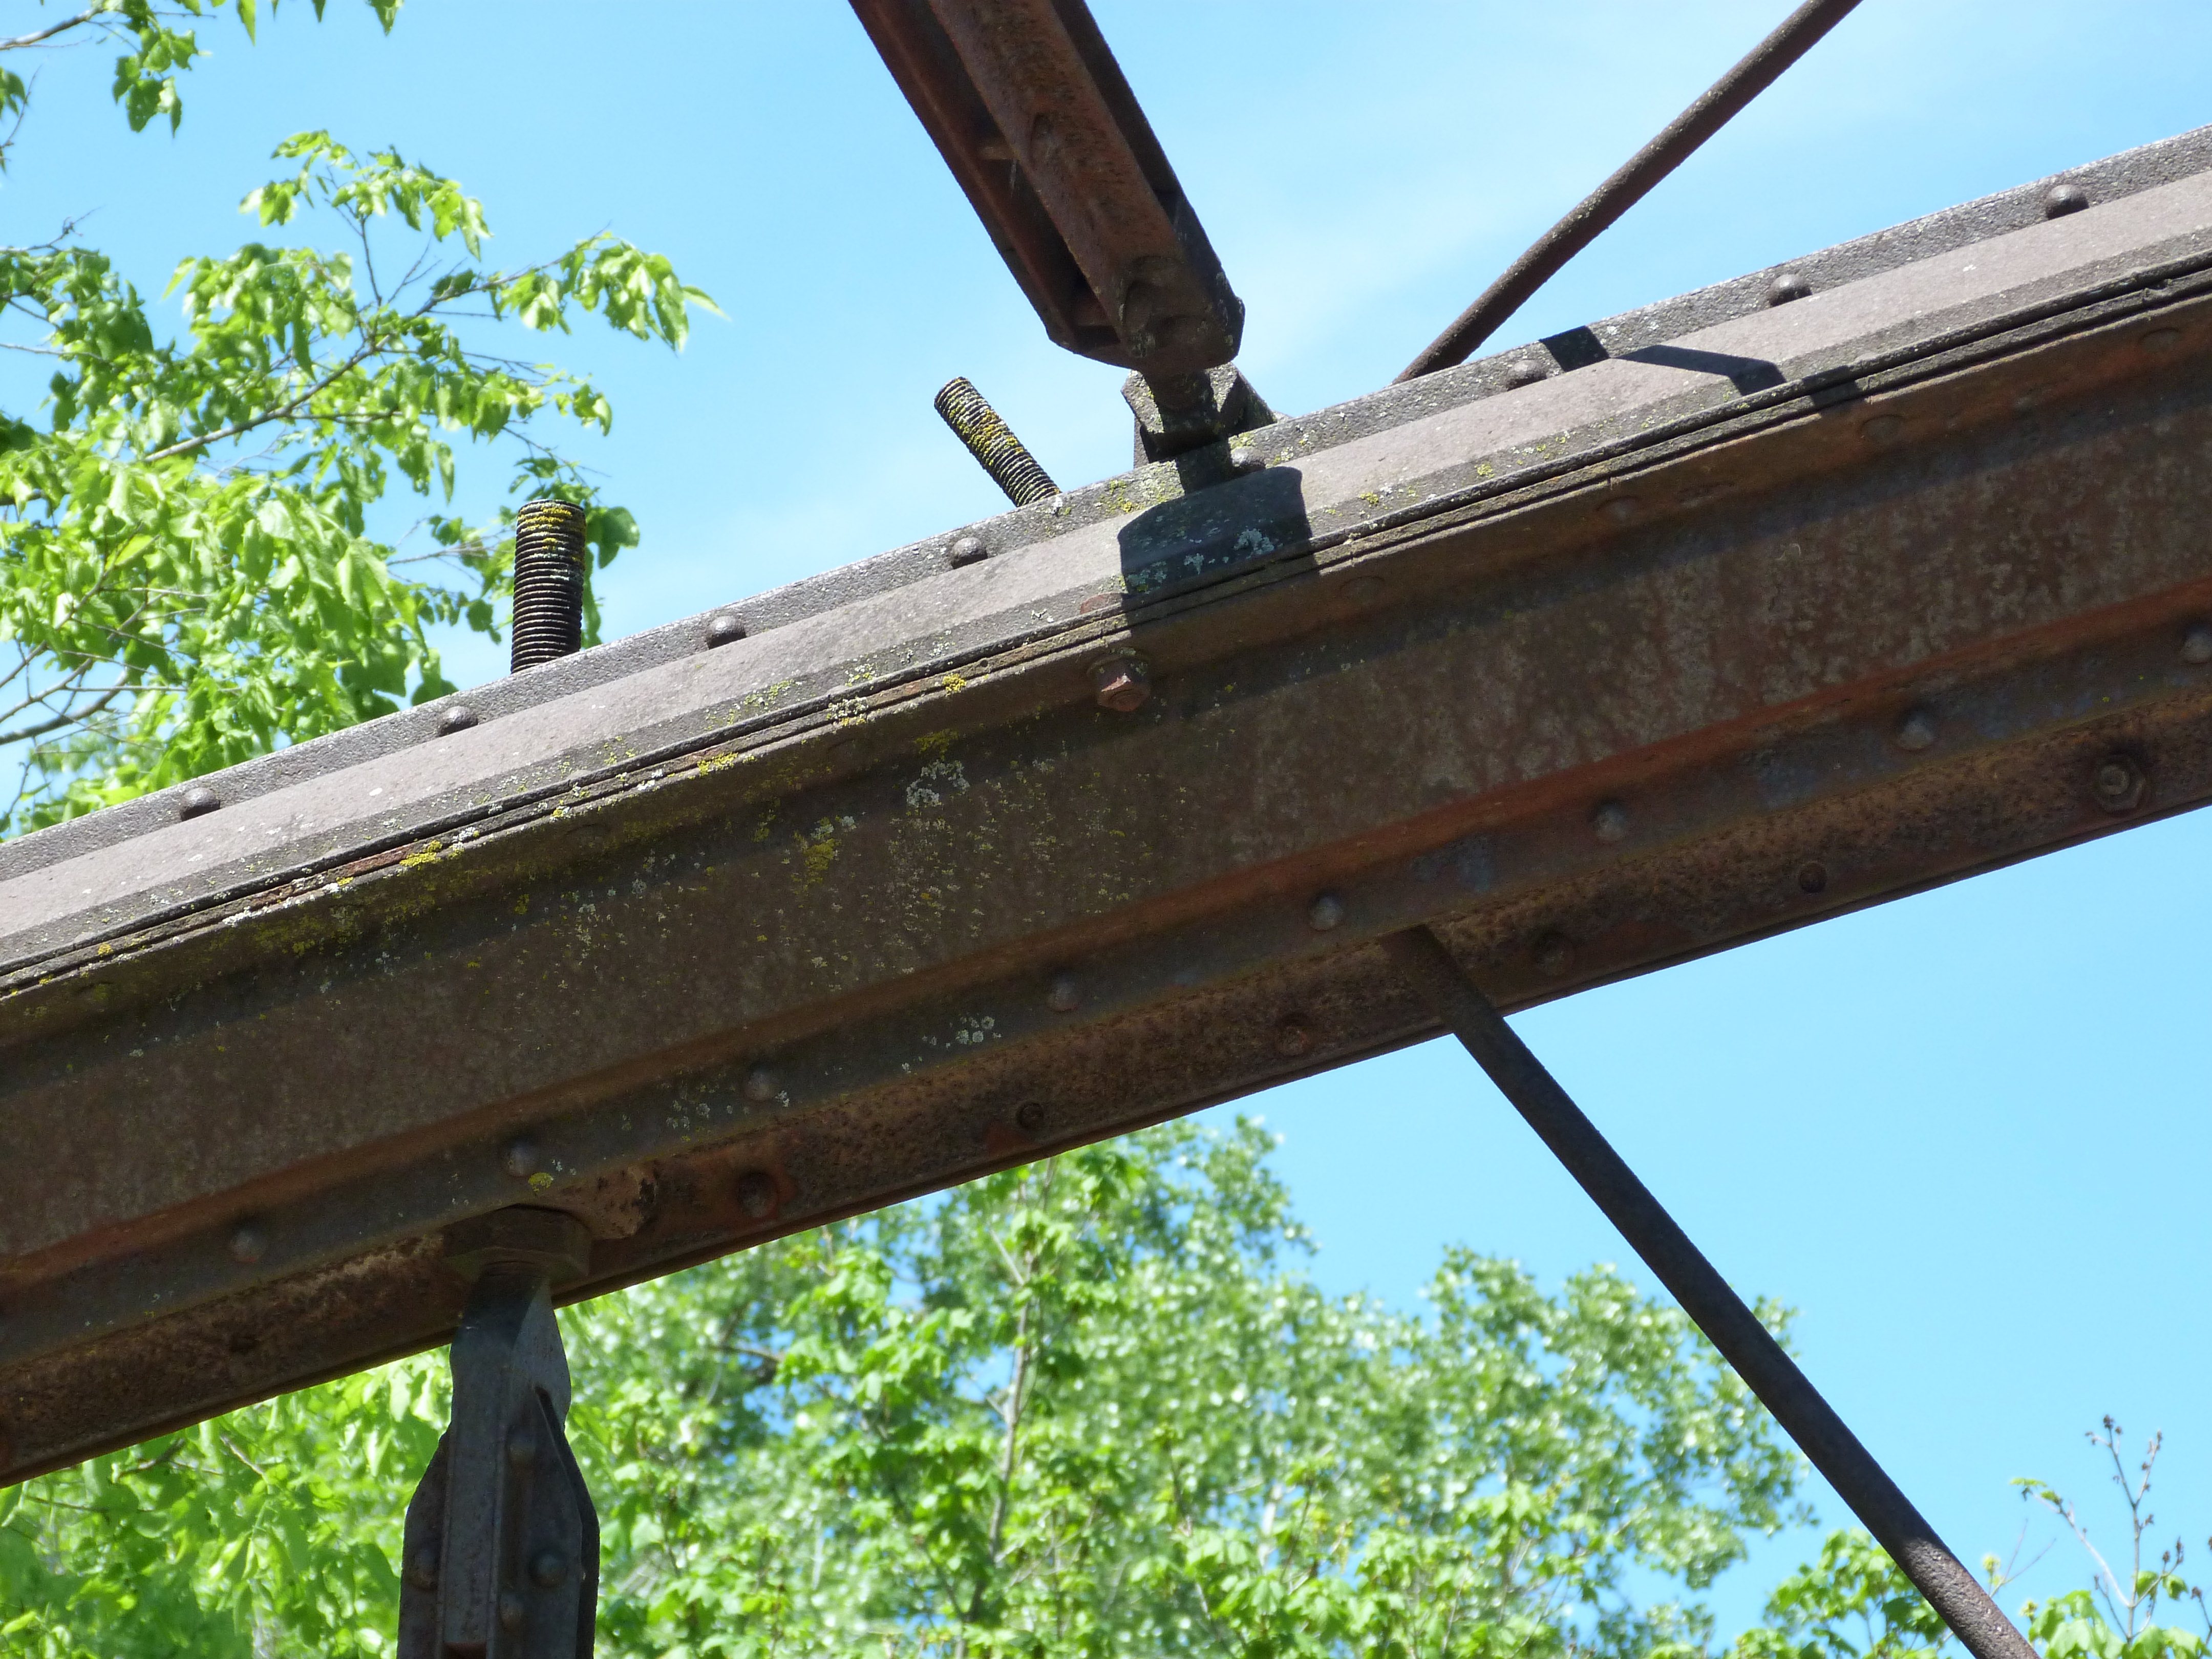
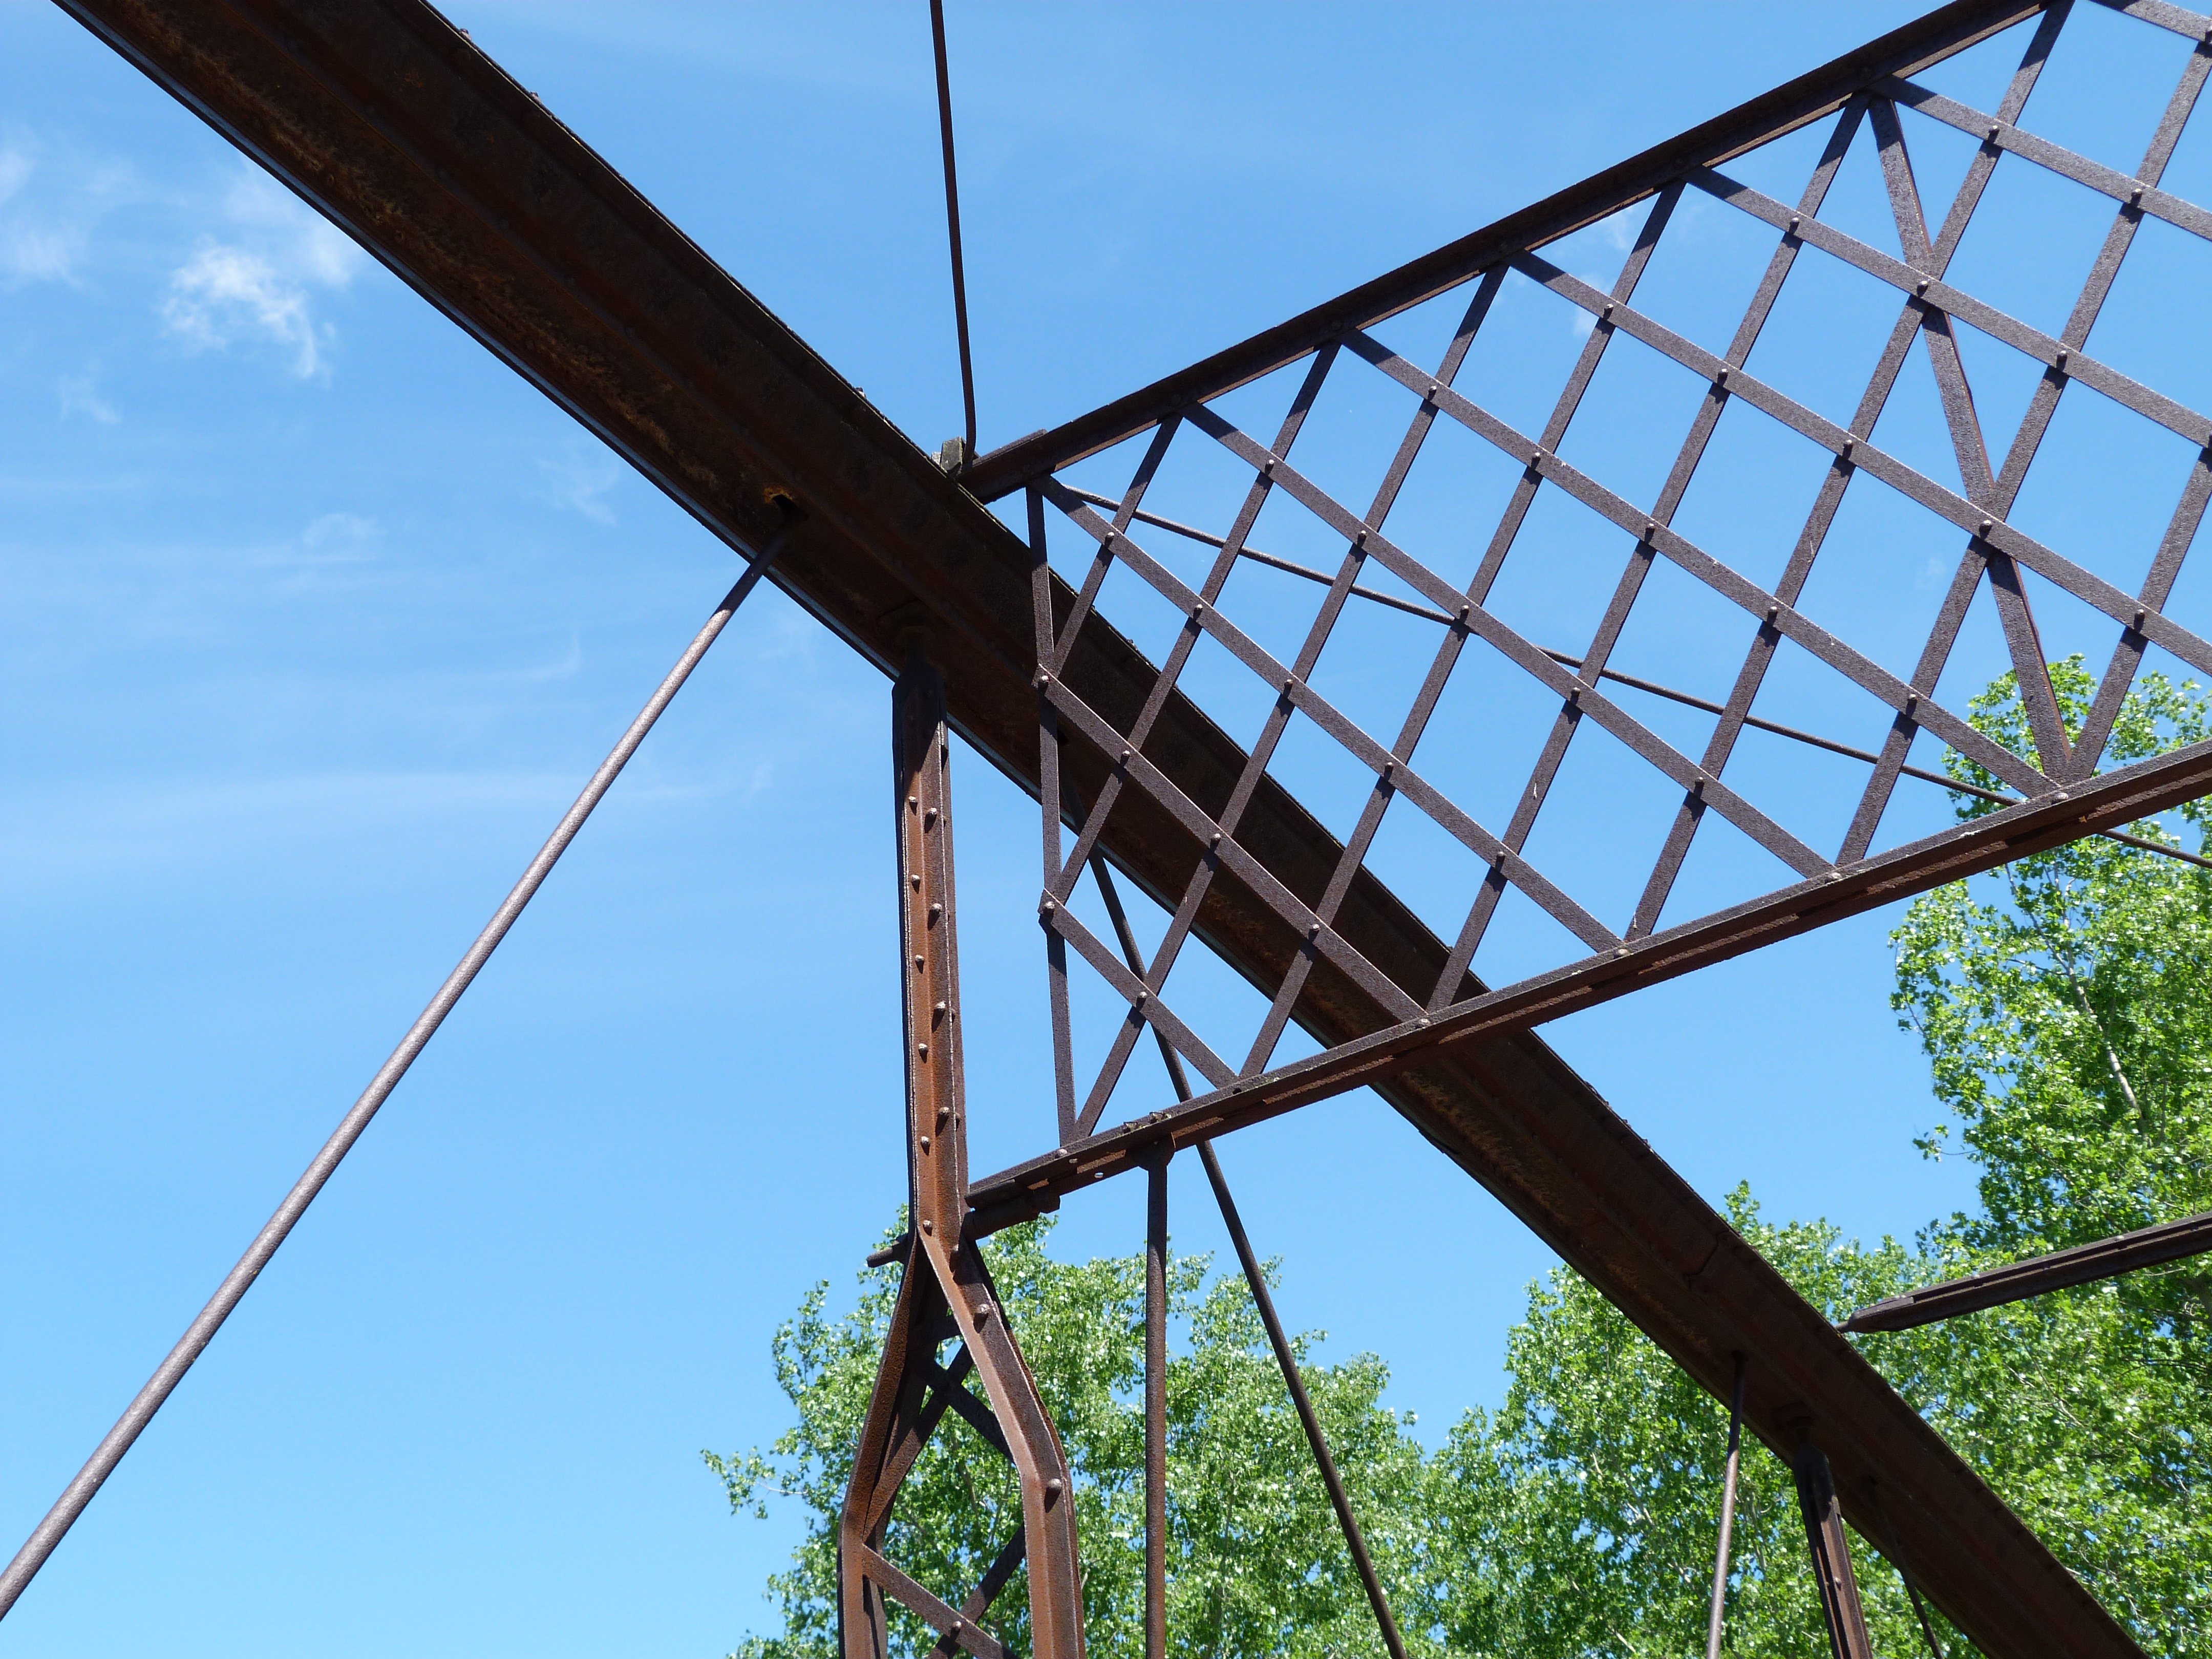
Top chord connections as viewed from on bridge, views above top chord.
![]()


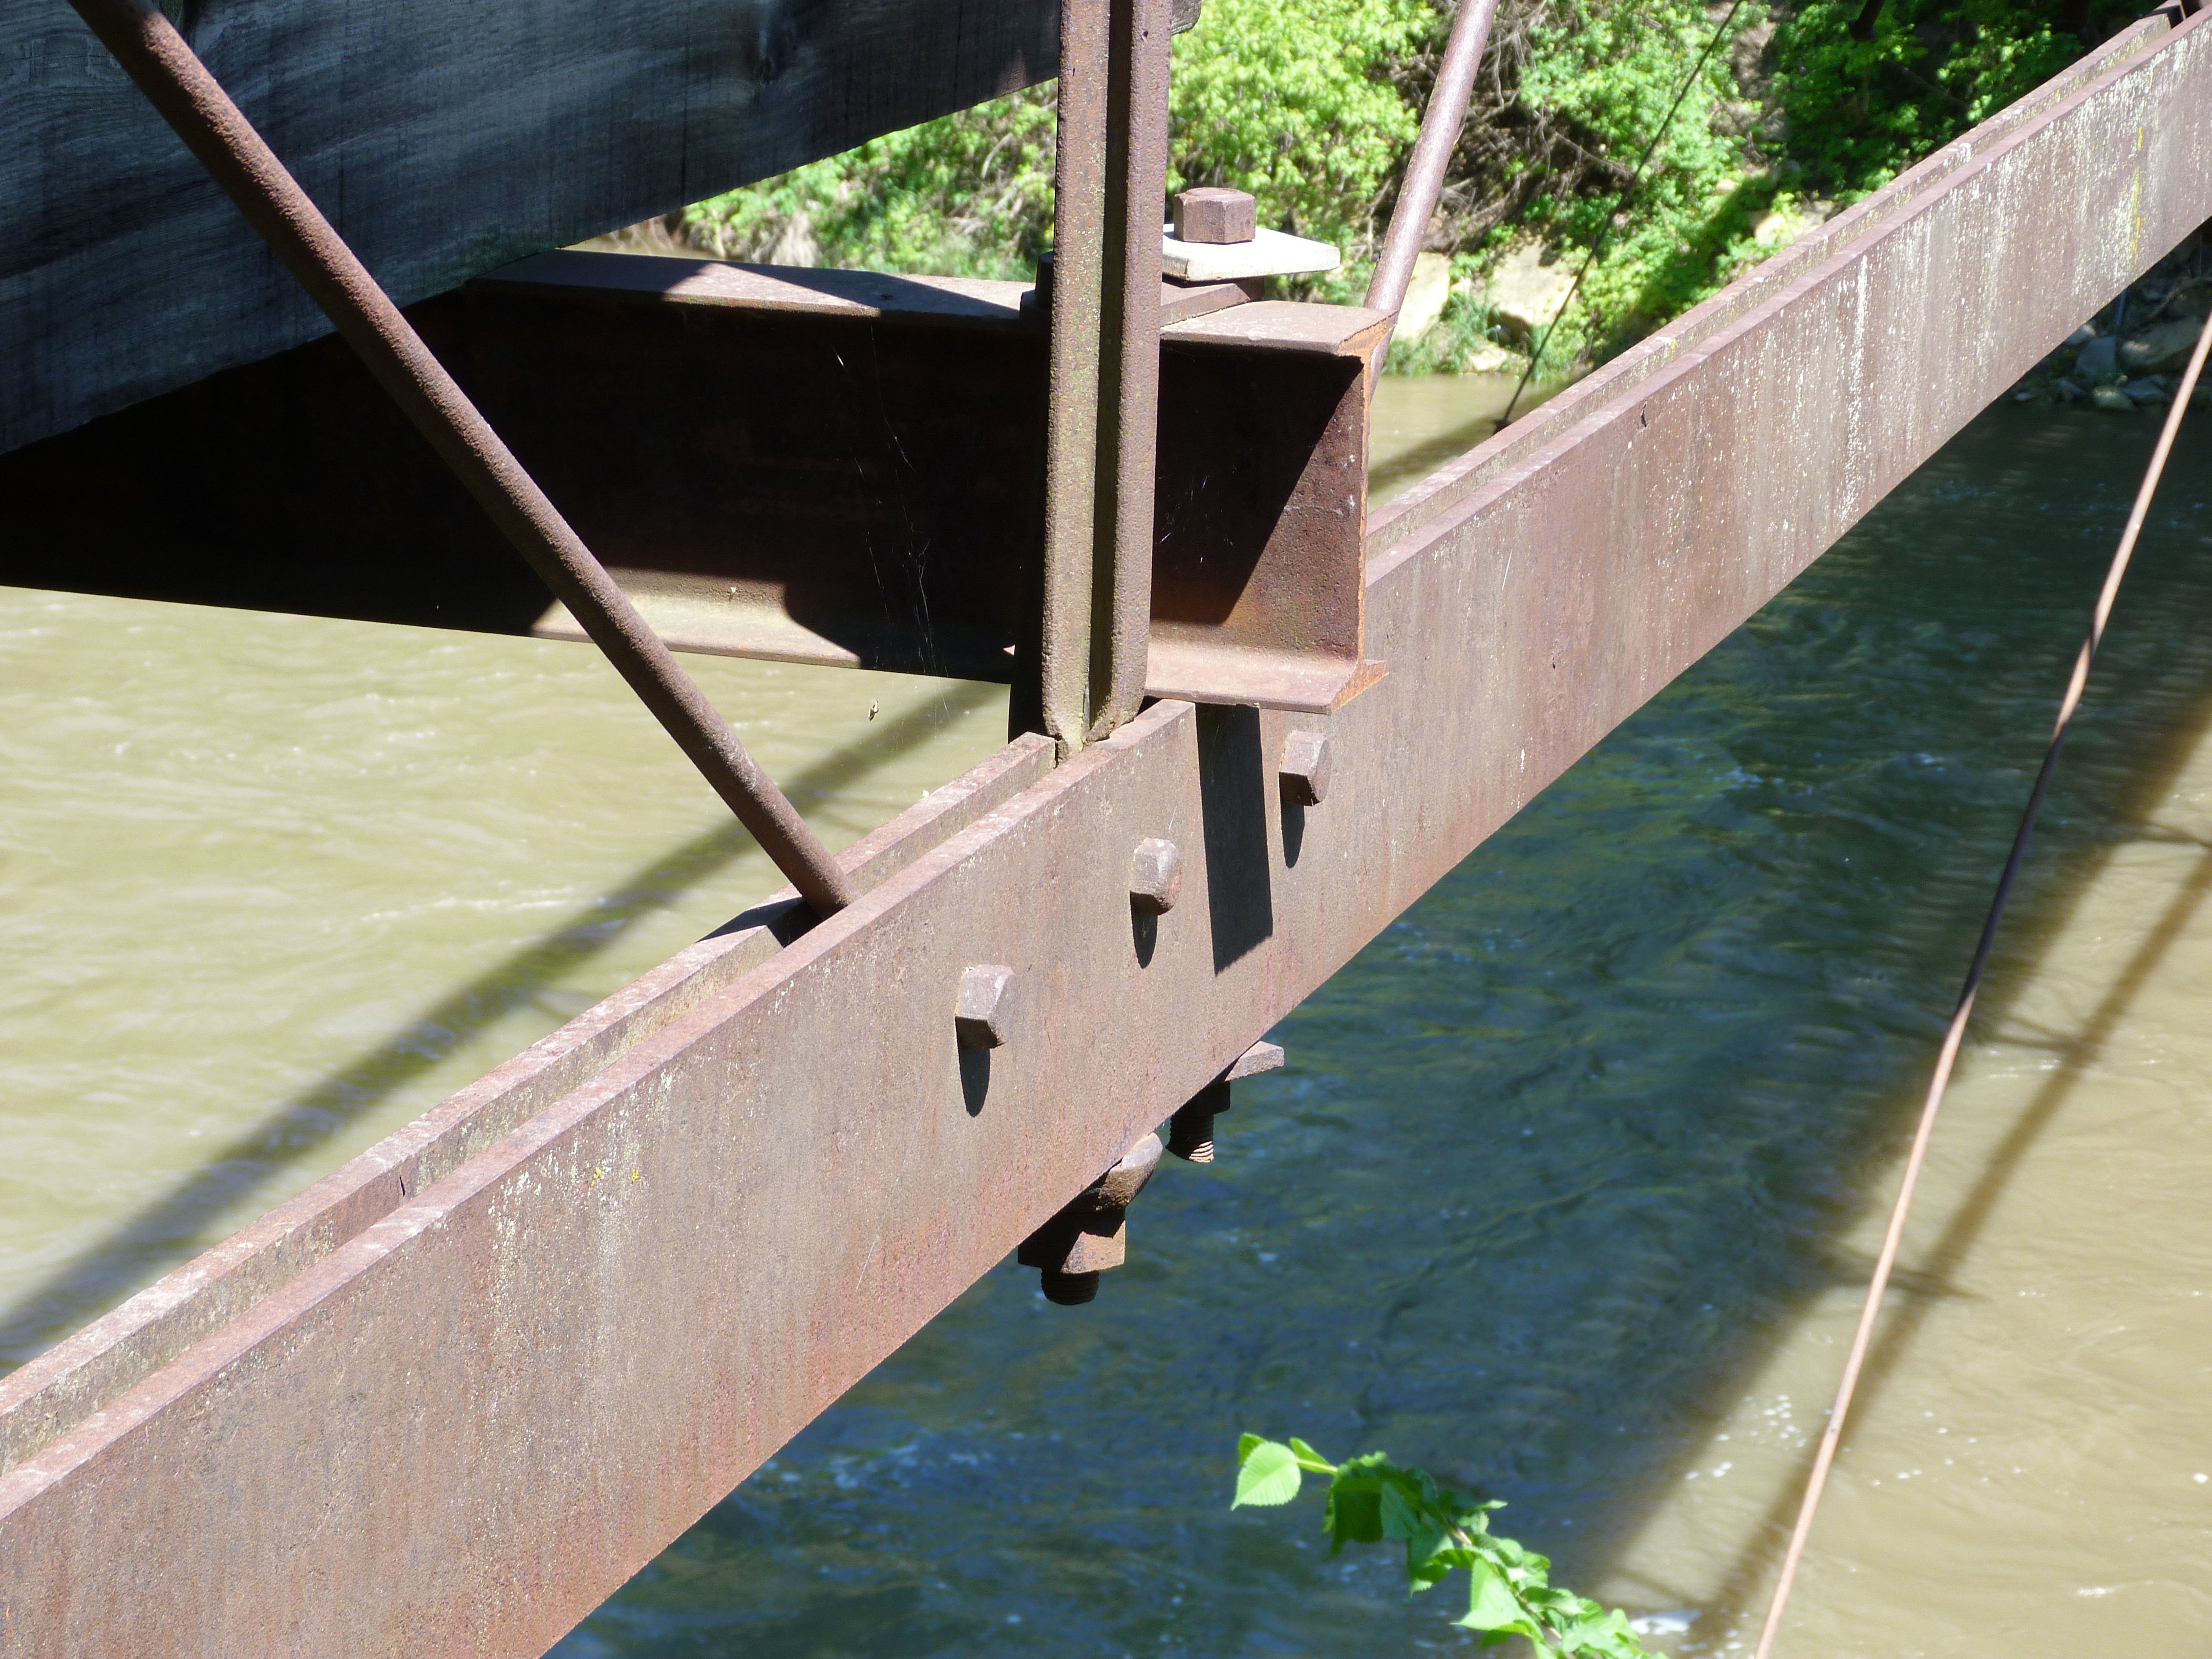
Bottom chord connections as viewed from beside bridge.
![]()

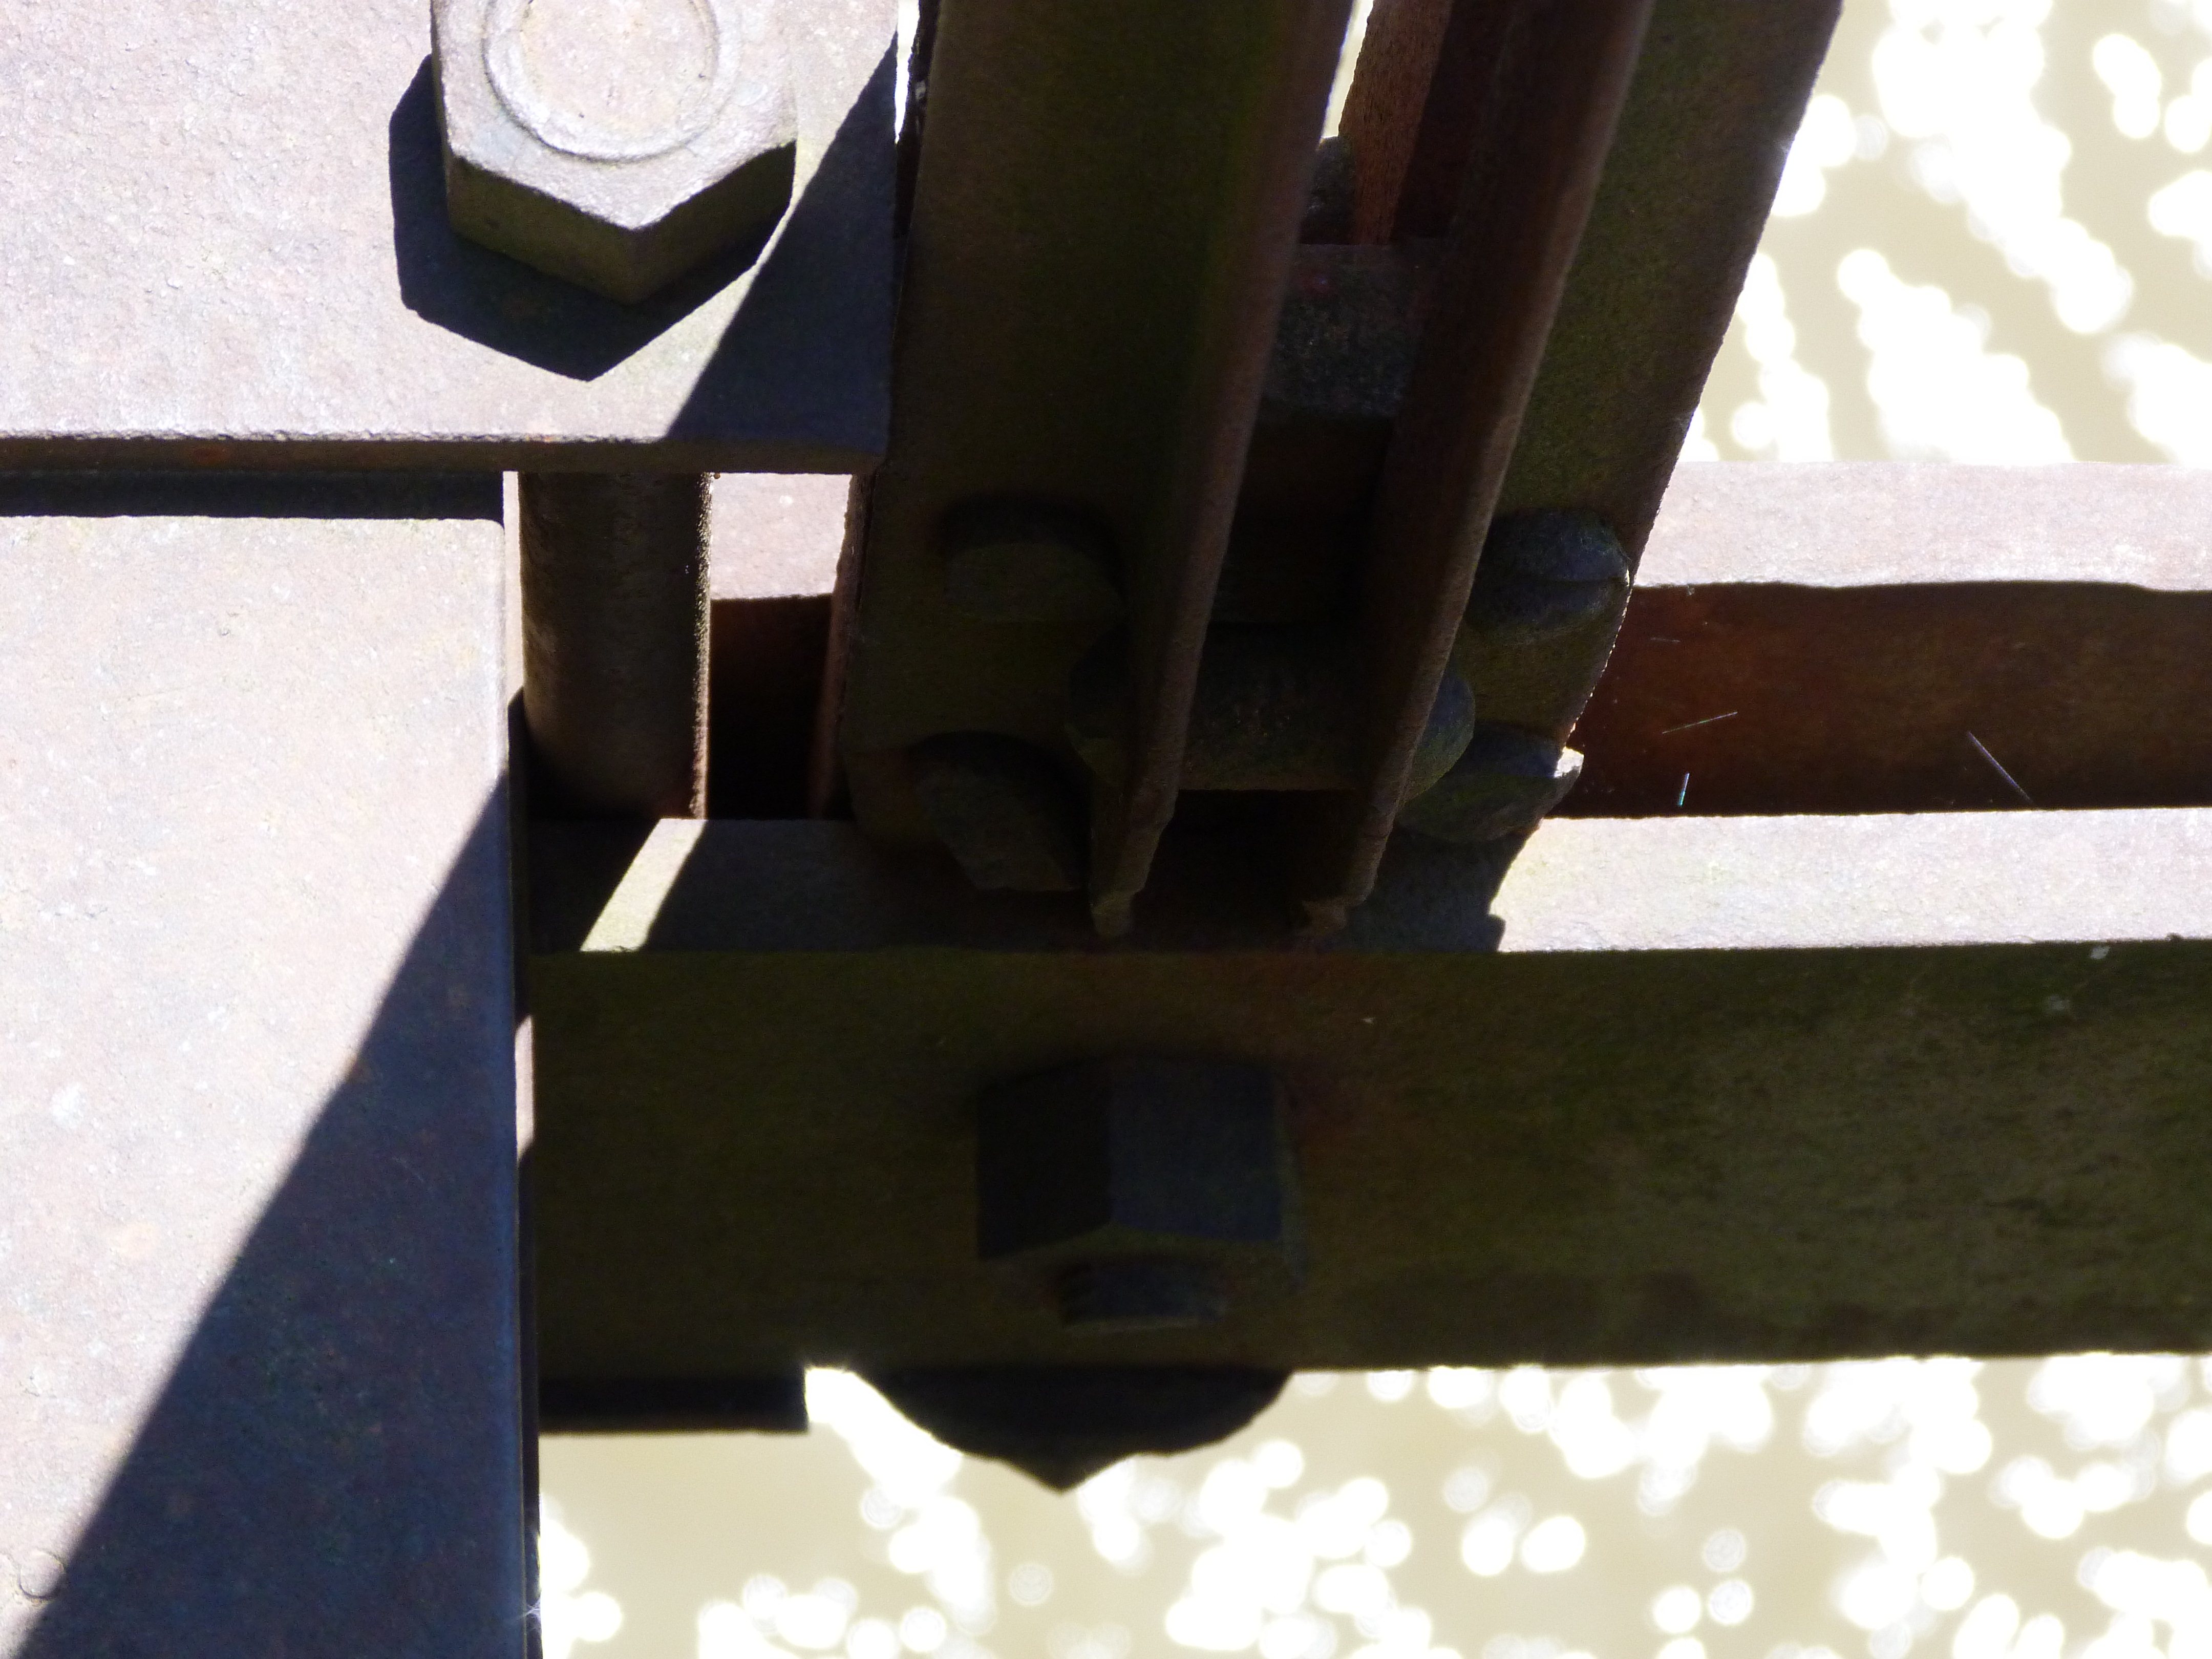


Bottom chord connections as viewed from on bridge.
![]()

Sway bracing knee connection to strut.
![]()


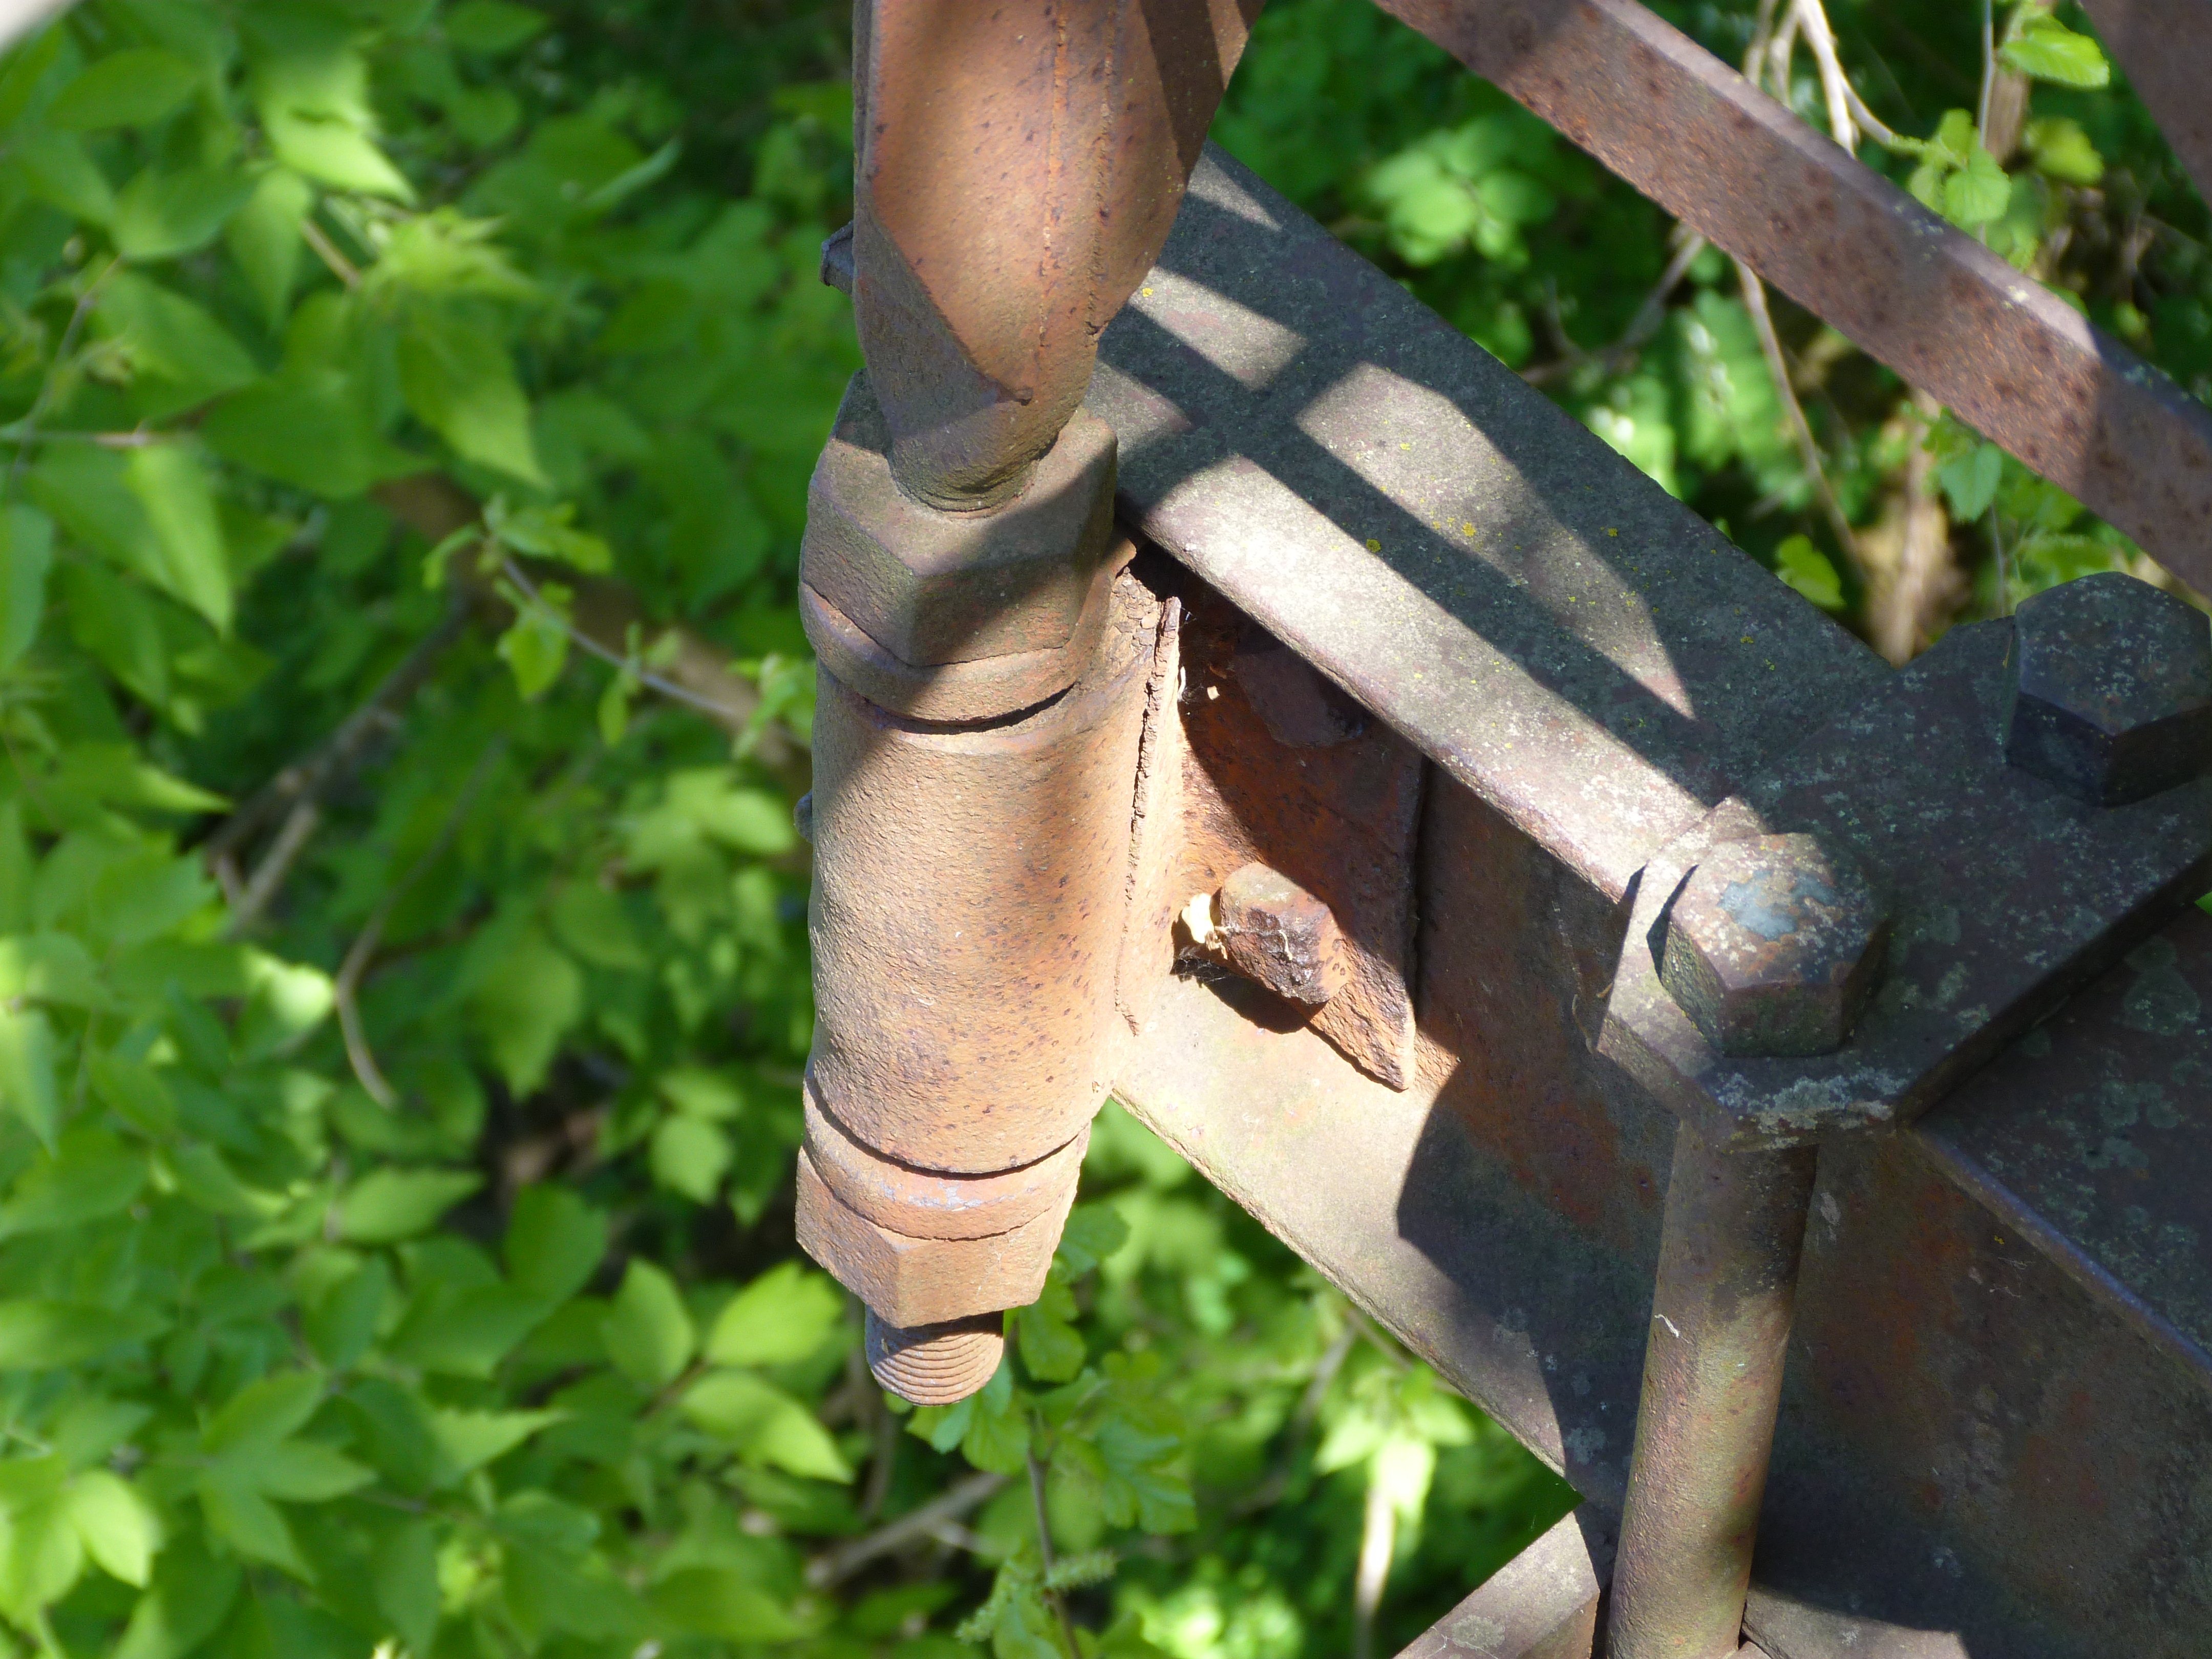
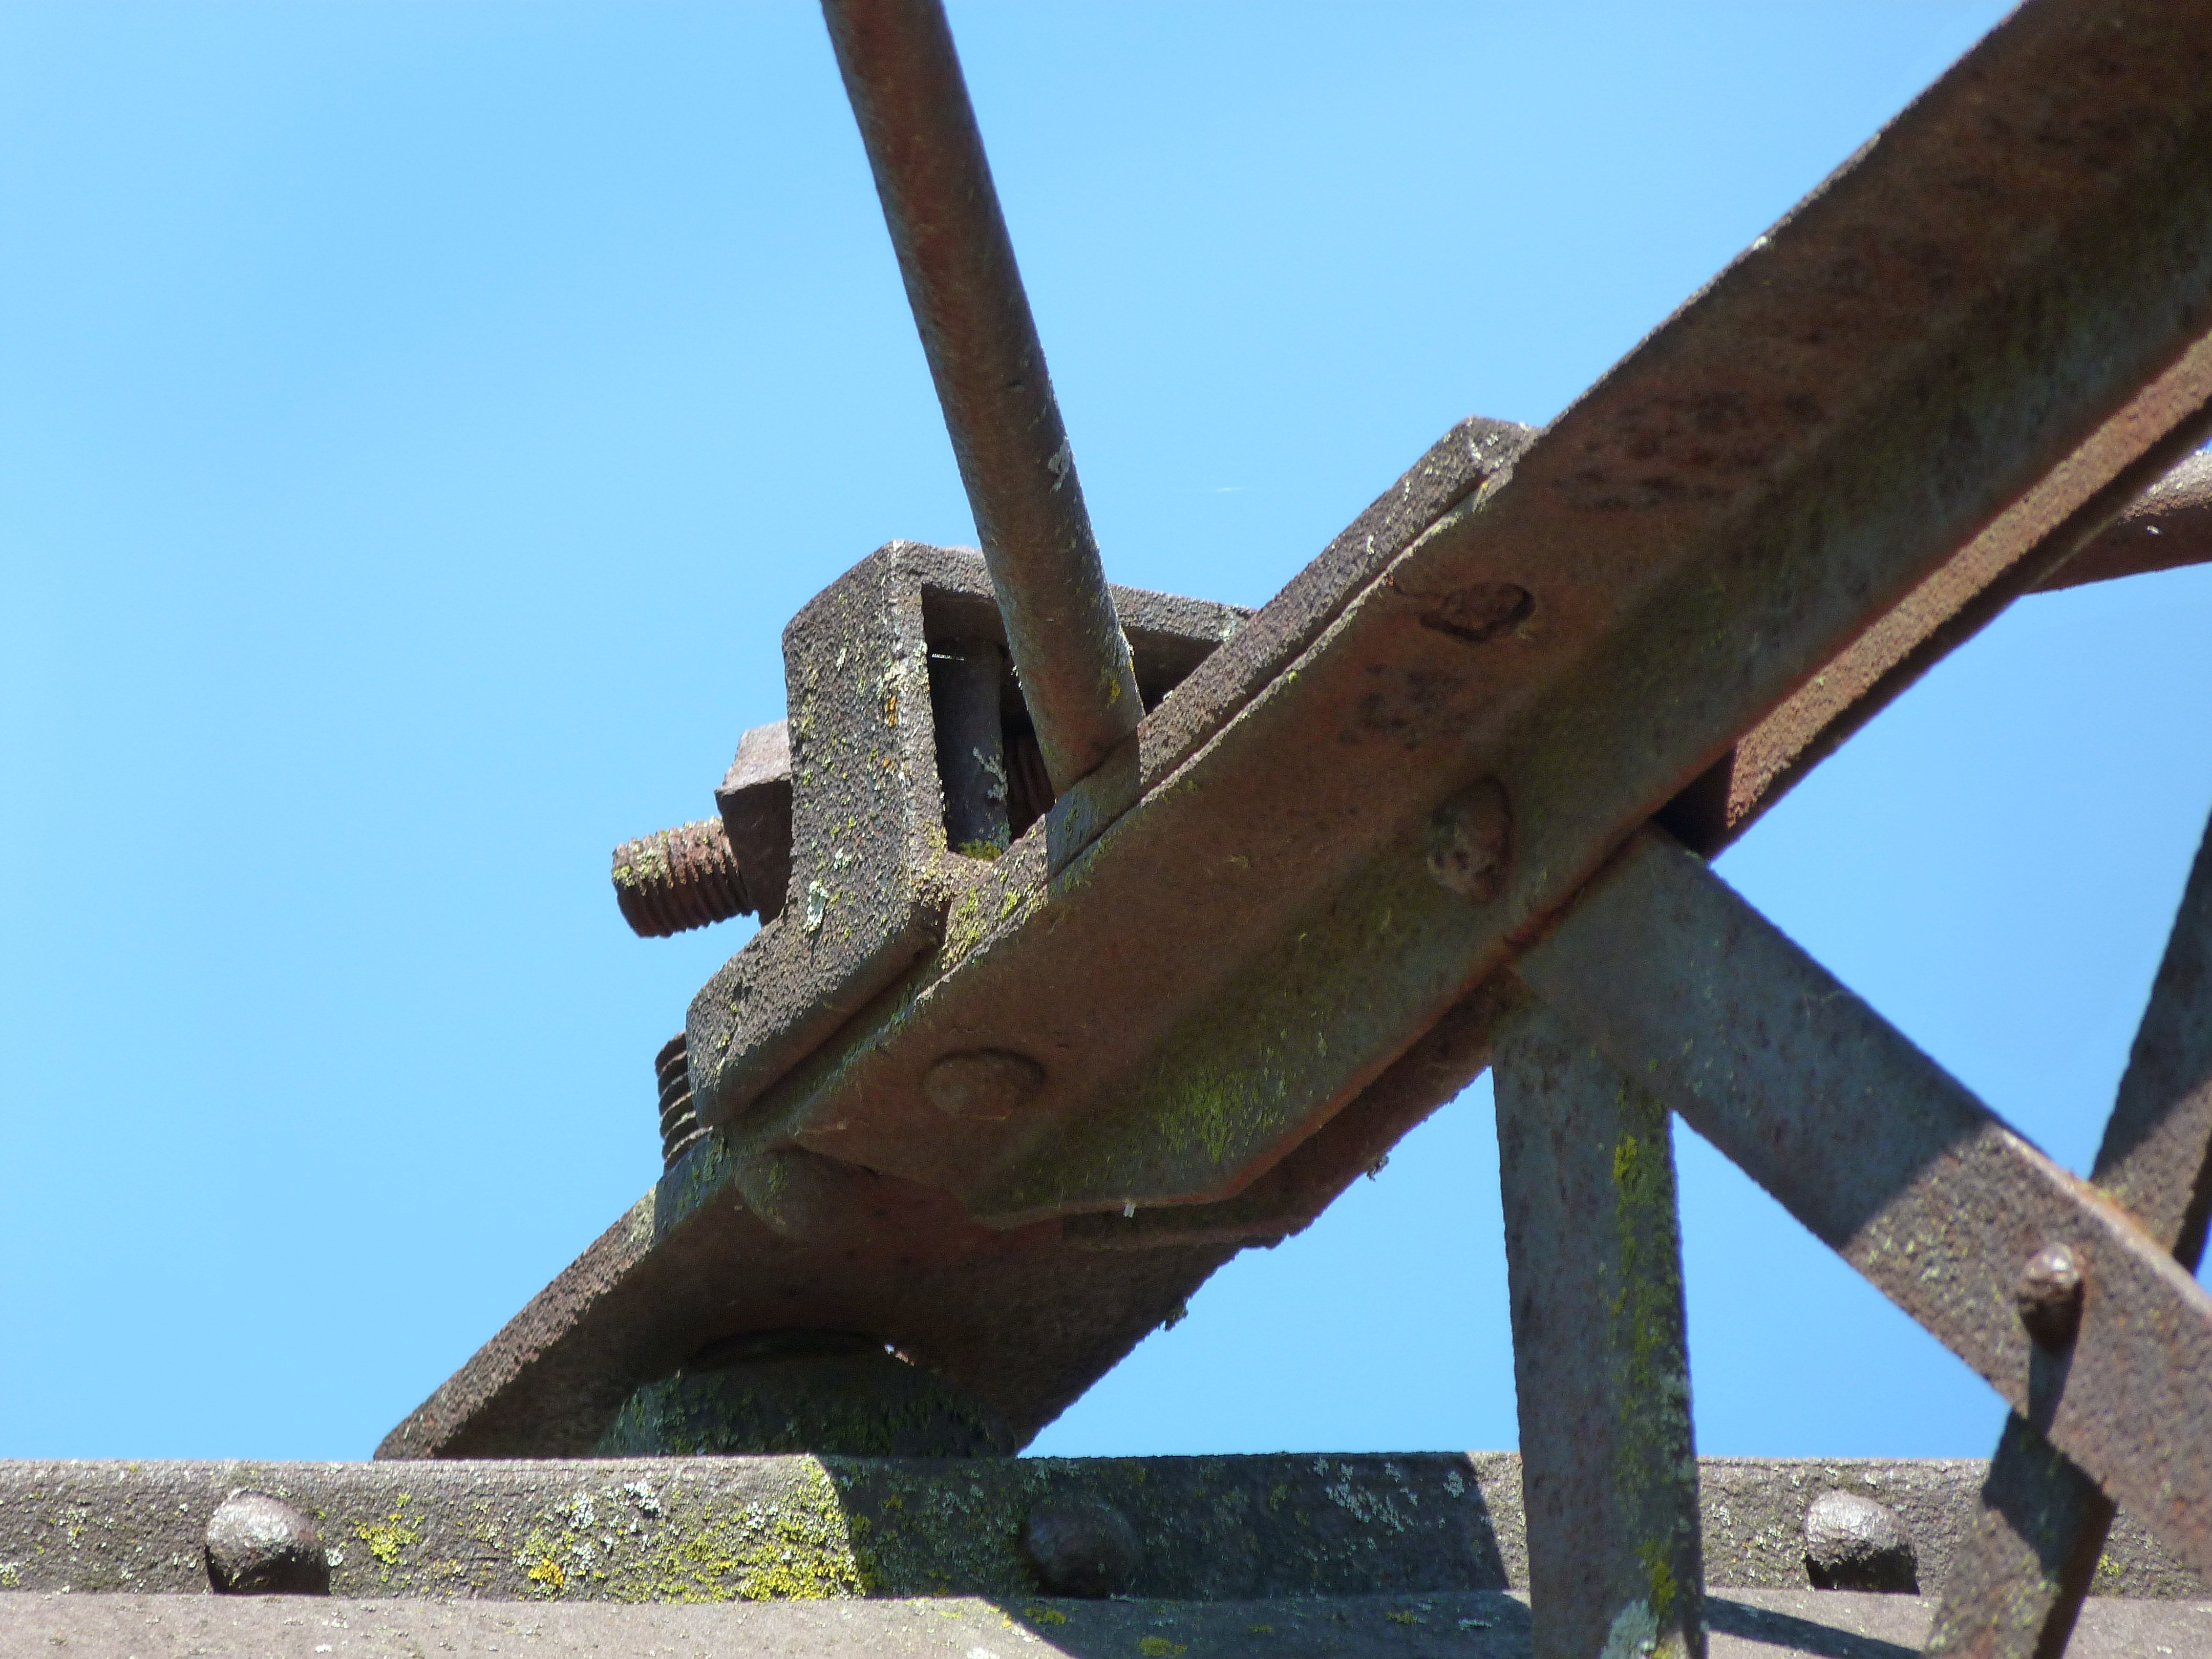
Strut connection to vertical member.
![]()

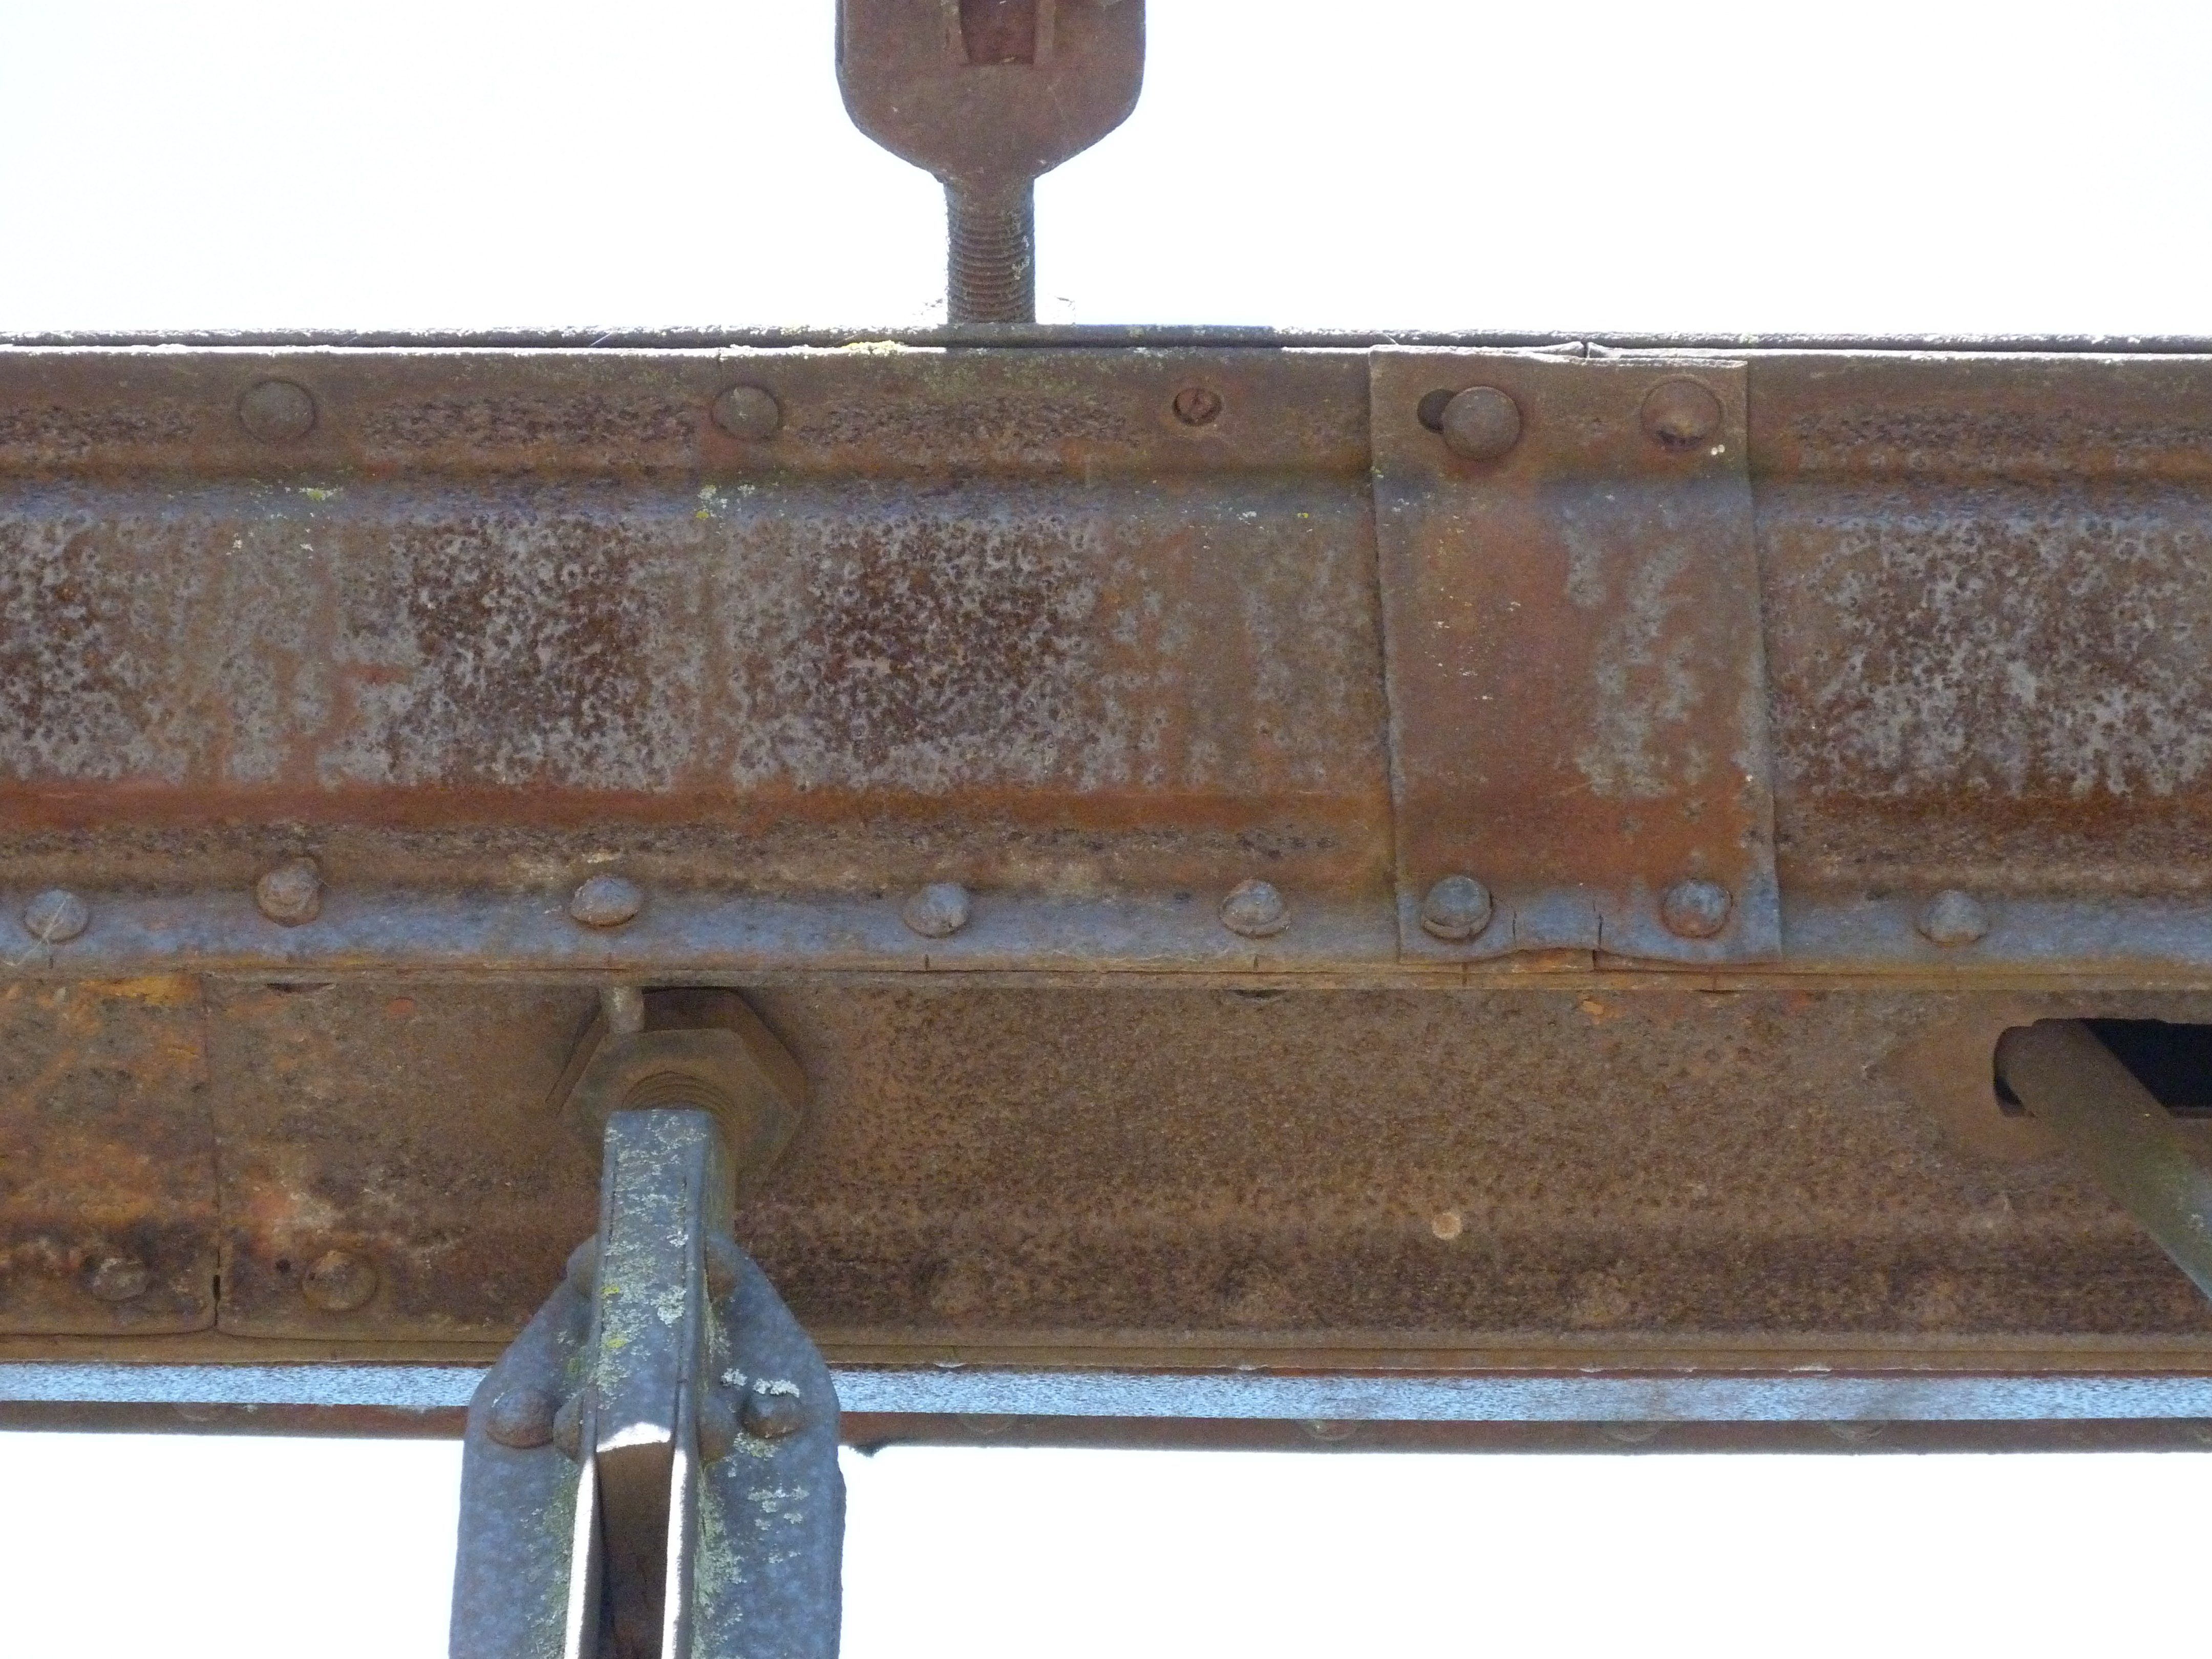
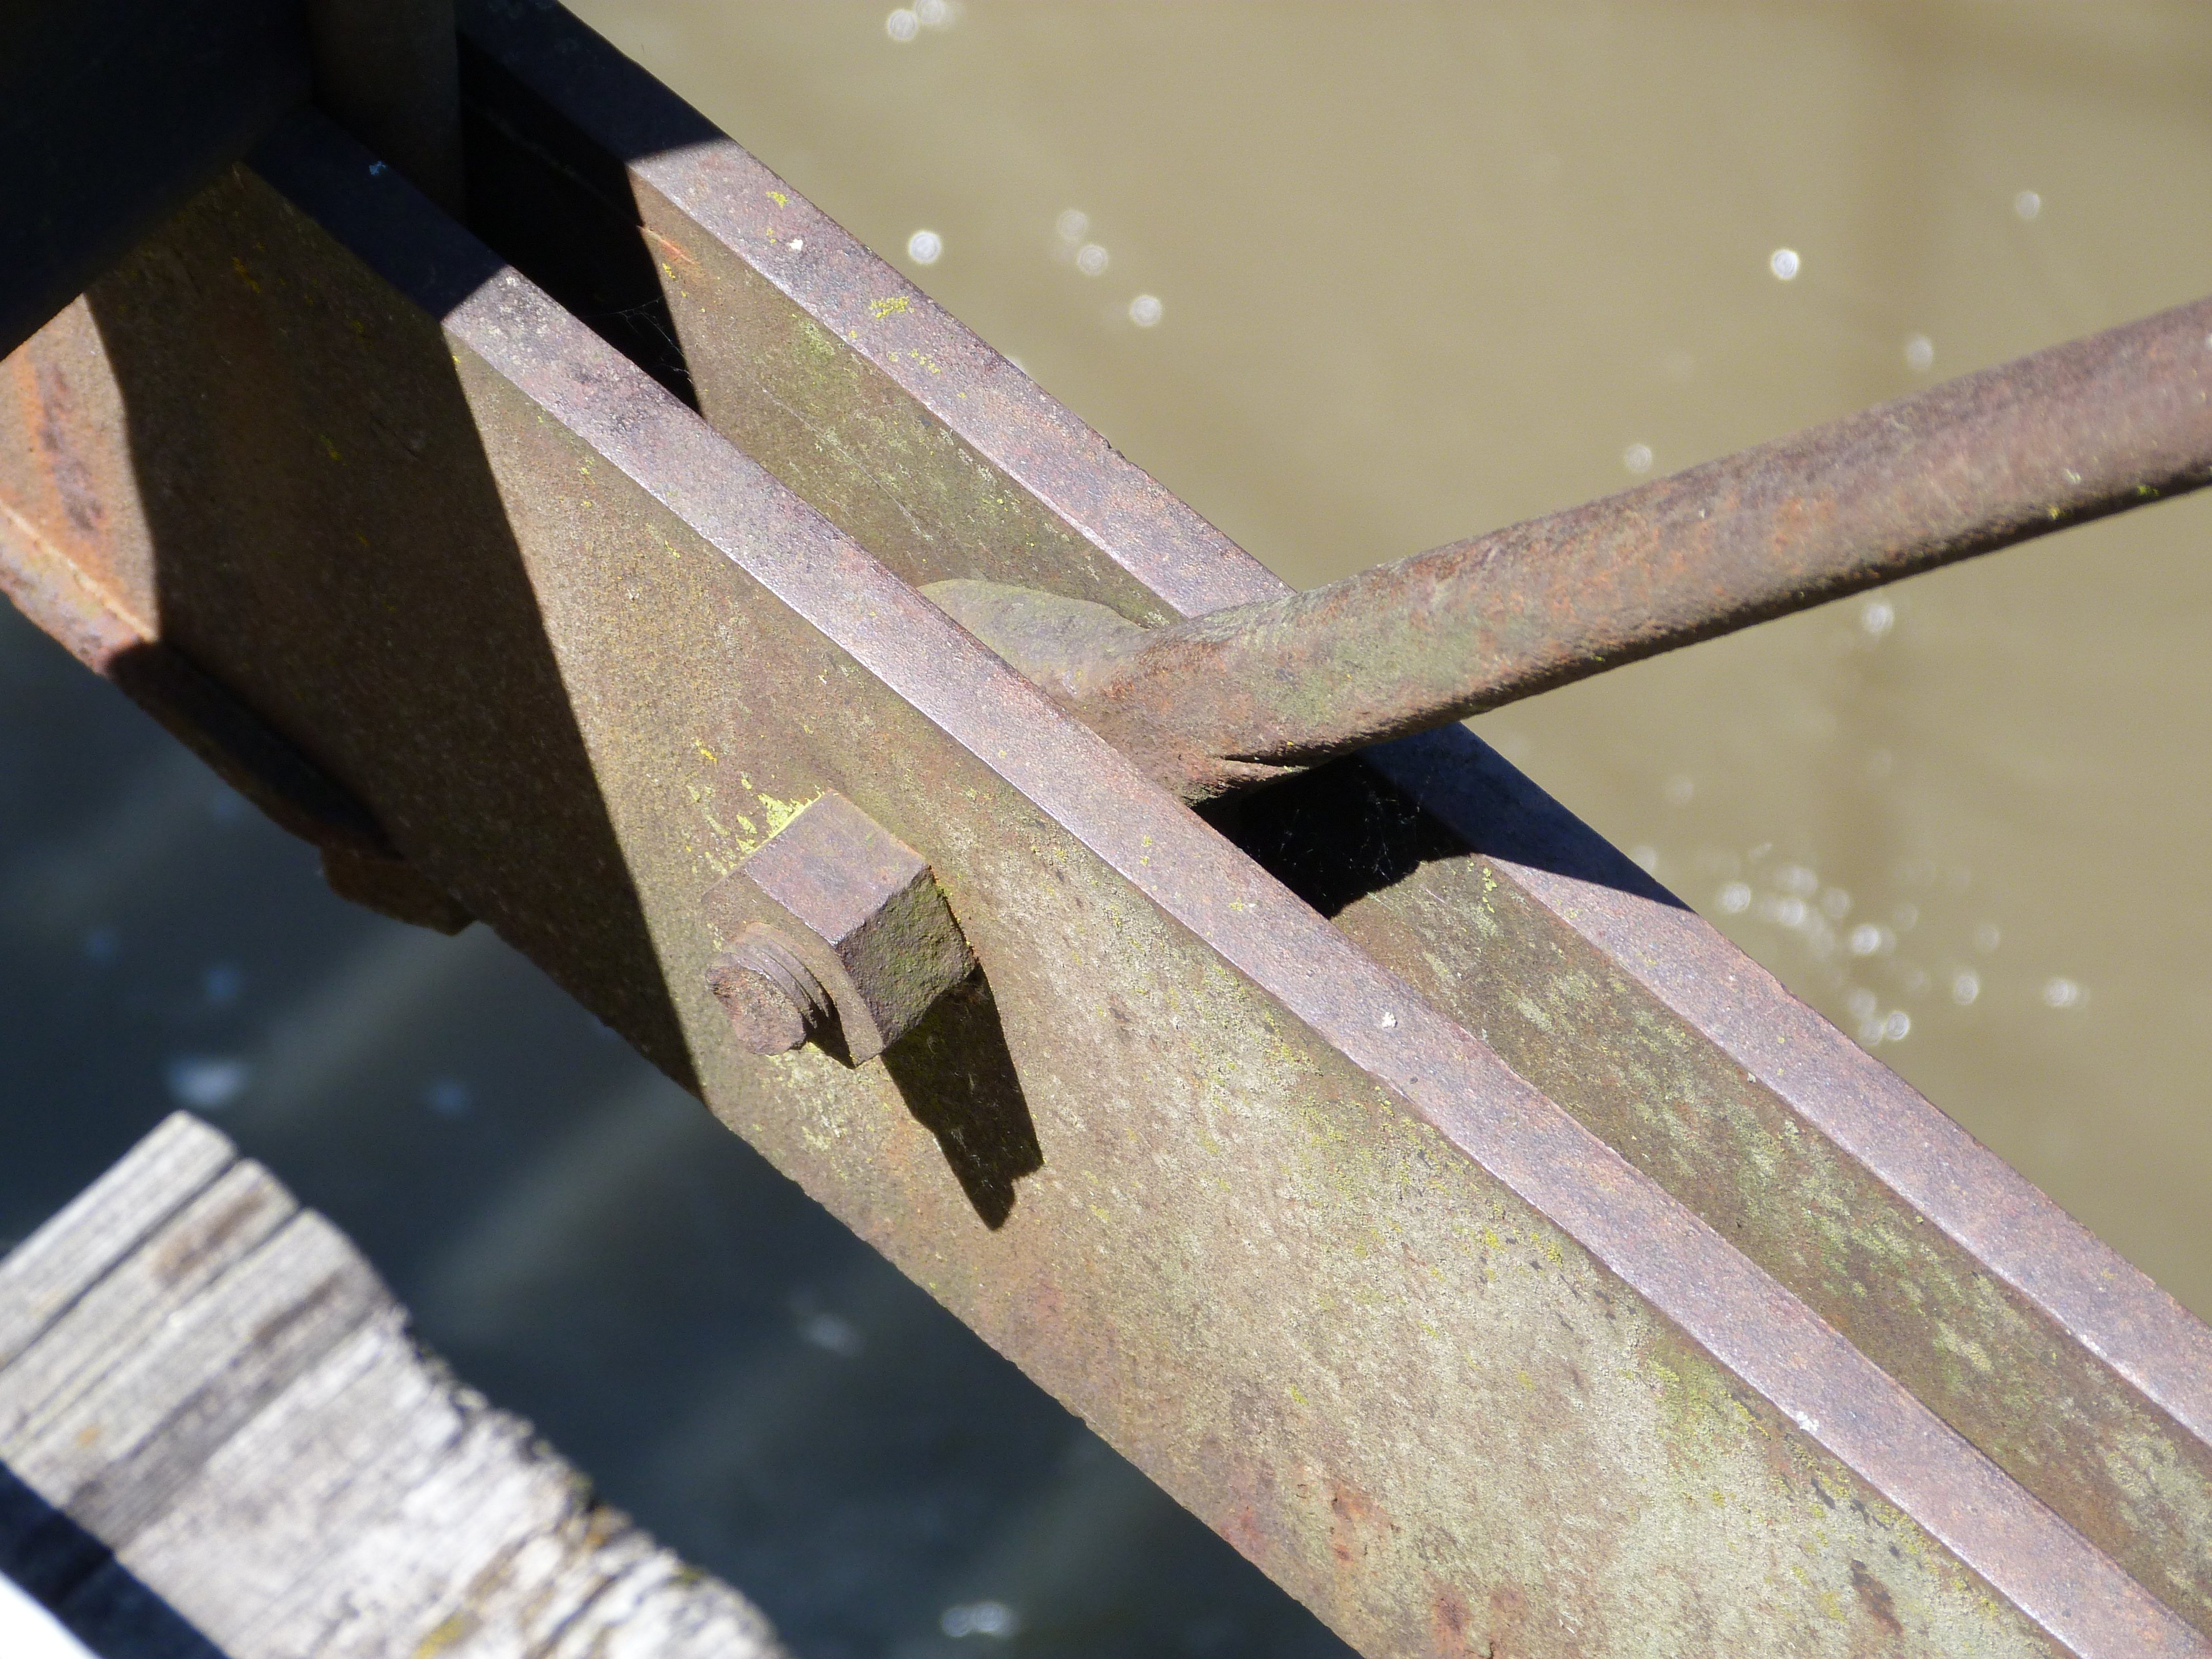
Bottom chord splice.
![]()
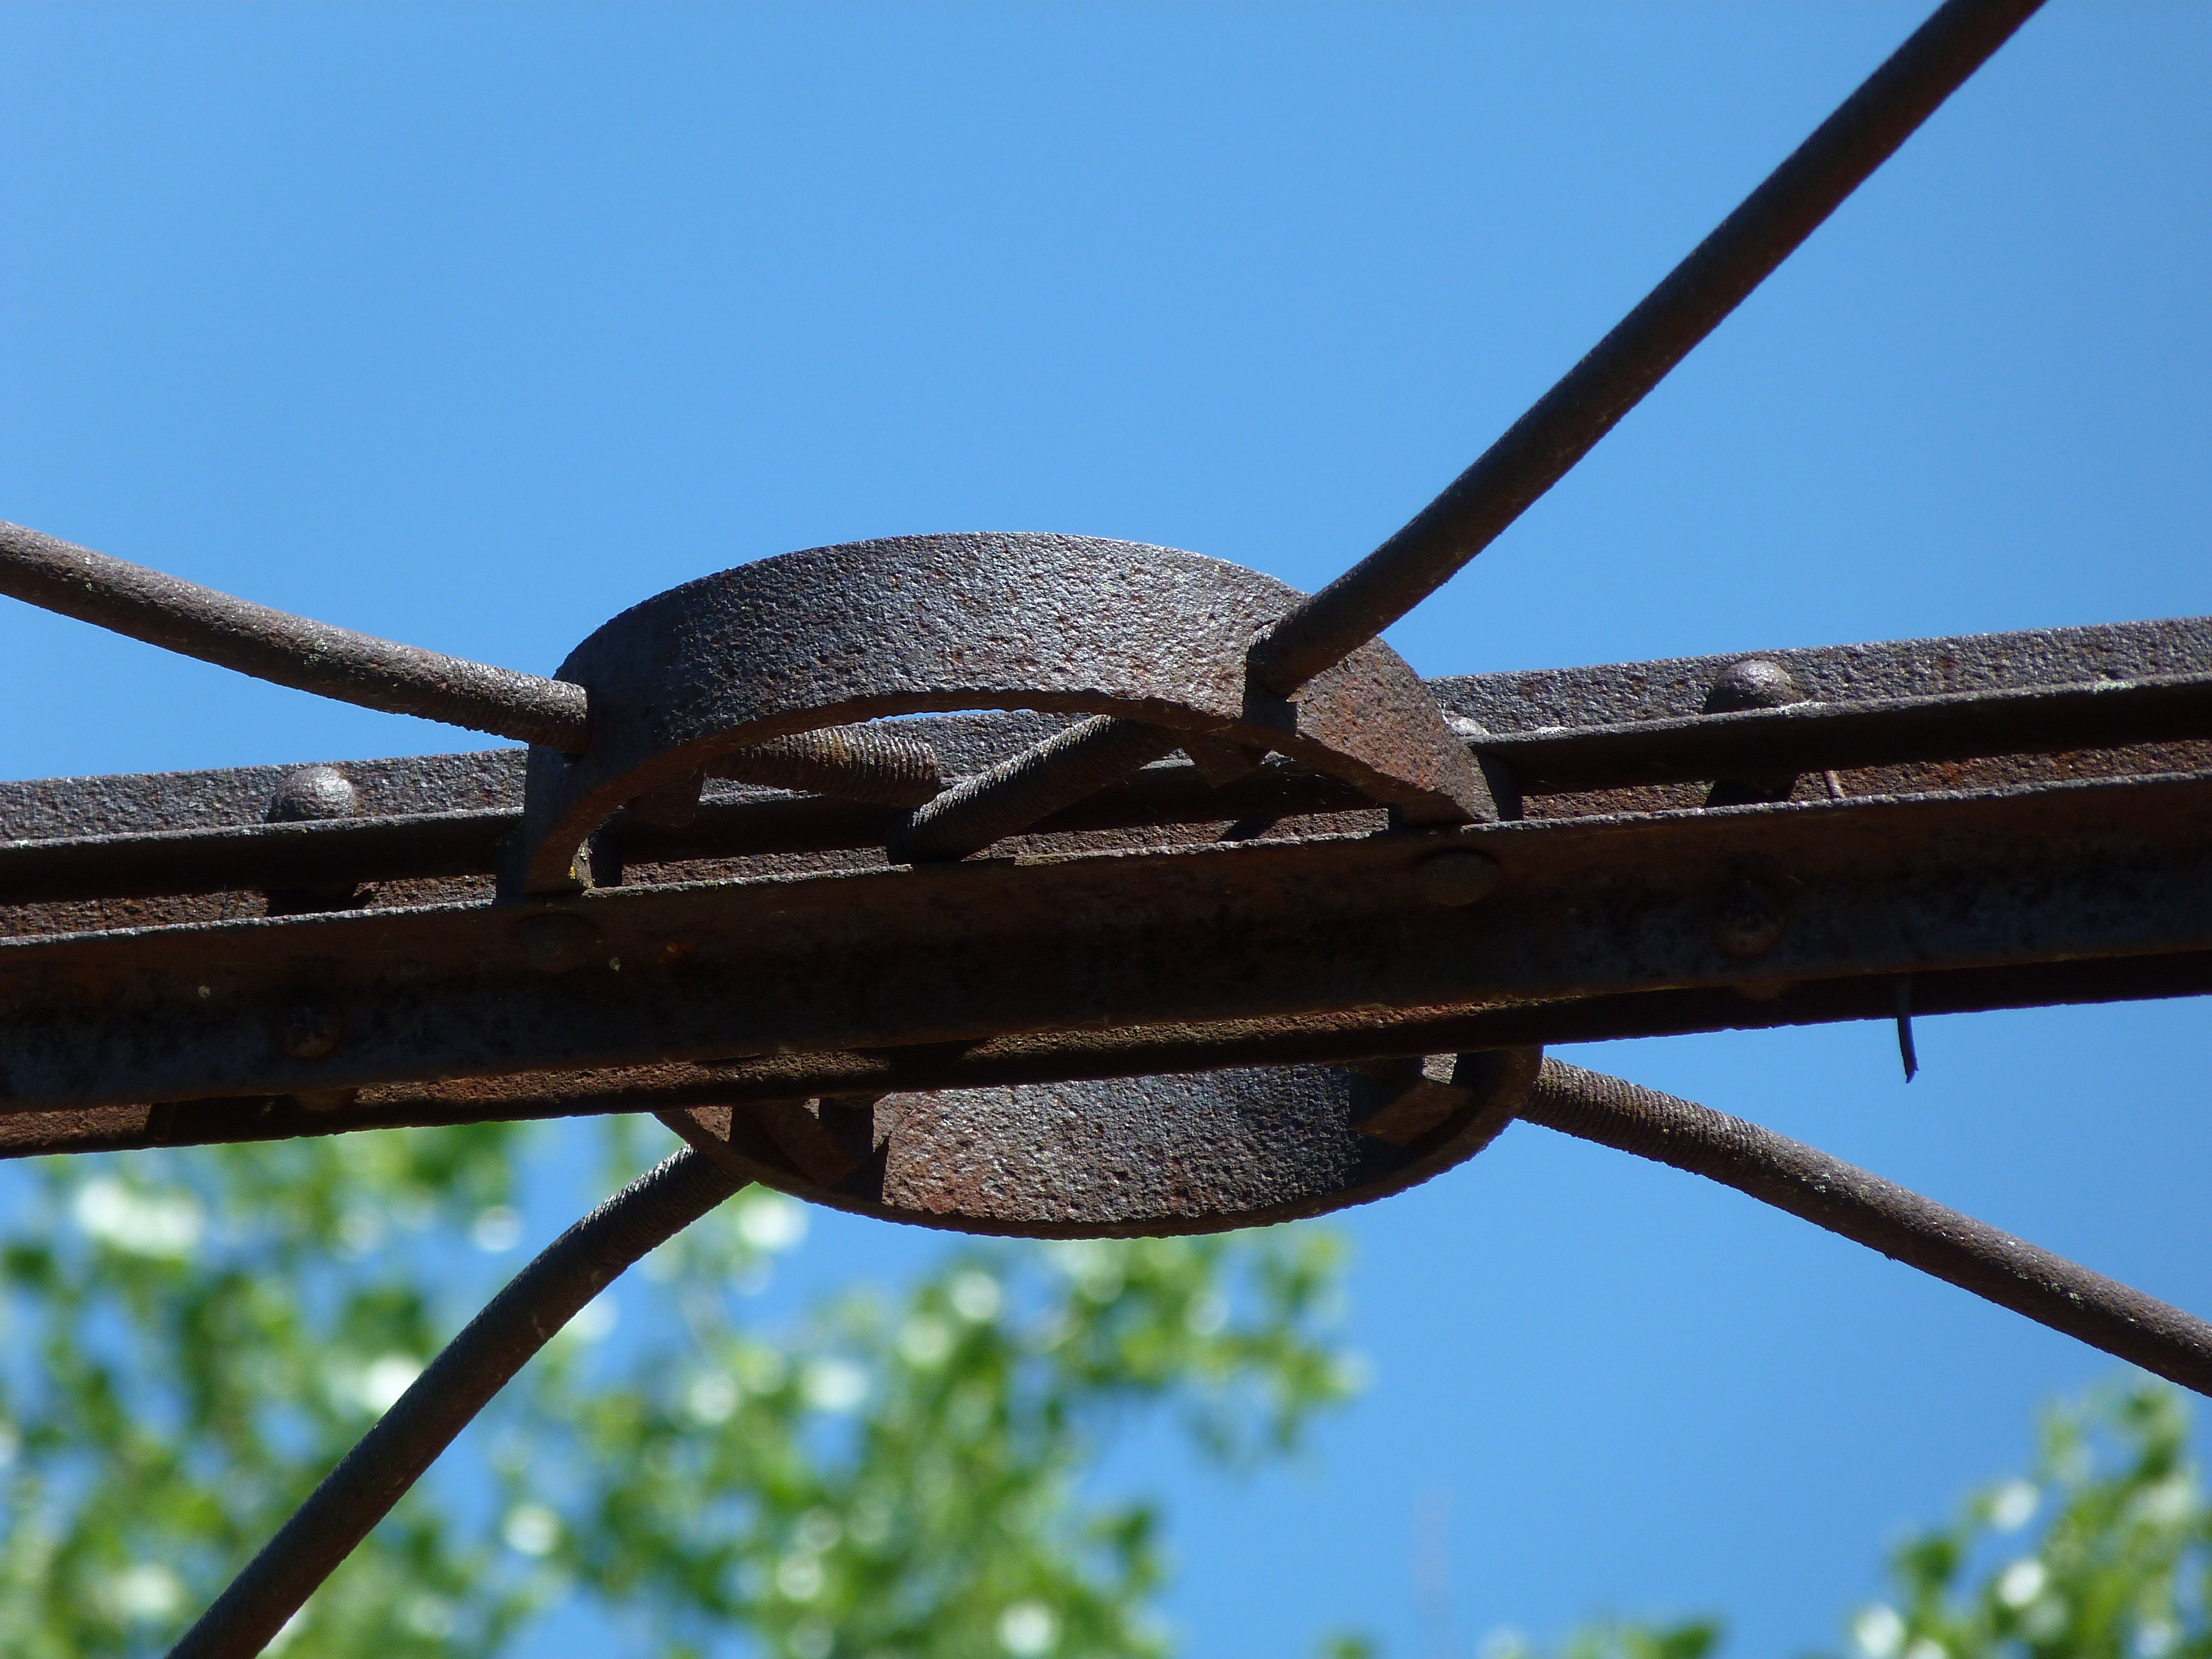


Lateral bracing connections to strut.
![]()

Struts.
![]()


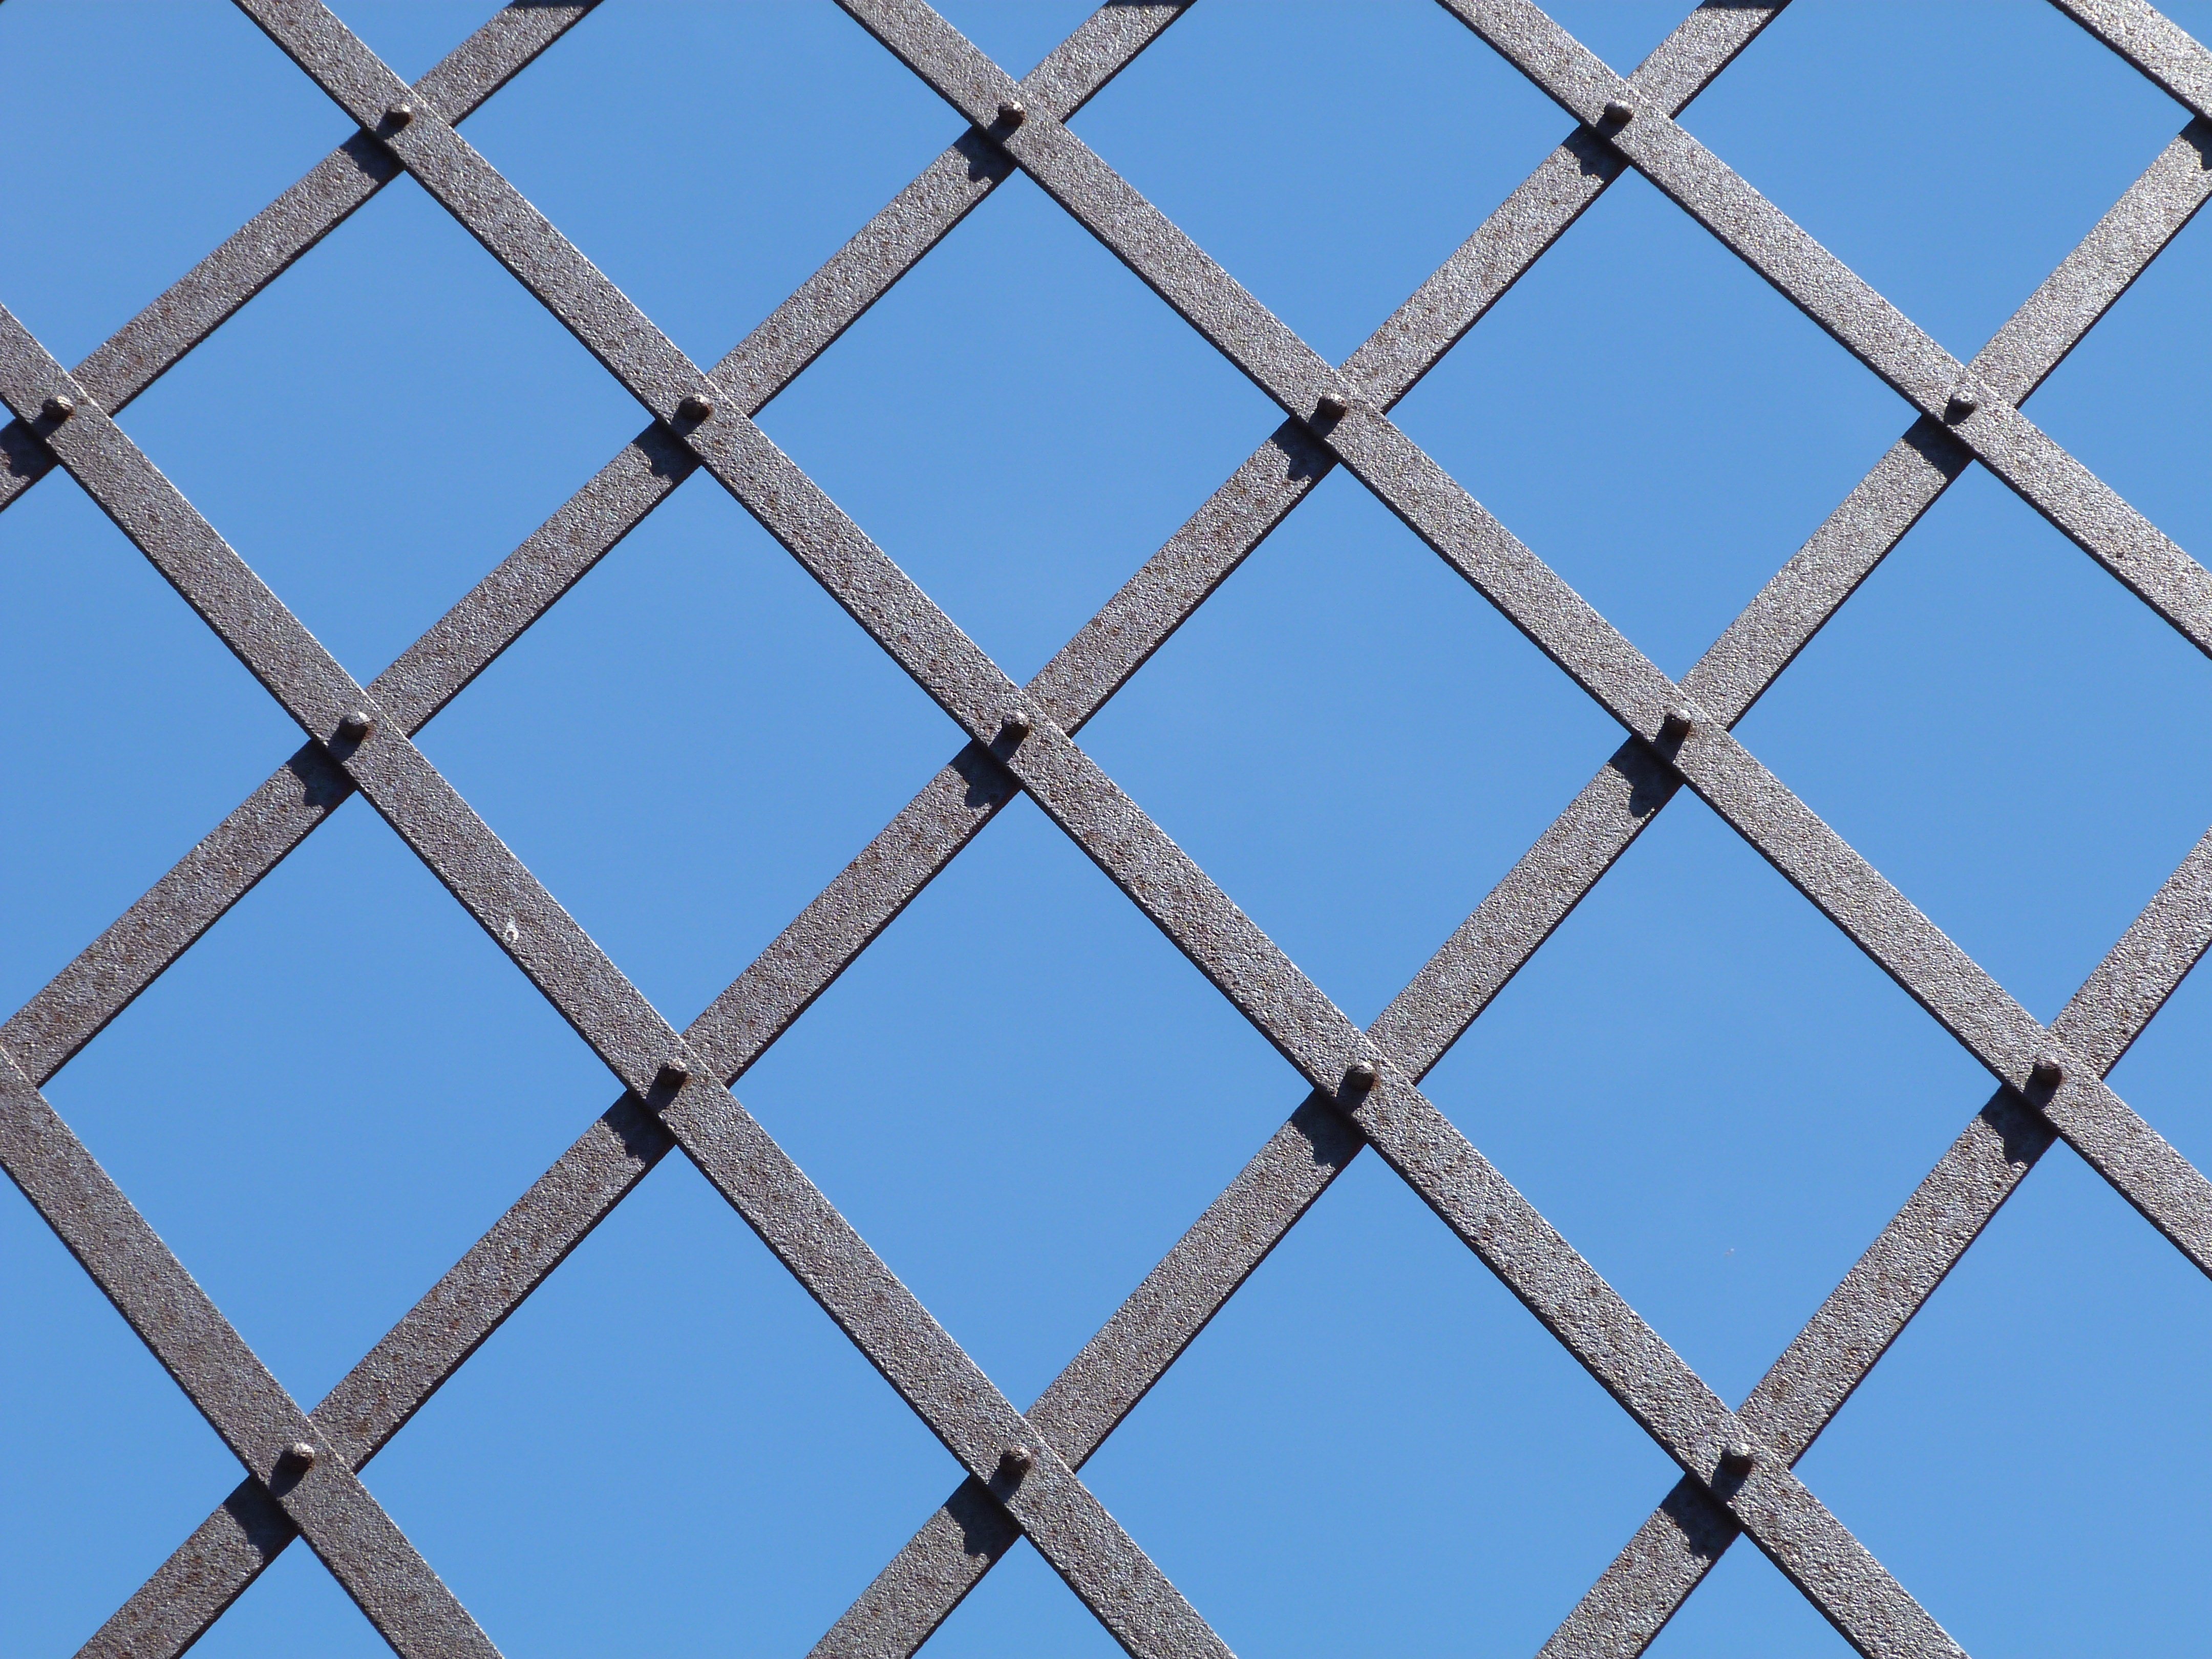
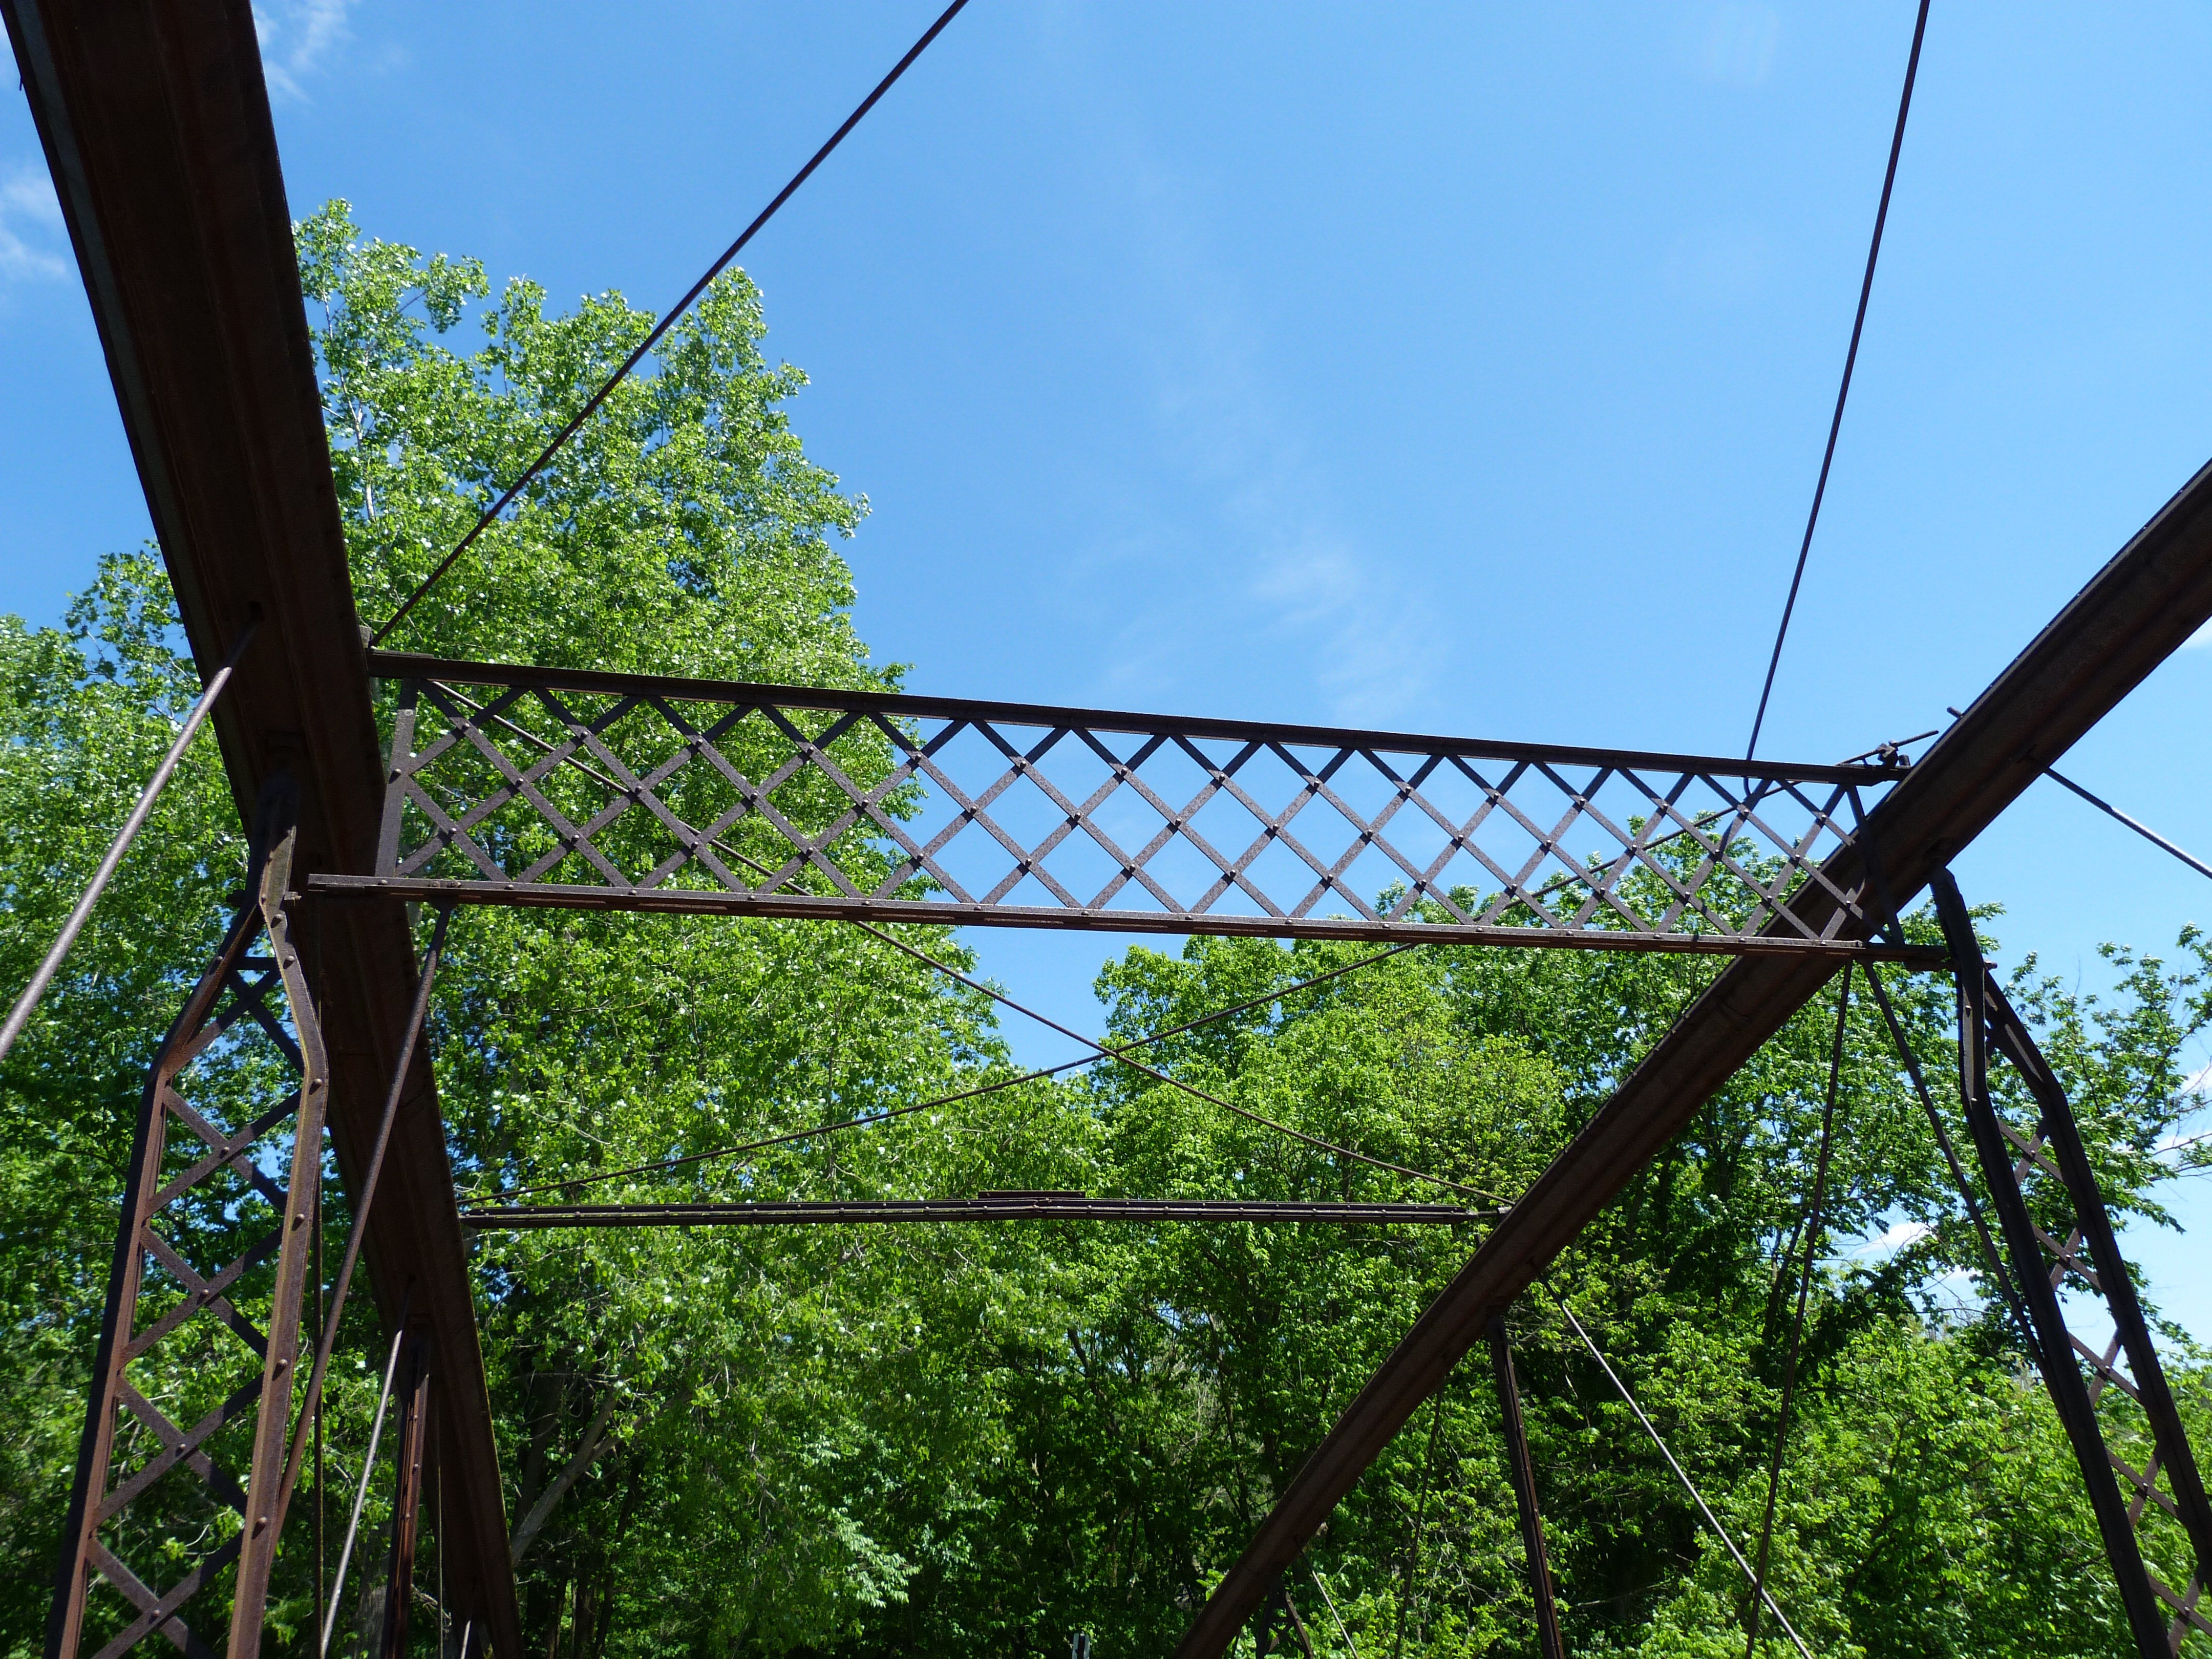
Strut lattice.
![]()


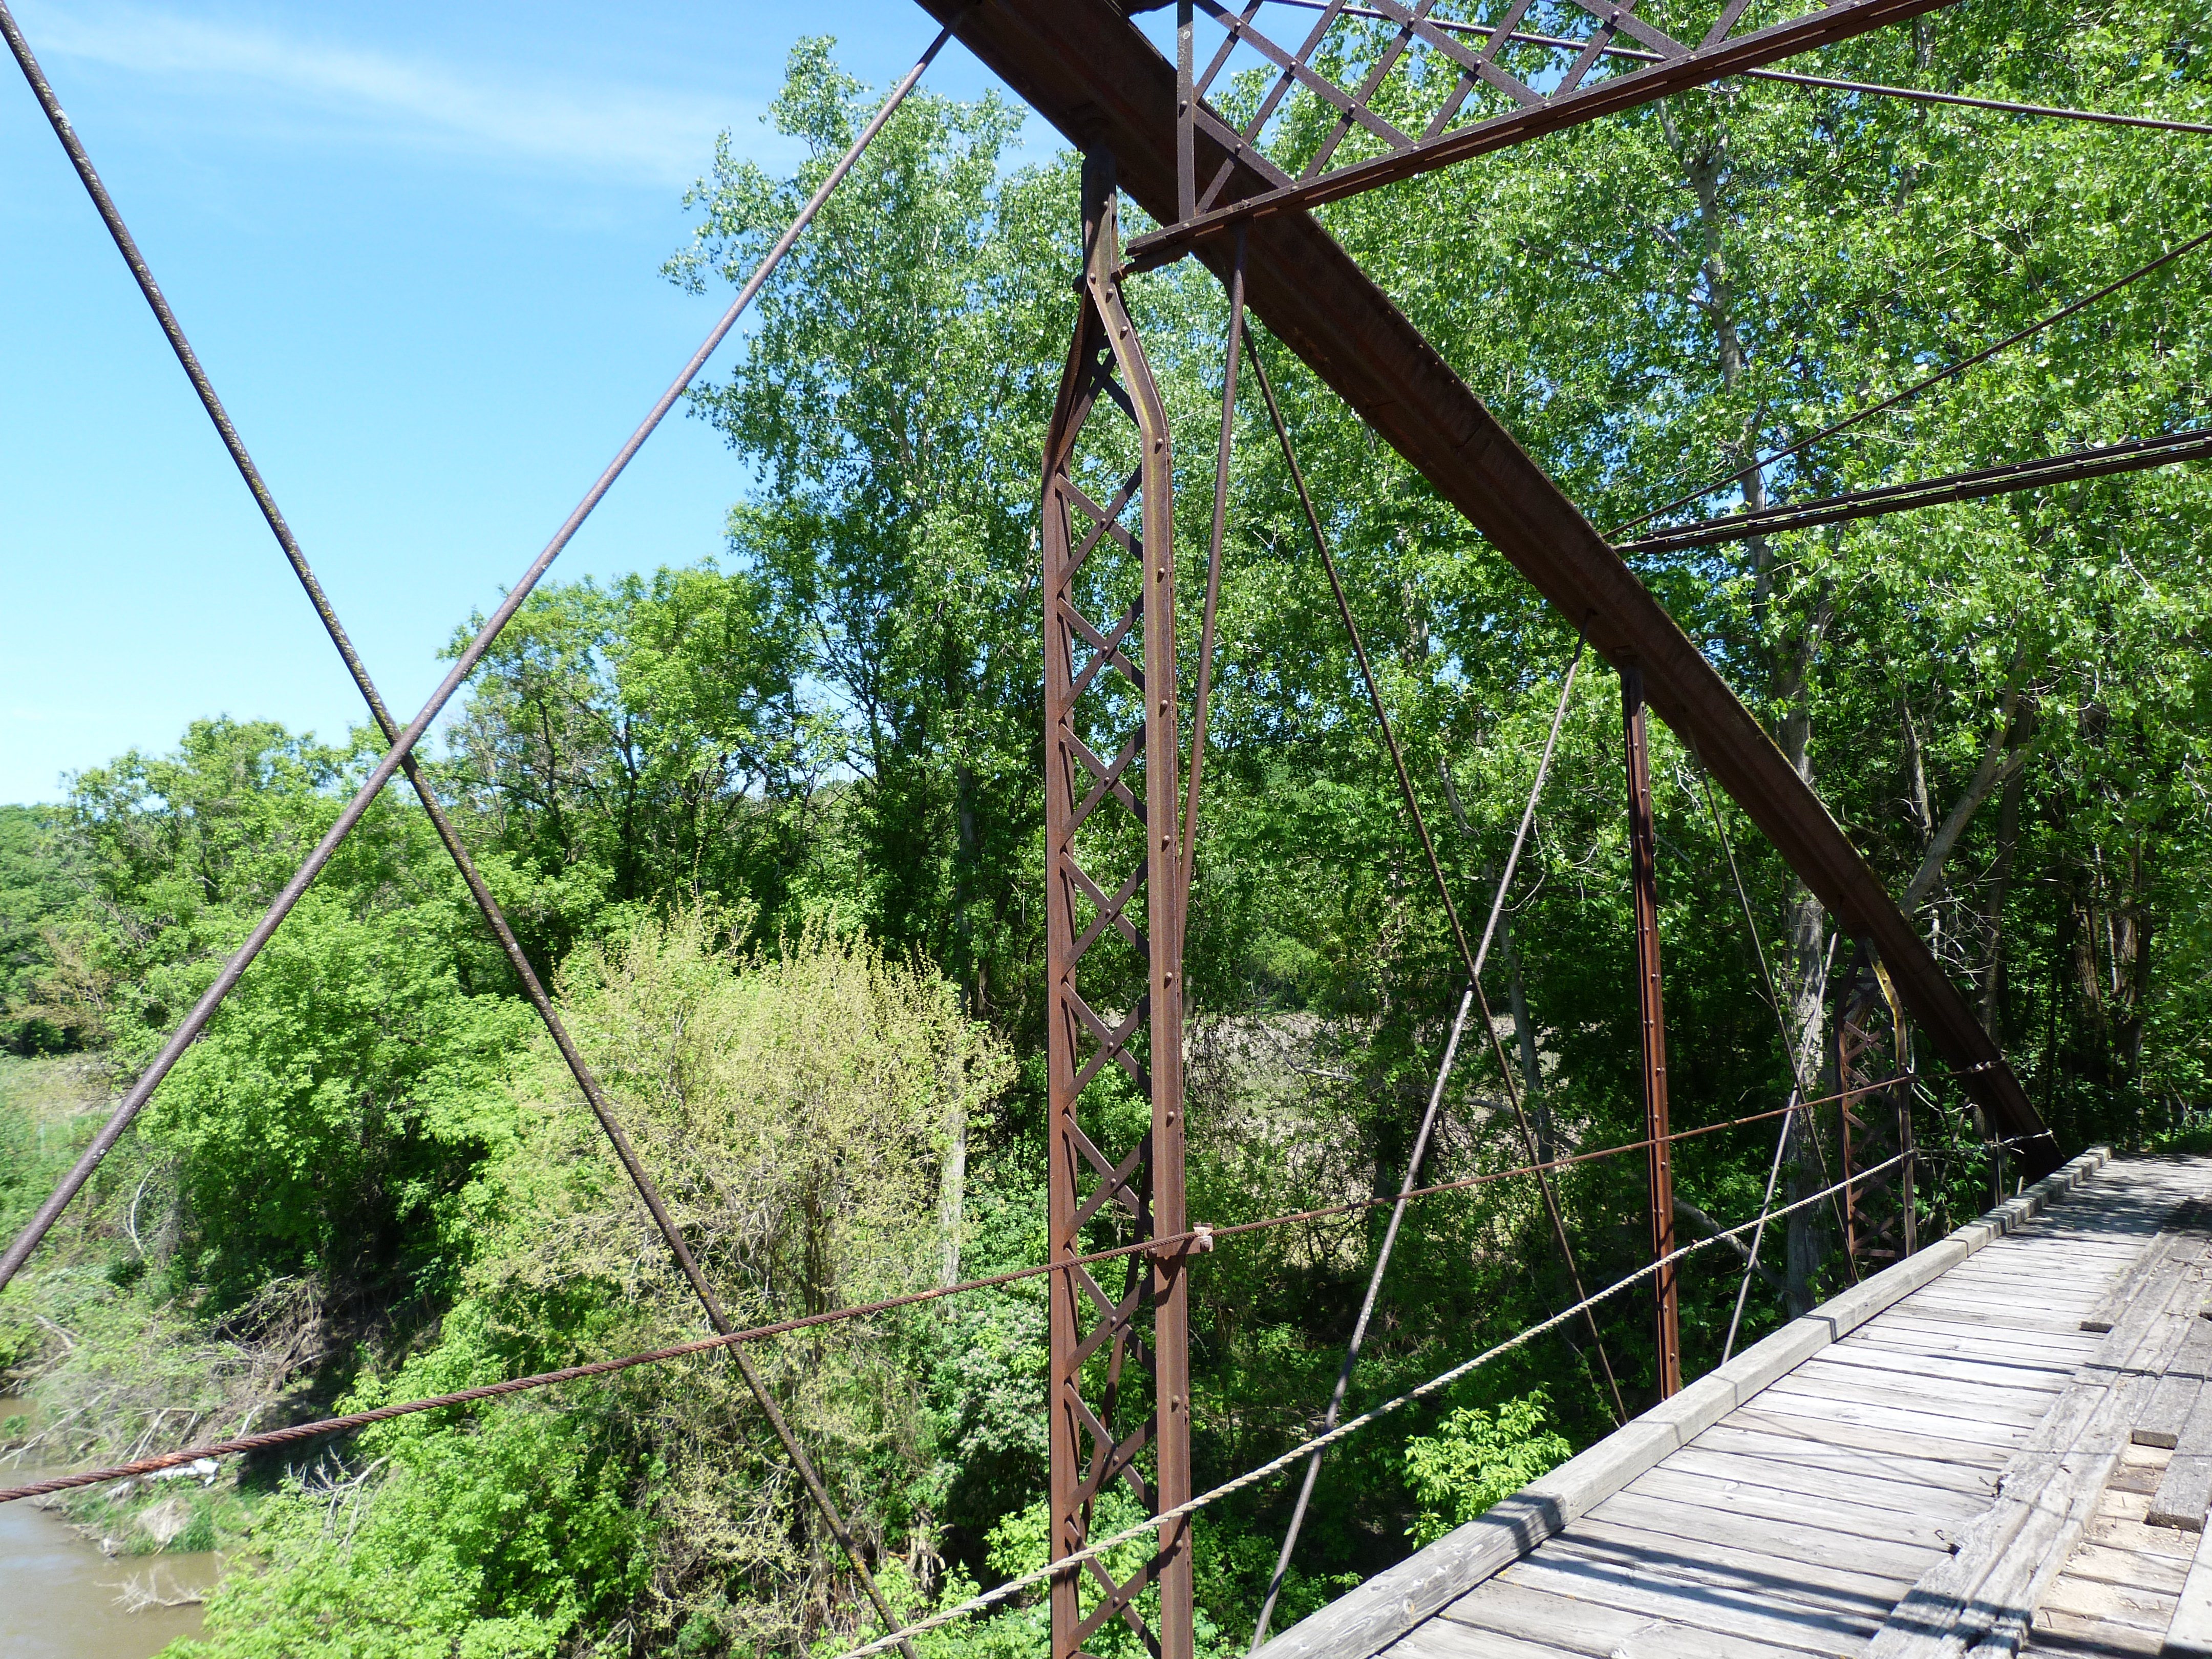
Latticed vertical members.
![]()


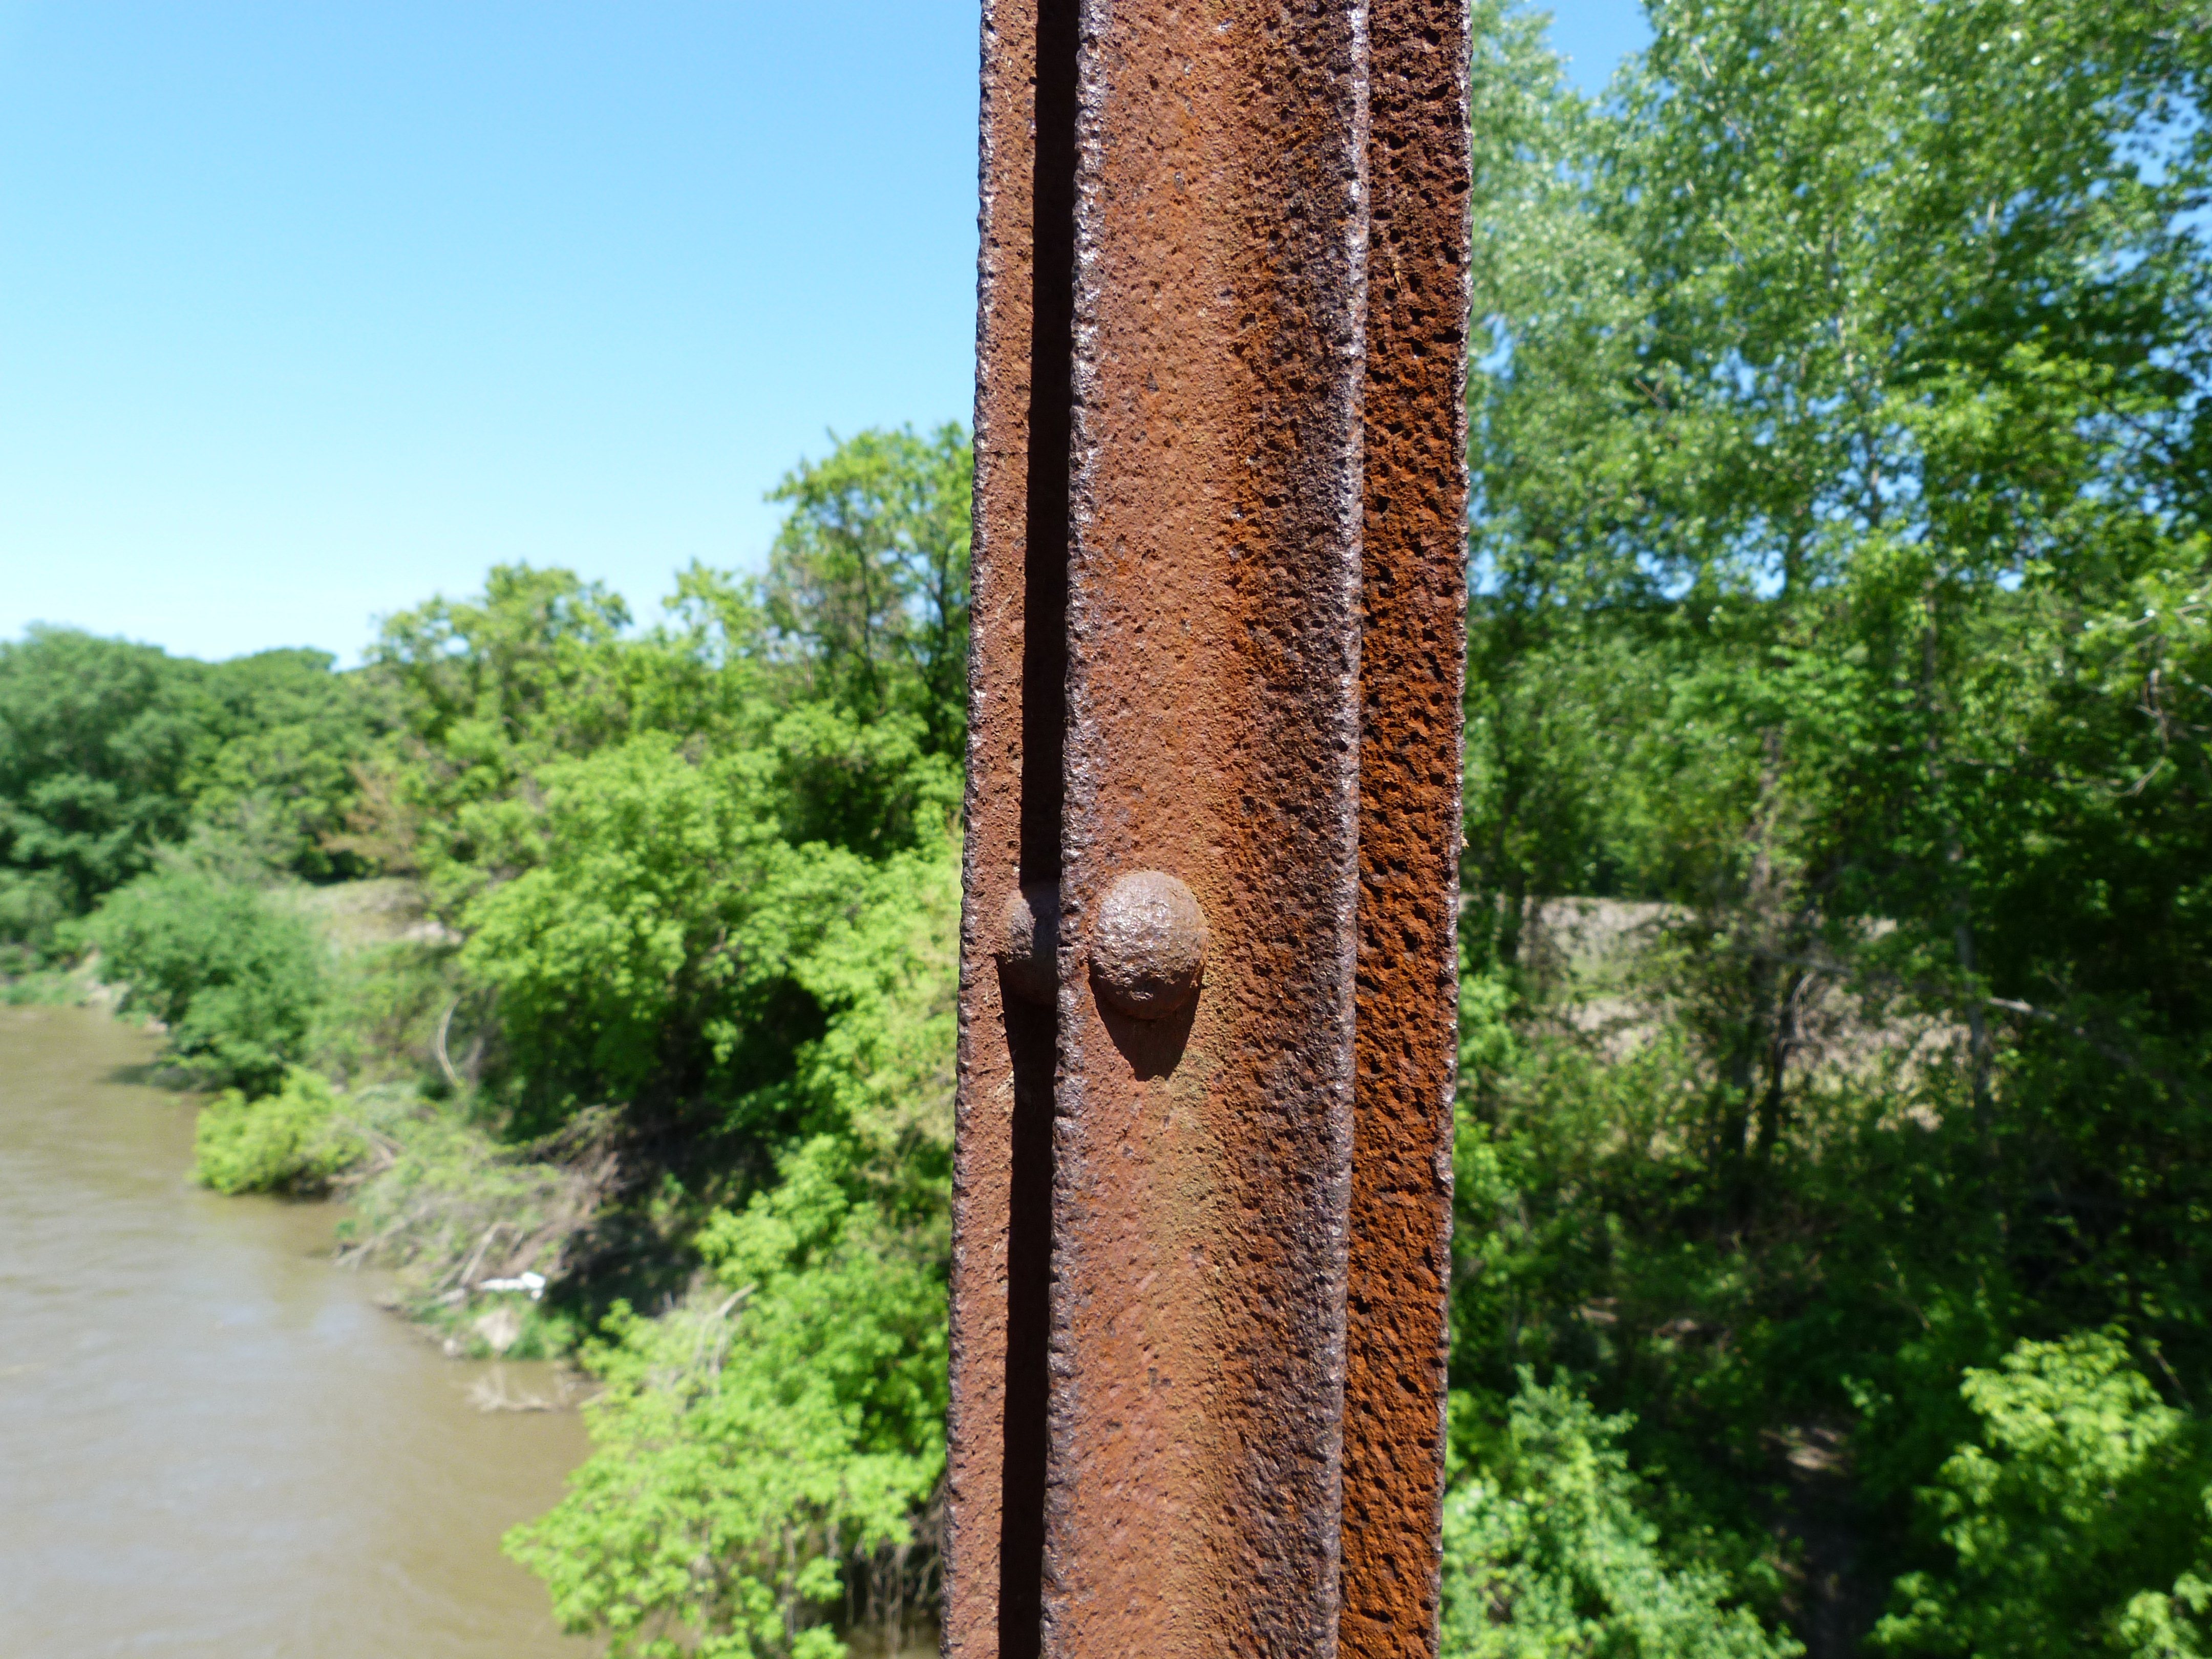
Vertical members with rivet spacers.
![]()
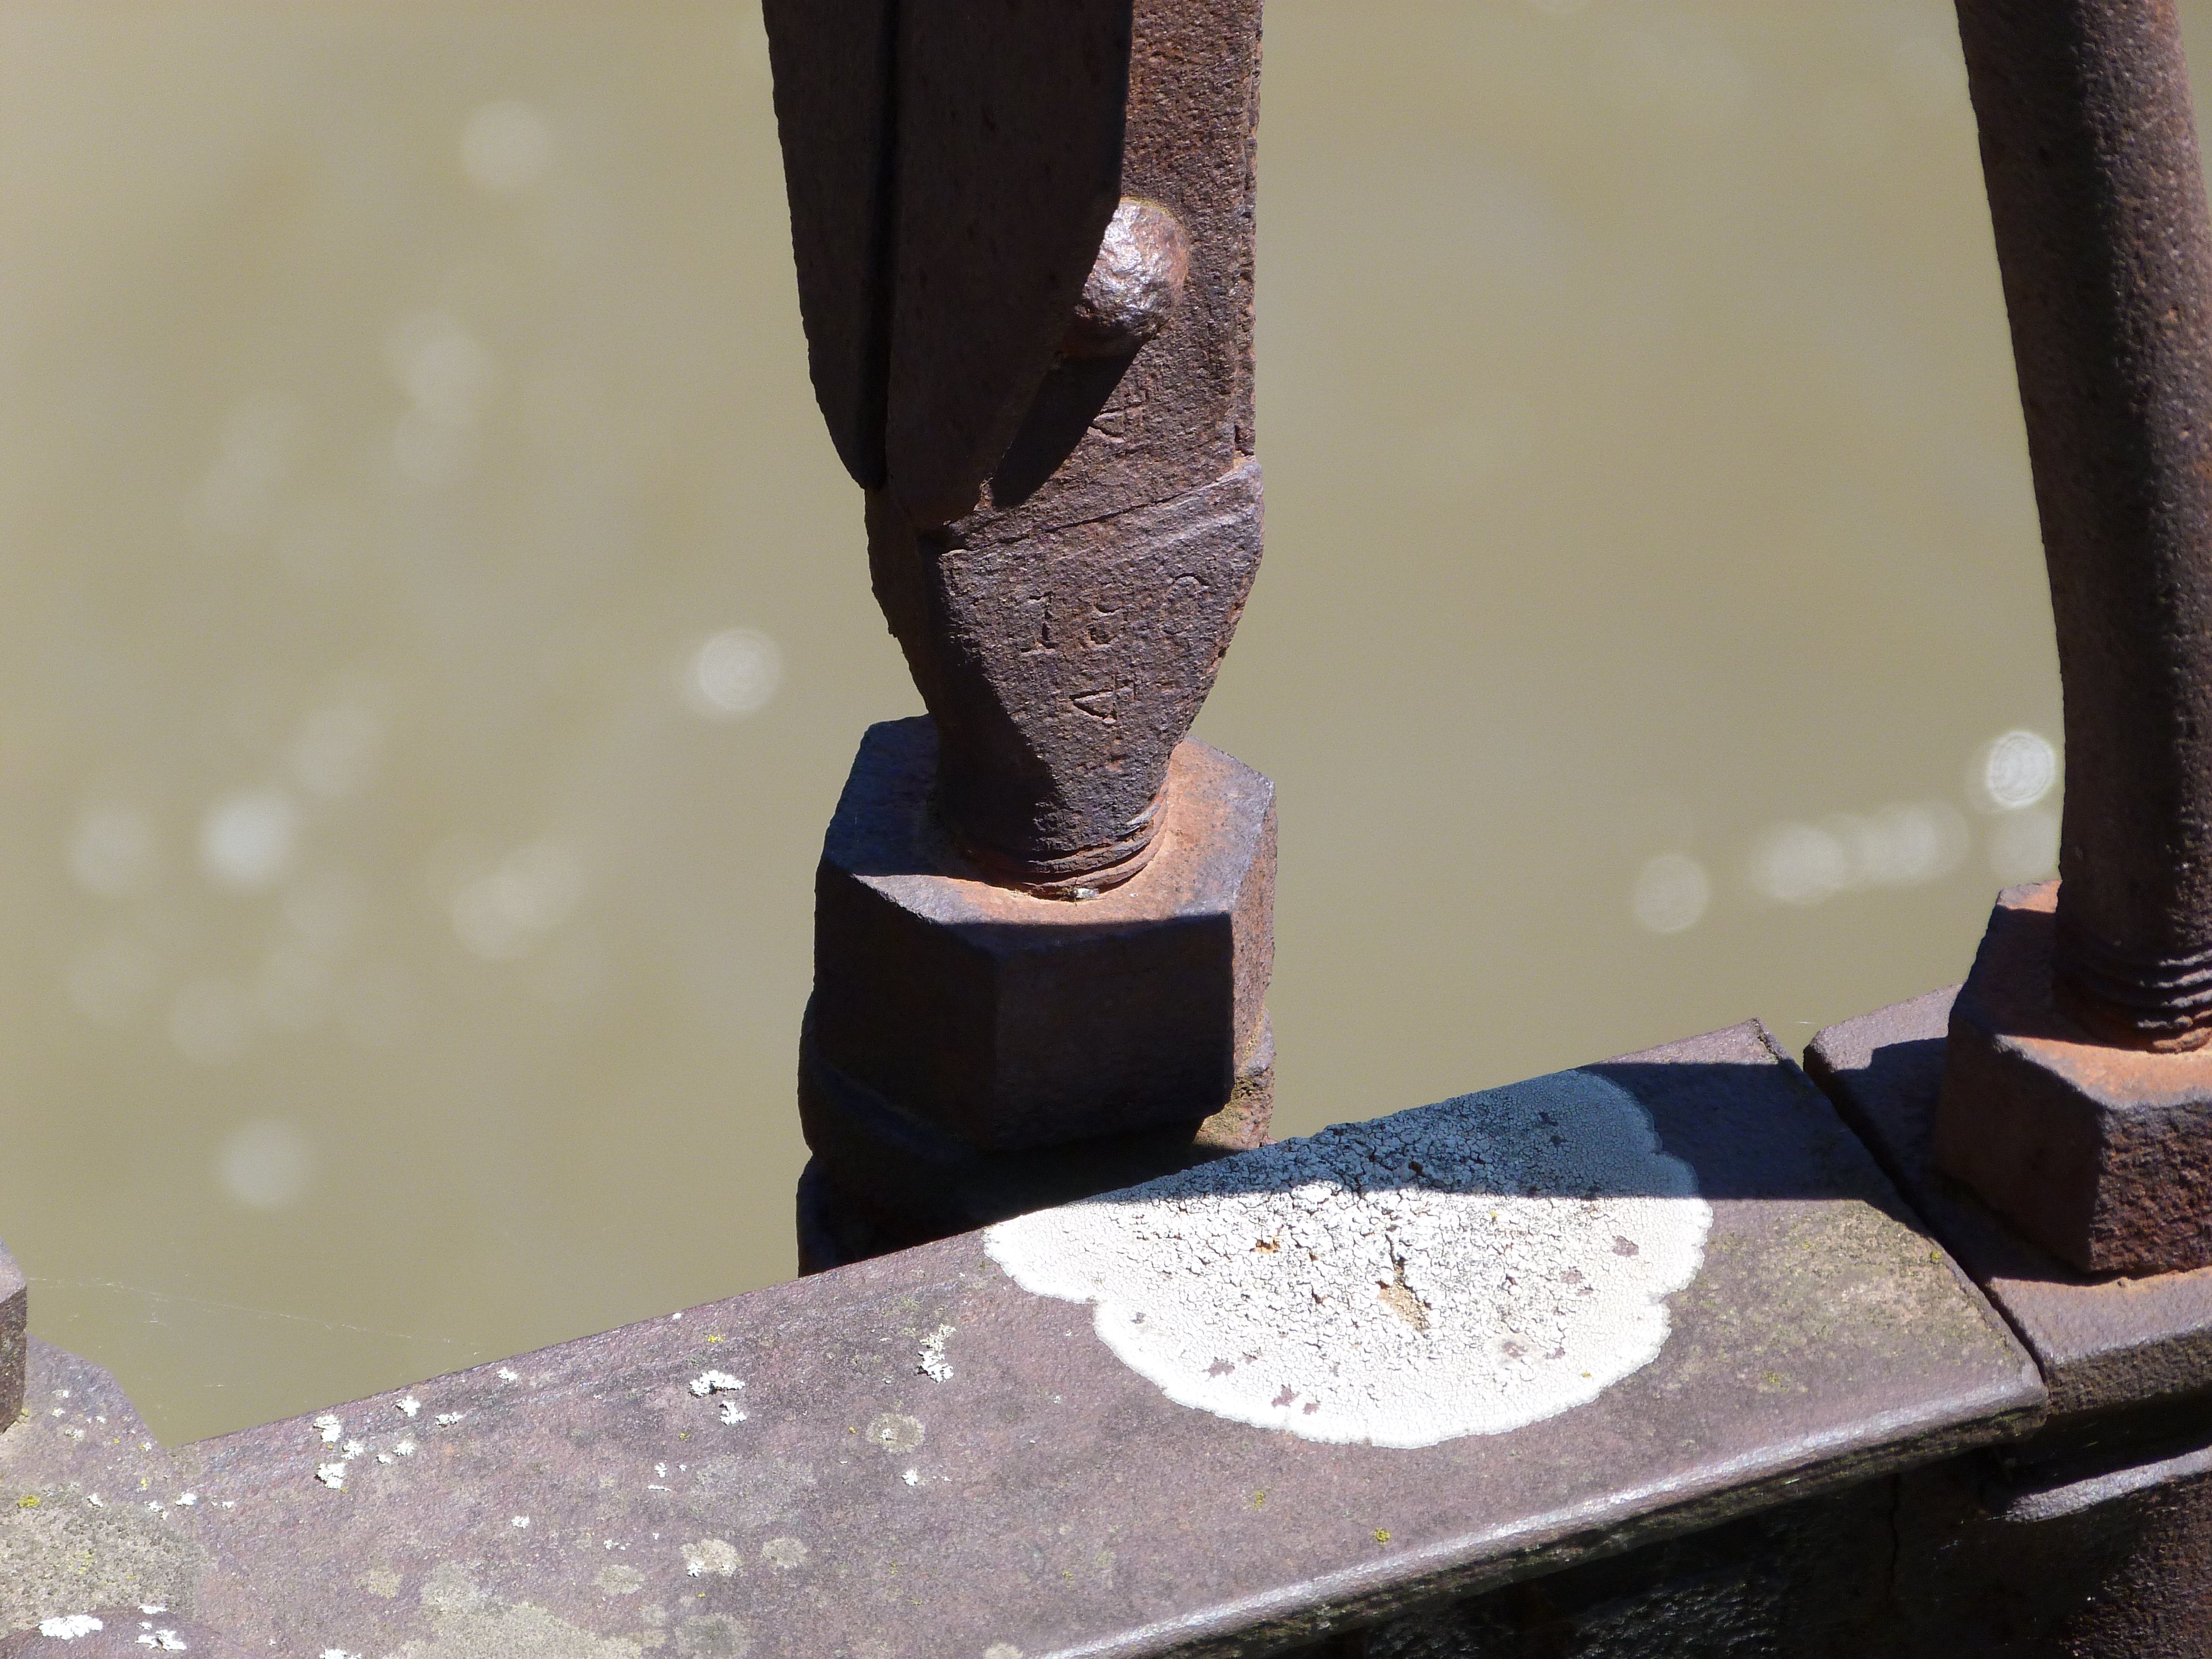

Numbers on base of vertical members.
![]()
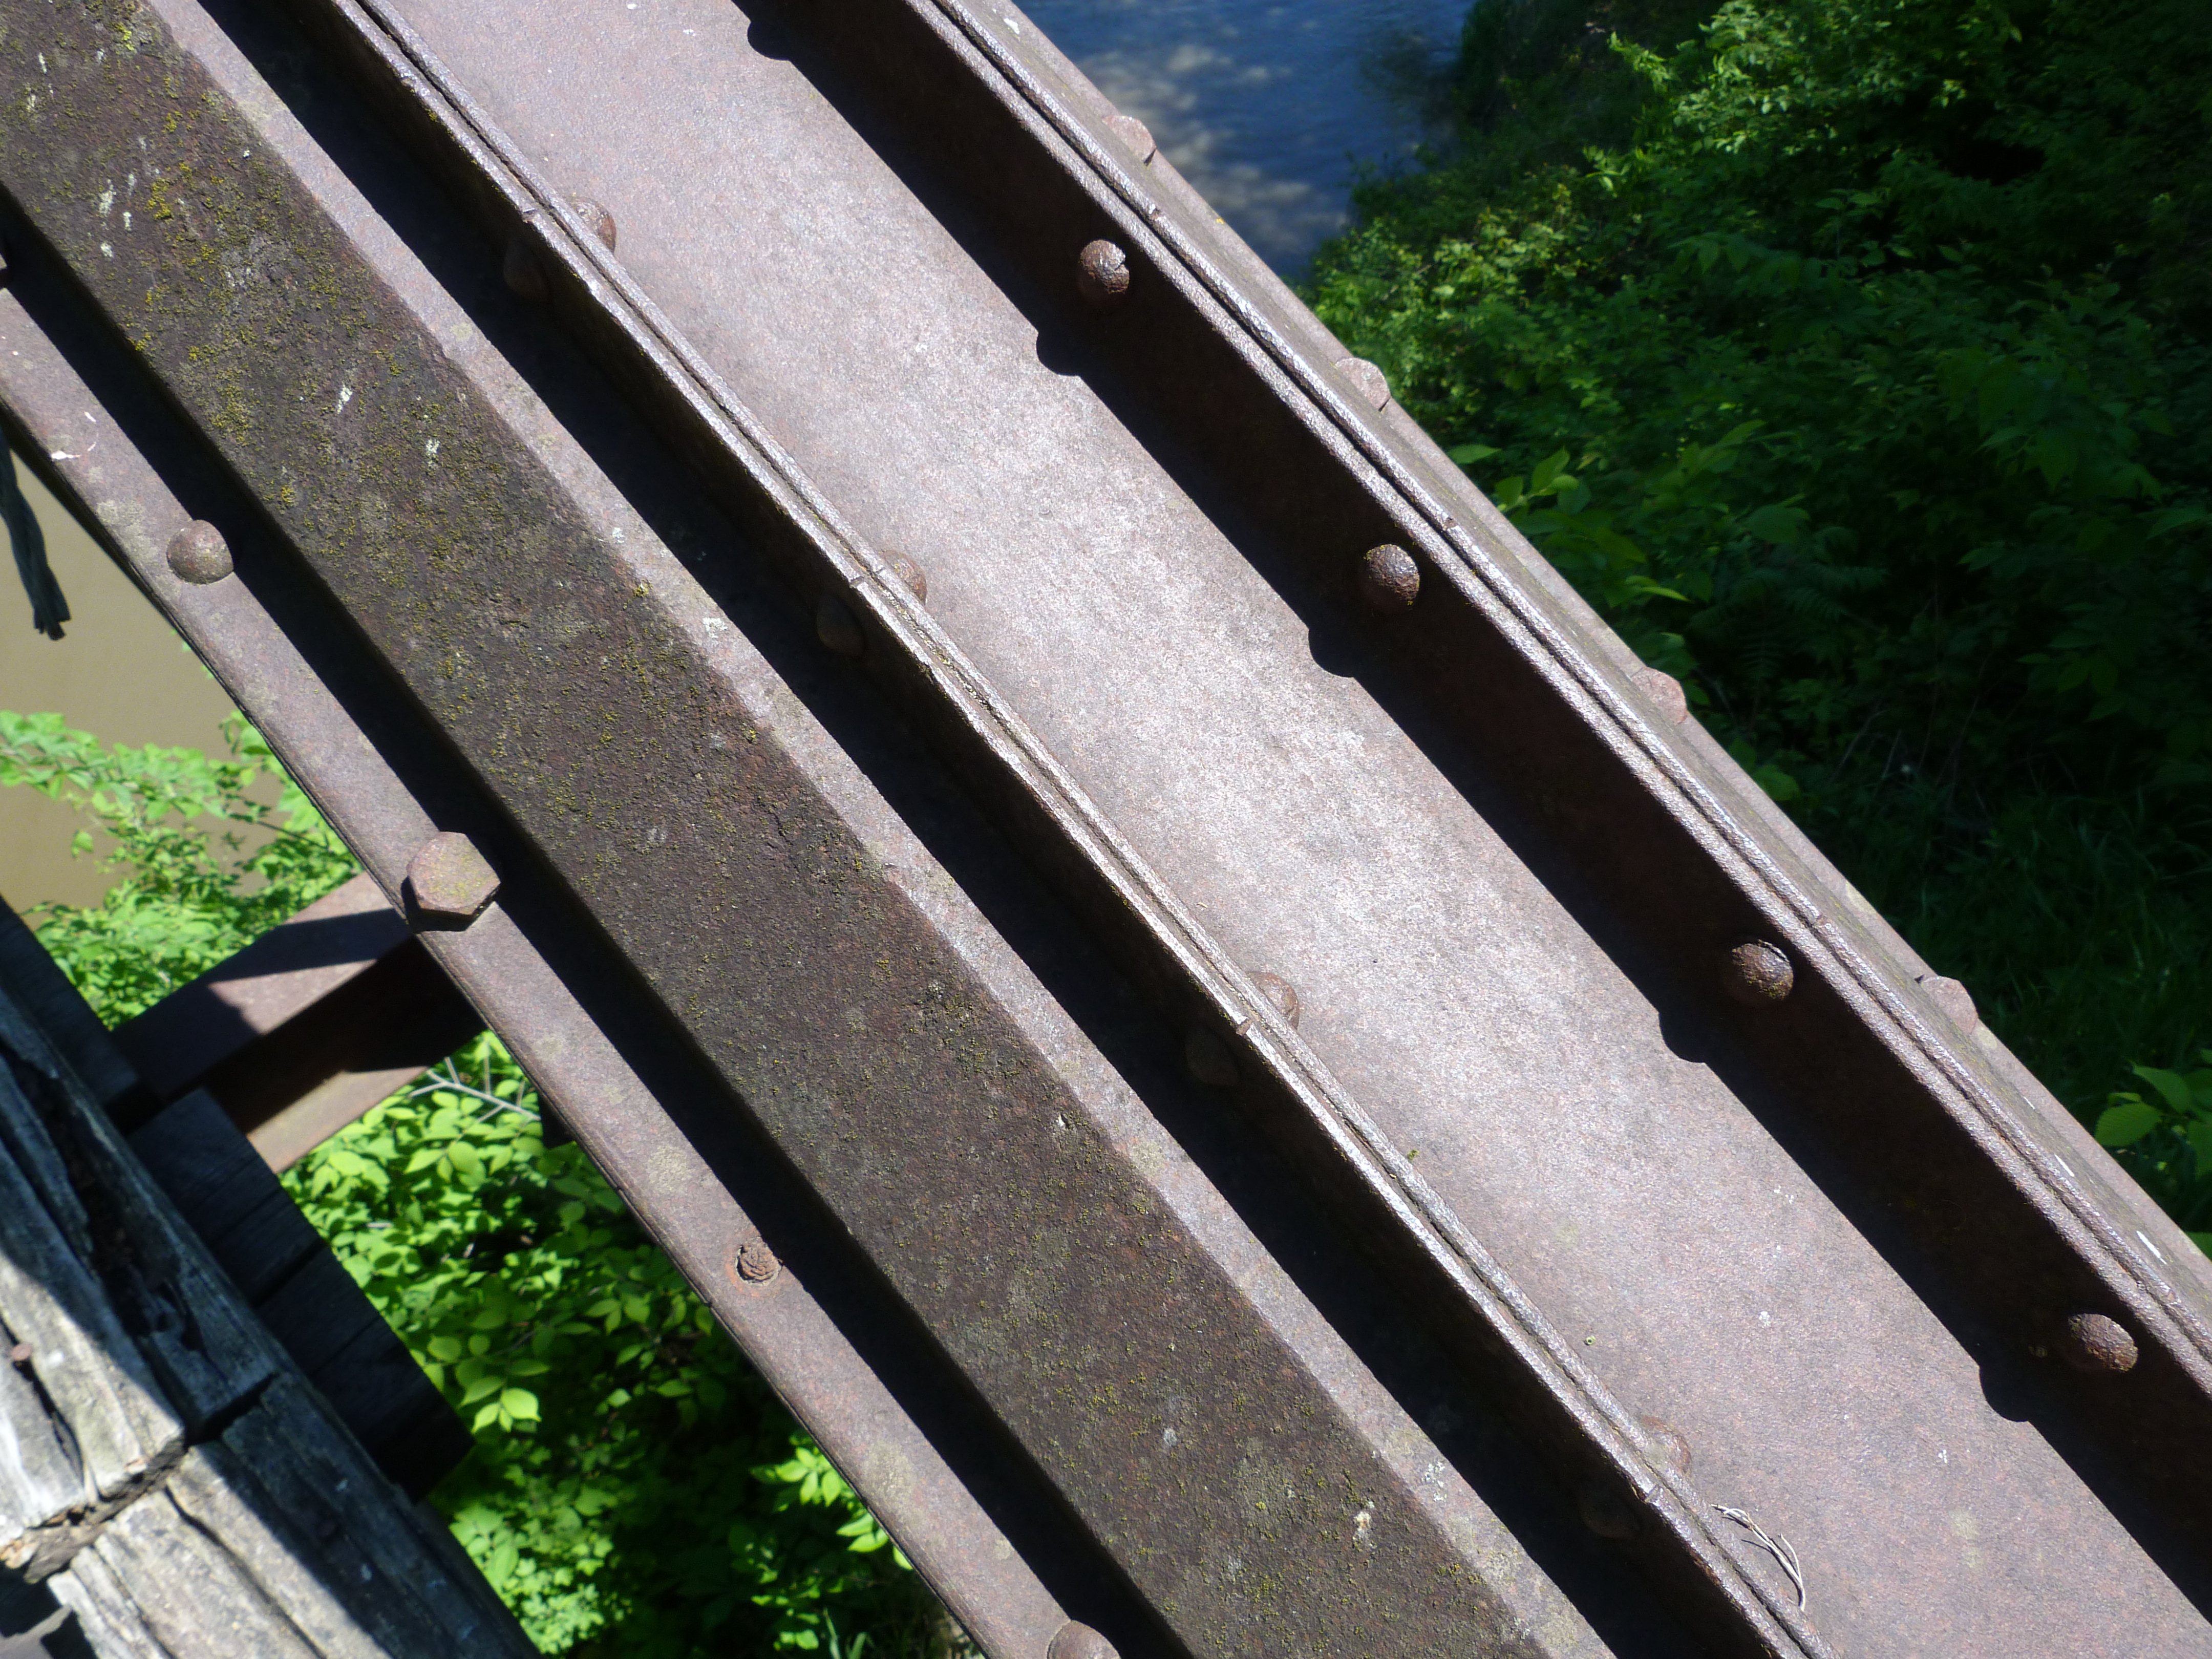

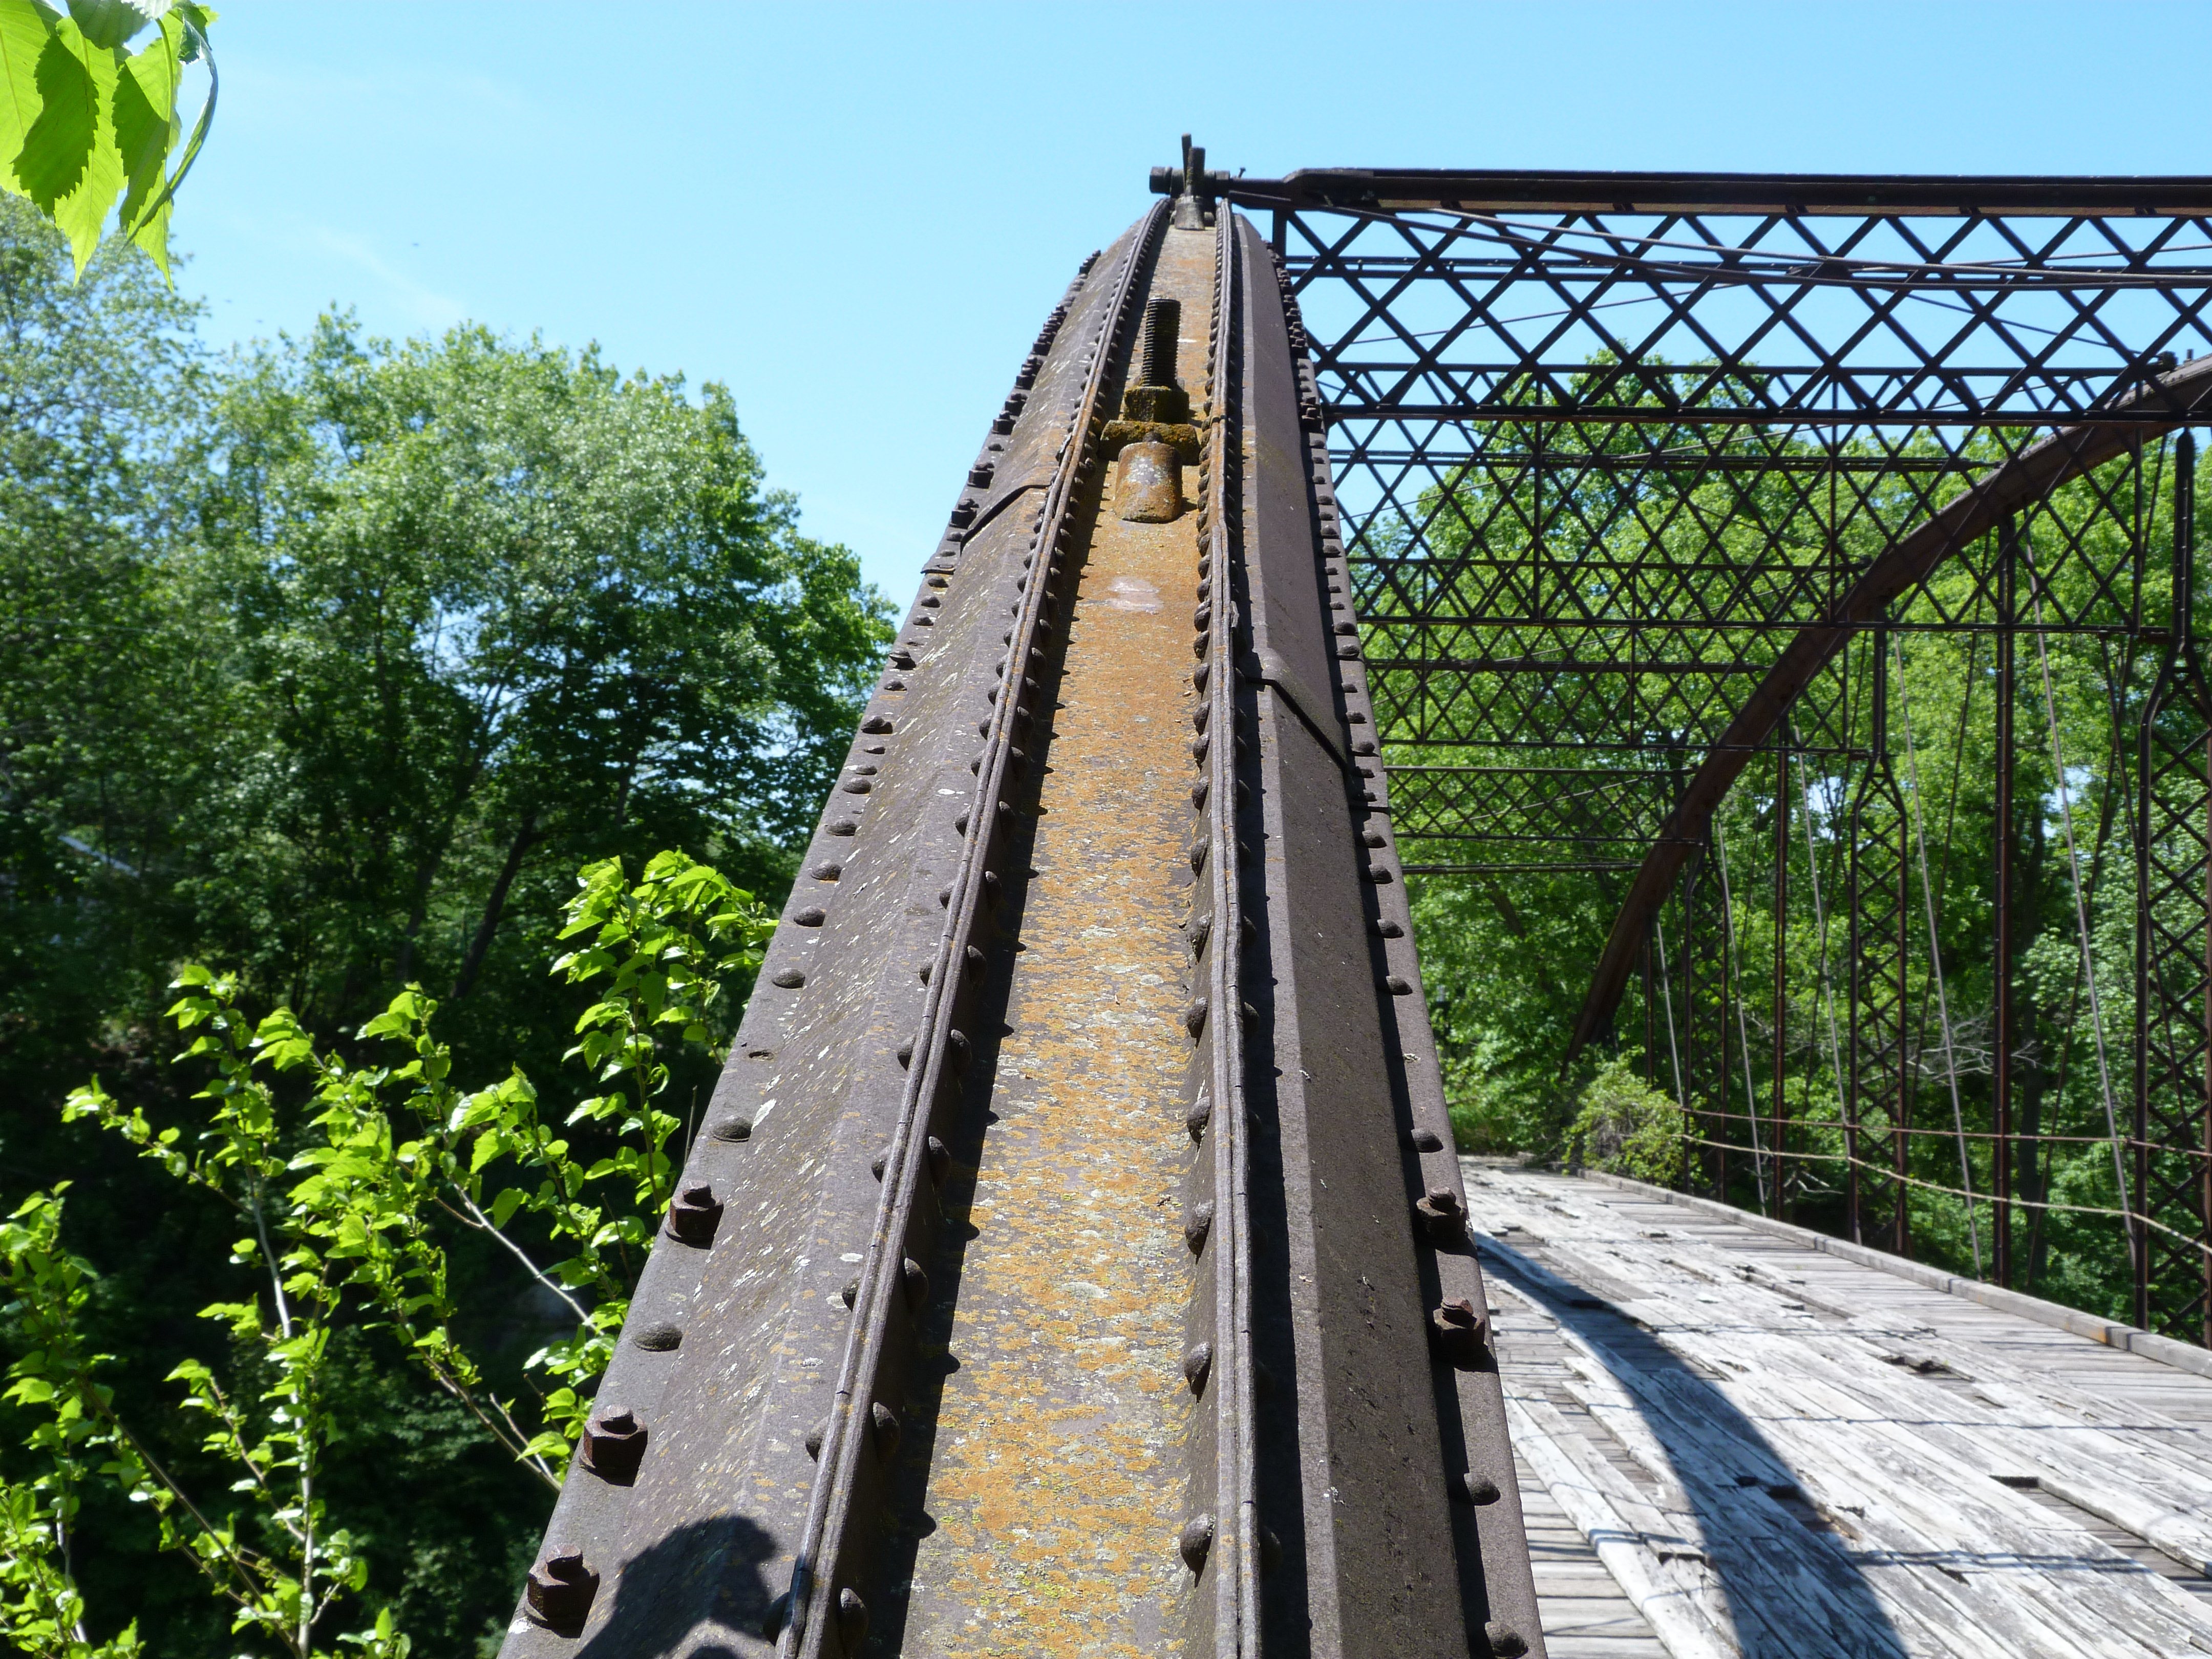


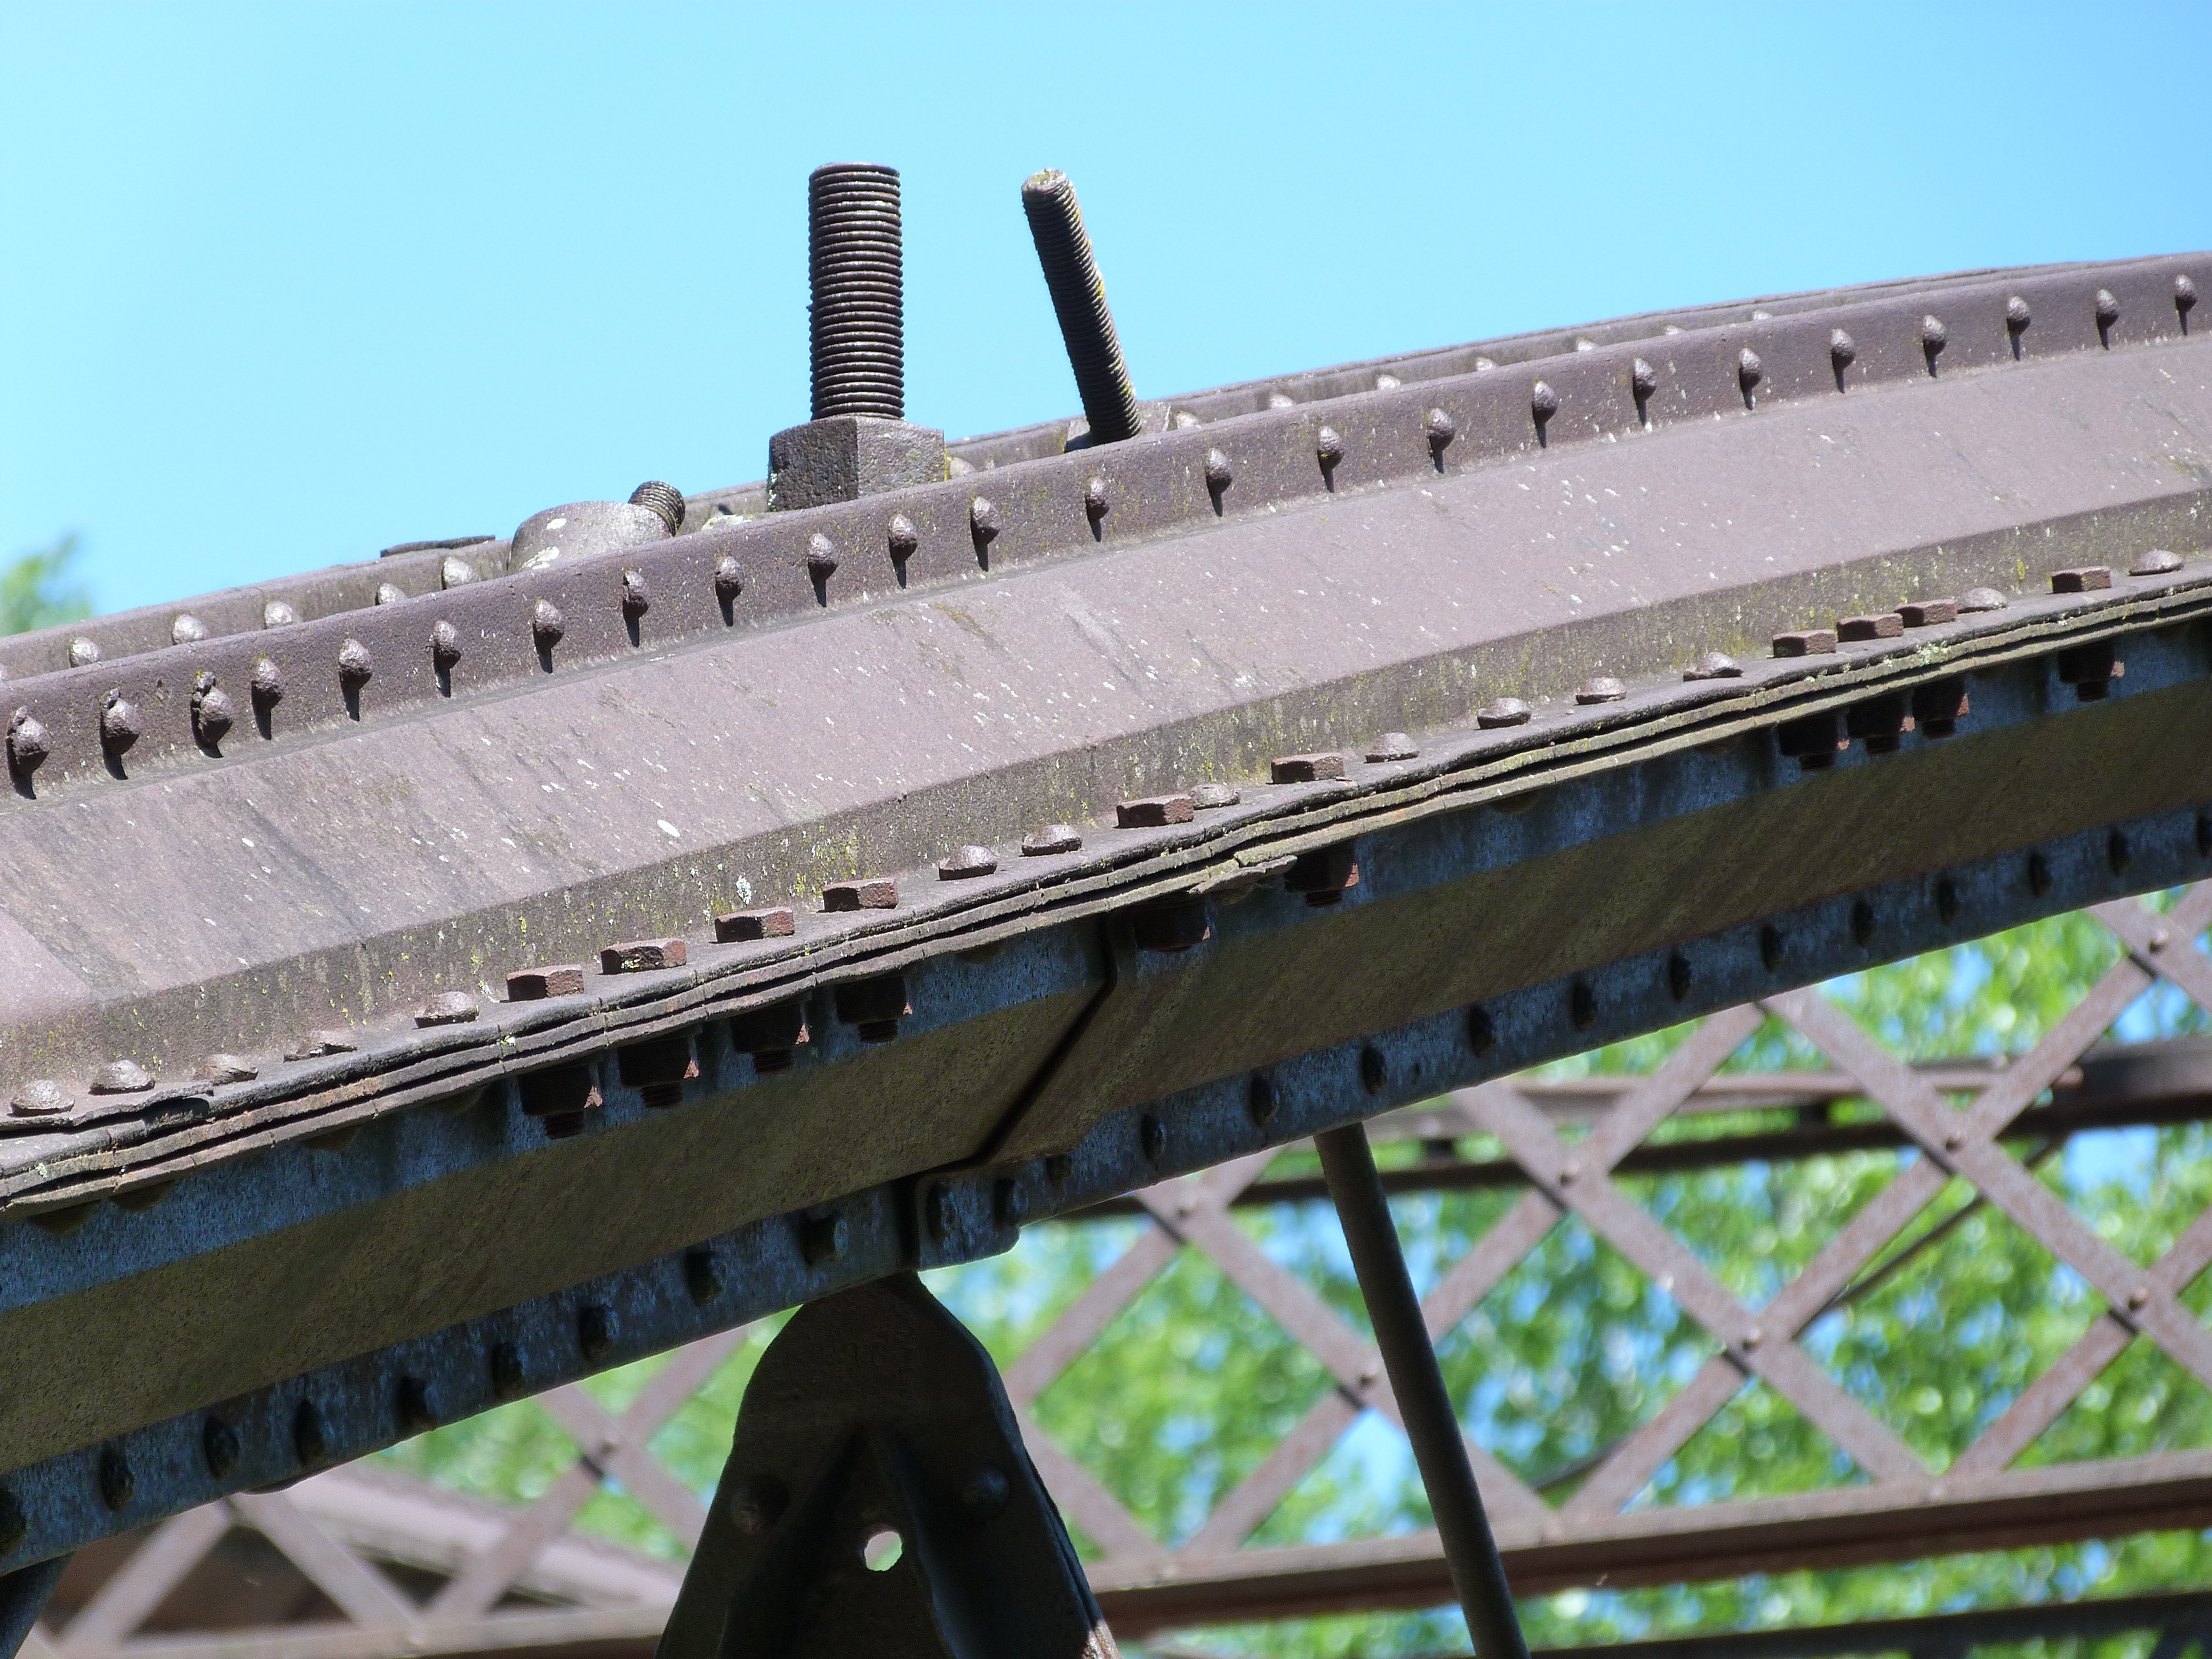
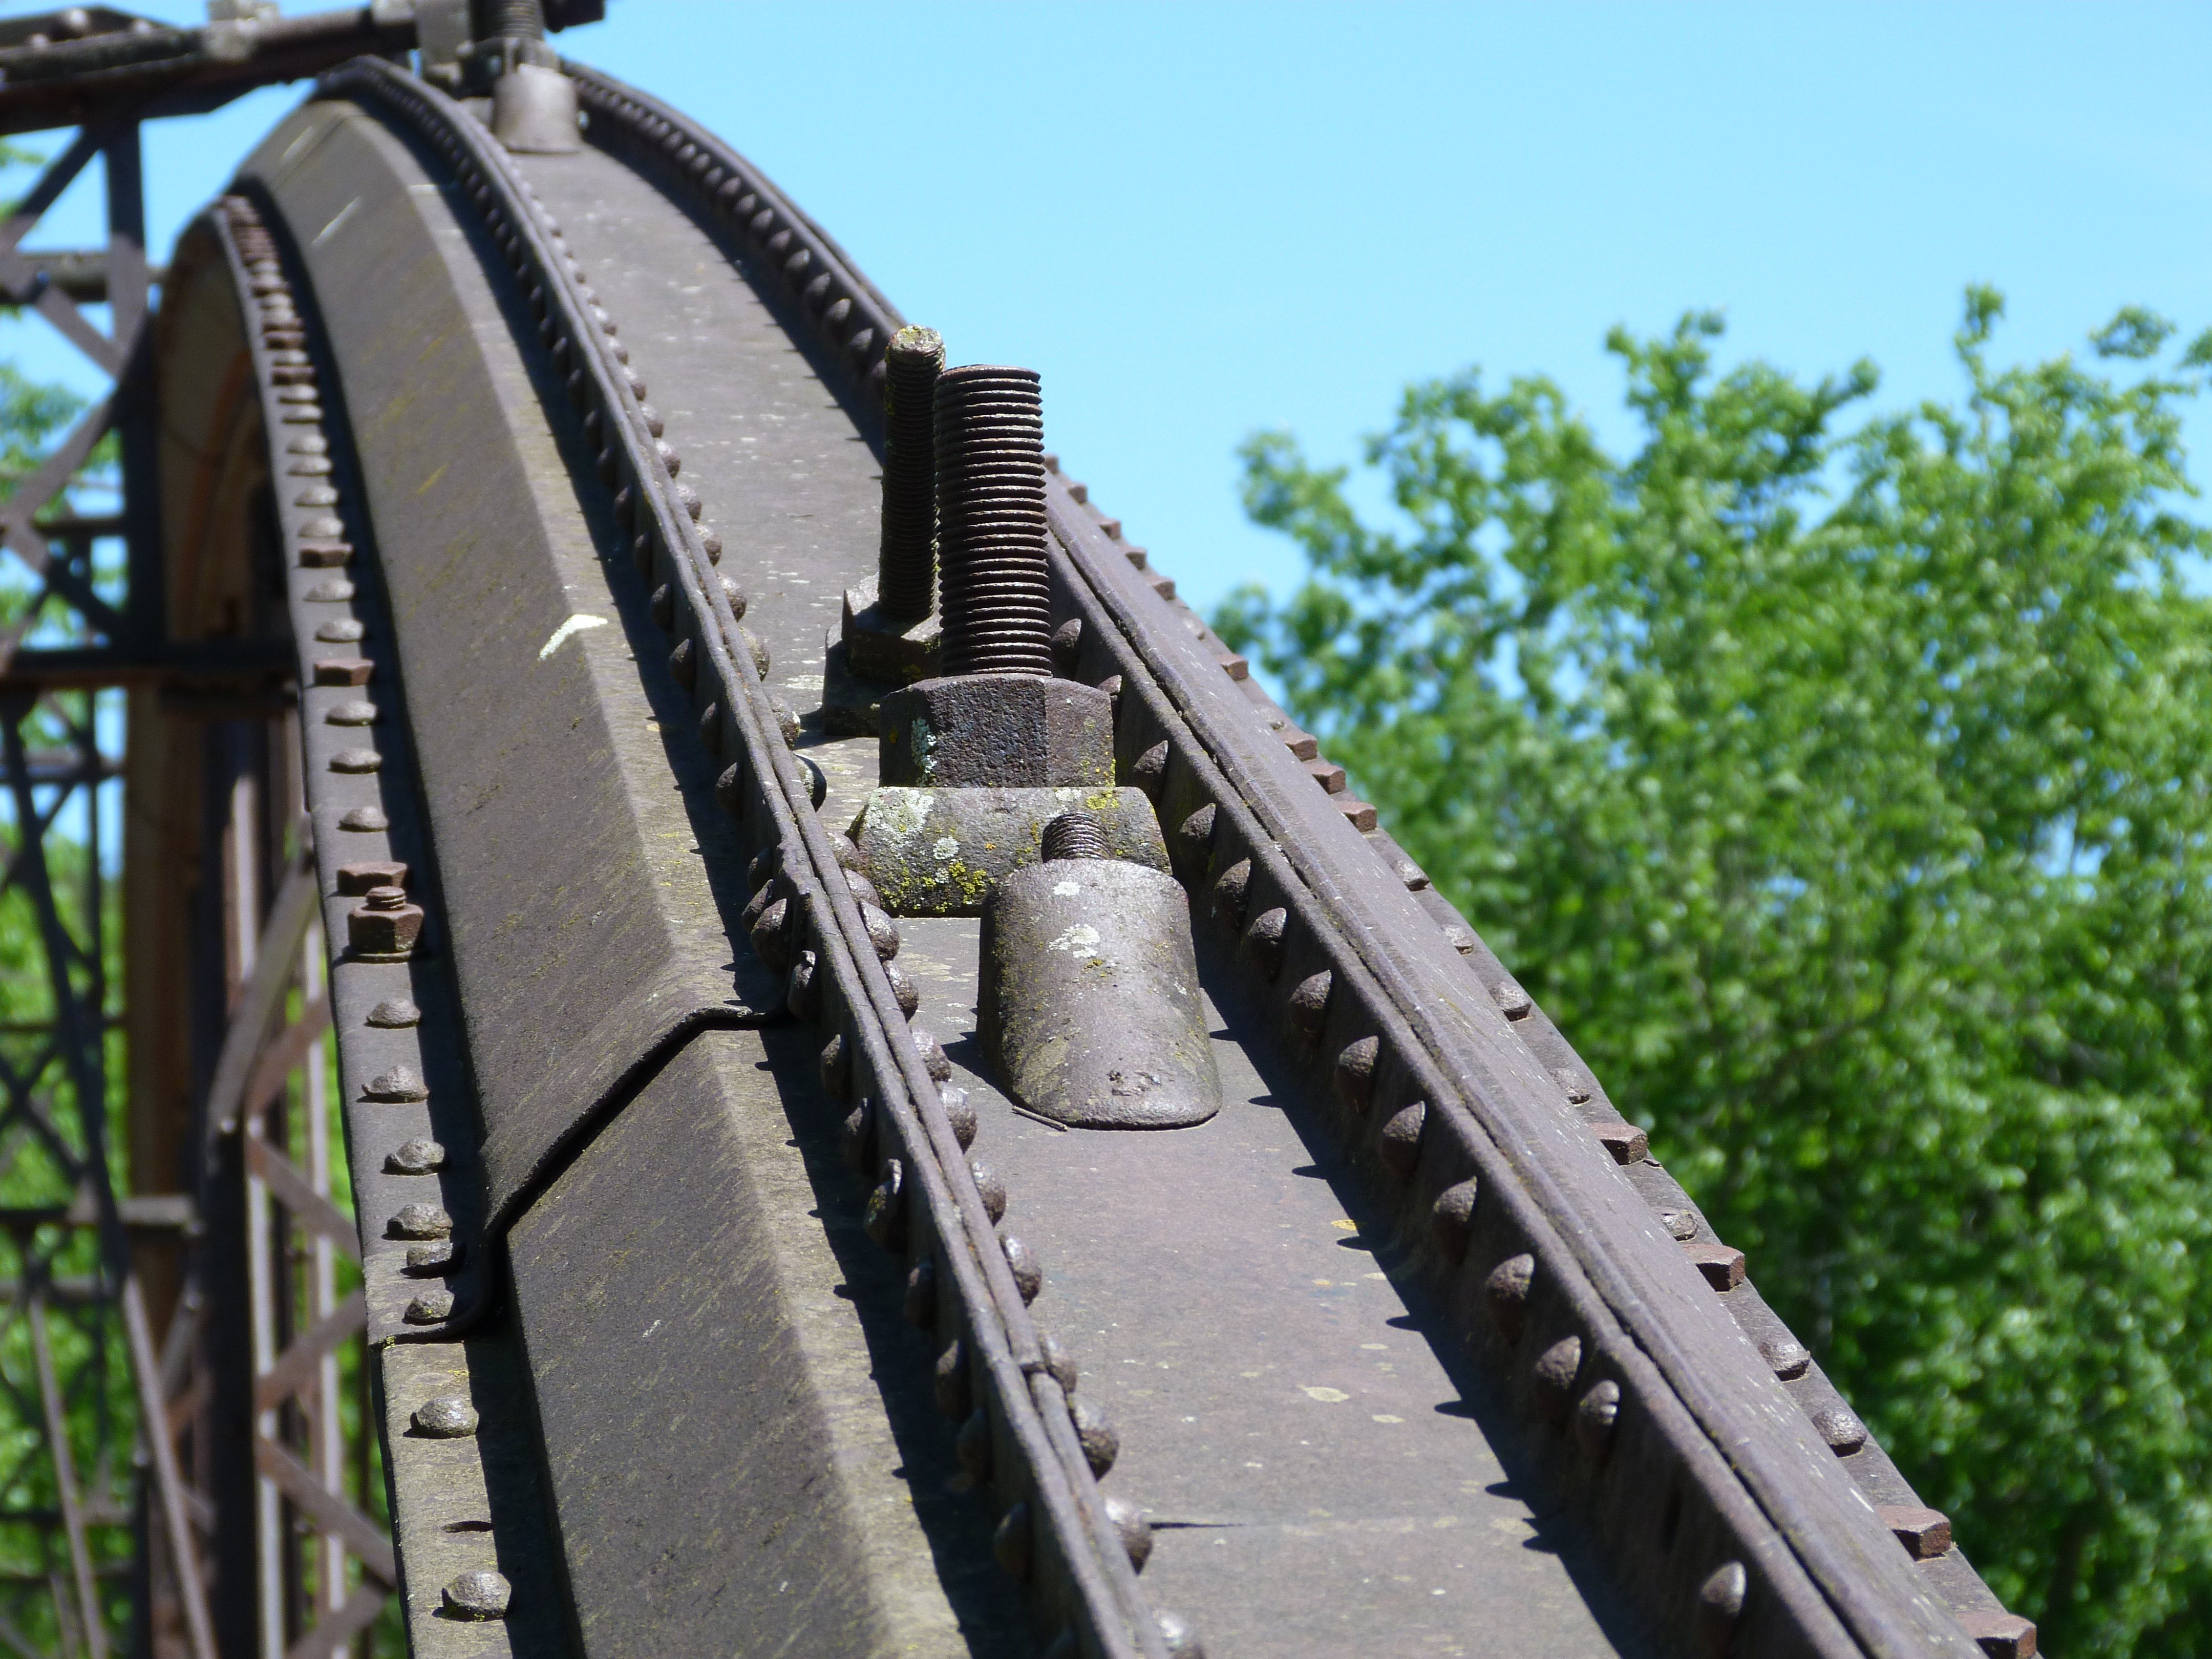
Top chord.
![]()

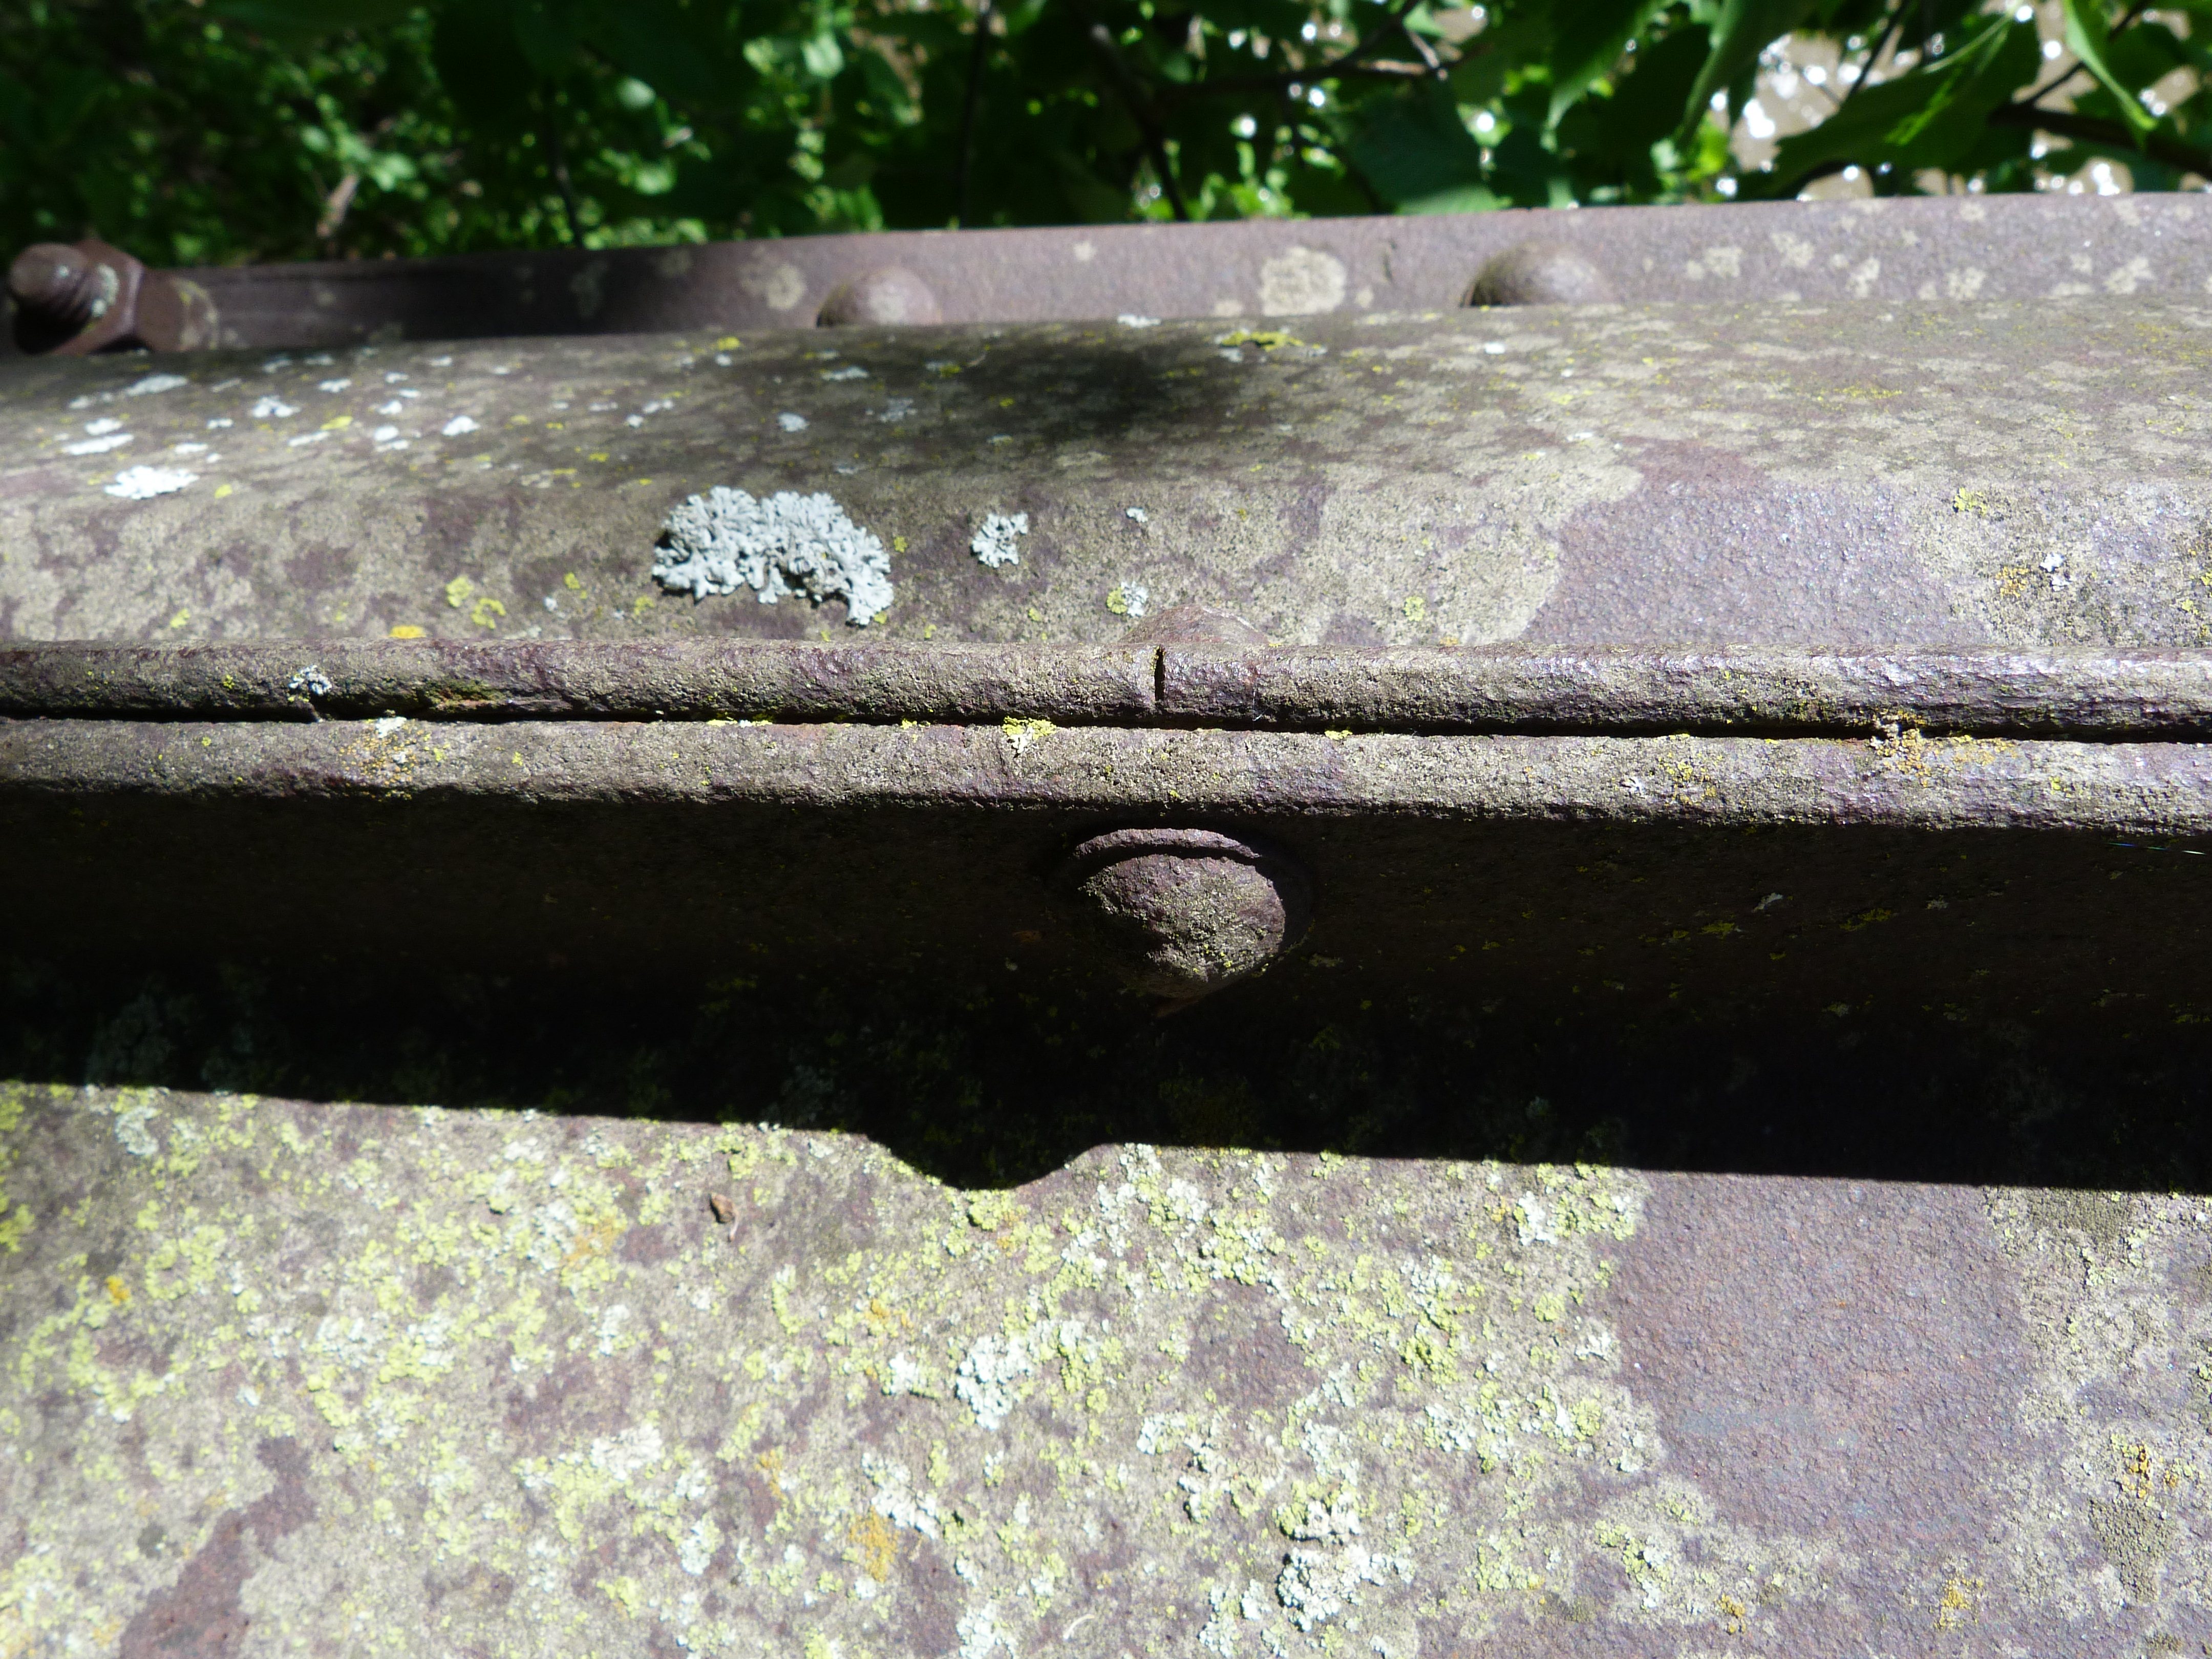
Notch marks on top chord sections at rivet points.
![]()

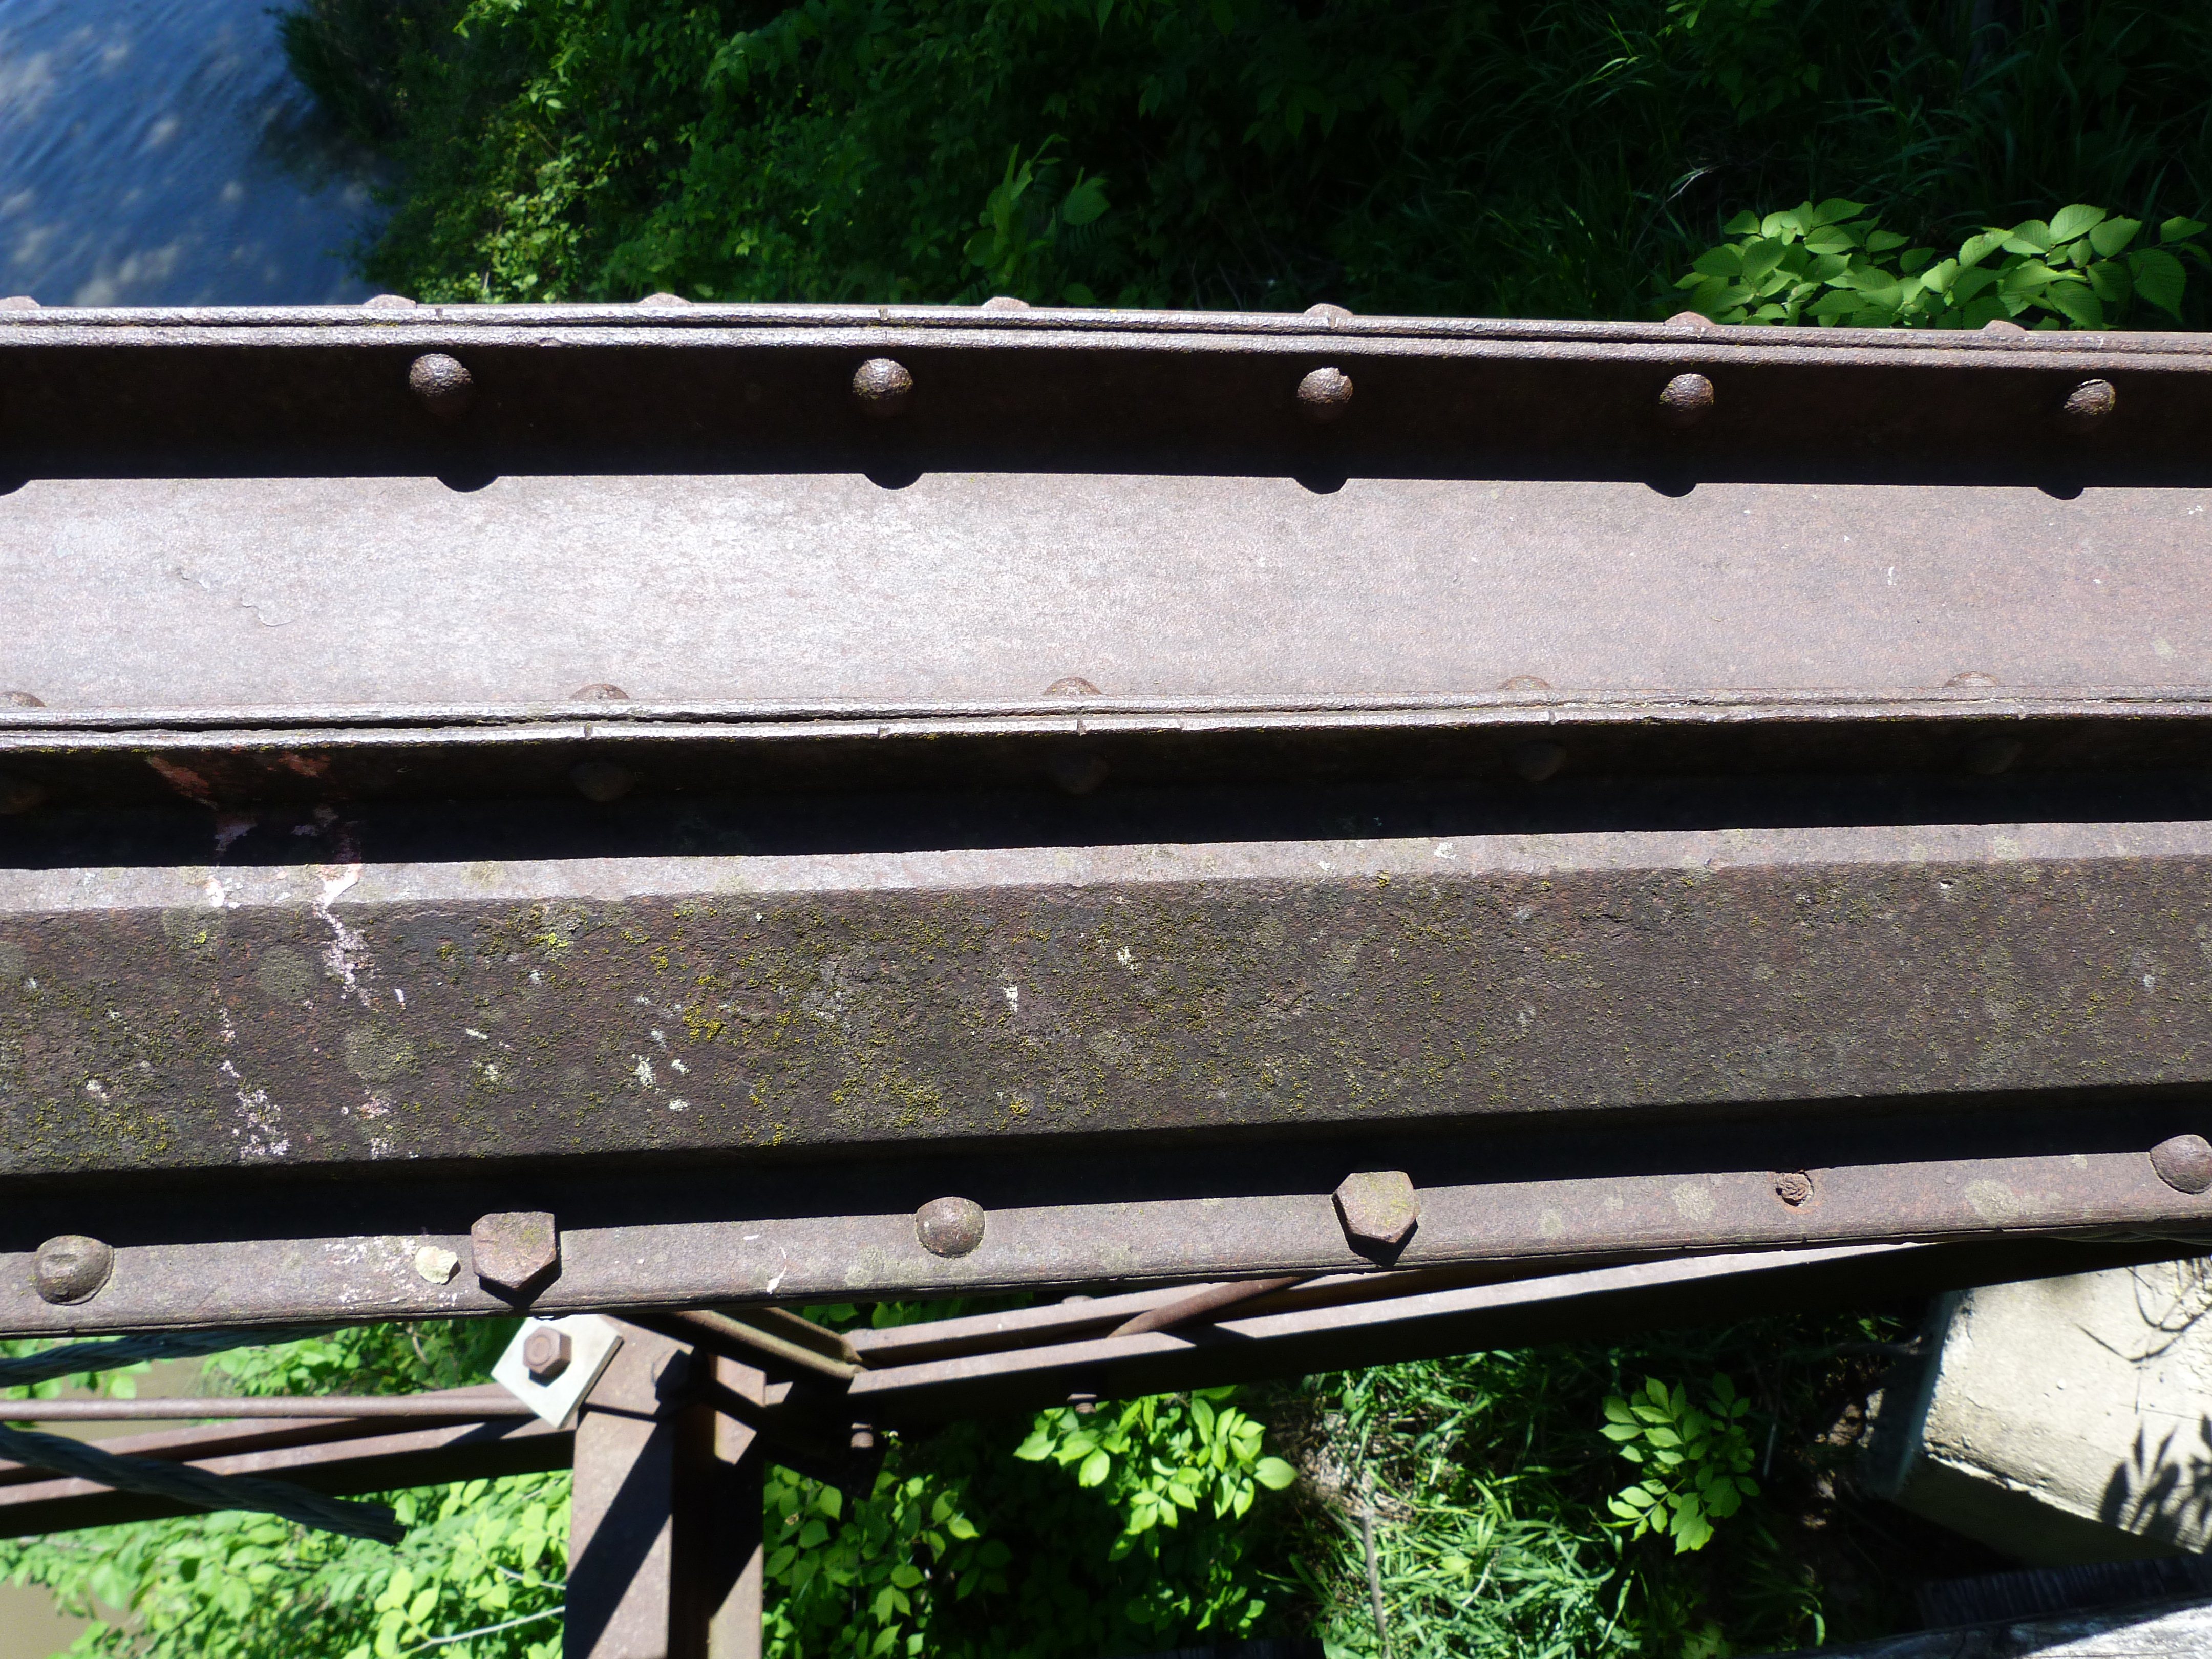
Built-up beam detail showing spacers at rivet points.
![]()


Bearings.
![]()

Bearing buried in dirt.
![]()

Supplemental support welded to bottom chord.
![]()
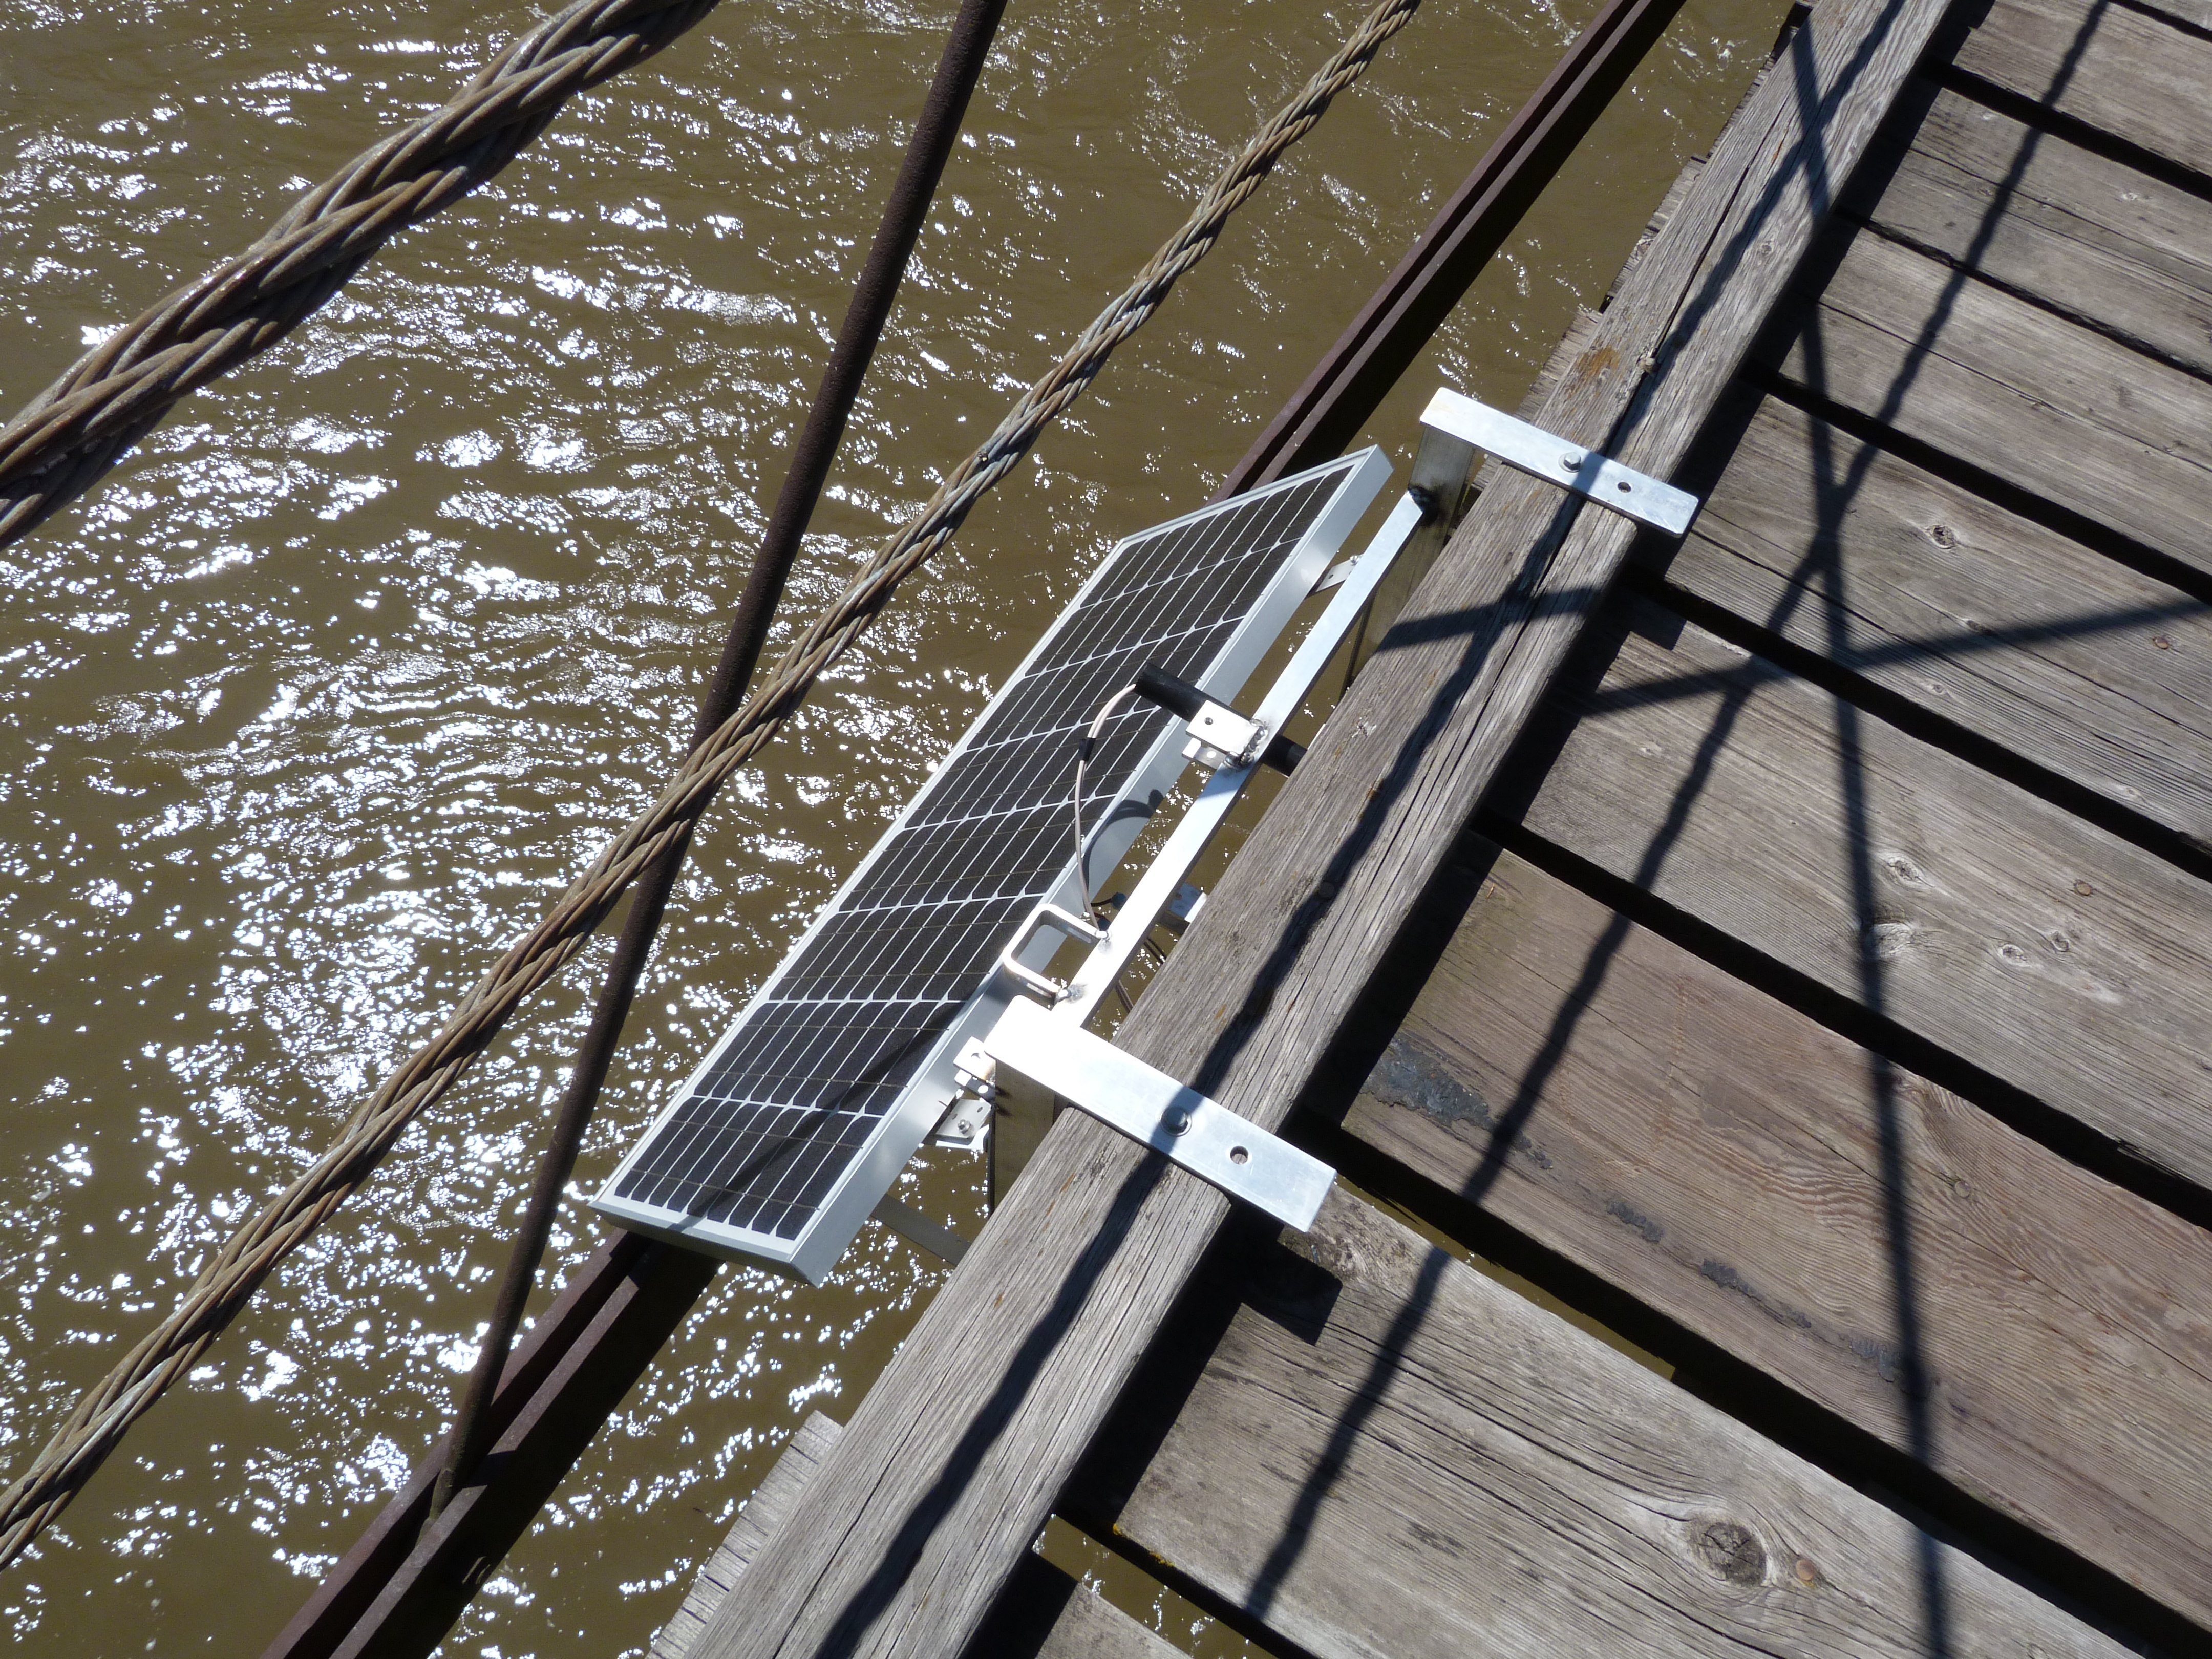
Solar panel on bridge apparently for gauging station near bridge.
![]()
![]()
| Back |
| Home |
| Top |

![]()