Uncredited photos on this page taken by: Nathan Holth and Rick McOmber. Unless stated in a caption, all photos are Copyright with All Rights Reserved. Learn about reuse of our photos.
![]()


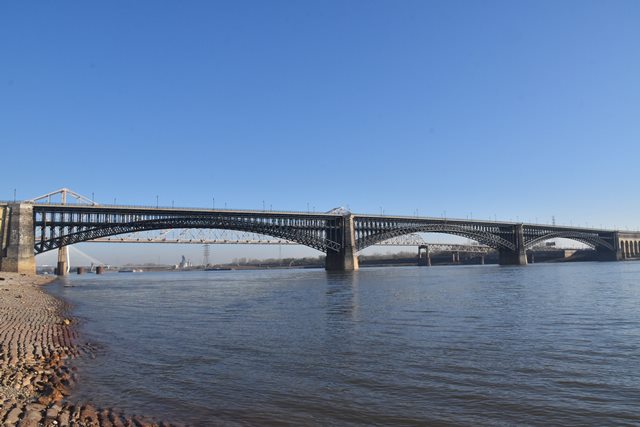

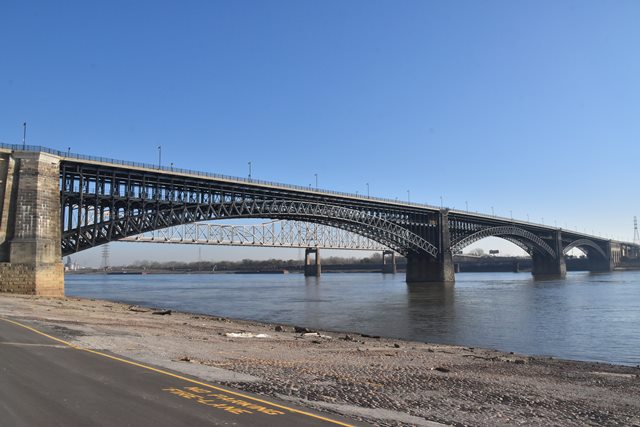
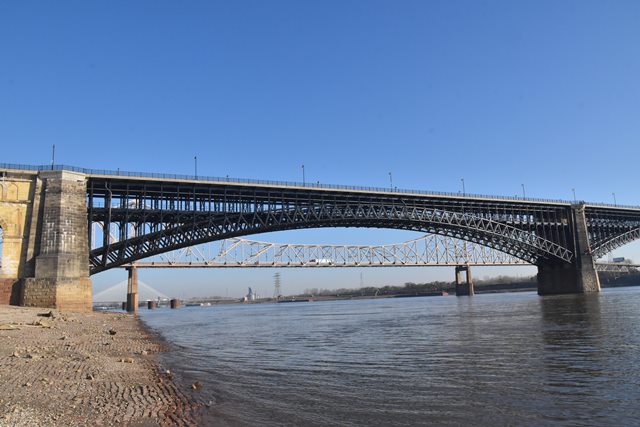
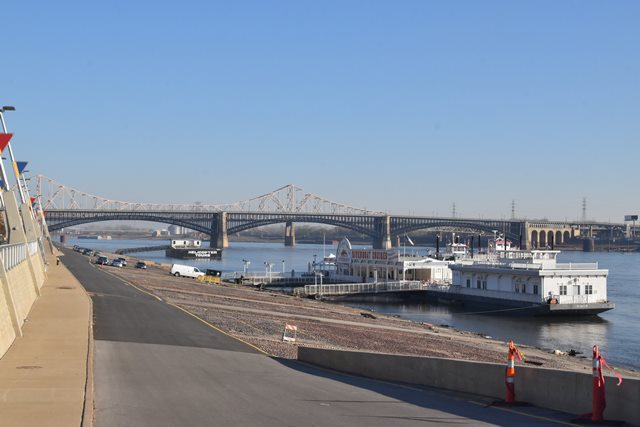
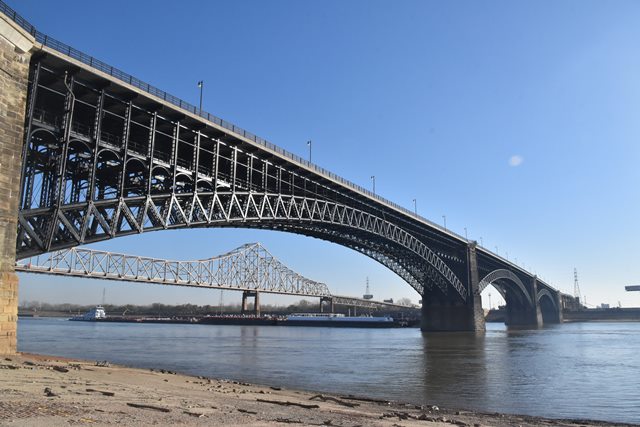
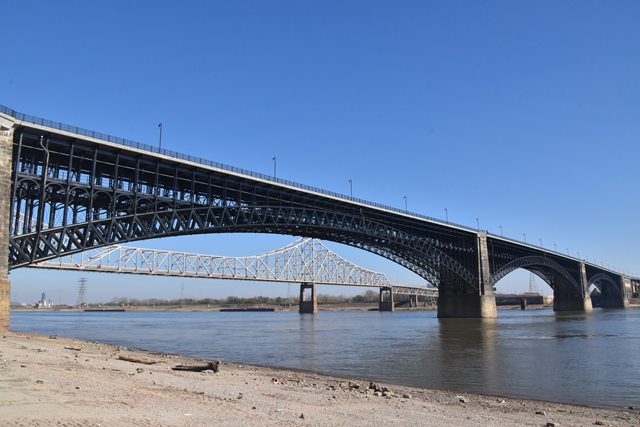
Elevation from southwest quadrant.
![]()


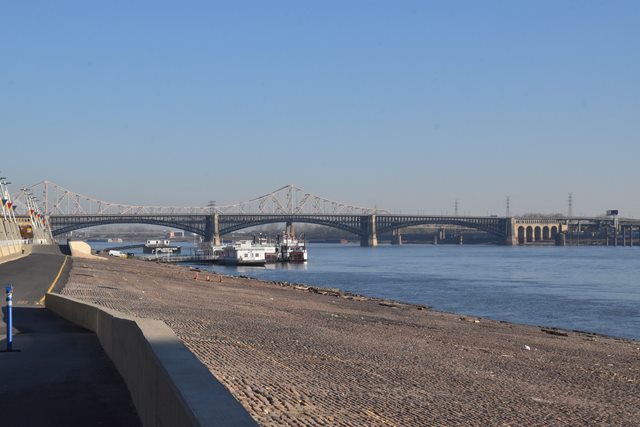


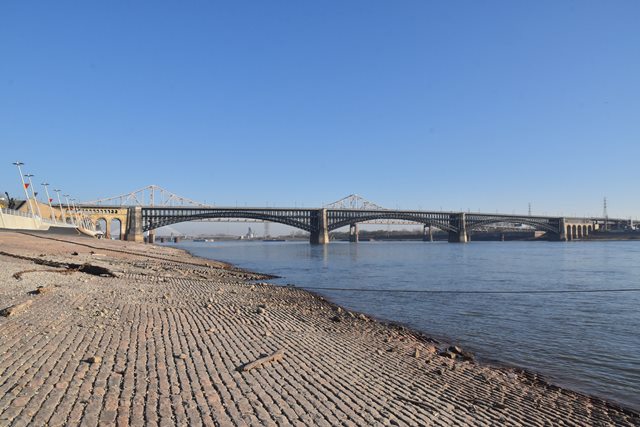
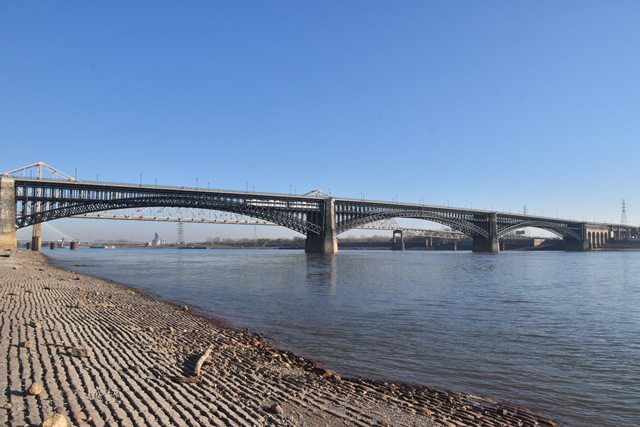
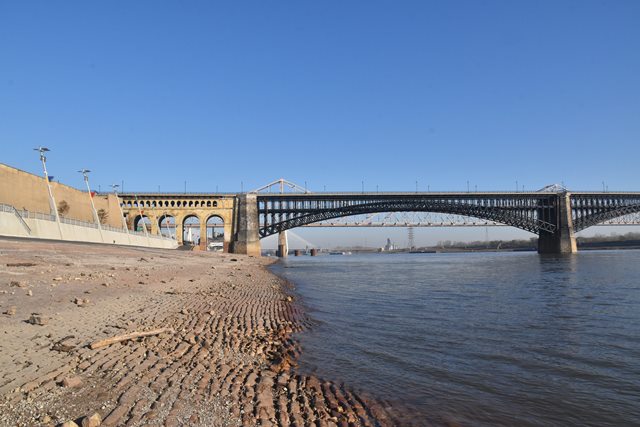
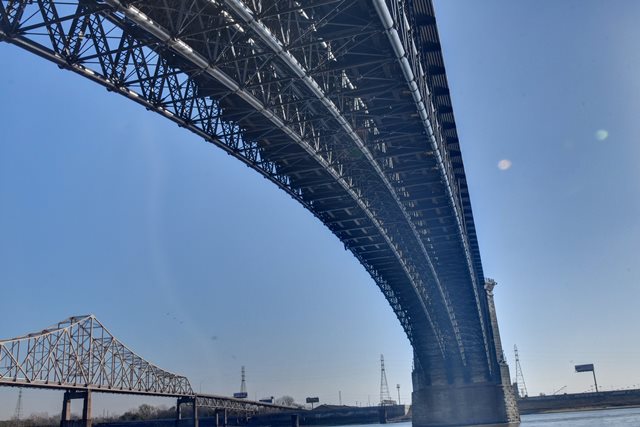
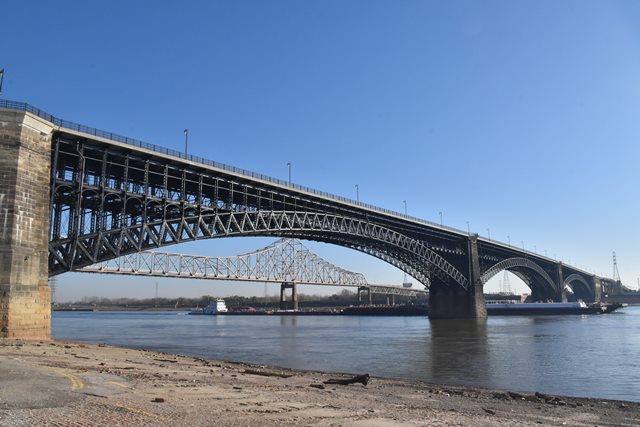
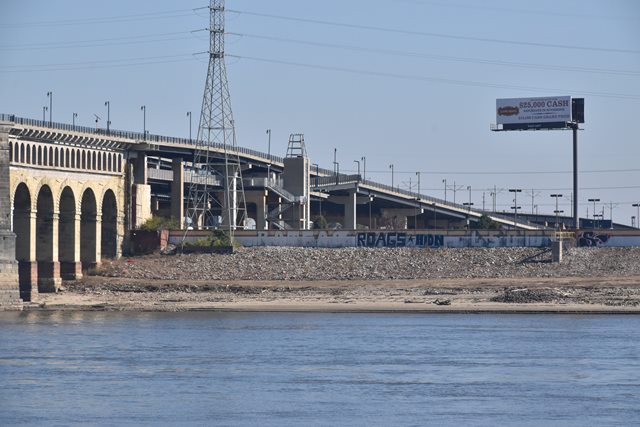
Distant elevation from southwest quadrant.
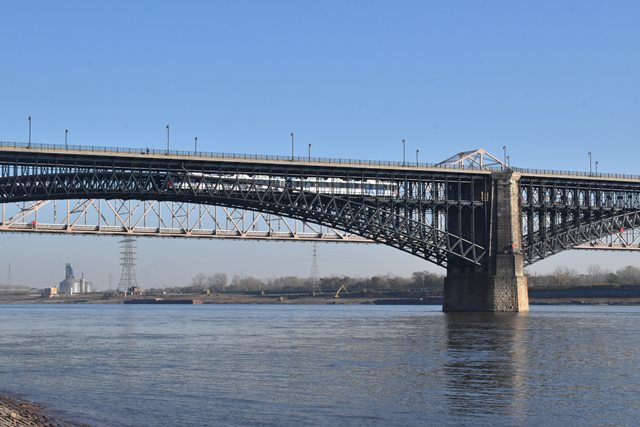
![]()
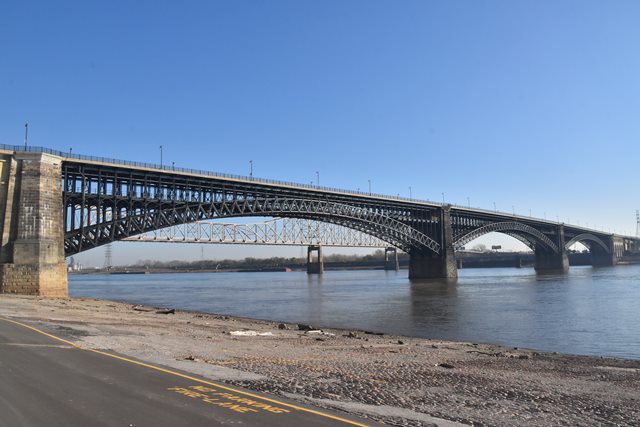
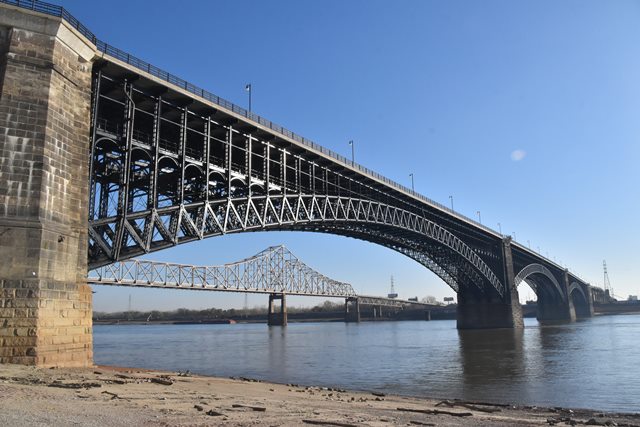
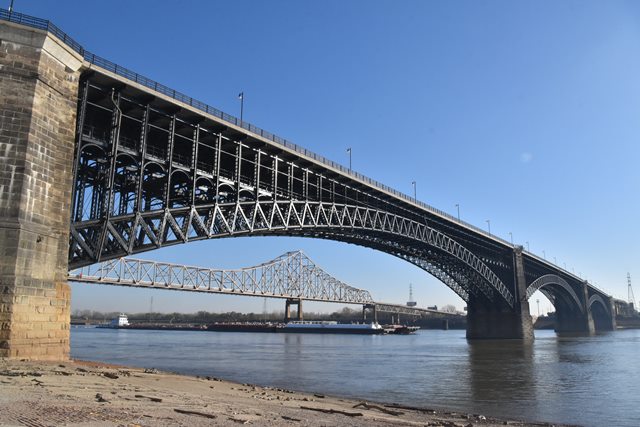
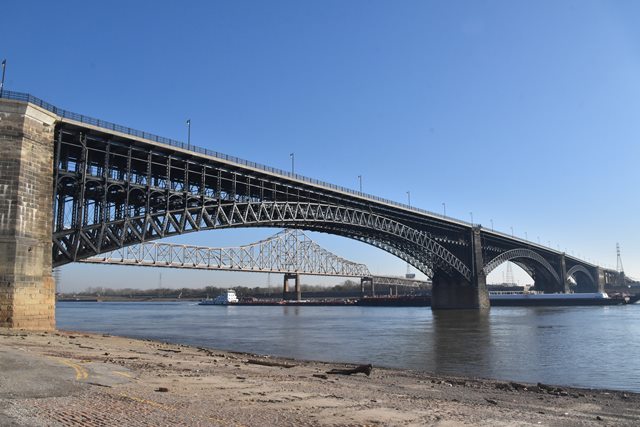
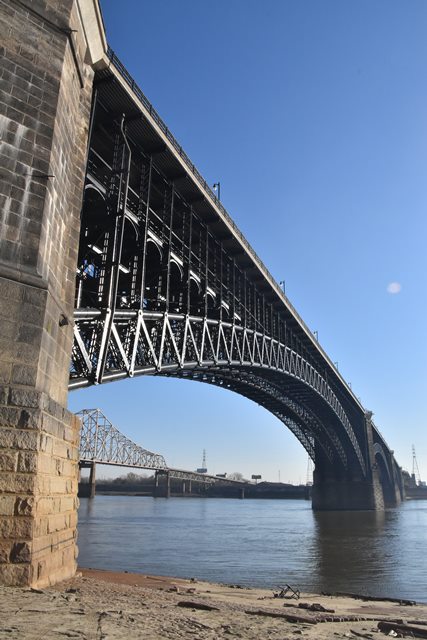
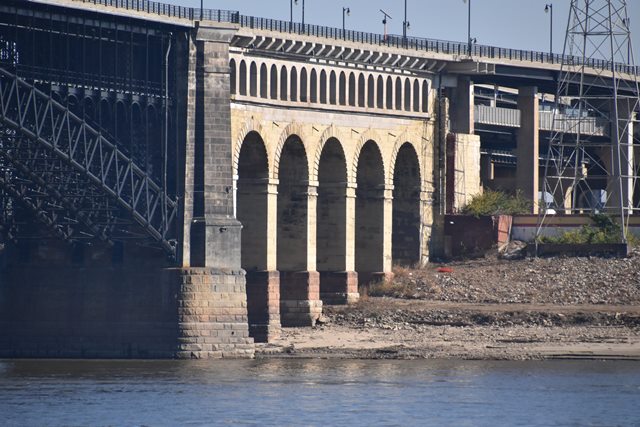
Near elevation from southwest quadrant.
![]()
![]()
![]()
![]()
![]()
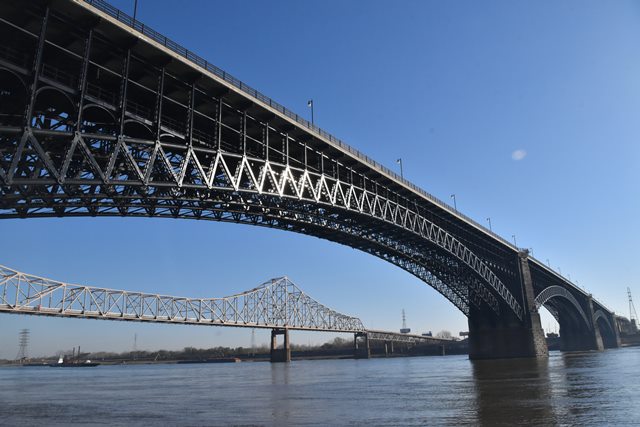
Panoramic elevation from southwest quadrant.
![]()
![]()
![]()
![]()
![]()
Panoramic views beside bridge from southwest quadrant.
![]()


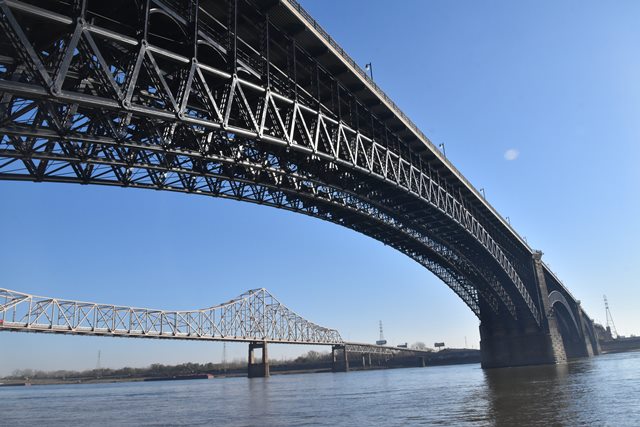
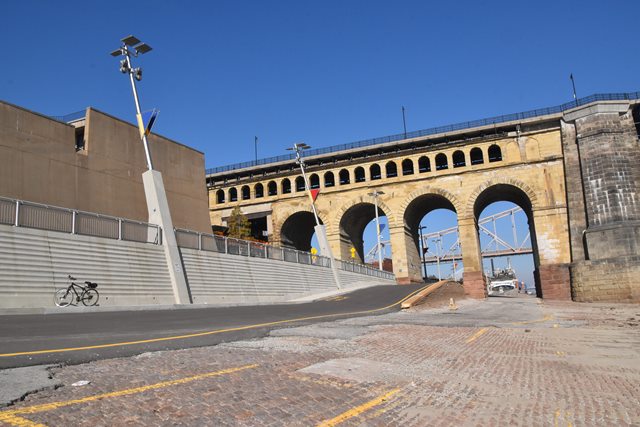
Elevation beside bridge from southwest quadrant.
![]()


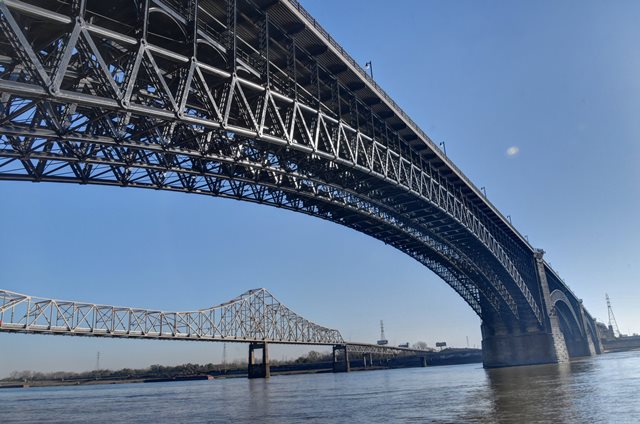


Views beside bridge from southwest quadrant.
![]()
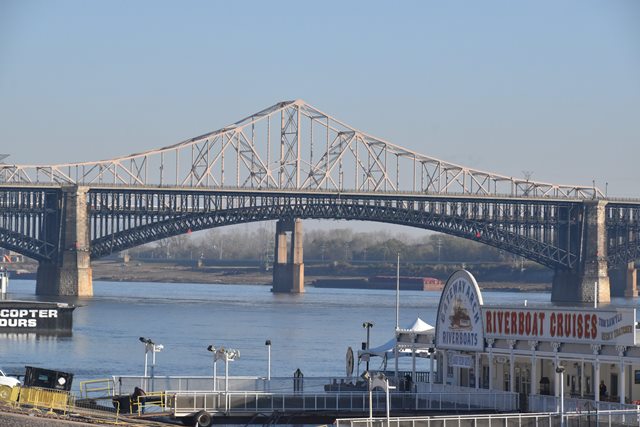
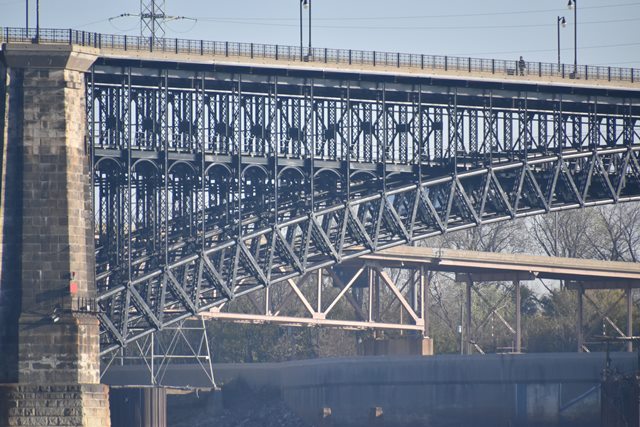
Views of individual spans from southwest quadrant.
![]()


Trains on bridge.
![]()
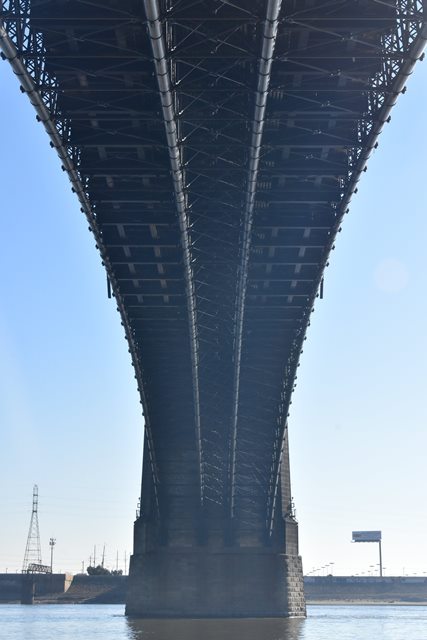
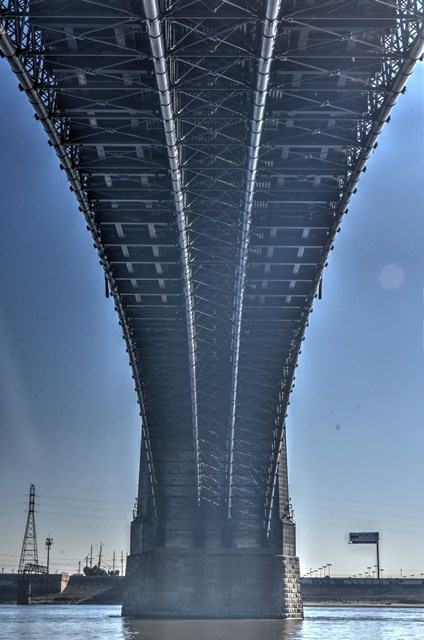
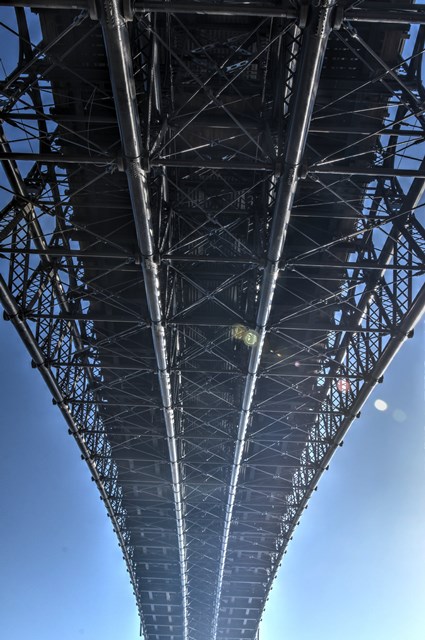
Views under bridge.
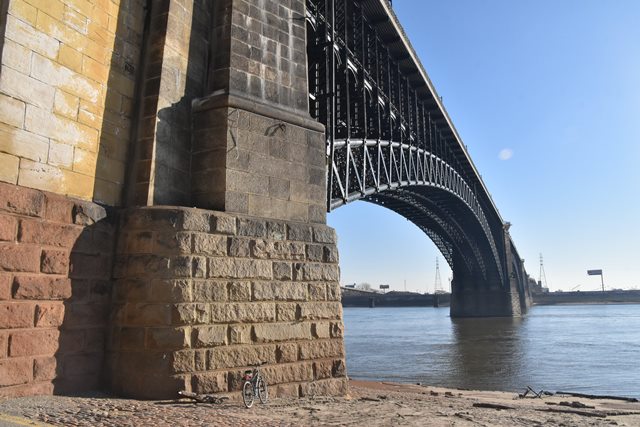
![]()
View of pier with bicycle for scale.
![]()


South elevation of western approach spans.
![]()
Elevation of eastern approach spans from southwest quadrant.
![]()

West abutment.
![]()
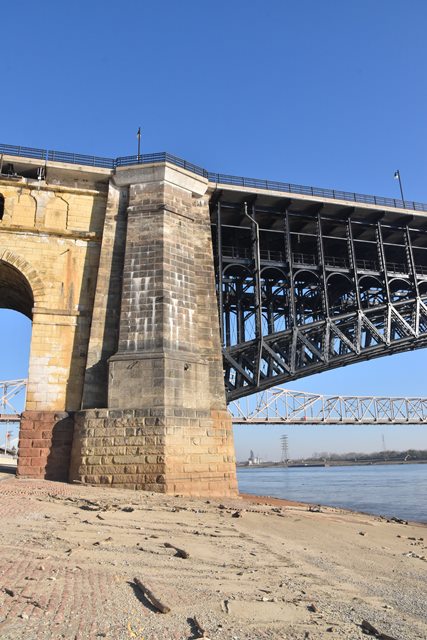
Pier.
![]()

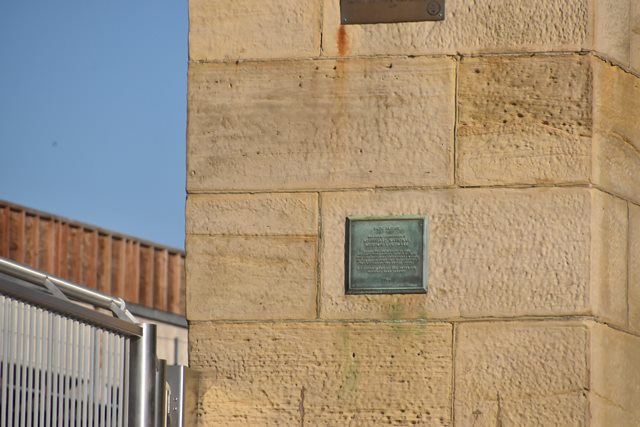
Commemorative plaque.
![]()


AISC plaque.
![]()
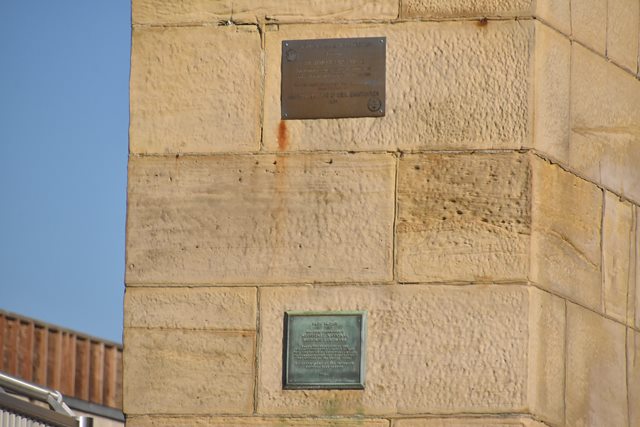
Plaques.
![]()

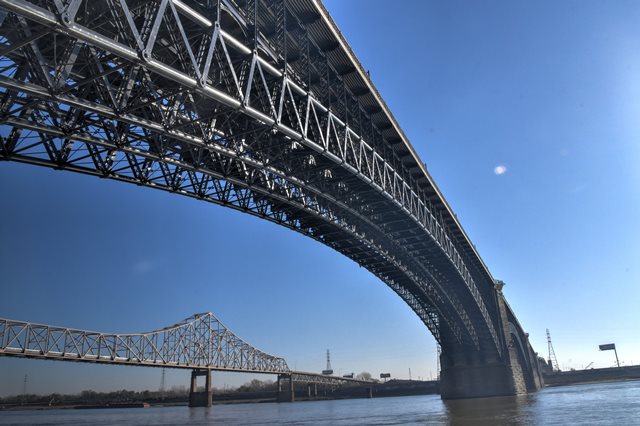
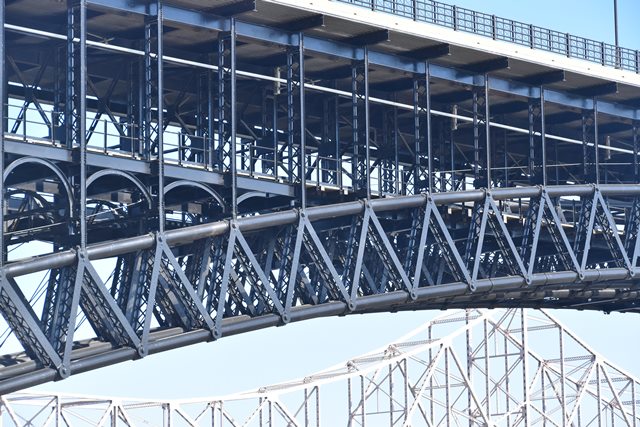
Views of arch.
![]()


Arch rib.
![]()
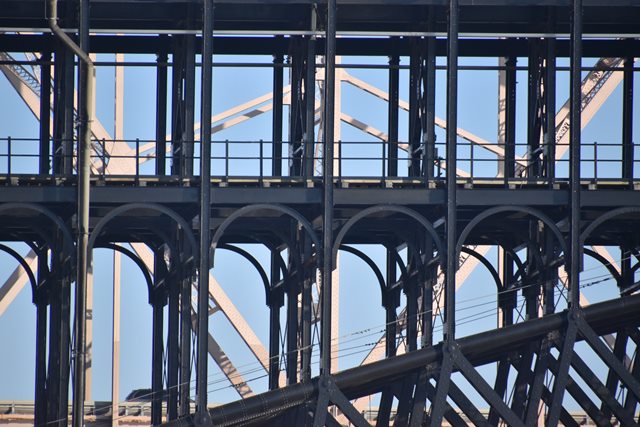


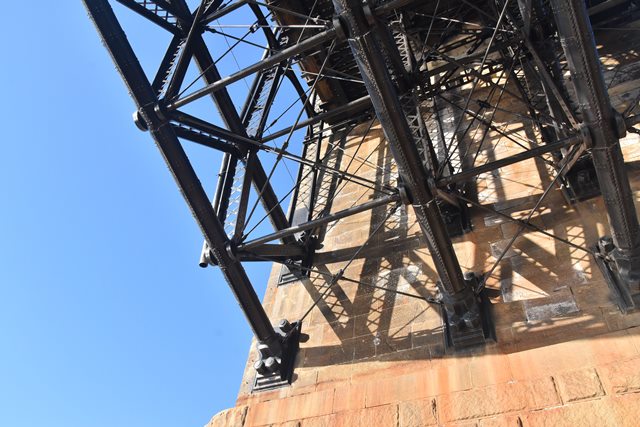
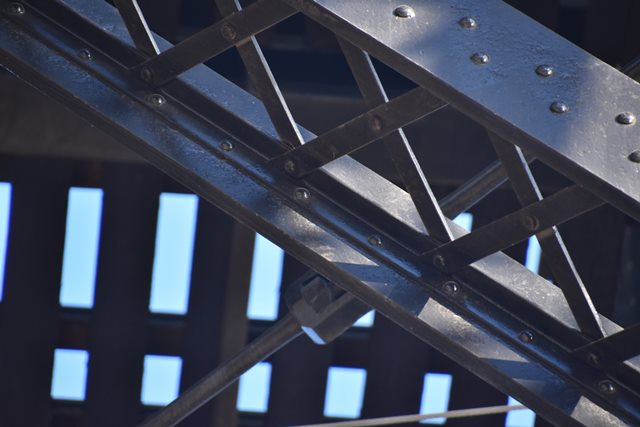
Arch column system.
![]()


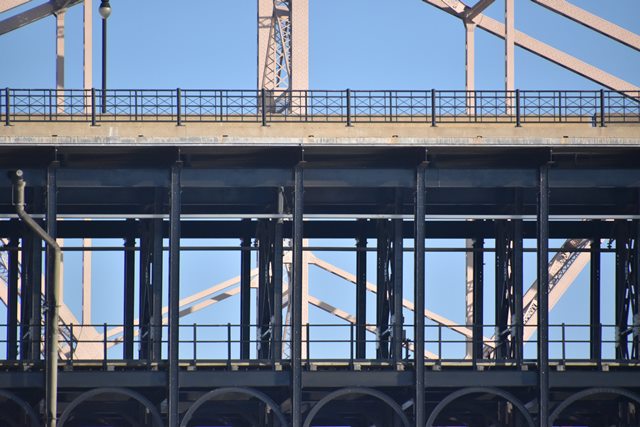
Columns.
![]()


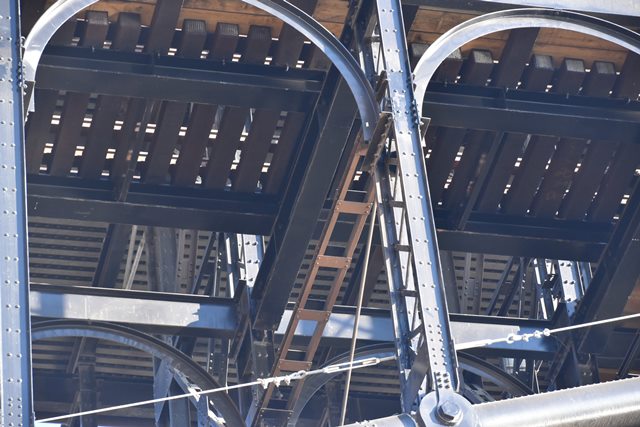
Looking up at lower deck.
![]()
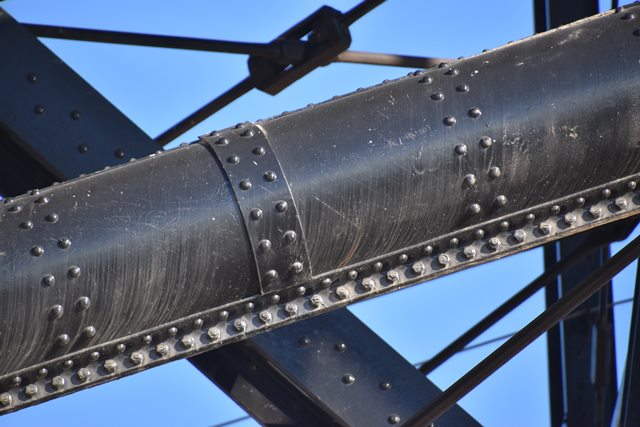


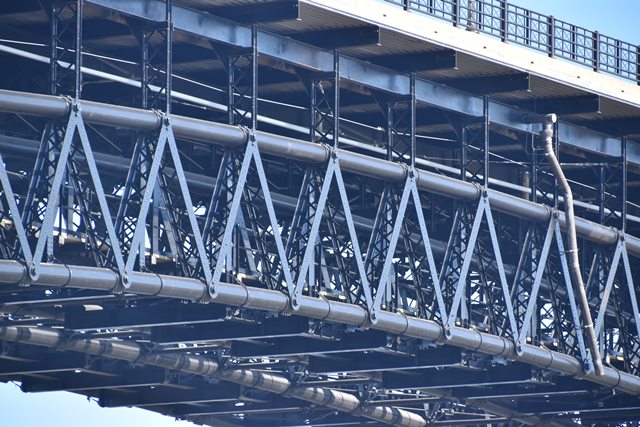
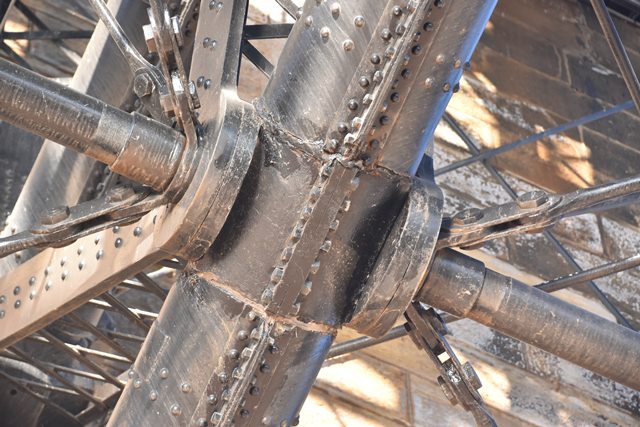
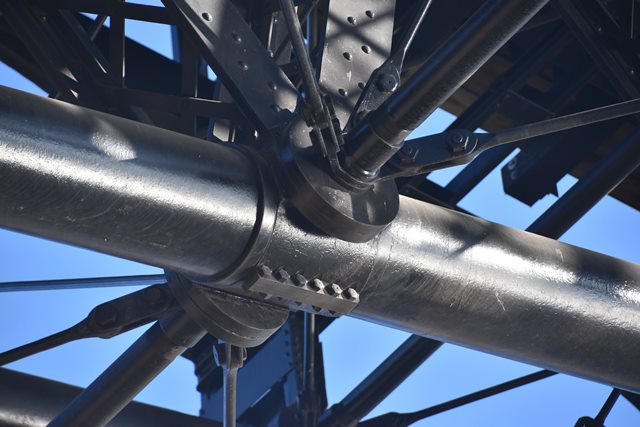
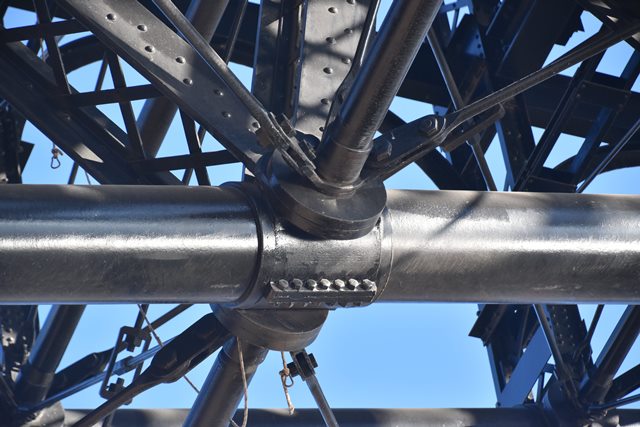
Arch chord tube.
![]()

Distant view of skewbacks.
![]()


Arch skewback overviews.
![]()


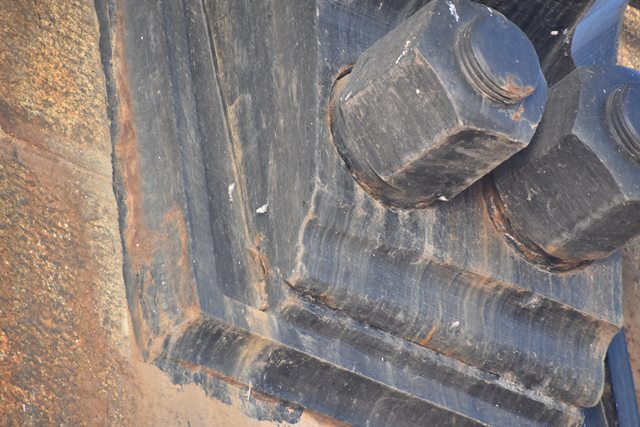


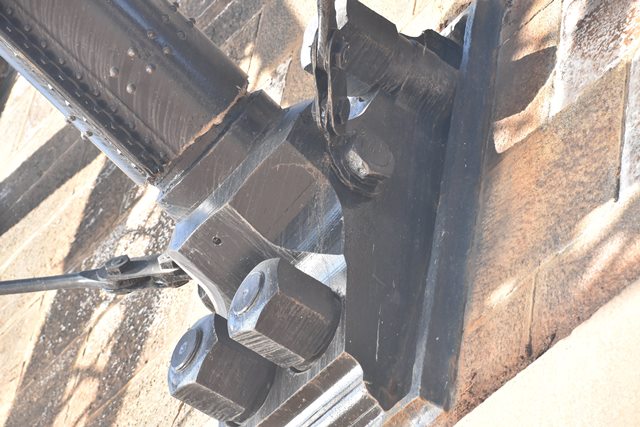

Skewback details.
![]()


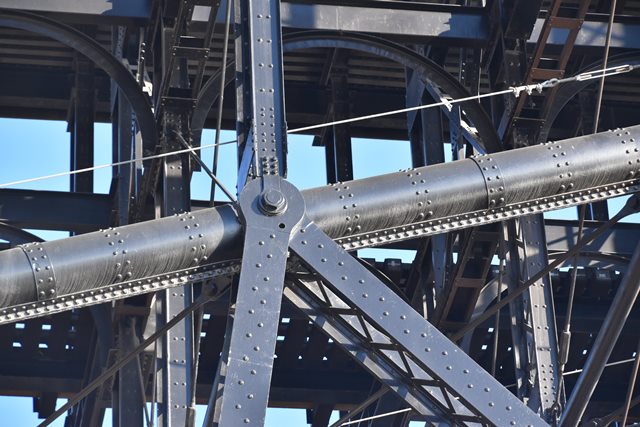


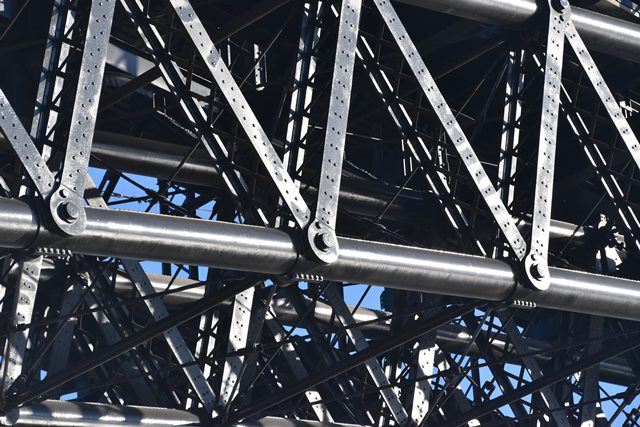
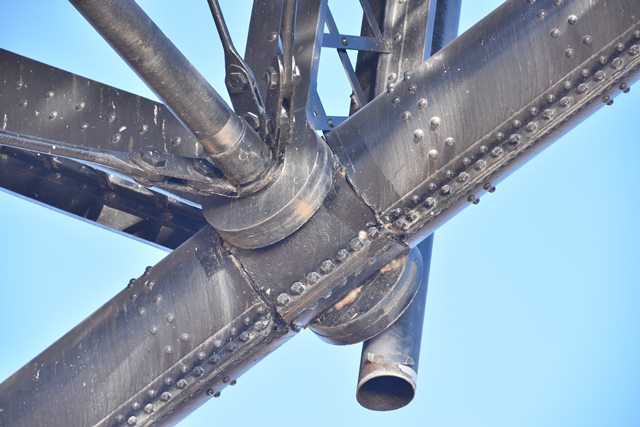
Arch upper chord connections.
![]()

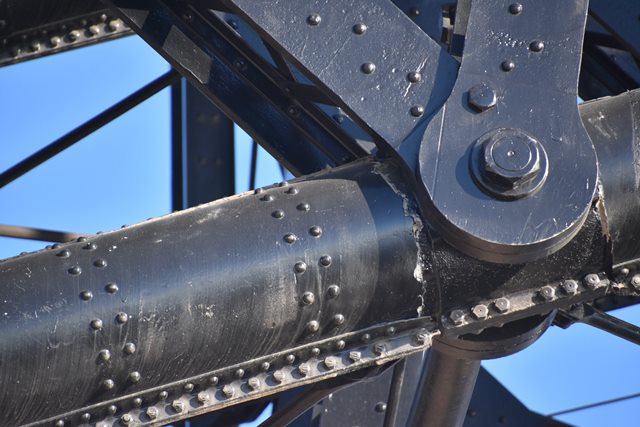


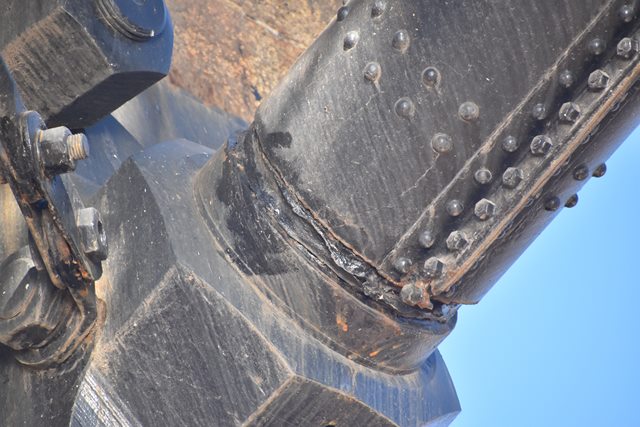
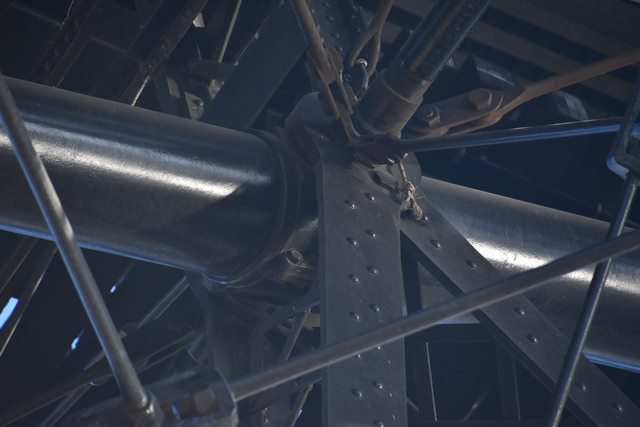
Arch lower chord connections.
![]()


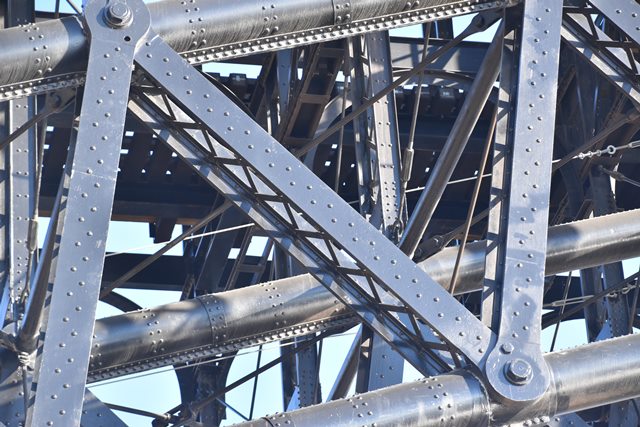
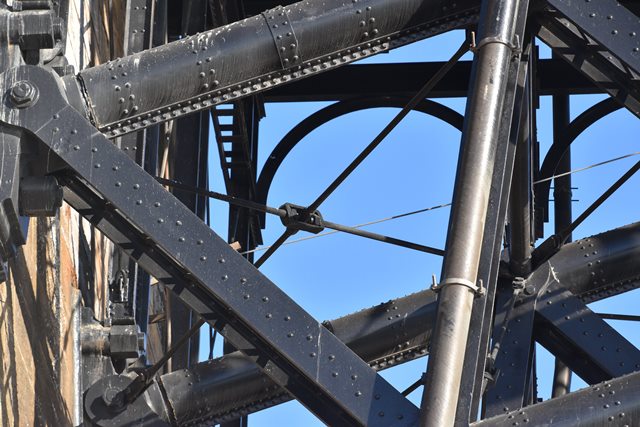


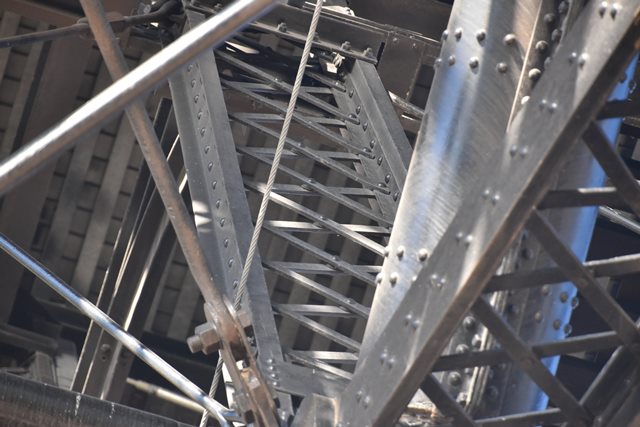


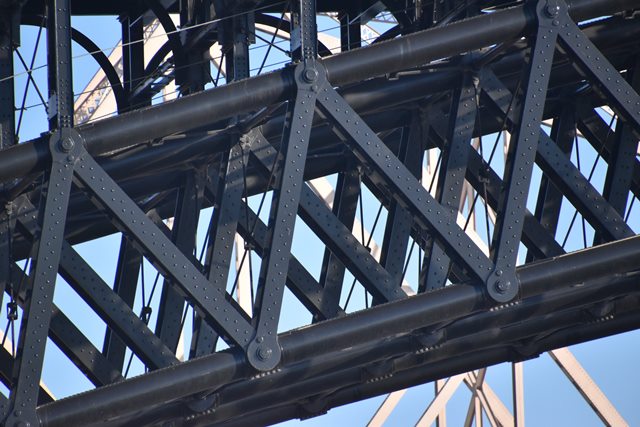
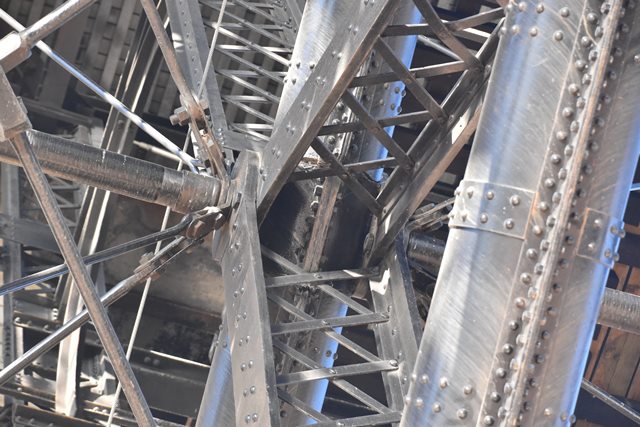
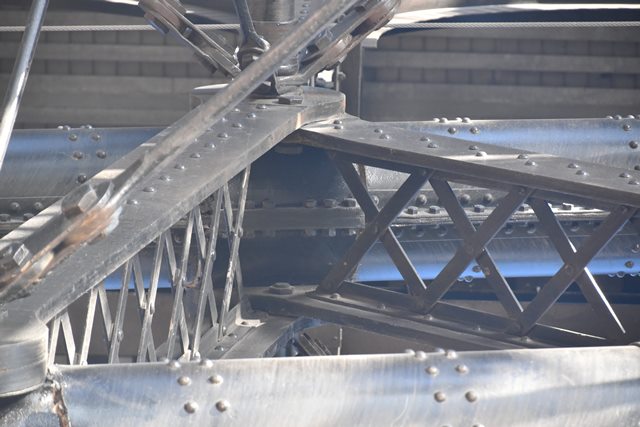
Arch members and bracing.
![]()


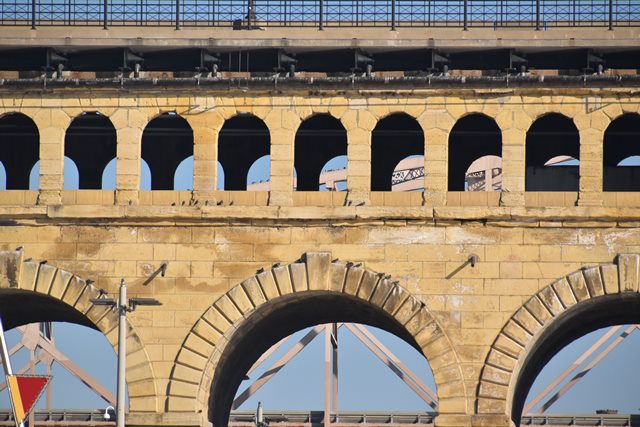

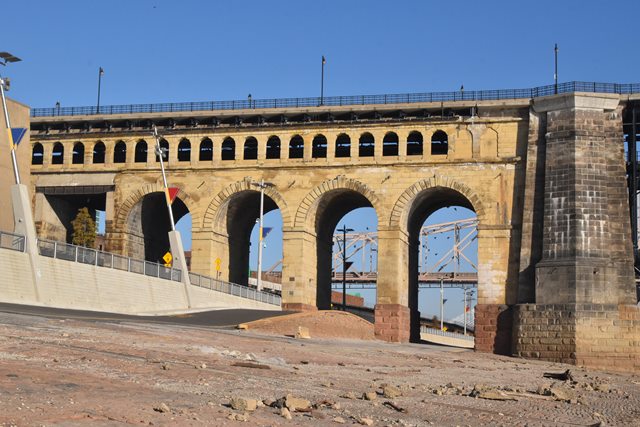
Stone arch approach details.
![]()


Plate girder span on western approach.
![]()
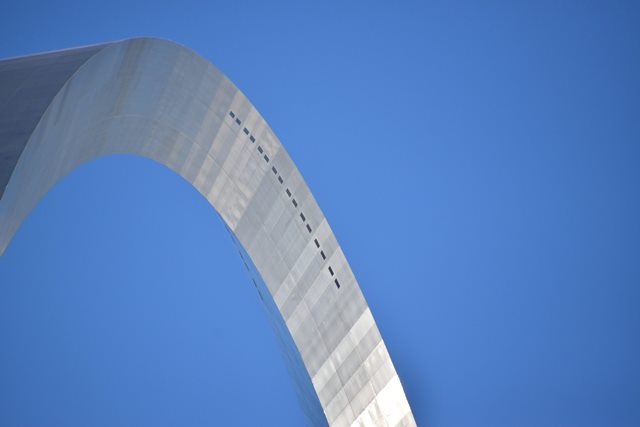
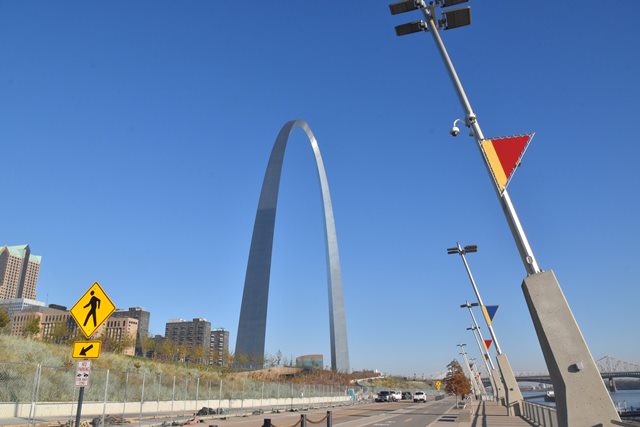
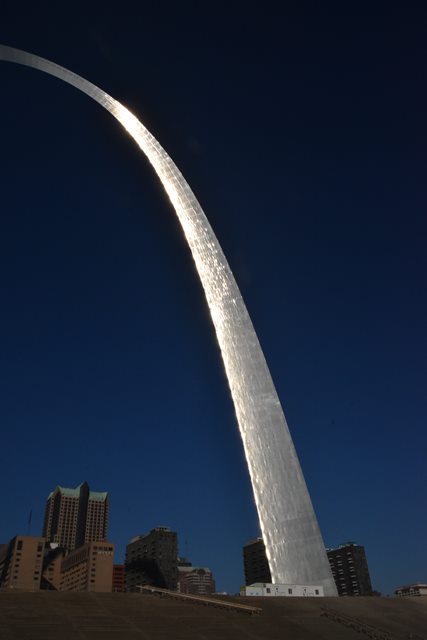
Views of Gateway Arch from near bridge.
![]()
![]()
| Back |
| Home |
| Top |

![]()