Uncredited photos on this page taken by: Nathan Holth. Unless stated in a caption, all photos are Copyright with All Rights Reserved. Learn about reuse of our photos.
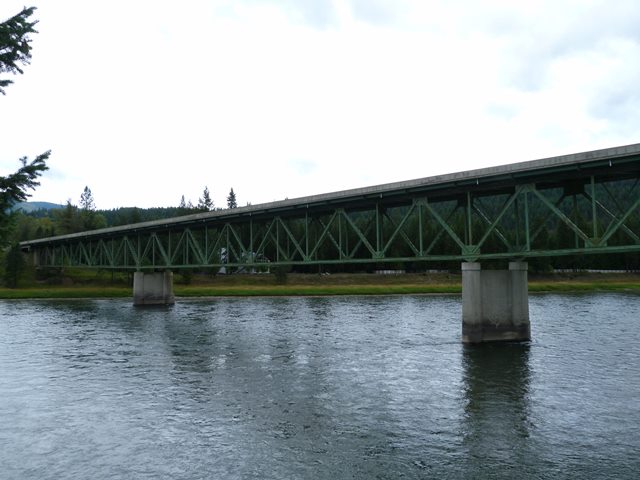
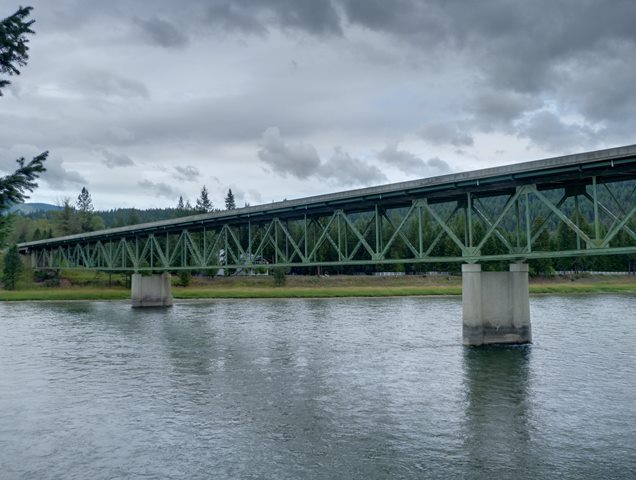
![]()
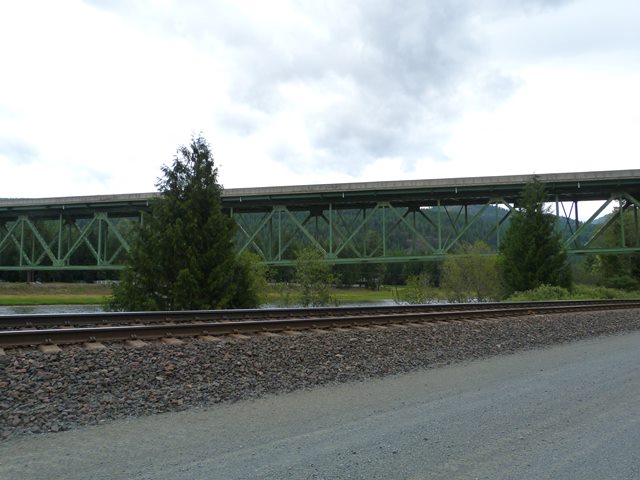
Elevation from southwest quadrant.
![]()


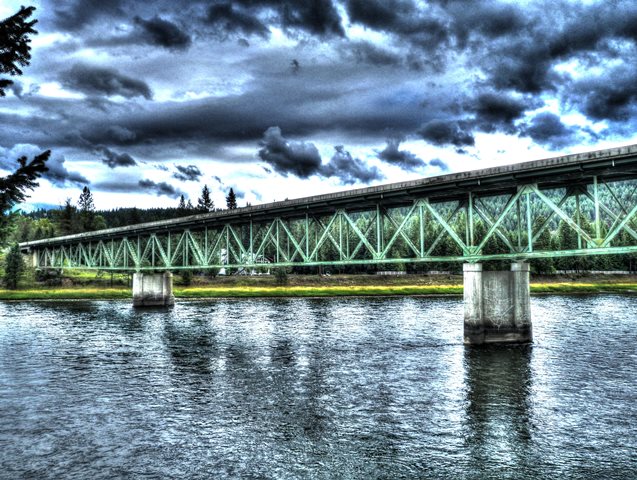
HDR Photos: Elevation from southwest quadrant.
![]()

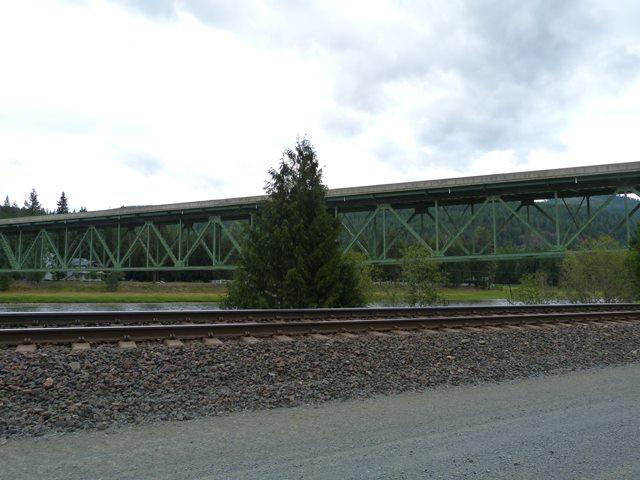
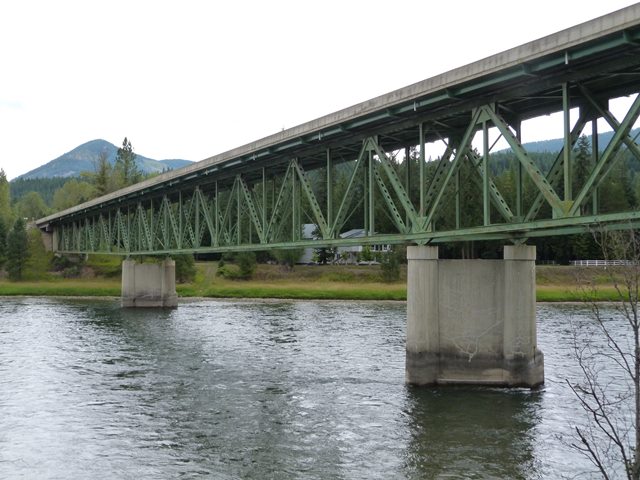
West elevation of southern spans.
![]()


Views beside bridge from southwest quadrant.
![]()
Views directly beside bridge from southwest quadrant.
![]()

HDR Photos: Views directly beside bridge from southwest quadrant.
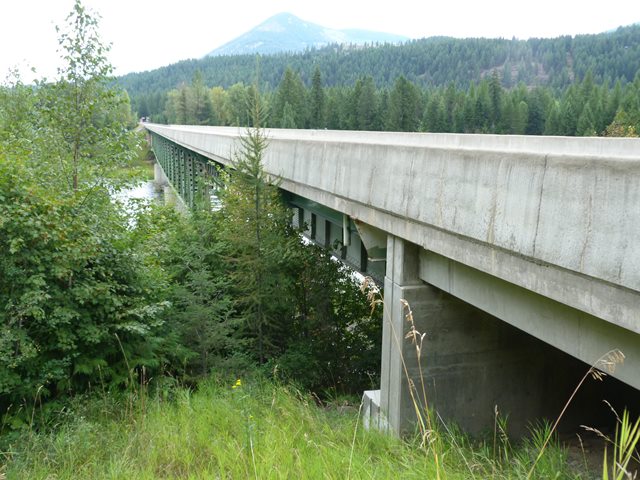
![]()
West elevation of south approach spans.
![]()

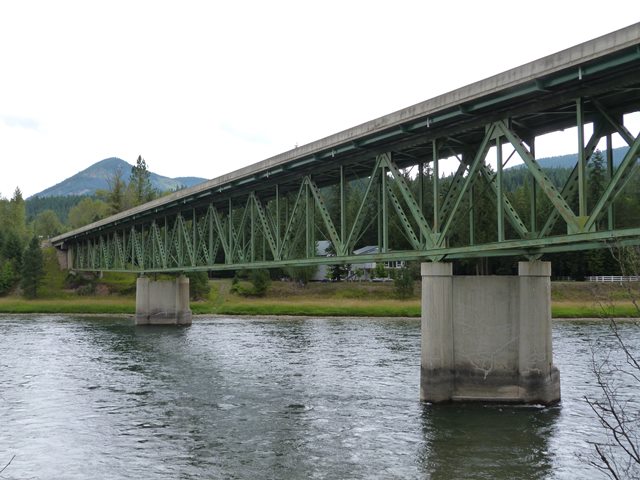
East elevation of south approach spans.
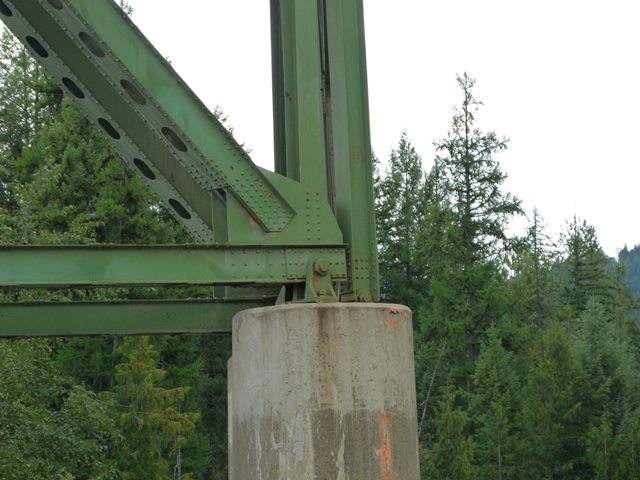
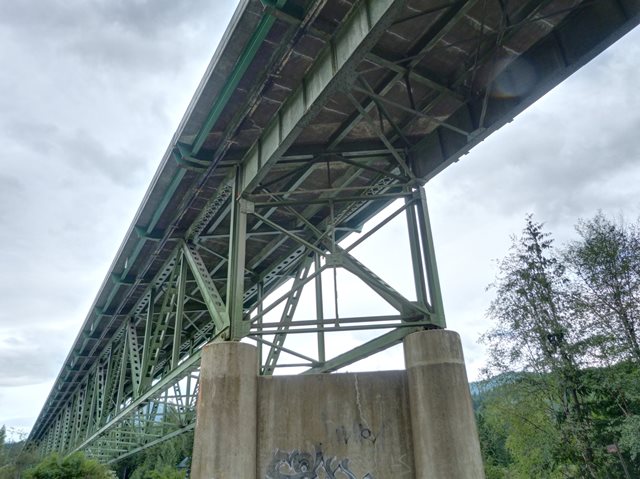
![]()


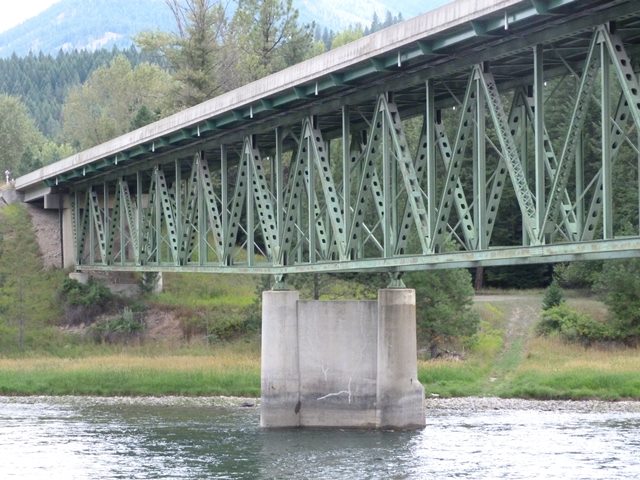
Piers.
![]()
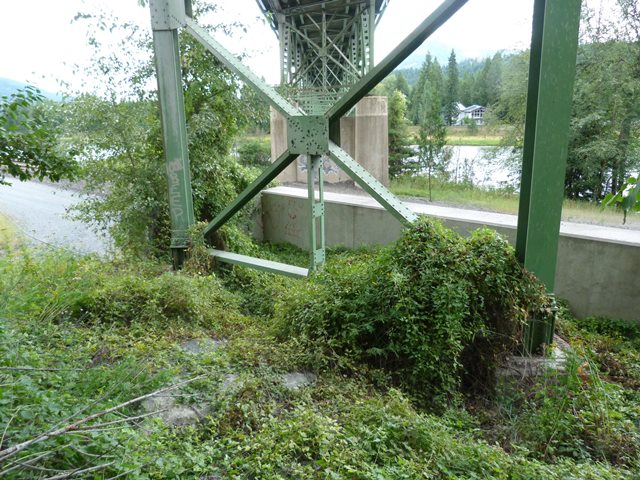
Steel bent.
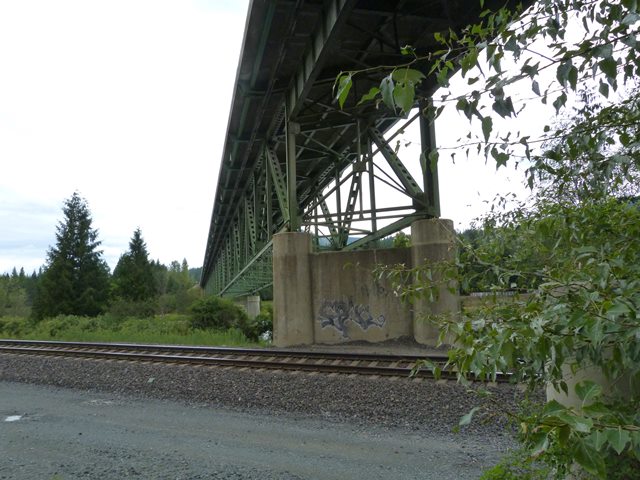
![]()

View under approach span.
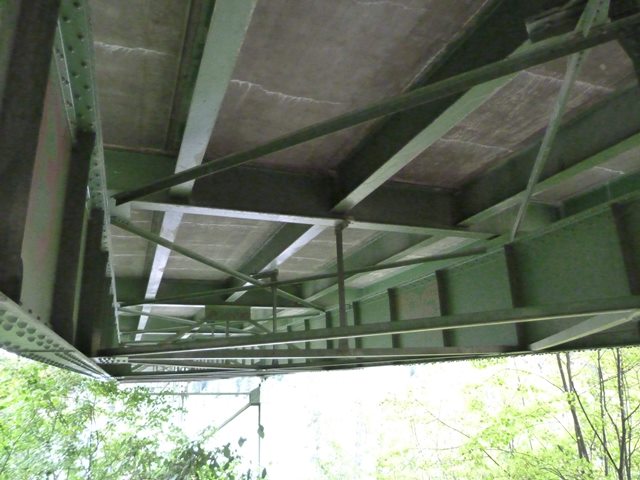
![]()


Girder details.
![]()
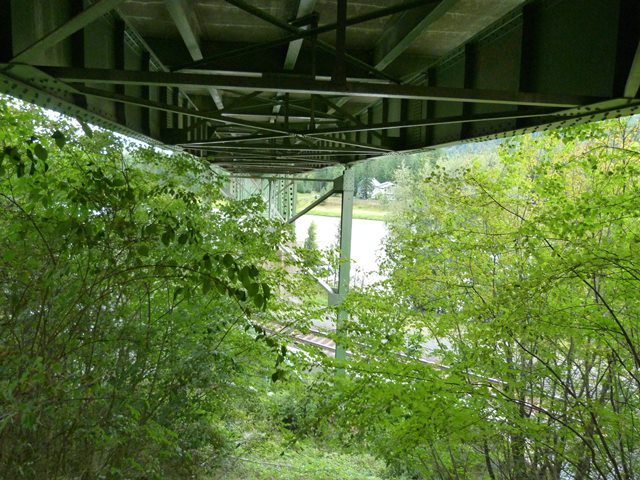
Views under girder spans.
![]()


Views under truss spans.
![]()


Deck and railing overview.
![]()


Bracing.
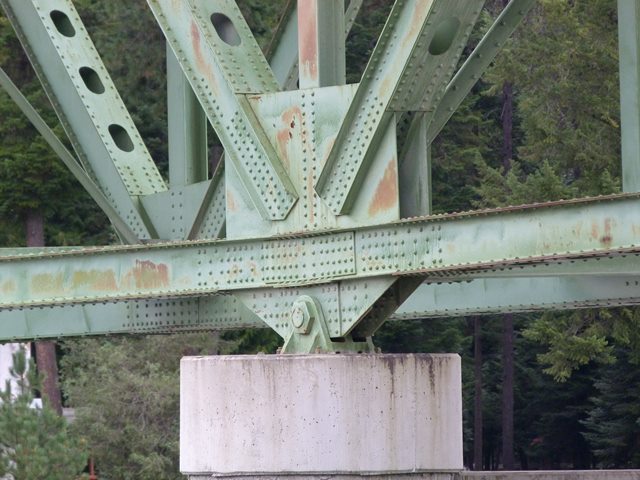
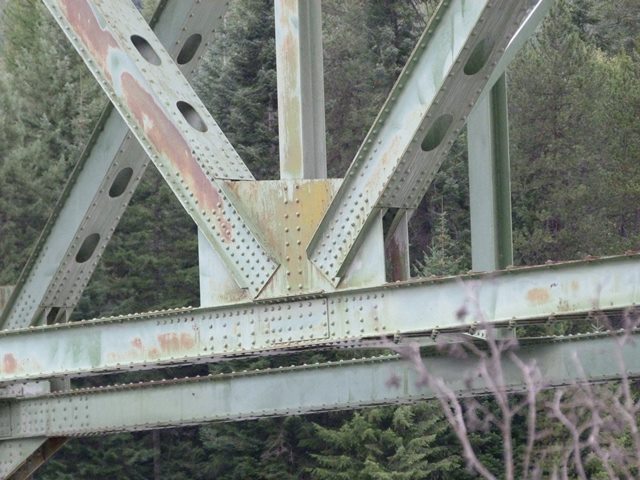
![]()


Top chord connections as viewed from beside bridge.
![]()

Top chord connection as viewed from under bridge.
![]()


Bottom chord connections as viewed from beside bridge.
![]()


Bottom chord connections as viewed from under bridge.
![]()
Bearings.
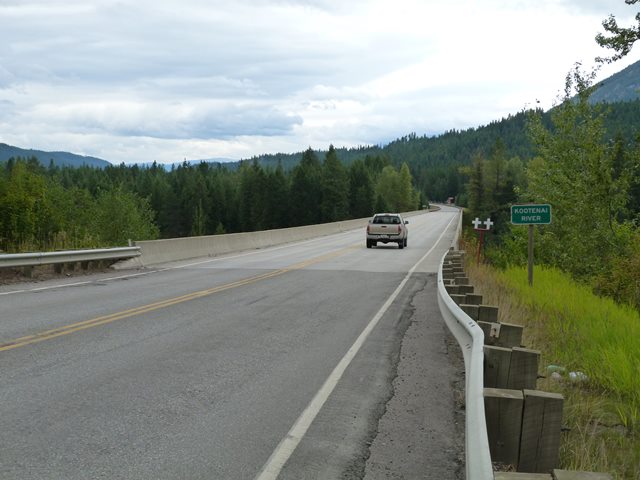
![]()

Scenery at bridge.
![]()
![]()
| Back |
| Home |
| Top |

![]()