
Uncredited photos on this page taken by: Nathan Holth. Unless stated in a caption, all photos are Copyright with All Rights Reserved. Learn about reuse of our photos.
![]()
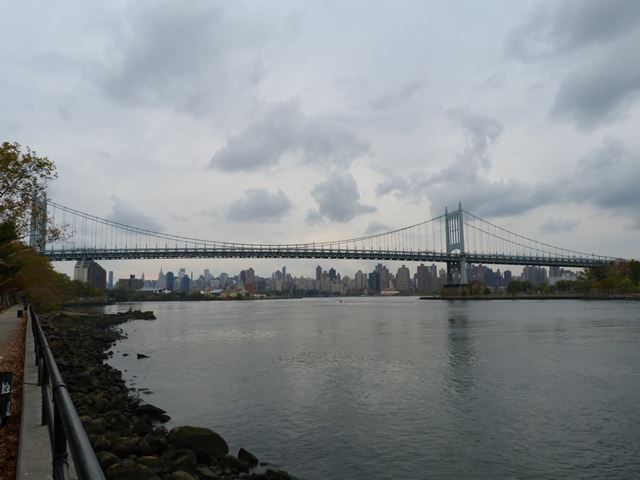


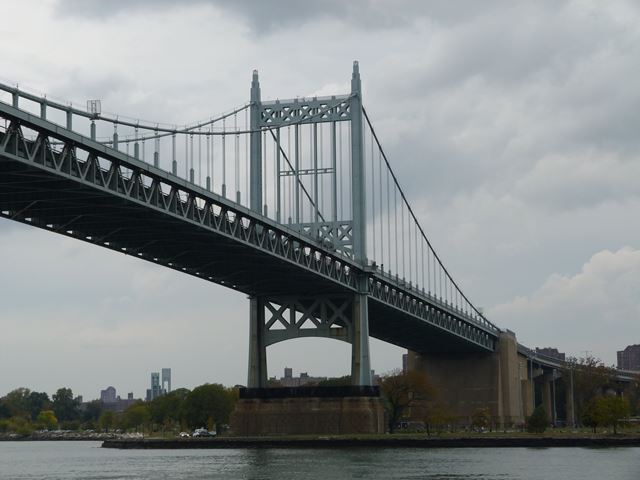
Elevation from southeast quadrant.
![]()

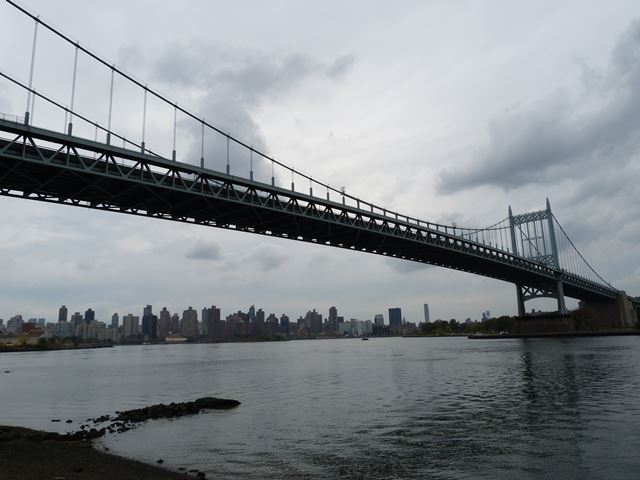
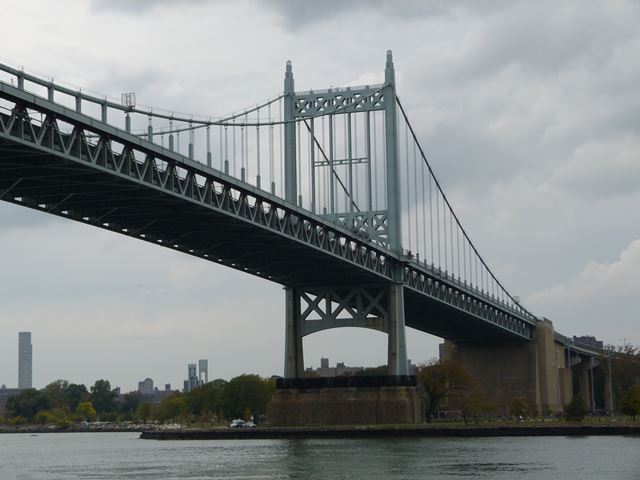
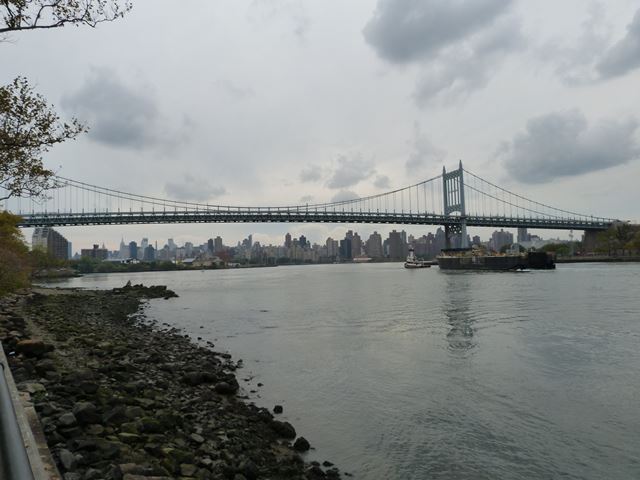
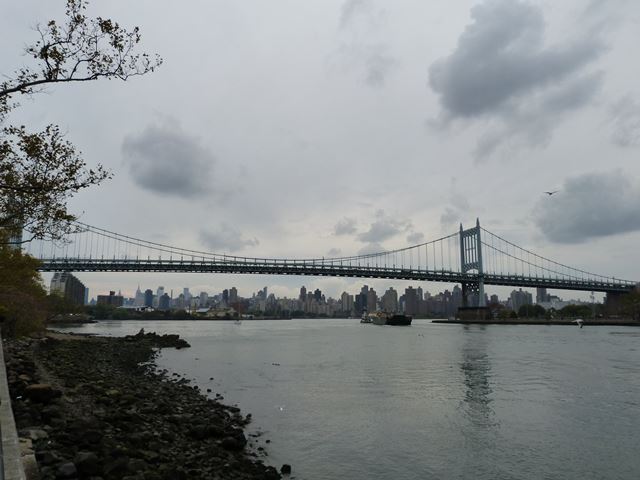
Views beside bridge from southeast quadrant.
![]()


Portal views on bridge facing northbound.
![]()


Portal views on bridge facing southbound.
![]()


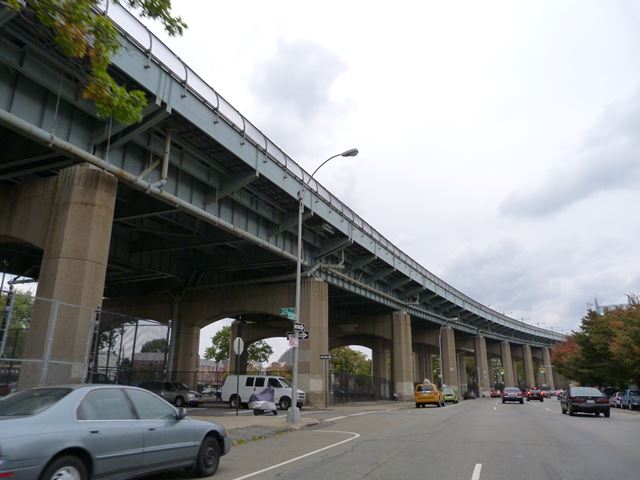
Views beside approach spans from southeast quadrant.
![]()

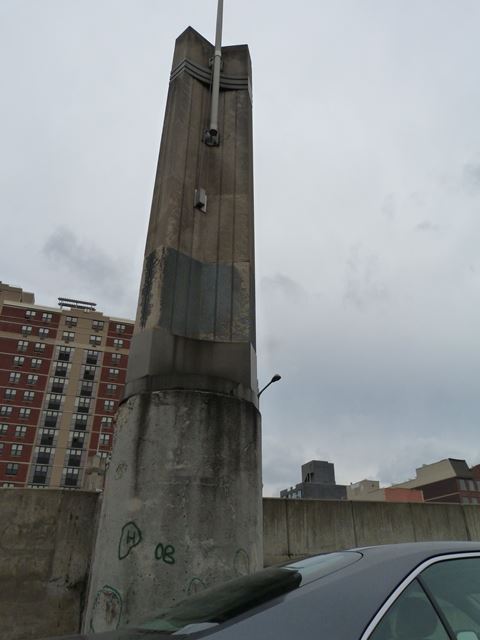
Decorative post at southern end of bridge.
![]()

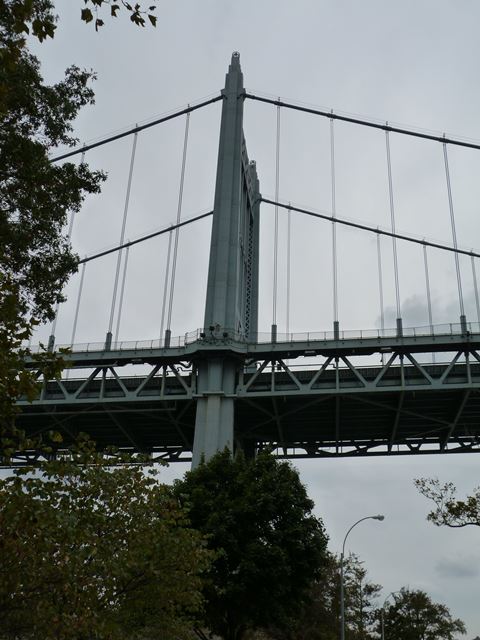

Towers.
![]()


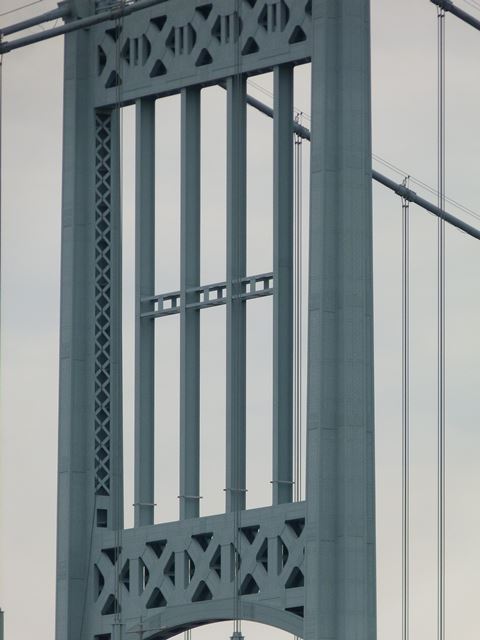


Tower details.
![]()

Main cable saddle.
![]()
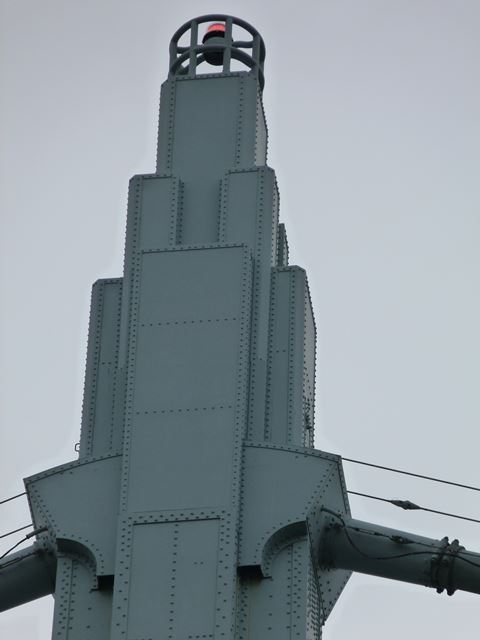

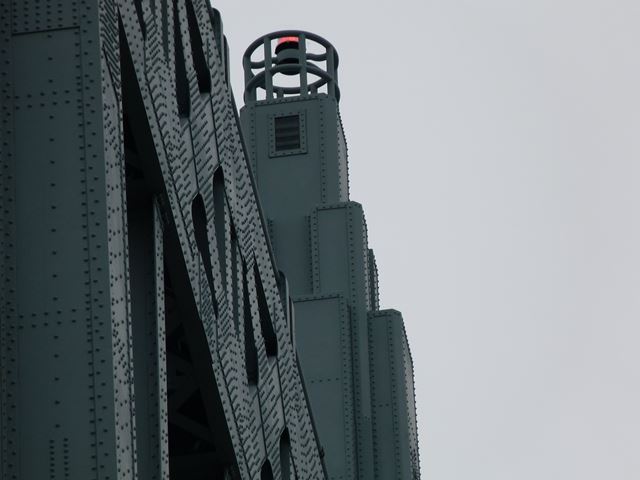

Tower finials.
![]()
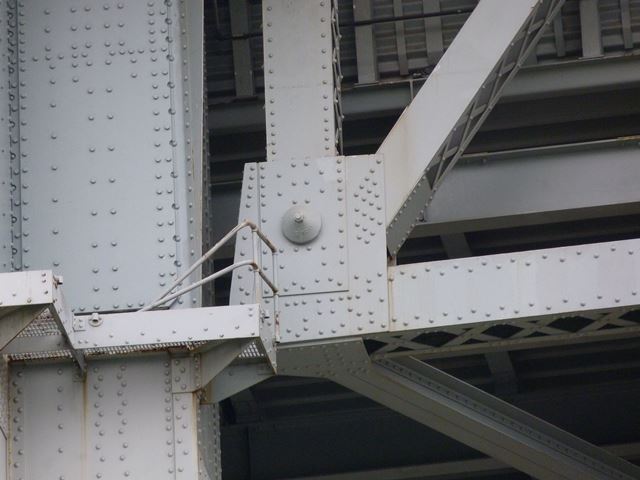

Stiffening truss bottom chord connection at tower.
![]()


Stiffening truss.
![]()


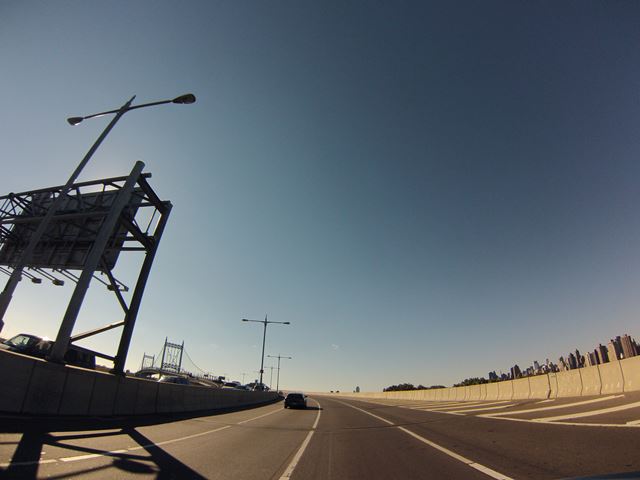
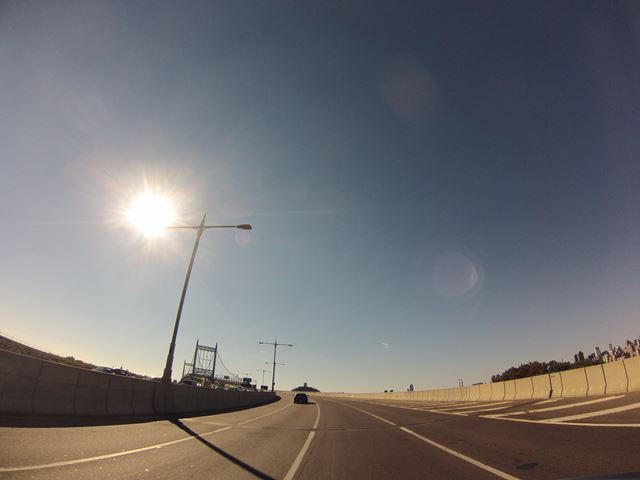


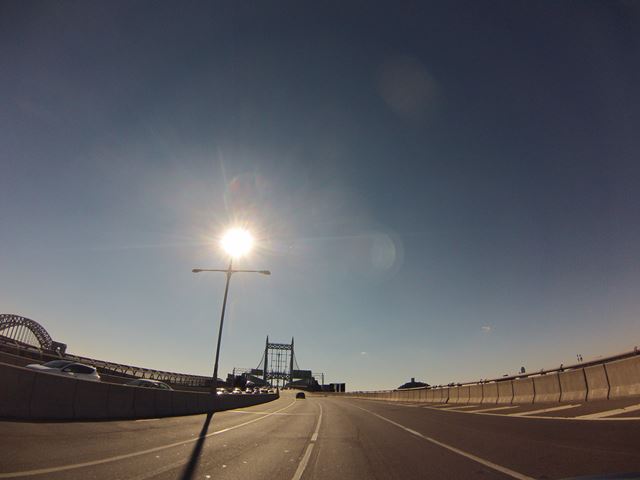
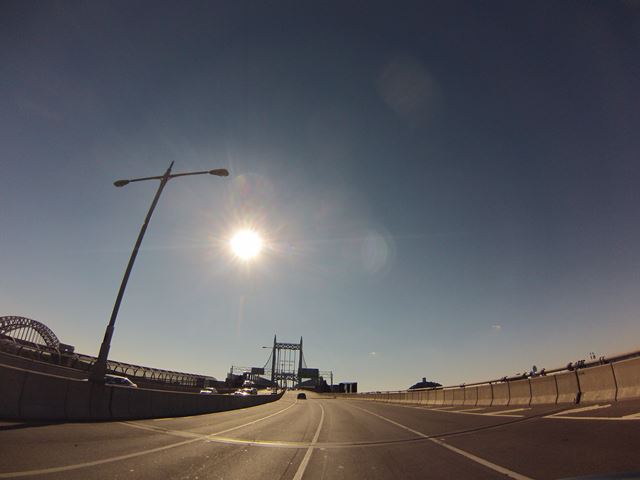


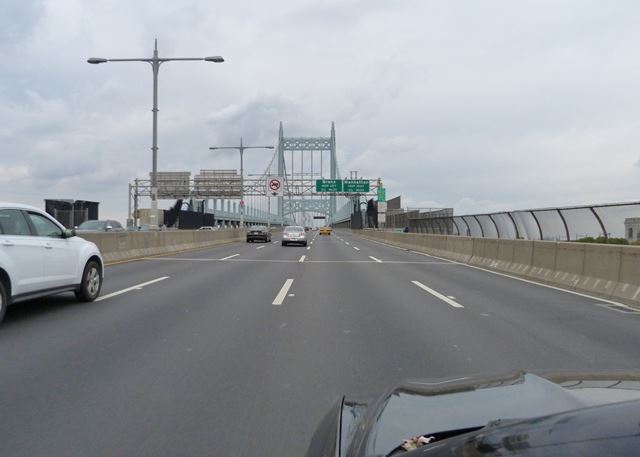
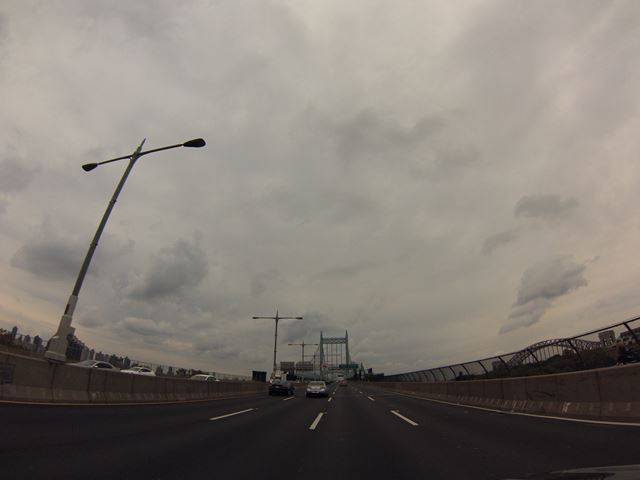
GoPro CarCam photos. Southbound Crossing. Views on northern approach spans leading up to suspension spans.
![]()


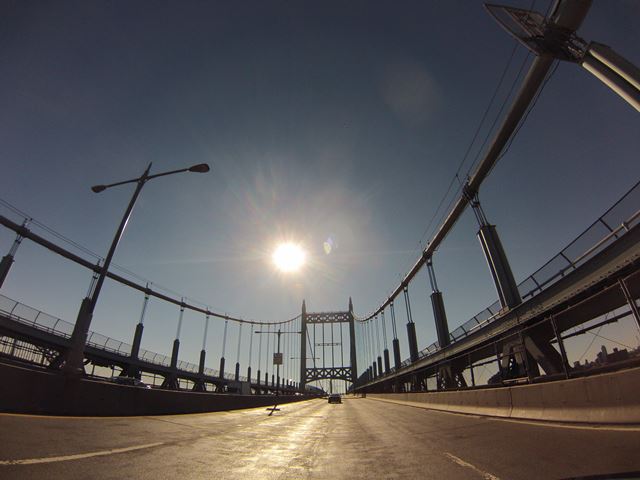


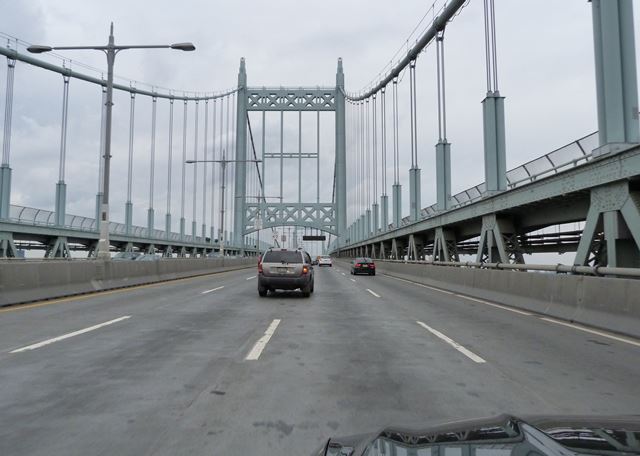
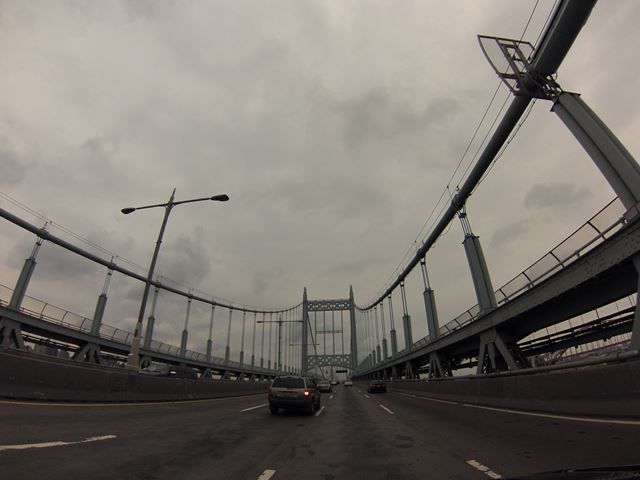
GoPro CarCam photos. Southbound Crossing. Views on northern suspension span.
![]()


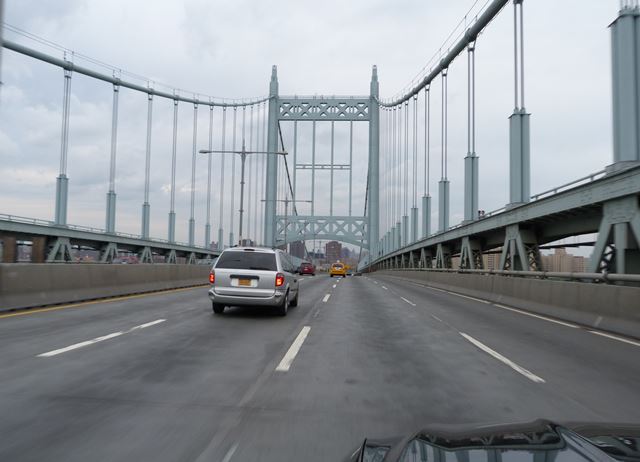
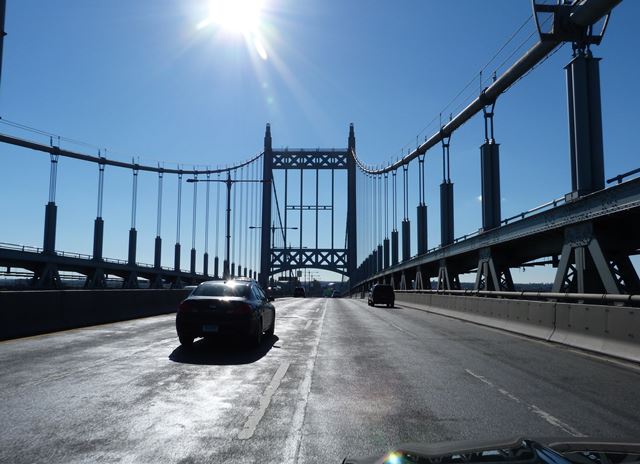
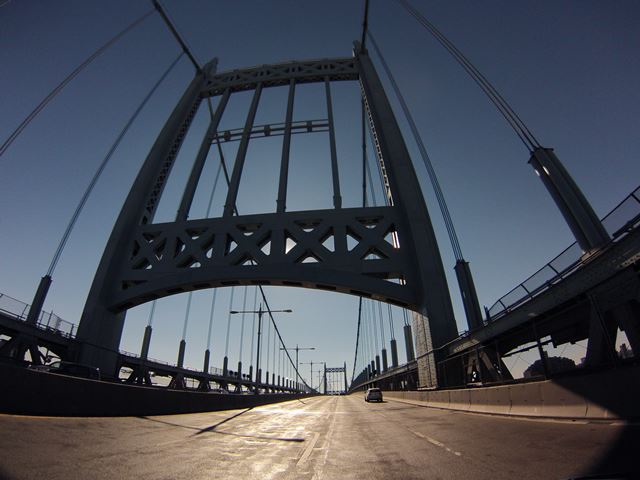
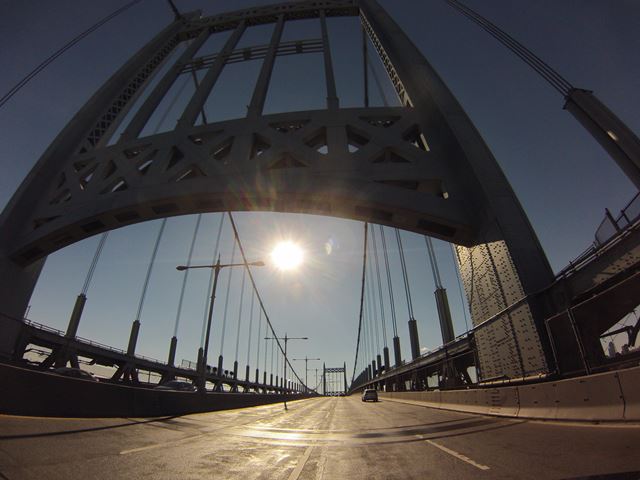
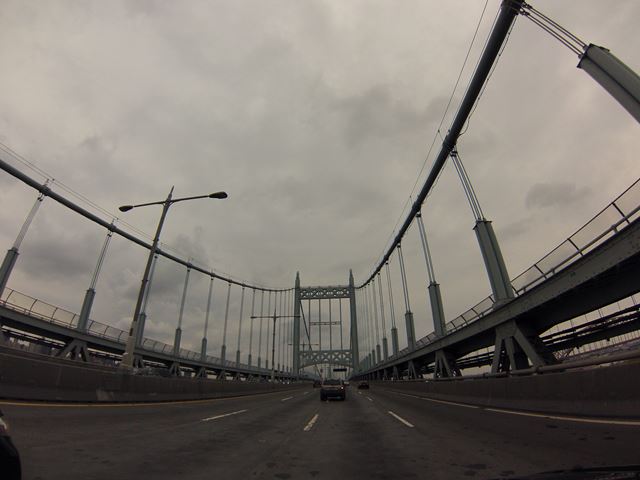
GoPro CarCam photos. Southbound Crossing. Views on center suspension span.
![]()


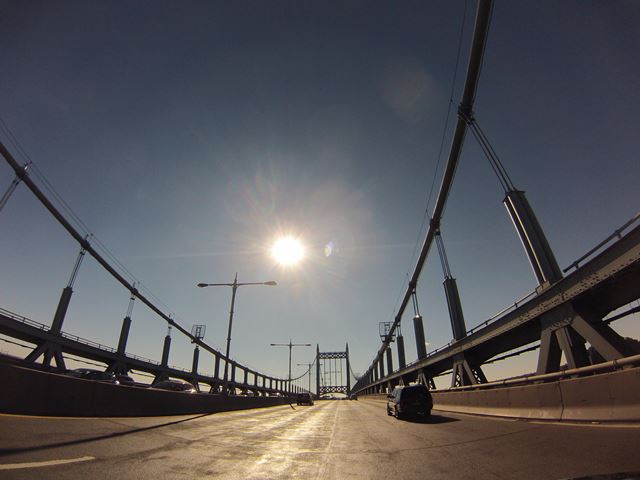
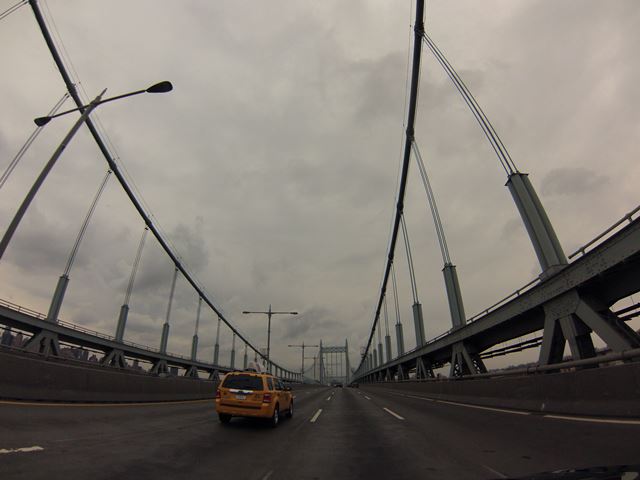
GoPro CarCam photos. Southbound Crossing. Views on southern suspension span.
![]()

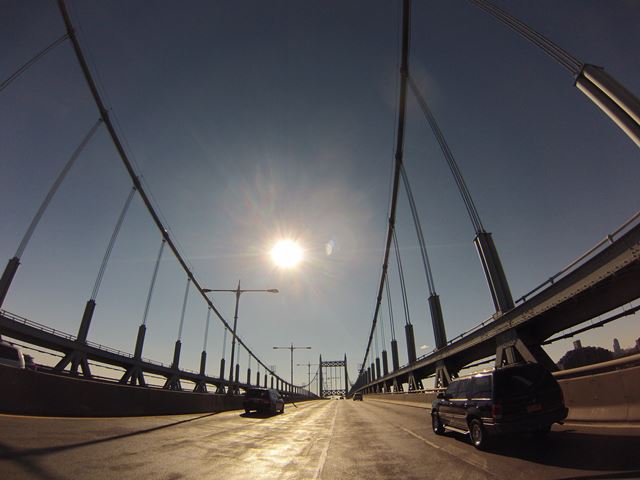
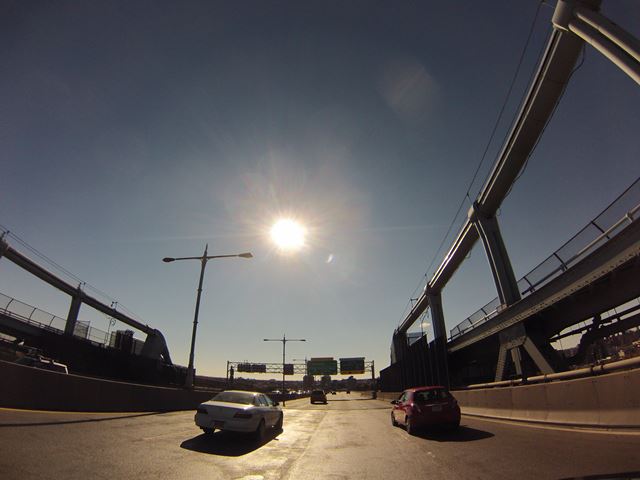
GoPro CarCam photos. Southbound Crossing. Views on southern approach spans.
![]()


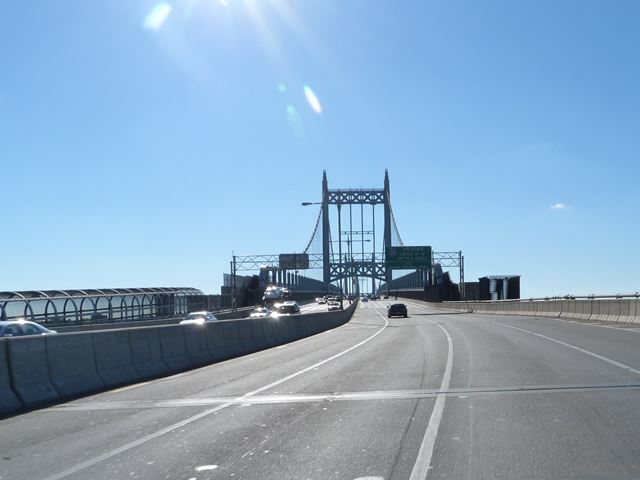
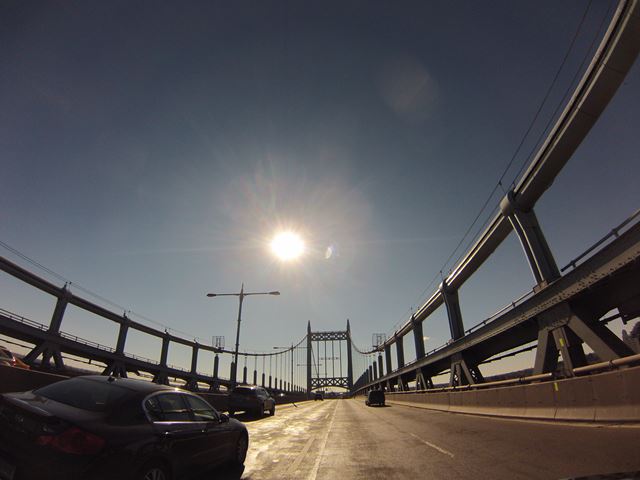
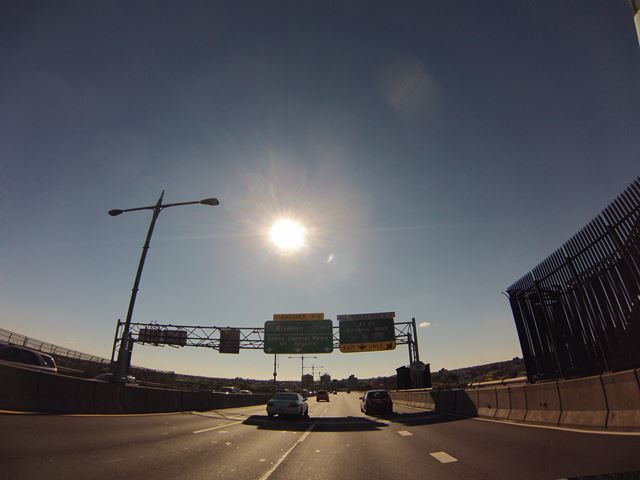
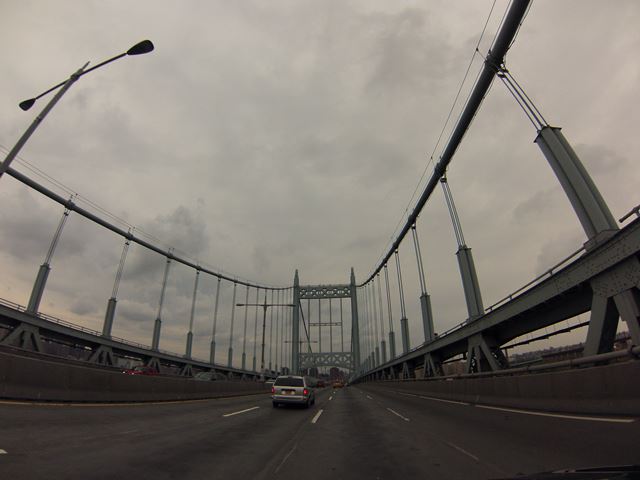
GoPro CarCam photos. Northbound Crossing. Views on southern approach spans leading up to suspension spans.
![]()


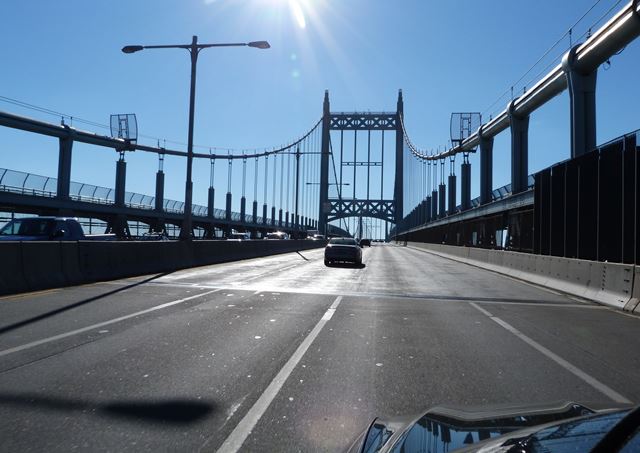
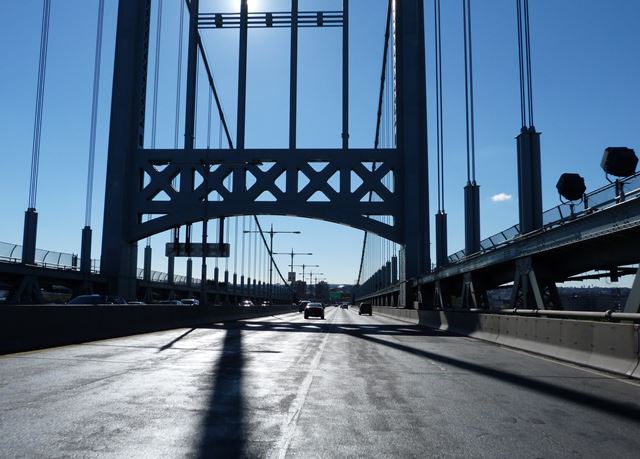
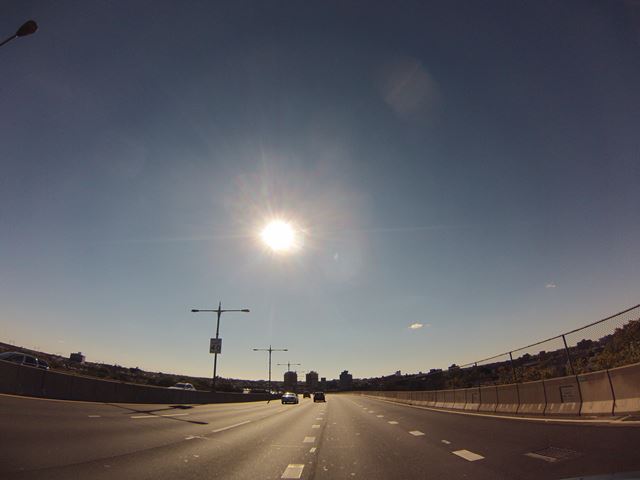
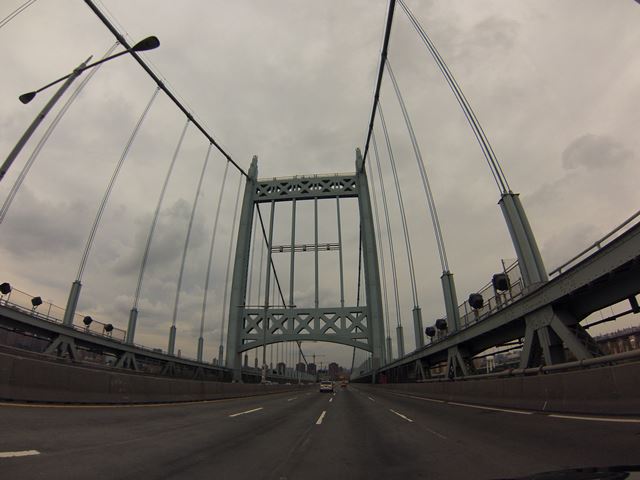
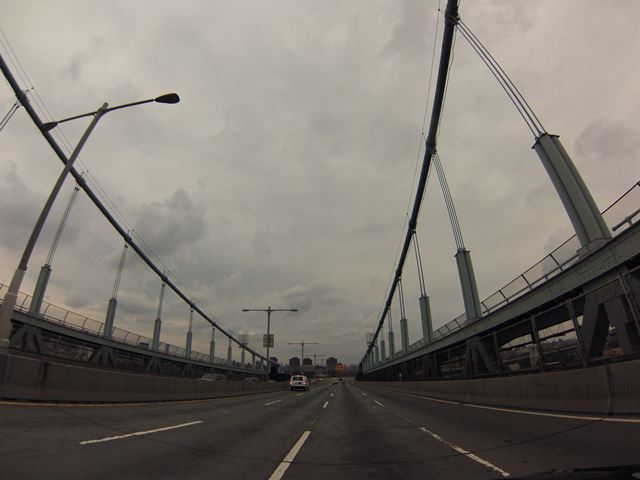
GoPro CarCam photos. Northbound Crossing. Views on southern suspension span.
![]()


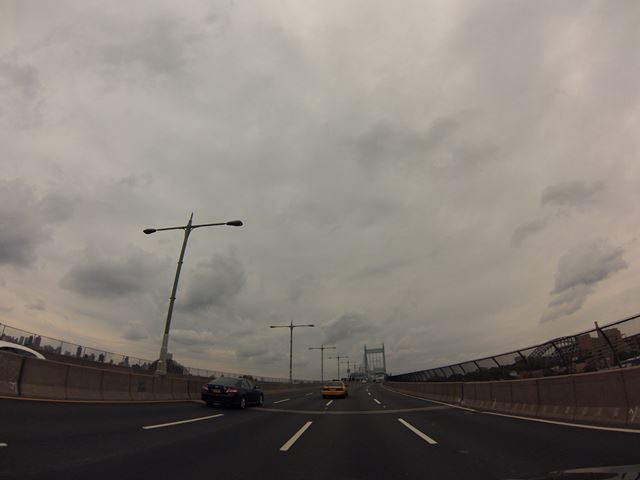
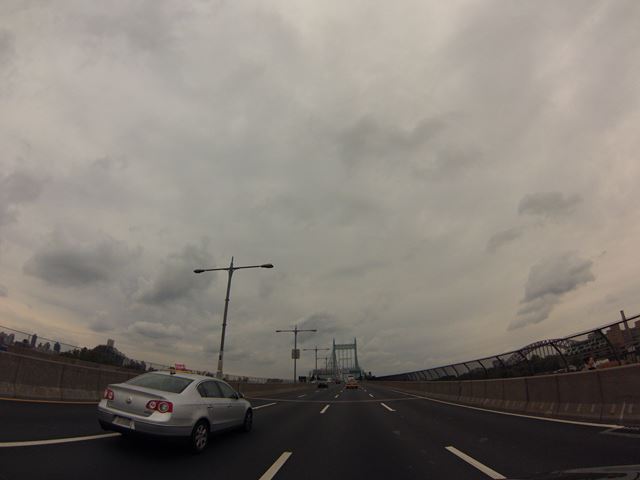
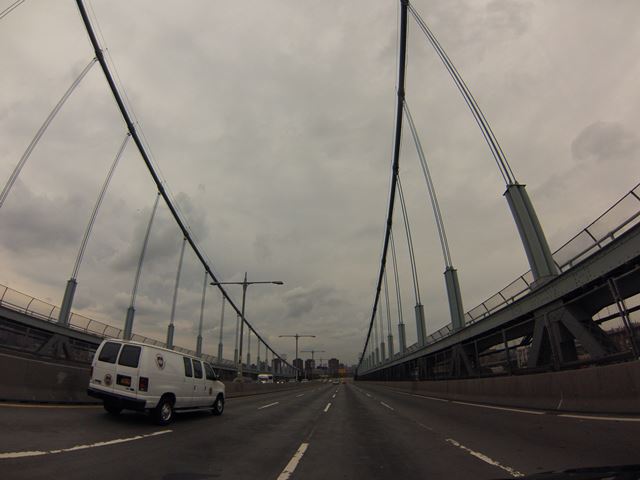
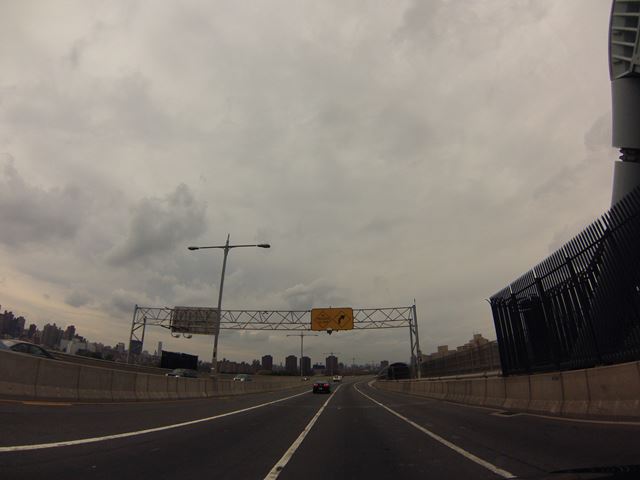
GoPro CarCam photos. Northbound Crossing. Views on central suspension span.
![]()


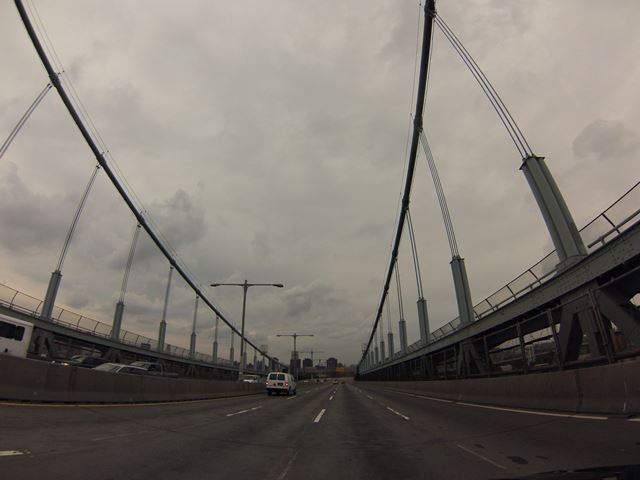


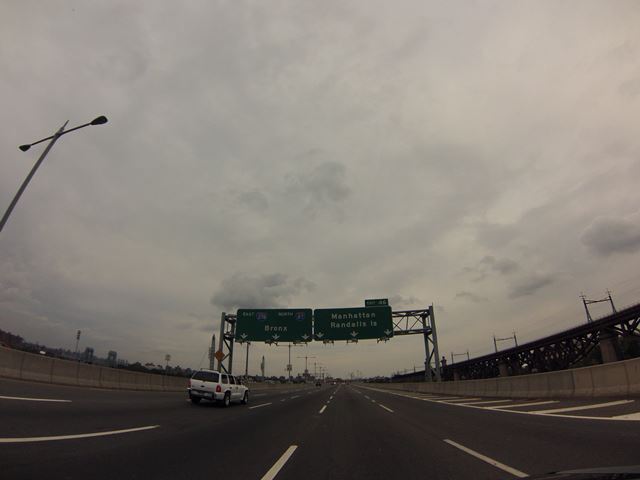
GoPro CarCam photos. Northbound Crossing. Views on northern suspension span.
![]()


GoPro CarCam photos. Northbound Crossing. Views on northern approach spans.
![]()
![]()
| Back |
| Home |
| Top |

![]()