Uncredited photos on this page taken by: Nathan Holth, Rick McOmber, and Luke Gordon. Unless stated in a caption, all photos are Copyright with All Rights Reserved. Learn about reuse of our photos.
![]()

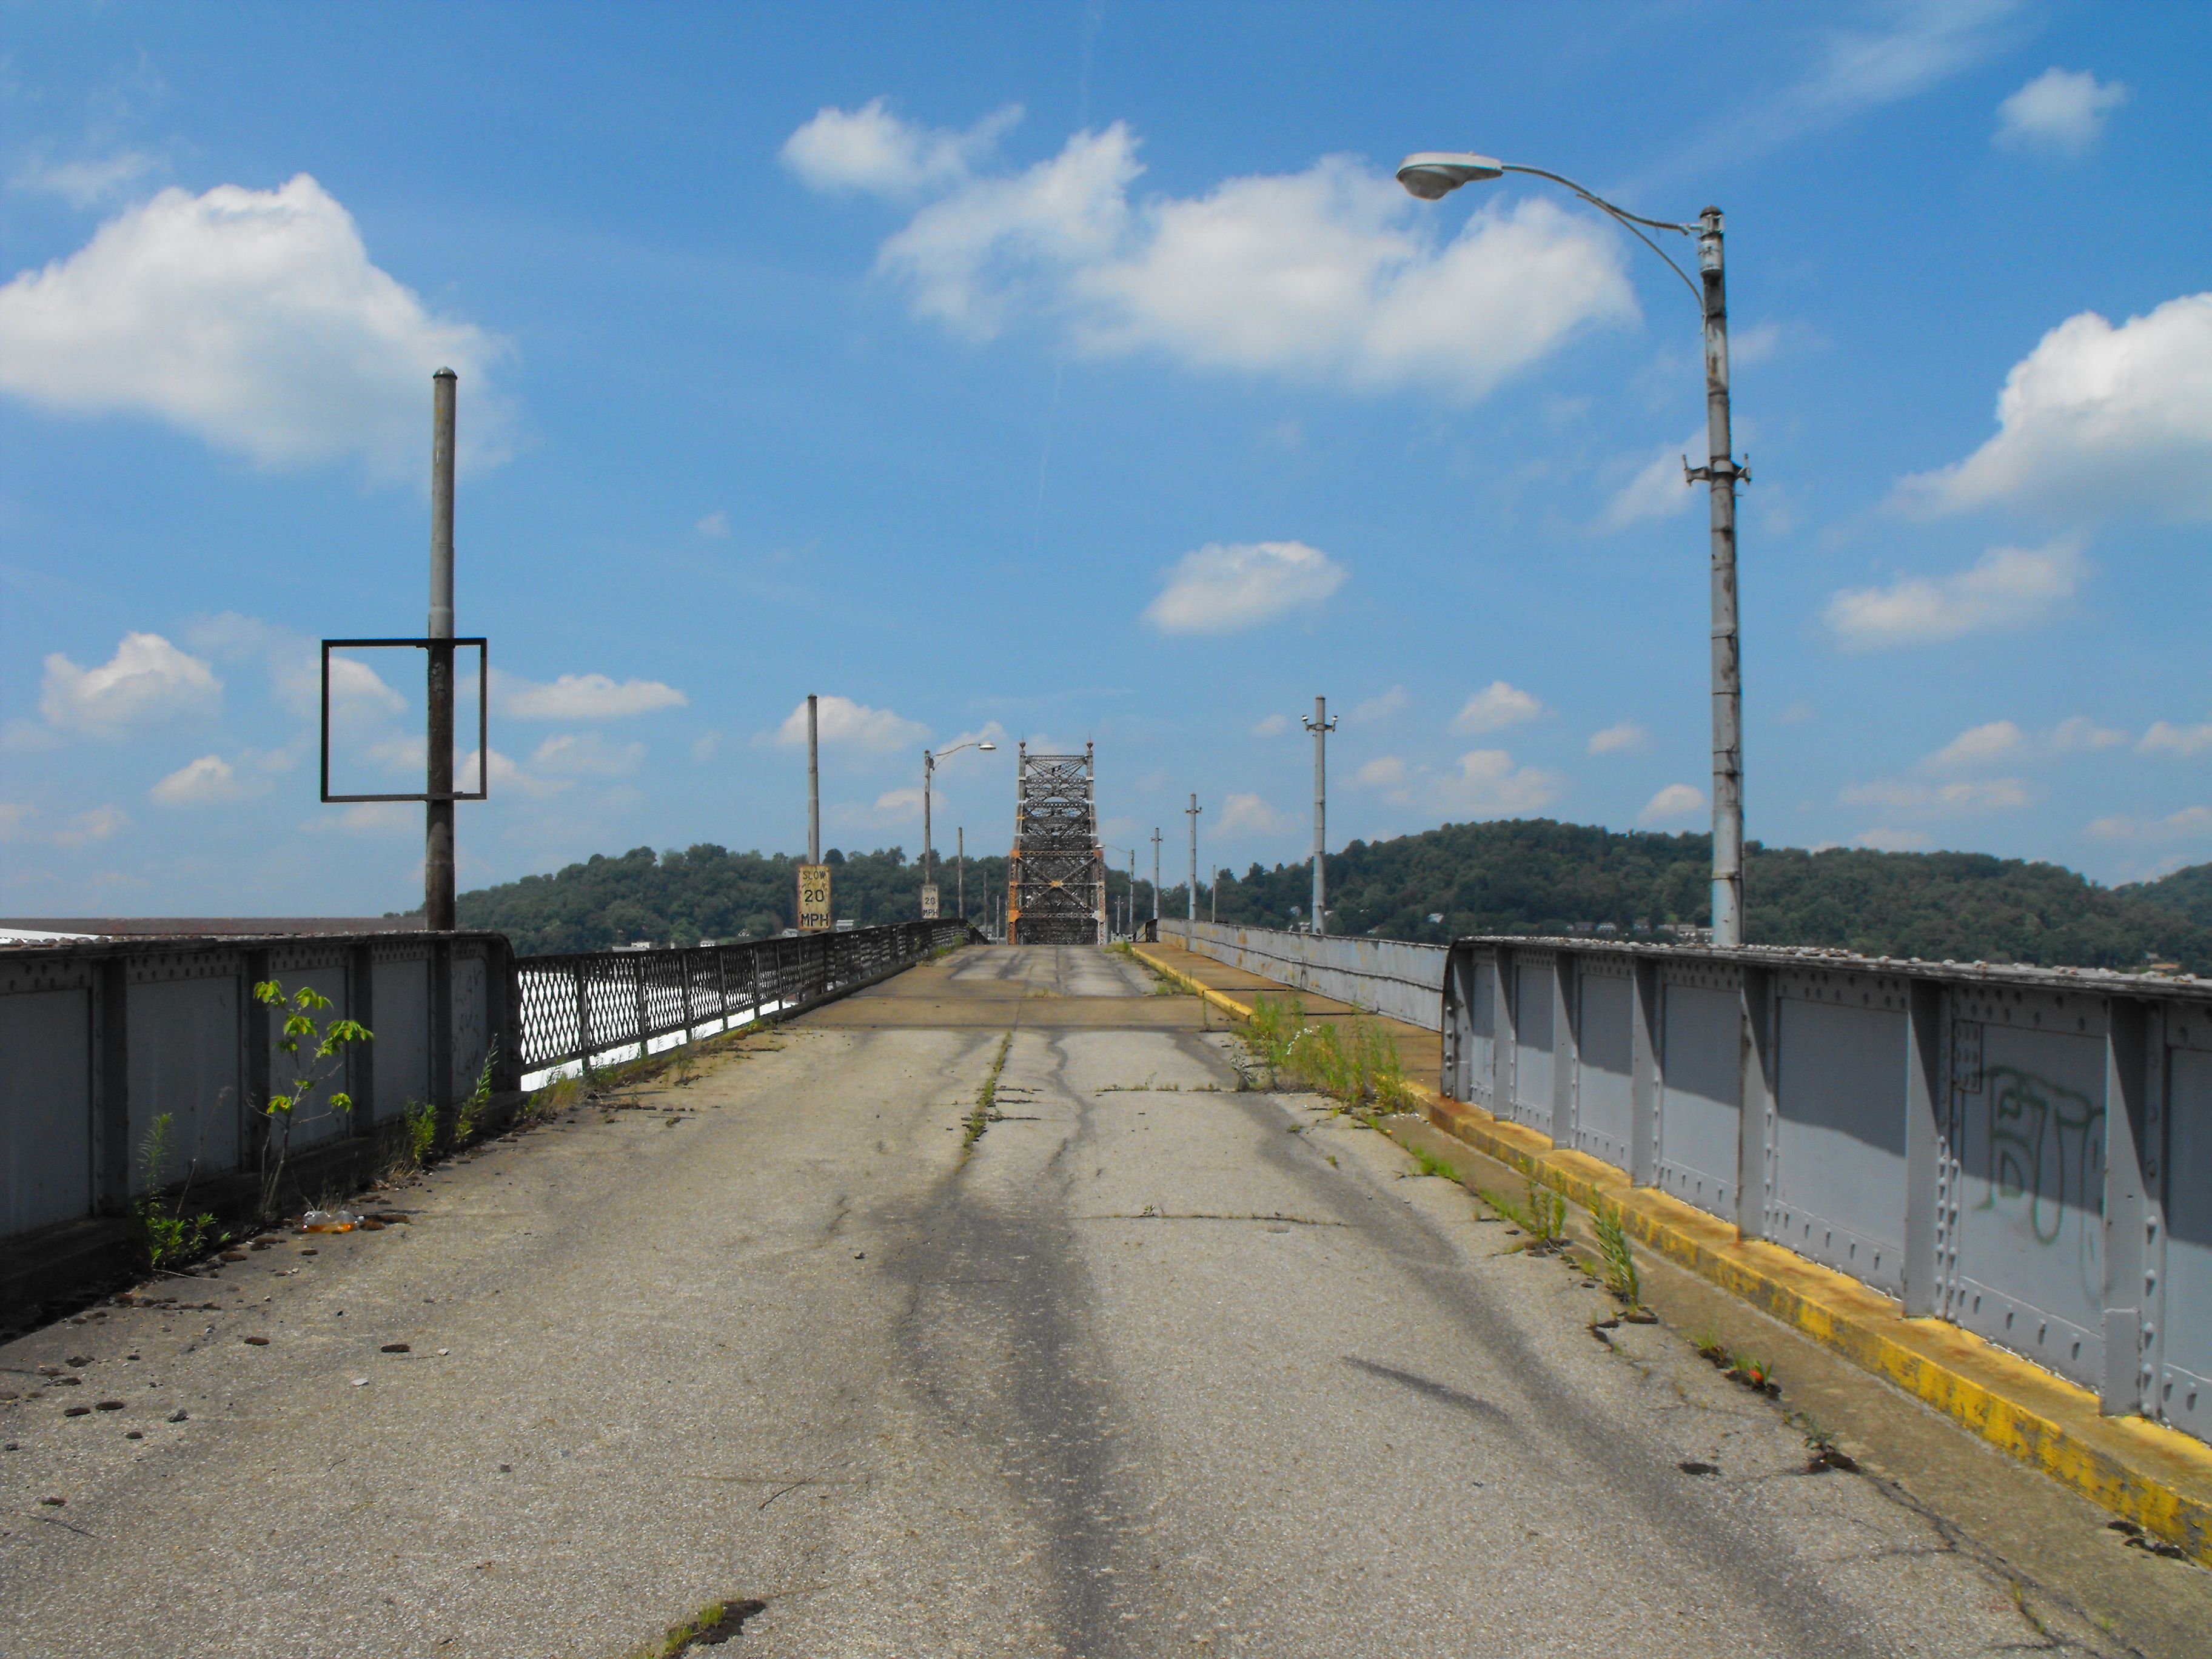
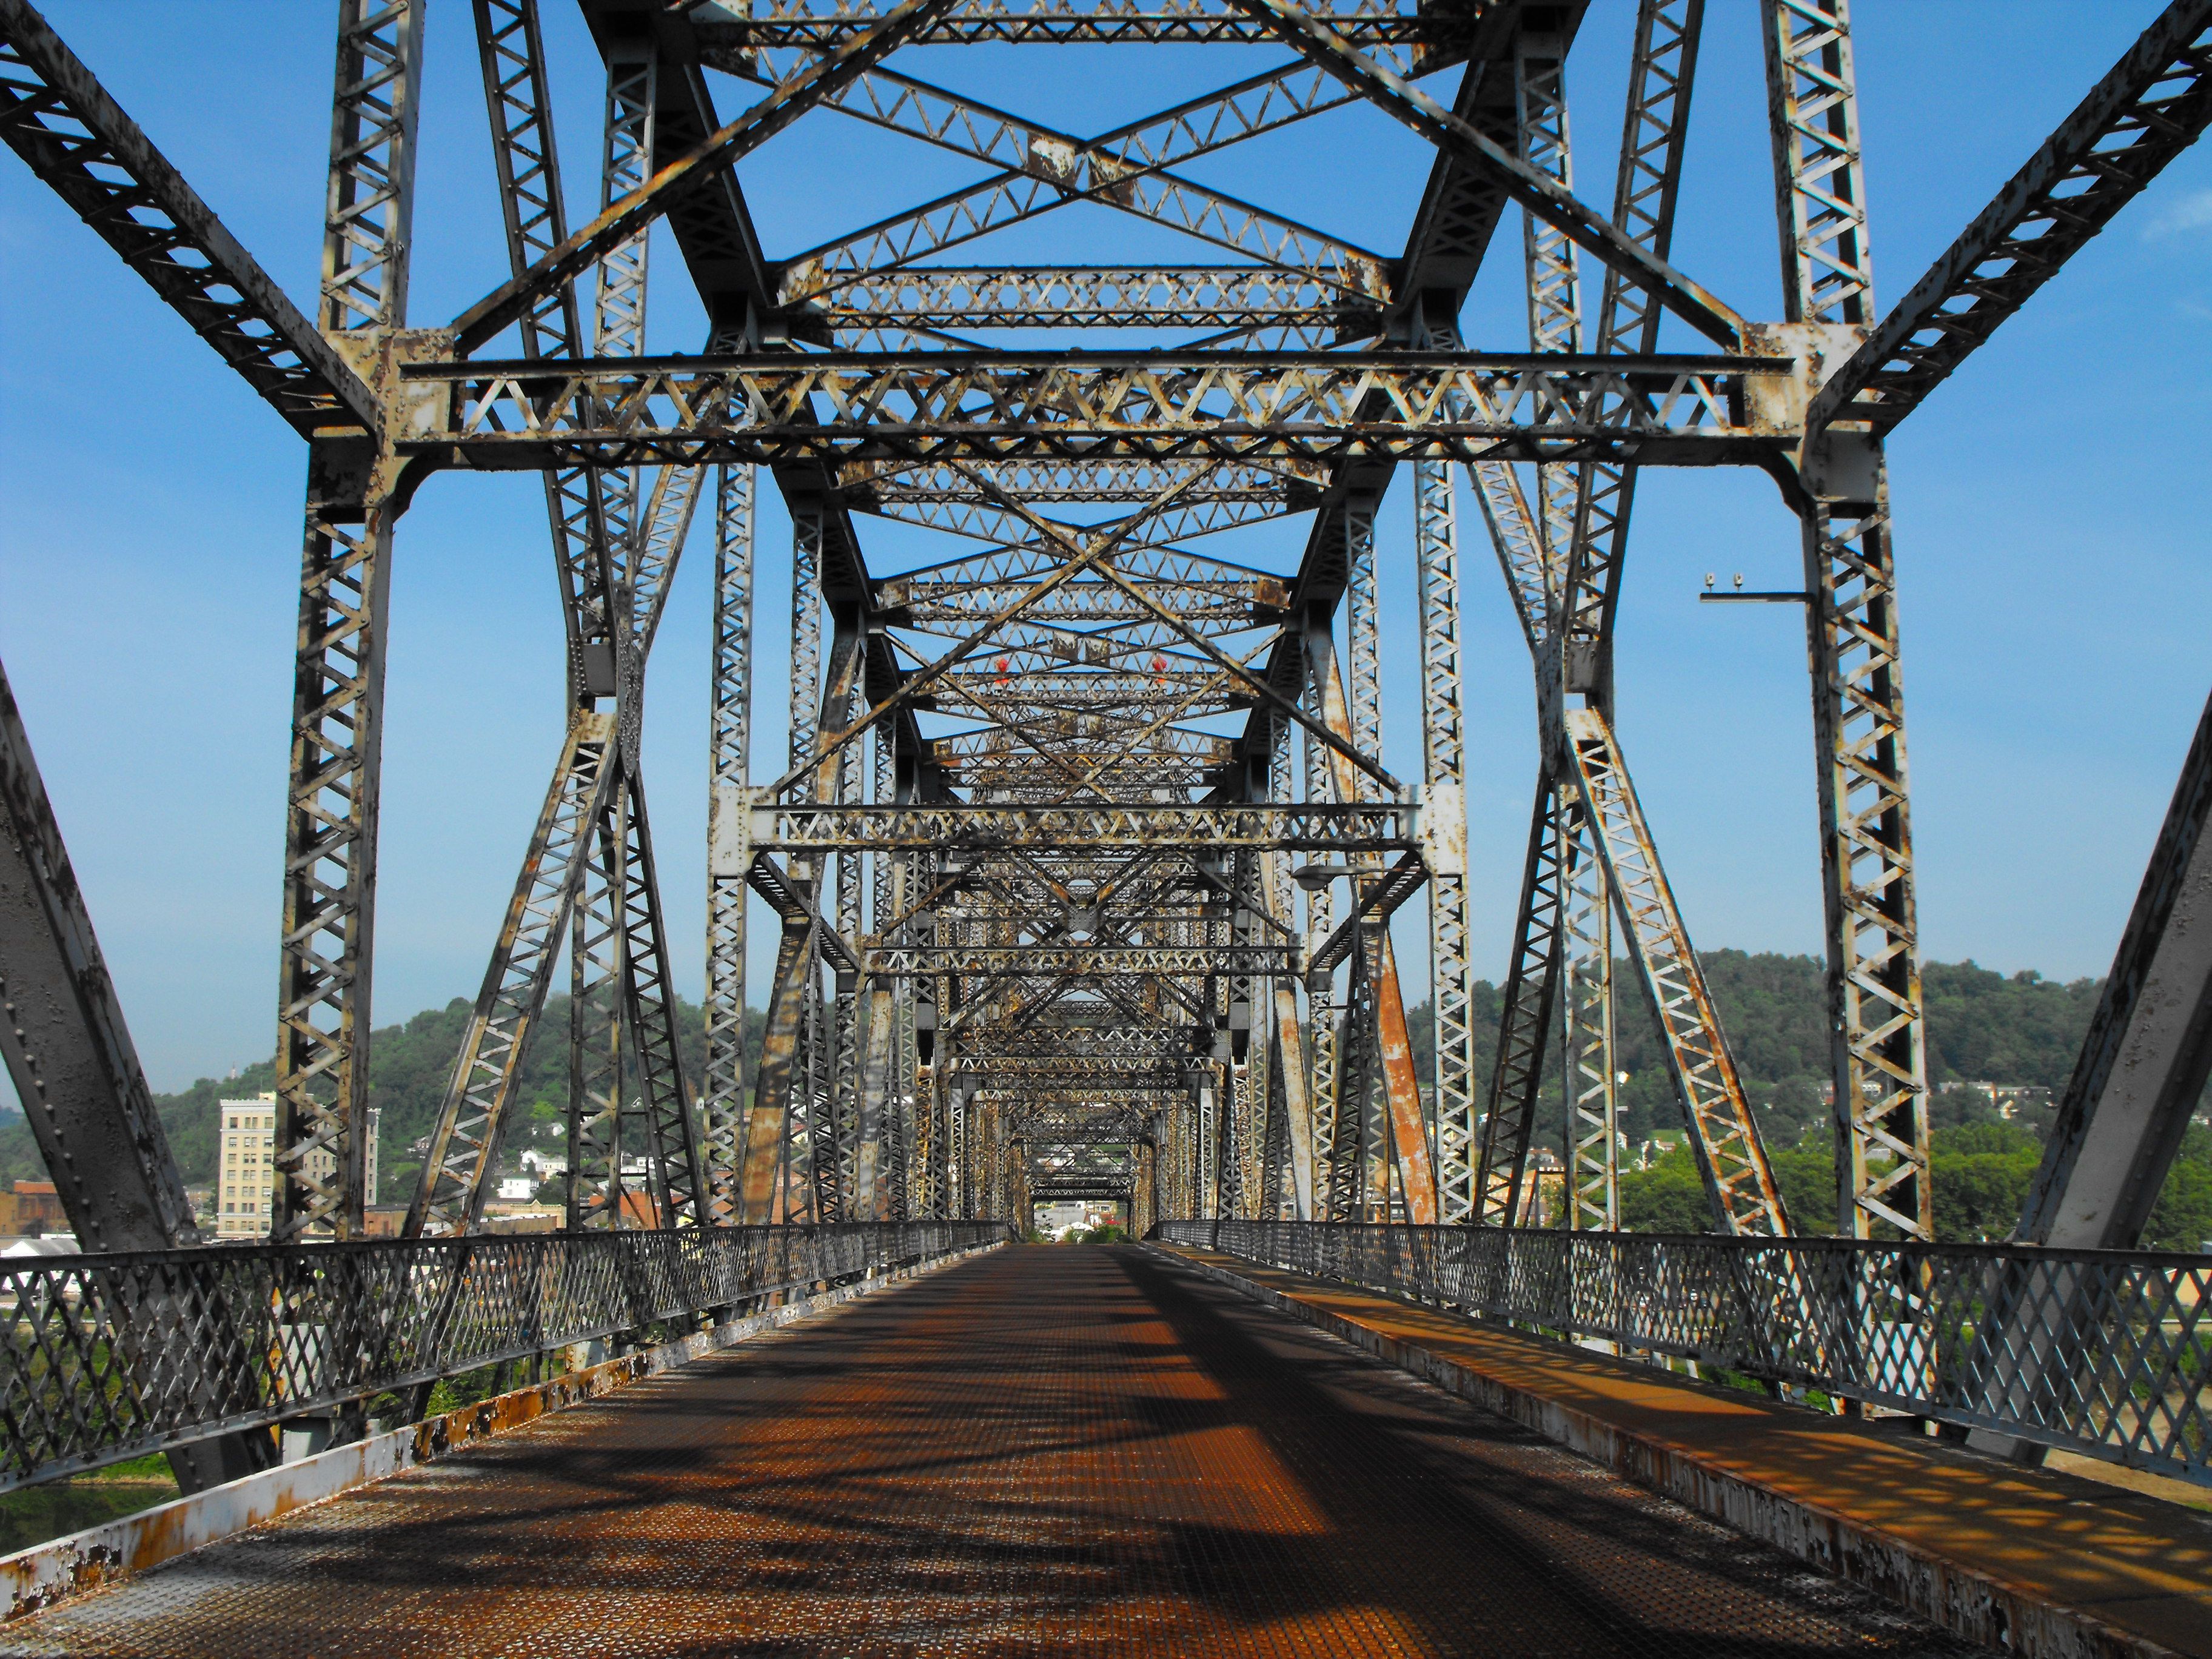
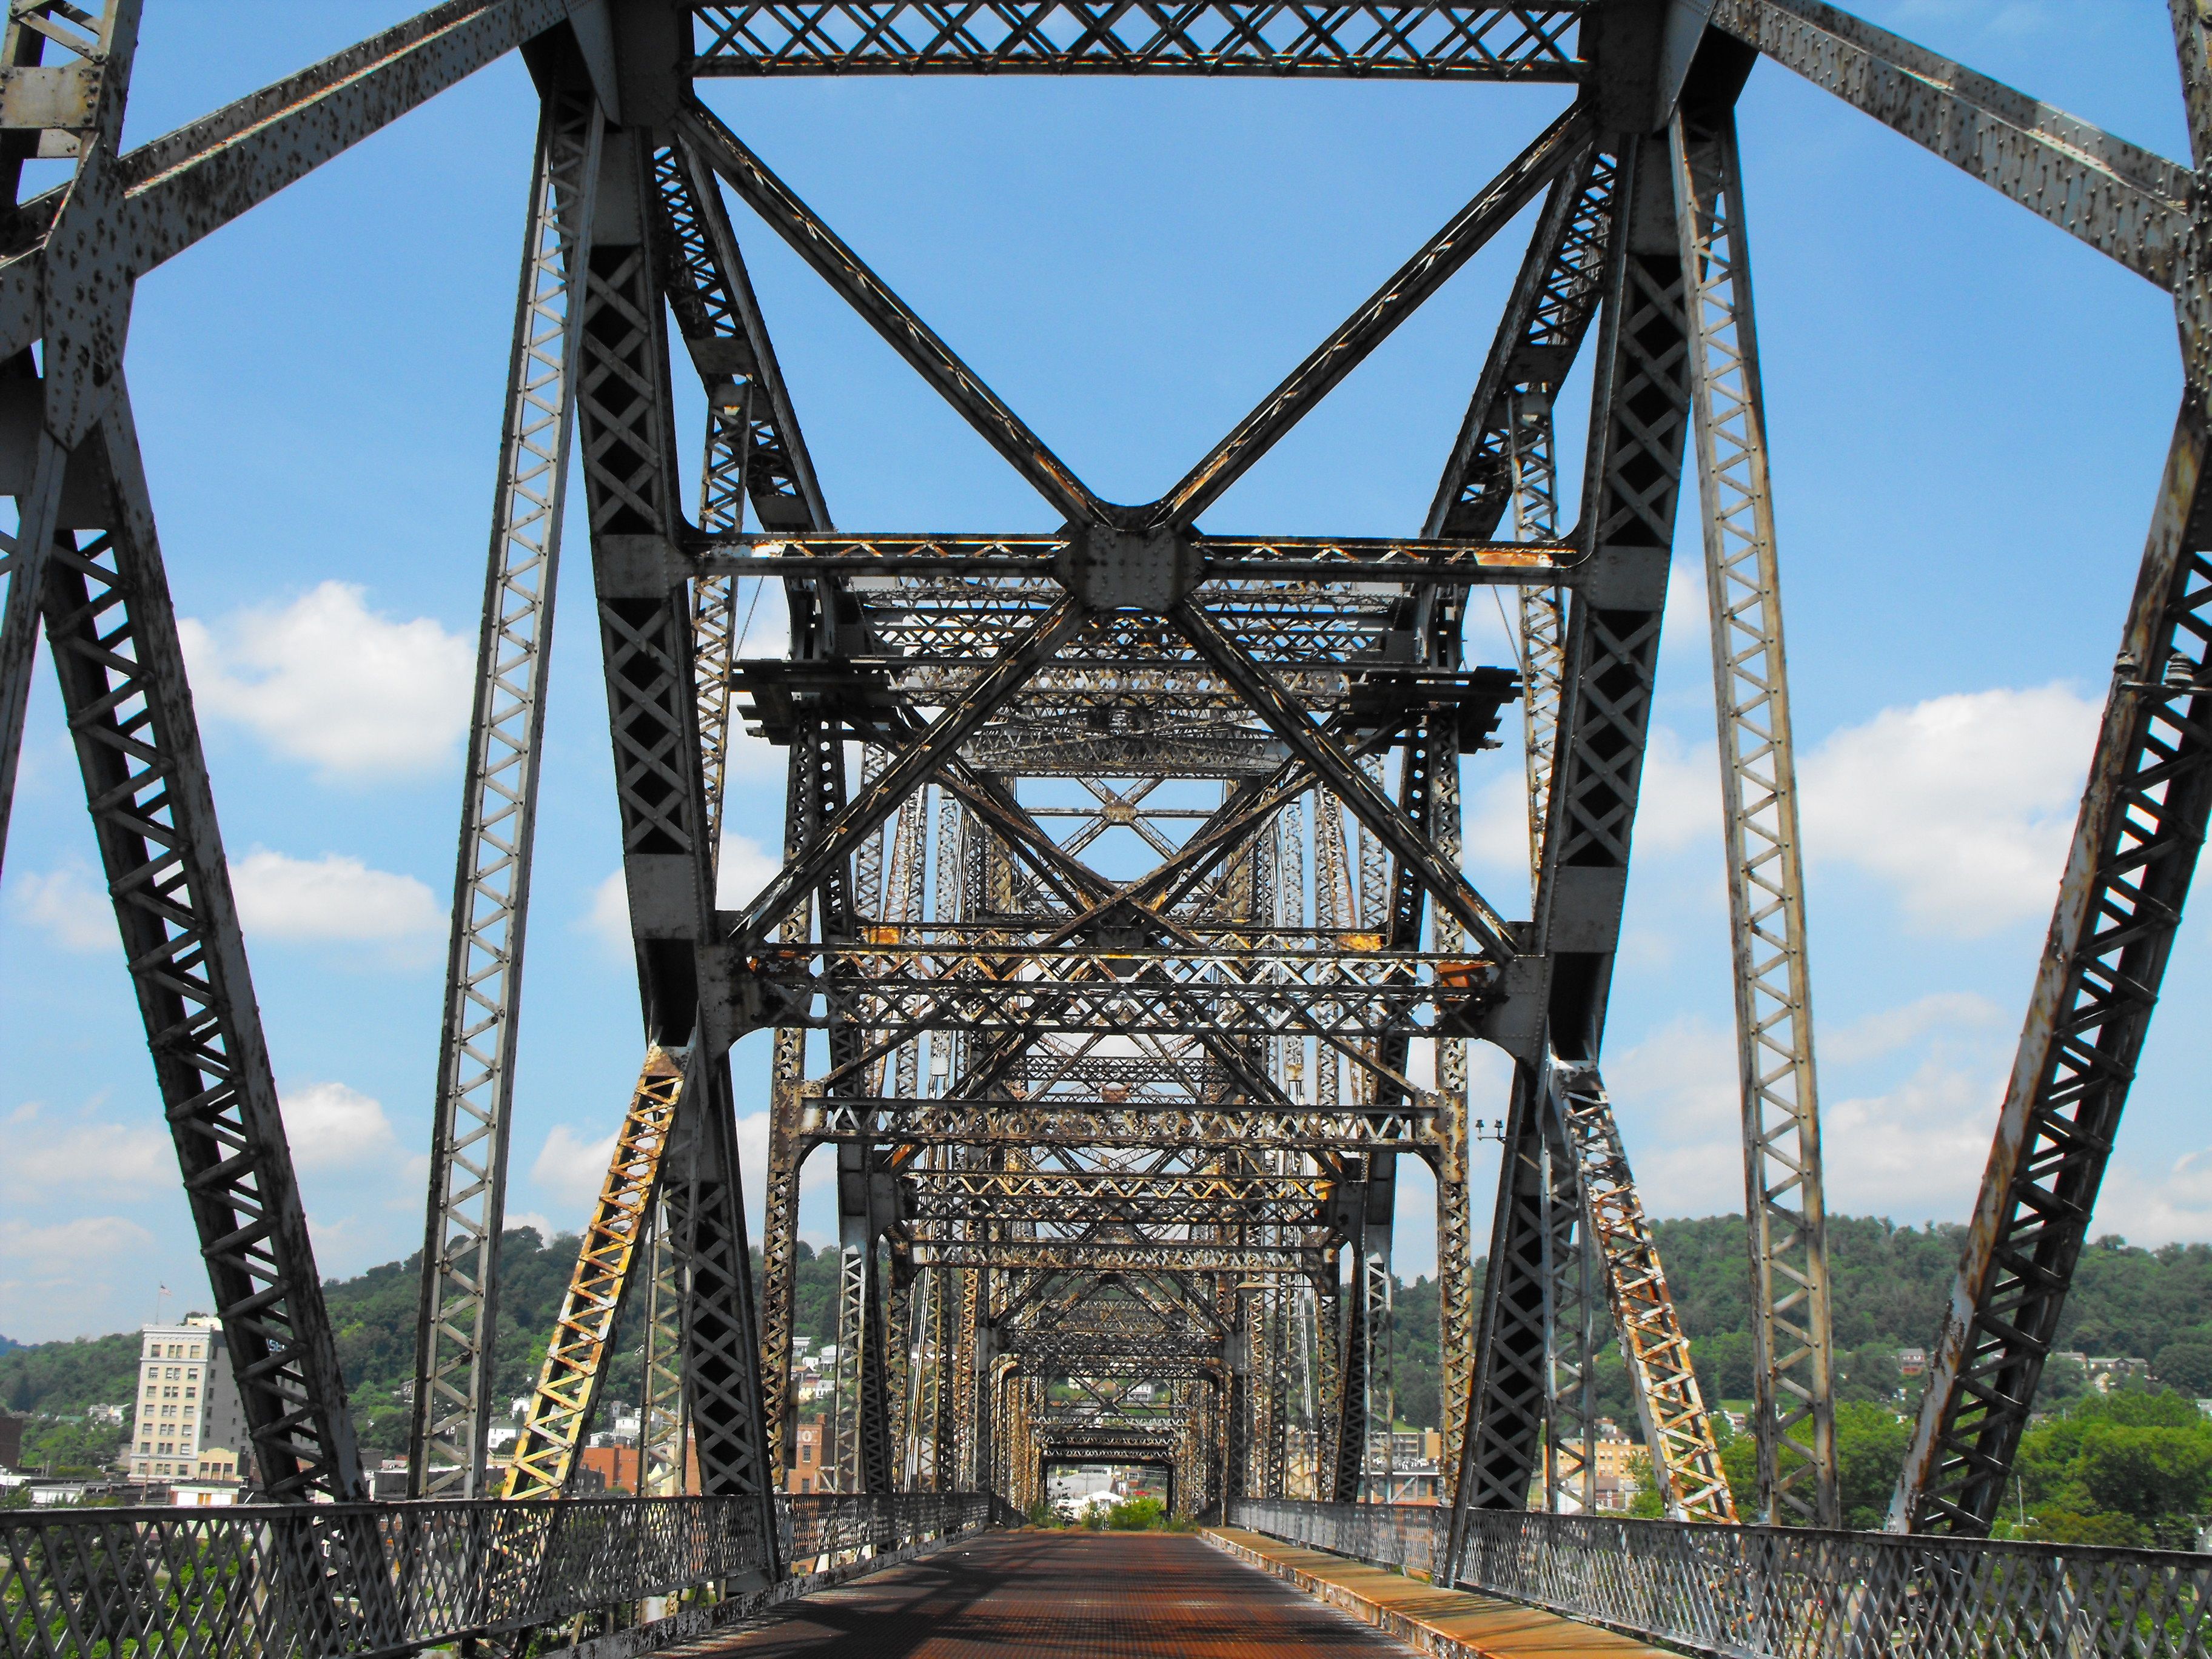
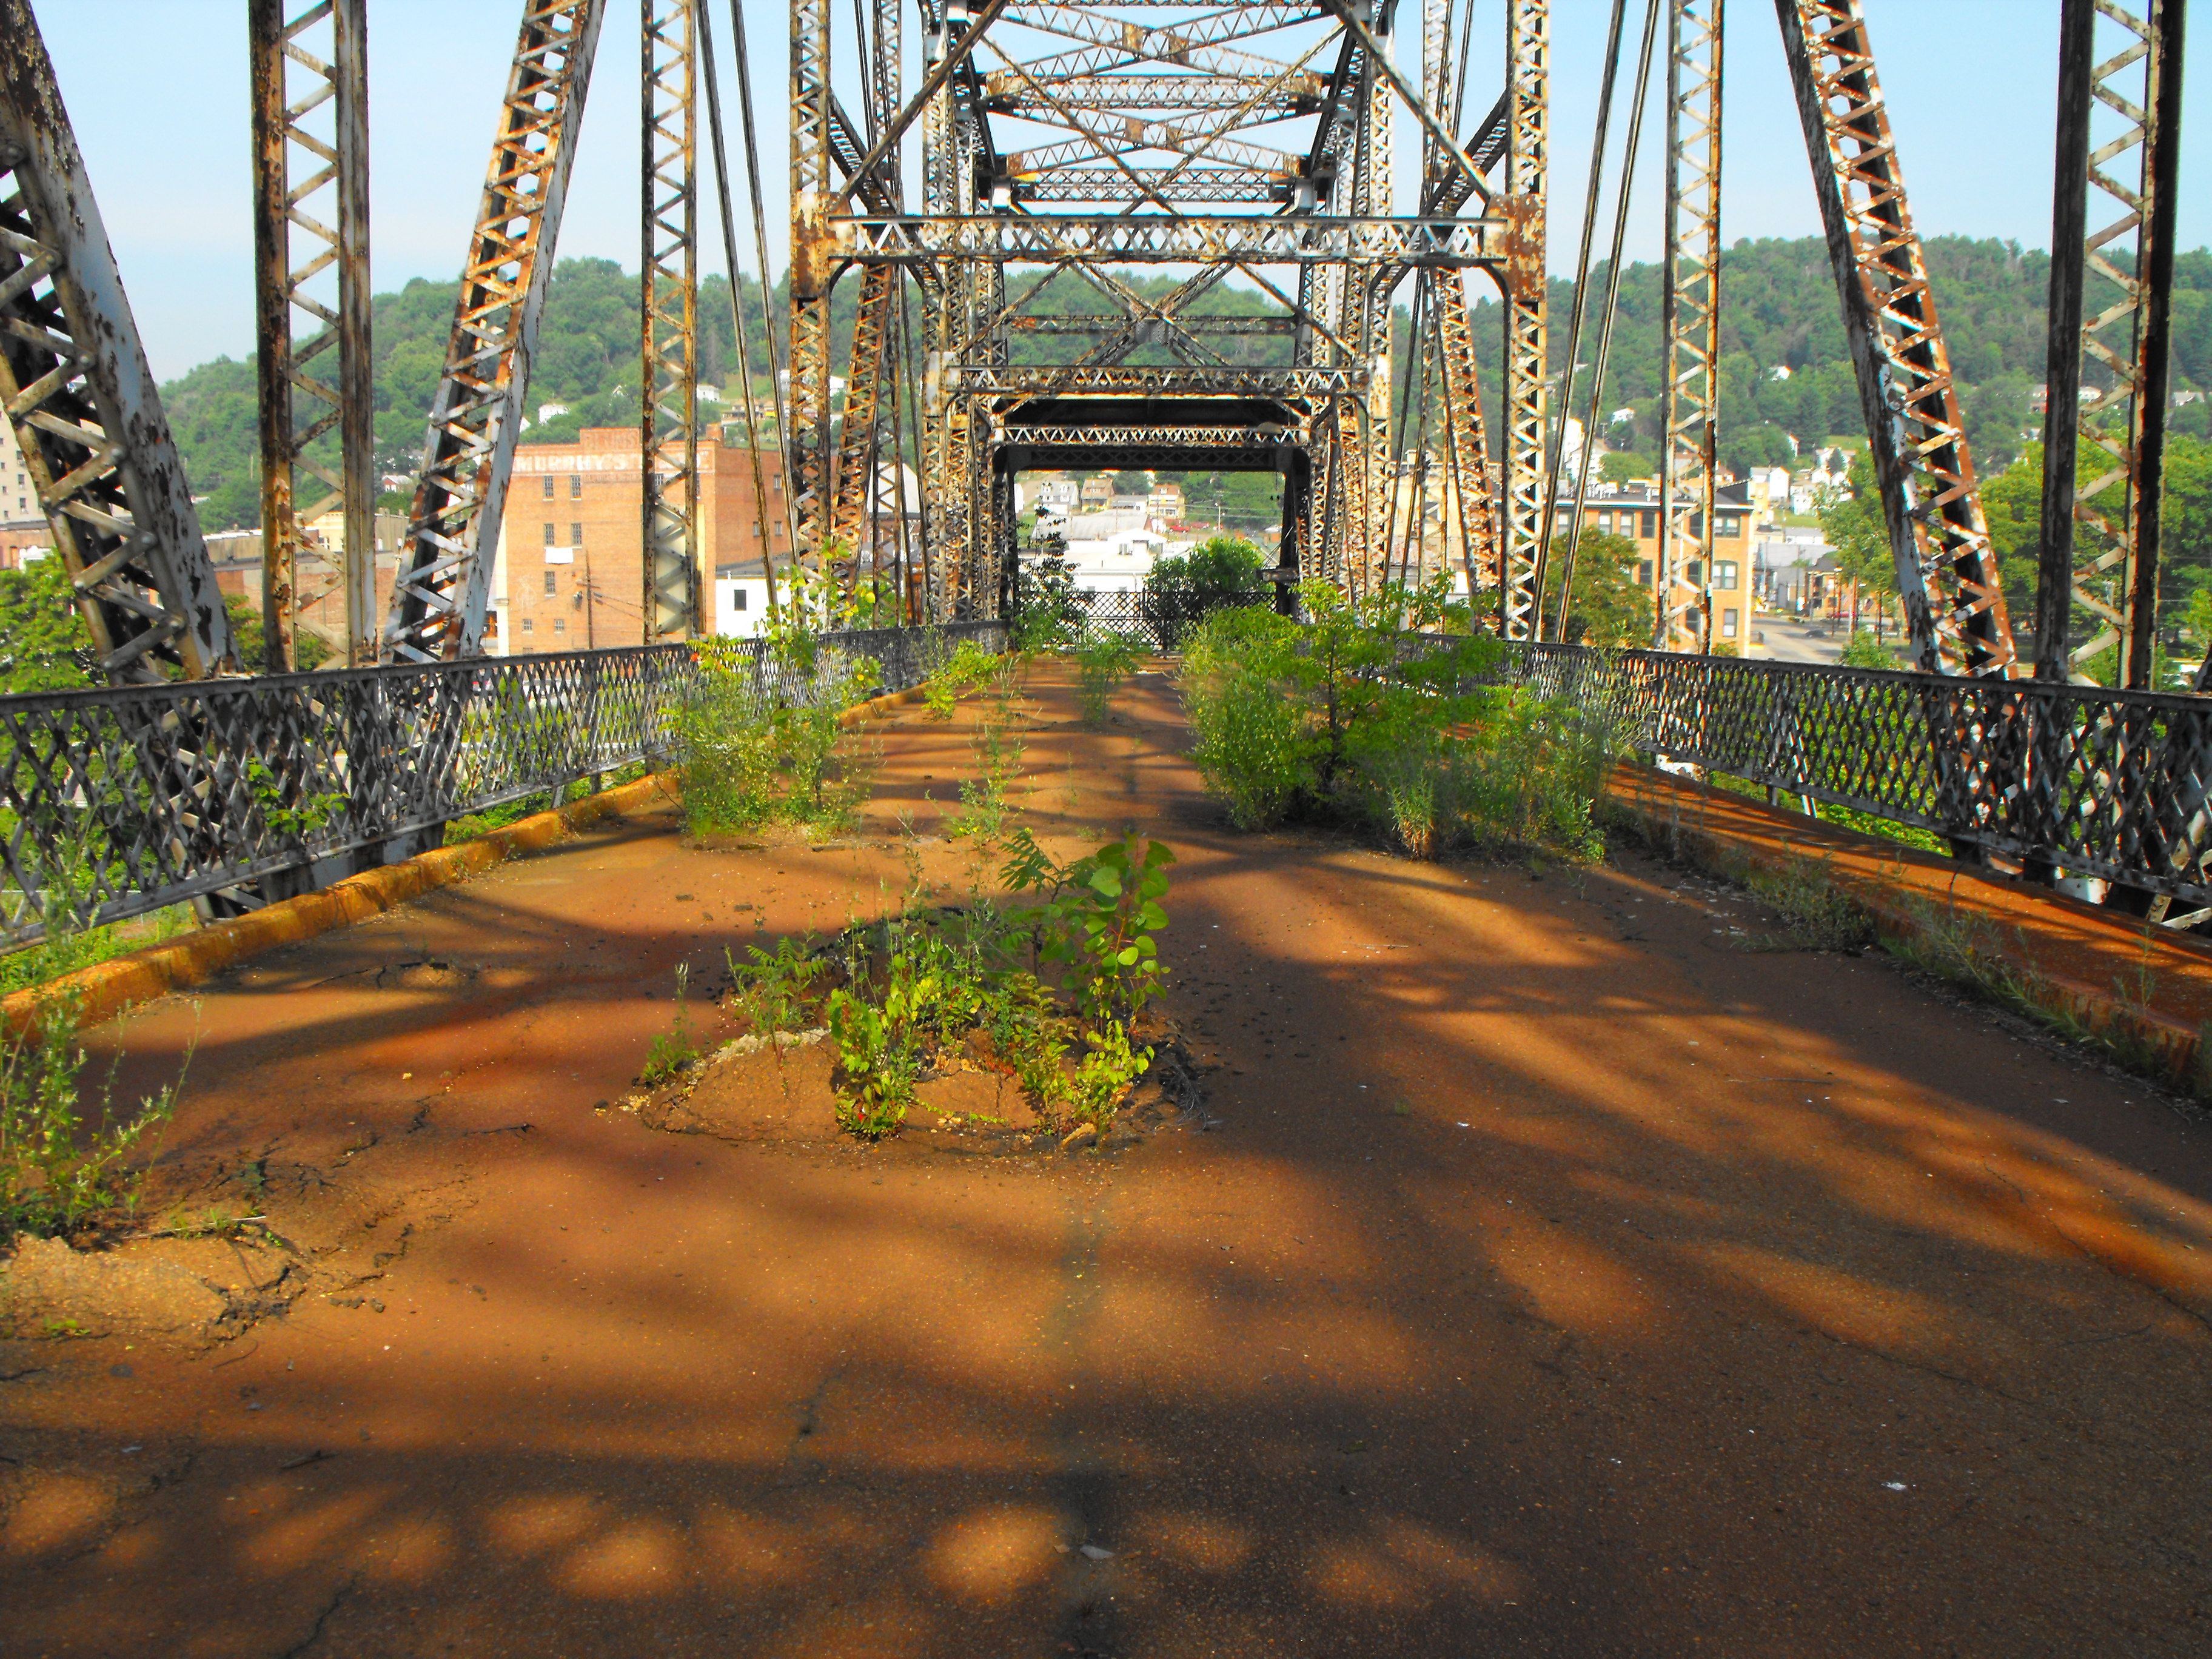
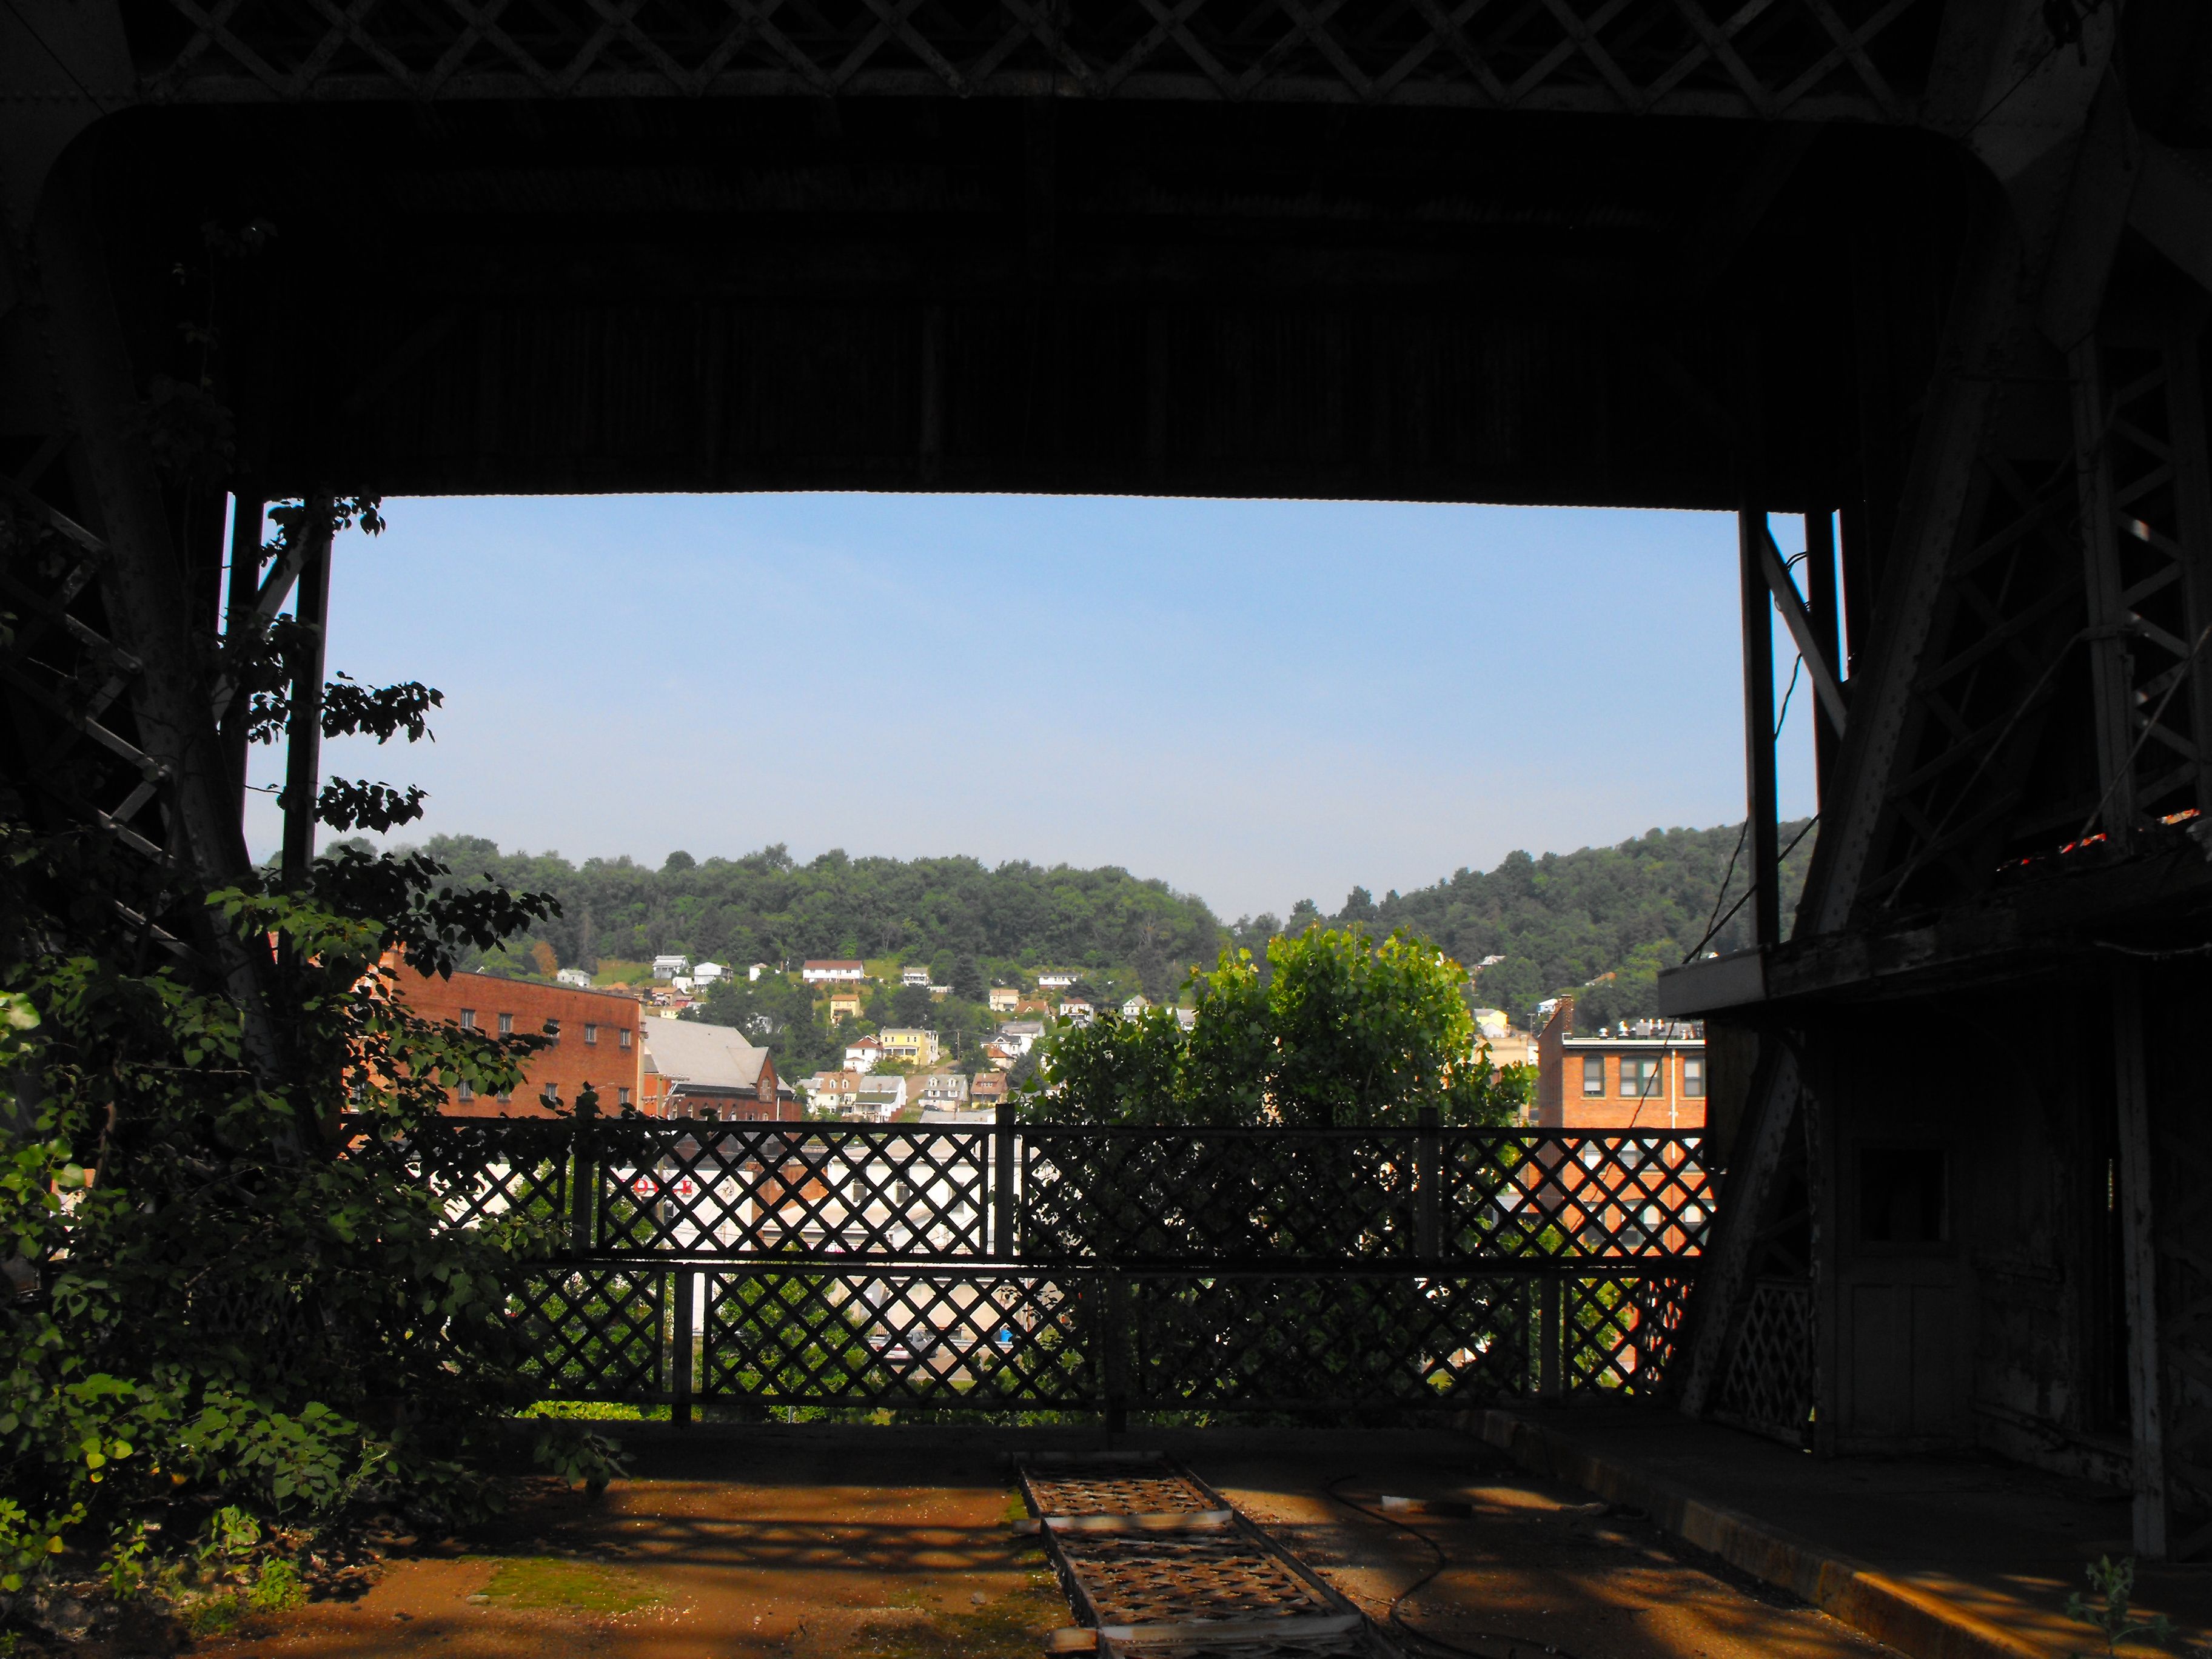
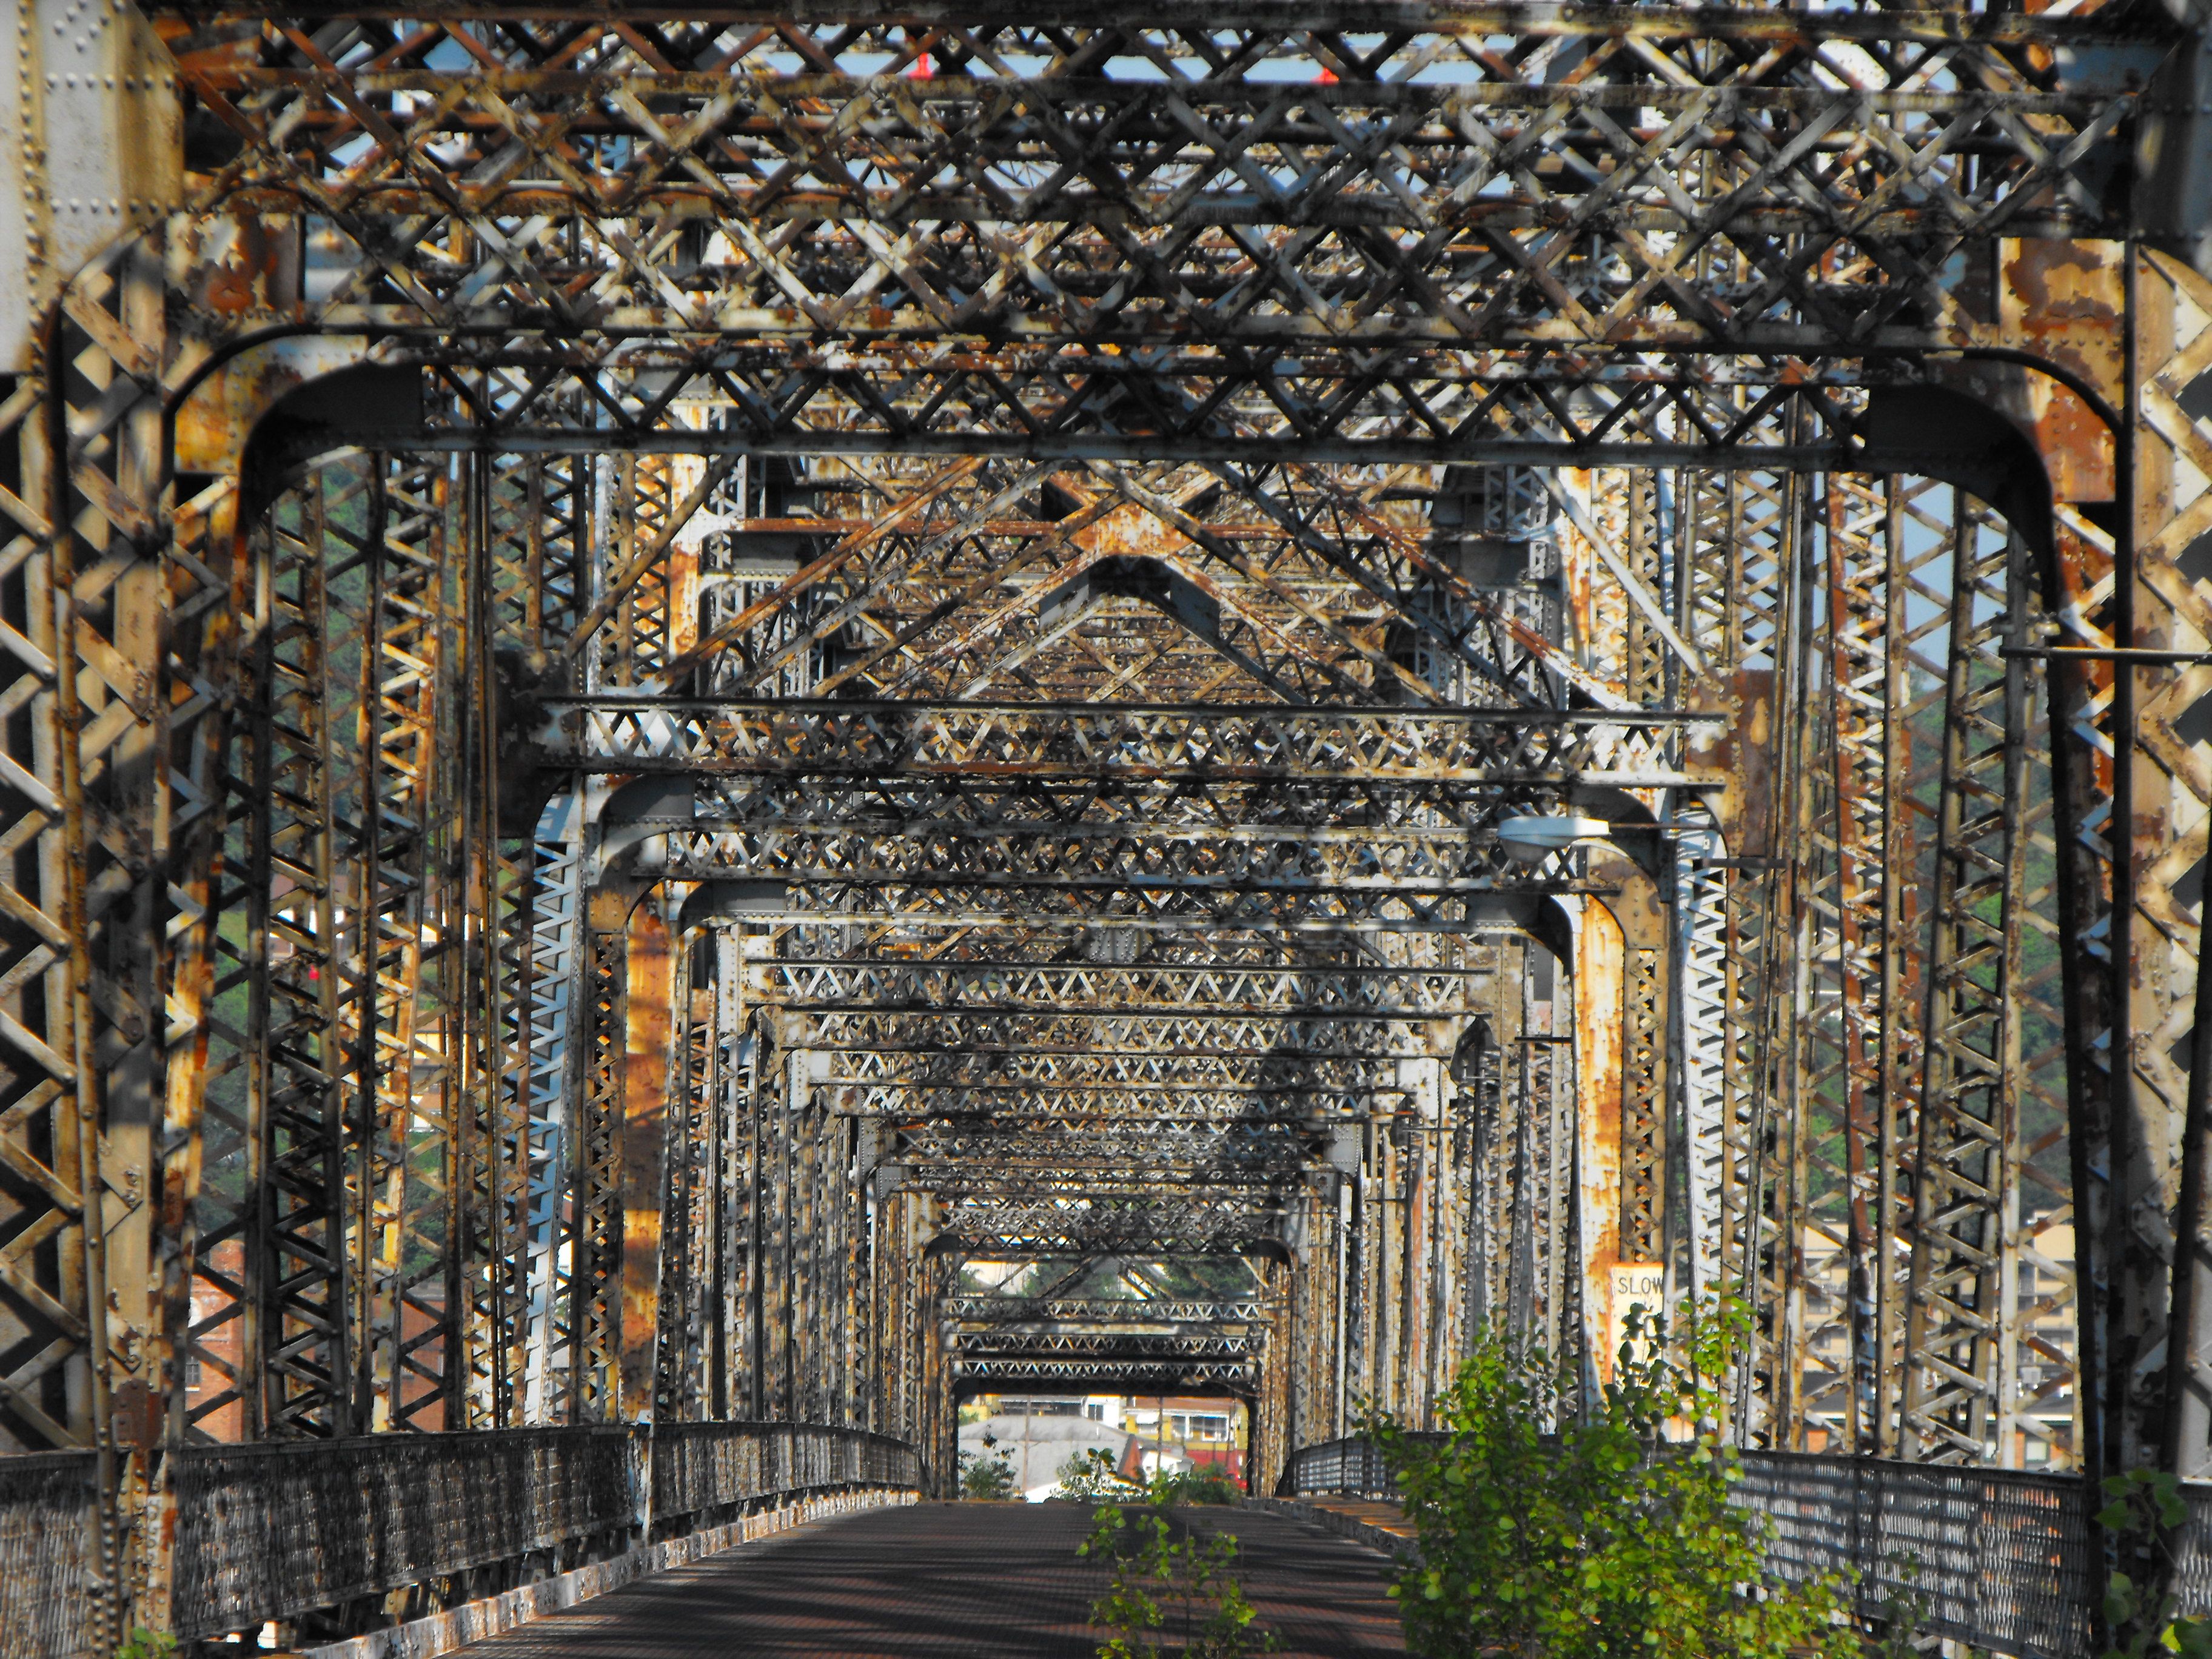
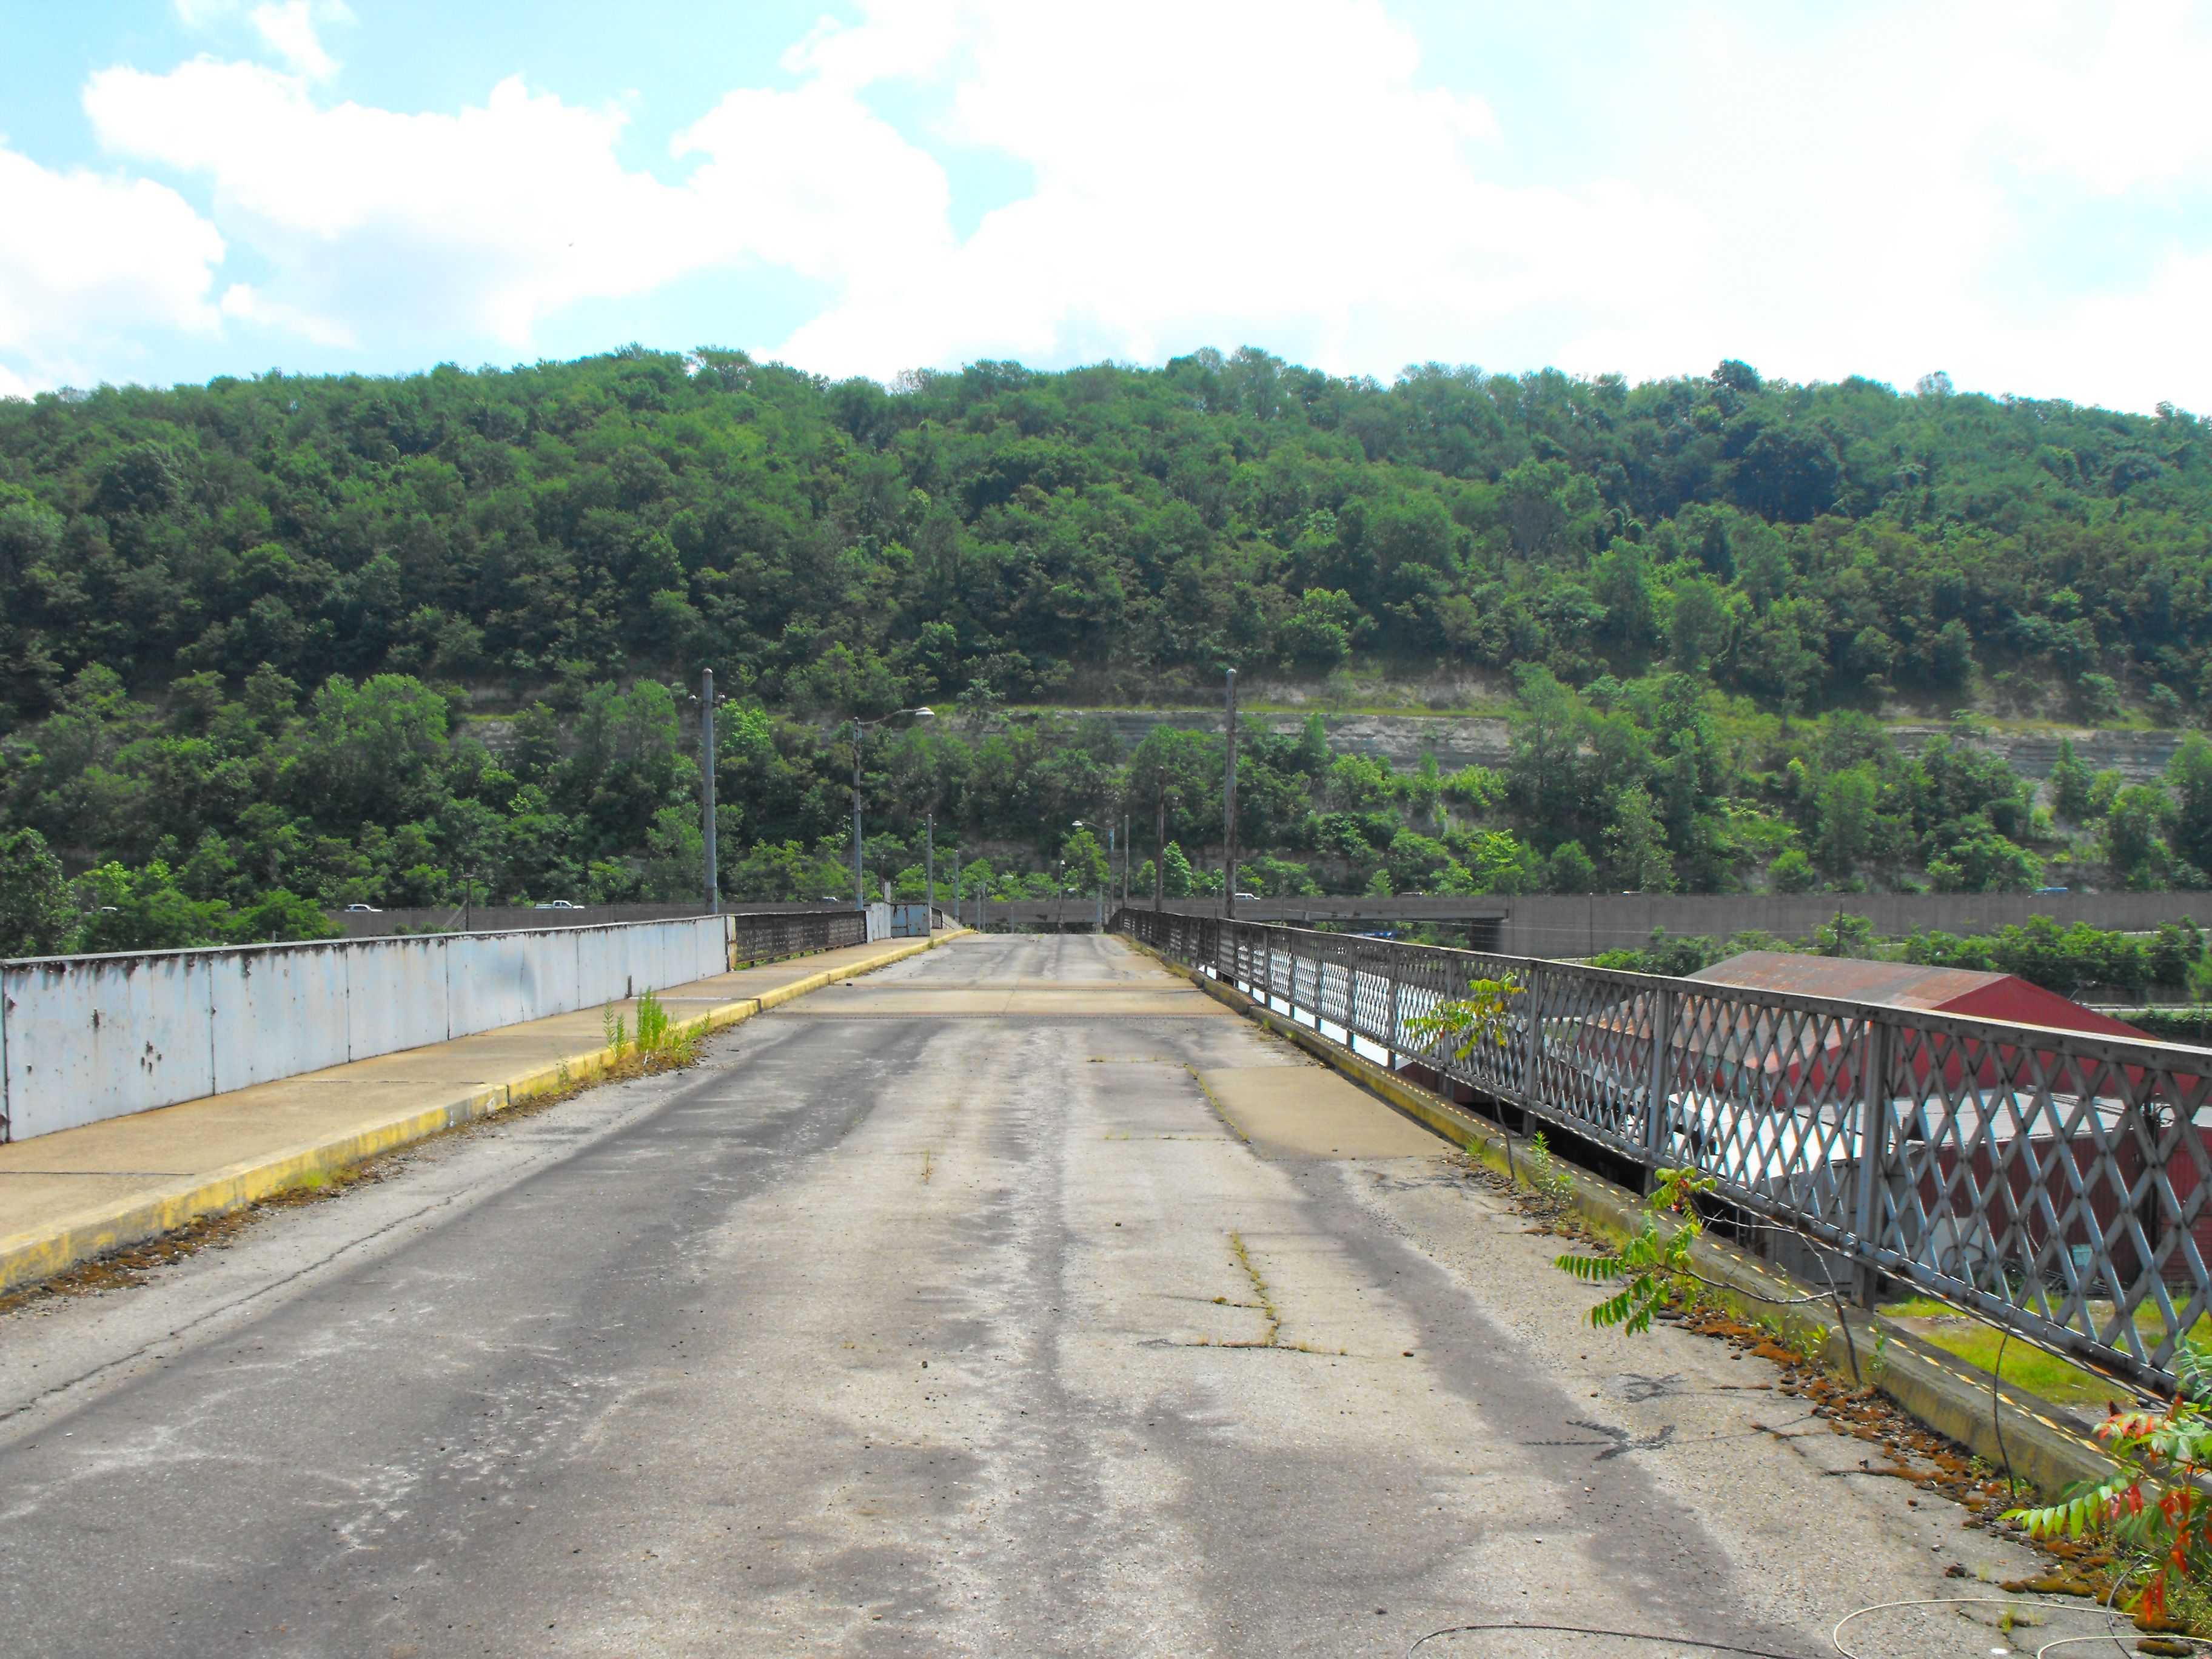
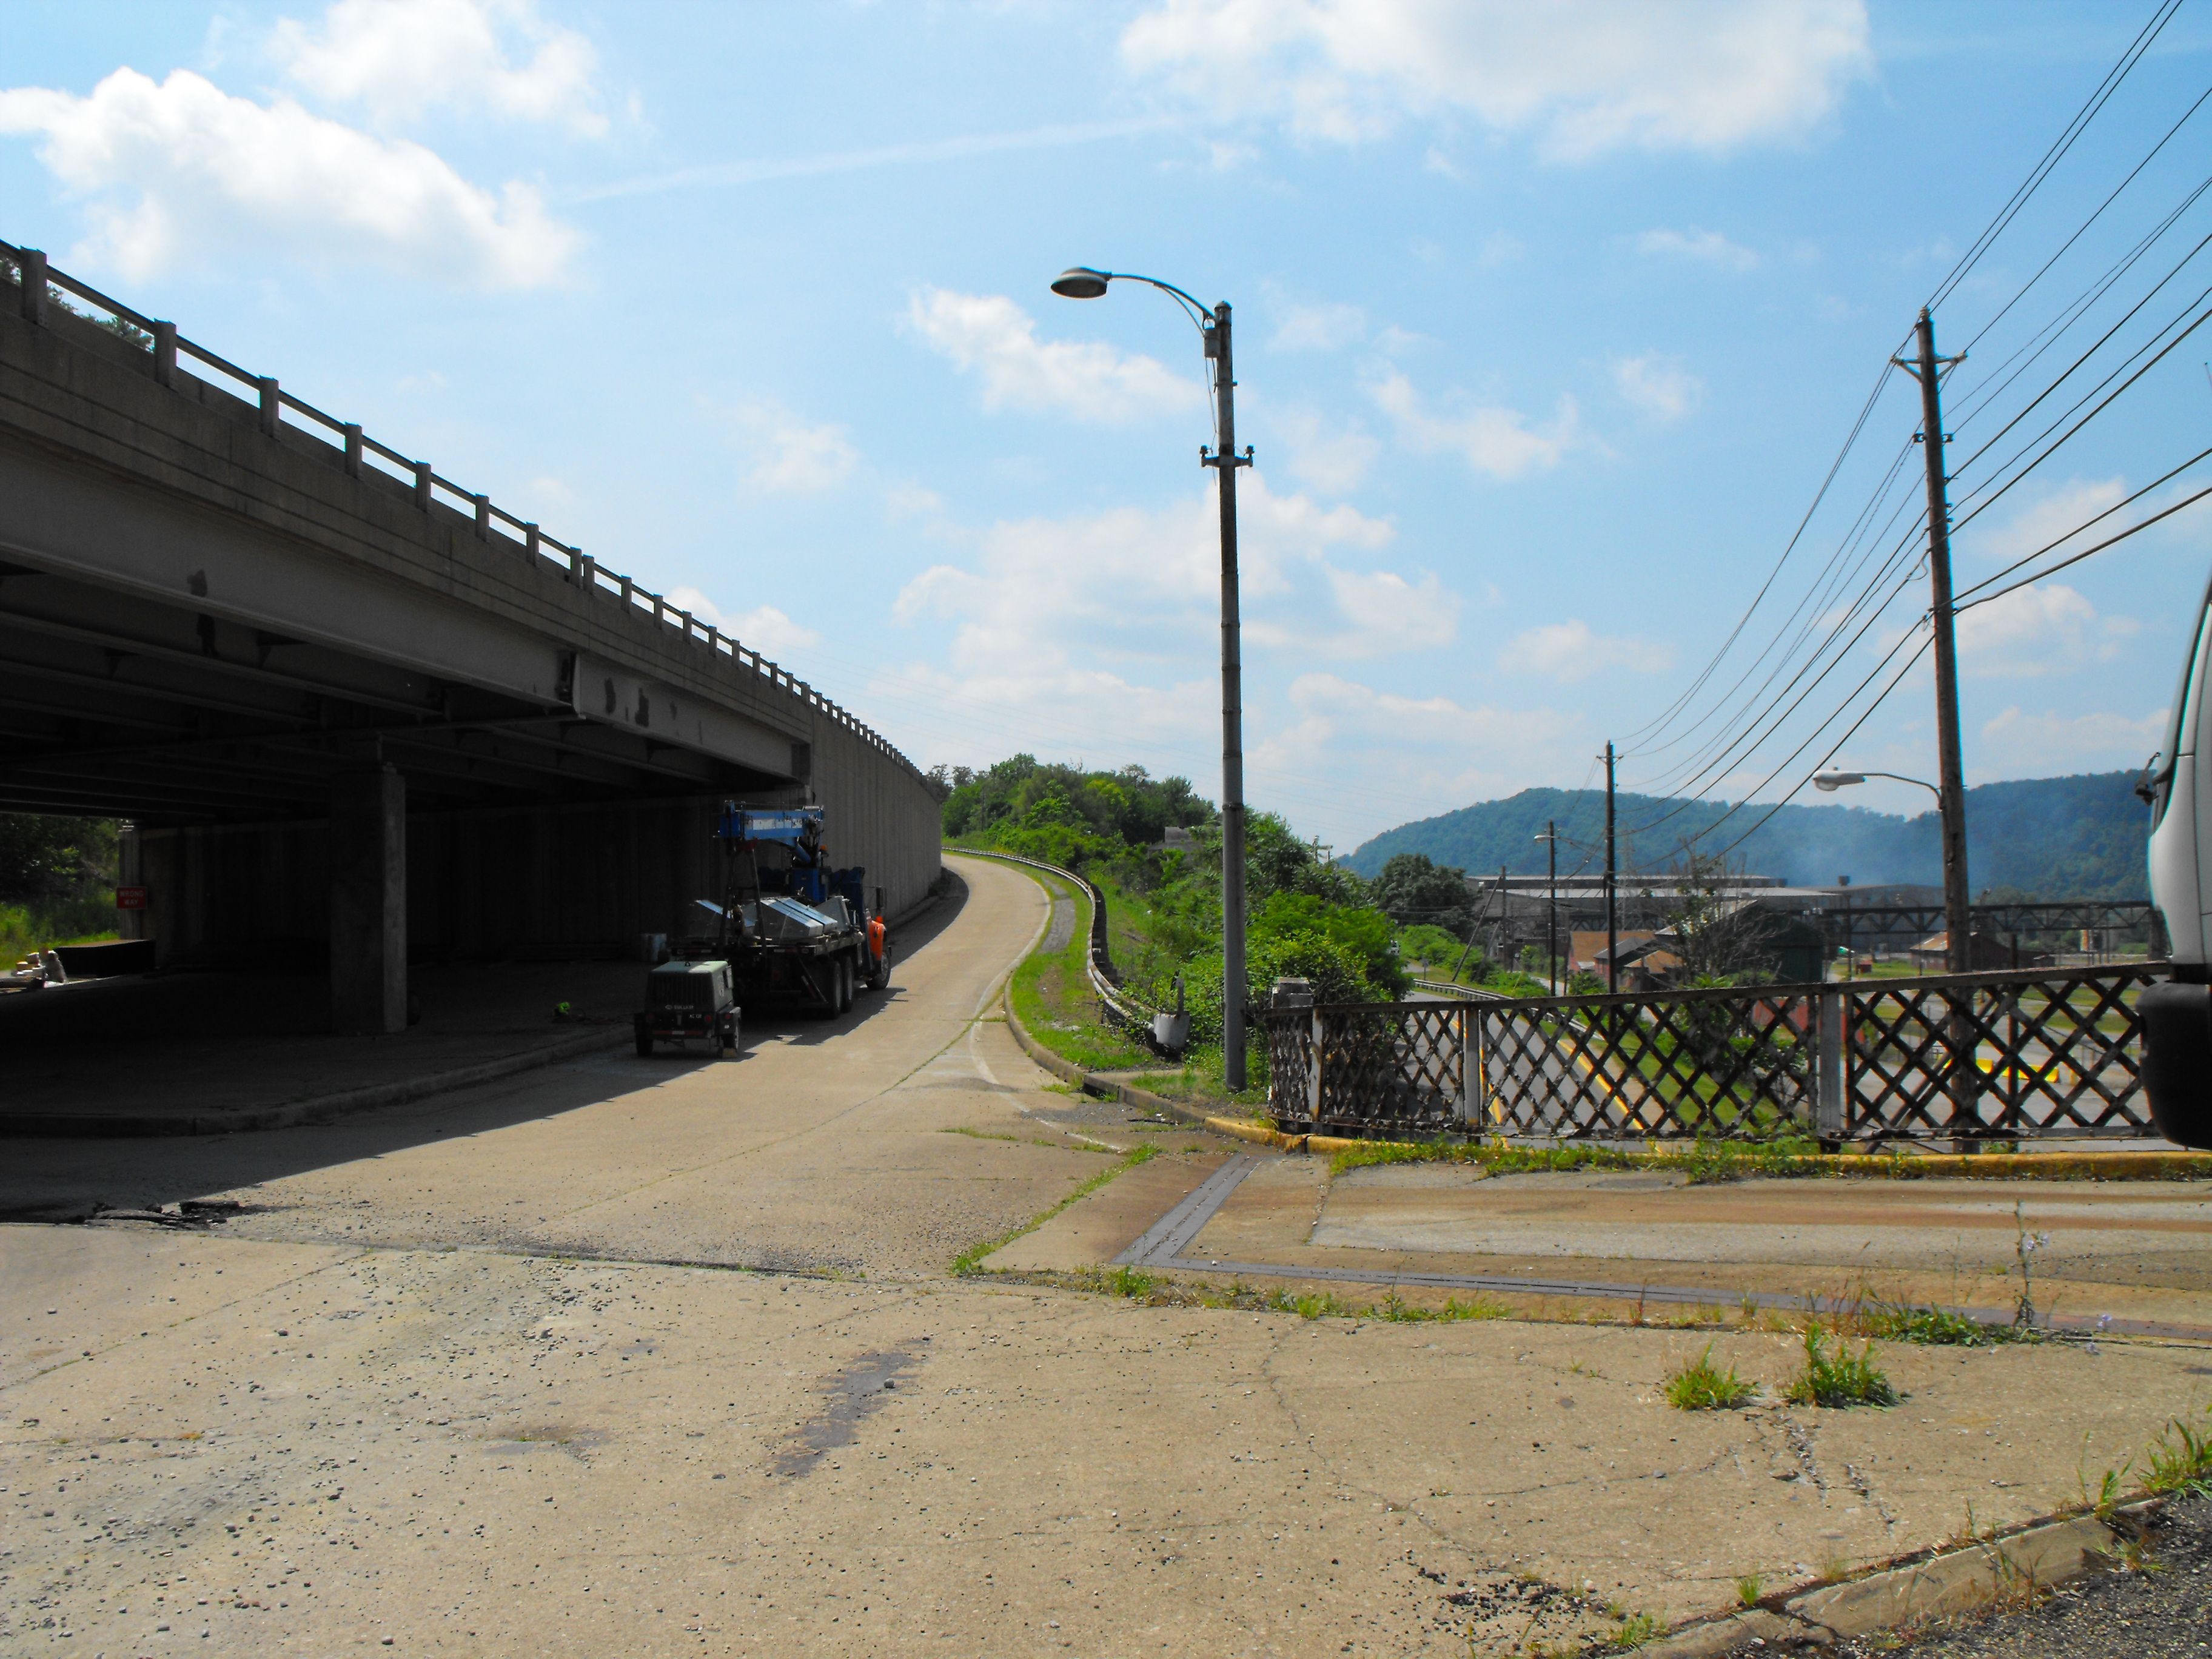
Portal views from on plate girder span, facing west.
![]()

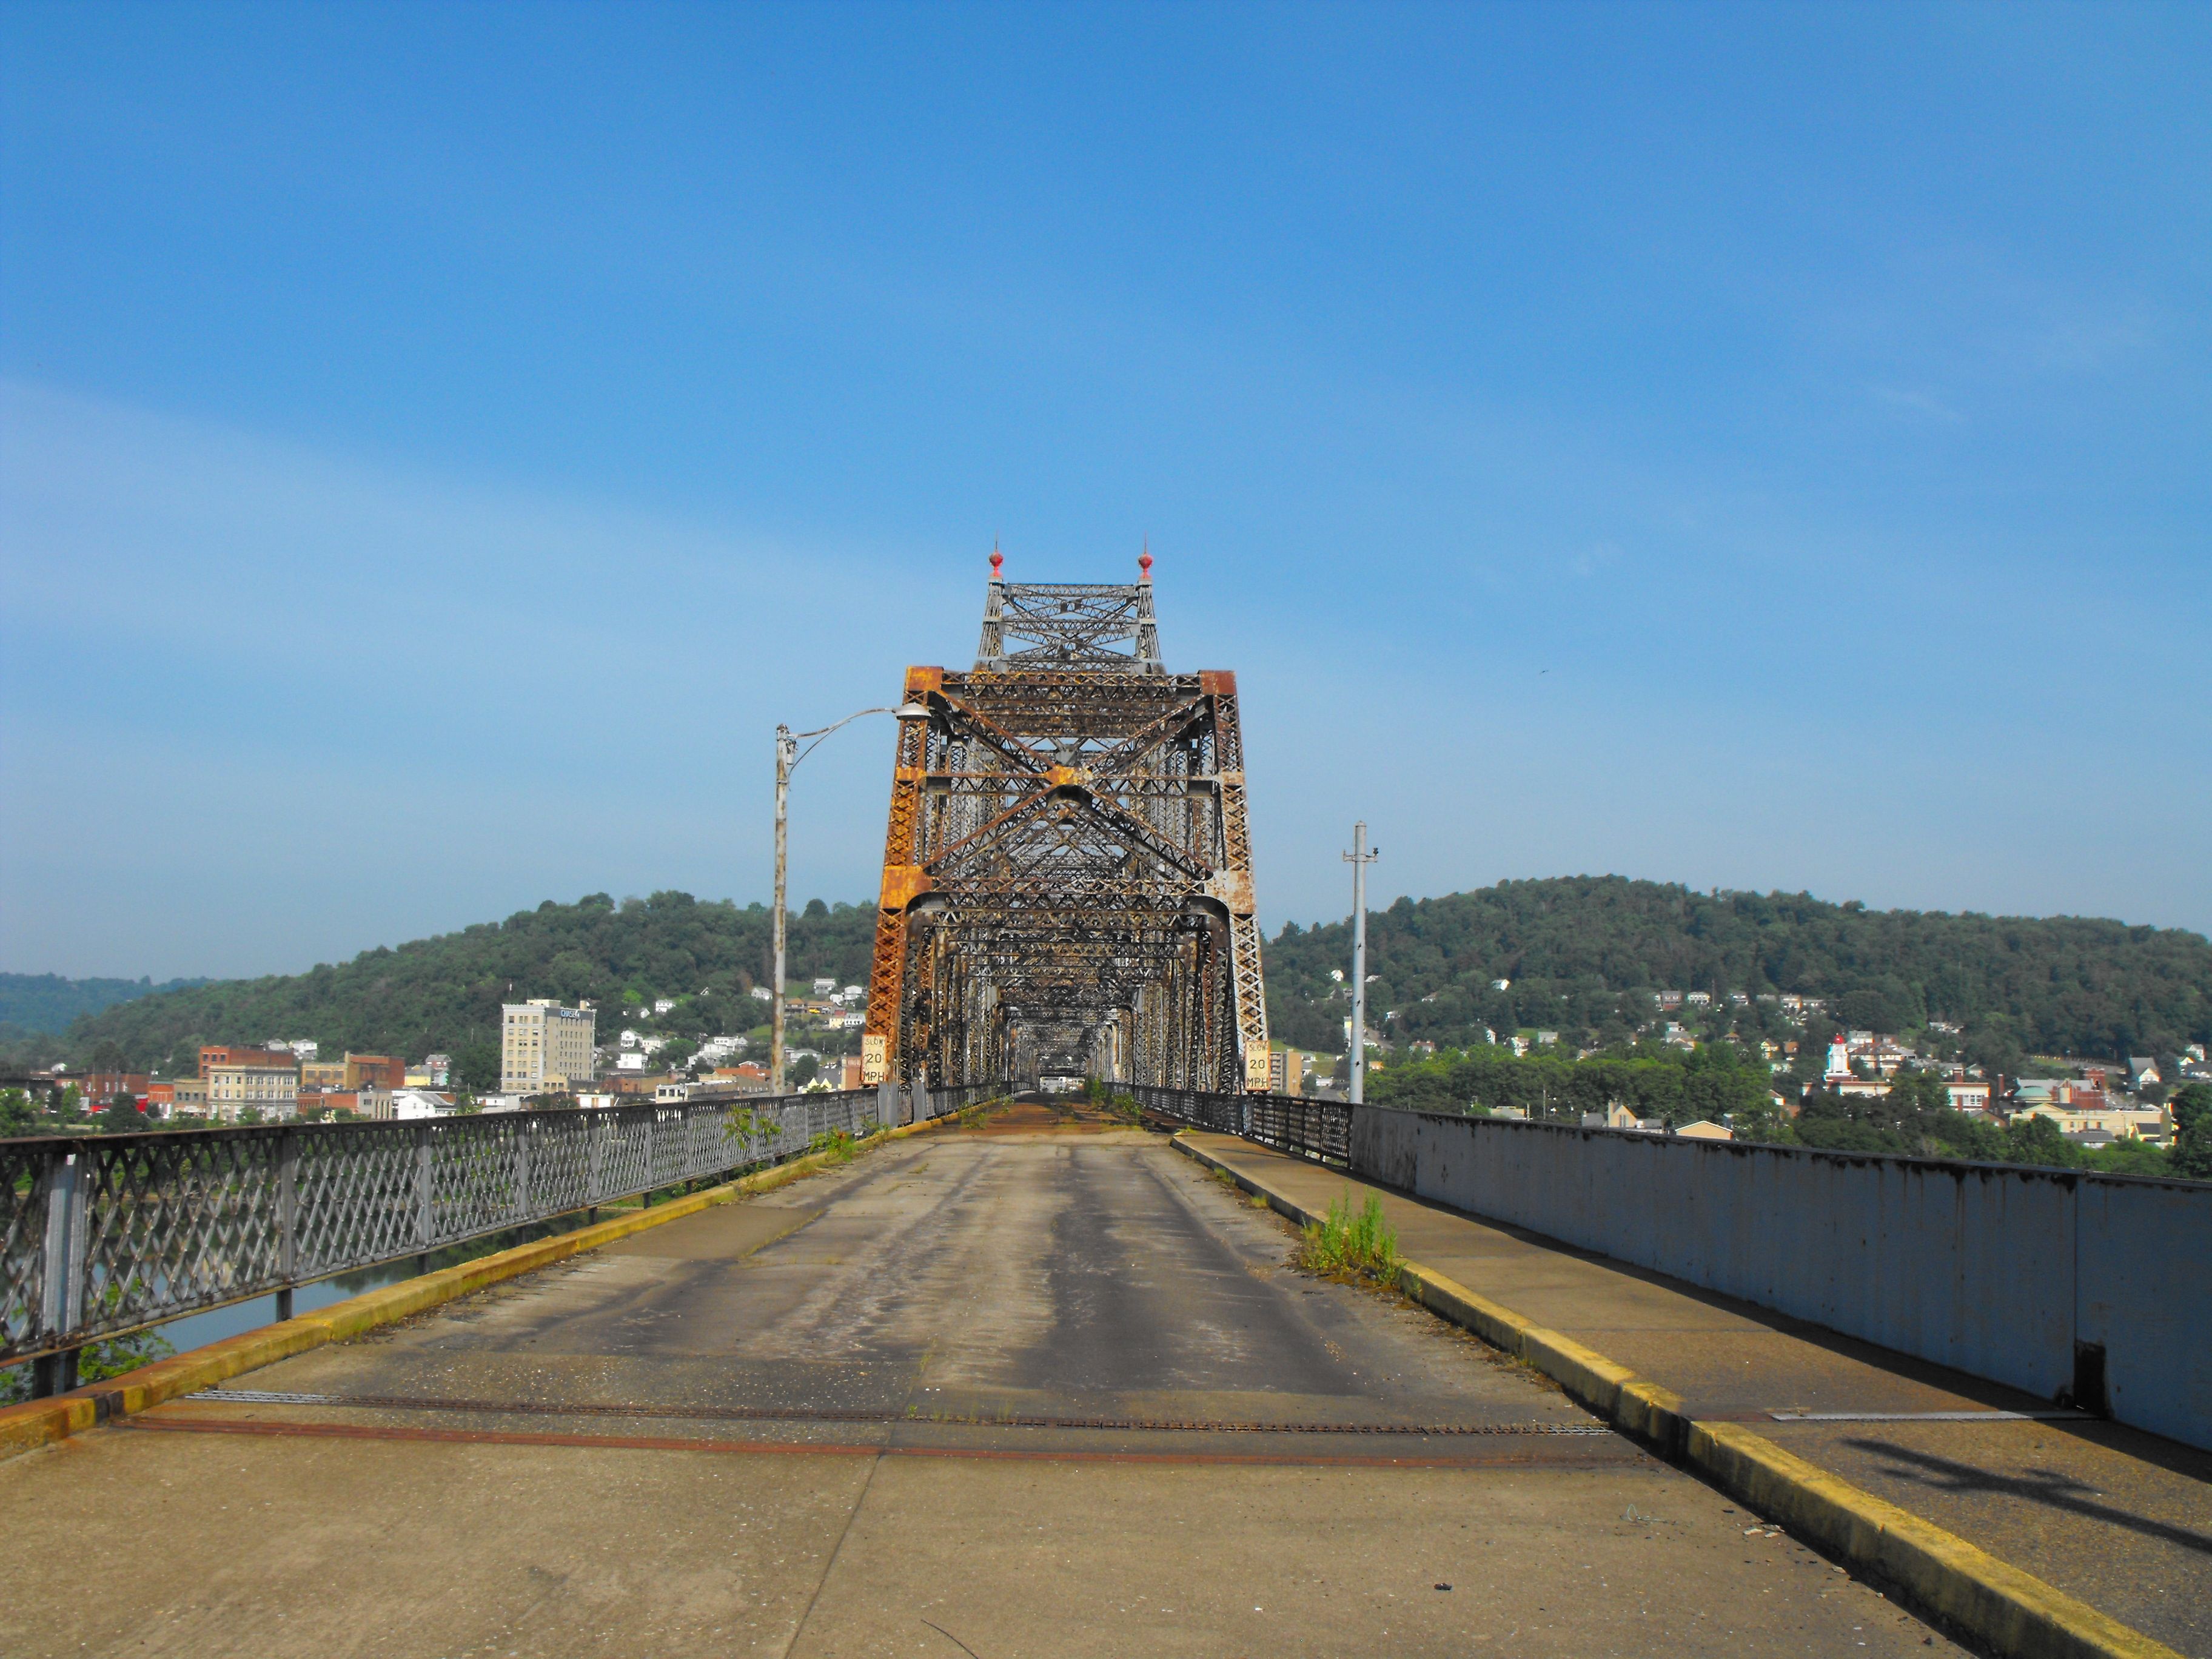
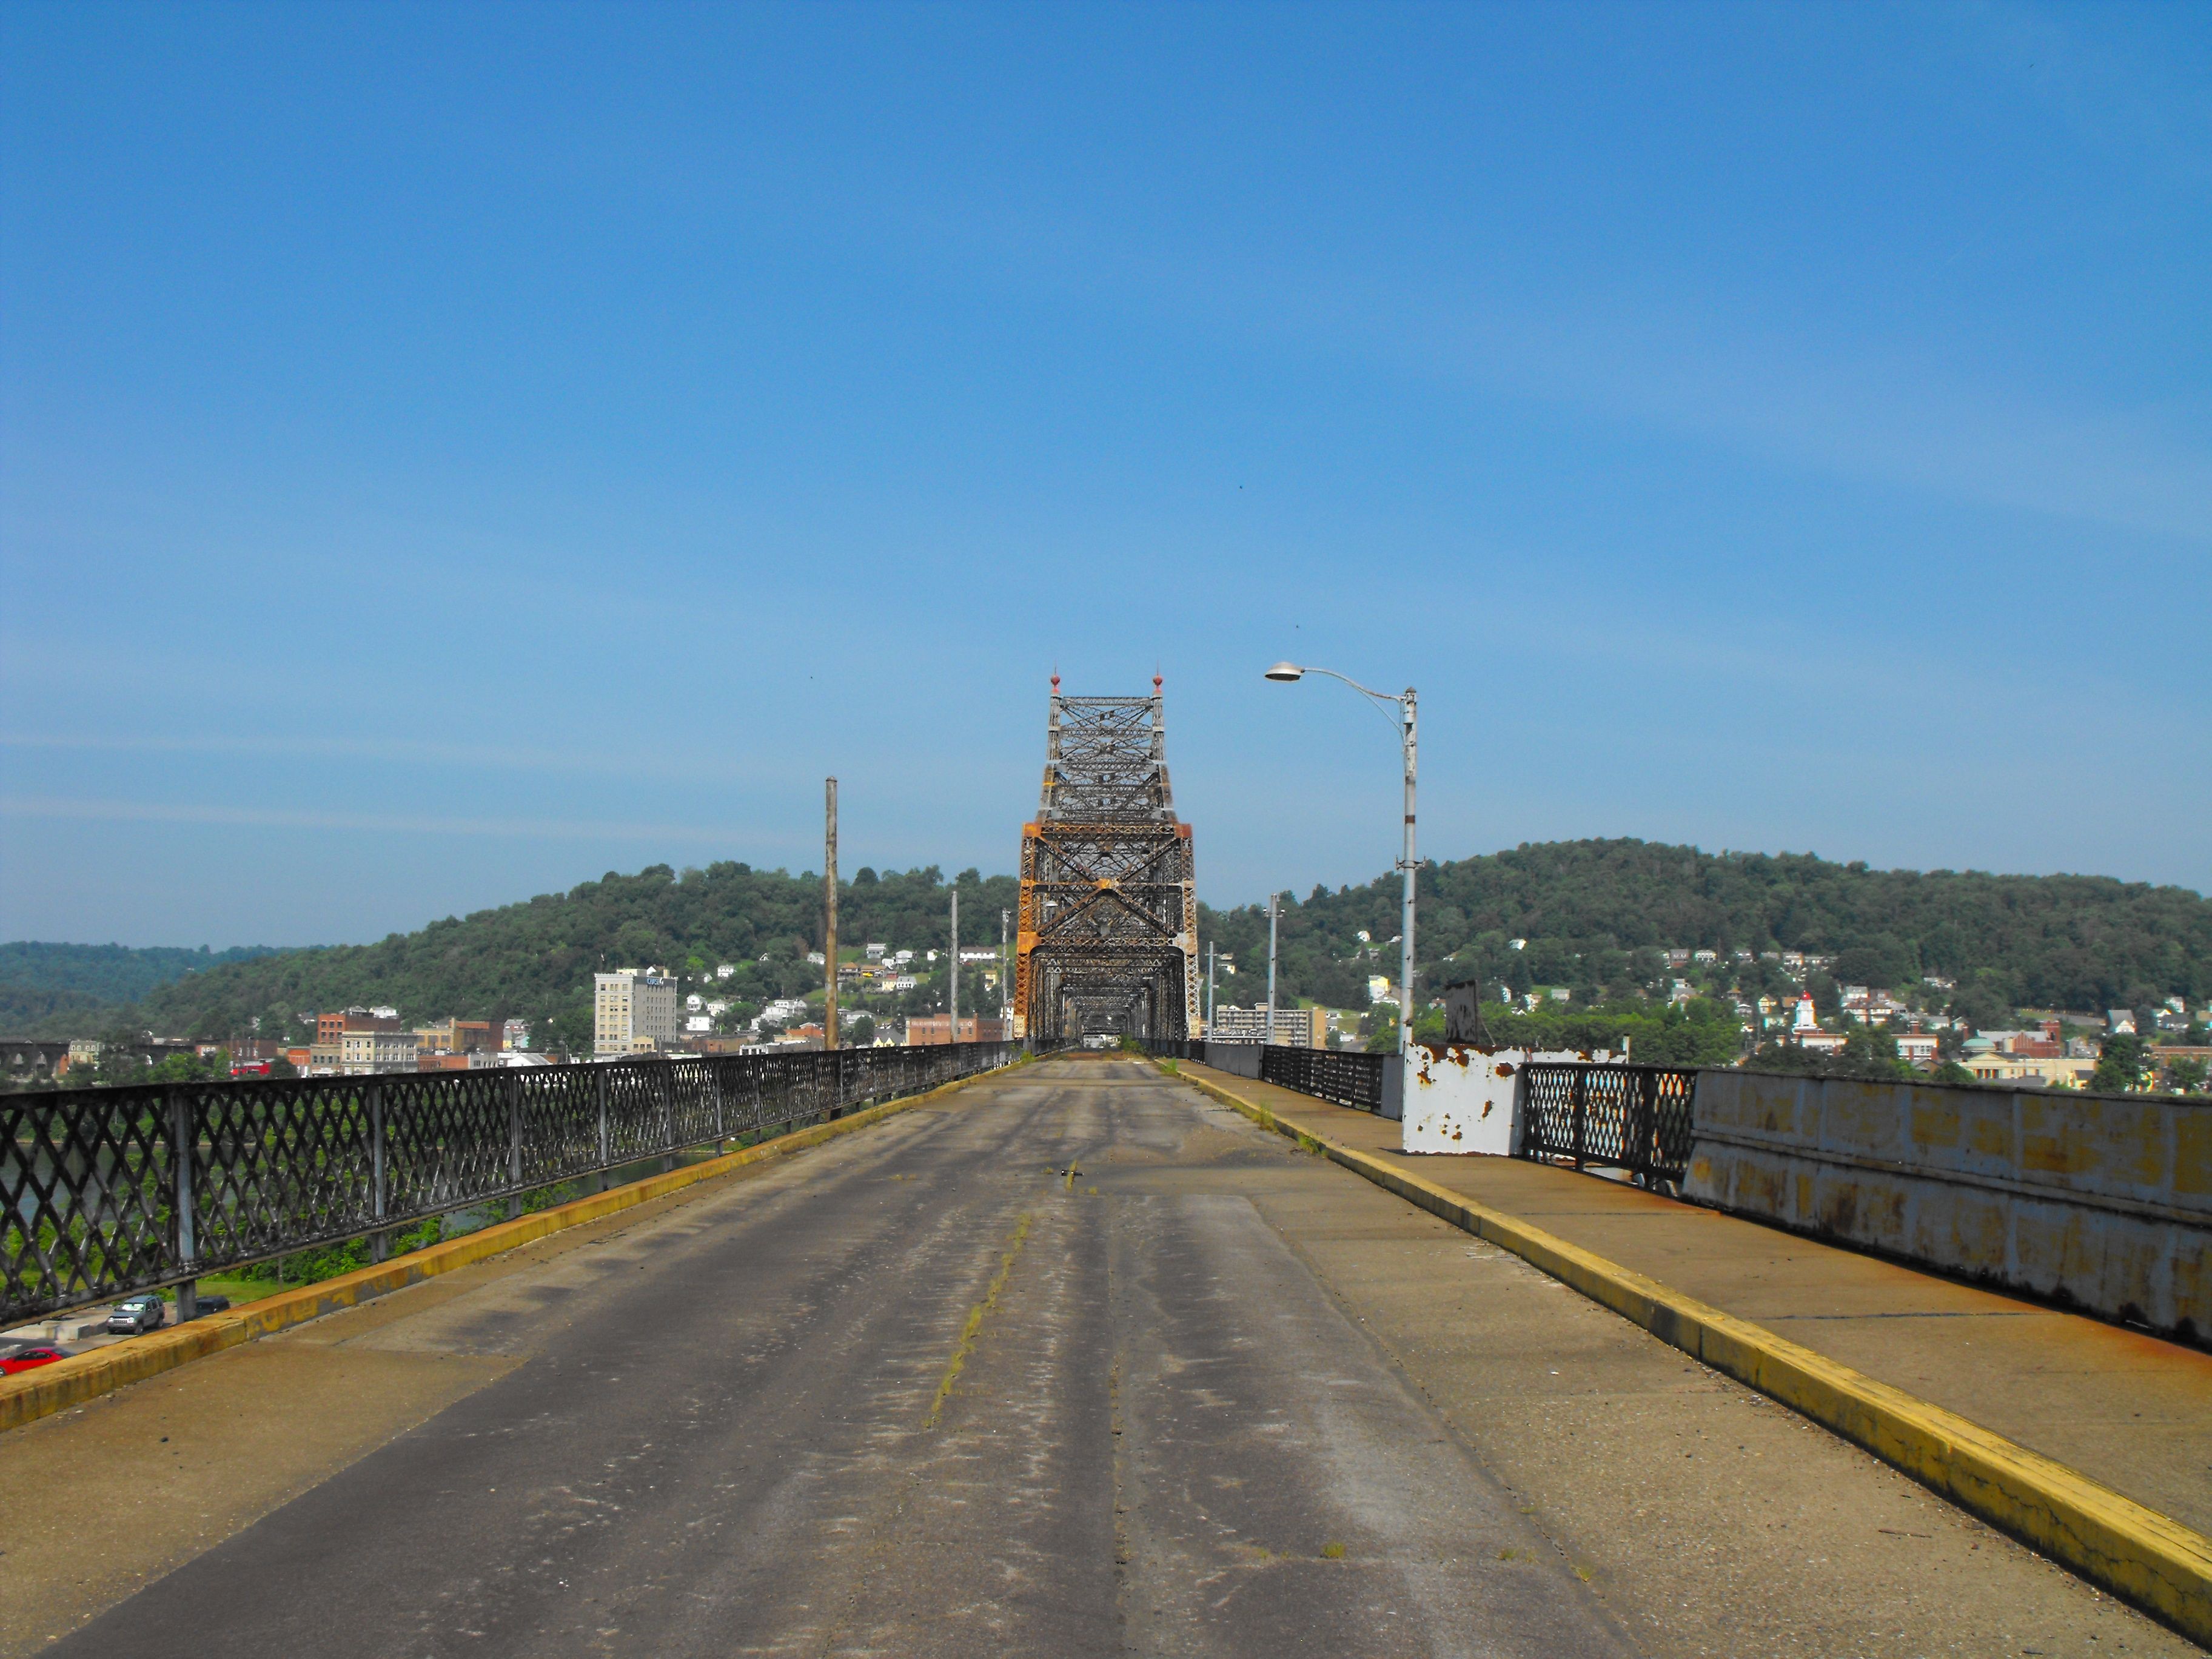
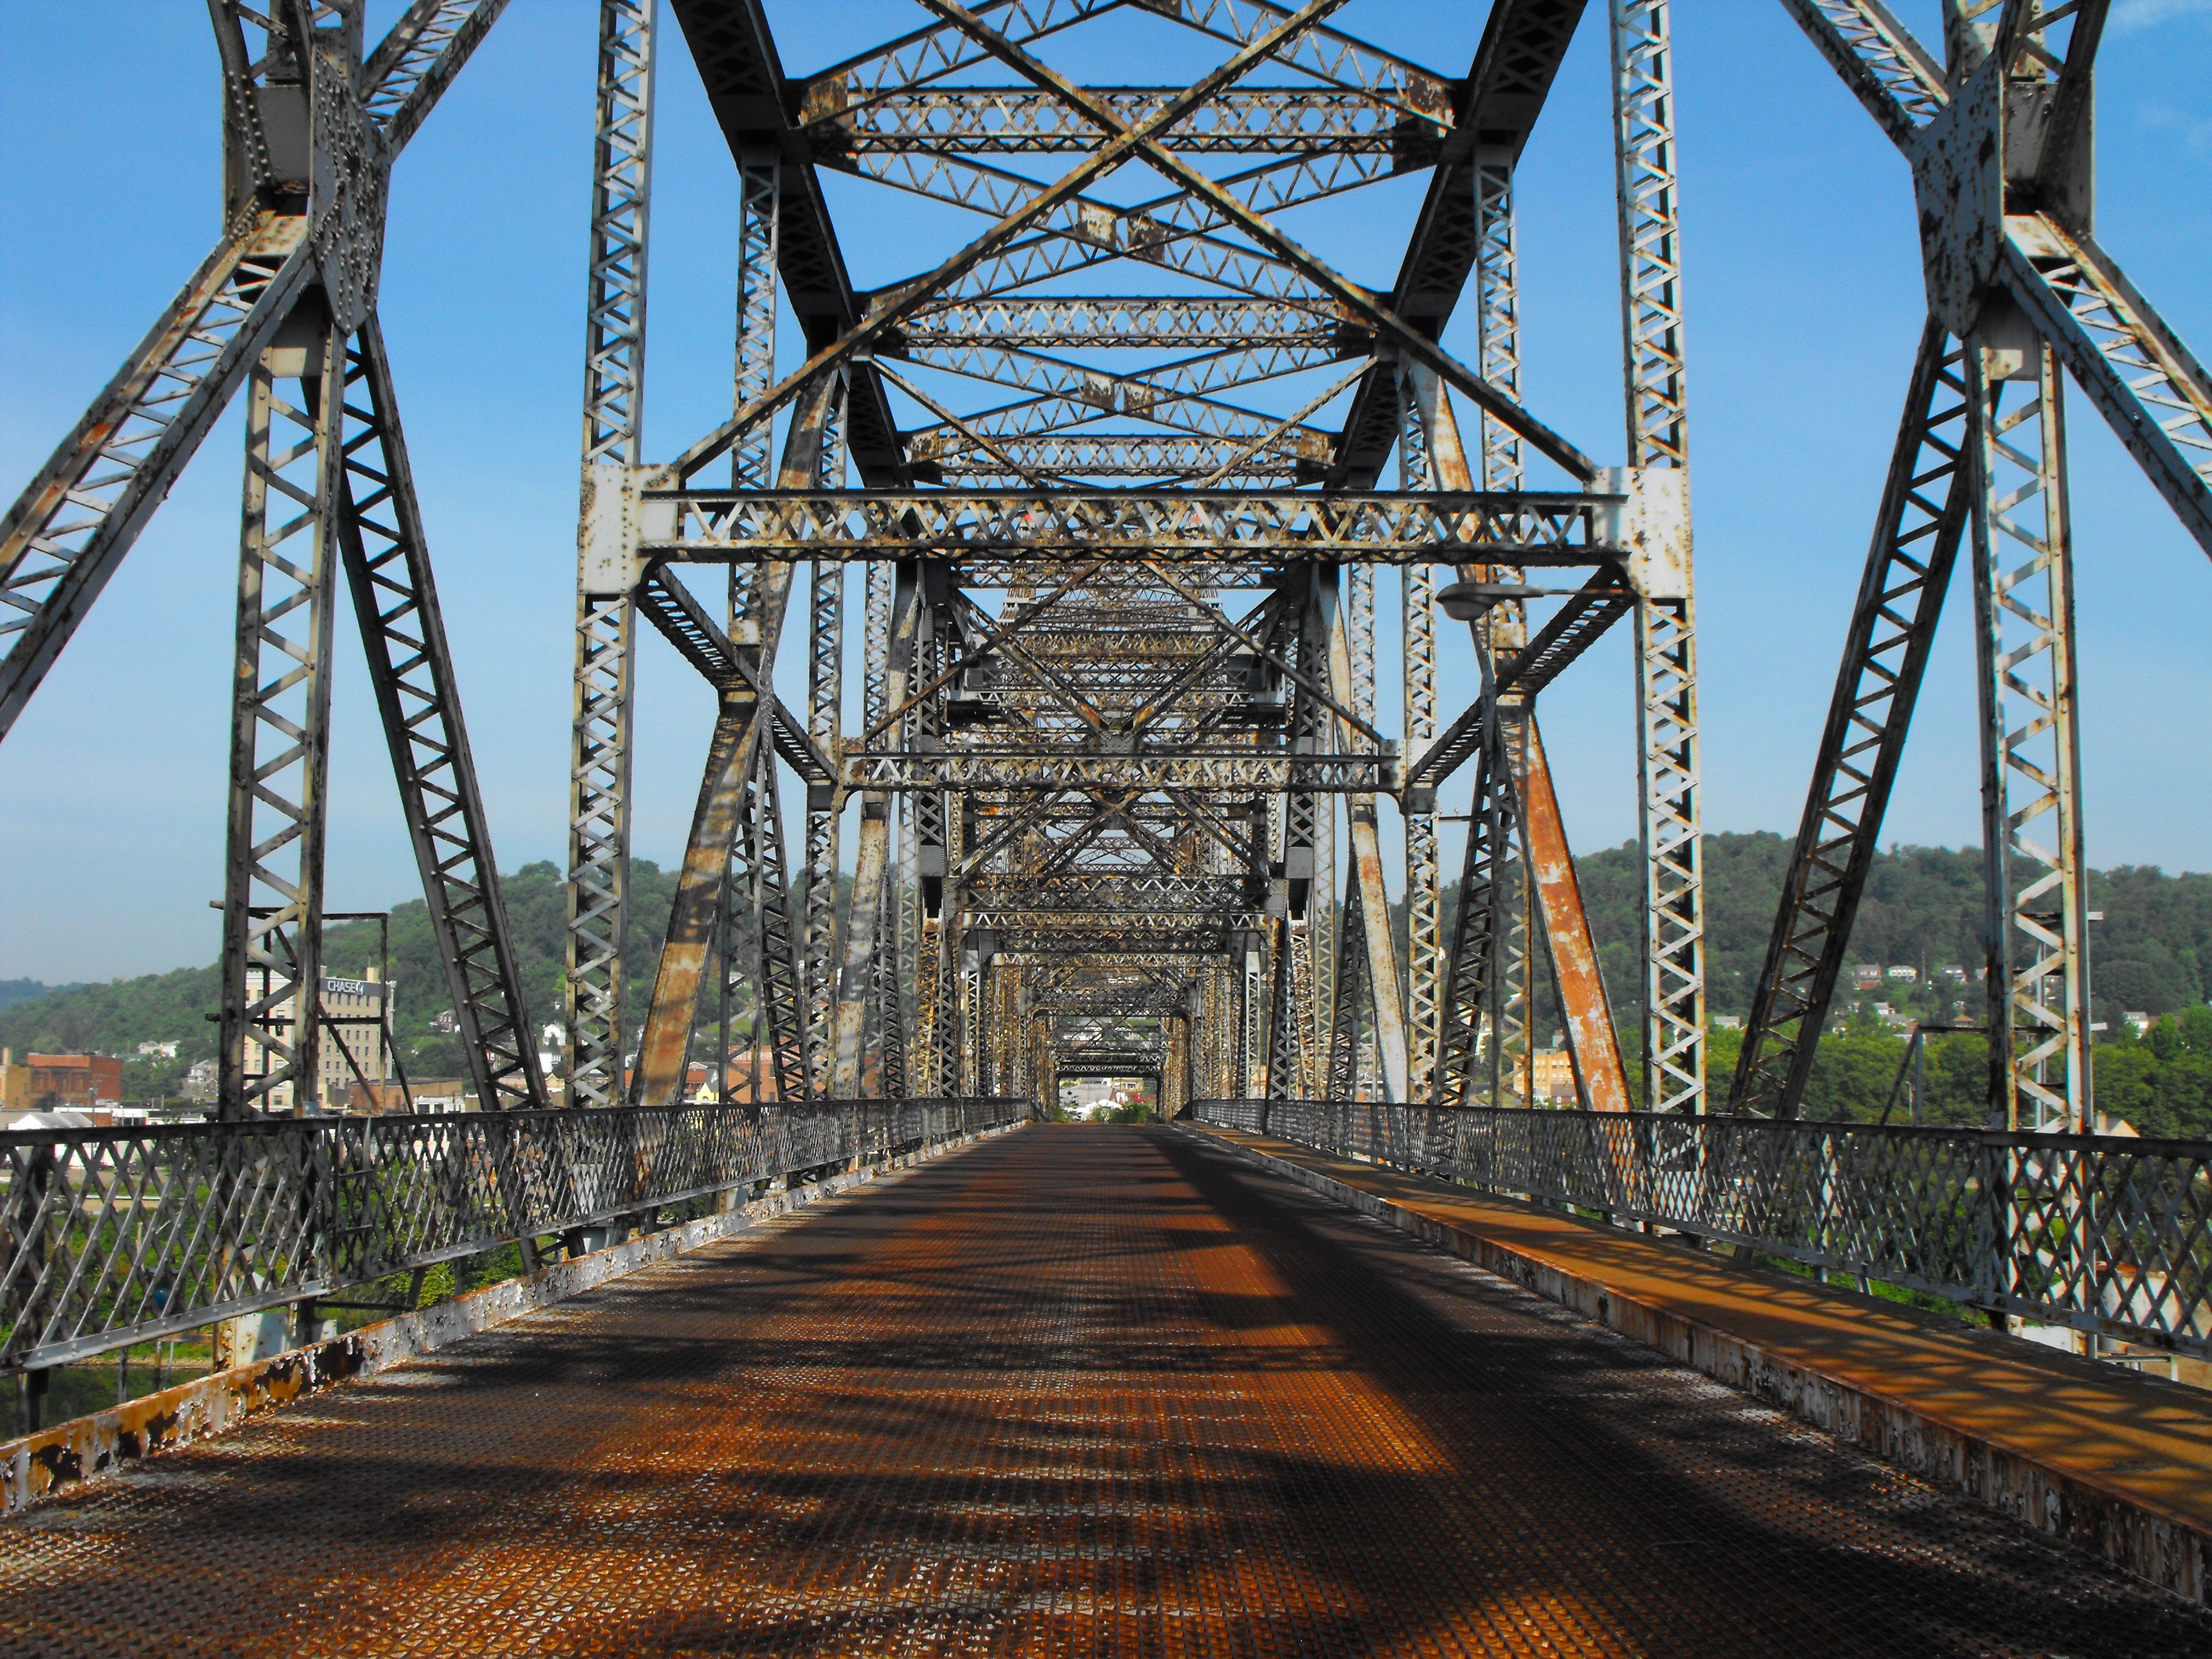
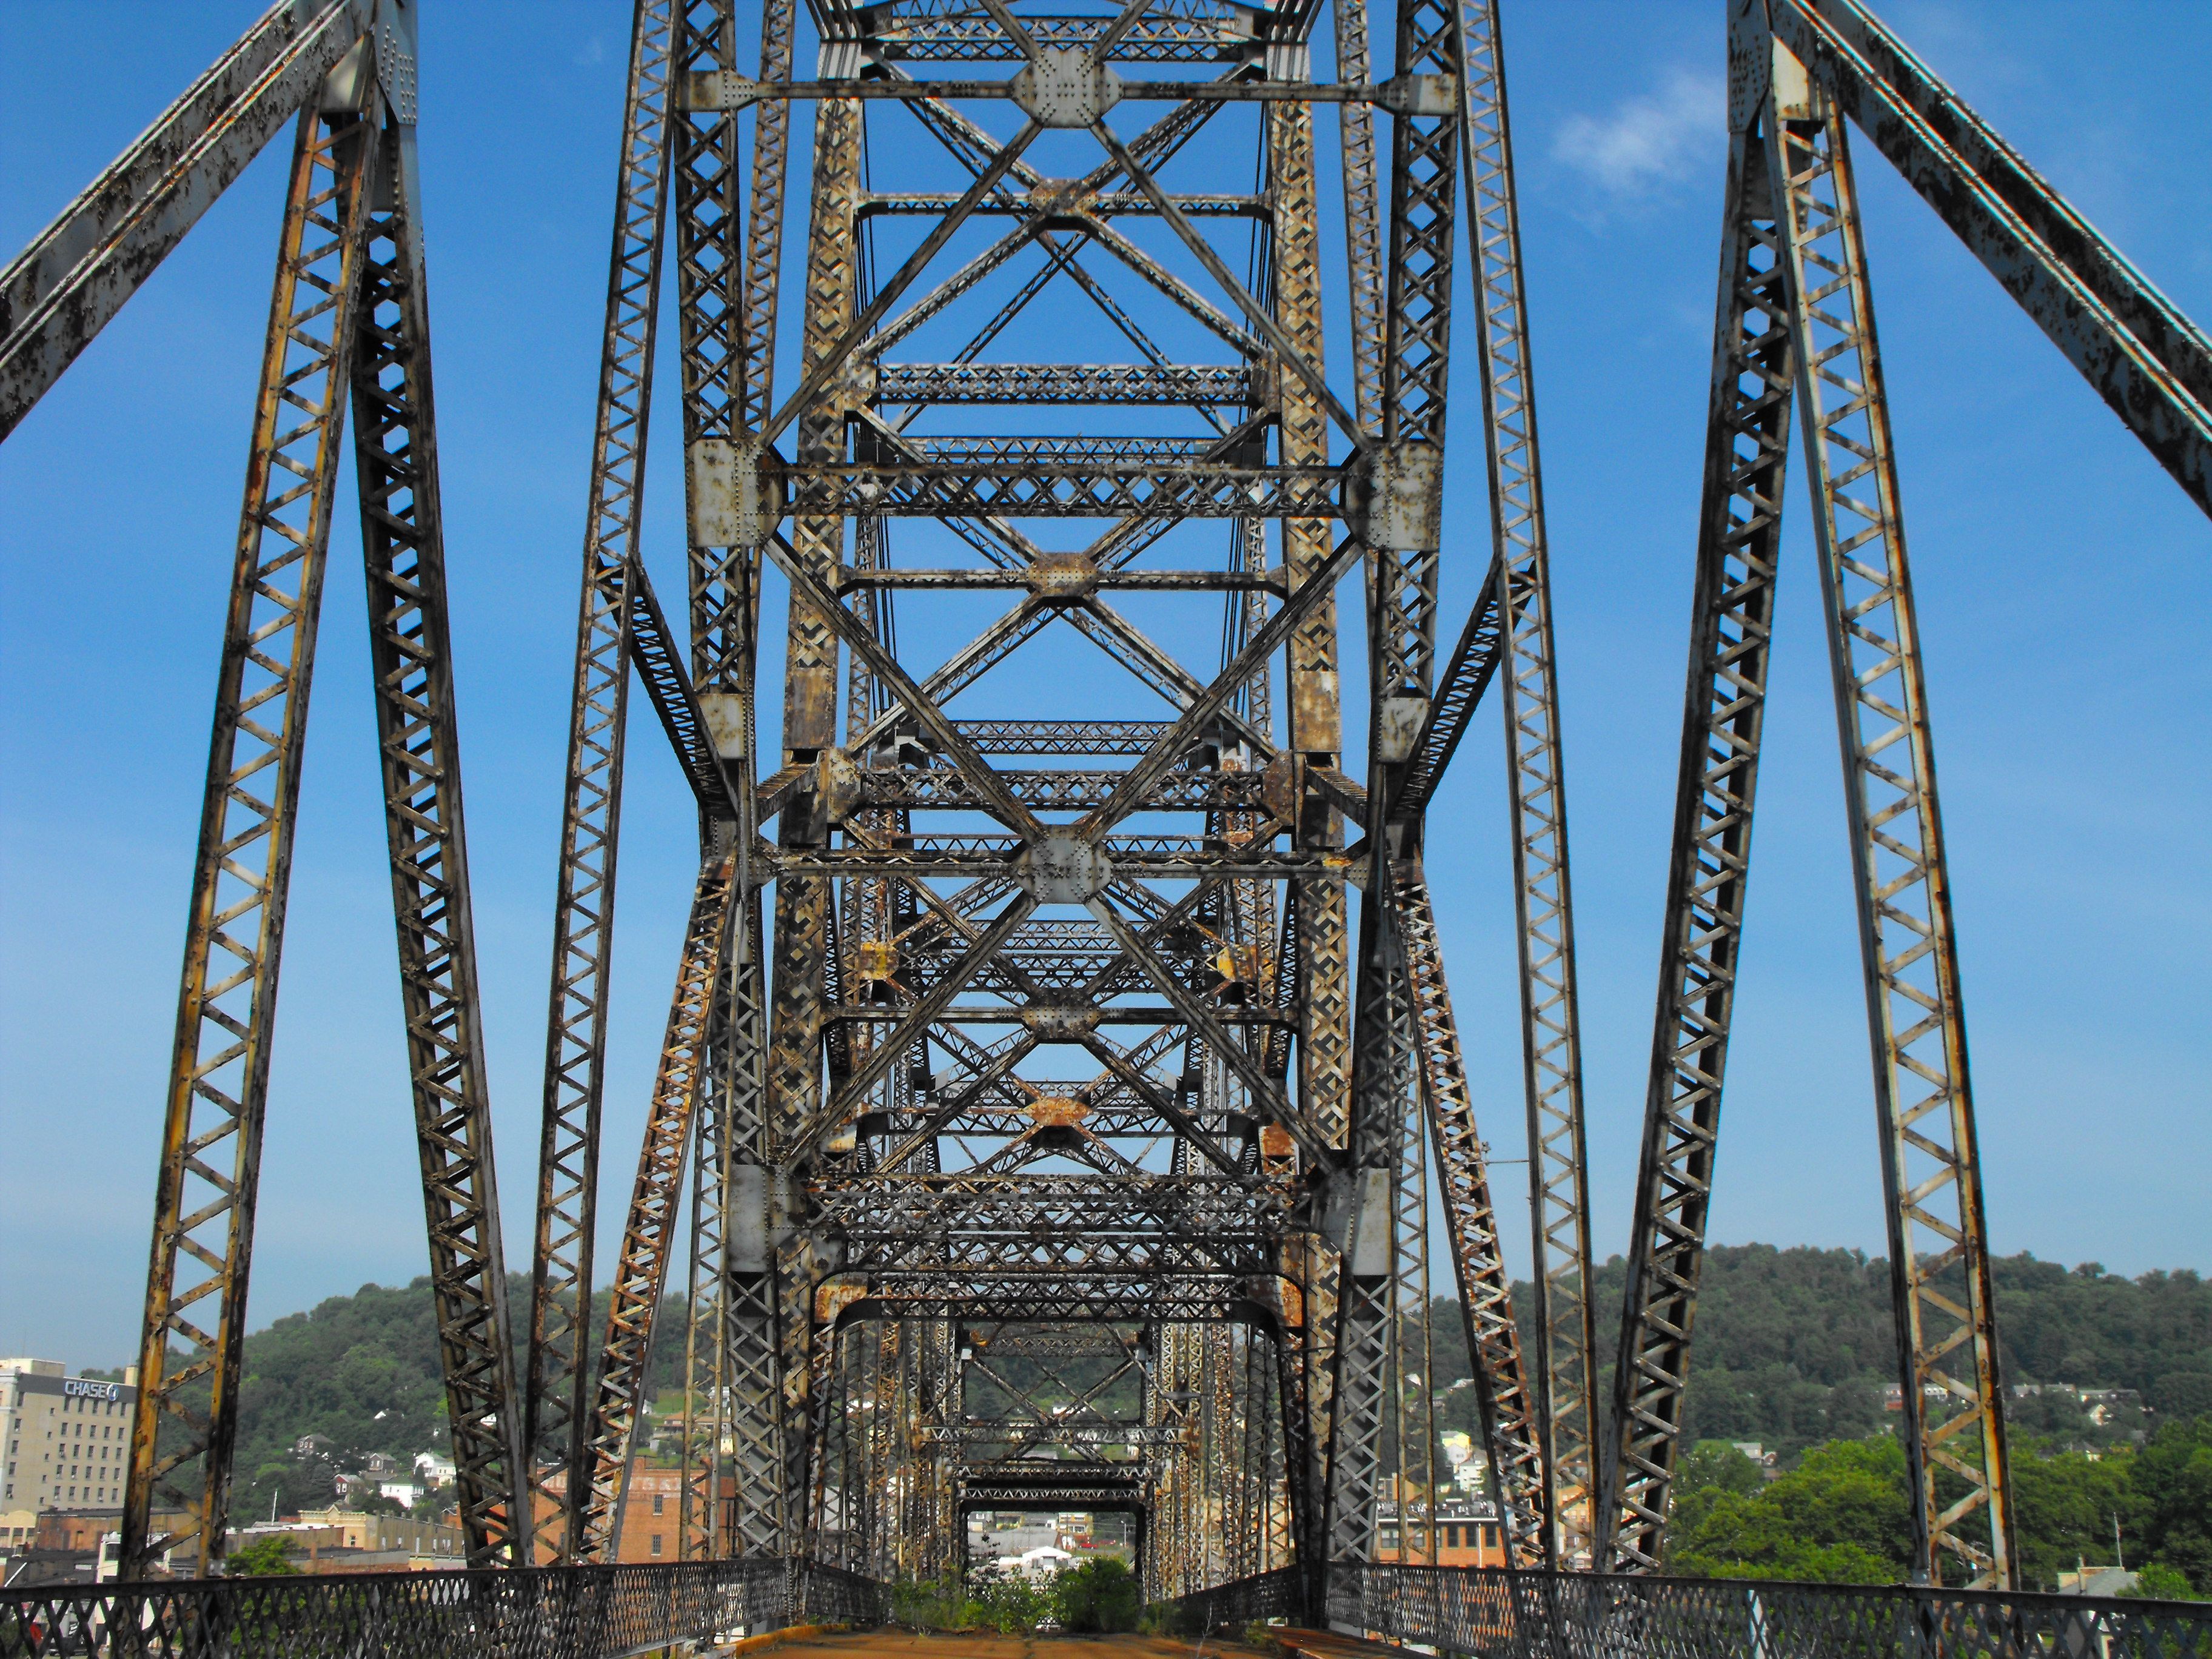
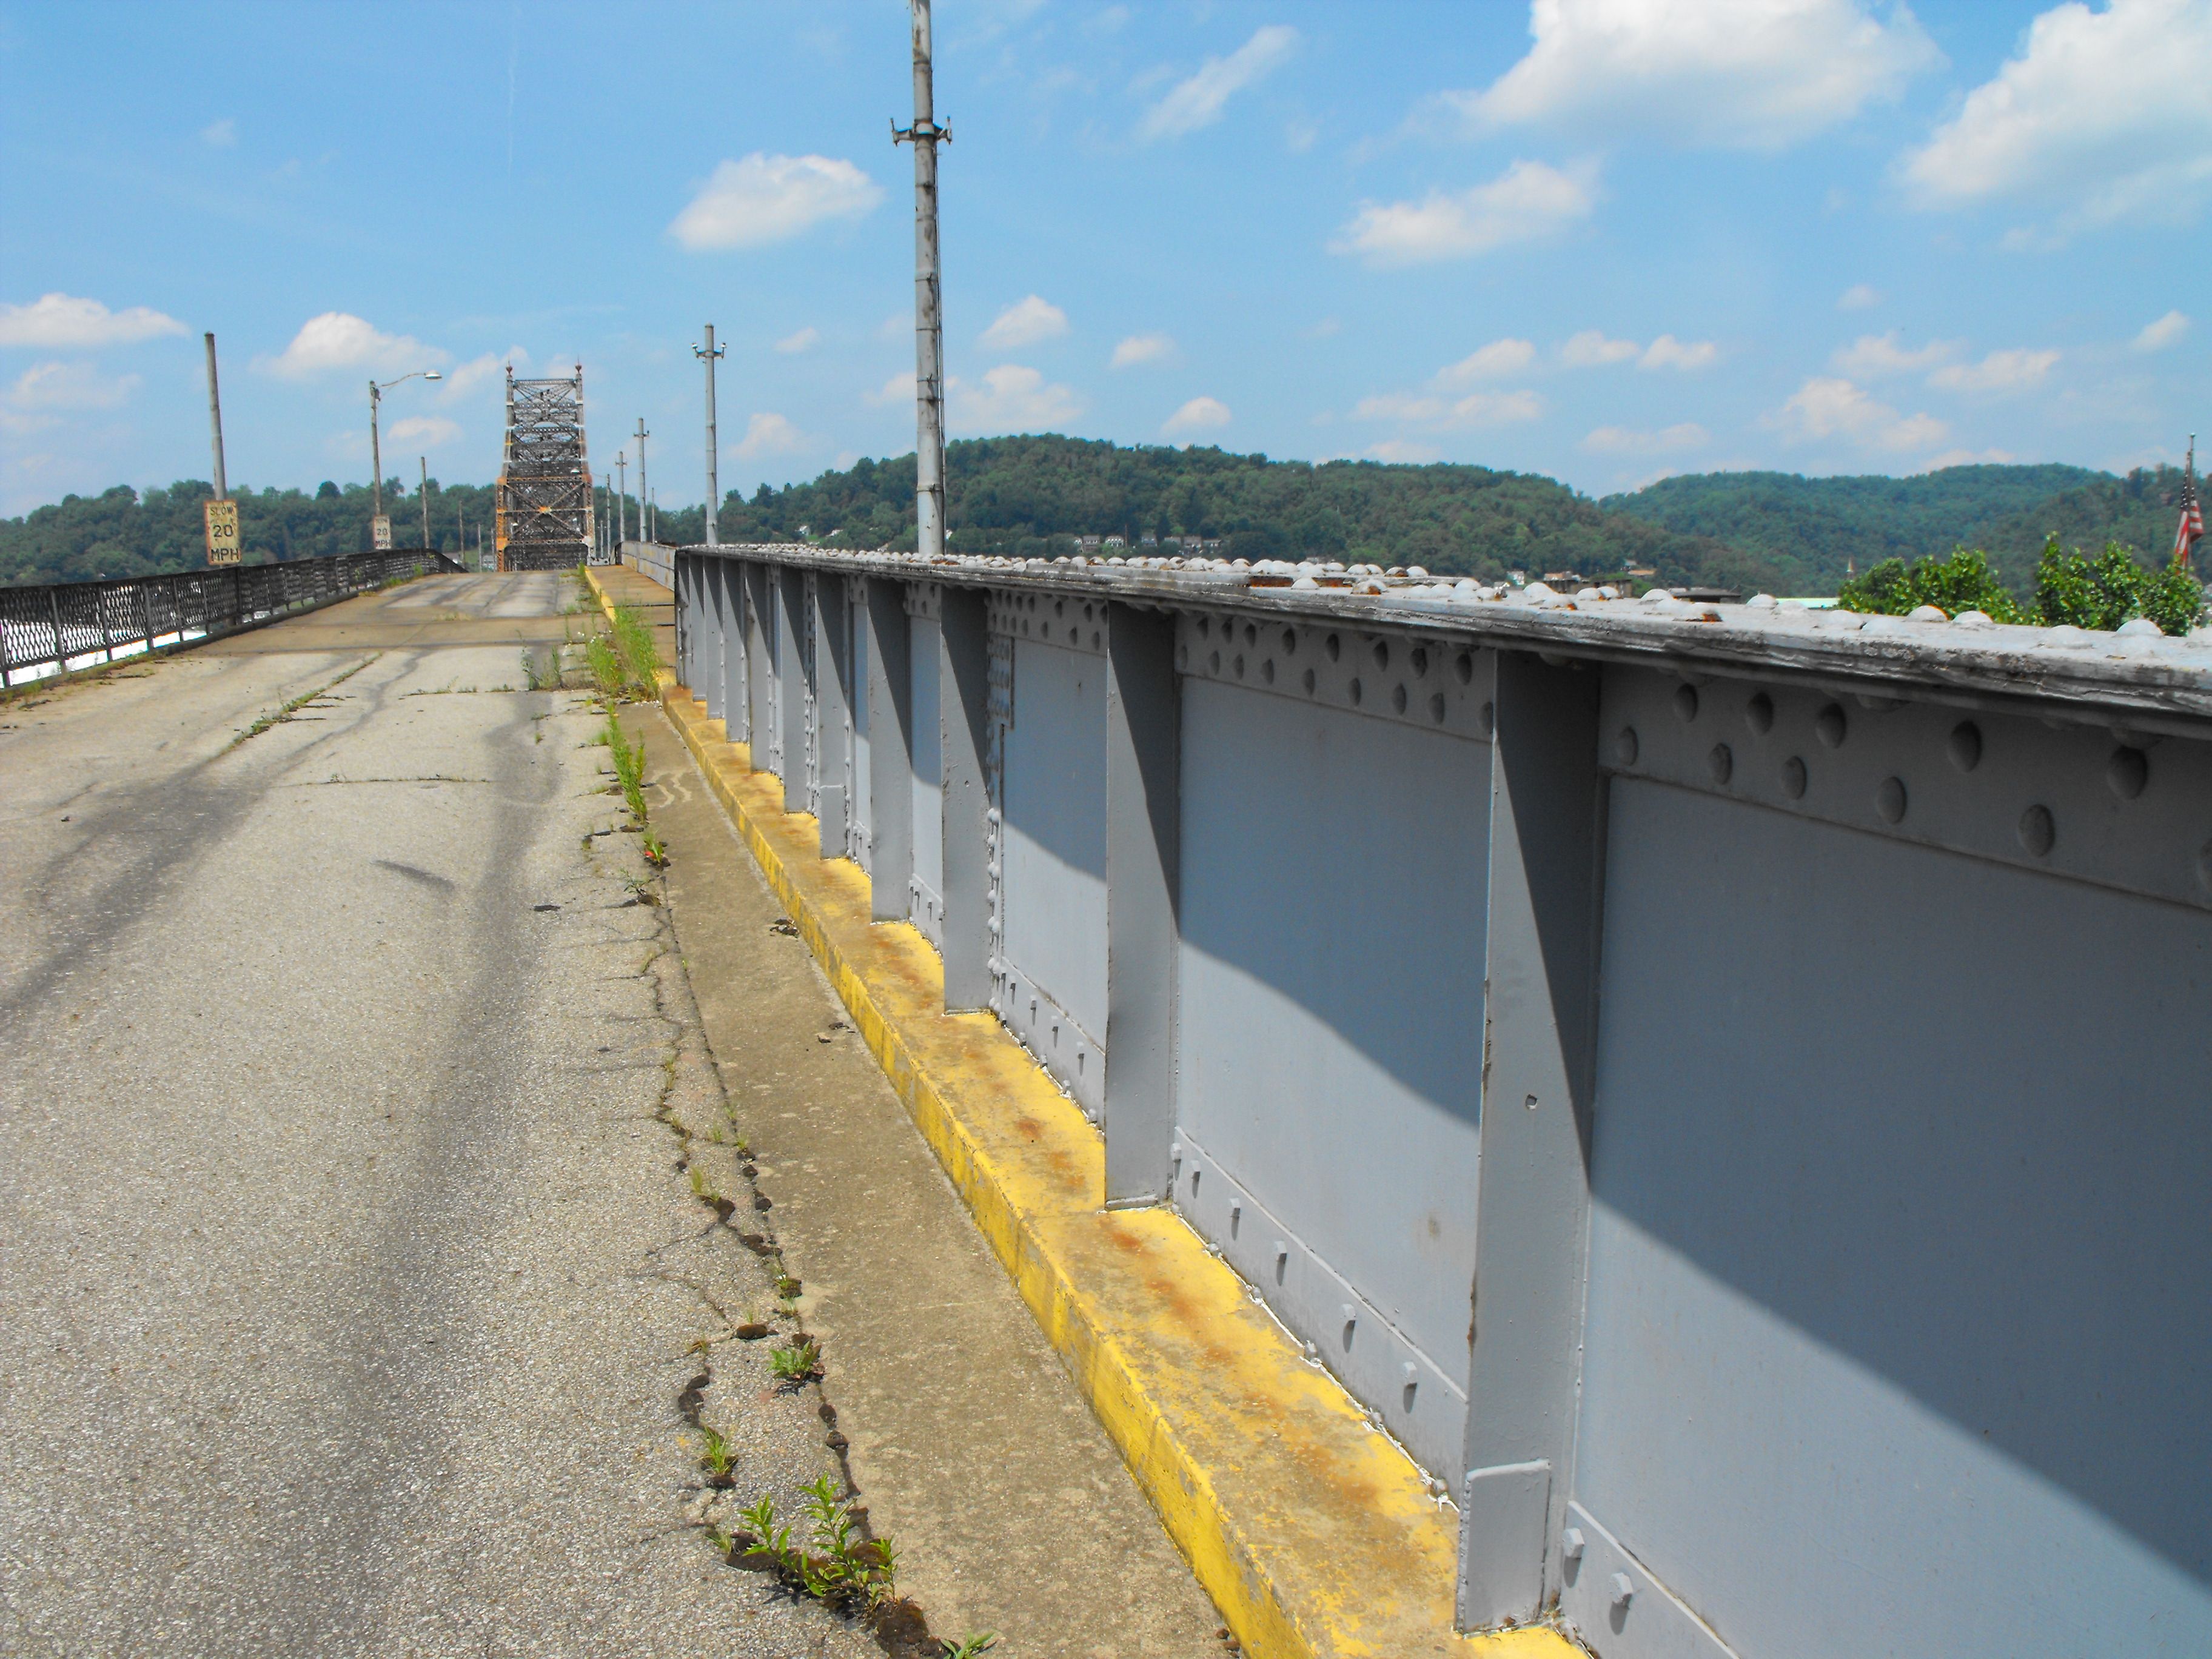
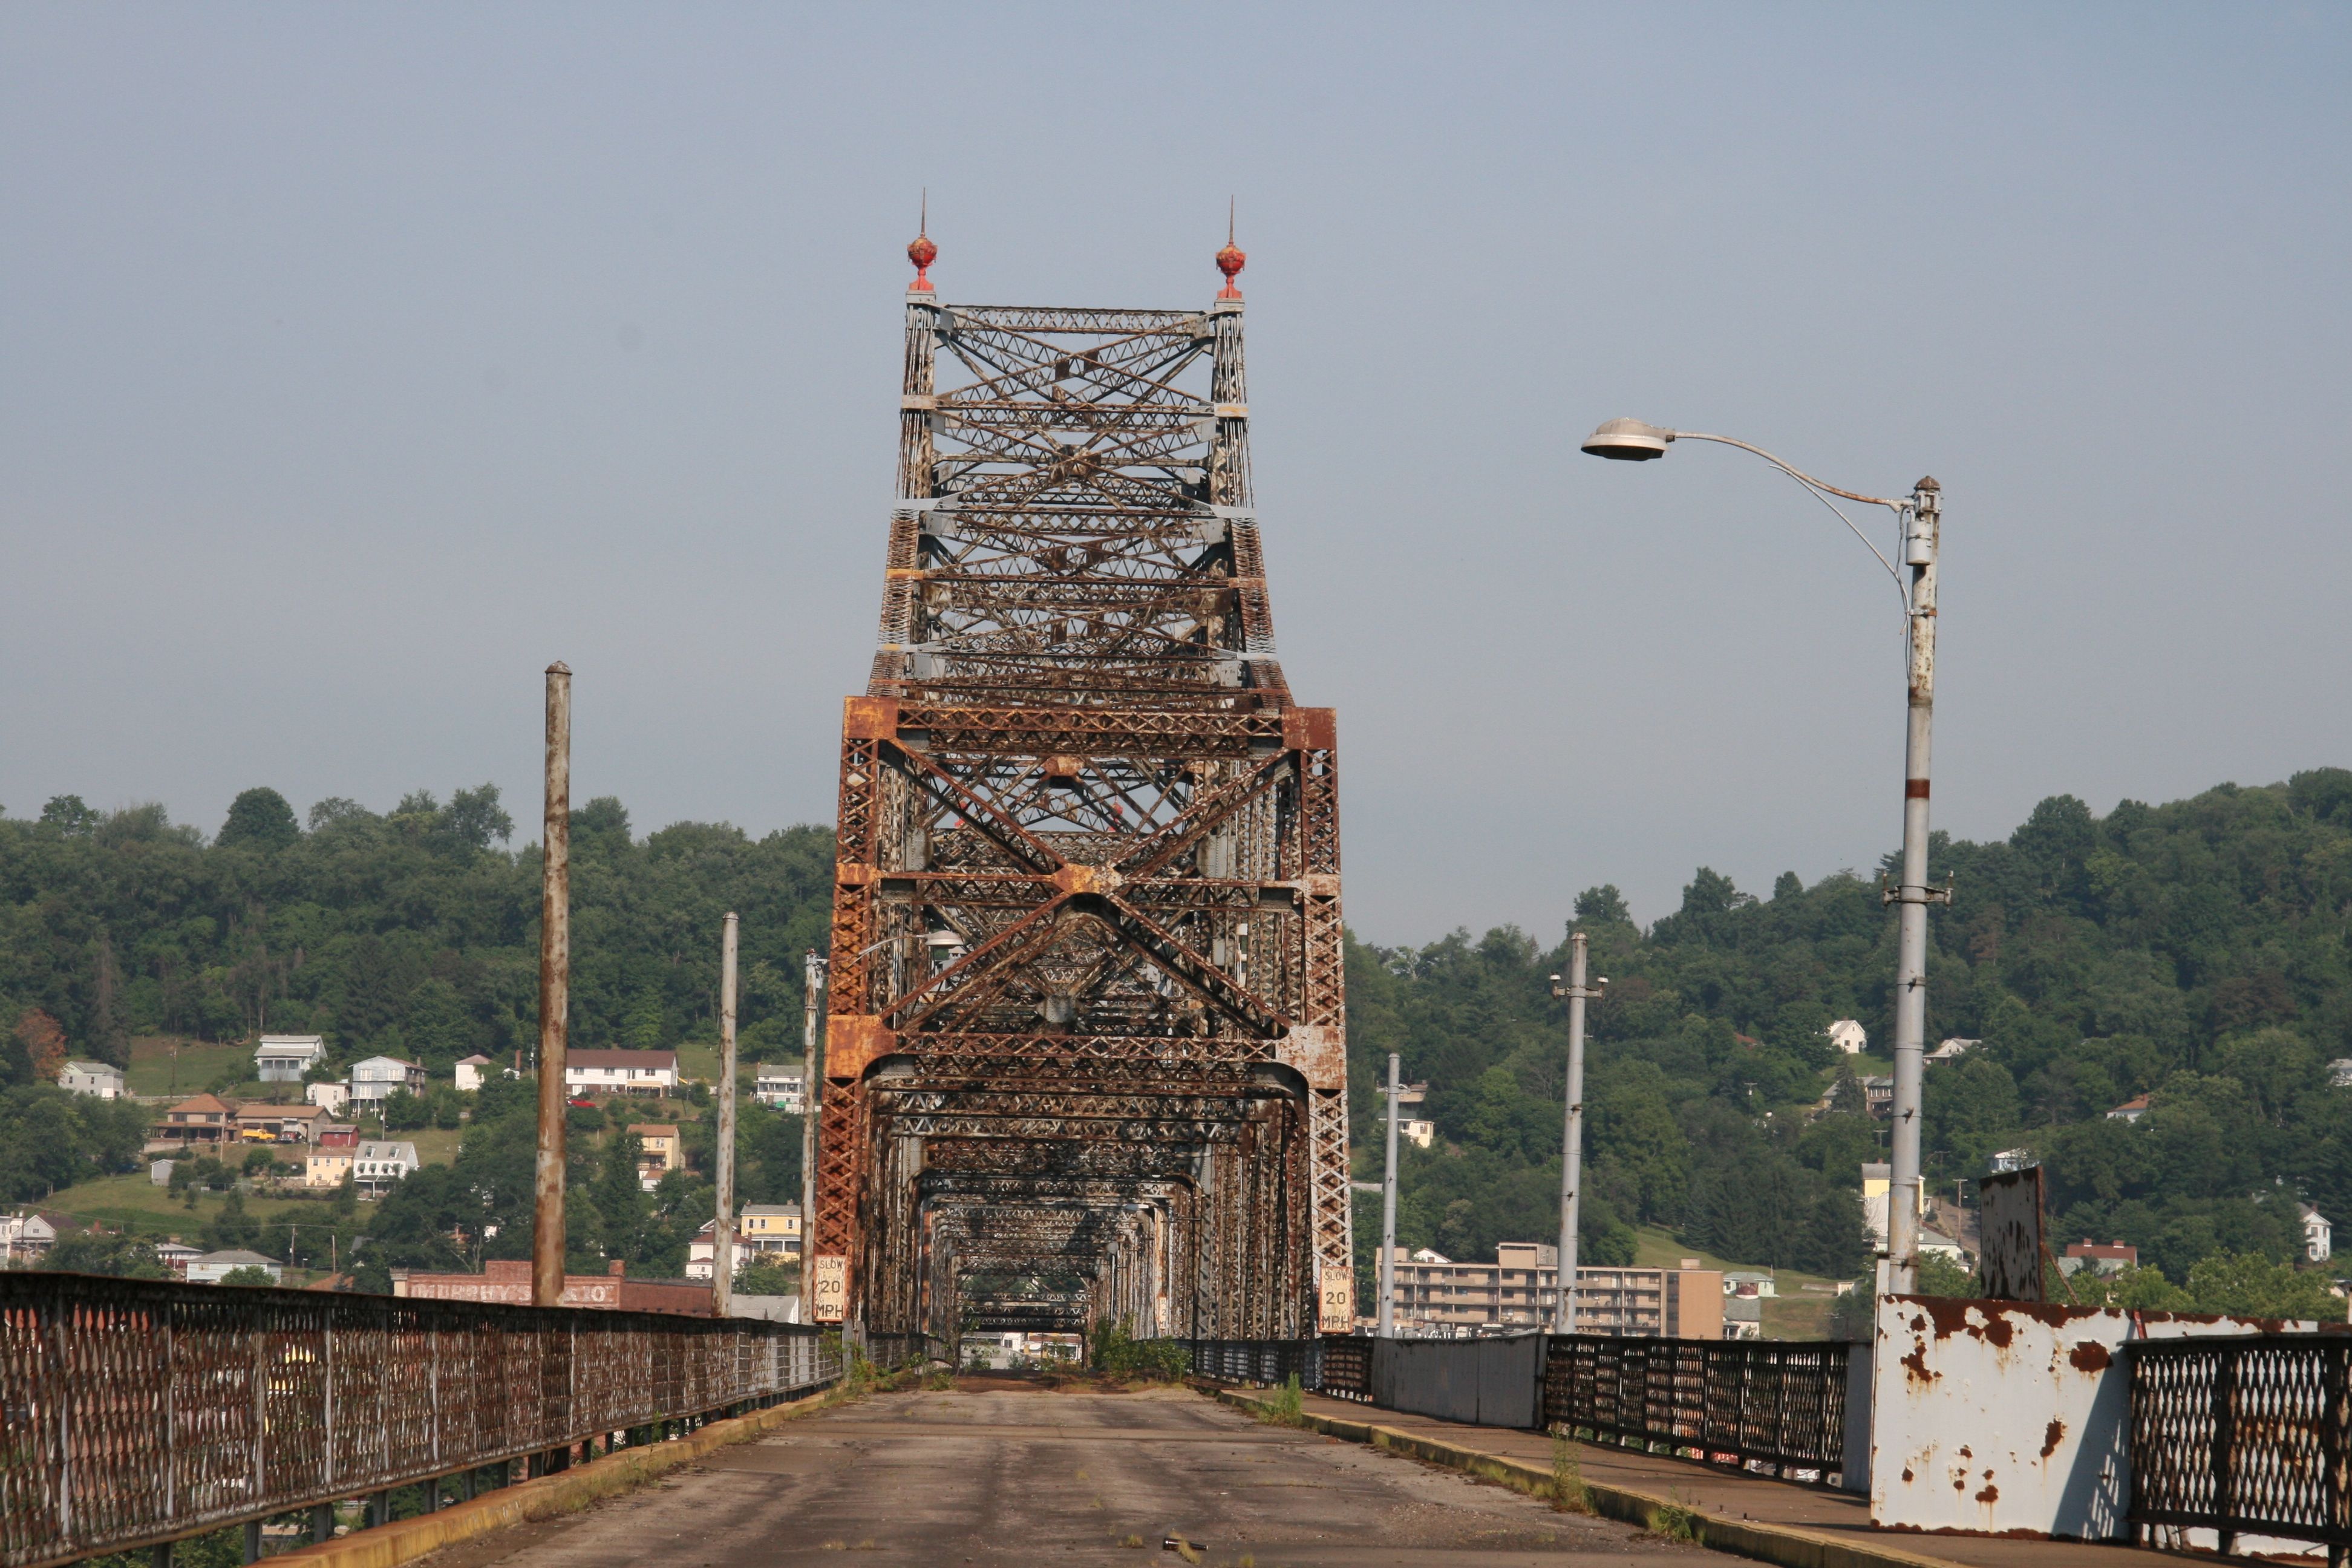
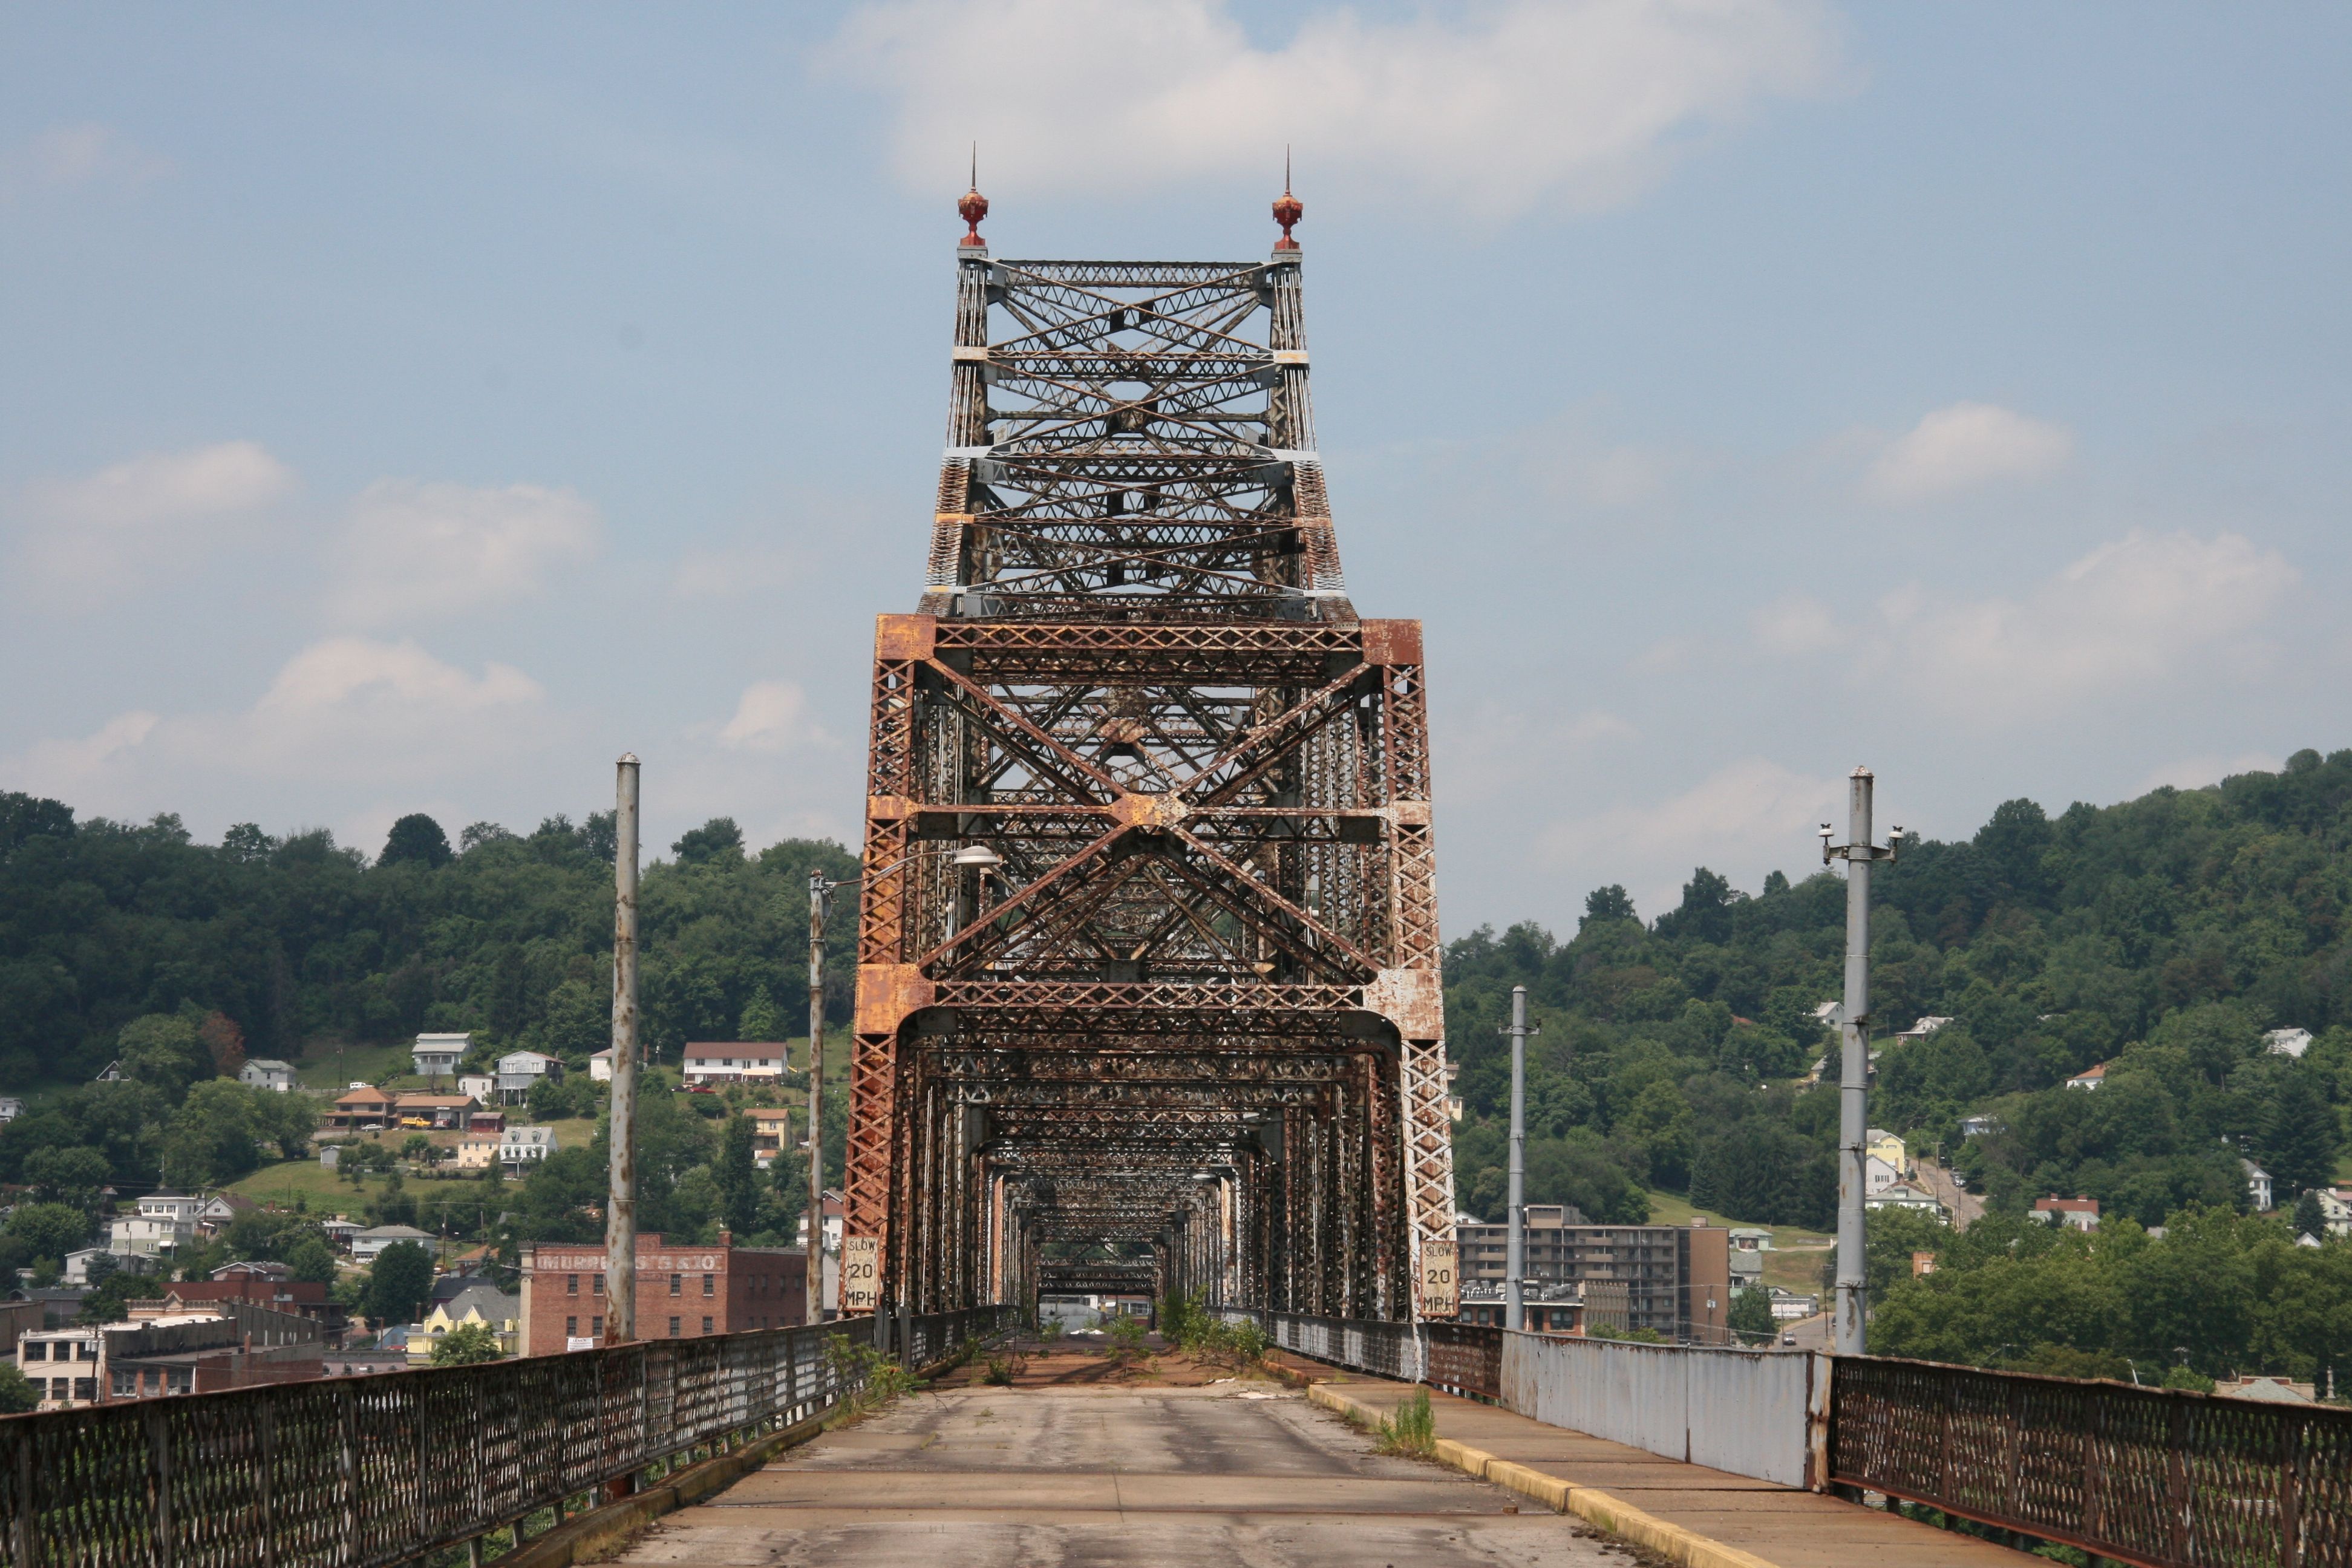
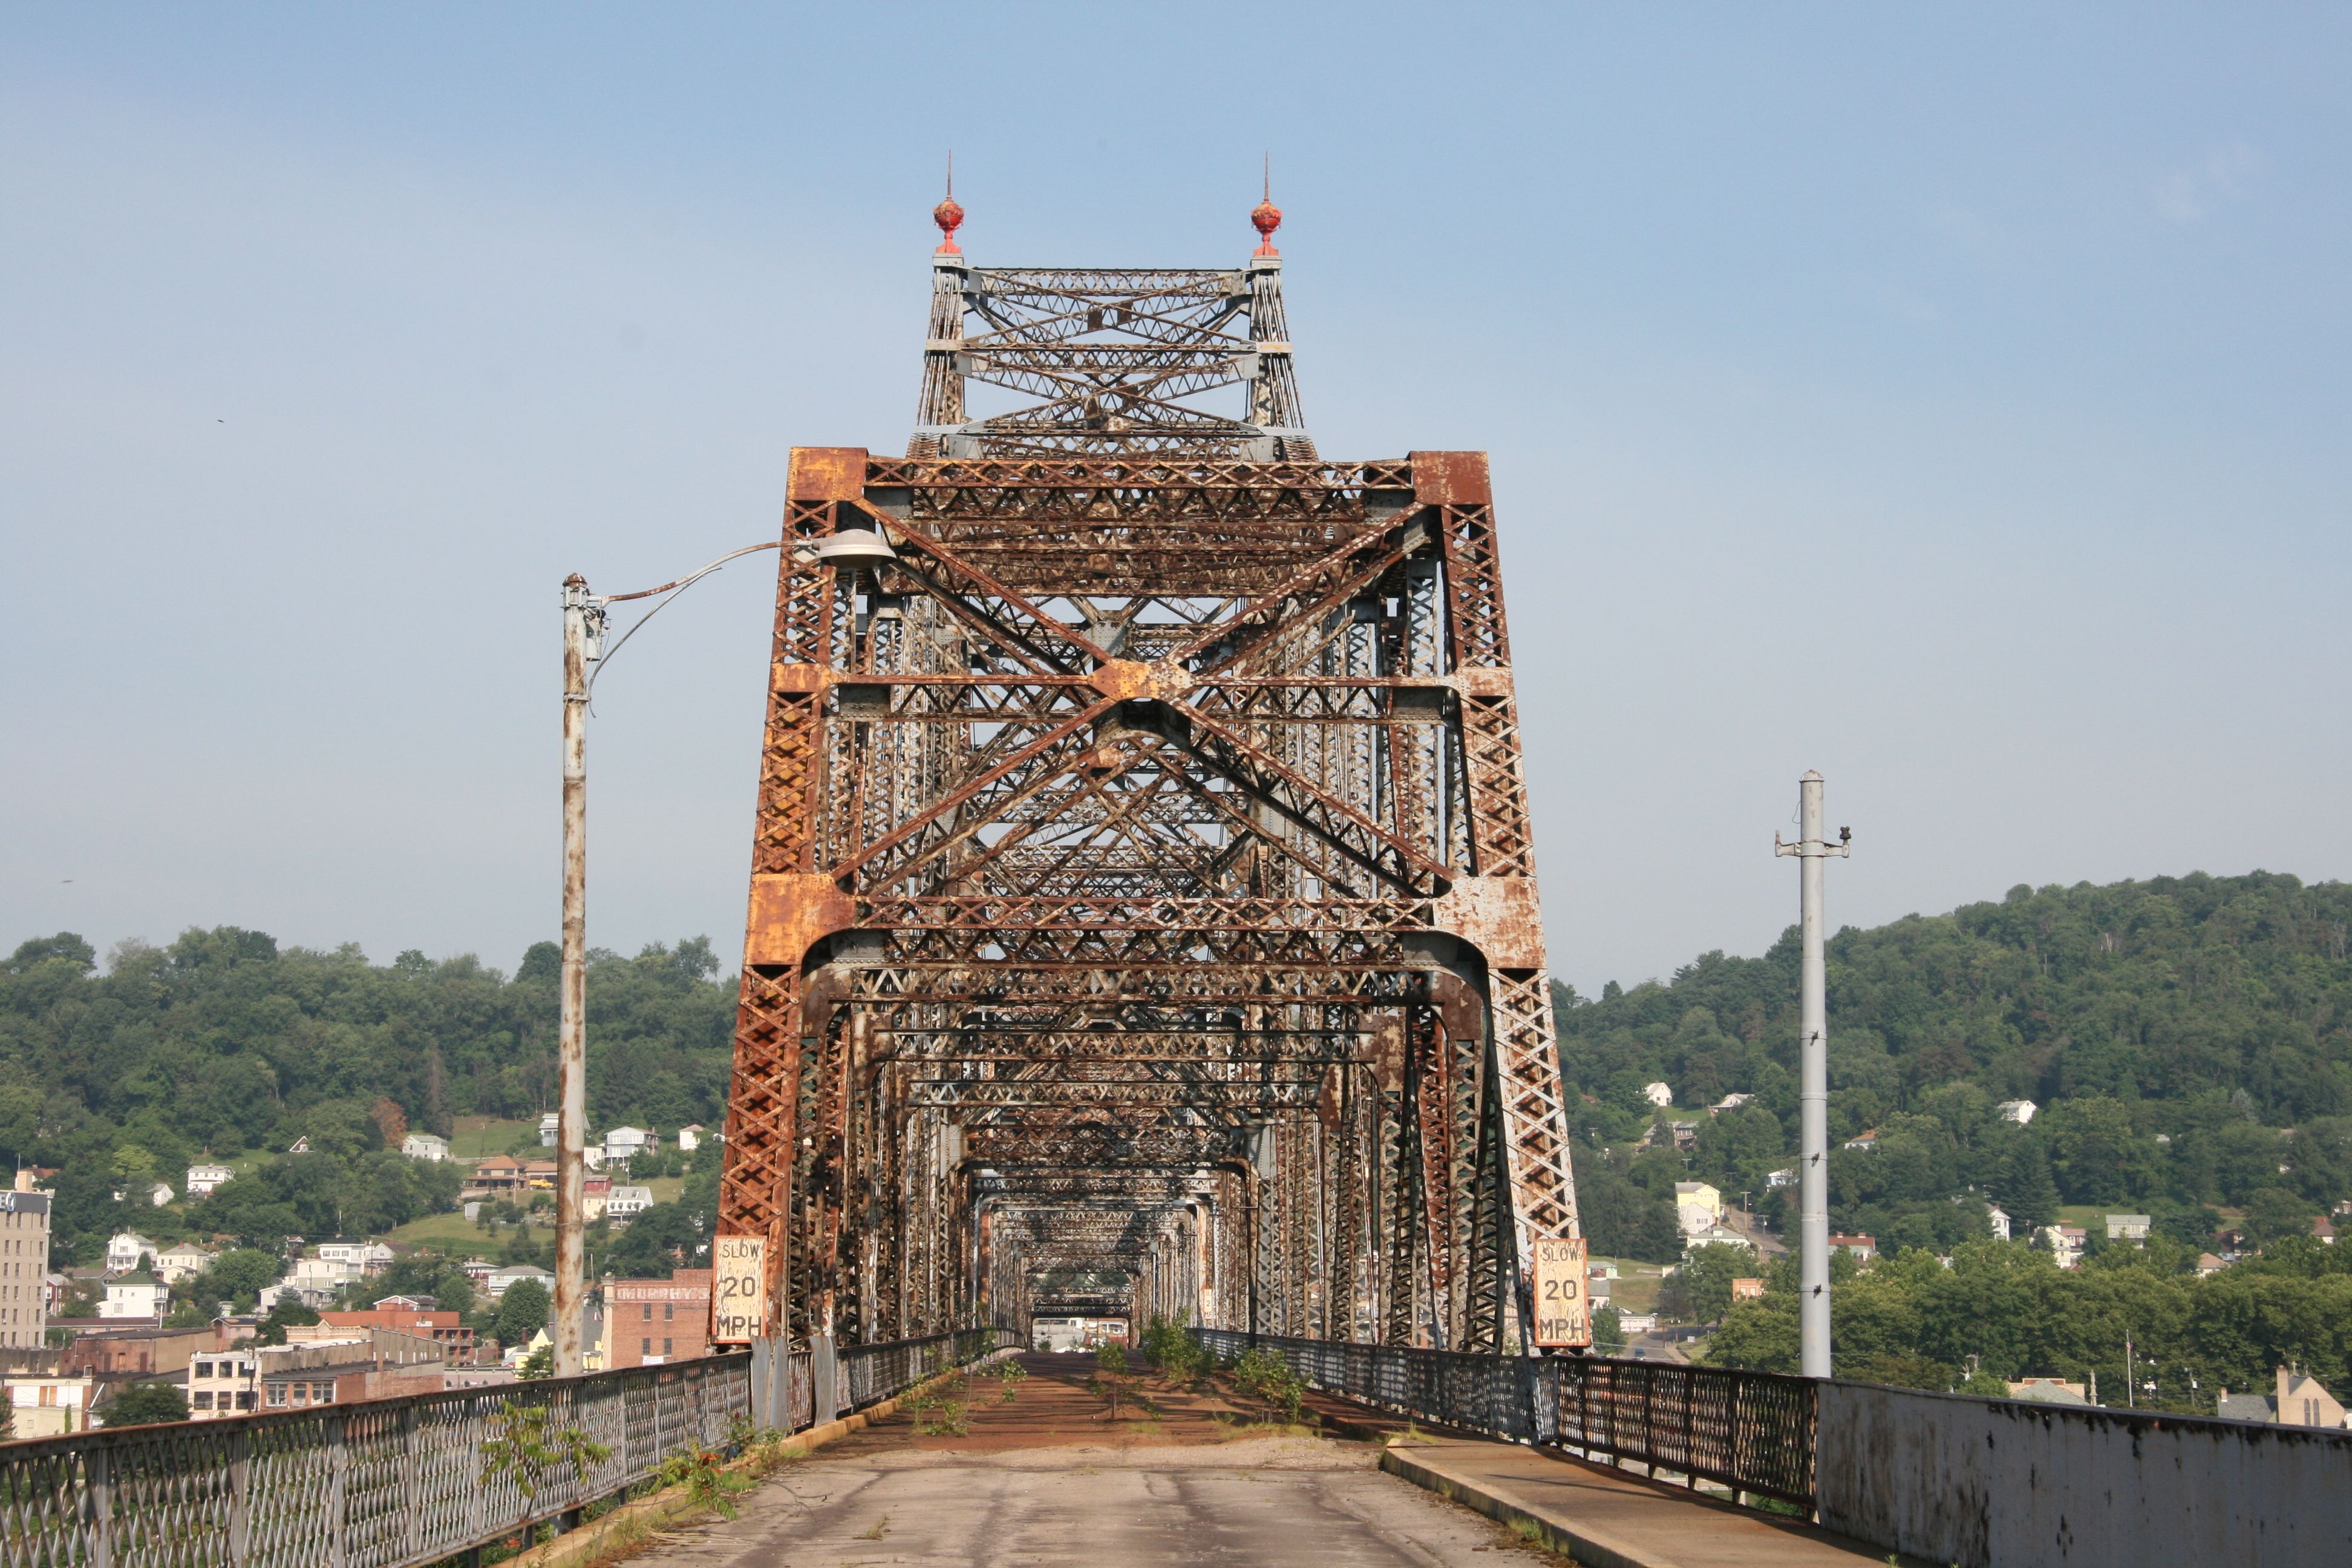
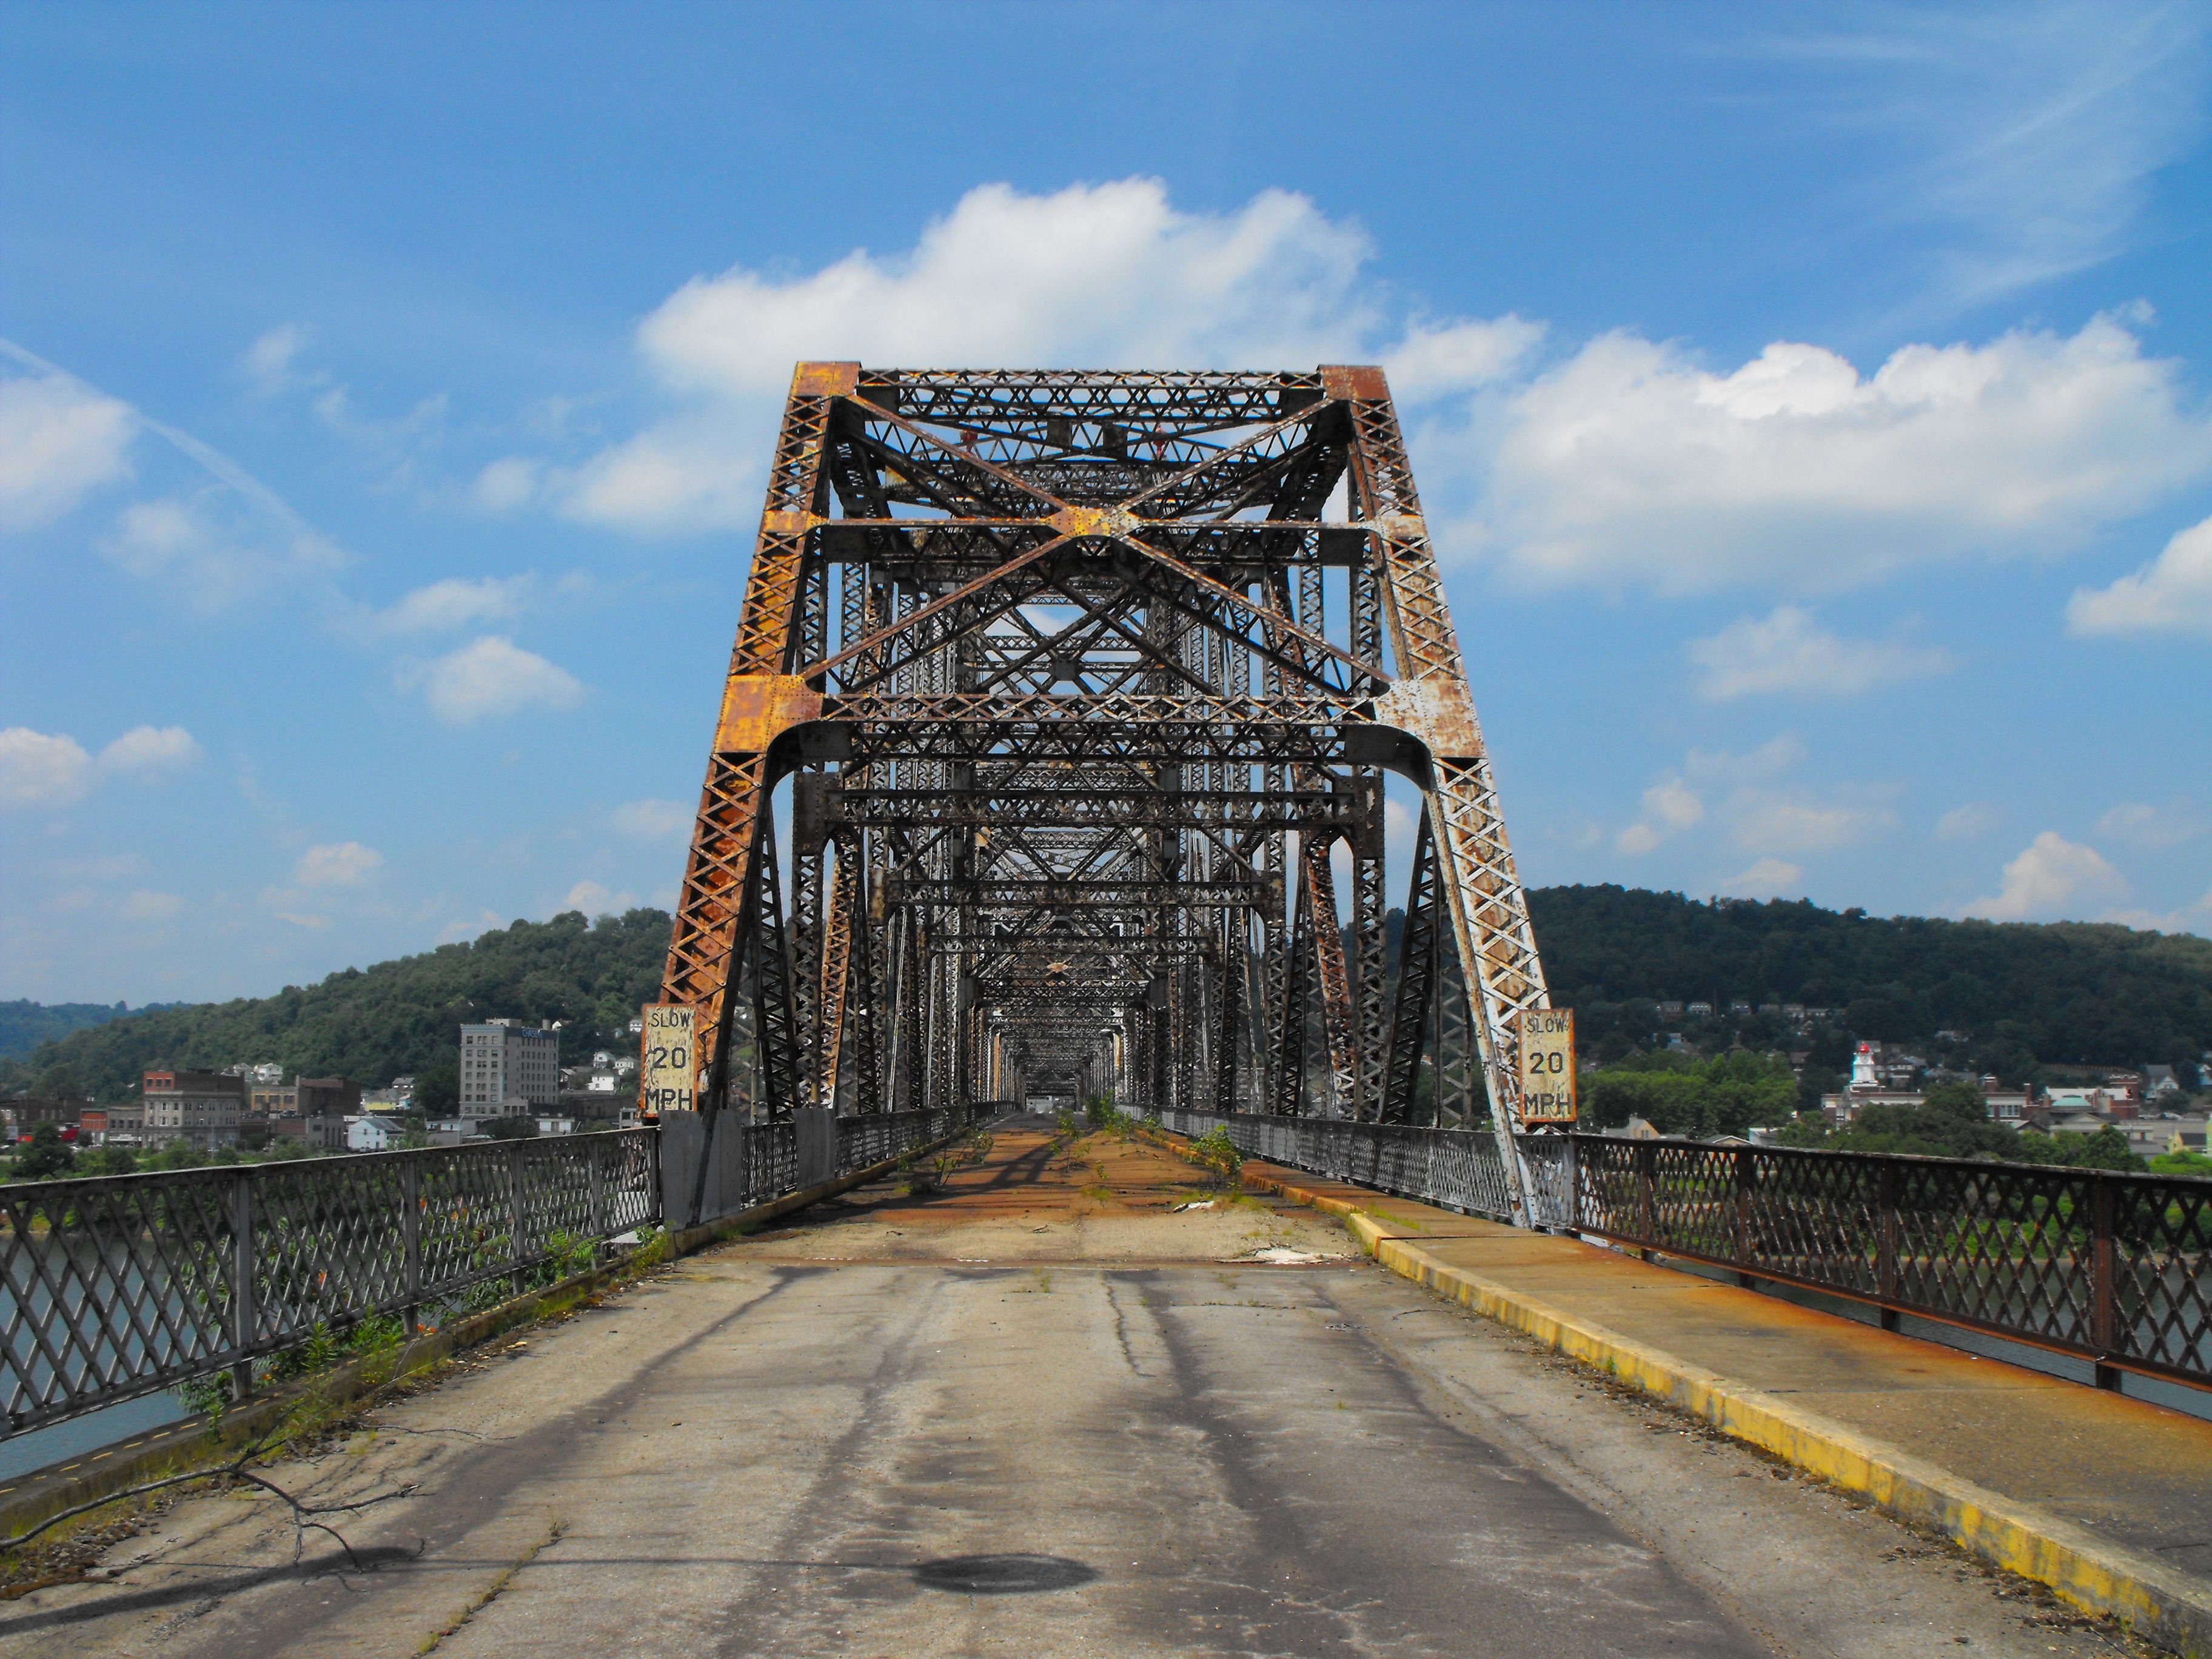
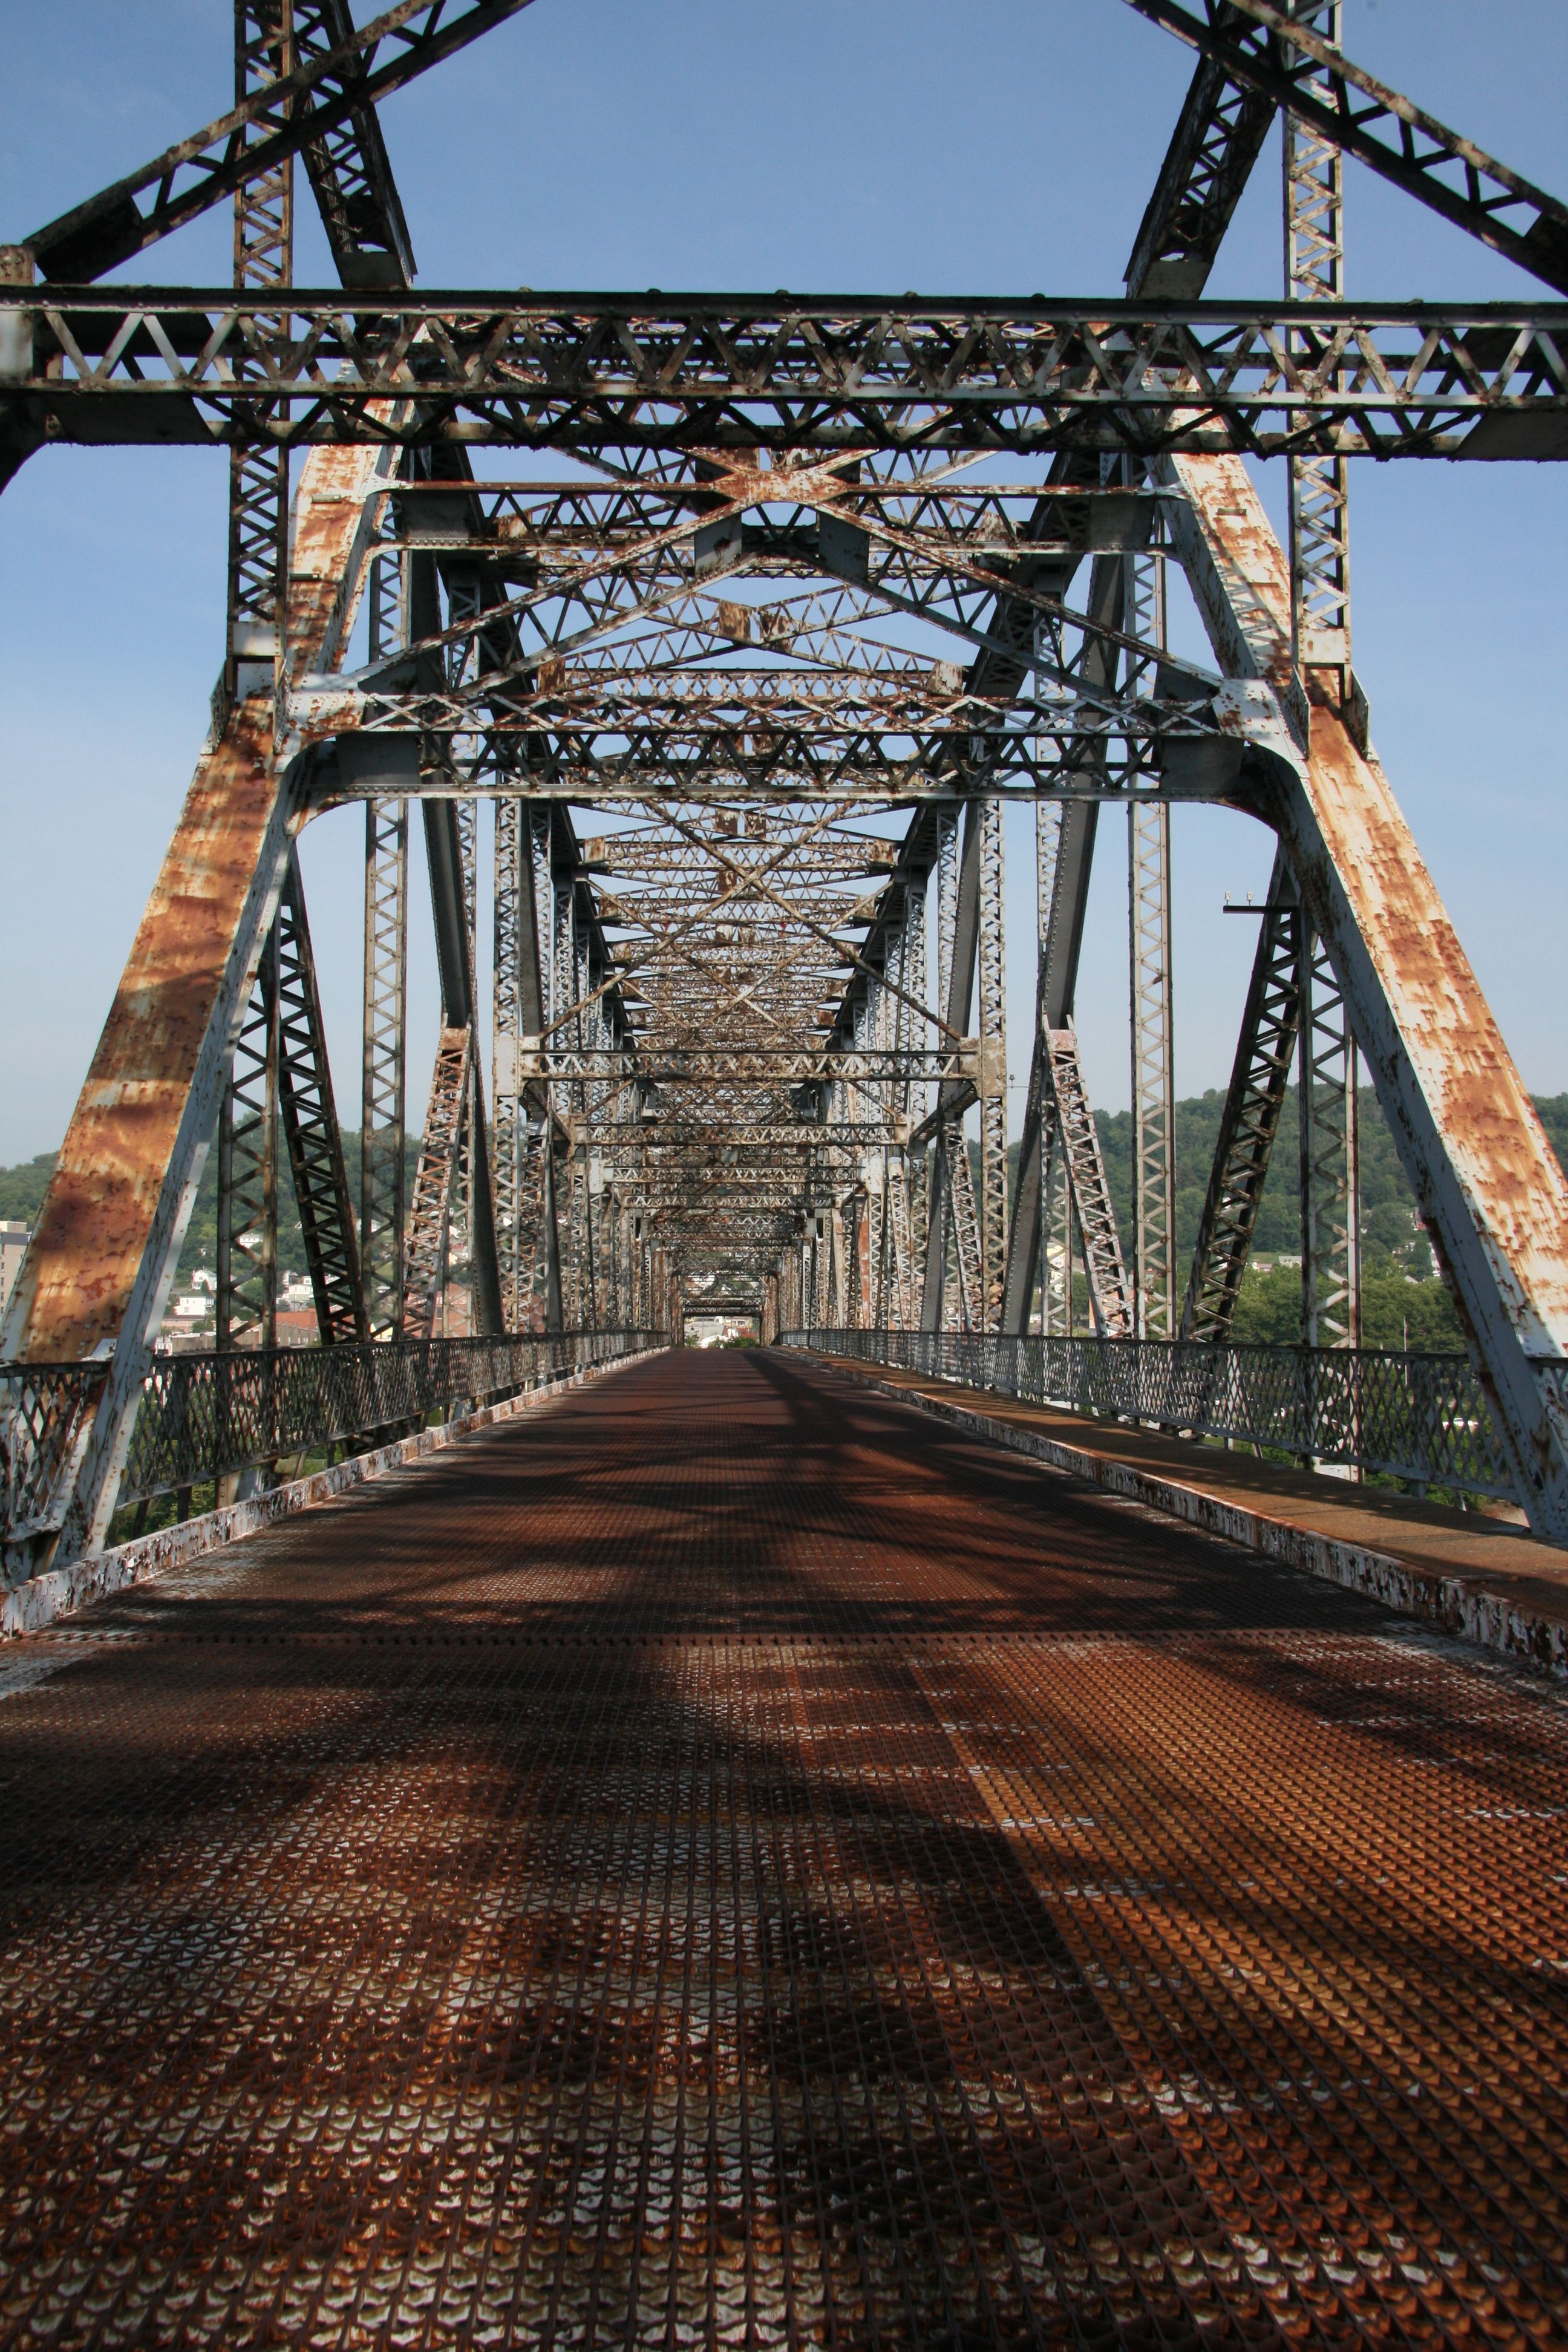
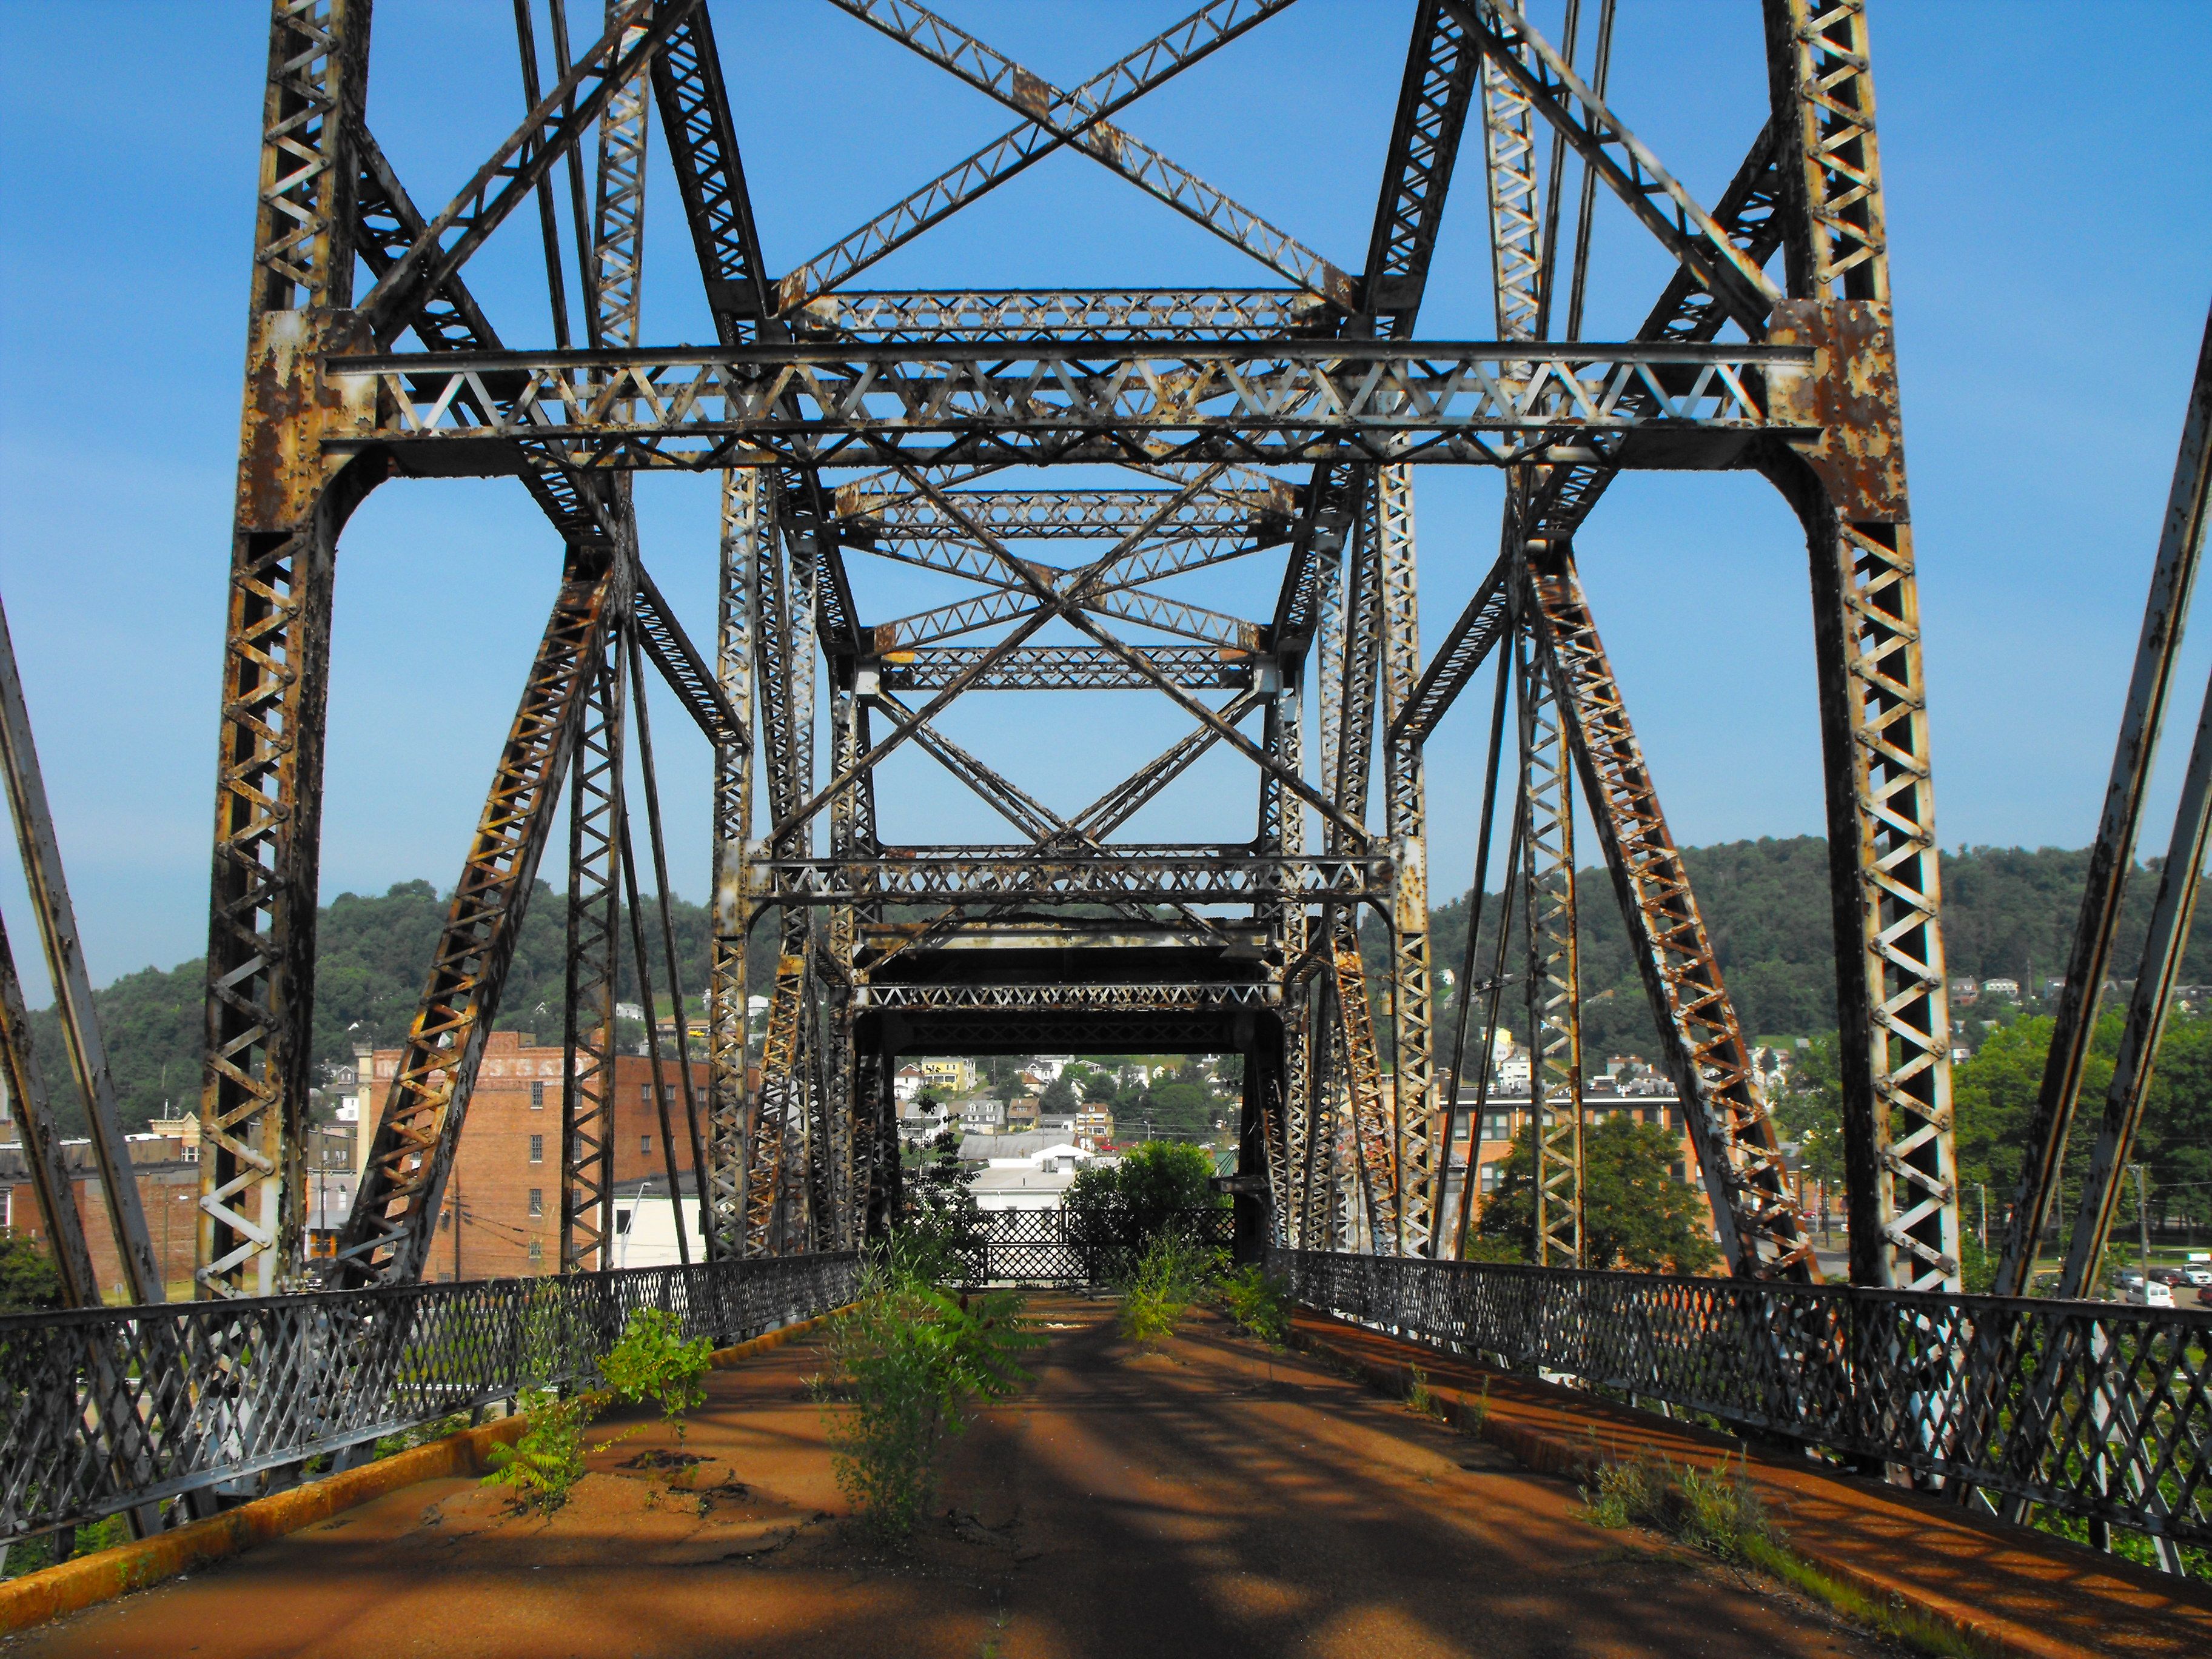
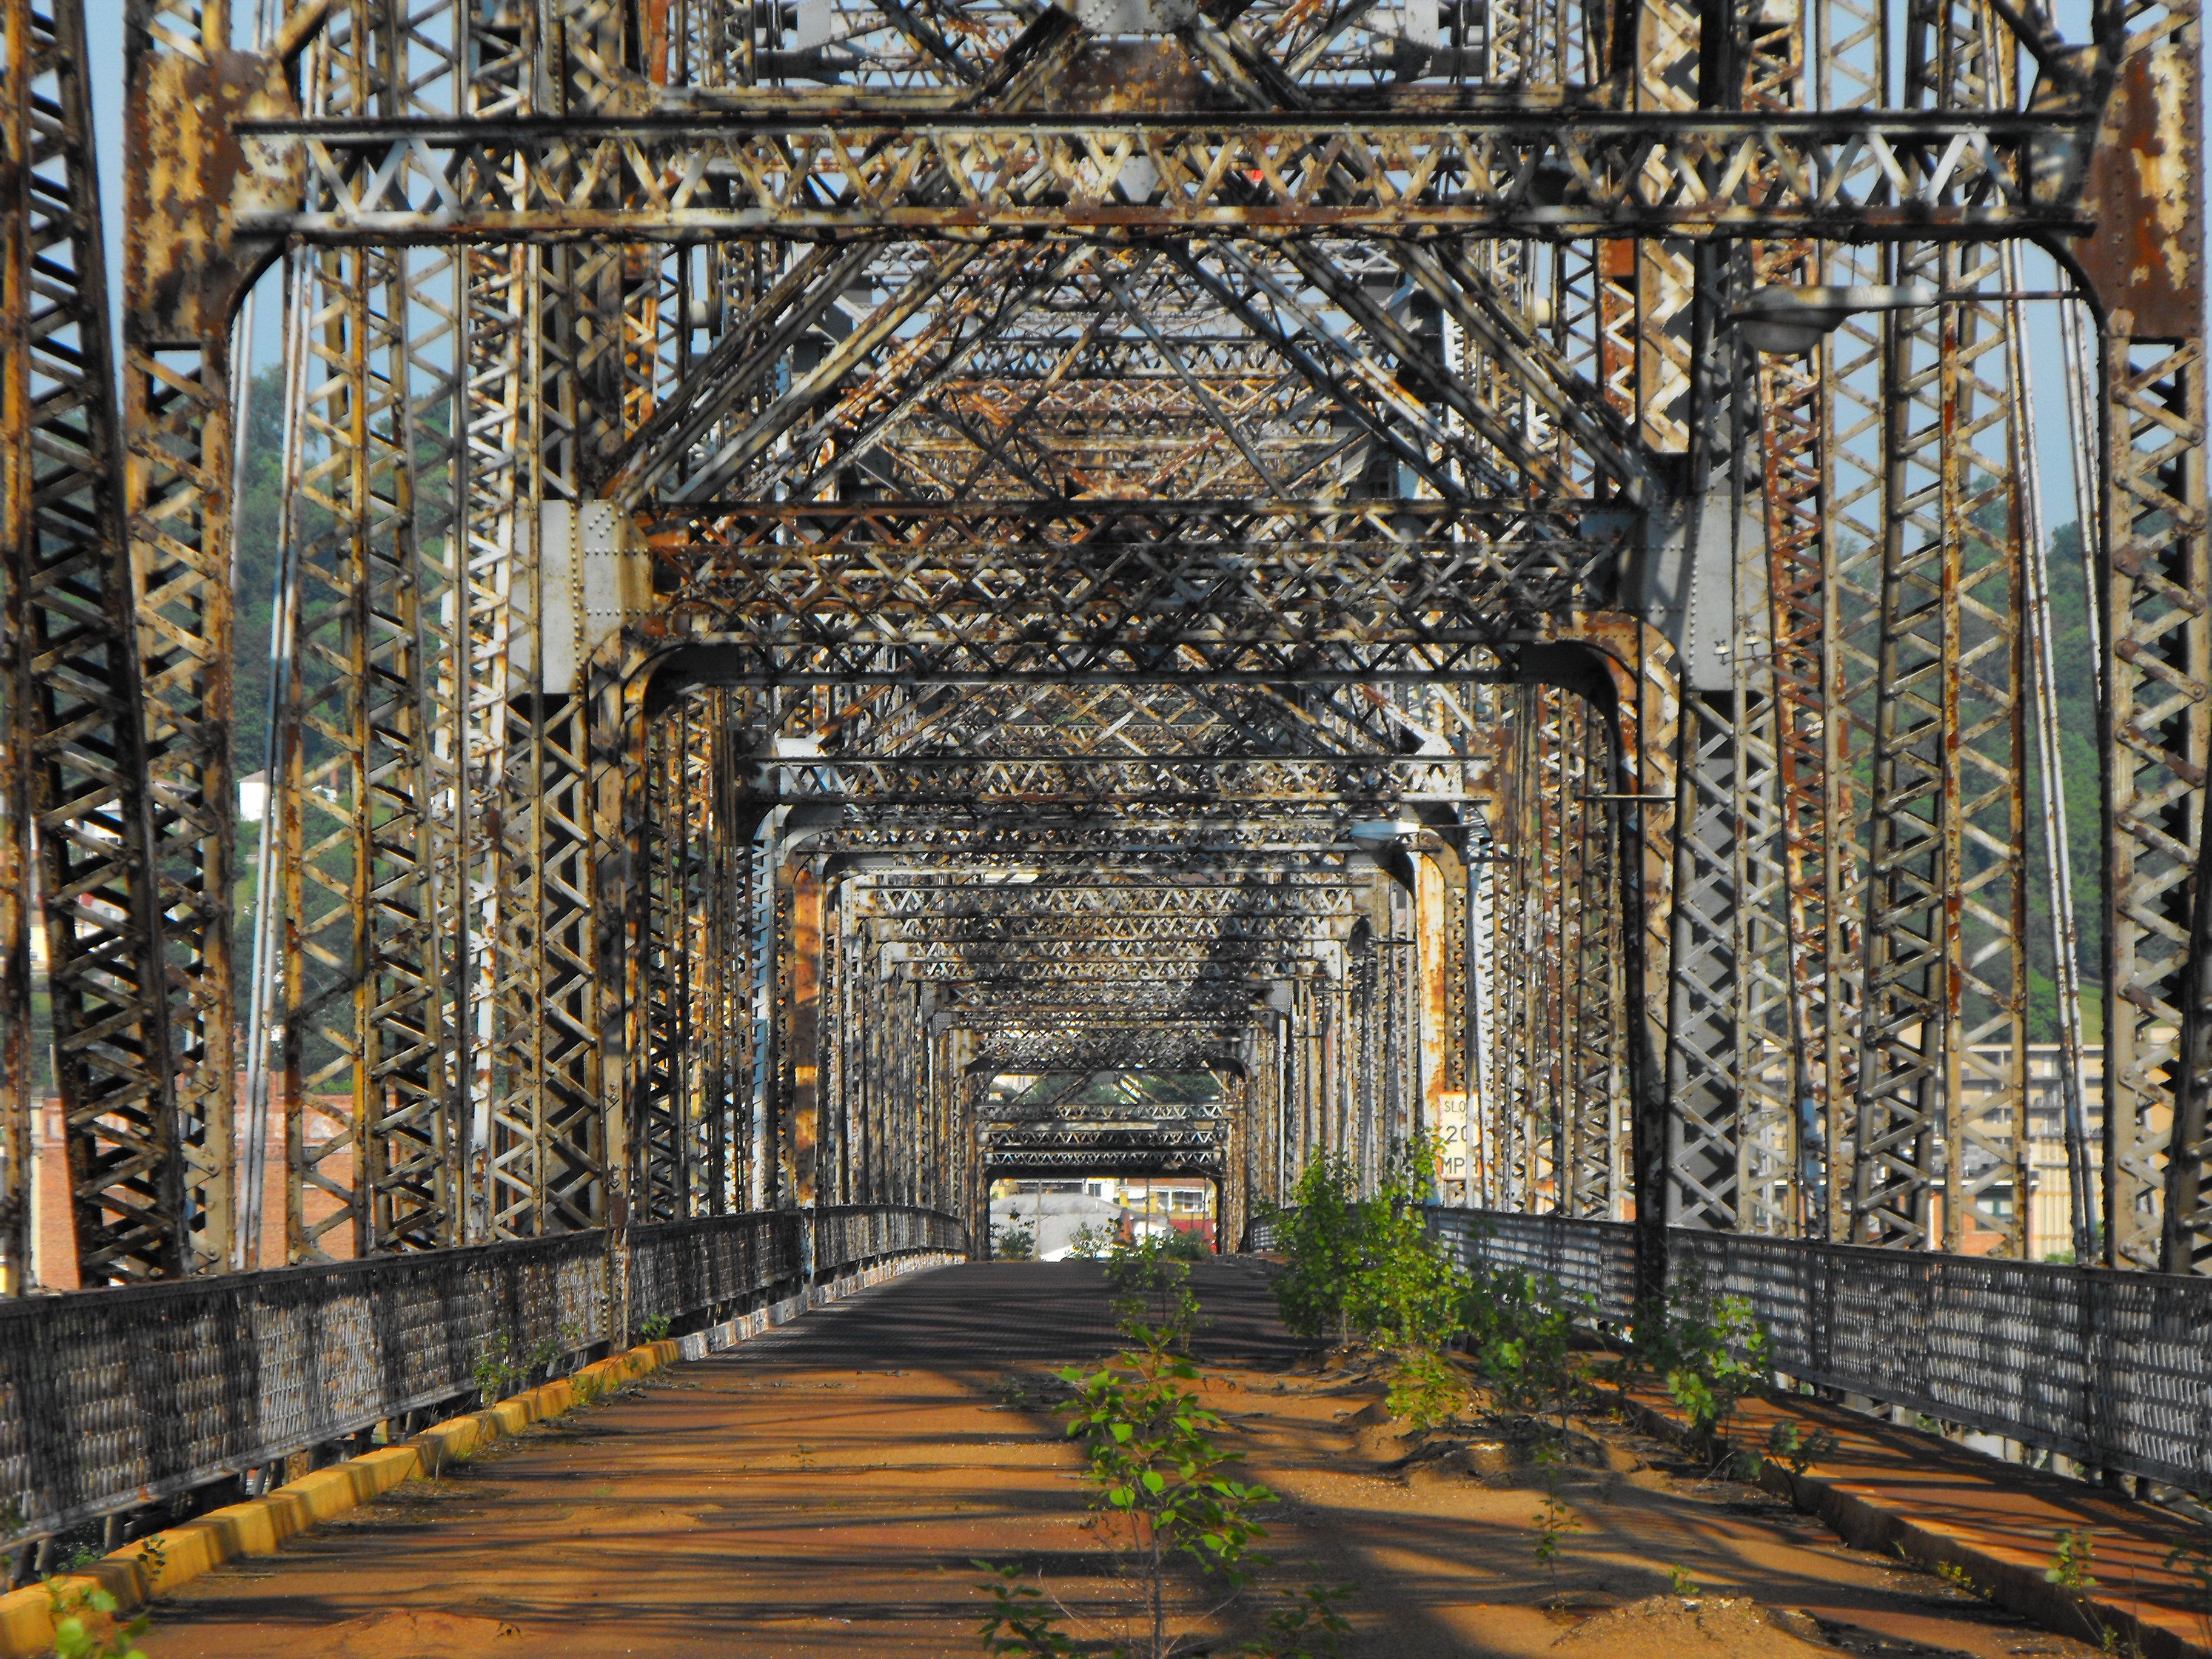
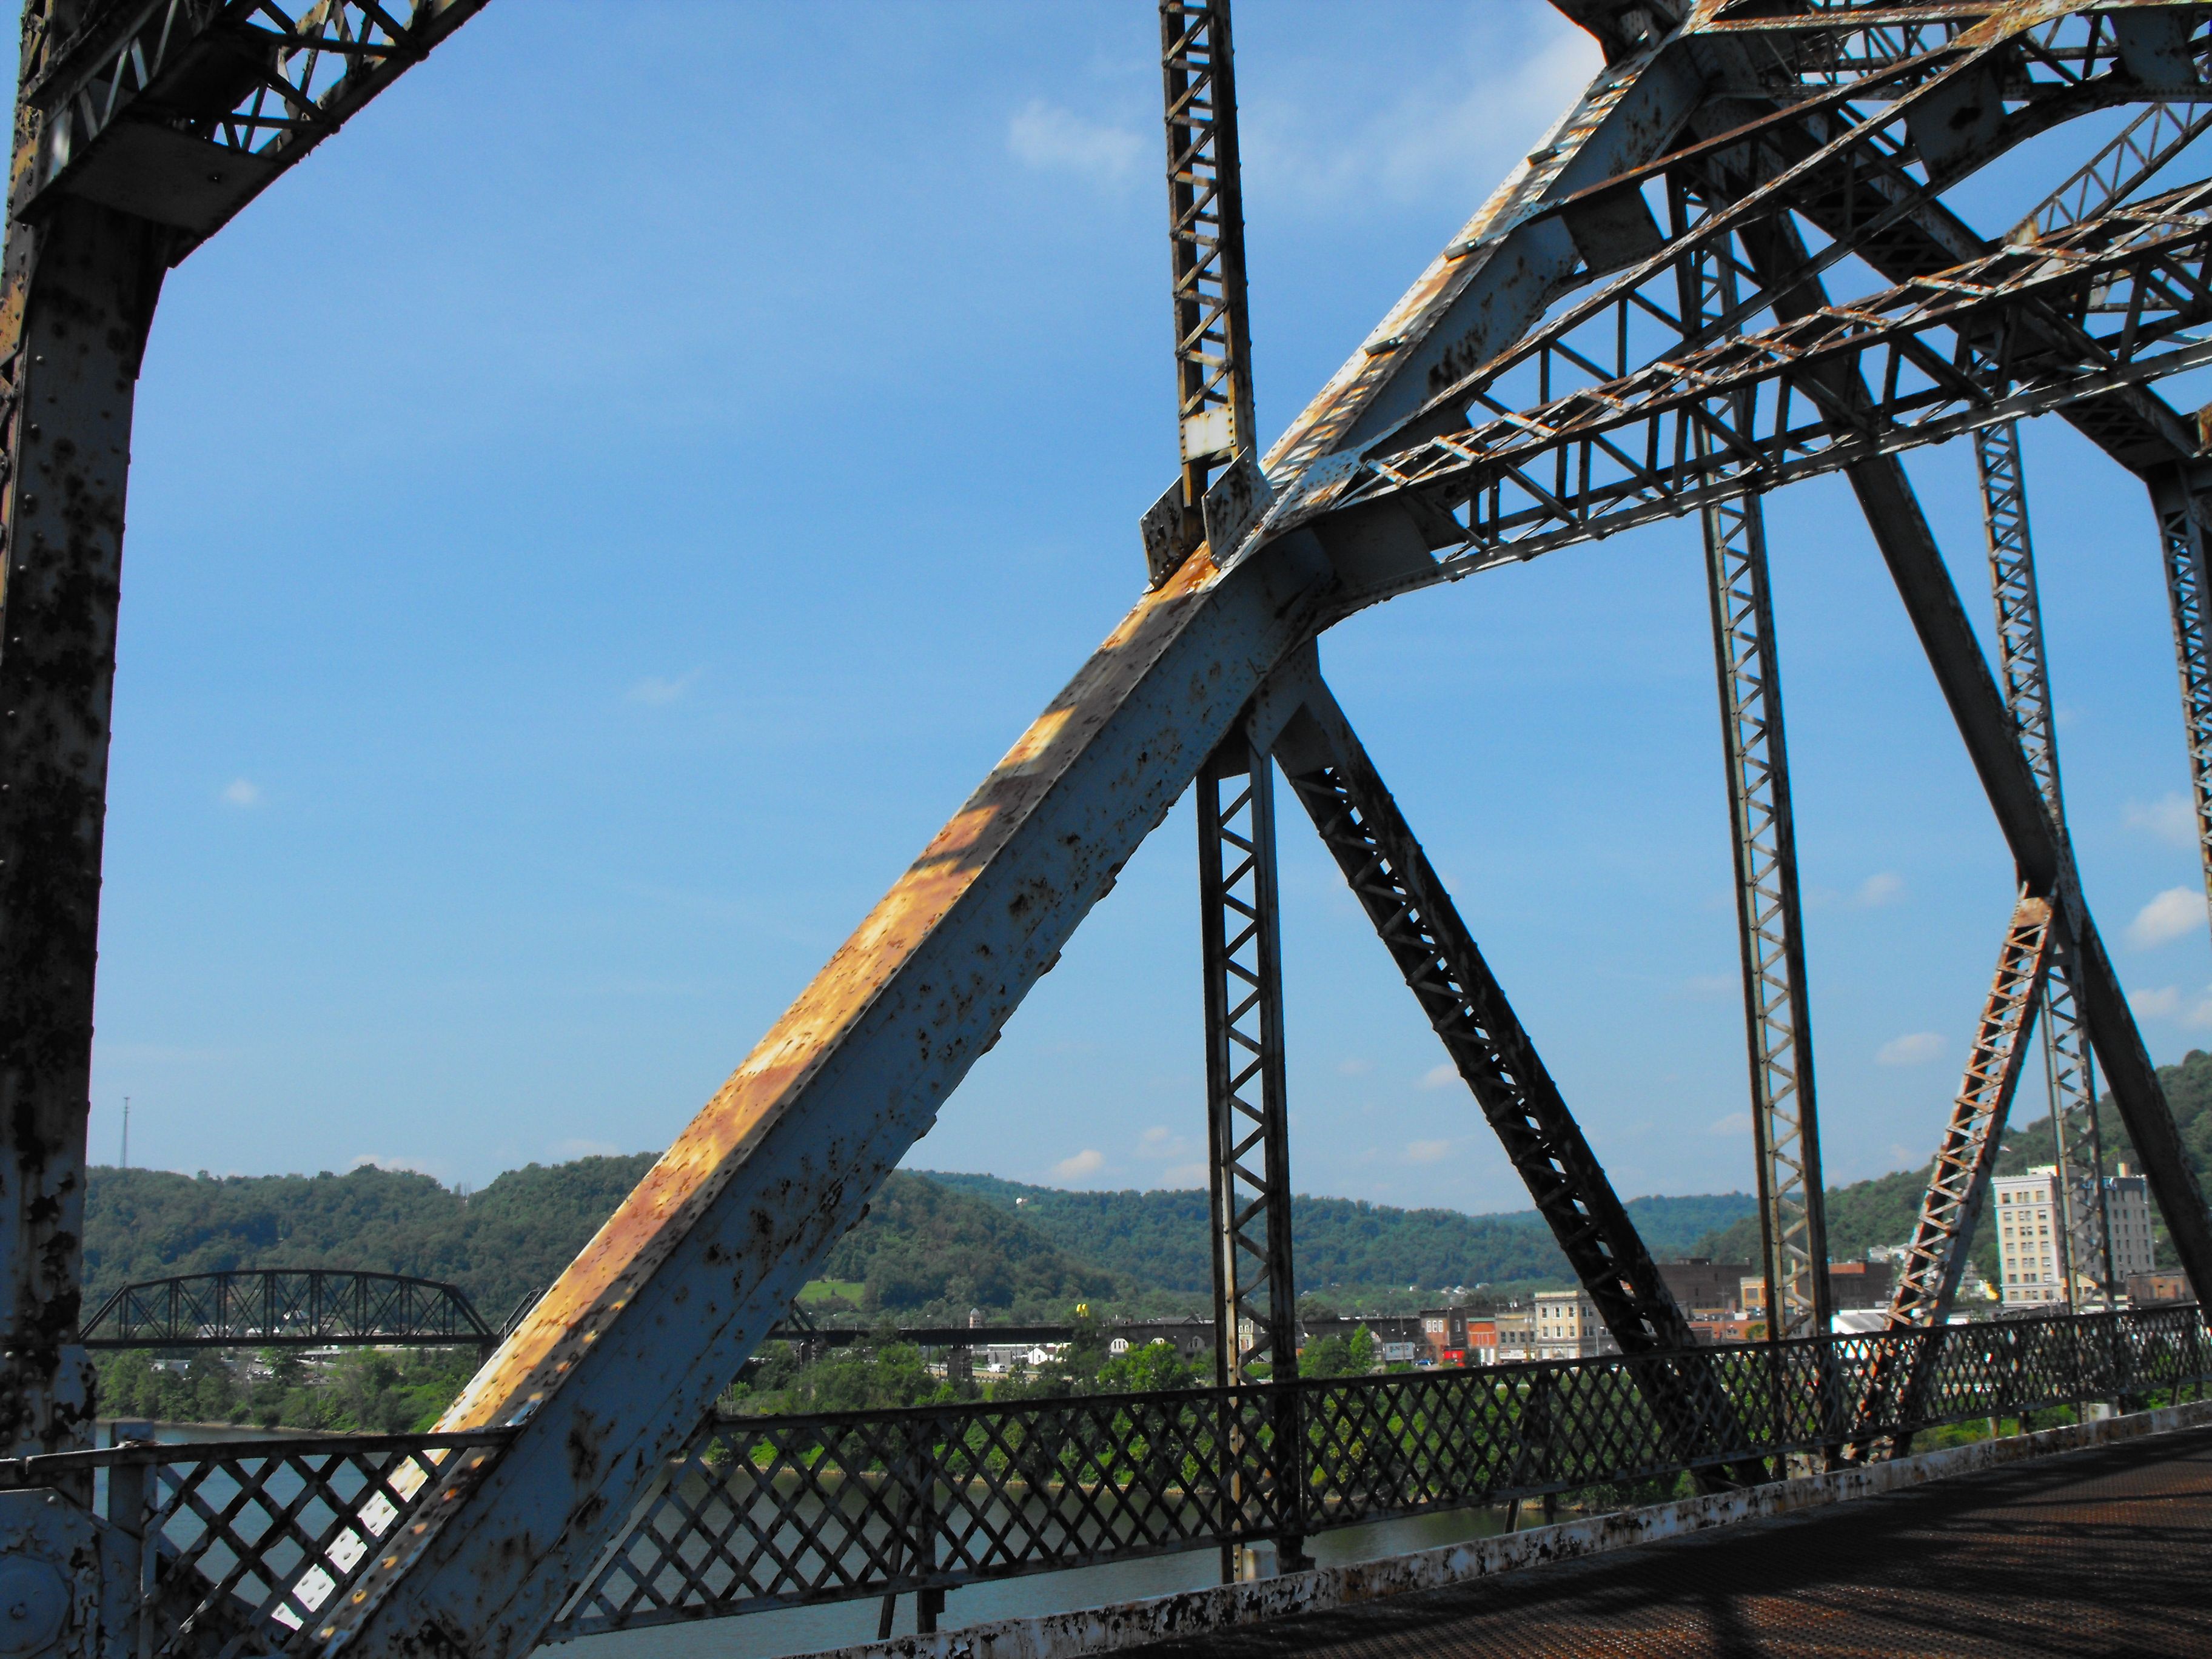
Distant portal views of cantilever, facing west.
![]()
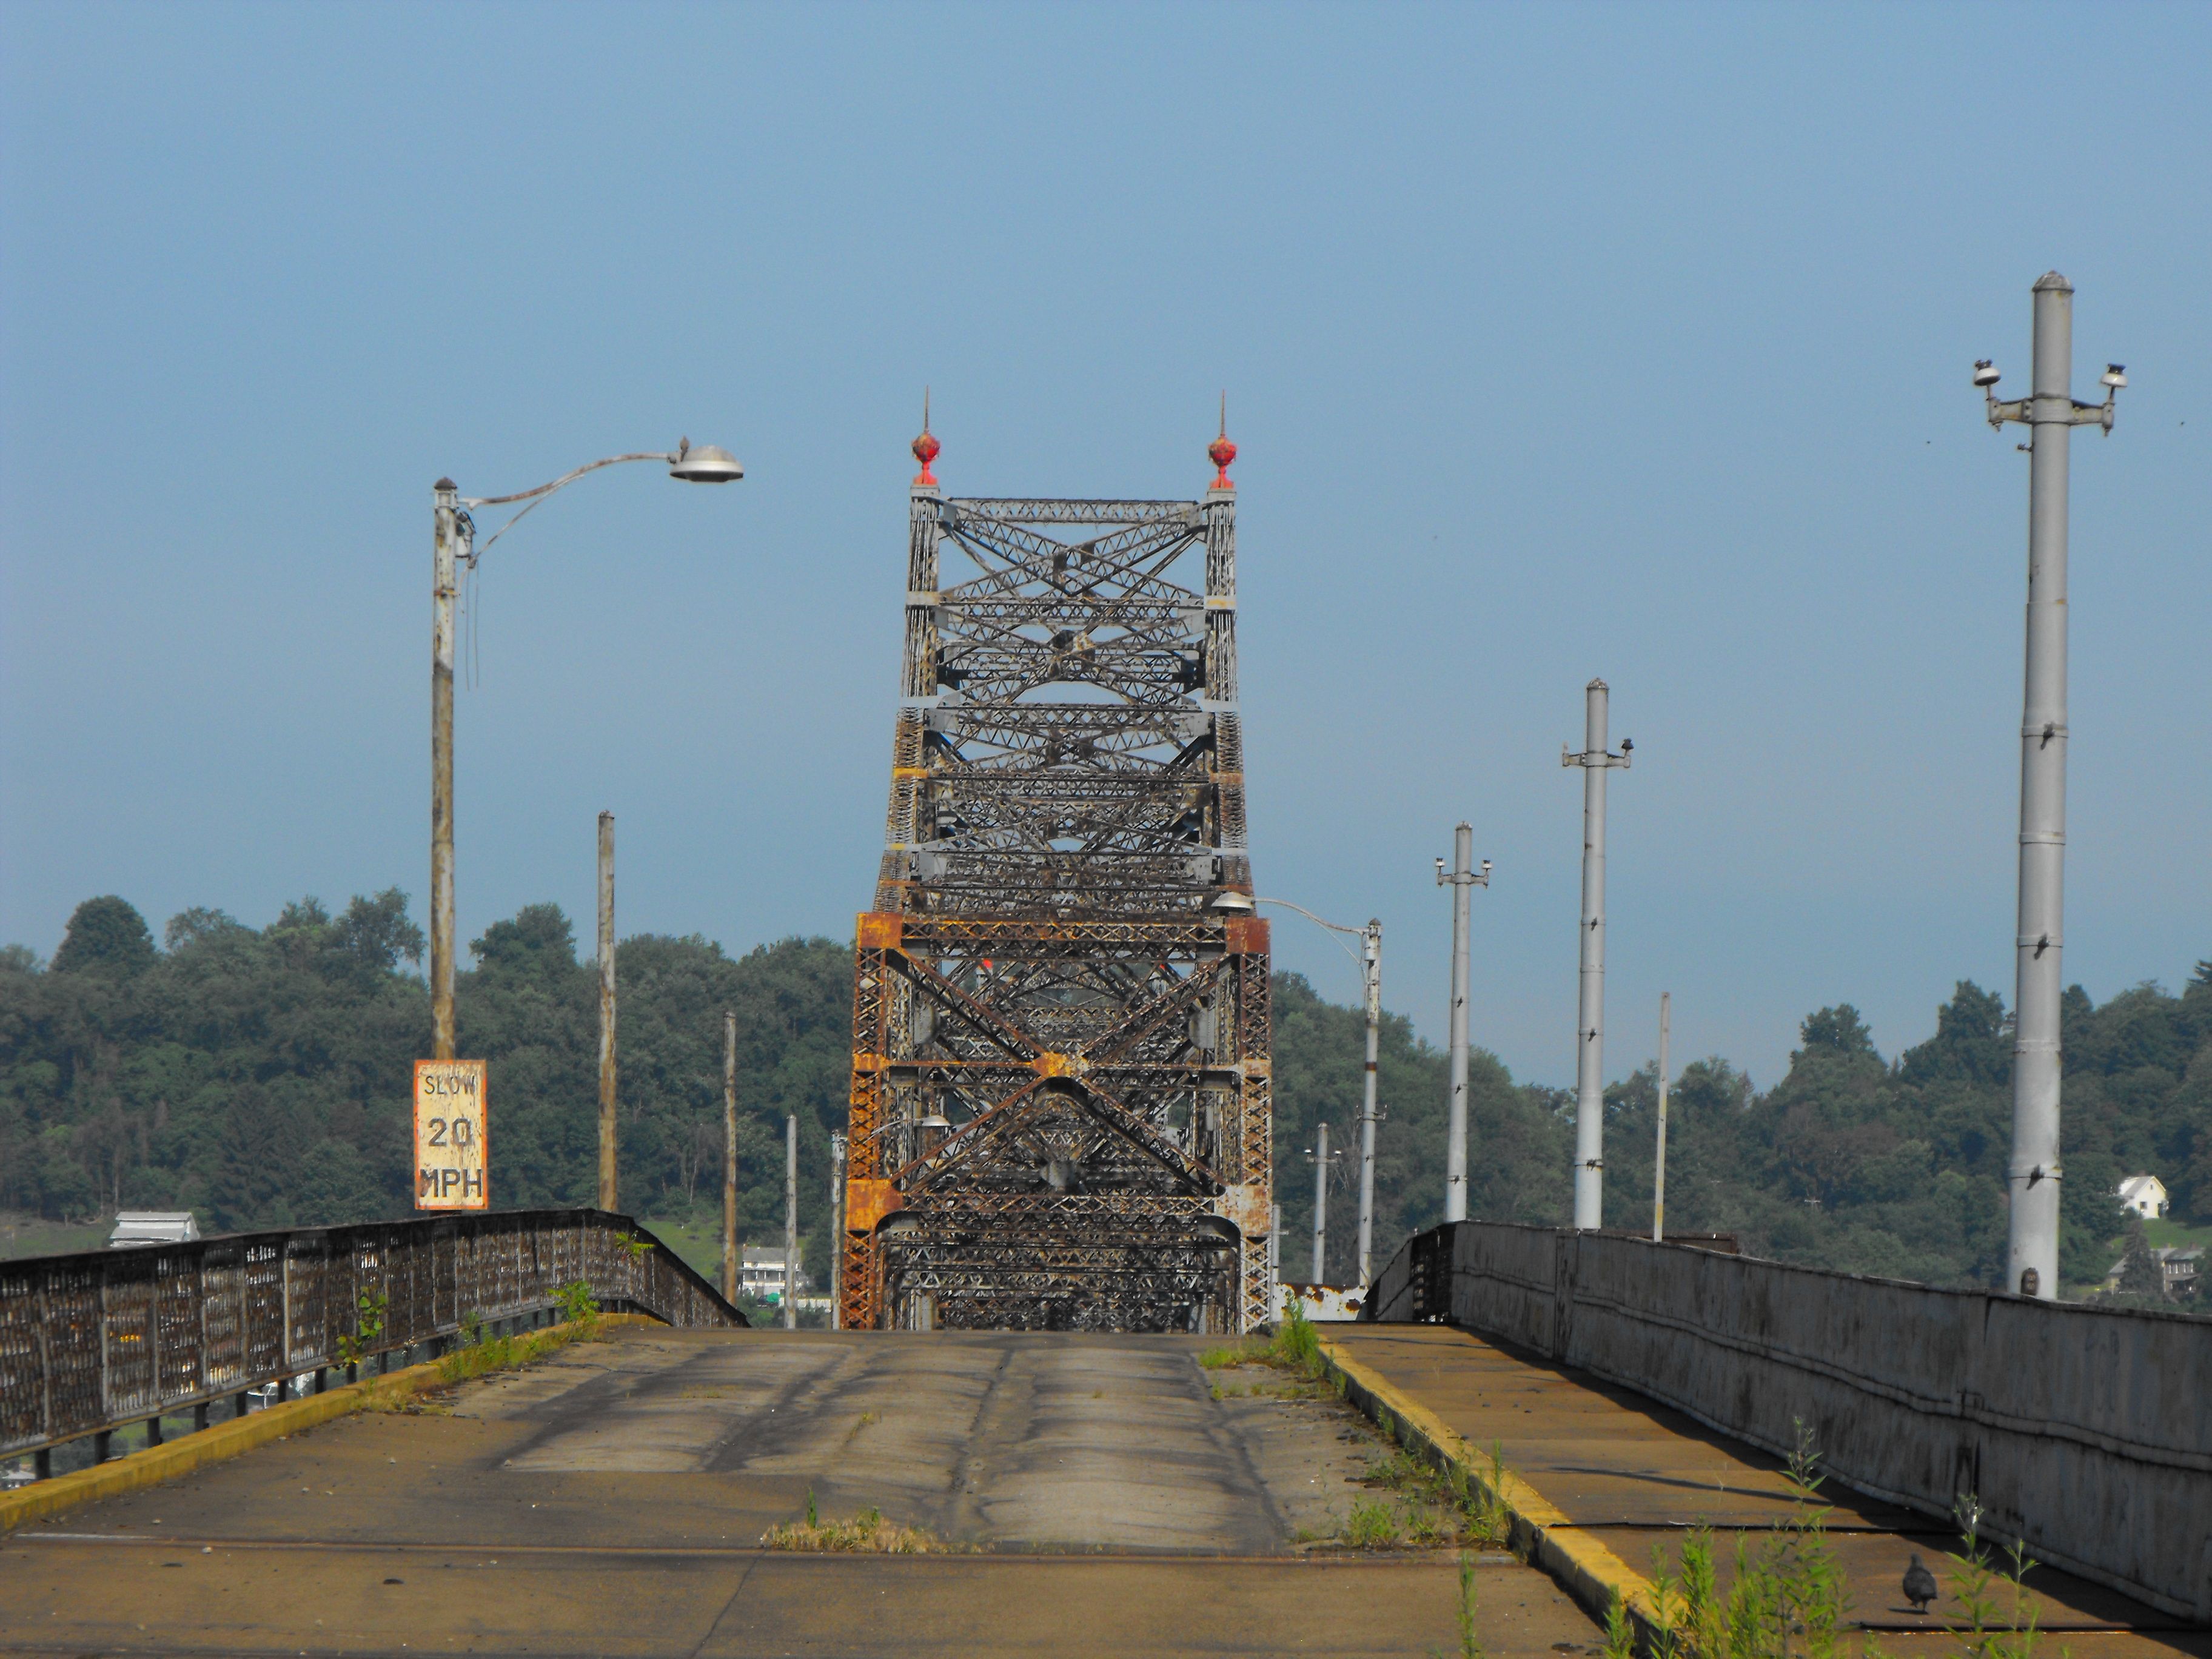
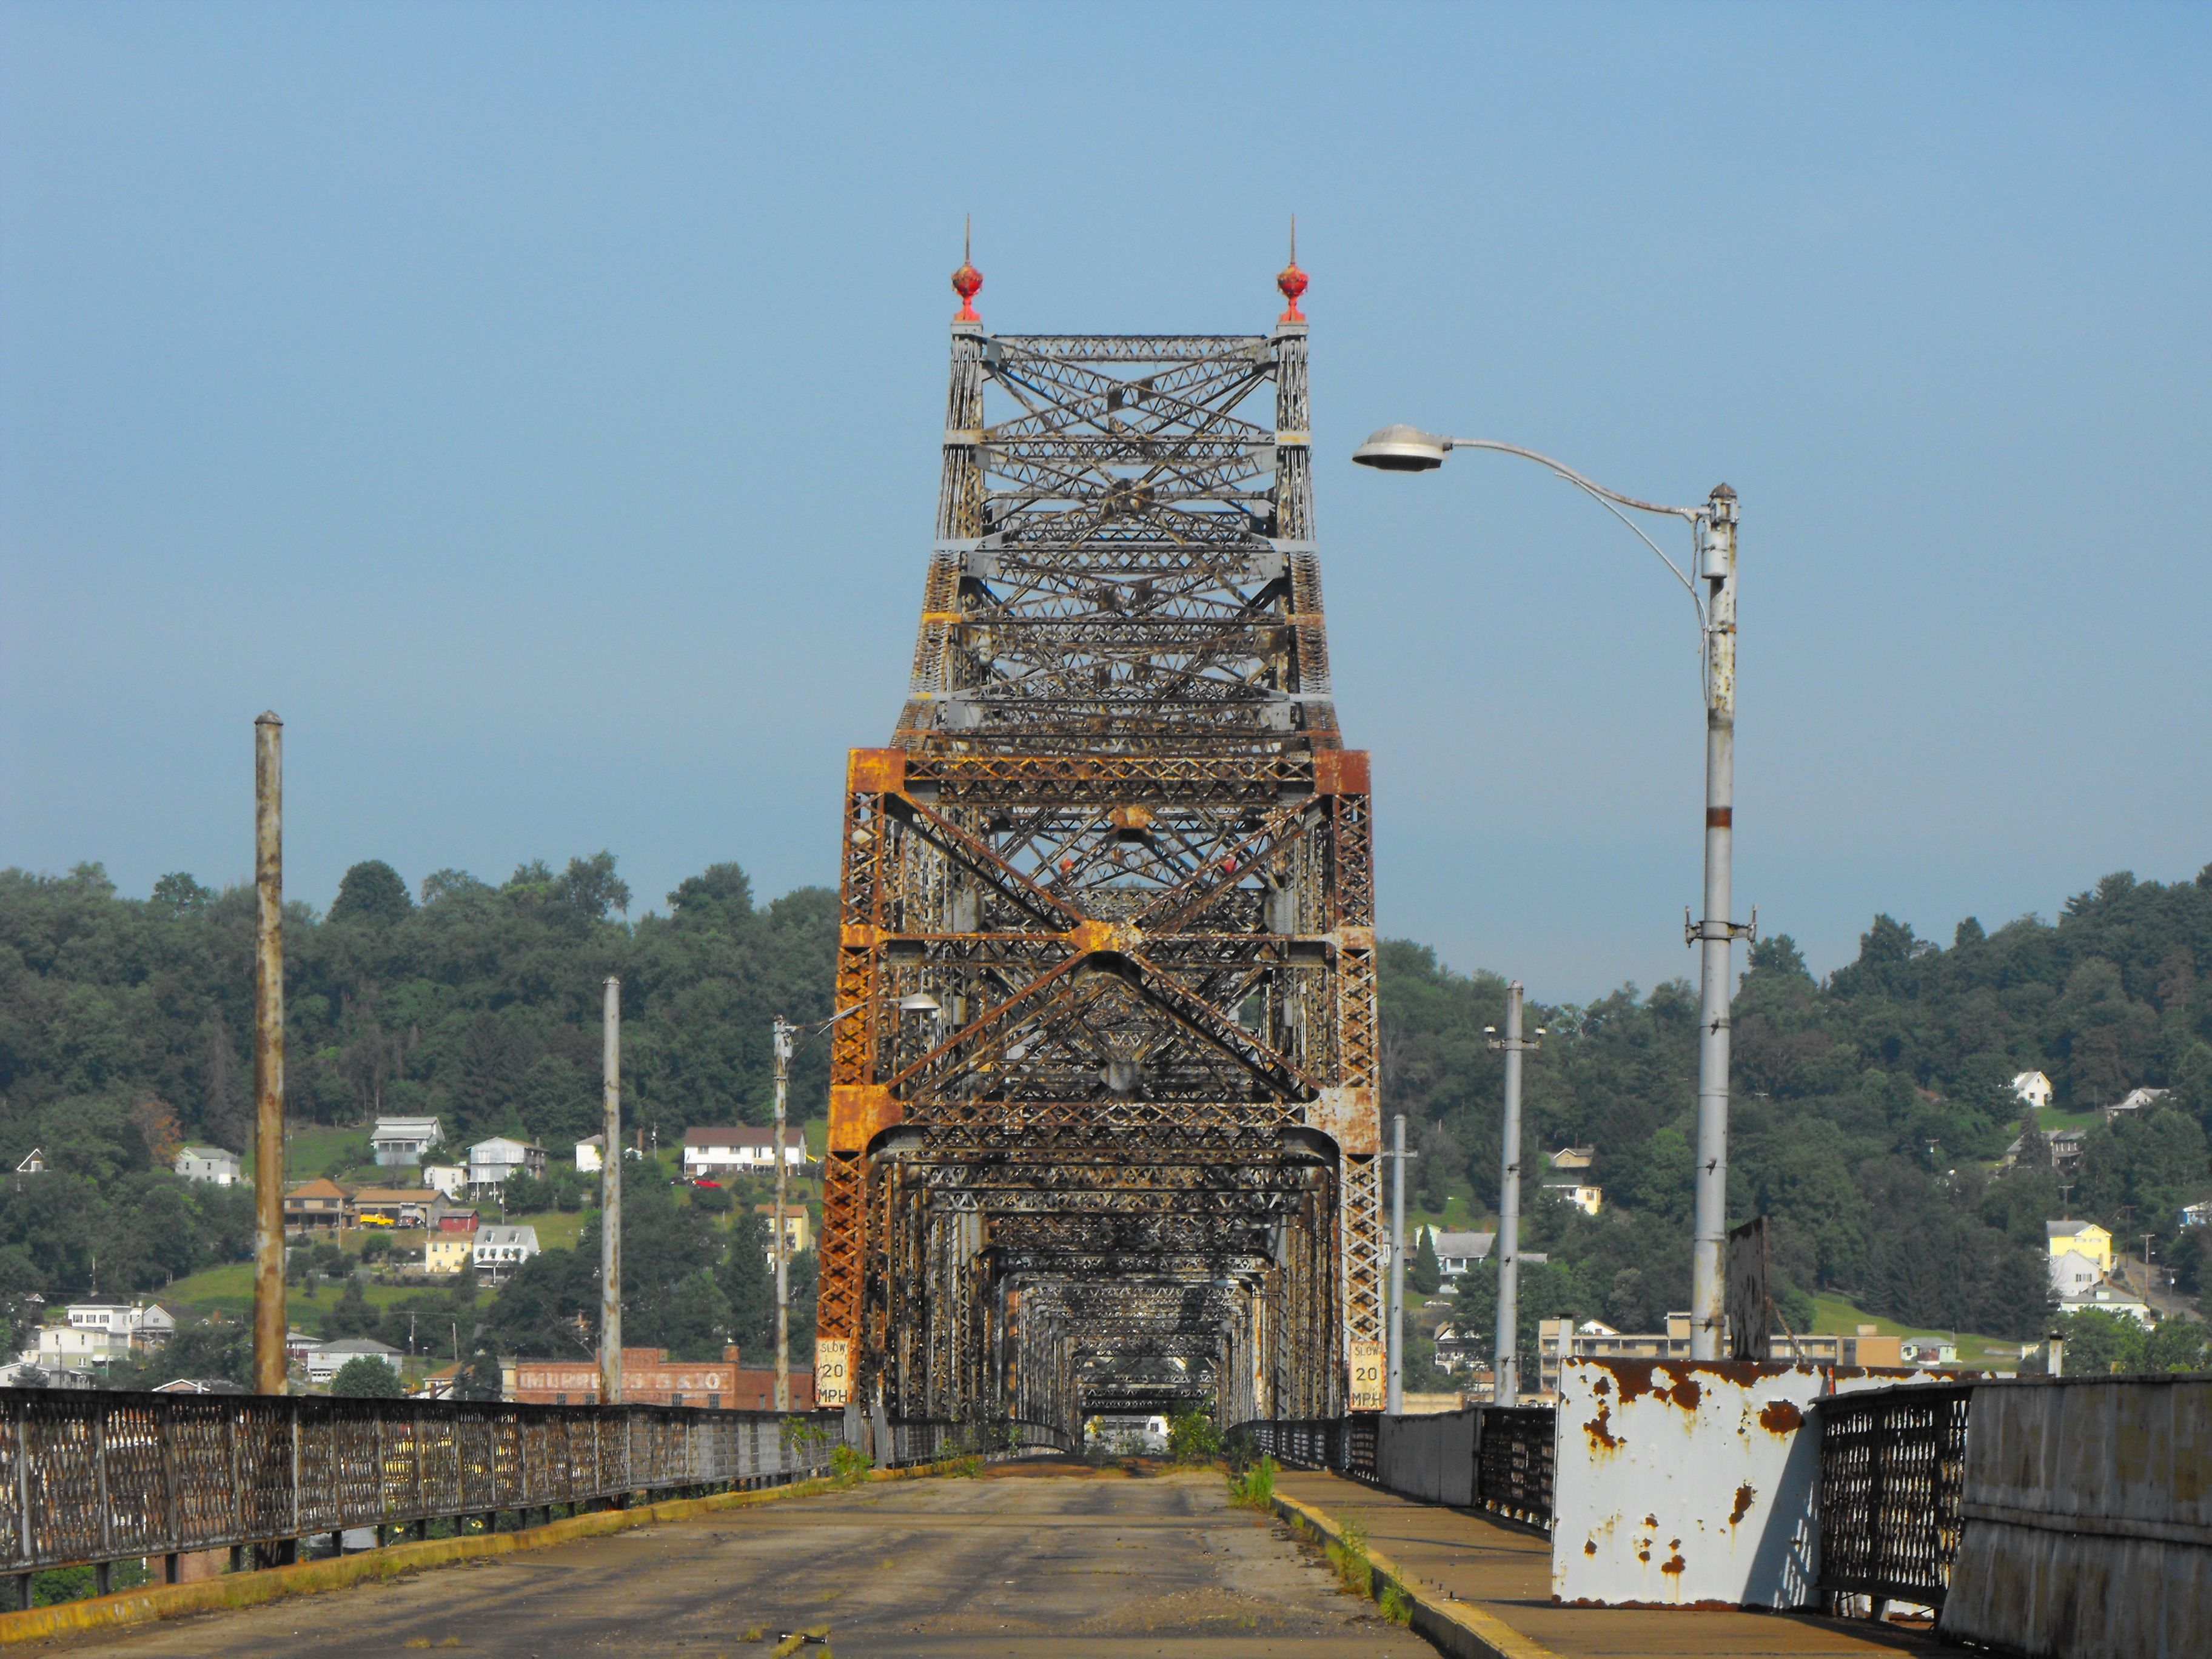
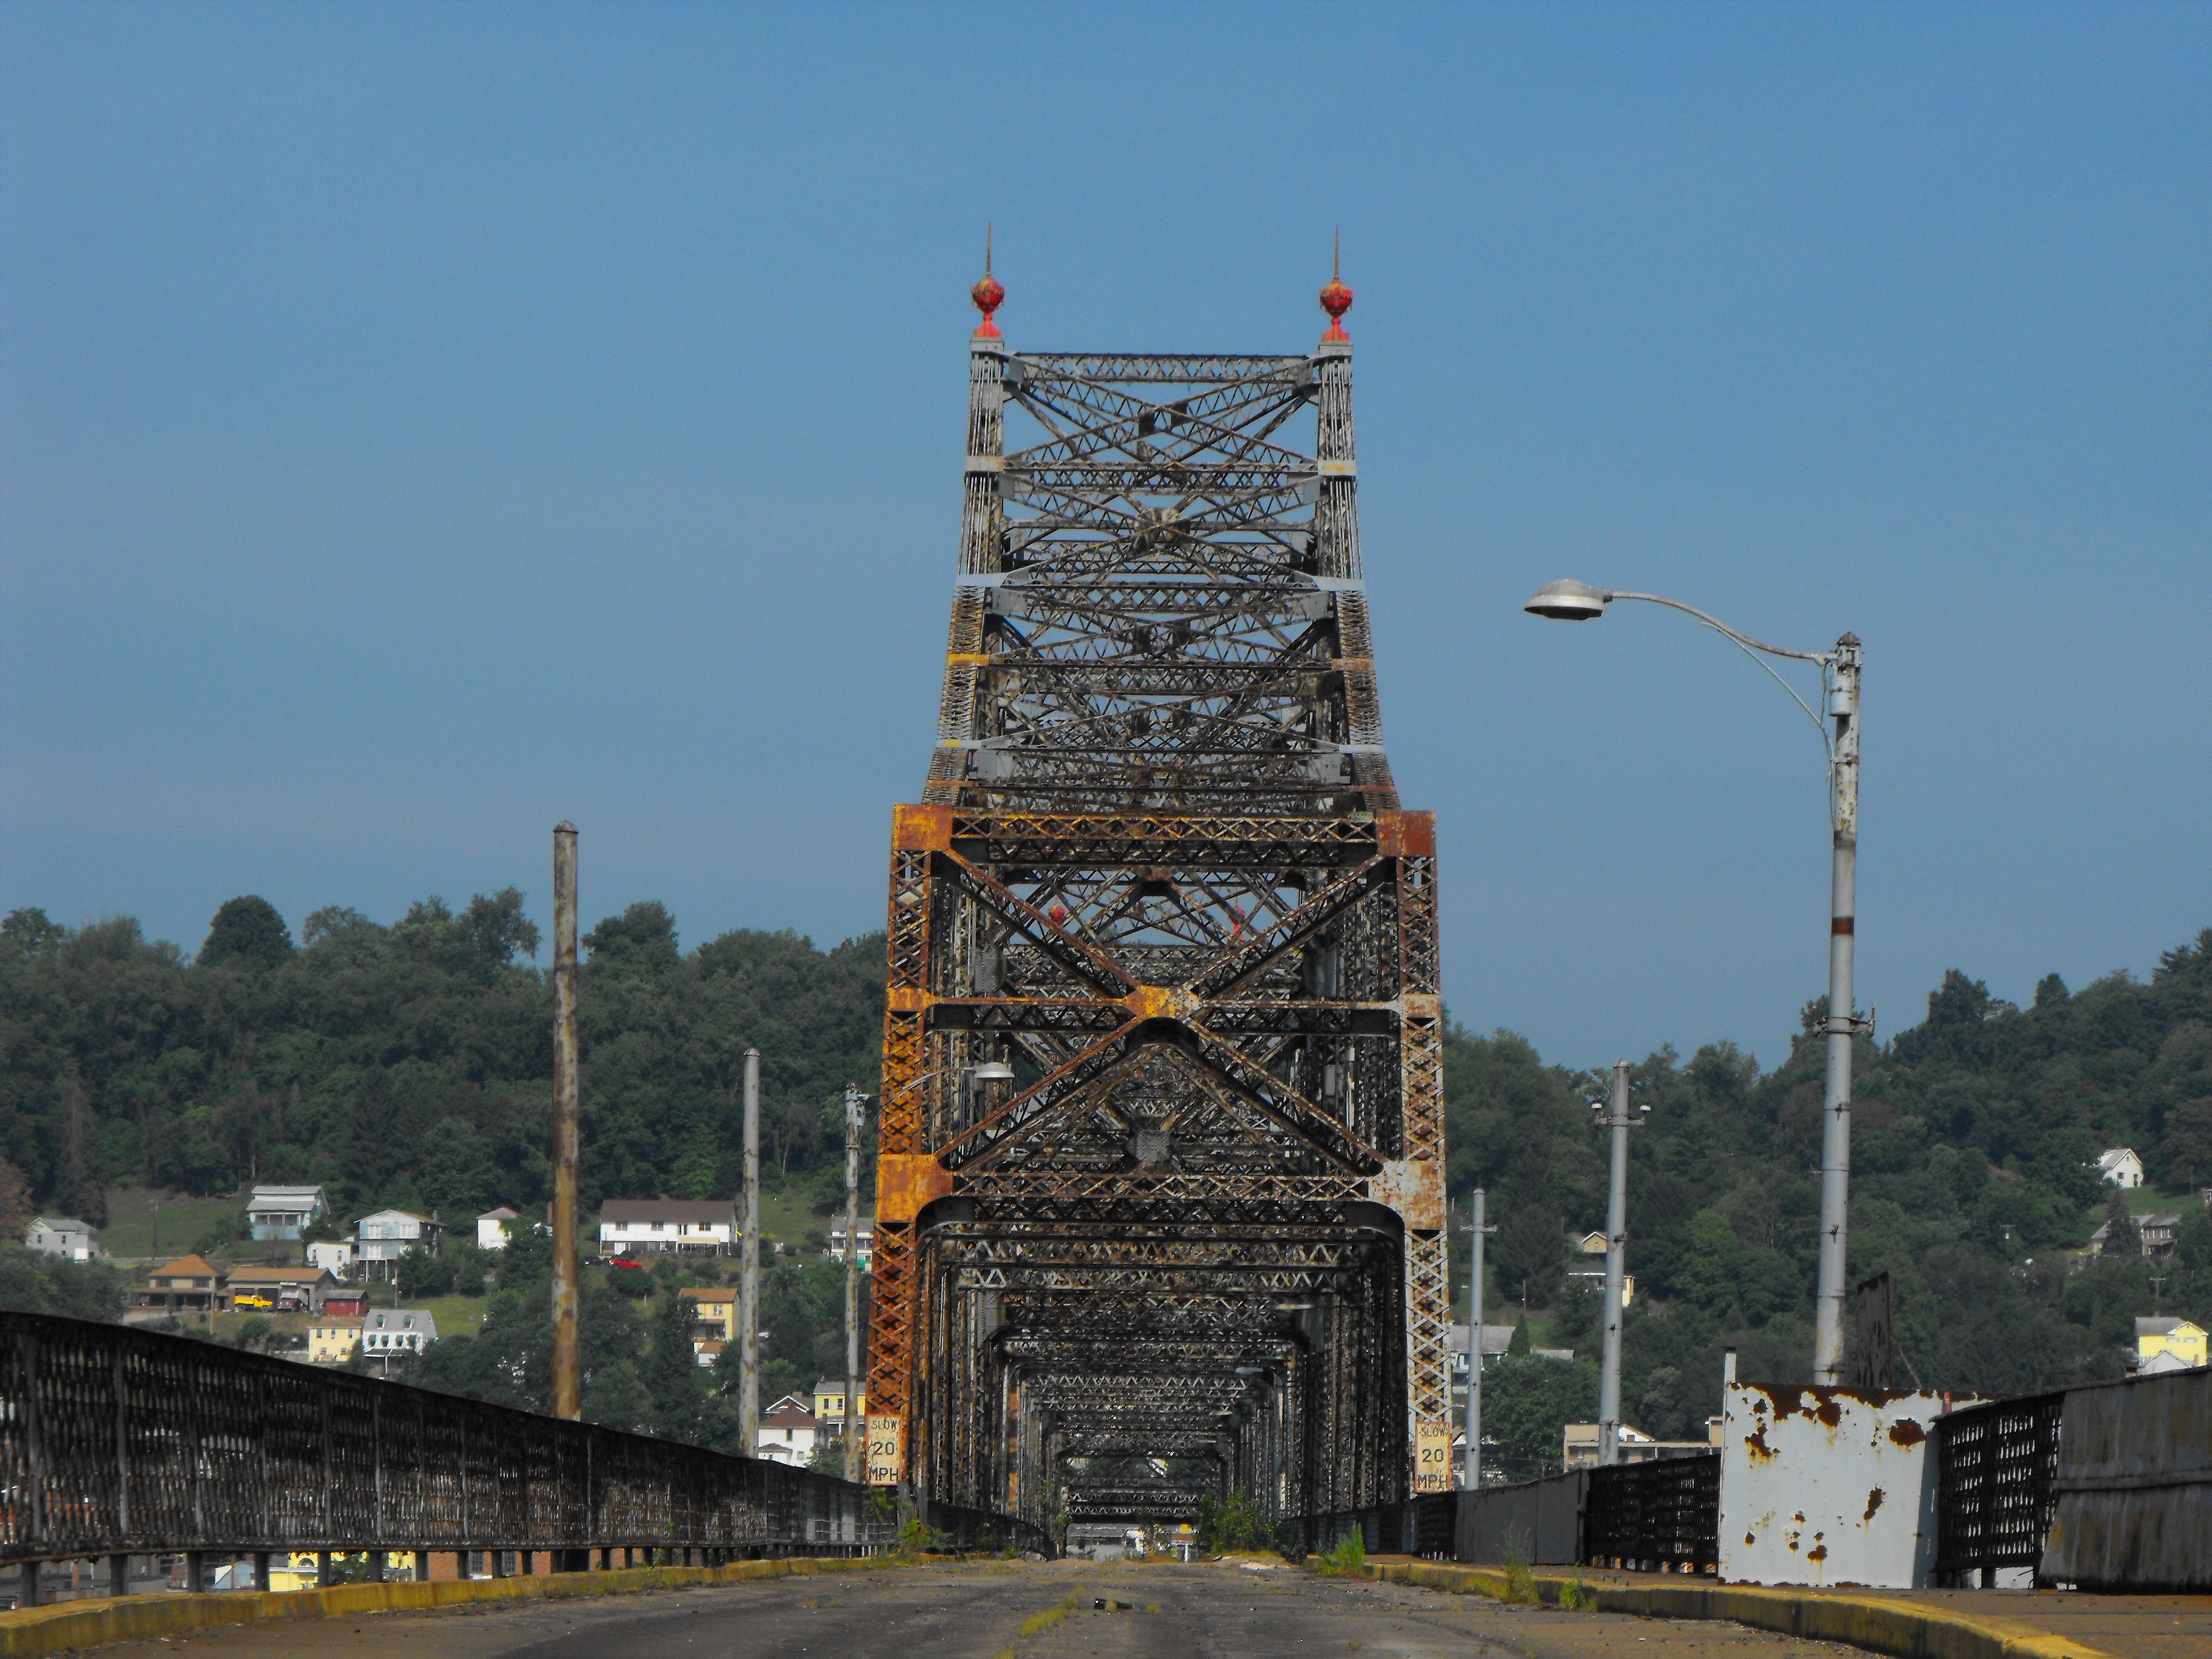


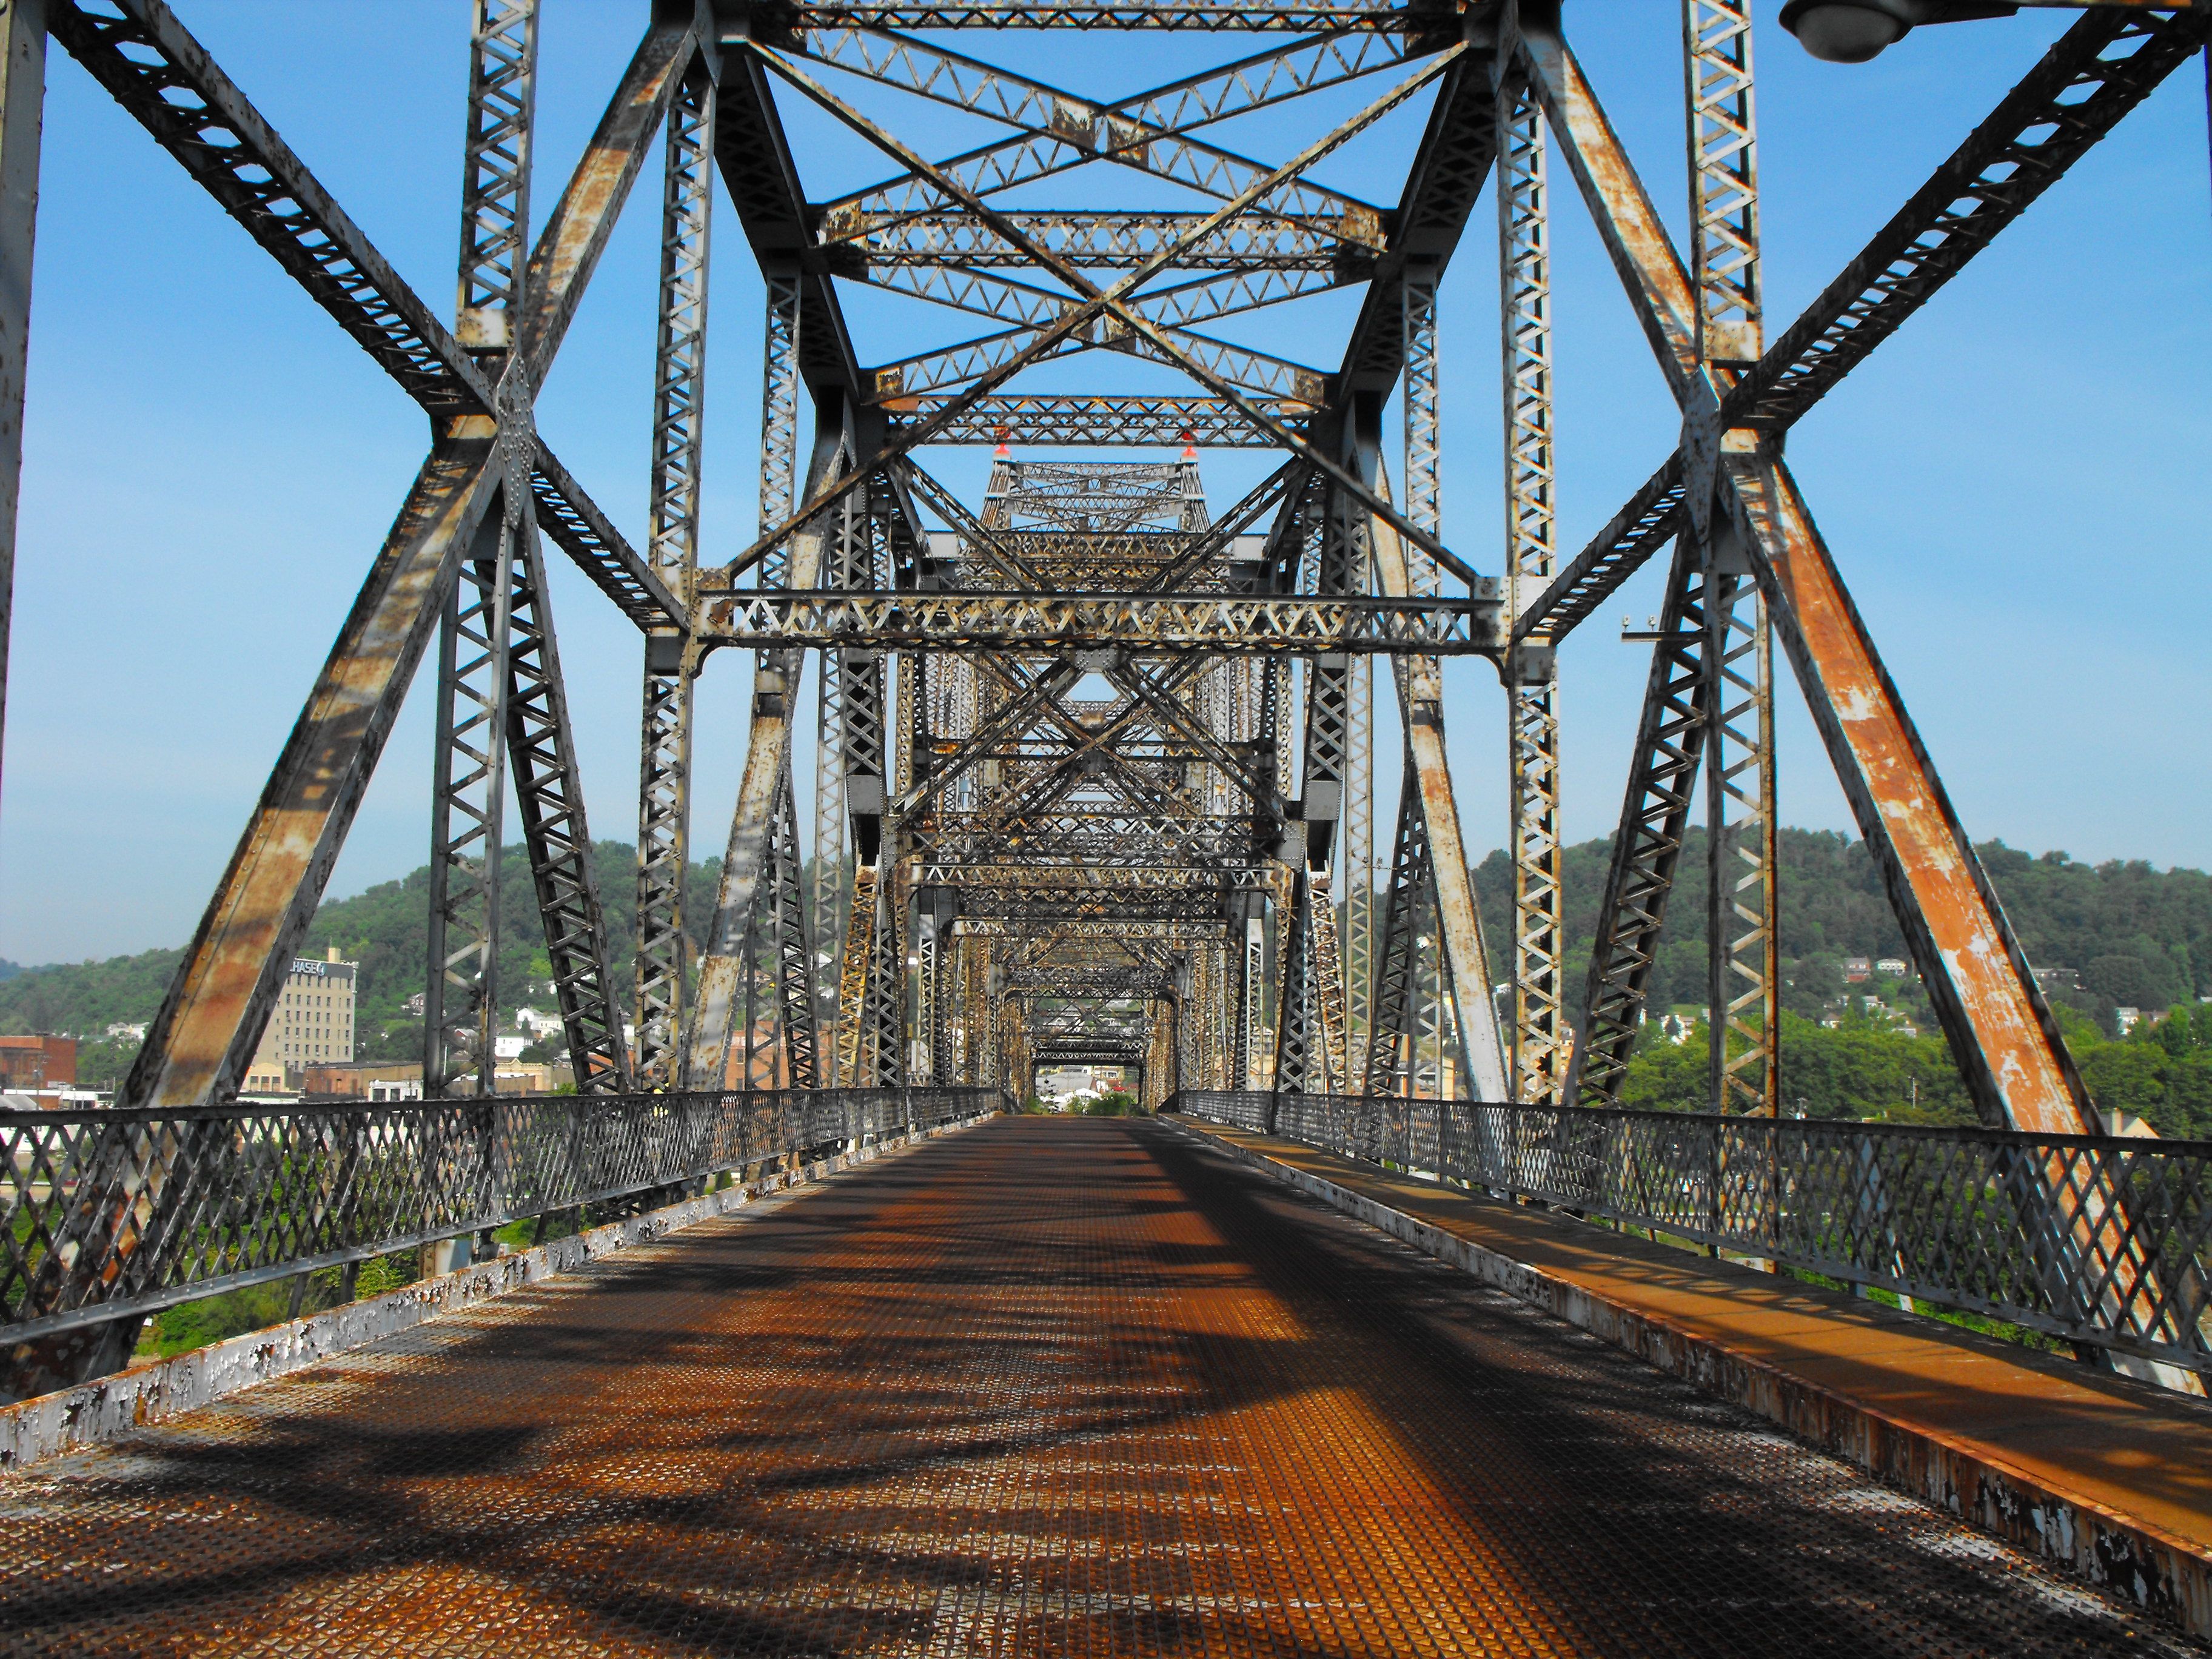
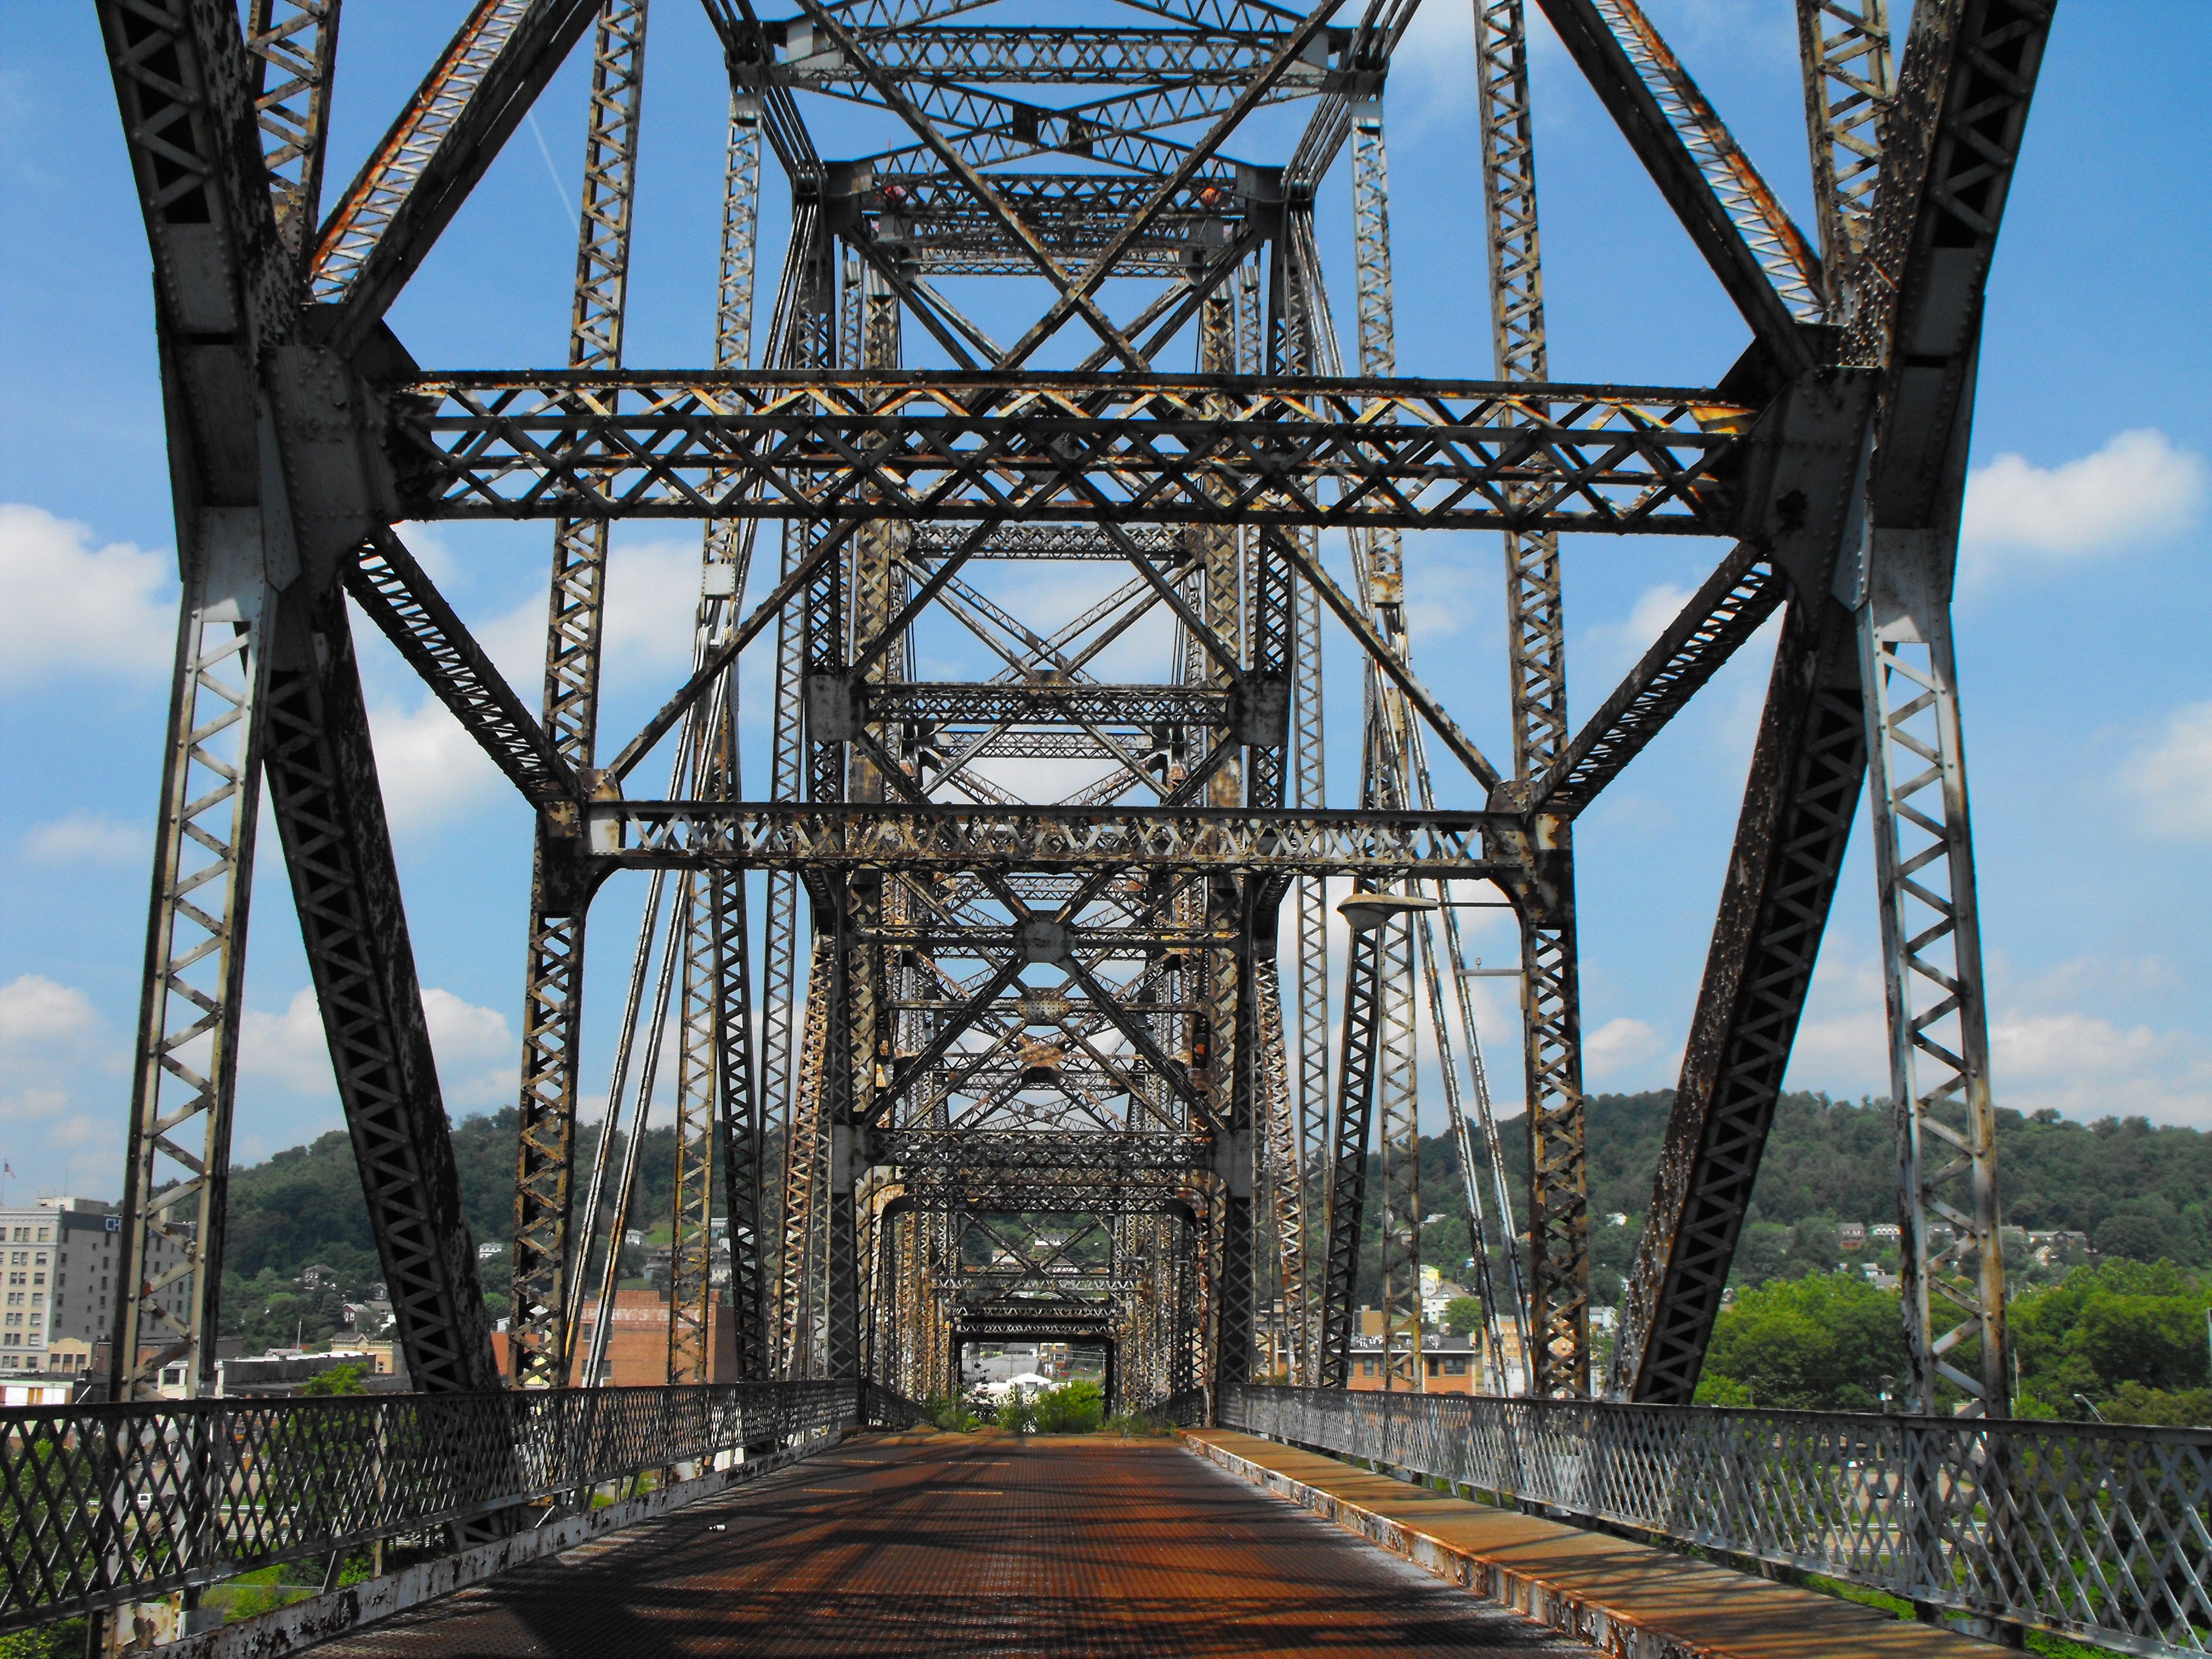
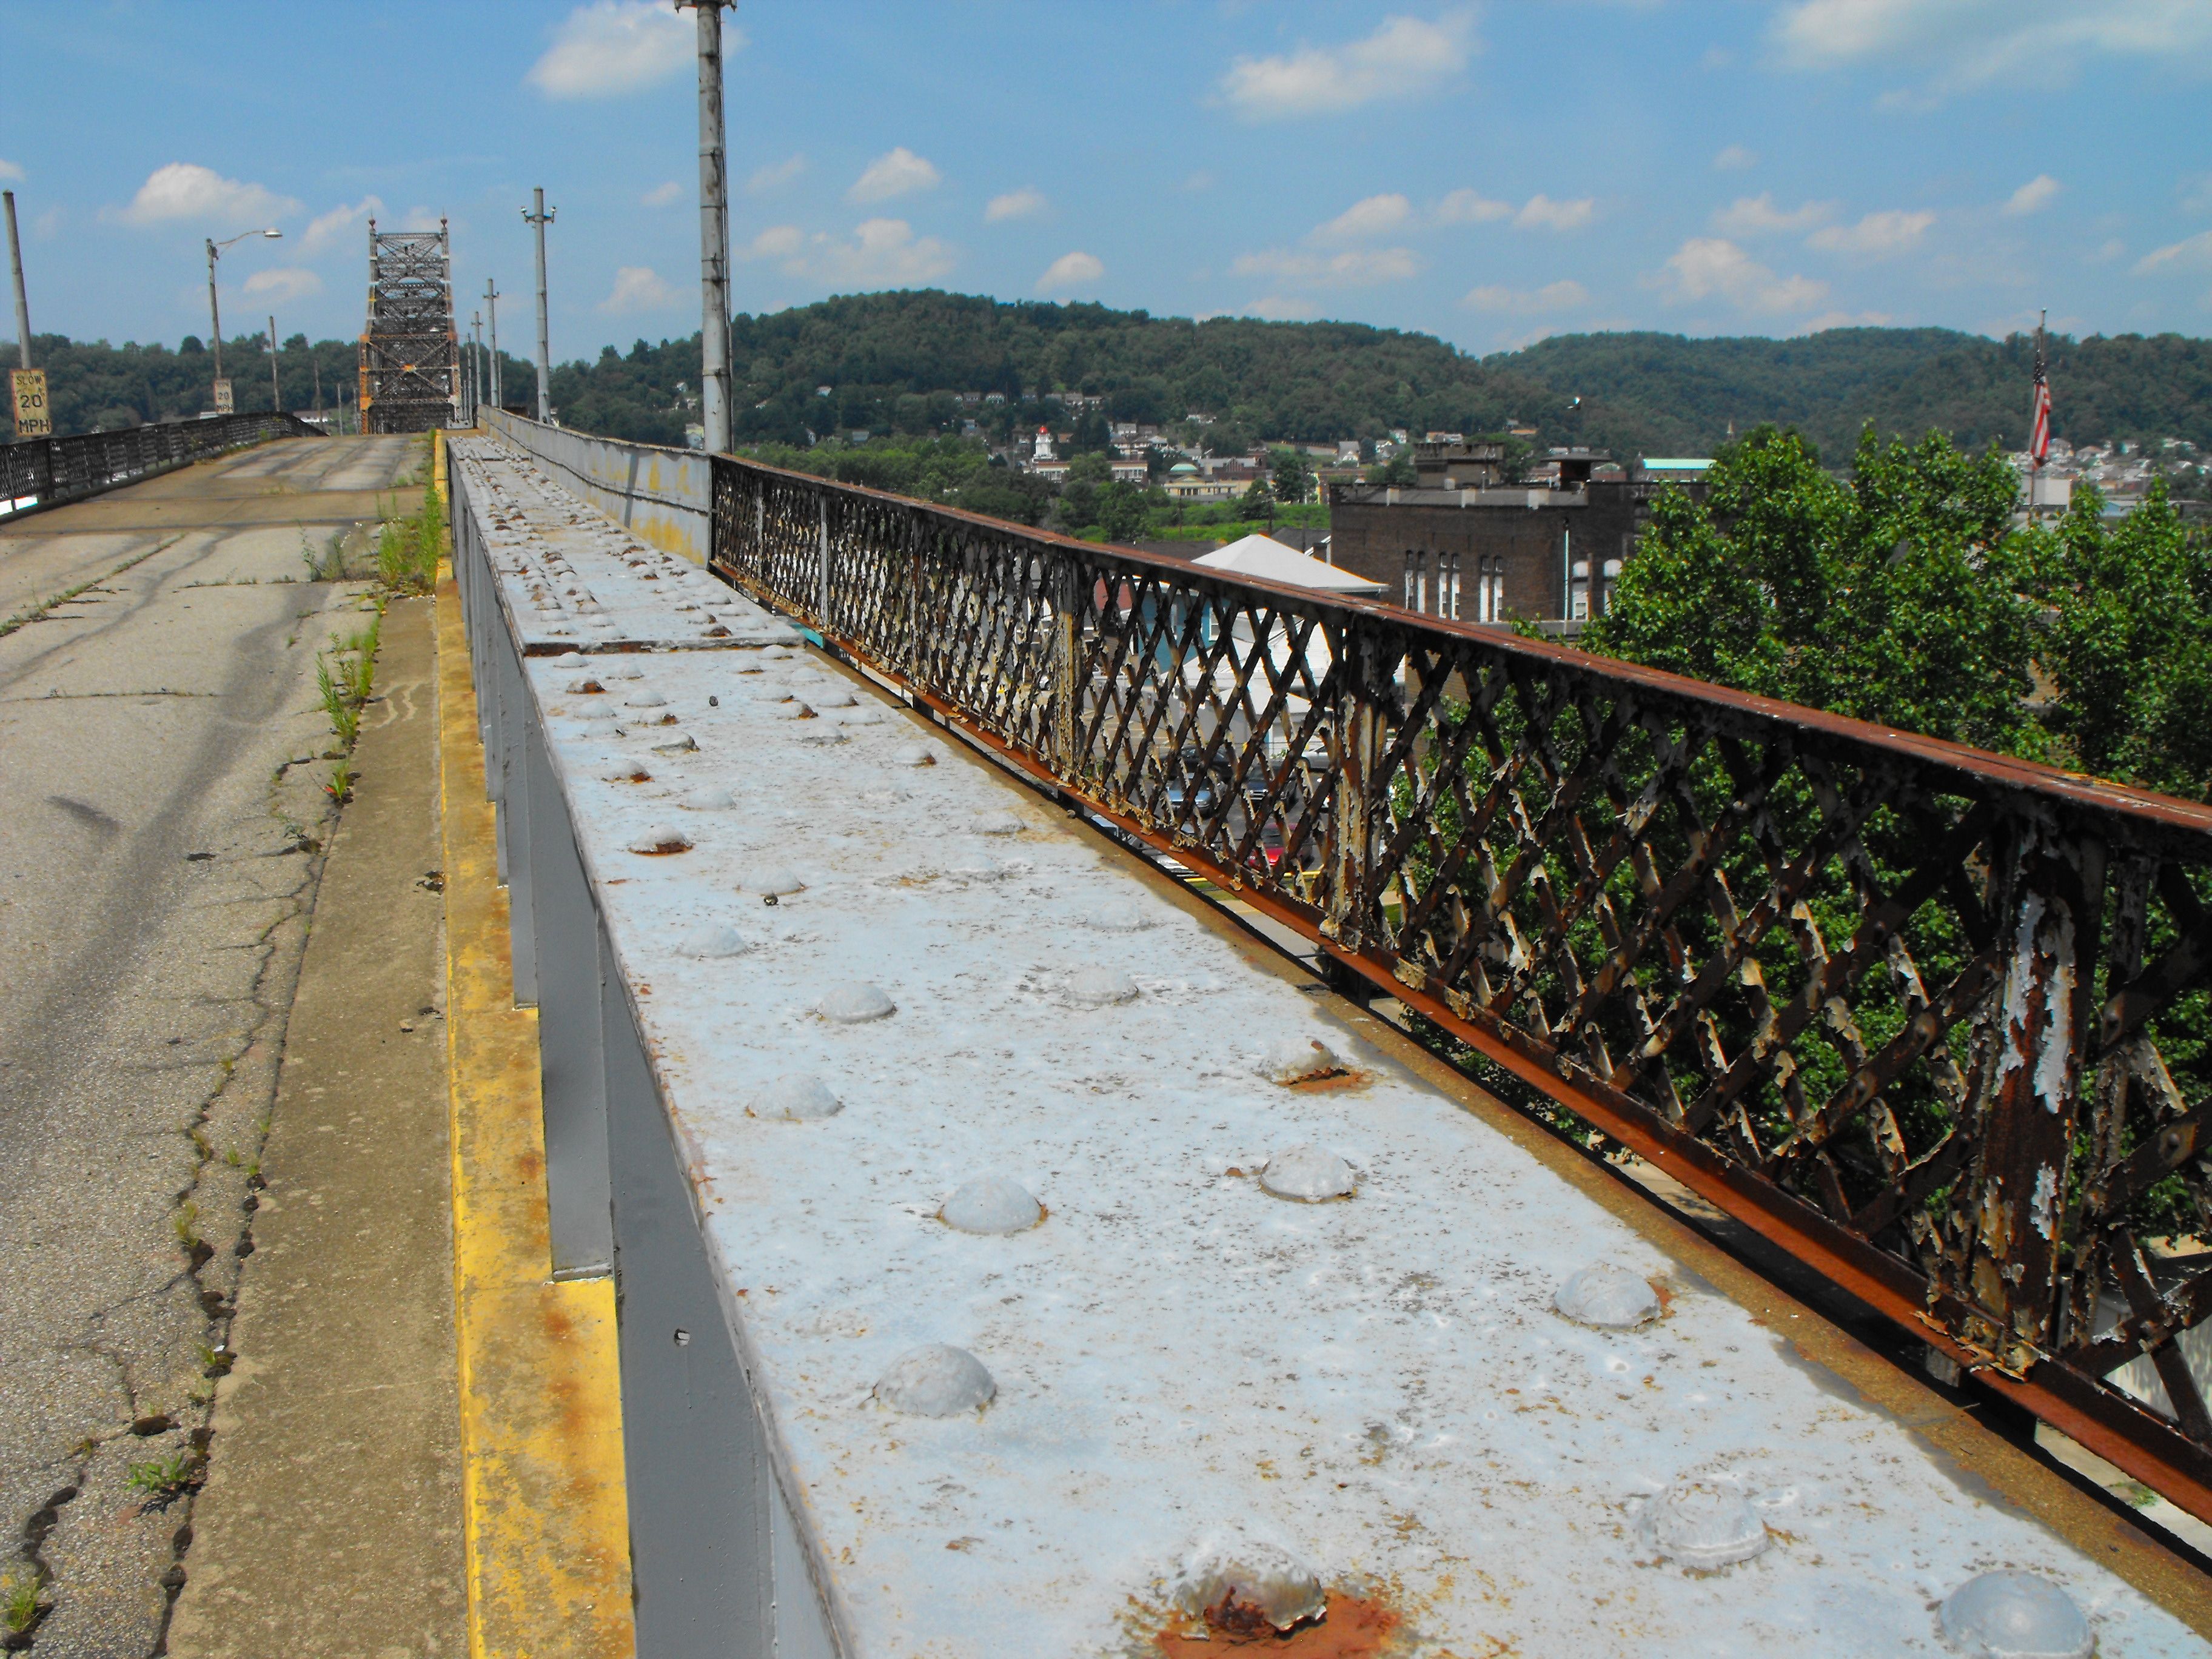
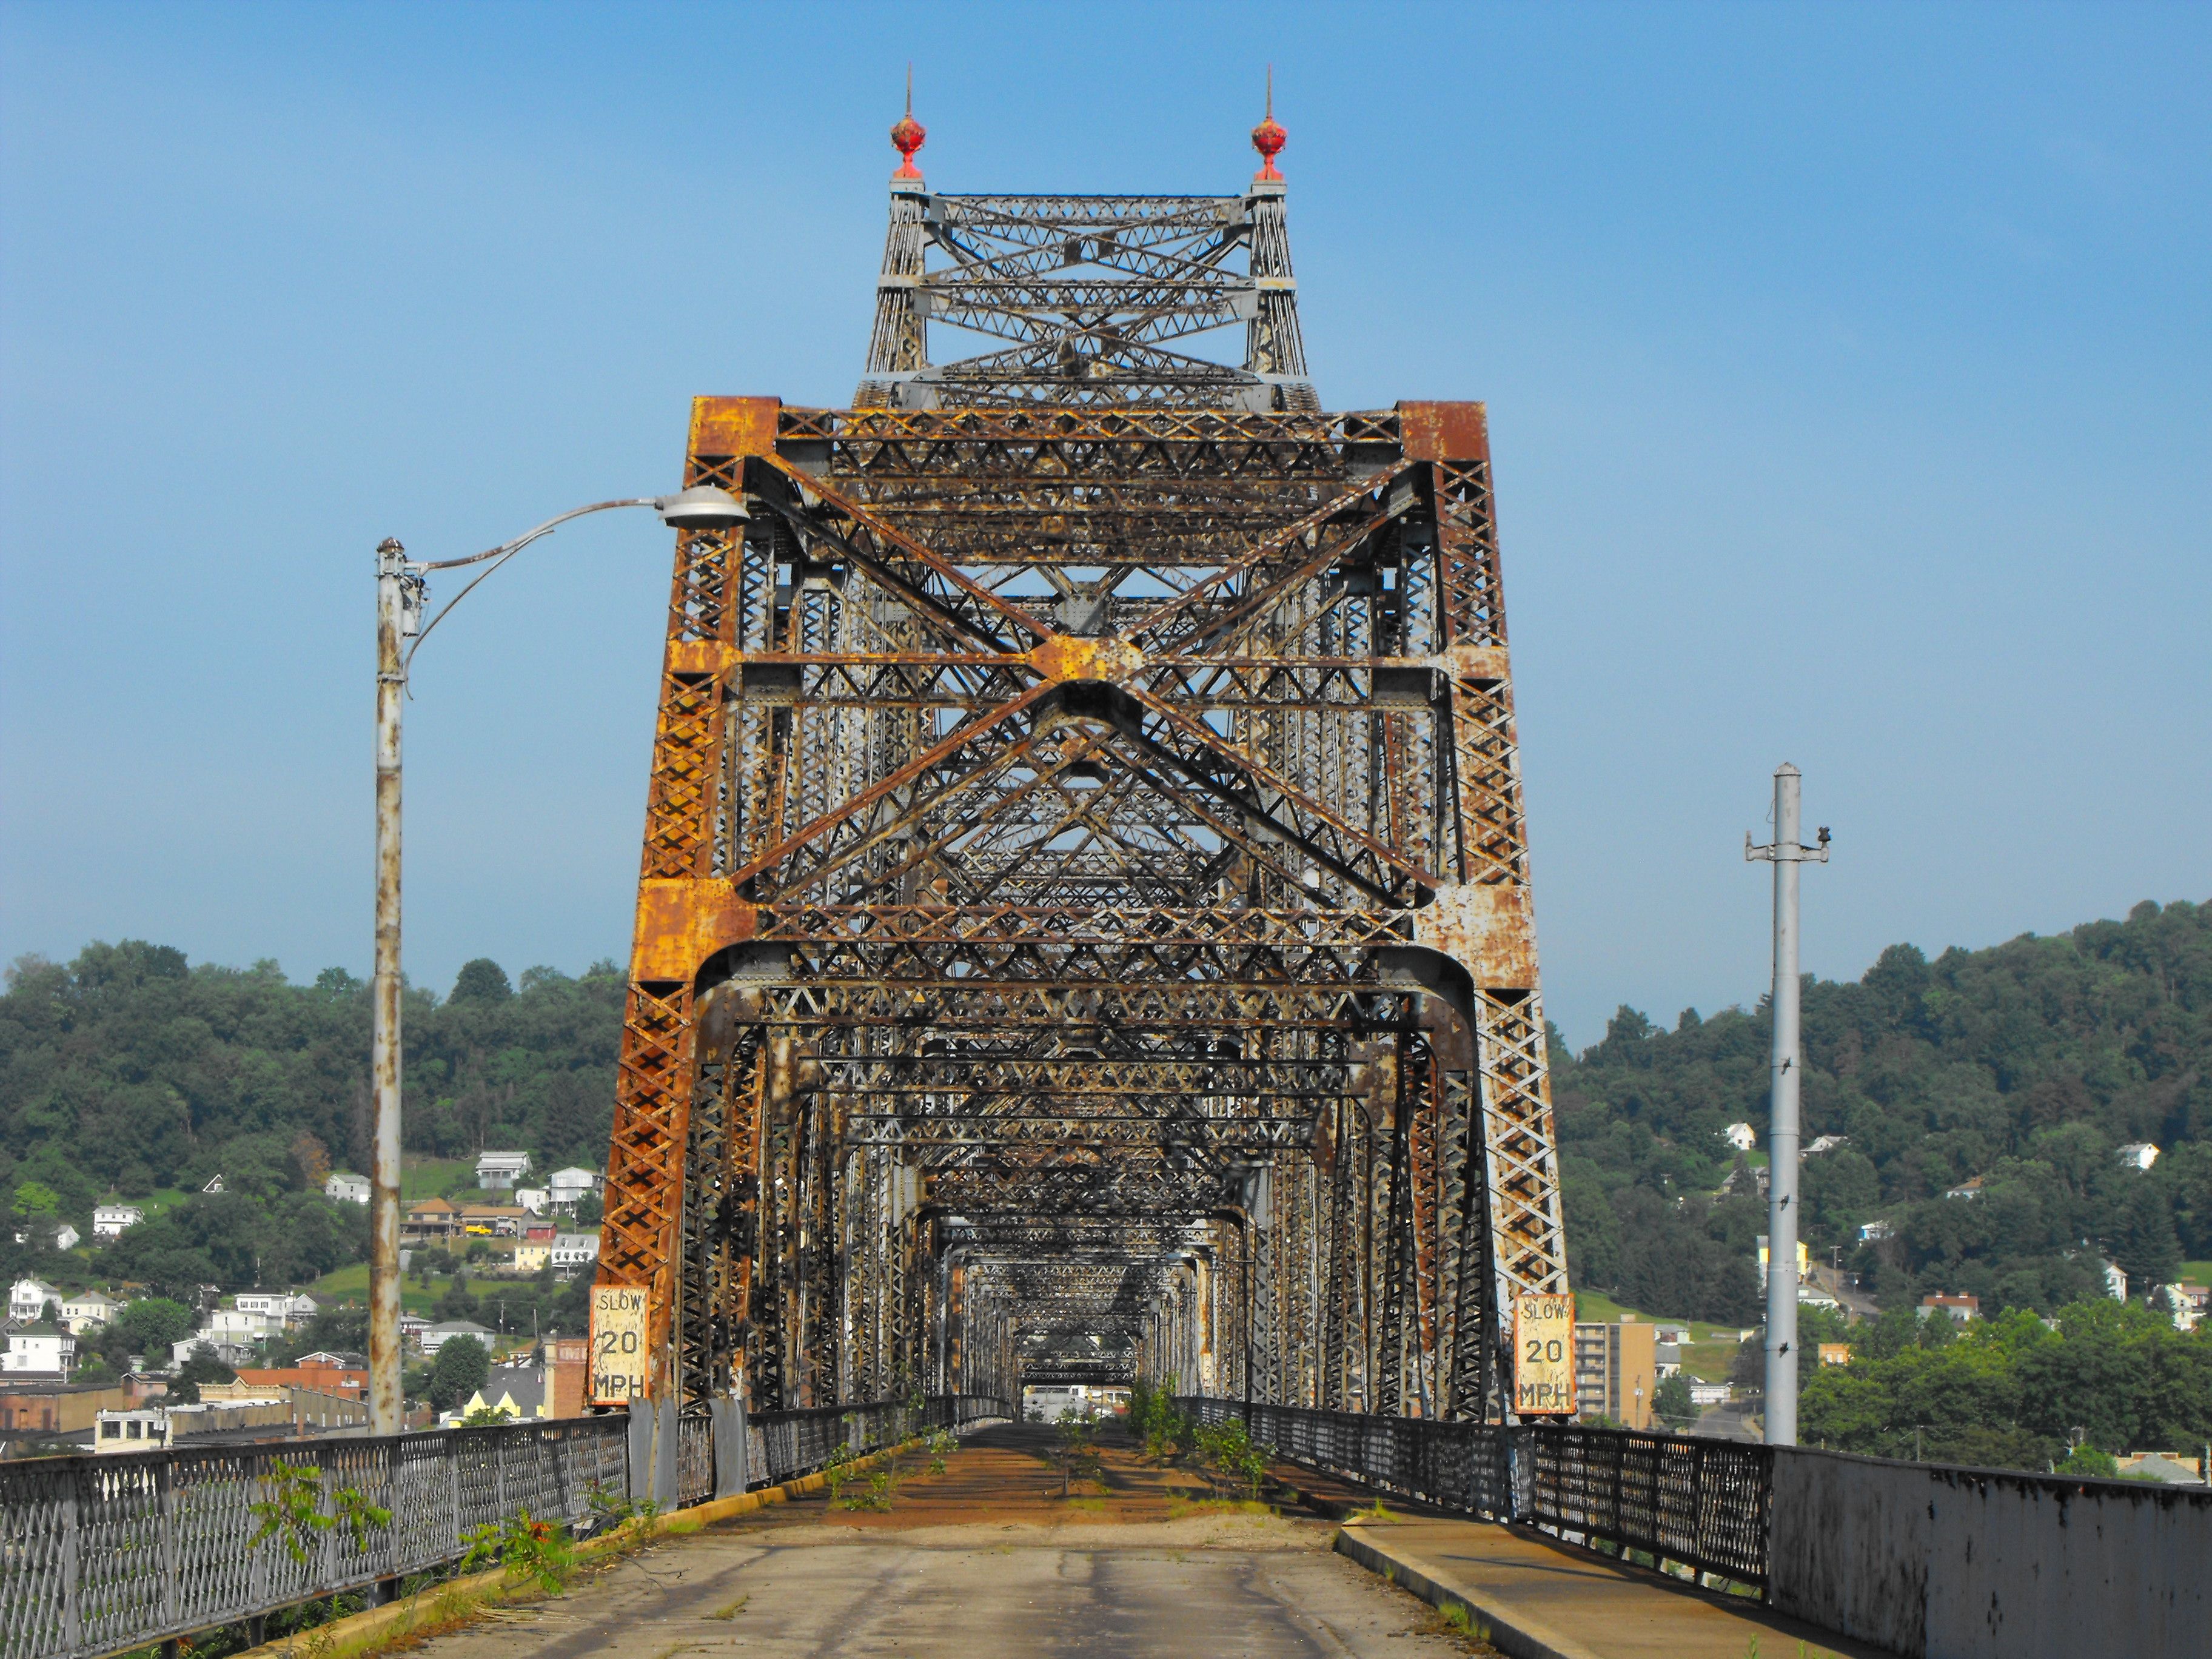
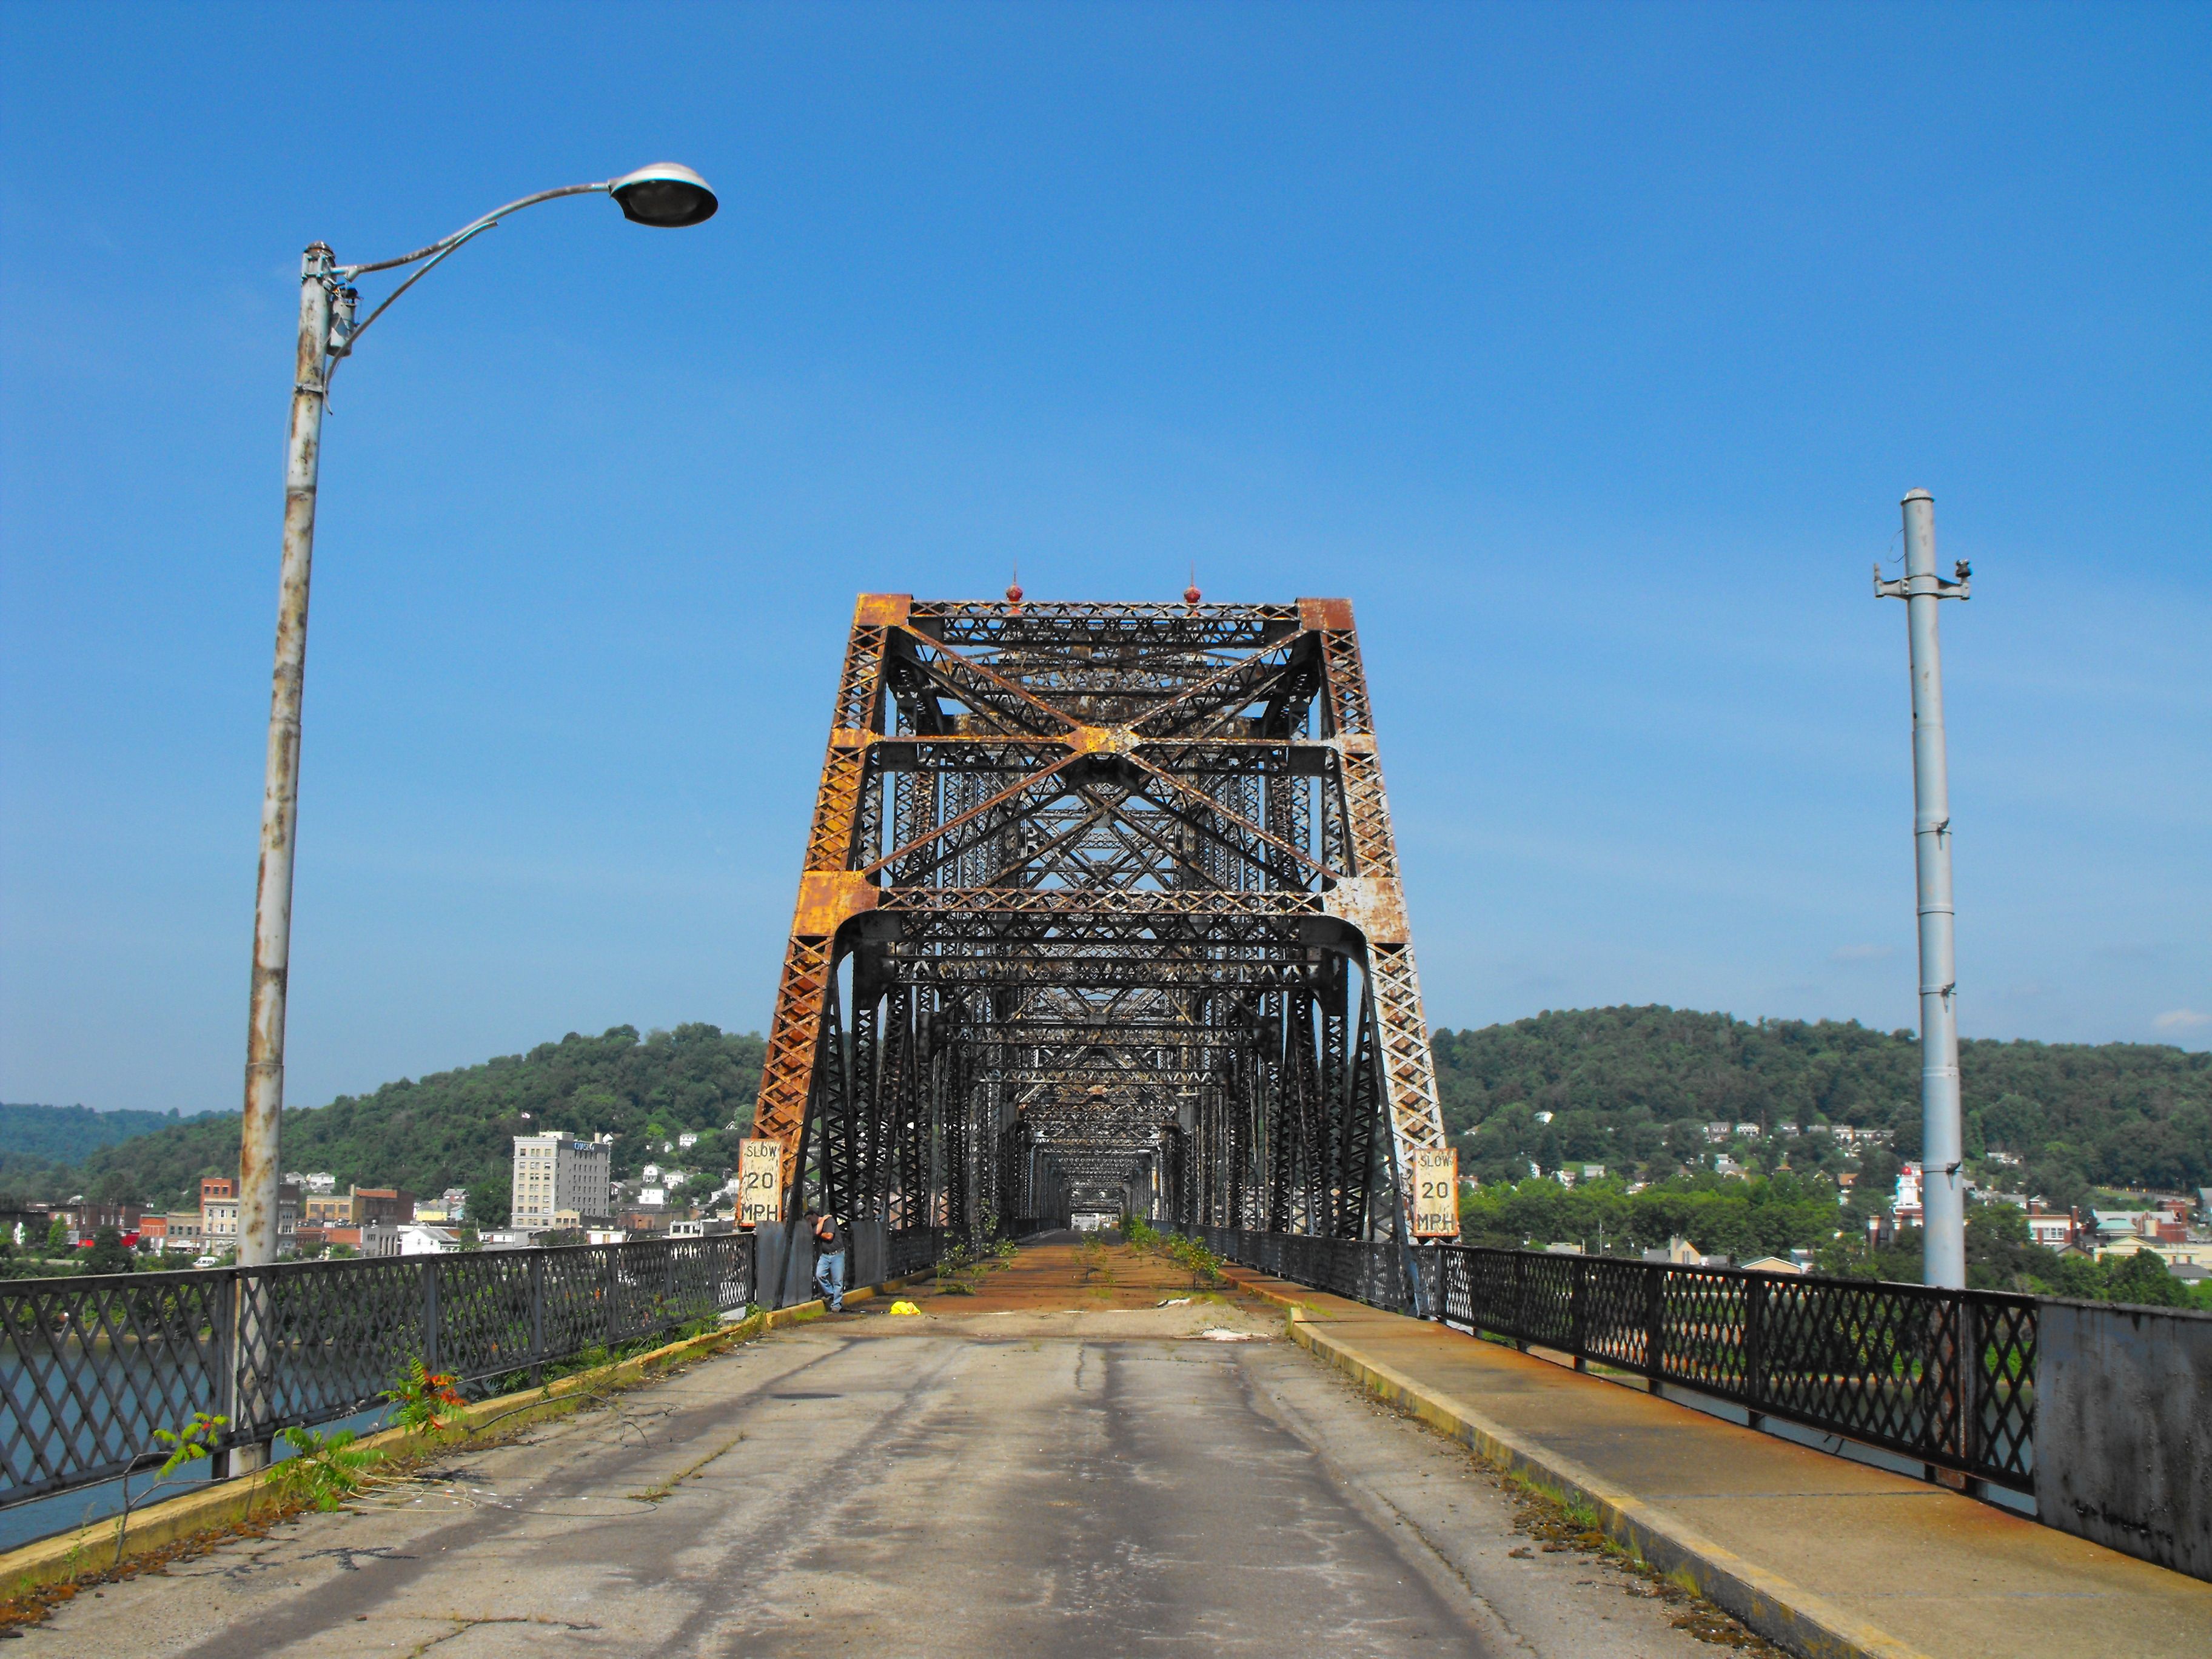
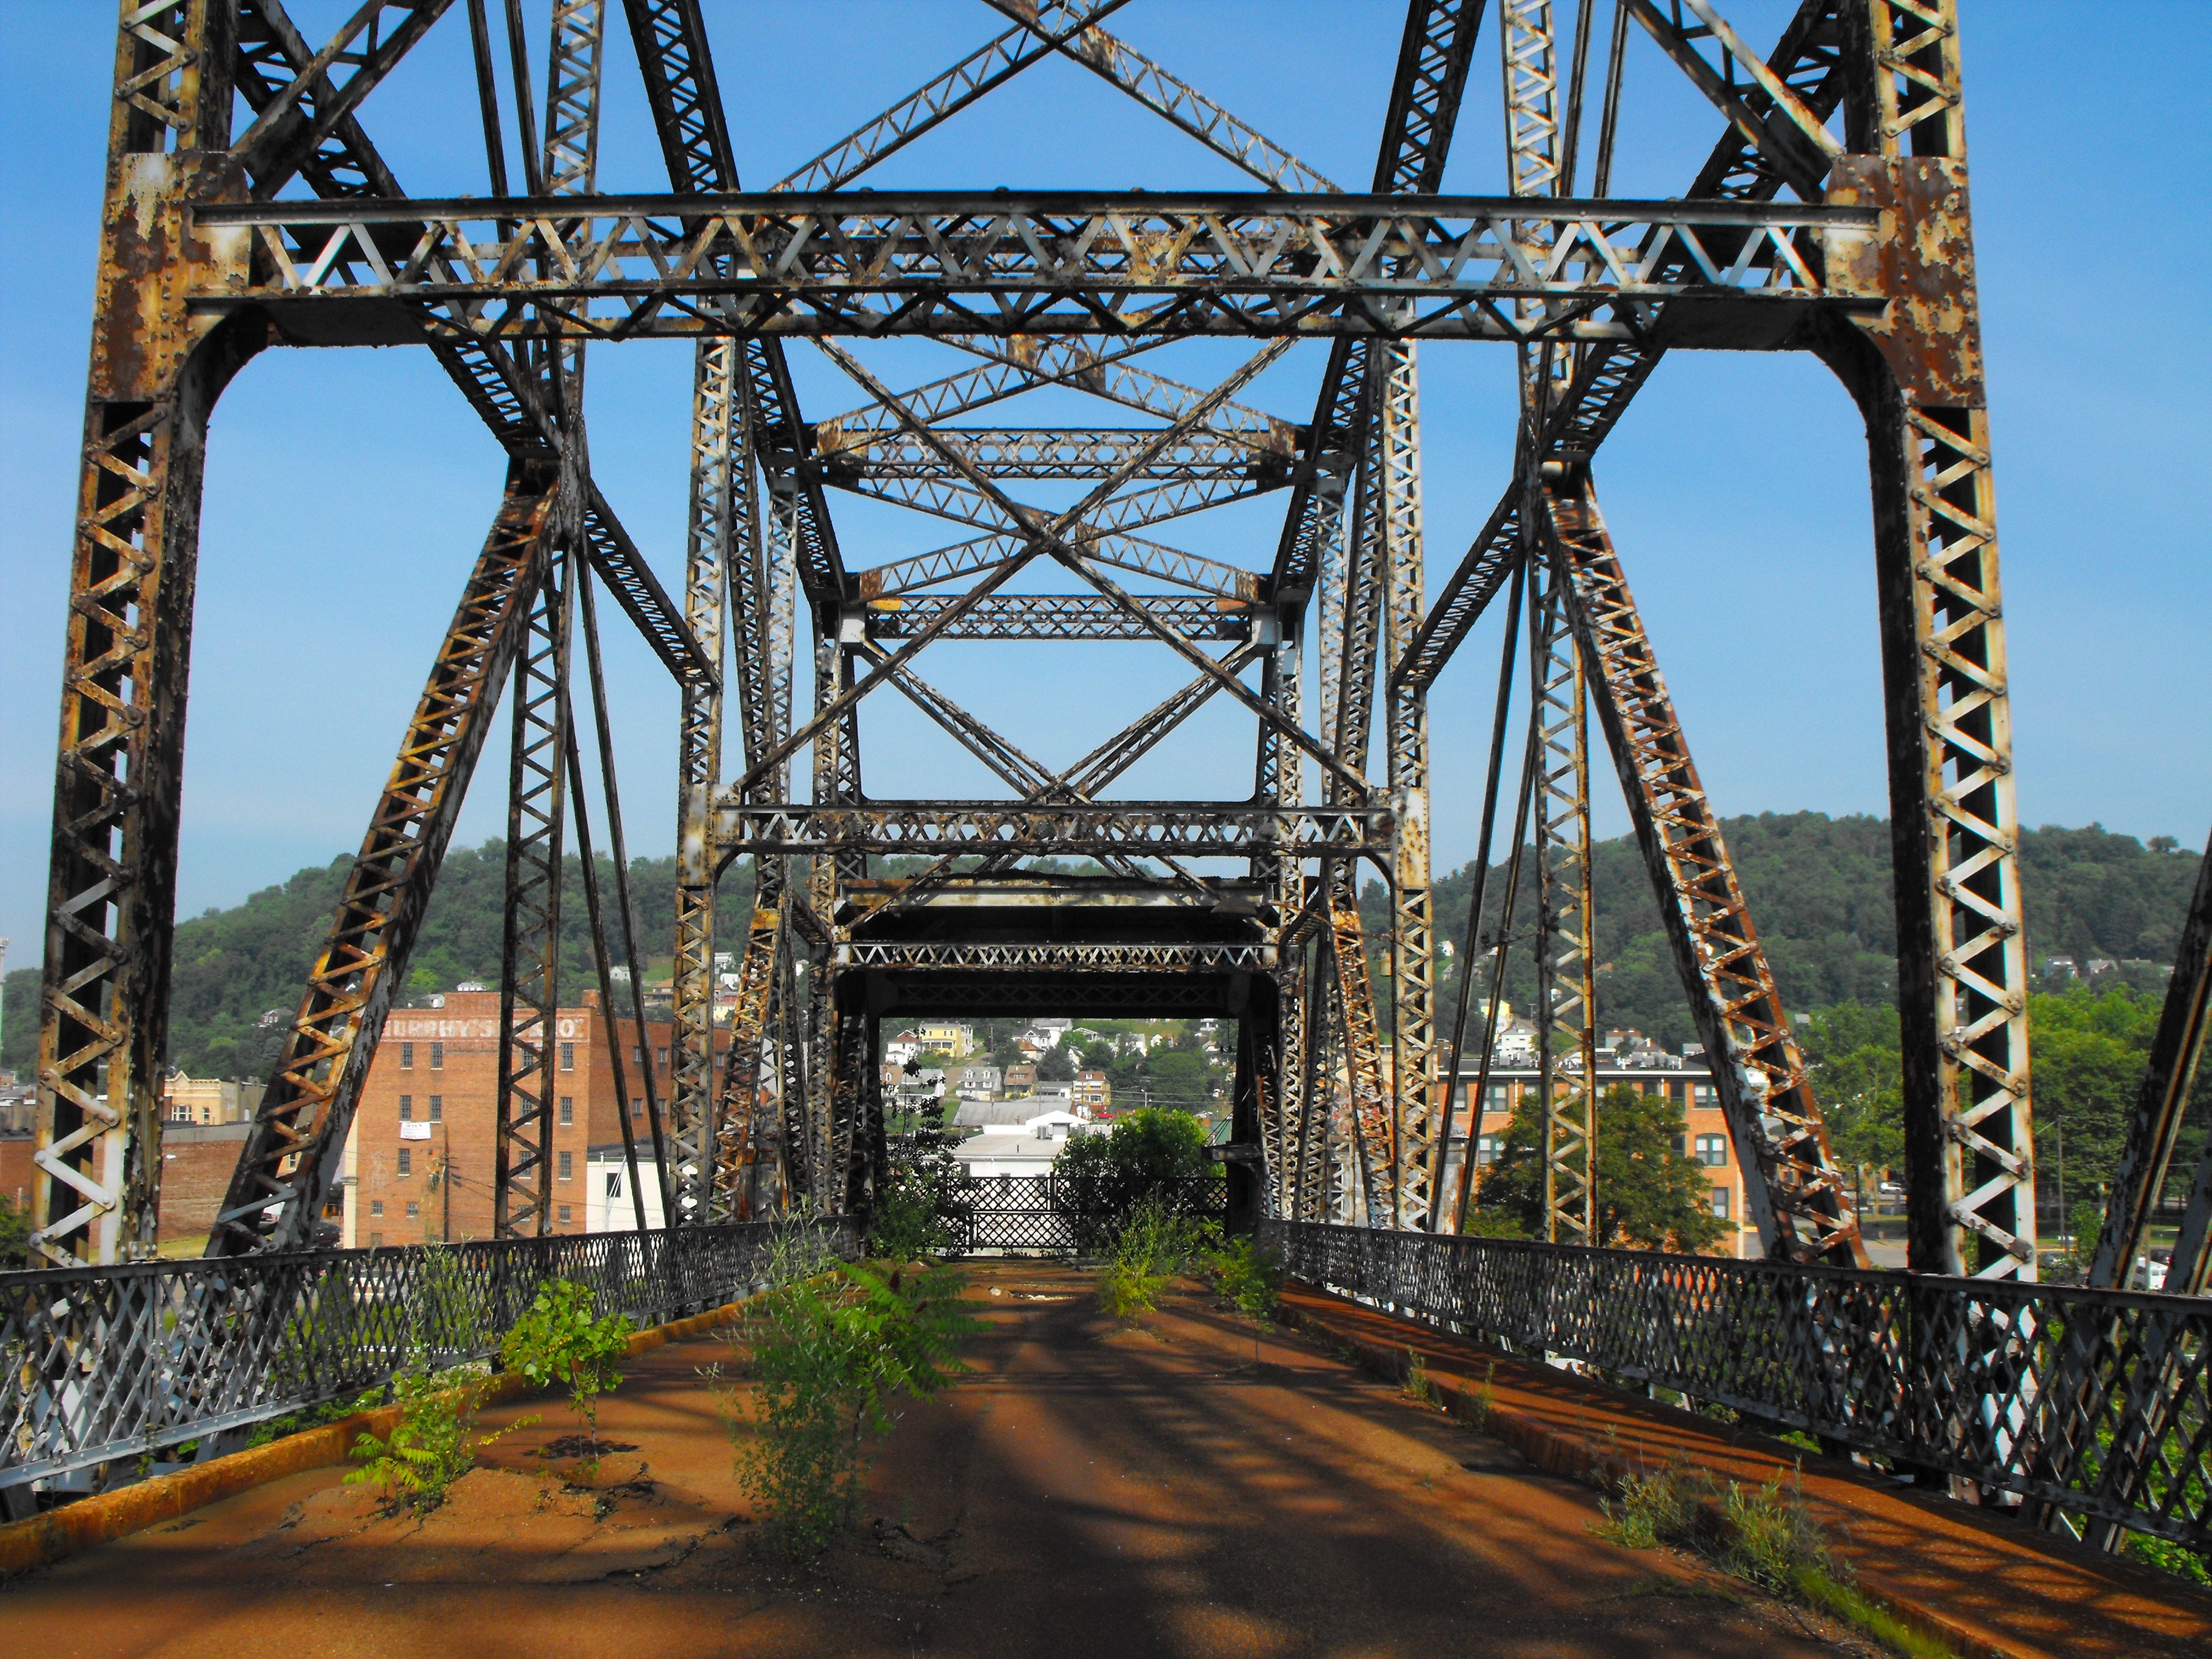
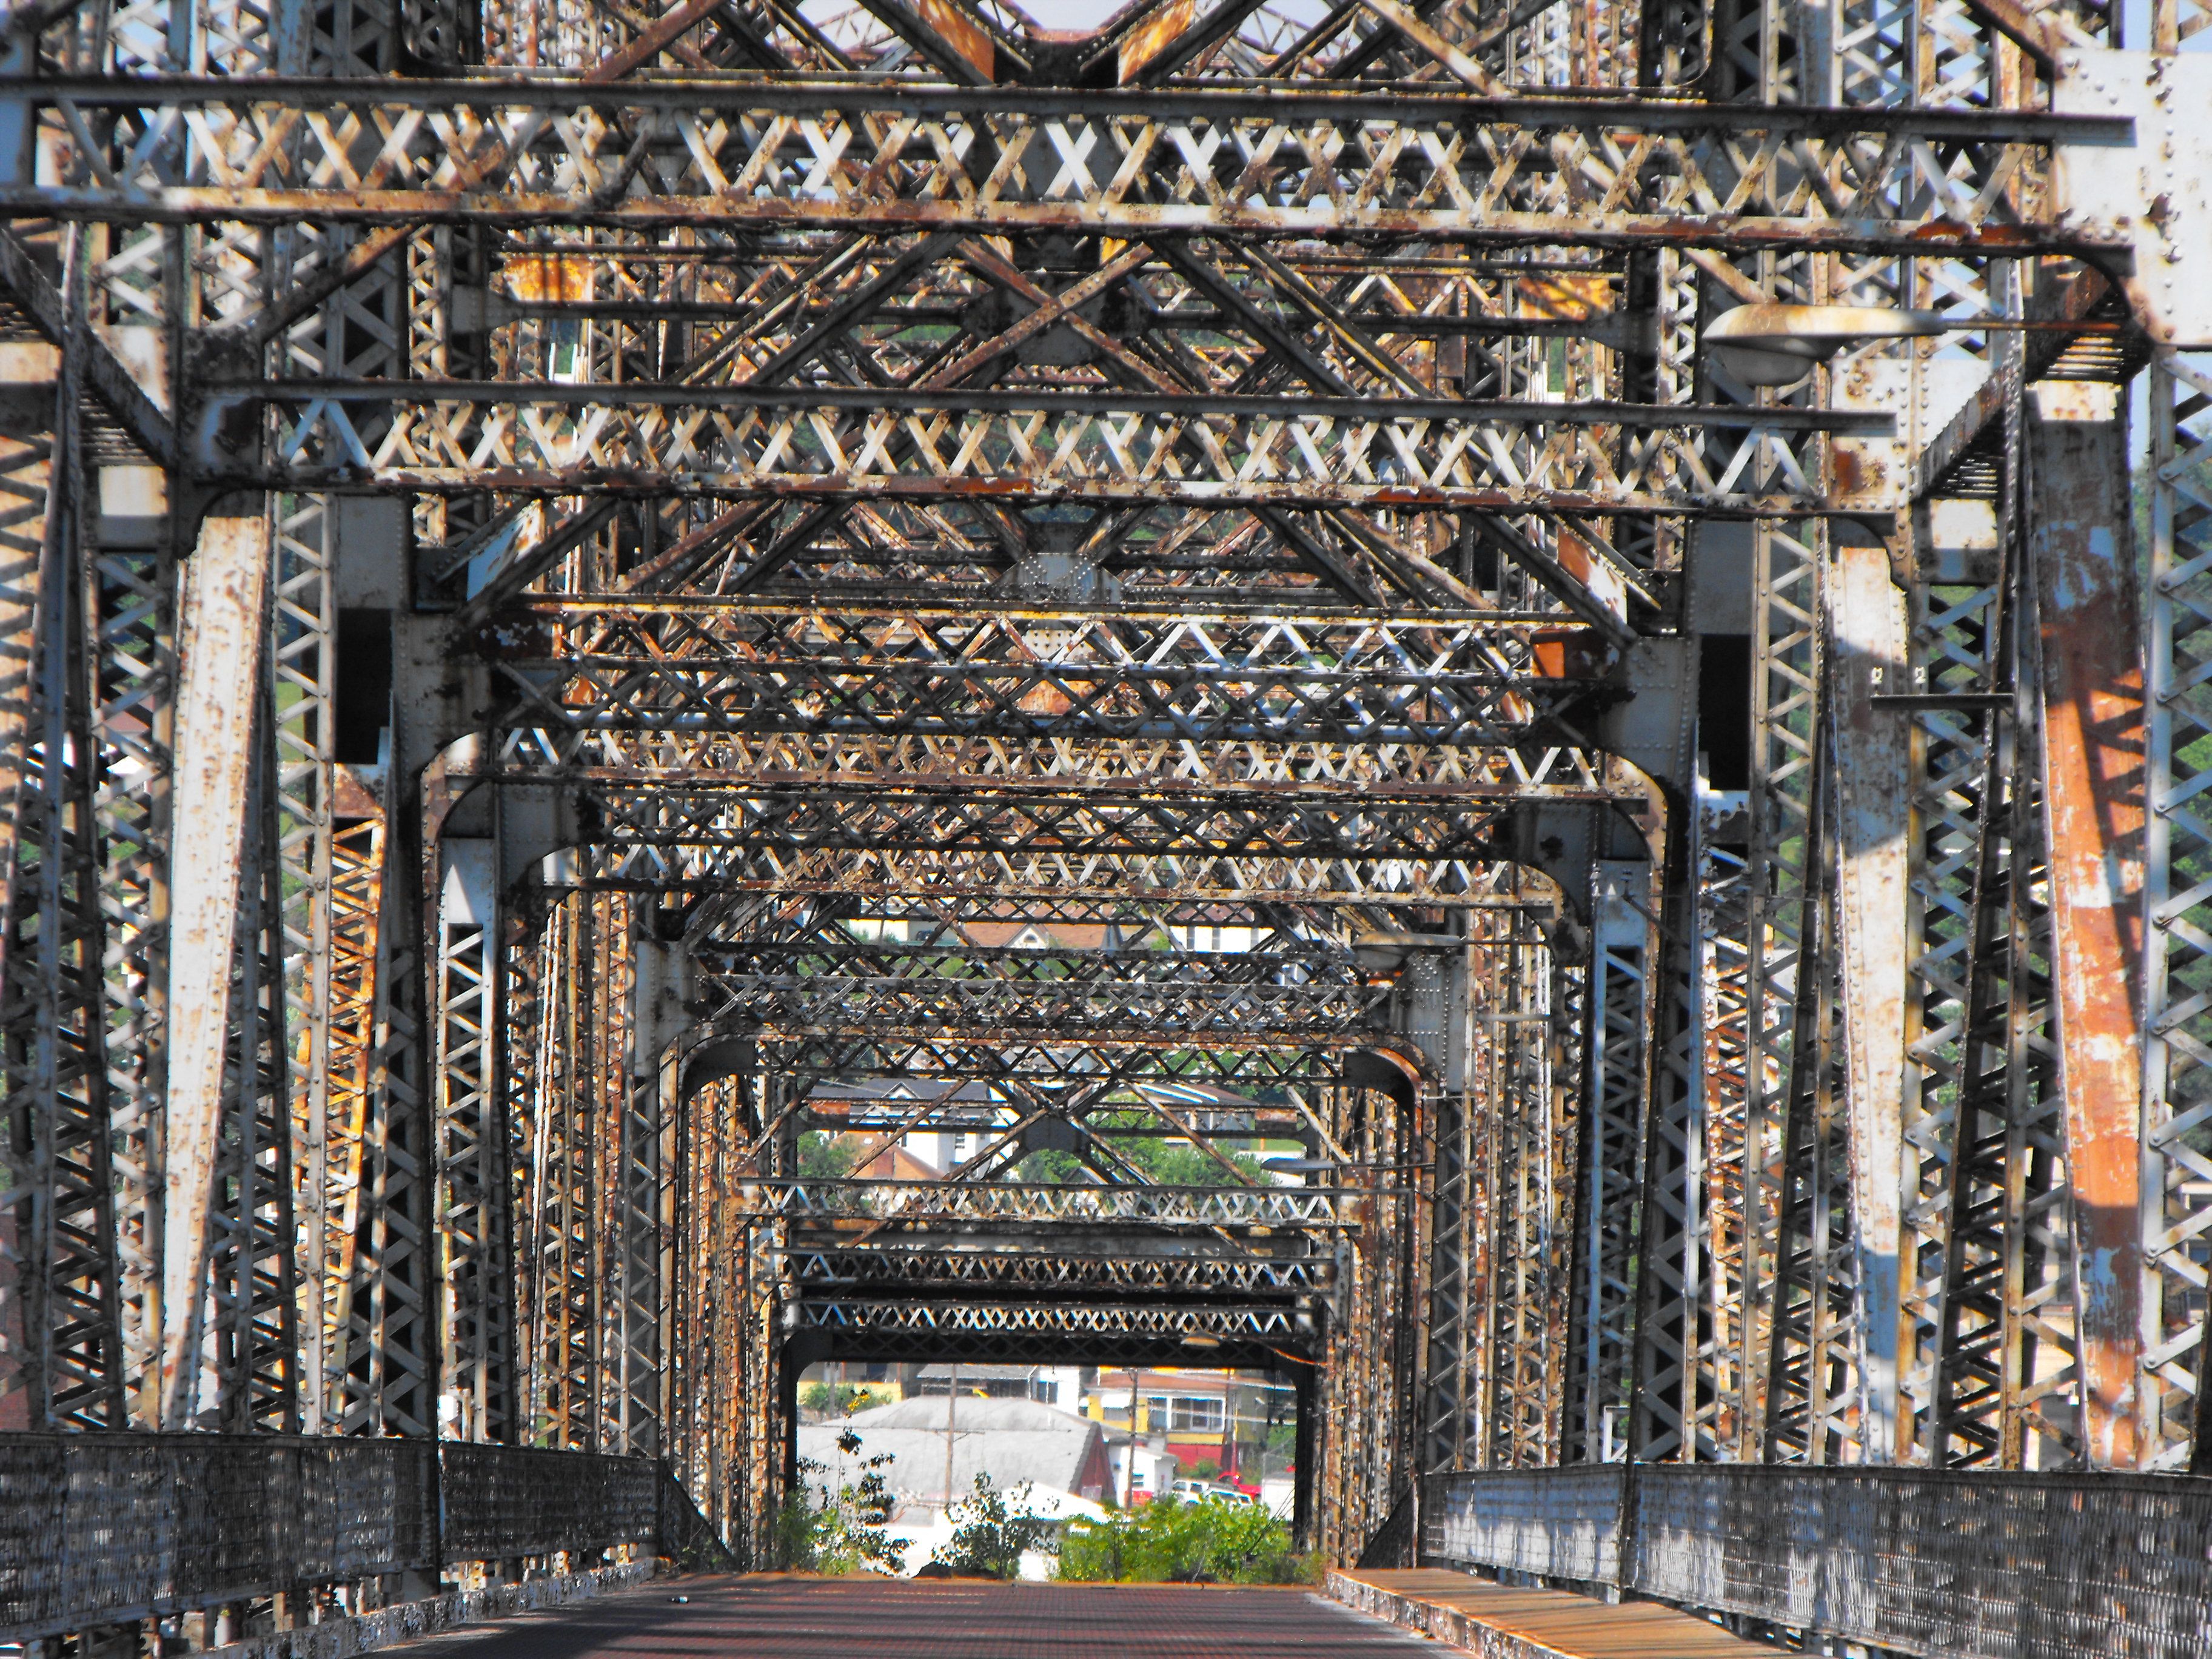
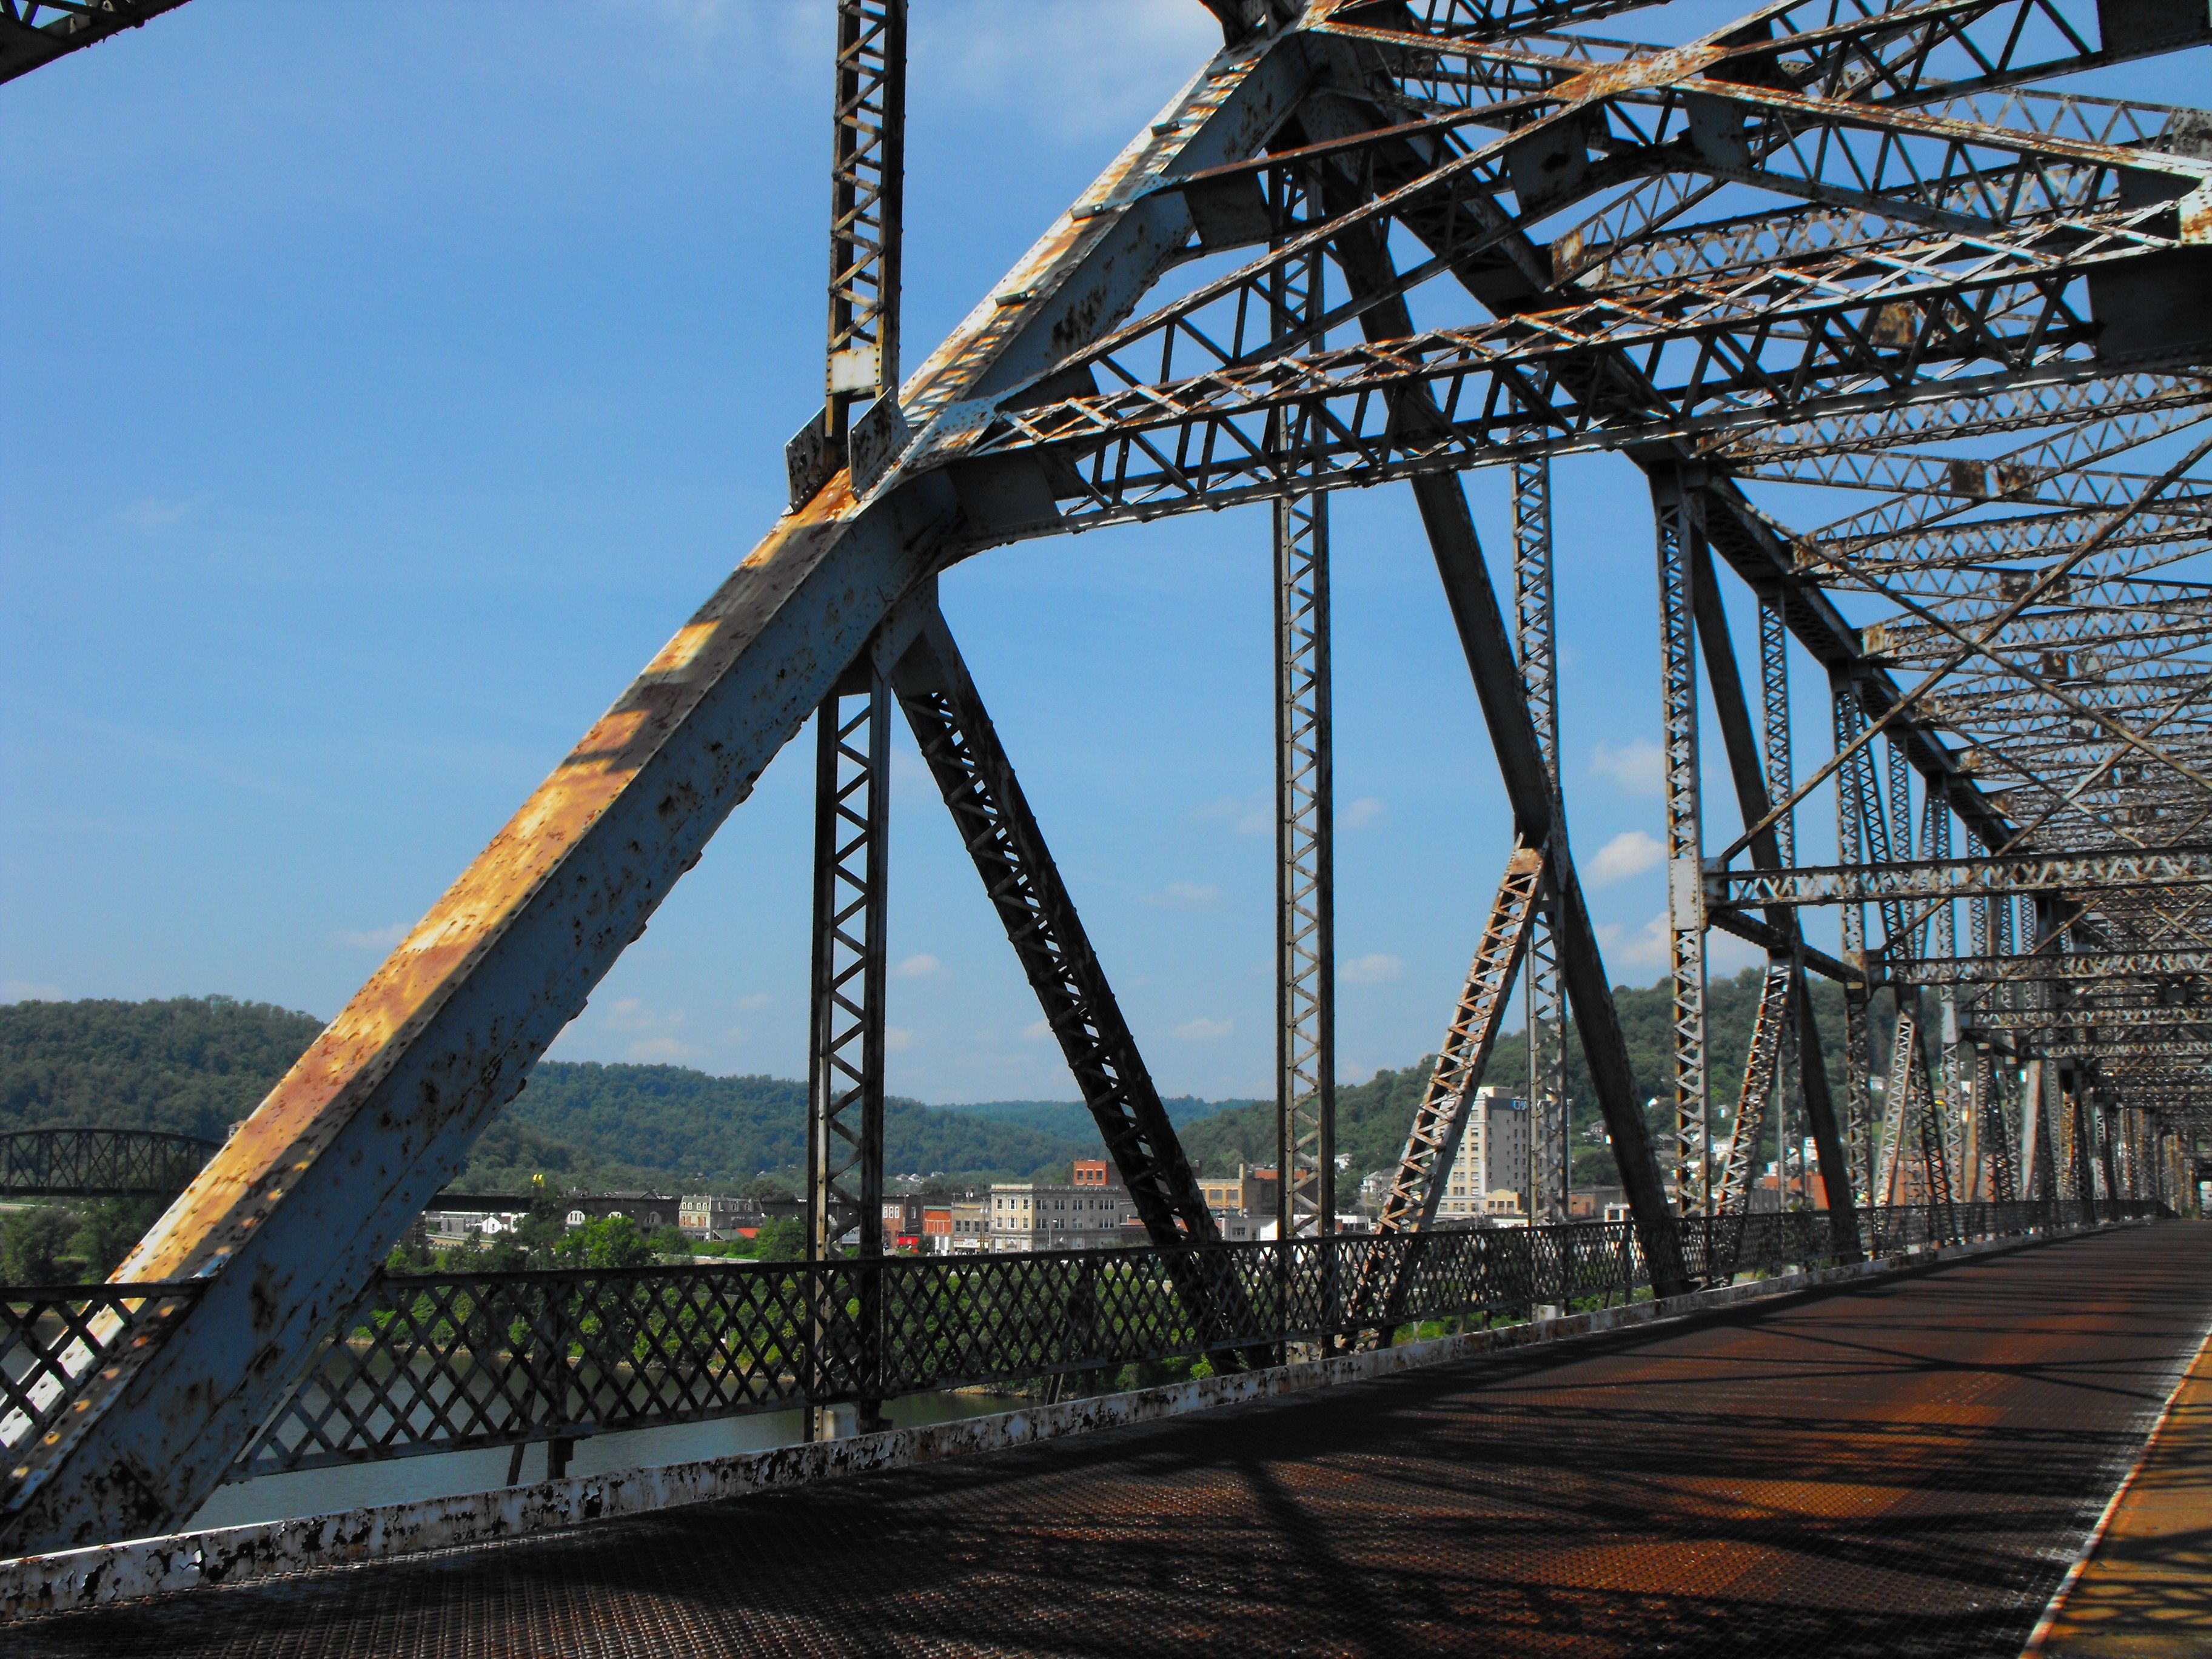
Zoomed portal views of cantilever facing west.
![]()
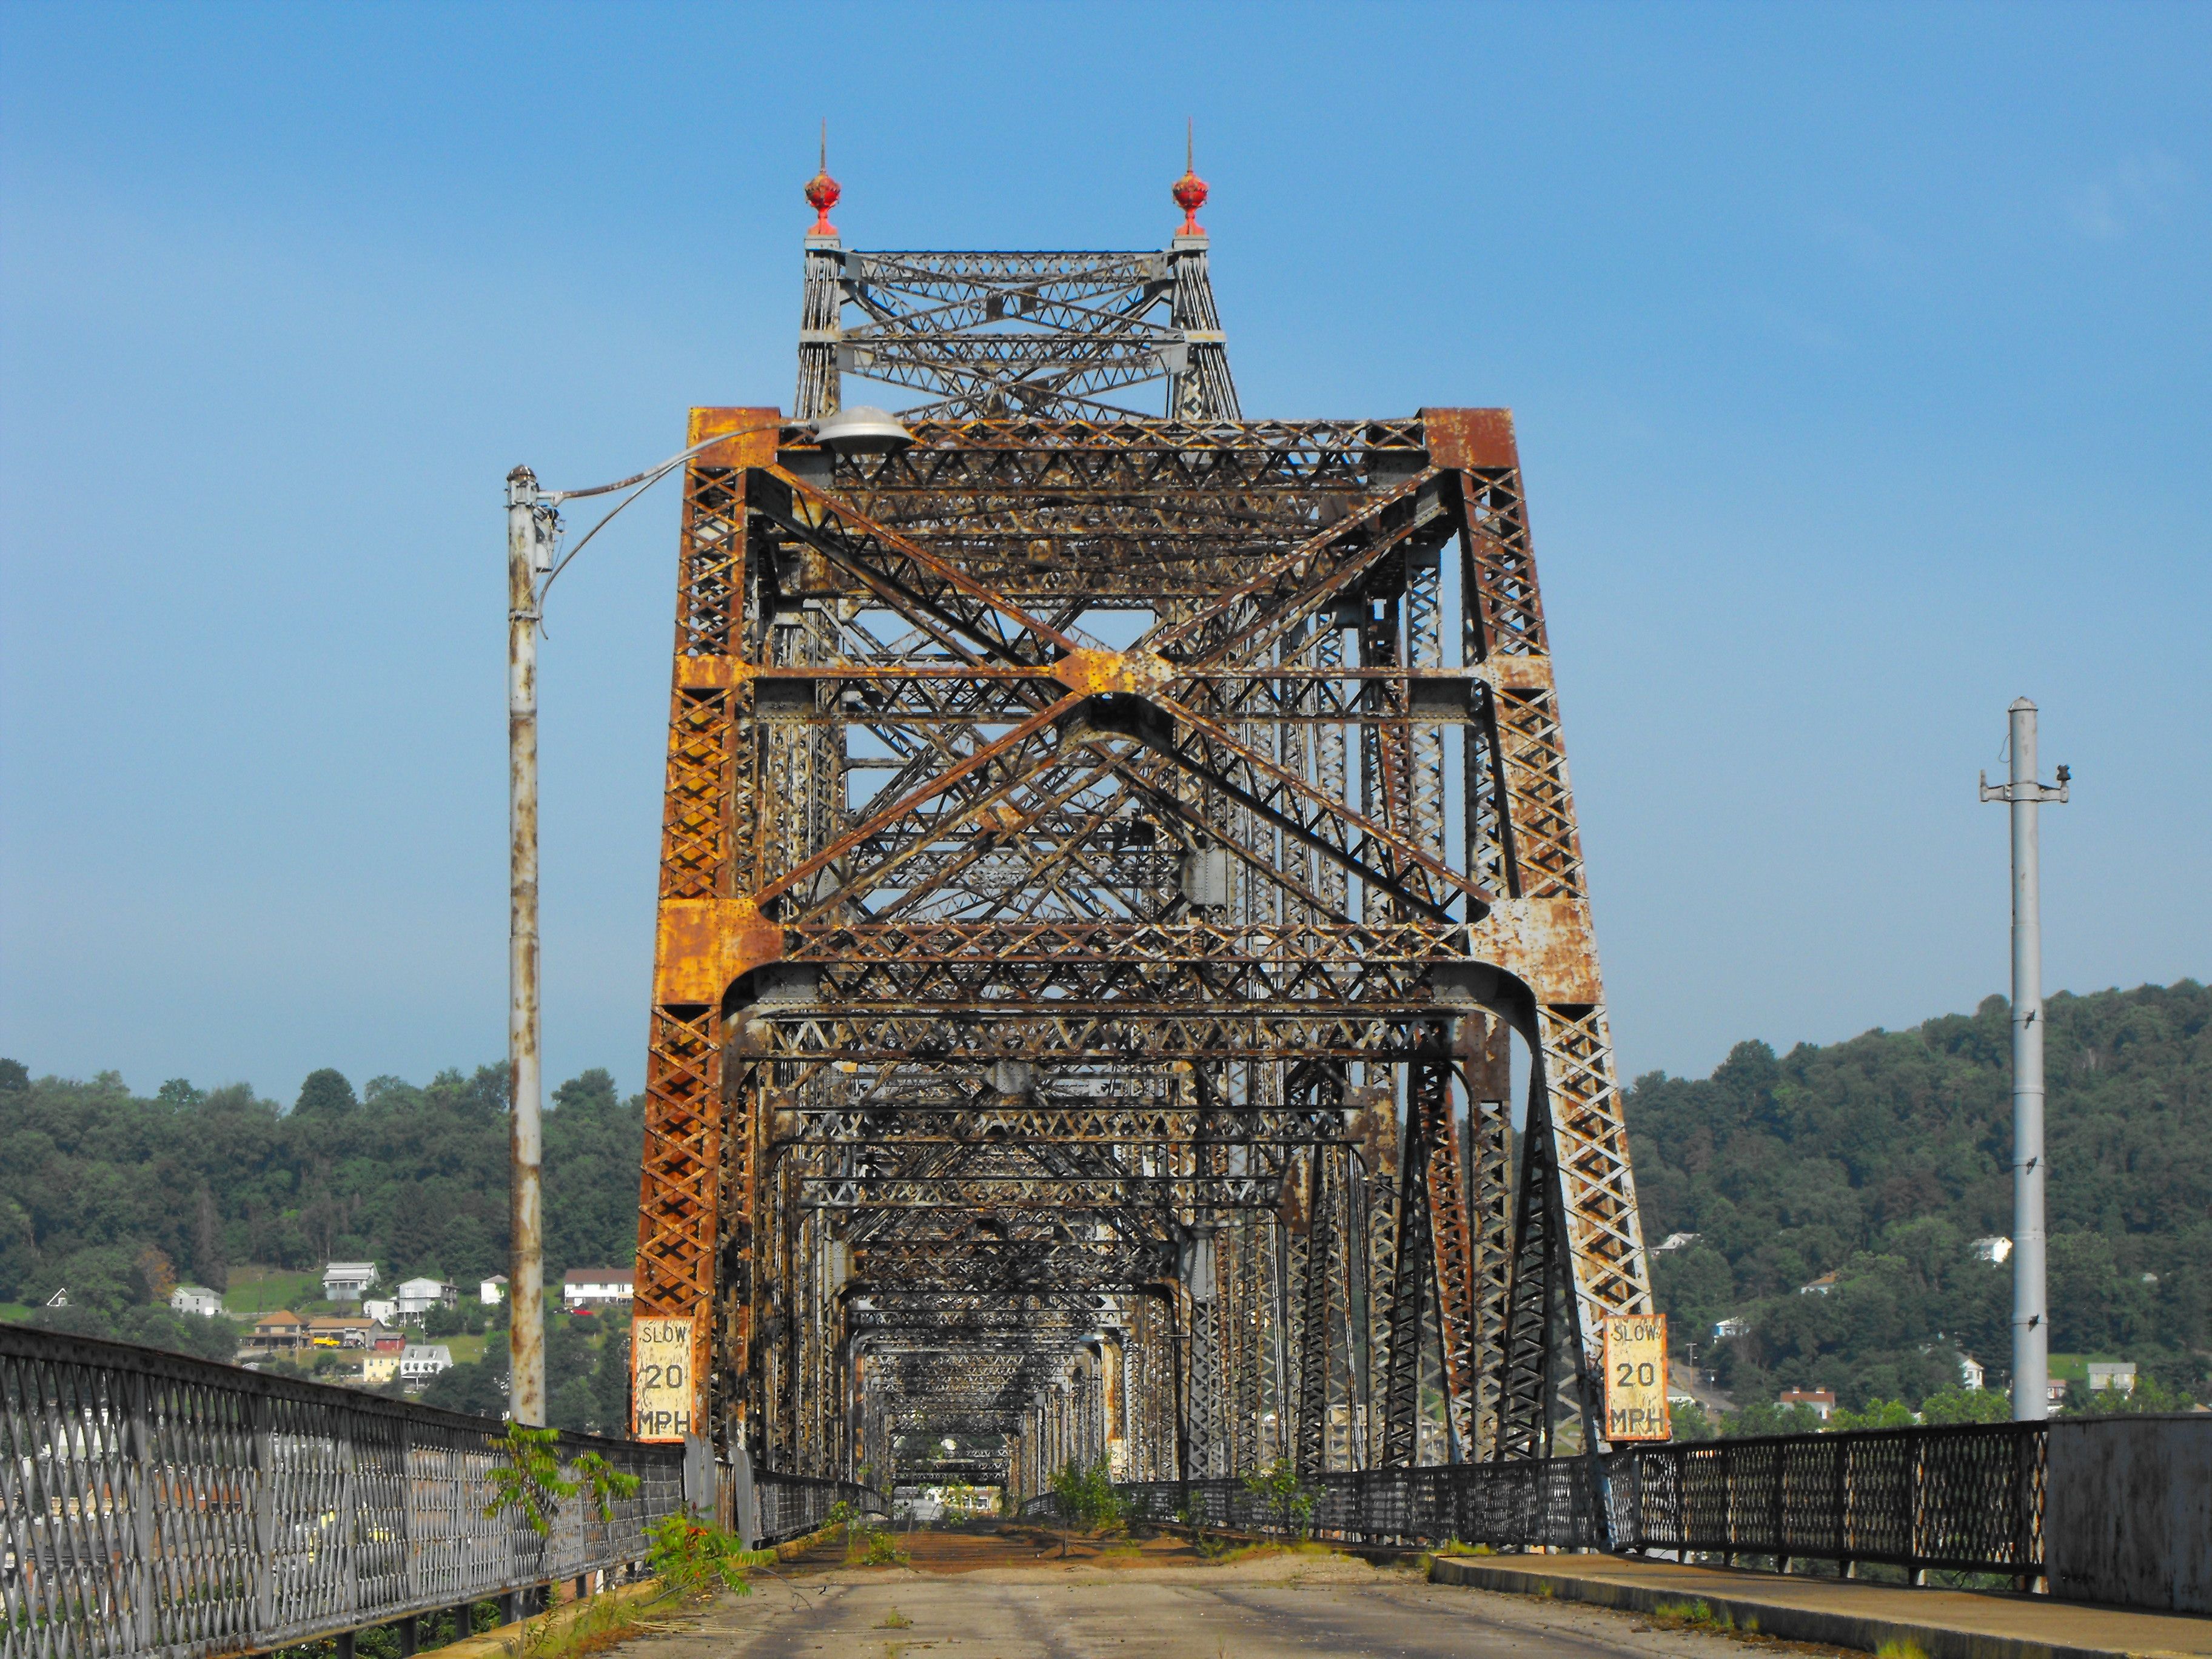

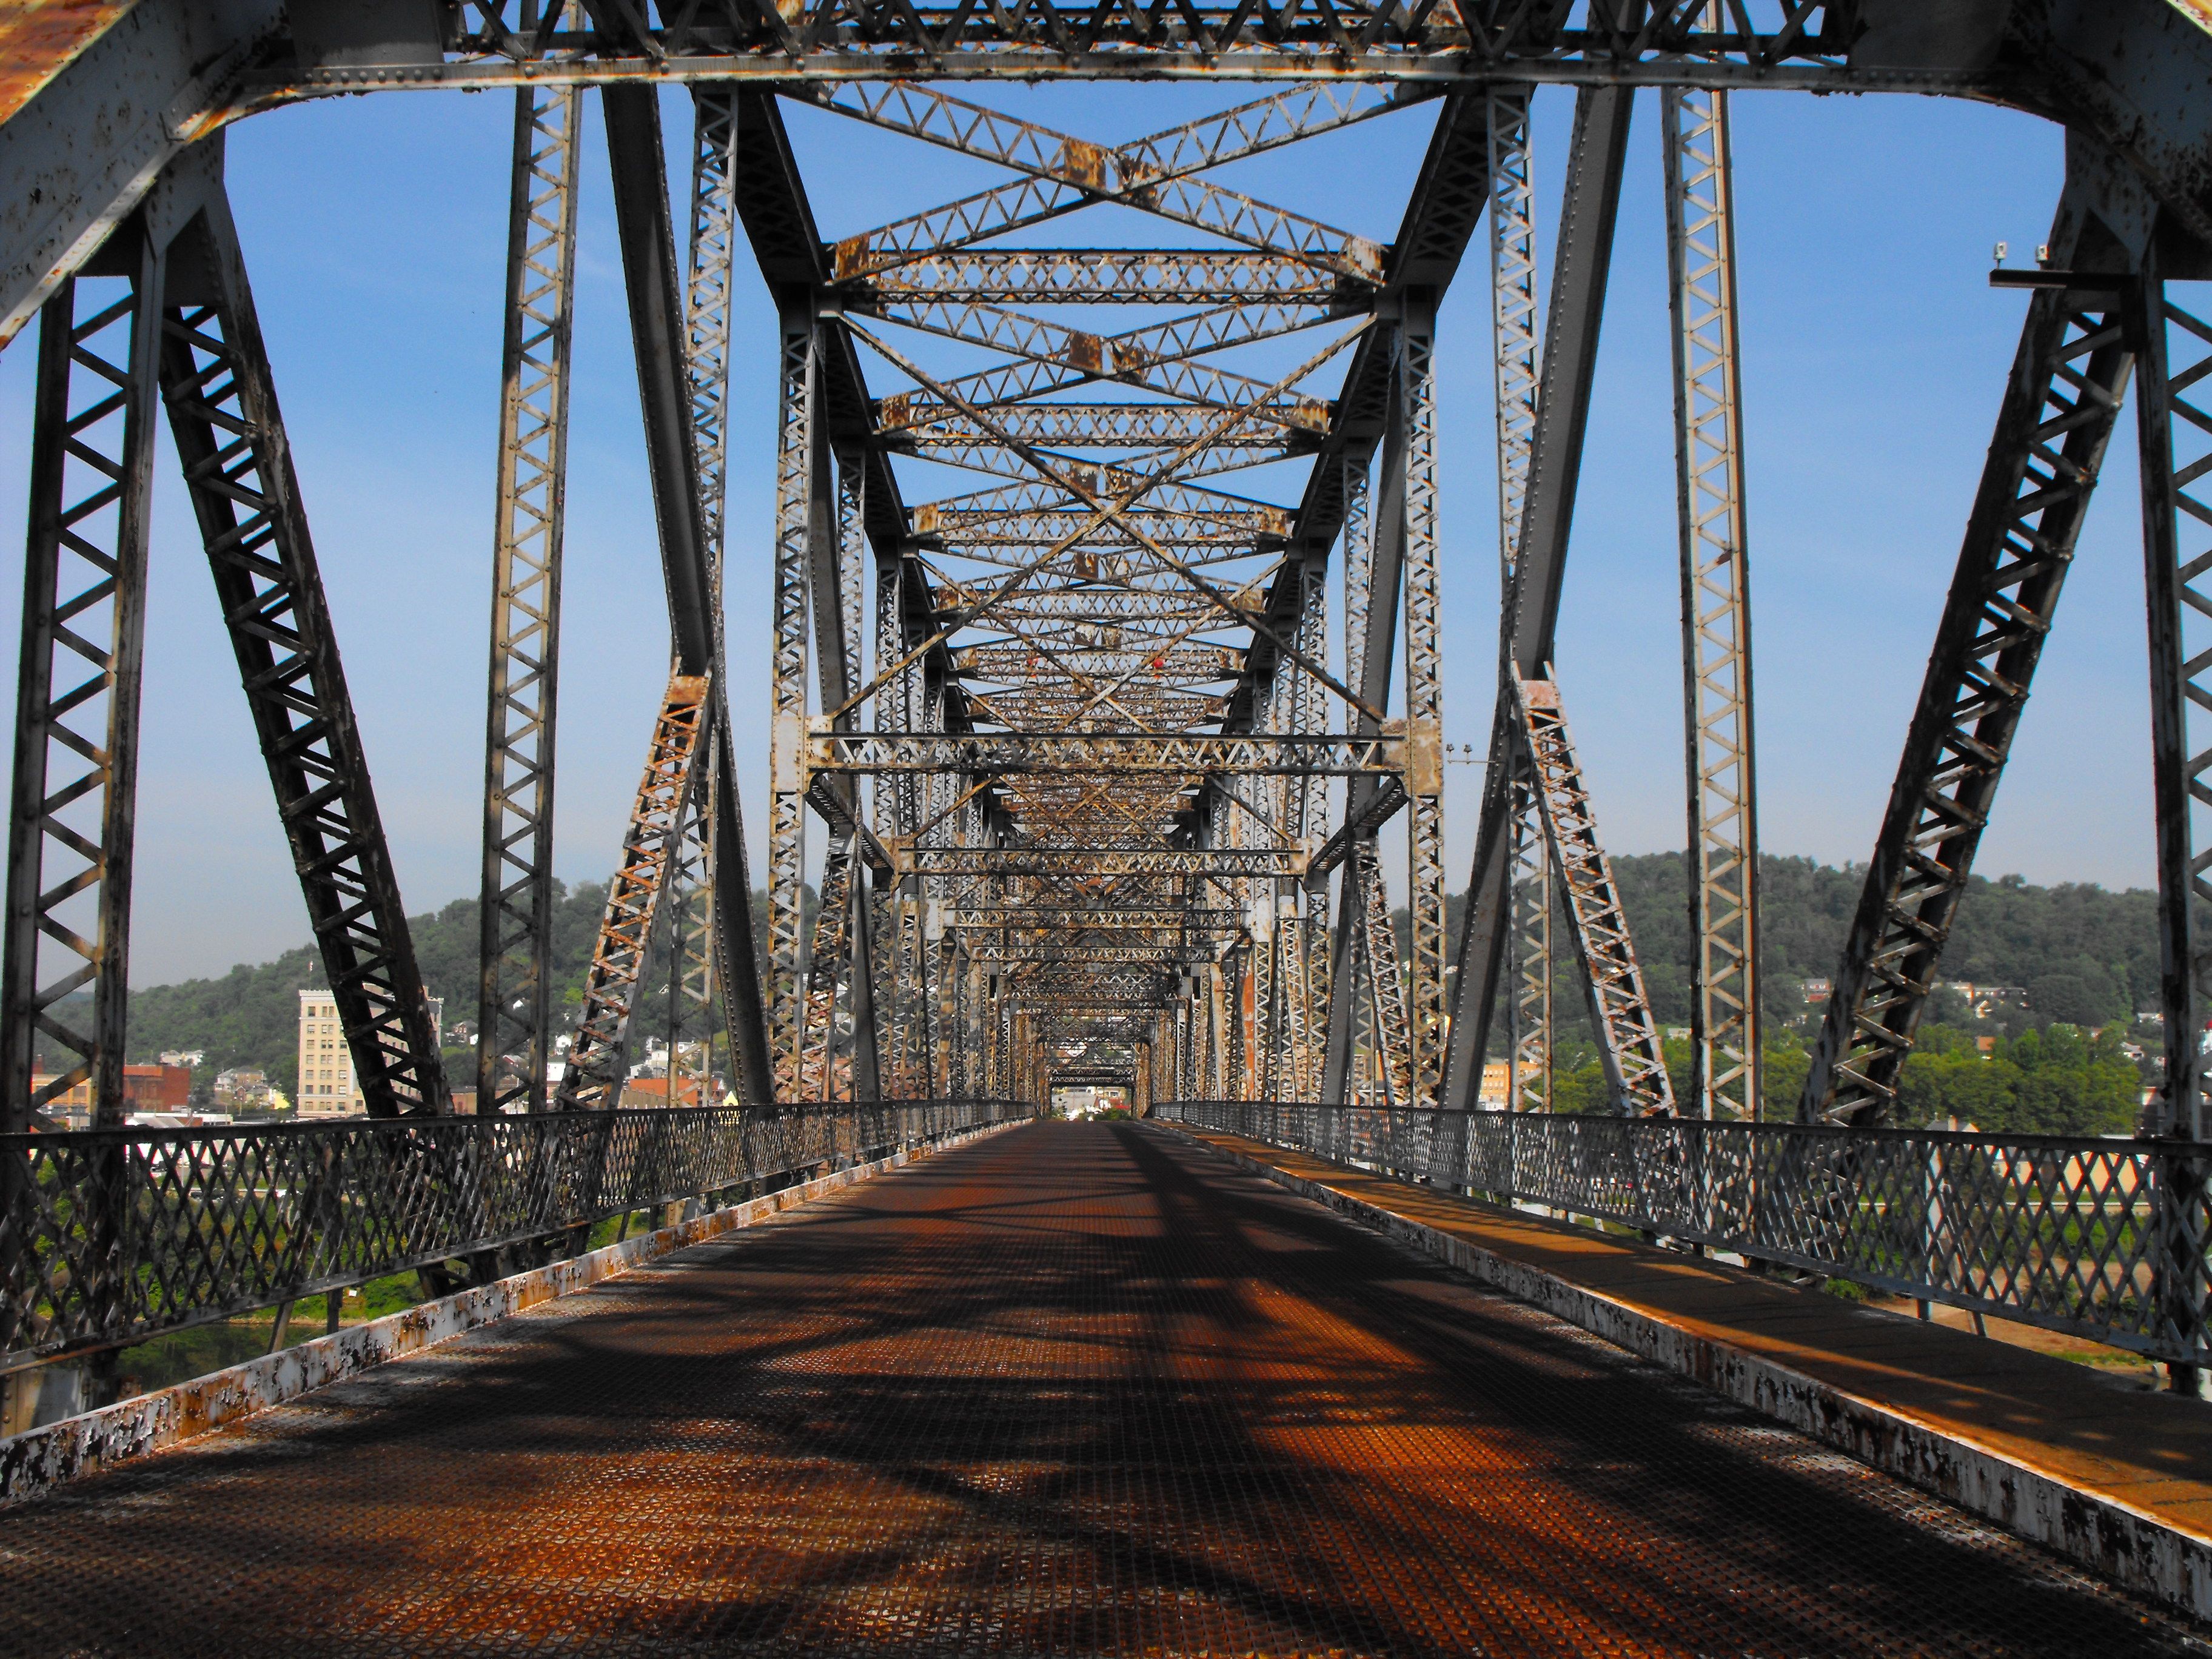
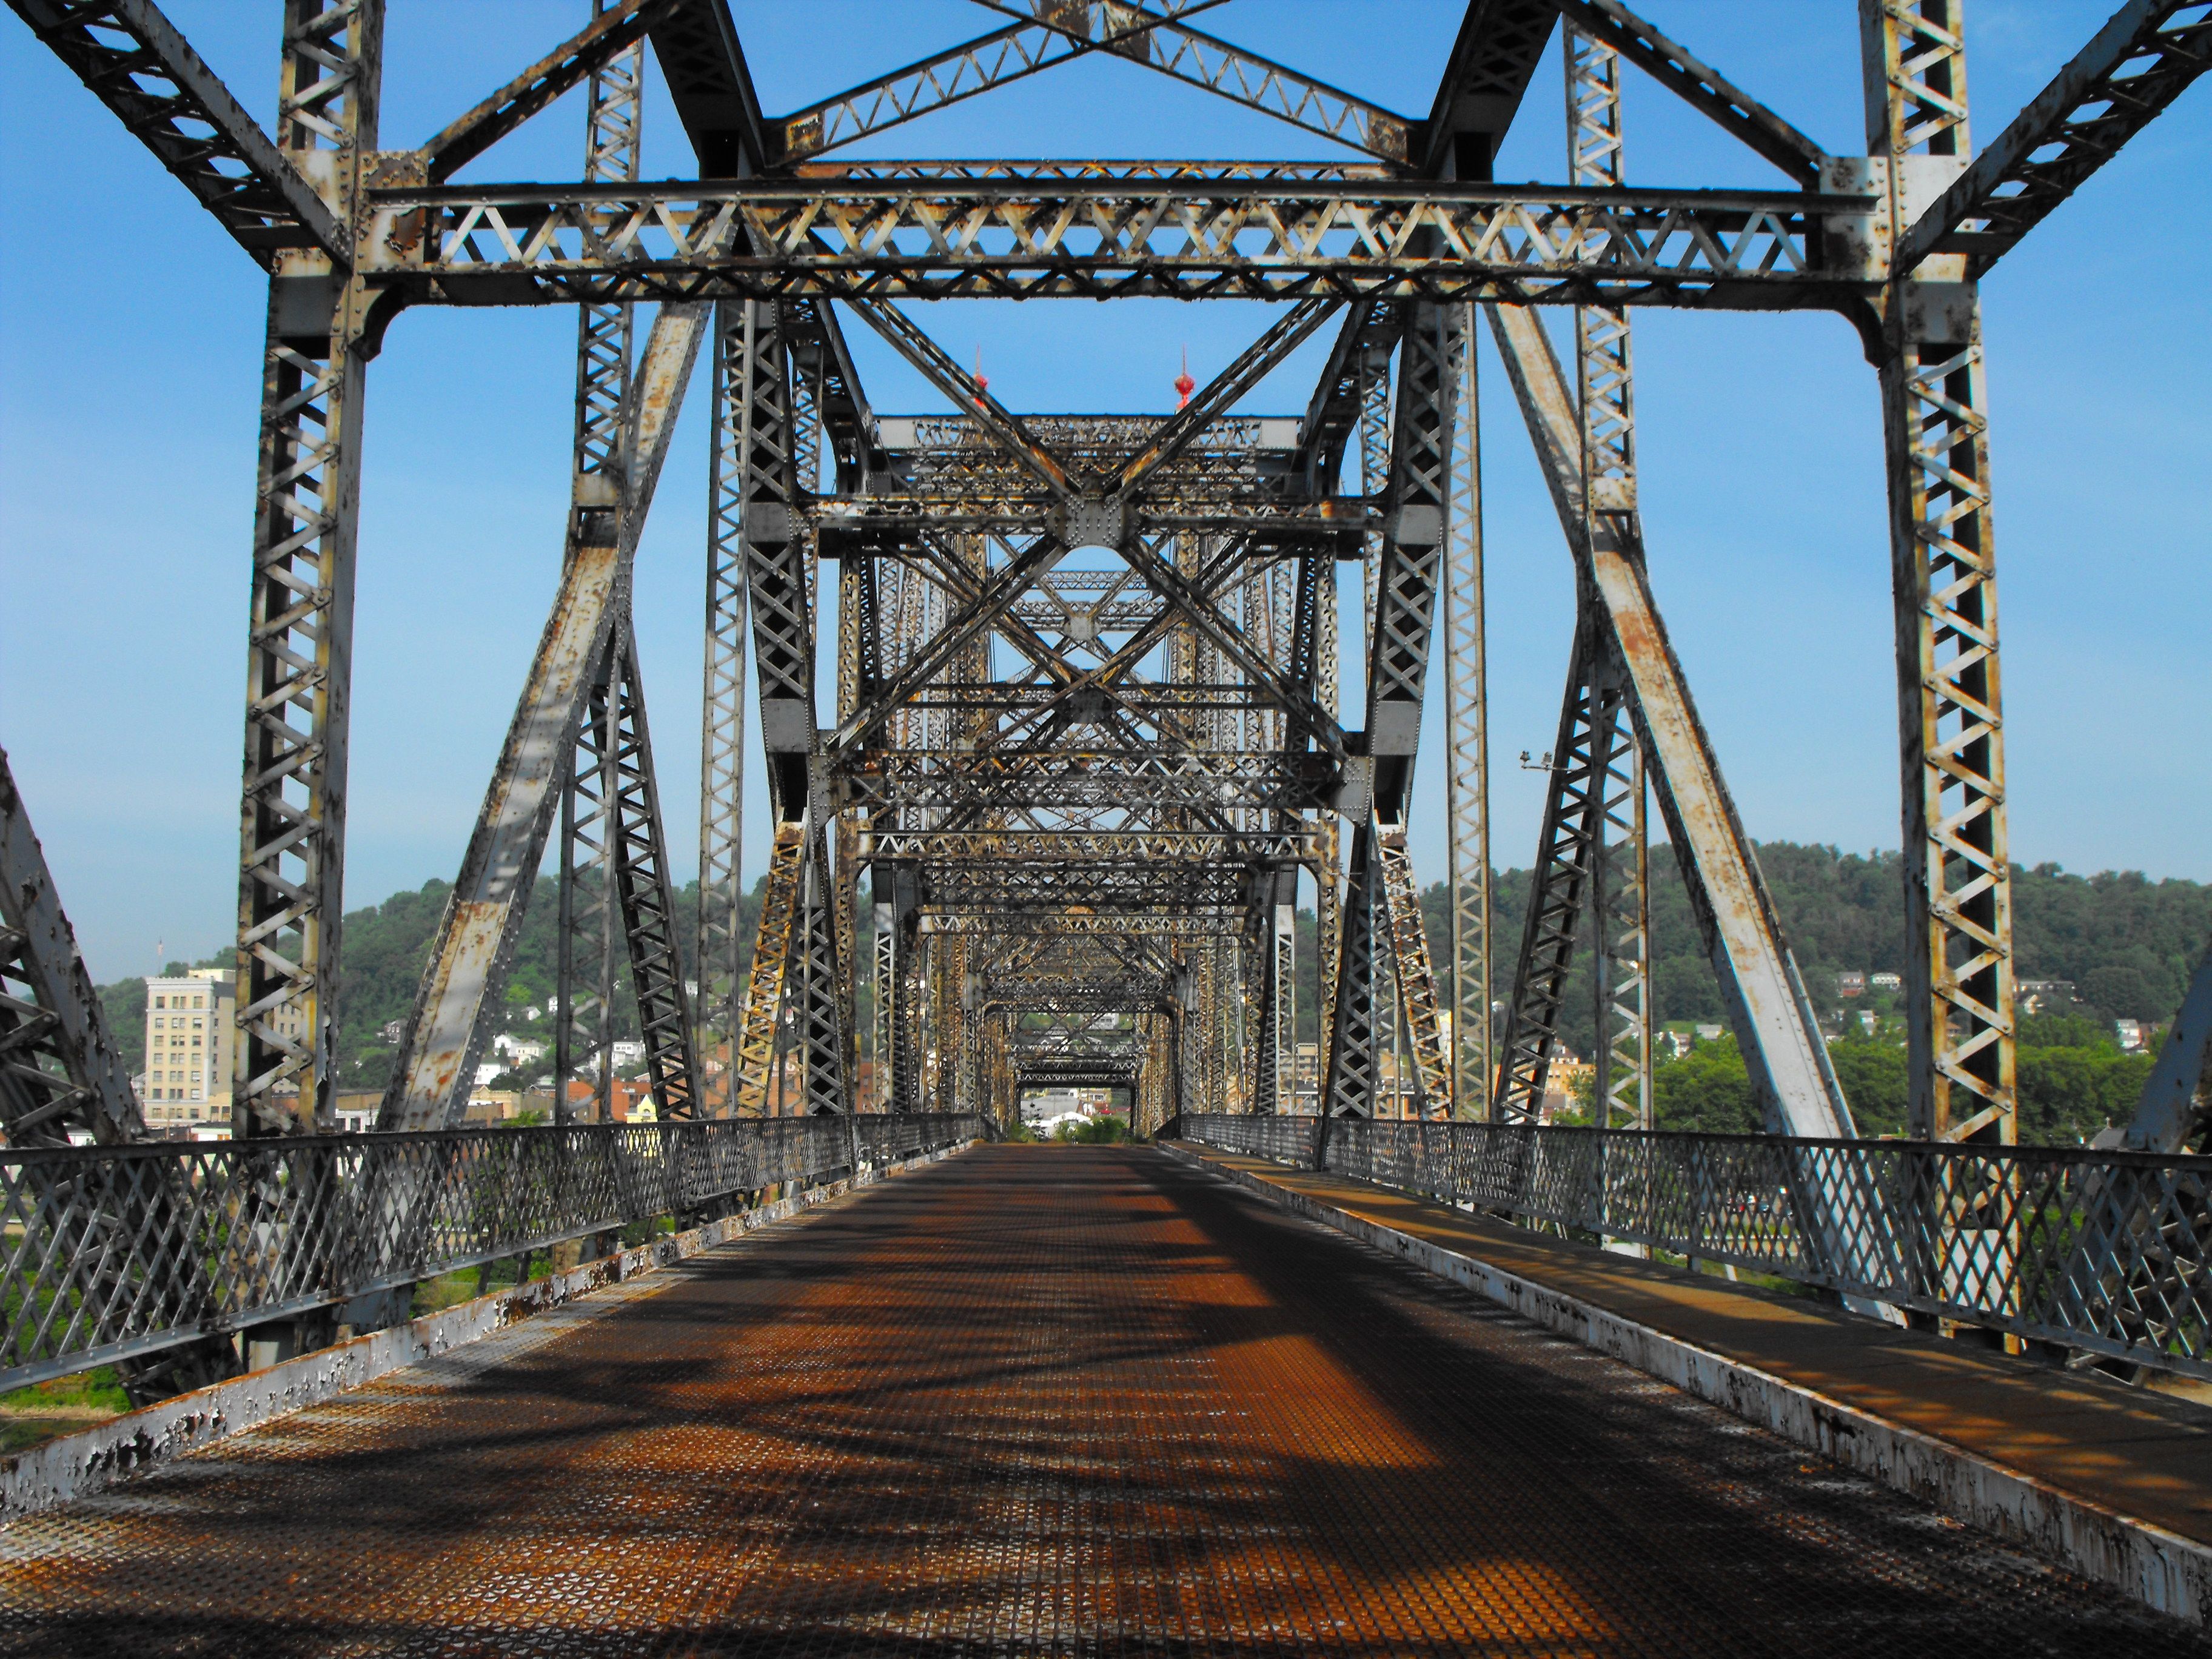
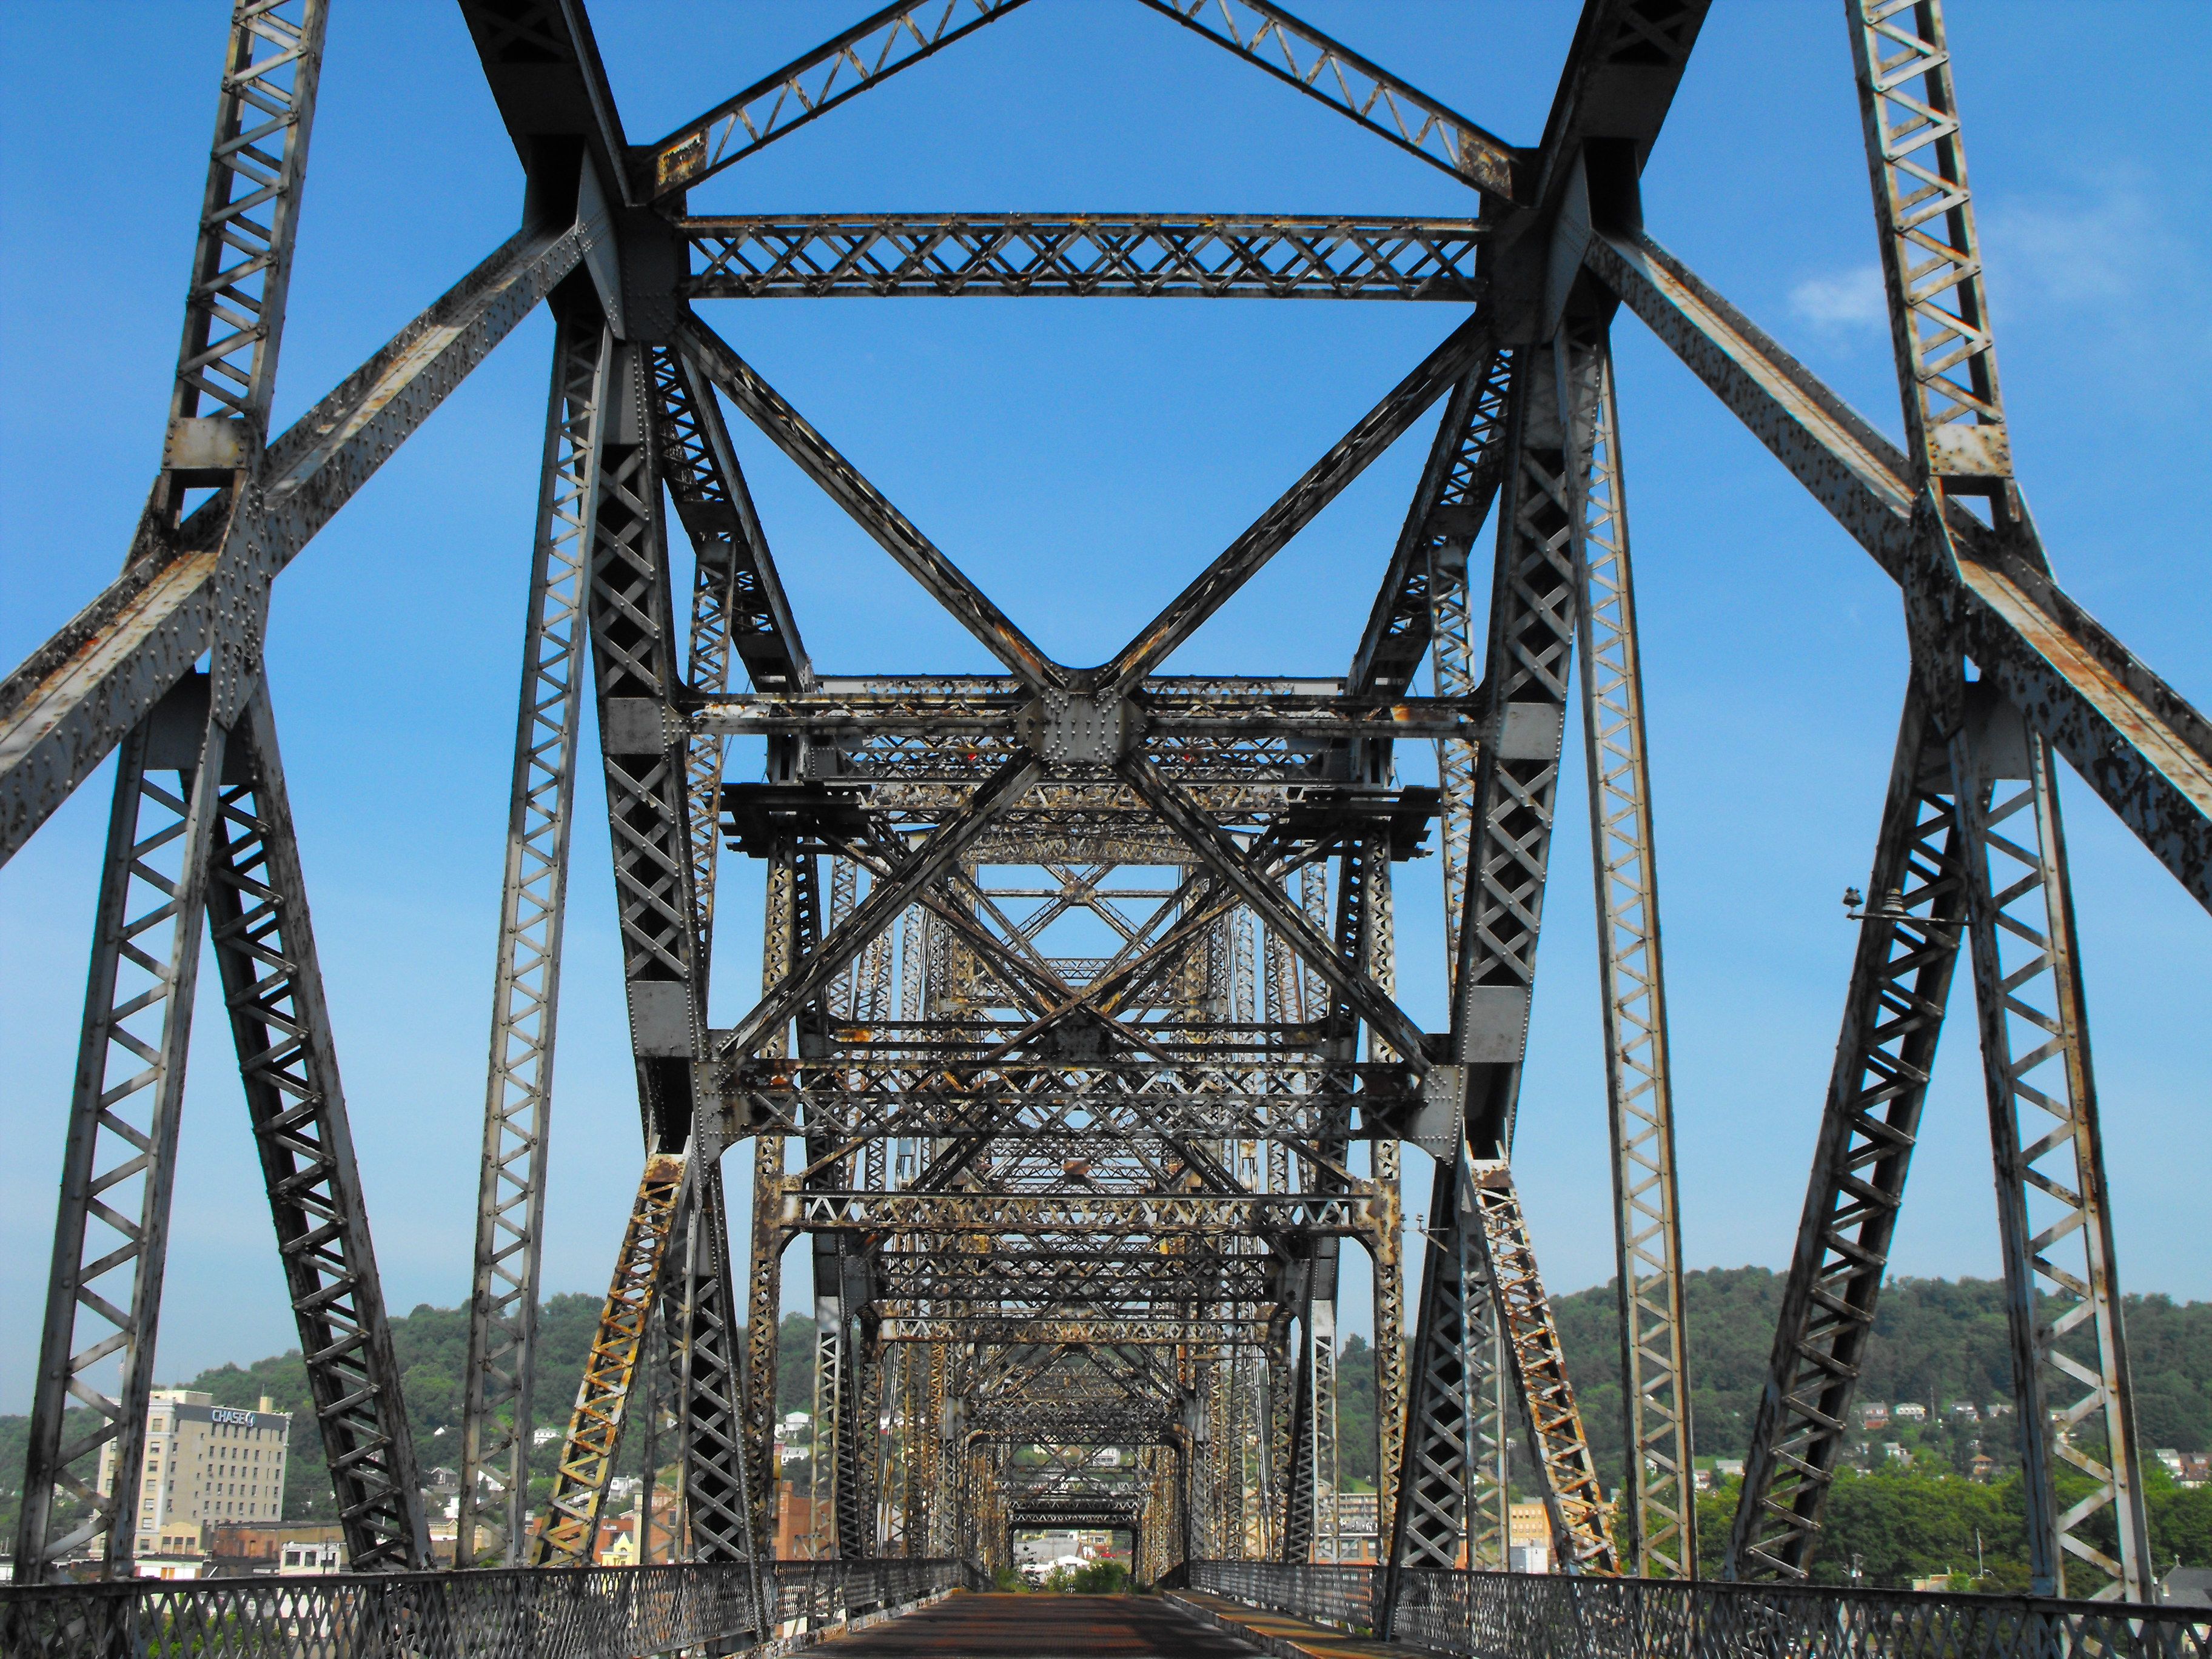
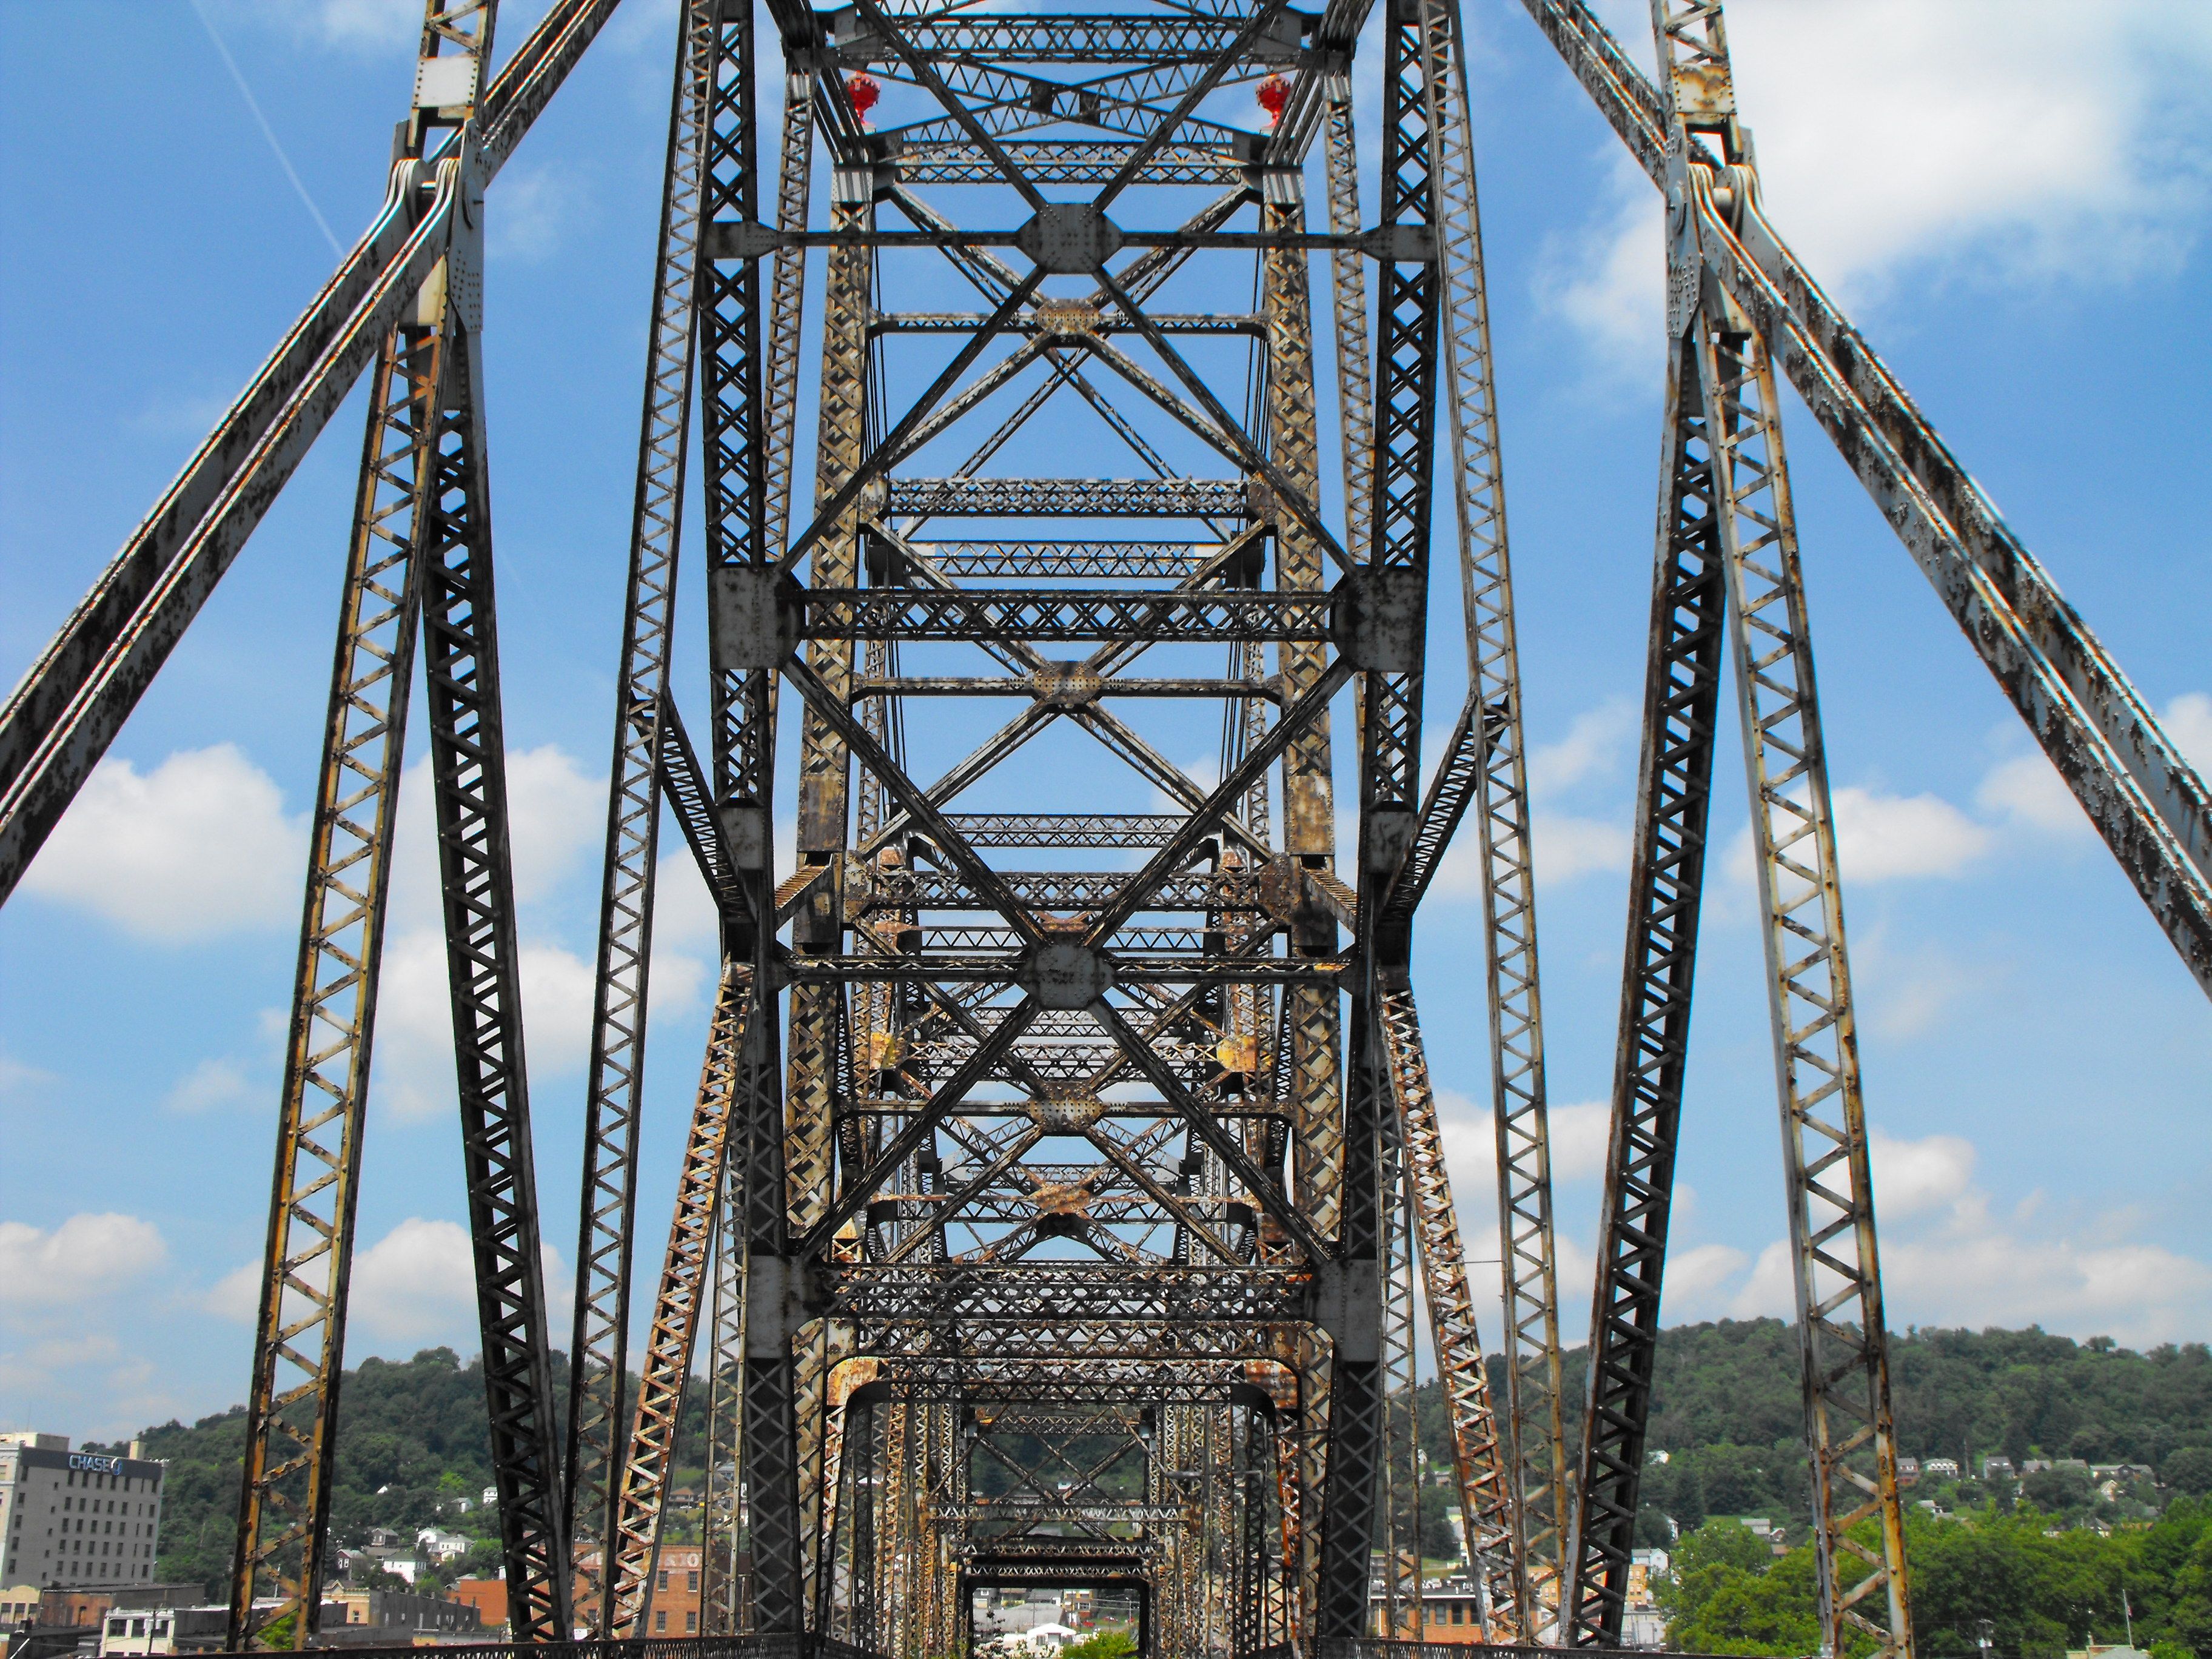
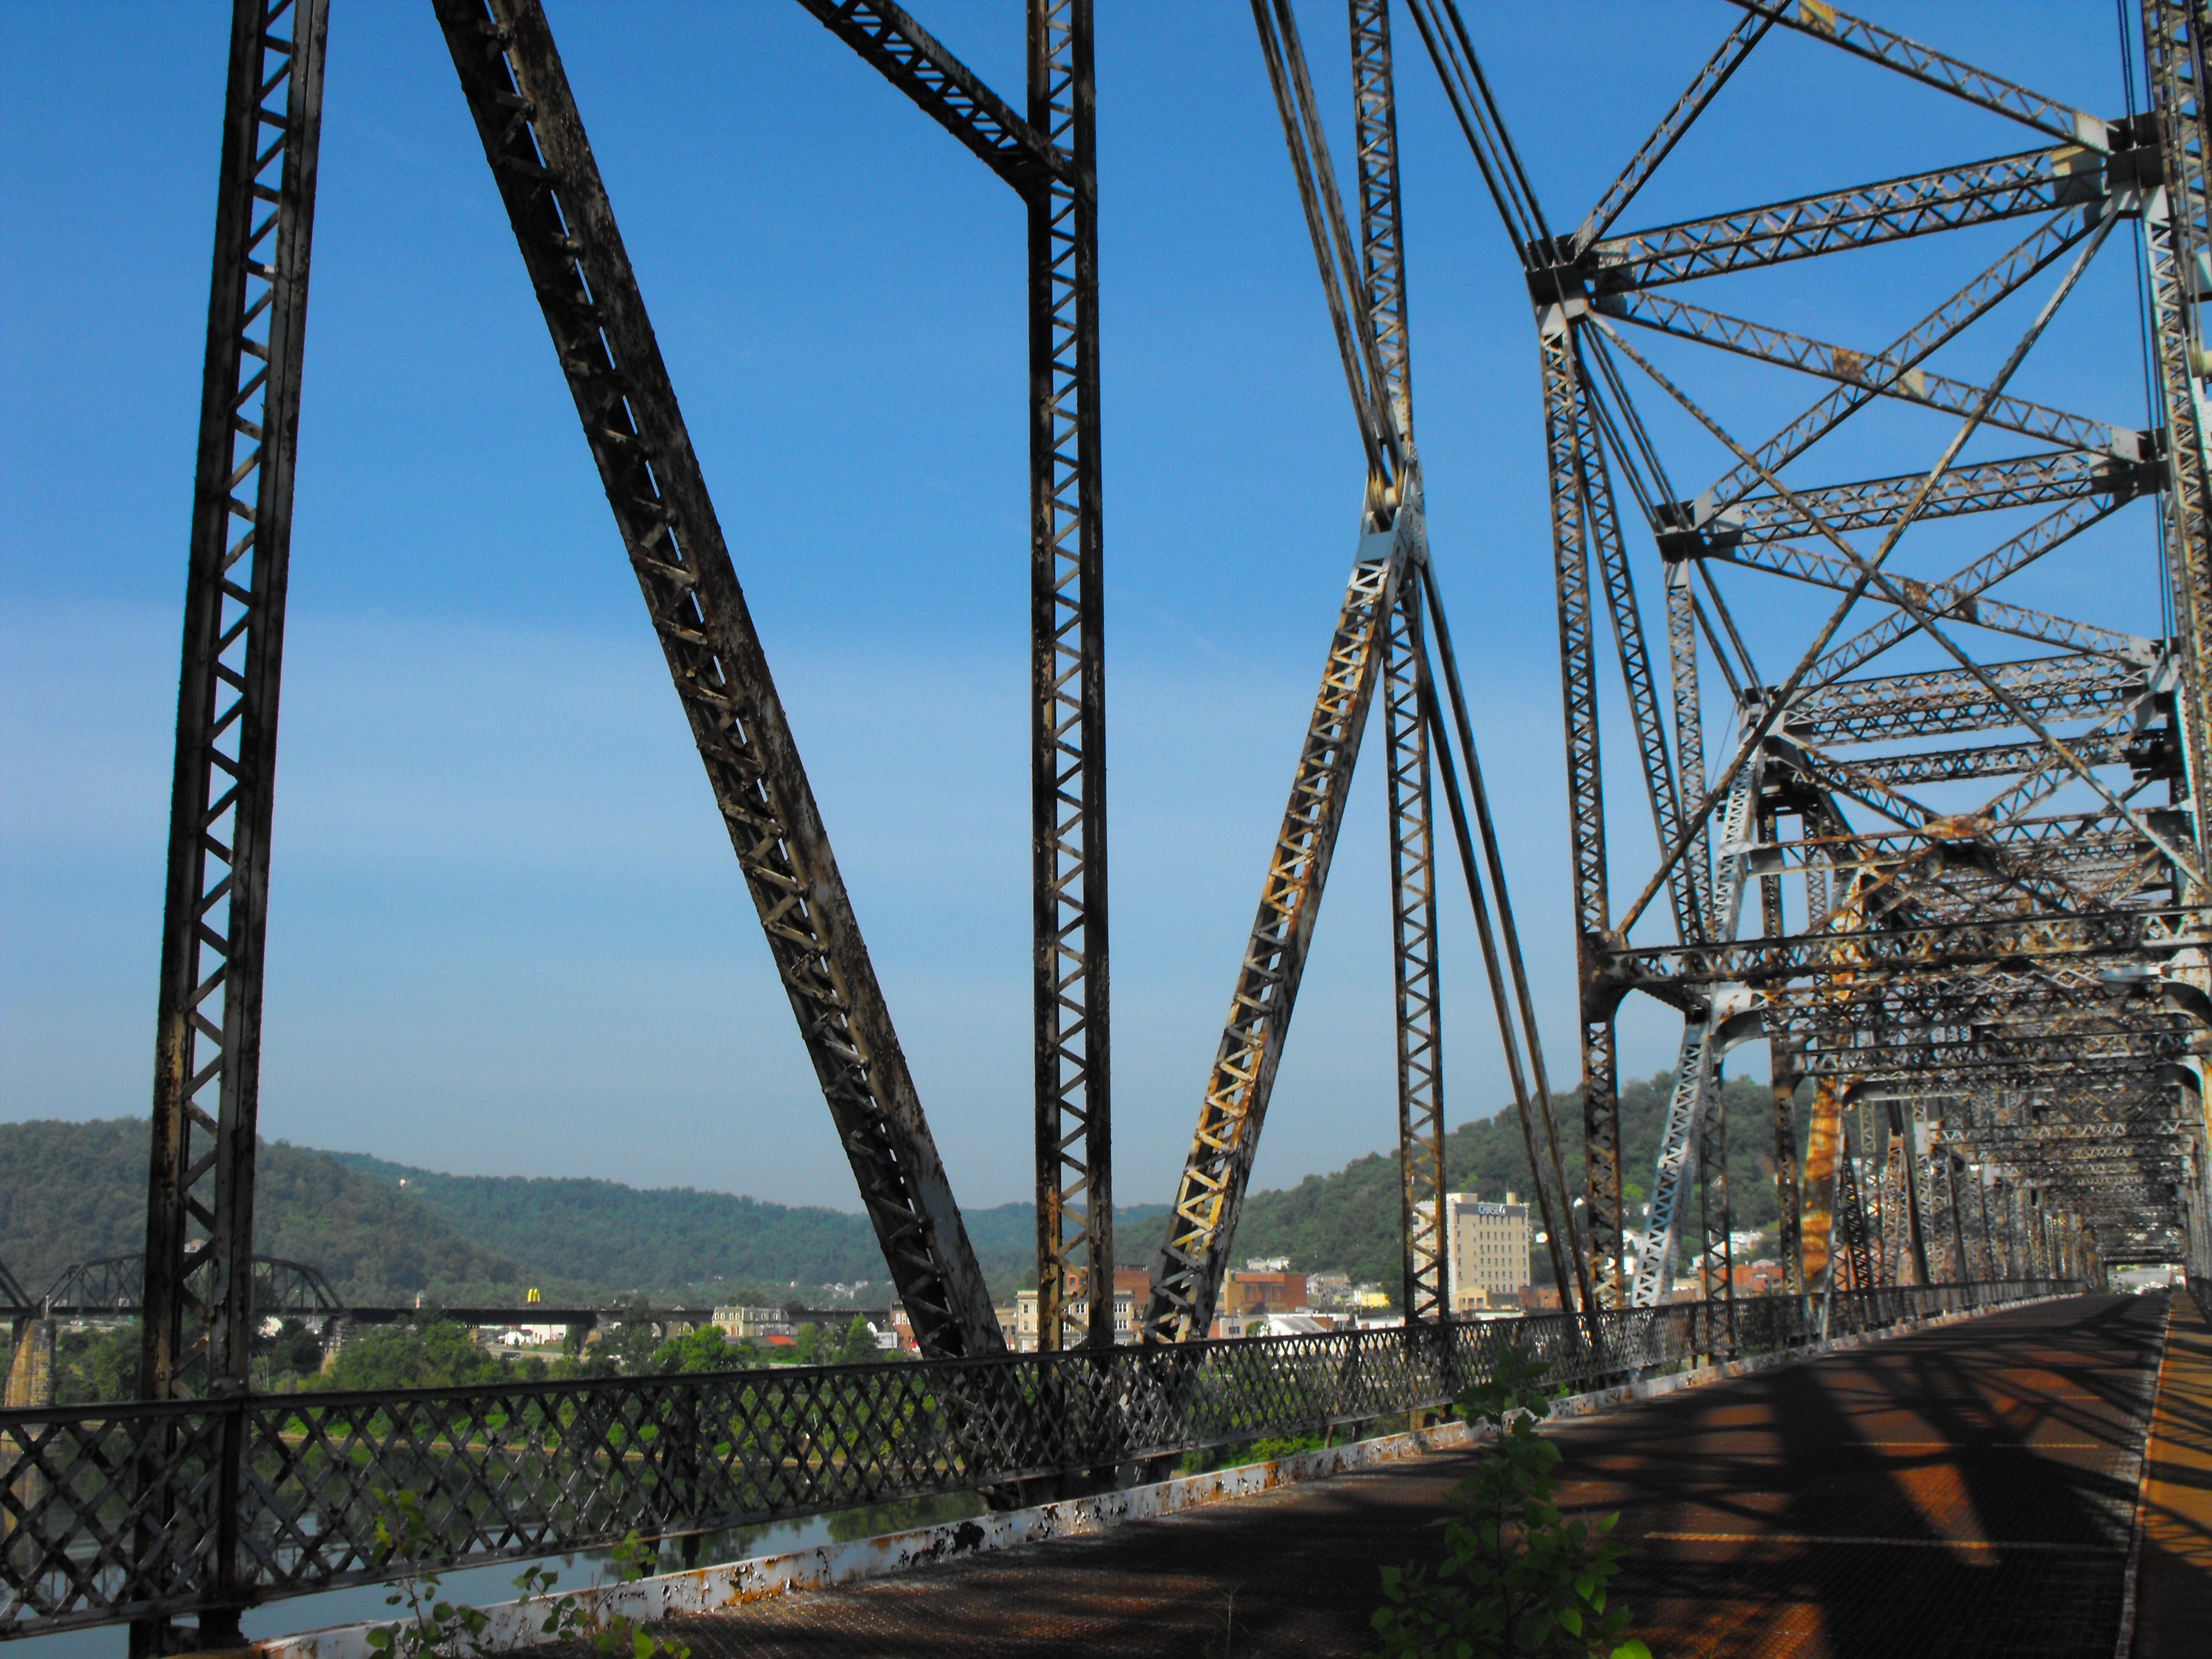
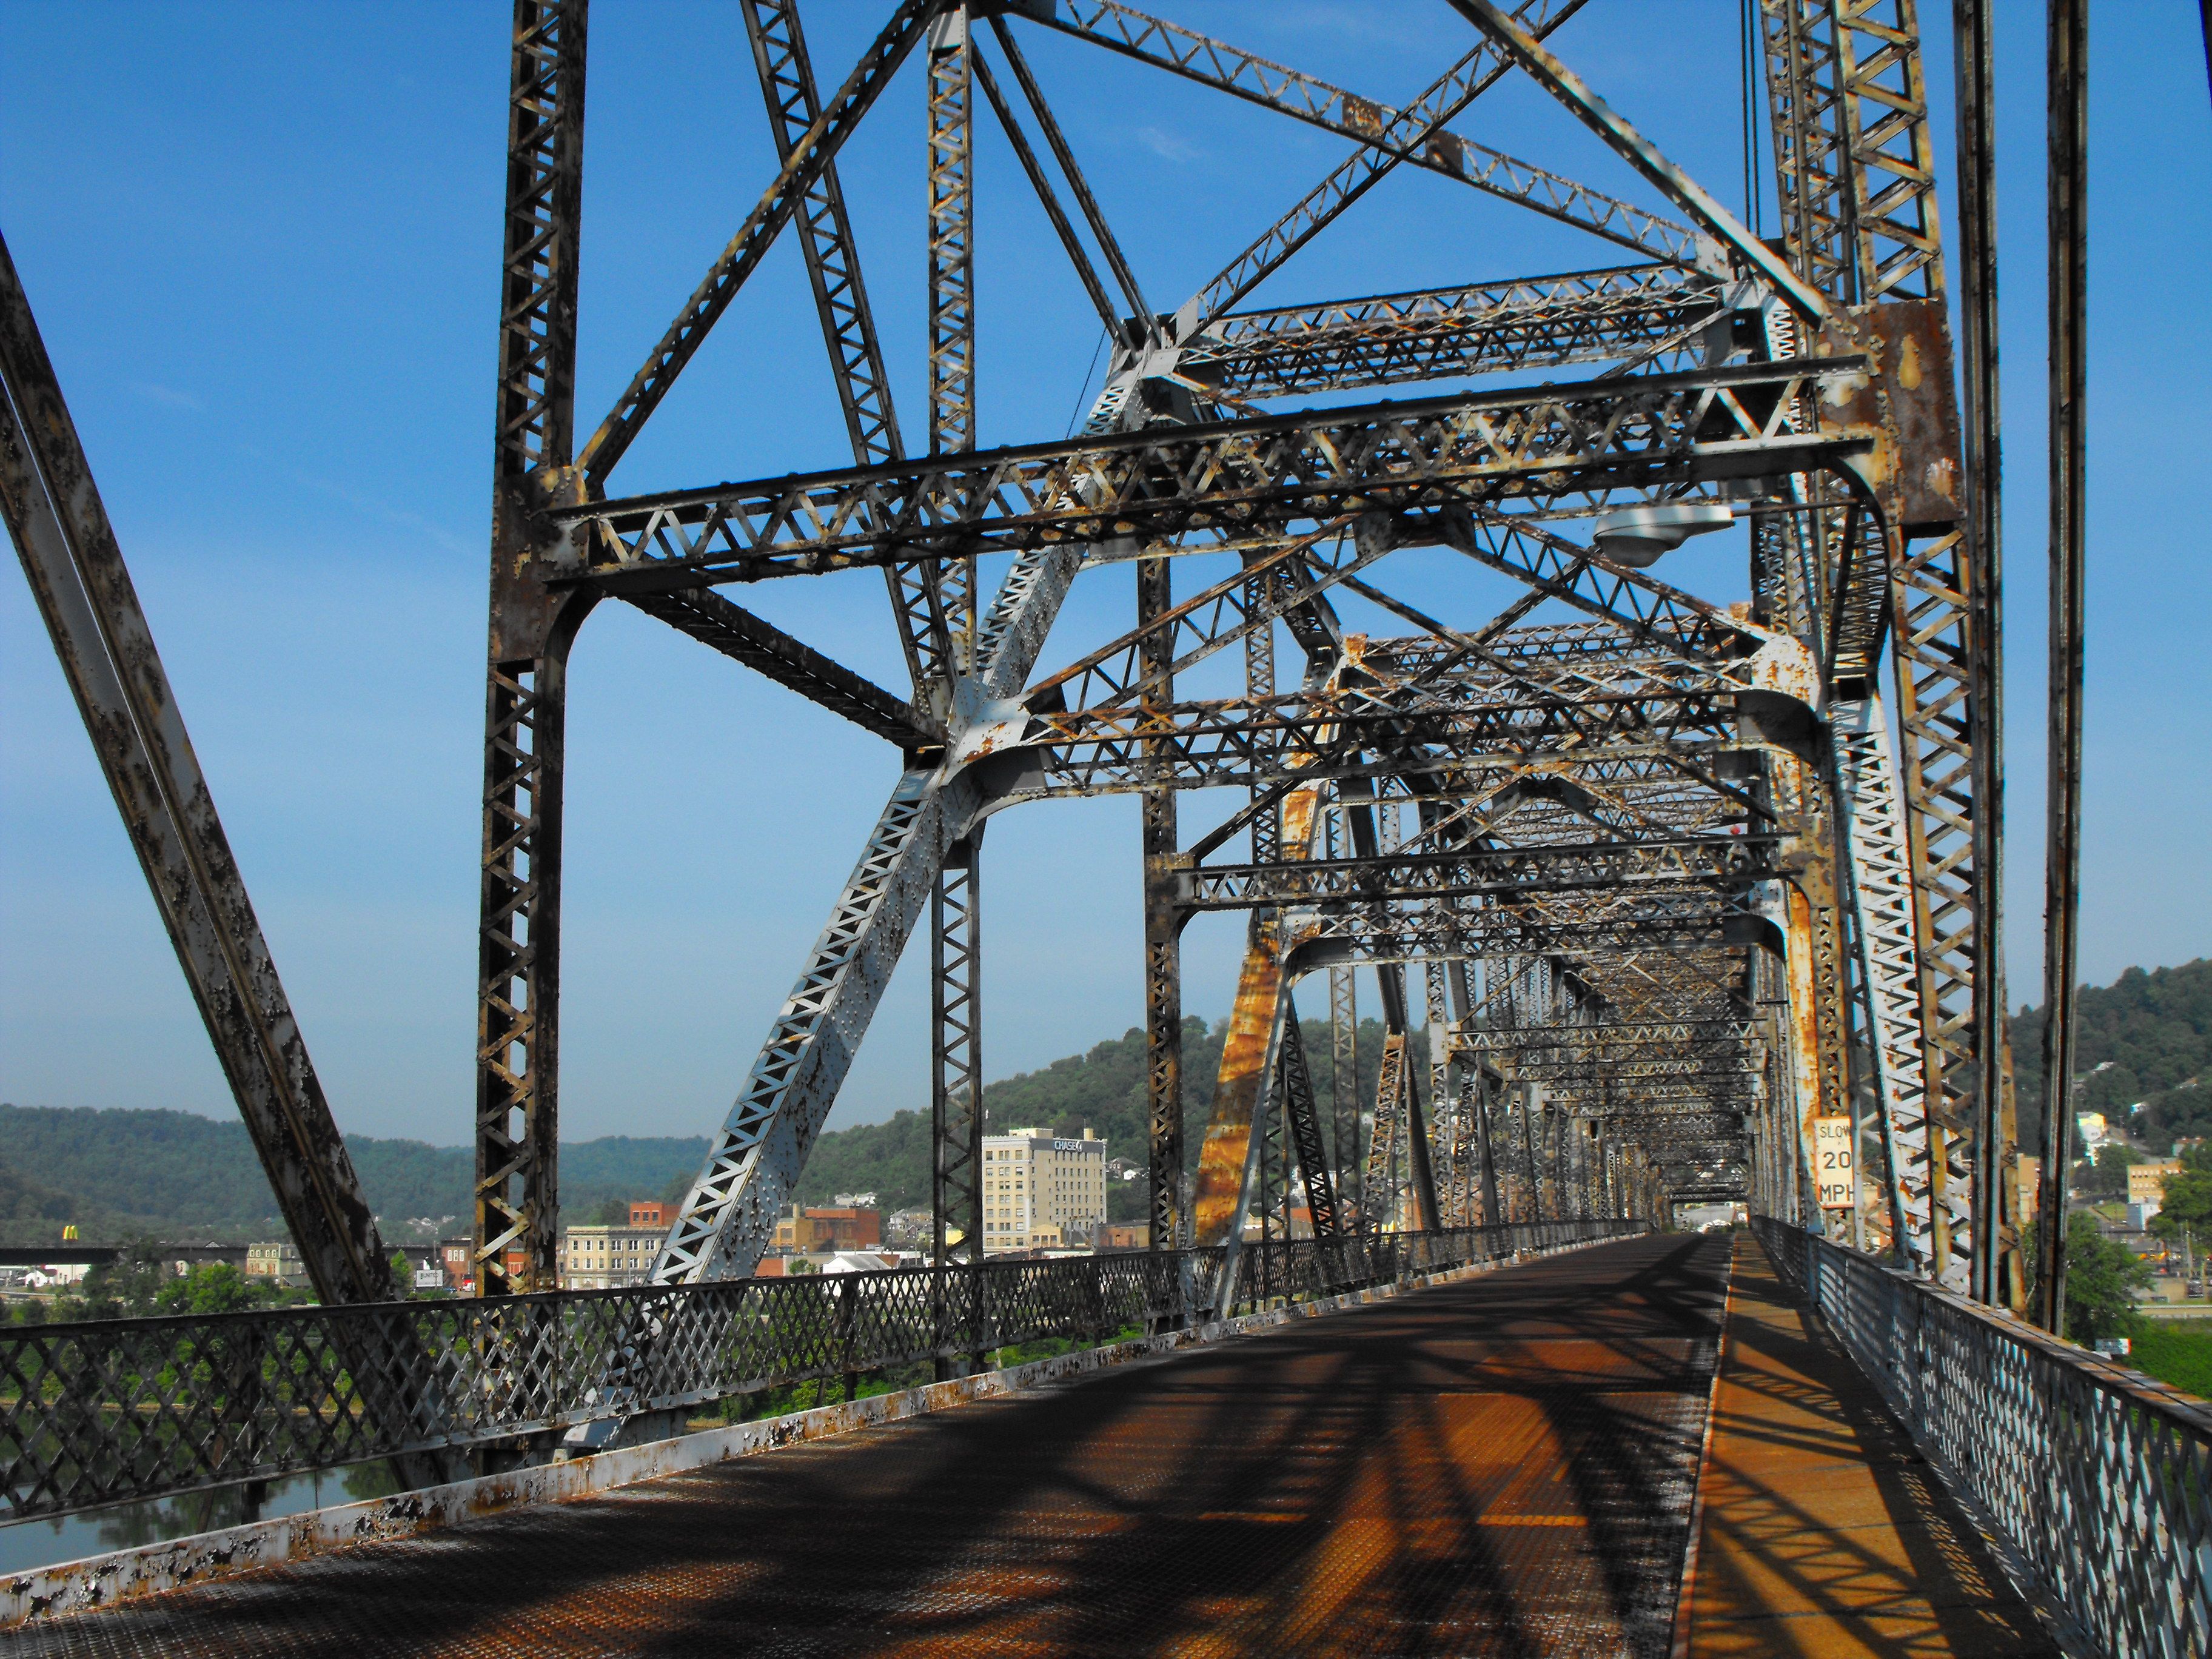
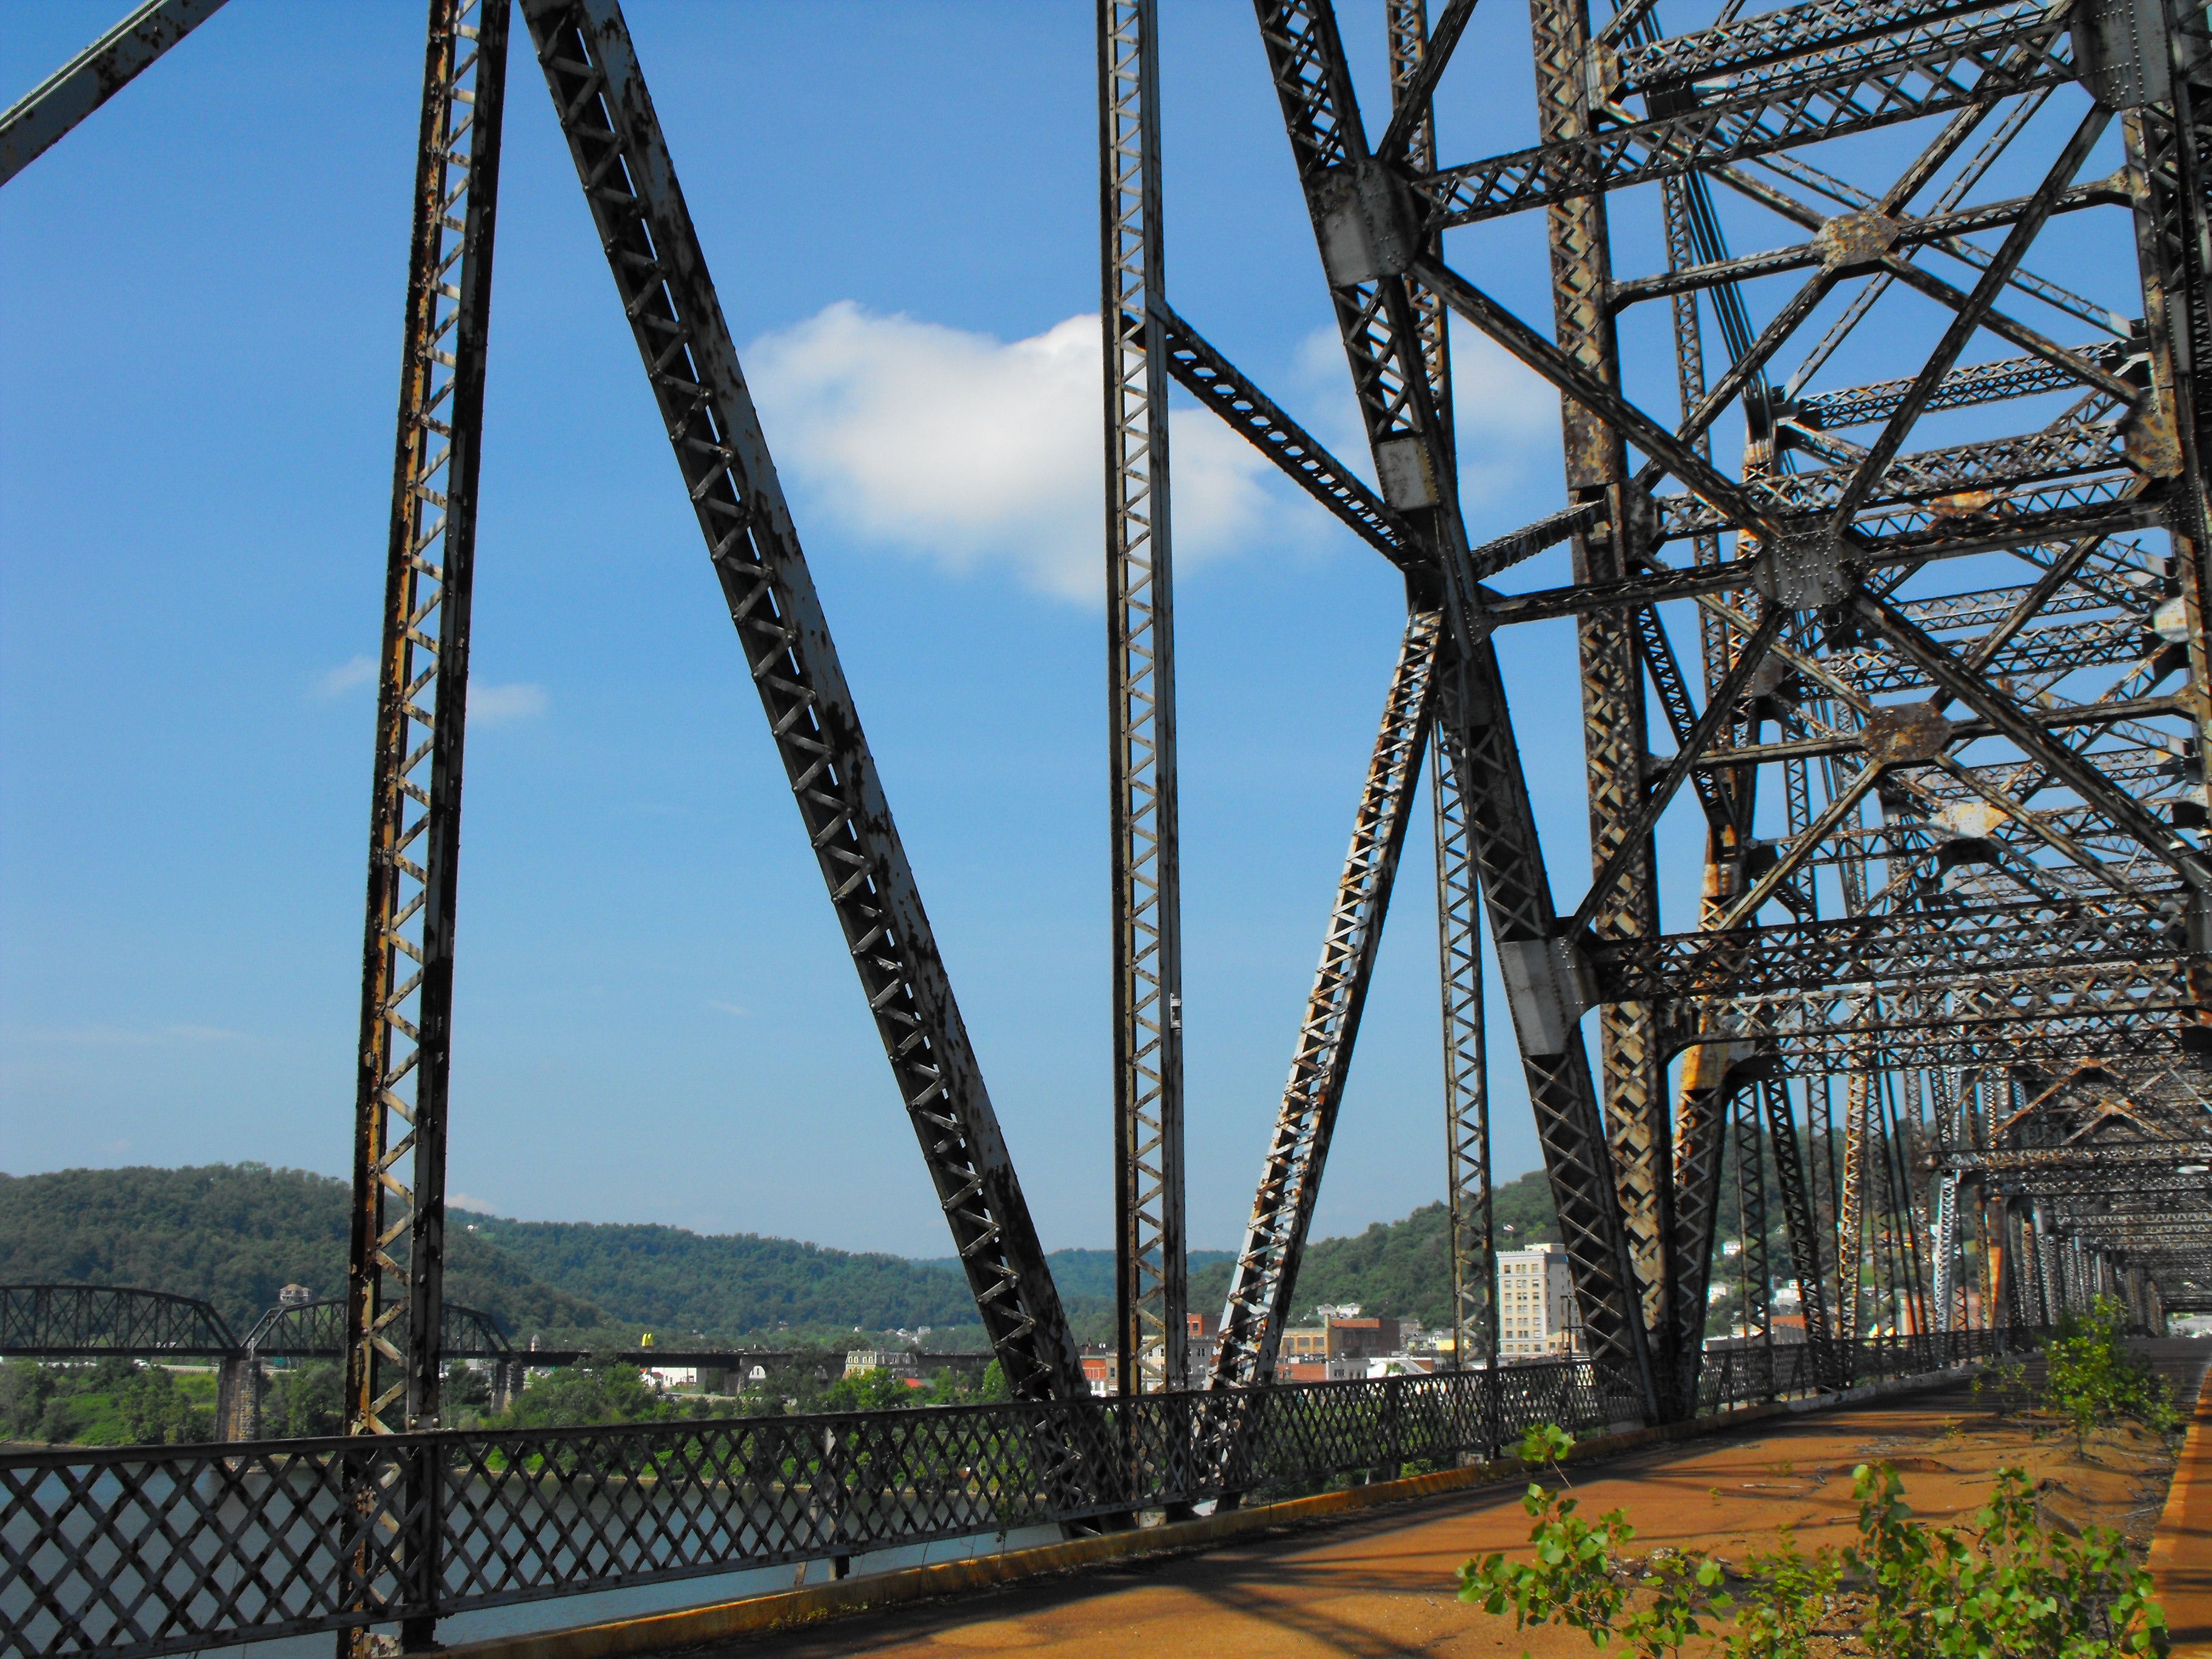
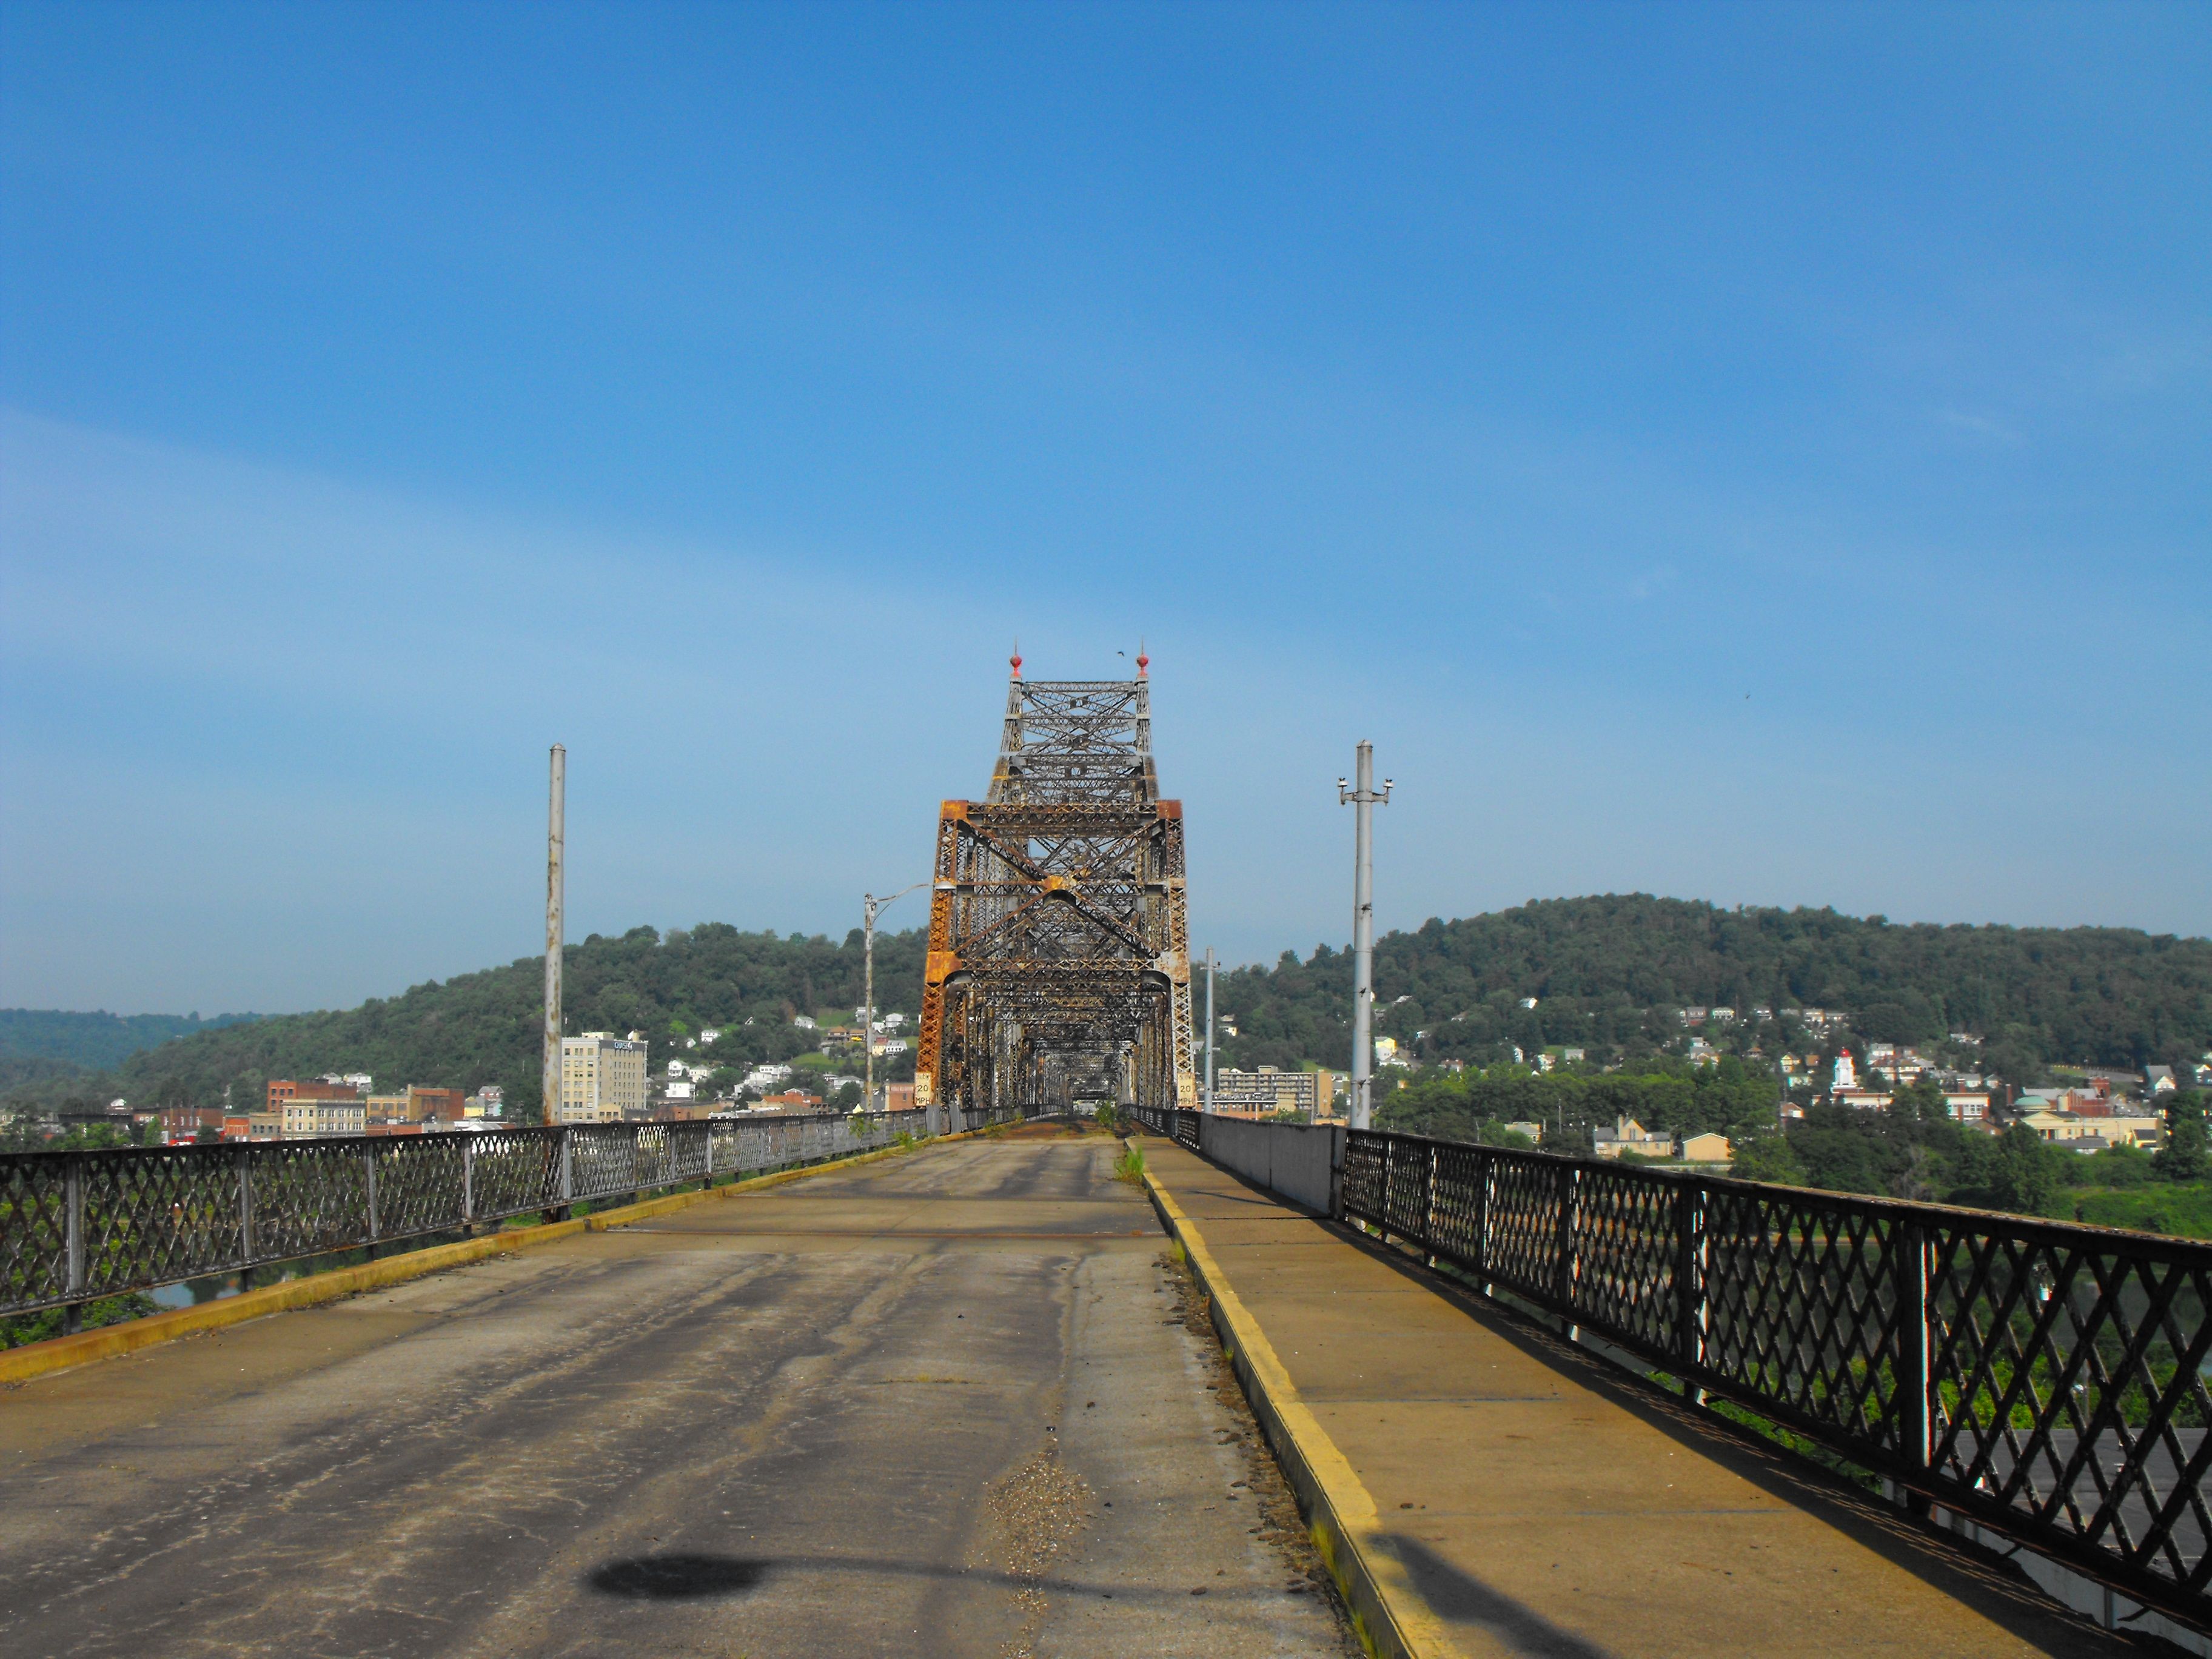
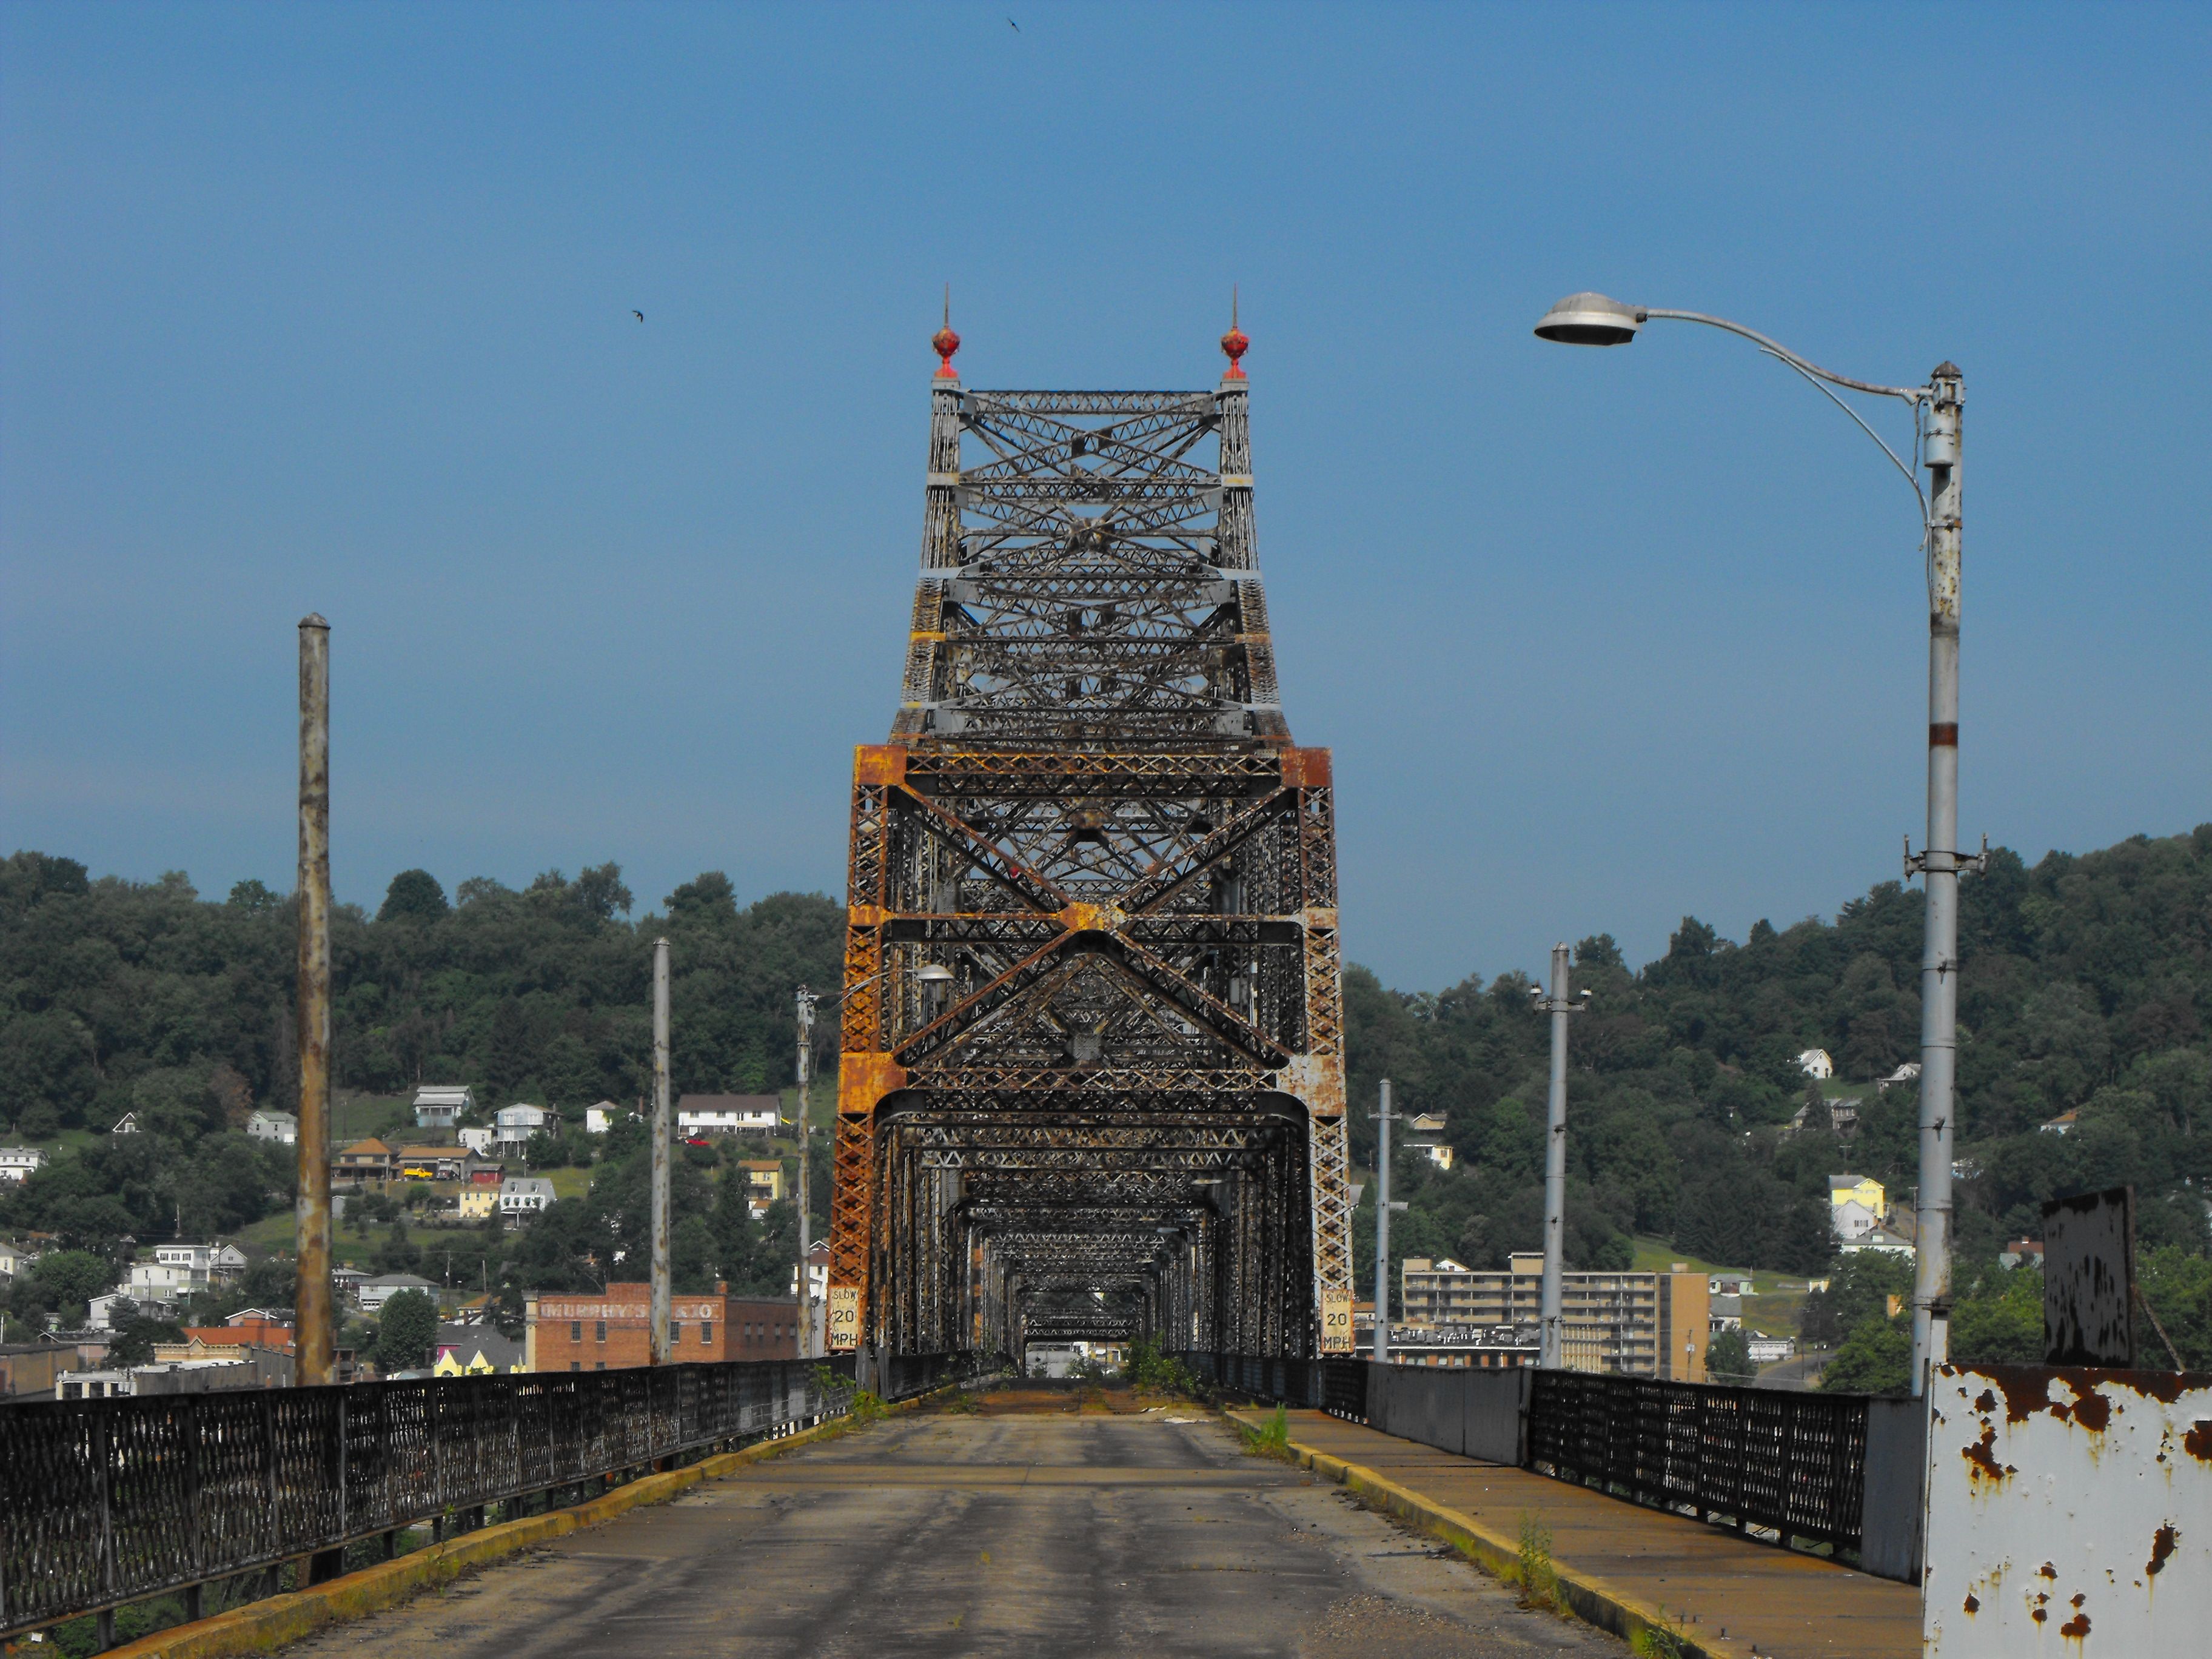
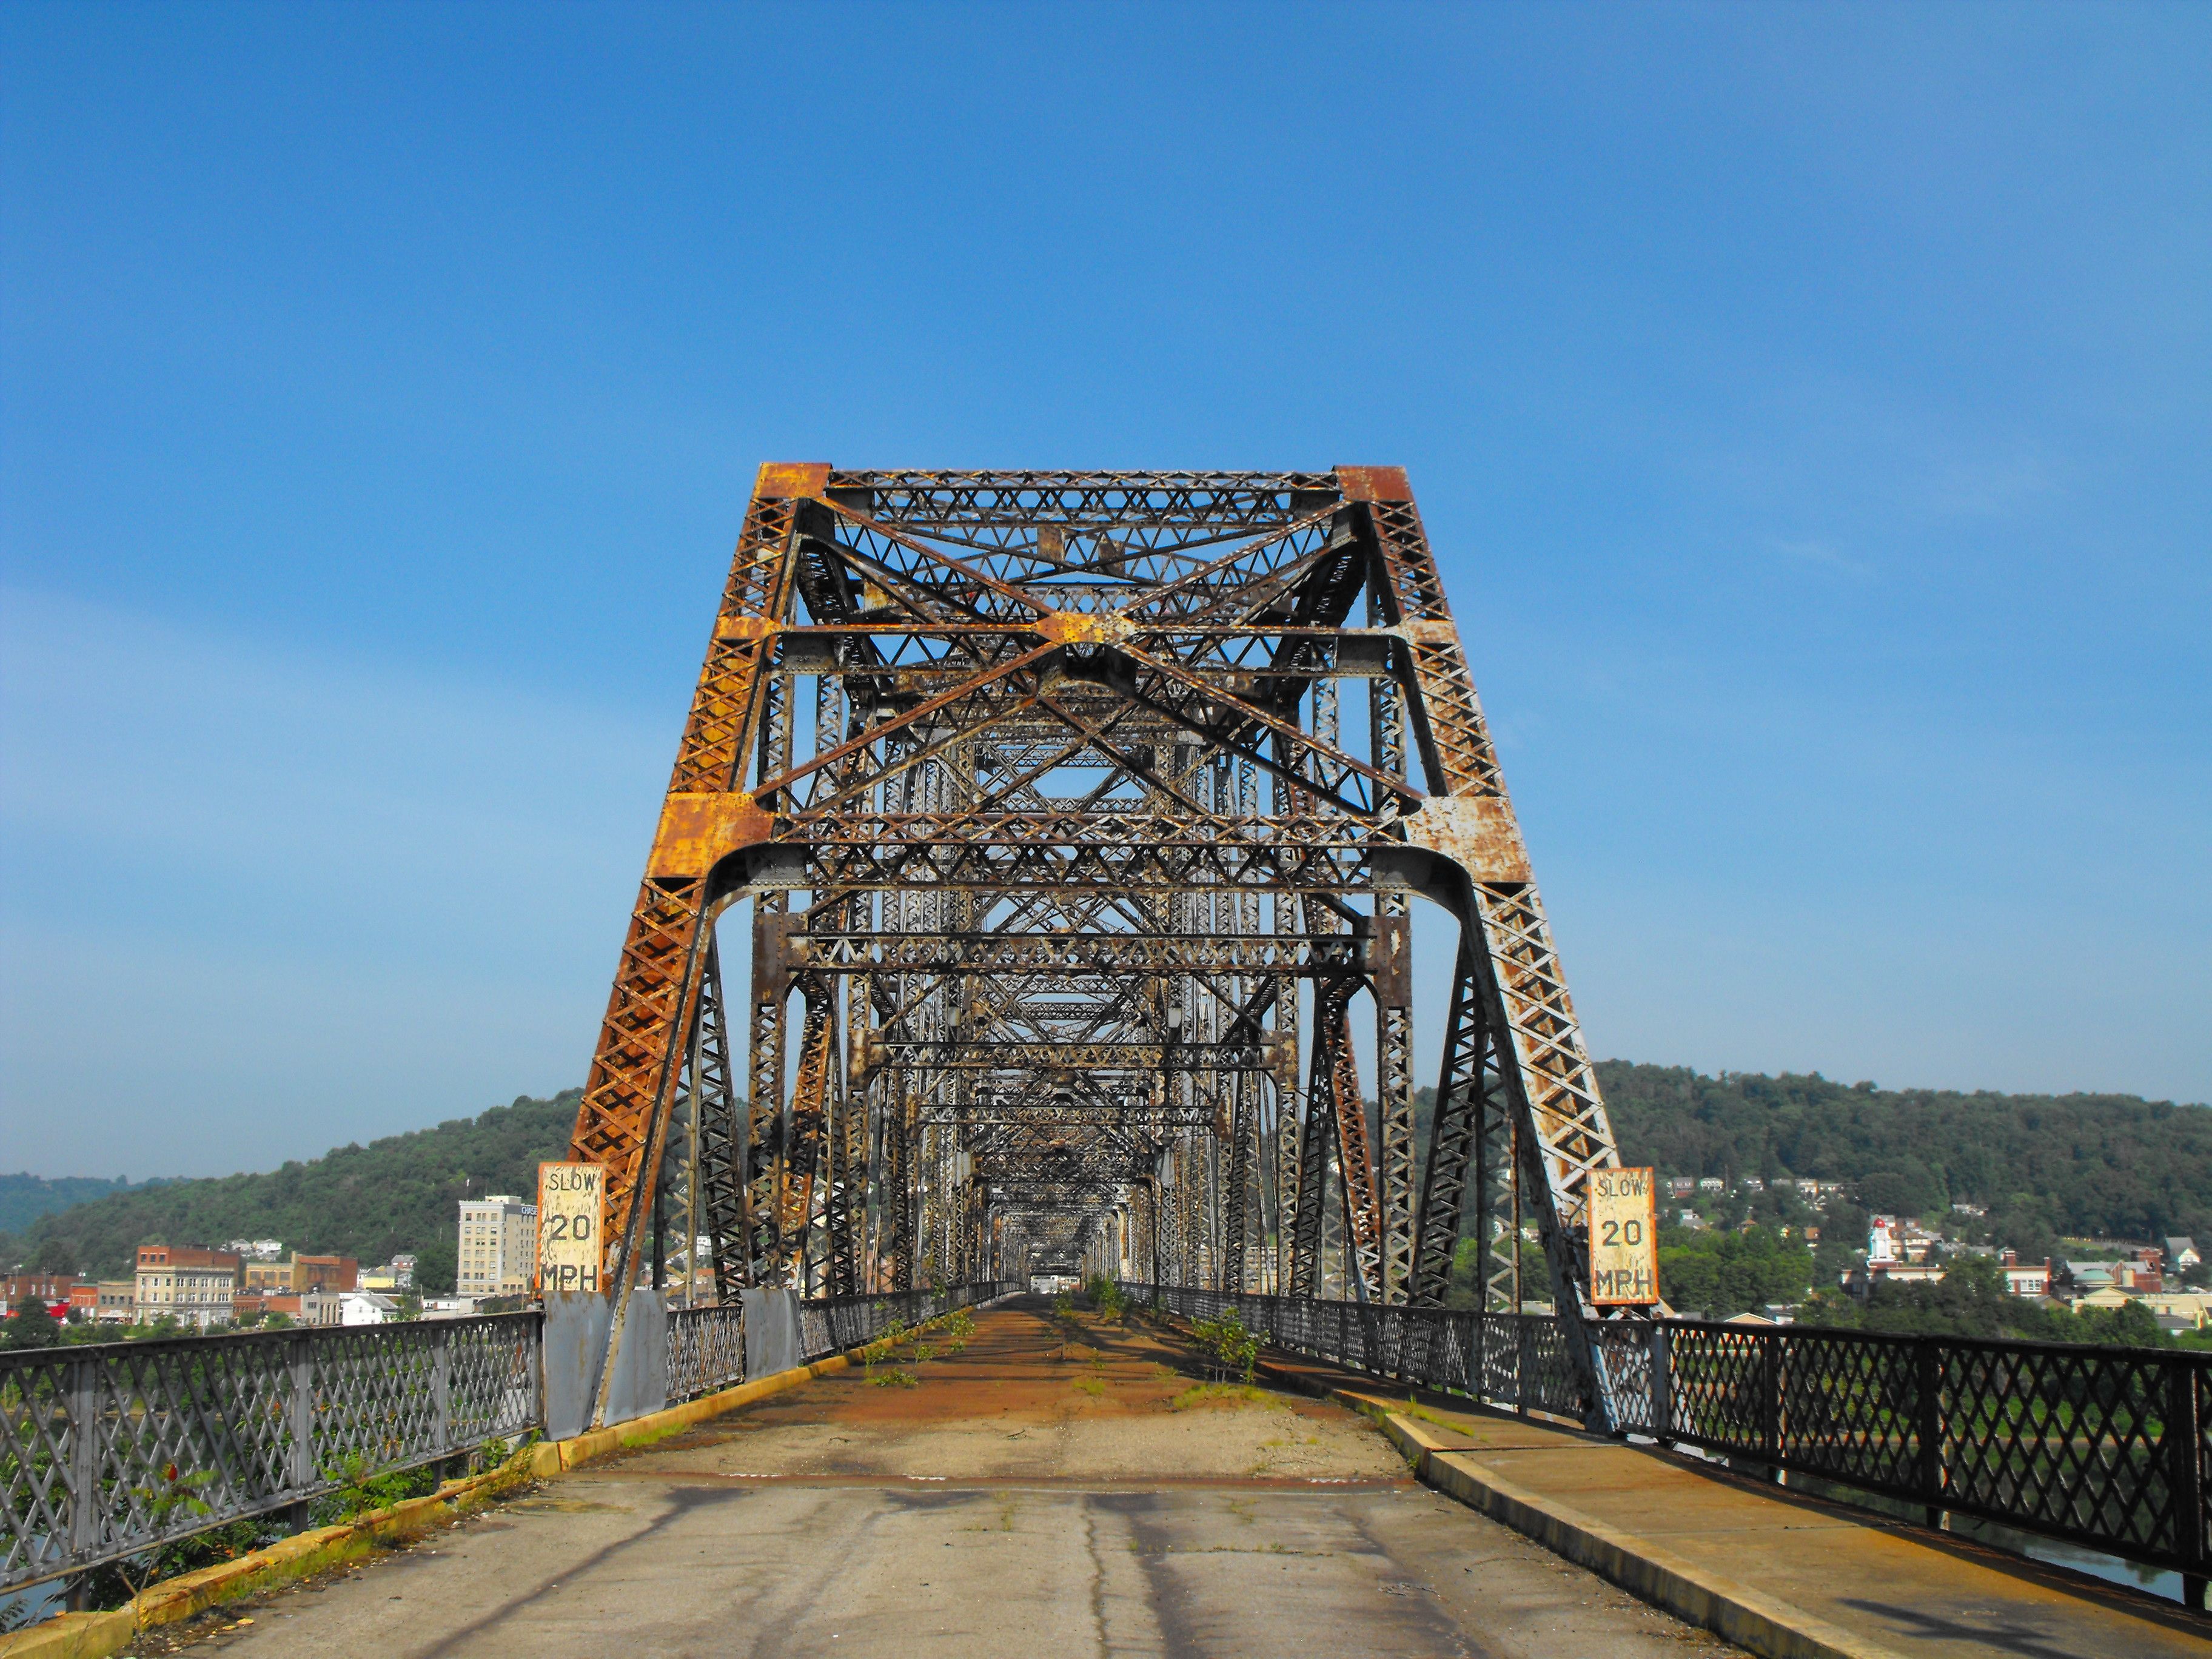
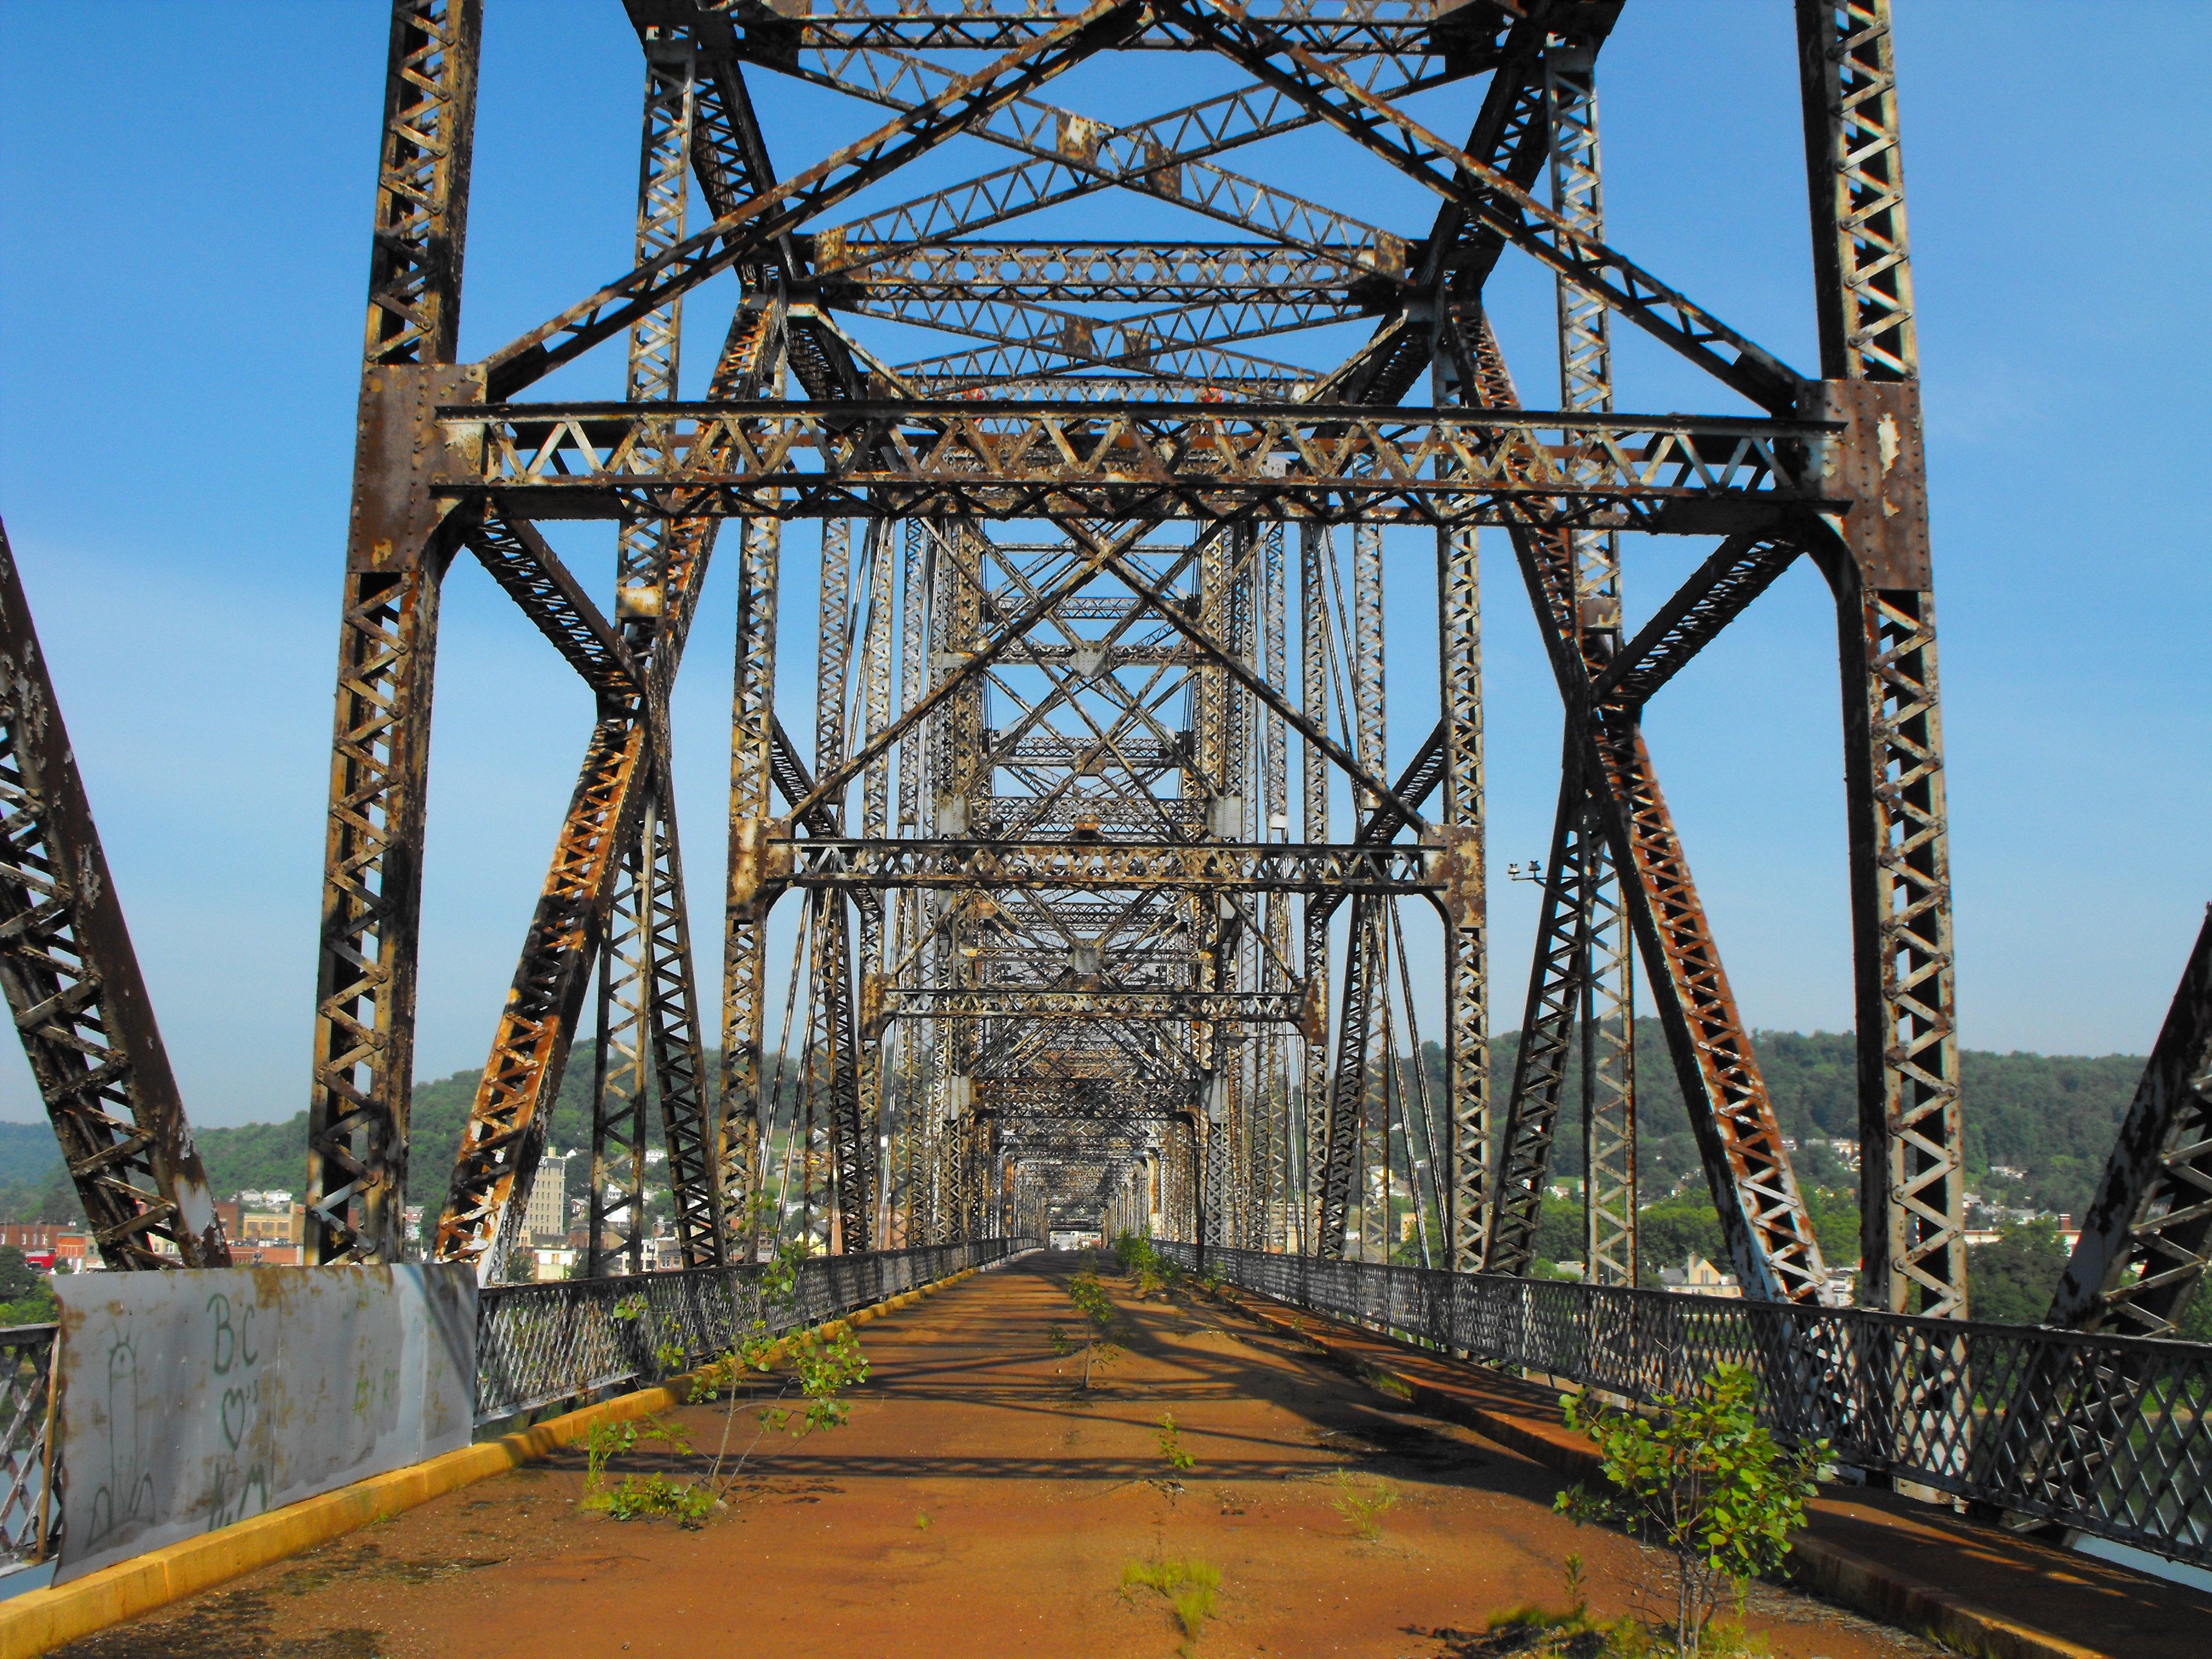
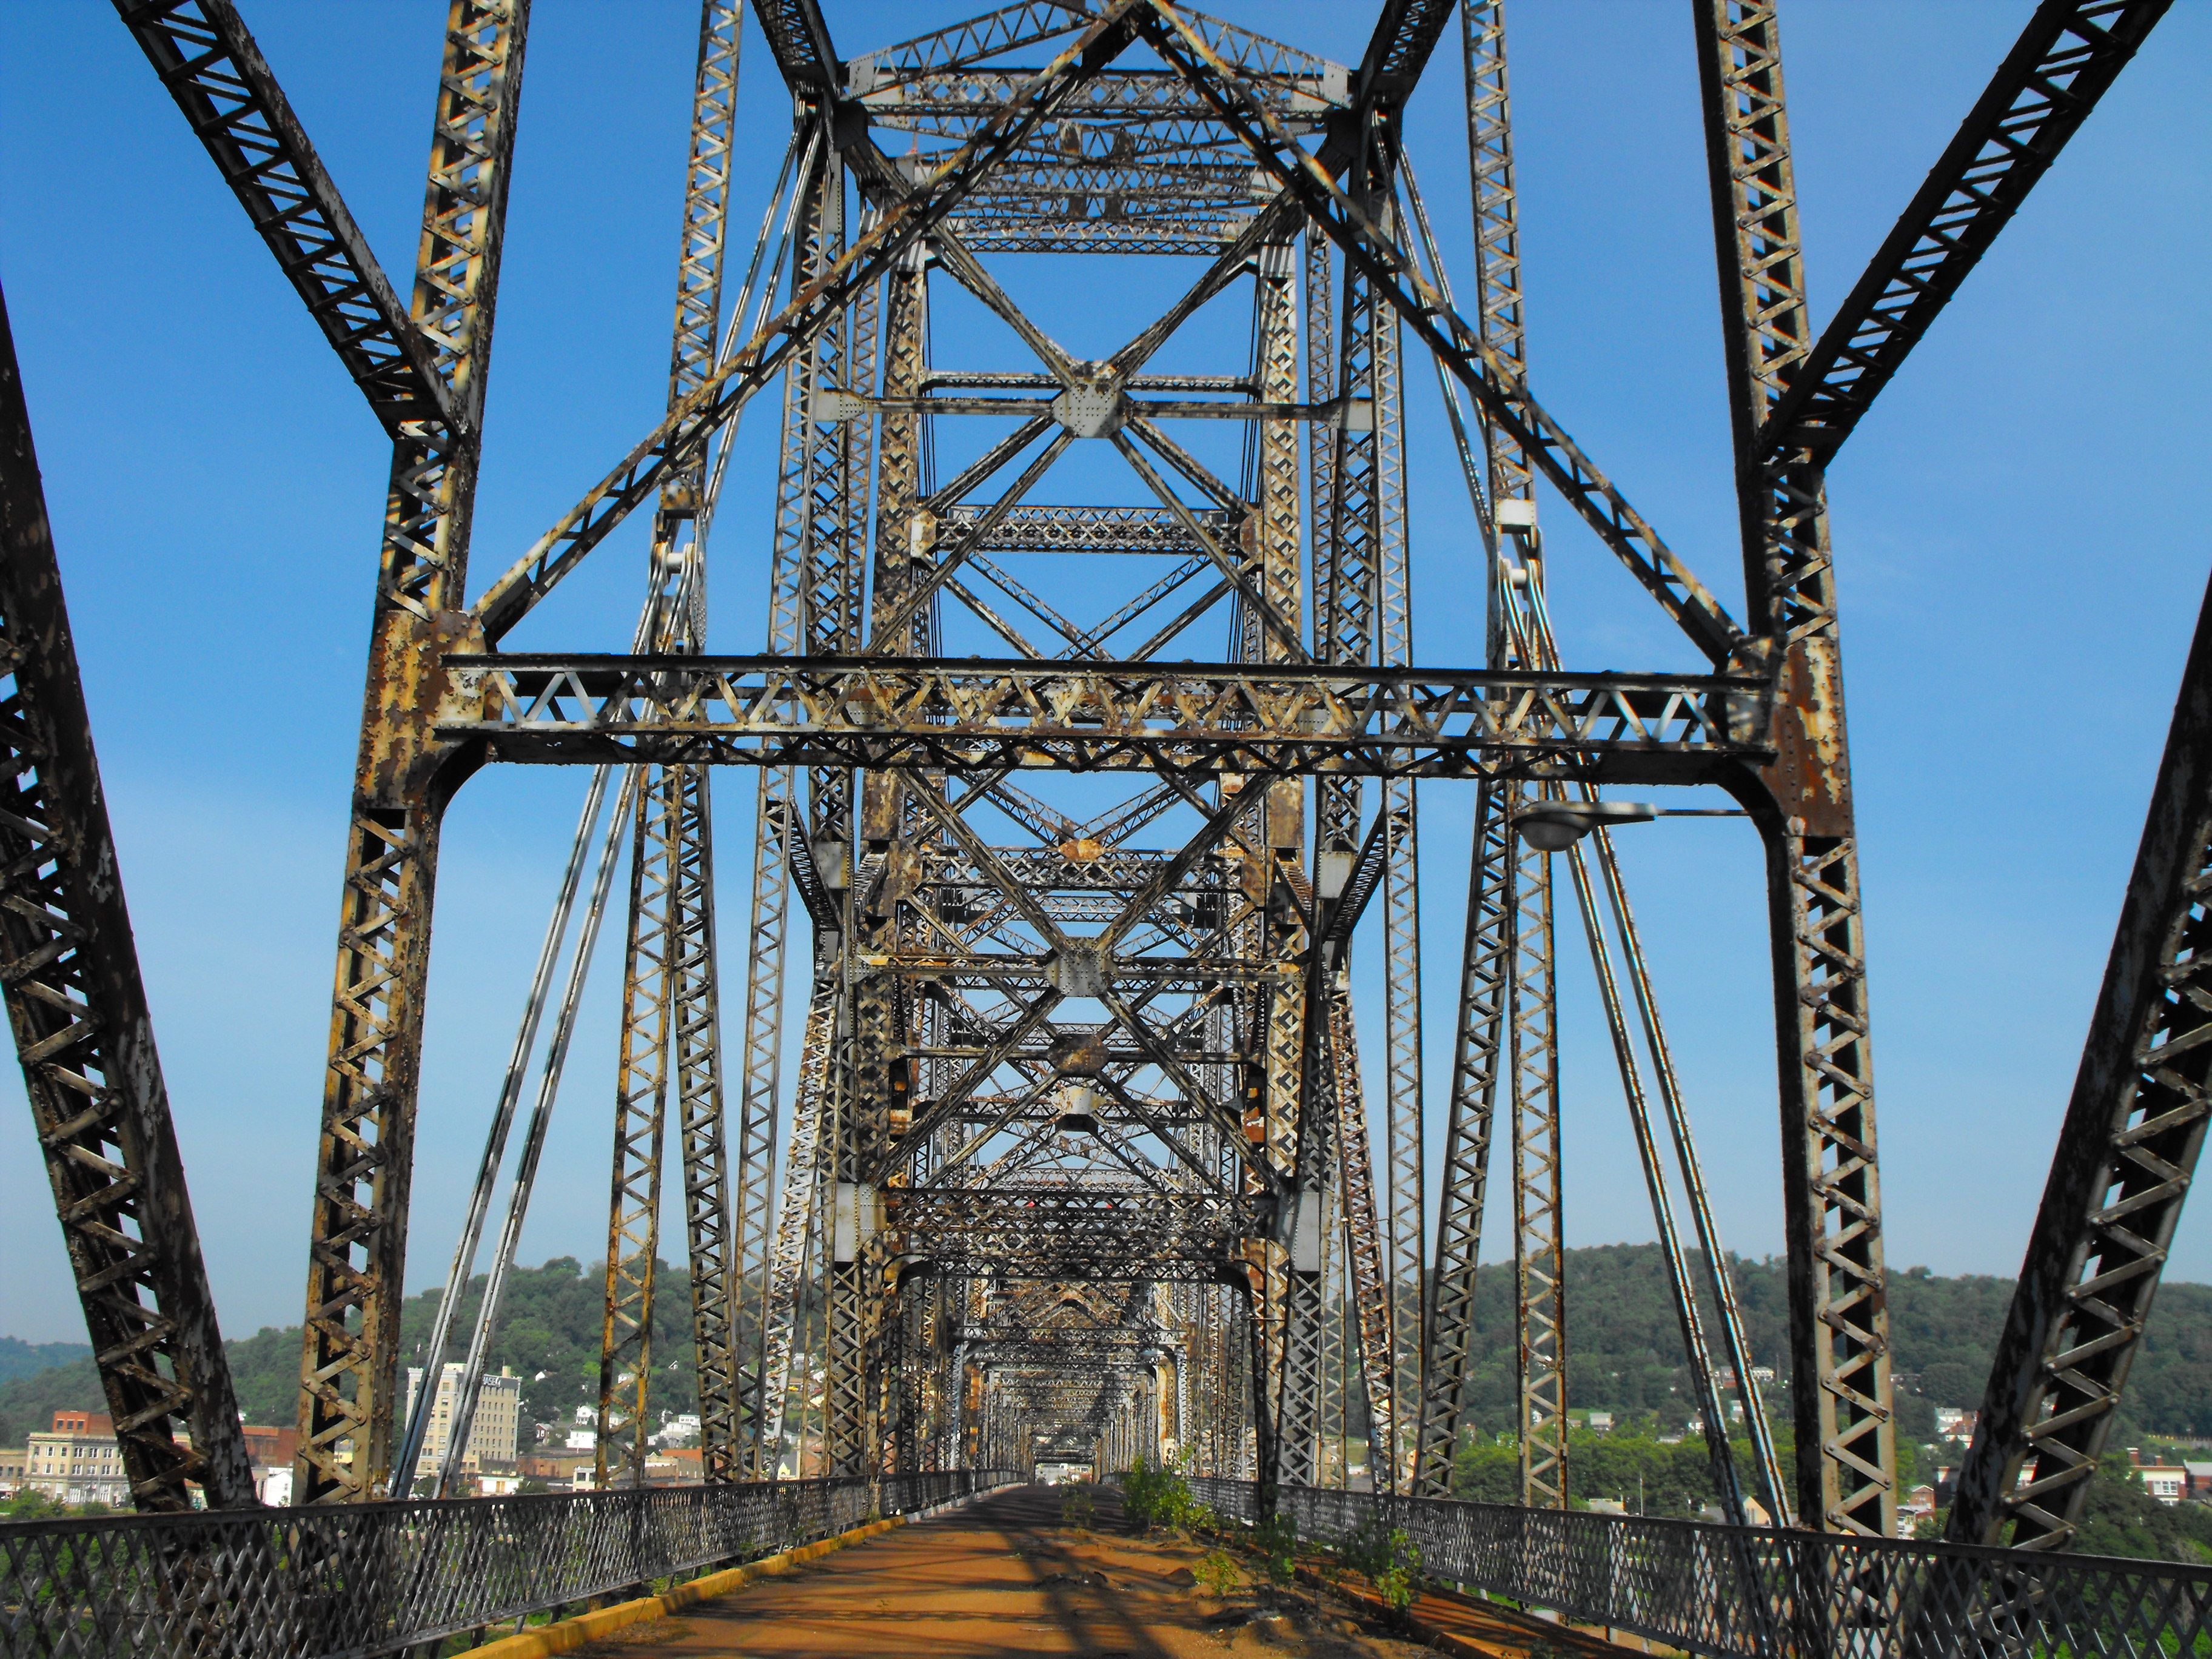
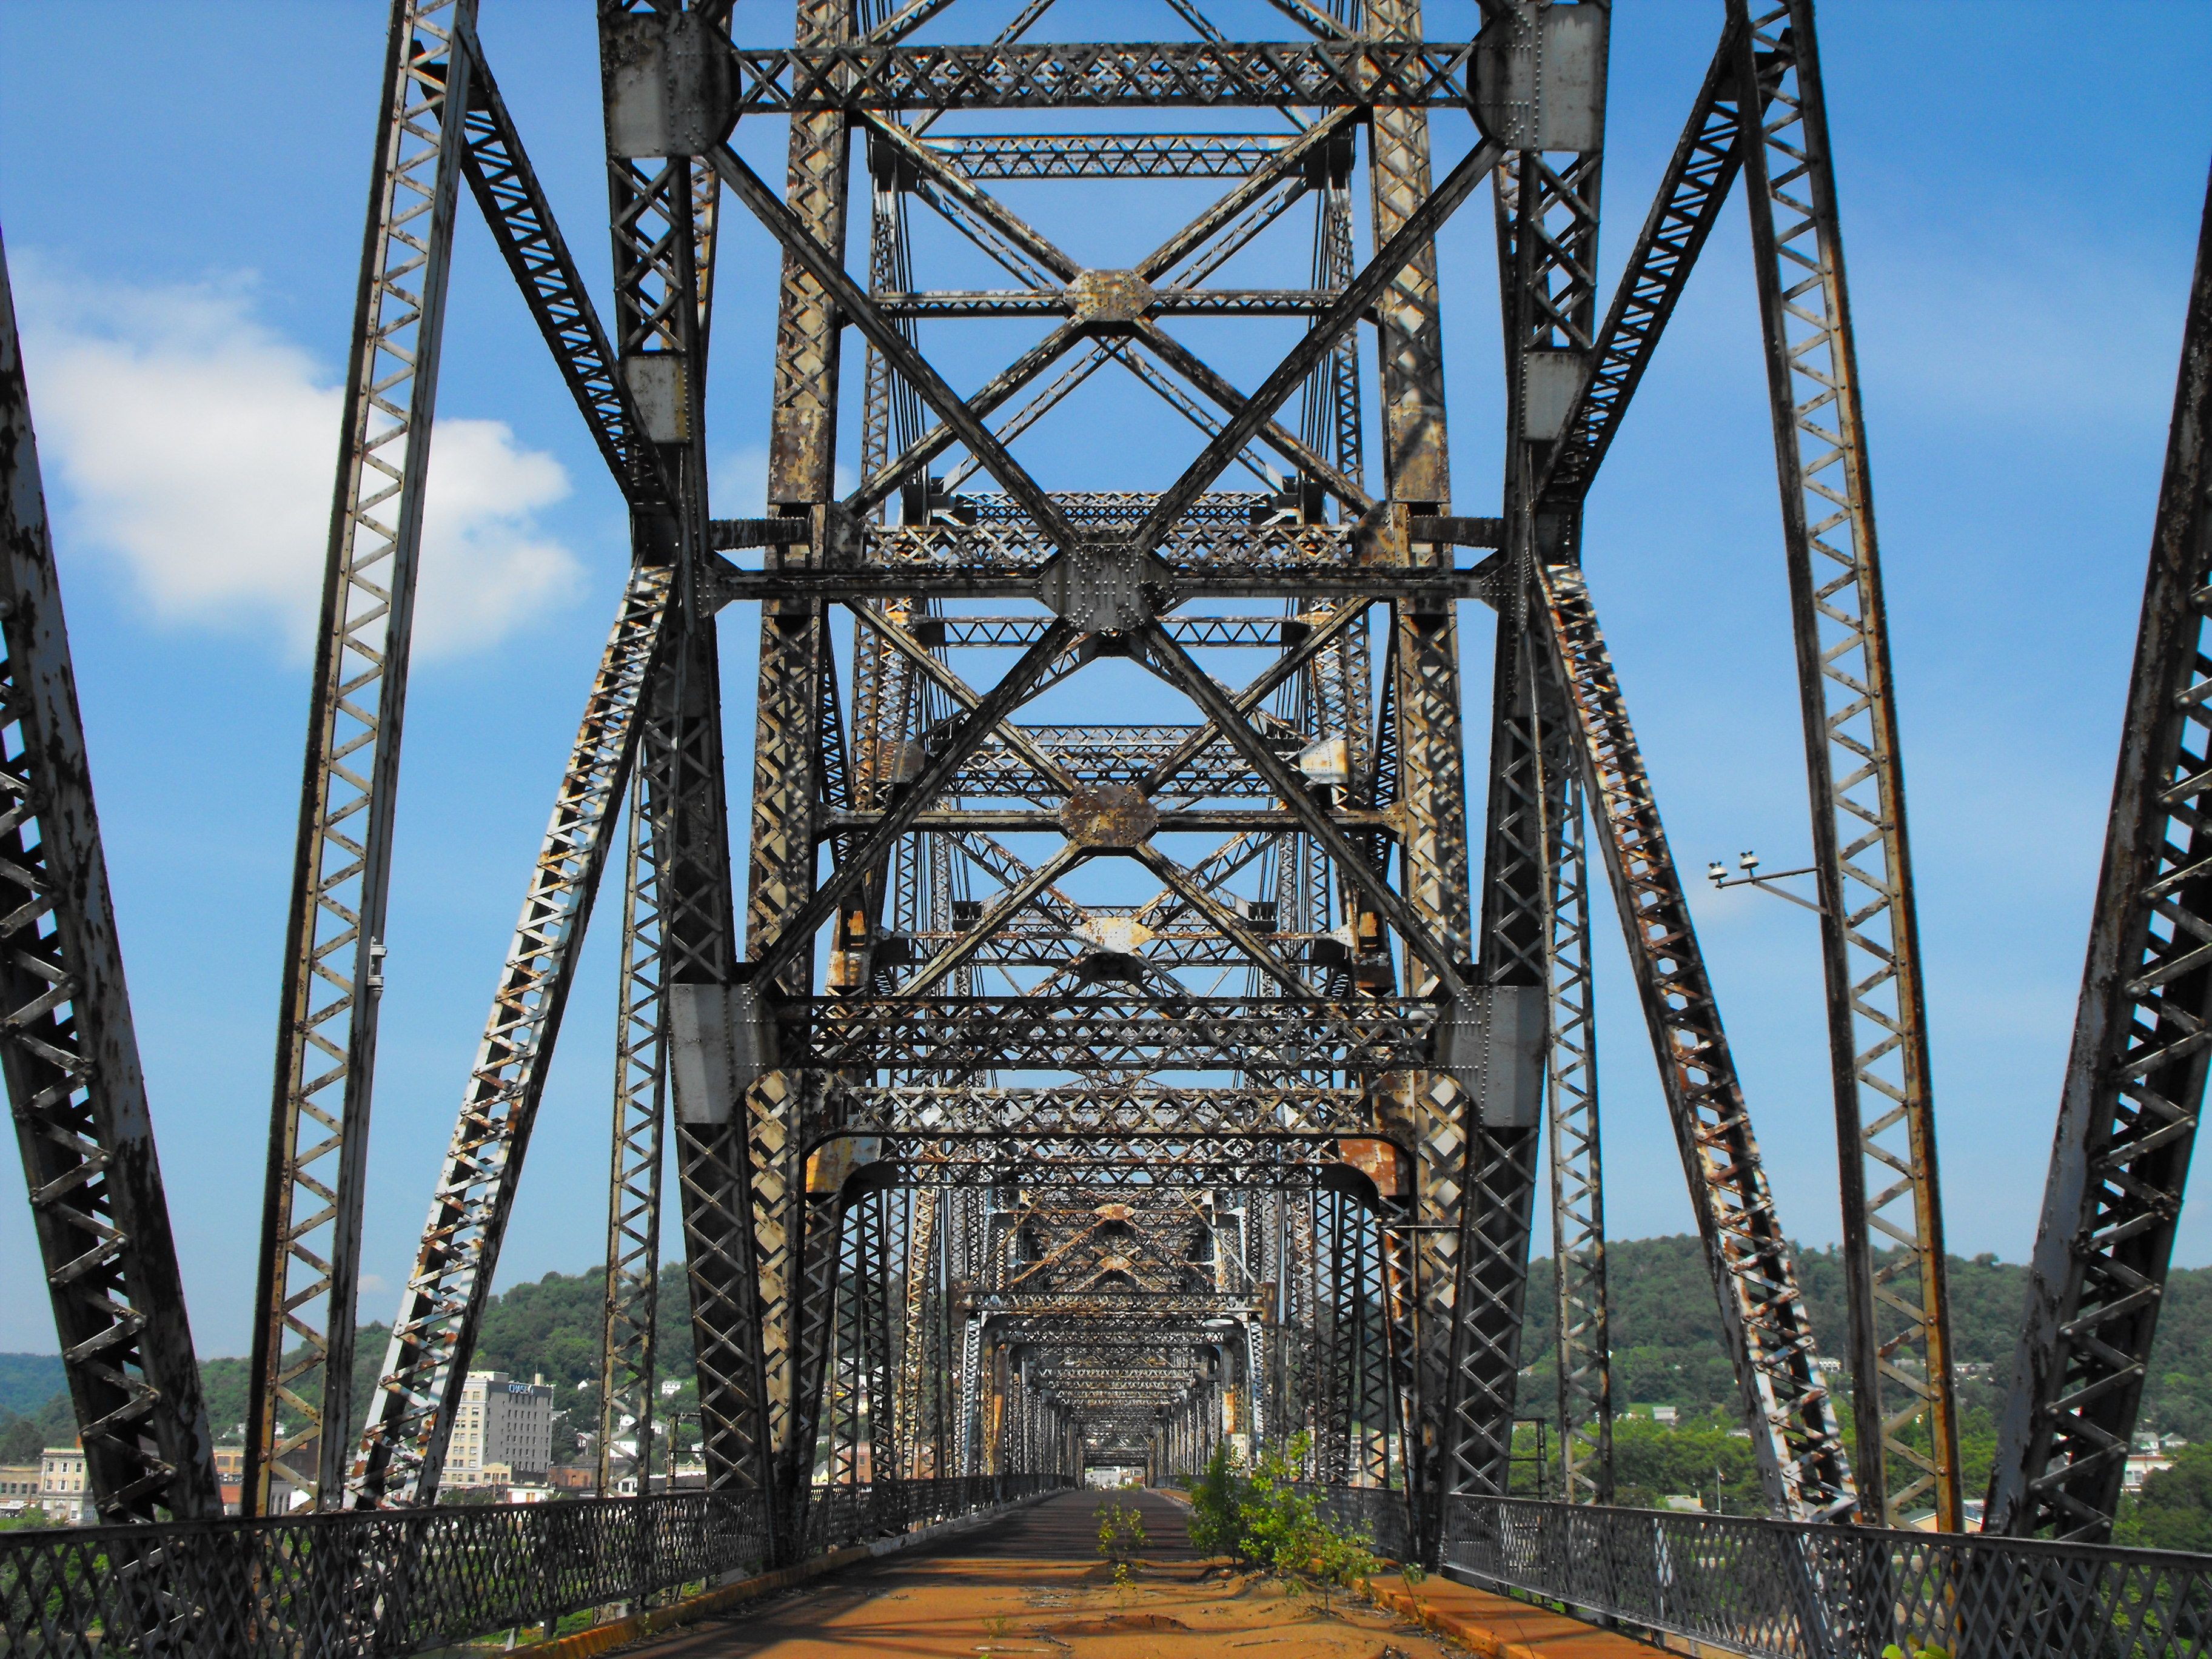
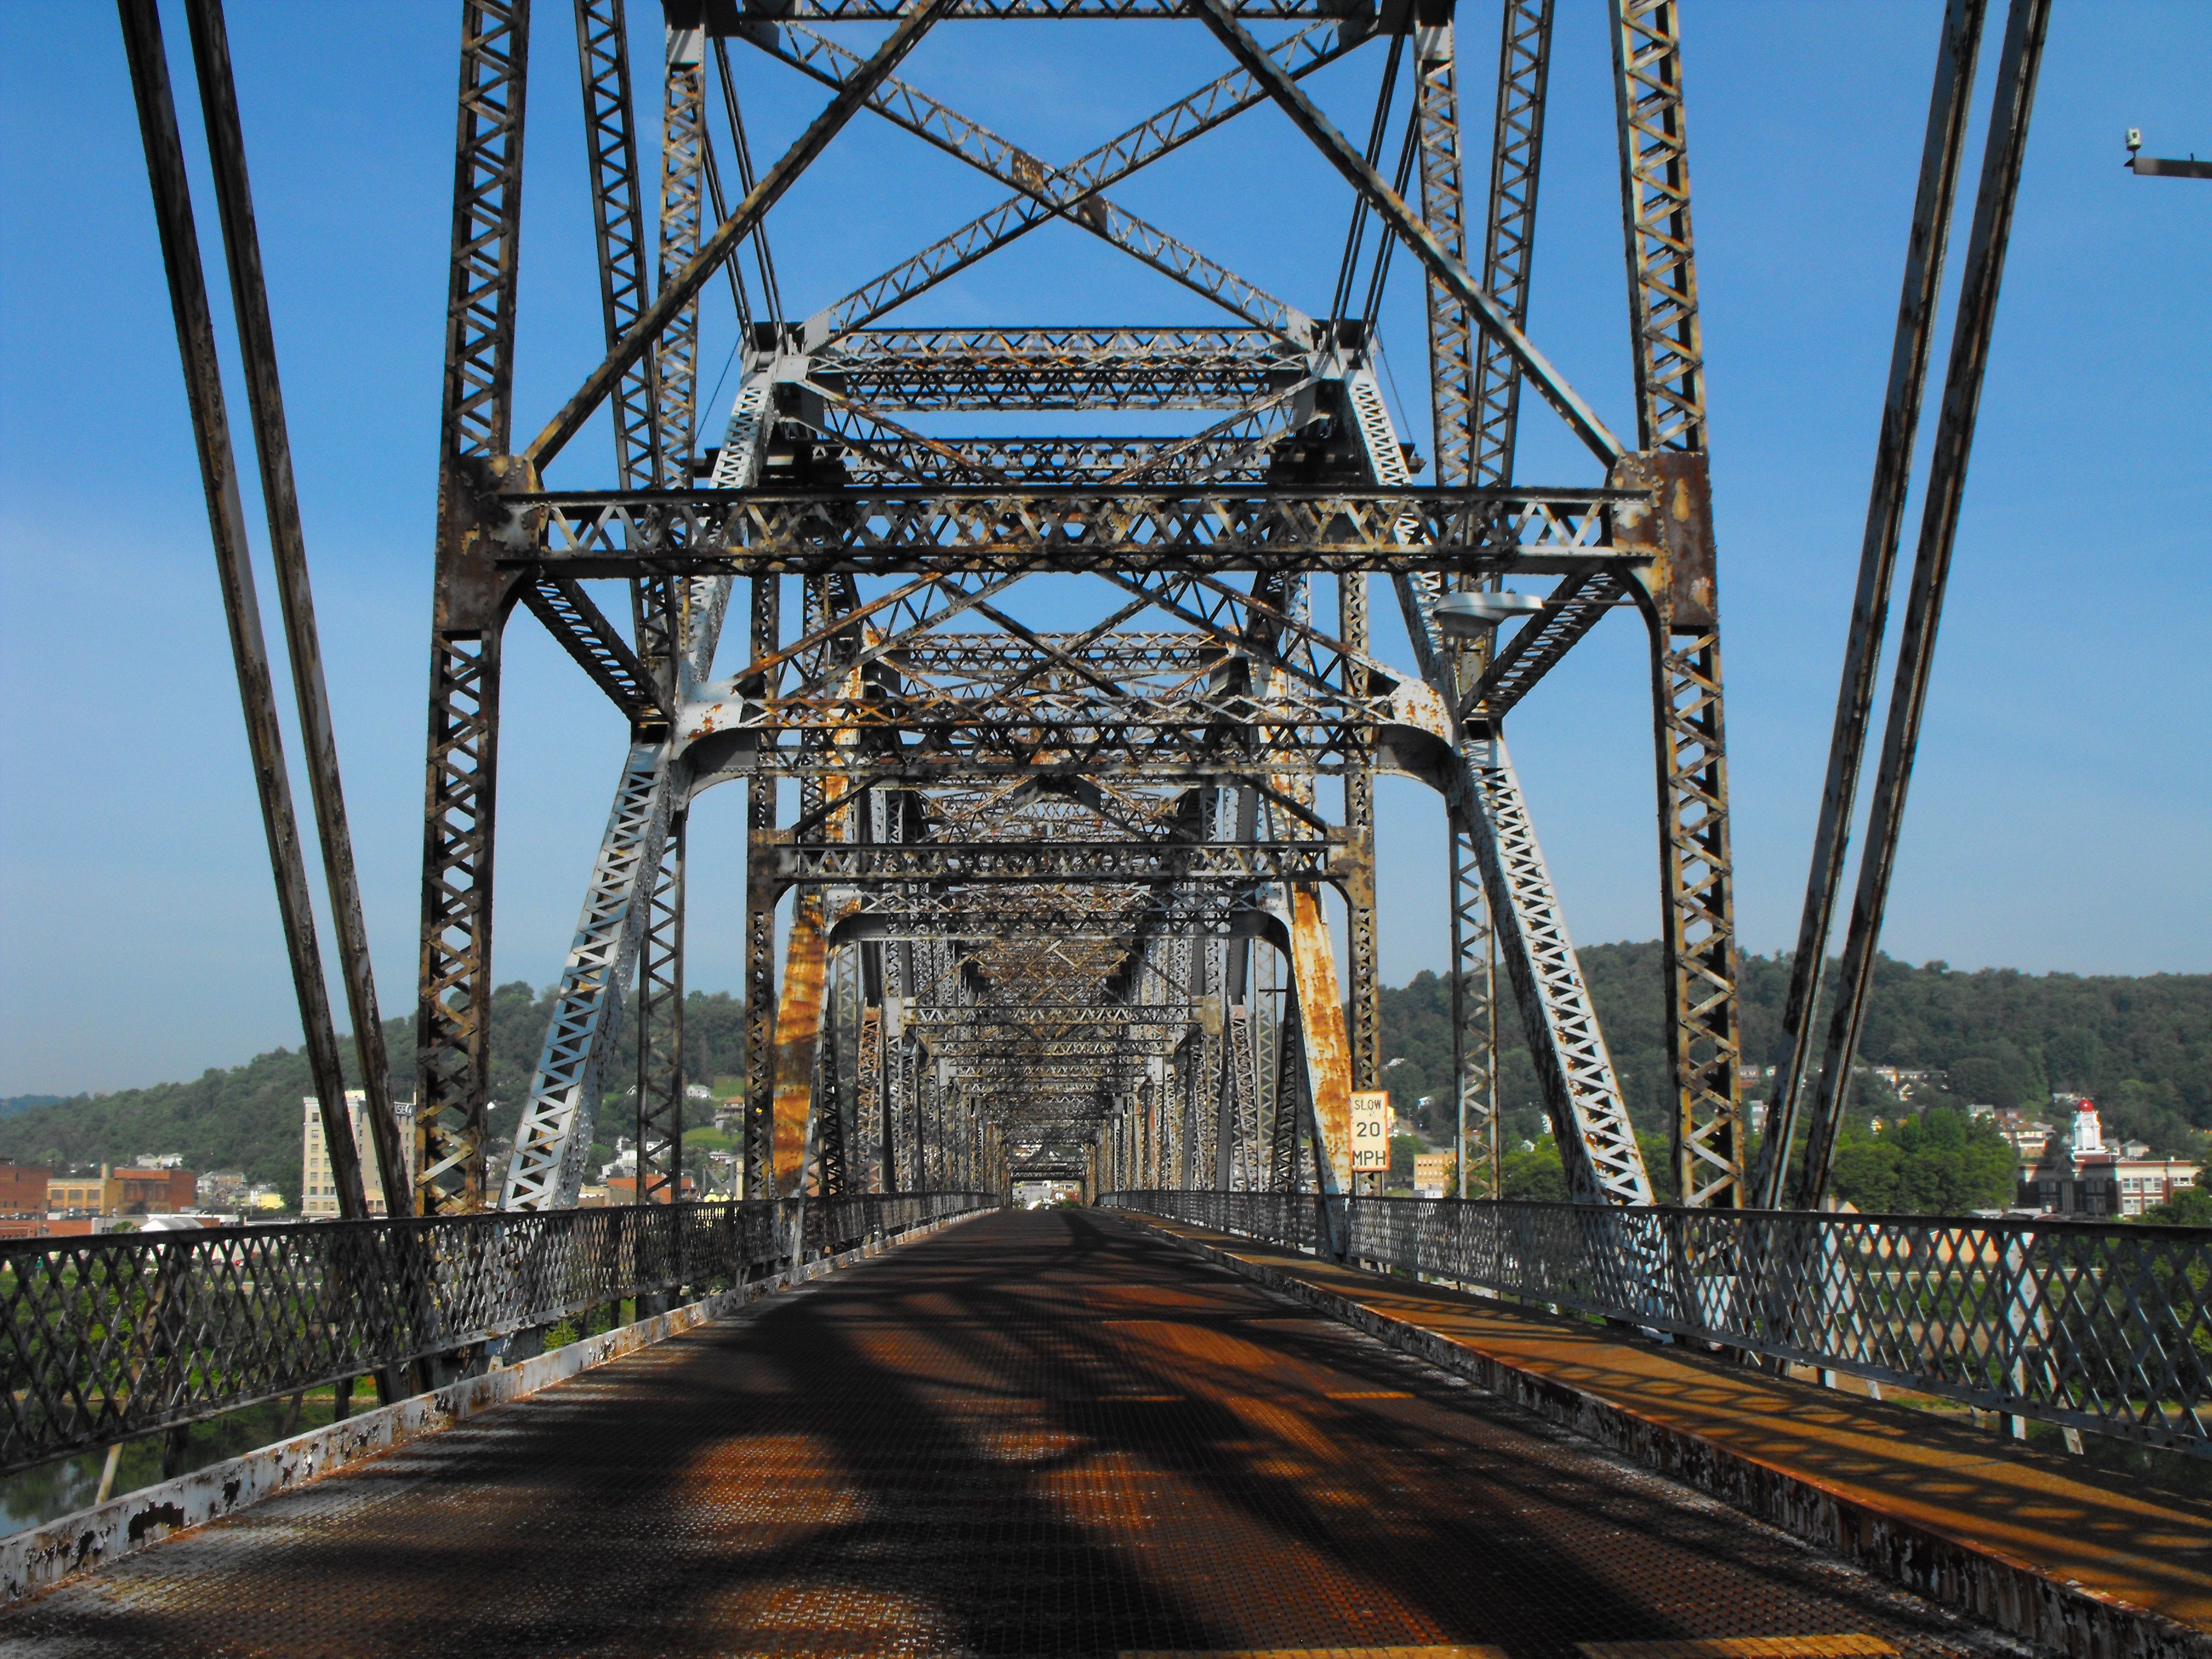
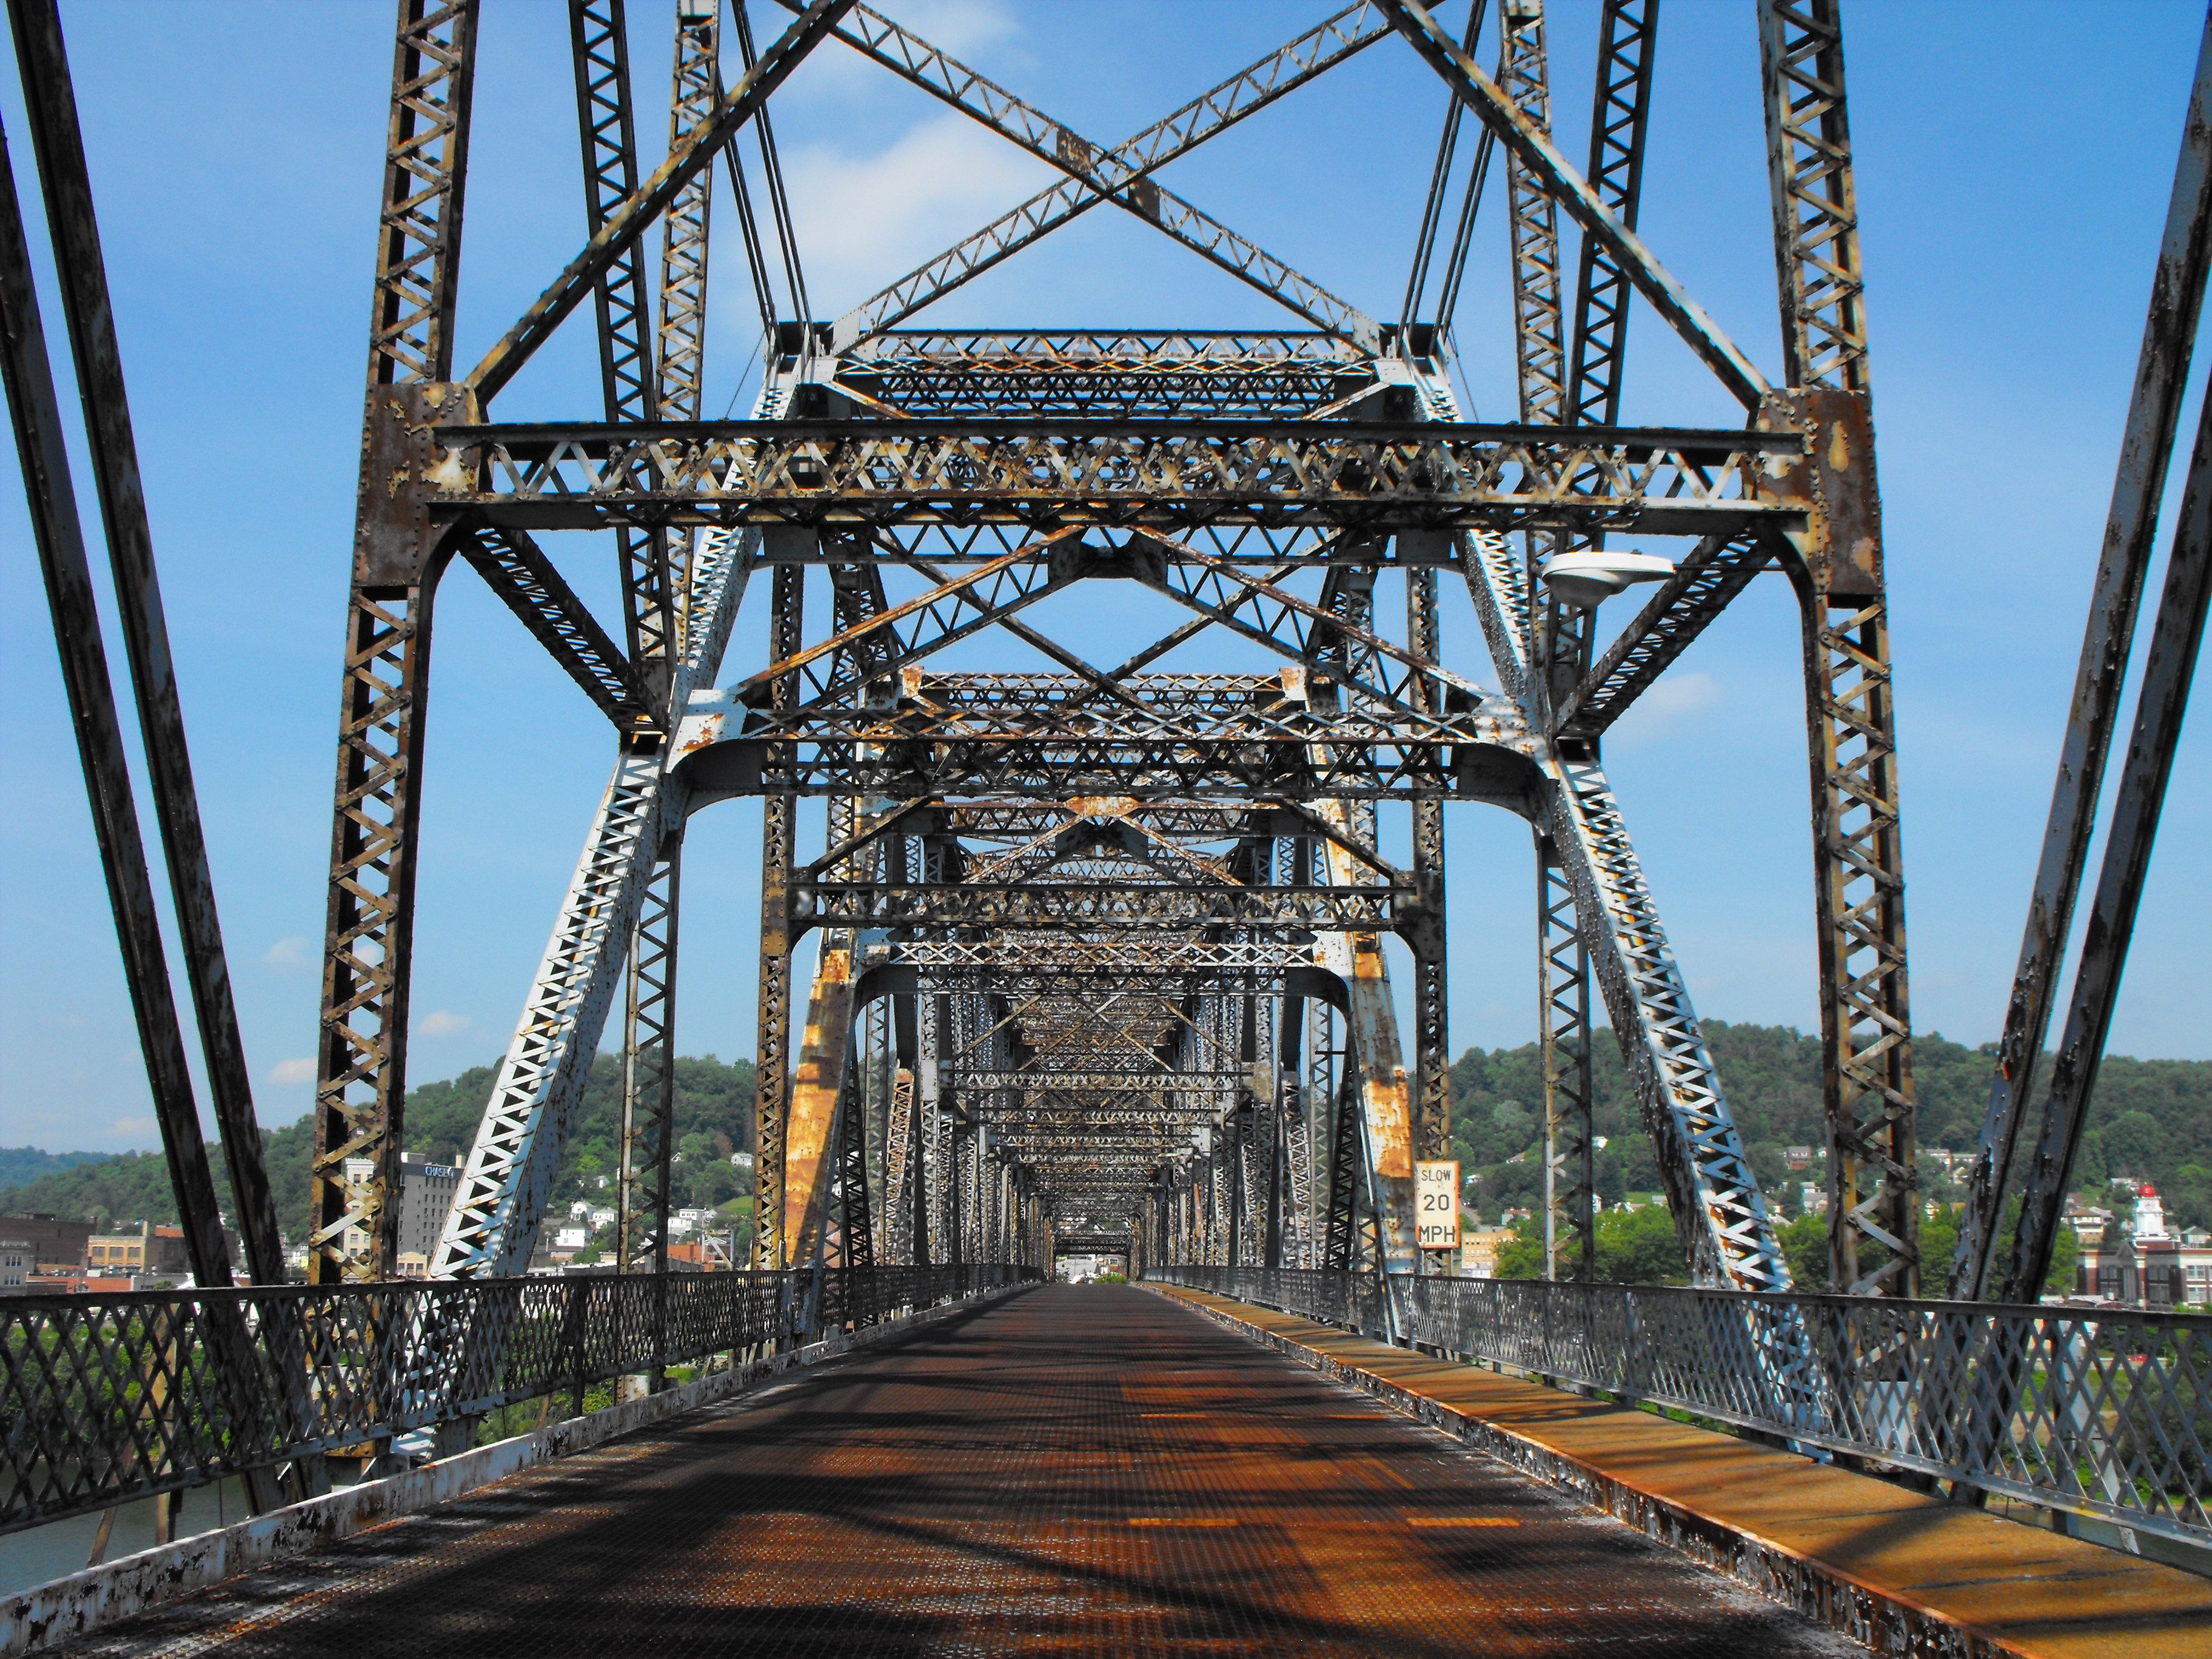
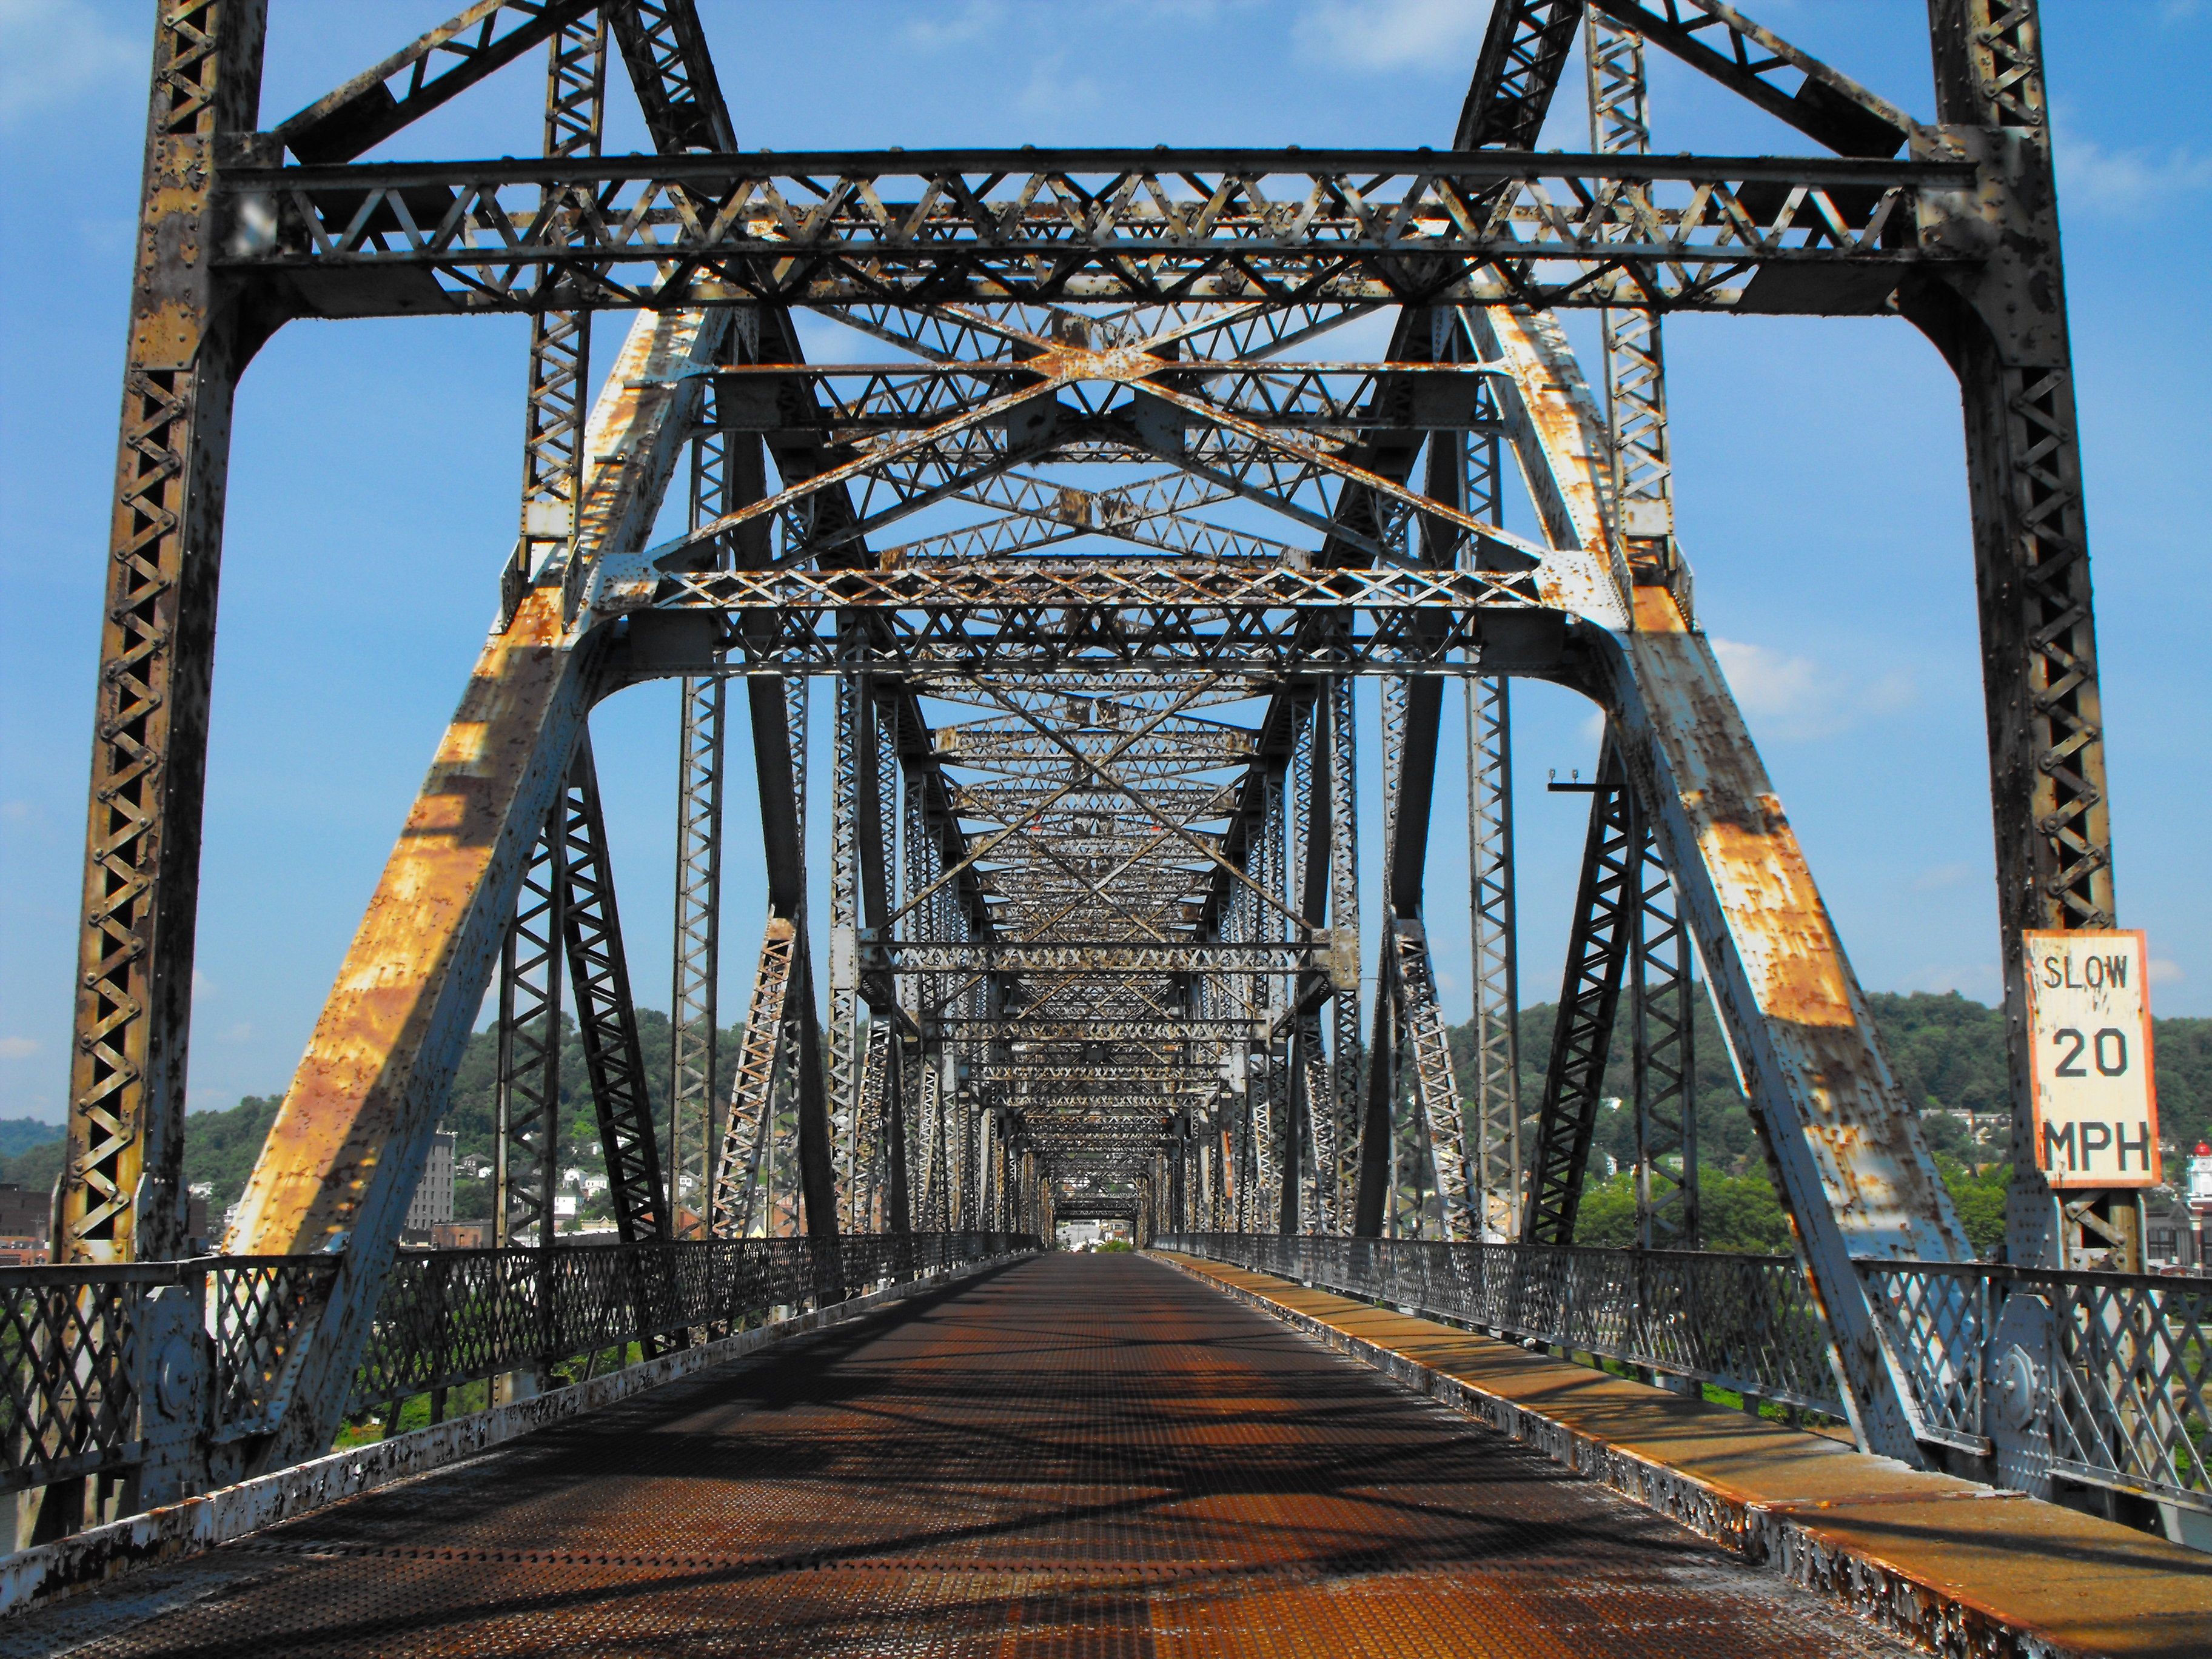
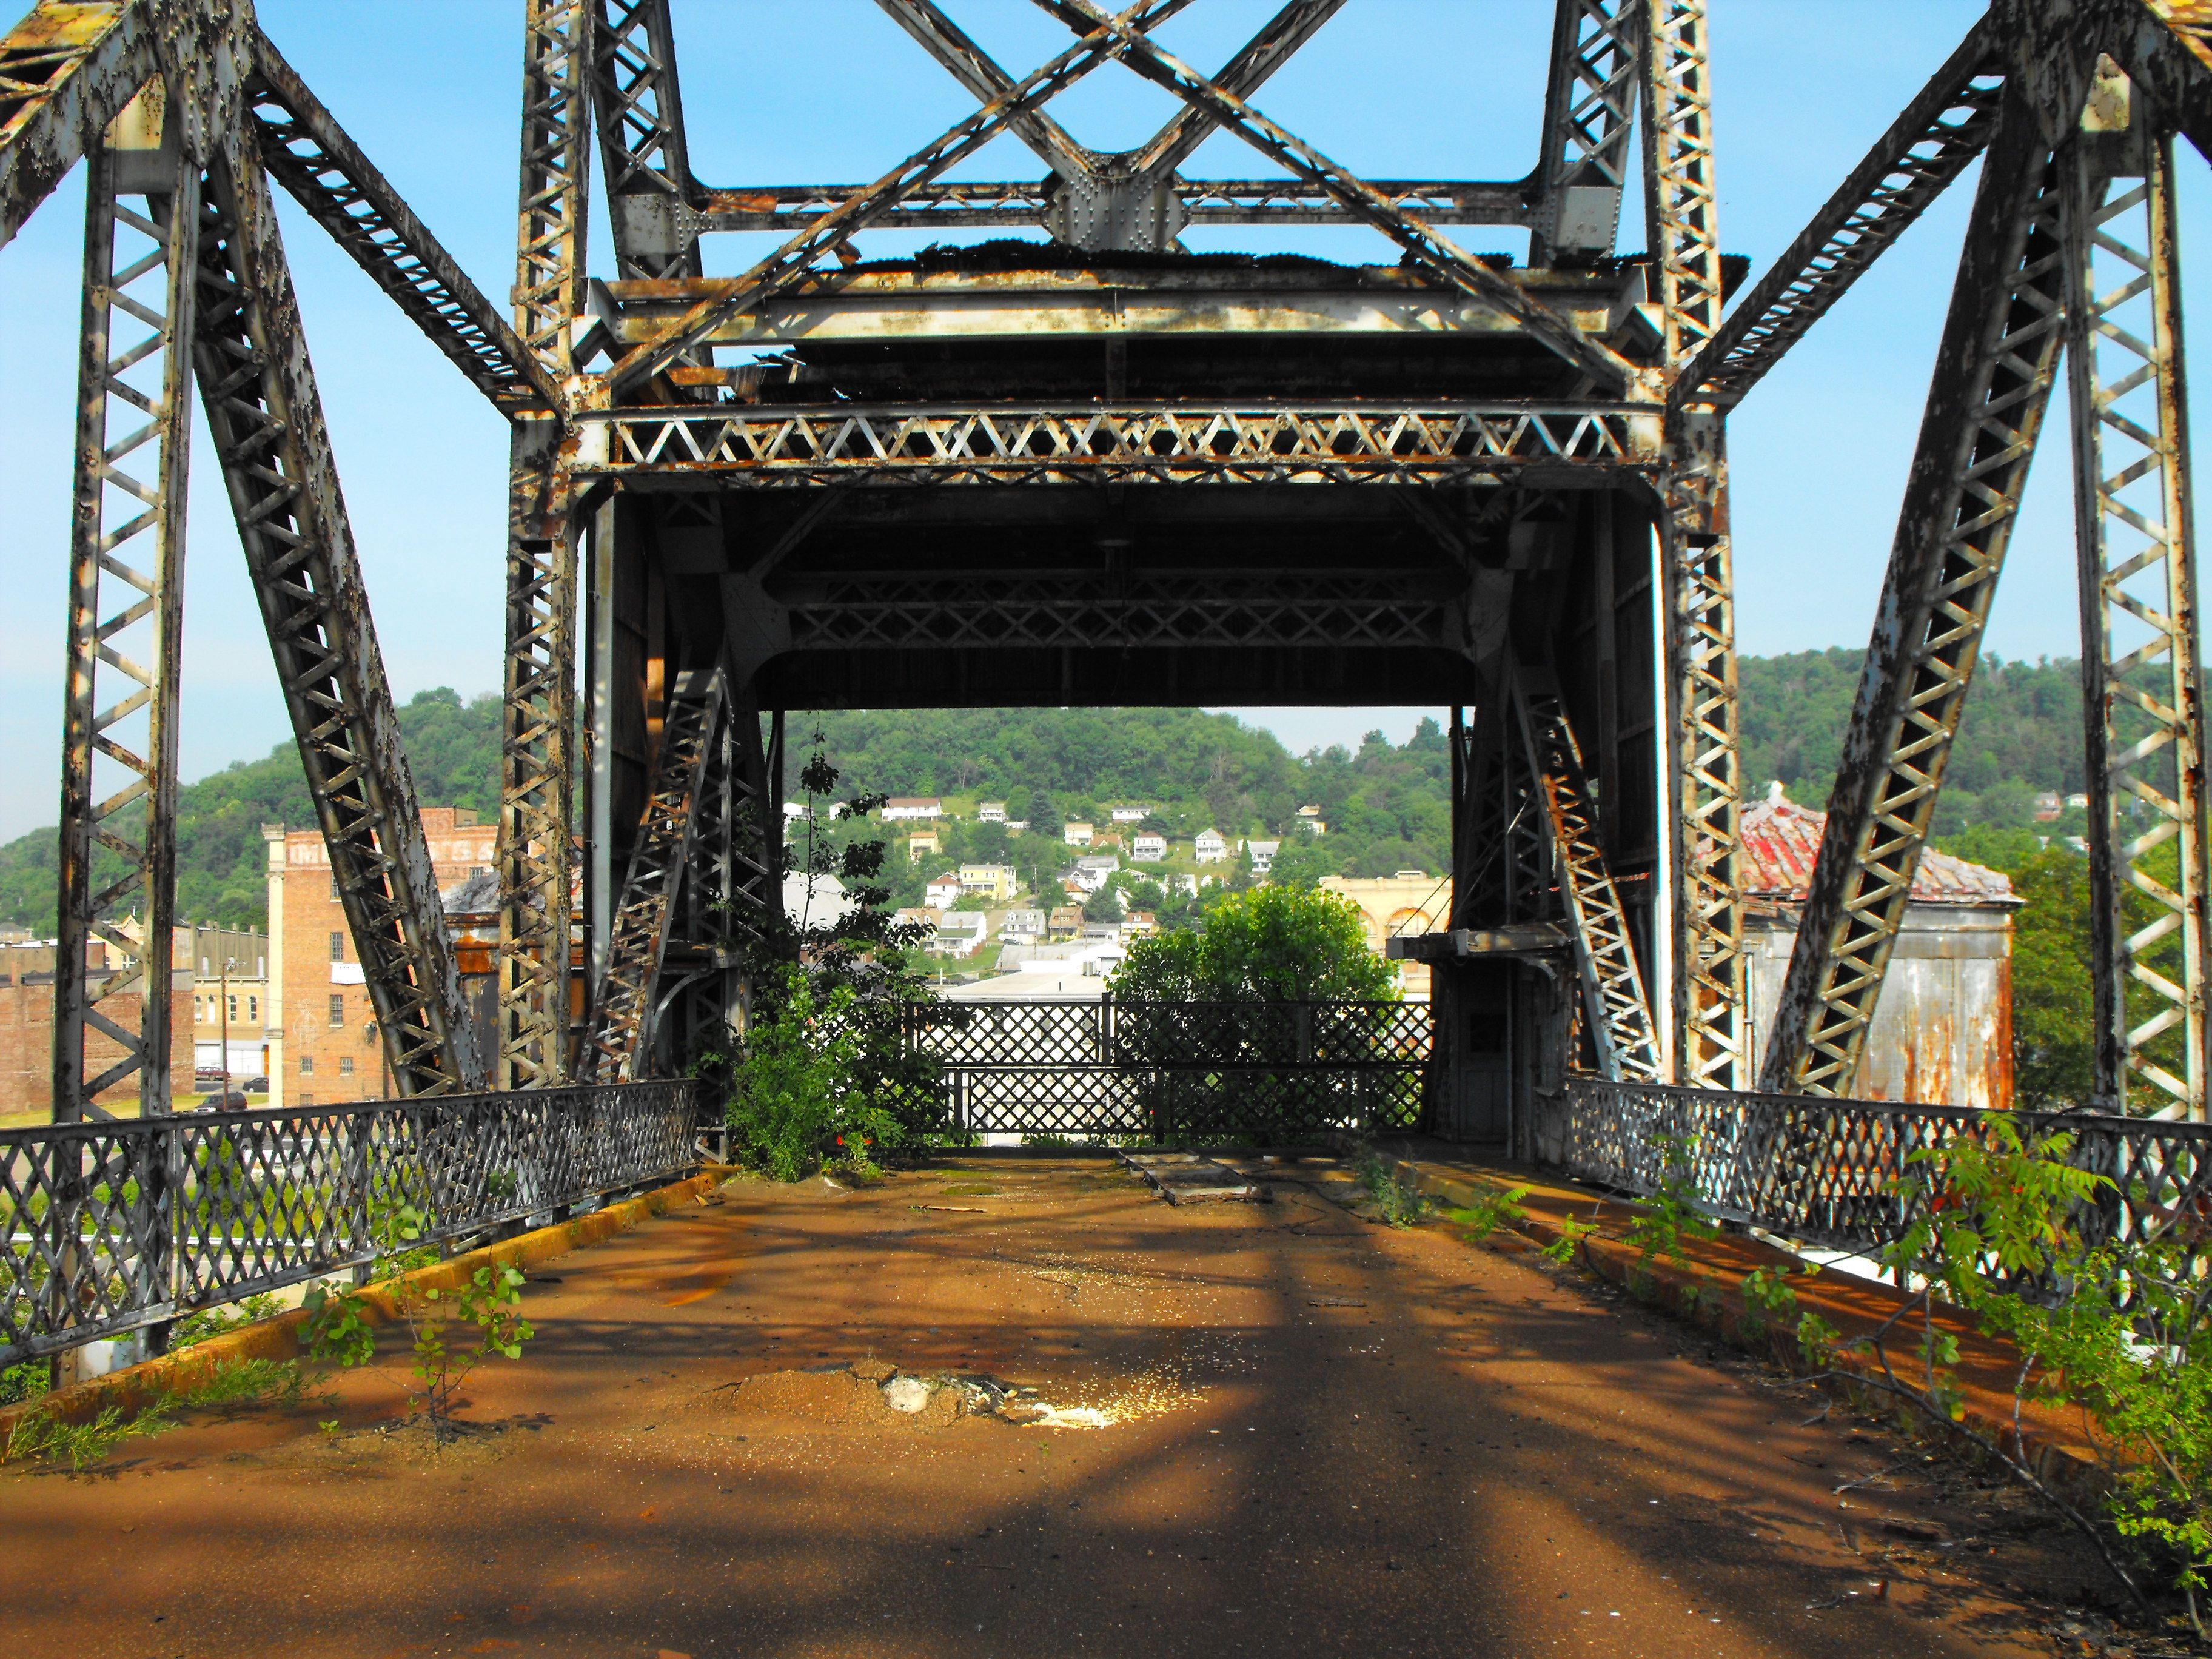
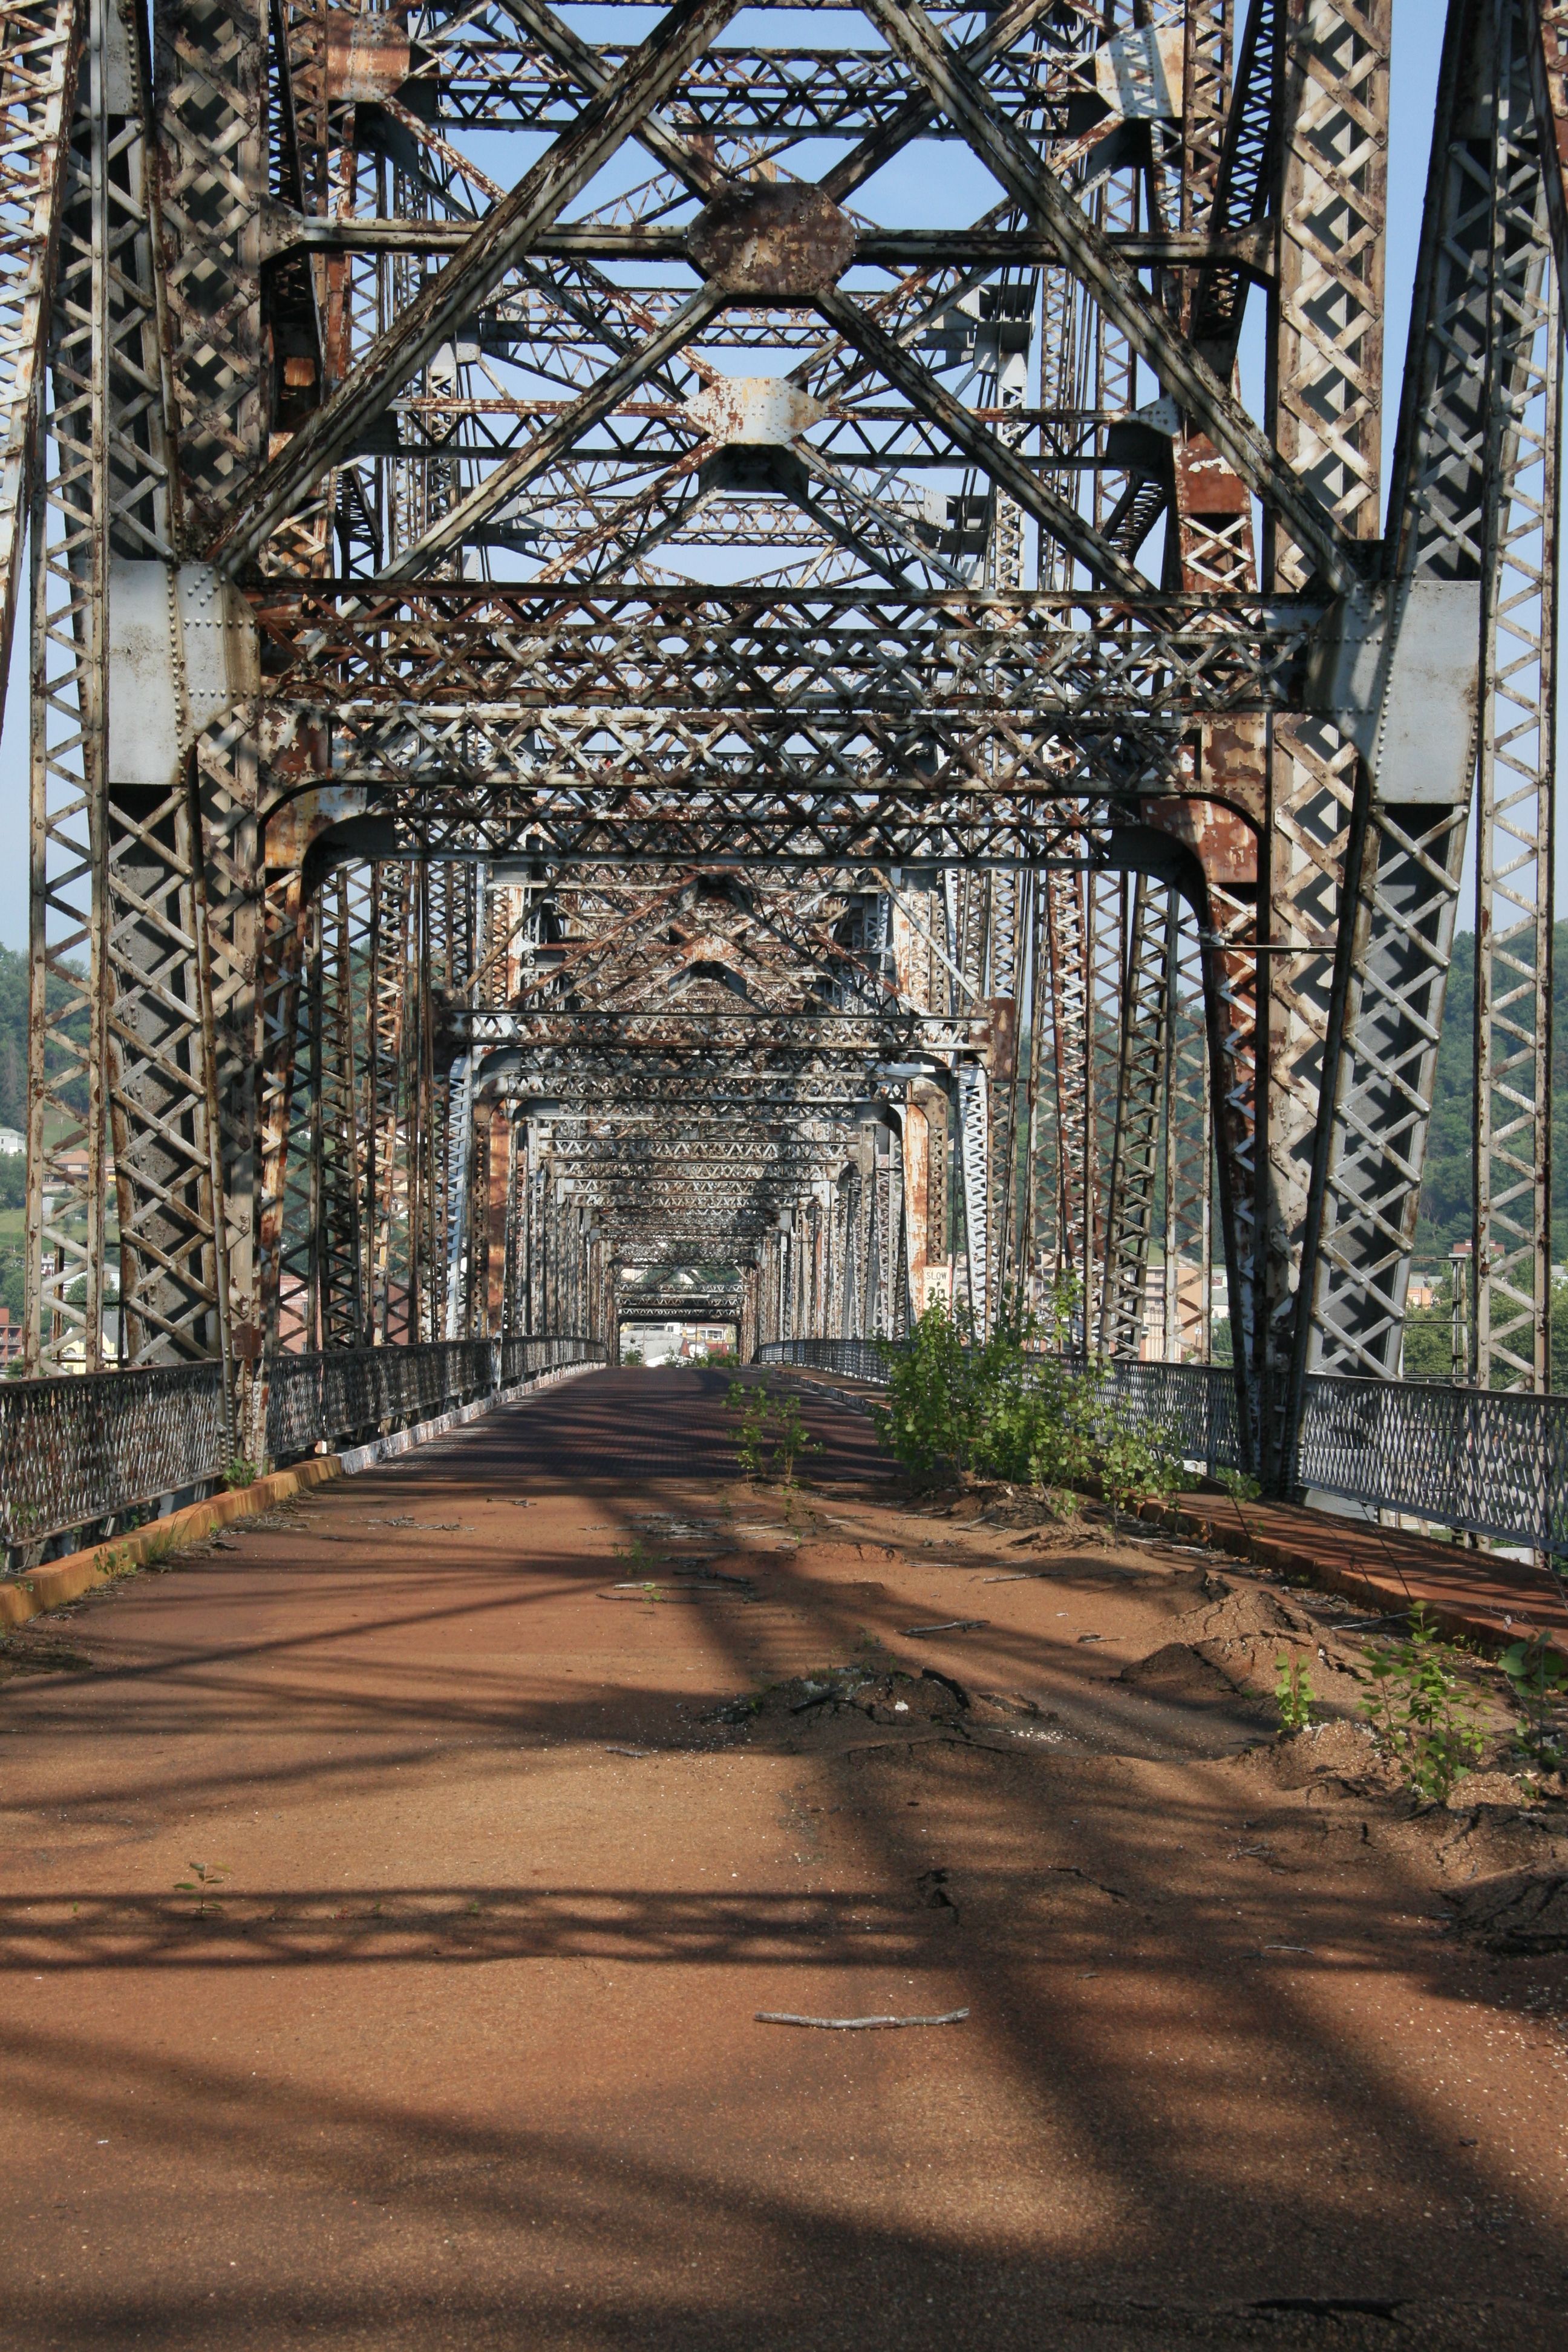
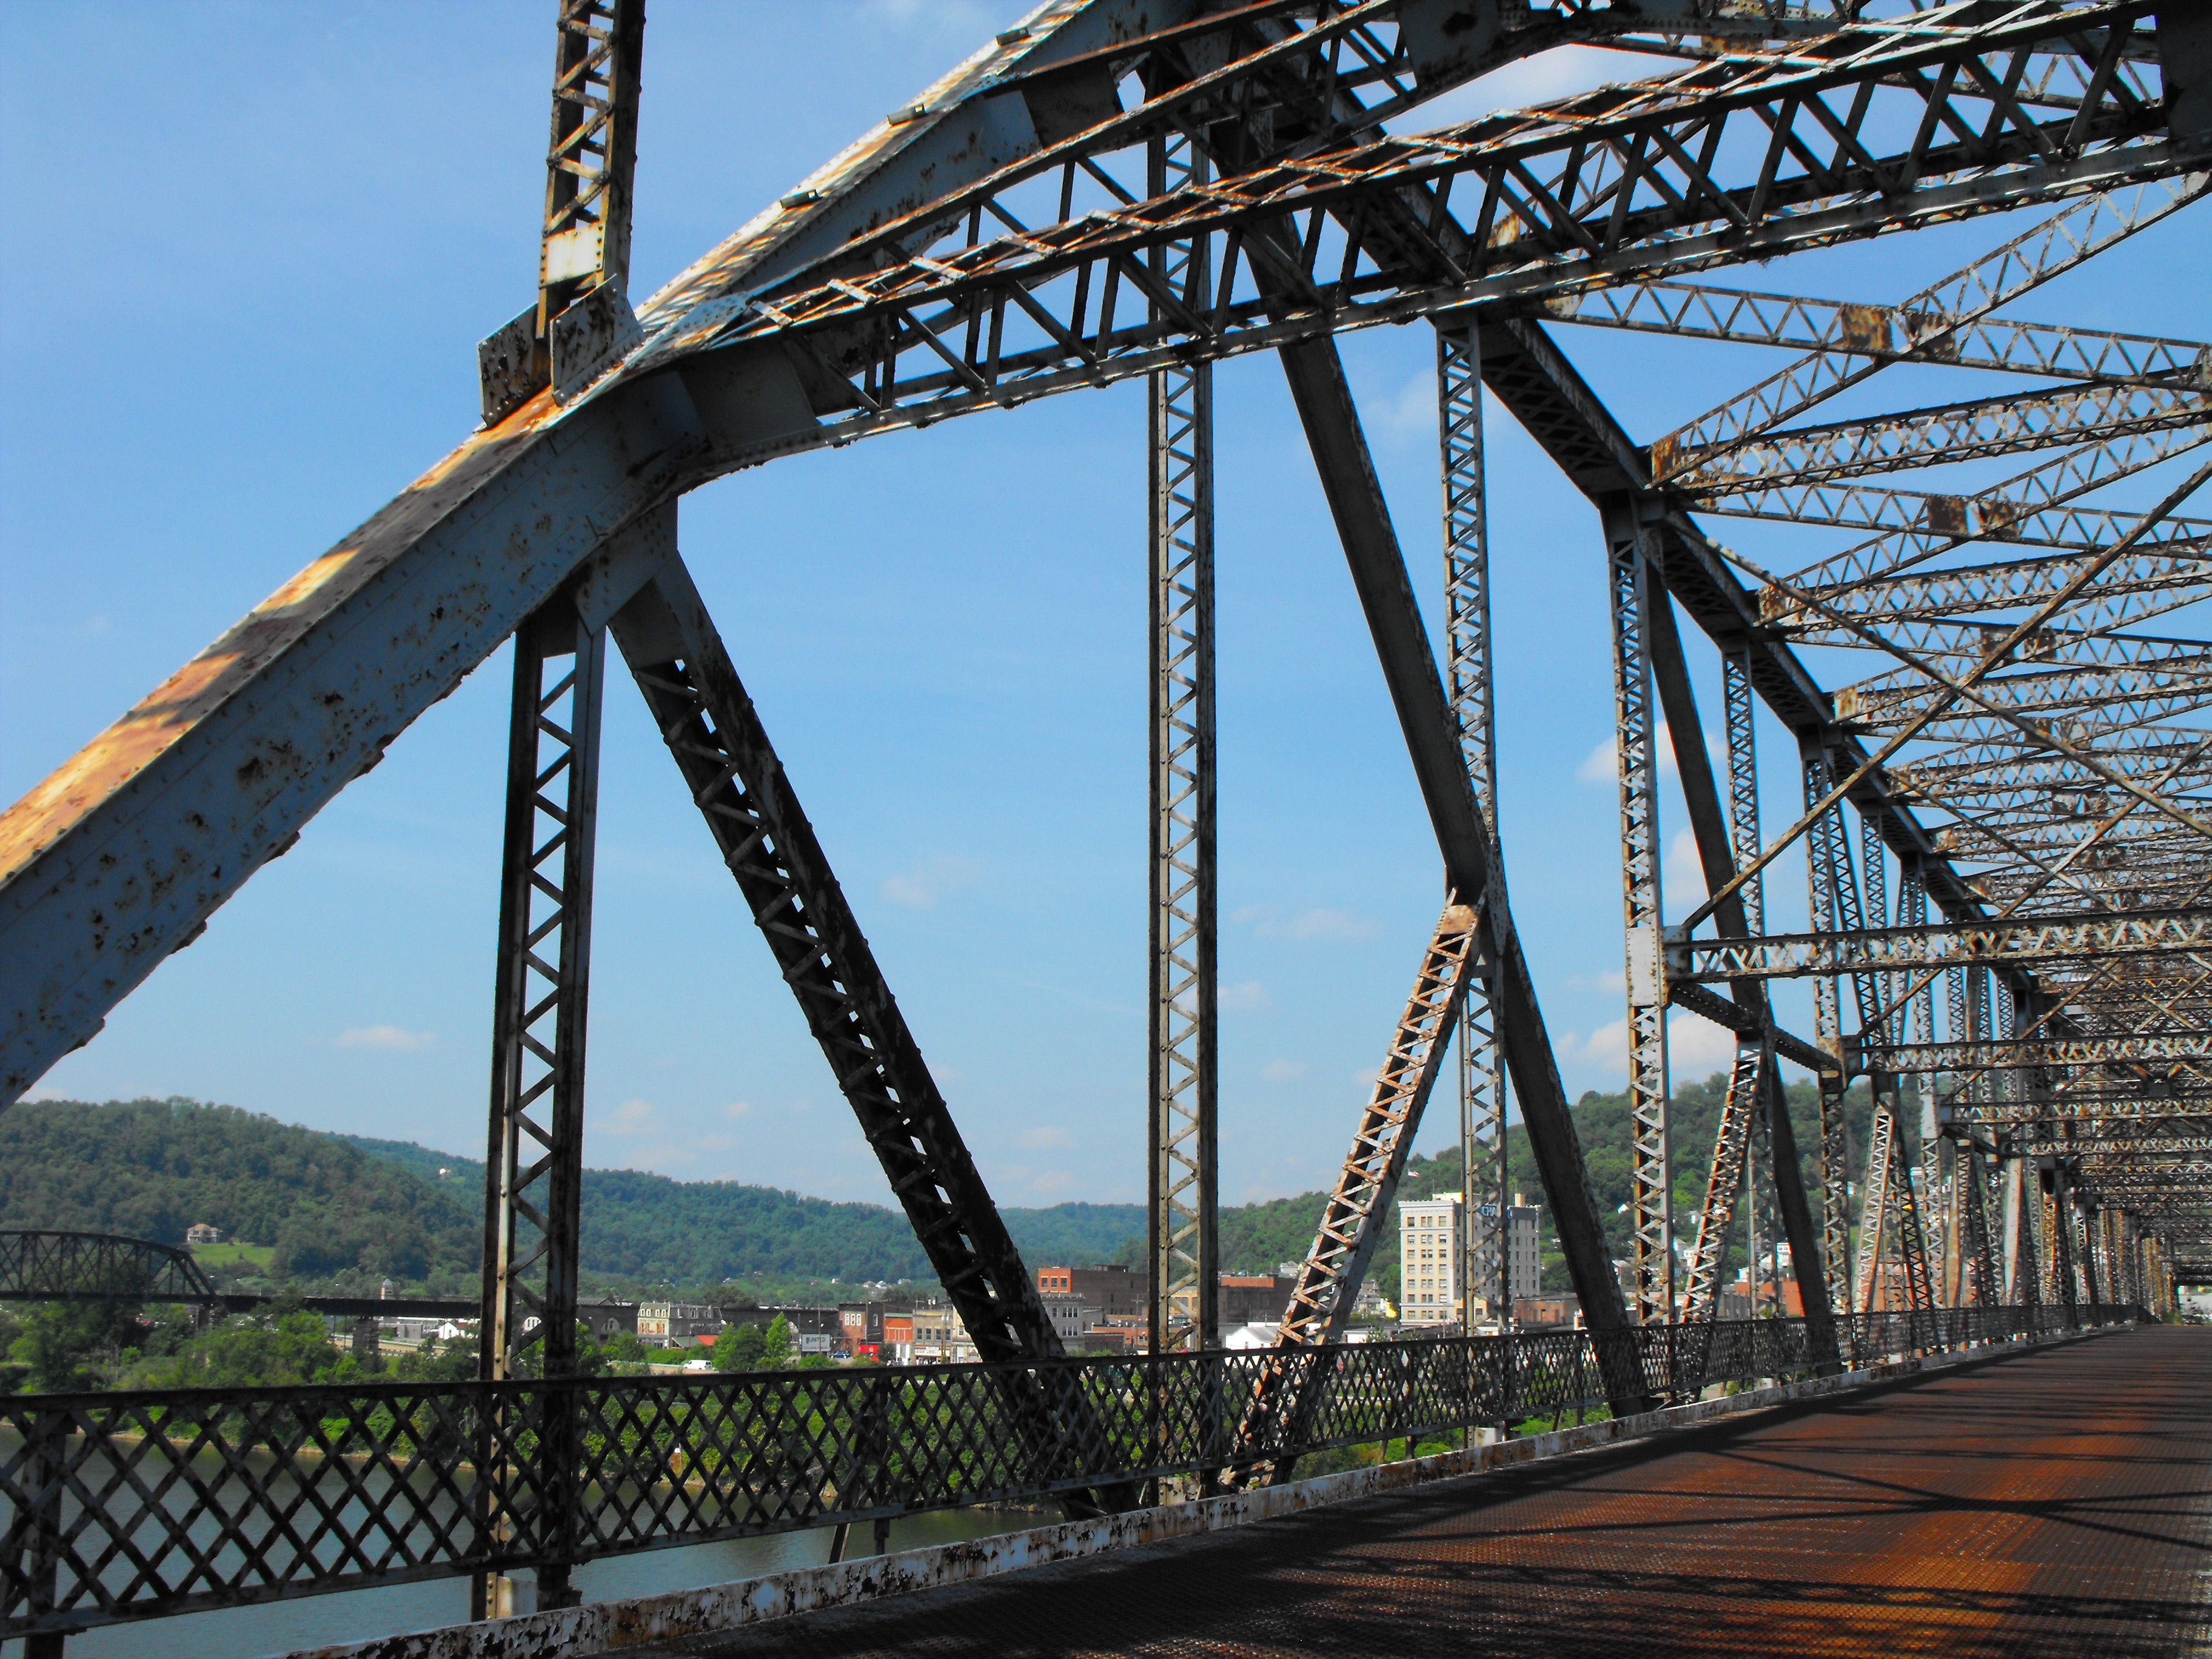
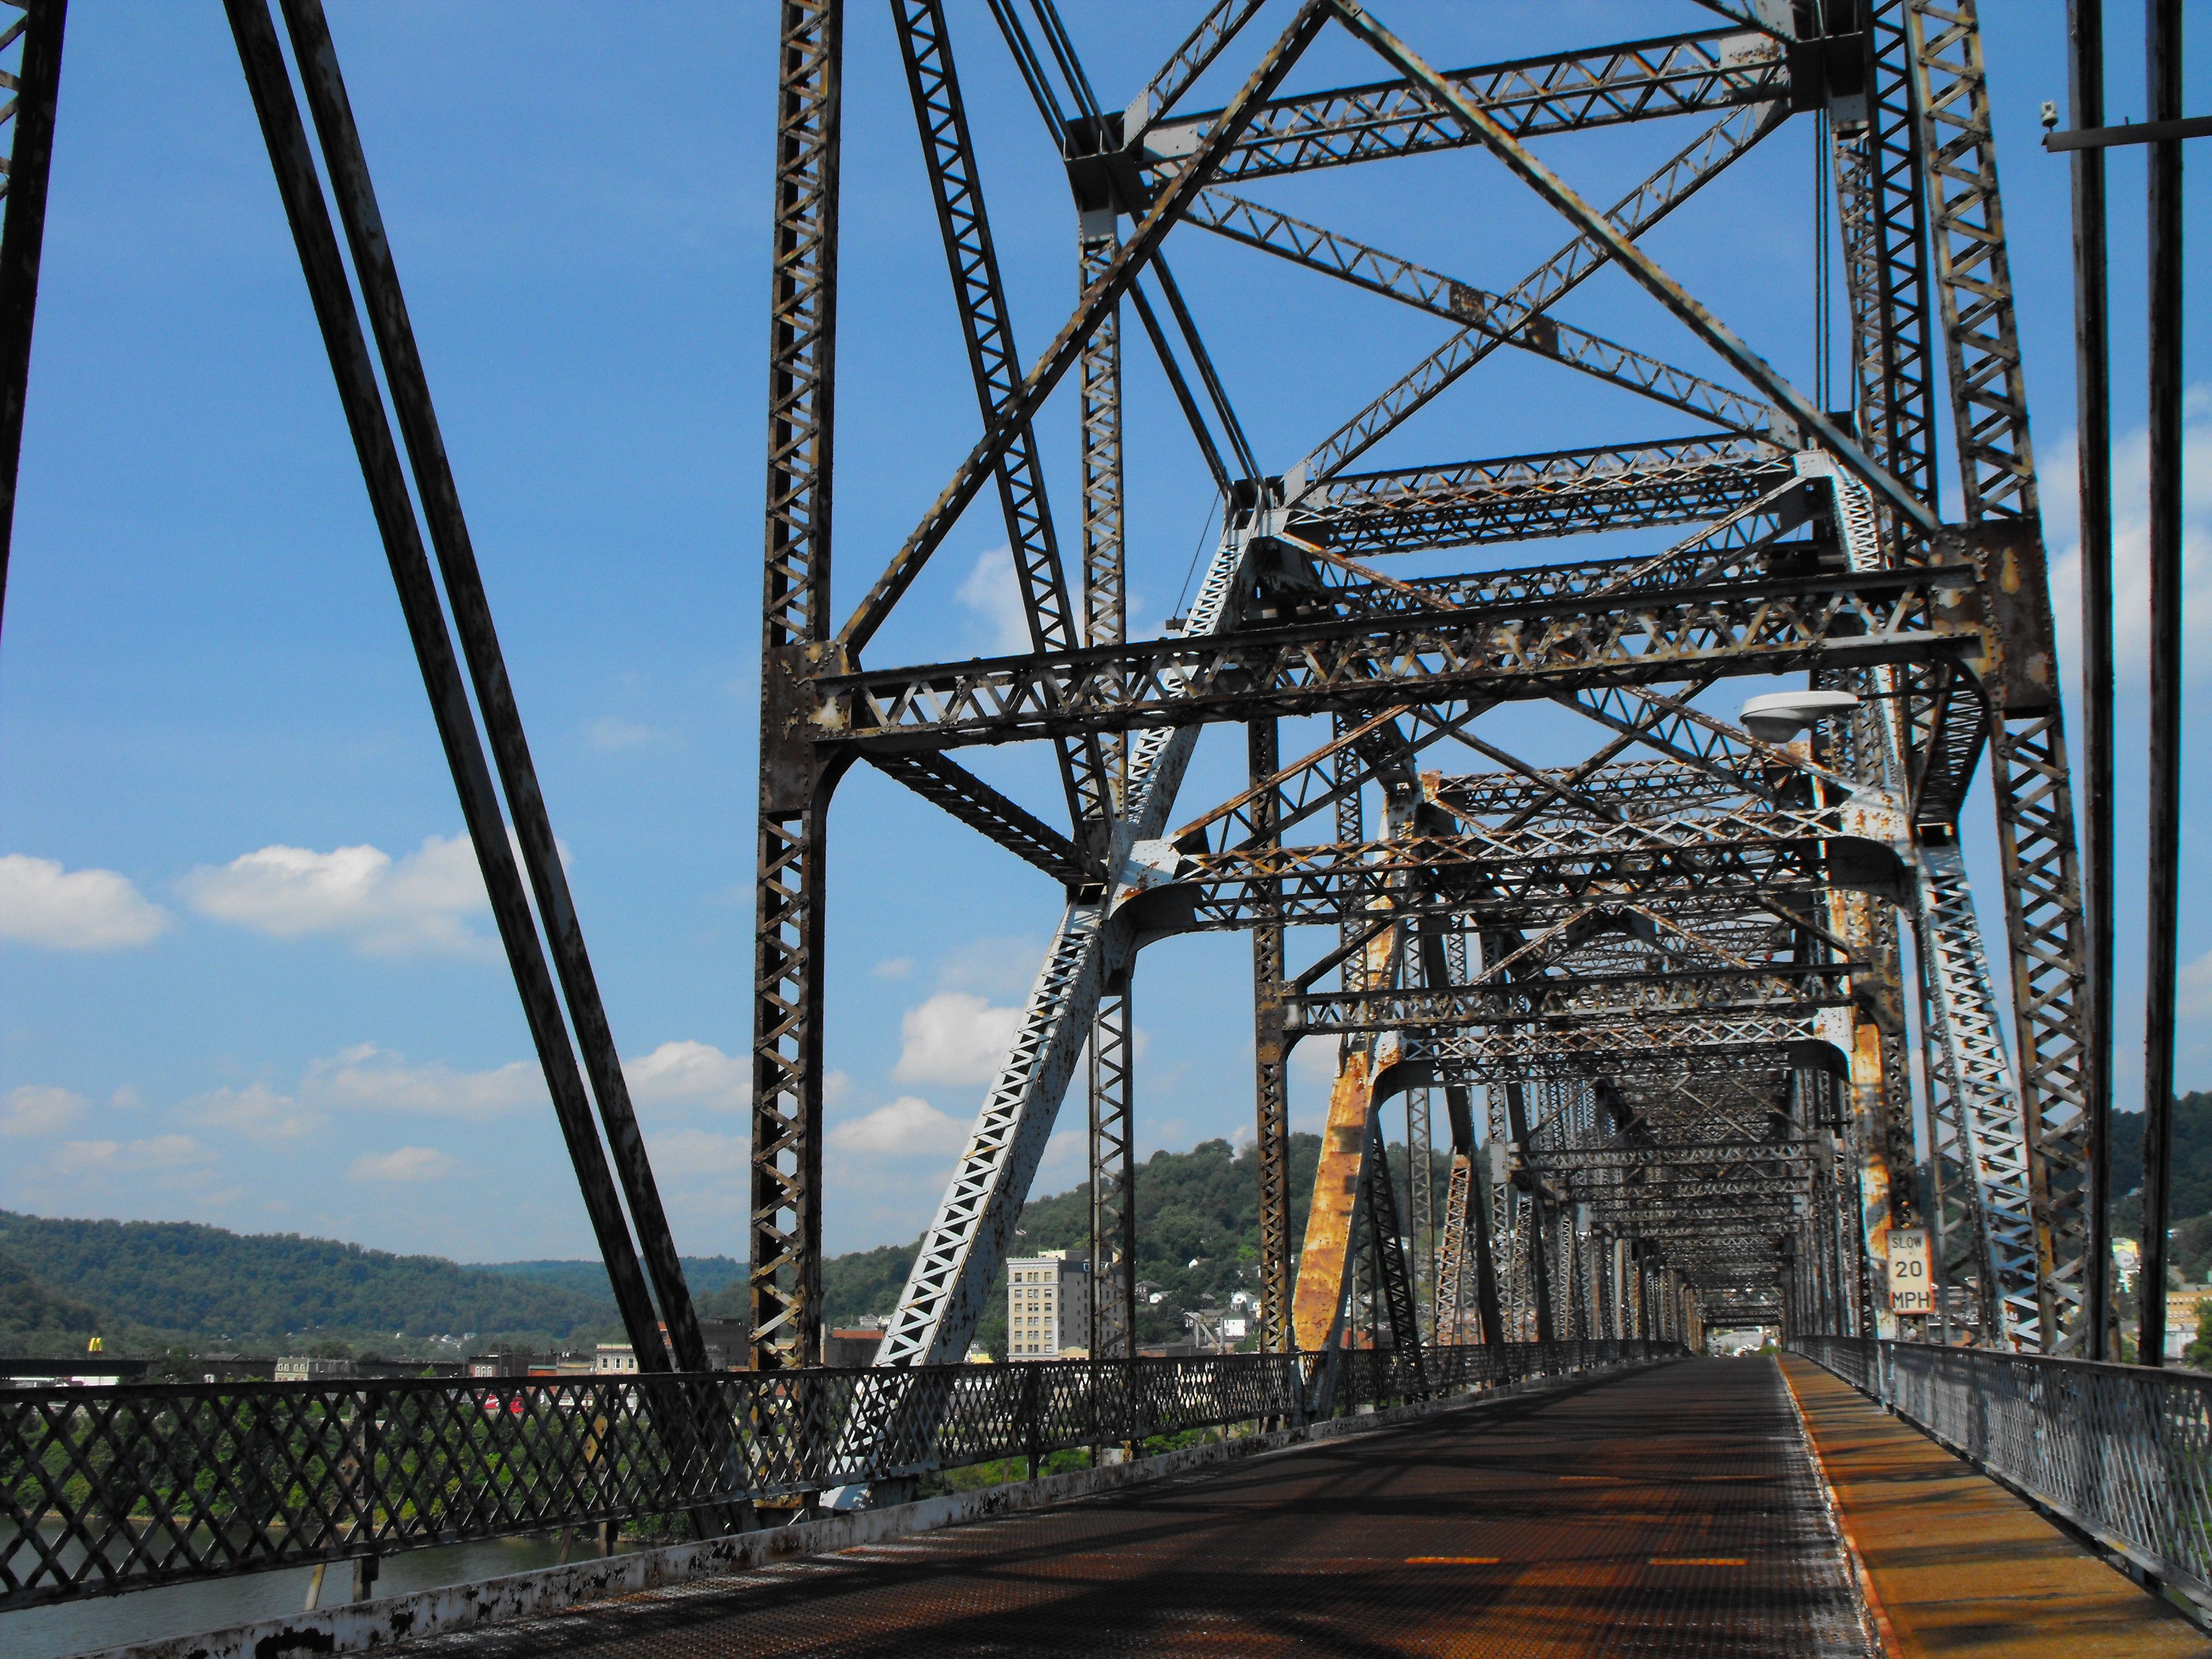
Portal views facing west with tower visible.
![]()
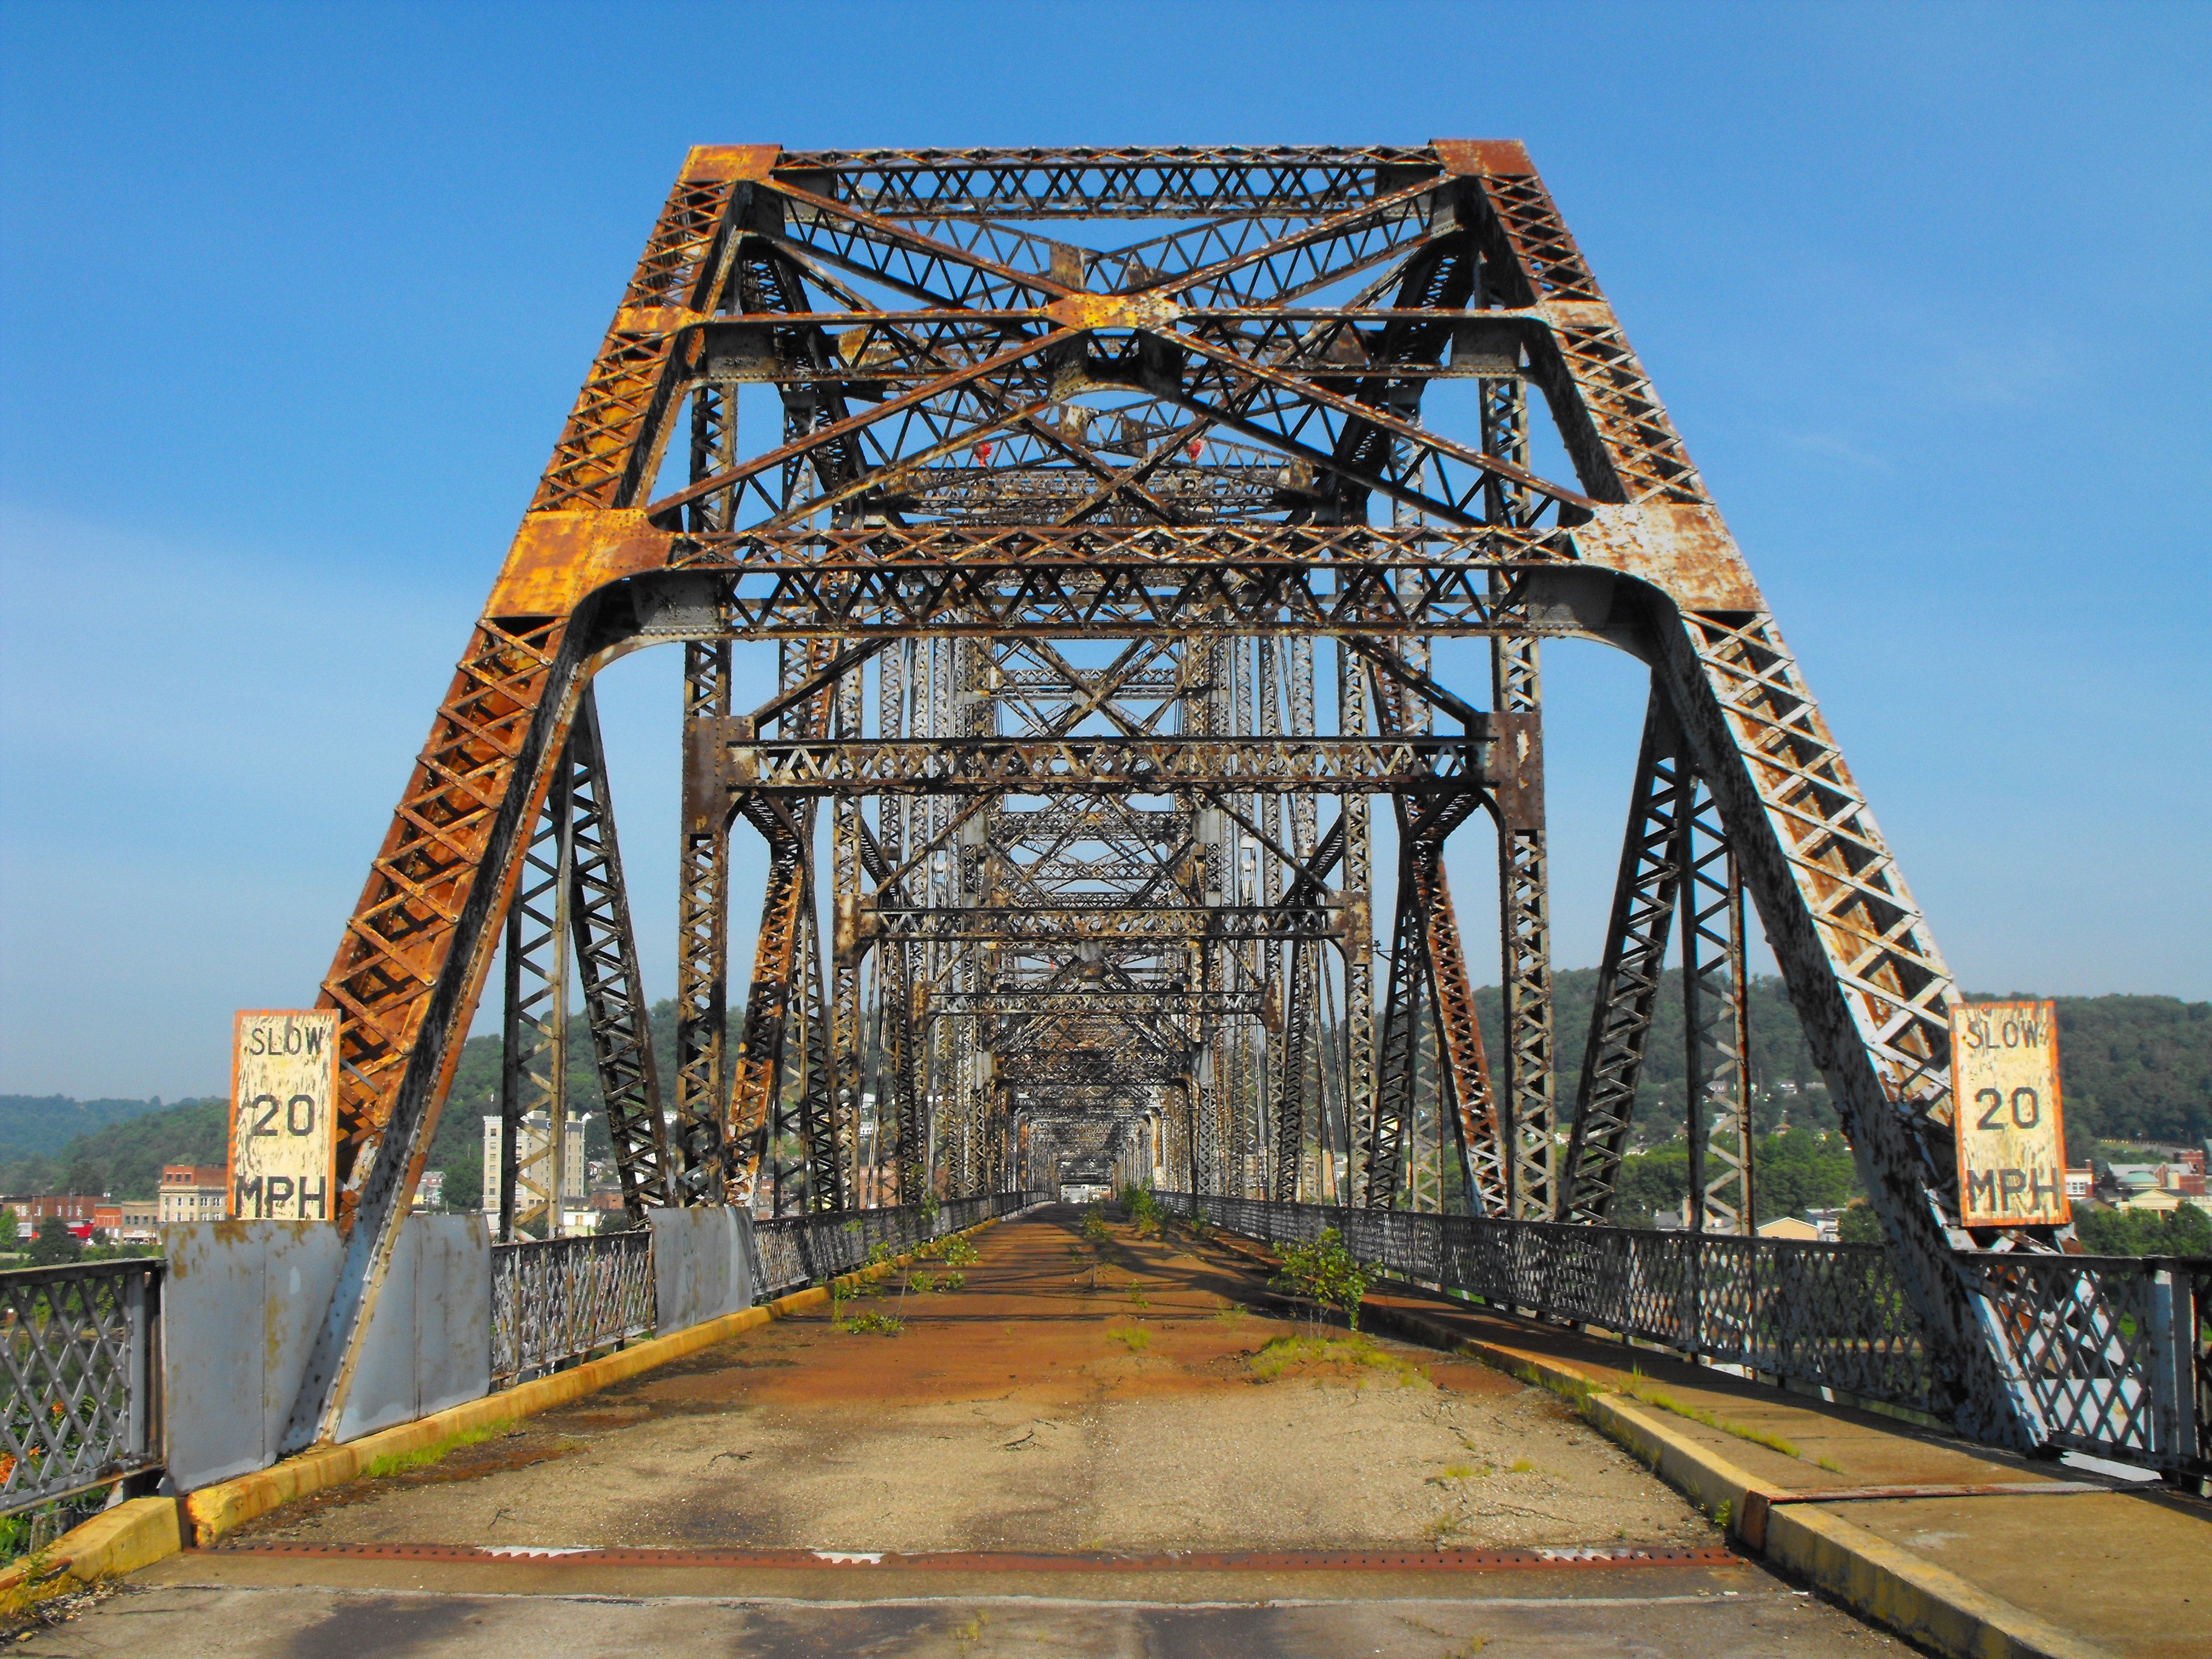

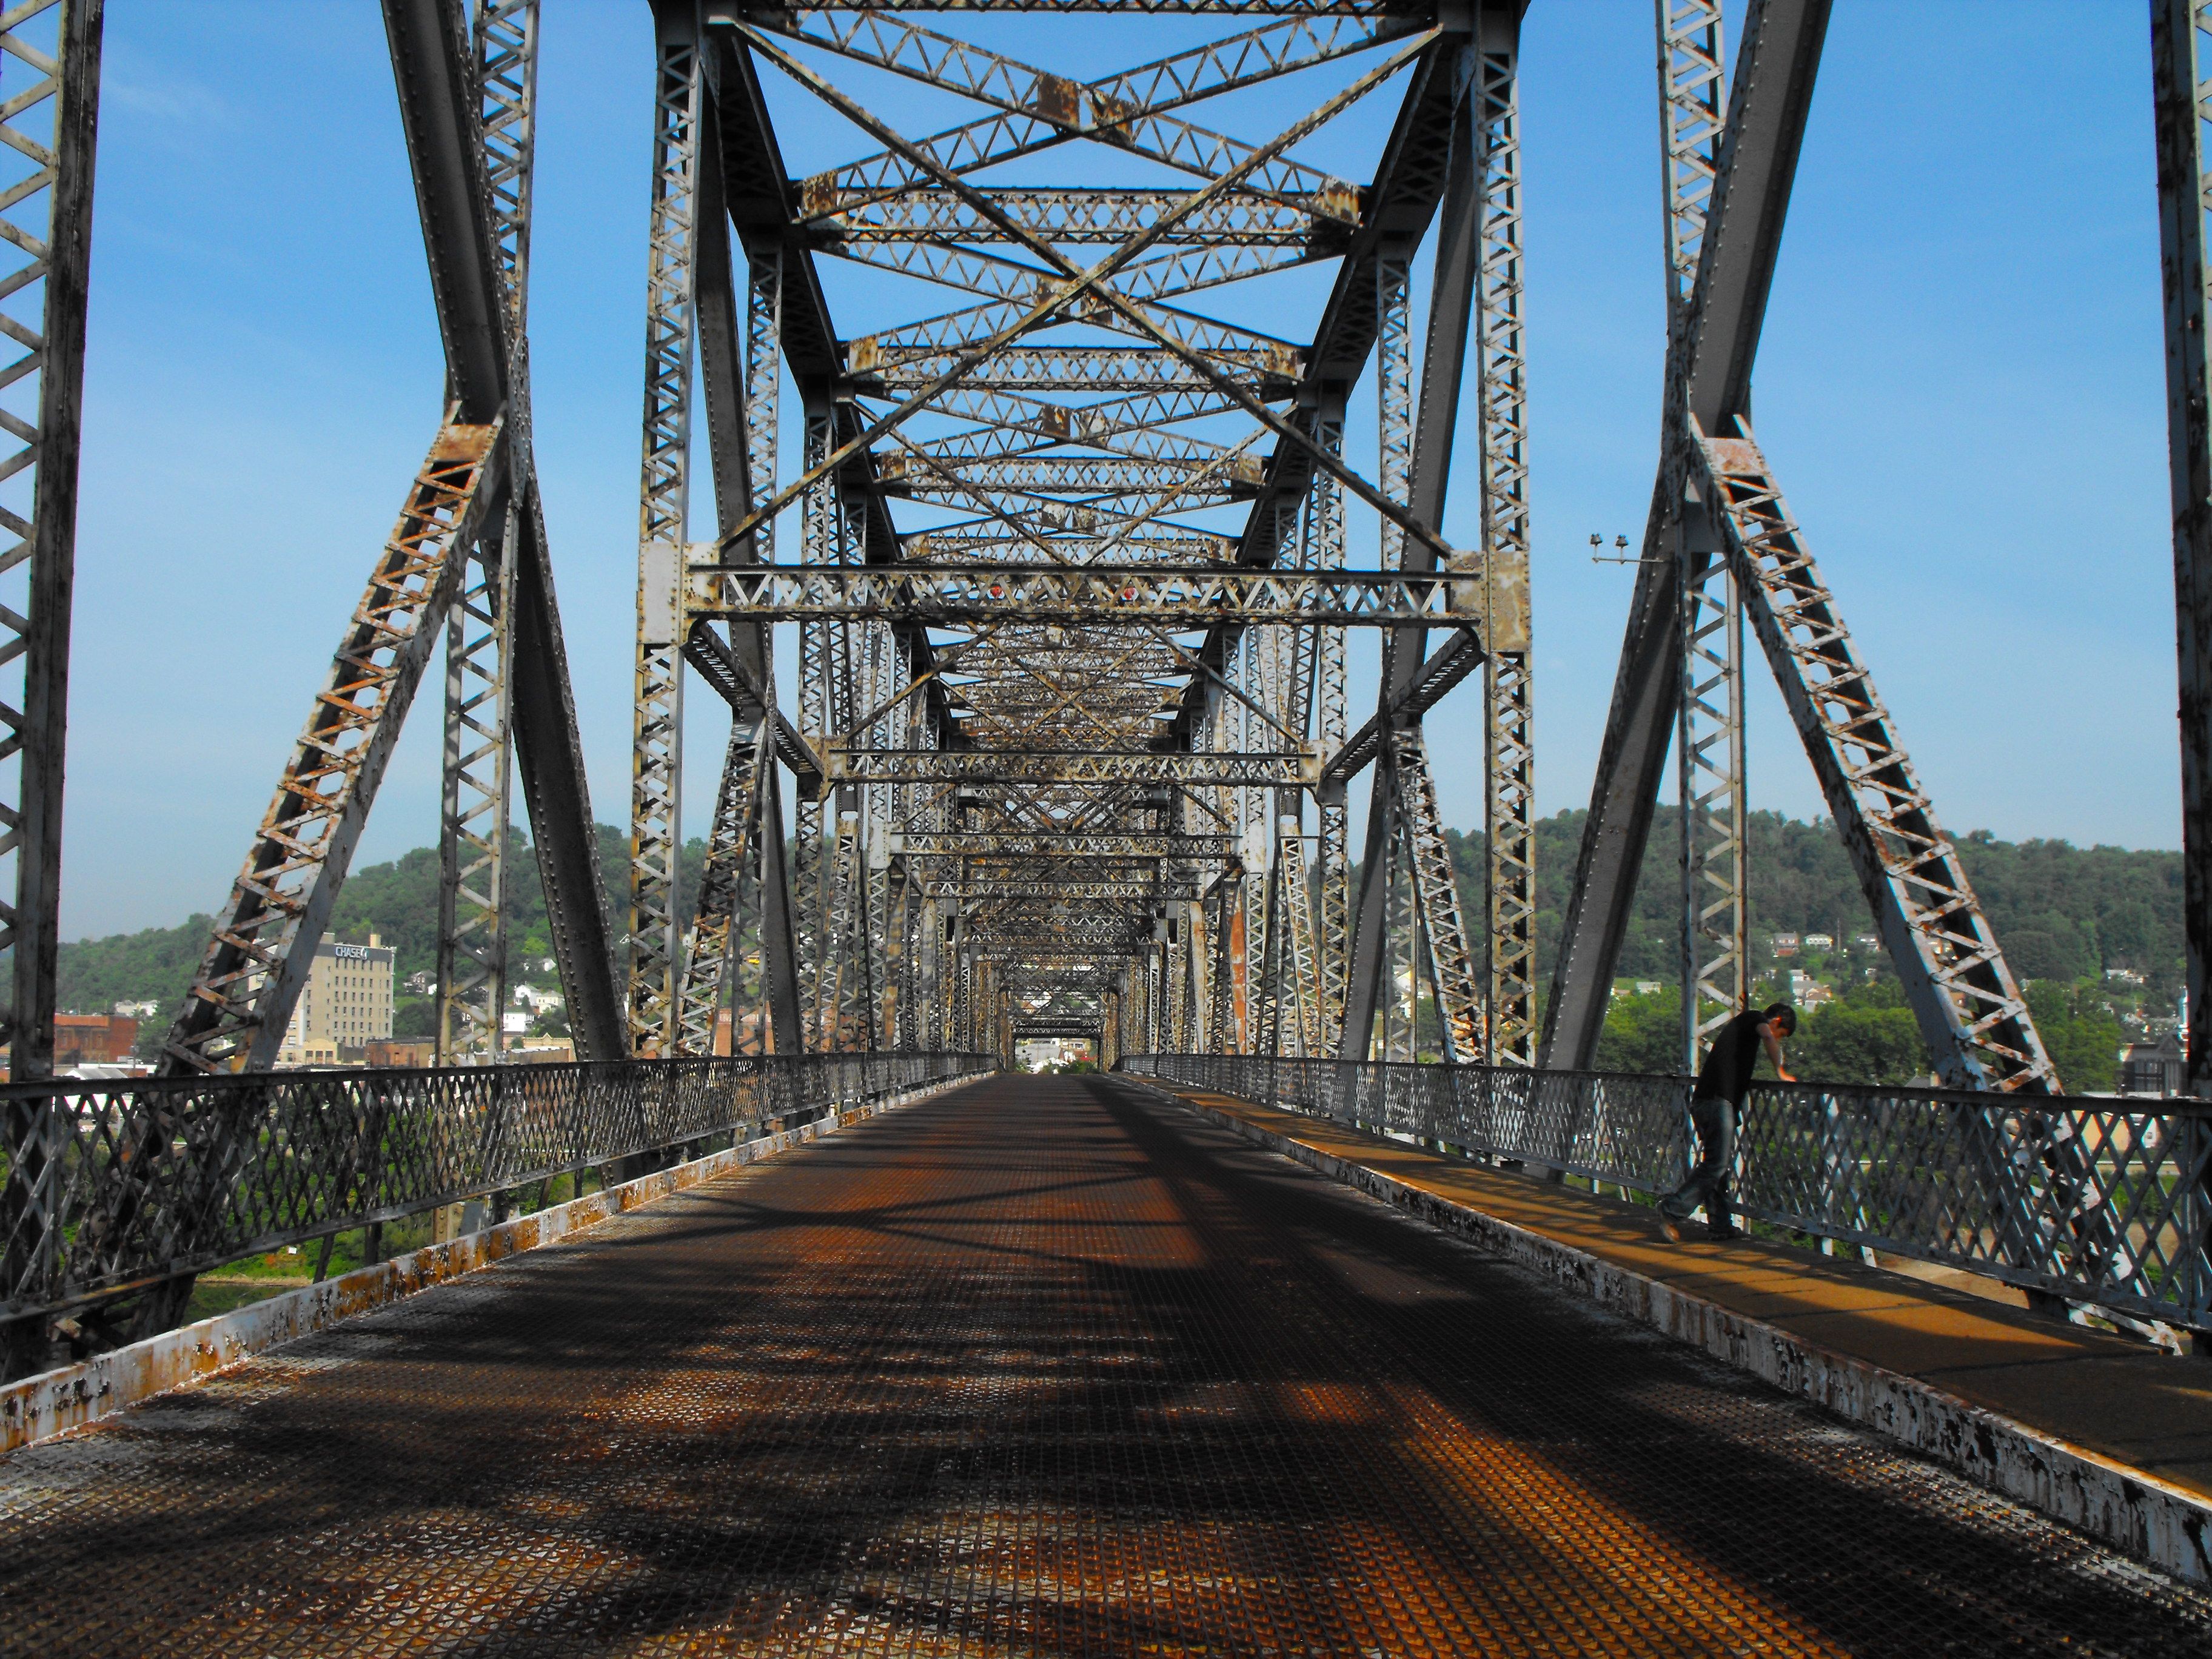
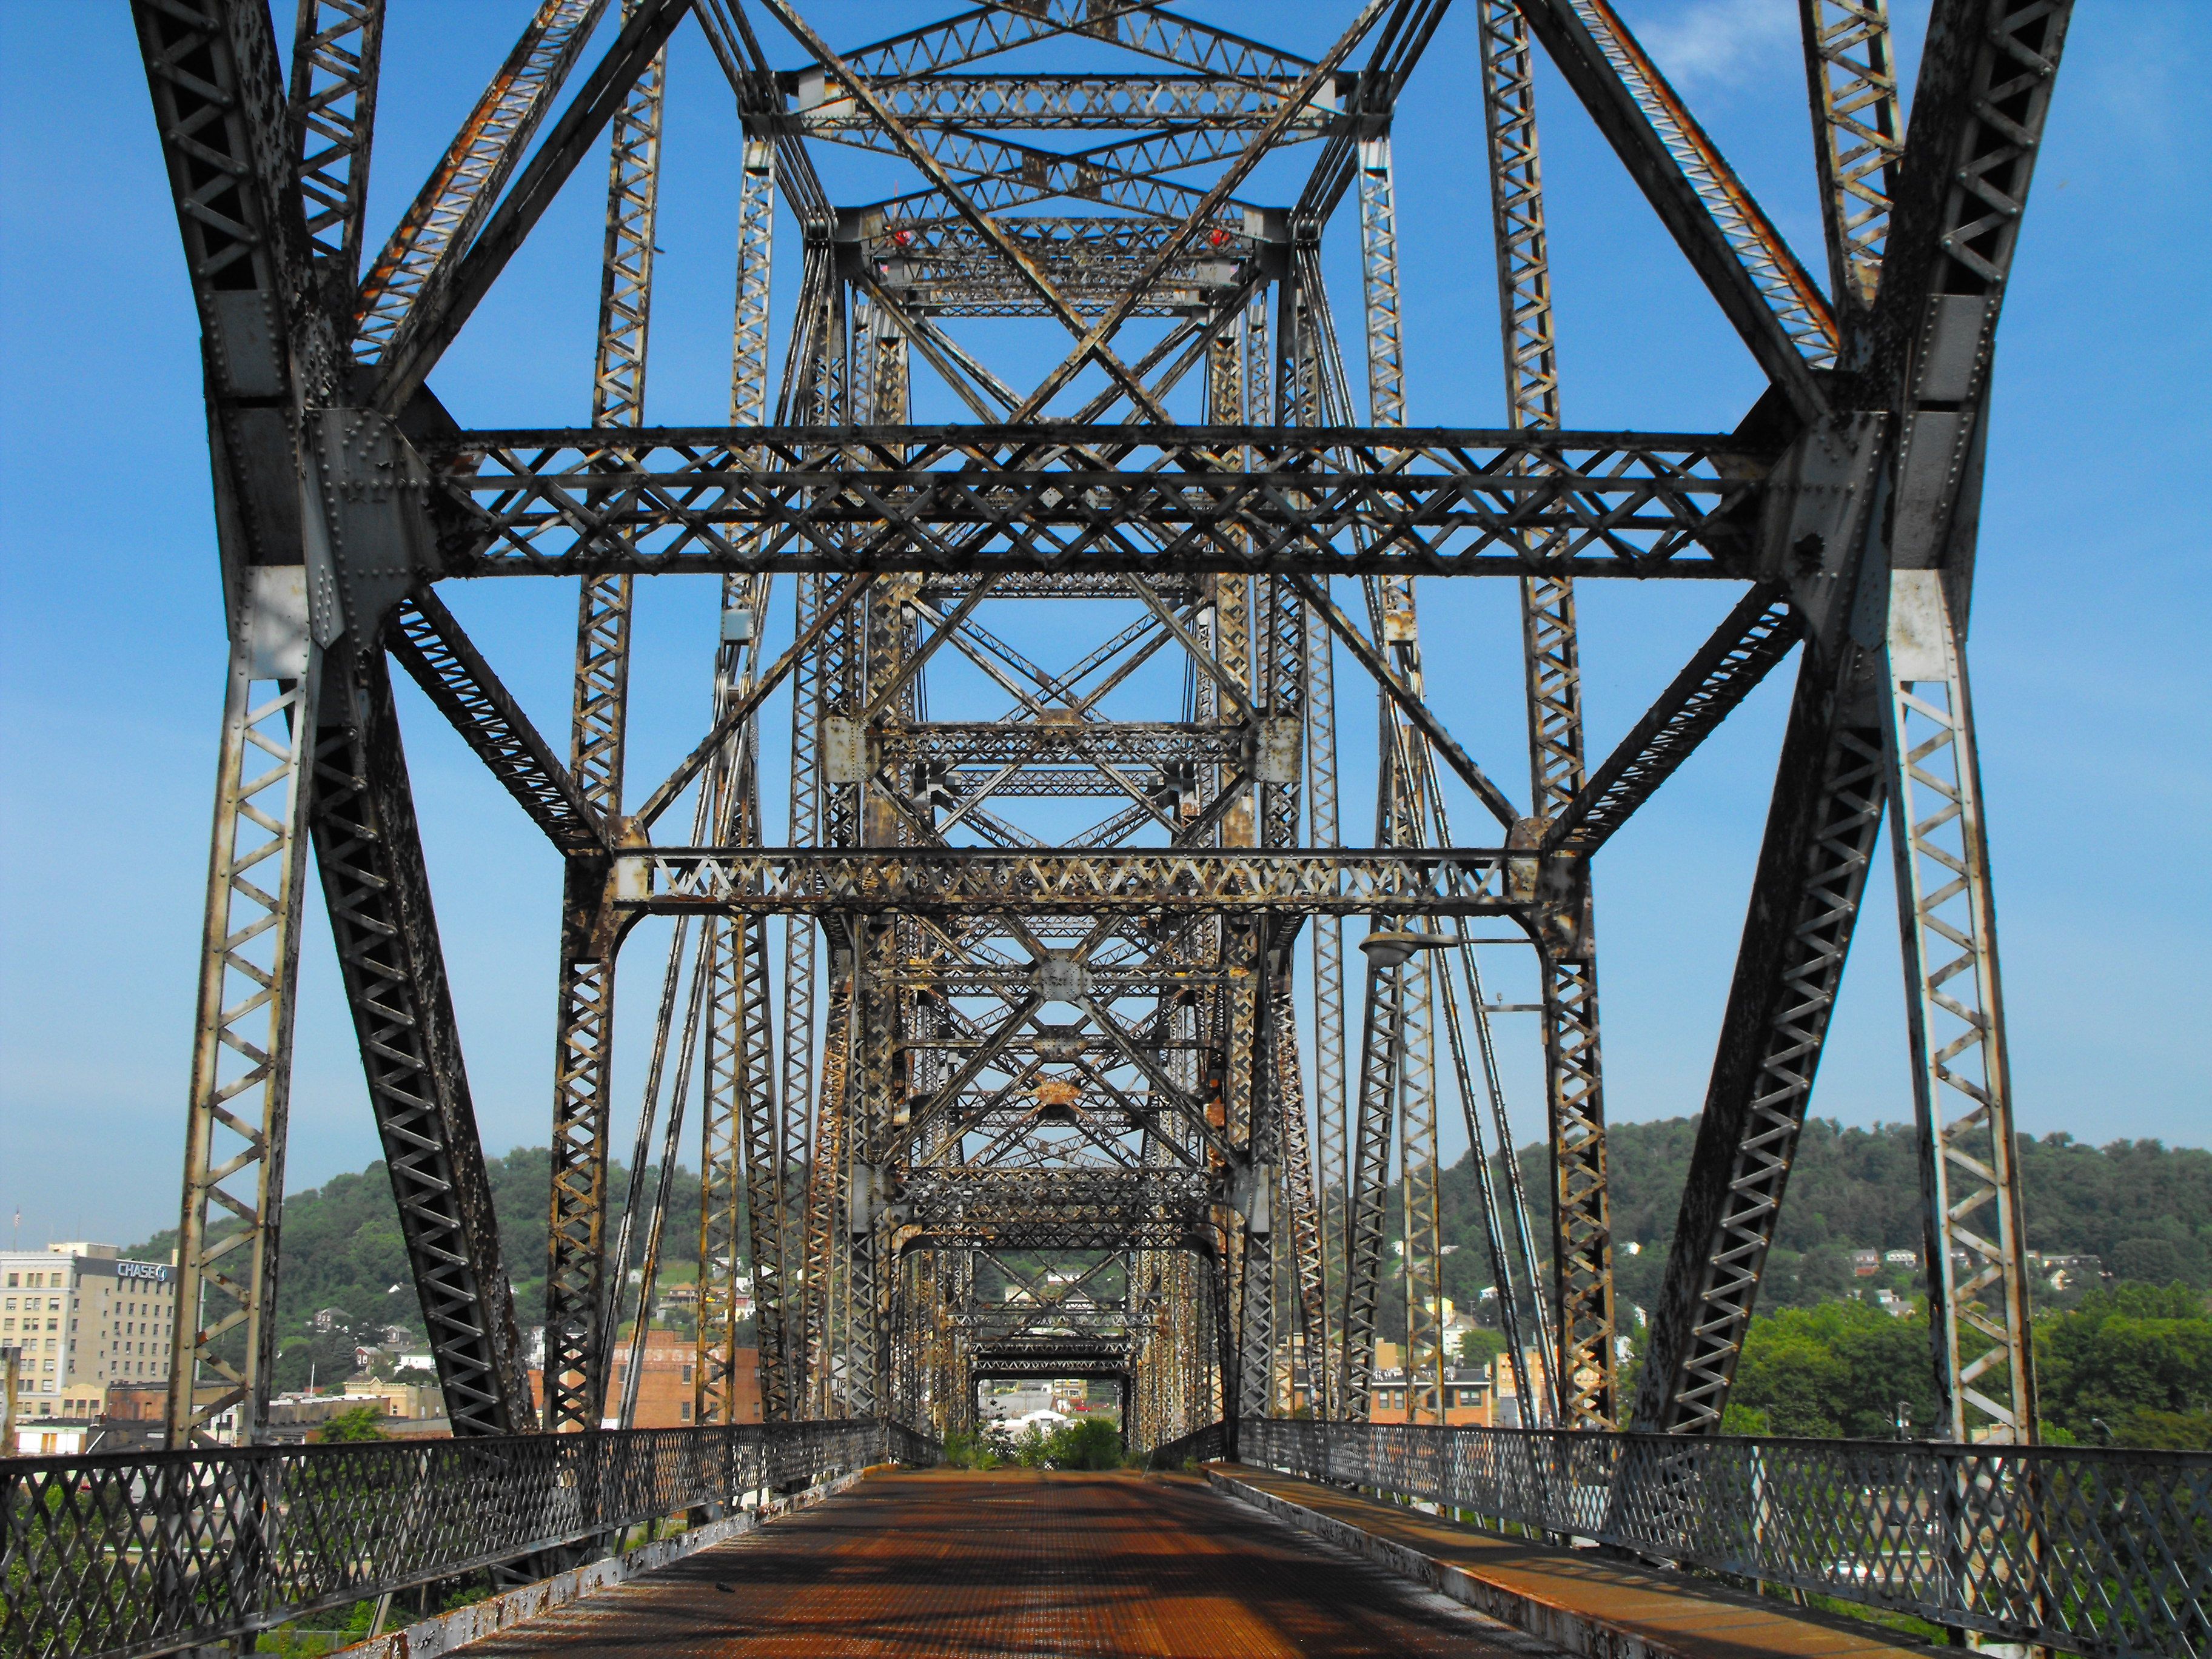
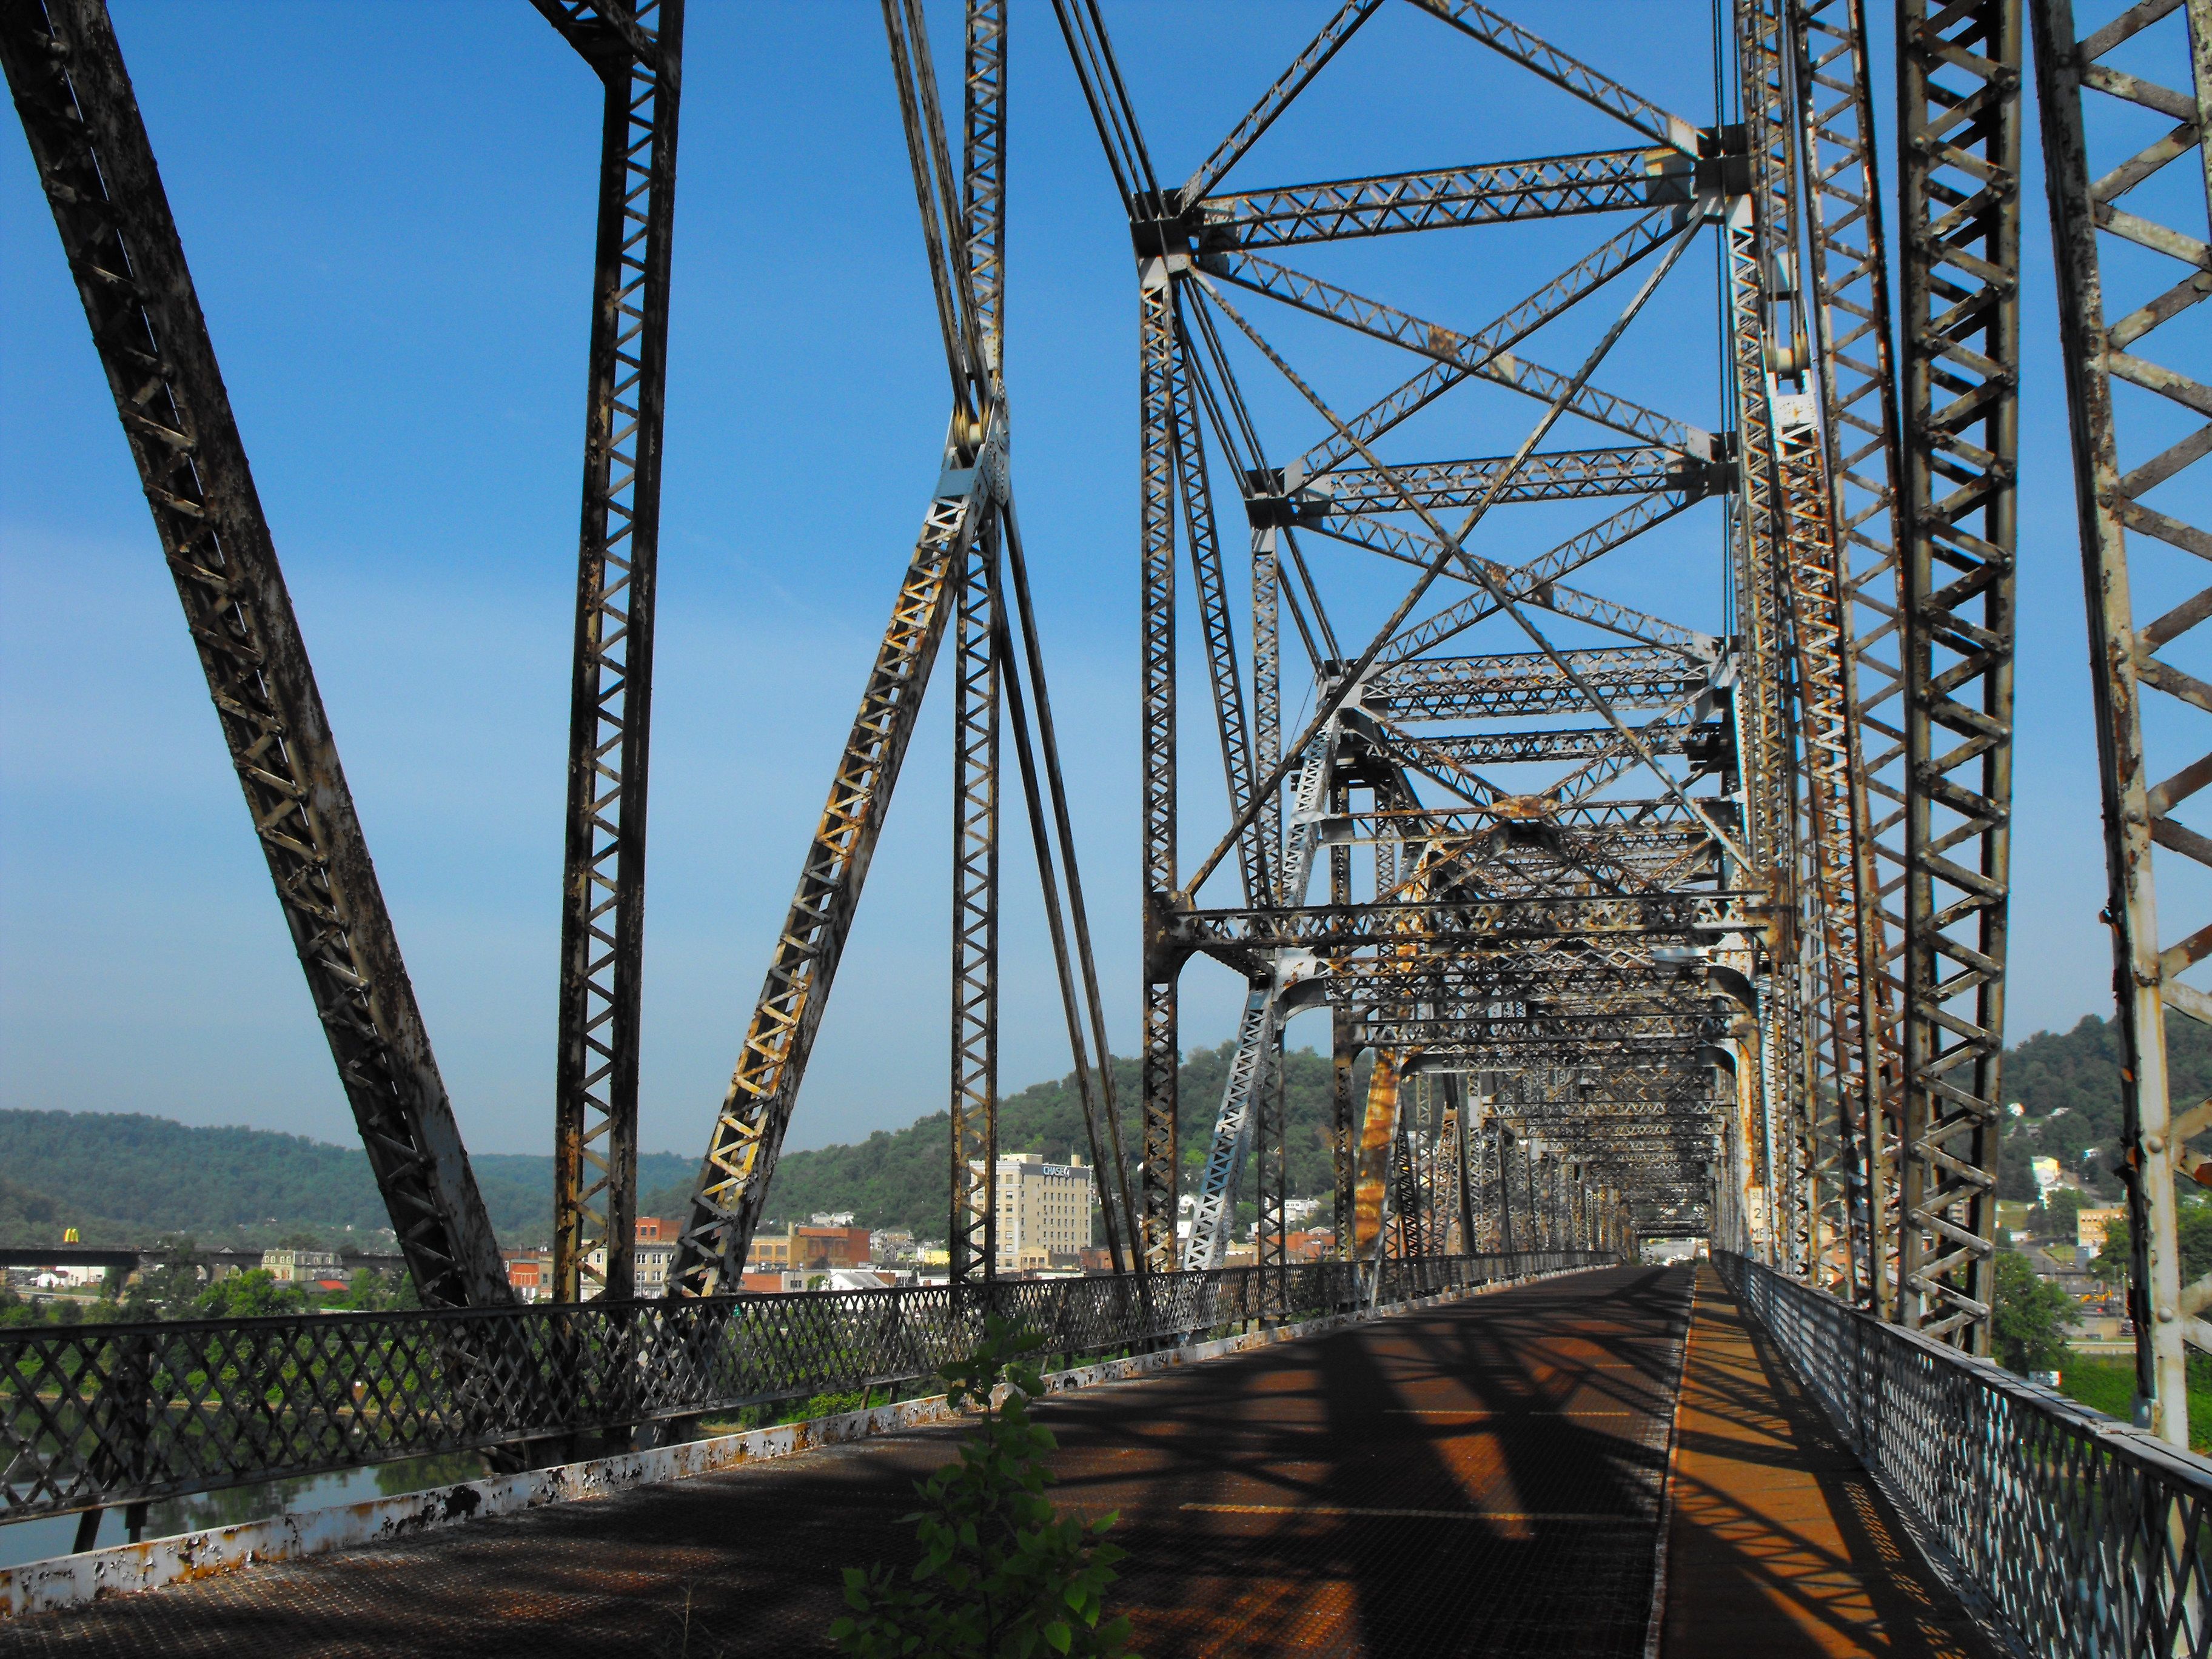
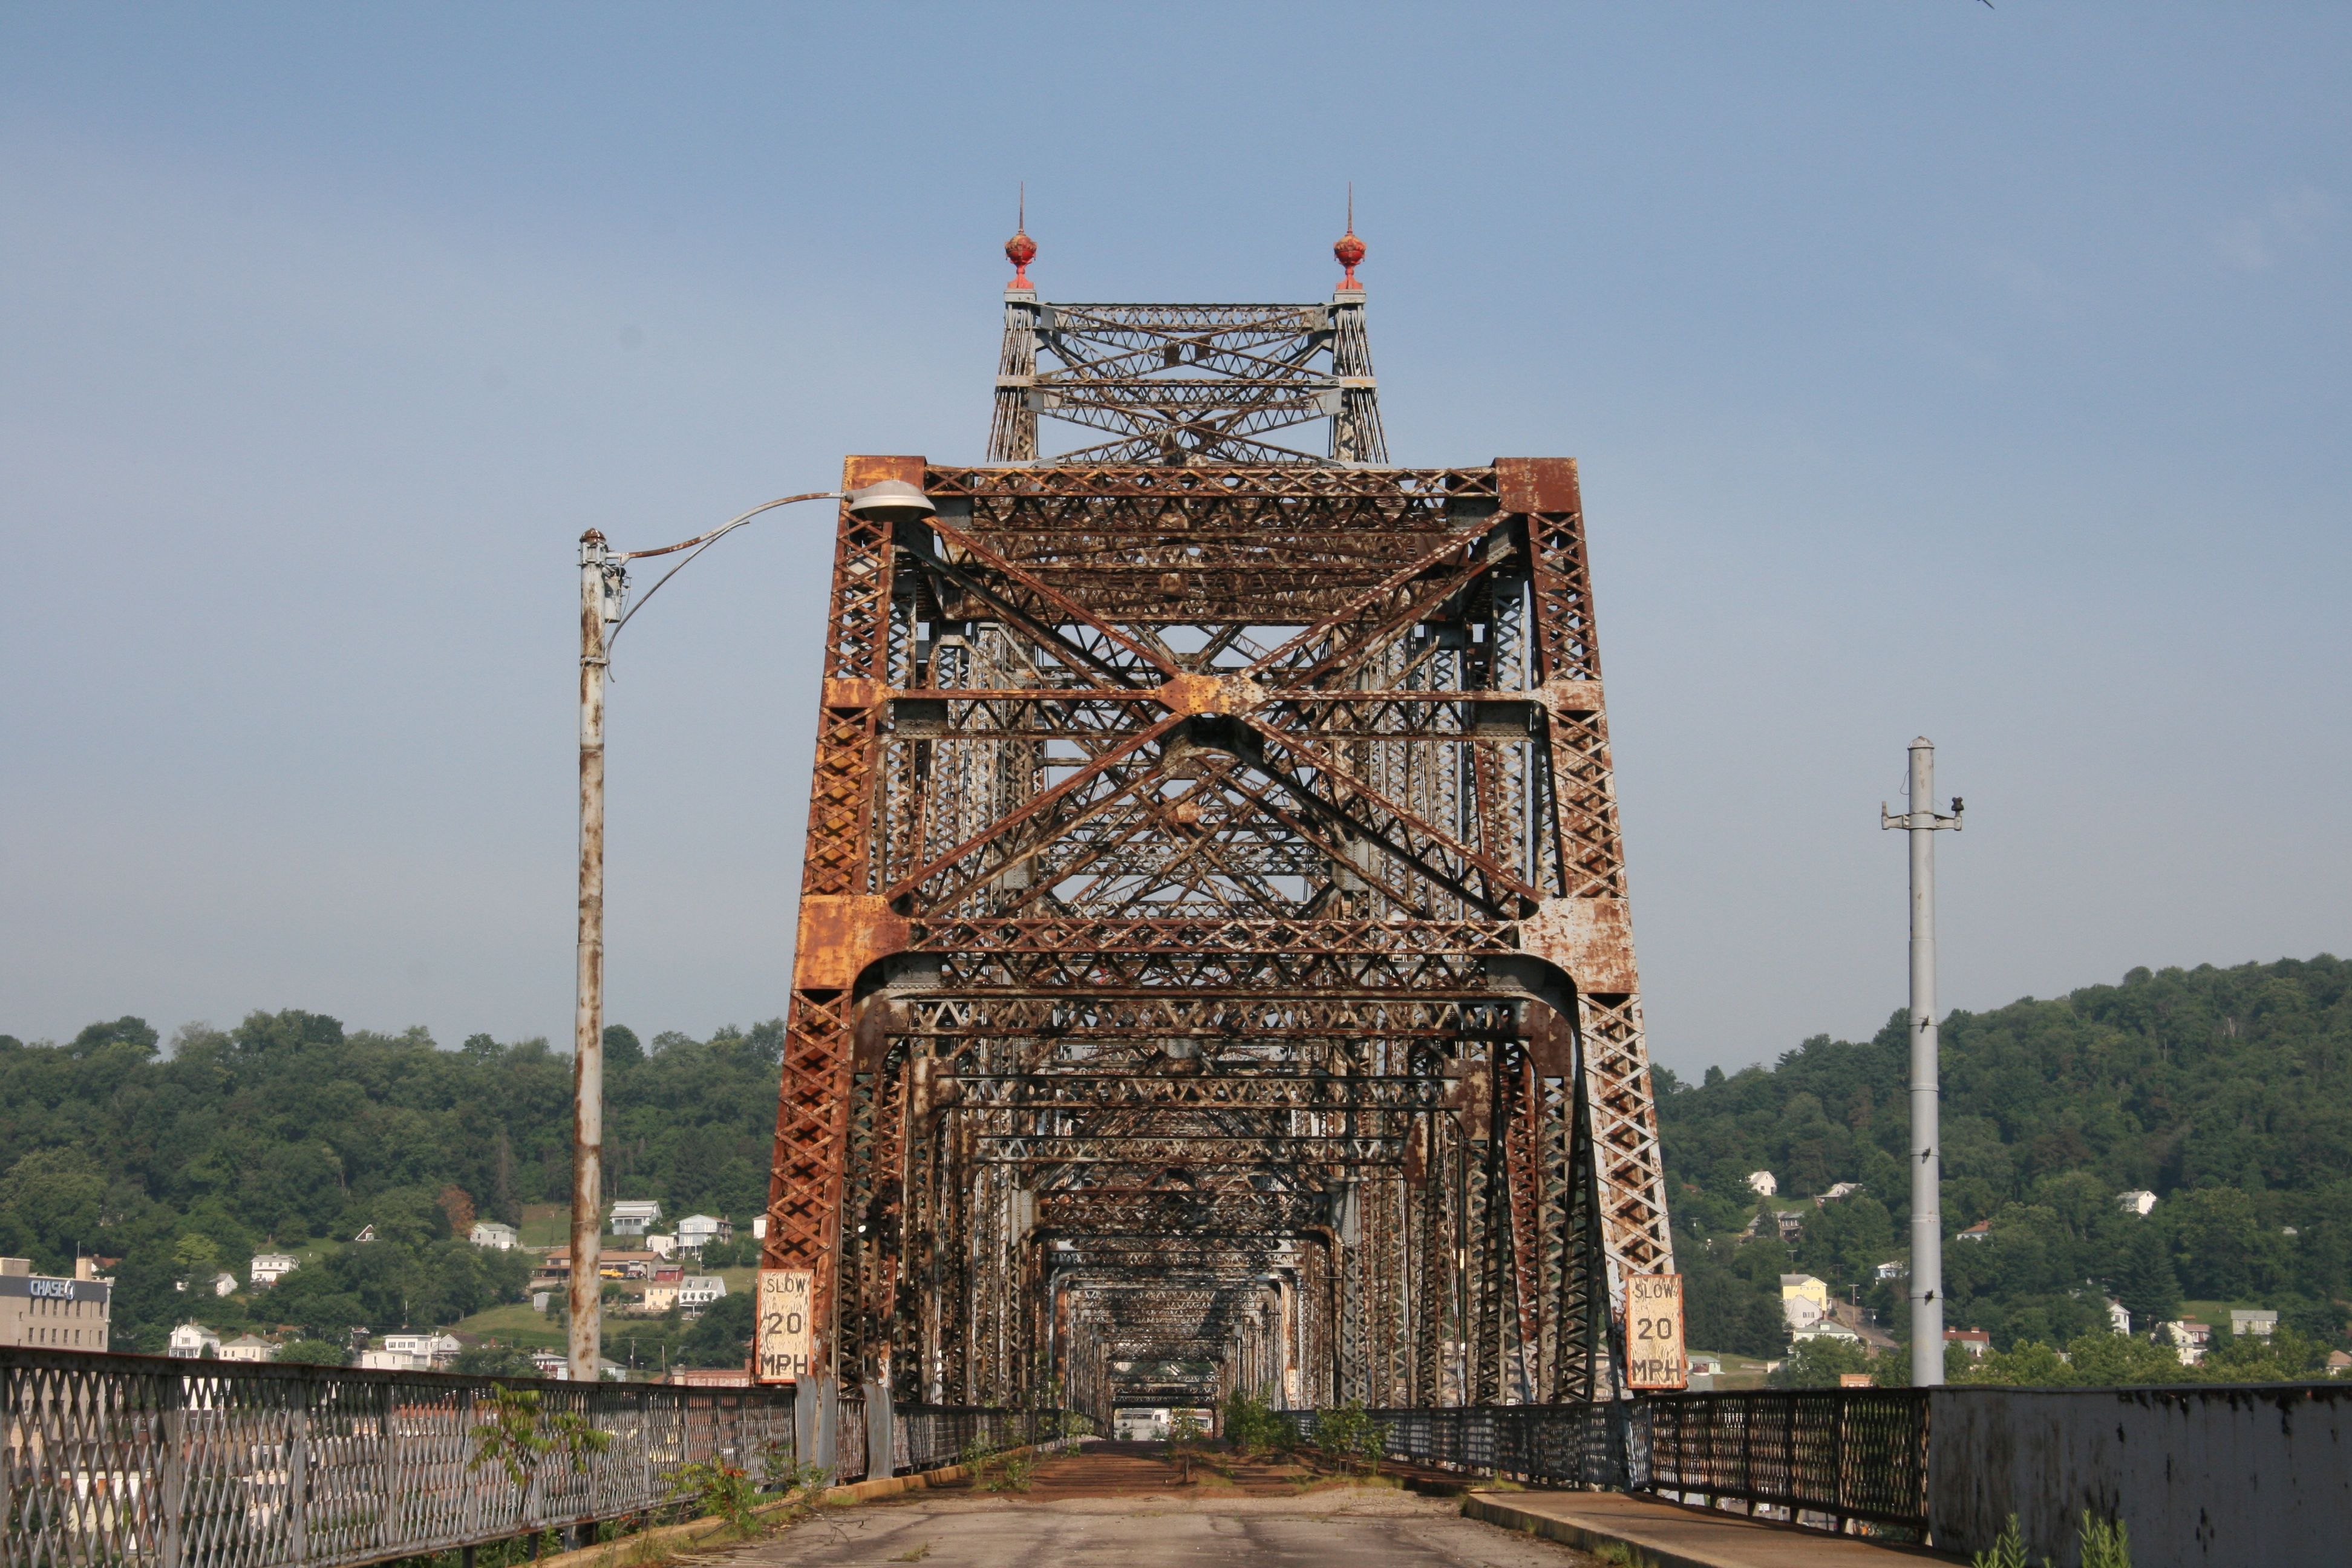
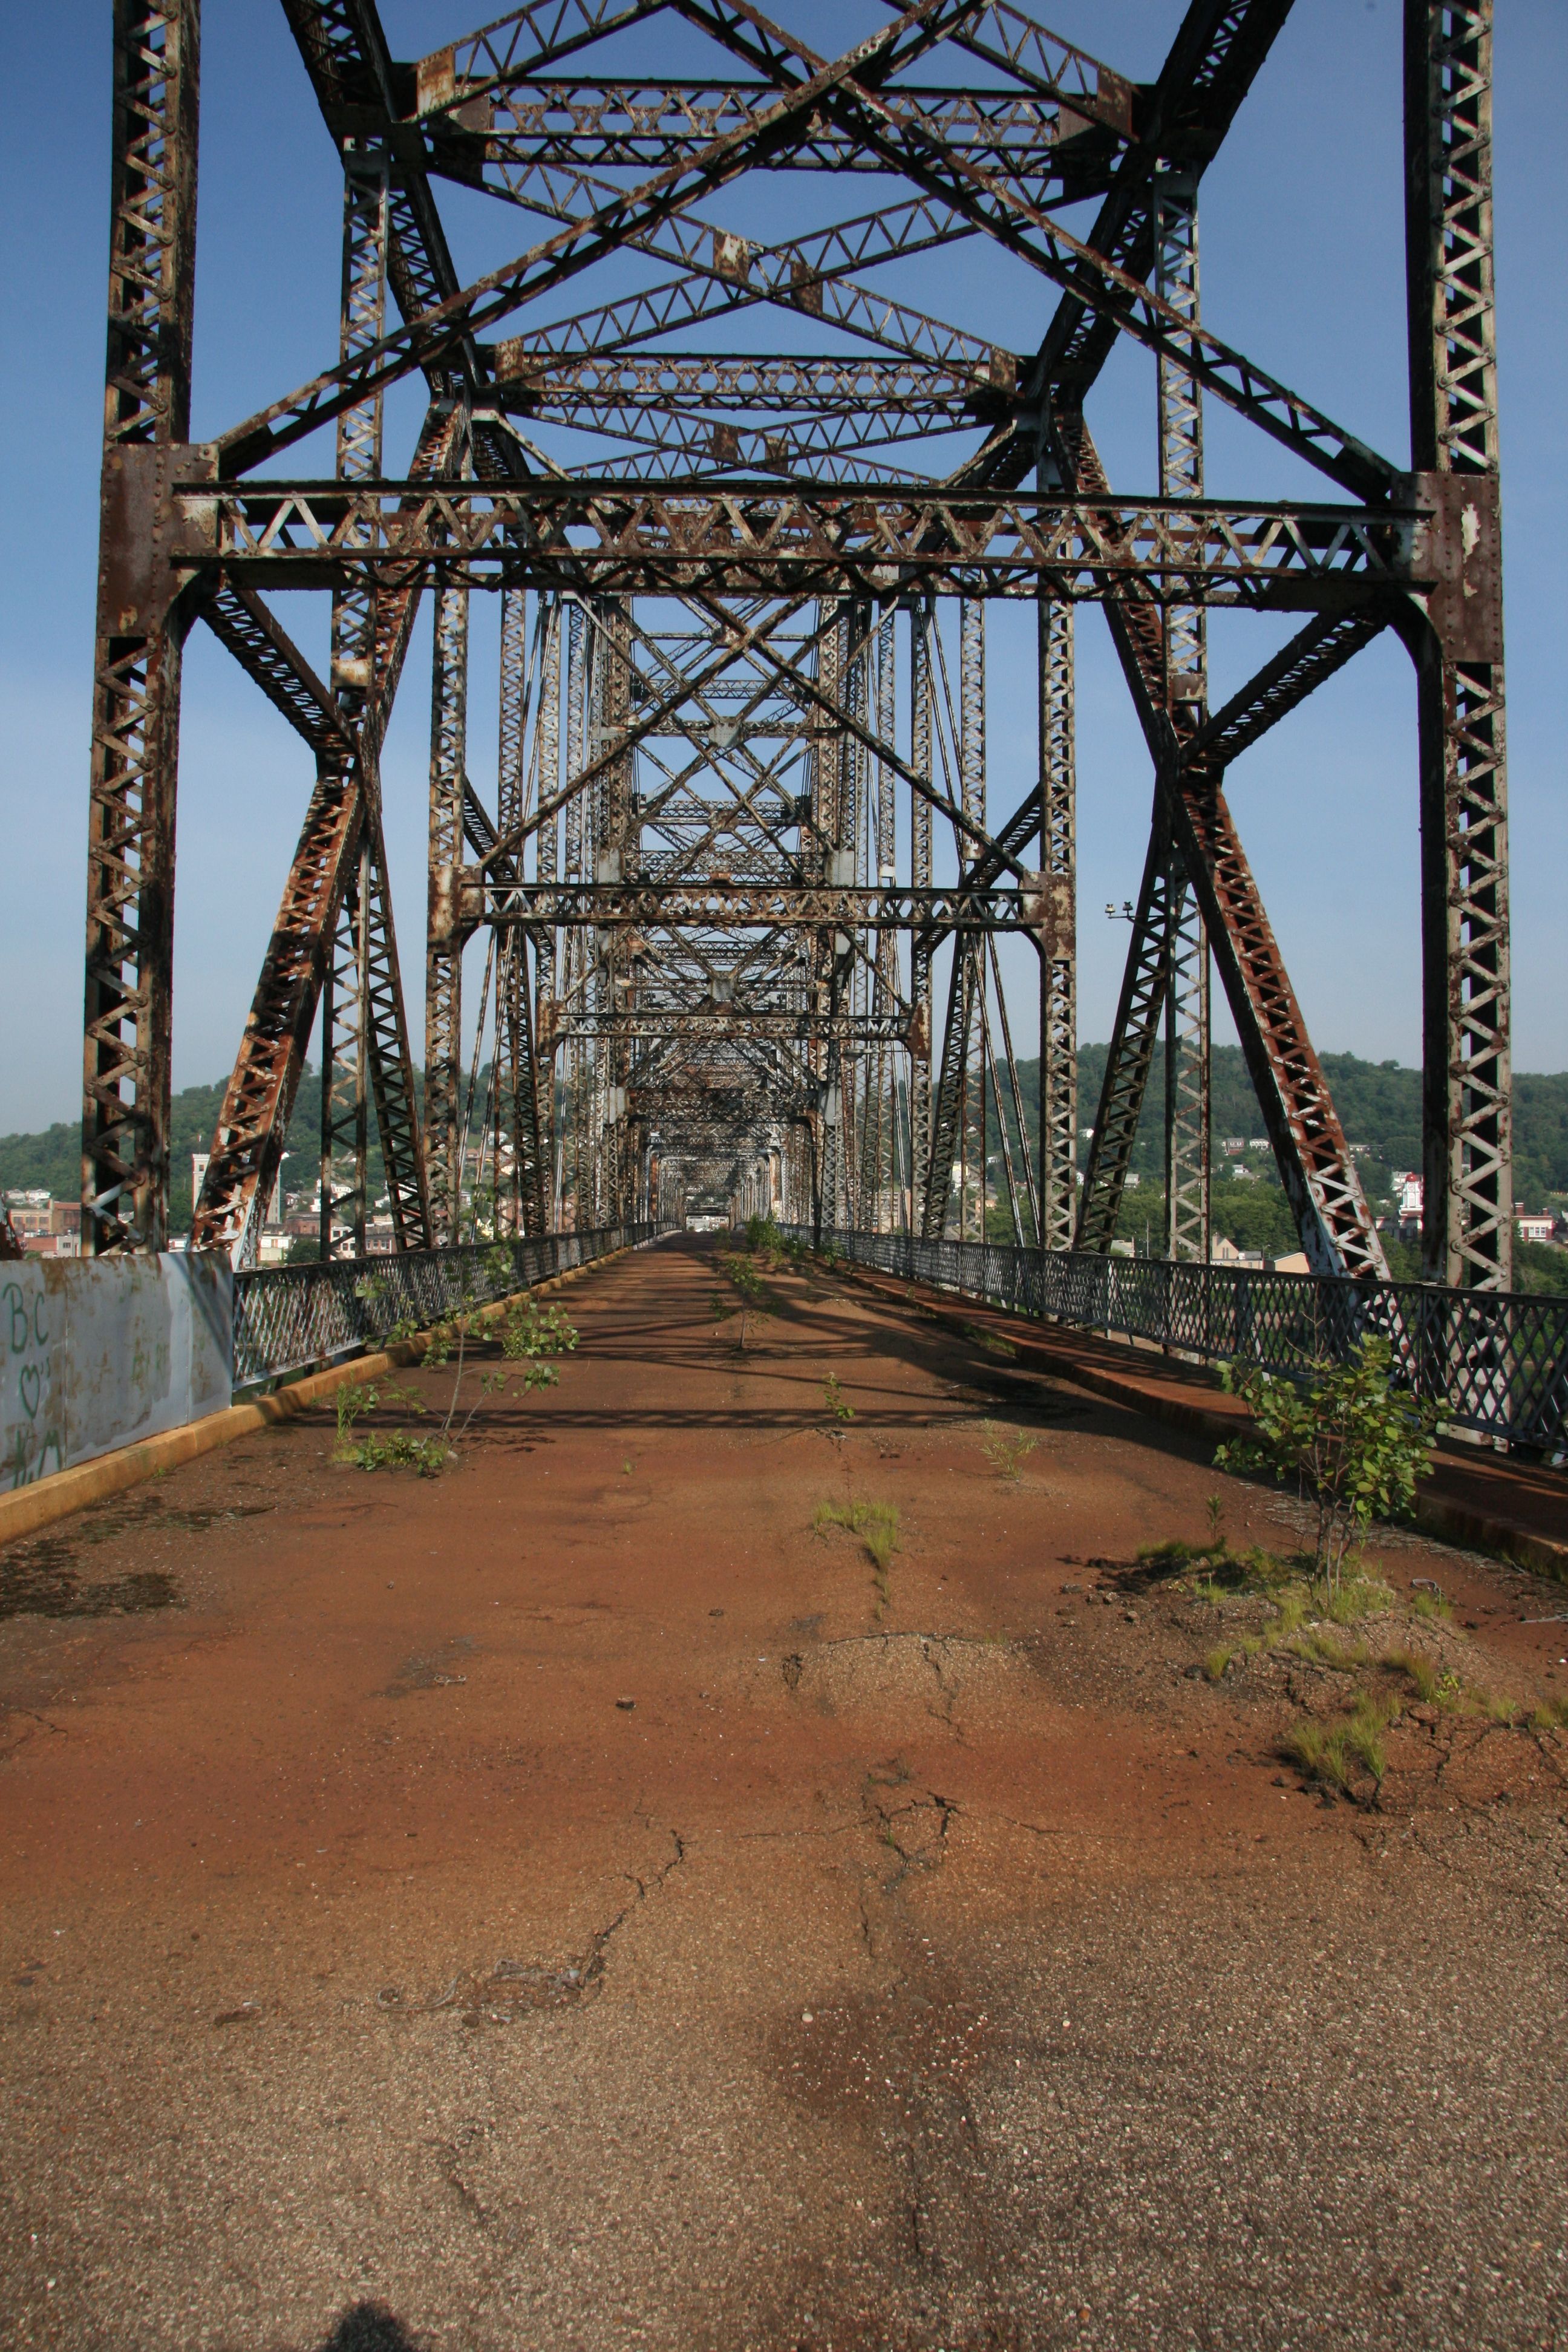
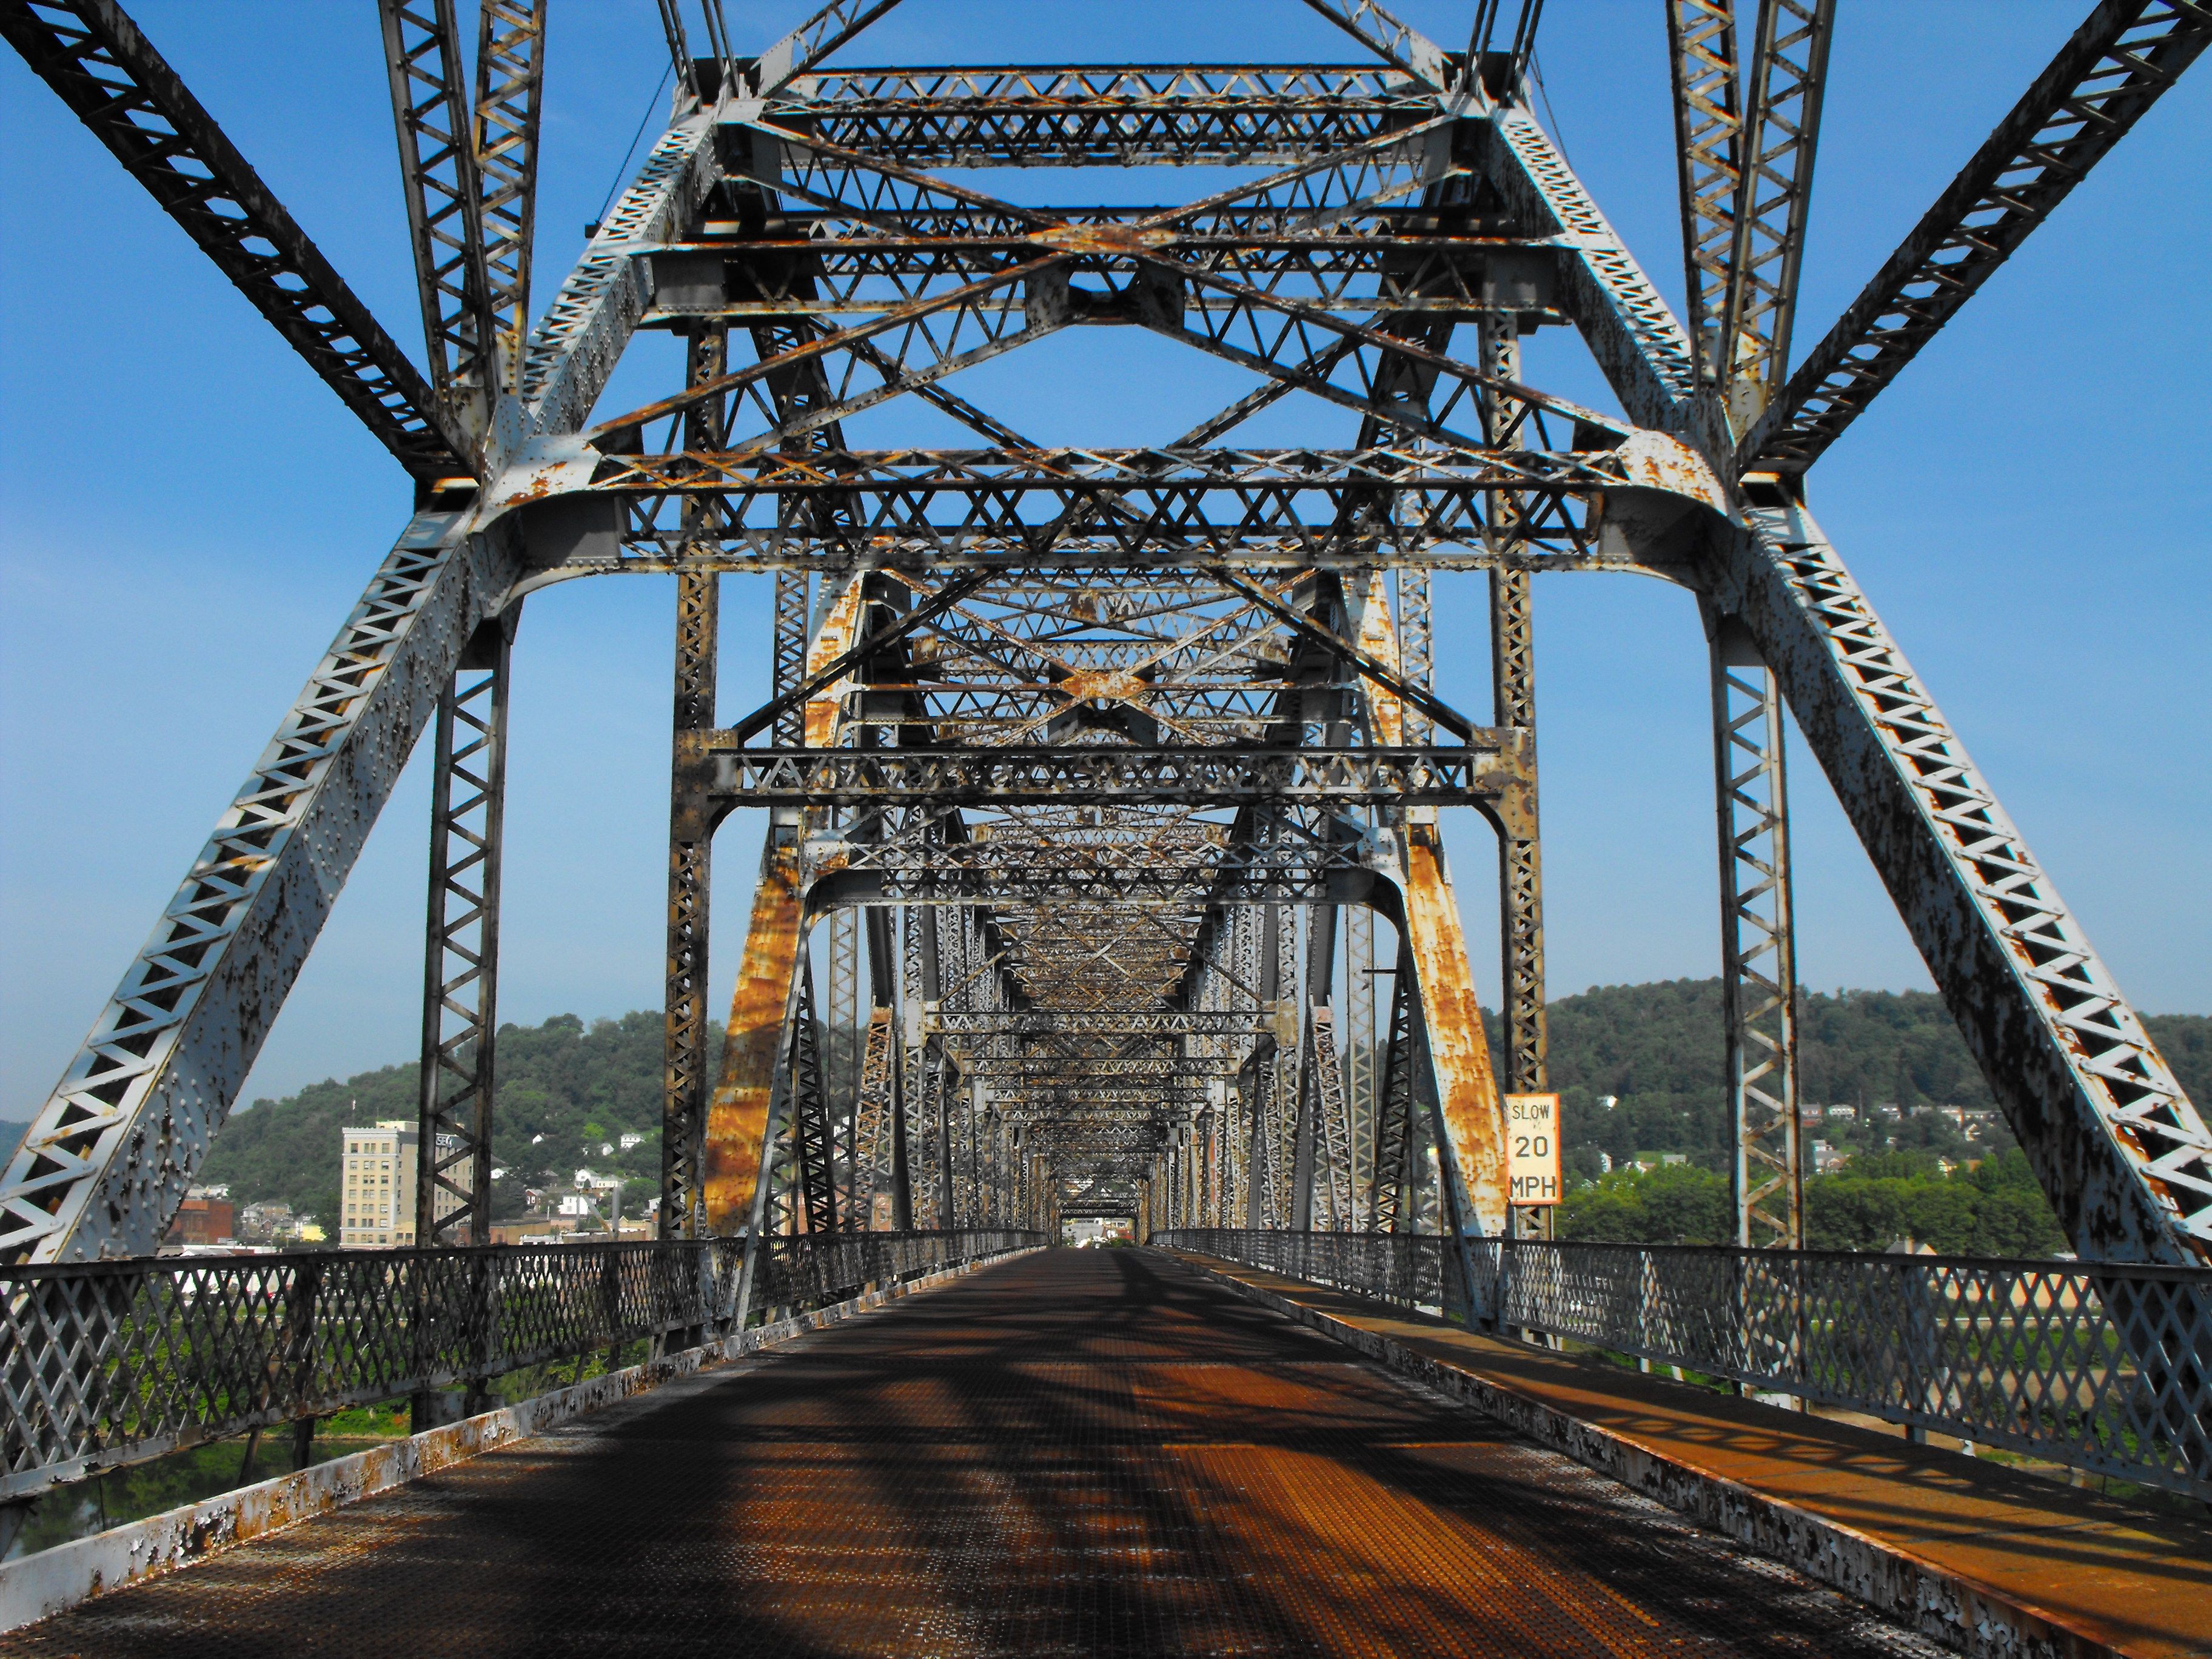
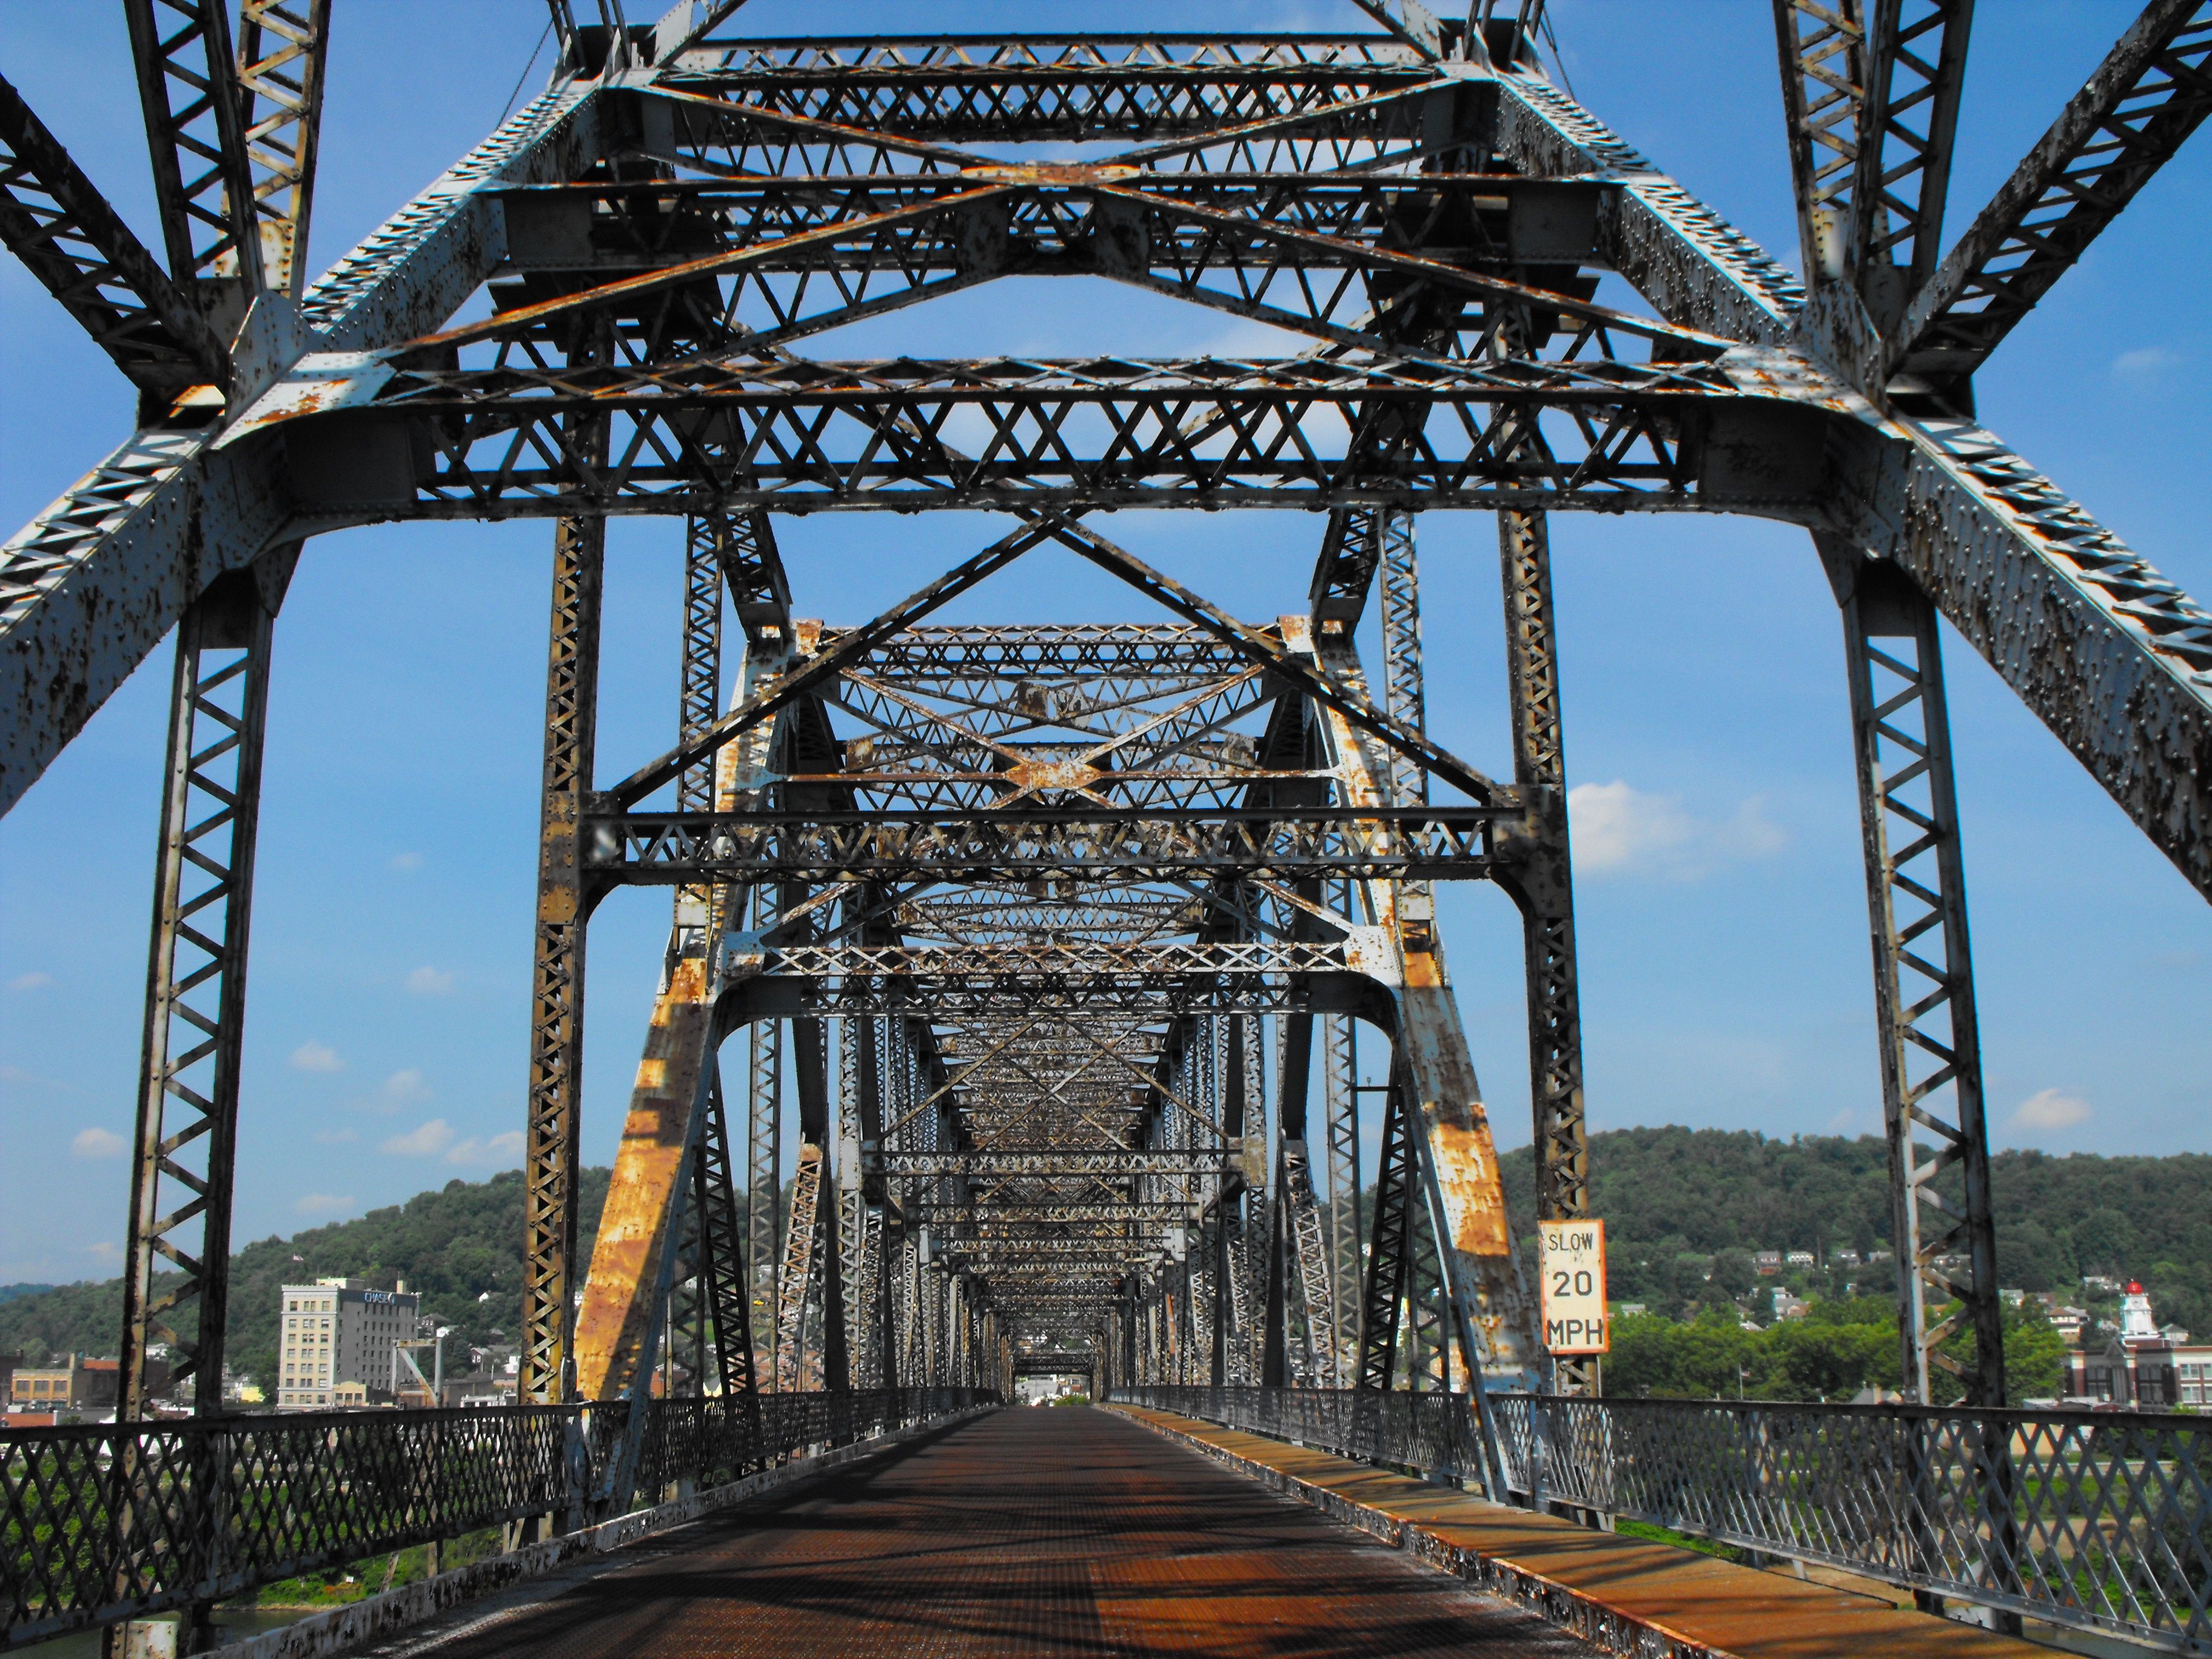
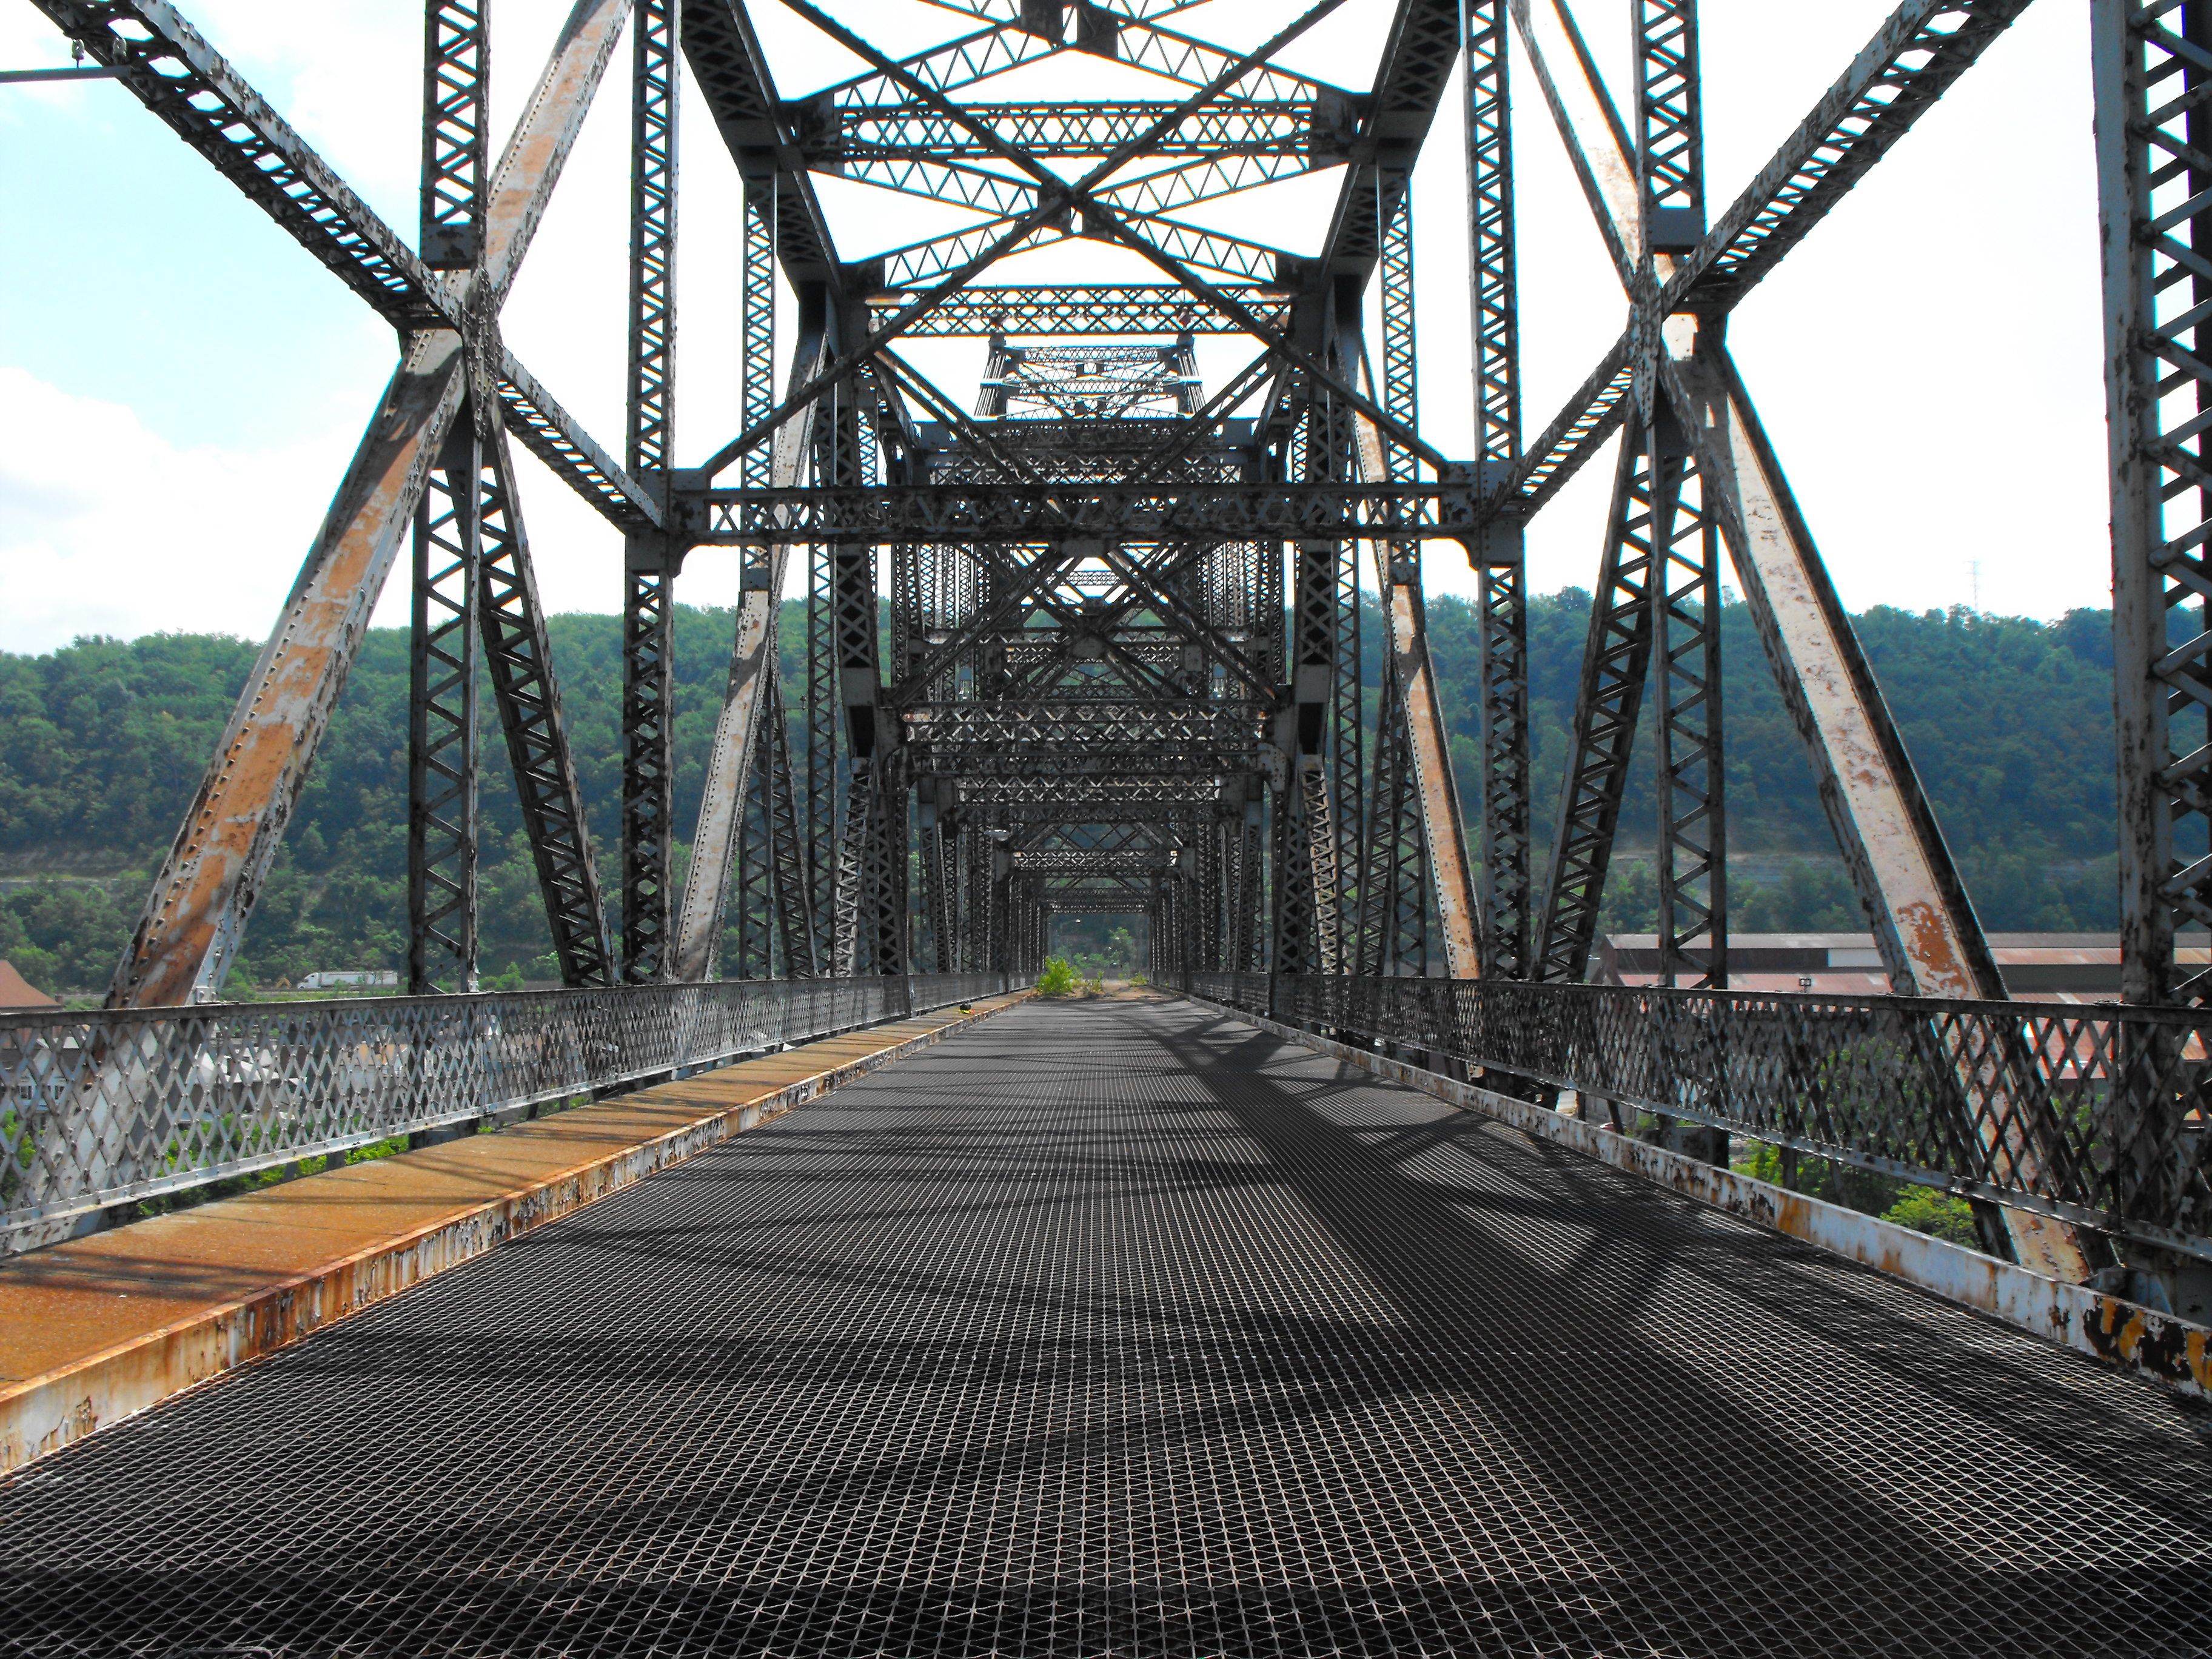
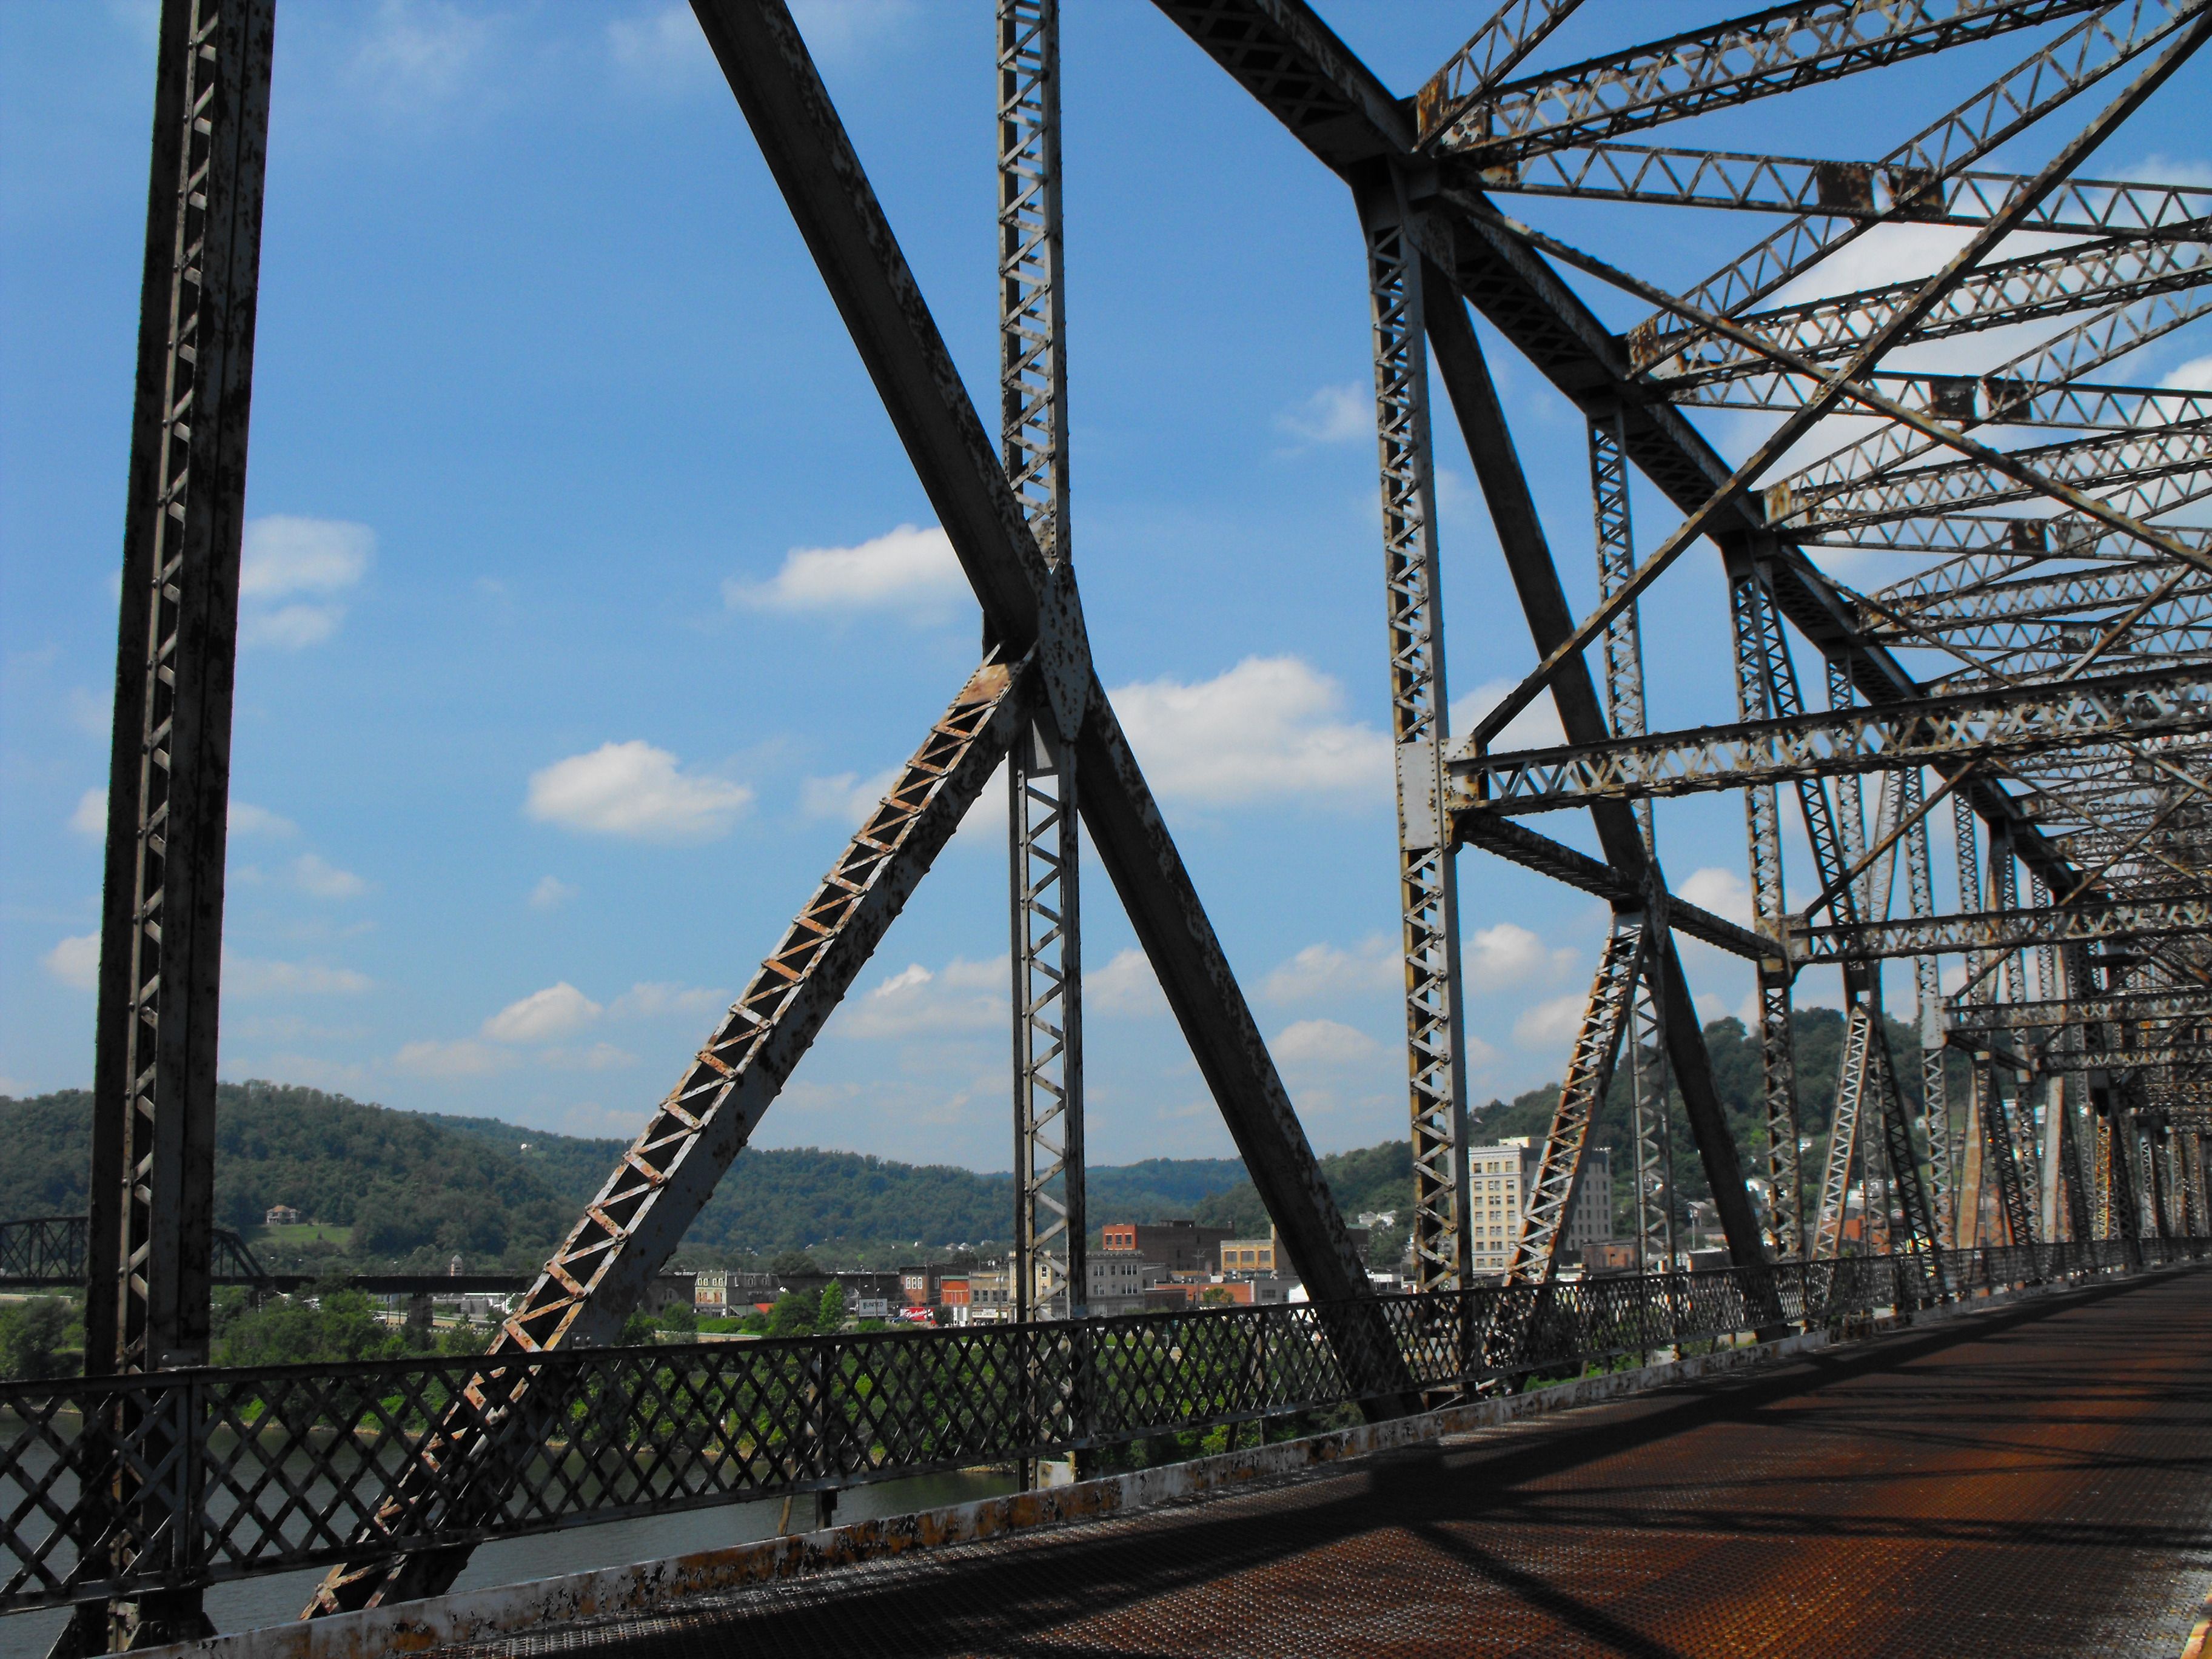
Portal views facing west, with tower not visible.
![]()
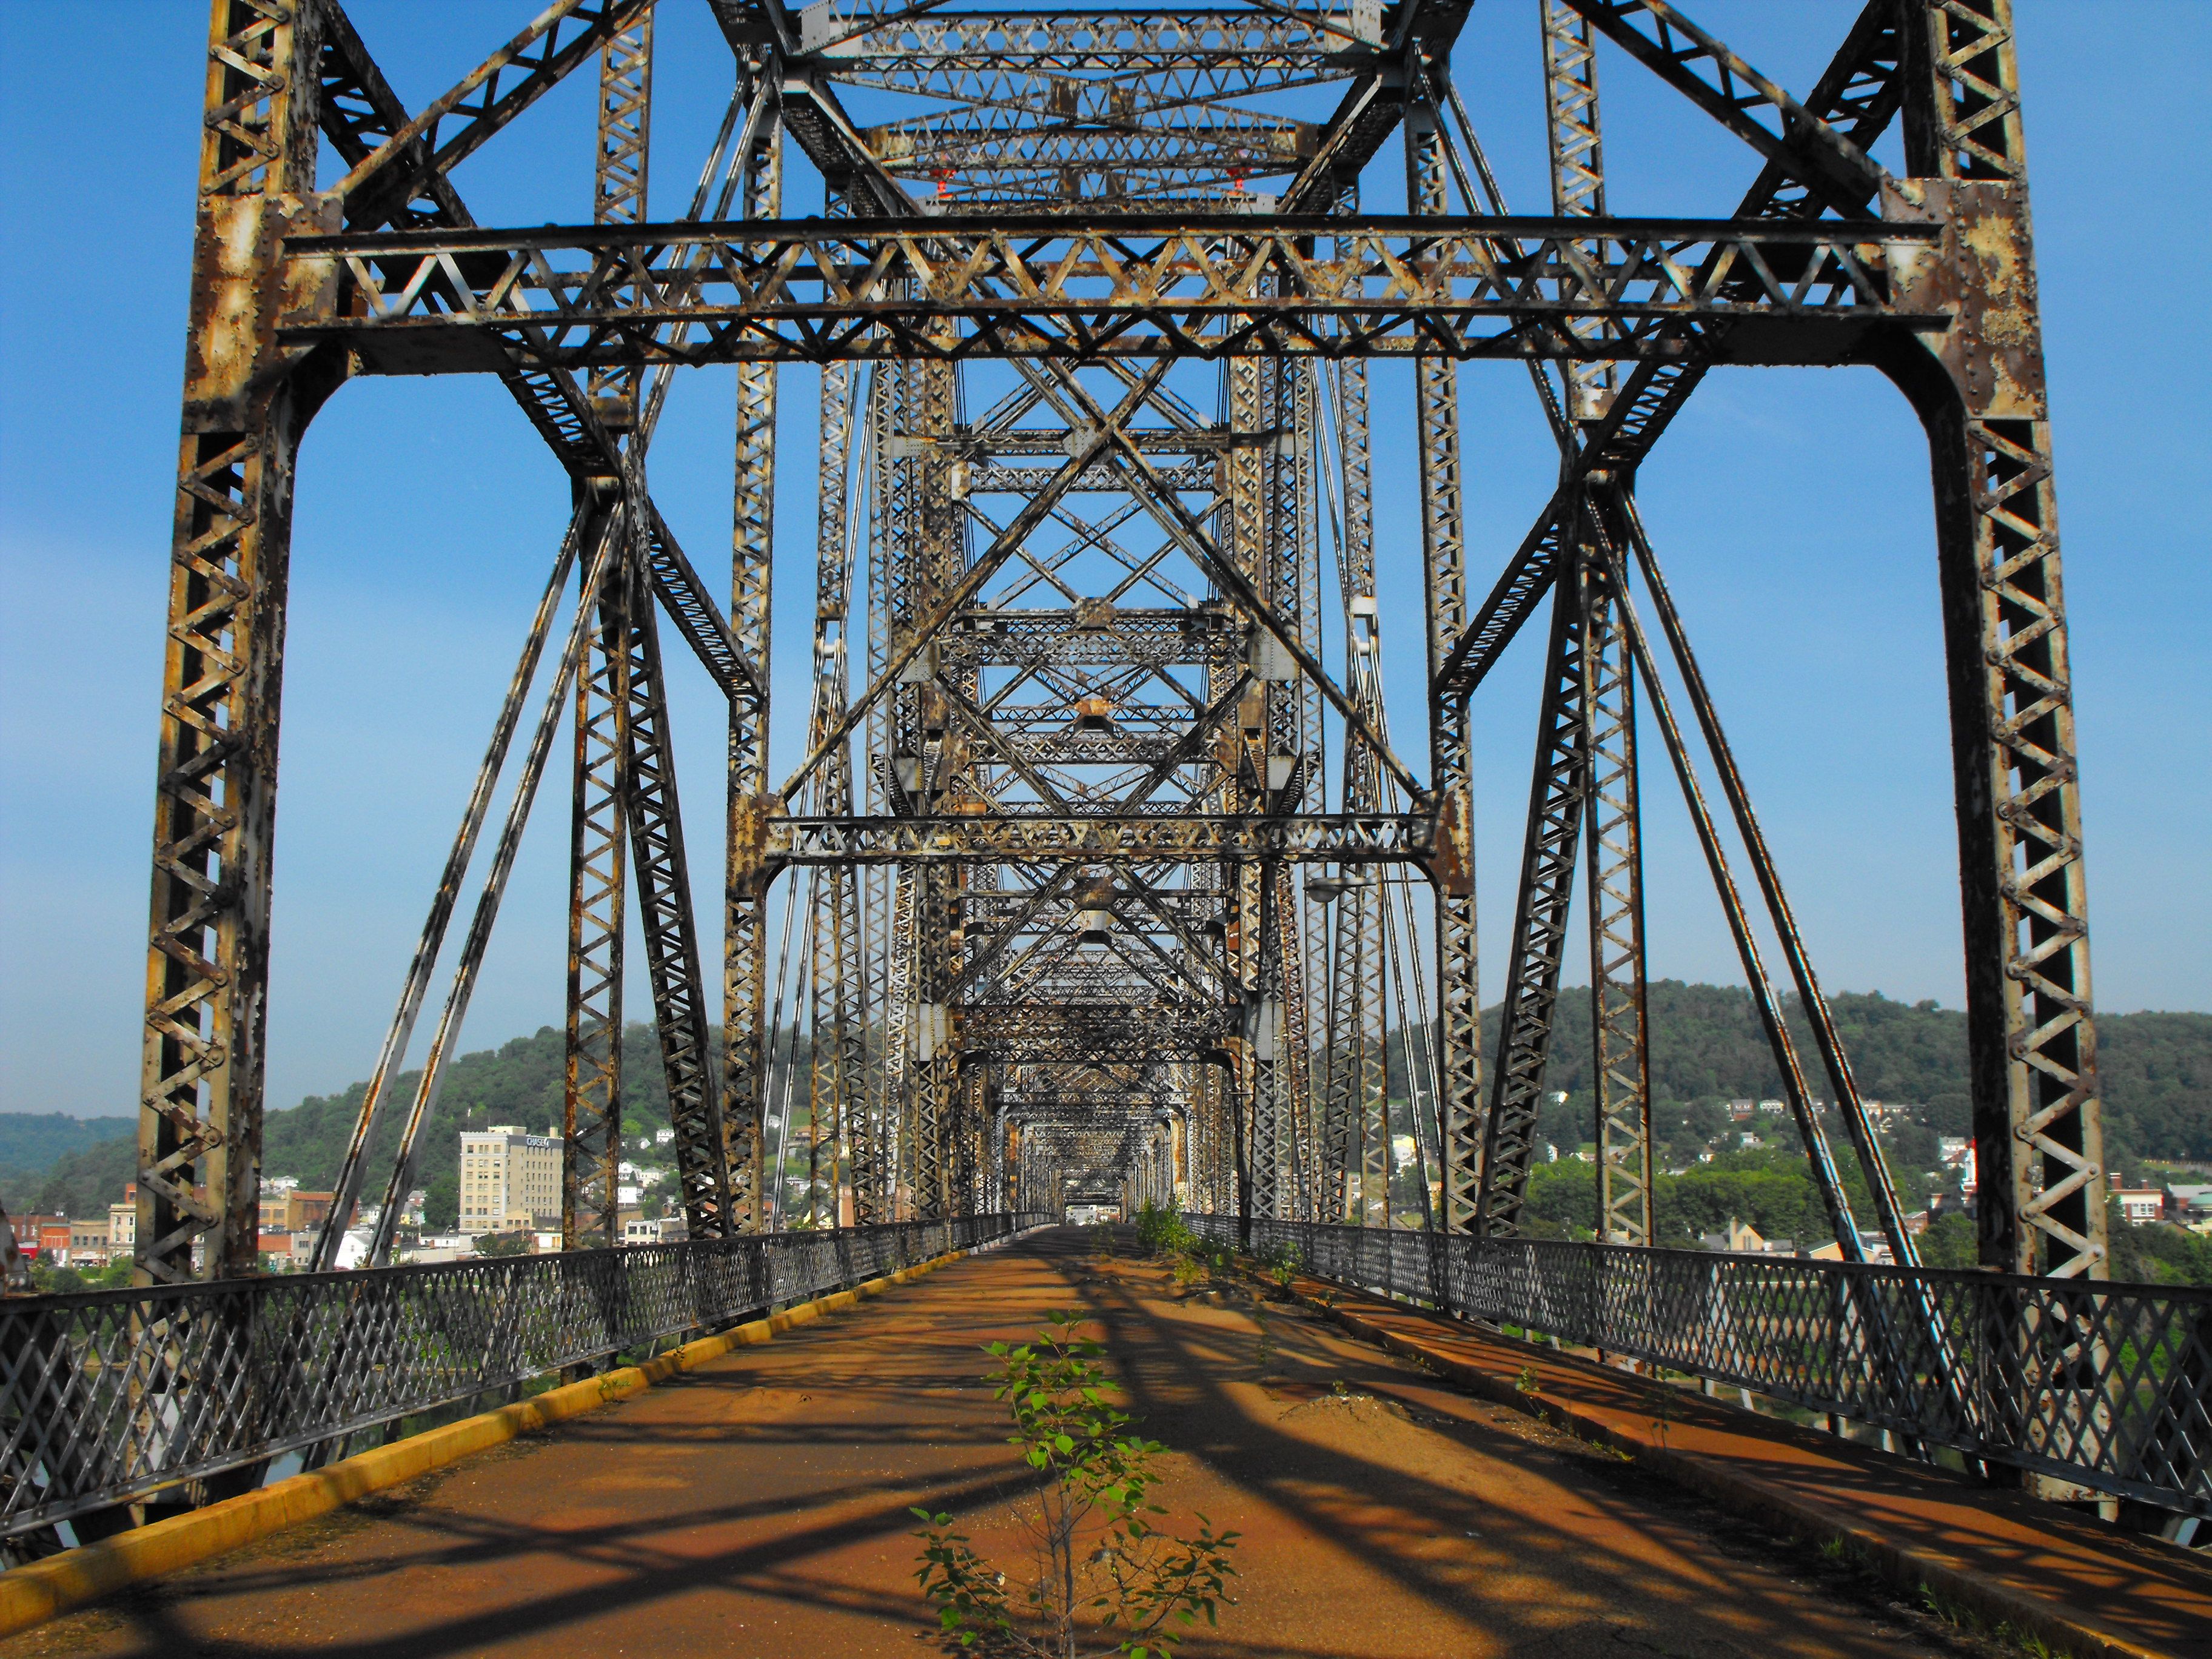
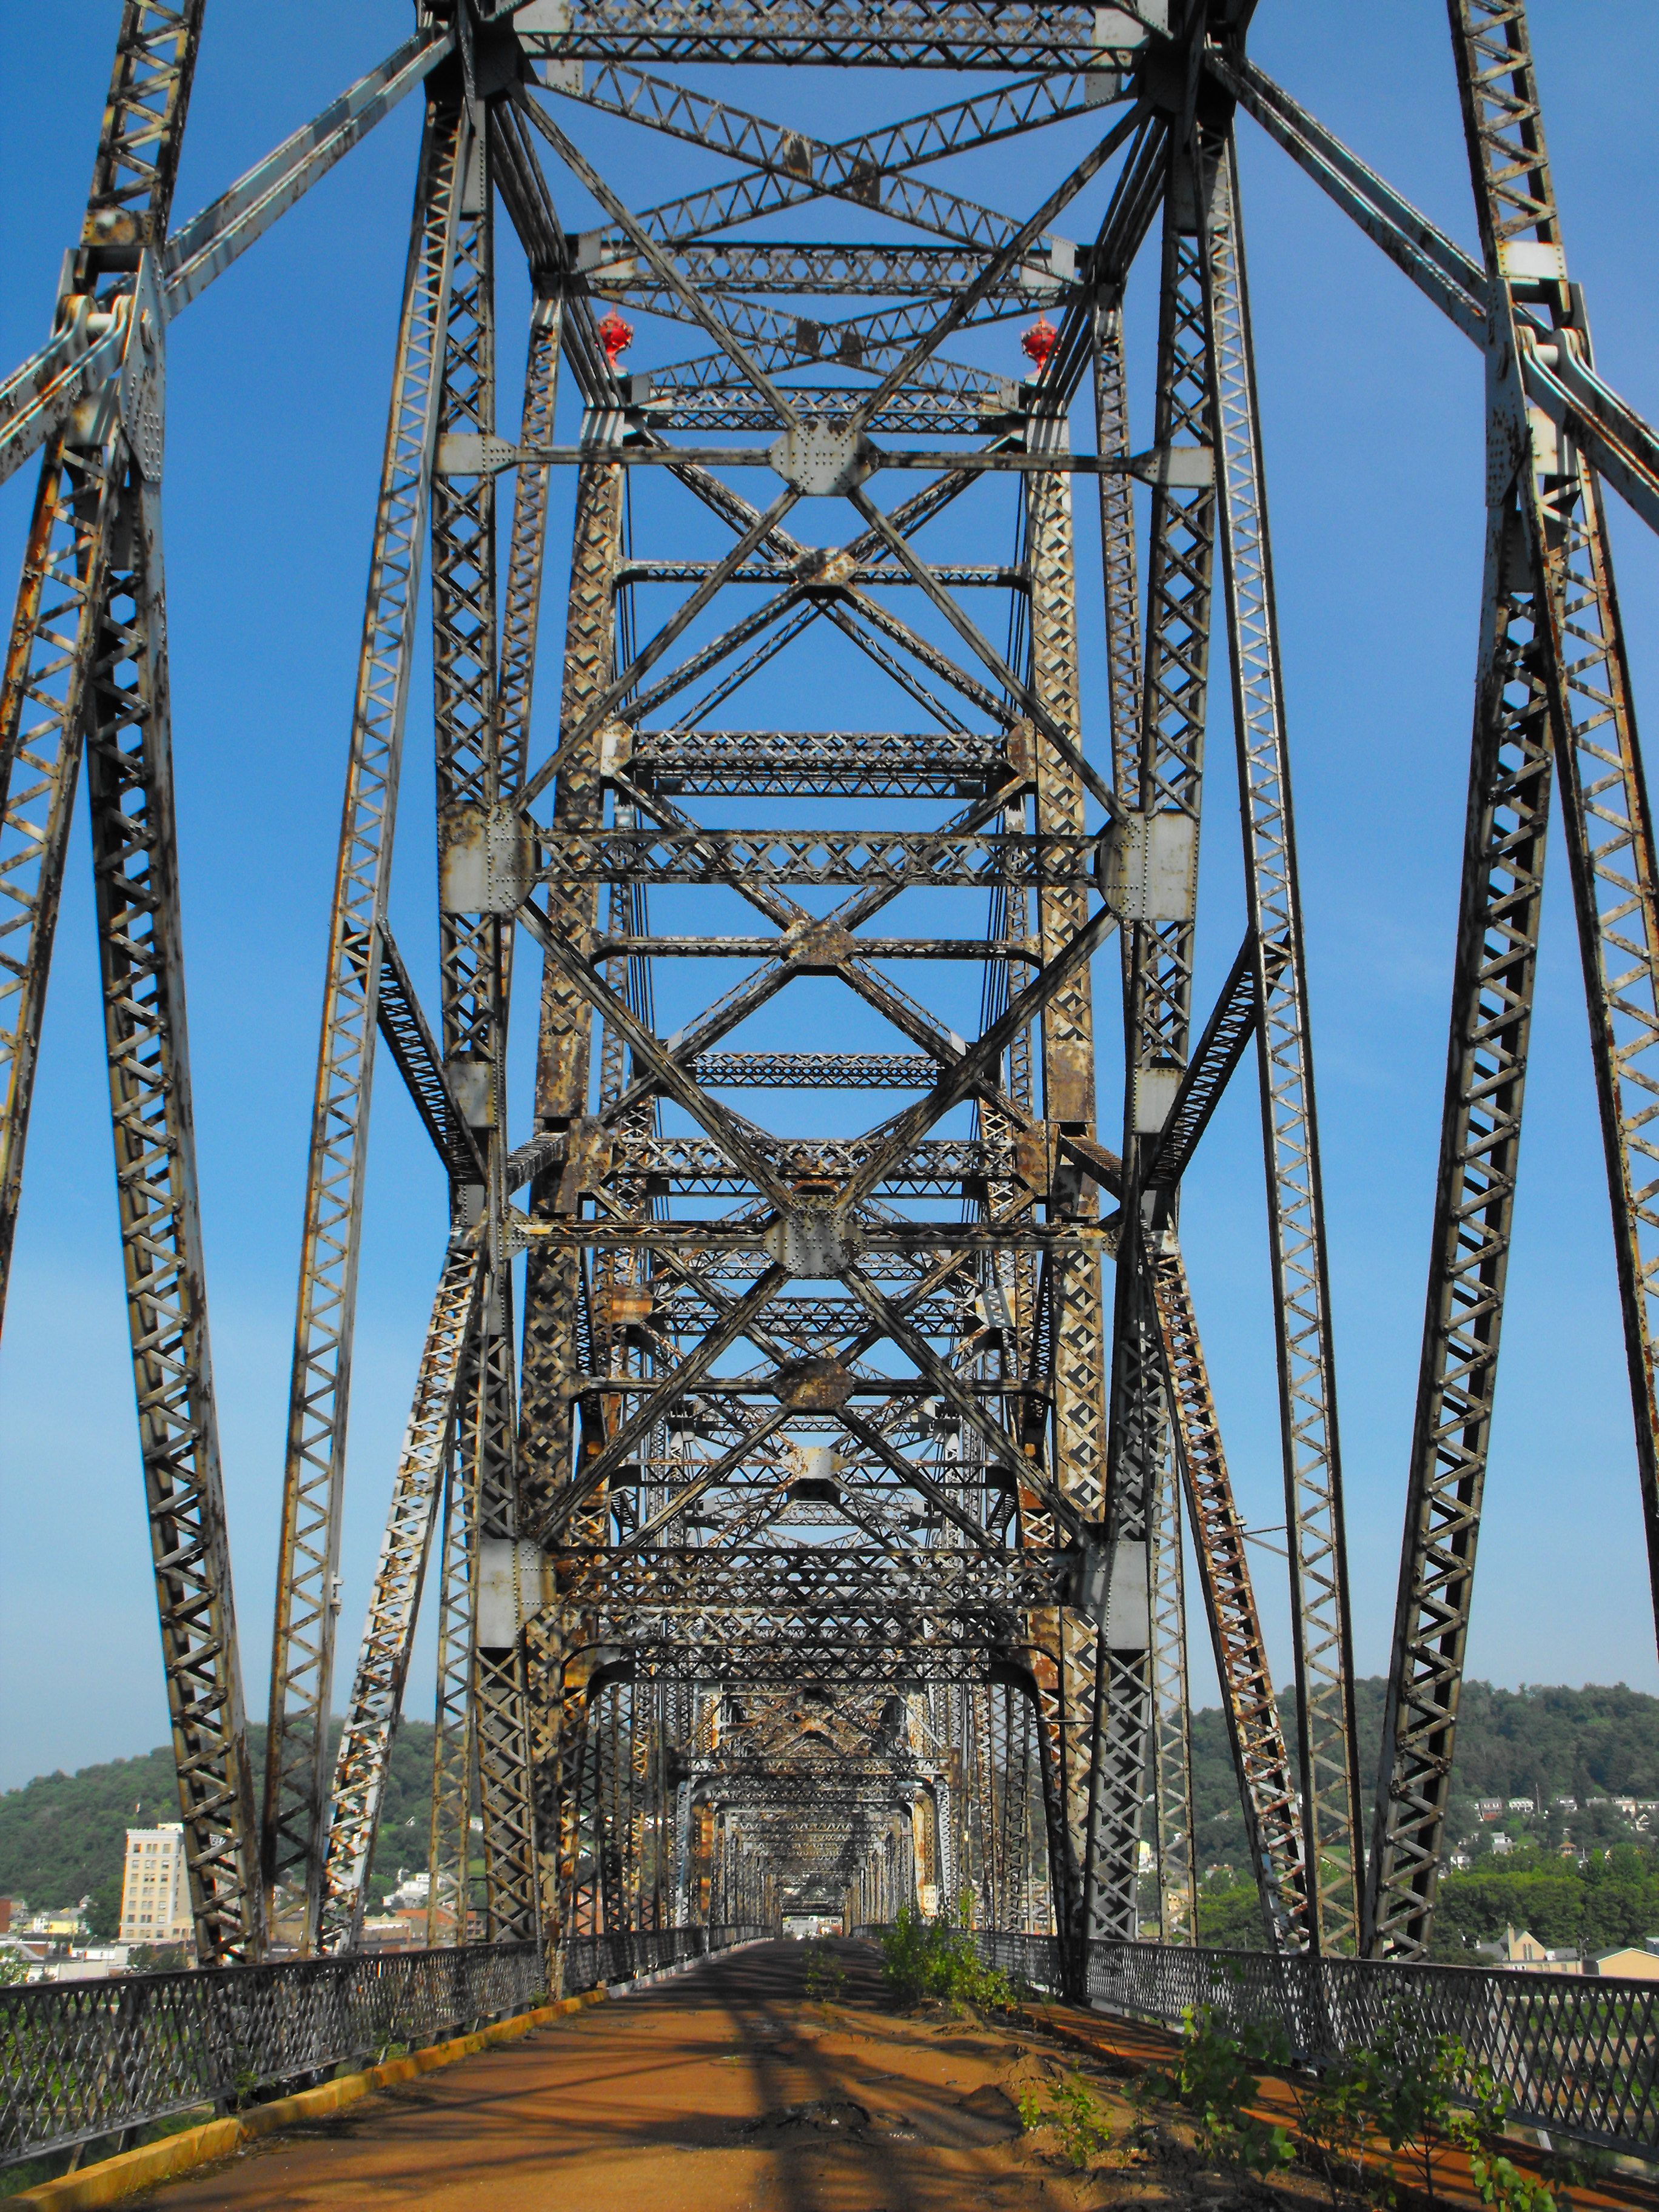

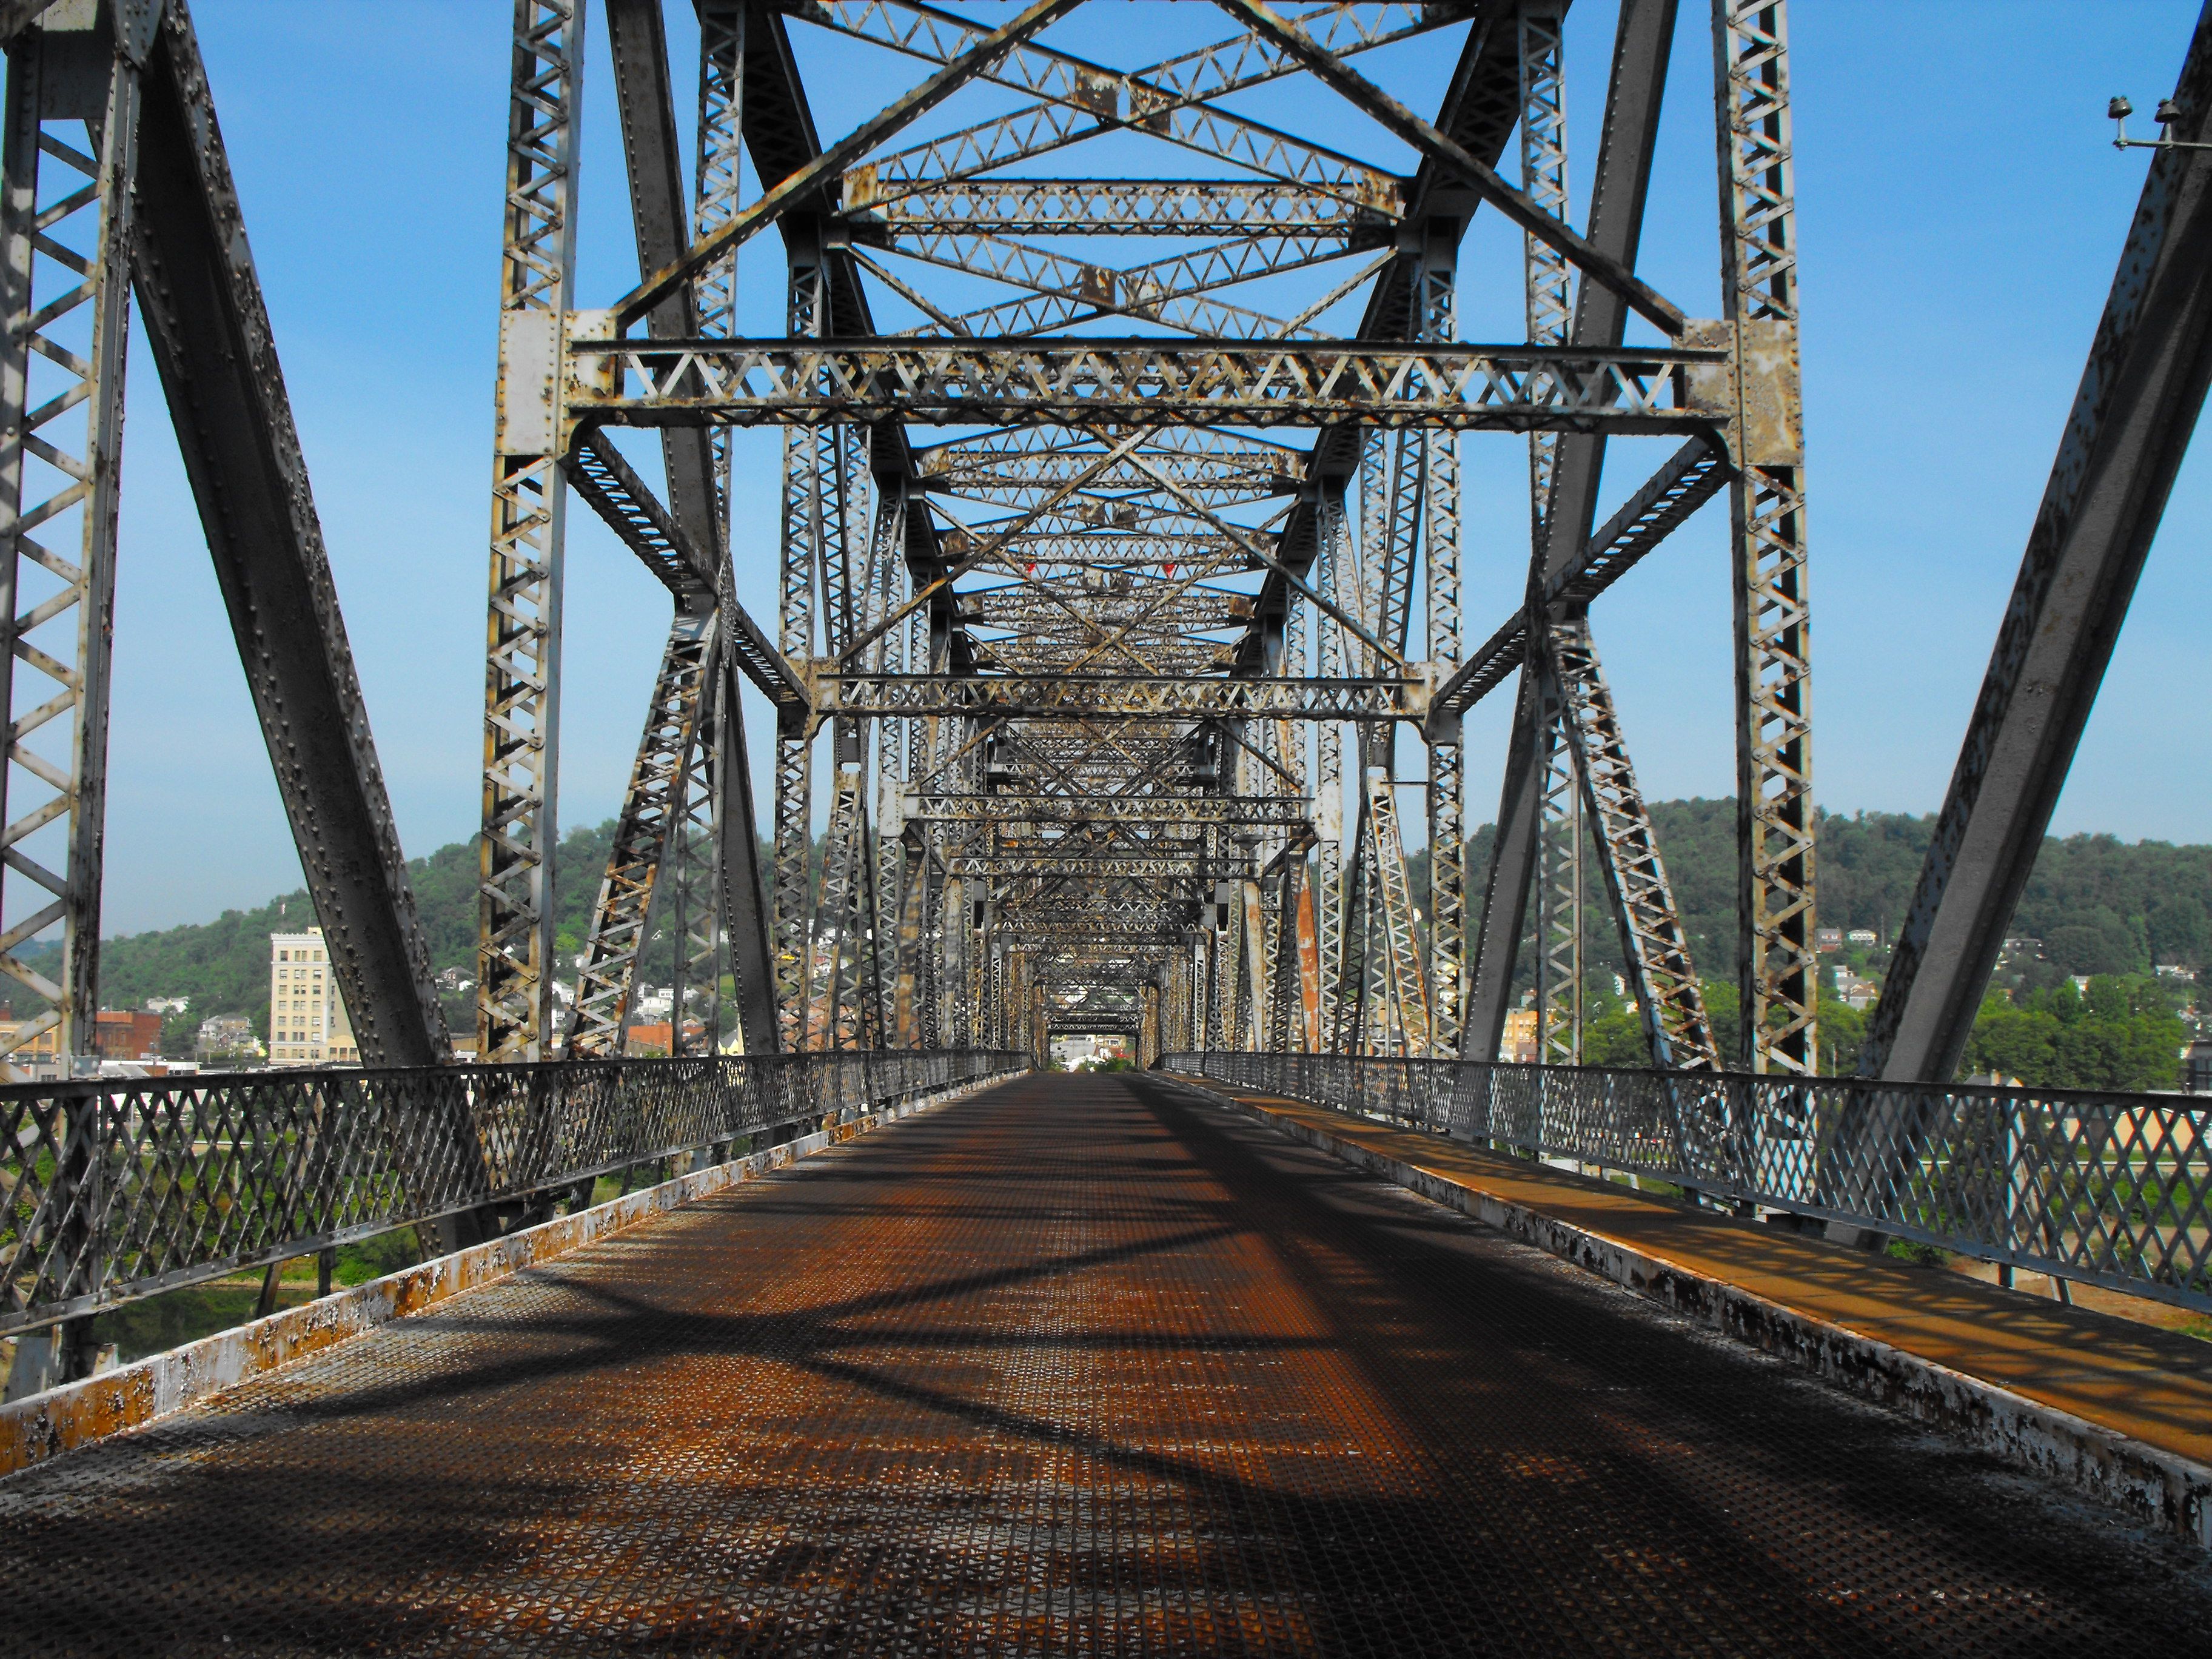
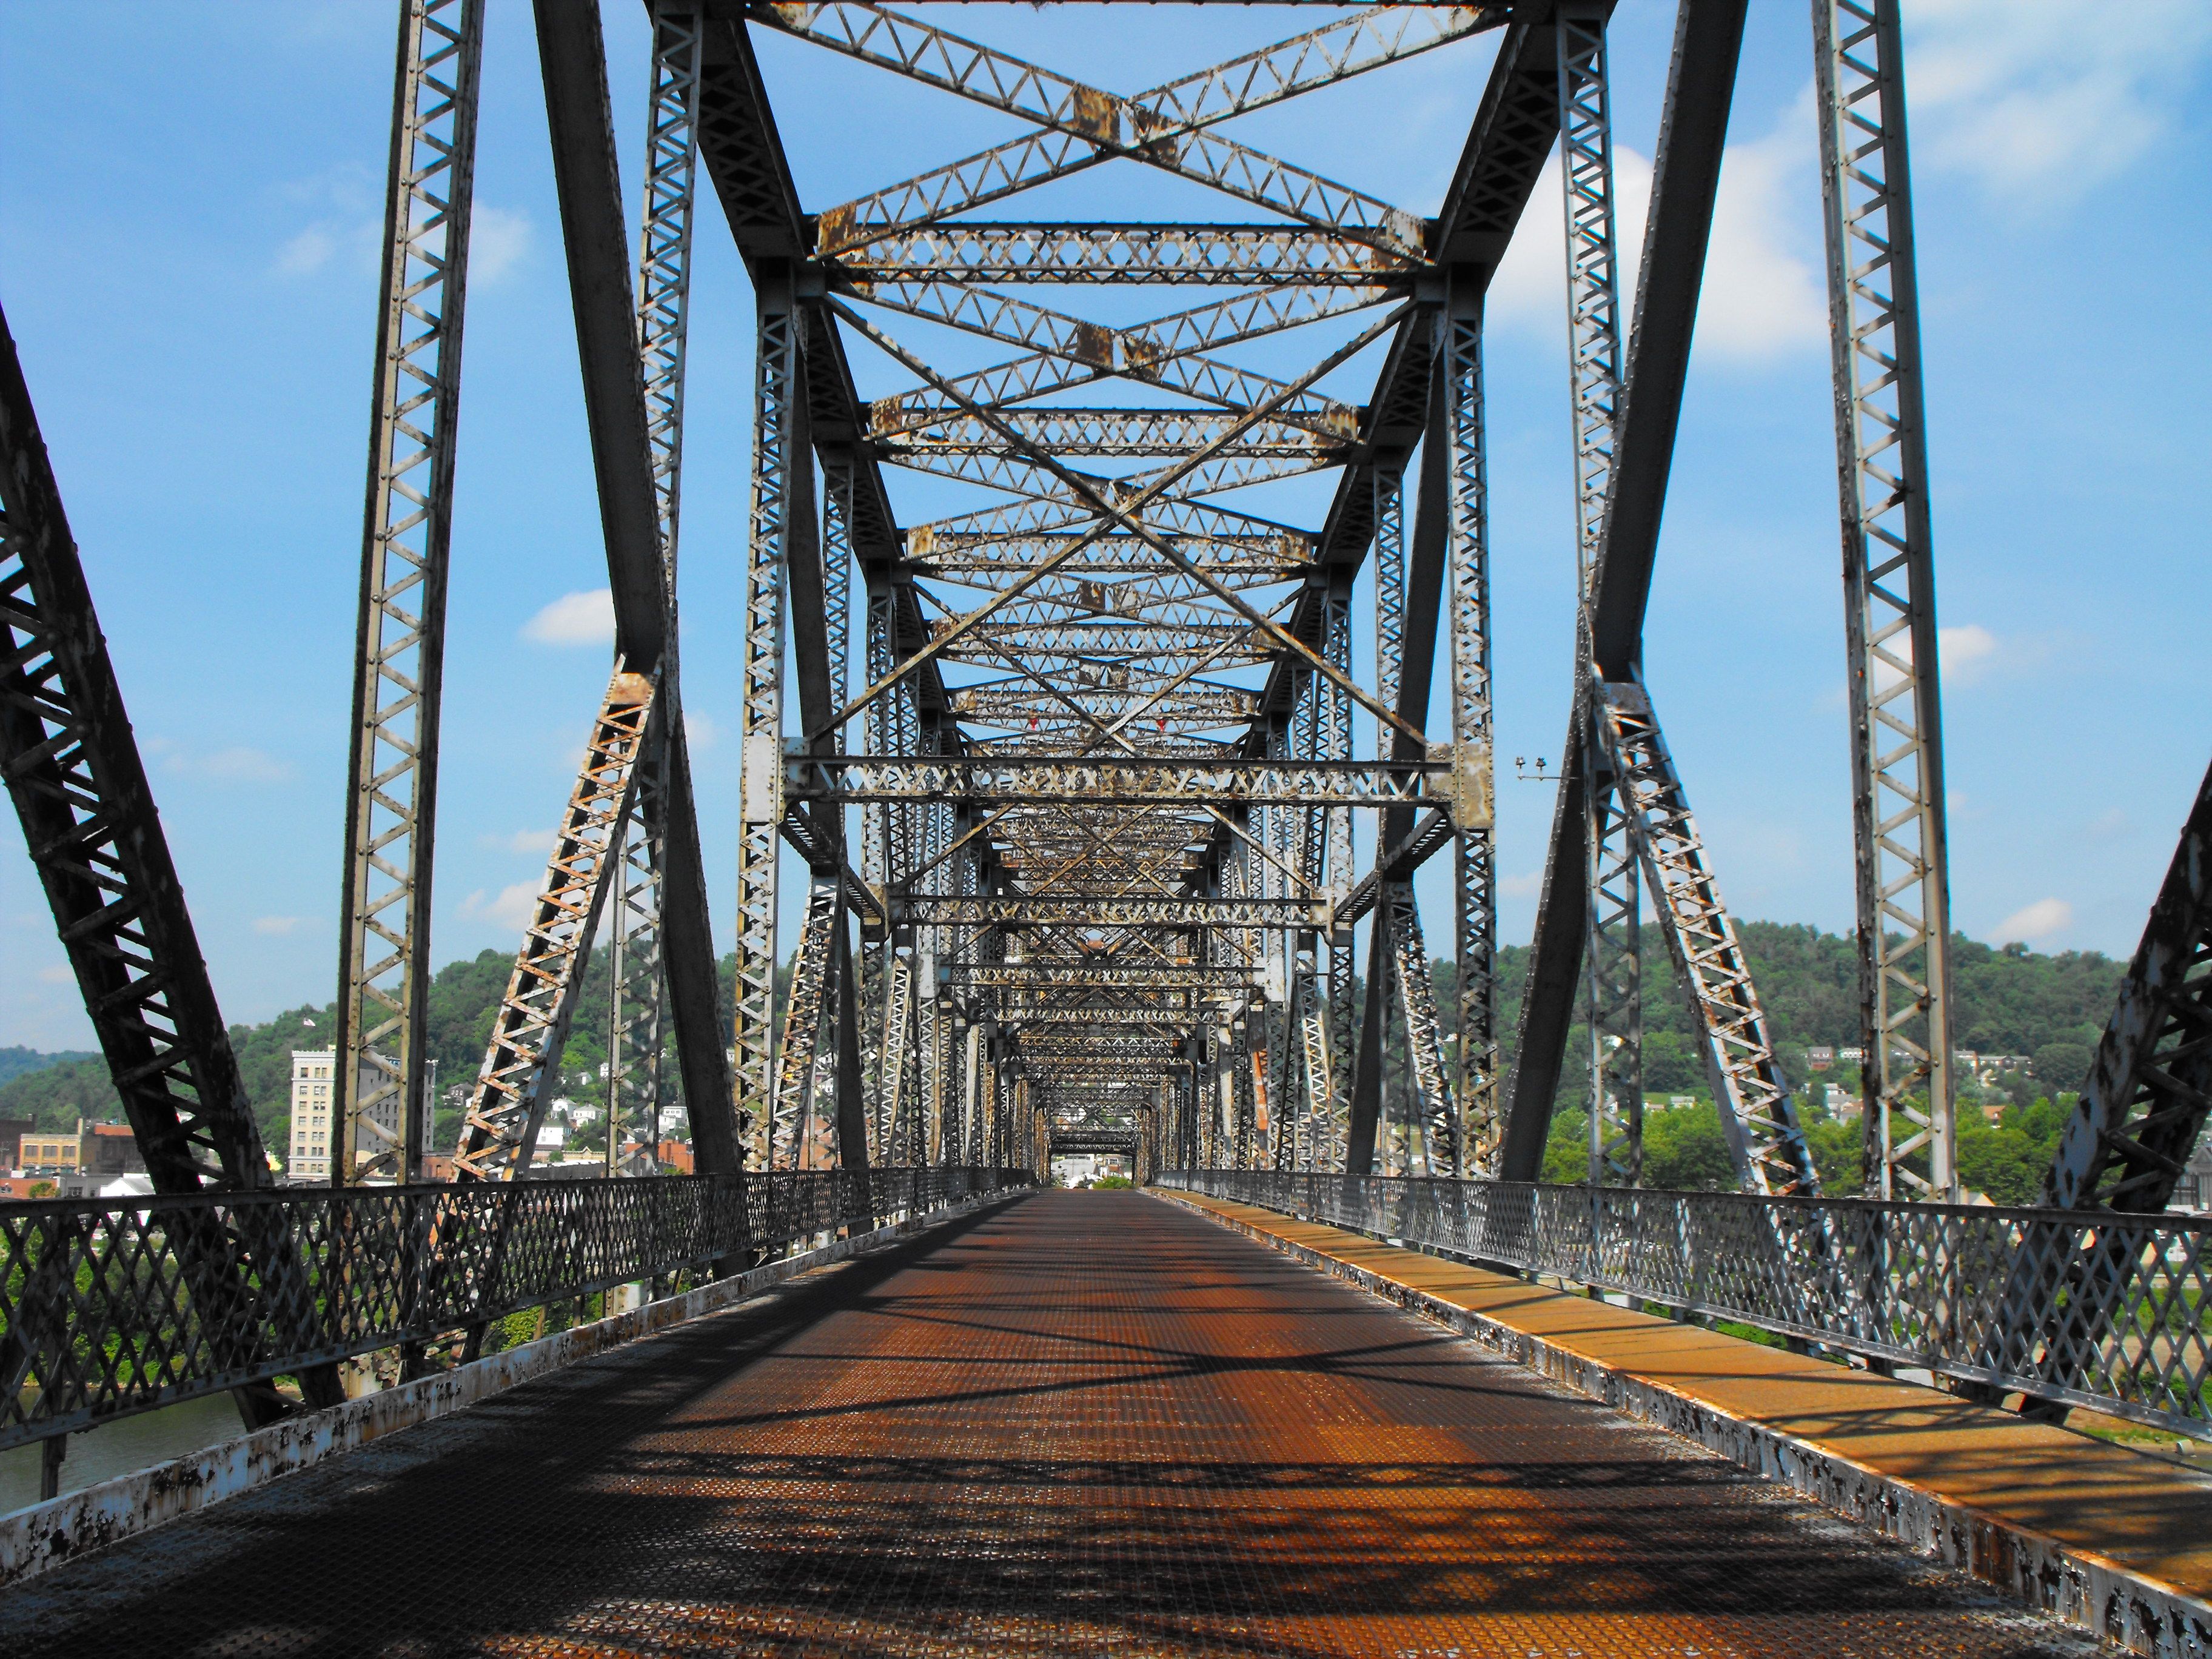
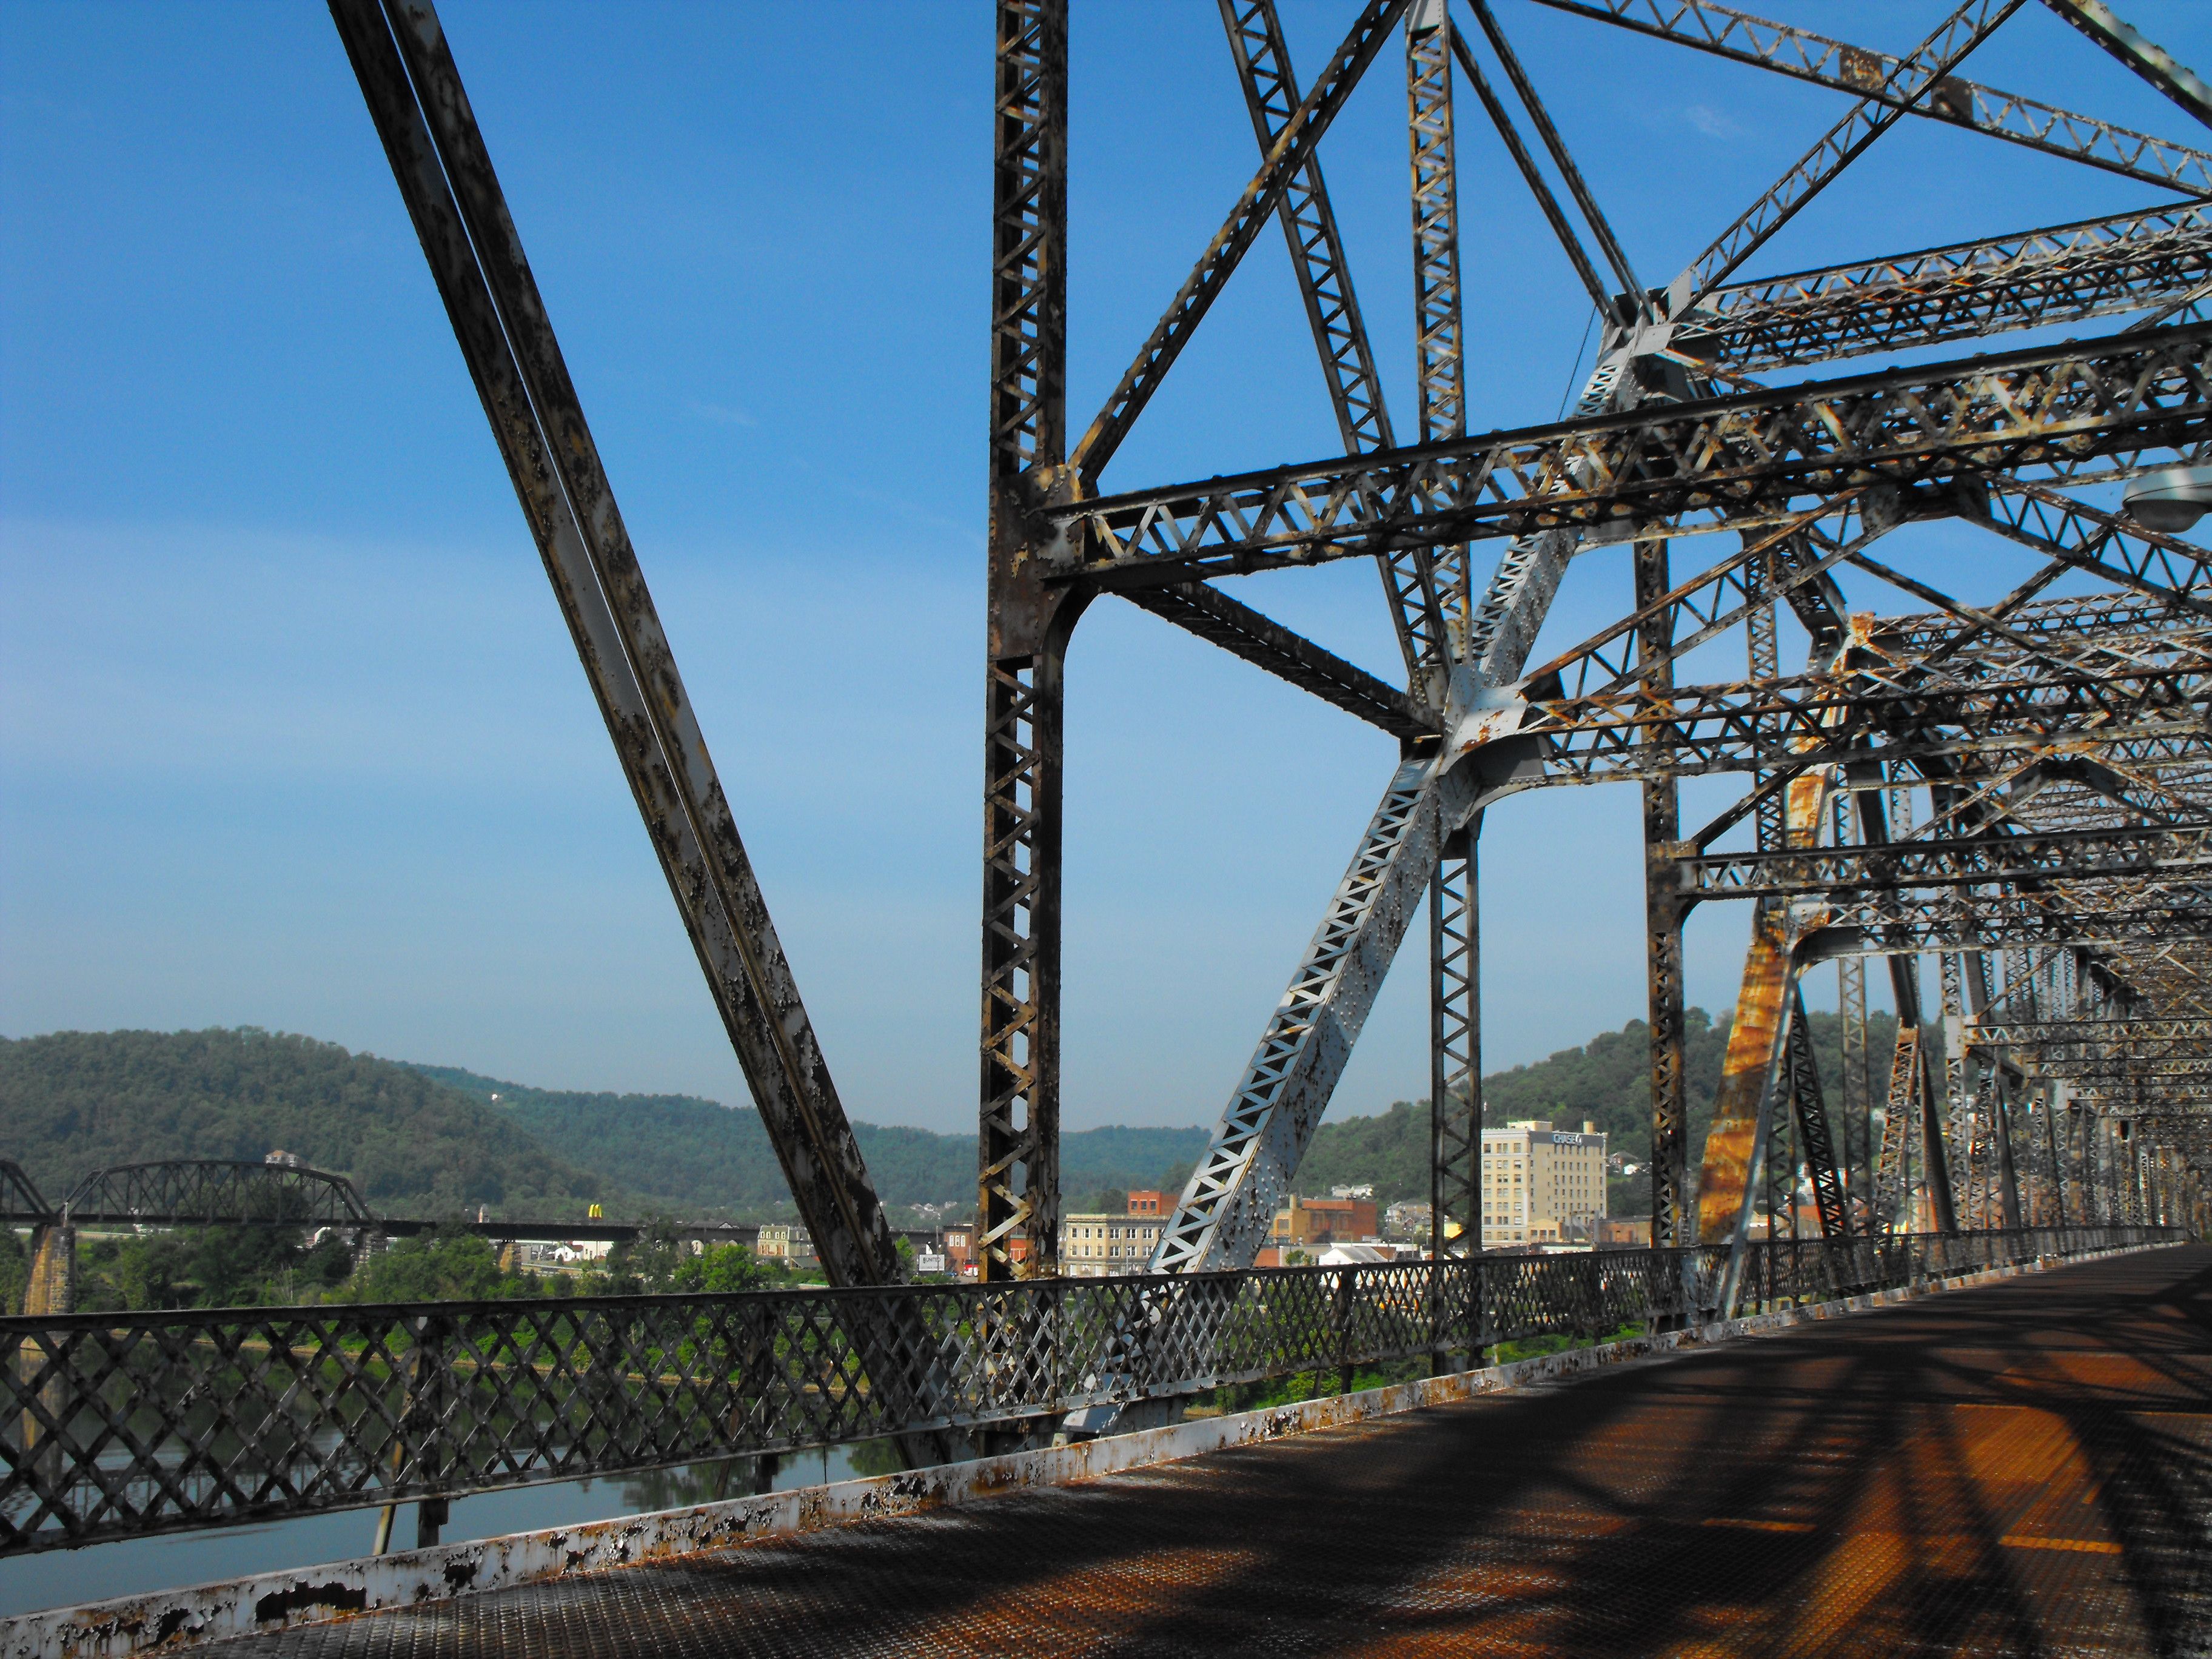
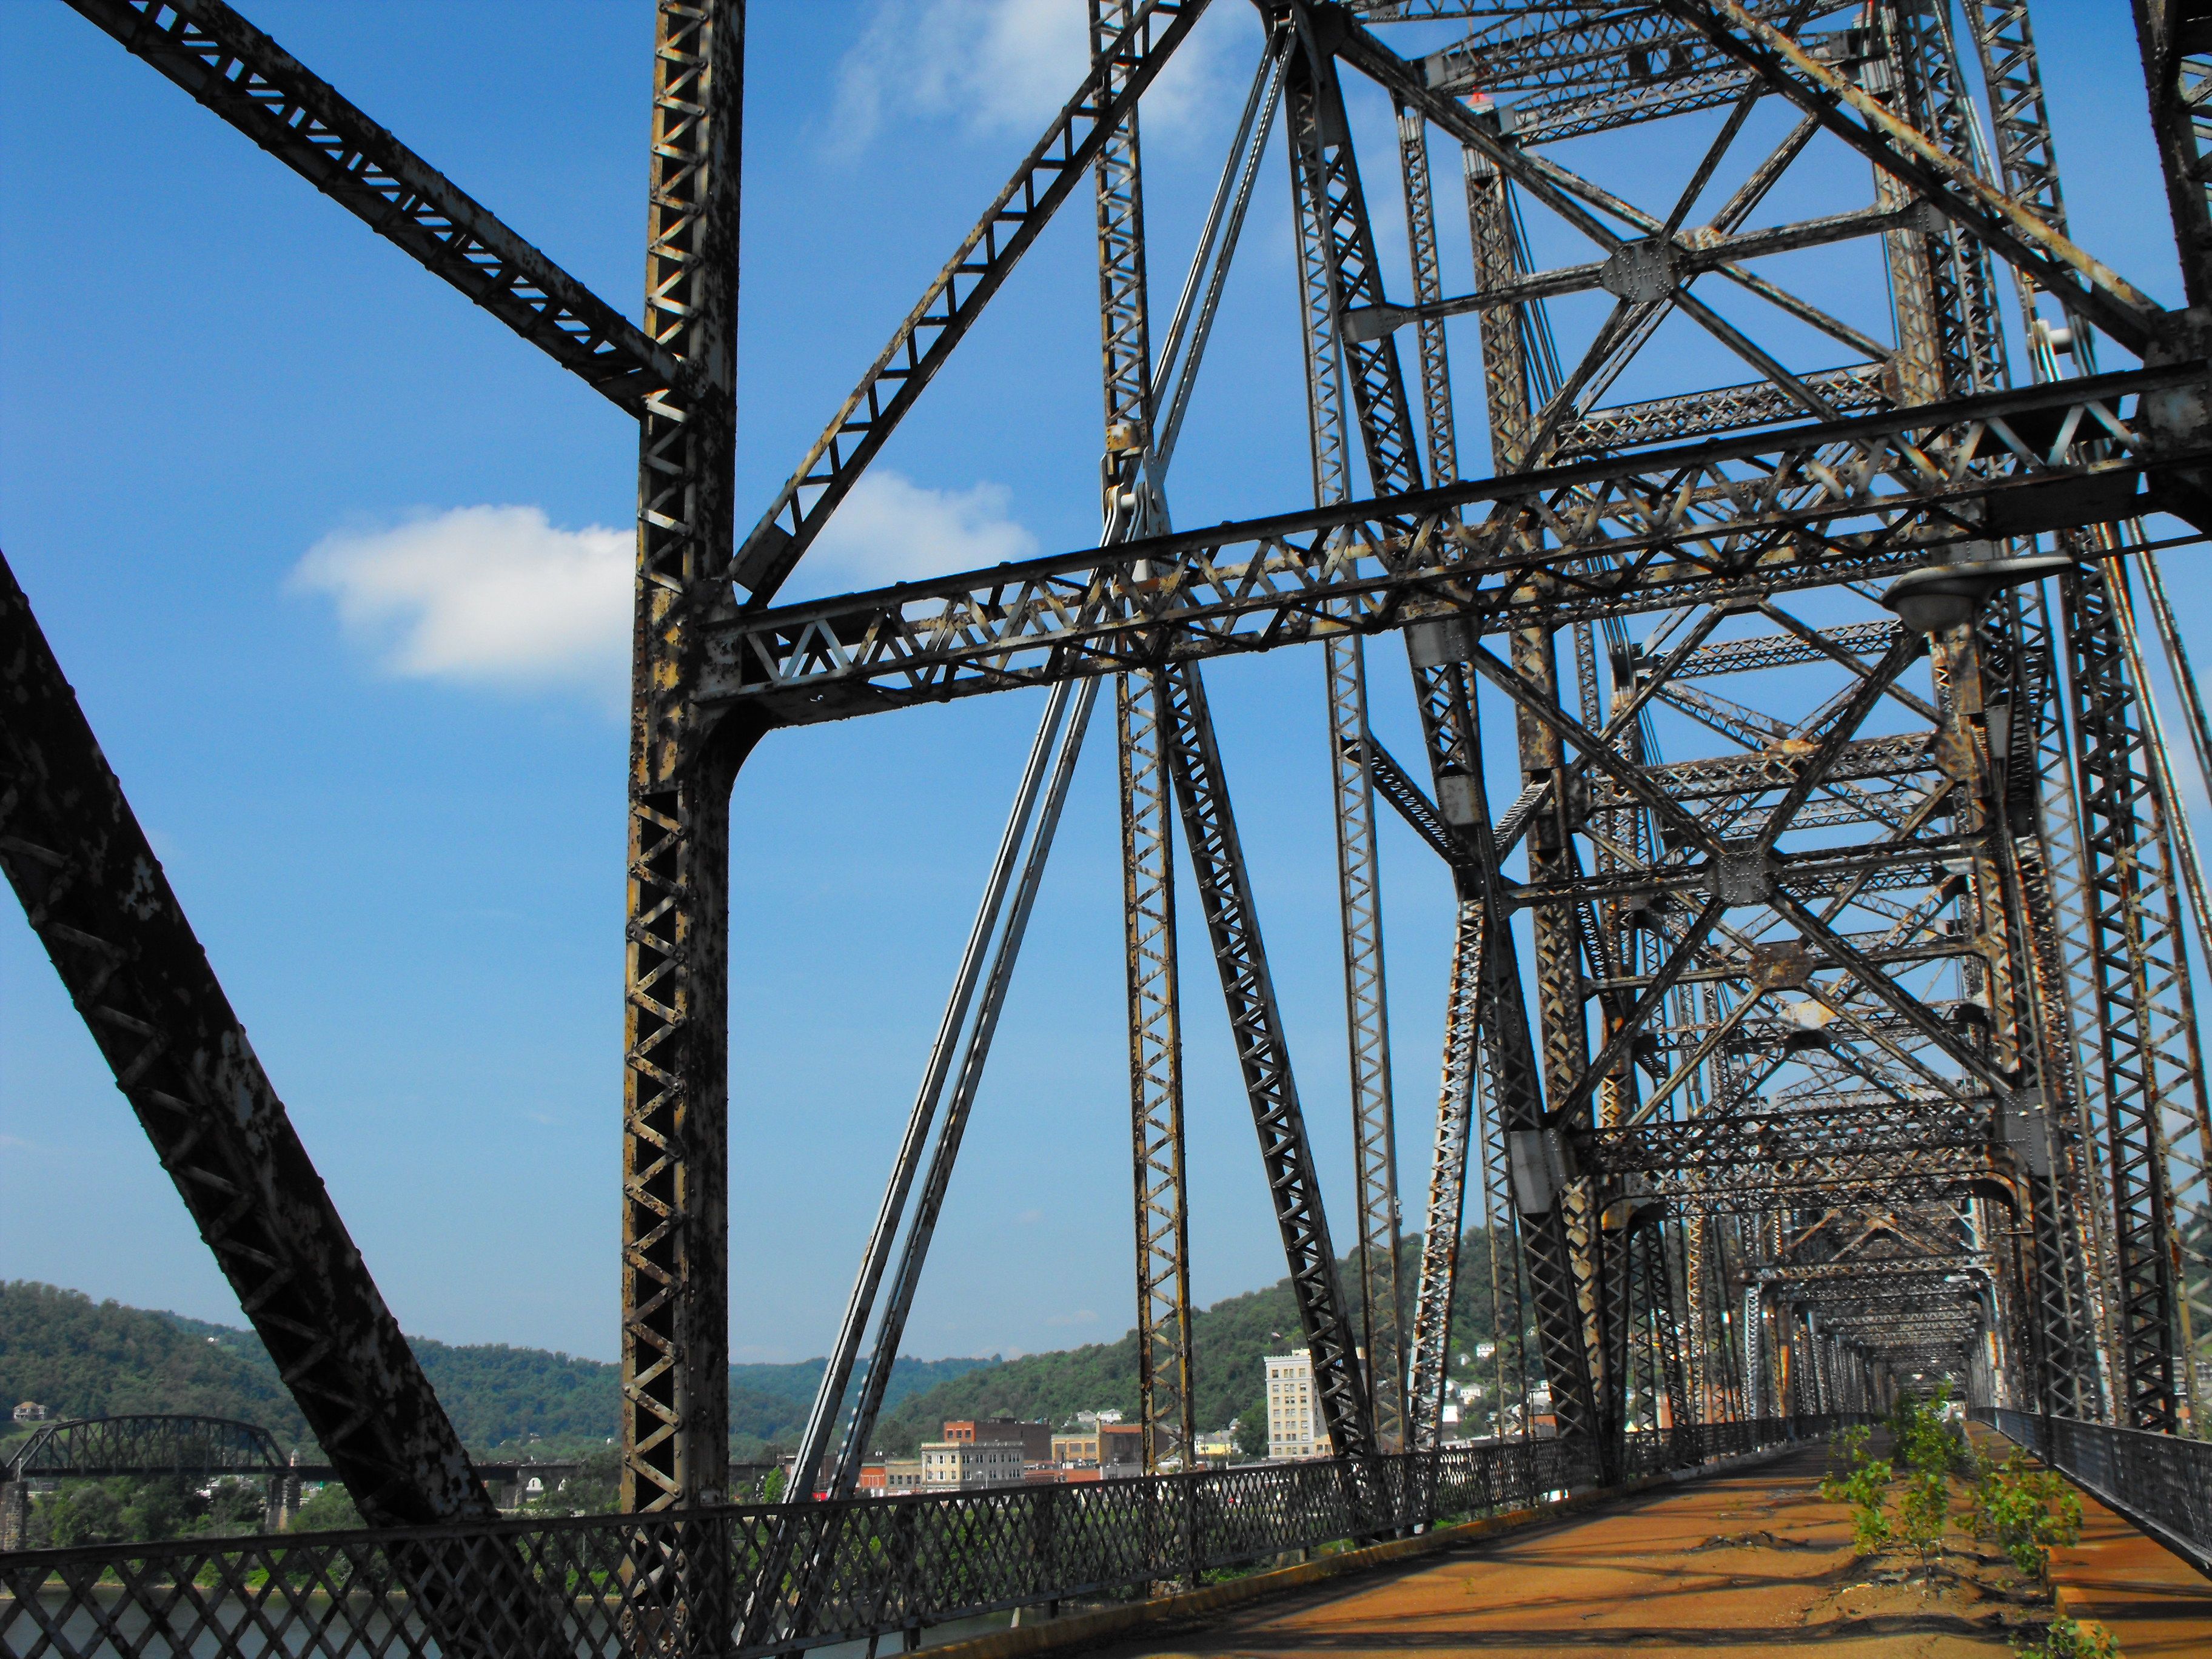
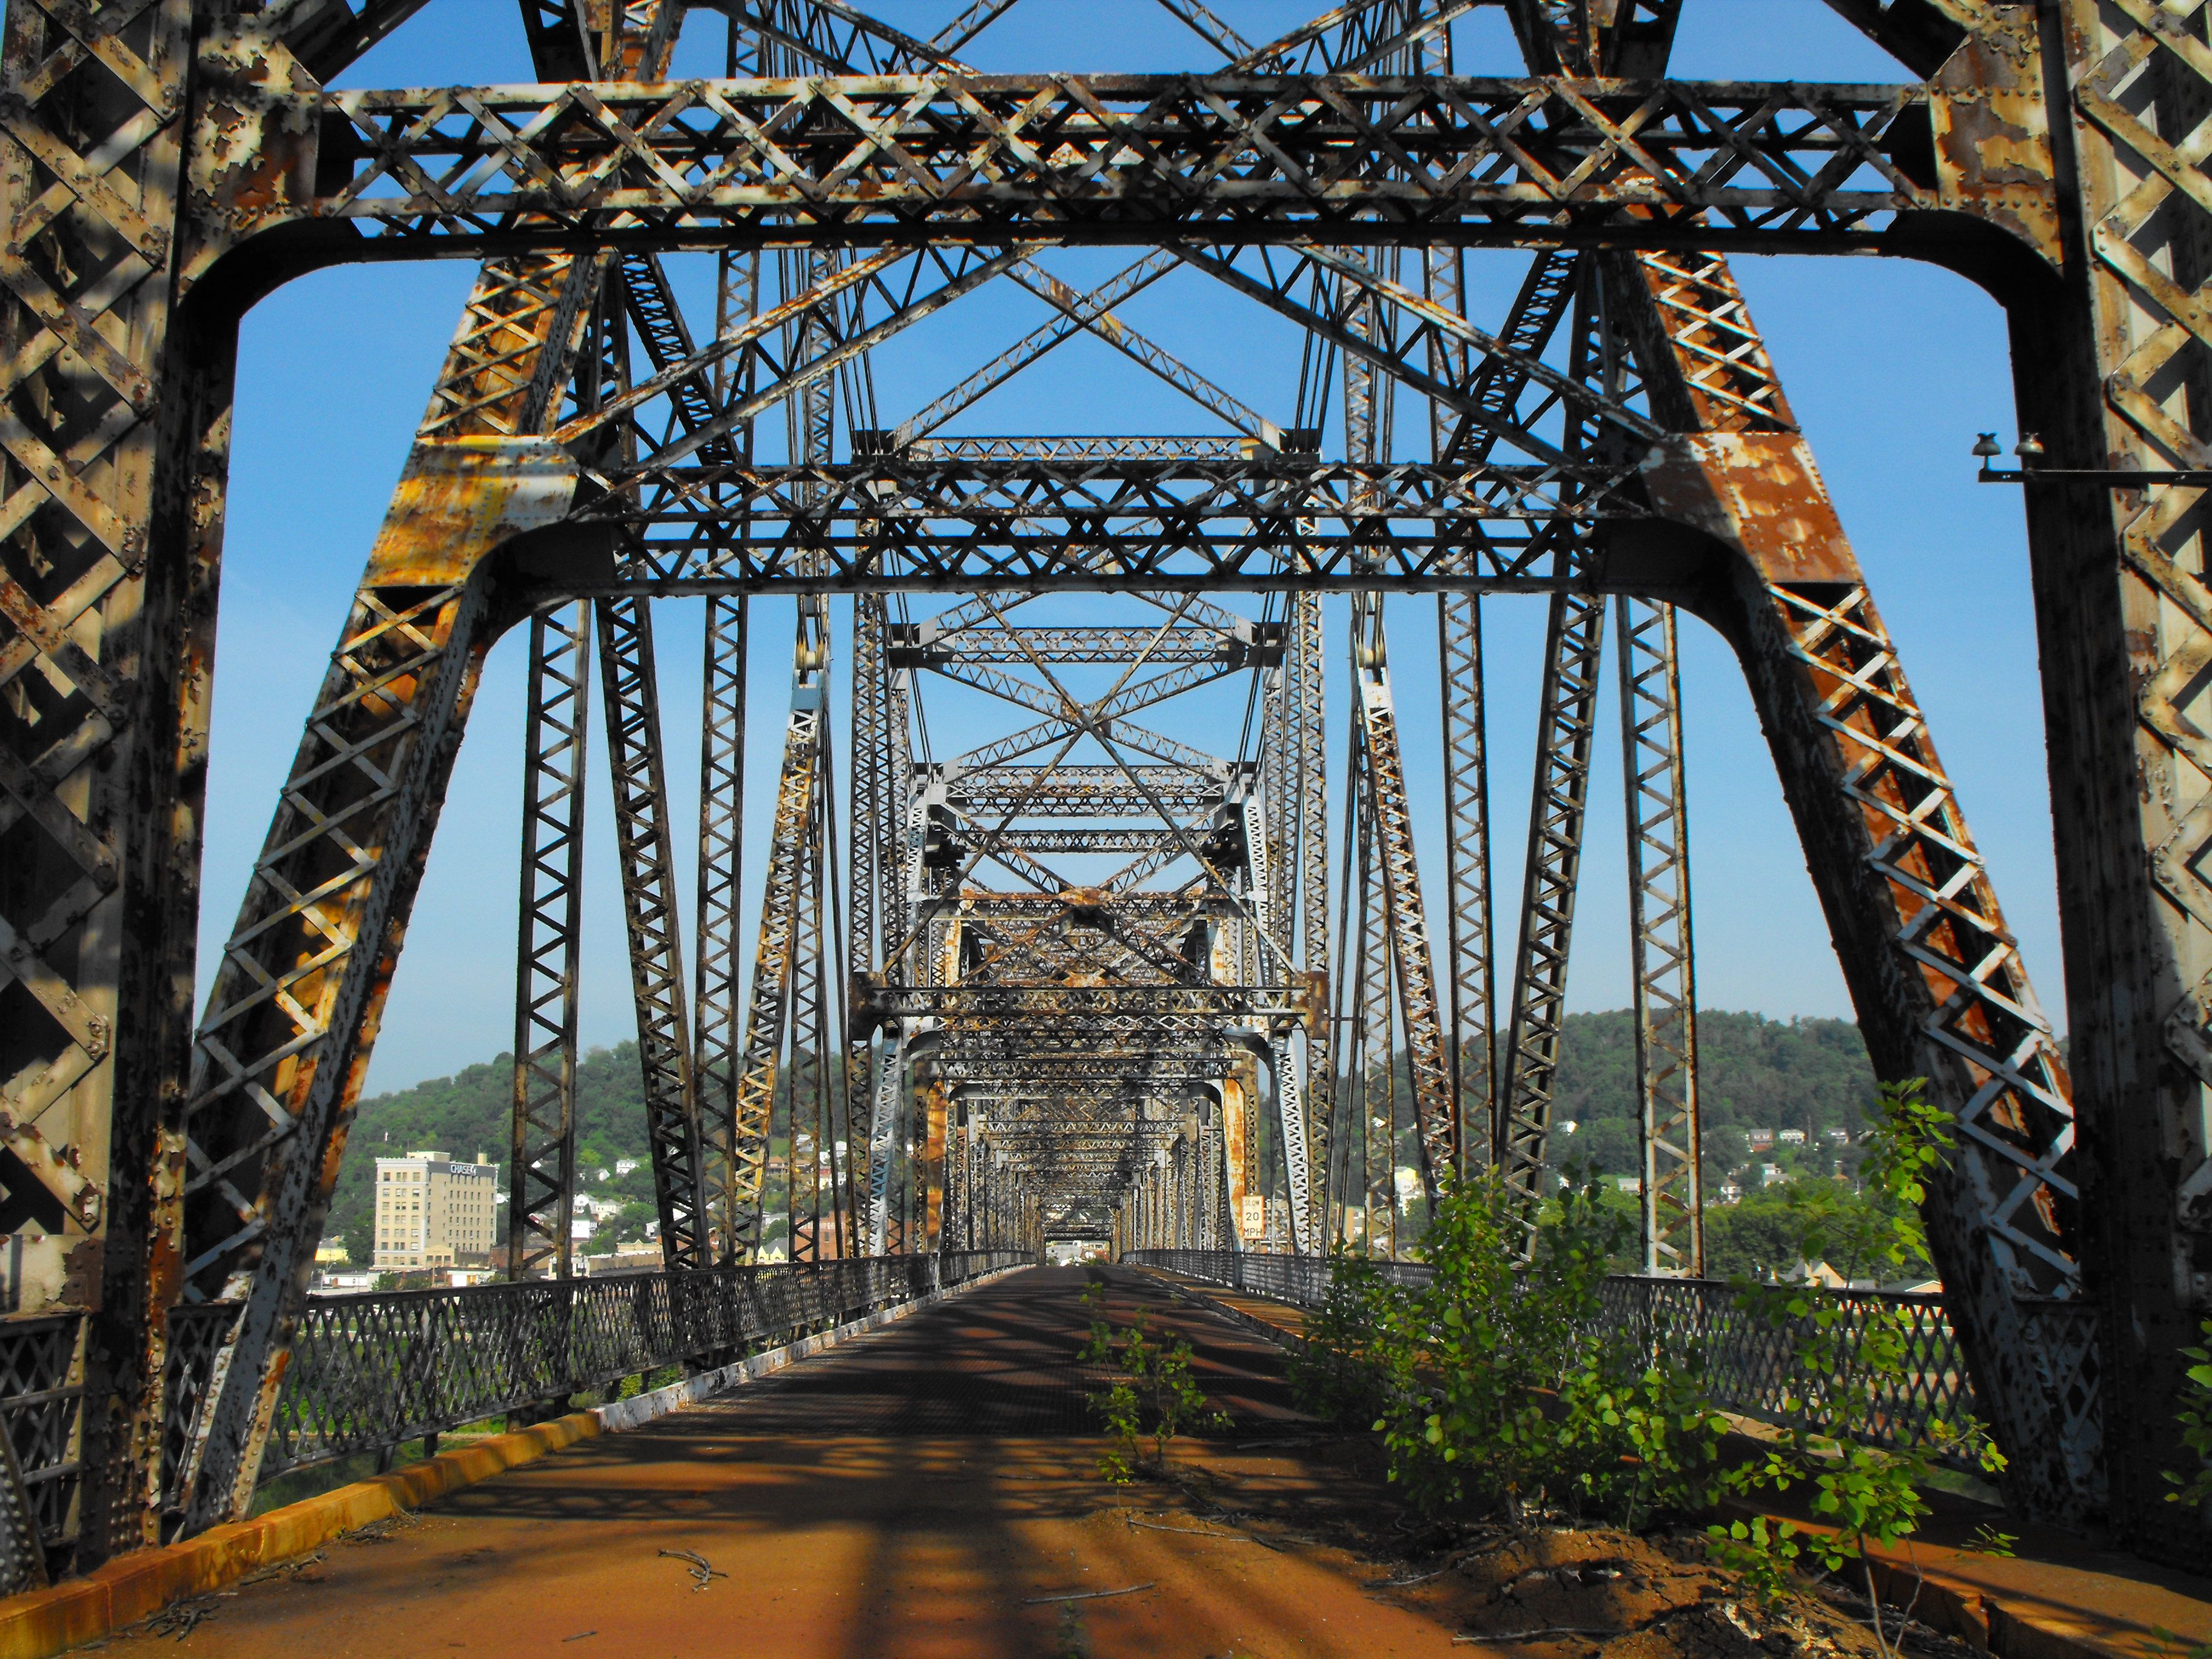
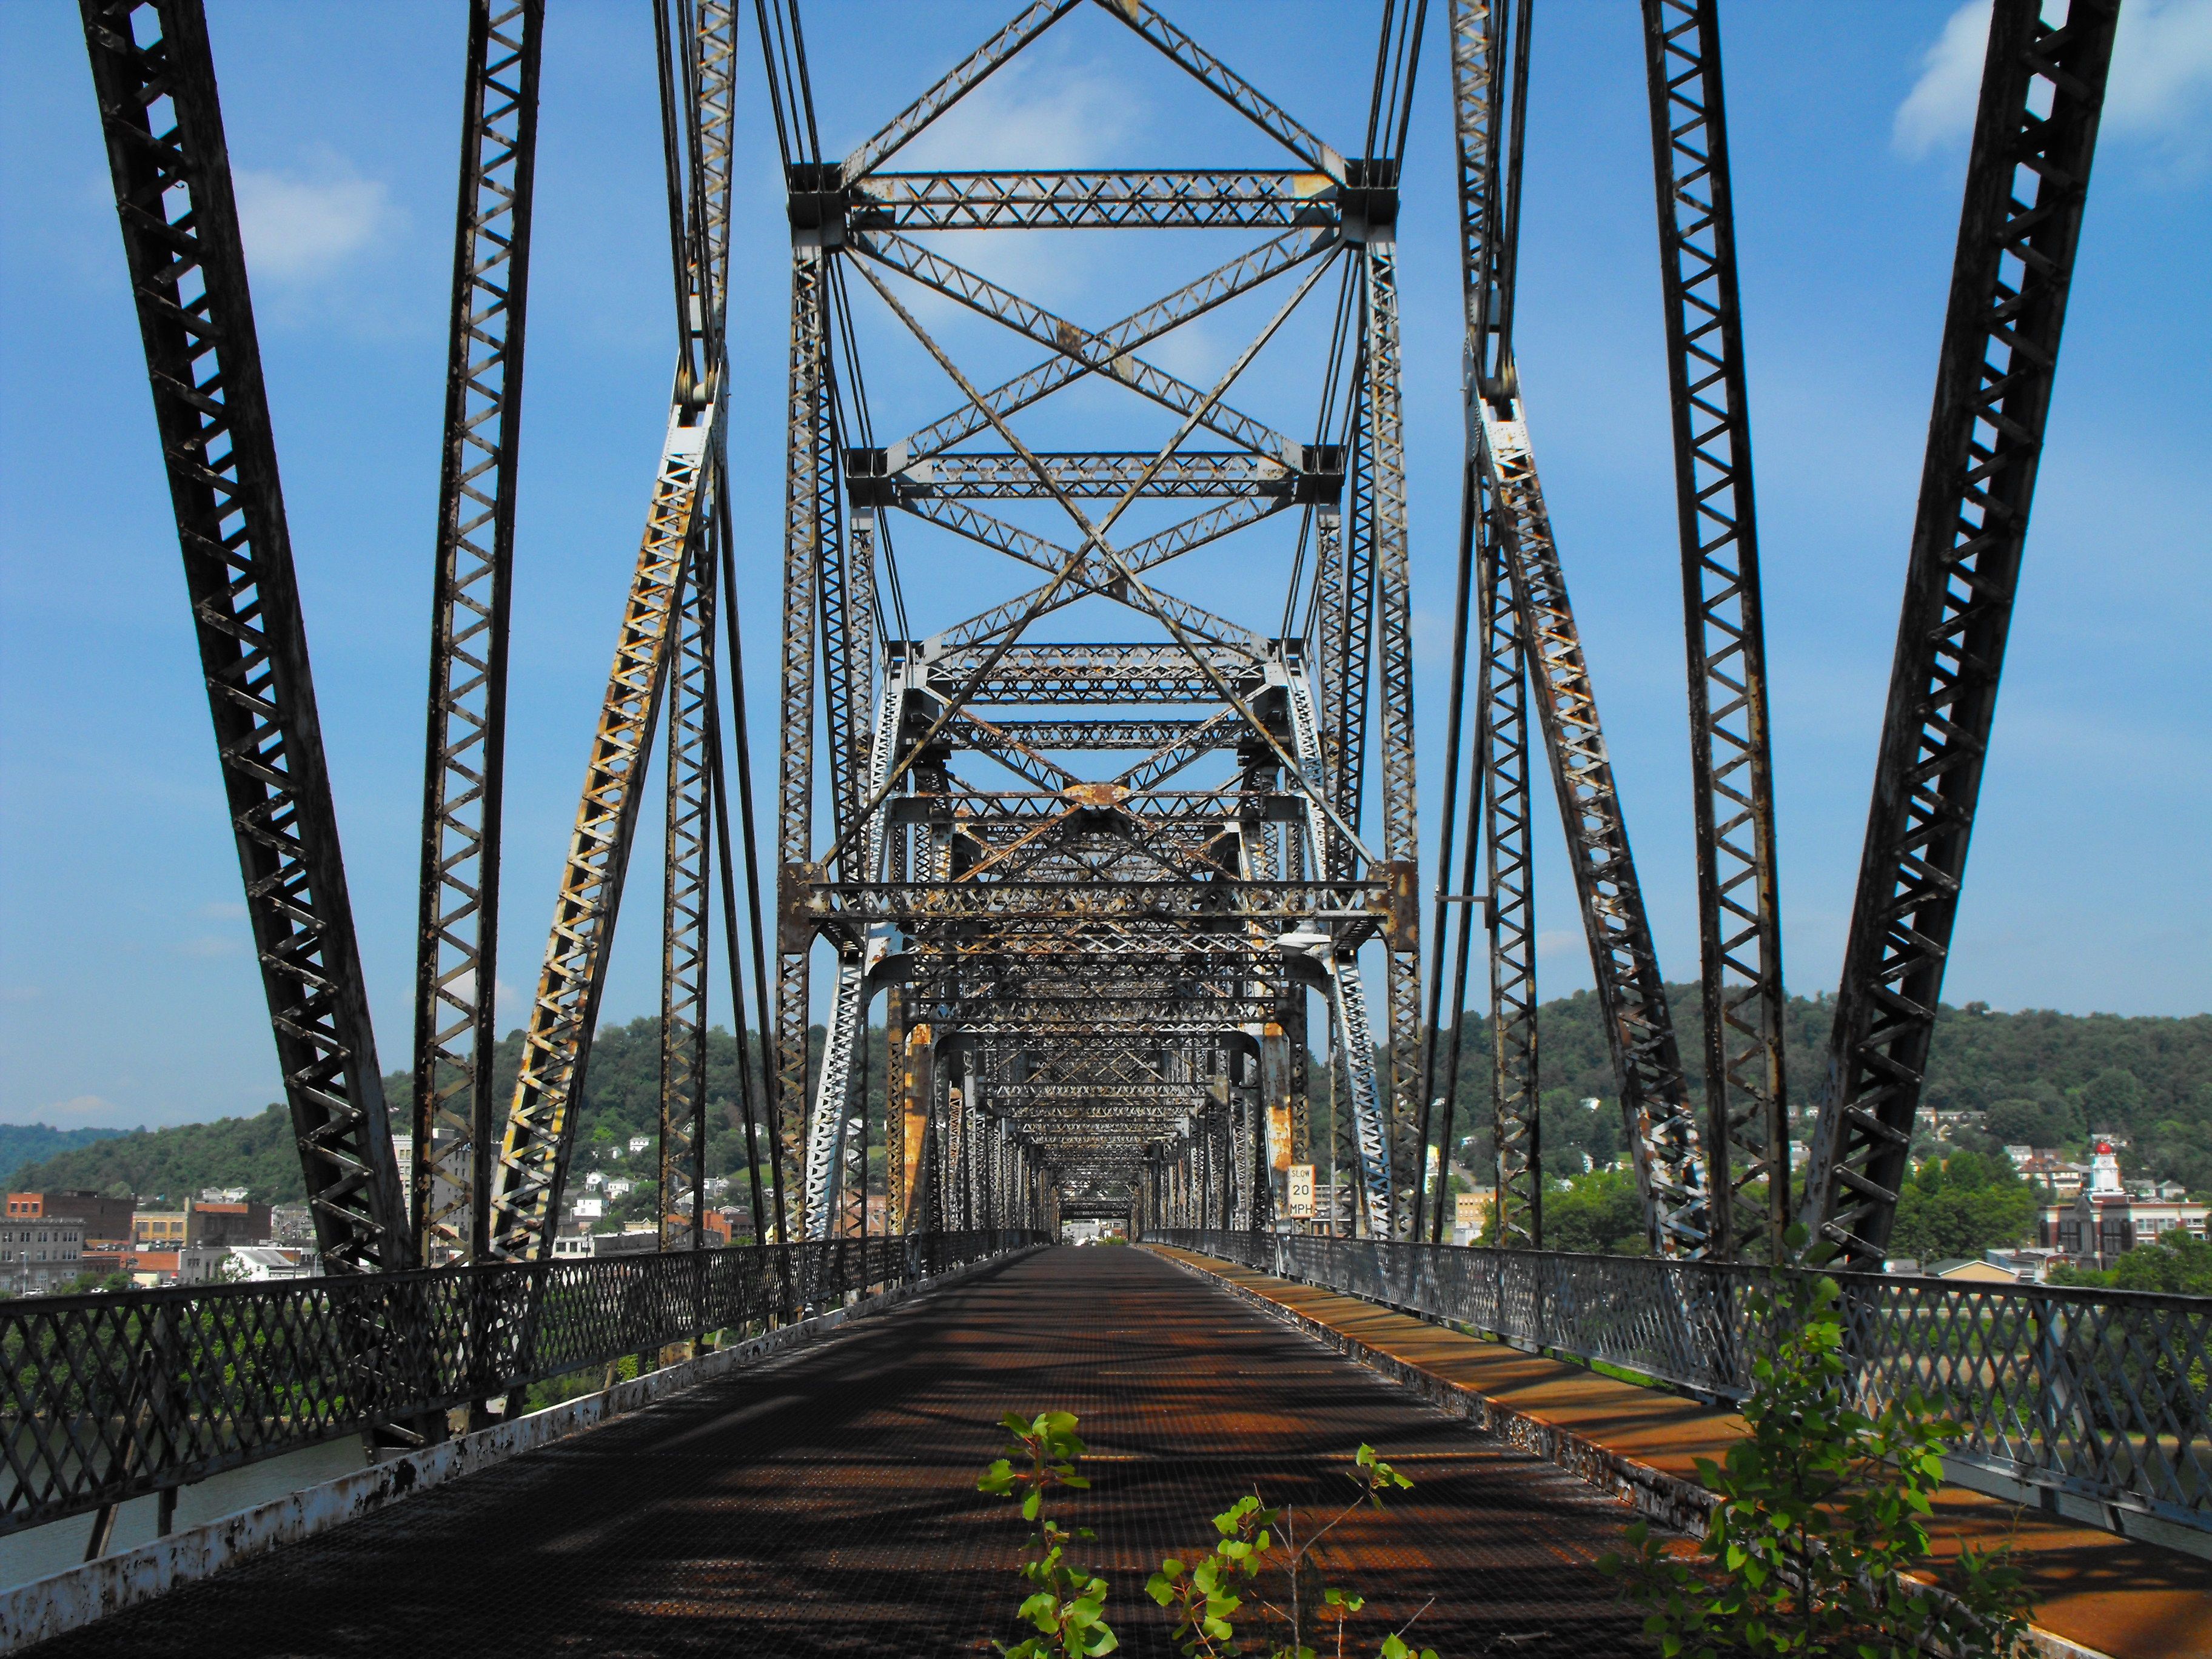
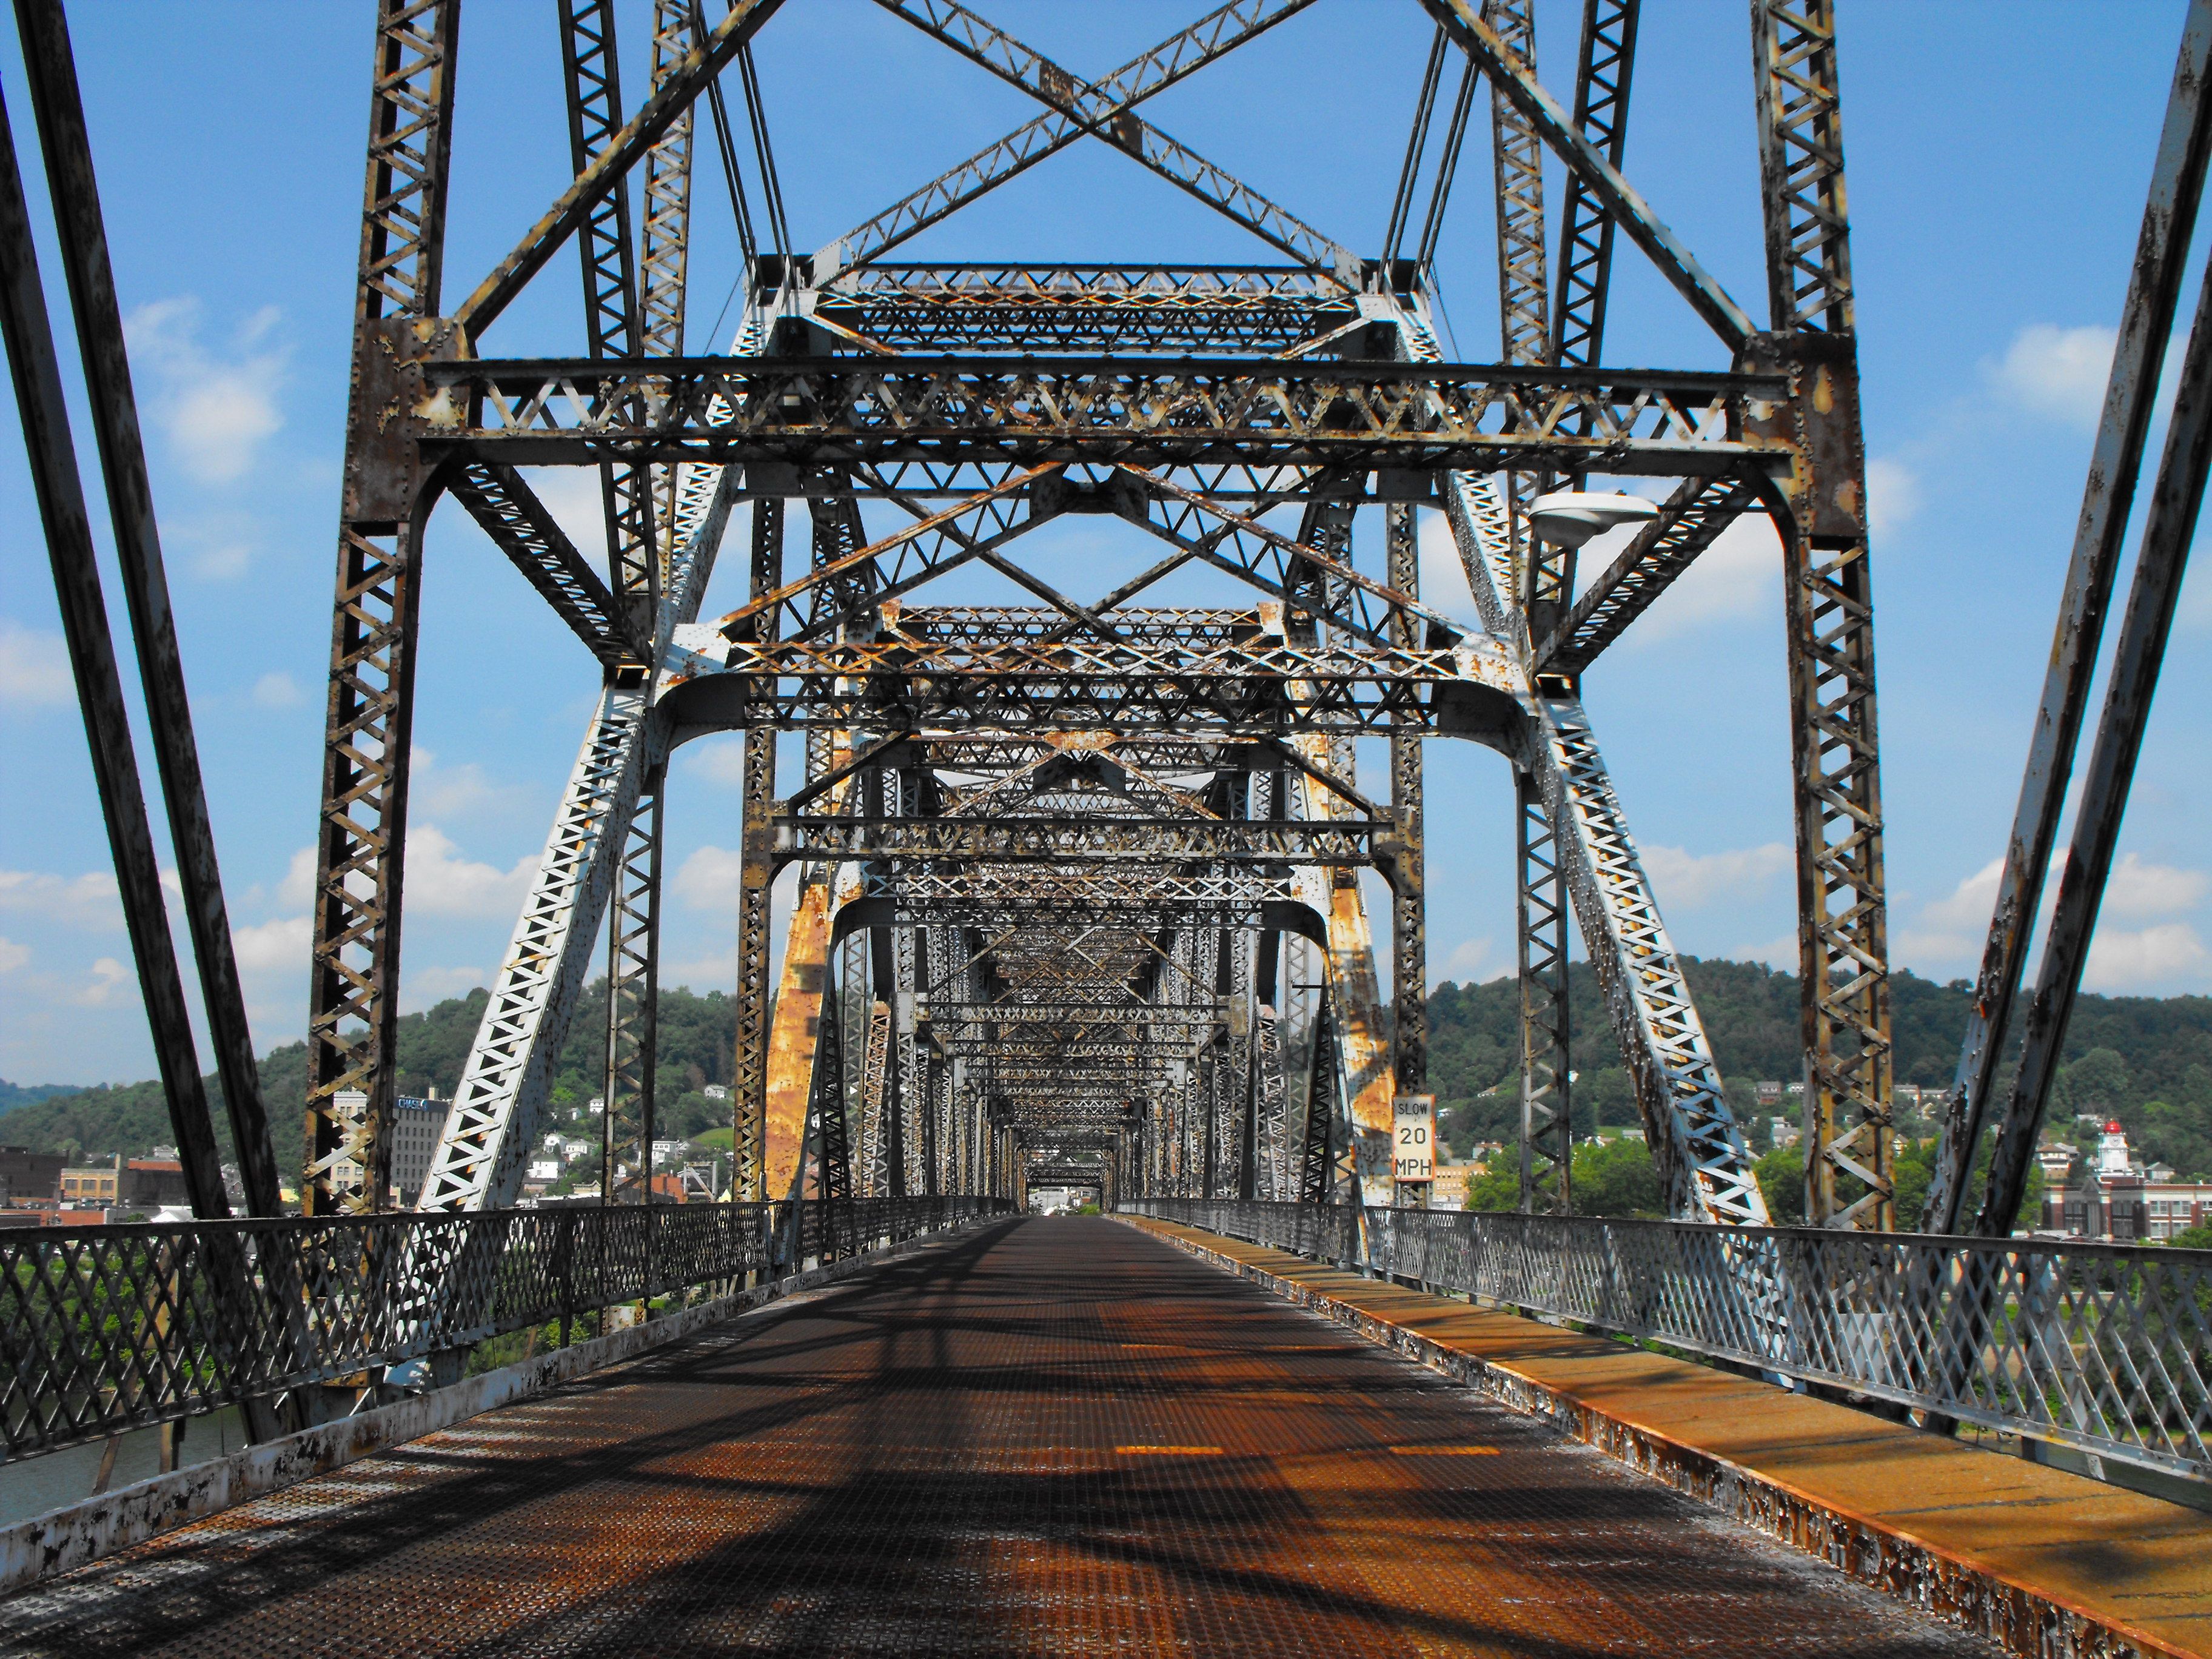
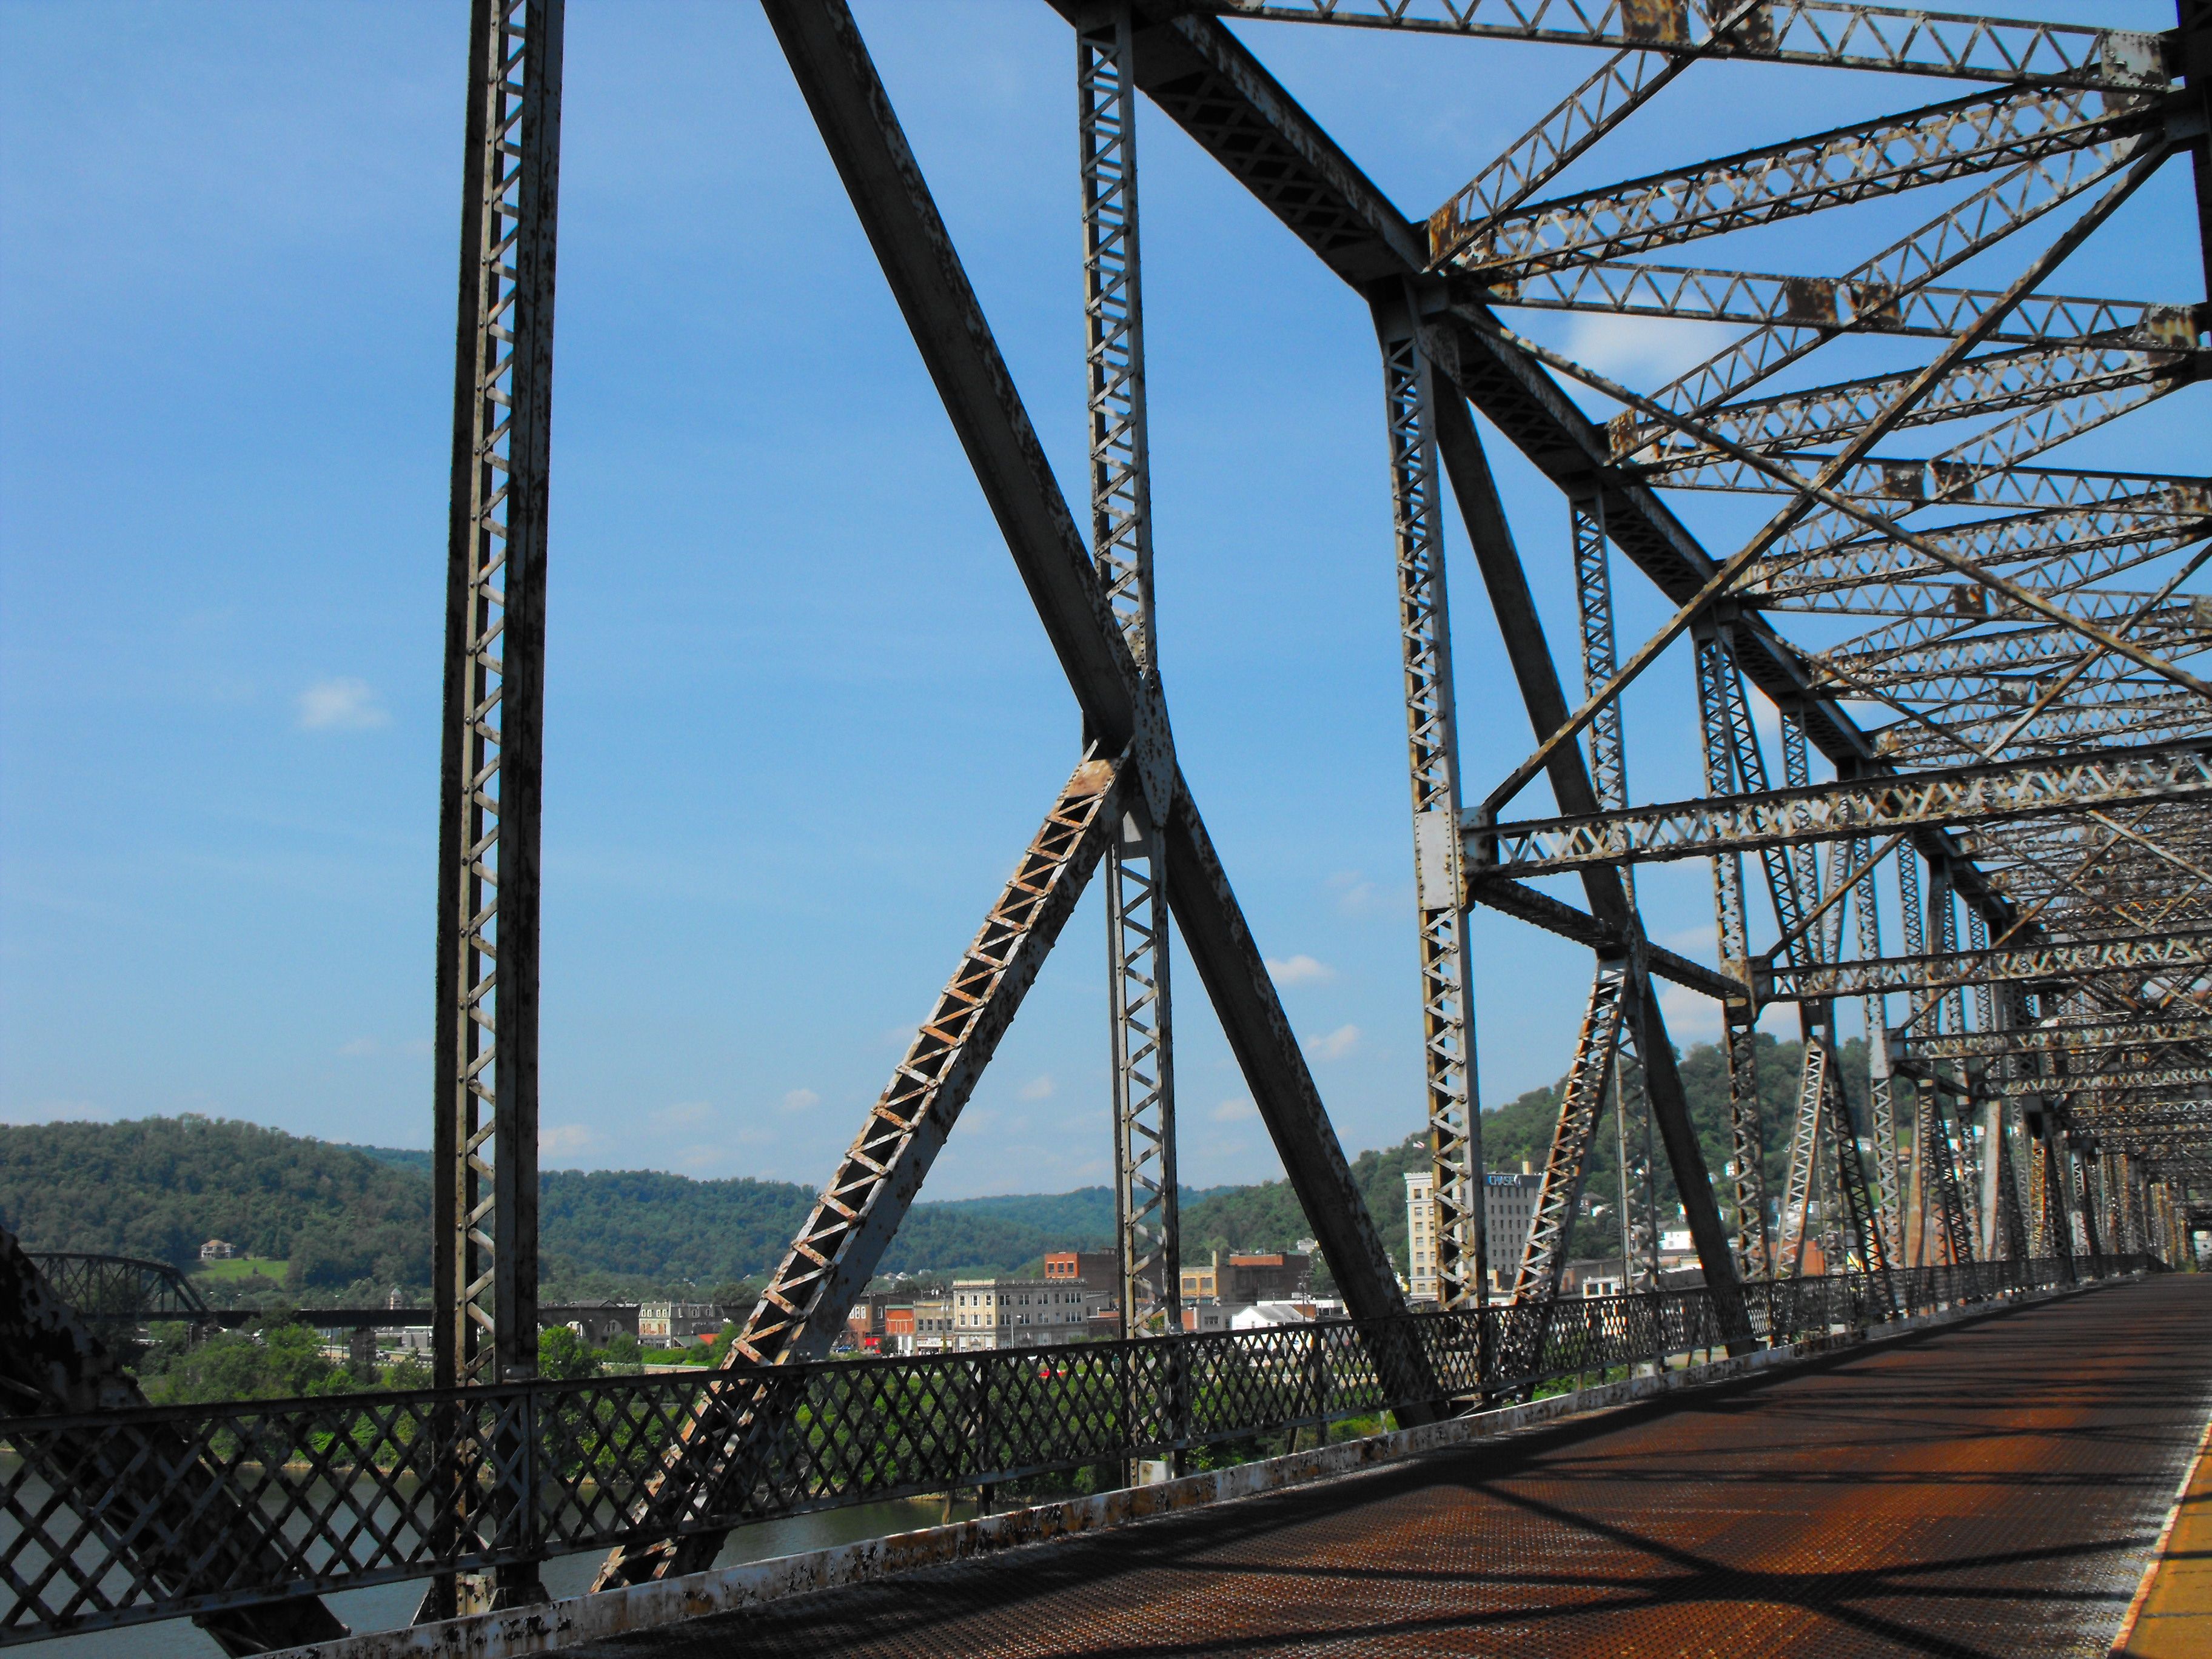
Portal views facing west between east tower and east end of bridge.
![]()
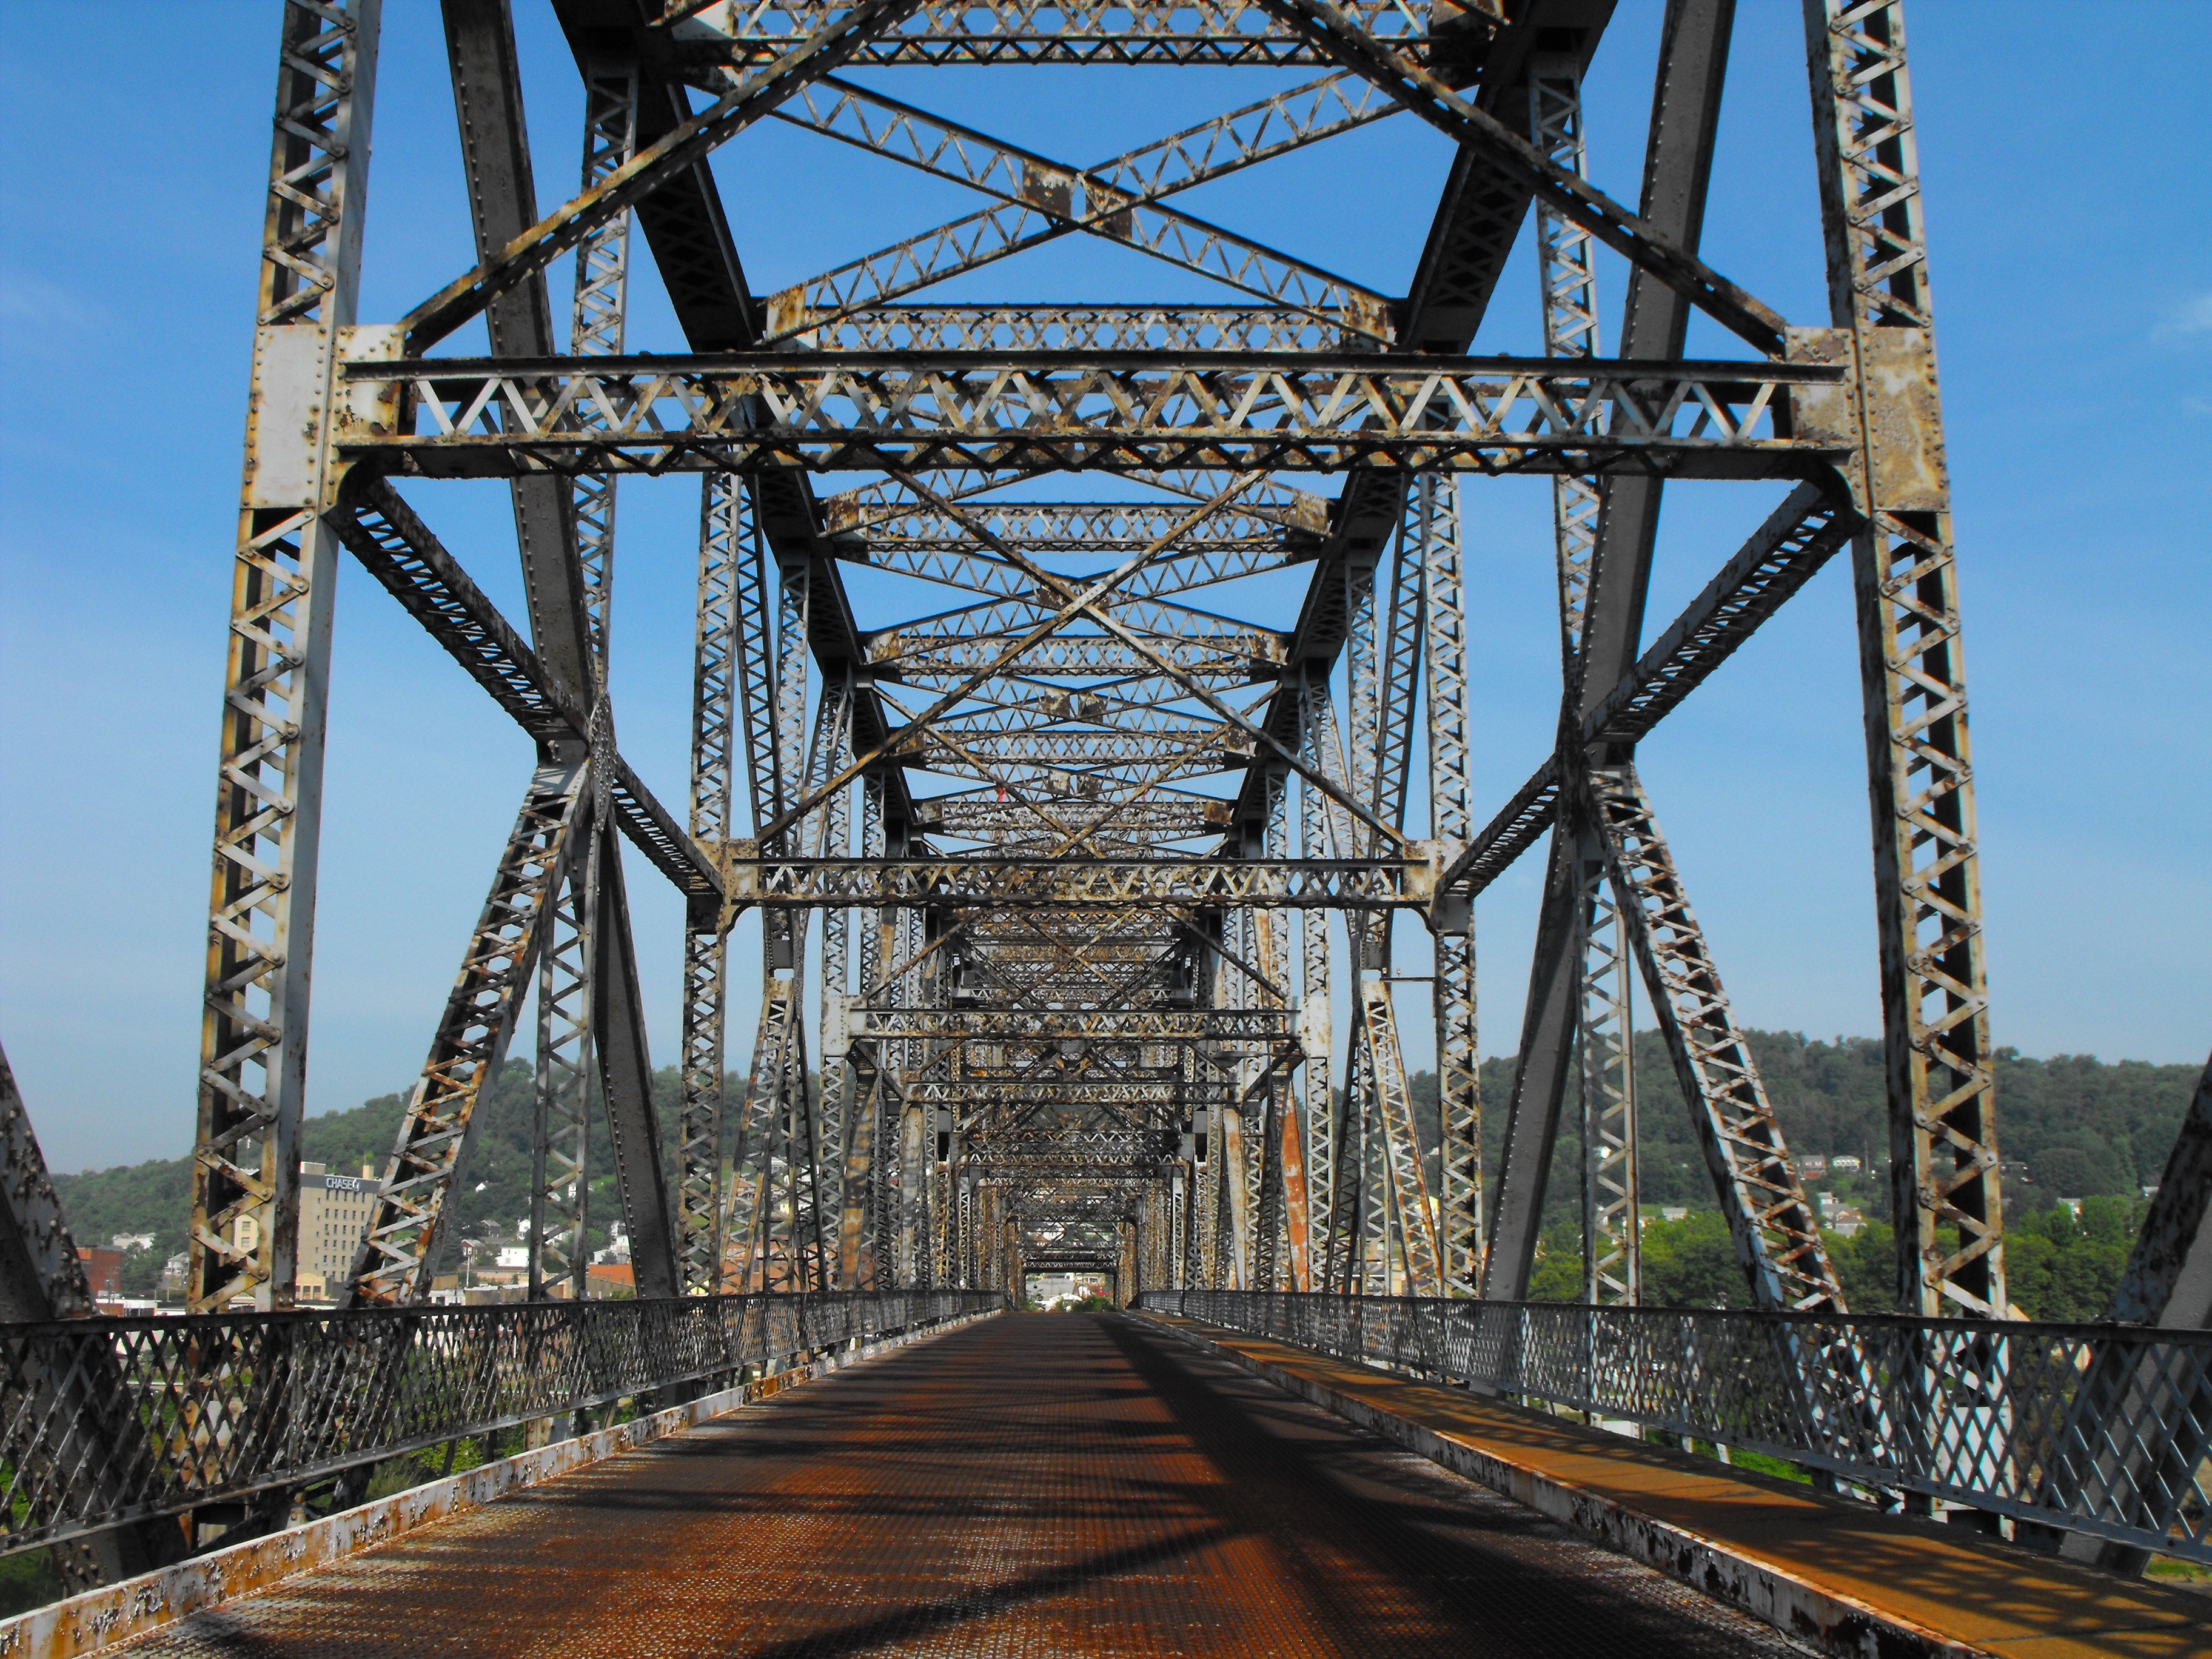
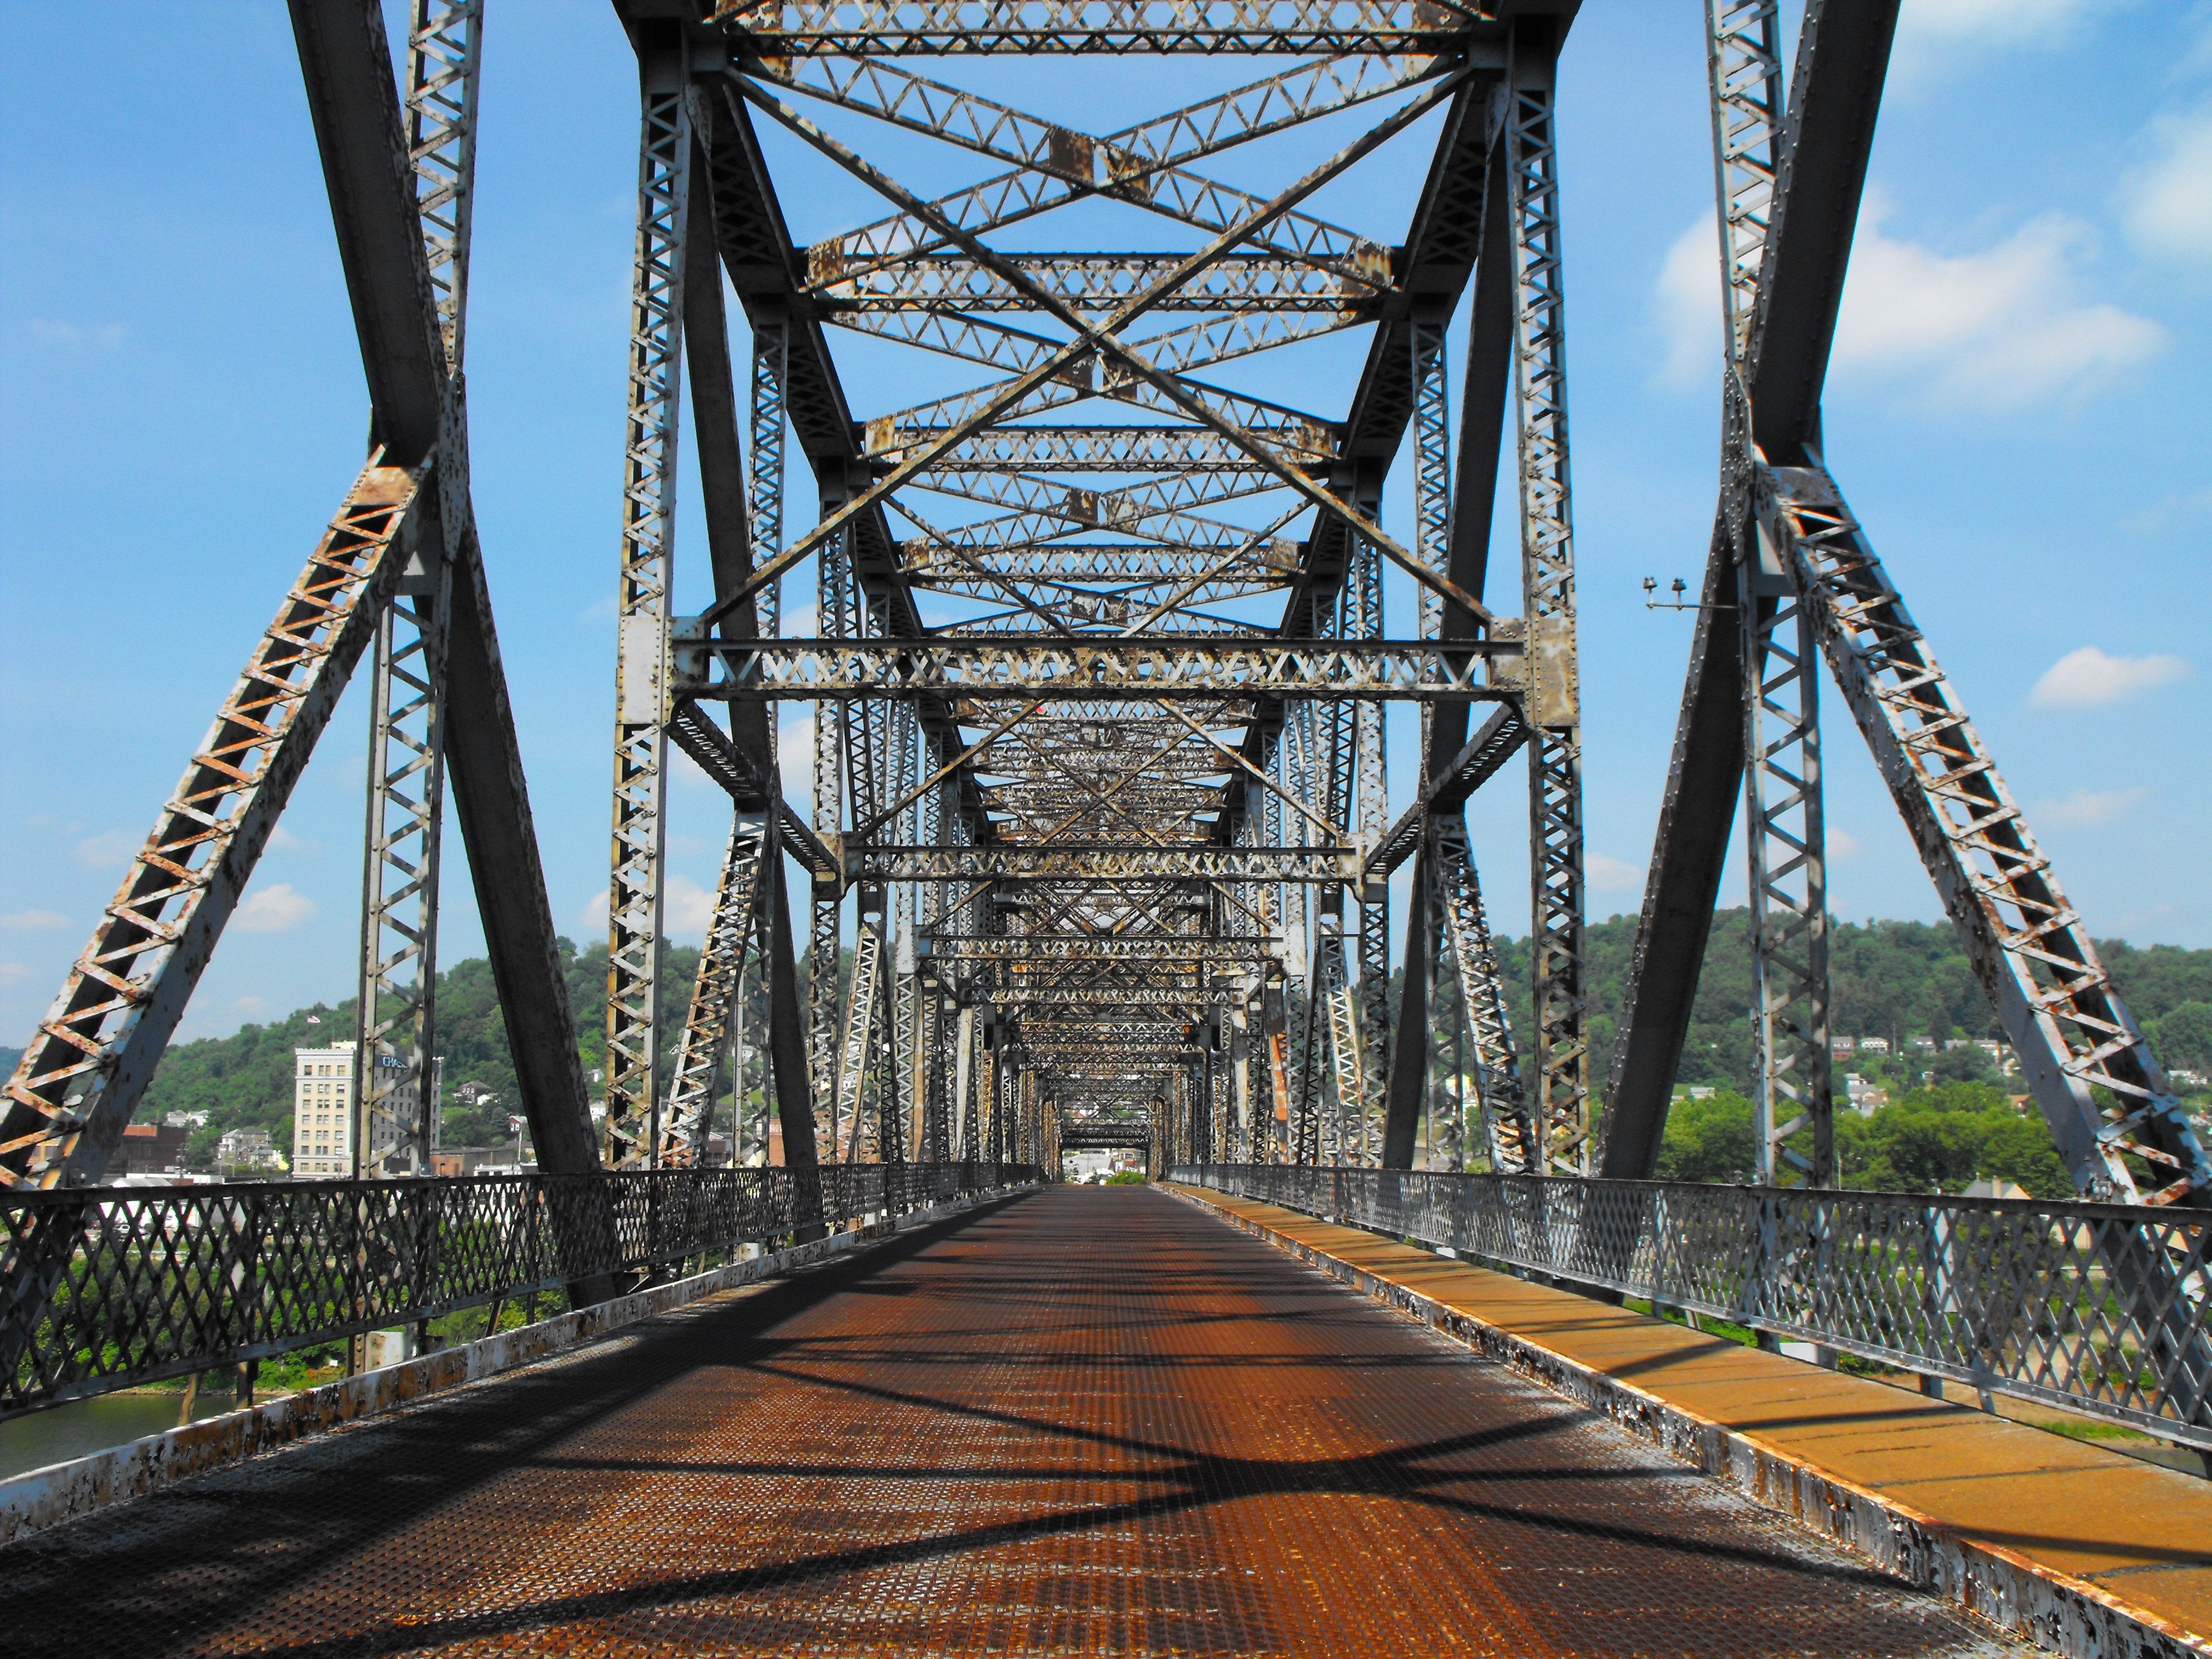
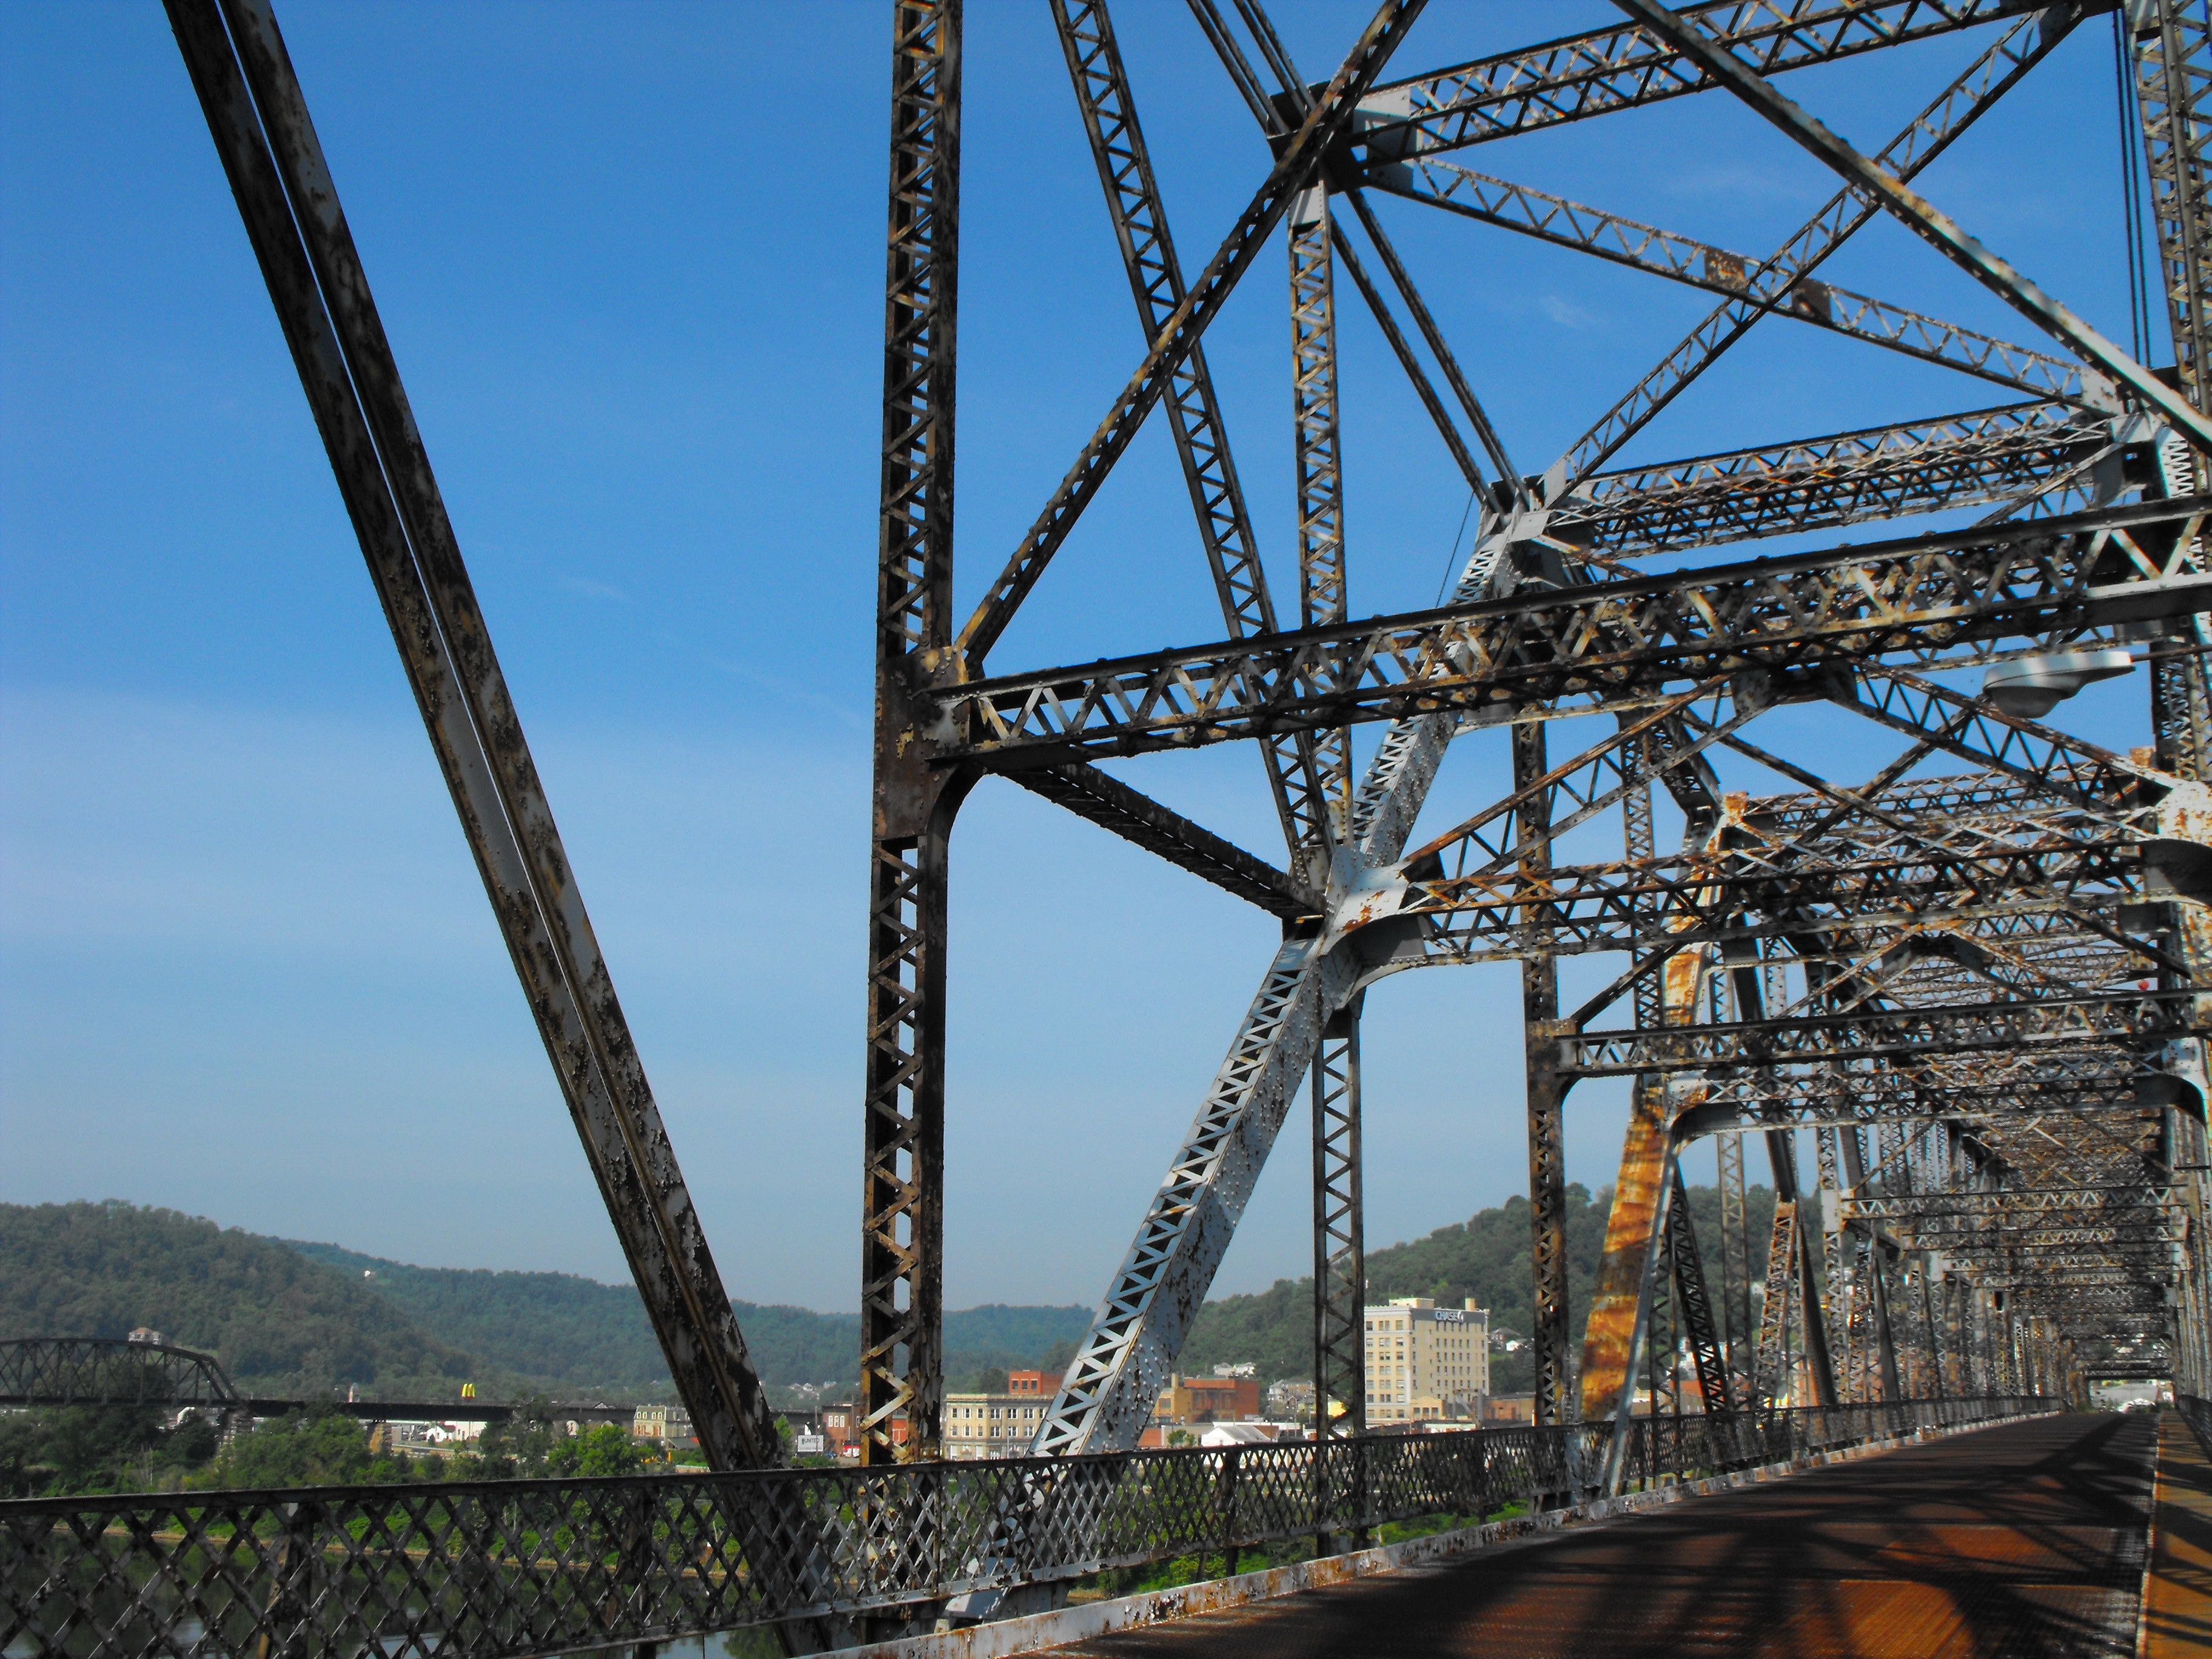
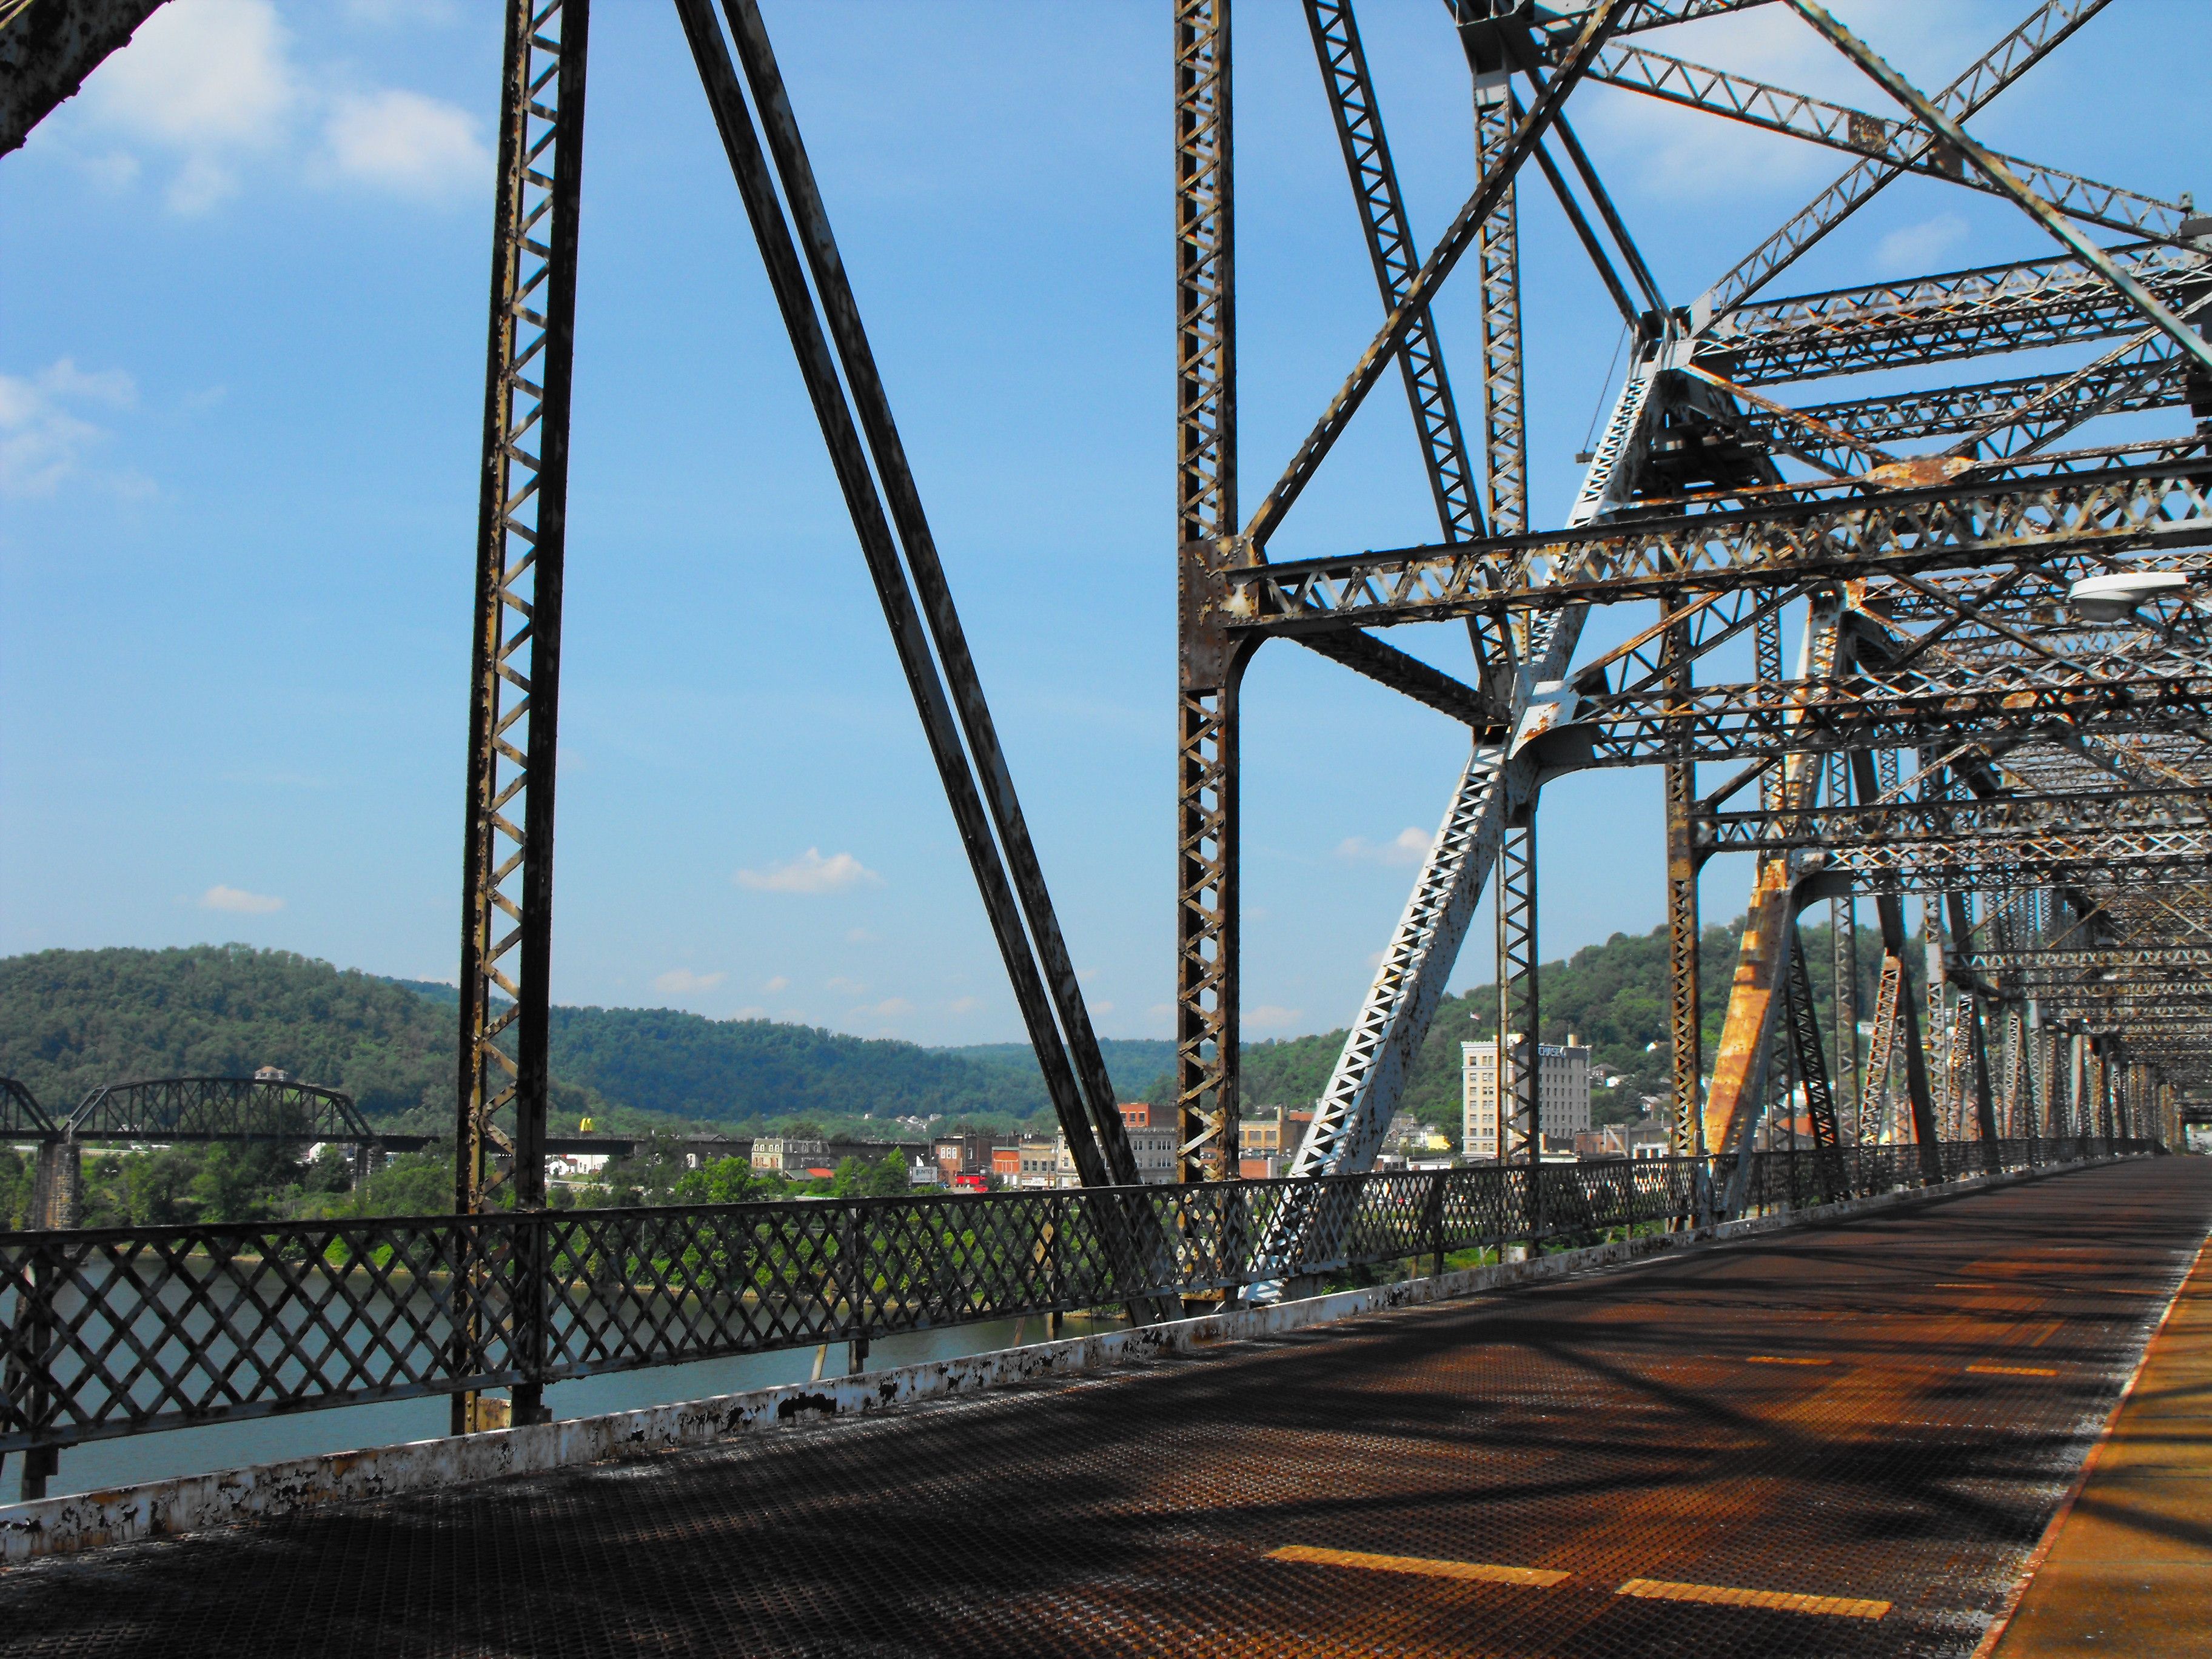
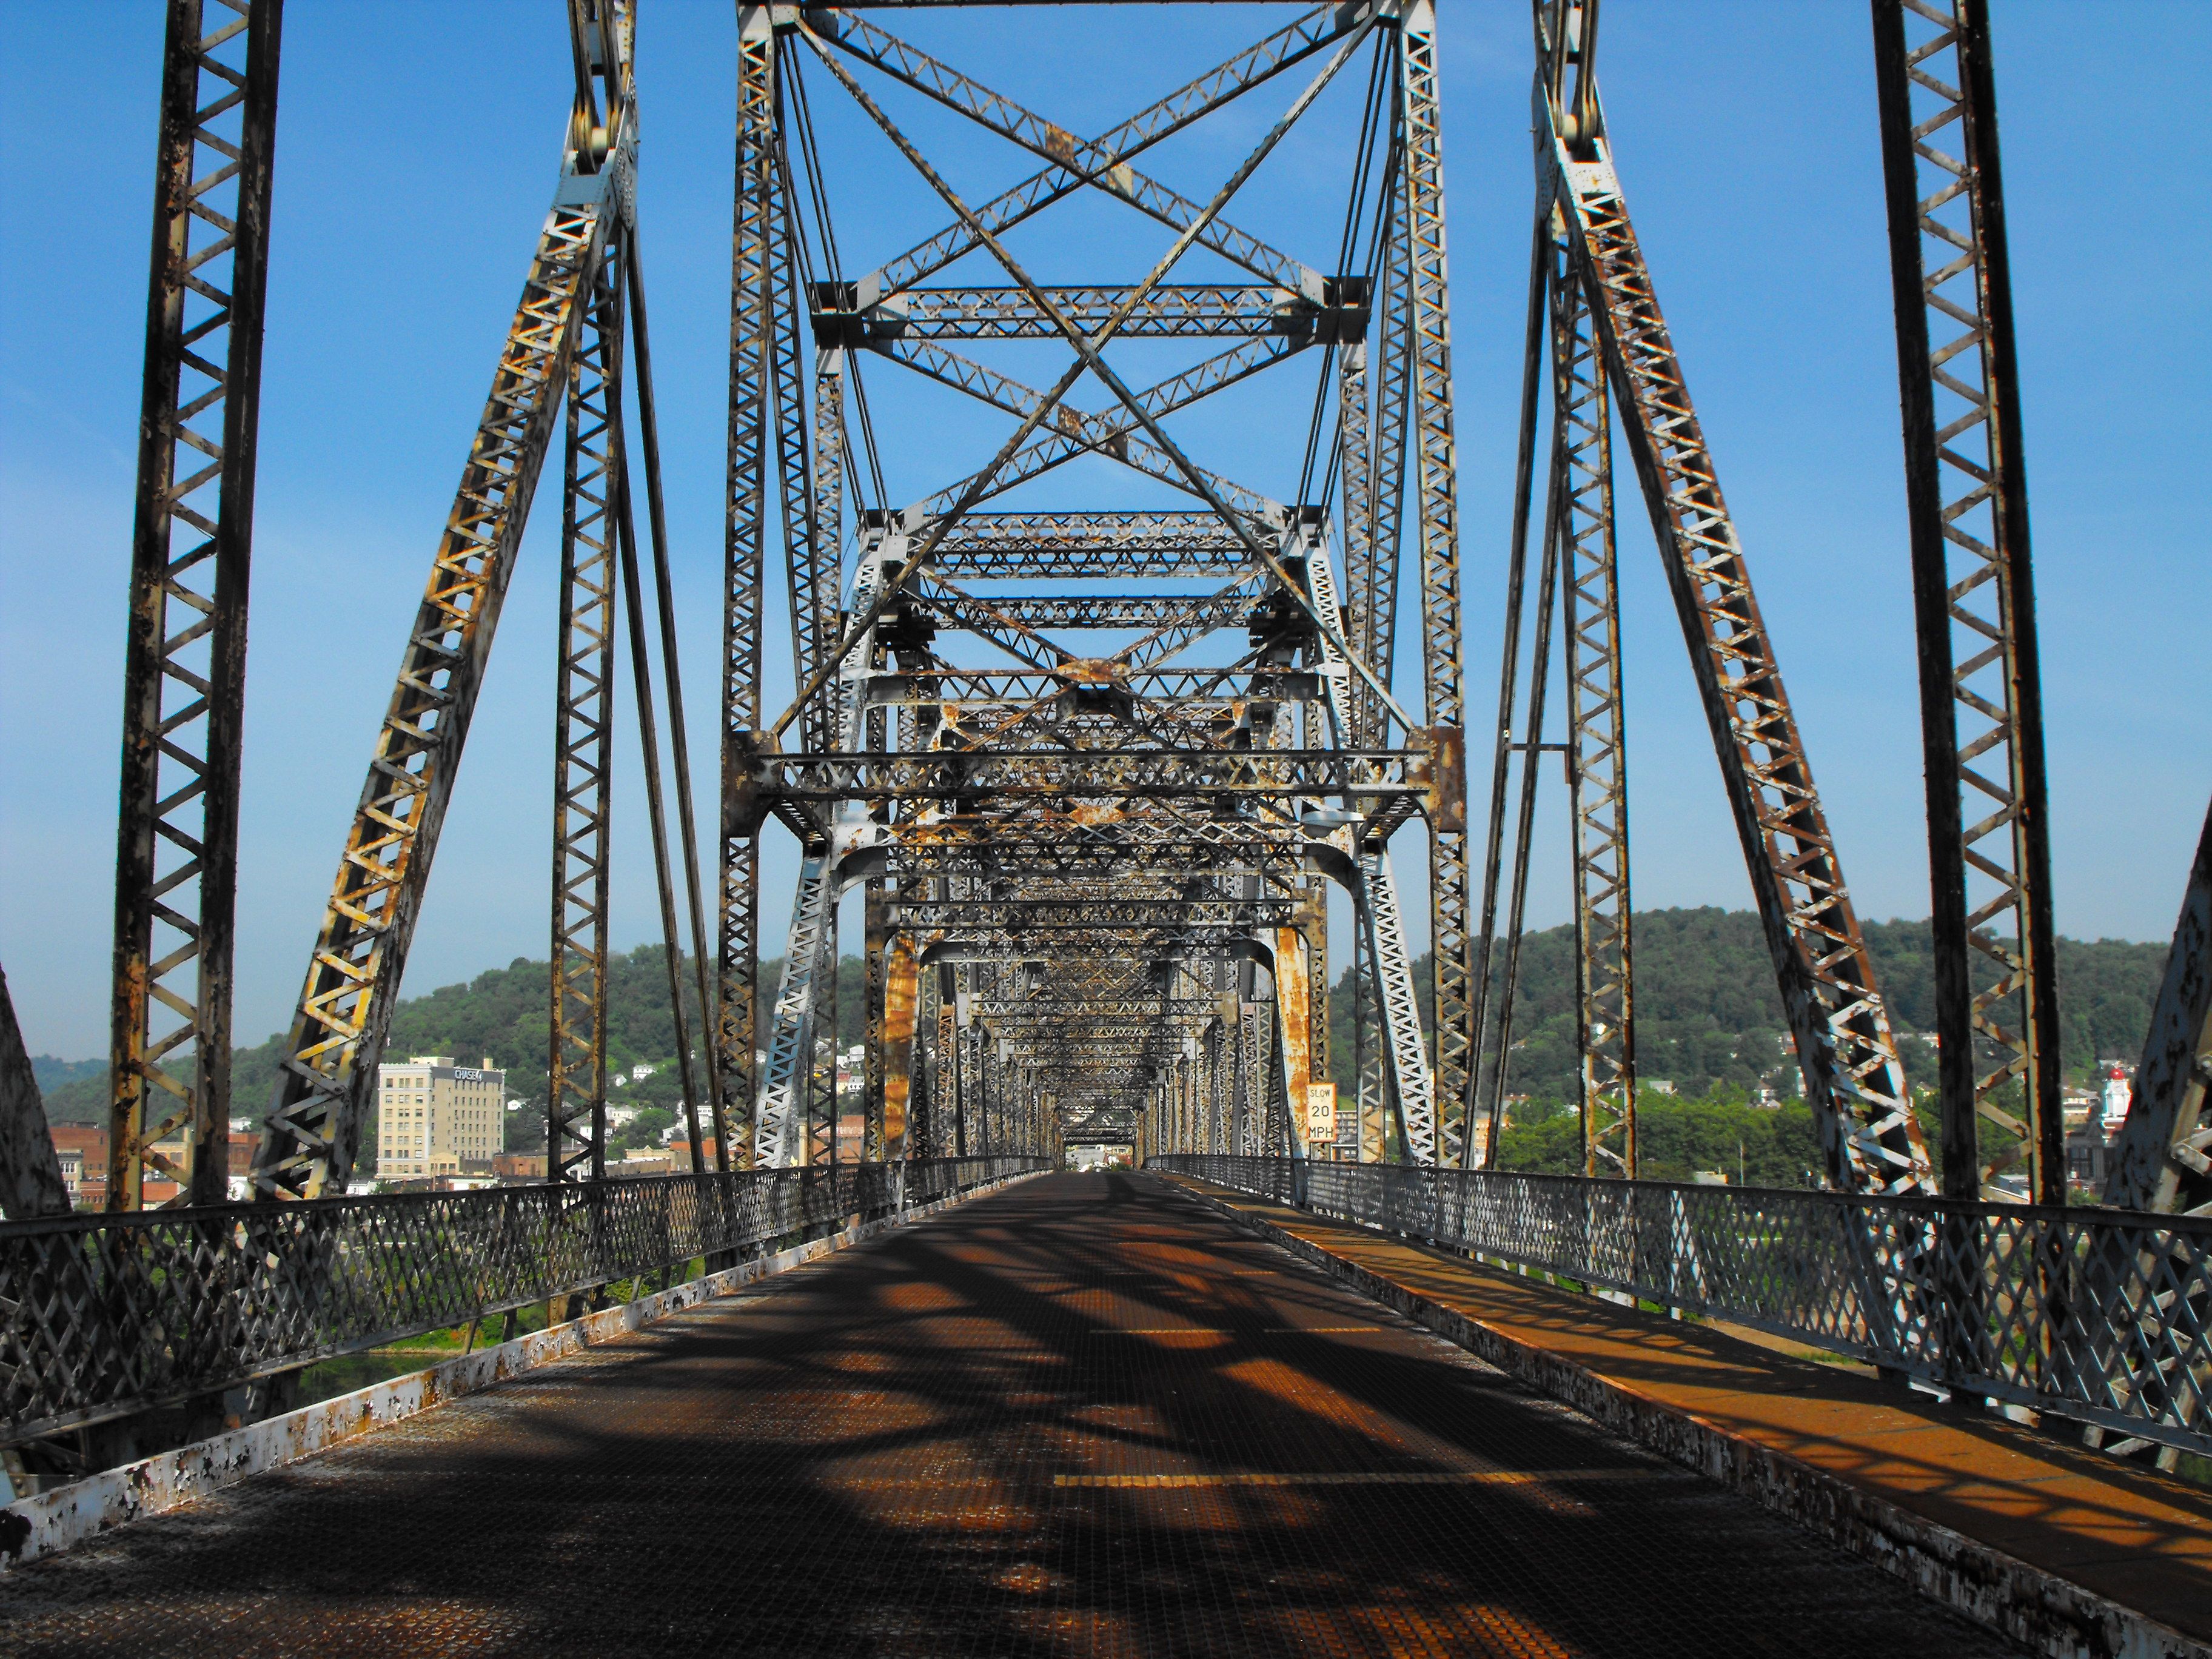
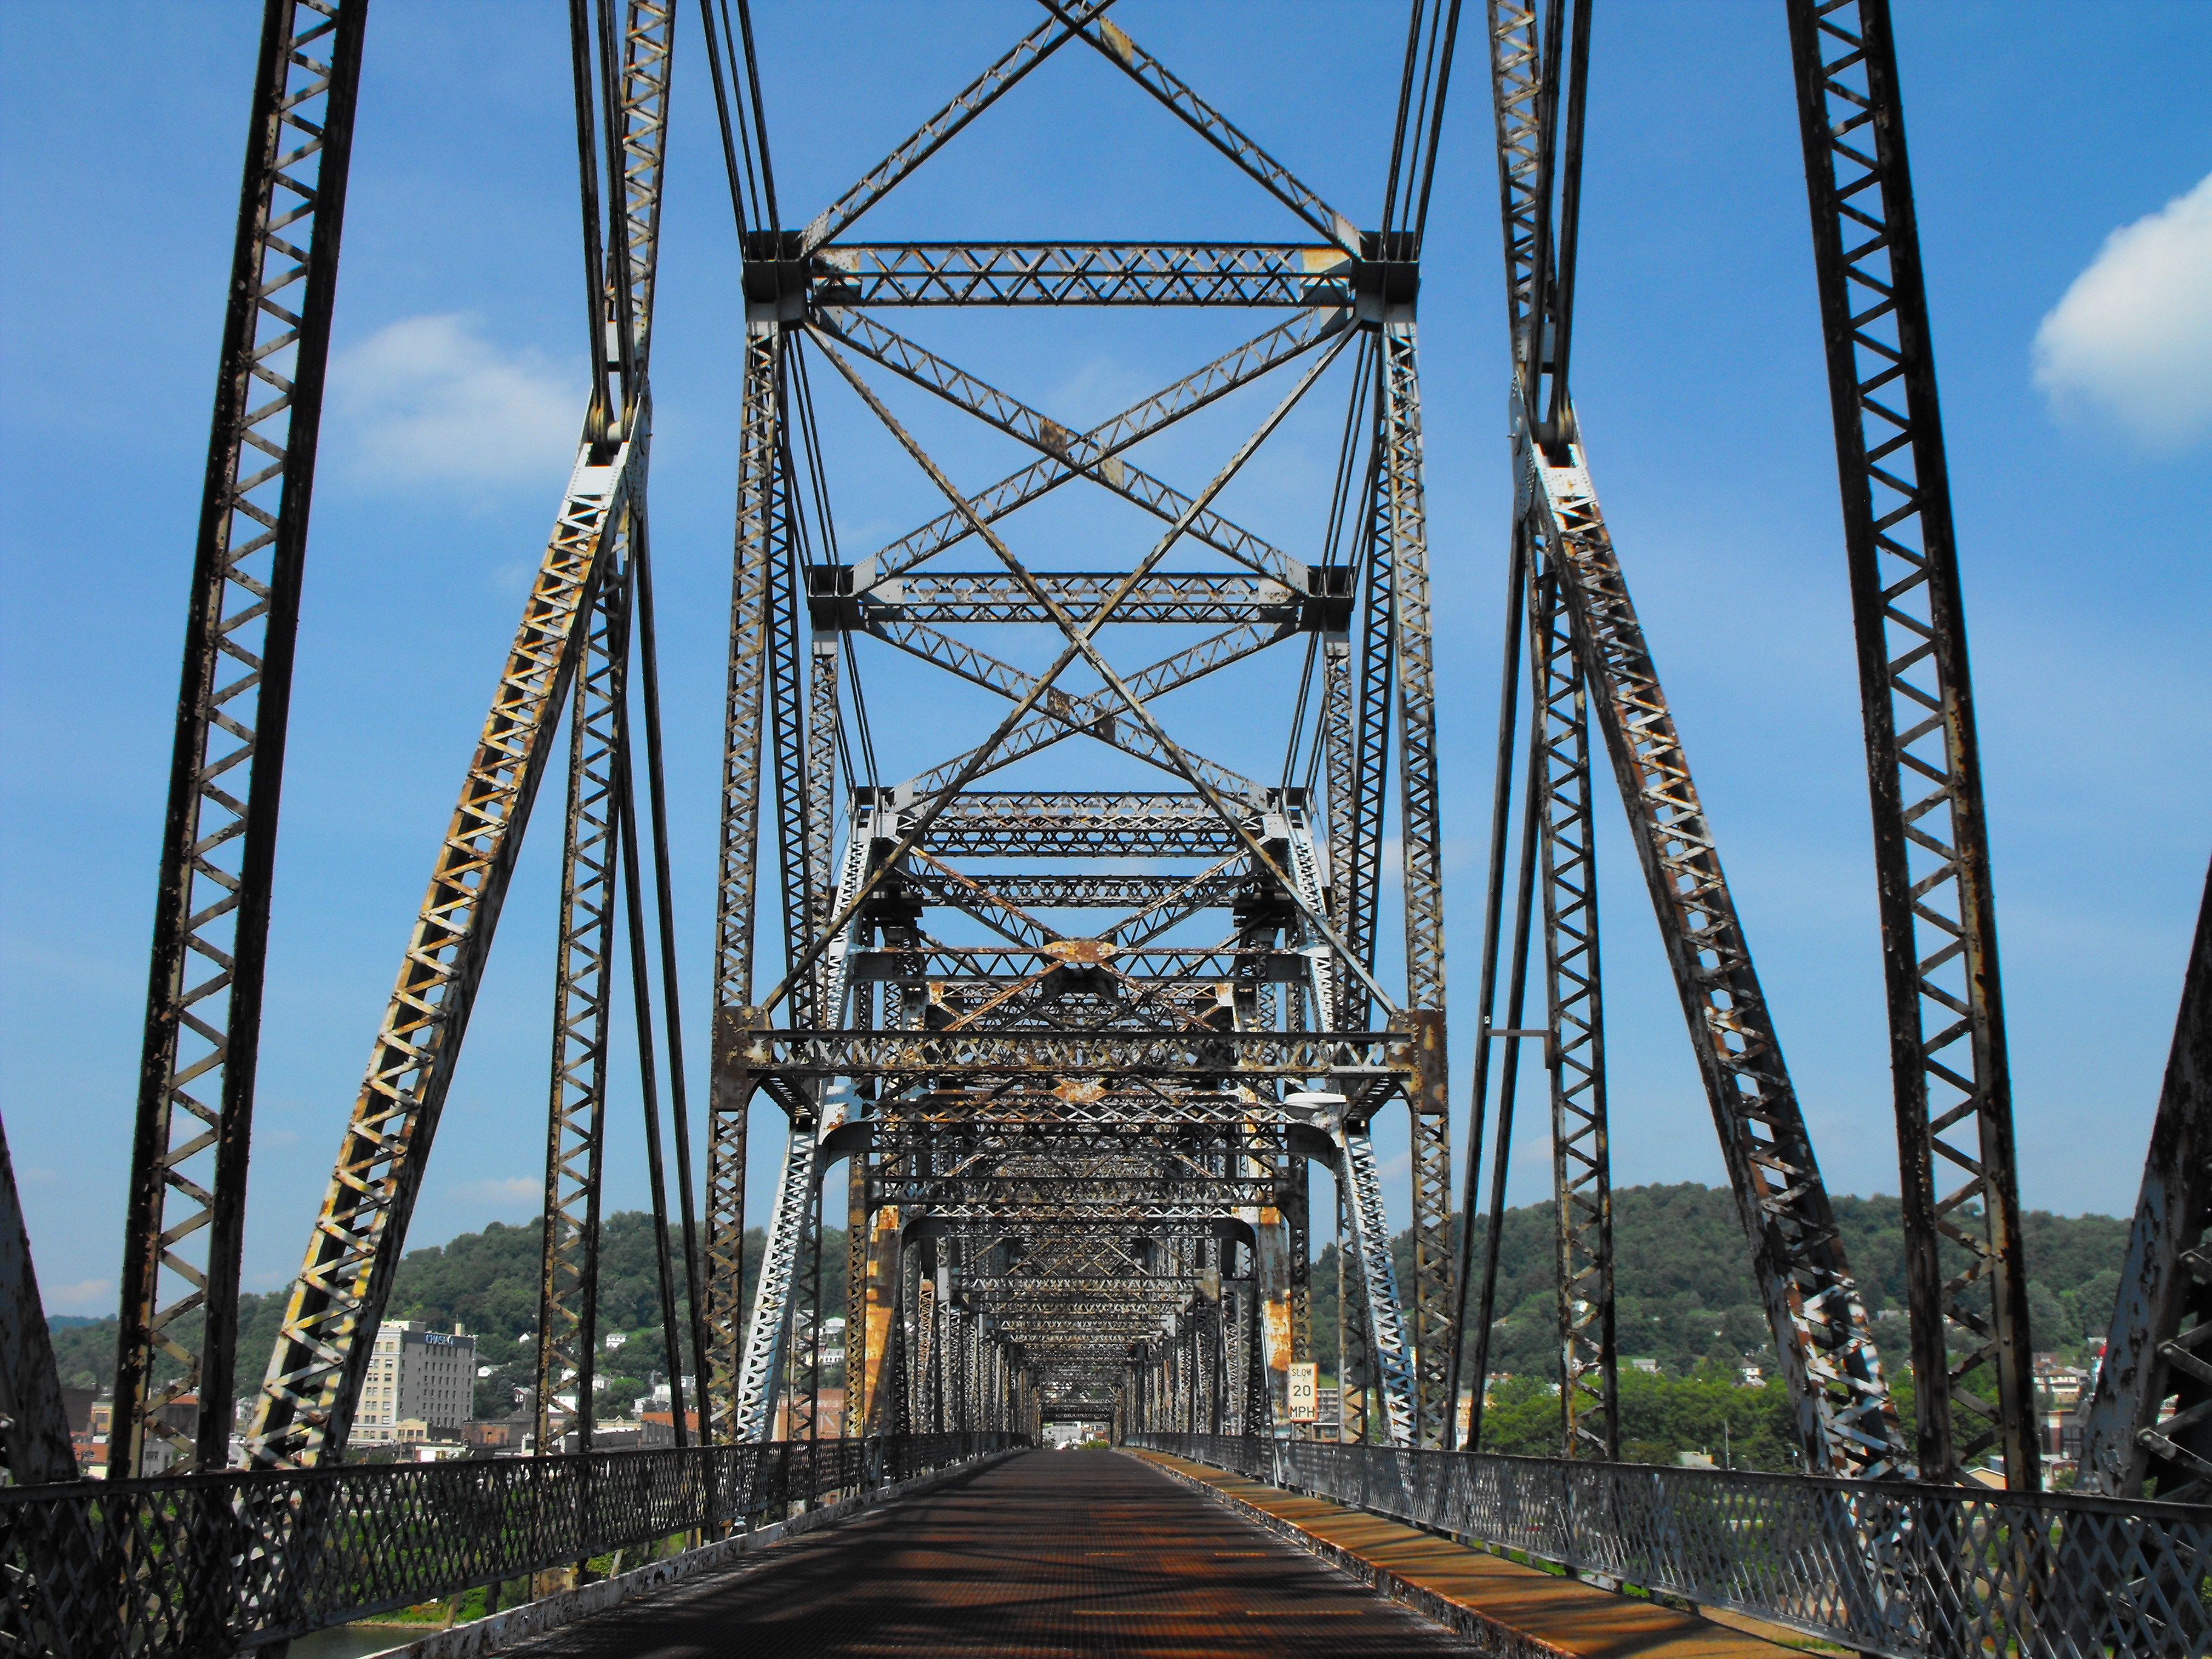
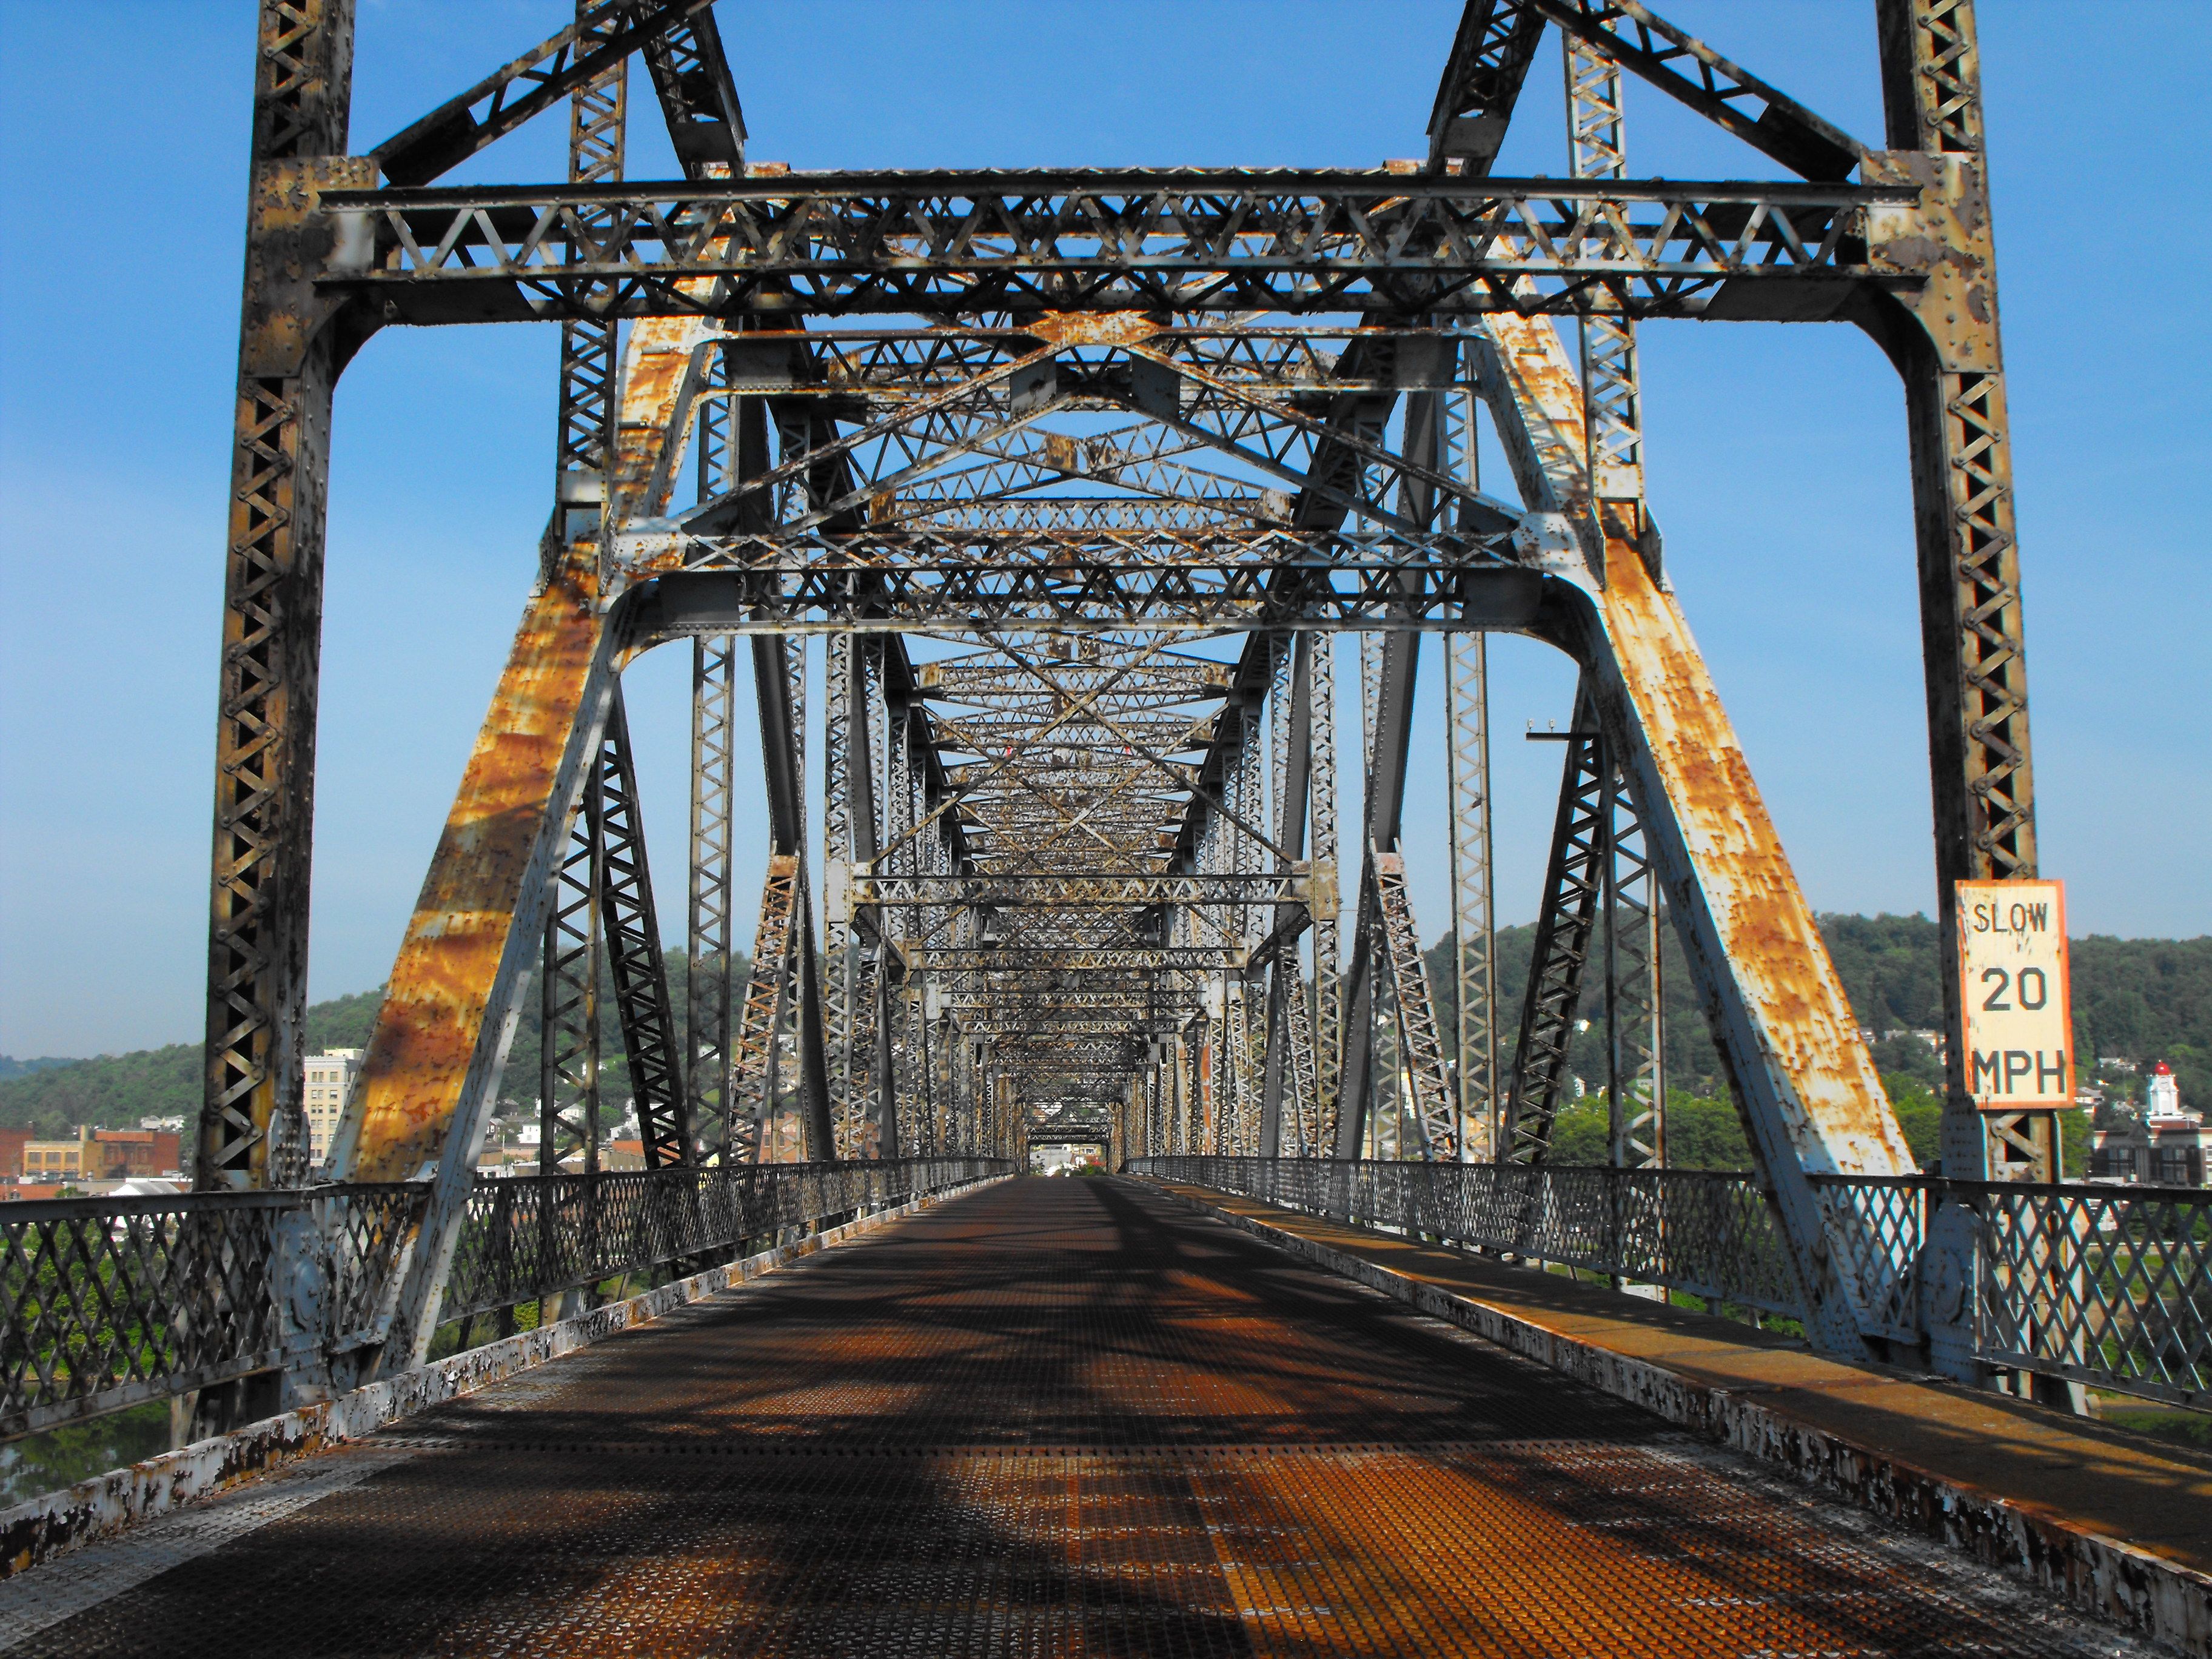
Portal view facing west at east tower.
![]()


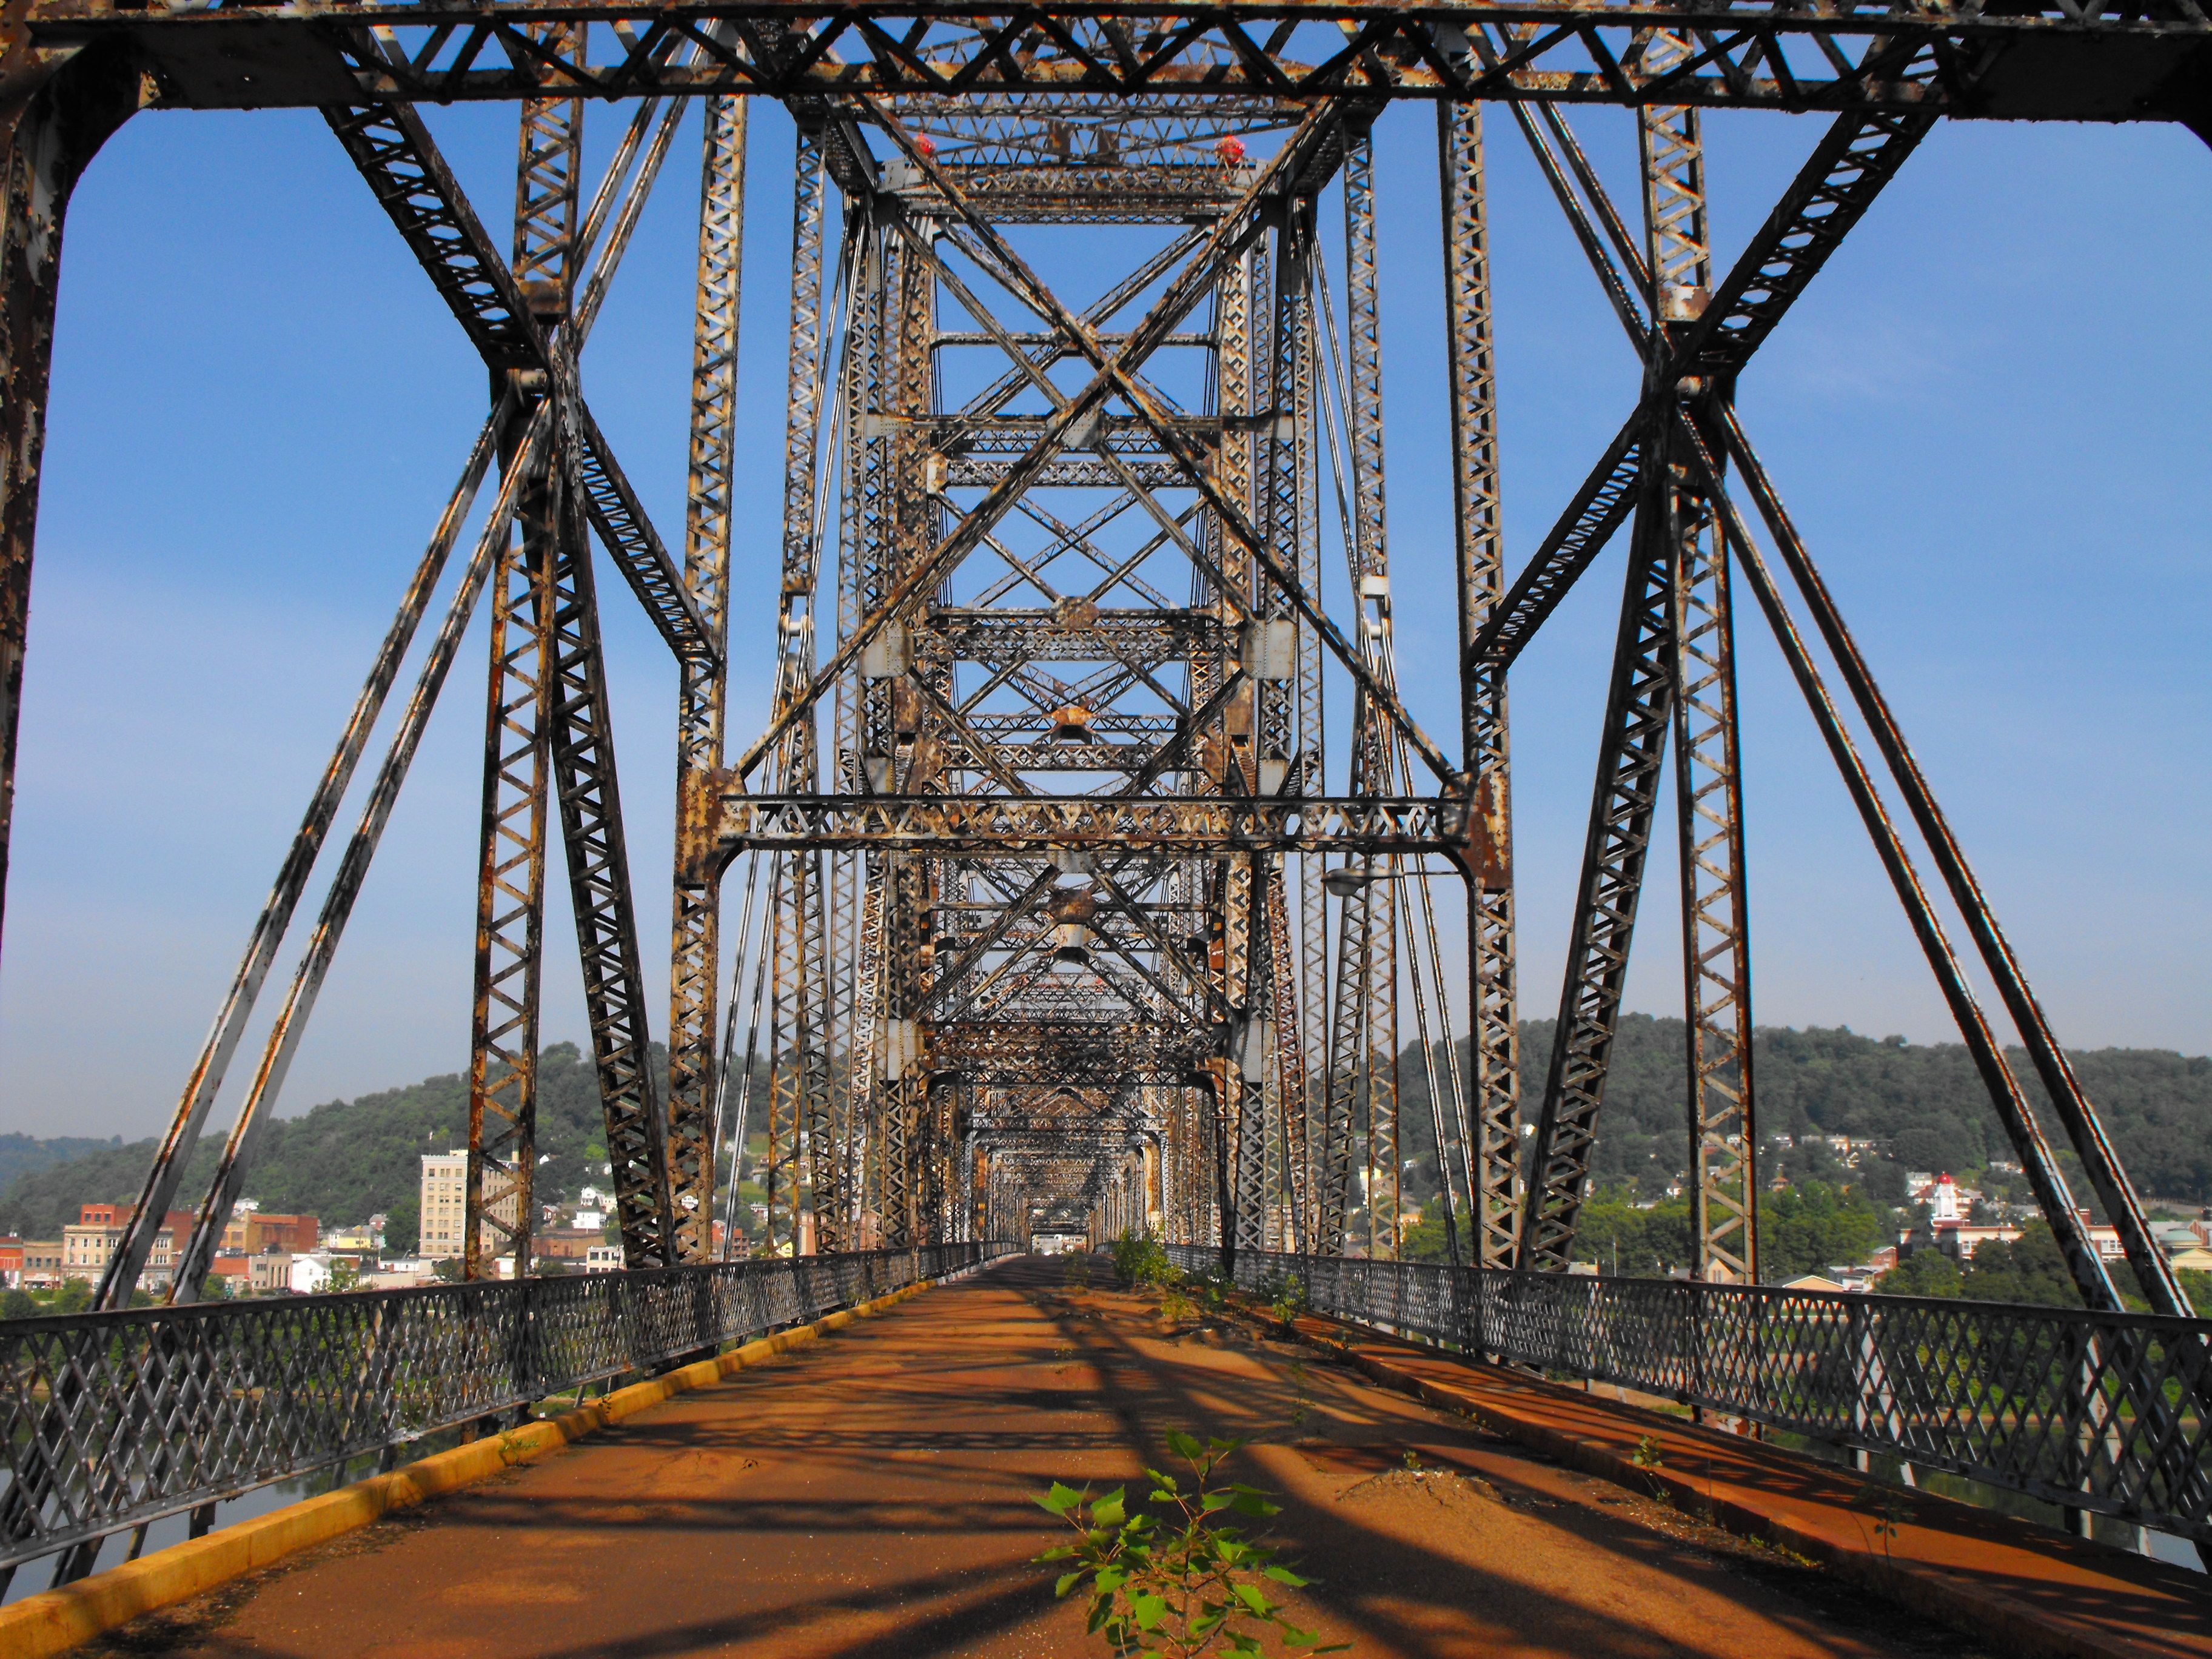
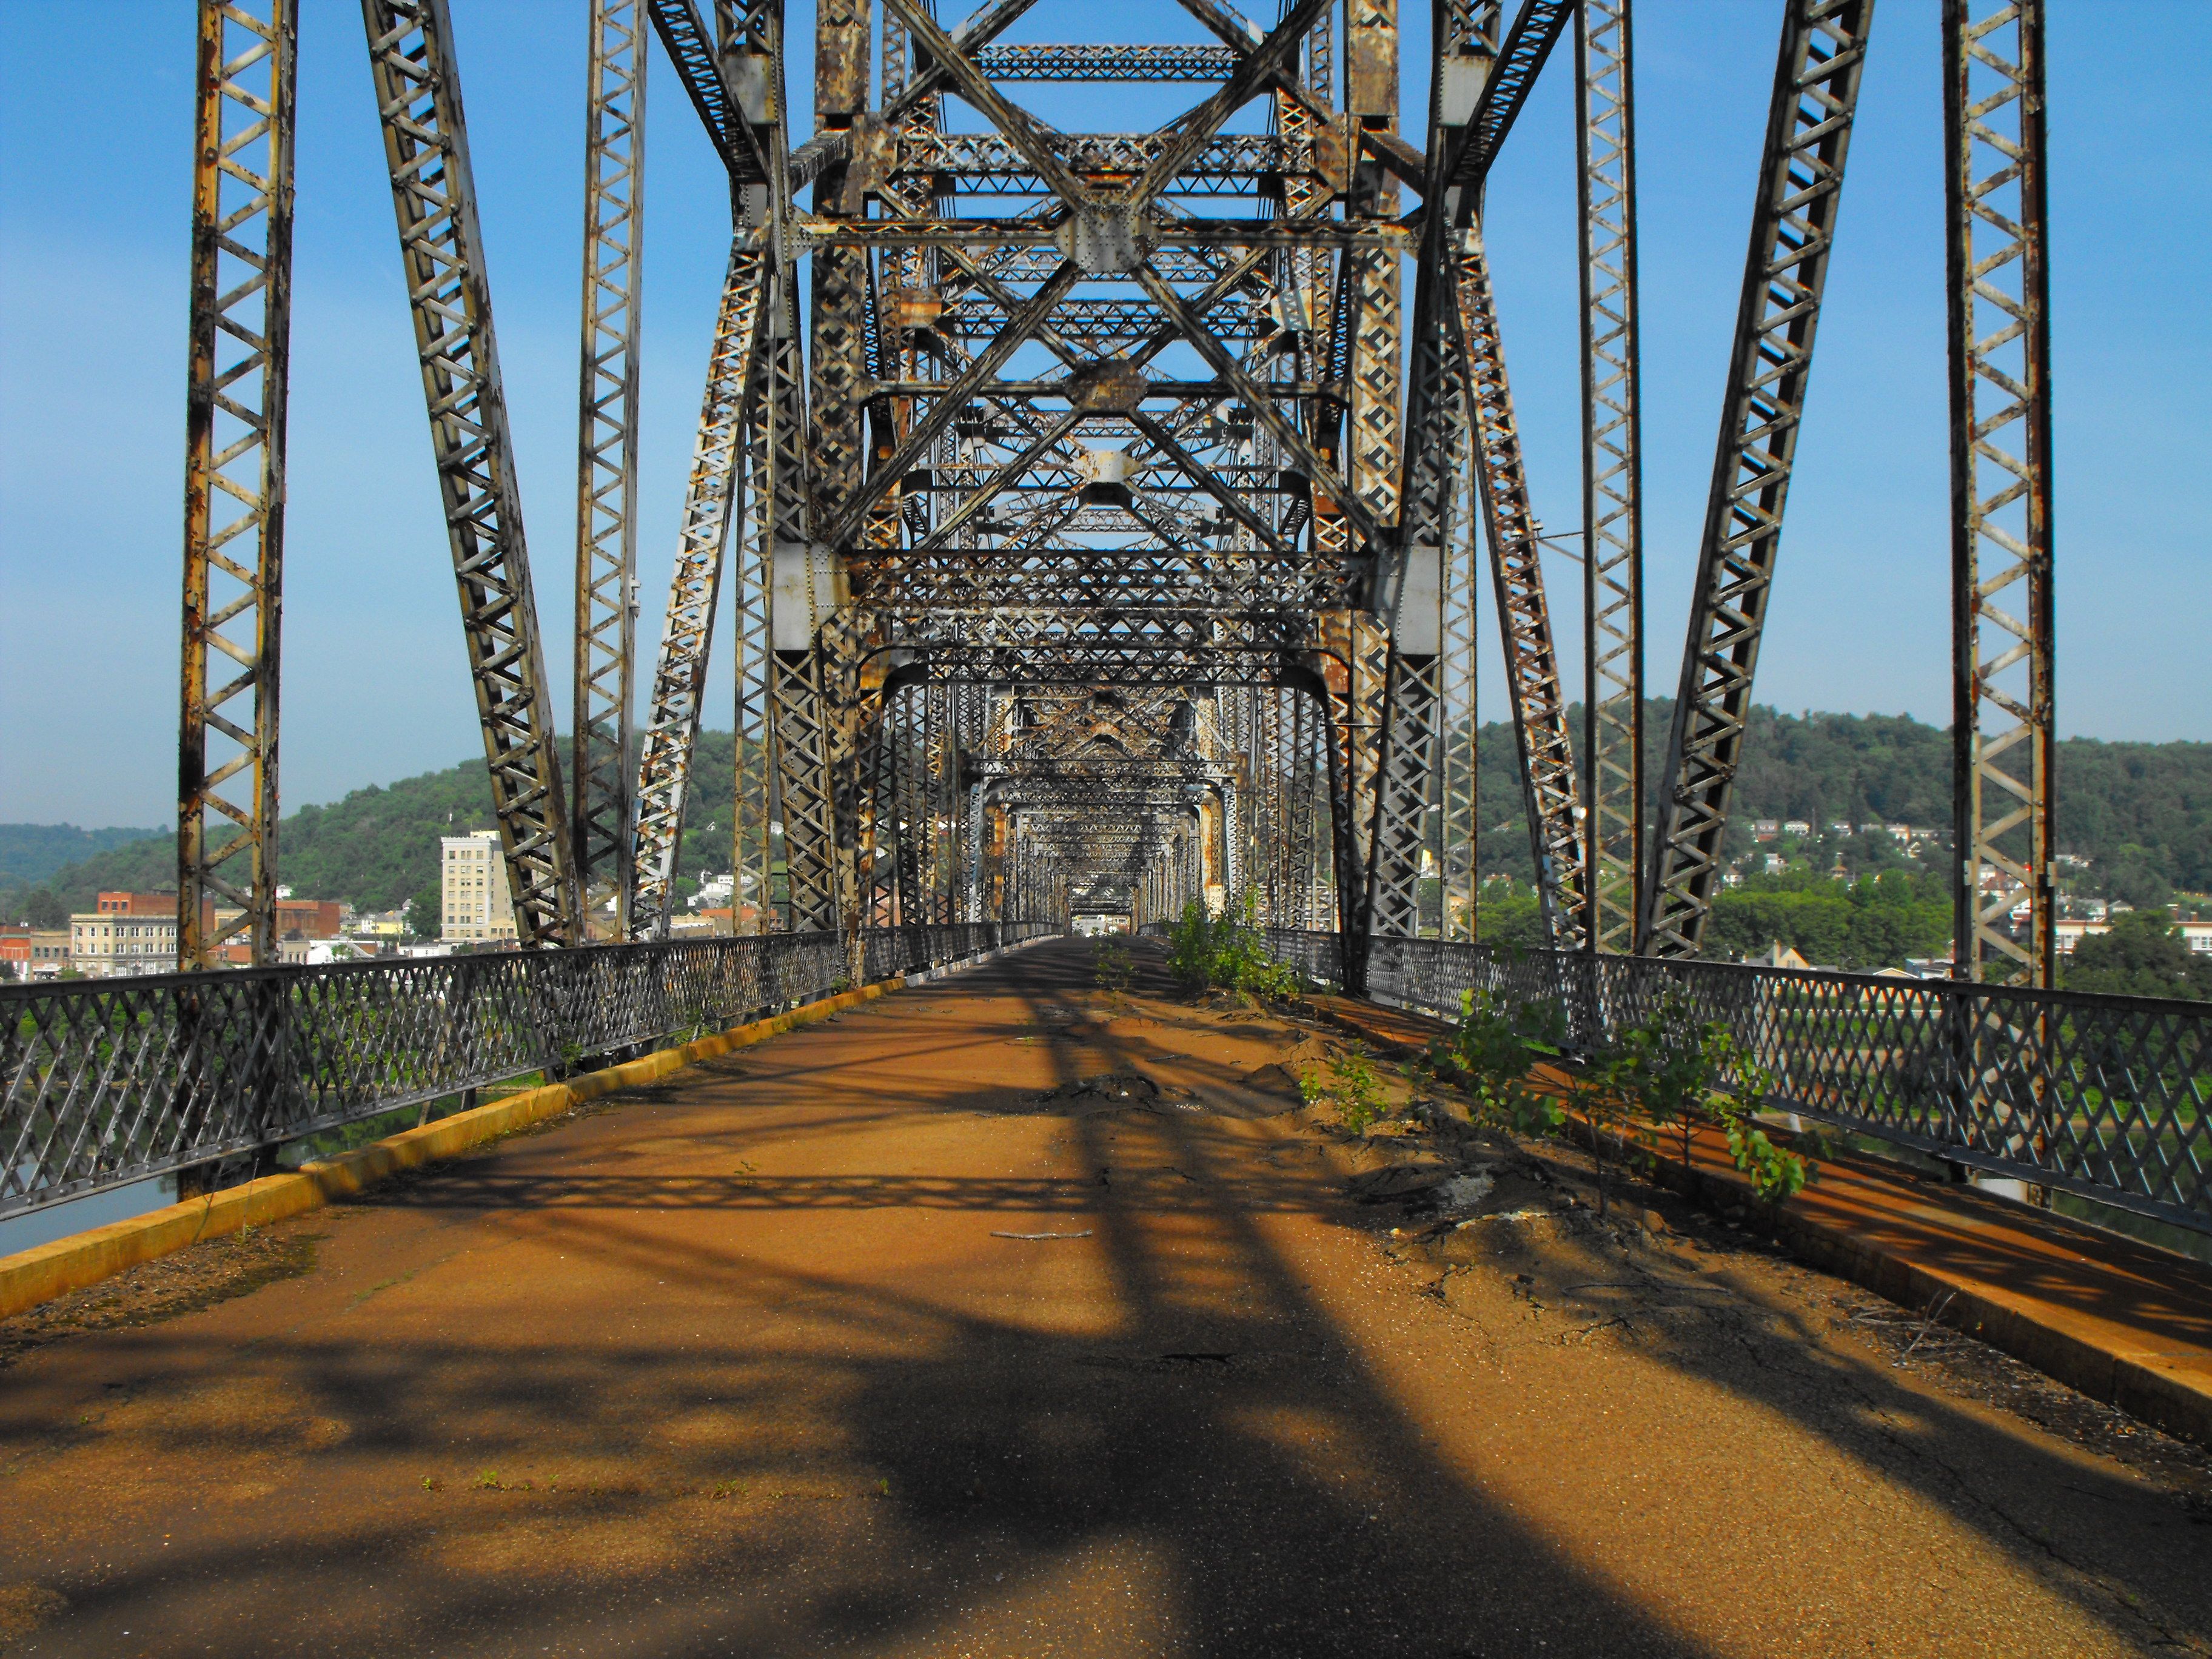
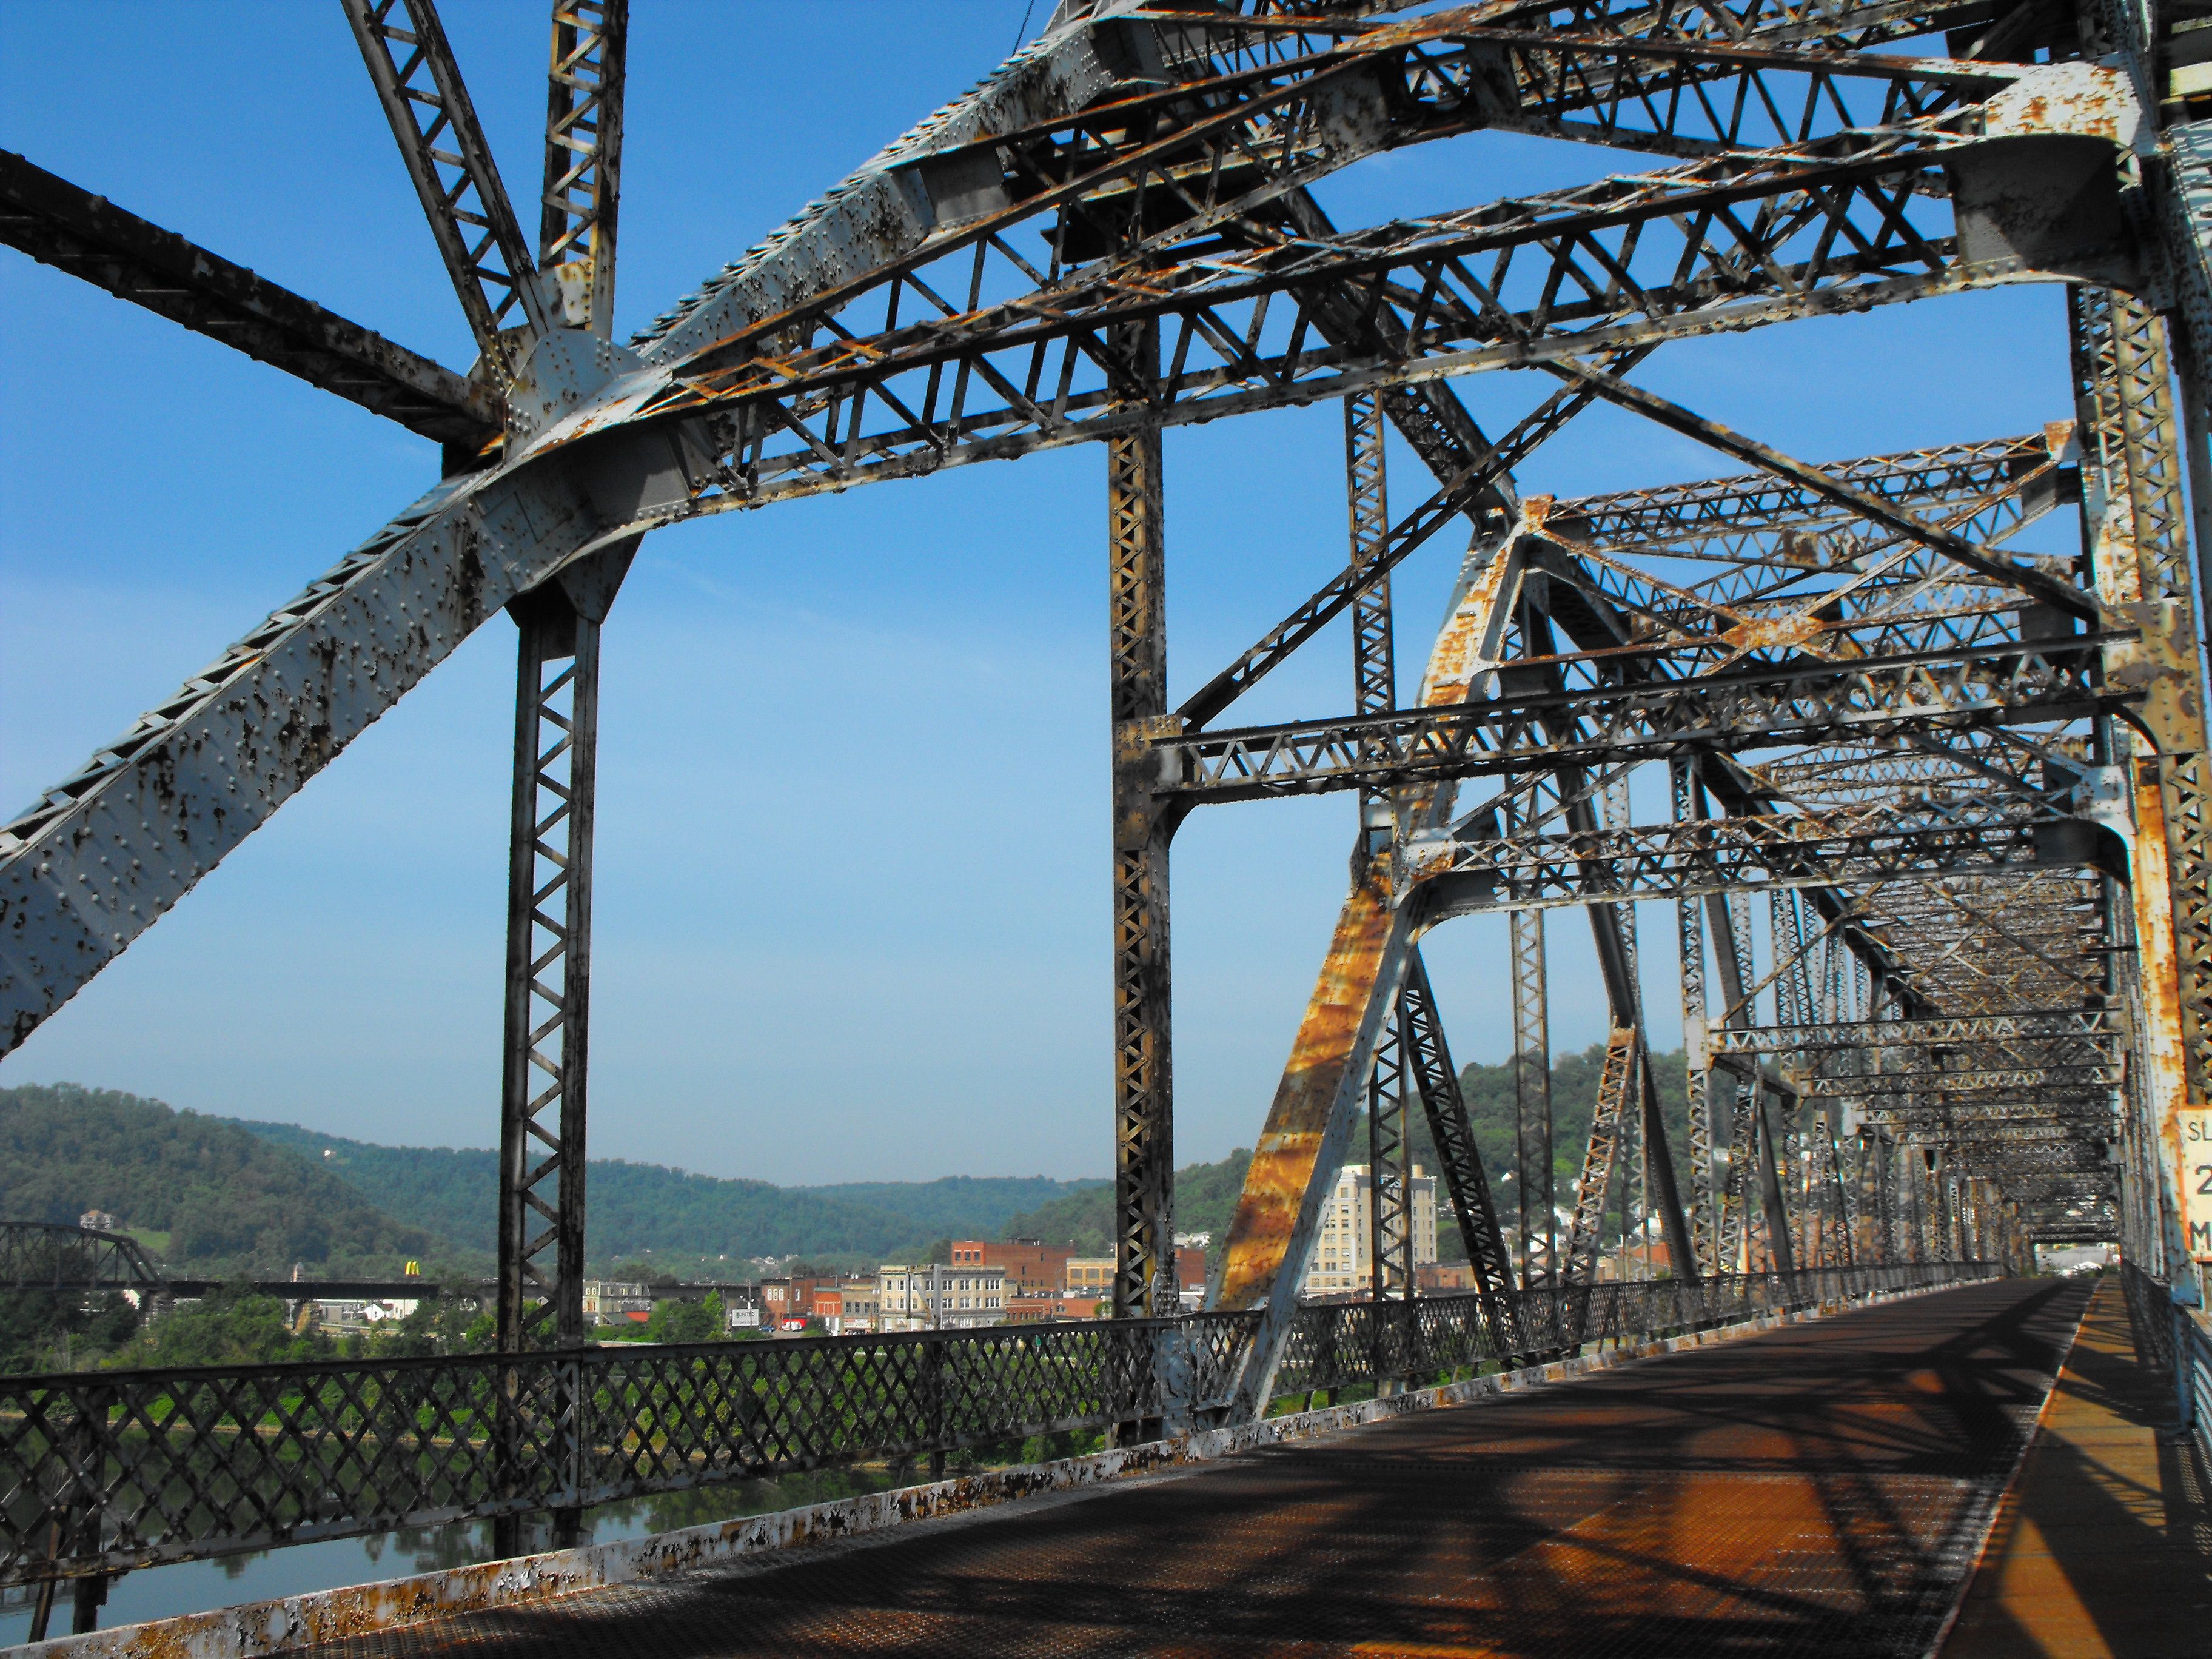
Portal views facing west between east tower and the suspended span of bridge.
![]()
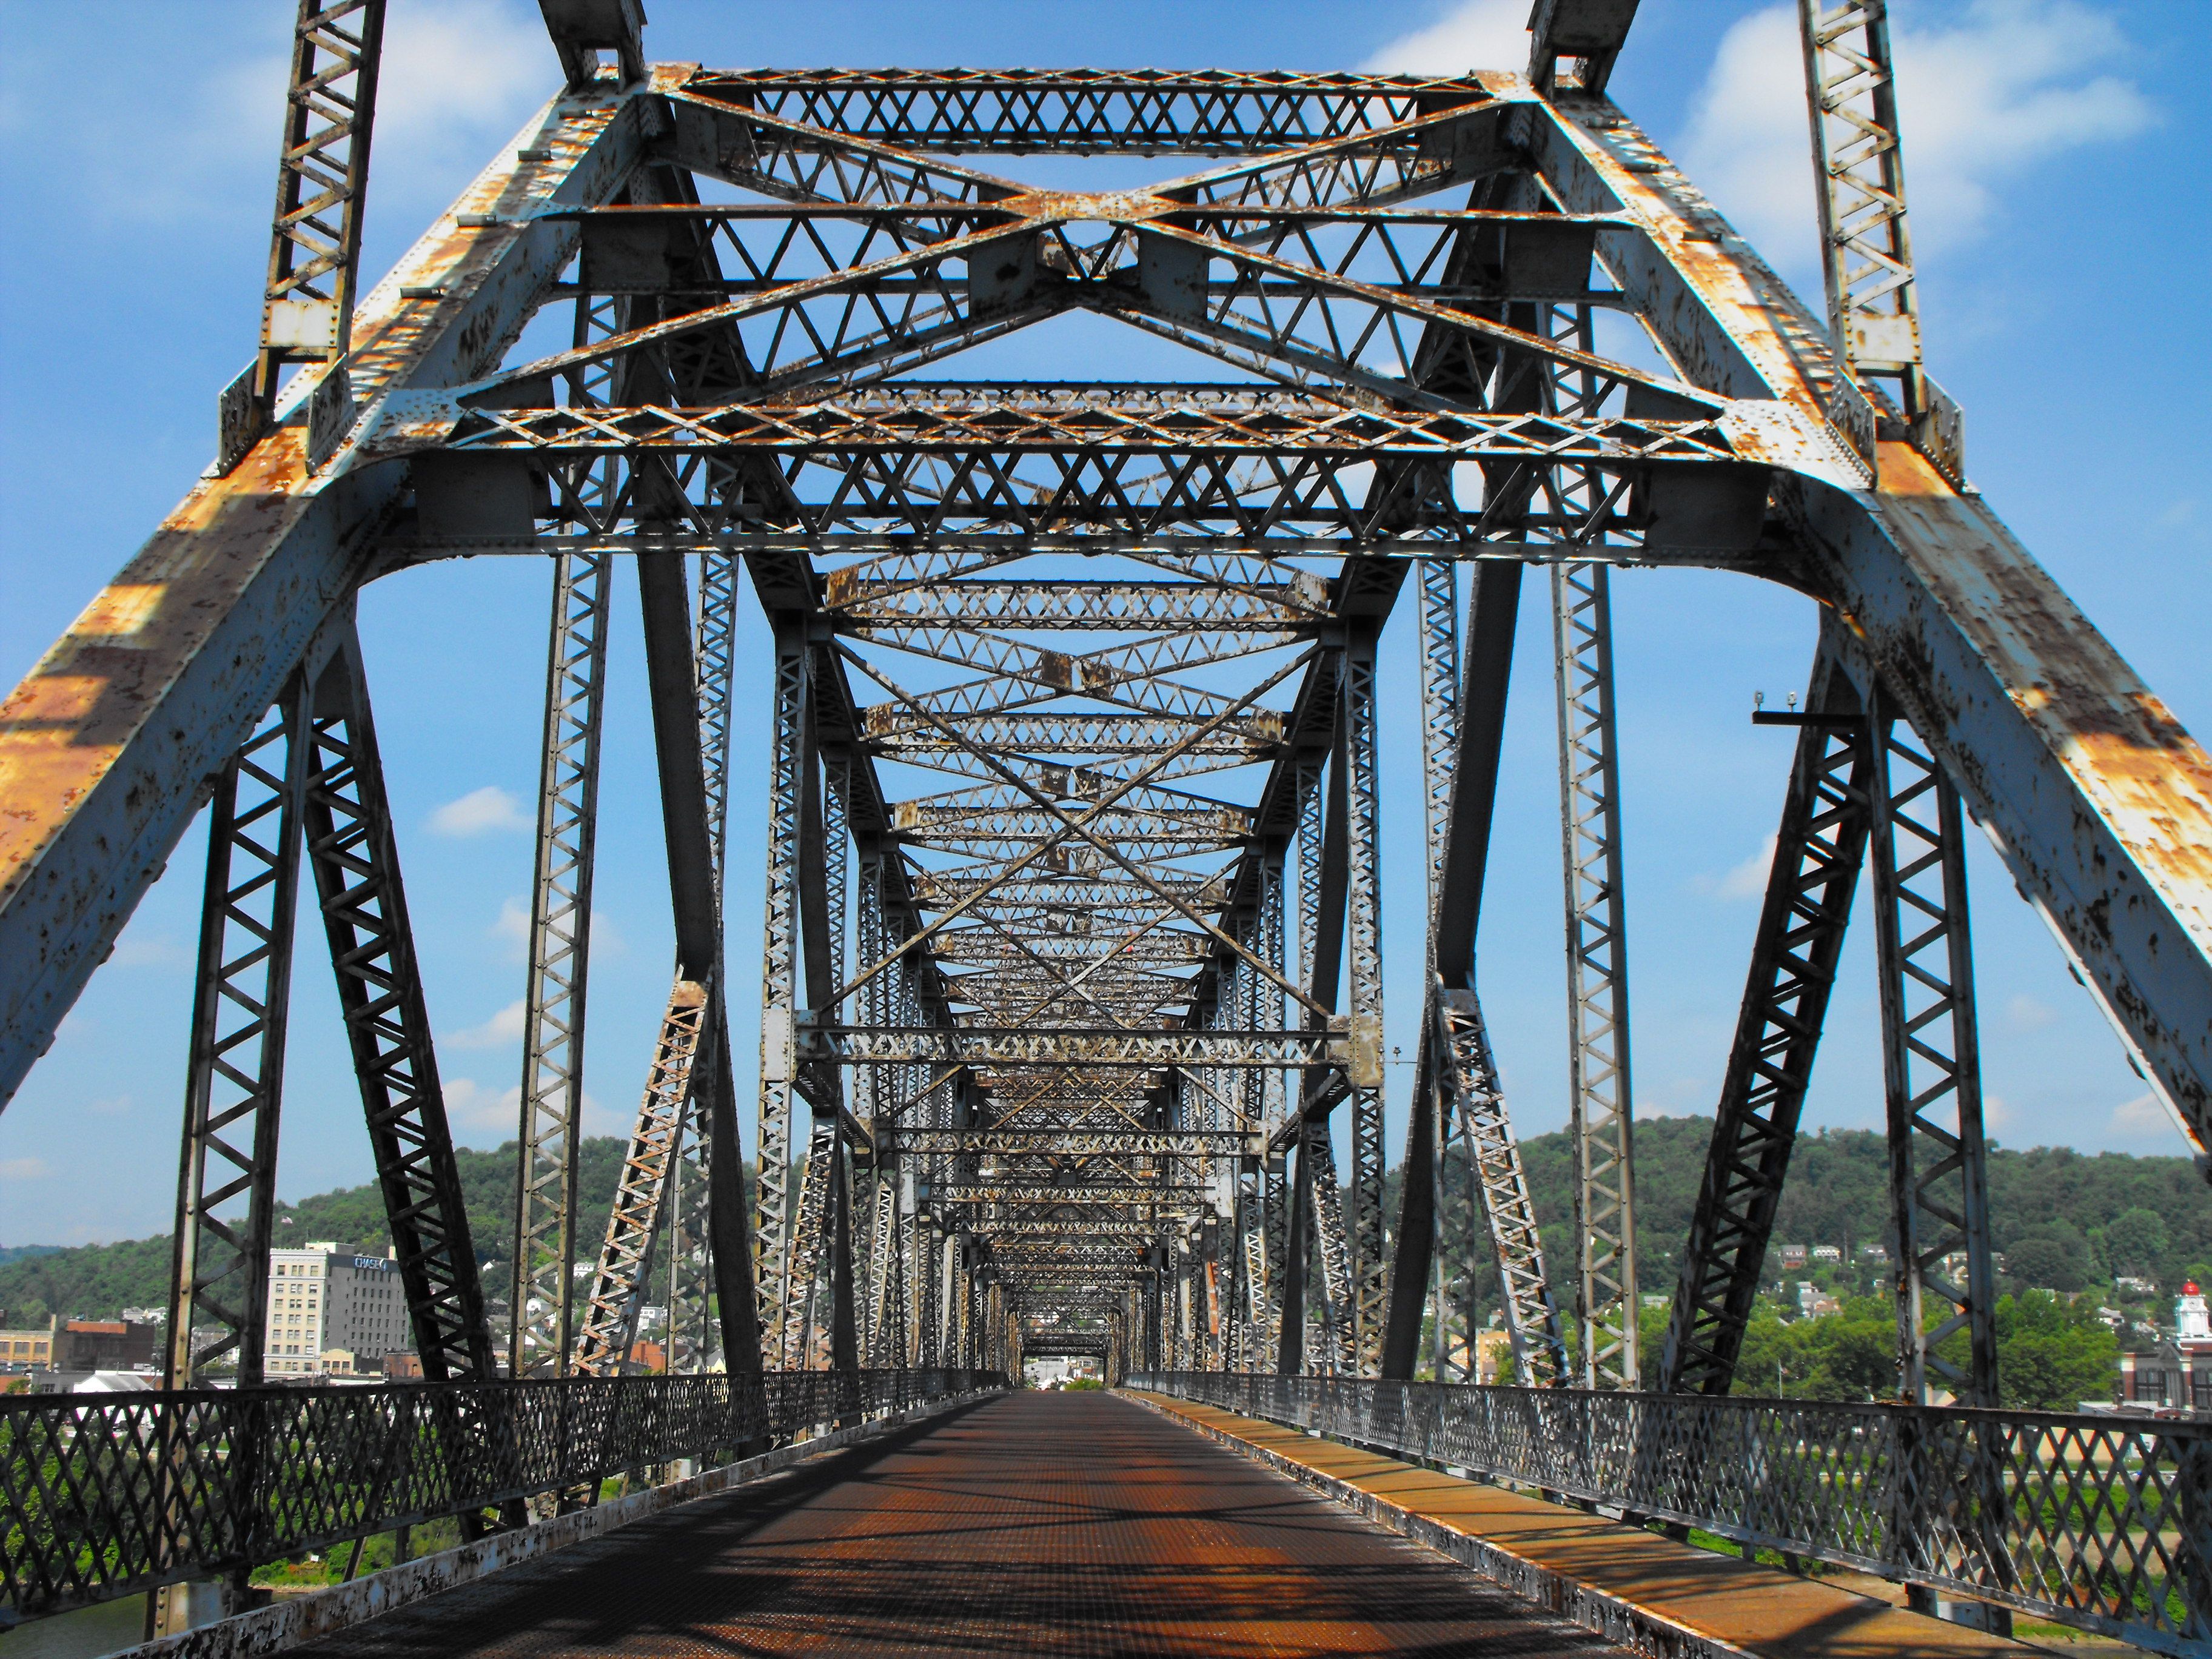
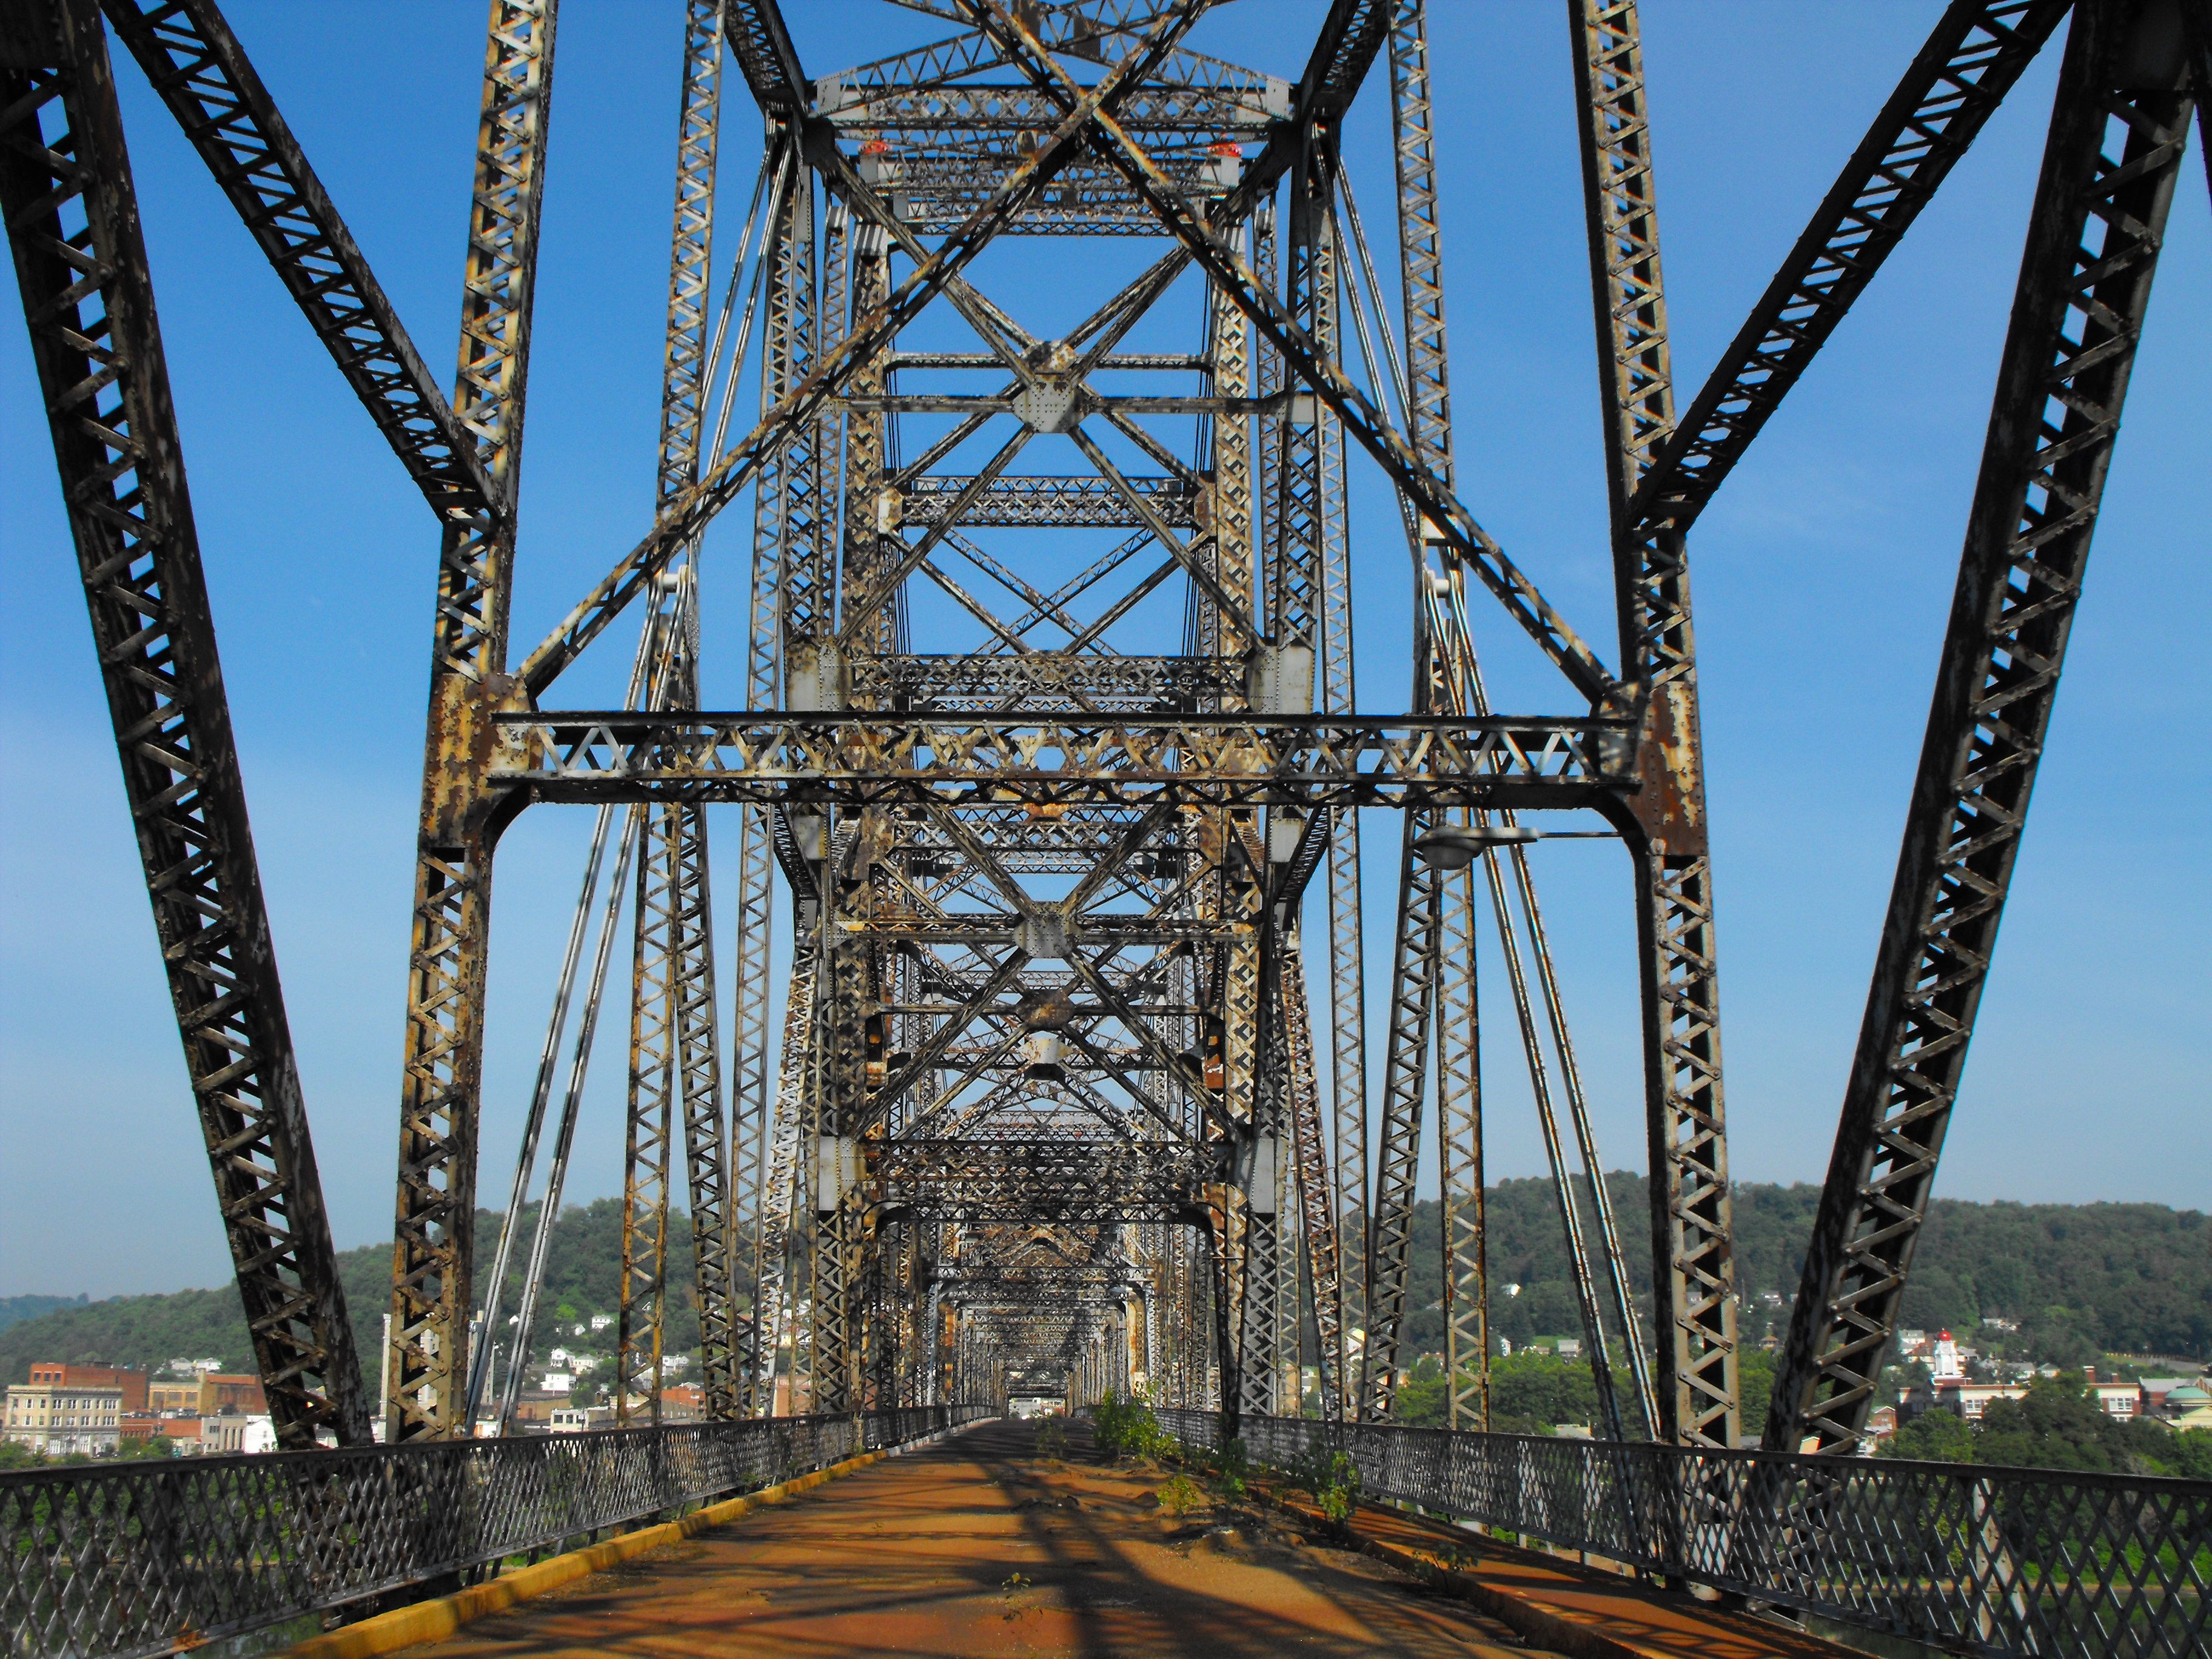
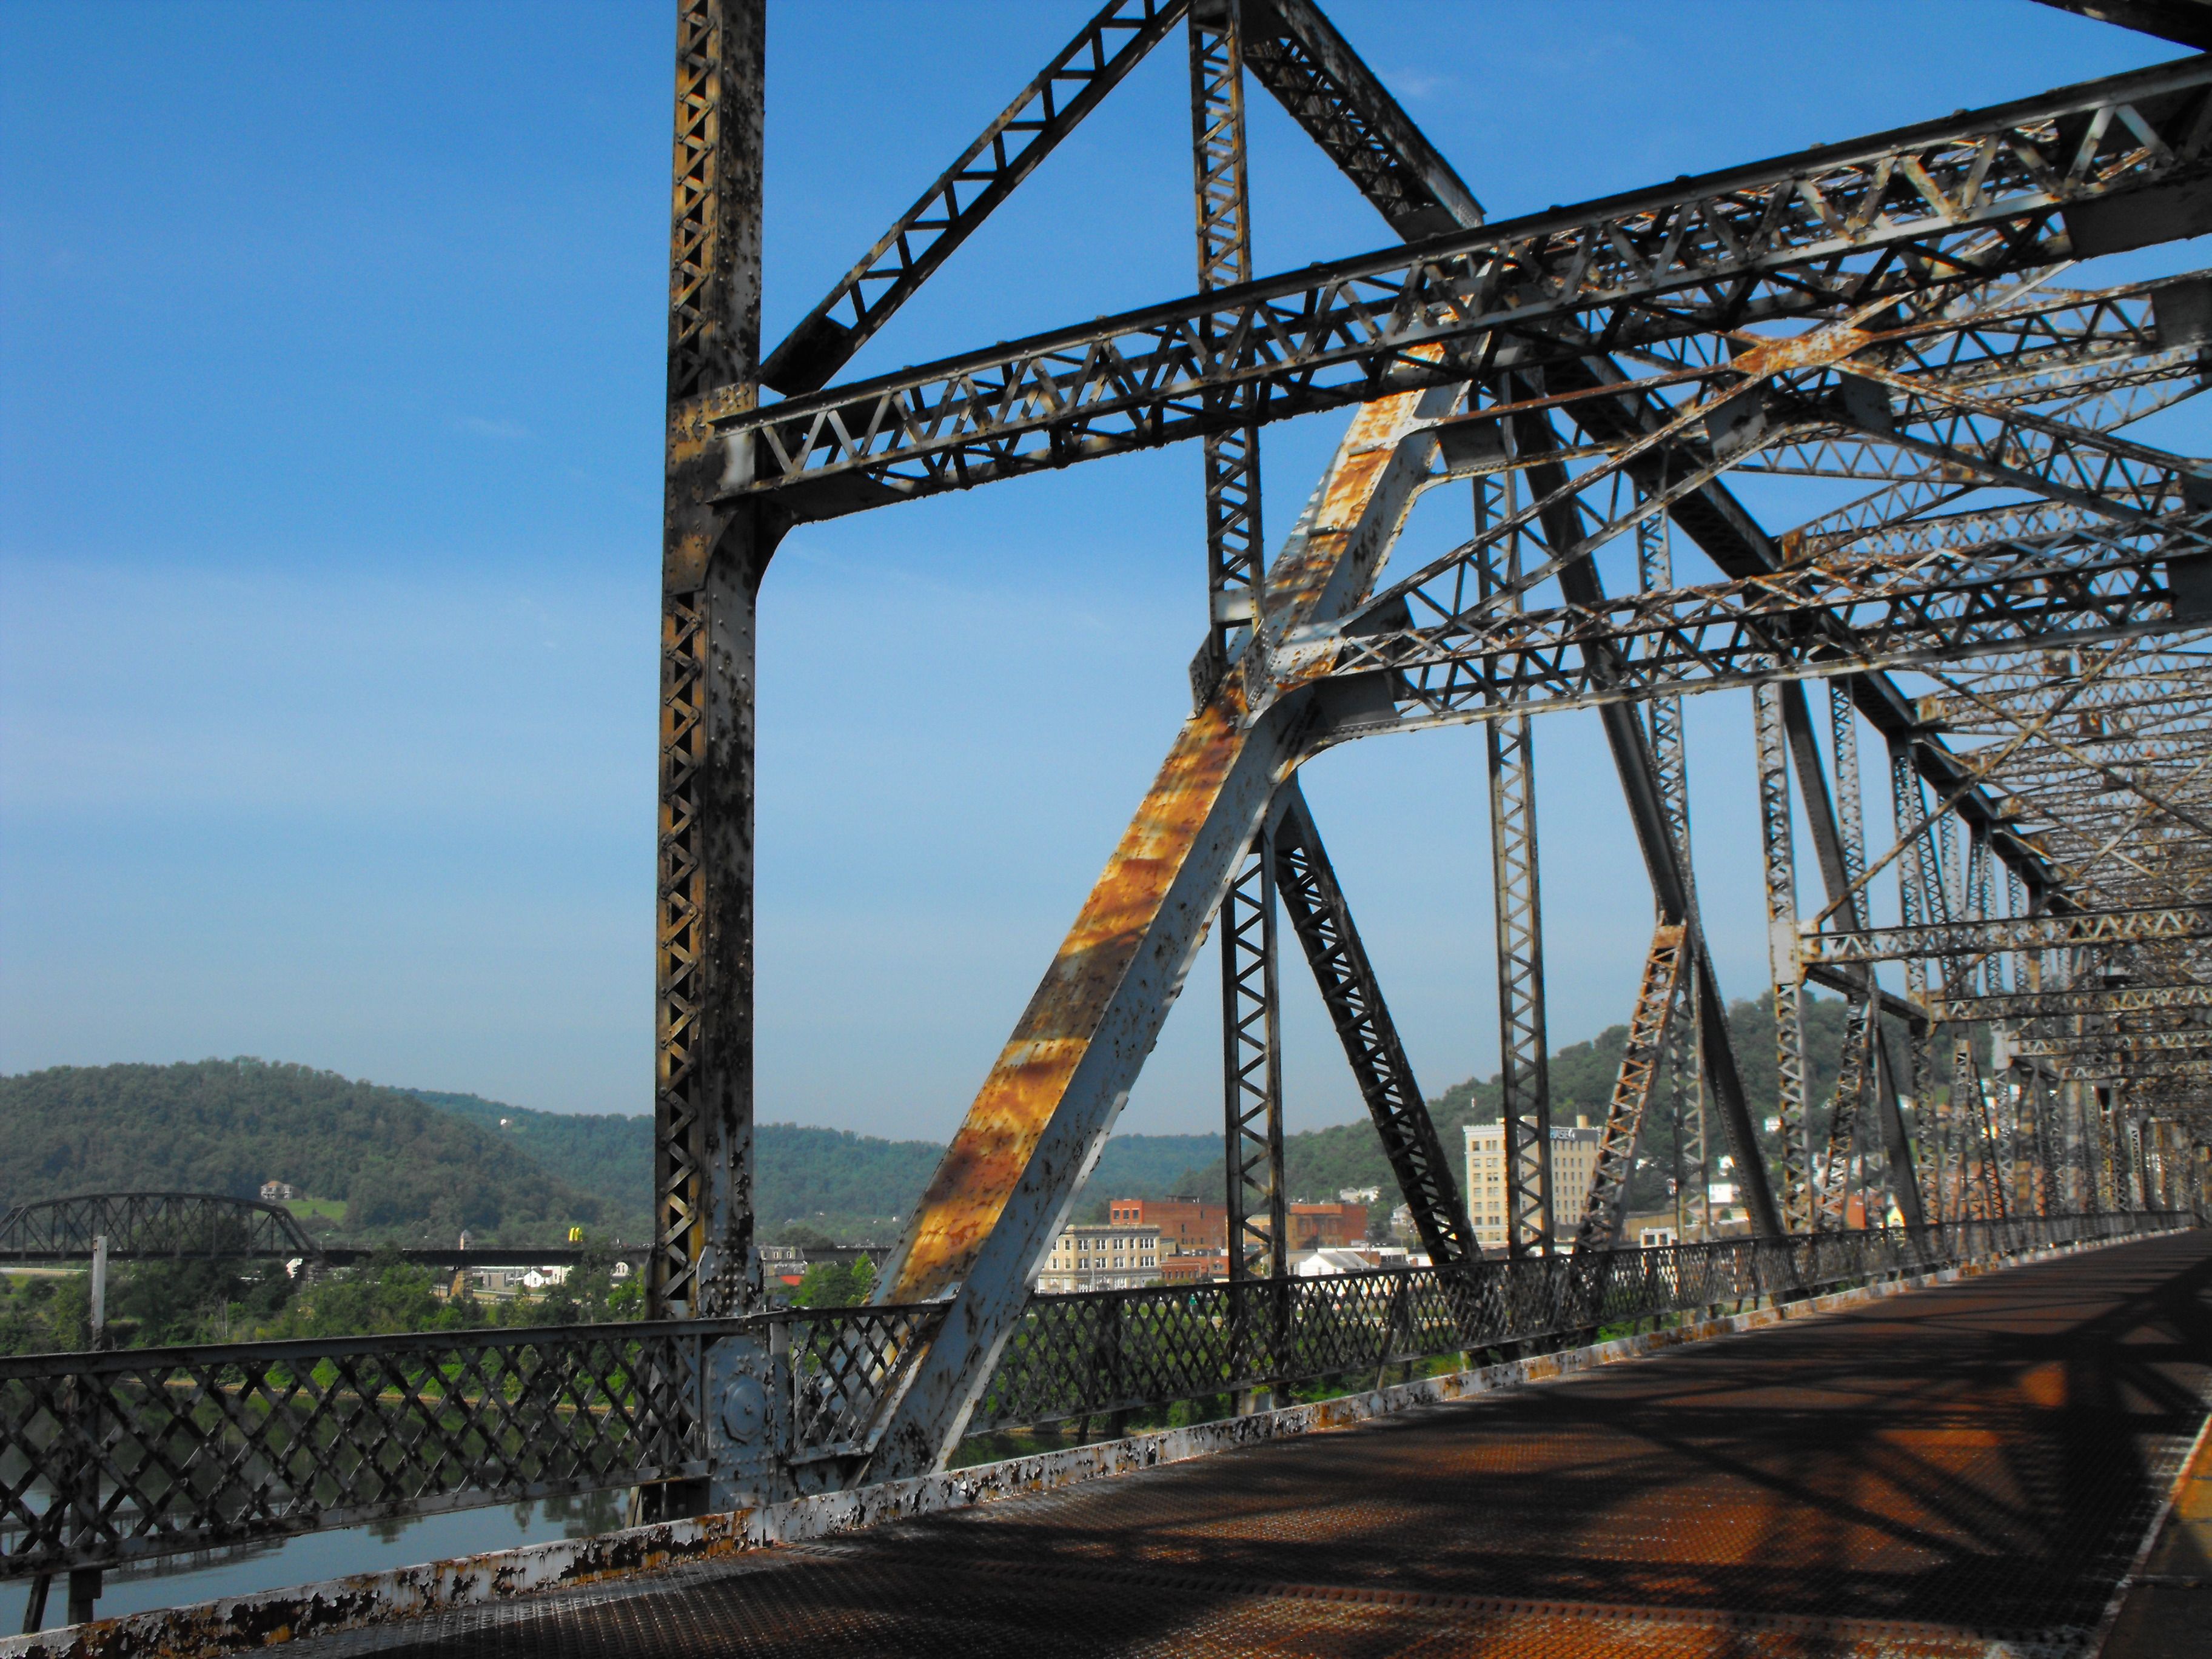
Portal view facing west in front of the suspended span.
![]()
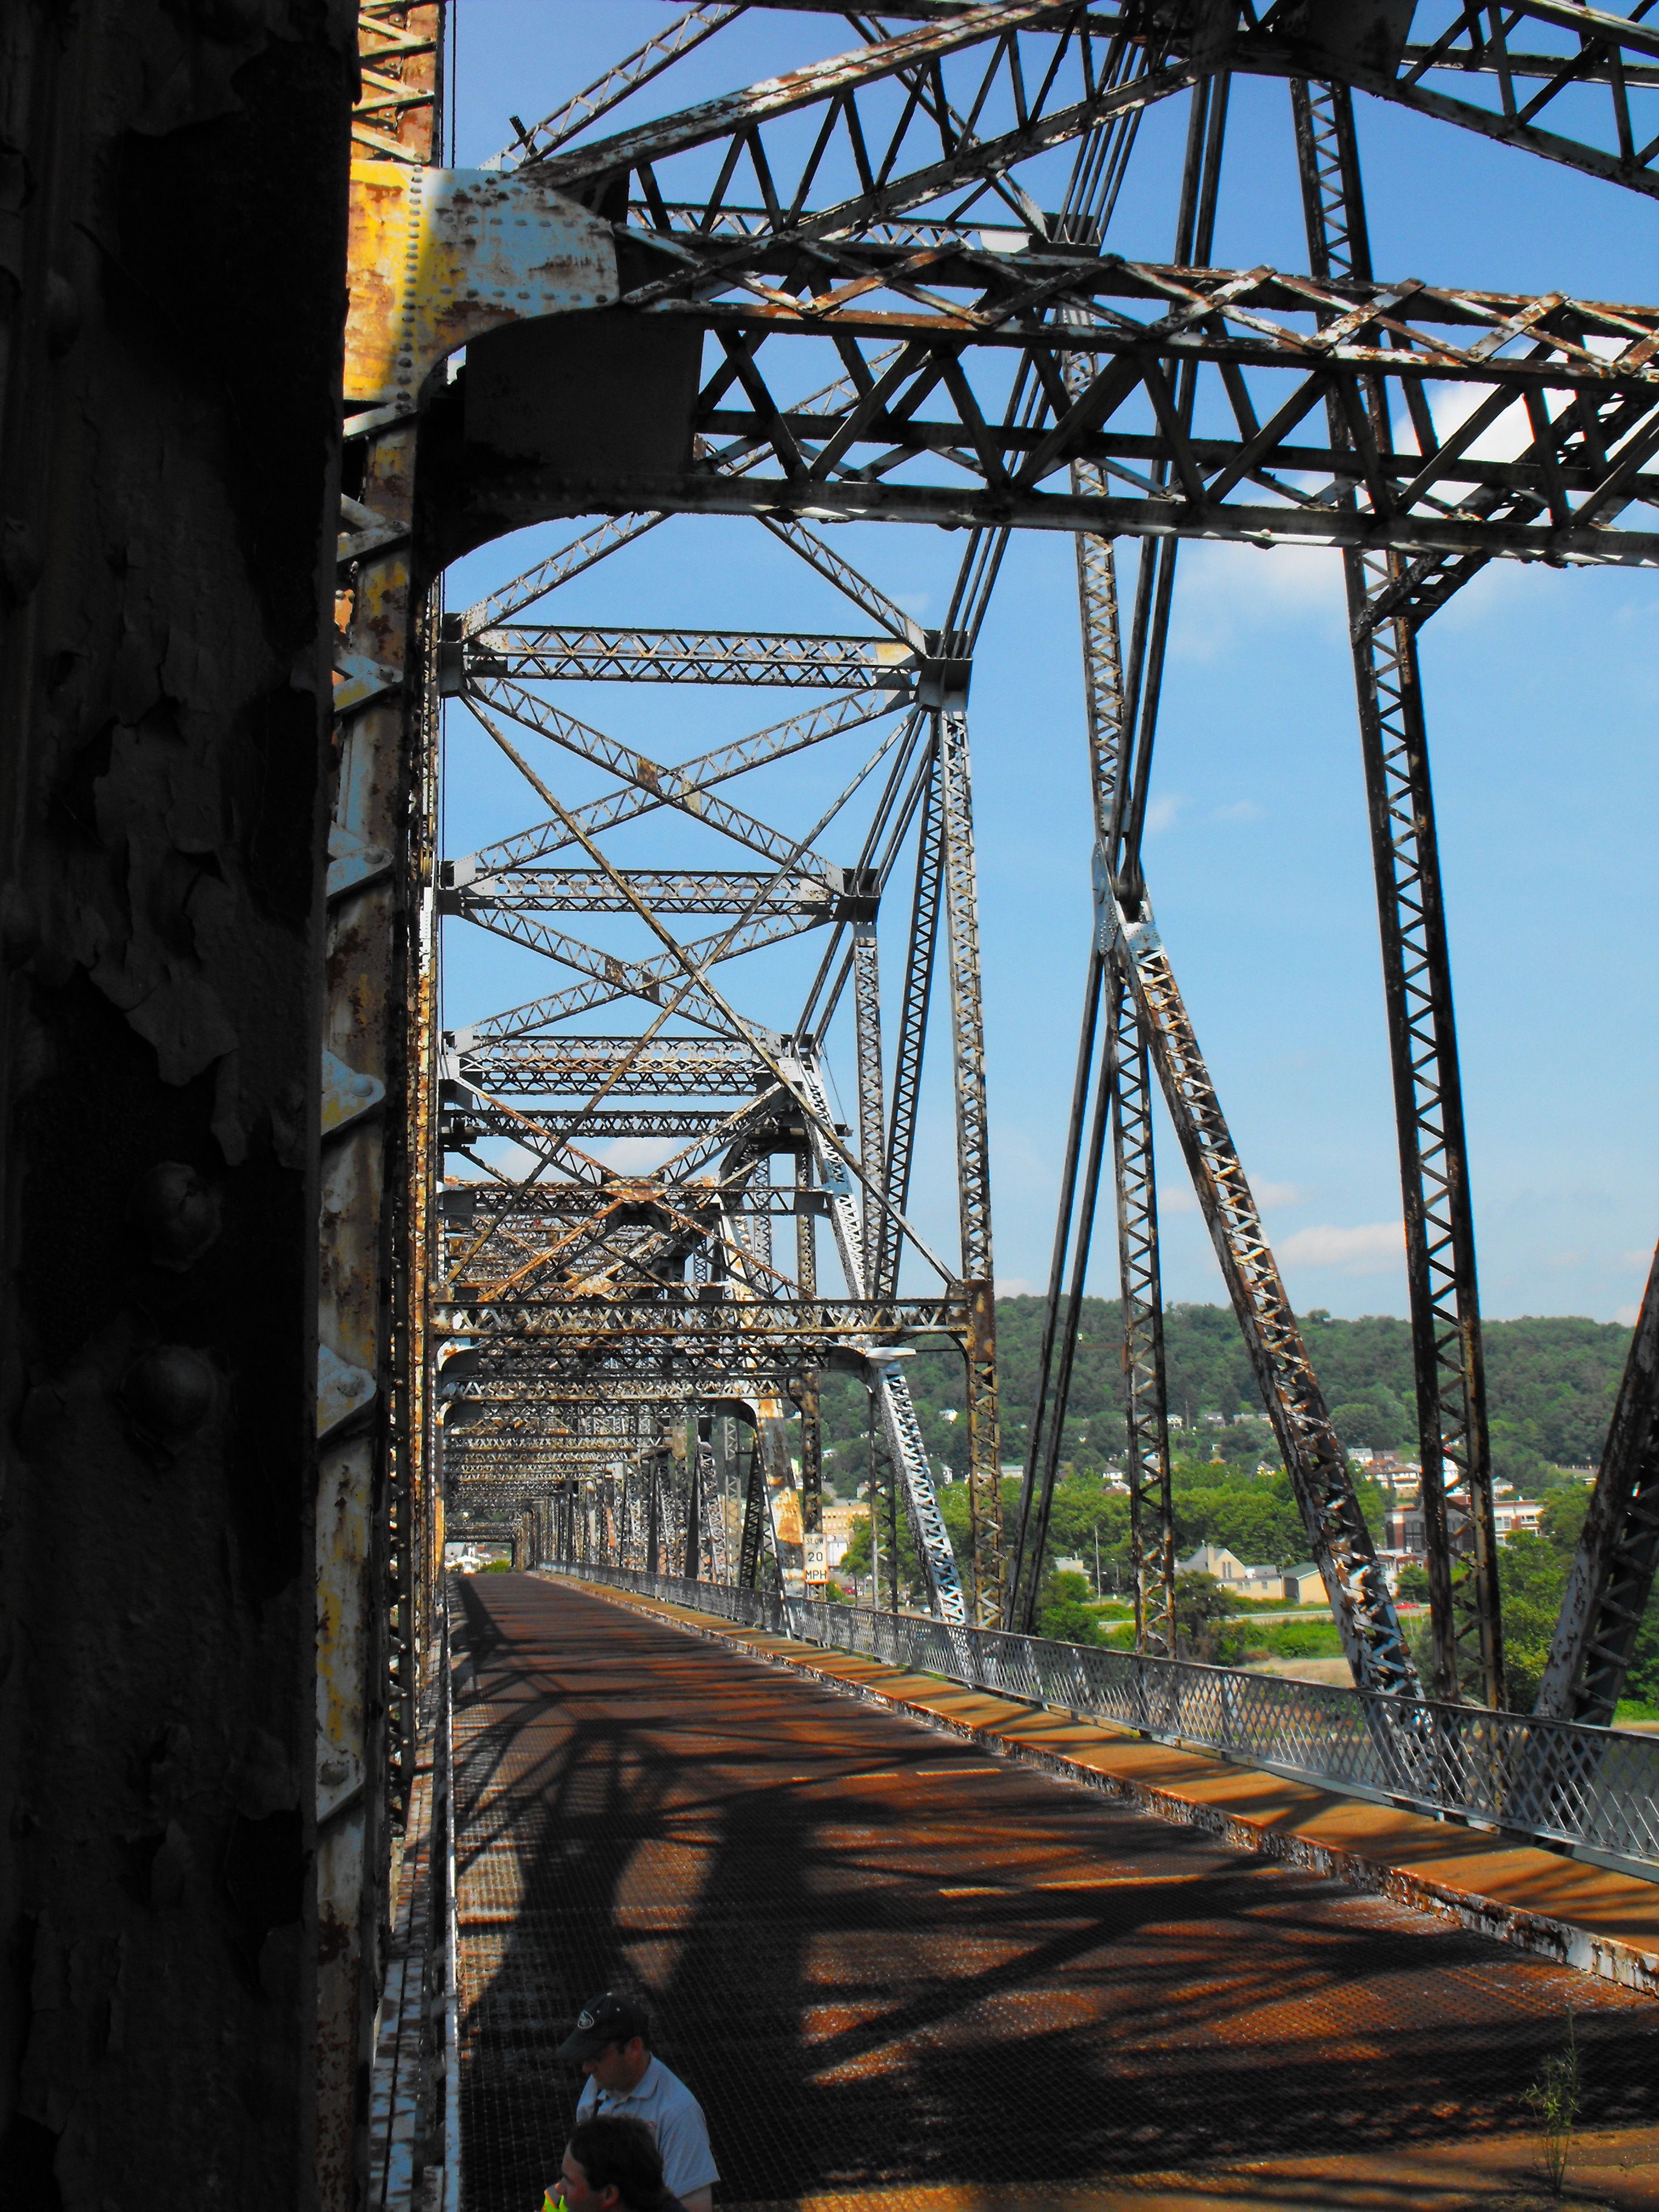
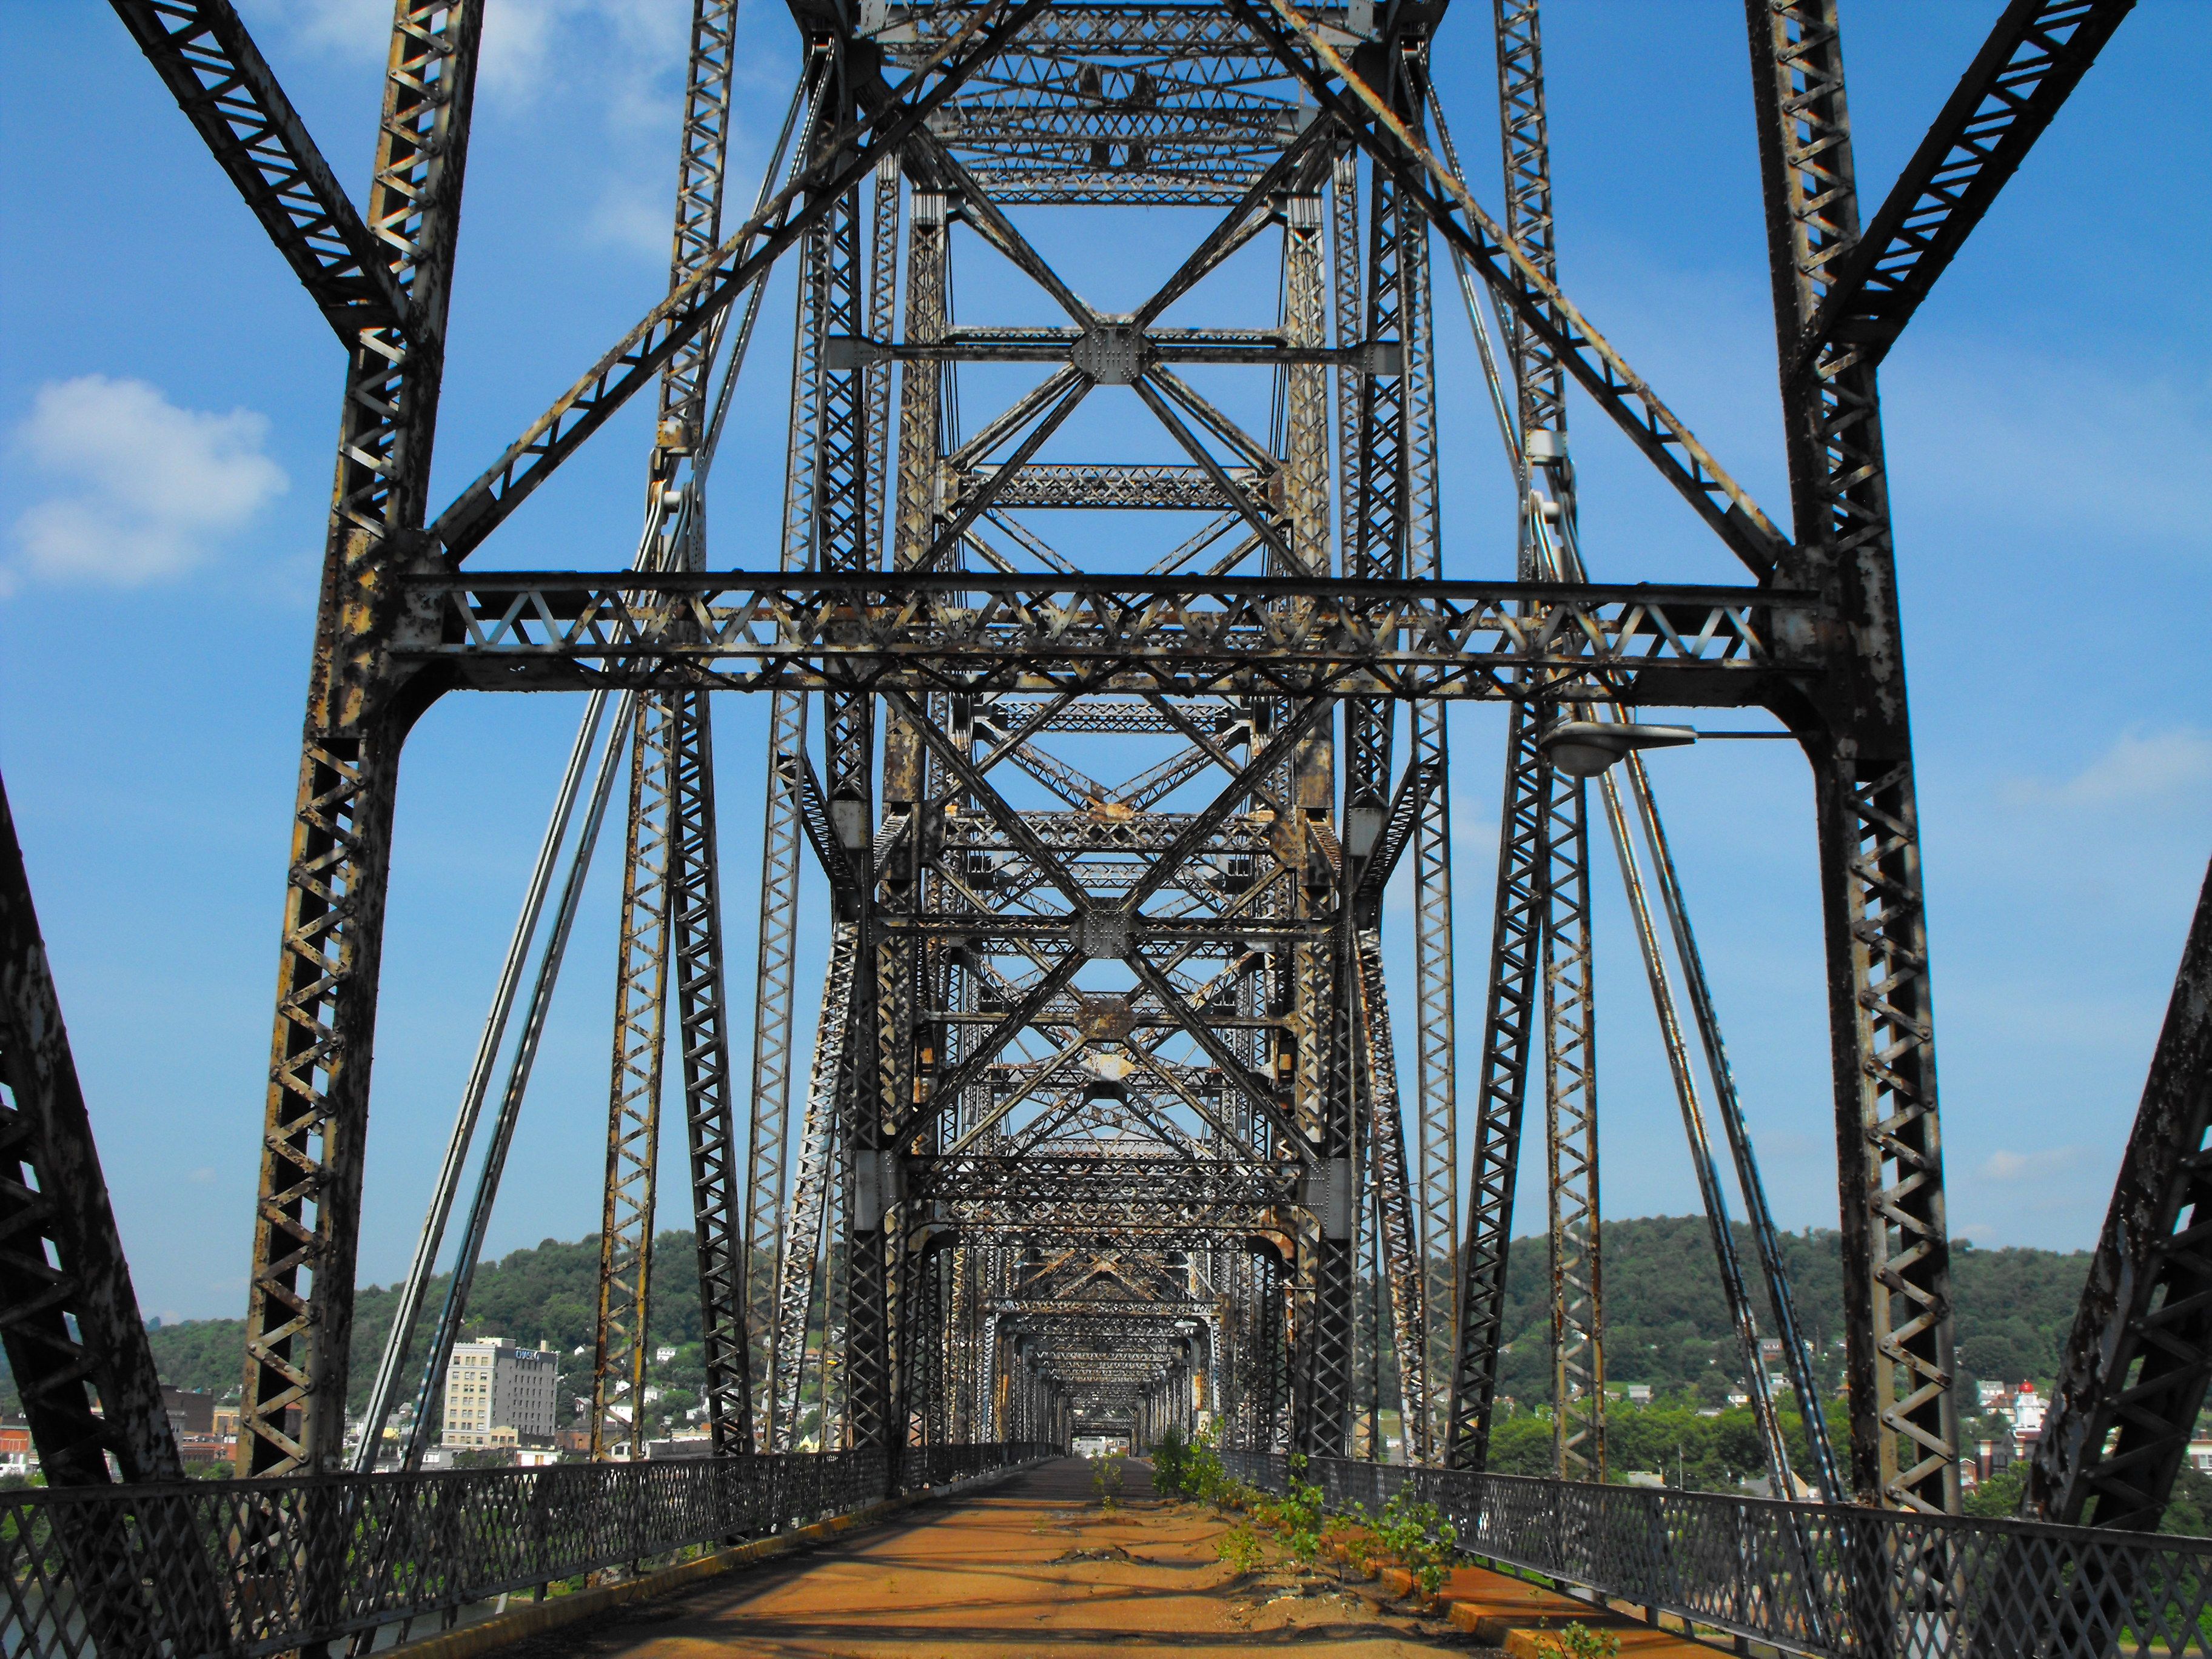
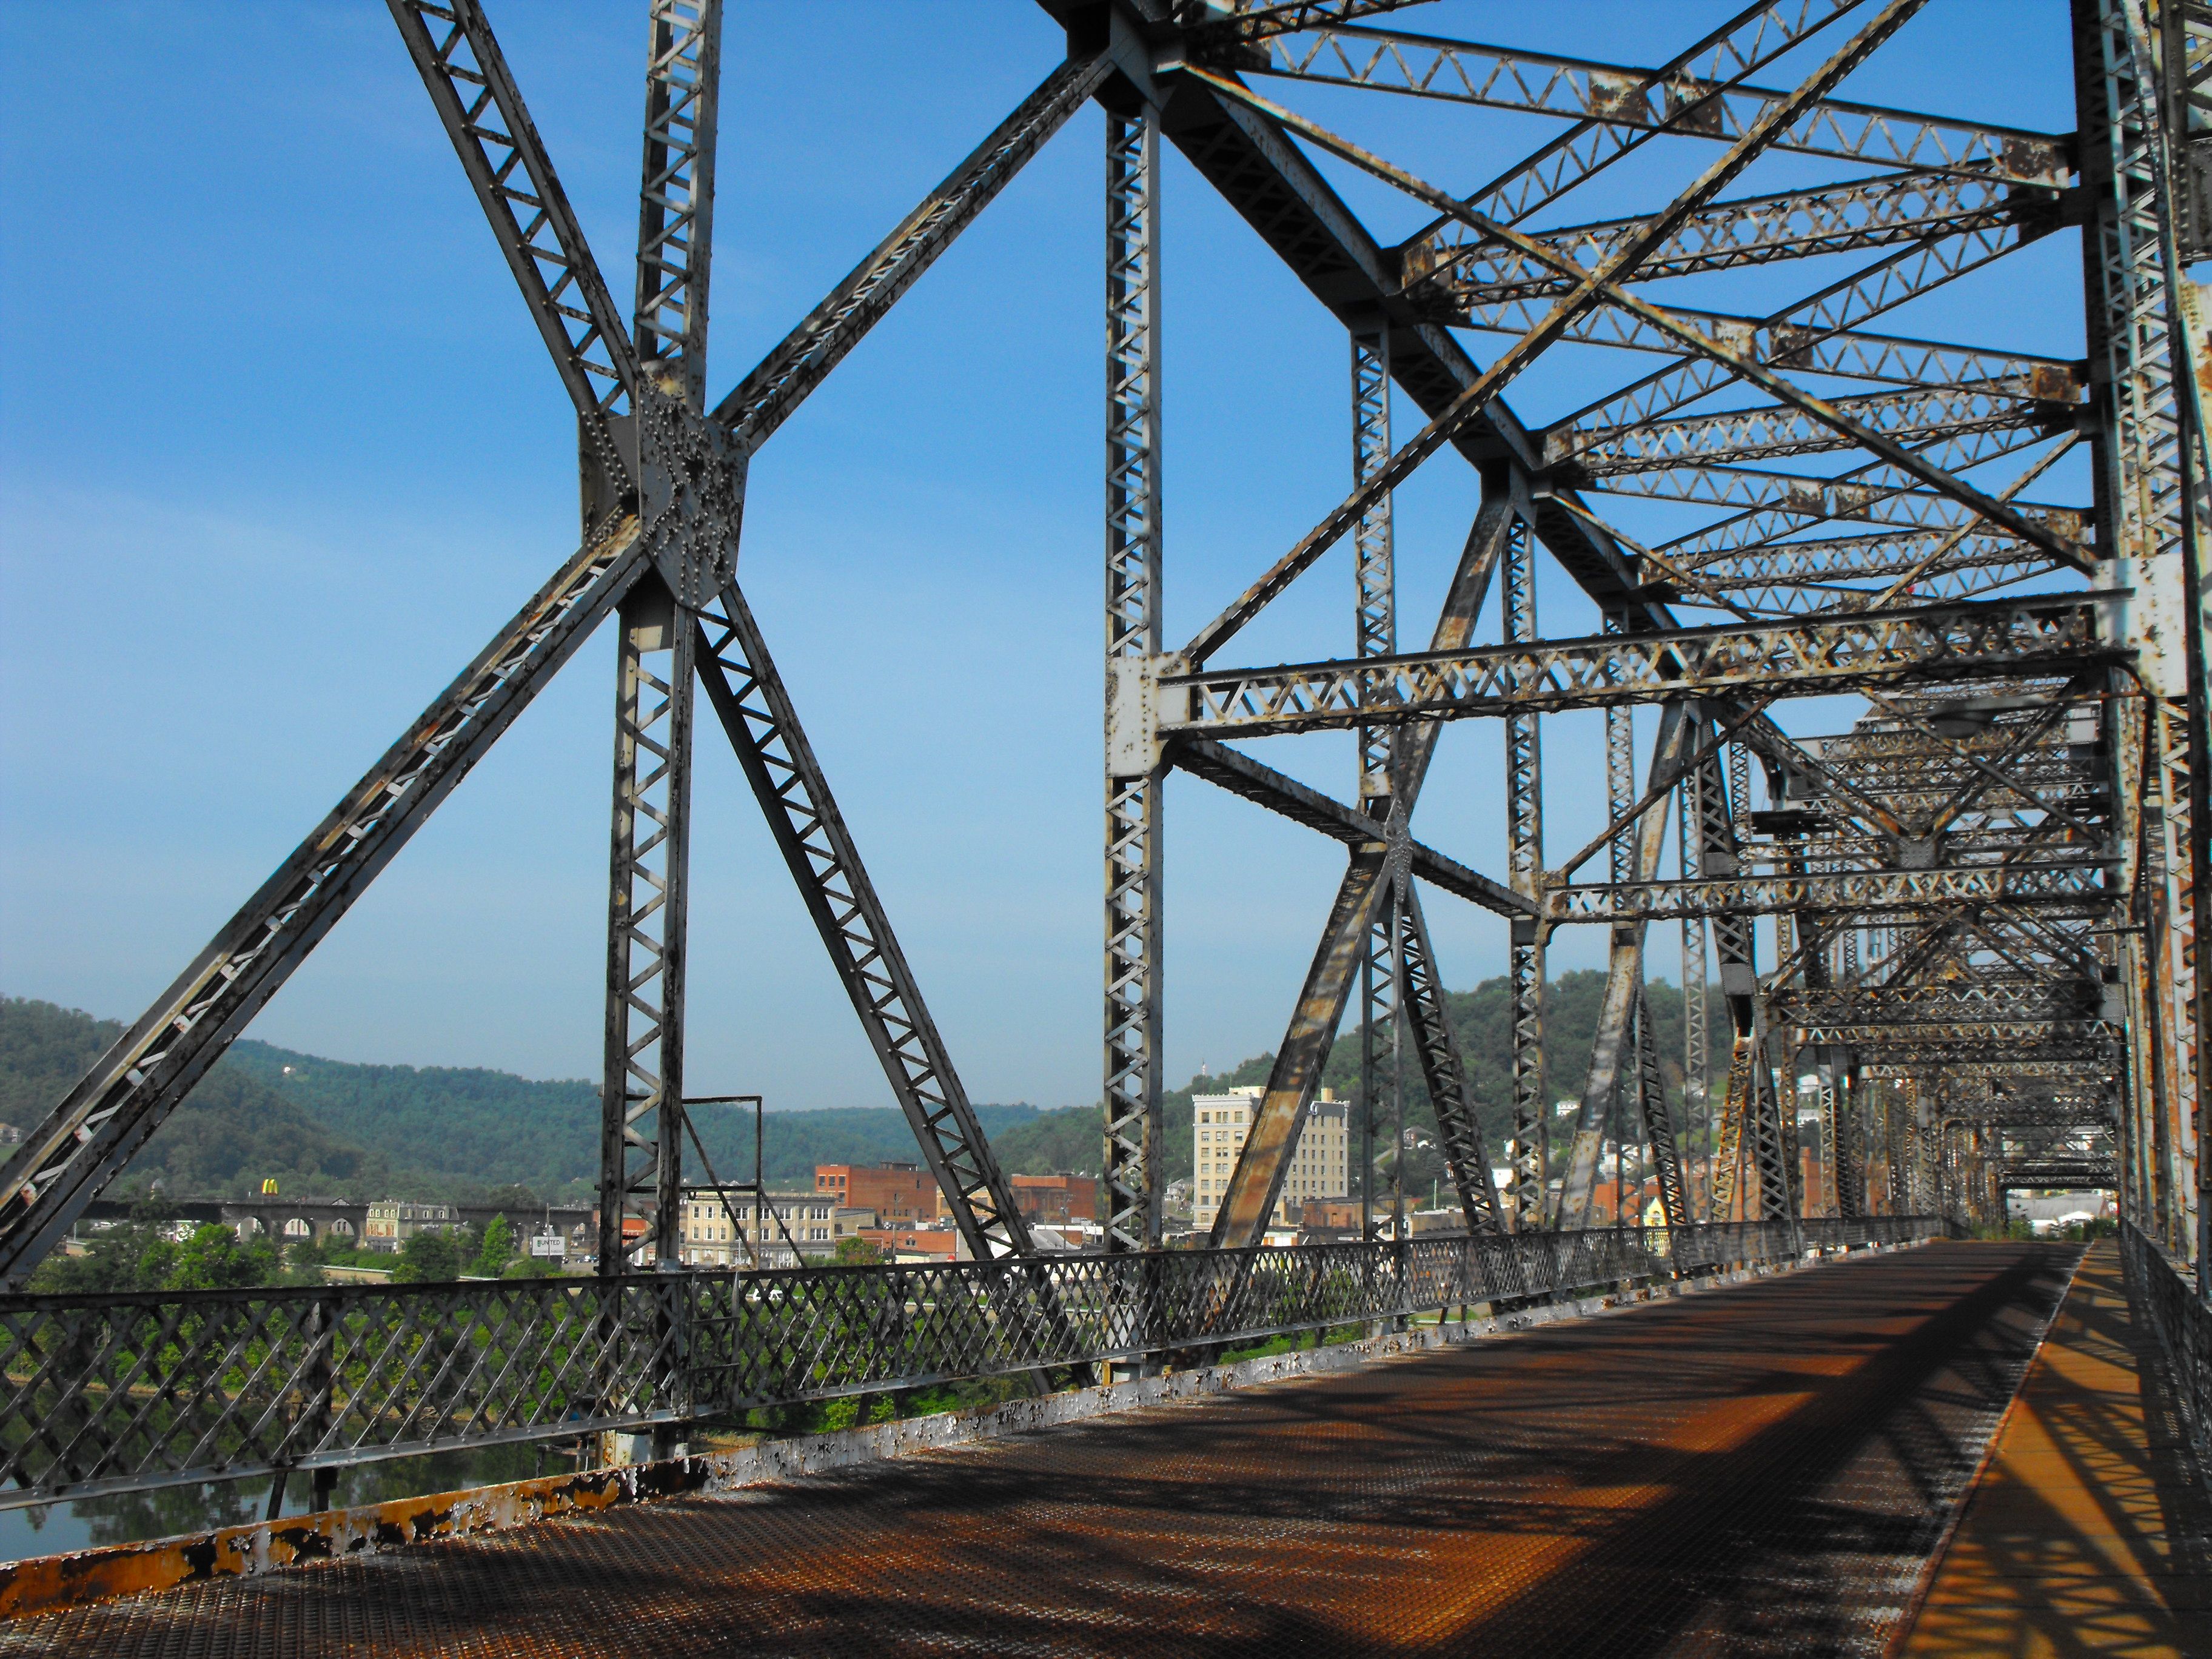
Portal views on the suspended span.
![]()
Portal views facing west between suspended span and west tower of bridge.
![]()
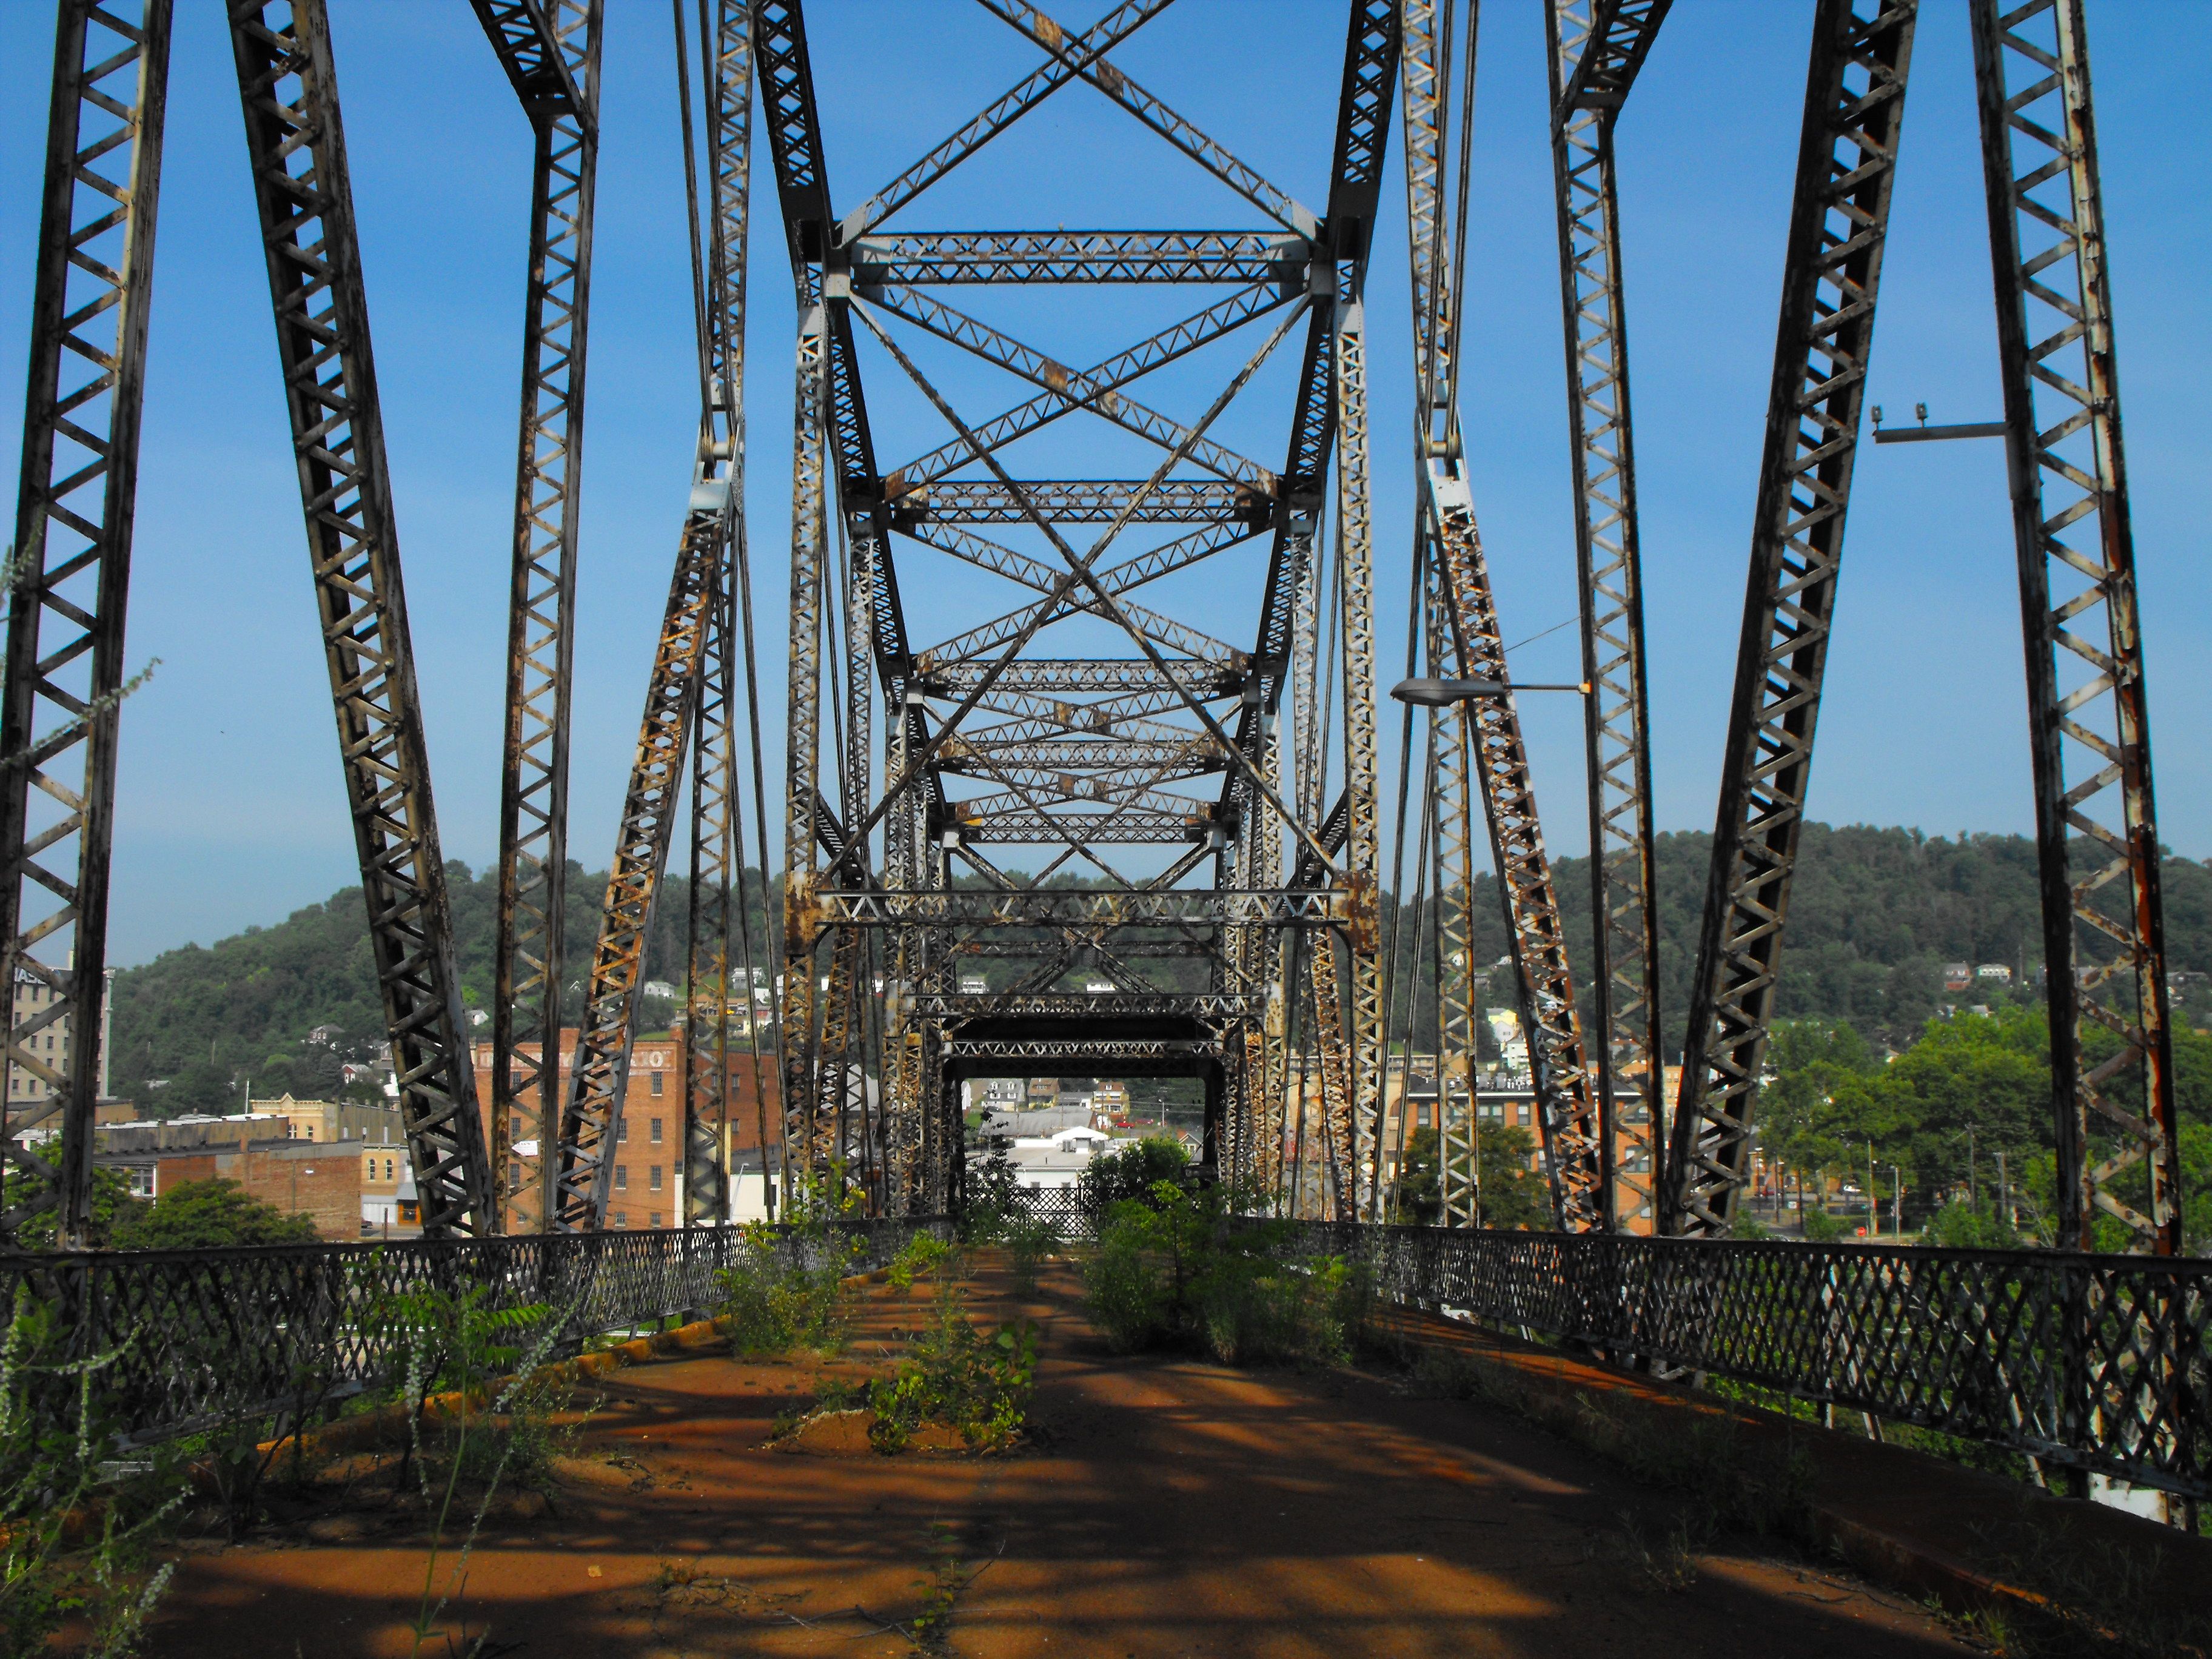

Portal views facing west between west tower and west end of bridge.
![]()
View looking west from end of bridge.
![]()
Zoomed portal views facing west.
![]()
Portal views facing east.
![]()
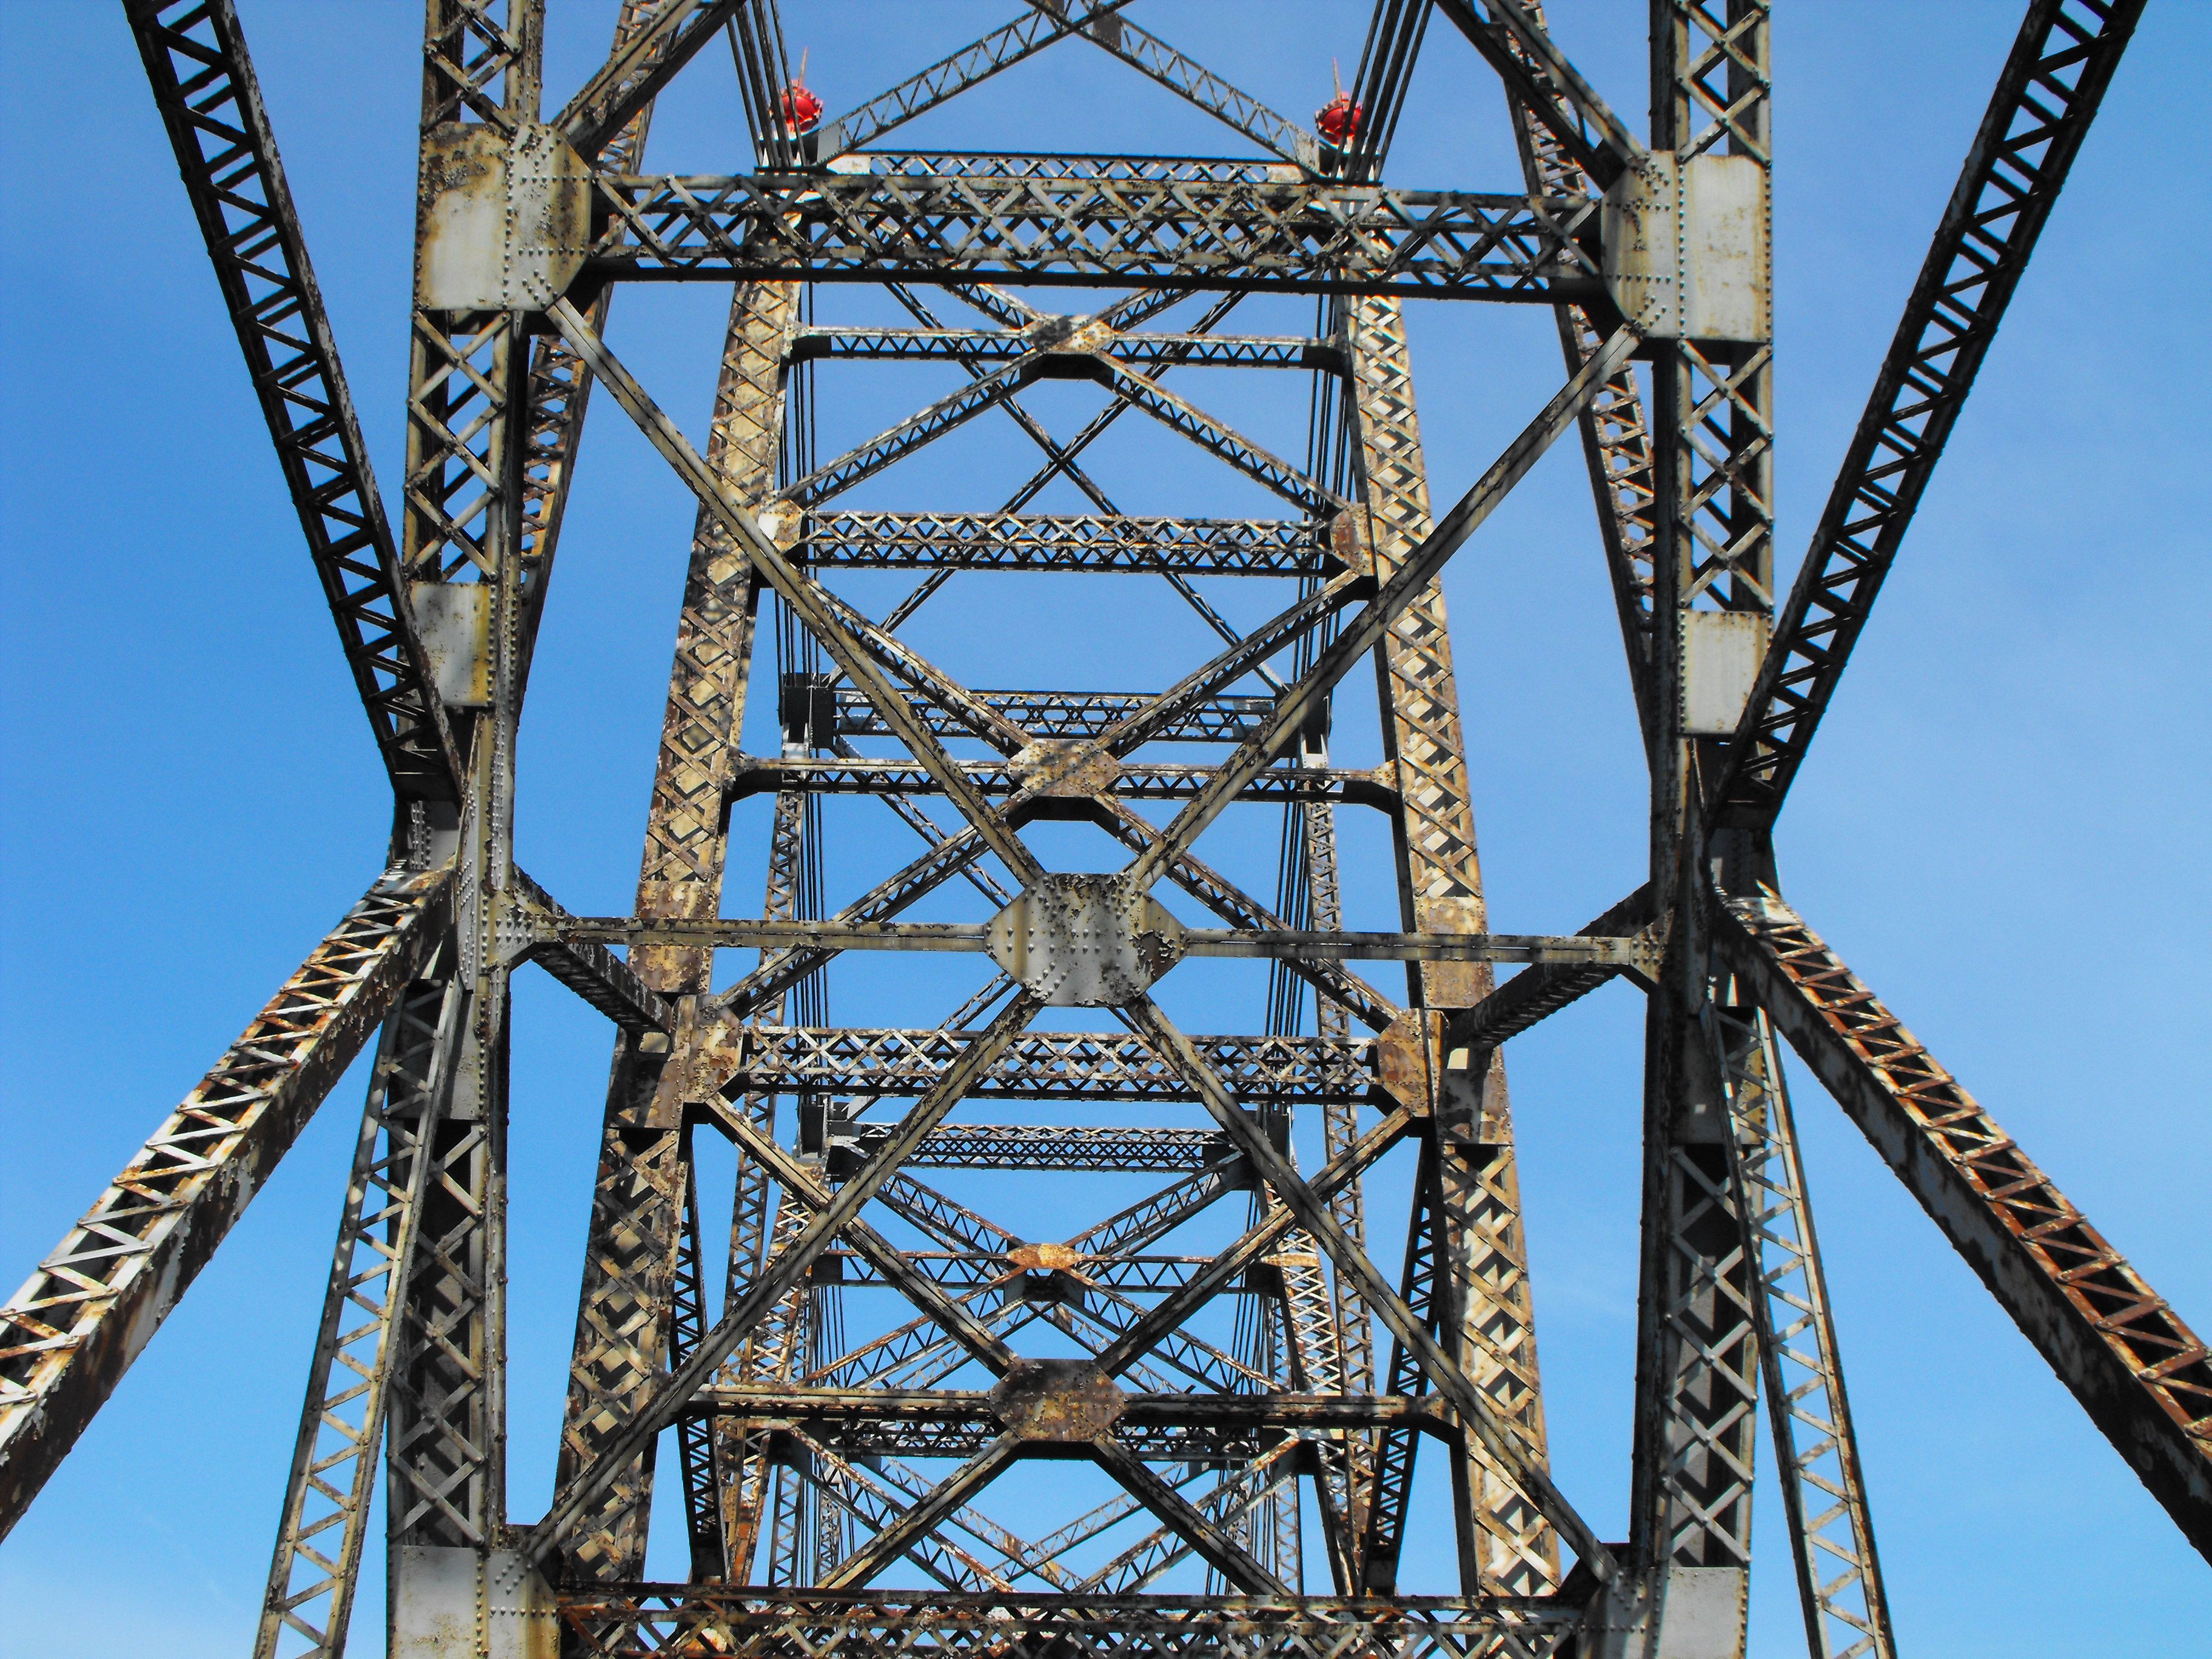
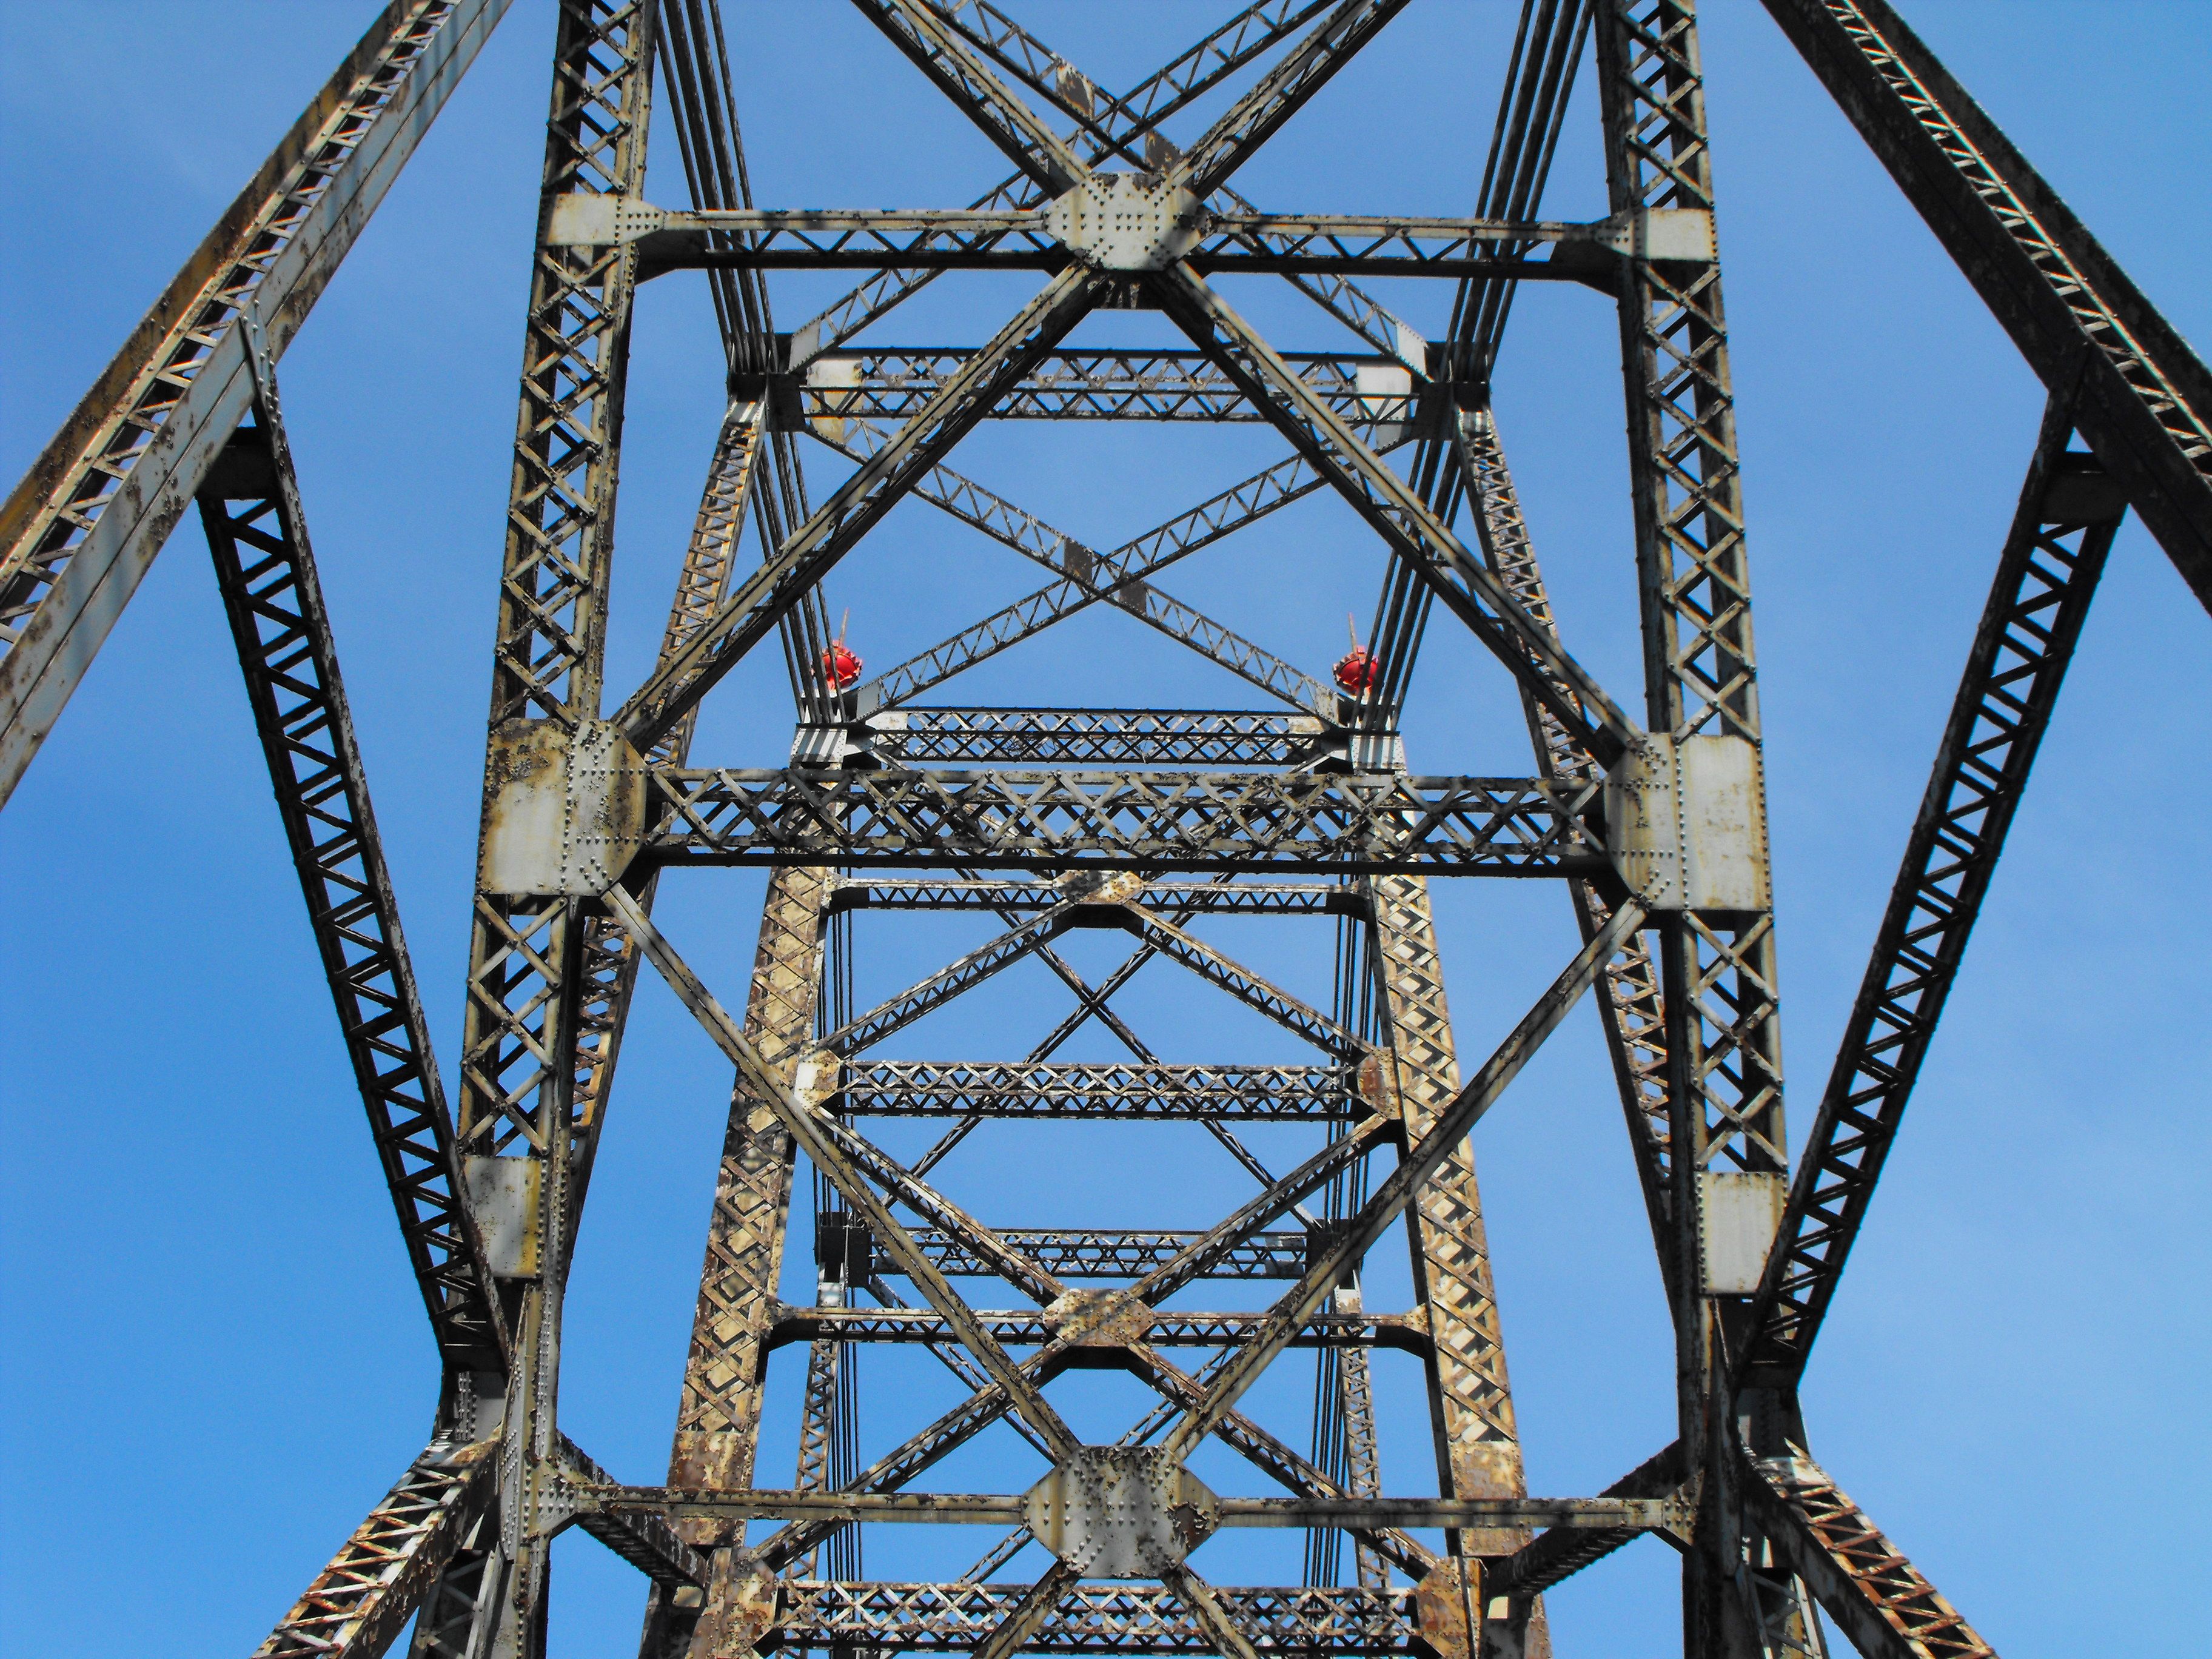
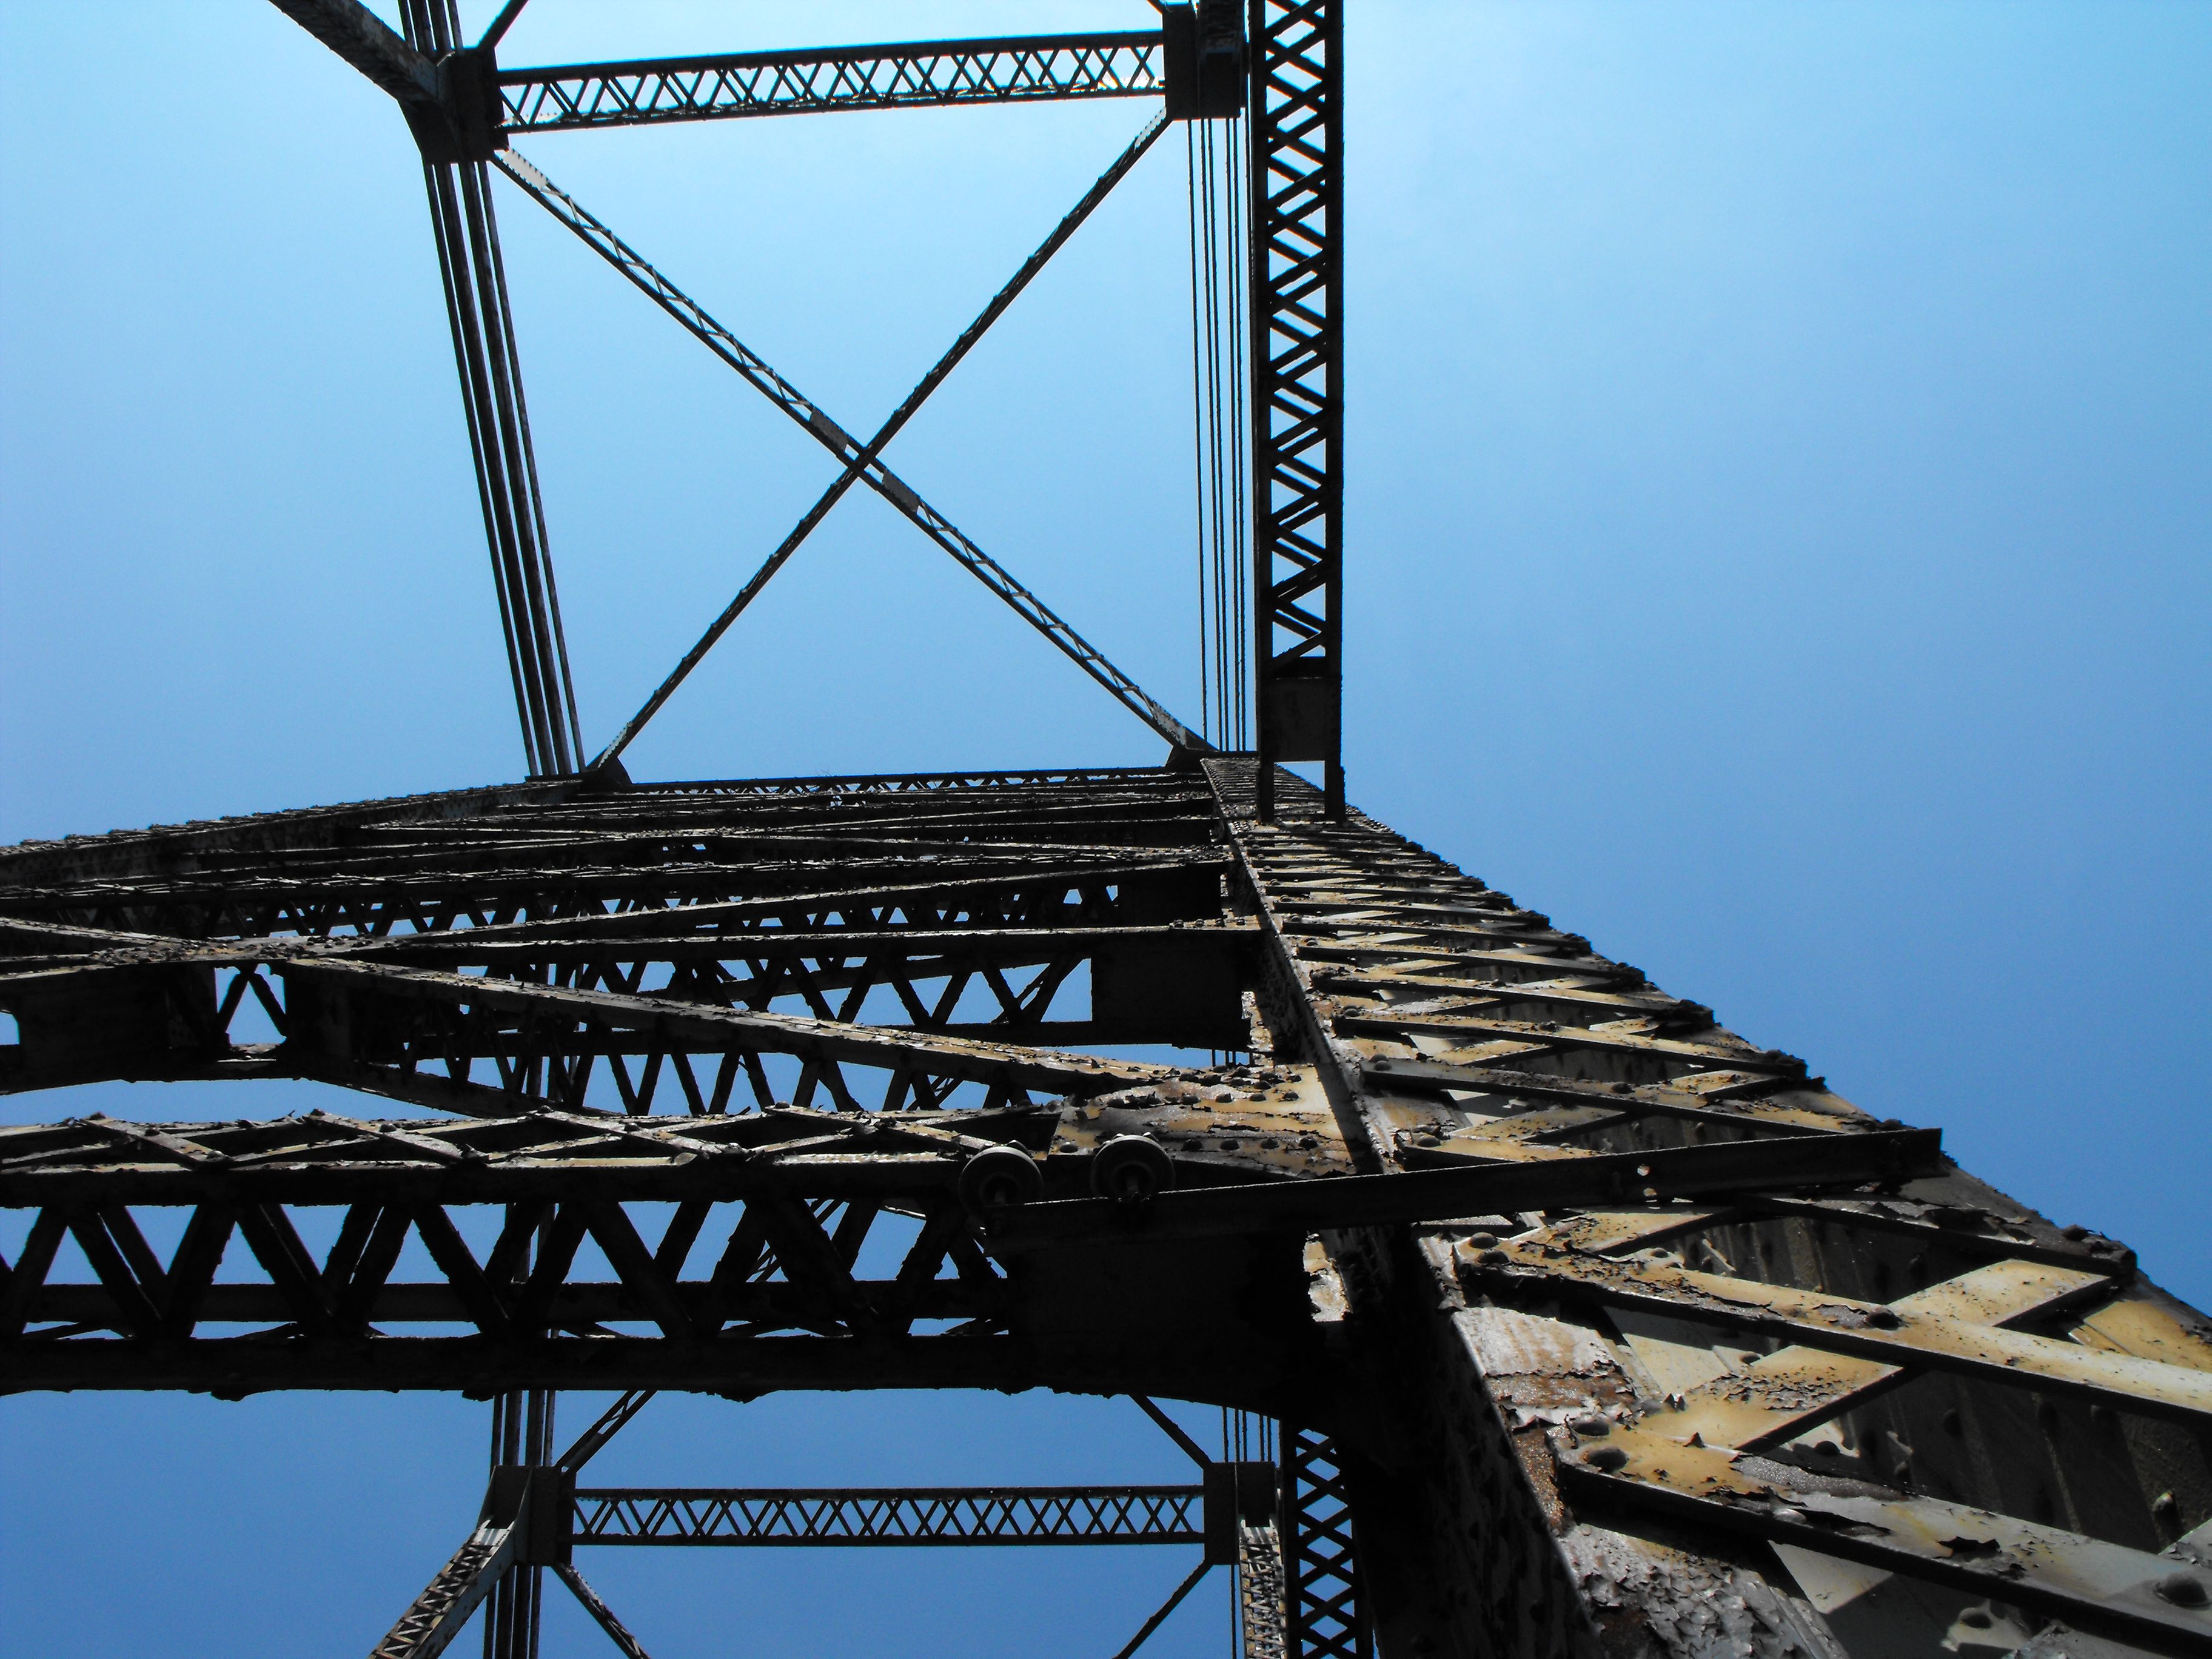
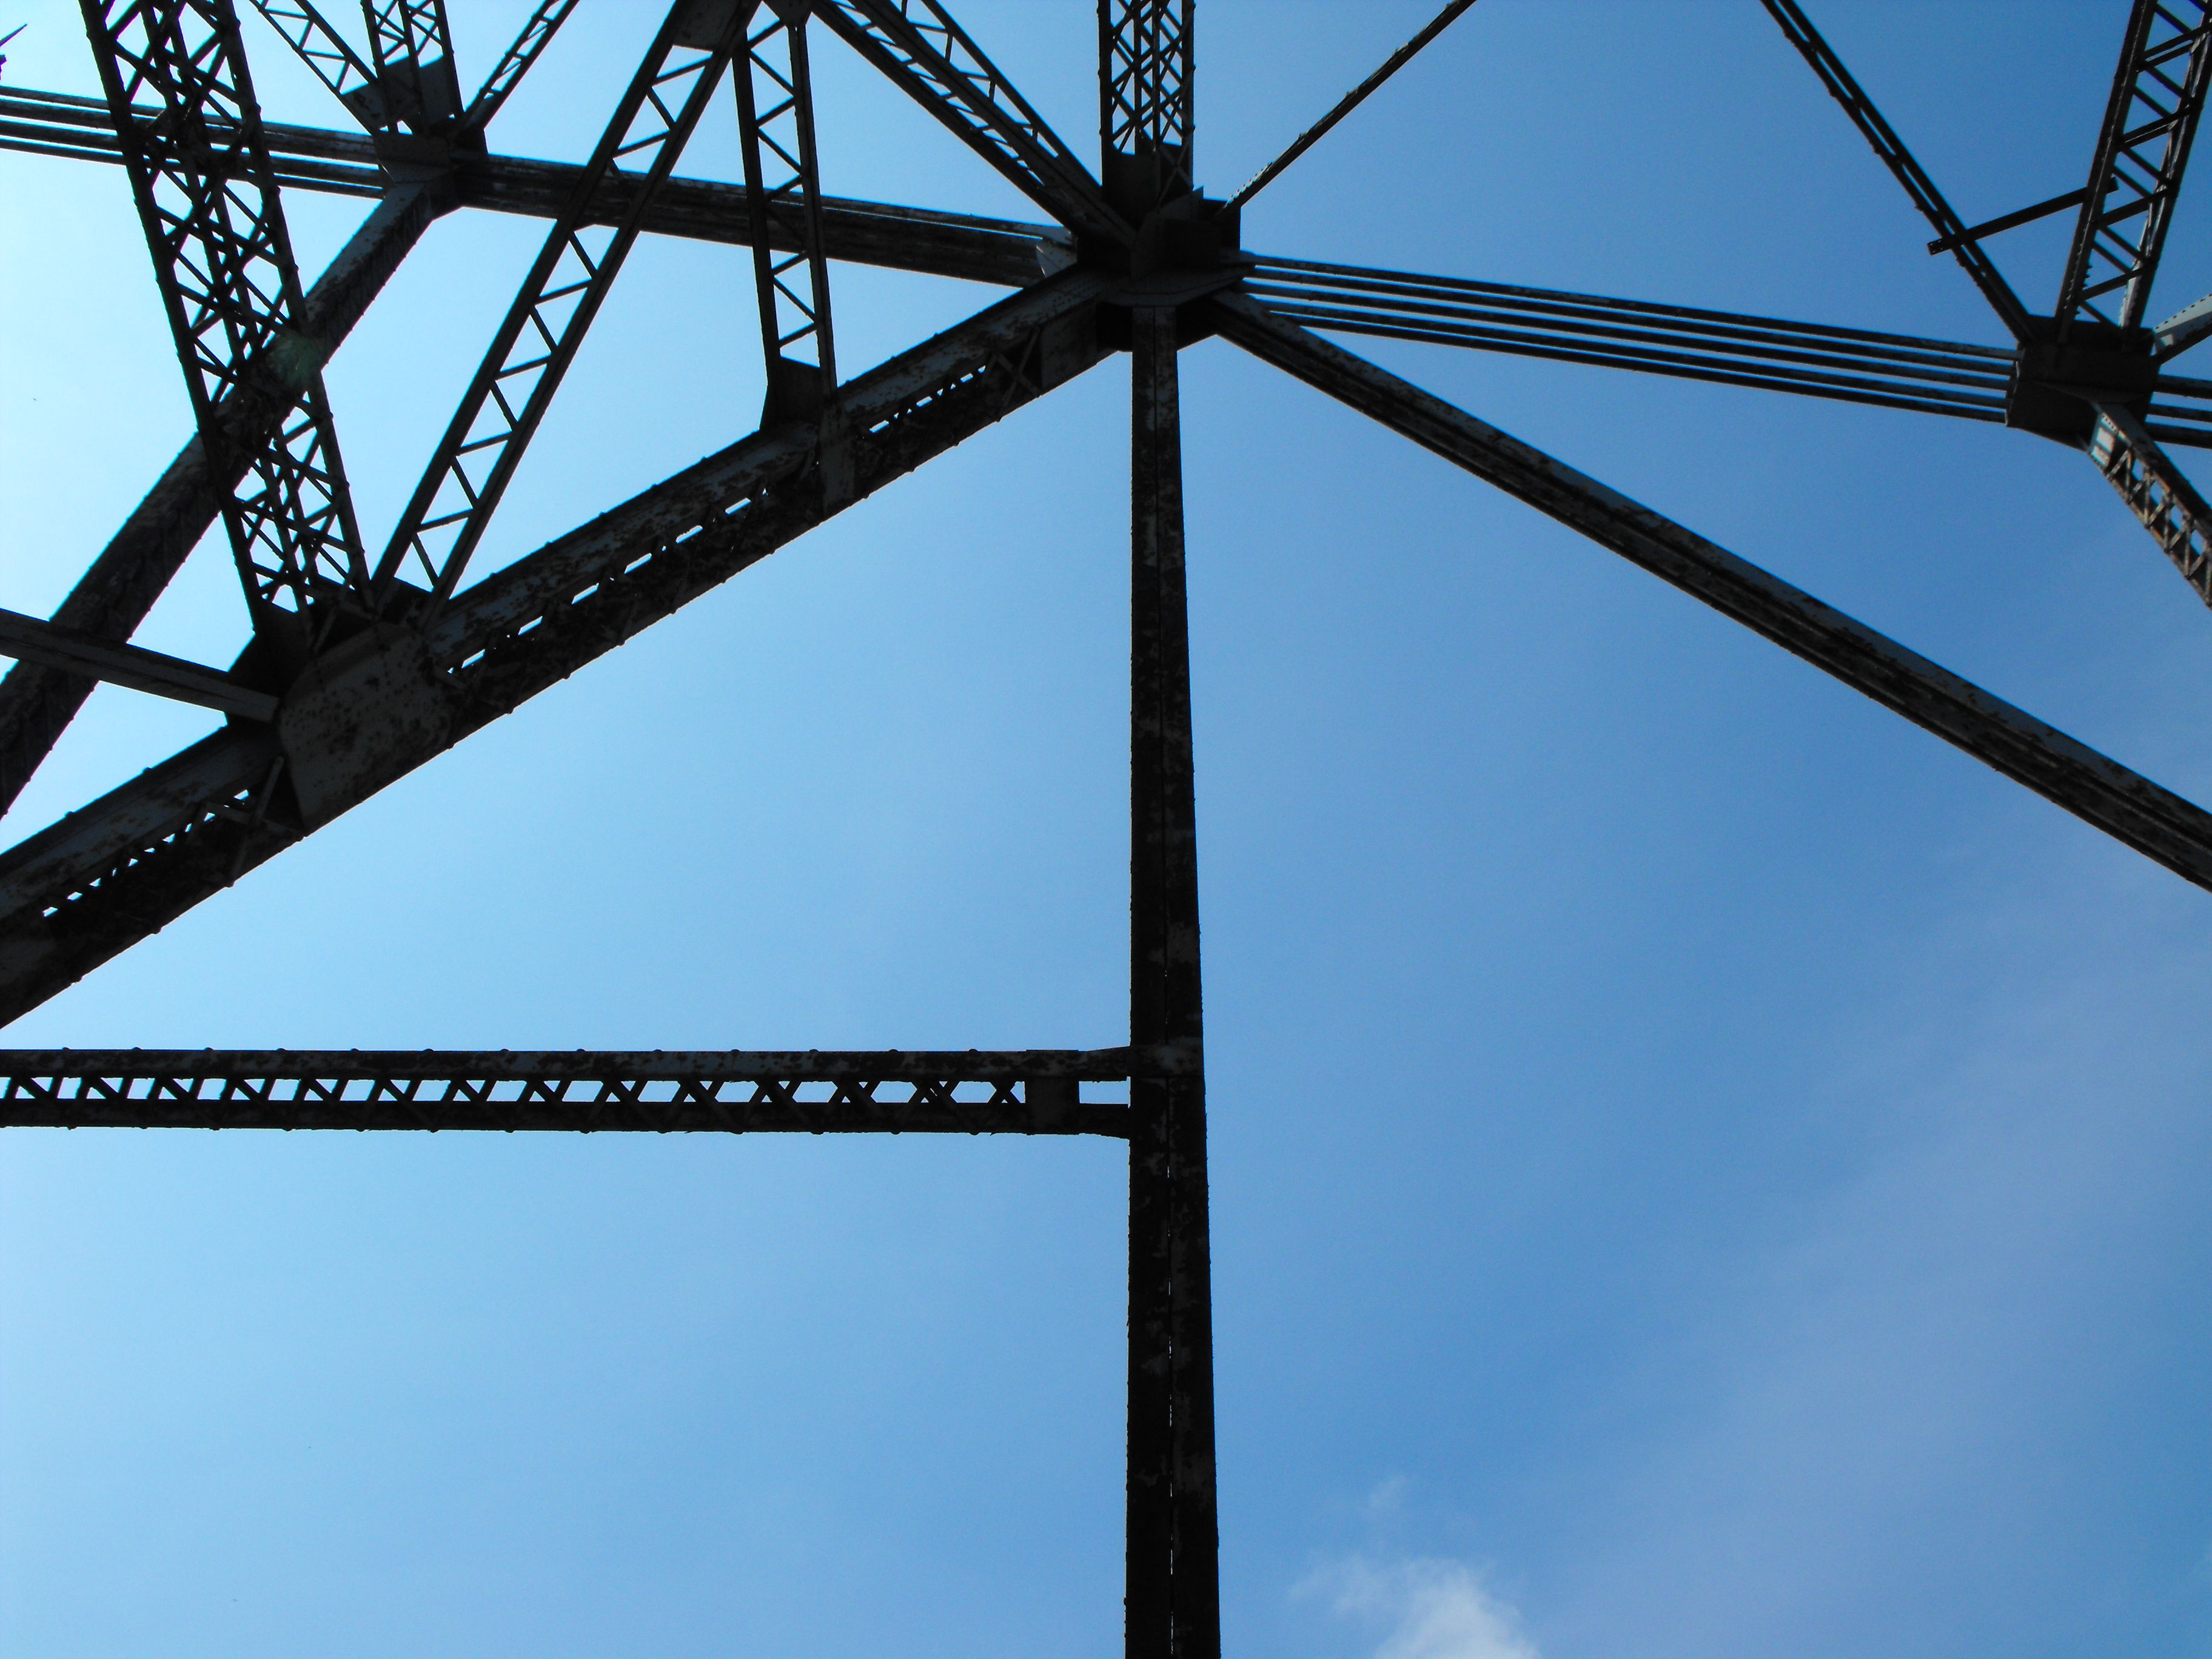
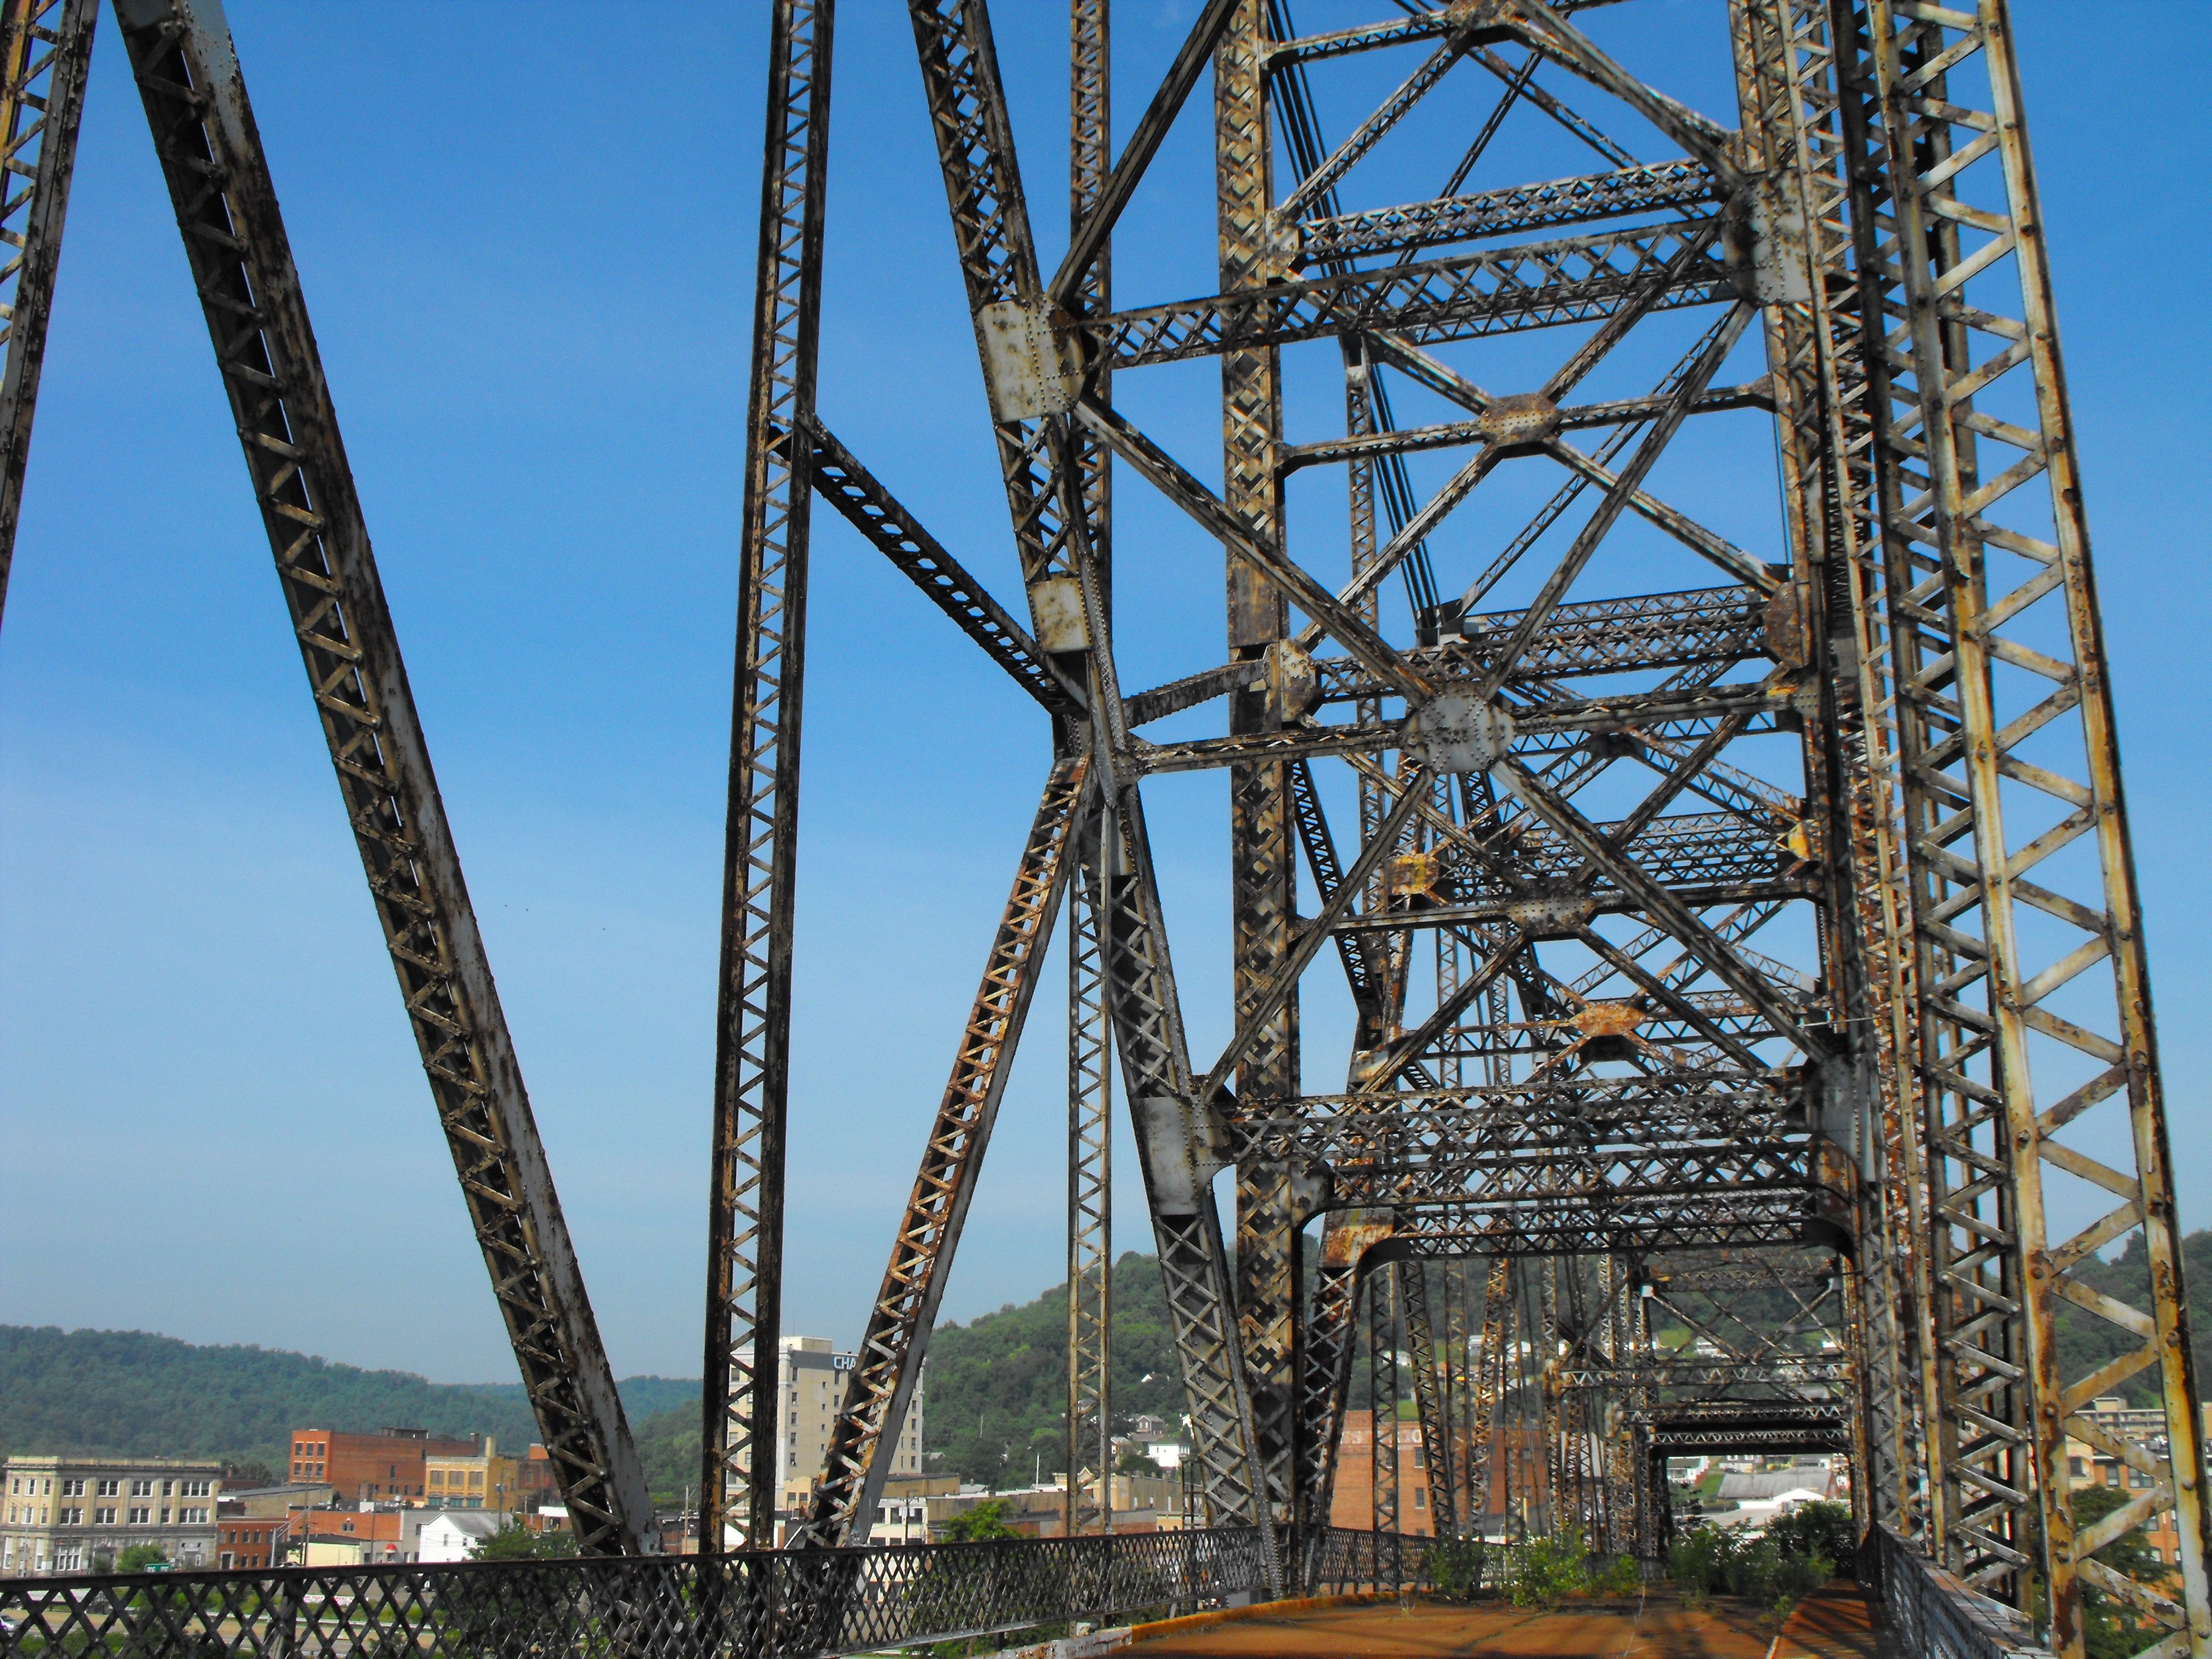
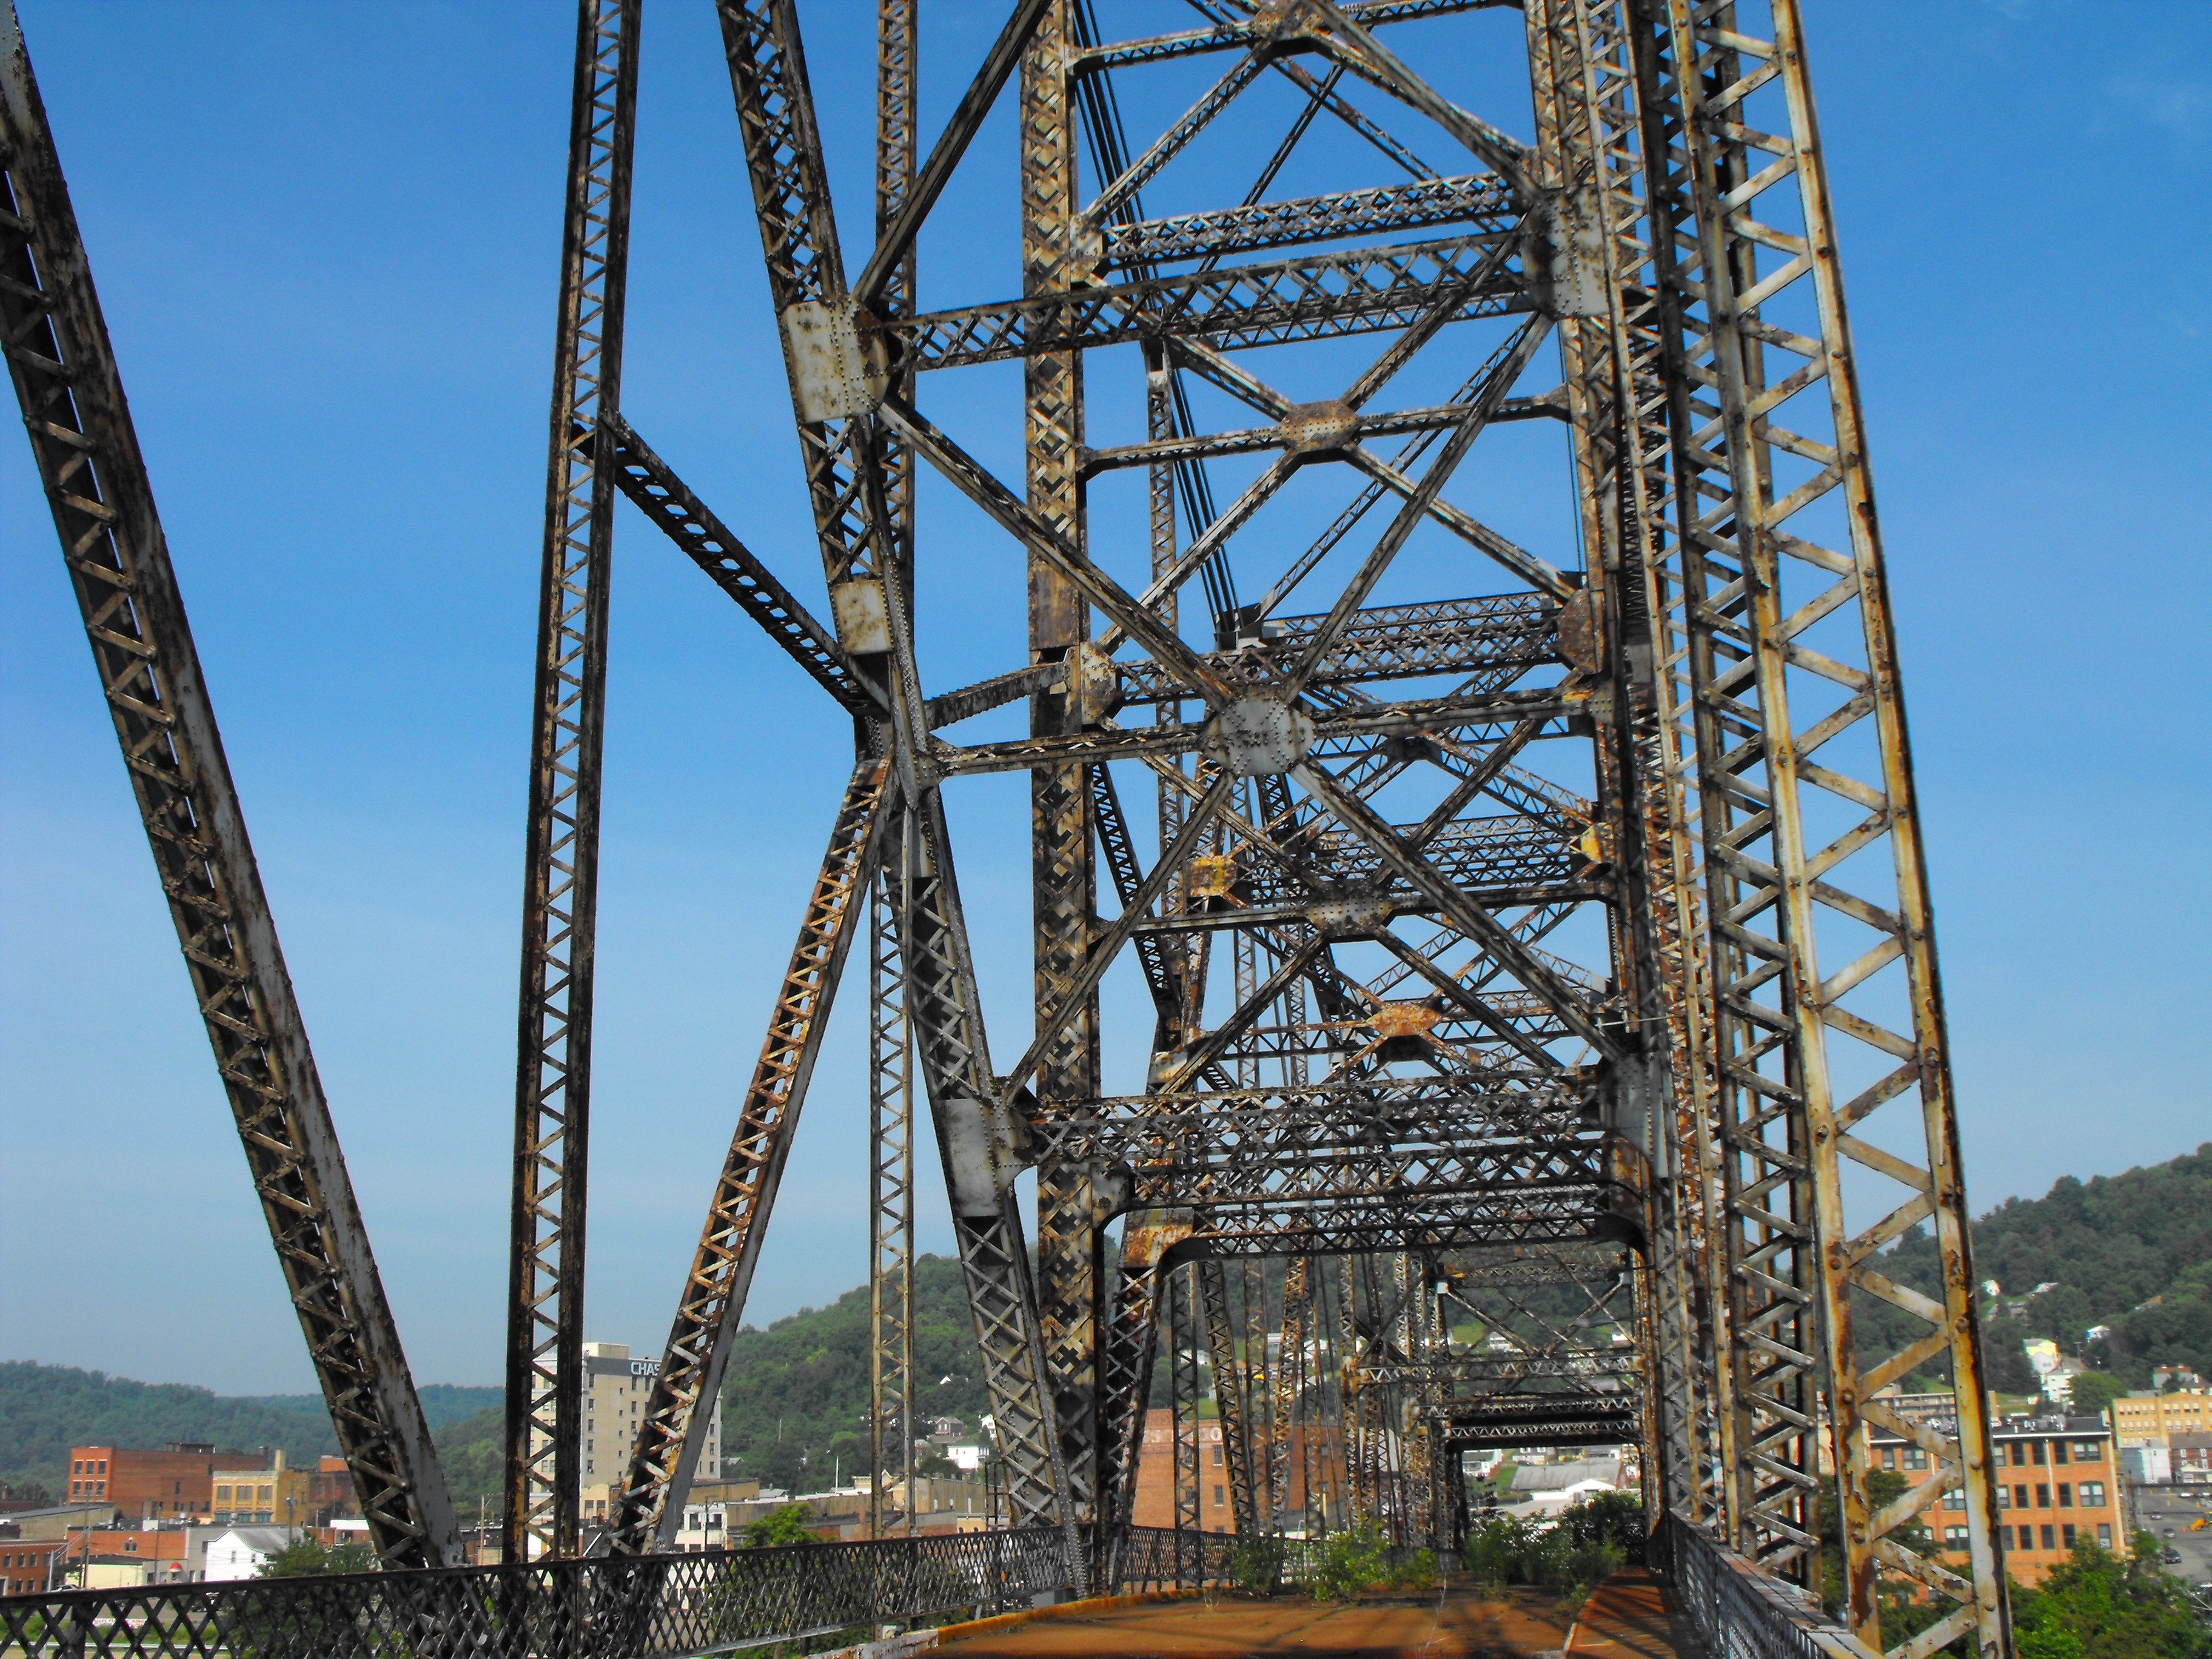
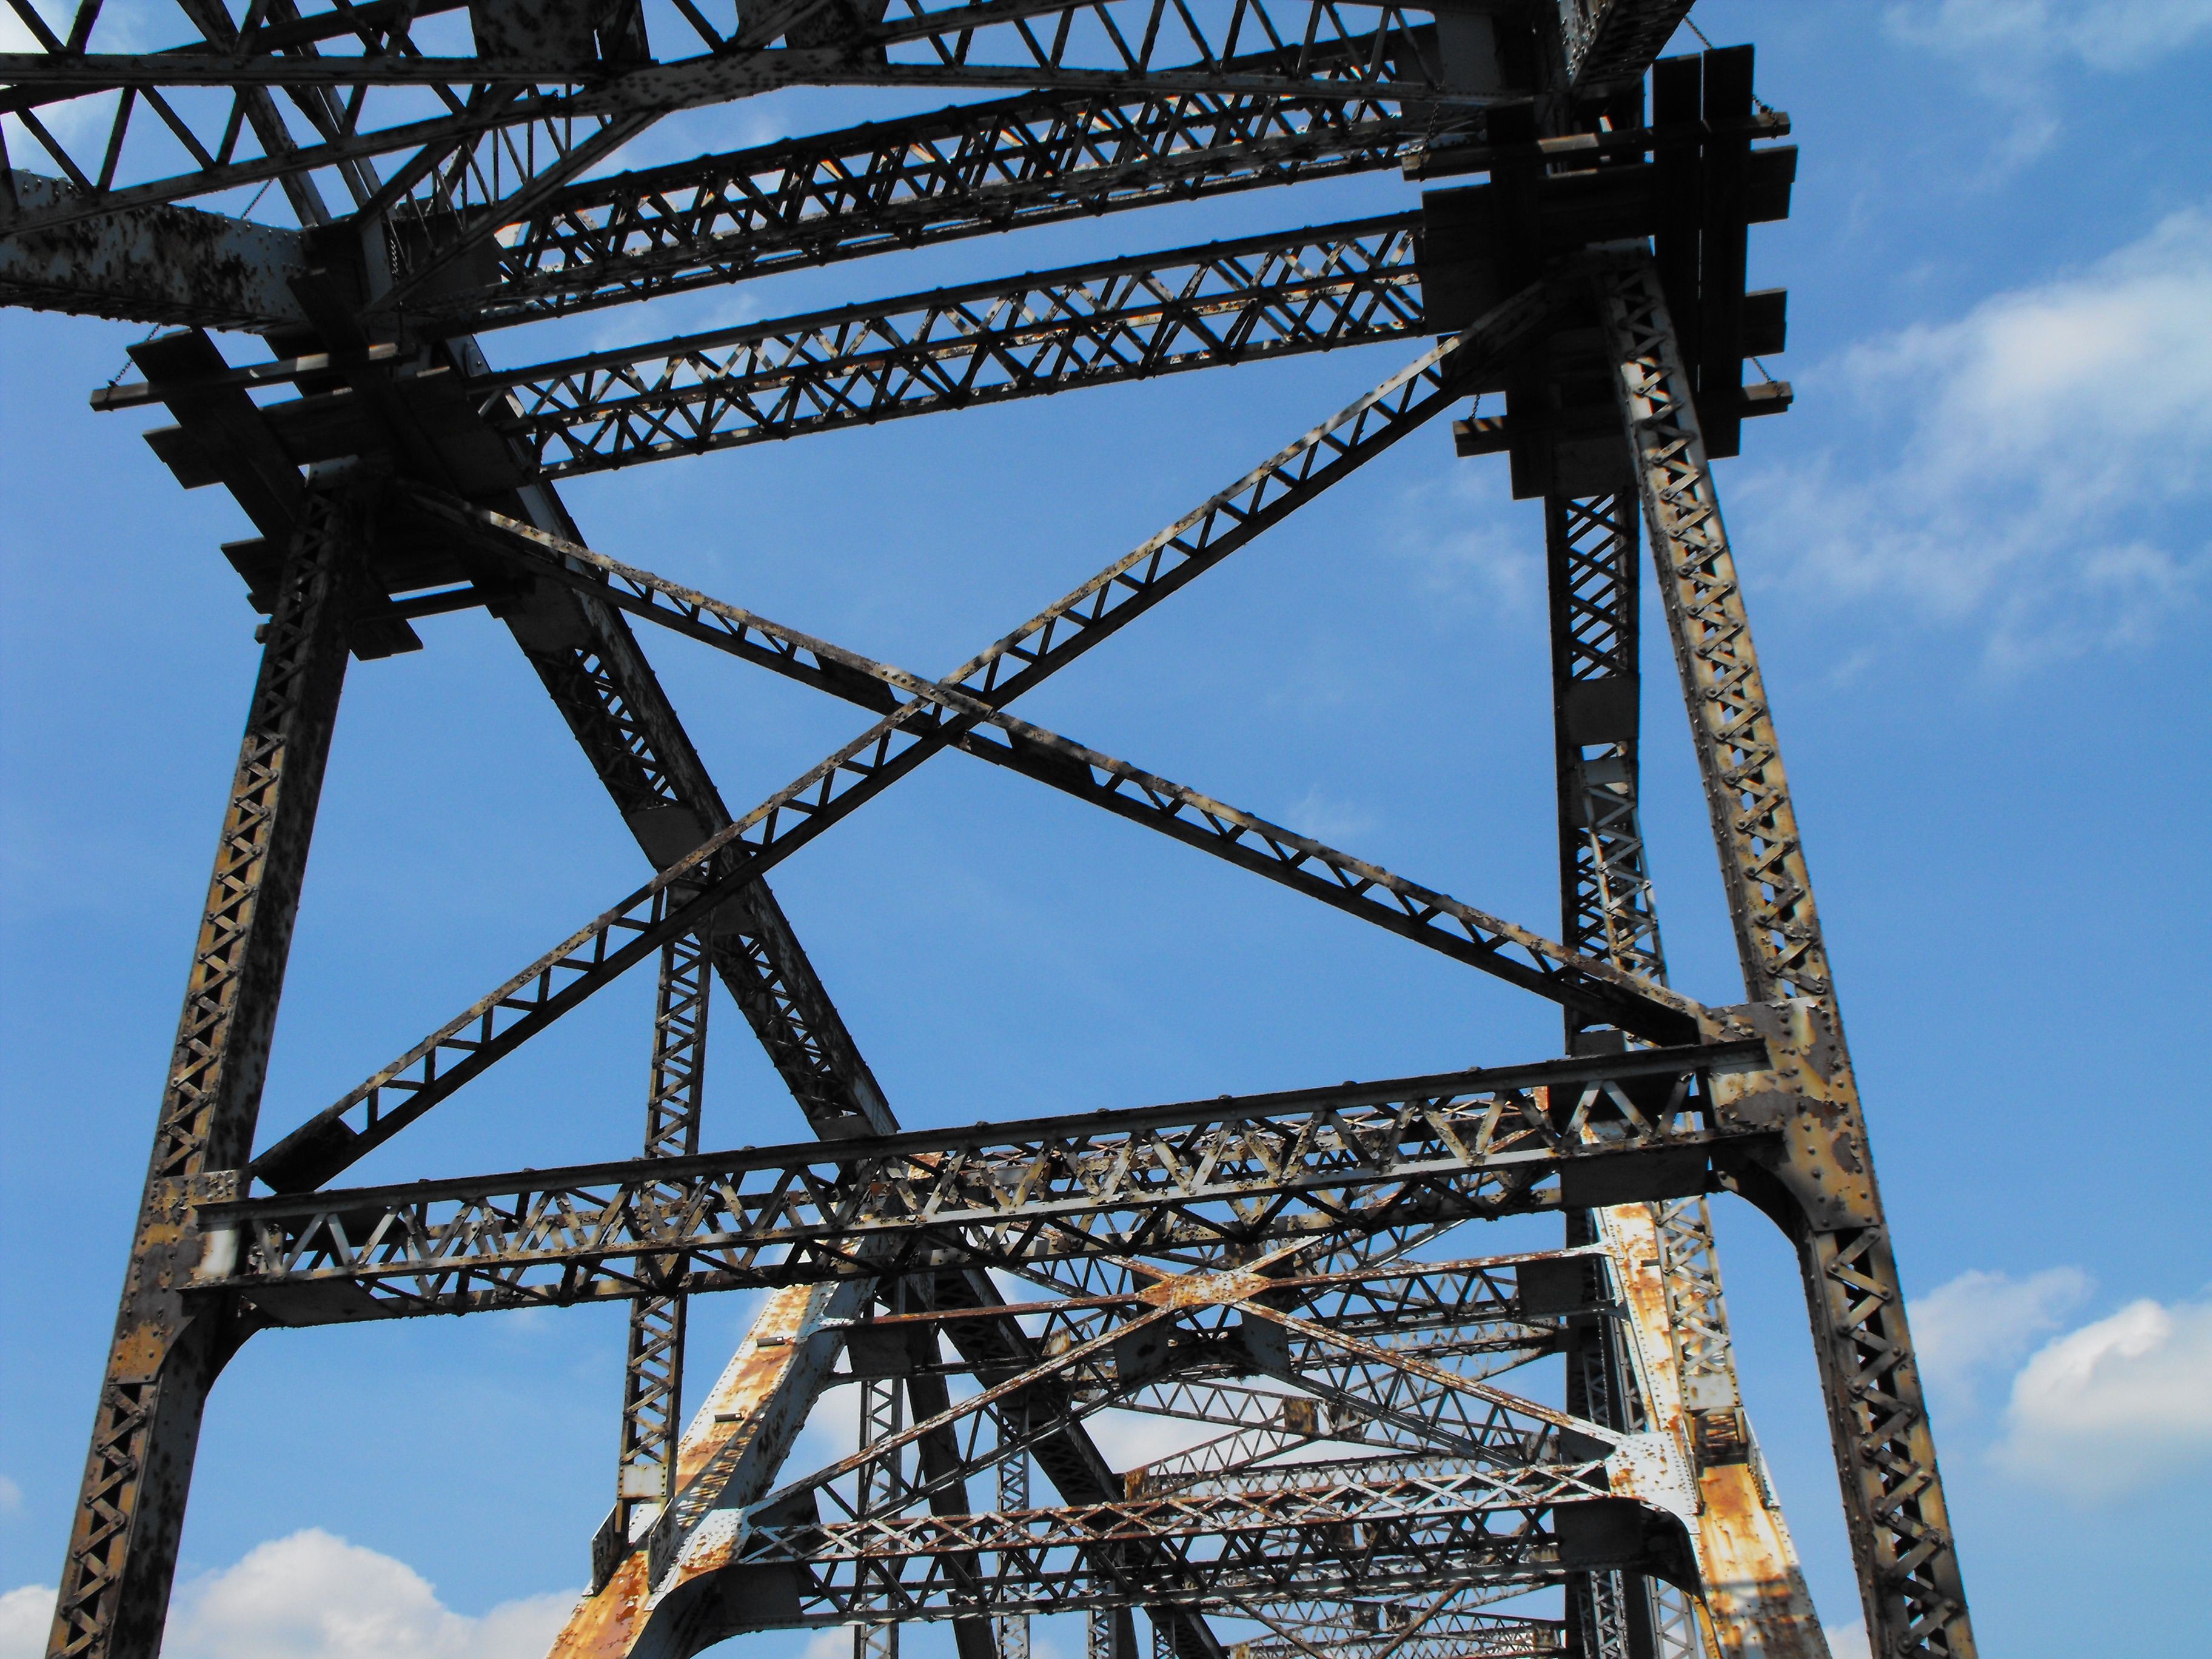
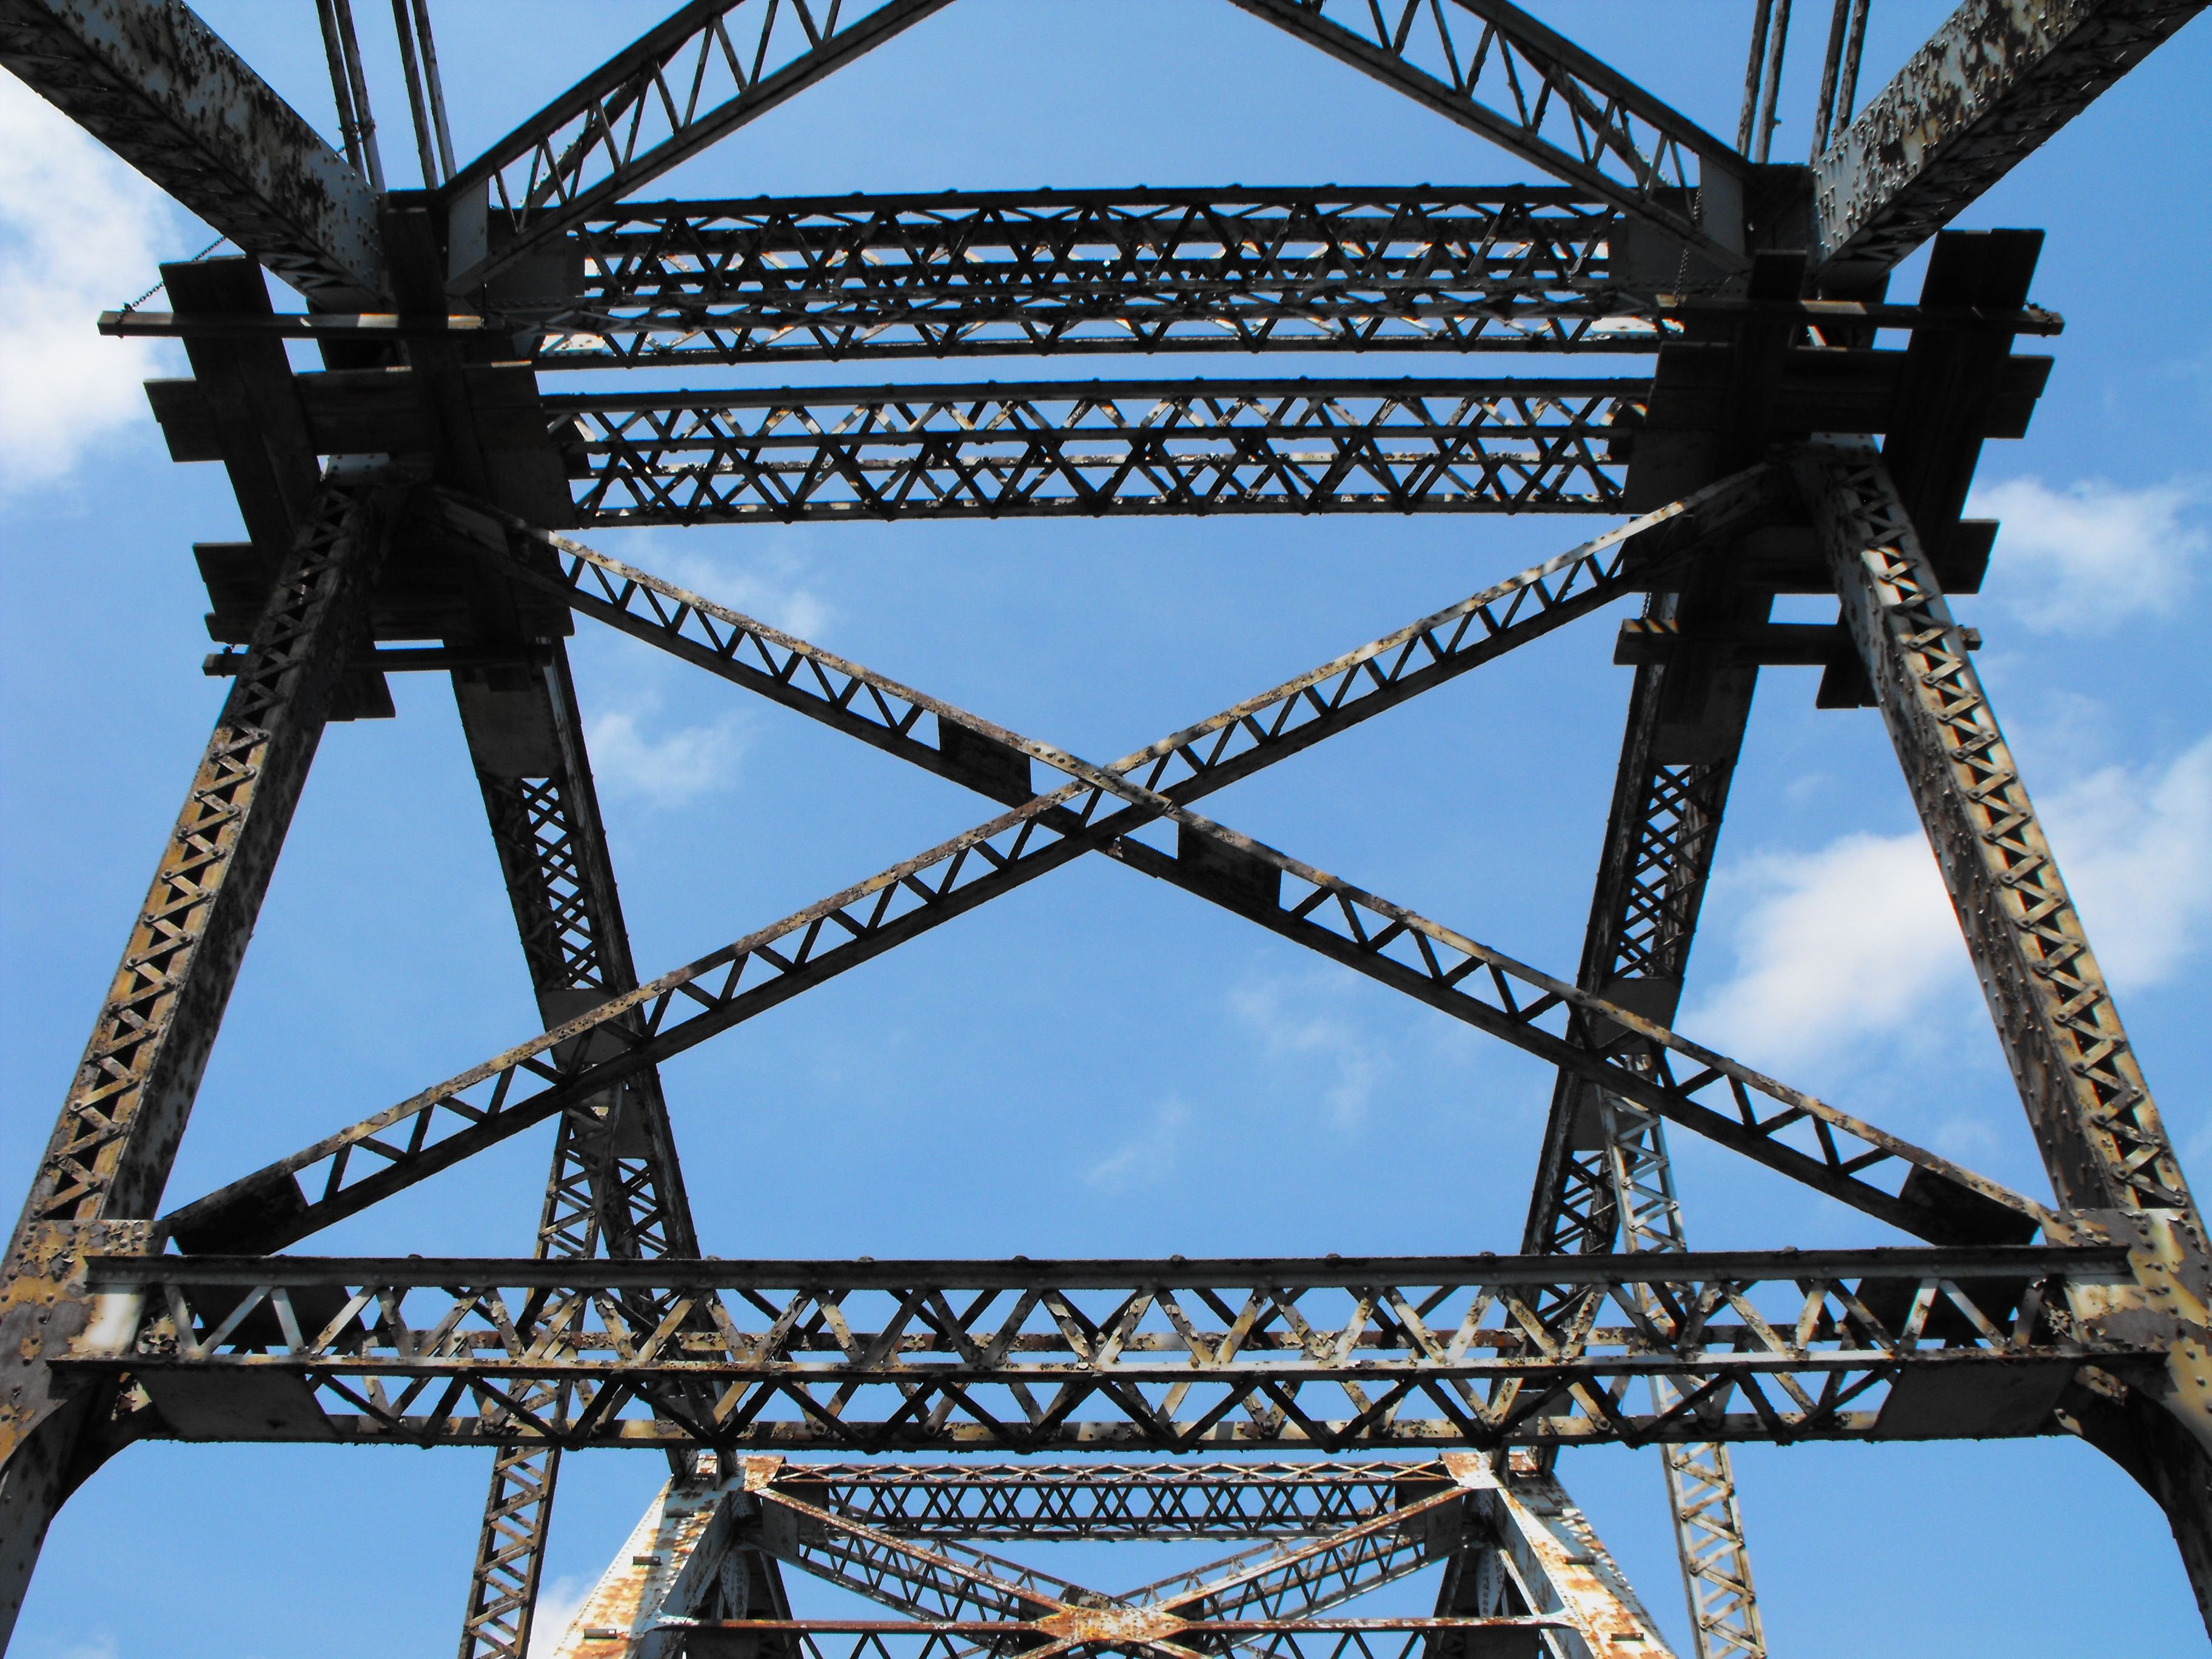
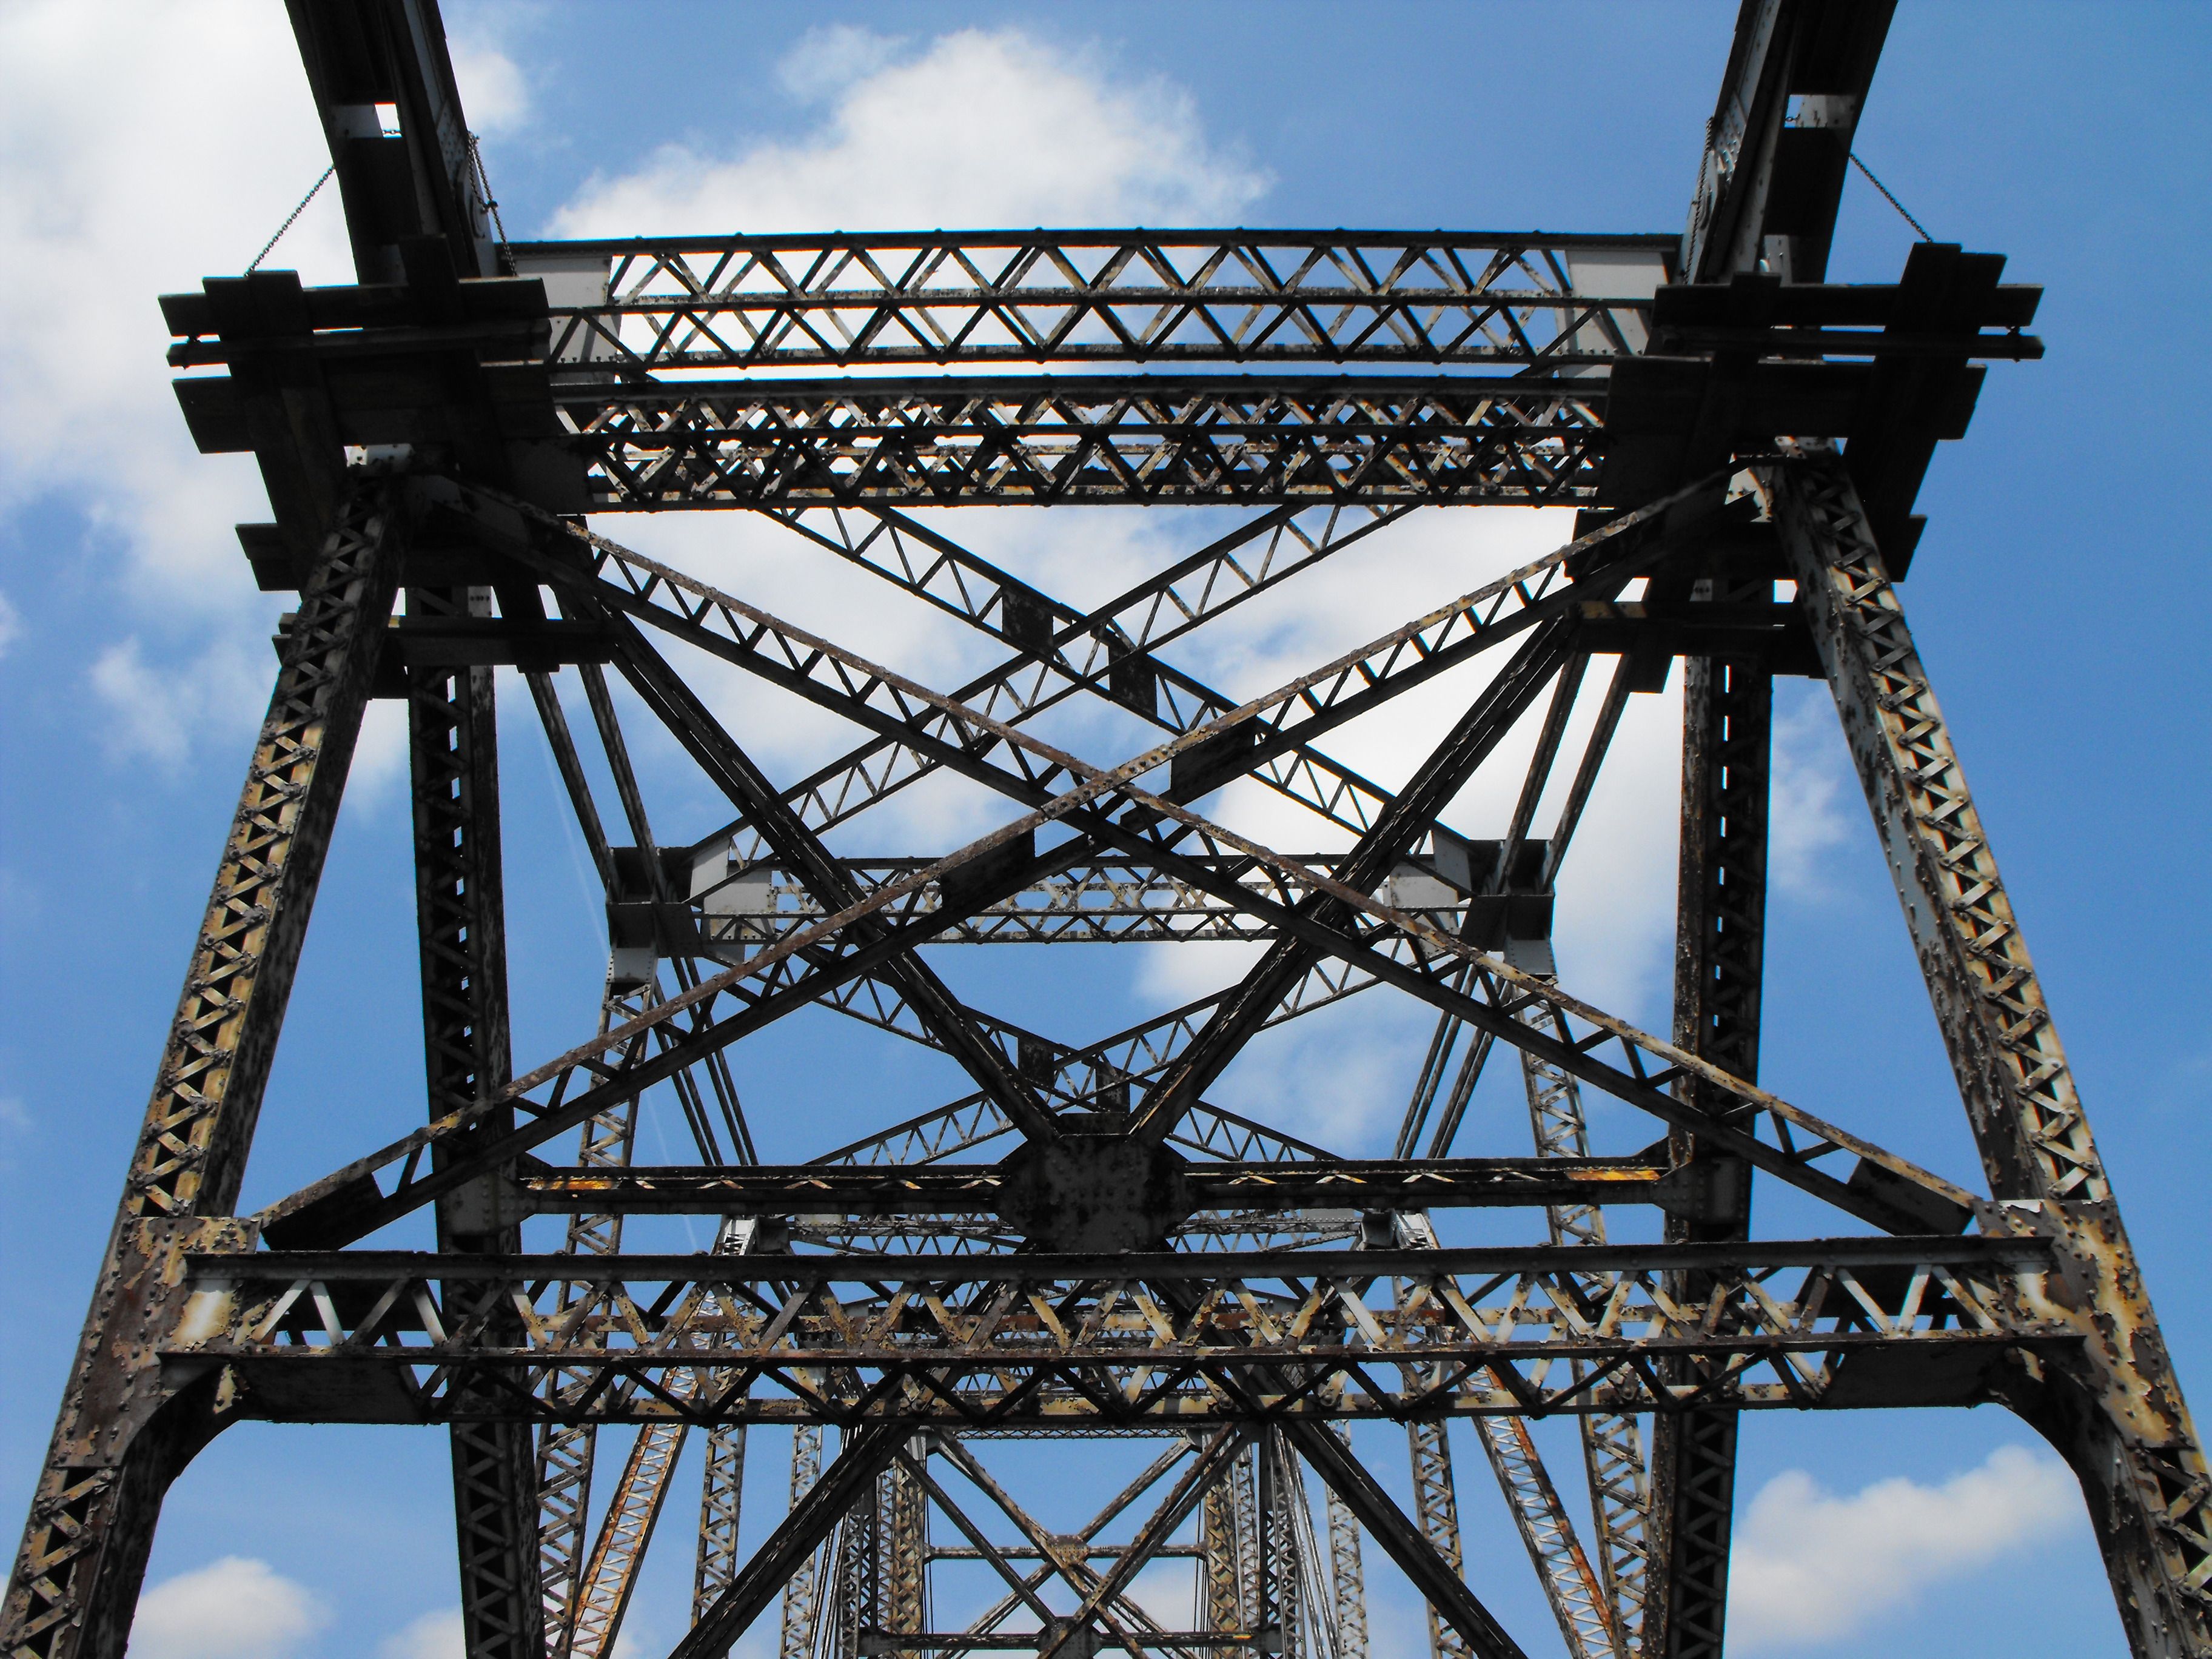
Looking up at the towers.
![]()
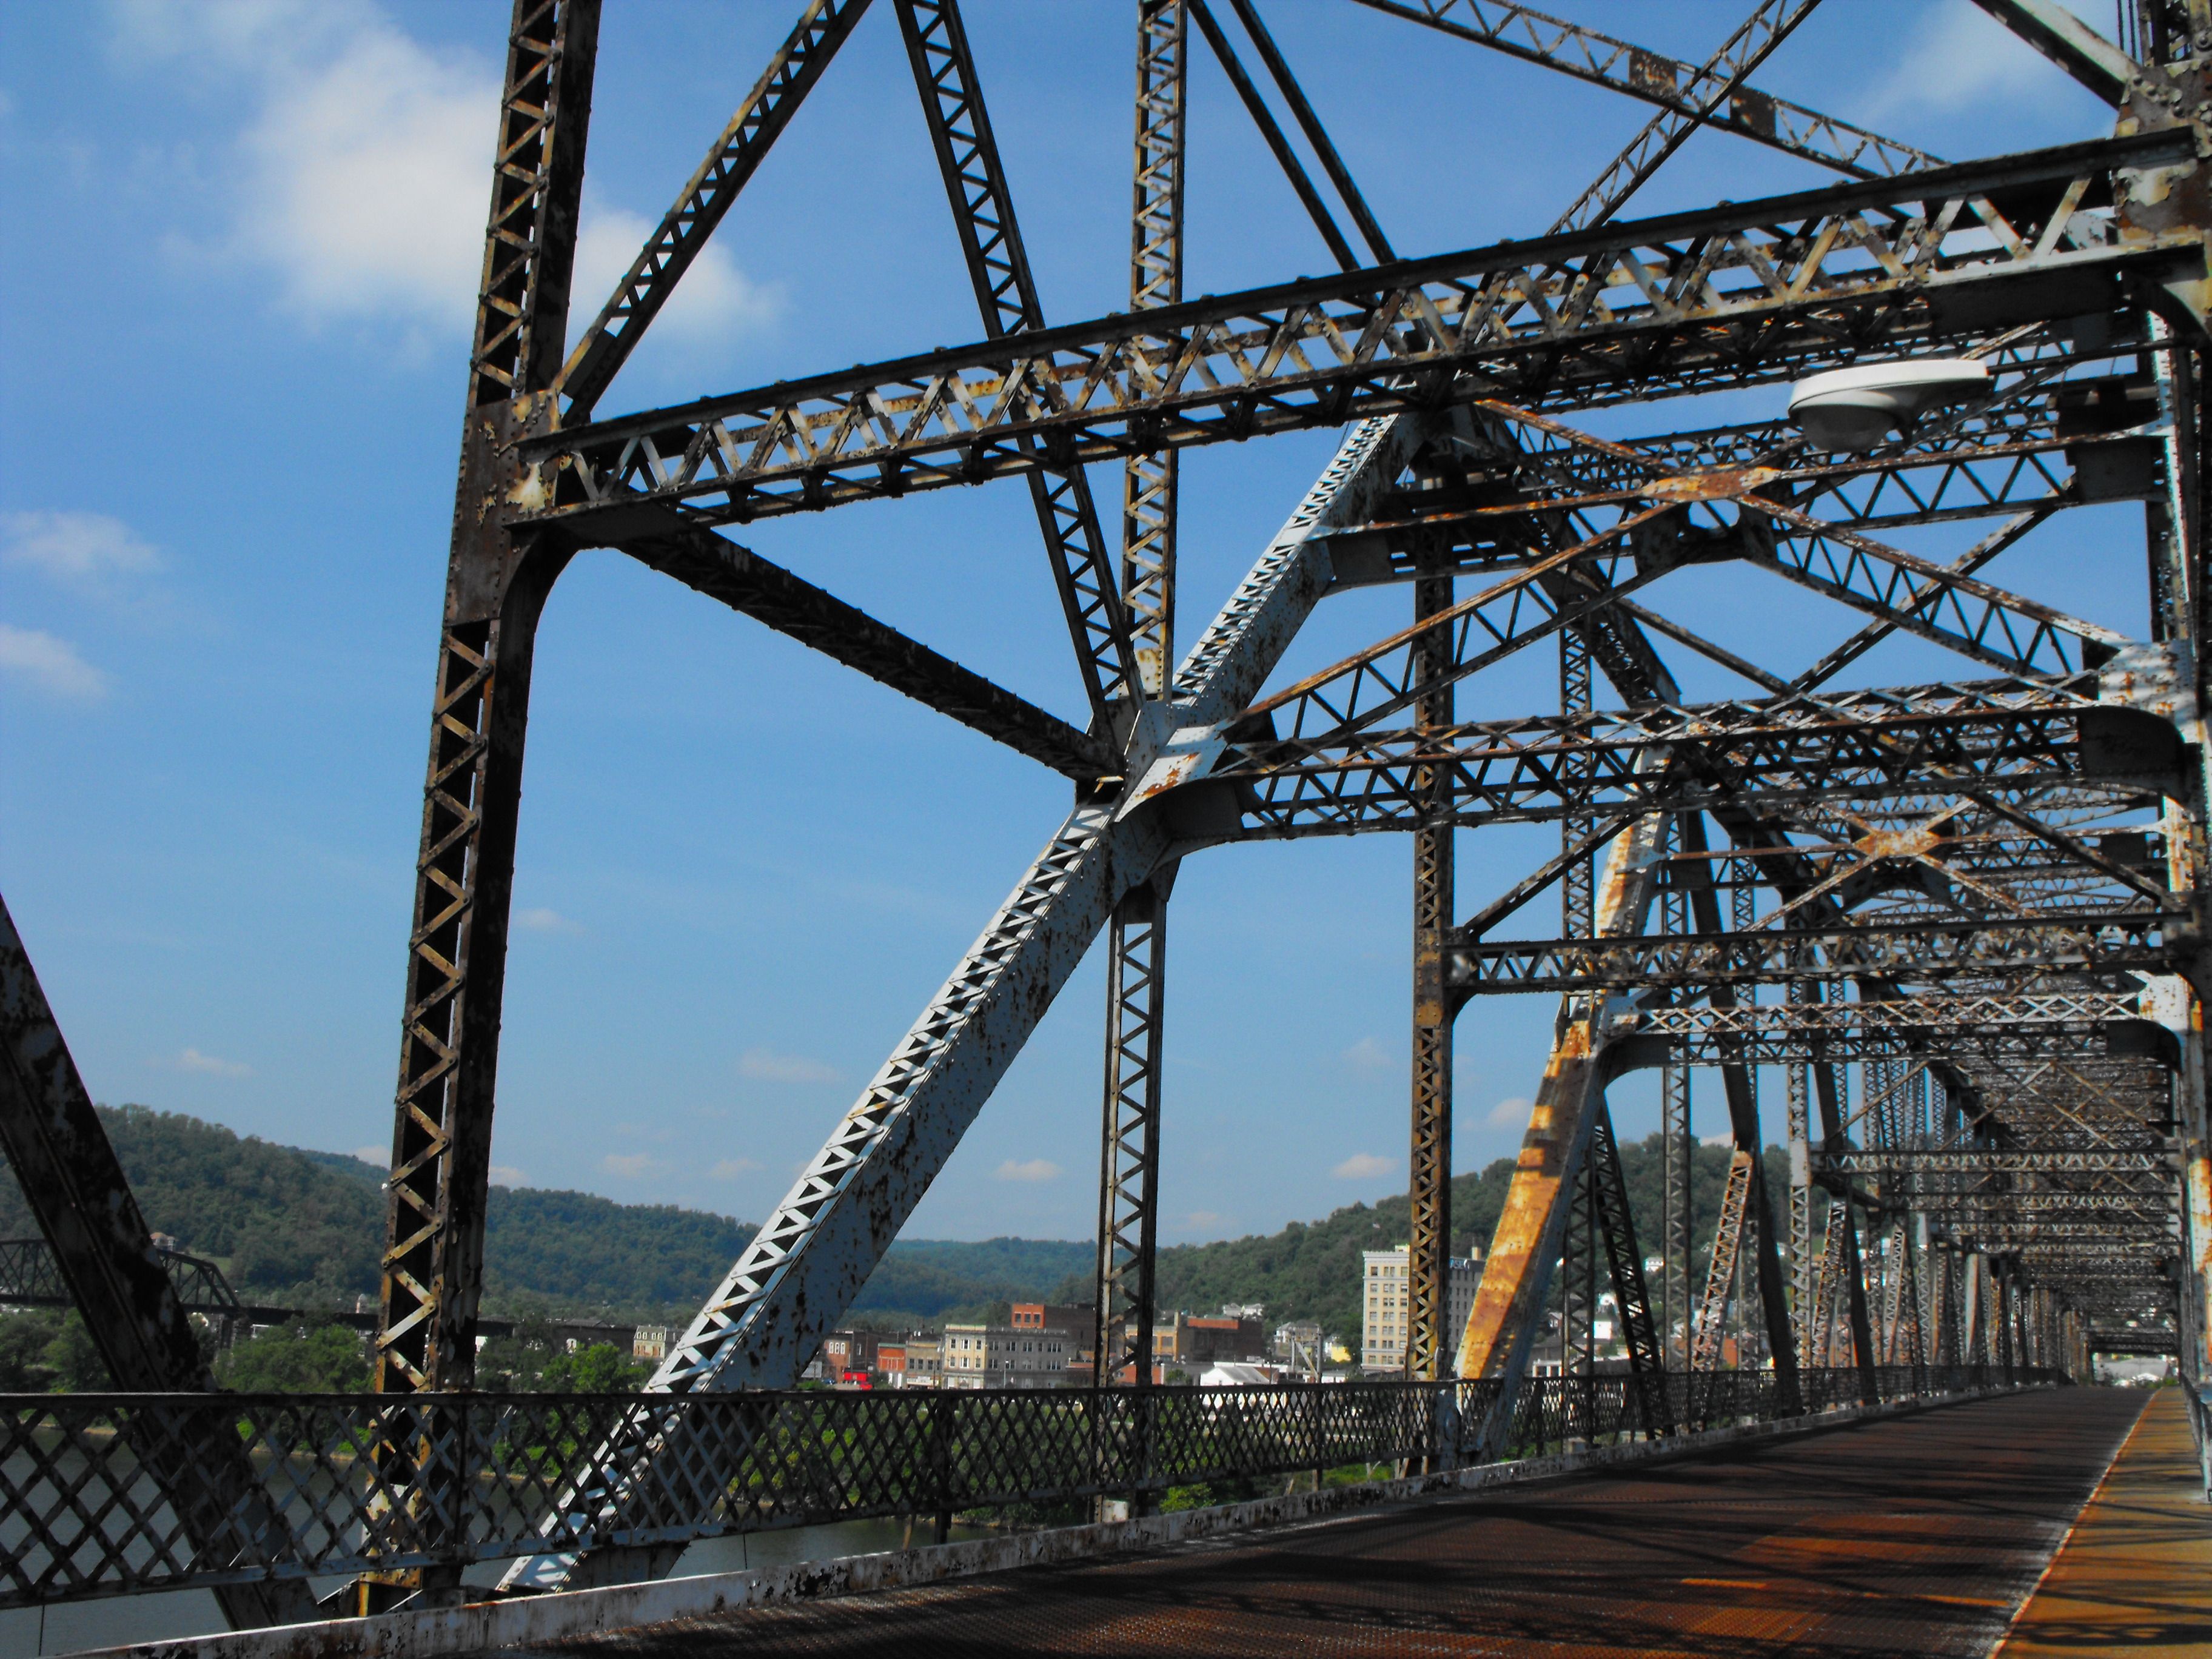
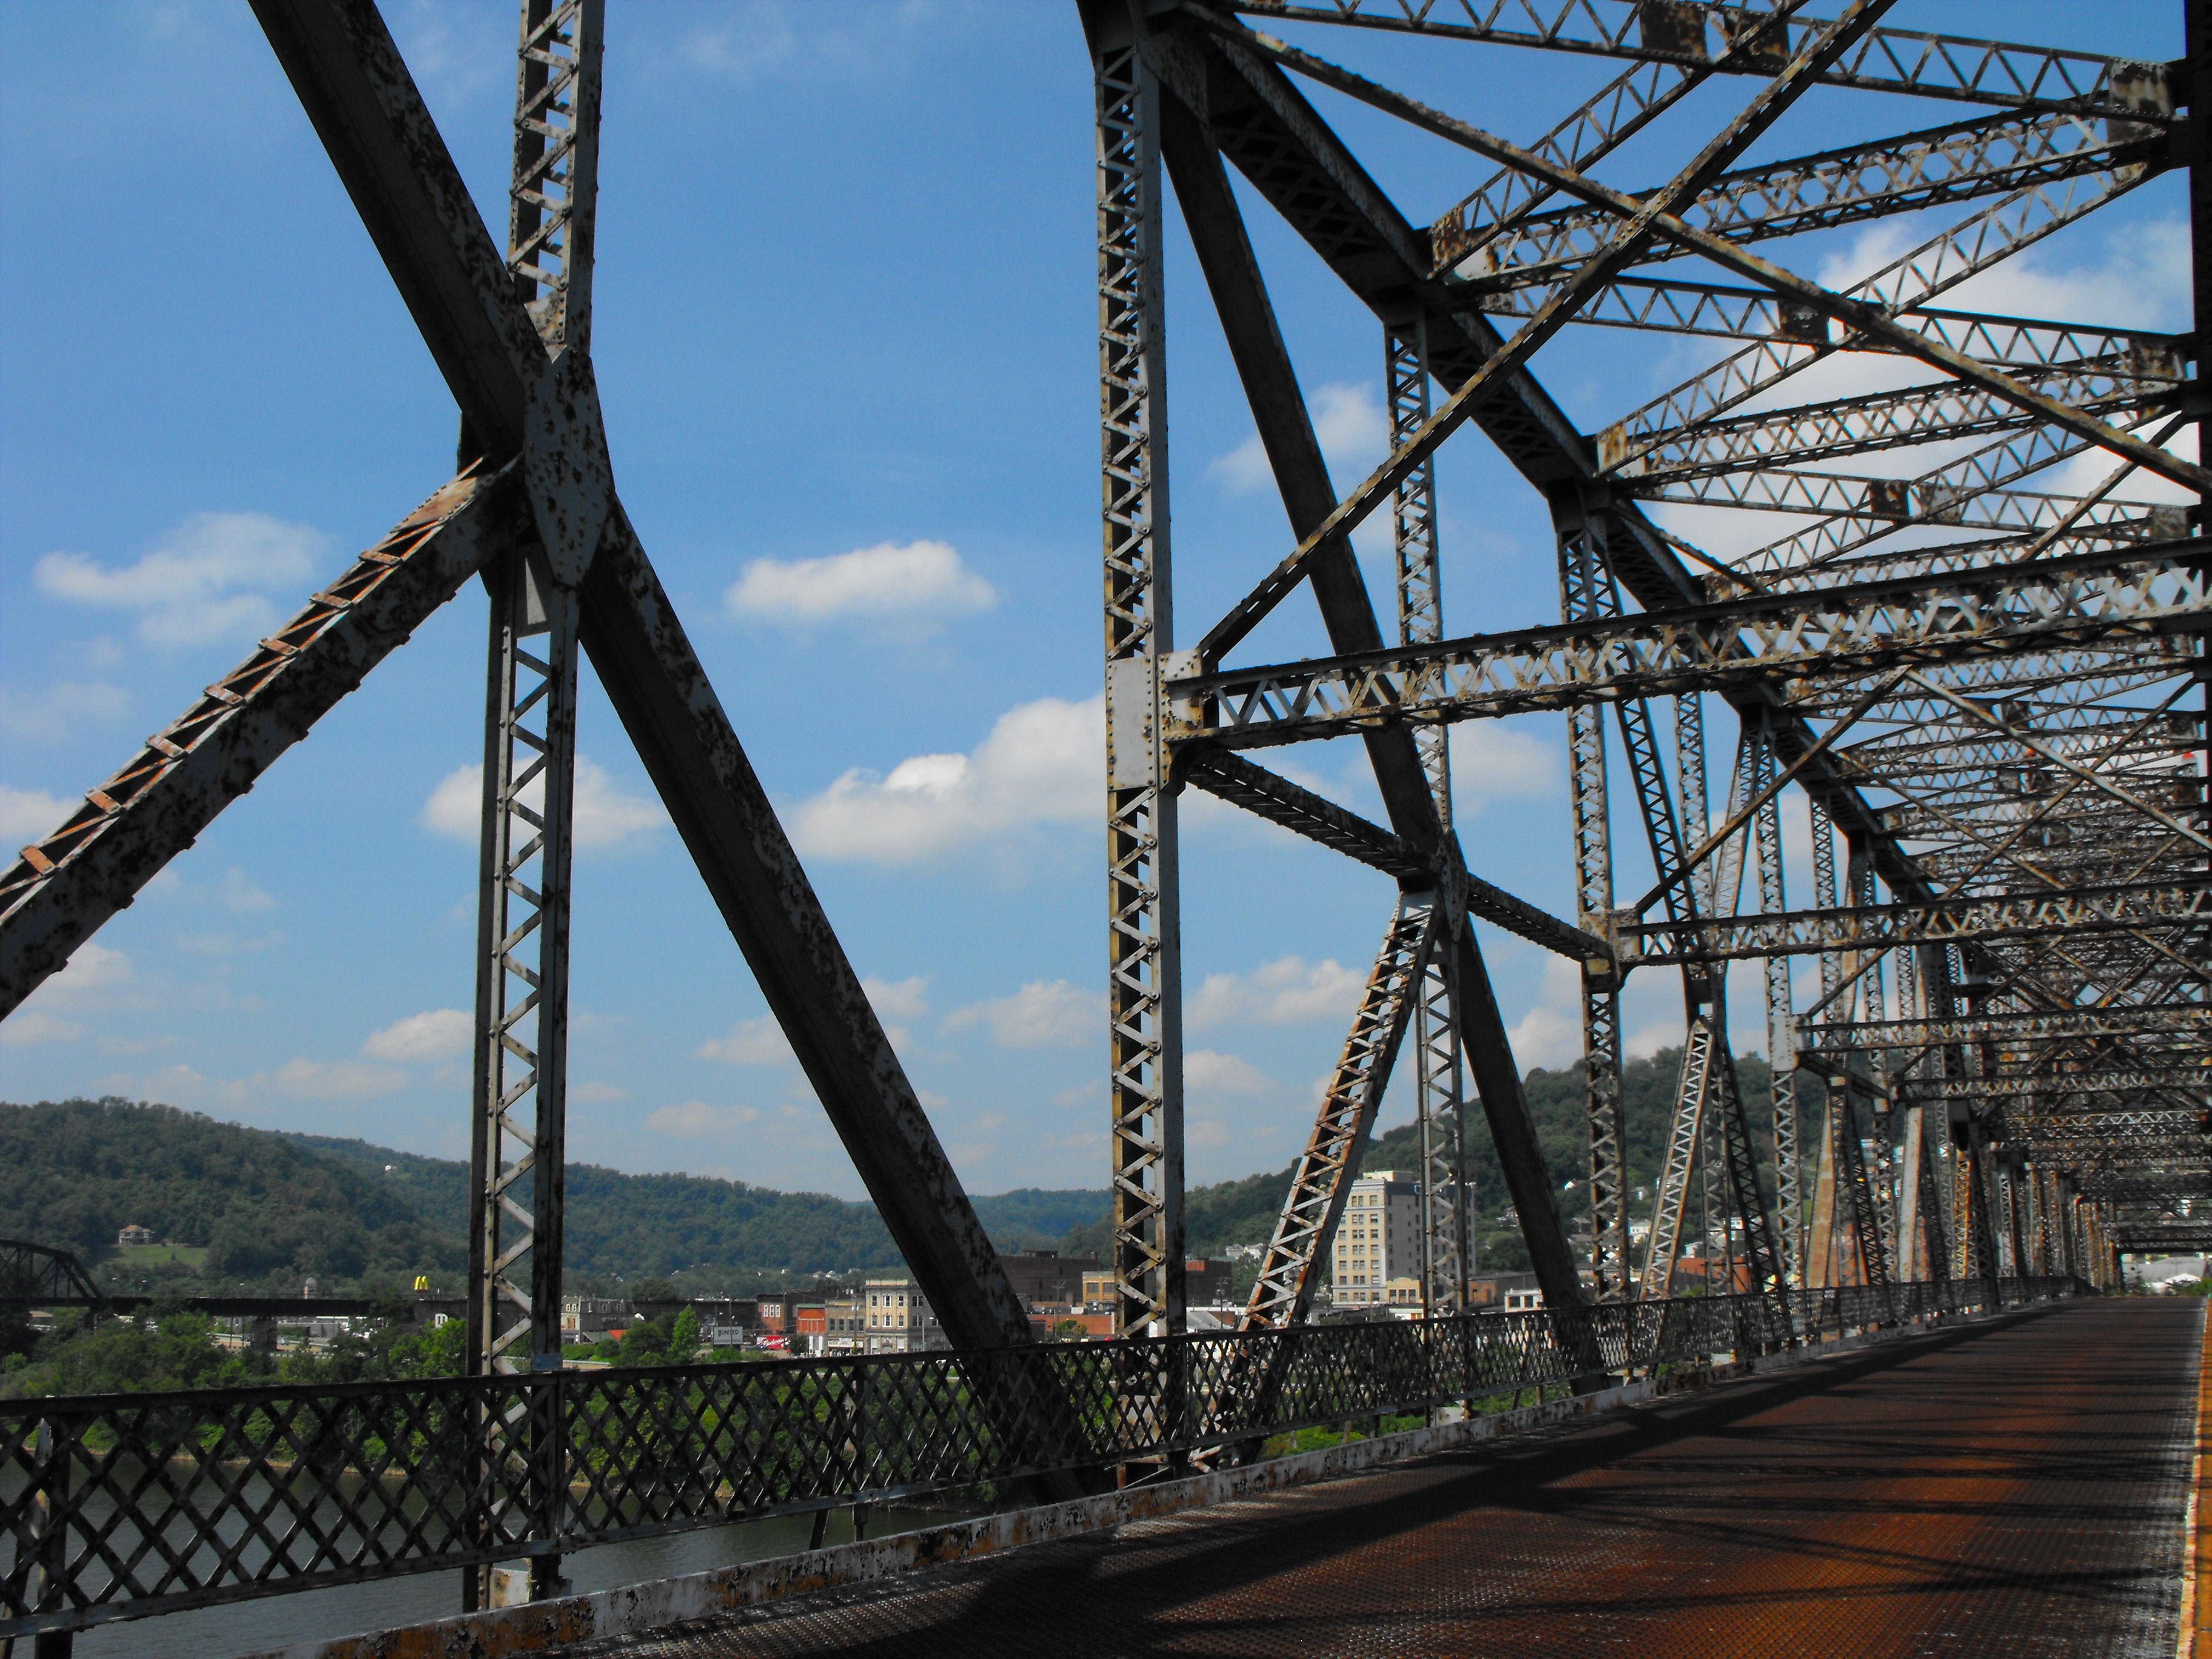
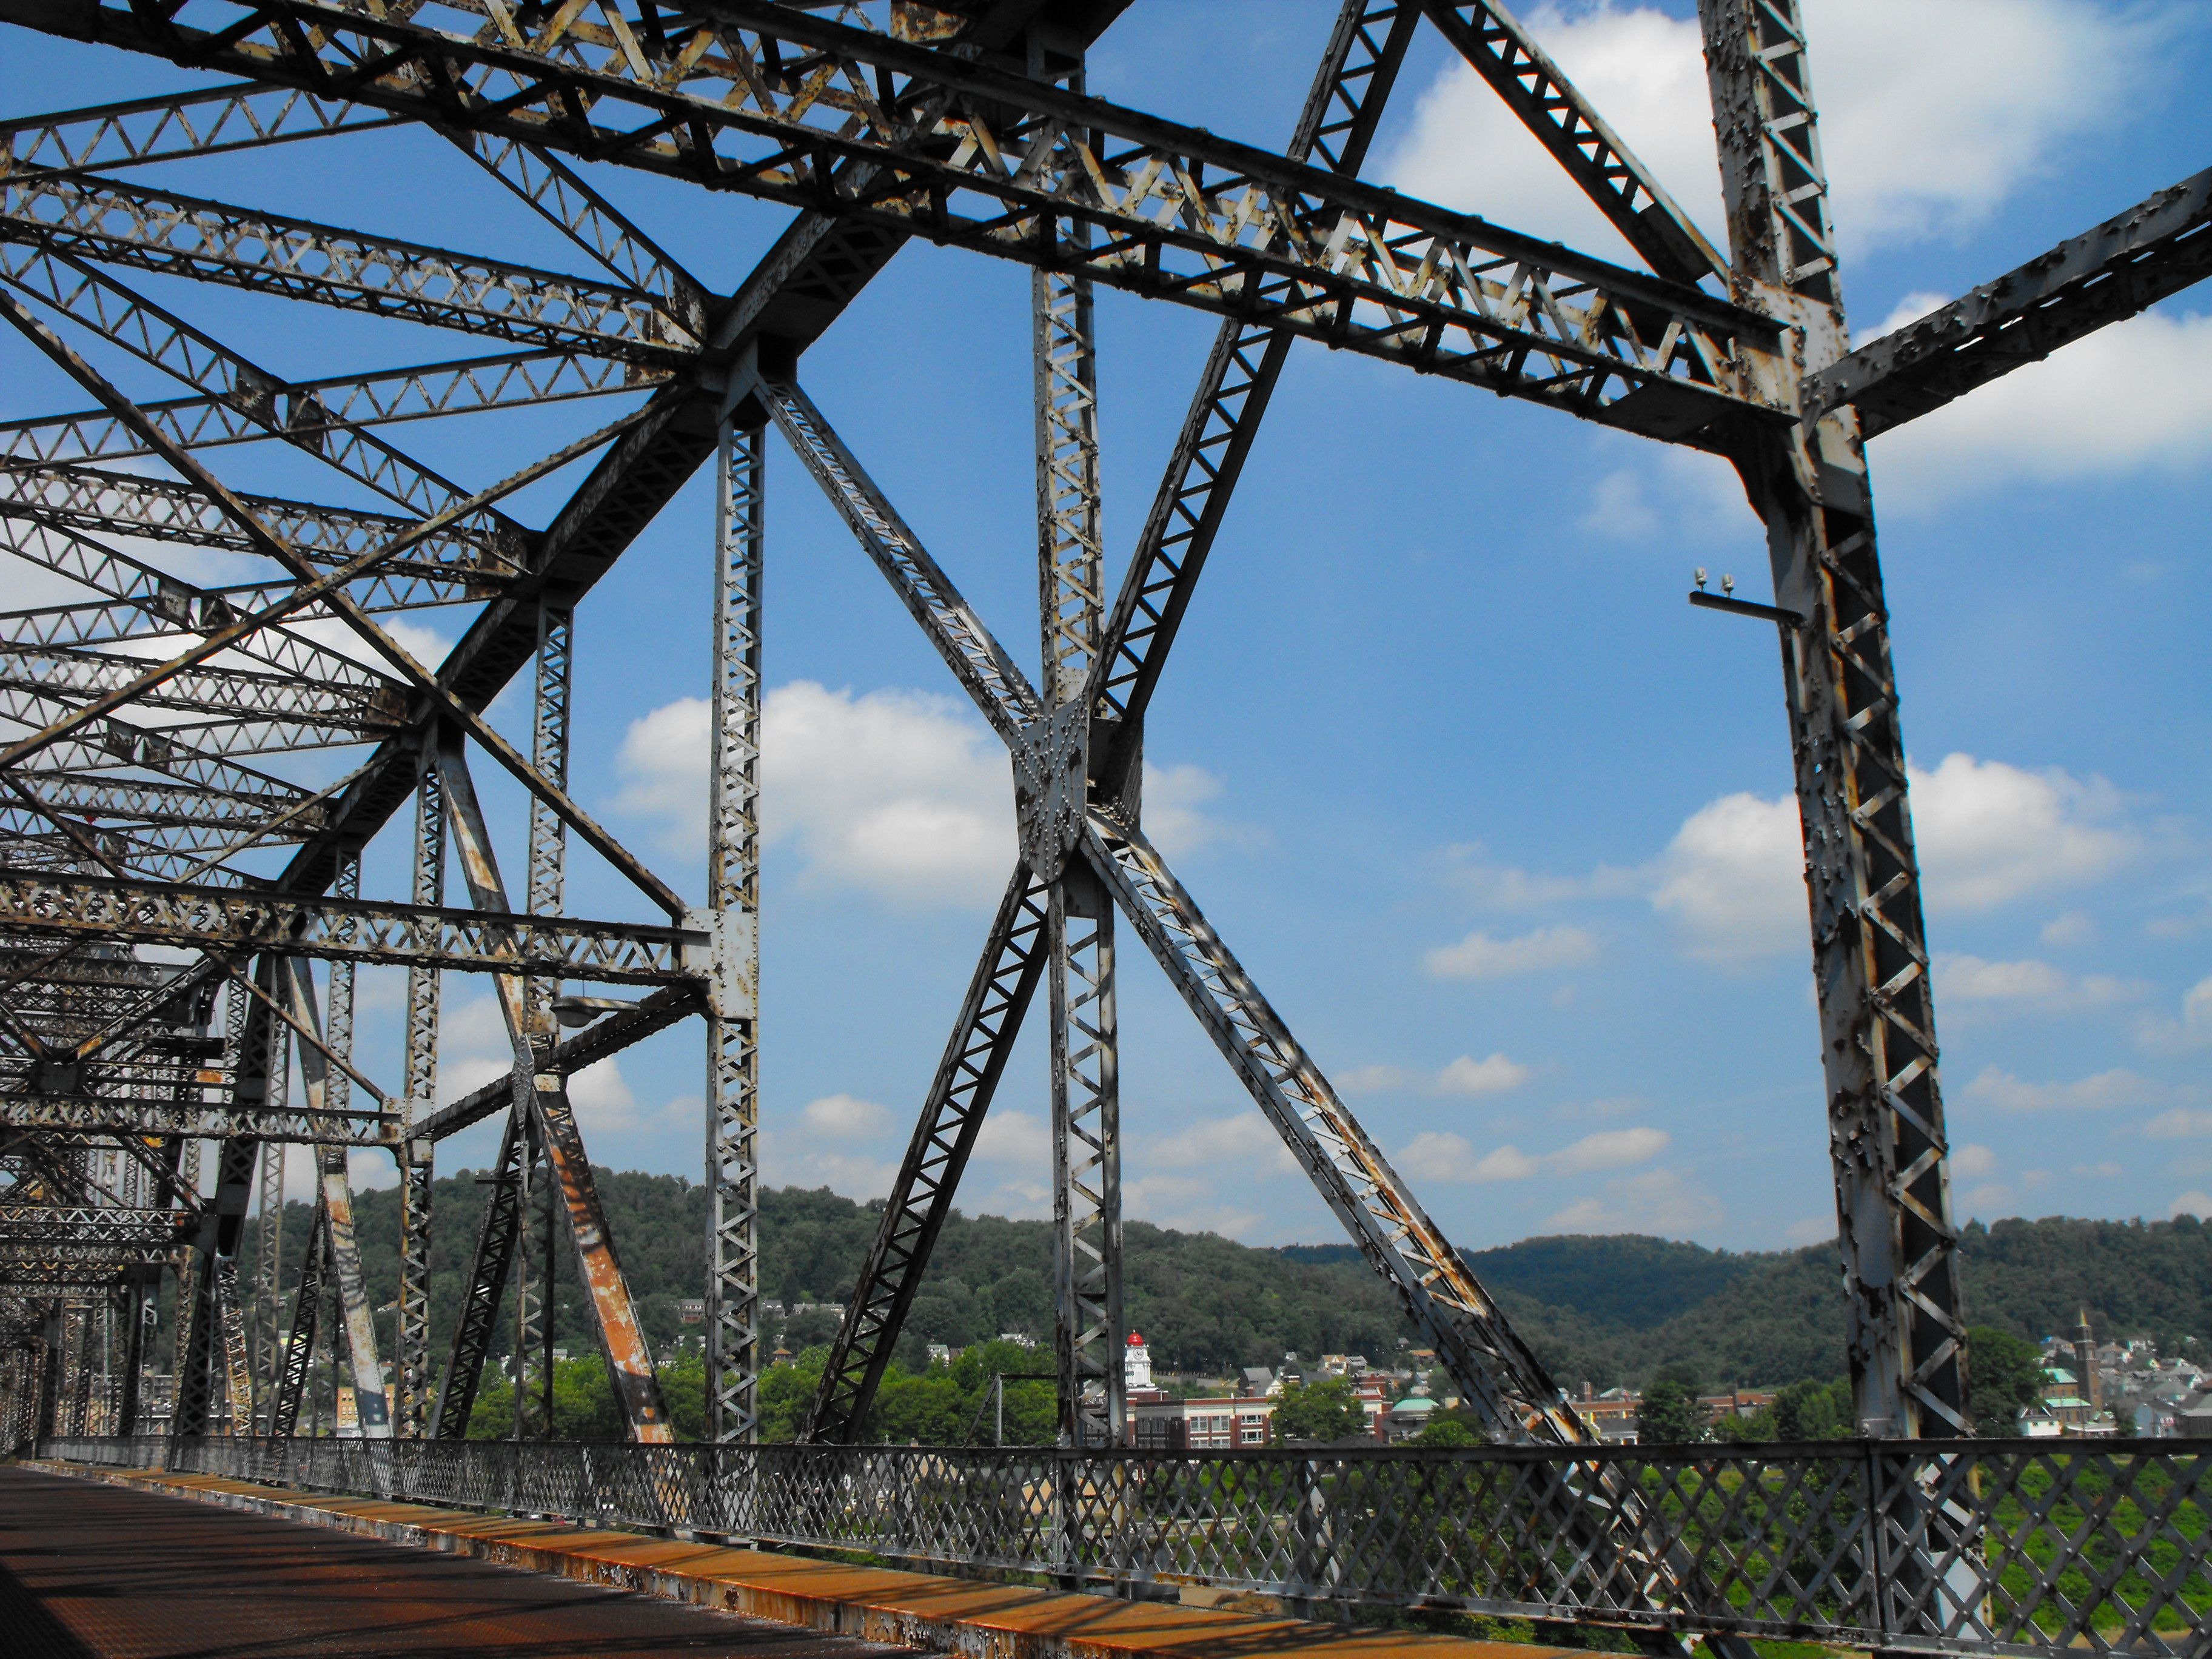
Various panel views.
![]()
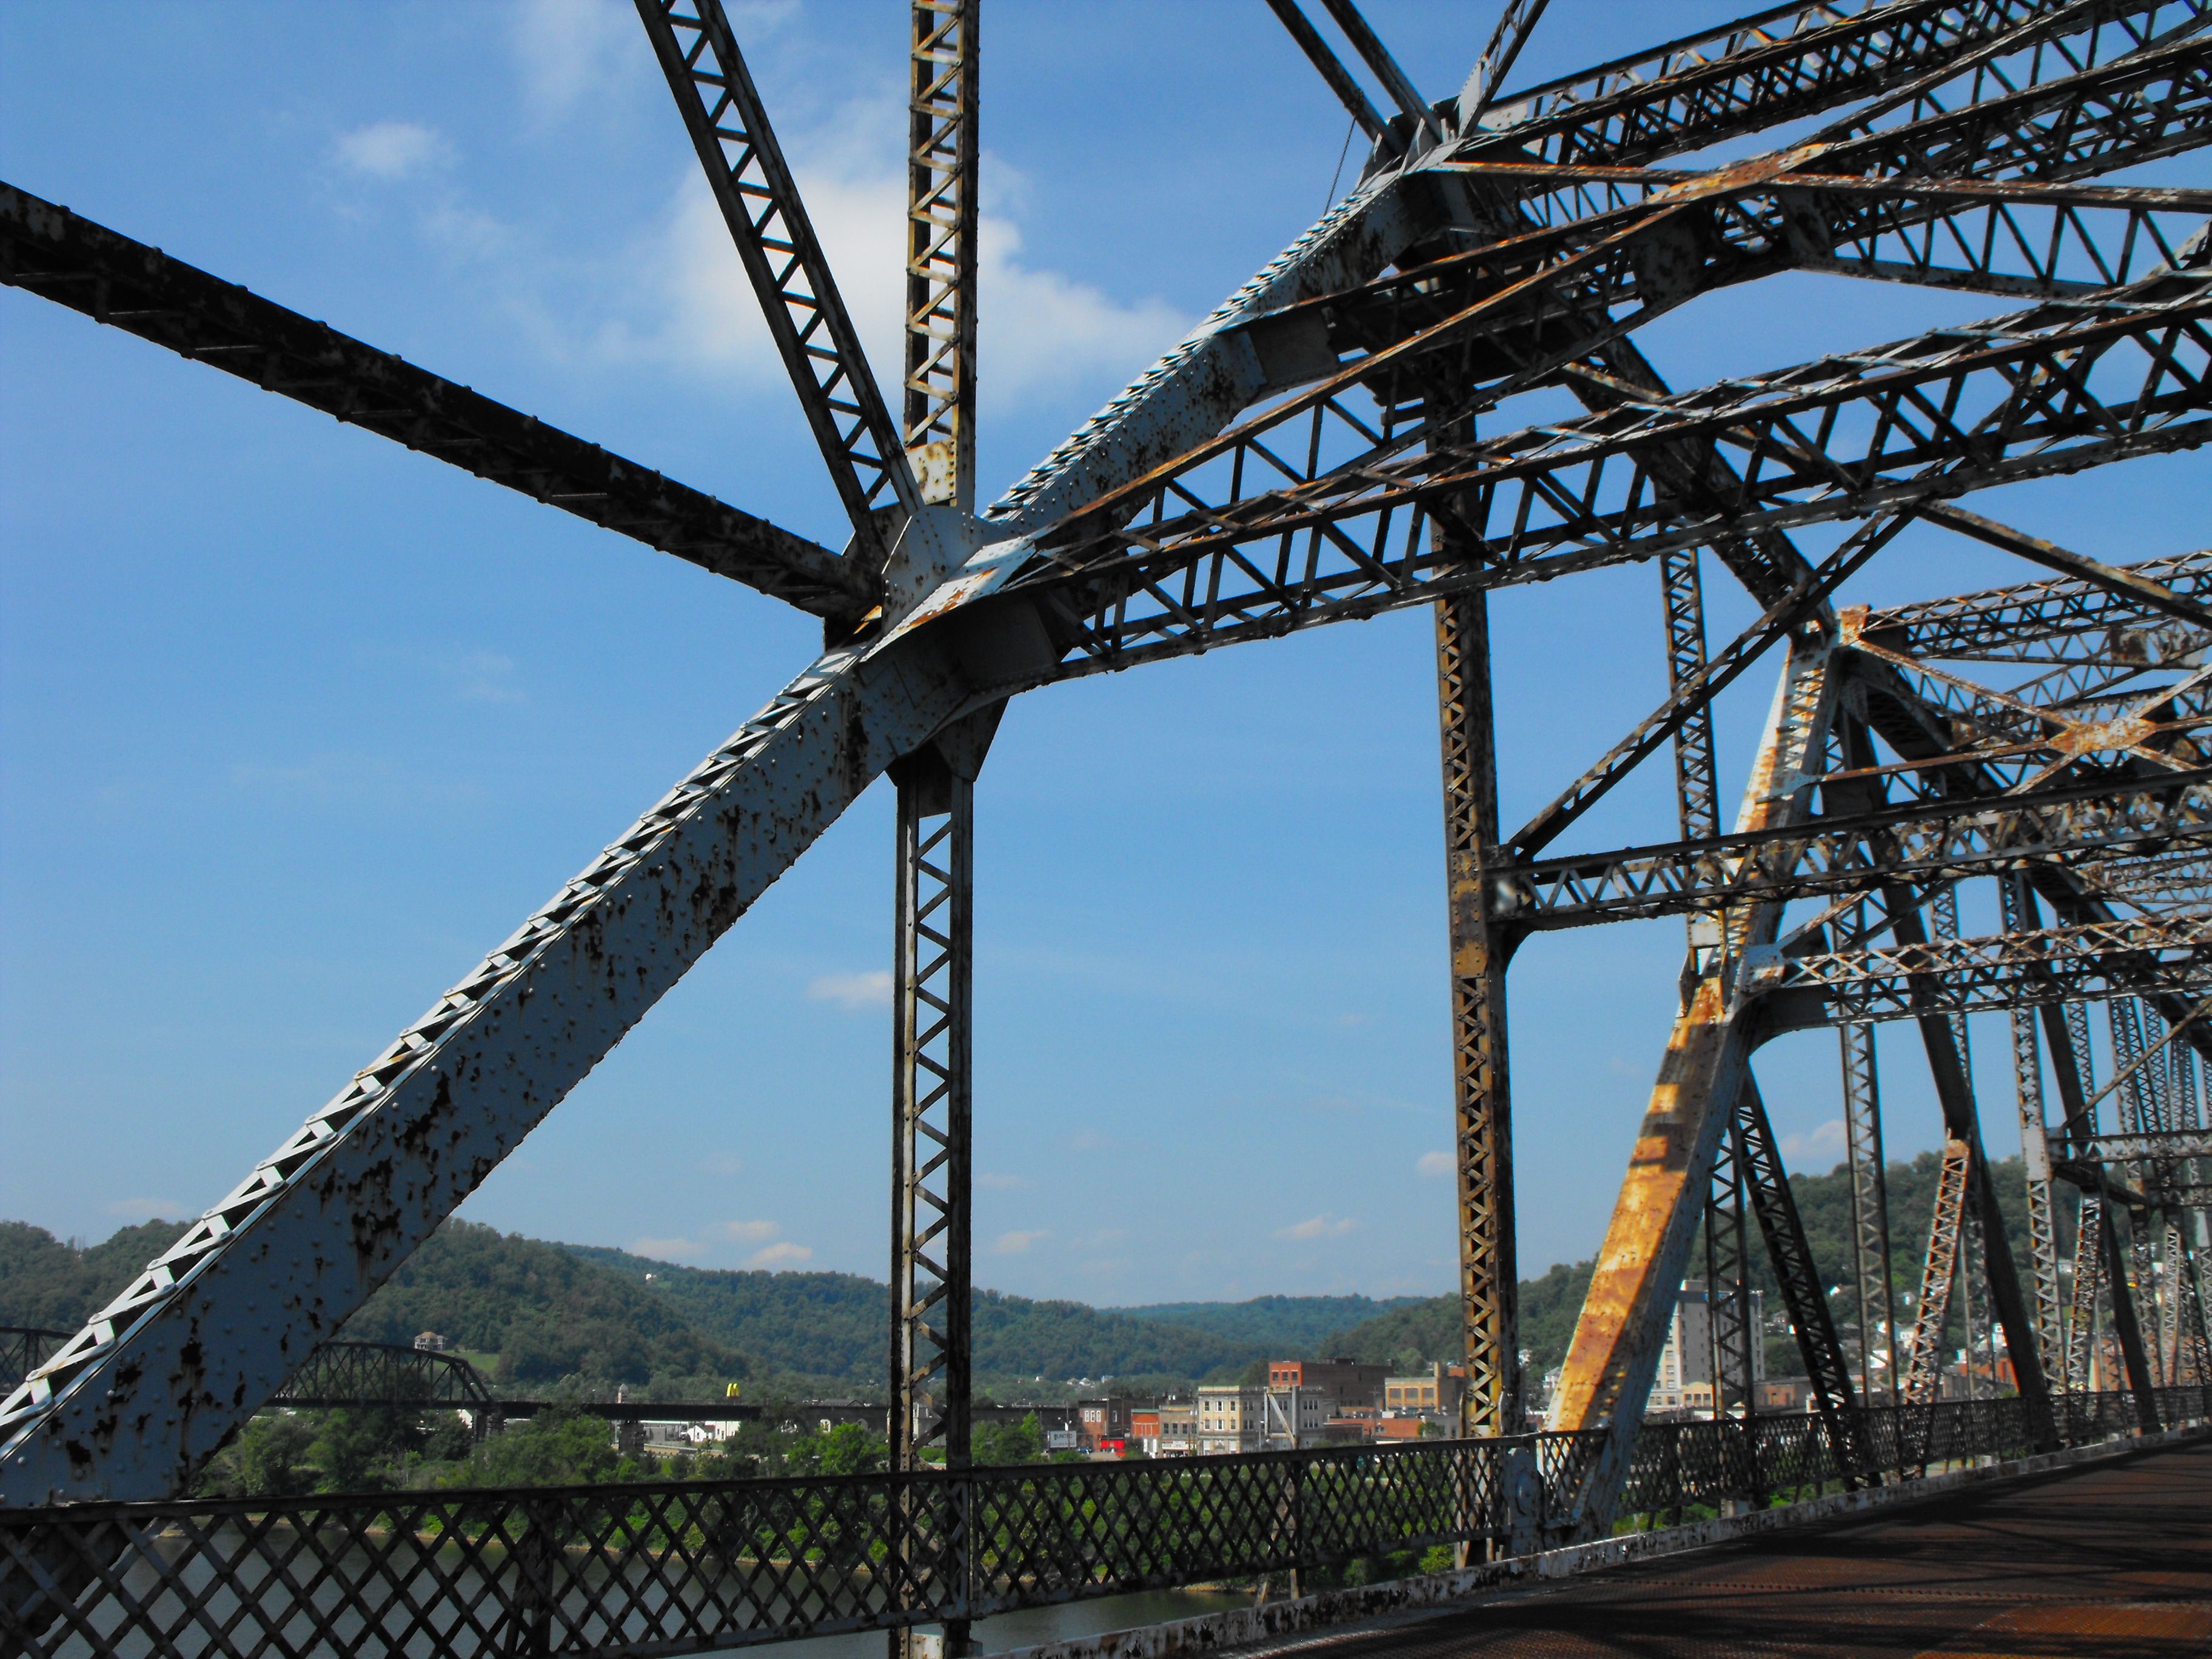
Suspended span truss web.
![]()
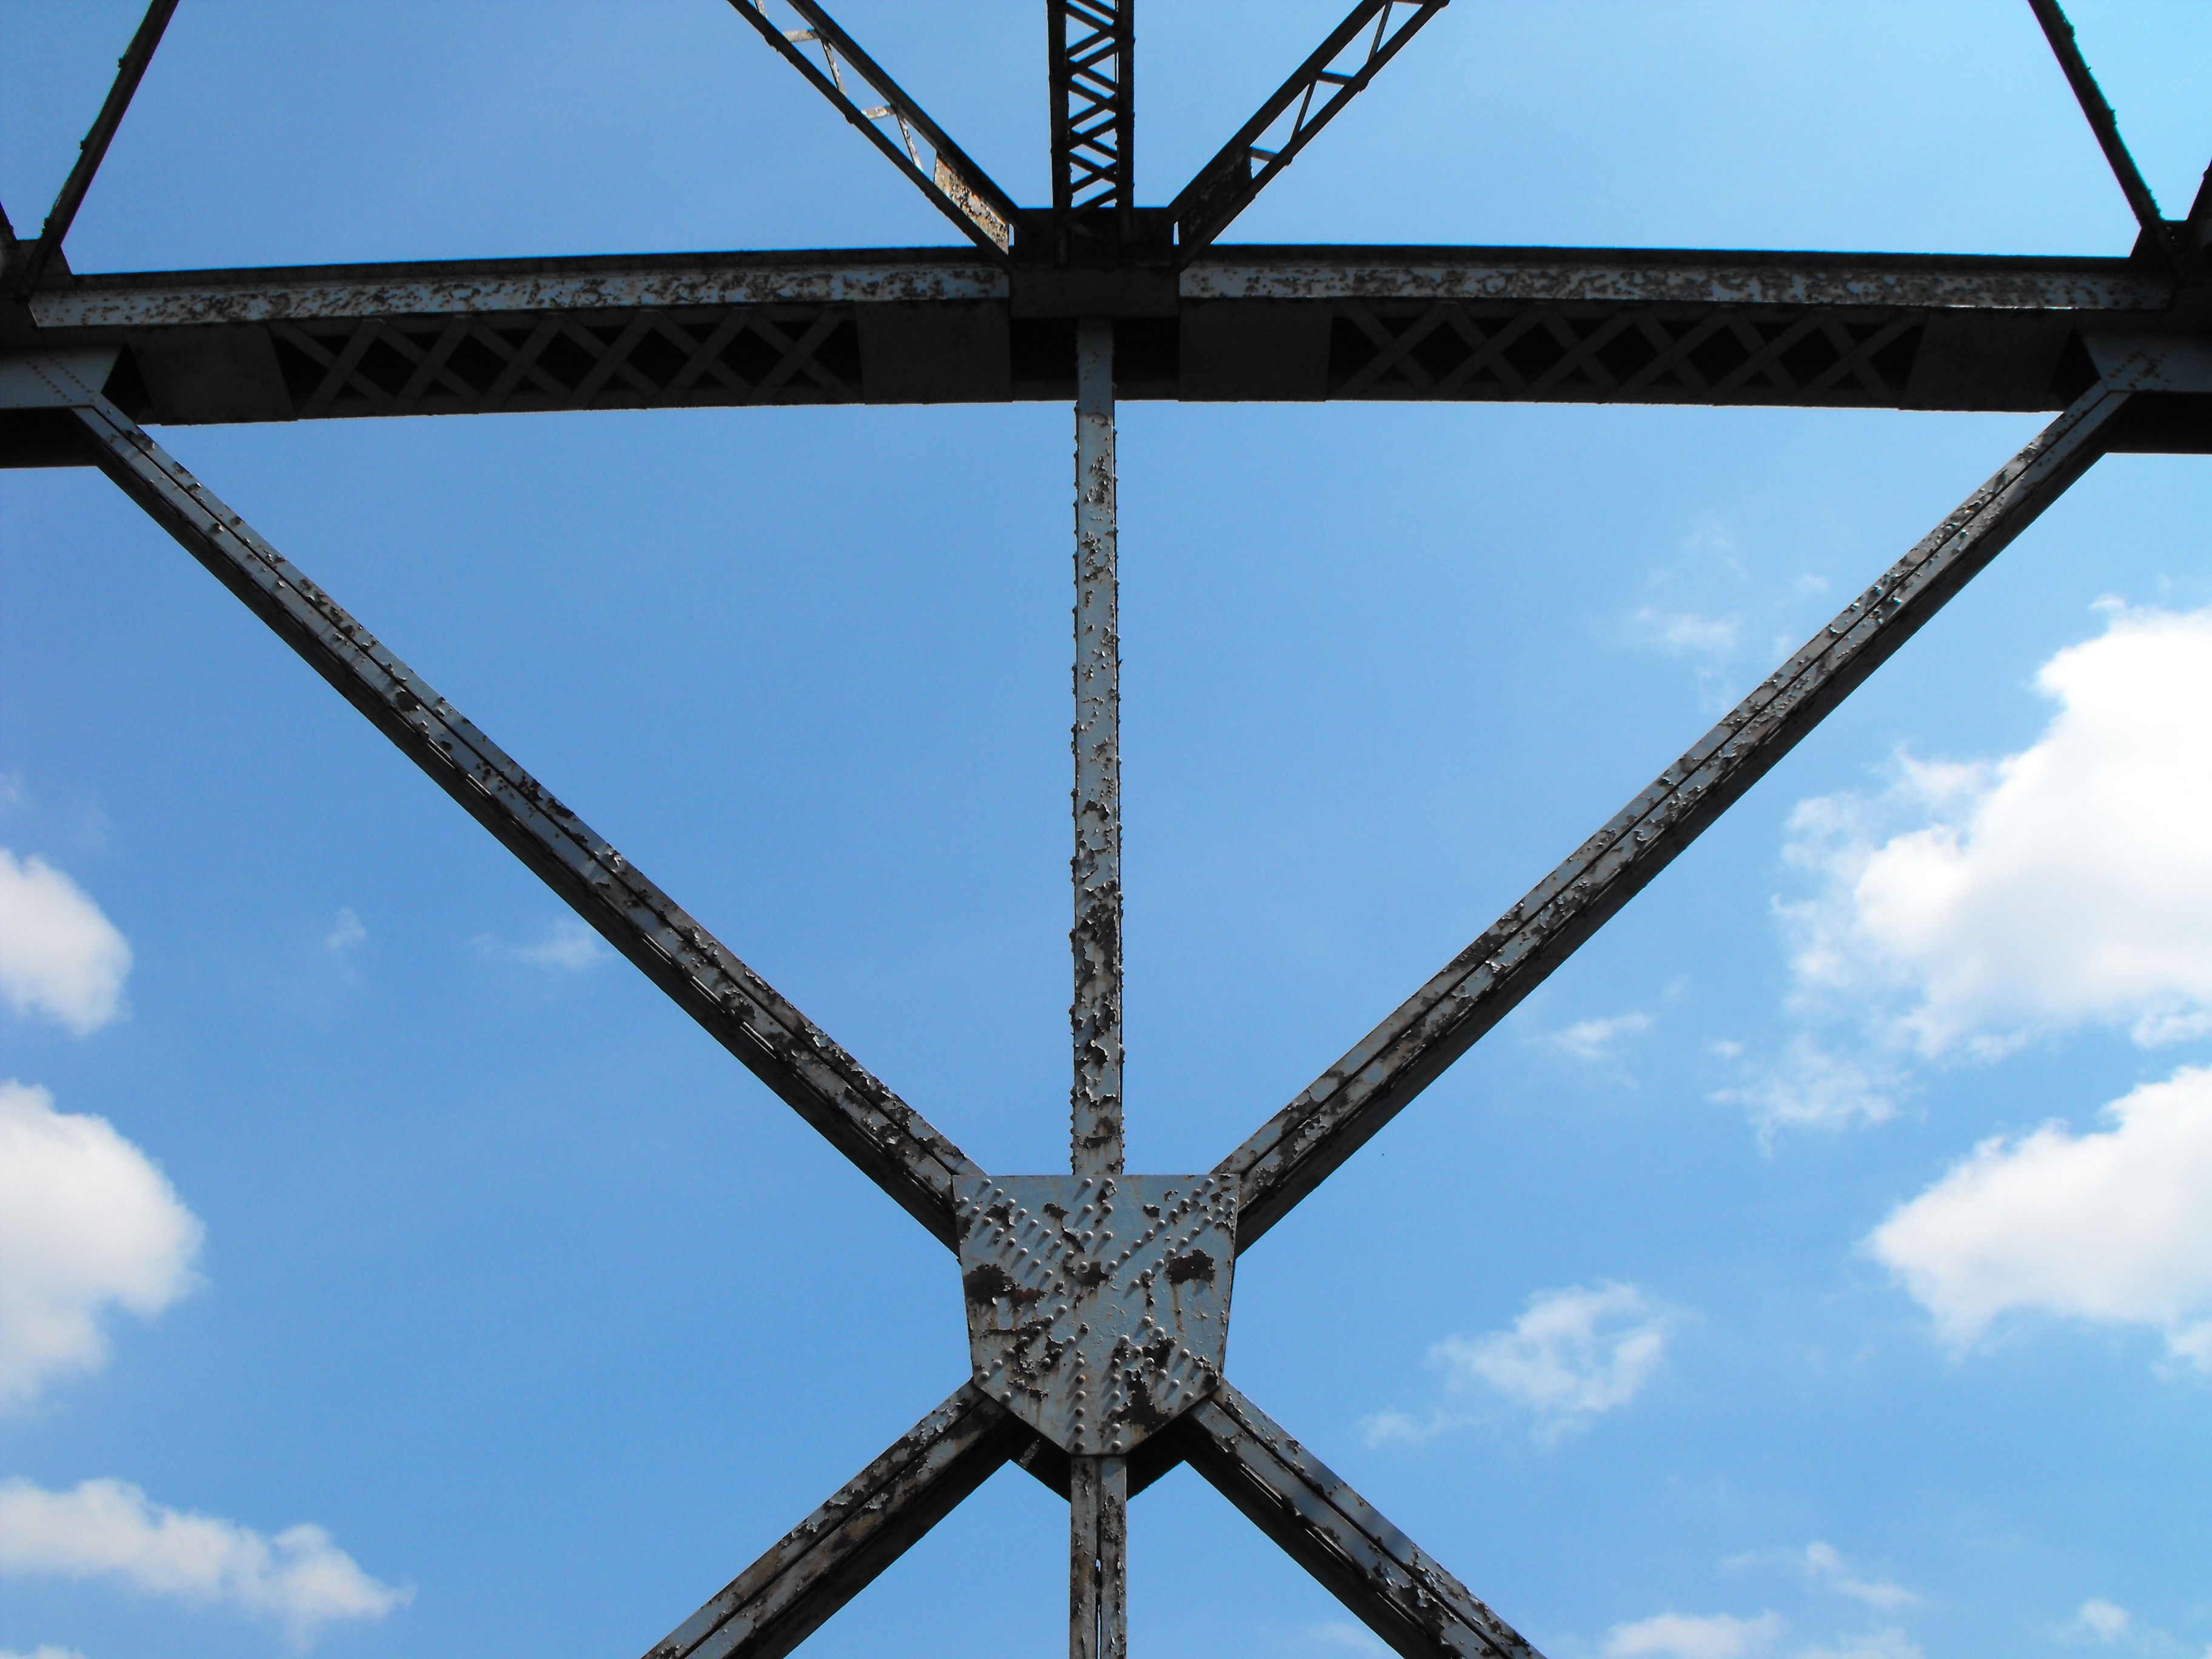
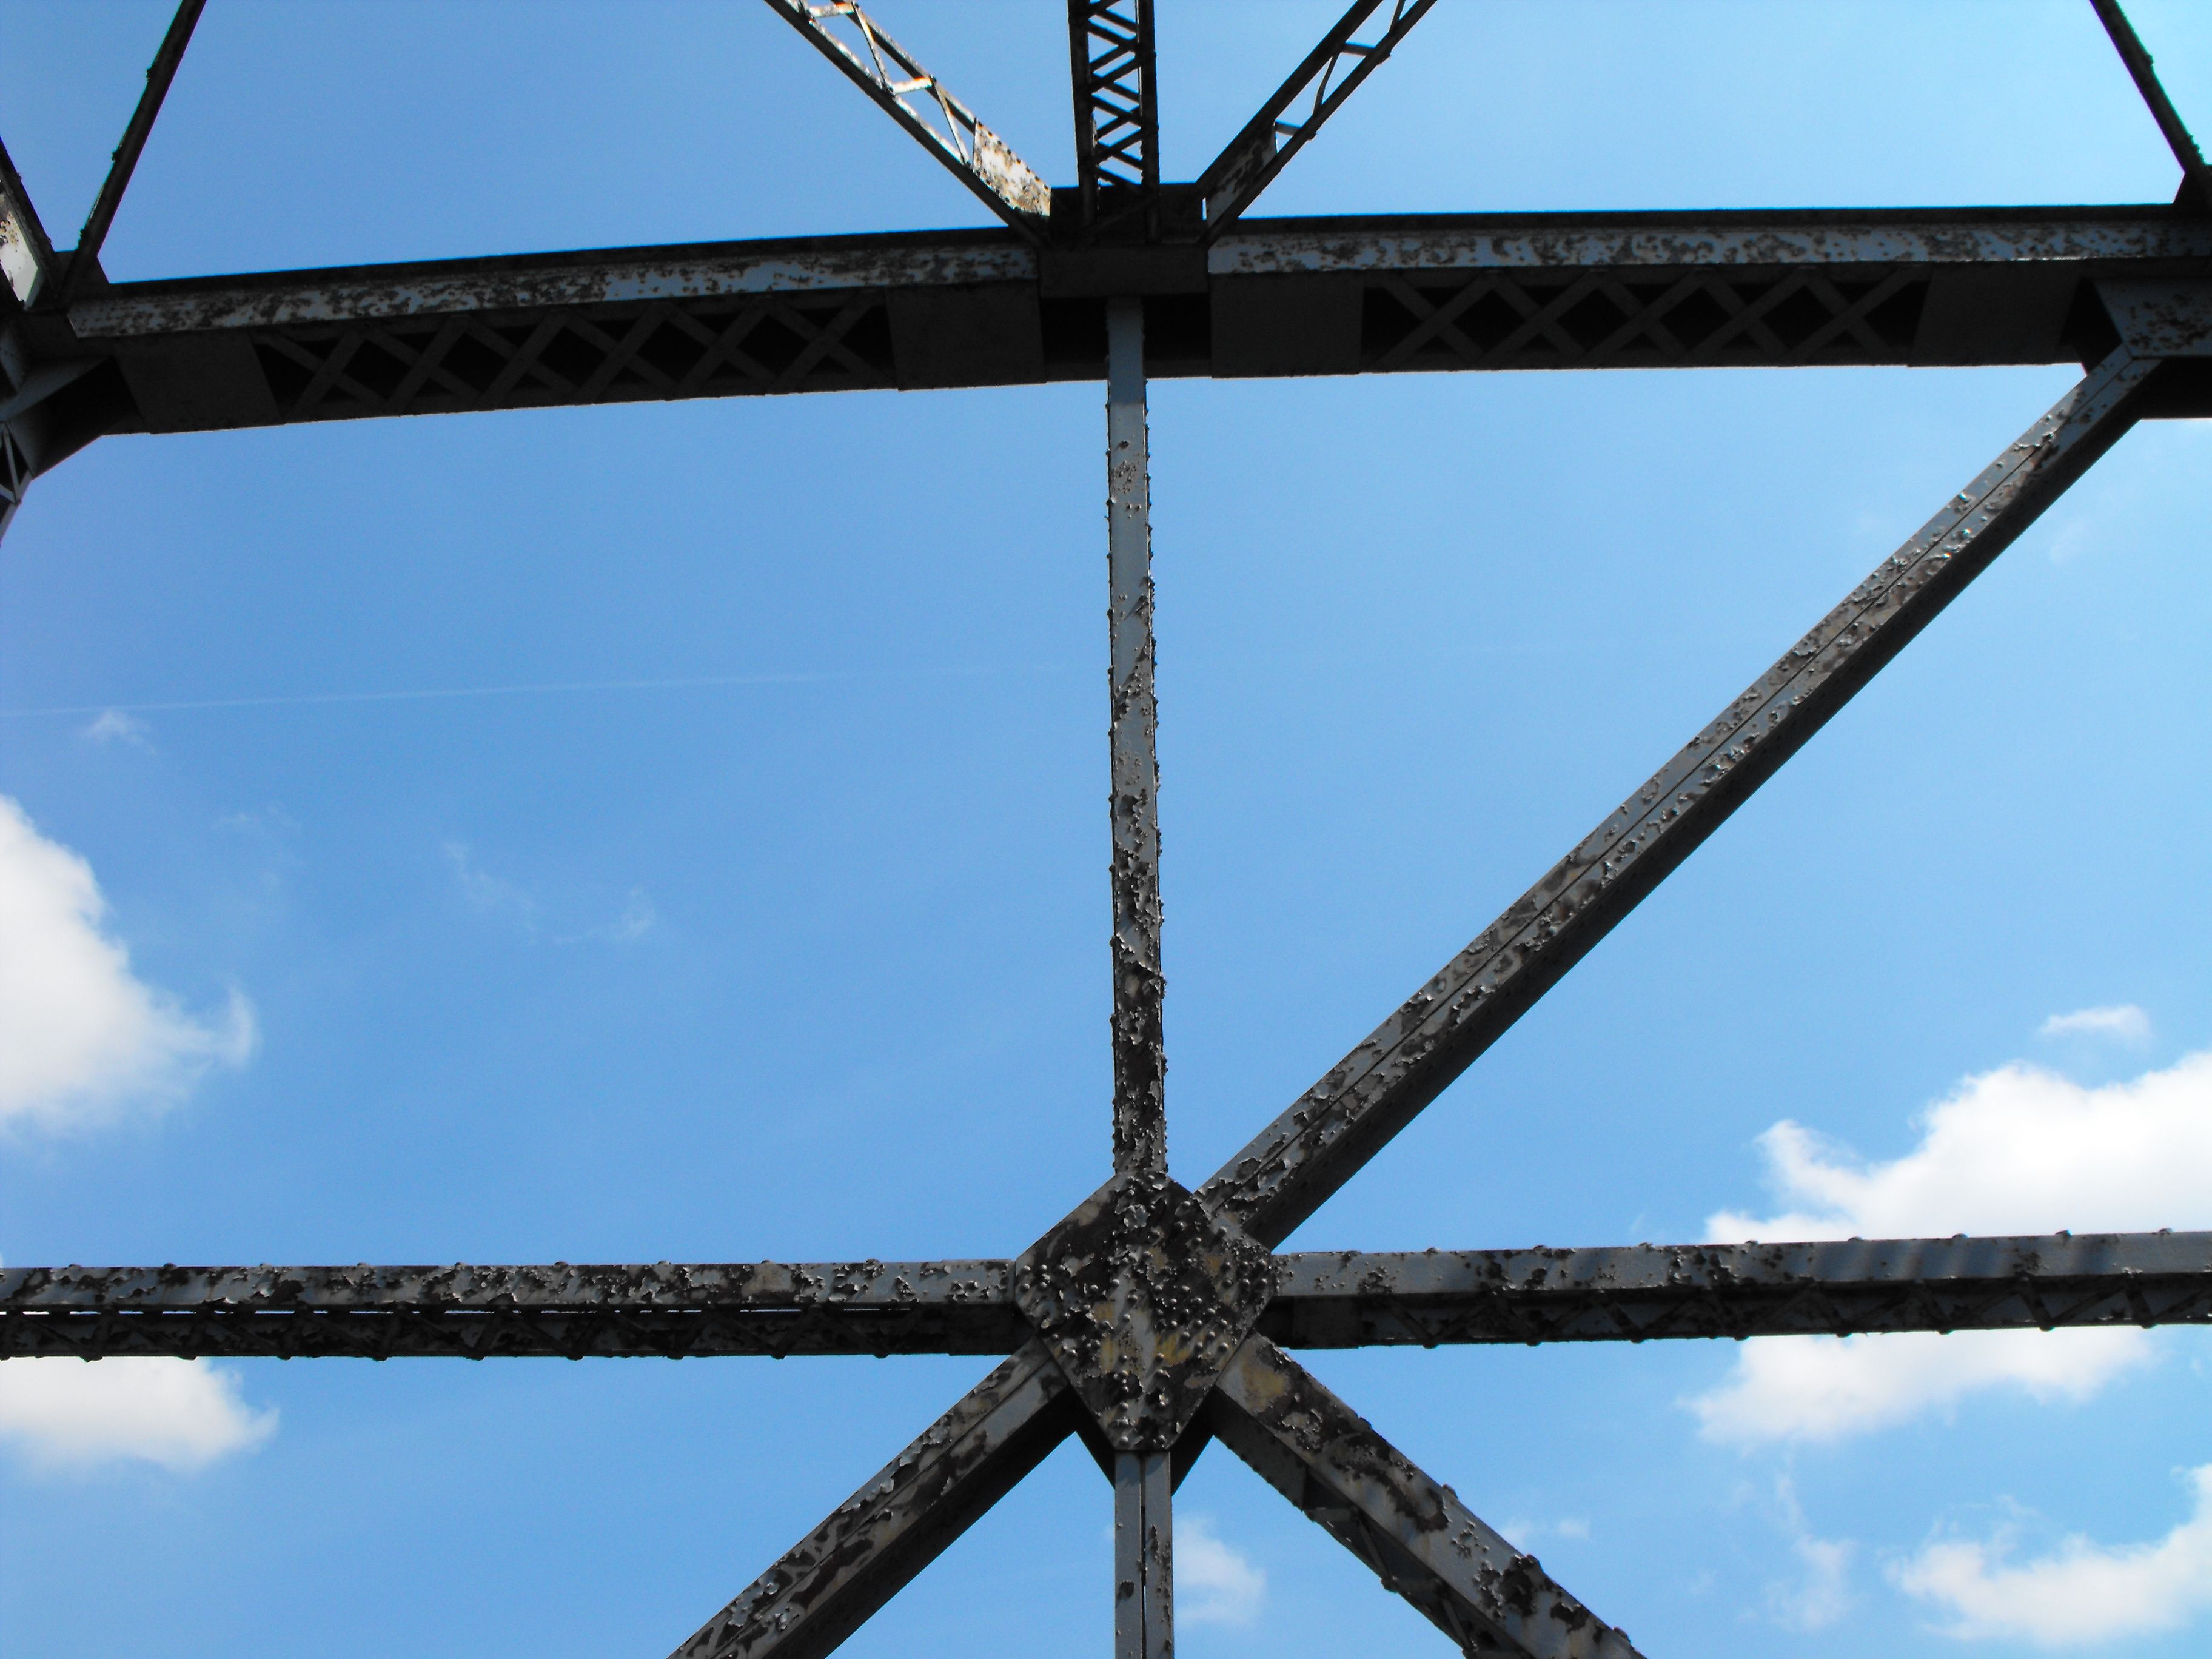
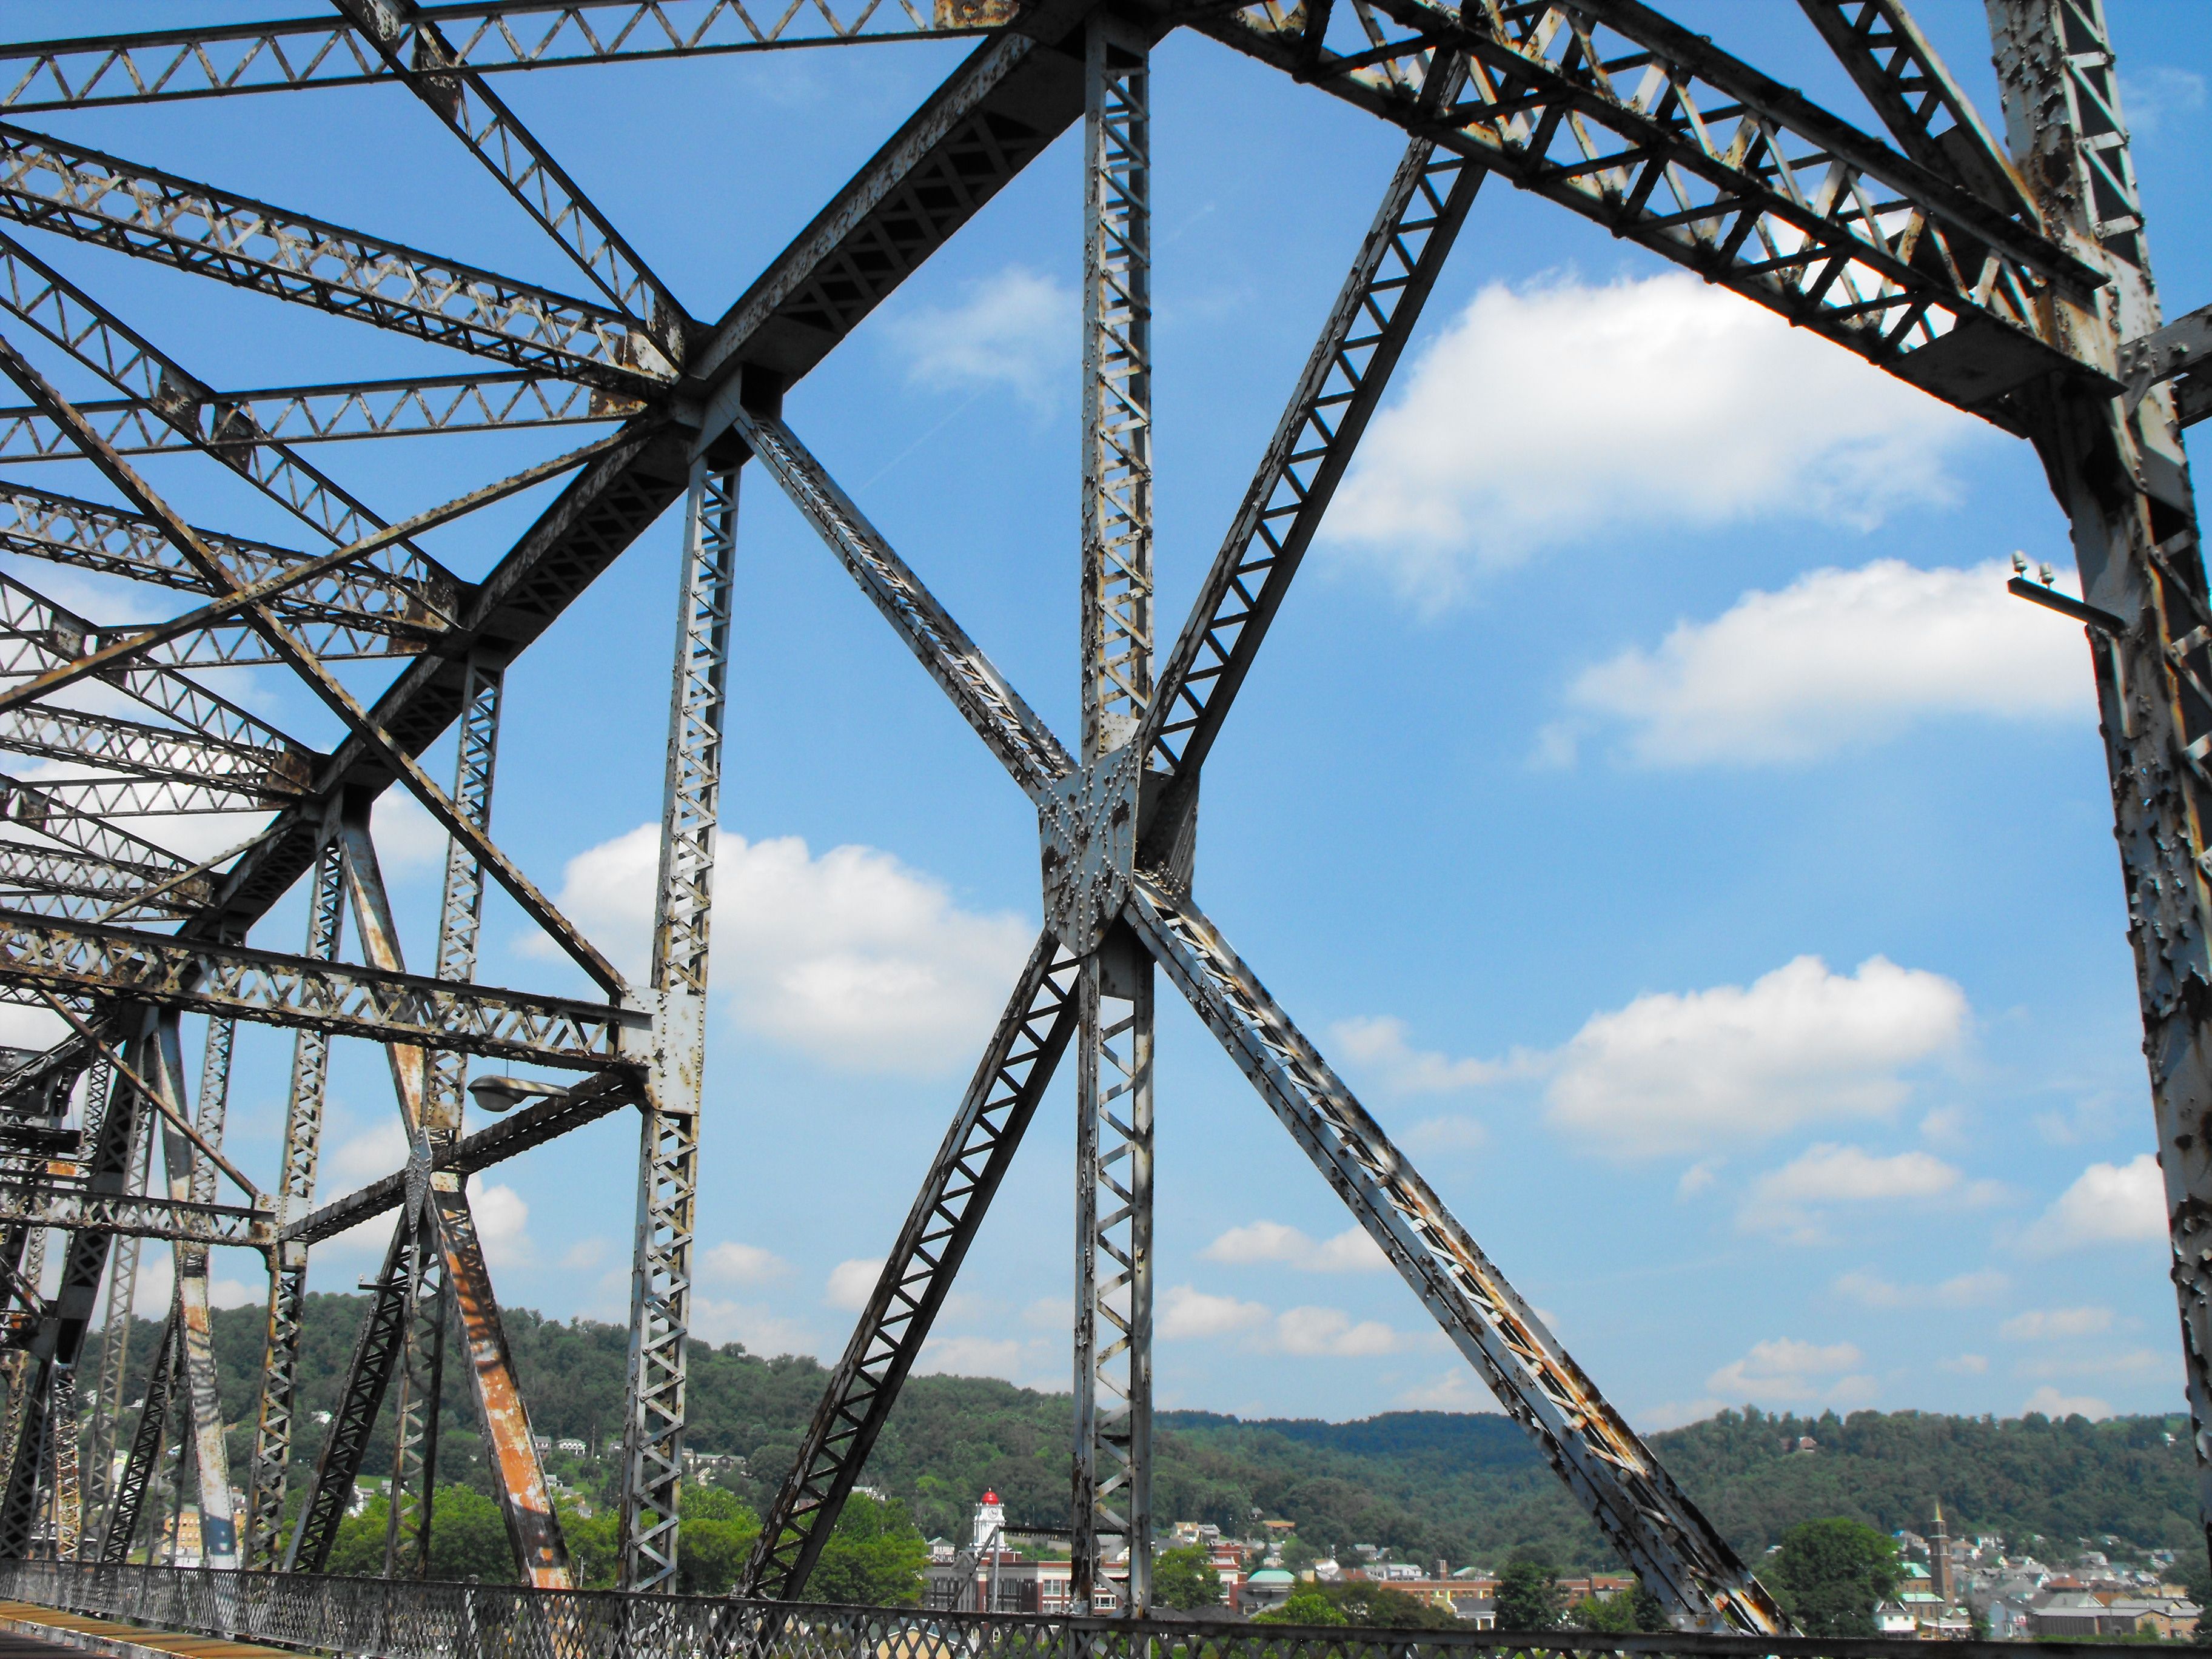
Various views of the truss web.
![]()
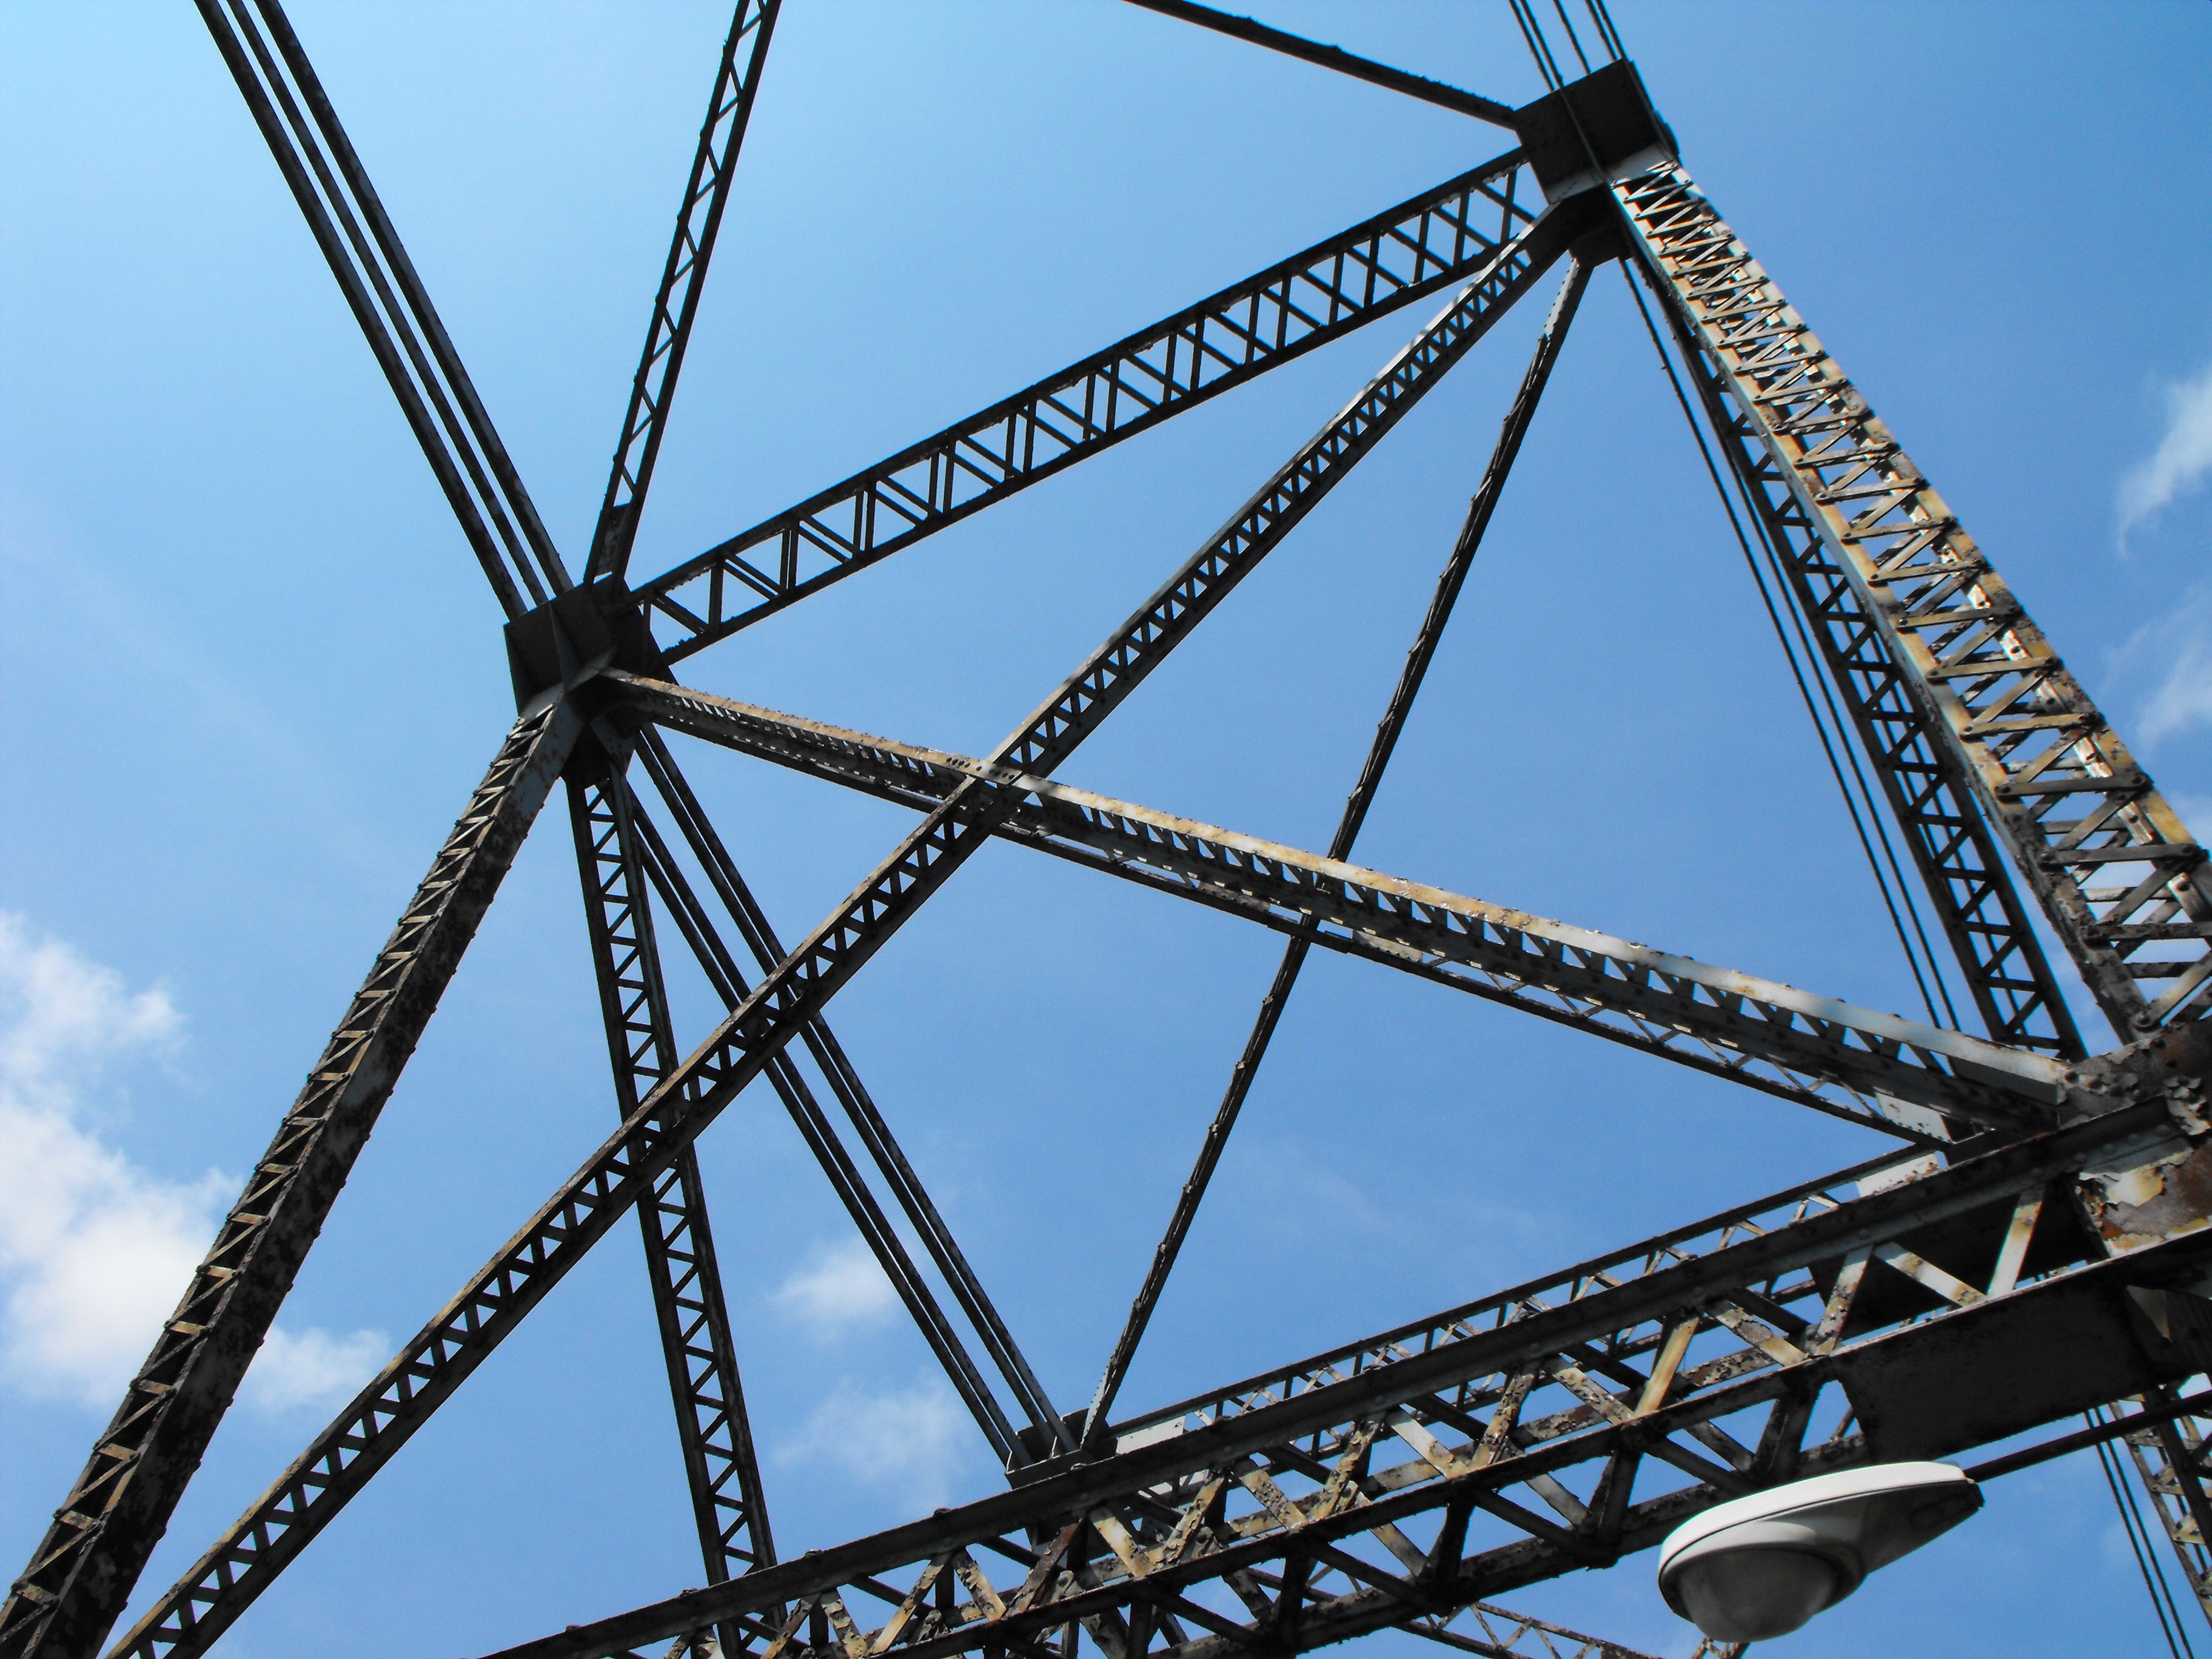

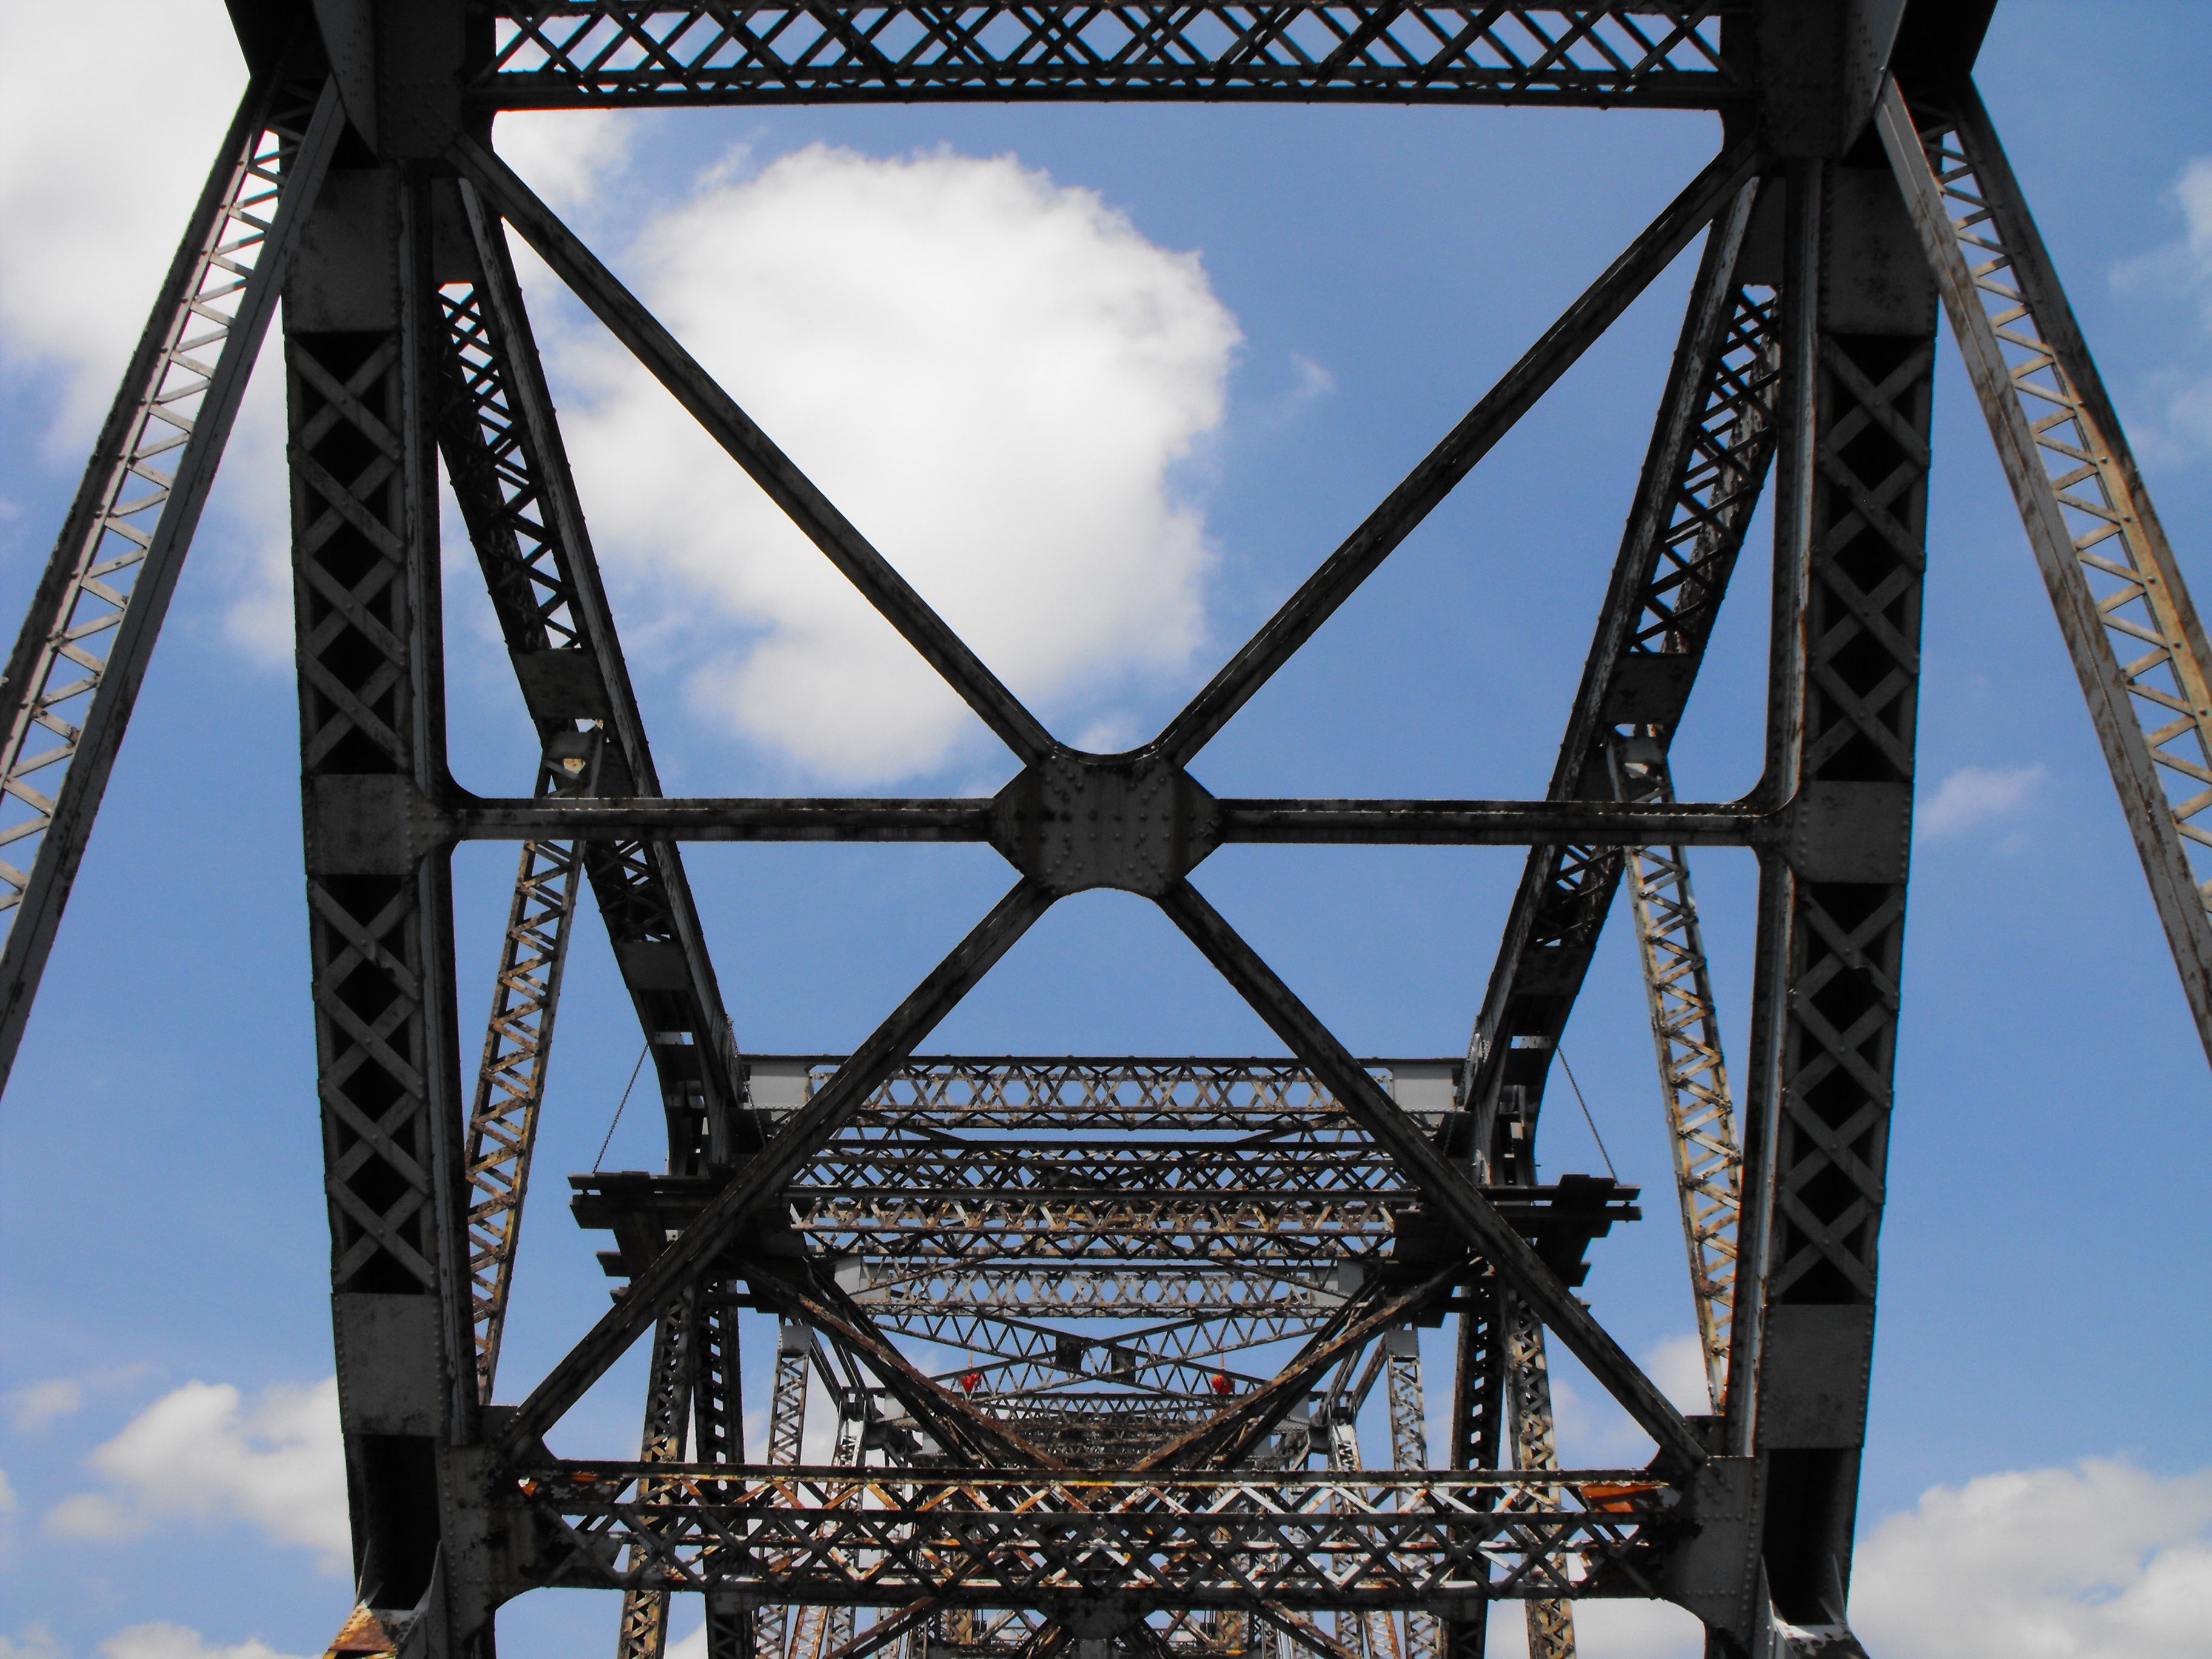
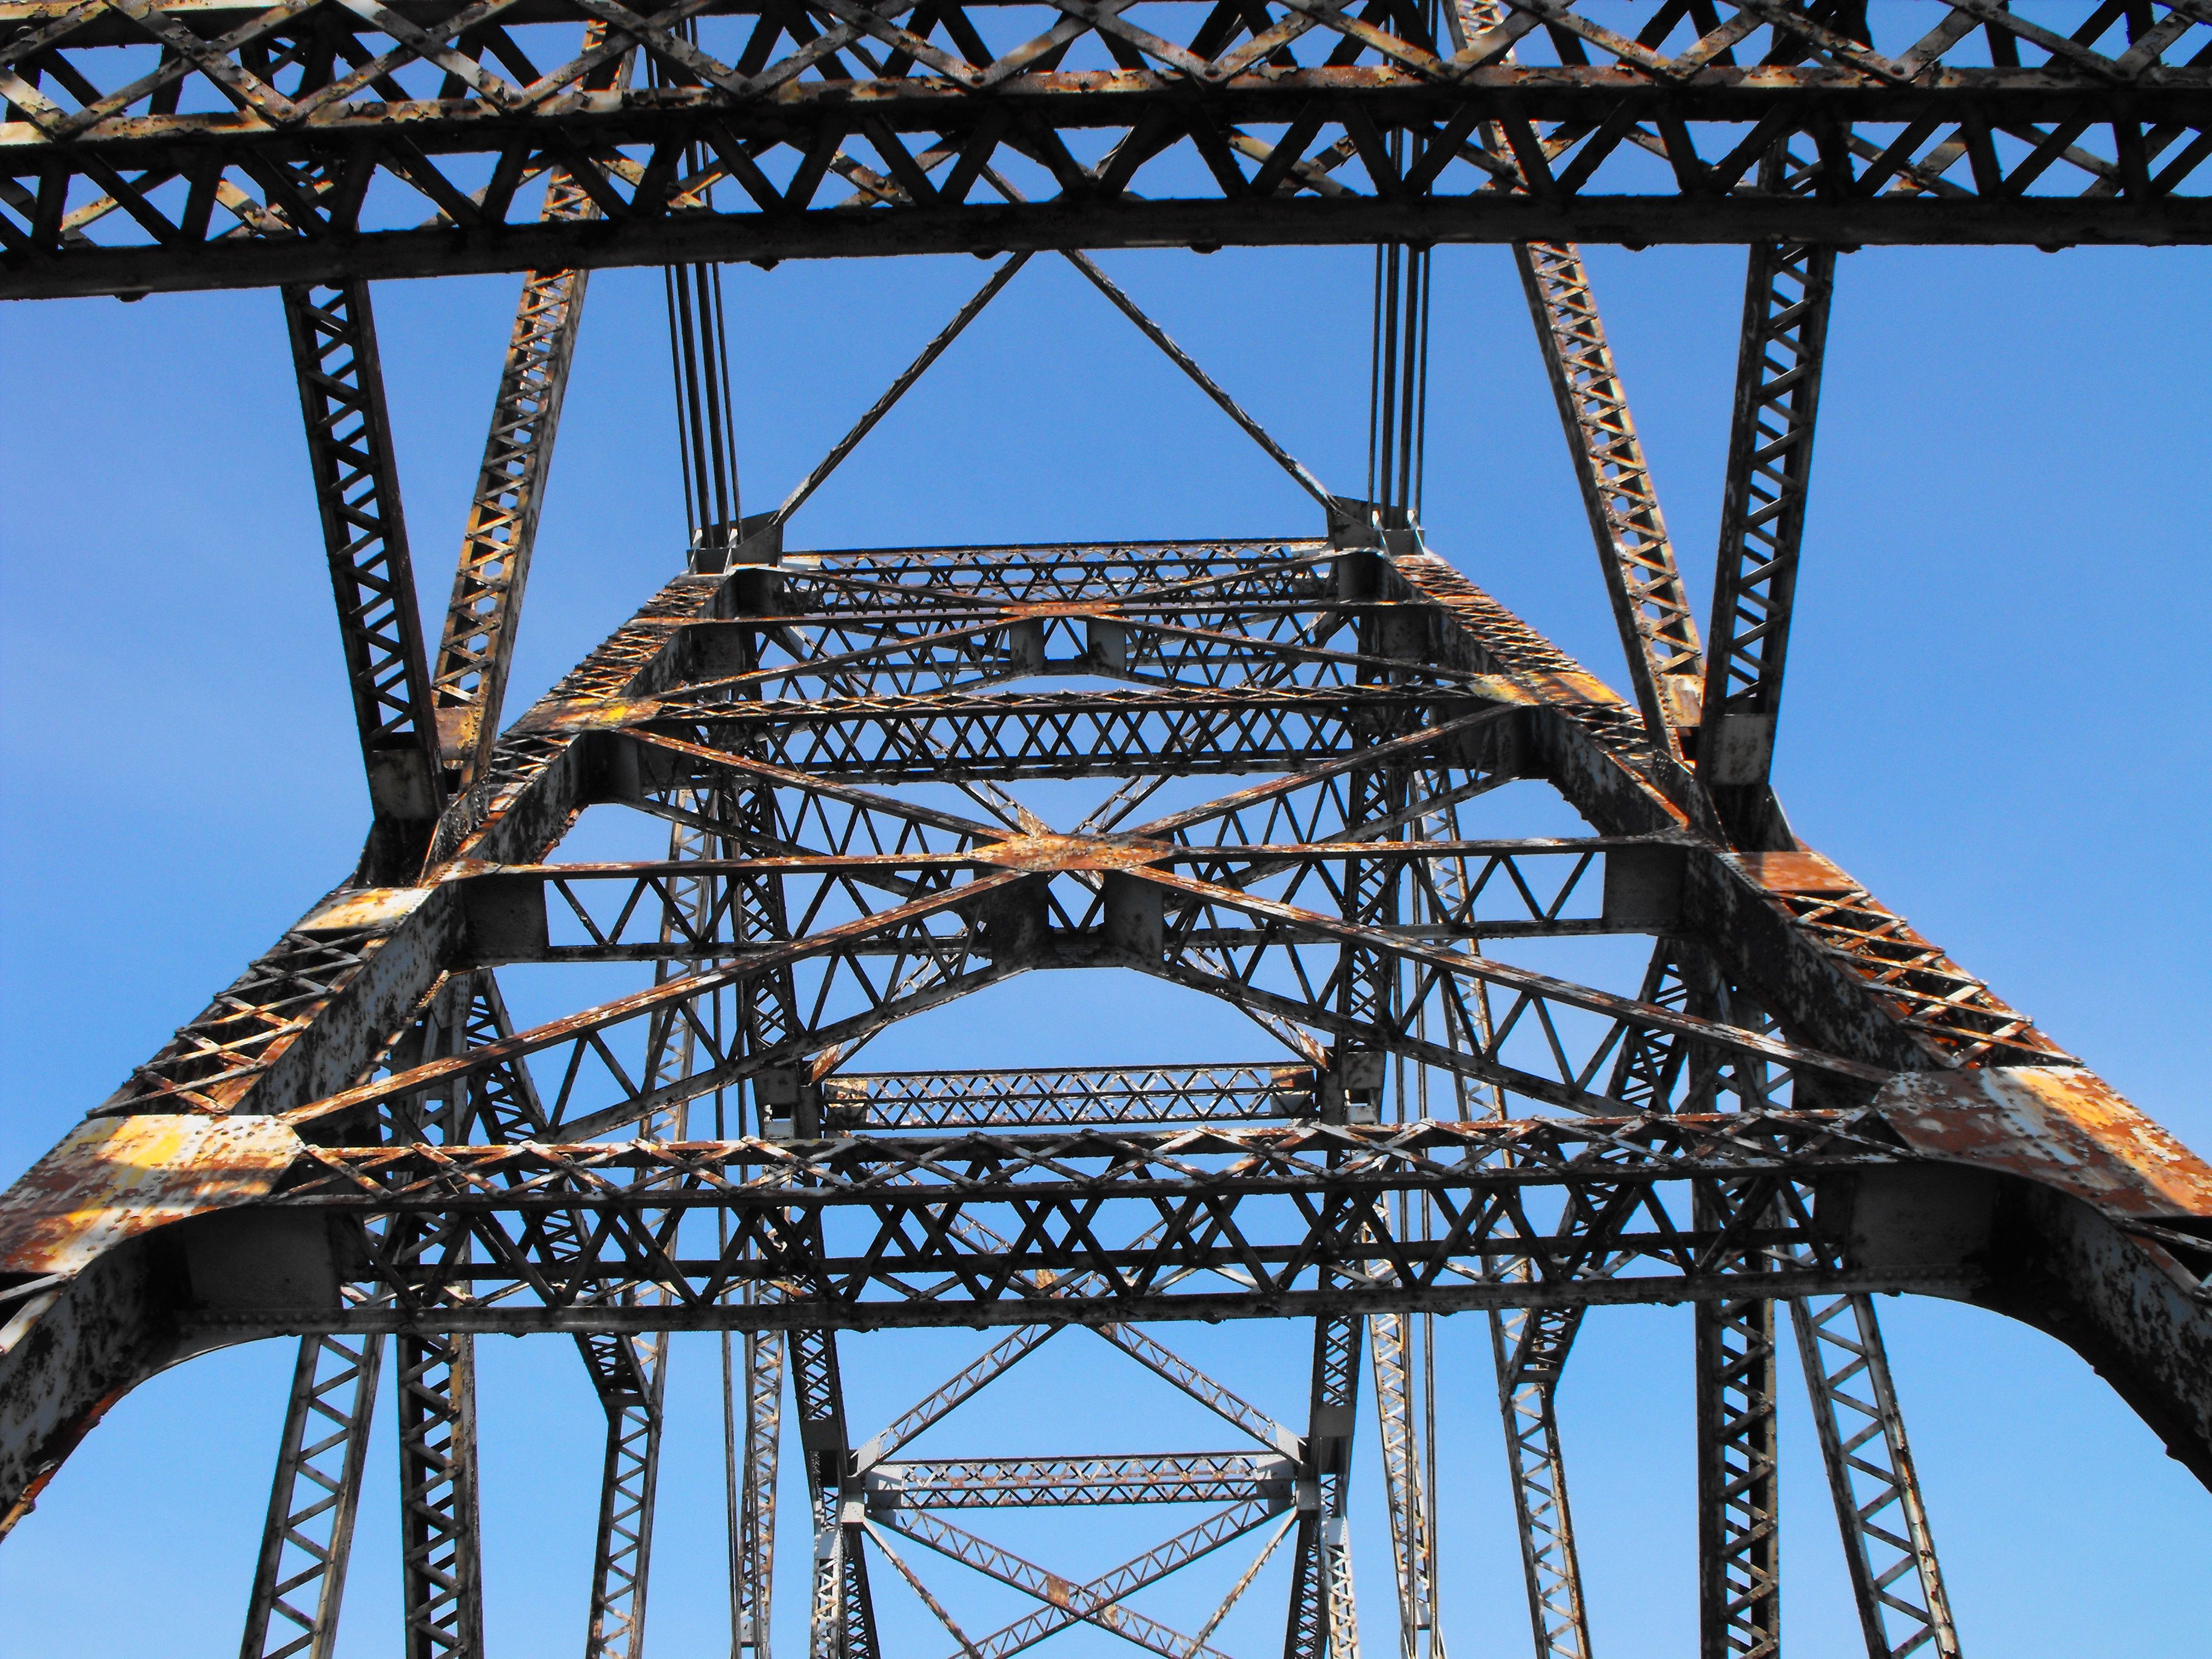
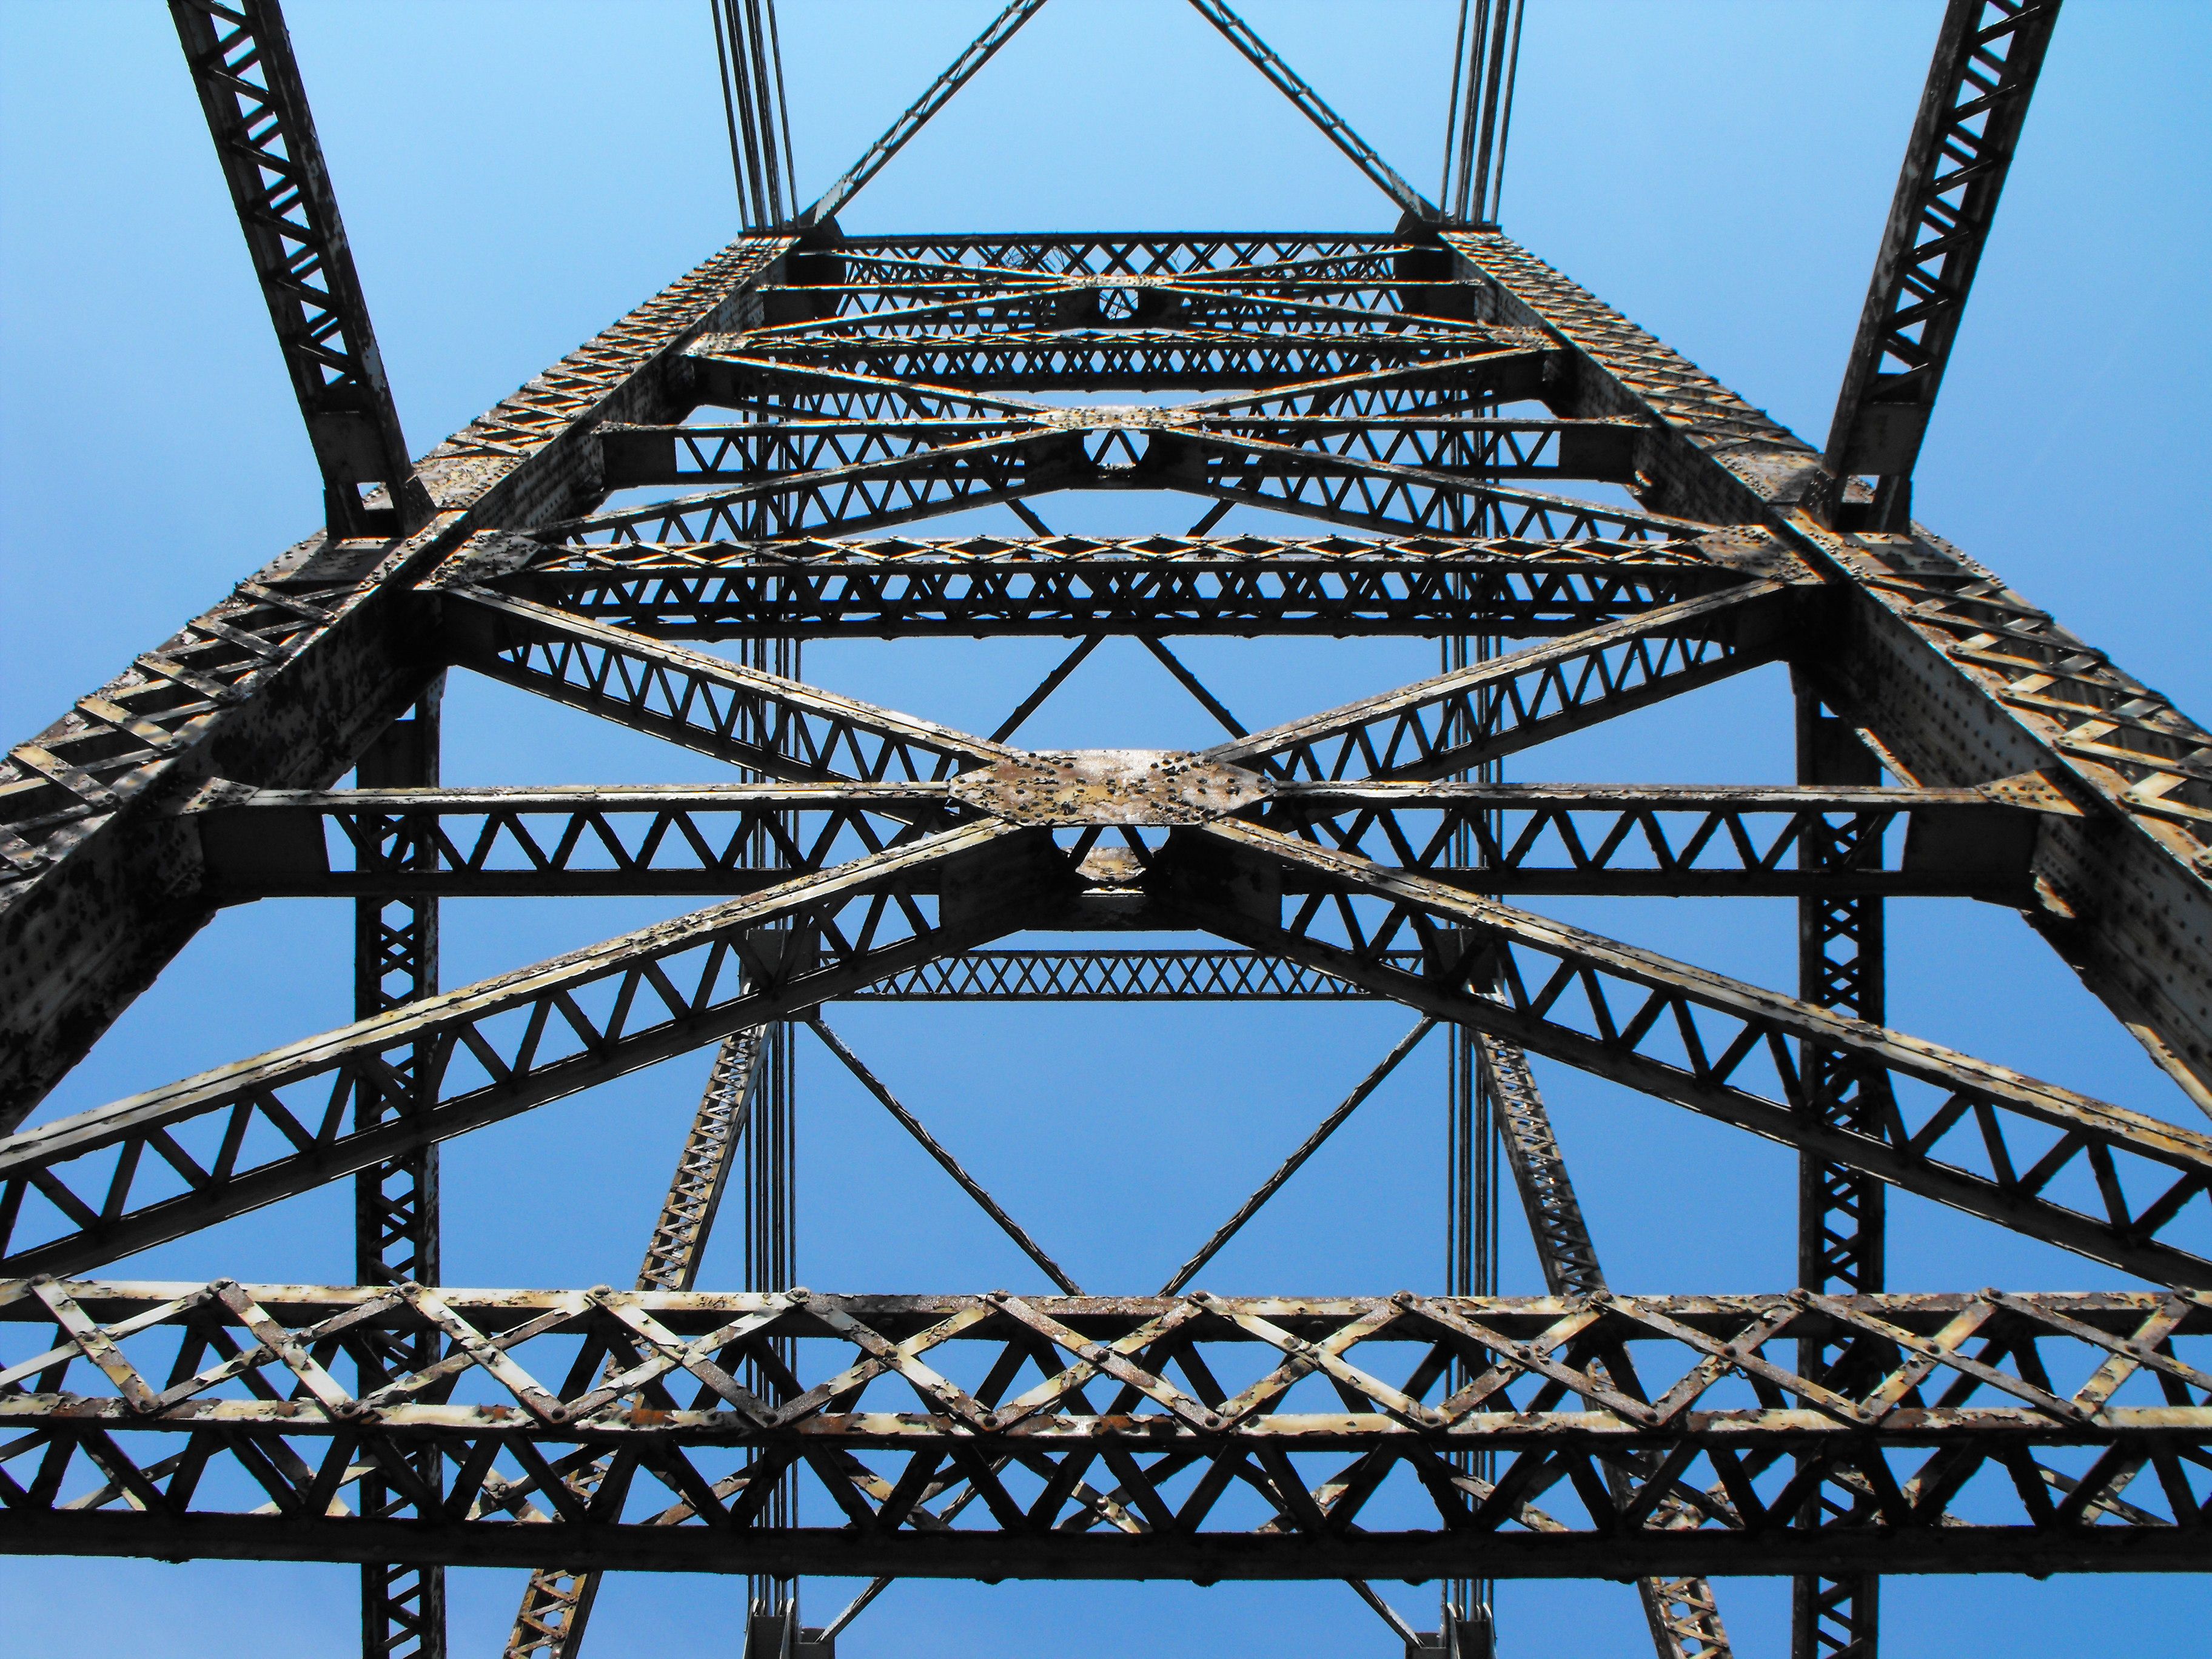
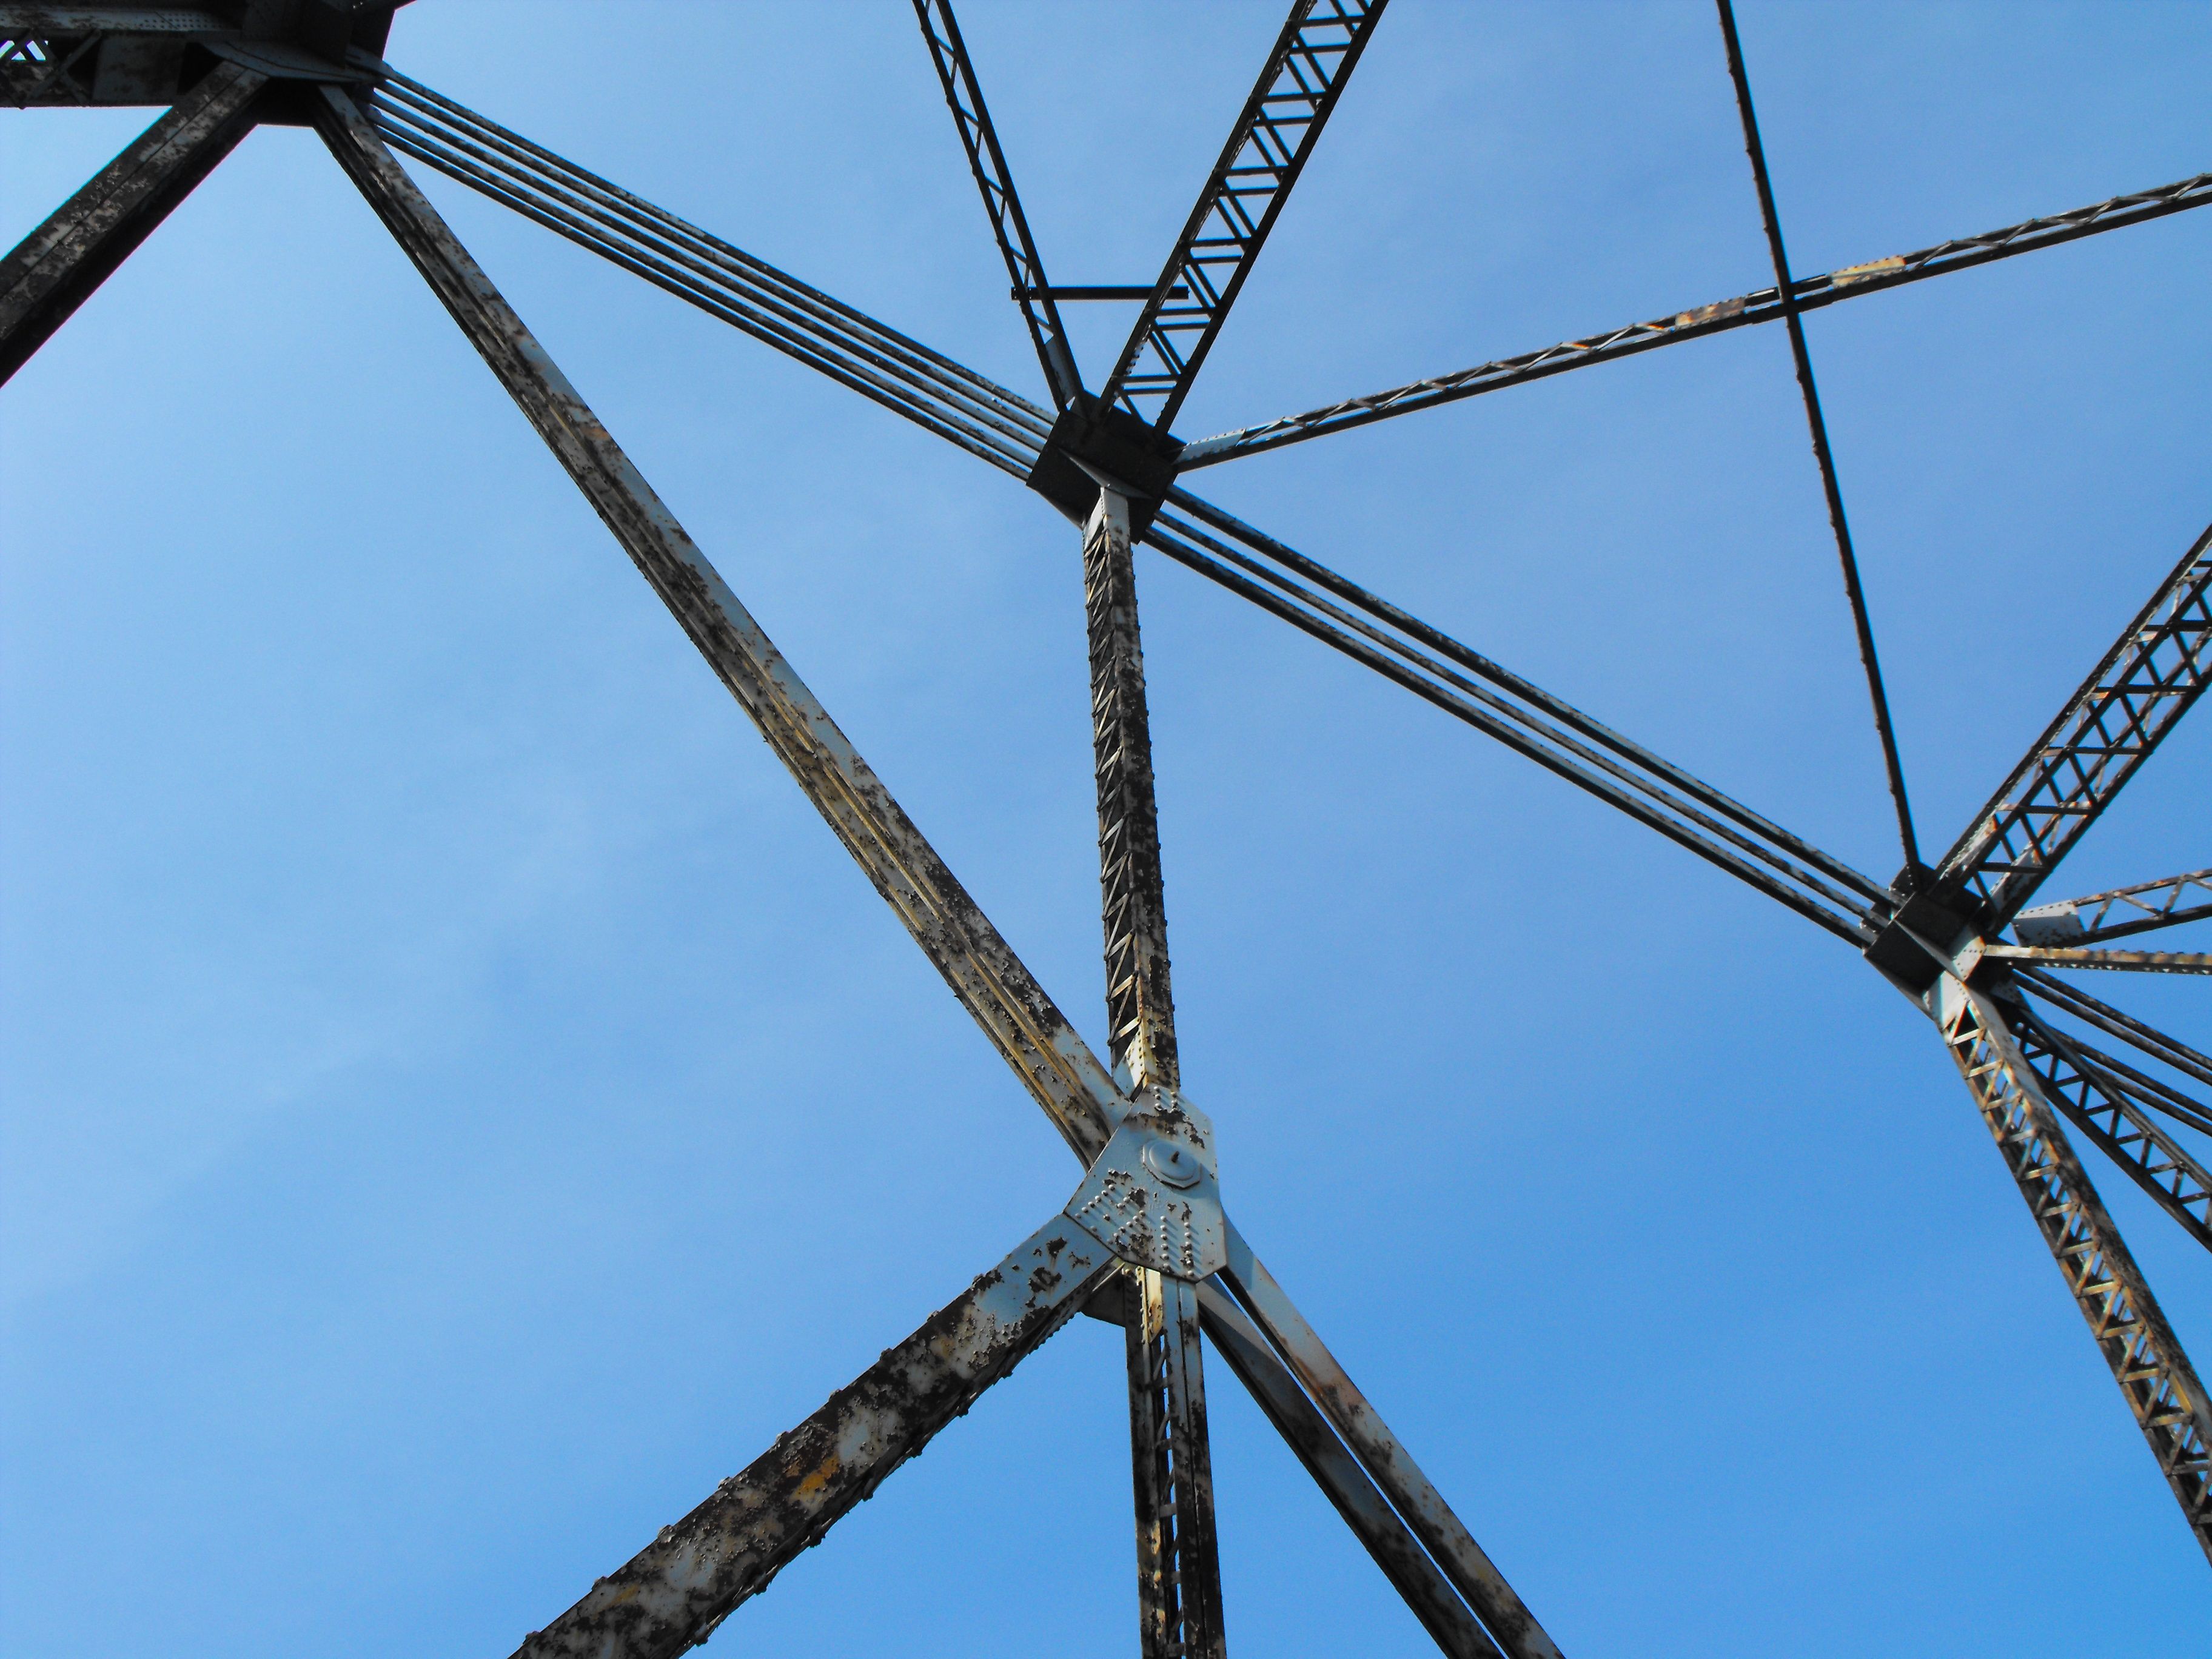
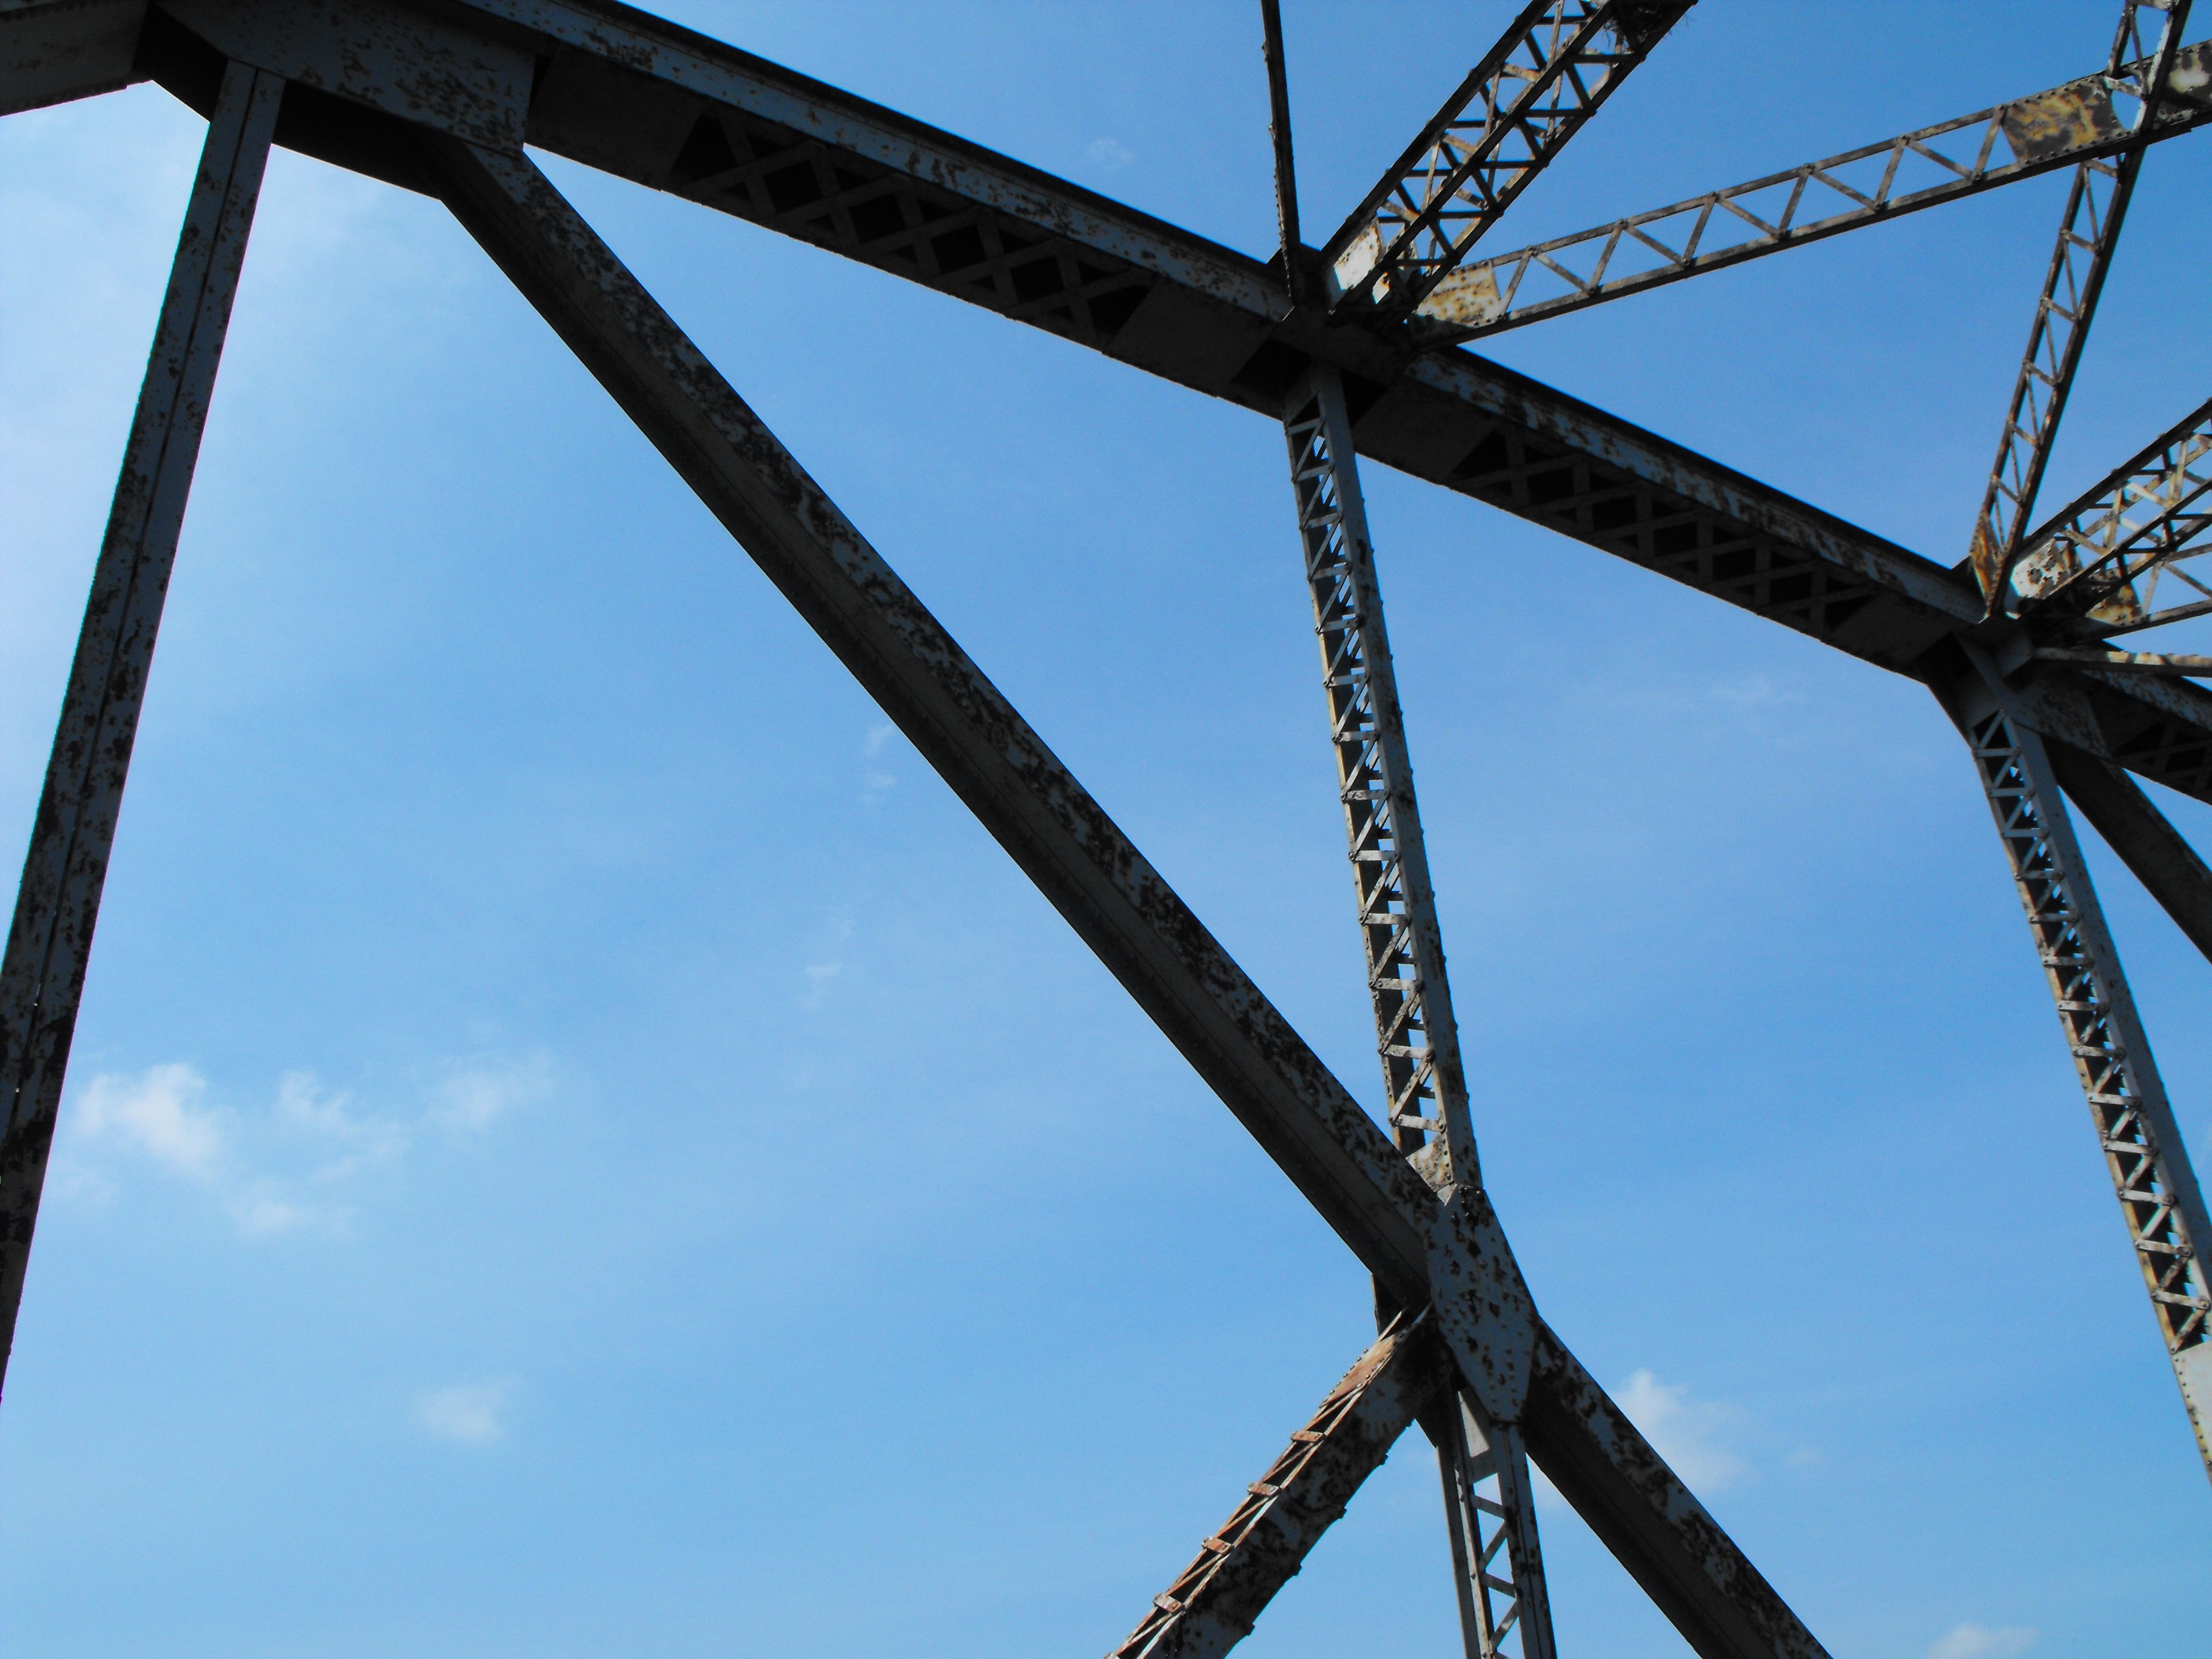
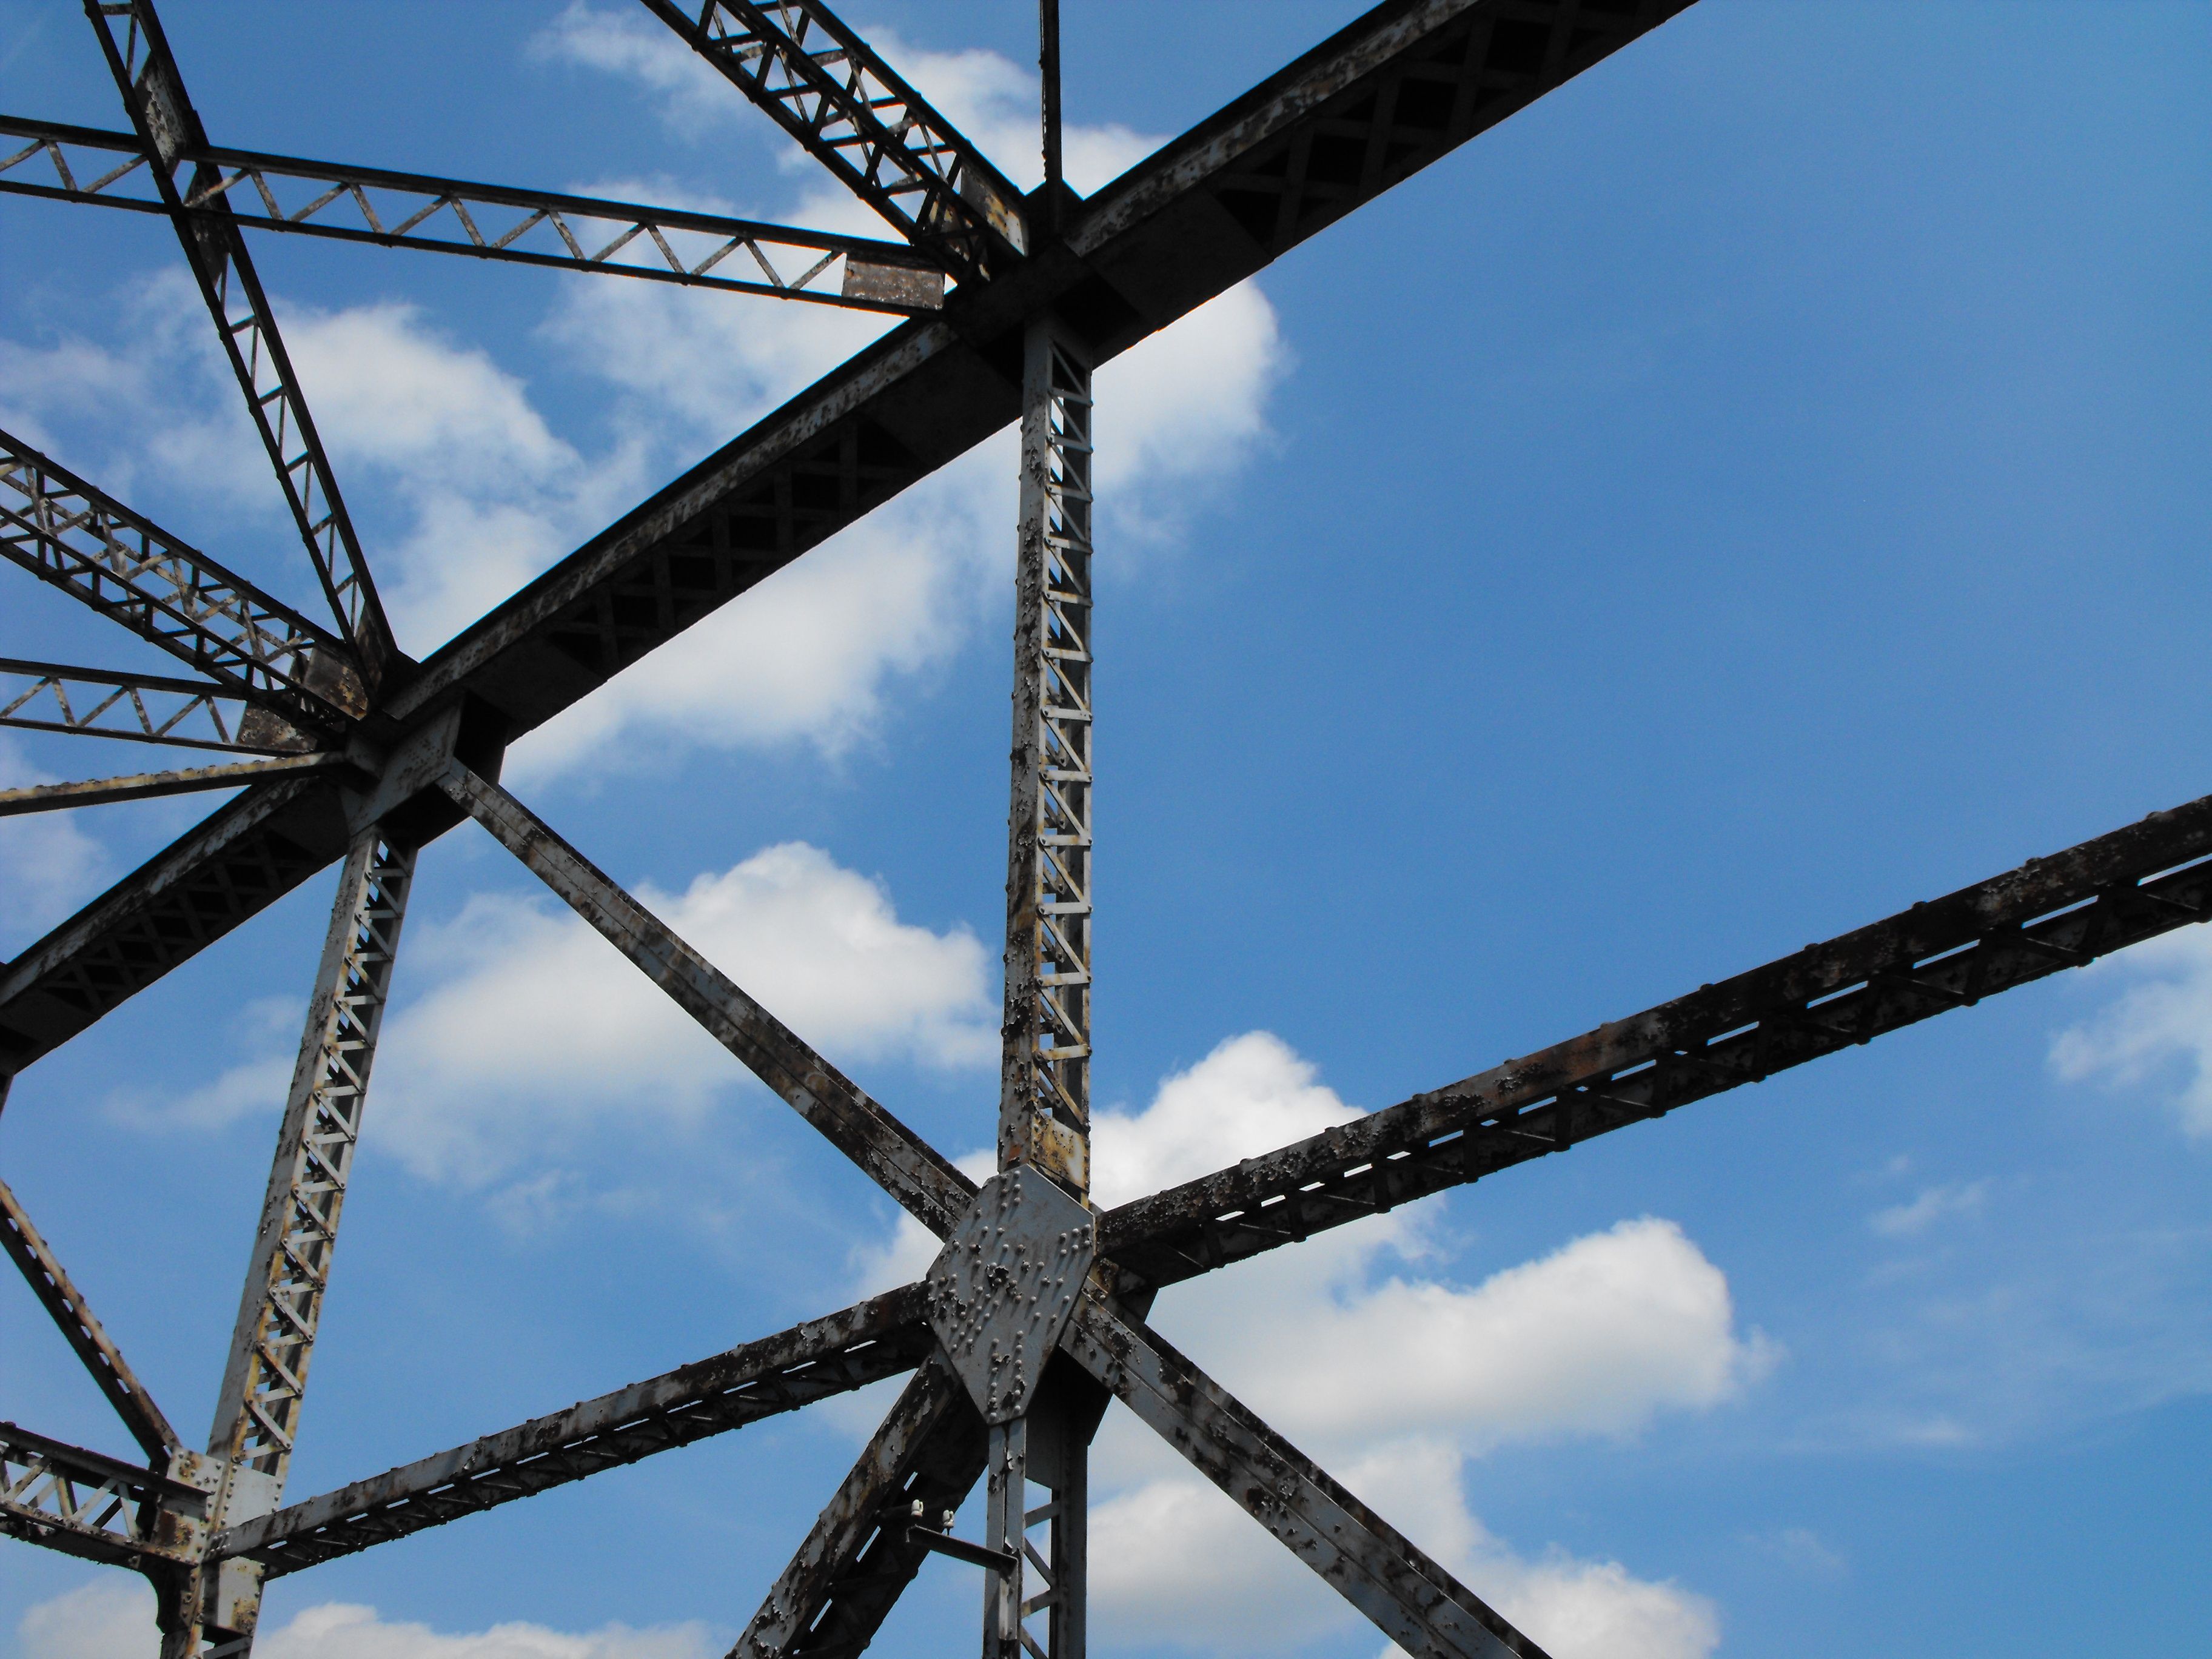
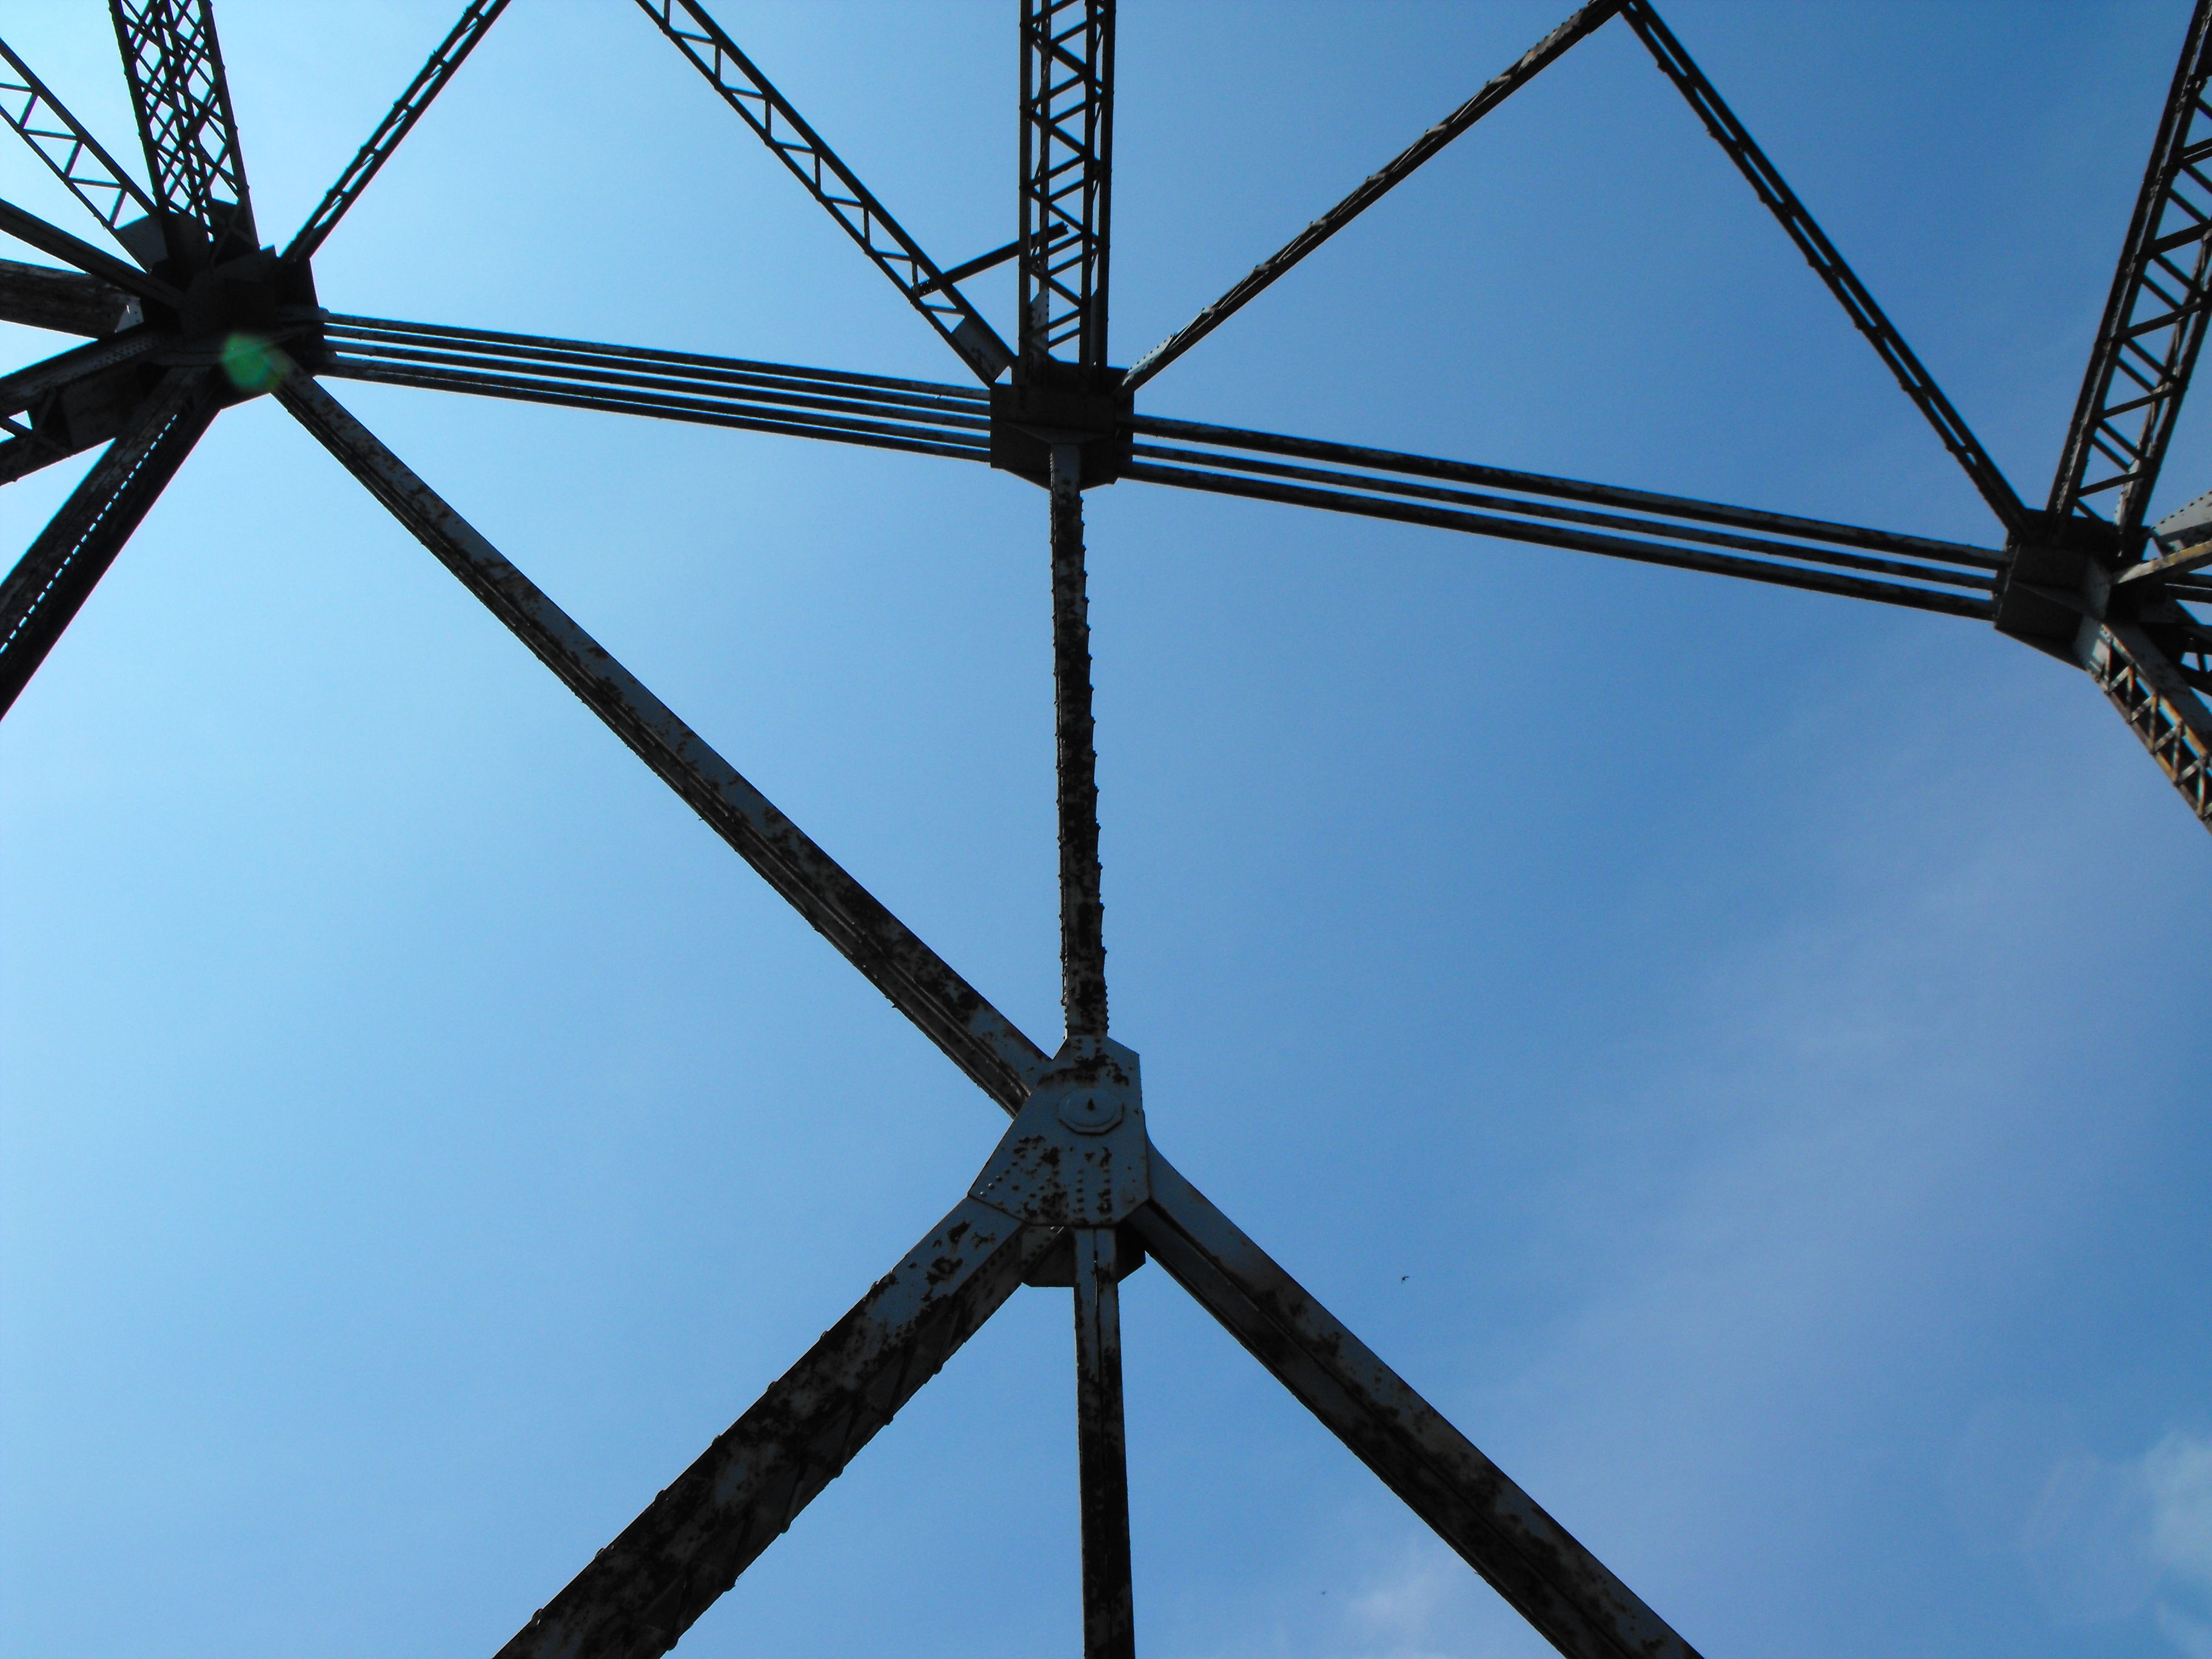
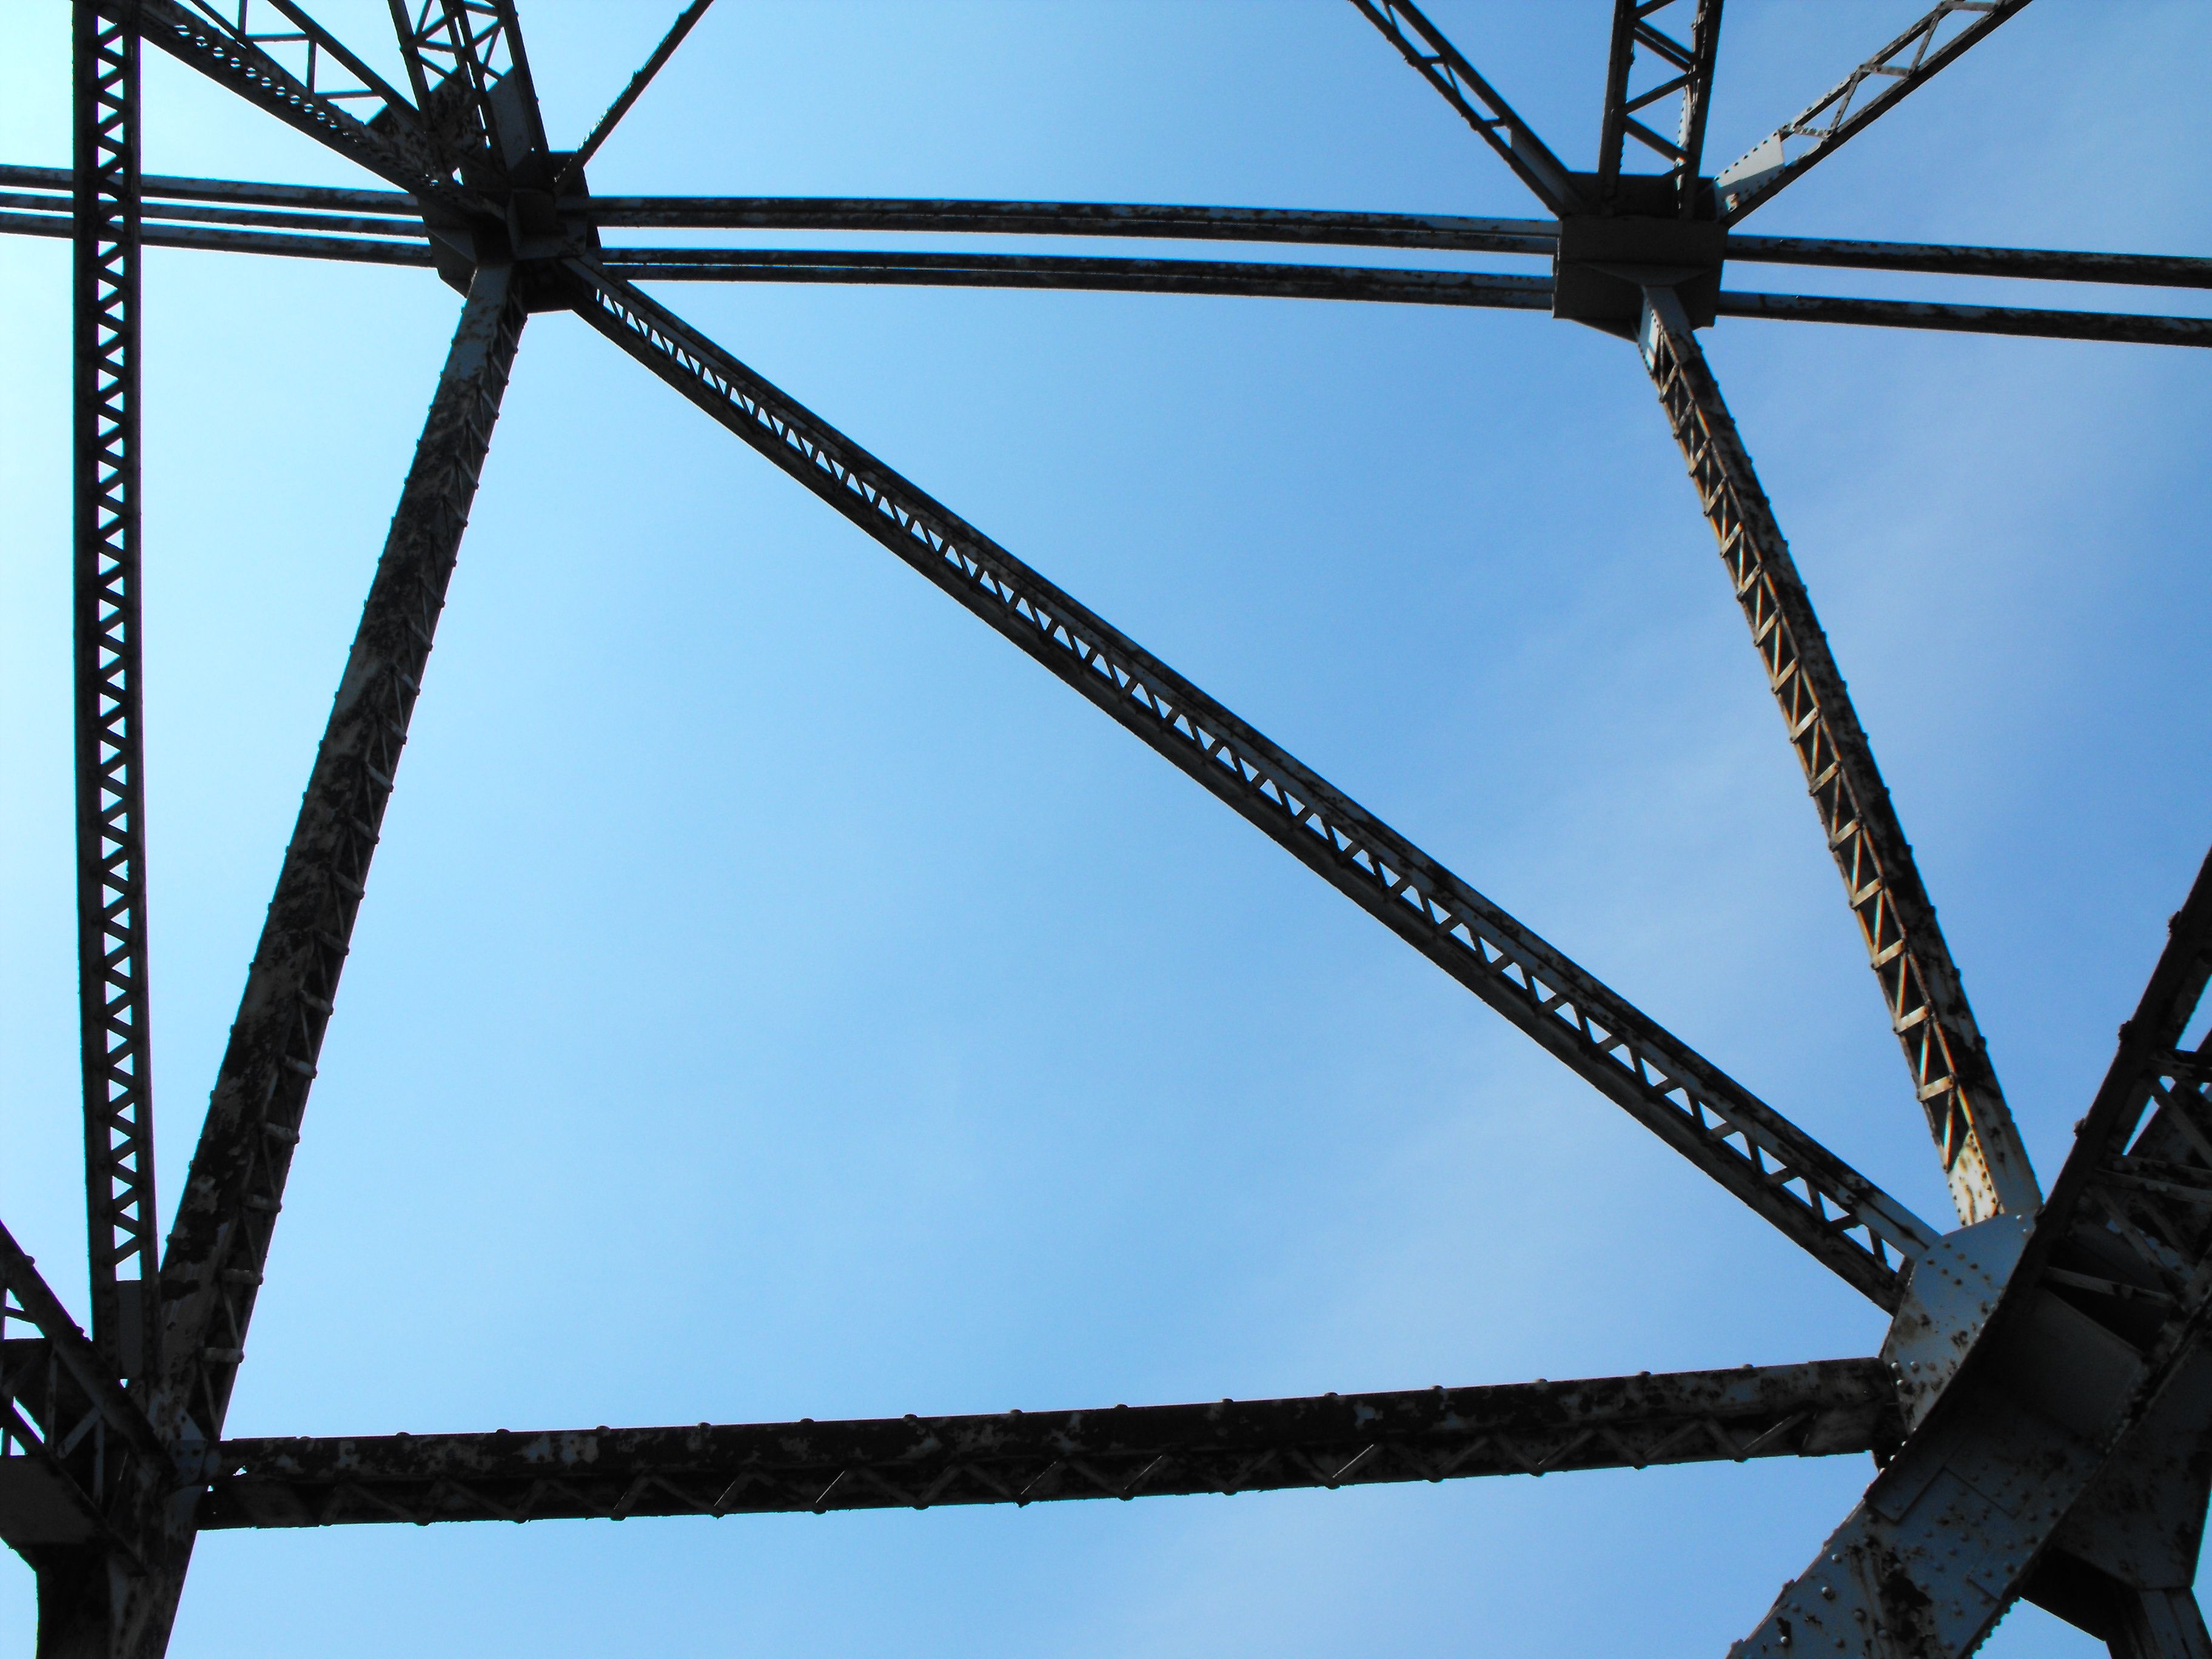
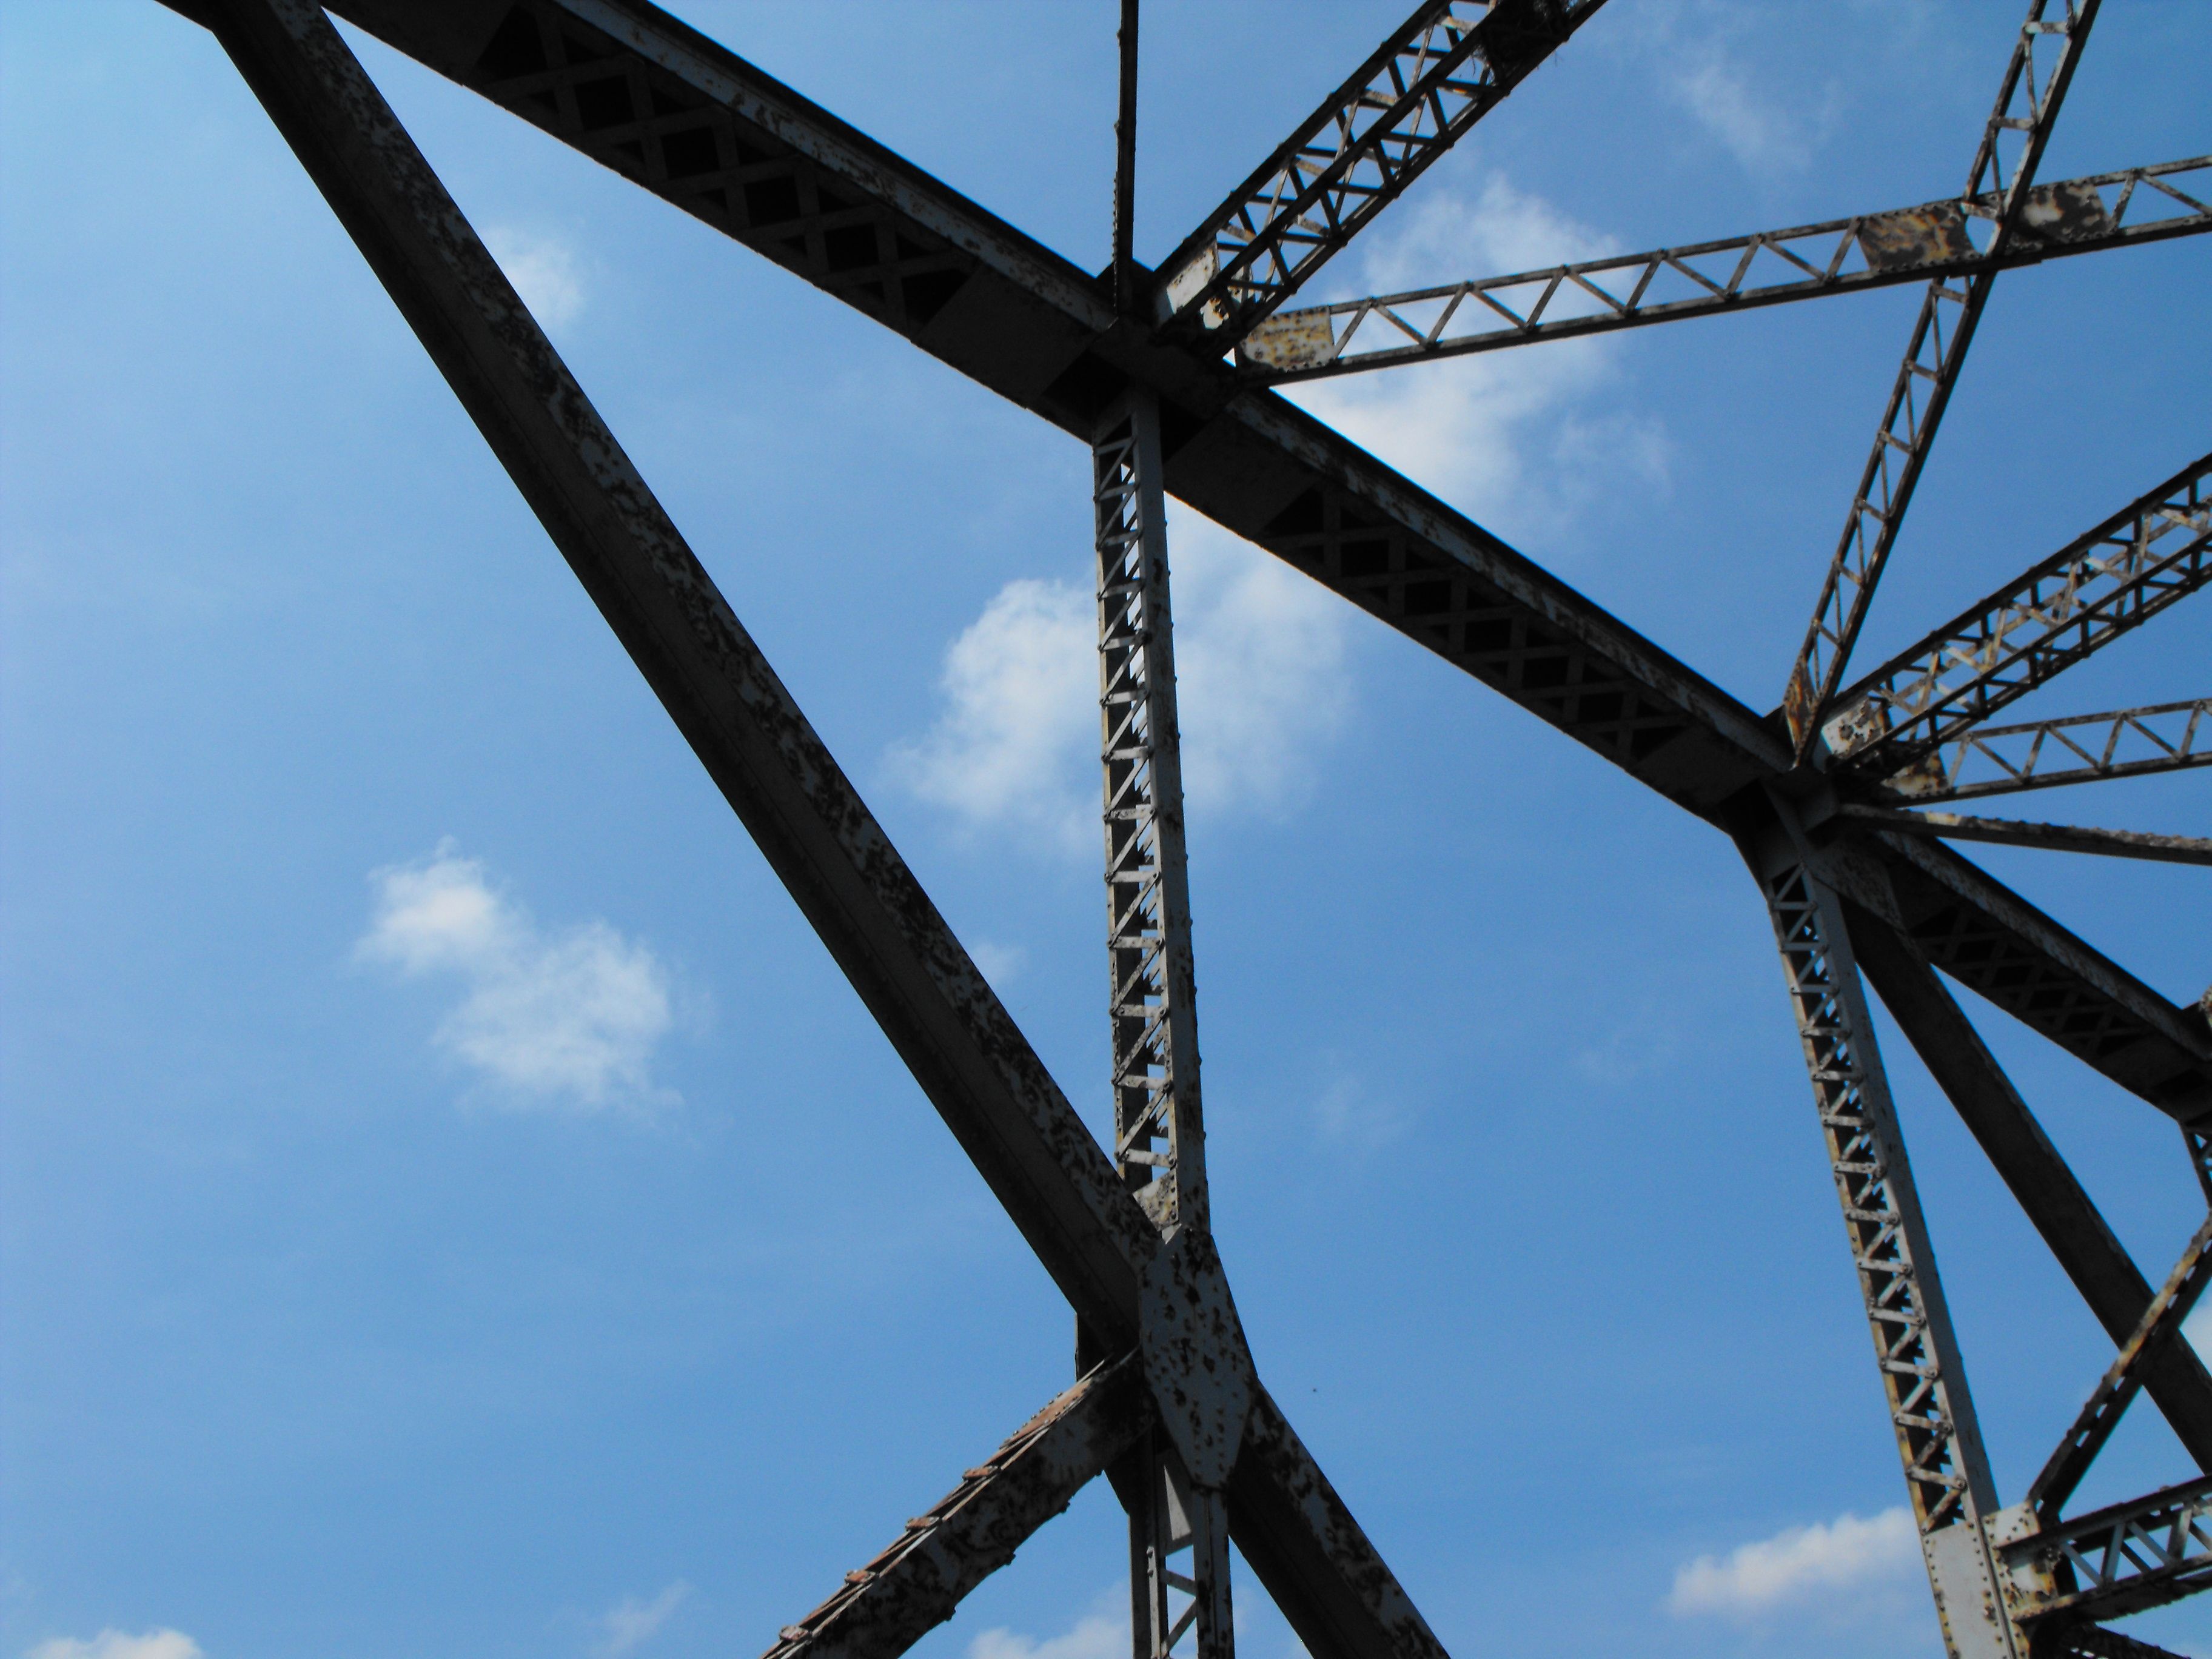
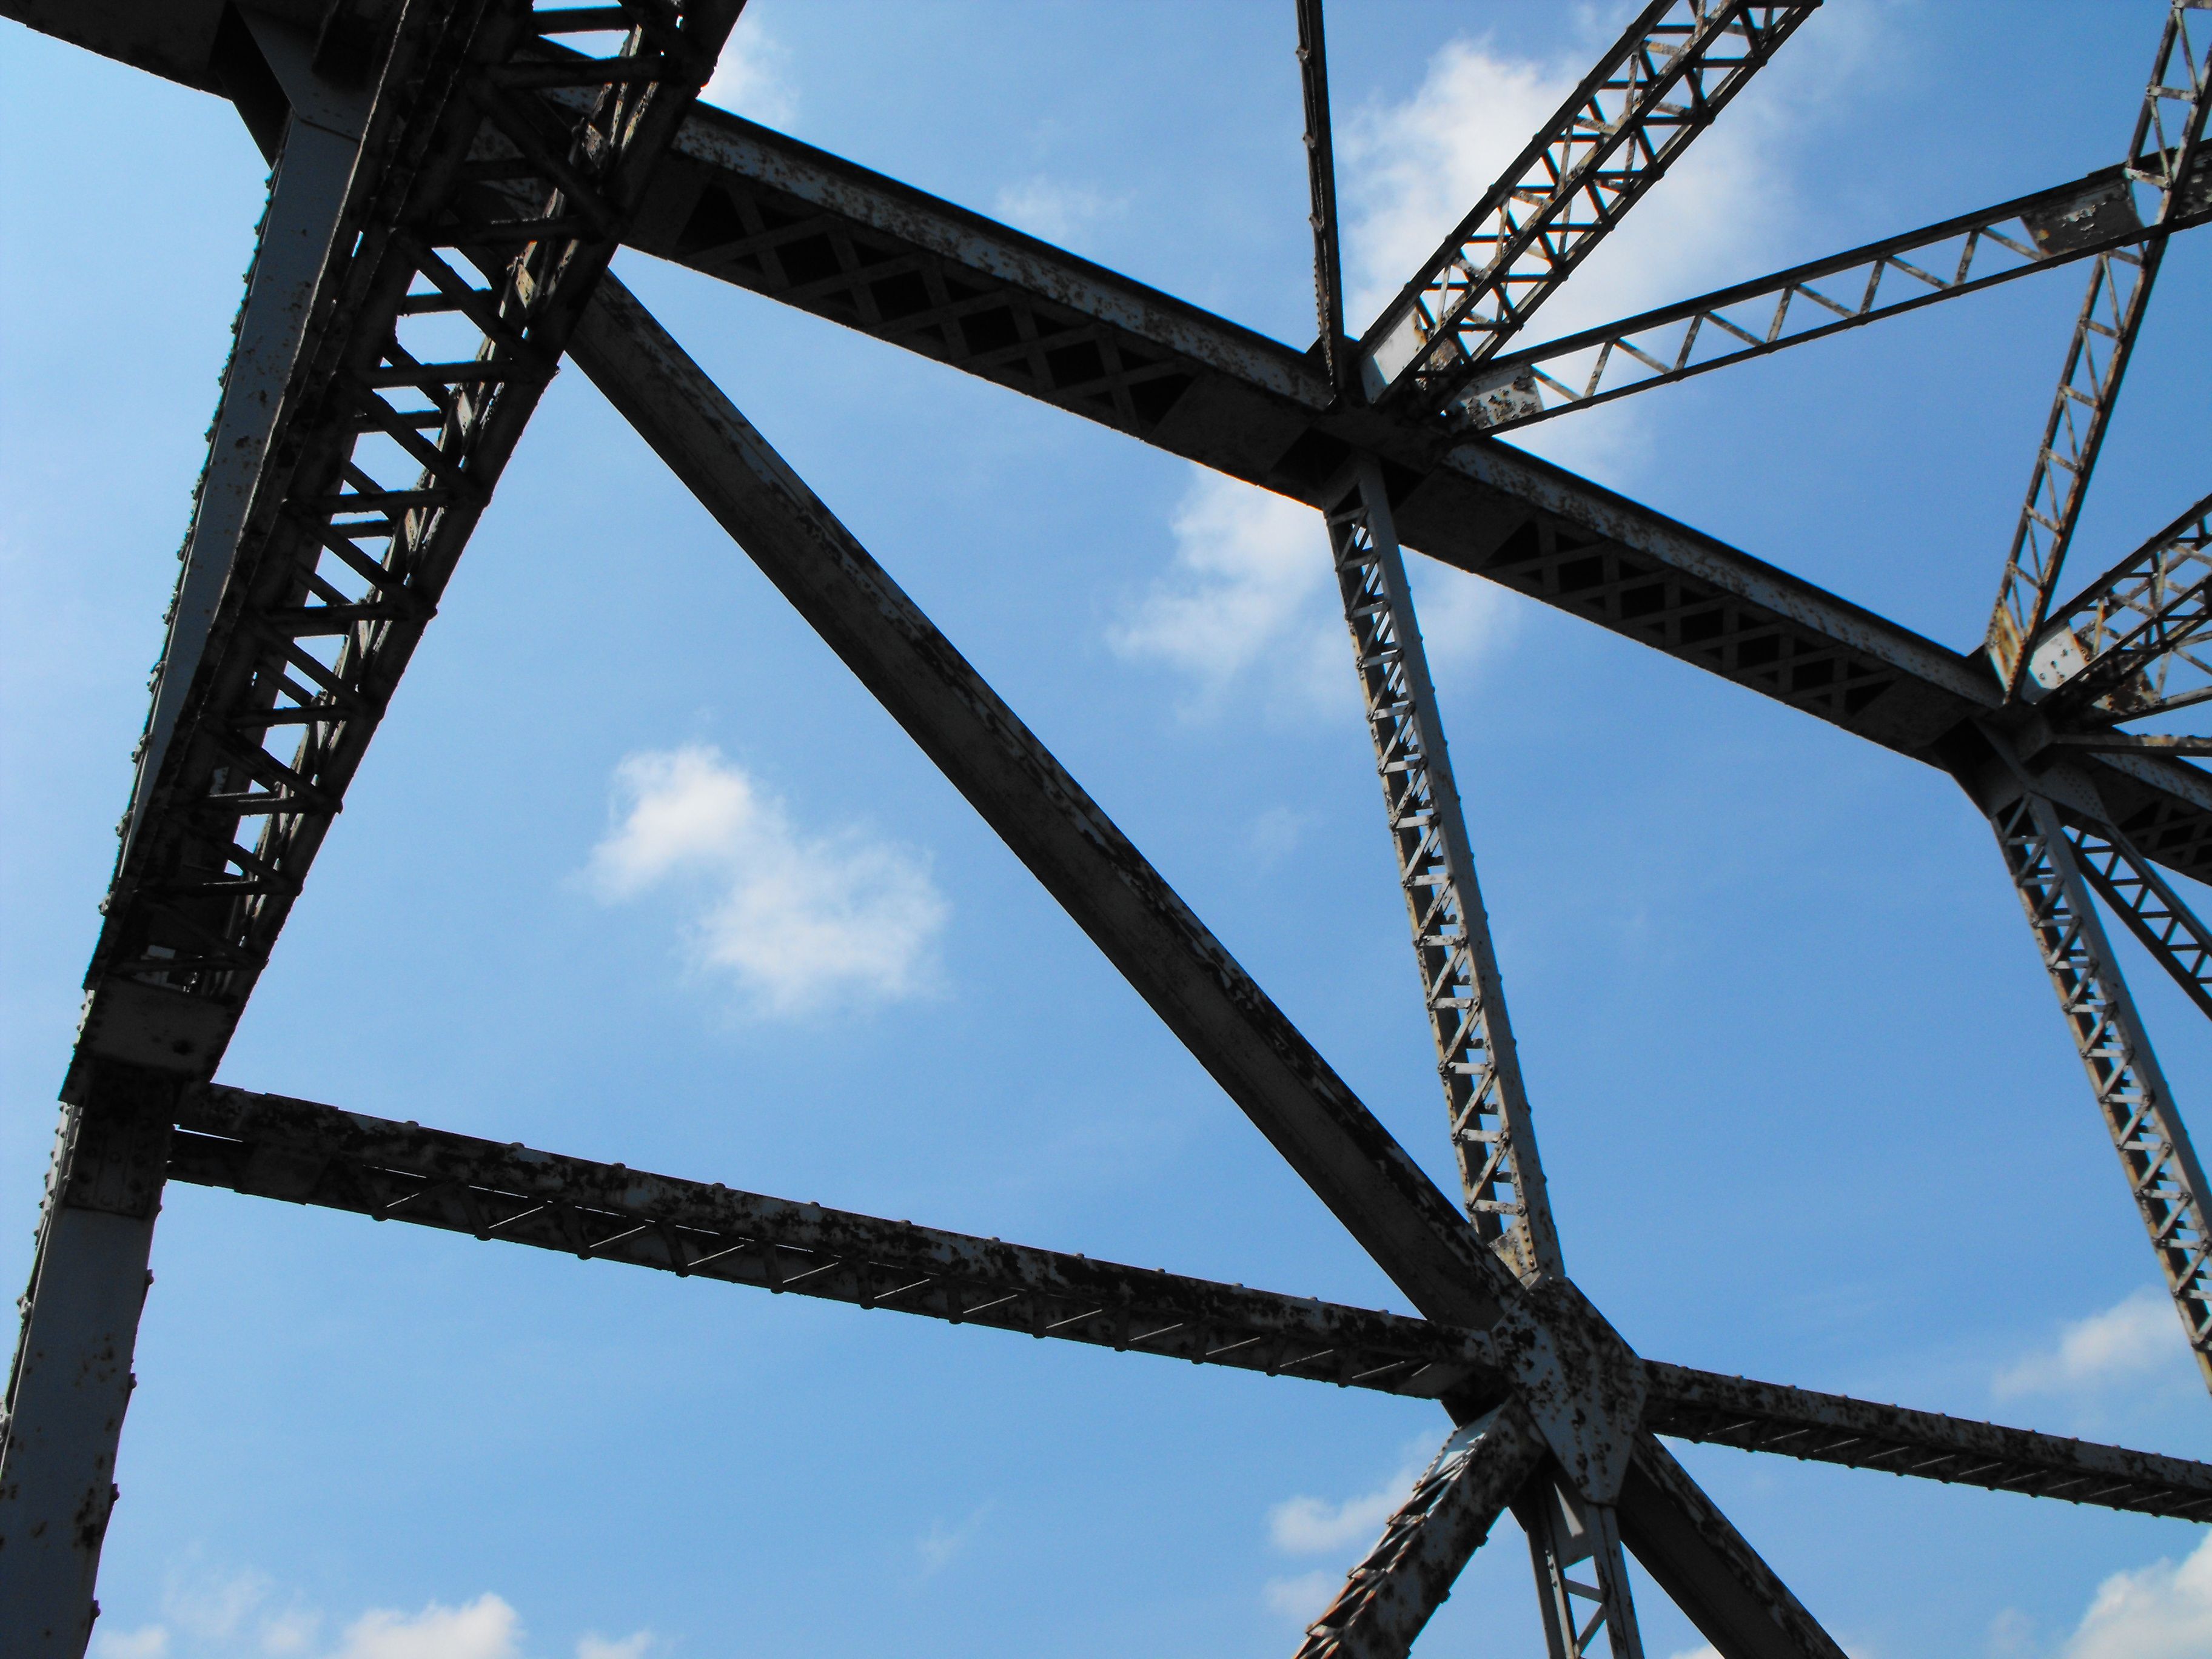
Looking up at bracing.
![]()
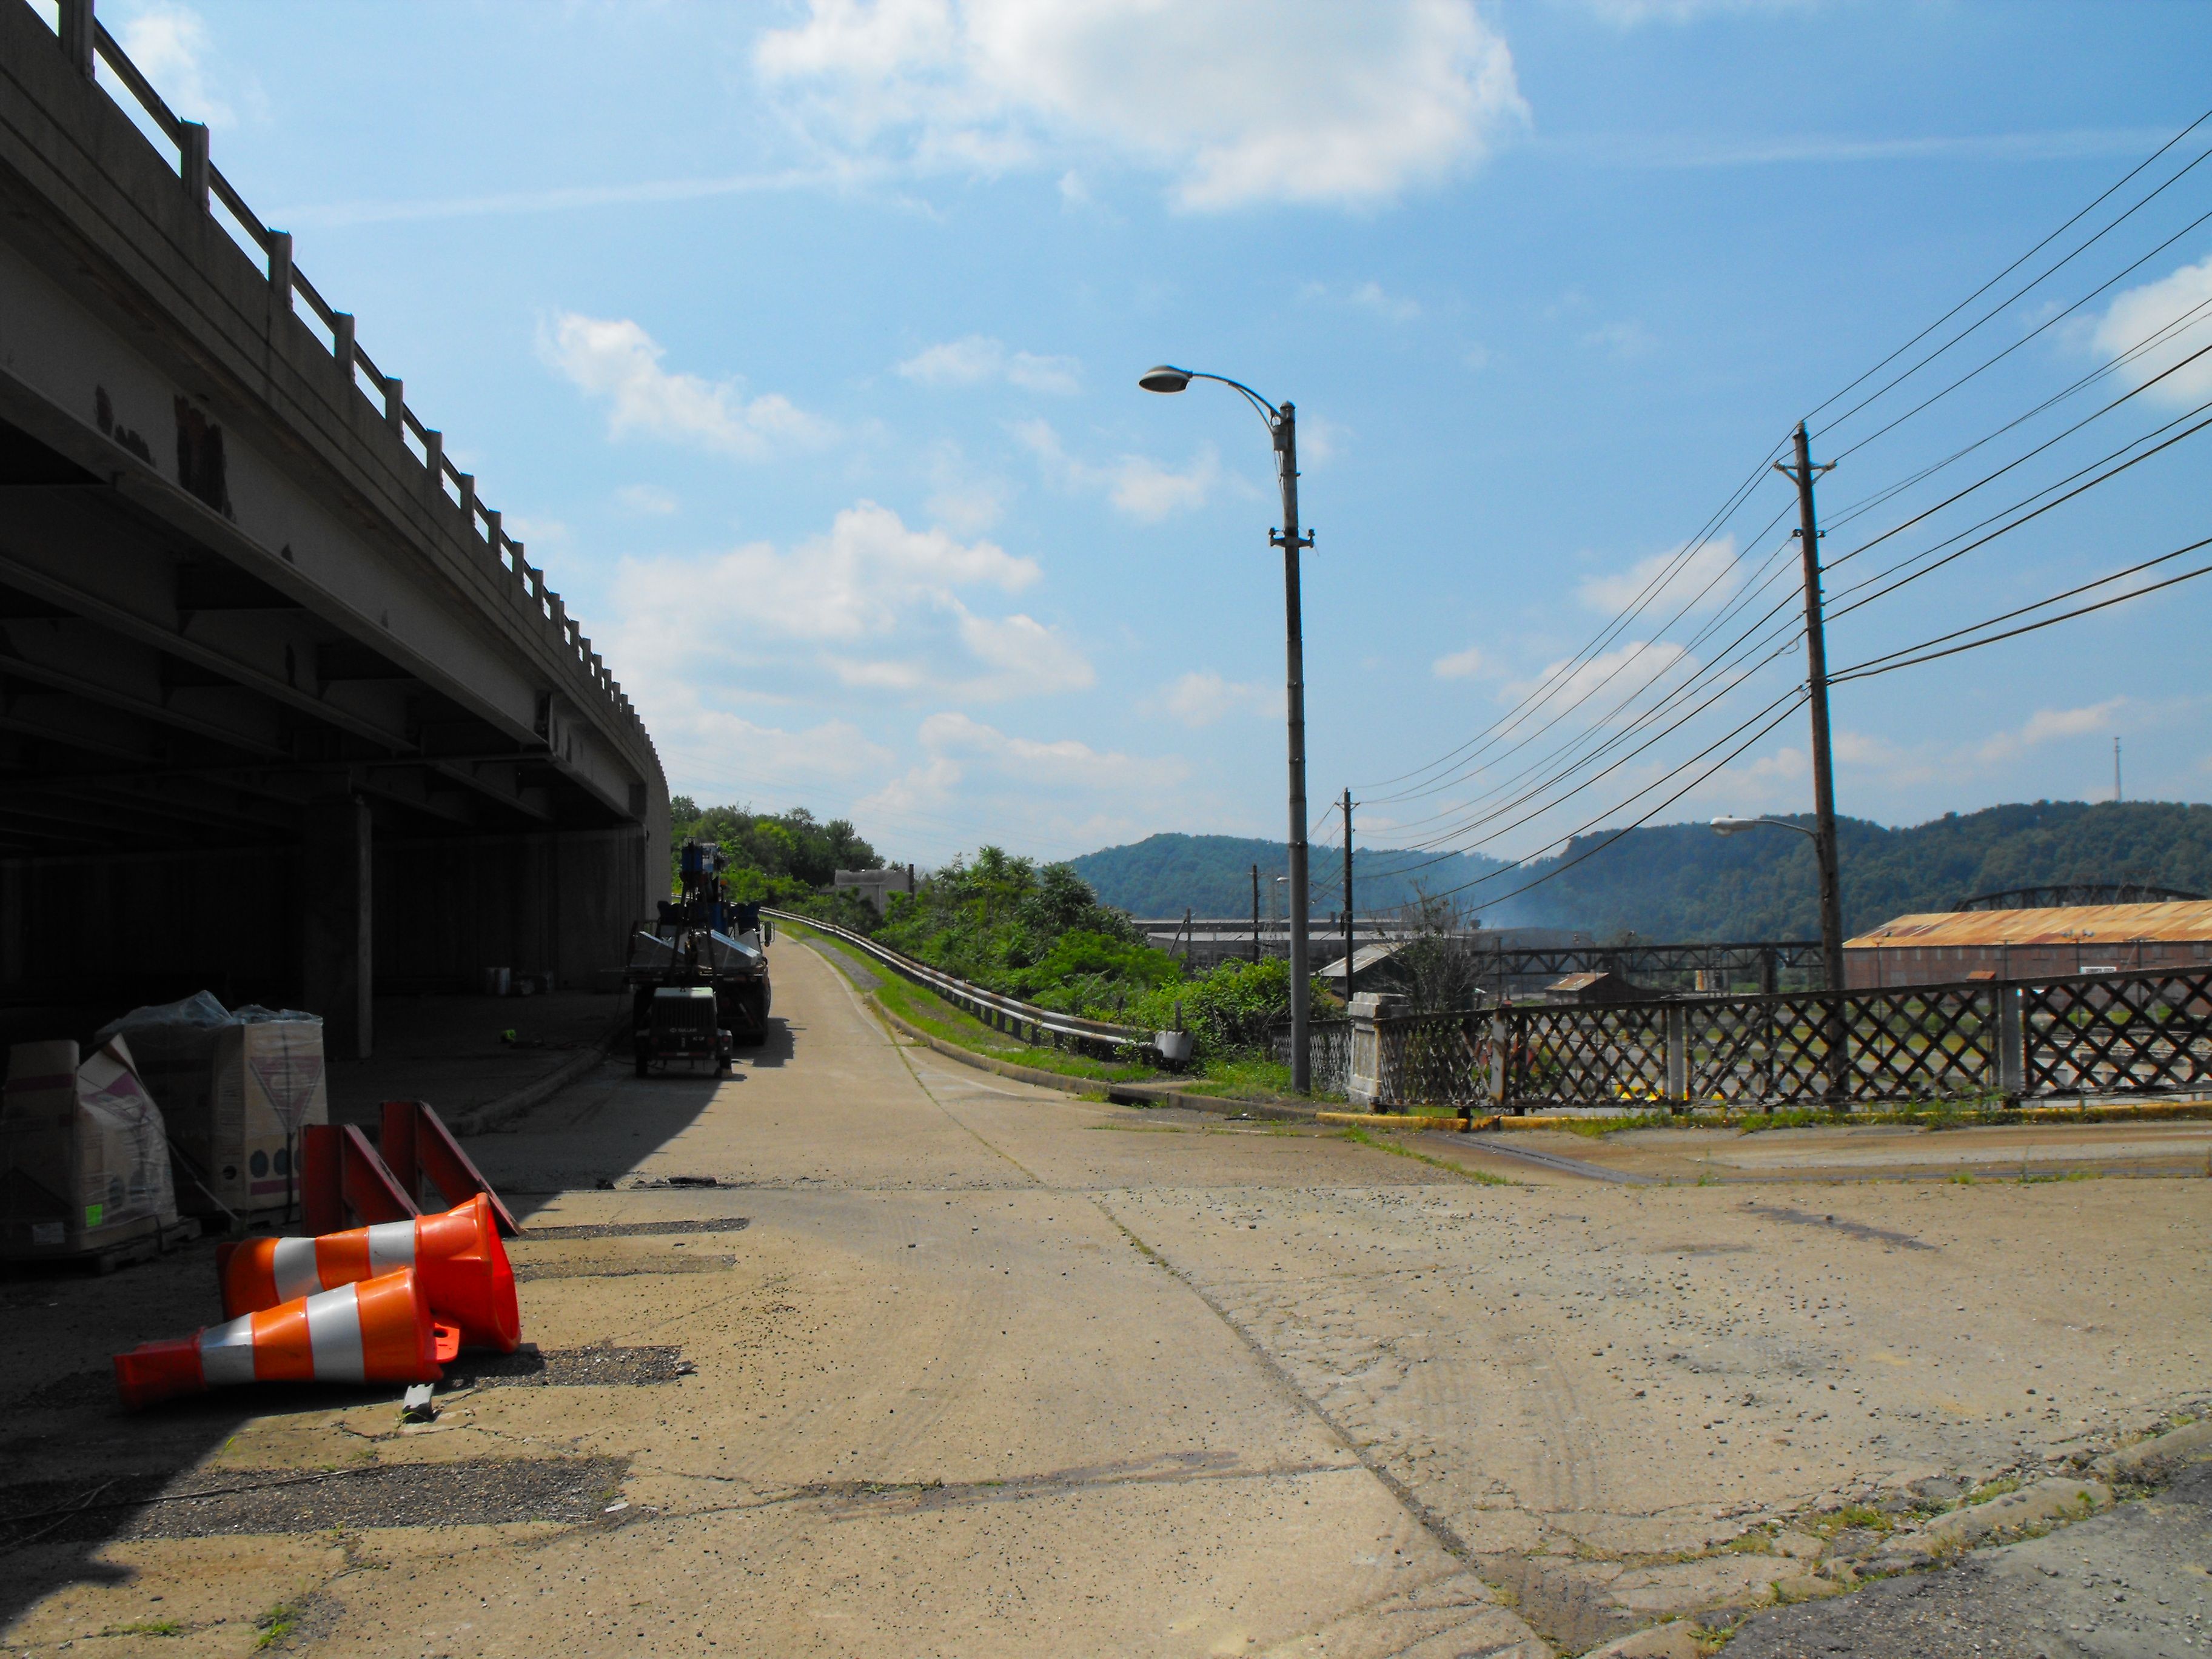
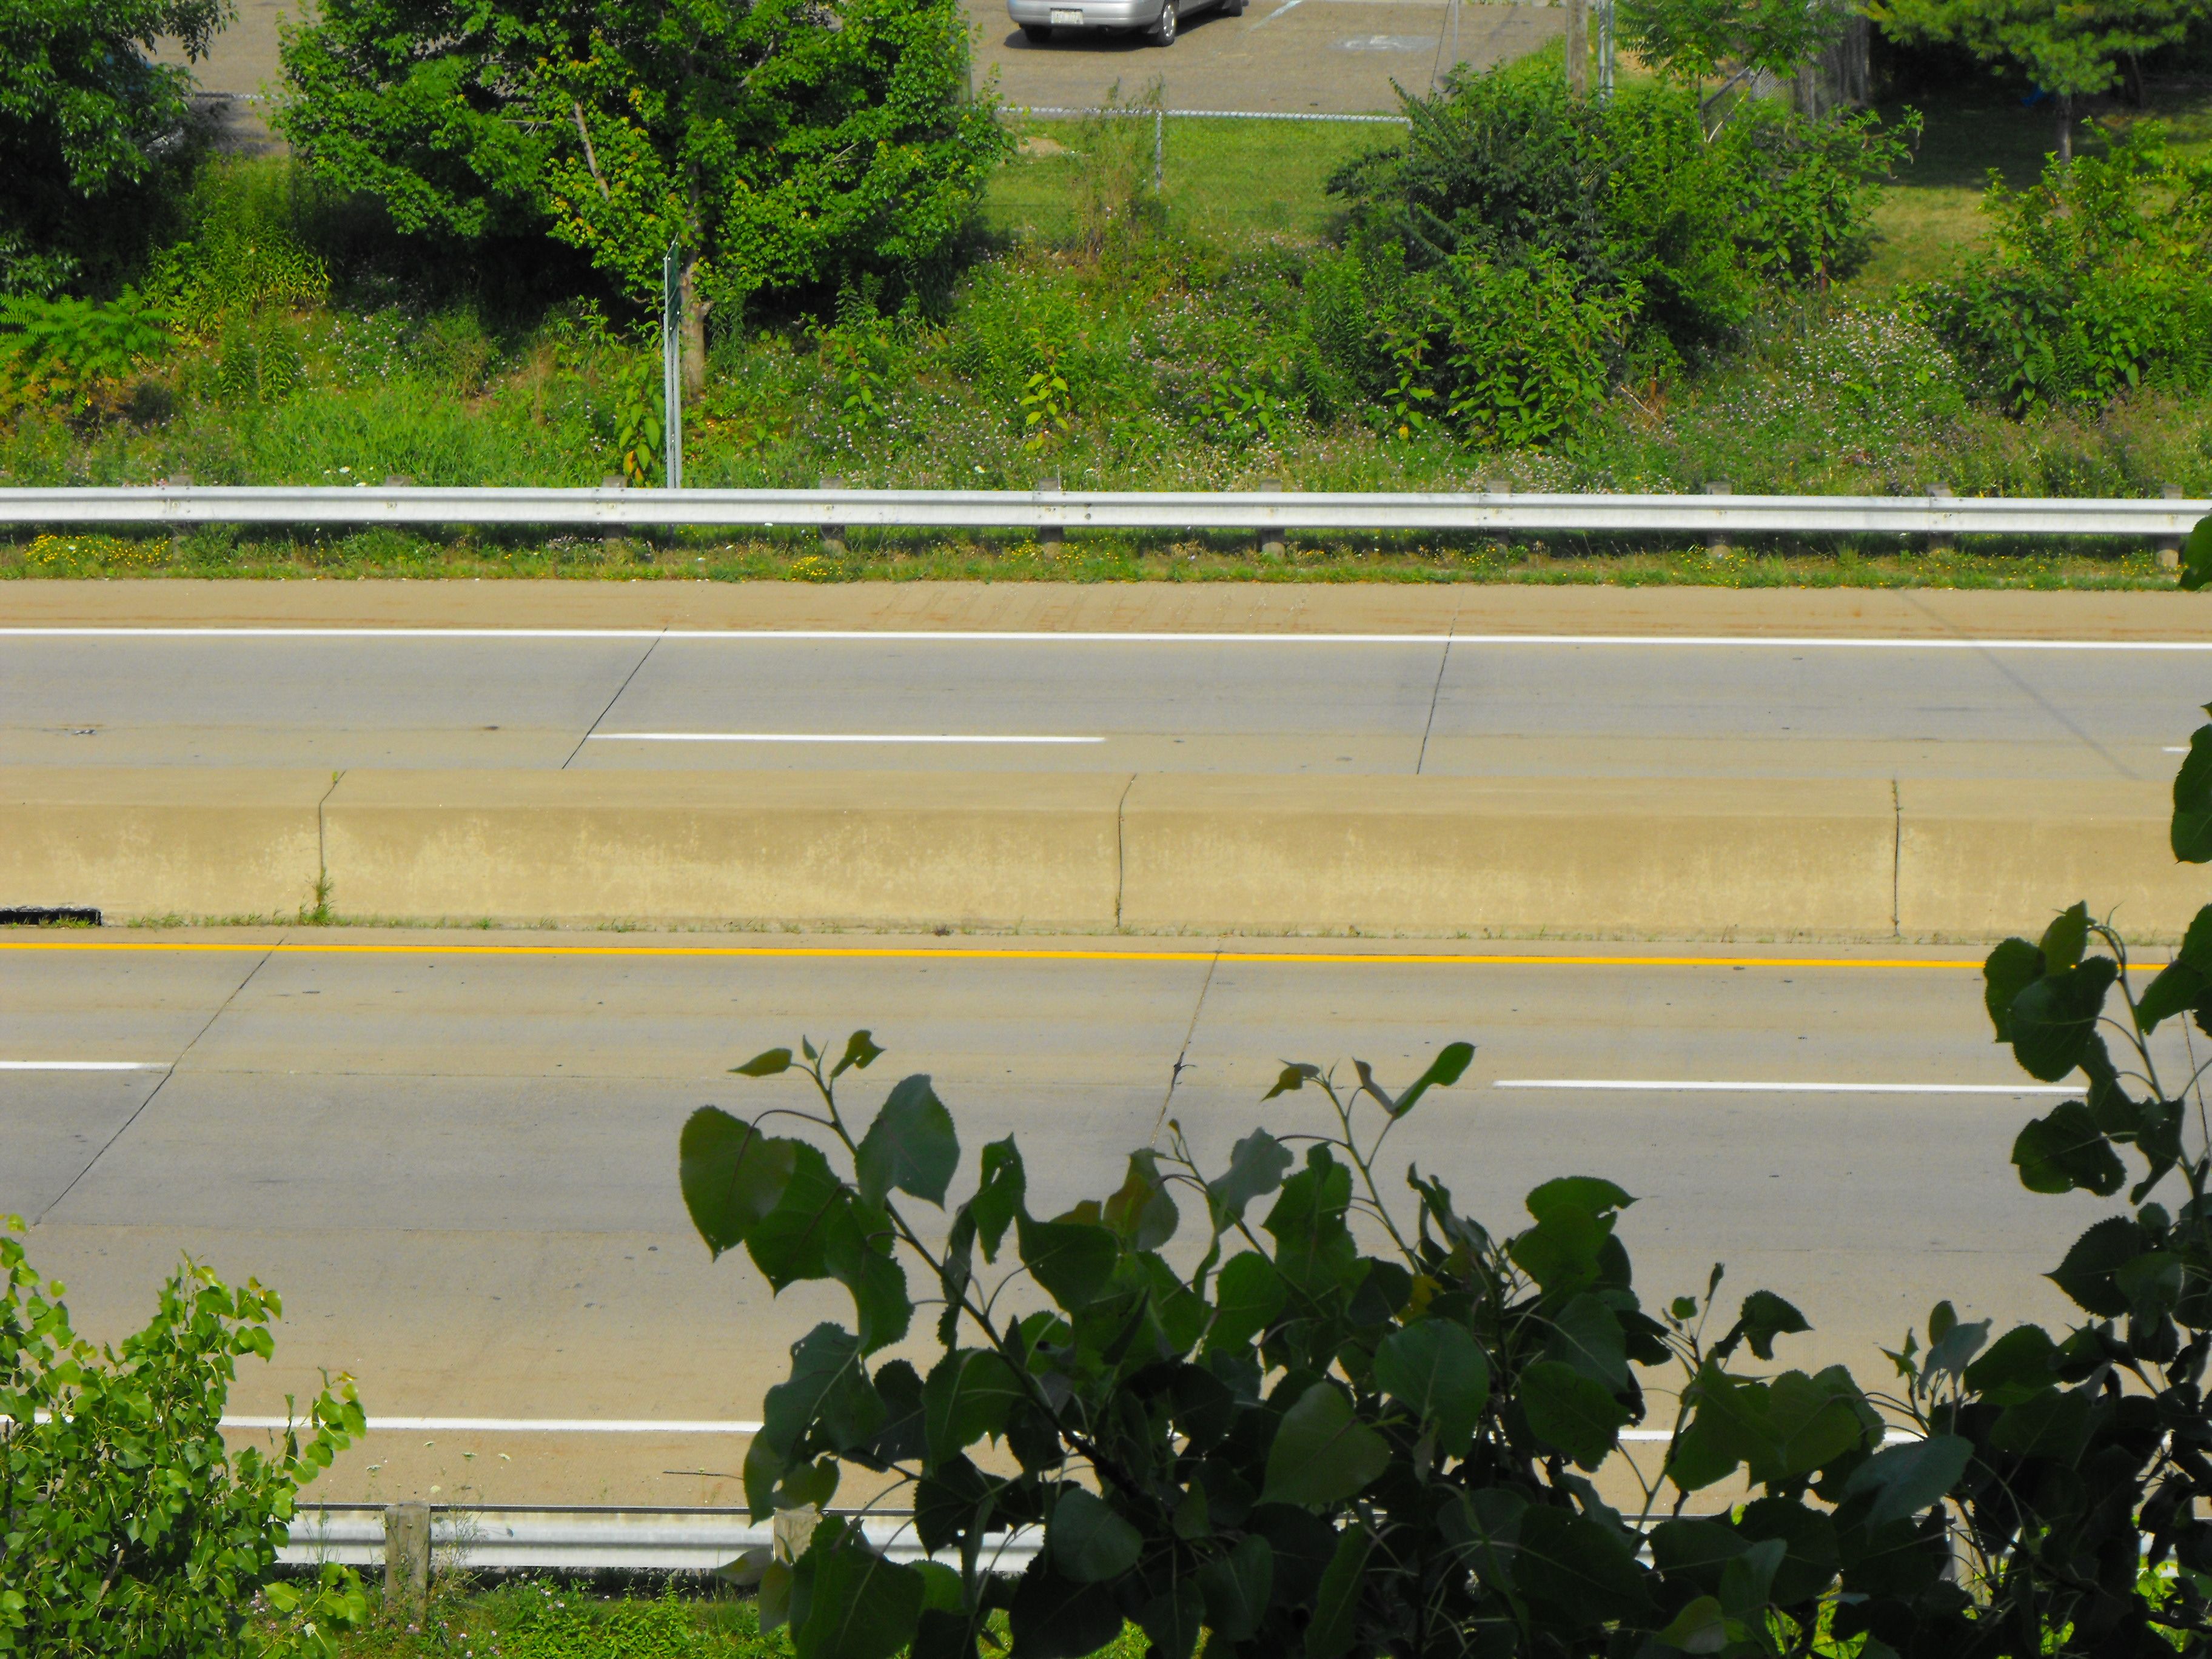
West Virginia interchange/exit built for the sole purpose of accessing the bridge.
![]()
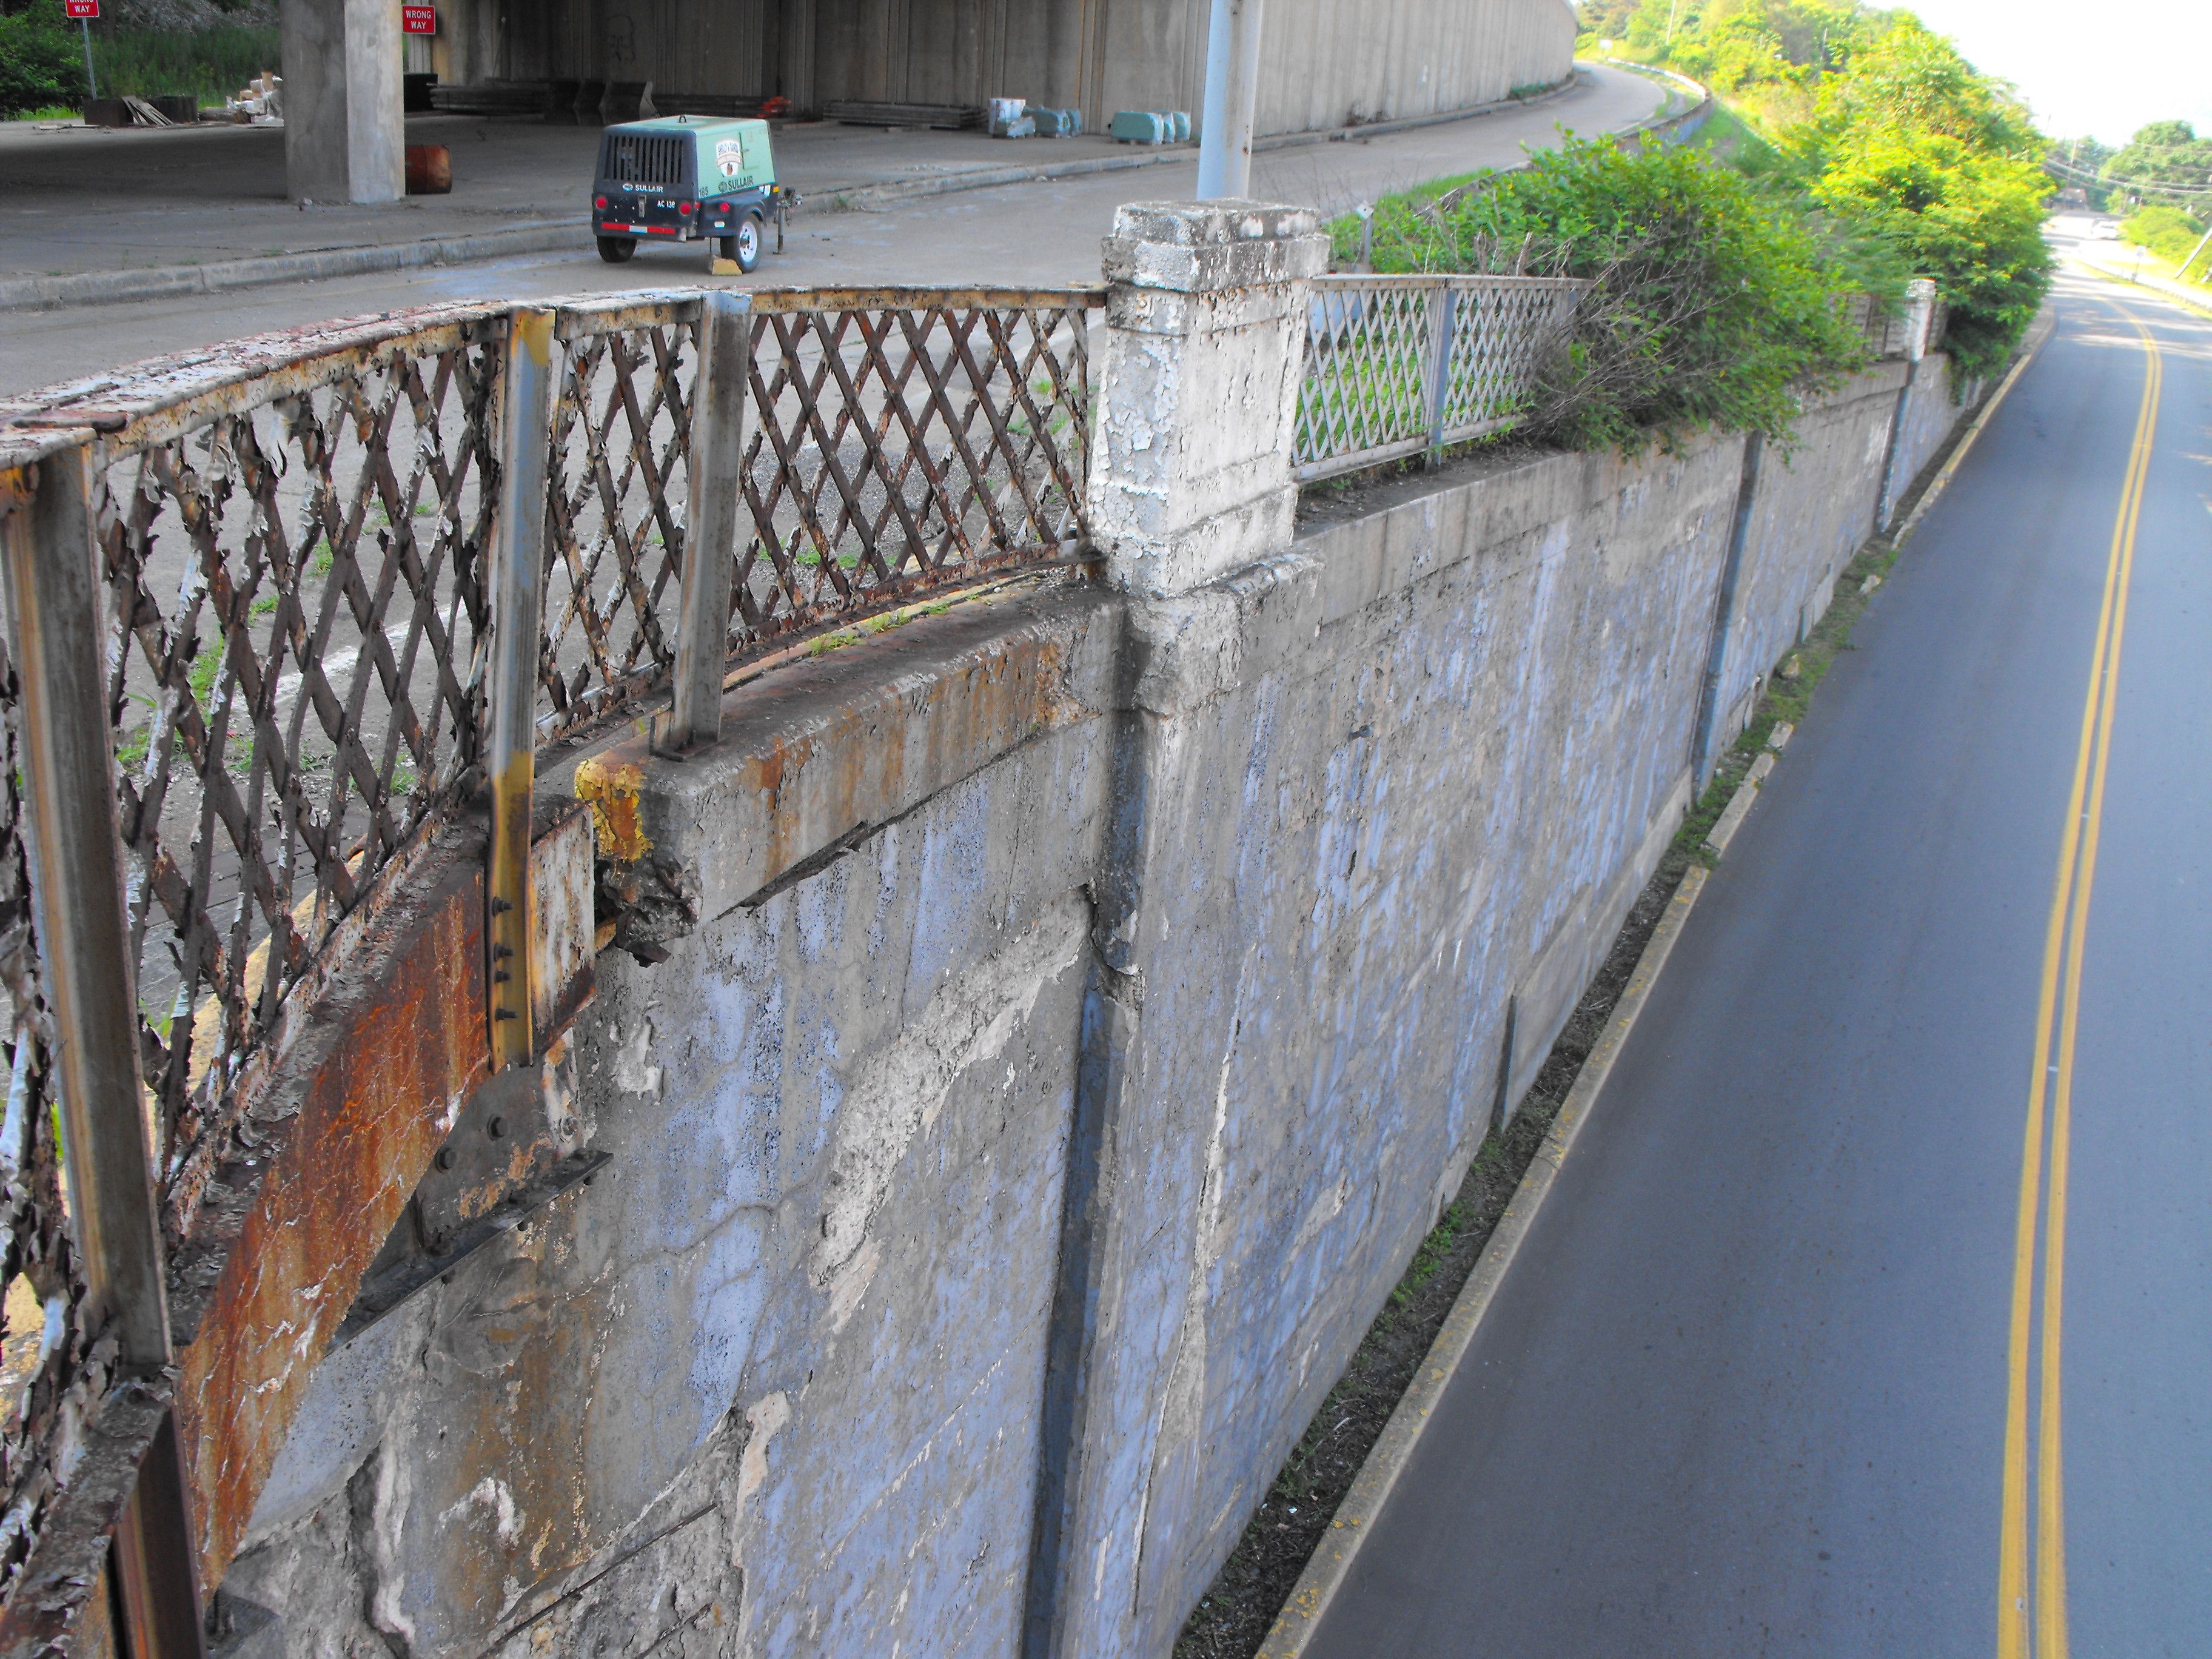
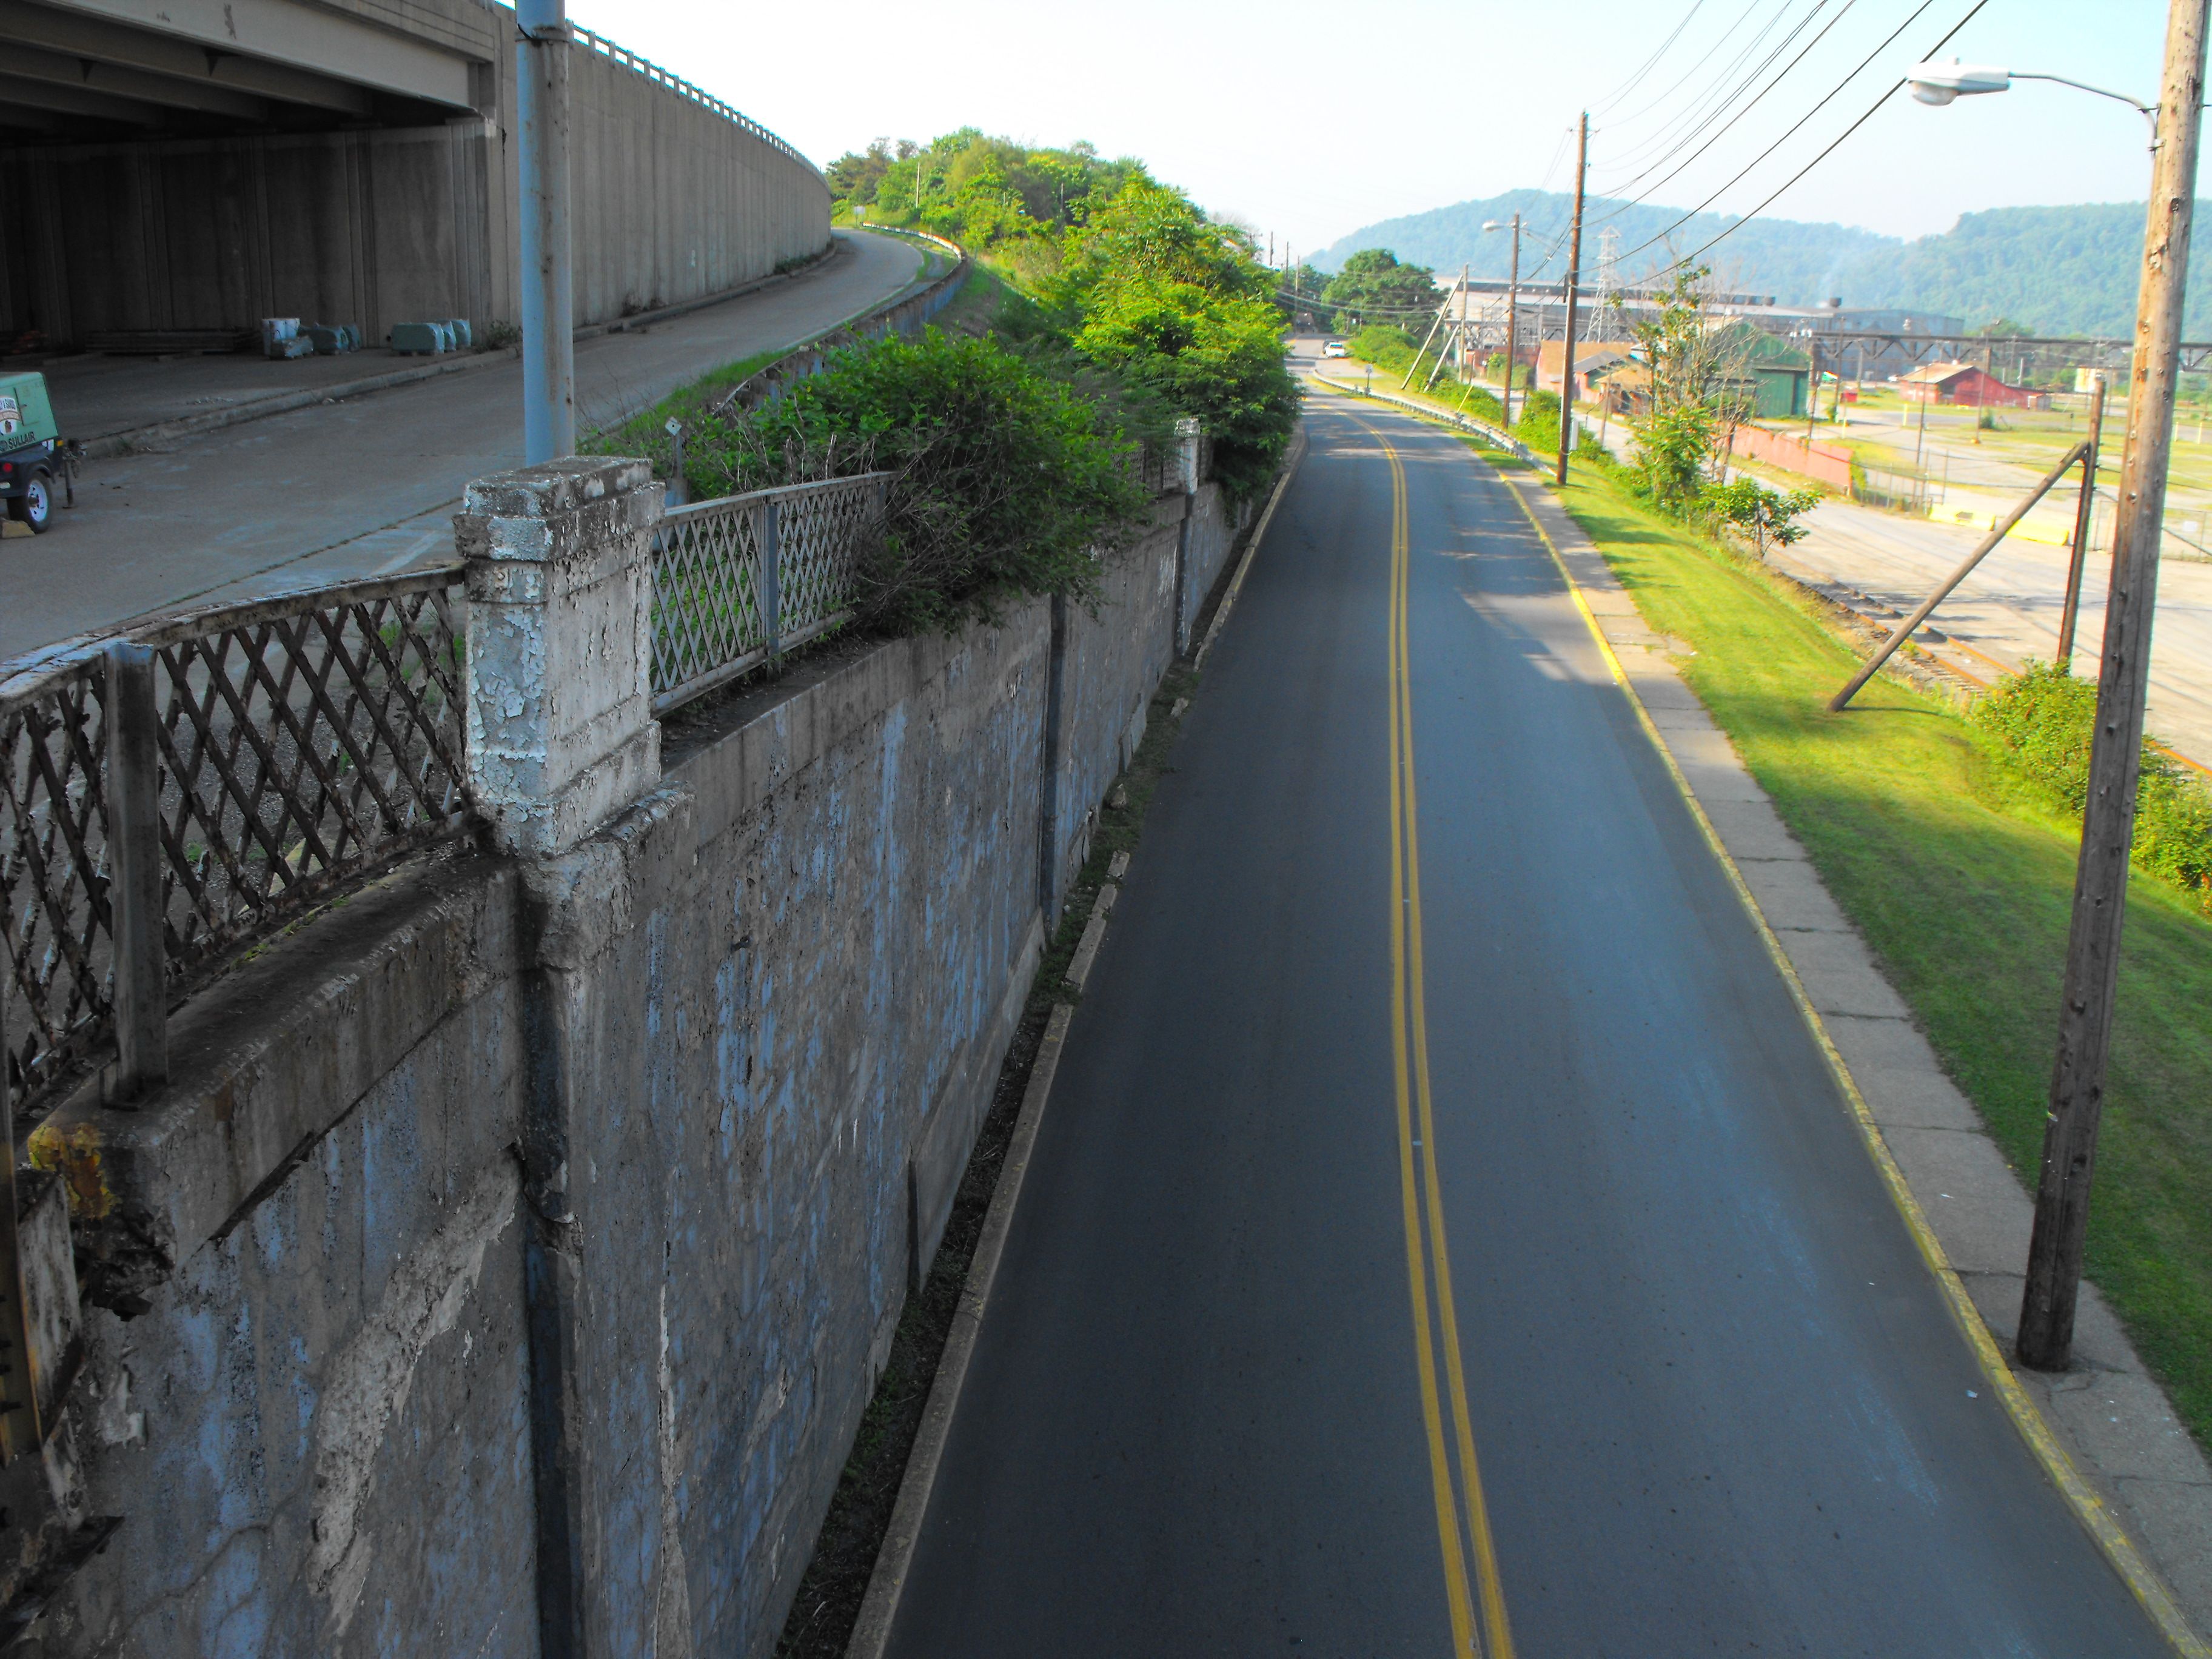
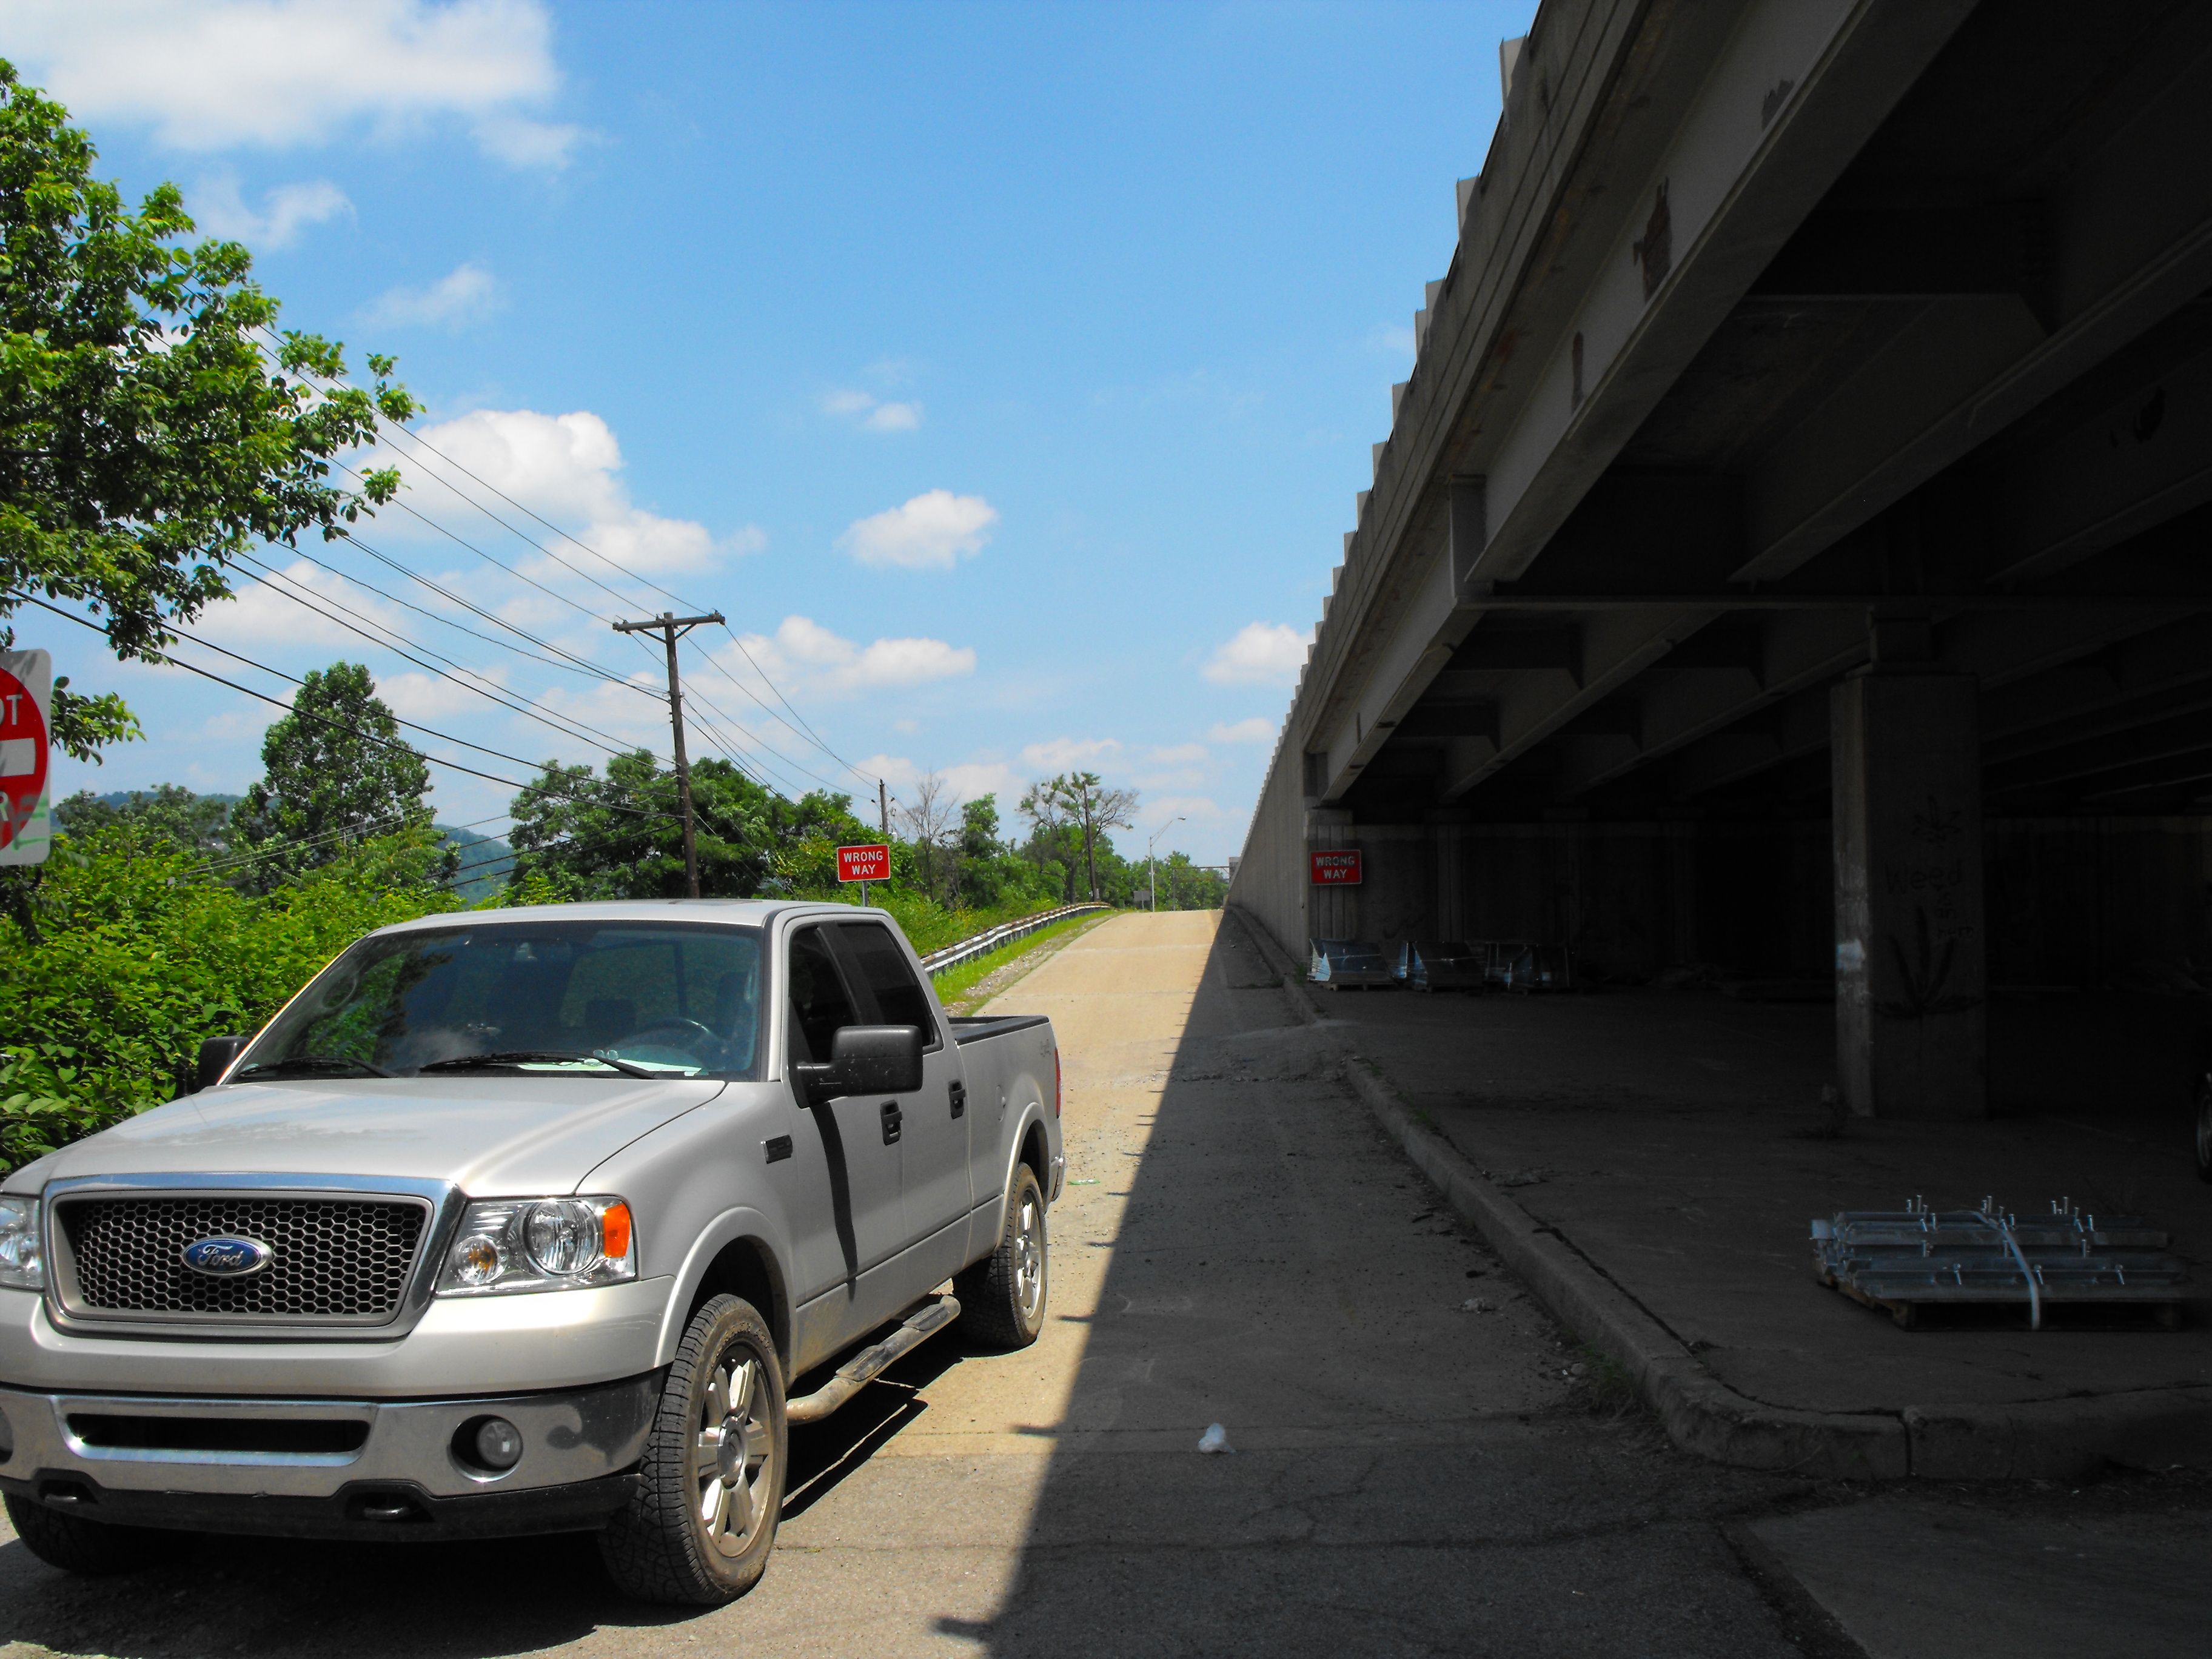
Railing and abutment next to bridge.
![]()
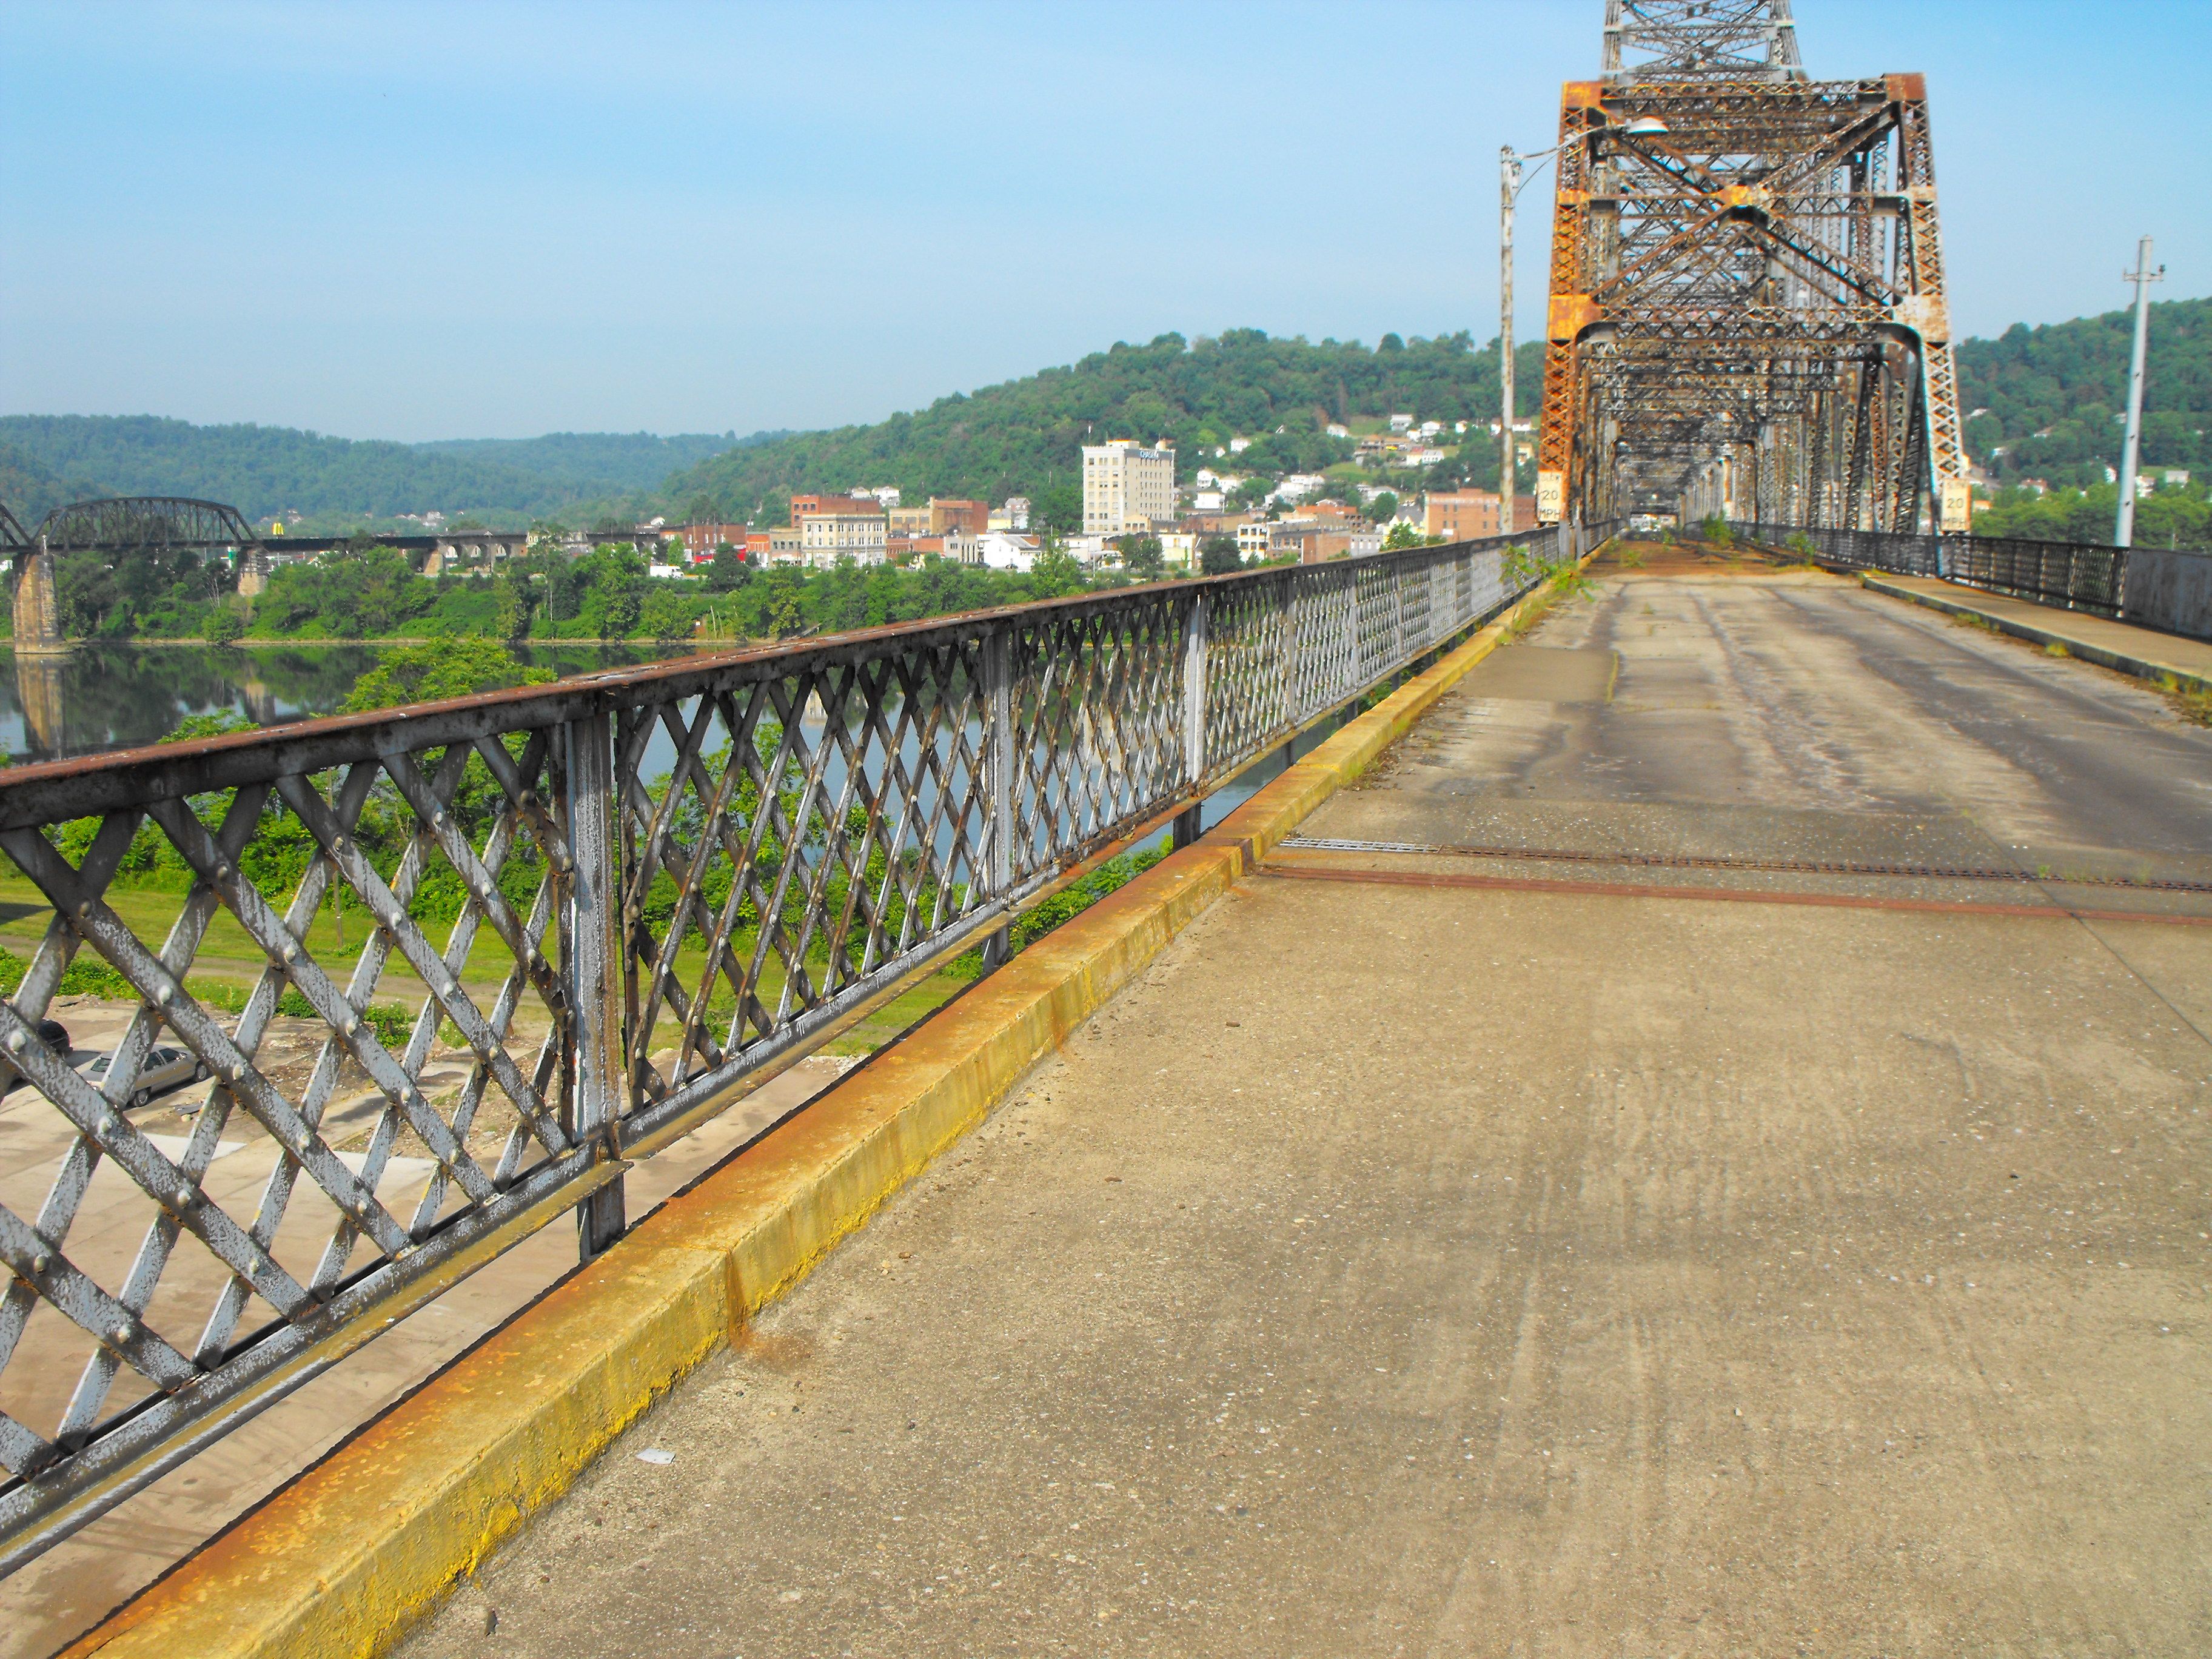
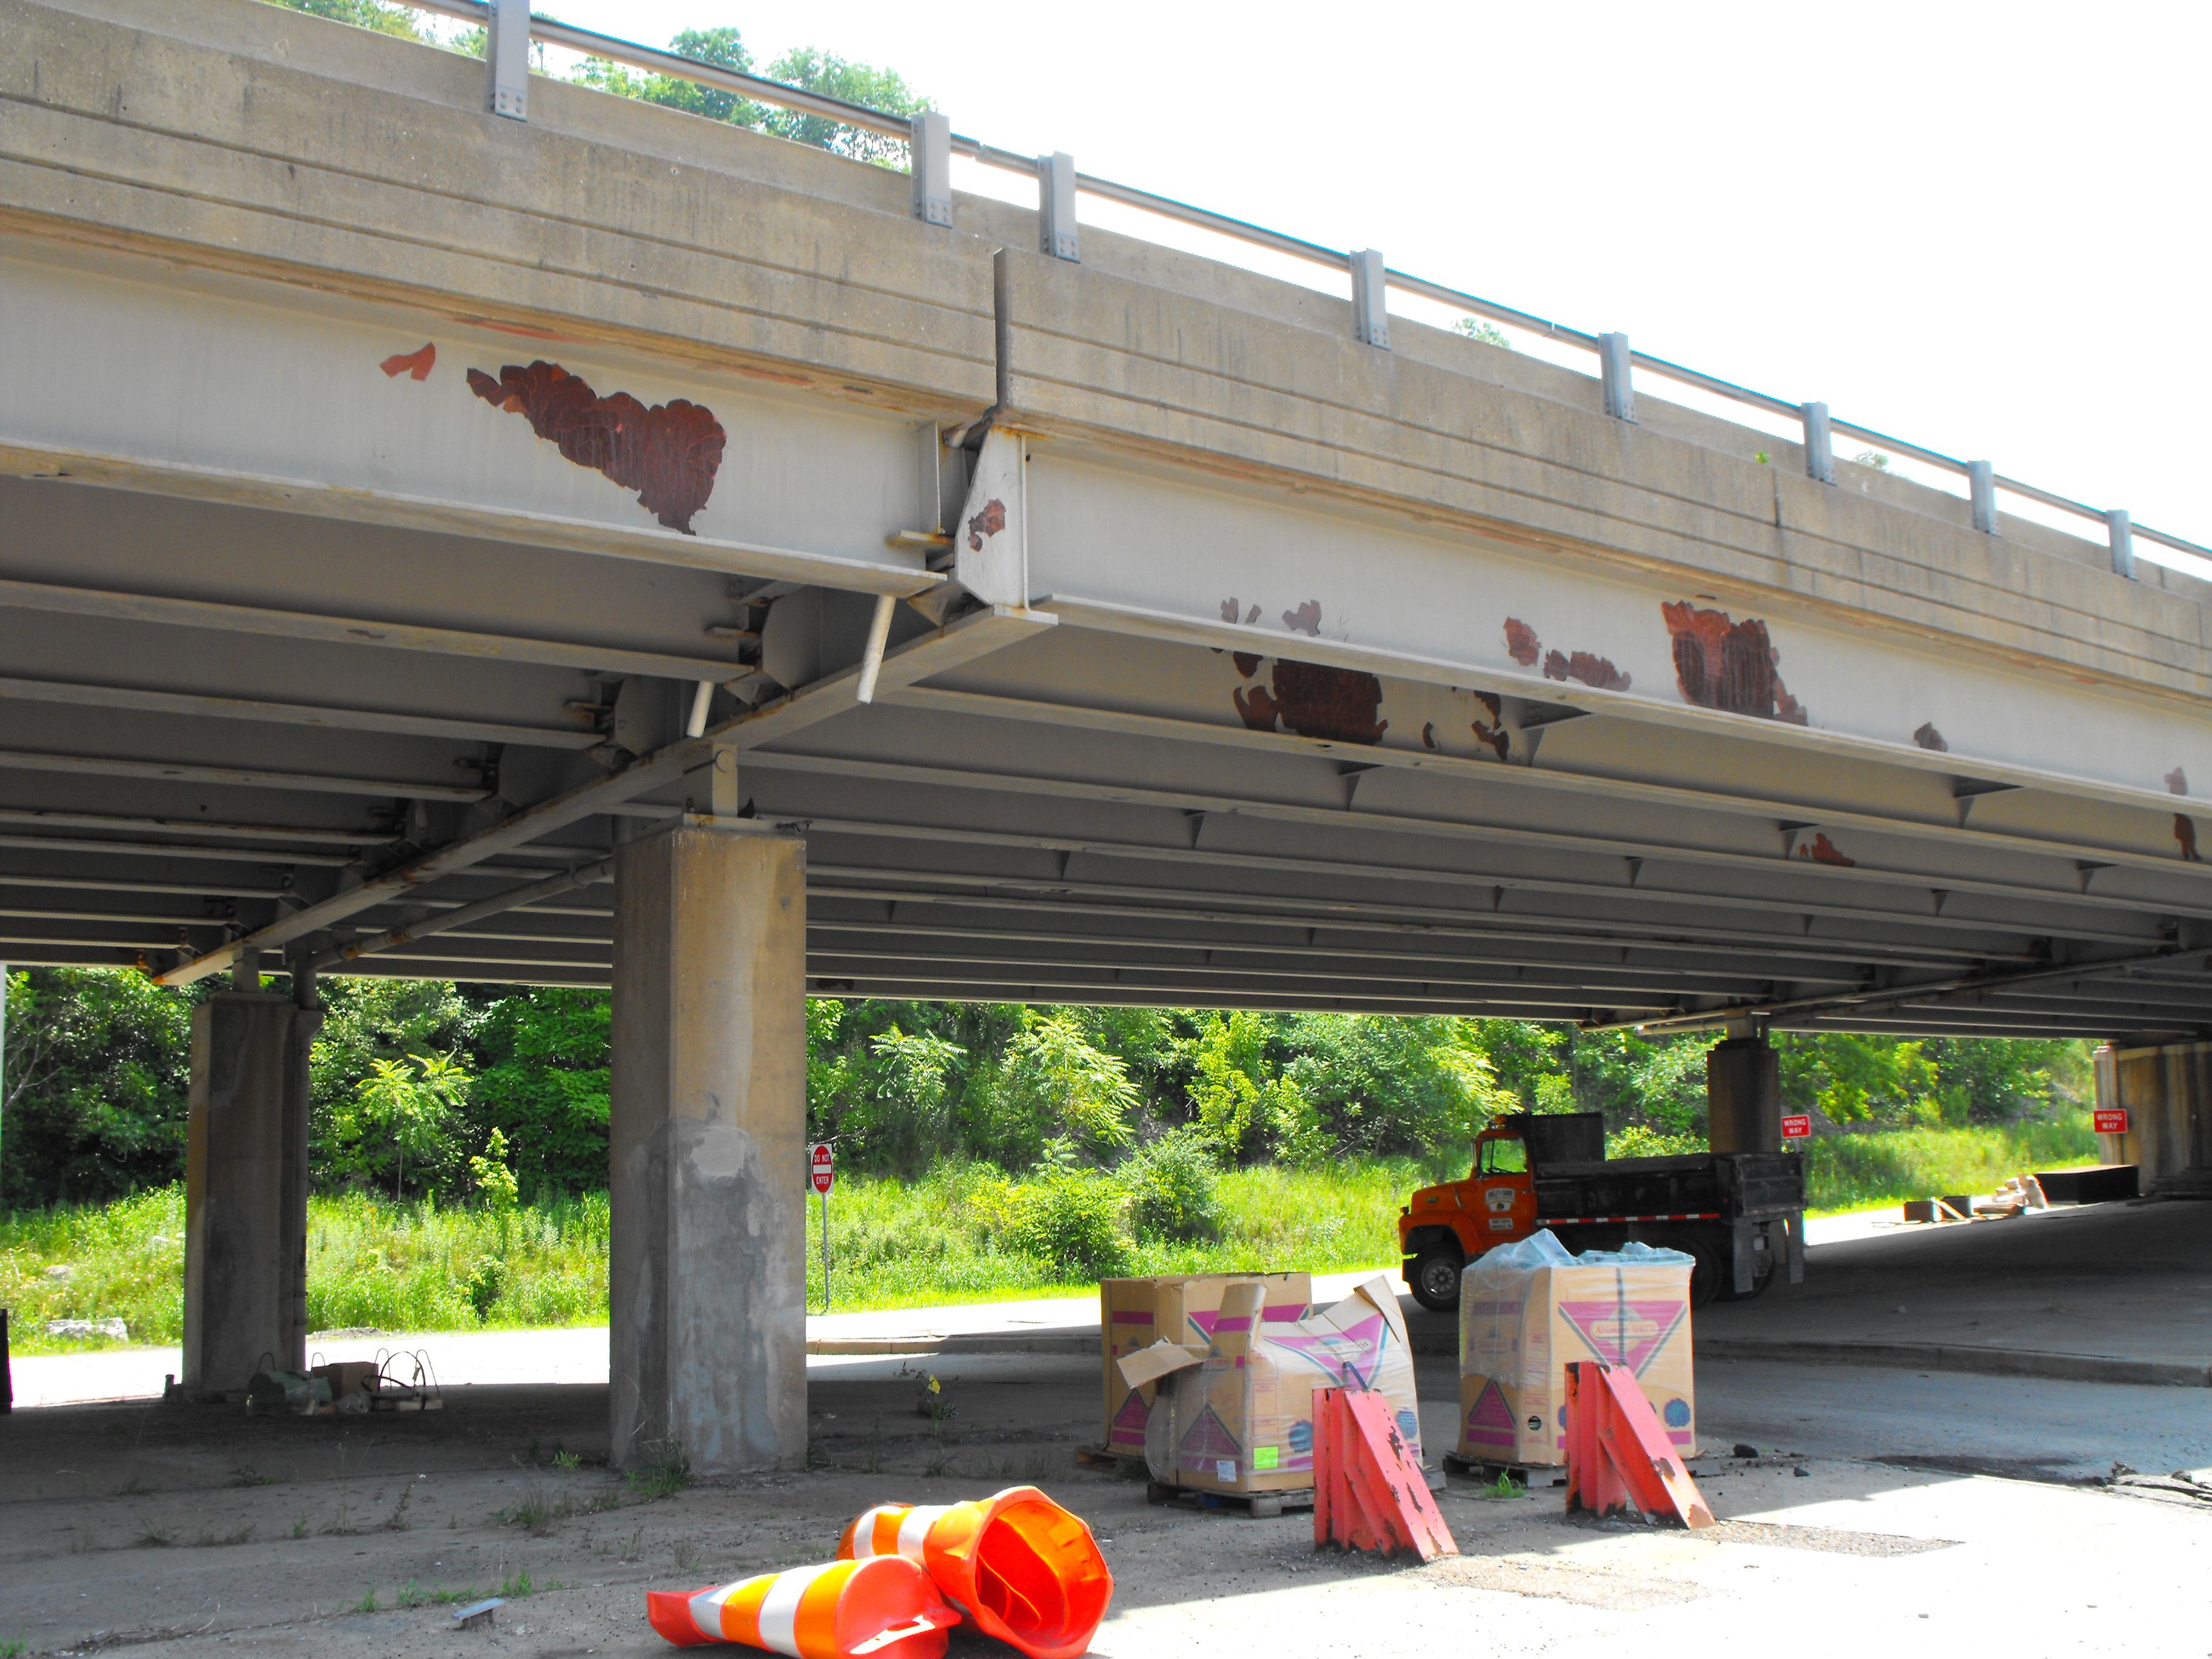
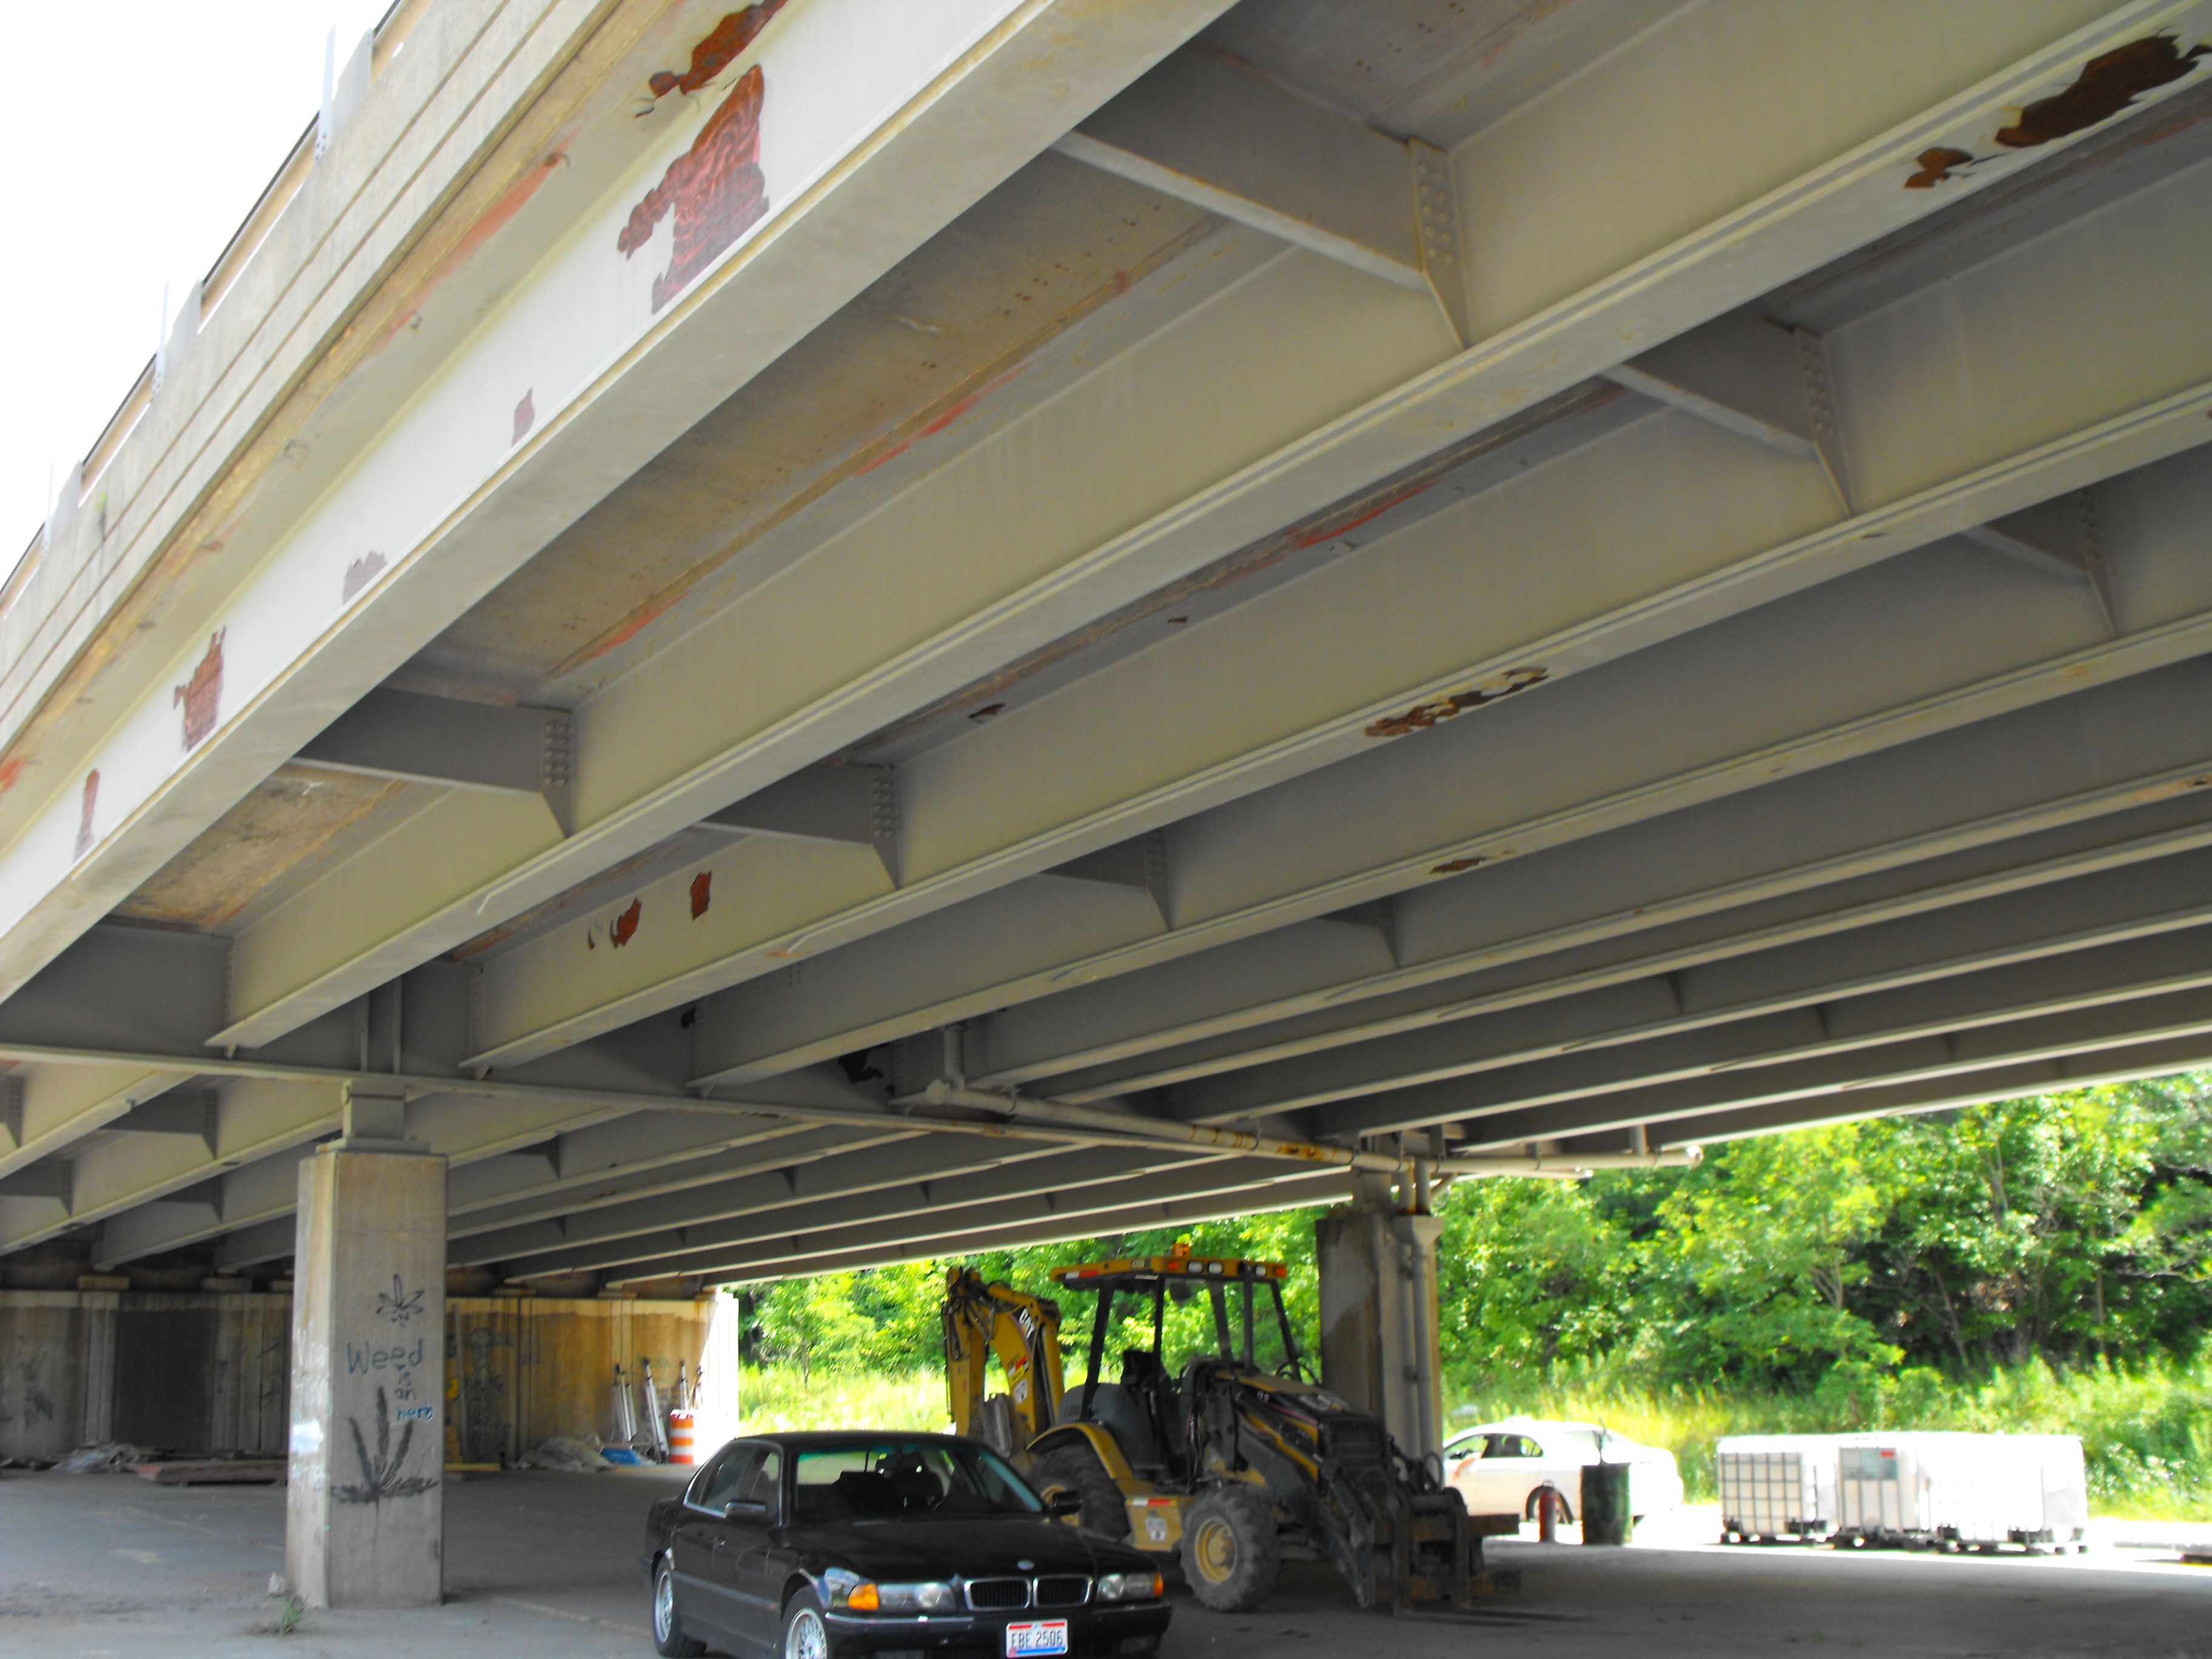
View on approach span system.
![]()

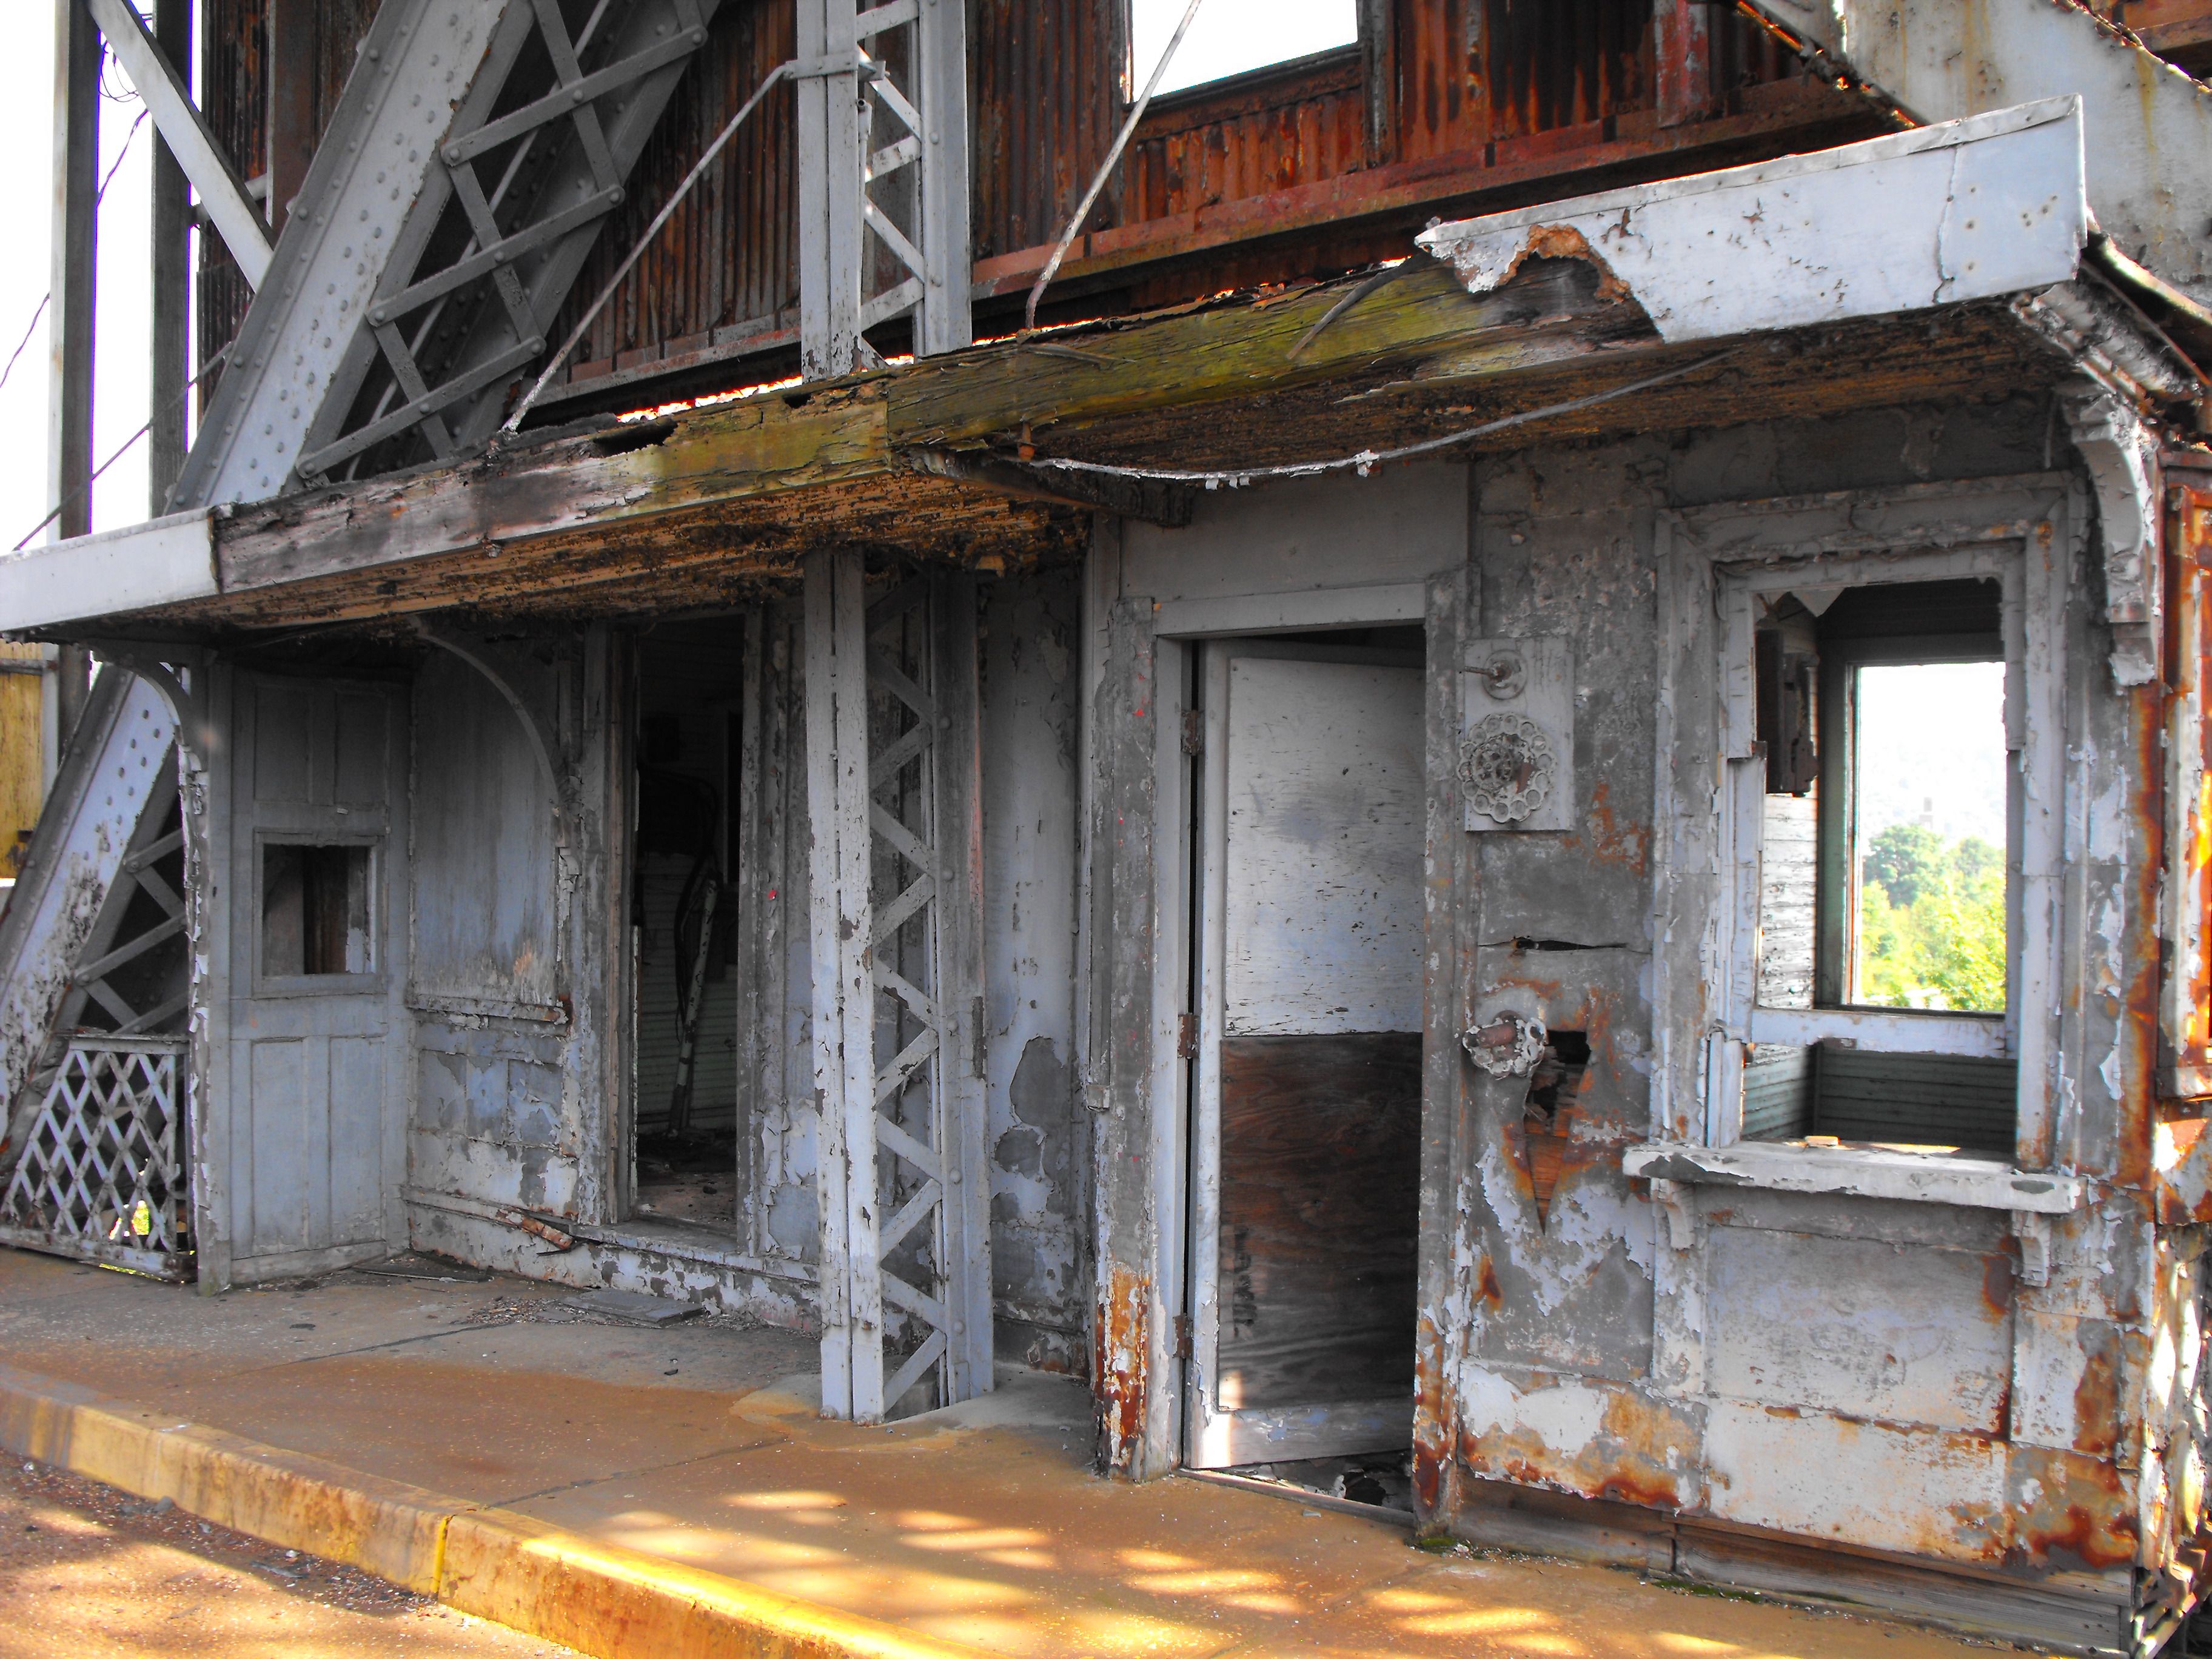

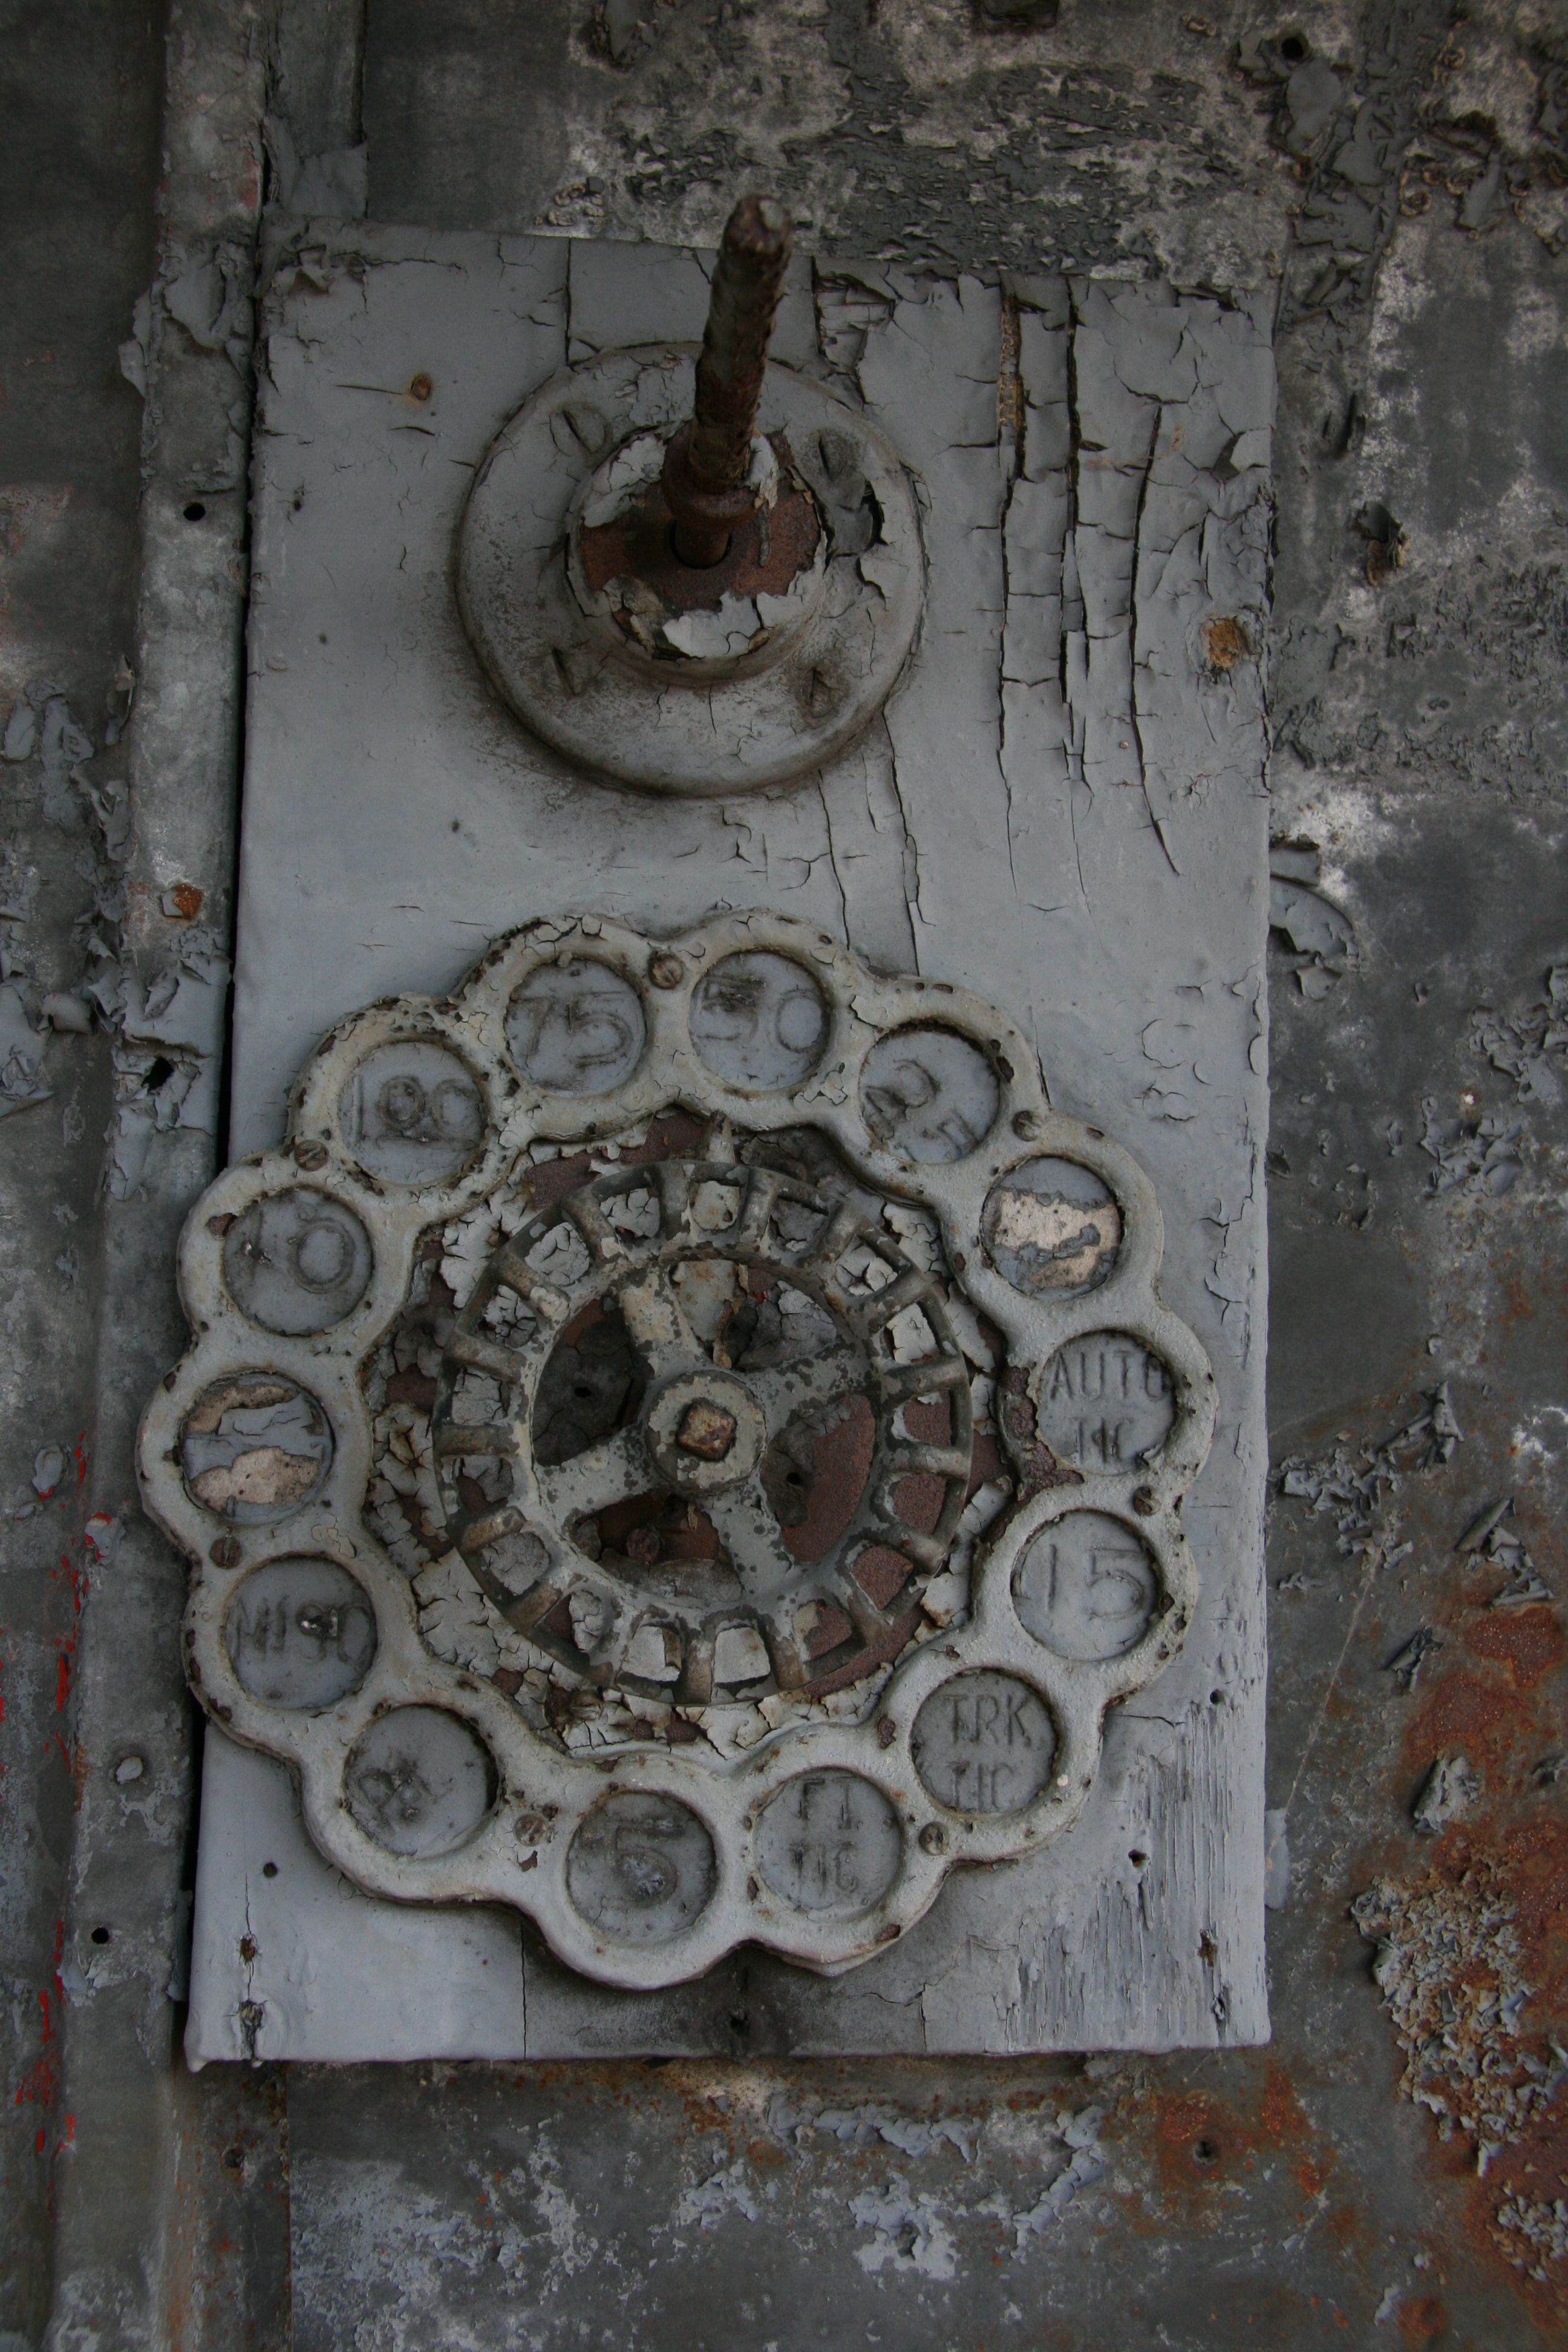
Toll house remnants.
![]()
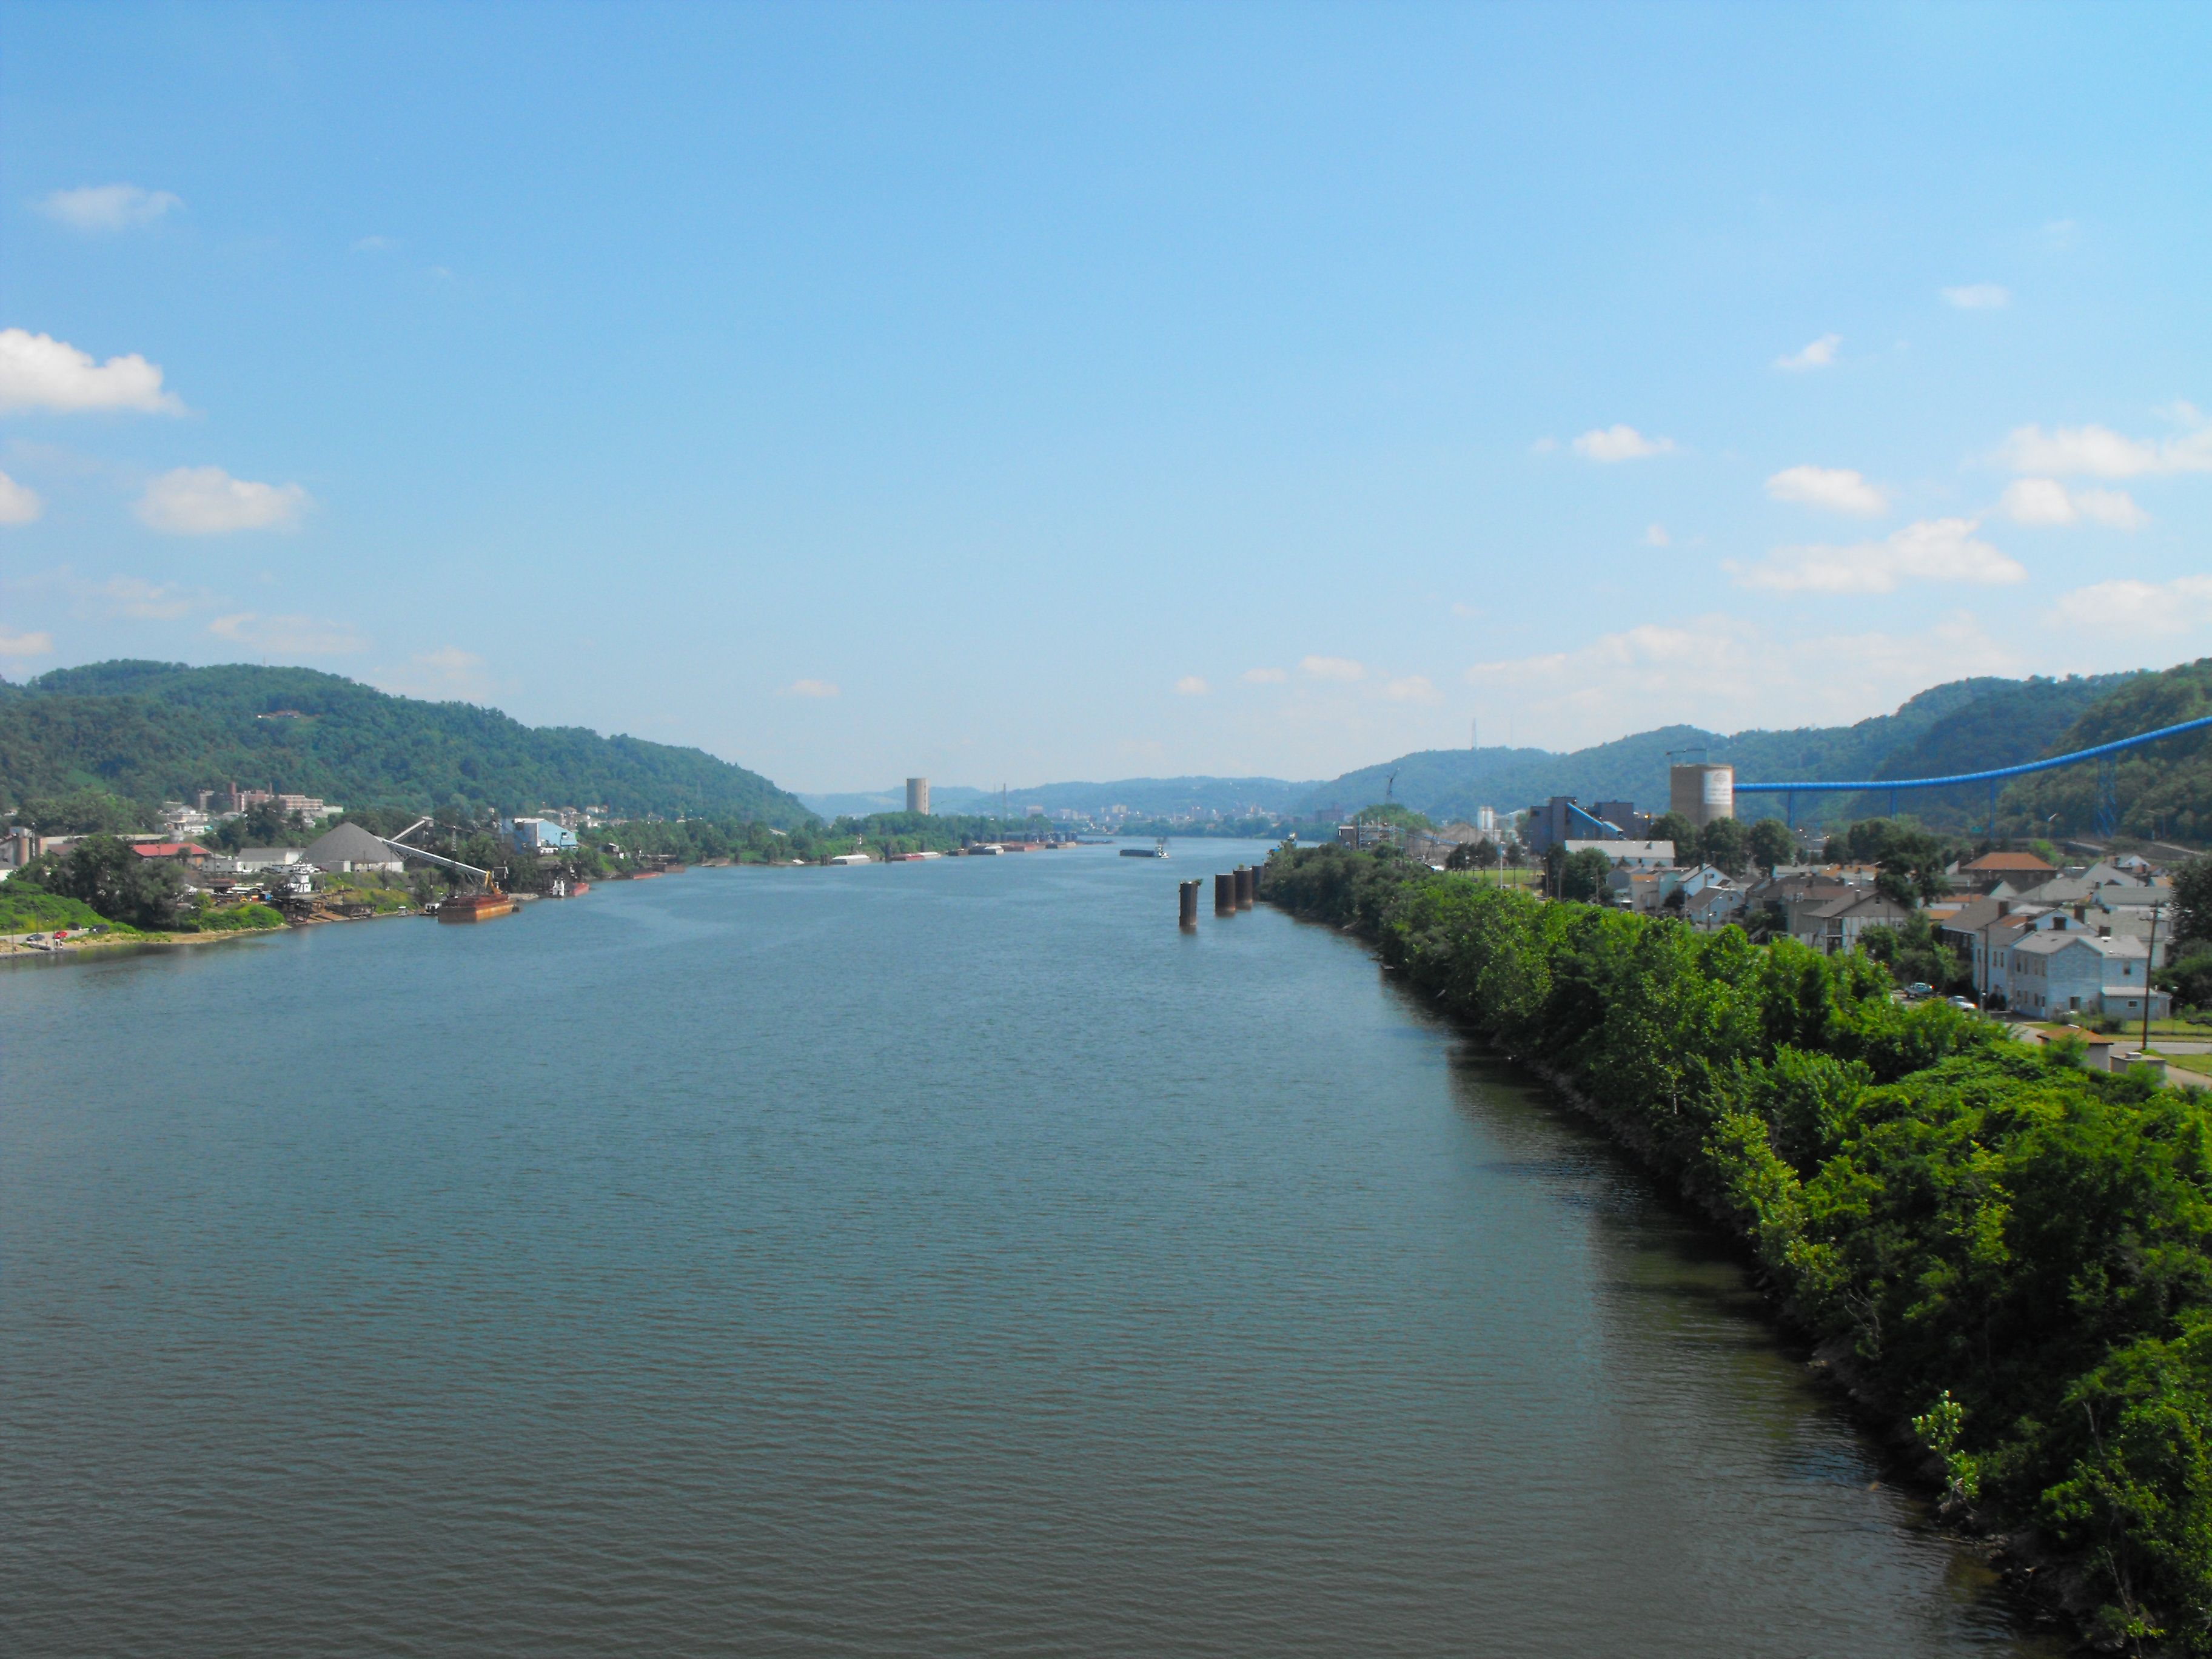
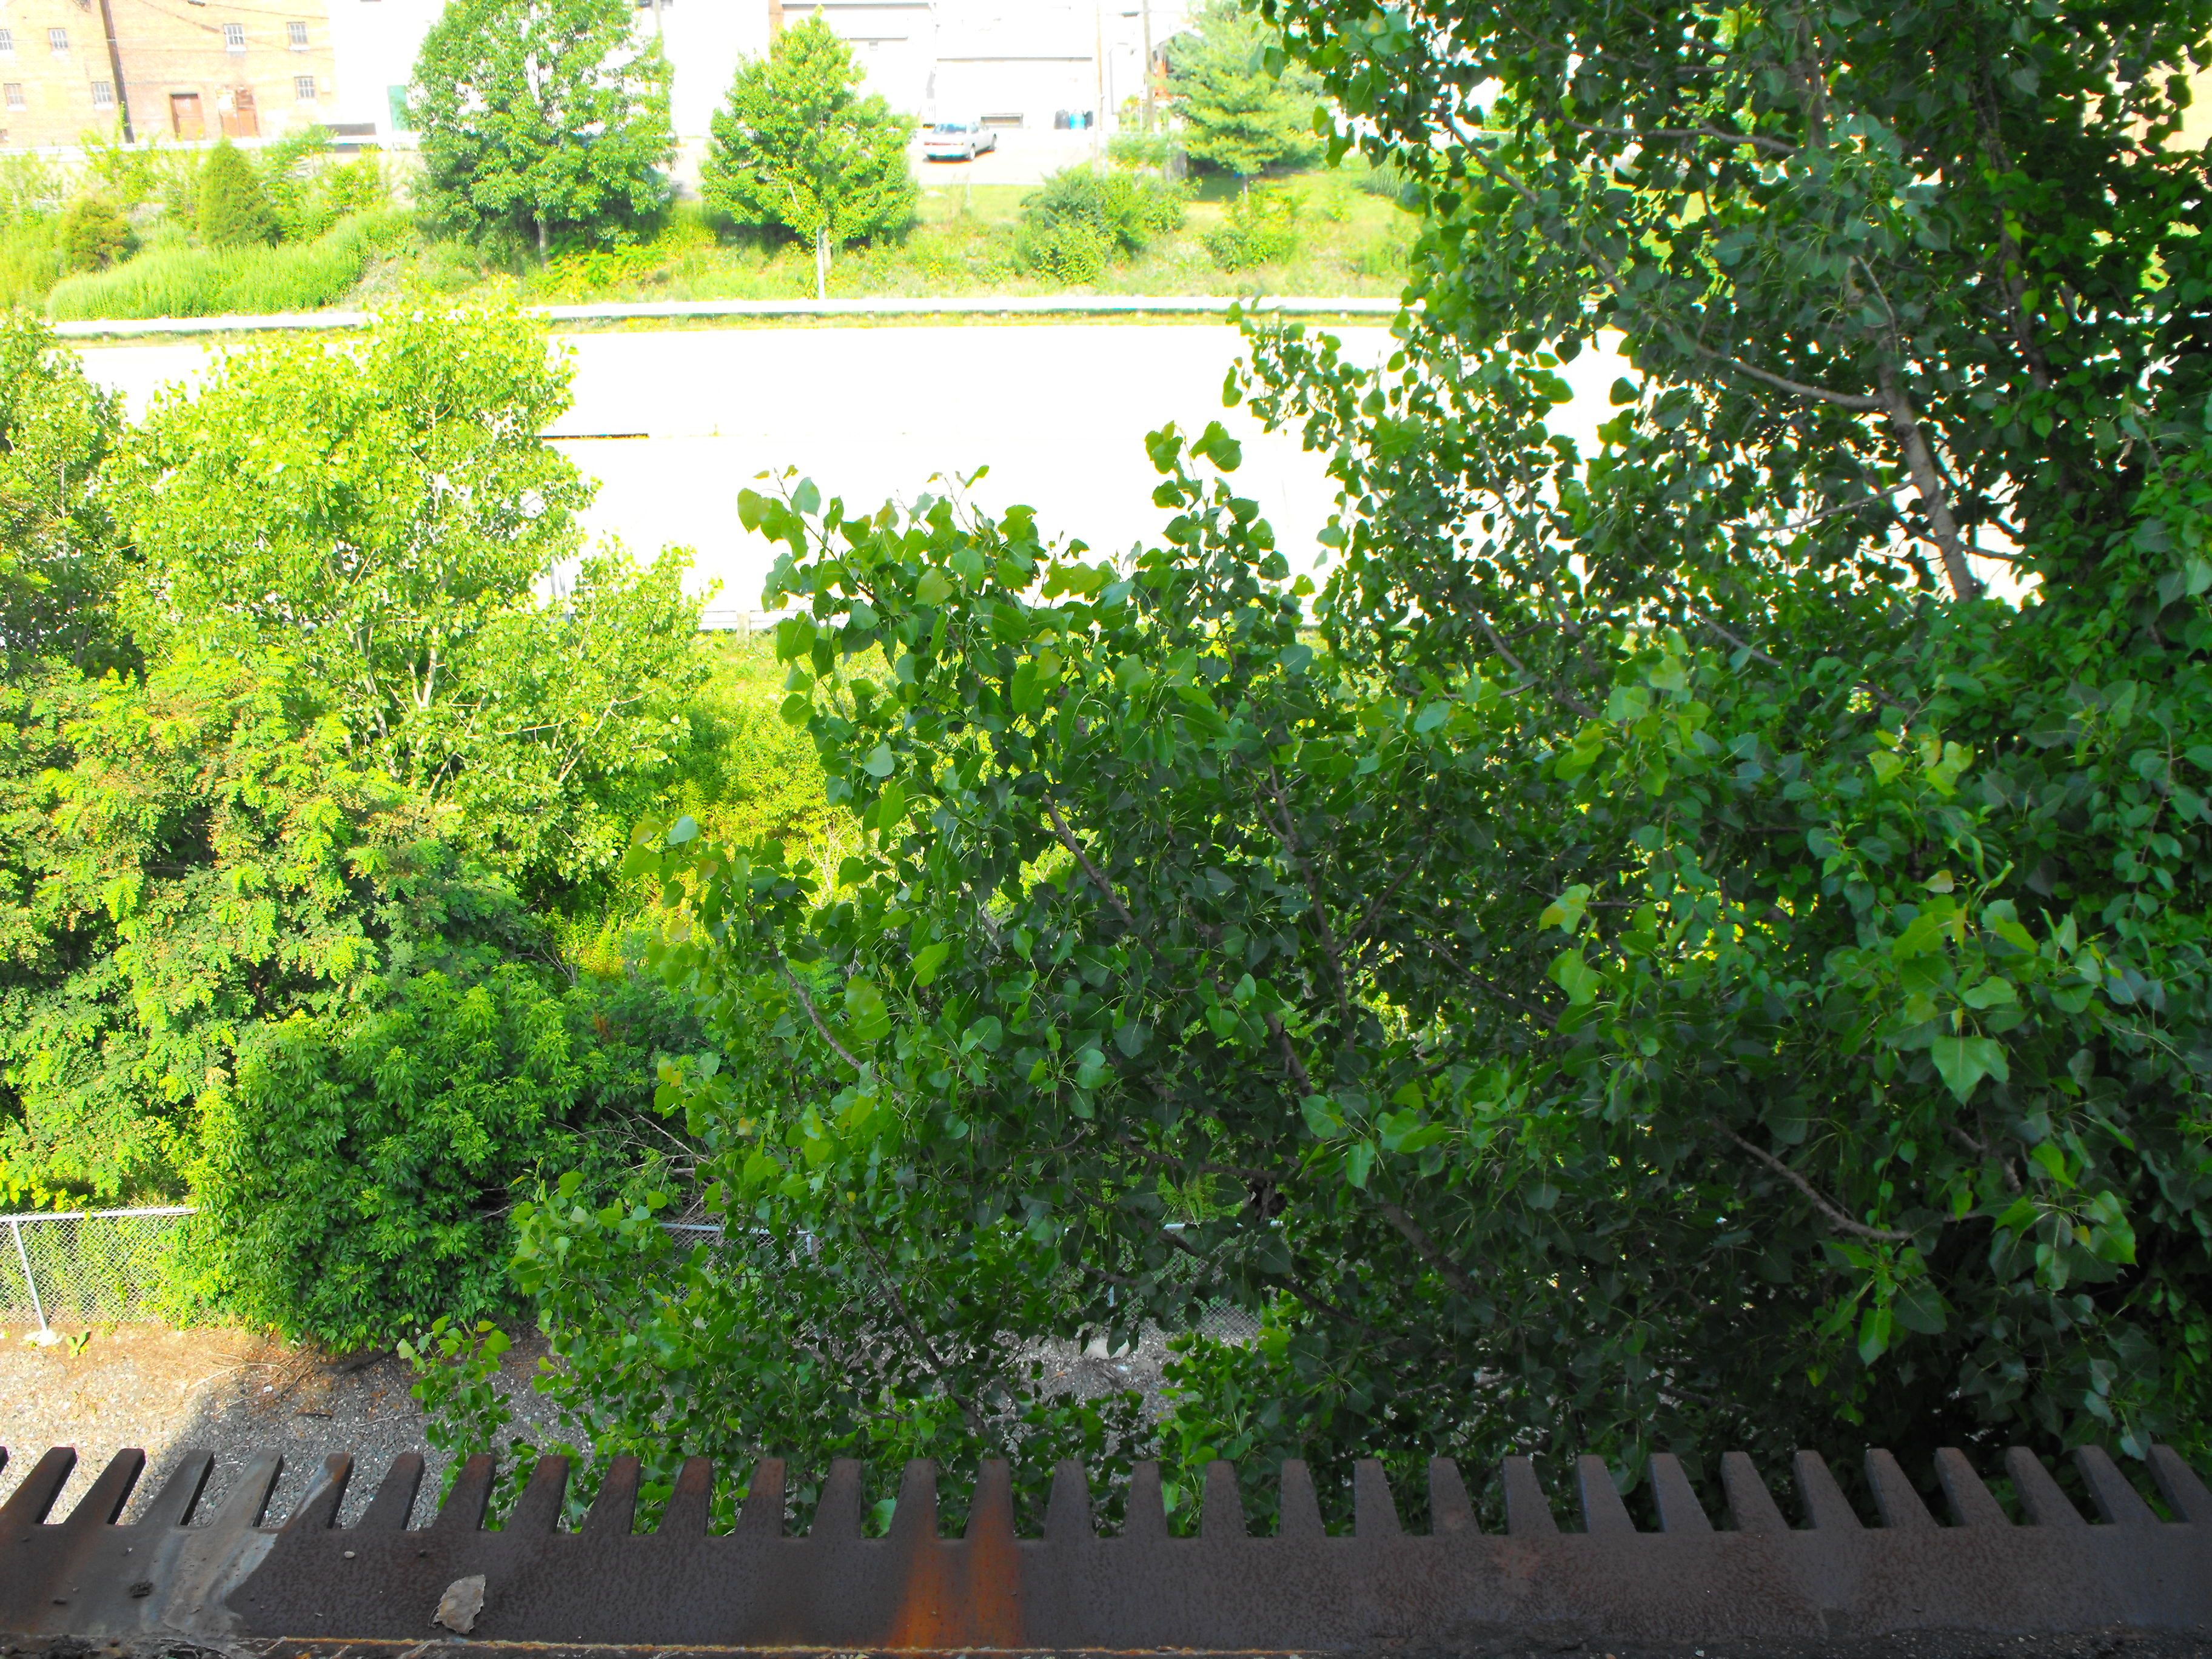
View from bridge.
![]()
![]()
| Back |
| Home |
| Top |

![]()