
Uncredited photos on this page taken by: Nathan Holth and Rick McOmber. Unless stated in a caption, all photos are Copyright with All Rights Reserved. Learn about reuse of our photos.
![]()


Original / Full Size
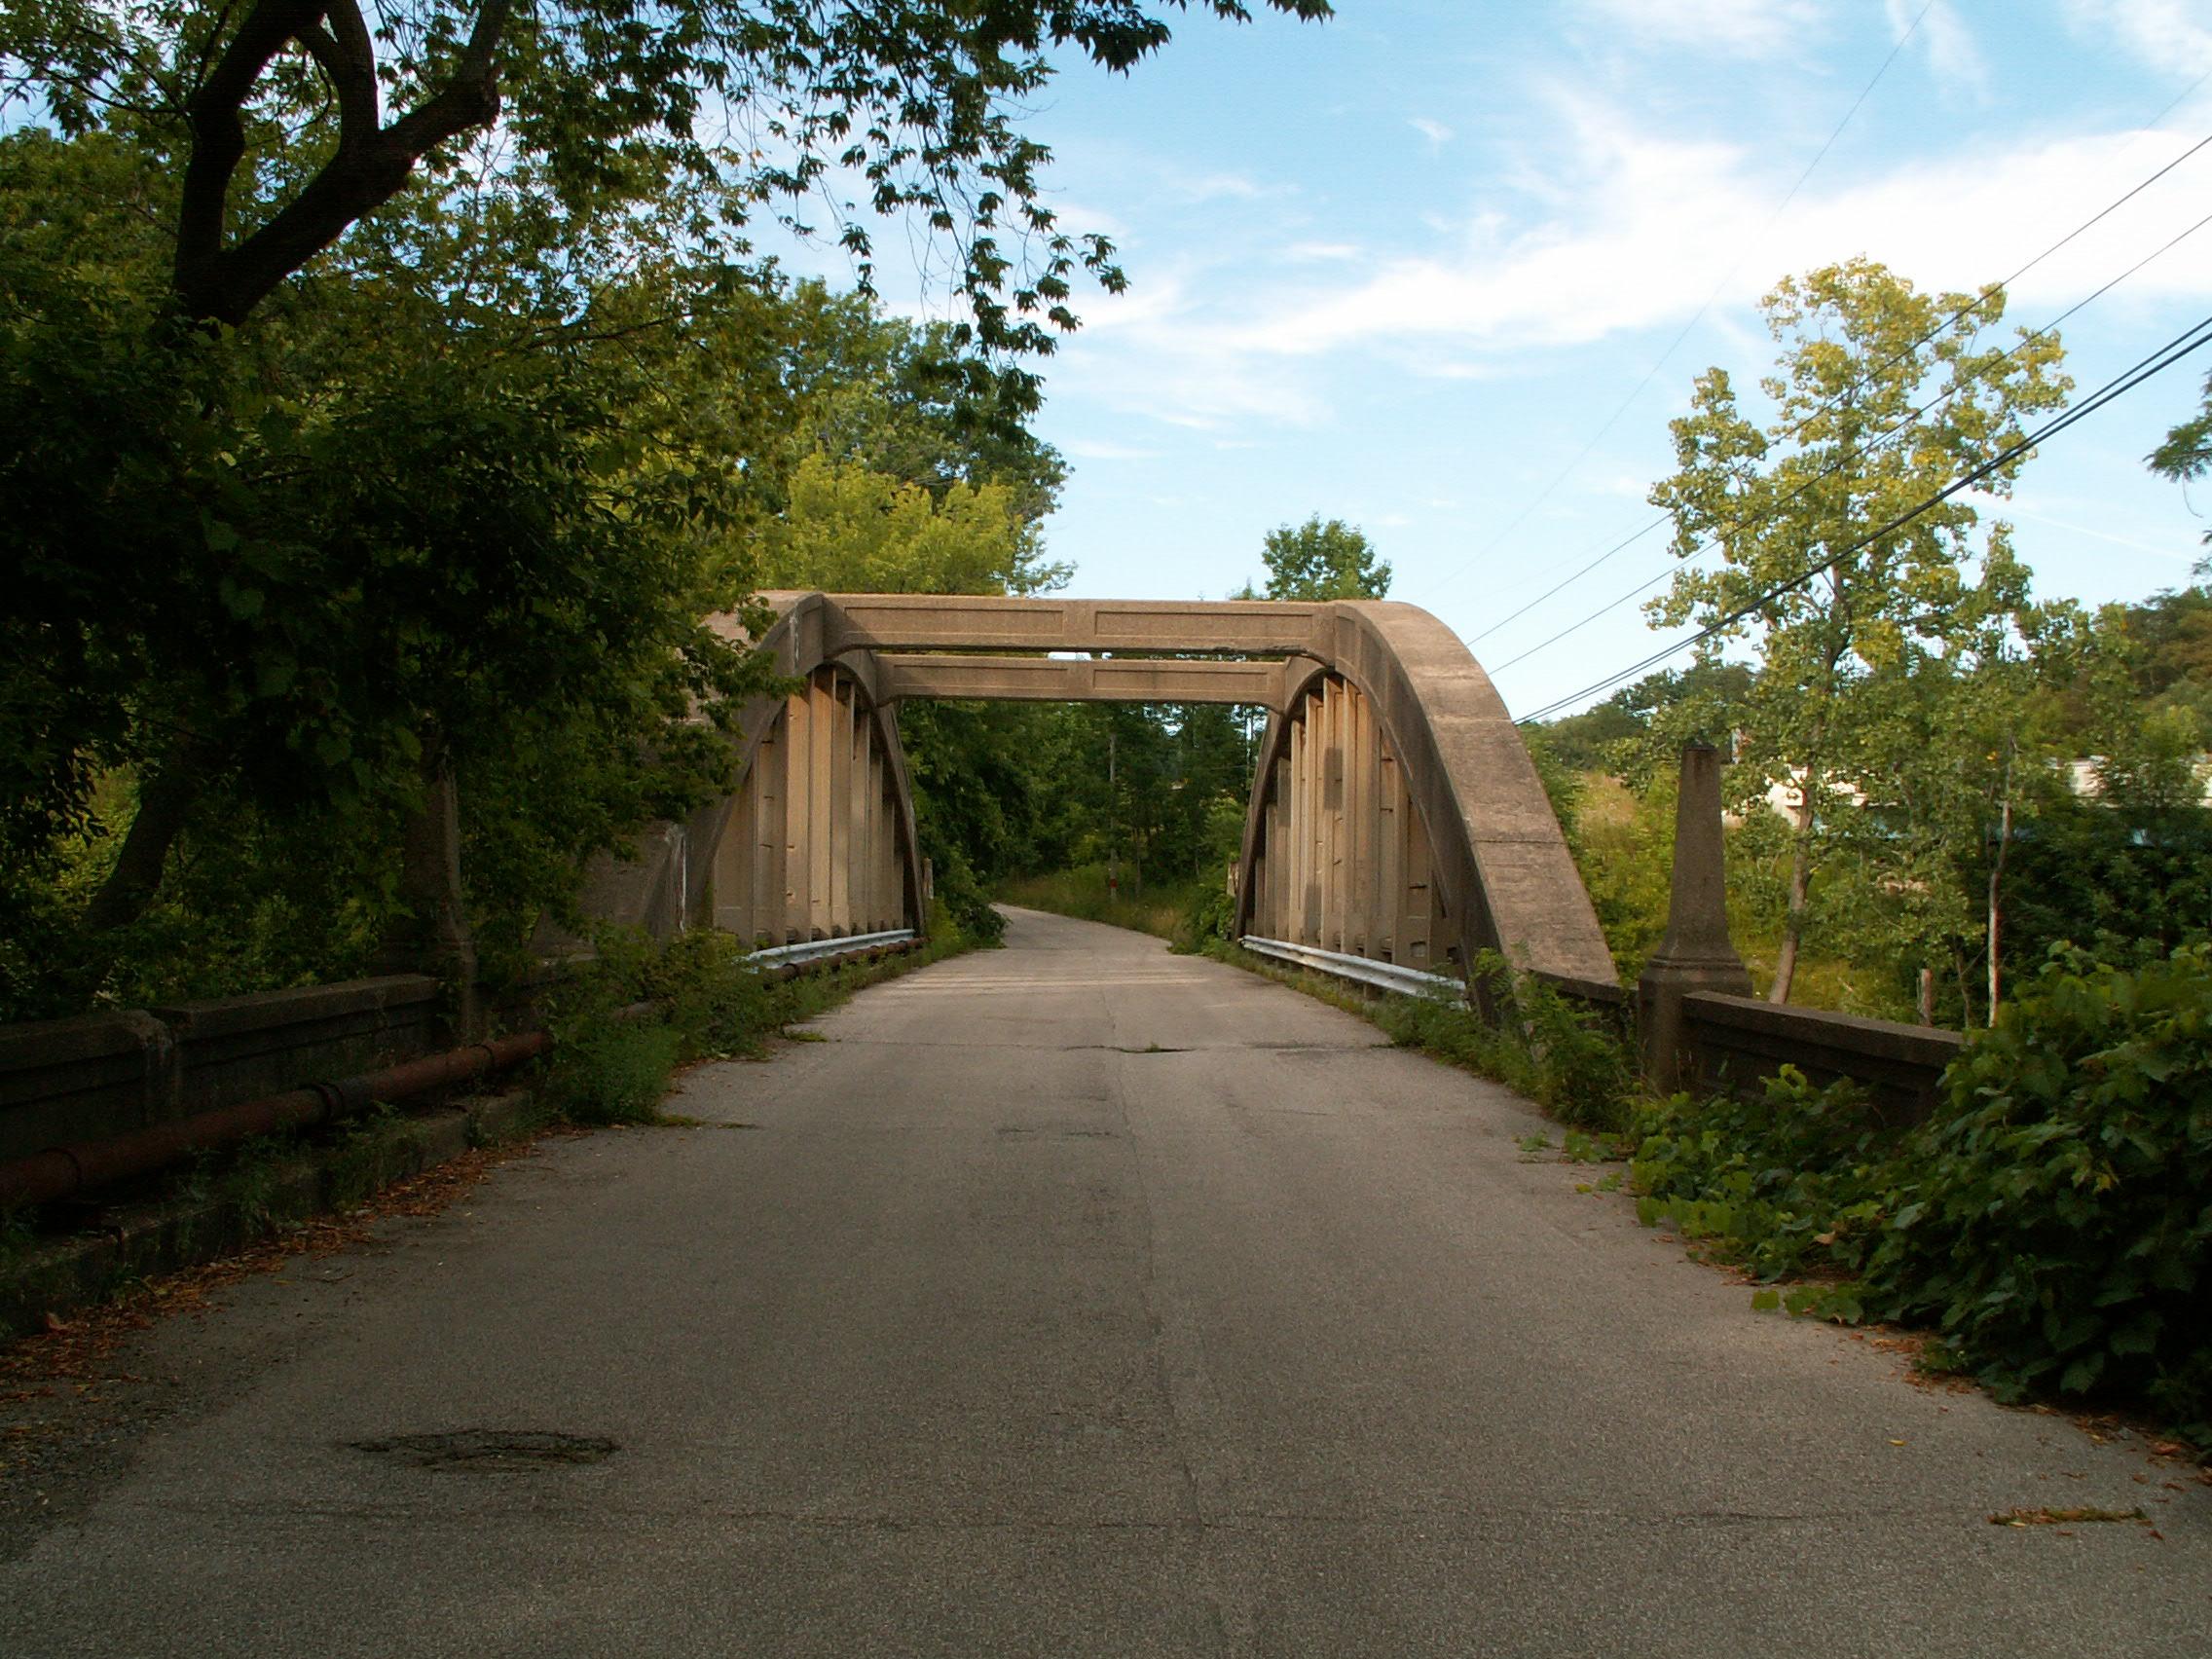
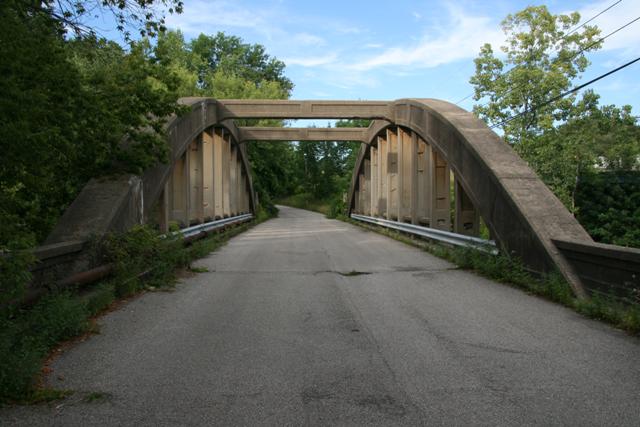
Portal views.
![]()


Original / Full Size
Views beside roadway.
![]()


Original / Full Size
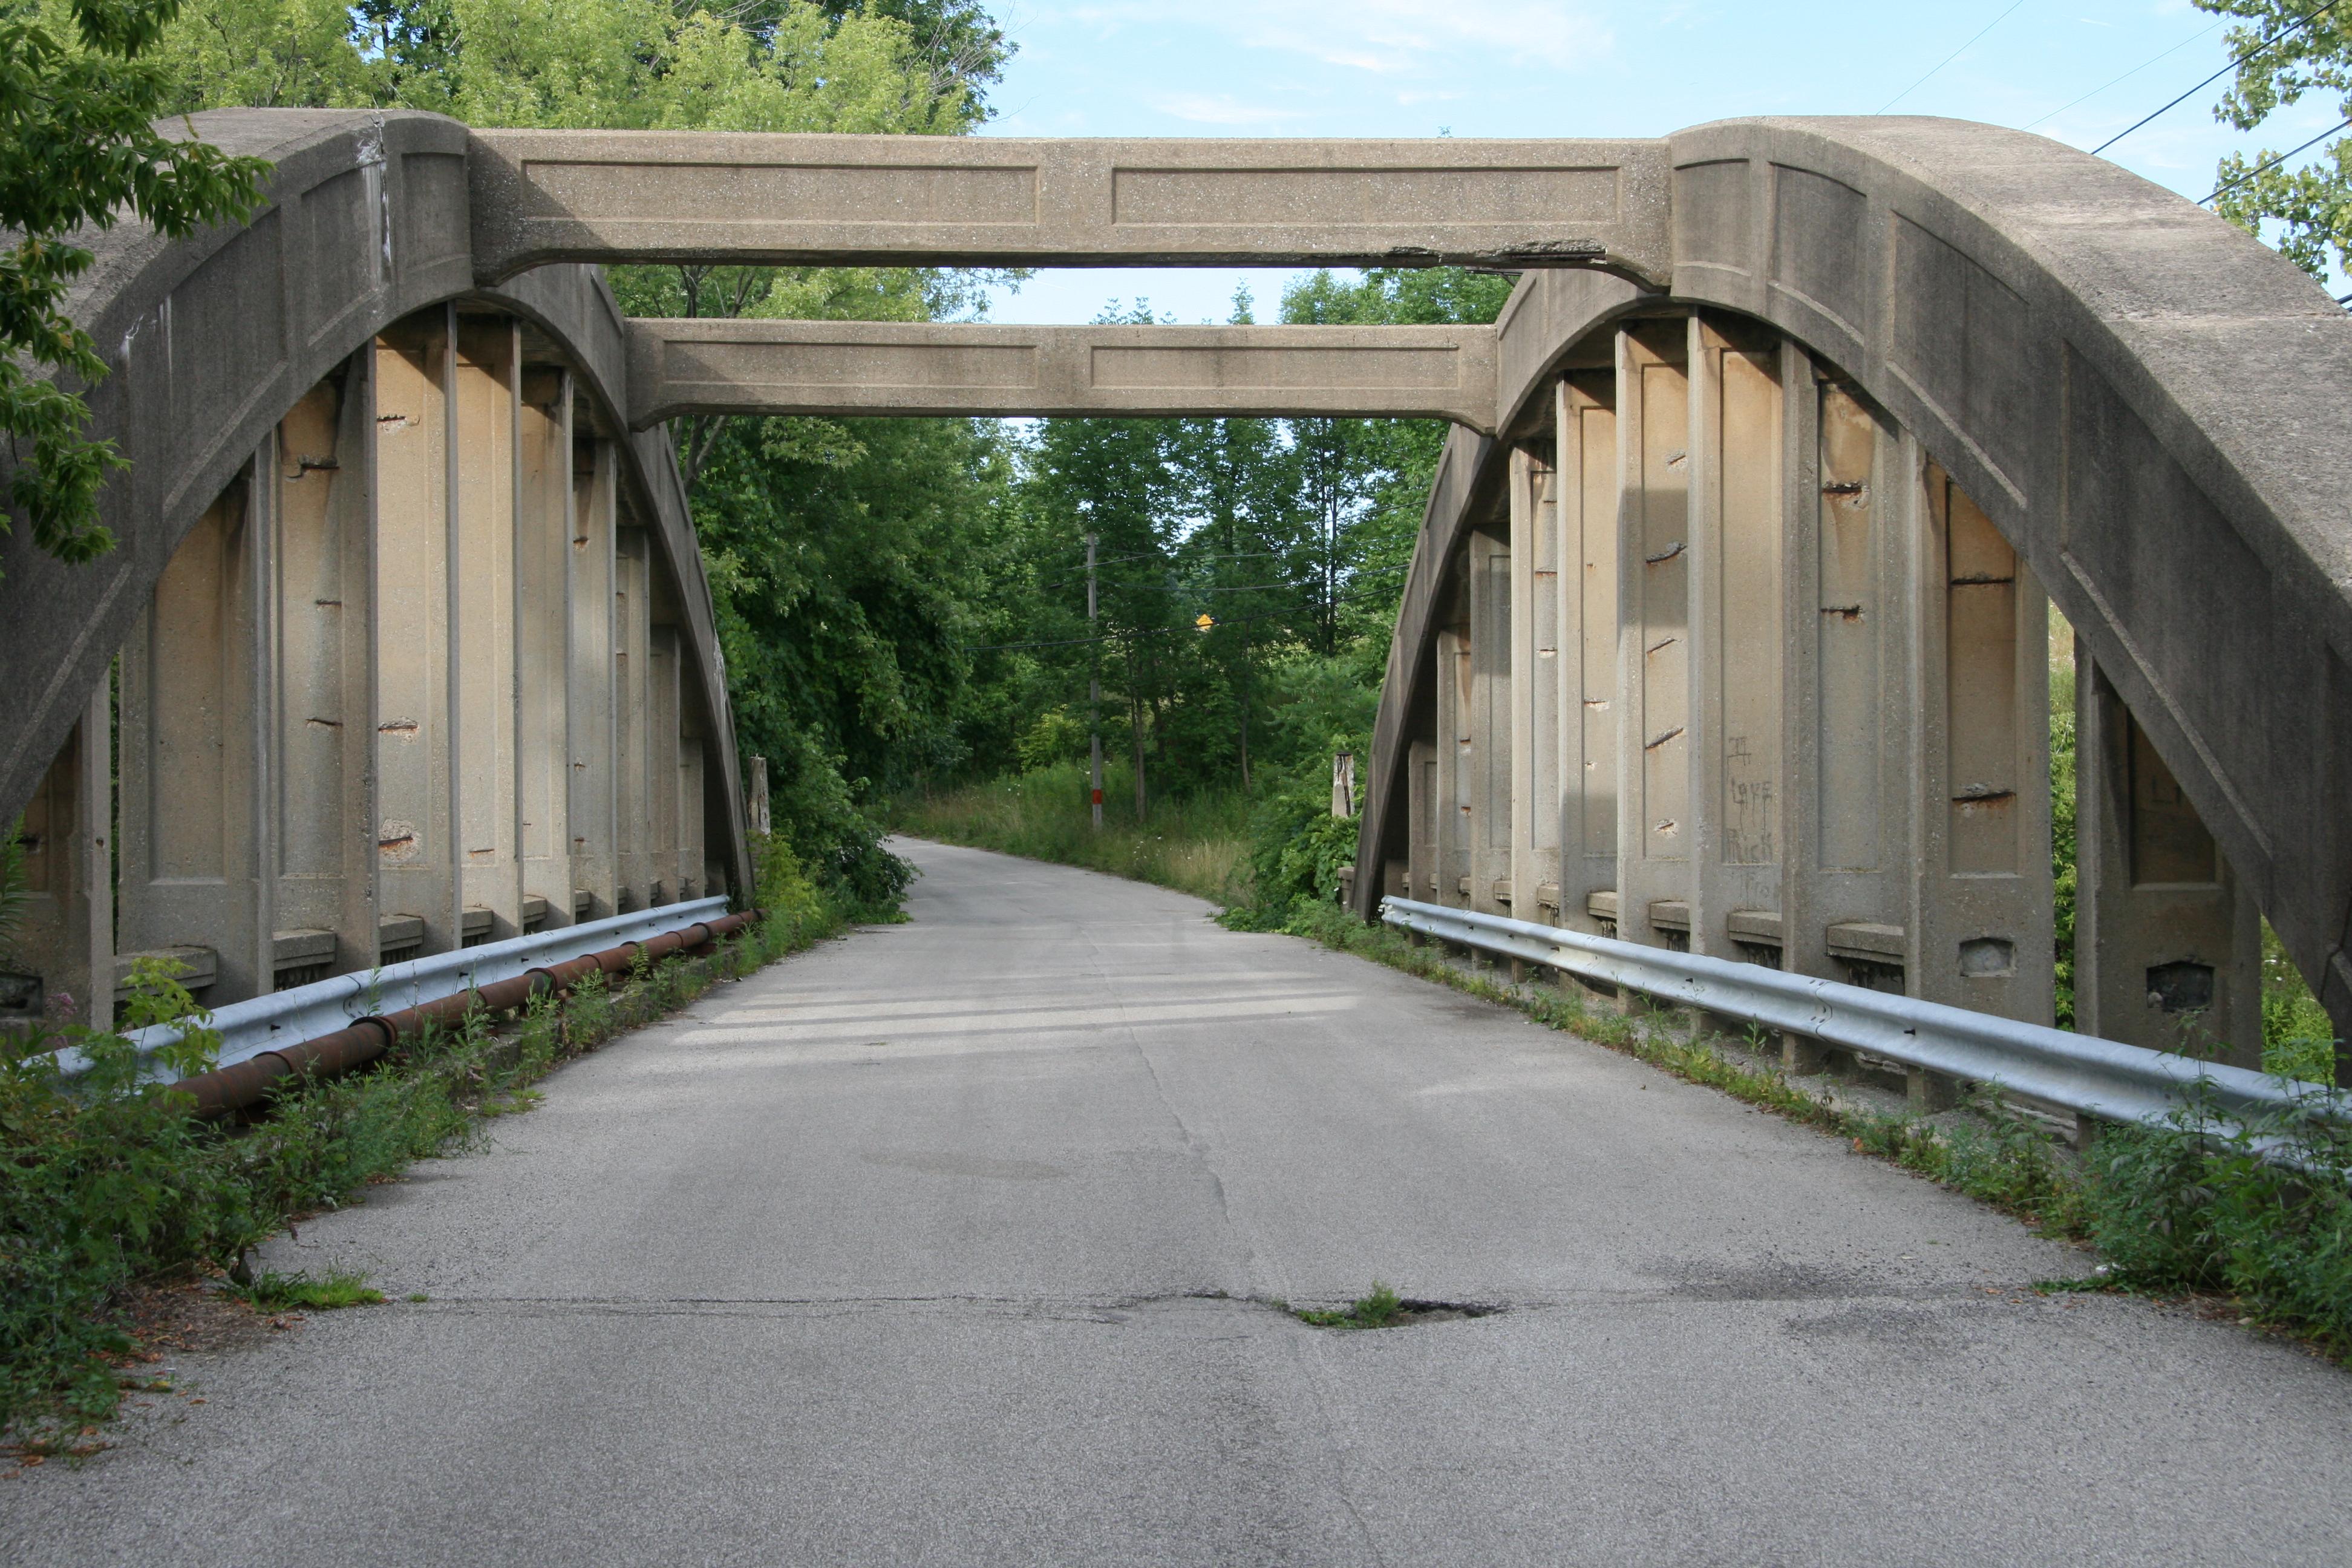
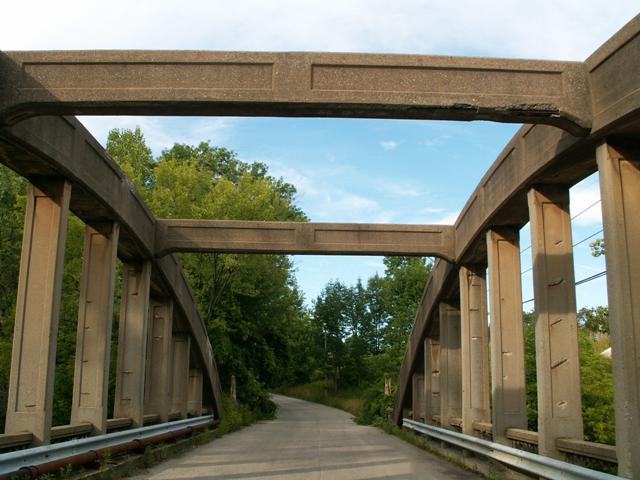
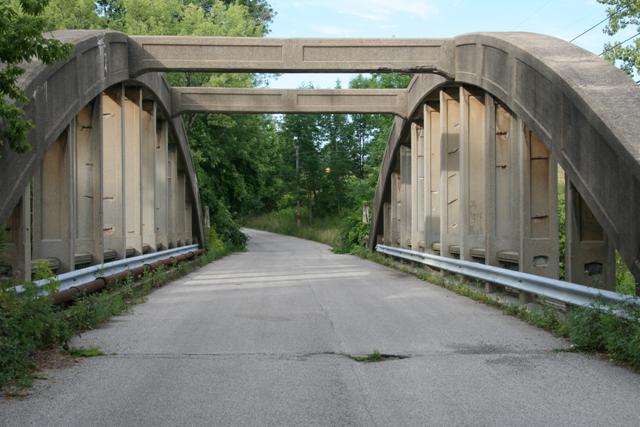
Portal views on bridge.
![]()


Original / Full Size
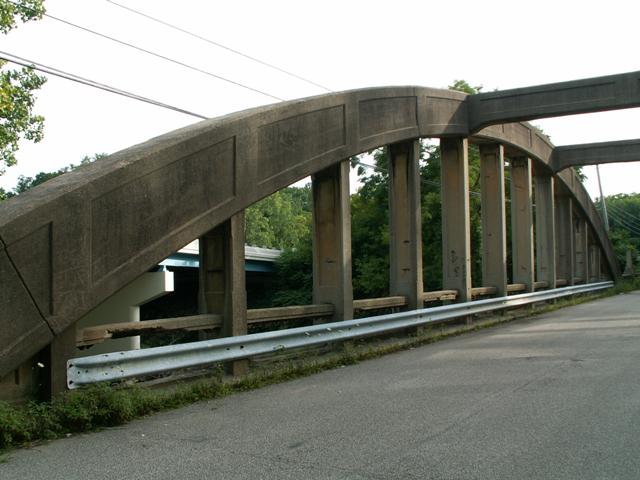
Views of the arch.
![]()


Original / Full Size
Views beside bridge.
![]()


Original / Full Size
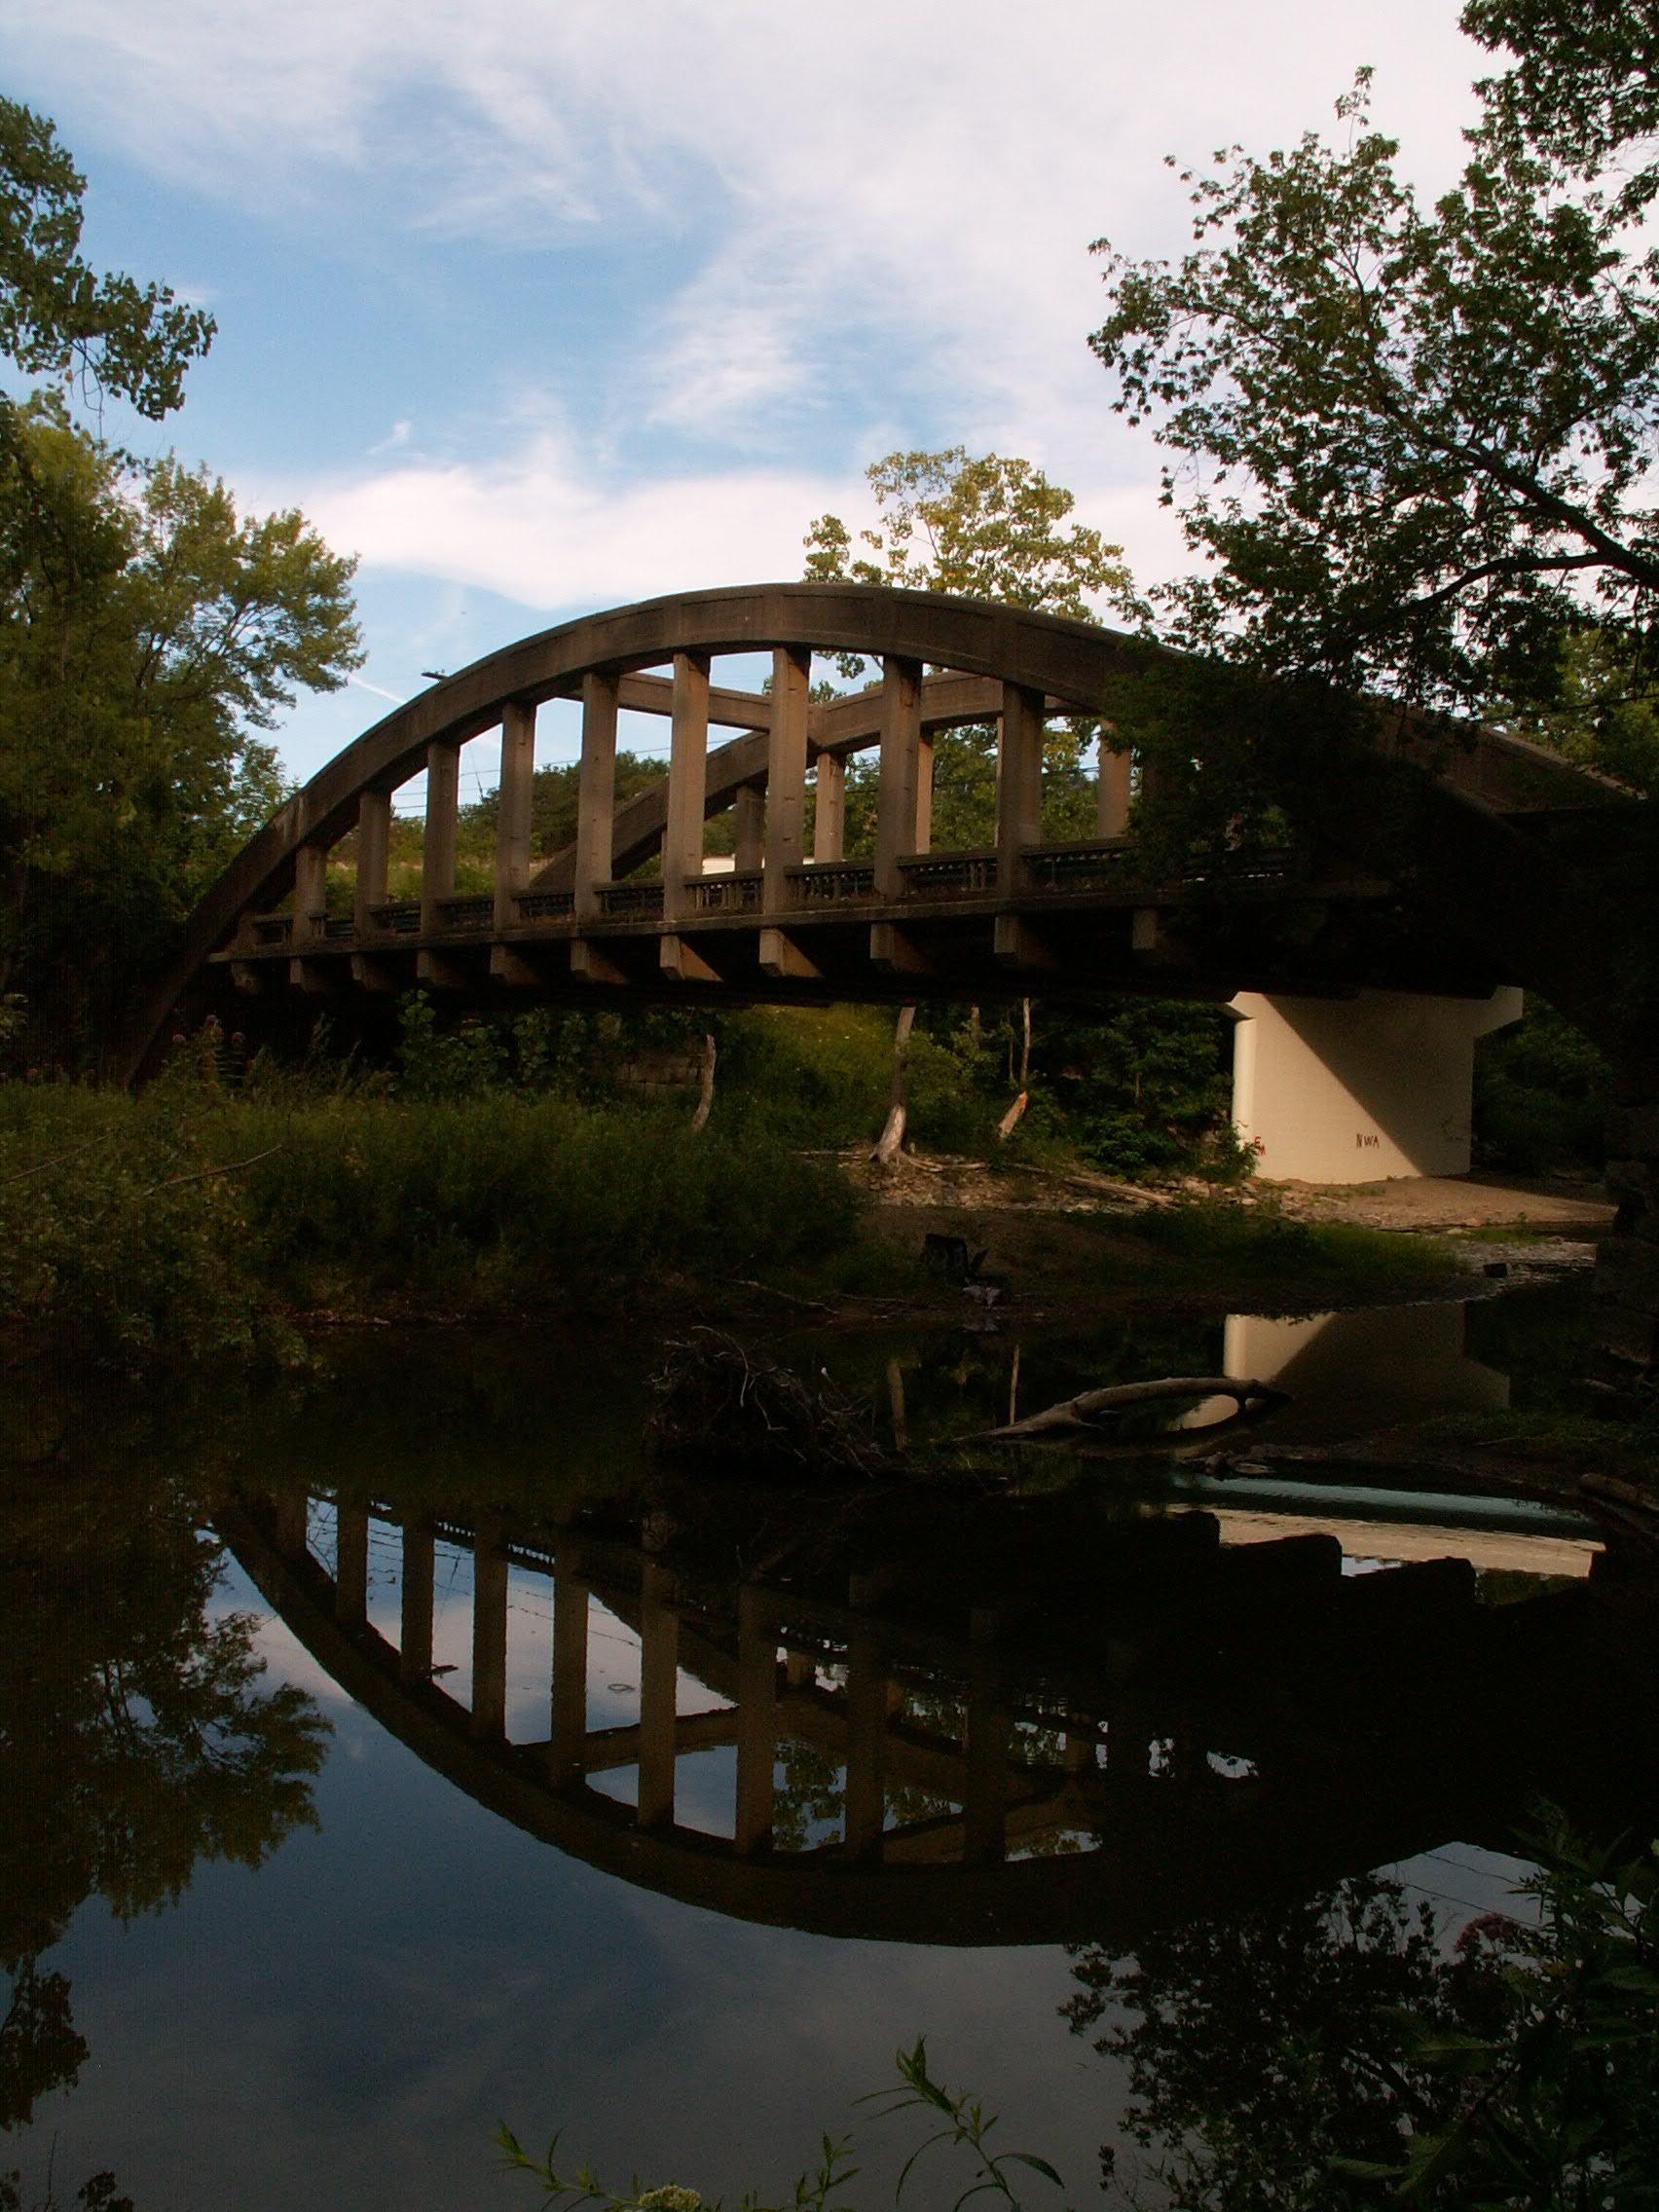
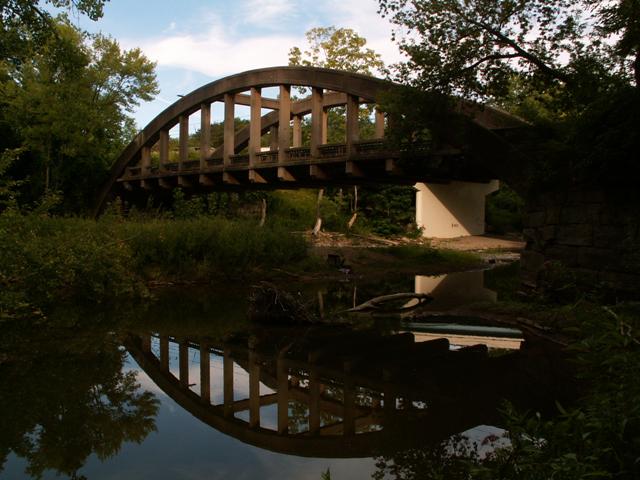
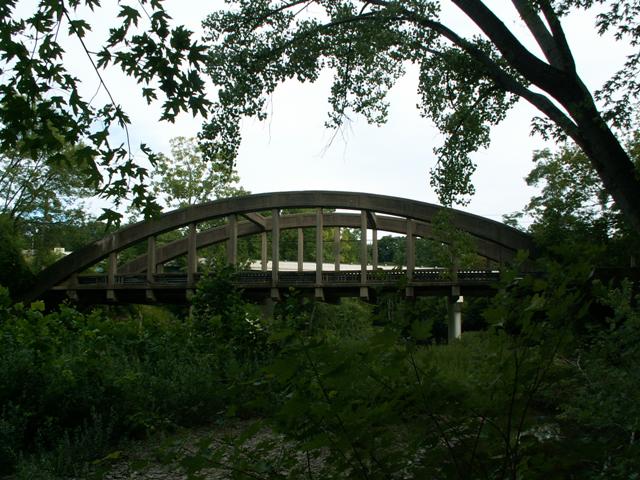
Elevation.
![]()


Original / Full Size
Views of sections of the arch.
![]()


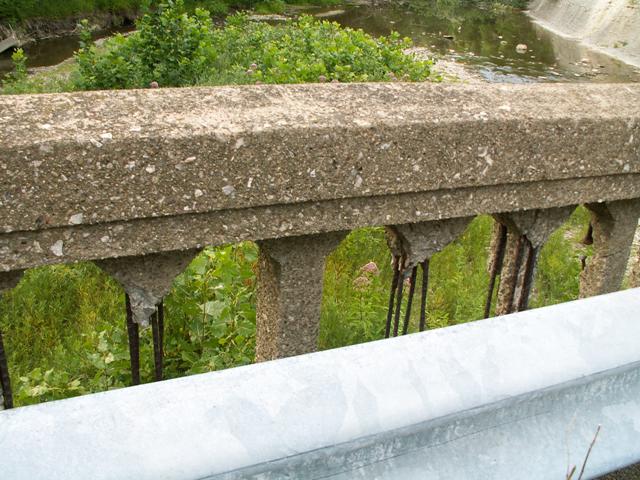
Railing details. Note deterioration on sections on the bridge itself. The abutment/approach railings appear intact, however, perhaps due to their solid design.
![]()
Bracing details.
![]()


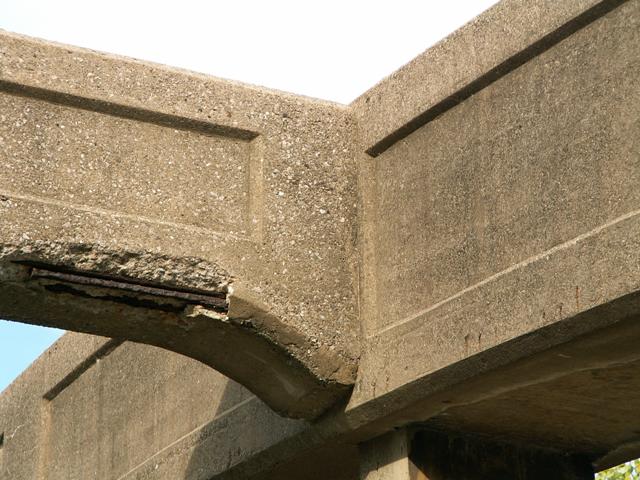
Arch details.
![]()

Abutment.
![]()

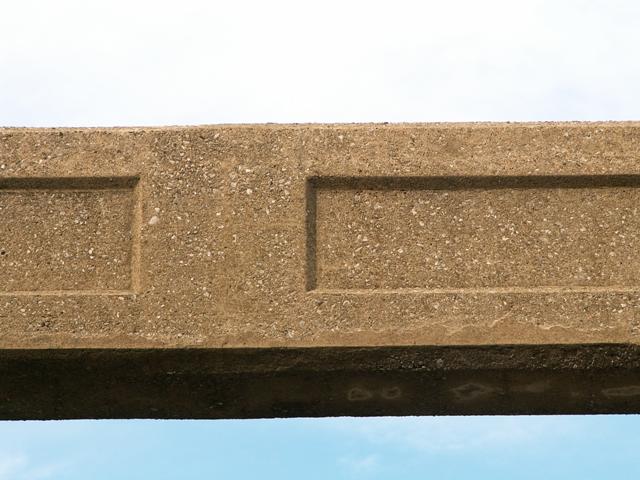
Decorative obselisk.
![]()

Scenery at bridge.
![]()

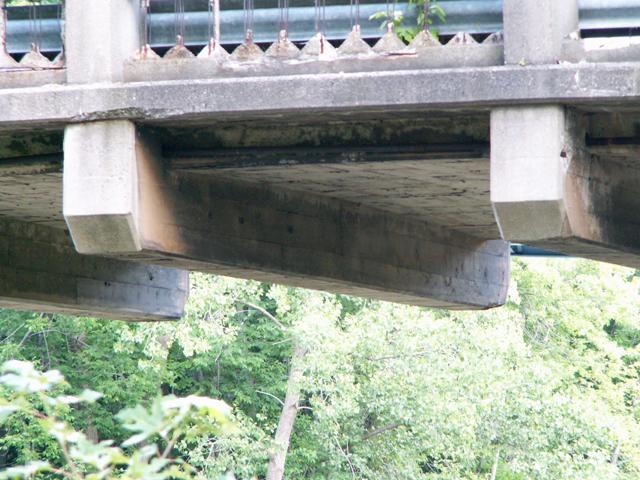
Floor beams.
![]()
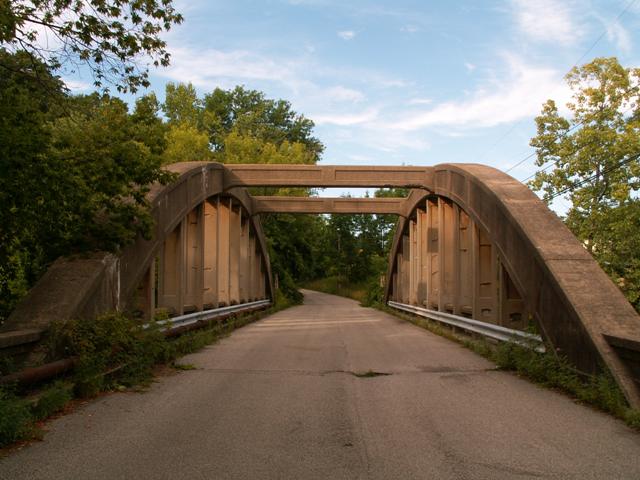


Portal views.
![]()


Views beside roadway.
![]()

Portal views on bridge.
![]()


Views beside bridge.
![]()


Elevation.
![]()


Views of the arch.
![]()


Views of sections of the arch.
![]()
![]()
| Back |
| Home |
| Top |

![]()