Uncredited photos on this page taken by: Caleb Barker. Unless stated in a caption, all photos are Copyright with All Rights Reserved. Learn about reuse of our photos.
![]()
Elevation.
![]()
![]()
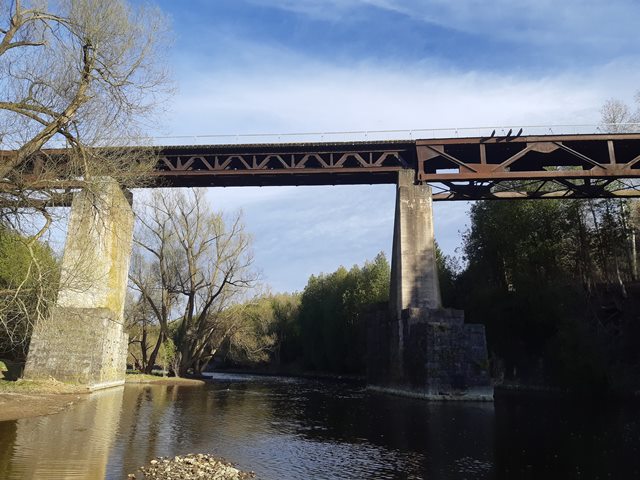
Panoramic elevation.
![]()
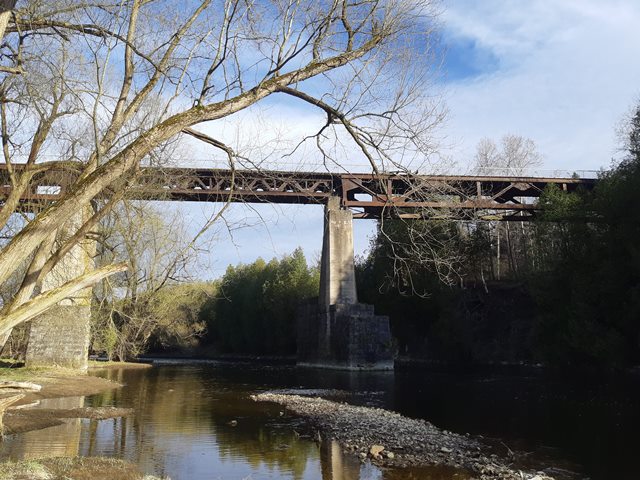
Views beside bridge.
![]()

Elevation of center span.
![]()
Elevation of end span.
![]()
Portal view.
![]()
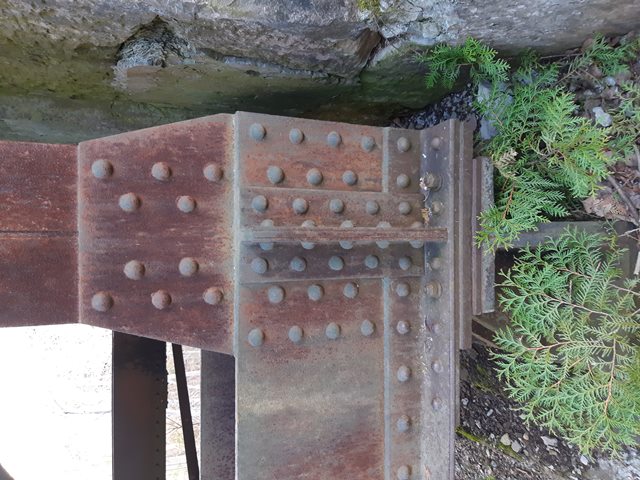
Bearing.
![]()
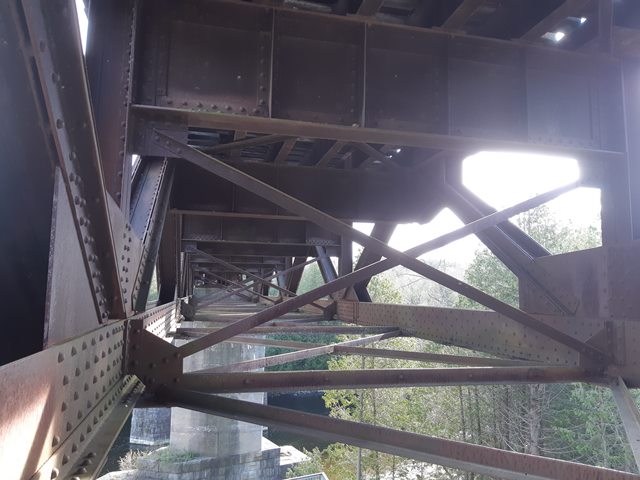
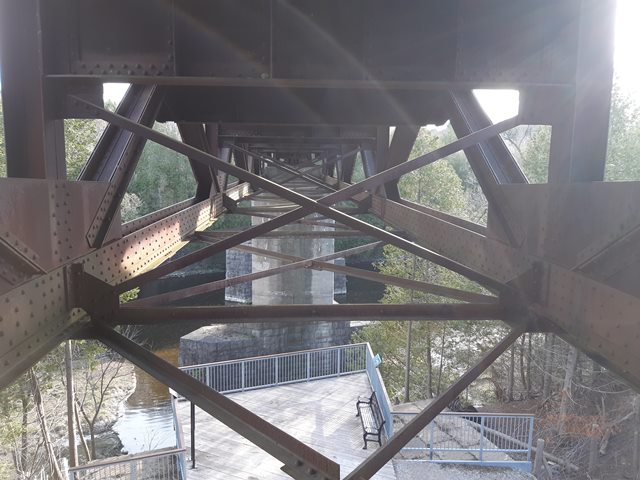
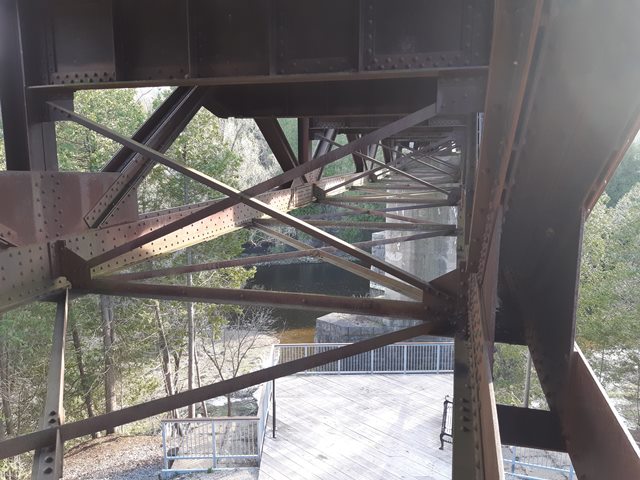
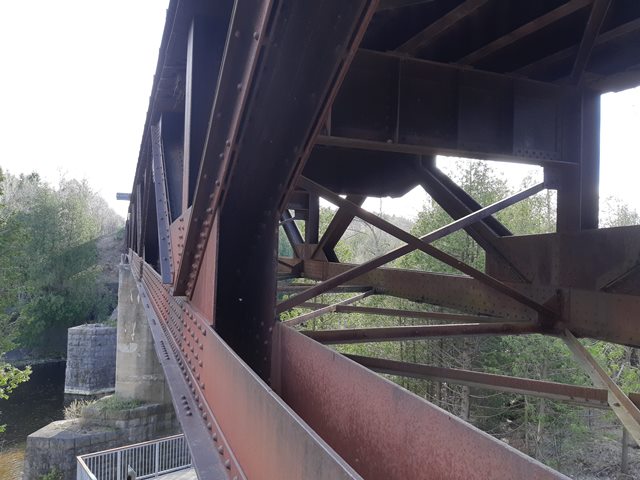
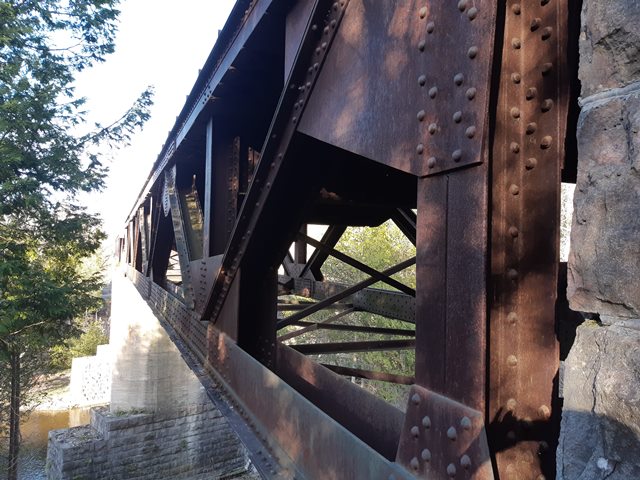
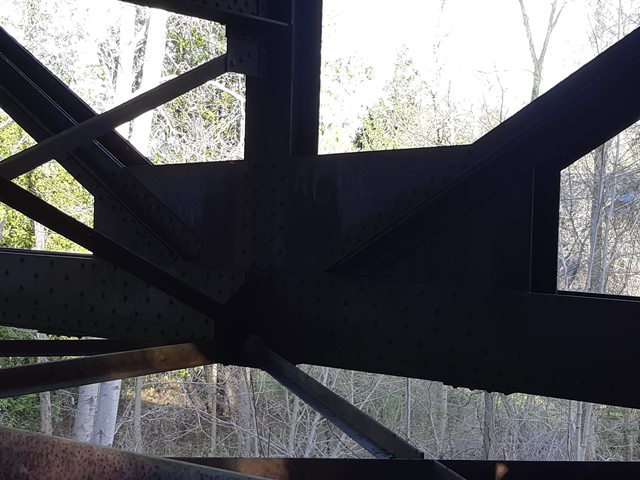
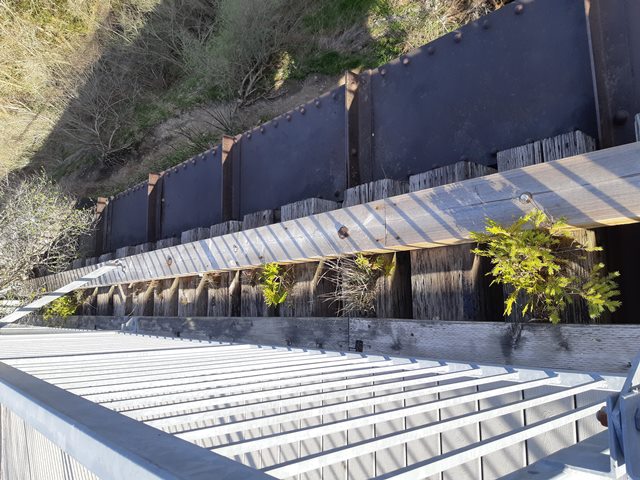
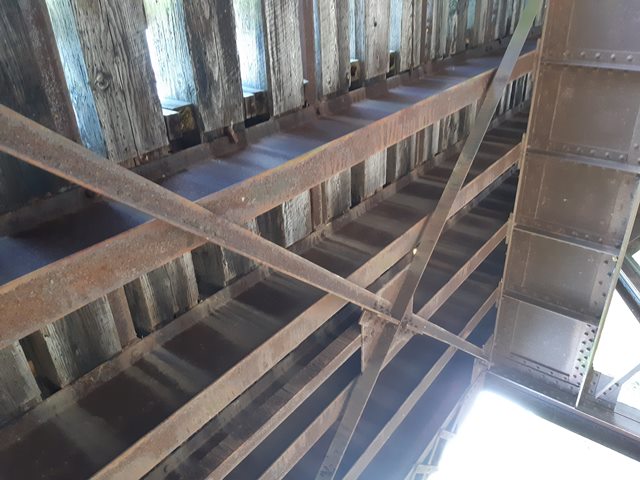
Views looking through bracing.
![]()
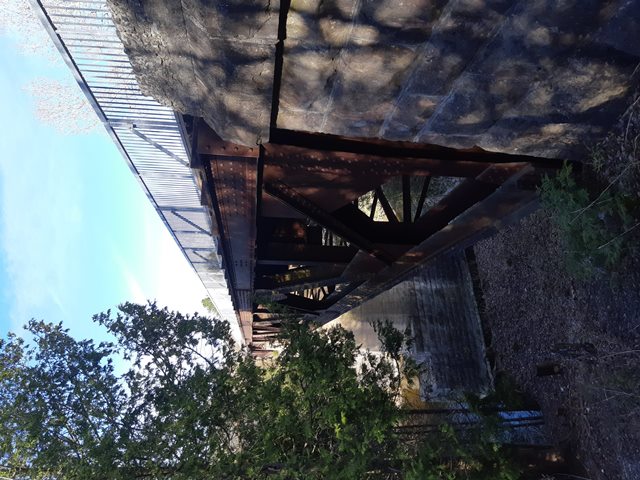
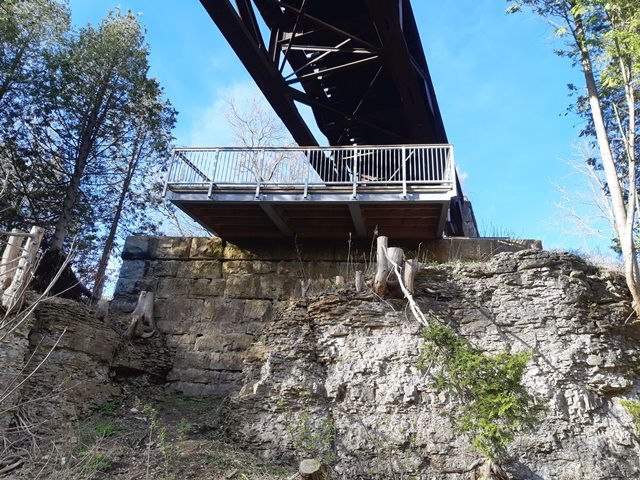
Abutment.
![]()
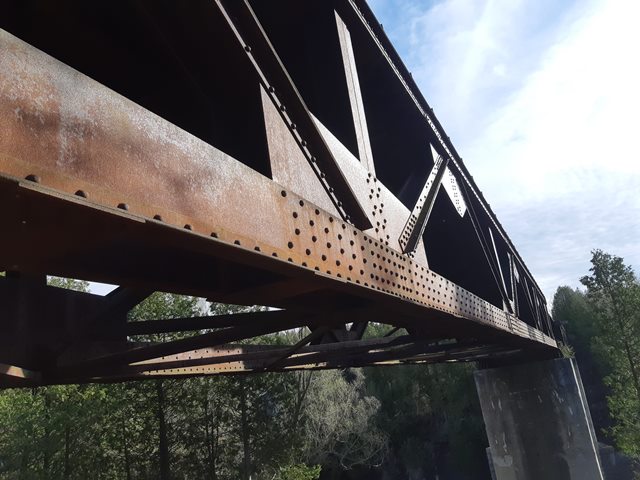
Bottom chord connections.
![]()
Top chord.
![]()
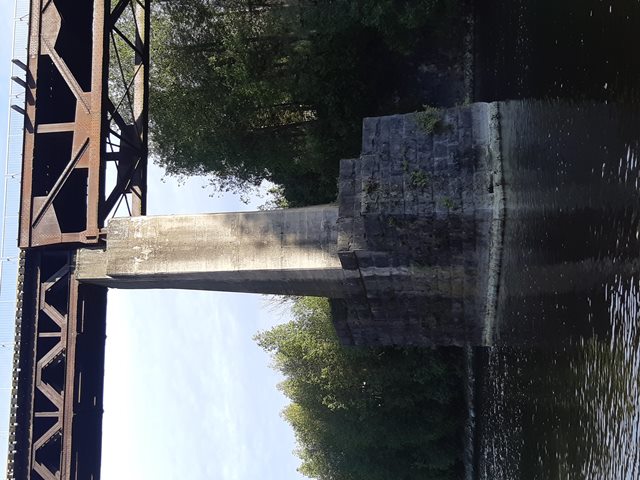
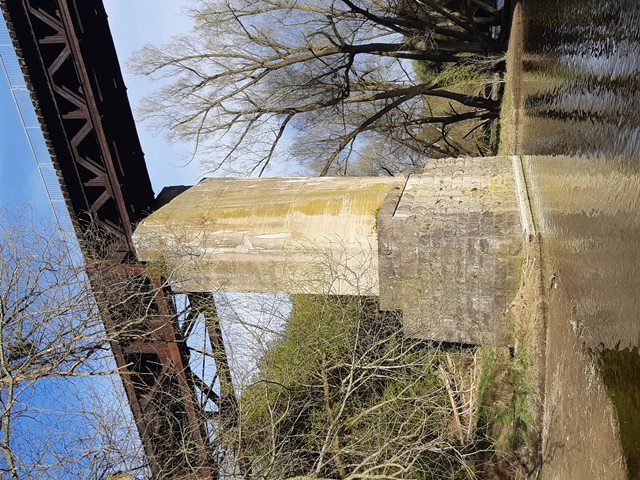
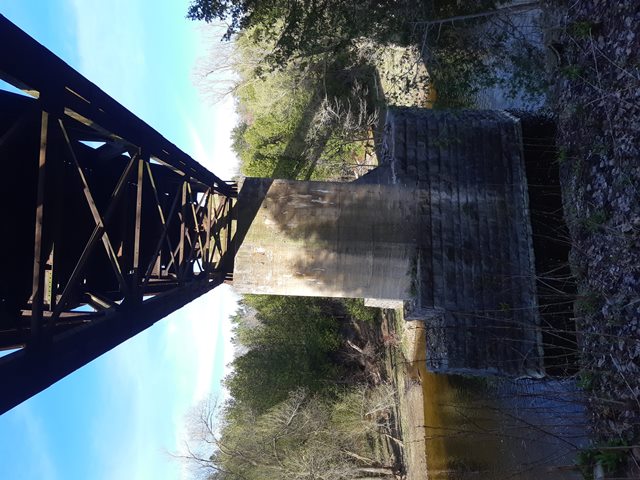
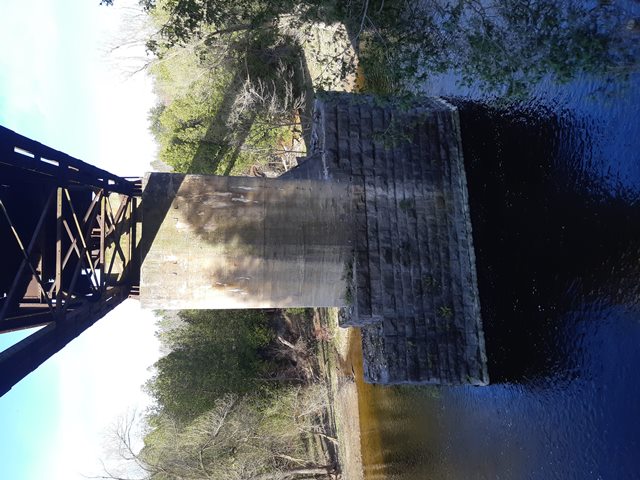
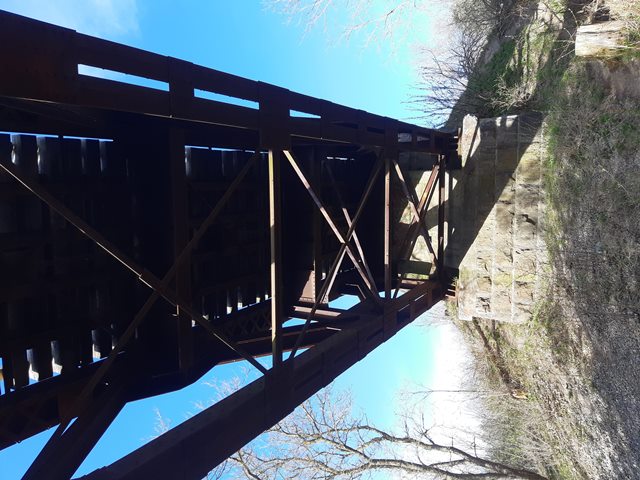
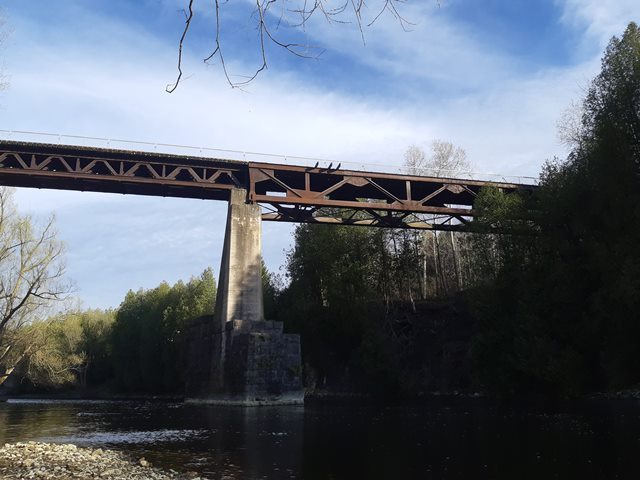
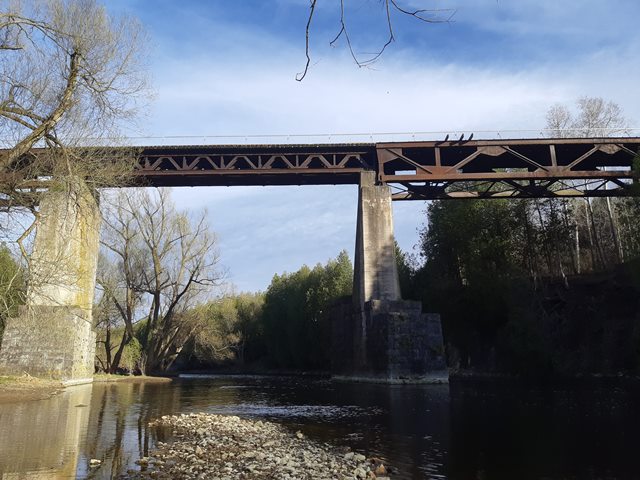
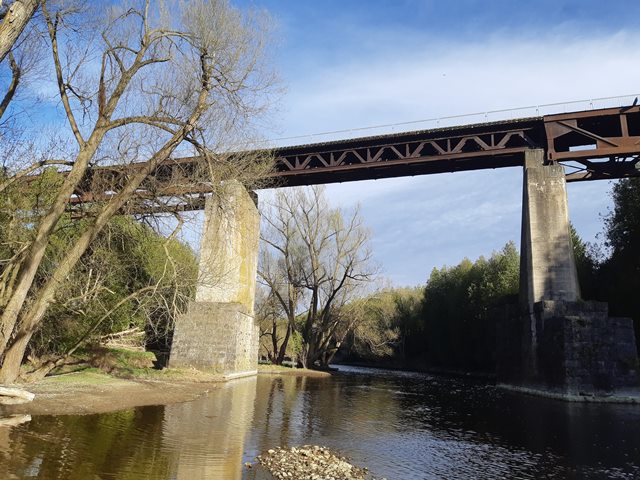
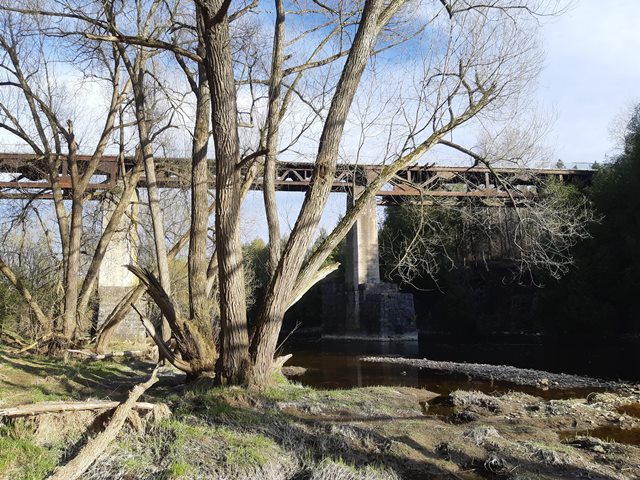
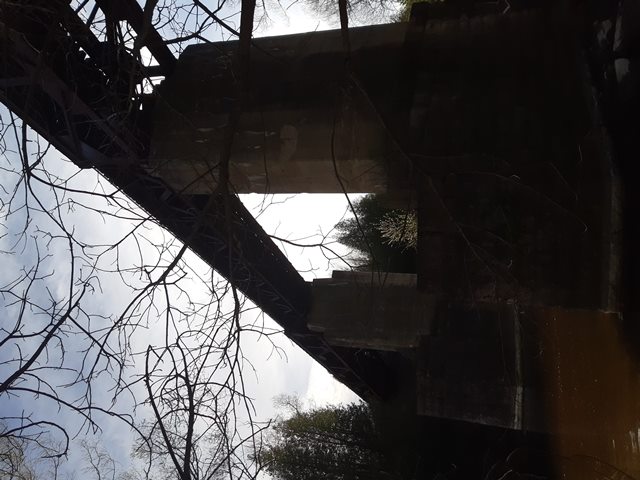
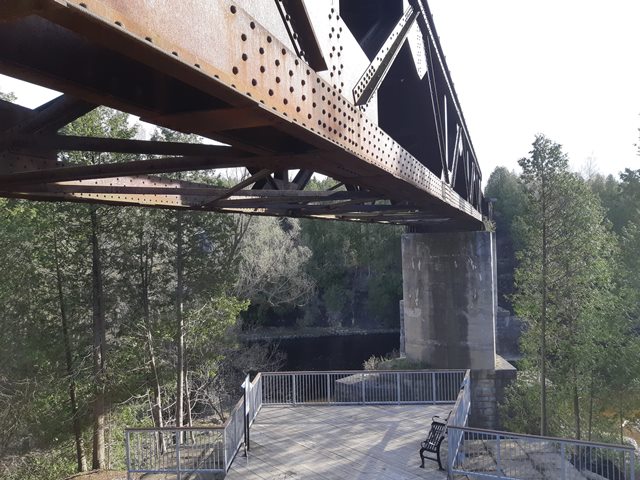
Piers.
![]()
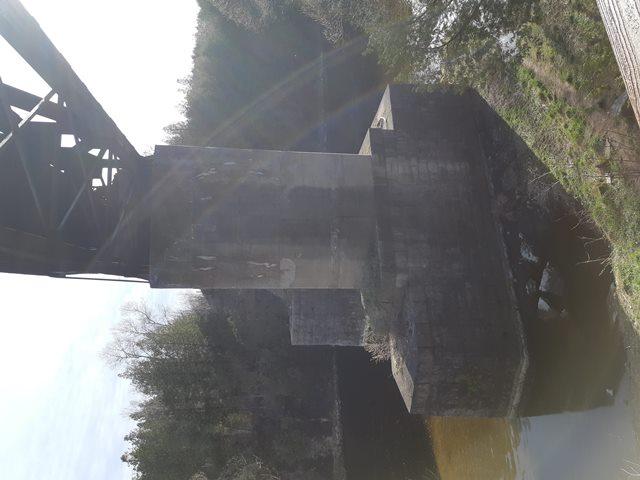
Stone substructure. The previous bridge was five spans and the current bridge is three spans. This appears to be part of one of the now-unused piers of the previous bridge.
![]()
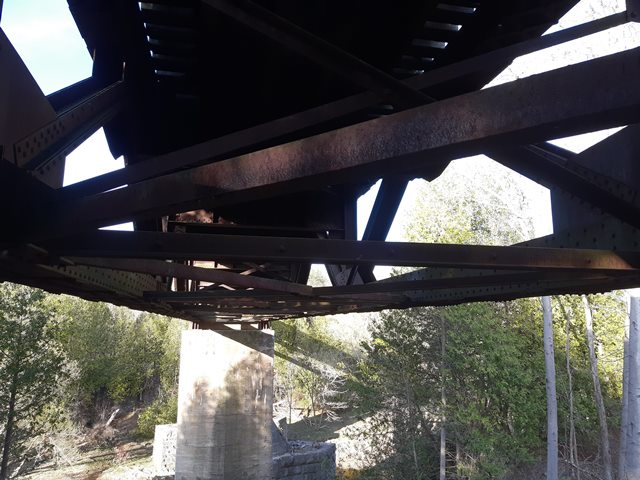
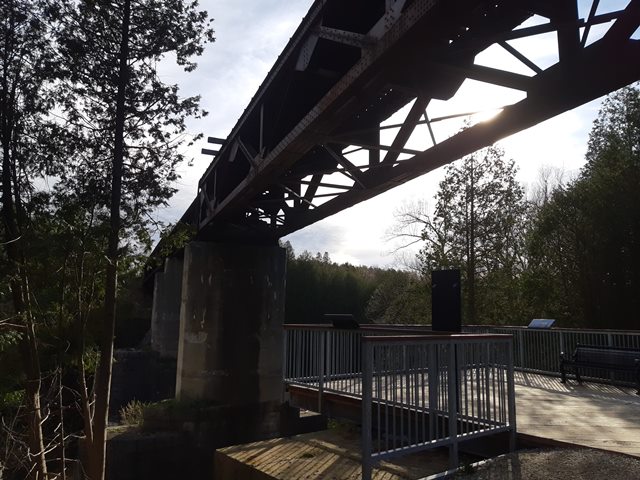
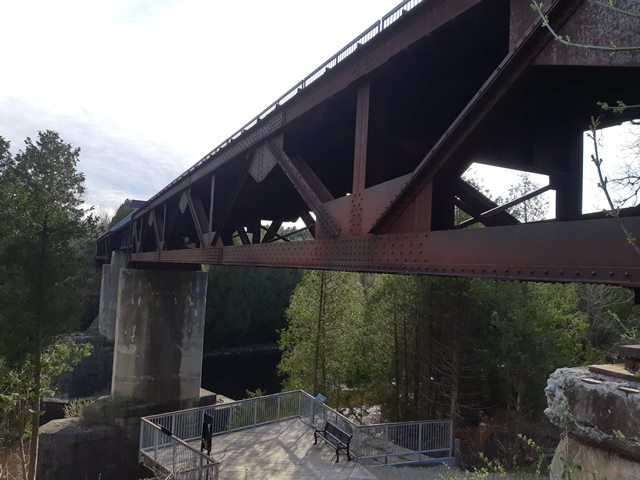
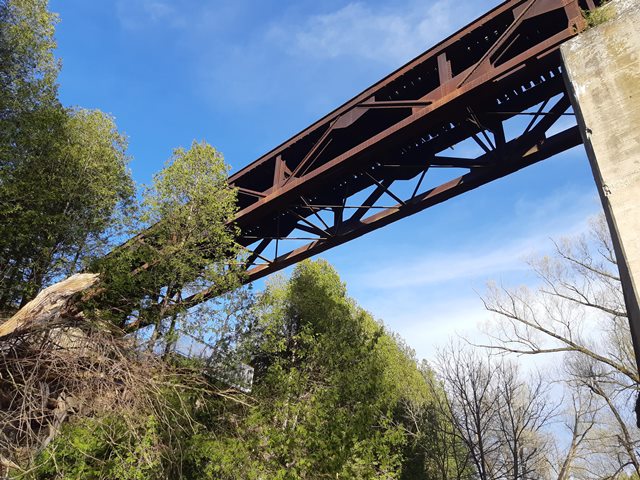
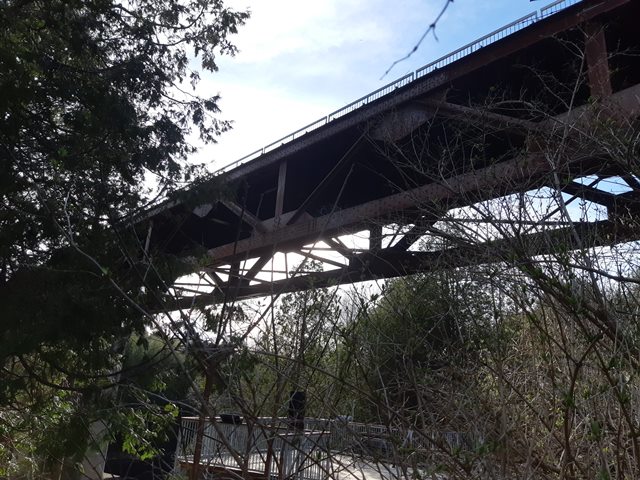
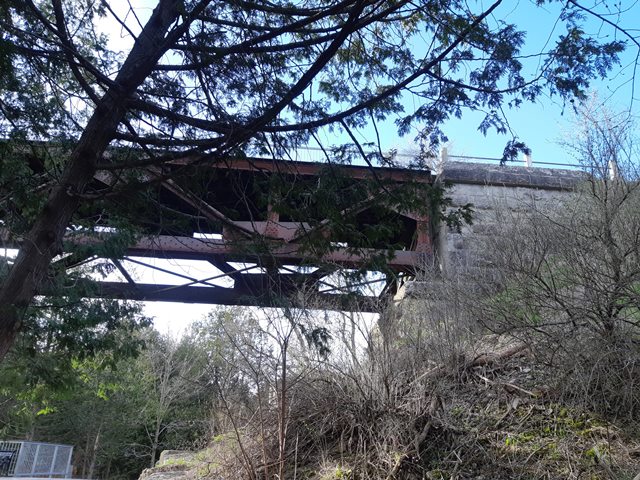
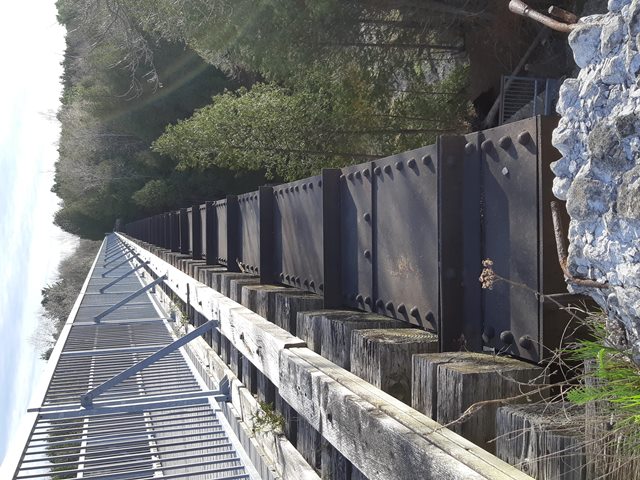
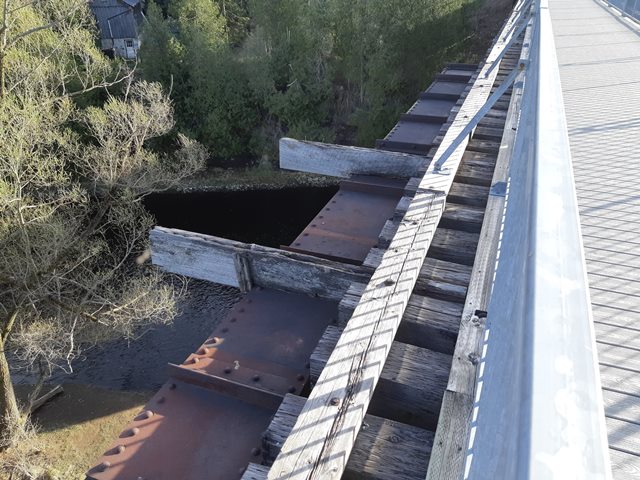
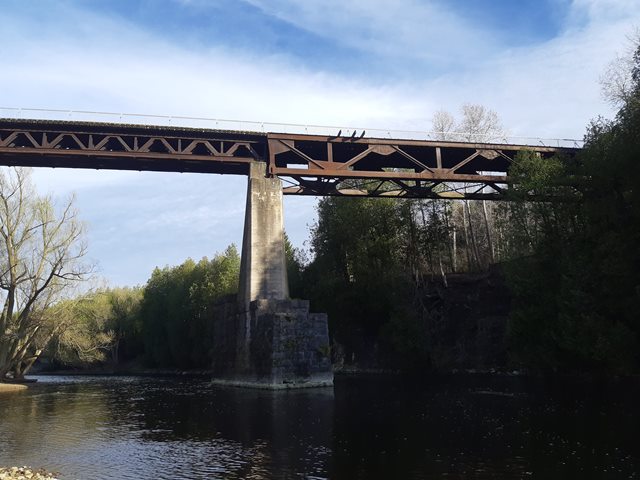
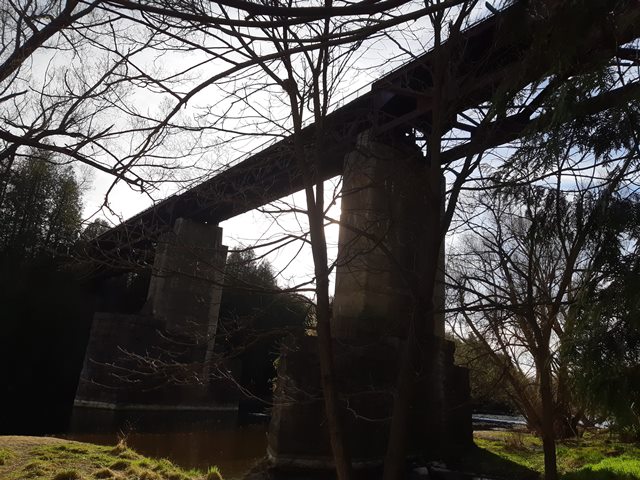
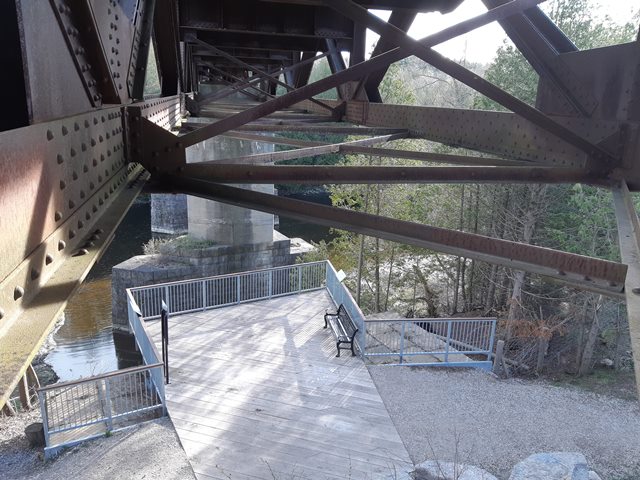
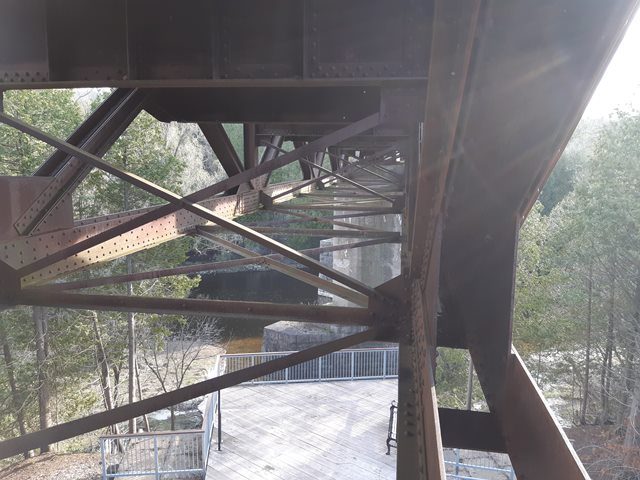
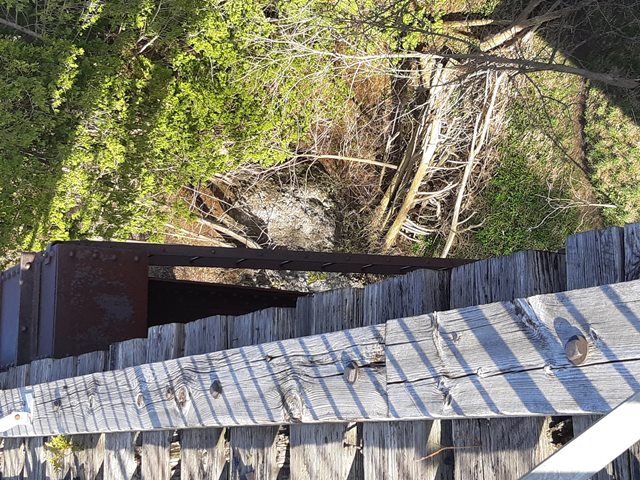
View under bridge.
![]()
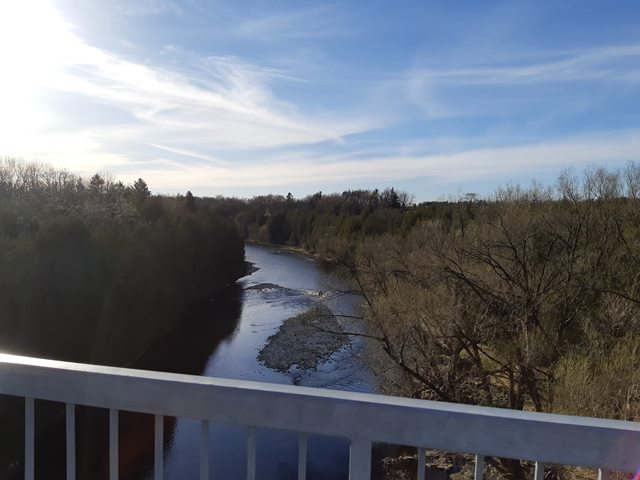
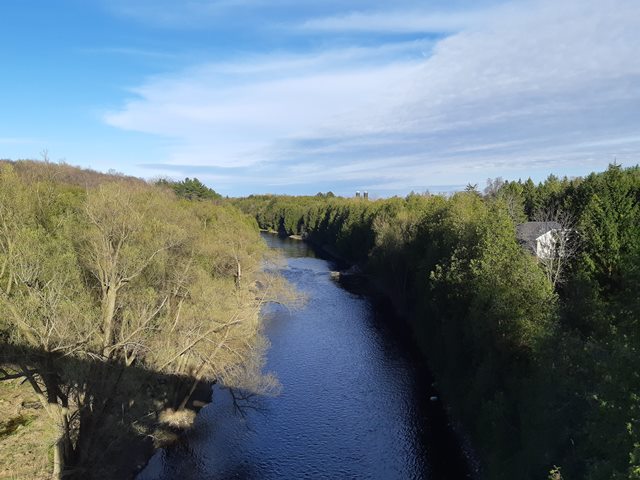
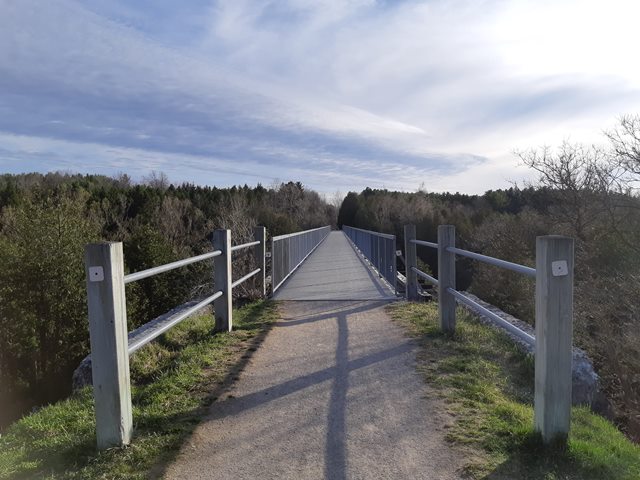
Views from bridge.
![]()
![]()
| Back |
| Home |
| Top |

![]()