Uncredited photos on this page taken by: Nathan Holth. Unless stated in a caption, all photos are Copyright with All Rights Reserved. Learn about reuse of our photos.
![]()


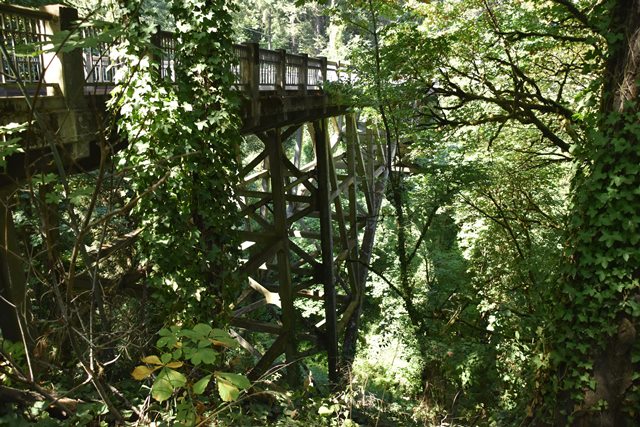


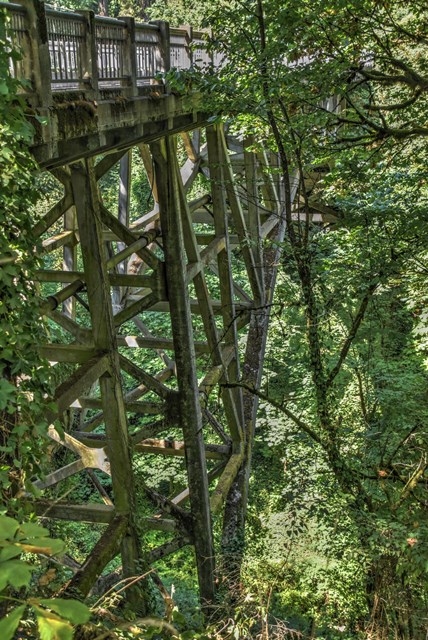
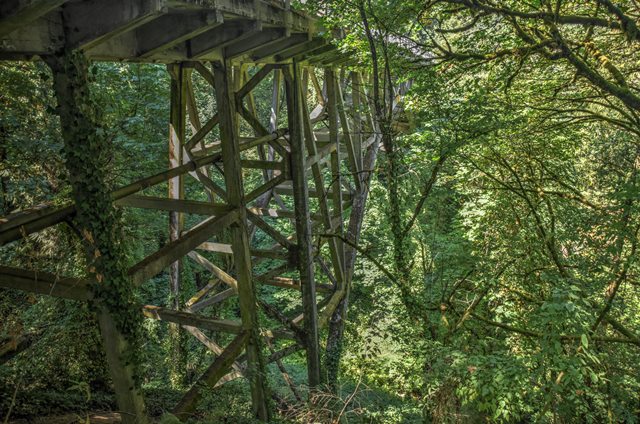
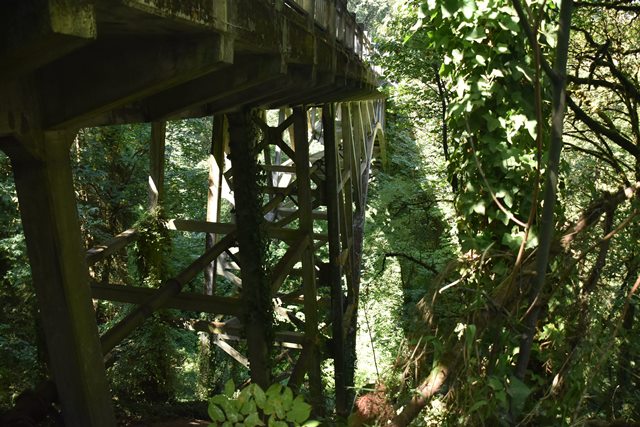
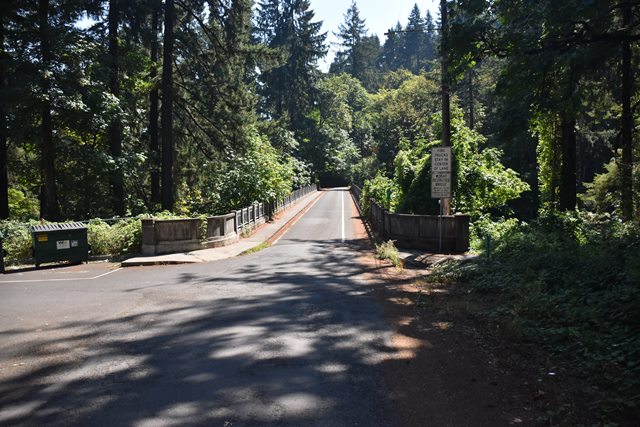
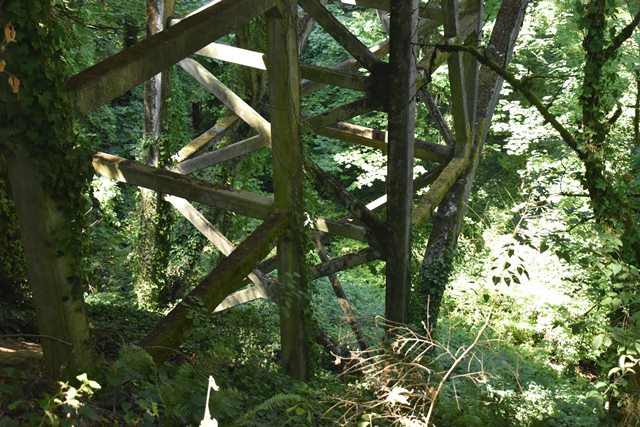
Oblique views from southeast quadrant.
![]()
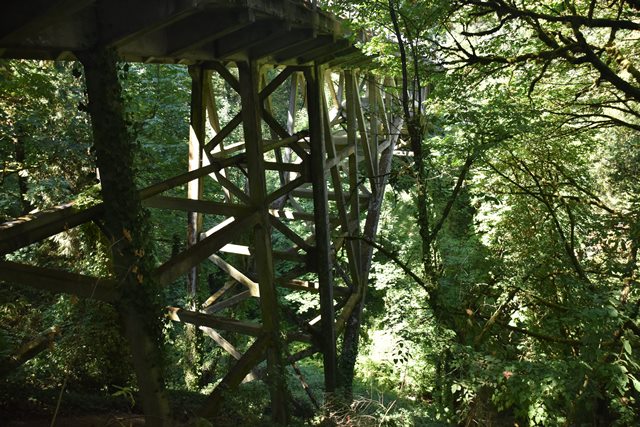
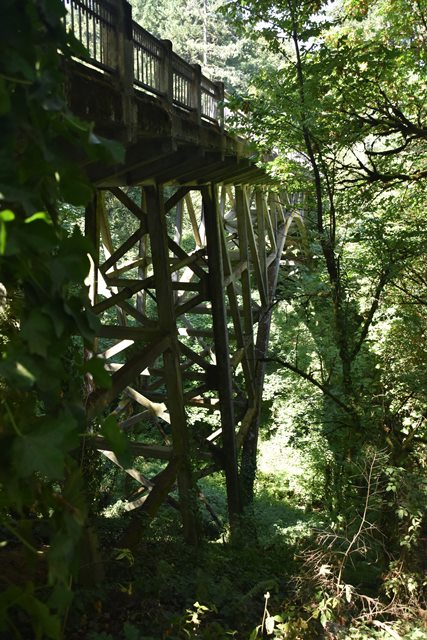
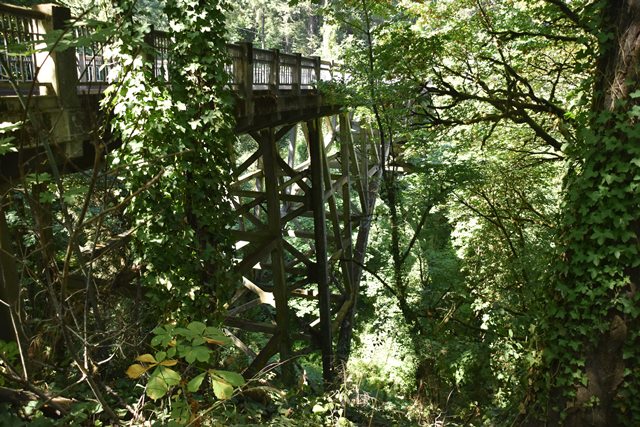
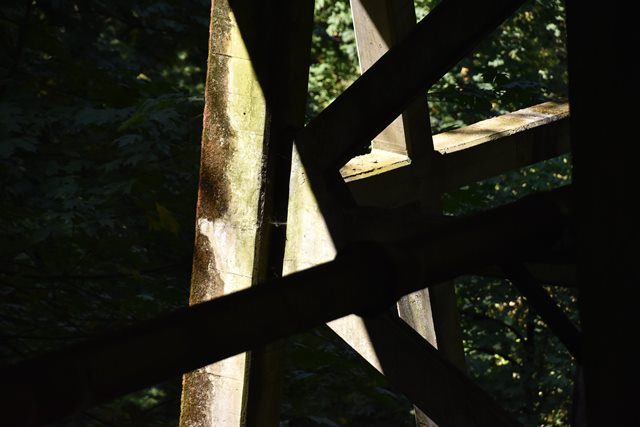
Views beside bridge showing approach spans and main span from southeast quadrant.
![]()


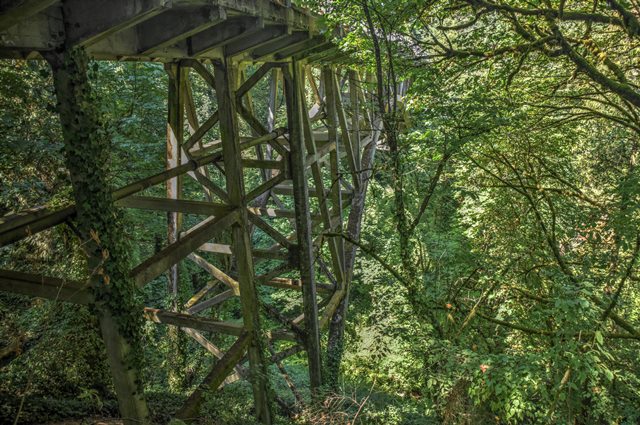
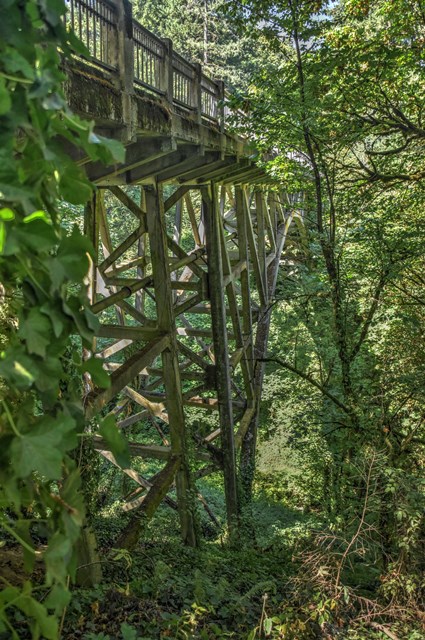
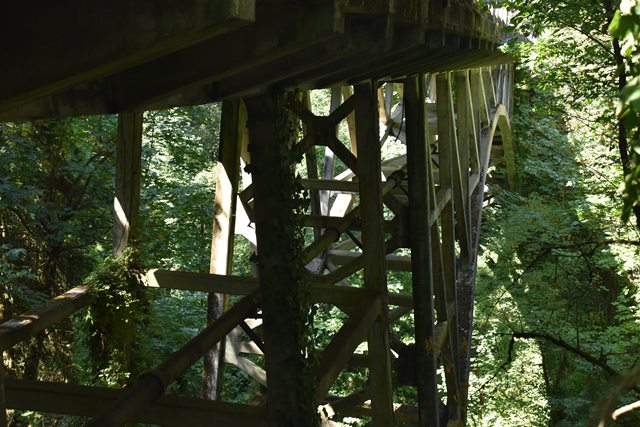
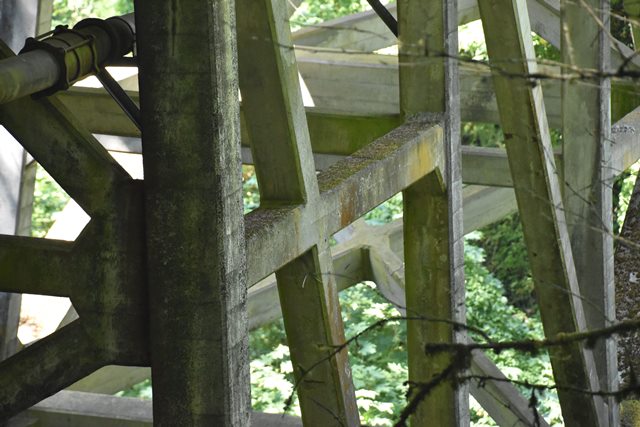
Views beside bridge showing main span from southeast quadrant.
![]()


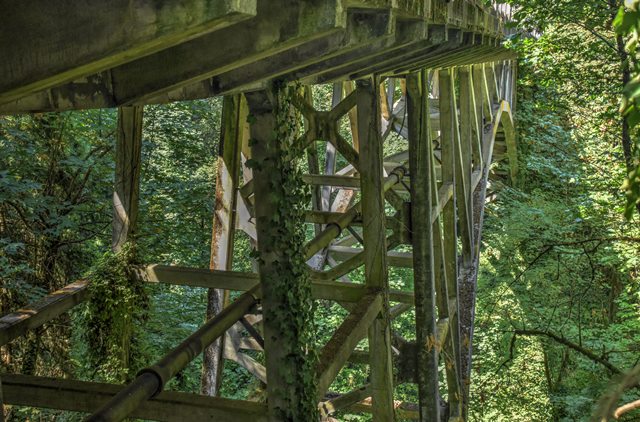

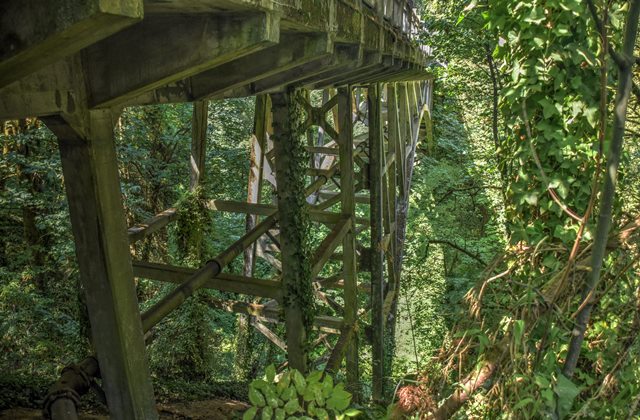
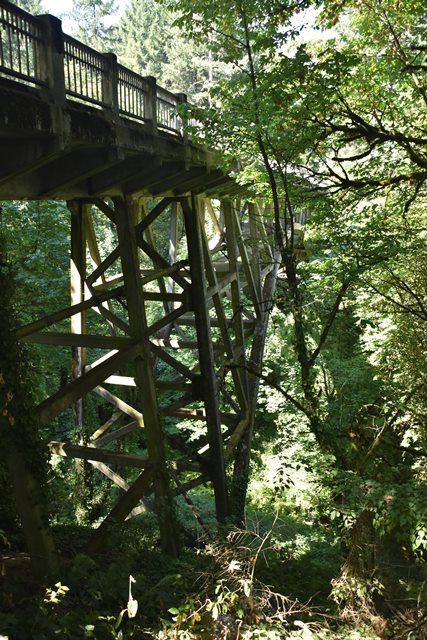
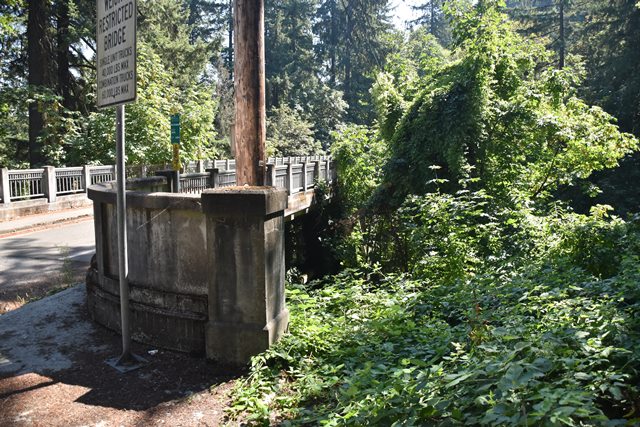
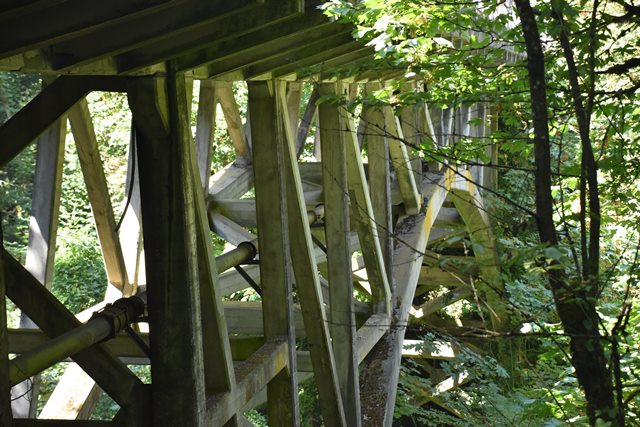
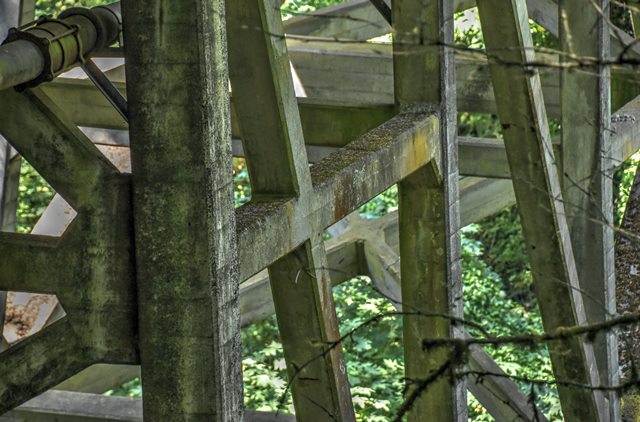
Views directly beside bridge from southeast quadrant.
![]()

Portal views facing south.
![]()

Portal view on bridge facing north.
![]()

Photo Credit: Oregon Historic Bridge Field Guide/Inventory
Plaque.
![]()
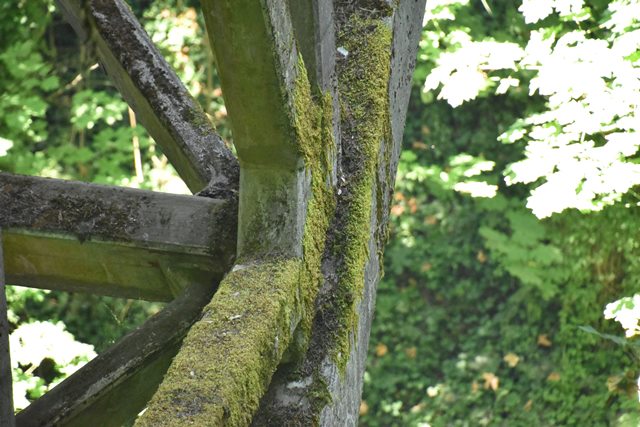


Arch rib connections.
![]()

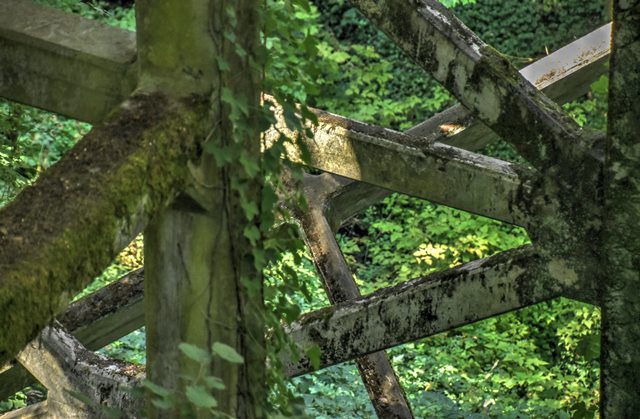
Bracing.
![]()
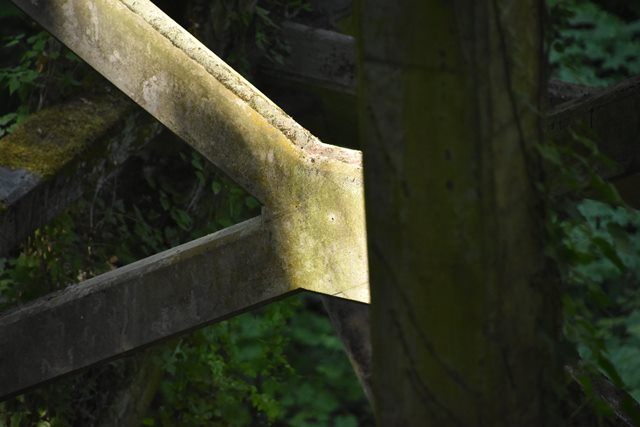

Bracing detail.
![]()

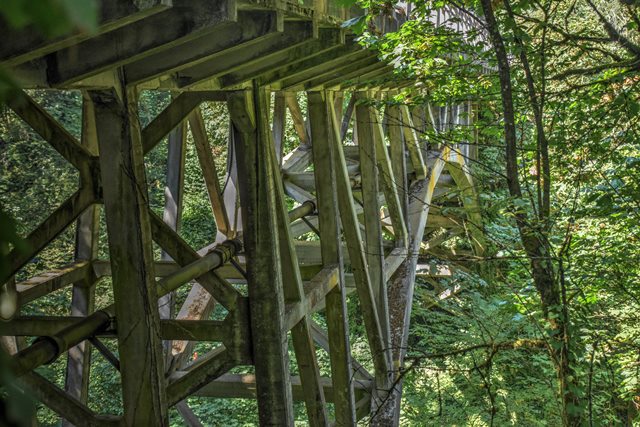
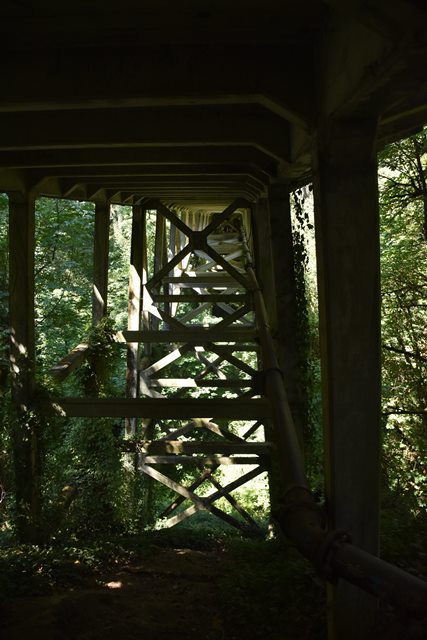
Bents.
![]()


Details of bents.
![]()


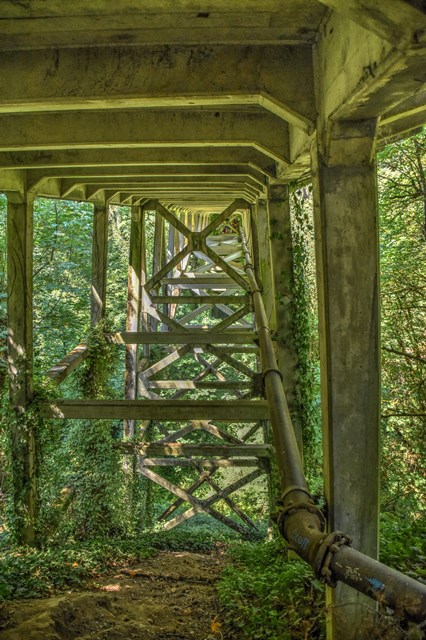

Views under bridge.
![]()


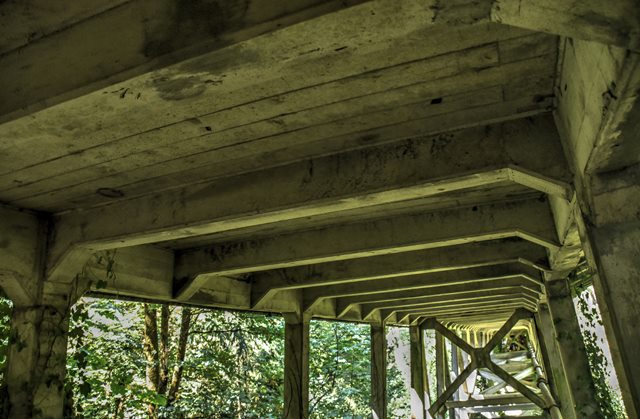

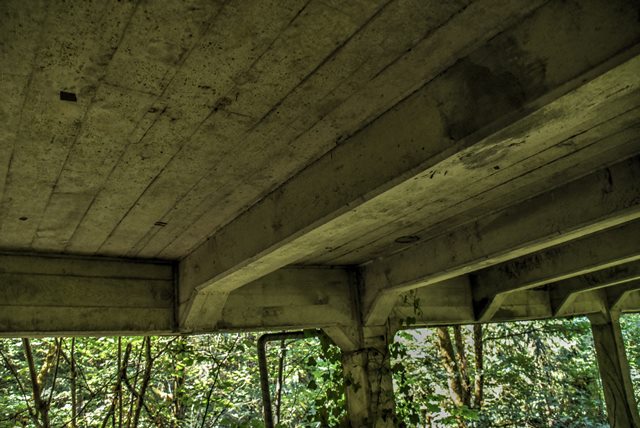
Deck underside and floorbeams.
![]()
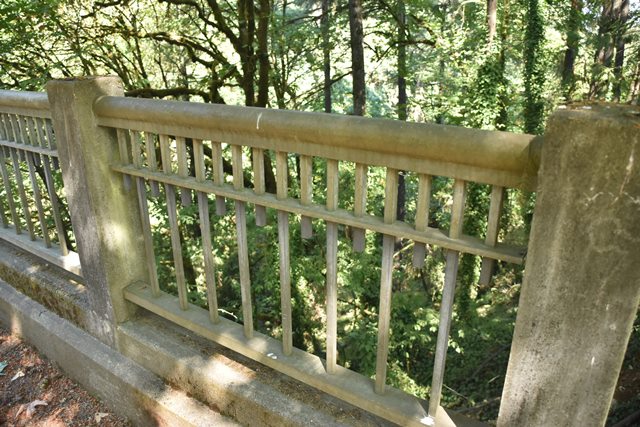

Railing.
![]()
![]()
| Back |
| Home |
| Top |

![]()