Uncredited photos on this page taken by: Nathan Holth. Unless stated in a caption, all photos are Copyright with All Rights Reserved. Learn about reuse of our photos.
![]()


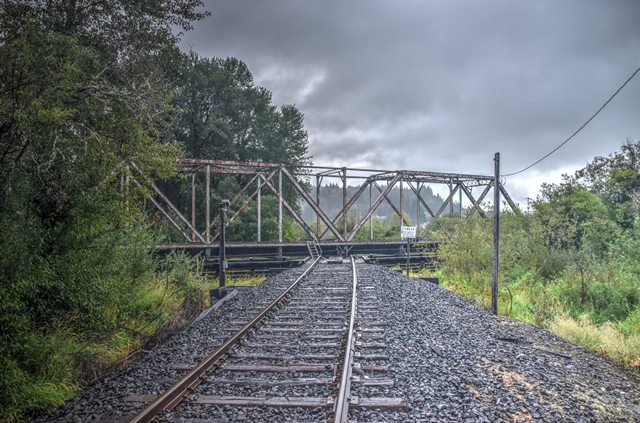

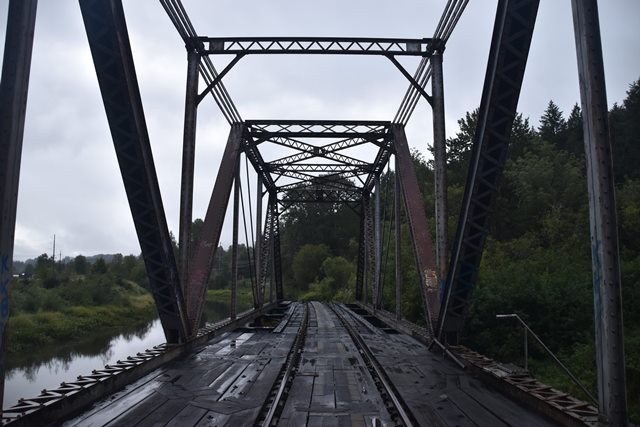
View looking east at swing span in open position.
![]()
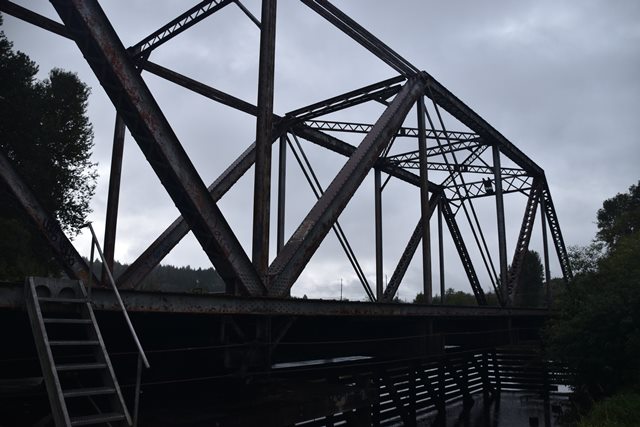

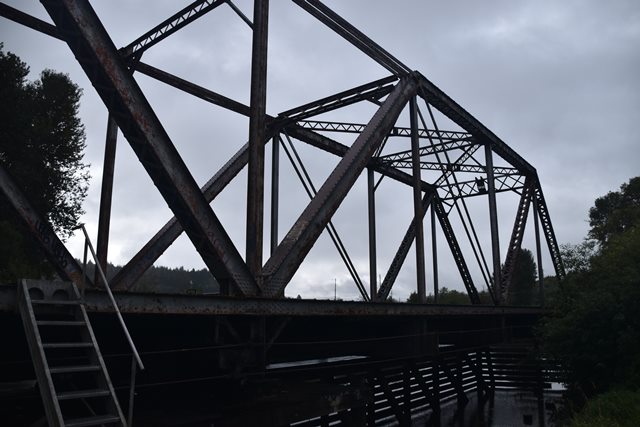
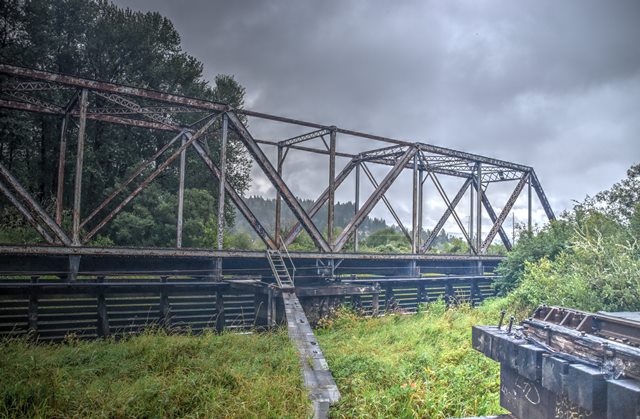
View beside swing span, view facing south.
![]()
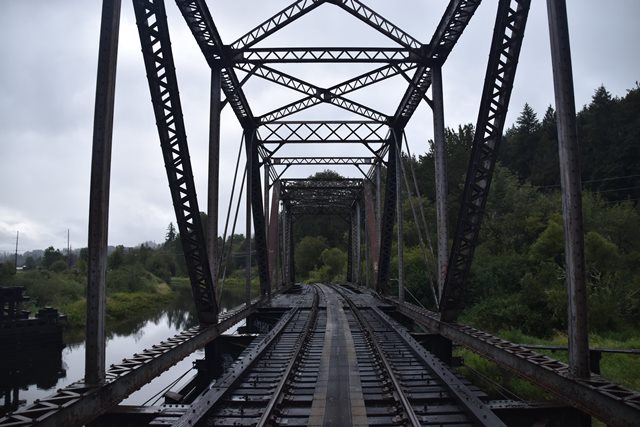
Portal views on opened swing span, facing south.
![]()


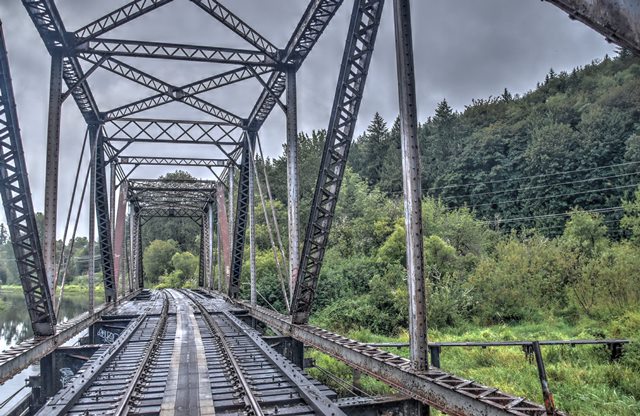
Portal views on opened swing span, facing north.
![]()
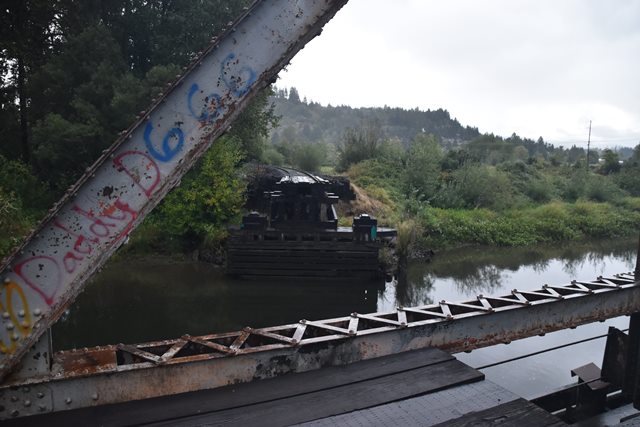
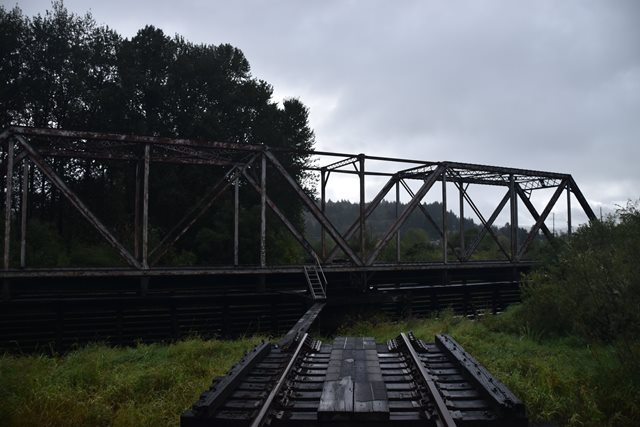
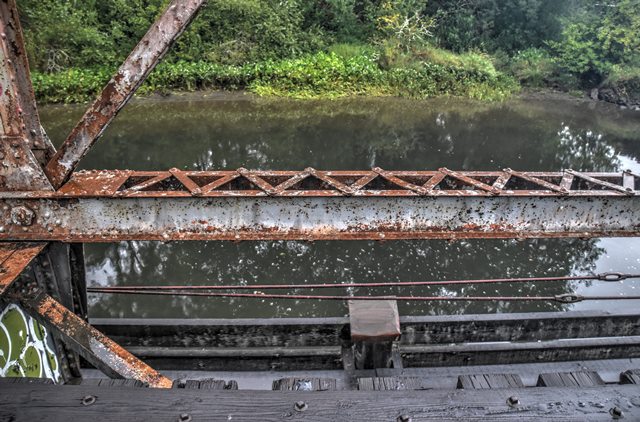
View looking east from swing span.
![]()
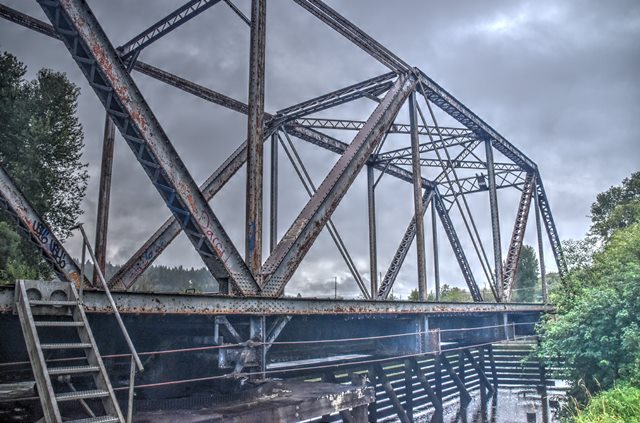
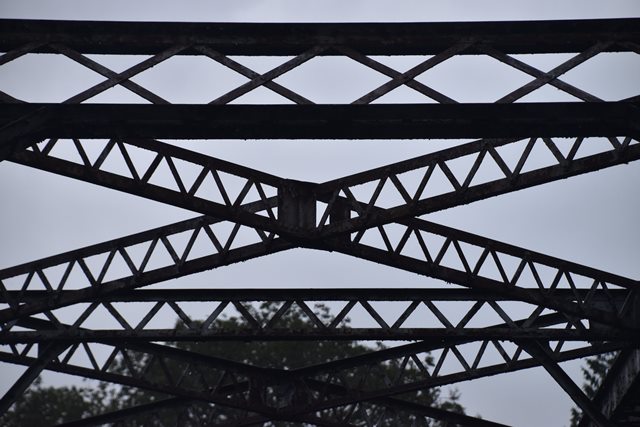
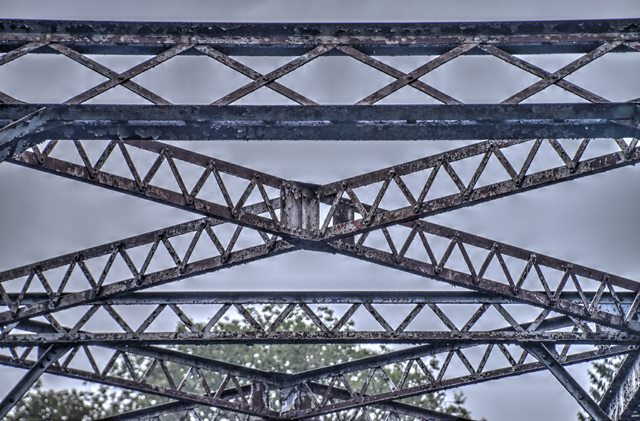
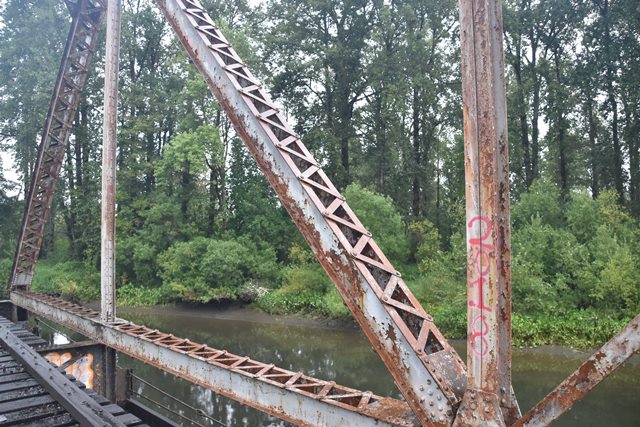
Views of truss web.
![]()
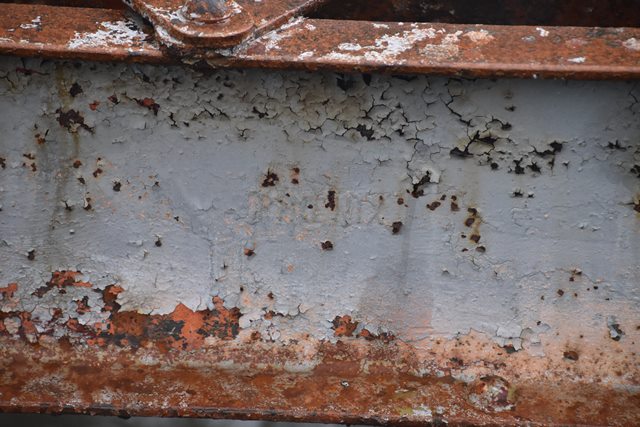
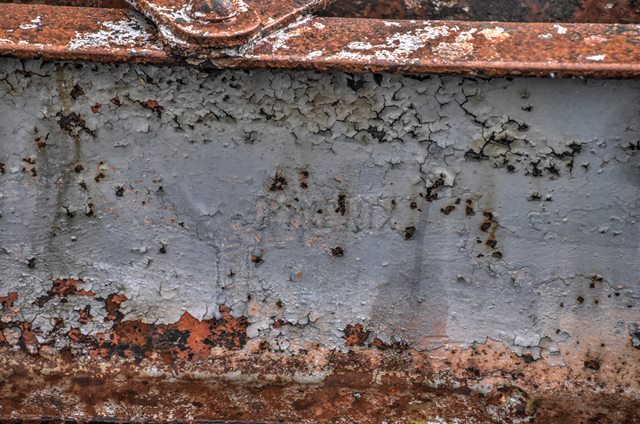


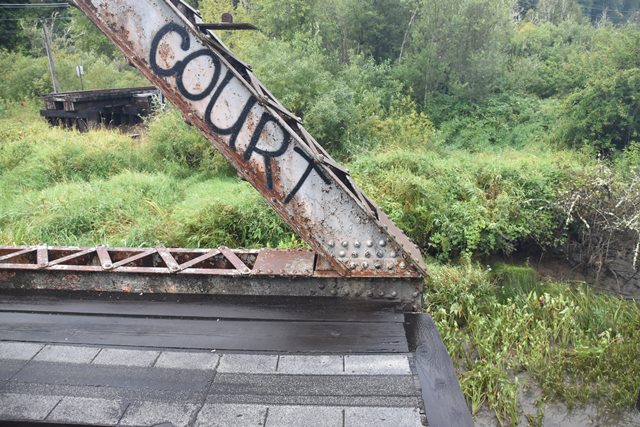
Phoenix brand.
![]()


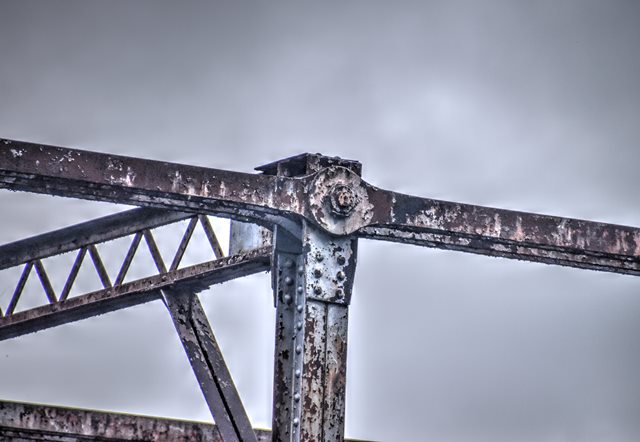
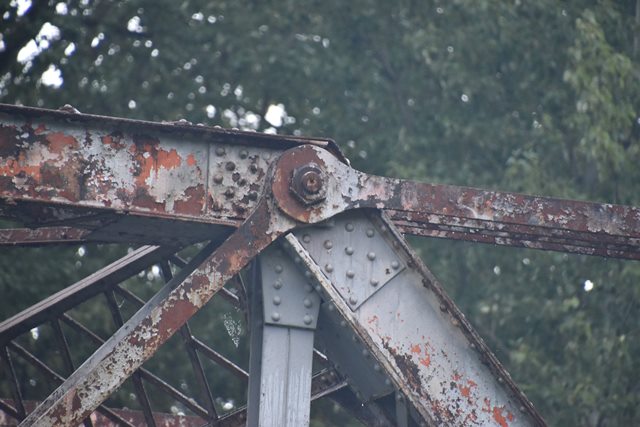


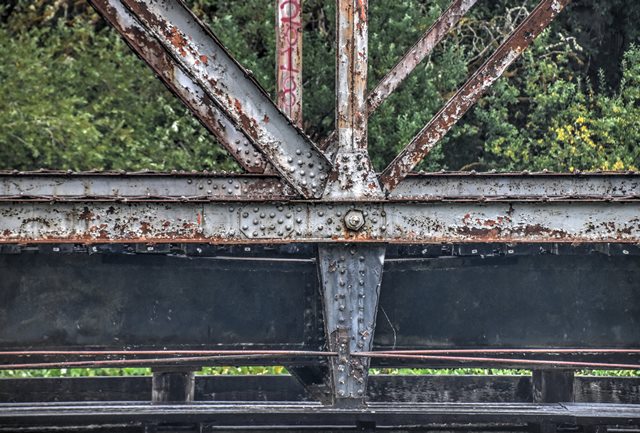
Top chord connections as viewed from beside bridge.
![]()


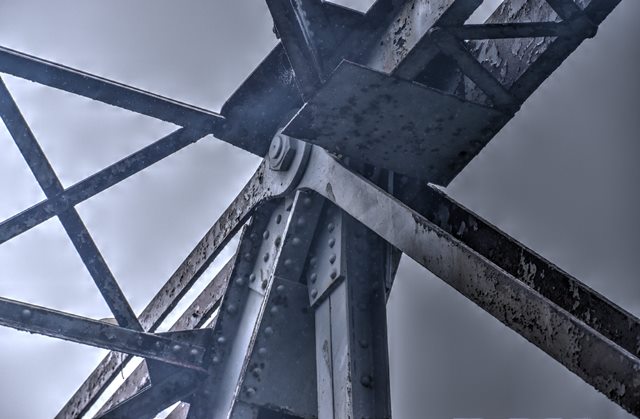
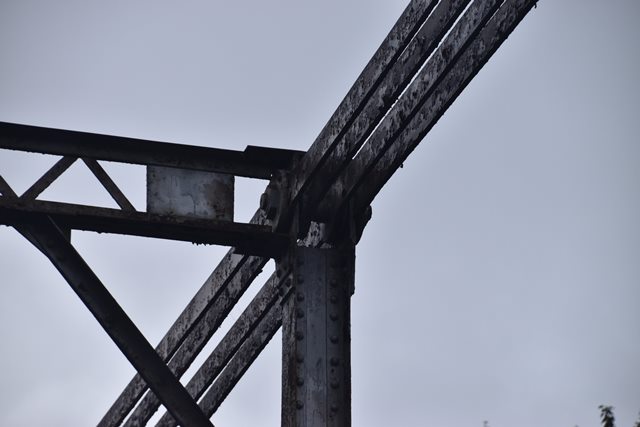


Top chord connections as viewed from on bridge.
![]()


Bottom chord connections as viewed from beside bridge.
![]()


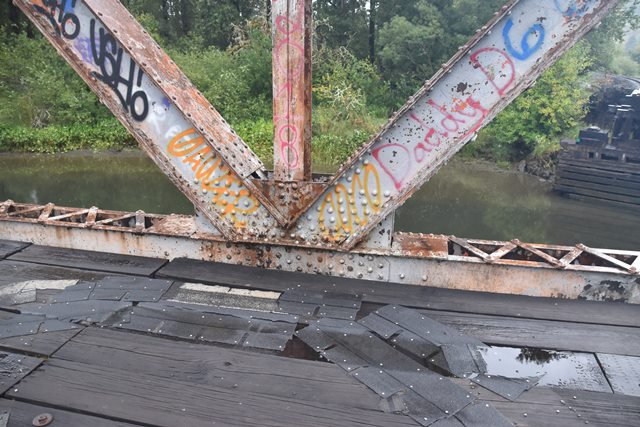


Bottom chord connections as viewed from on bridge.
![]()


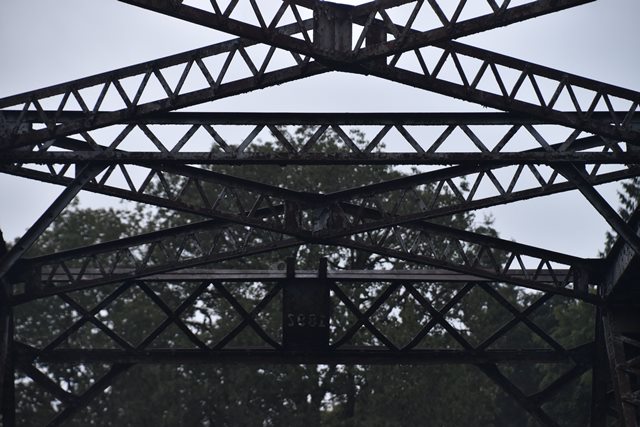
Portal bracing.
![]()


Date on portal bracing.
![]()

Overhead bracing overview.
![]()


Overview of swing pier.
![]()


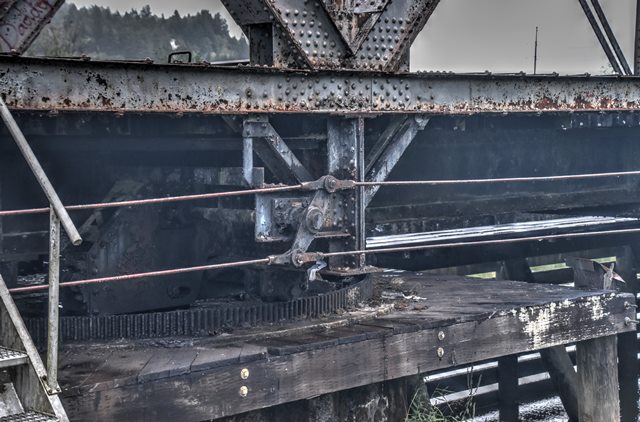
Rack and rollers on swing pier.
![]()


Lever for controlling locks.
![]()


Bearing and lock at end of swing span.
![]()


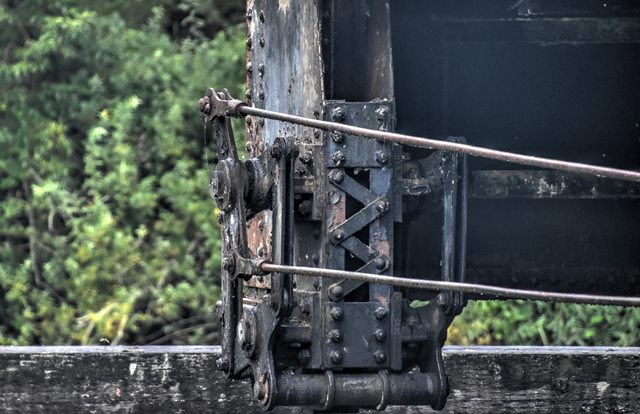
Rods which control the end locks.
![]()

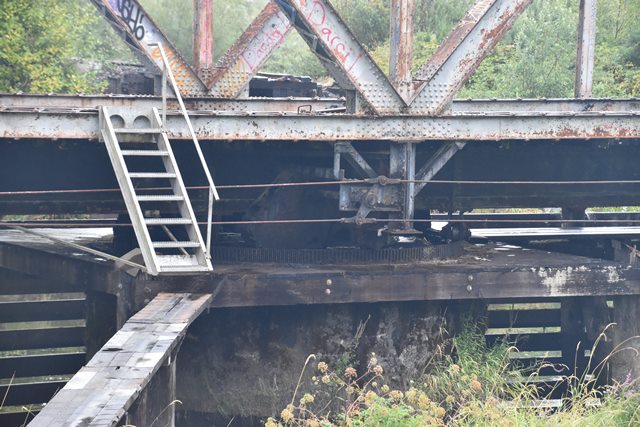
View showing how the bridge can be accessed by the operator when in the open position.
![]()


End bearing for swing span.
![]()

Deck.
![]()


View showing the deck, where the hand-turning bar is inserted to operate bridge.
![]()


Bottom chord.
![]()

Diagonal members.
![]()


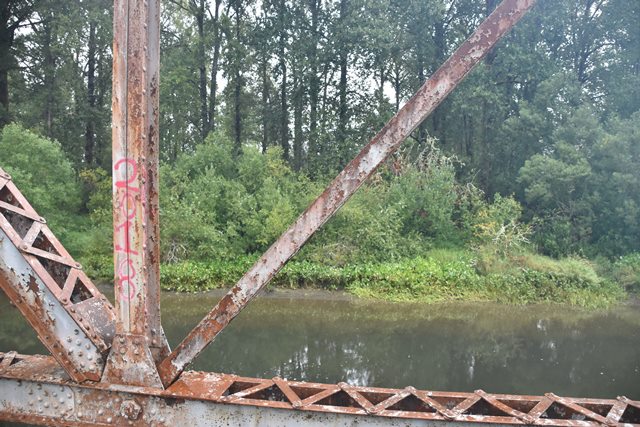
End posts.
![]()


View showing floorbeam.
![]()
![]()
| Back |
| Home |
| Top |

![]()