Uncredited photos on this page taken by: Nathan Holth. Unless stated in a caption, all photos are Copyright with All Rights Reserved. Learn about reuse of our photos.
![]()
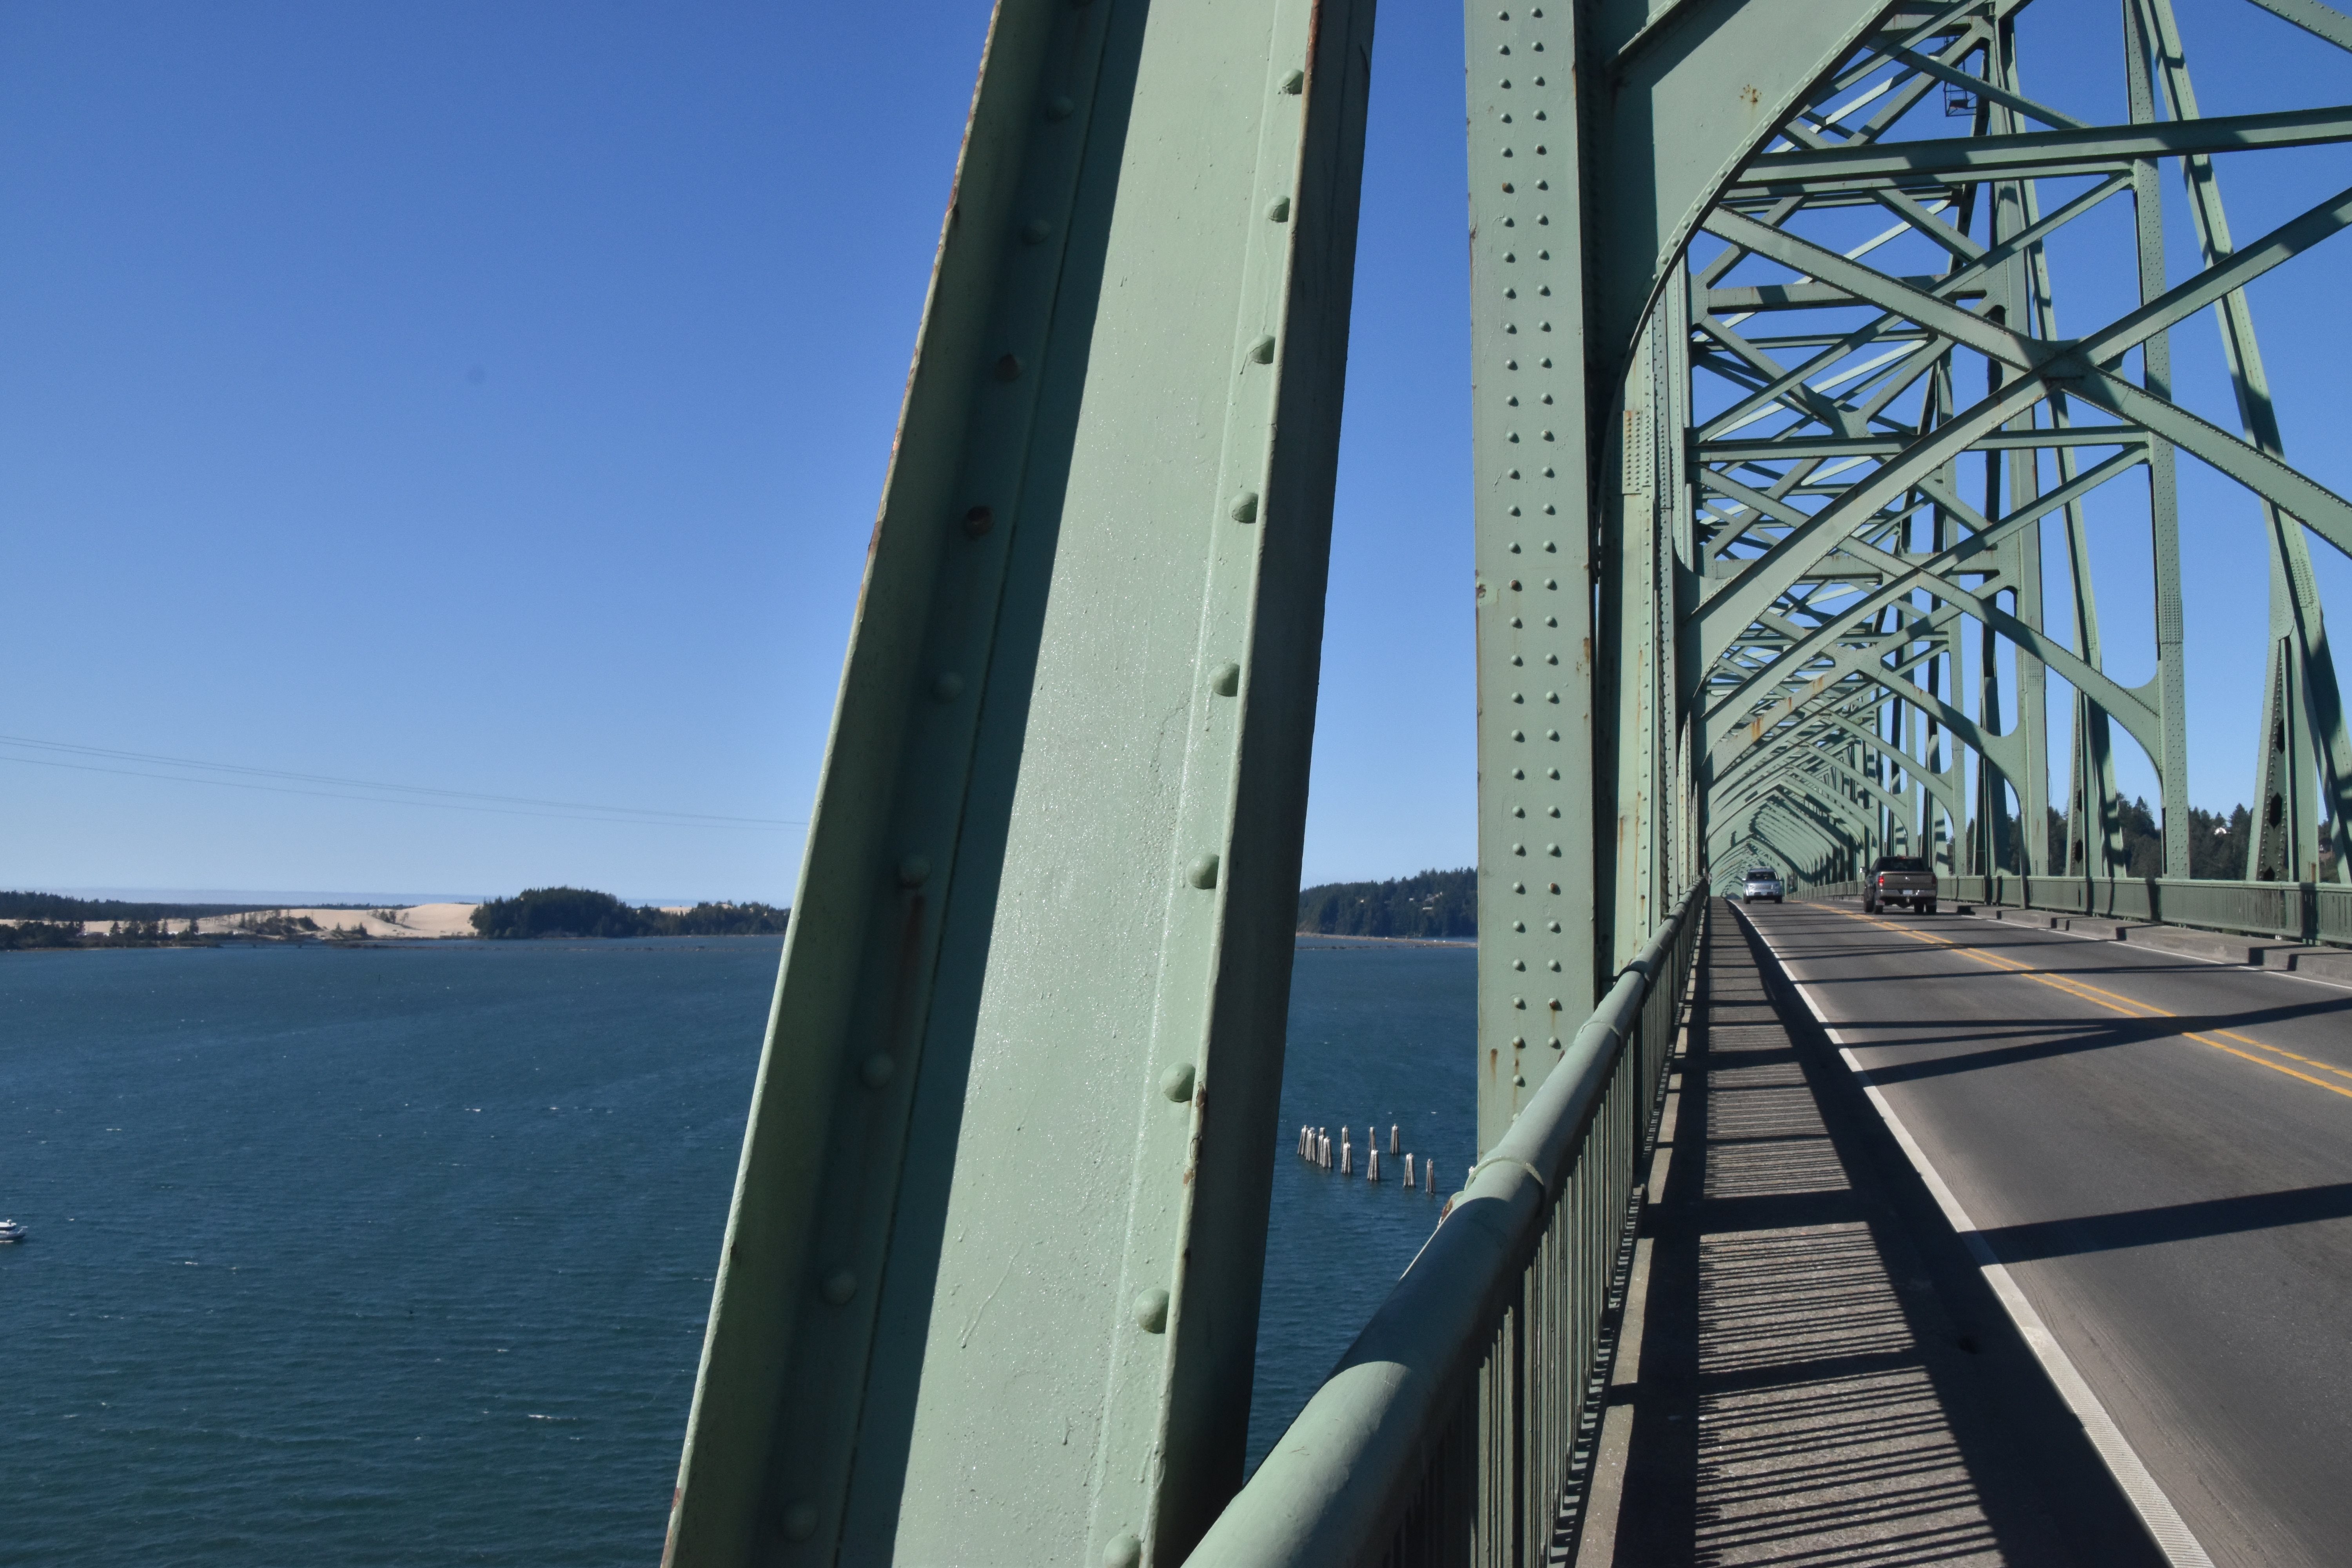
Details Seen From Beside Bridge
![]()
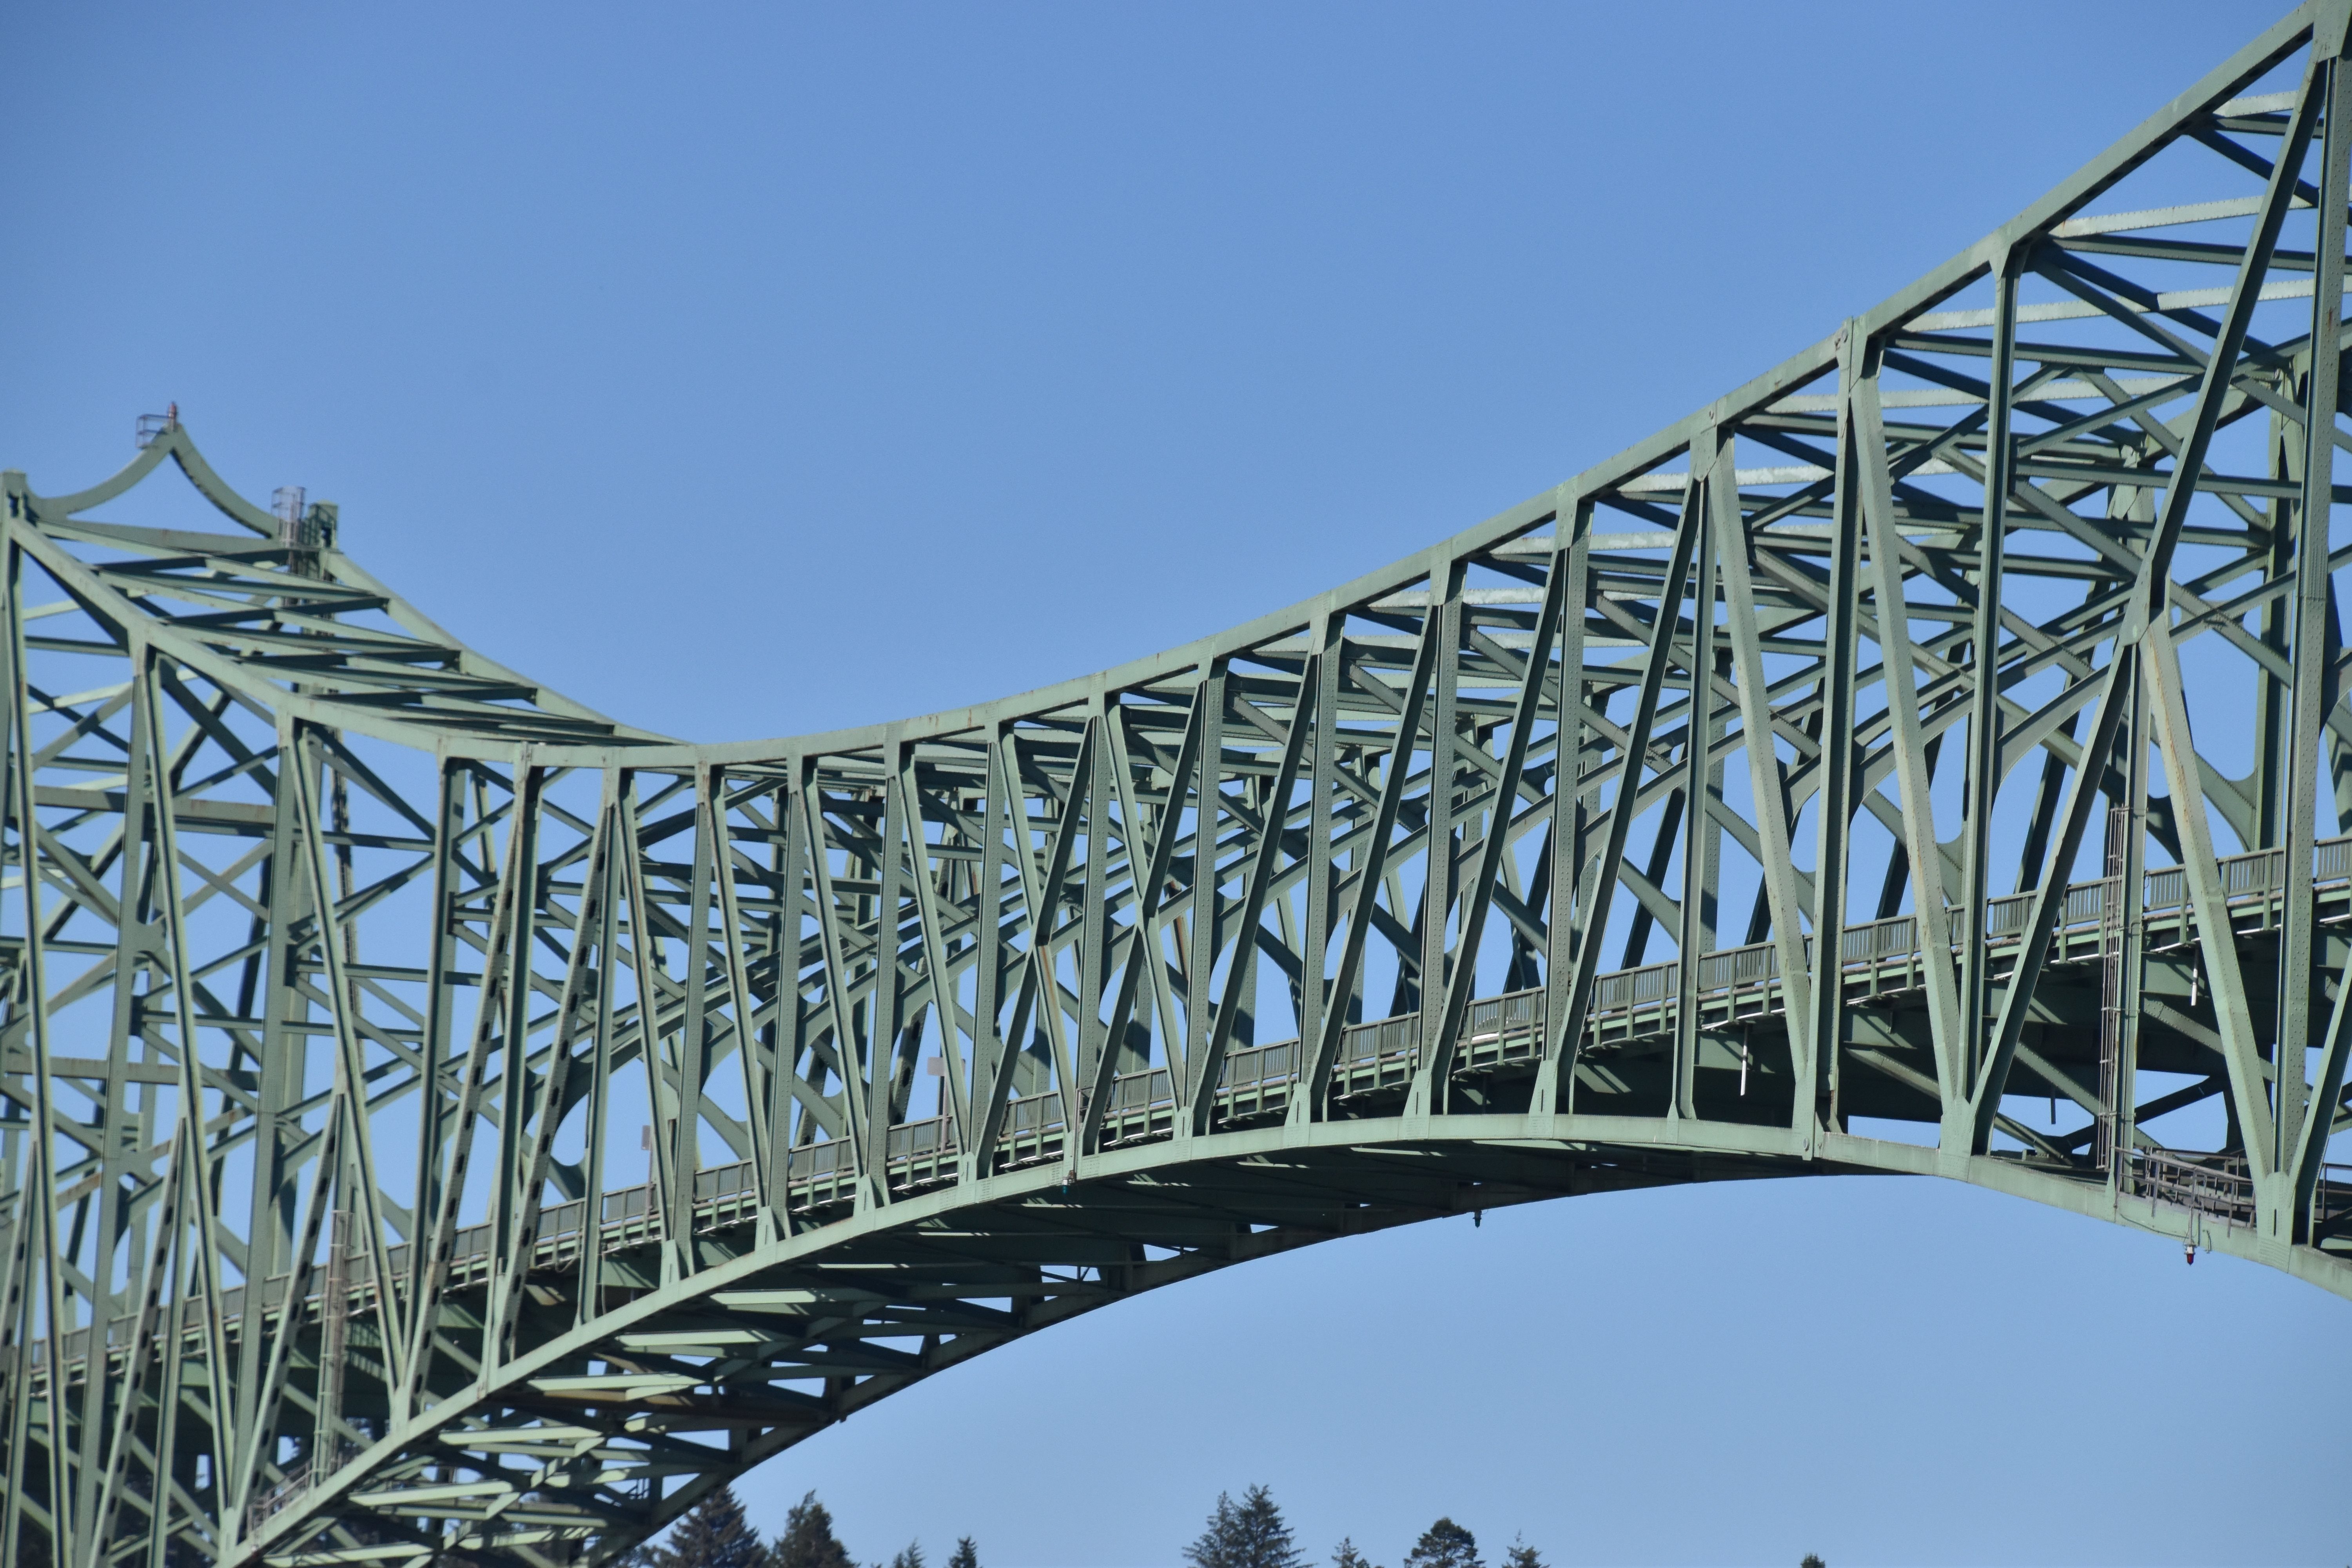

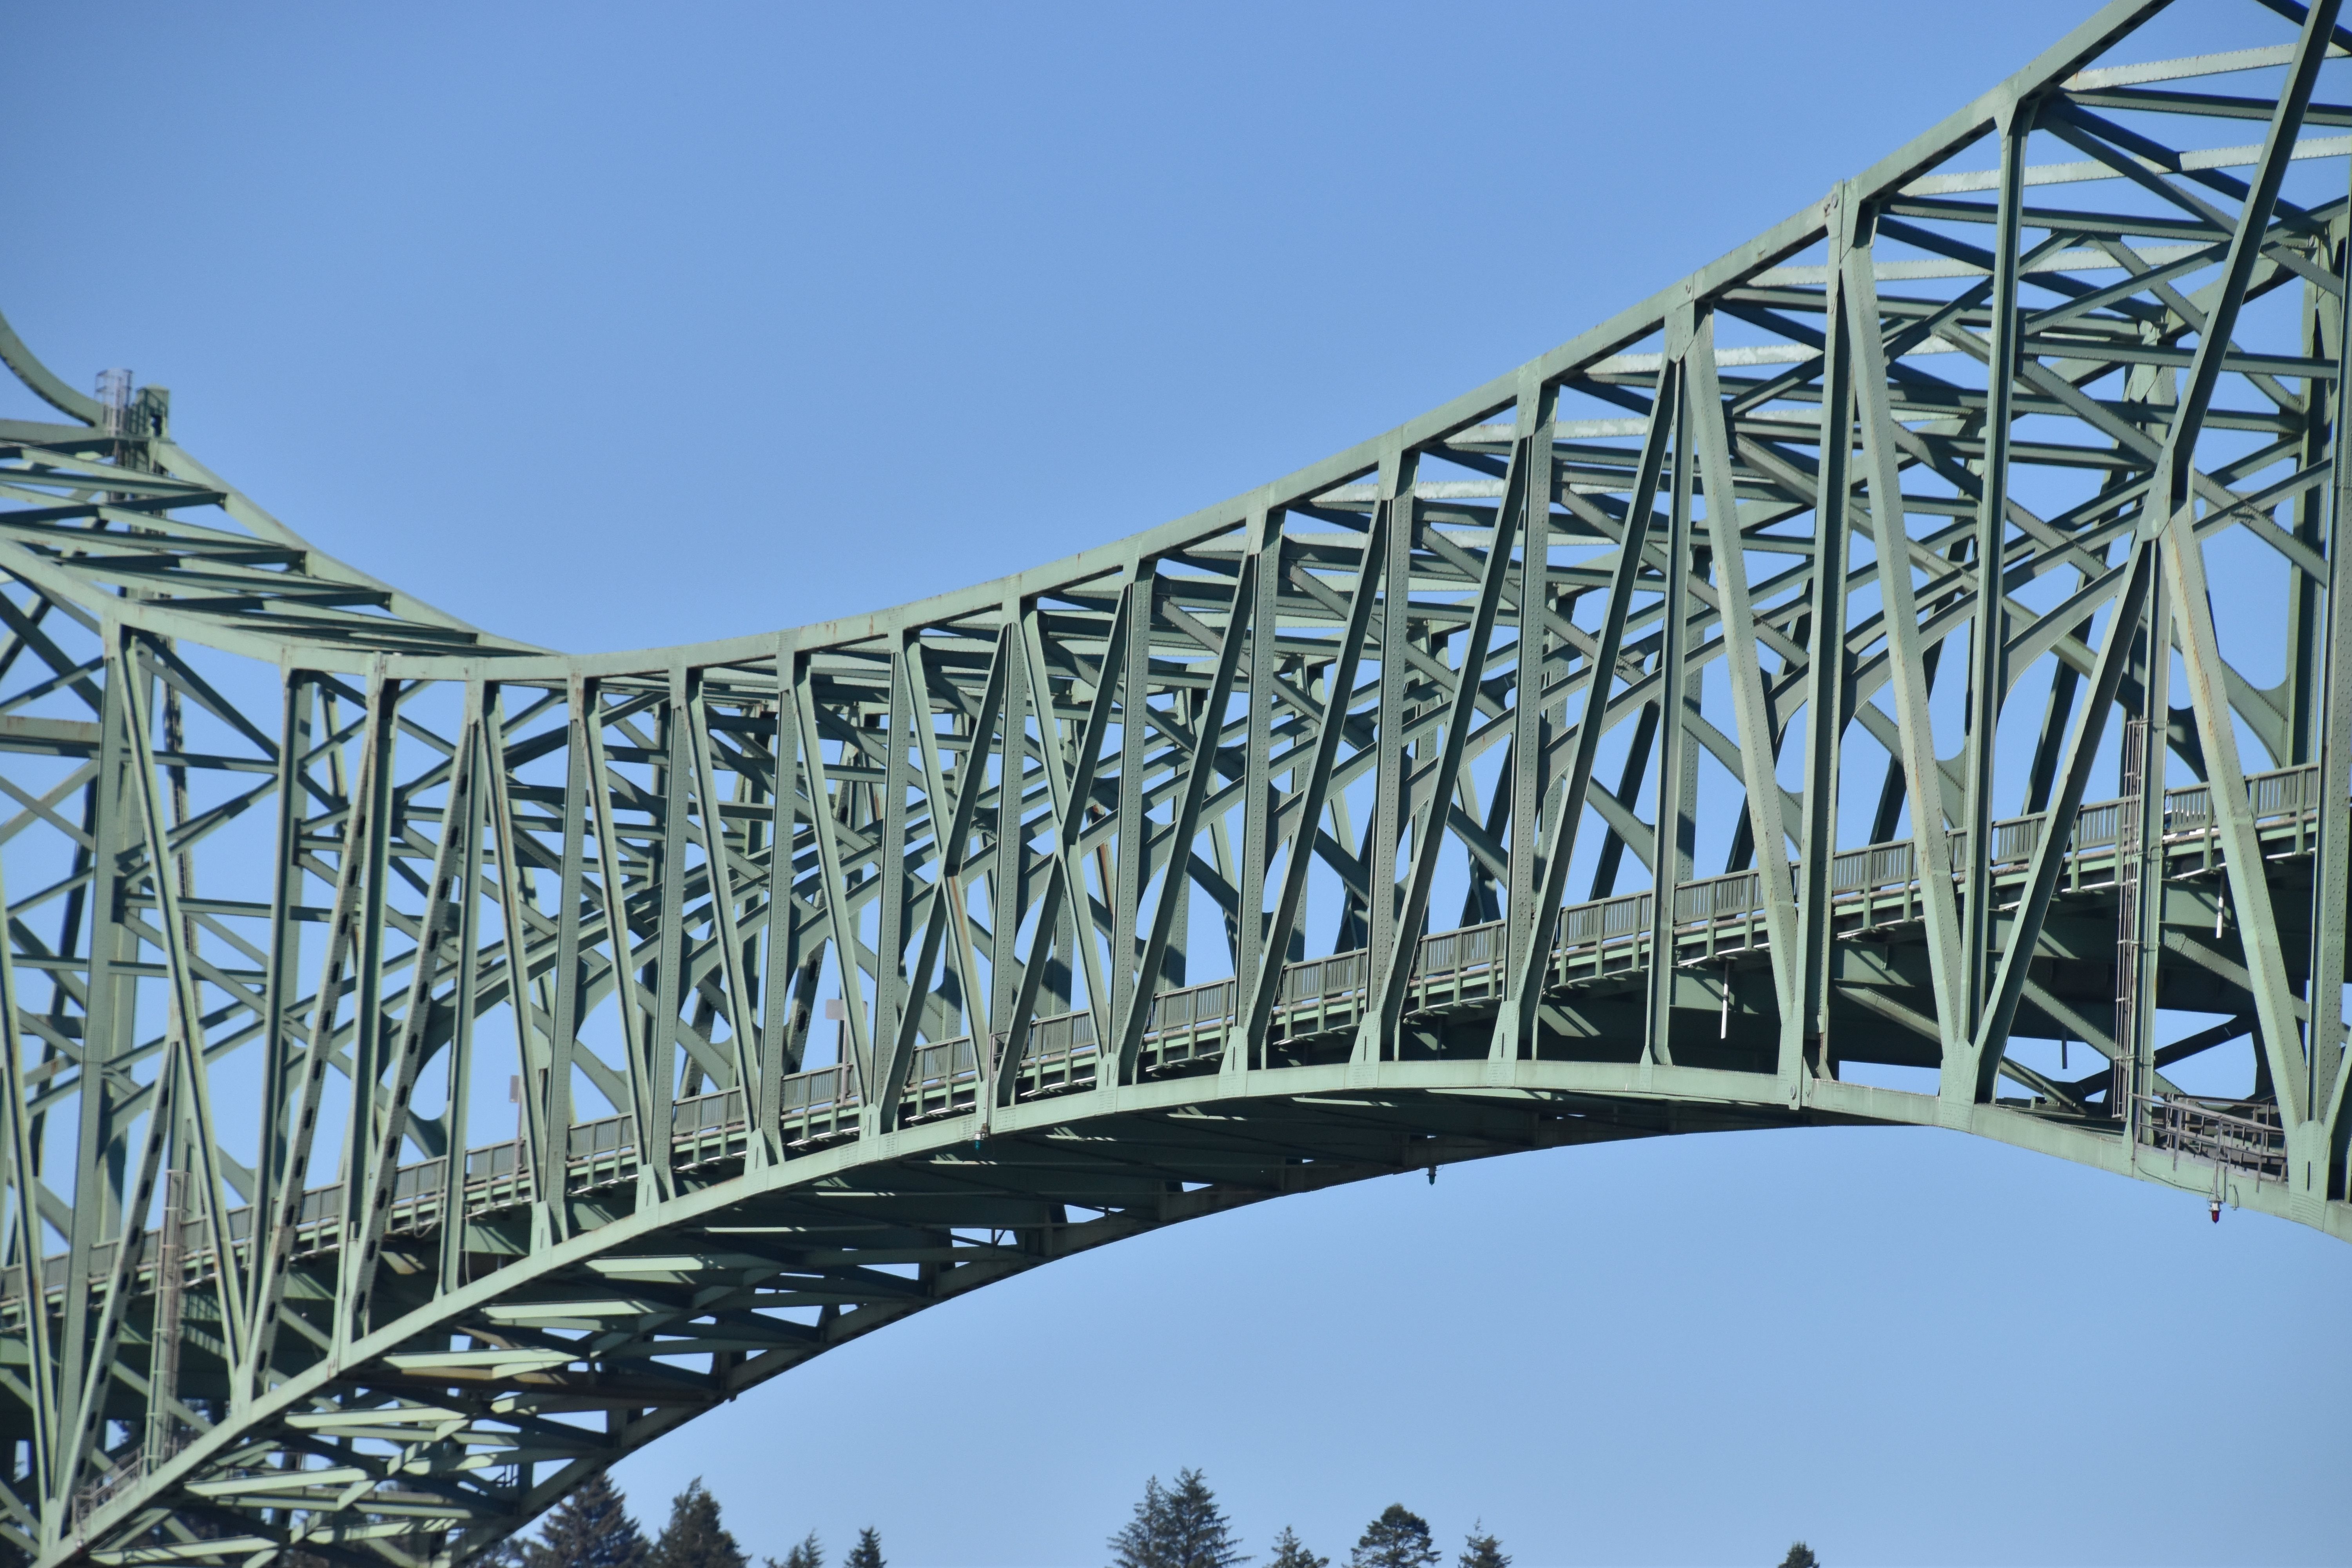
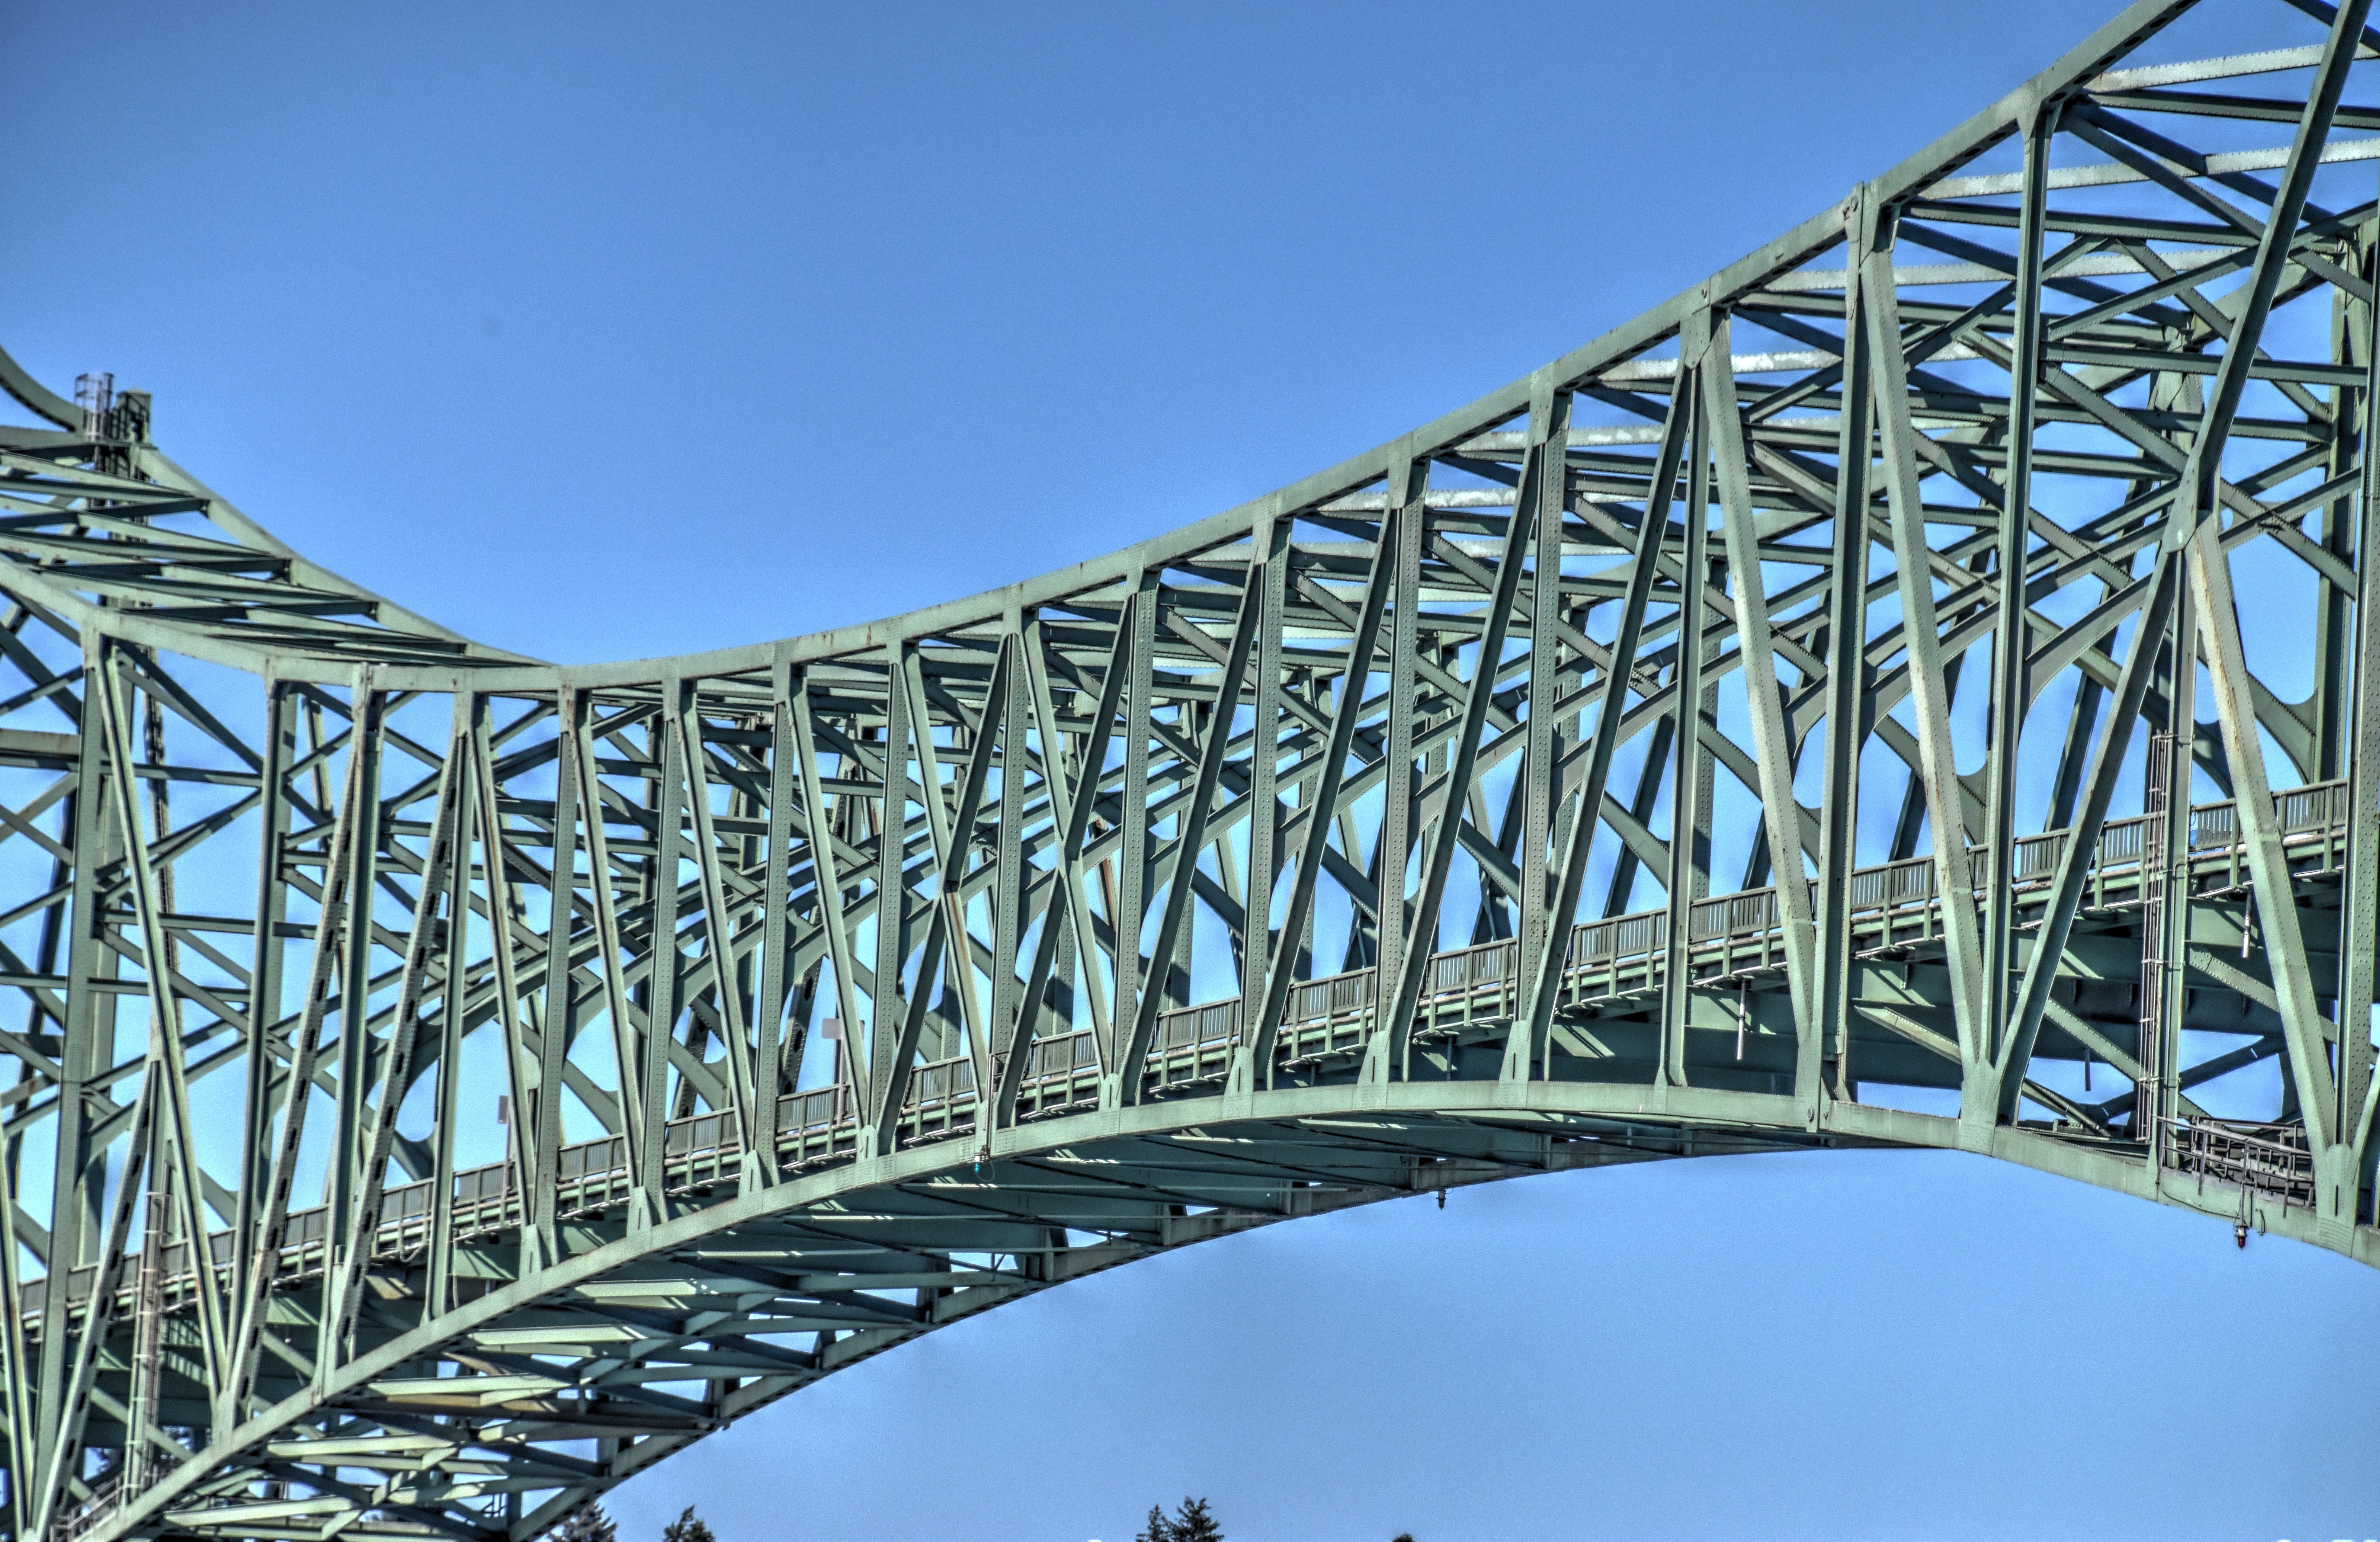

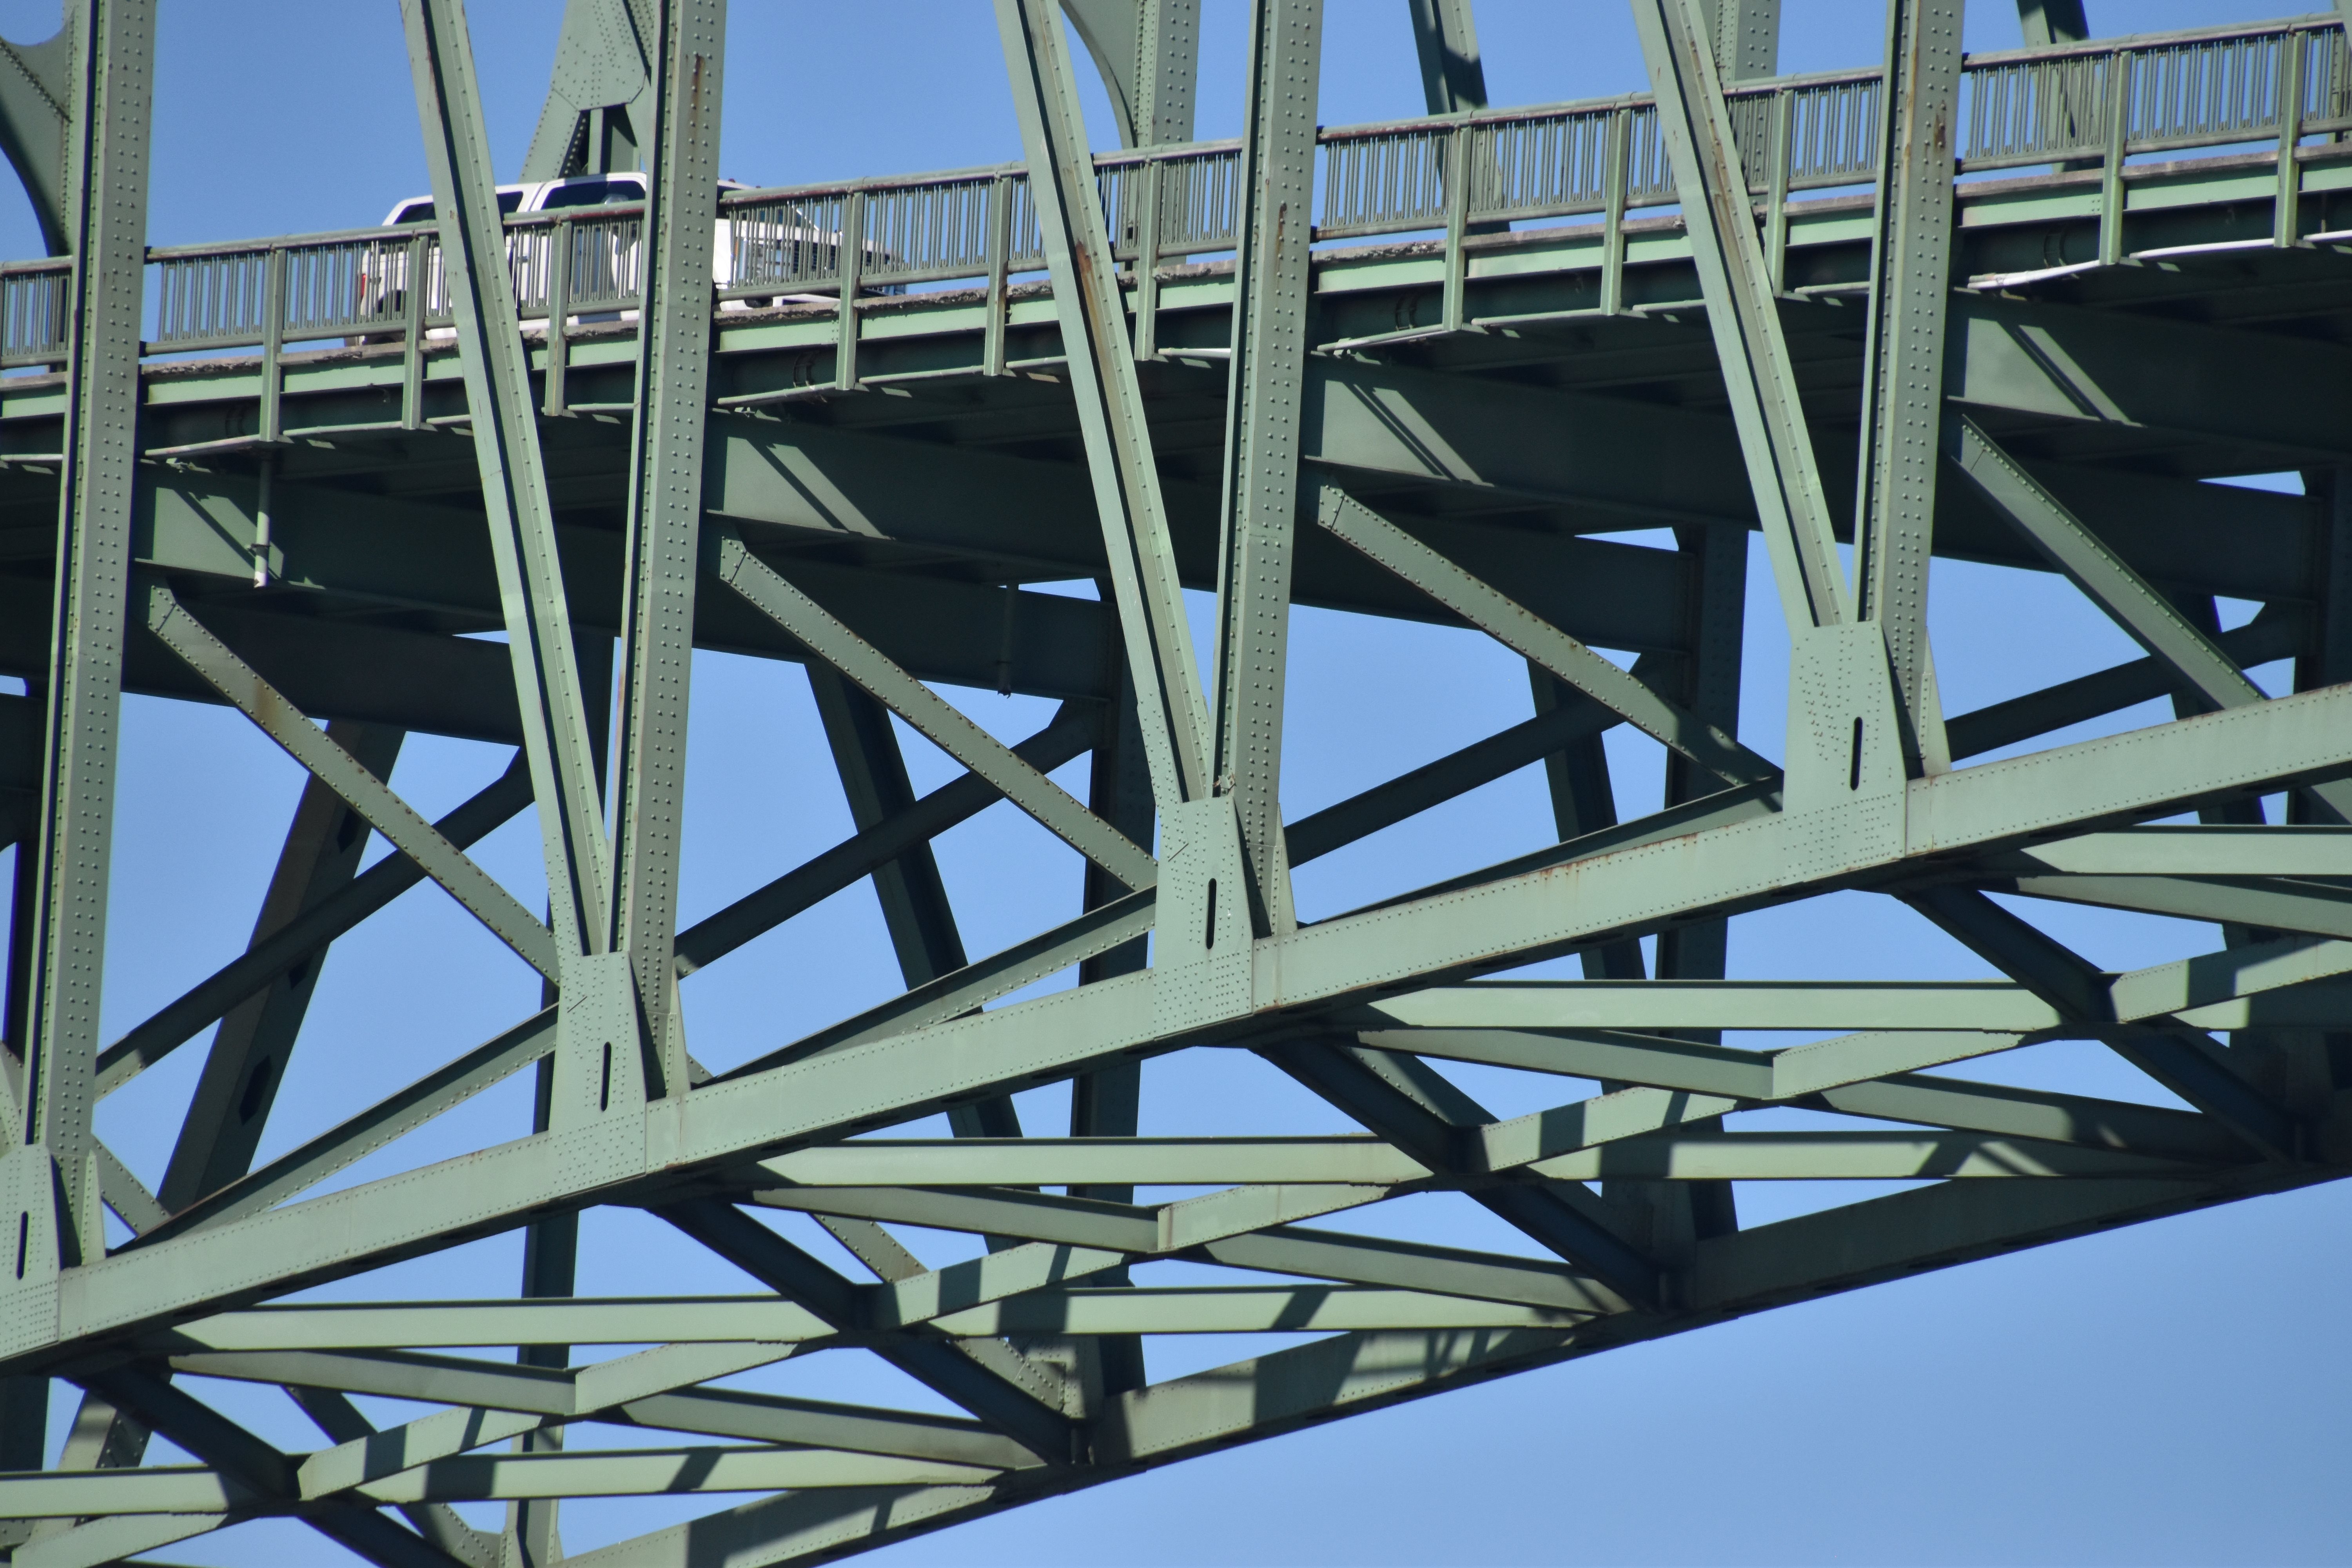
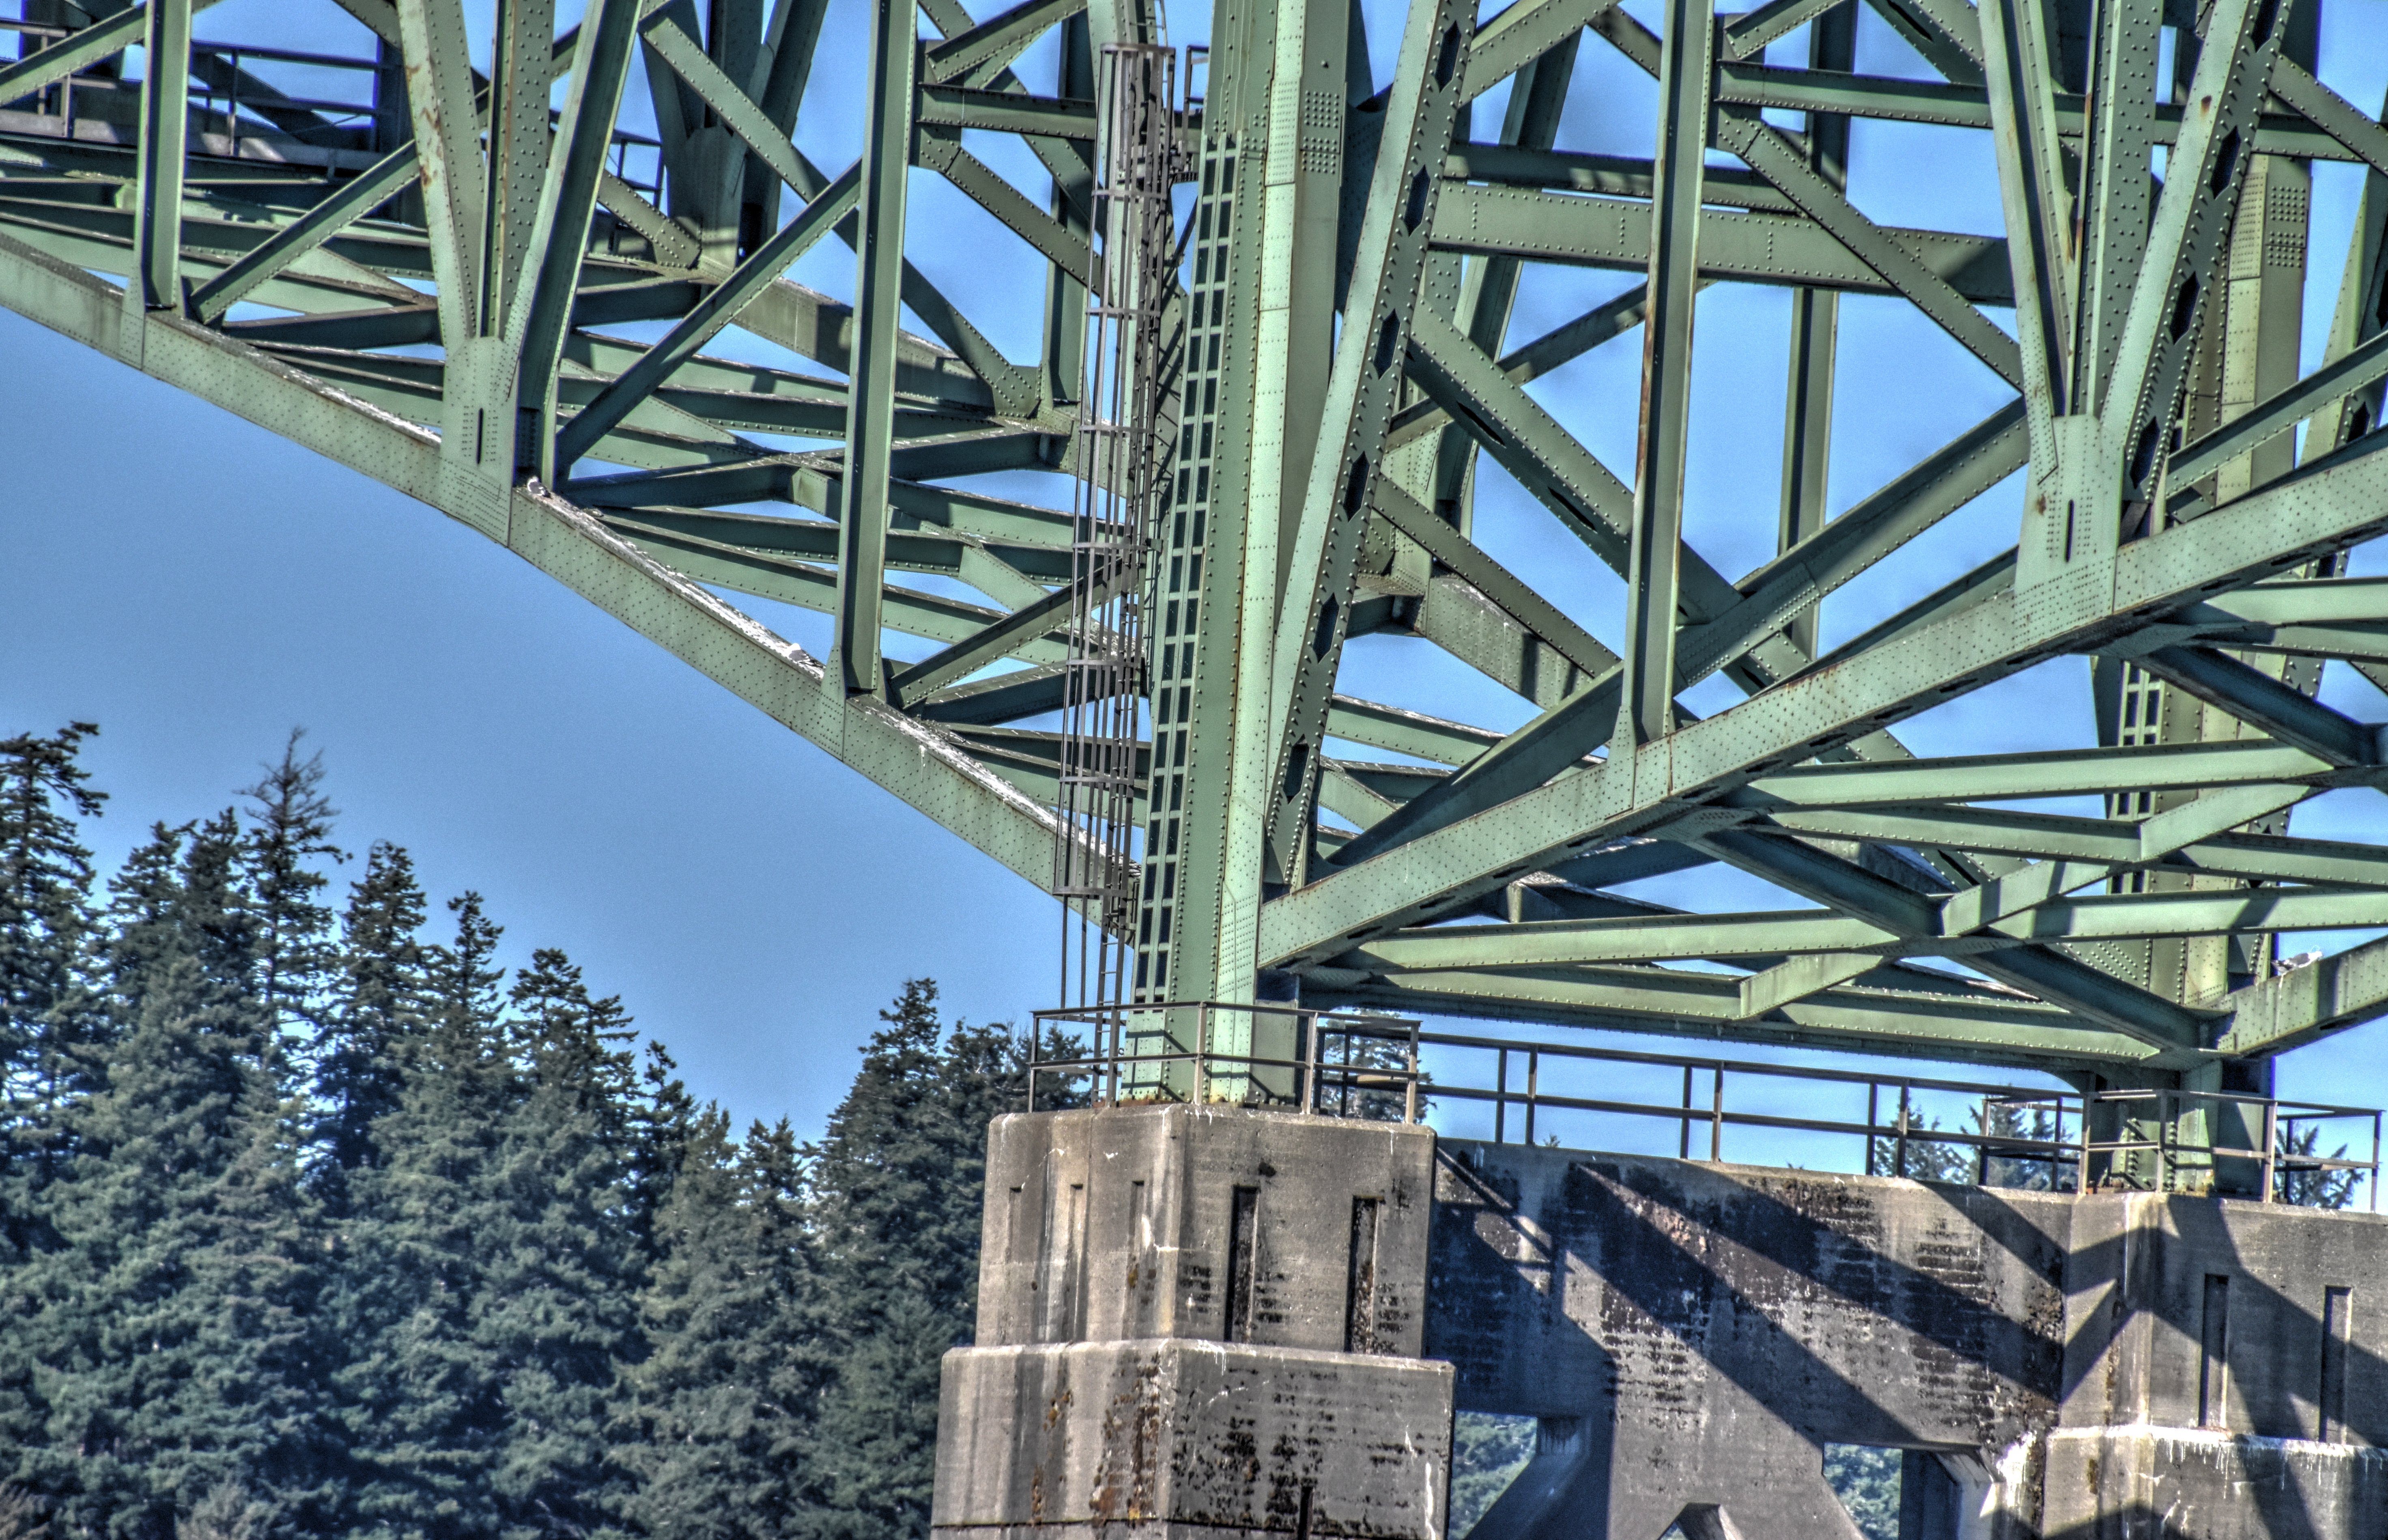
View of cantilever arms and suspended span from southwest quadrant.
![]()


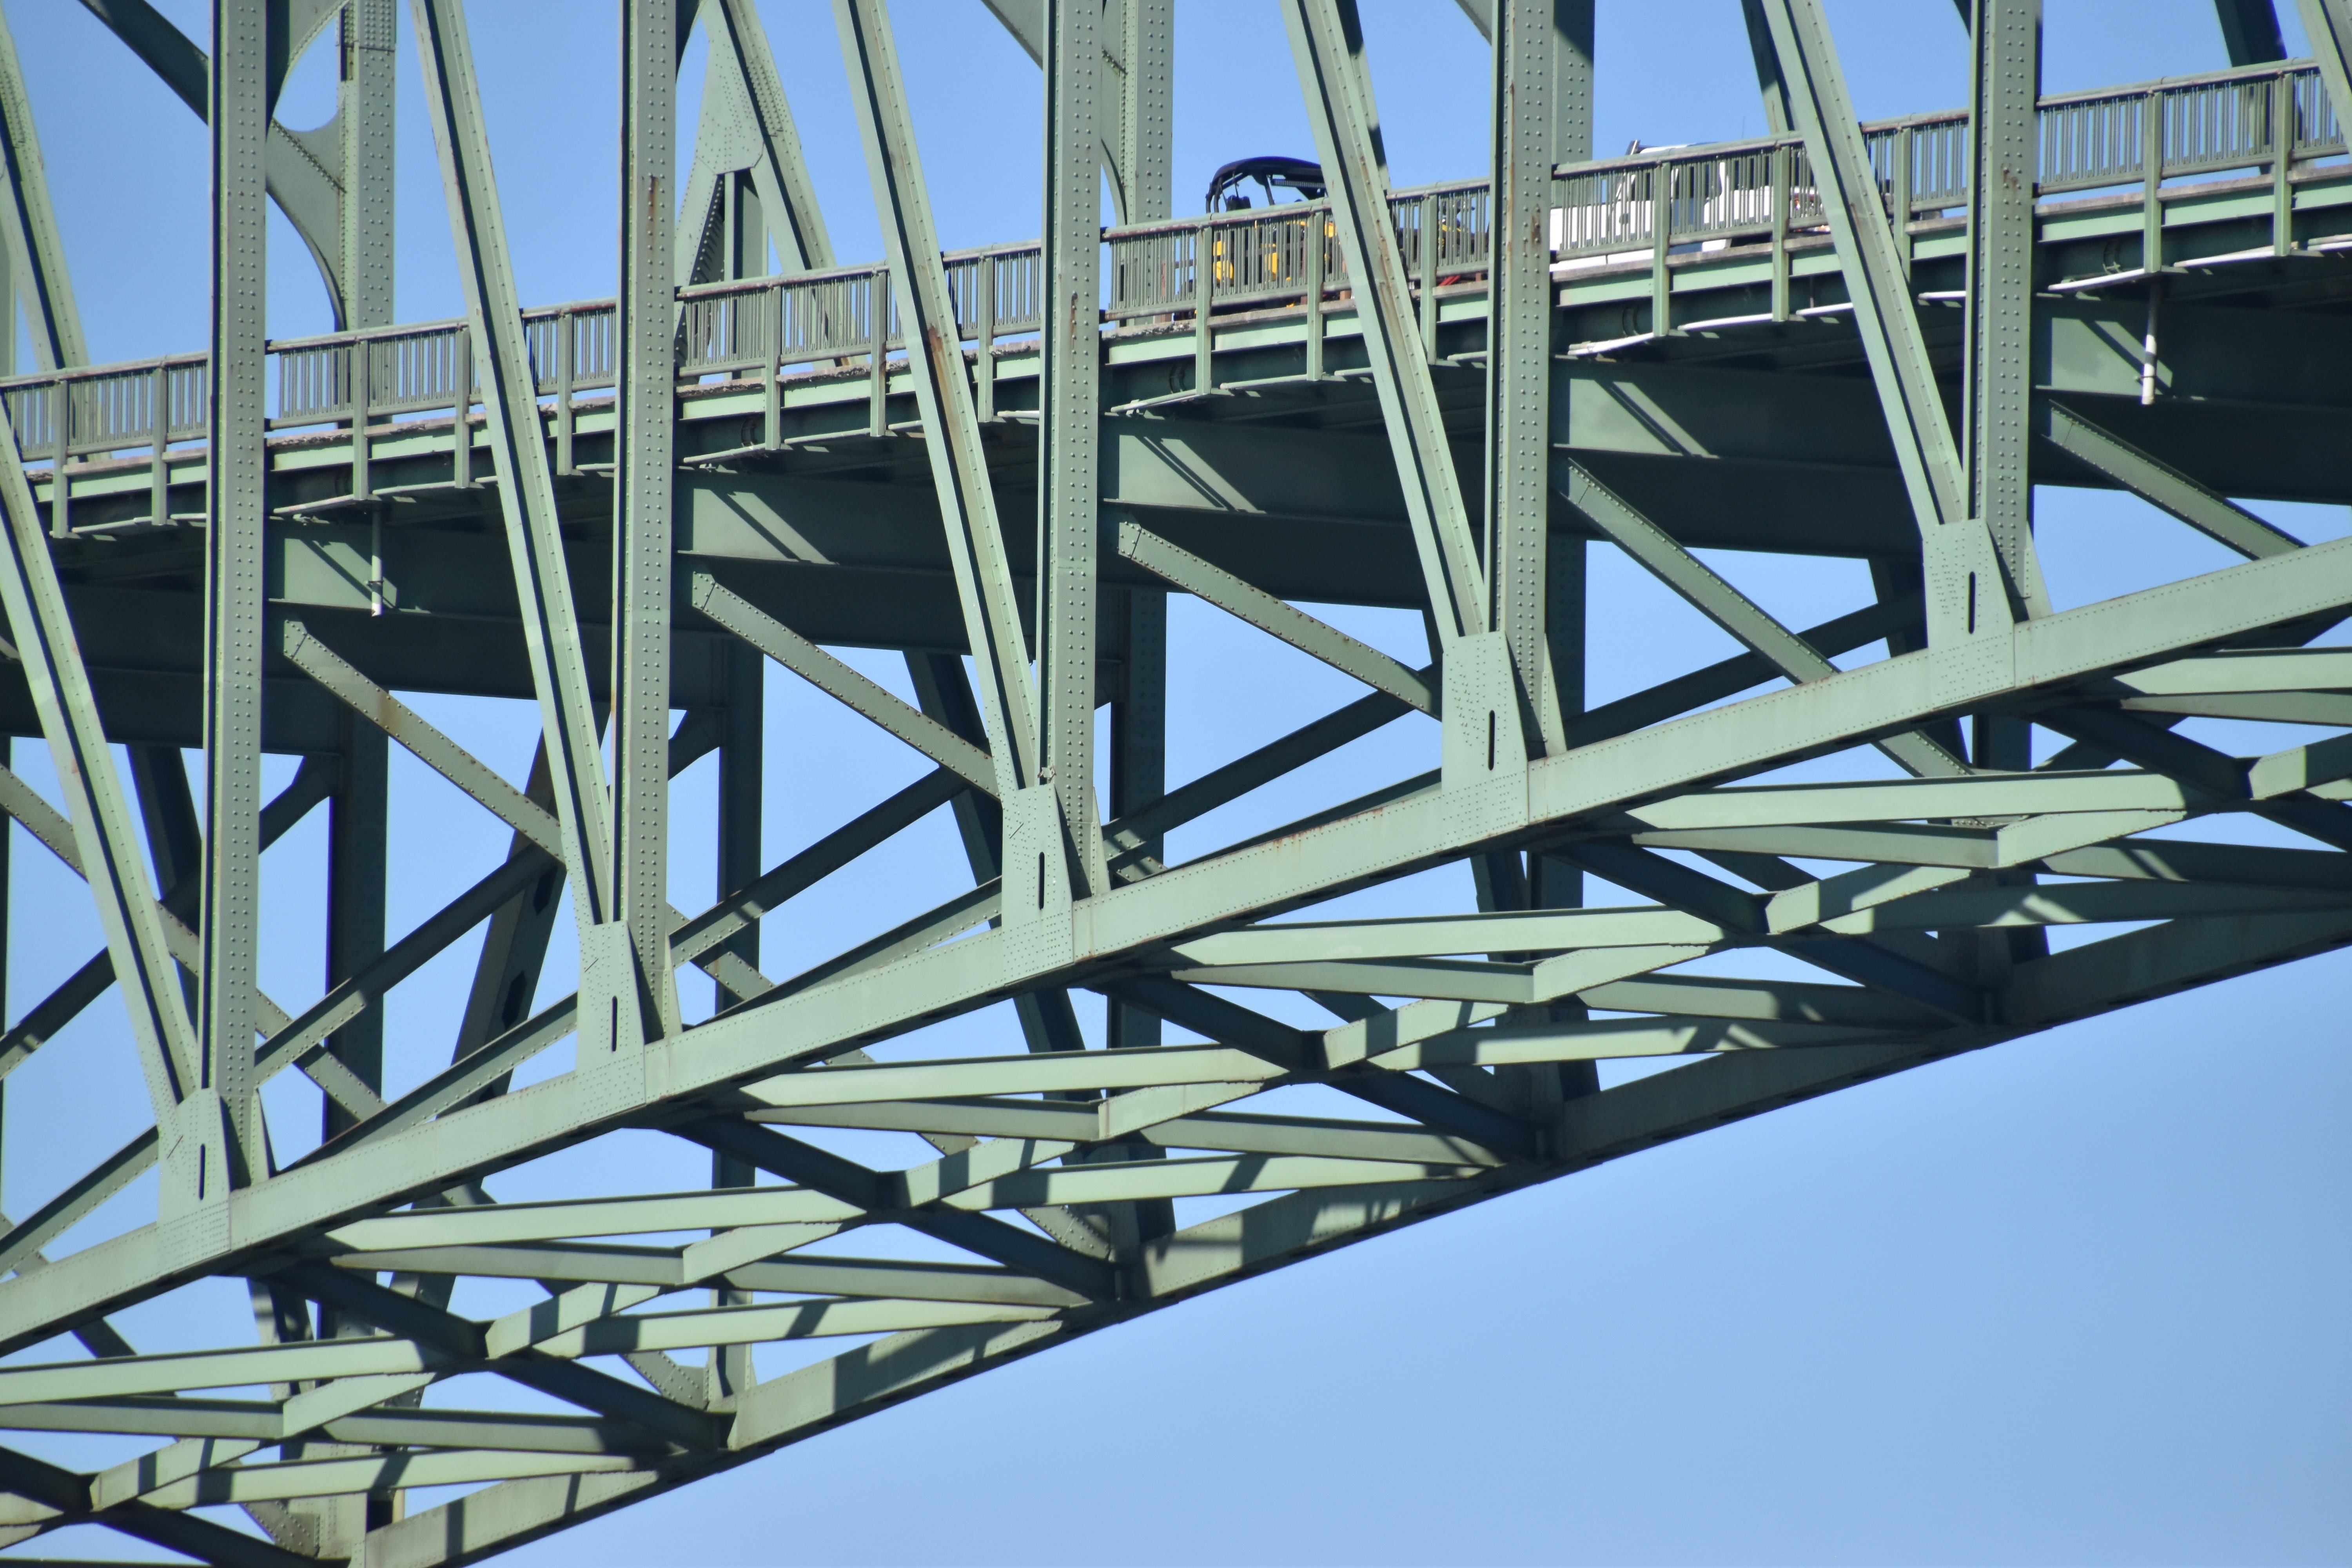
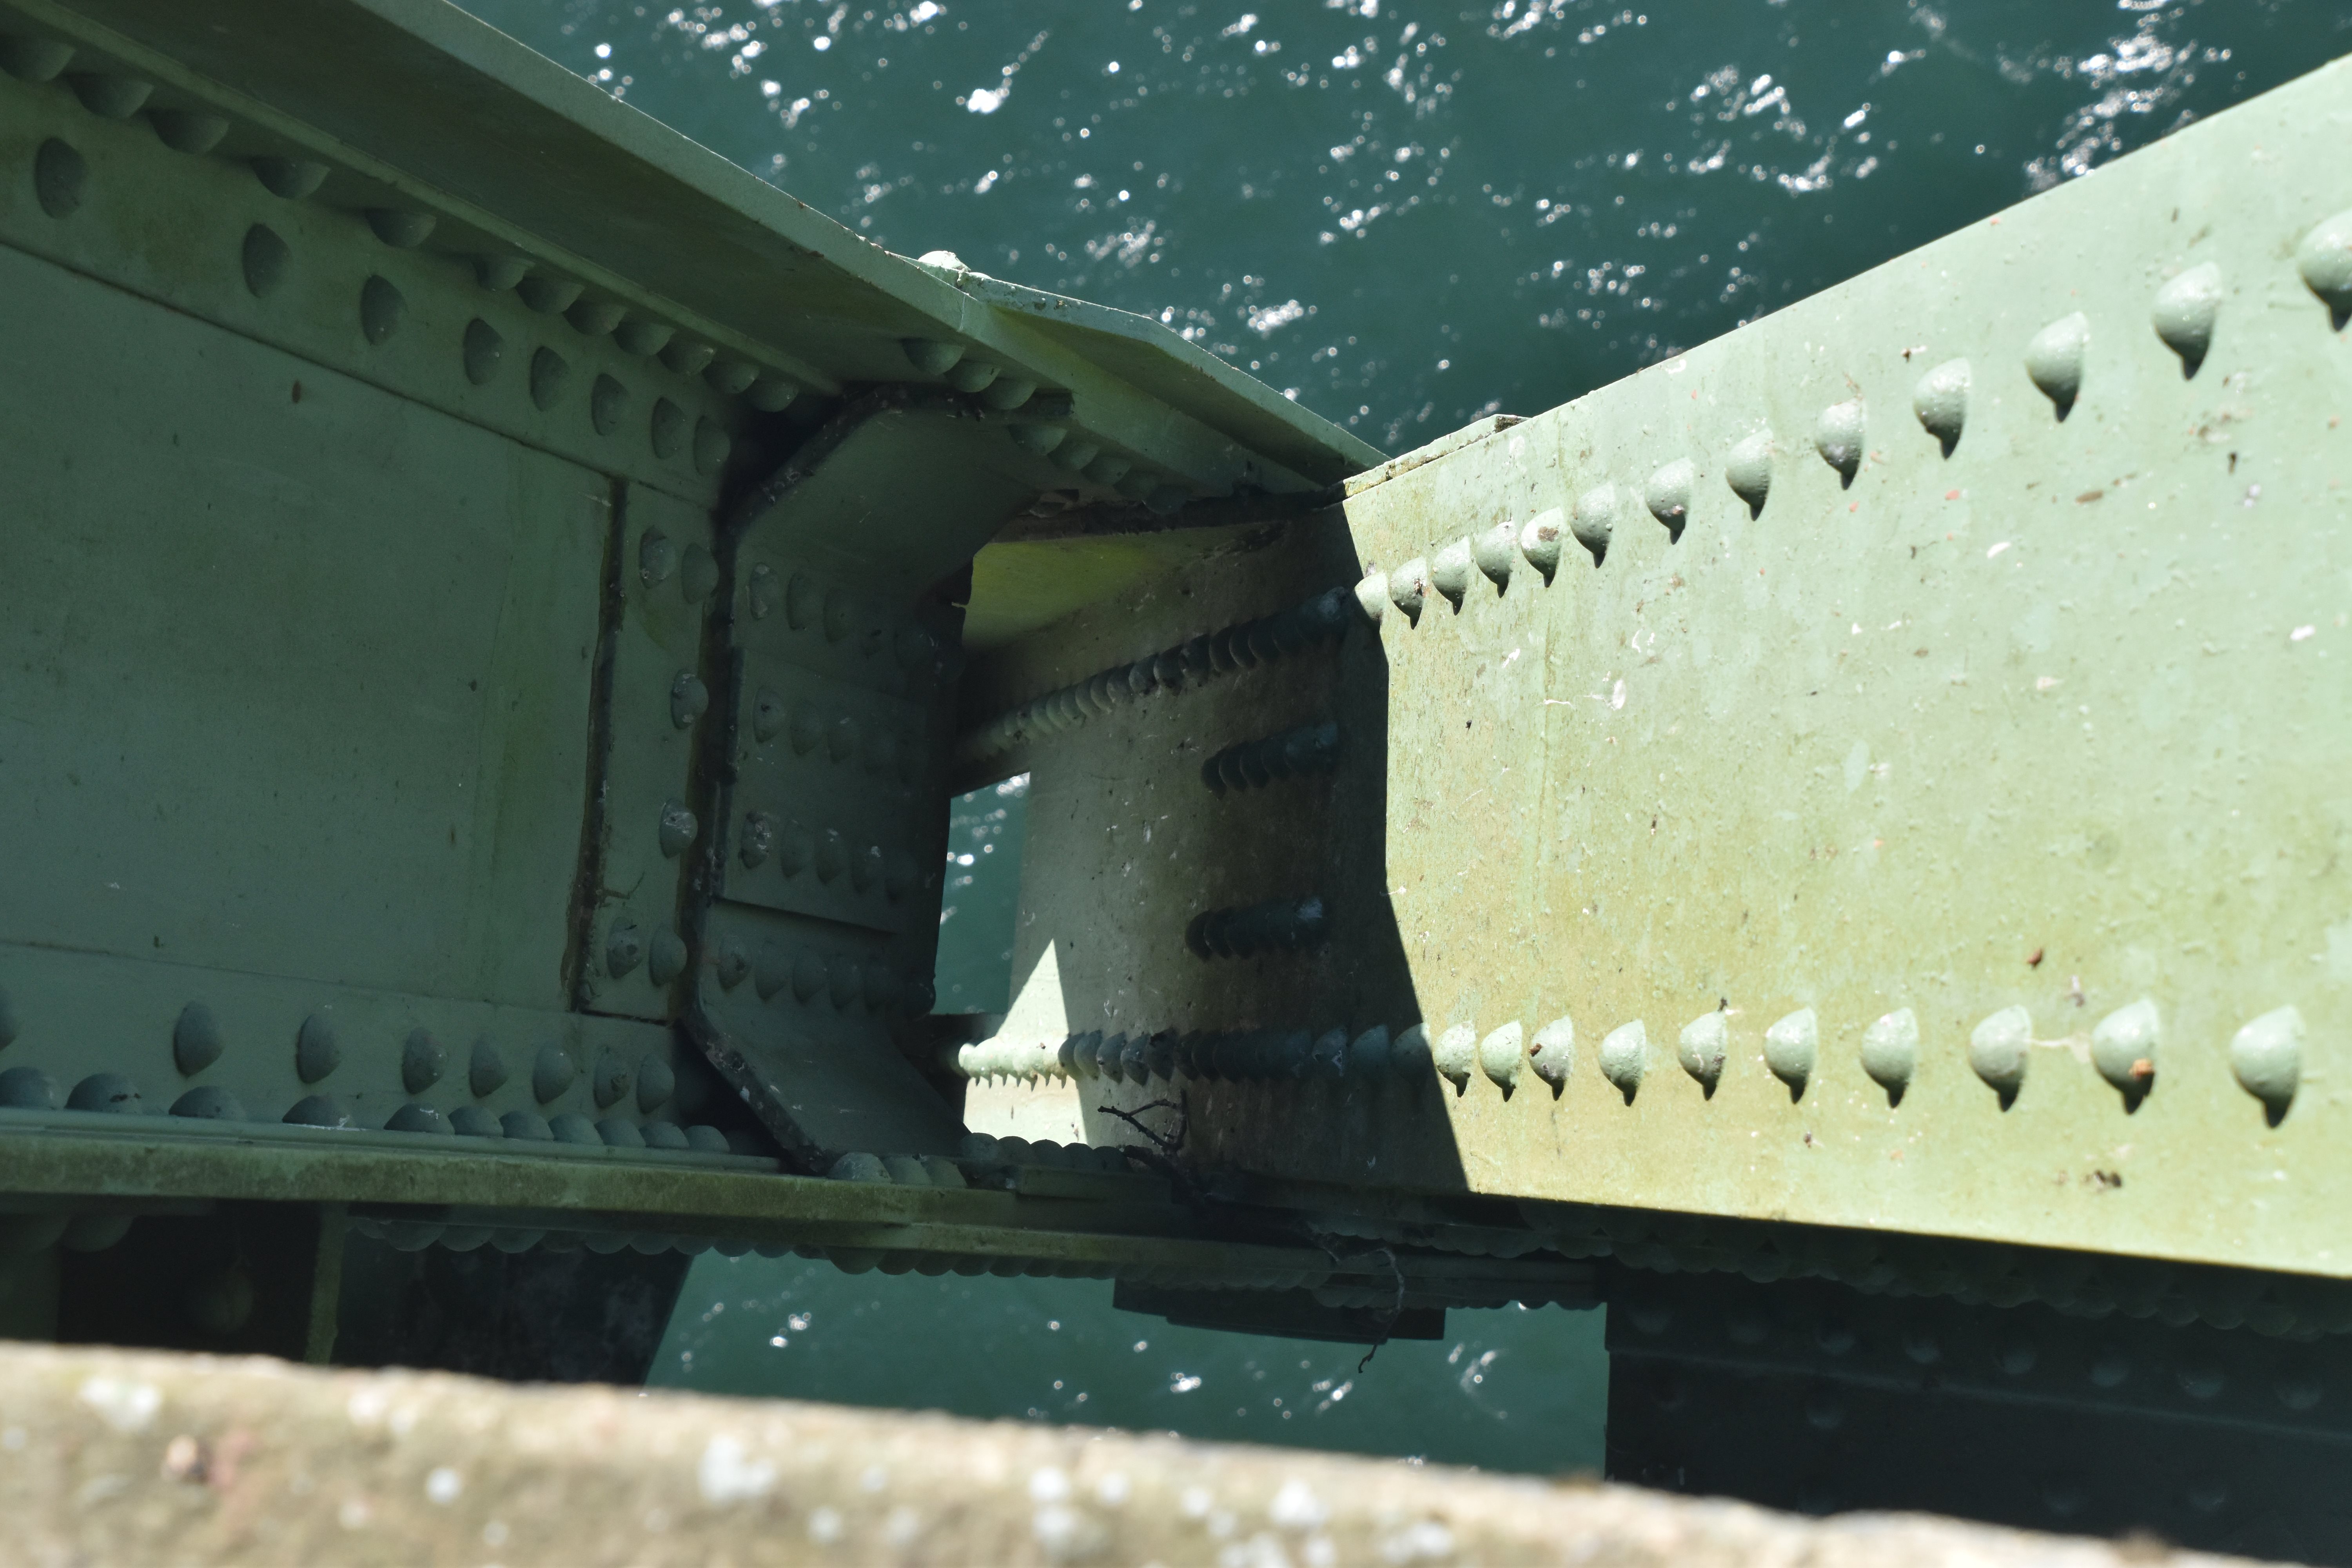
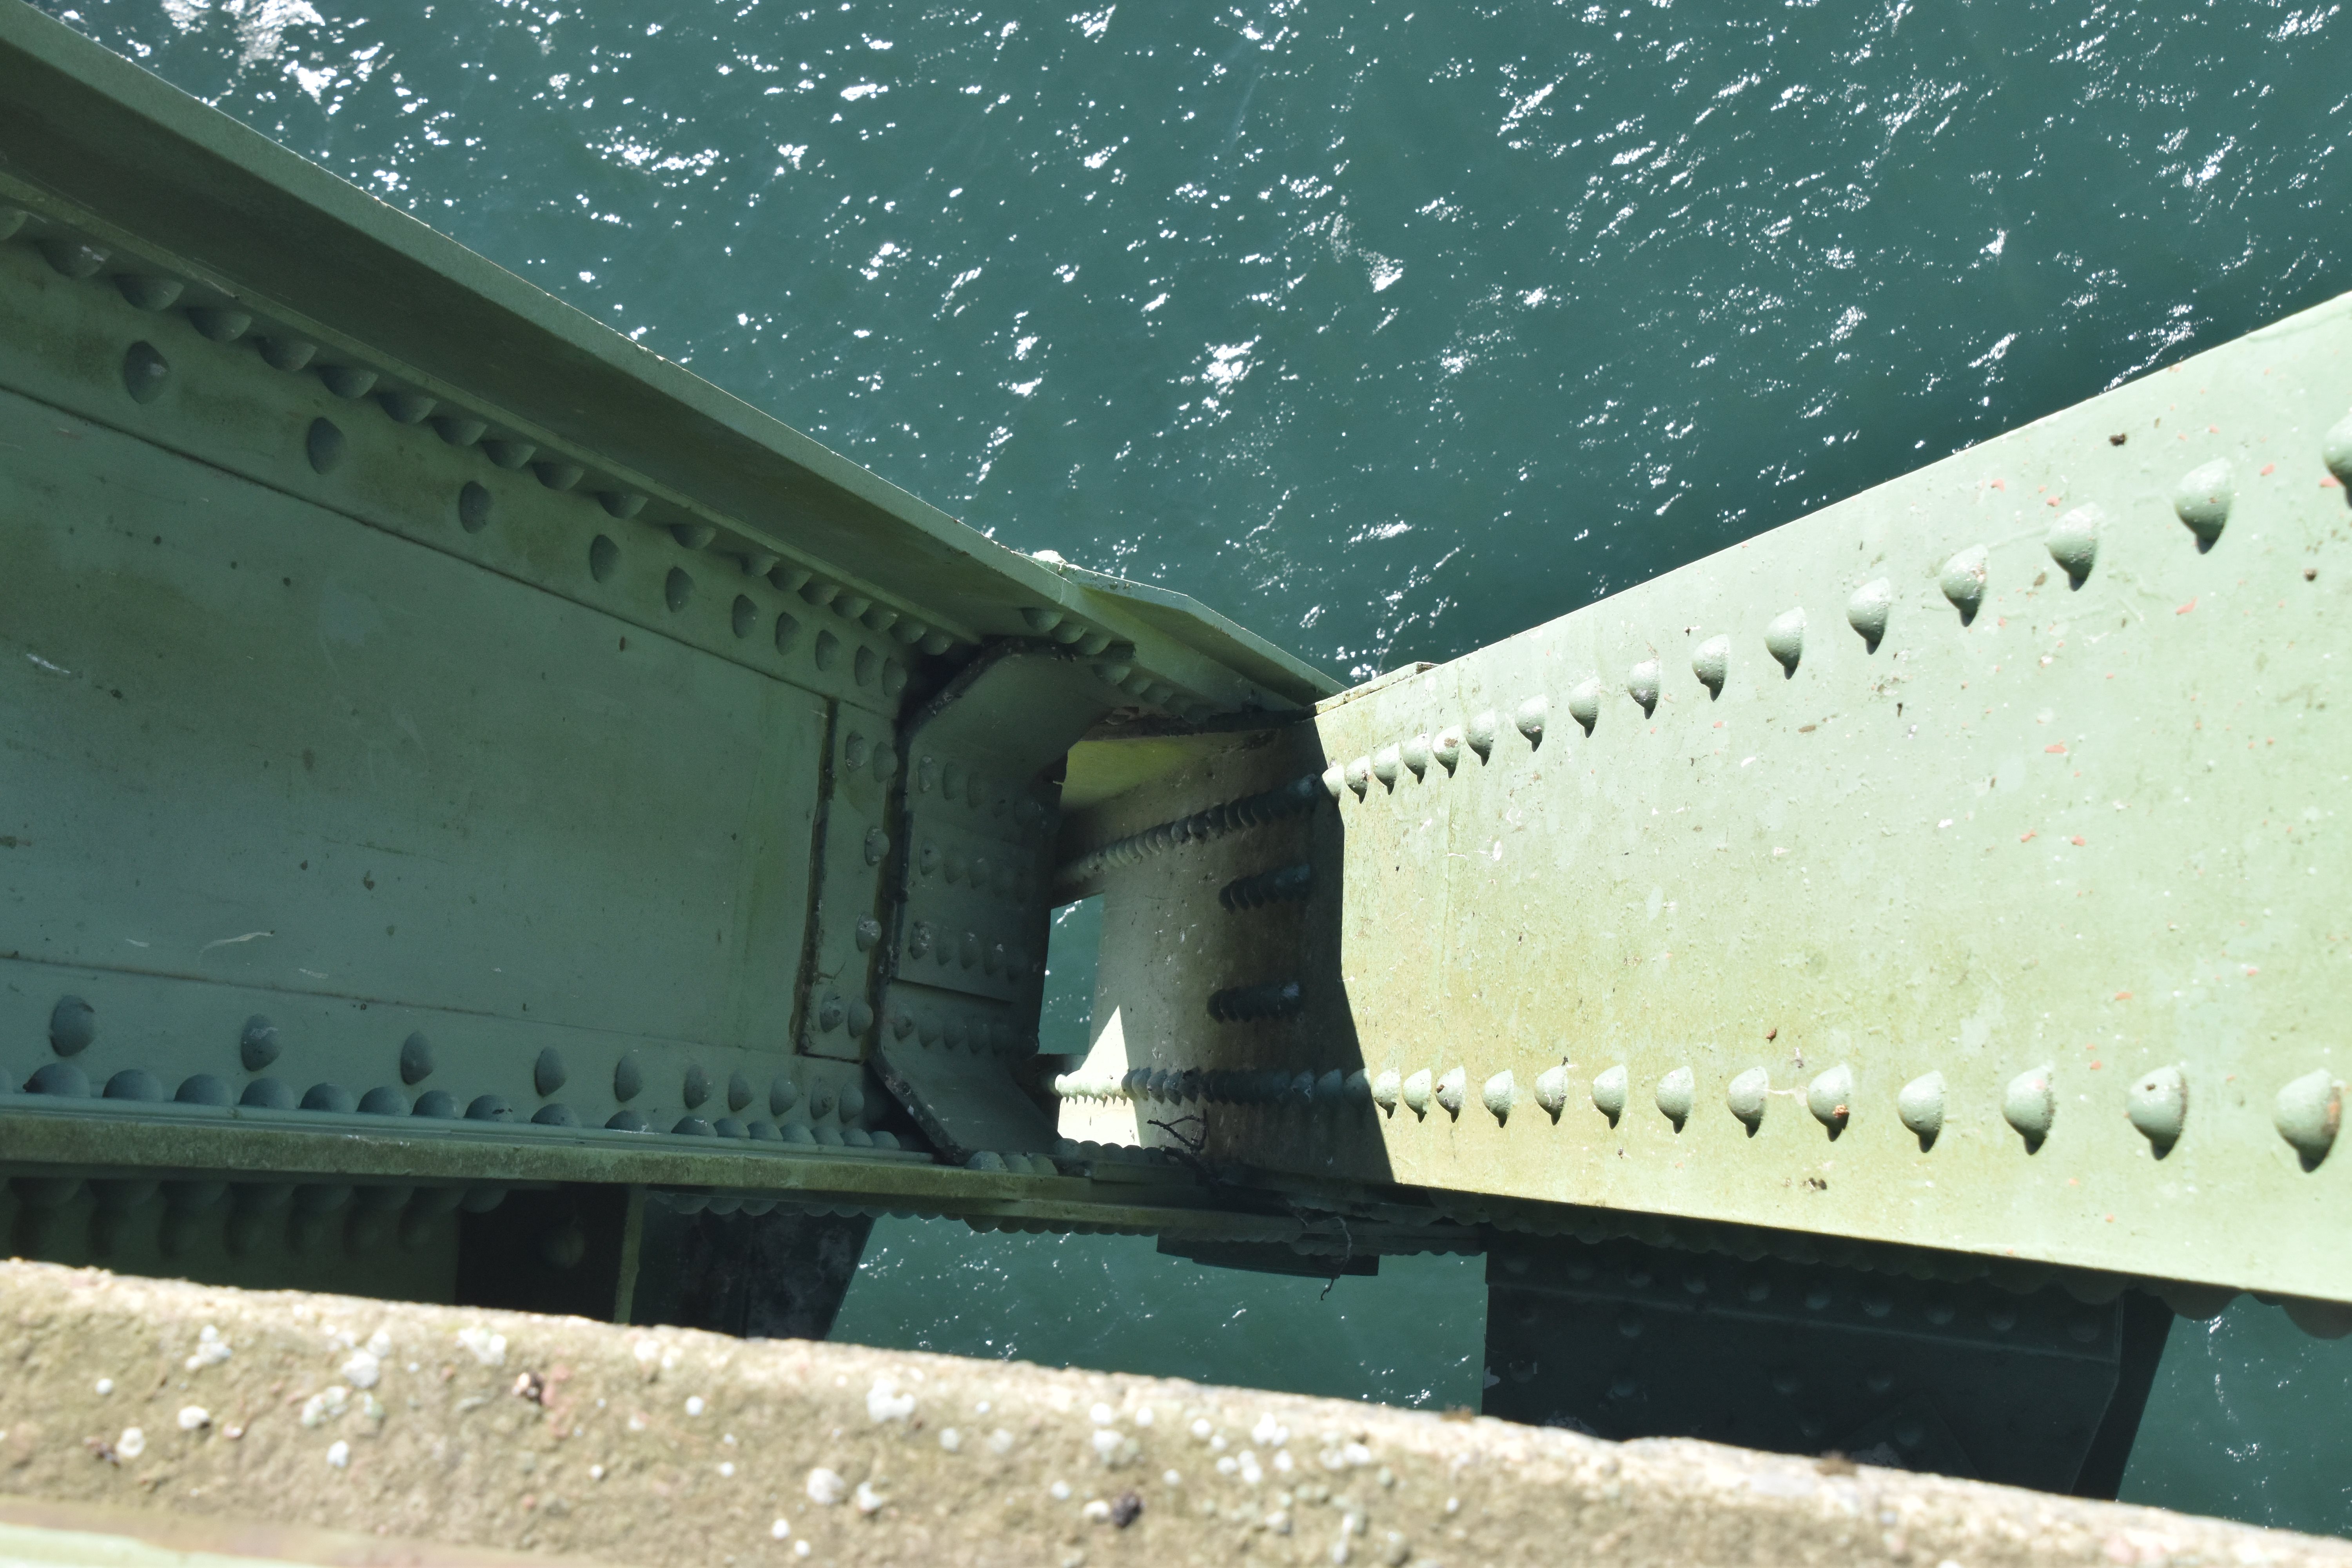
View from beside bridge showing pin and hanger details at transition from cantilever arm to suspended span.
![]()


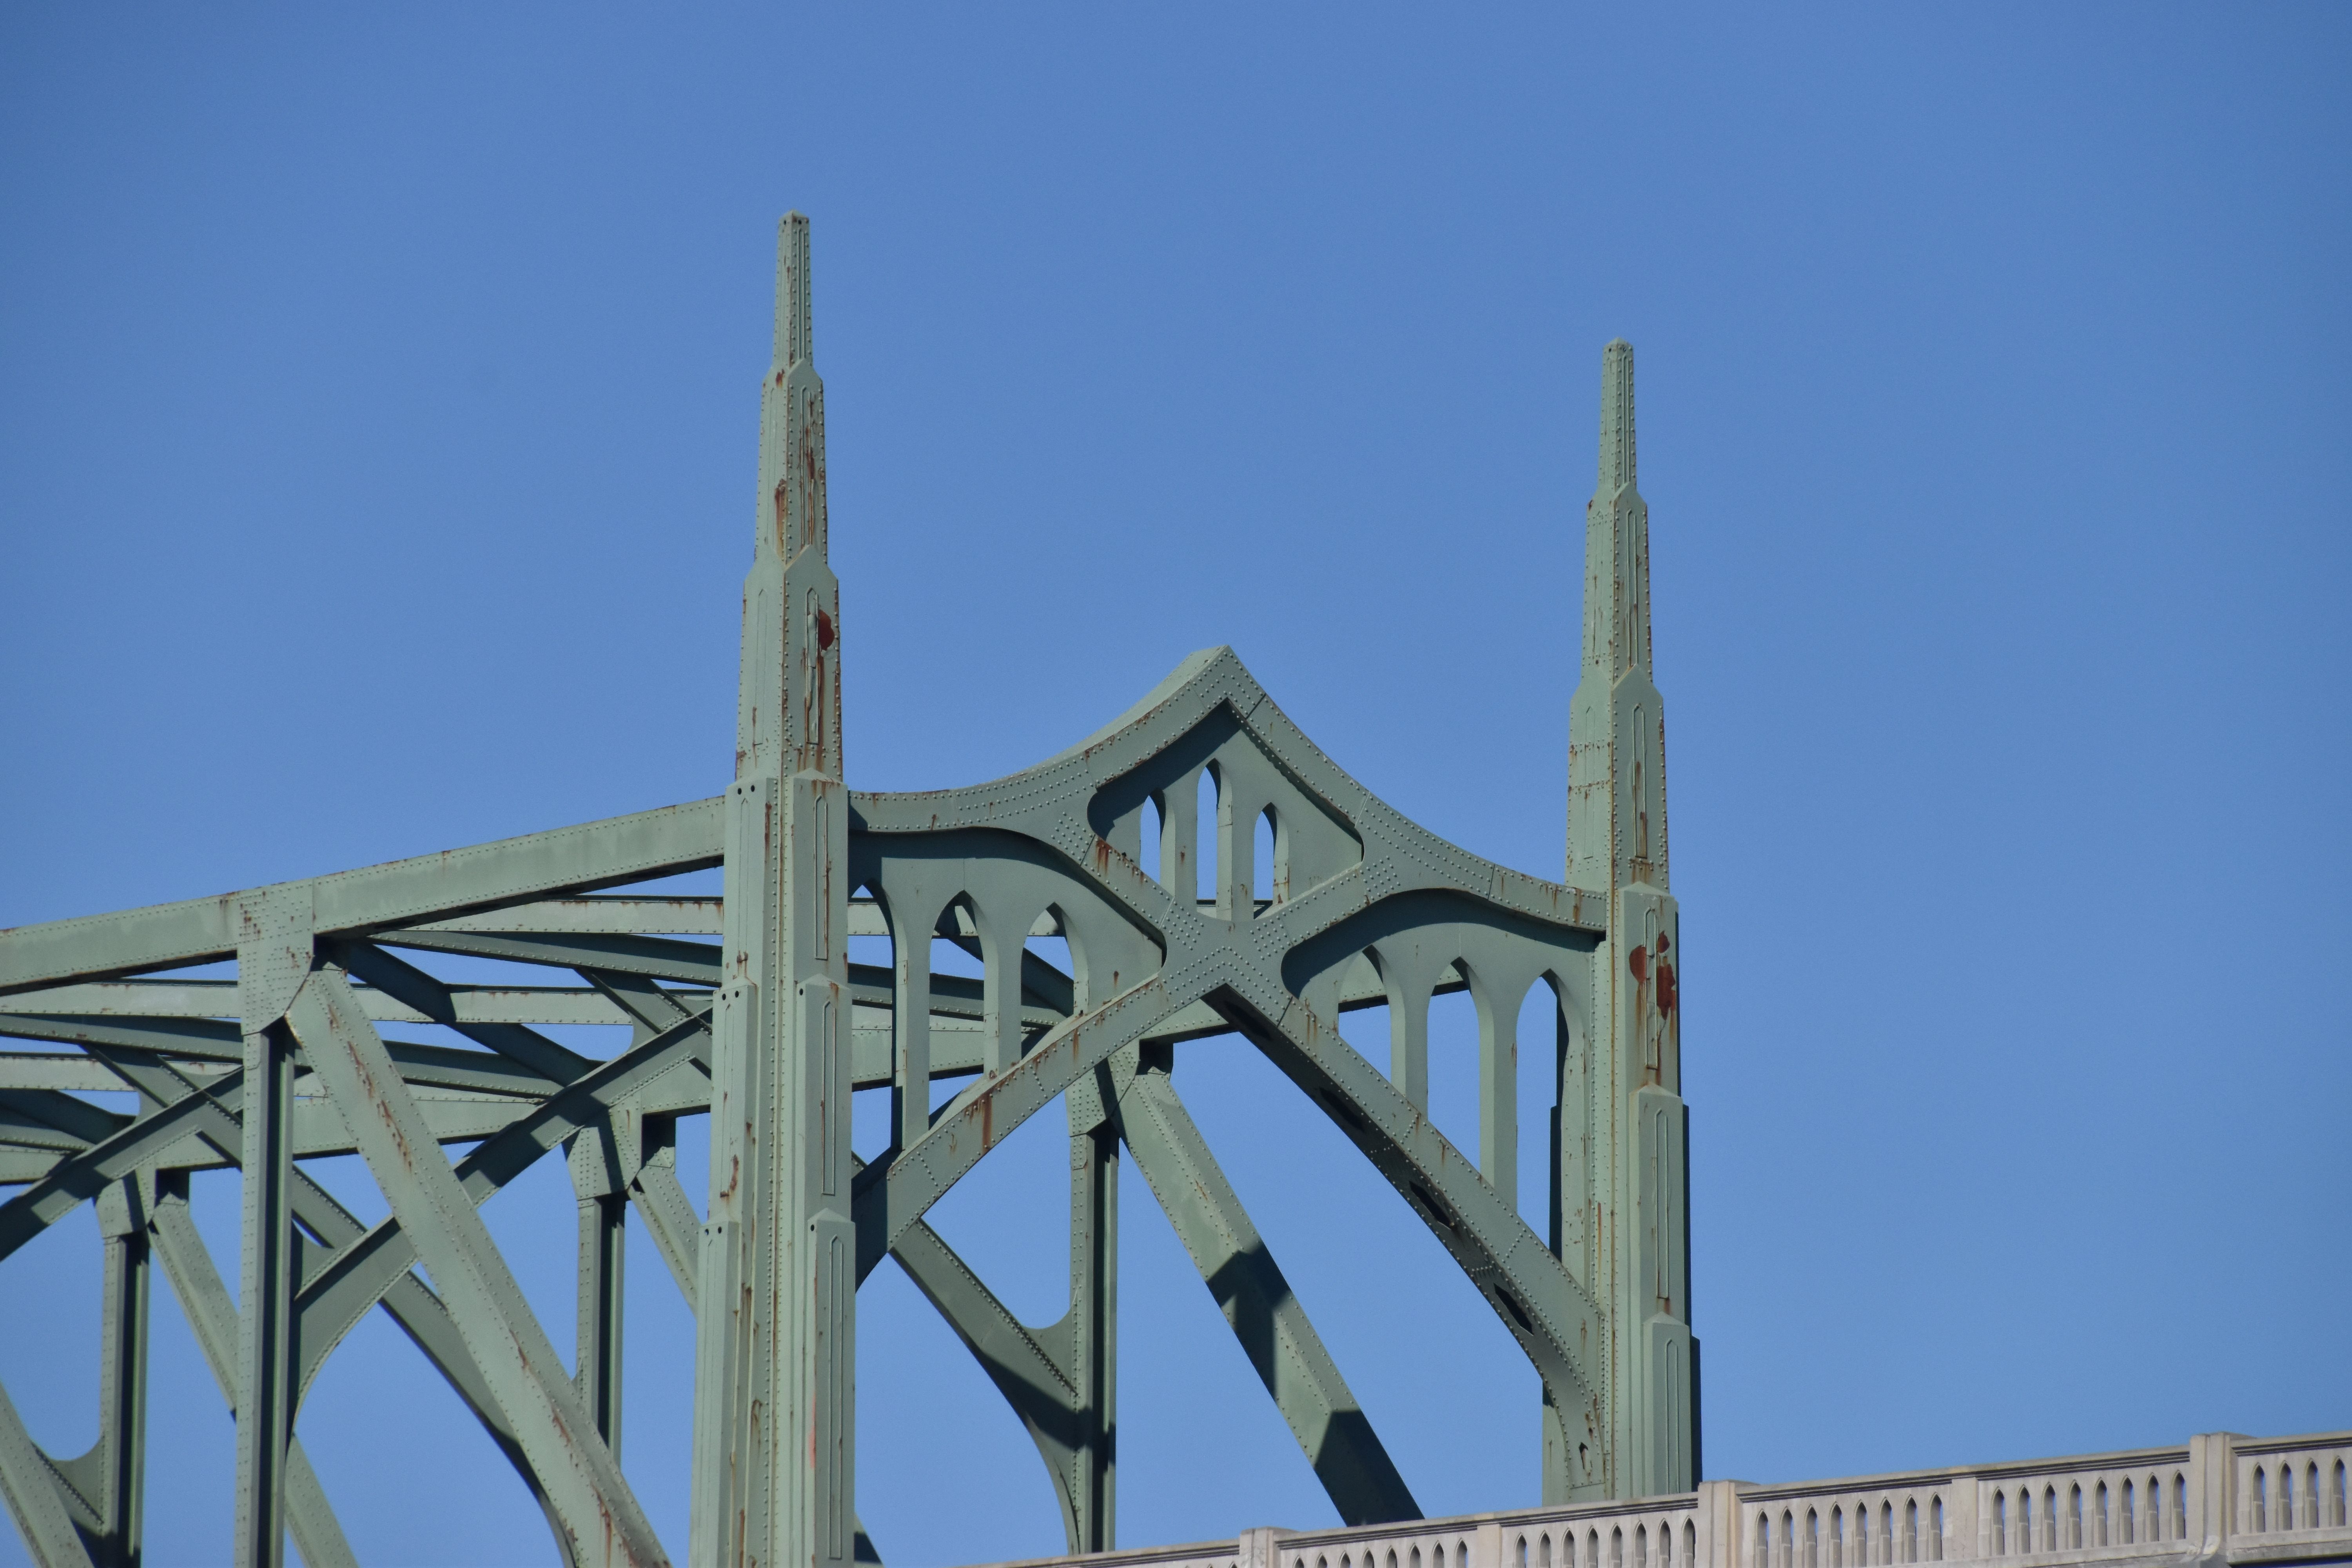


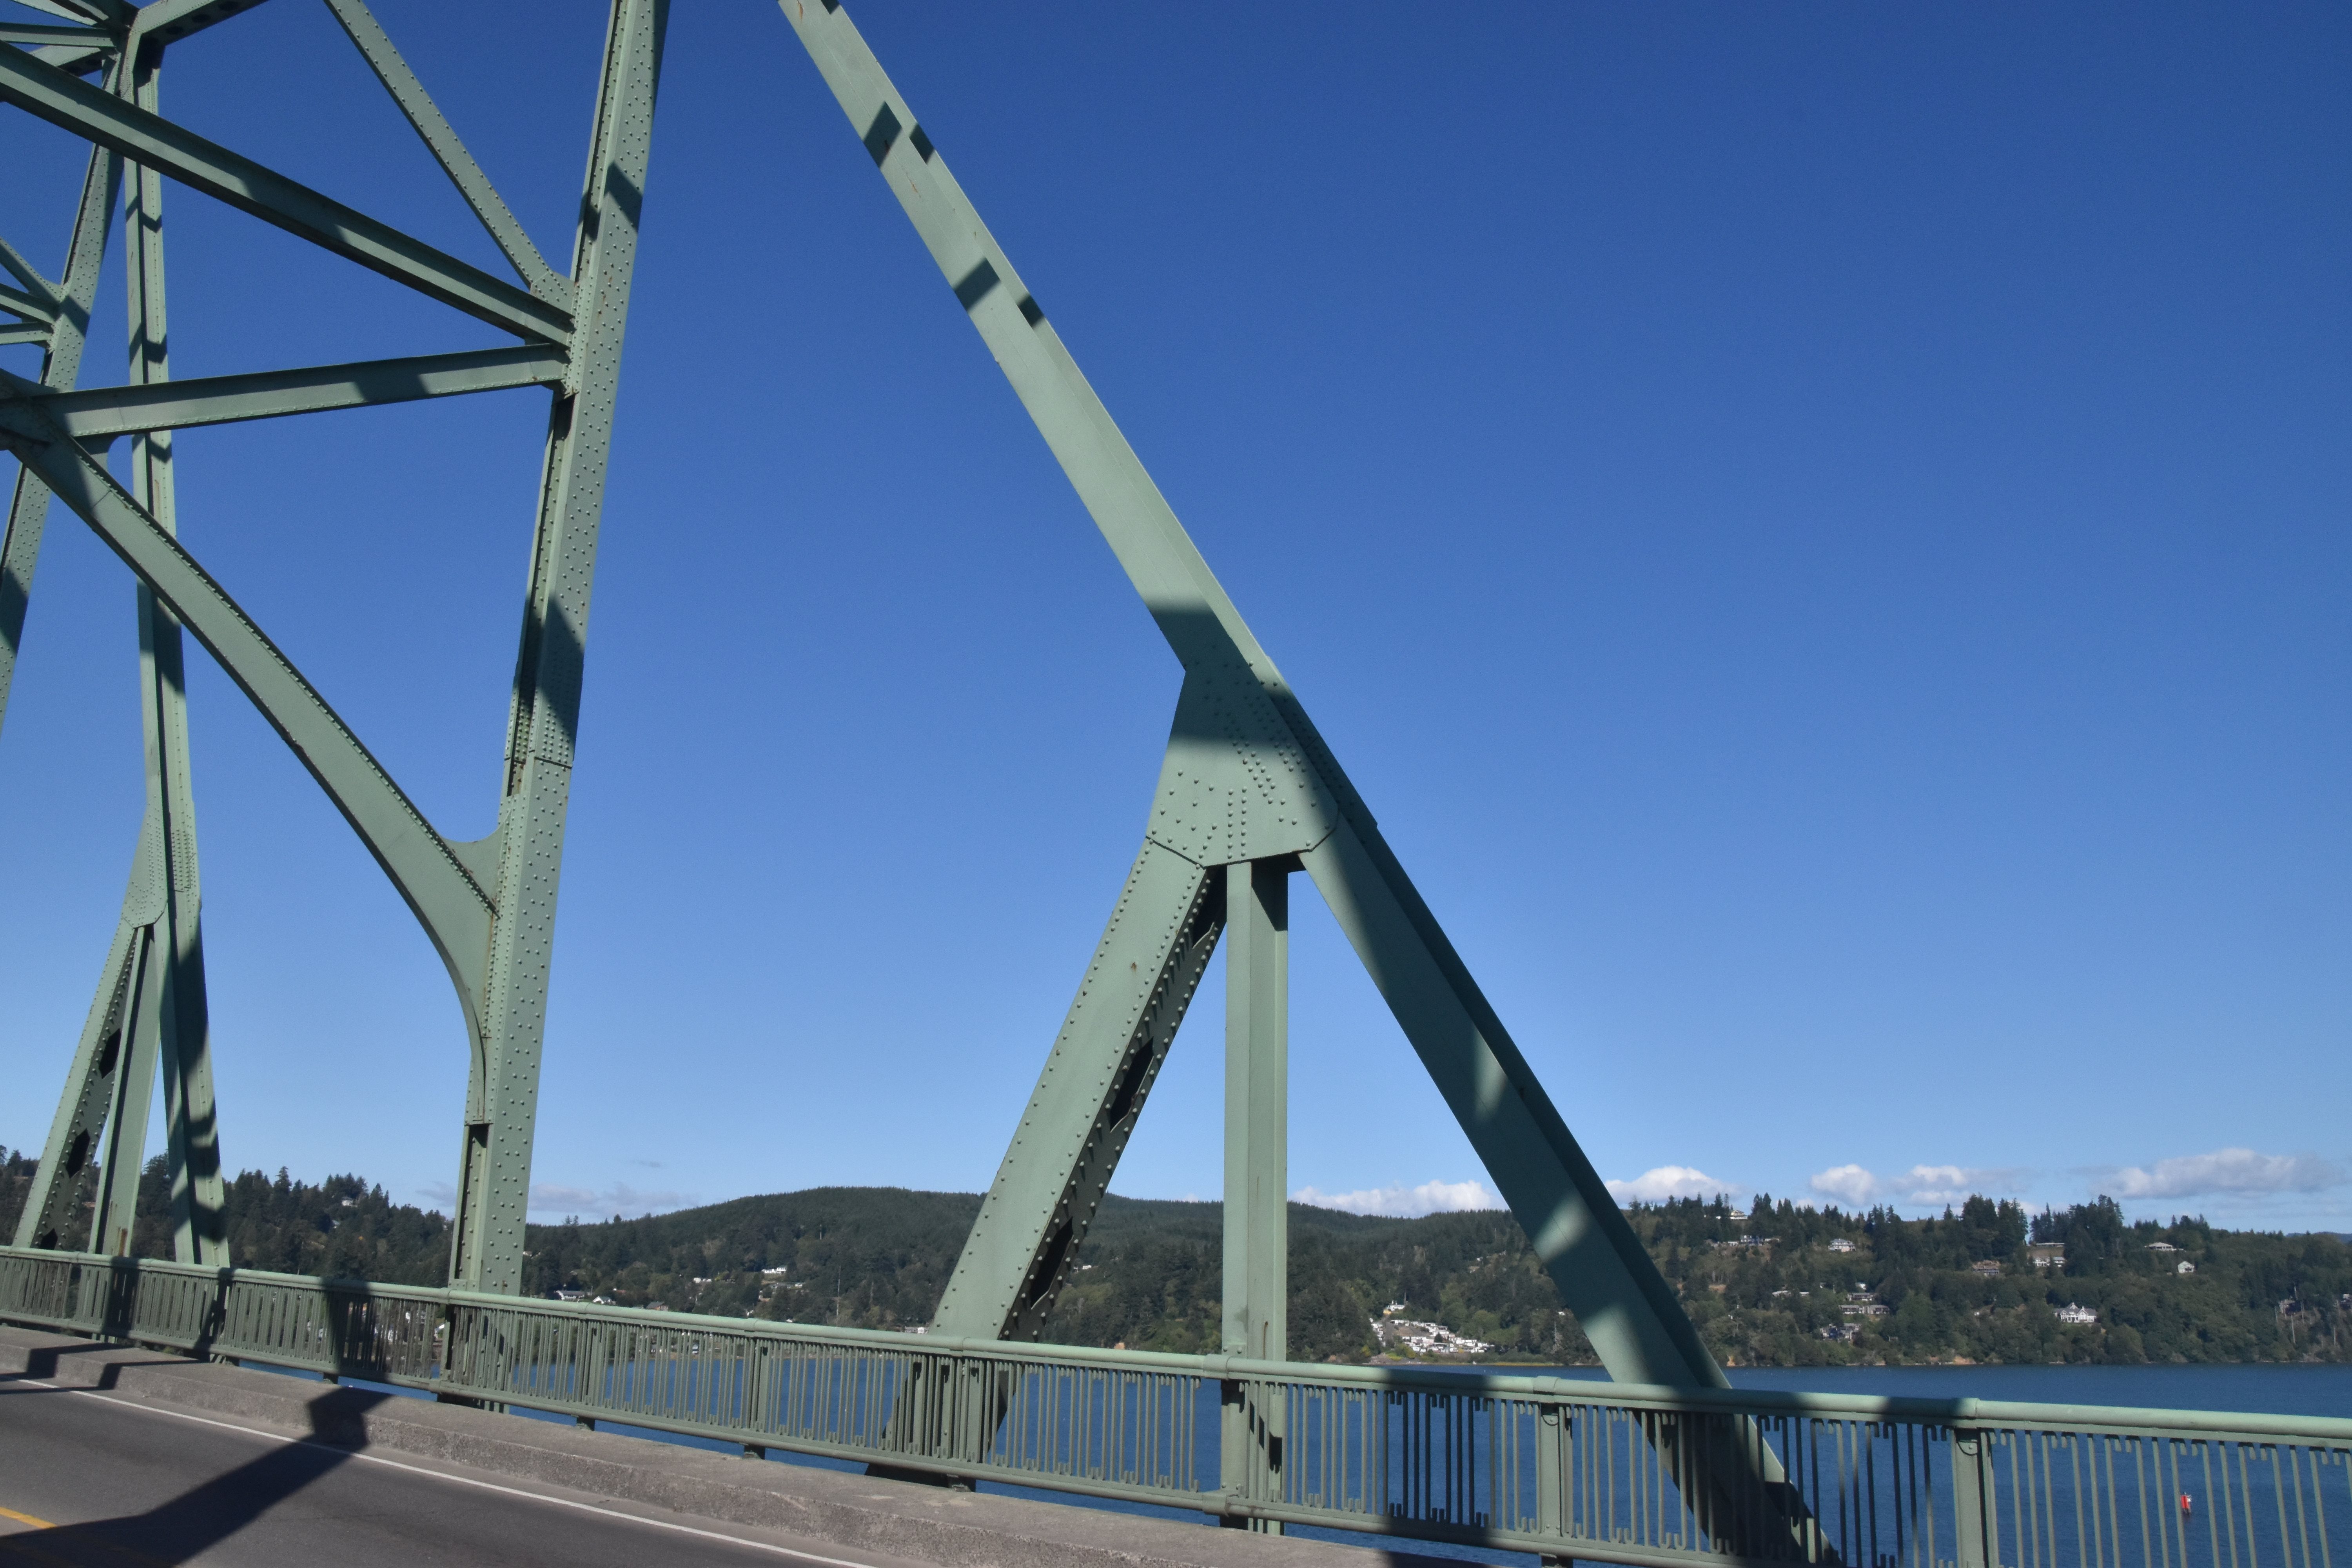
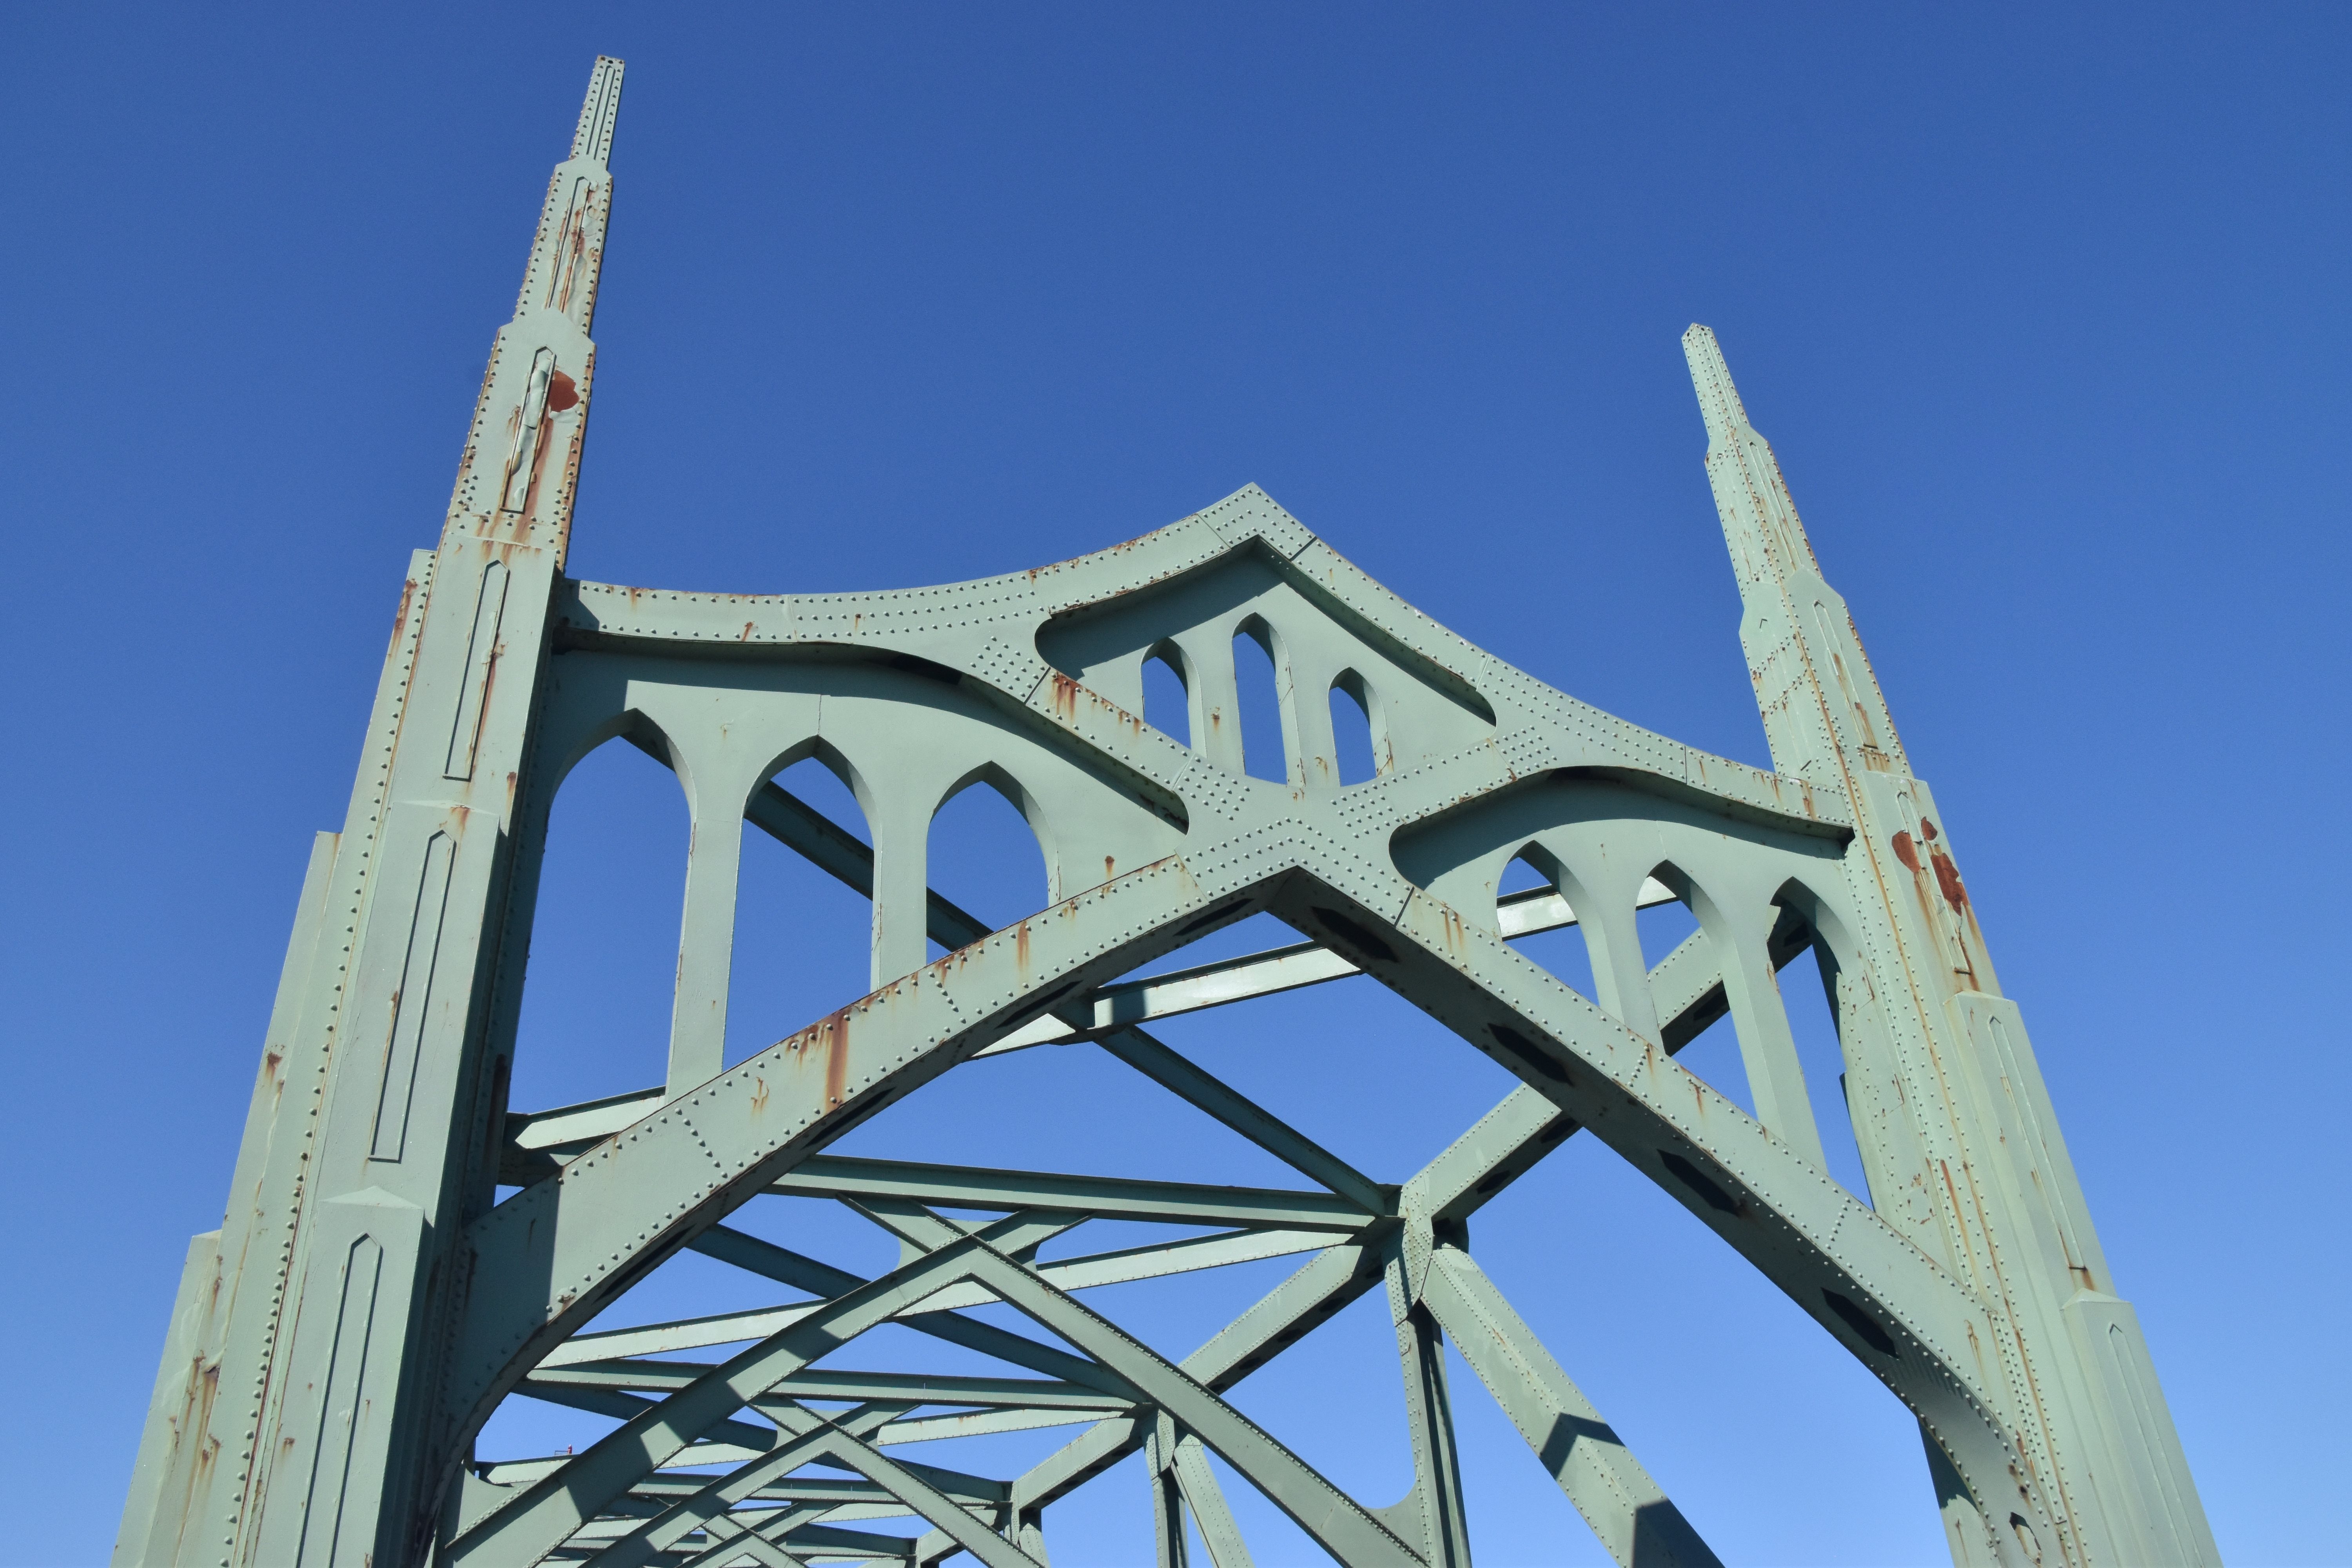
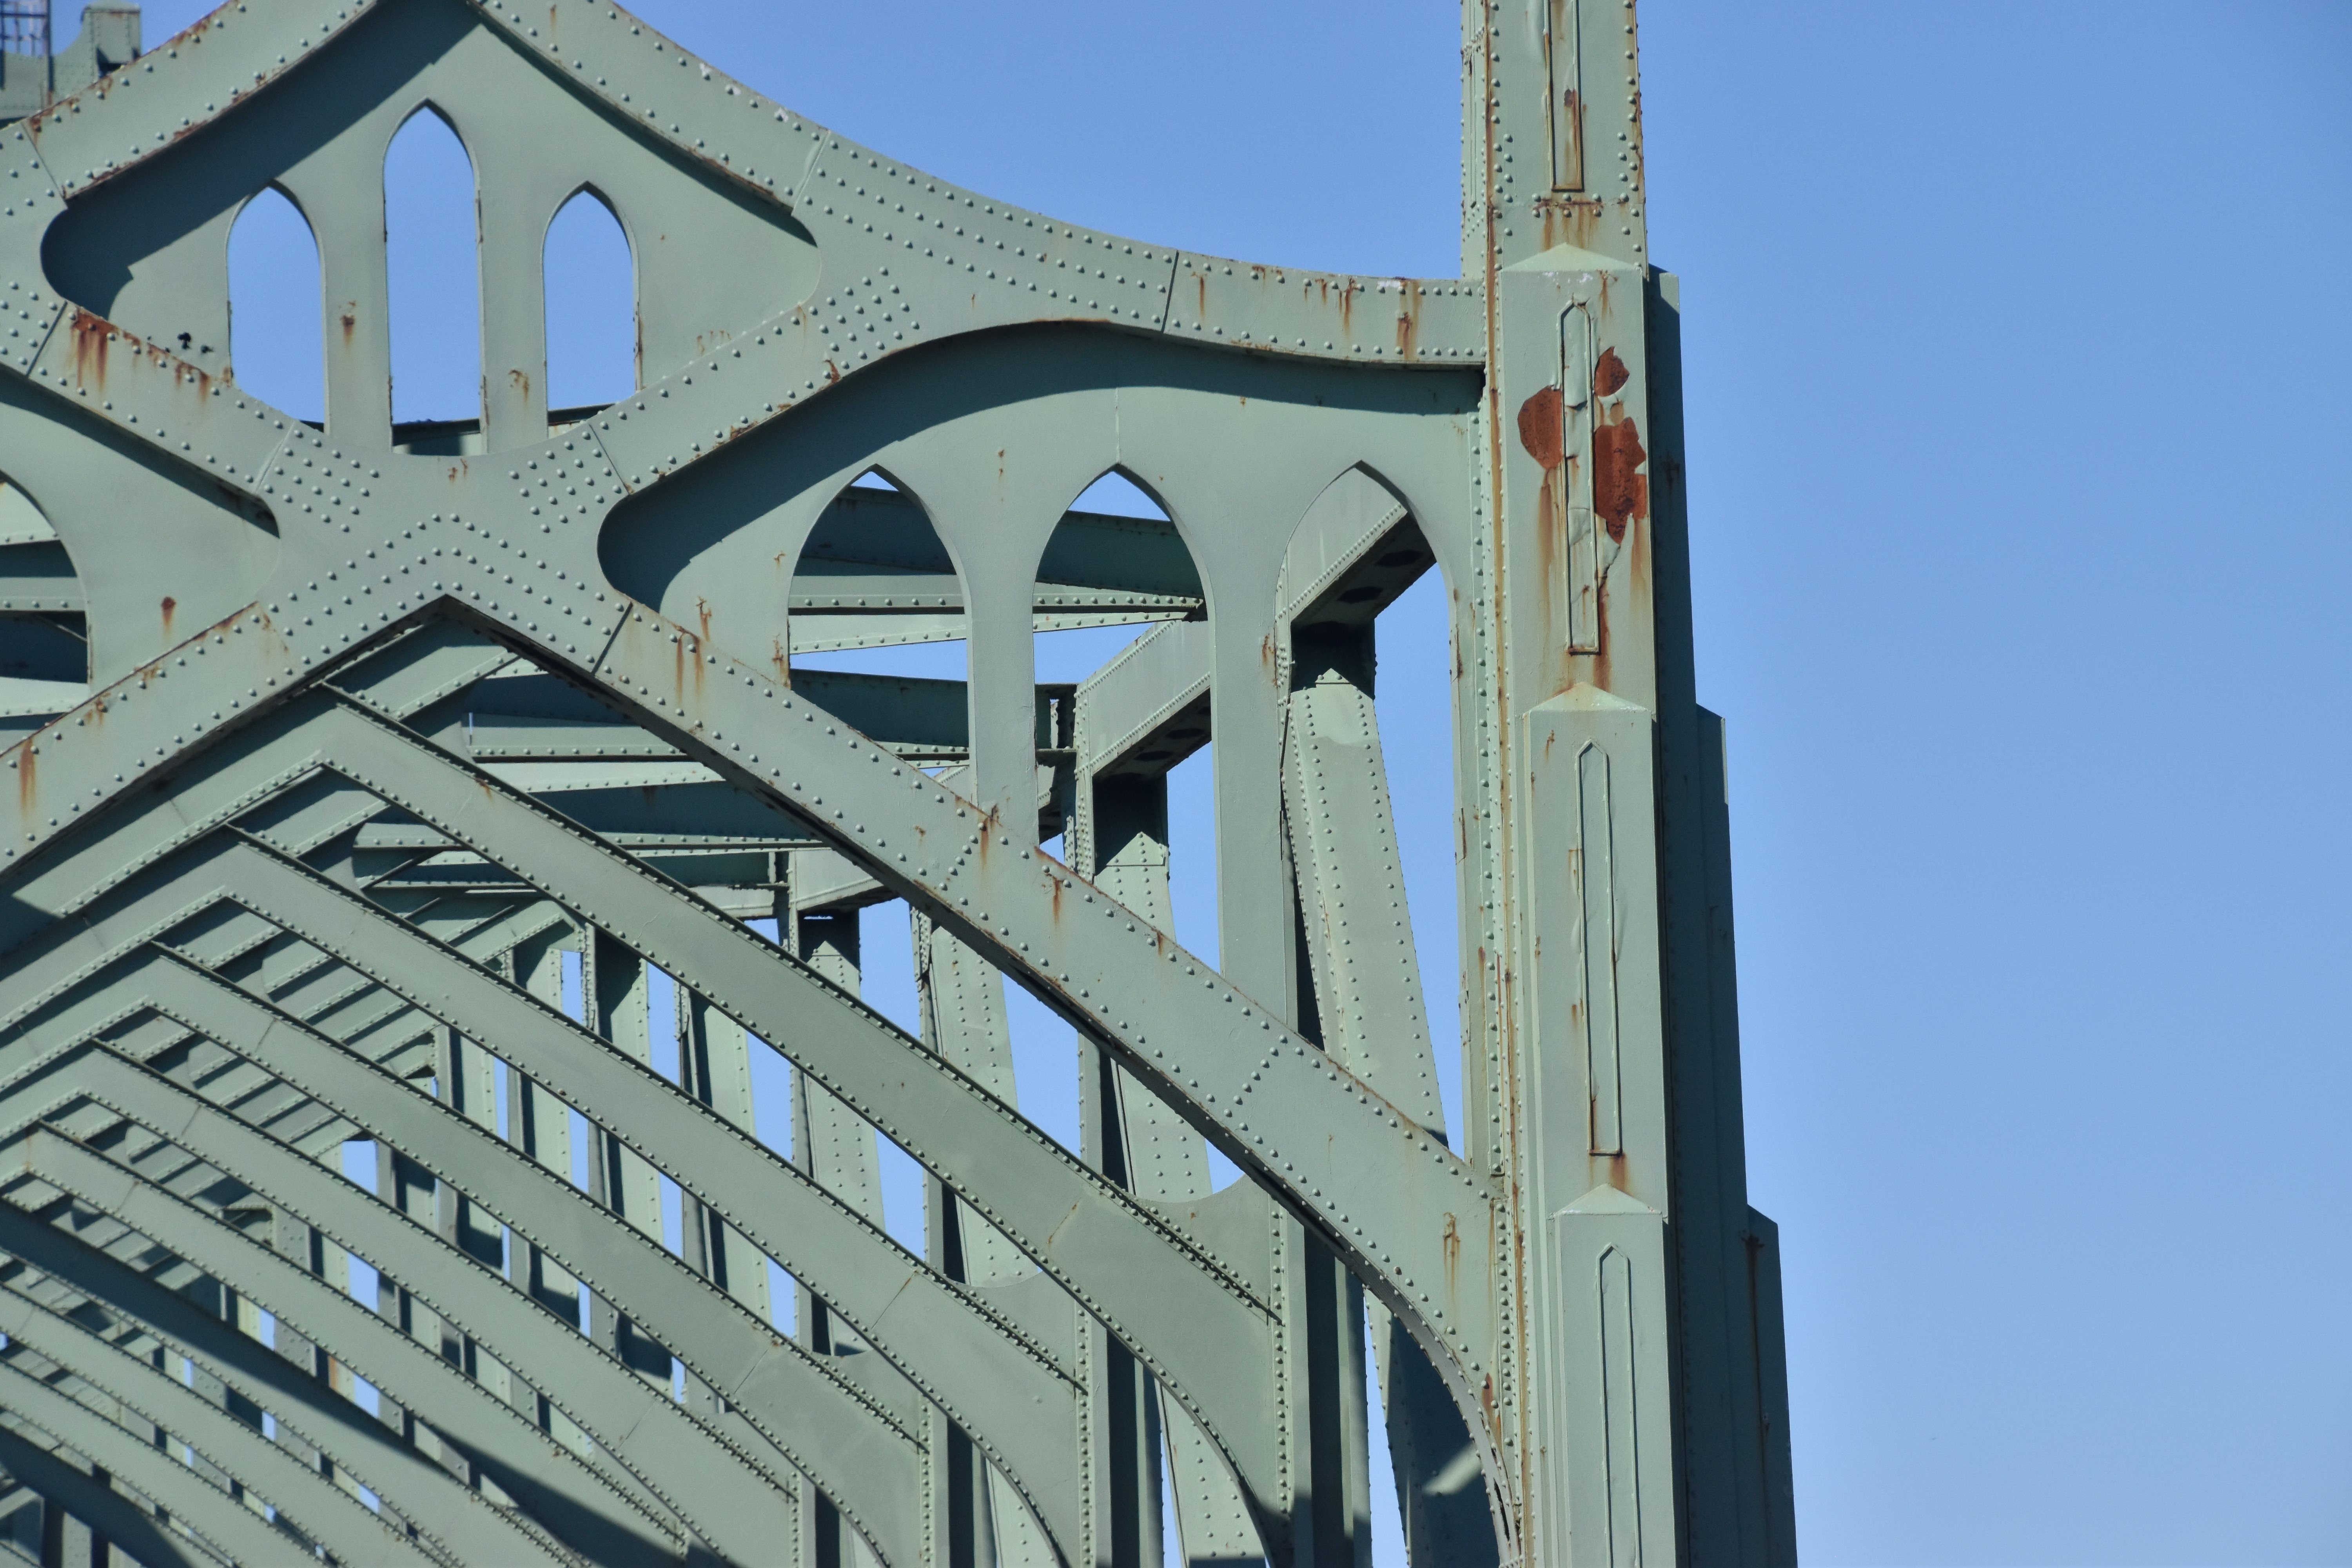
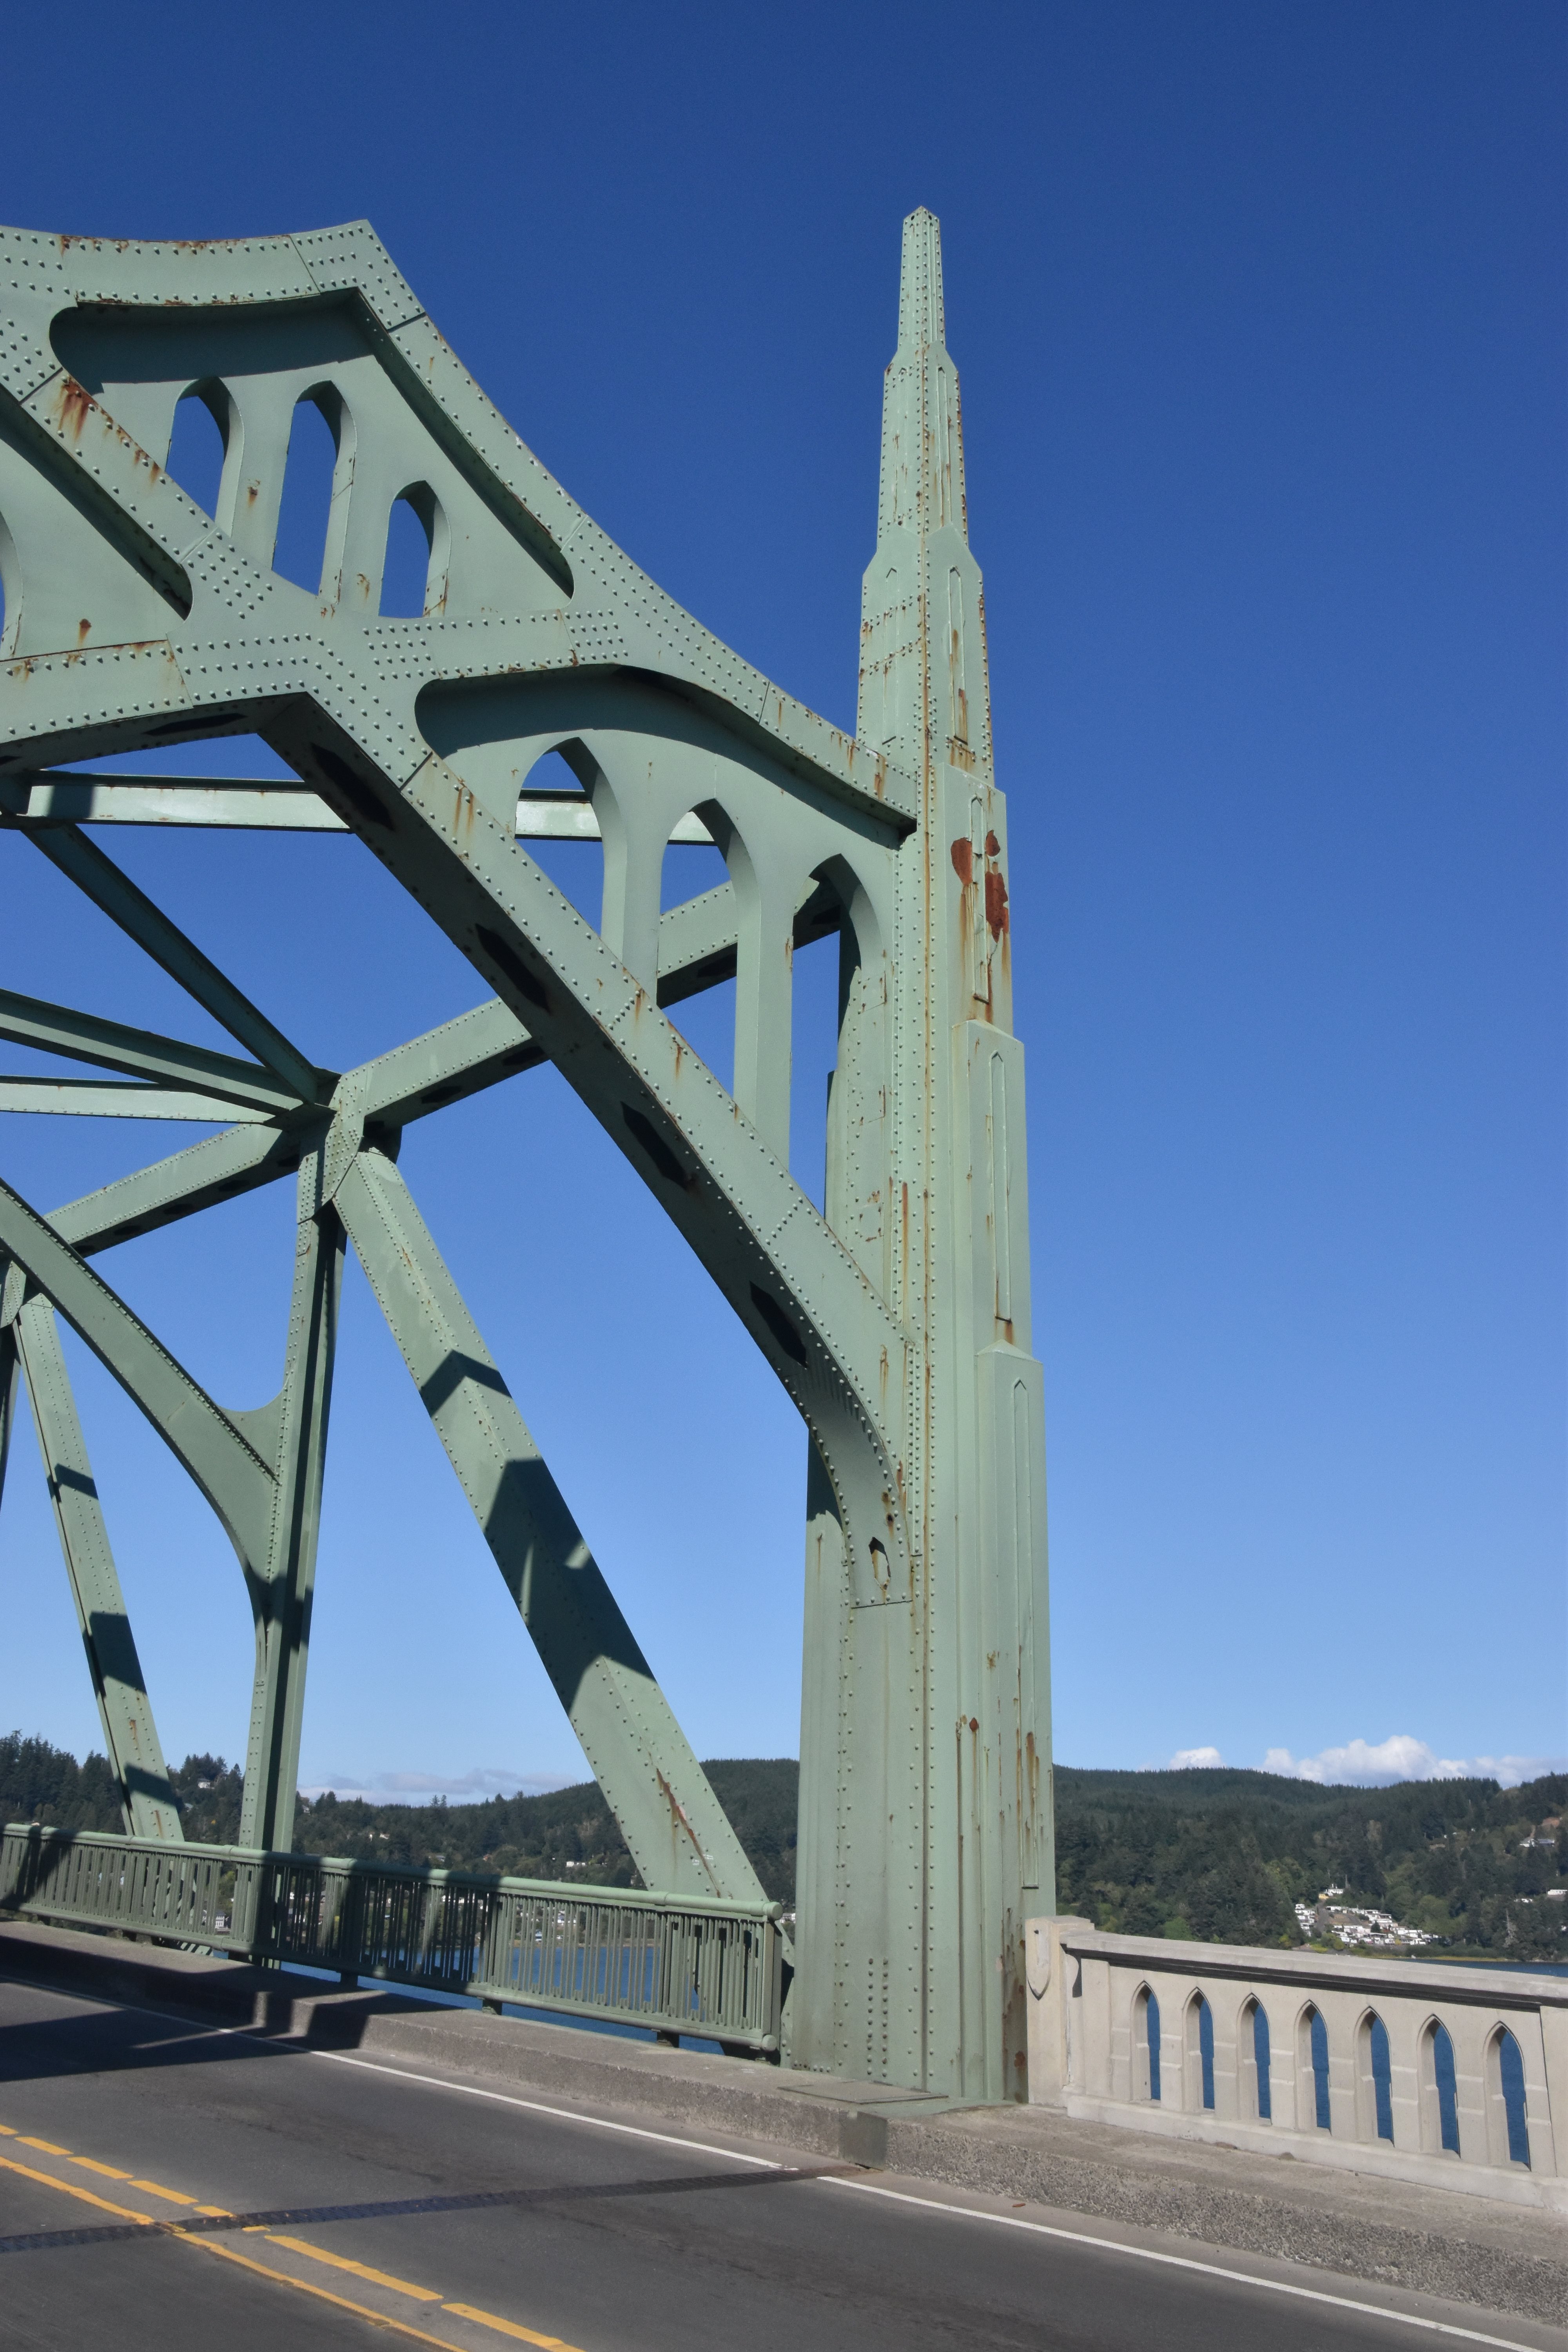
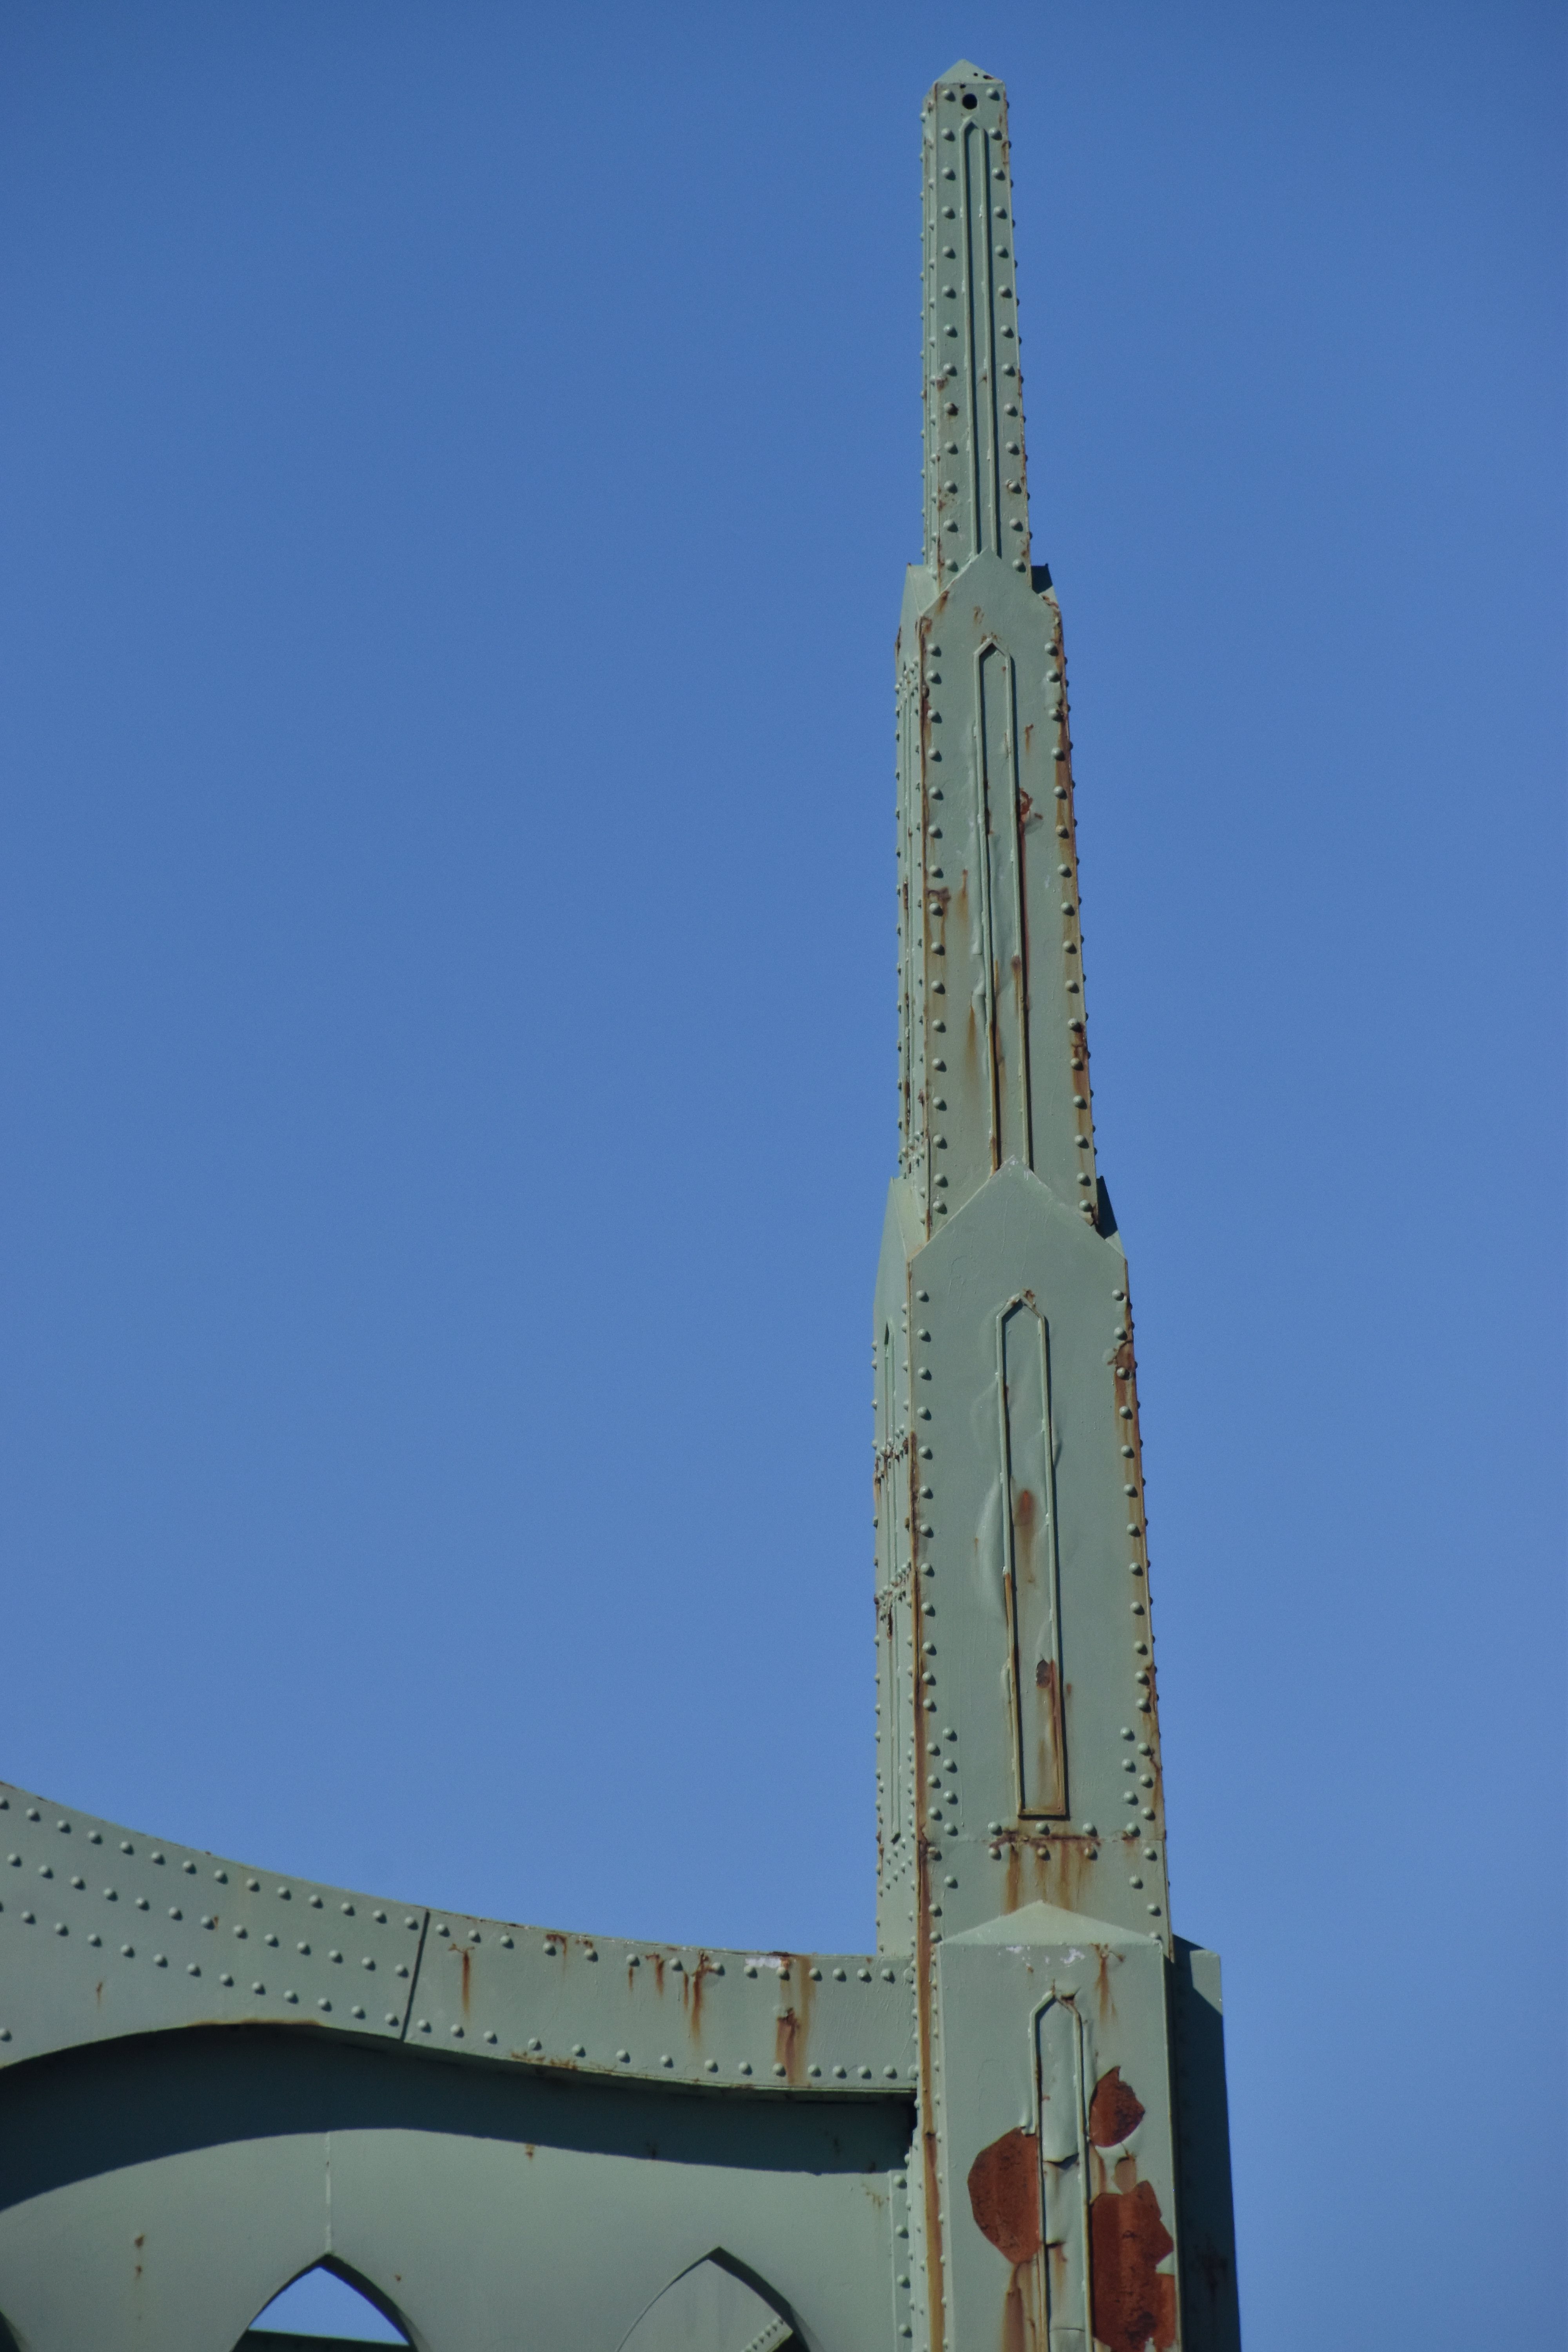
Views of portal from beside bridge.
![]()


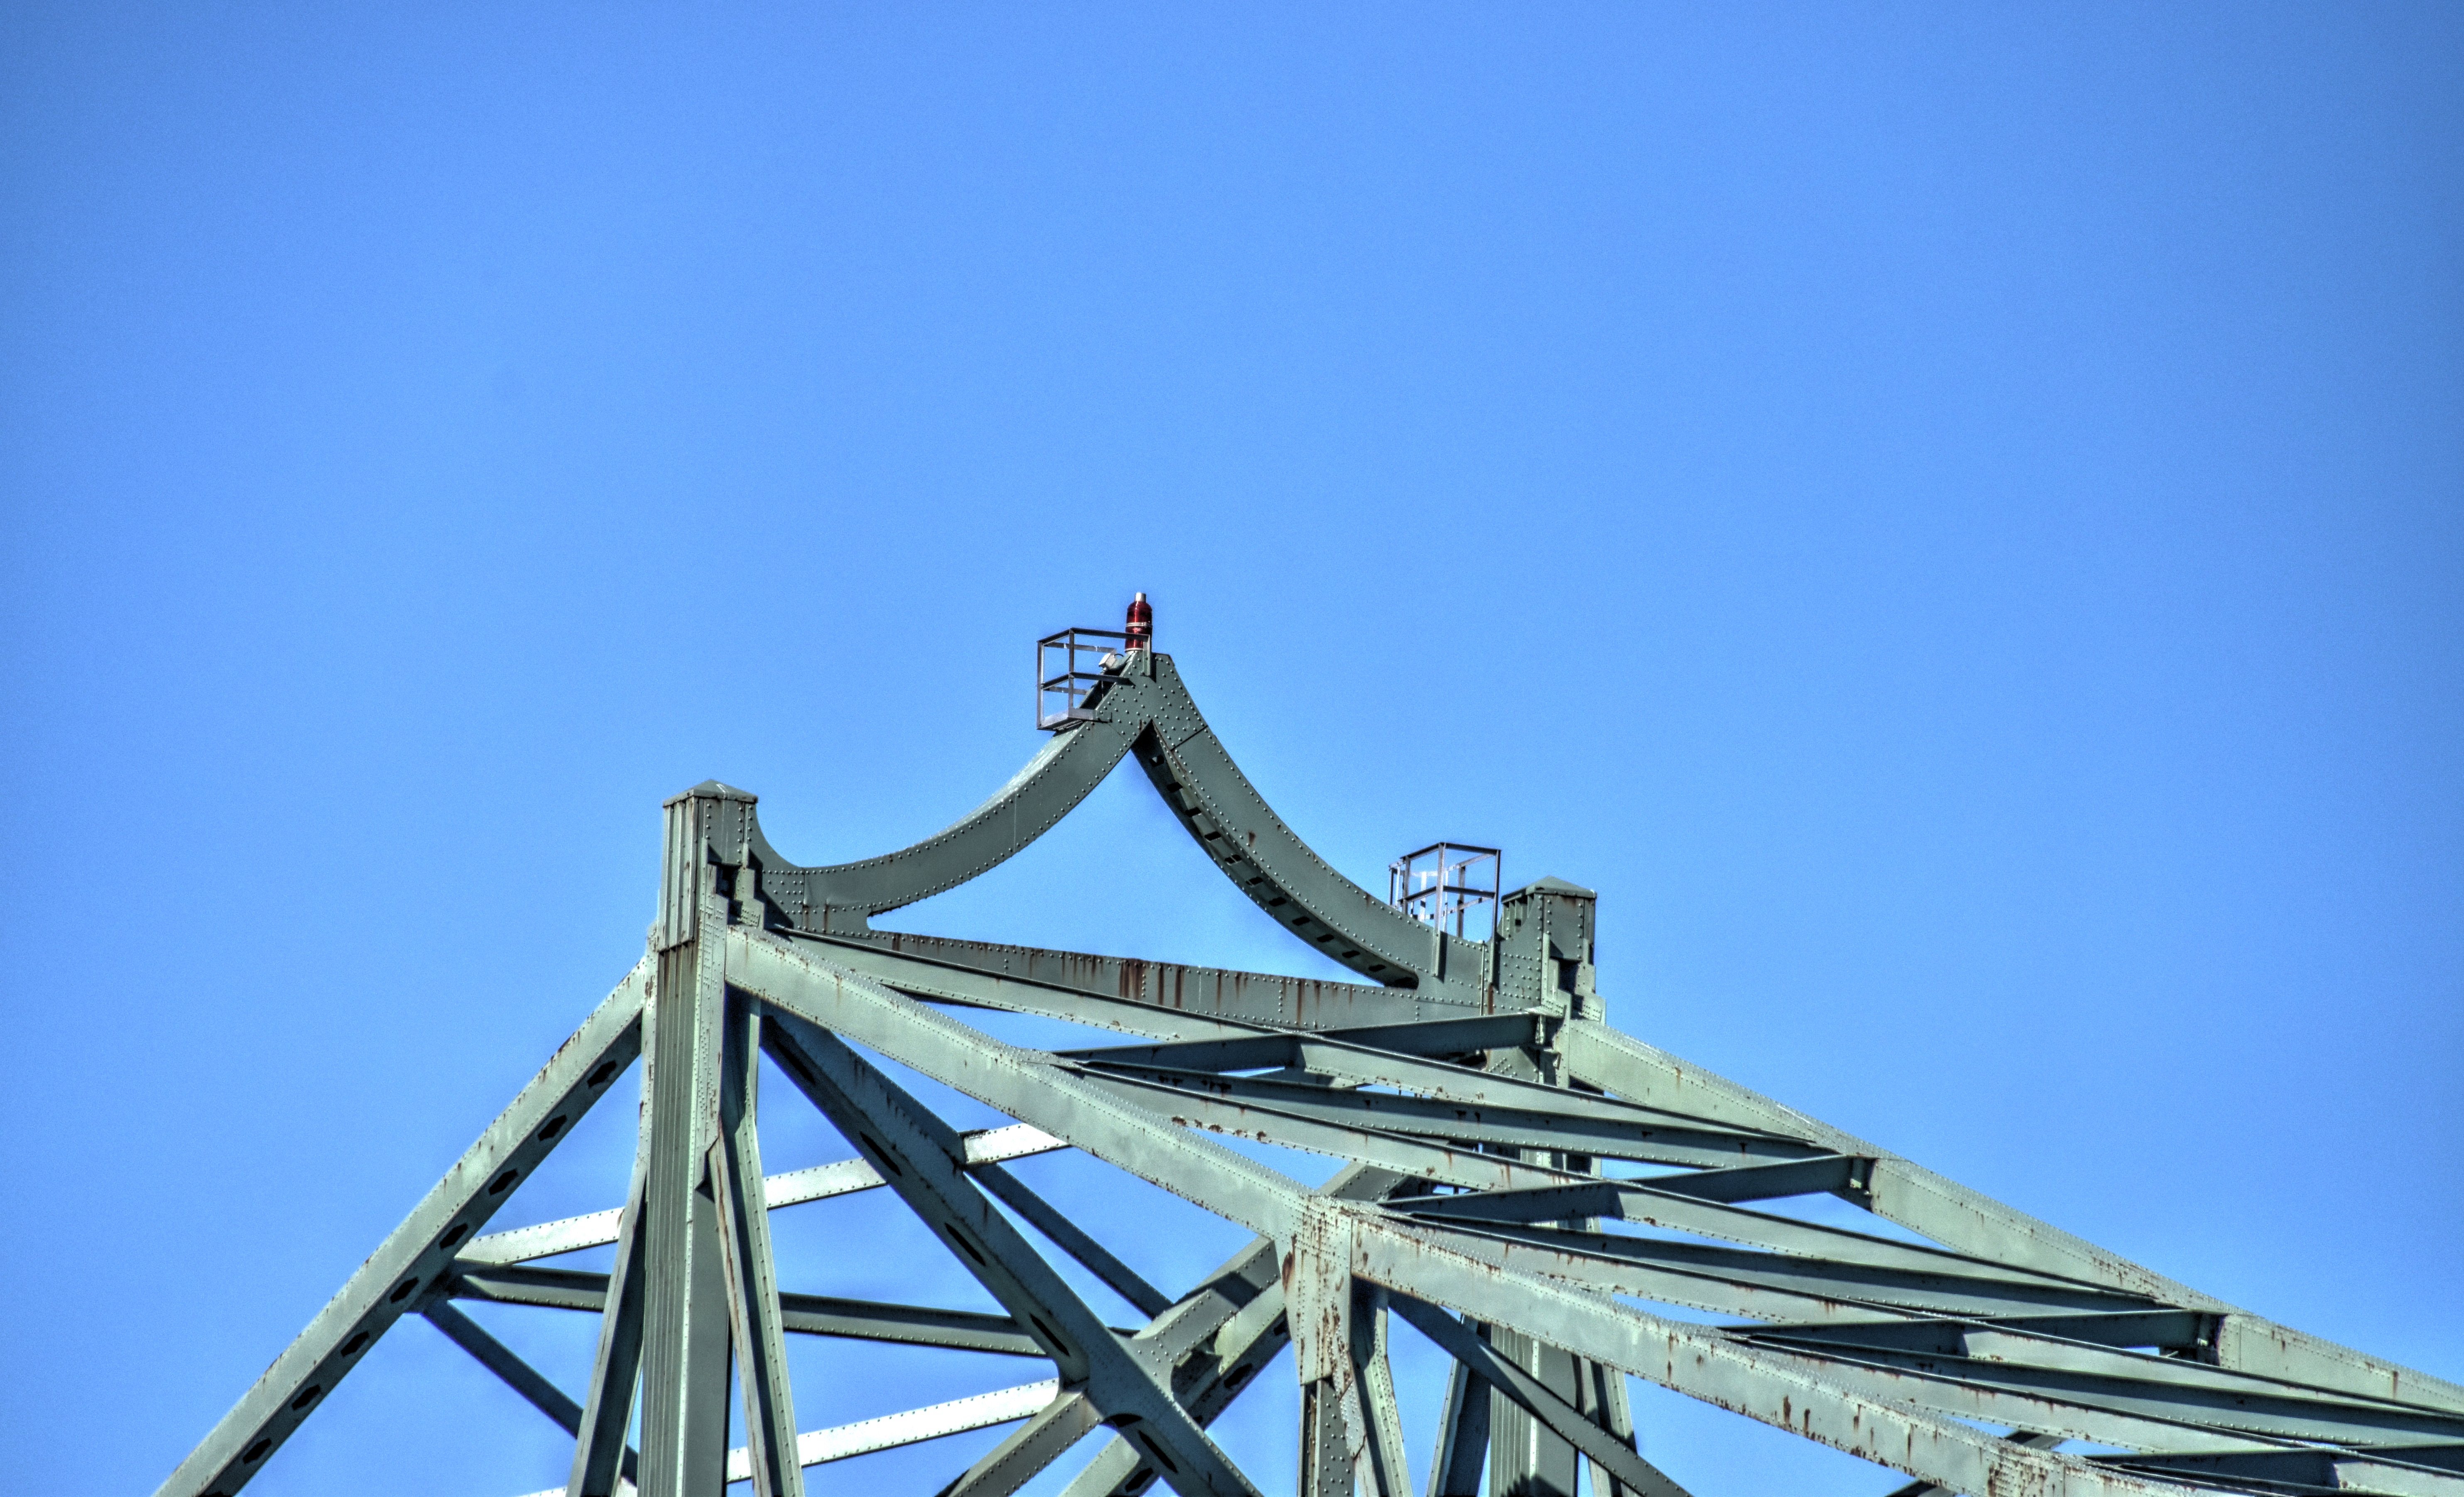

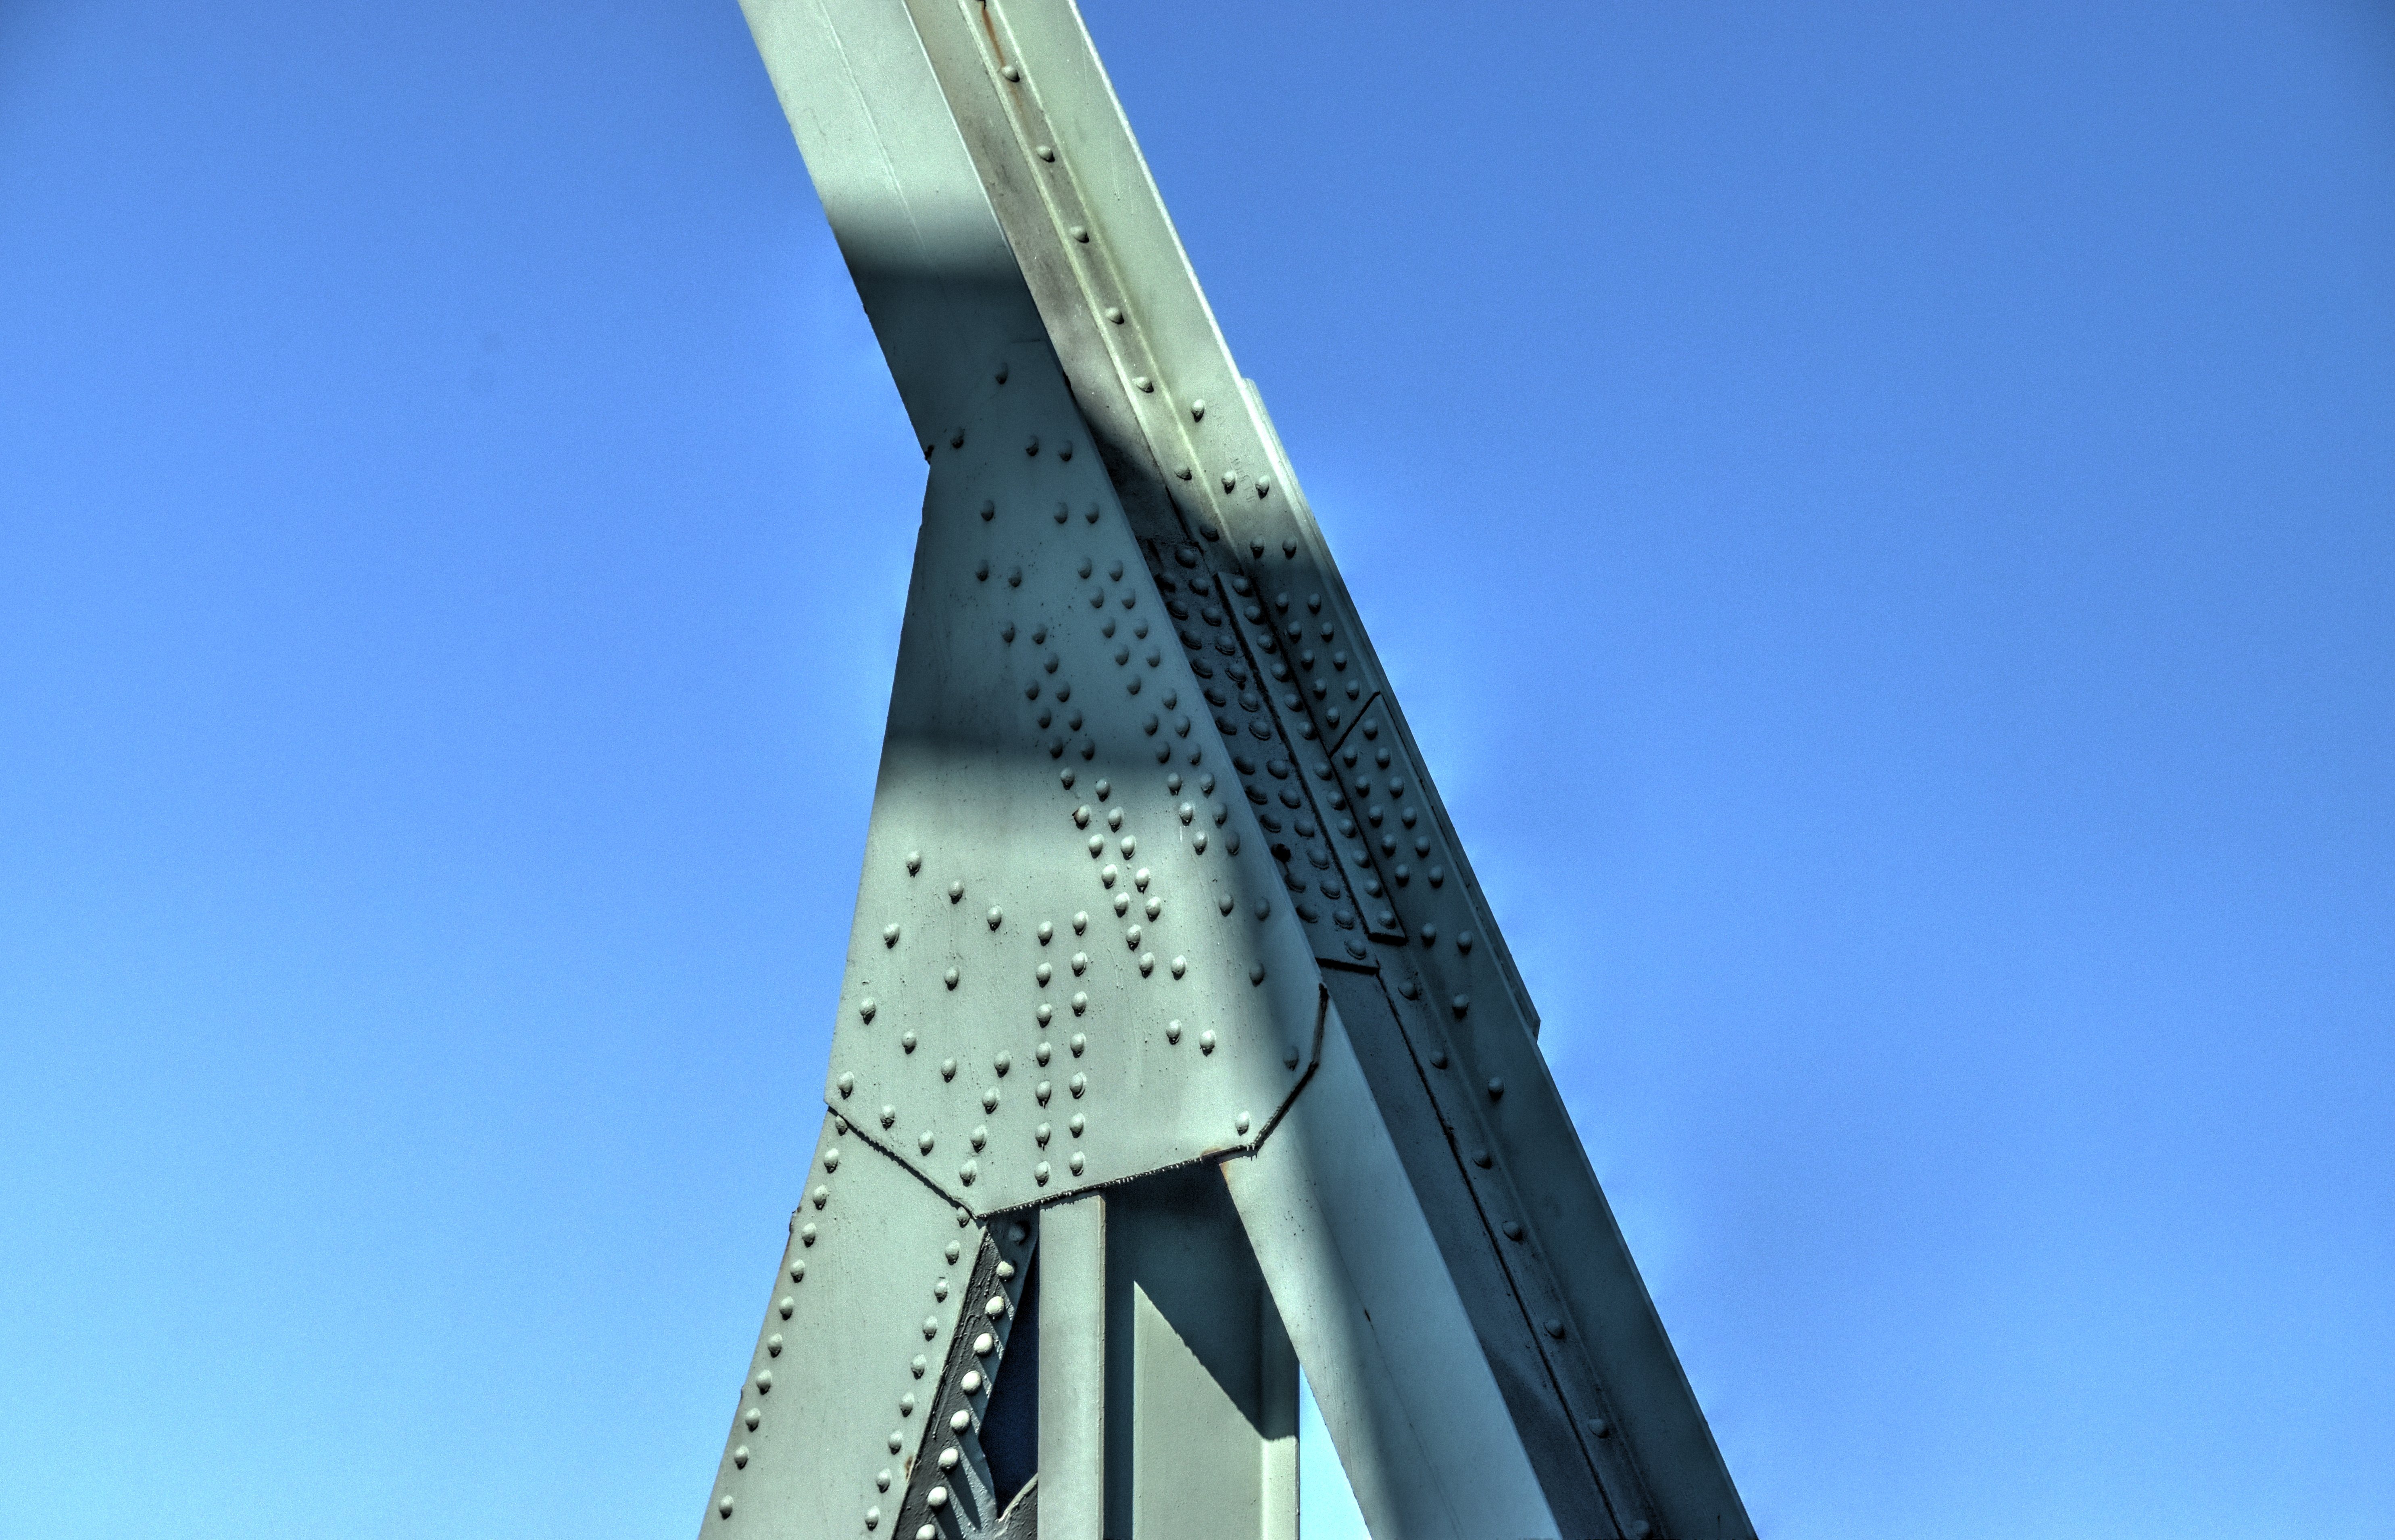
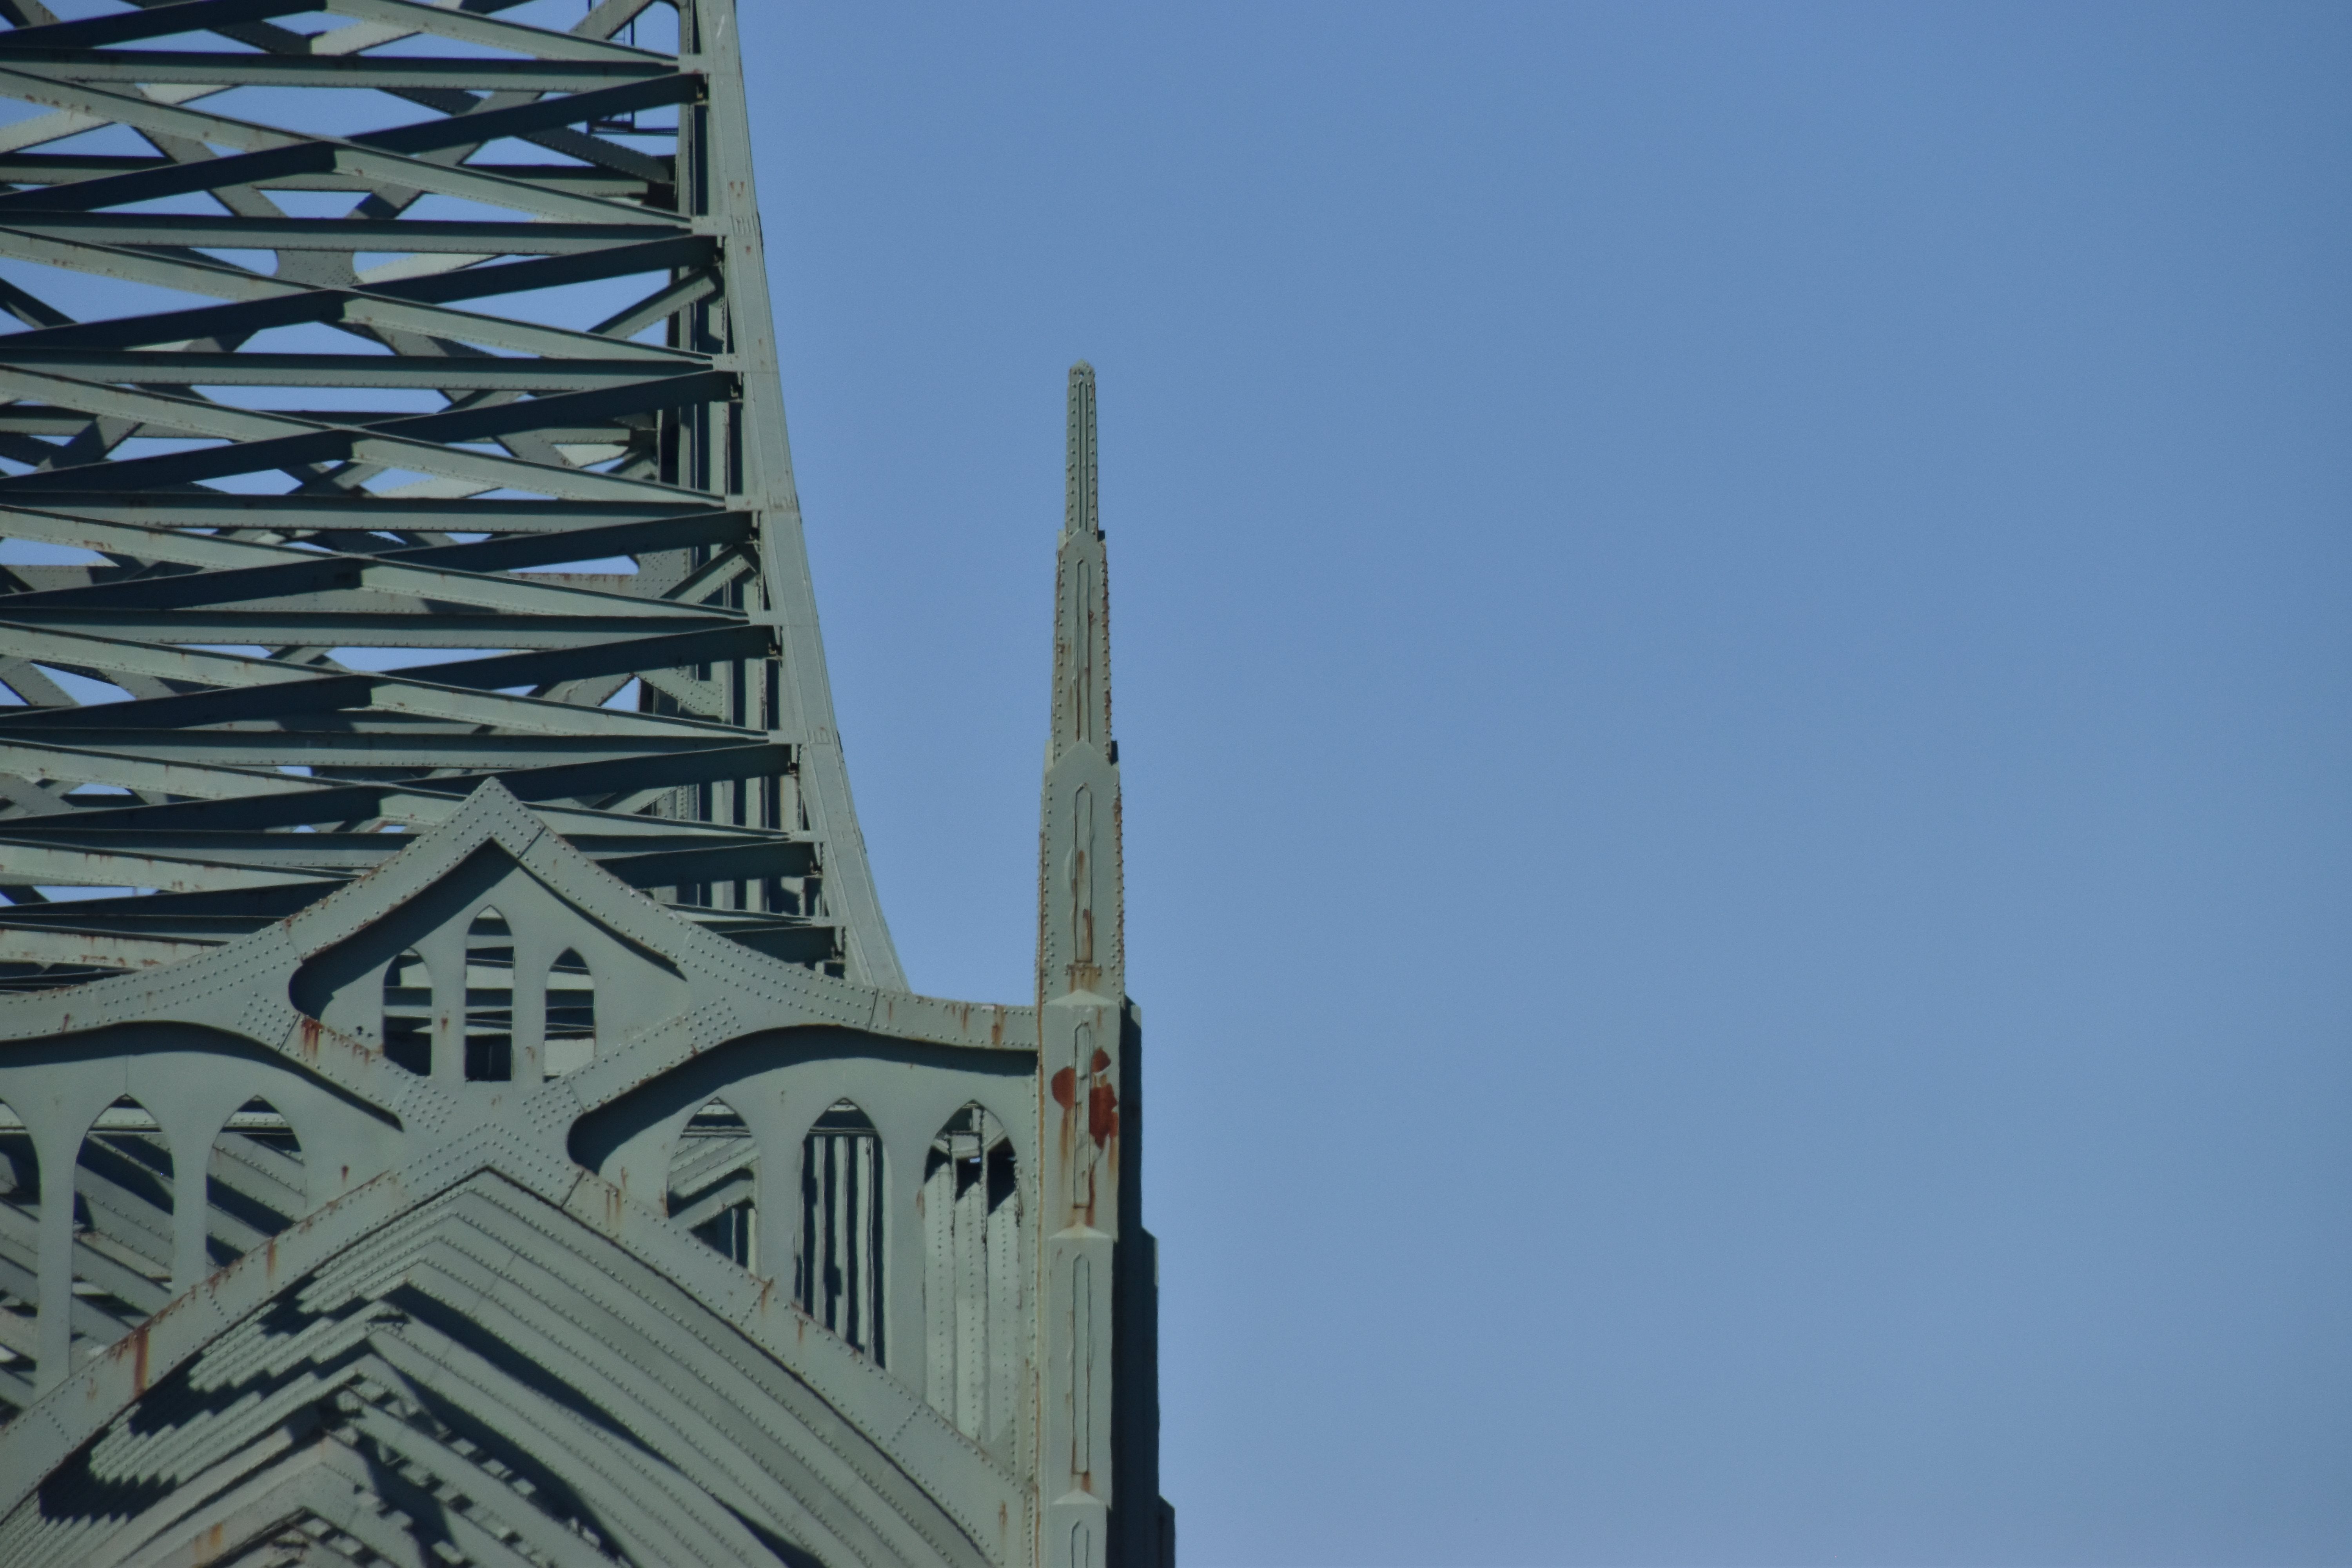
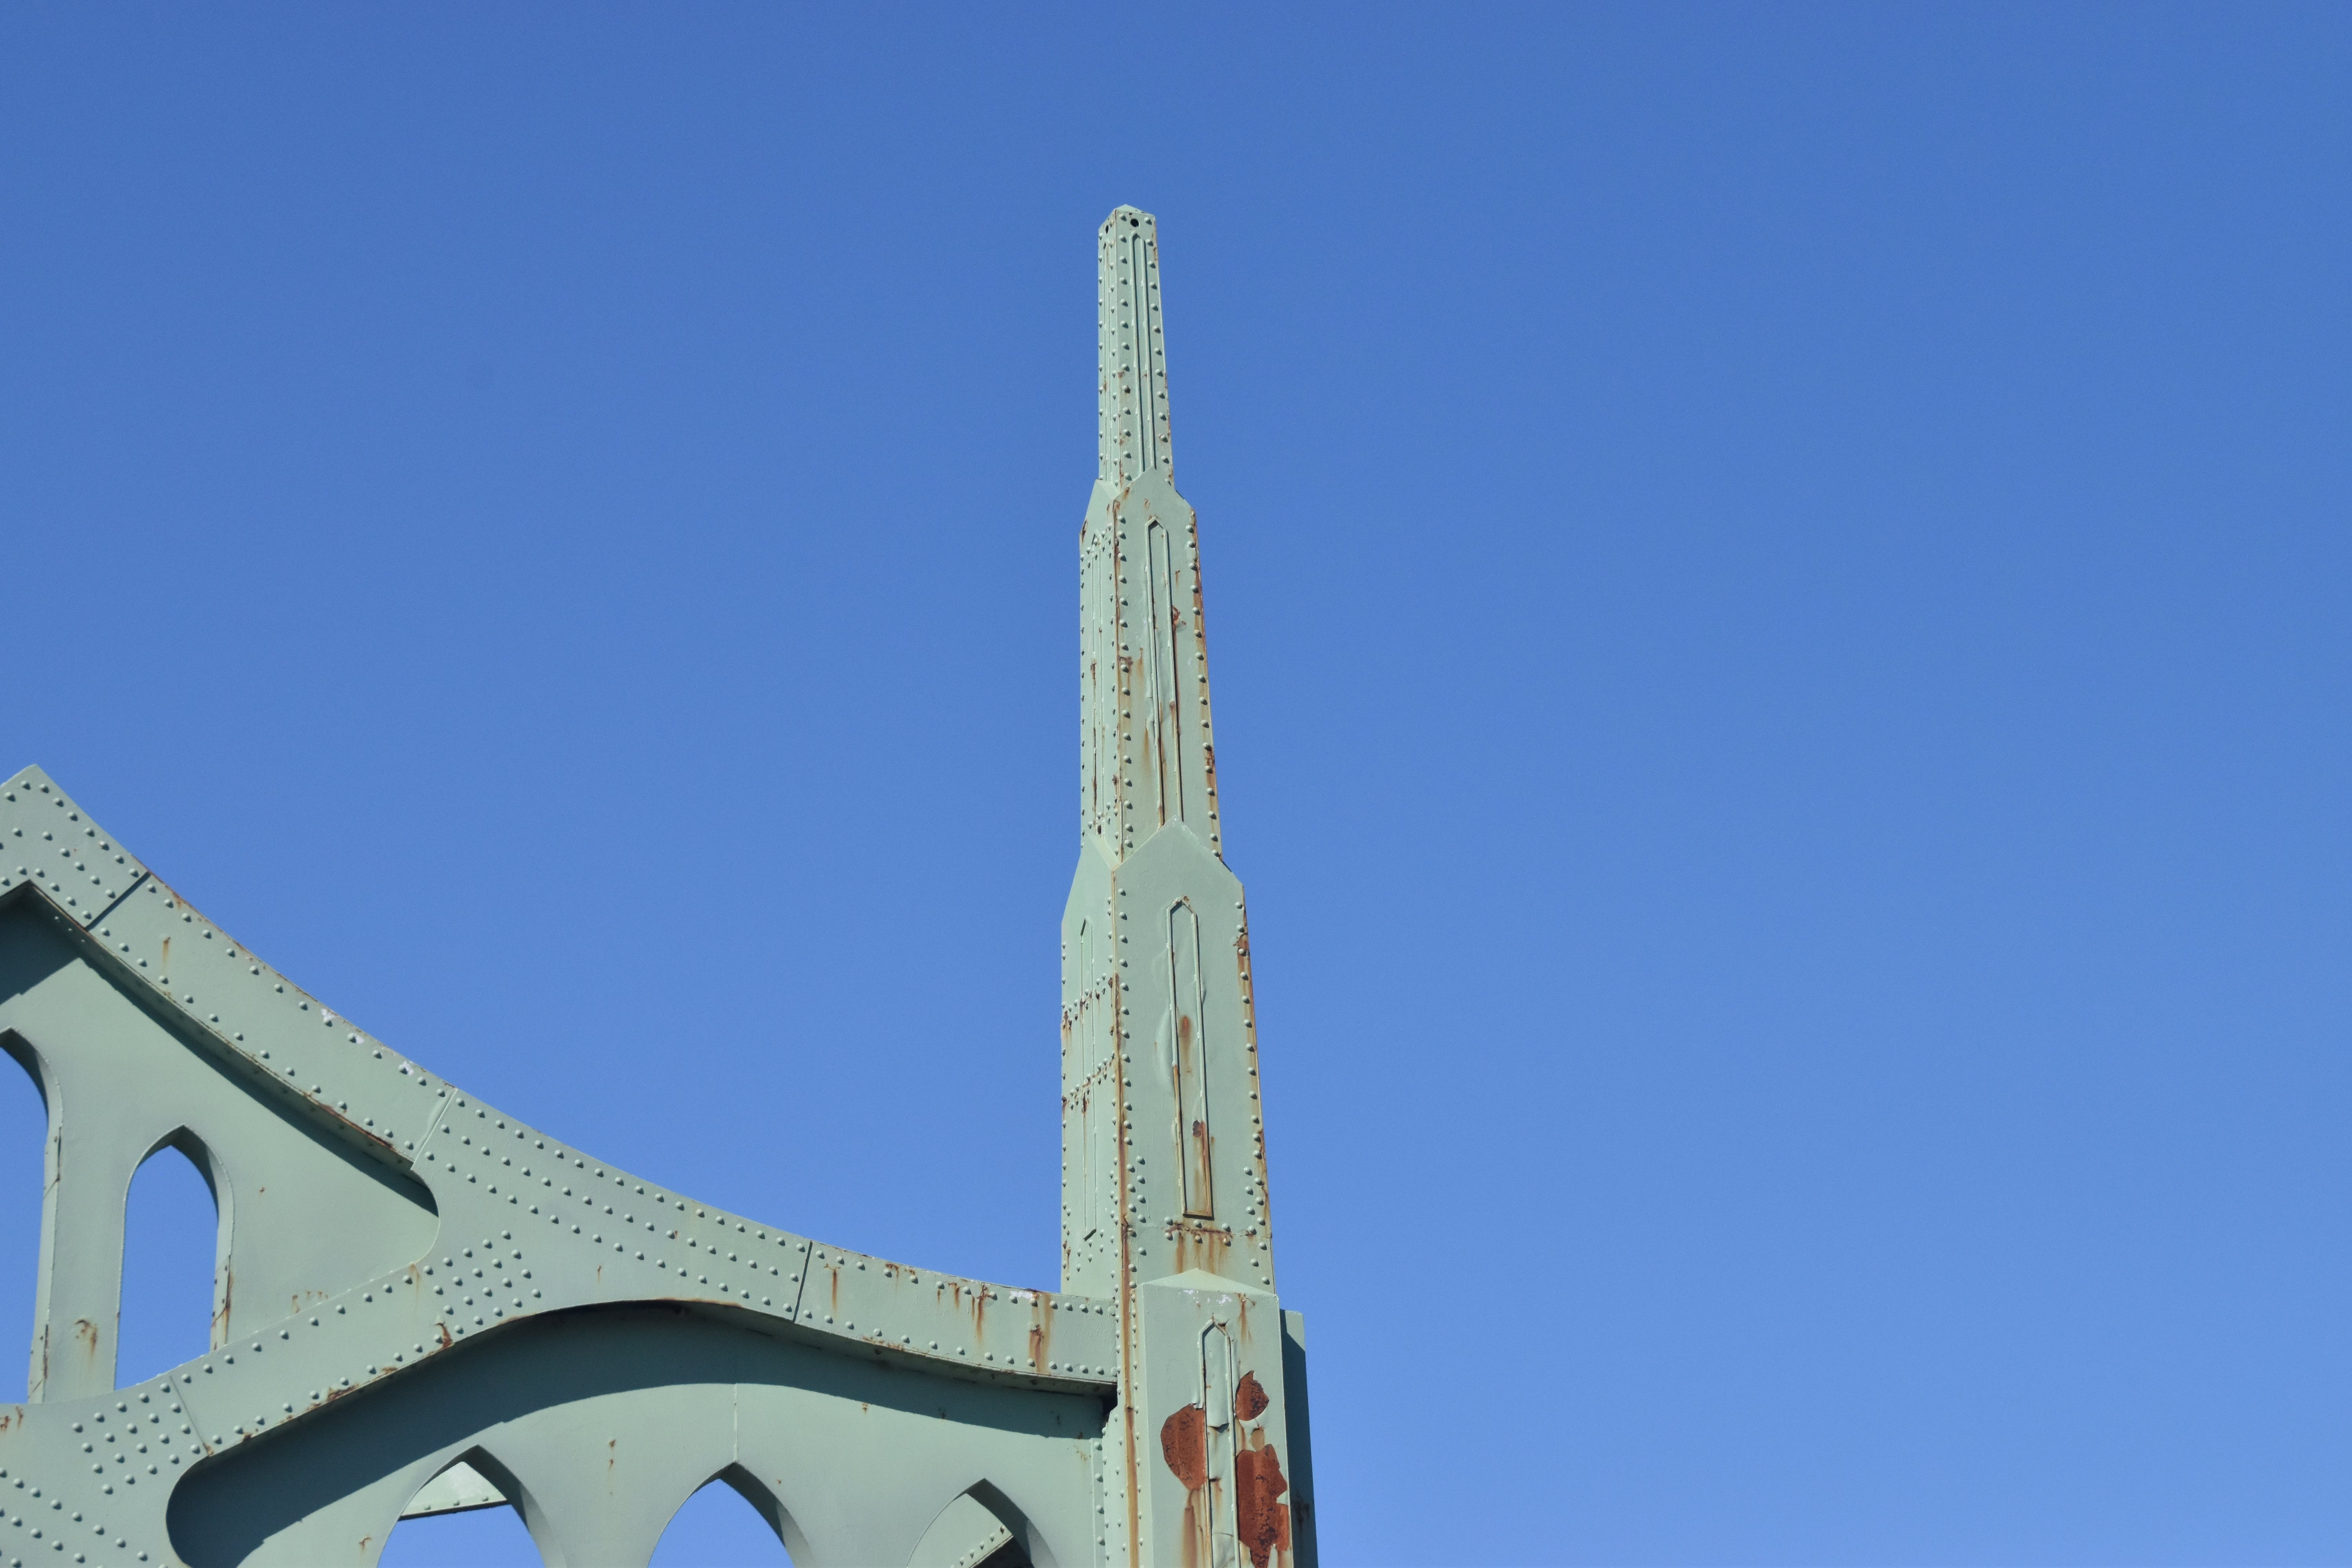
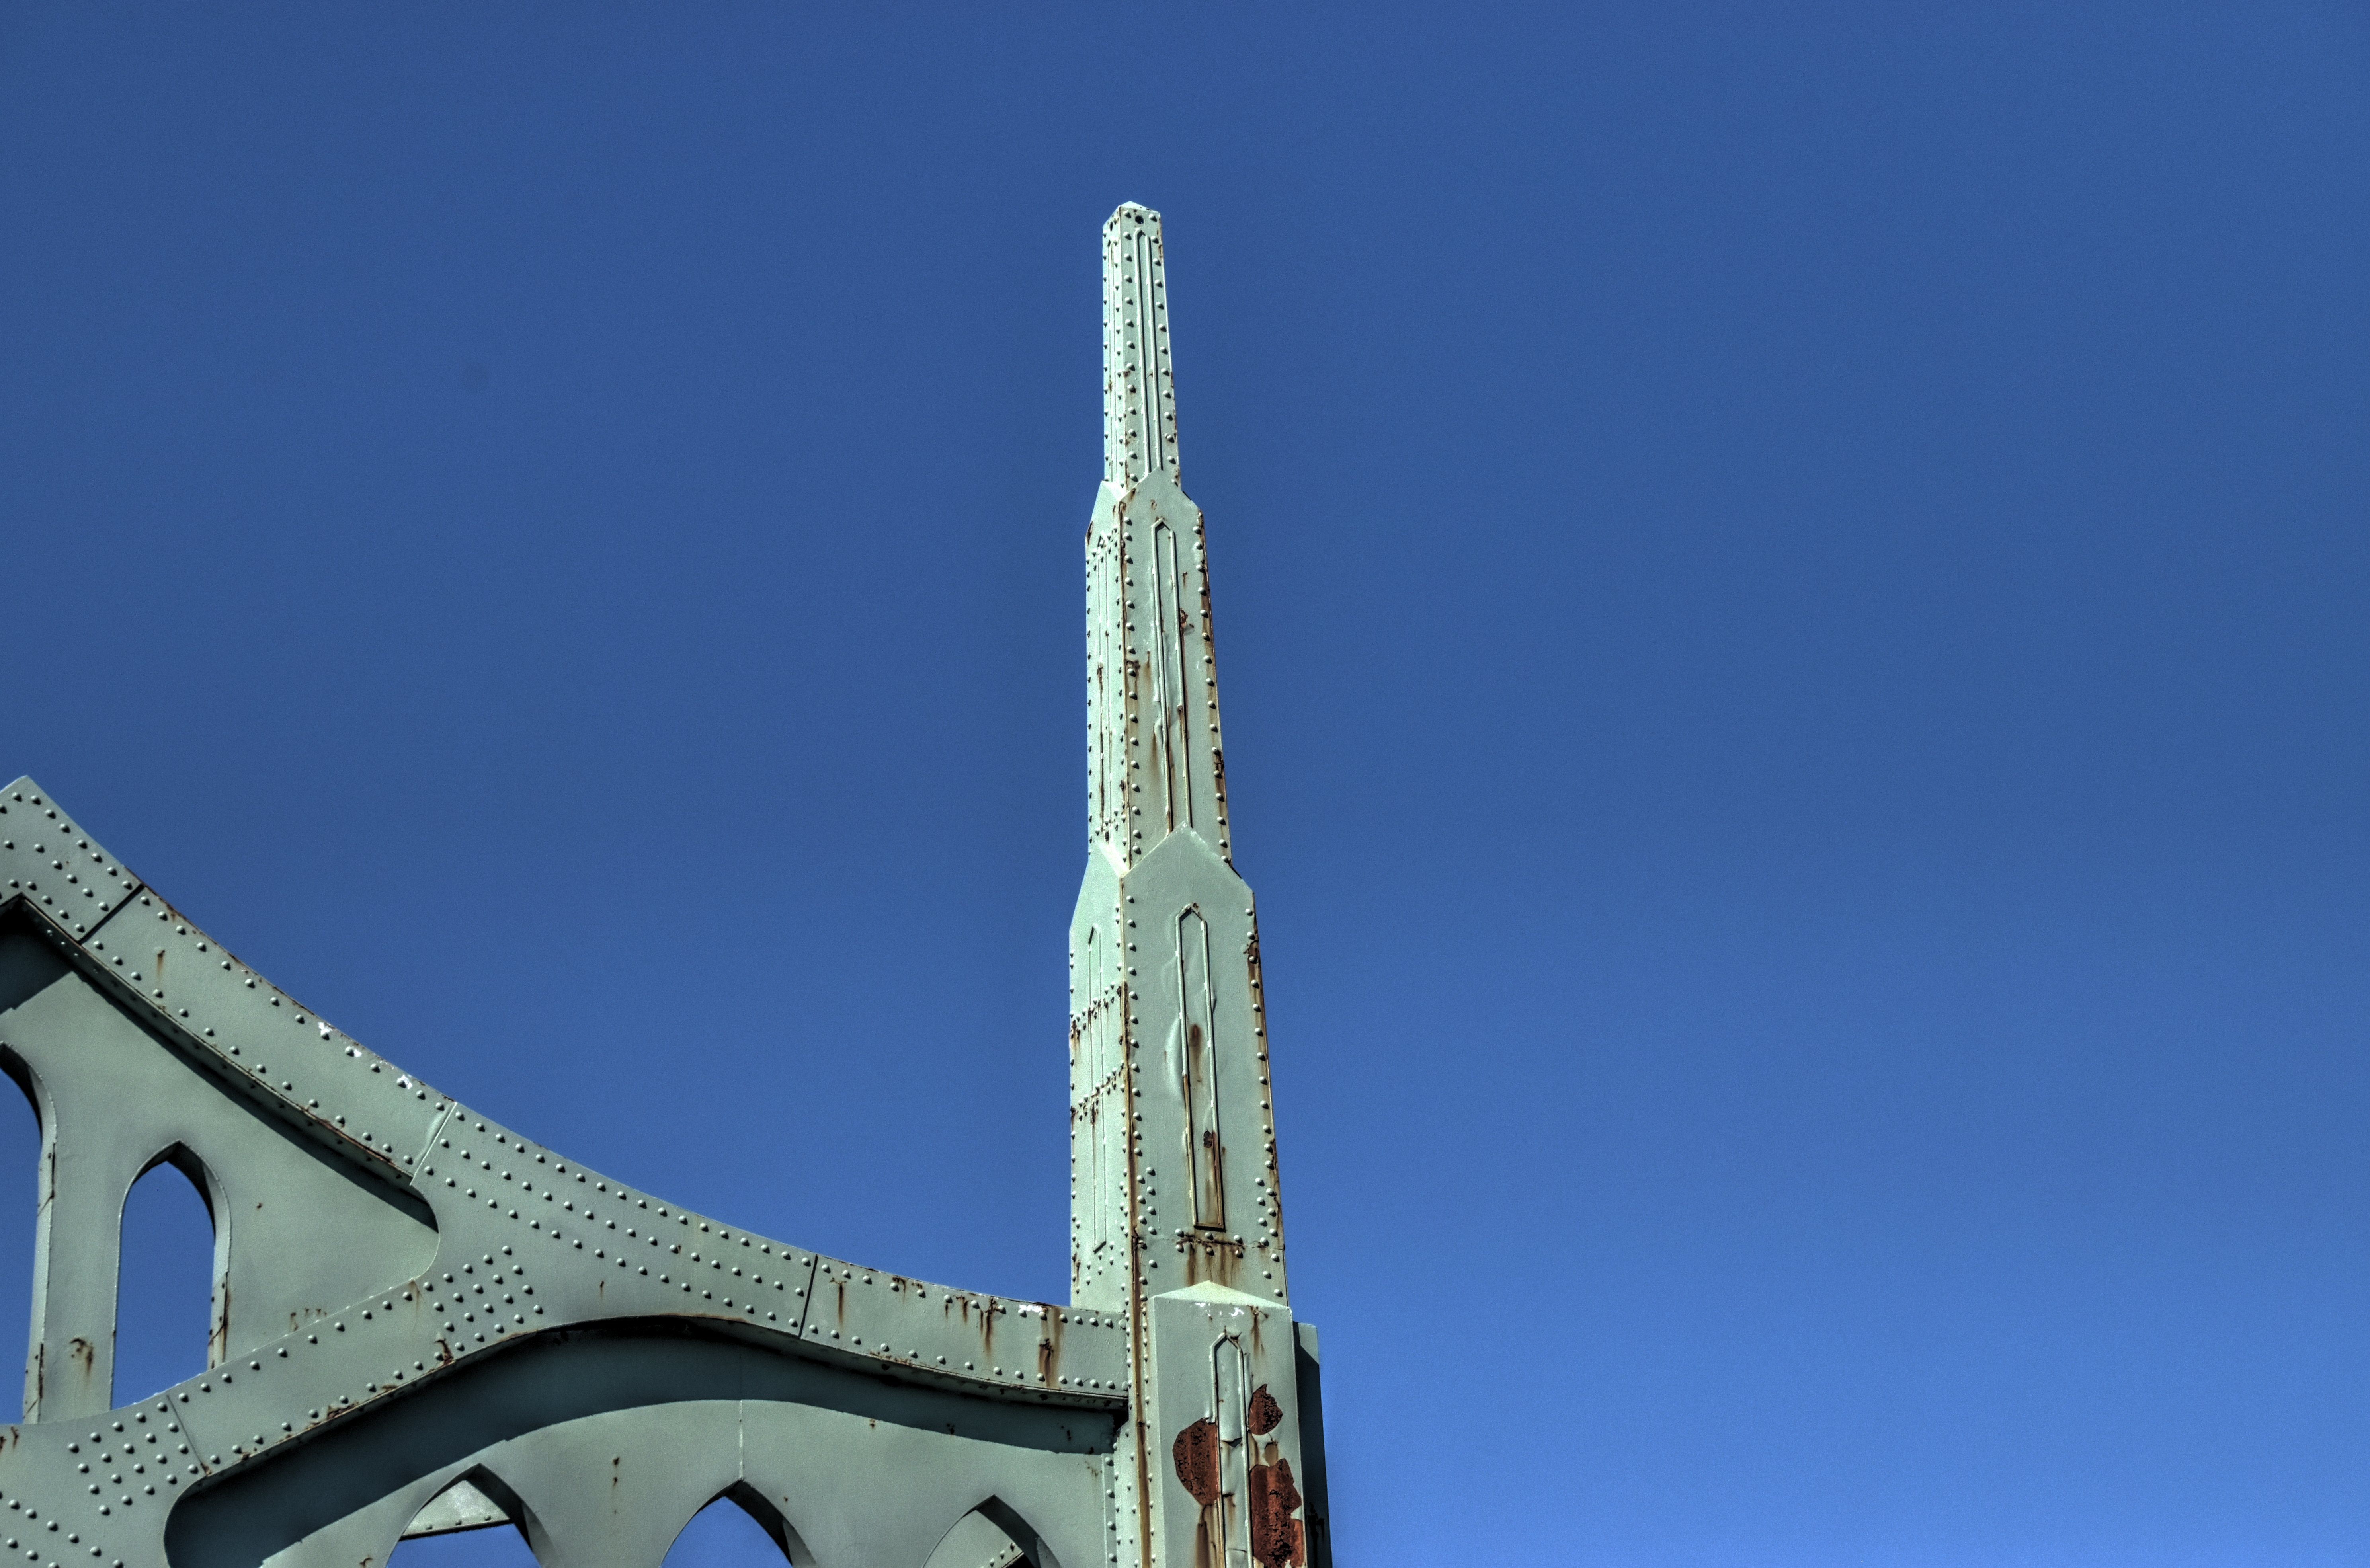
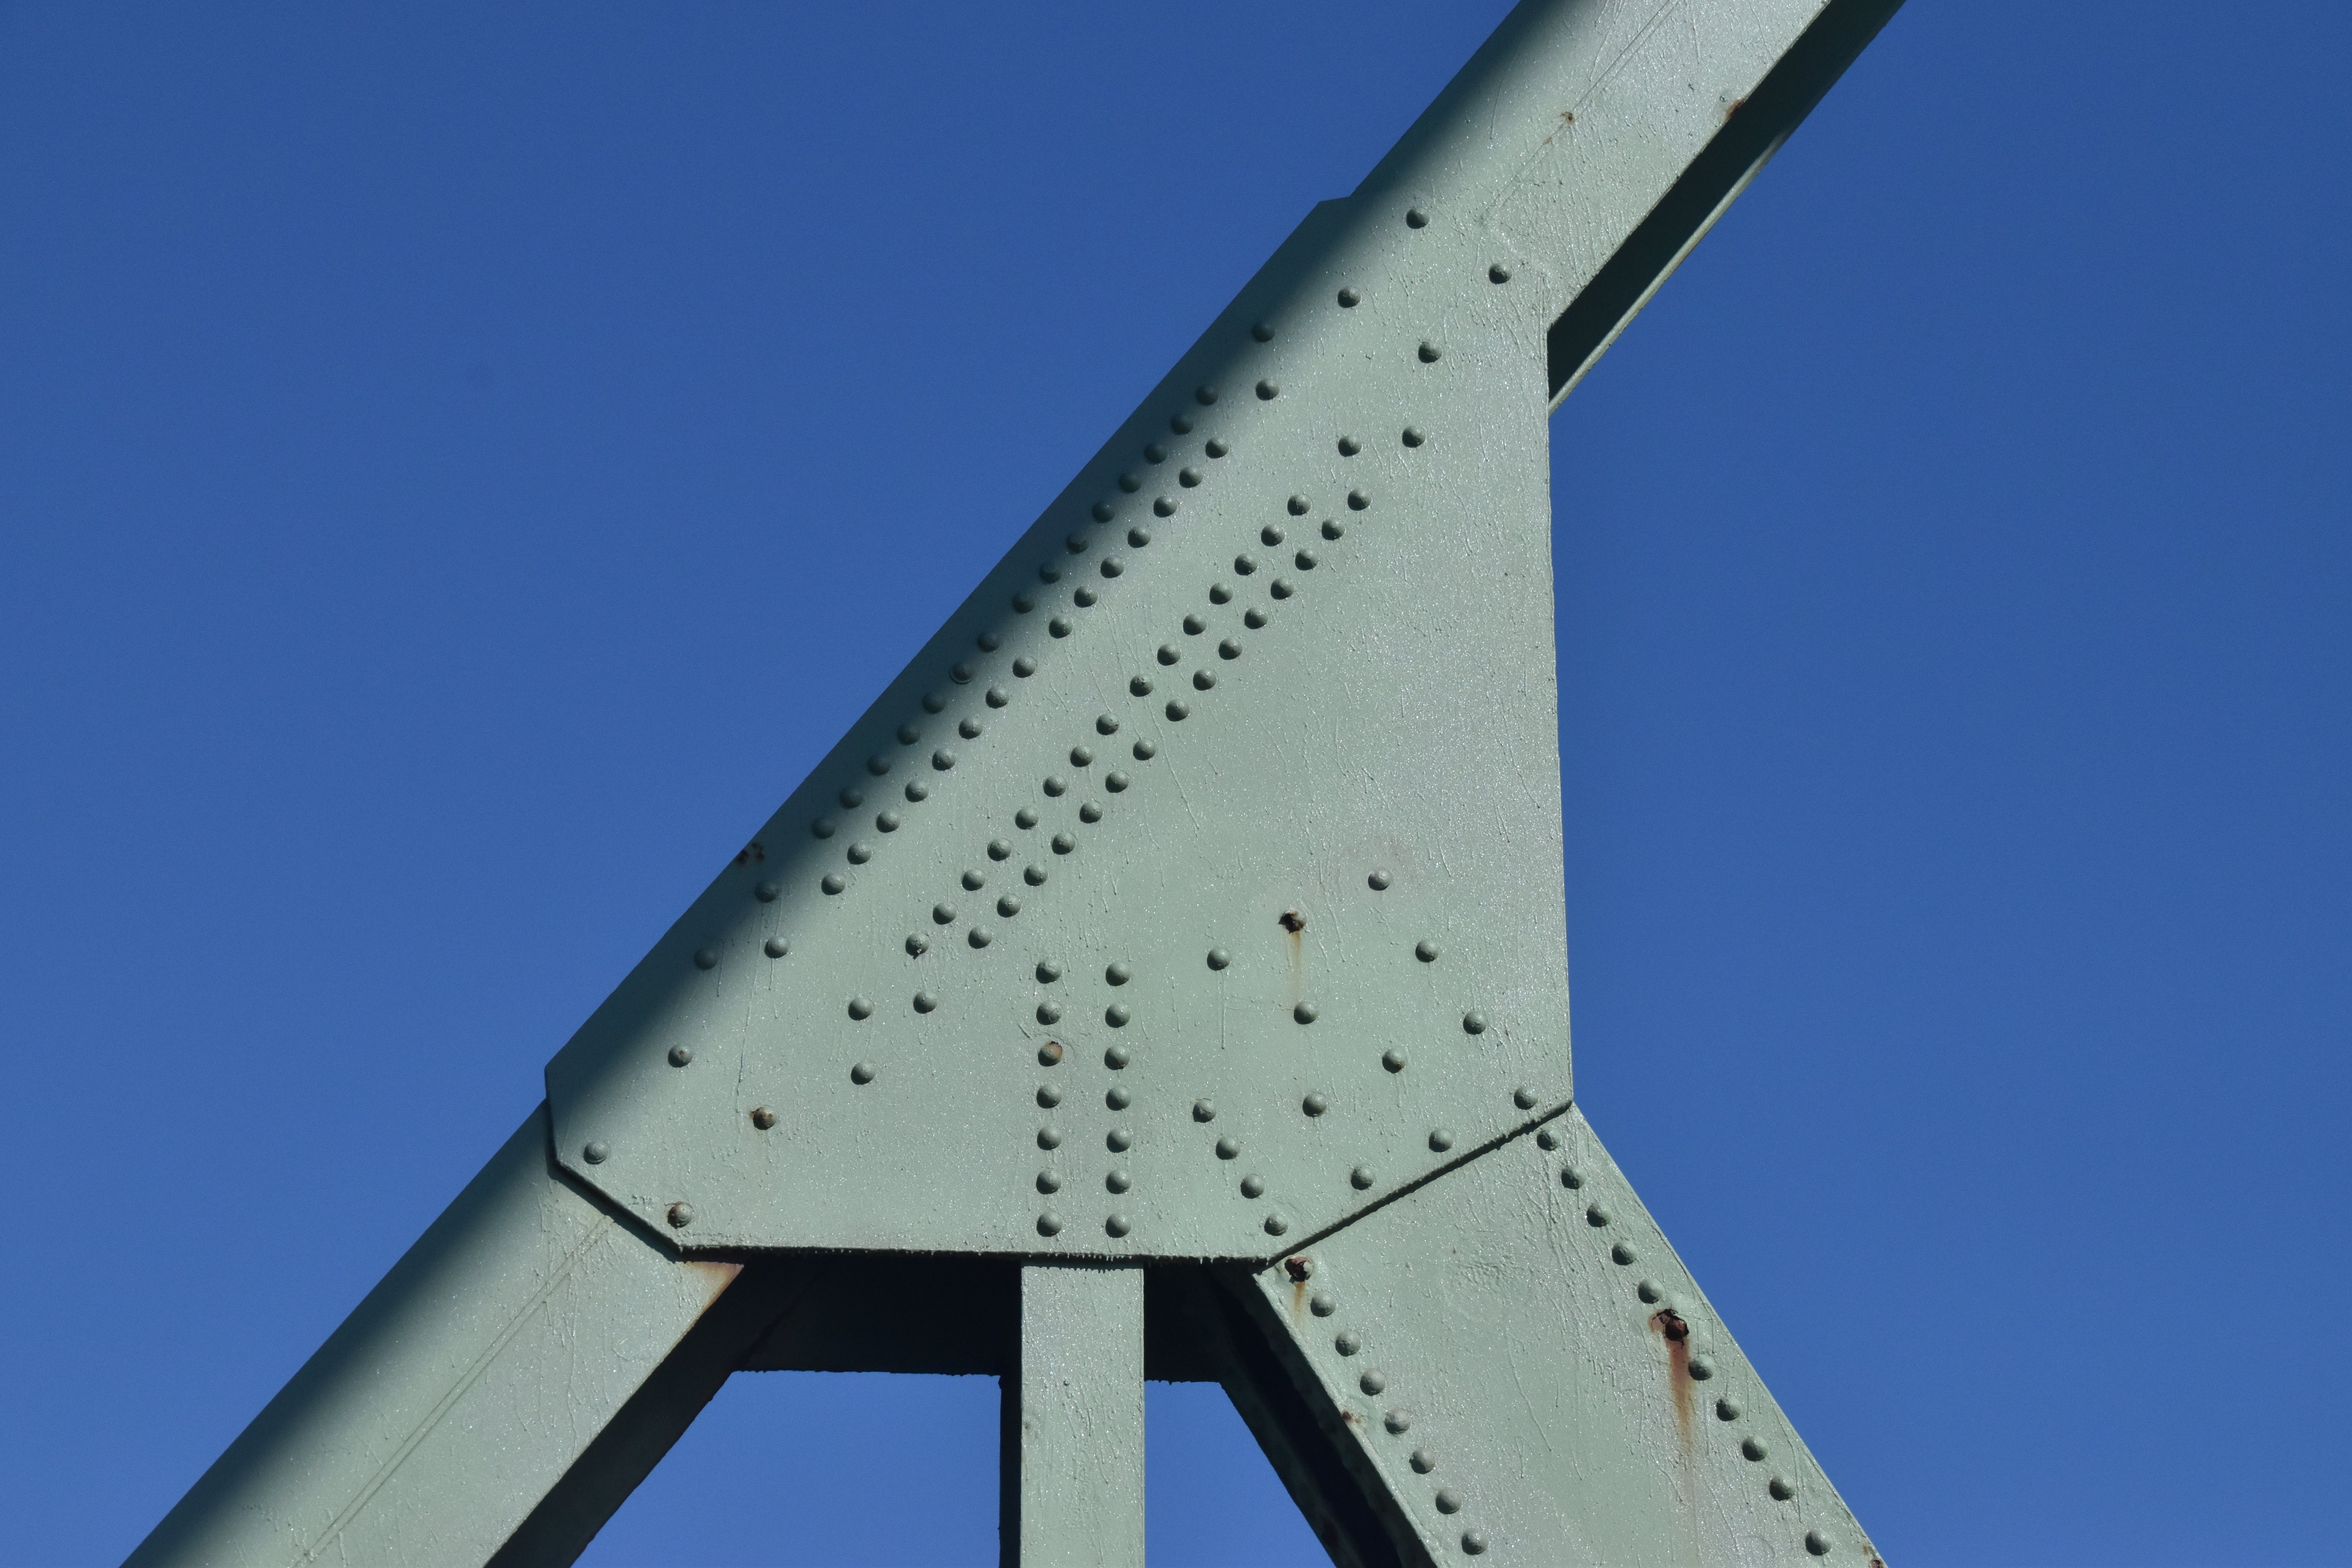
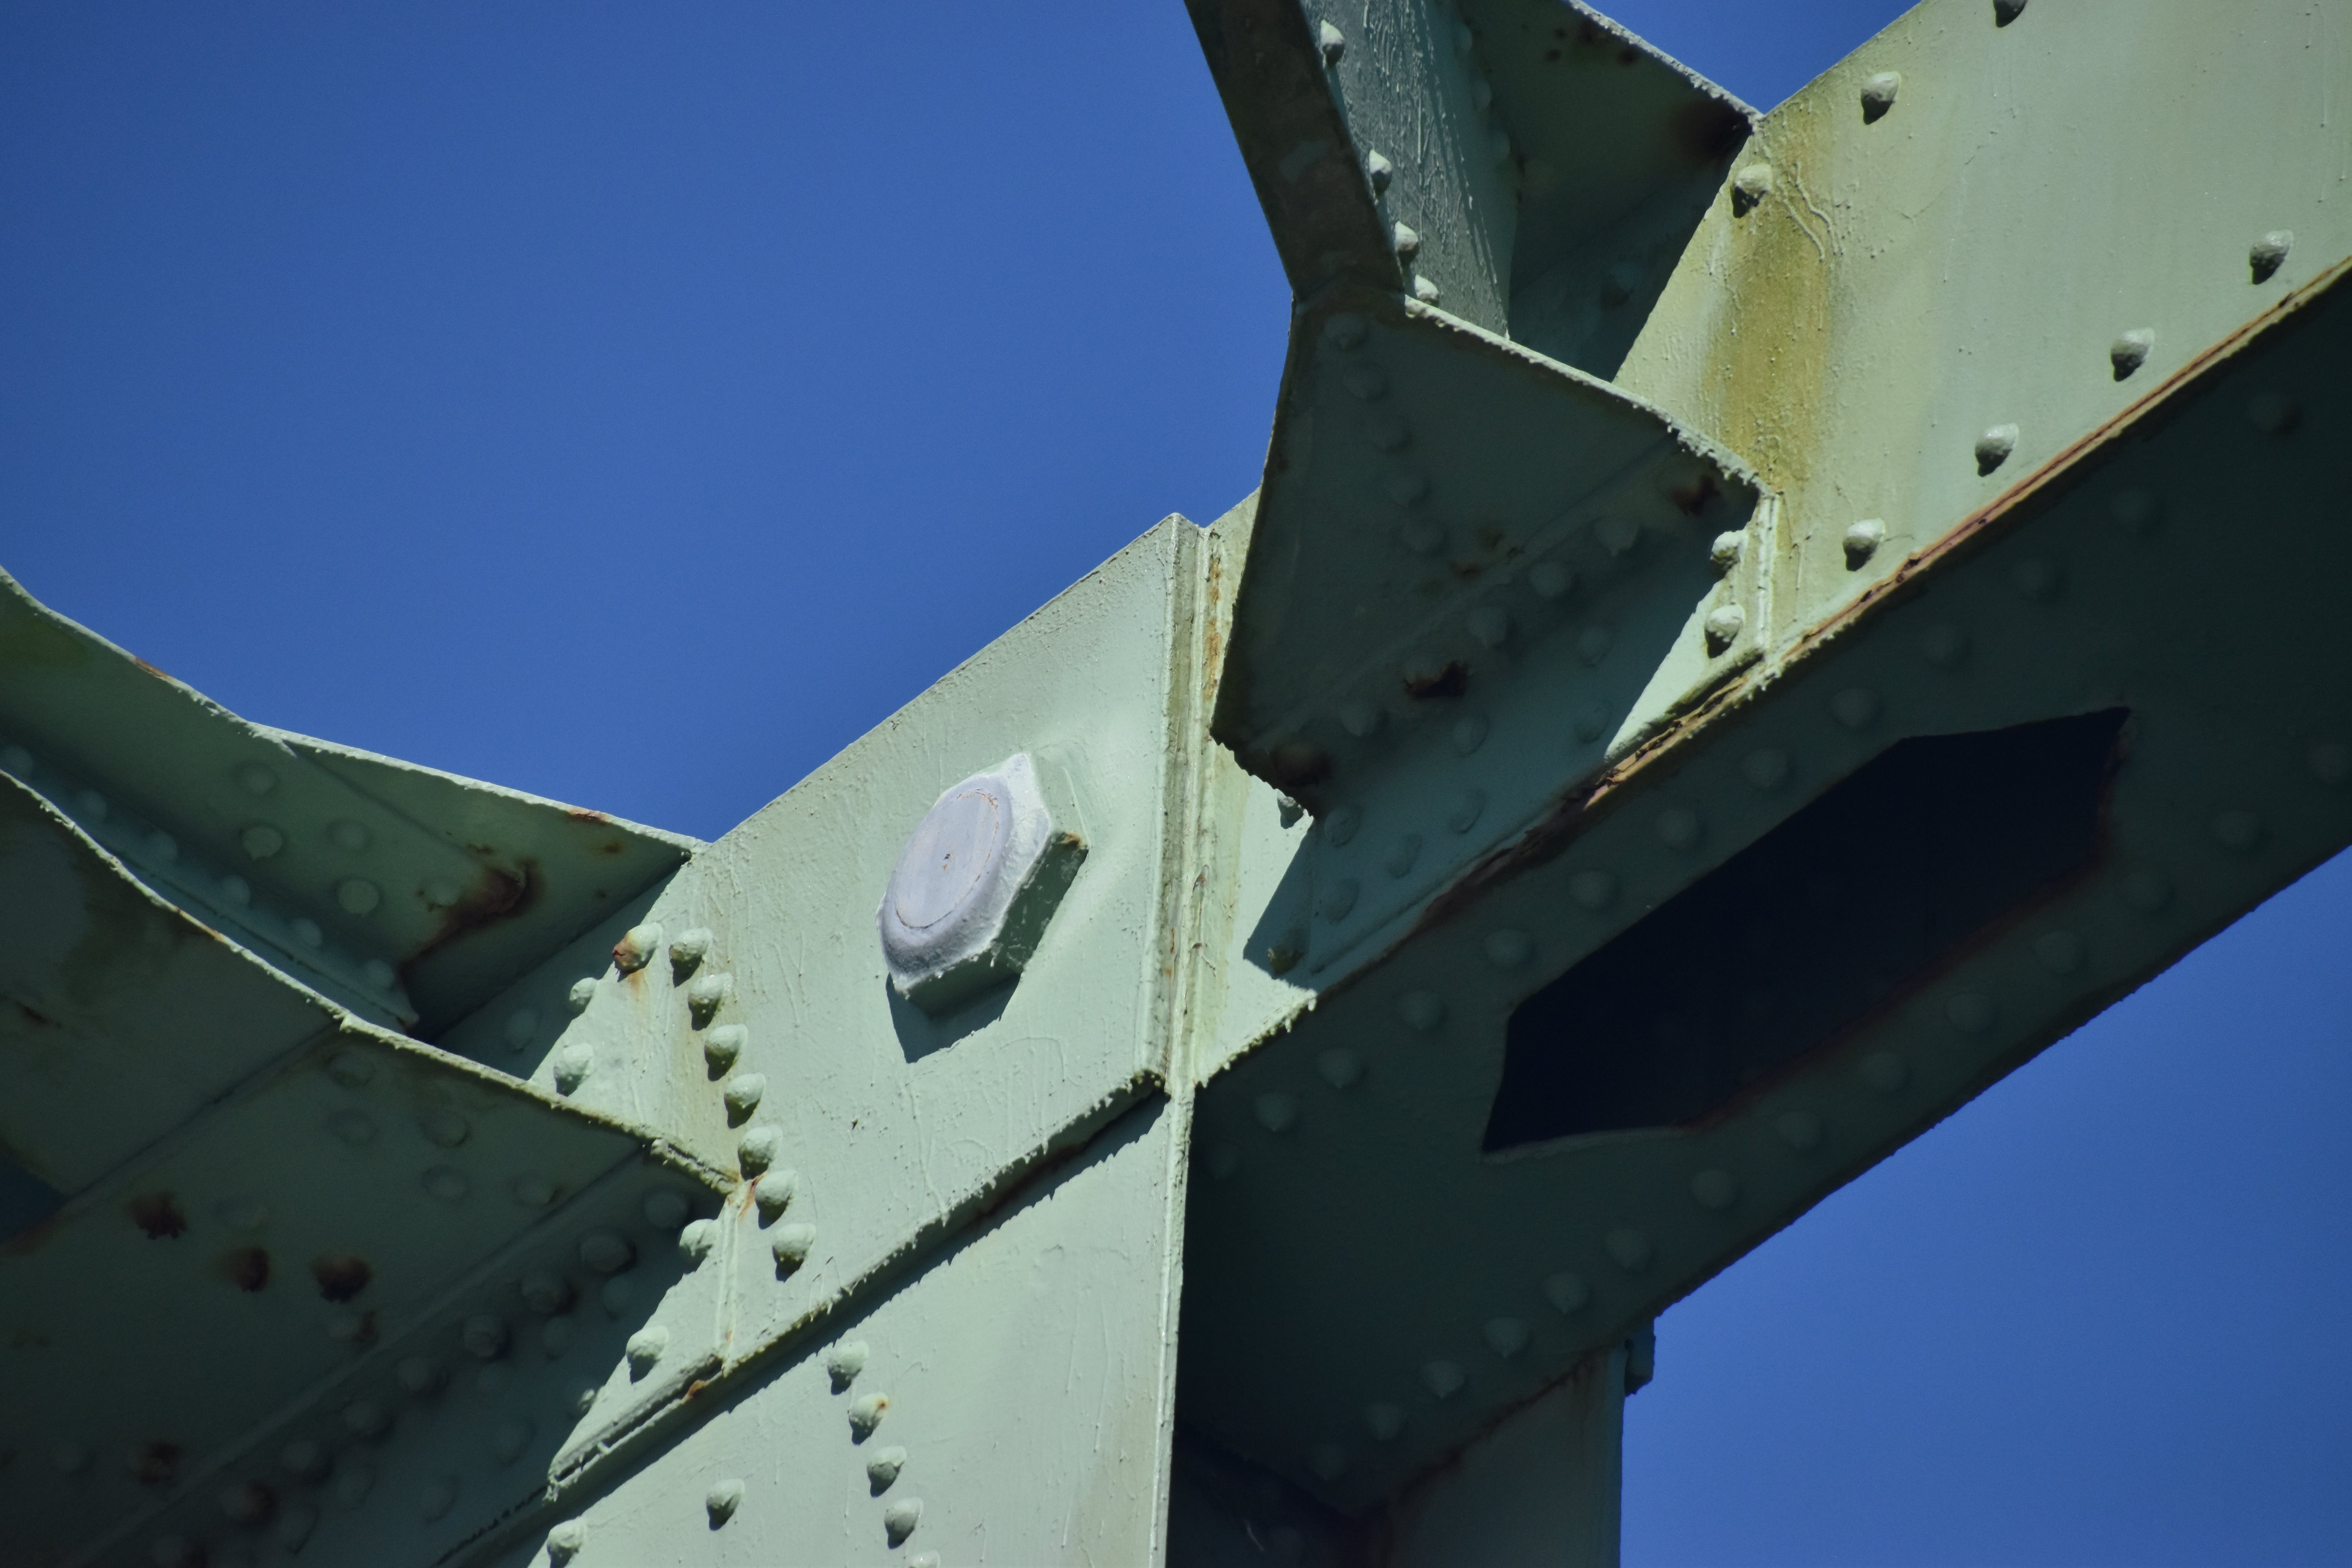
Detail at top of main post as seen from beside bridge.
![]()


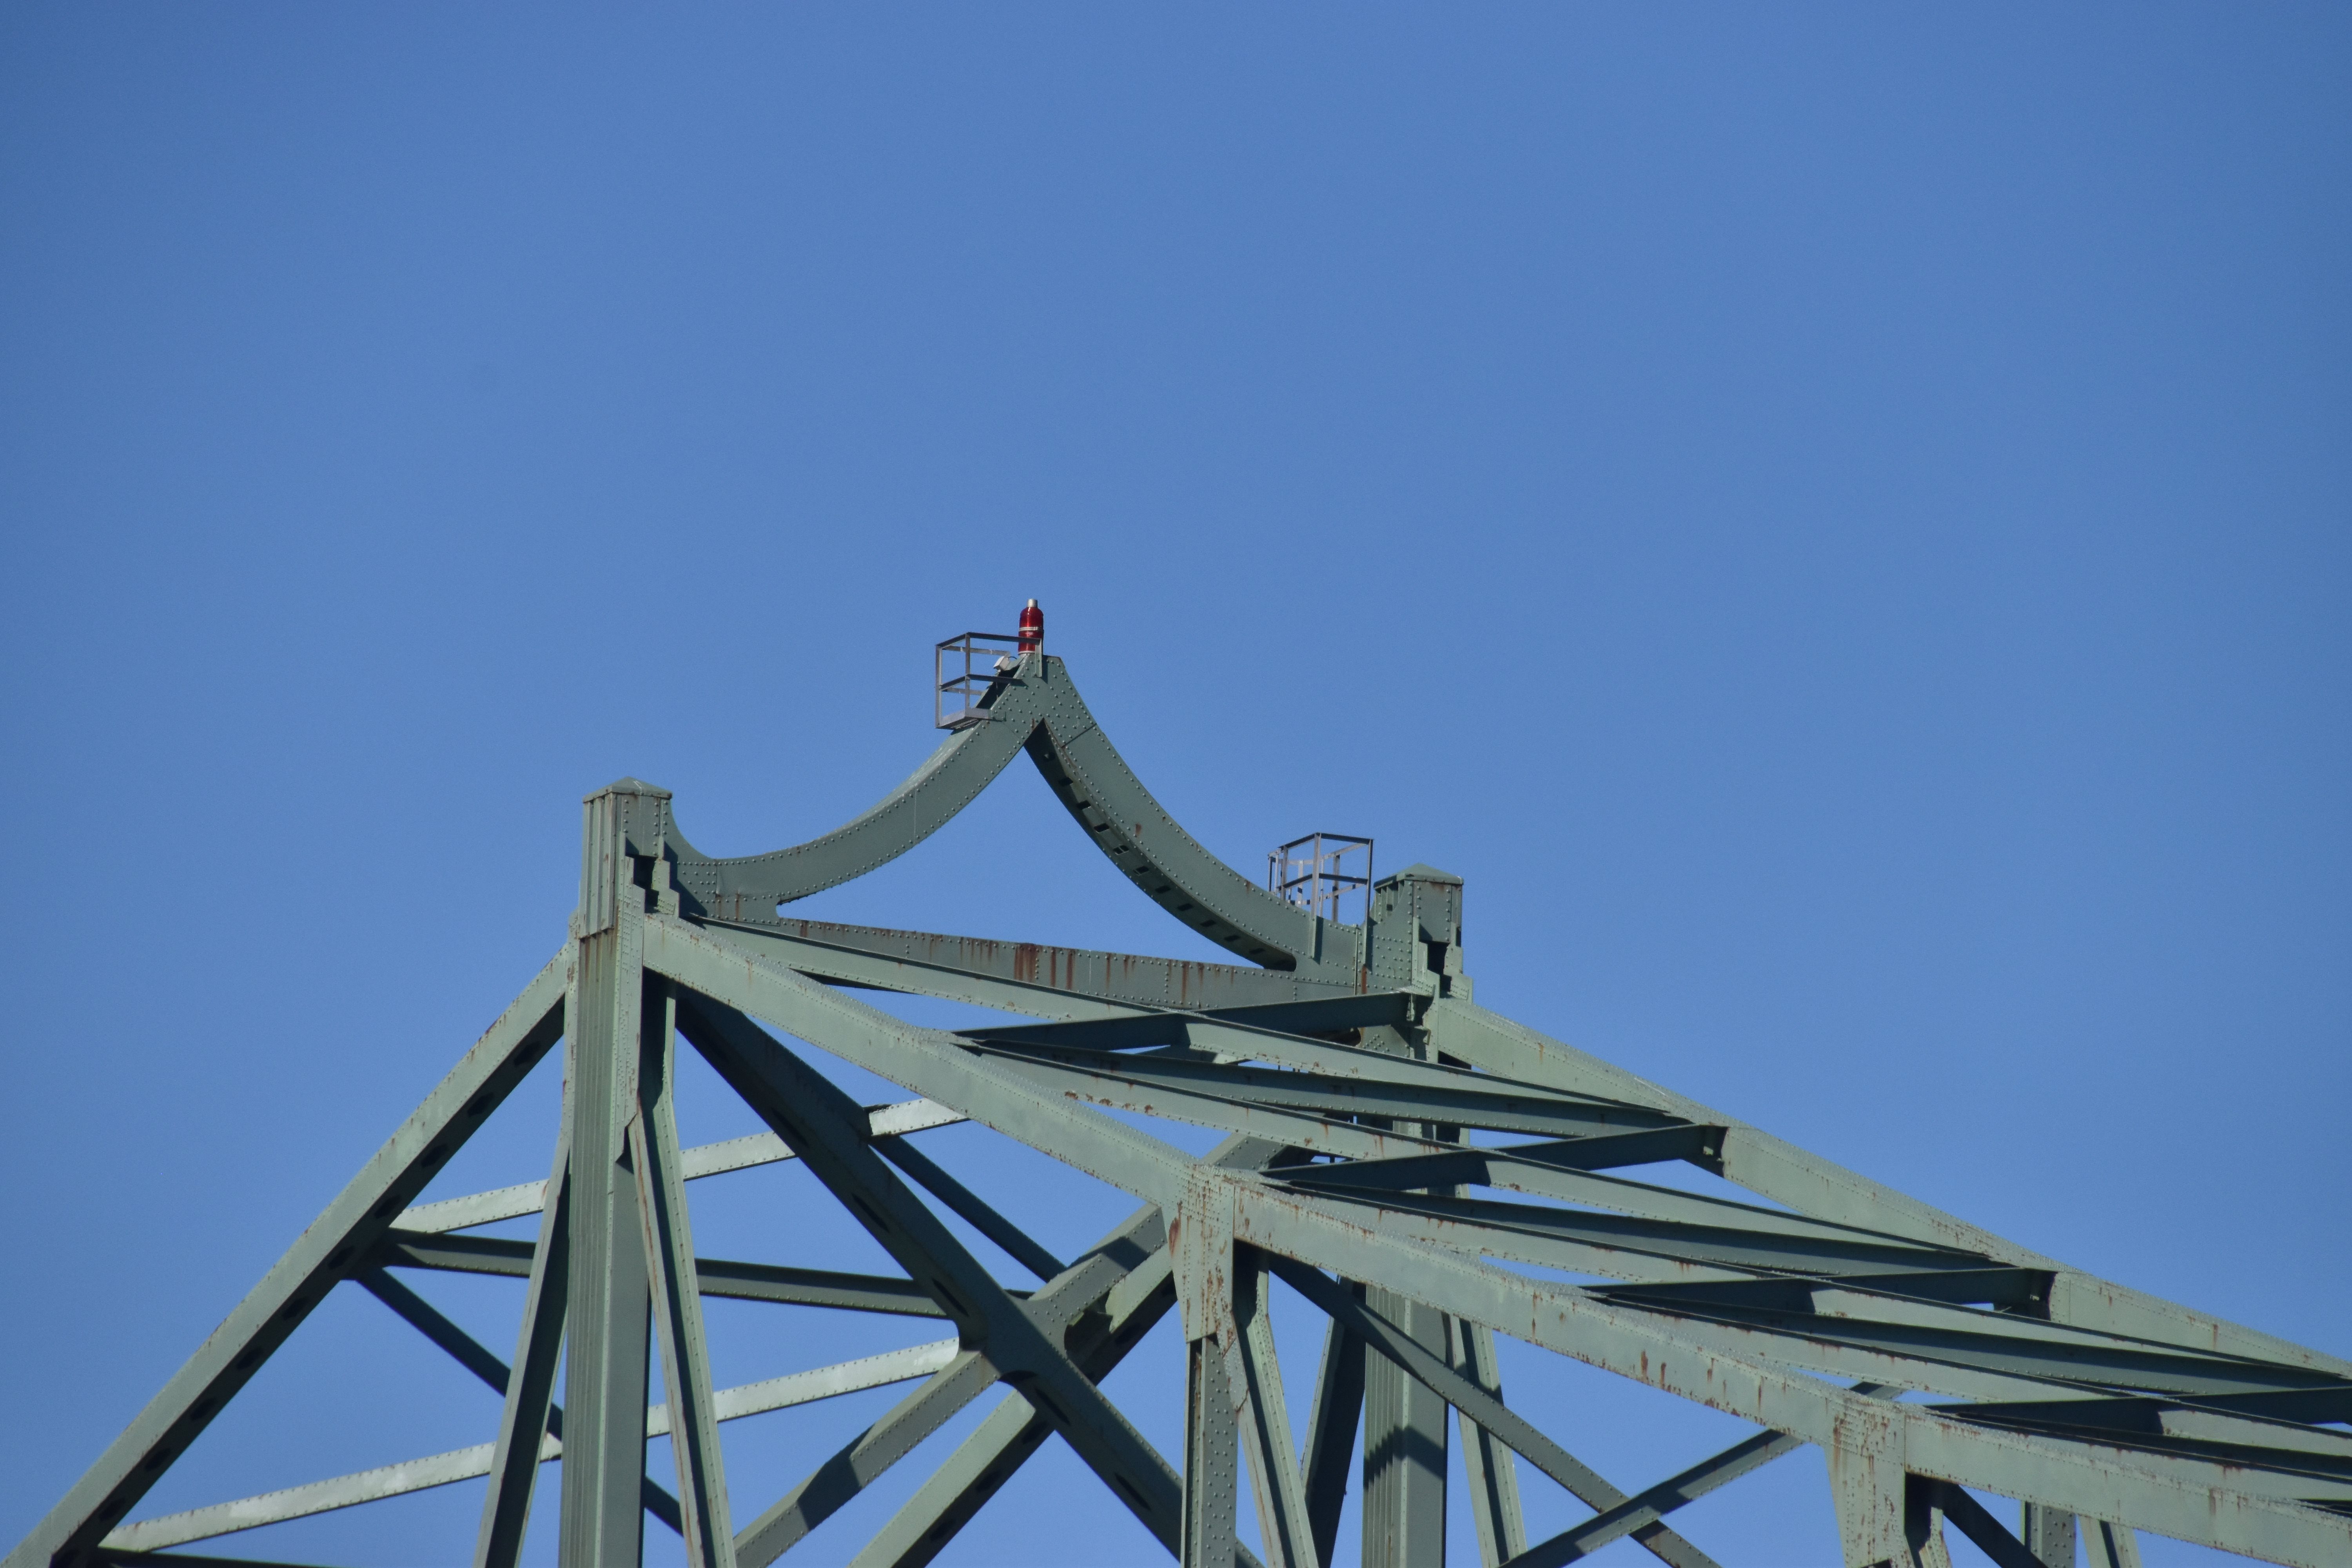
Detail at top of main post as seen from on bridge.
![]()
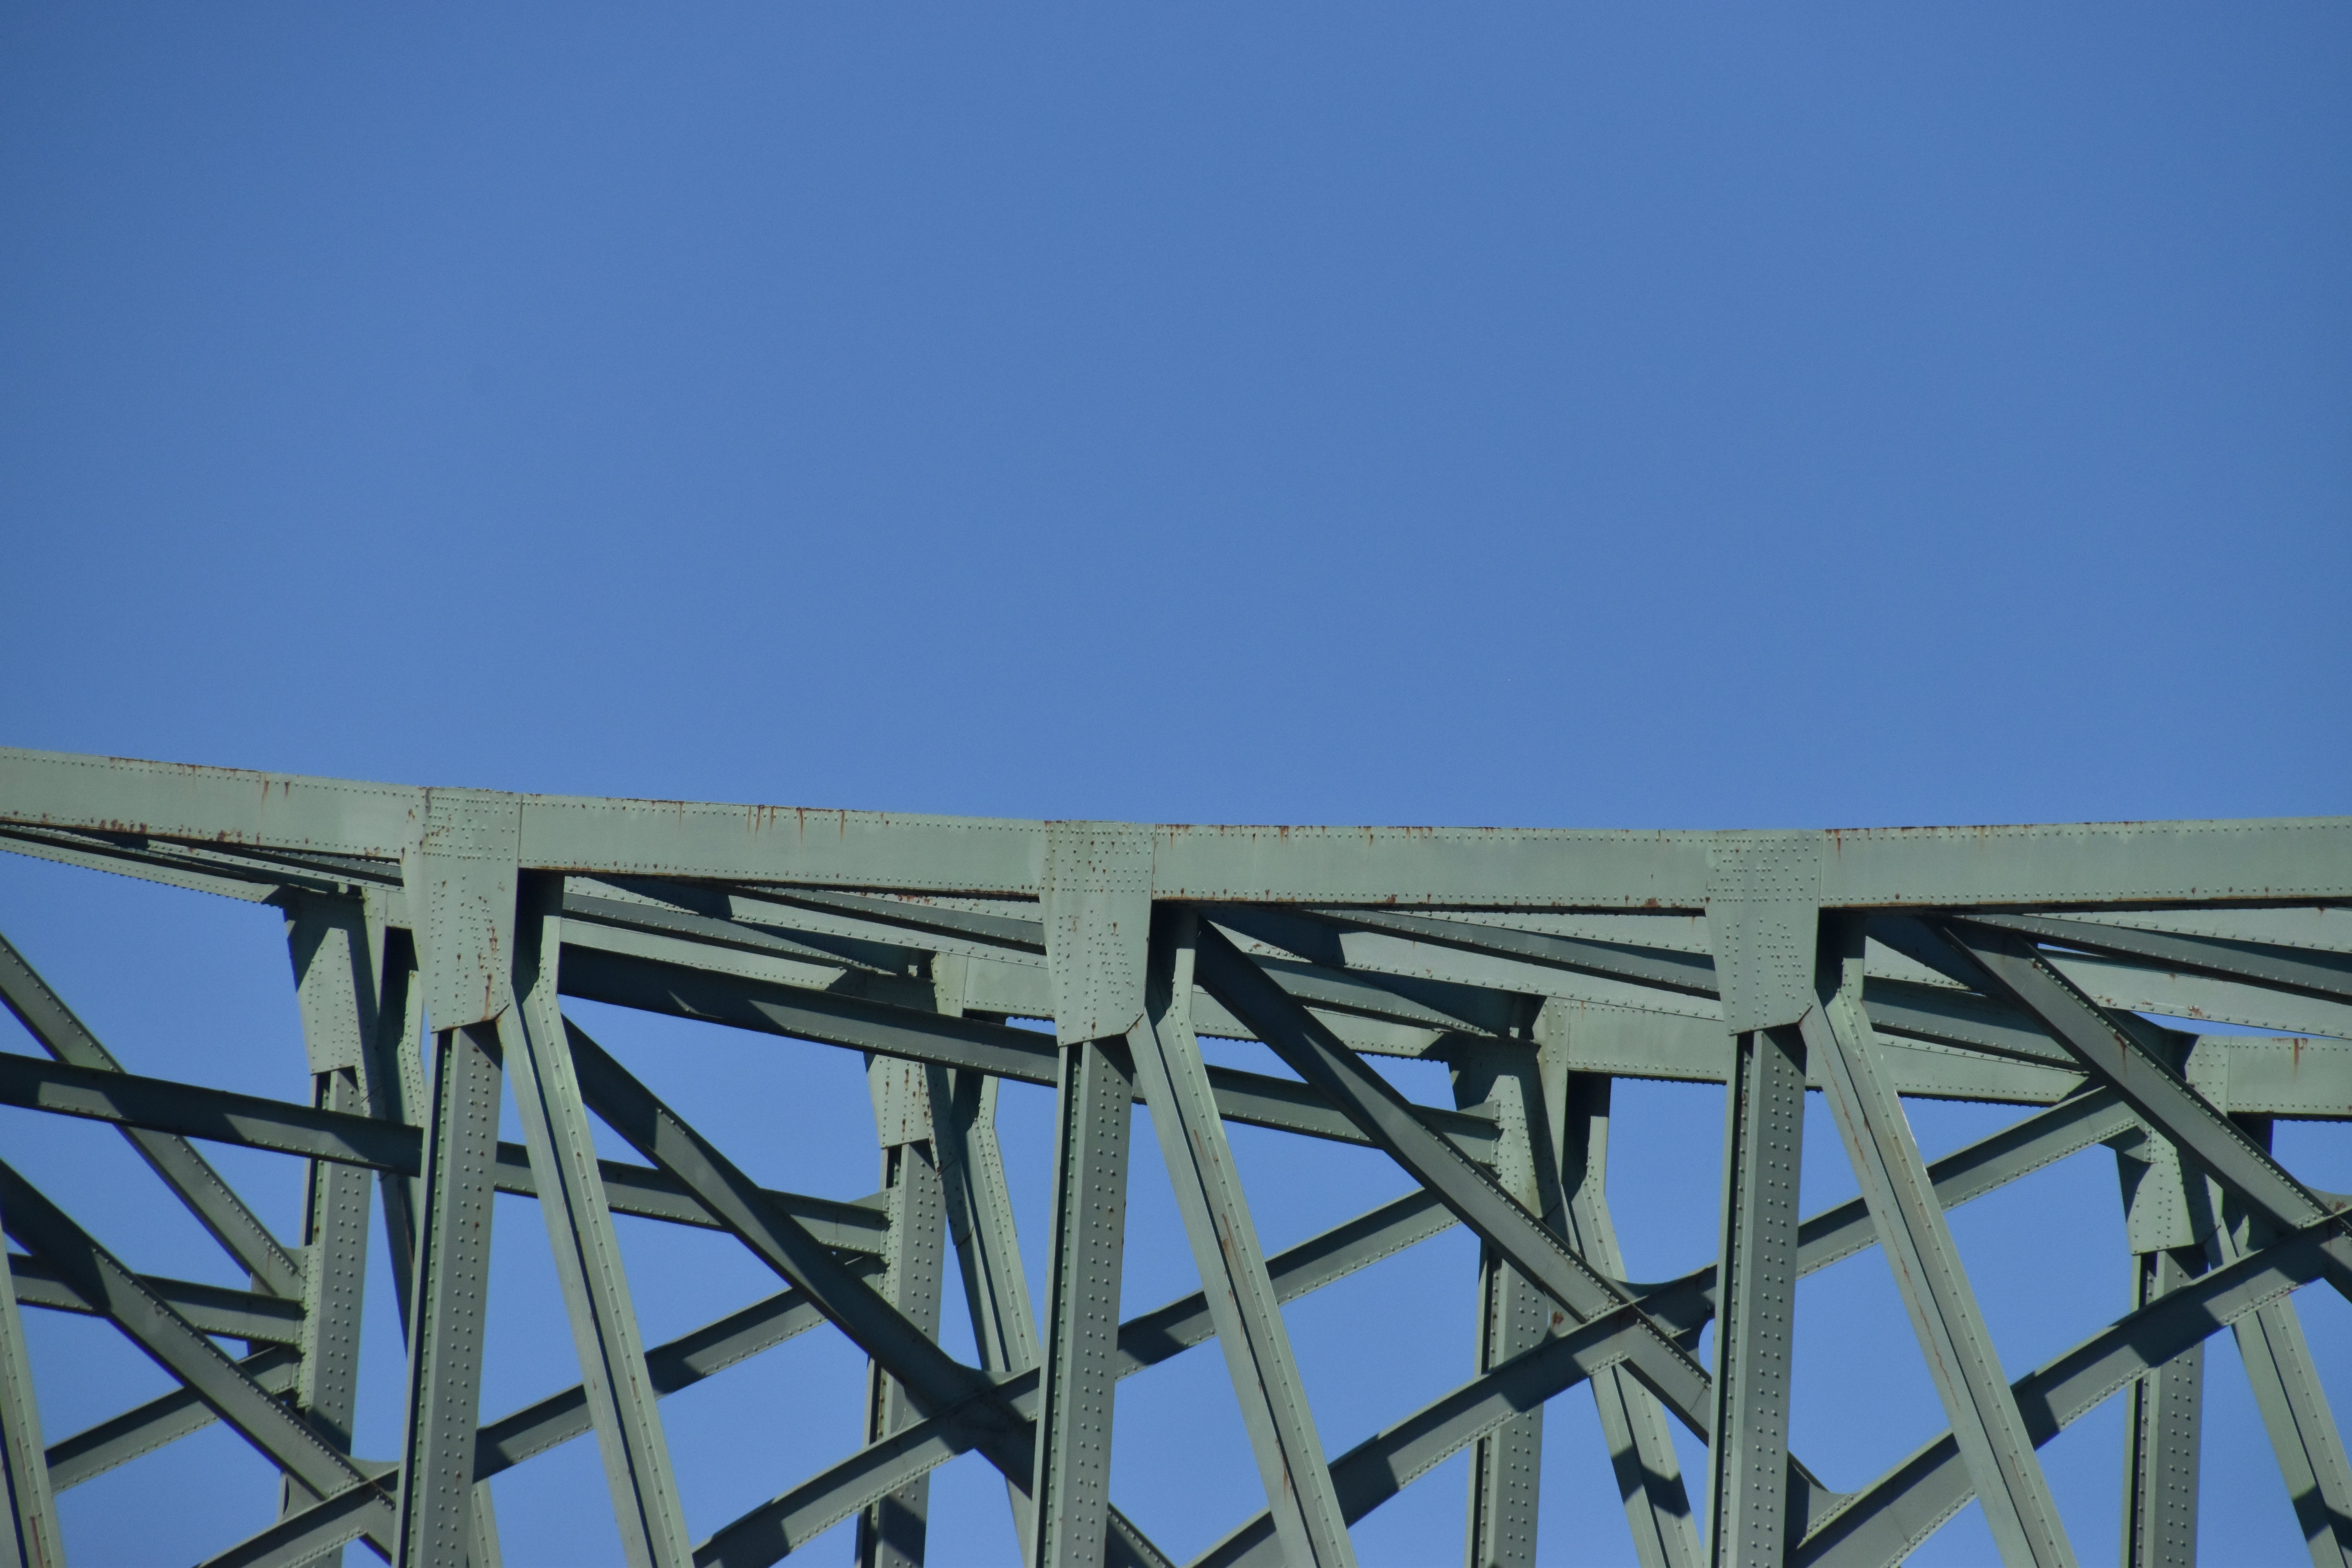


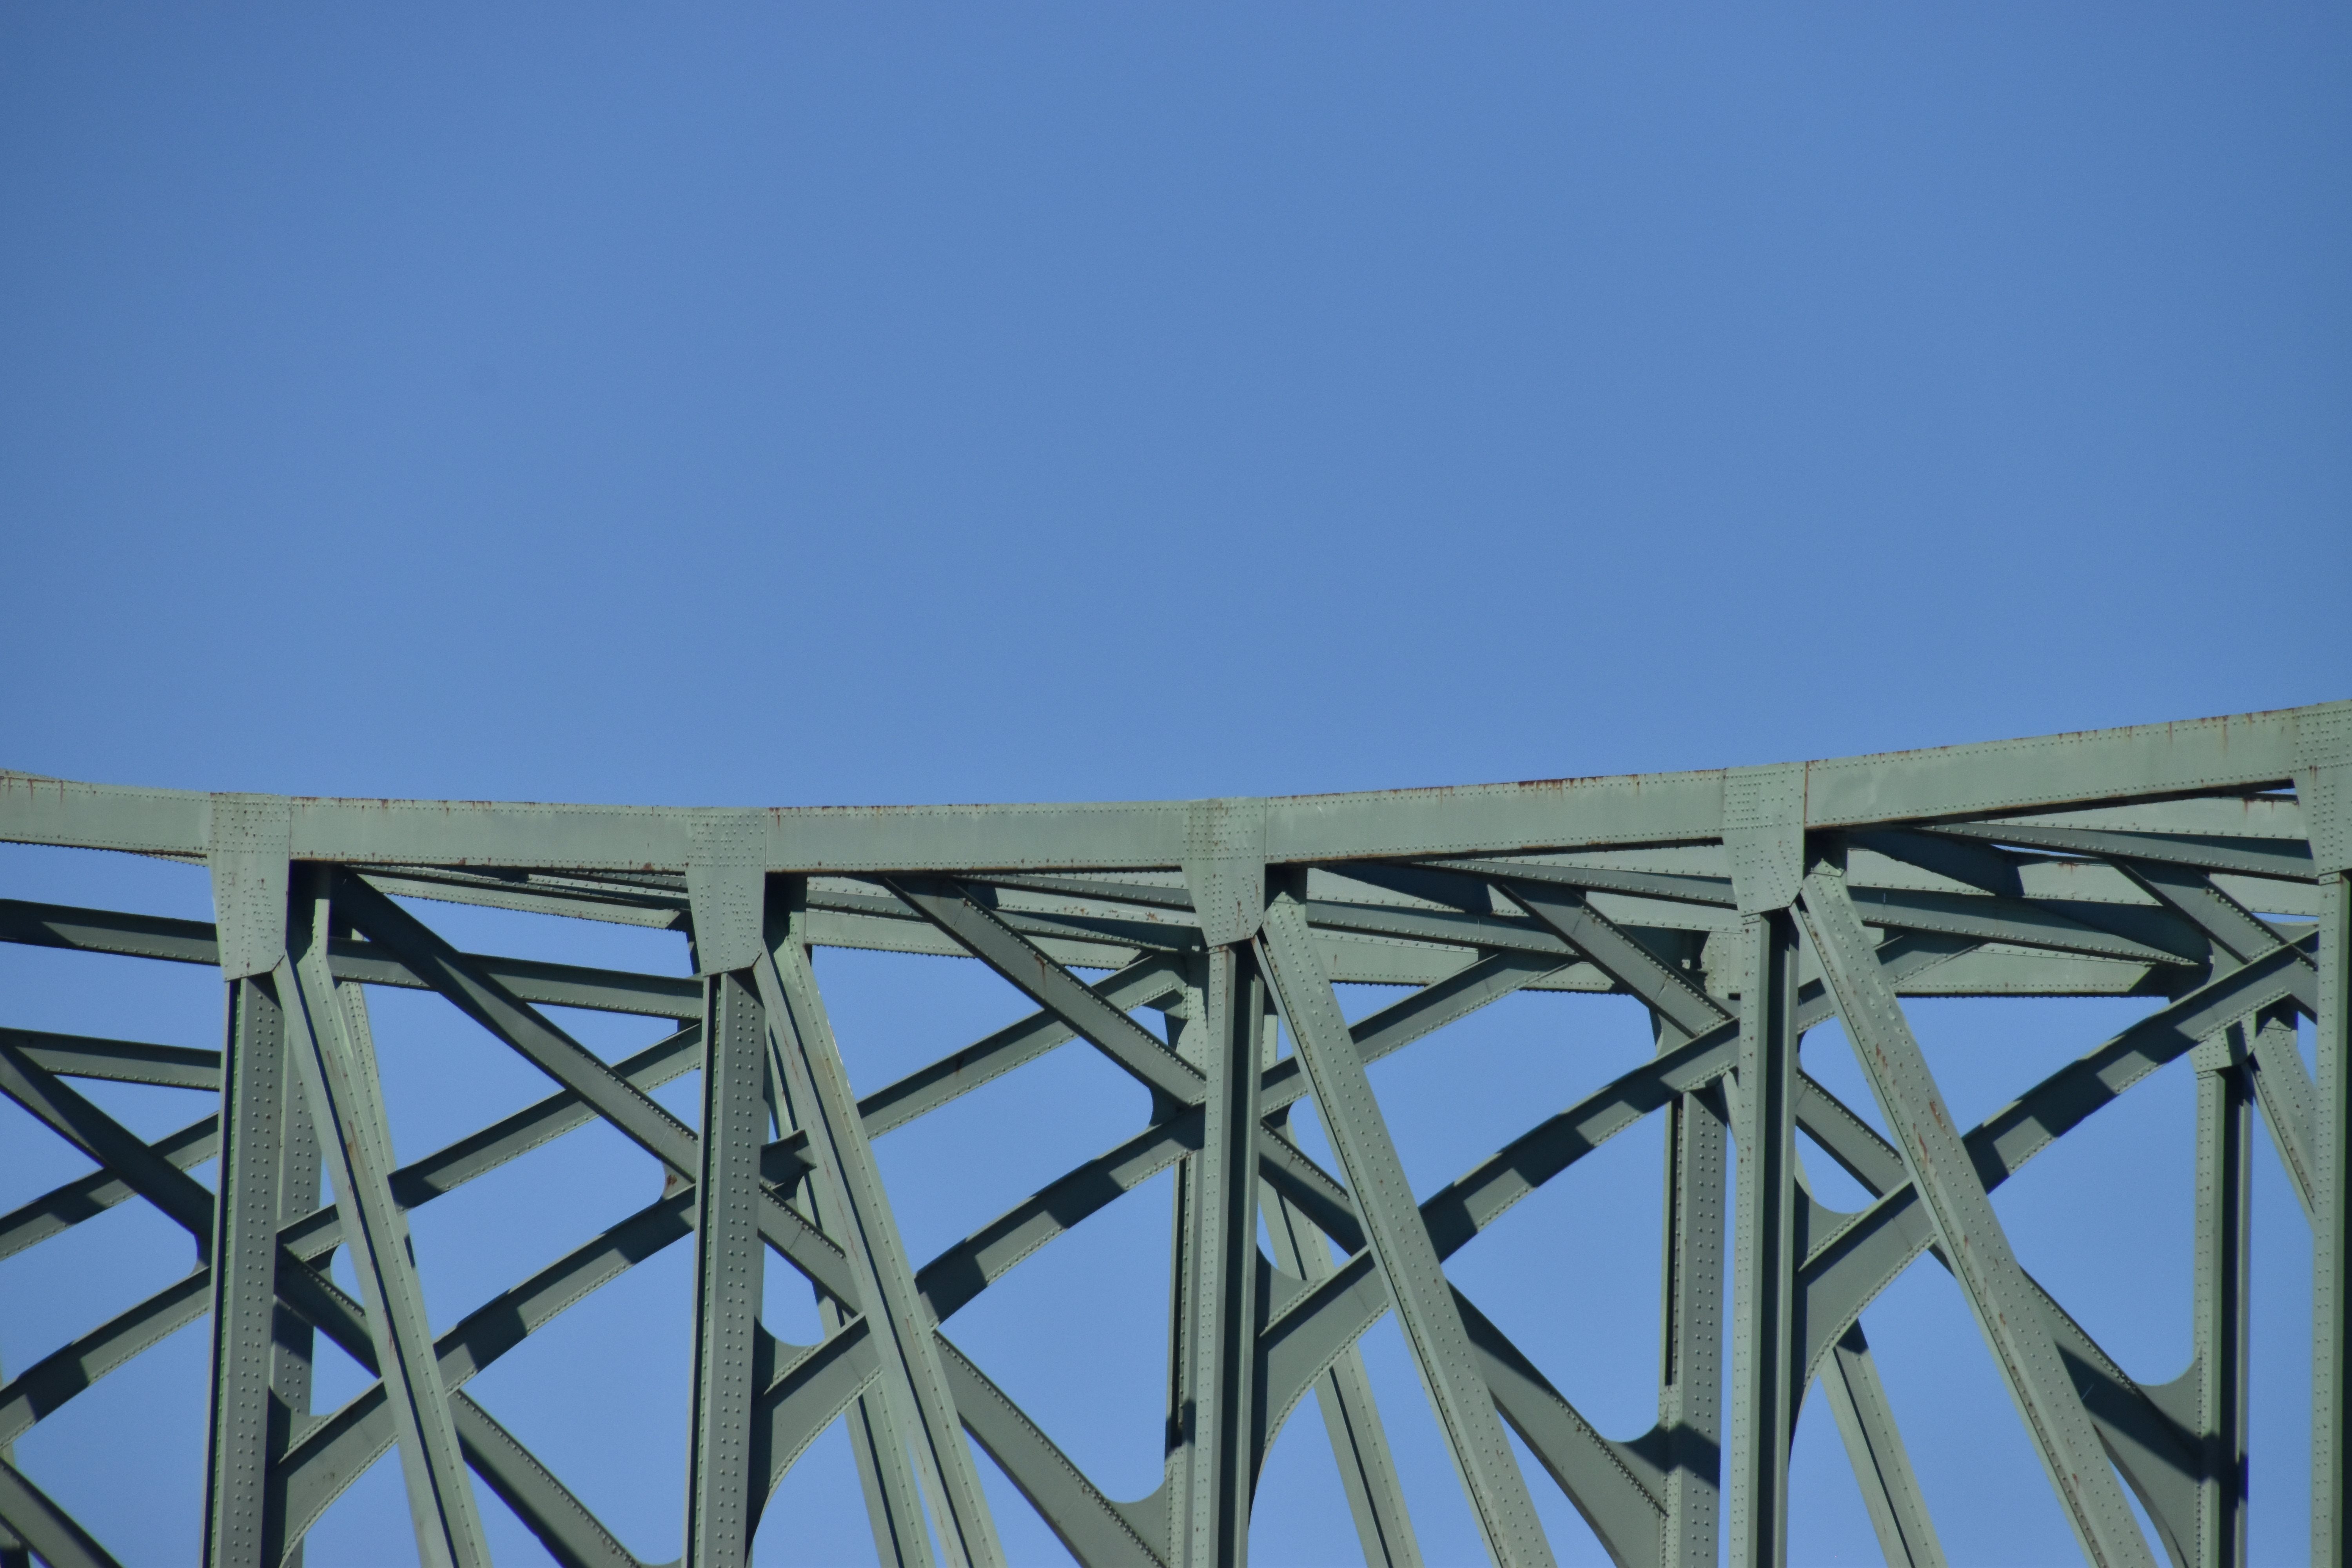


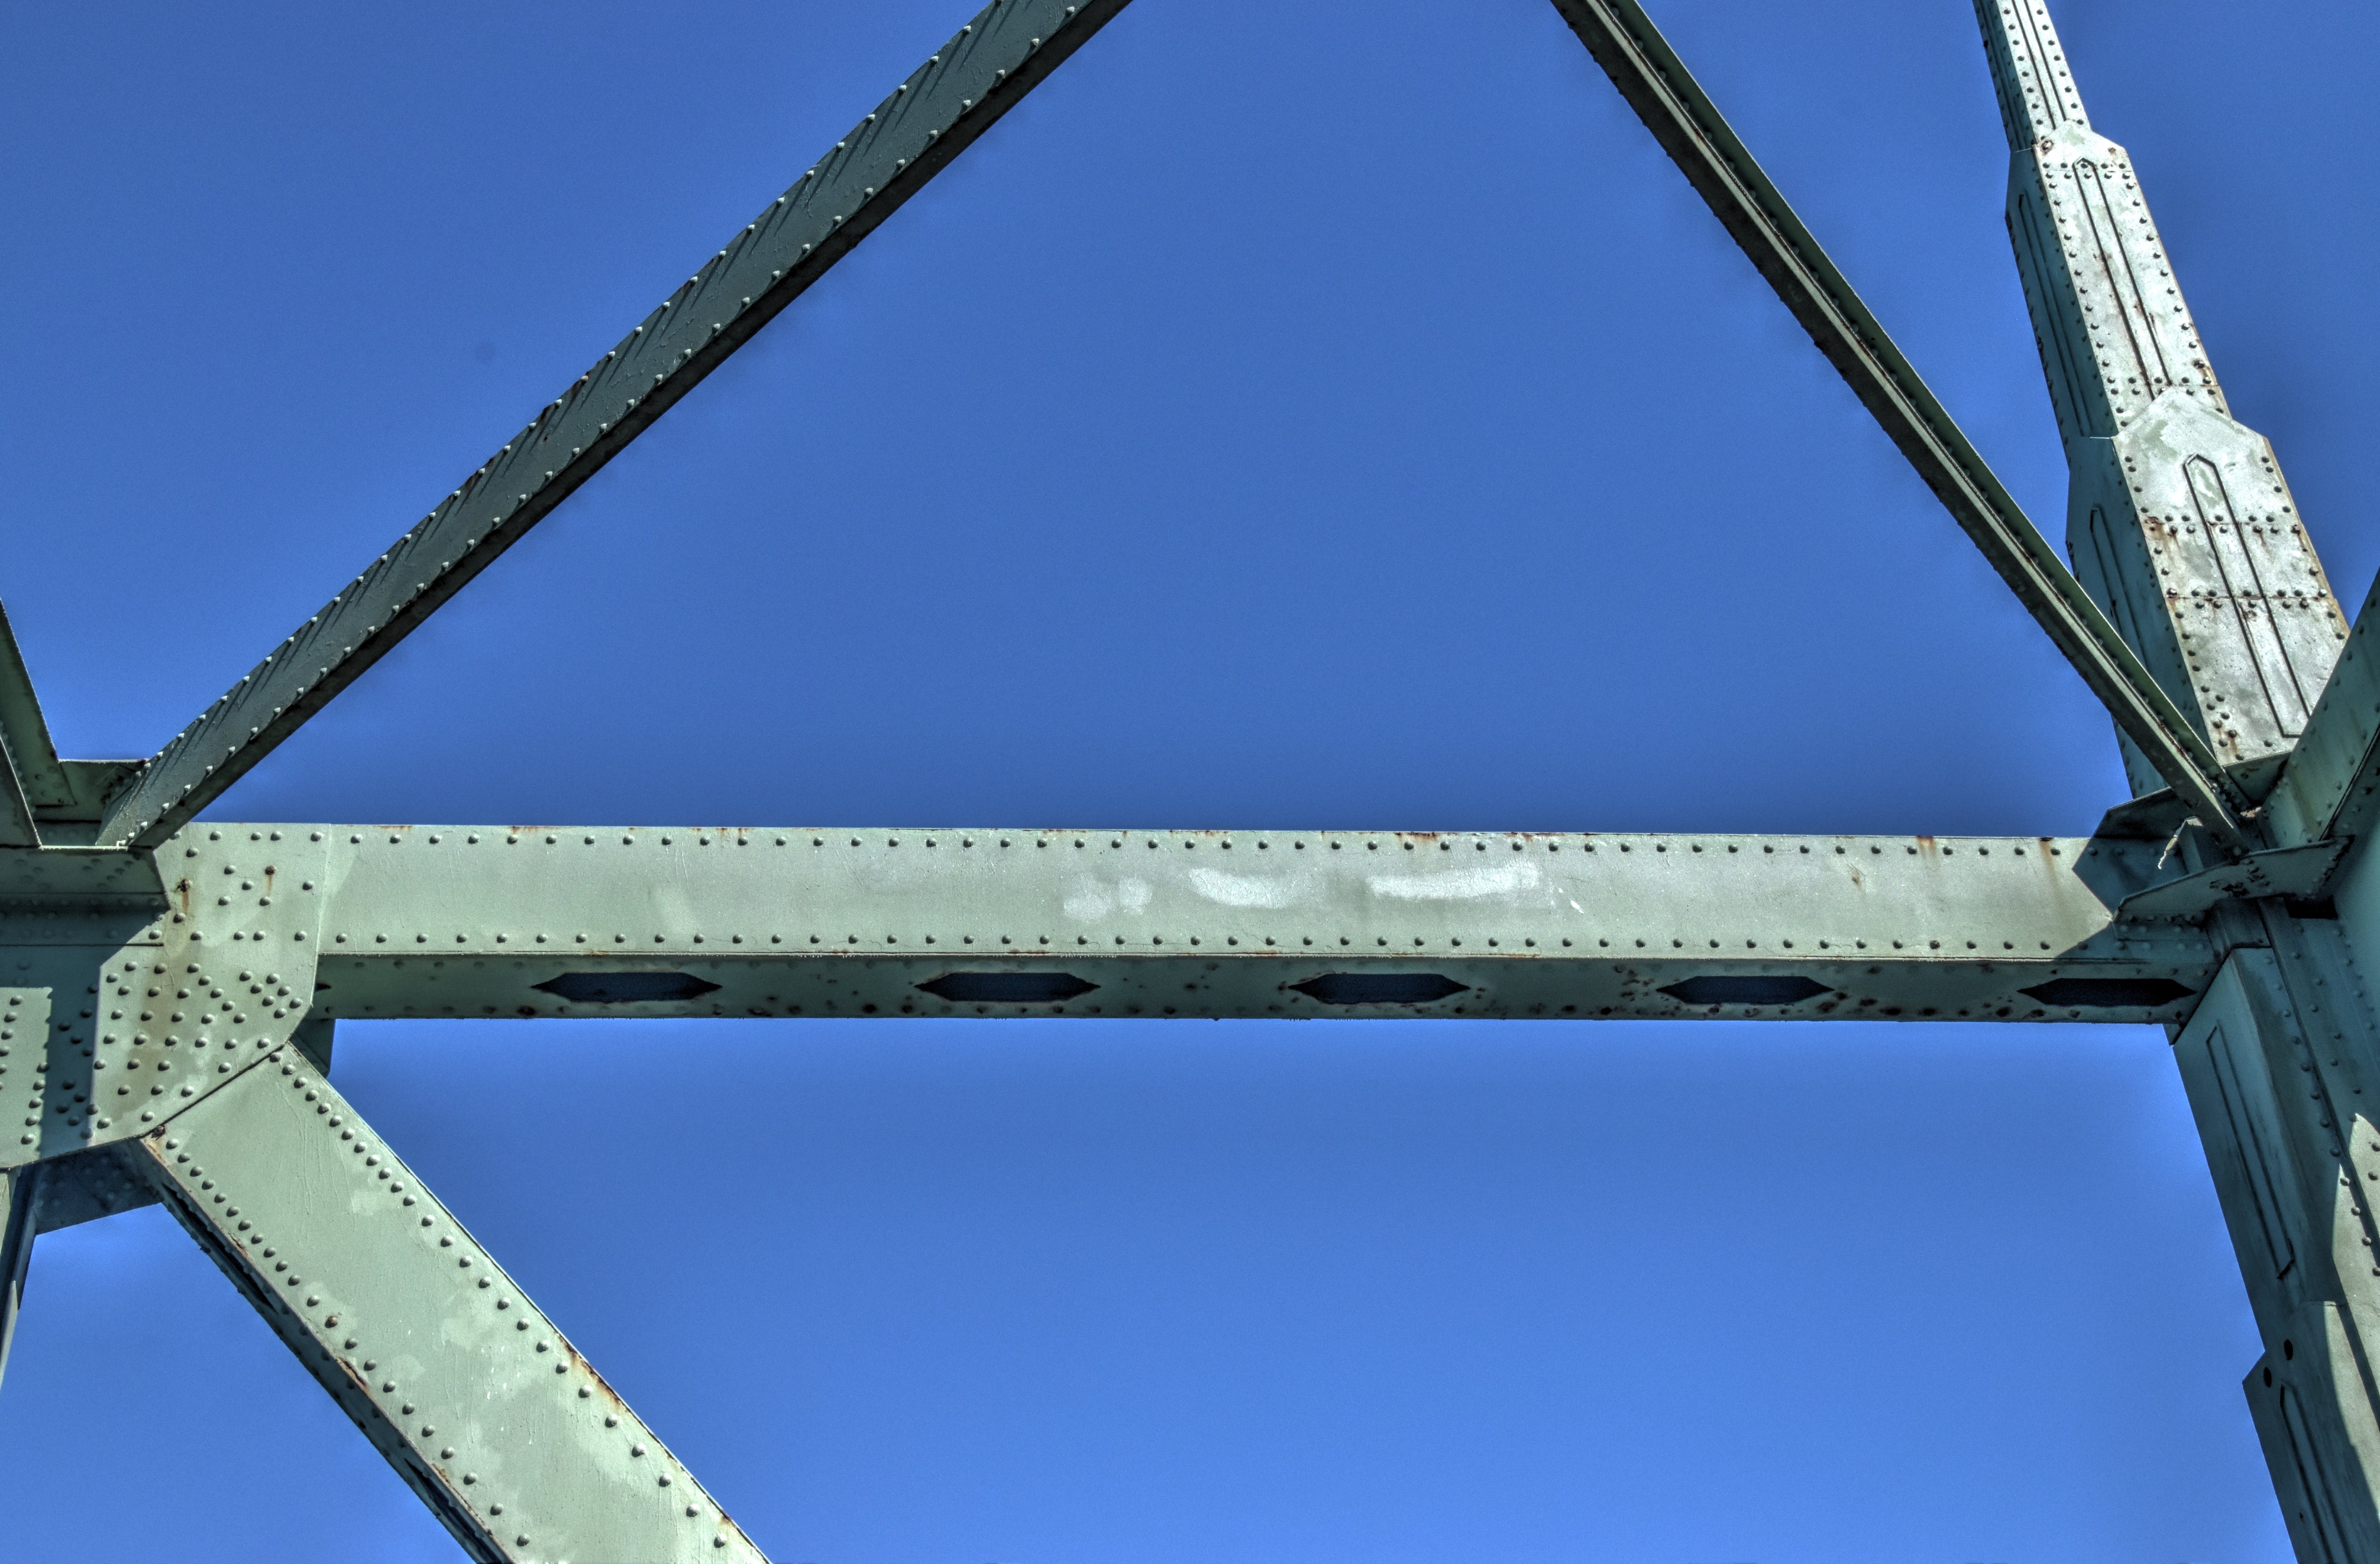
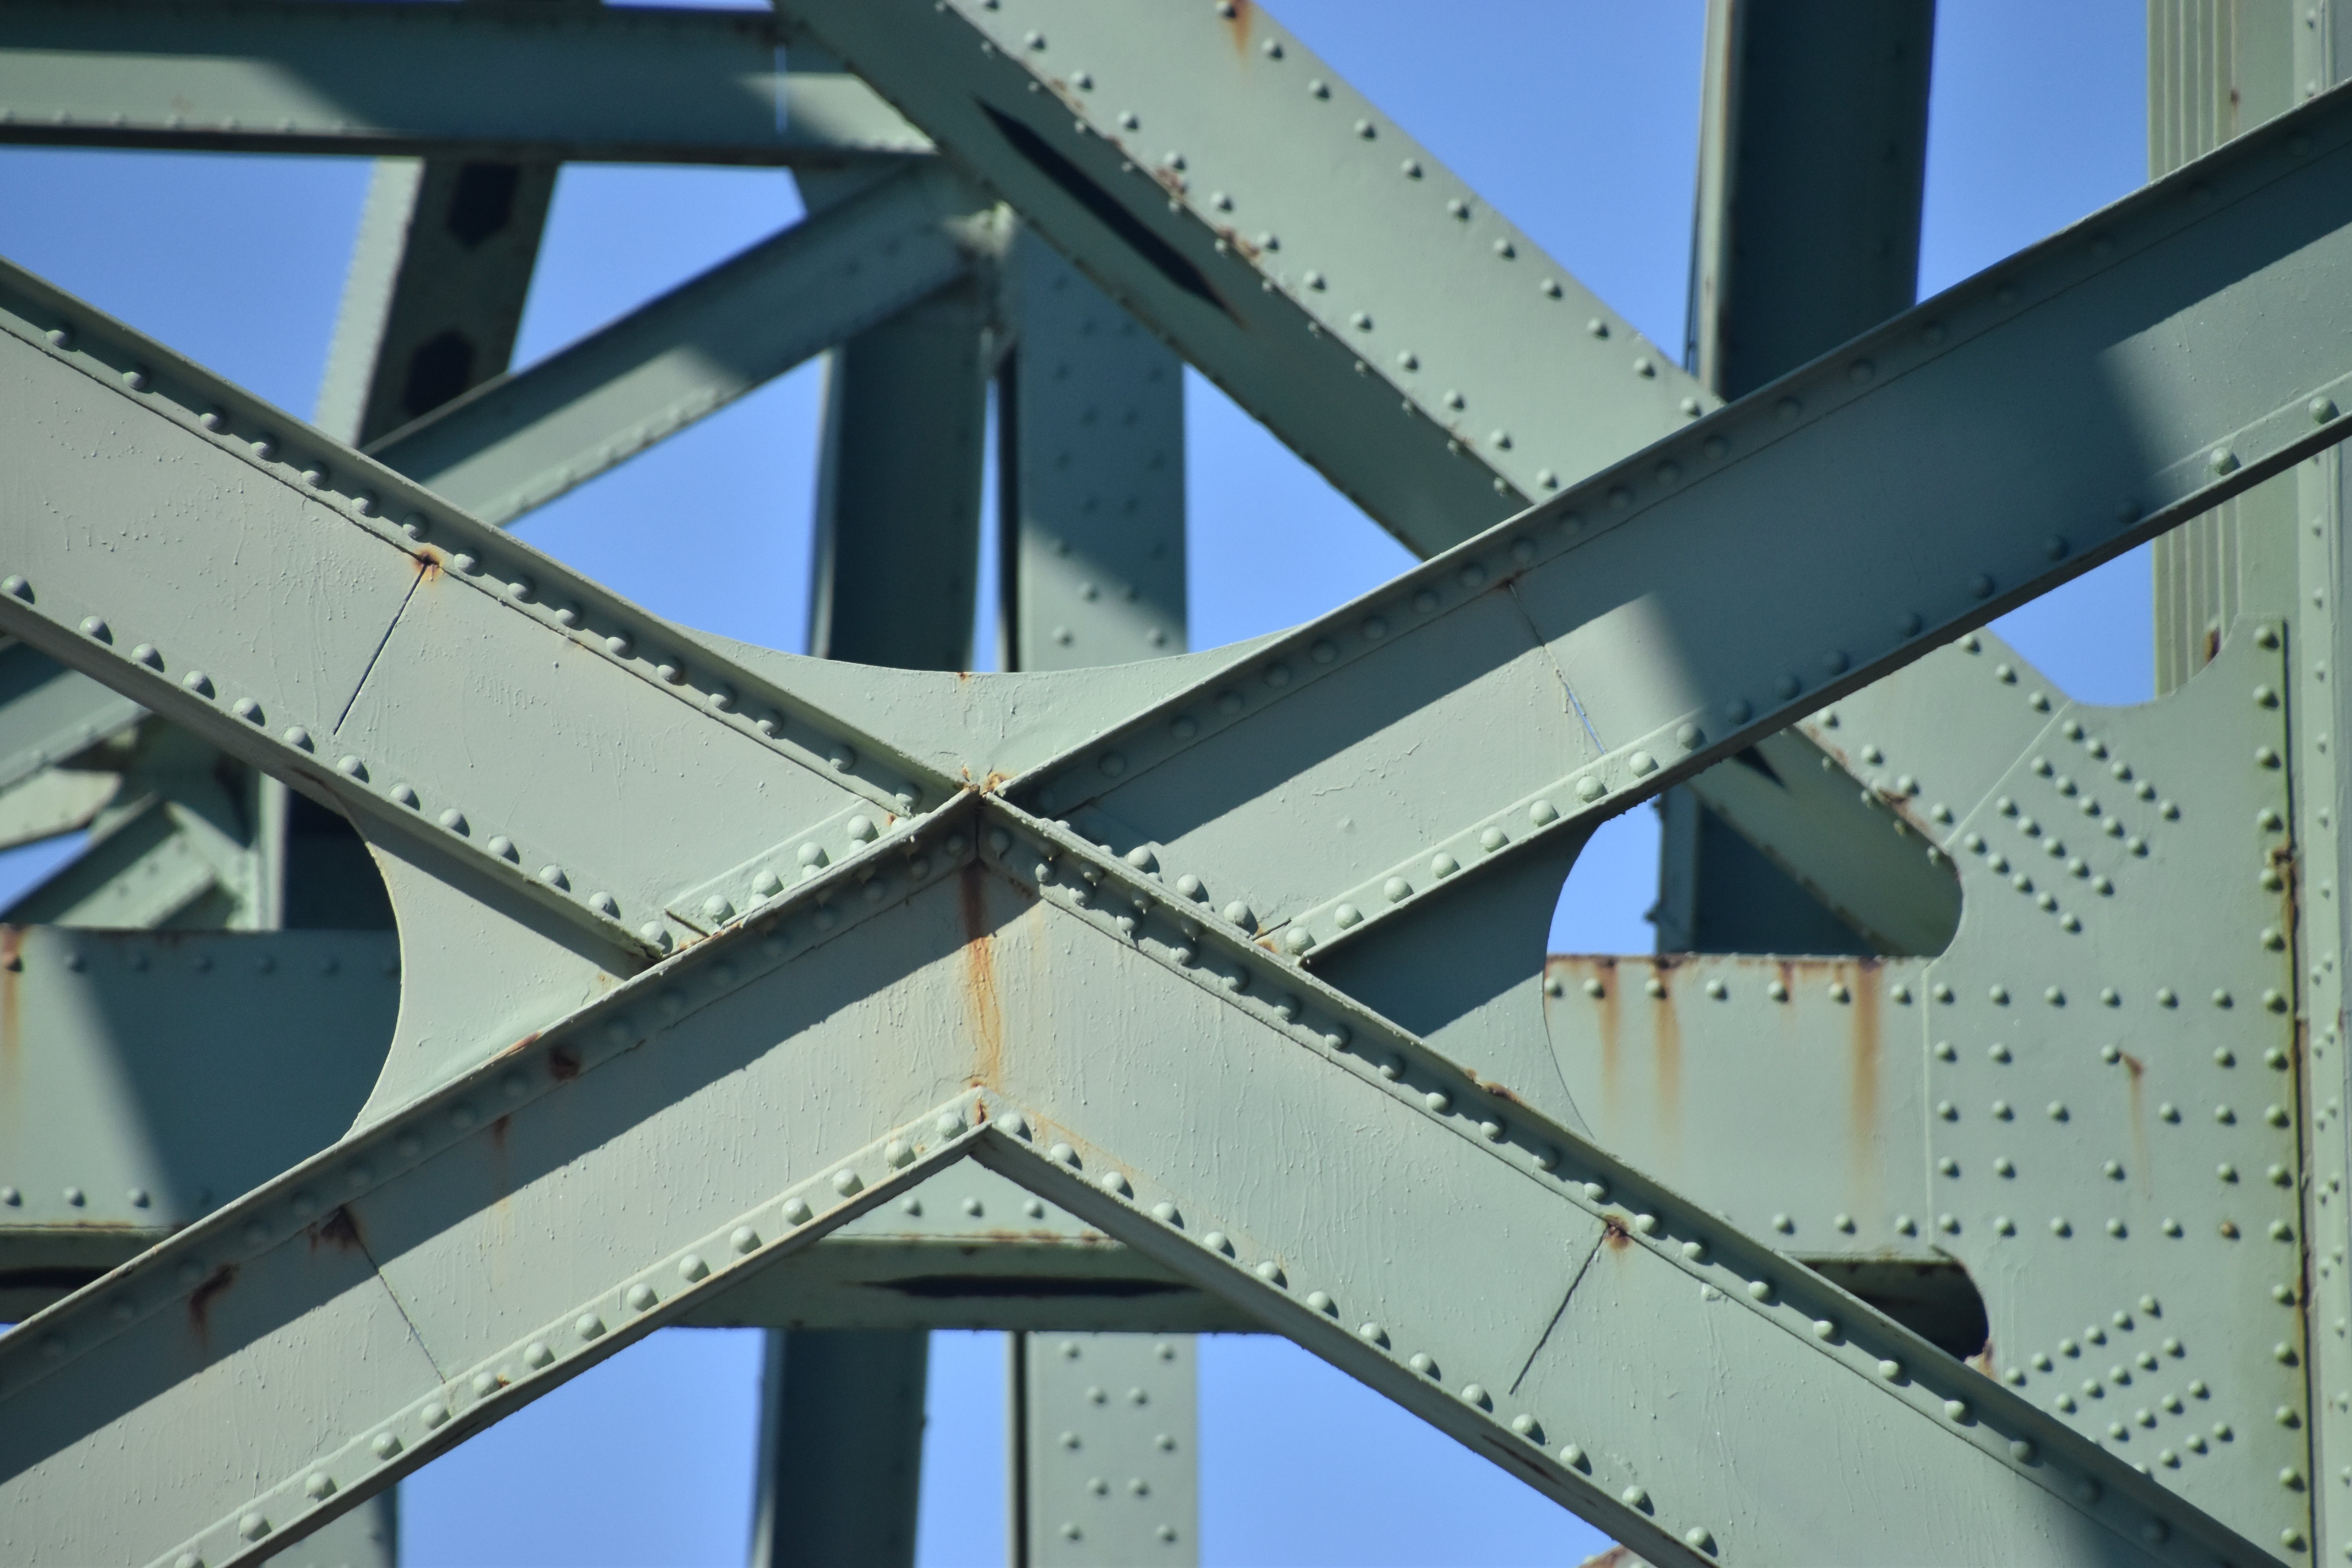
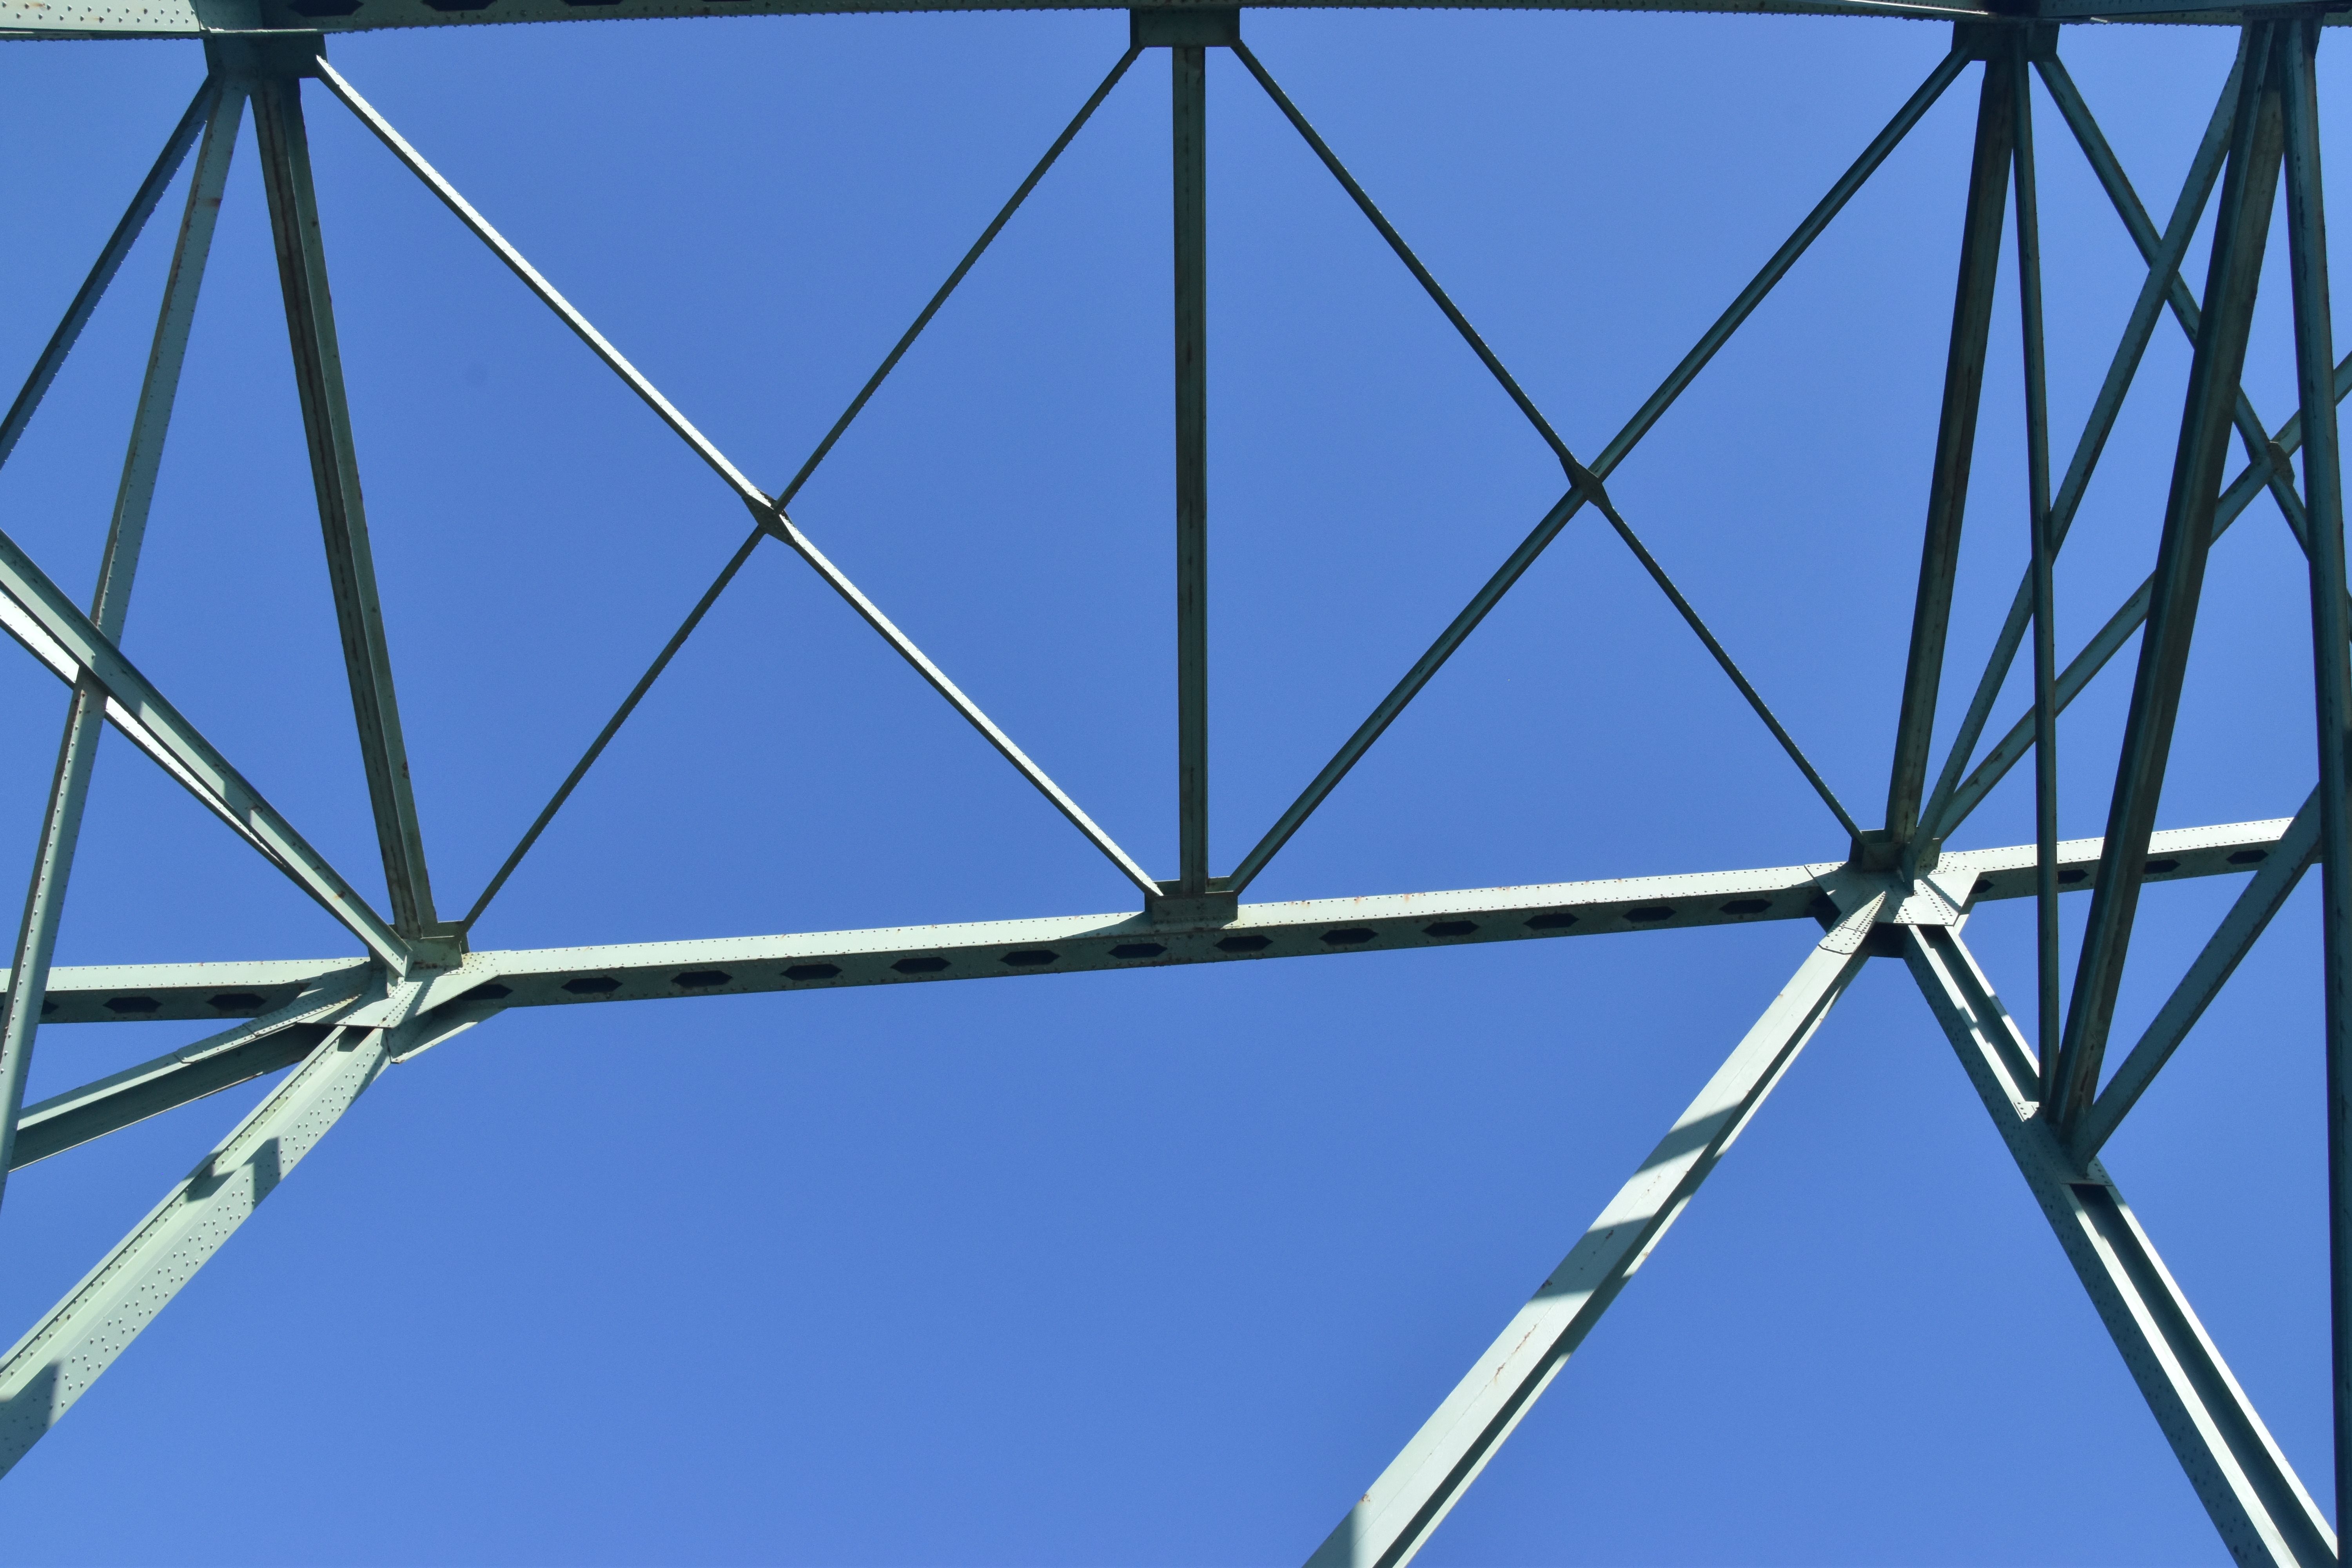
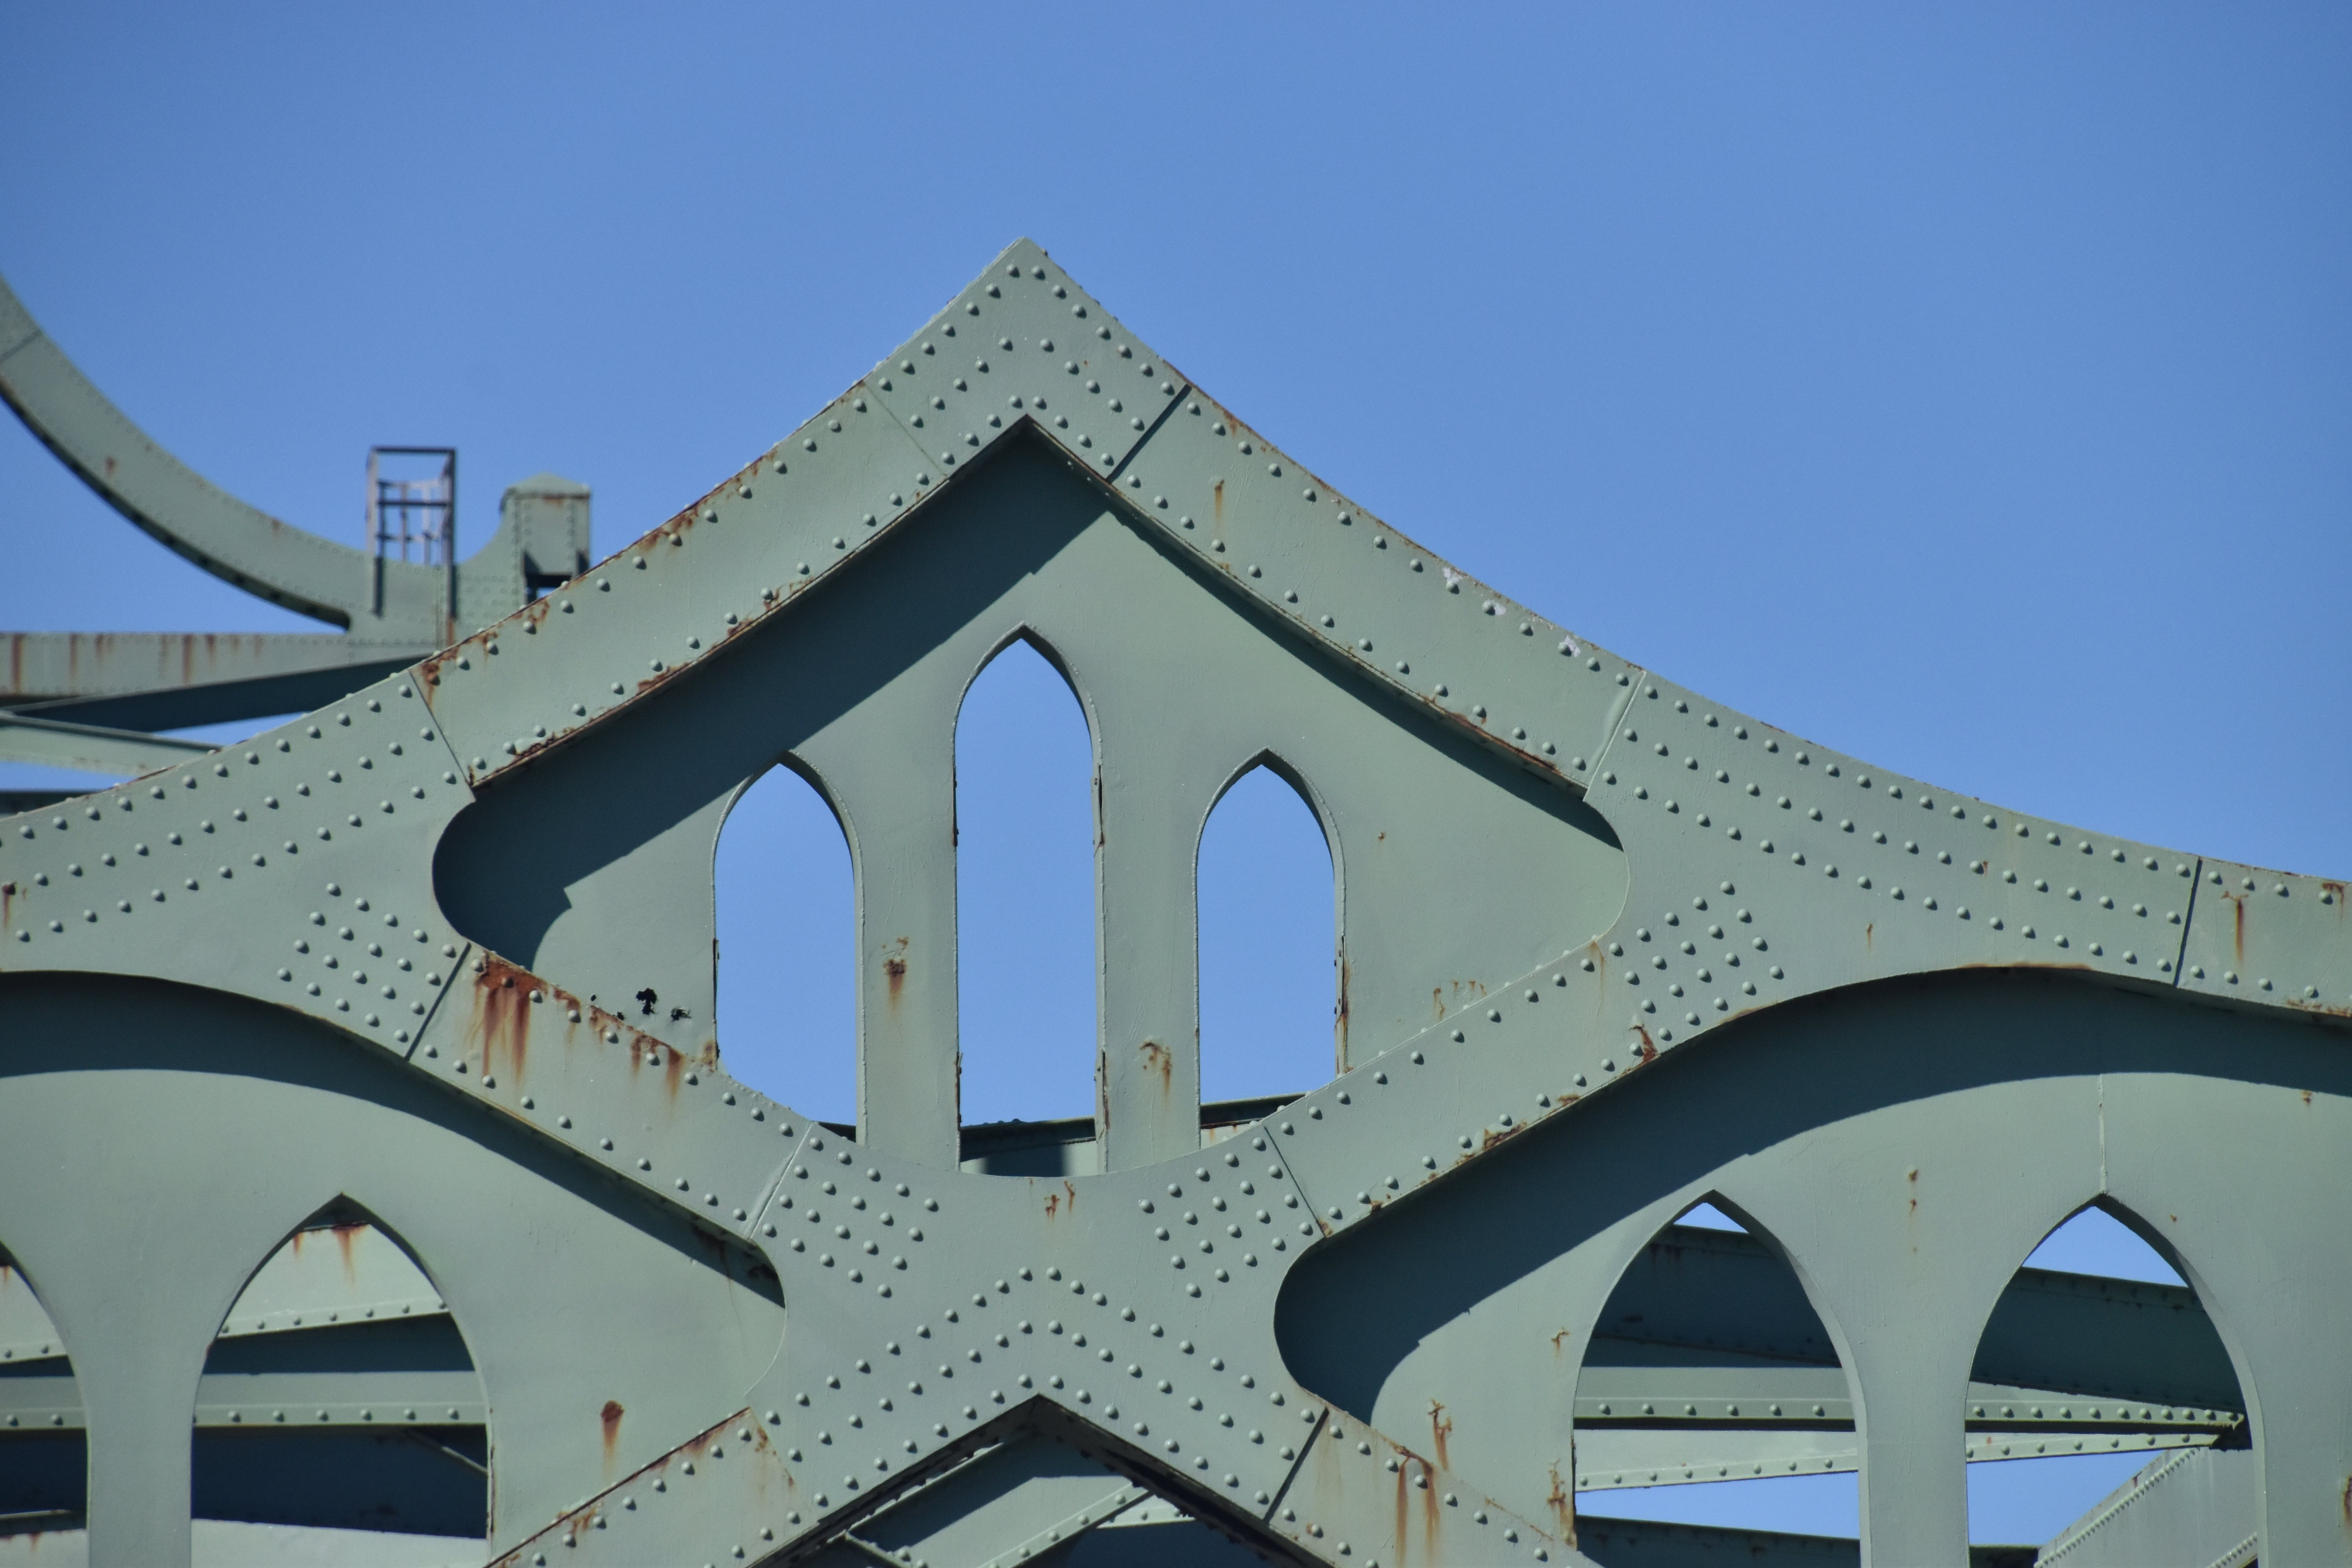
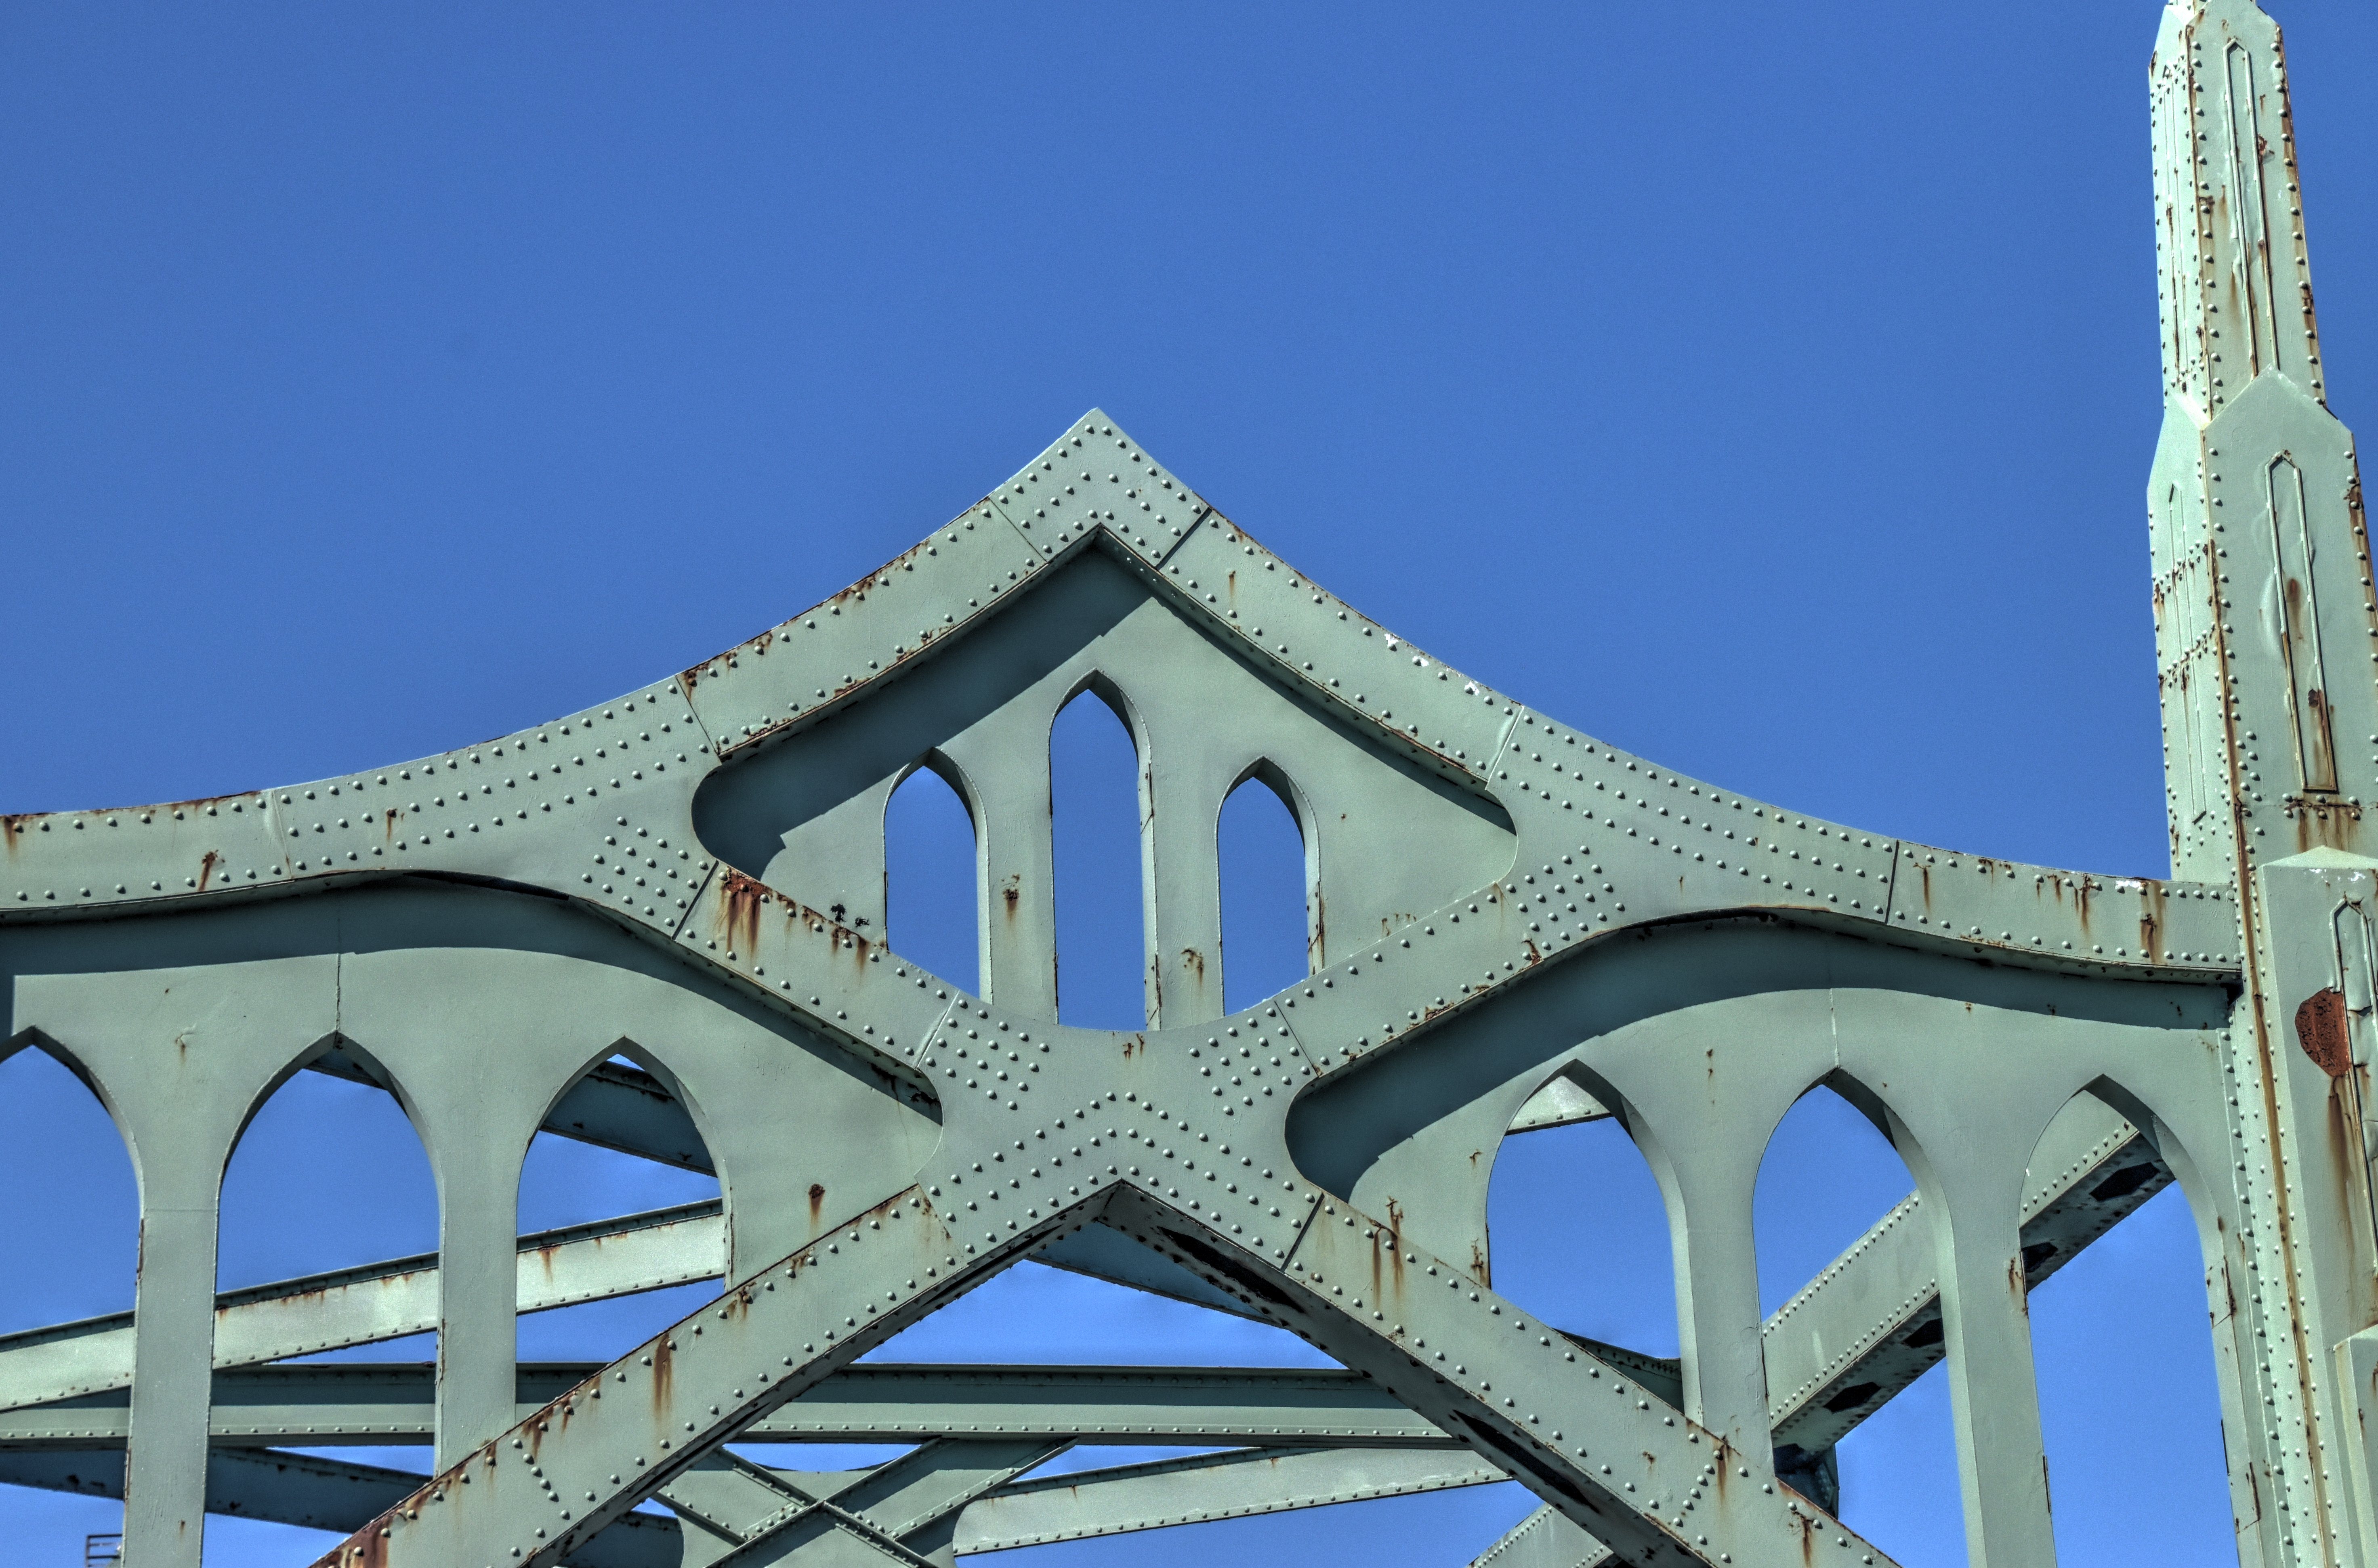
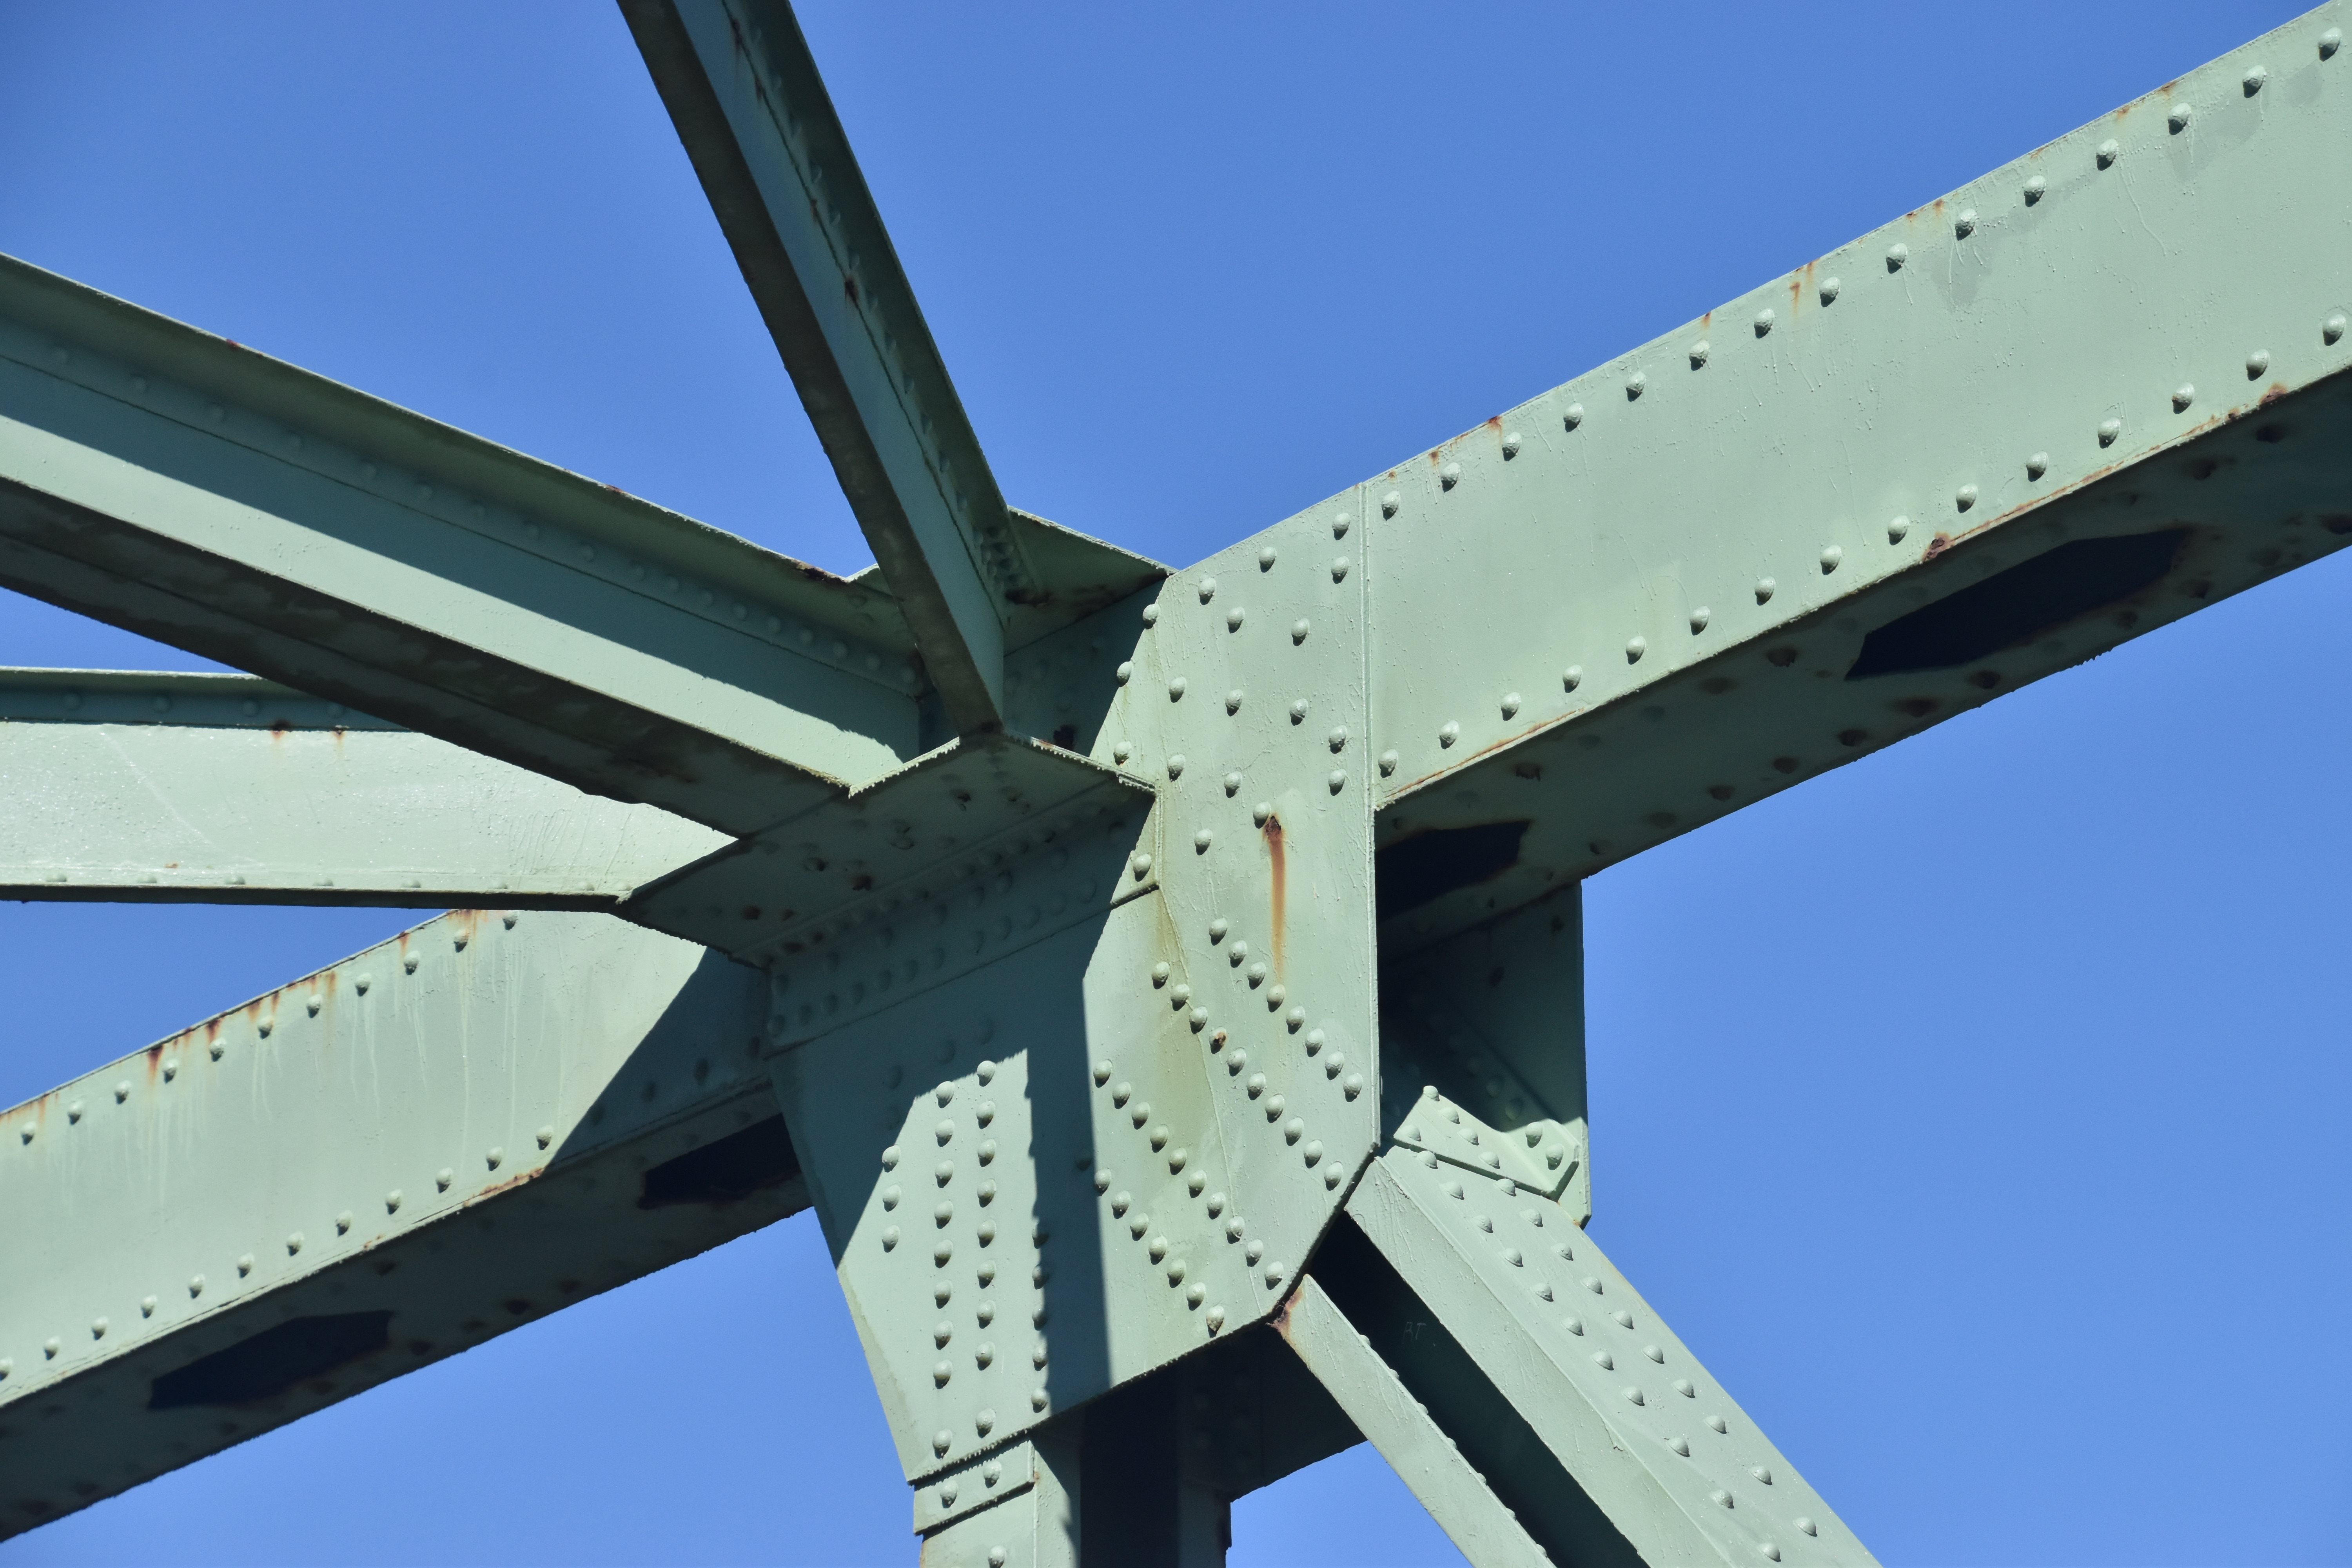
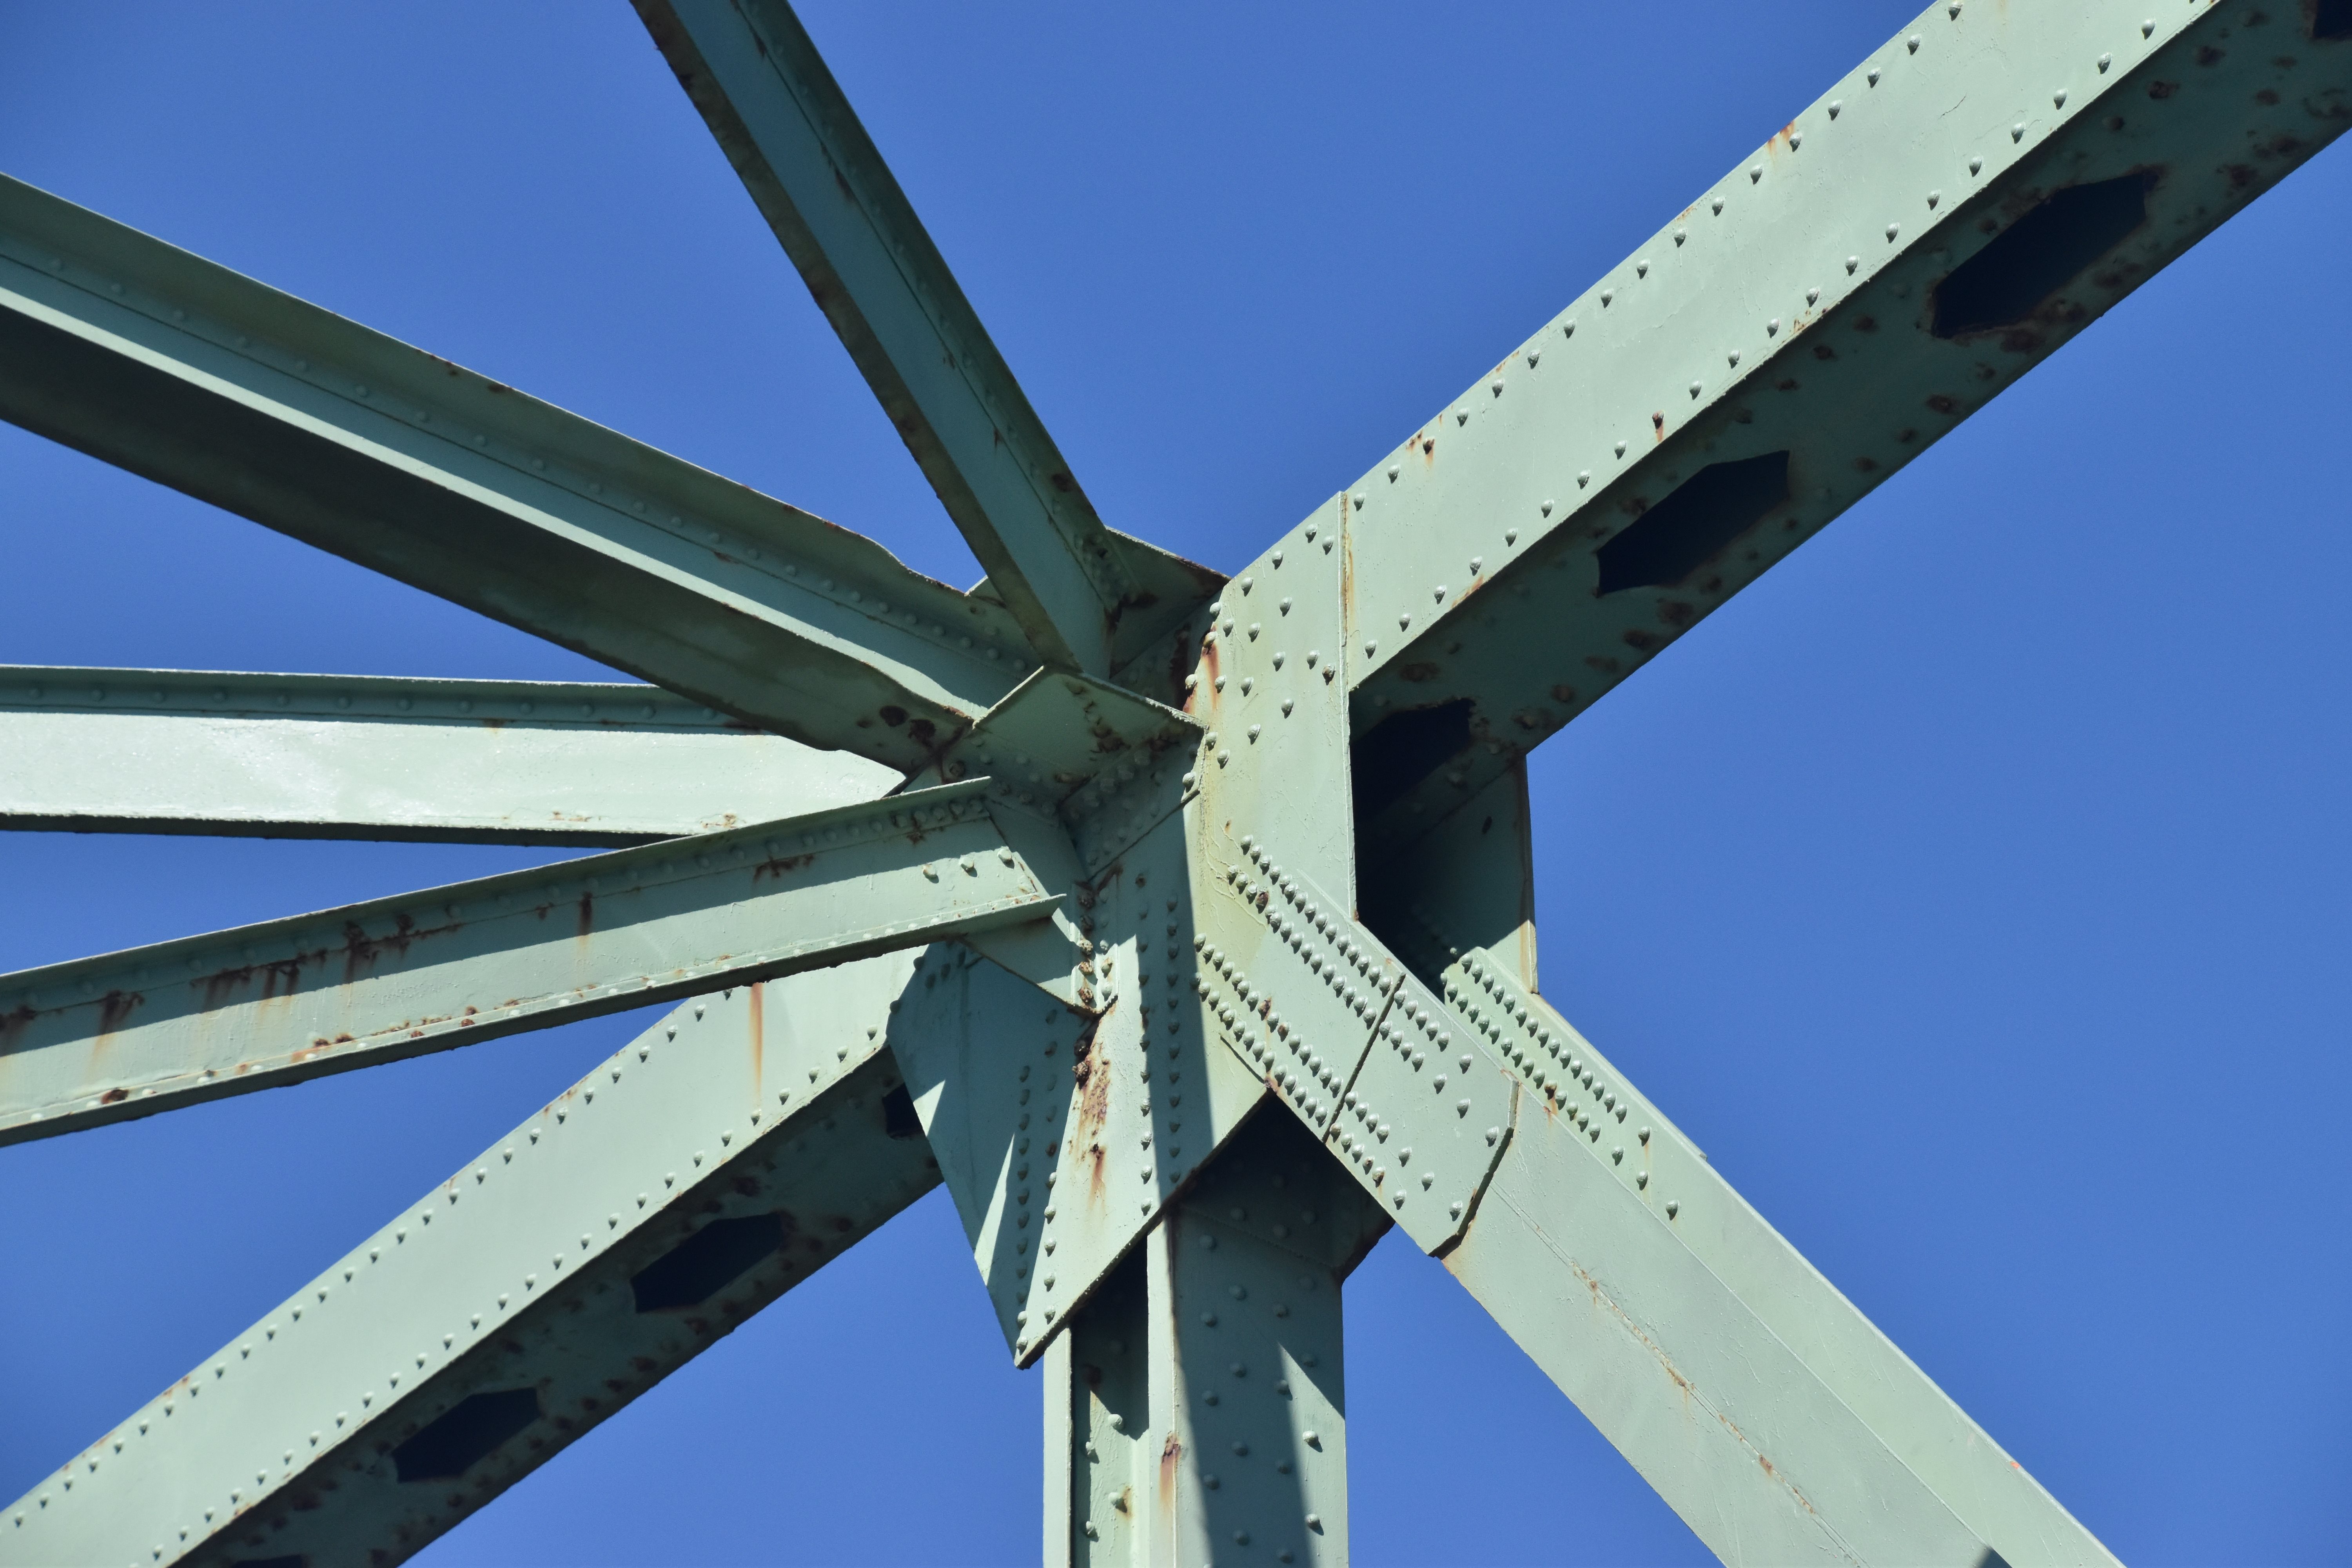
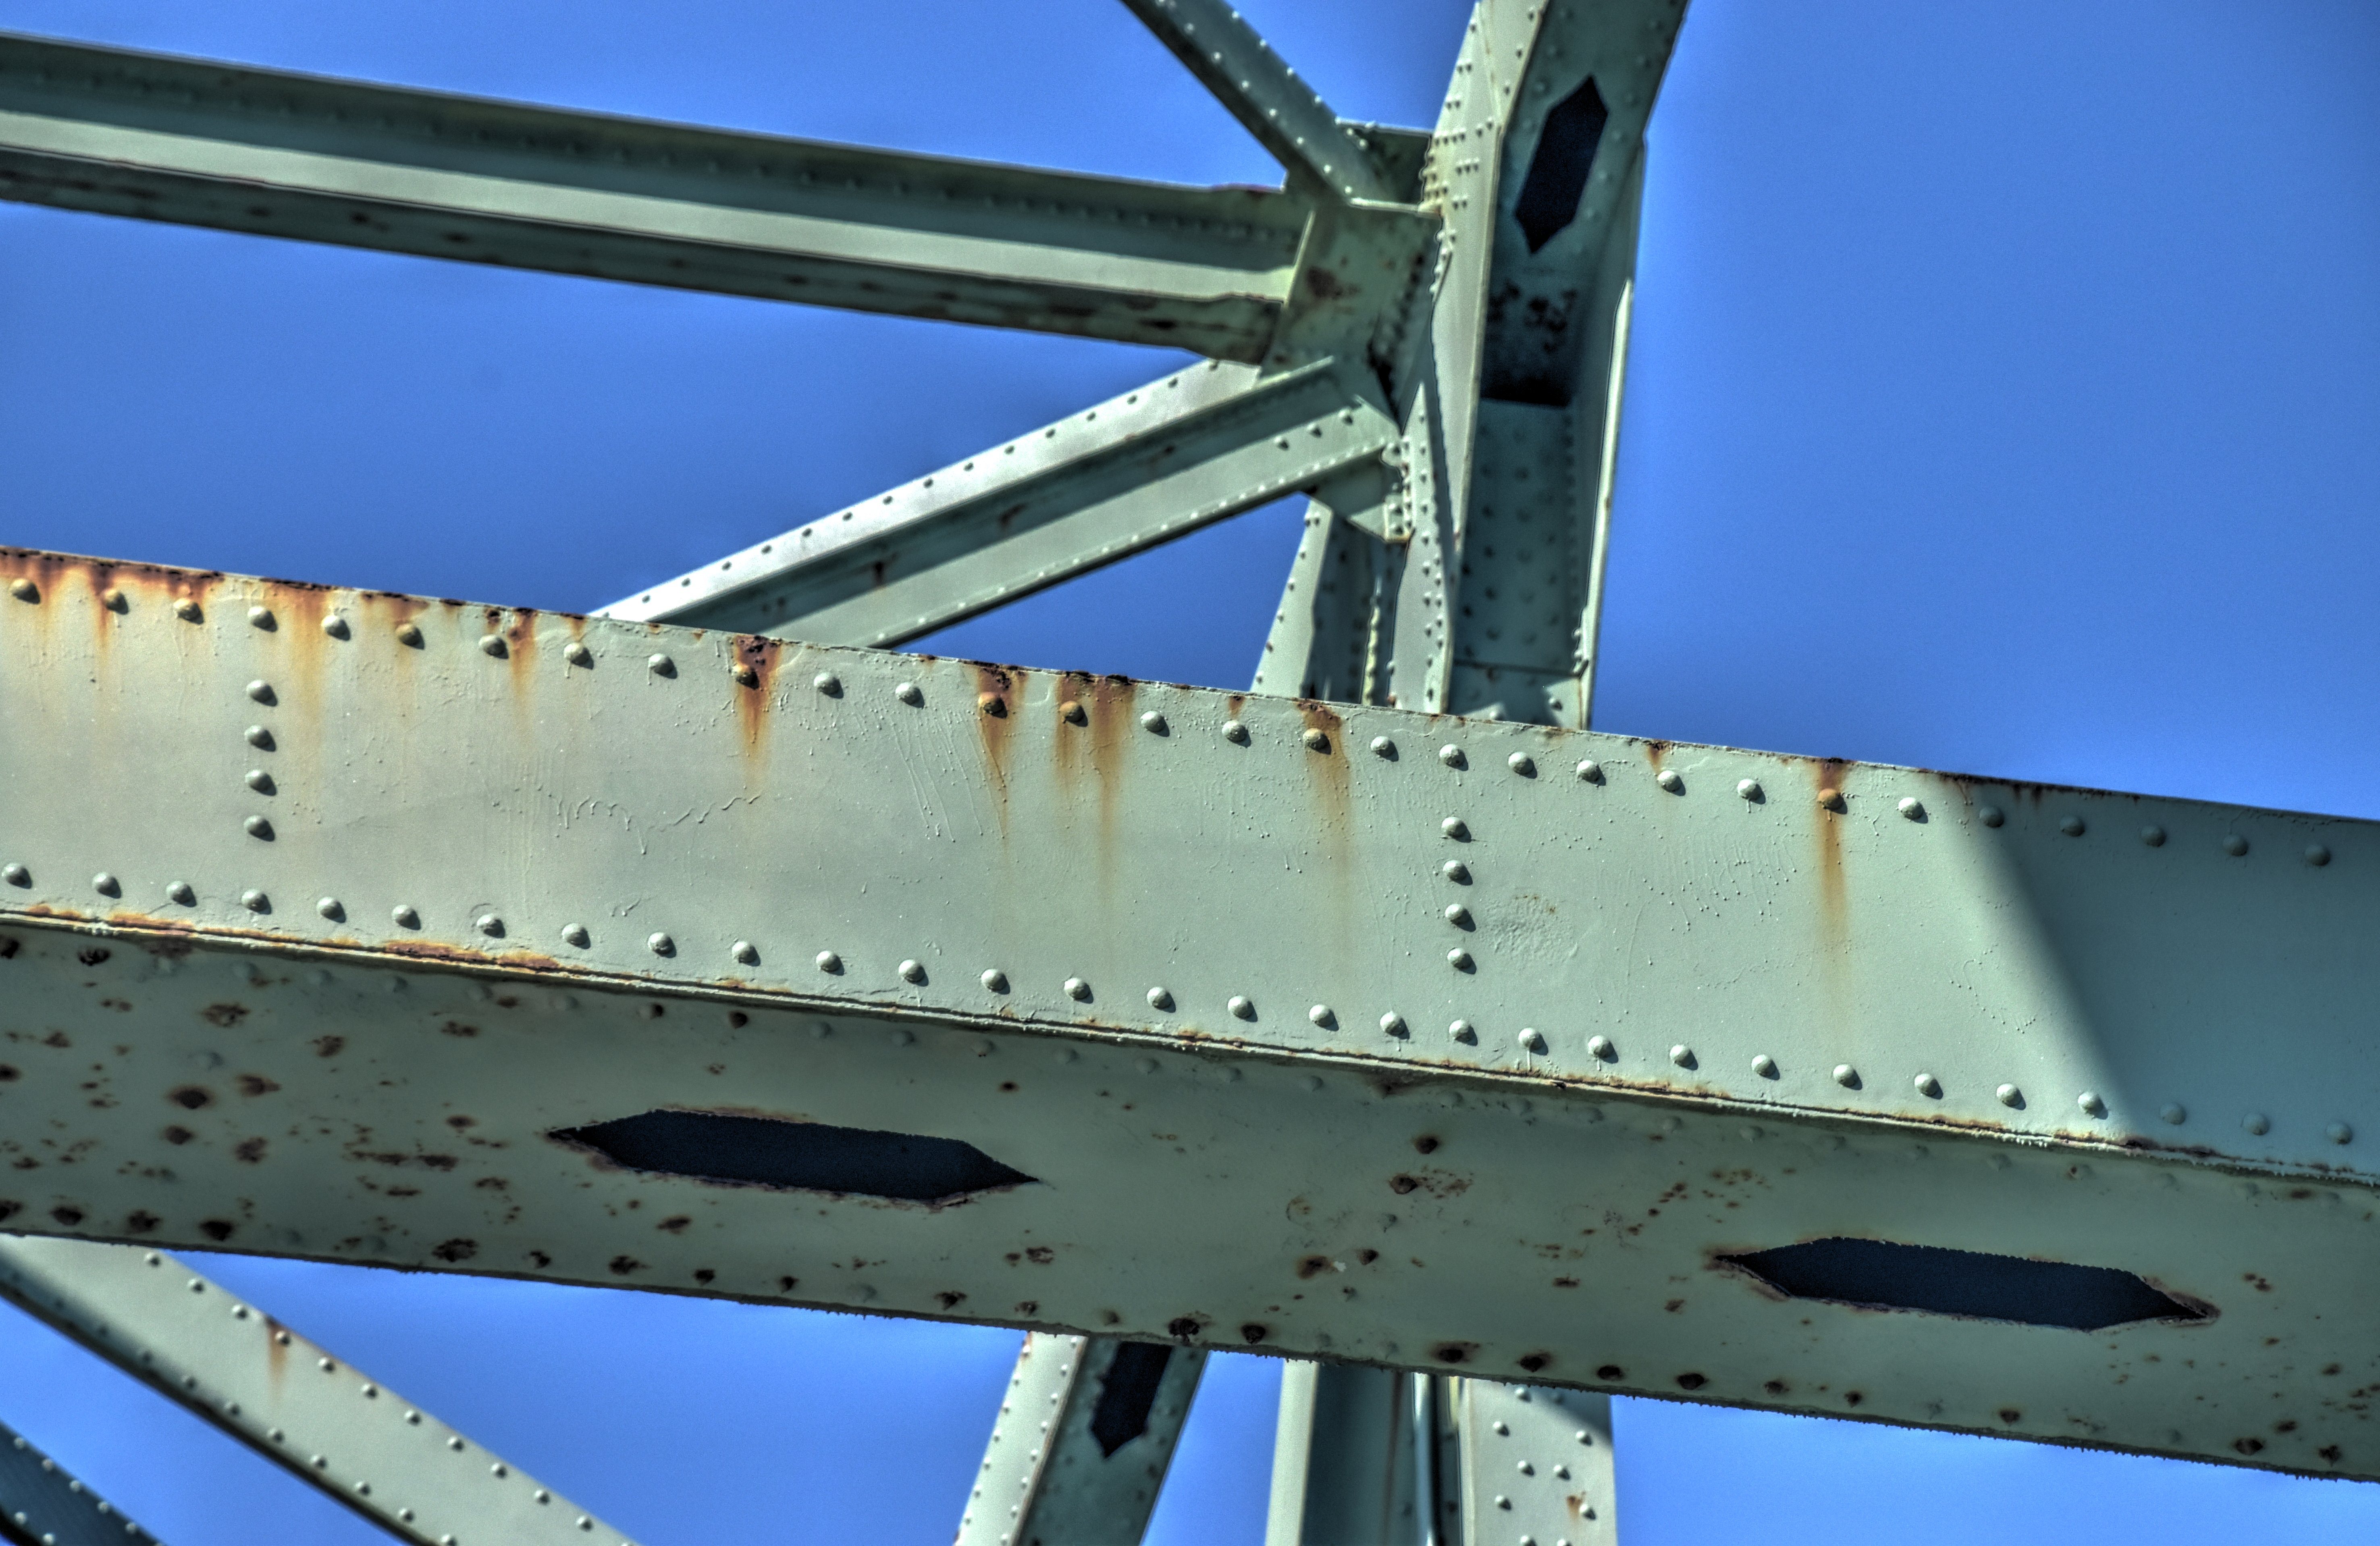
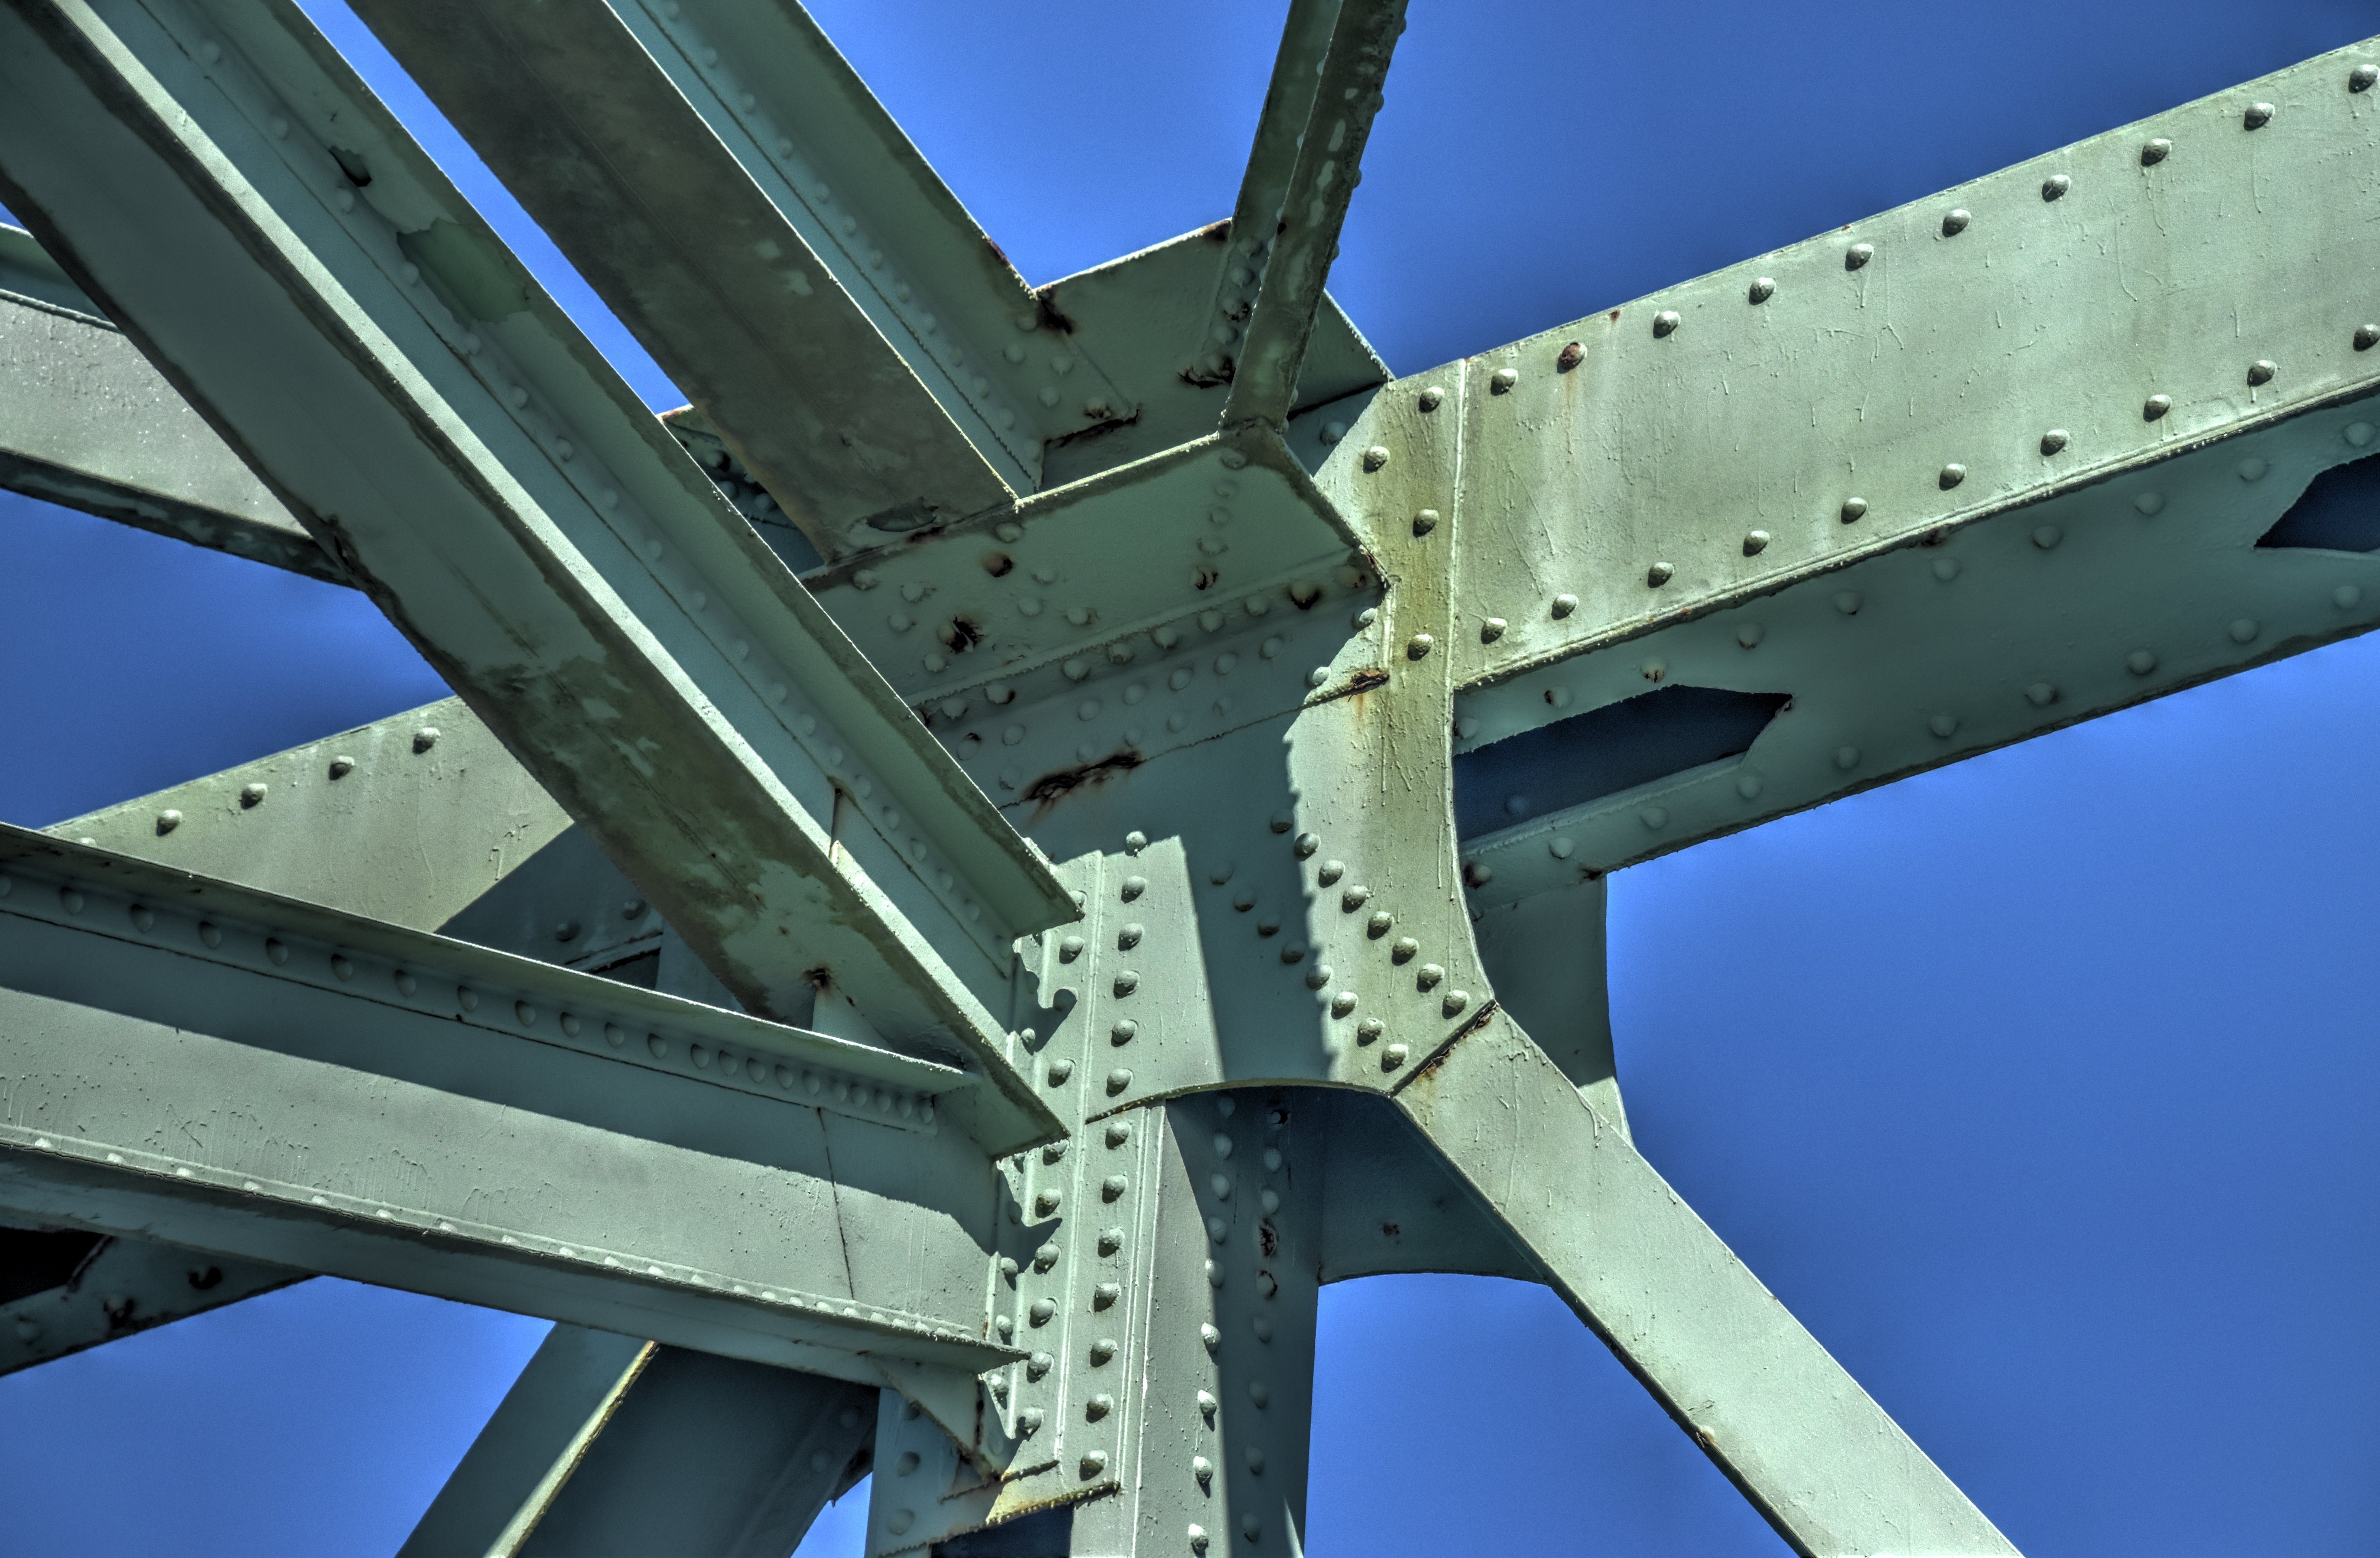
Top chord connections as viewed from beside bridge.
![]()
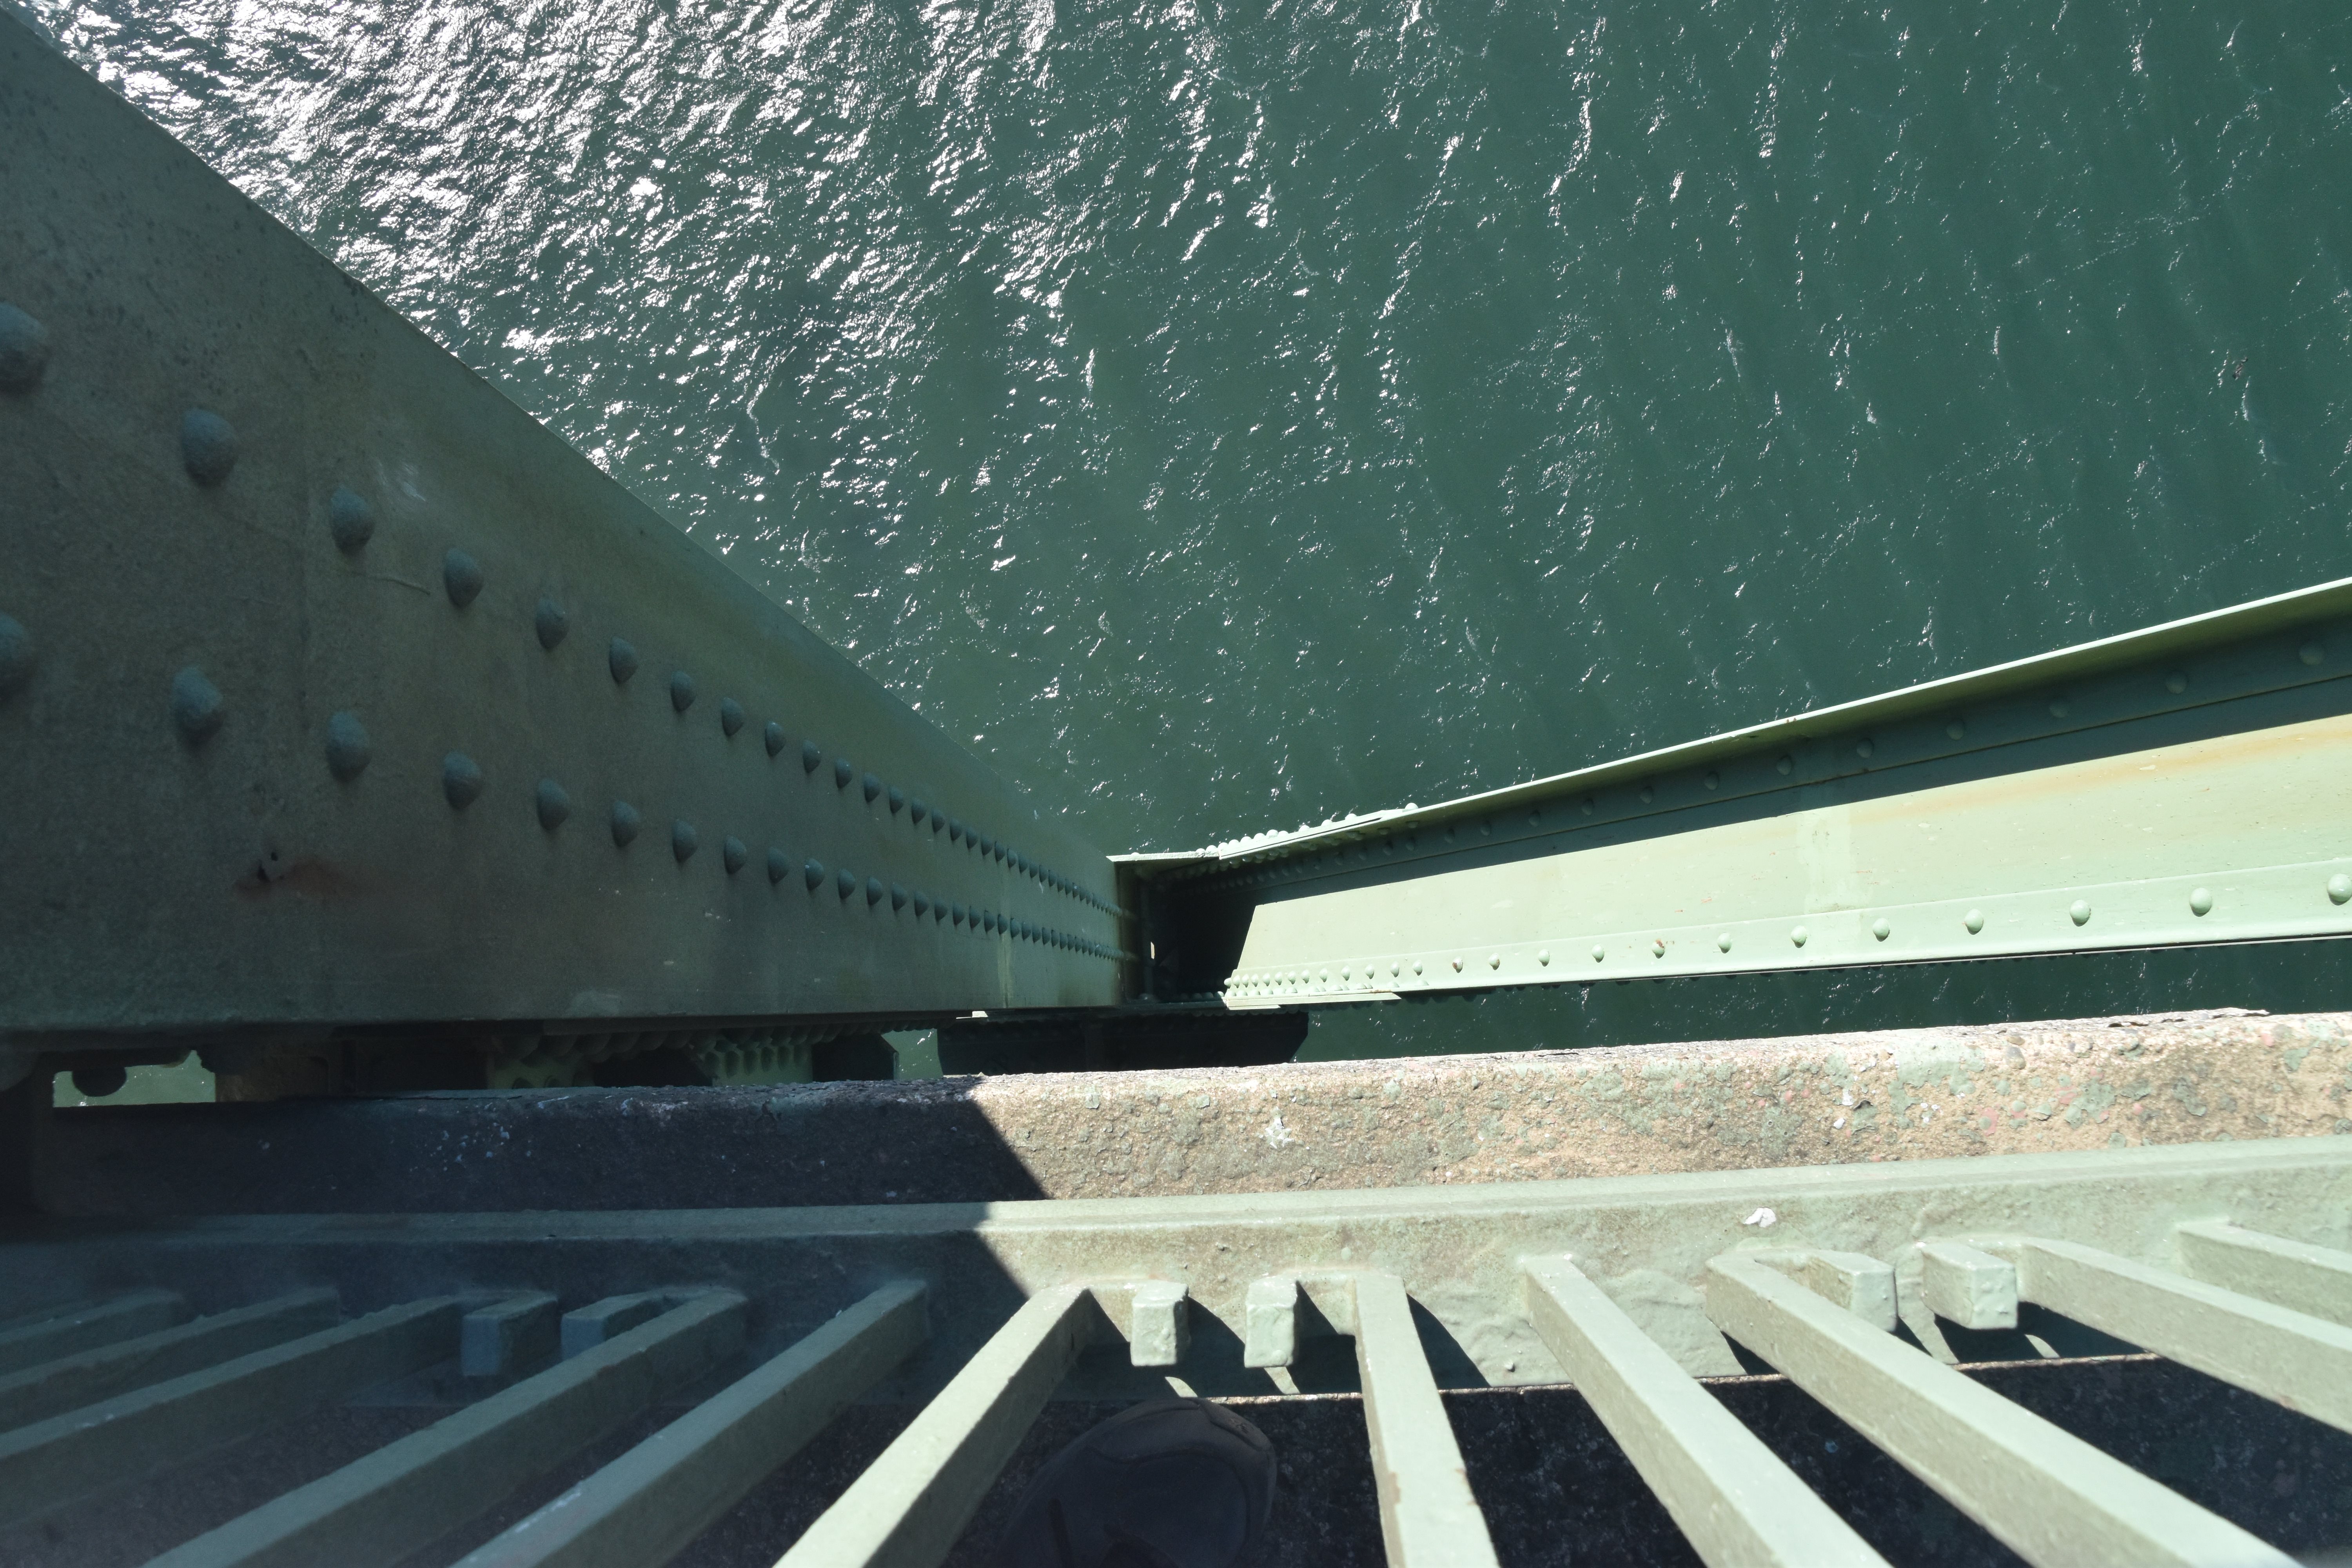
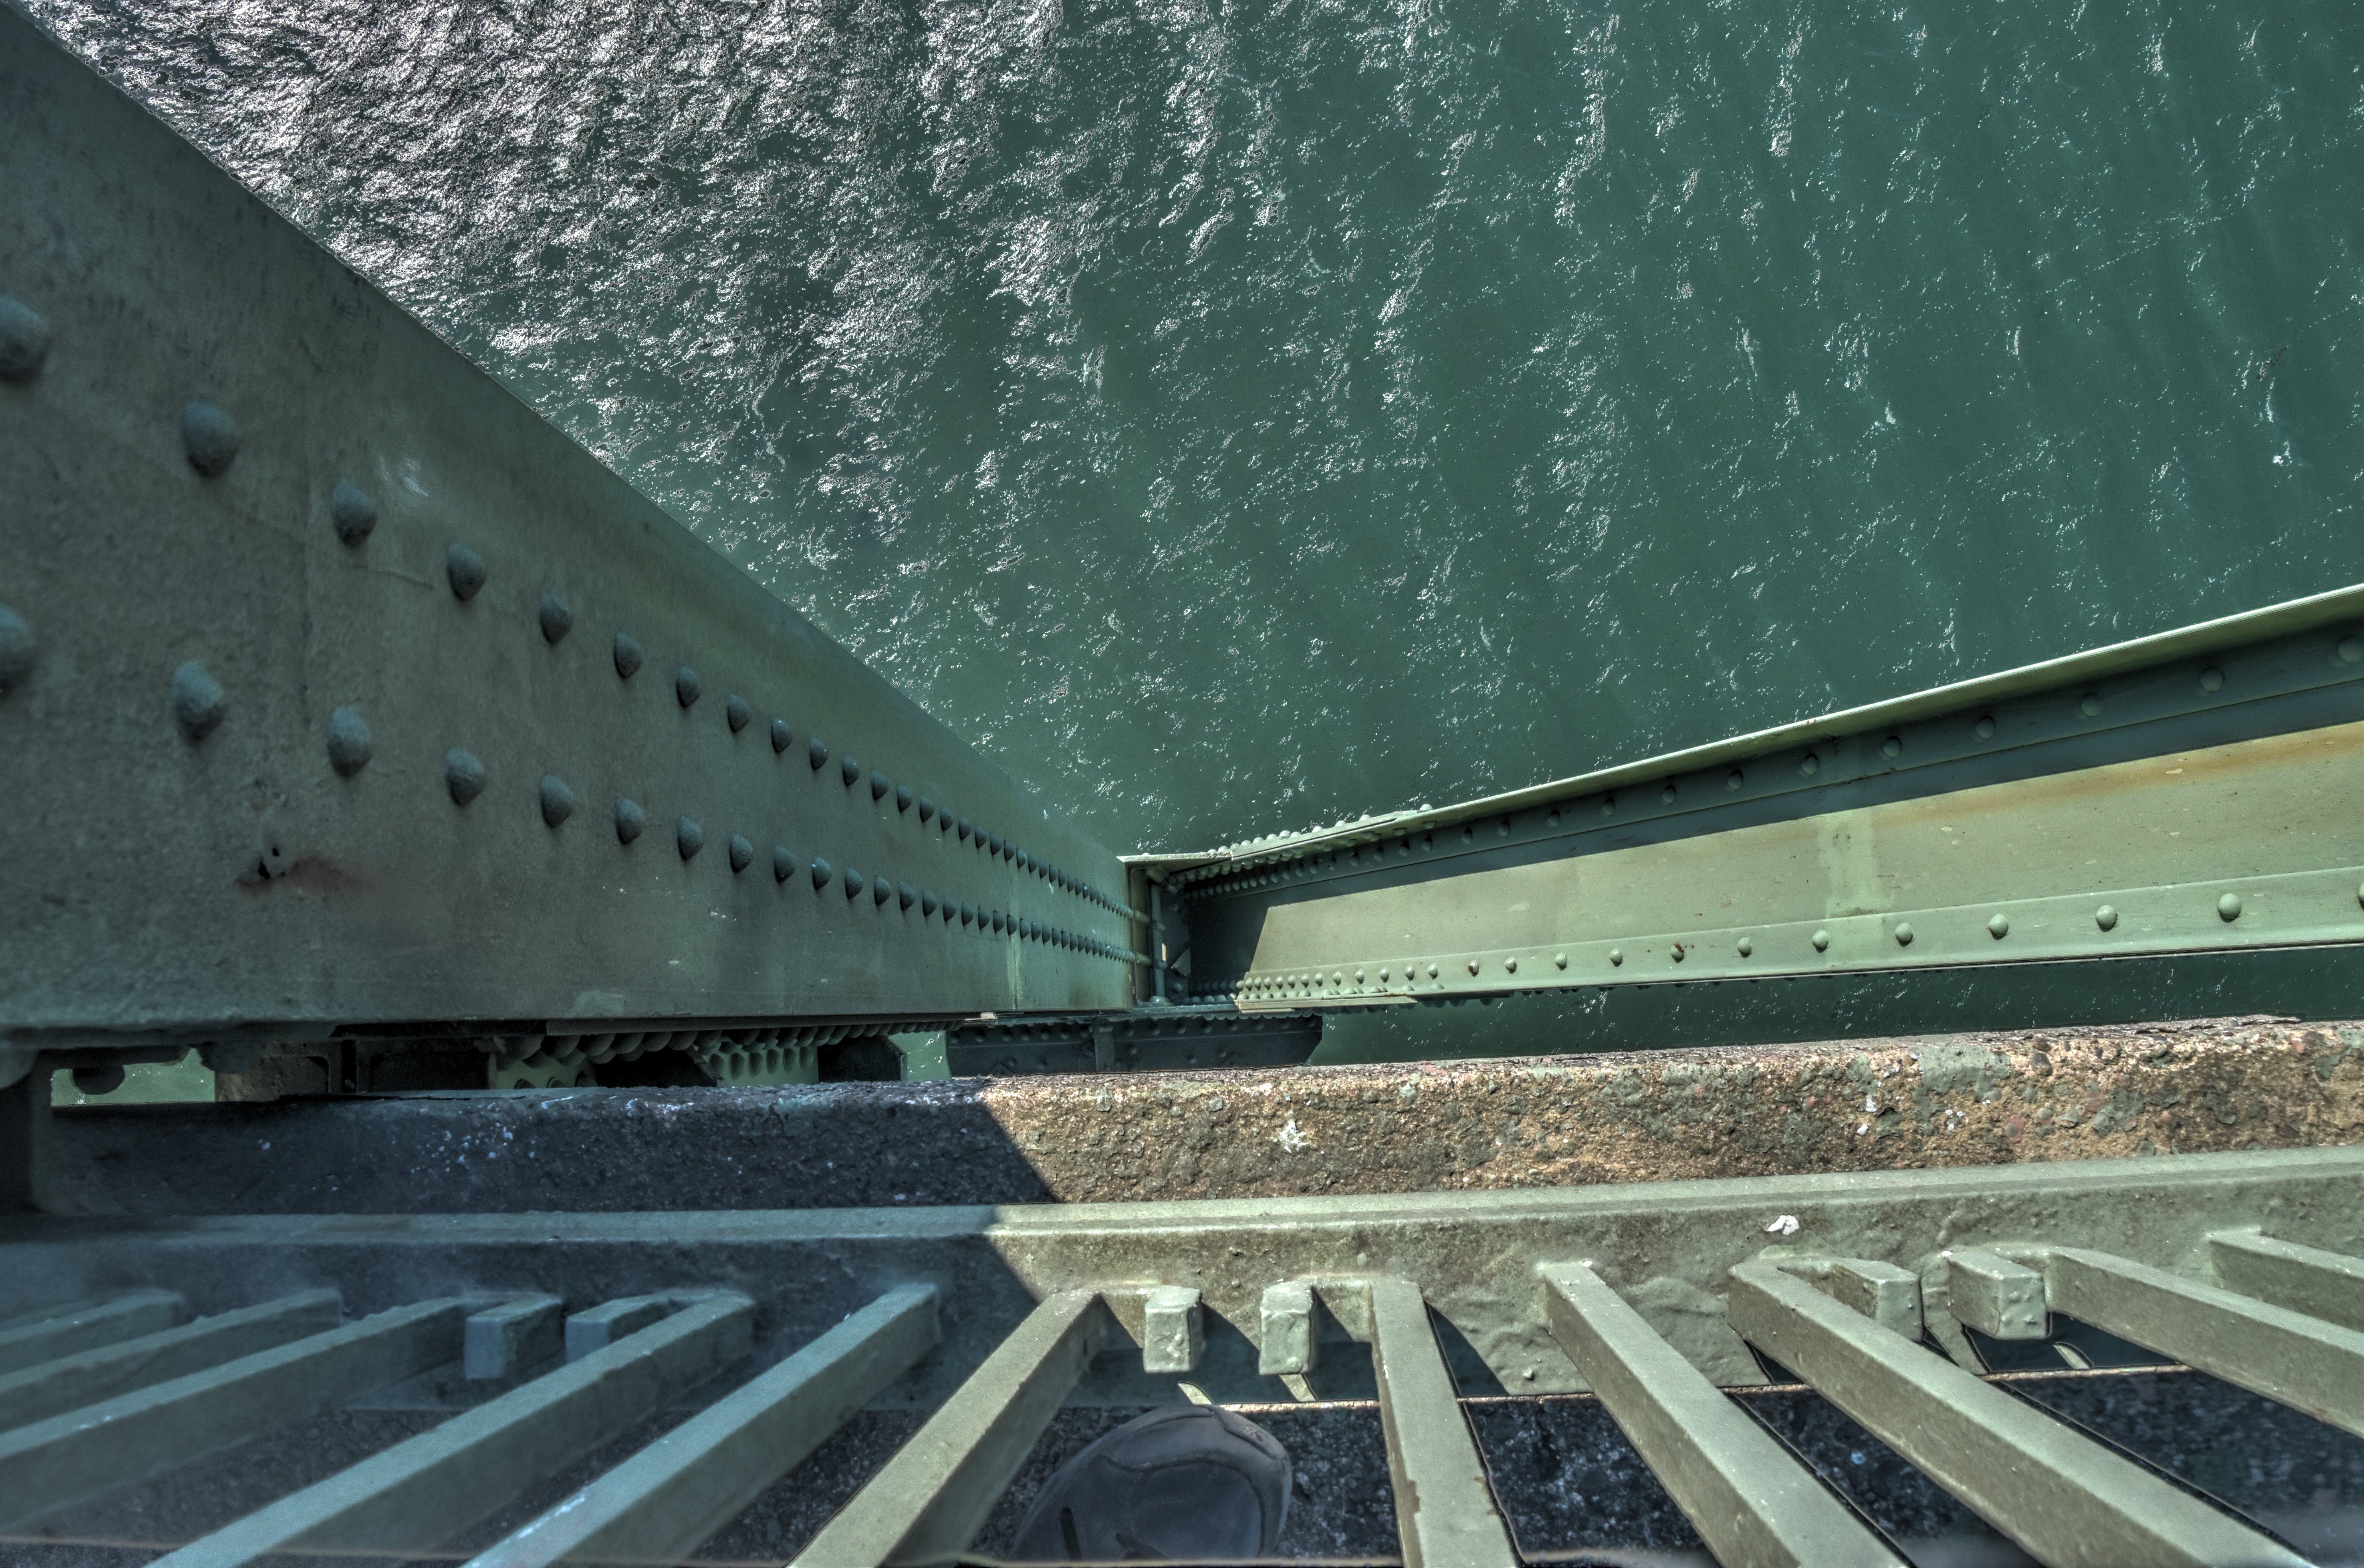
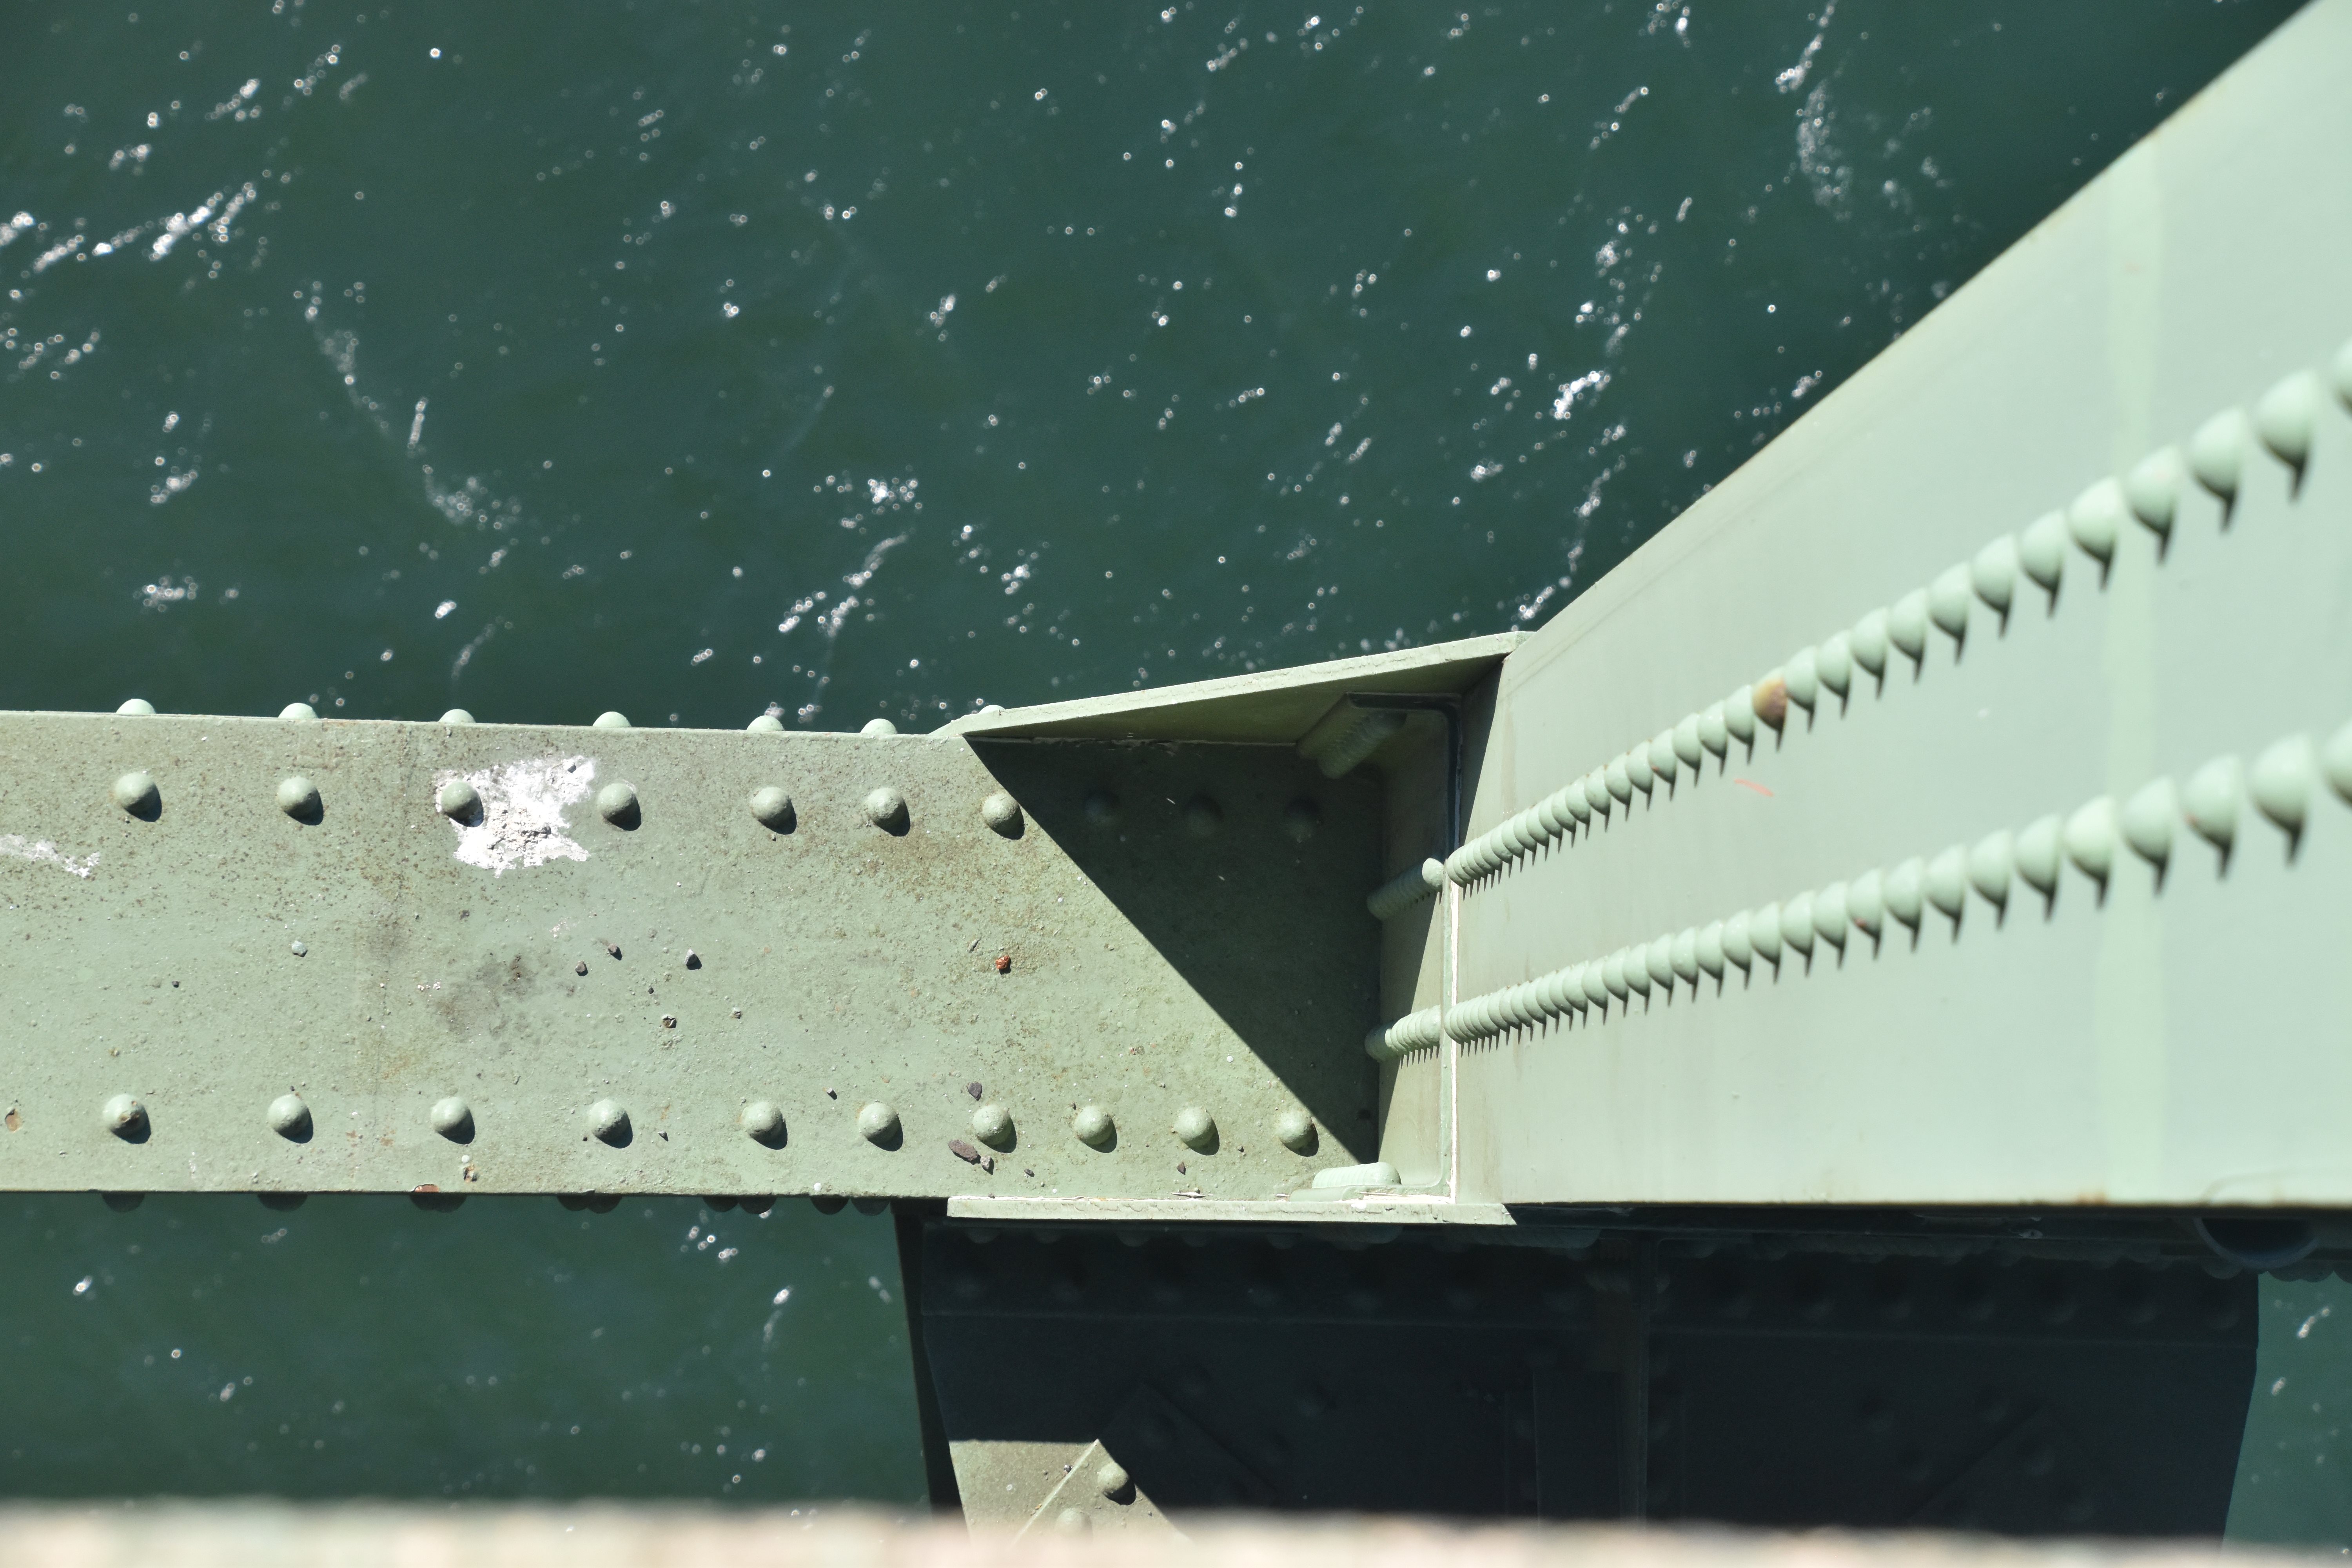
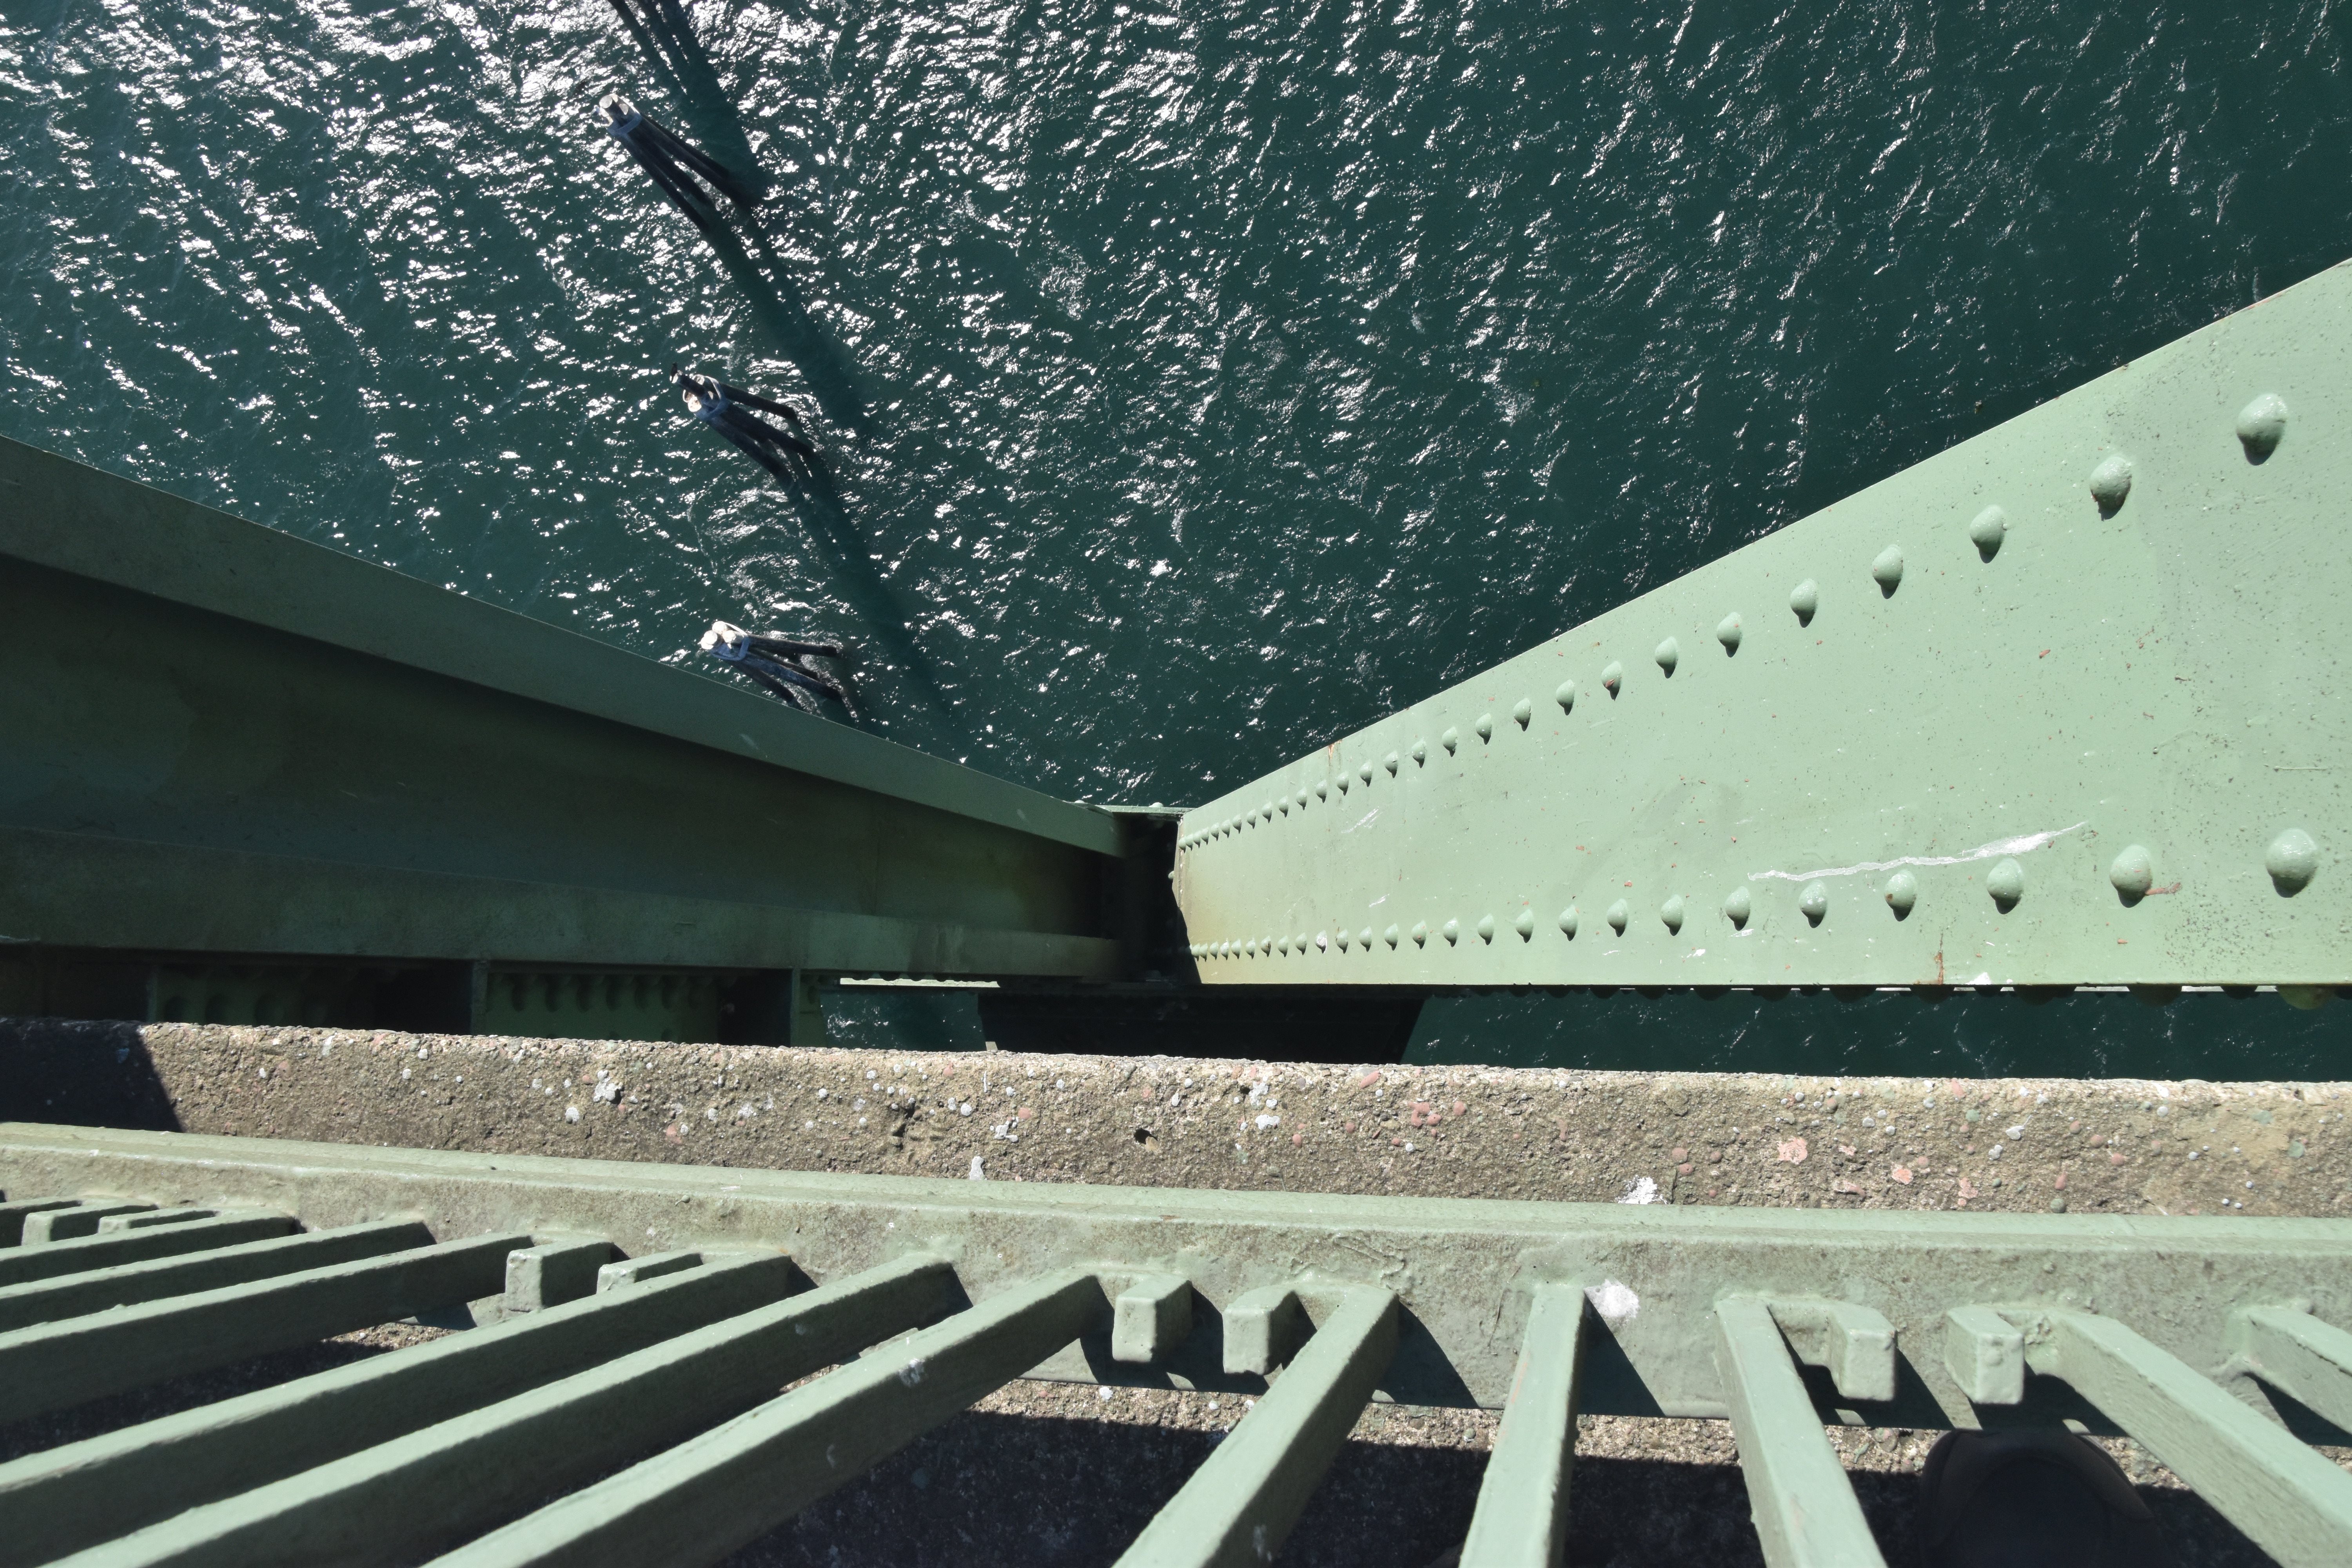
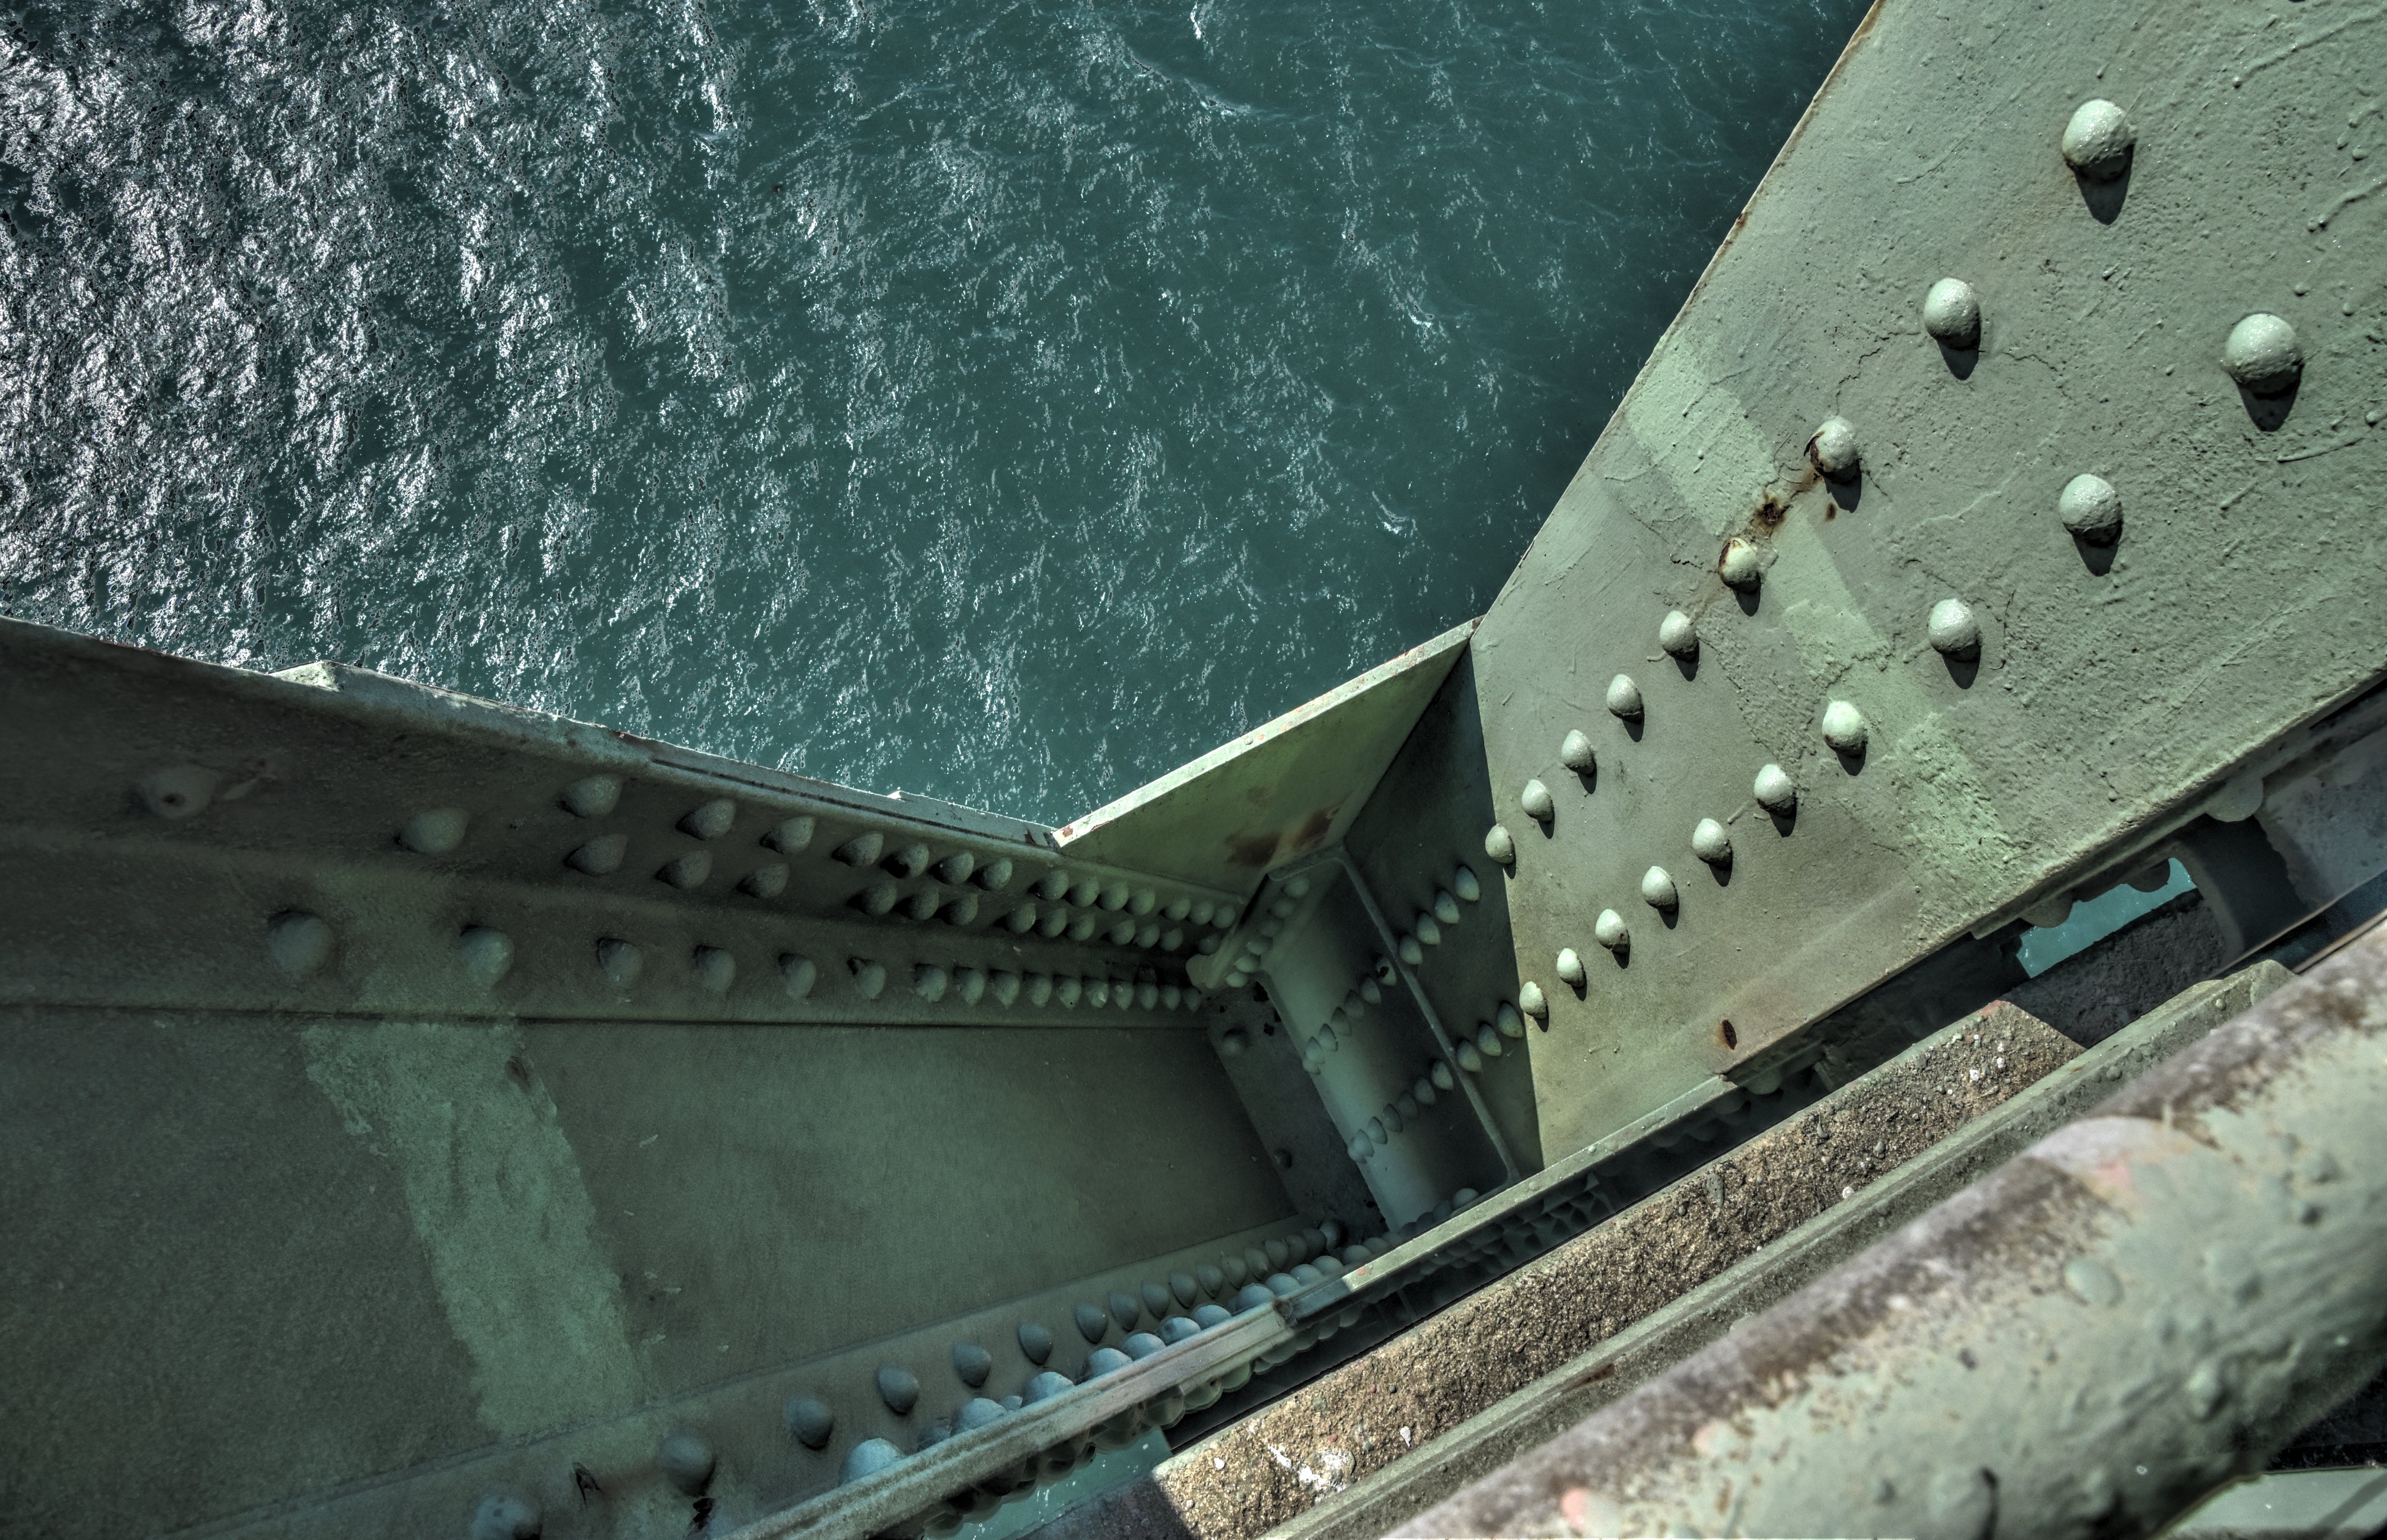
Bottom chord connections as viewed from beside bridge.
![]()


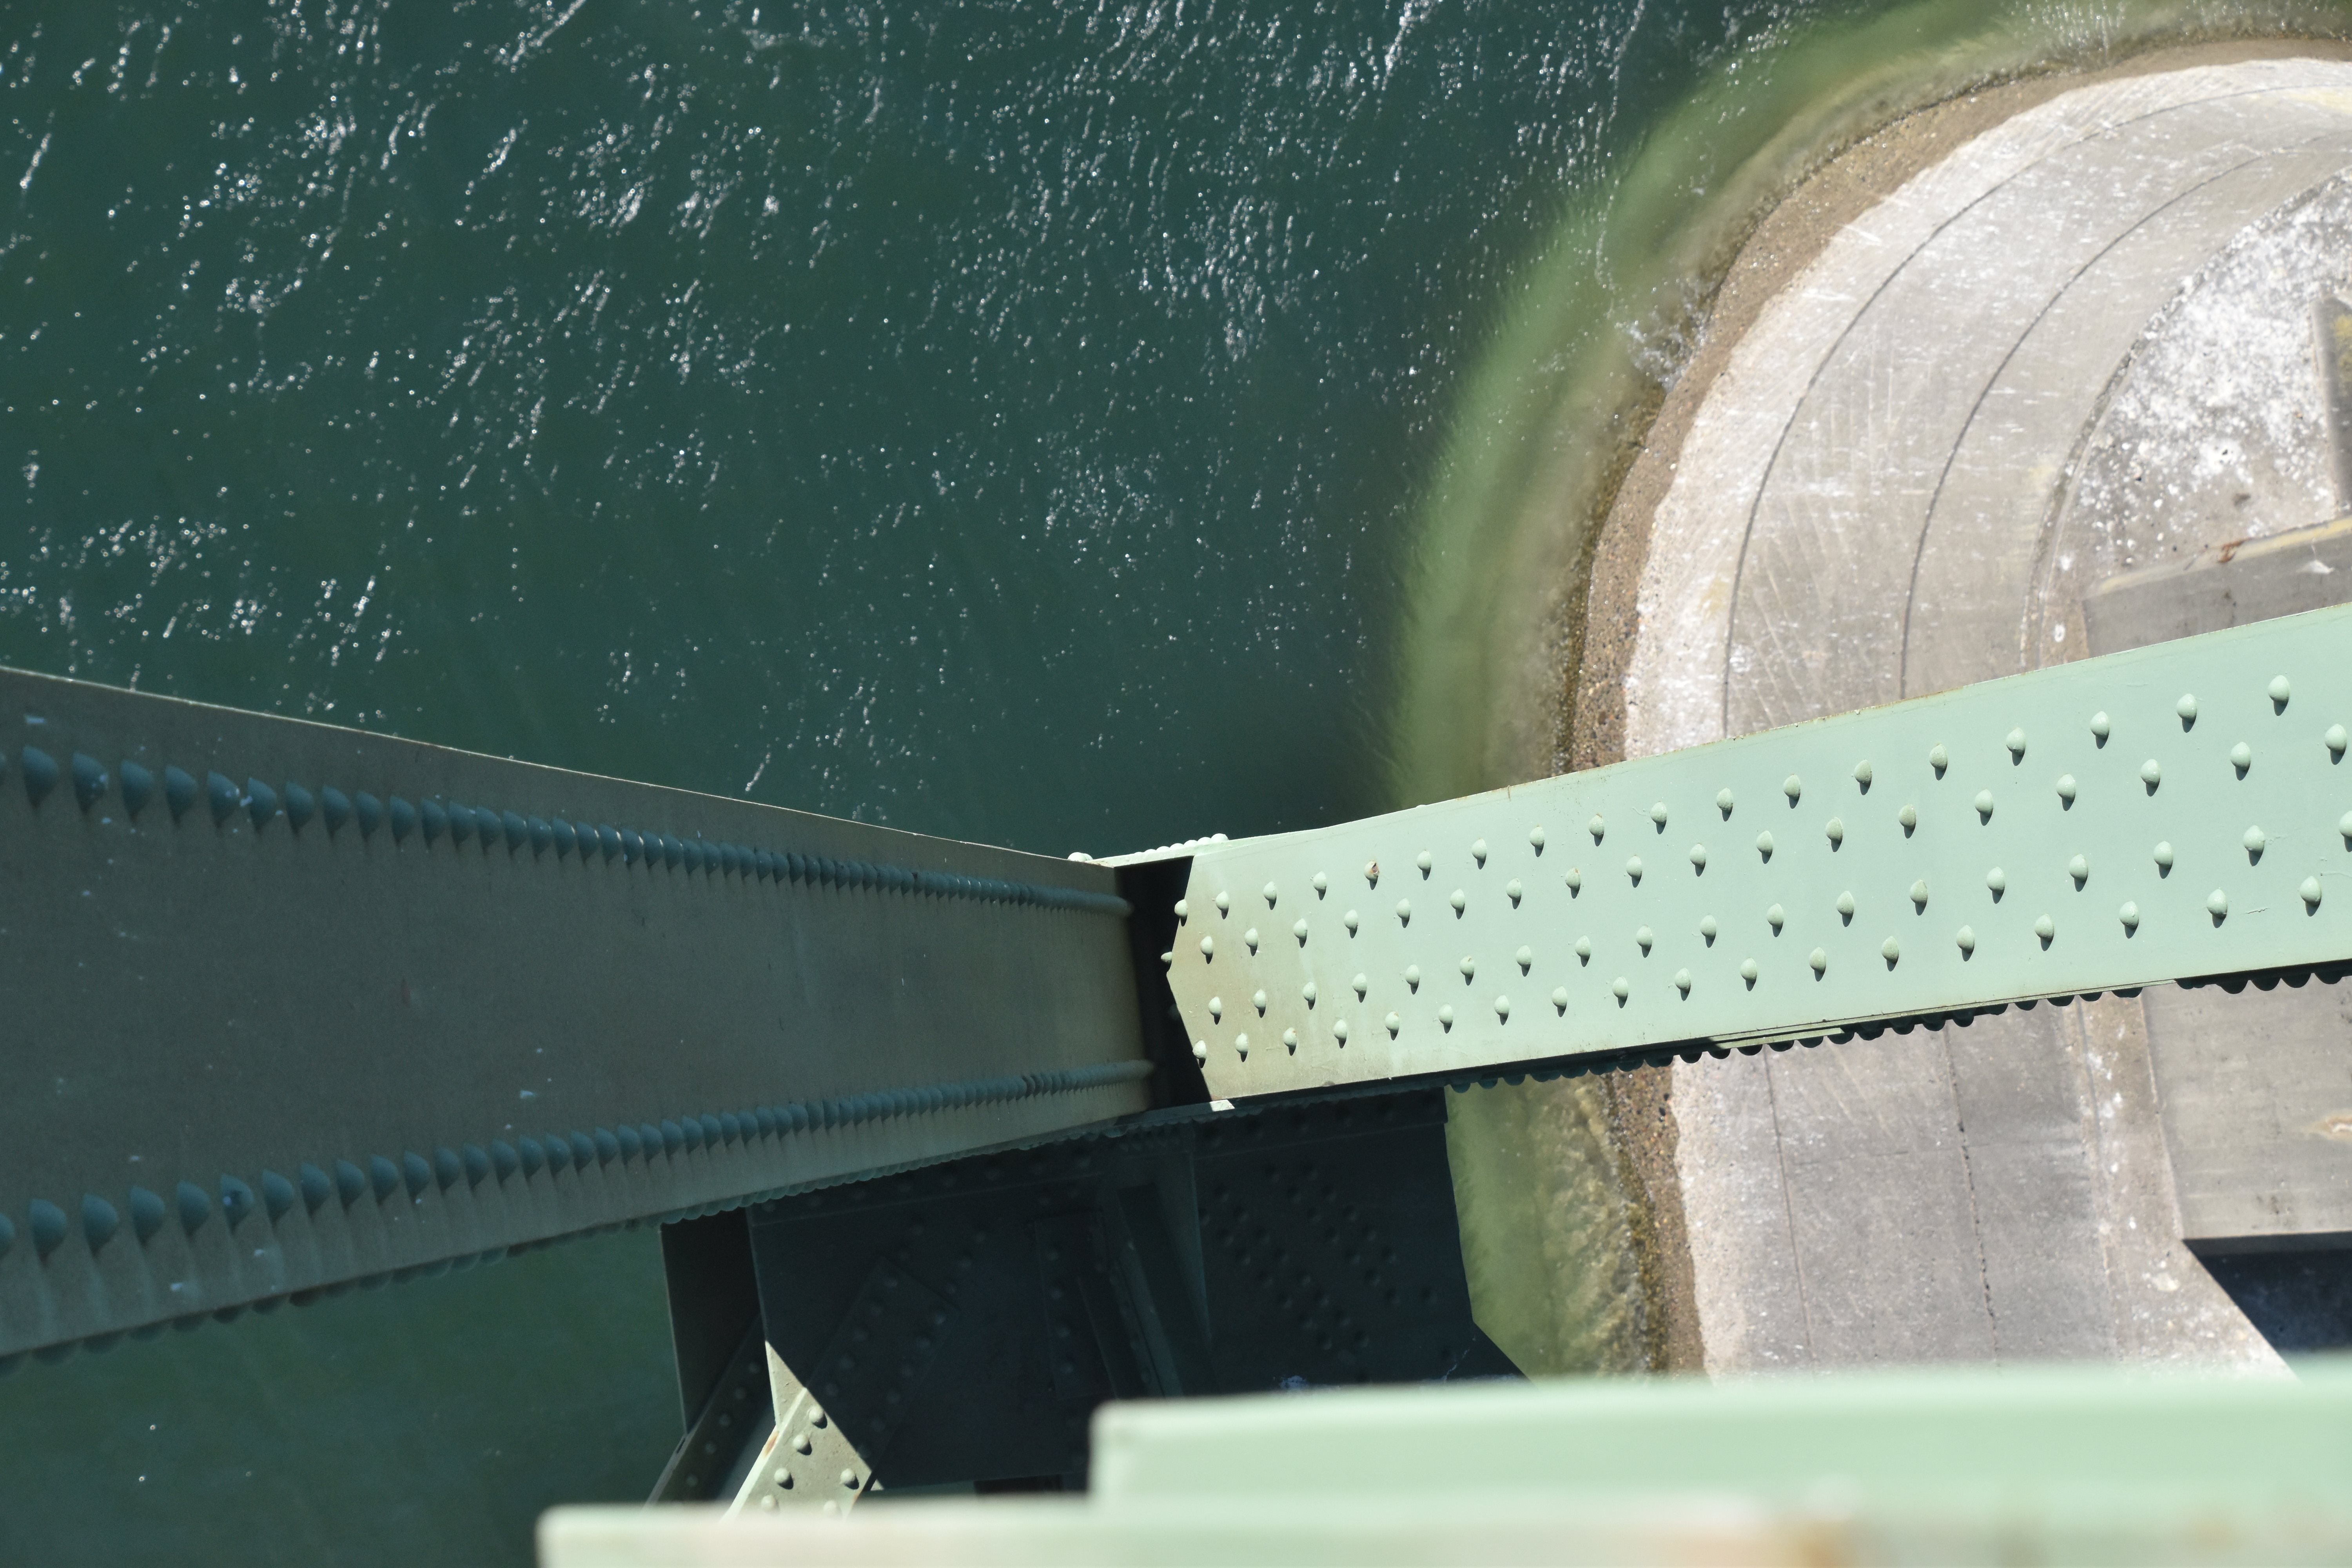
Deck and floorbeams as viewed from beside bridge.
![]()


Bearing at main post.
![]()
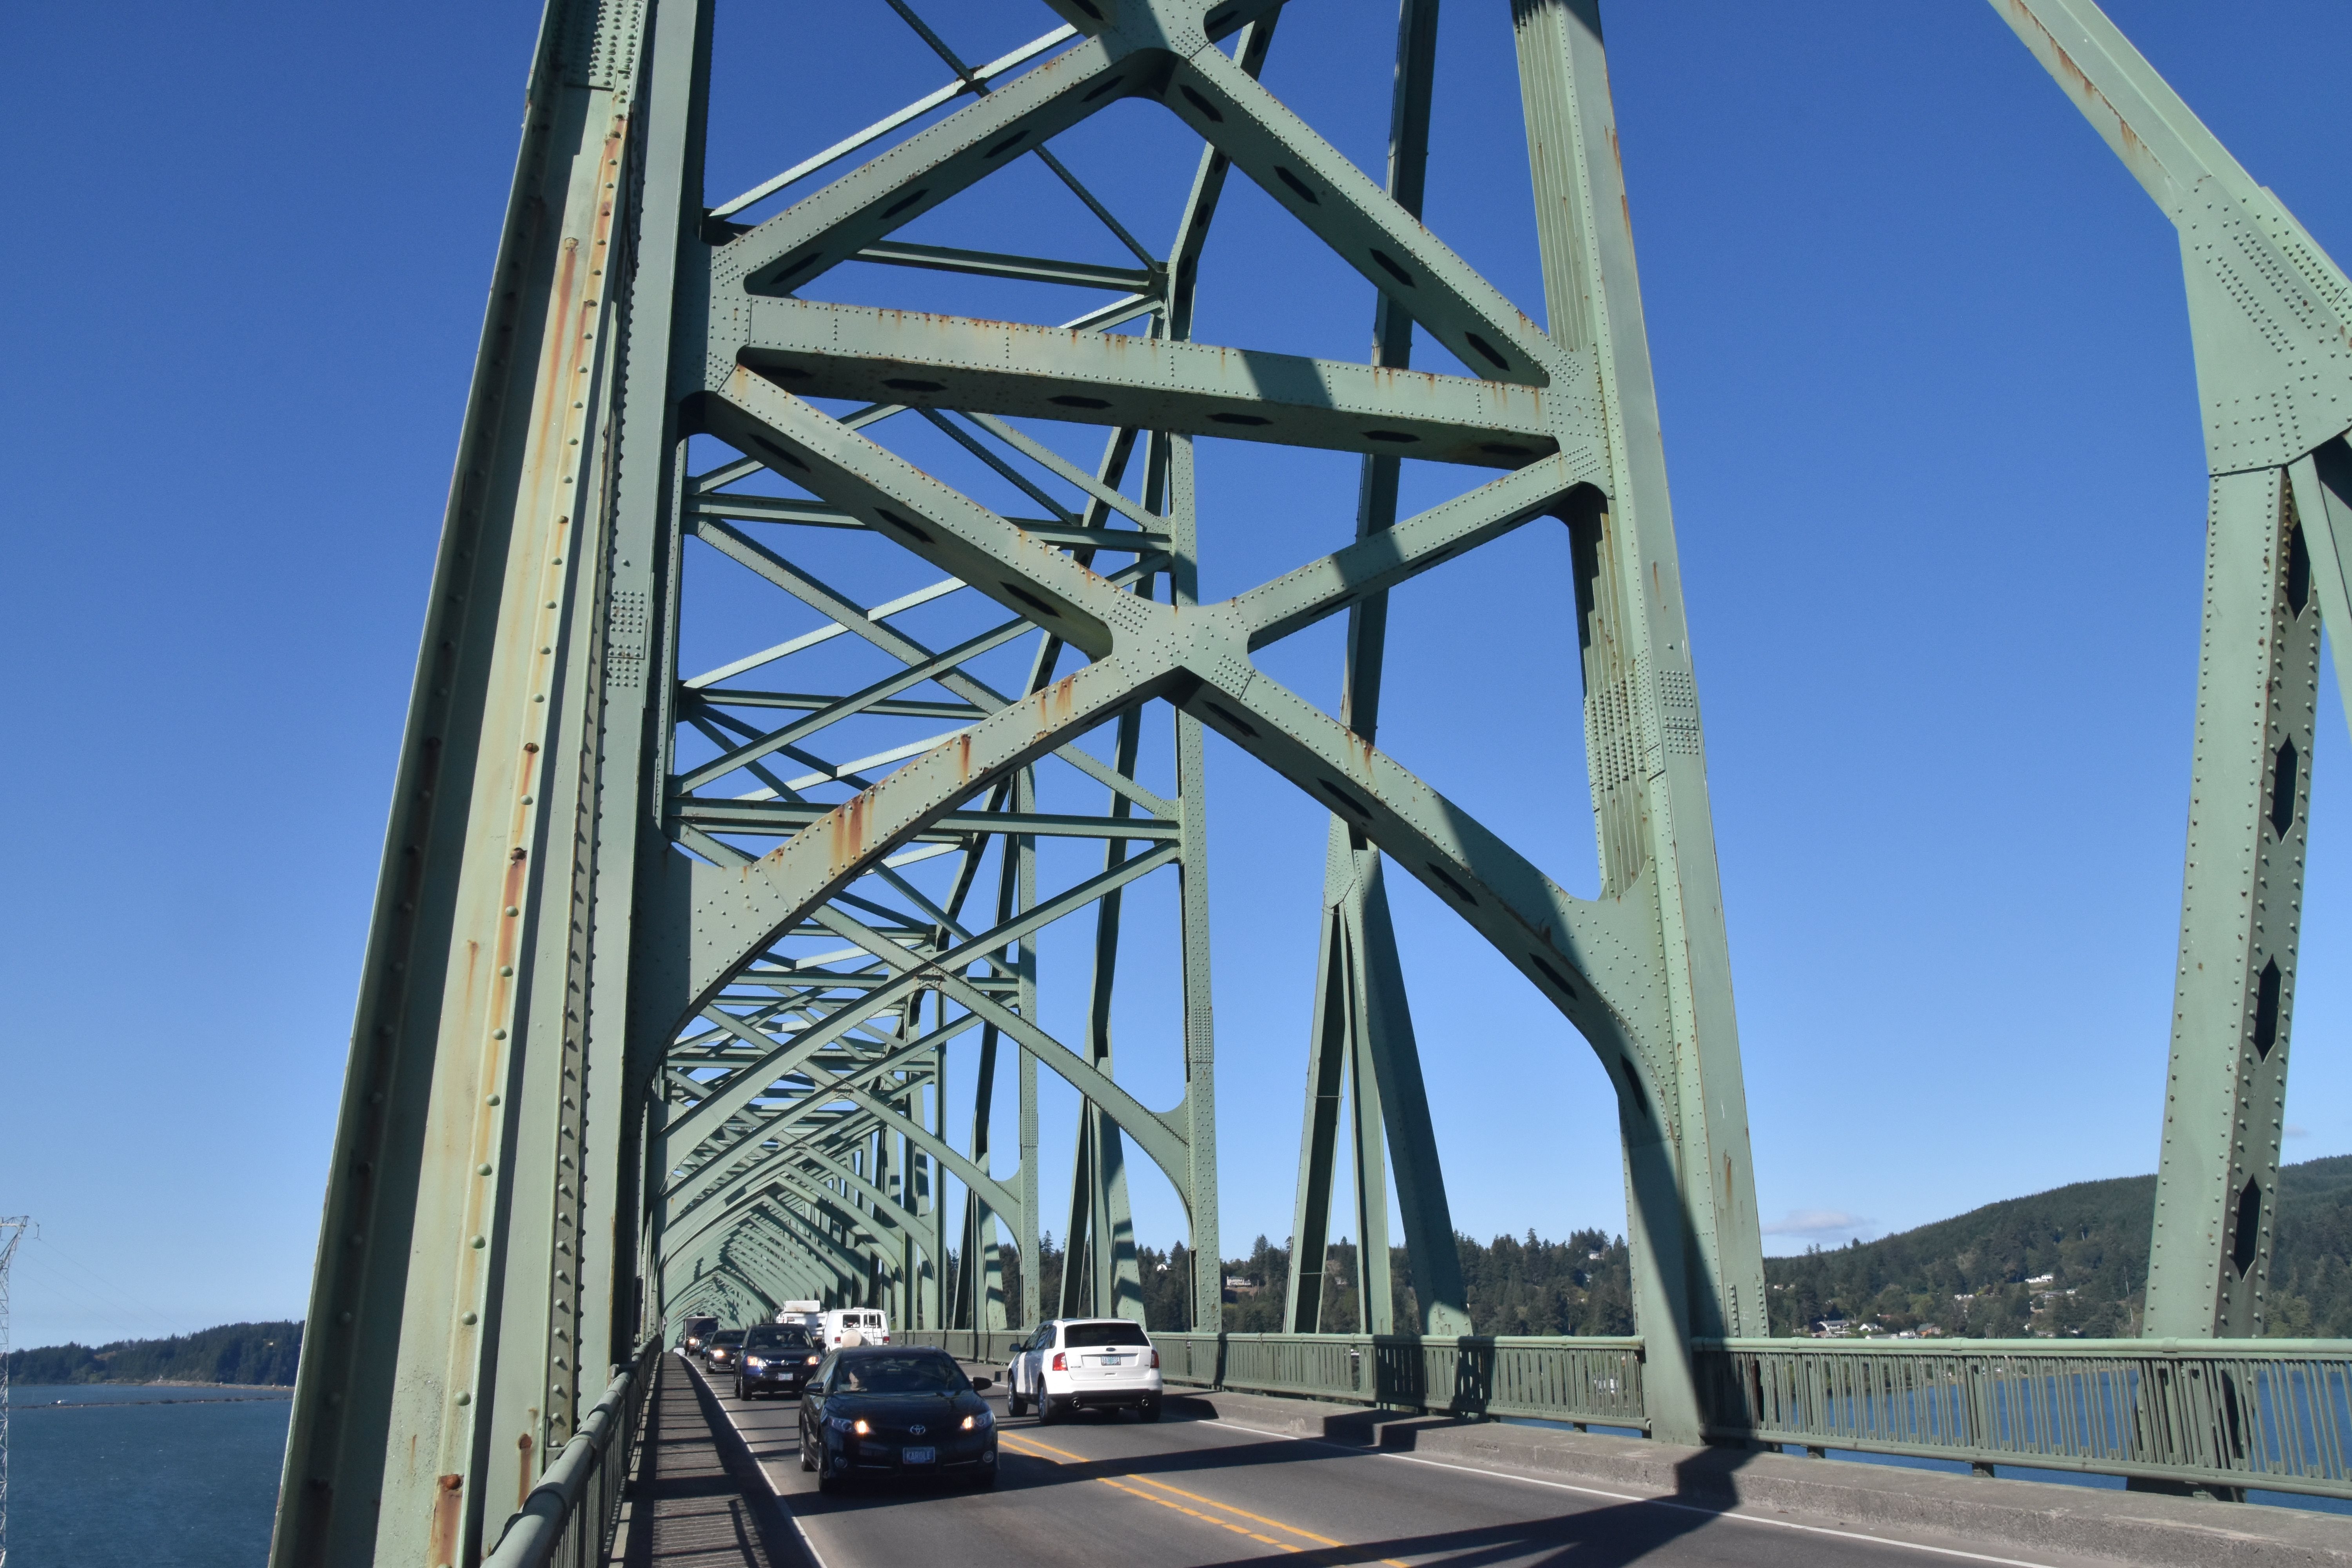
General Details From On Bridge
![]()
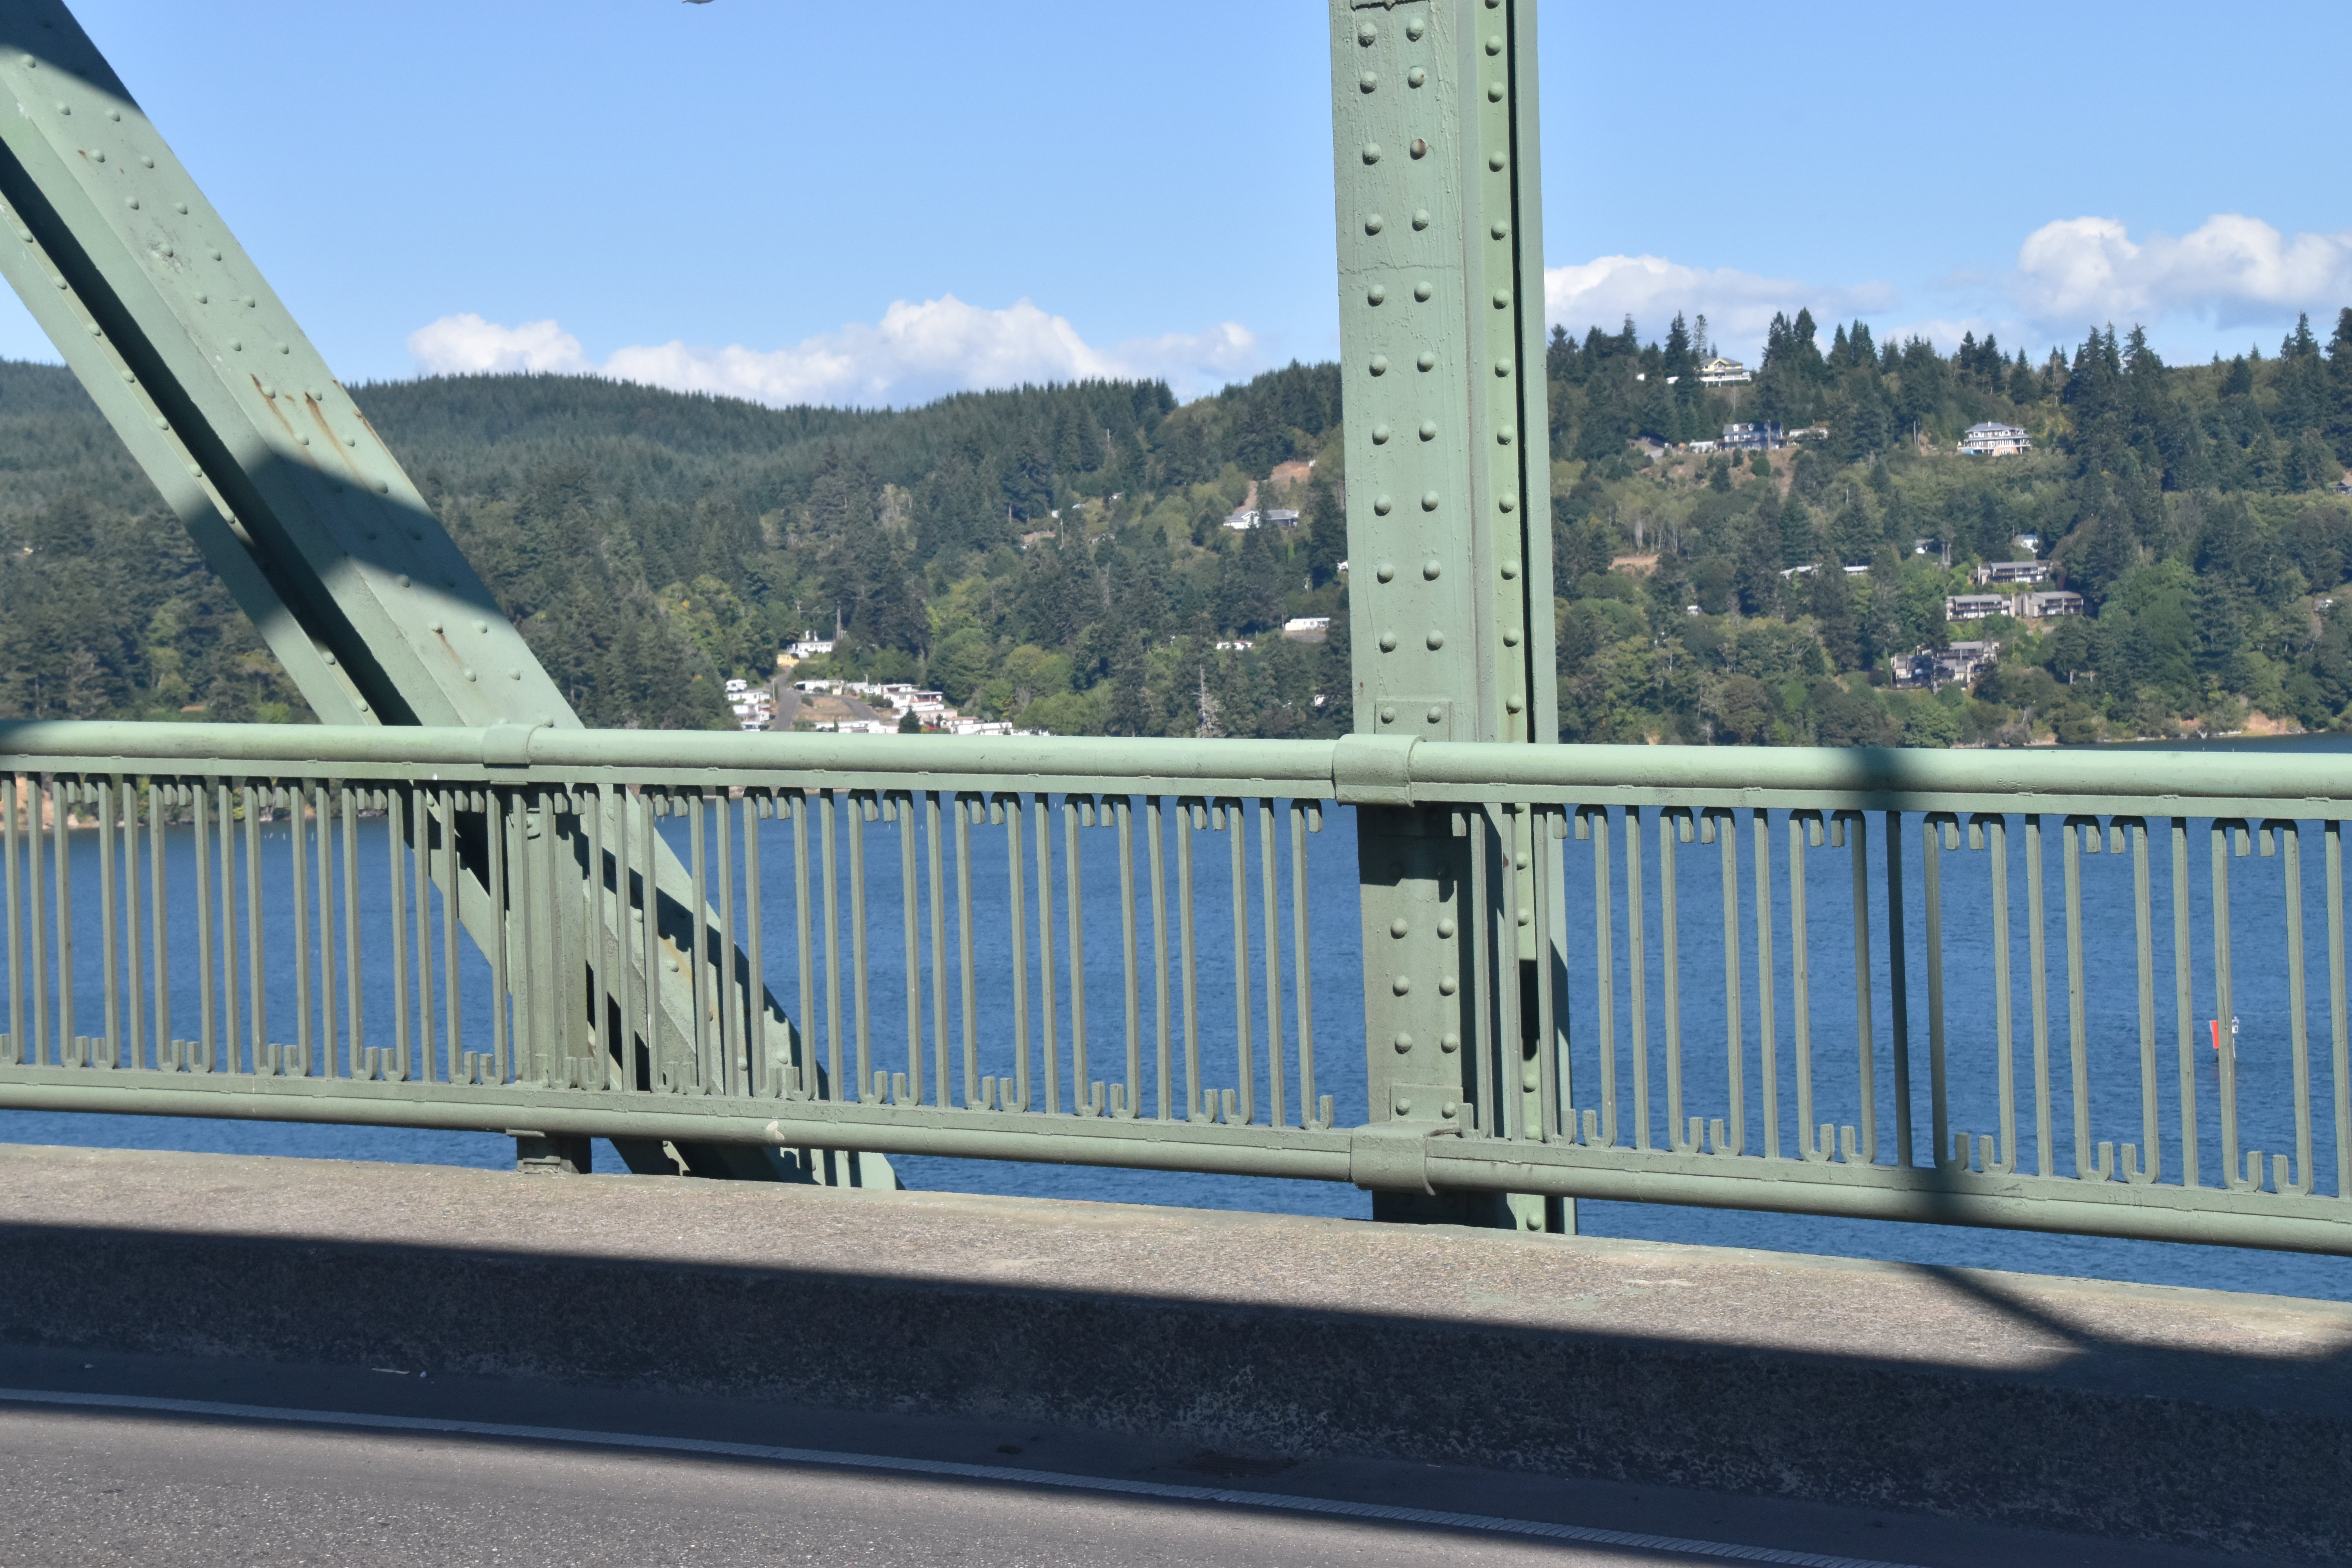
Railing.
![]()


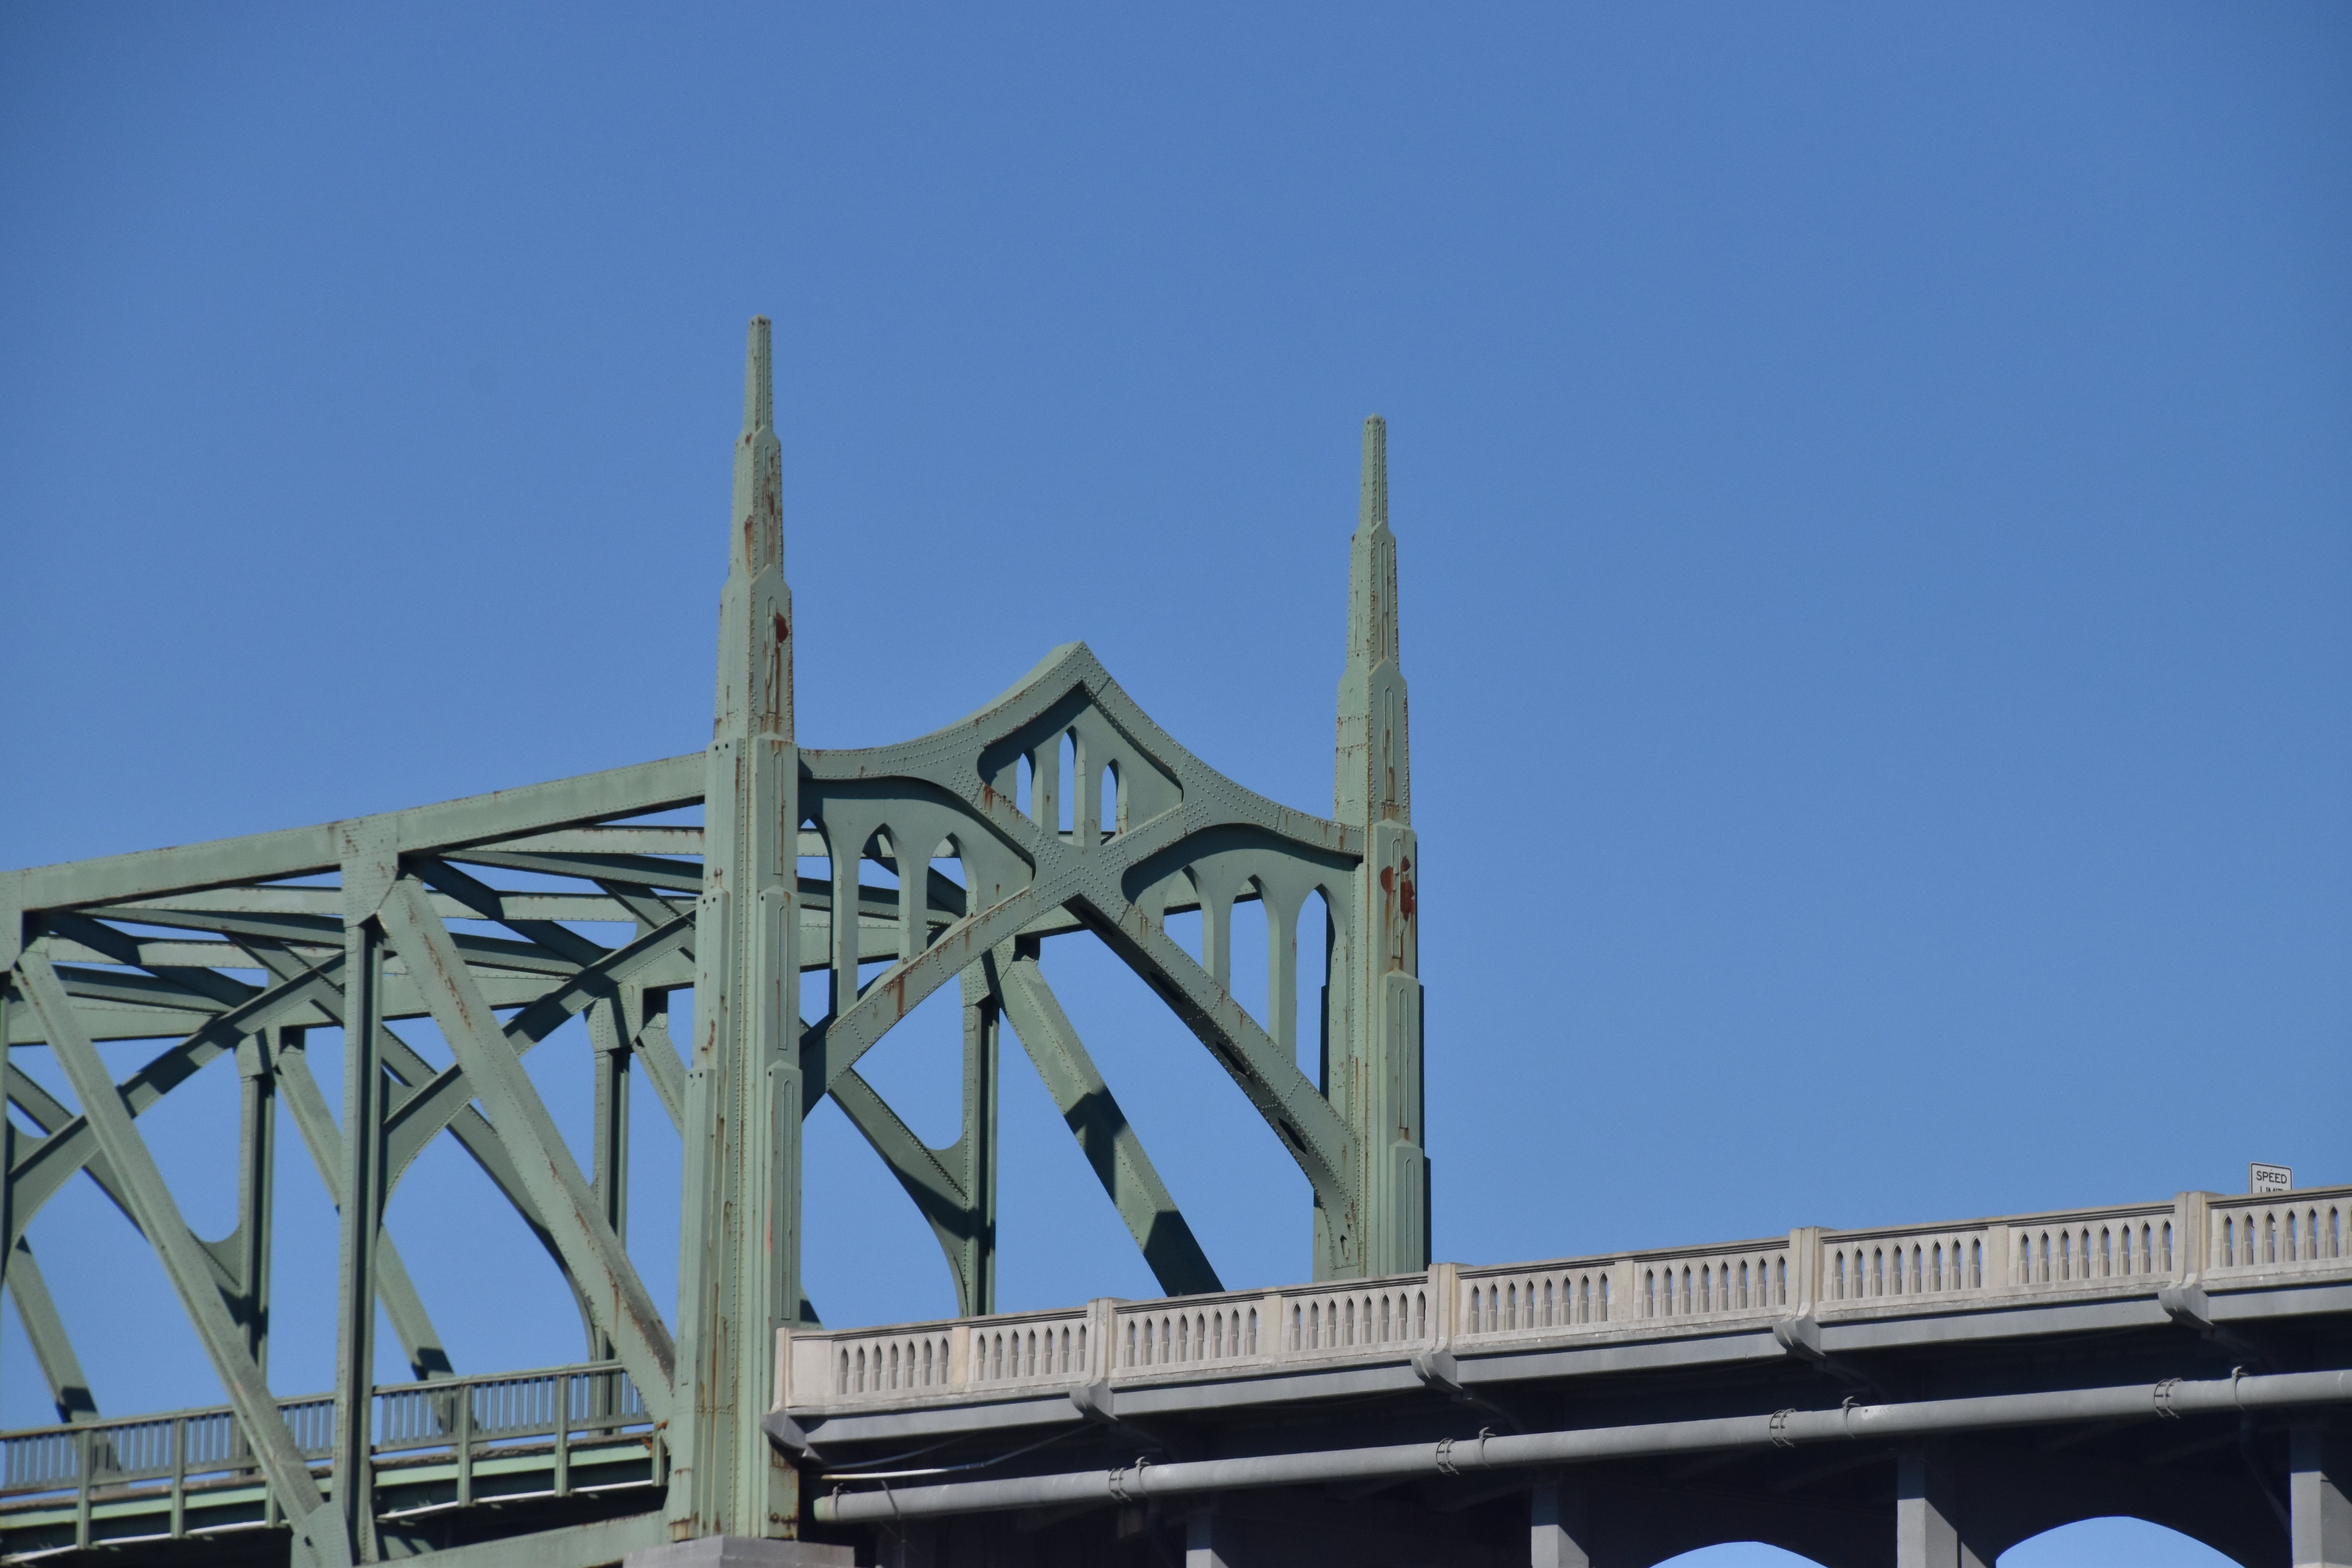
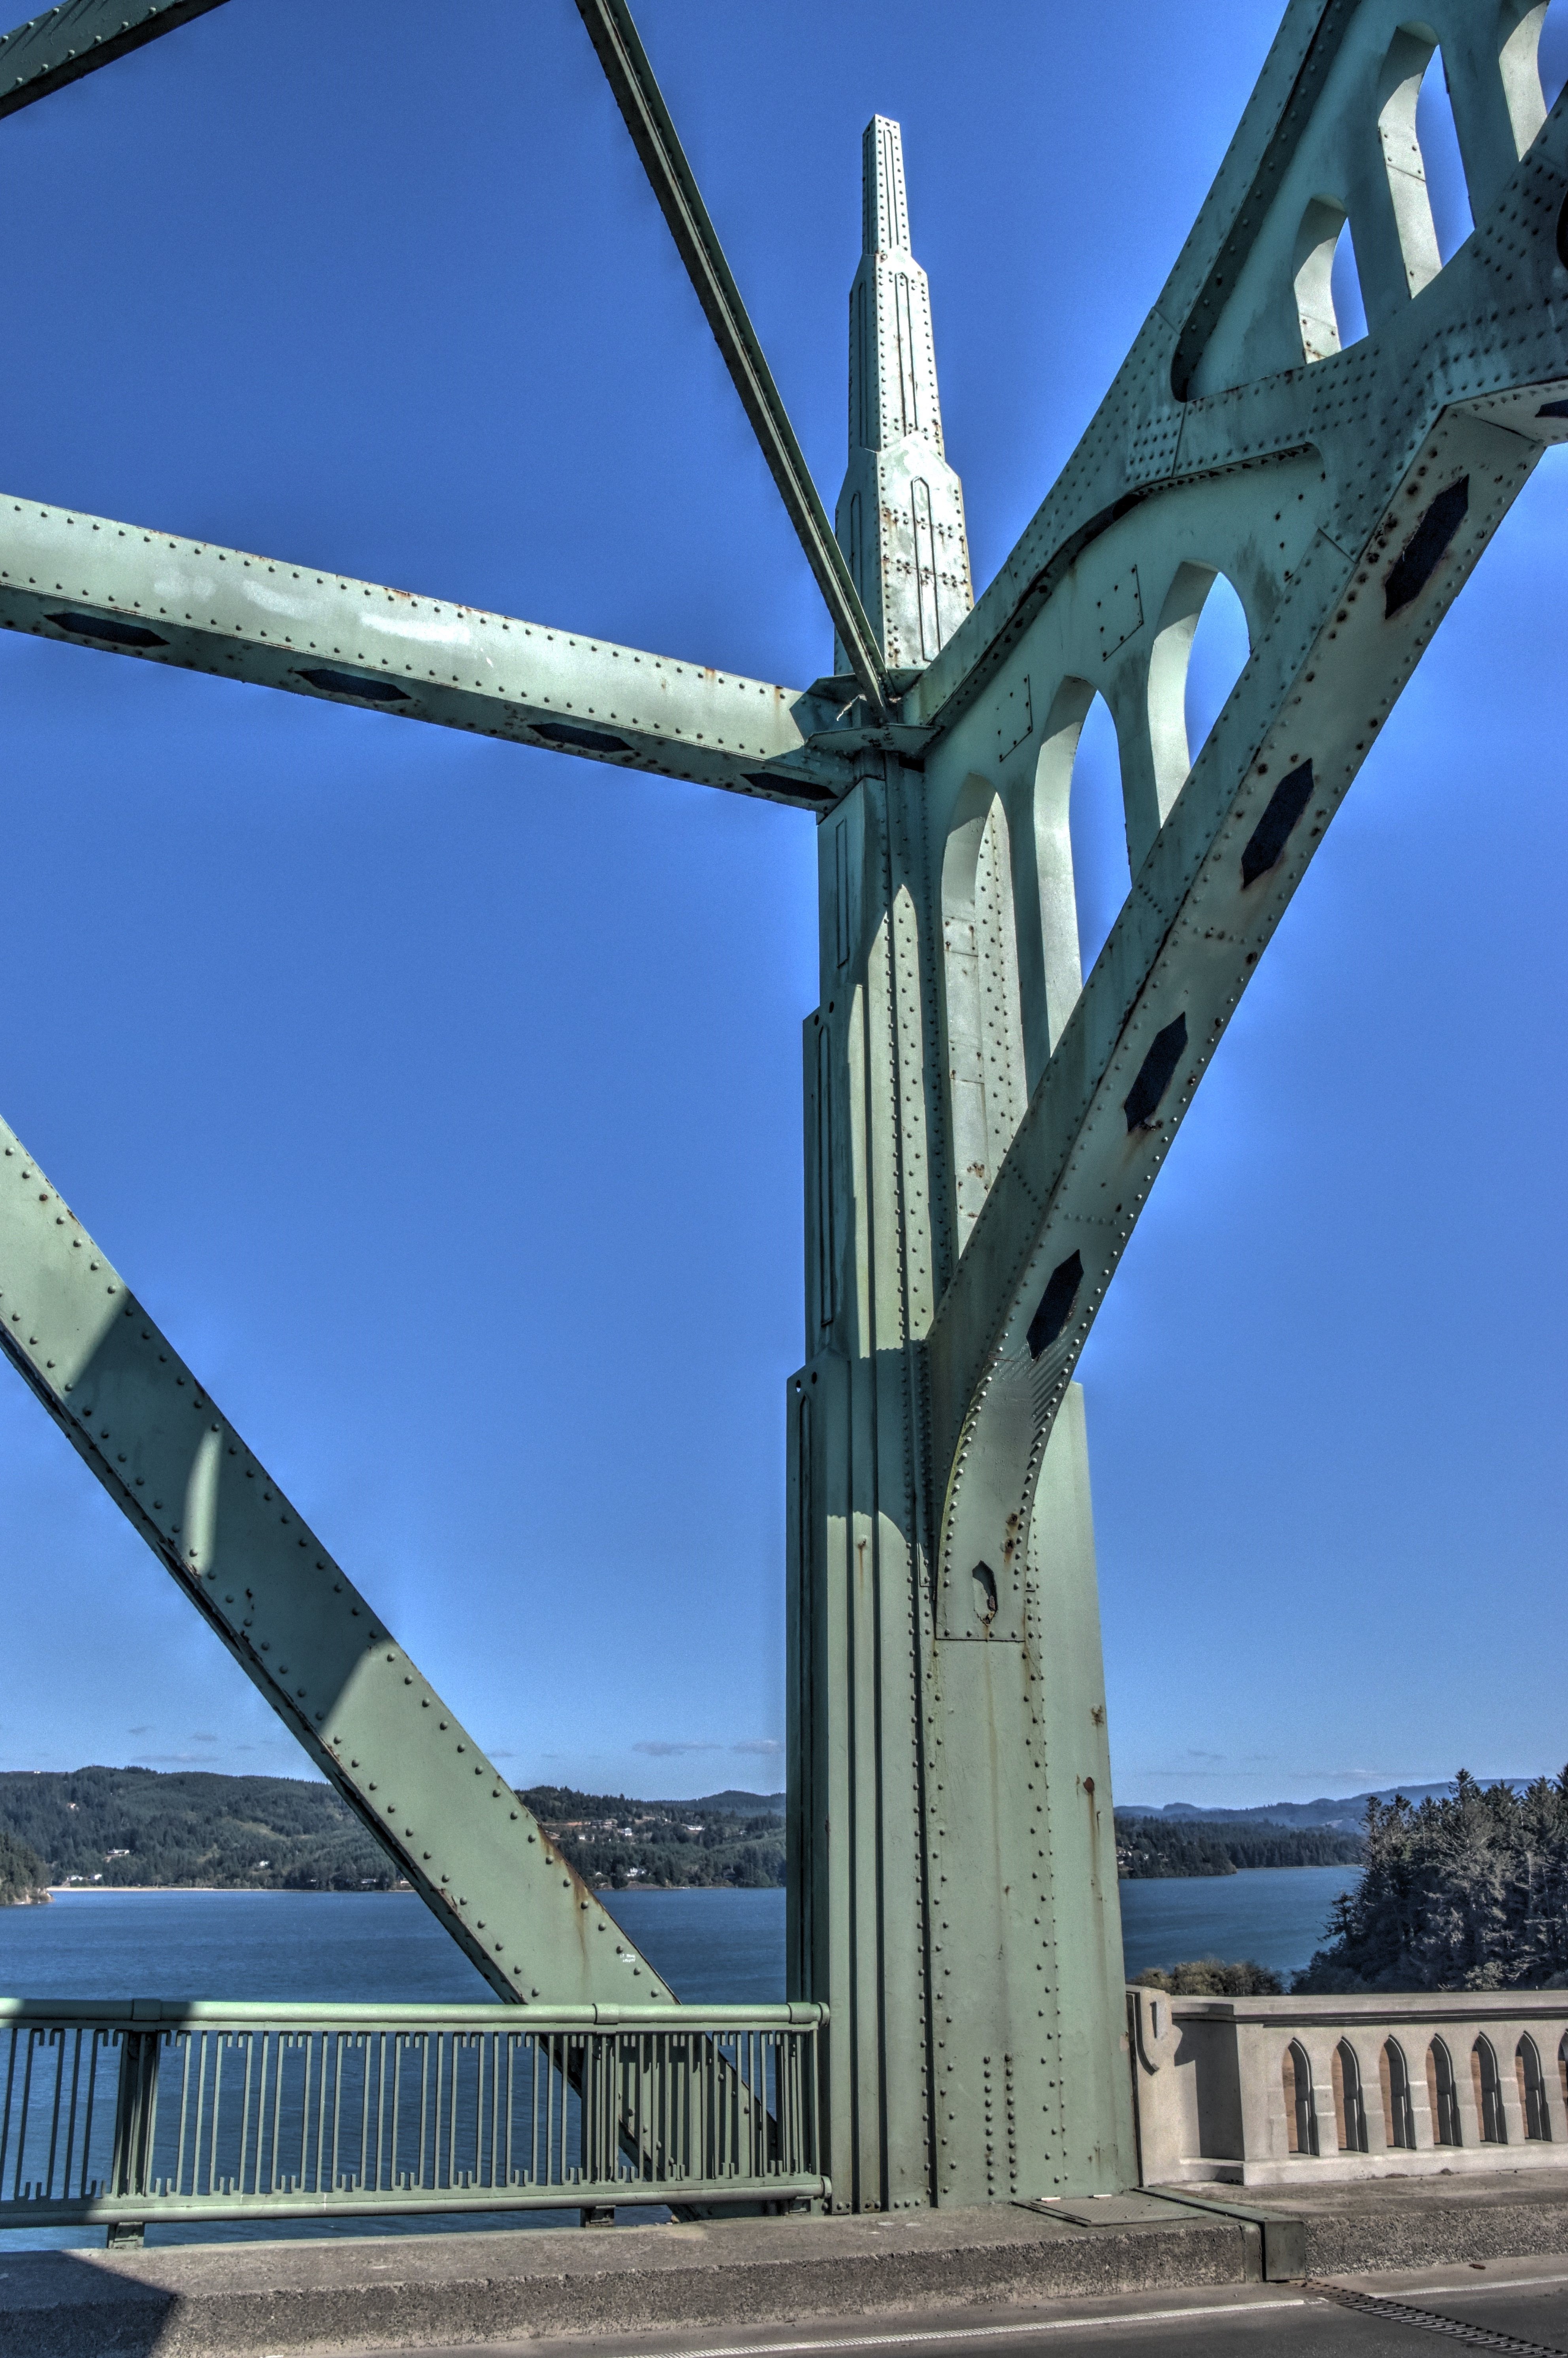
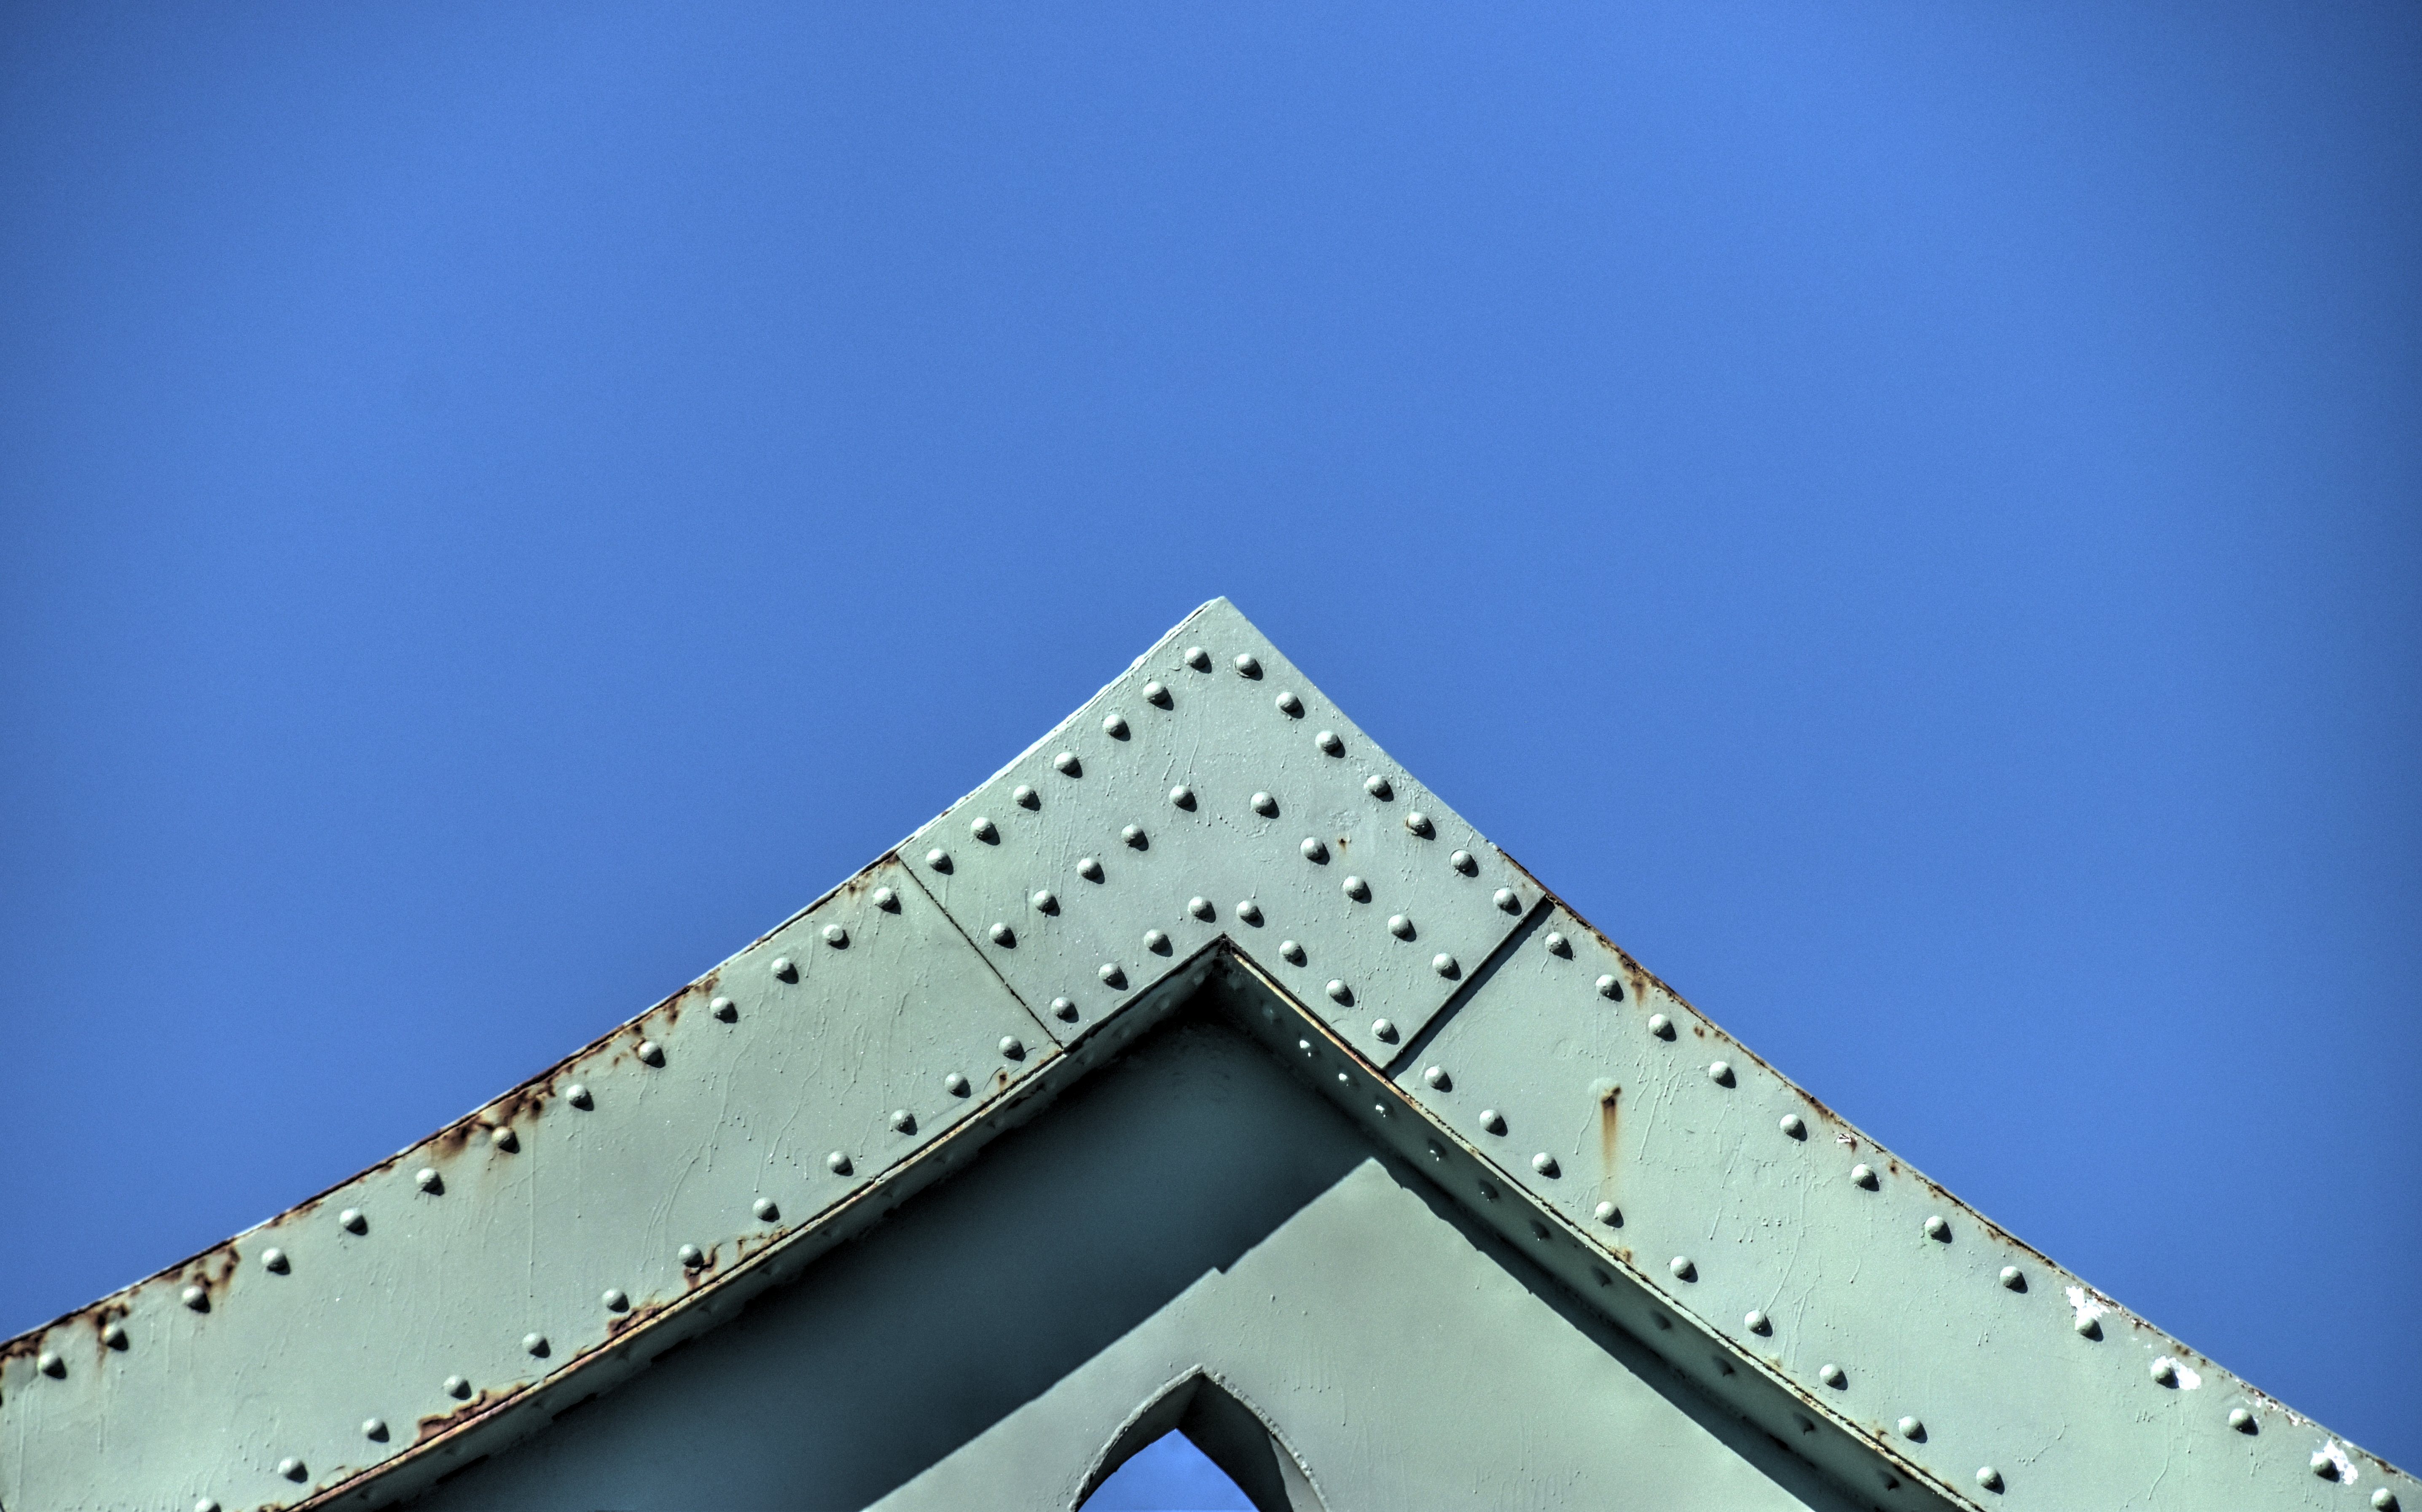
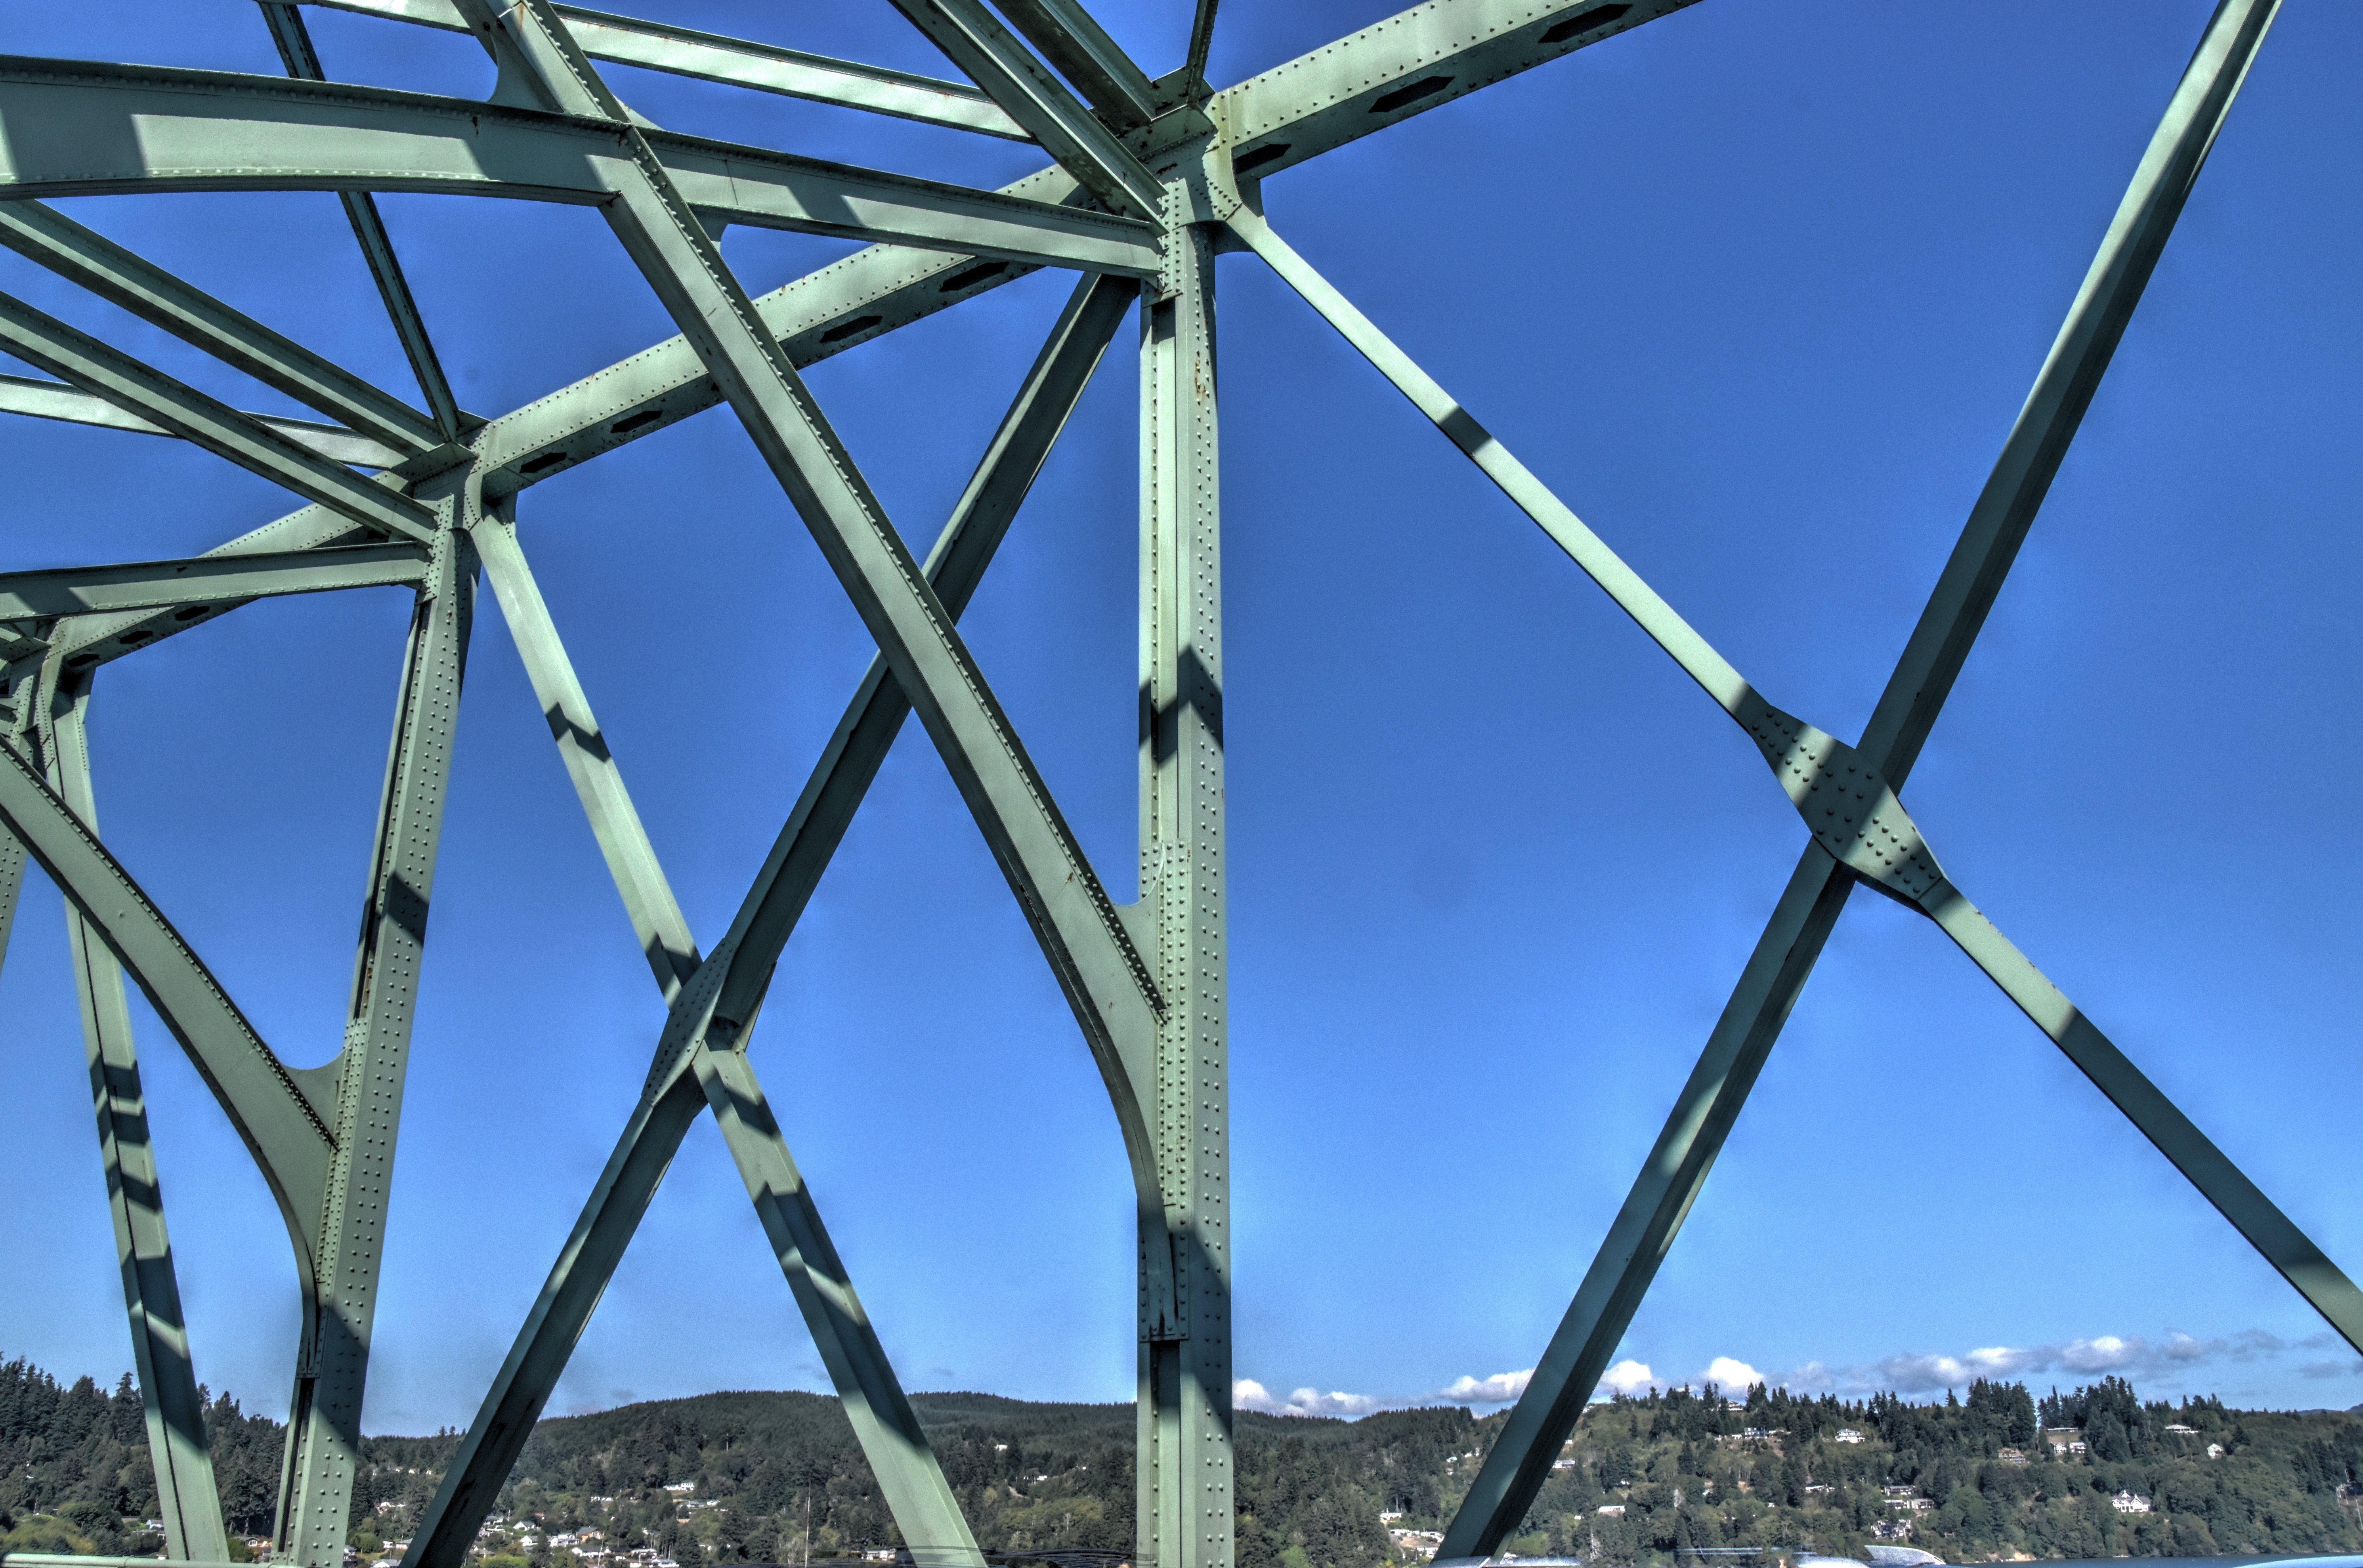
Portal bracing.
![]()


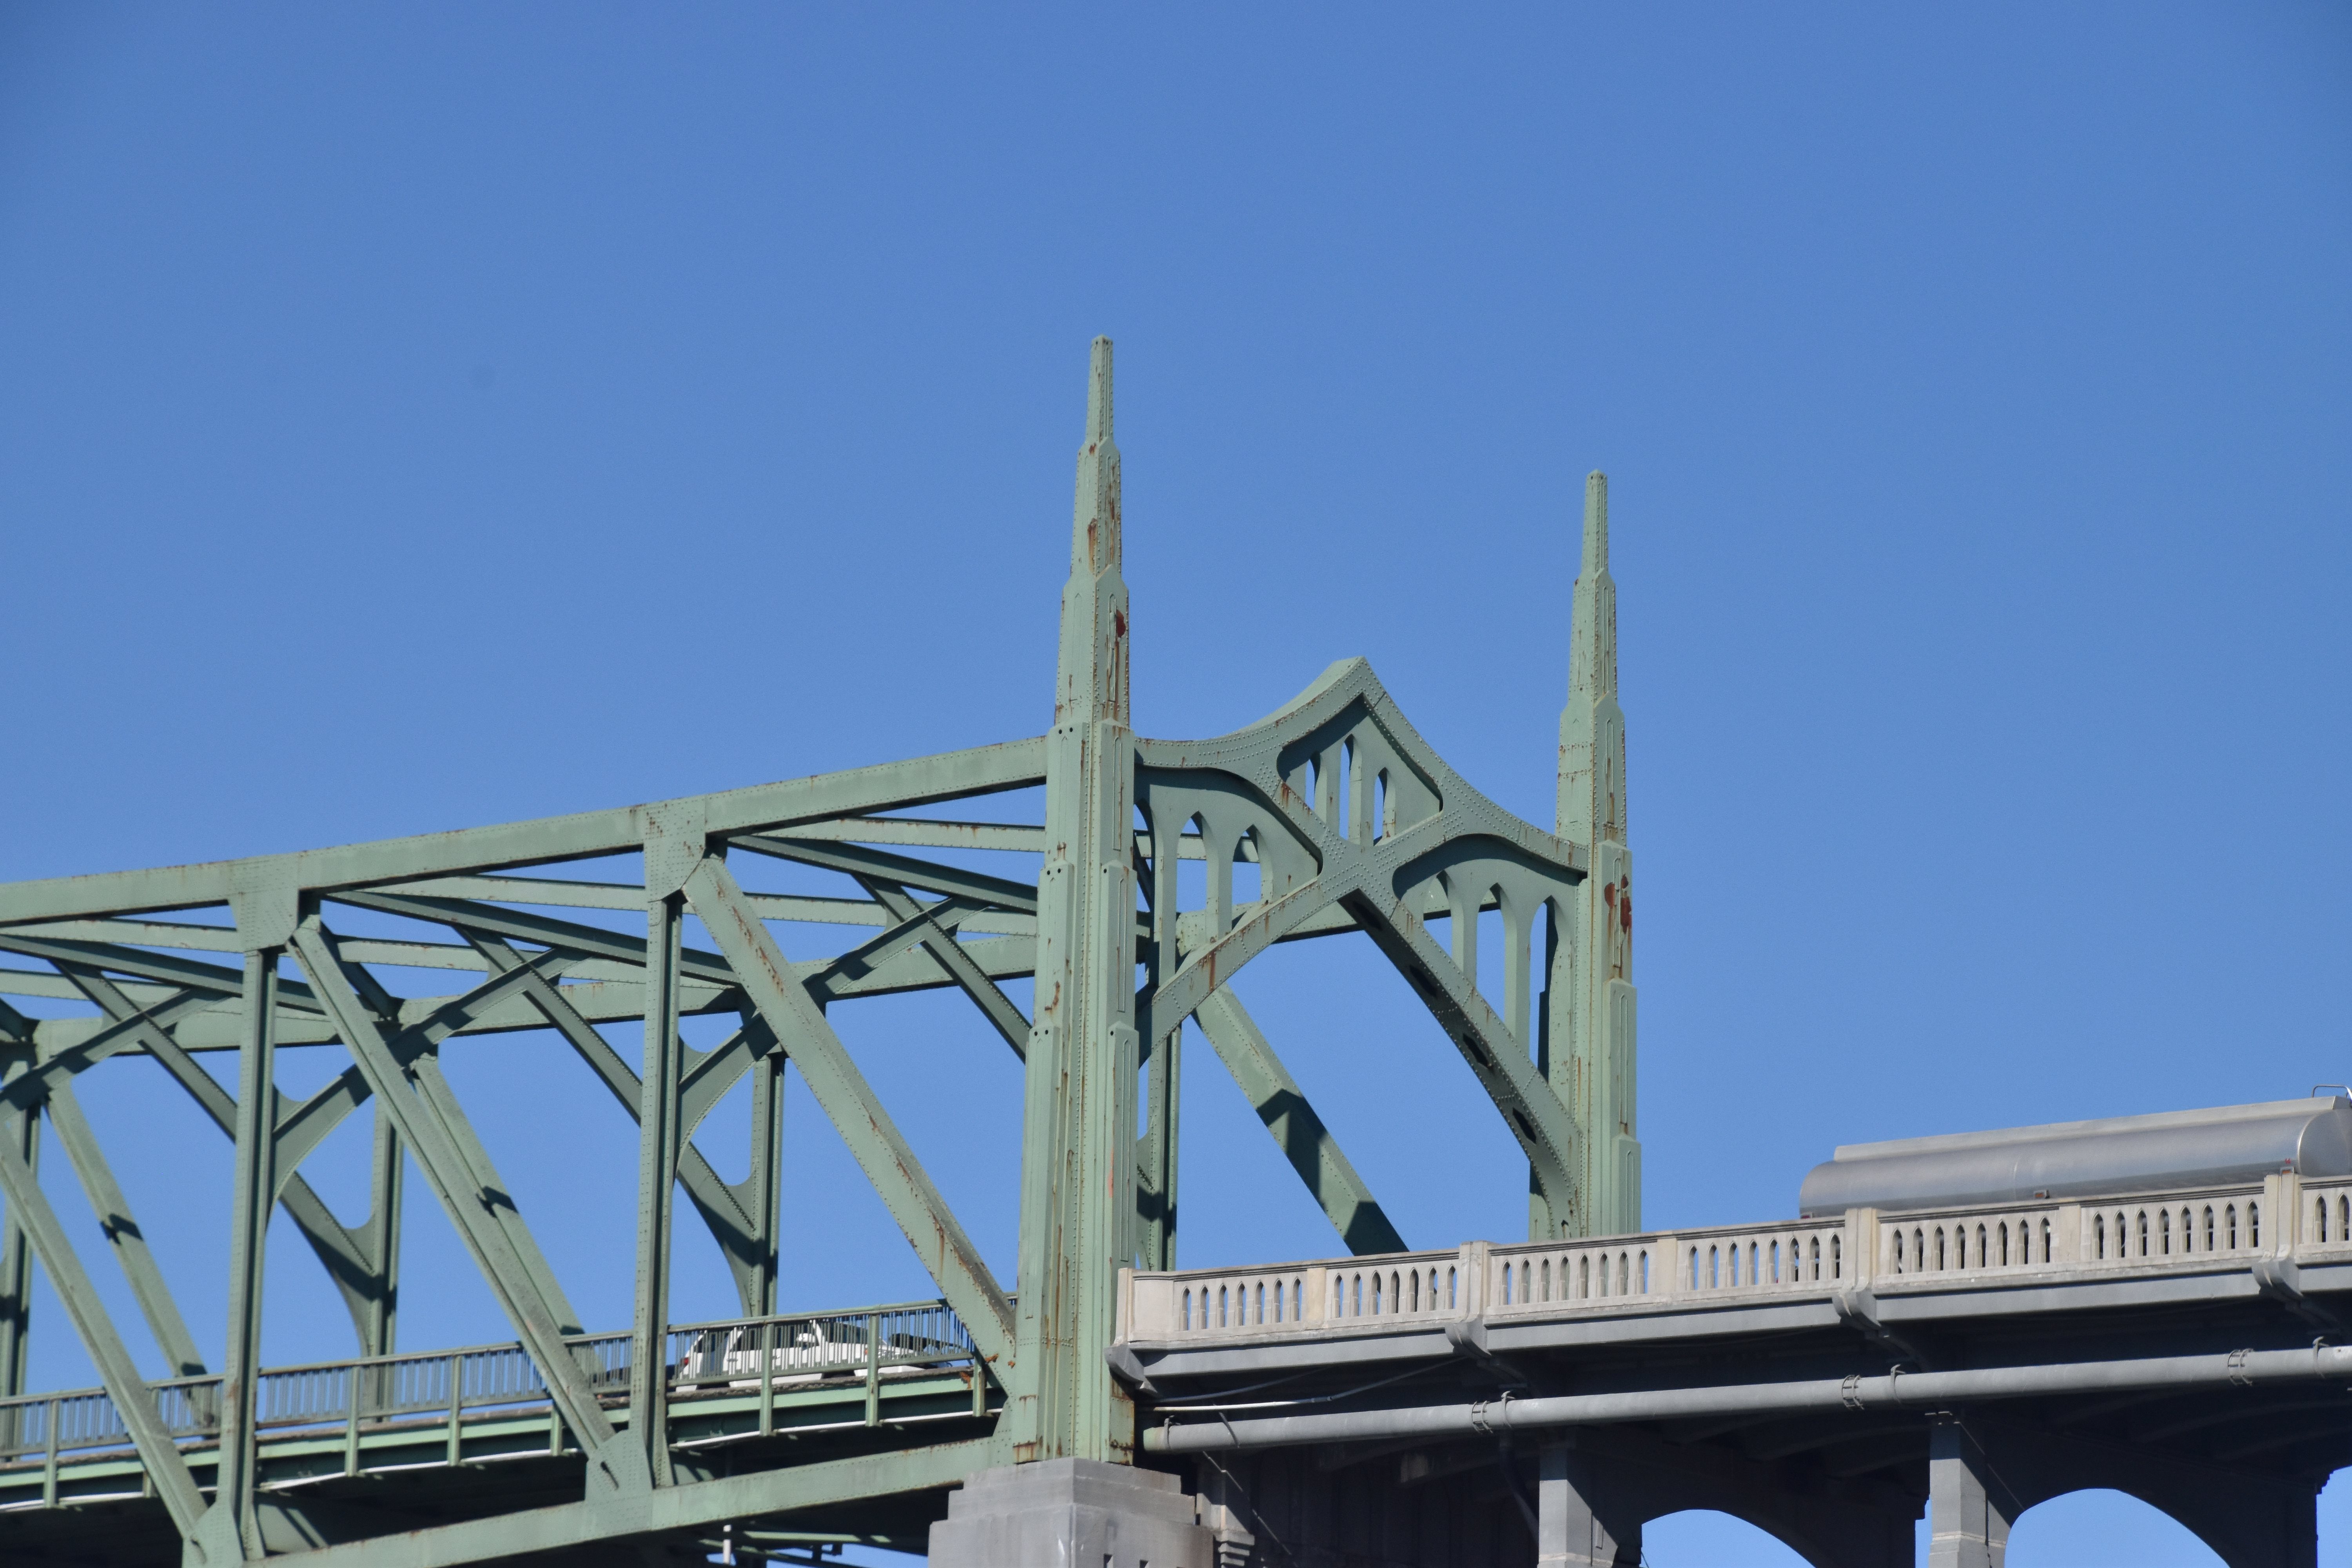
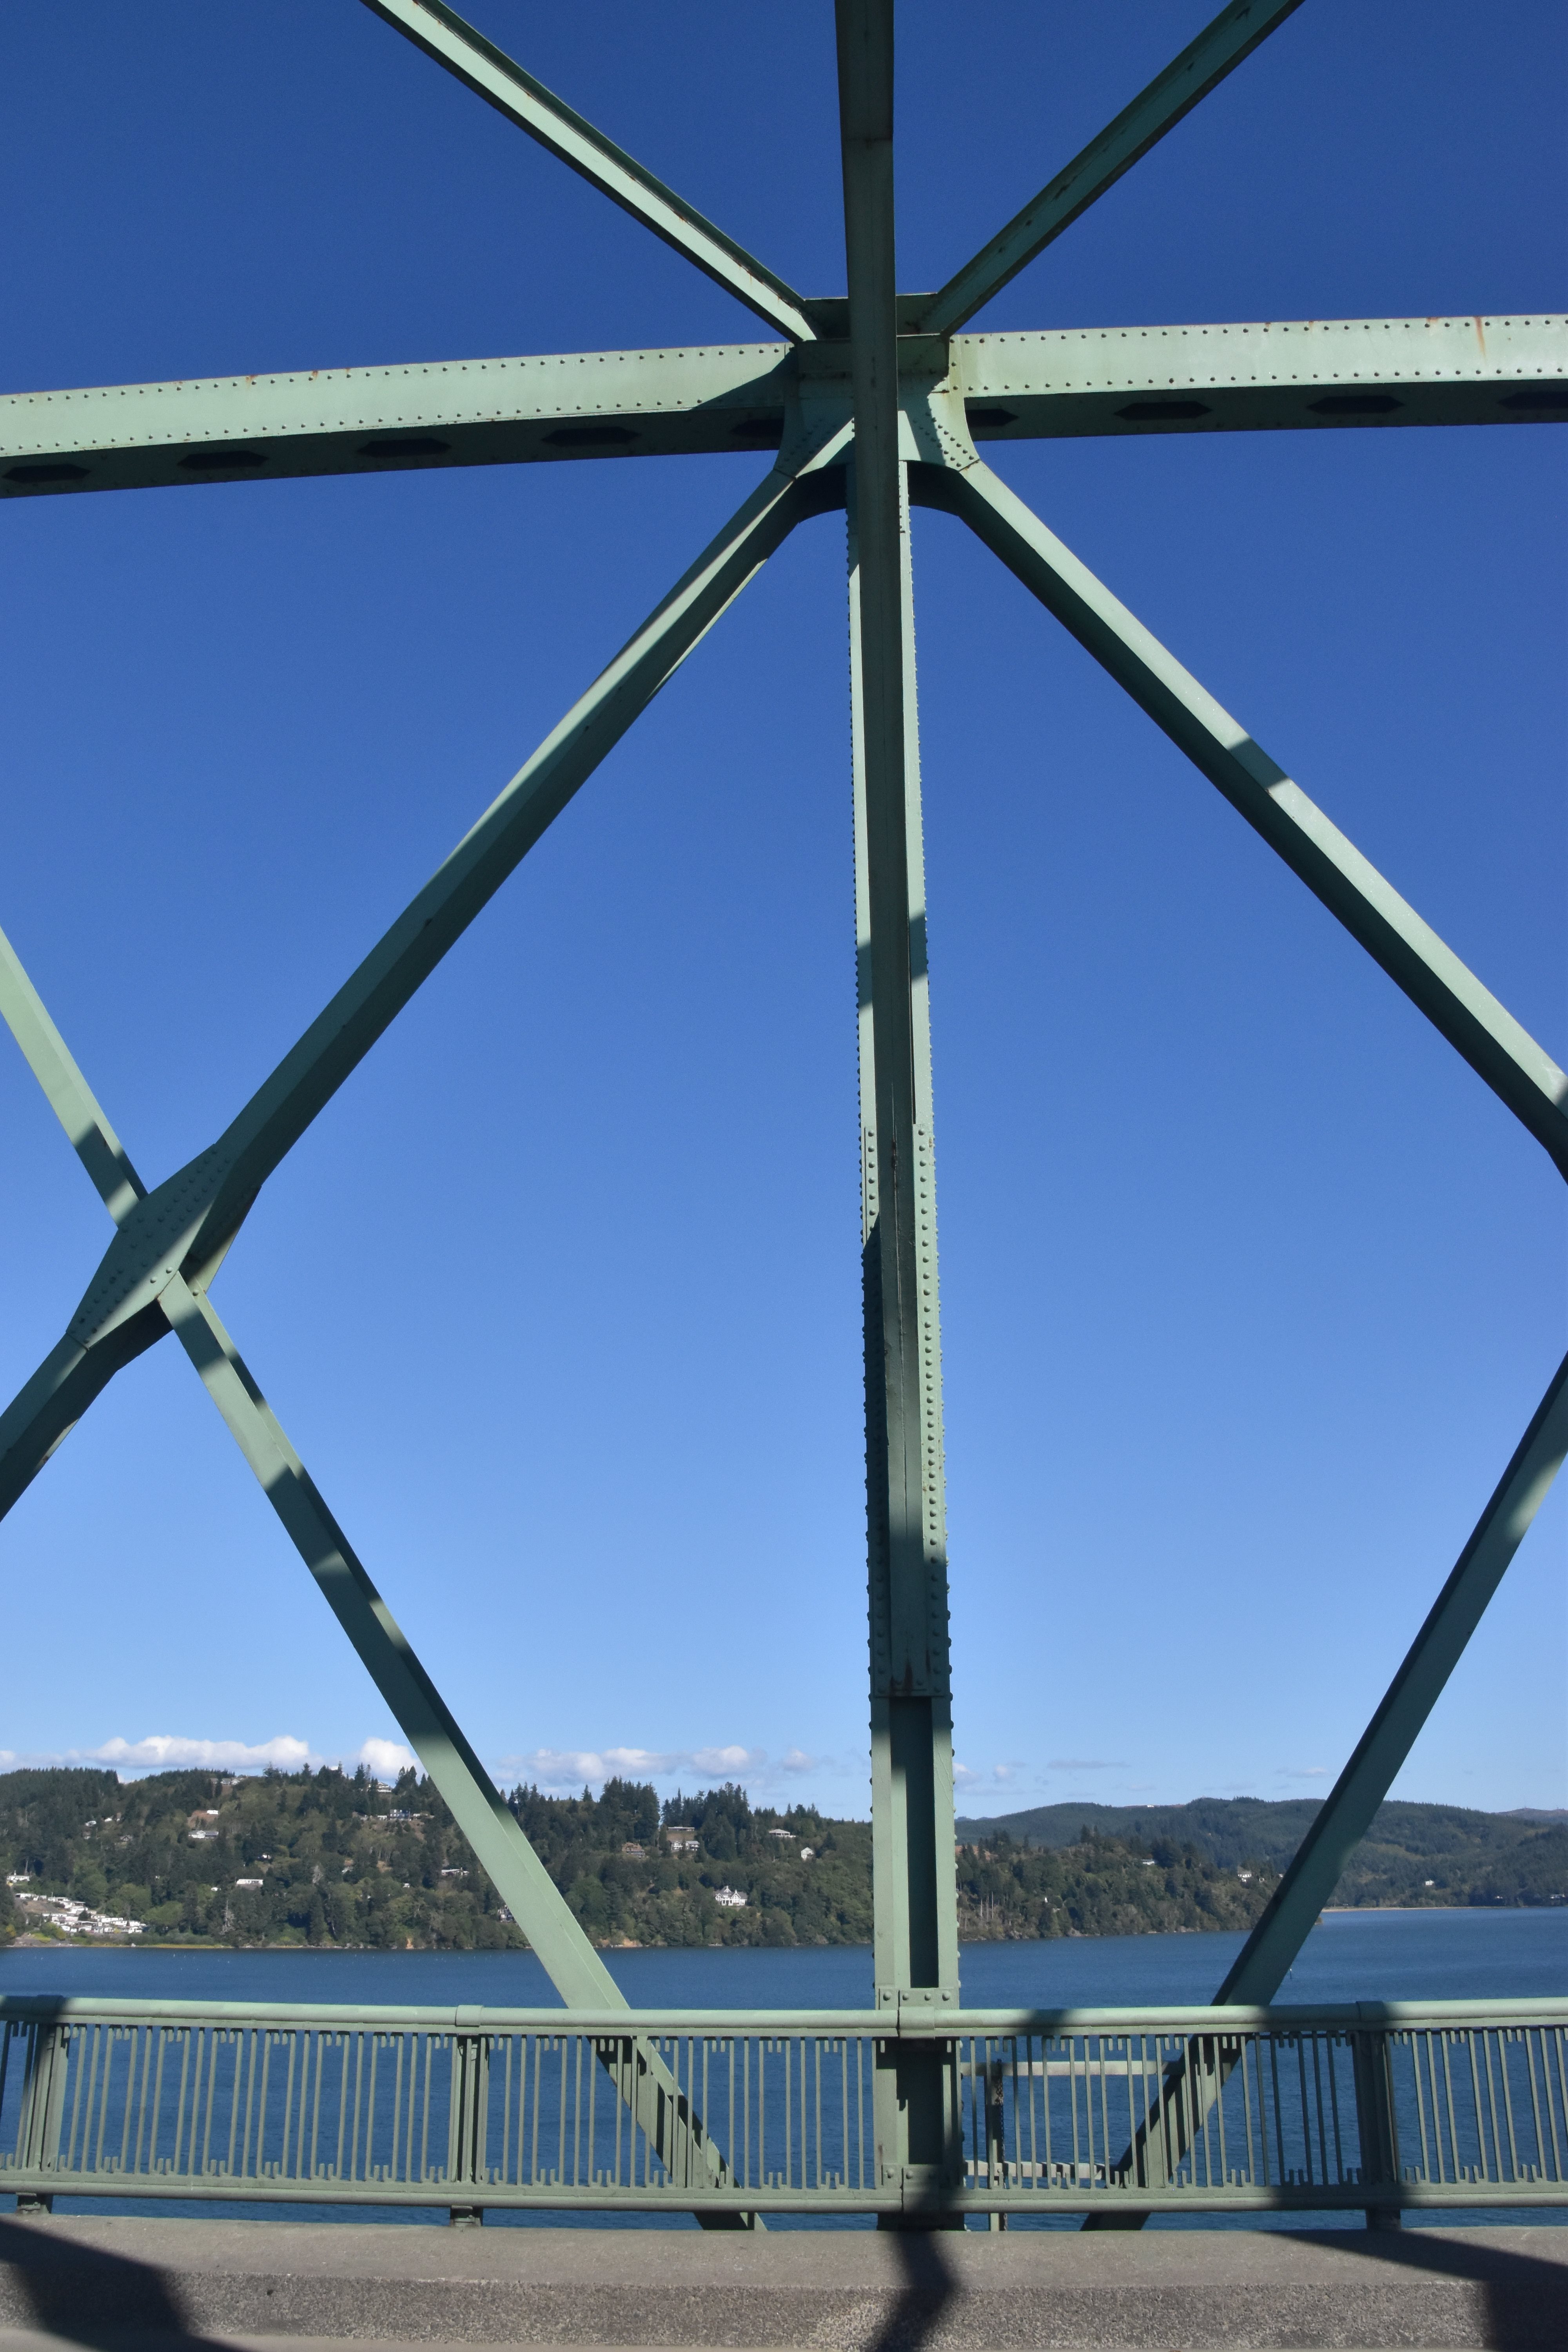
Portal bracing details.
![]()


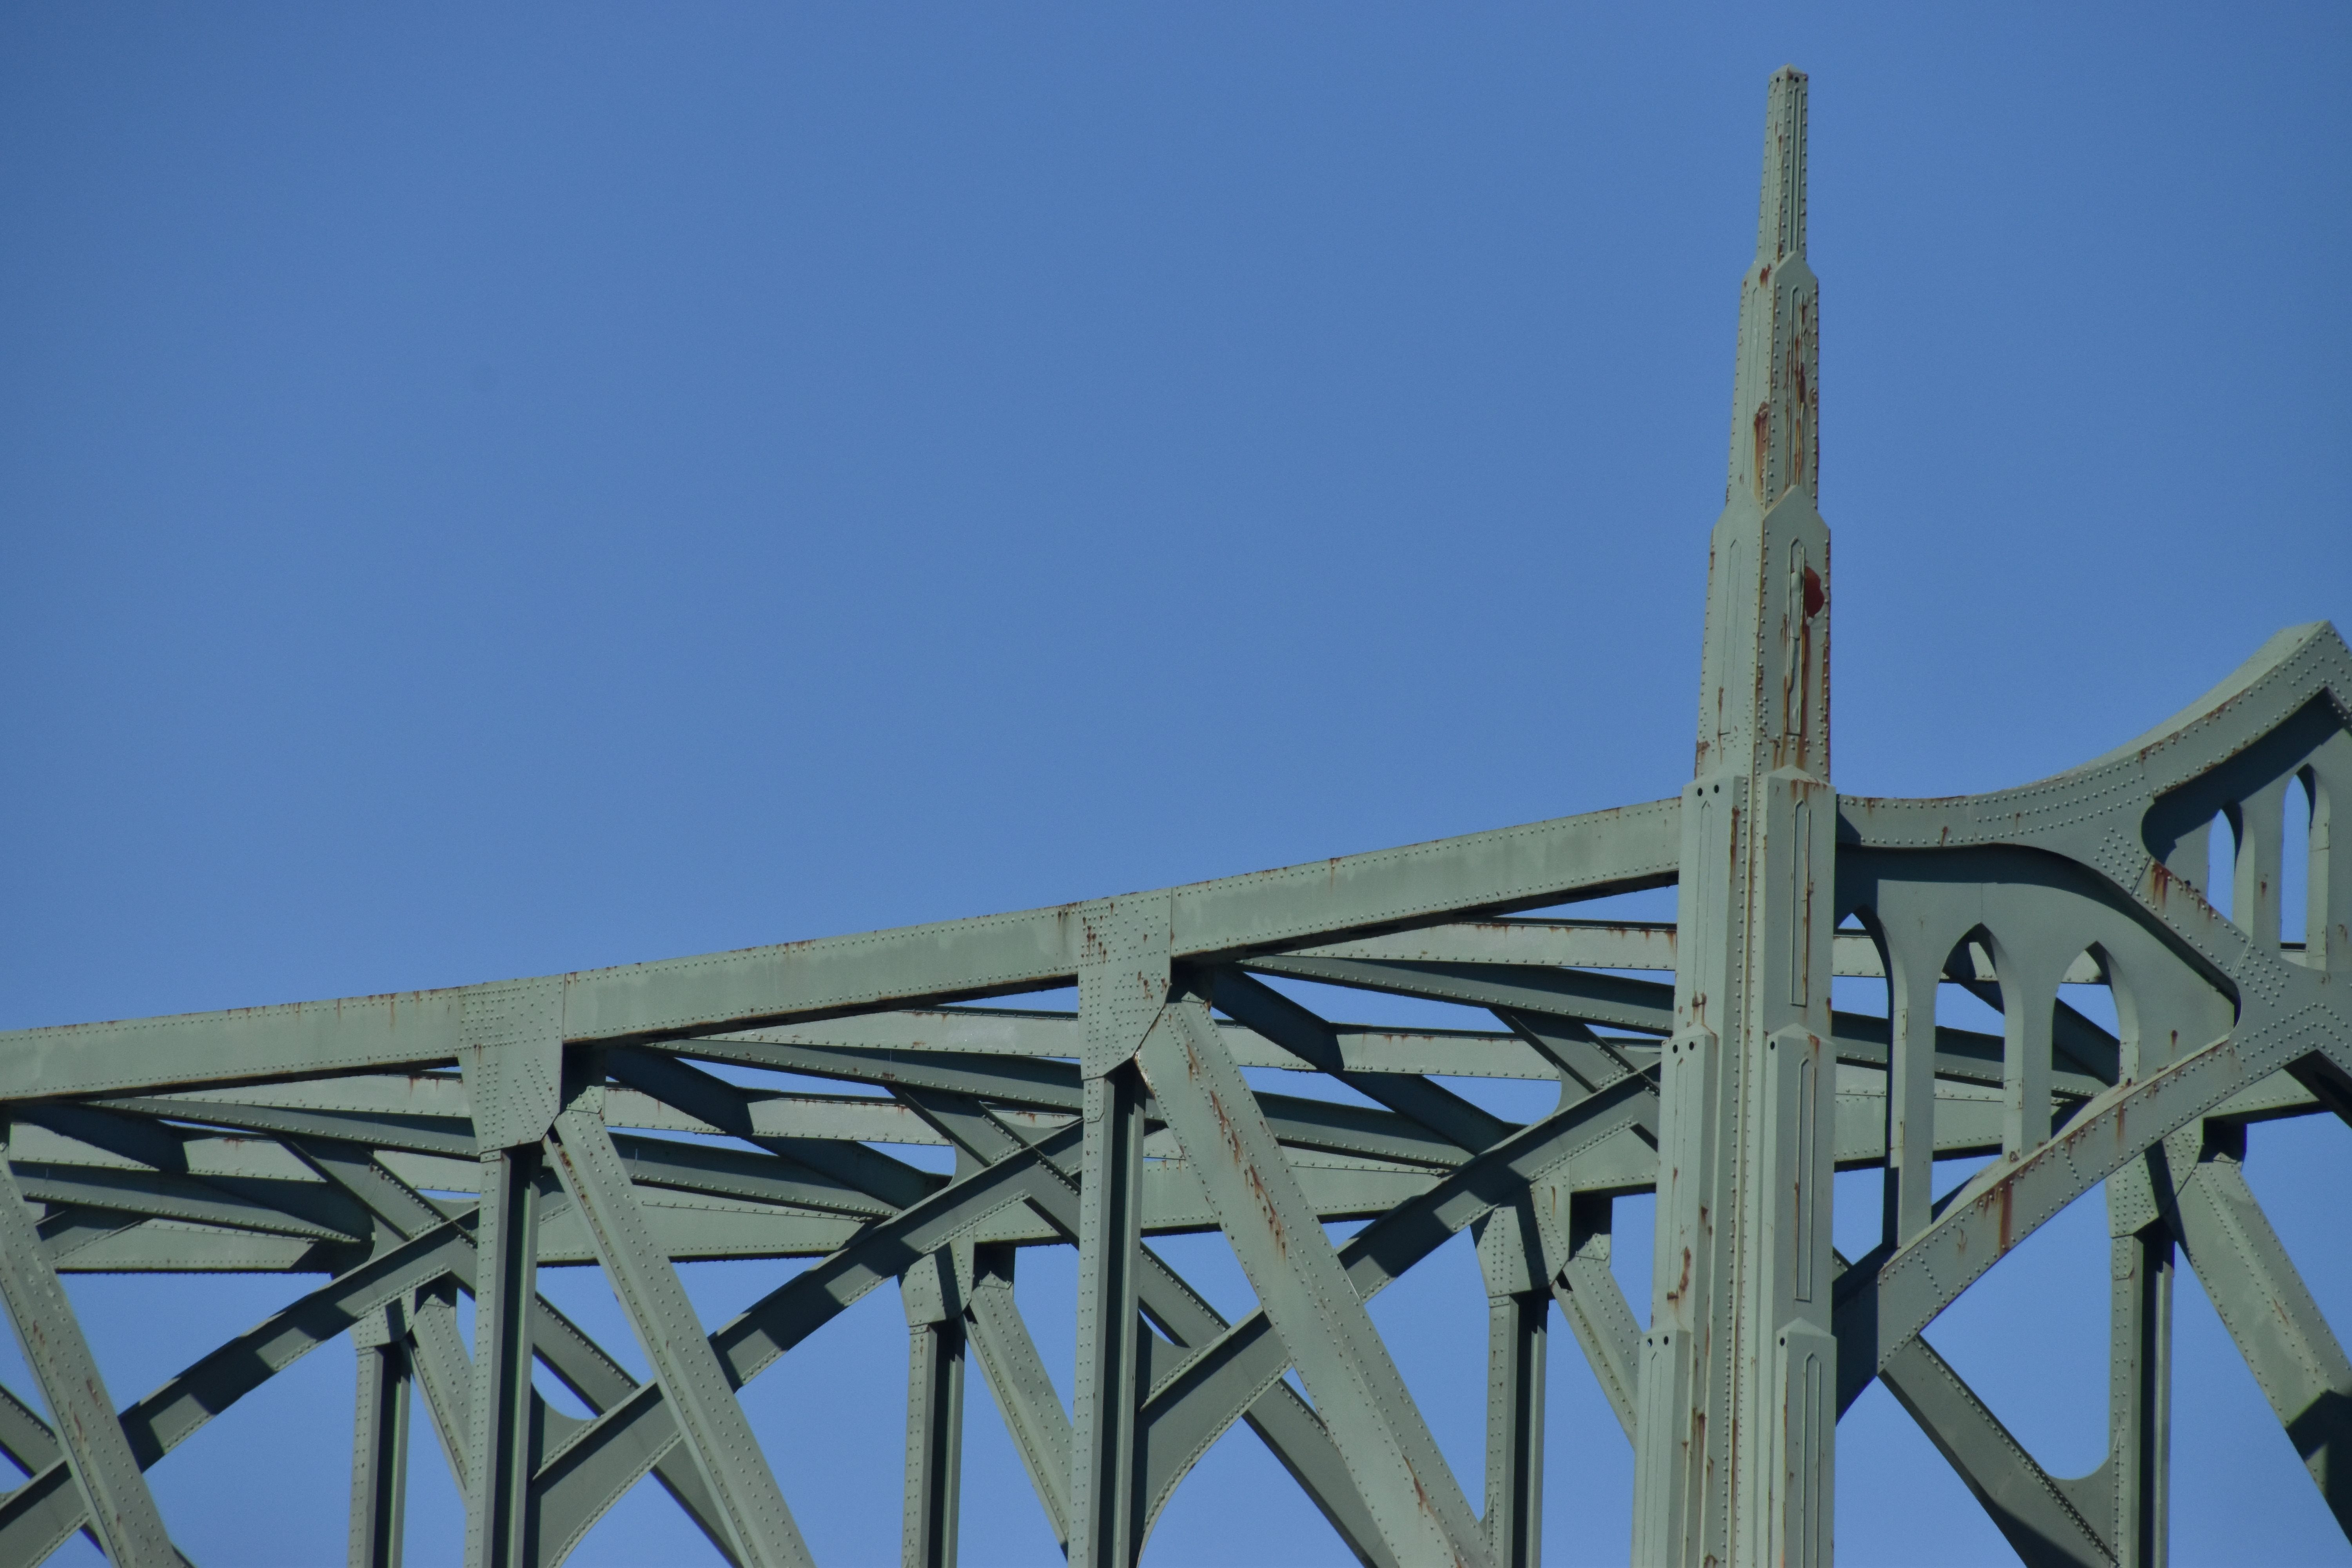
End post and finials.
![]()


Portal finials.
![]()


Portal bracing details, front side.
![]()


Portal bracing details, back side.
![]()


End post details.
![]()
Details of Anchor Arm
![]()
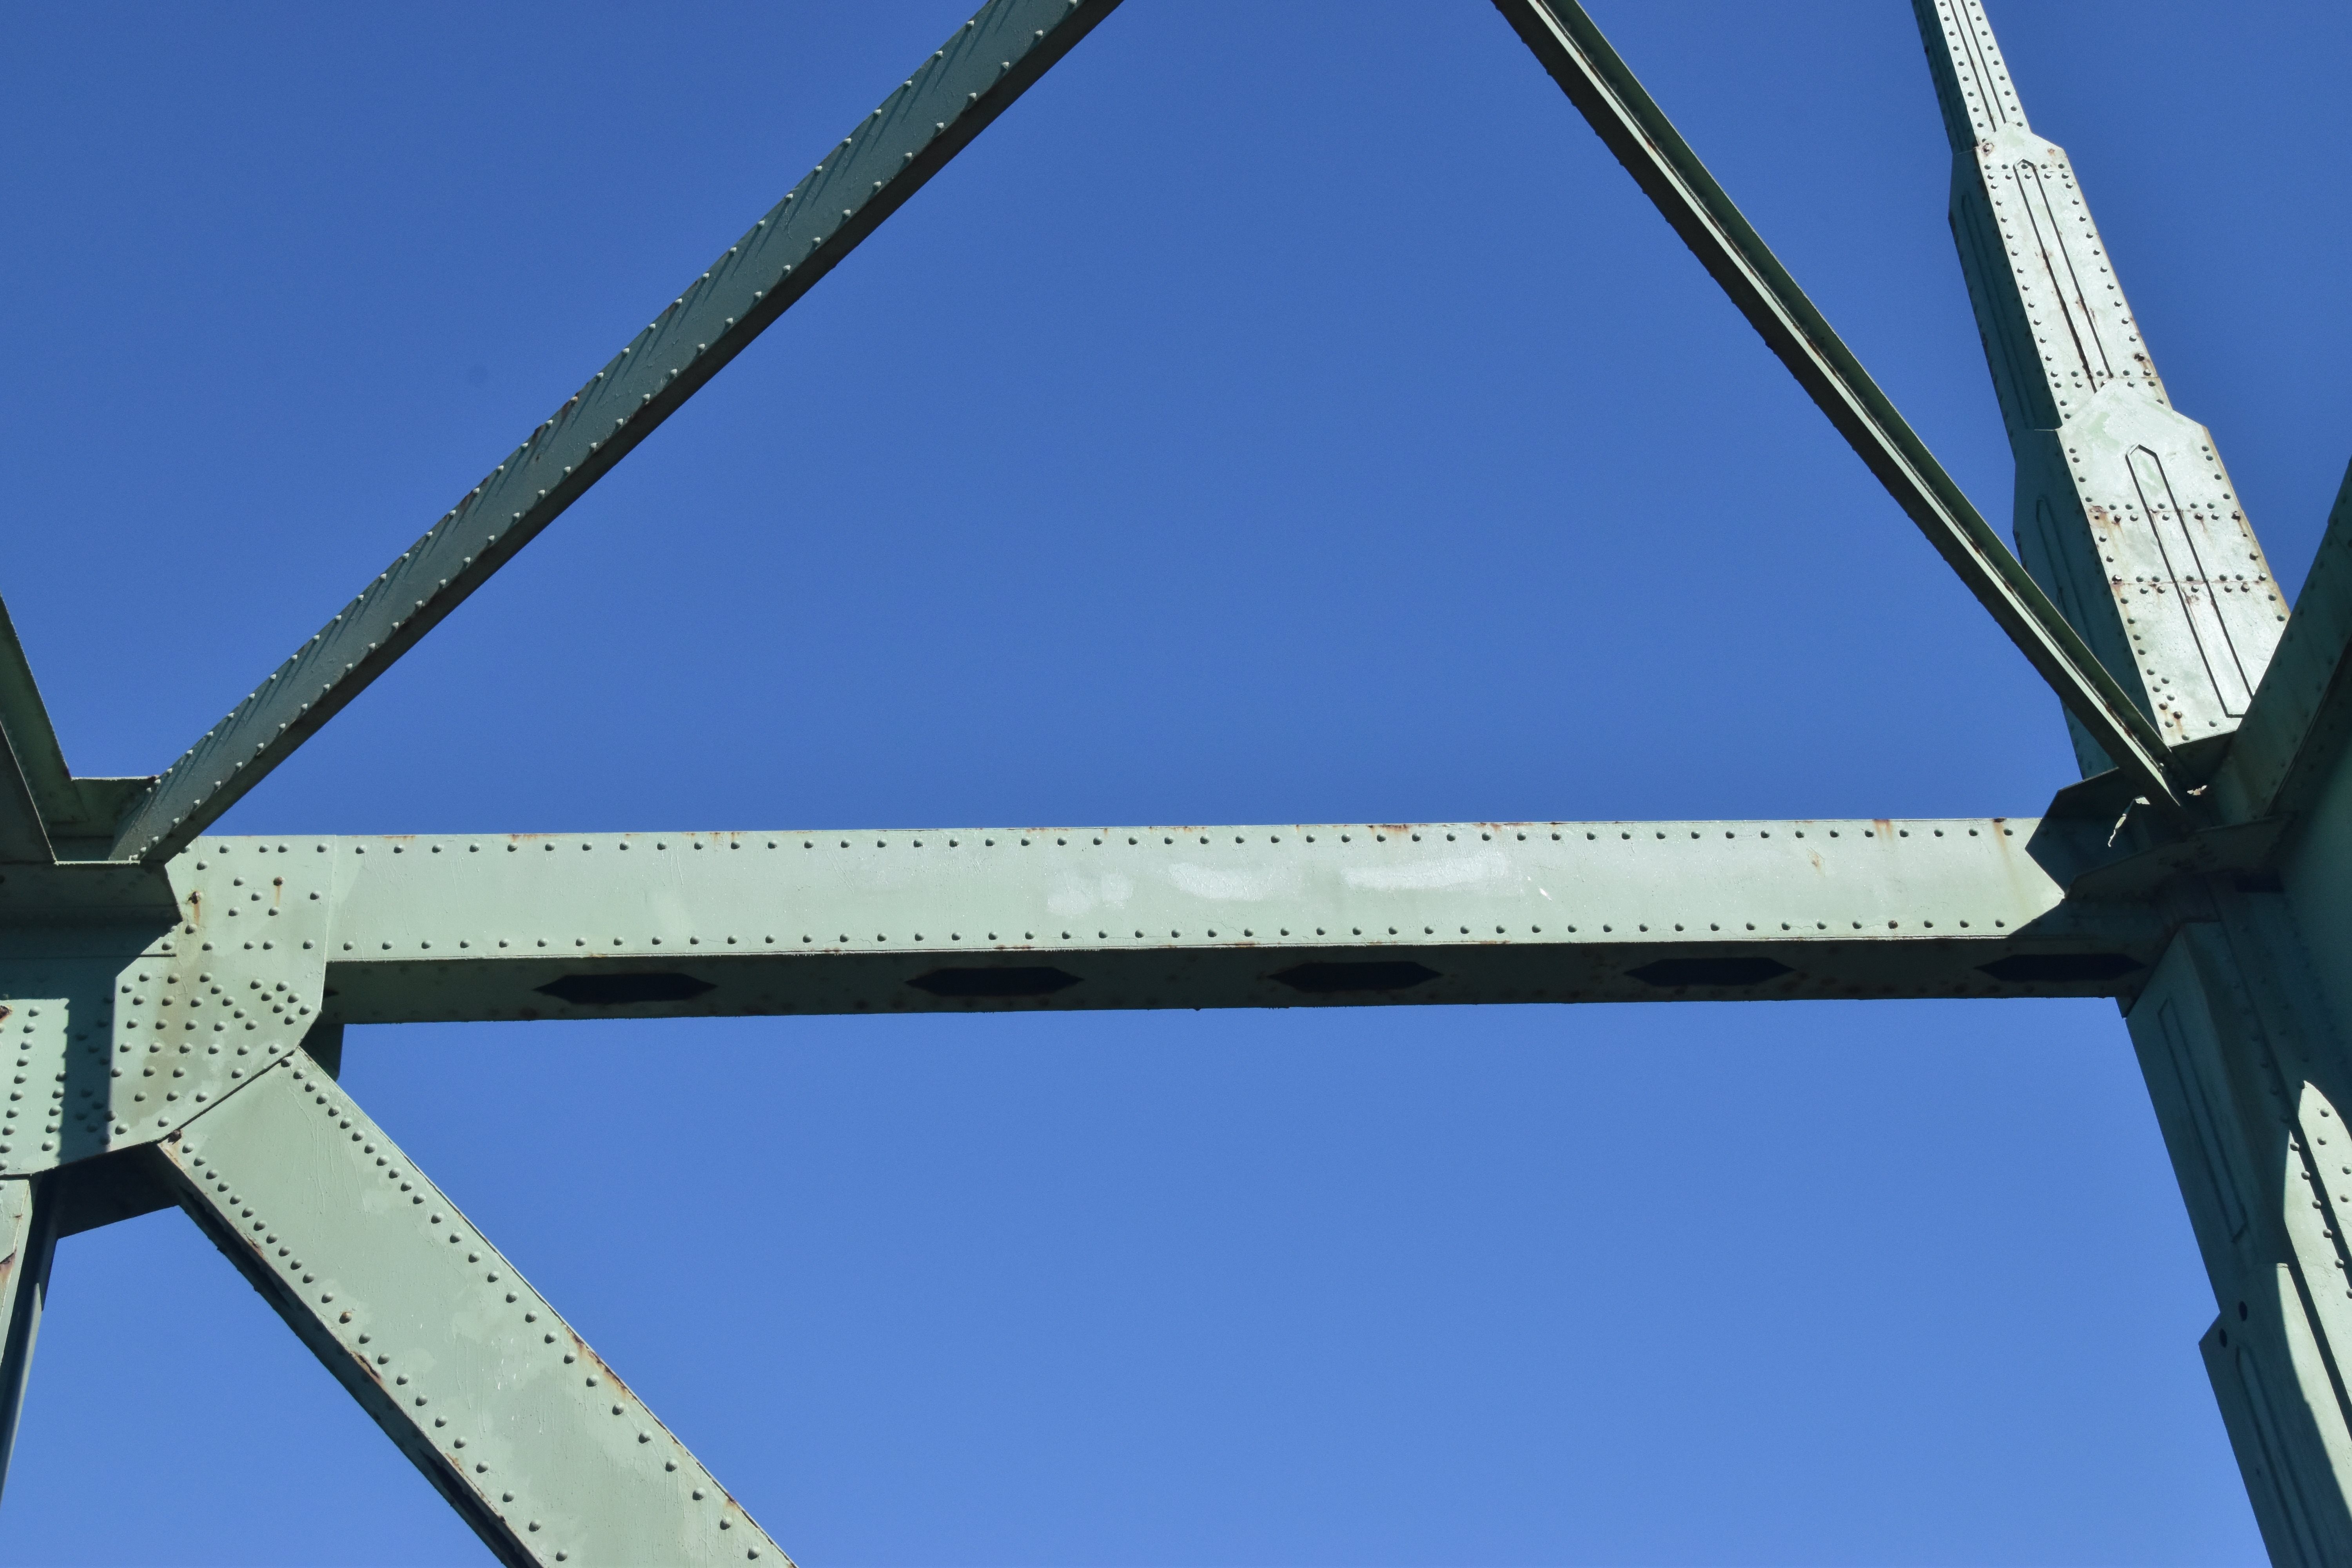
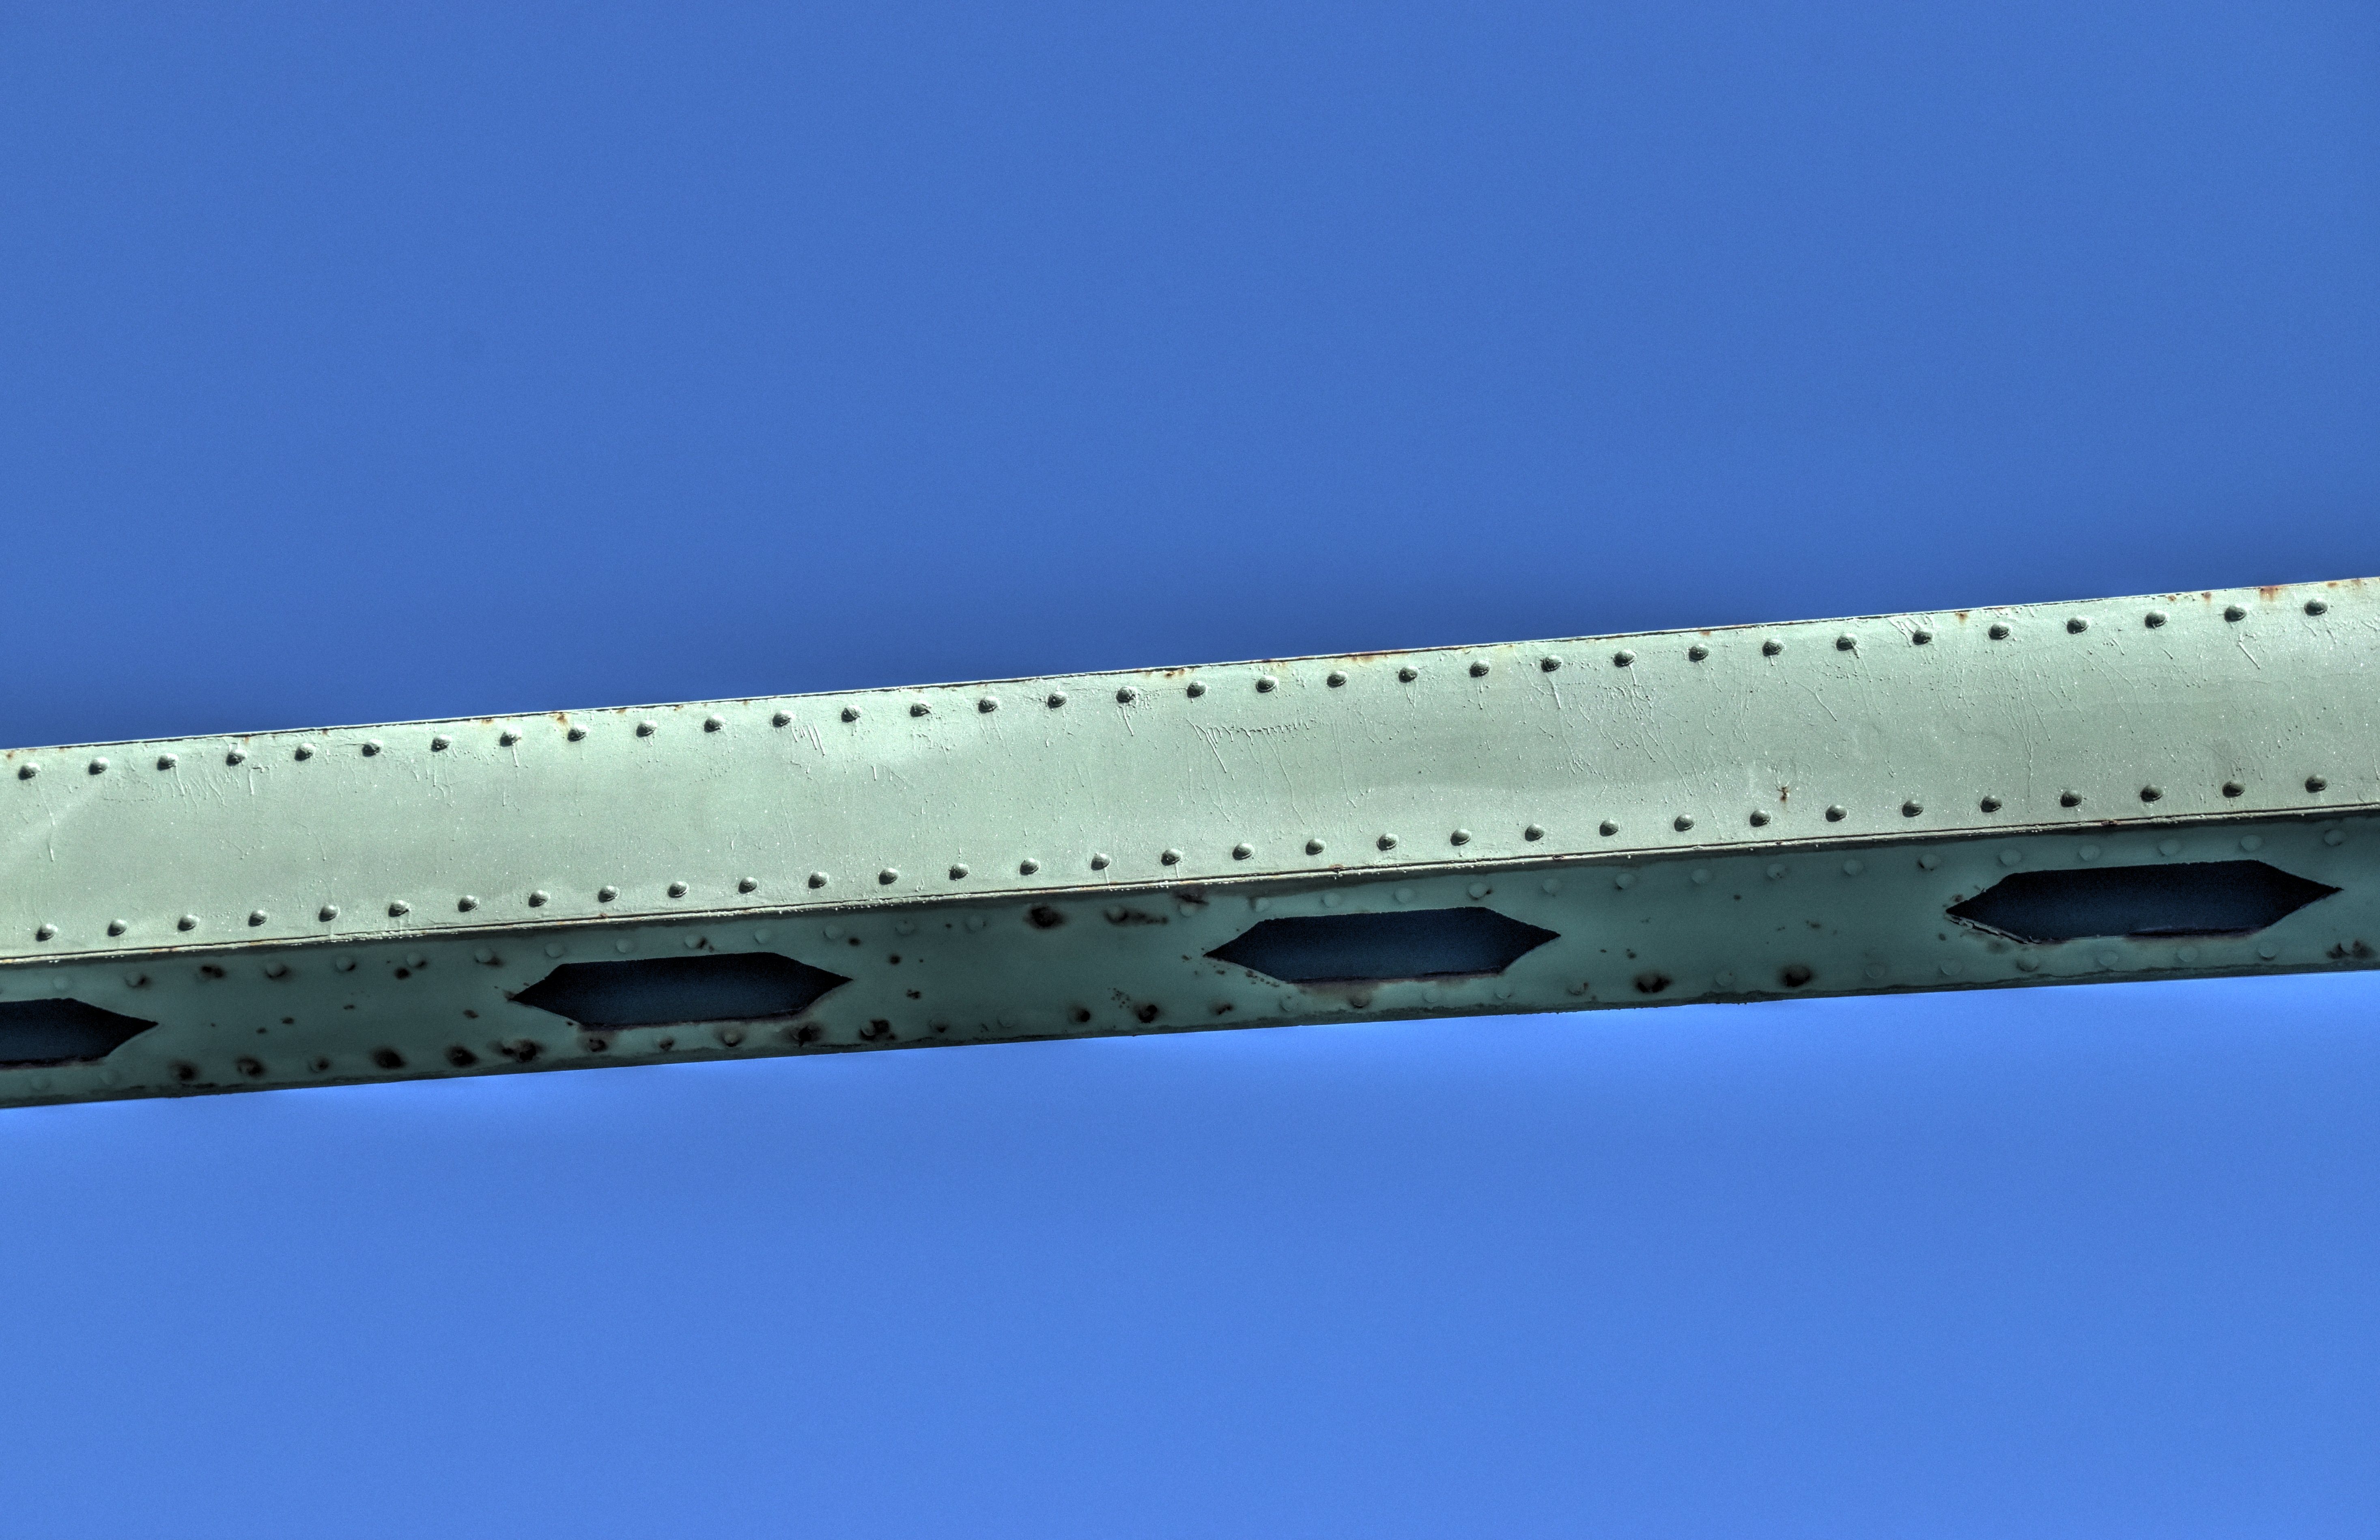
Top chord.
![]()

Bottom chord.
![]()
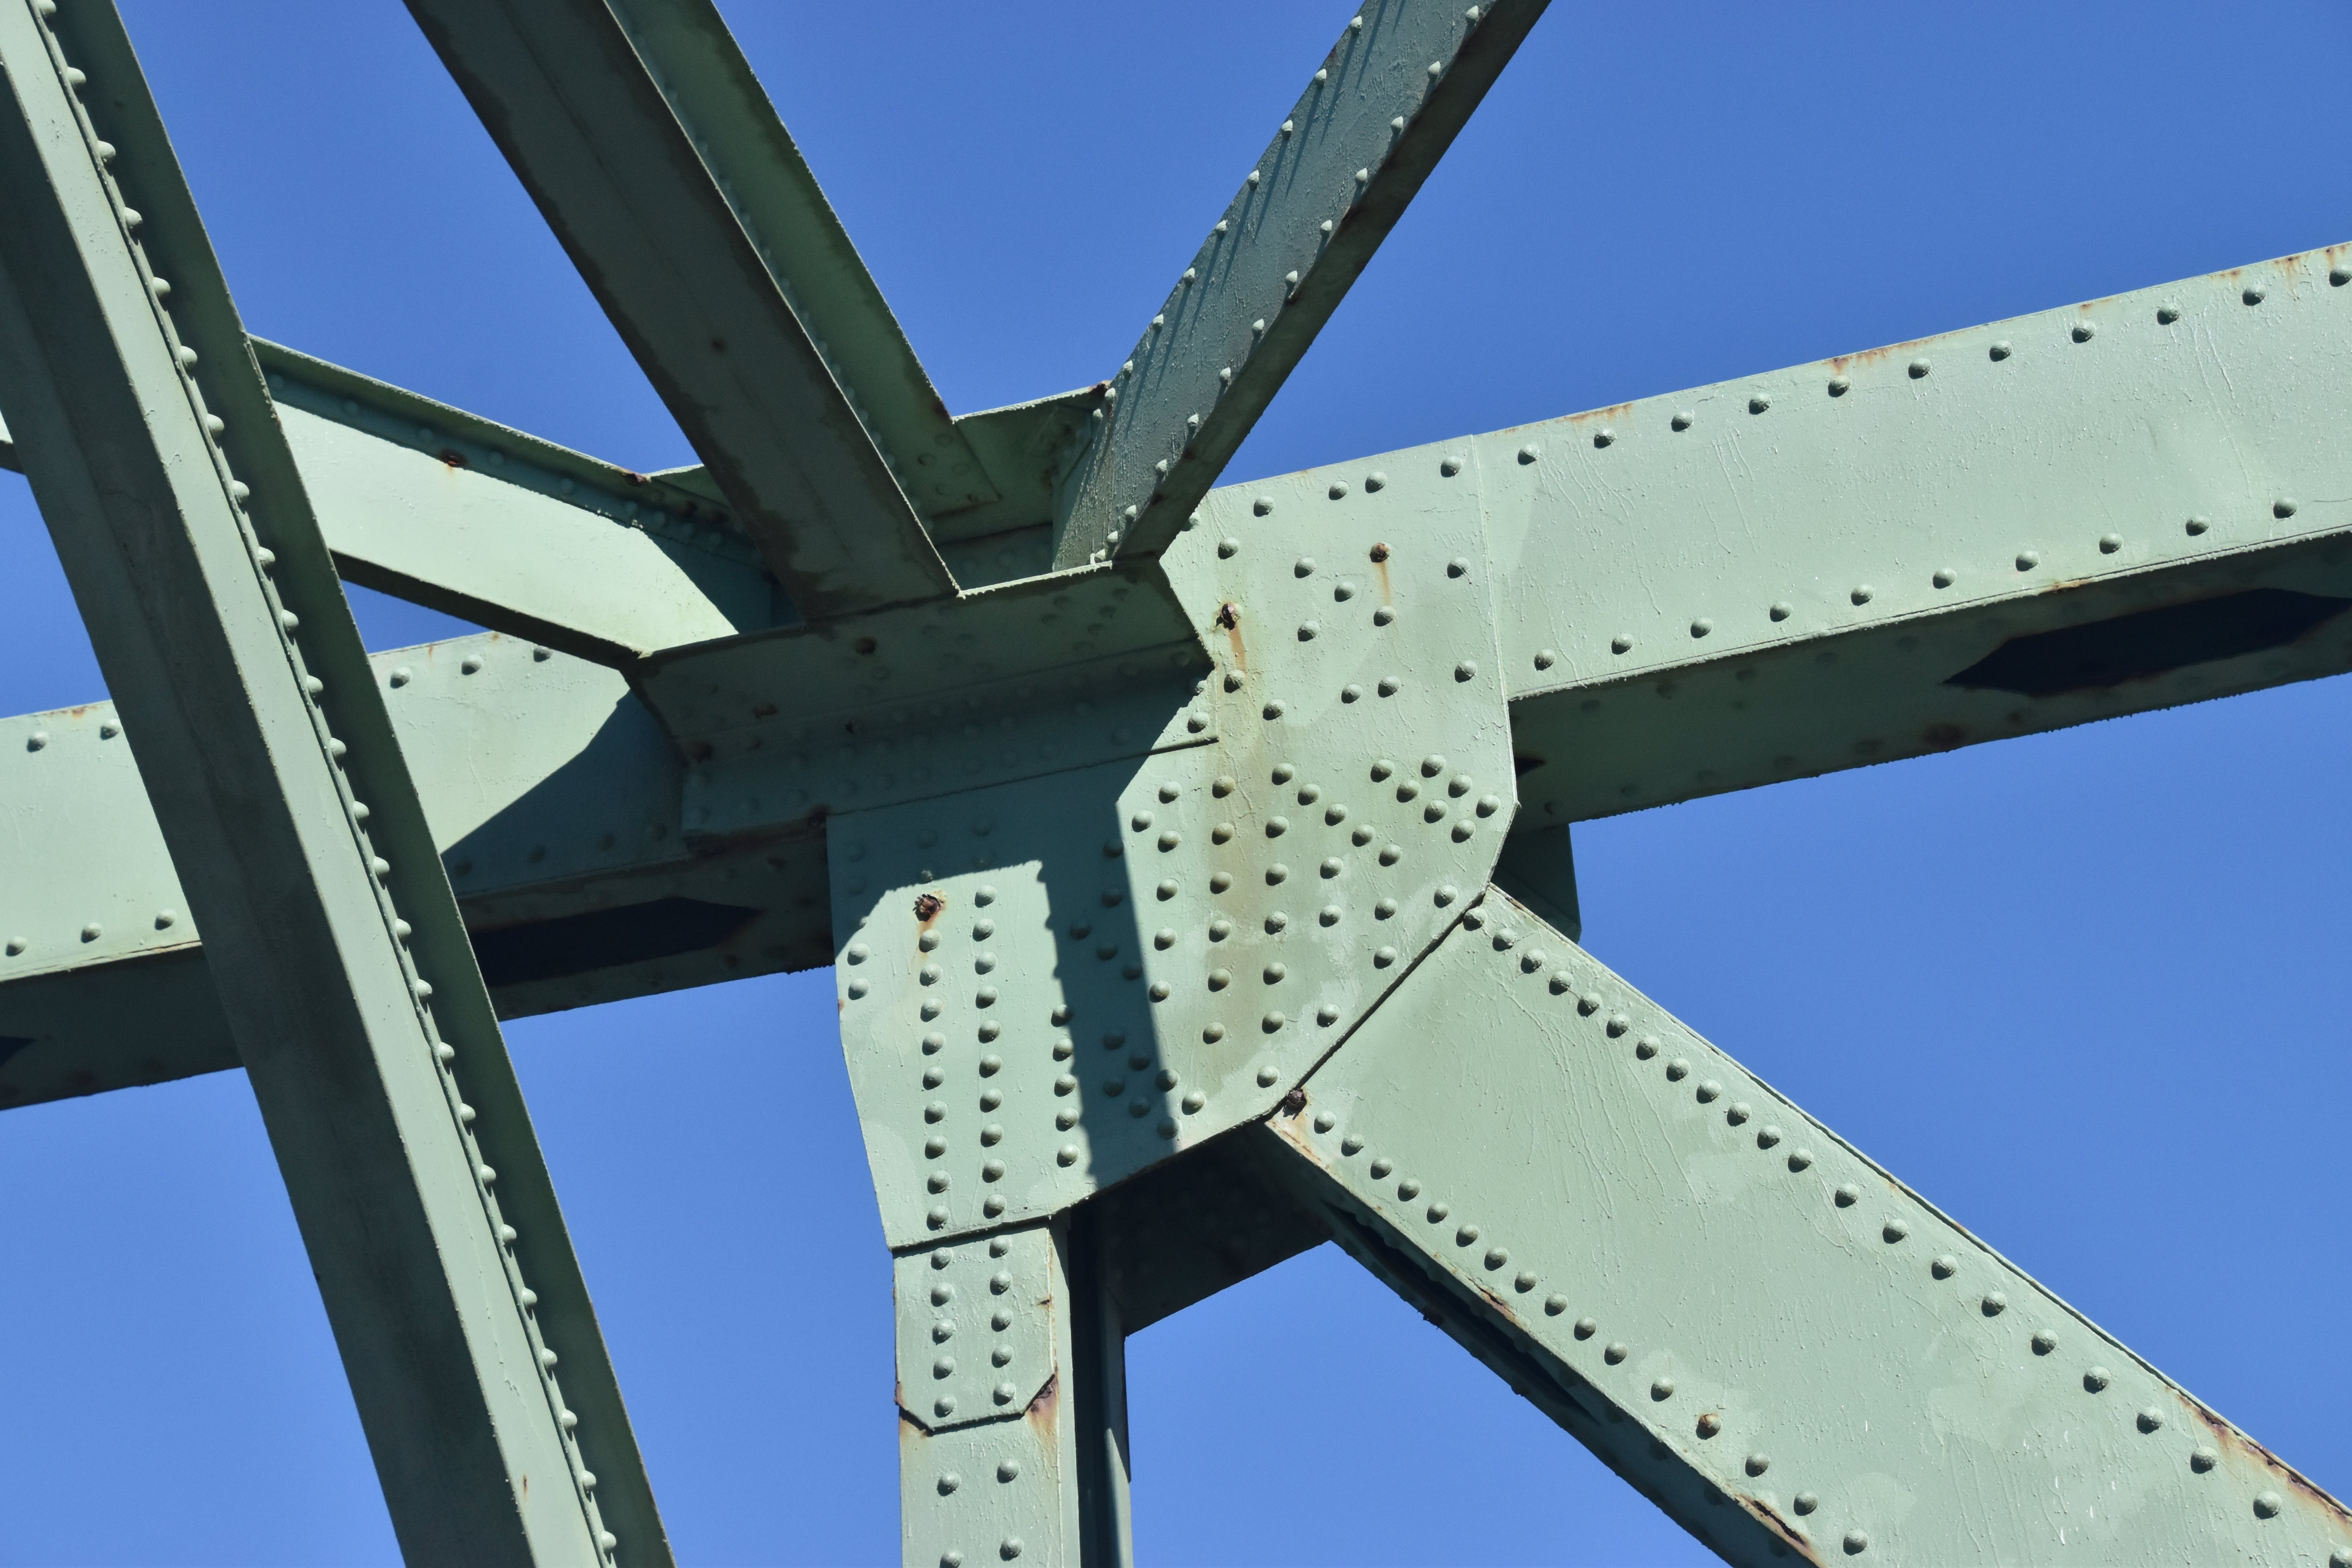
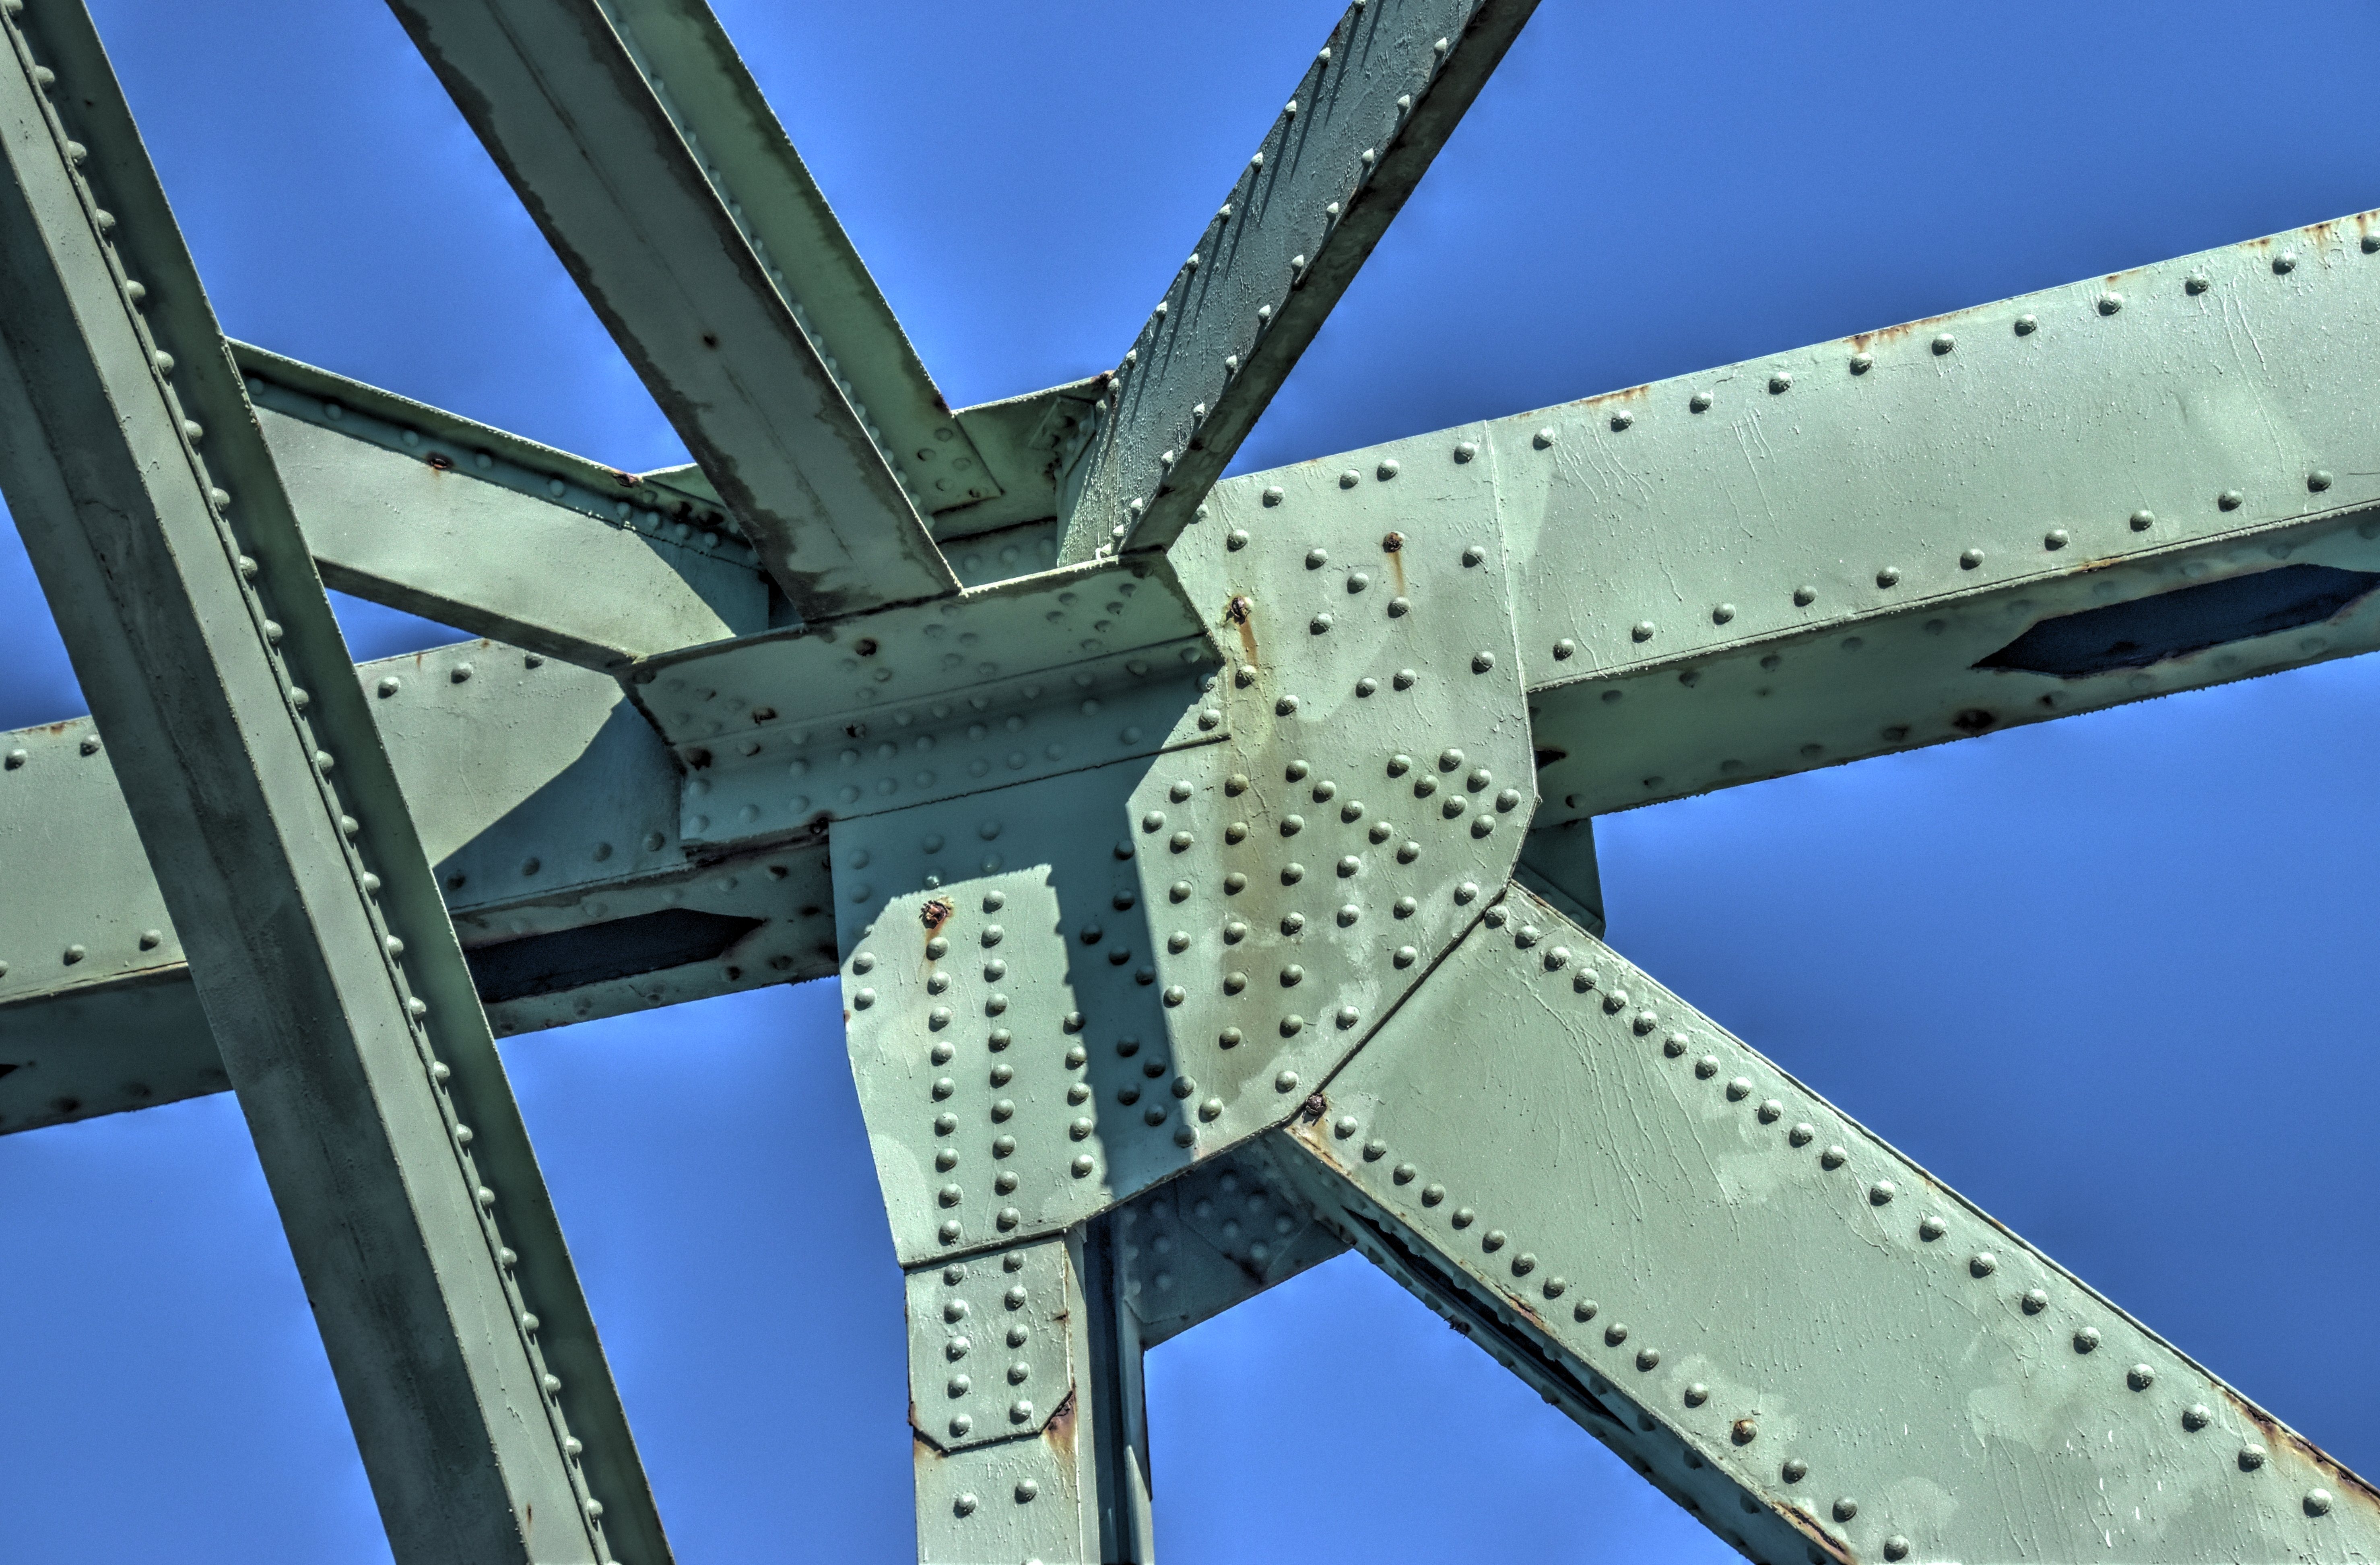


Top chord connections as viewed from on bridge.
![]()


Bottom chord connections as viewed from on bridge.
![]()


Bottom chord connection at bearing.
![]()
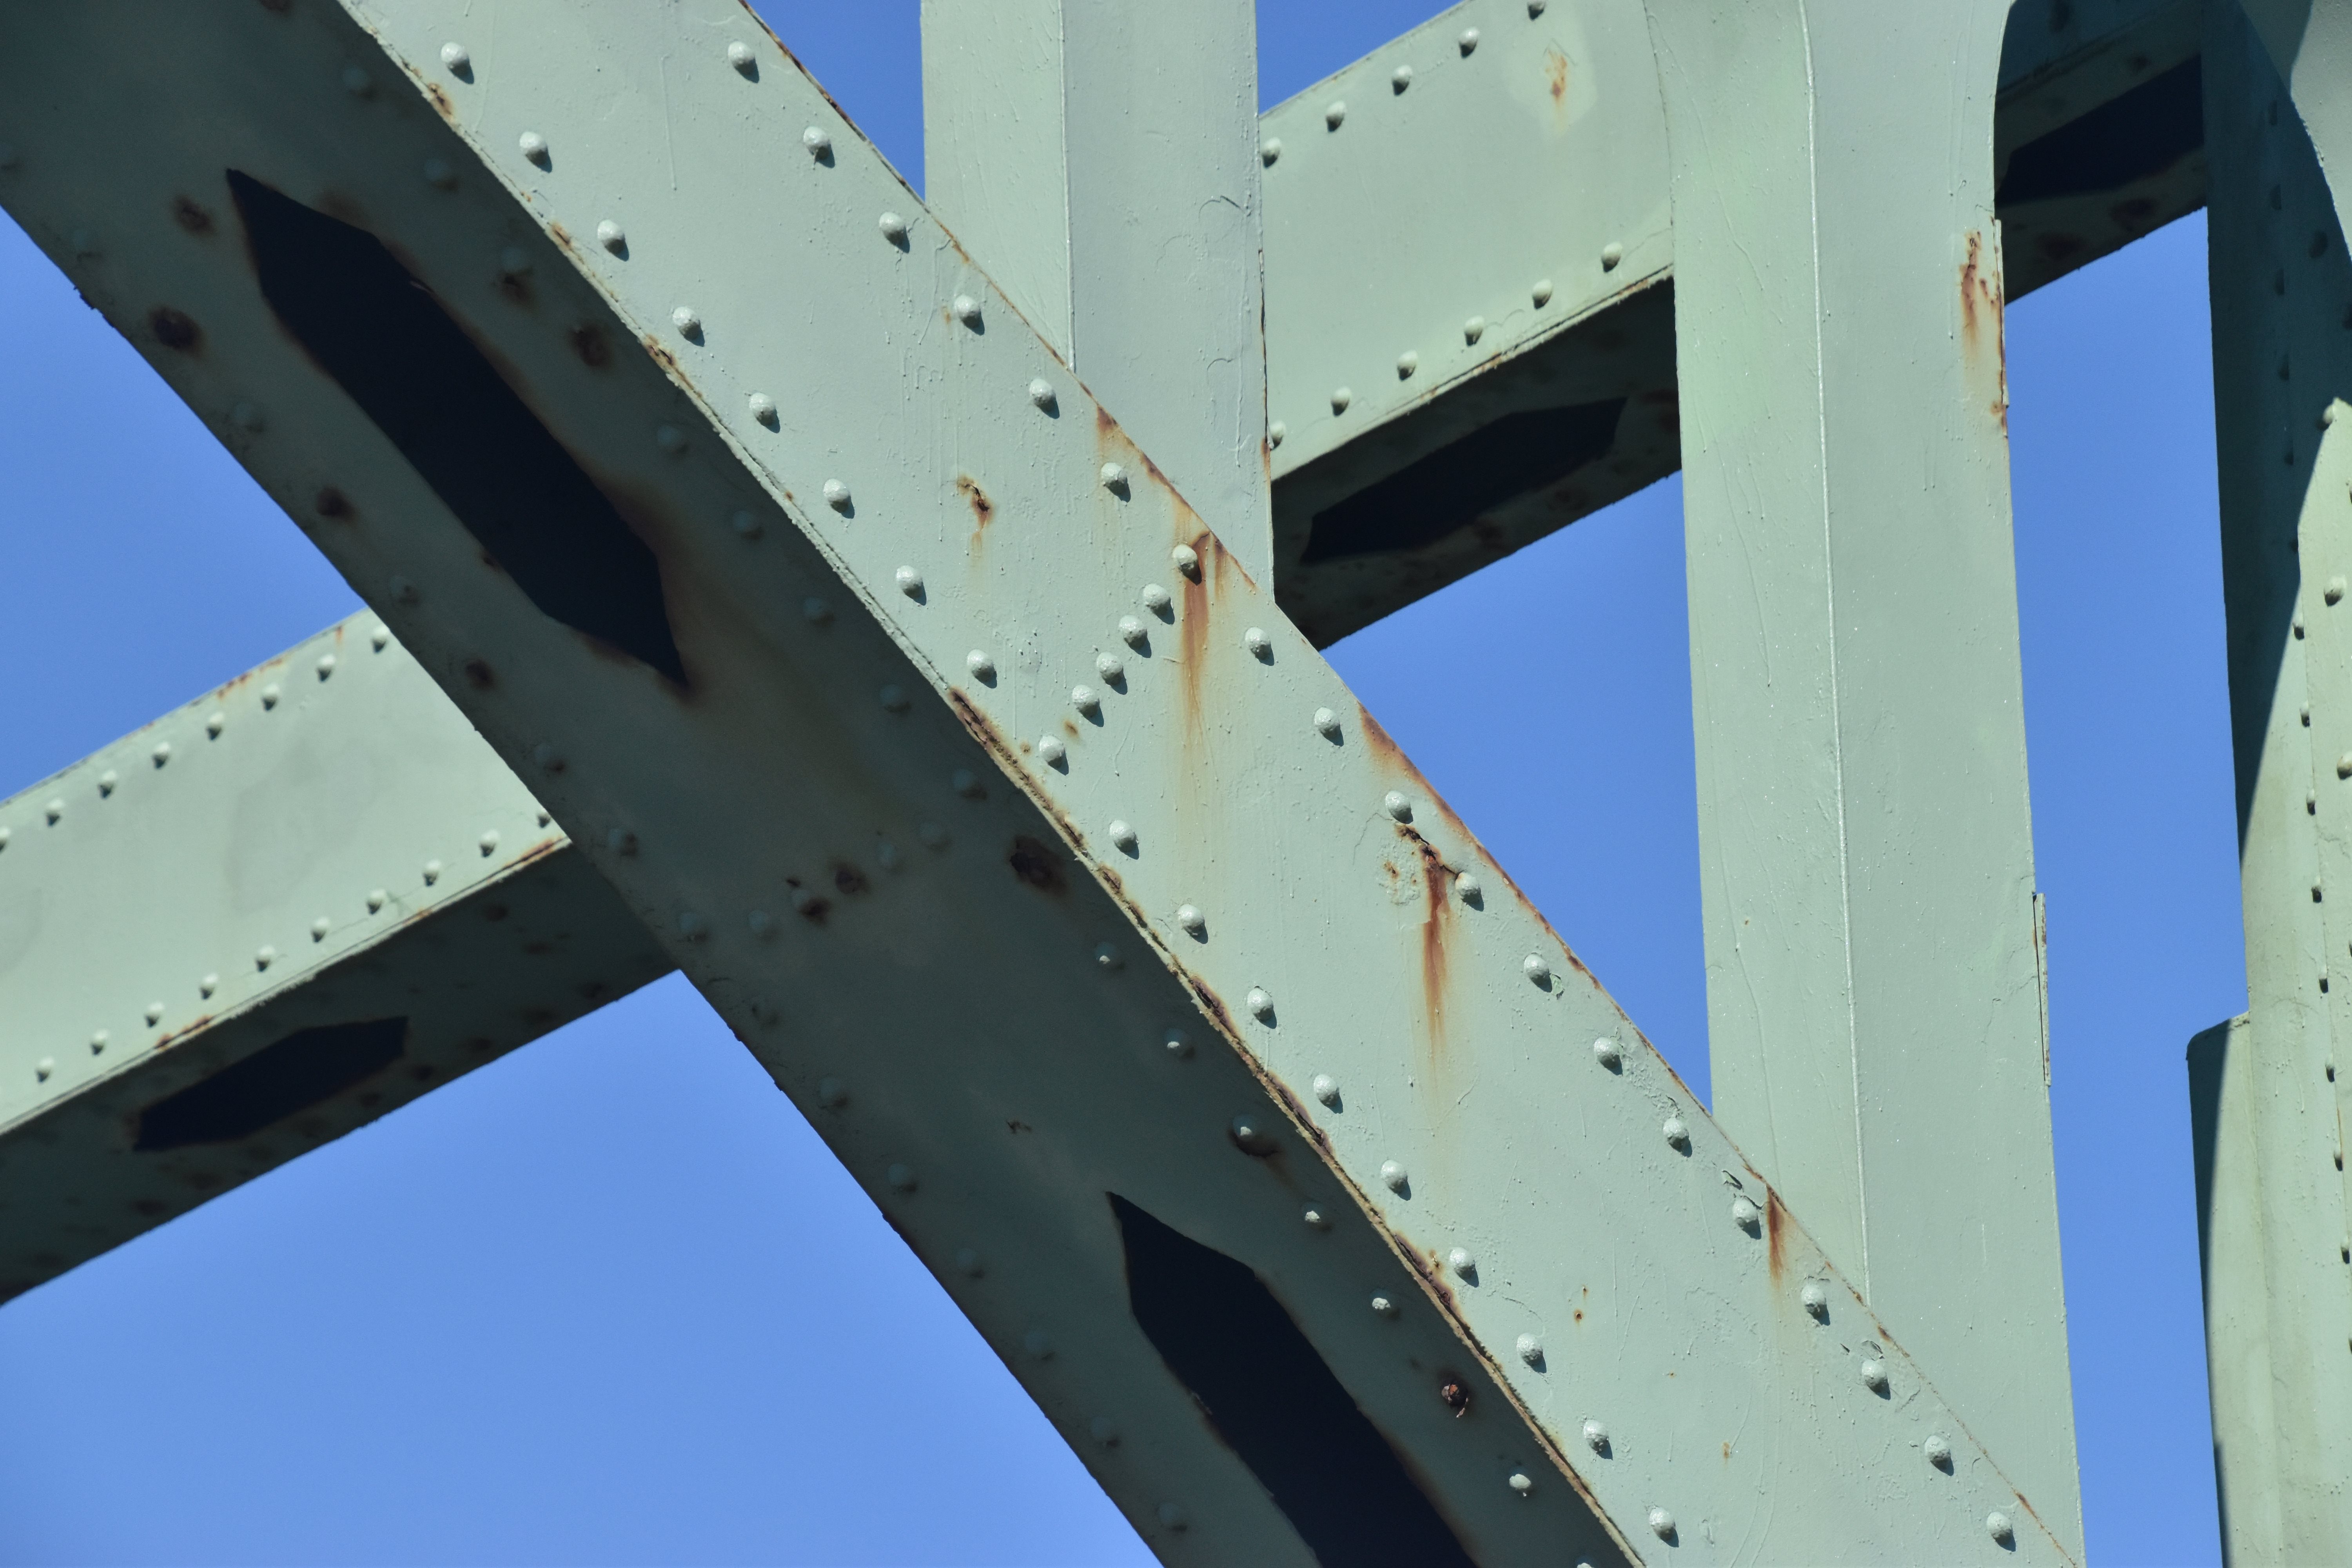
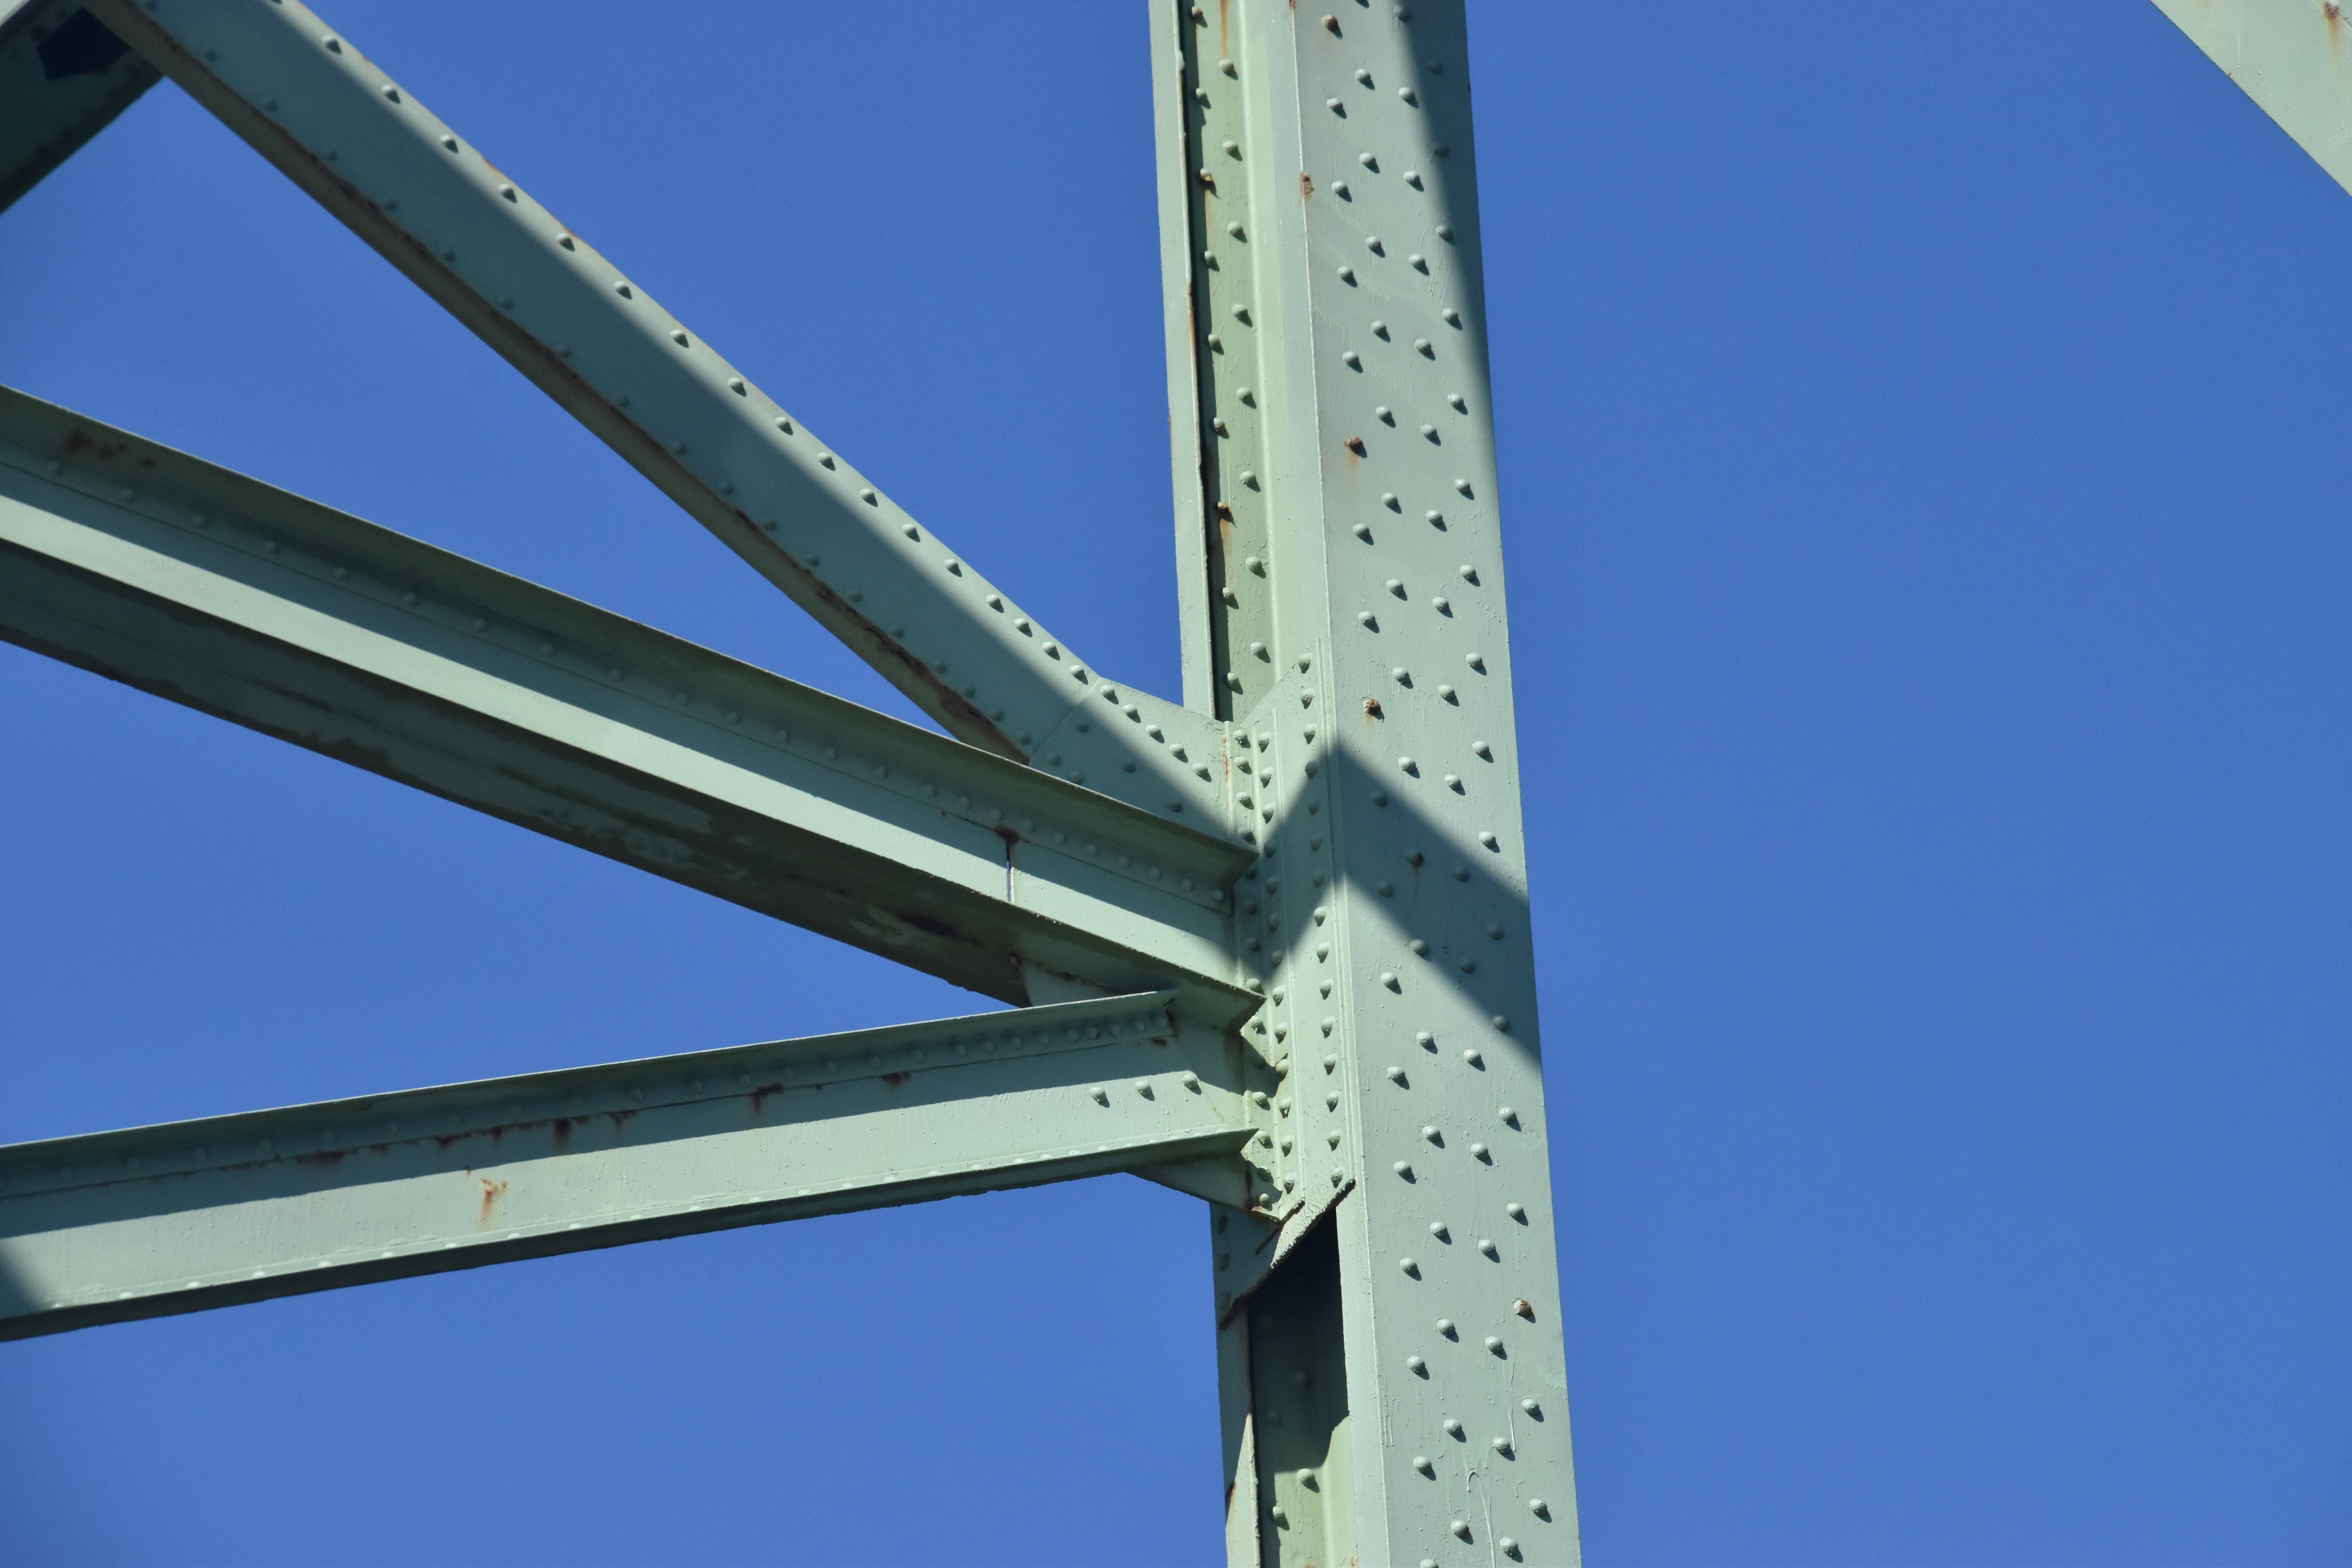
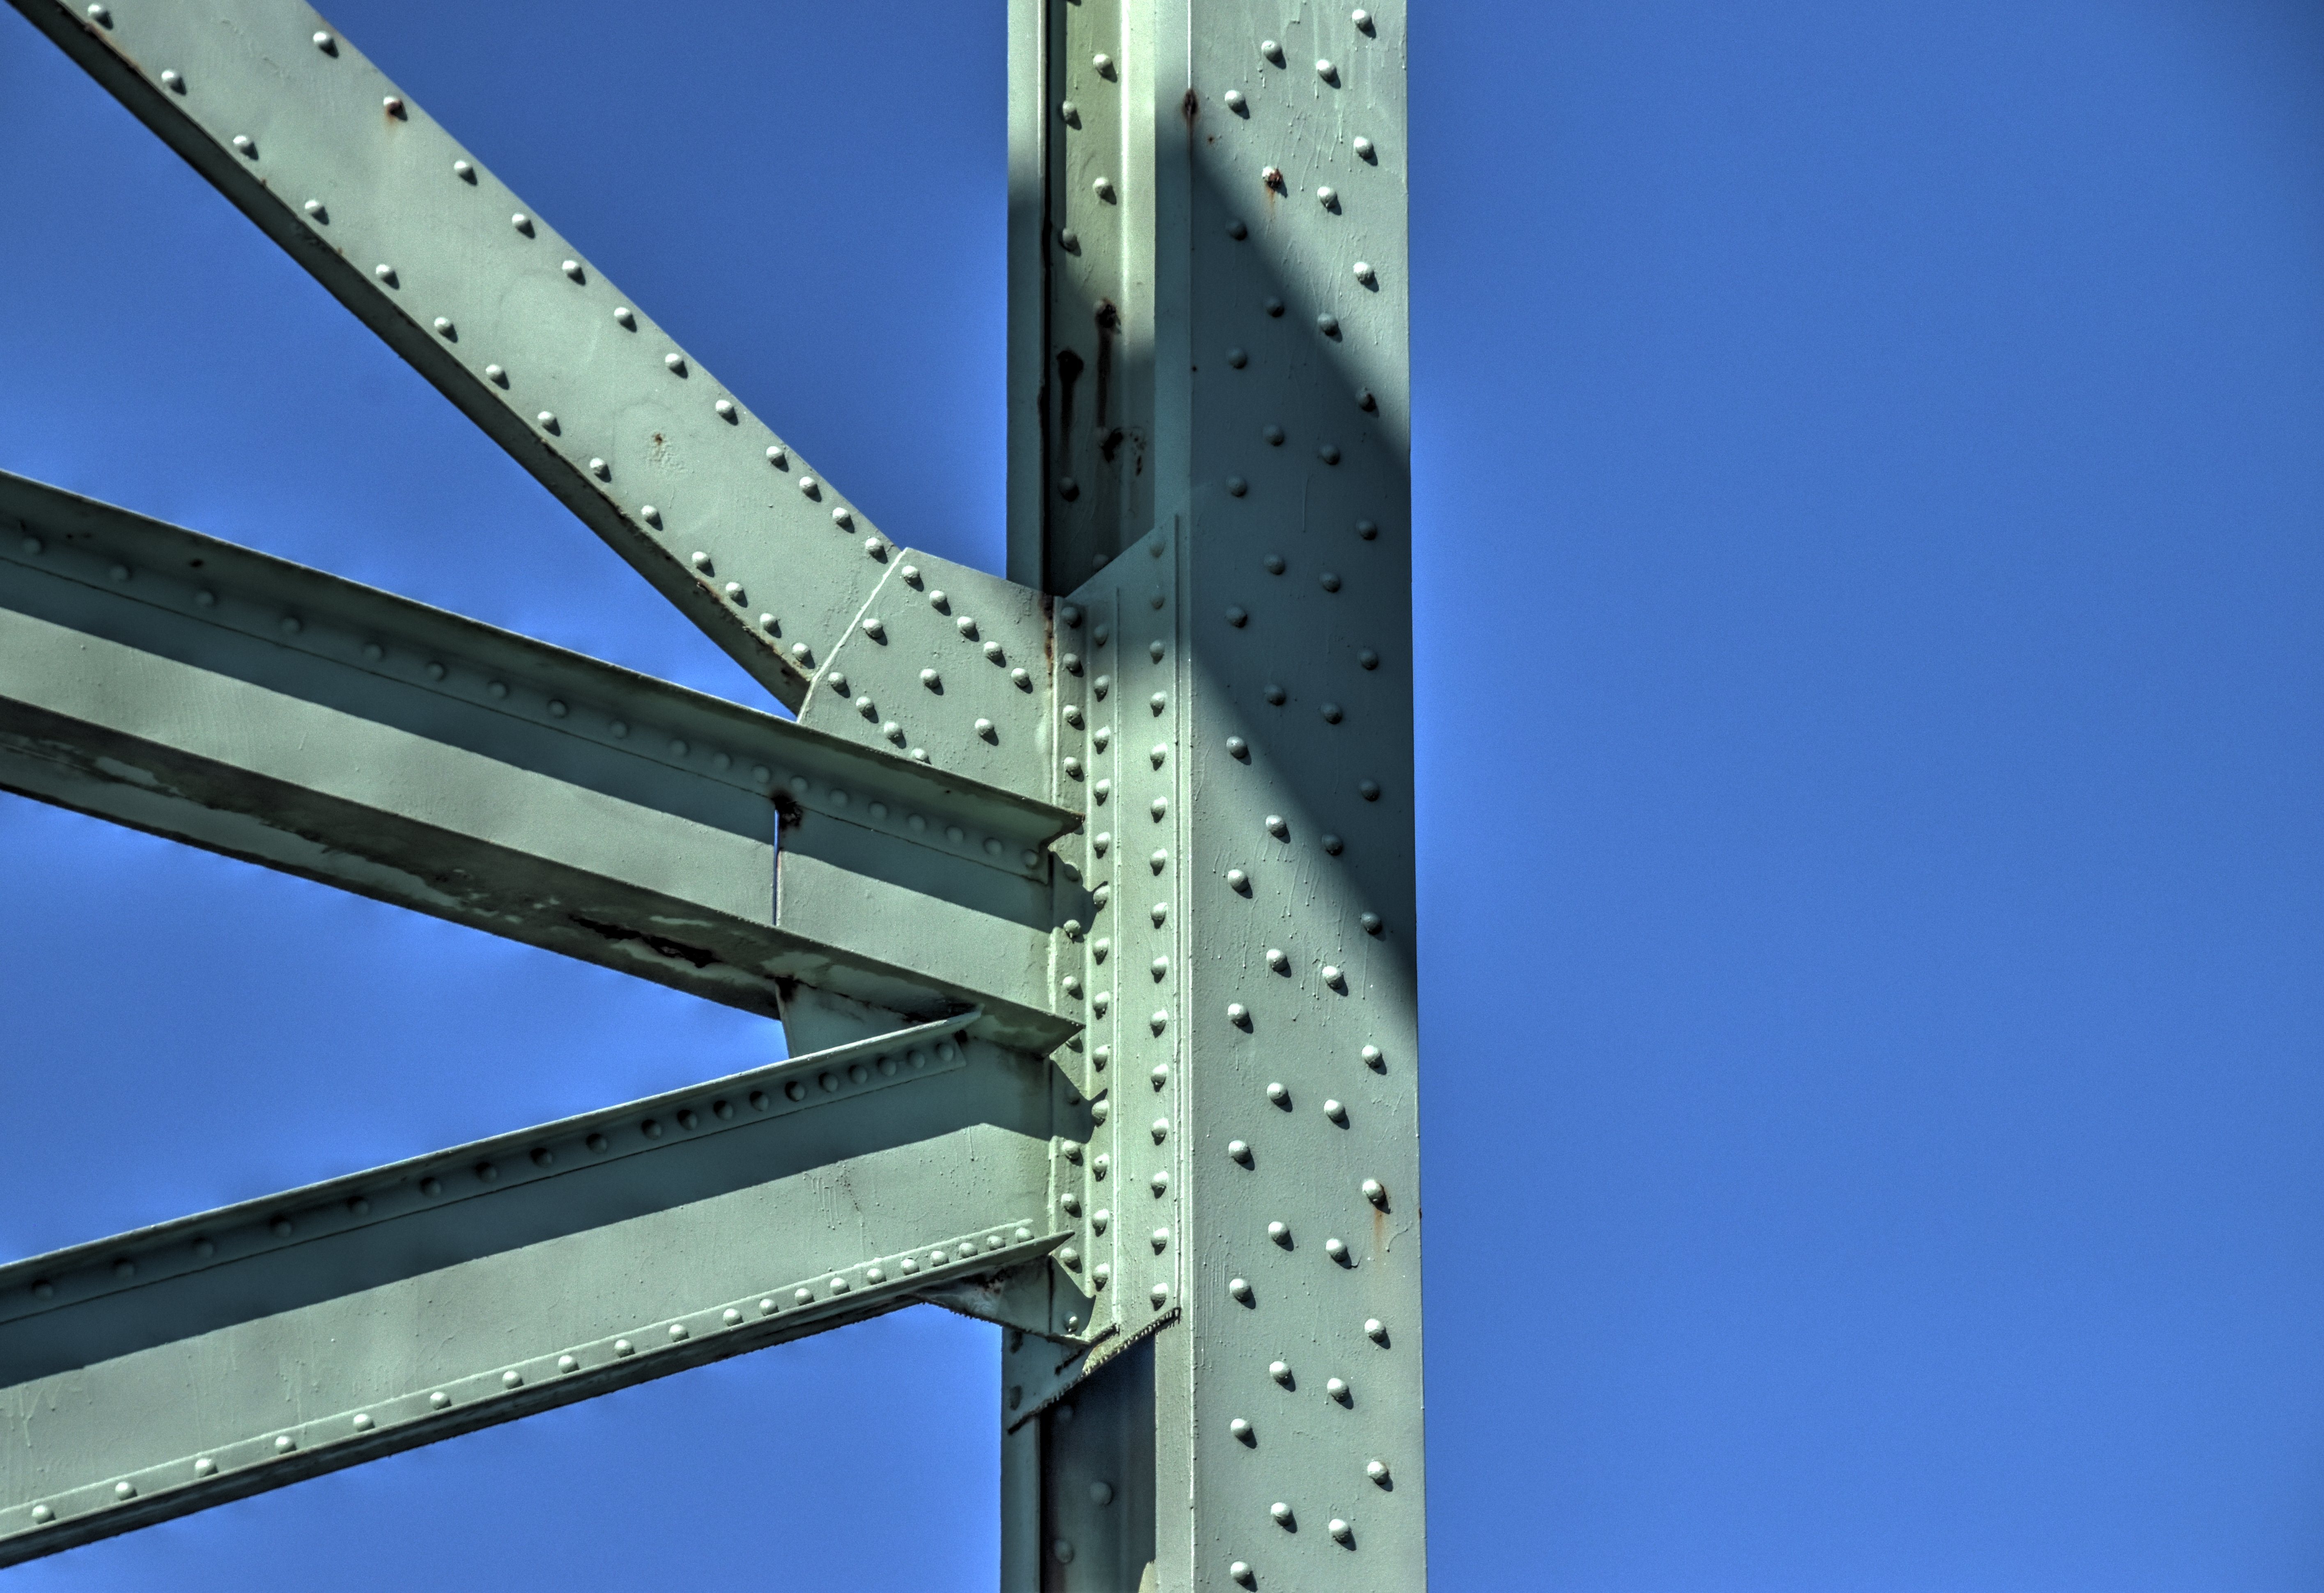
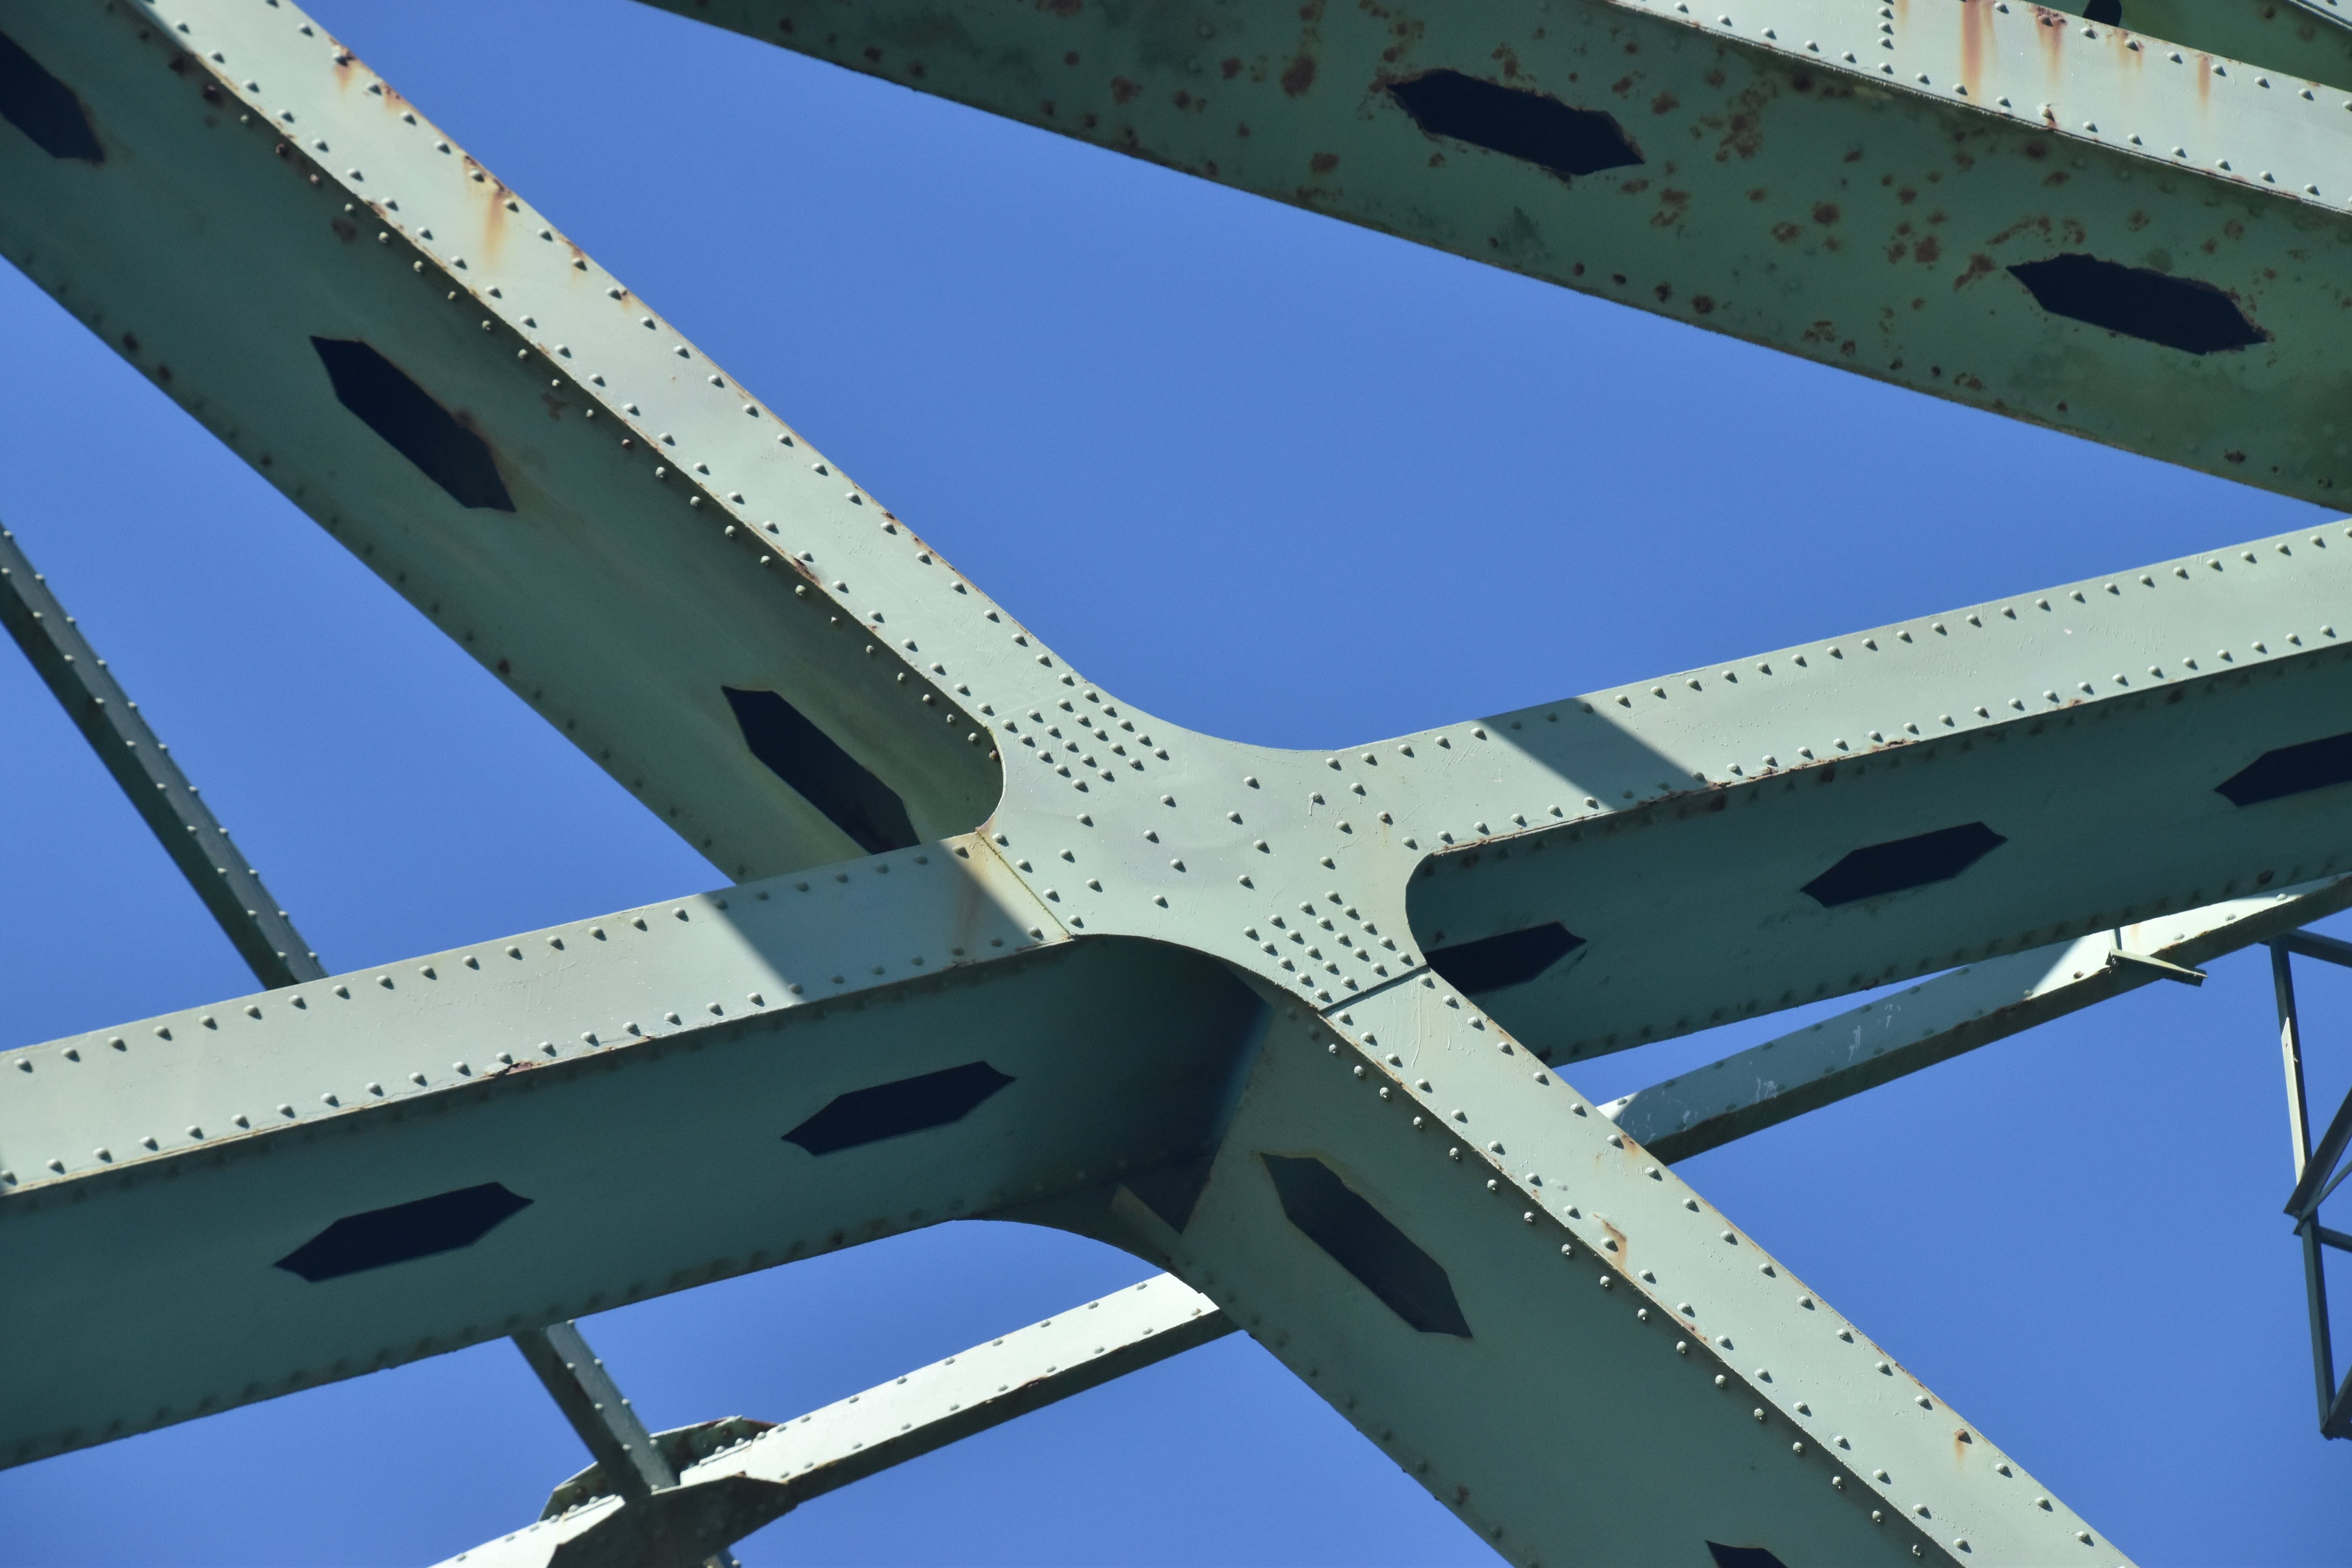
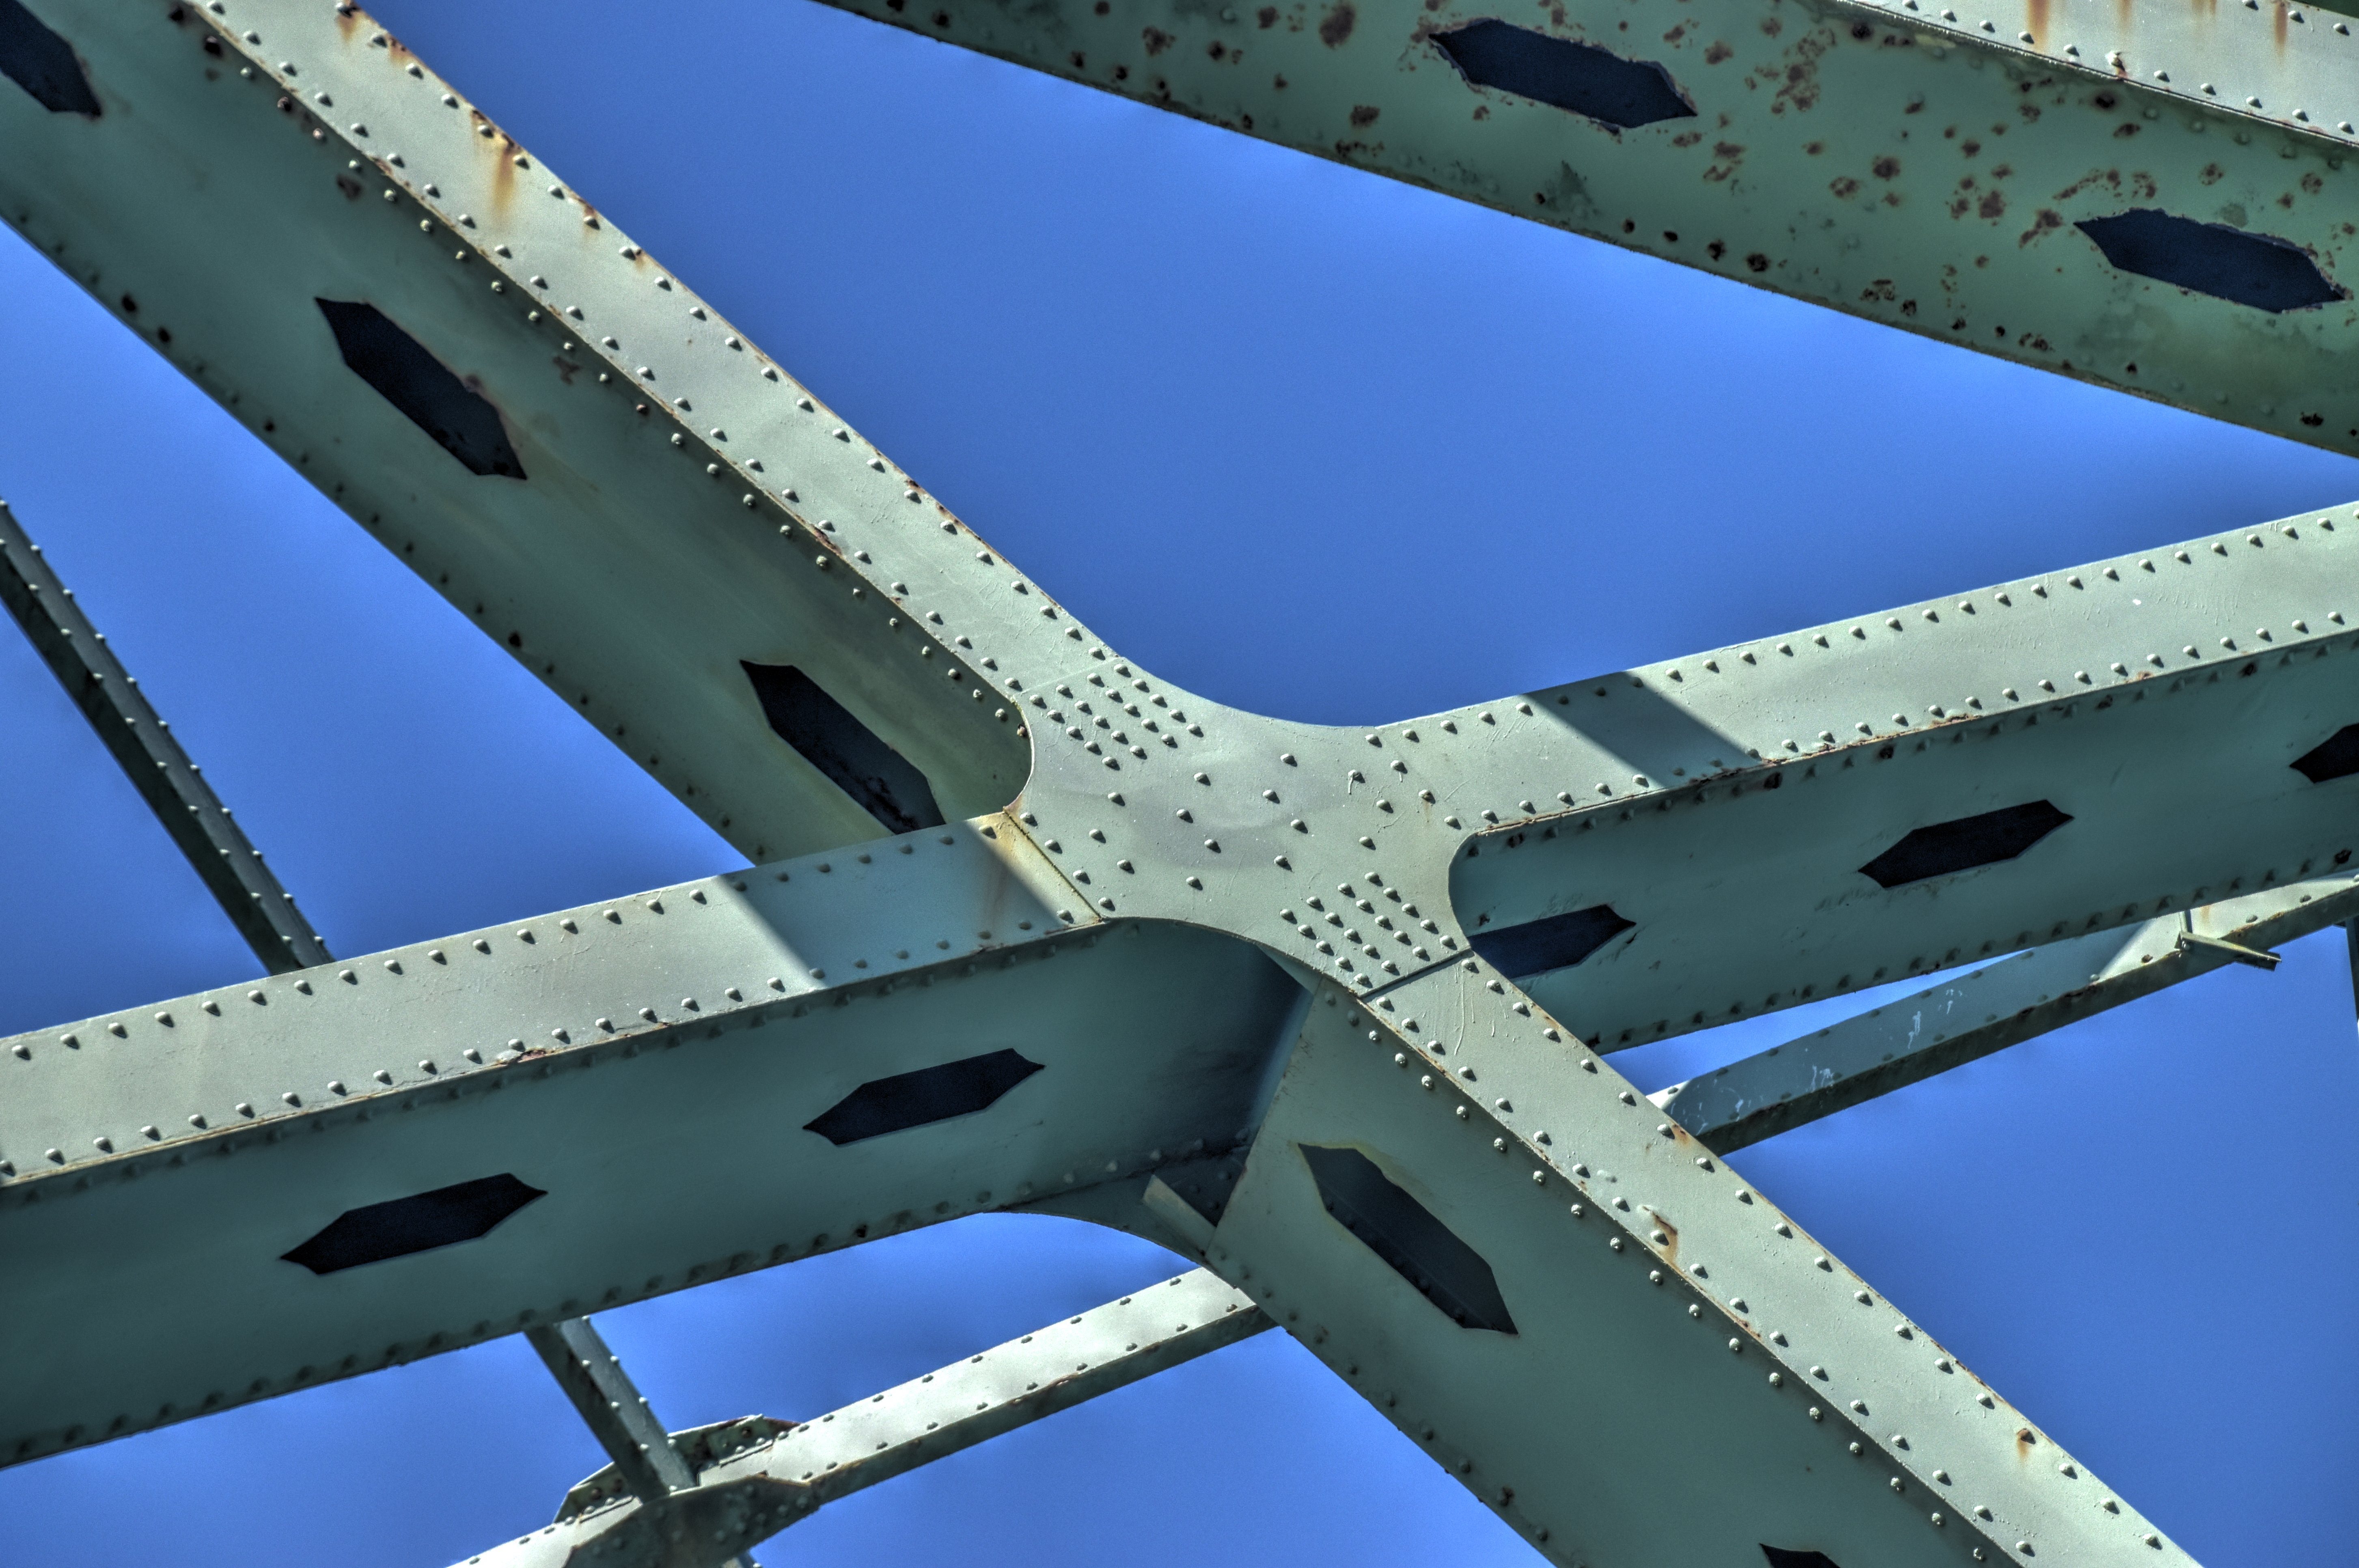
Intermediate connections.
![]()
Sway bracing.
![]()
Sway bracing details.
![]()


Sway bracing connections to vertical members.
![]()
Lateral bracing.
![]()
Lateral bracing details.
![]()
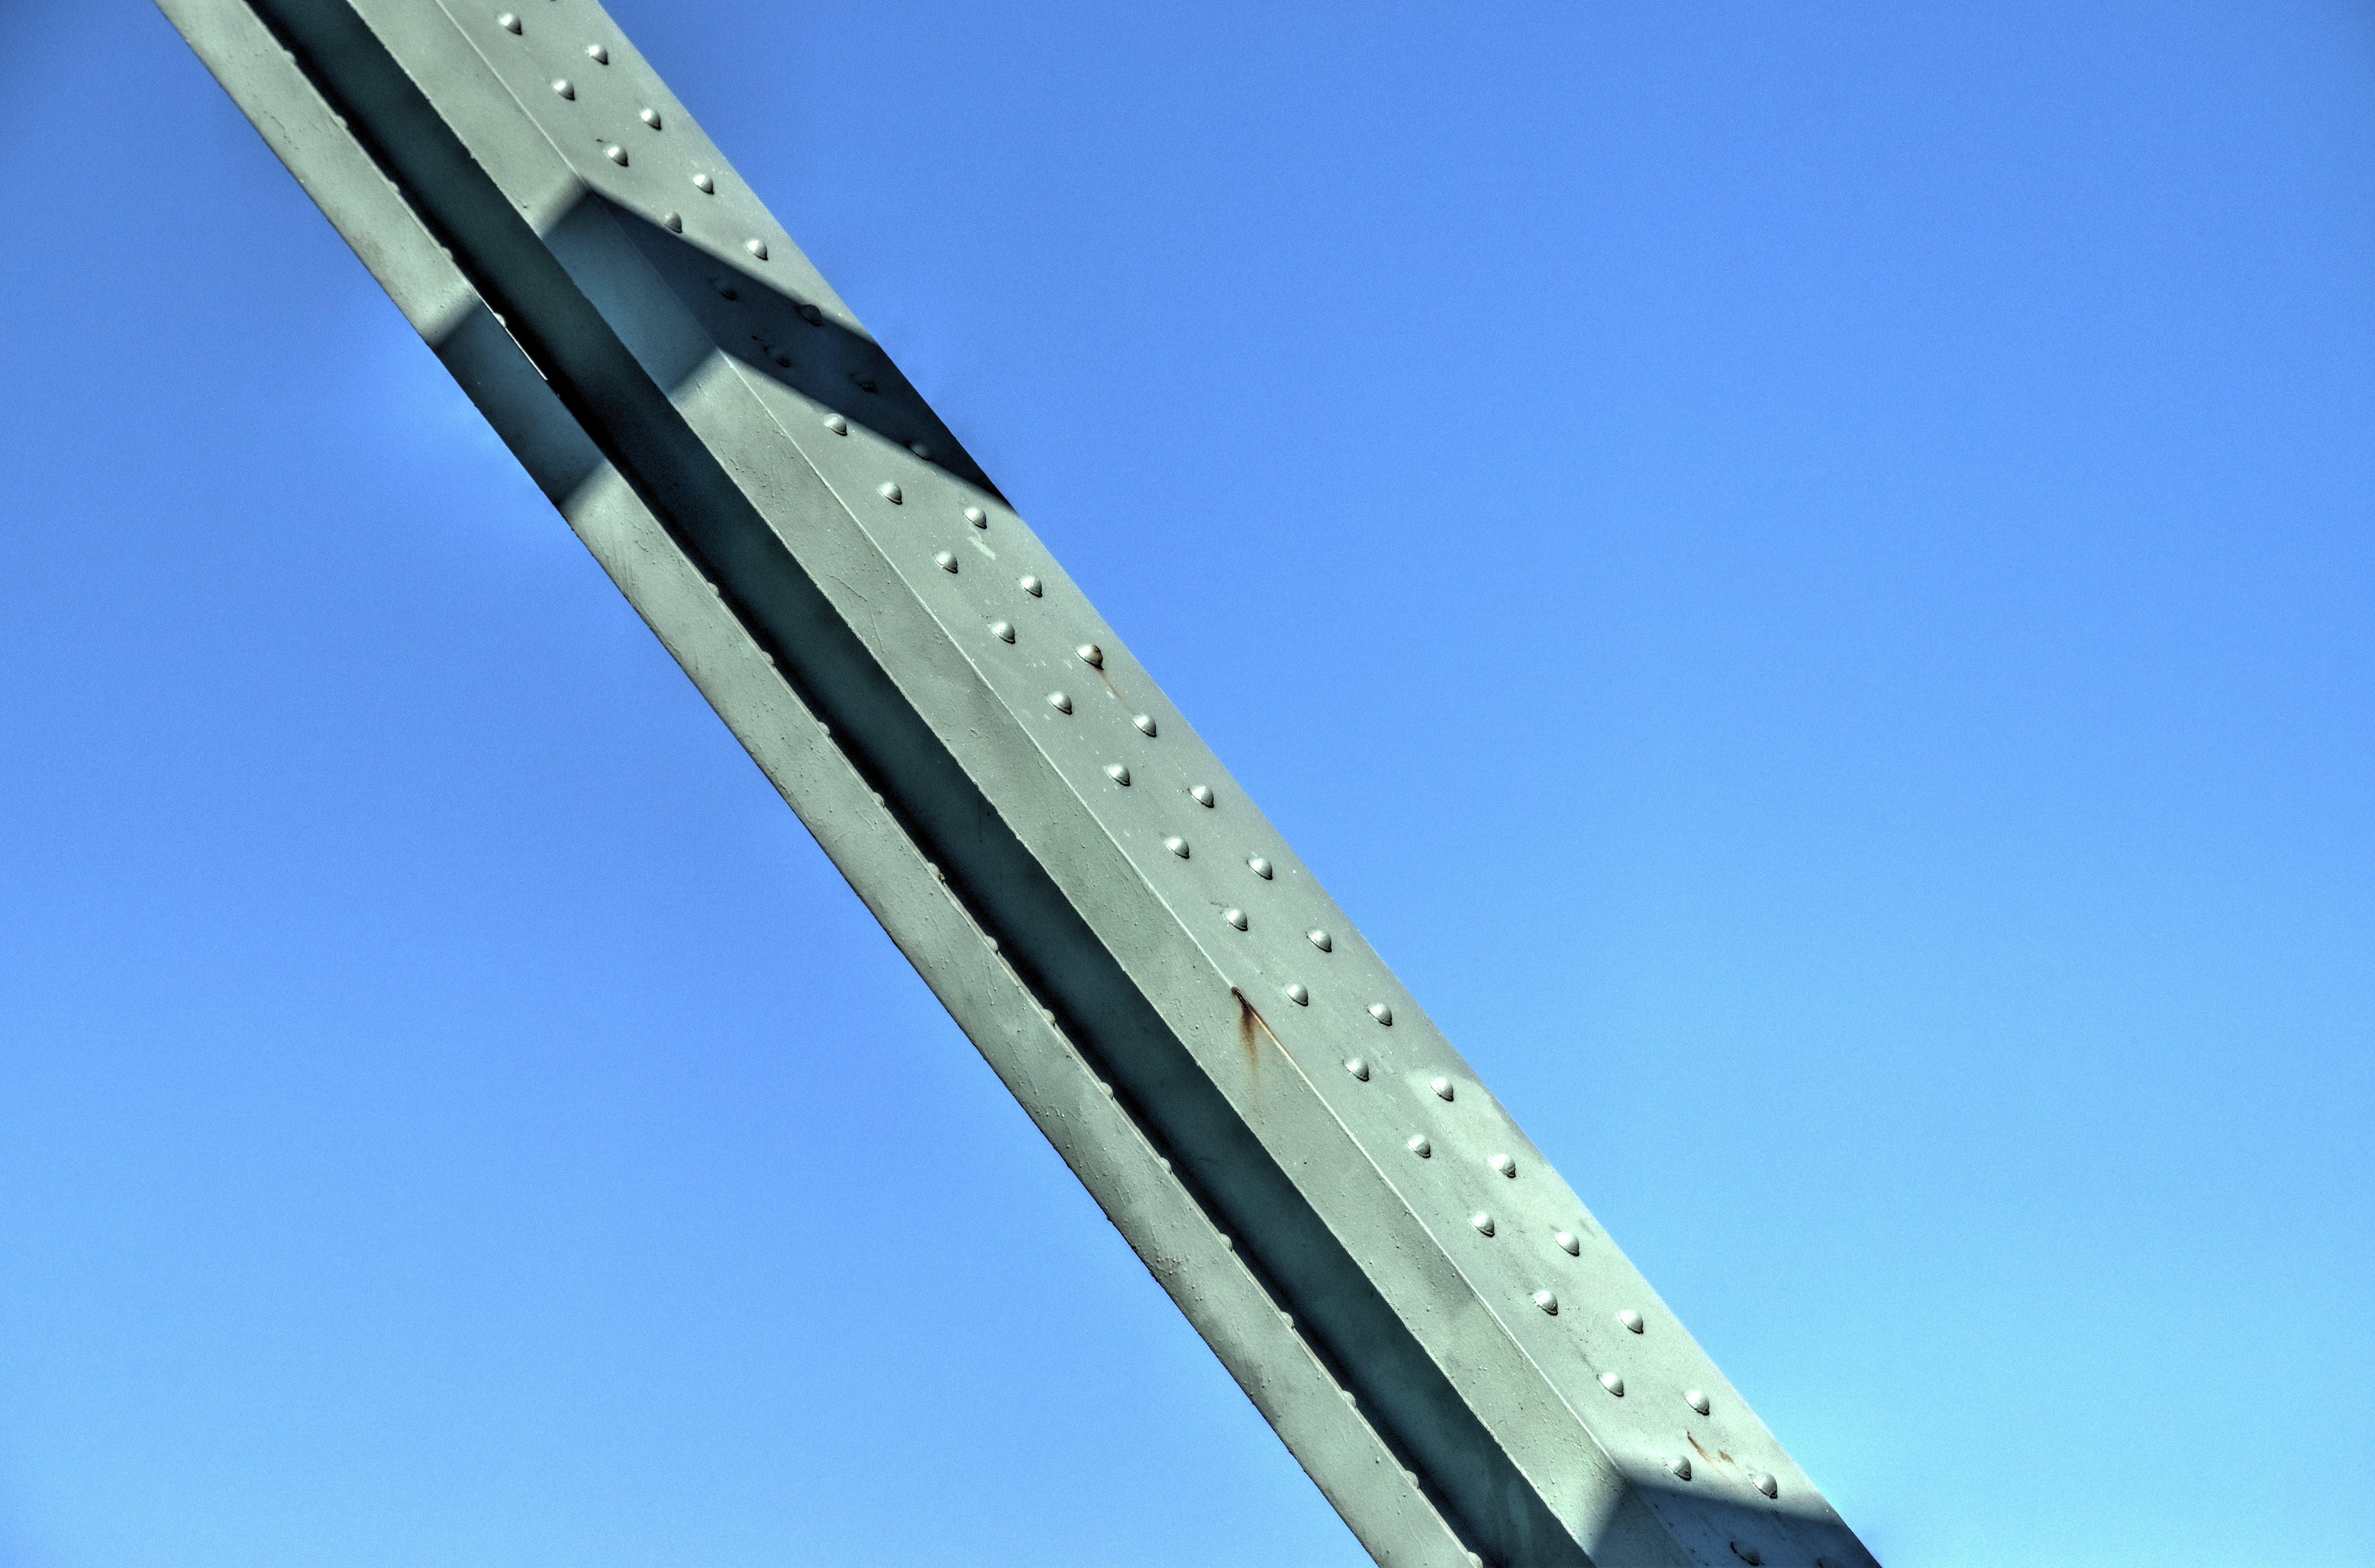
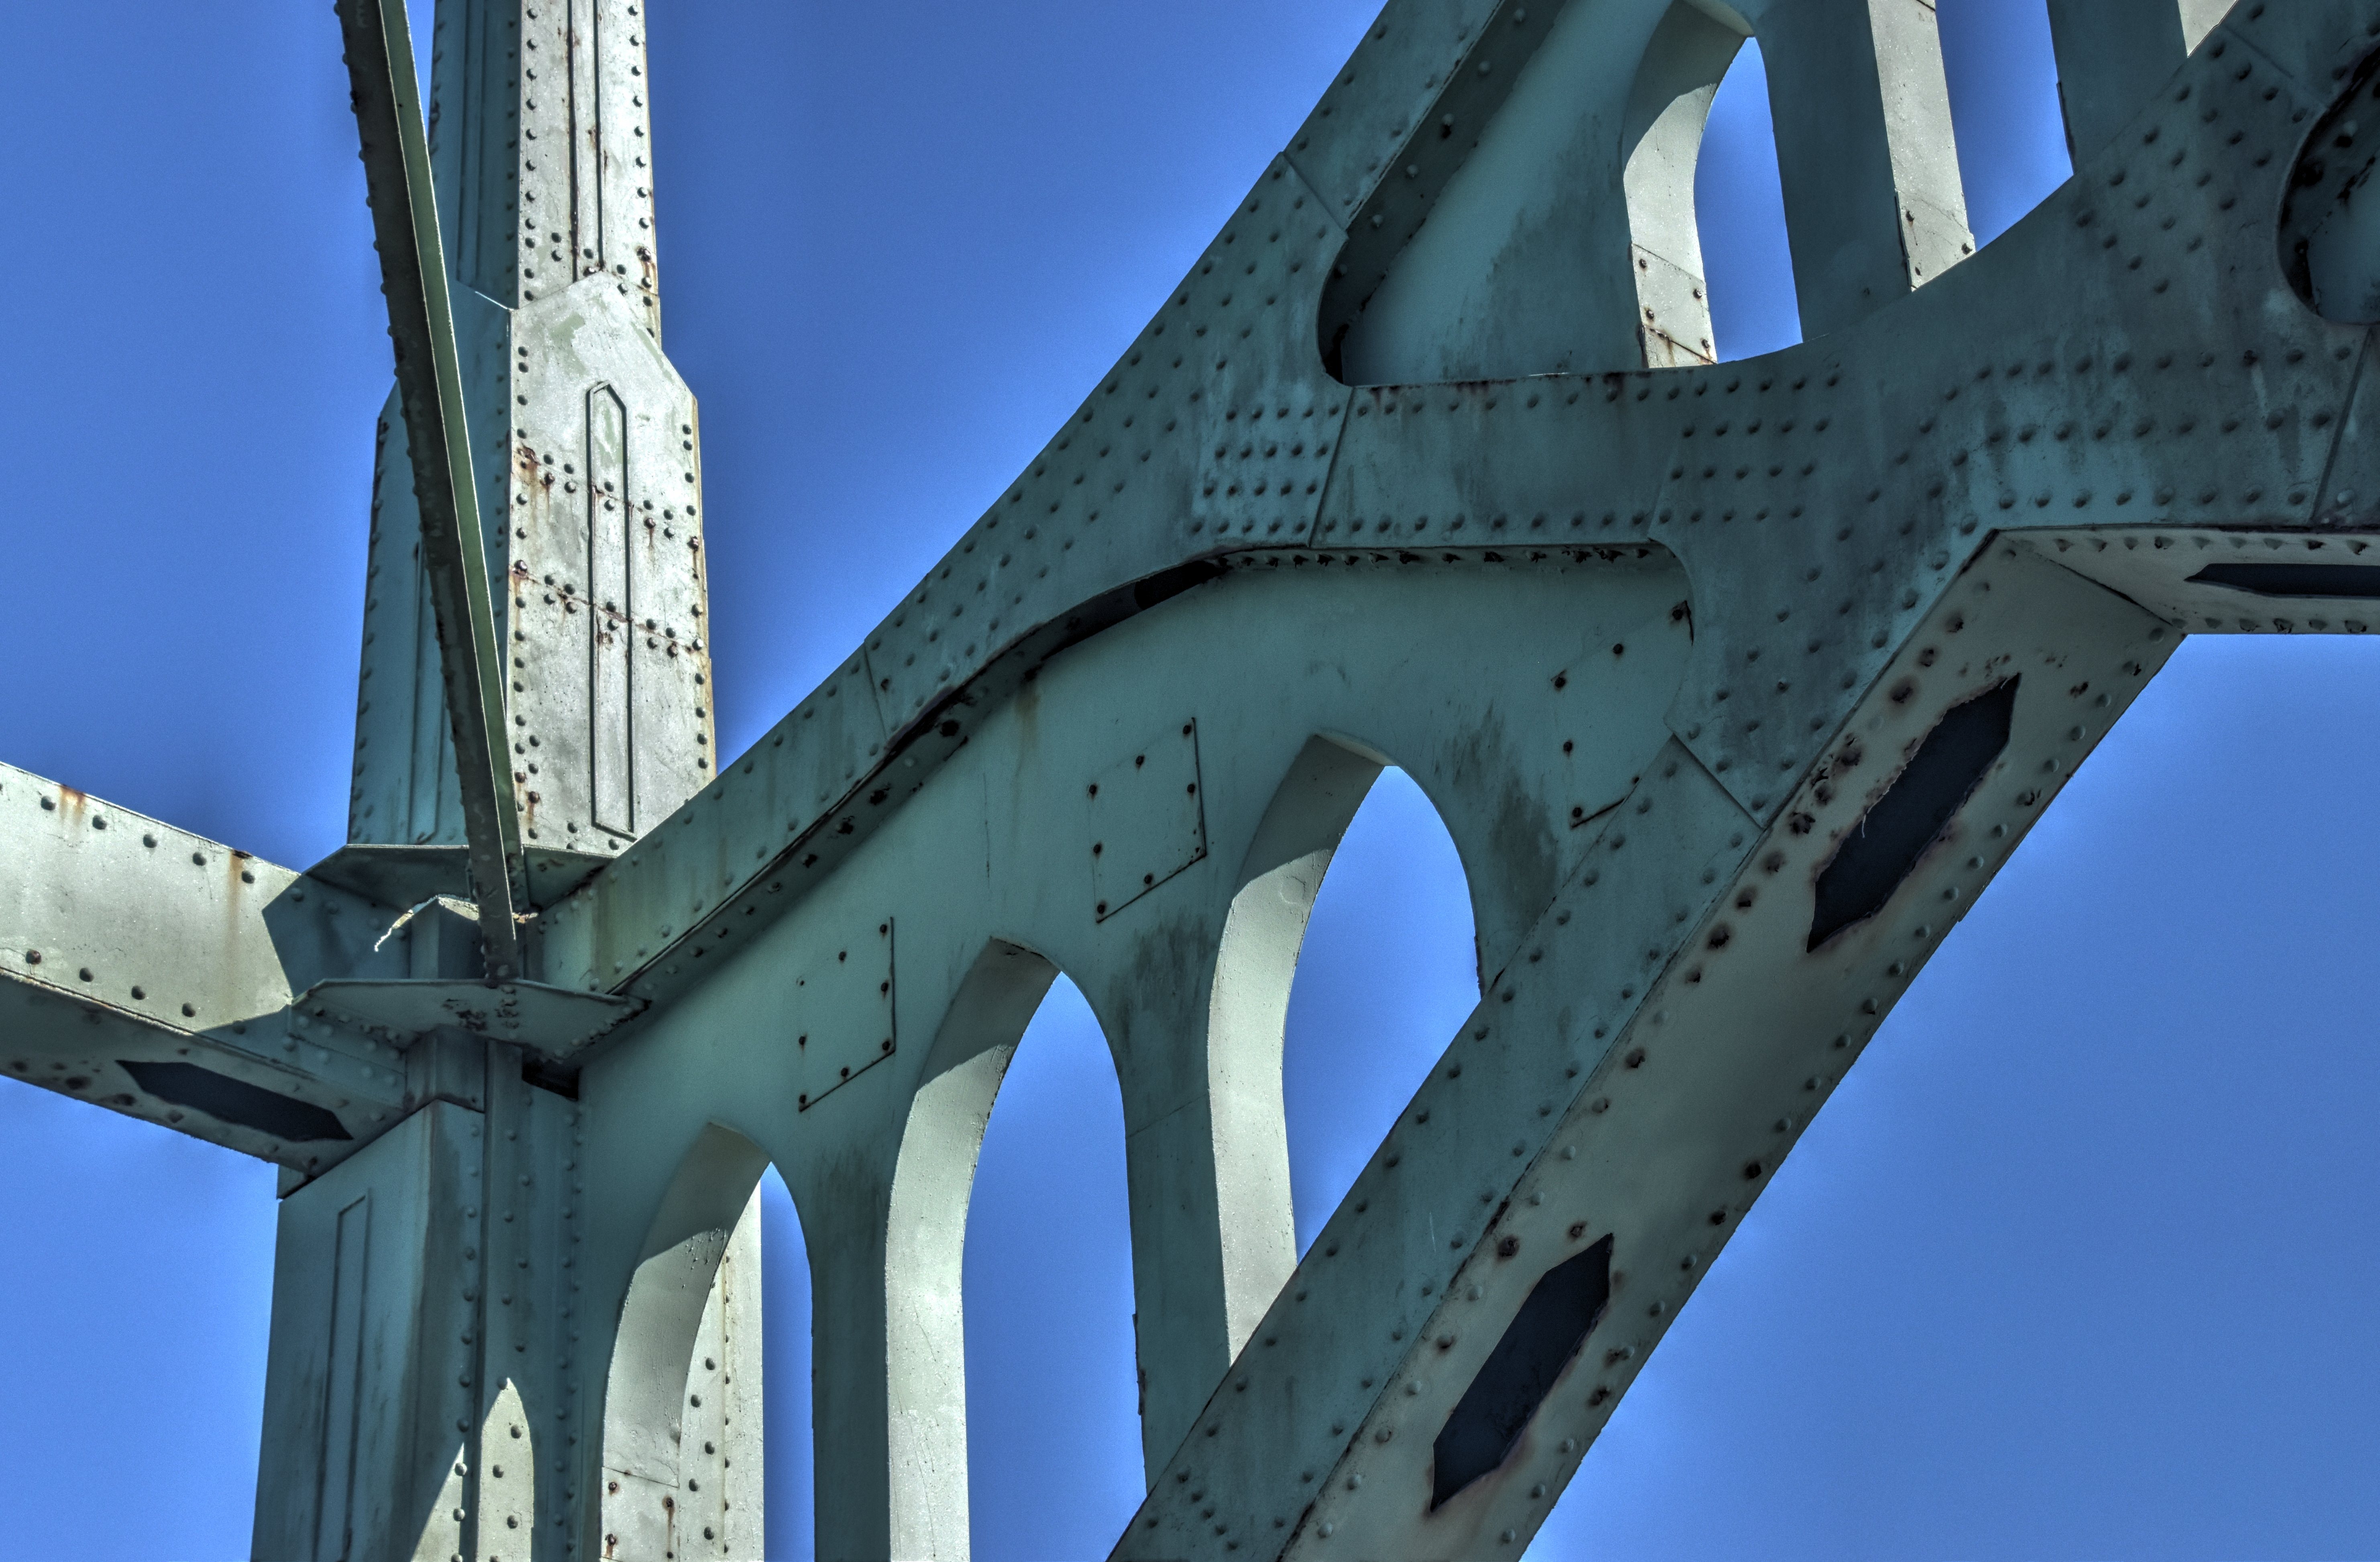
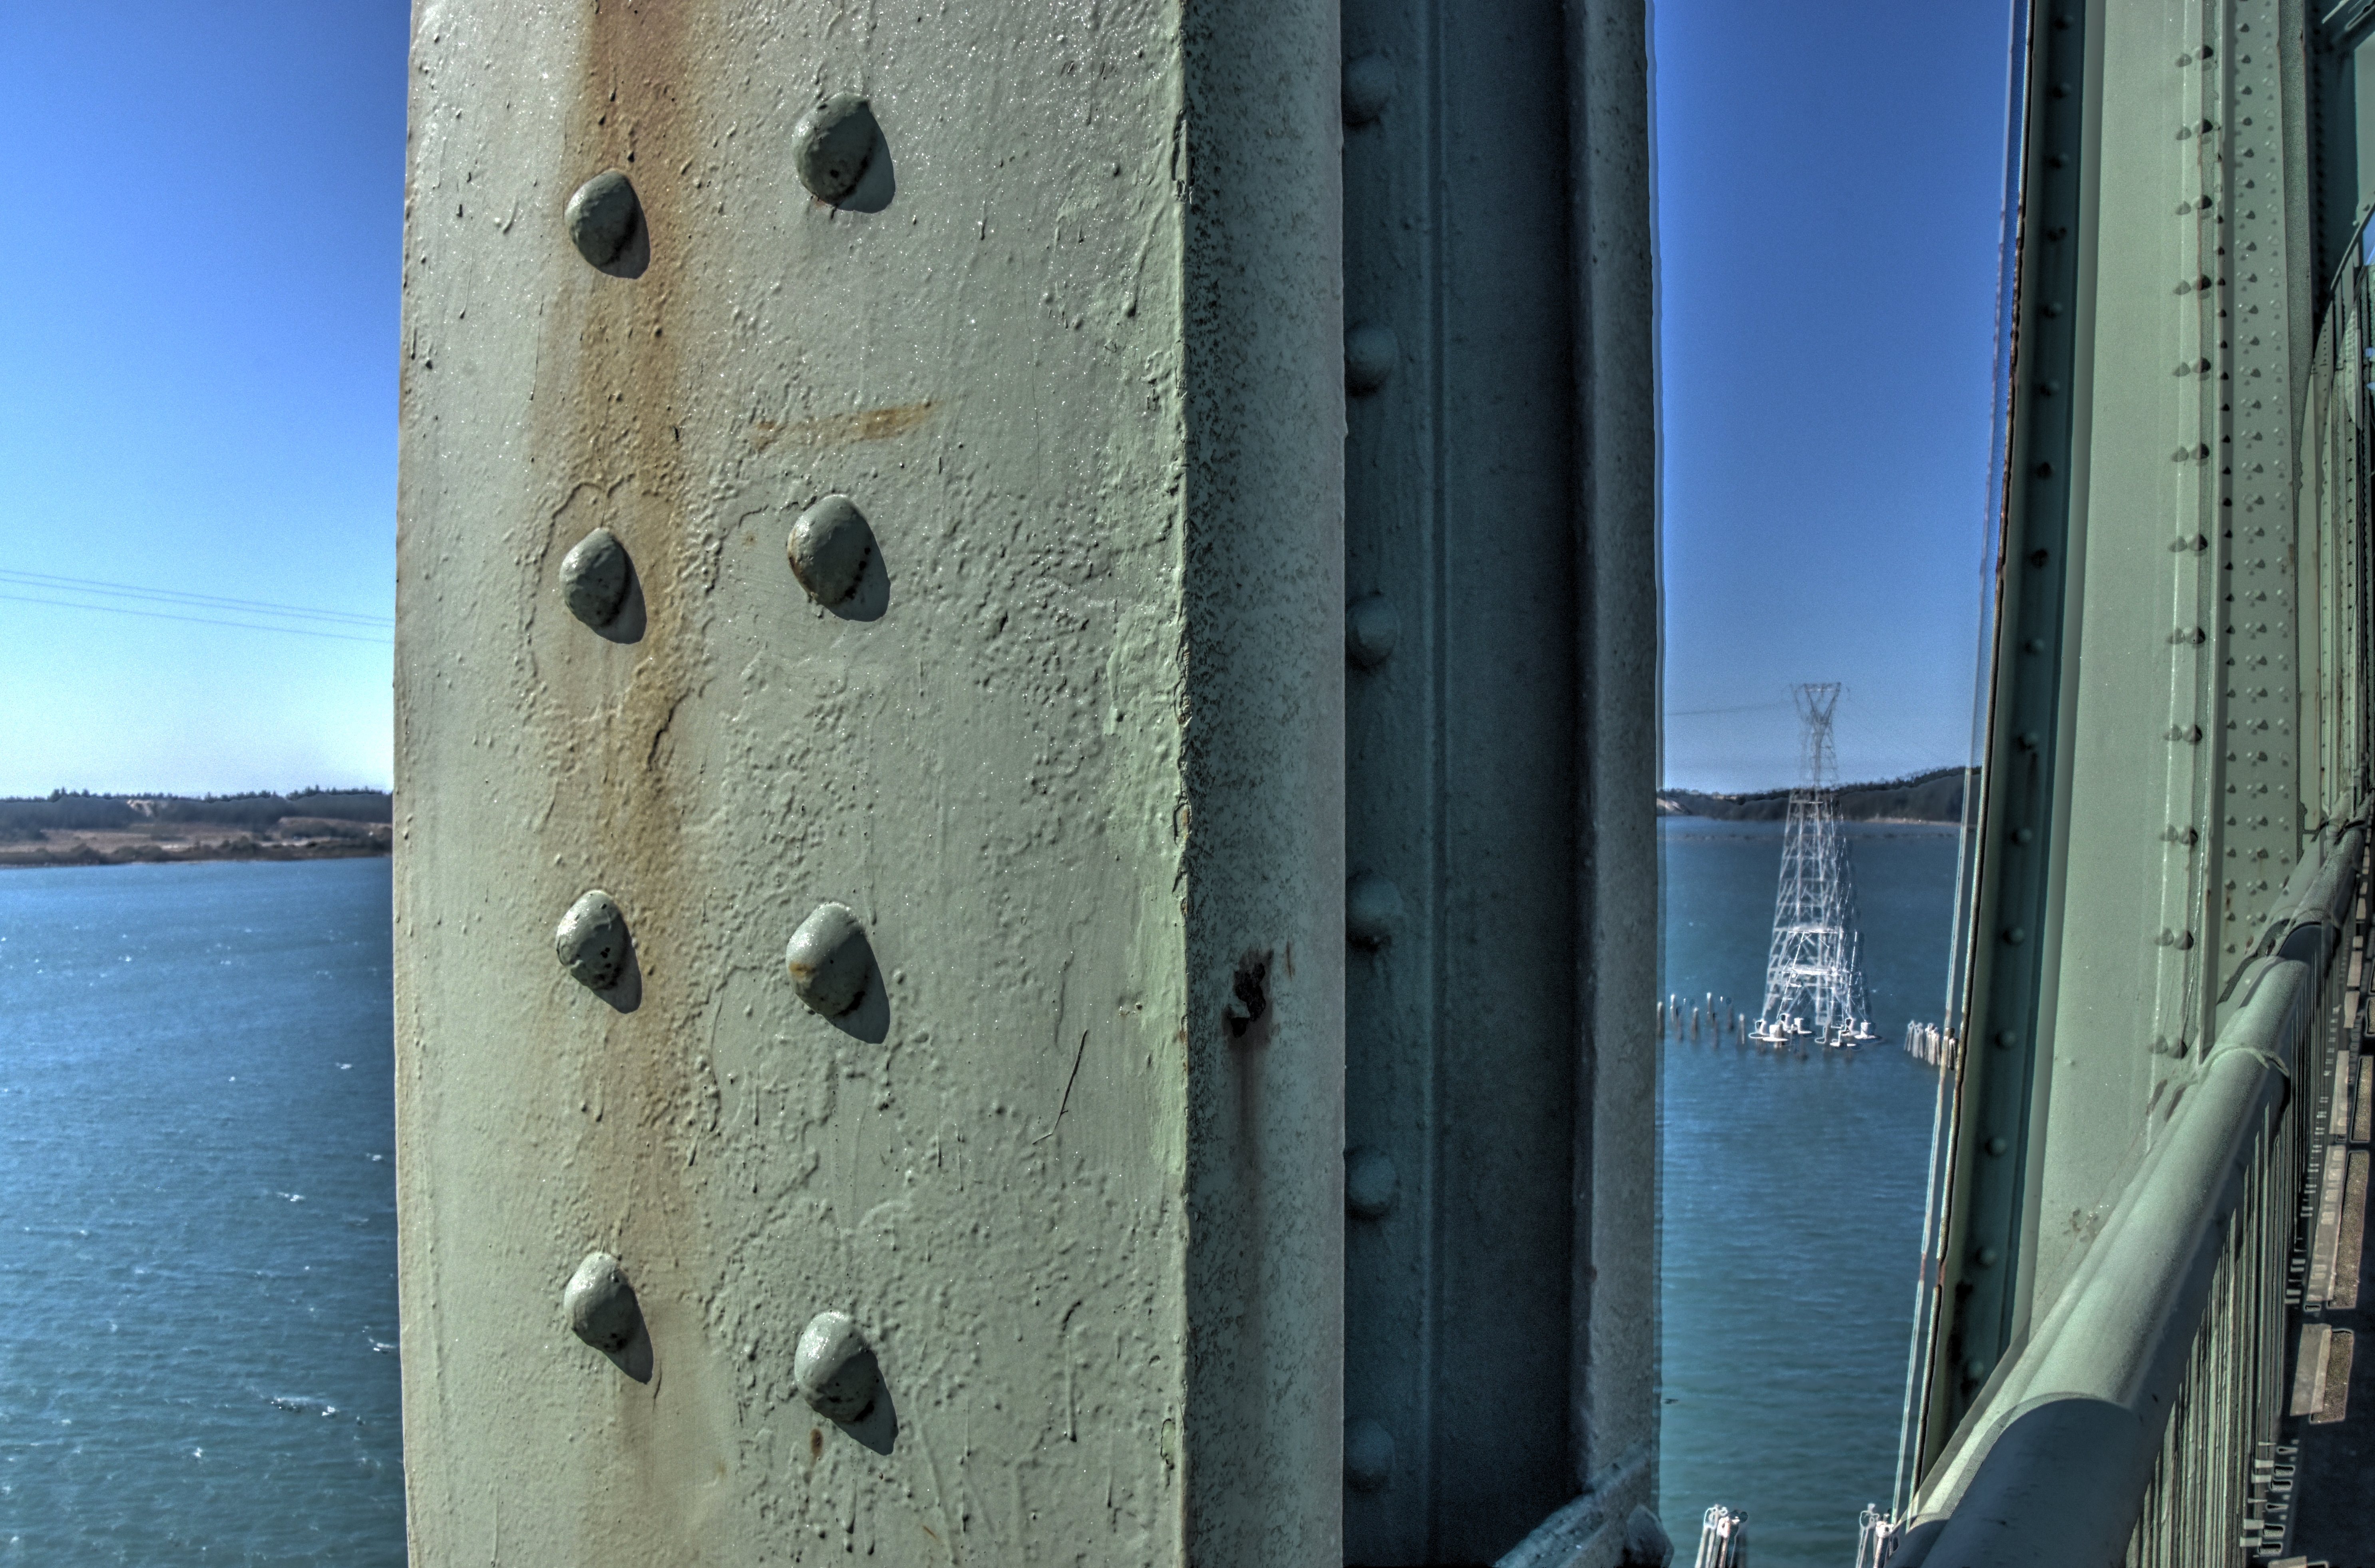
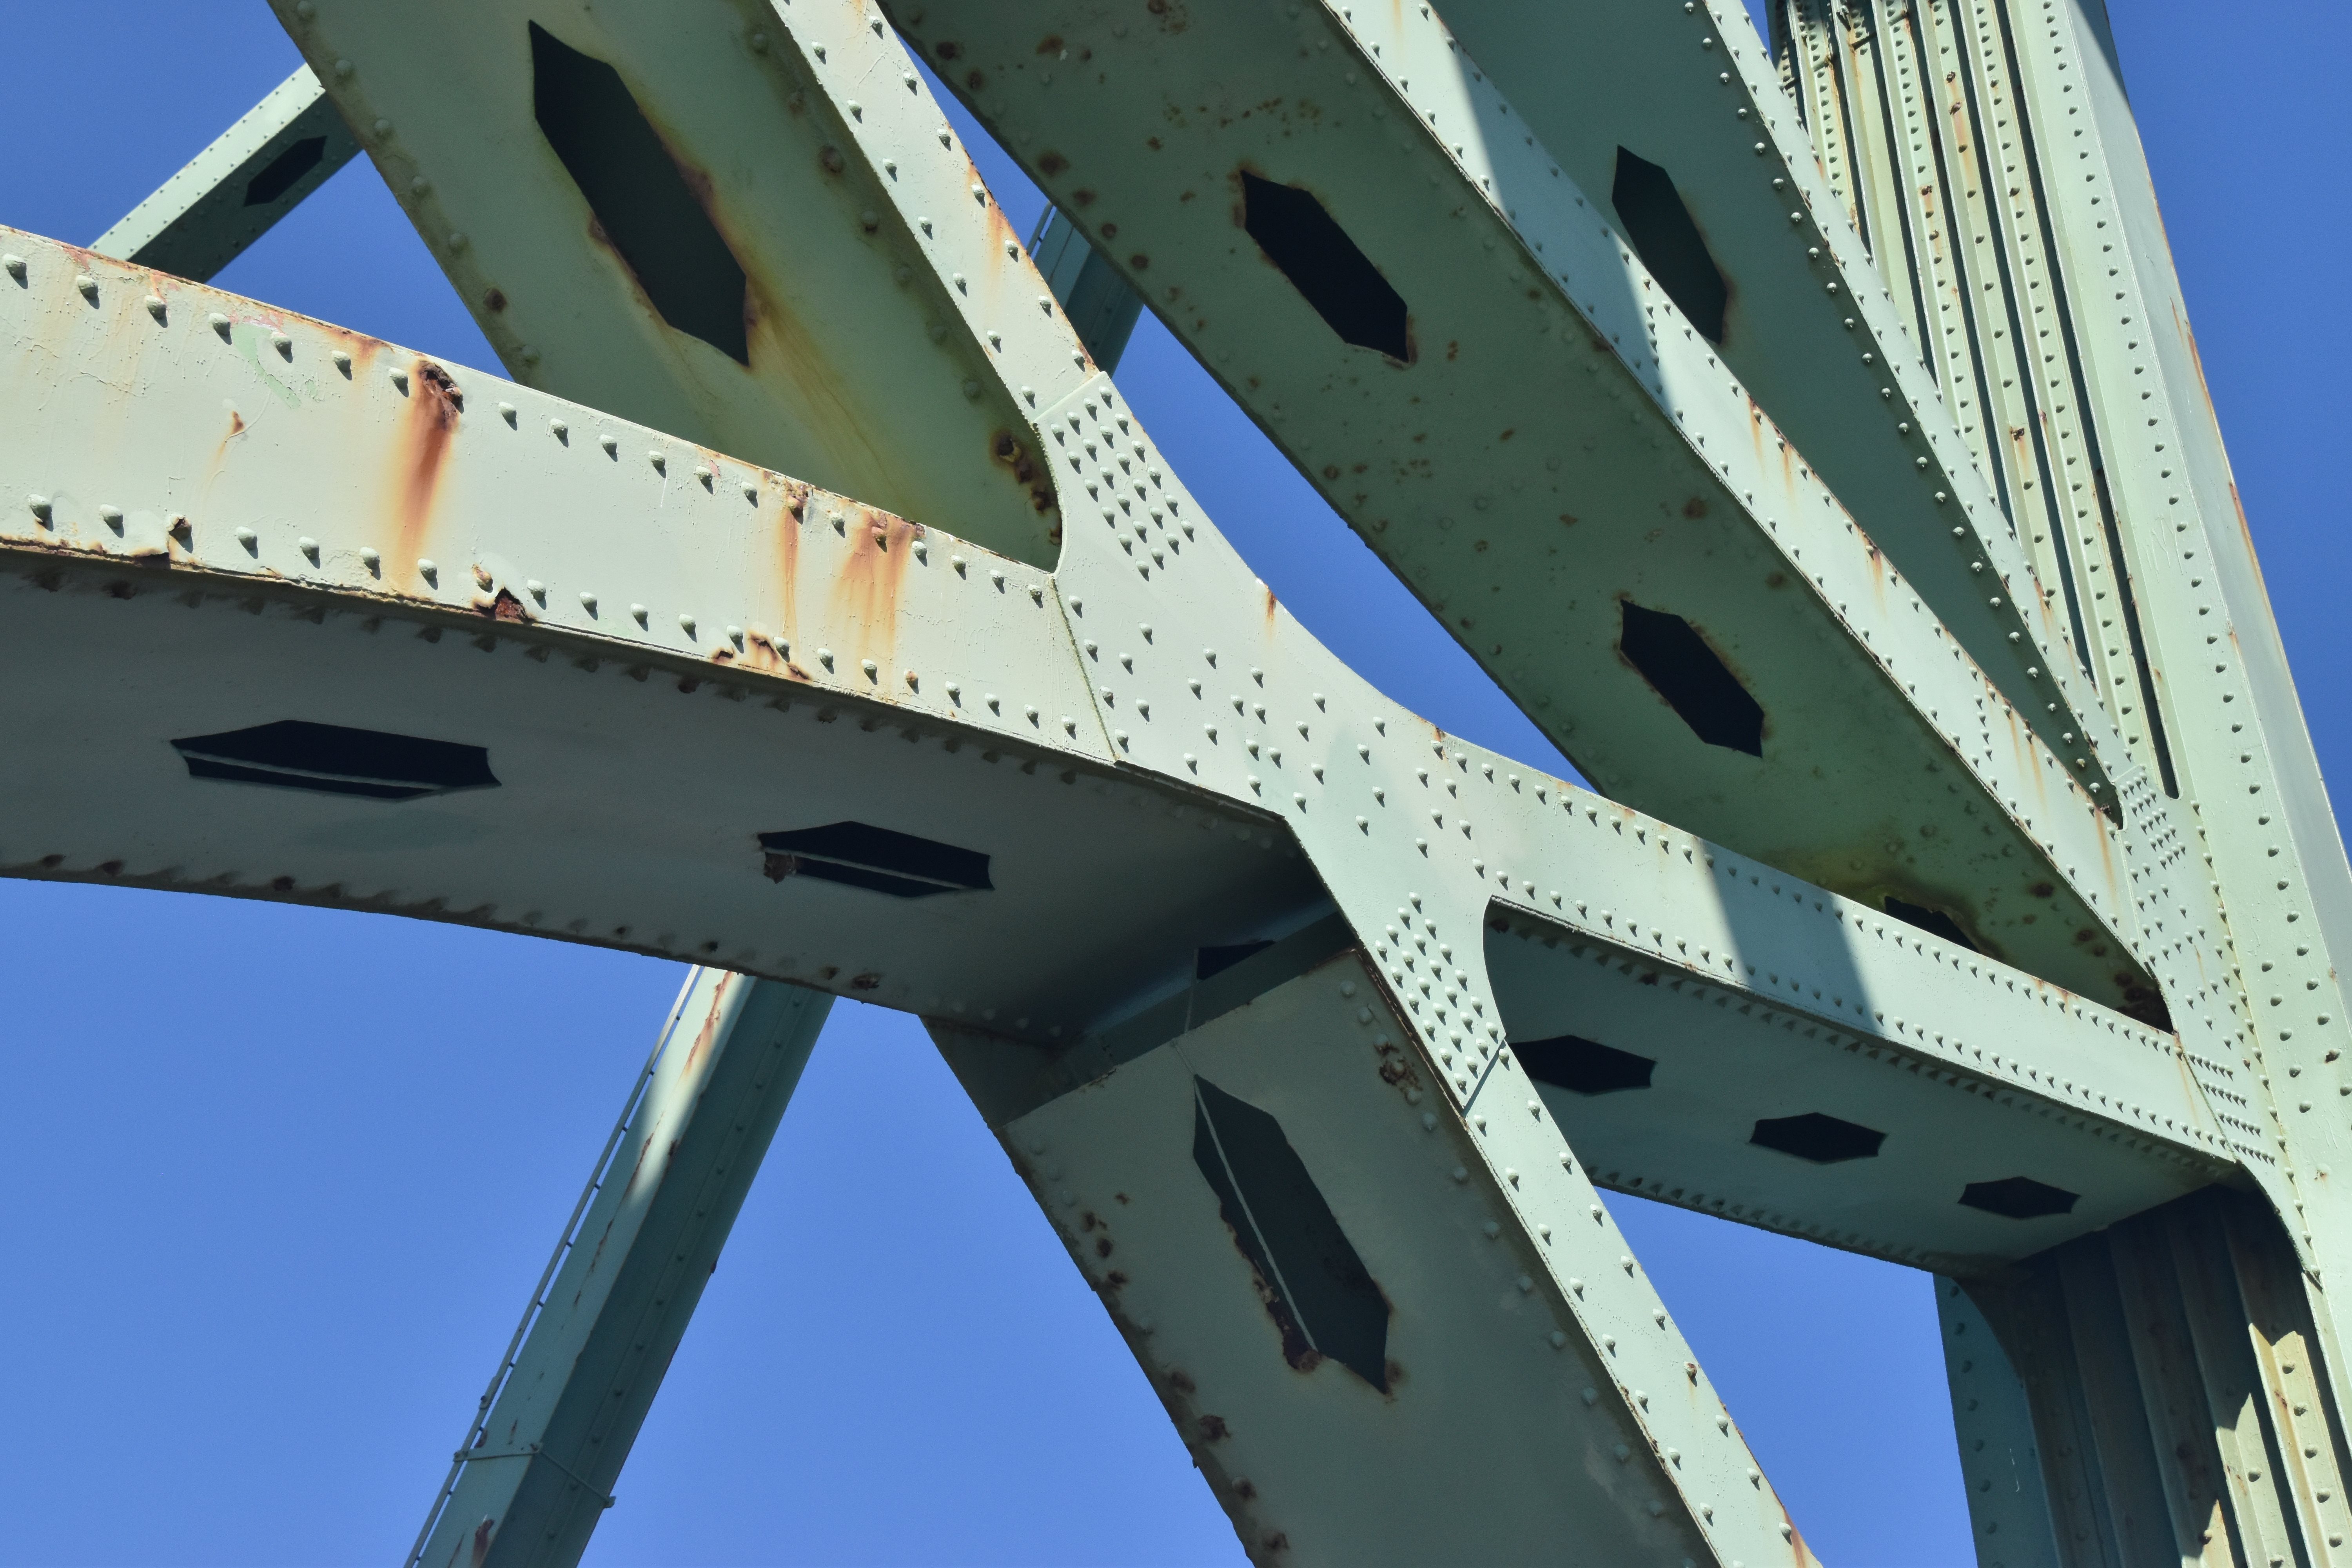
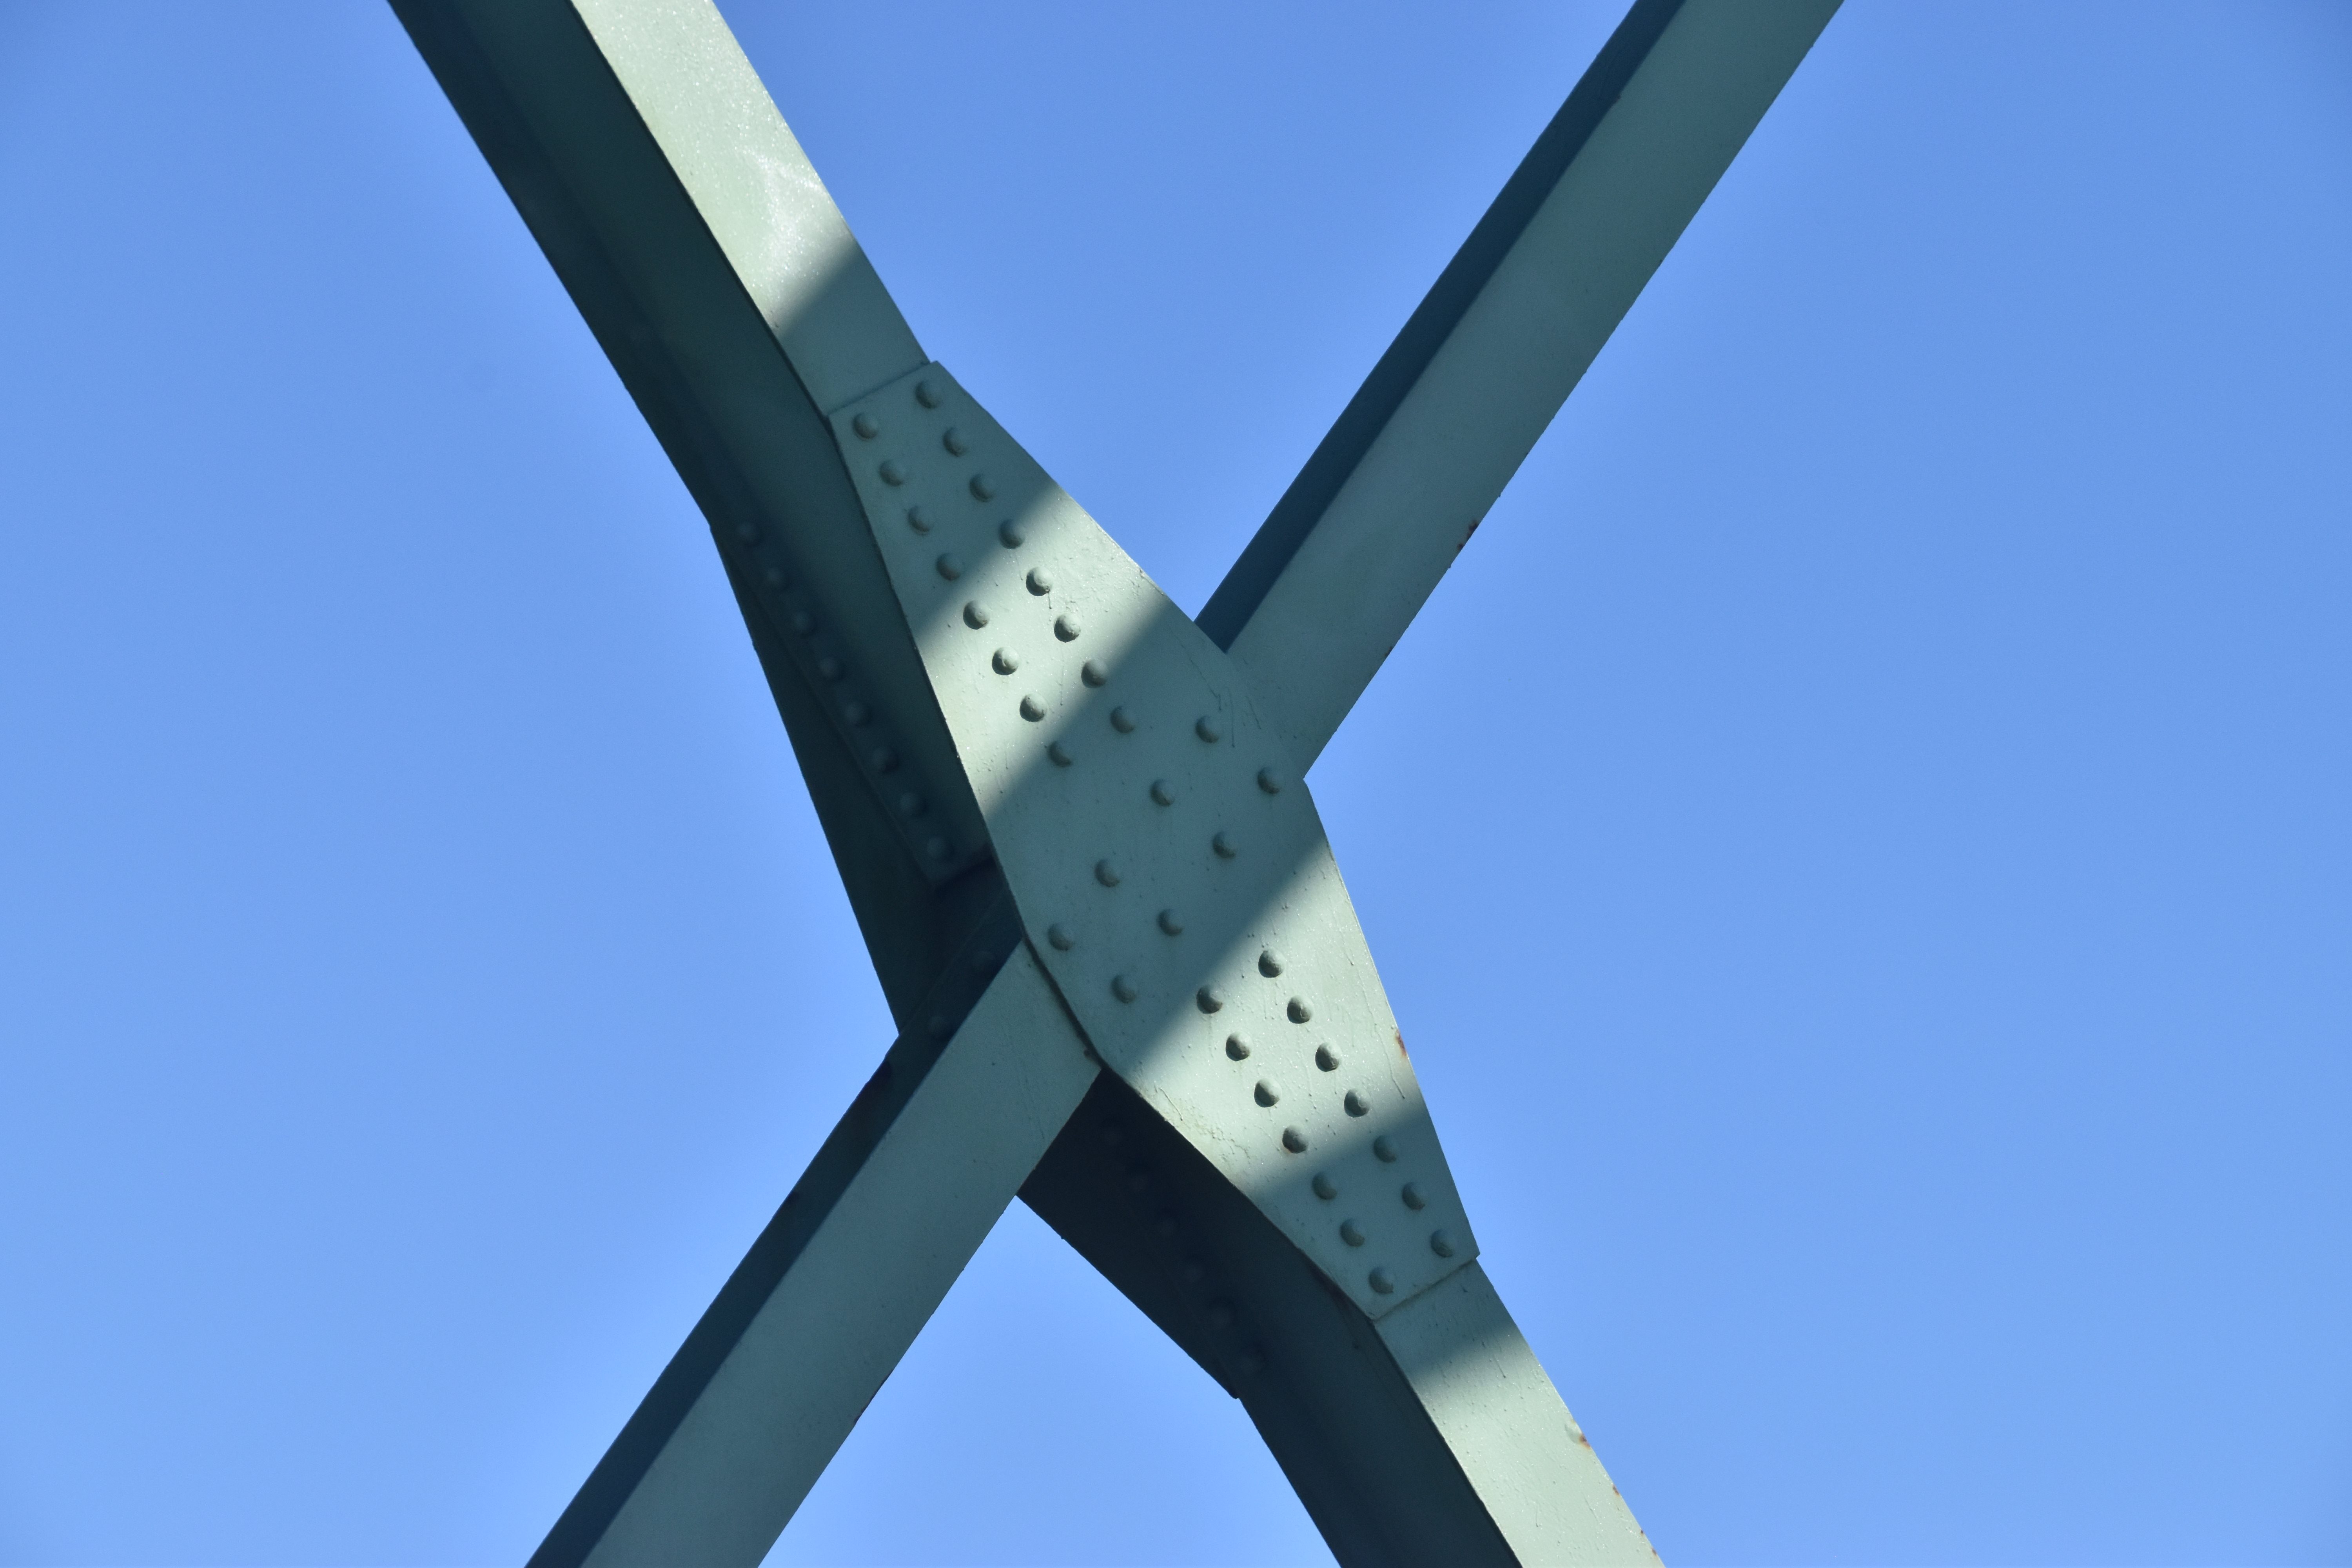
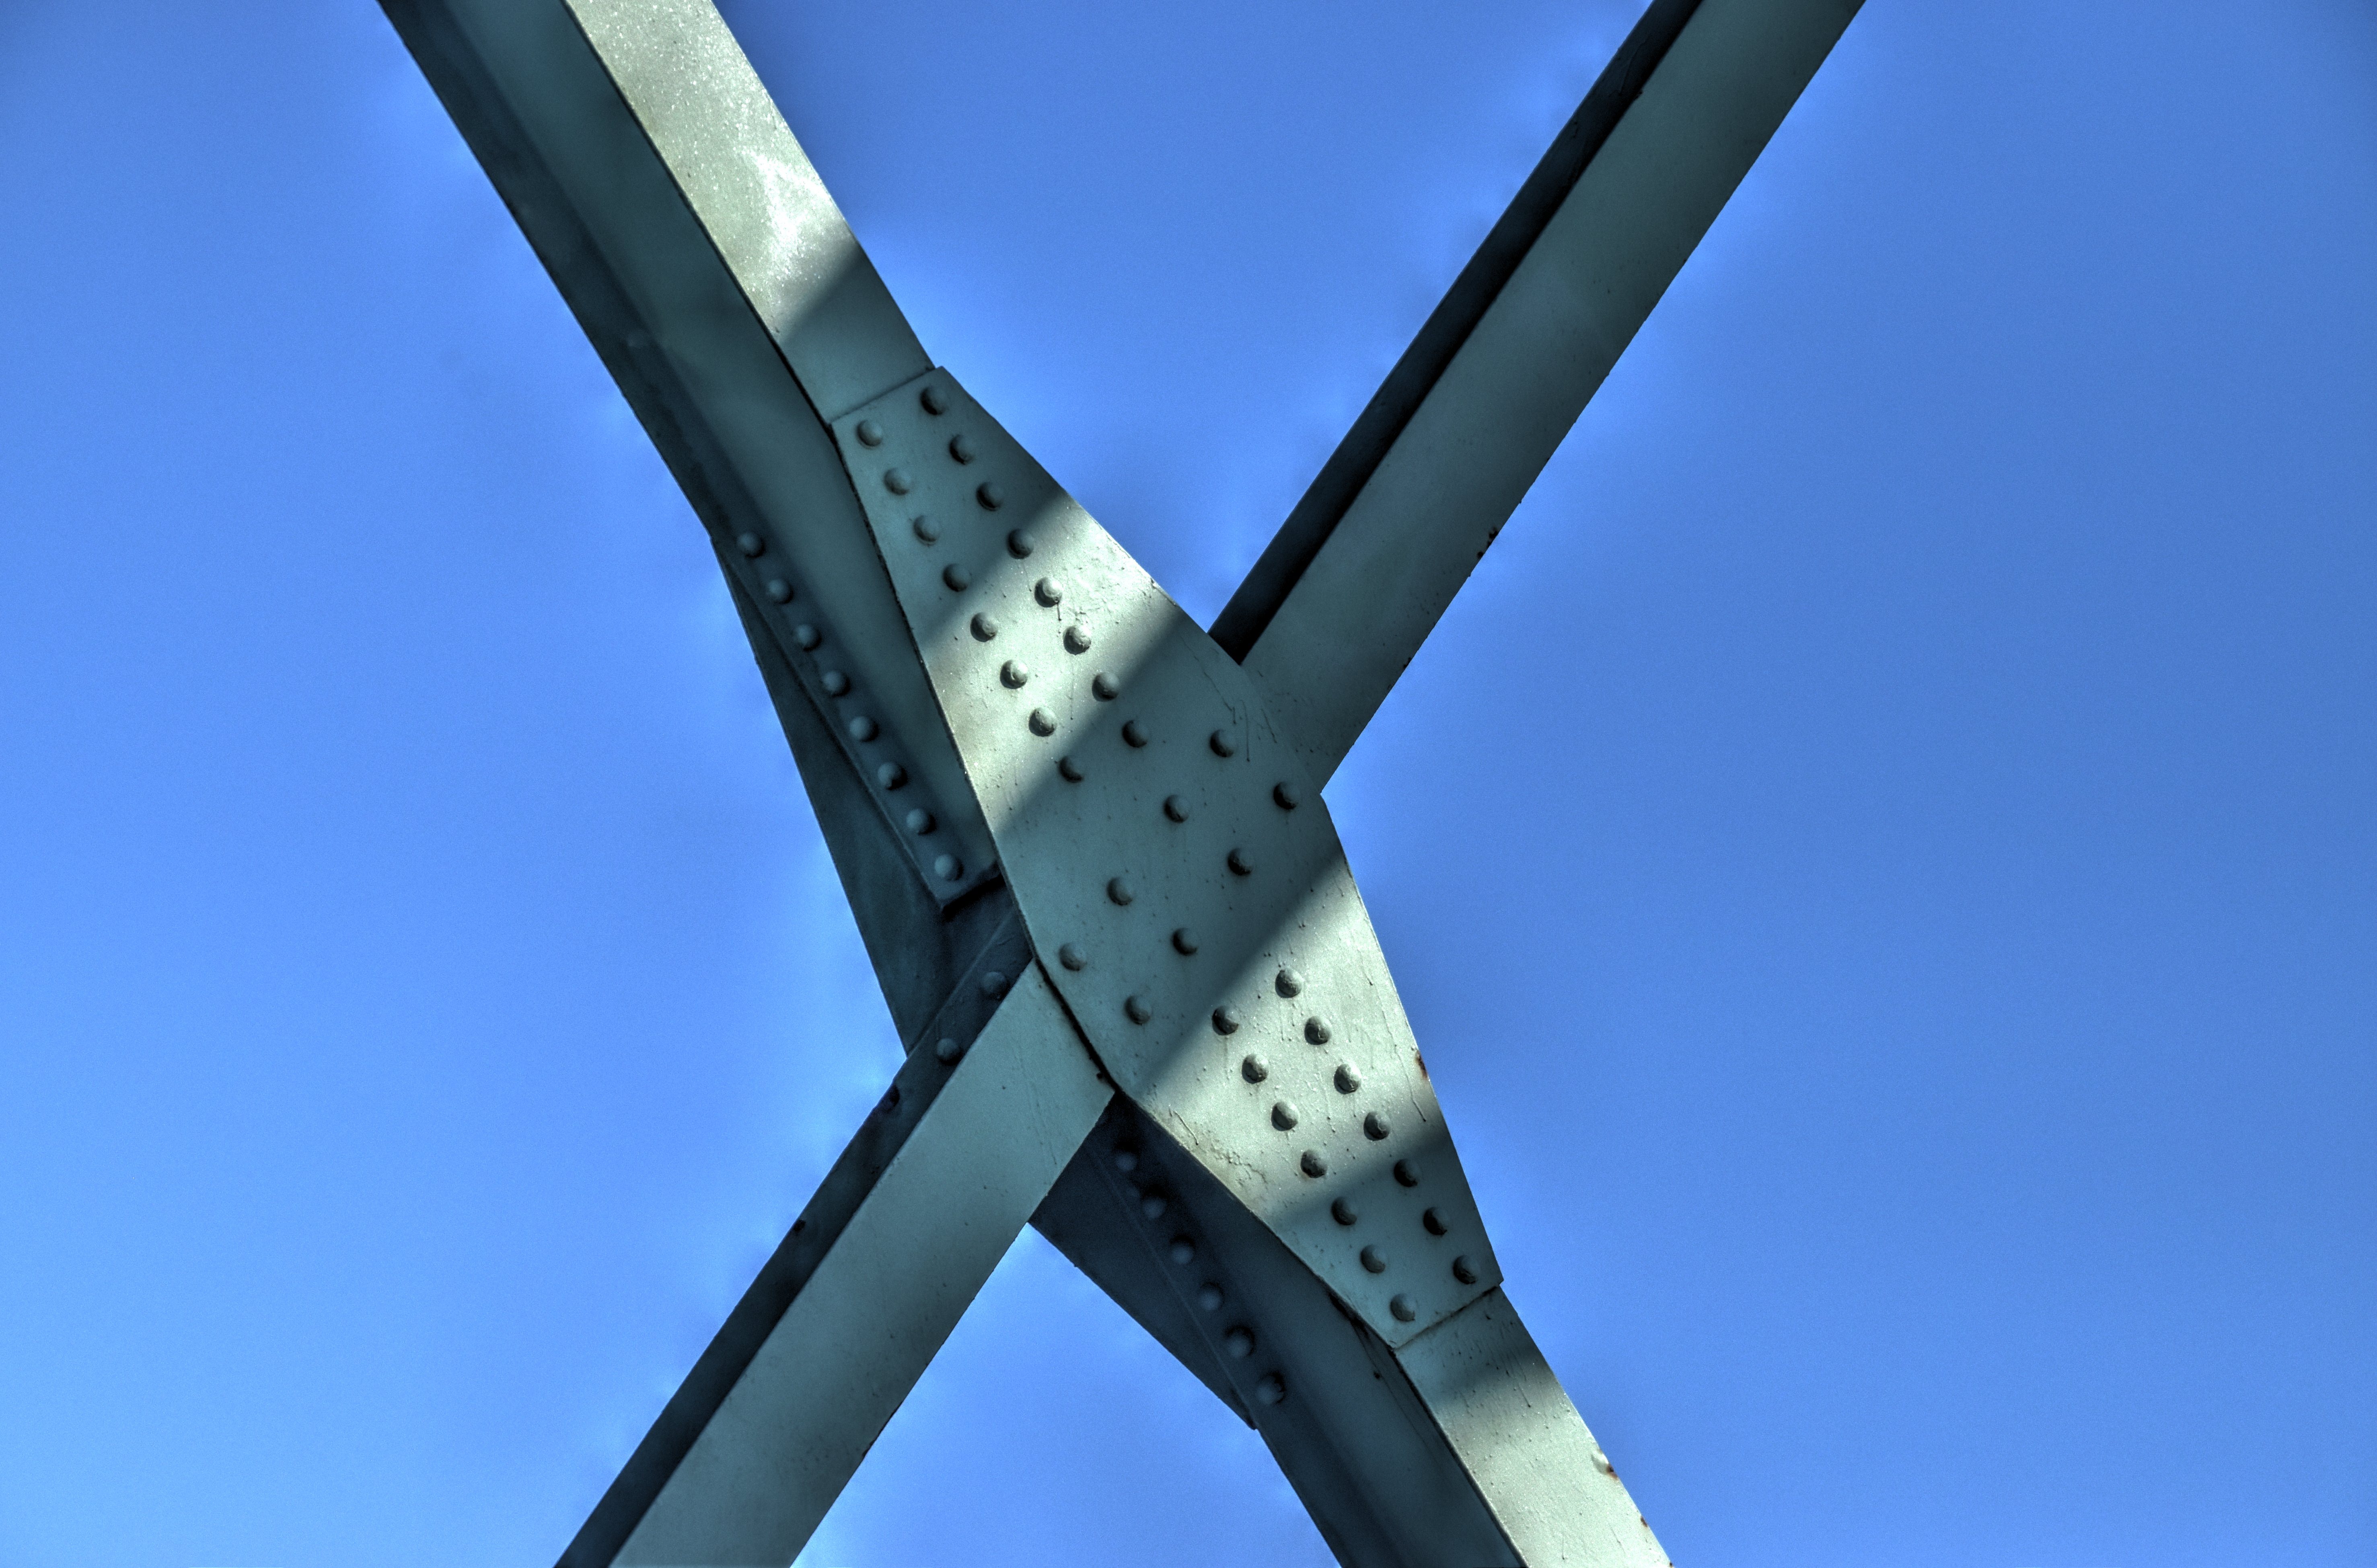
Diagonal members.
![]()
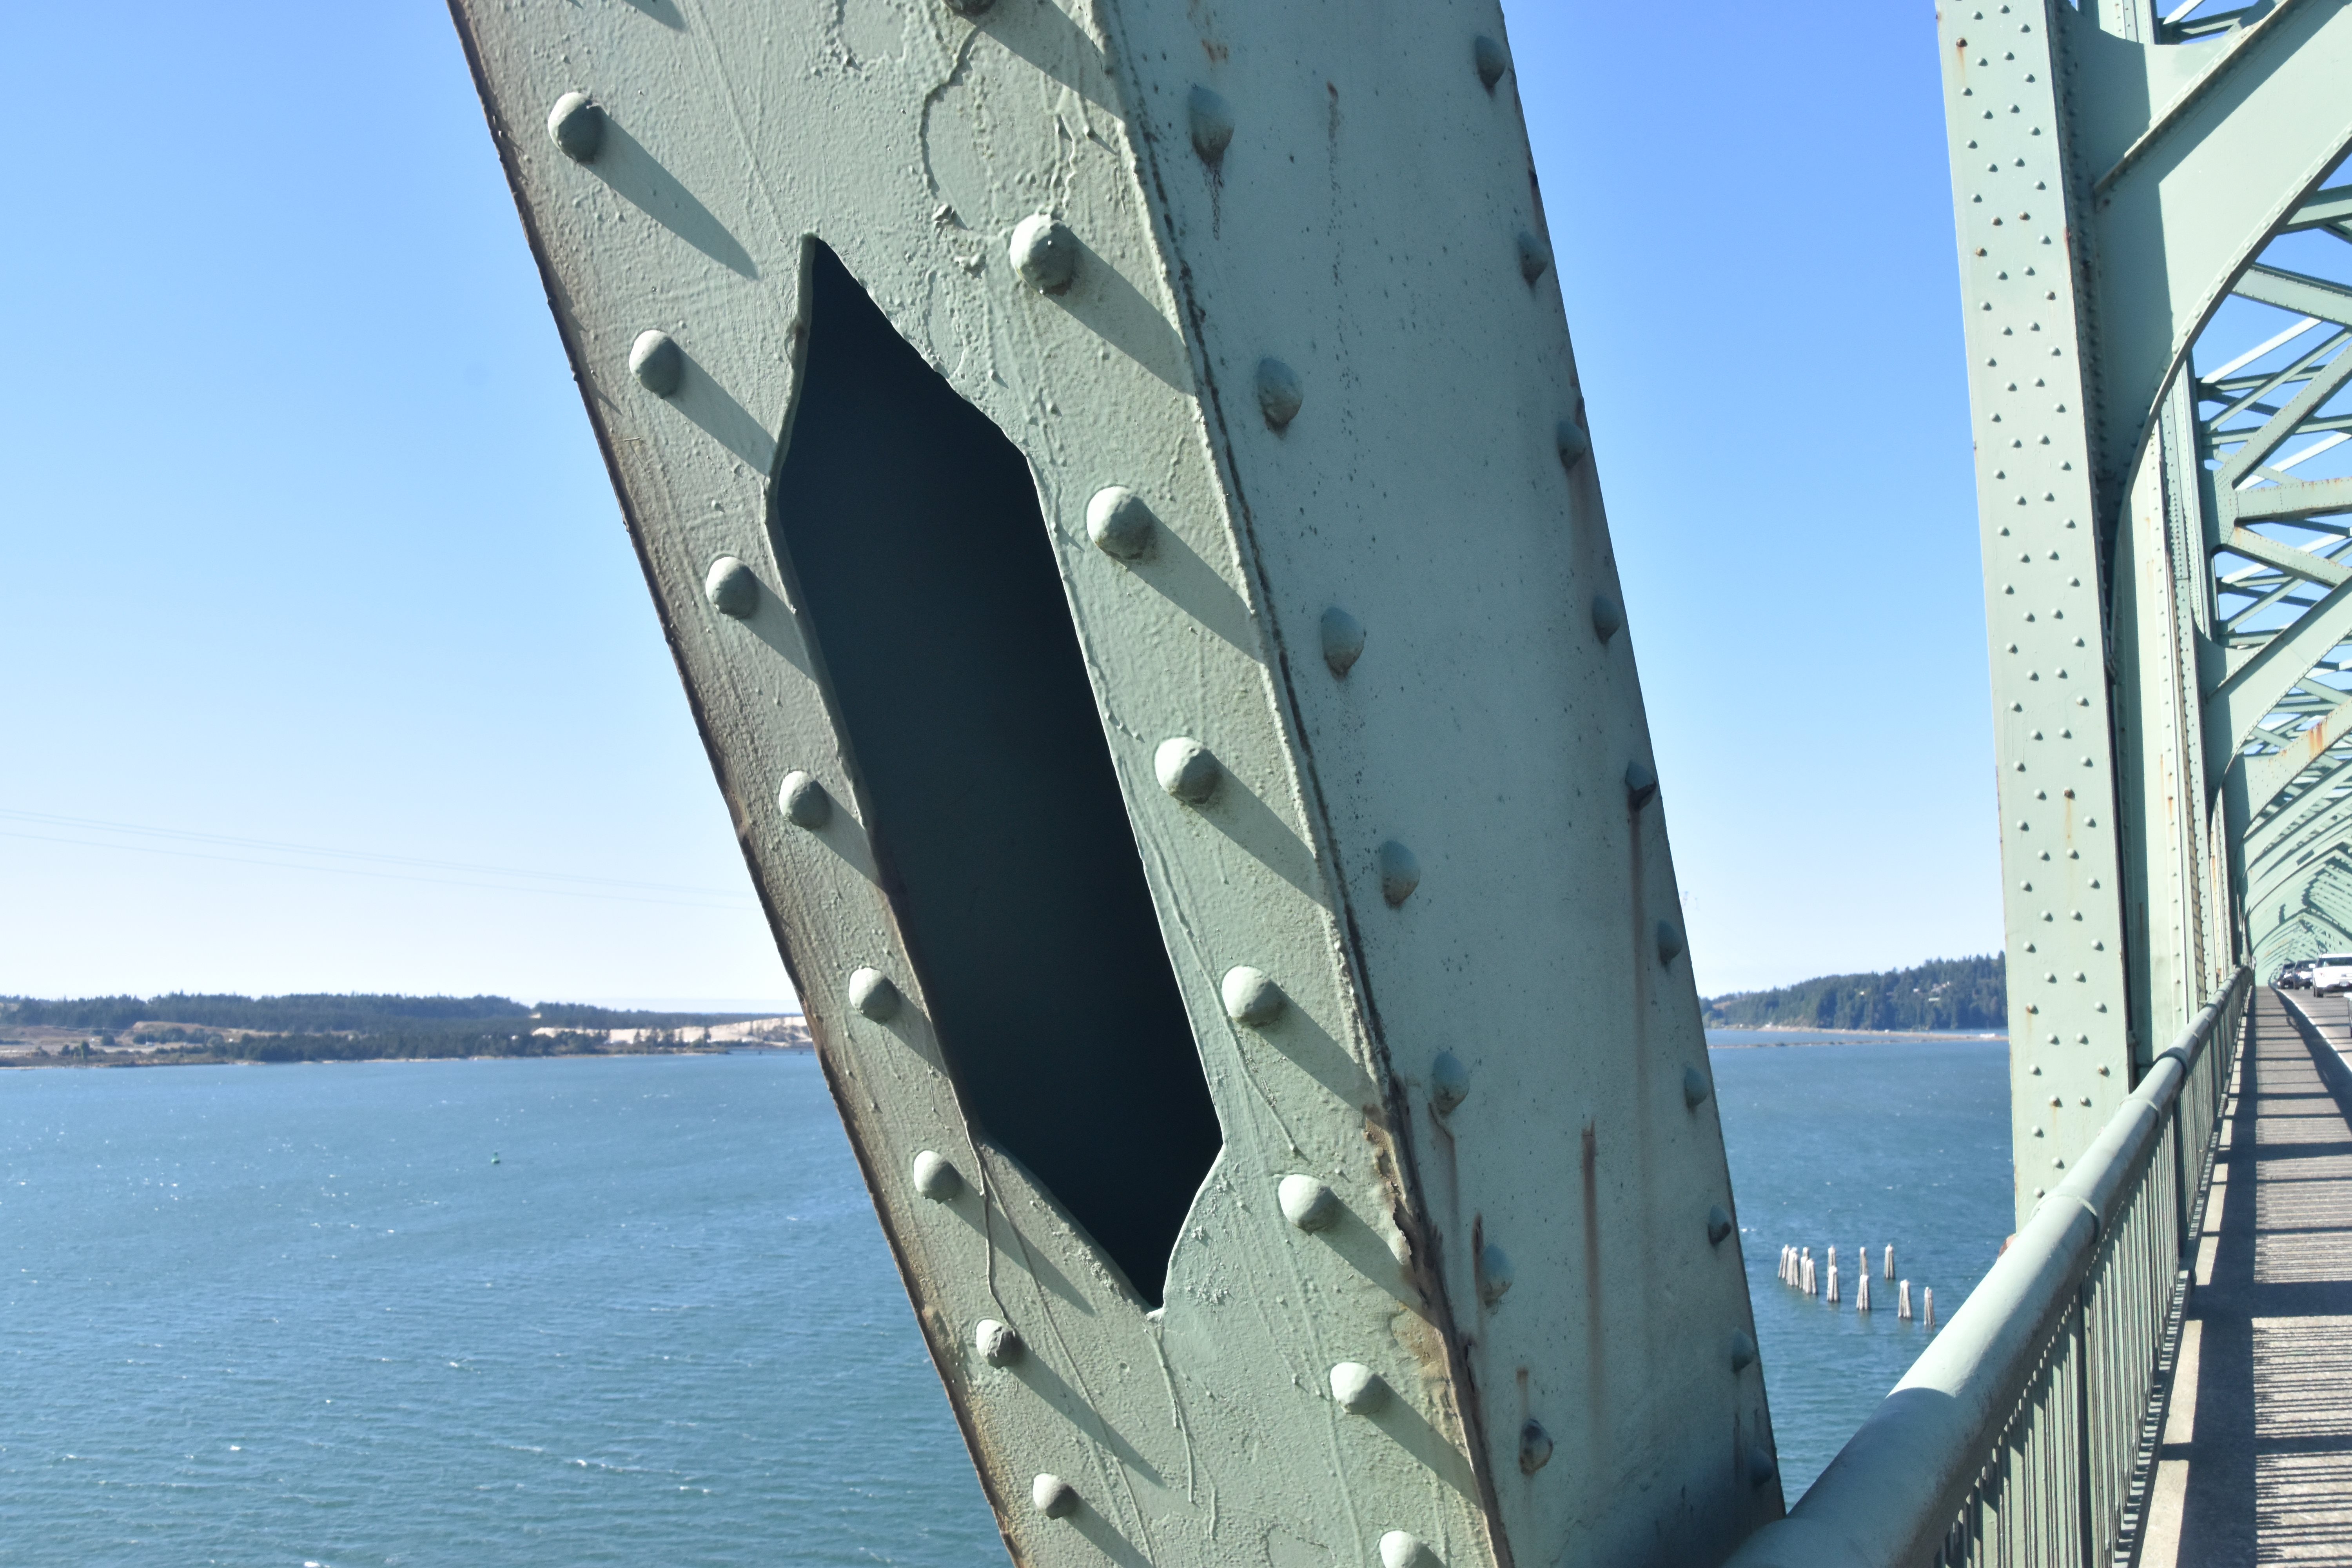
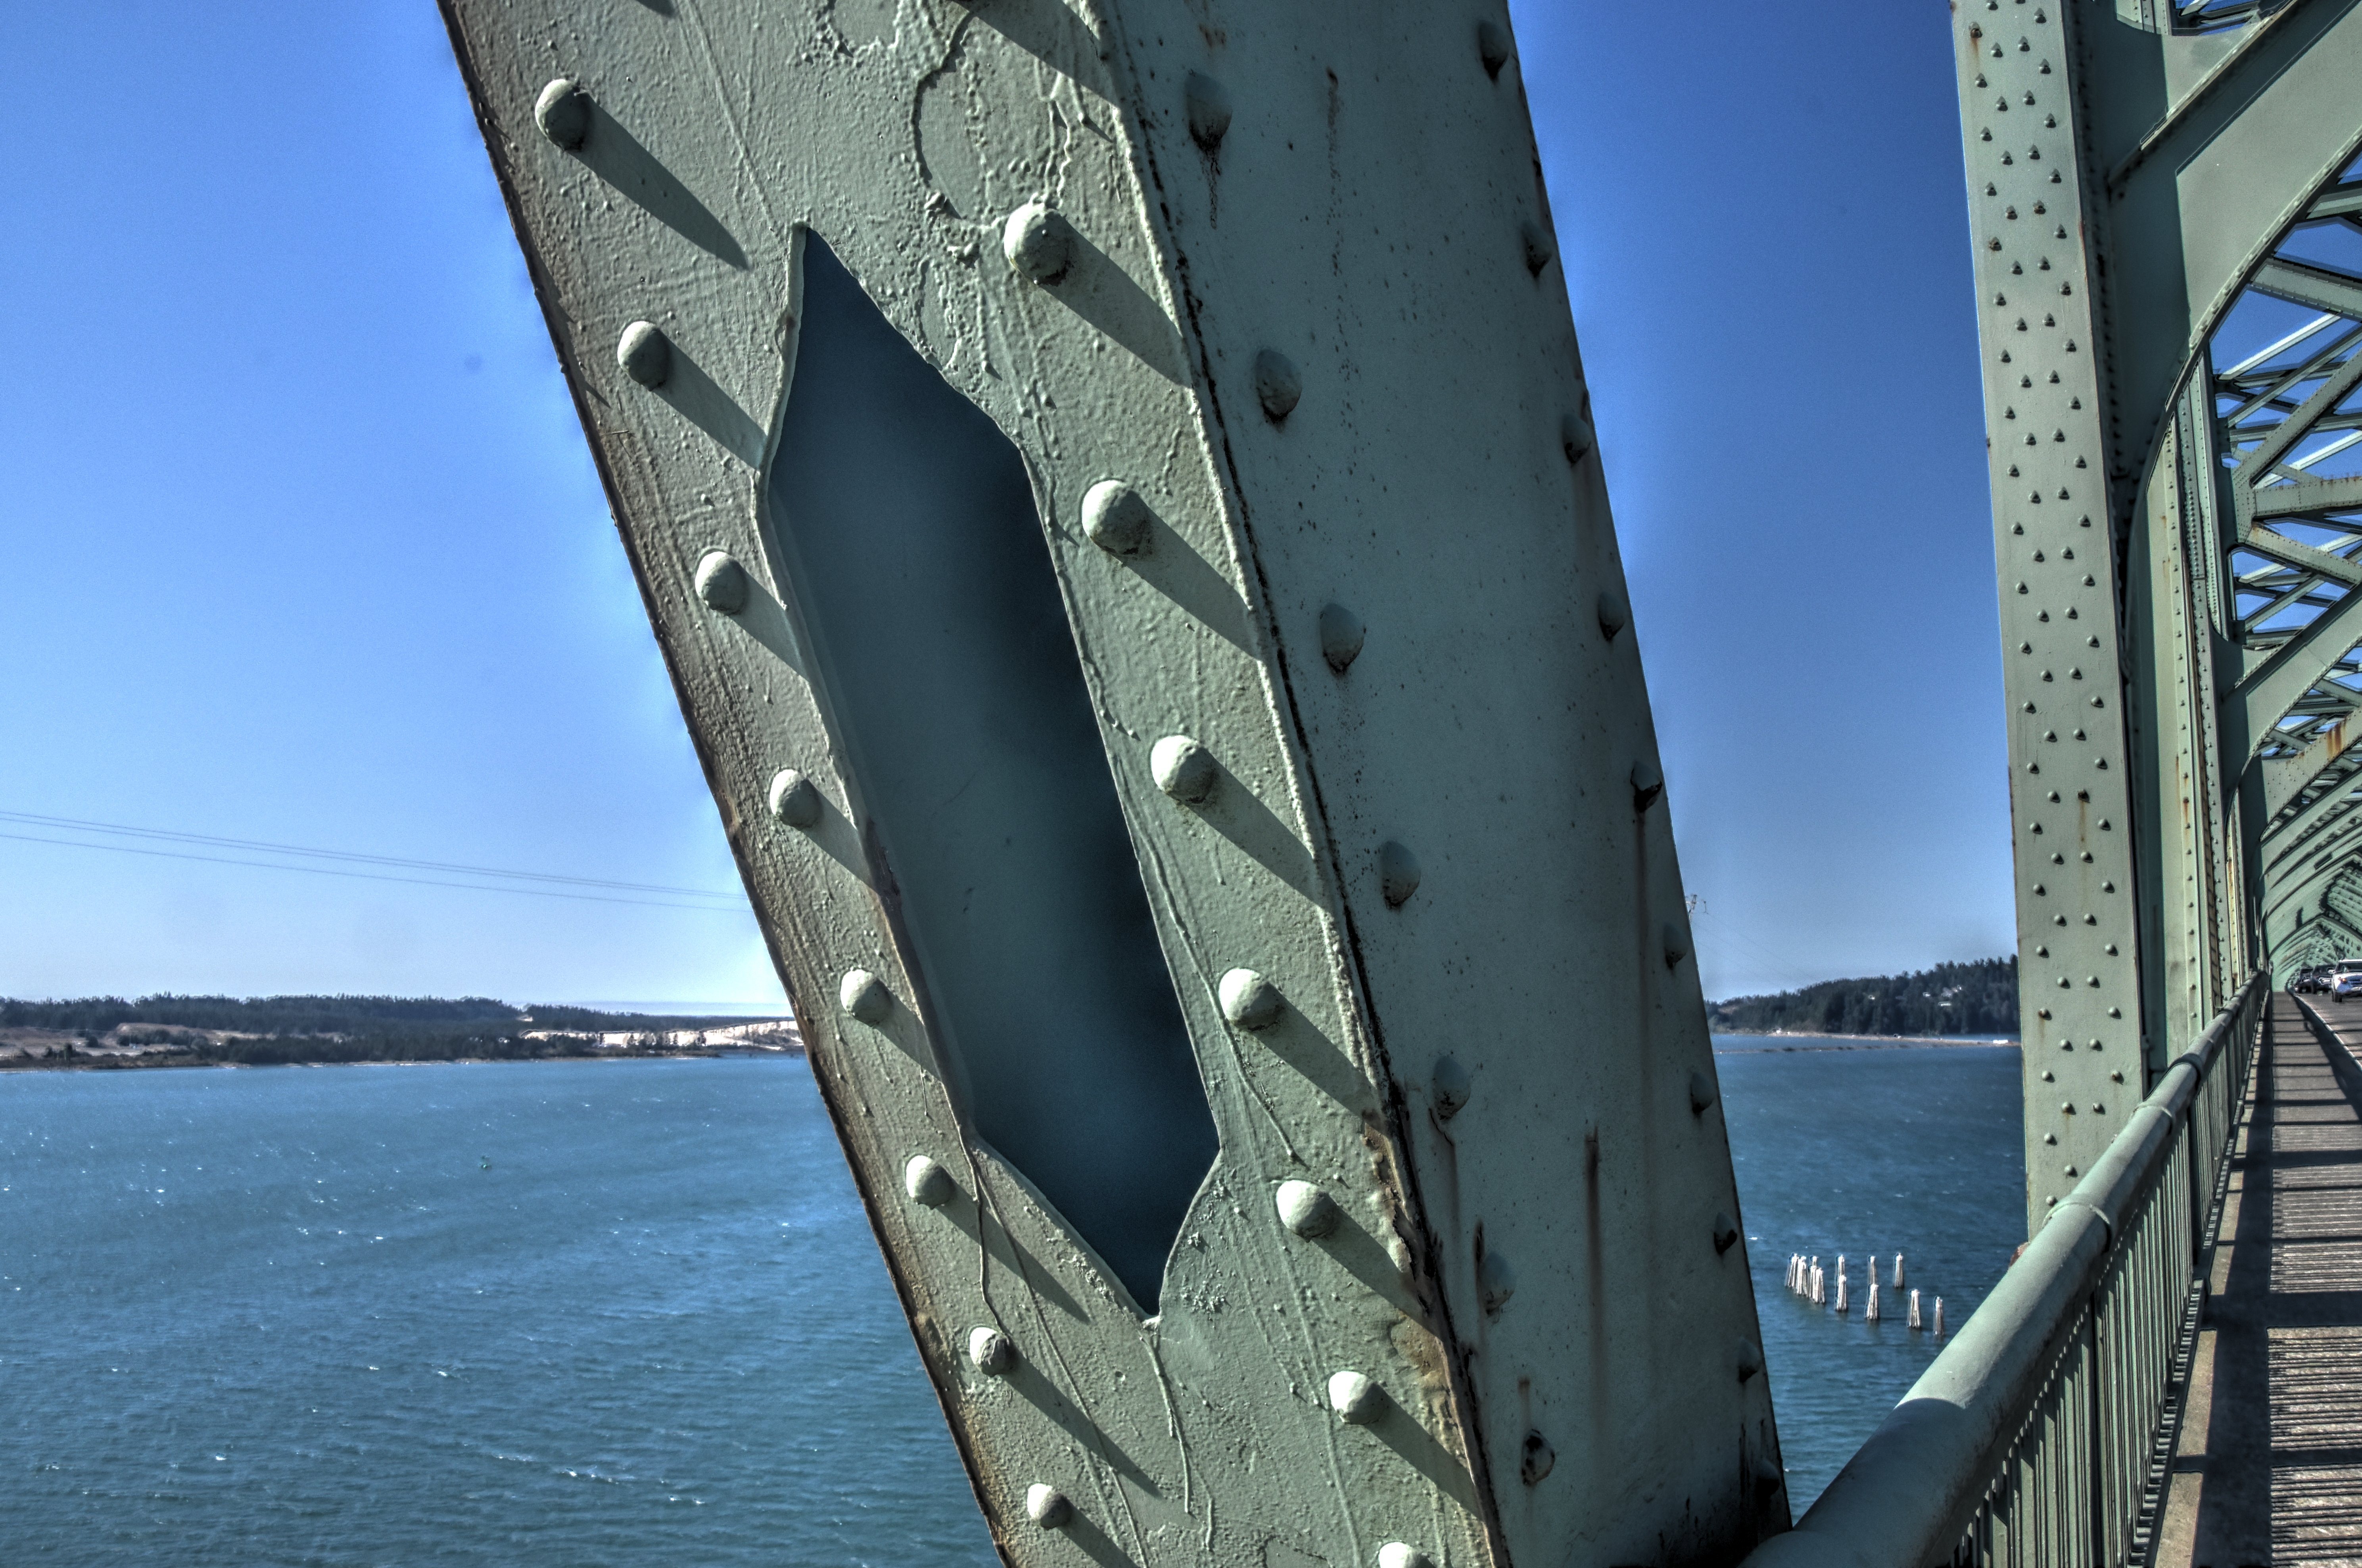
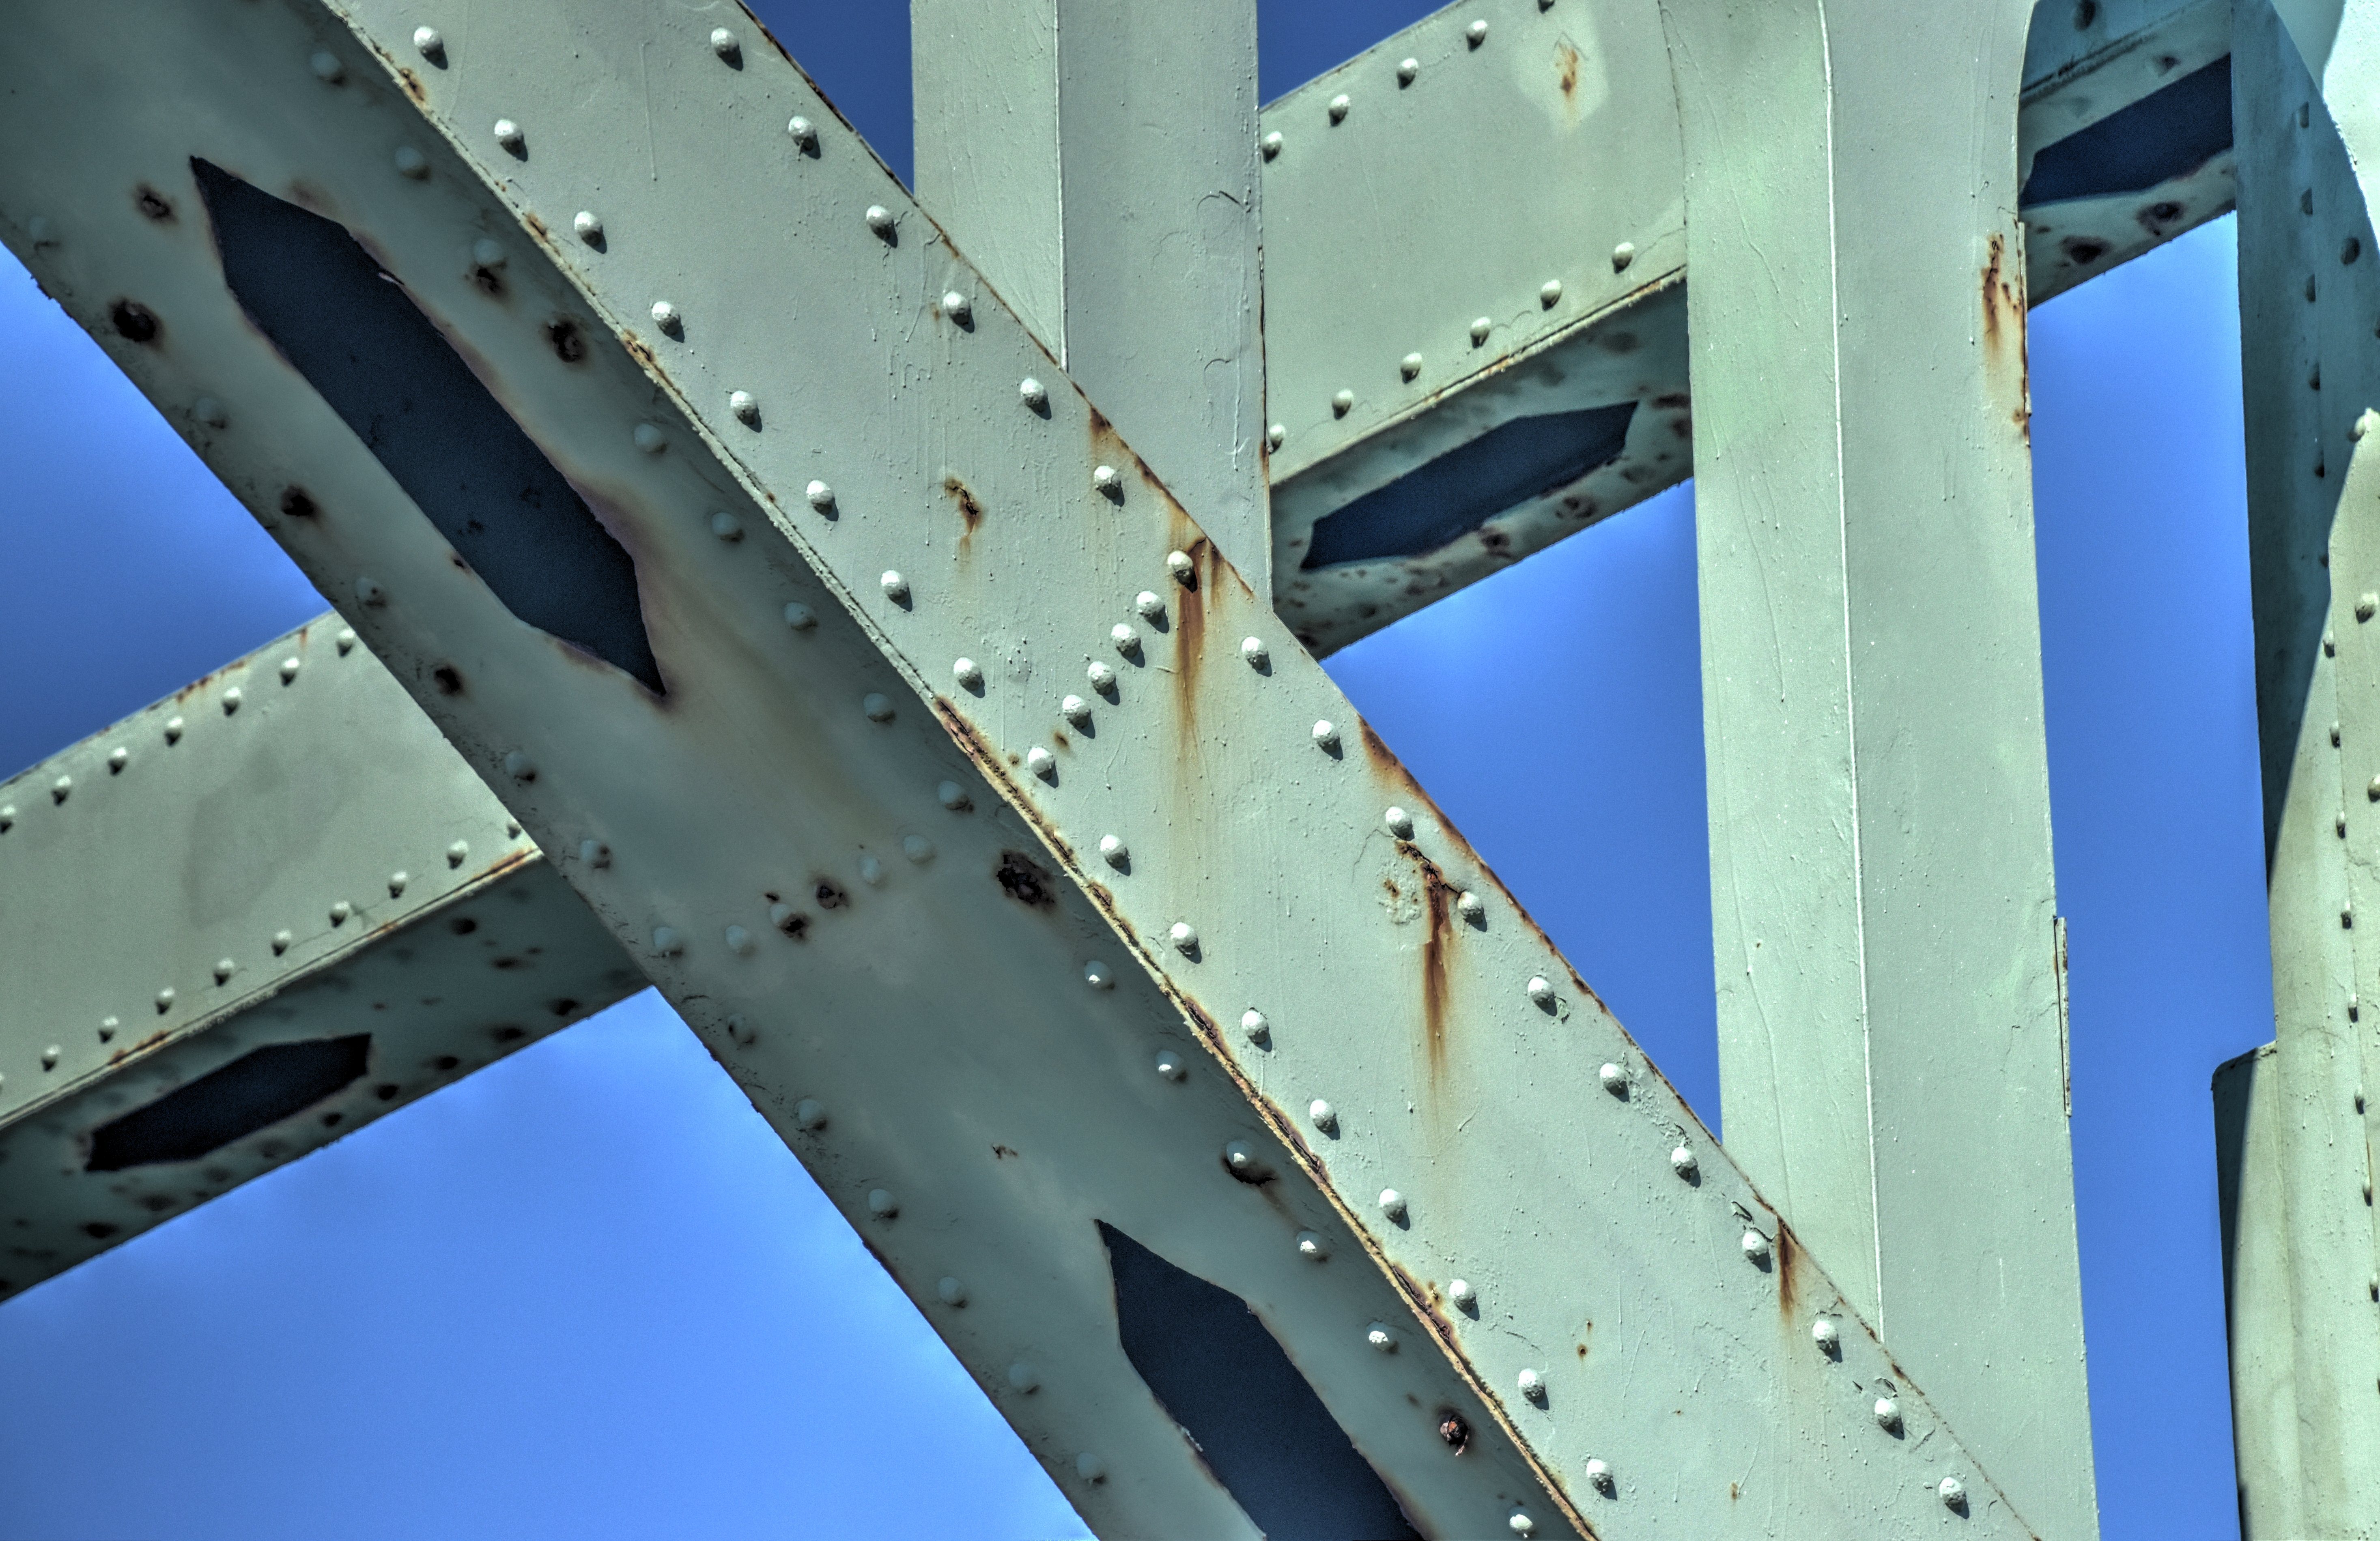
Diamond-shaped cutouts on diagonal member.
![]()

Vertical members.
![]()


Vertical member, portion below deck level.
![]()
Details of Main Post
![]()


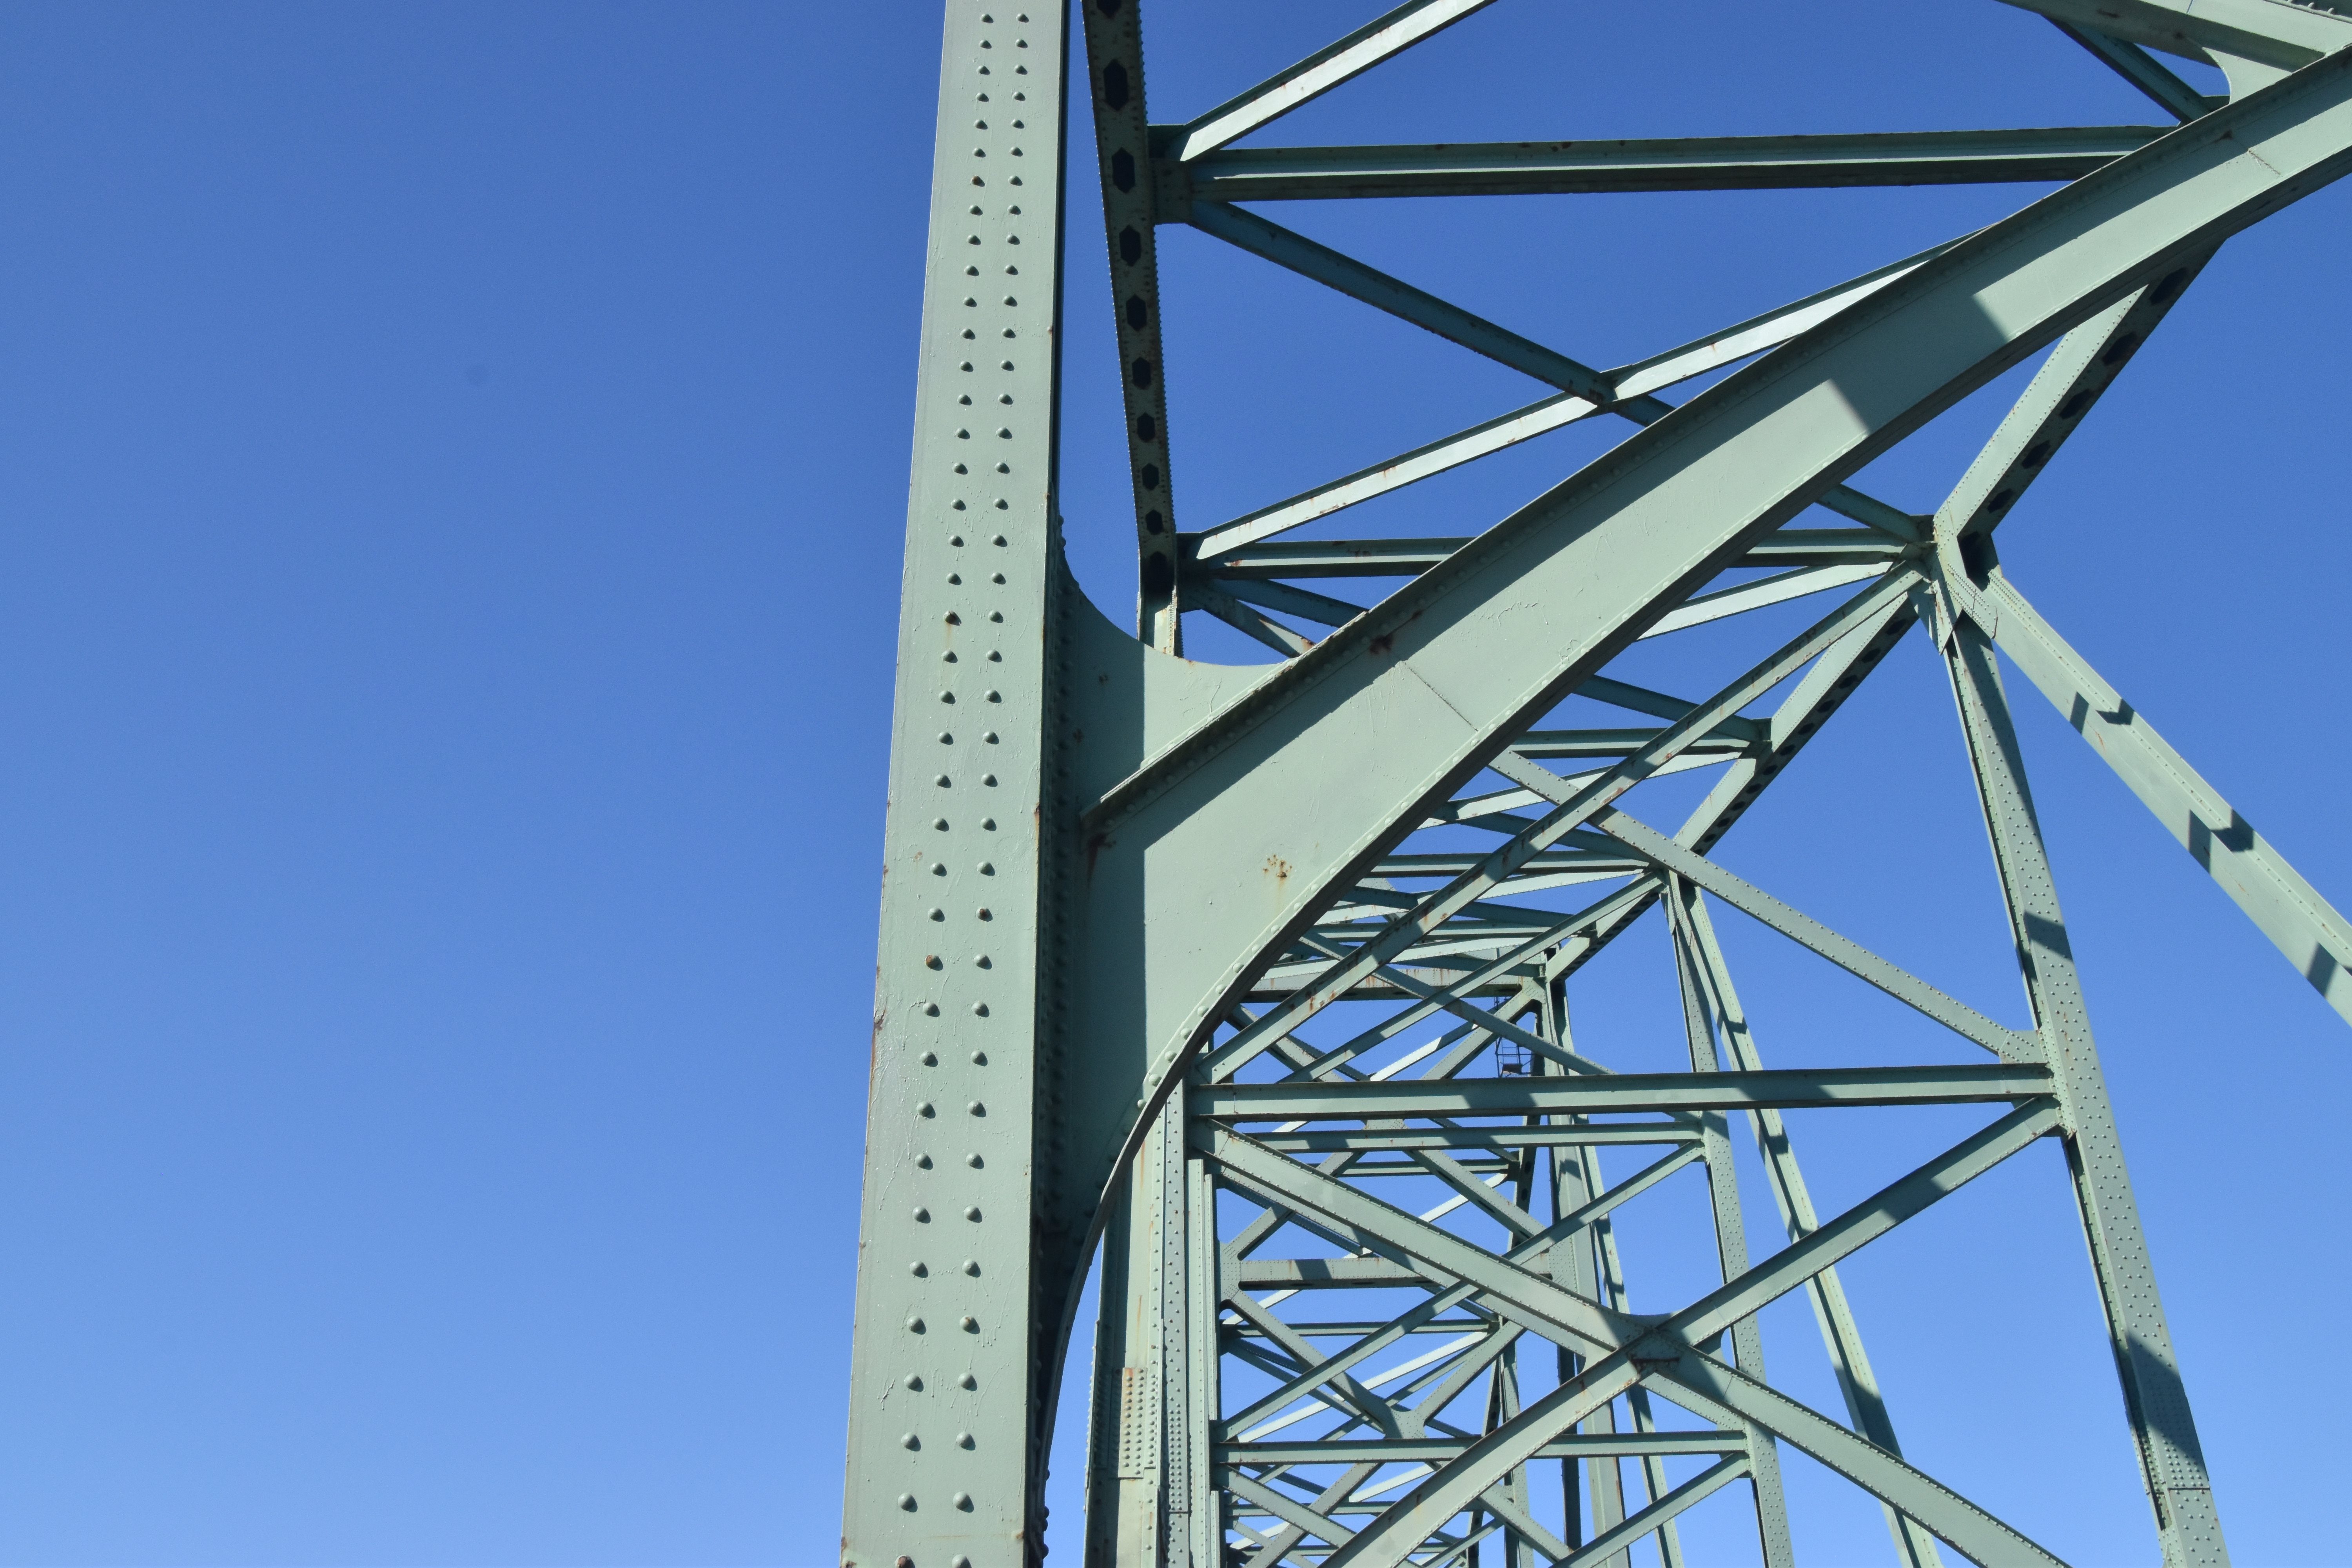
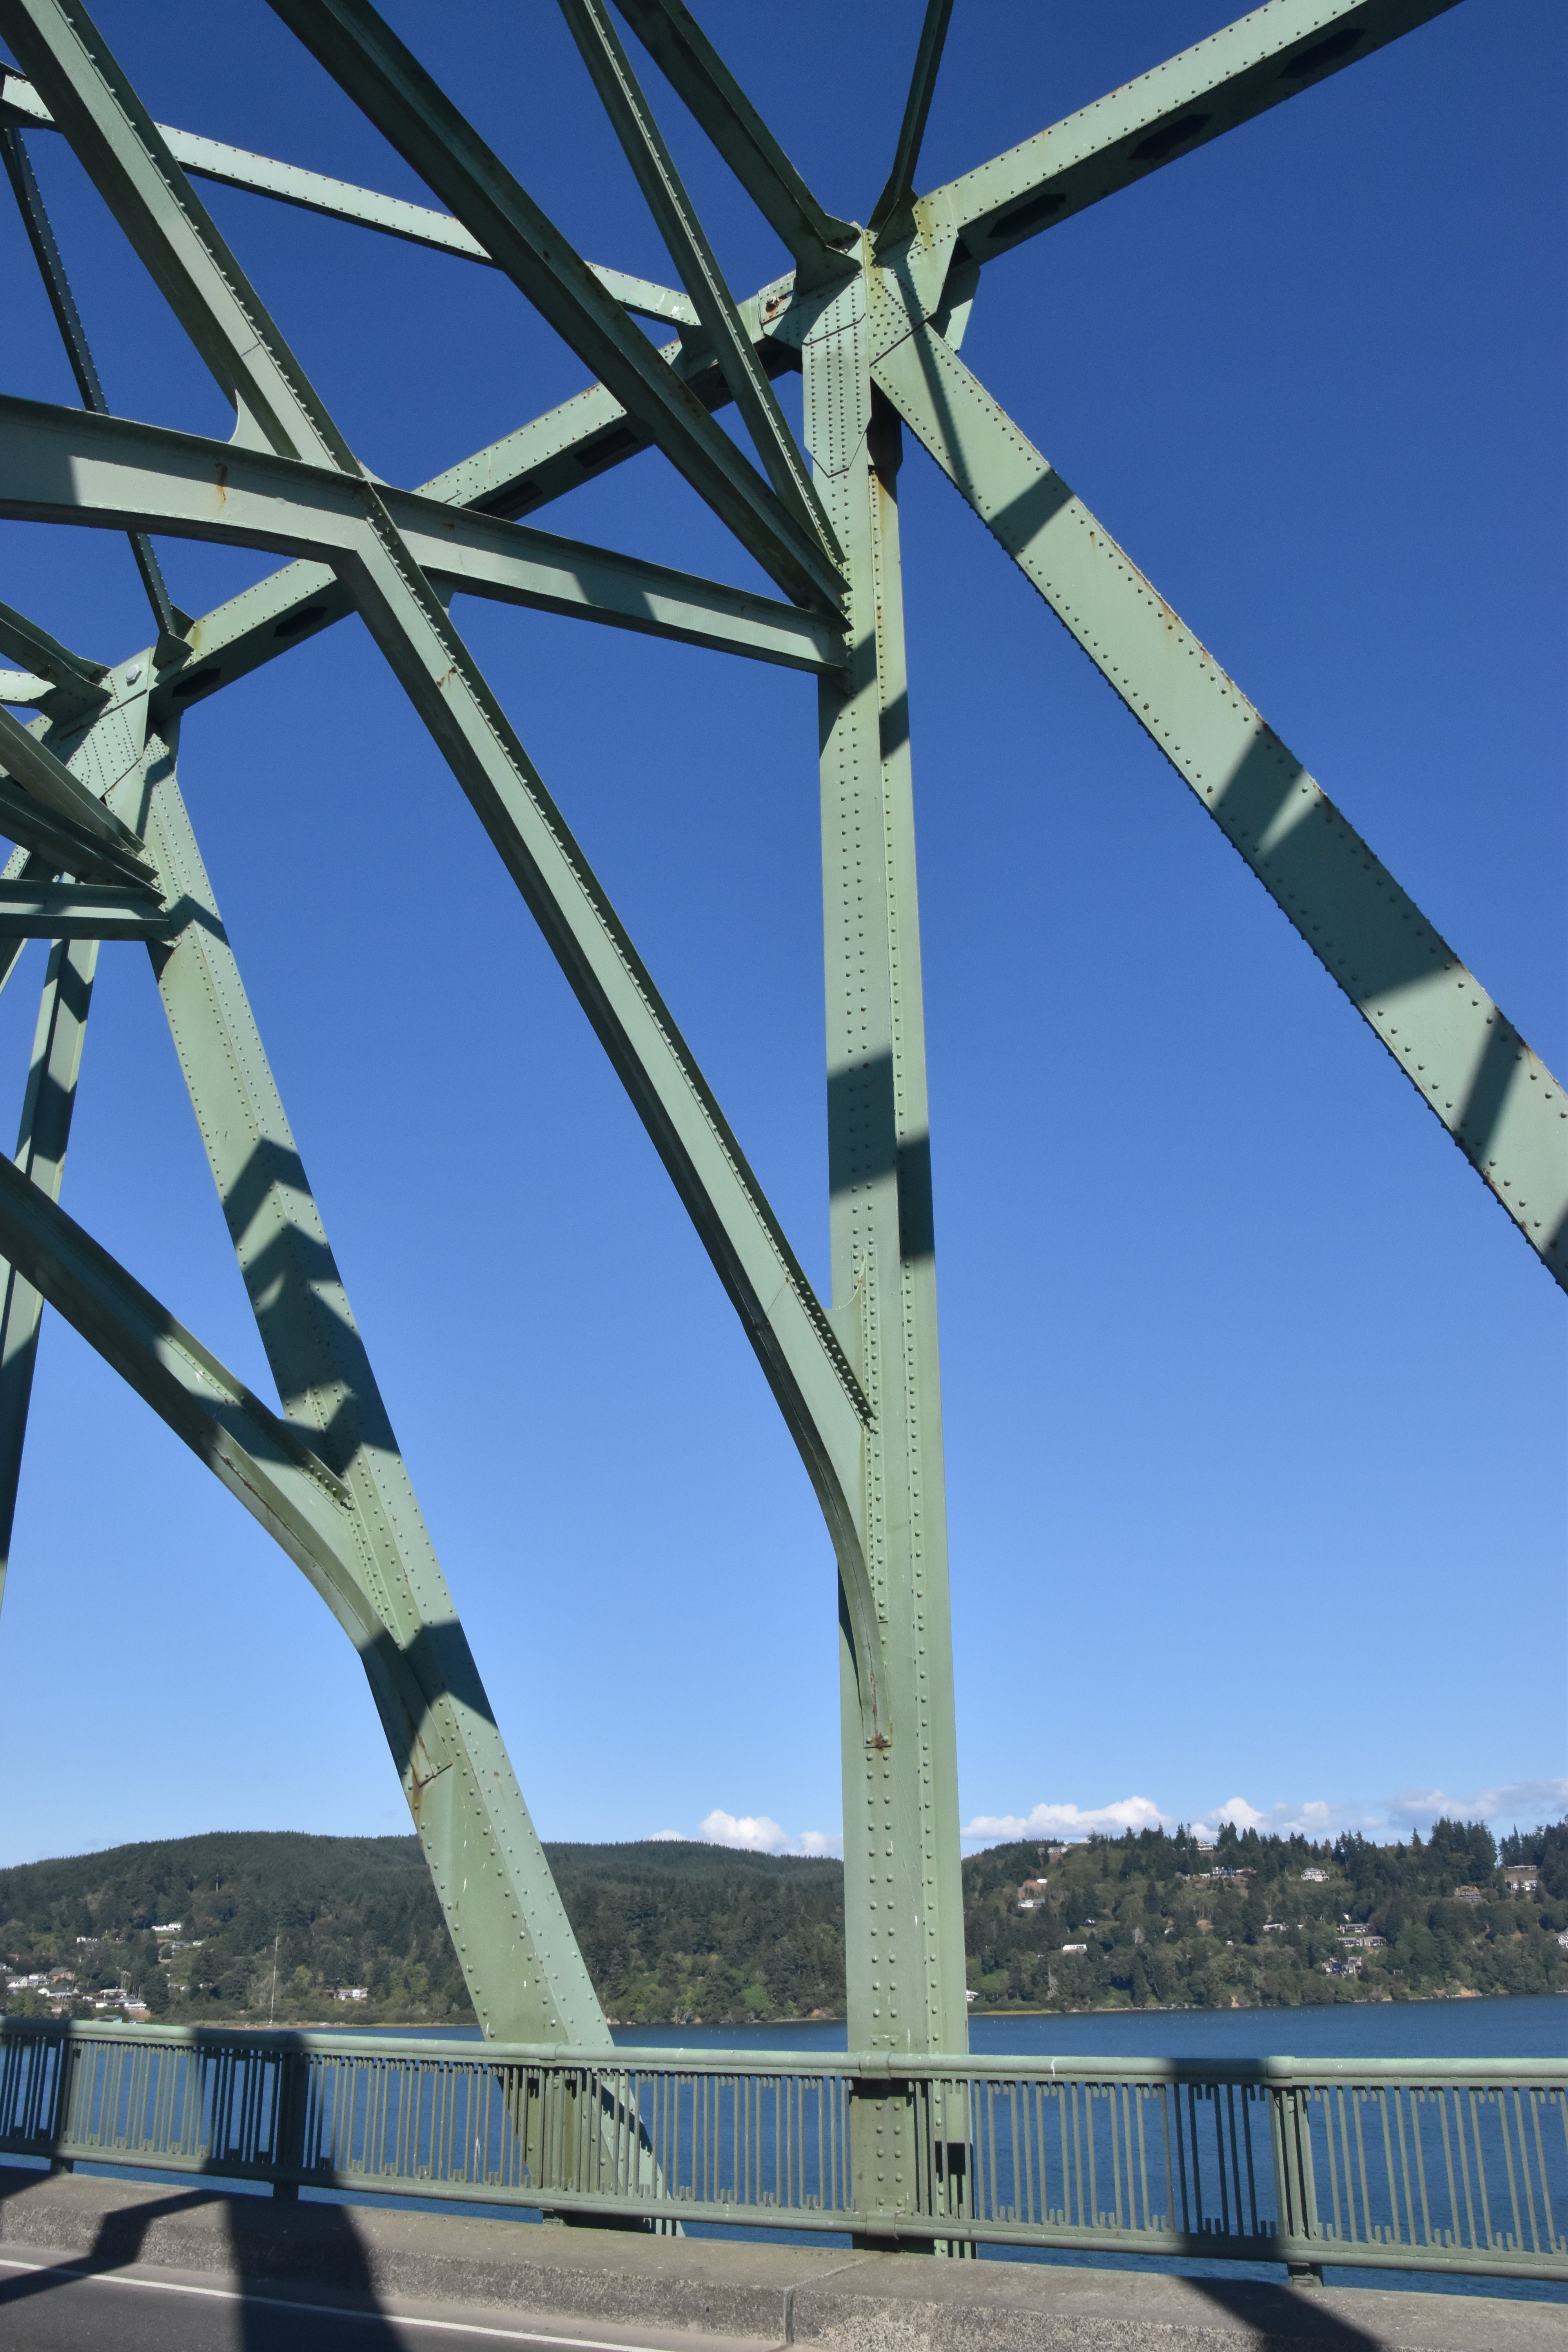
Overview of main post.
![]()


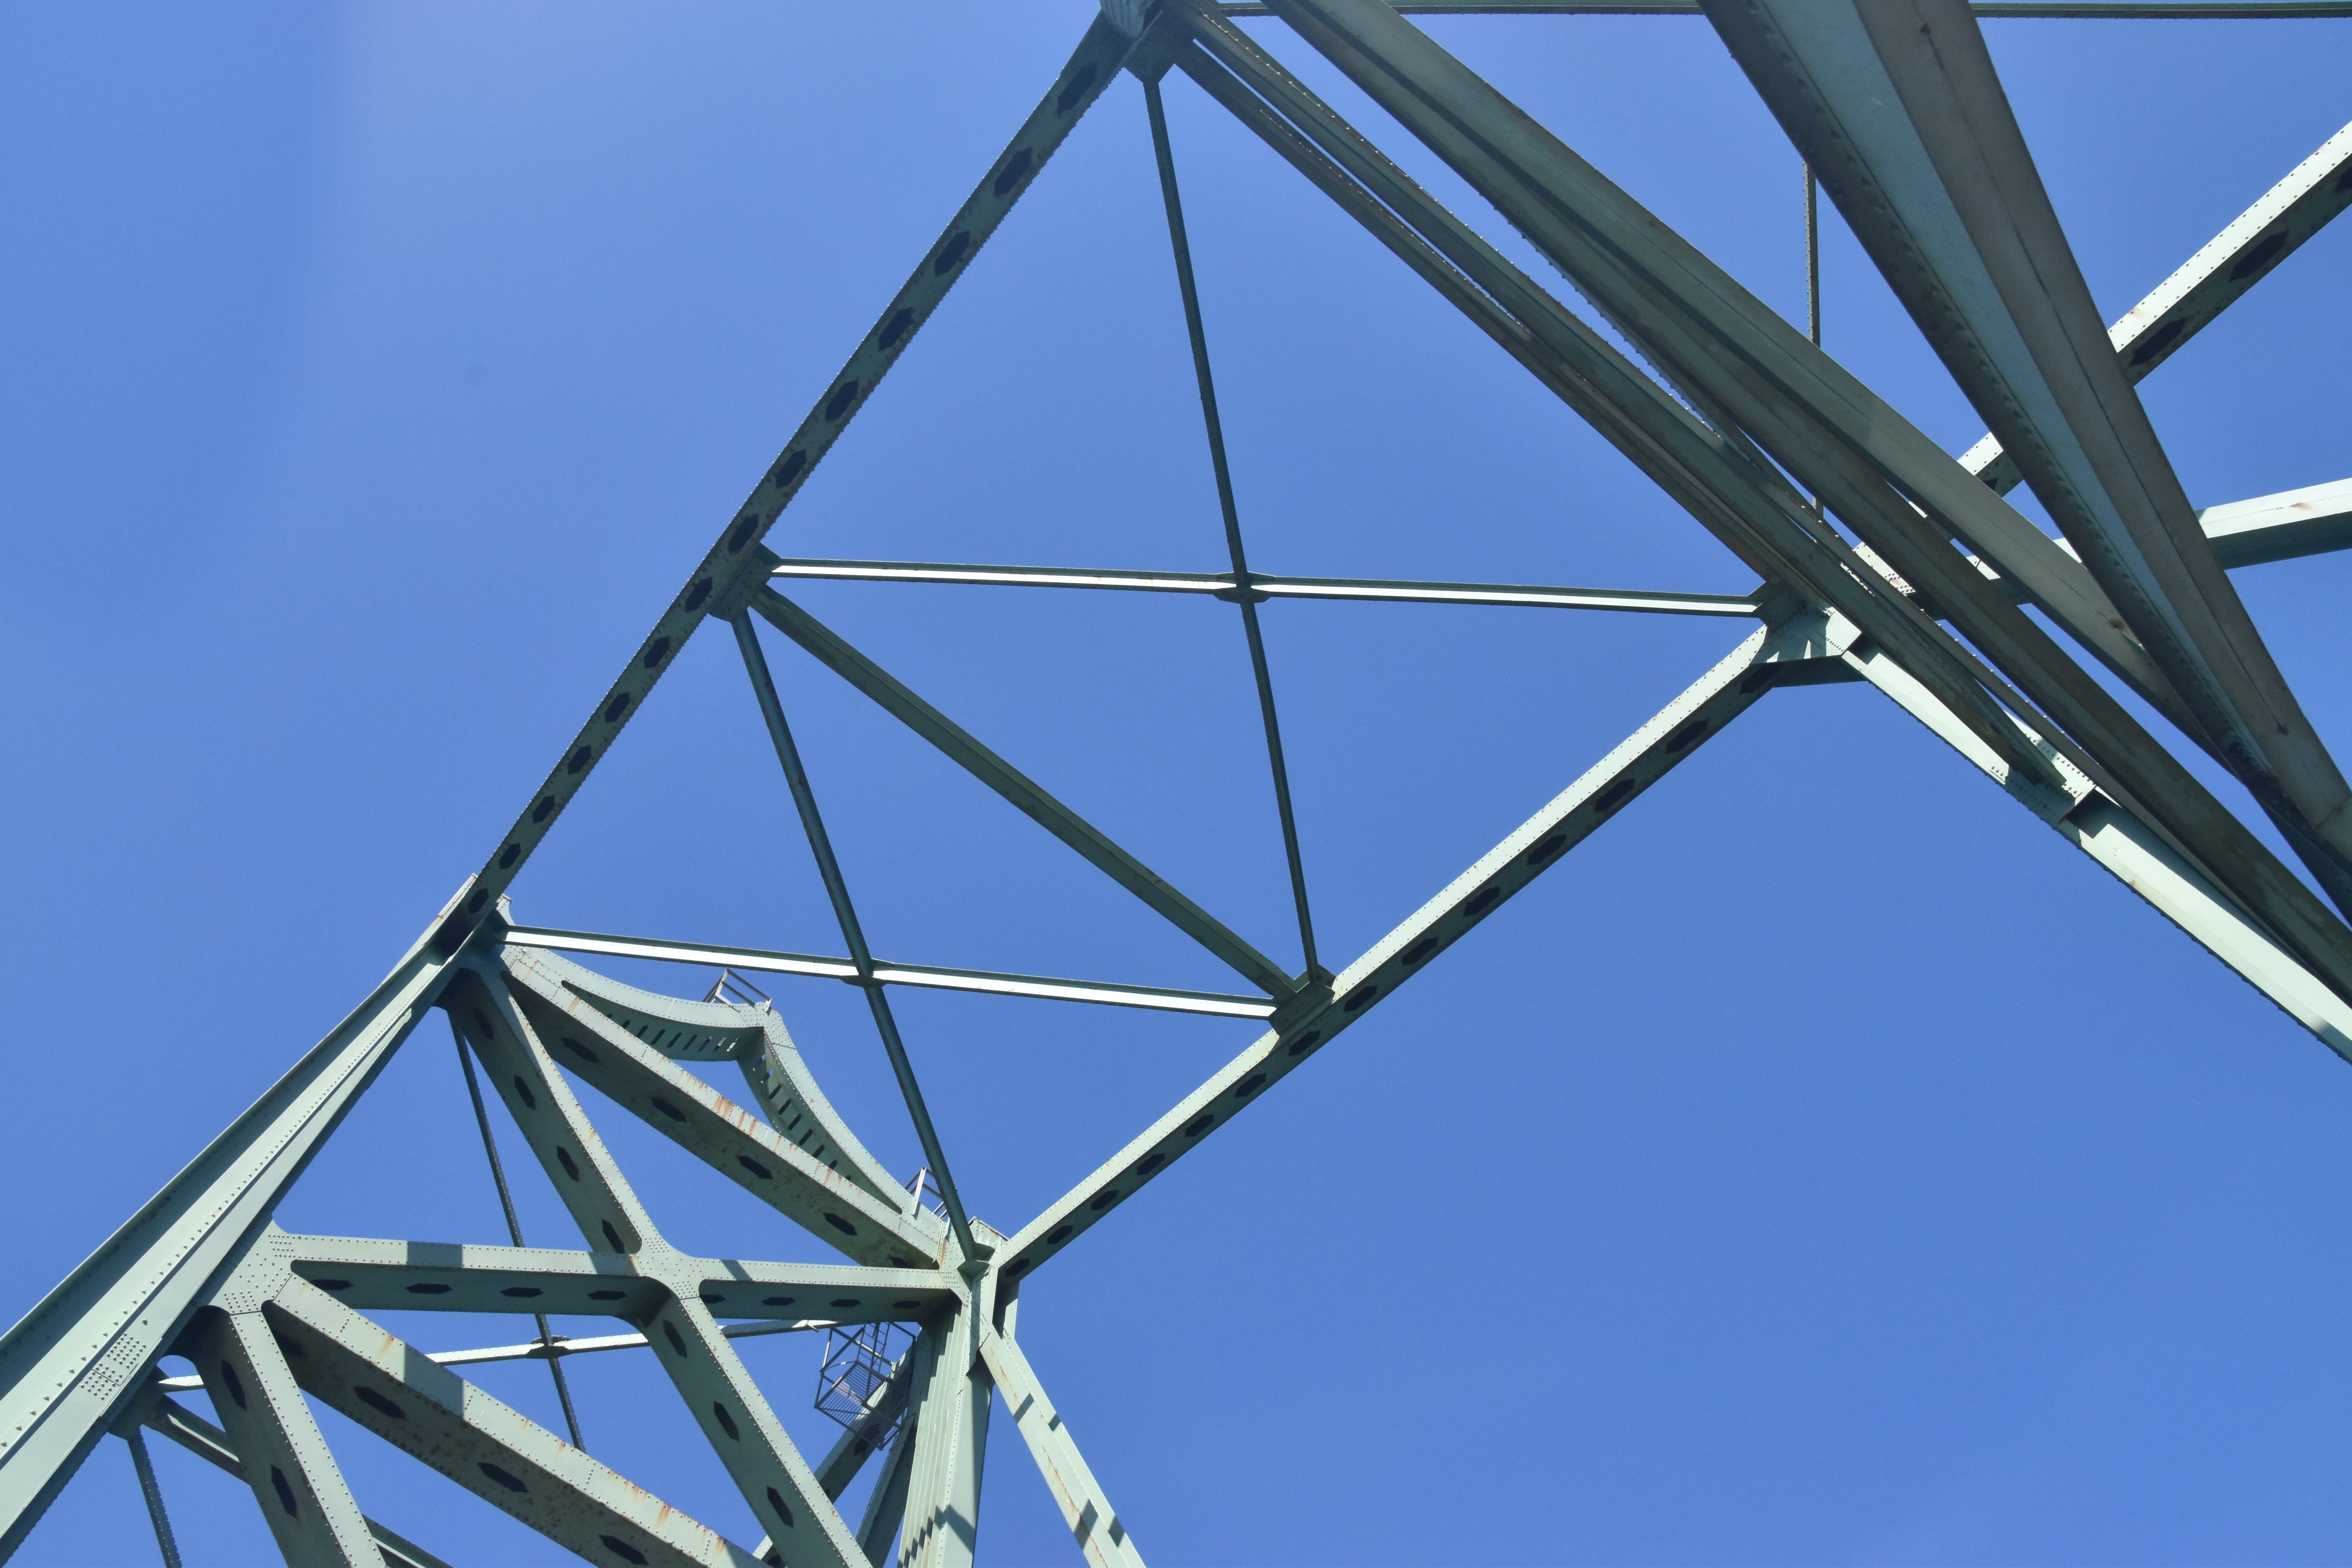
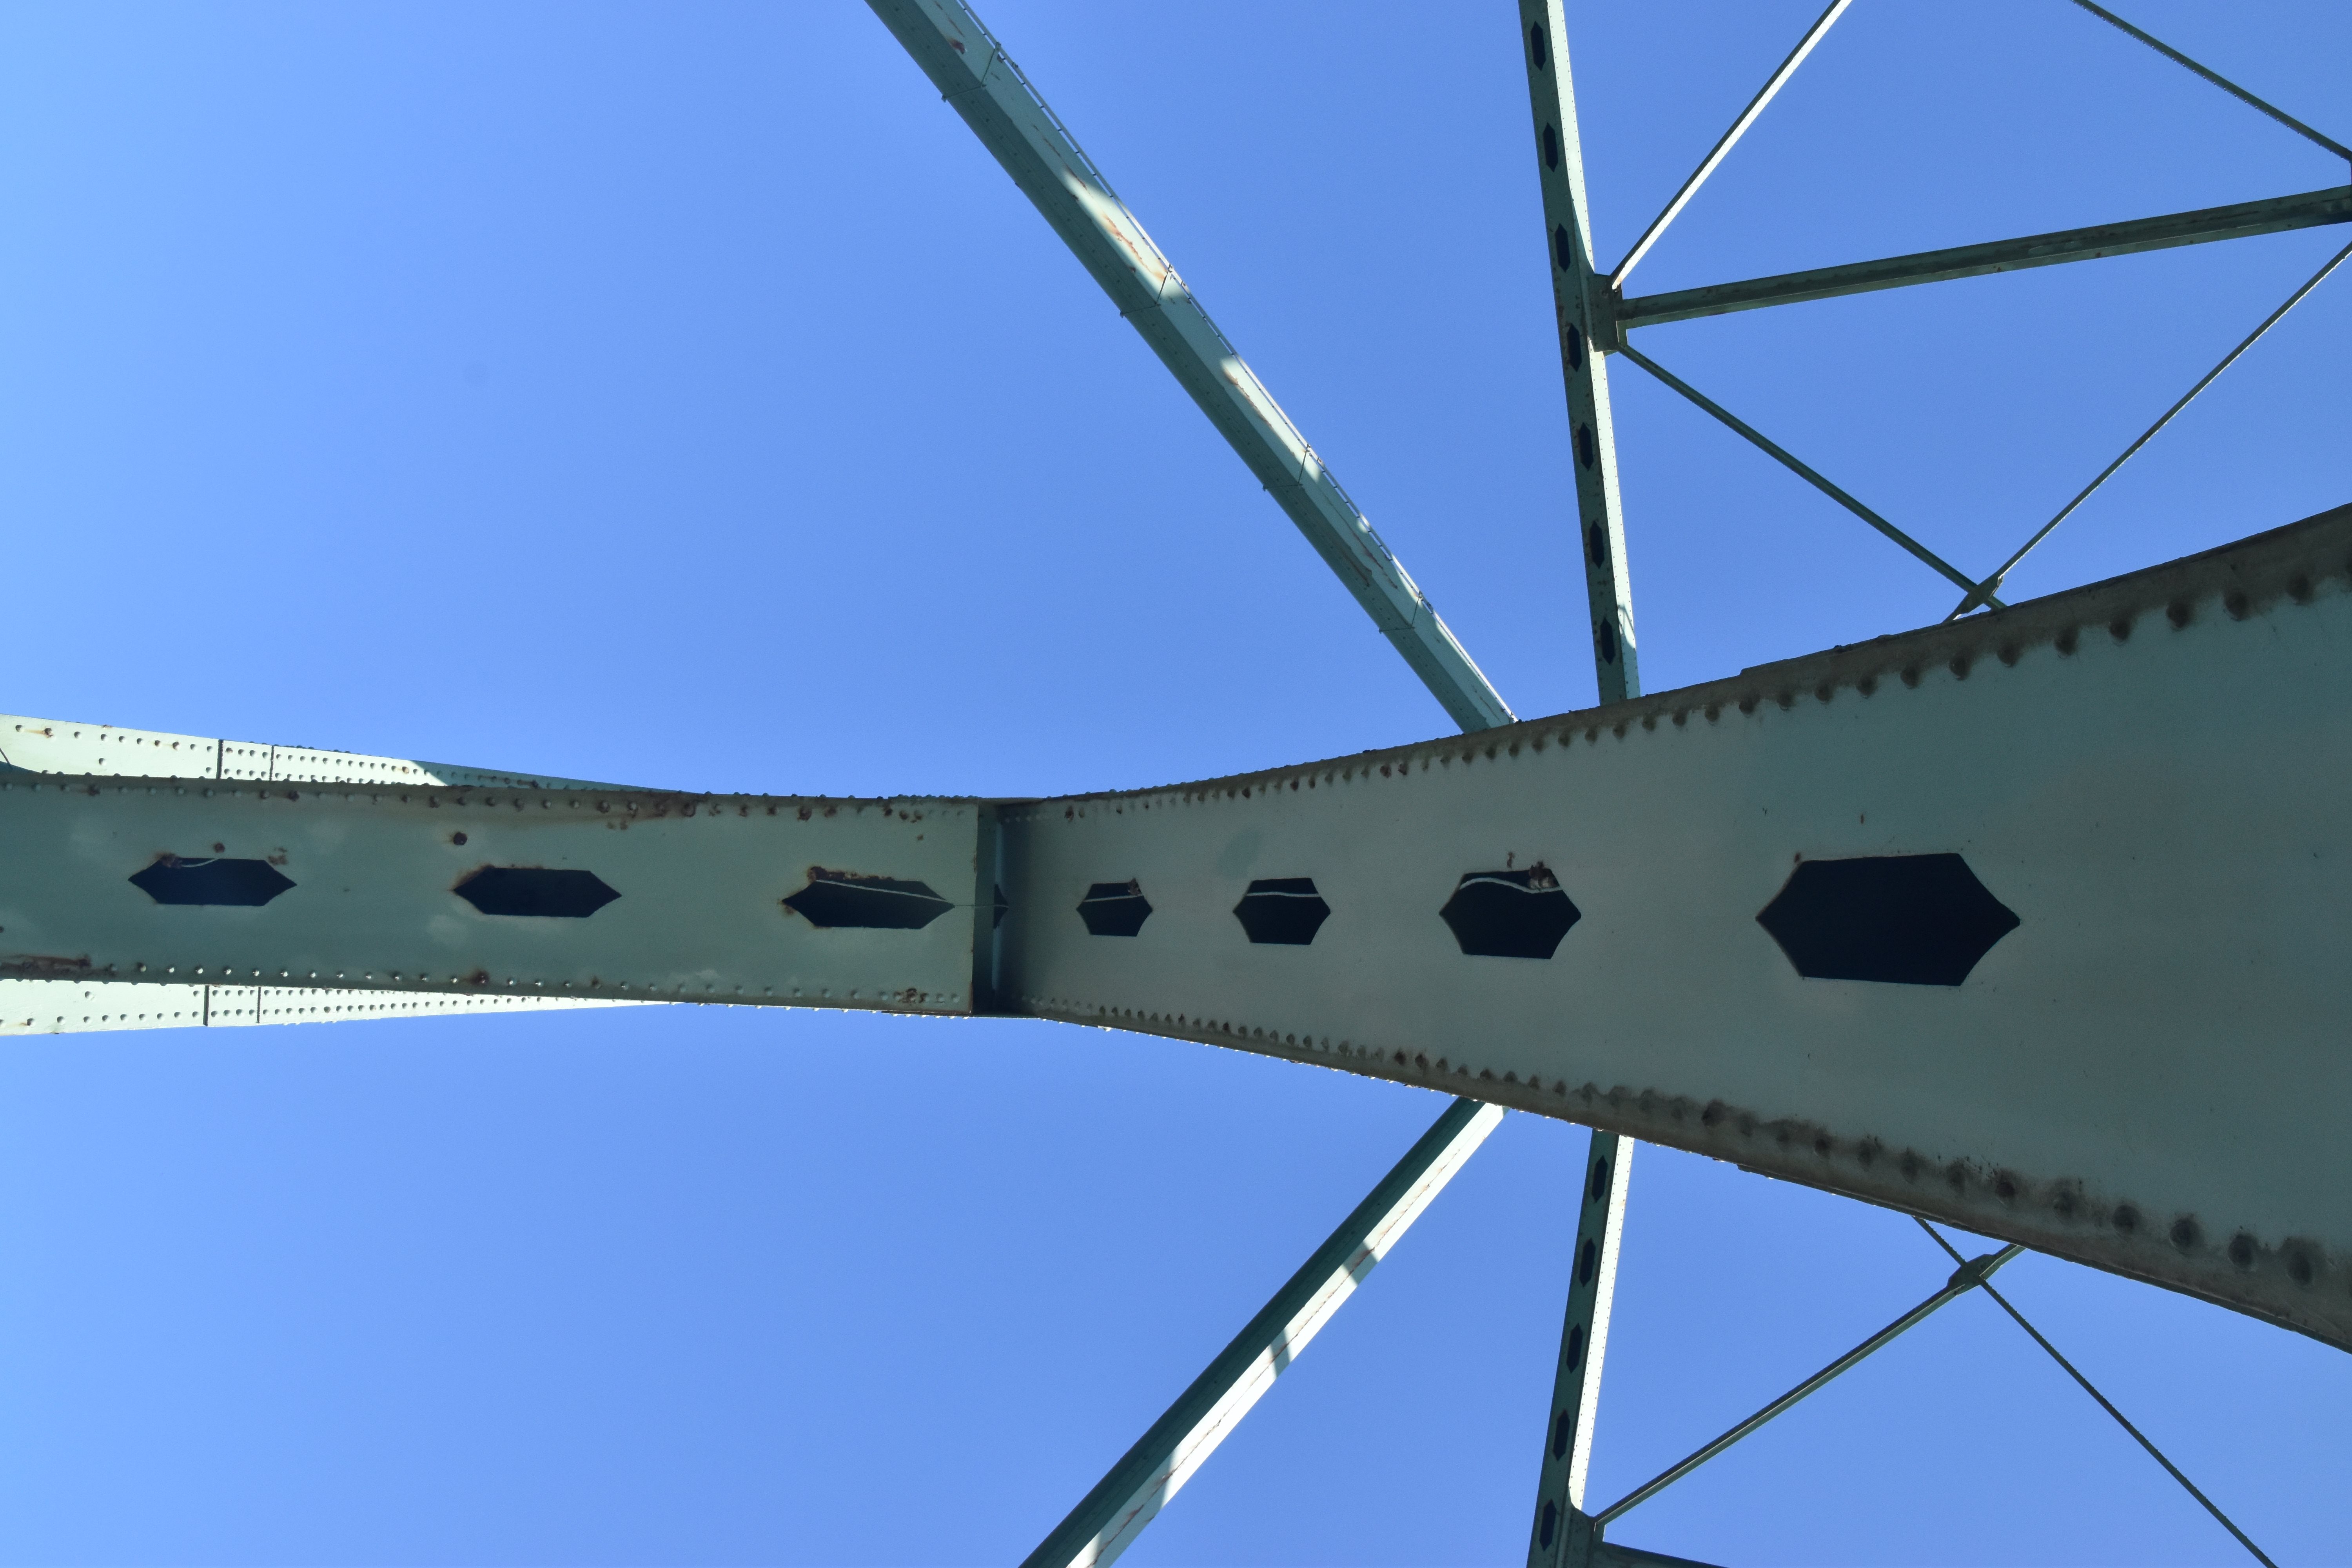
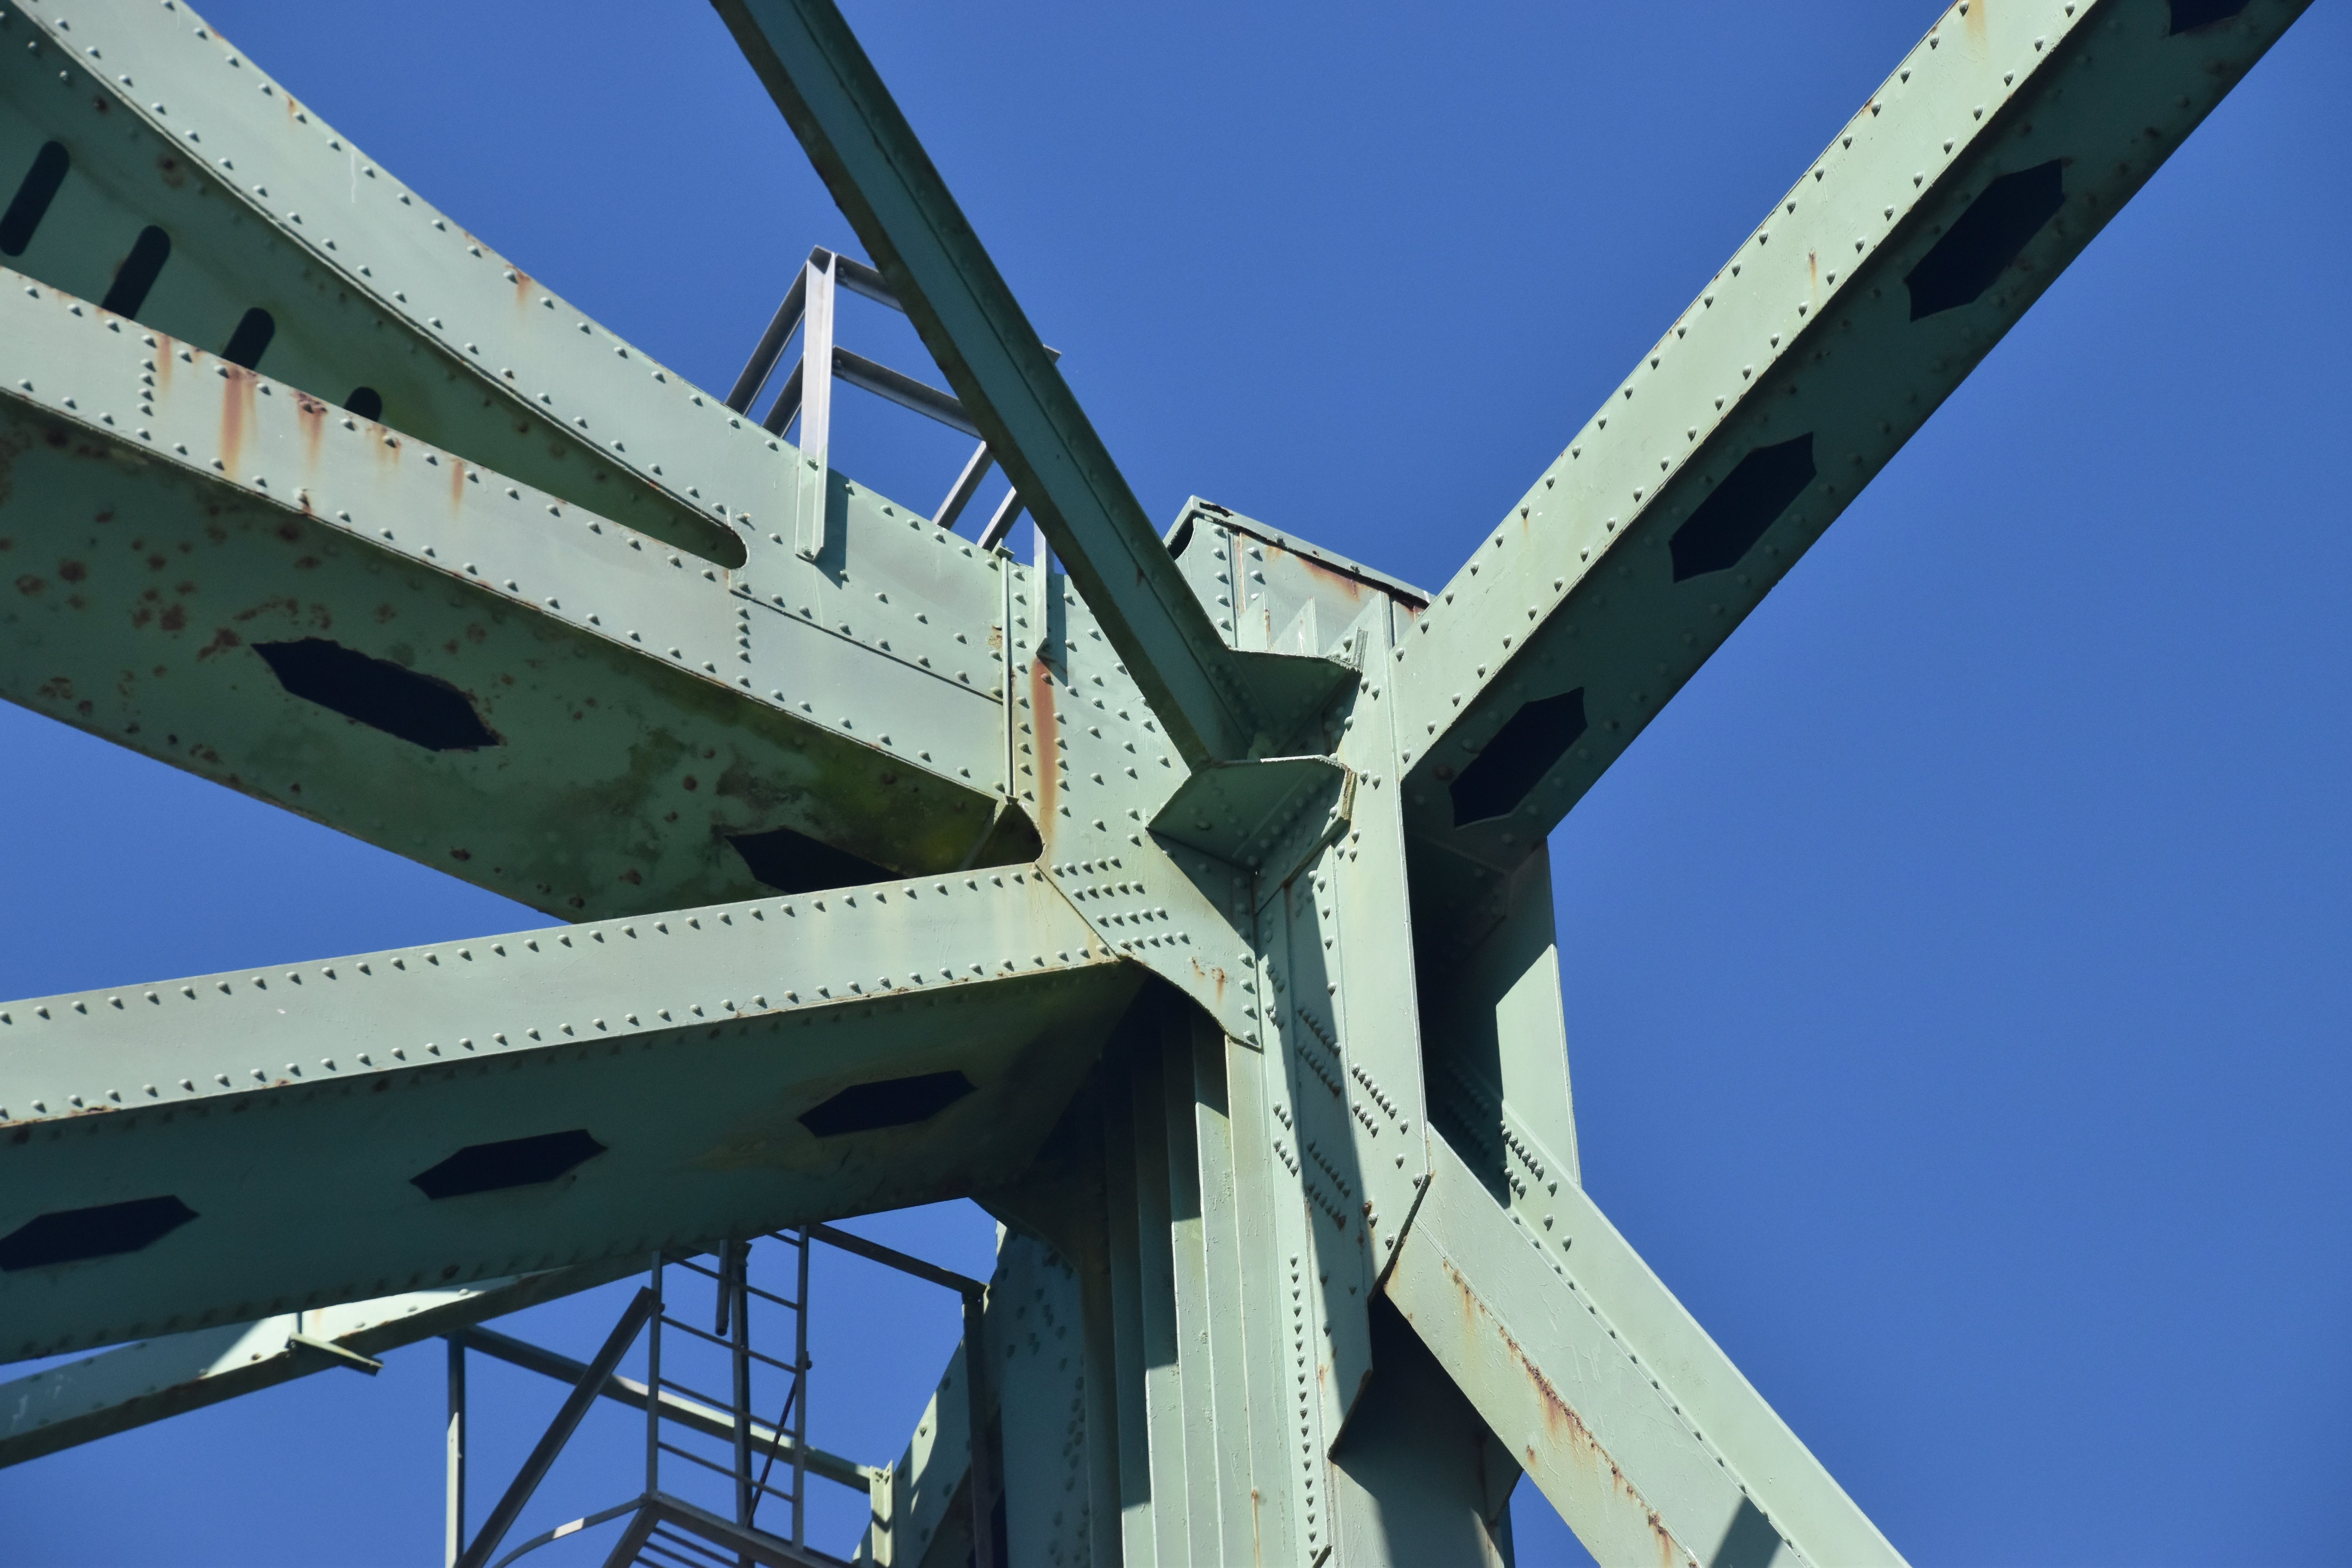
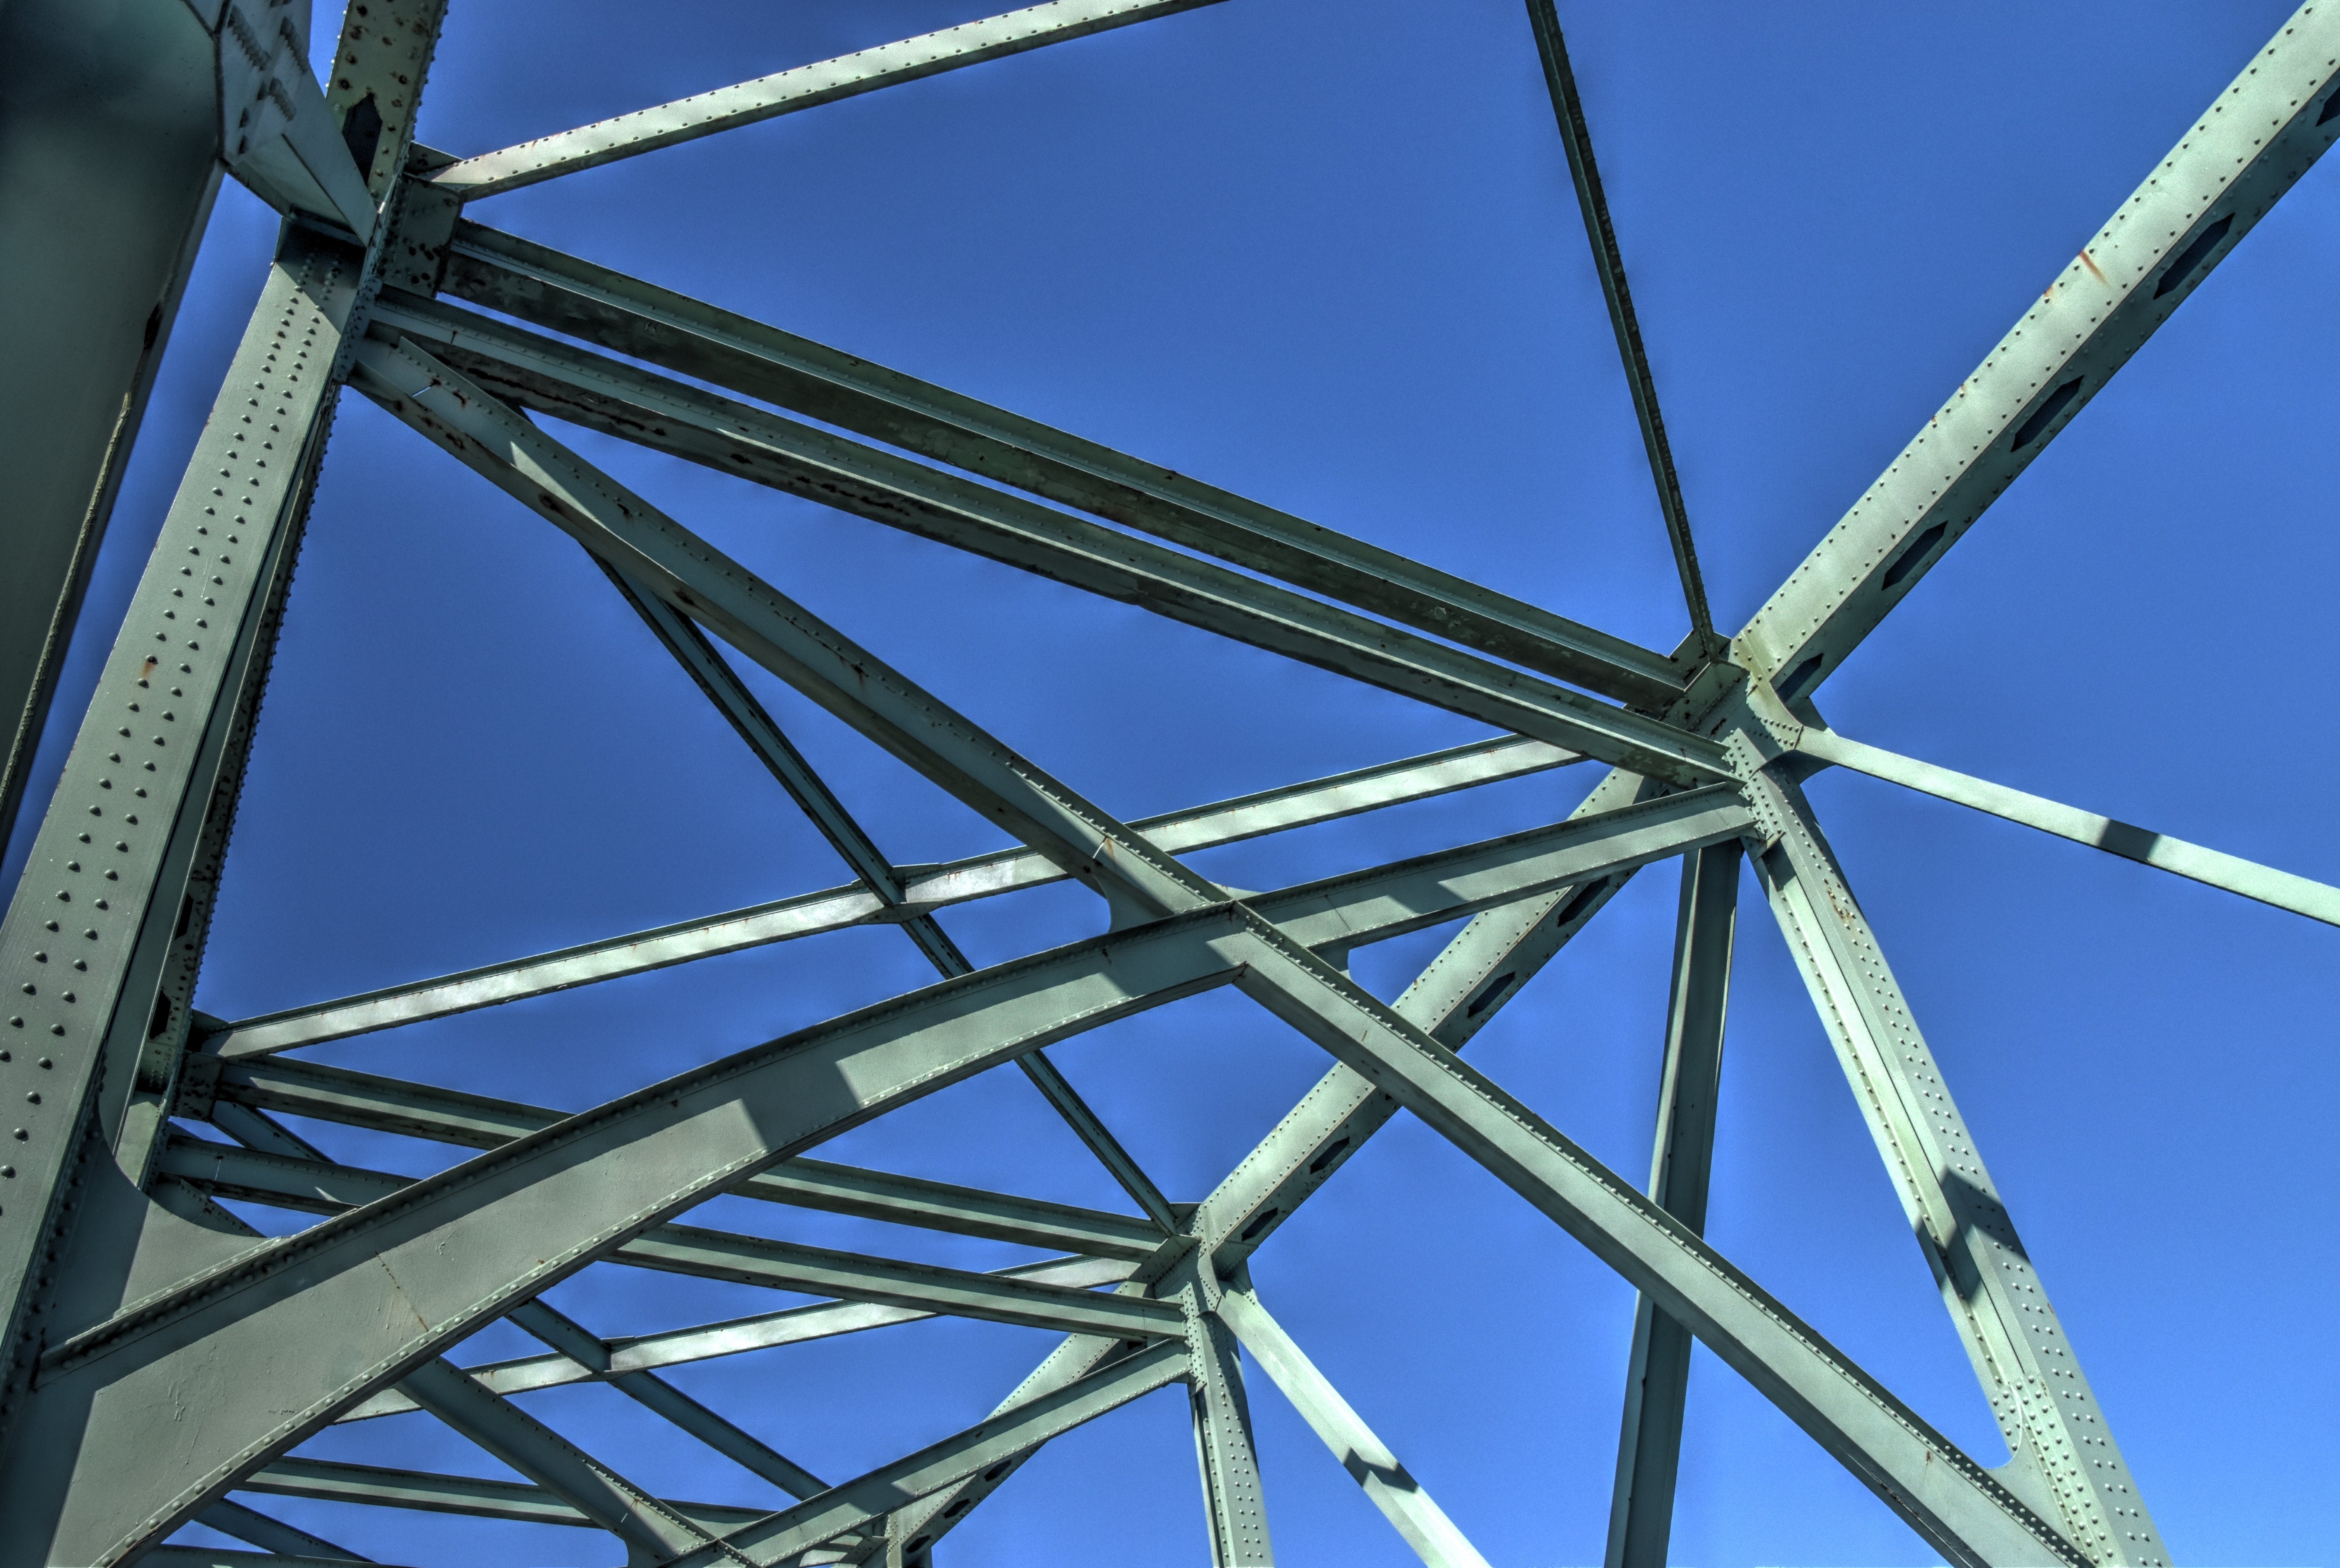
Looking up at main posts.
![]()

Main post at deck level.
![]()


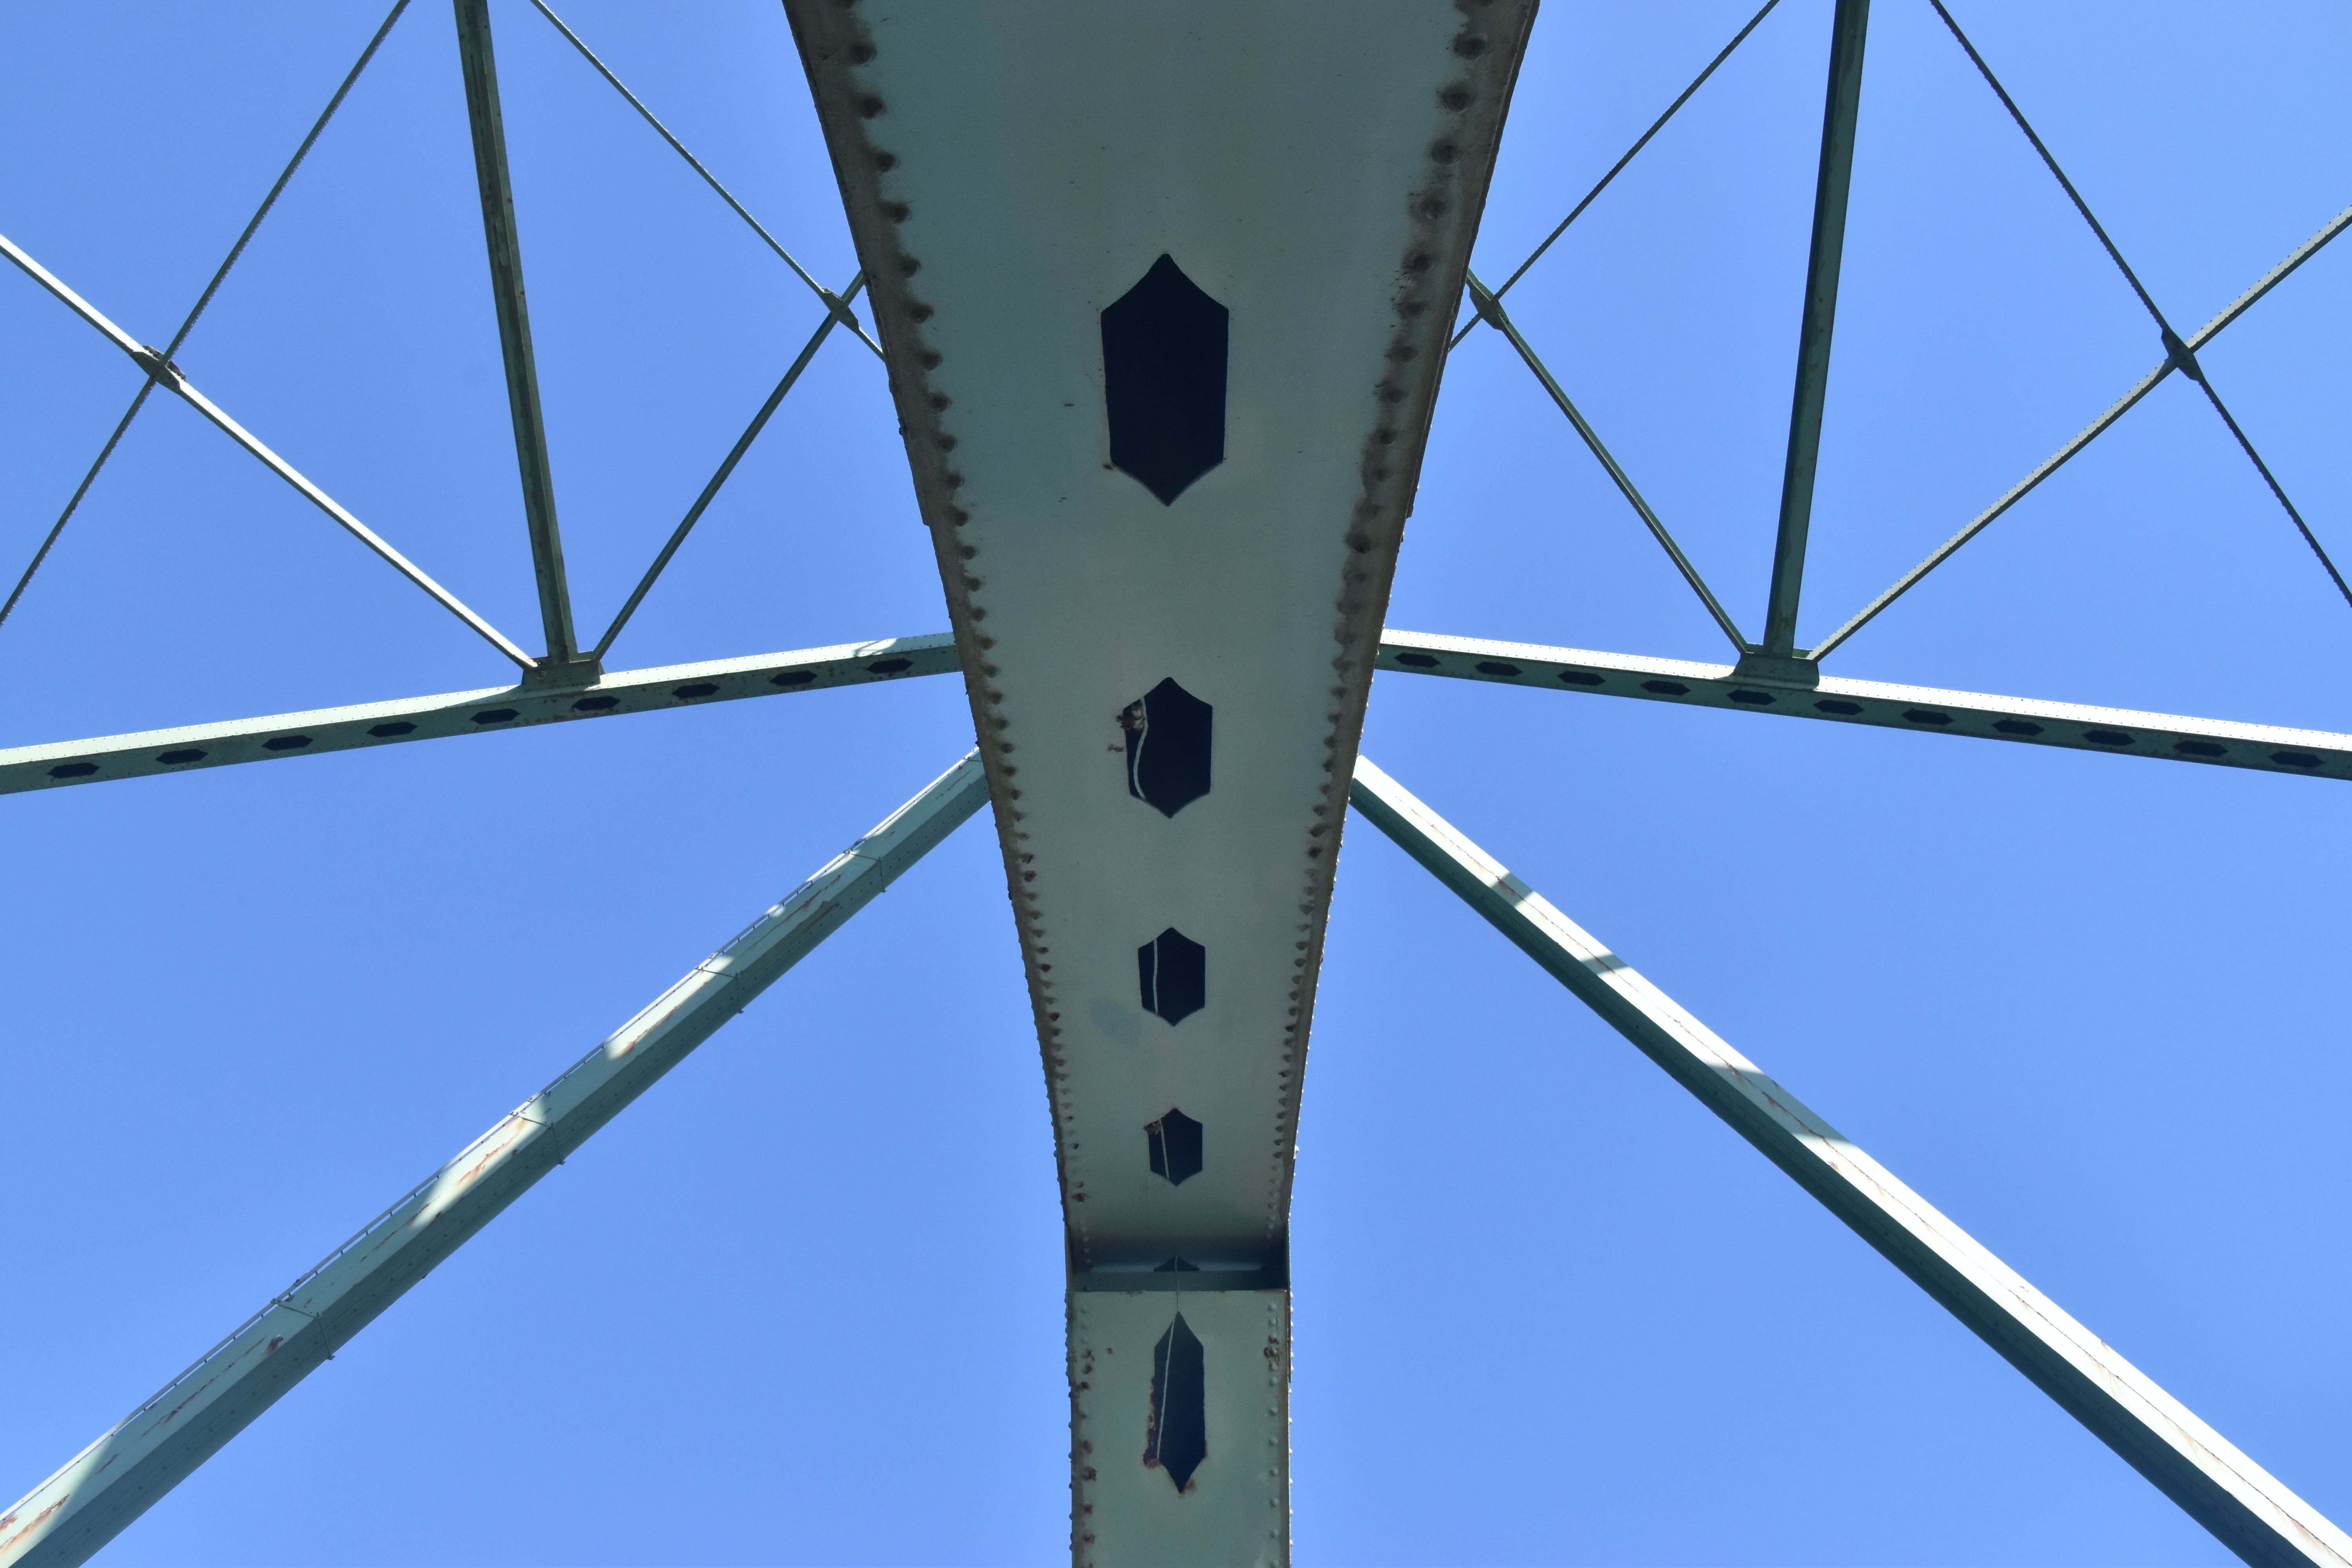
Looking up from directly under main post sway bracing.
![]()


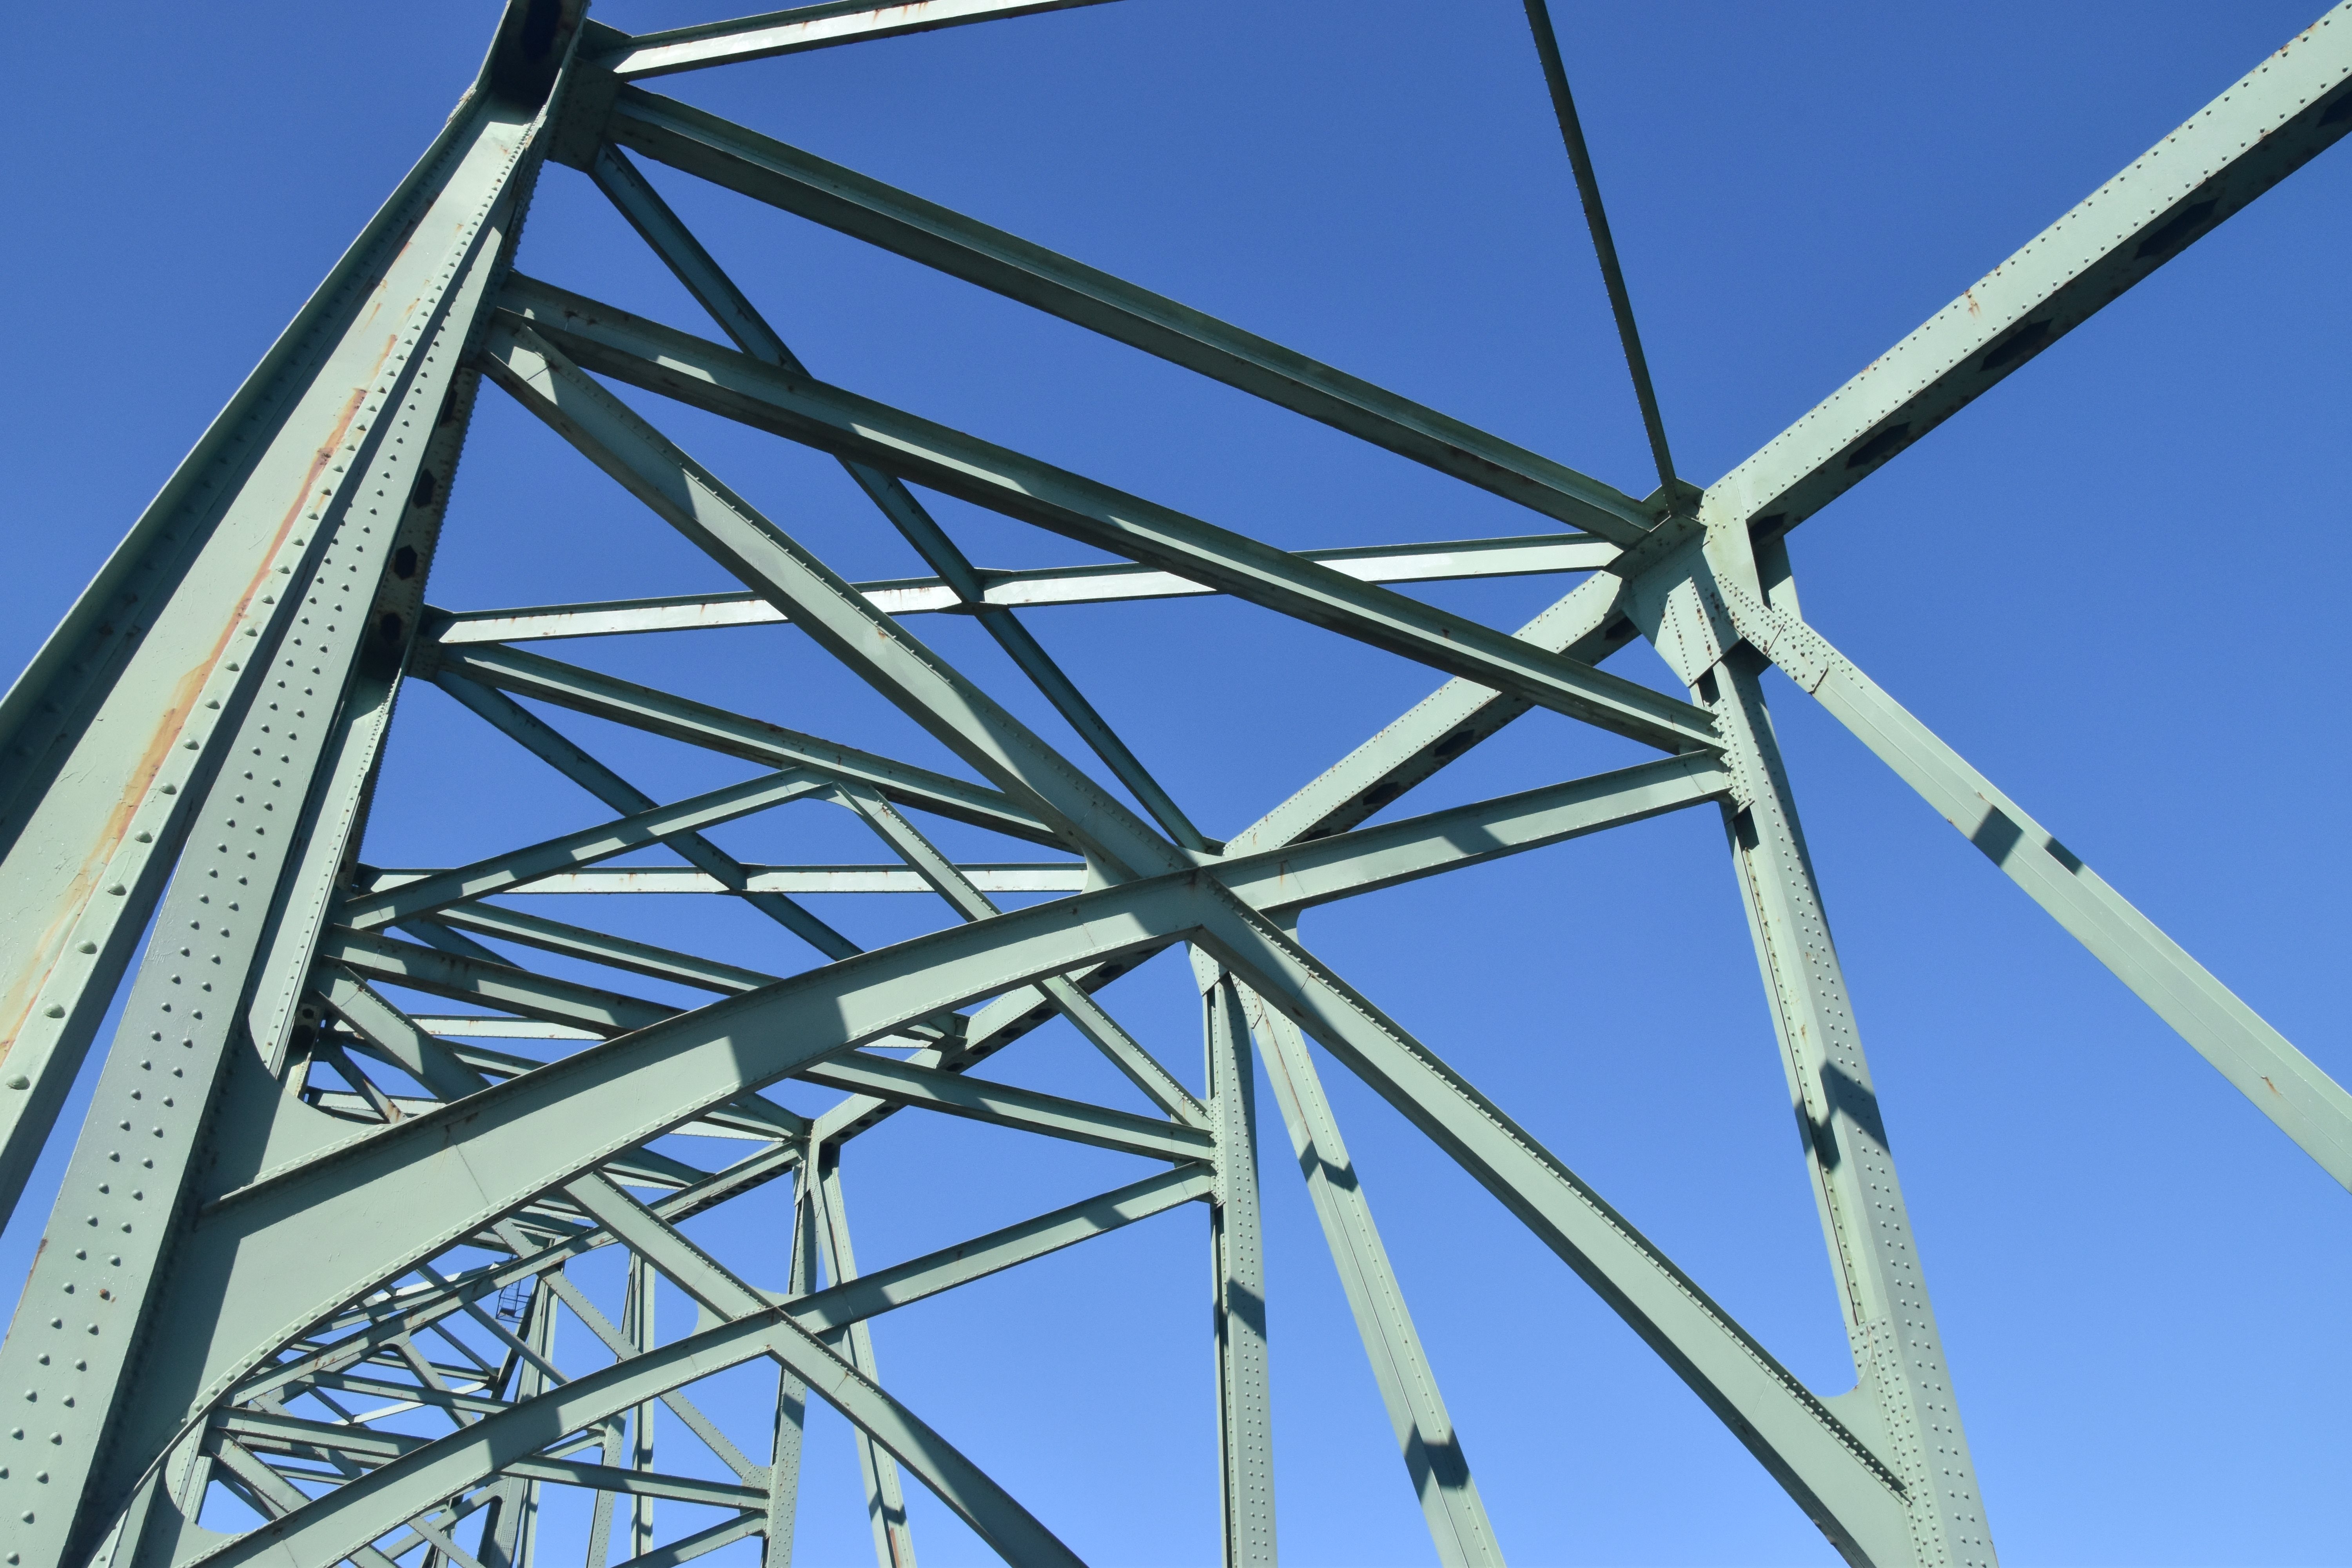
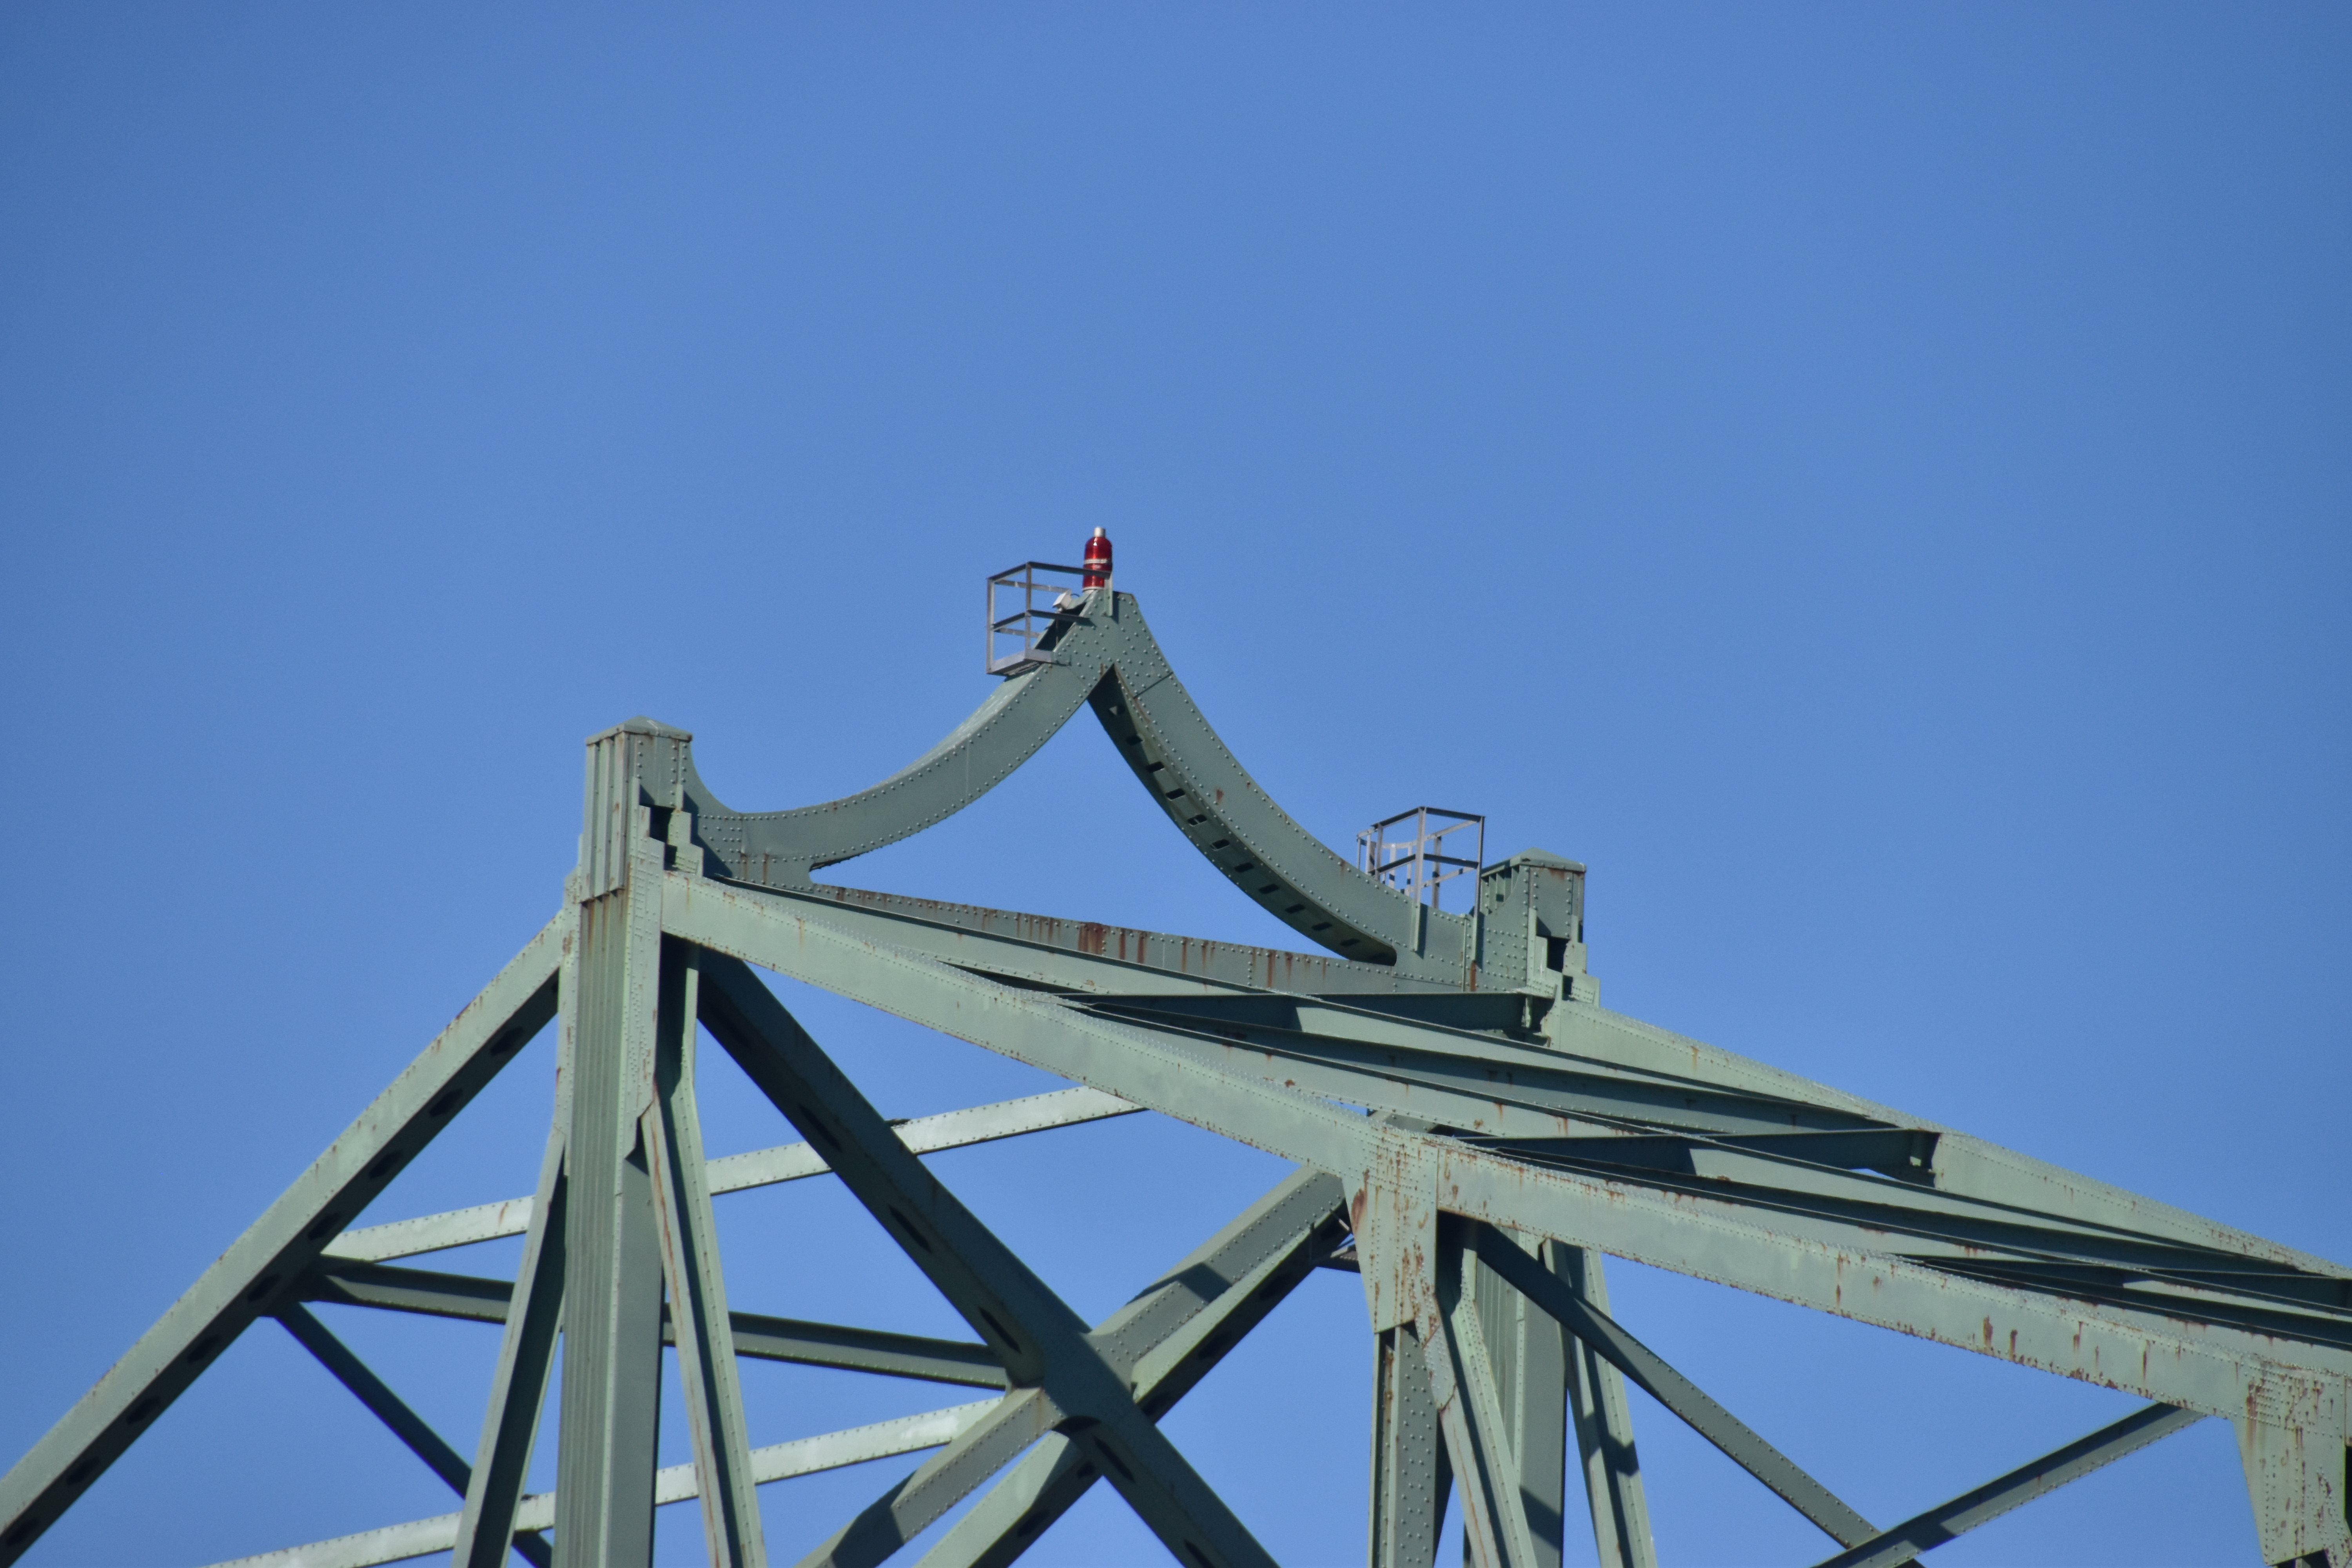
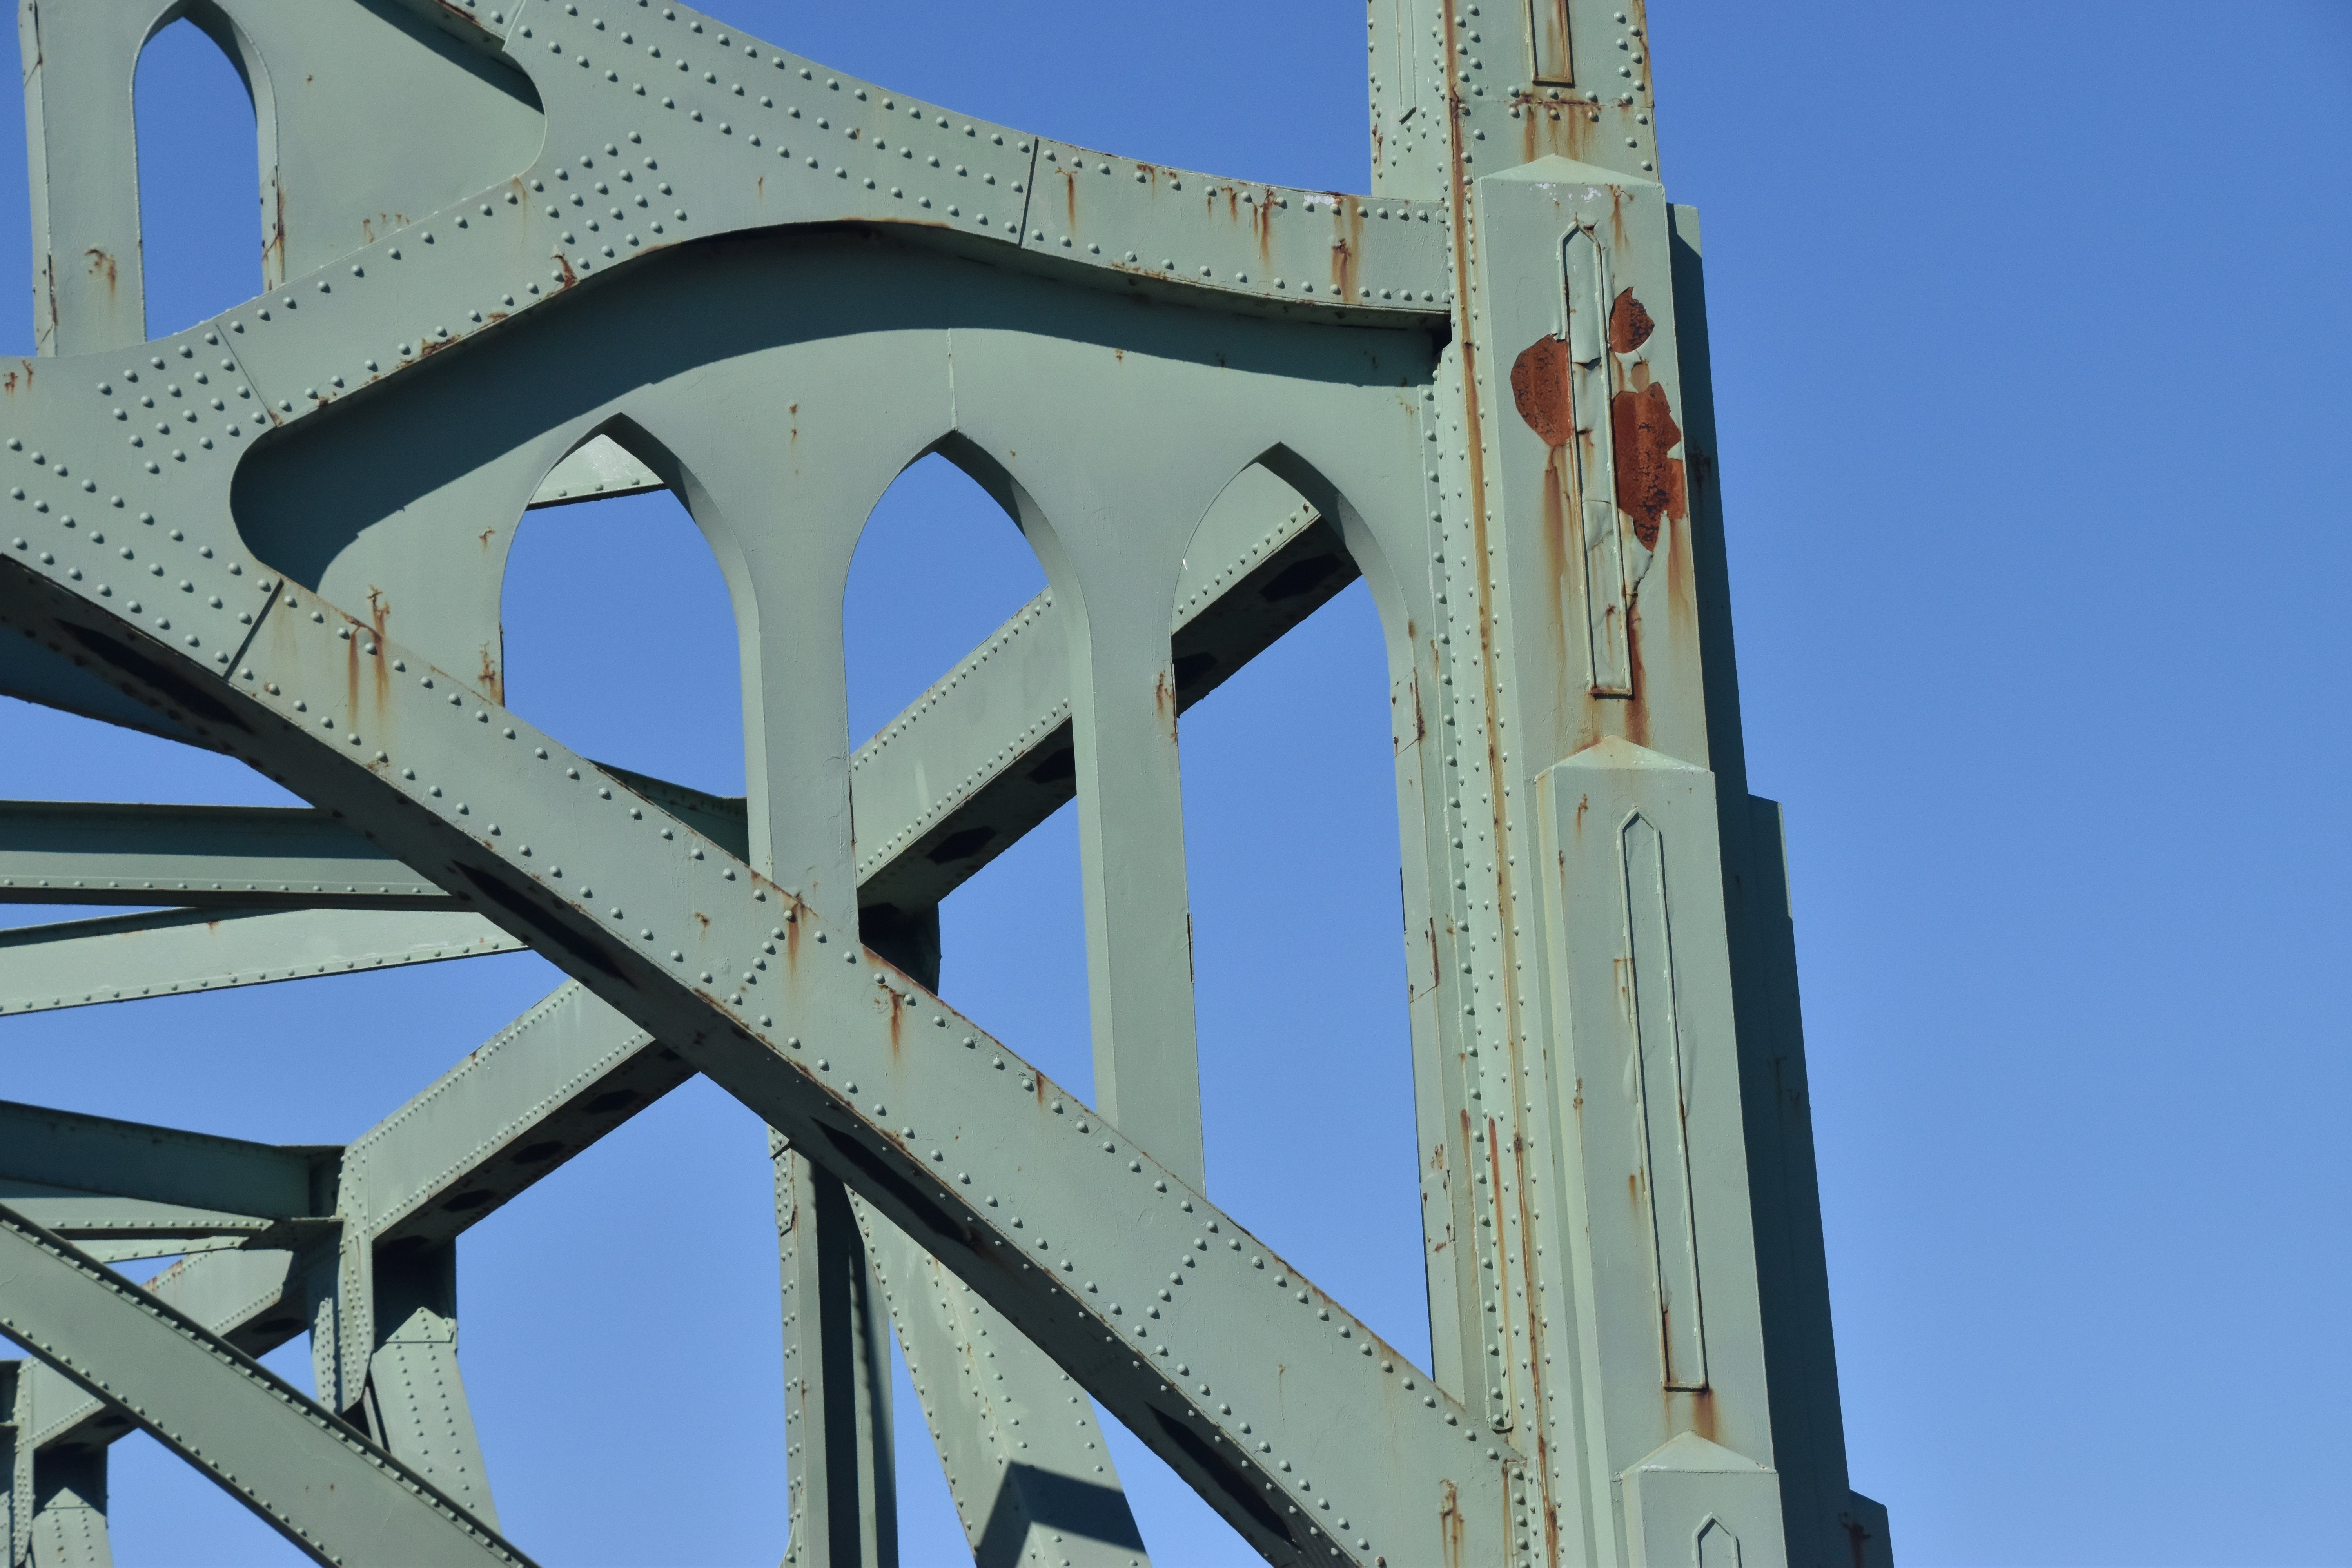
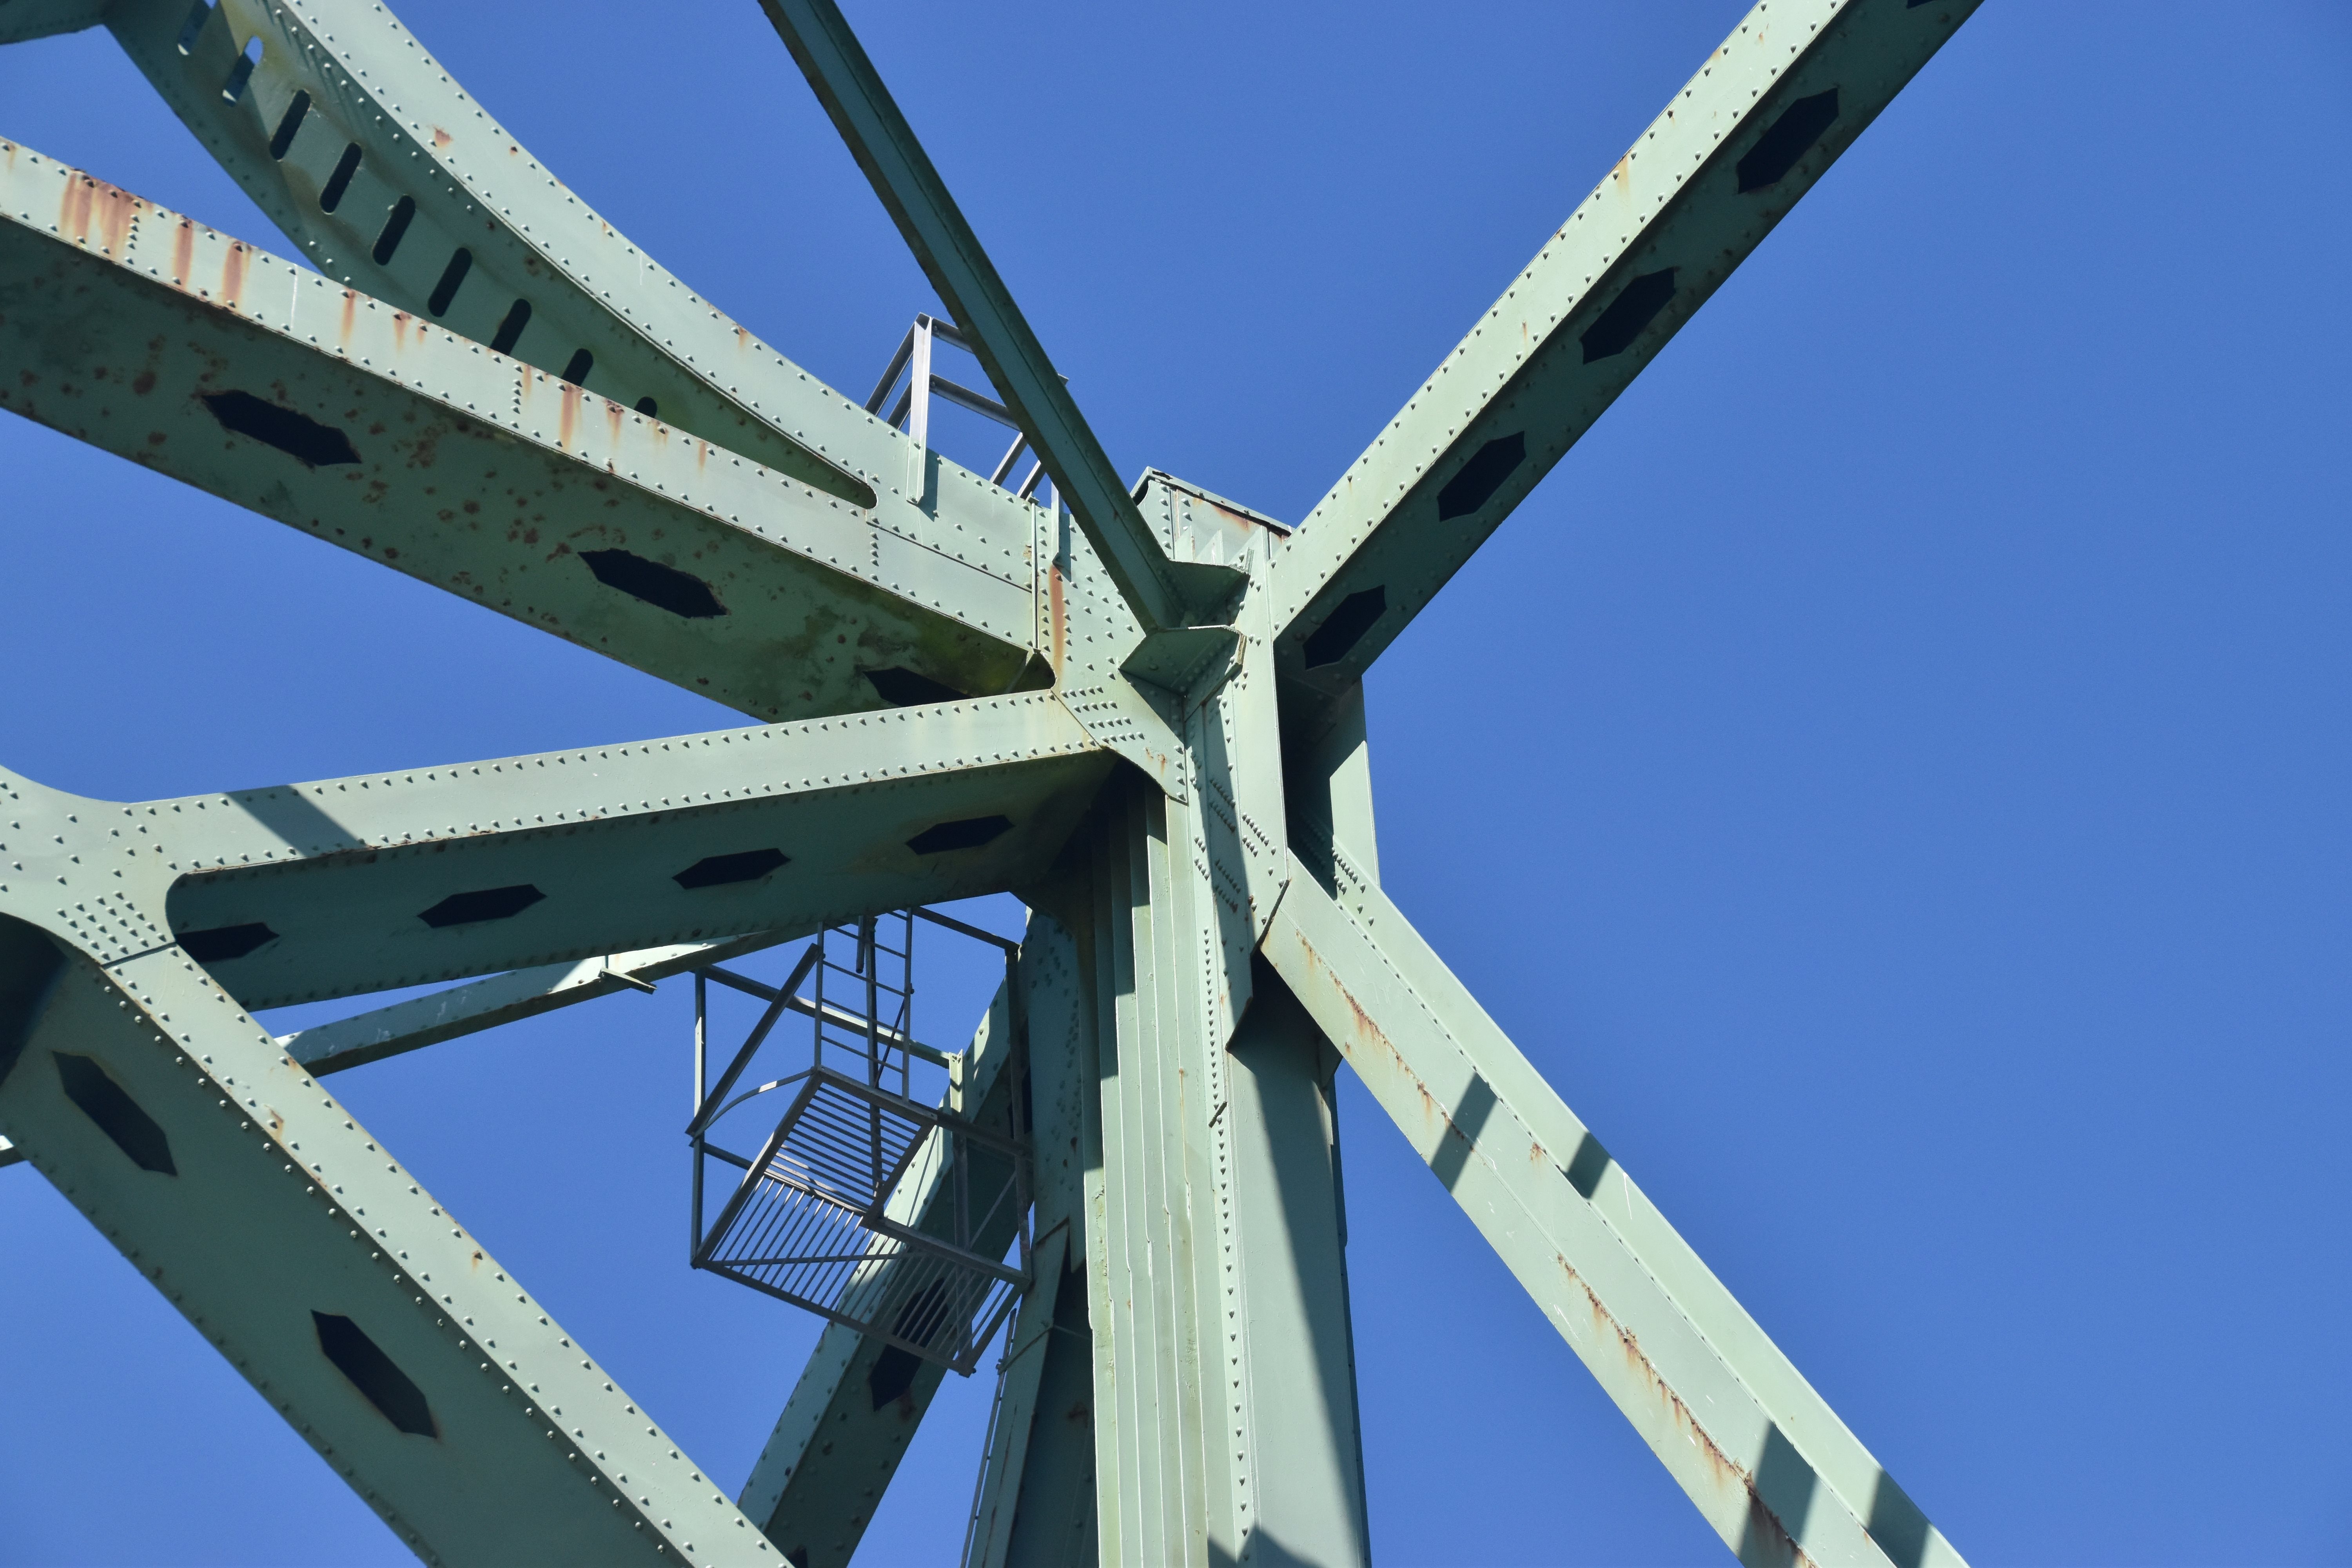
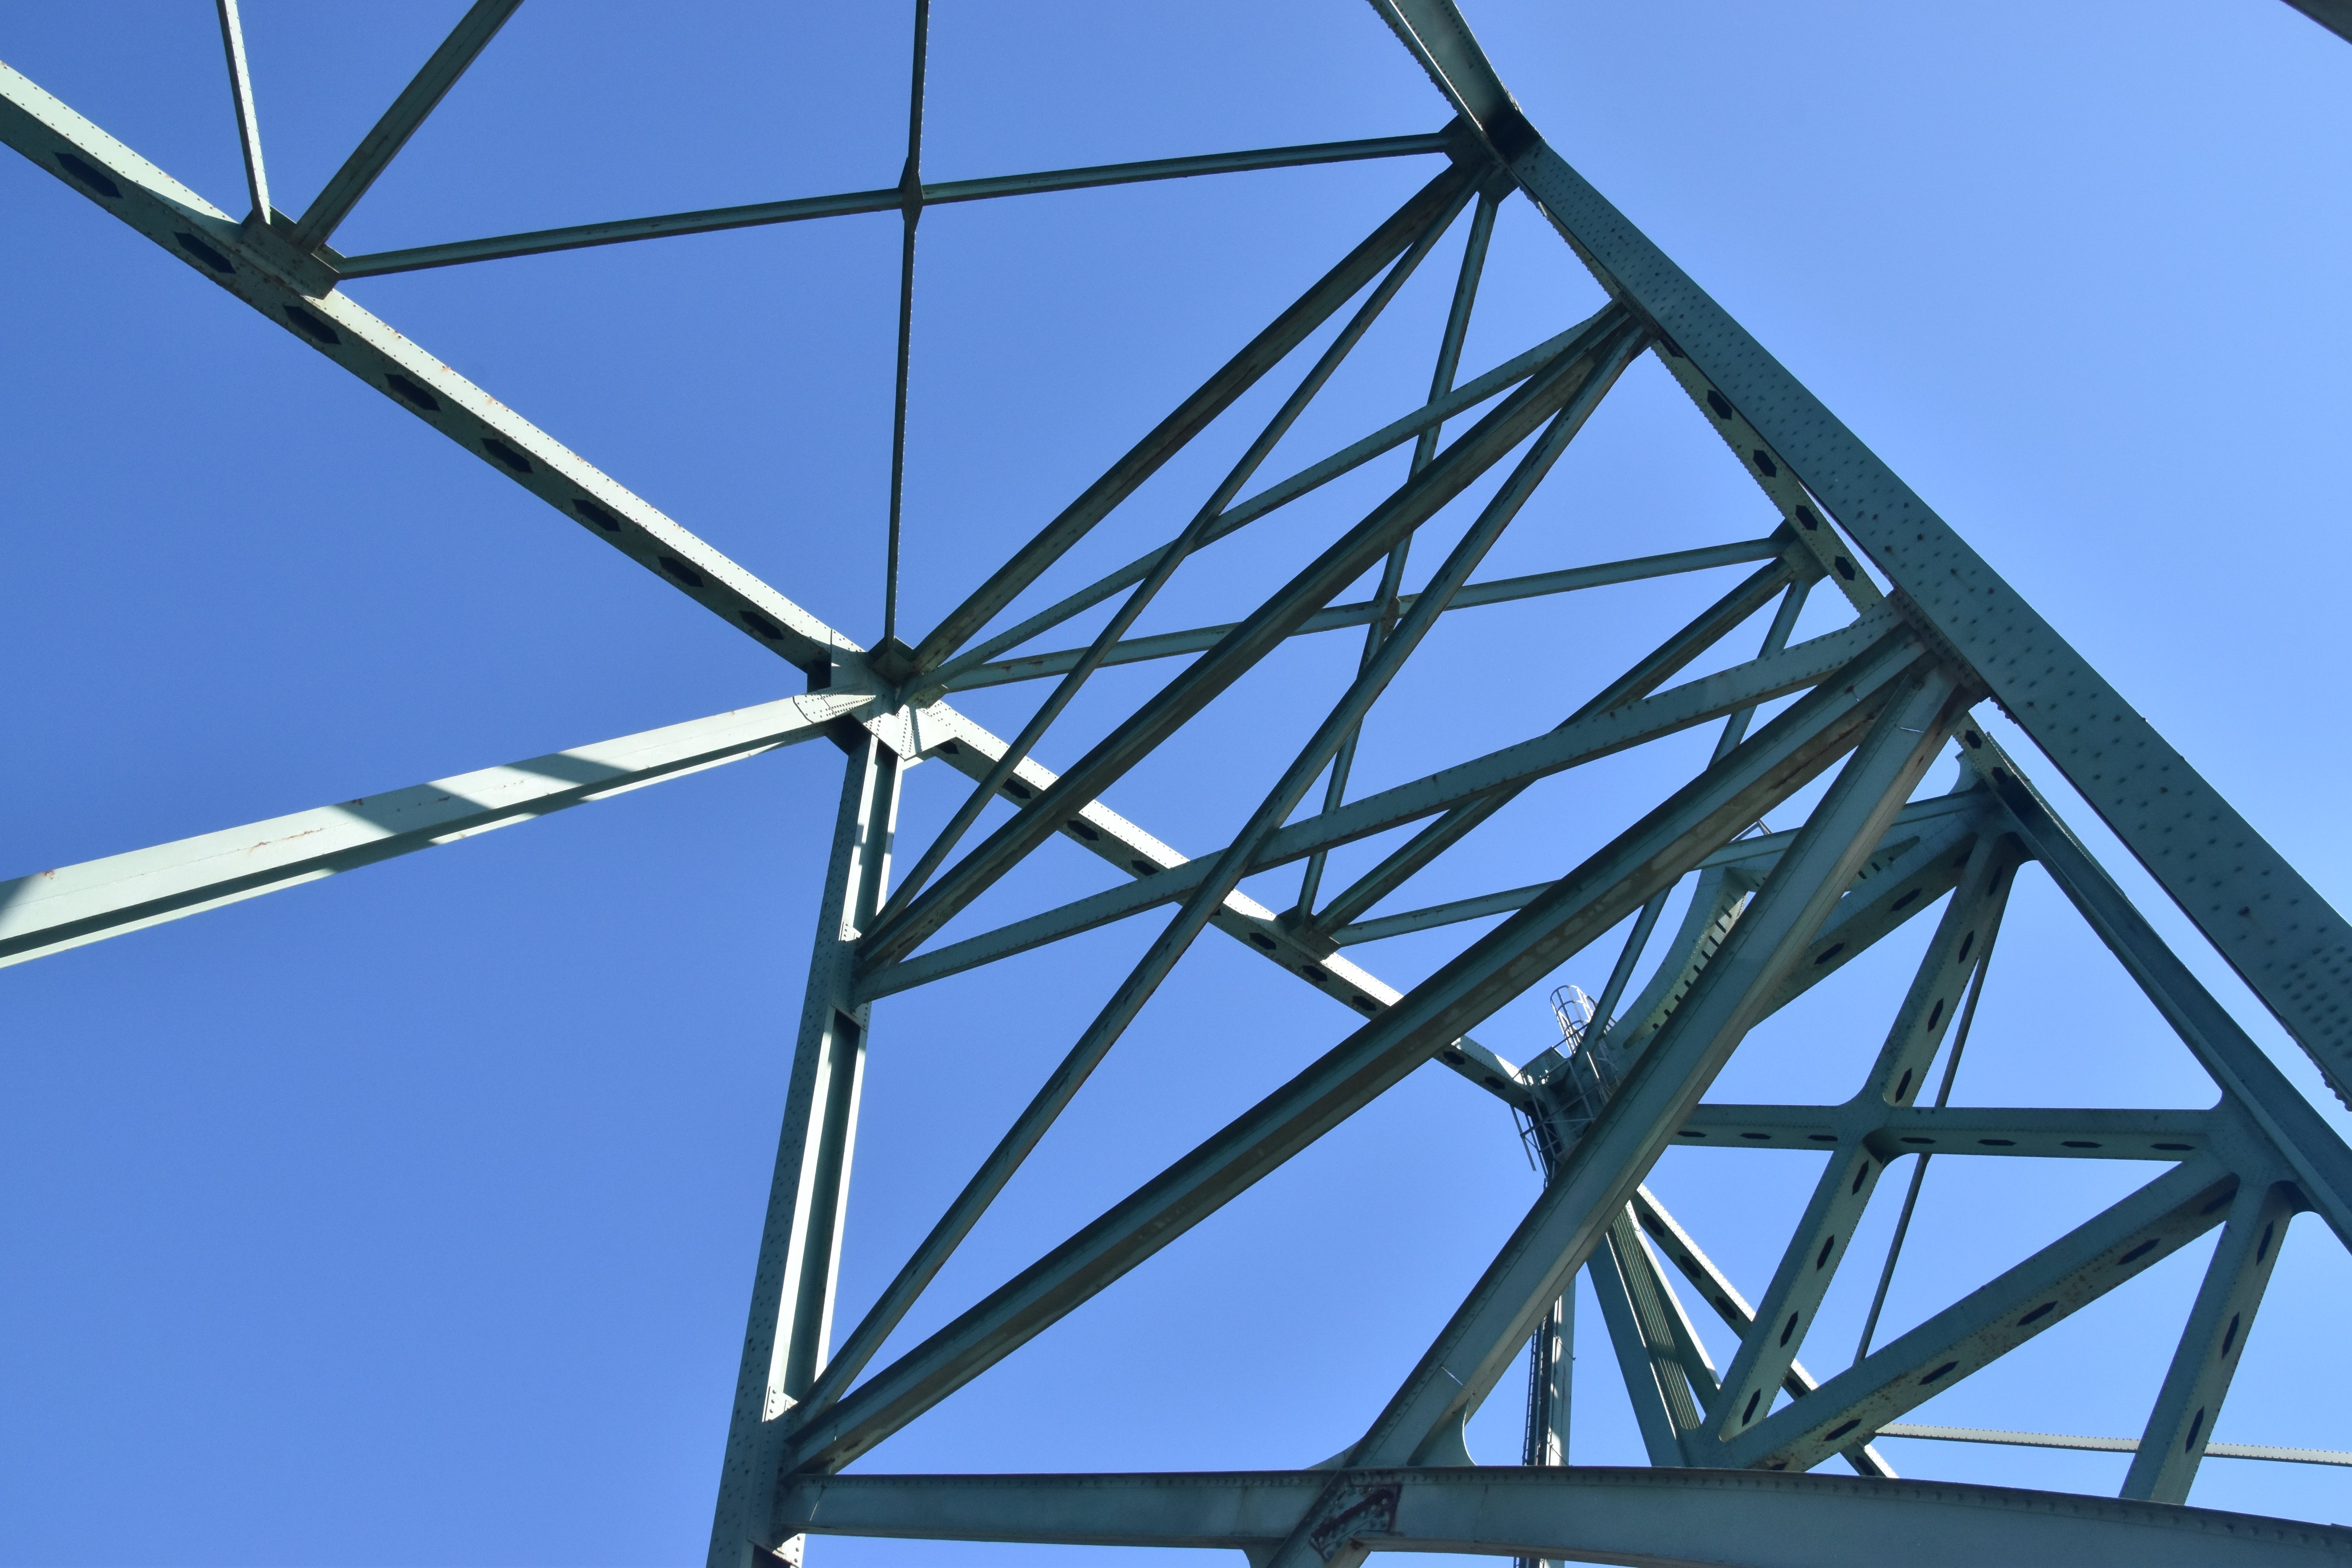
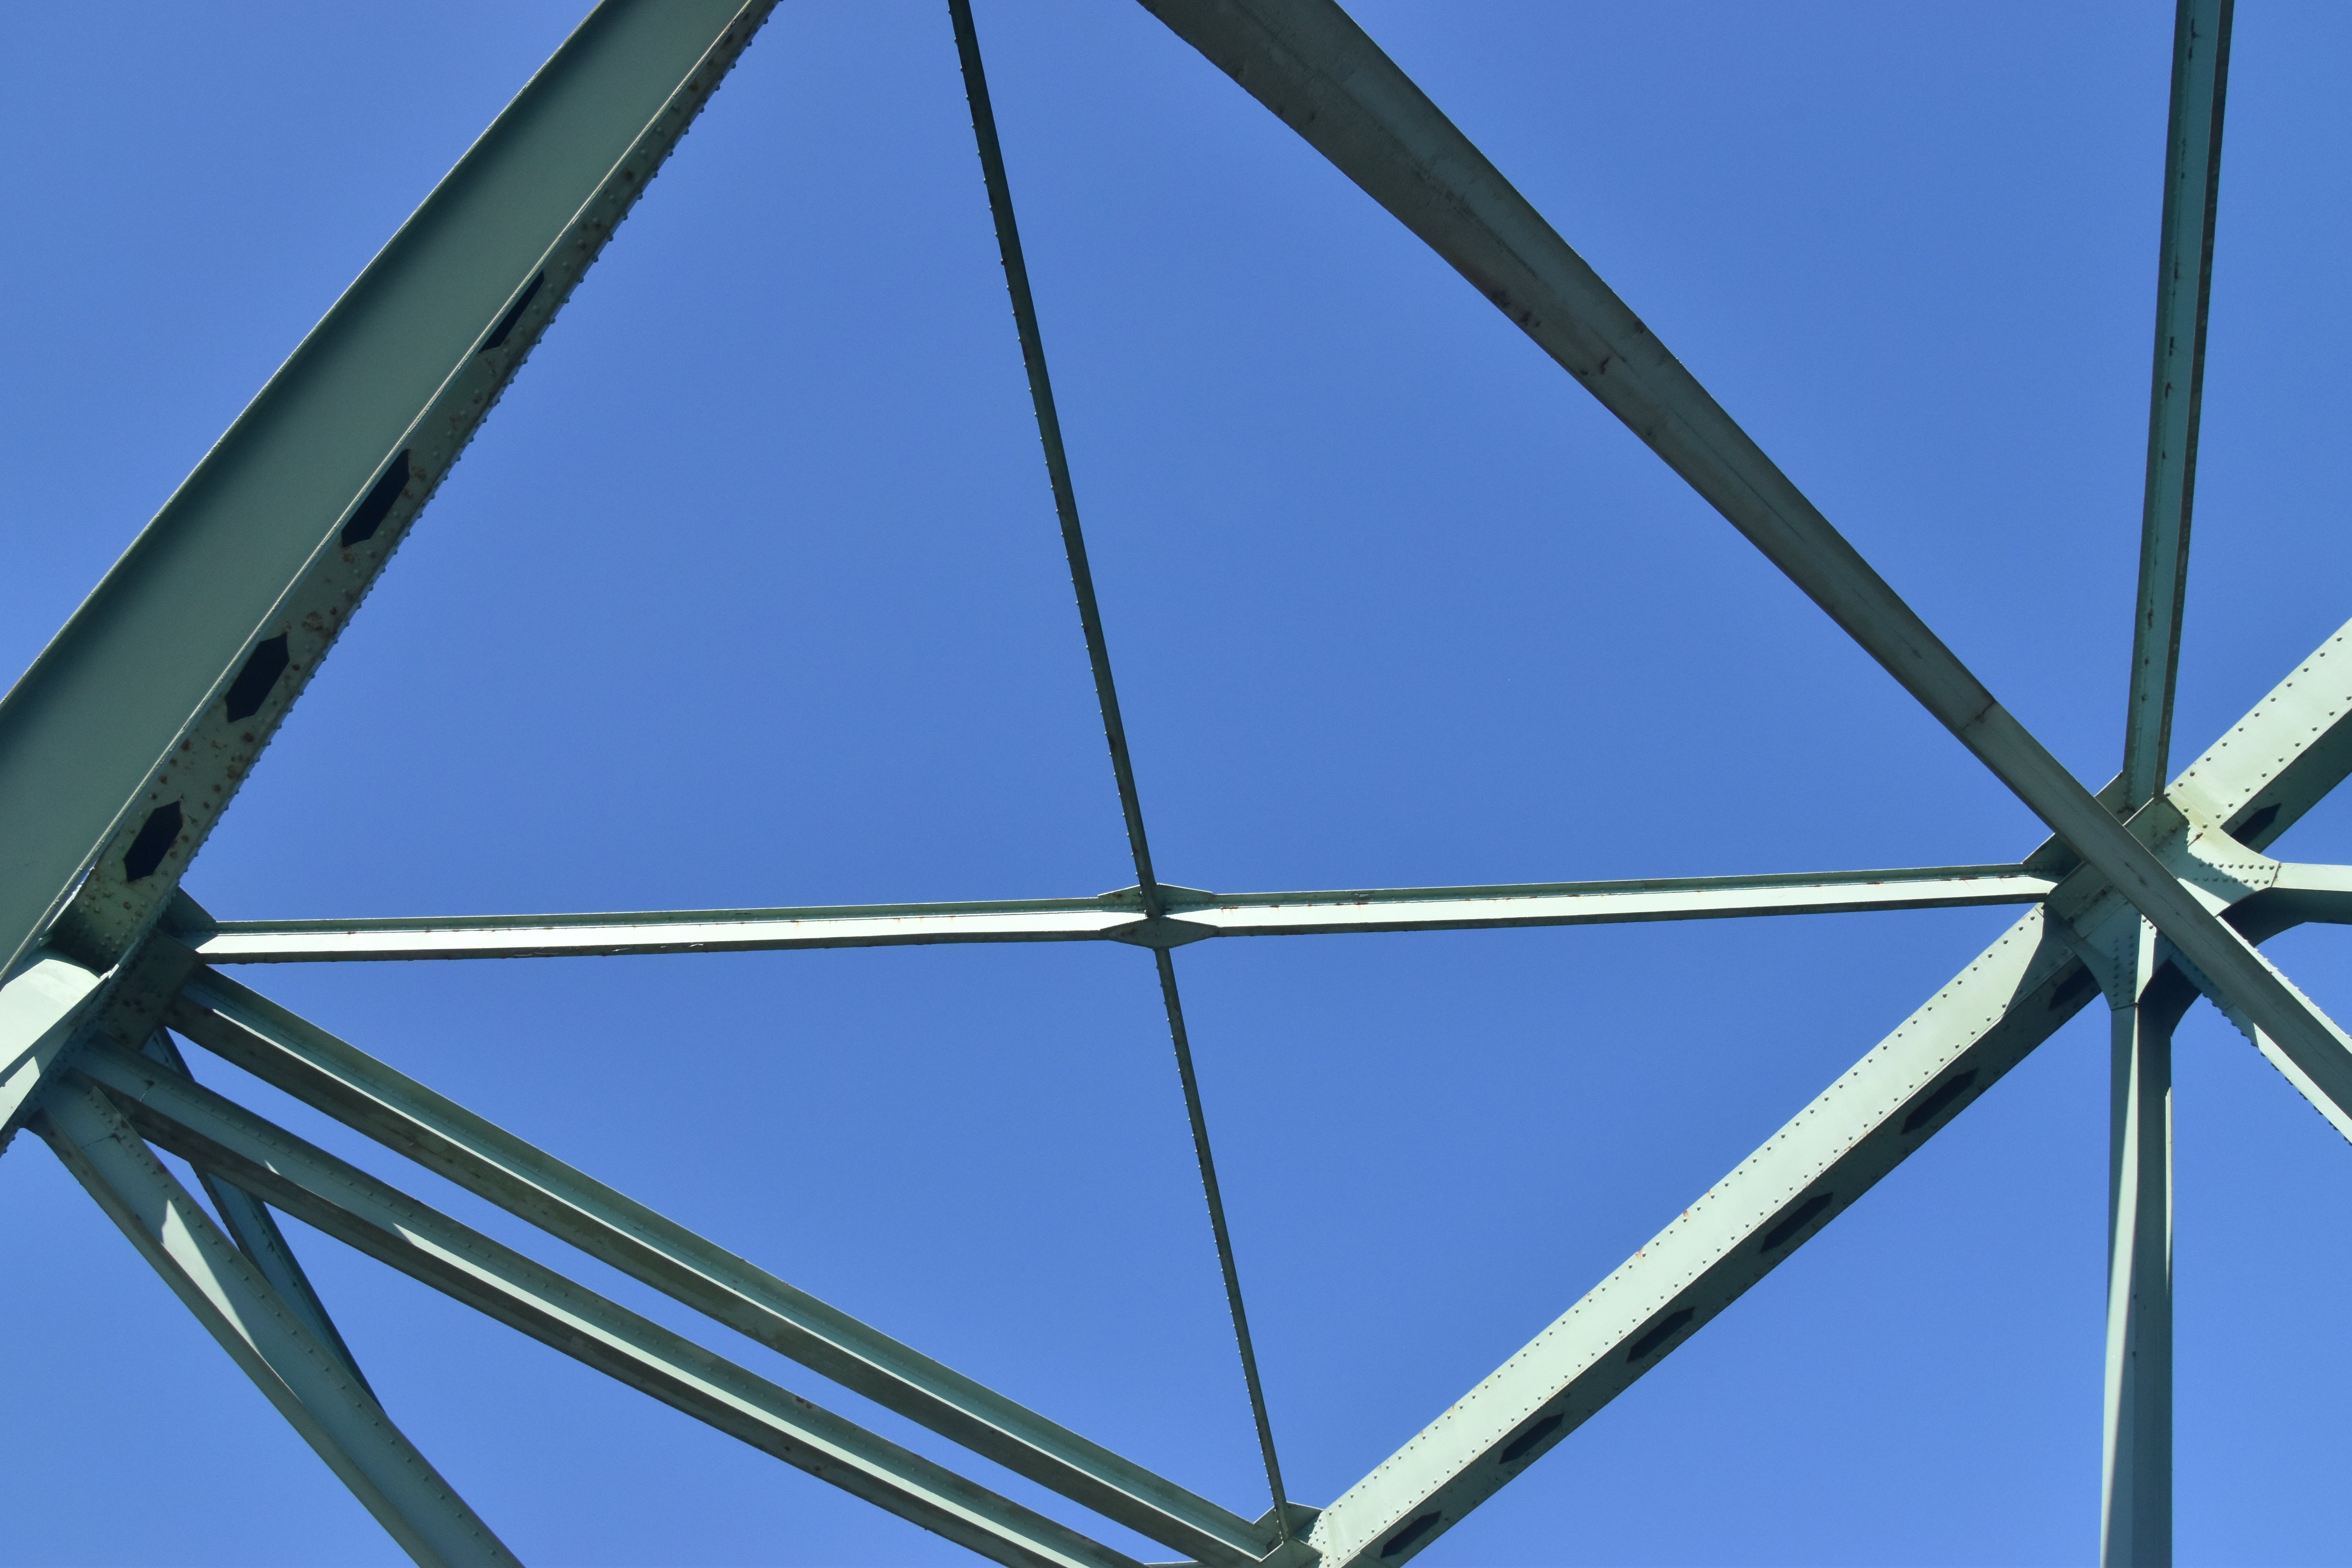
View at top of tower.
![]()


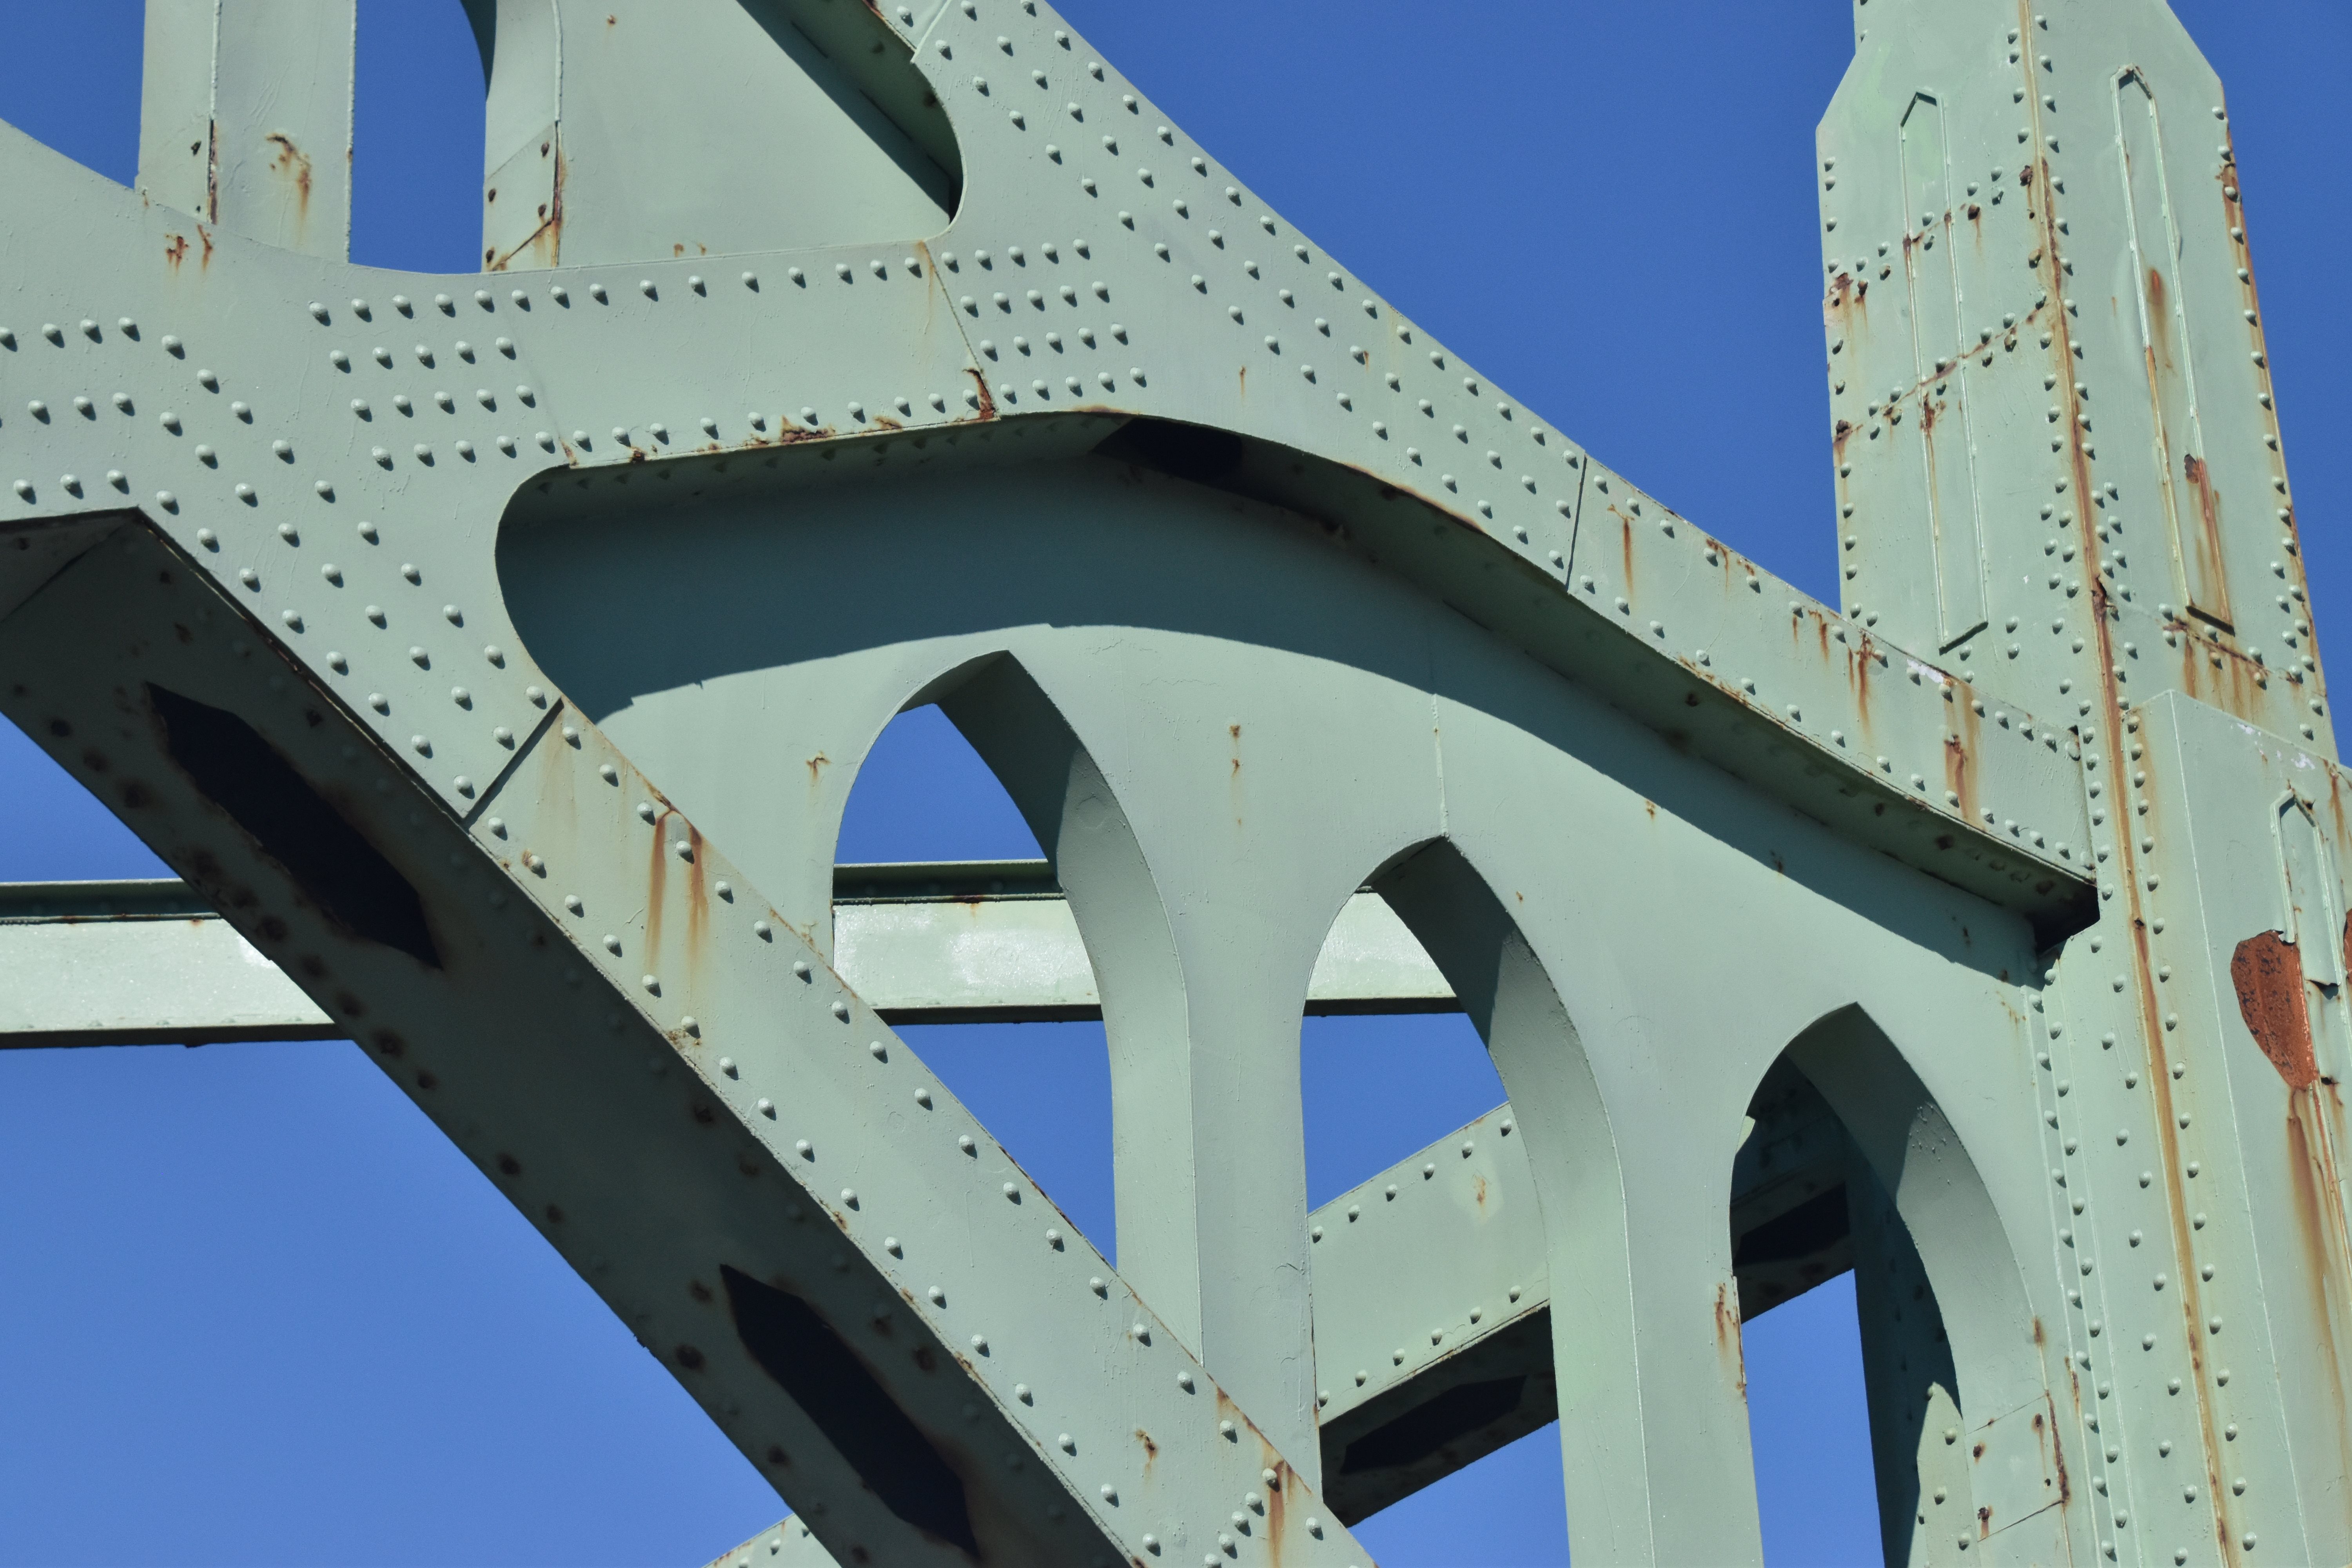
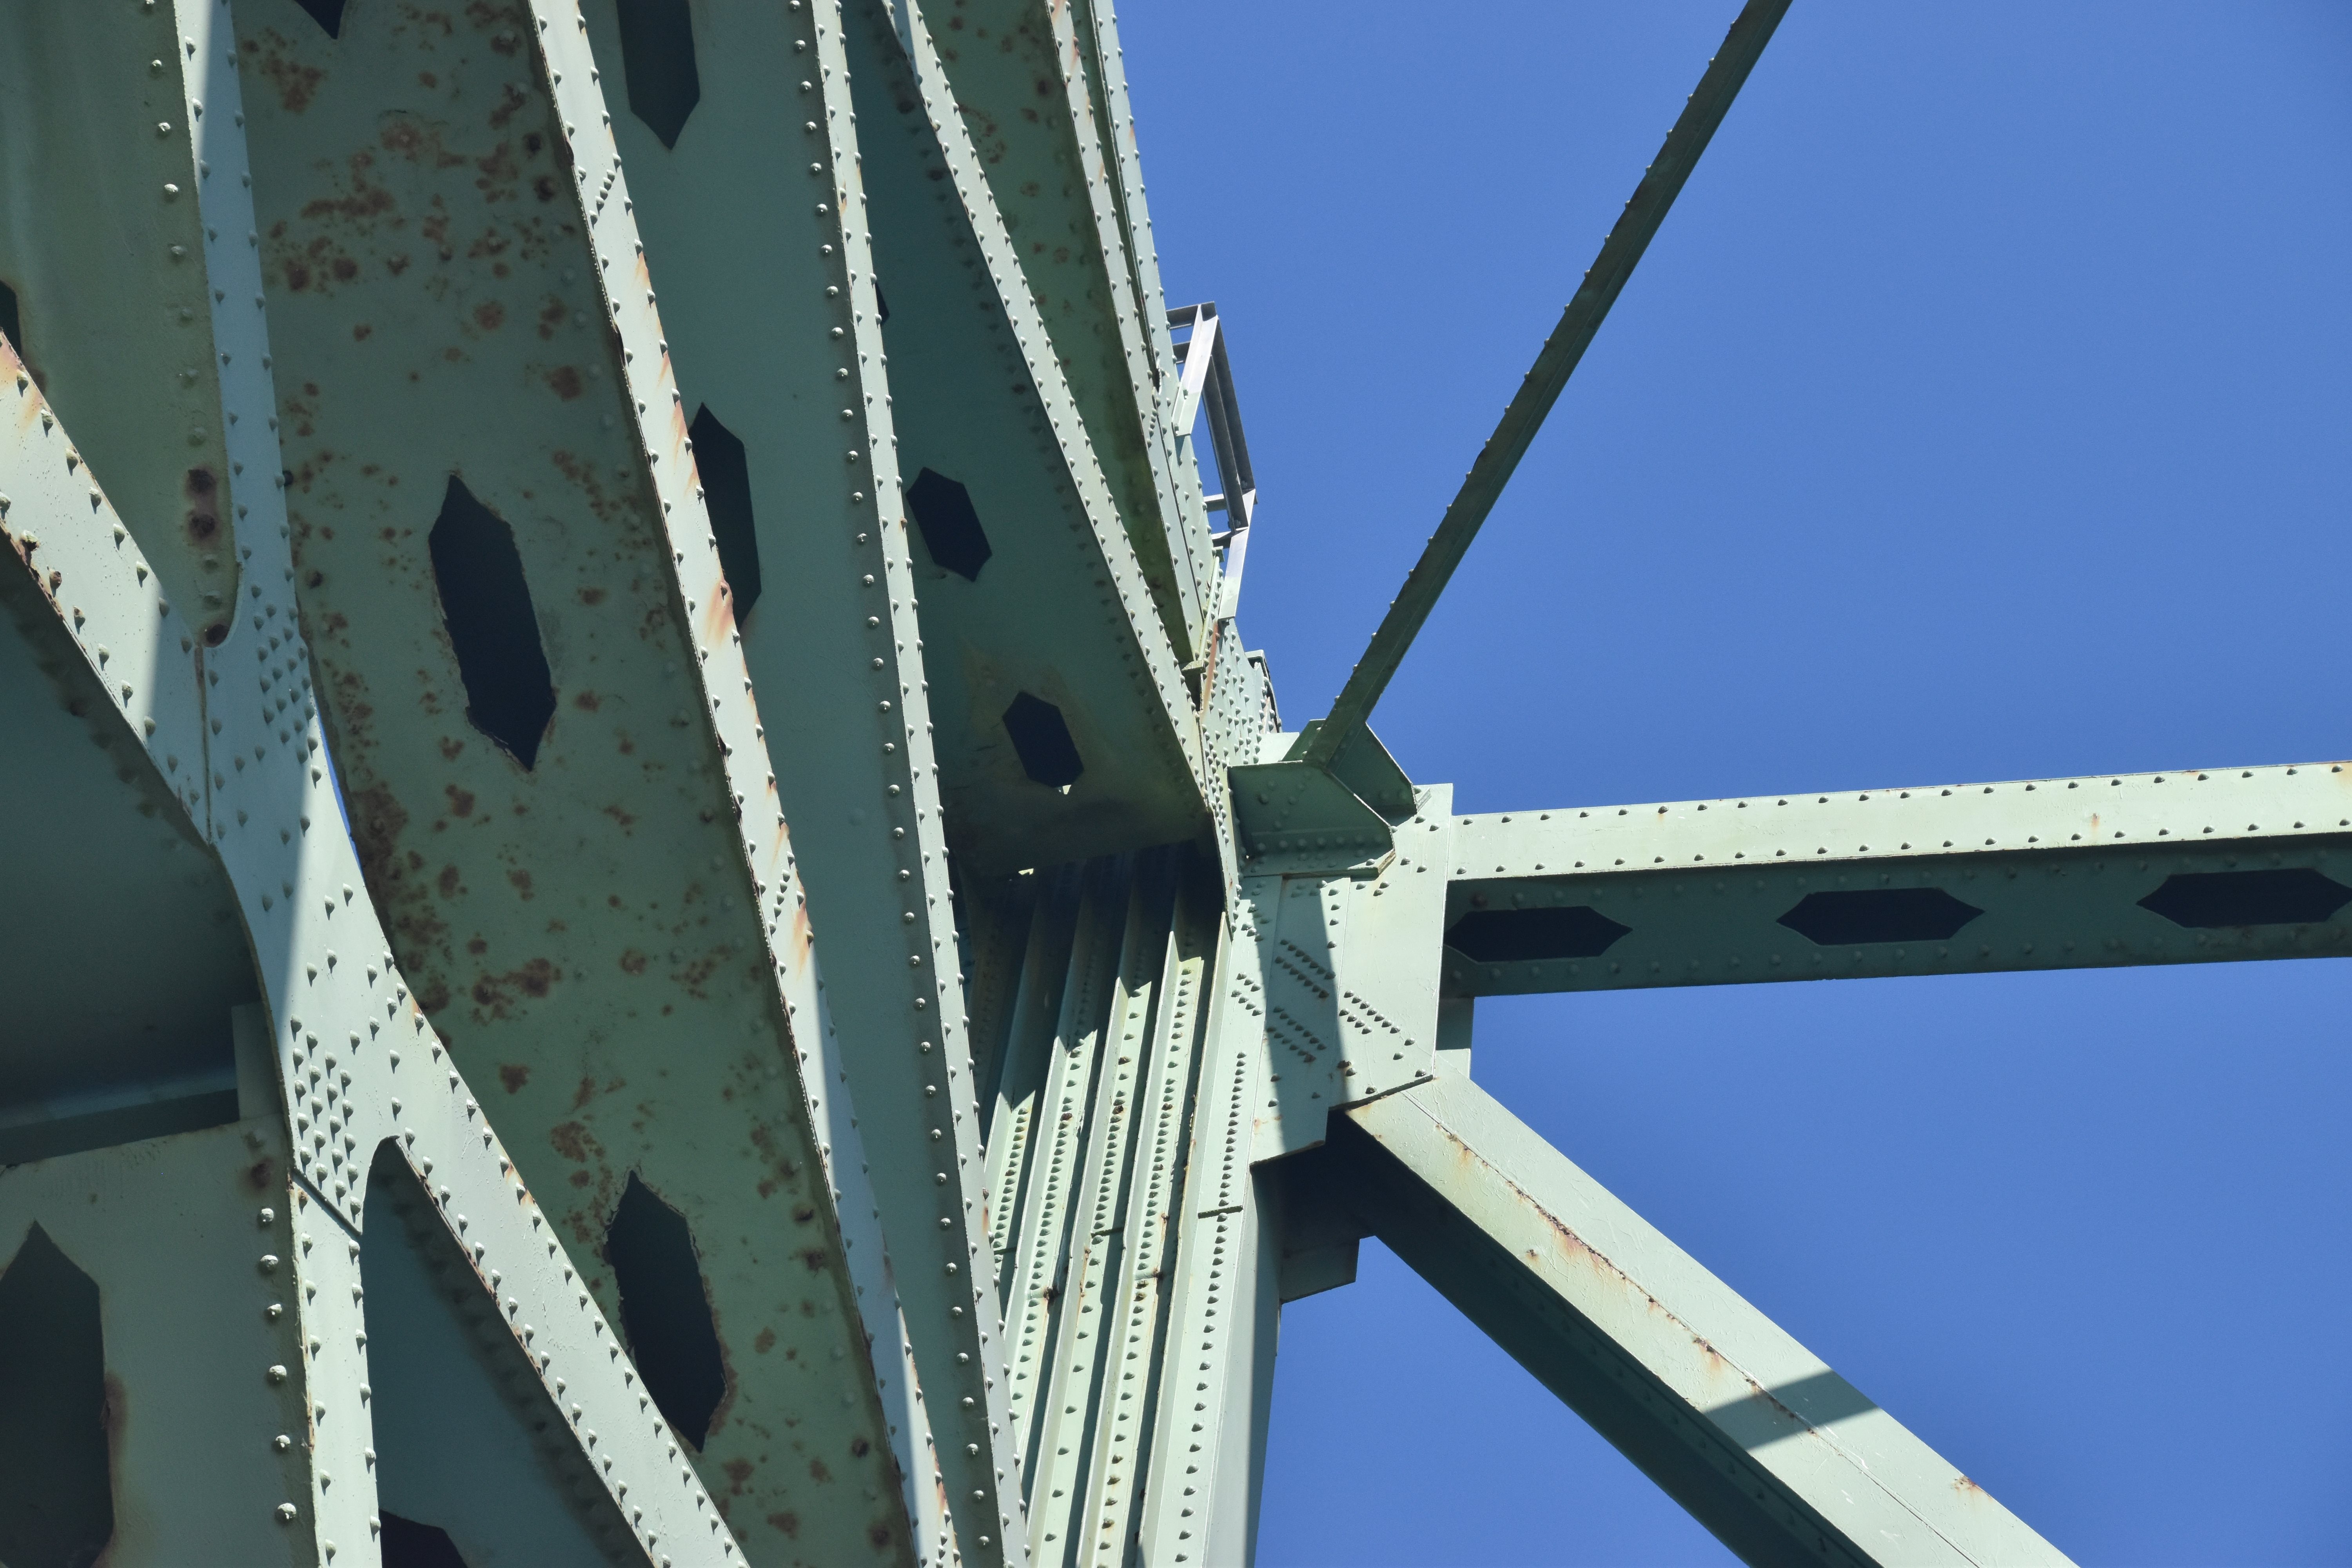
Details at top of tower.
![]()


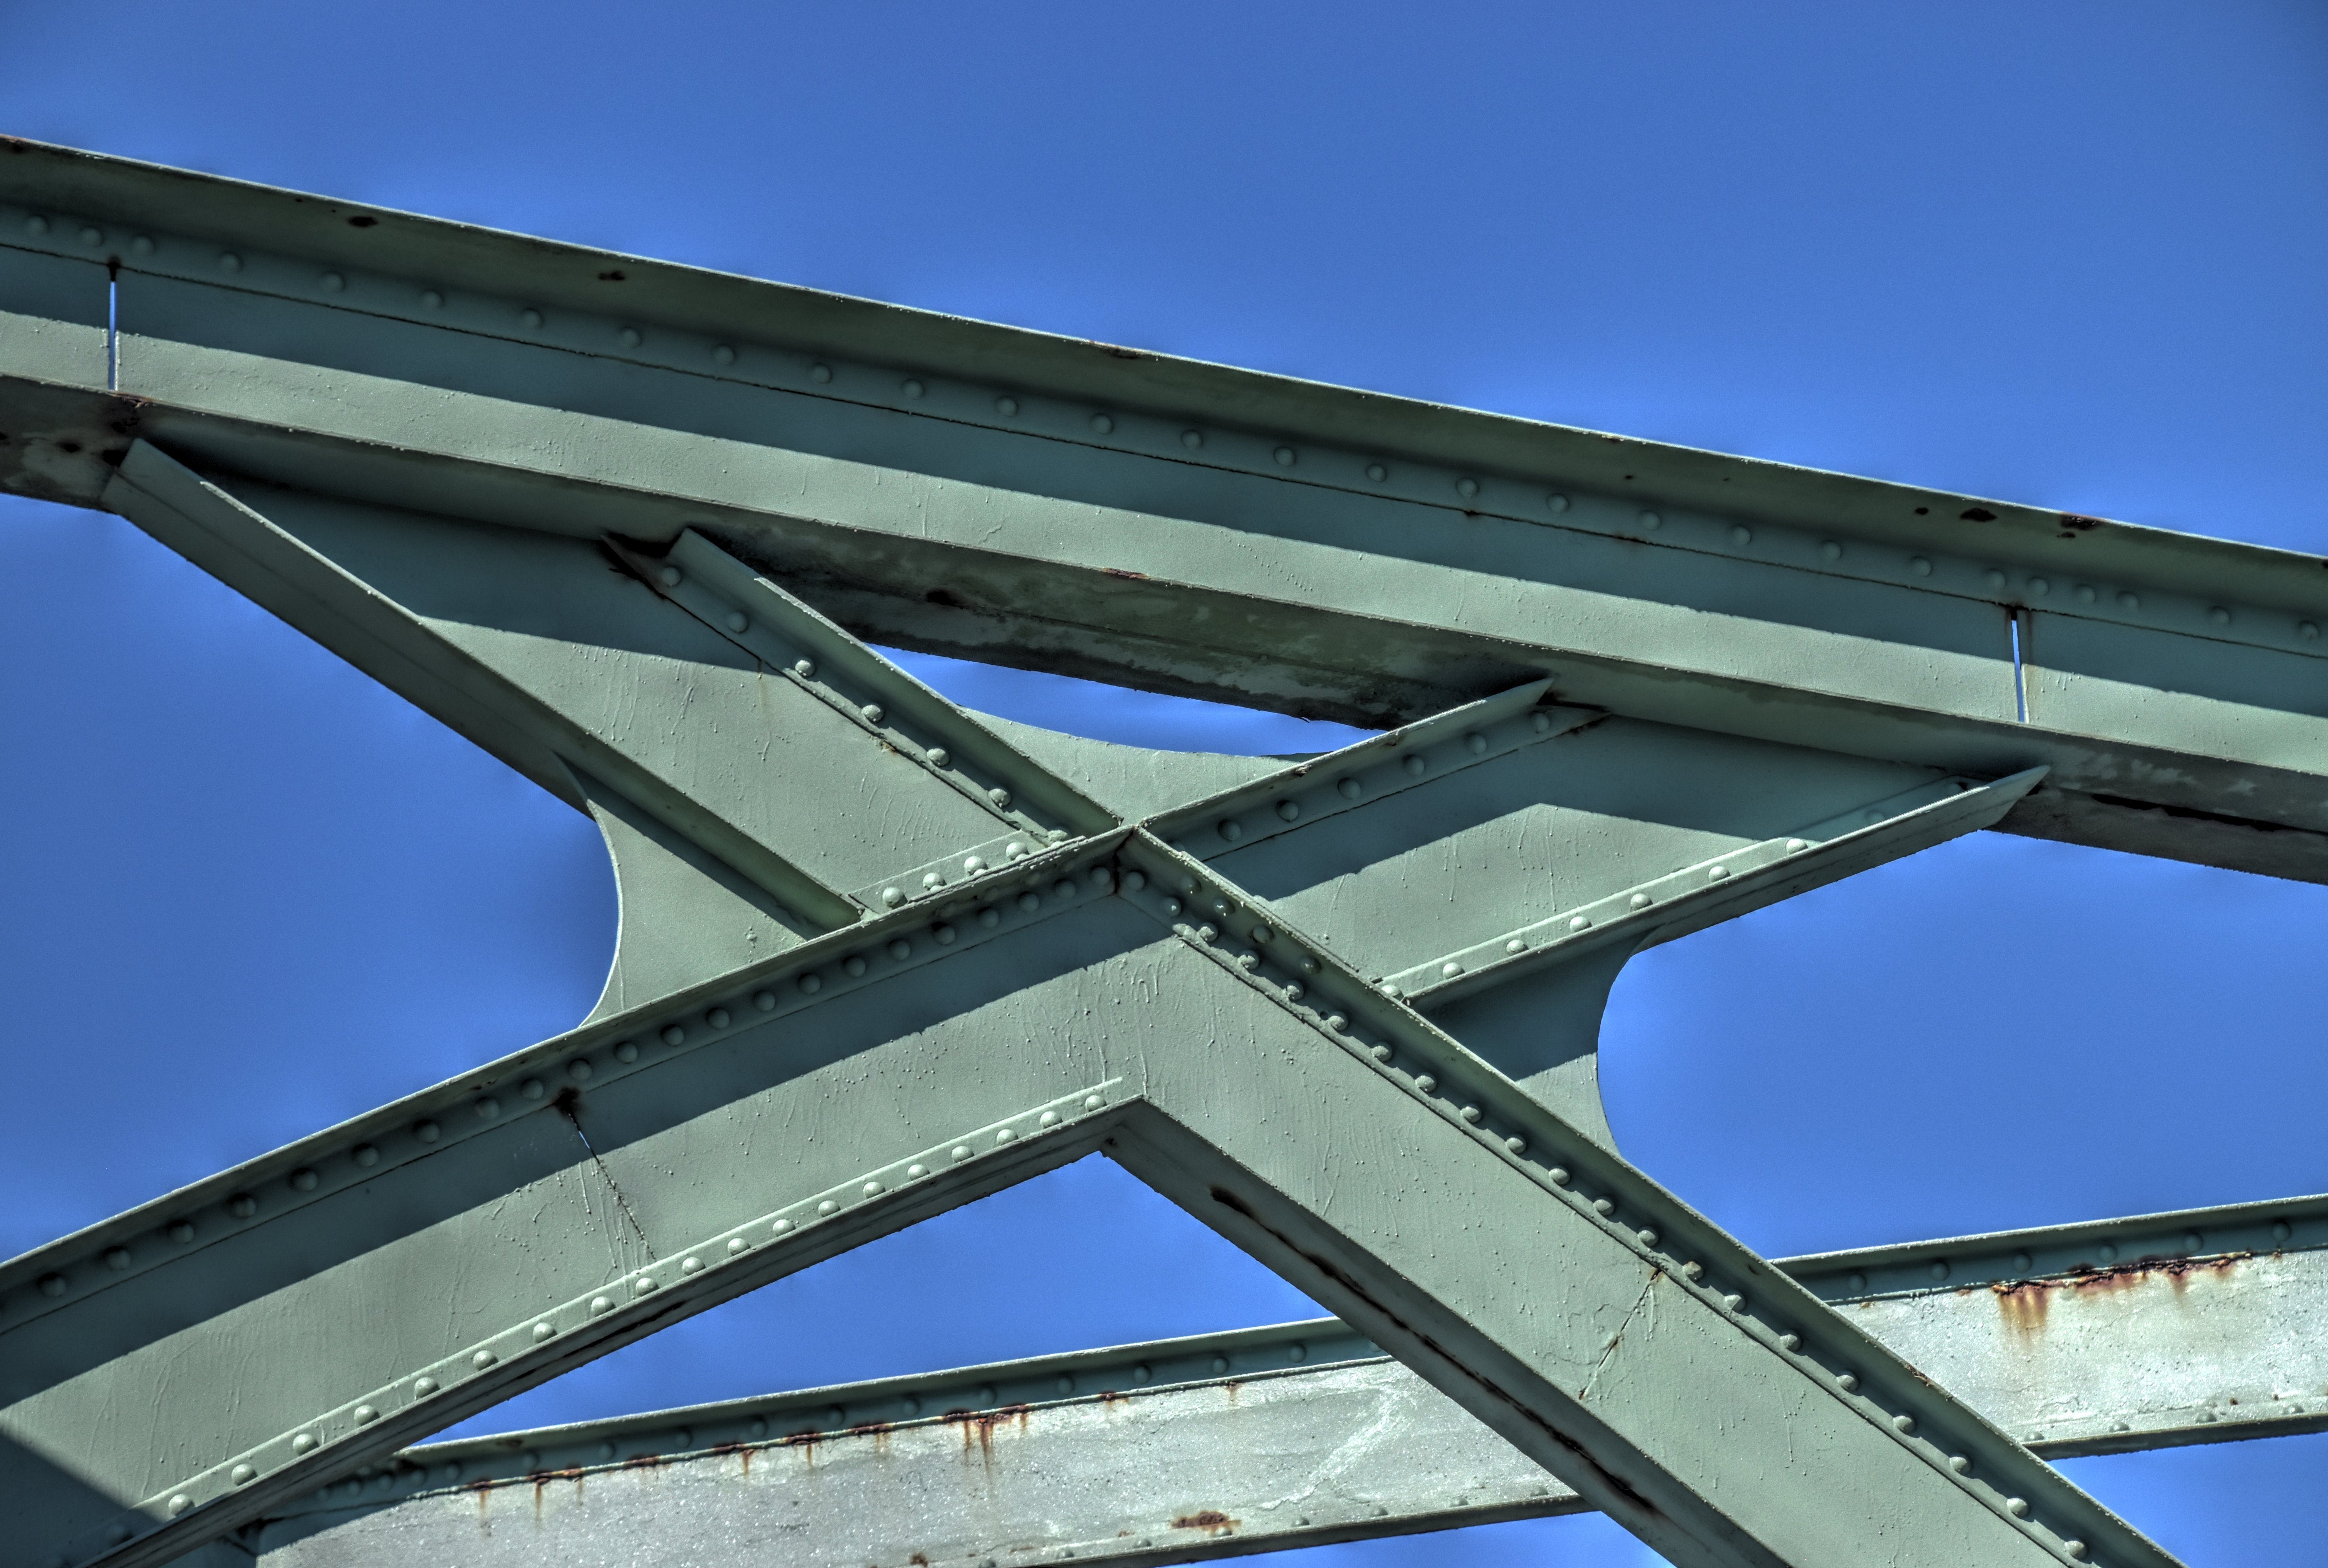
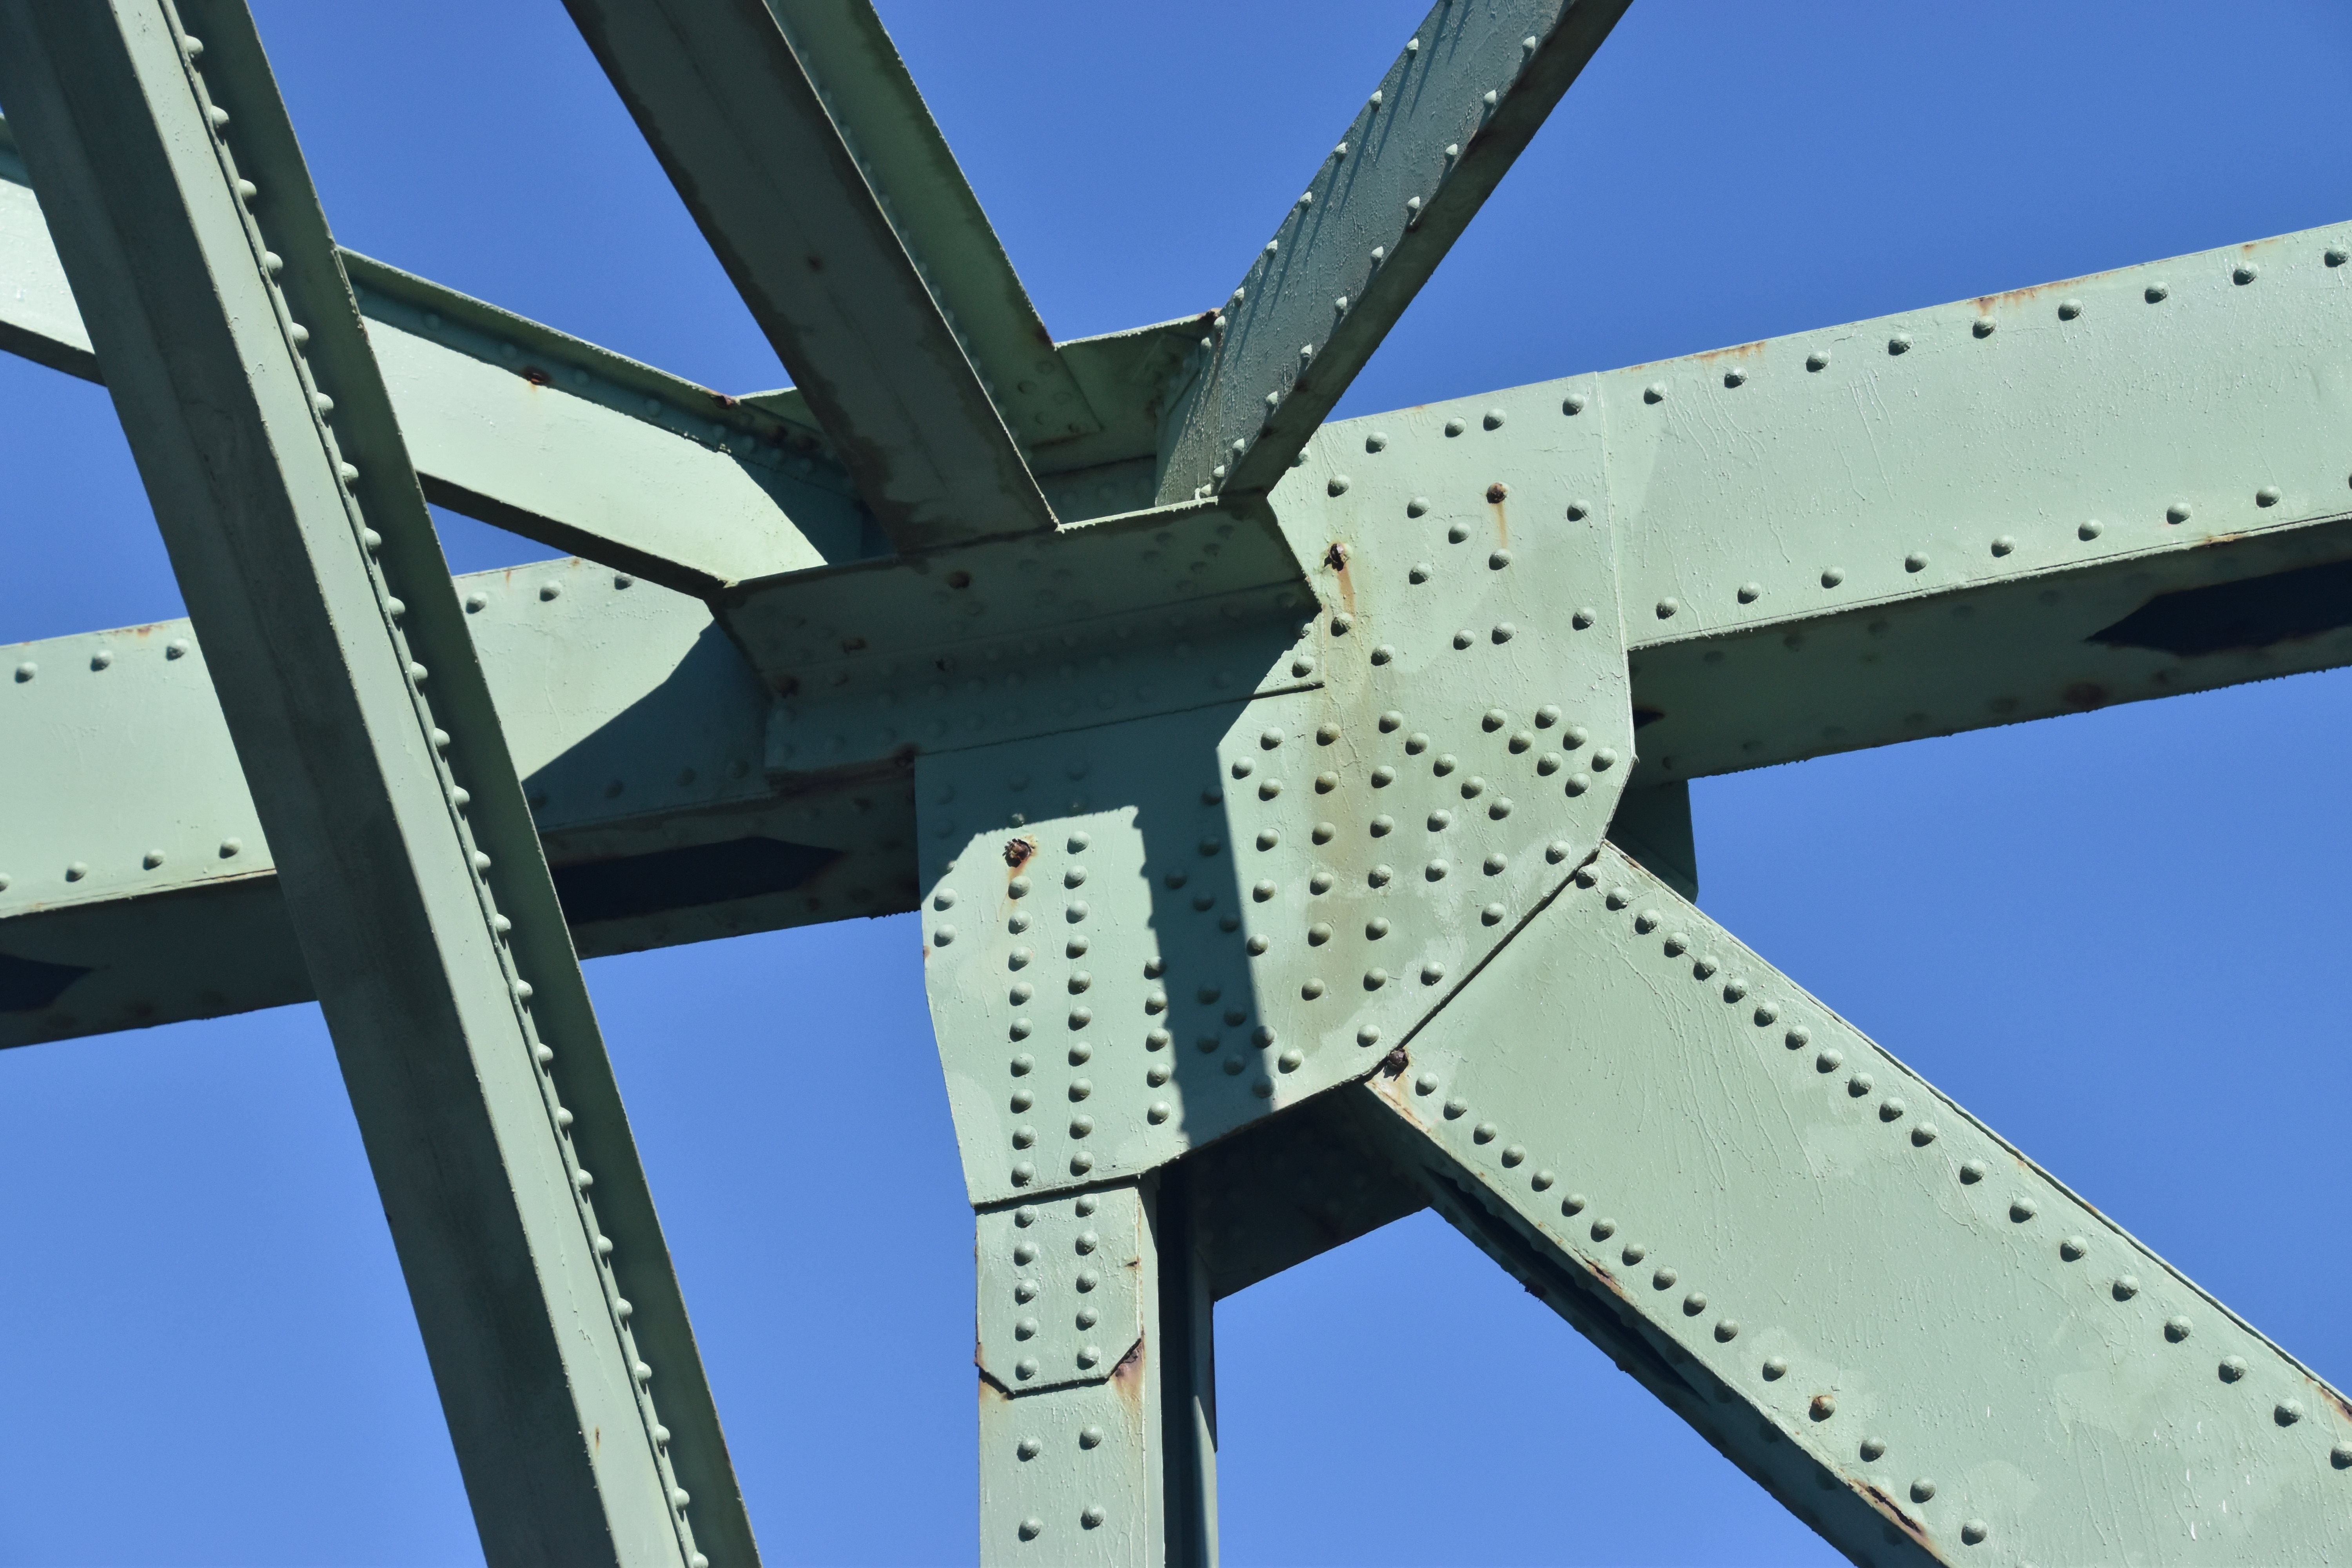
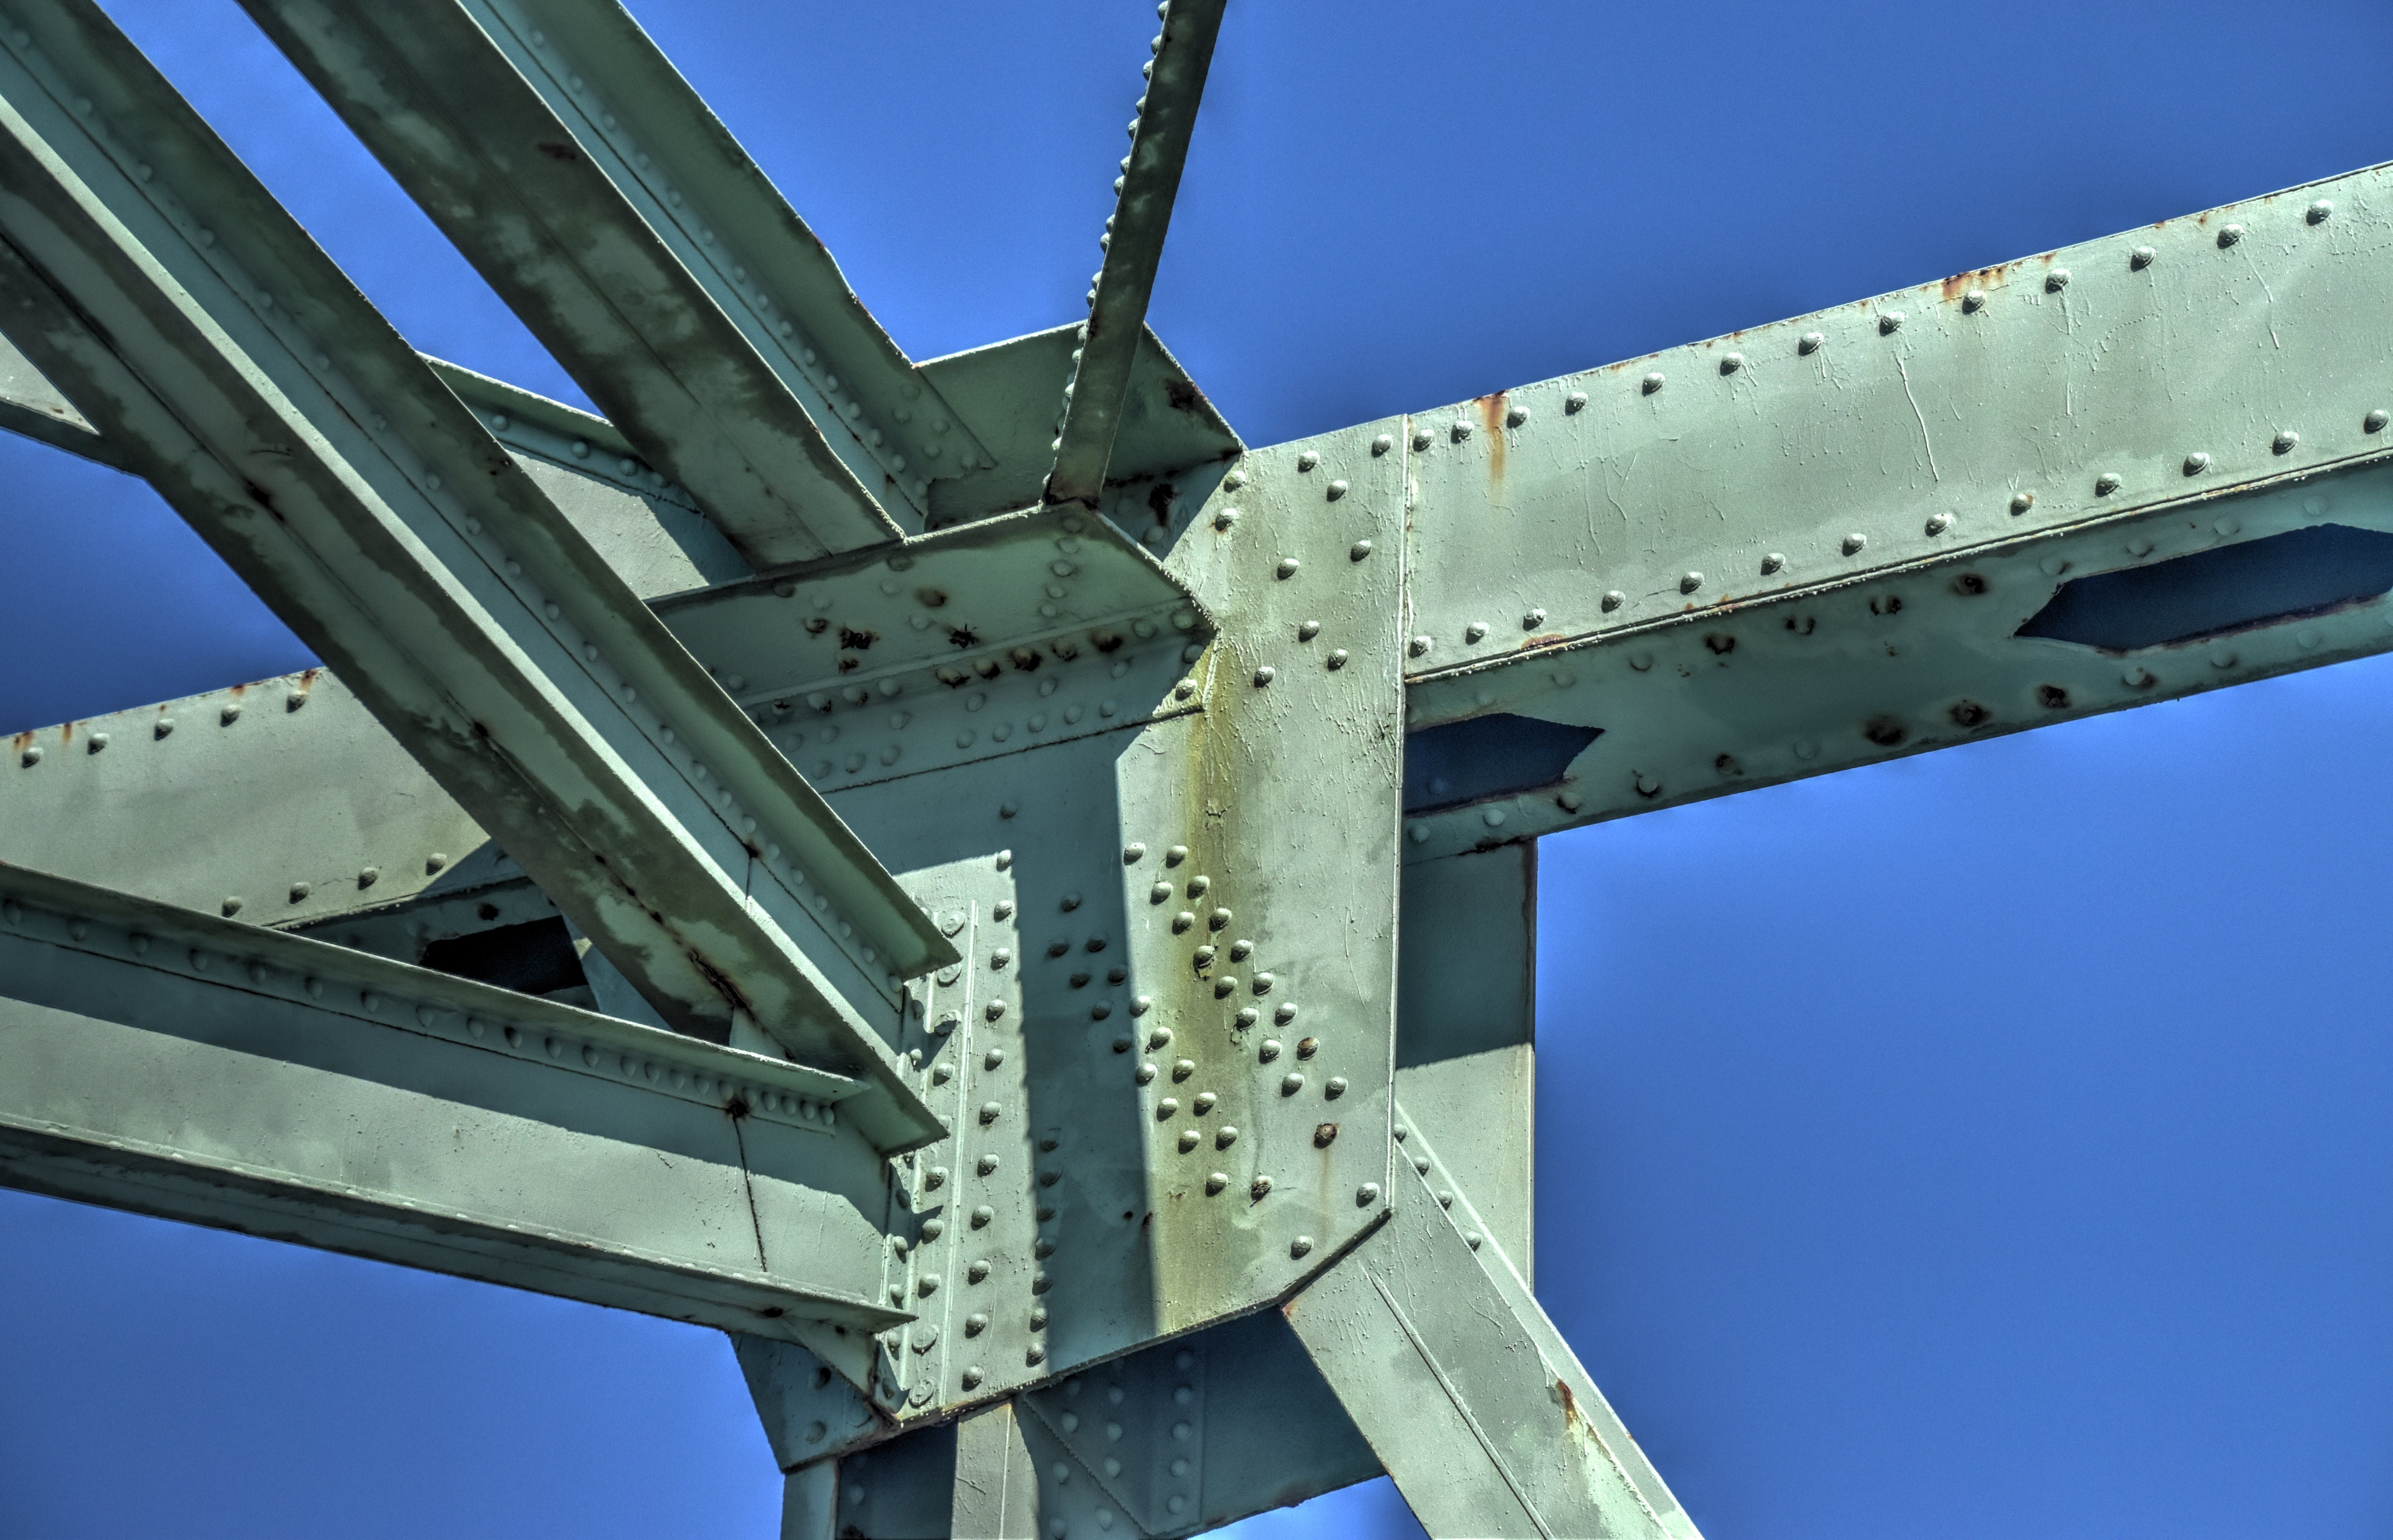
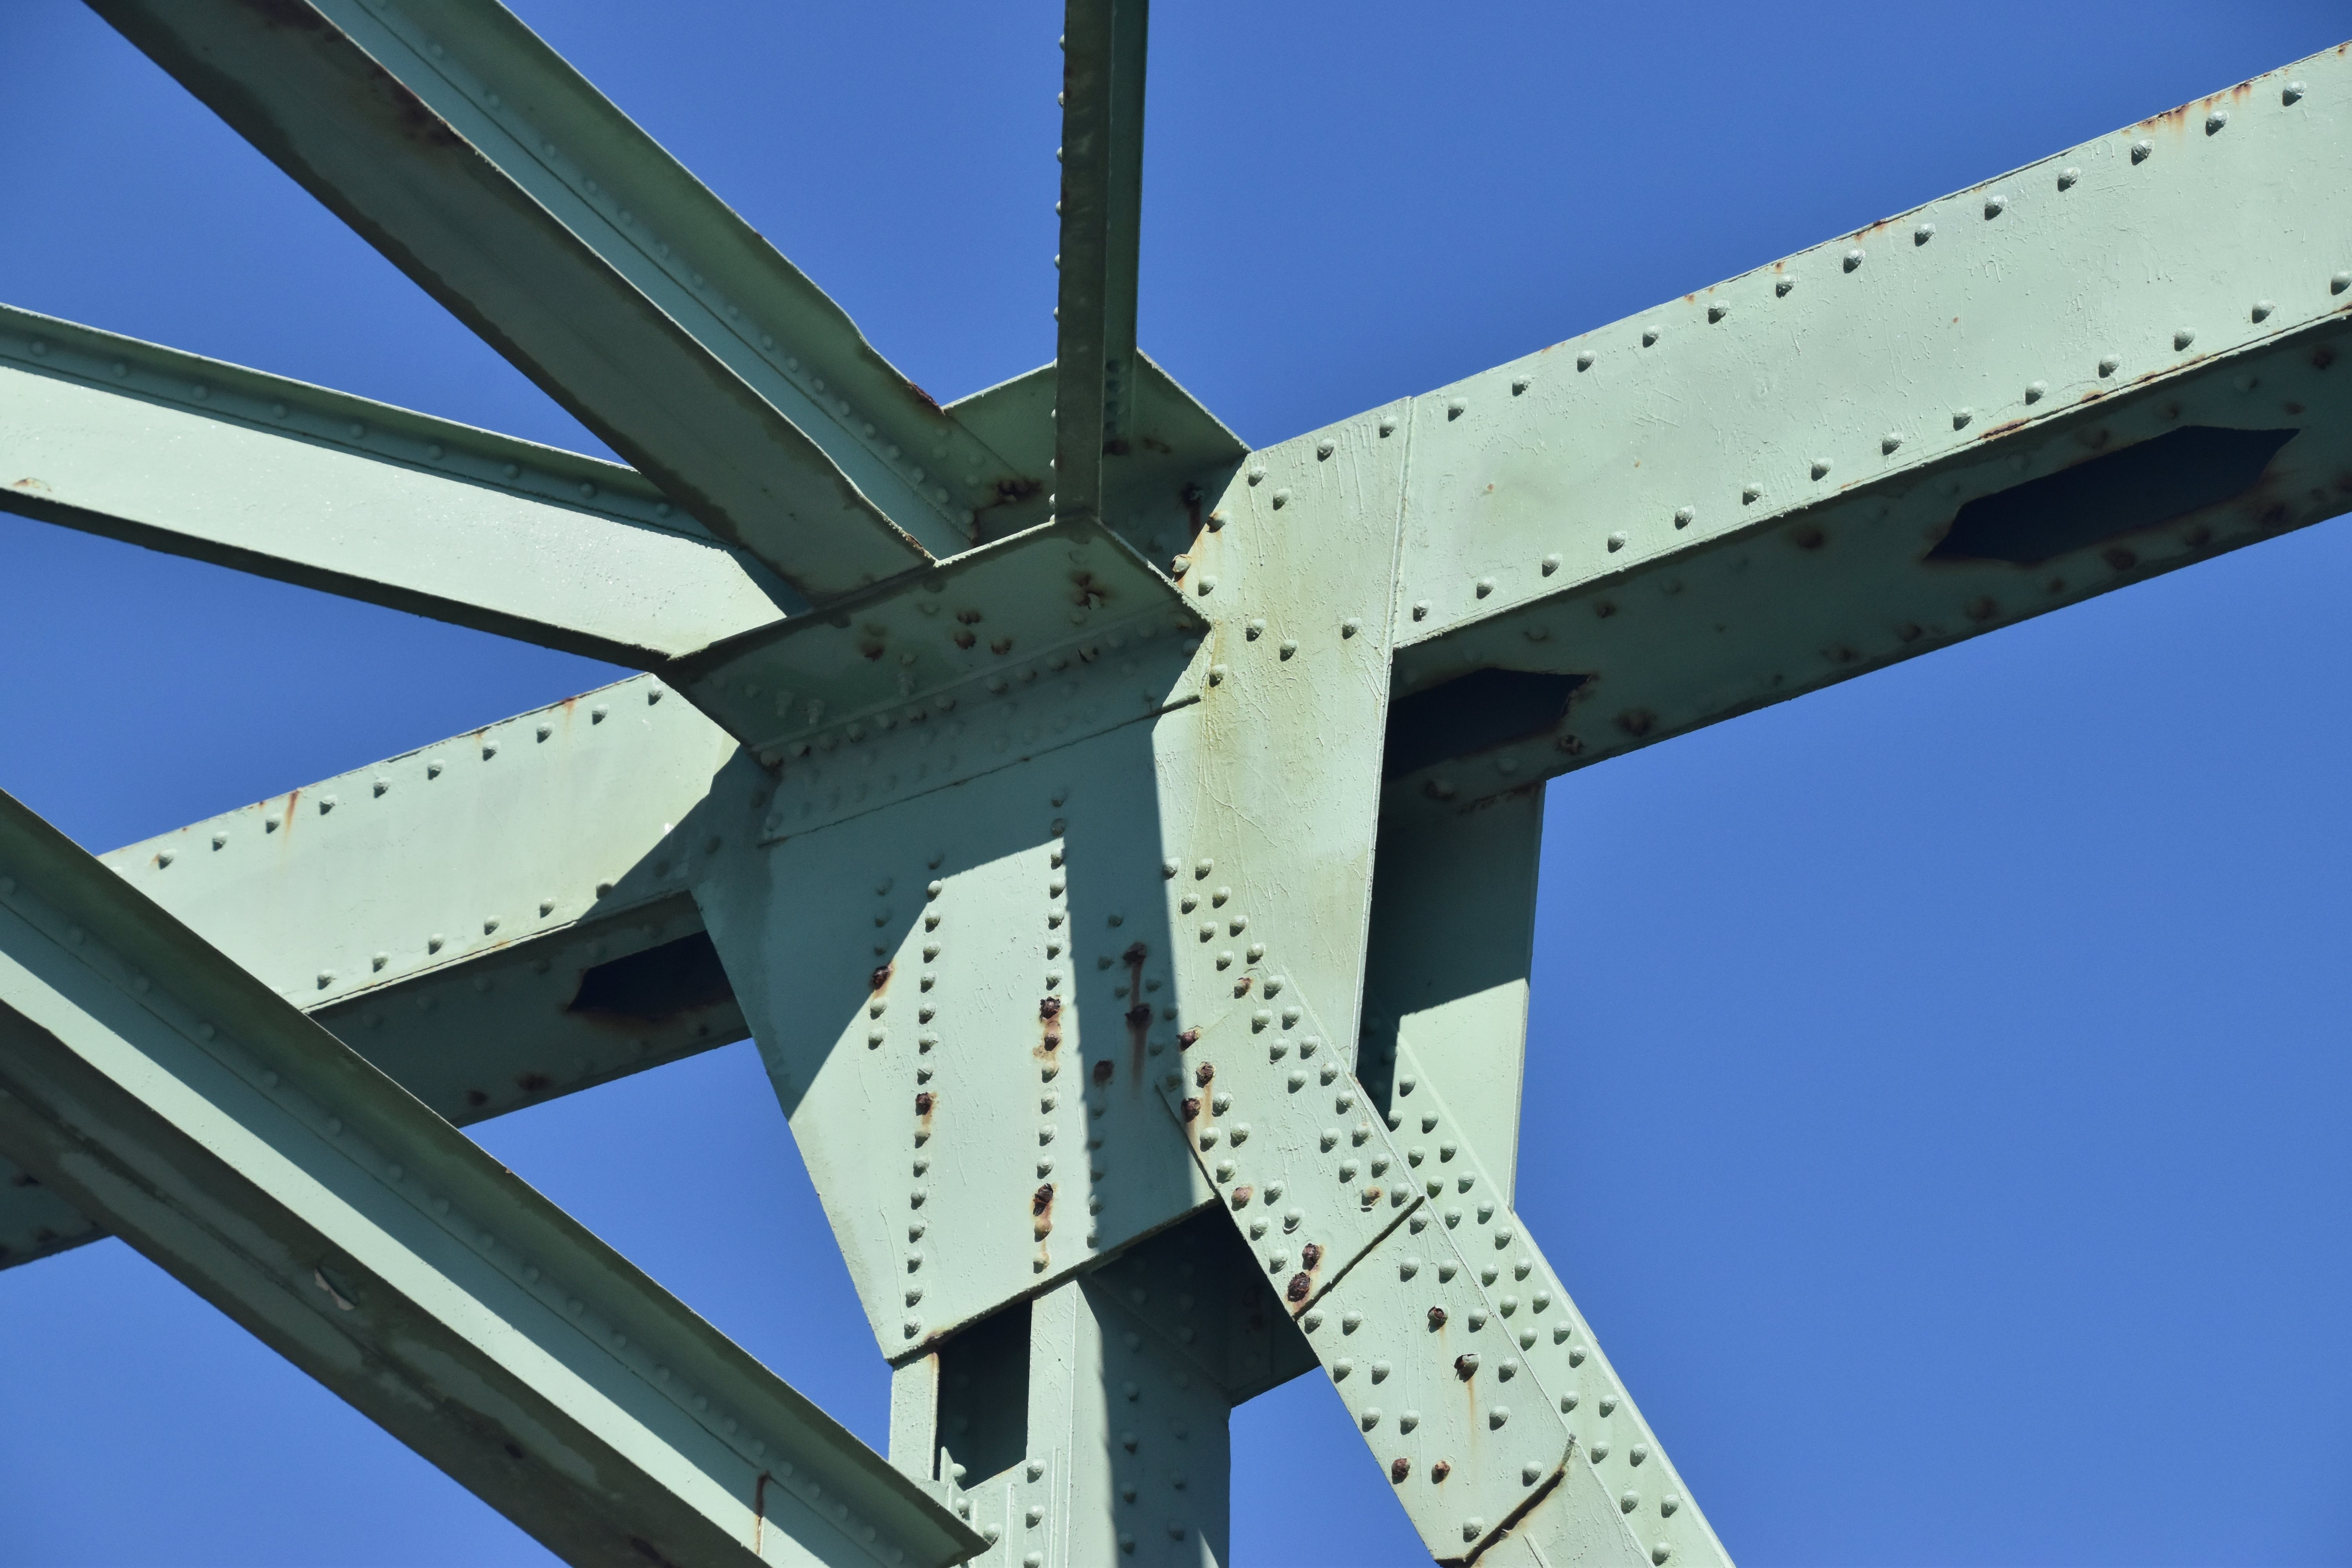
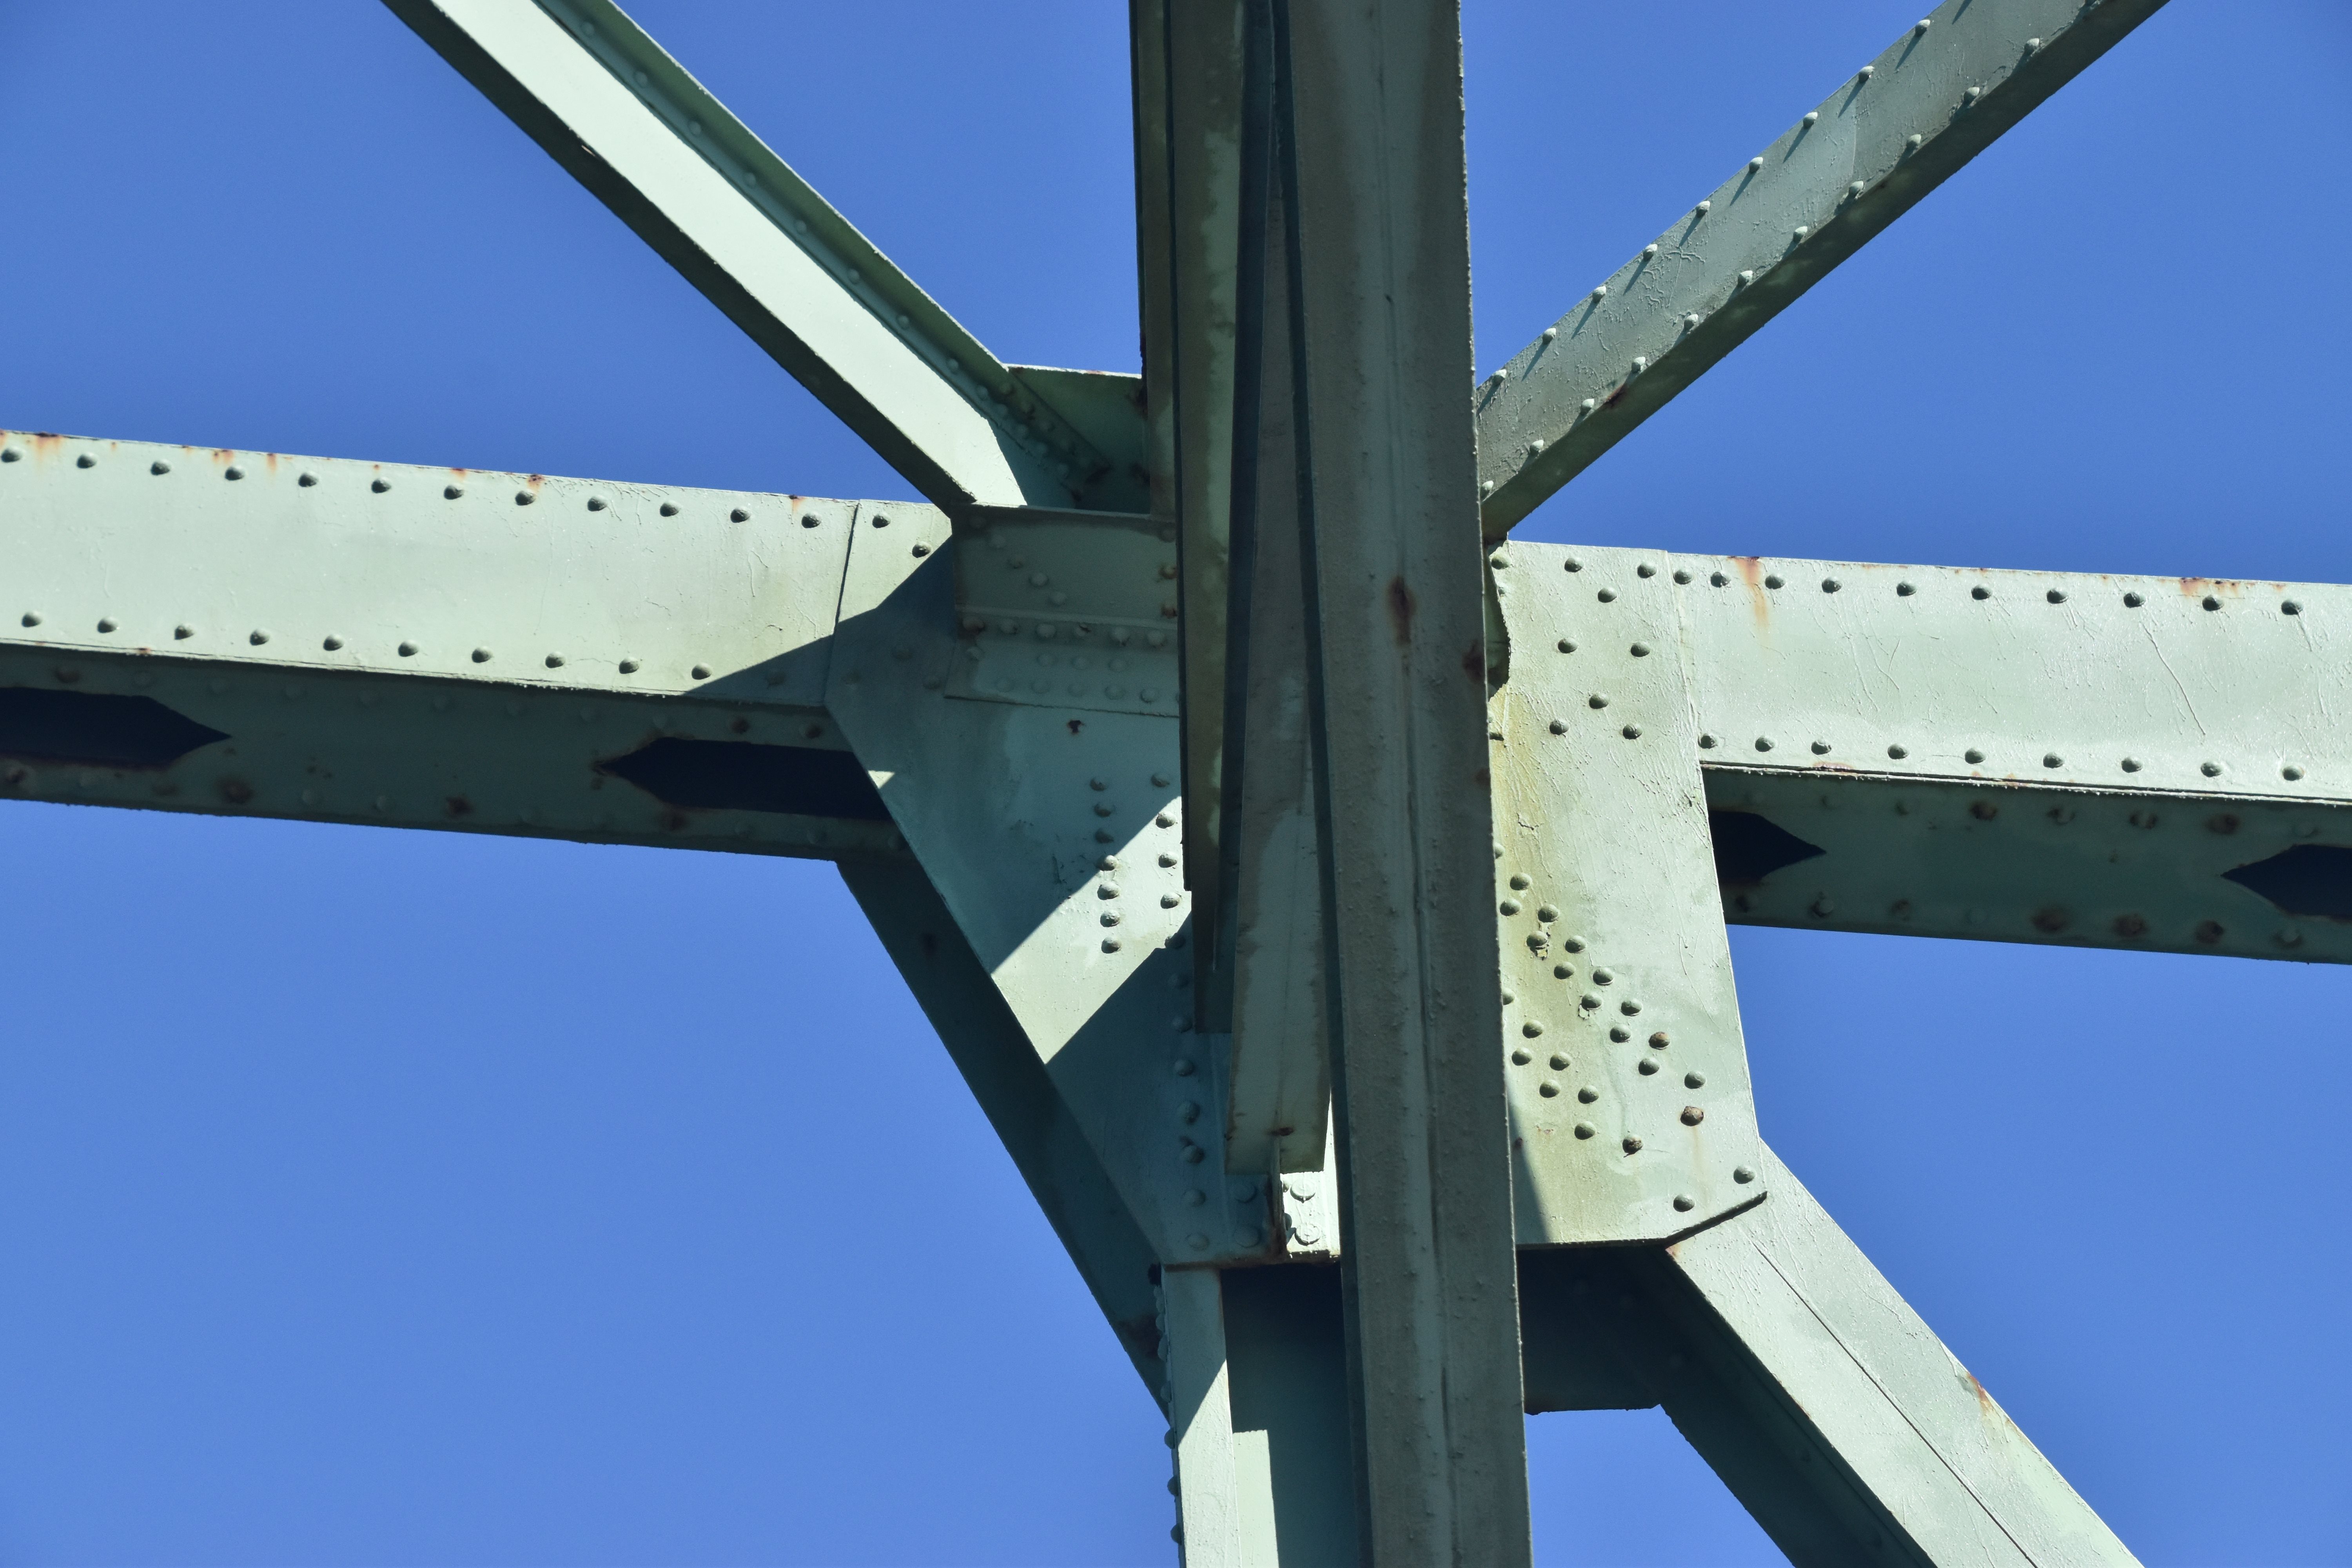
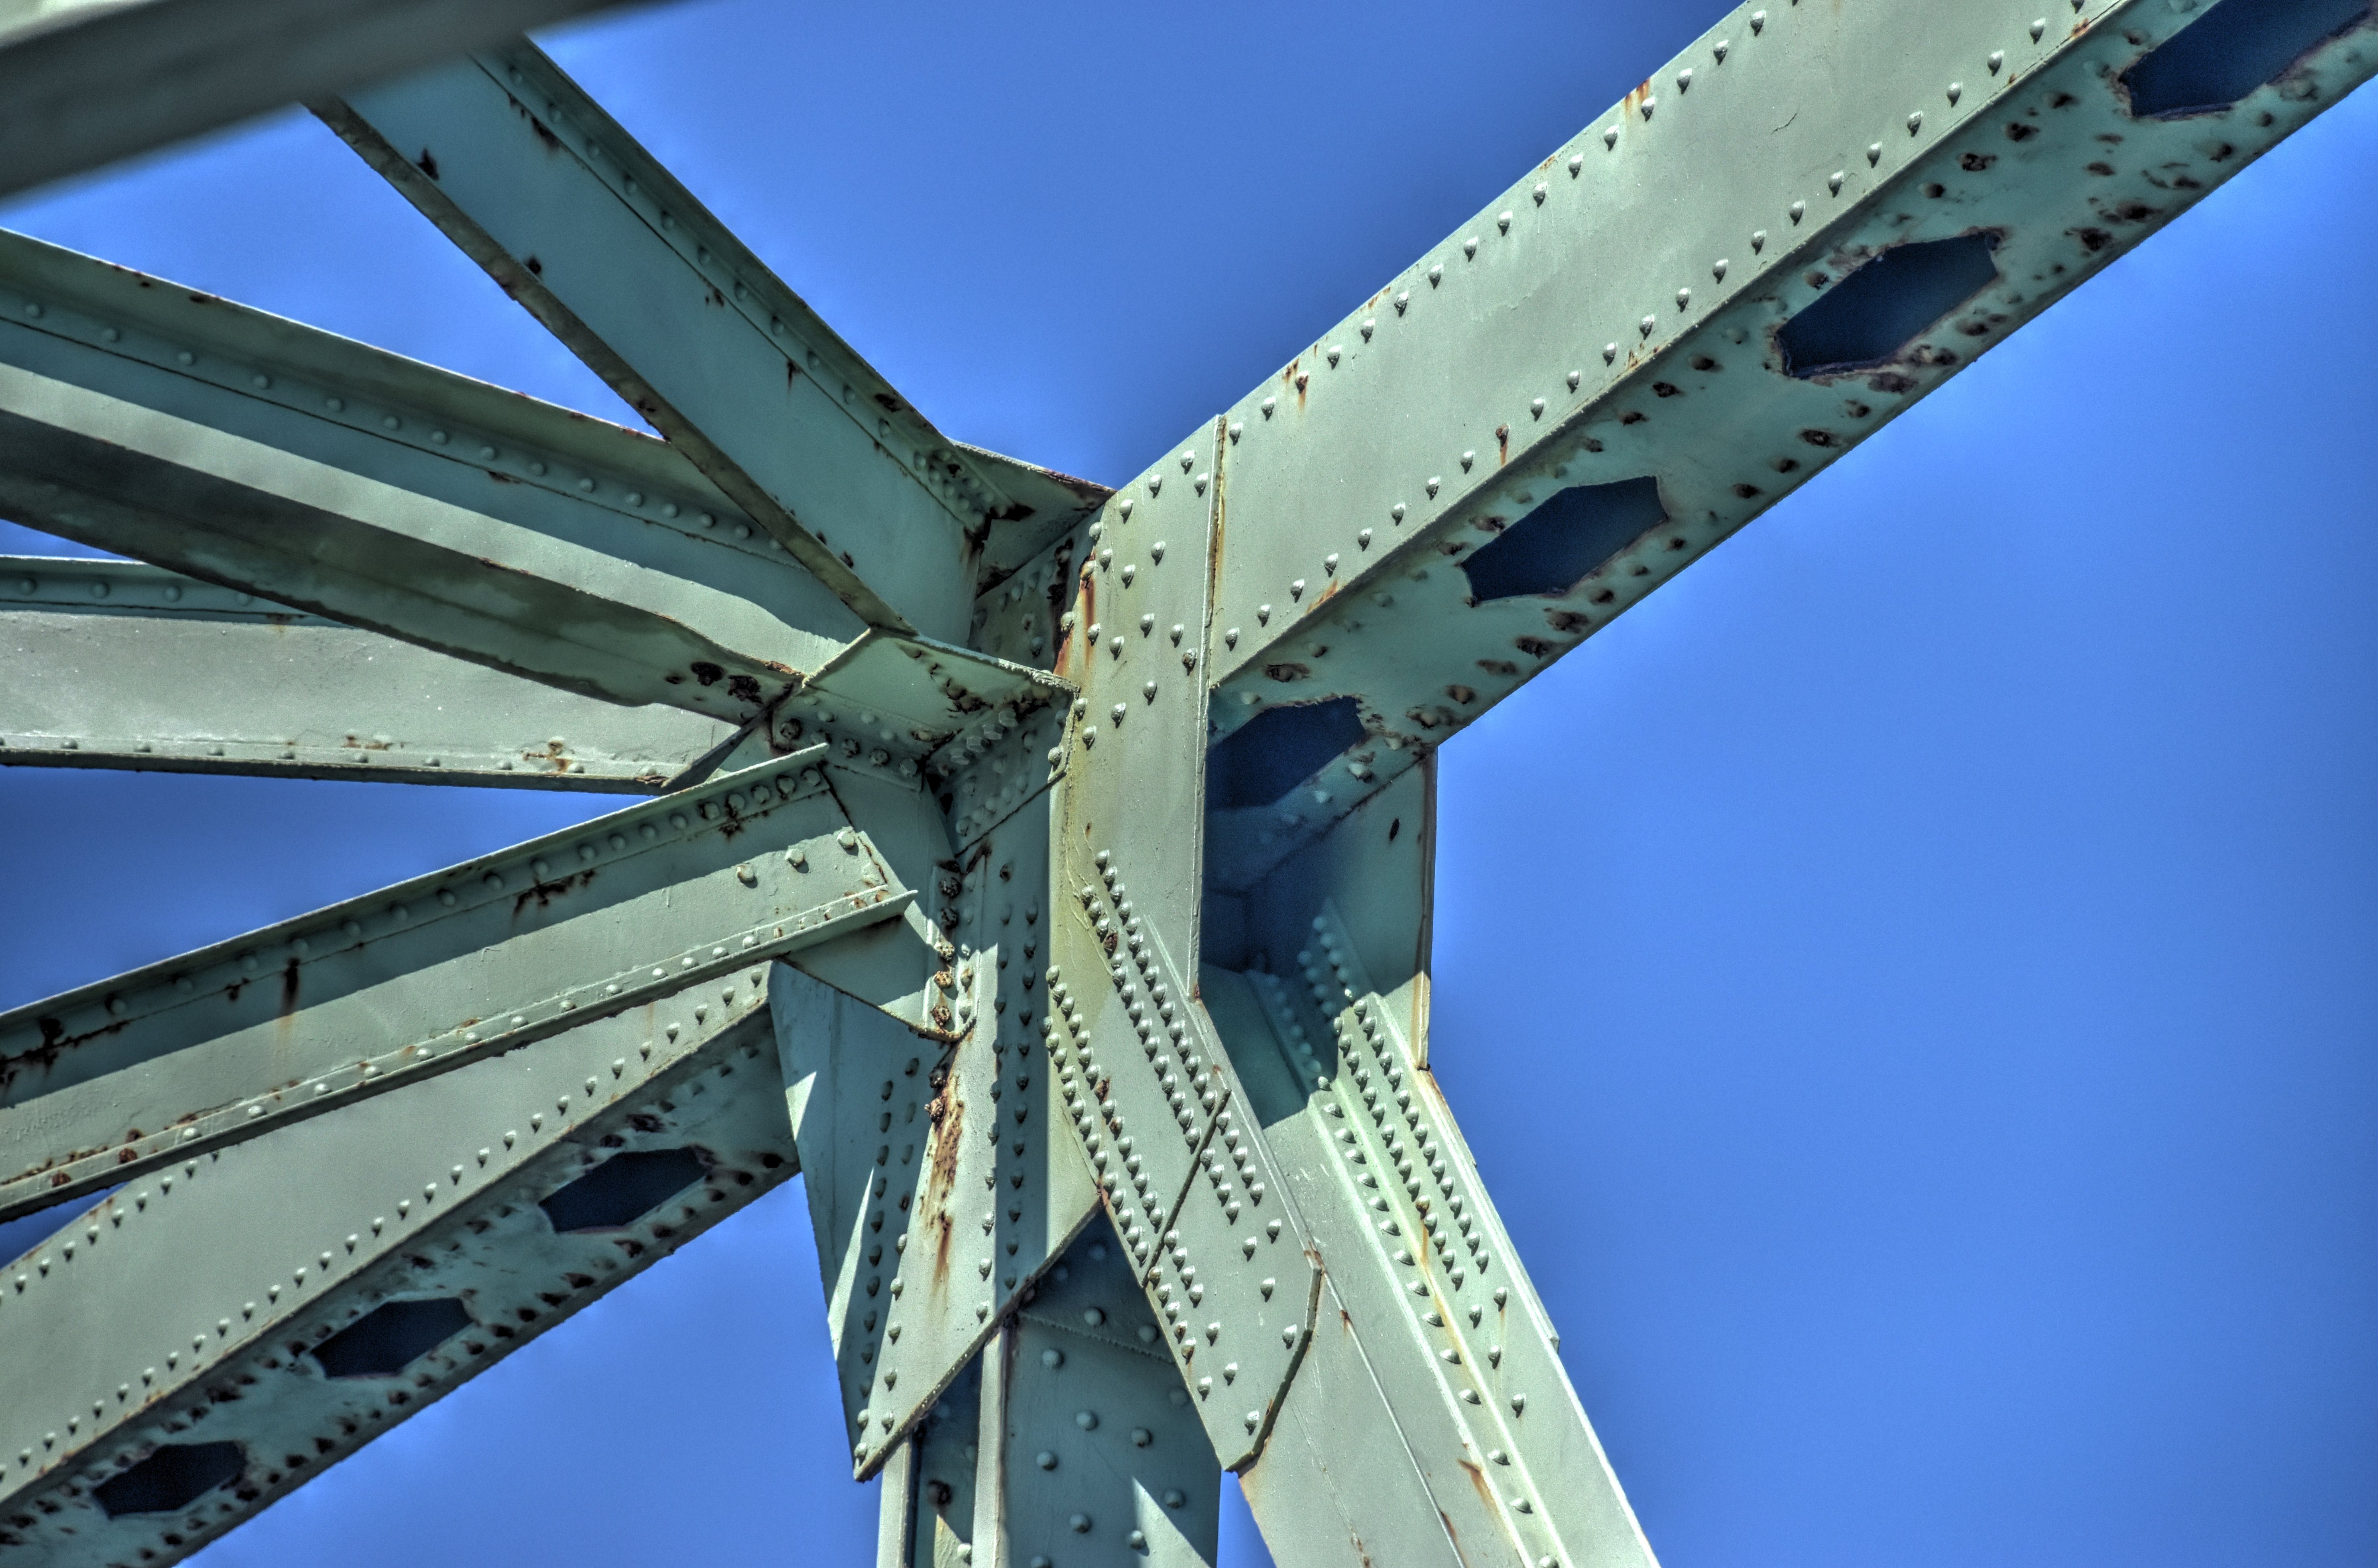
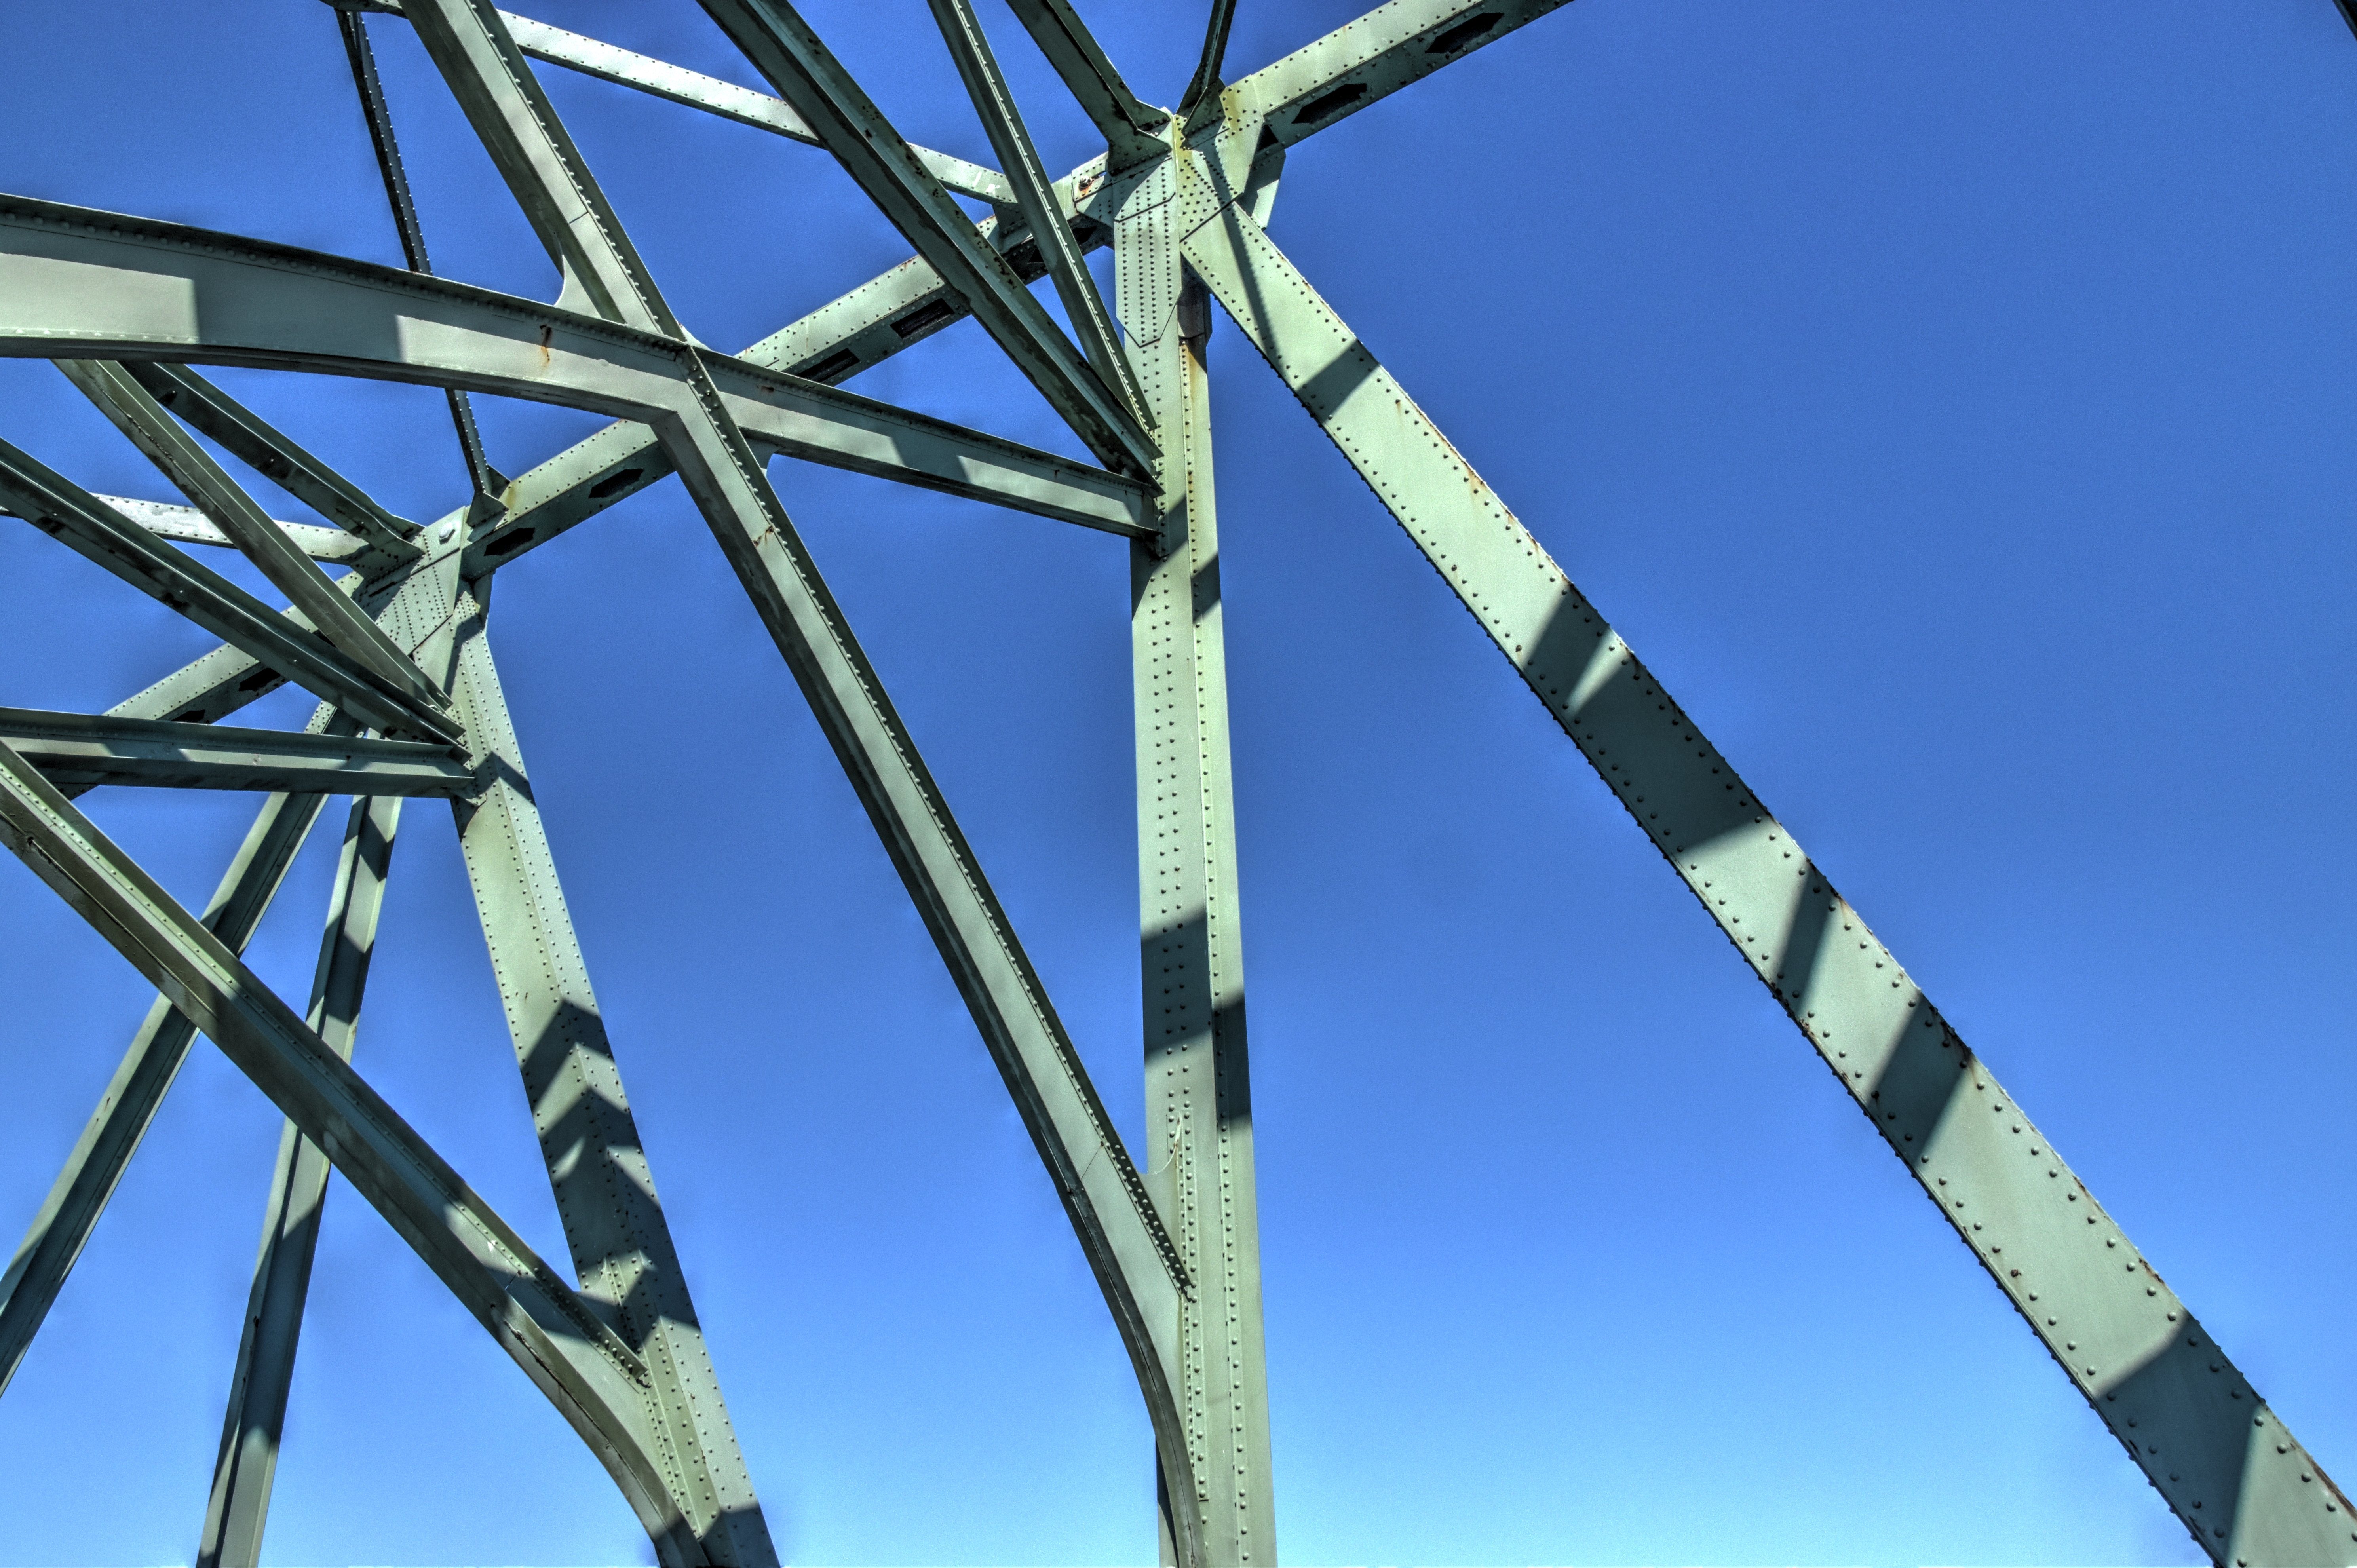
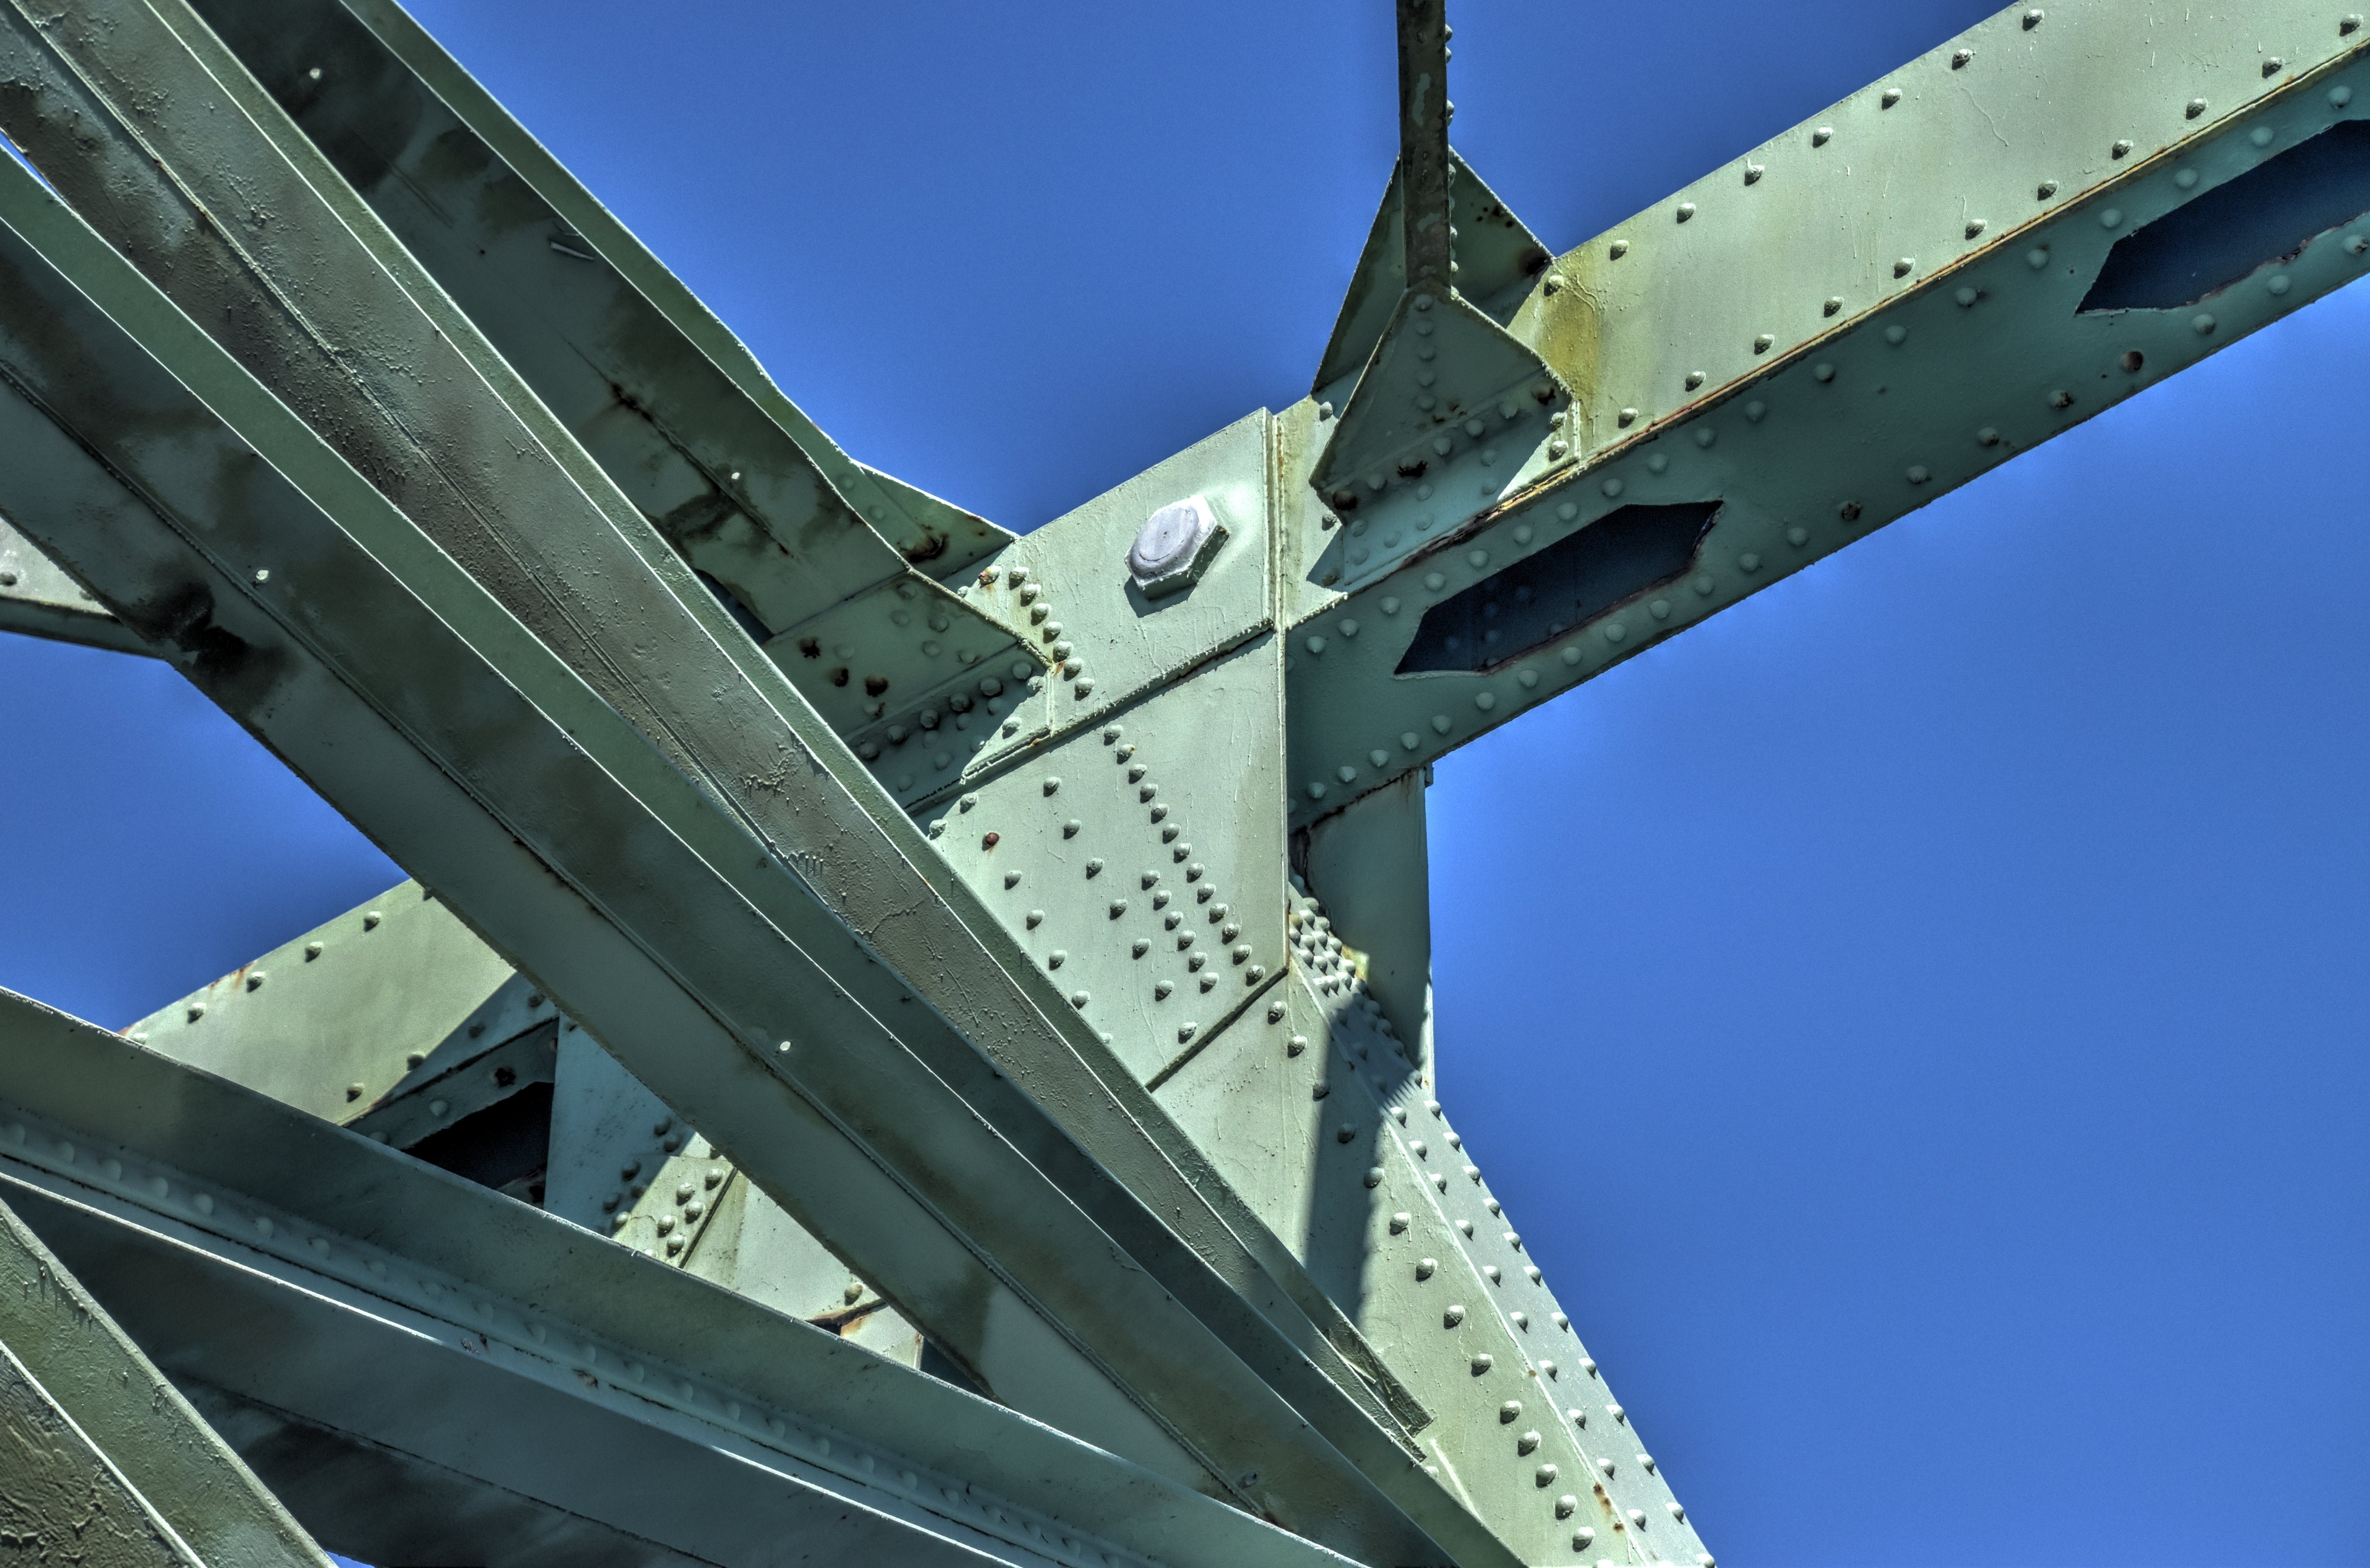
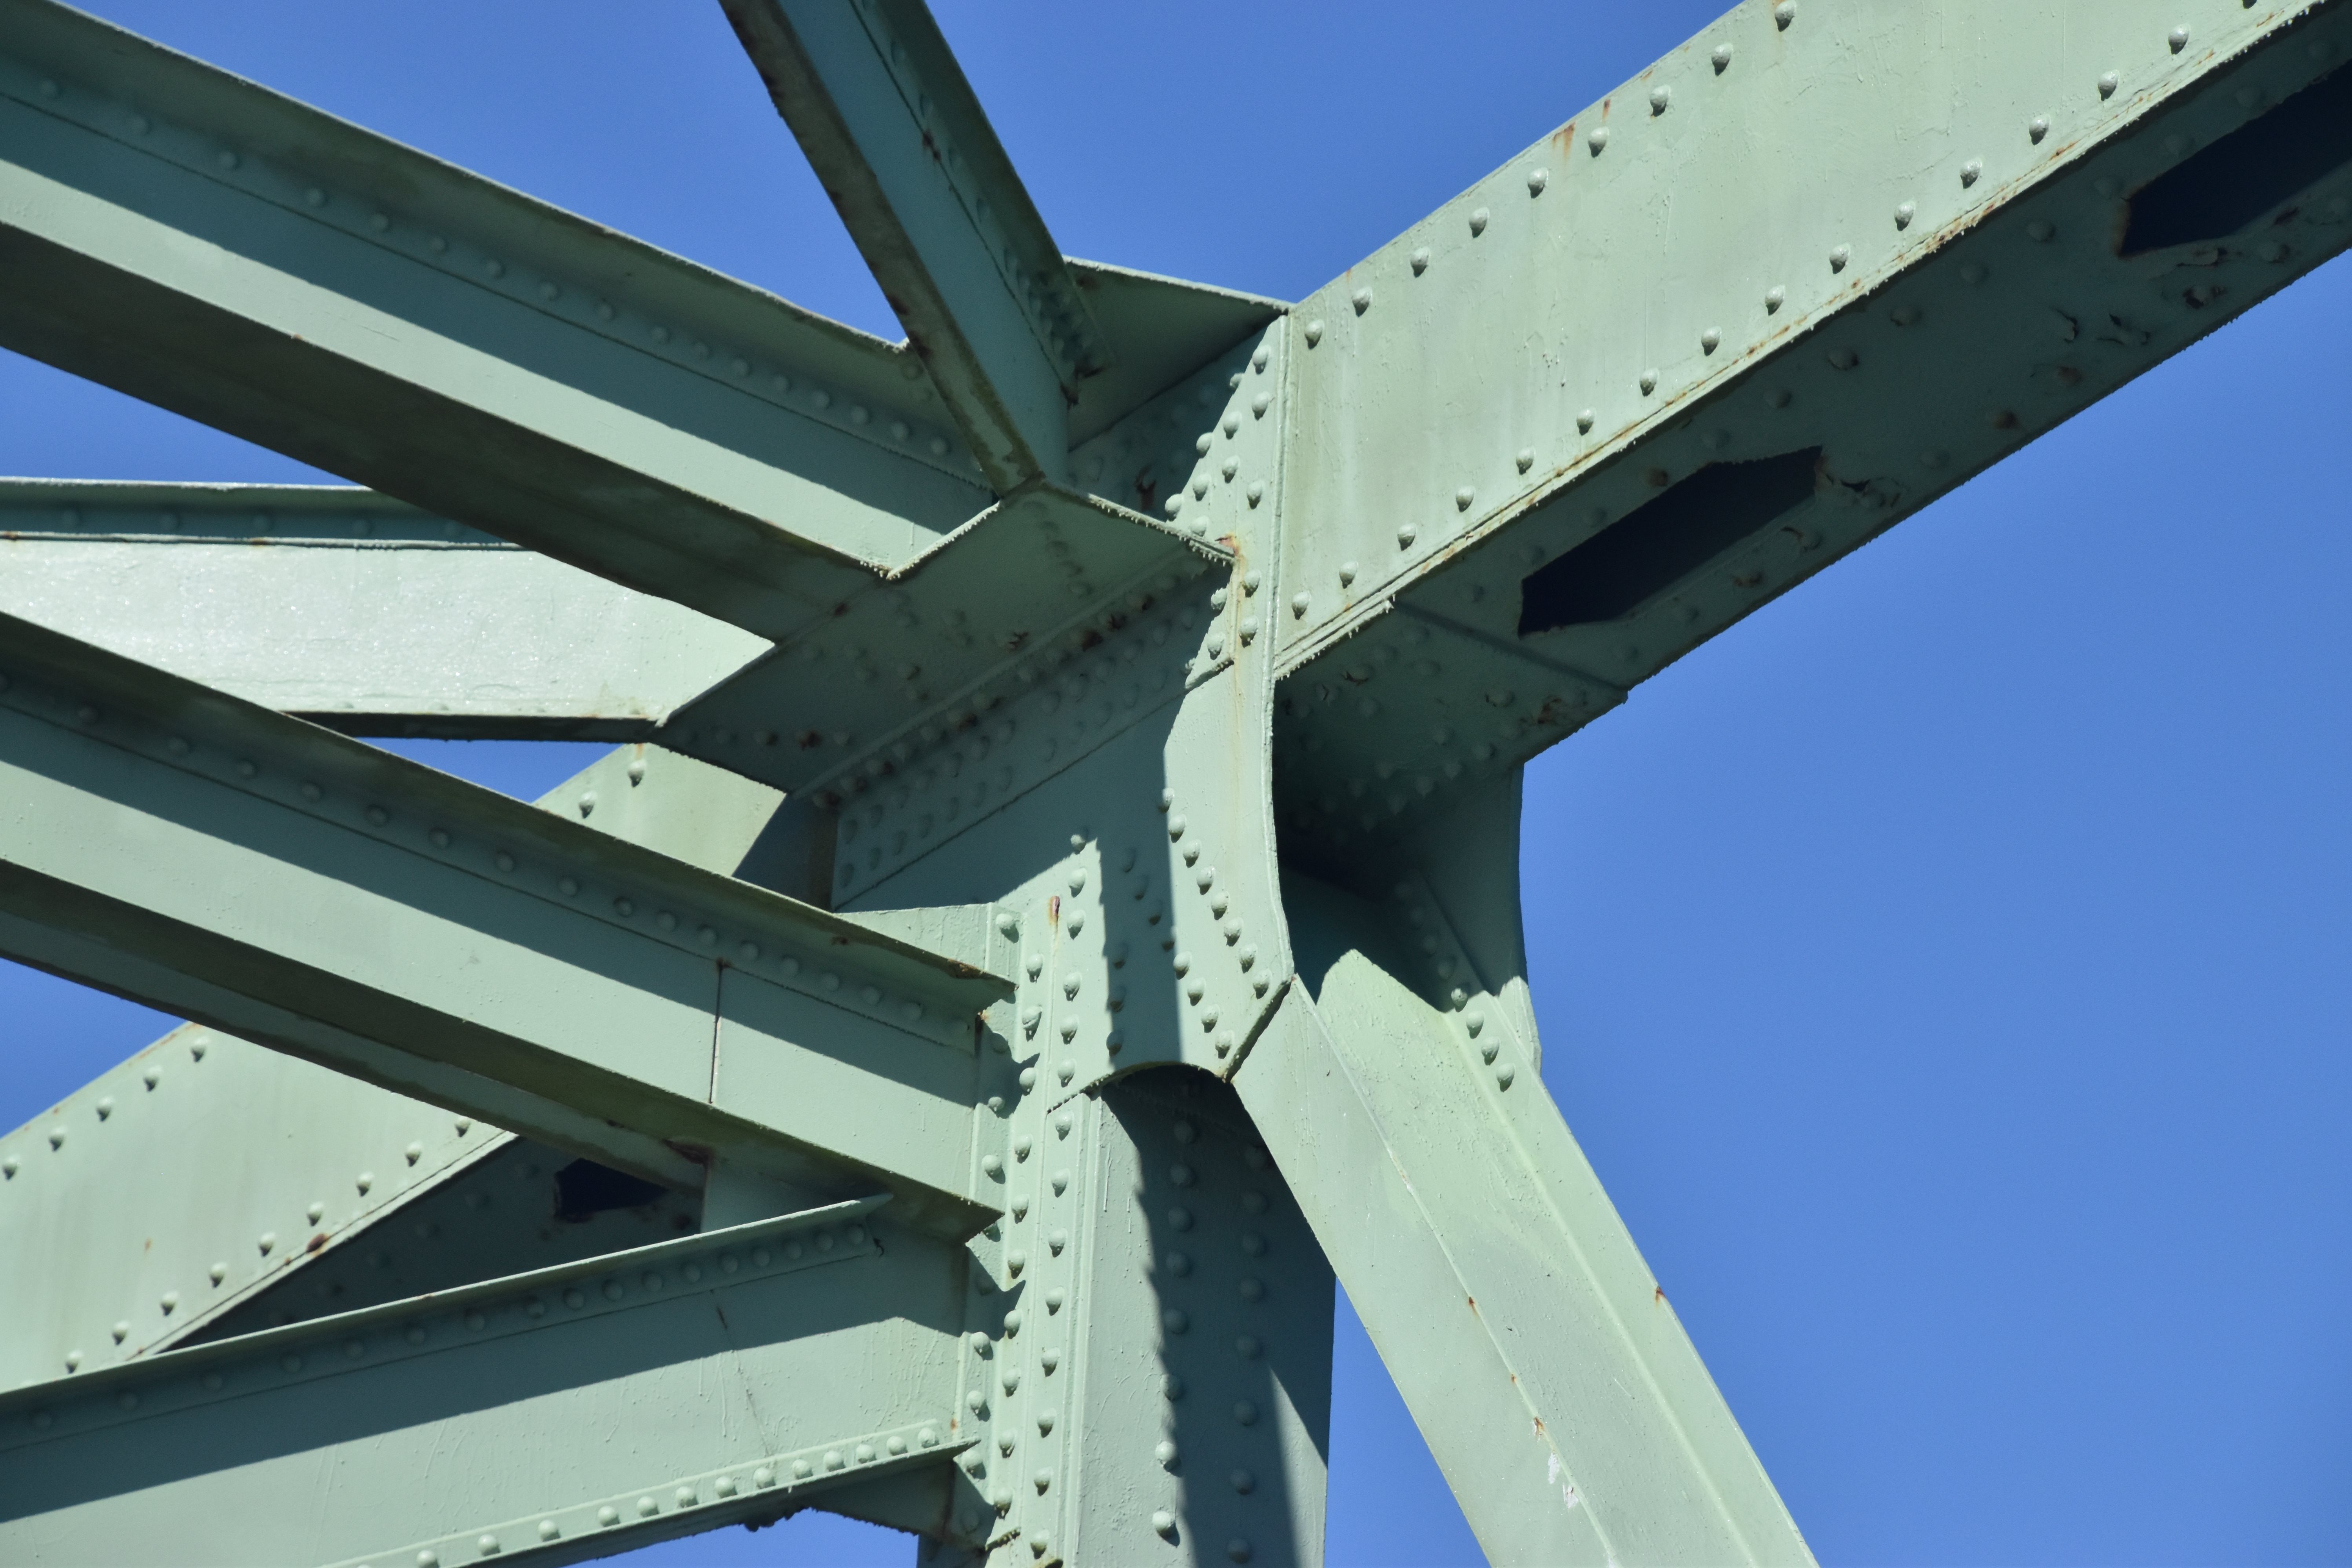
Top chord connection.
![]()

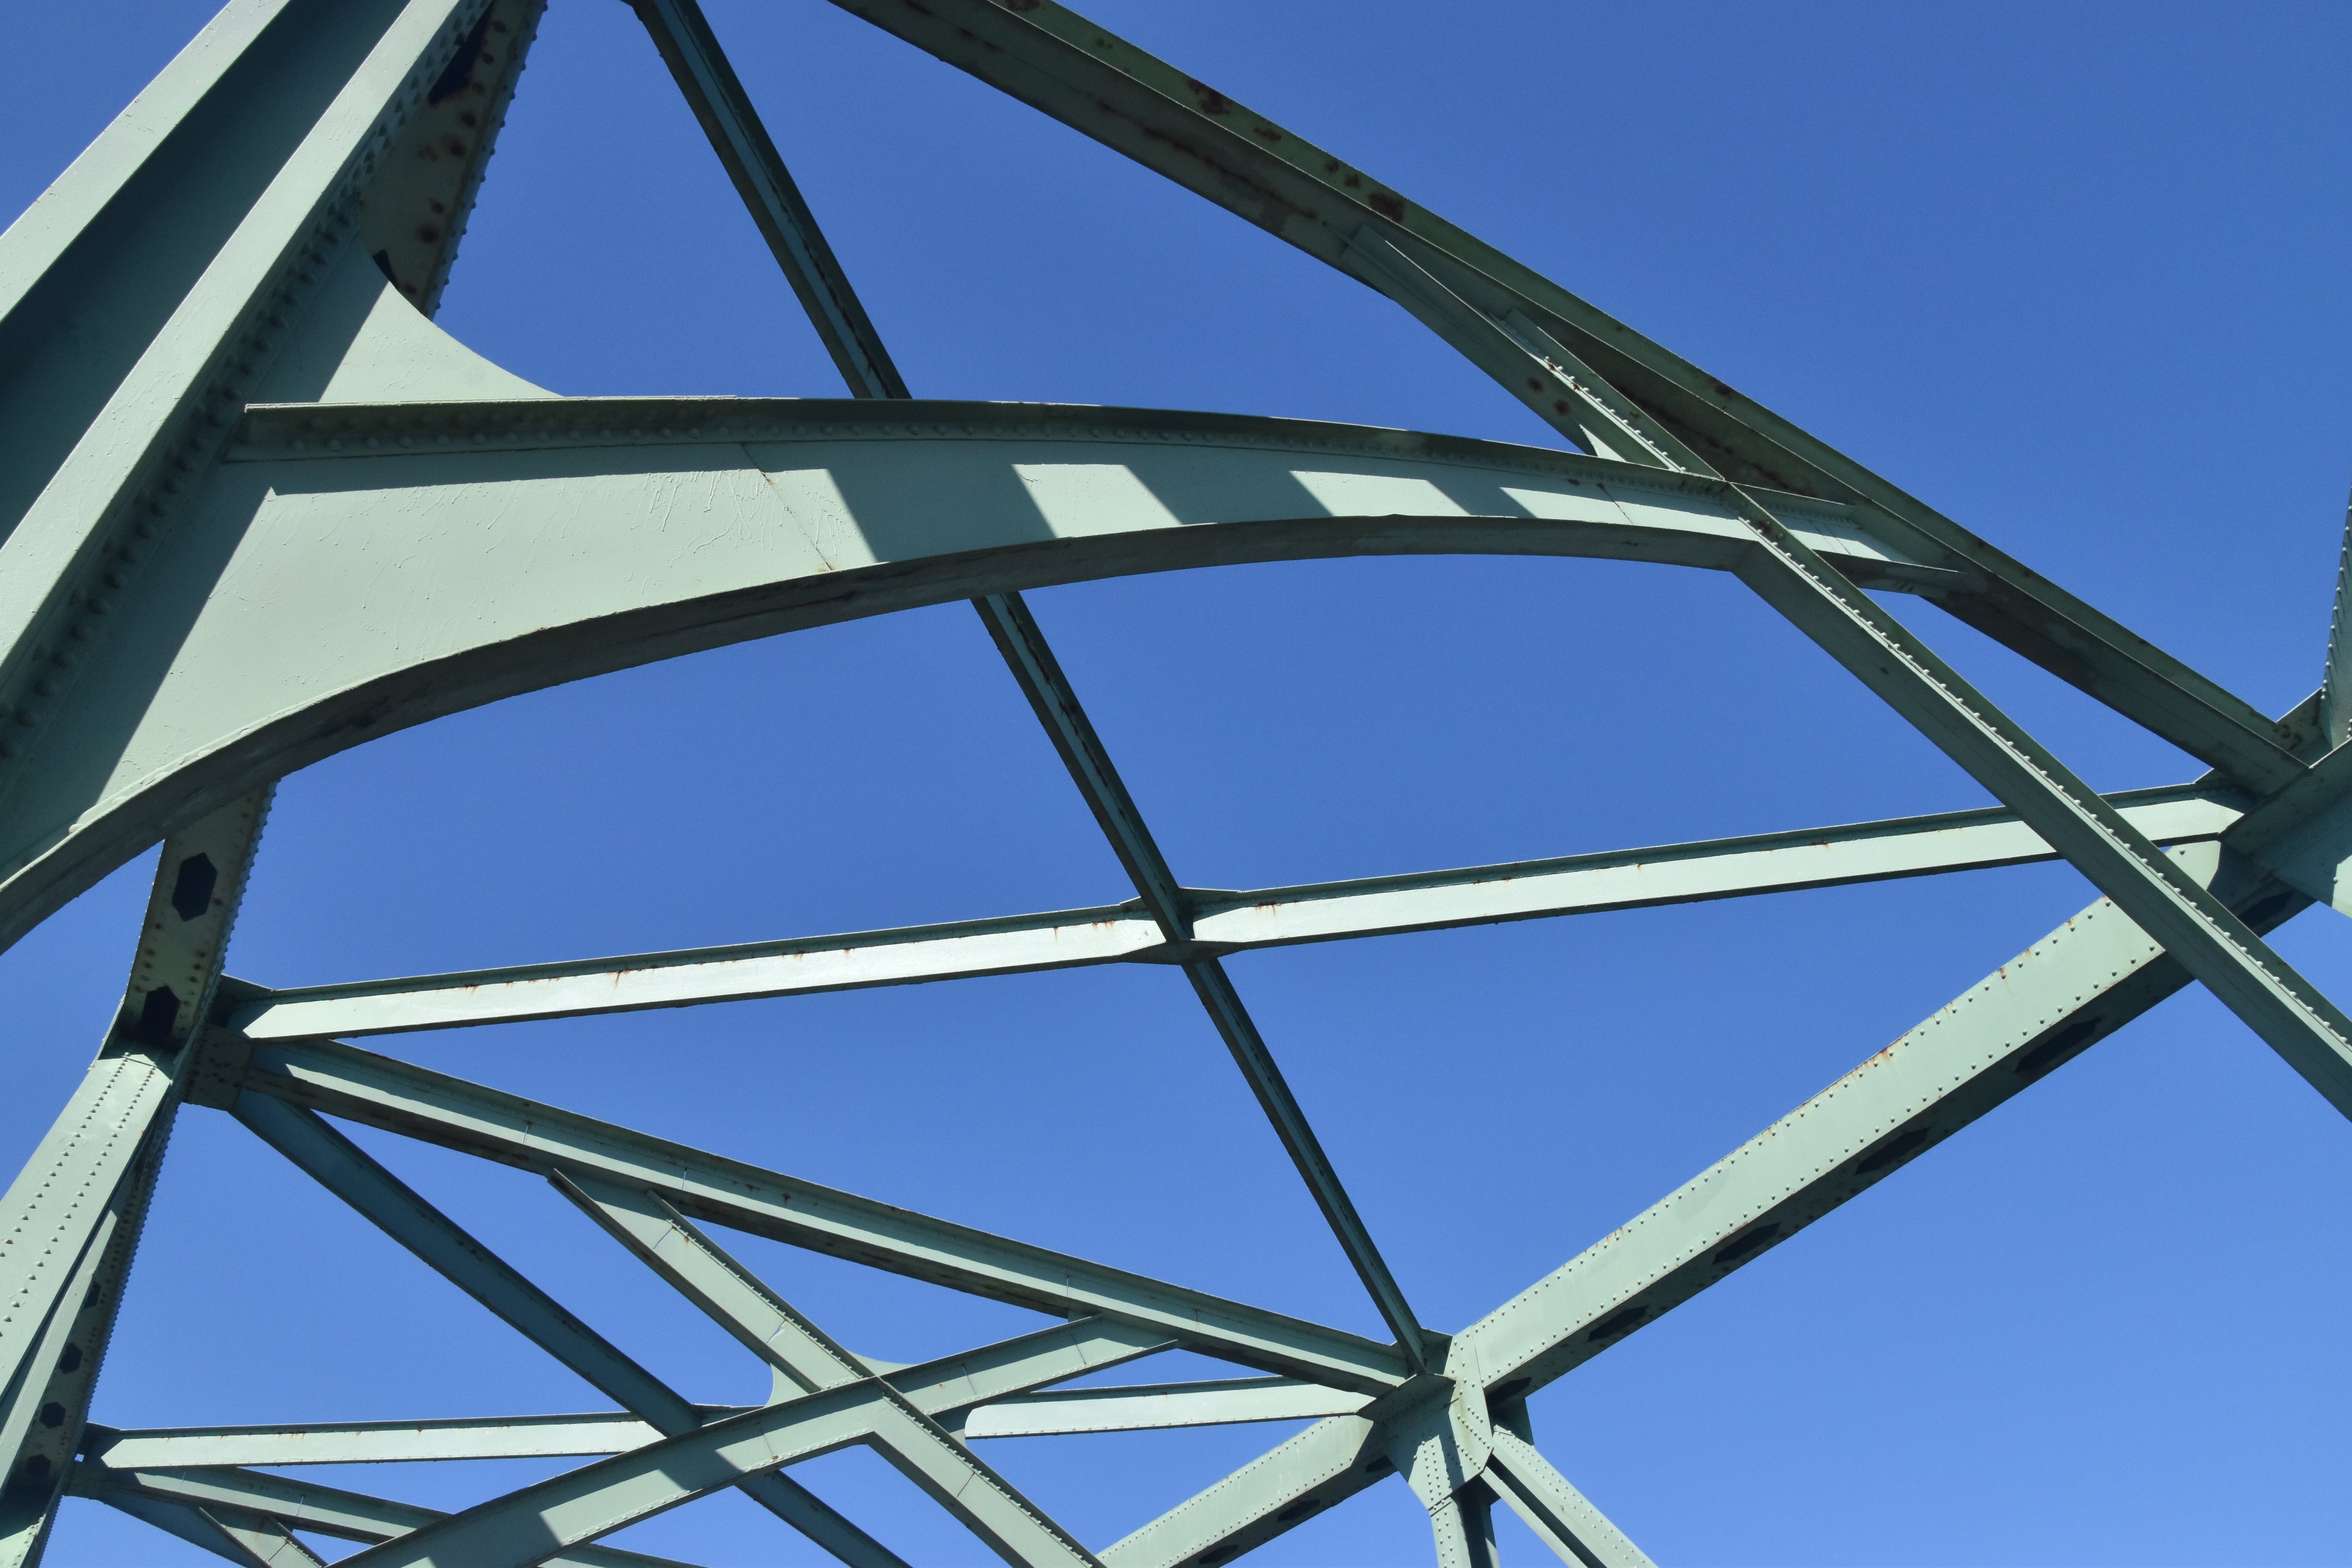
Sway bracing.
![]()

Sway bracing detail.
![]()


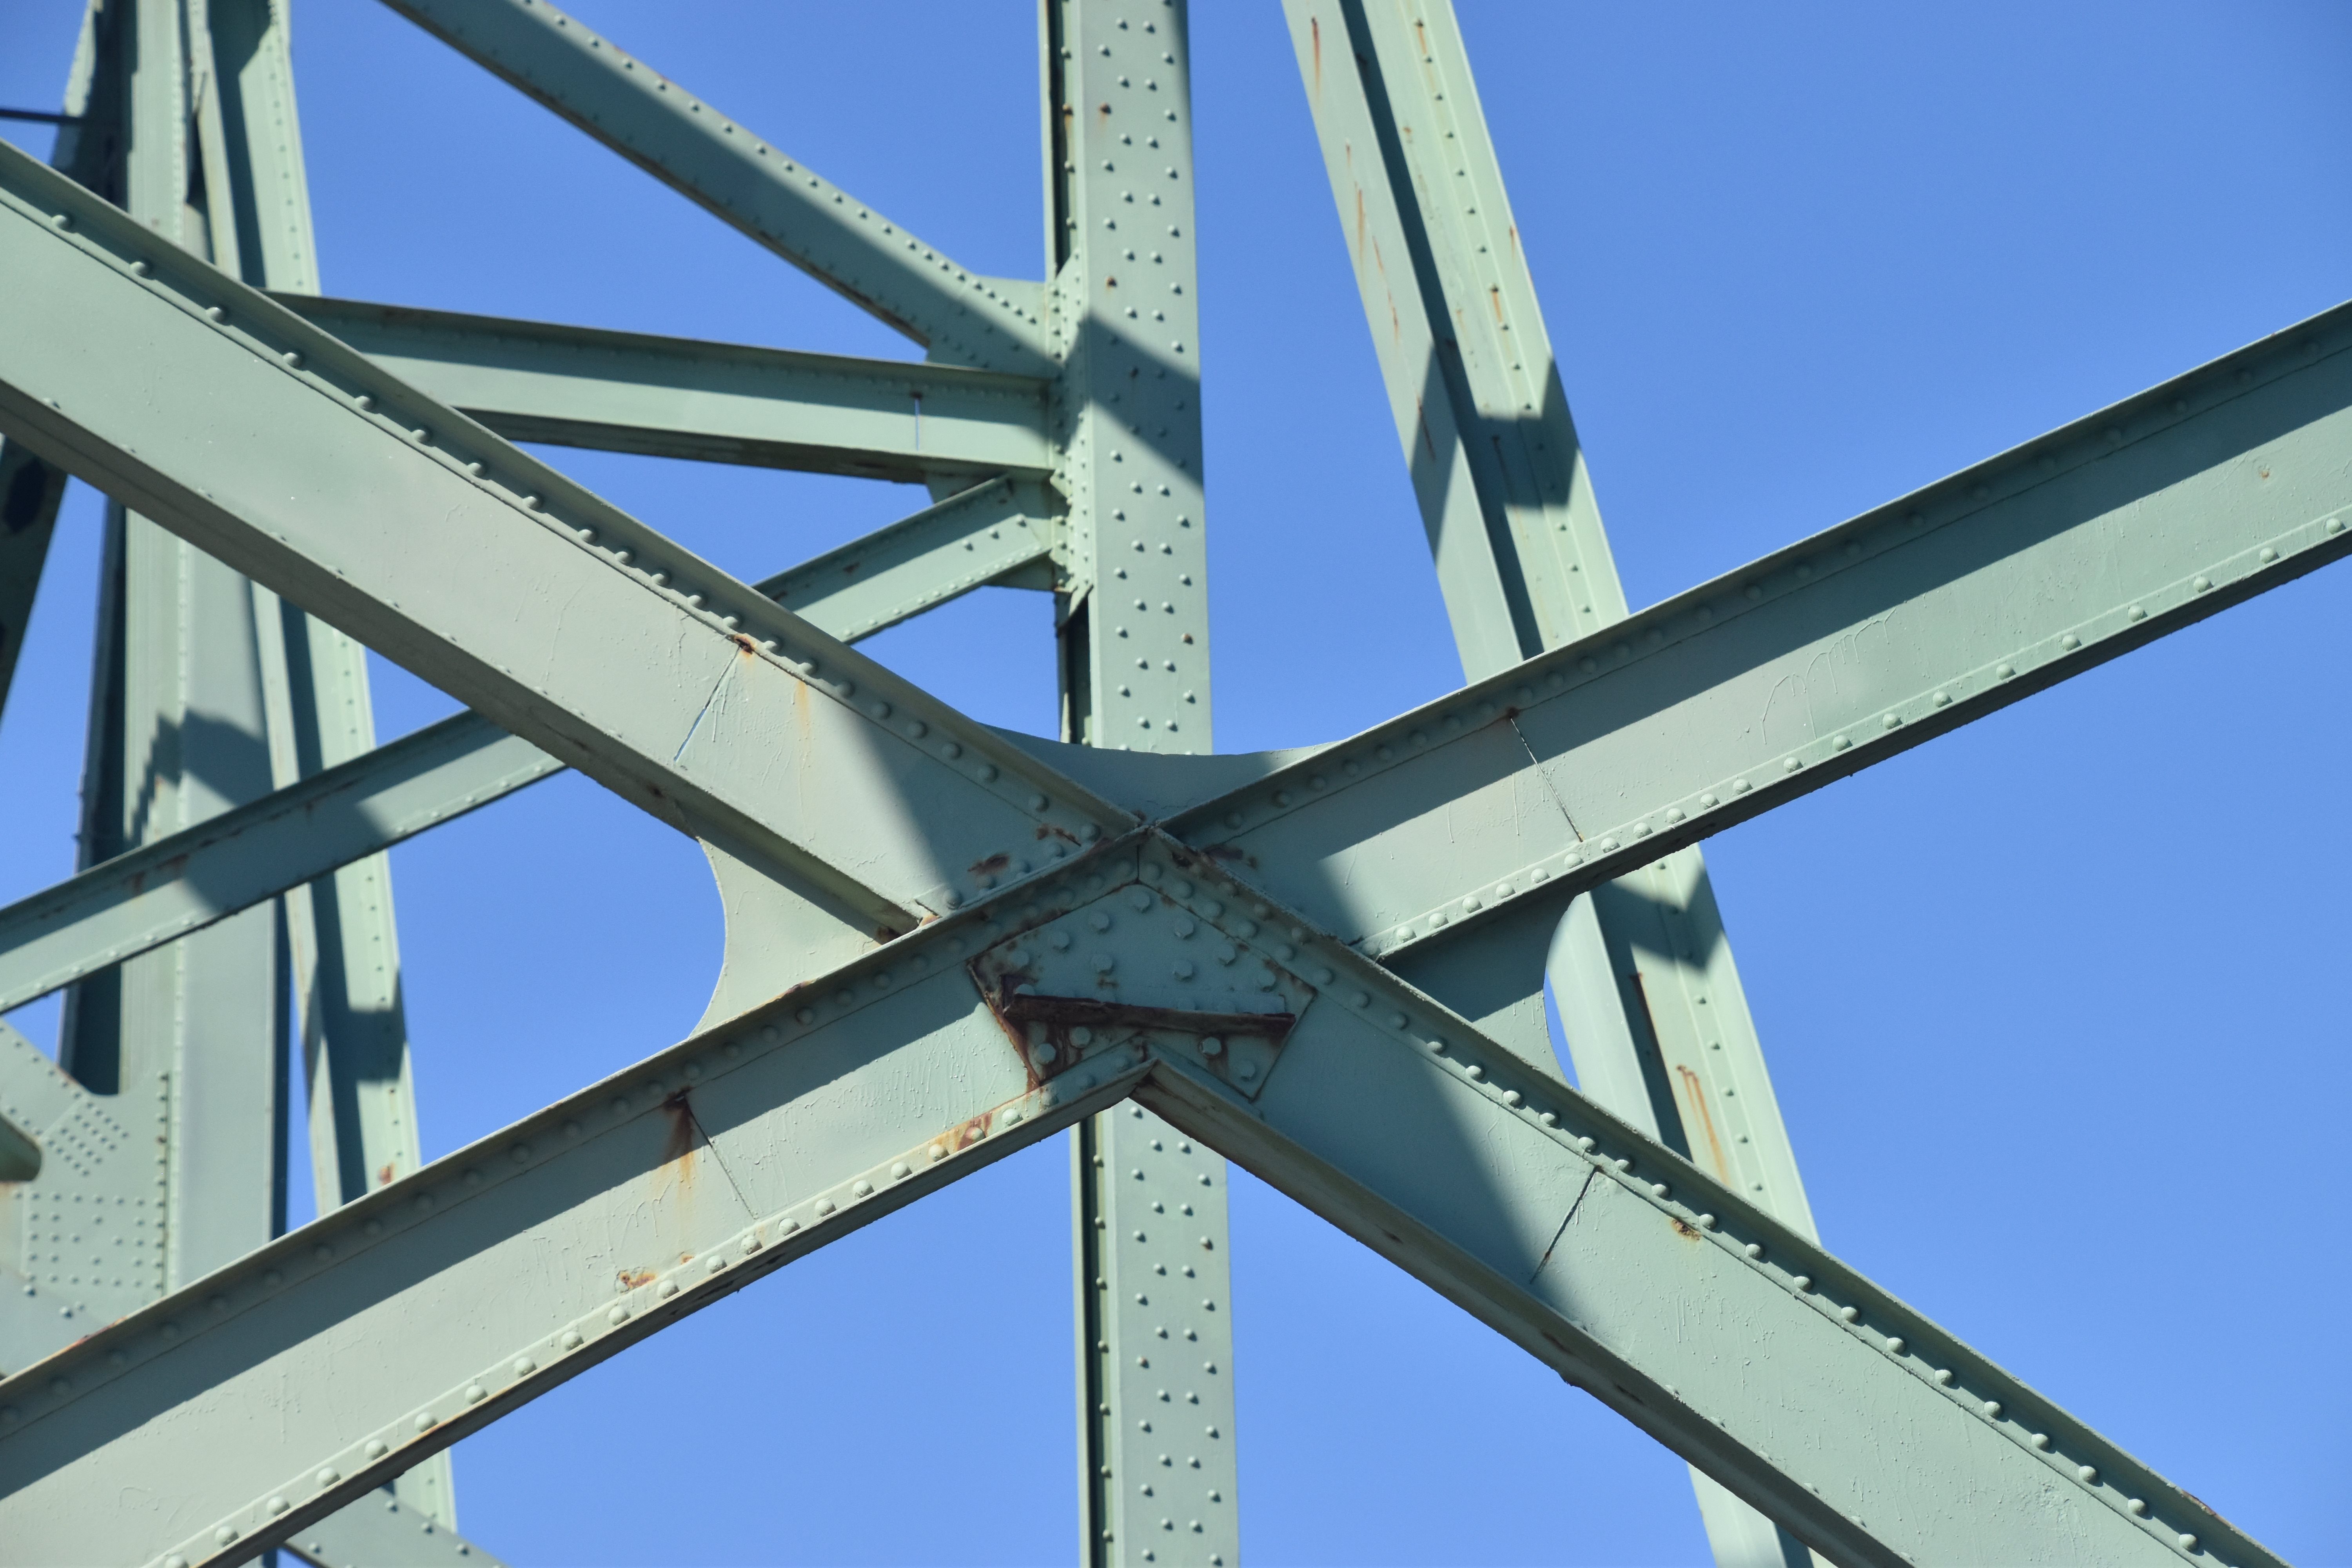
Sway bracing intersection connections.
![]()

Sway bracing connection to main post.
![]()

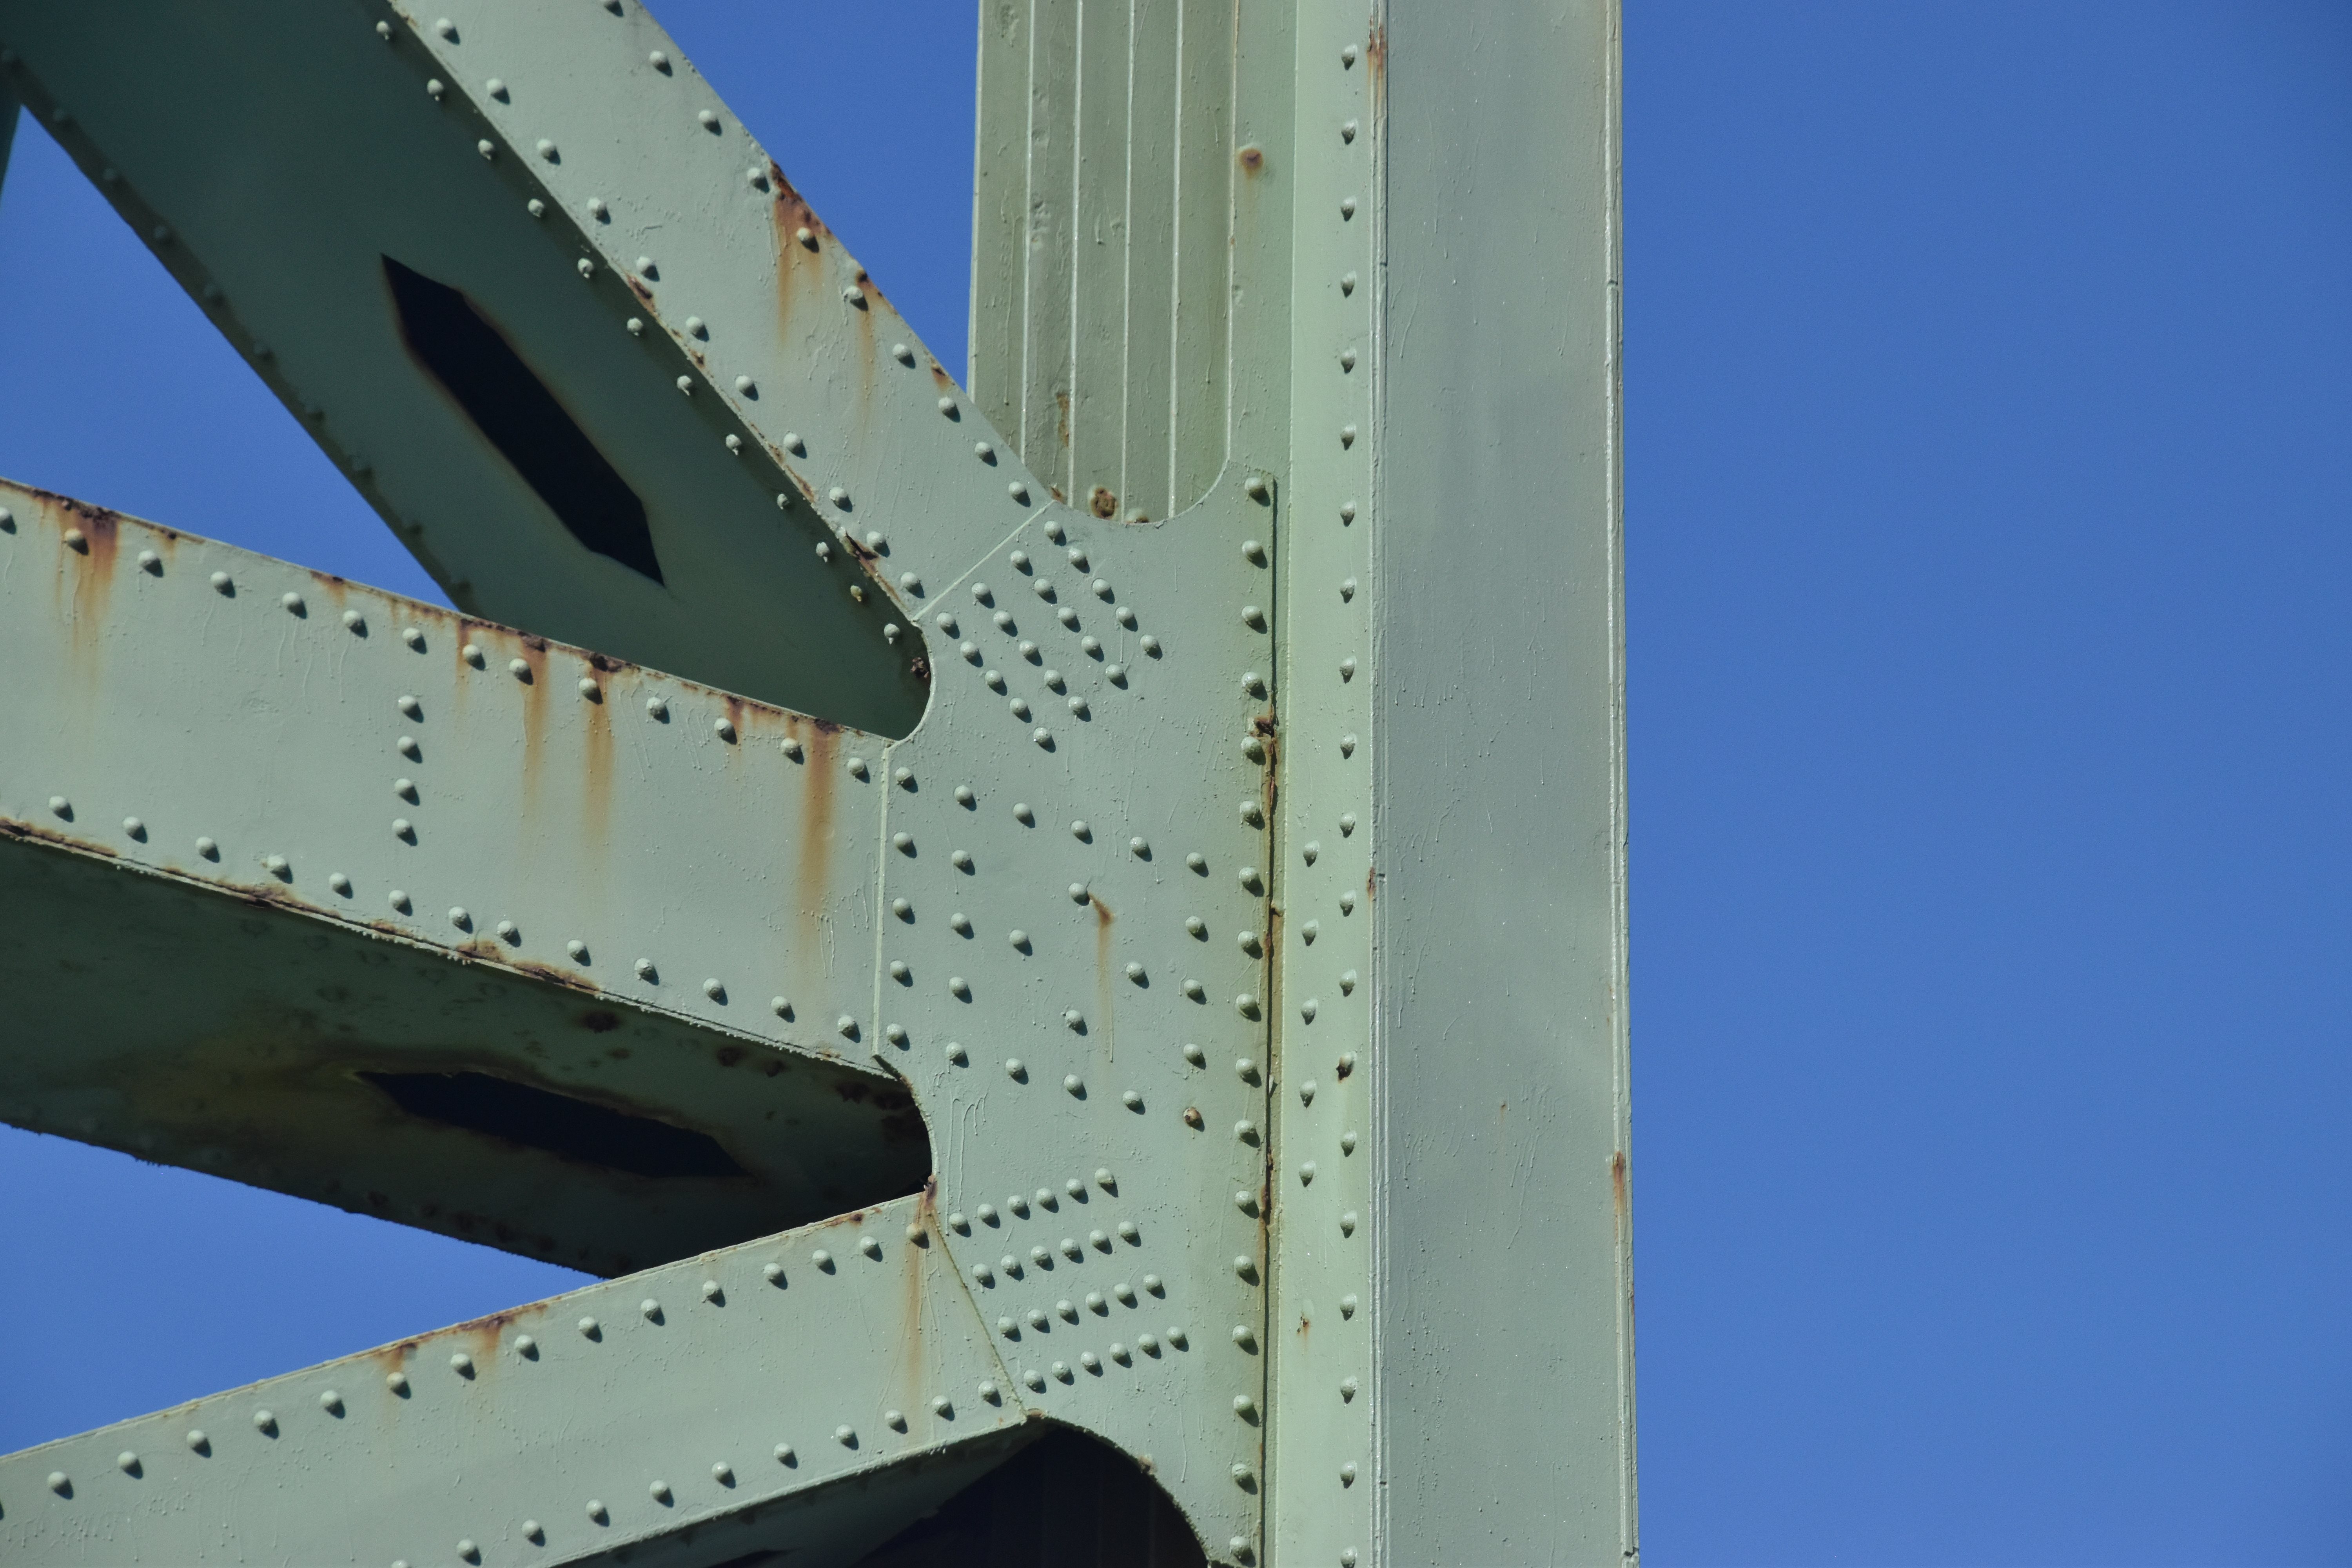
Main post details.
![]()


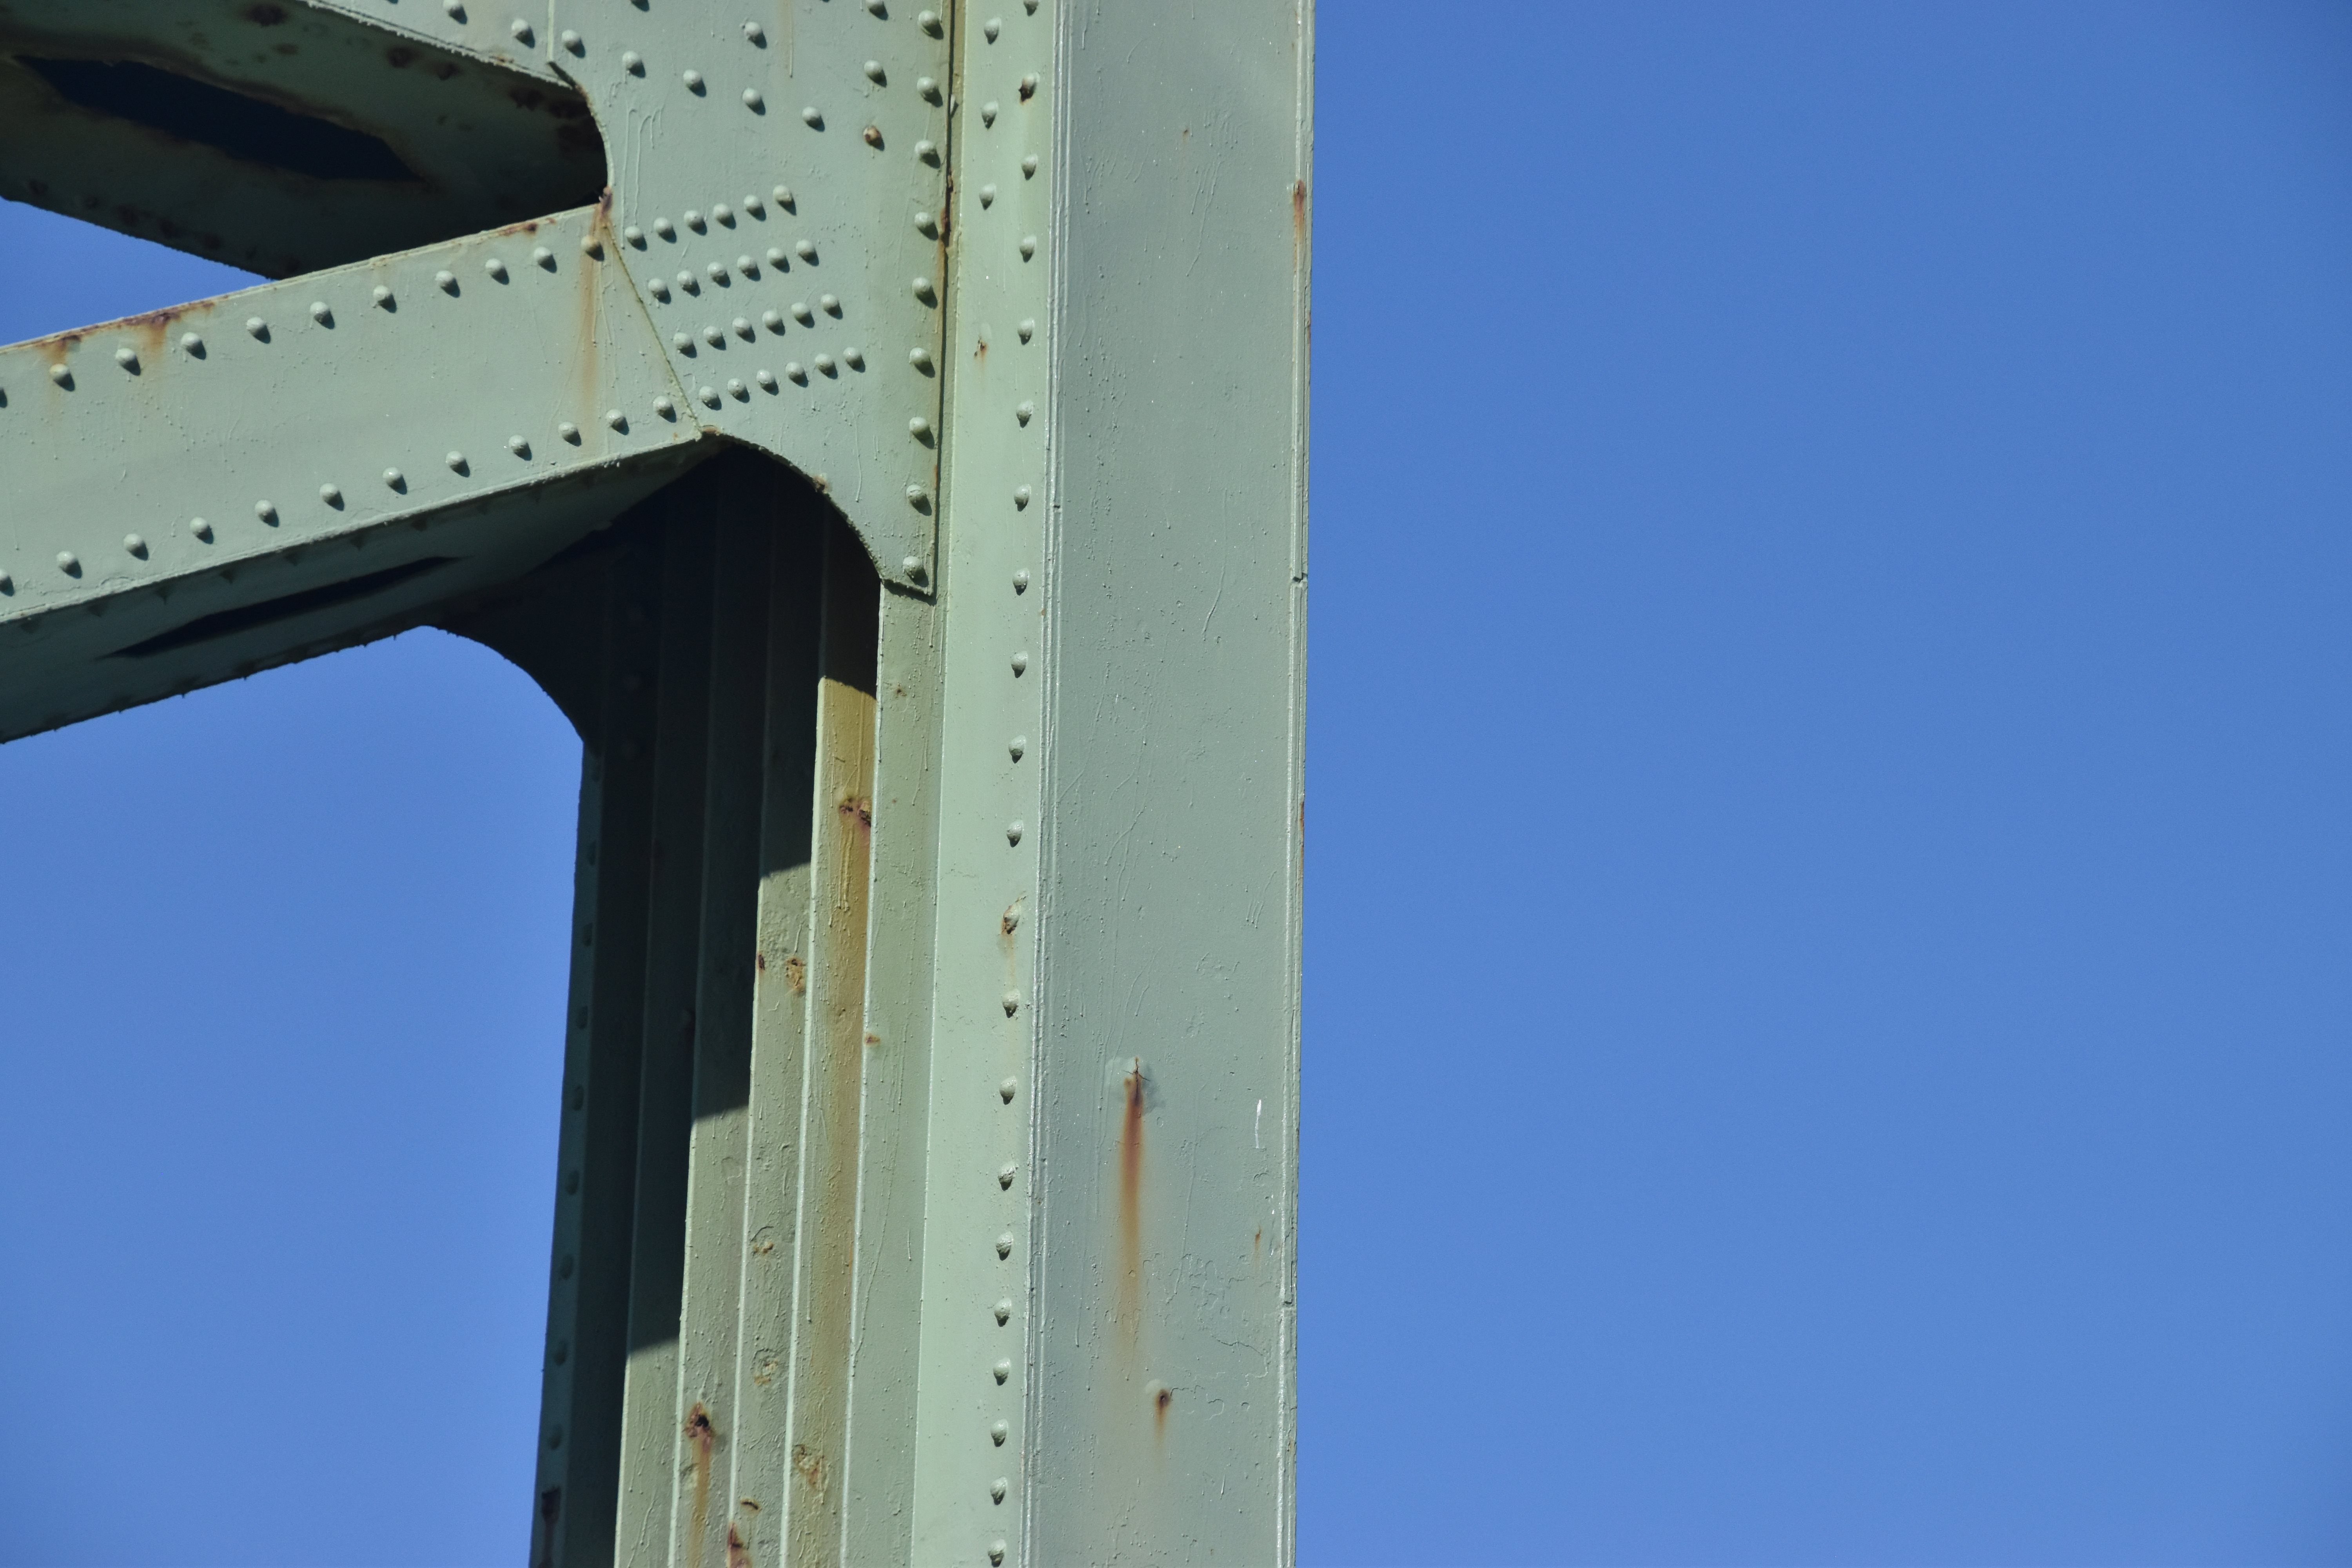
Main post splice.
![]()

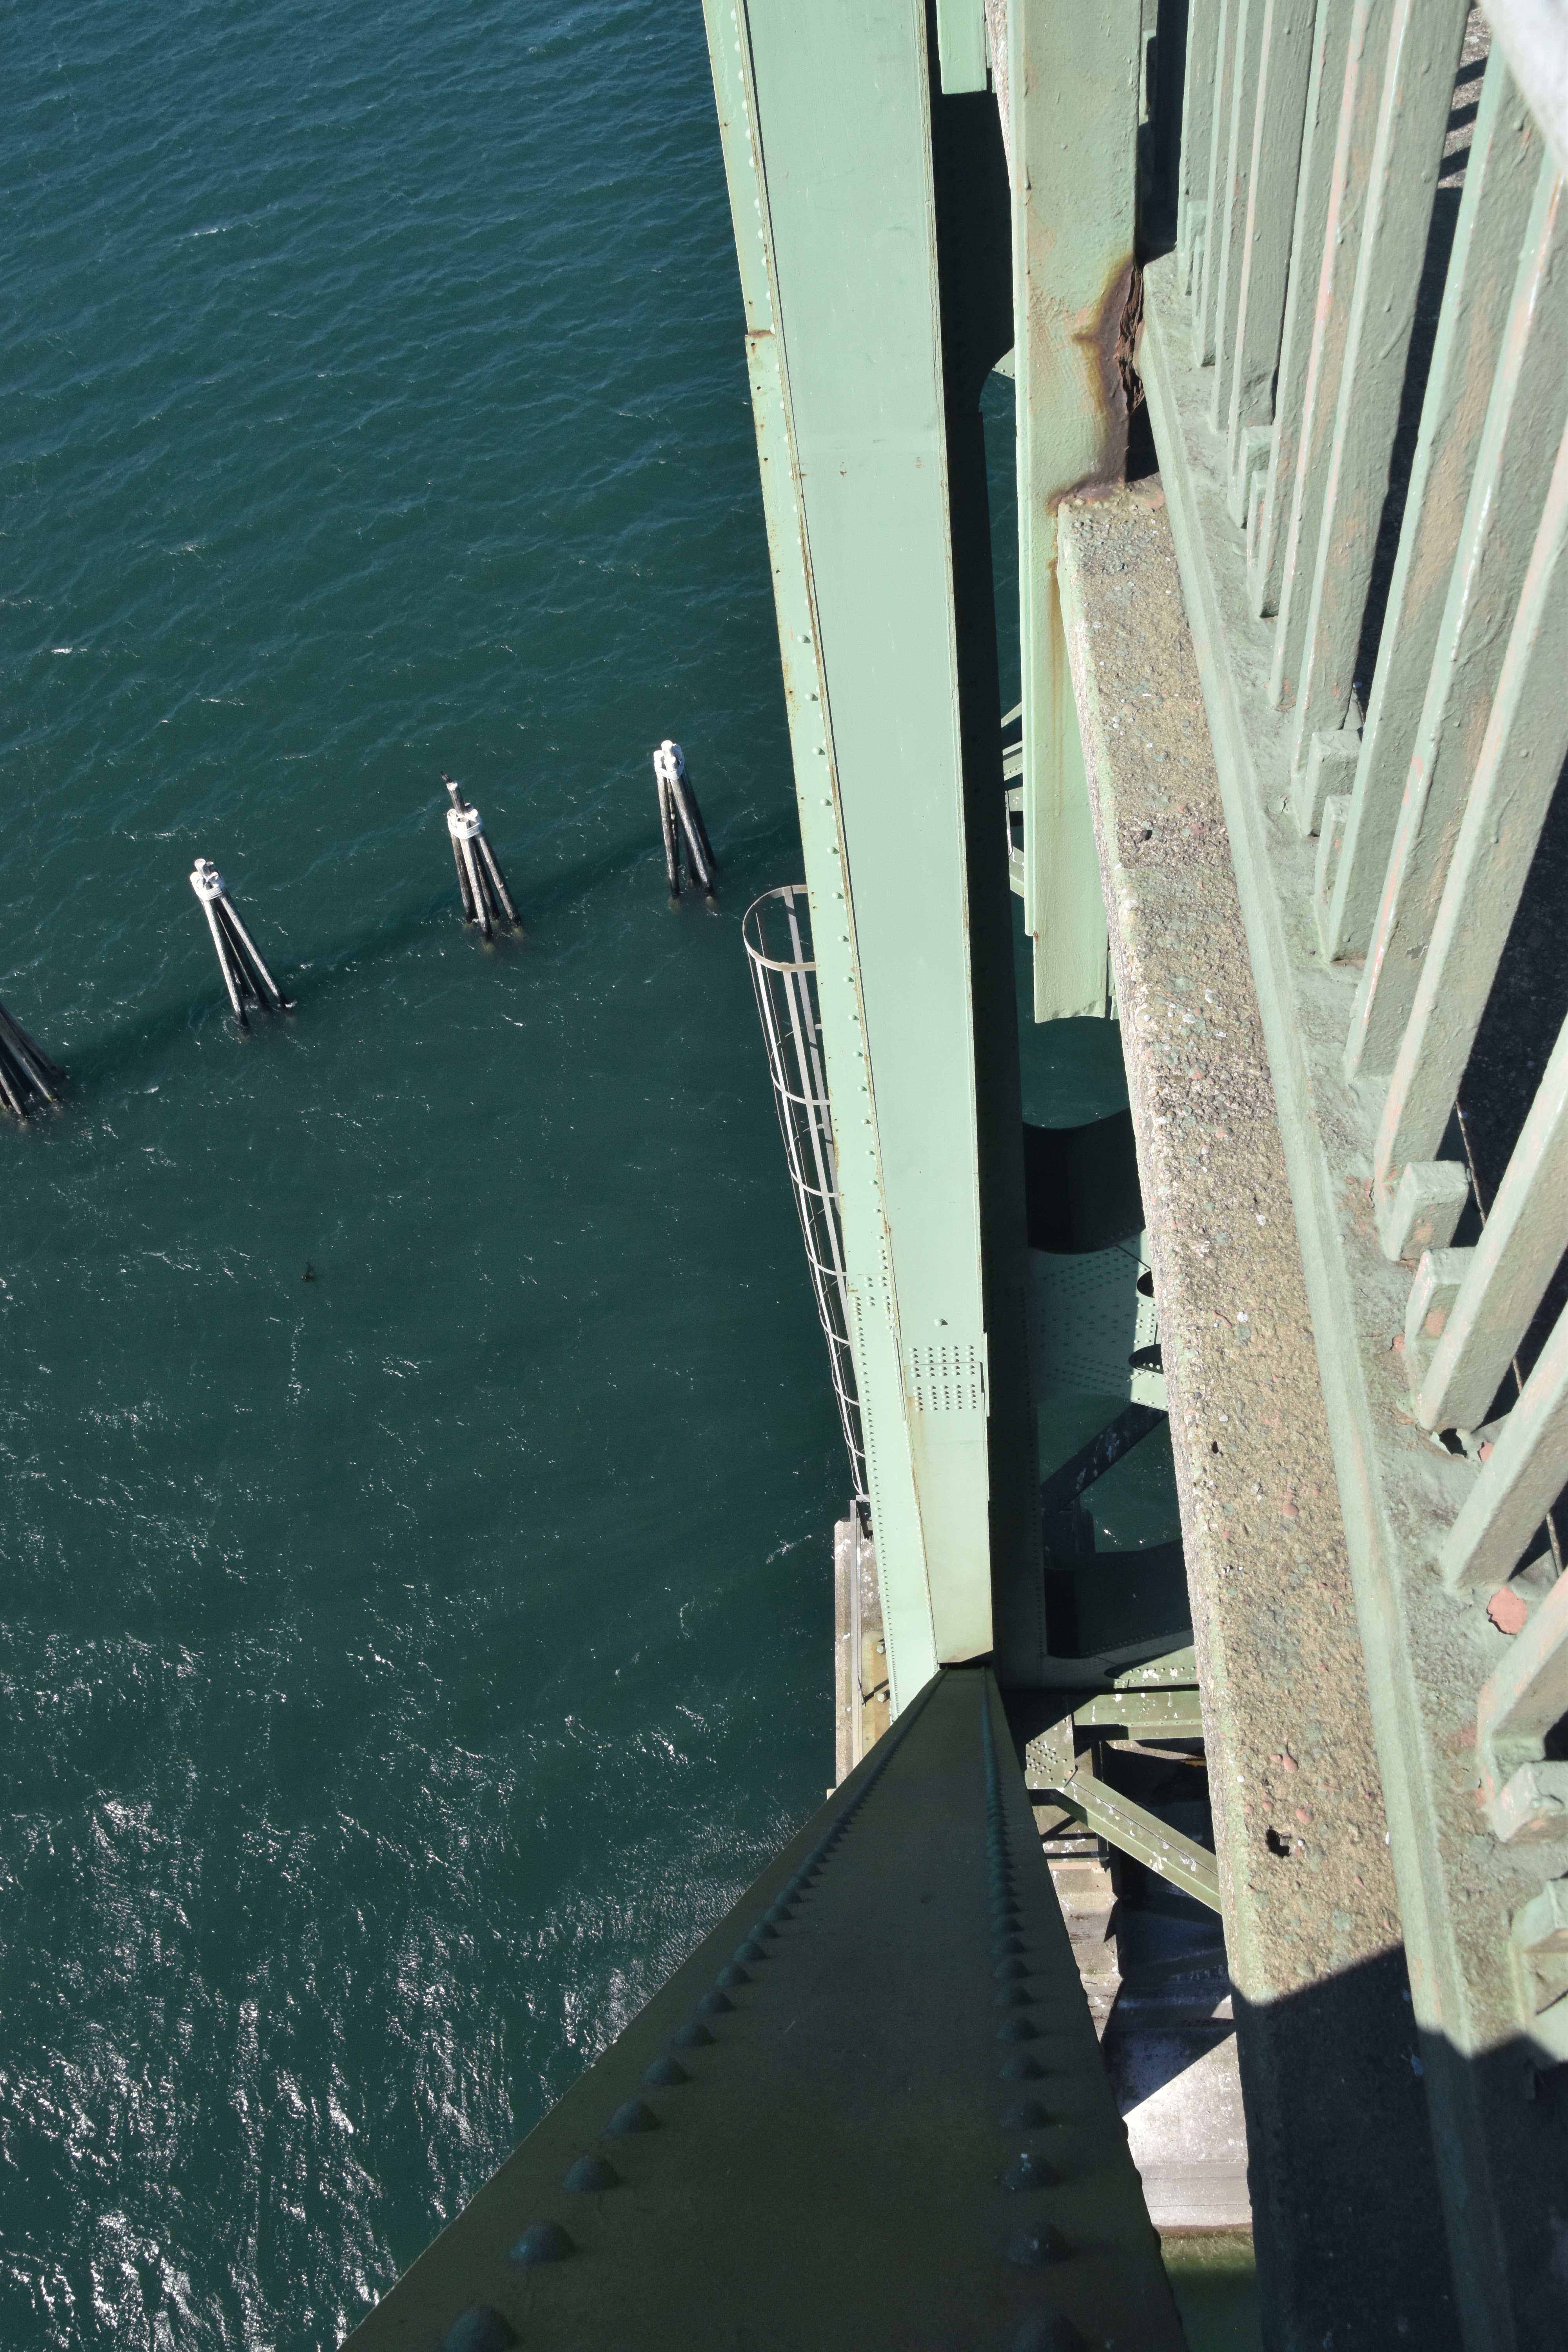
Main post, portion below deck level.
![]()

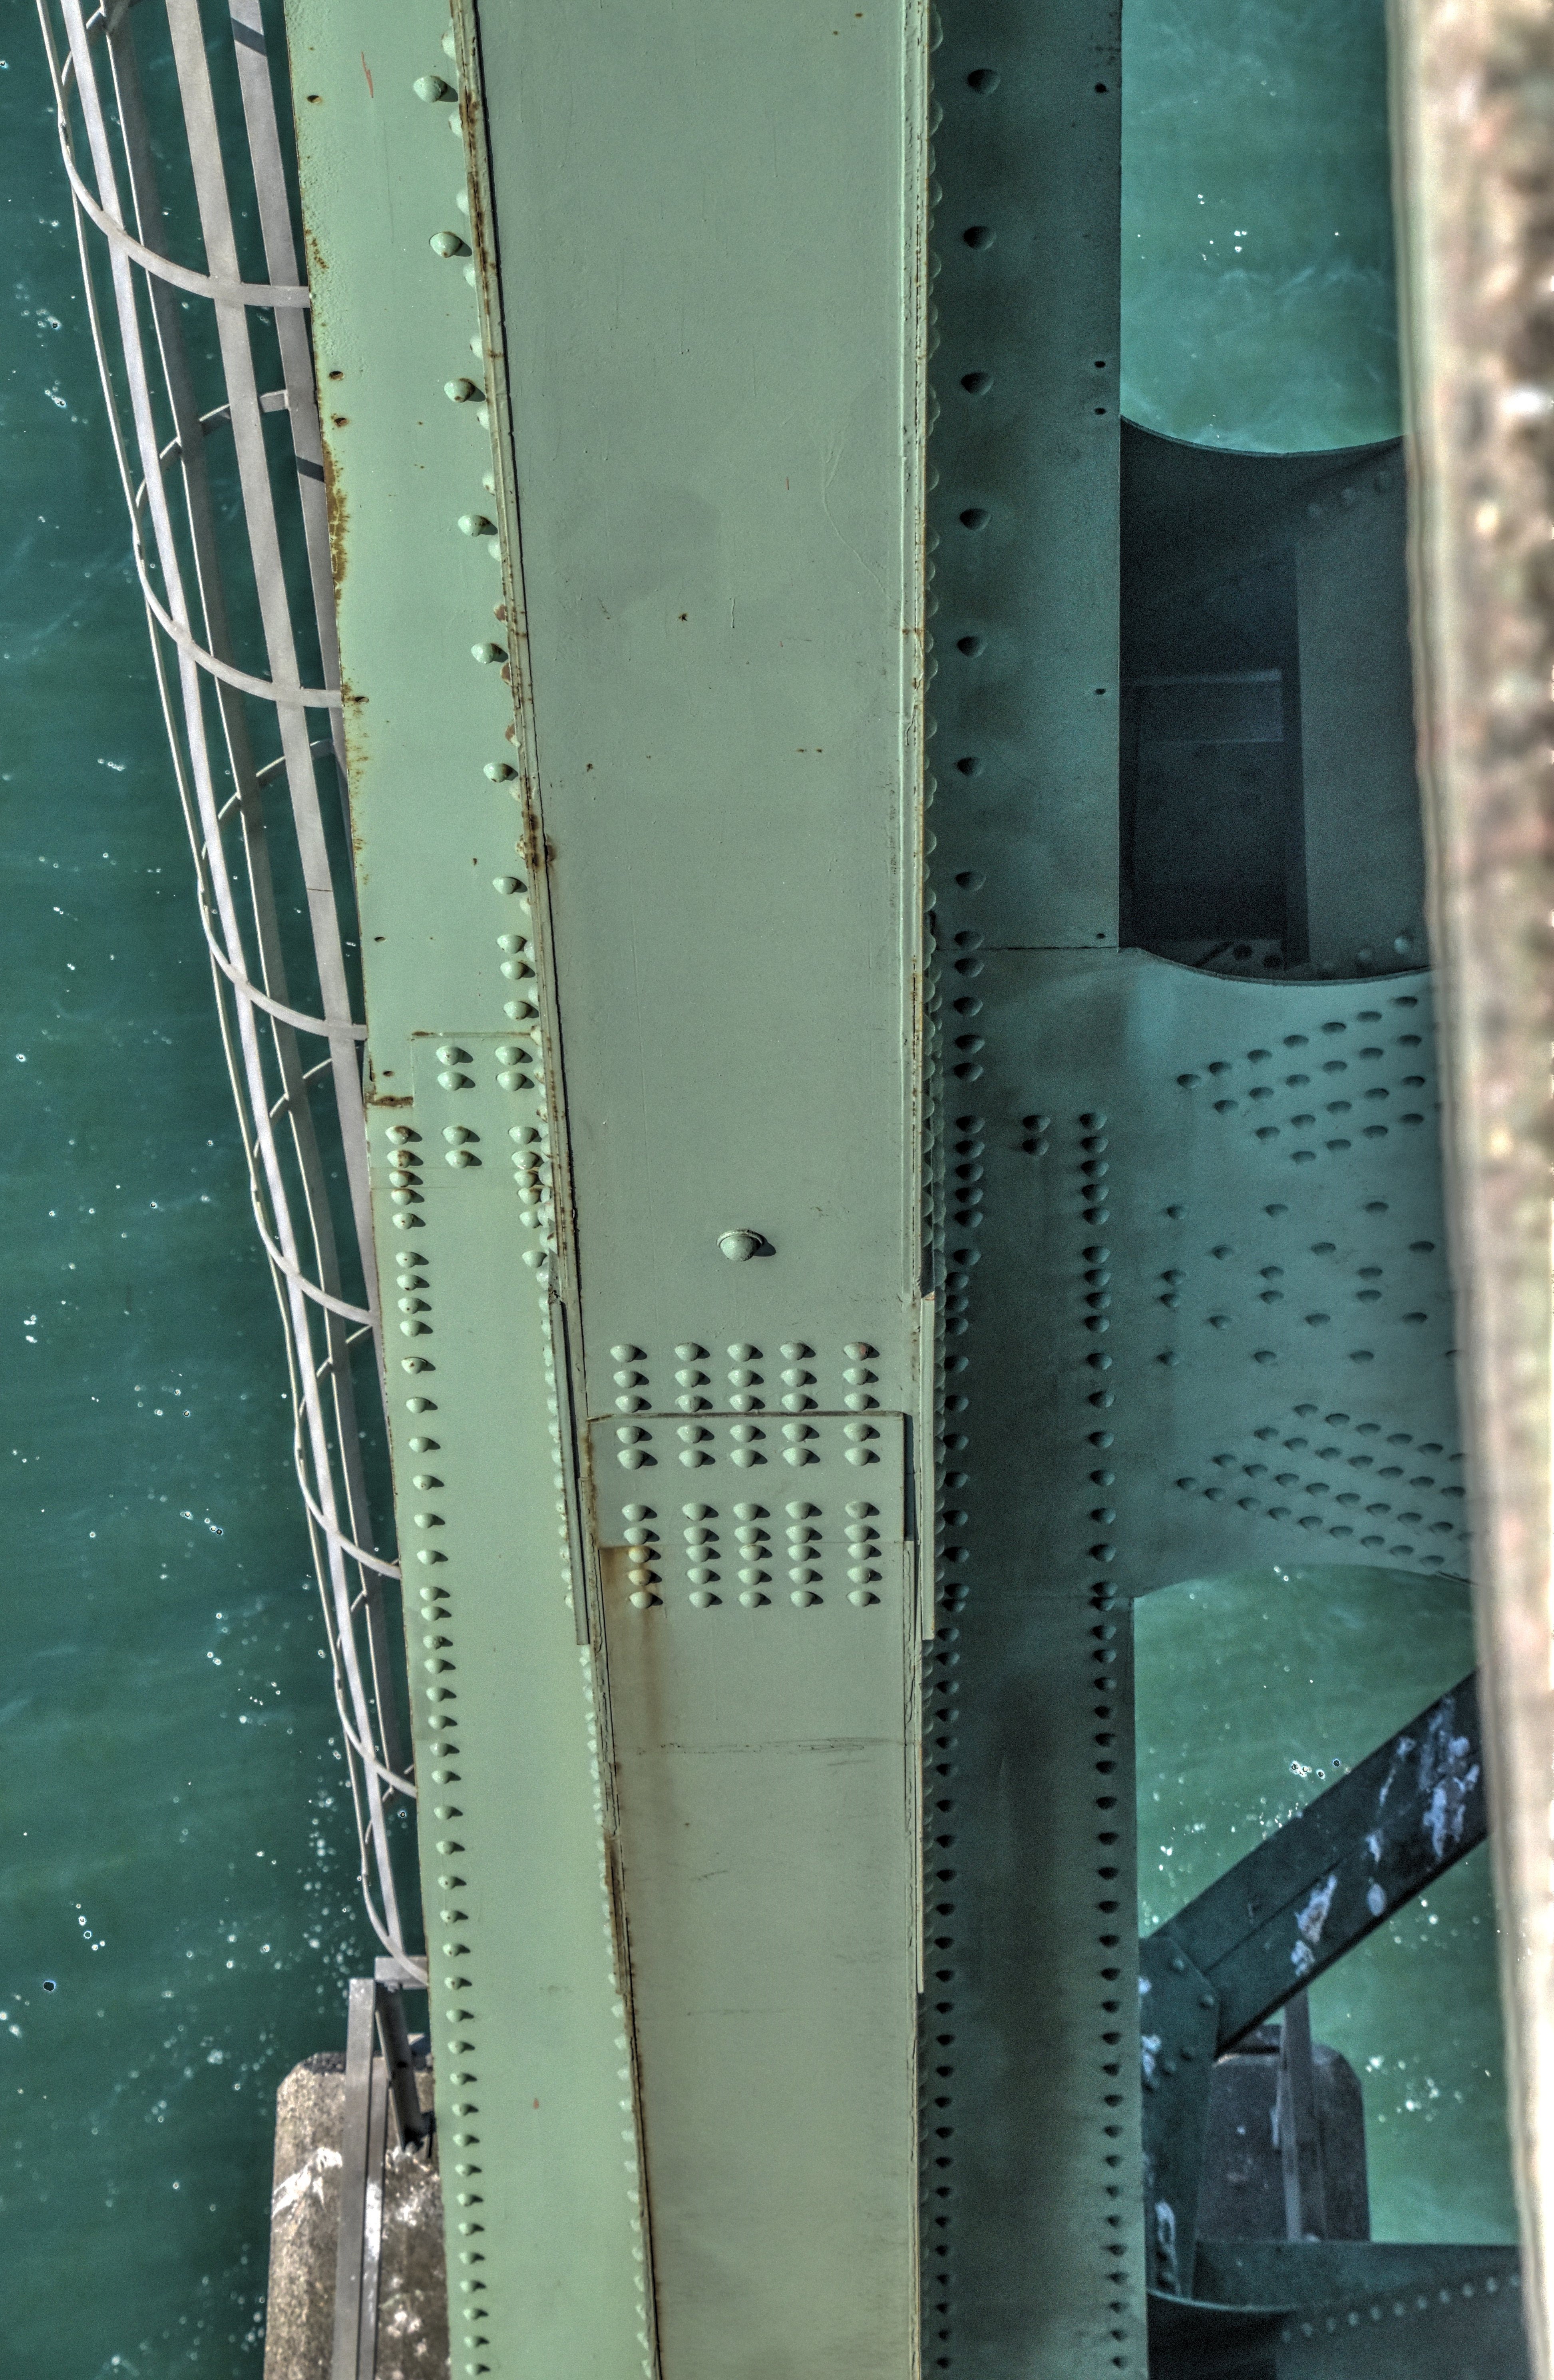
Detail of main post, portion below deck level.
![]()


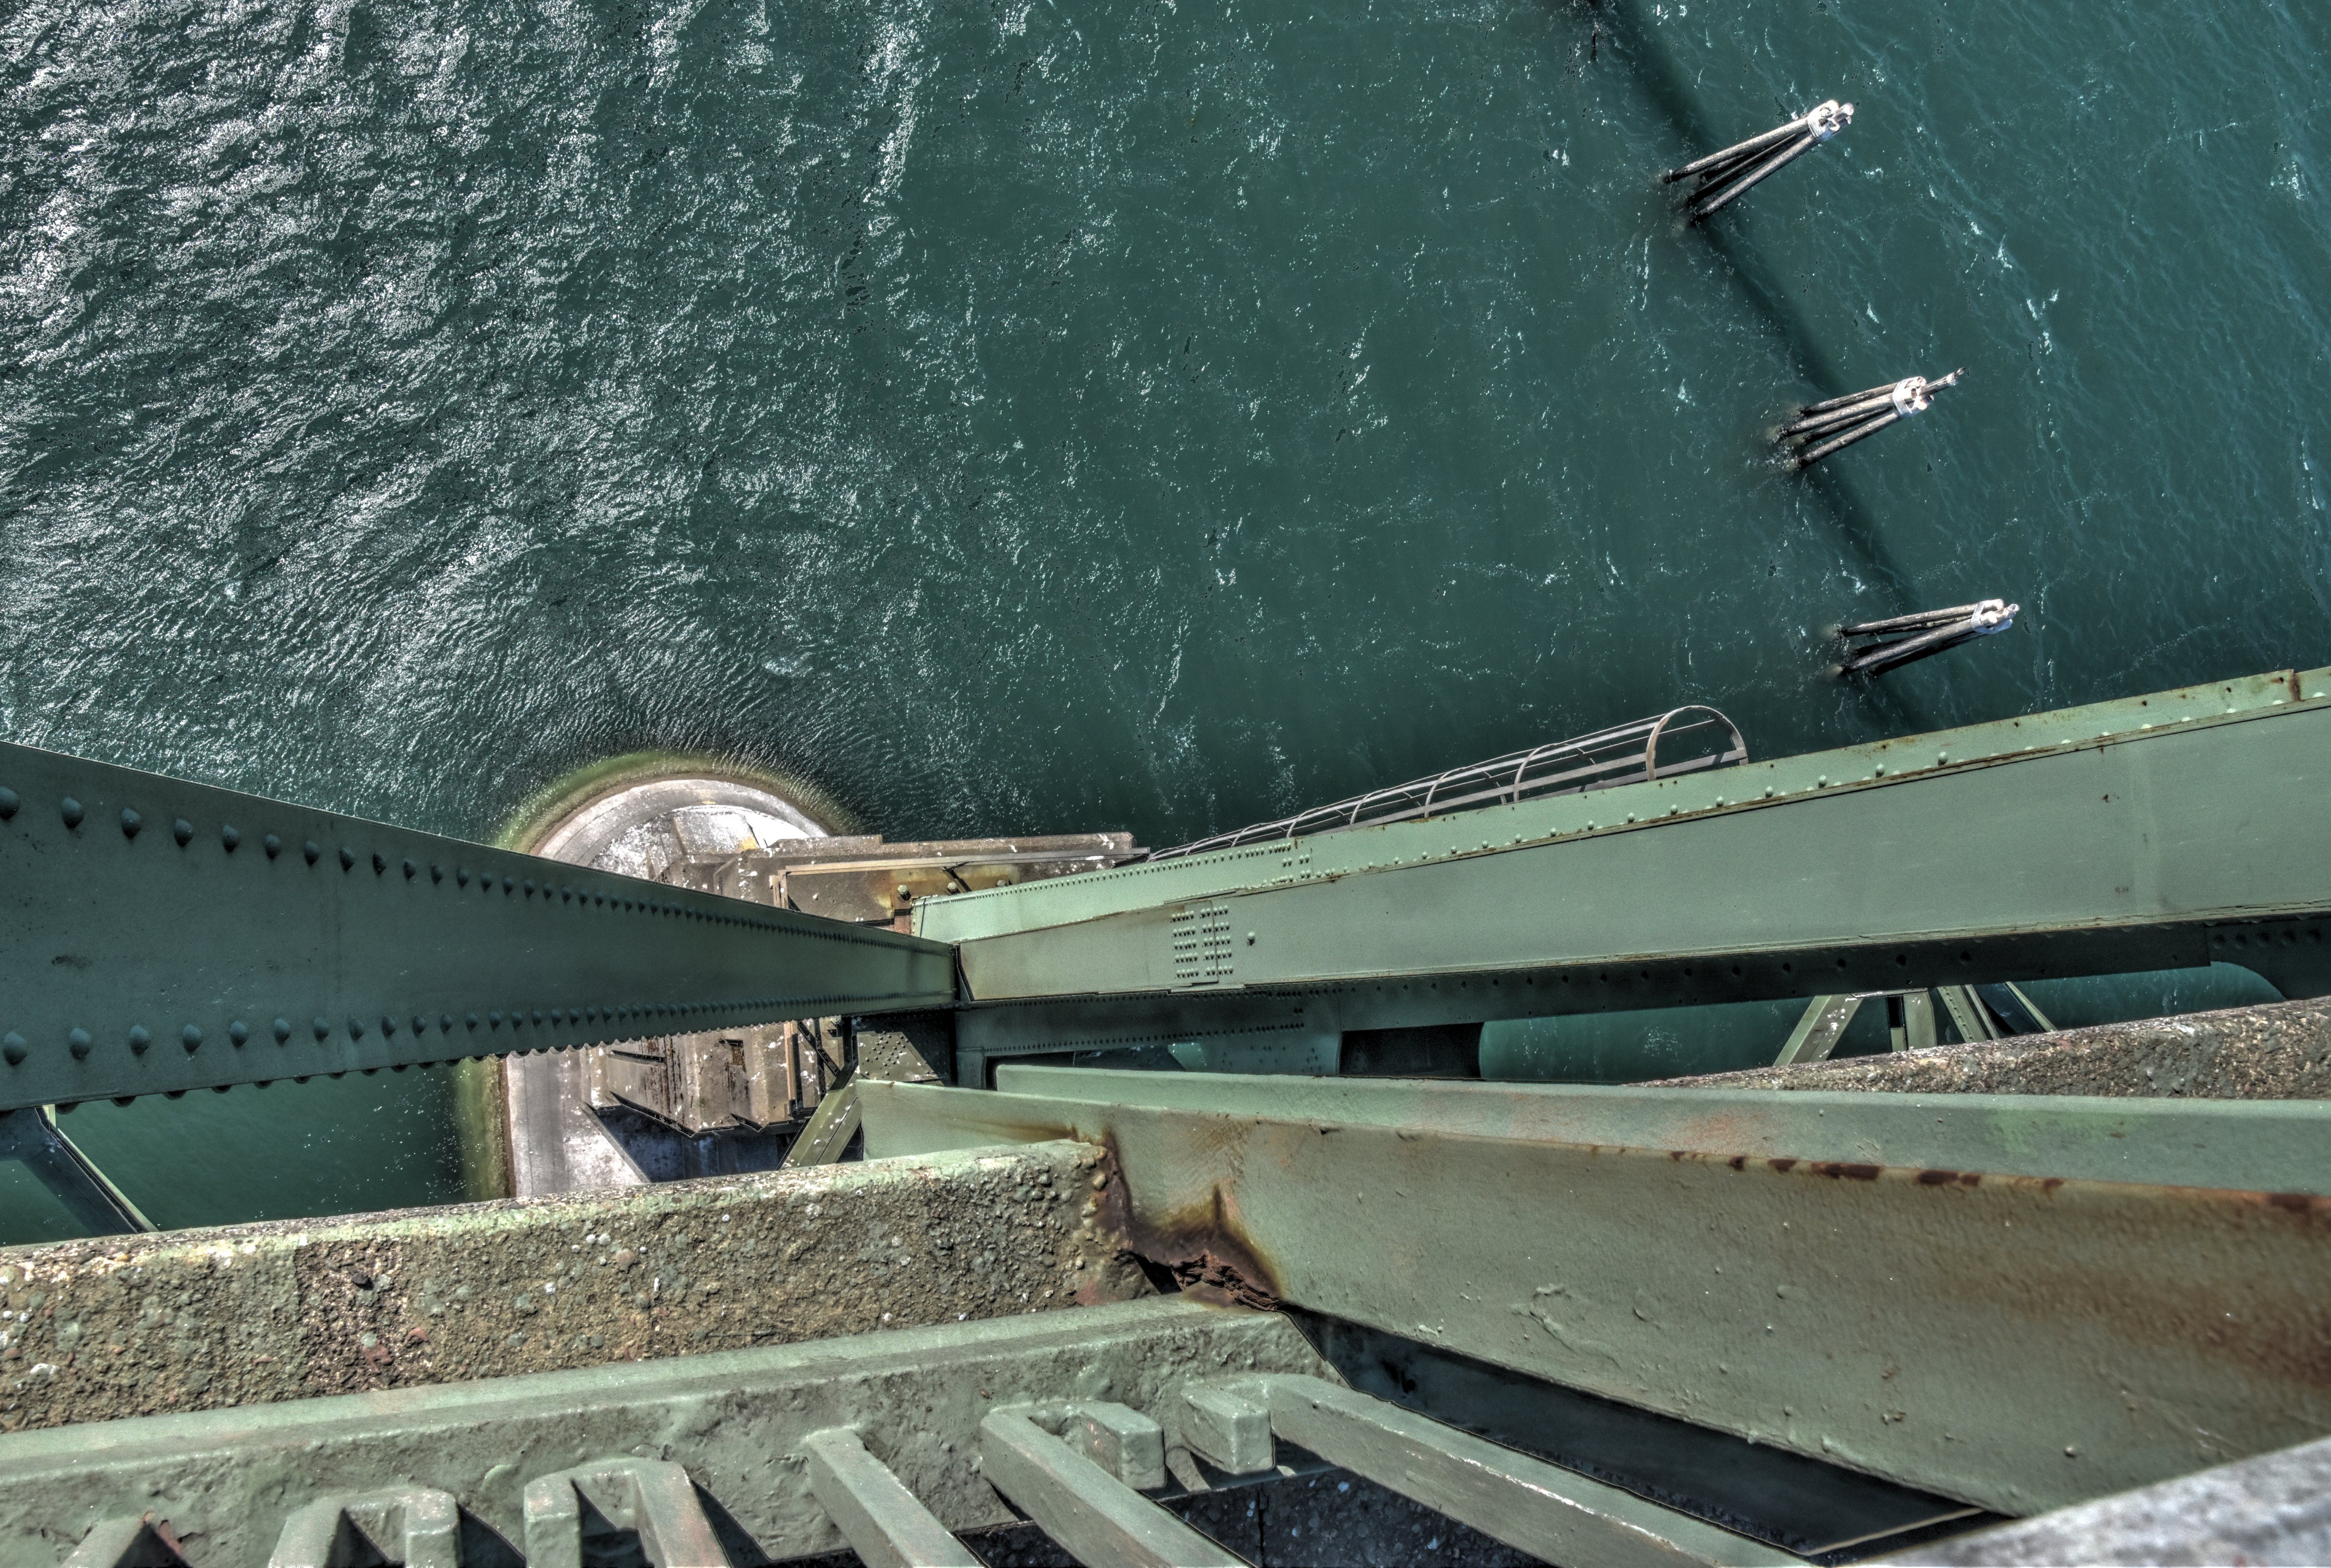
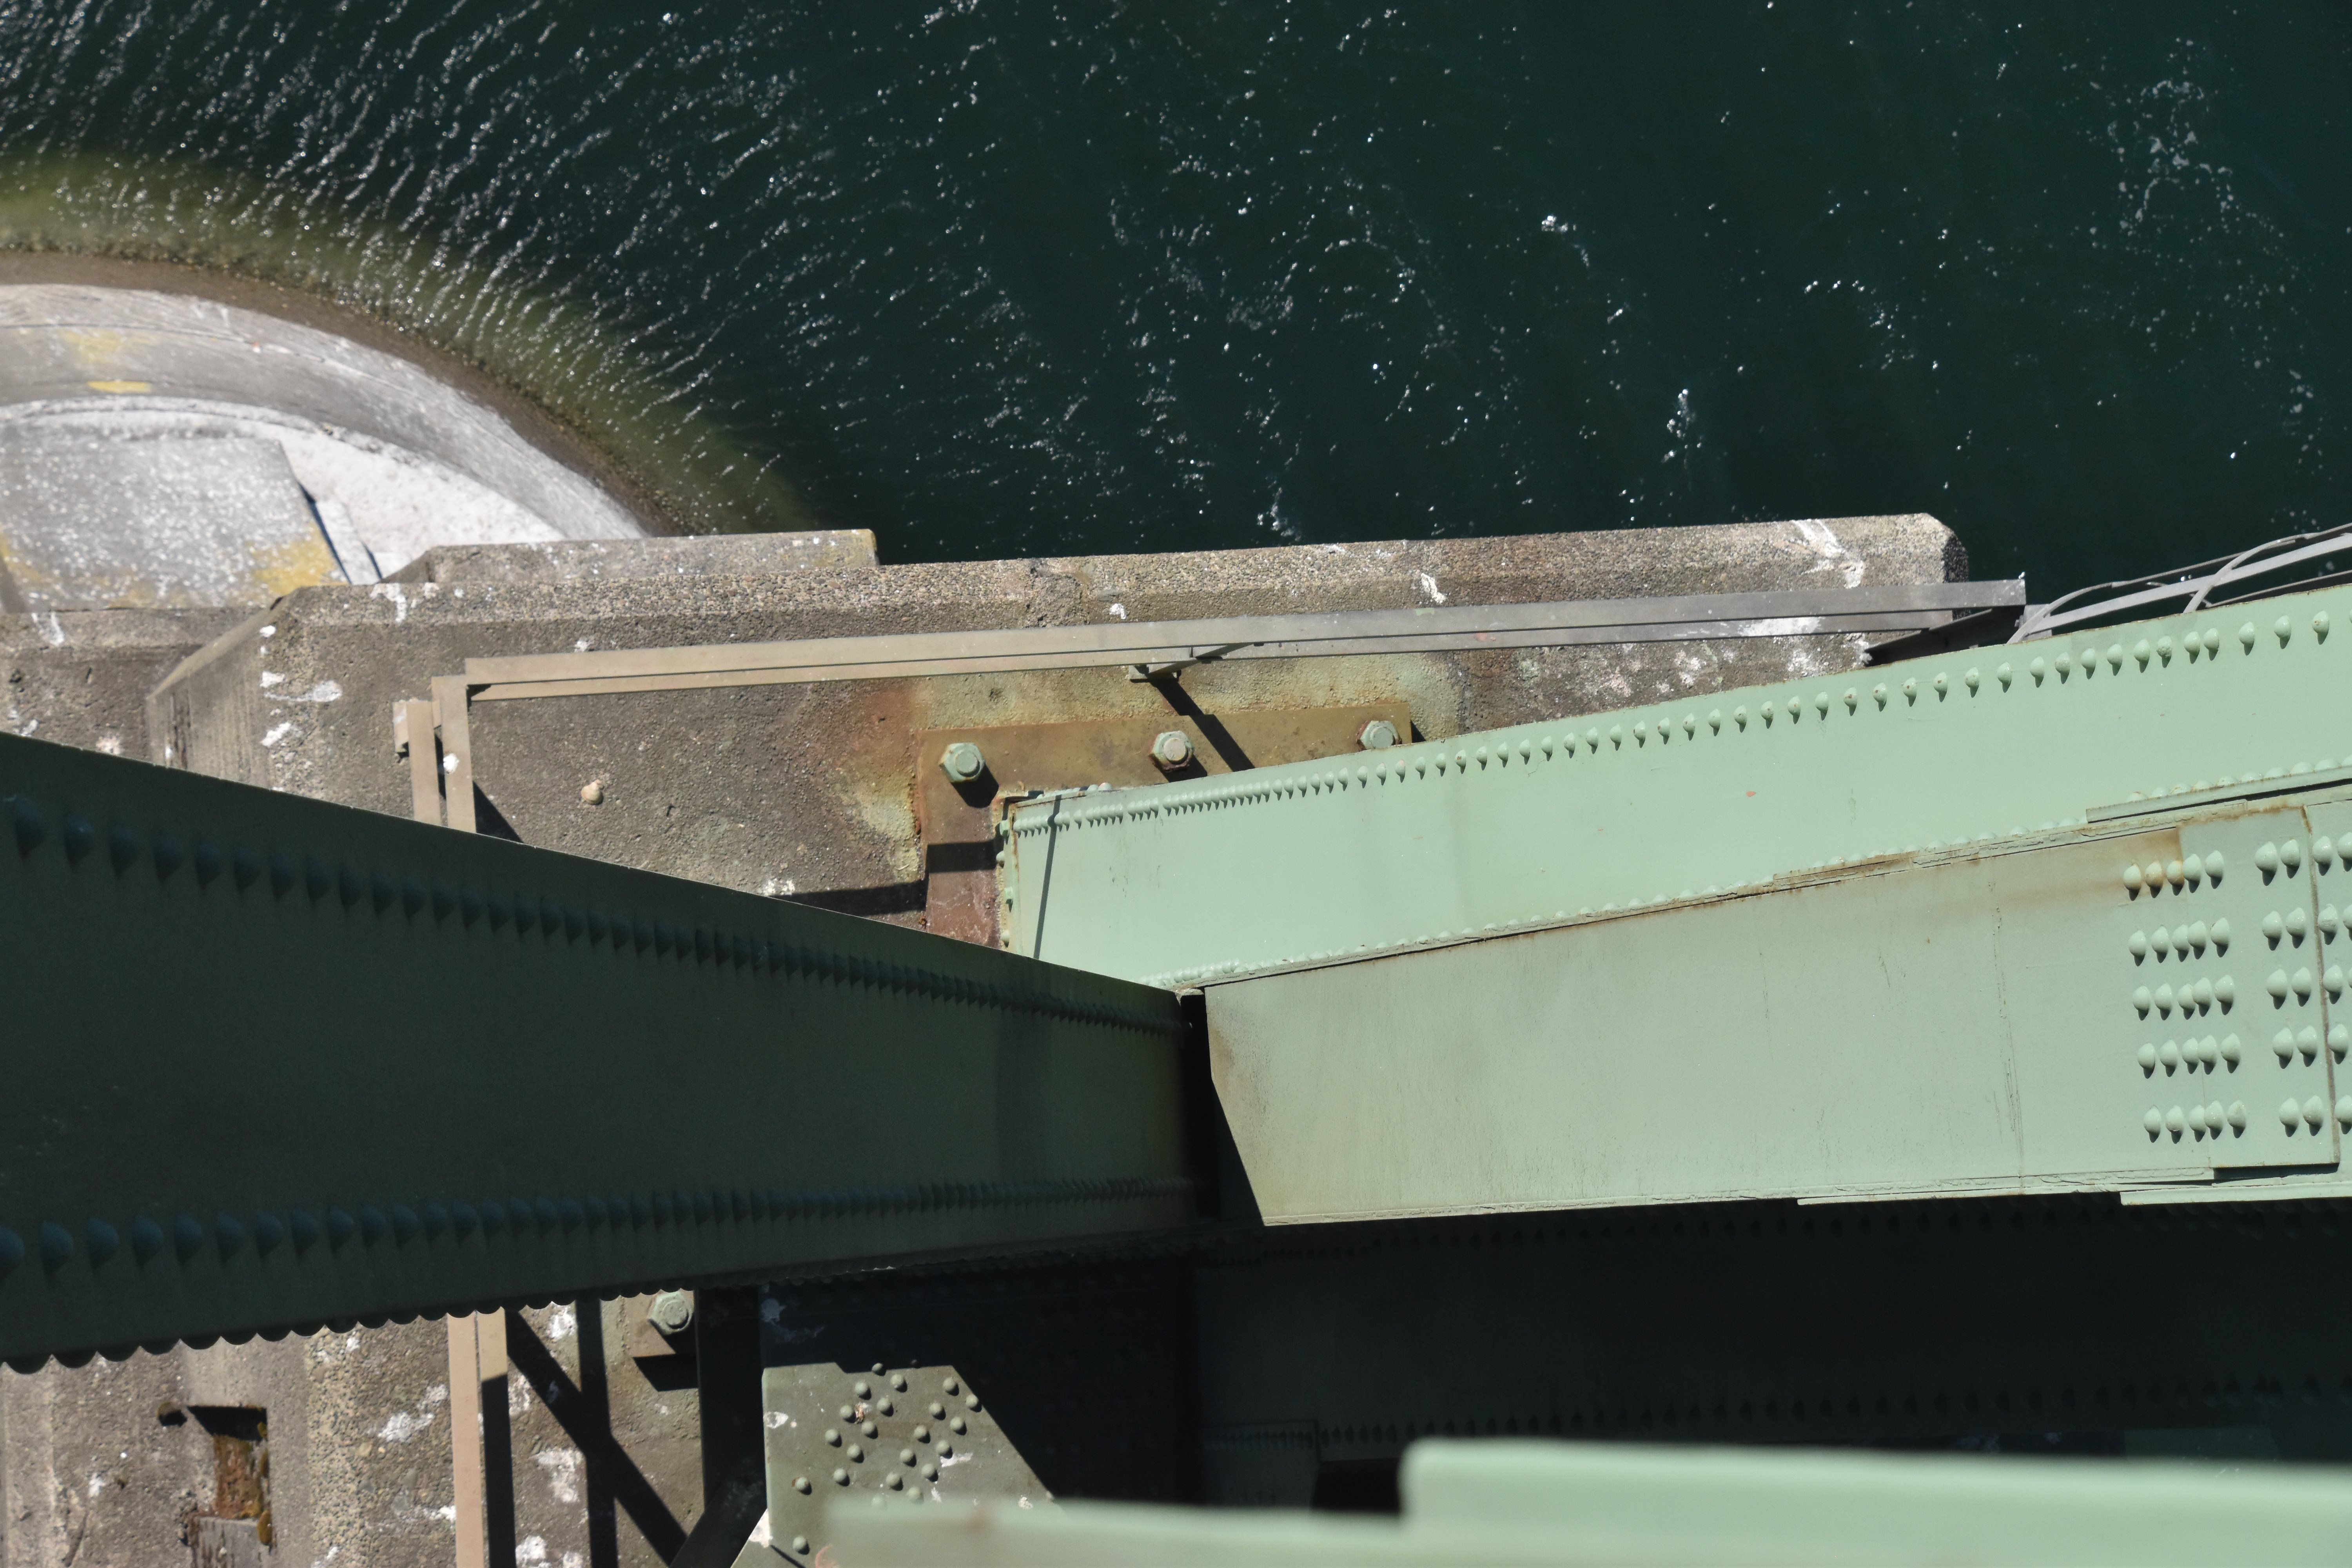

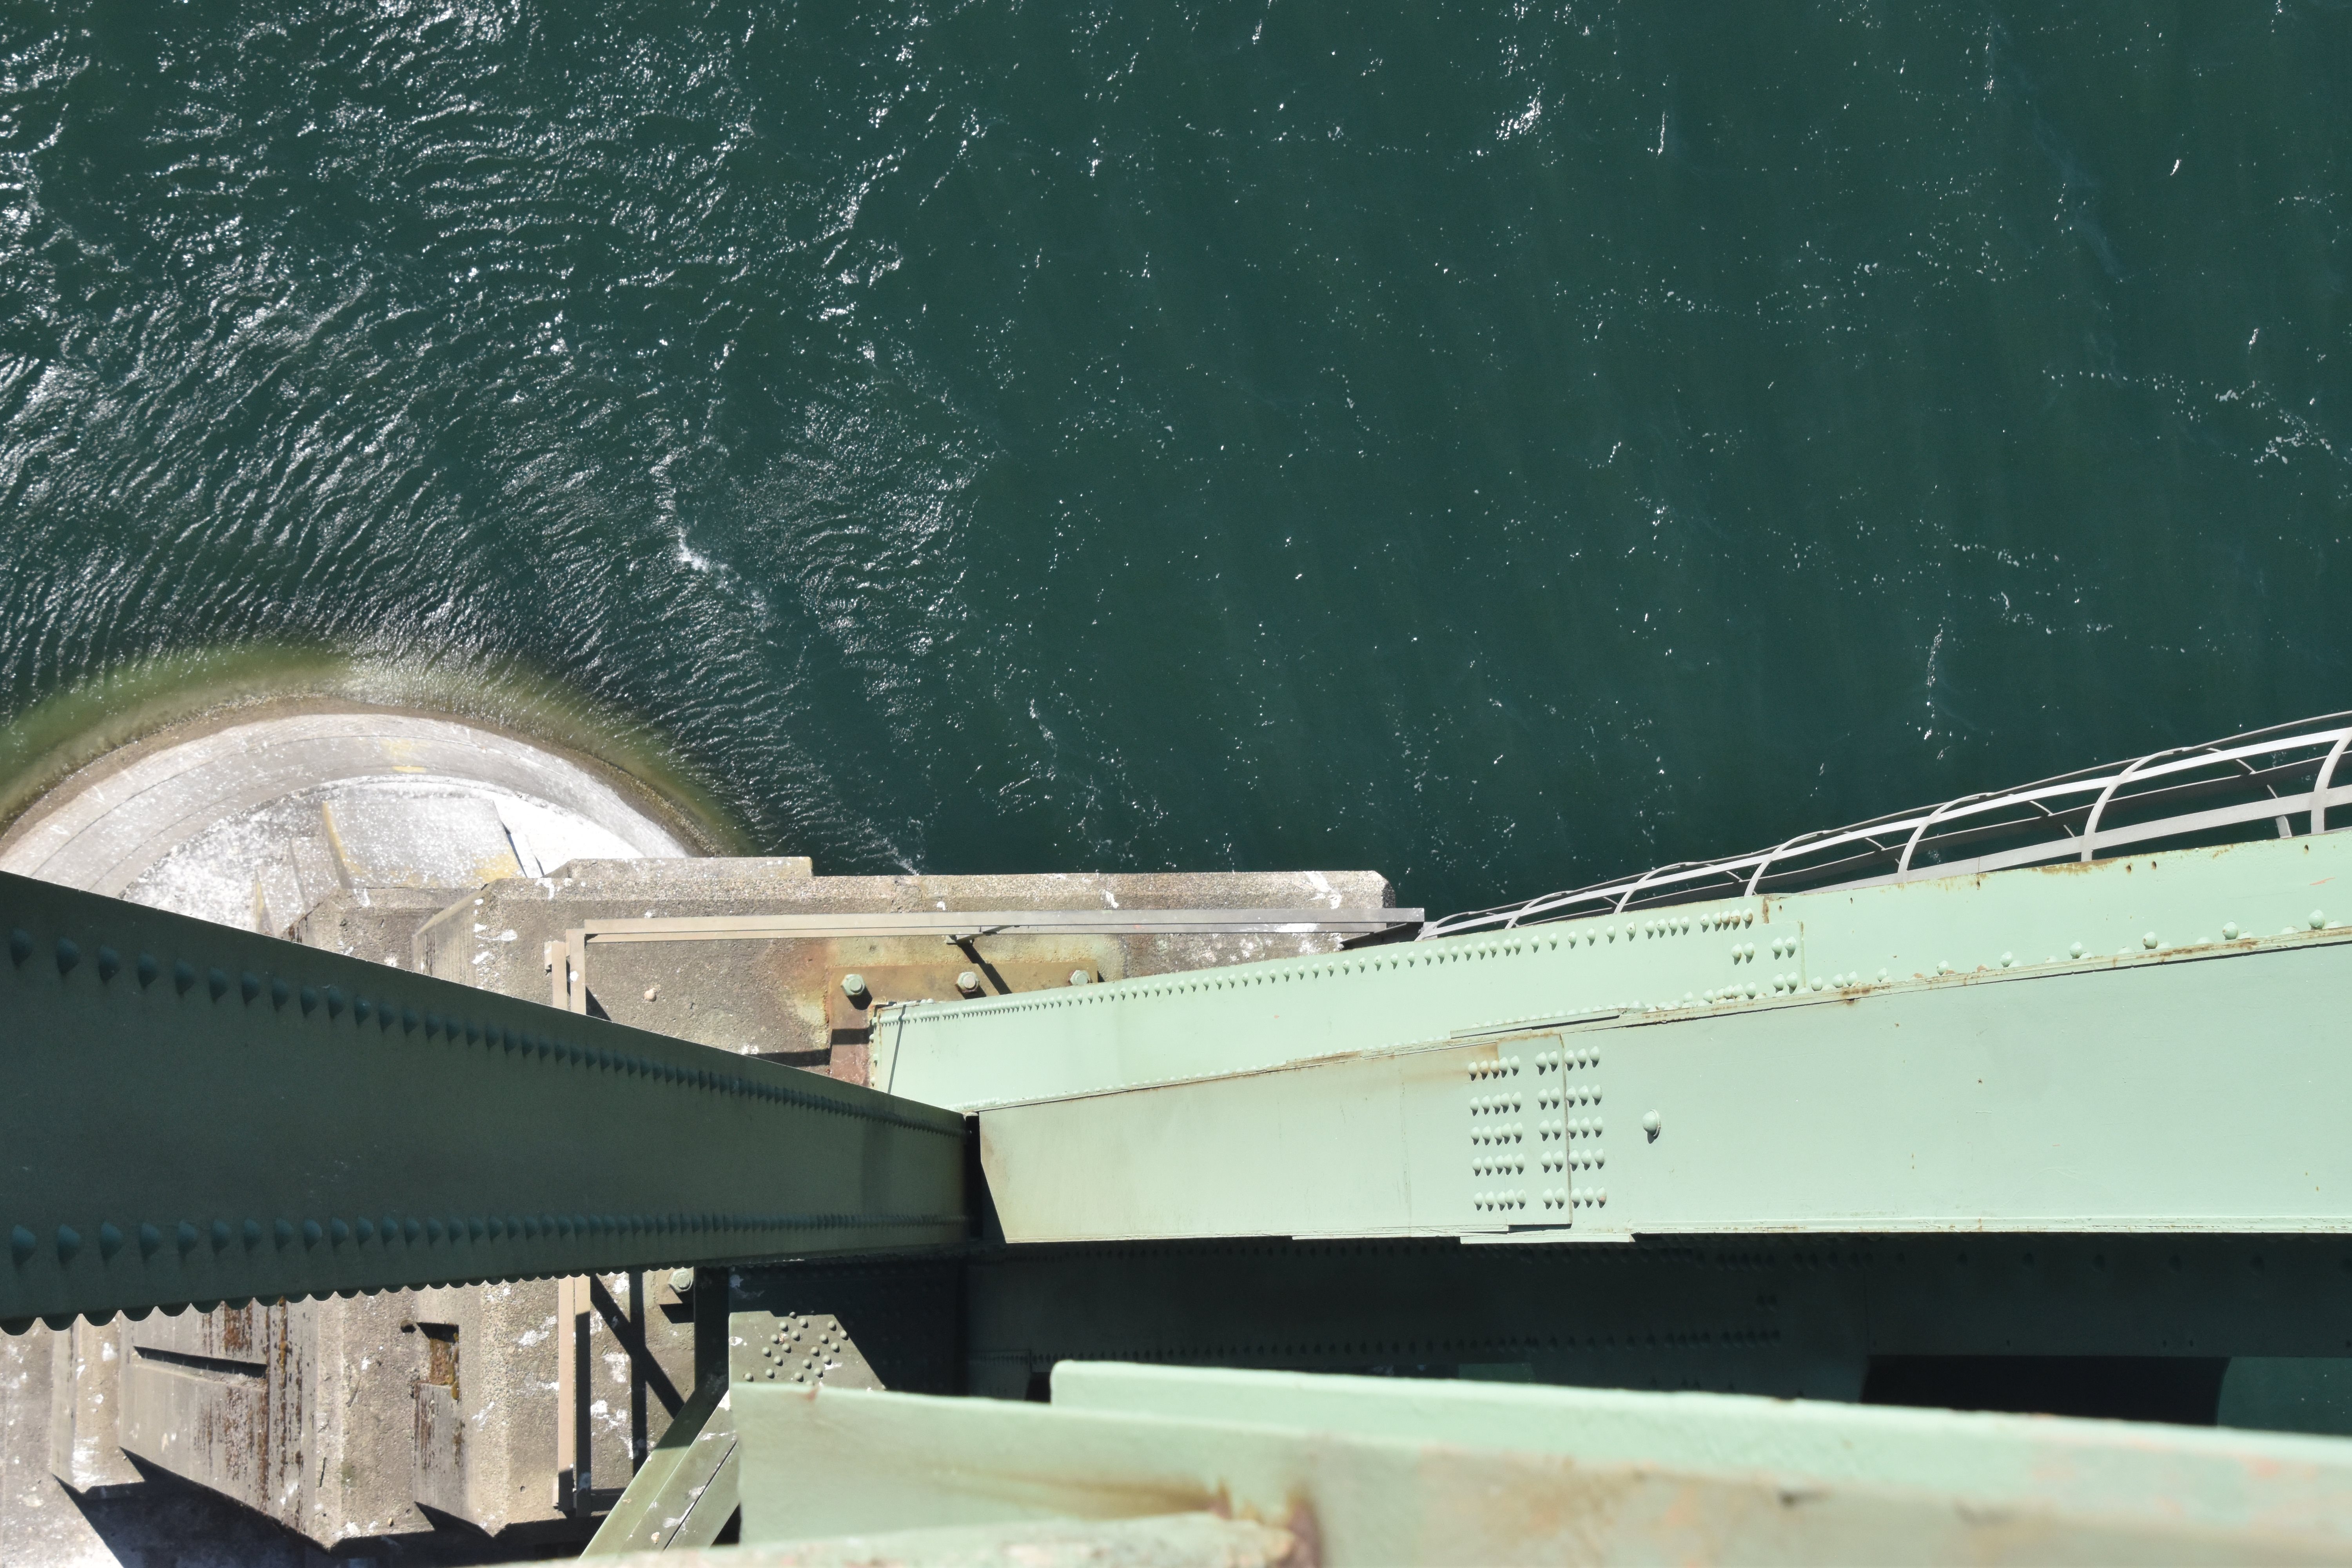

Connection detail at bearing.
![]()
Details of Cantilever Arm
![]()


Sway bracing.
![]()
Top chord and lateral bracing.
![]()


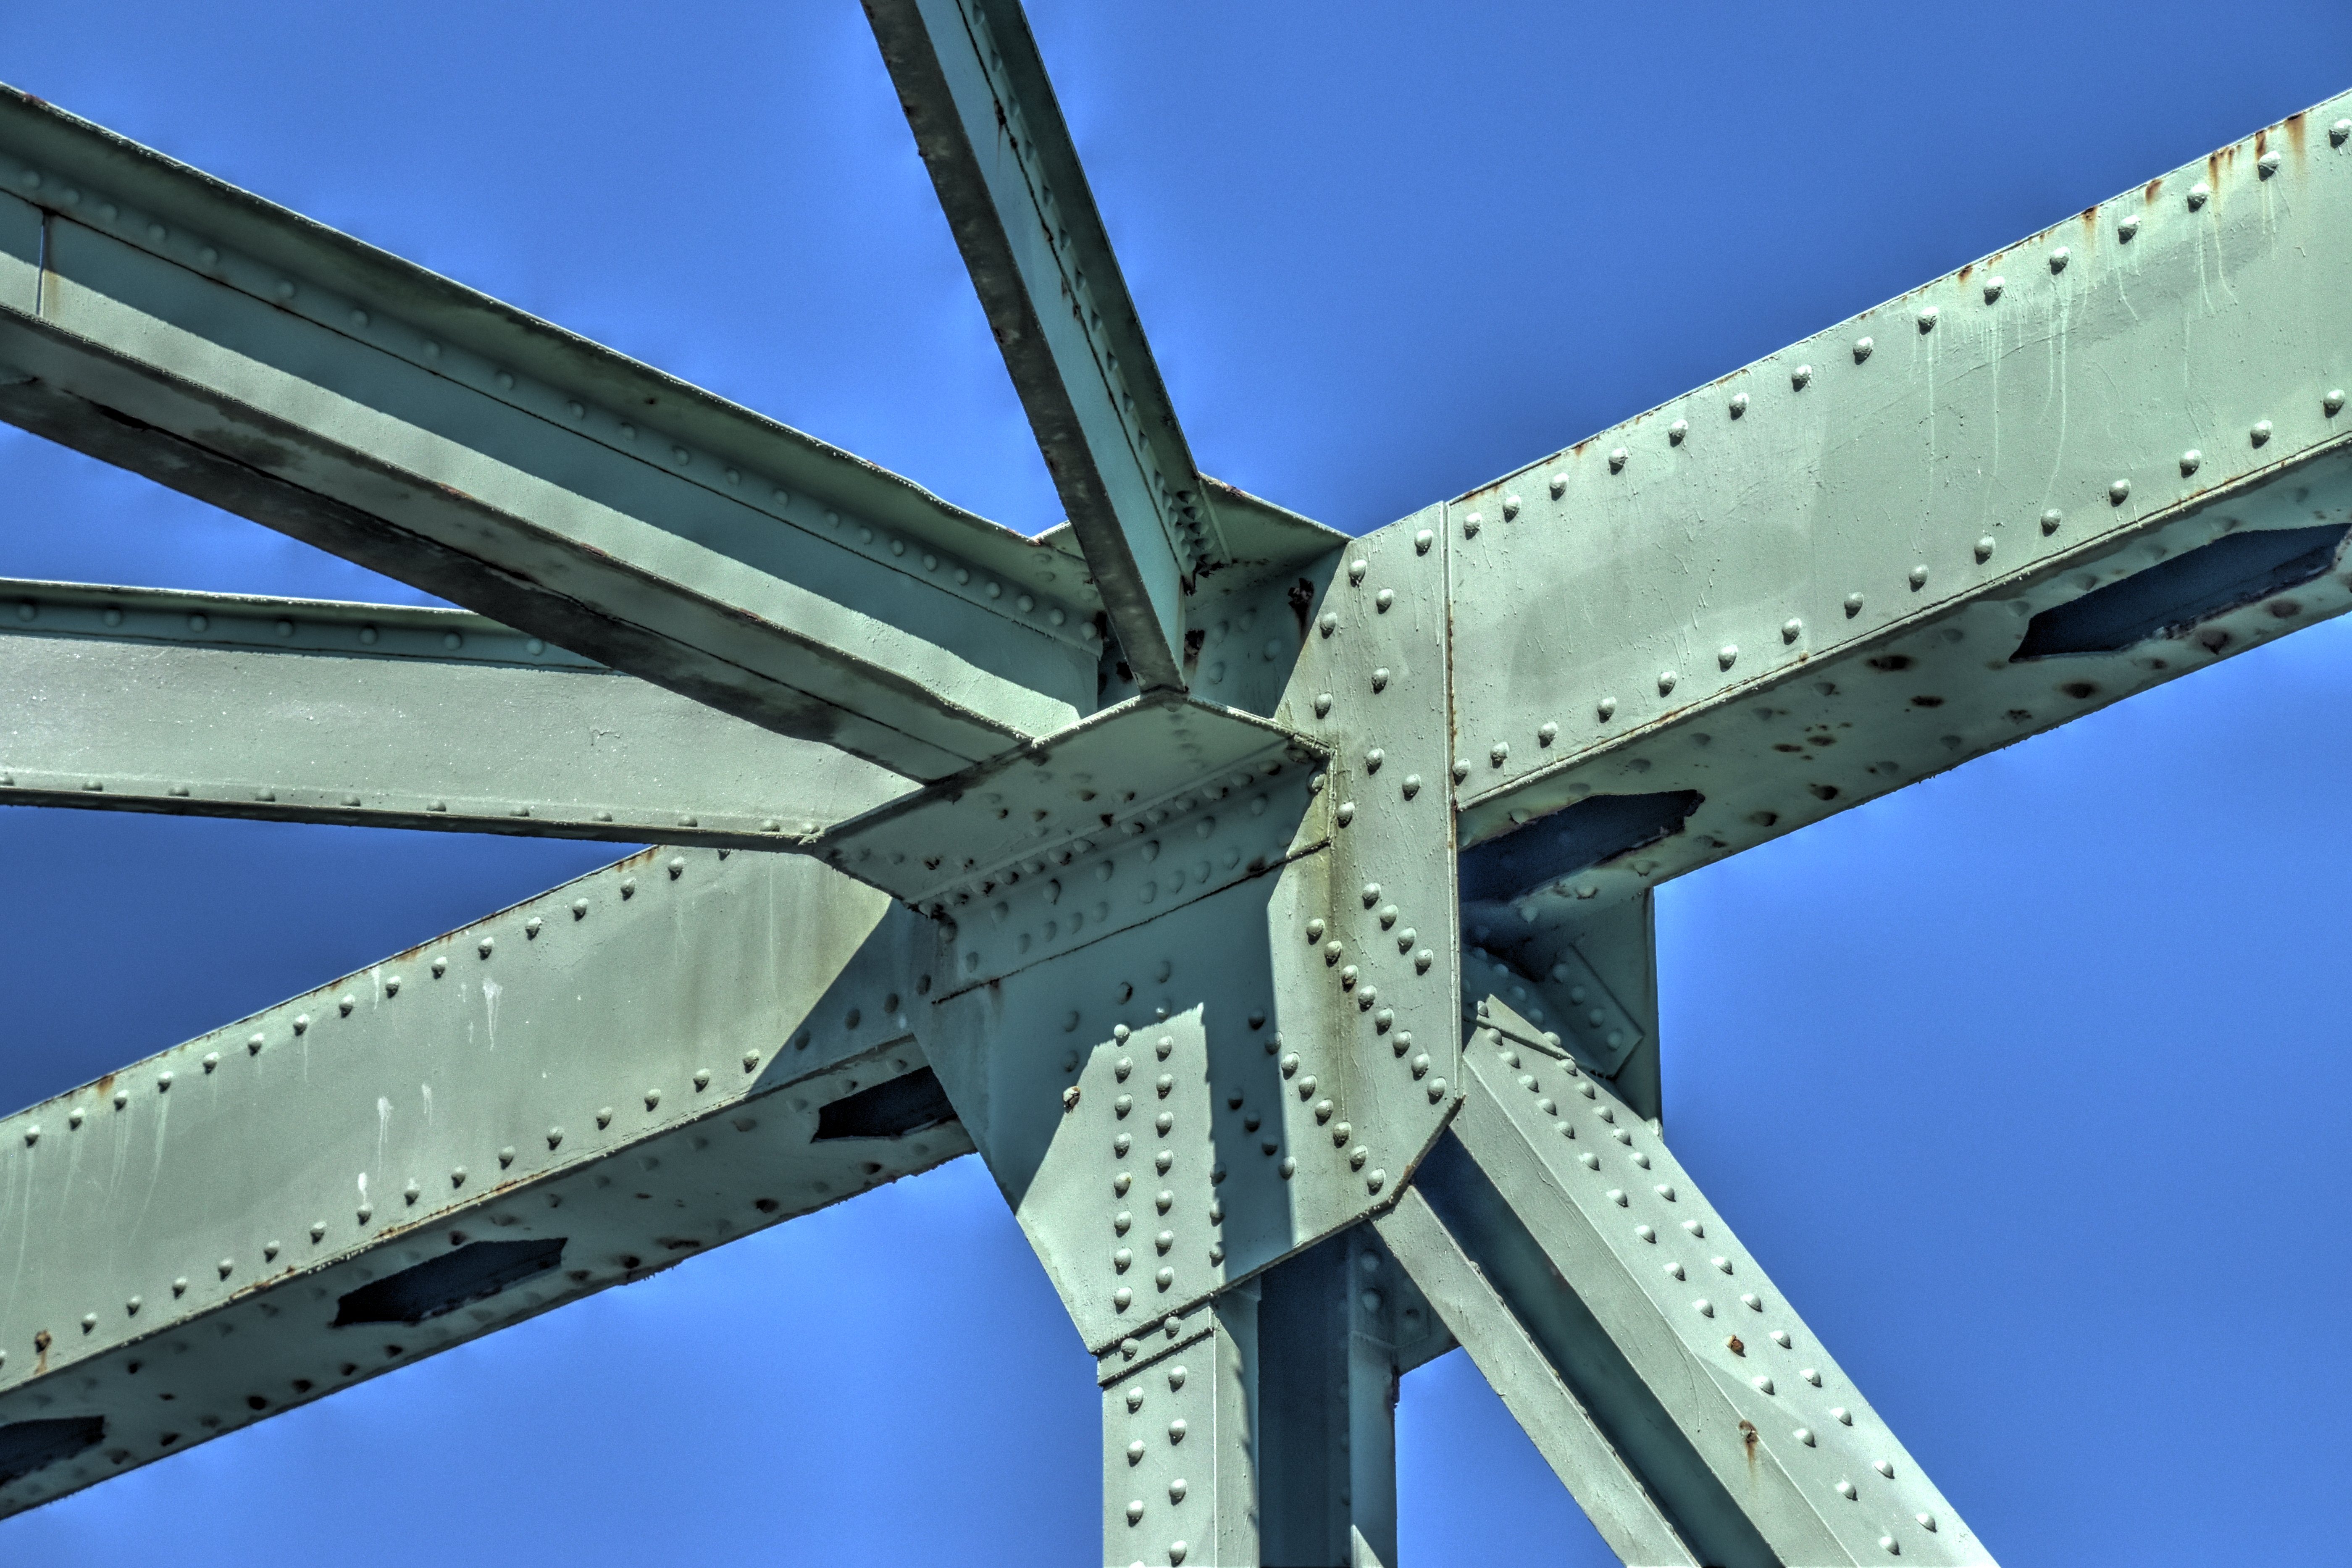
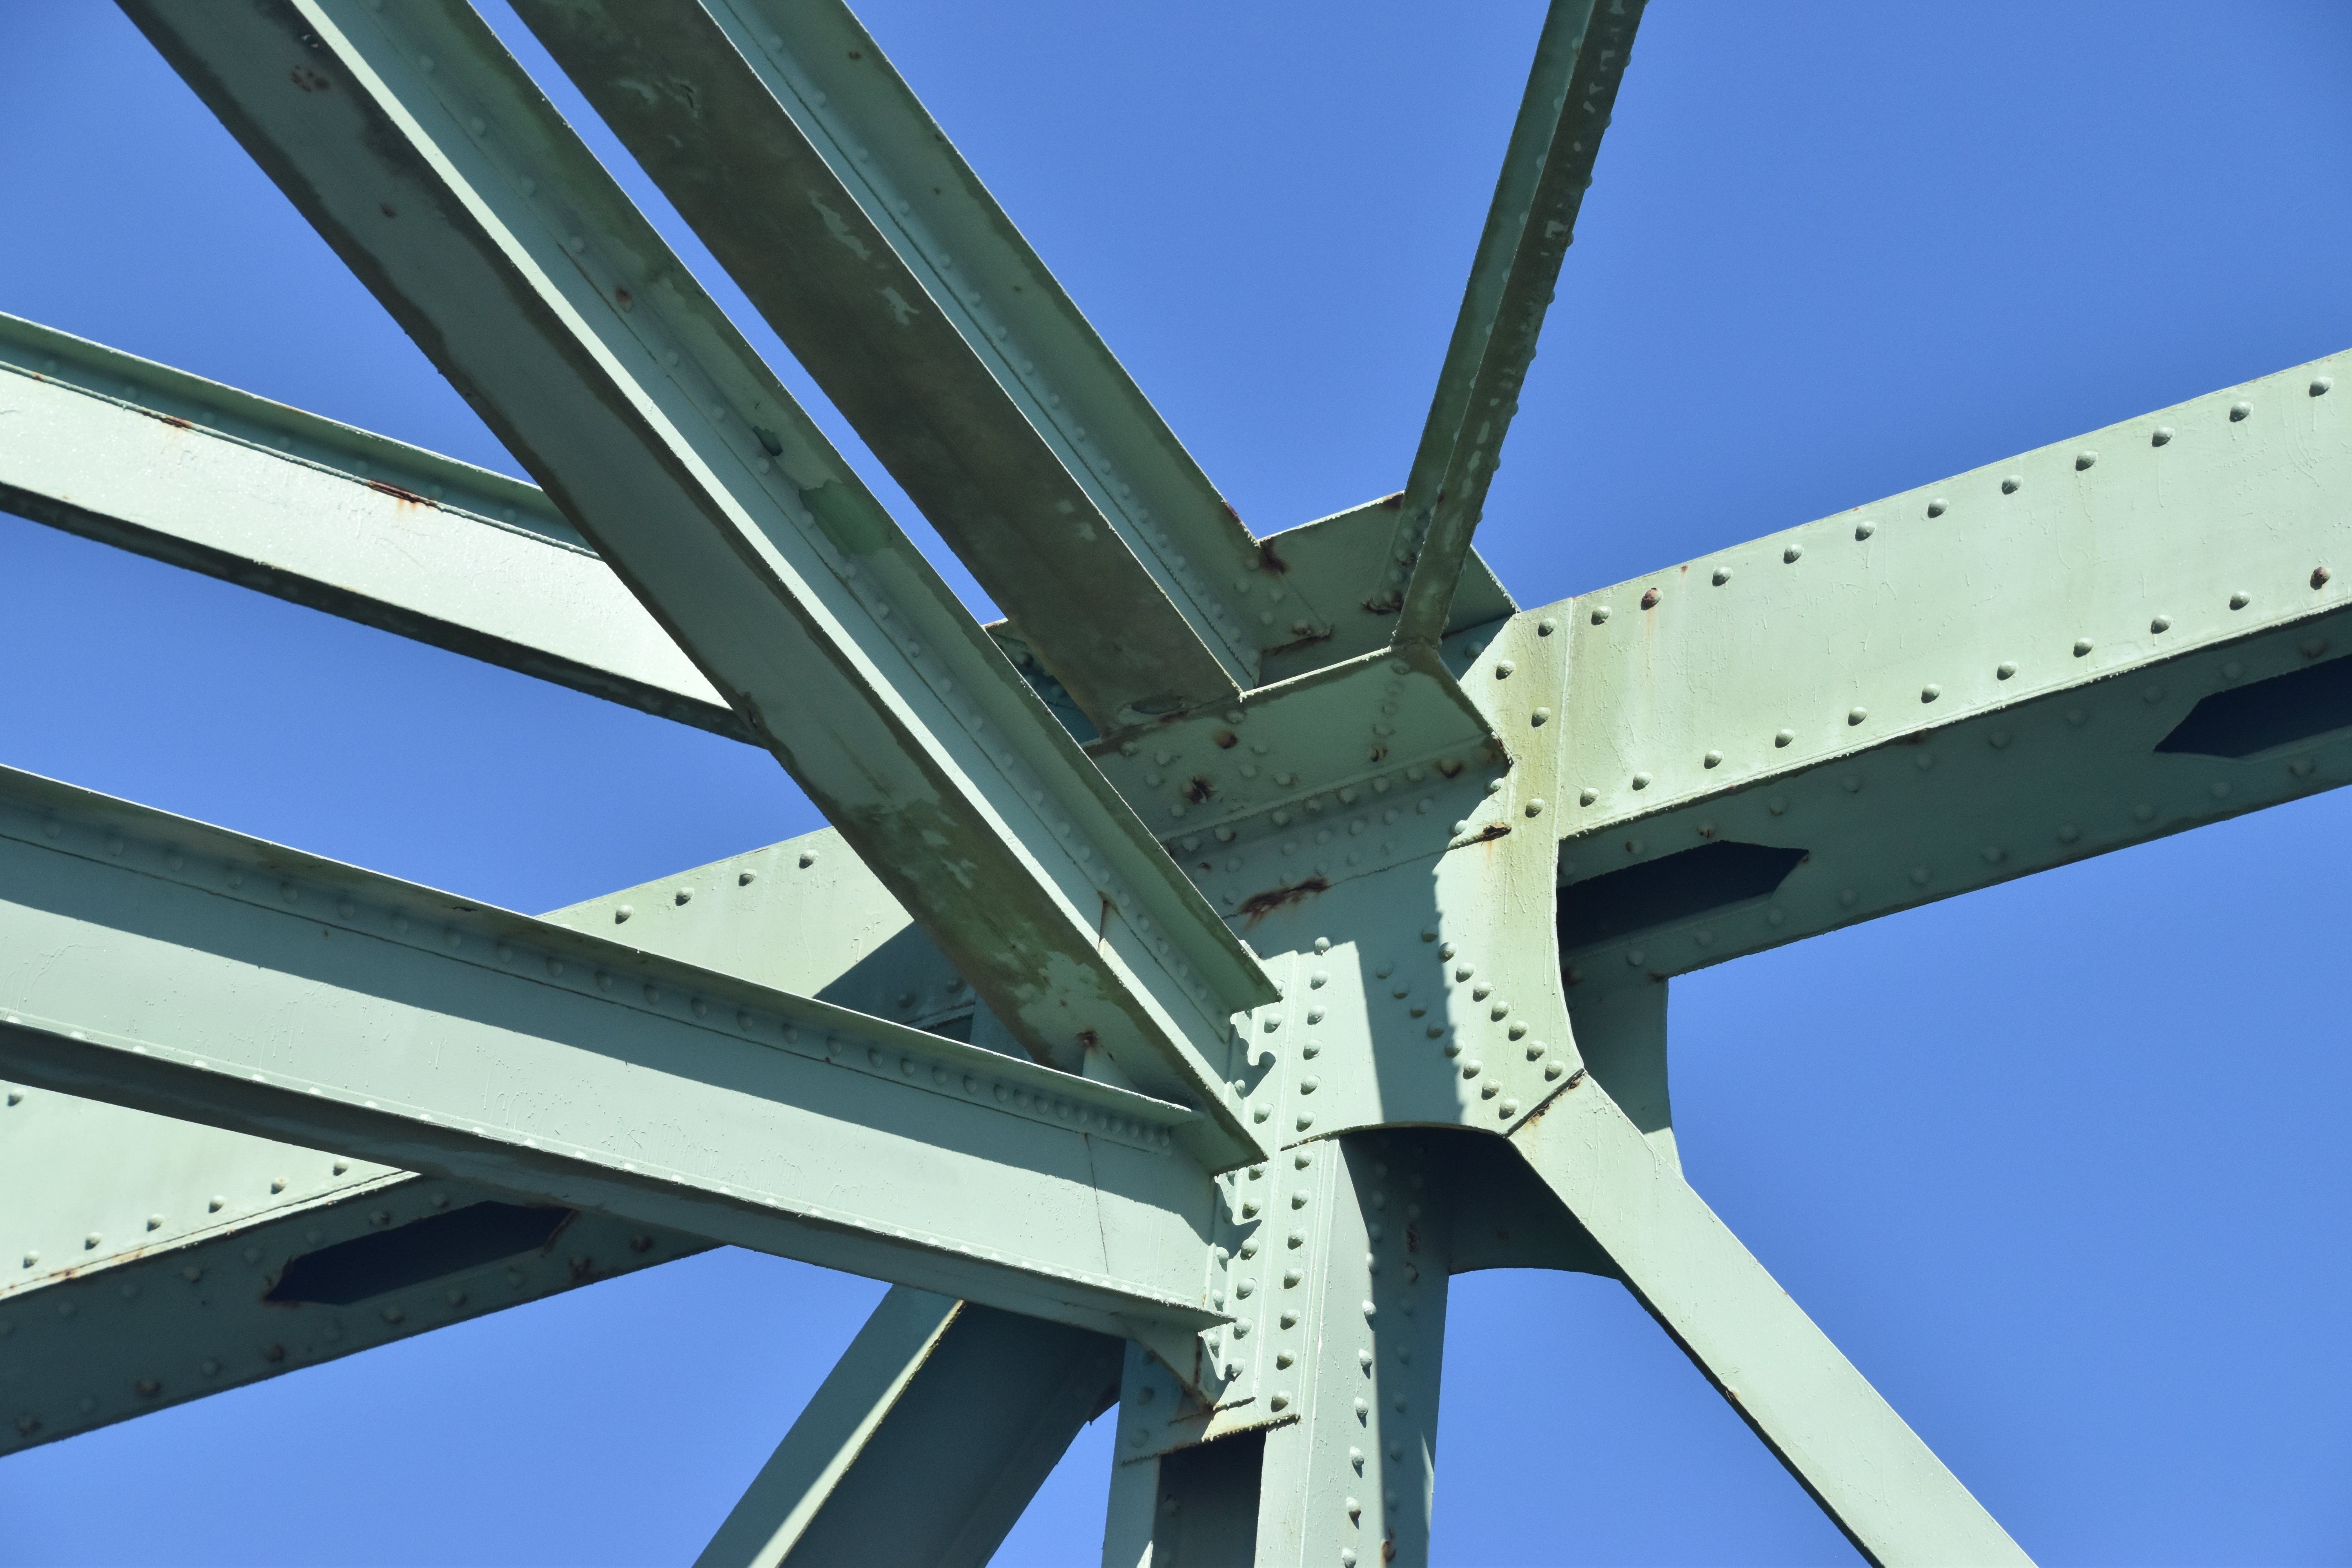
Top chord connections as viewed from on bridge.
![]()


Bottom chord connections as viewed from on bridge.
![]()

Intermediate connections as viewed from on bridge.
![]()

Vertical member.
![]()


Lower lateral bracing connection.
![]()
Details of Hanger Assembly For Transition From Cantilever Arm To Suspended Span.
![]()


Pin-connected top chord link.
![]()


Hanger.
![]()


Top chord pin connection at hanger.
![]()


Hanger pin connection to bottom chord.
![]()


Top chord pin connection at end of suspended span.
![]()

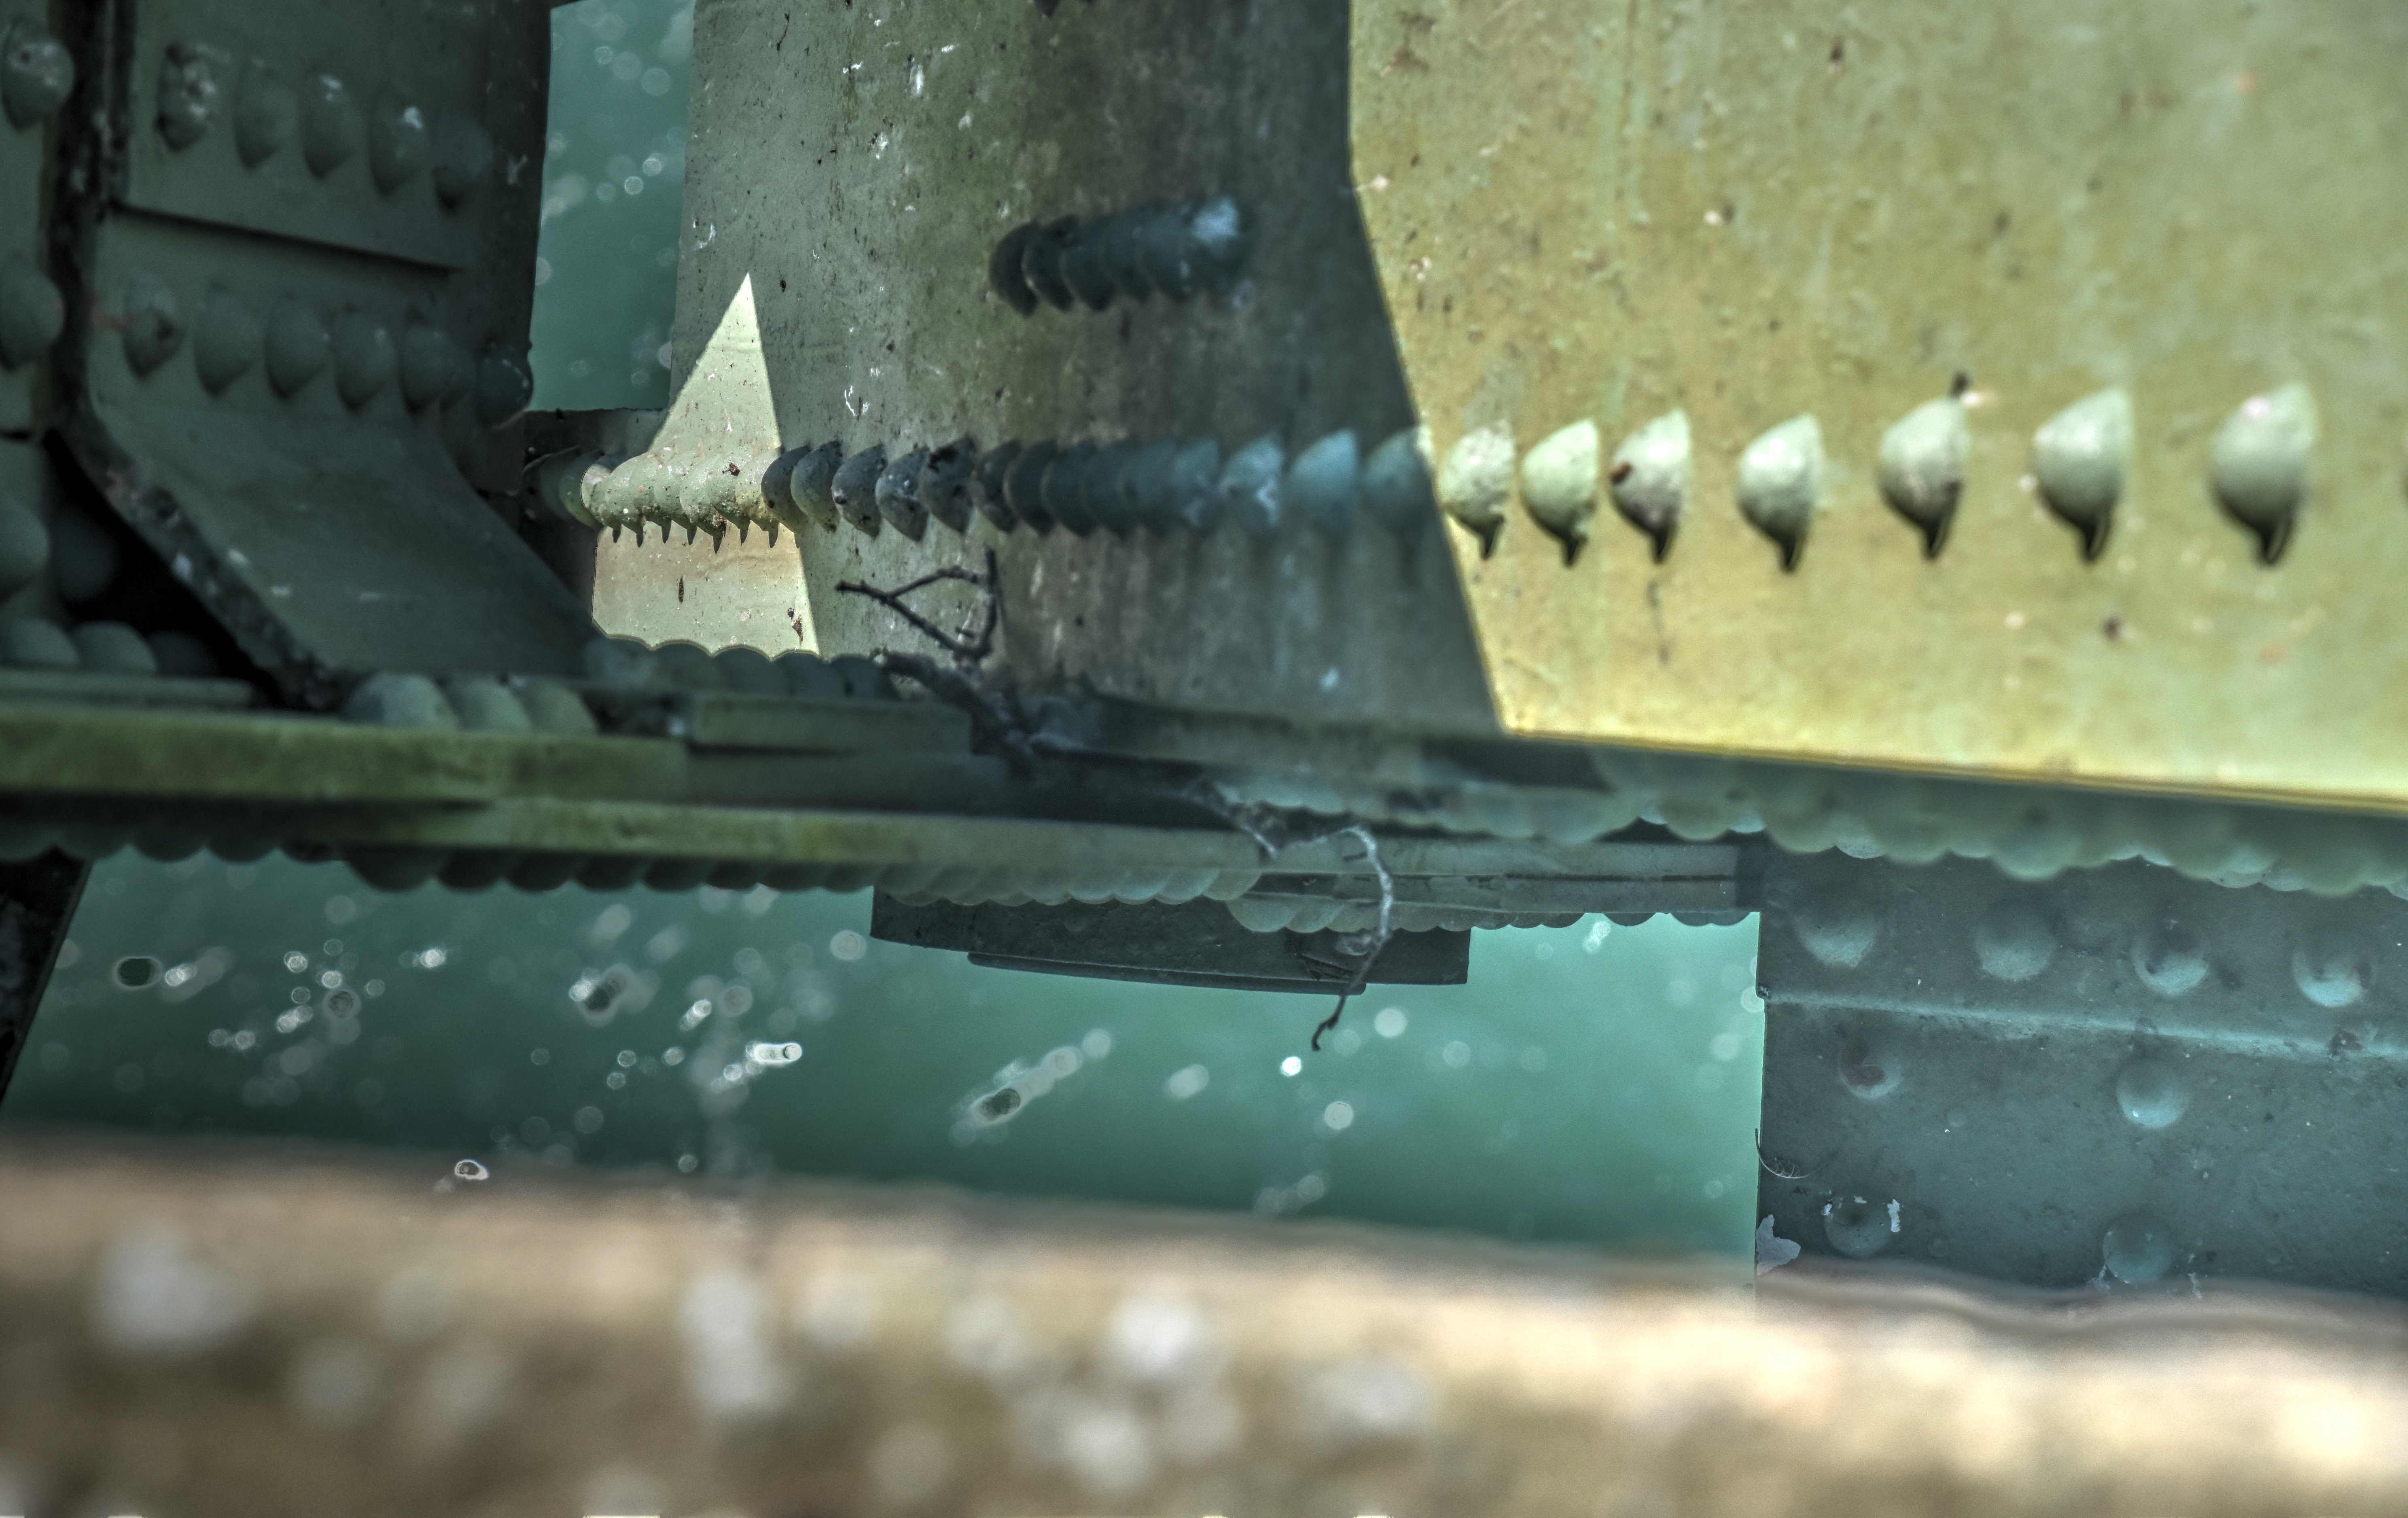
Hanger detail.
![]()
Details of Suspended Span
![]()


Vertical members.
![]()


Sway bracing.
![]()


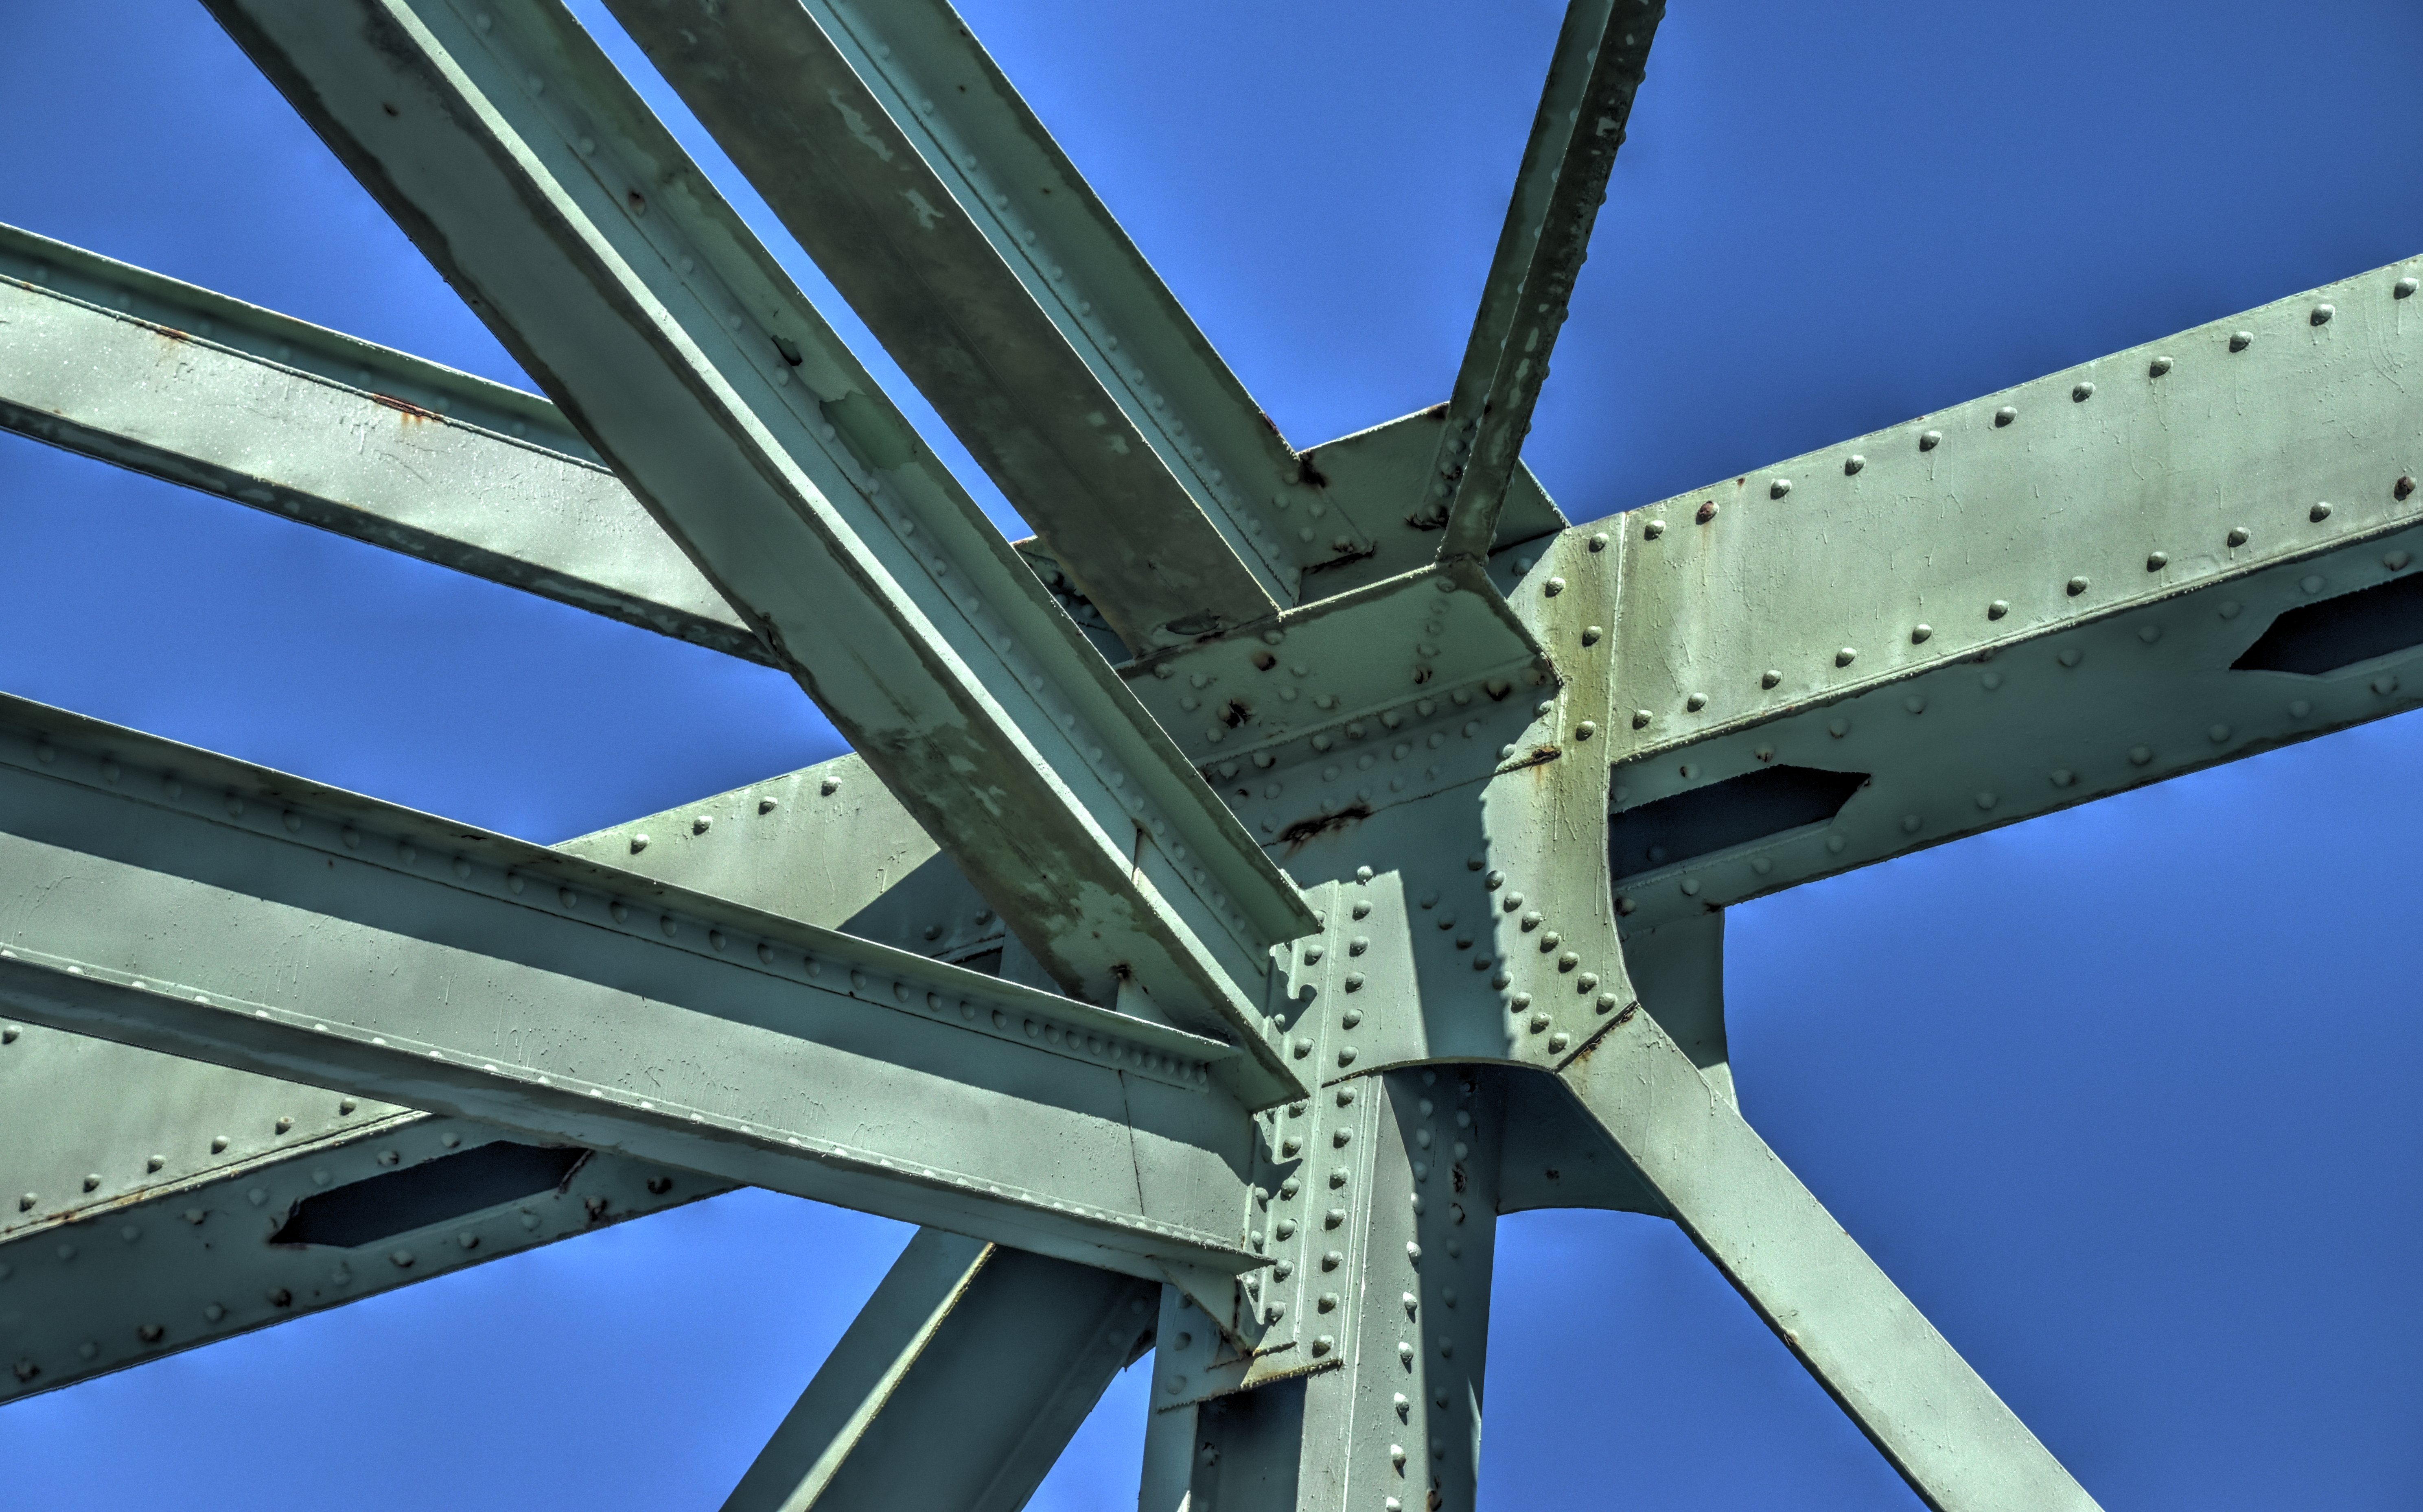


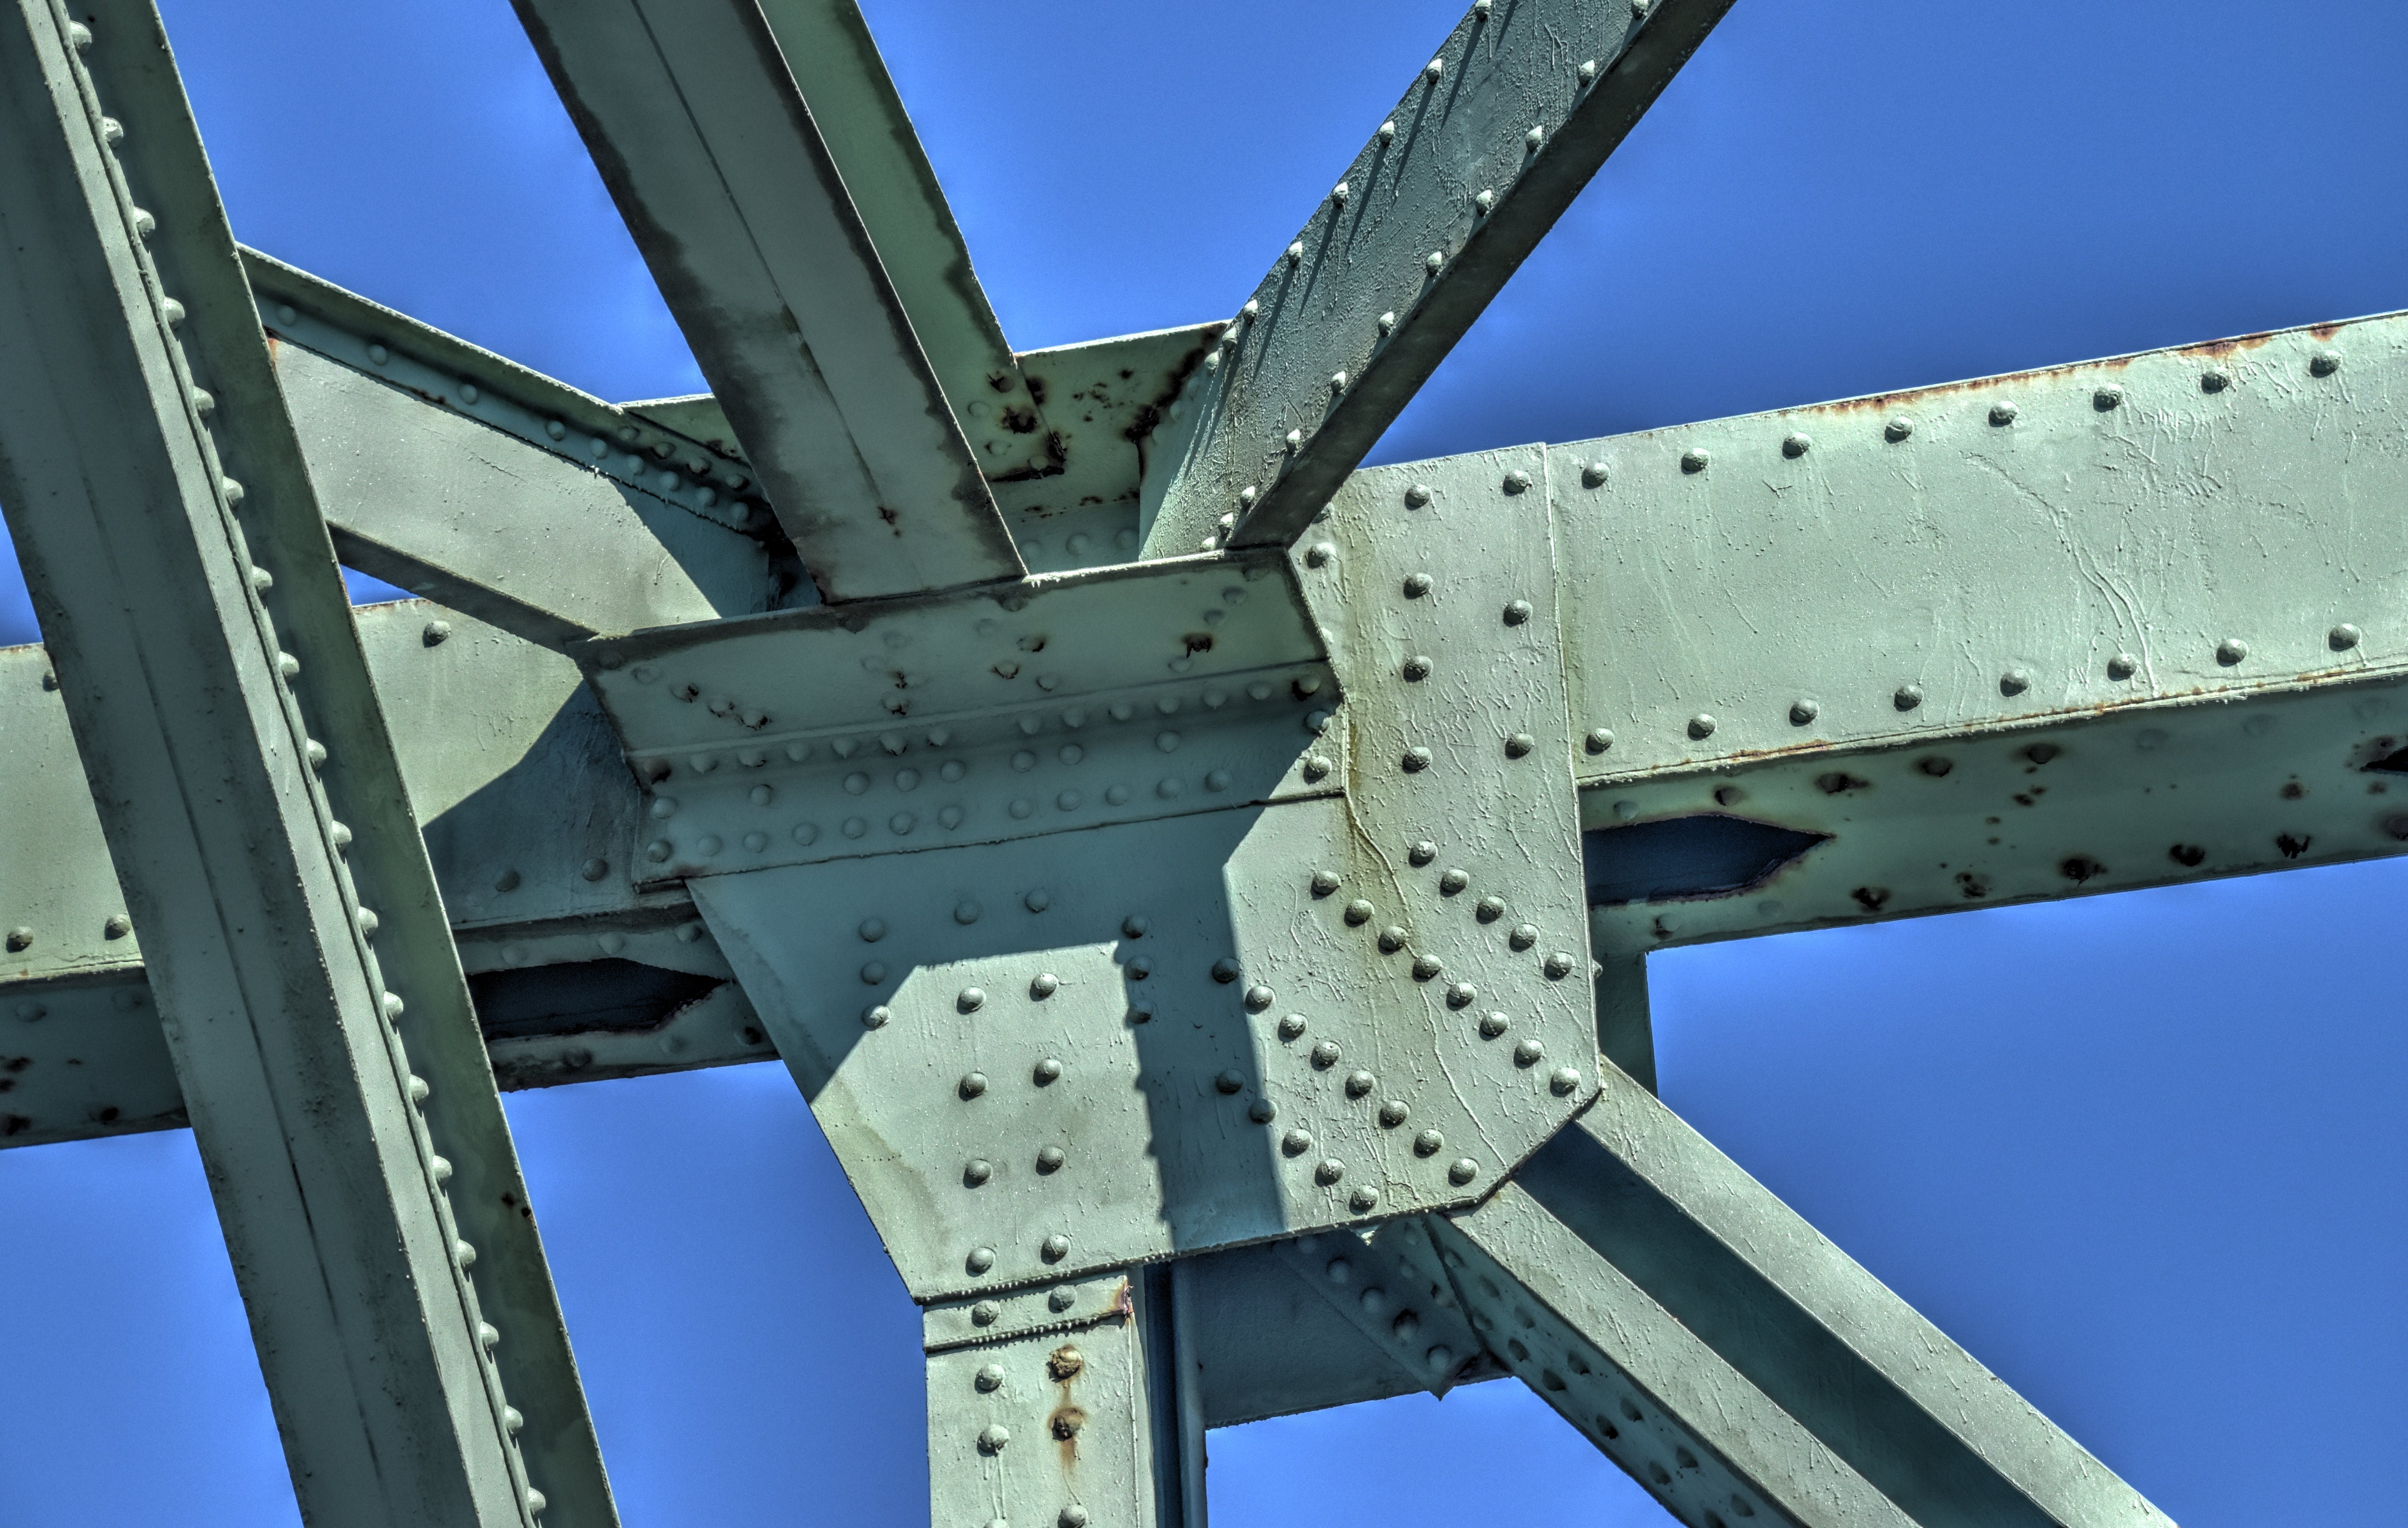
Top chord connections as viewed from on bridge.
![]()


Bottom chord connections as viewed from on bridge.
![]()


Intermediate connections as viewed from on bridge.
![]()
Lateral bracing.
![]()

End post.
![]()
![]()

![]()