
Uncredited photos on this page taken by: Nathan Holth. Unless stated in a caption, all photos are Copyright with All Rights Reserved. Learn about reuse of our photos.
![]()
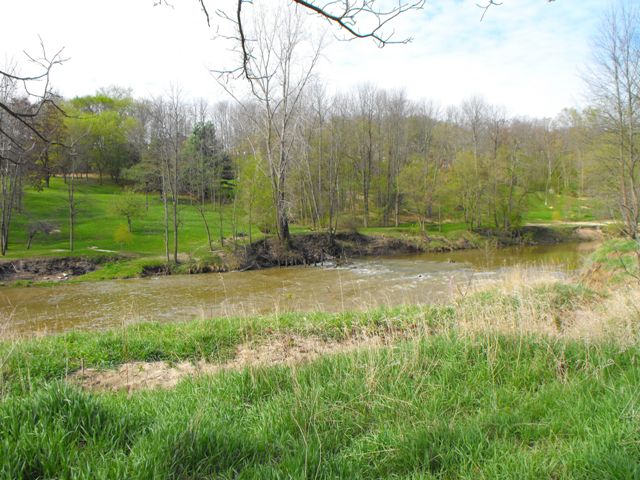
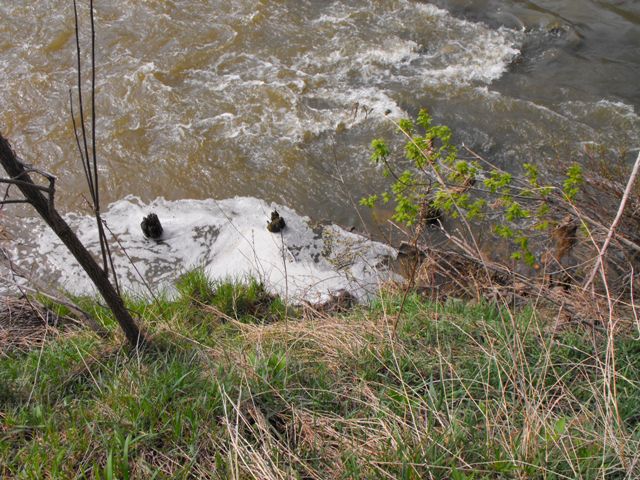
Overview of ruins from the original bridge, located just east of the current bridge. The original bridge was a high level wooden structure that spanned the entire valley. All that remains are these short wooden stubs in the water.
![]()
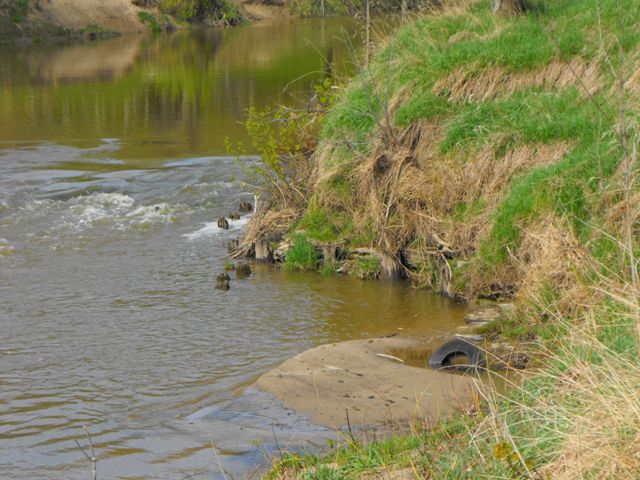
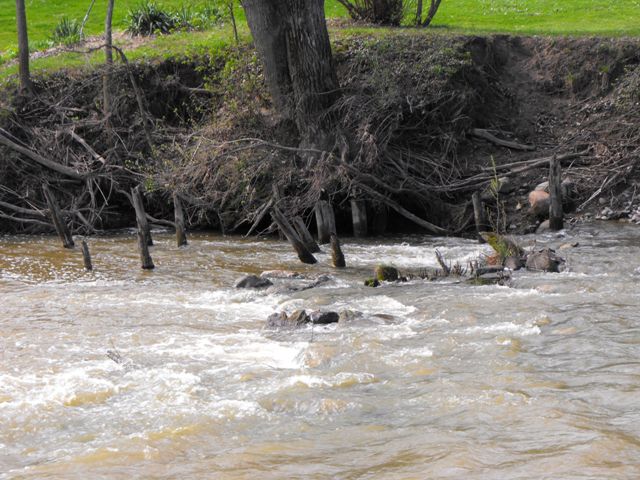
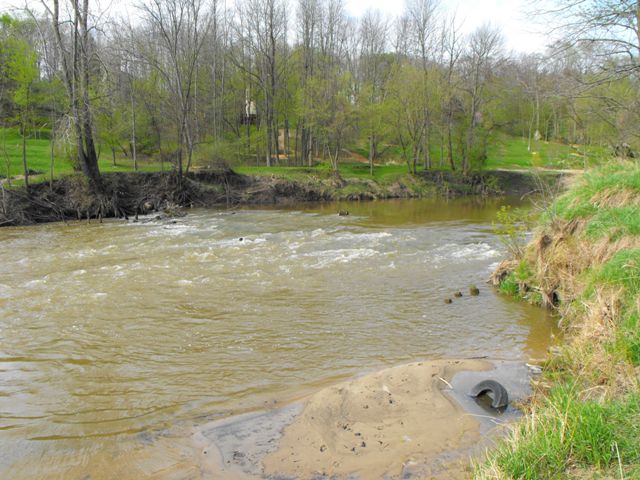
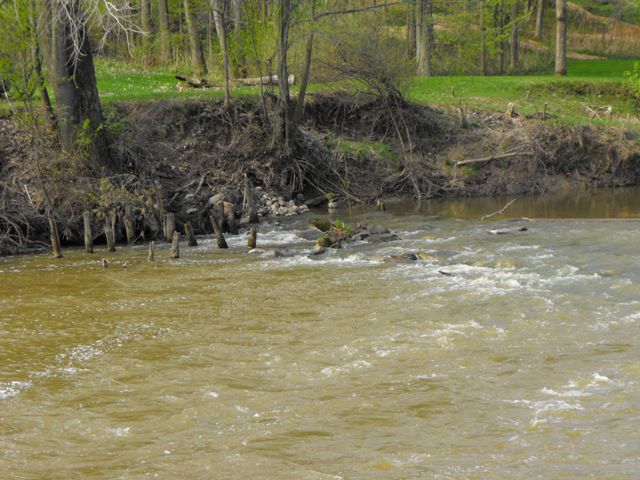
Closer views of ruins from the original bridge.
![]()
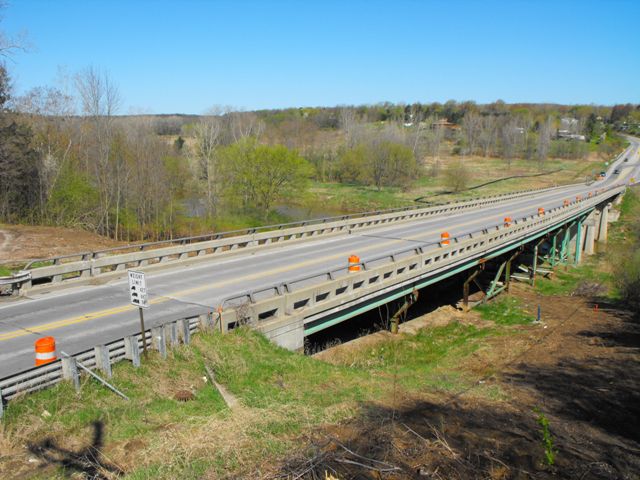
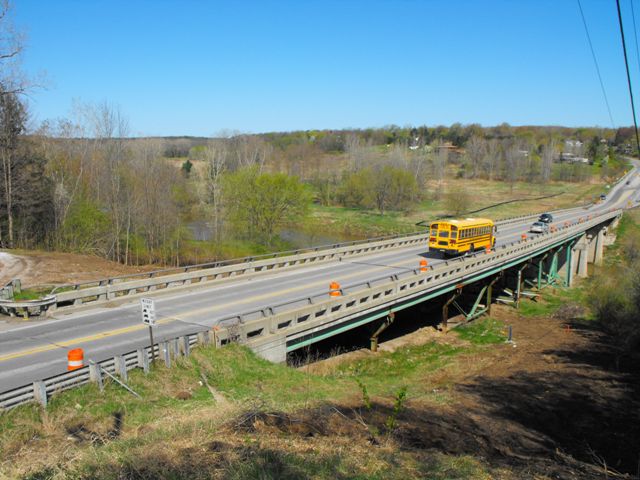
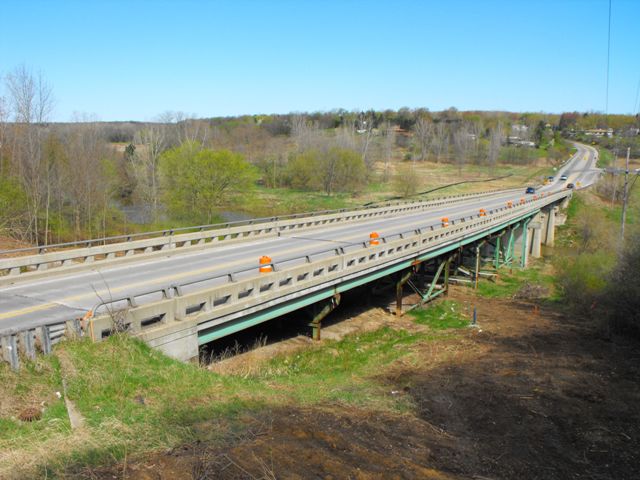

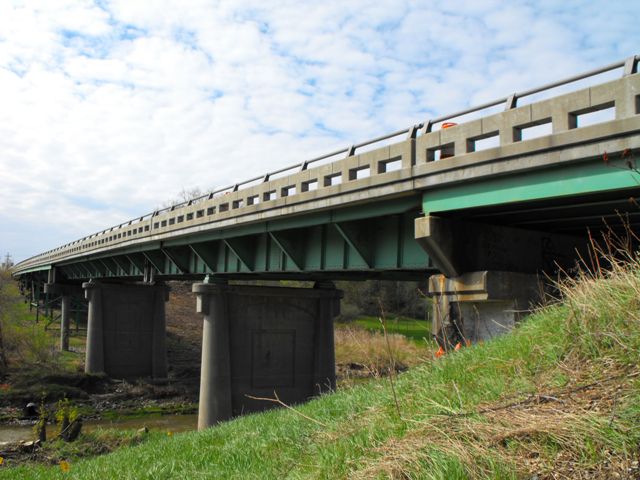
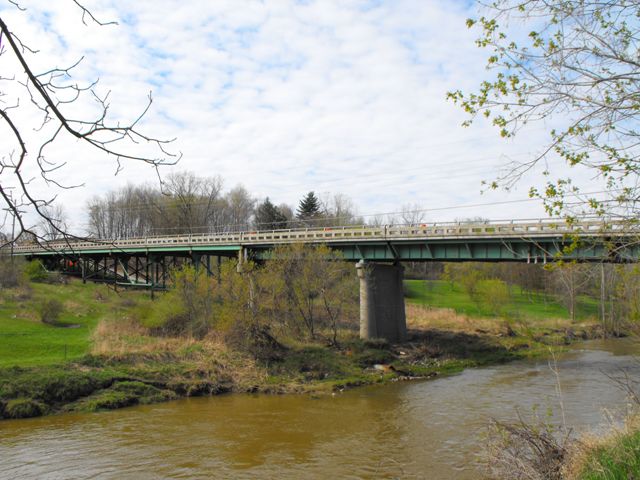
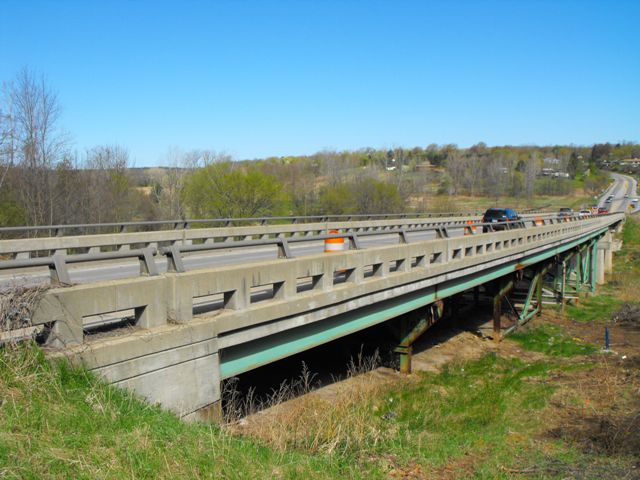
Elevated oblique views from southeast quadrant.
![]()
Oblique views from southeast quadrant.
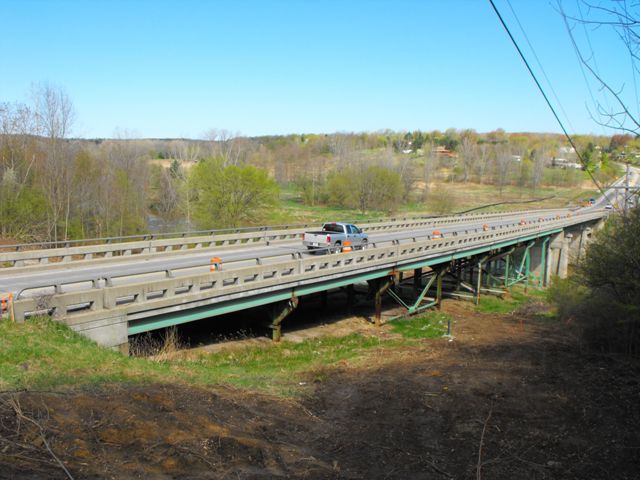
![]()


Views beside bridge from northeast quadrant.
![]()
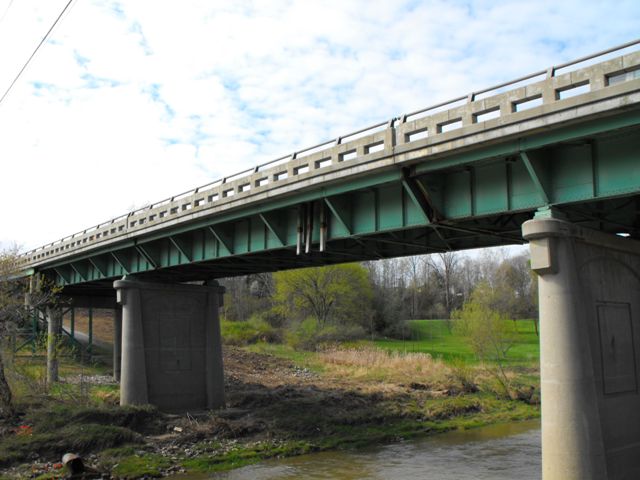
Elevation from northeast quadrant.
![]()
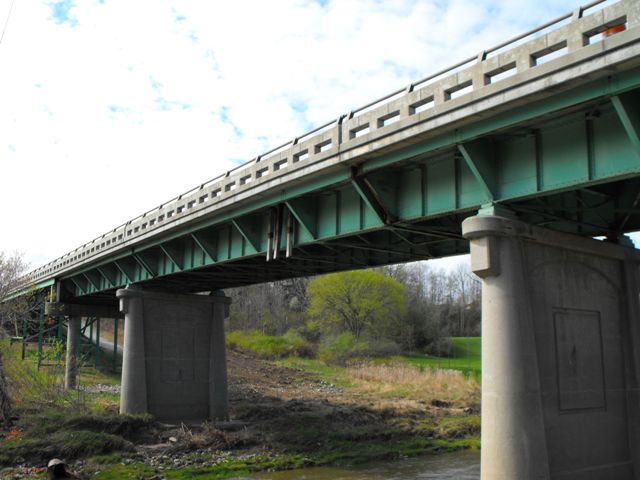
Elevation from northwest quadrant.
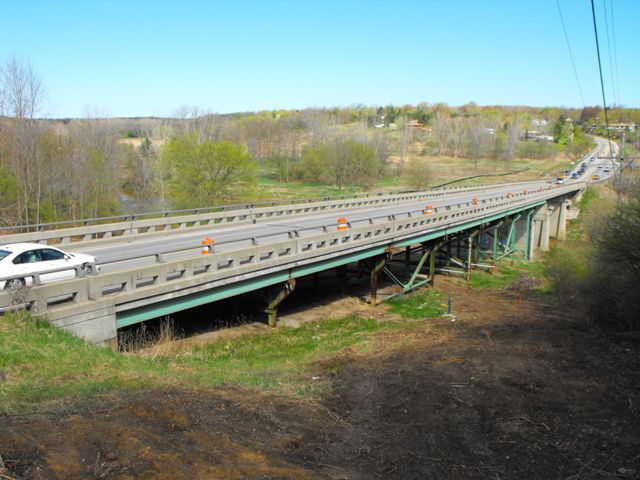
![]()
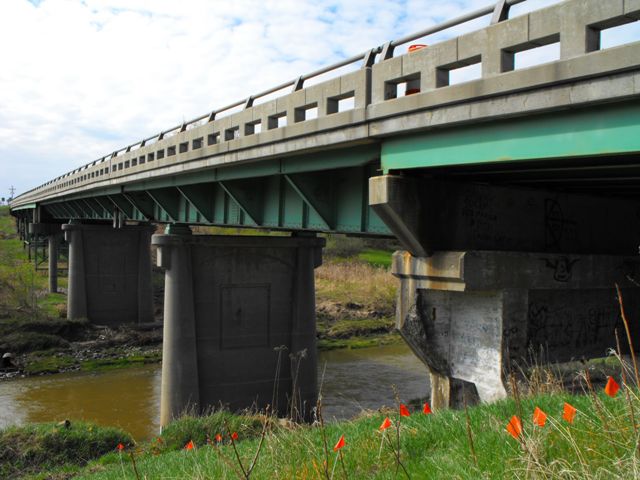
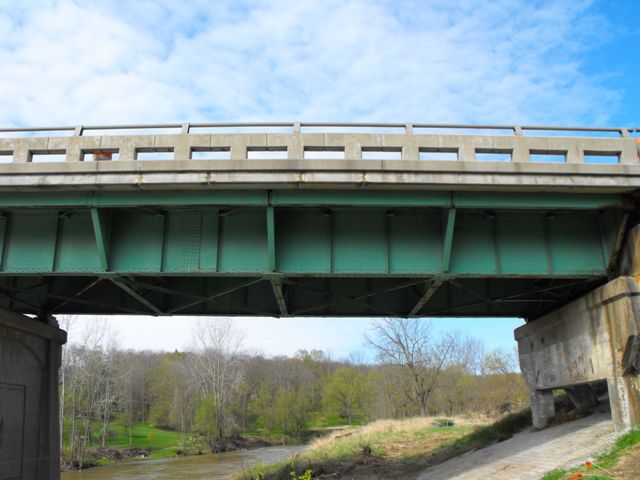
Views beside bridge from southeast quadrant.
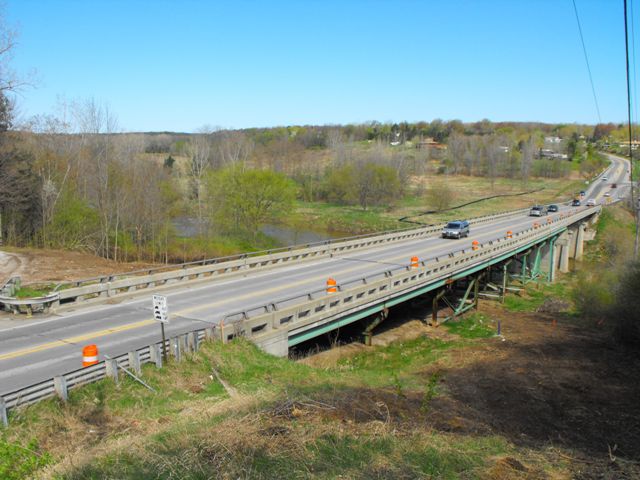
![]()

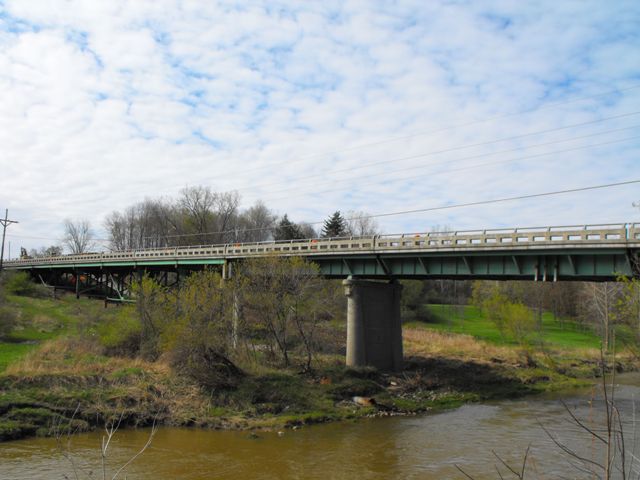
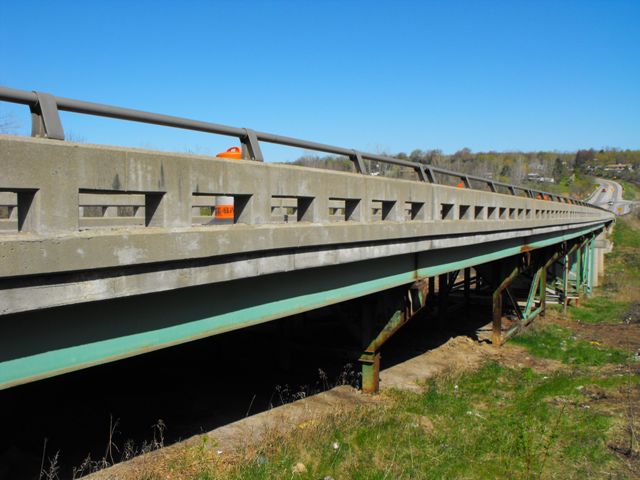
Elevation from southeast quadrant.
![]()
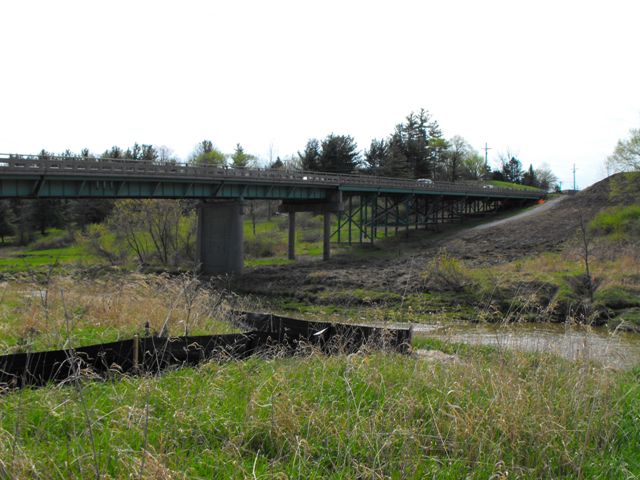
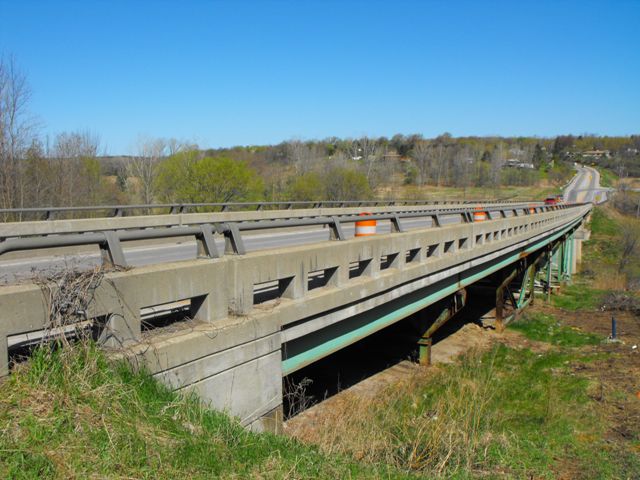
Views beside approach spans from southeast quadrant.
![]()
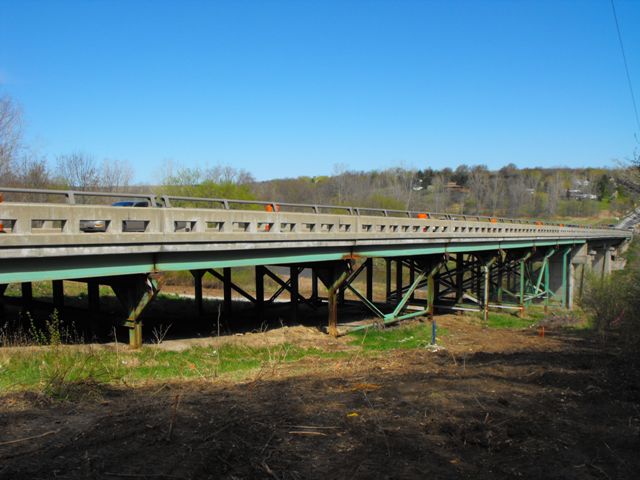
Views beside approach spans nearer to main spans from southeast quadrant.
![]()
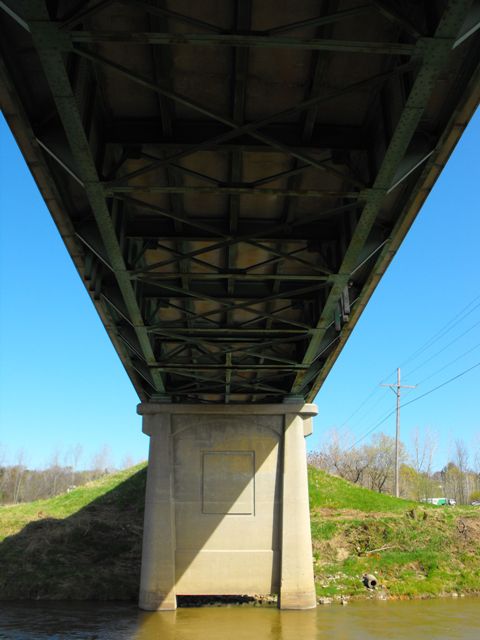

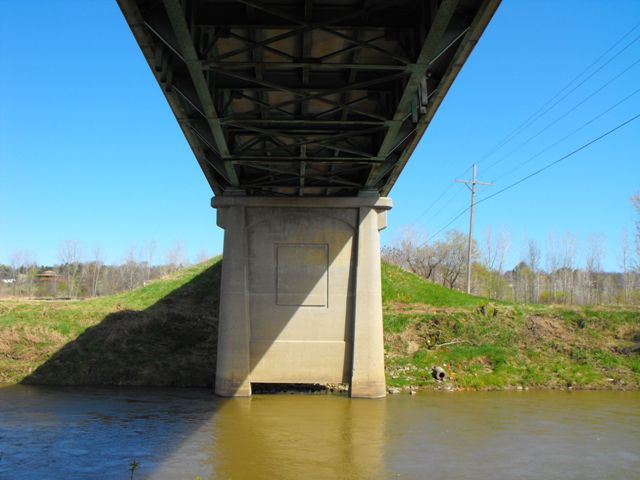
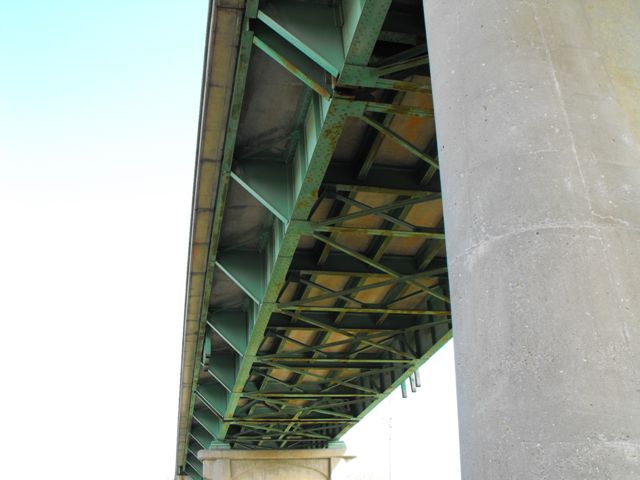
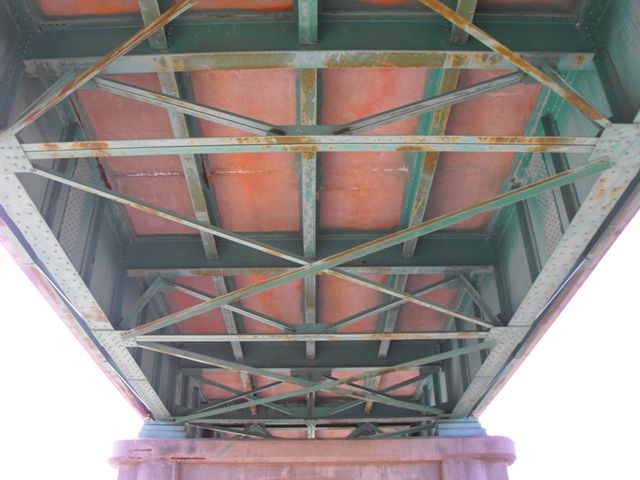
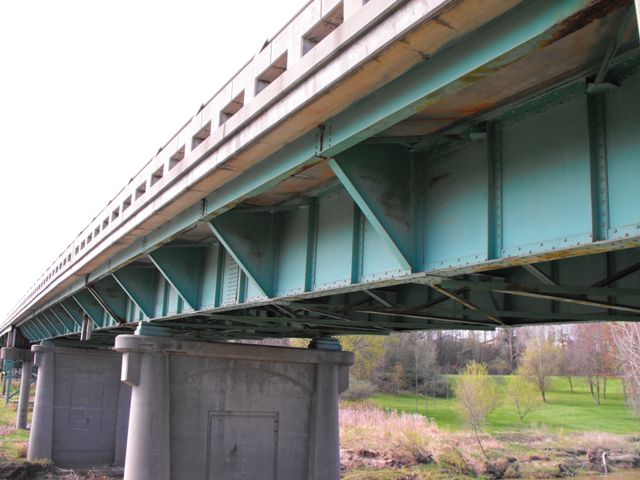
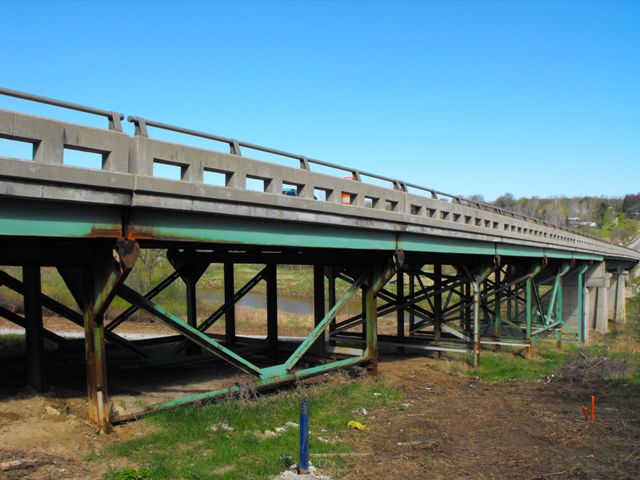
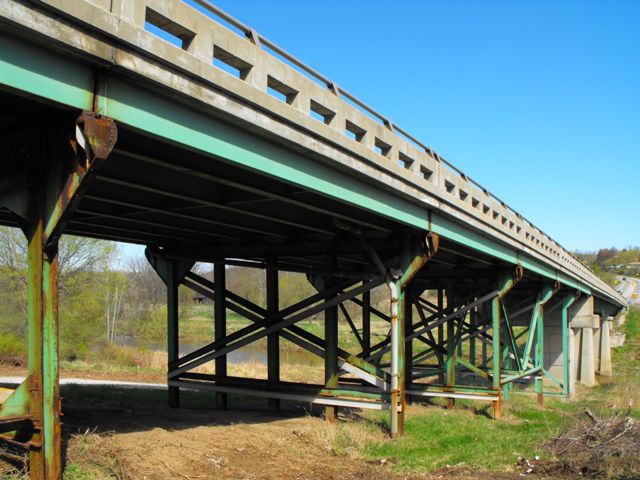
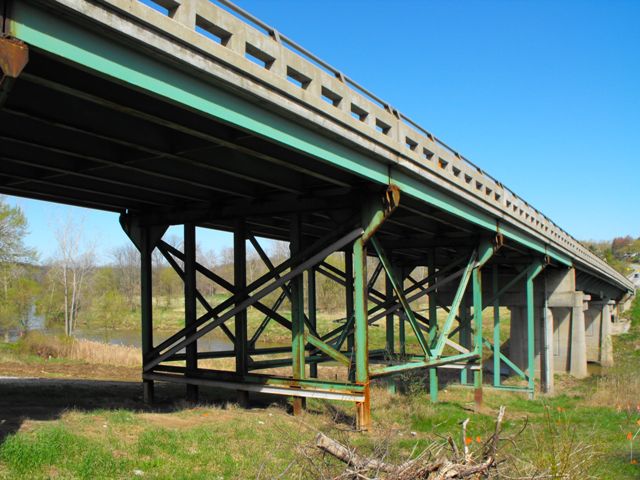
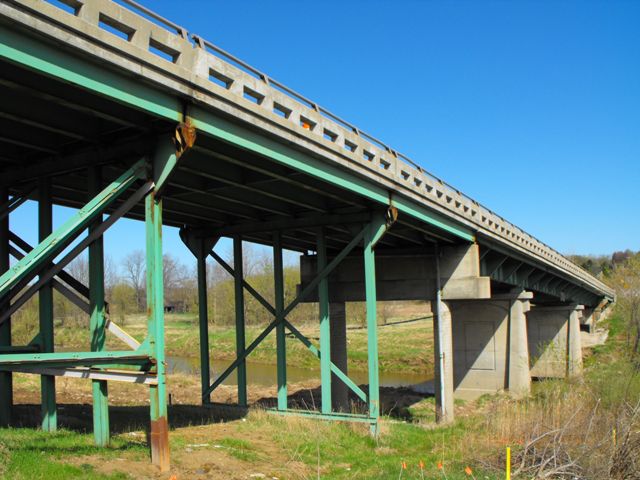
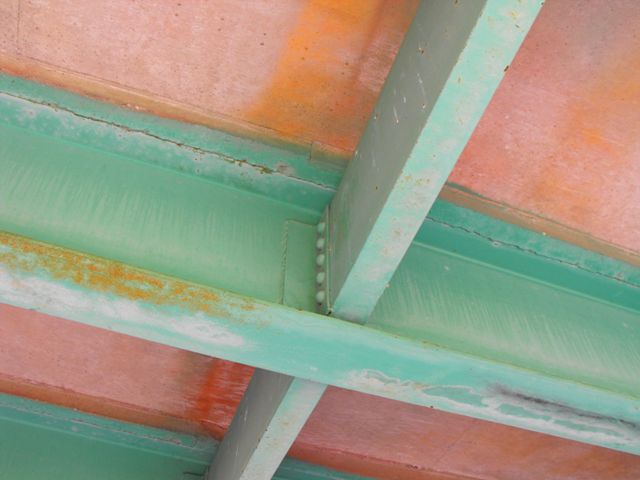
Views under main spans.
![]()

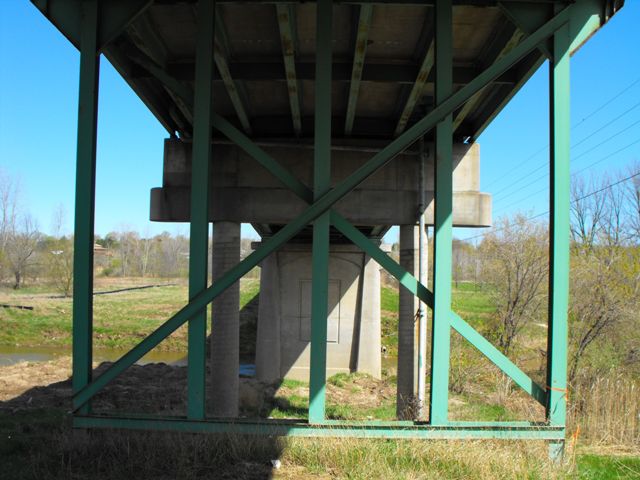

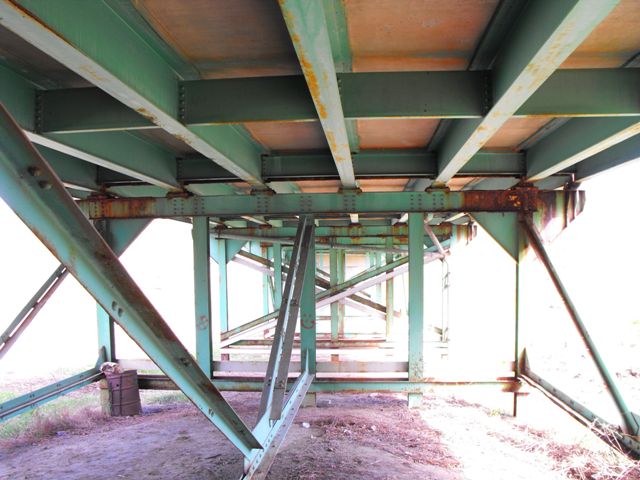
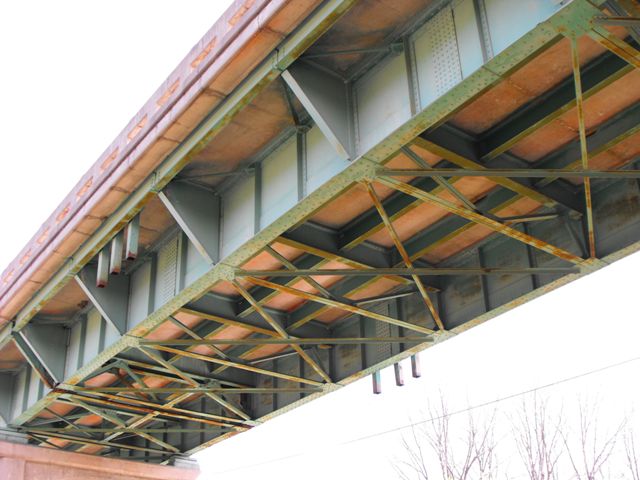
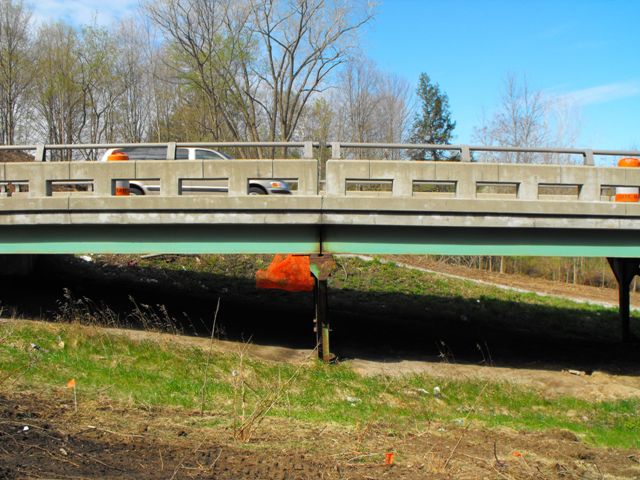
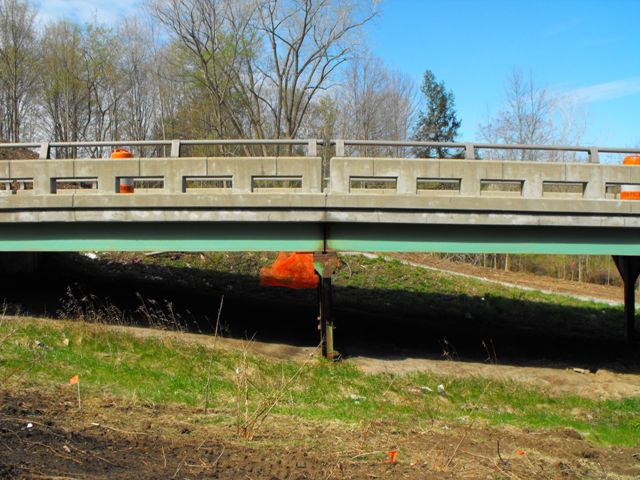
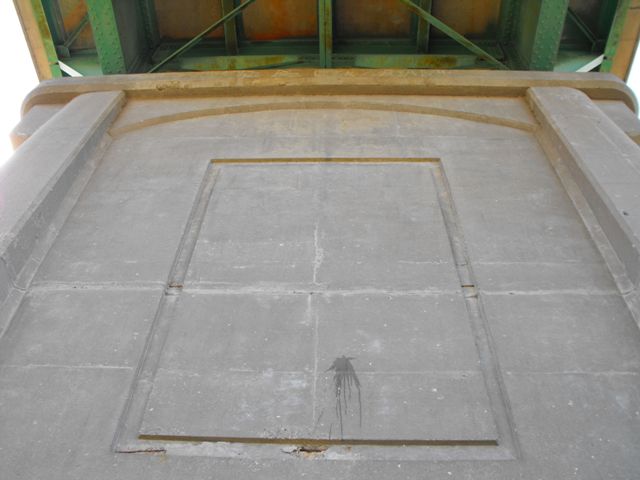
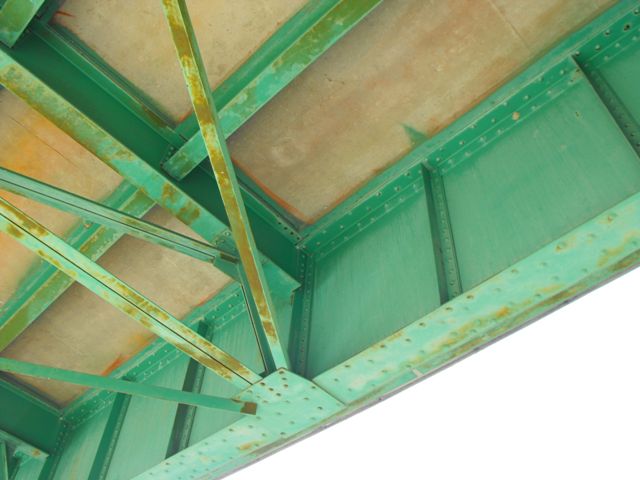
Views under approach spans.
![]()

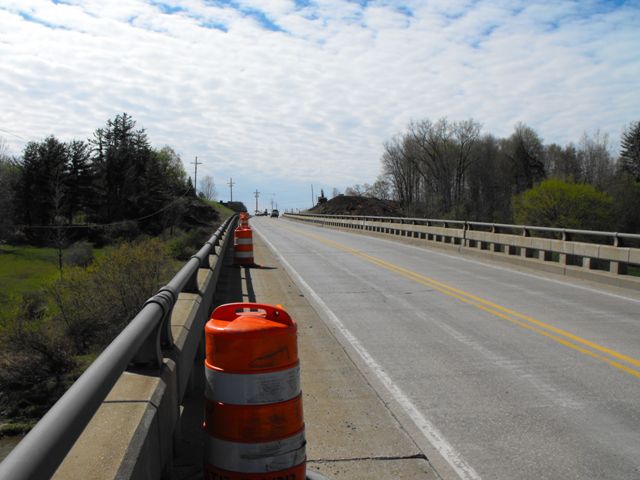
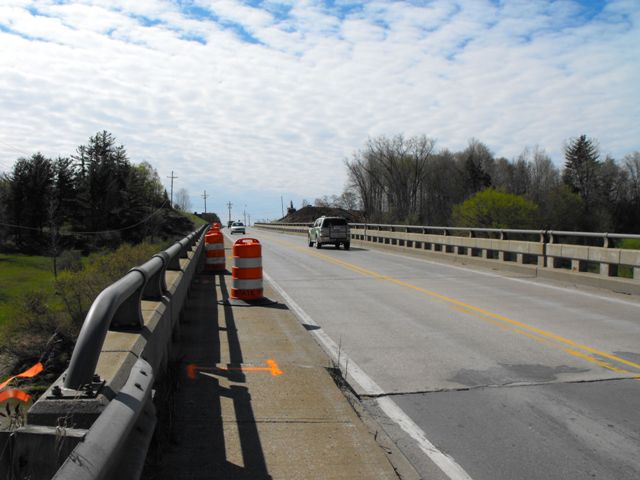
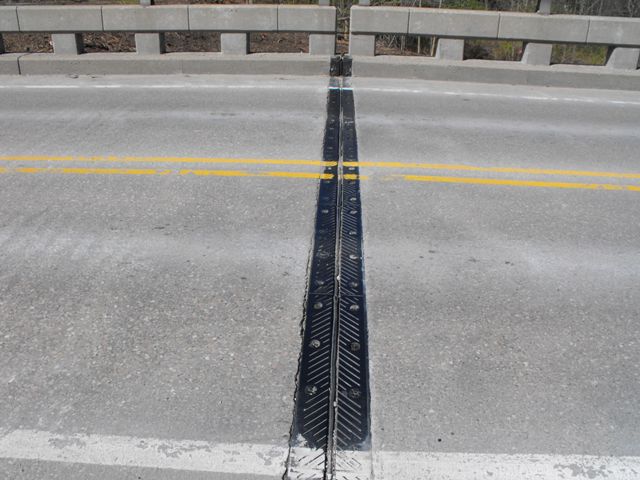
Views facing north on bridge.
![]()
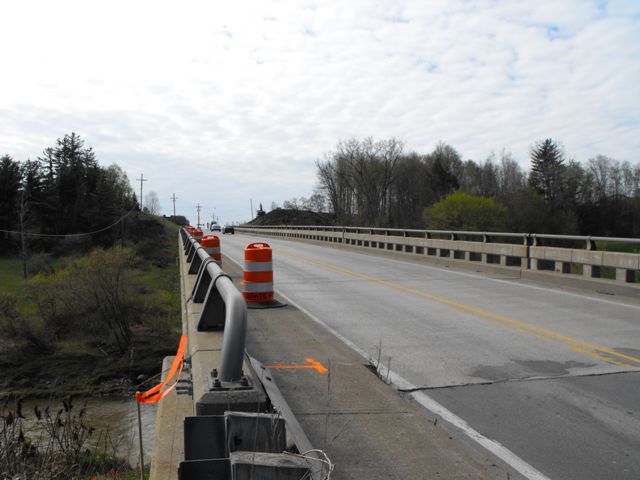
Views facing south on bridge.
![]()
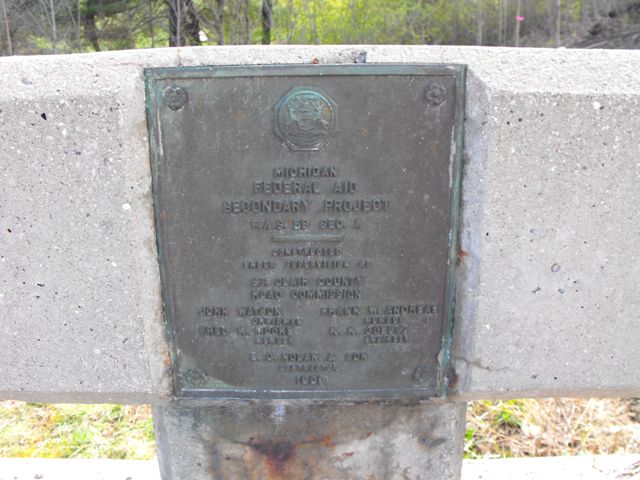
Plaque.
![]()
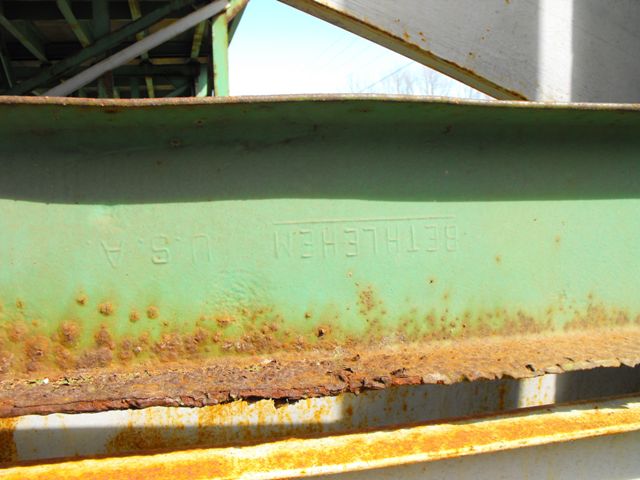
Bethlehem brand.
![]()
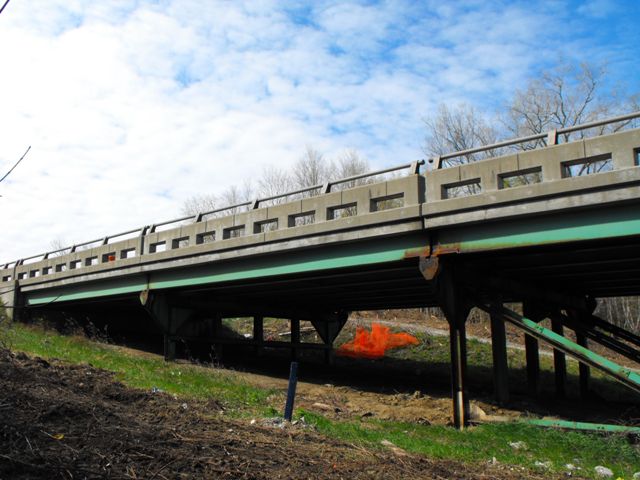
Southern approach spans elevation.
![]()
Main spans elevation.
![]()
North approach span.
![]()
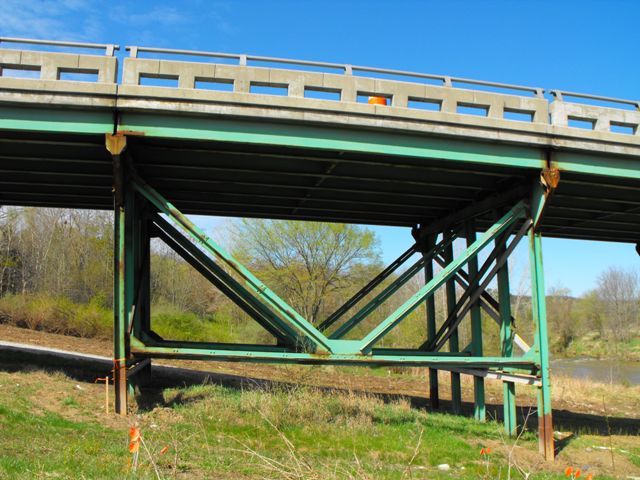
Steel bents for approach spans.
![]()

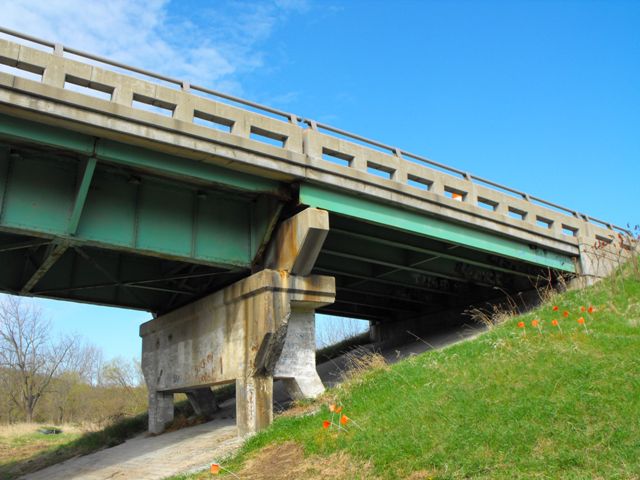
Original north abutment reconfigured as a pier.
![]()
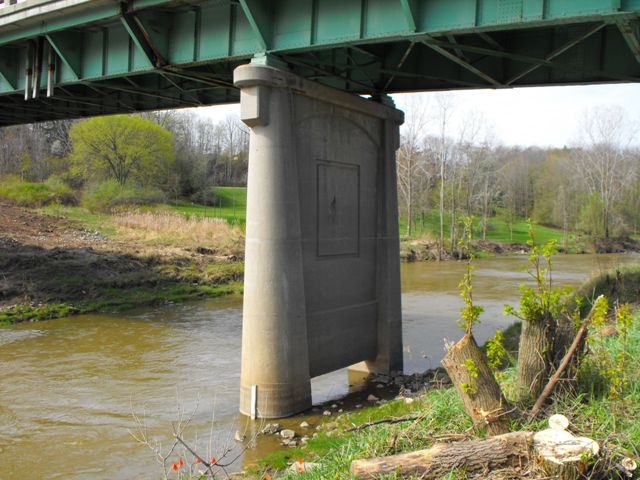
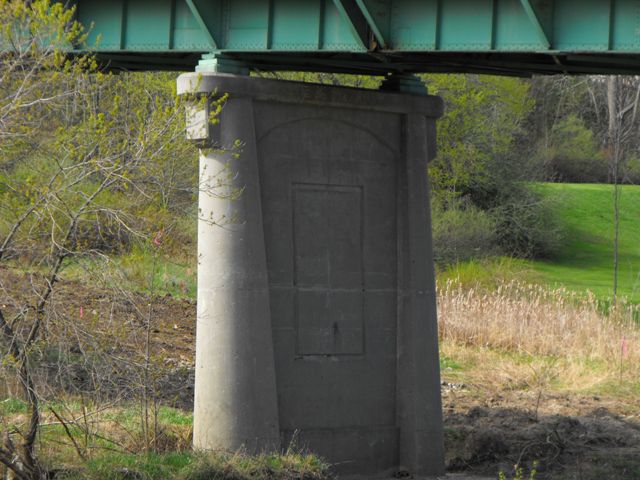
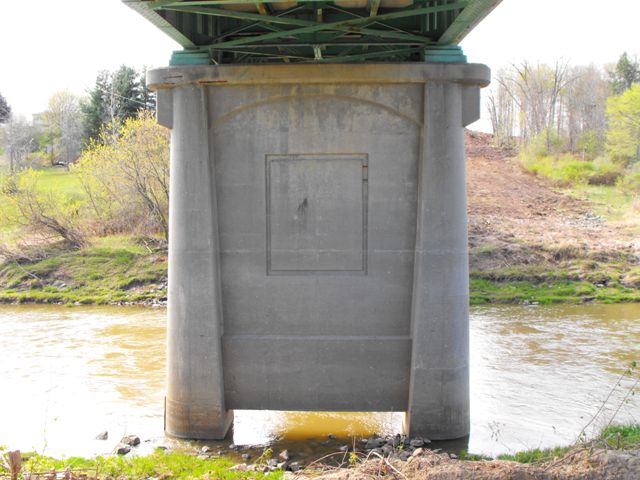
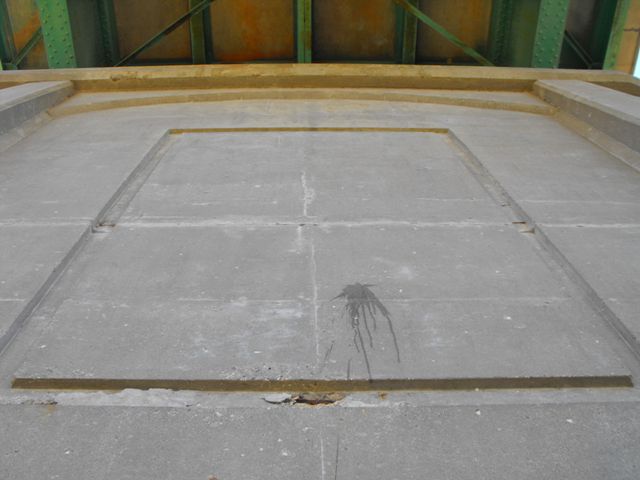
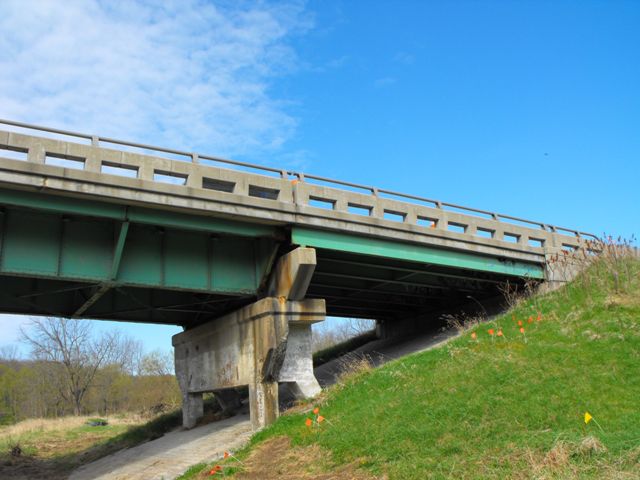
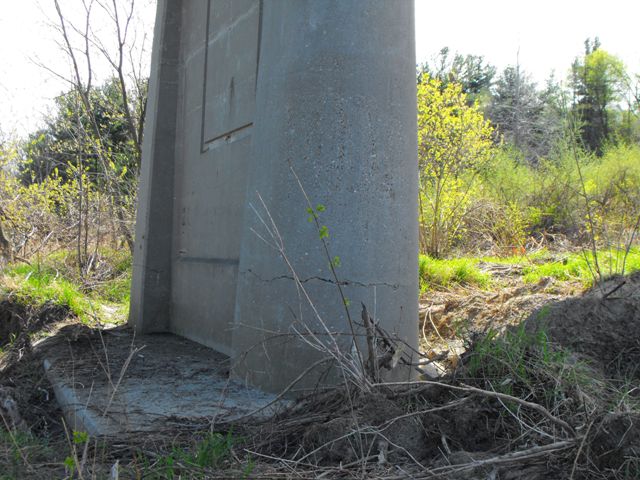
Main span piers.
![]()
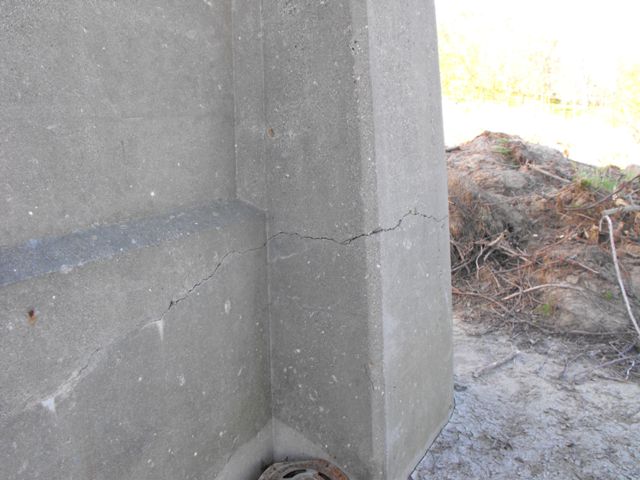
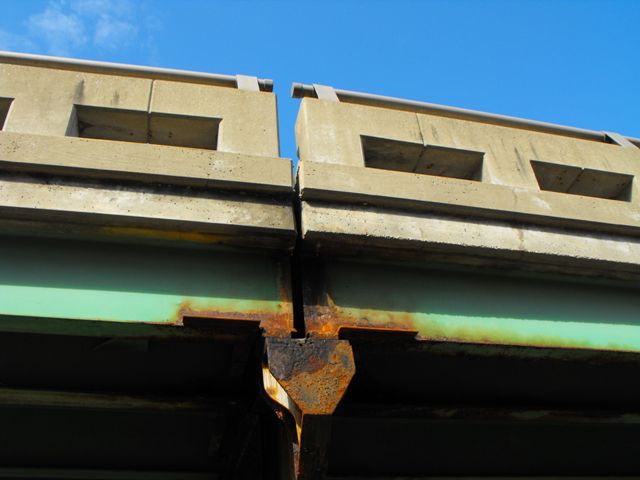
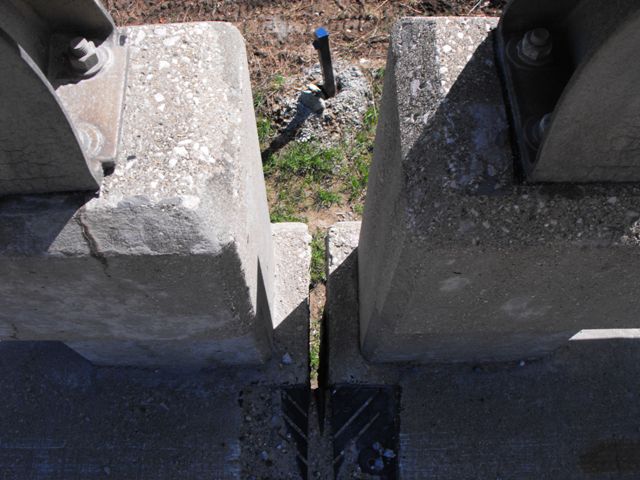
Crack in southern main span pier.
![]()
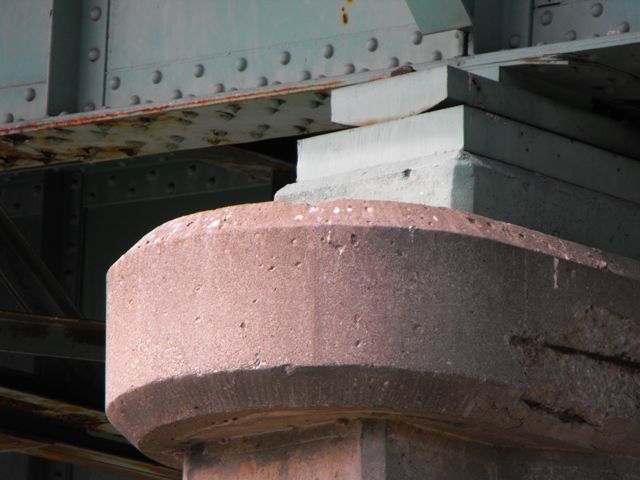
Main span rocker bearing.
![]()
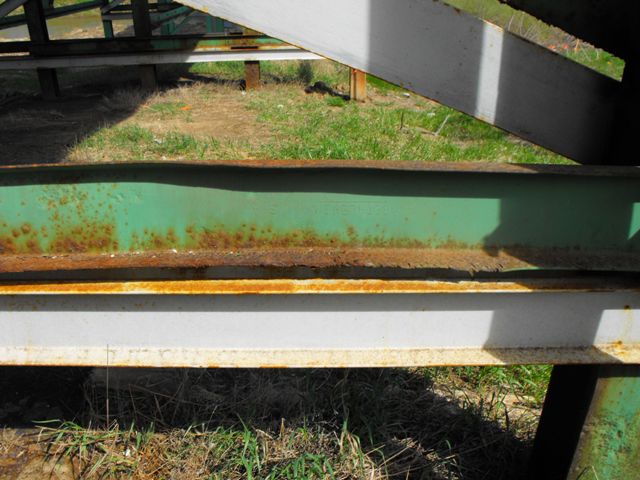
Approach spans detail.
![]()
Main spans detail.
![]()
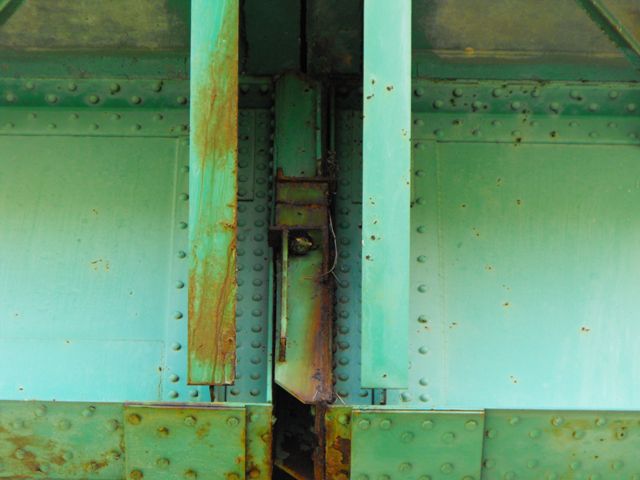

Bearing for cantilevered girder.
![]()
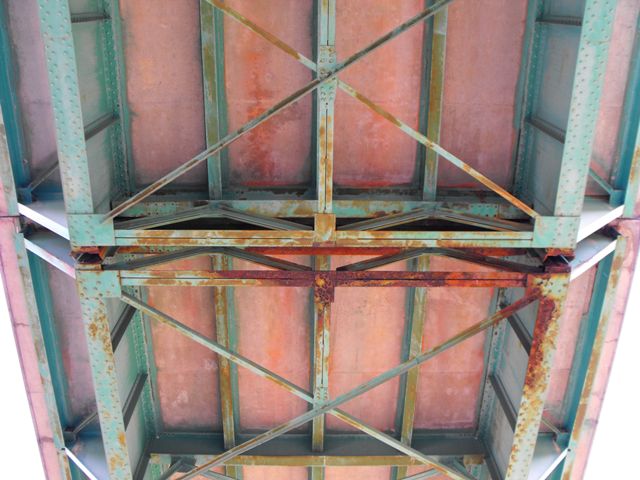
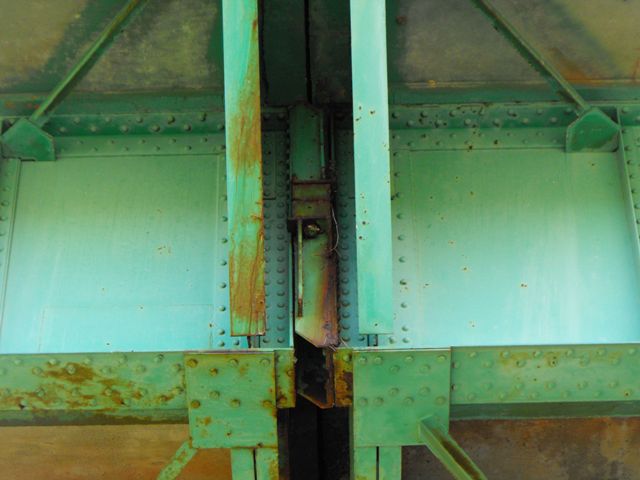
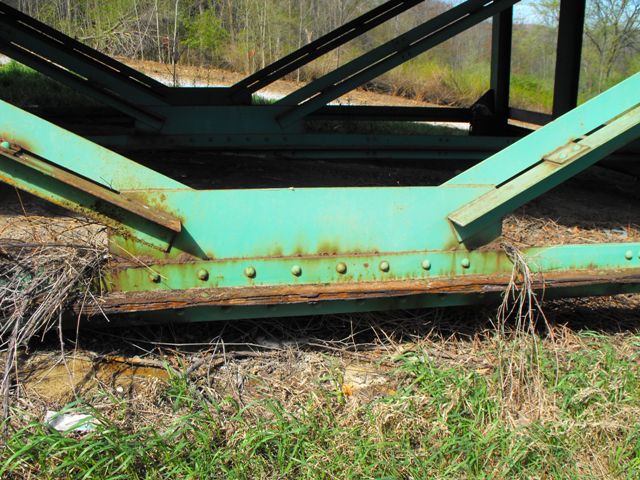
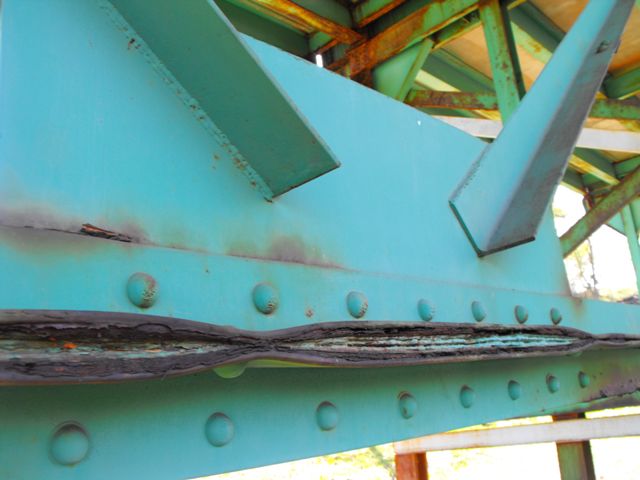
Views showing isolated severe deterioration at leading joint.
![]()
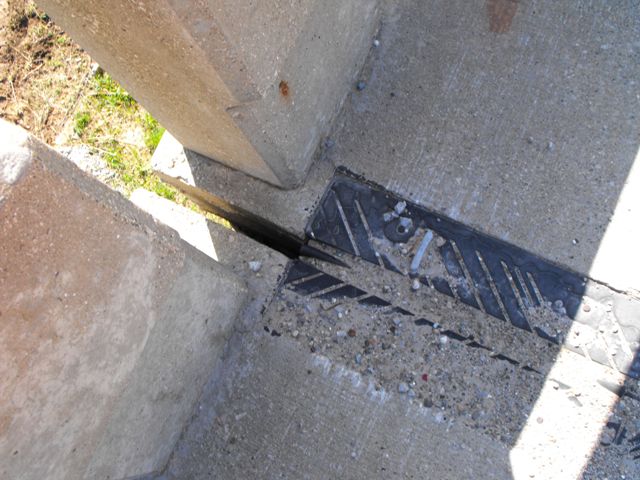
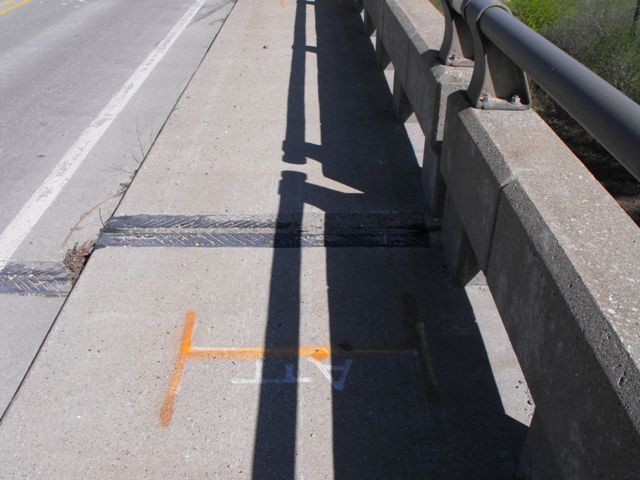
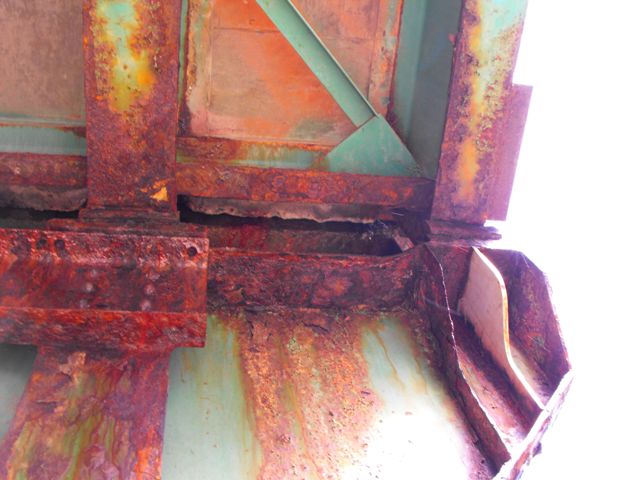
Views of the defective joint causing the leaks and subsequent deterioration.
![]()
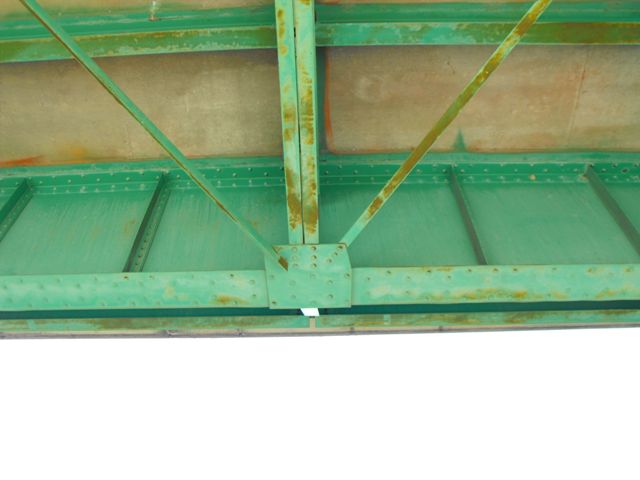
Approach steel bents connection detail.
![]()
Added bracing beam for approach span bent.
![]()
![]()
| Back |
| Home |
| Top |

![]()