
Uncredited photos on this page taken by: Nathan Holth and Rick McOmber. Unless stated in a caption, all photos are Copyright with All Rights Reserved. Learn about reuse of our photos.
![]()
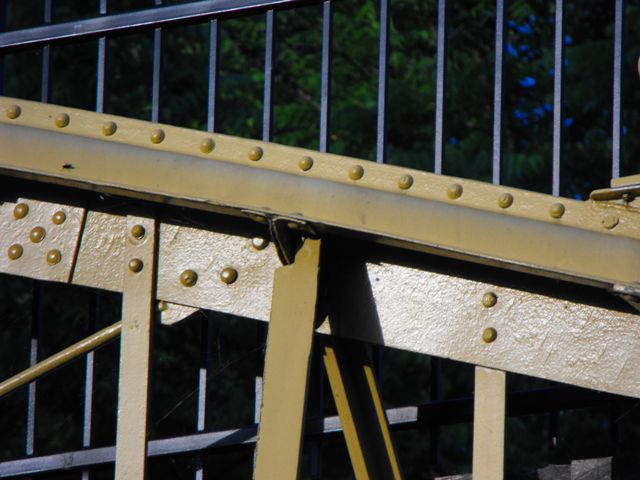
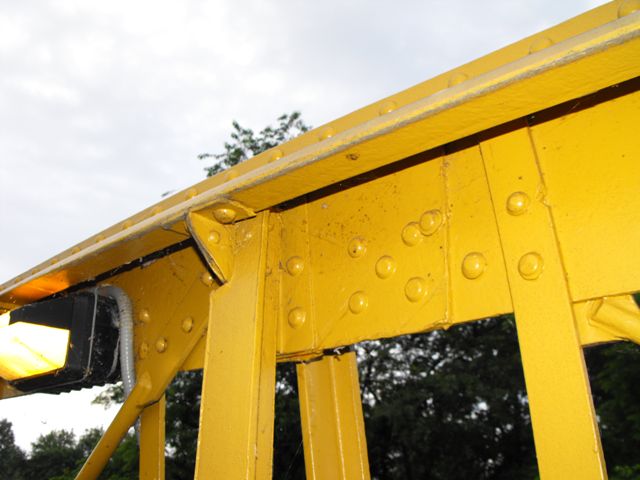
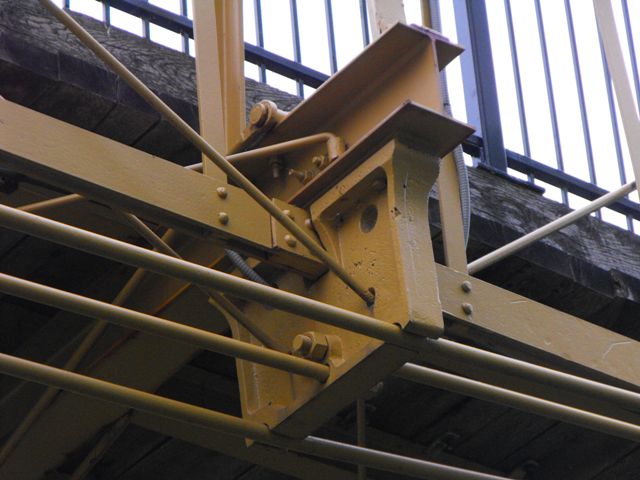
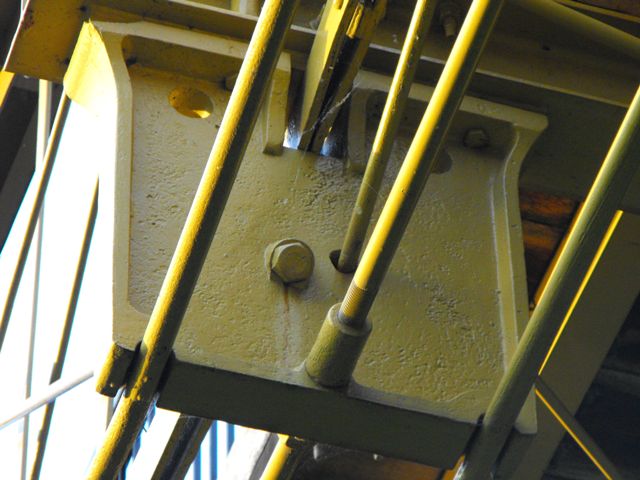
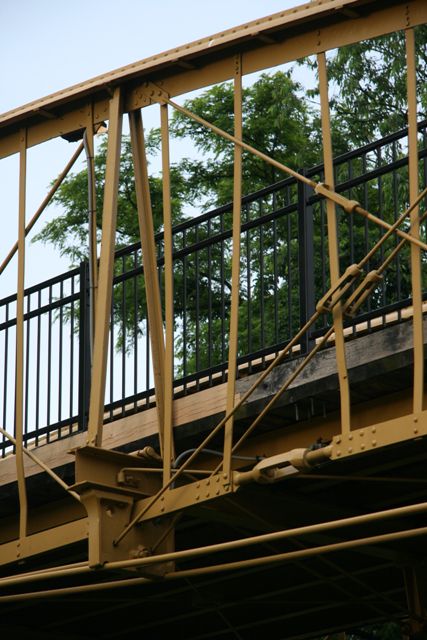
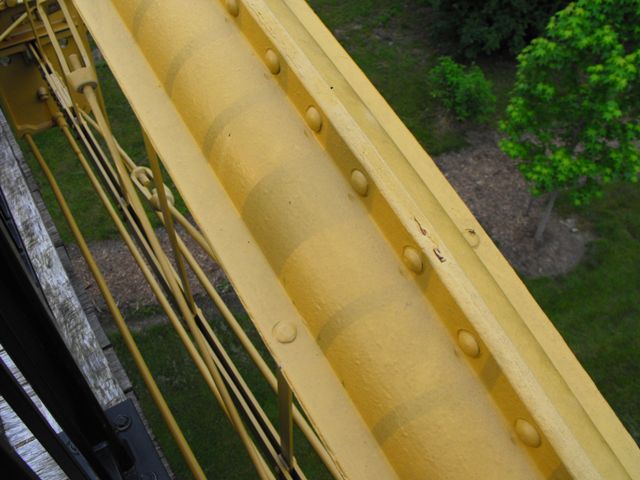
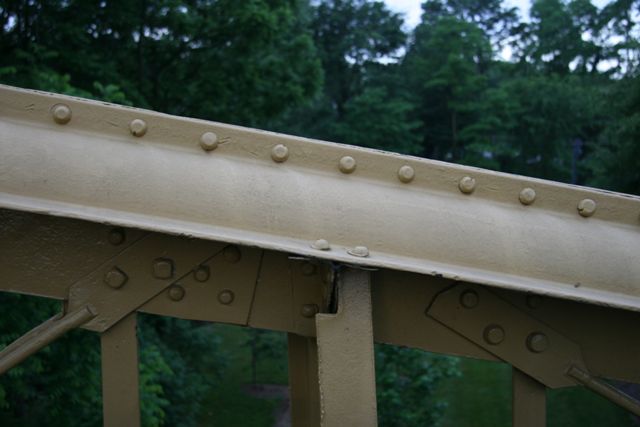
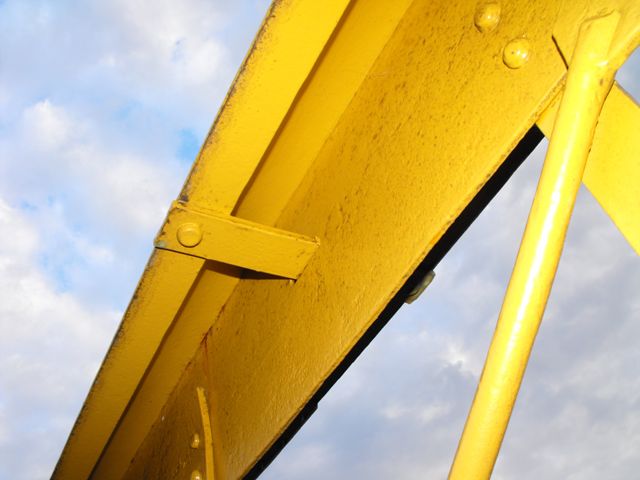
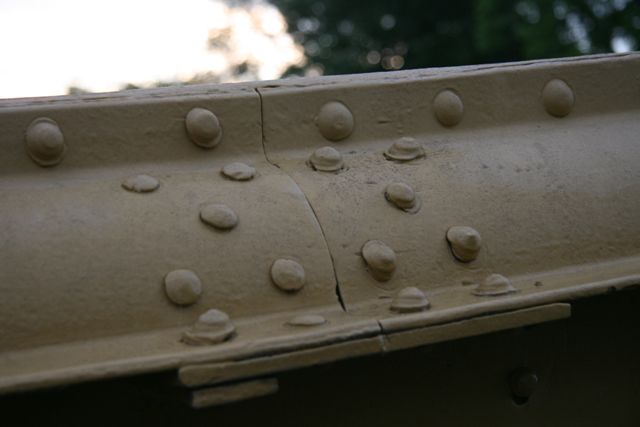
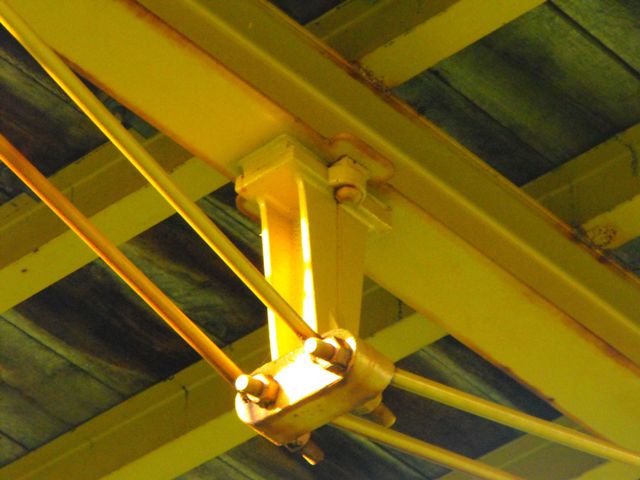
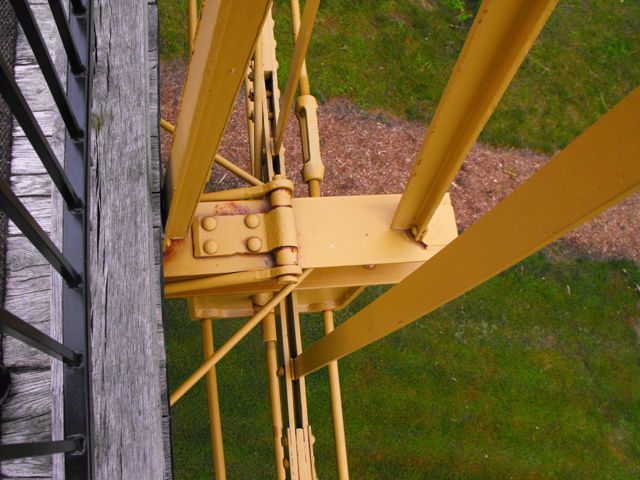
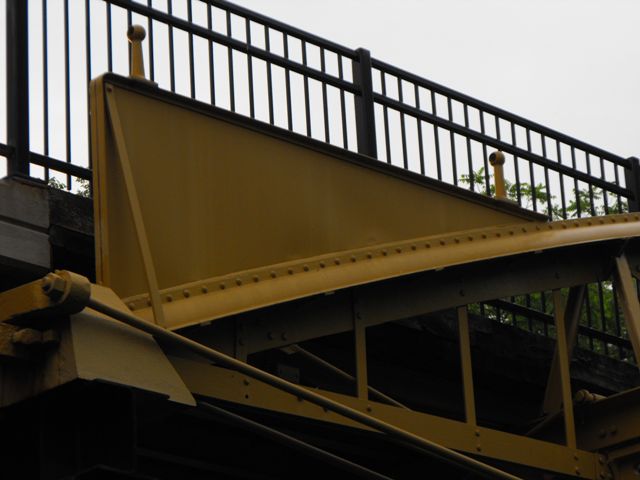
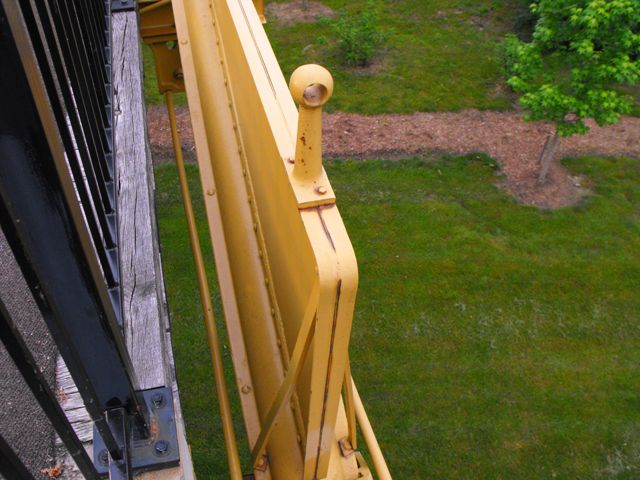
Top chord connections as viewed from beside bridge.
![]()
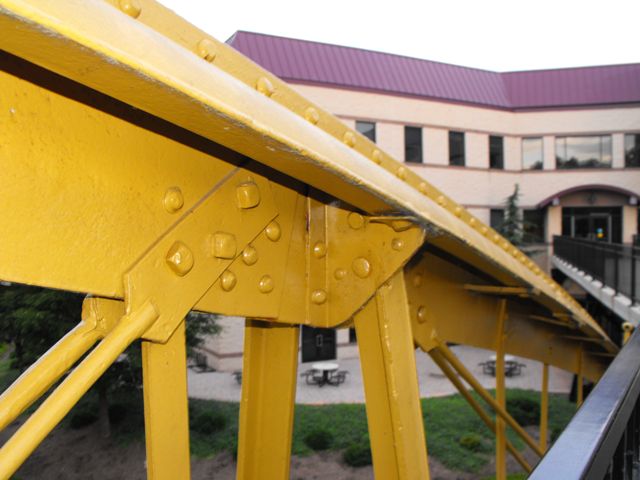
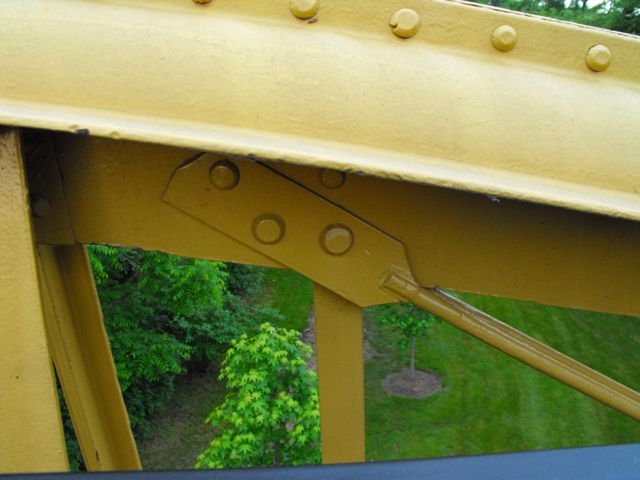
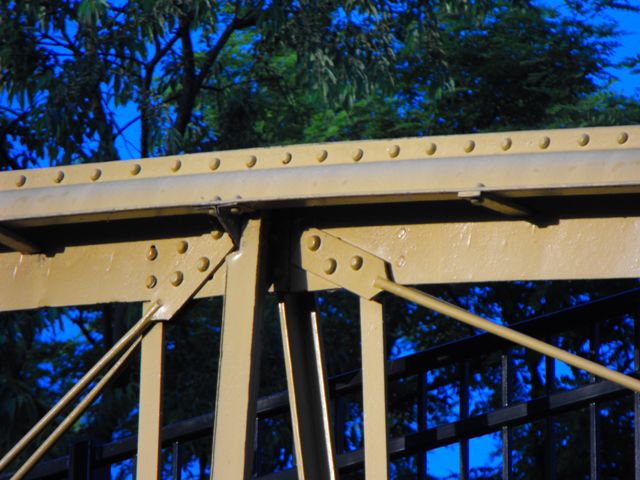
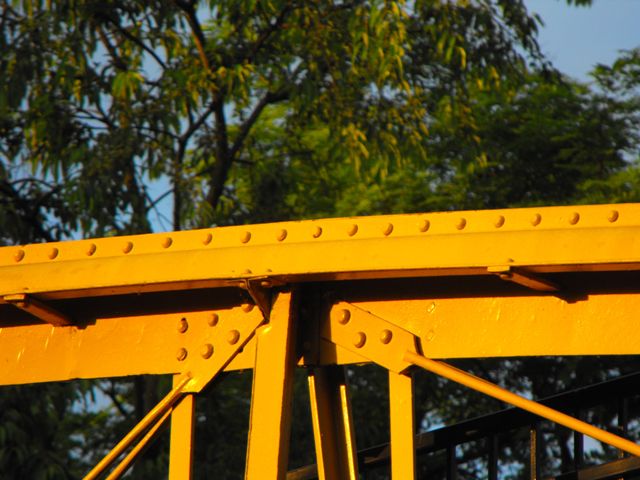
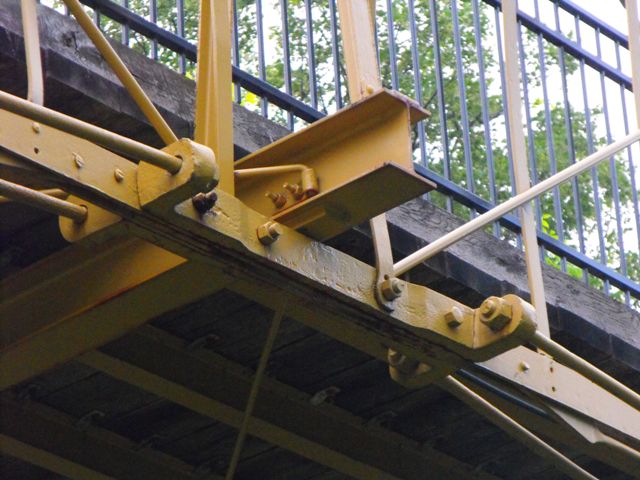
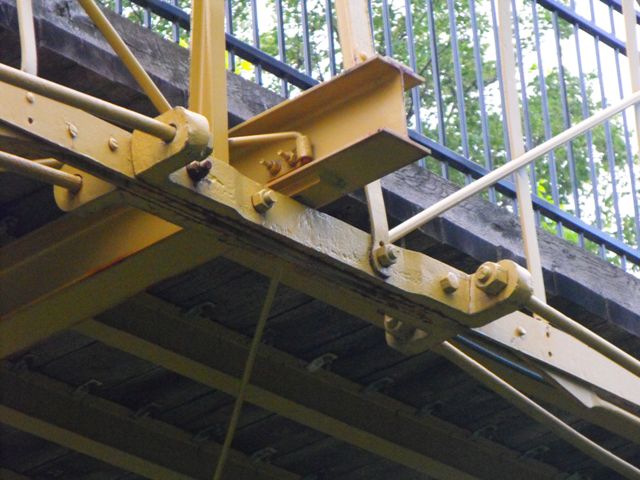
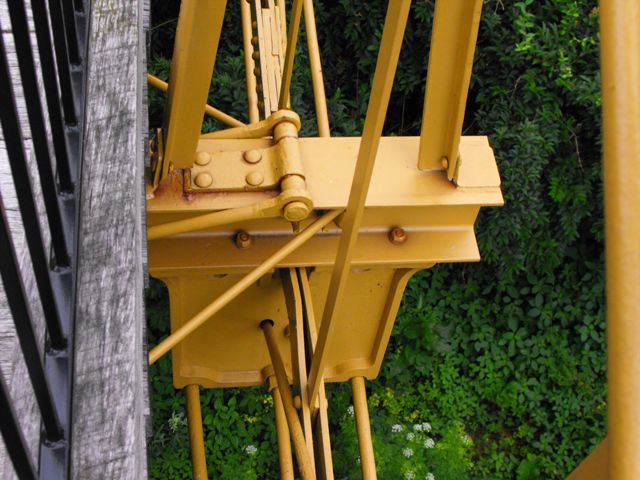
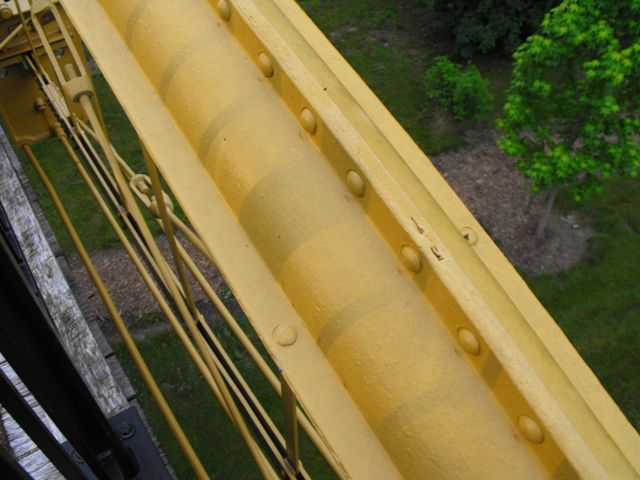
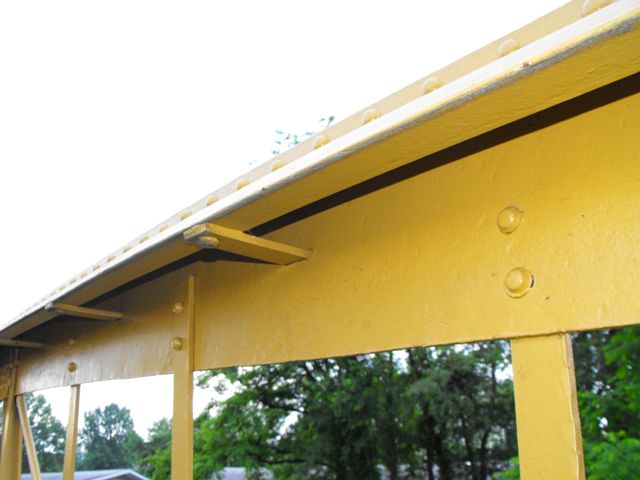
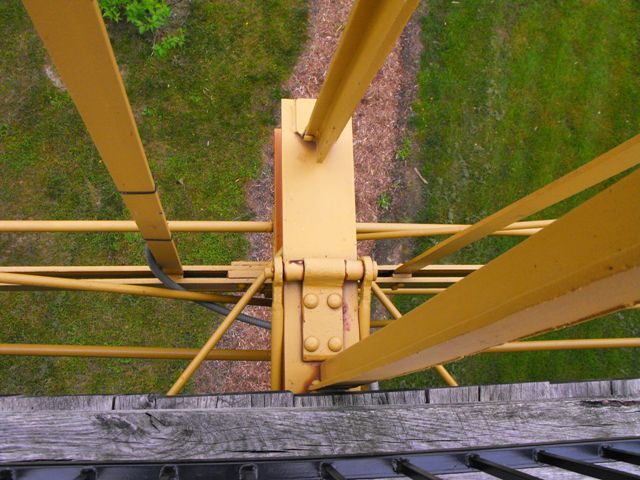
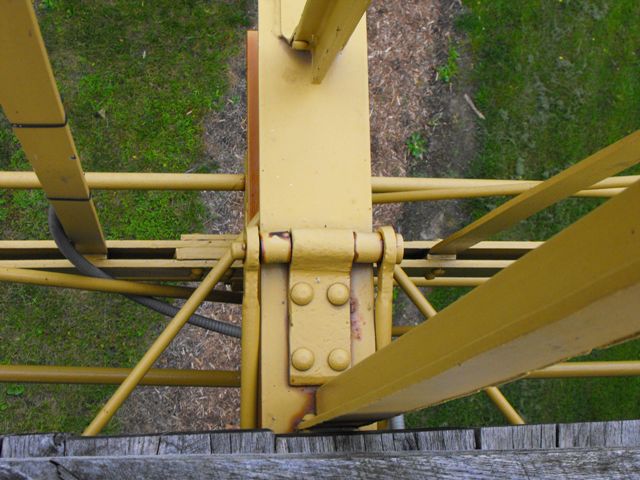
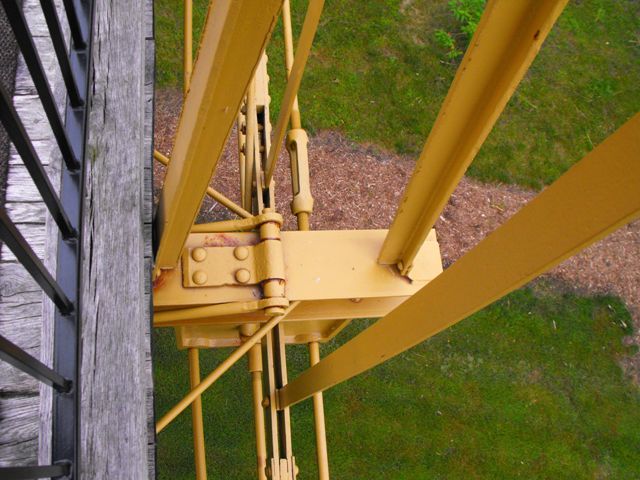
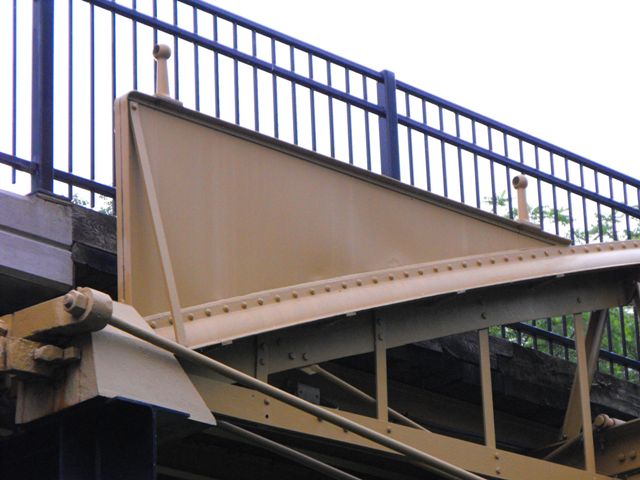
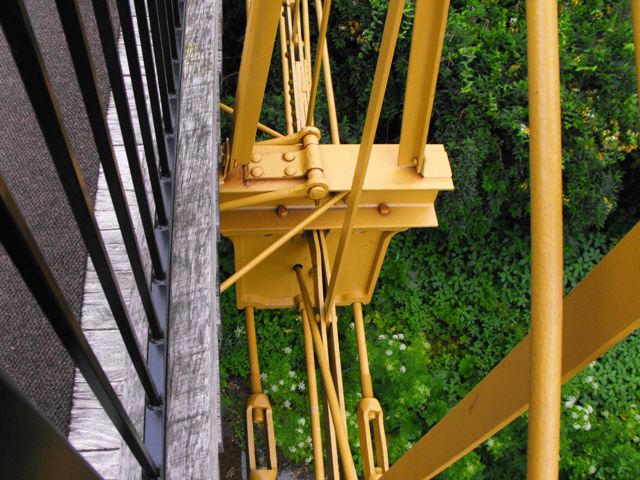
Top chord connections as viewed from on bridge.
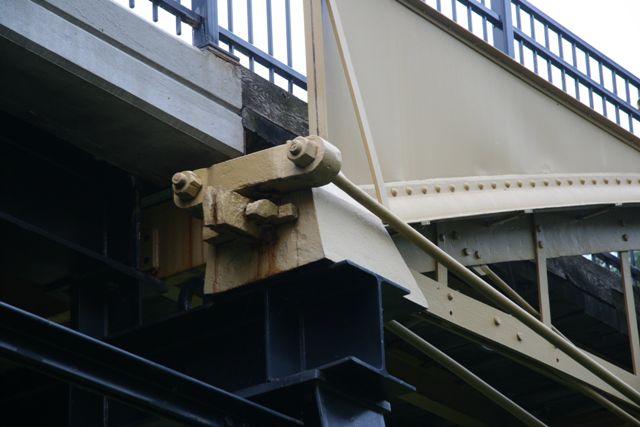
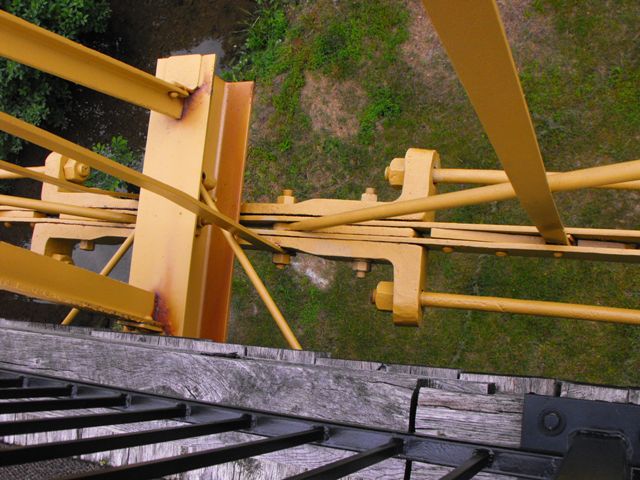
![]()
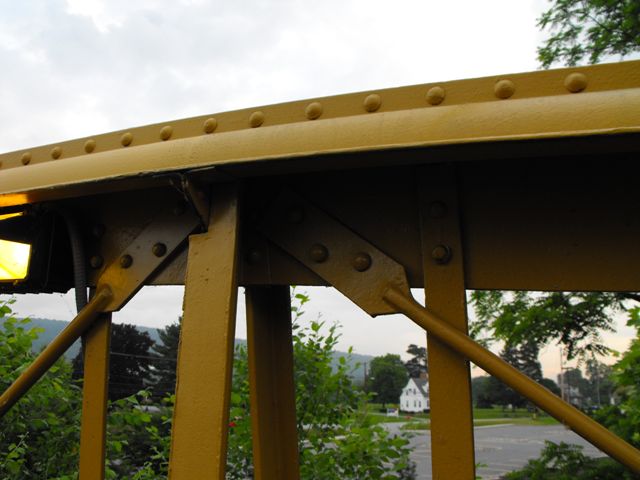
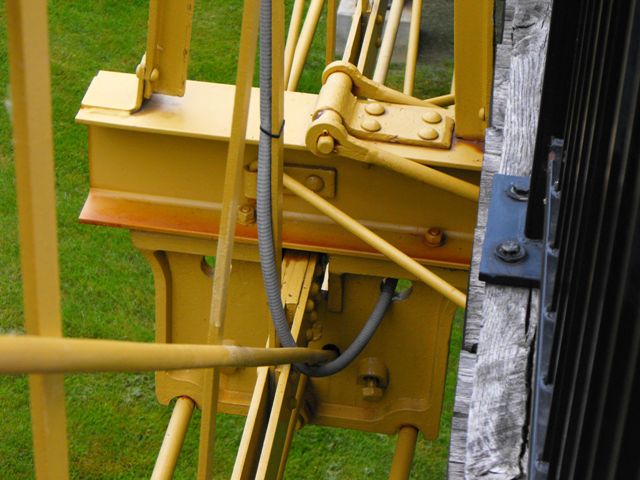
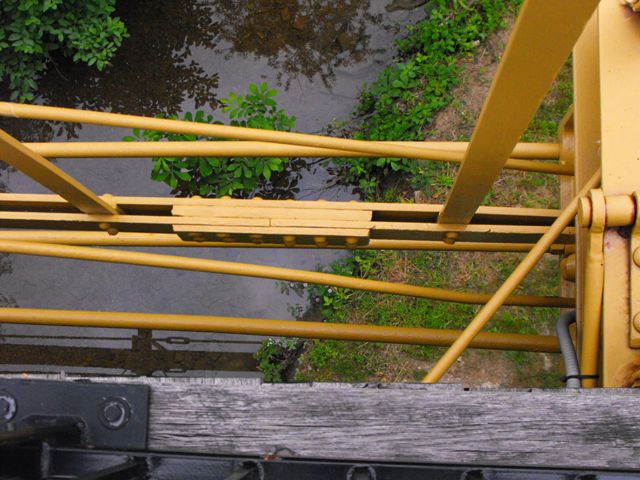
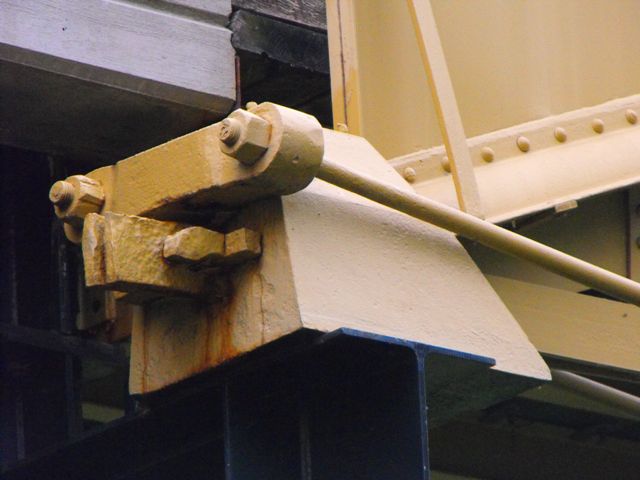
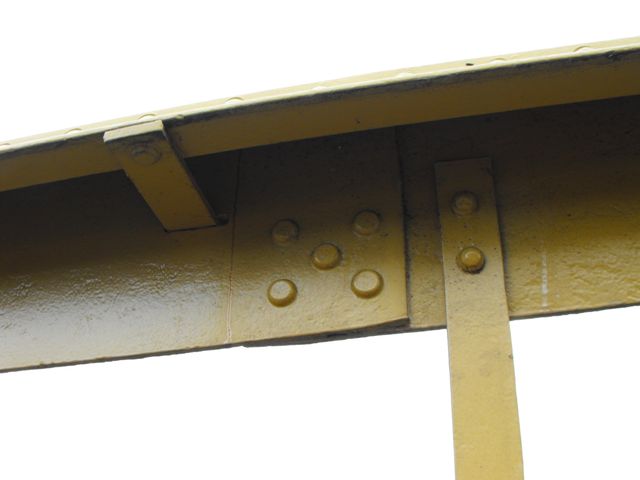
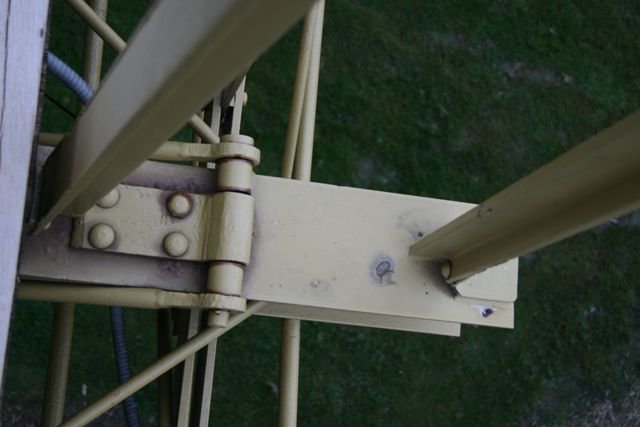
Bottom chord connections as viewed from beside bridge.
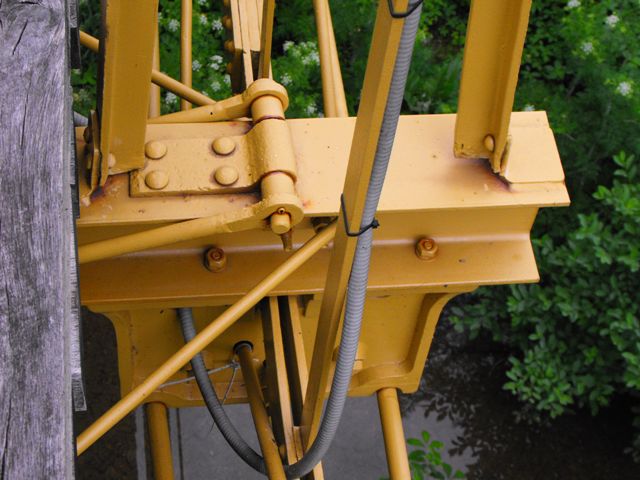
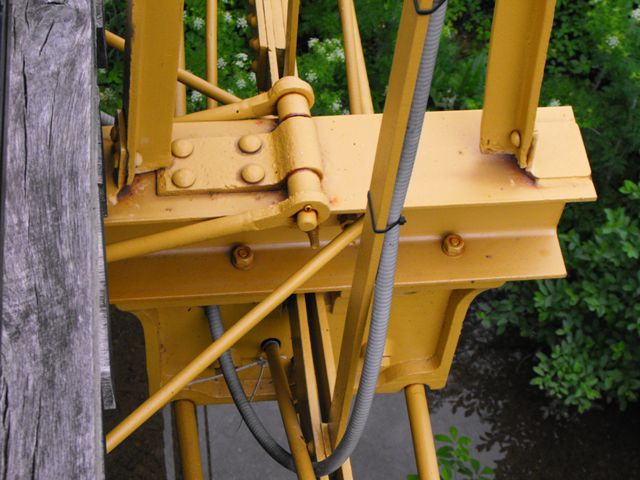
![]()
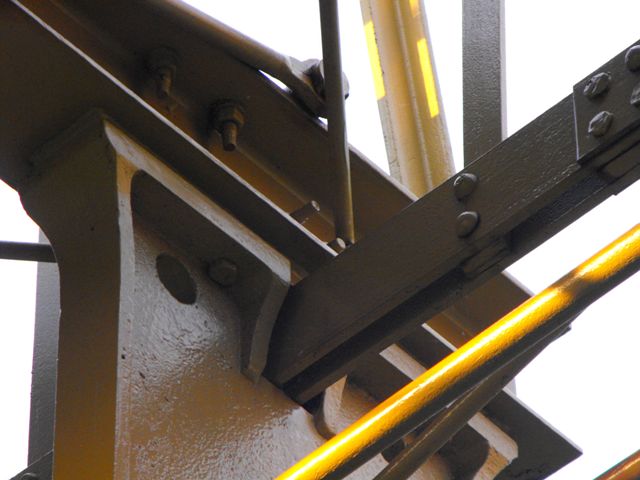
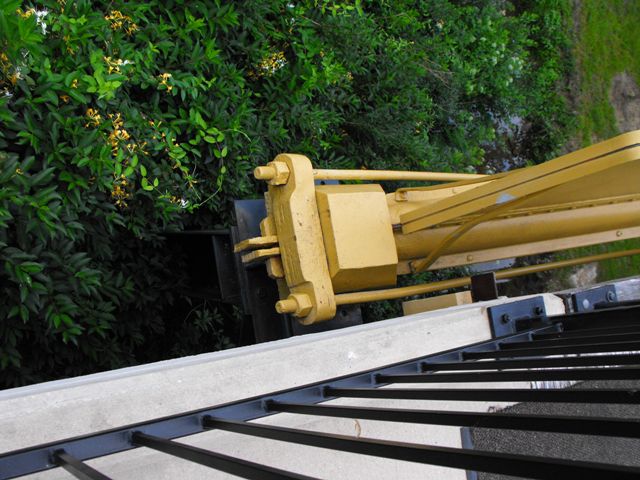
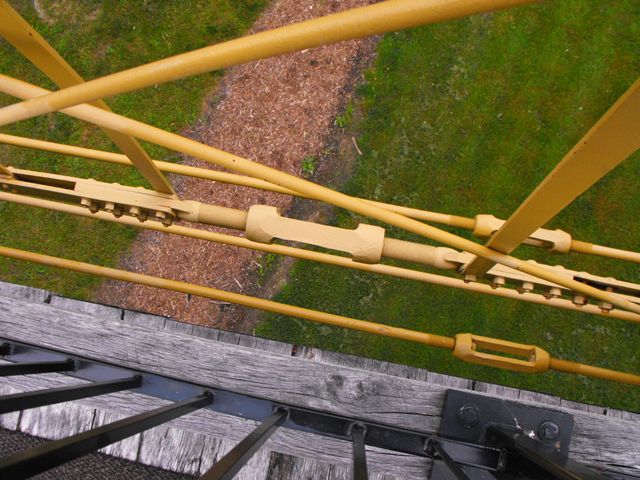
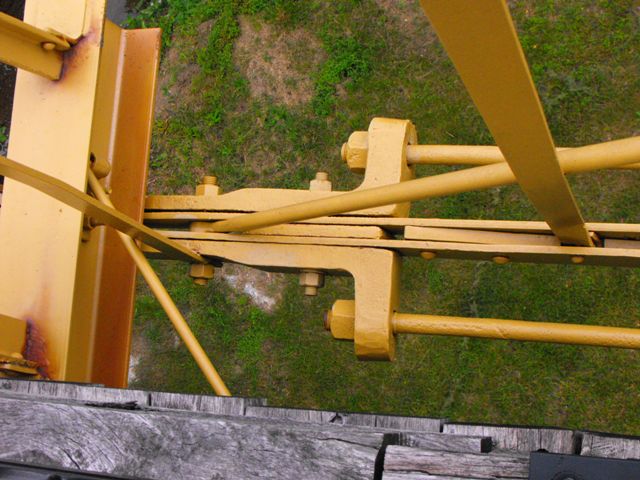
Bottom chord connections as viewed from on bridge.
![]()


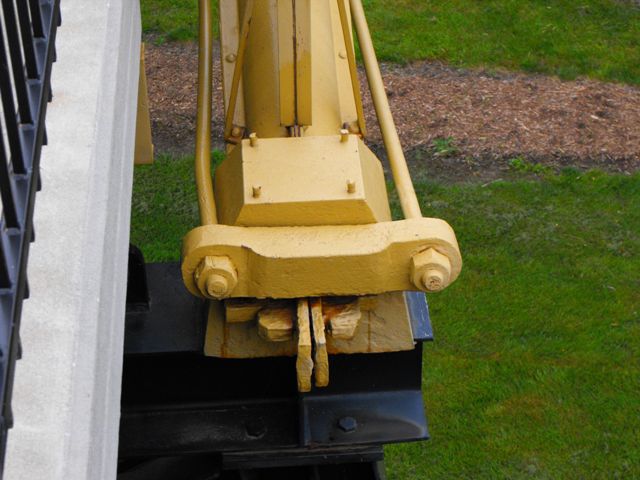
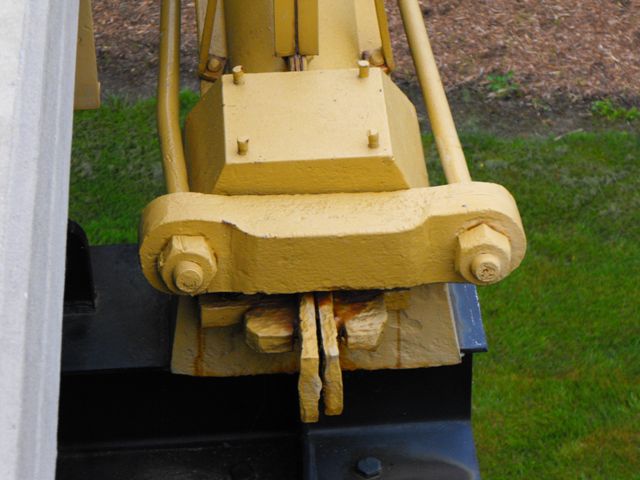
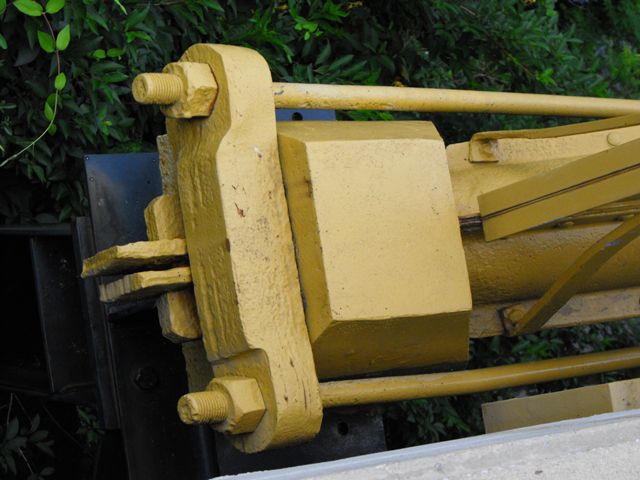
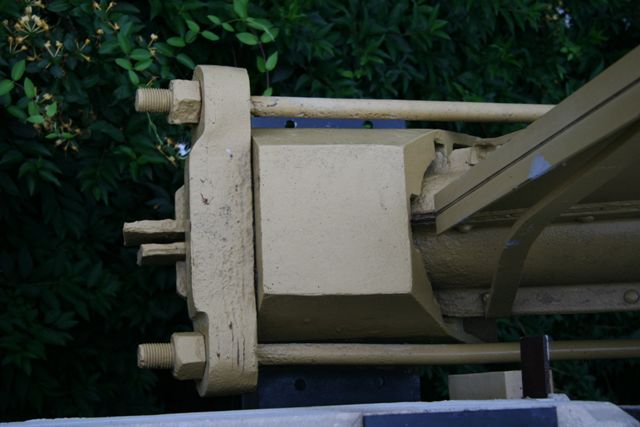
Views showing cast iron block for the bottom chord connection assembly.
![]()


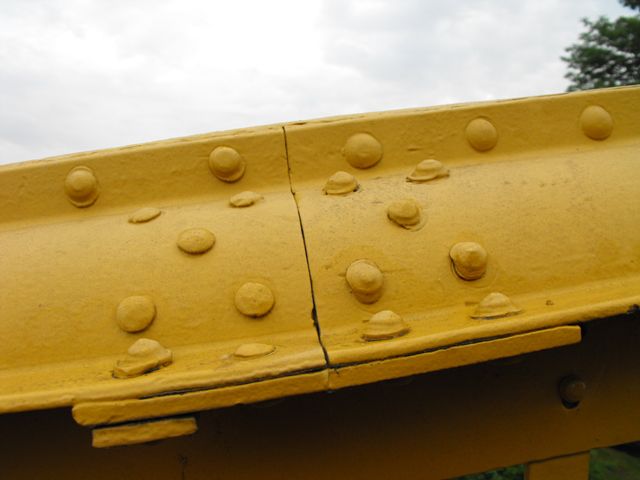
Bottom chord splice.
![]()
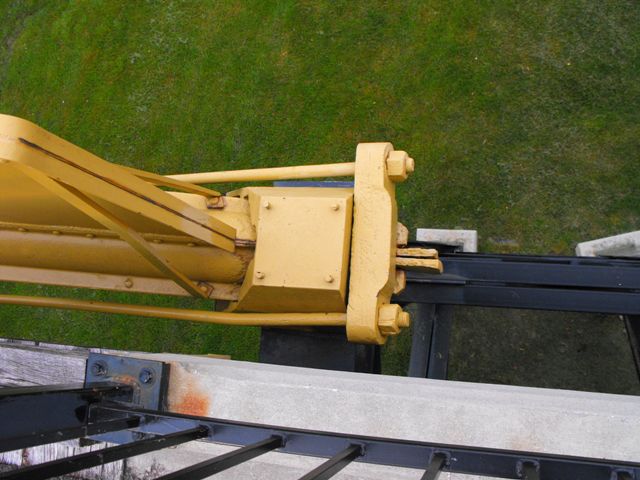
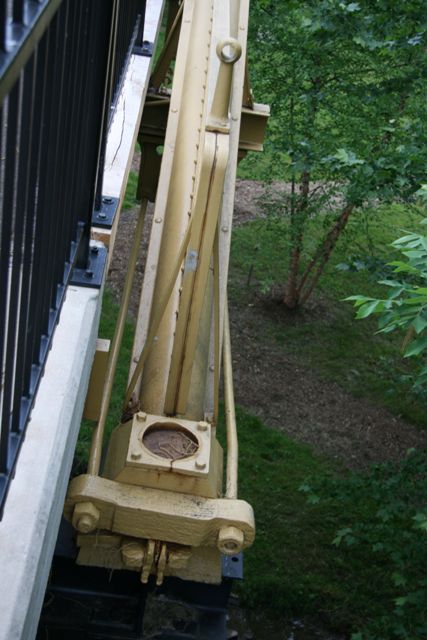
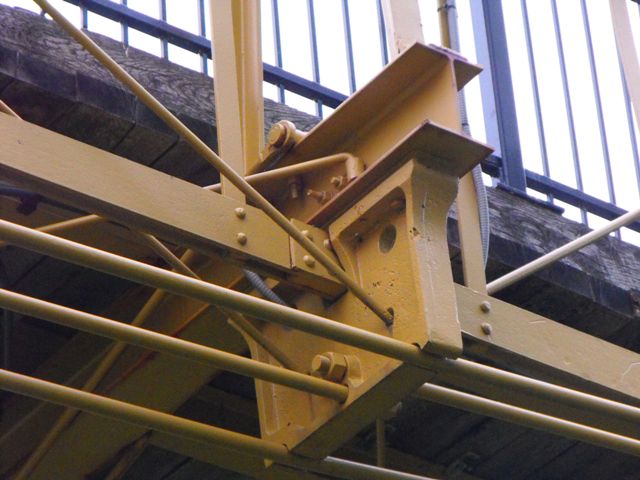
Bearing and cast iron bridge shoe assembly.
![]()

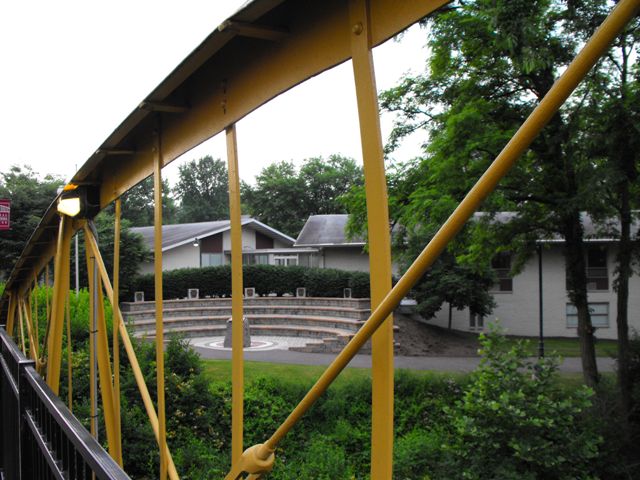
Vertical members.
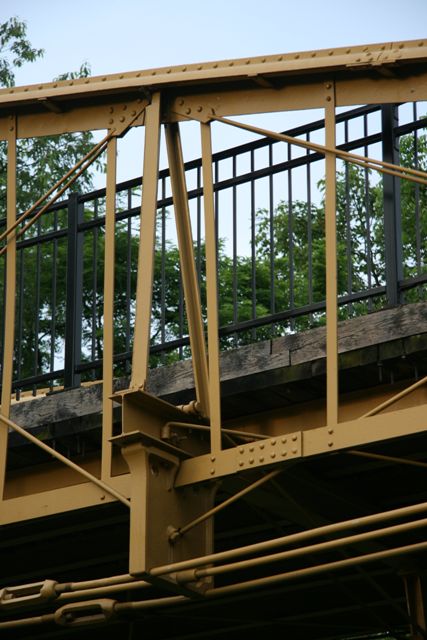
![]()
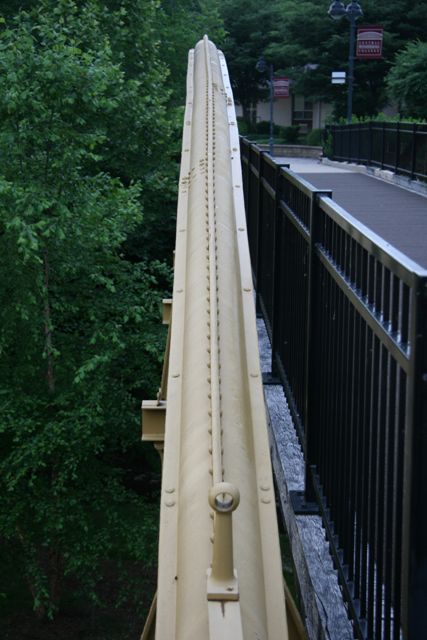
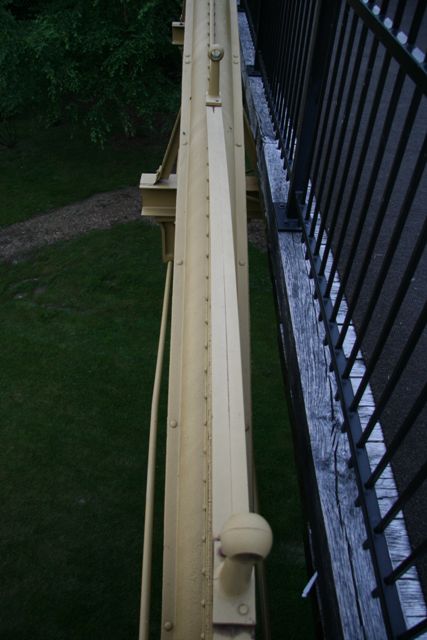
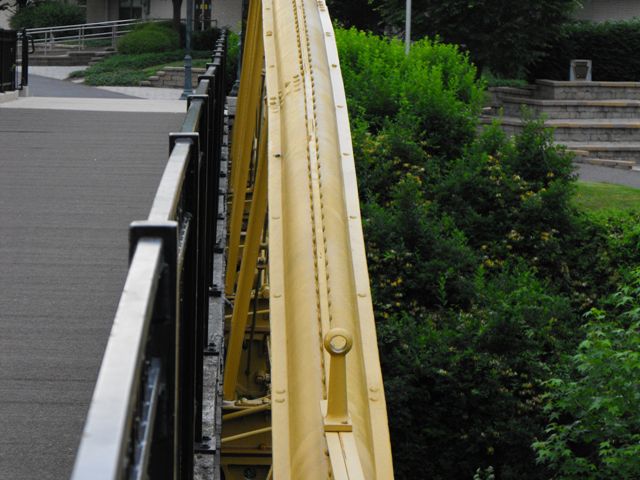
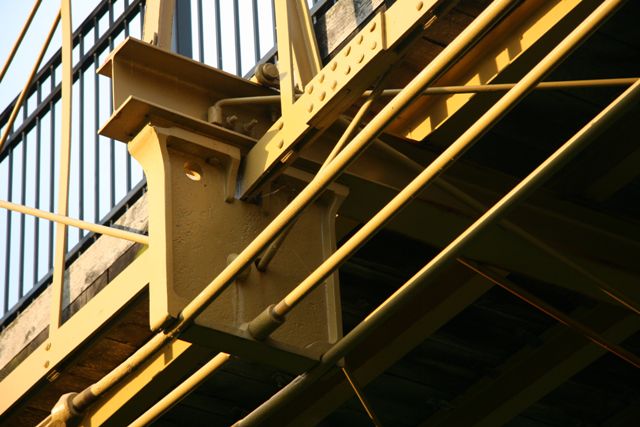
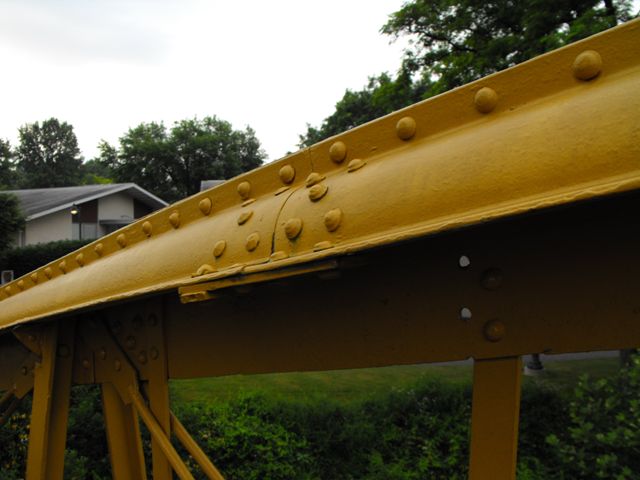
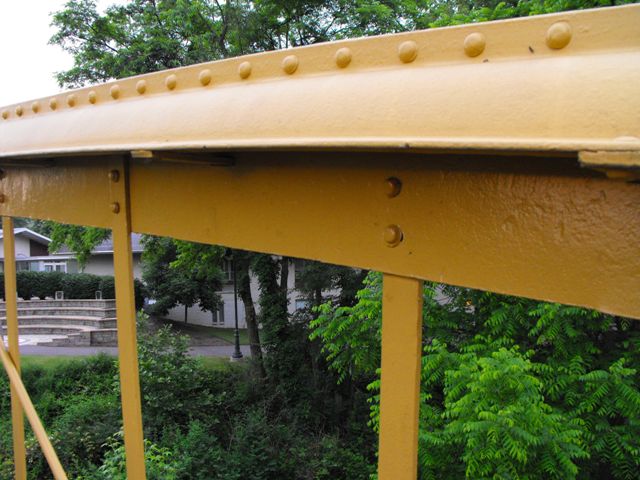
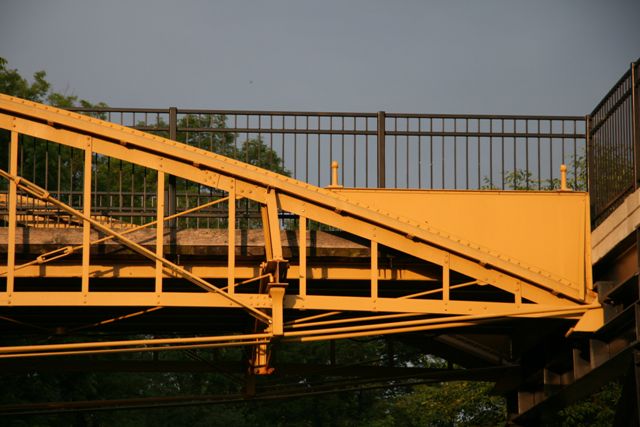
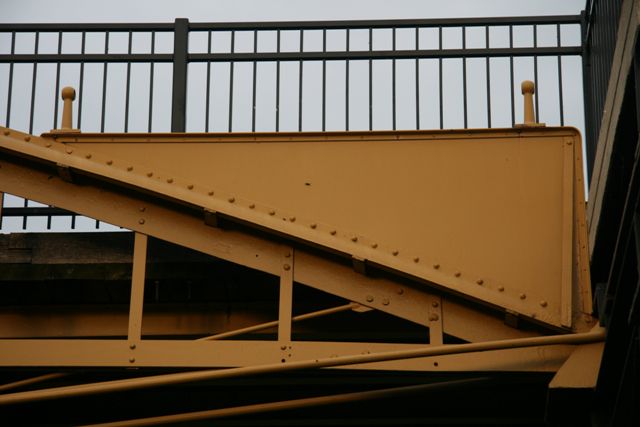
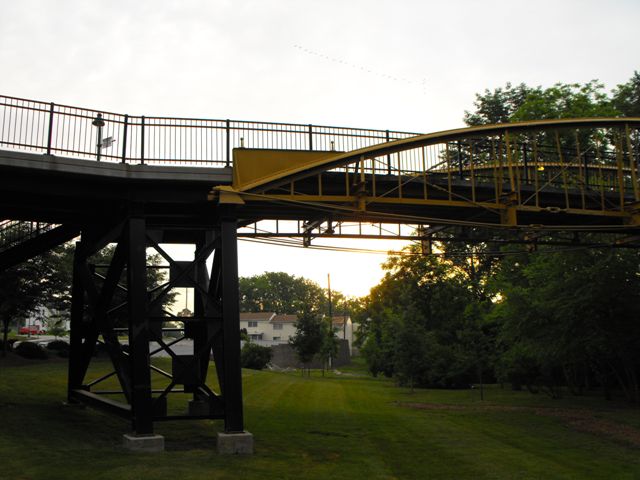
Top chord overview.
![]()


Views showing Phoenix sections on the top chord.
![]()
Views showing the plate and battens section of the top chord.
![]()


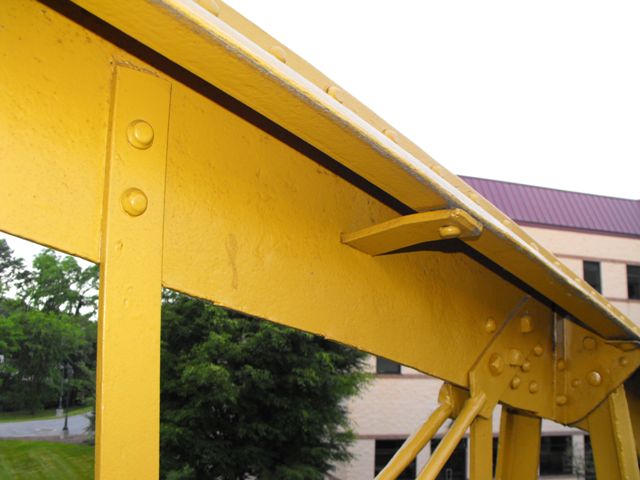
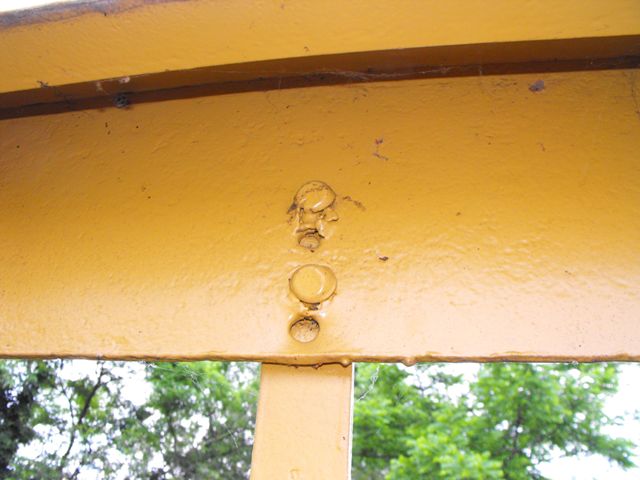
Top chord splice.
![]()
Views showing the plate section at the ends of the truss.
![]()
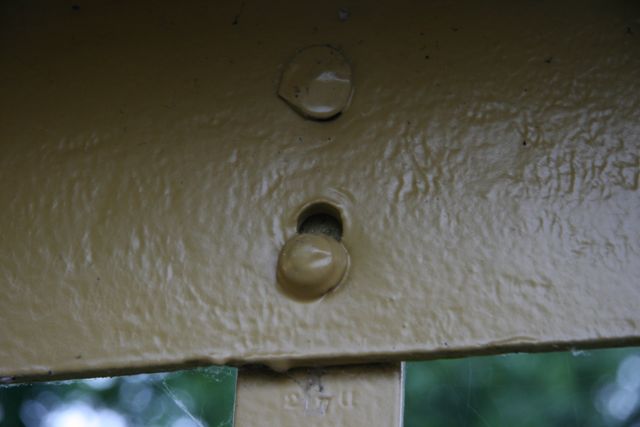
Vertical member where it appears it took the workers four tries to drill the hole in the correct location.
![]()
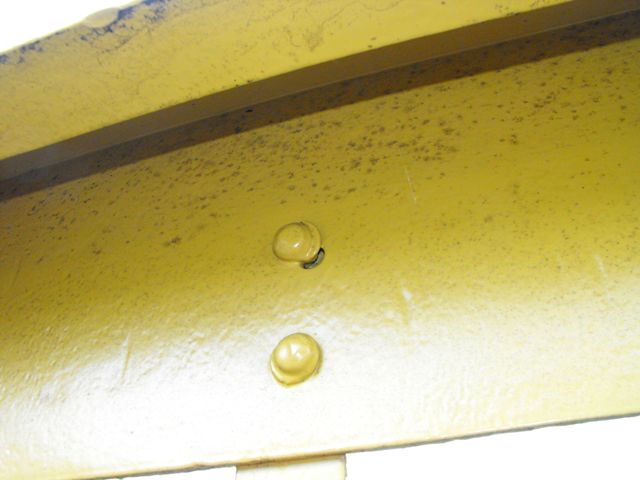
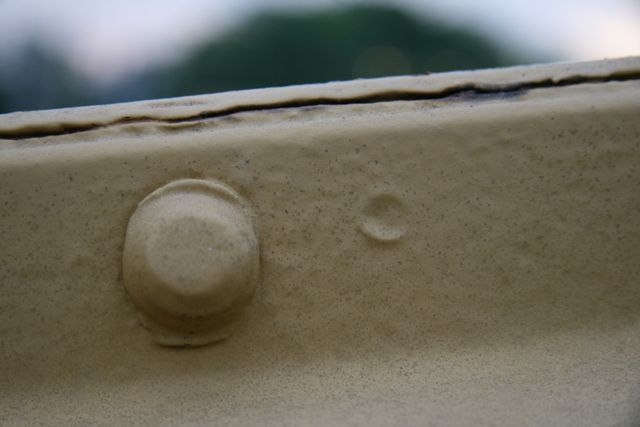
Rivet on top chord where it is so badly hammered that the shank is bent over.
![]()
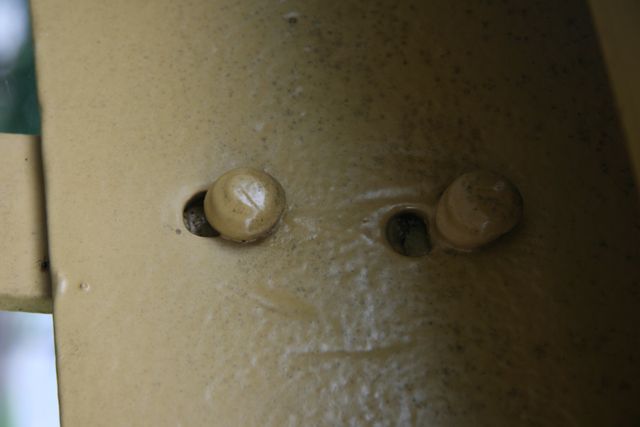
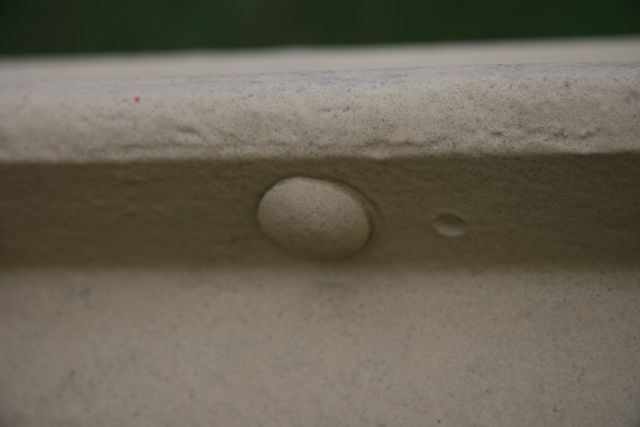
There are more badly hammered rivets and incorrect drill holes.
![]()
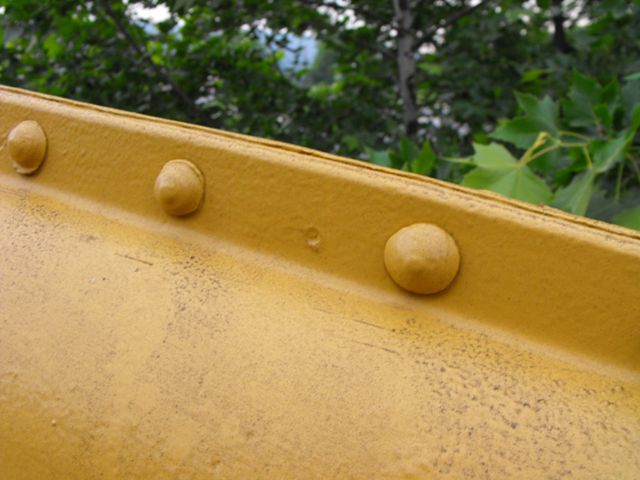
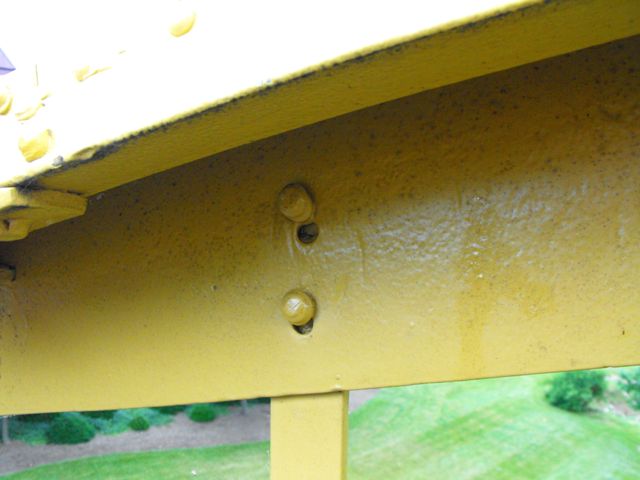
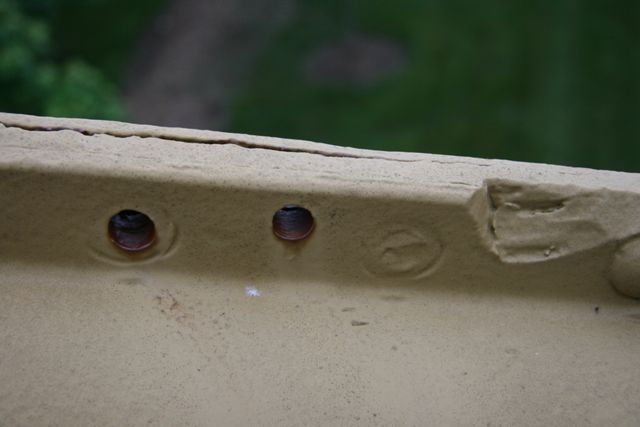
Rivet detail with unknown dimple mark located just to the right.
![]()
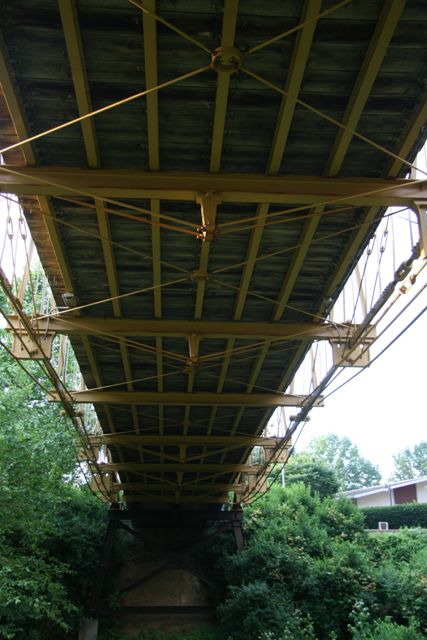
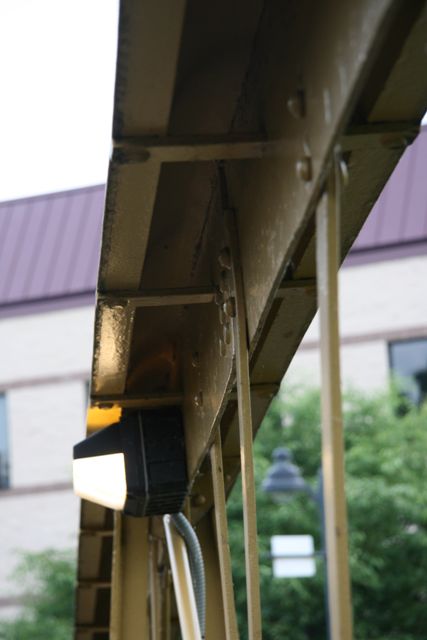
View under bridge.
![]()
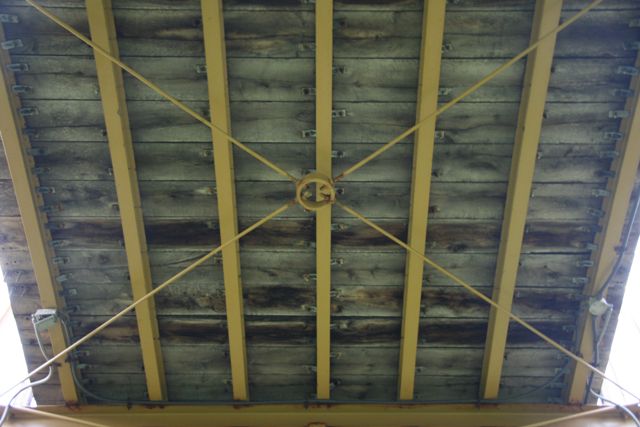
Deck stringers.
![]()
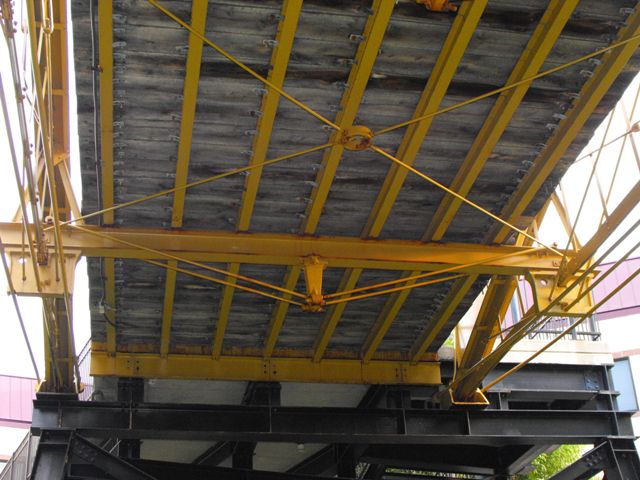
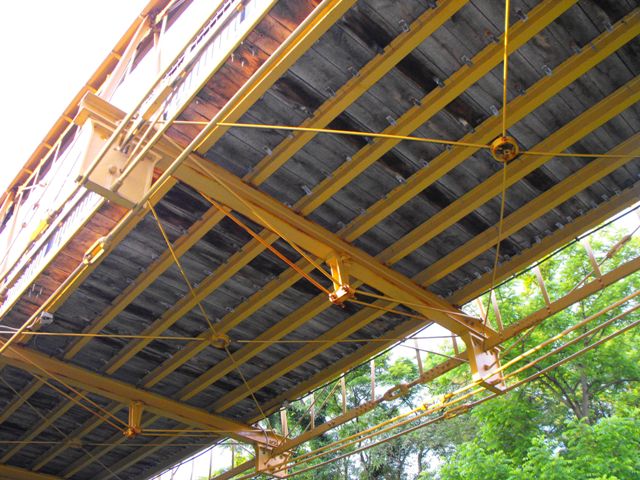
Floorbeam overviews.
![]()
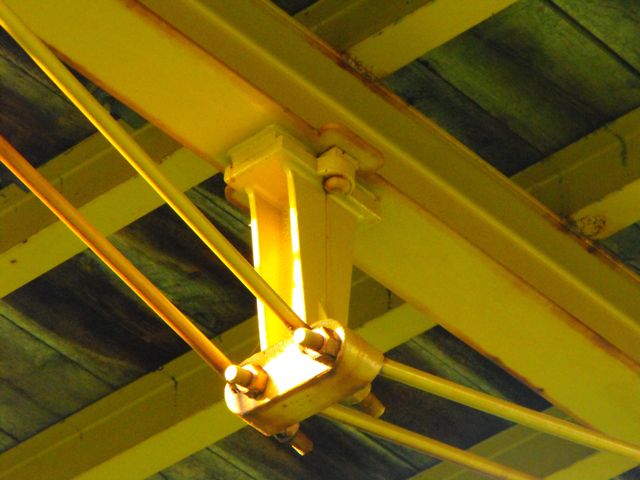
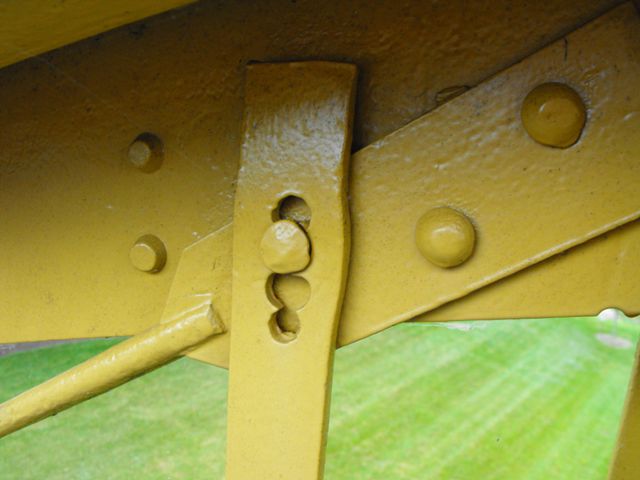
Cast iron block for kingpost assembly on floorbeams.
![]()

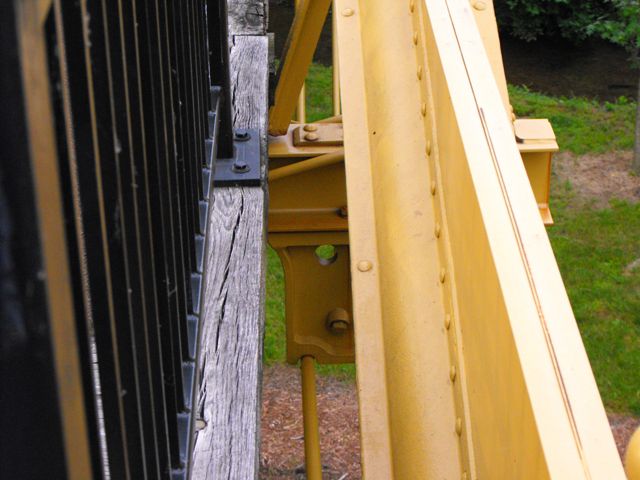
Cast iron attachment for pole railing.
![]()
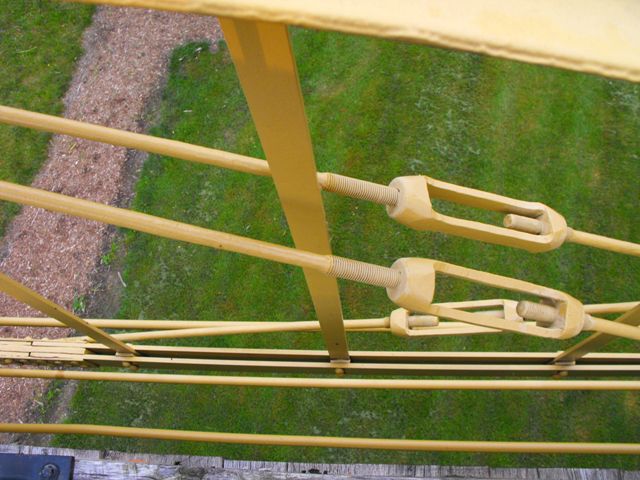
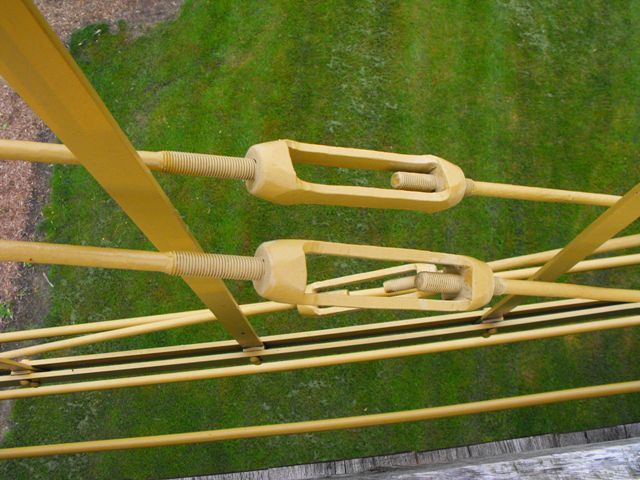
Turnbuckles on diagonal members.
![]()
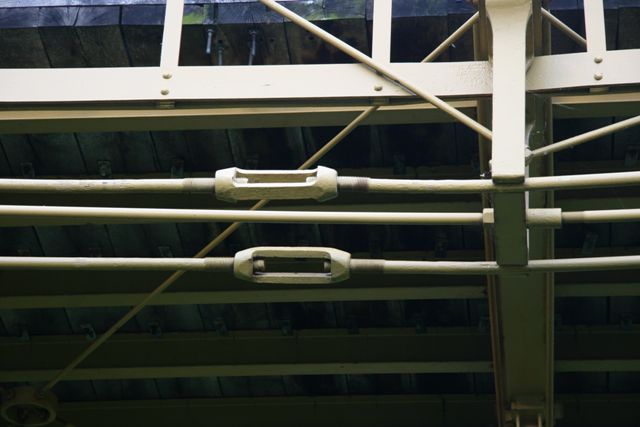
Turnbuckles on bottom chord.
![]()
![]()
| Back |
| Home |
| Top |

![]()


