
Uncredited photos on this page taken by: Nathan Holth and Rick McOmber. Unless stated in a caption, all photos are Copyright with All Rights Reserved. Learn about reuse of our photos.
![]()

Original / Full Size
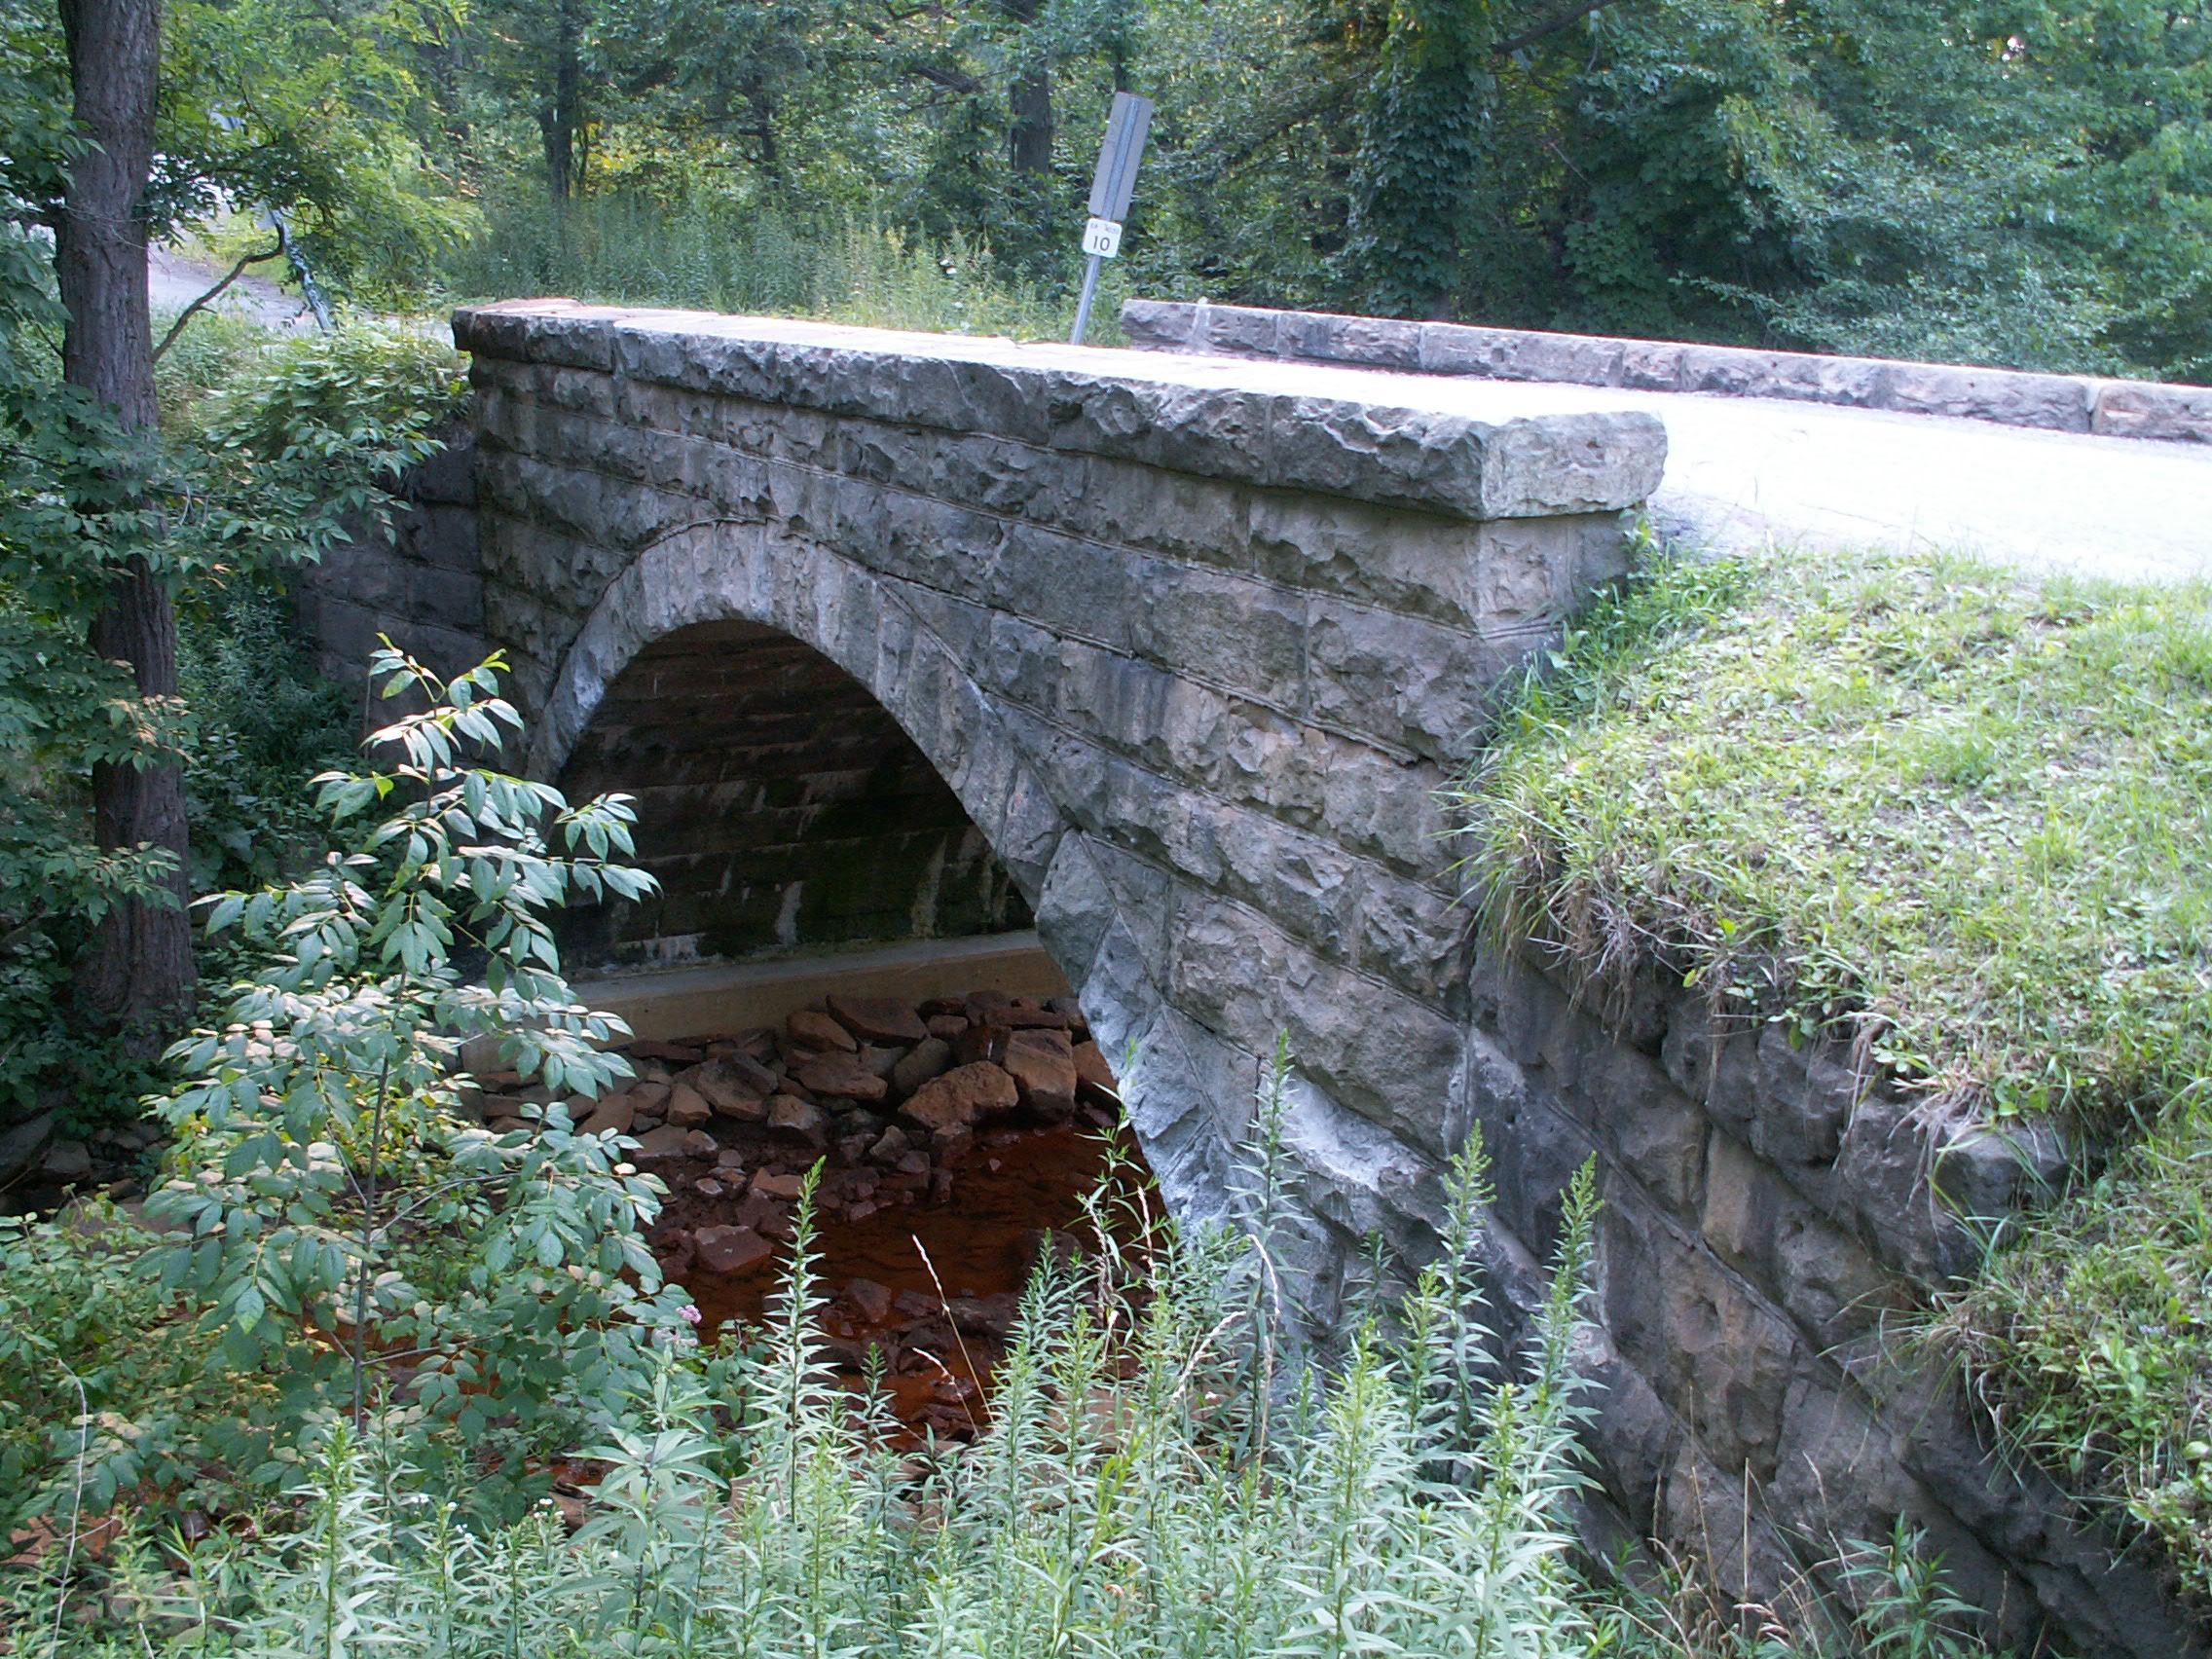
Views beside bridge.
![]()

Original / Full Size
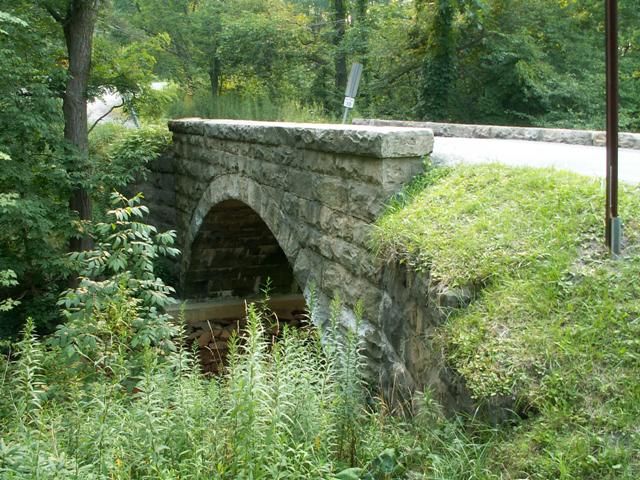
Scenery at bridge.
![]()

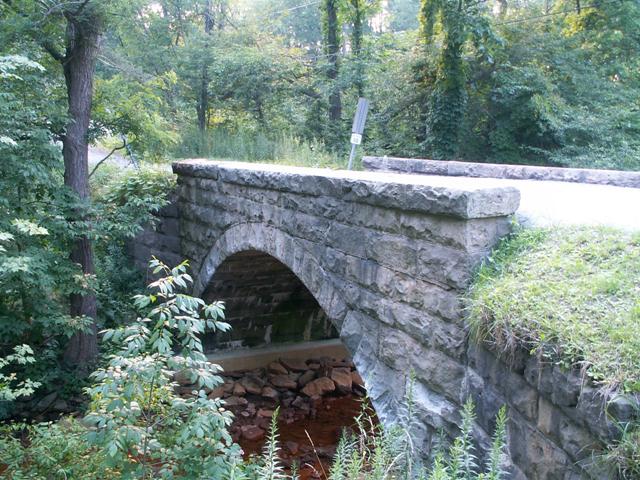
Views beside bridge.
![]()
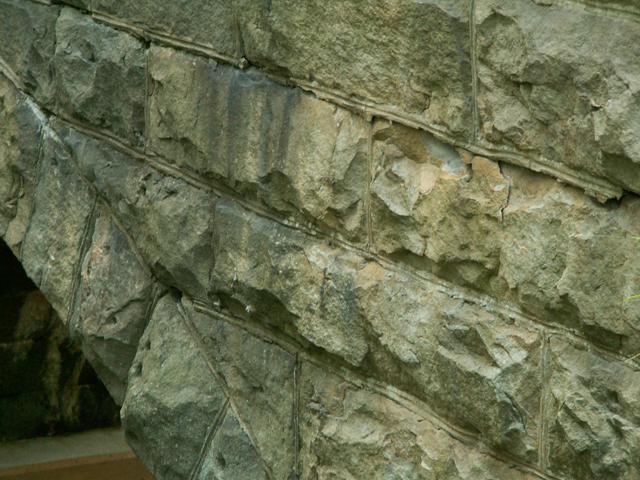
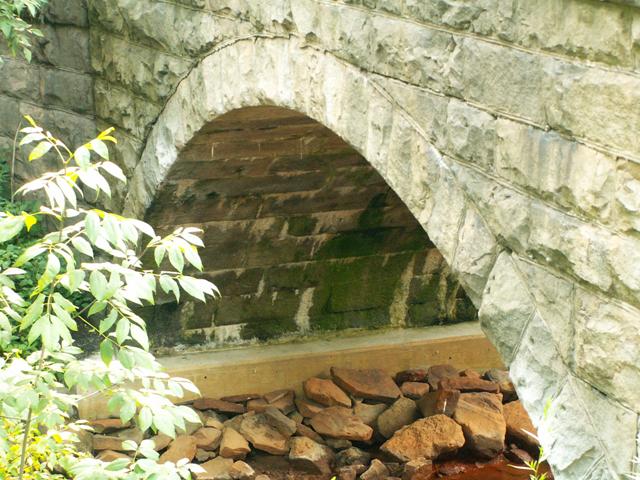

Arch details.
![]()
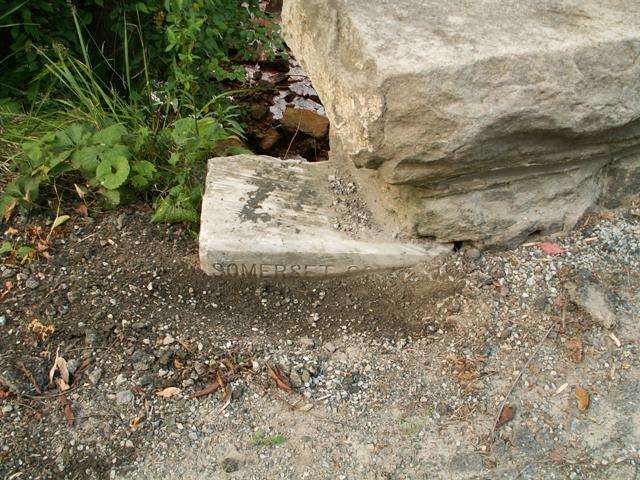
Here is where the plaque is covered up.
![]()
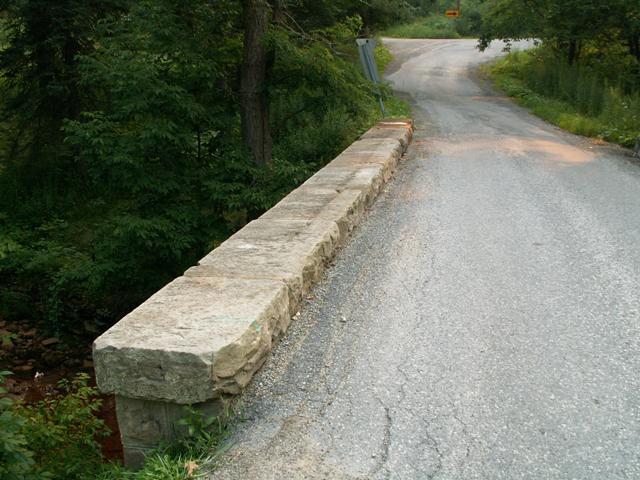
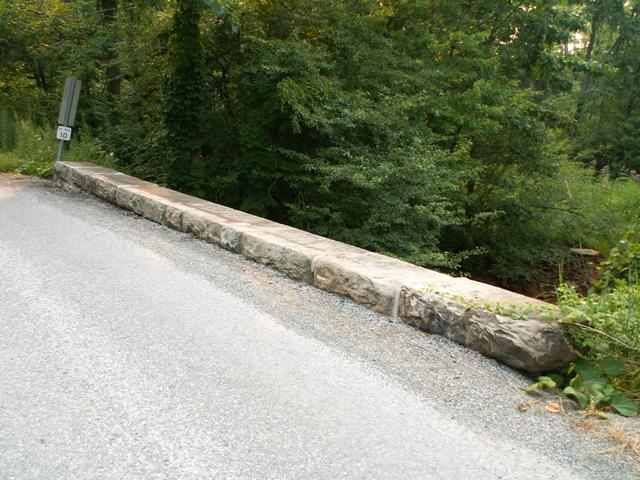
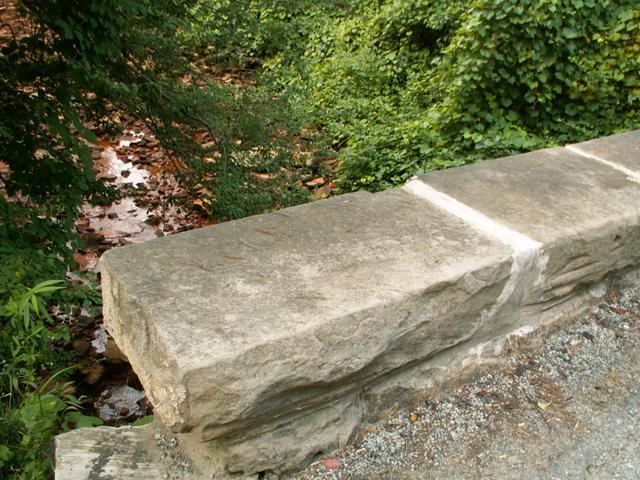
Views of the railing/parapet.
![]()
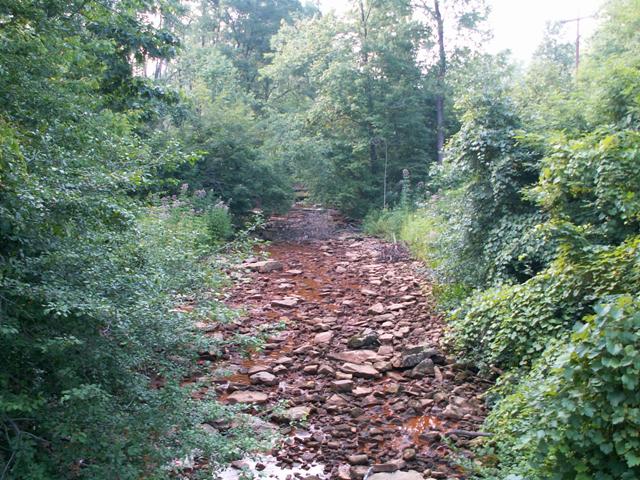
Scenery at bridge.
![]()
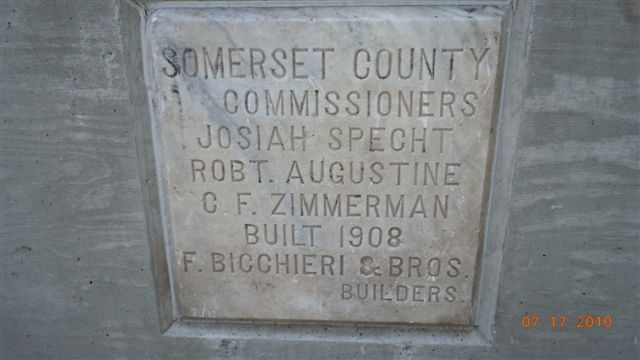
Photo Credit: Marlin Knisely
Post-rehabilitation view of plaque.
![]()
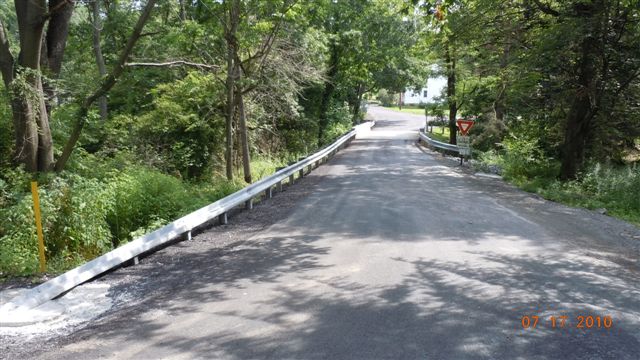
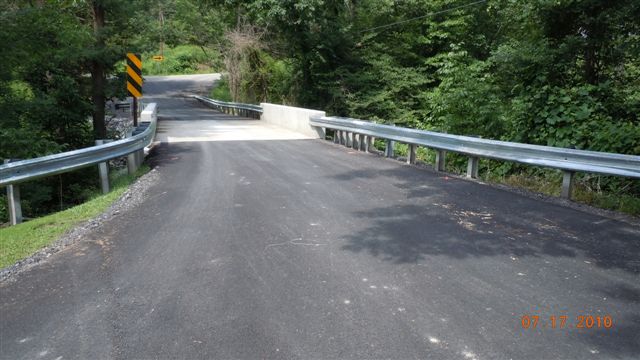
Photo Credit: Marlin Knisely
Post-rehabilitation portal views.
![]()
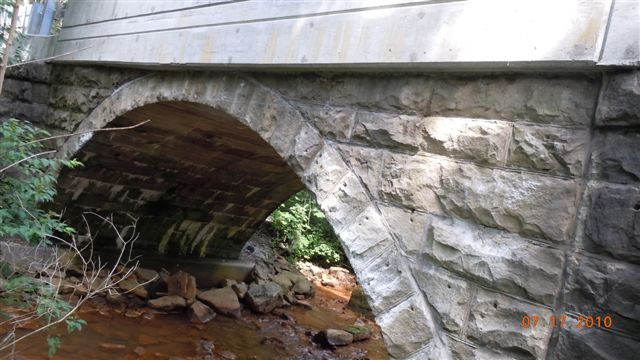
Photo Credit: Marlin Knisely
Post-rehabilitation view beside bridge.
![]()
![]()
| Back |
| Home |
| Top |

![]()