
Uncredited photos on this page taken by: Nathan Holth and Rick McOmber. Unless stated in a caption, all photos are Copyright with All Rights Reserved. Learn about reuse of our photos.
![]()


Original / Full Size
Views beside bridge.
![]()

Original / Full Size
View beside bridge showing a car crossing the bridge.
![]()


Original / Full Size
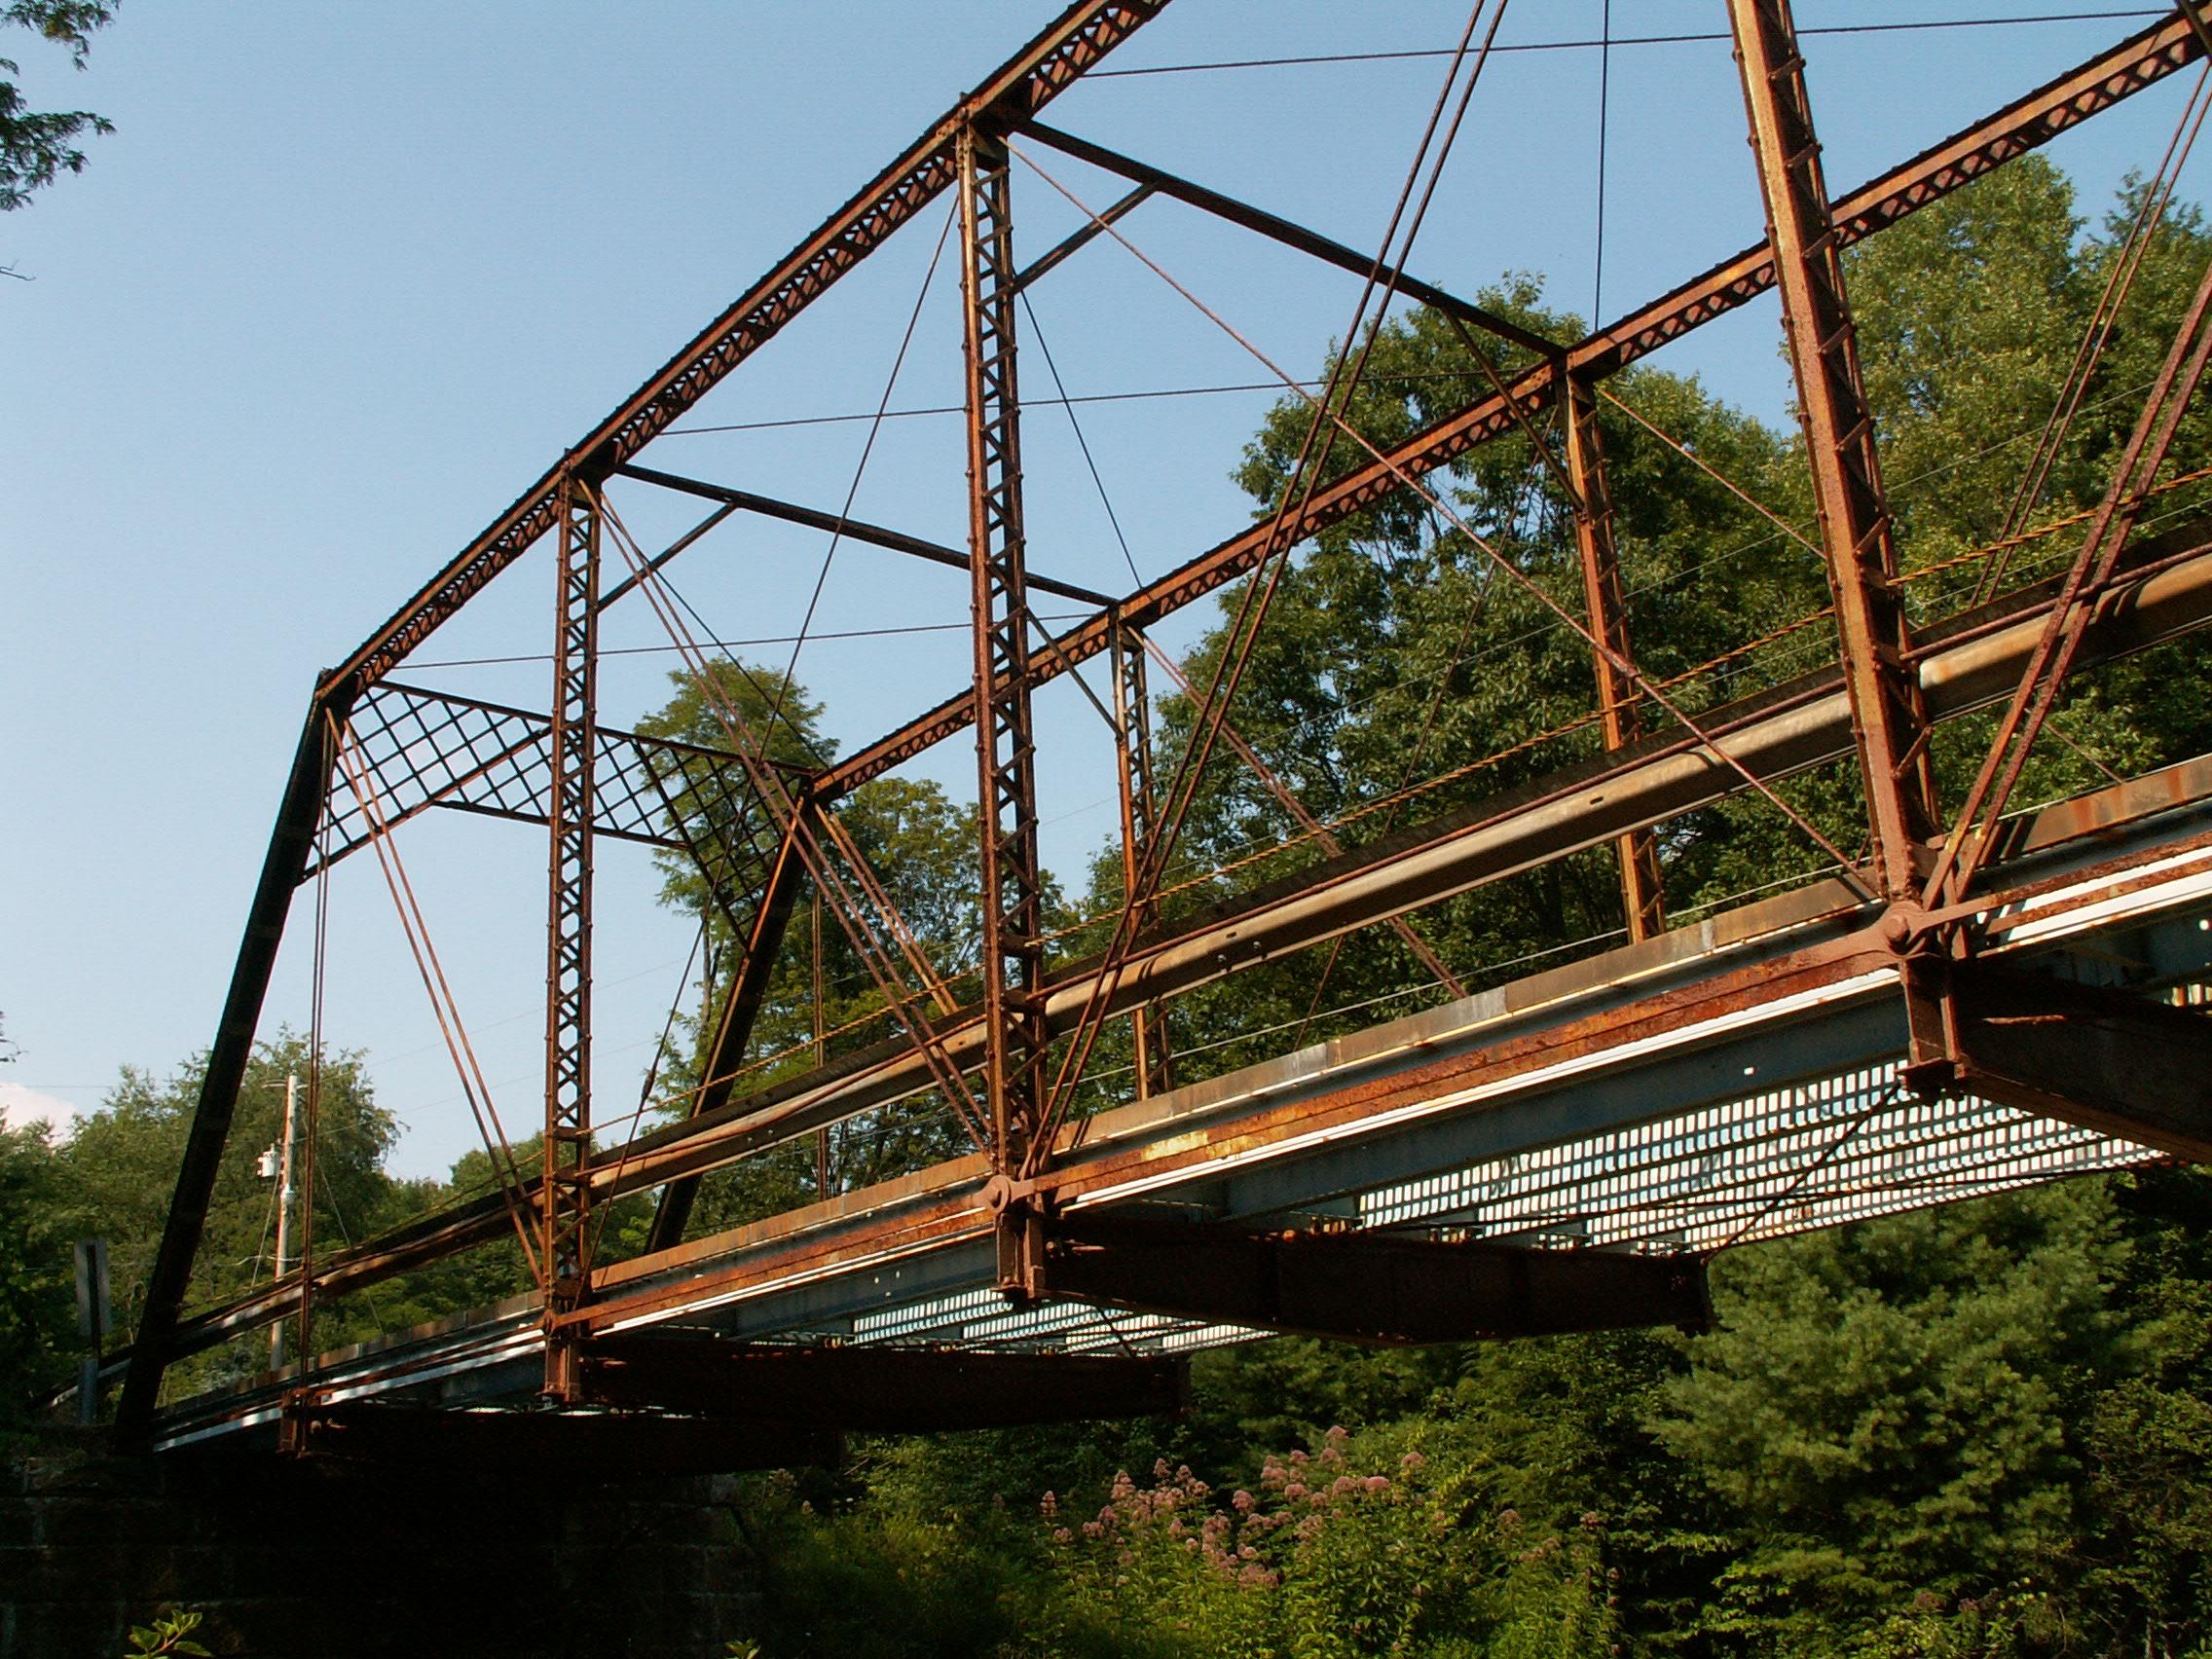
Portal views.
![]()


Original / Full Size
Oblique views.
![]()


Original / Full Size
Portal views on bridge.
![]()


Original / Full Size
Views of the truss web.
![]()

Original / Full Size
Portal bracing.
![]()
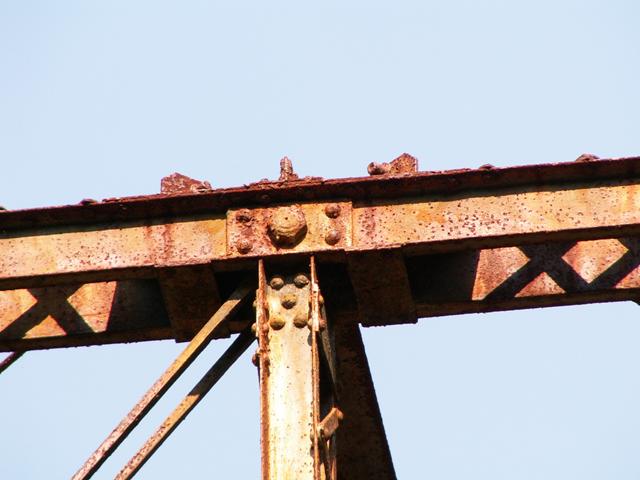
Top chord connection as viewed from beside bridge.
![]()


Top chord connection as viewed from on bridge.
![]()

Bottom chord connection as viewed from on bridge.
![]()


Bottom chord connections as viewed from beside bridge.
![]()


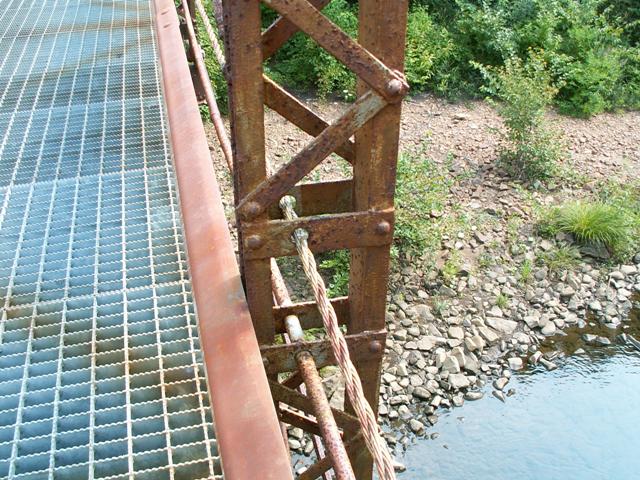
There really isn't a connection at the bottom chord and the hip vertical. Instead, there are just these unusual guides to hold the bottom chord in place.
![]()


Views showing the unusual configuration of the built-up box beam top chord, which features lattice on top instead of the usual plates.
![]()


The end post is more traditionally composed, as it does use plates instead of the lattice on top.
![]()


Sway bracing details.
![]()


Portal bracing details.
![]()
Vertical member and railing detail.
![]()

Vertical member.
![]()


Turnbuckles.
![]()


Floorbeams.
![]()

Sadly, the plaque had been long gone from this bridge.
![]()


Portal bracing.
![]()


Portal views.
![]()


Portal views on bridge.
![]()
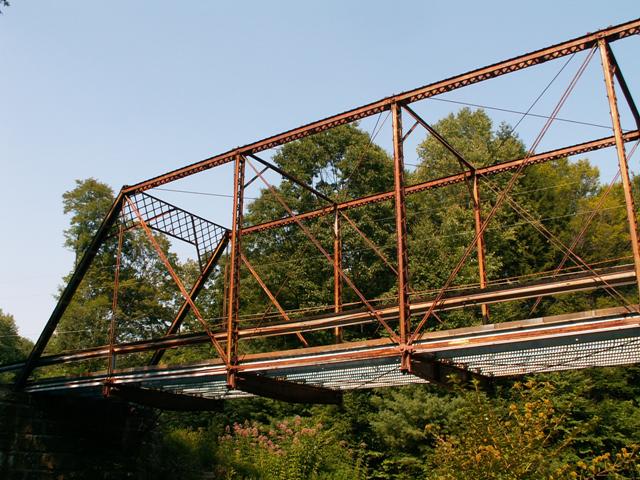


Views beside bridge.
![]()


Oblique views.
![]()


Views of the truss web.
![]()
![]()
| Back |
| Home |
| Top |

![]()