Uncredited photos on this page taken by: Nathan Holth. Unless stated in a caption, all photos are Copyright with All Rights Reserved. Learn about reuse of our photos.
![]()
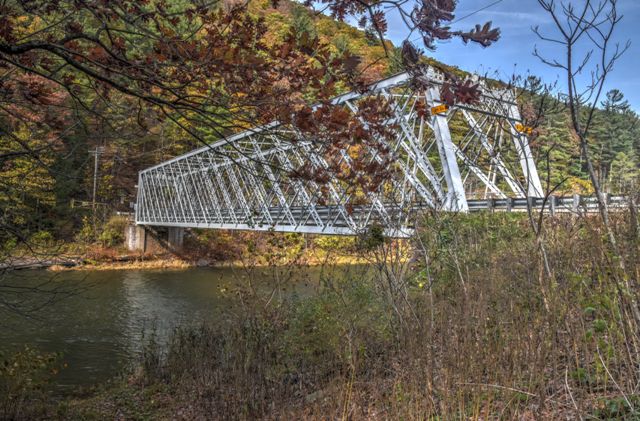


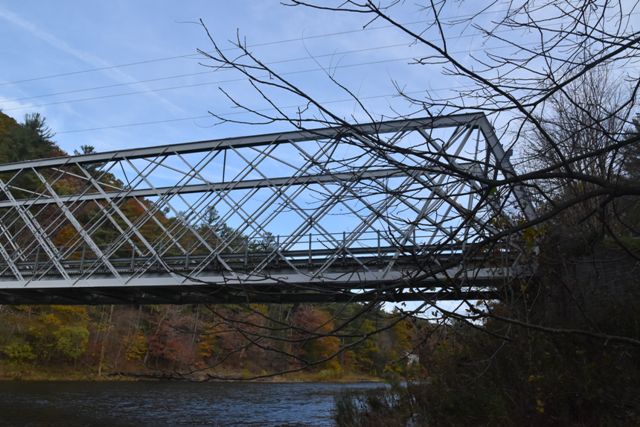
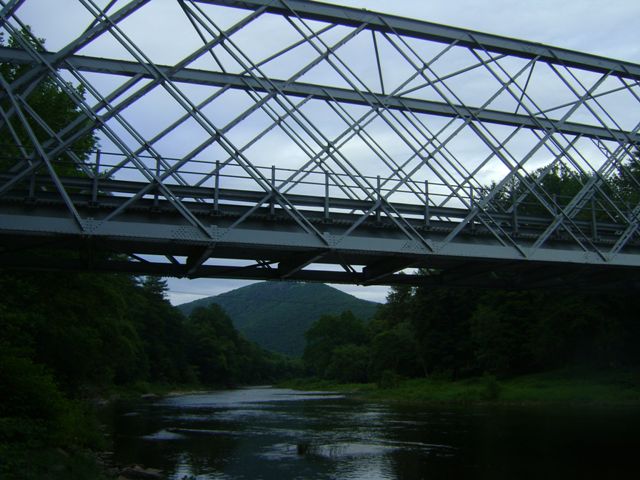
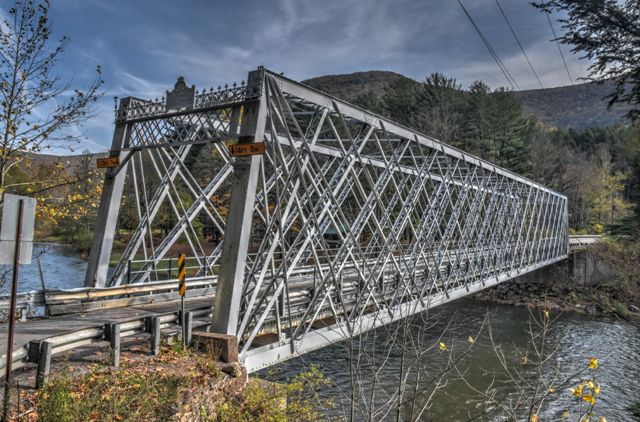
Views beside bridge from southwest quadrant.
![]()


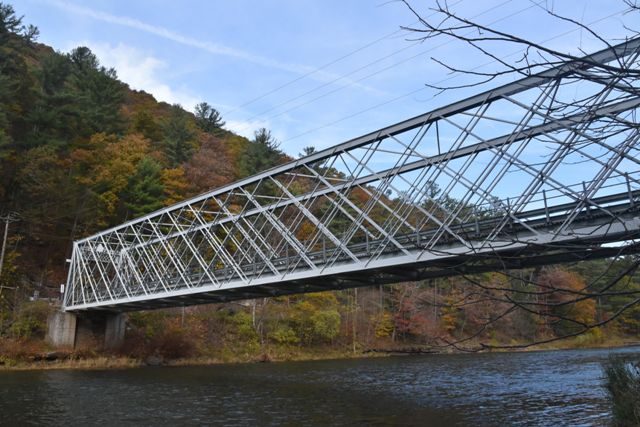

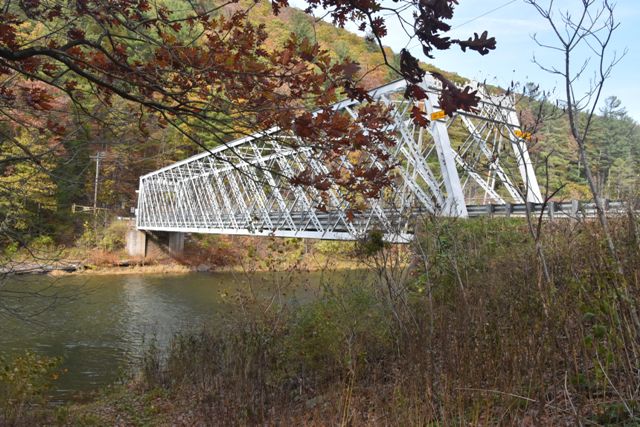
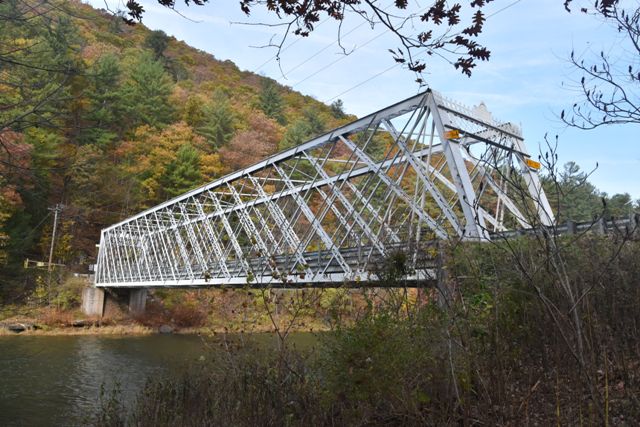
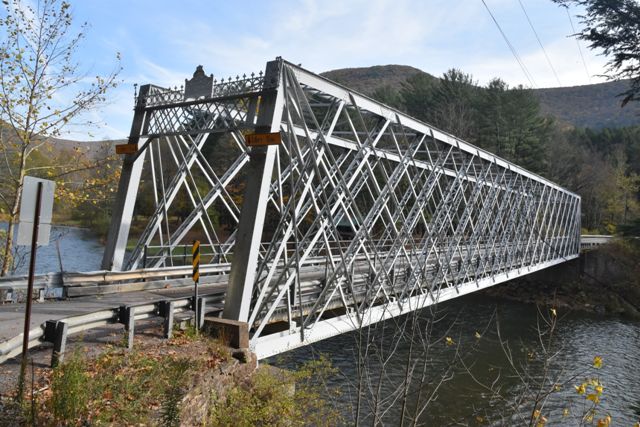
Elevation from southwest quadrant.
![]()
![]()
![]()
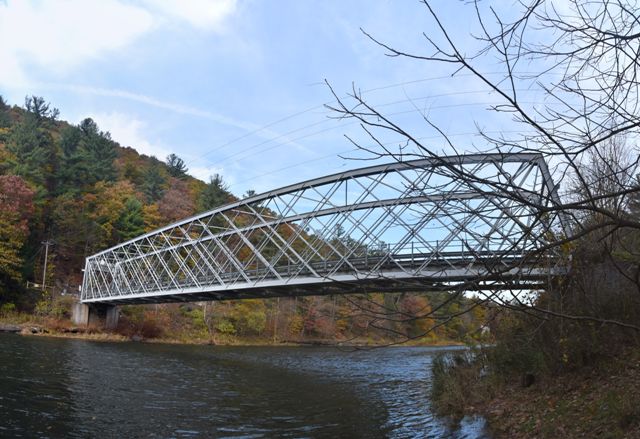
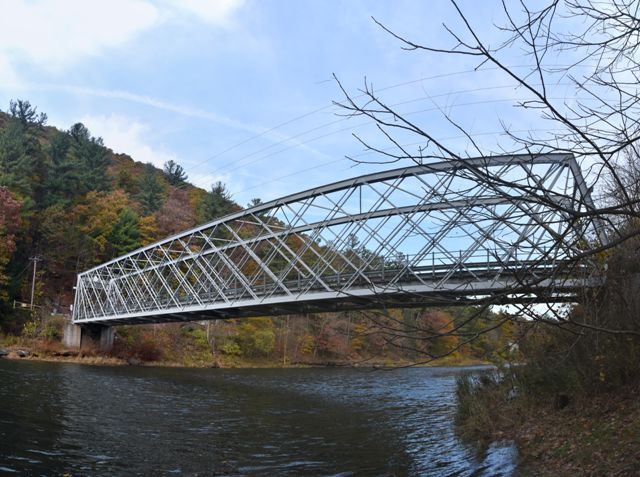
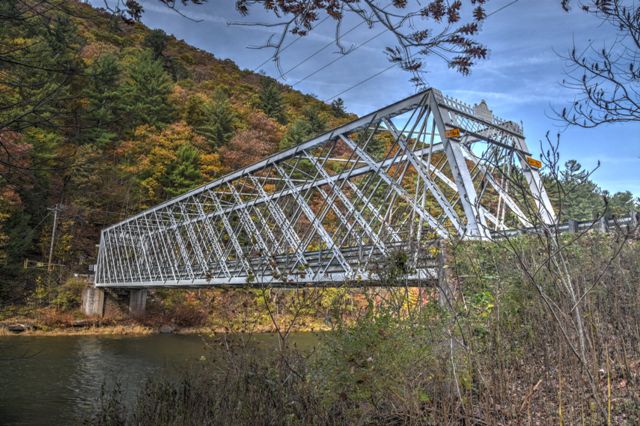
Panoramic elevation from southwest quadrant.
![]()

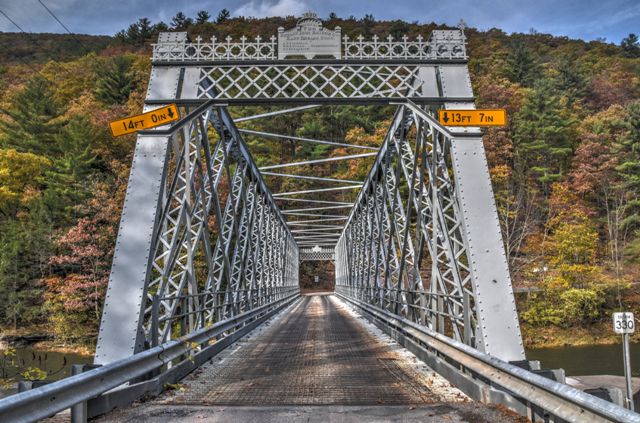


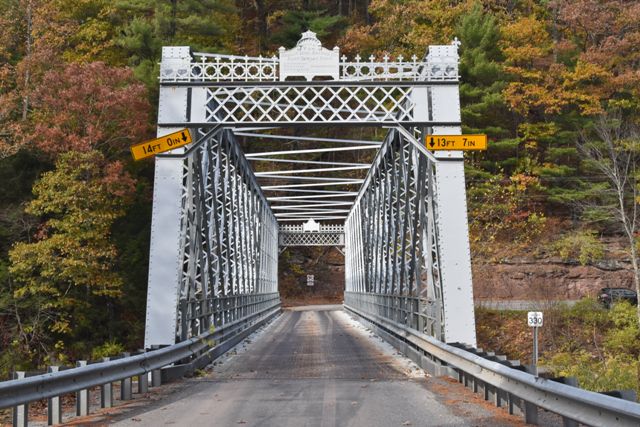


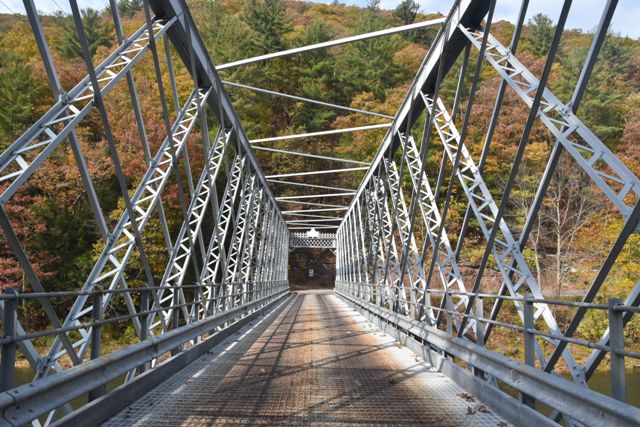
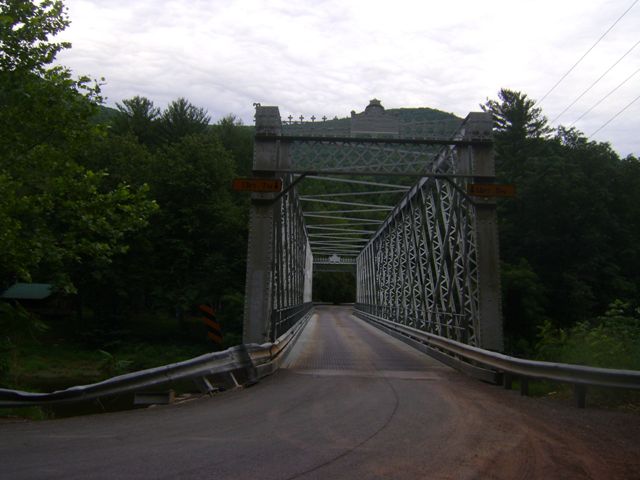
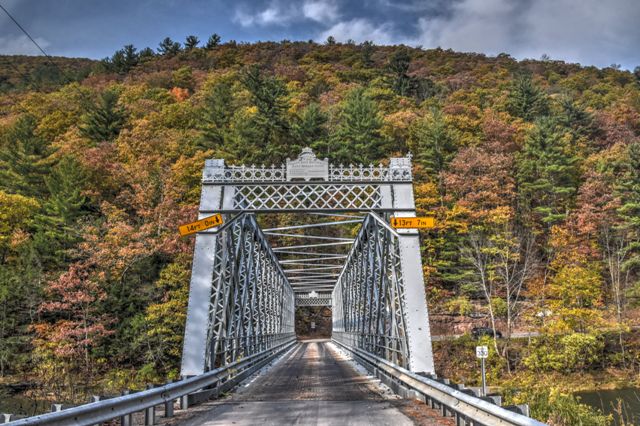
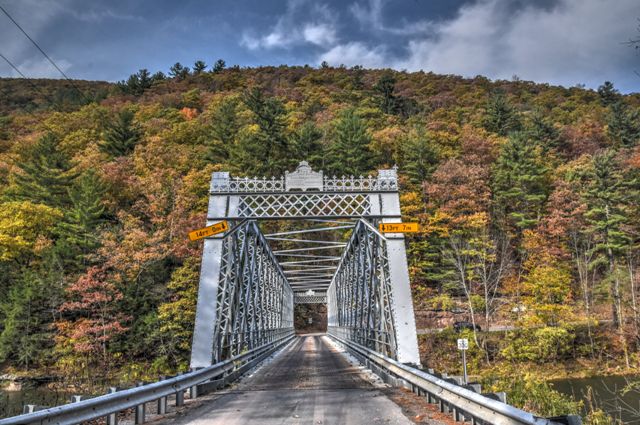
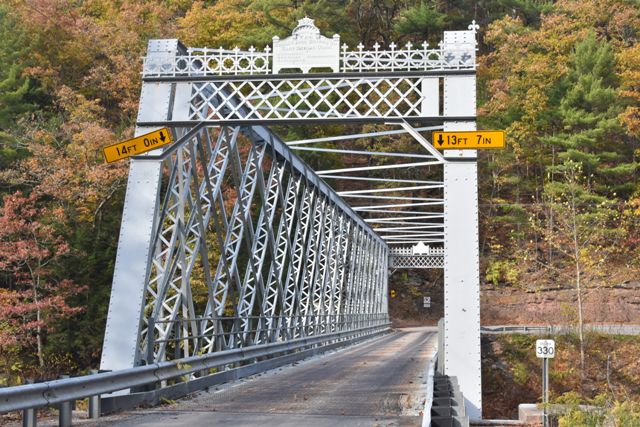
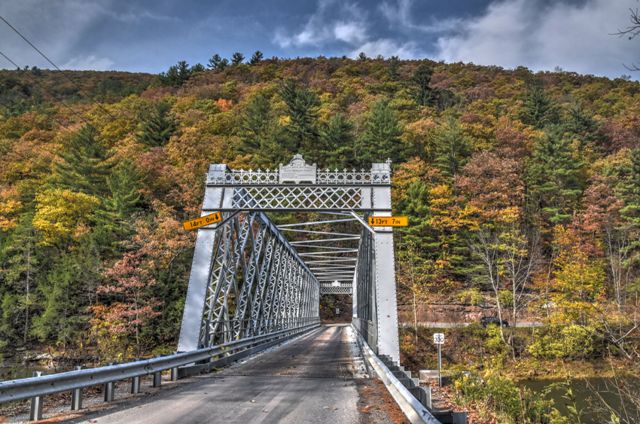
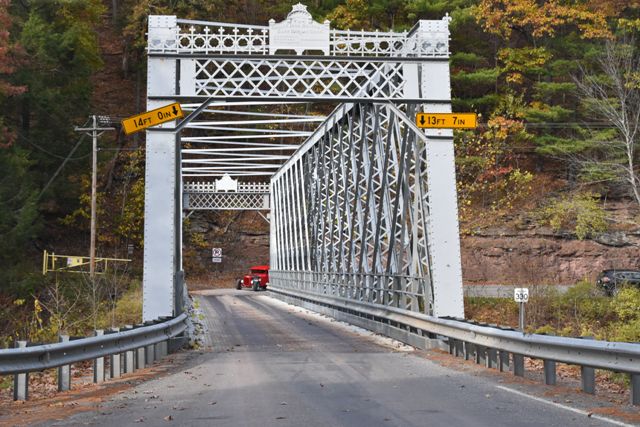
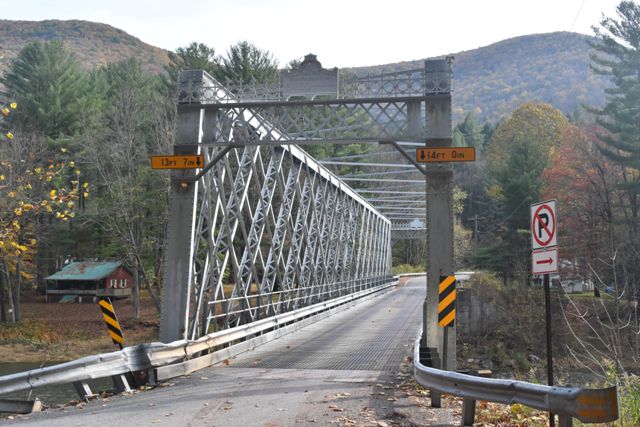
Portal views facing north.
![]()


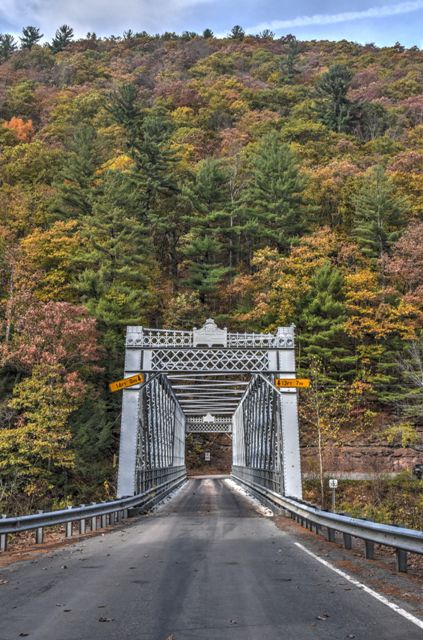


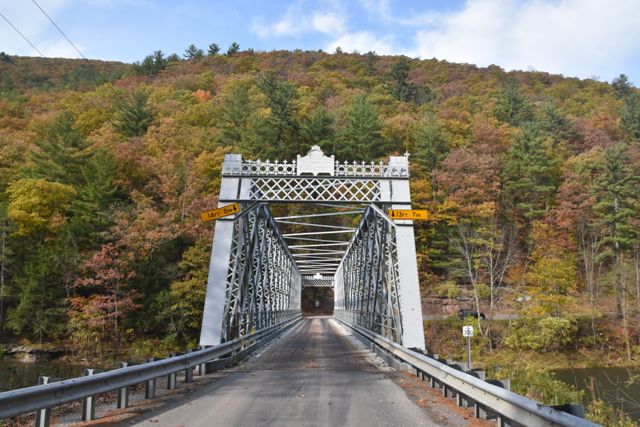


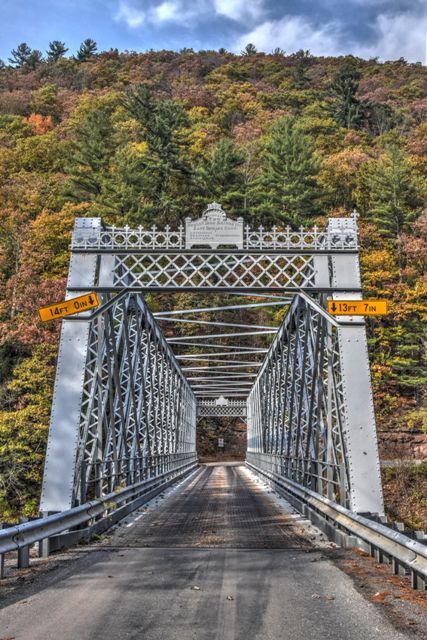


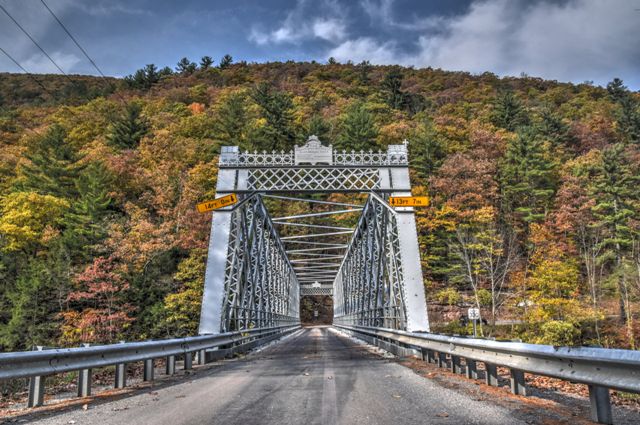
Portal views facing north showing hillside.
![]()
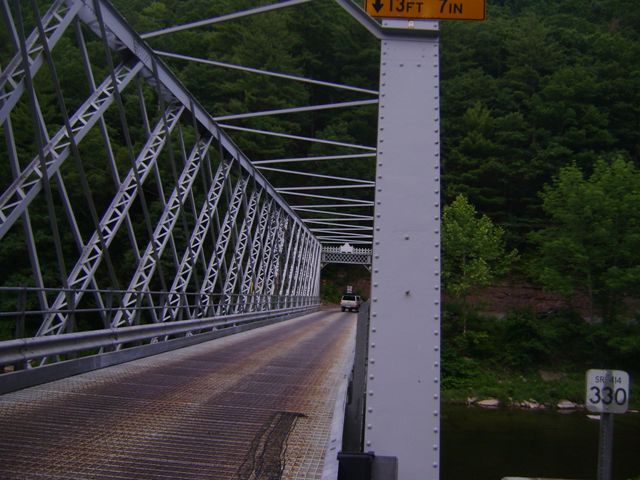
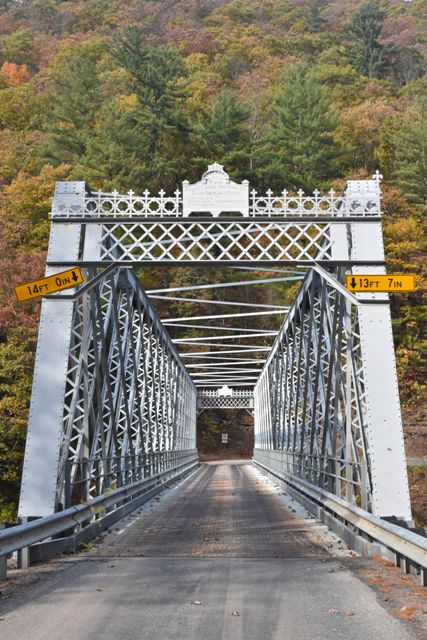
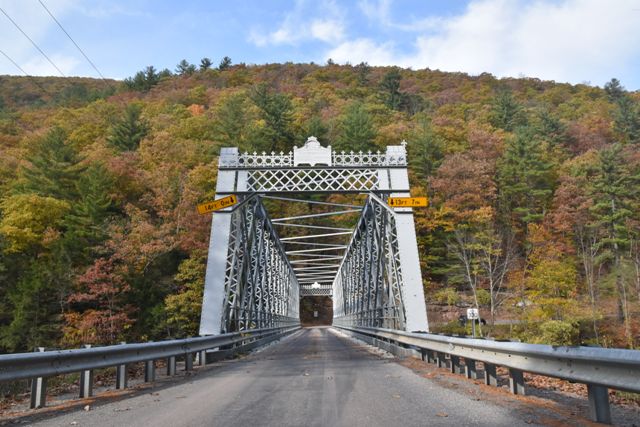
Portal views on bridge facing north.
![]()


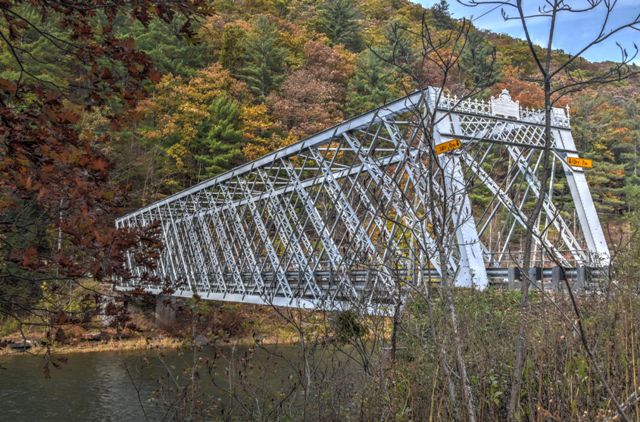
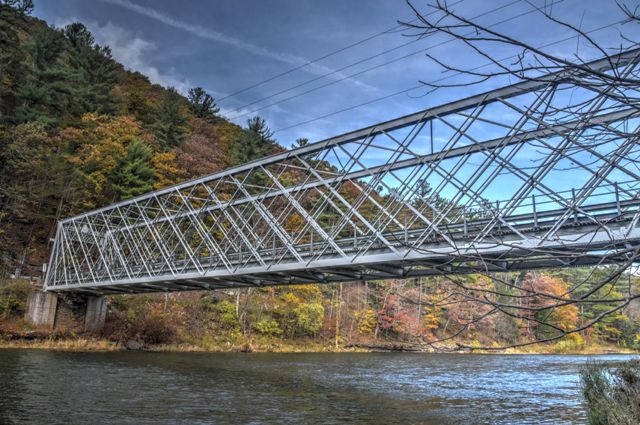
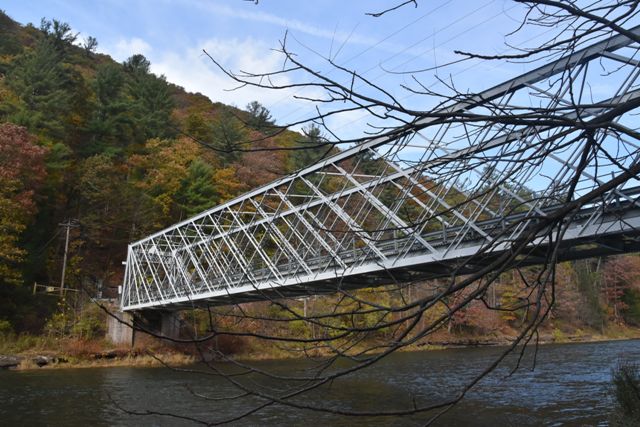
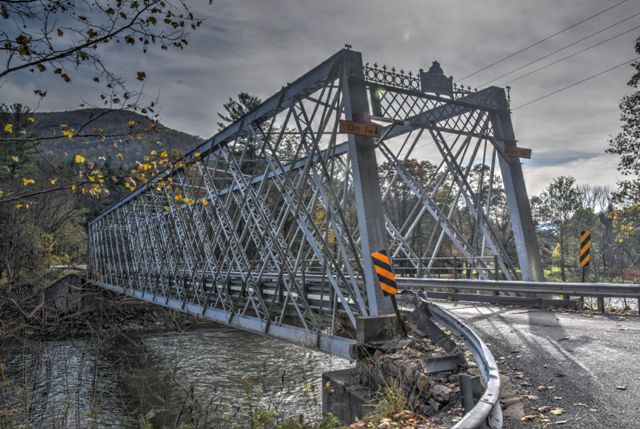
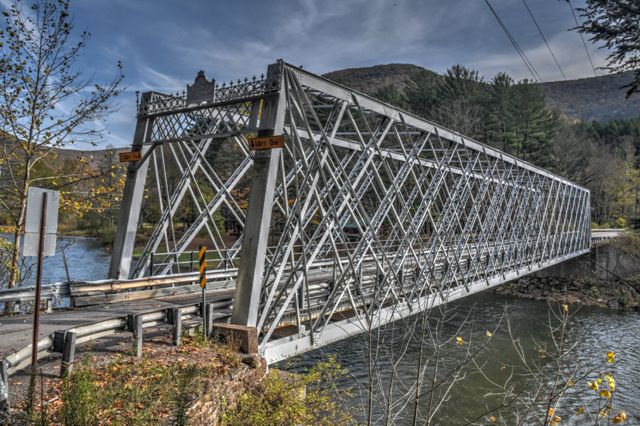
Oblique views from southwest quadrant.
![]()

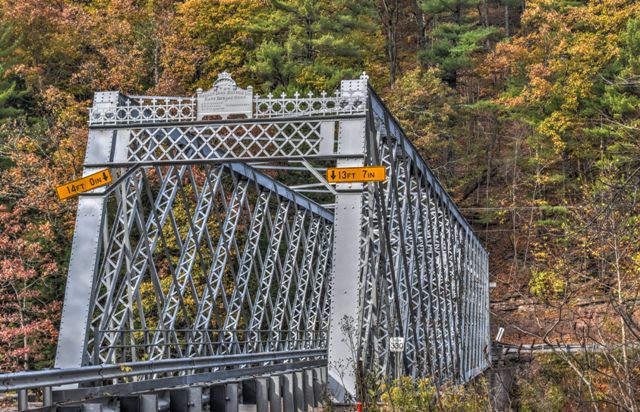
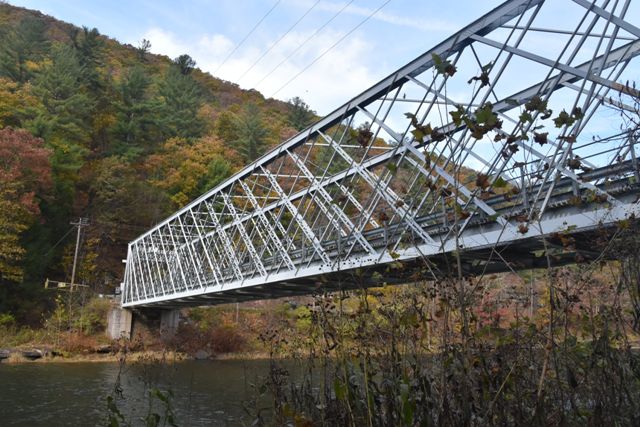
Oblique views from southeast quadrant.
![]()


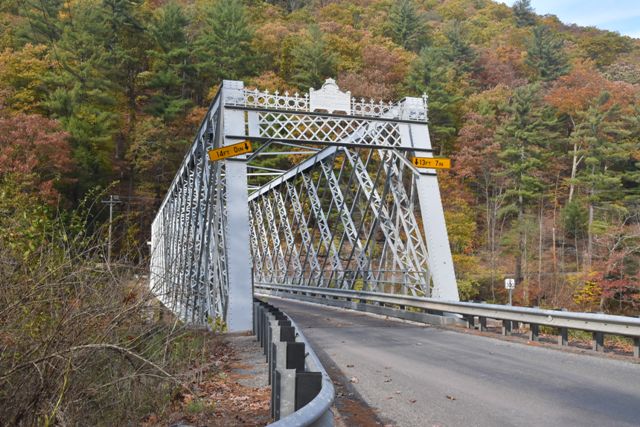


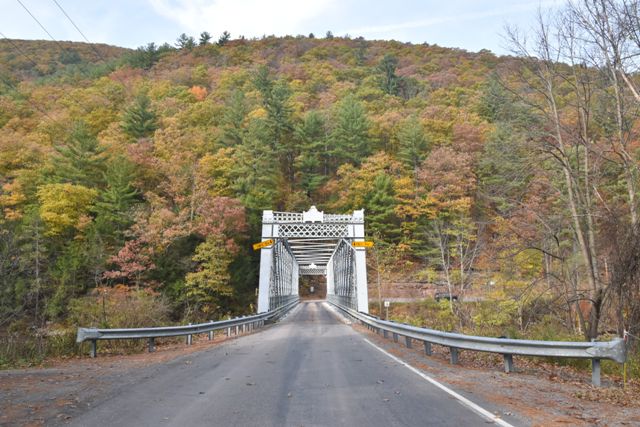
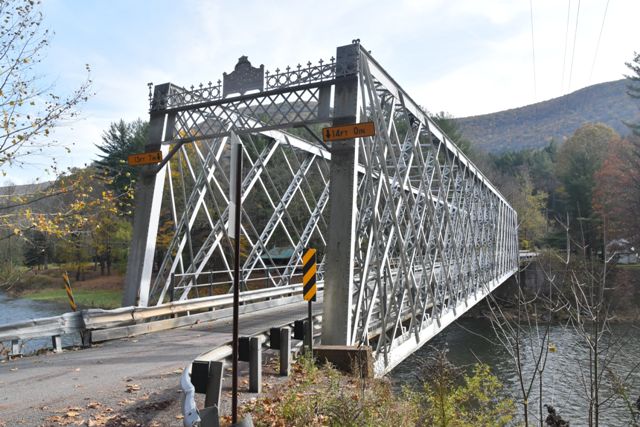
Views from beside approaching roadway facing northbound.
![]()


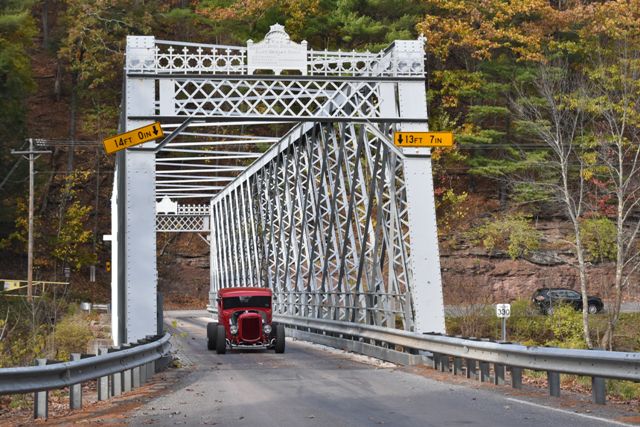

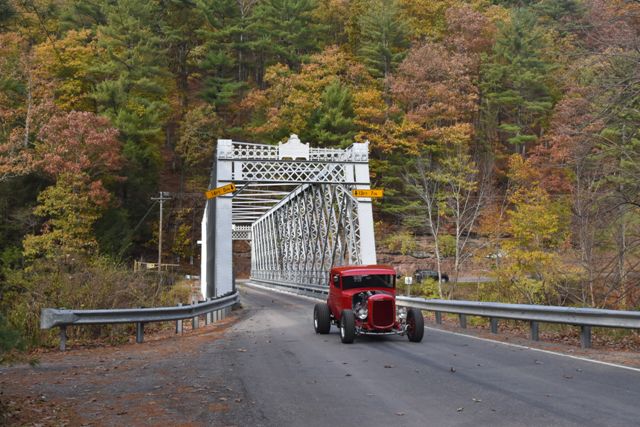


Classic hot rod vehicle crosses bridge.
![]()
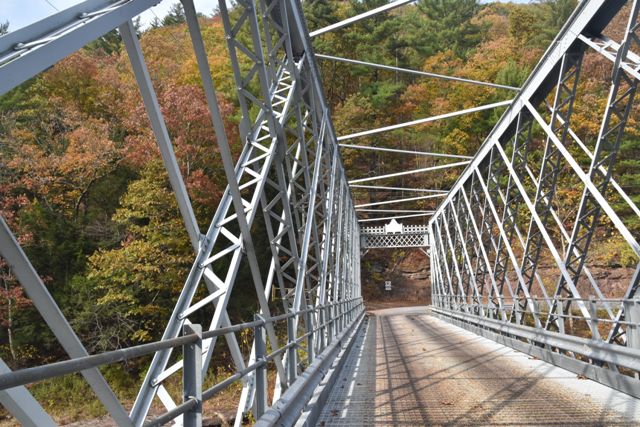
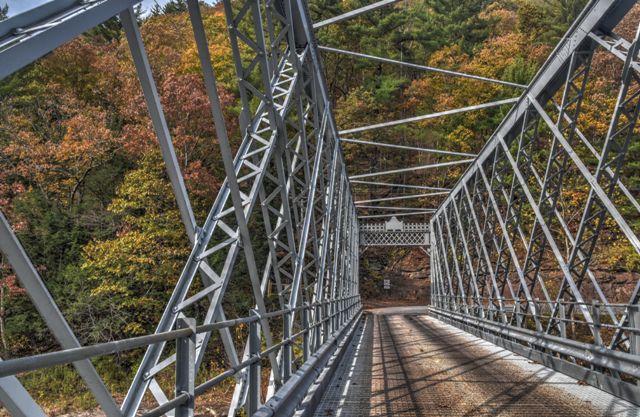
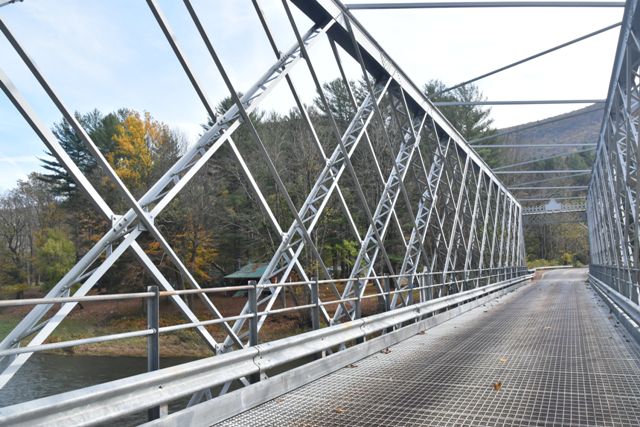
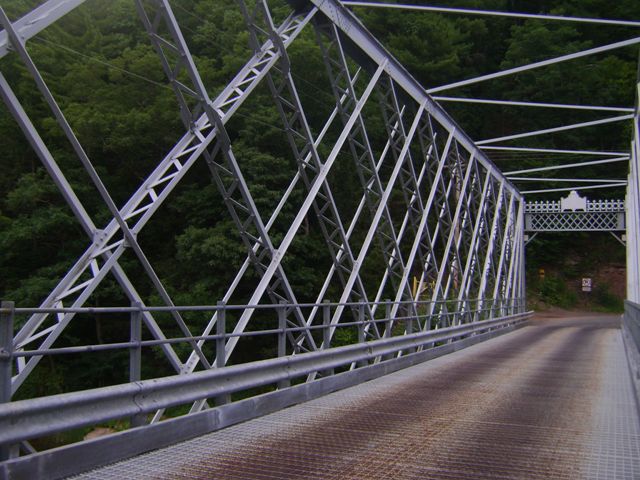
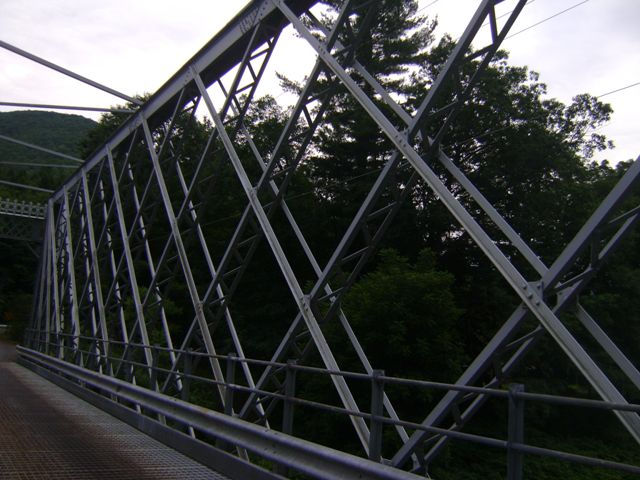
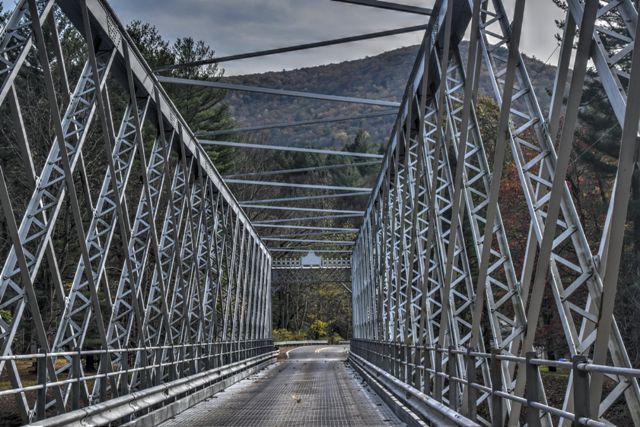
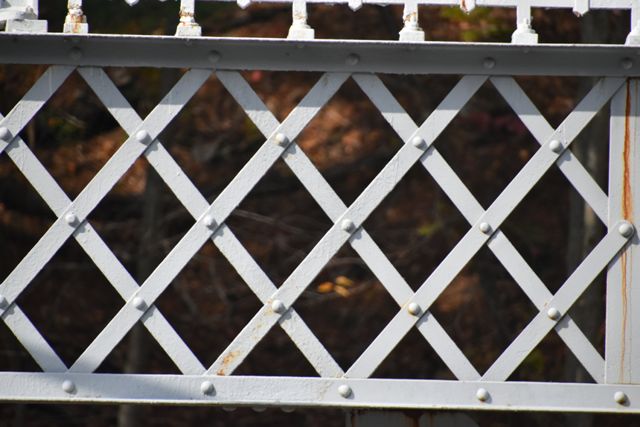
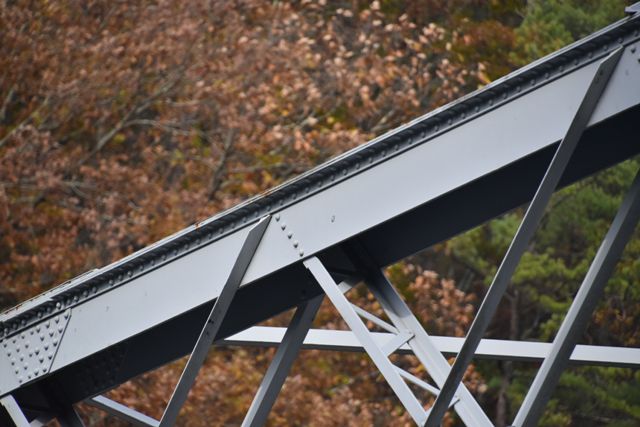
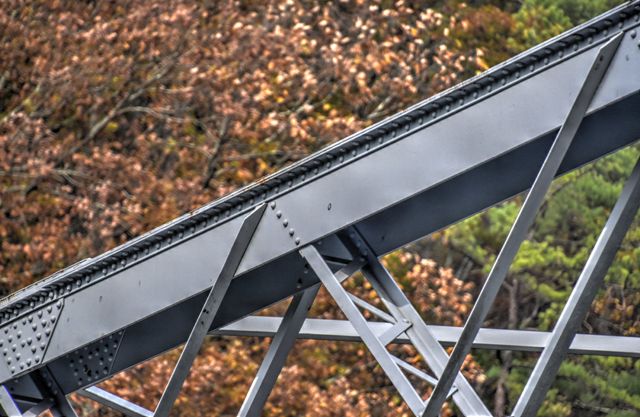
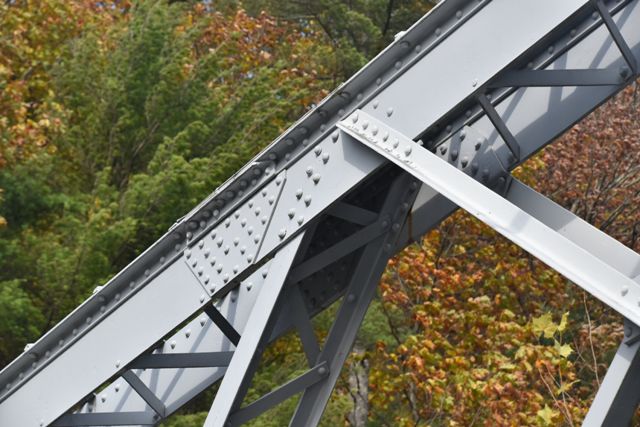
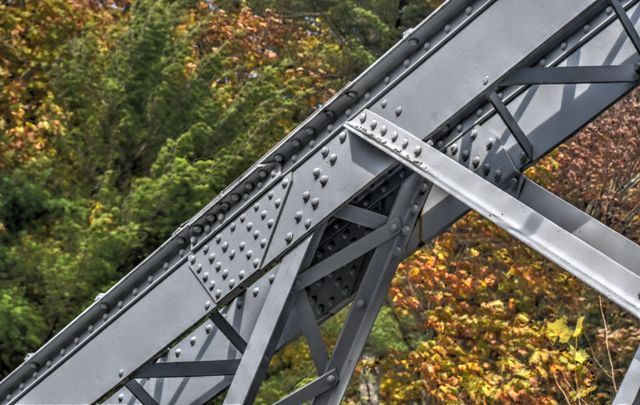
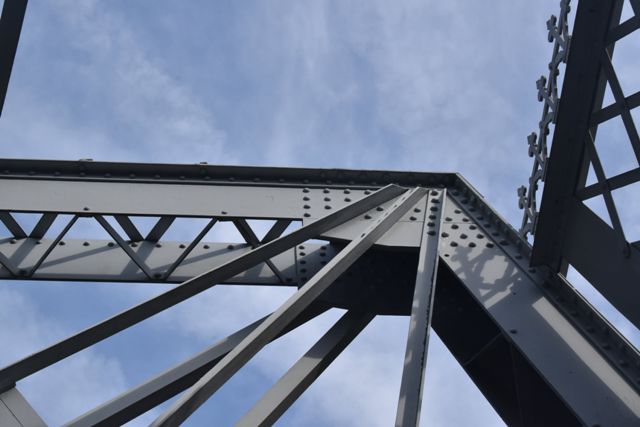
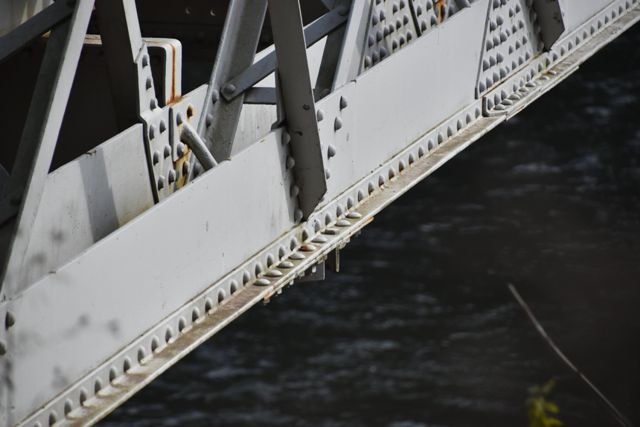
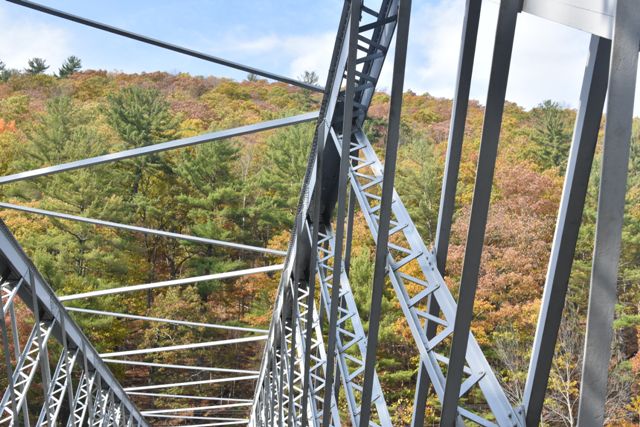
Views of truss web.
![]()


Oblique views from northeast quadrant.
![]()


Oblique views from northwest quadrant.
![]()


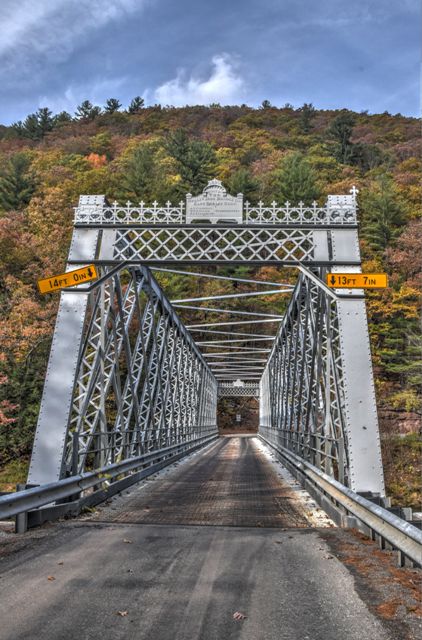
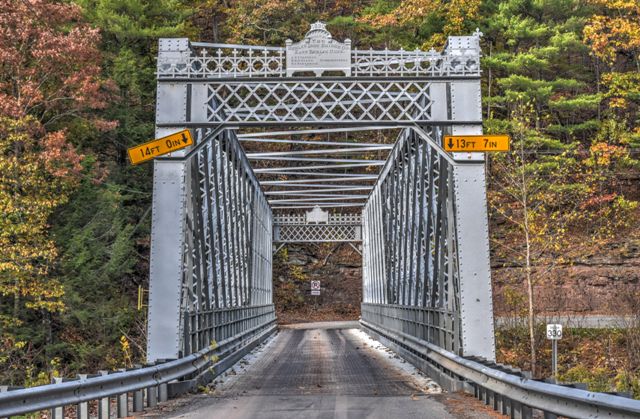
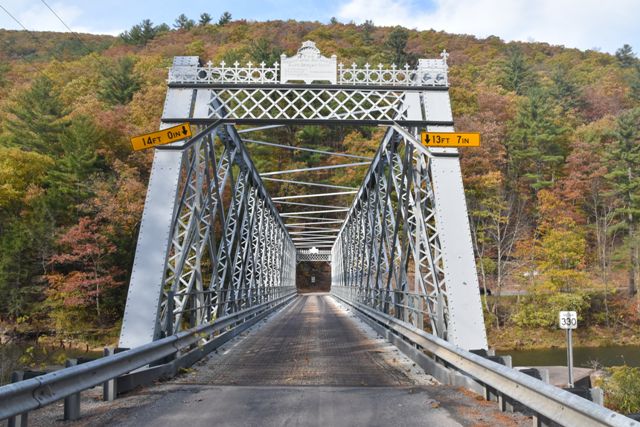
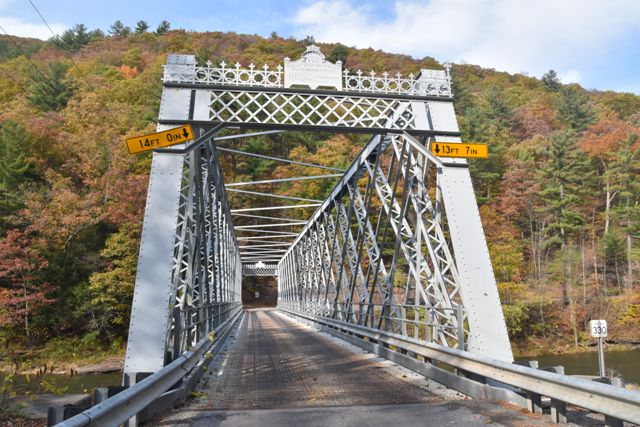
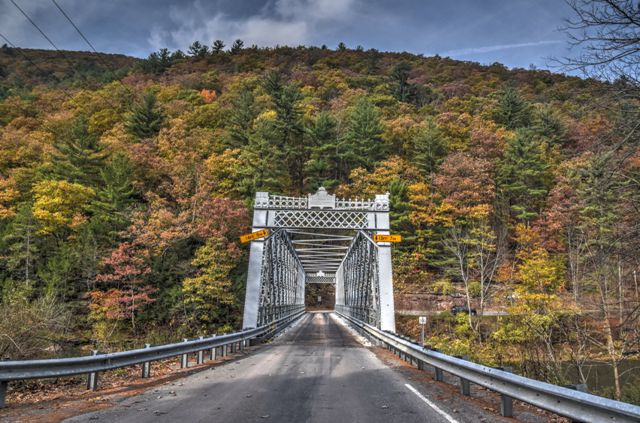
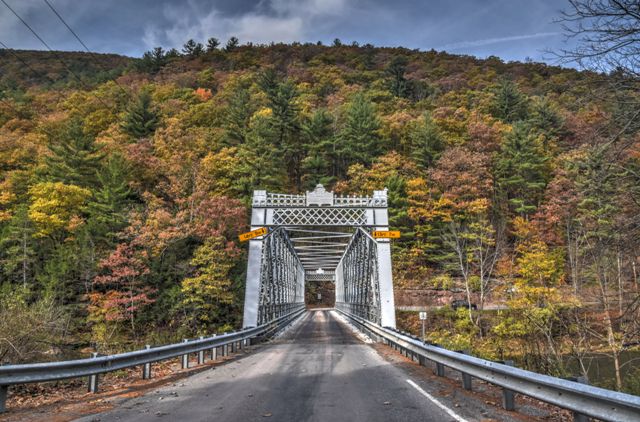
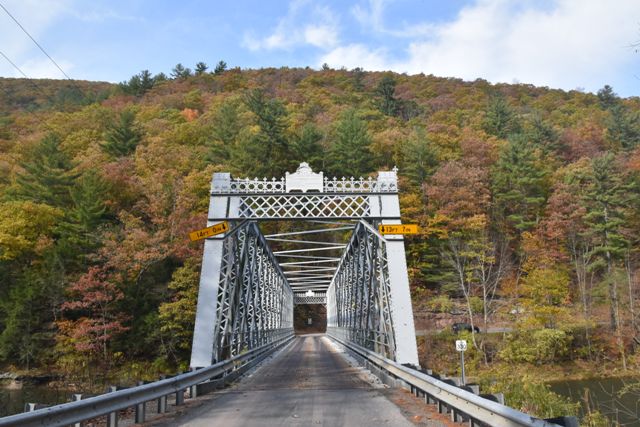
Portal views facing south.
![]()

Portal views on bridge facing south.
![]()

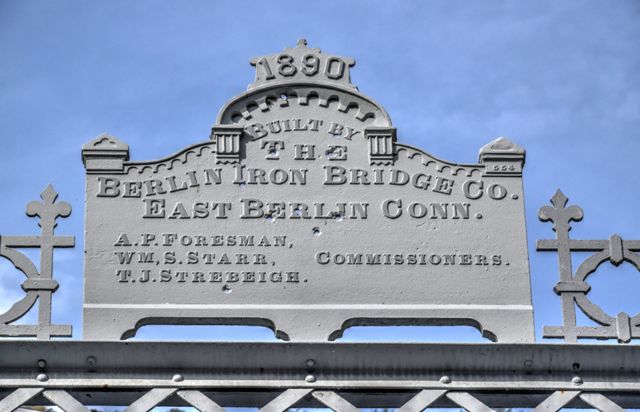

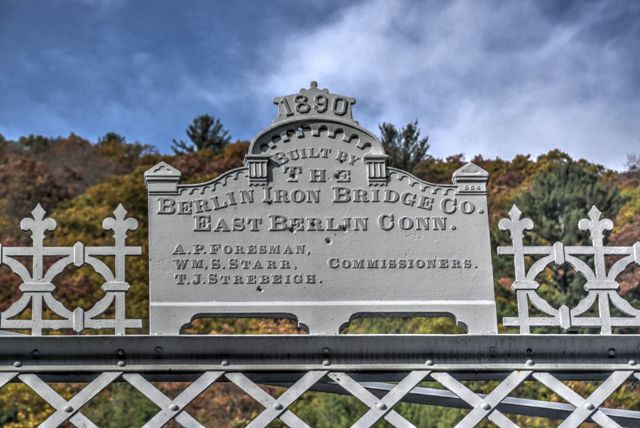


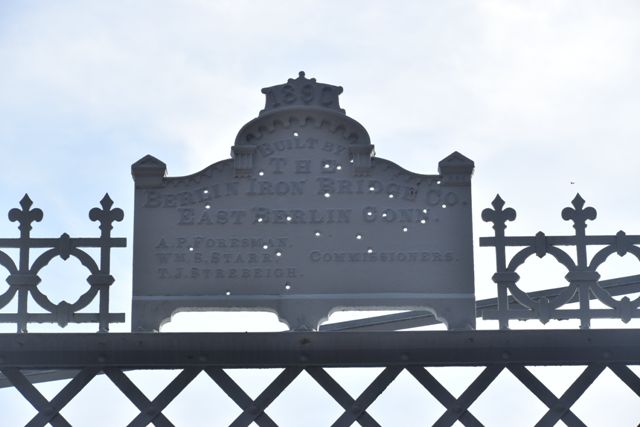

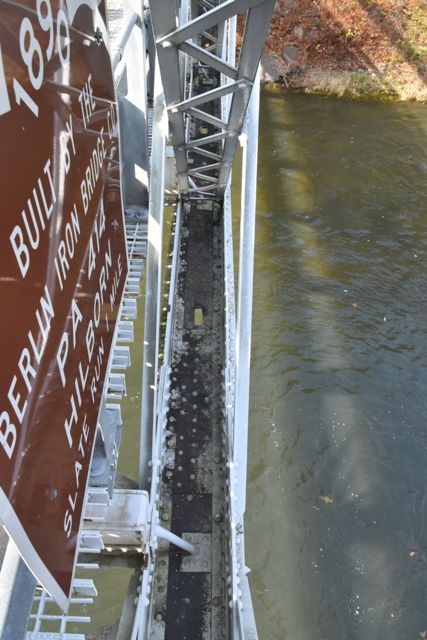
Builder plaque.
![]()
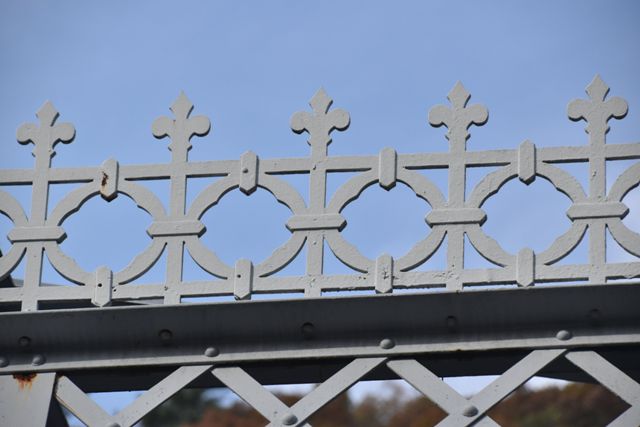
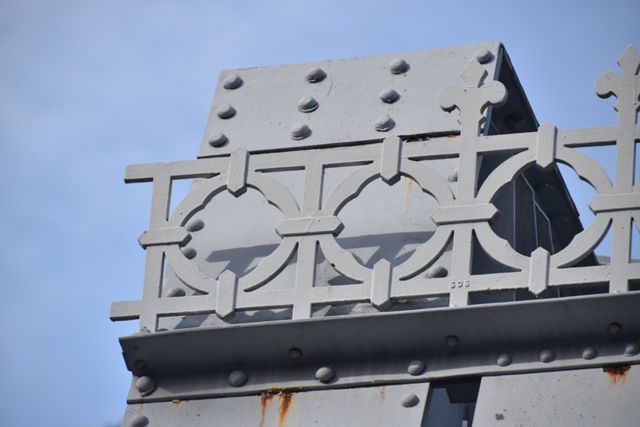
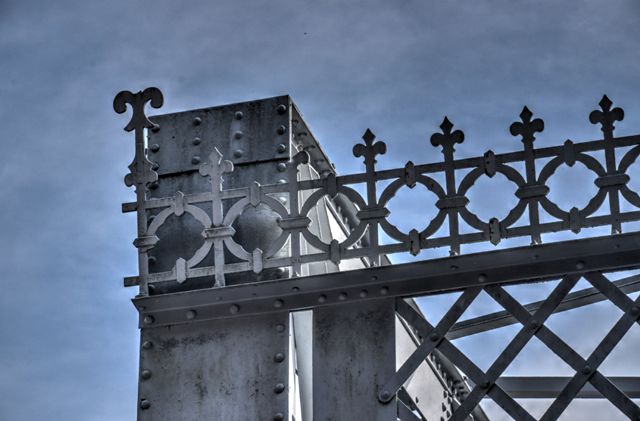
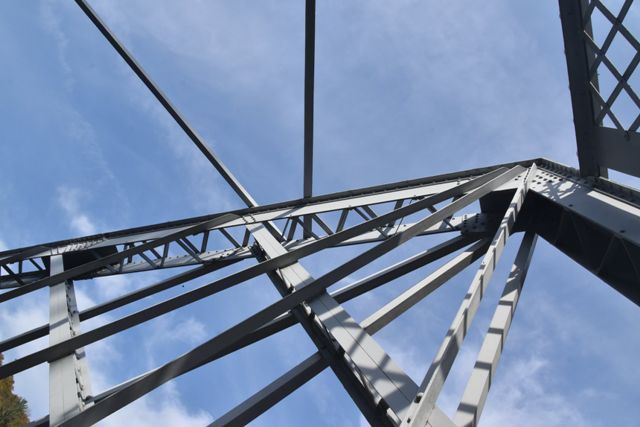
Portal bracing details.
![]()
Photo Credit: Marc Scotti
Portal bracing.
![]()


Photo Credit: Marc Scotti
Builder plaque.
![]()
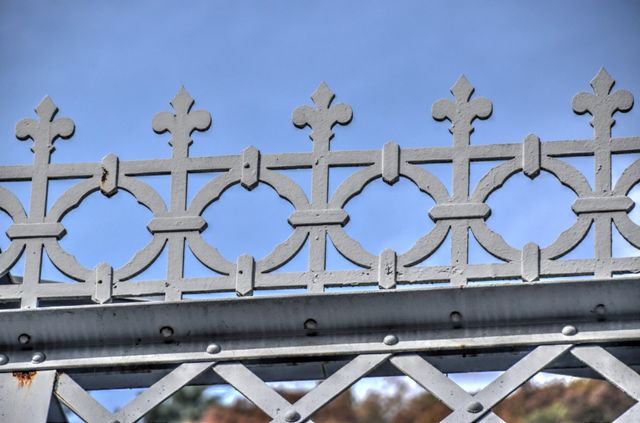

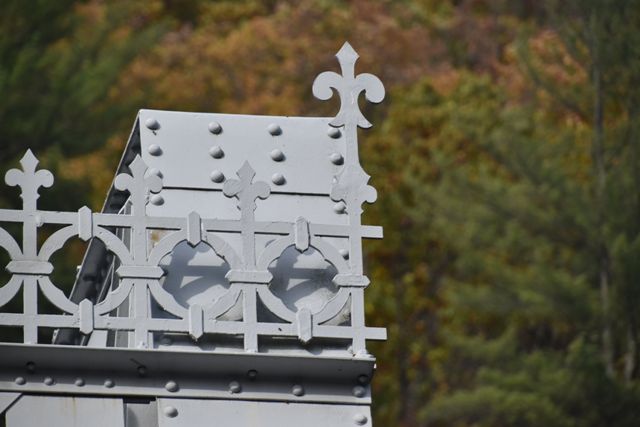


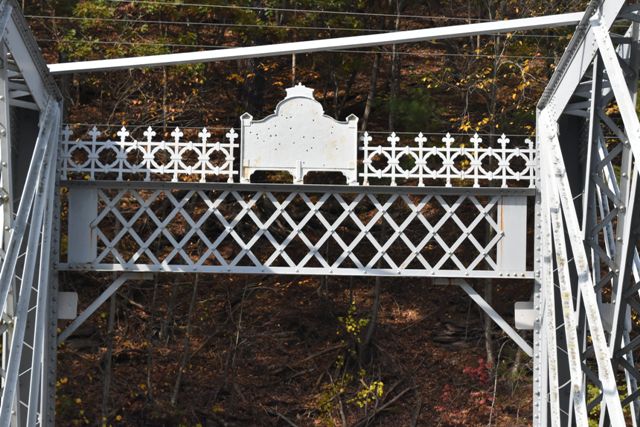
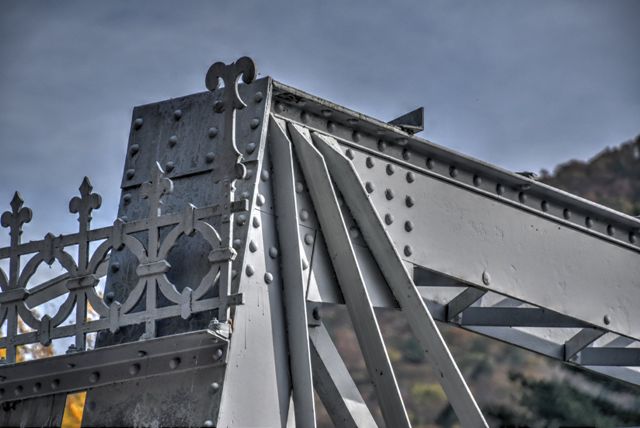
Portal cresting.
![]()

Sign for boats.
![]()
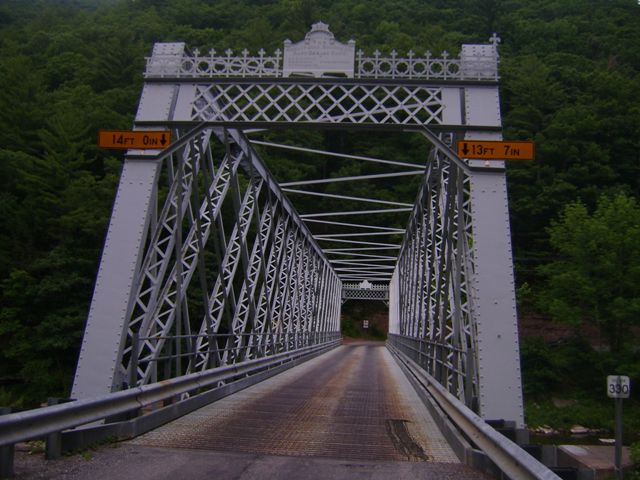
Photo Credit: Marc Scotti
Portal view facing north.
![]()
Photo Credit: Marc Scotti
Portal view facing south.
![]()
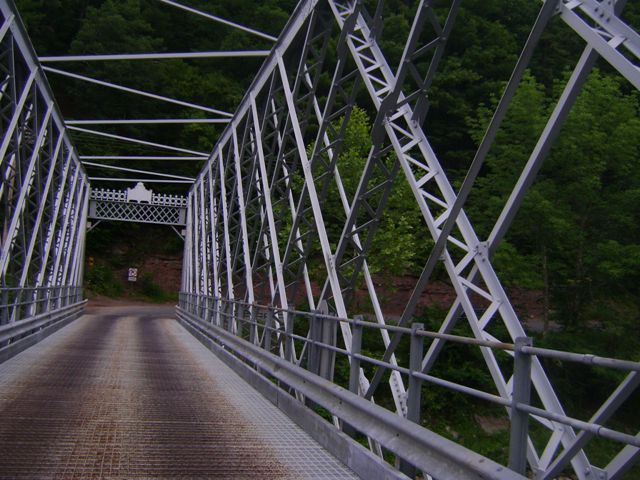

Photo Credit: Marc Scotti
Portal views on bridge facing north.
![]()

Photo Credit: Marc Scotti
Portal view on bridge facing south.
![]()

Photo Credit: Marc Scotti
Oblique view from northeast quadrant.
![]()
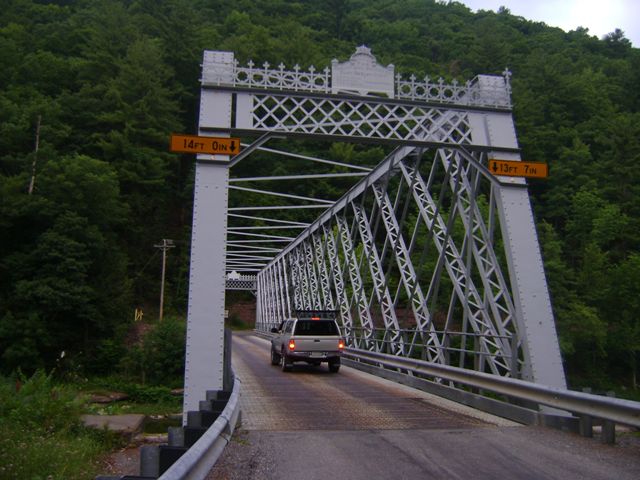
Photo Credit: Marc Scotti
Vehicle on bridge.
![]()
Photo Credit: Marc Scotti
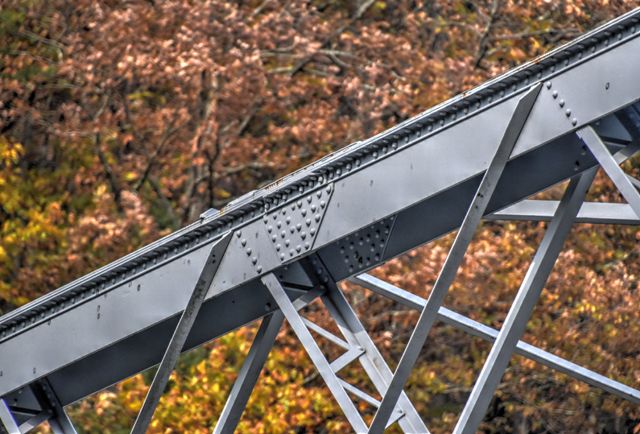
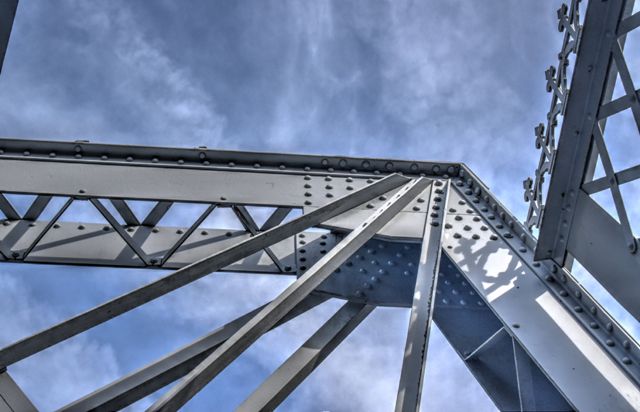
Views of truss web.
![]()

Photo Credit: Marc Scotti
View beside bridge from southeast quadrant.
![]()

Photo Credit: Marc Scotti
View beside bridge from southwest quadrant.
![]()

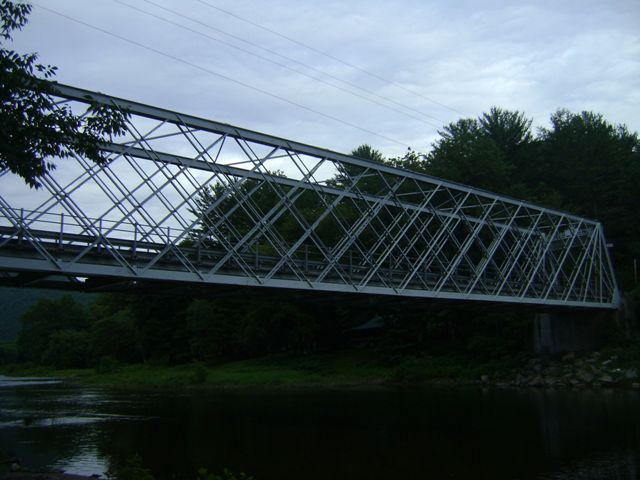


Photo Credit: Marc Scotti
Views beside bridge from northwest quadrant.
![]()
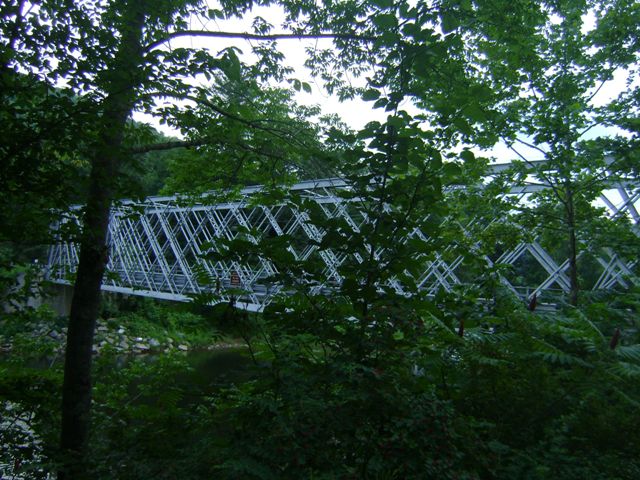
Photo Credit: Marc Scotti
Elevation.
![]()
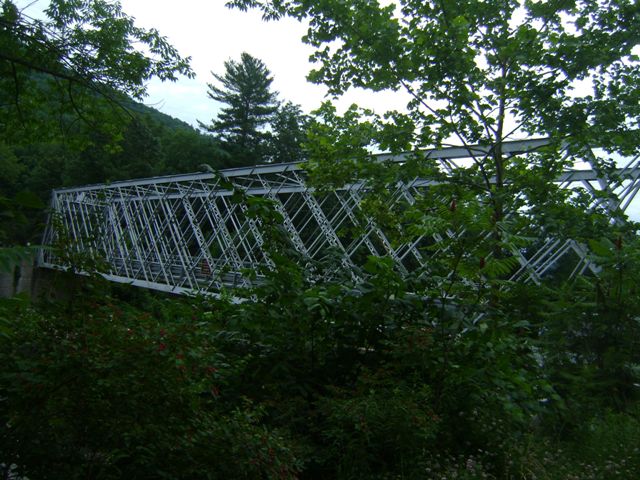
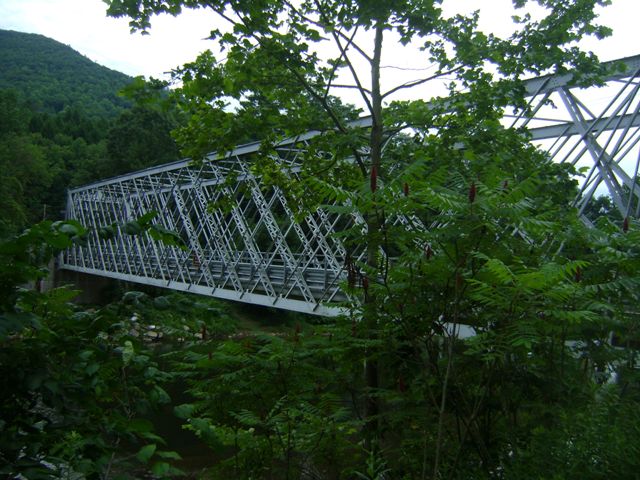
Photo Credit: Marc Scotti
View beside bridge.
![]()

Missing plaque on end post.
![]()


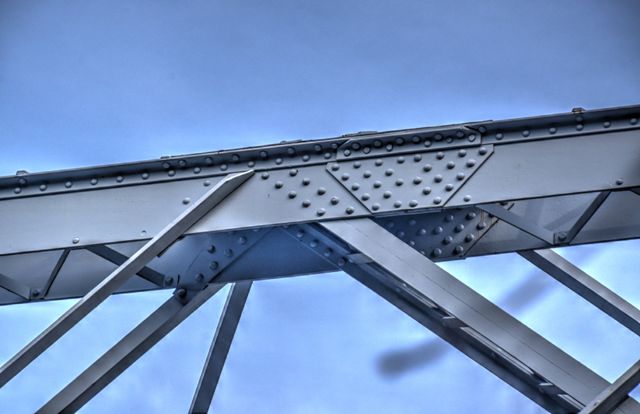


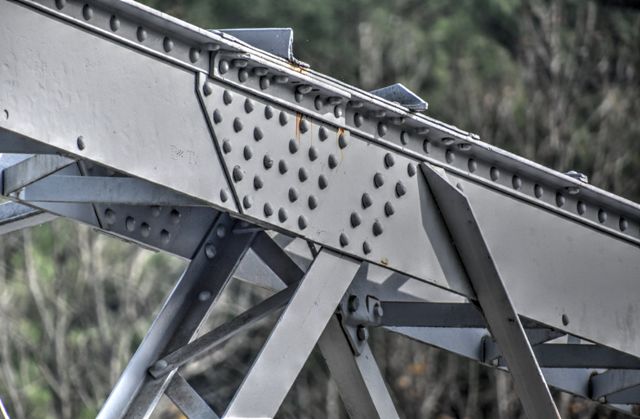
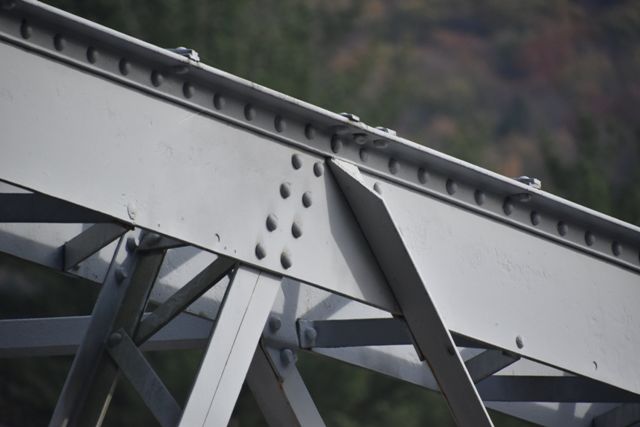


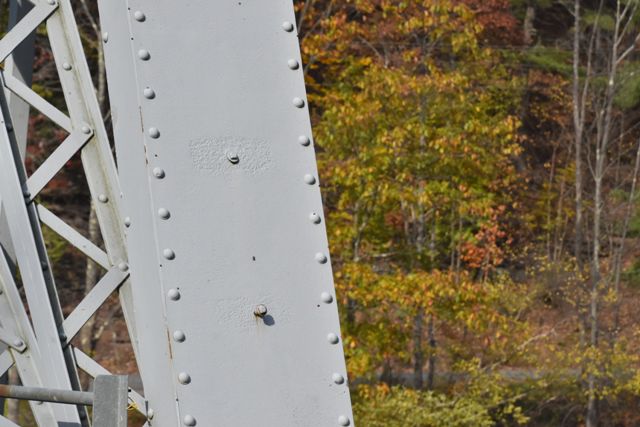
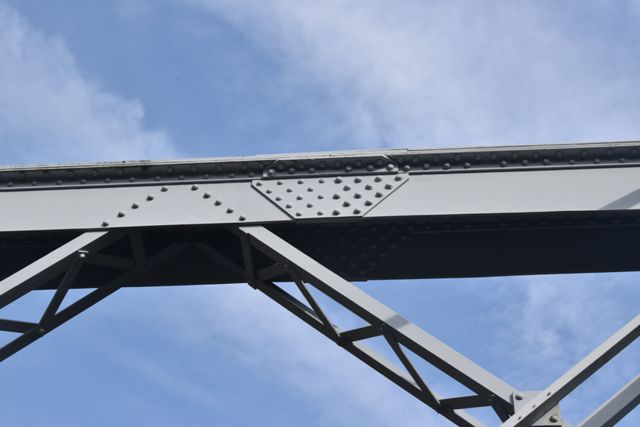
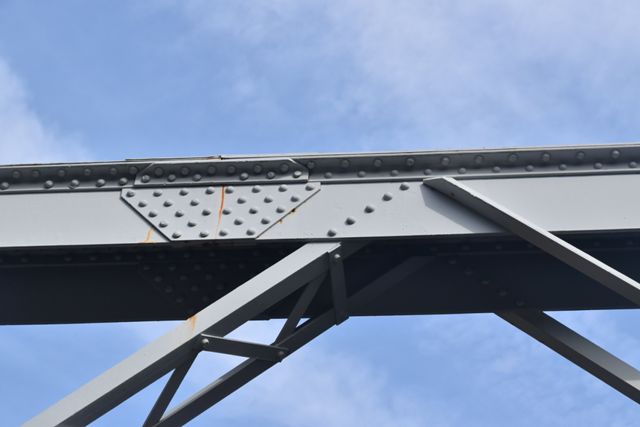
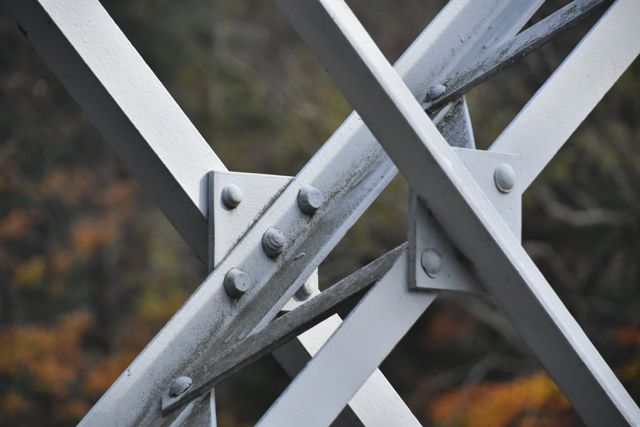
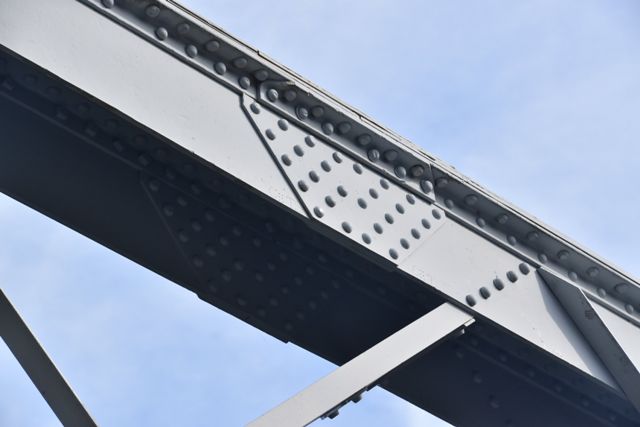
Top chord connections as viewed from beside bridge.
![]()


Top chord connections at end post as viewed from beside bridge.
![]()


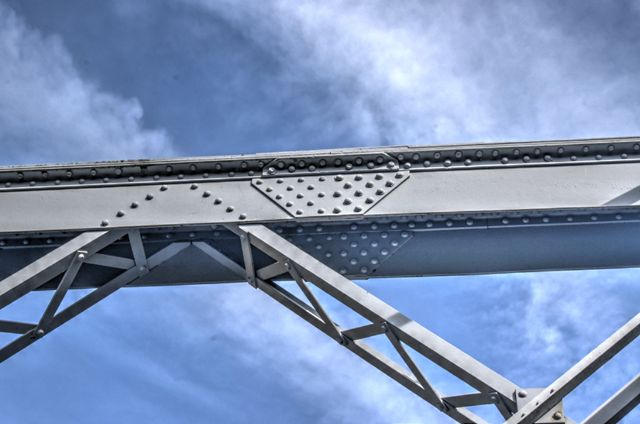


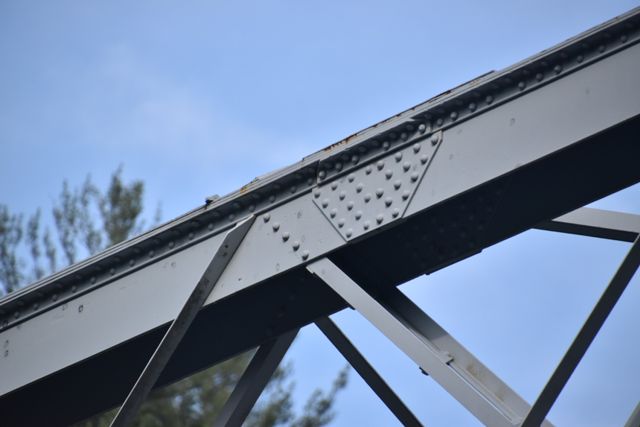
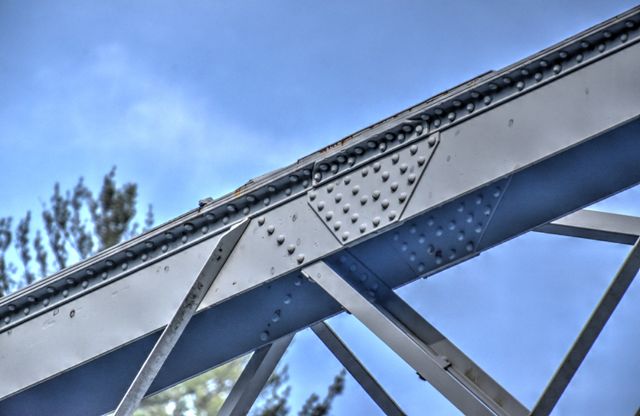
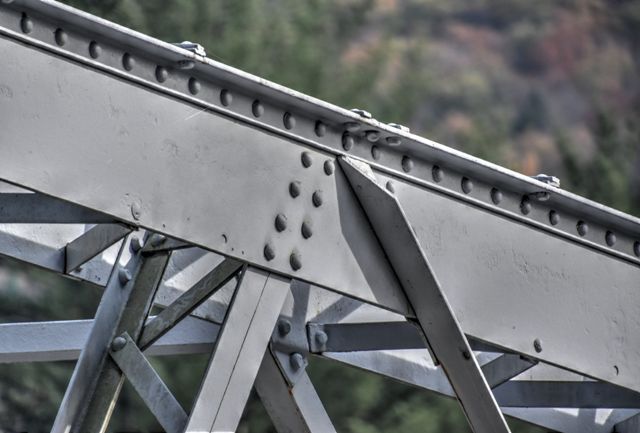
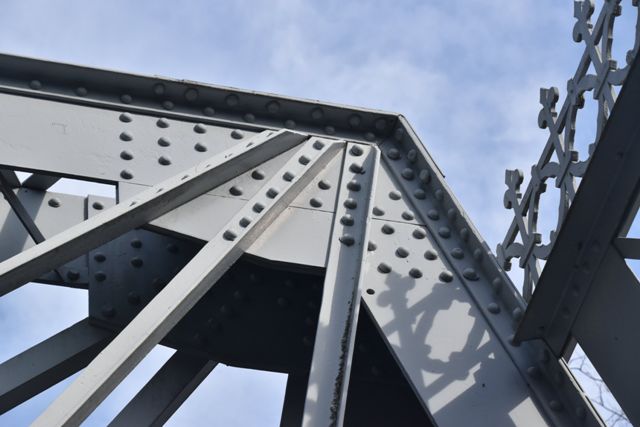
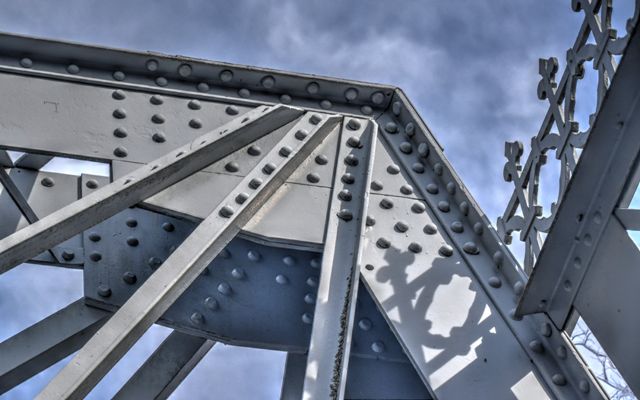
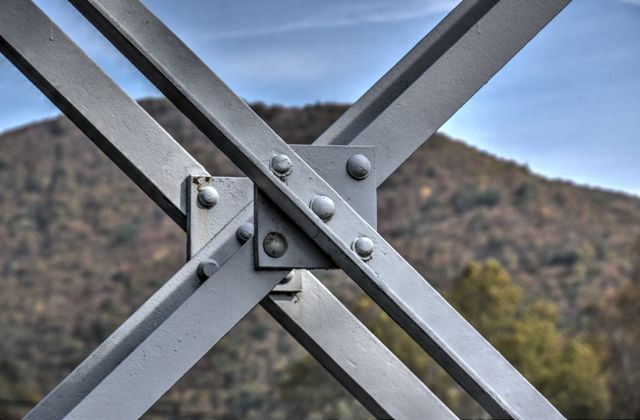
Top chord connections as viewed from on bridge.
![]()
Top chord connections at end post as viewed from on bridge.
![]()


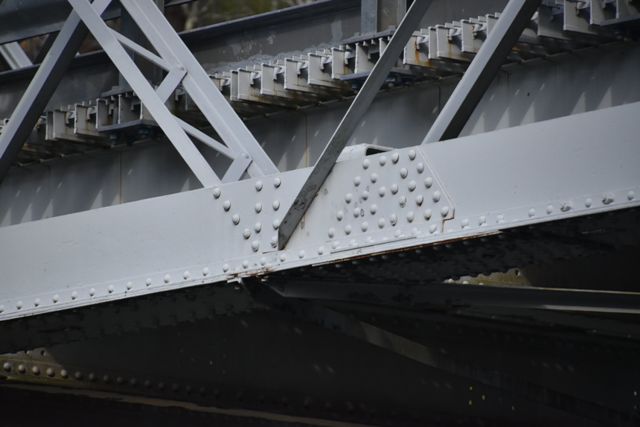


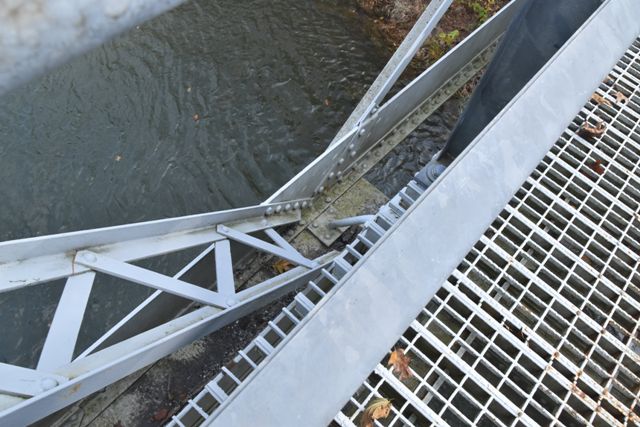
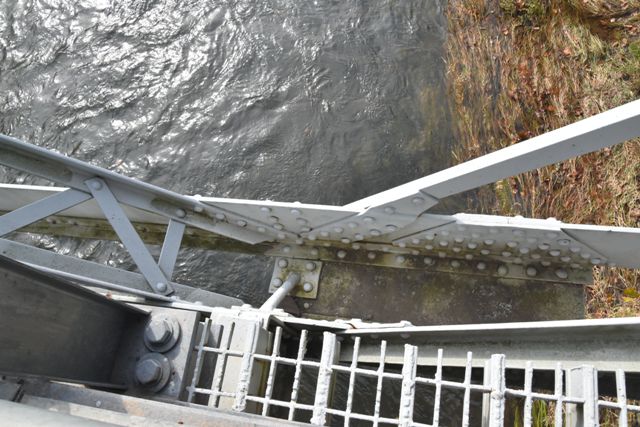
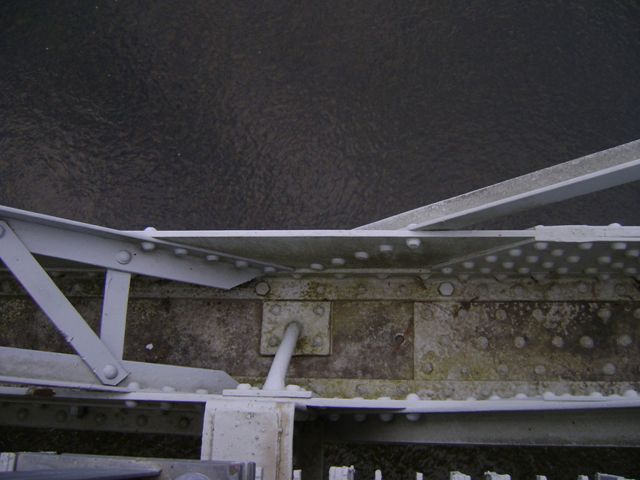
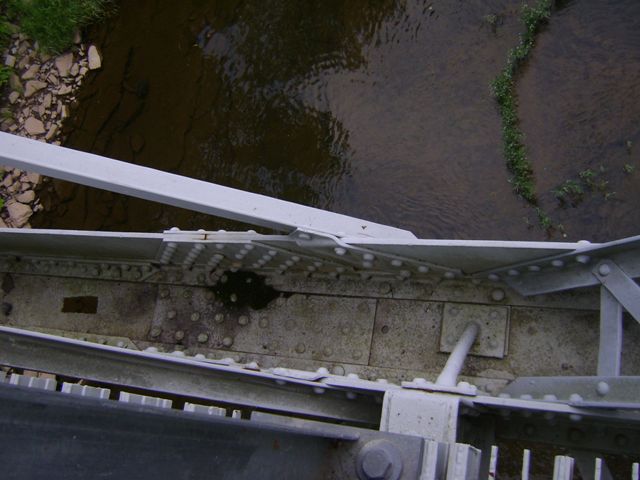
Bottom chord connection exterior views as viewed from beside bridge.
![]()


Bottom chord connection interior views as viewed from beside bridge.
![]()
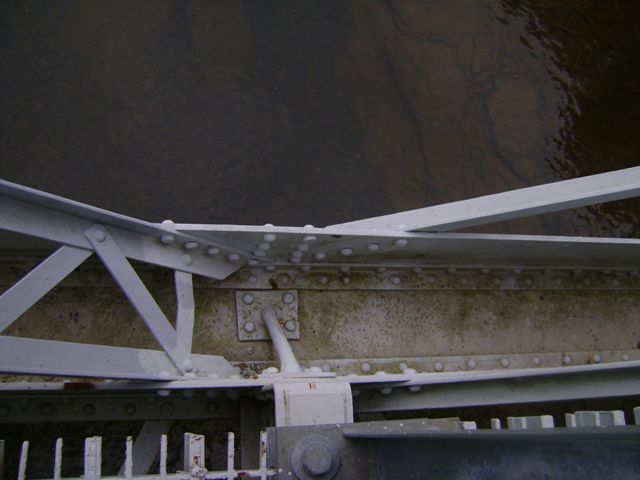
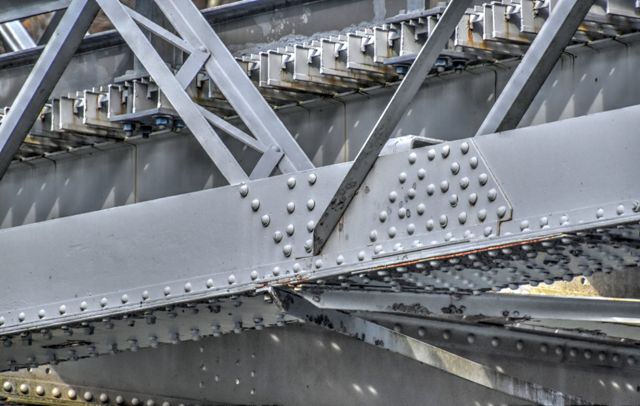
Bottom chord connections as viewed from on bridge.
![]()


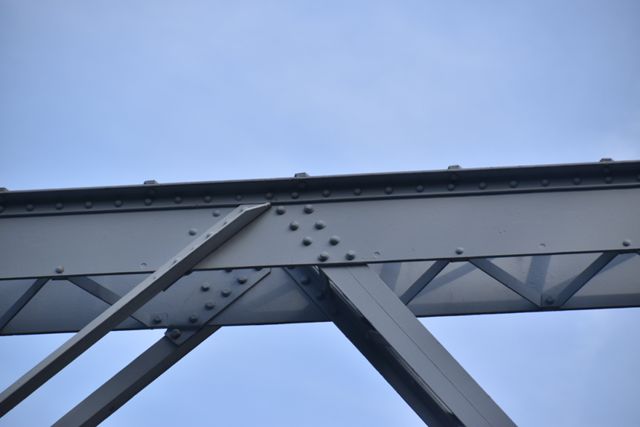
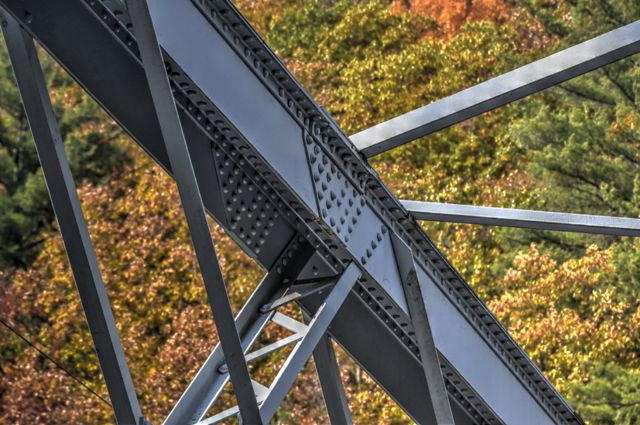
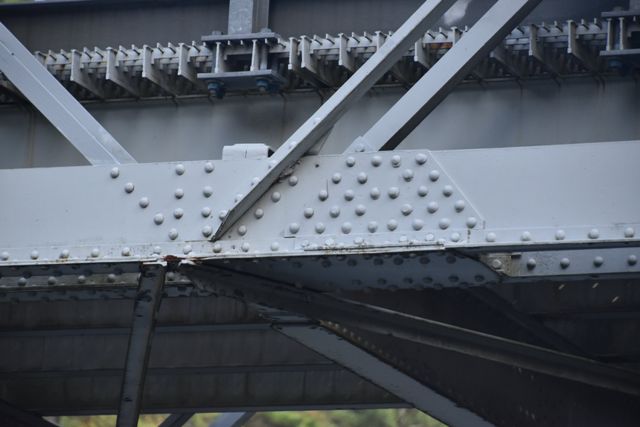
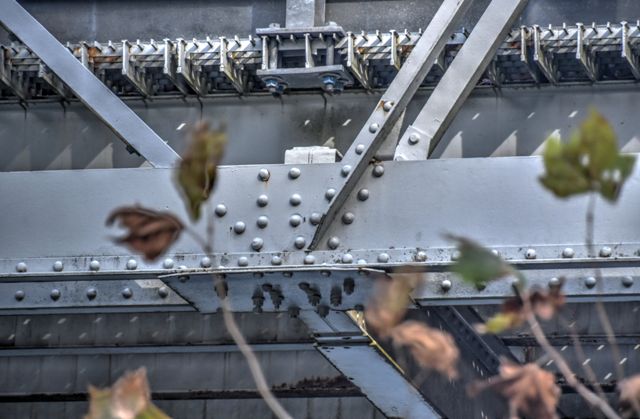
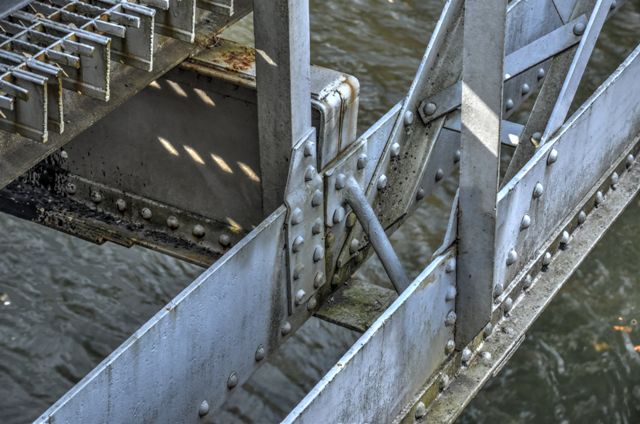
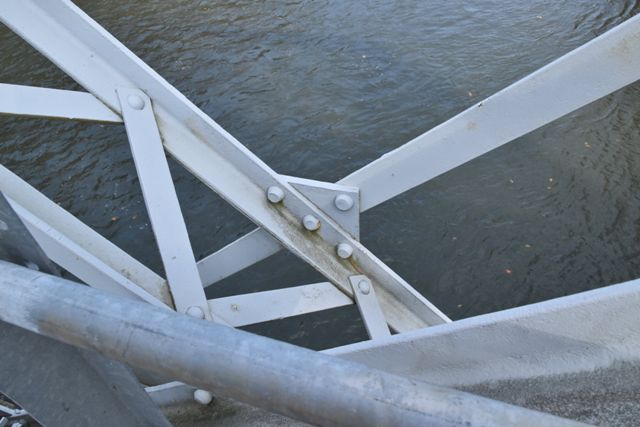
Intermediate connections as viewed from beside bridge.
![]()


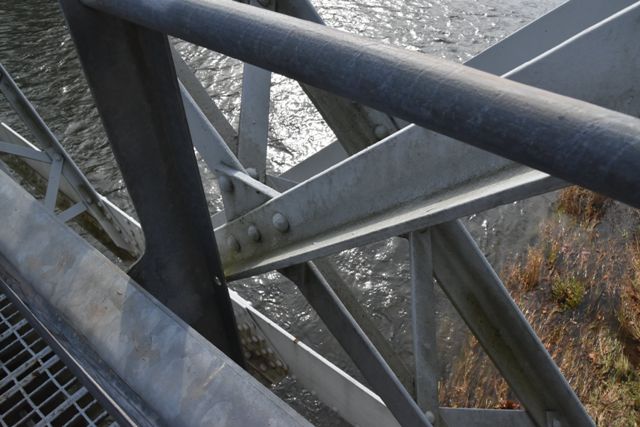


Intermediate connections as viewed from on bridge.
![]()

Photo Credit: Marc Scotti
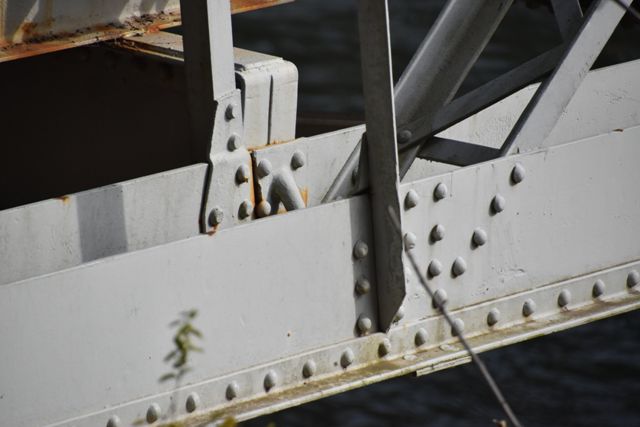
Bottom chord connection as viewed from beside bridge.
![]()
Photo Credit: Marc Scotti
Bottom chord connections as viewed from on bridge.
![]()

Photo Credit: Marc Scotti
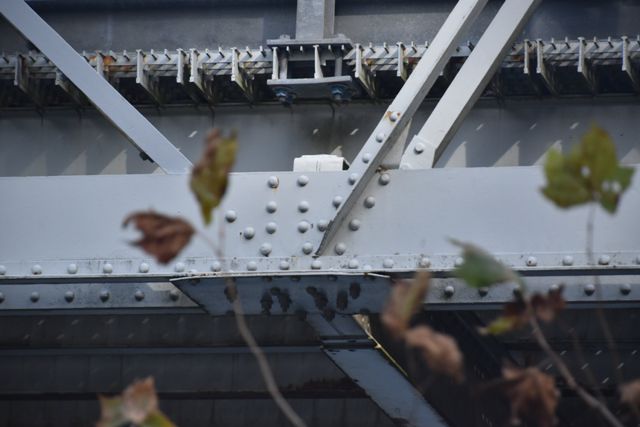
Intermediate connection as viewed from on bridge.
![]()


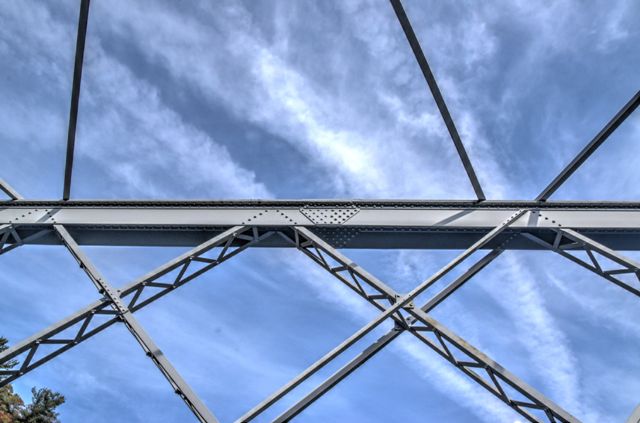
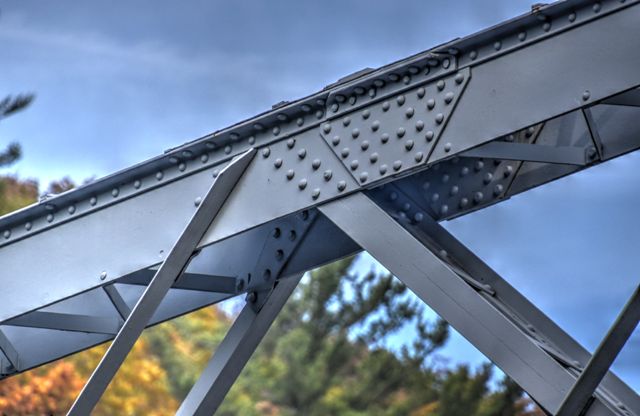
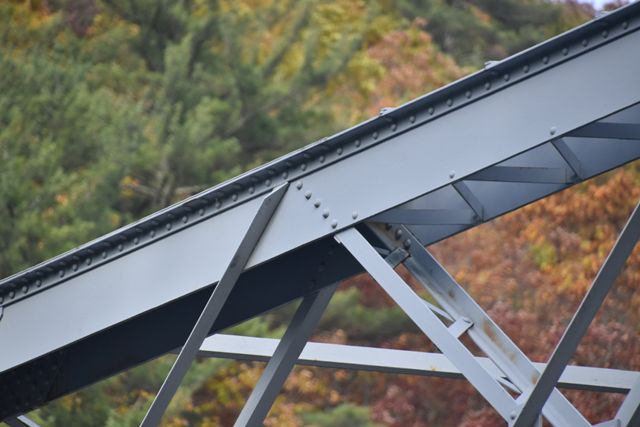
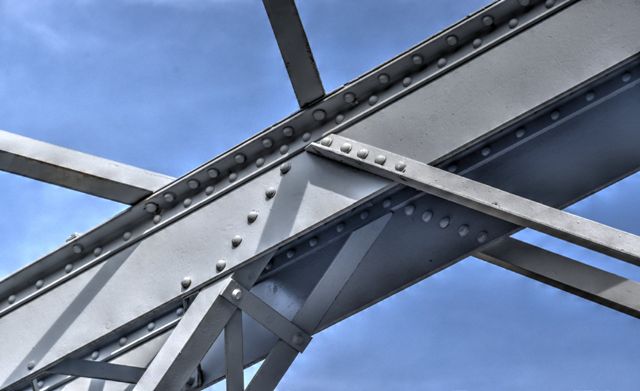
Top chord.
![]()


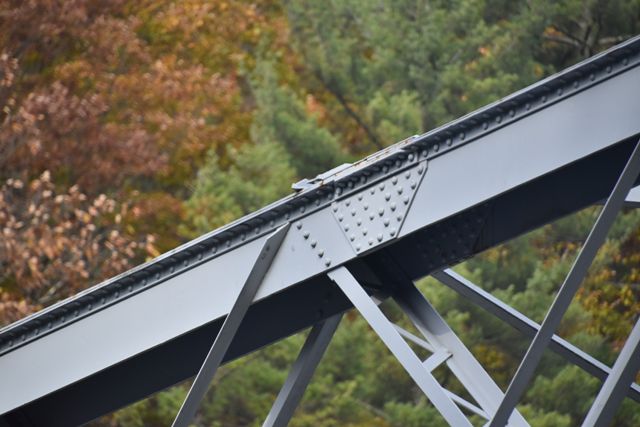
Top chord detail at end of bridge showing transition from v-lacing to cover plate.
![]()

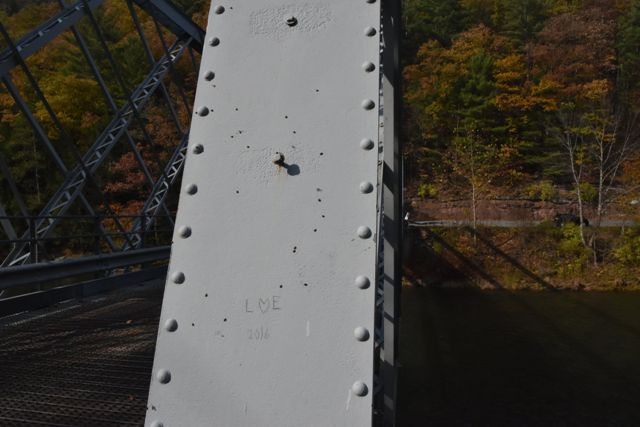
"L" mark on top chord.
![]()


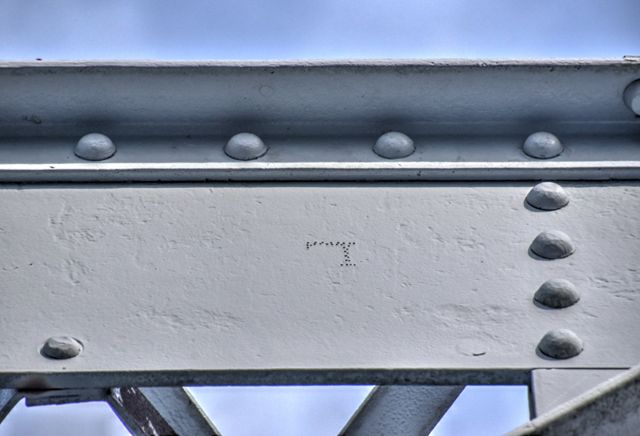
Top chord splice. Part number marks can be seen next to the gusset plates.
![]()


Bottom chord.
![]()

Photo Credit: Marc Scotti
Bottom chord showing drain hole.
![]()
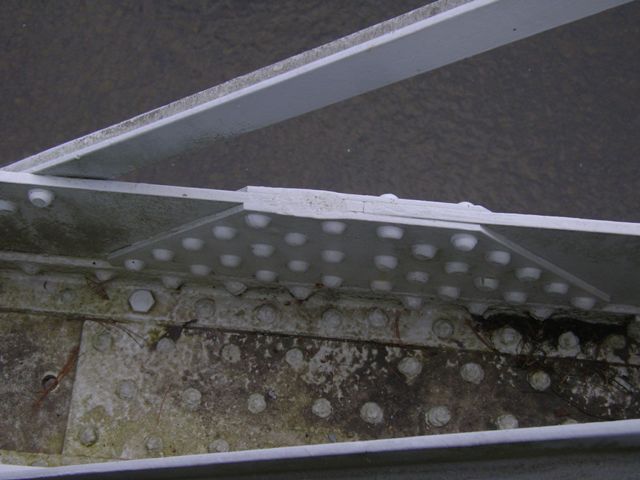
Photo Credit: Marc Scotti
Bottom chord splice.
![]()

End post.
![]()

End post lacing detail.
![]()

Photo Credit: Marc Scotti
End post and missing plaque.
![]()
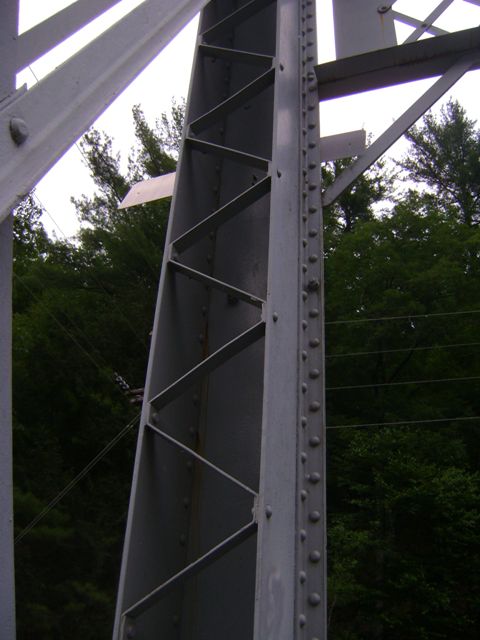
Photo Credit: Marc Scotti
End post.
![]()


Photo Credit: Marc Scotti
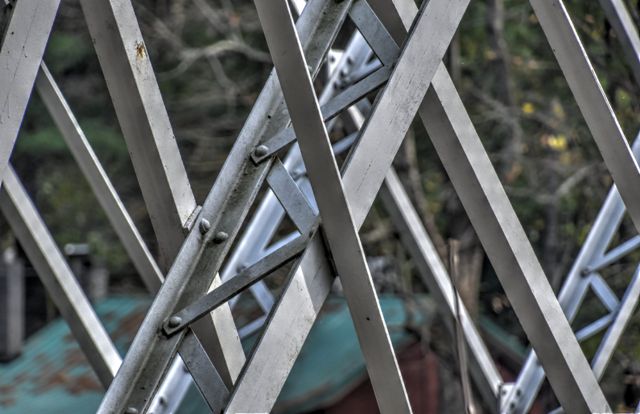
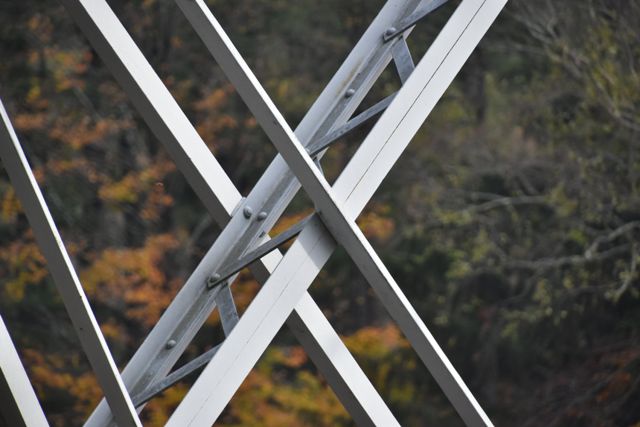
Diagonal members.
![]()


Bearings.
![]()

Photo Credit: Marc Scotti
Bearing.
![]()


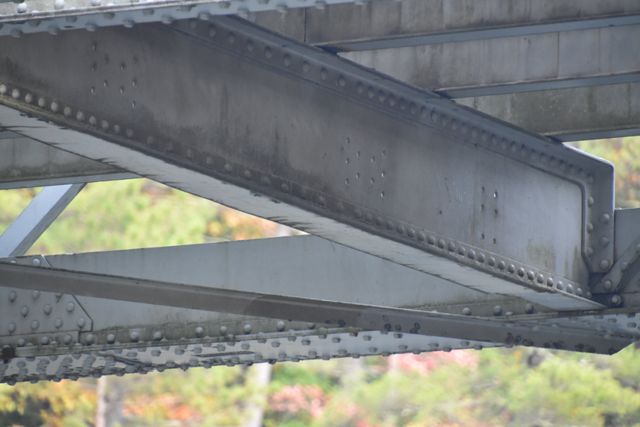
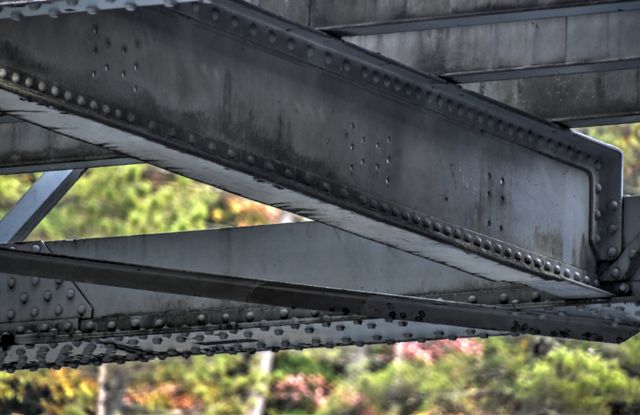


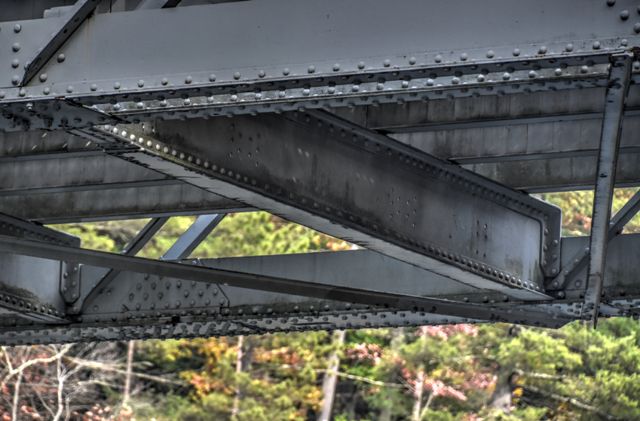

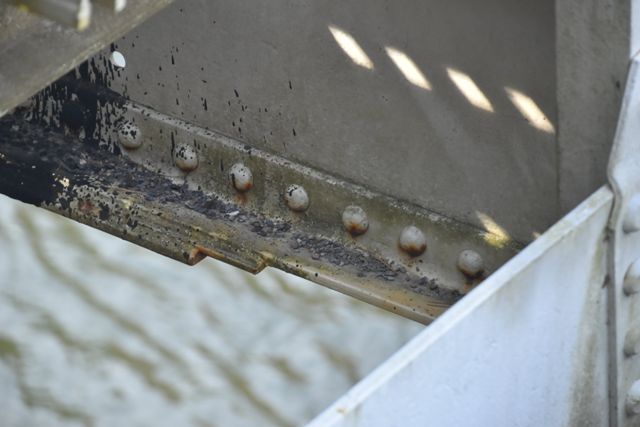
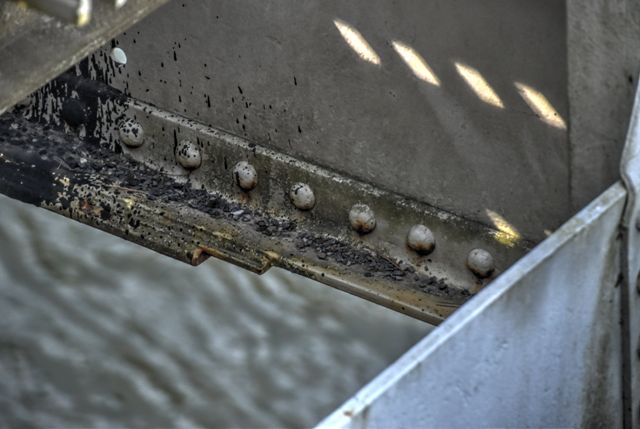
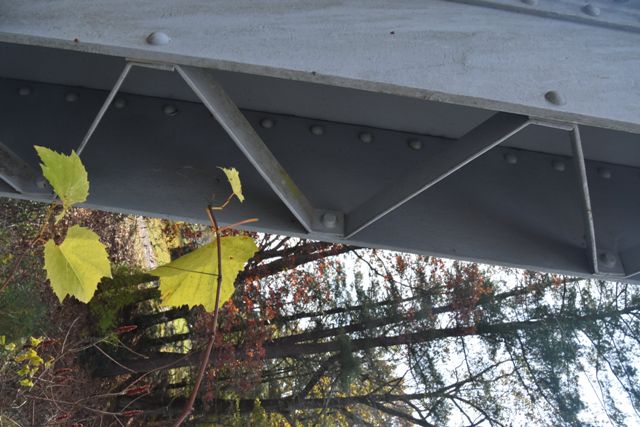
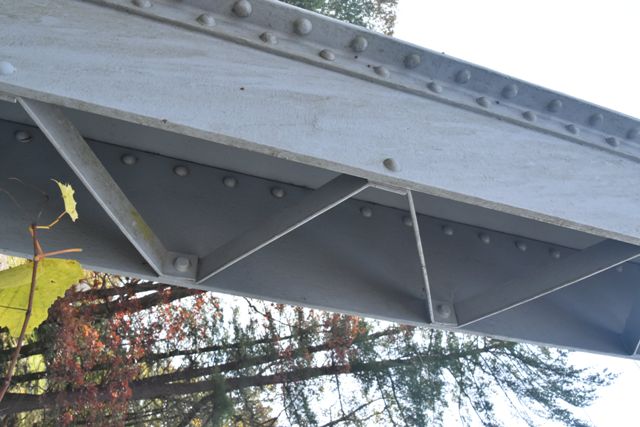
Floorbeams.
![]()

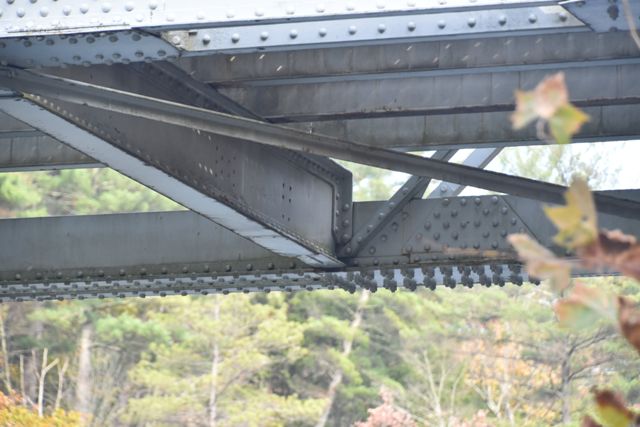
Photo Credit: Marc Scotti
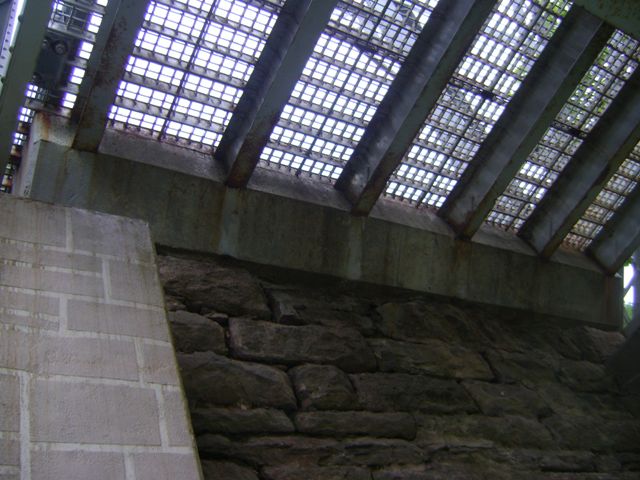
View under bridge.
![]()
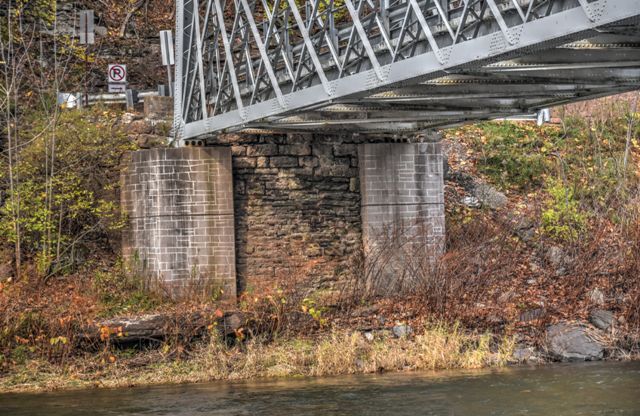
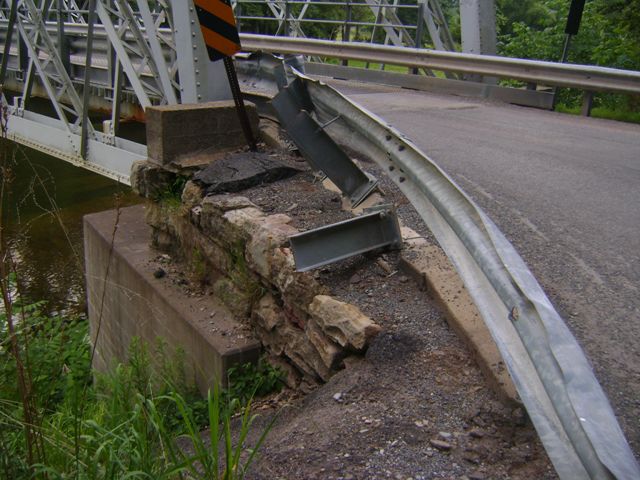
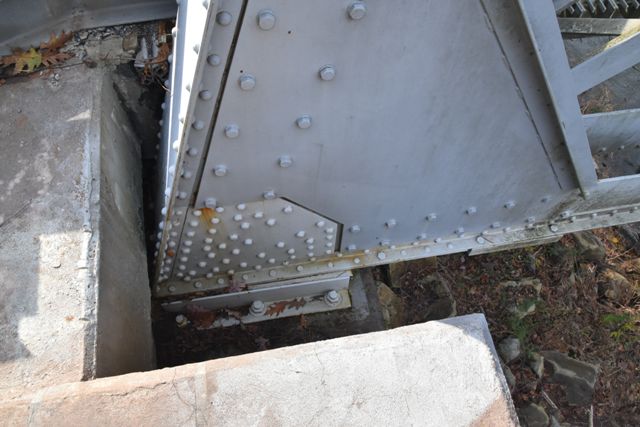
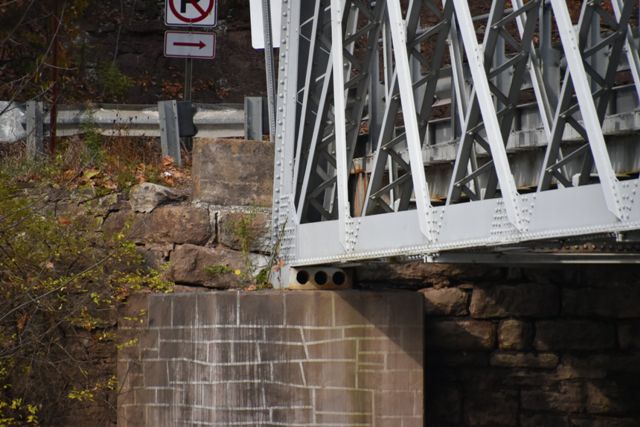
Abutments.
![]()
Photo Credit: Marc Scotti
Abutment details.
![]()

Photo Credit: Marc Scotti
Survey marker.
![]()

Photo Credit: Marc Scotti
Railing attachment detail.
![]()
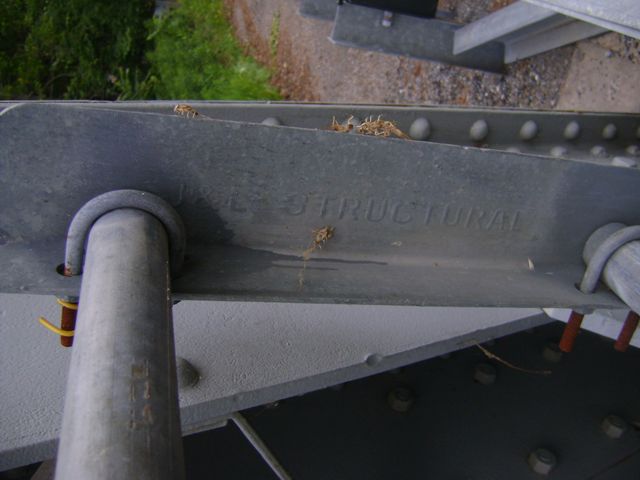
Photo Credit: Marc Scotti
Modern J&L Structural brand.
![]()
Damage to end post.
![]()
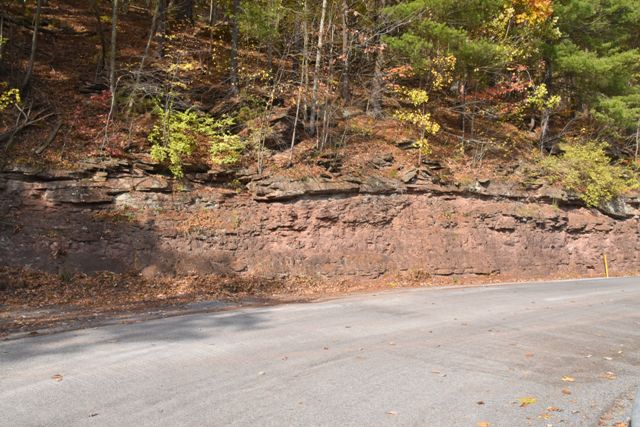

Rocky outcroppings.
![]()
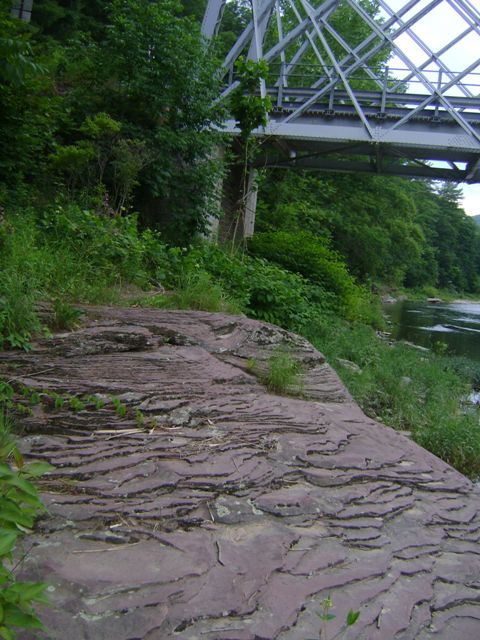
Photo Credit: Marc Scotti
Rocky outcroppings.
![]()
Photo Credit: Marc Scotti
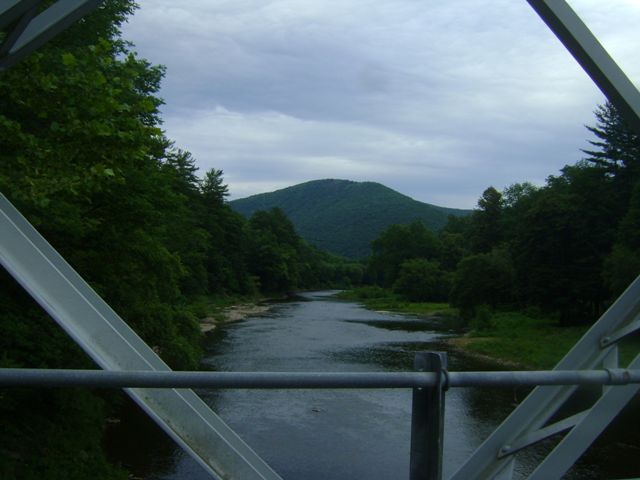
View from bridge.
![]()
![]()

![]()