Uncredited photos on this page taken by: Nathan Holth and Rick McOmber. Unless stated in a caption, all photos are Copyright with All Rights Reserved. Learn about reuse of our photos.
![]()
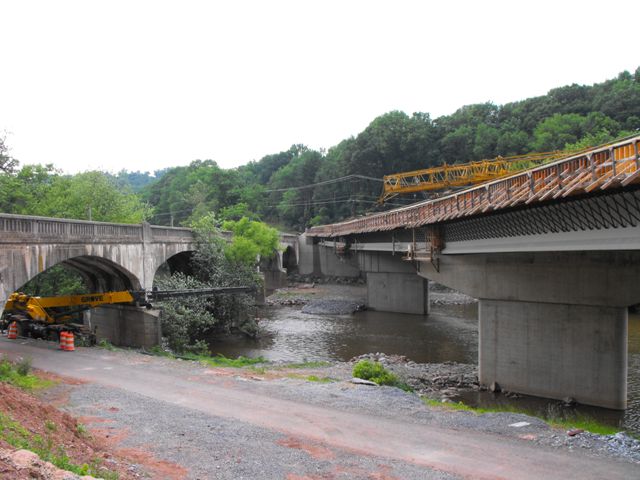
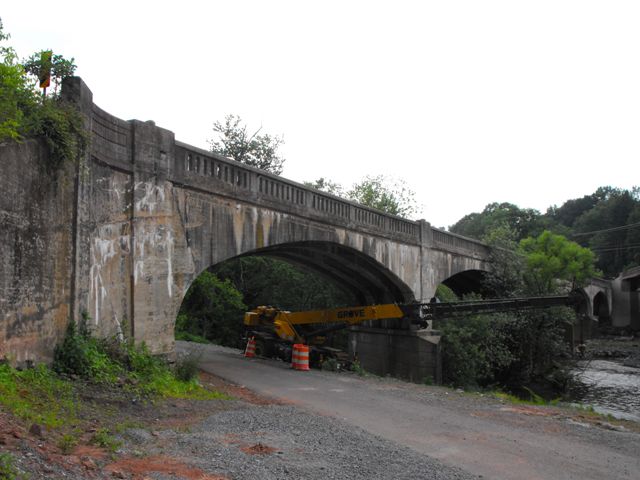
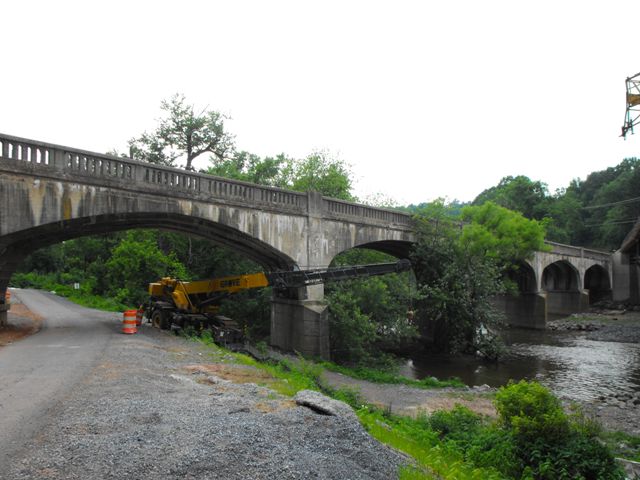
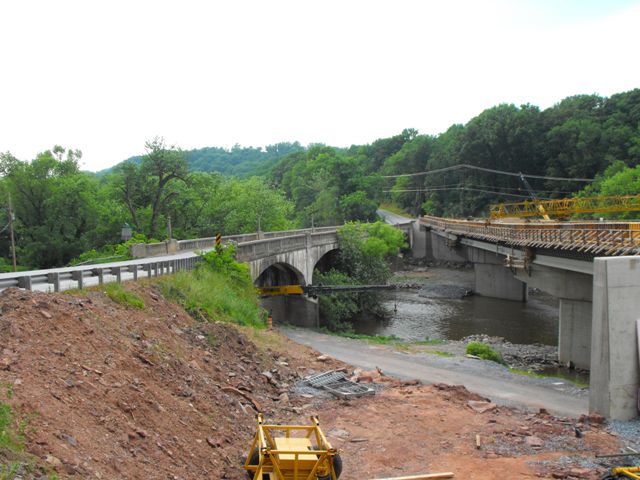
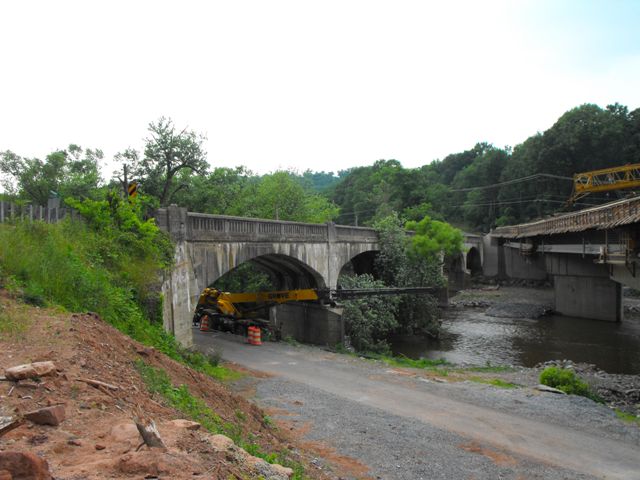
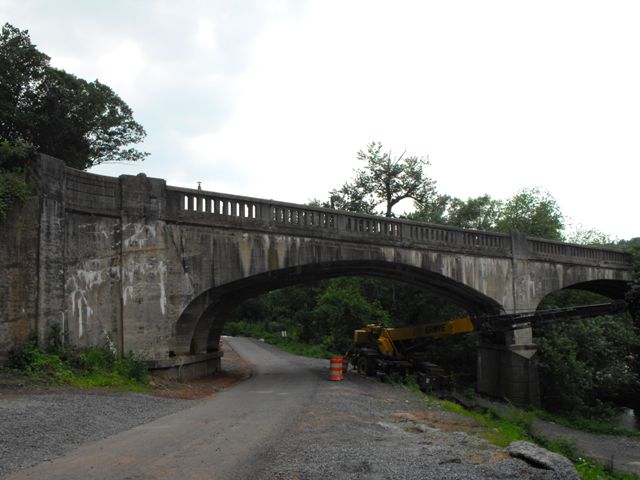
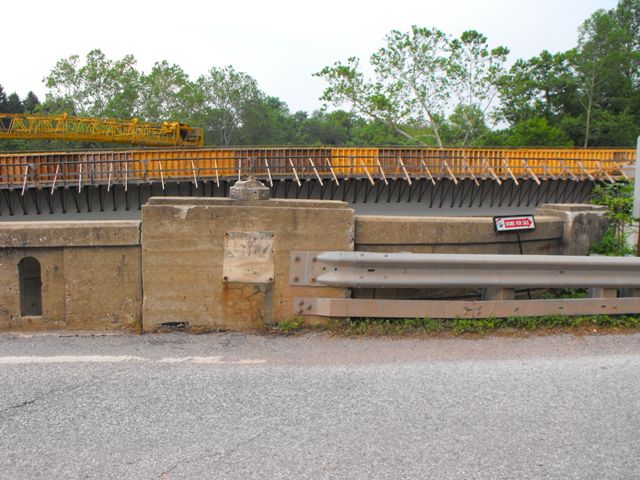
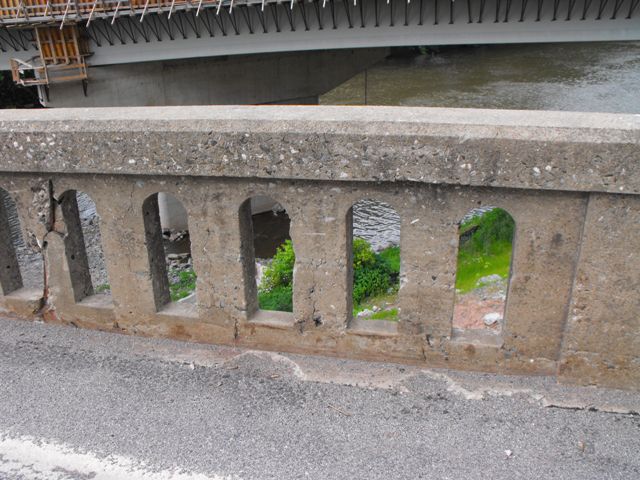
View showing the differing alignments between the historic and replacement bridge. View looking roughly north.
![]()
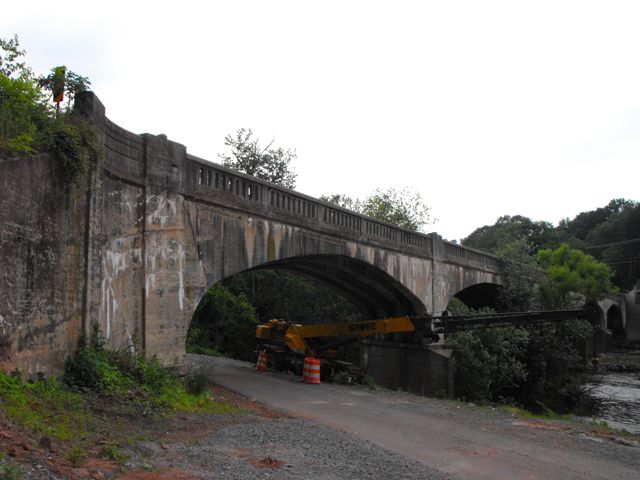
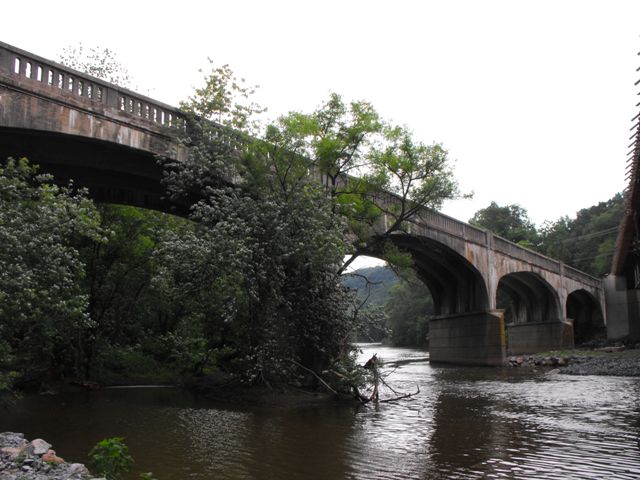
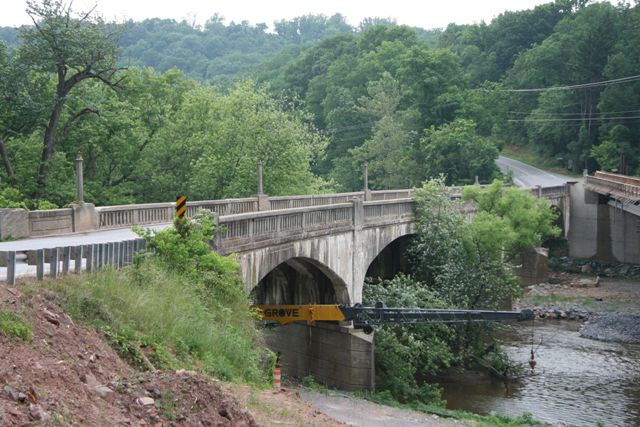
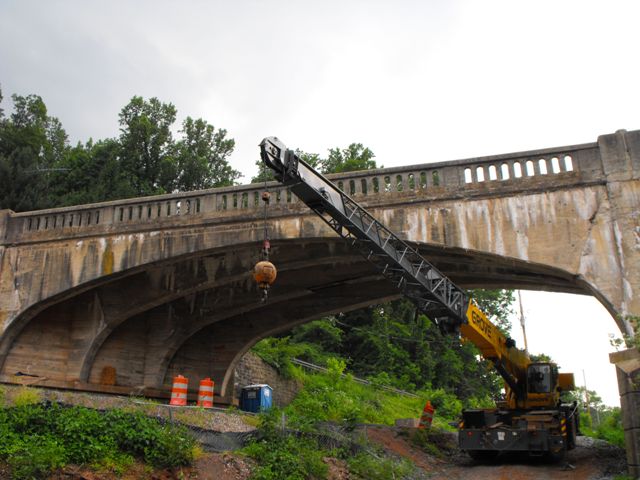
Views beside bridge at abutment from southeast quadrant.
![]()

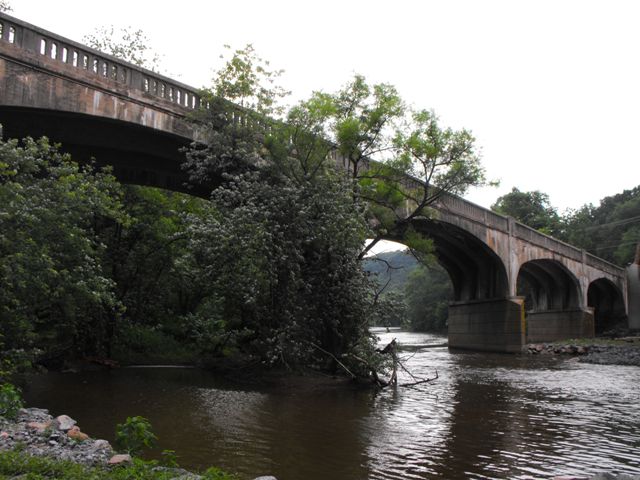
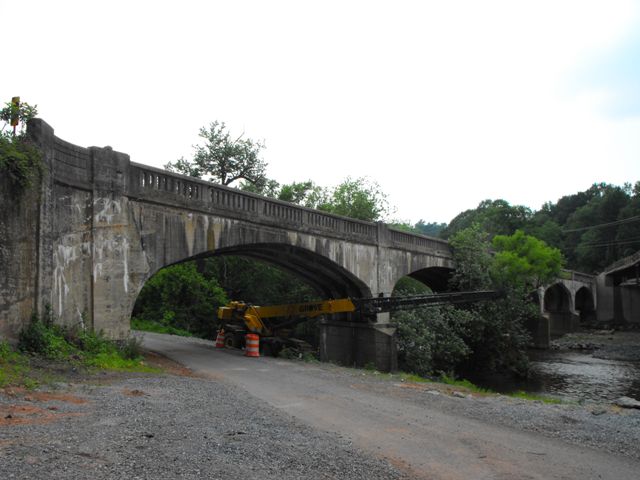
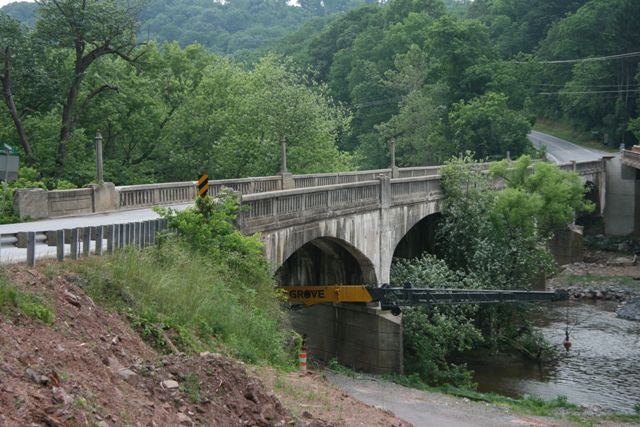
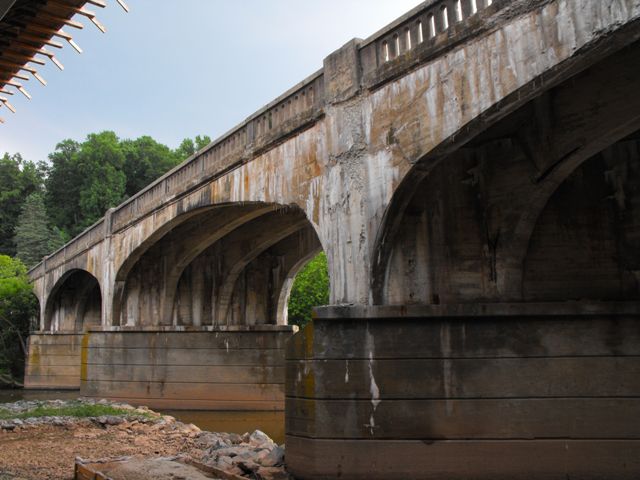
Views beside bridge from southeast quadrant.
![]()


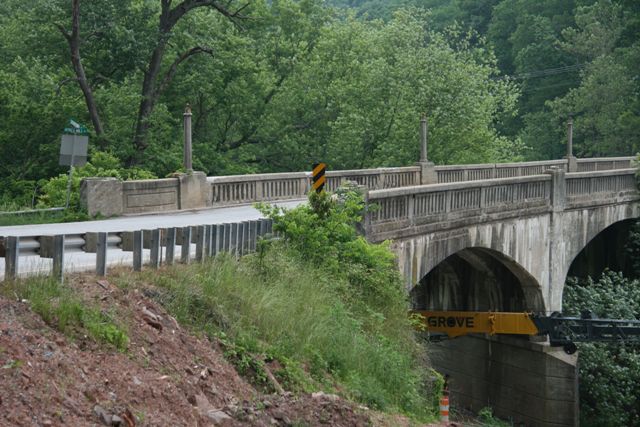
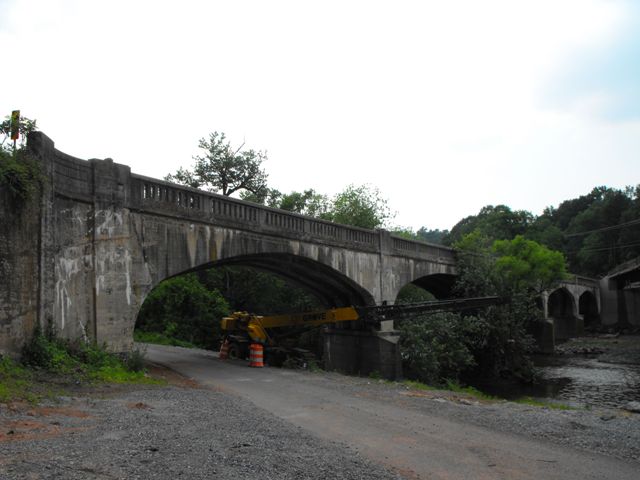
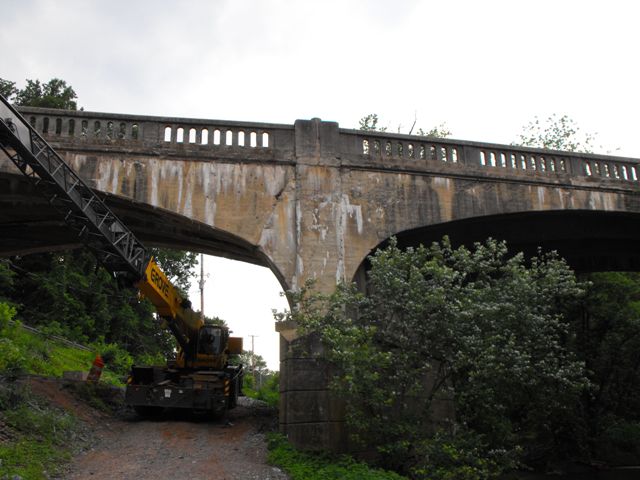
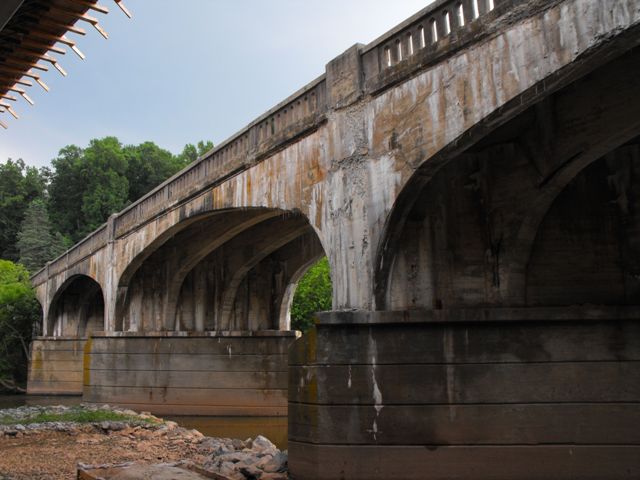
Oblique views from southeast quadrant.
![]()


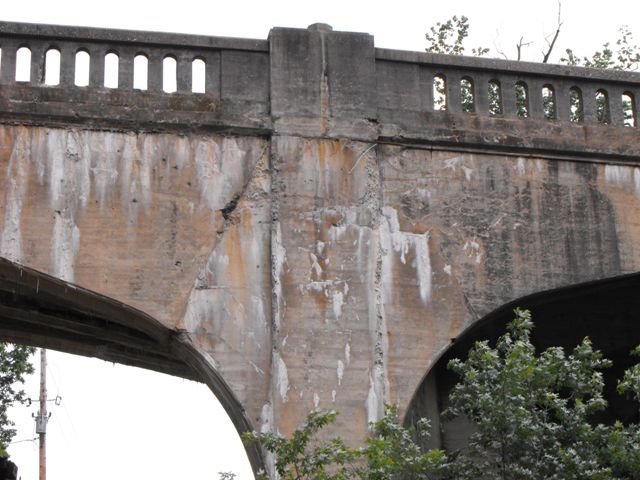
Partial elevation from northeast quadrant.
![]()


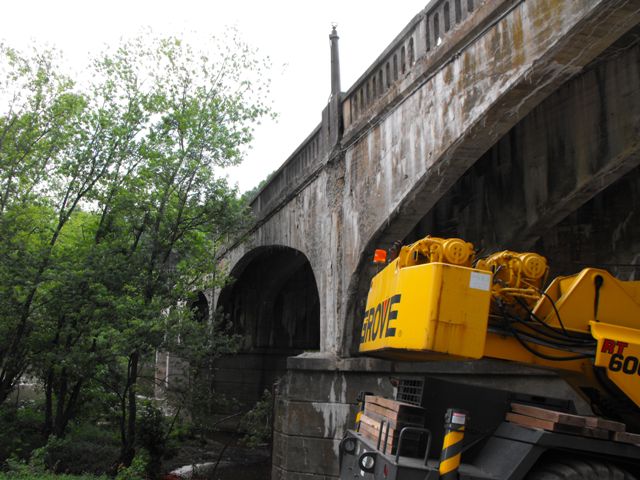
Views beside bridge from northeast quadrant.
![]()

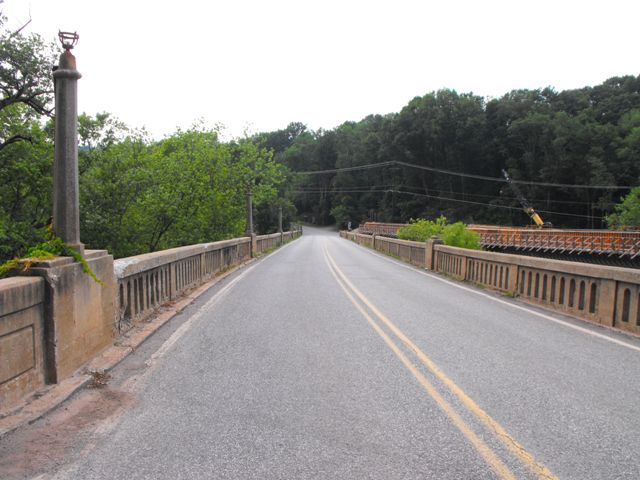
Portal views facing northbound.
![]()
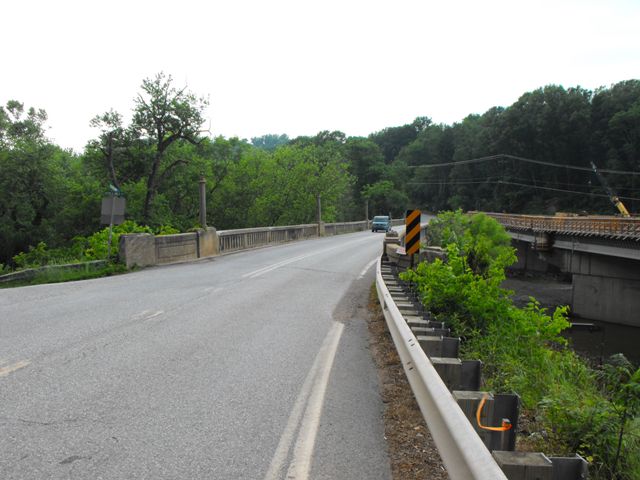


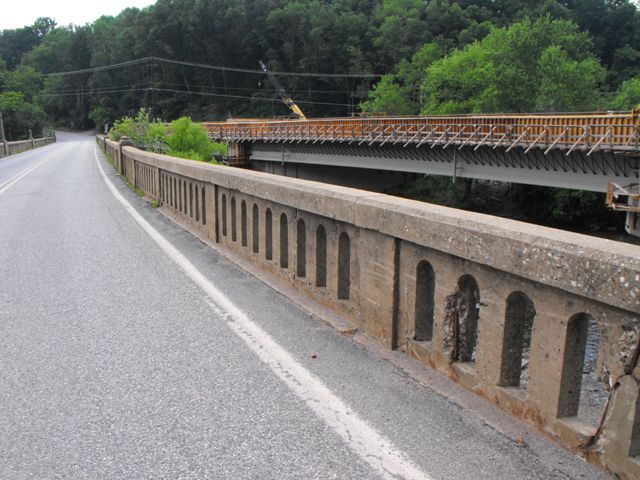
Views from edge of roadway facing northbound.
![]()
Elevation of individual spans.
![]()
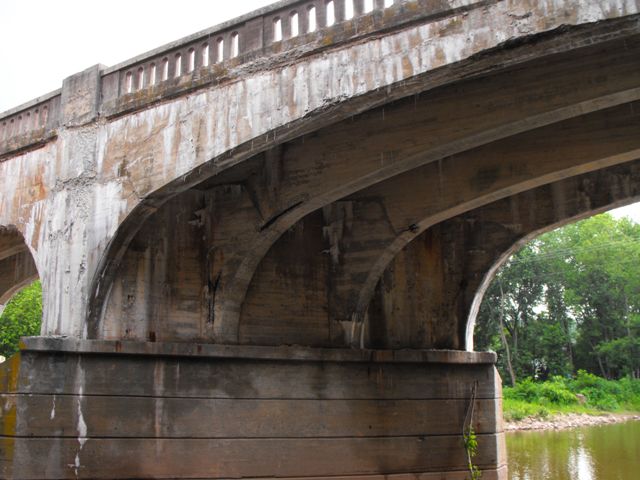
Piers.
![]()
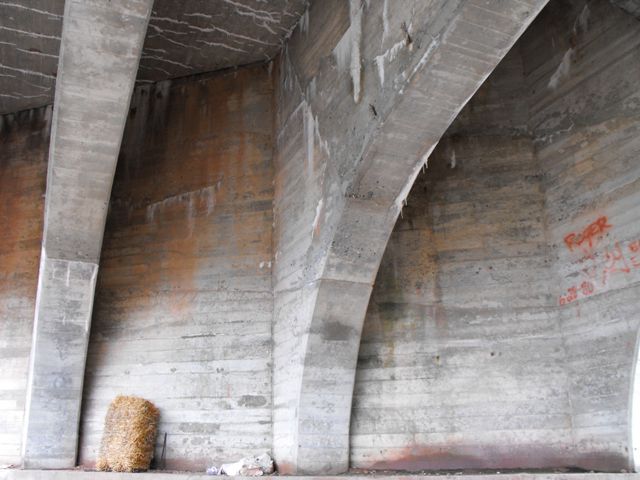
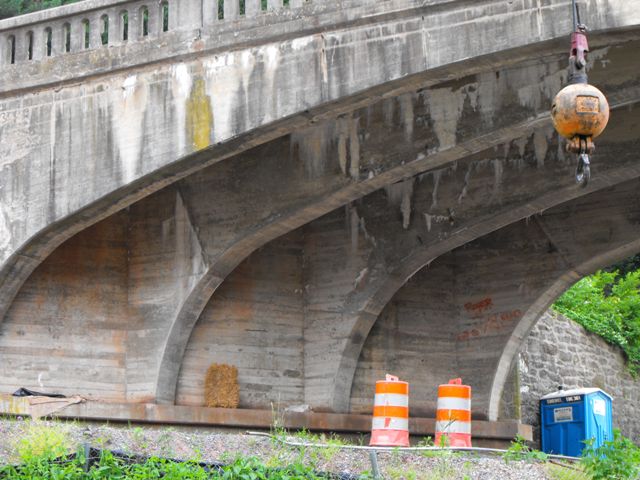
View under bridge.
![]()
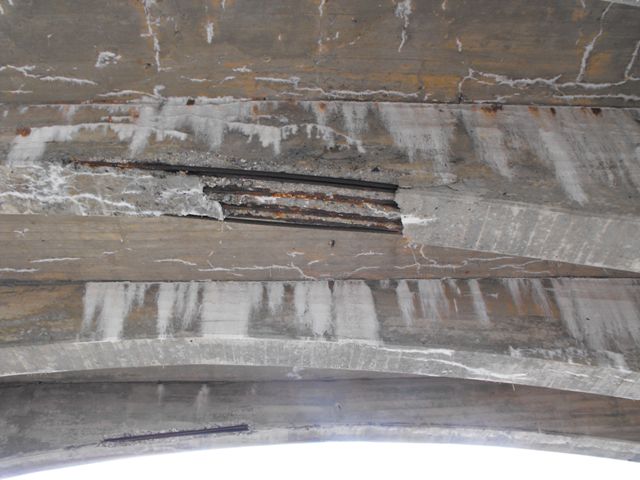
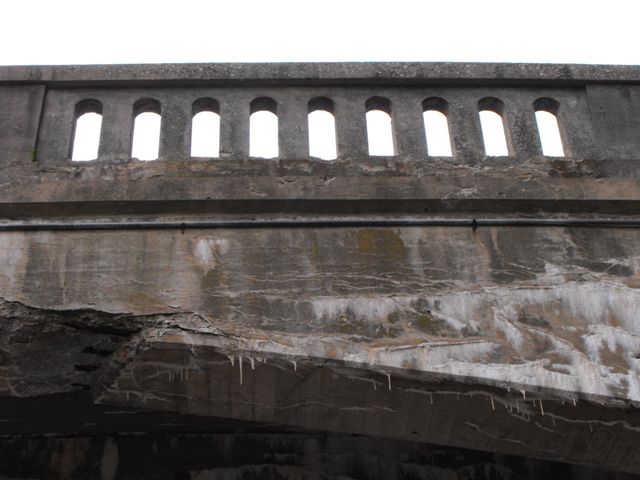
Detail under bridge.
![]()
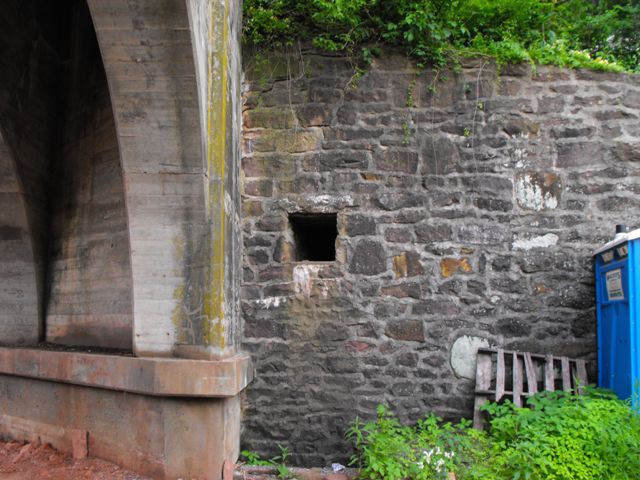
Stone abutment, likely from a previous bridge. The purpose of the hole is unknown. Sometimes, holes in stone abutments indicate that the previous structure was a Burr Arch covered bridge. It is not known if that is the case here.
![]()

Abutment.
![]()
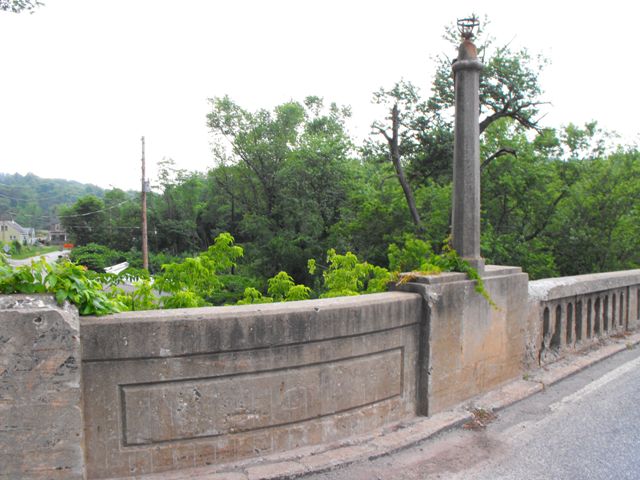
Former plaque location.
![]()

Railing.
![]()
![]()
| Back |
| Home |
| Top |

![]()