
Uncredited photos on this page taken by: Nathan Holth, Rick McOmber, and Susie Babcock. Unless stated in a caption, all photos are Copyright with All Rights Reserved. Learn about reuse of our photos.
![]()


Overview of hanger system for suspended span.
![]()


Top chord connections as viewed from beside bridge at hanger.
![]()


Top chord connection as viewed from beside bridge at suspended span end post.
![]()


Bottom chord connection as viewed from beside bridge at hanger and end post.
![]()

Top chord connection detail at catwalk bridge from end of cantilever arm.
![]()

Eyebar hanger for cantilever arm.
![]()

Connection at top of eyebar hanger that connects the cantilever arm to the suspended span.
![]()


Connection at middle of eyebar hanger for suspended span.
![]()


Connection at middle of eyebar hanger for suspended span. Note the double pin detail to the right showing an expansion joint.
![]()


View of the double pin which is located next to the suspended span hanger and provides for expansion.
![]()


Top chord connections as viewed from on bridge.
![]()
Bottom chord connections as viewed from on bridge.
![]()
Intermediate connections at end post as viewed from on bridge.
![]()


Intermediate pinned connections as viewed from on bridge.
![]()


Intermediate riveted connections as viewed from on bridge.
![]()


Bracing connections.
![]()

Portal bracing connection.
![]()


Bottom chord.
![]()


Vertical members.
![]()


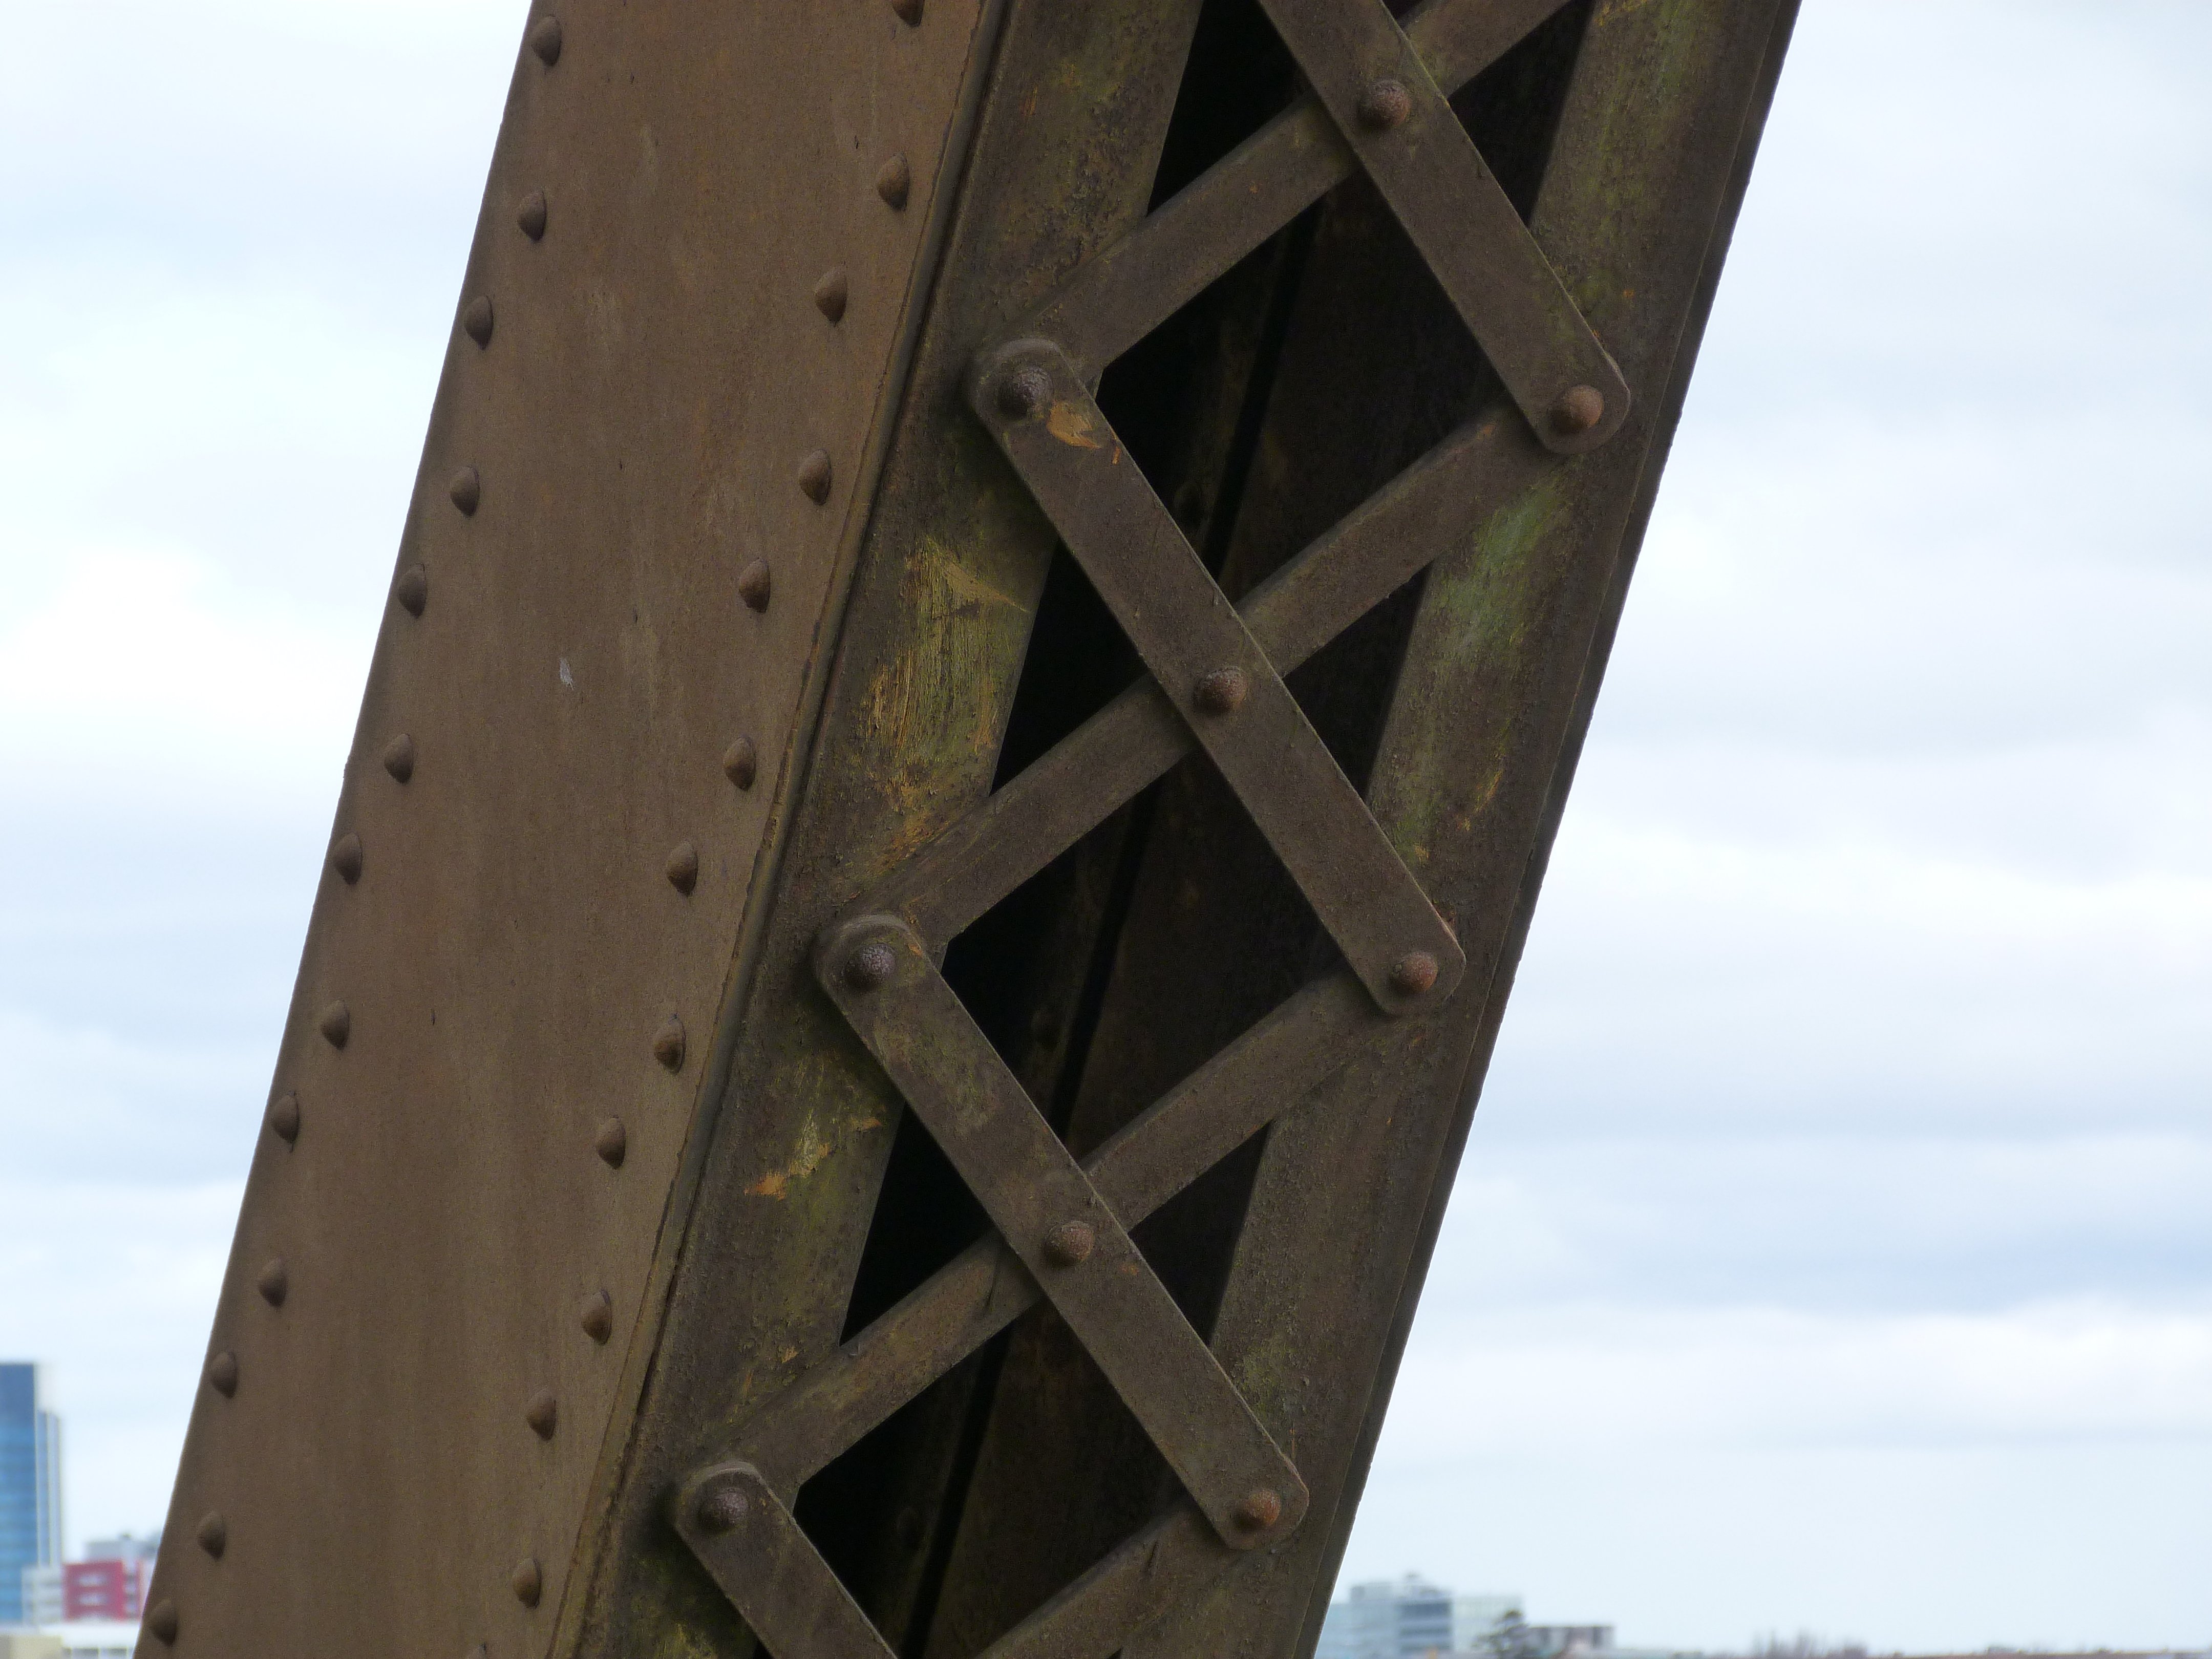
Diagonal members.
![]()

Top chord.
![]()


Additional built-up beams.
![]()


Portal bracing.
![]()


Sway bracing.
![]()


Views of truss panels.
![]()

View showing floorbeam and railing bracket.
![]()

Top chord.
![]()

Expansion joint.
![]()

Utility box.
![]()

Lighting on span.
![]()
![]()
| Back |
| Home |
| Top |

![]()


