Uncredited photos on this page taken by: Nathan Holth and Susie Babcock. Unless stated in a caption, all photos are Copyright with All Rights Reserved. Learn about reuse of our photos.
![]()


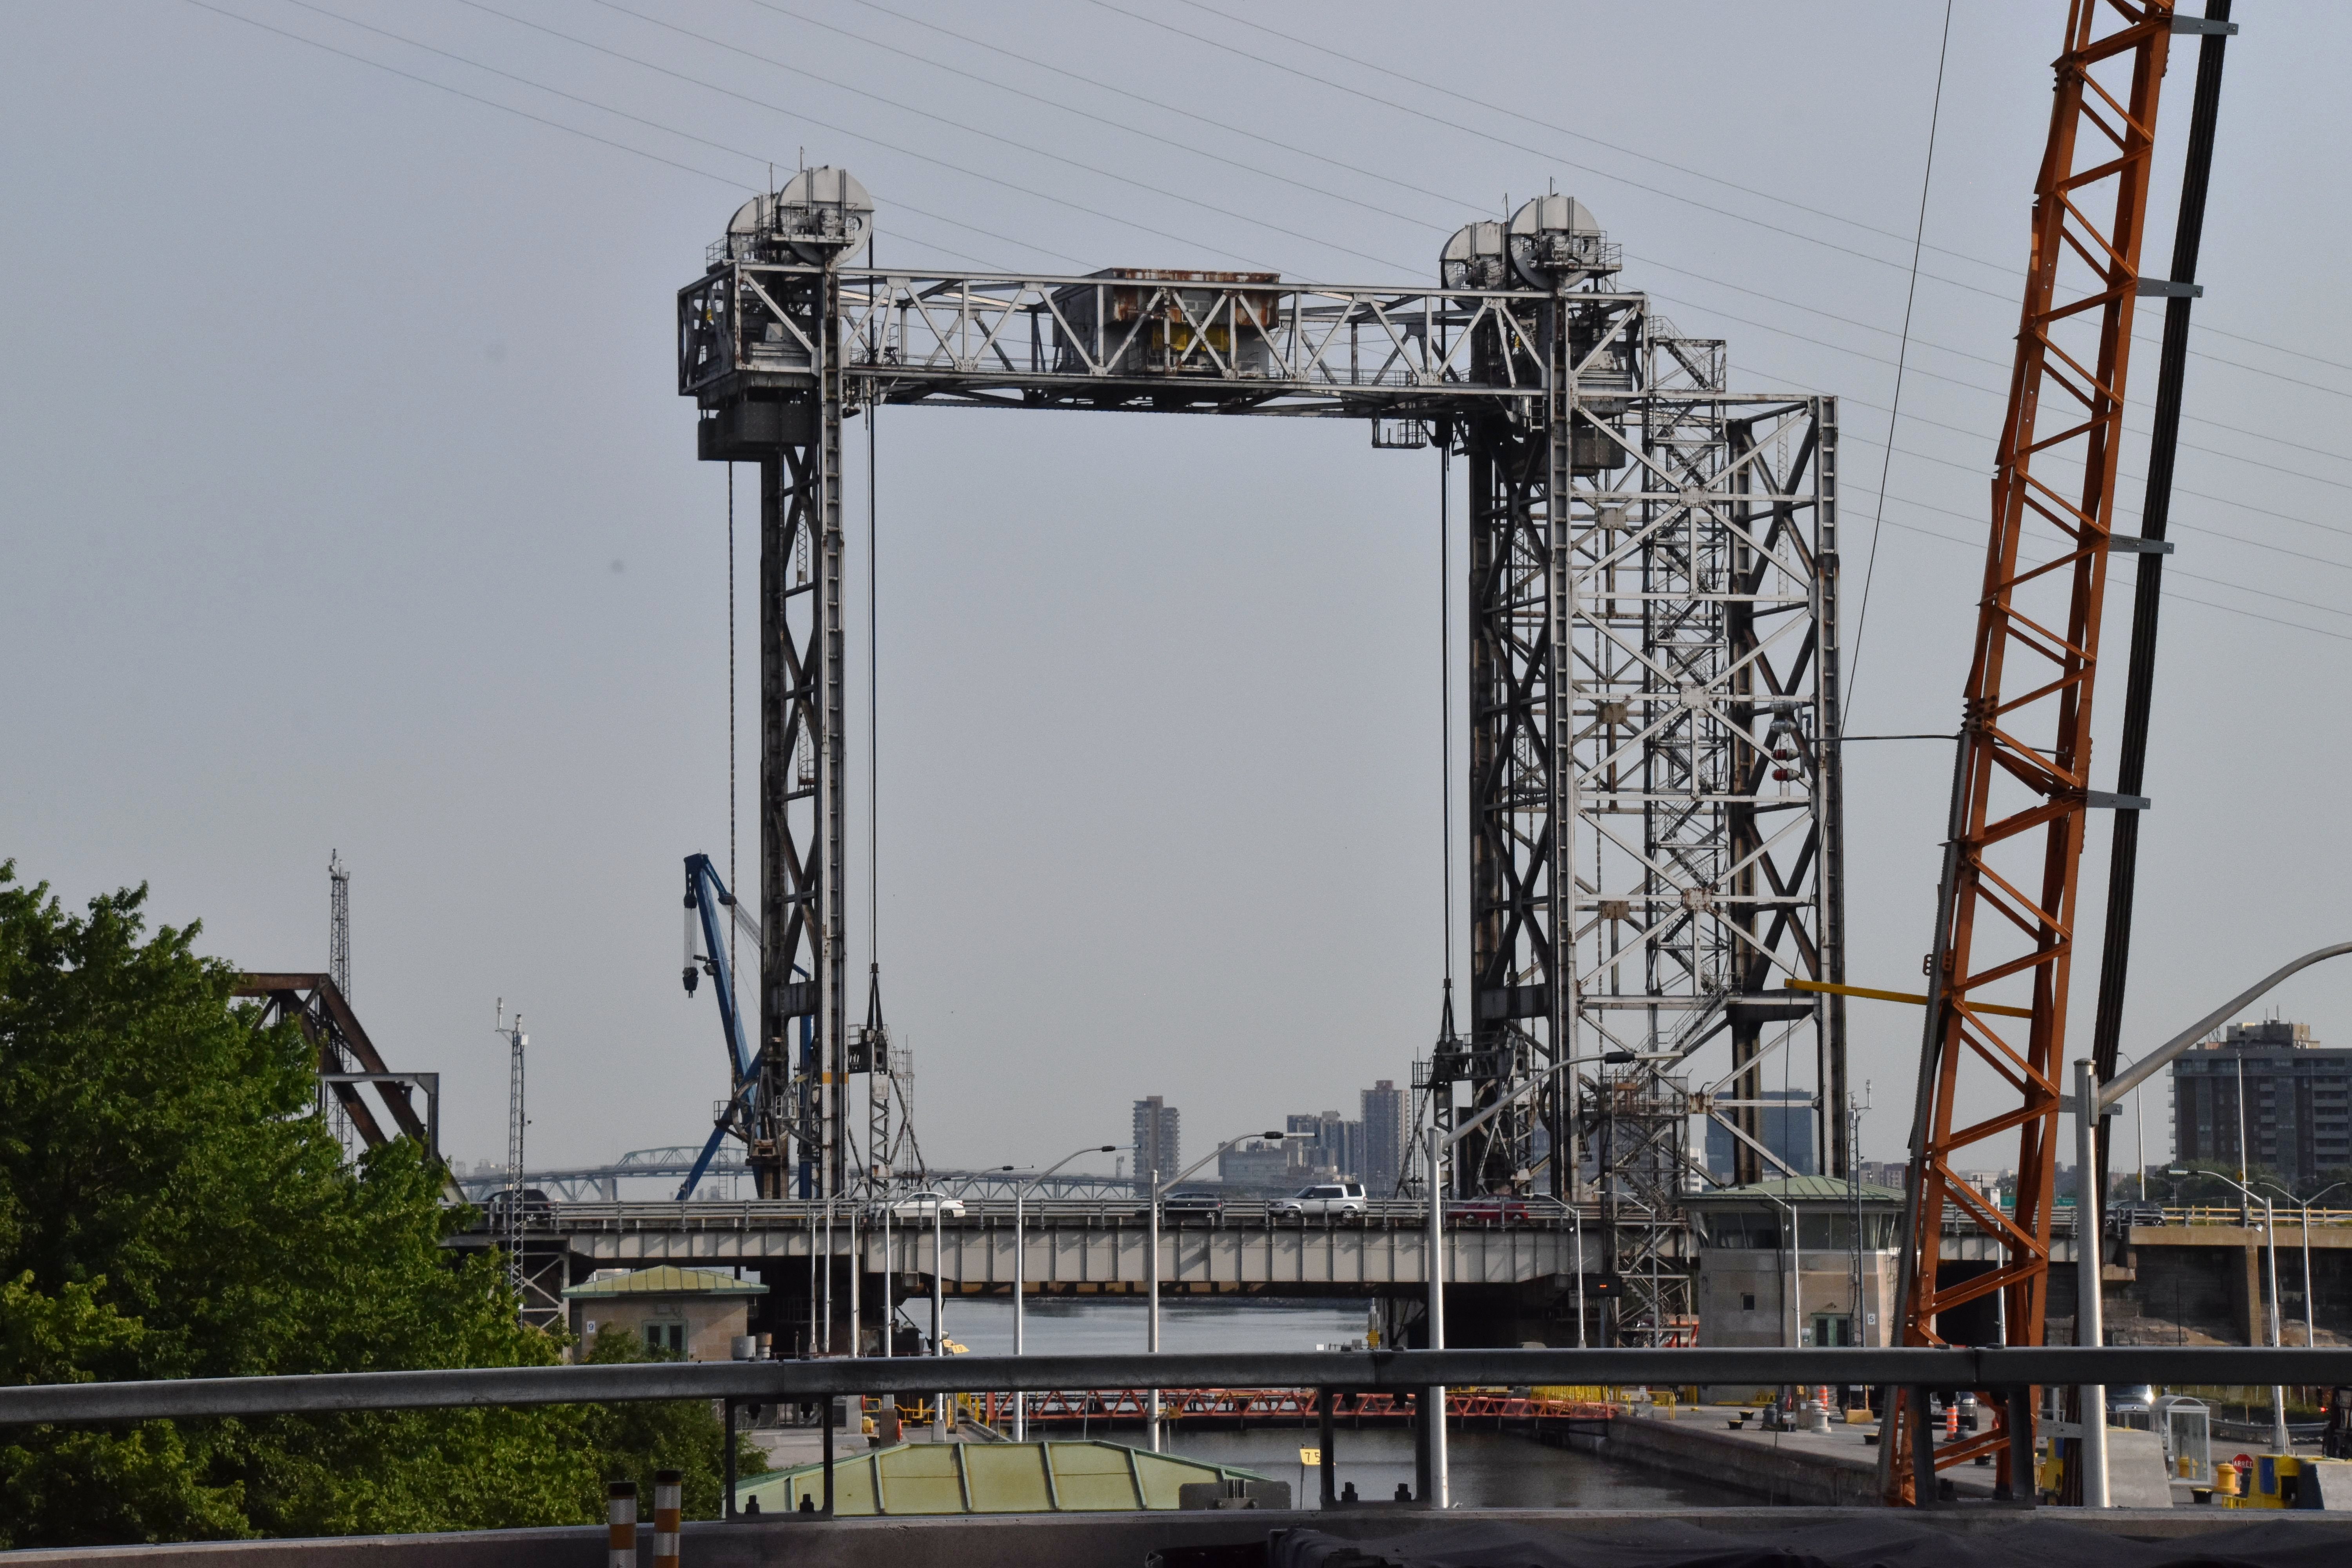


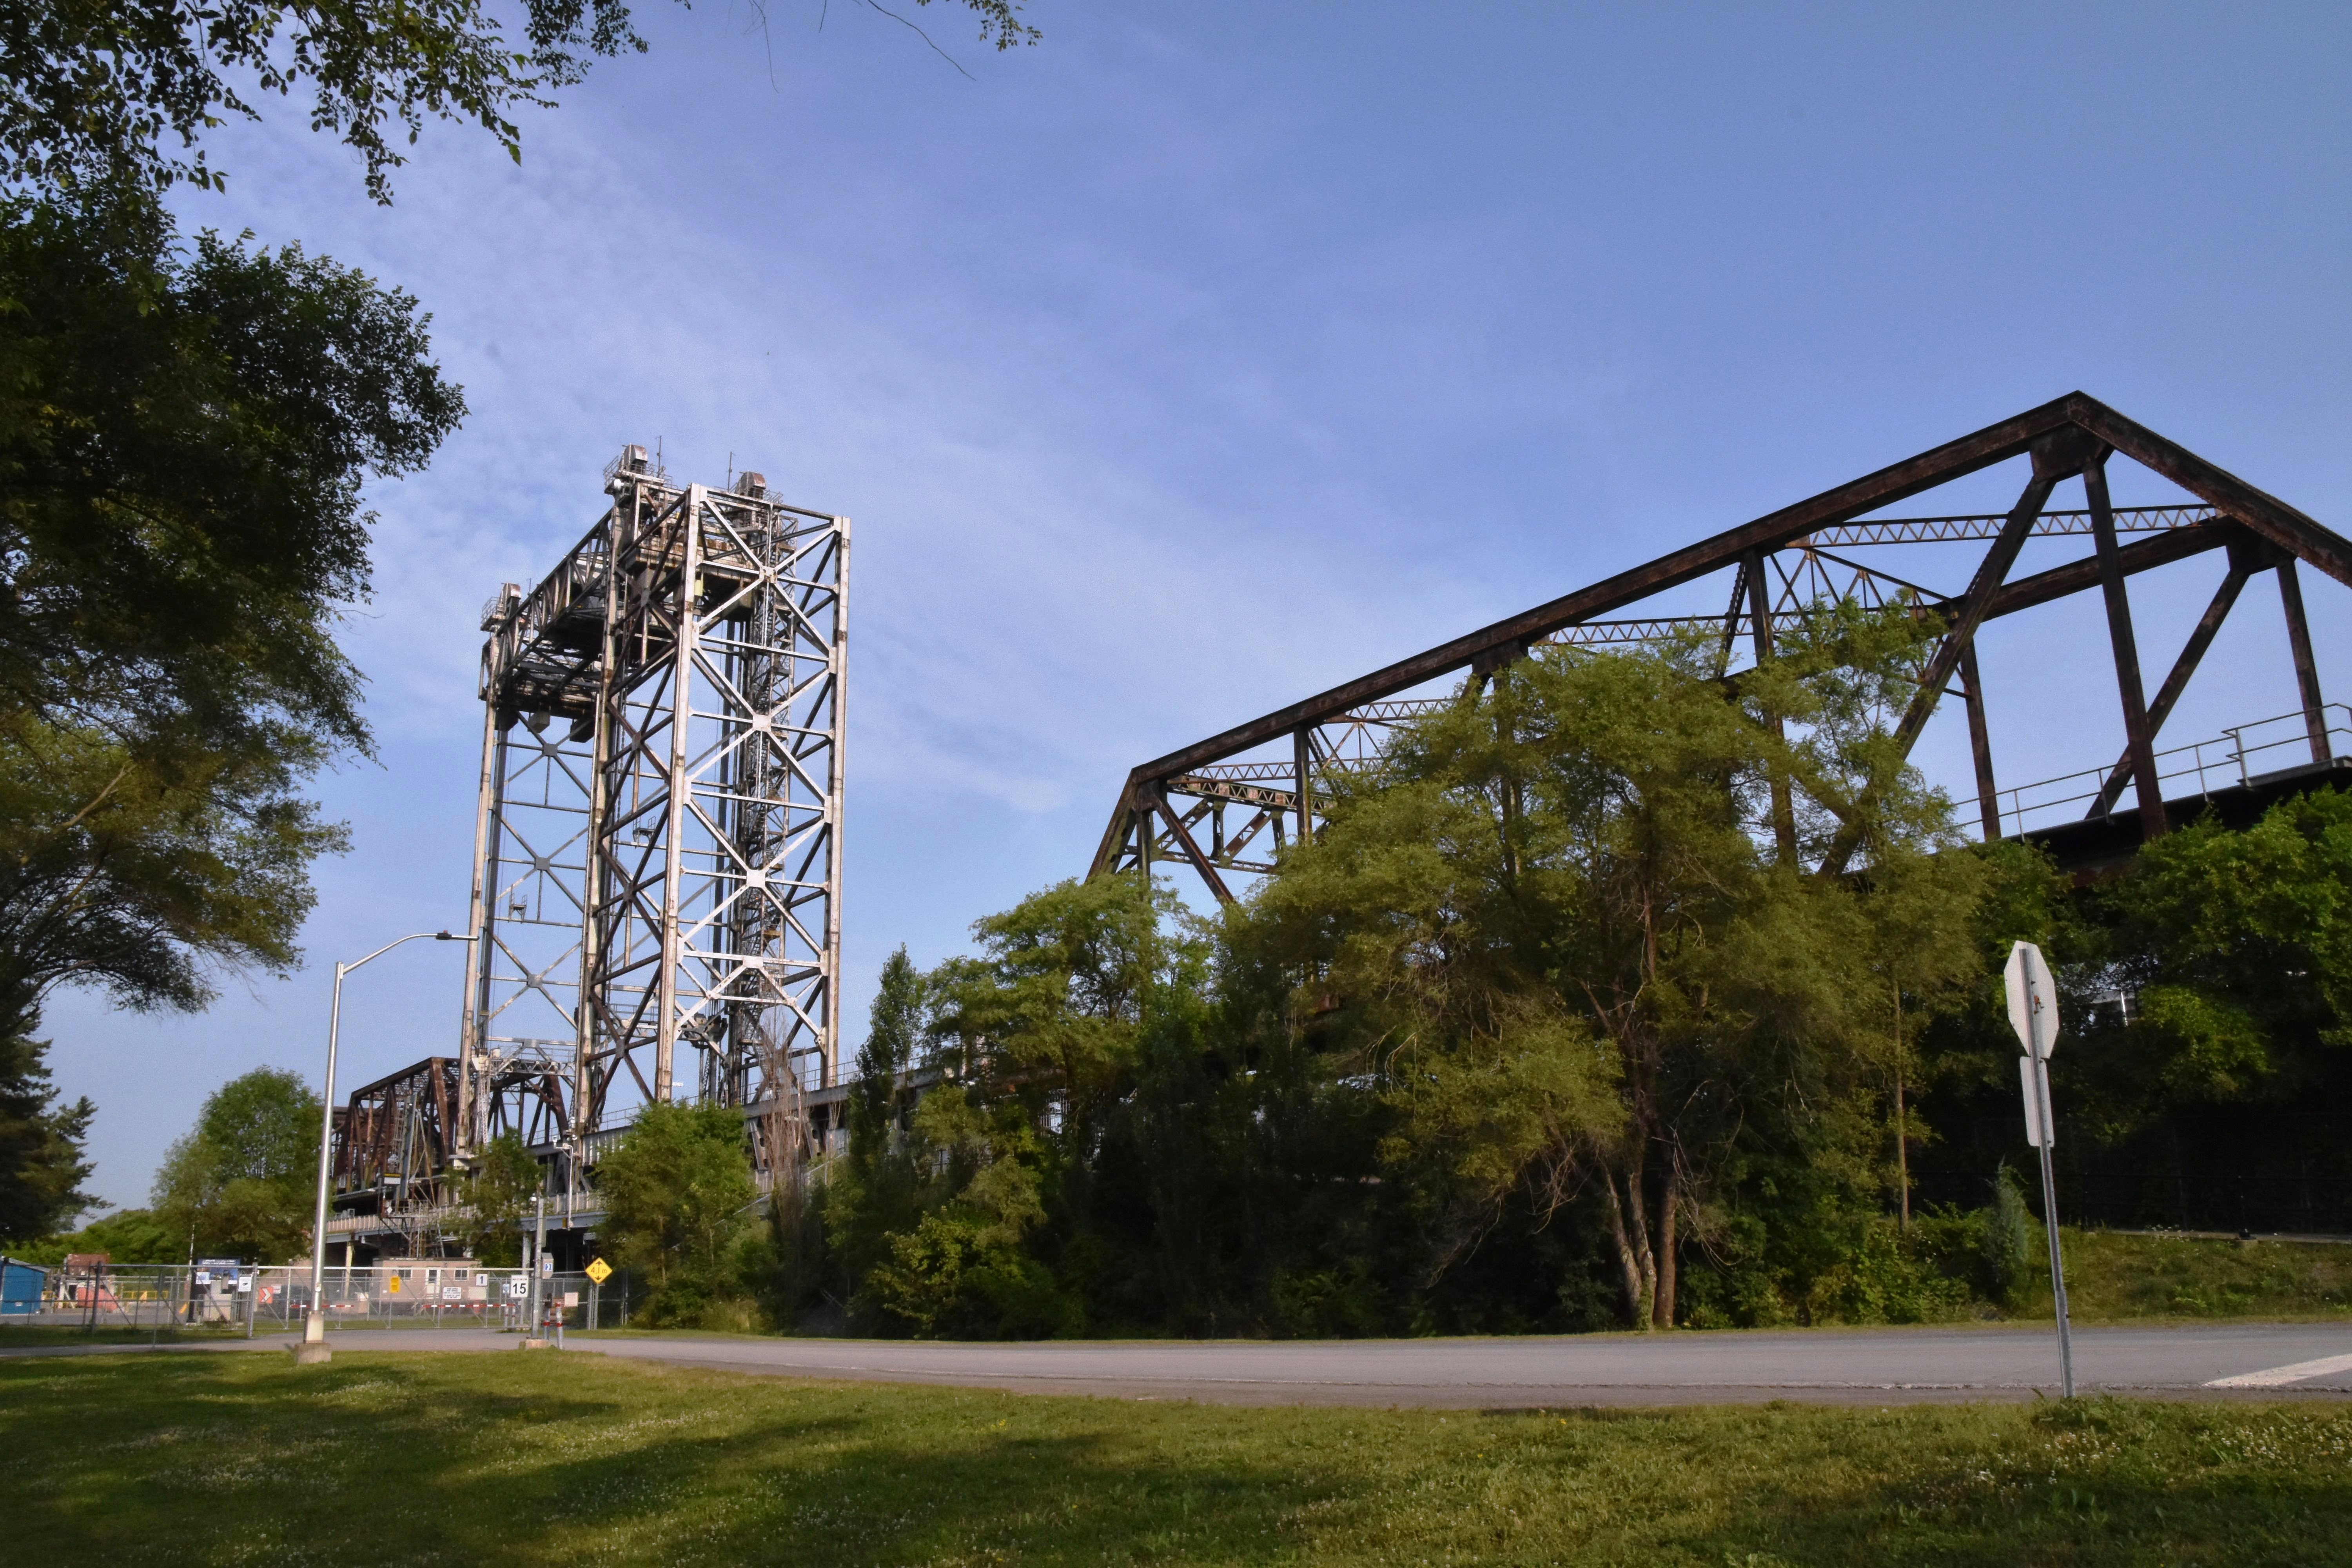
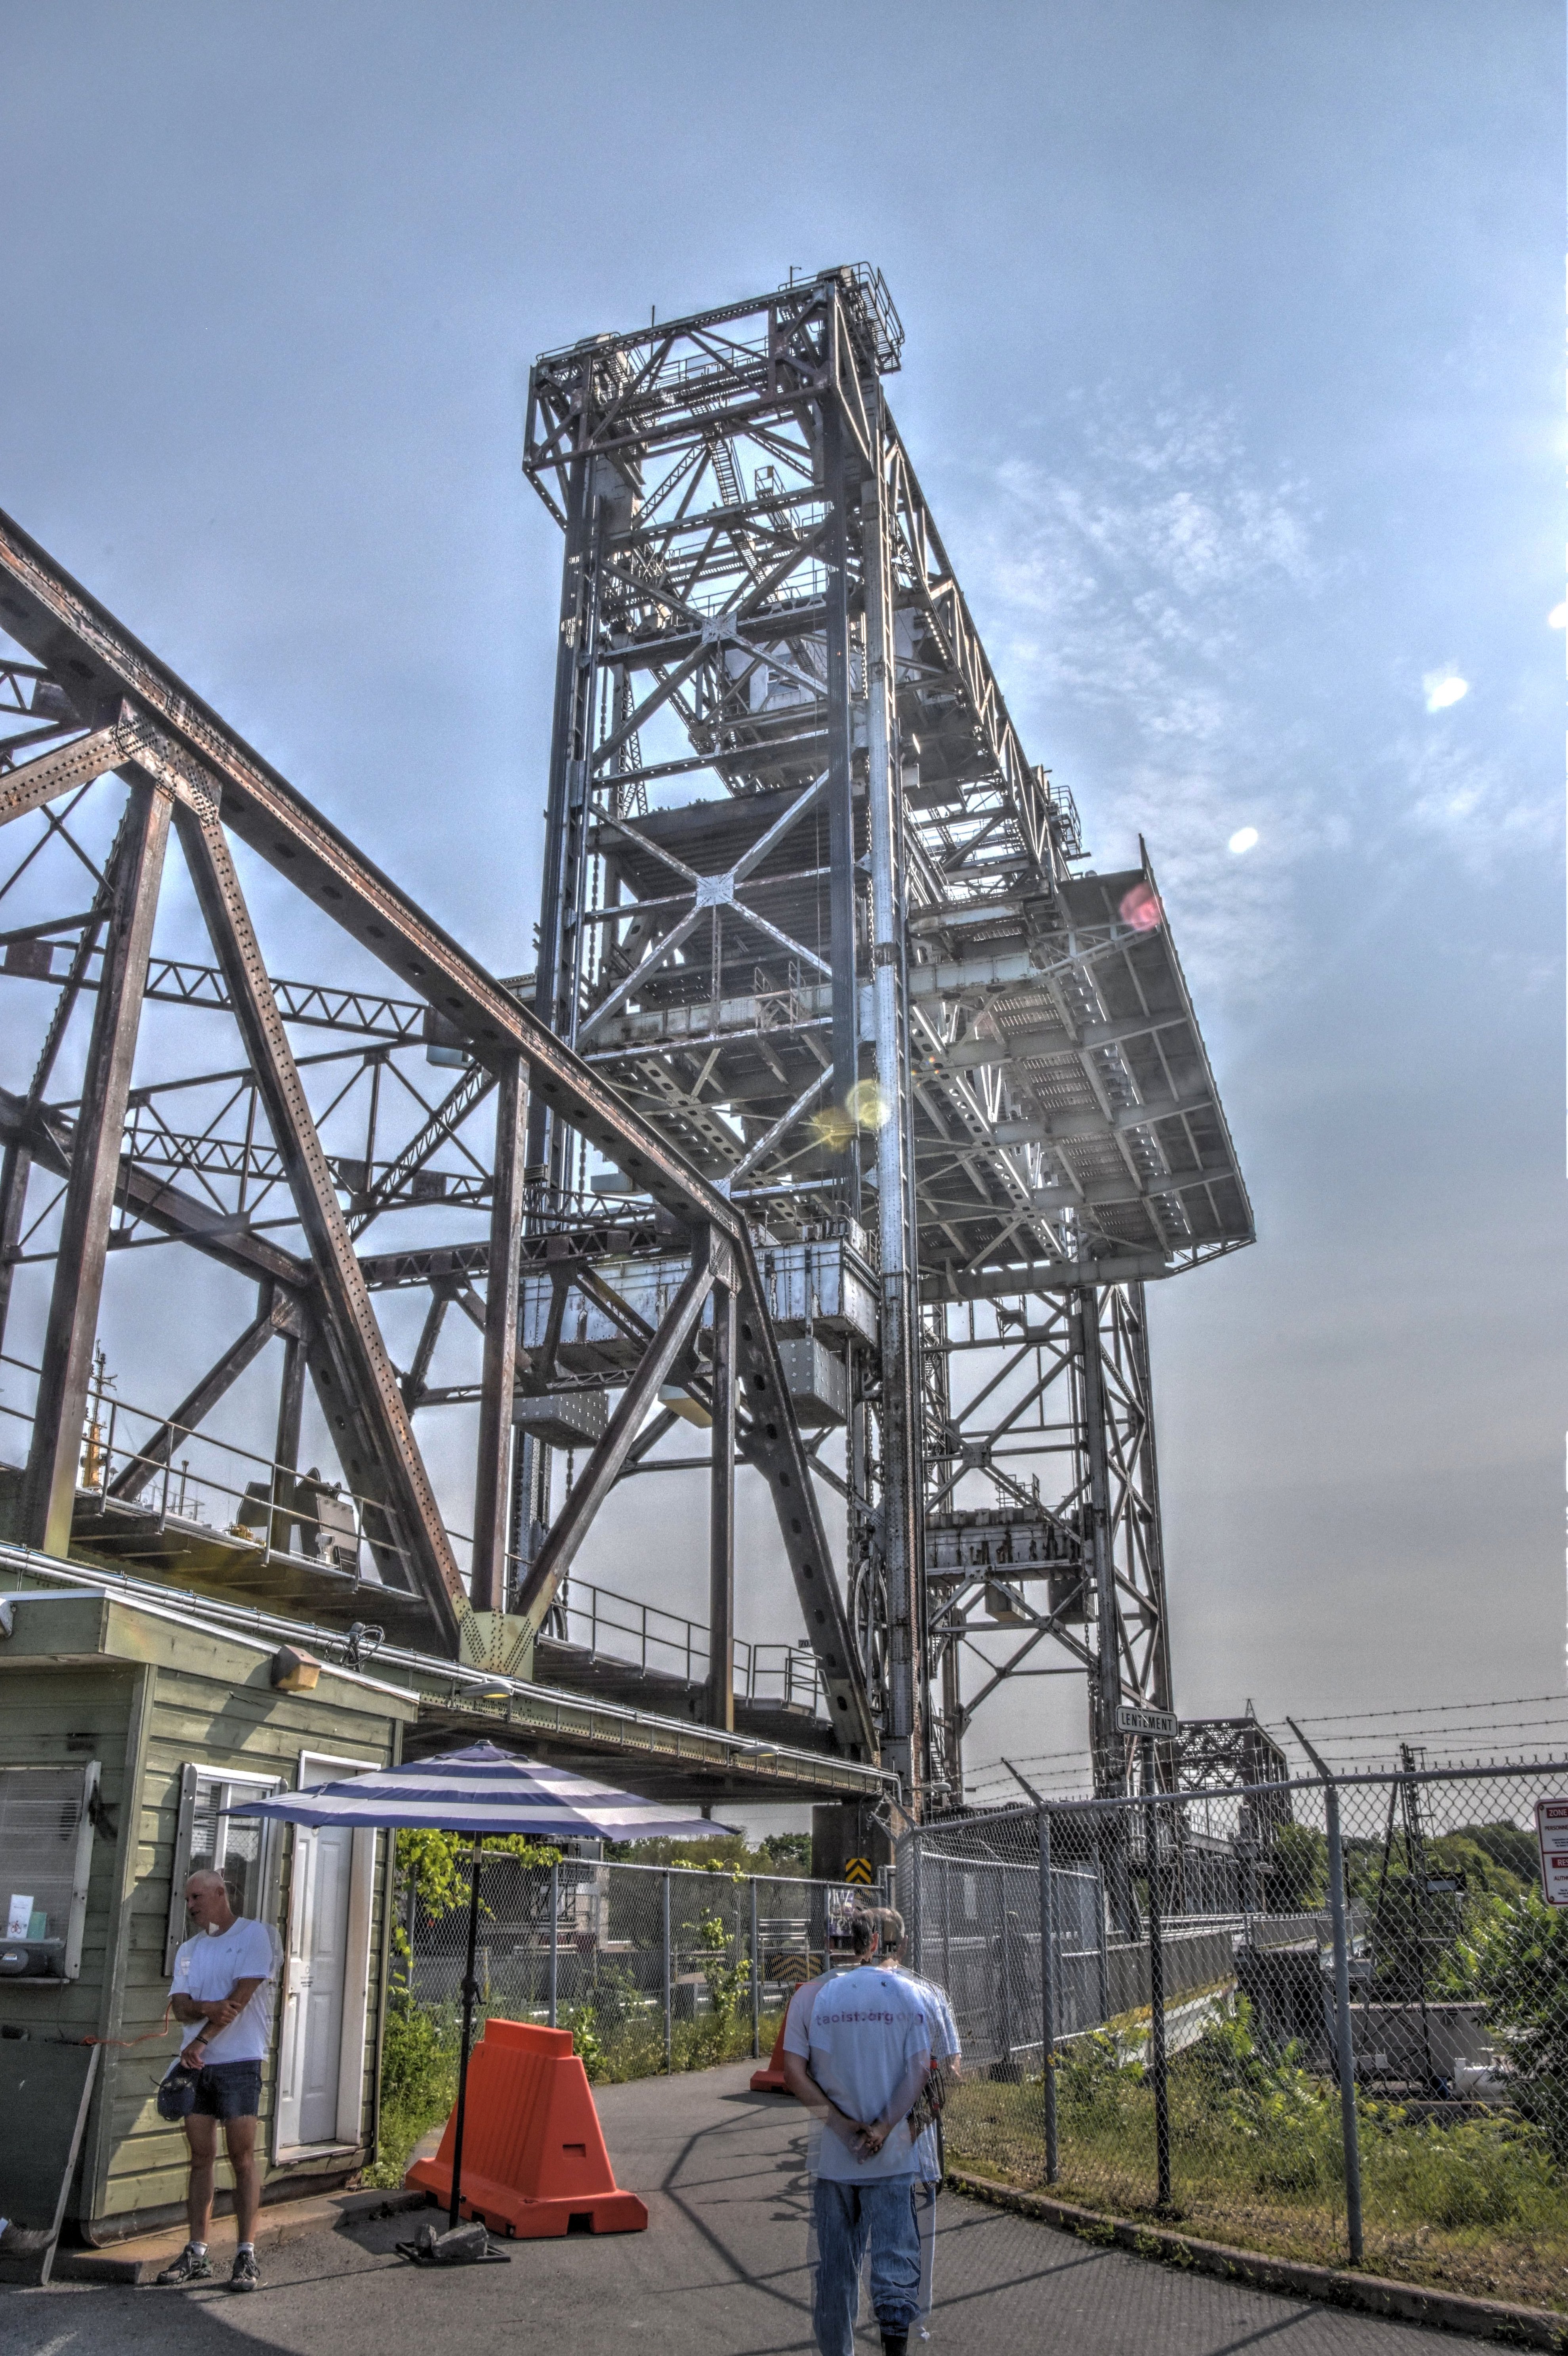
South elevation of main lift bridge.
![]()


Views beside St. Lambert Diversion from southeast quadrant.
![]()

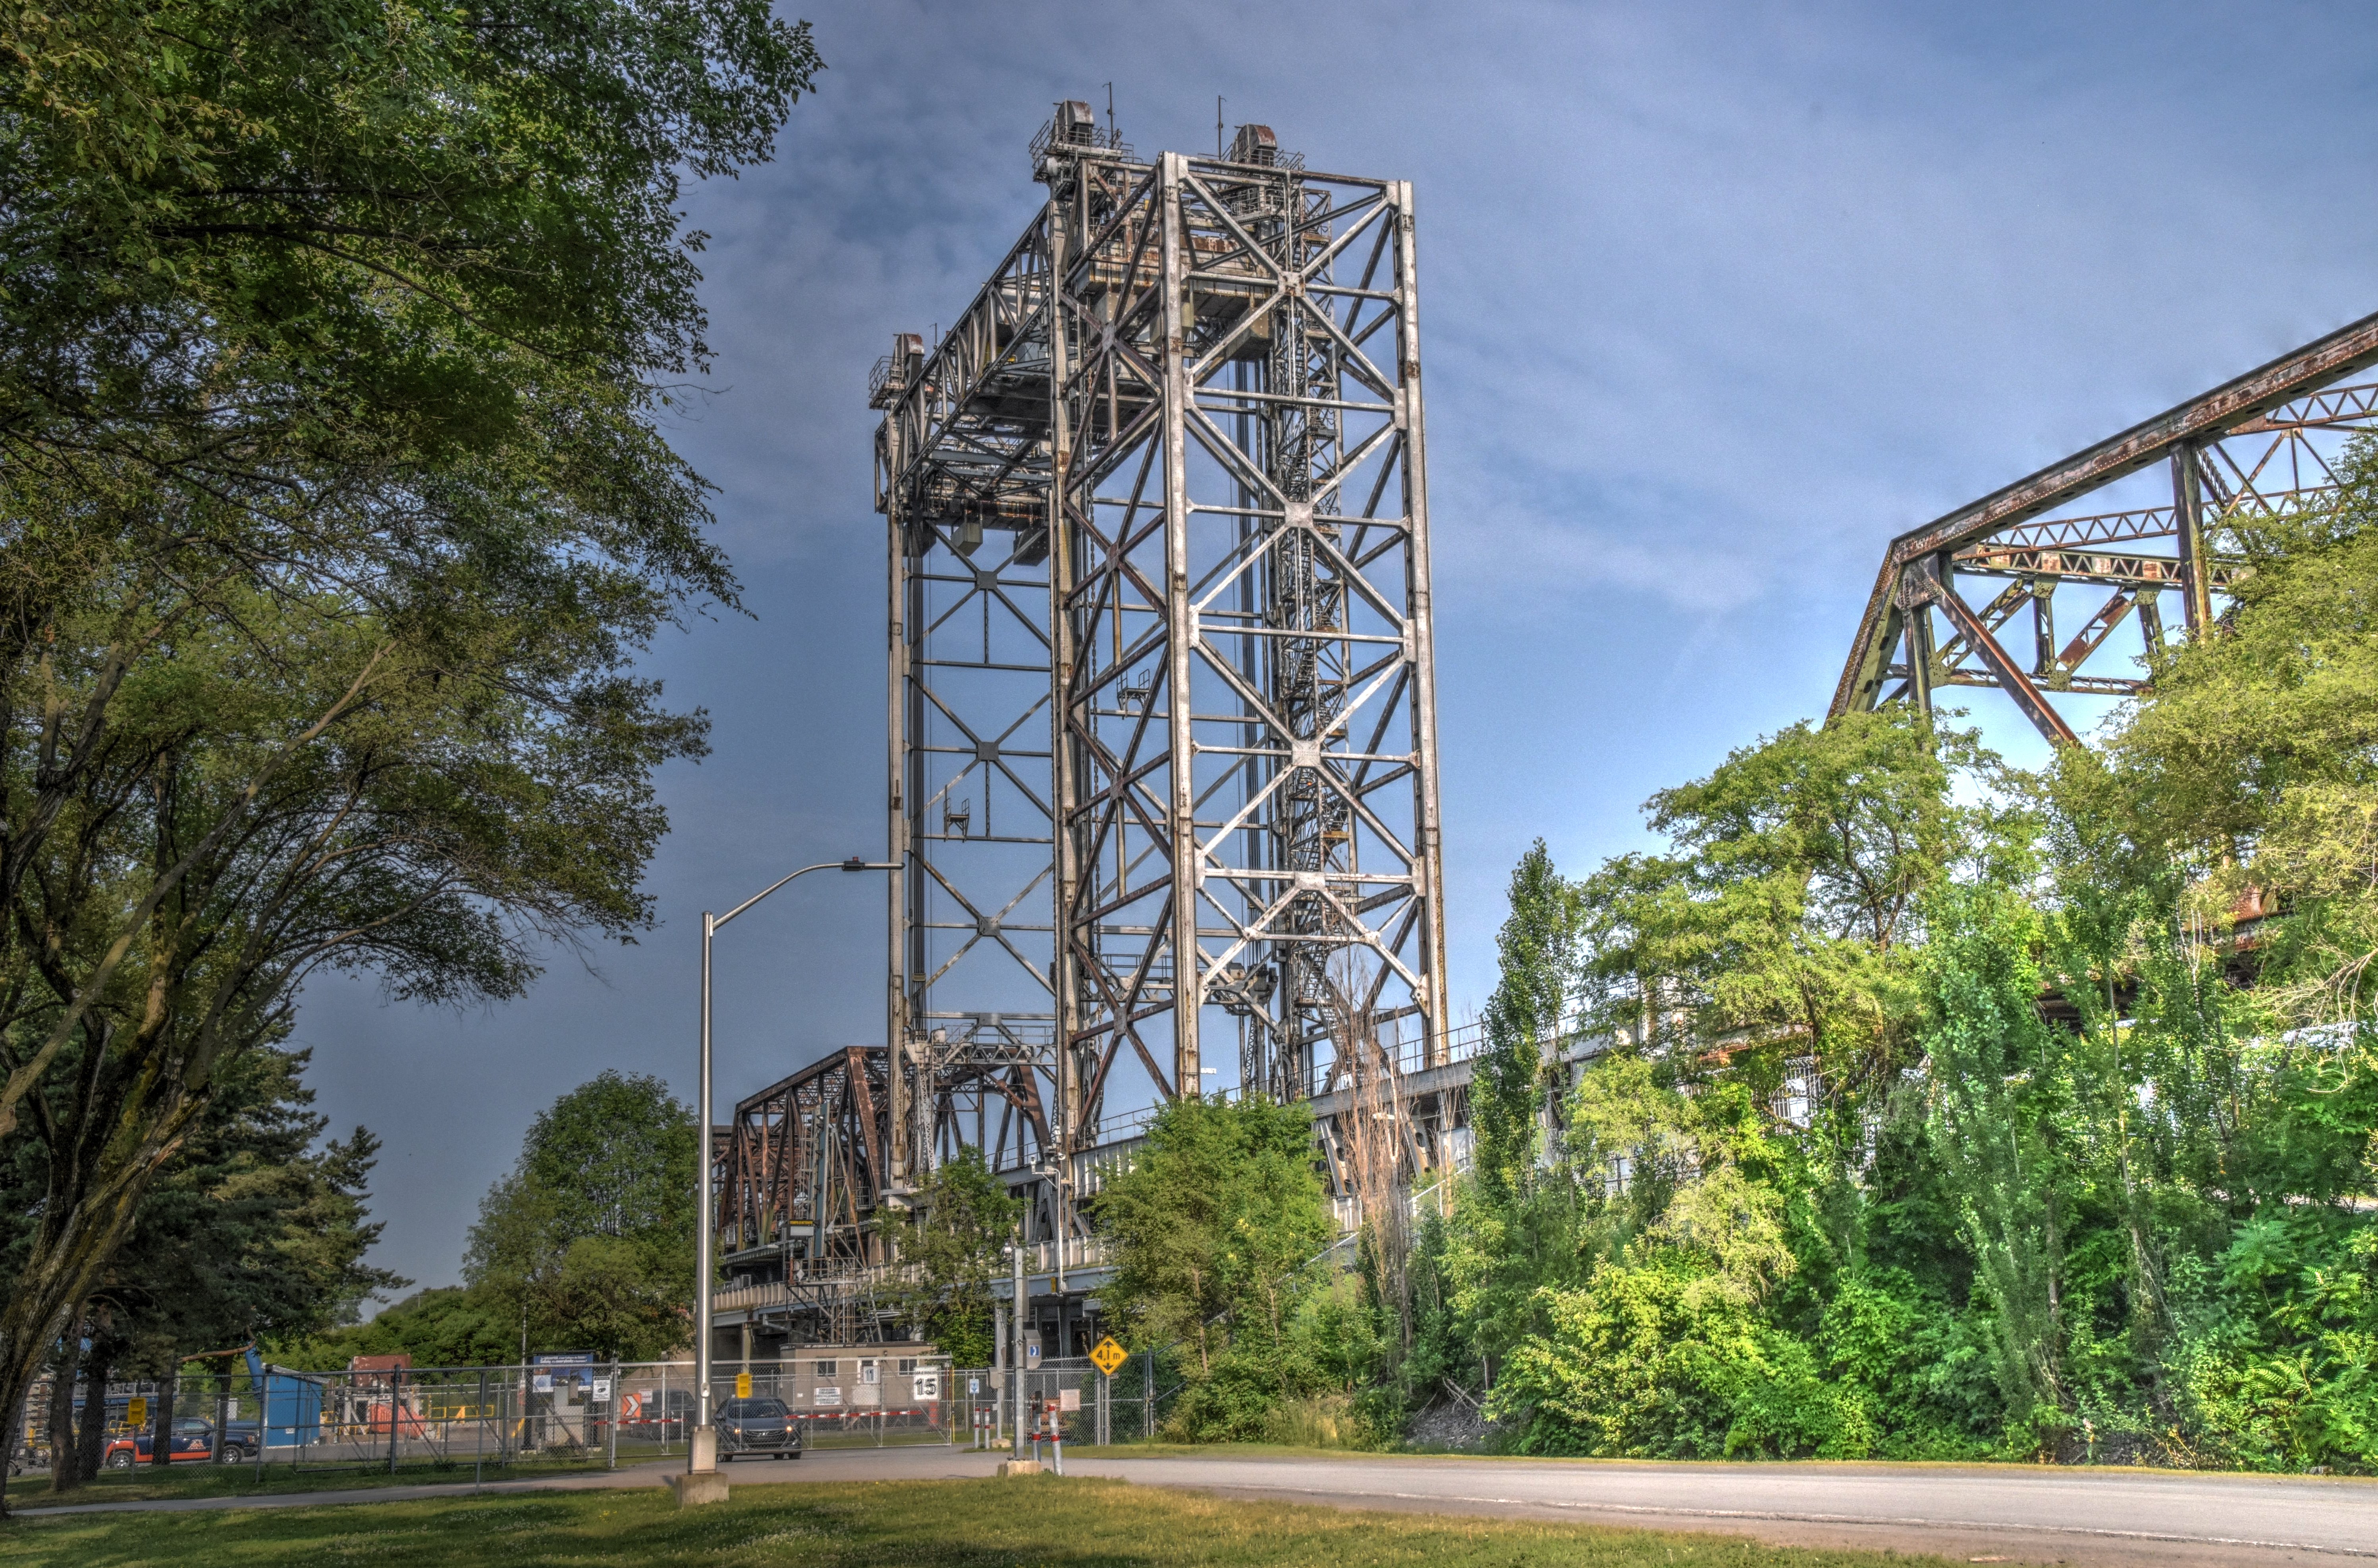
Oblique view of St. Lambert Diversion from southeast quadrant.
![]()


North elevation of main lift span.
![]()


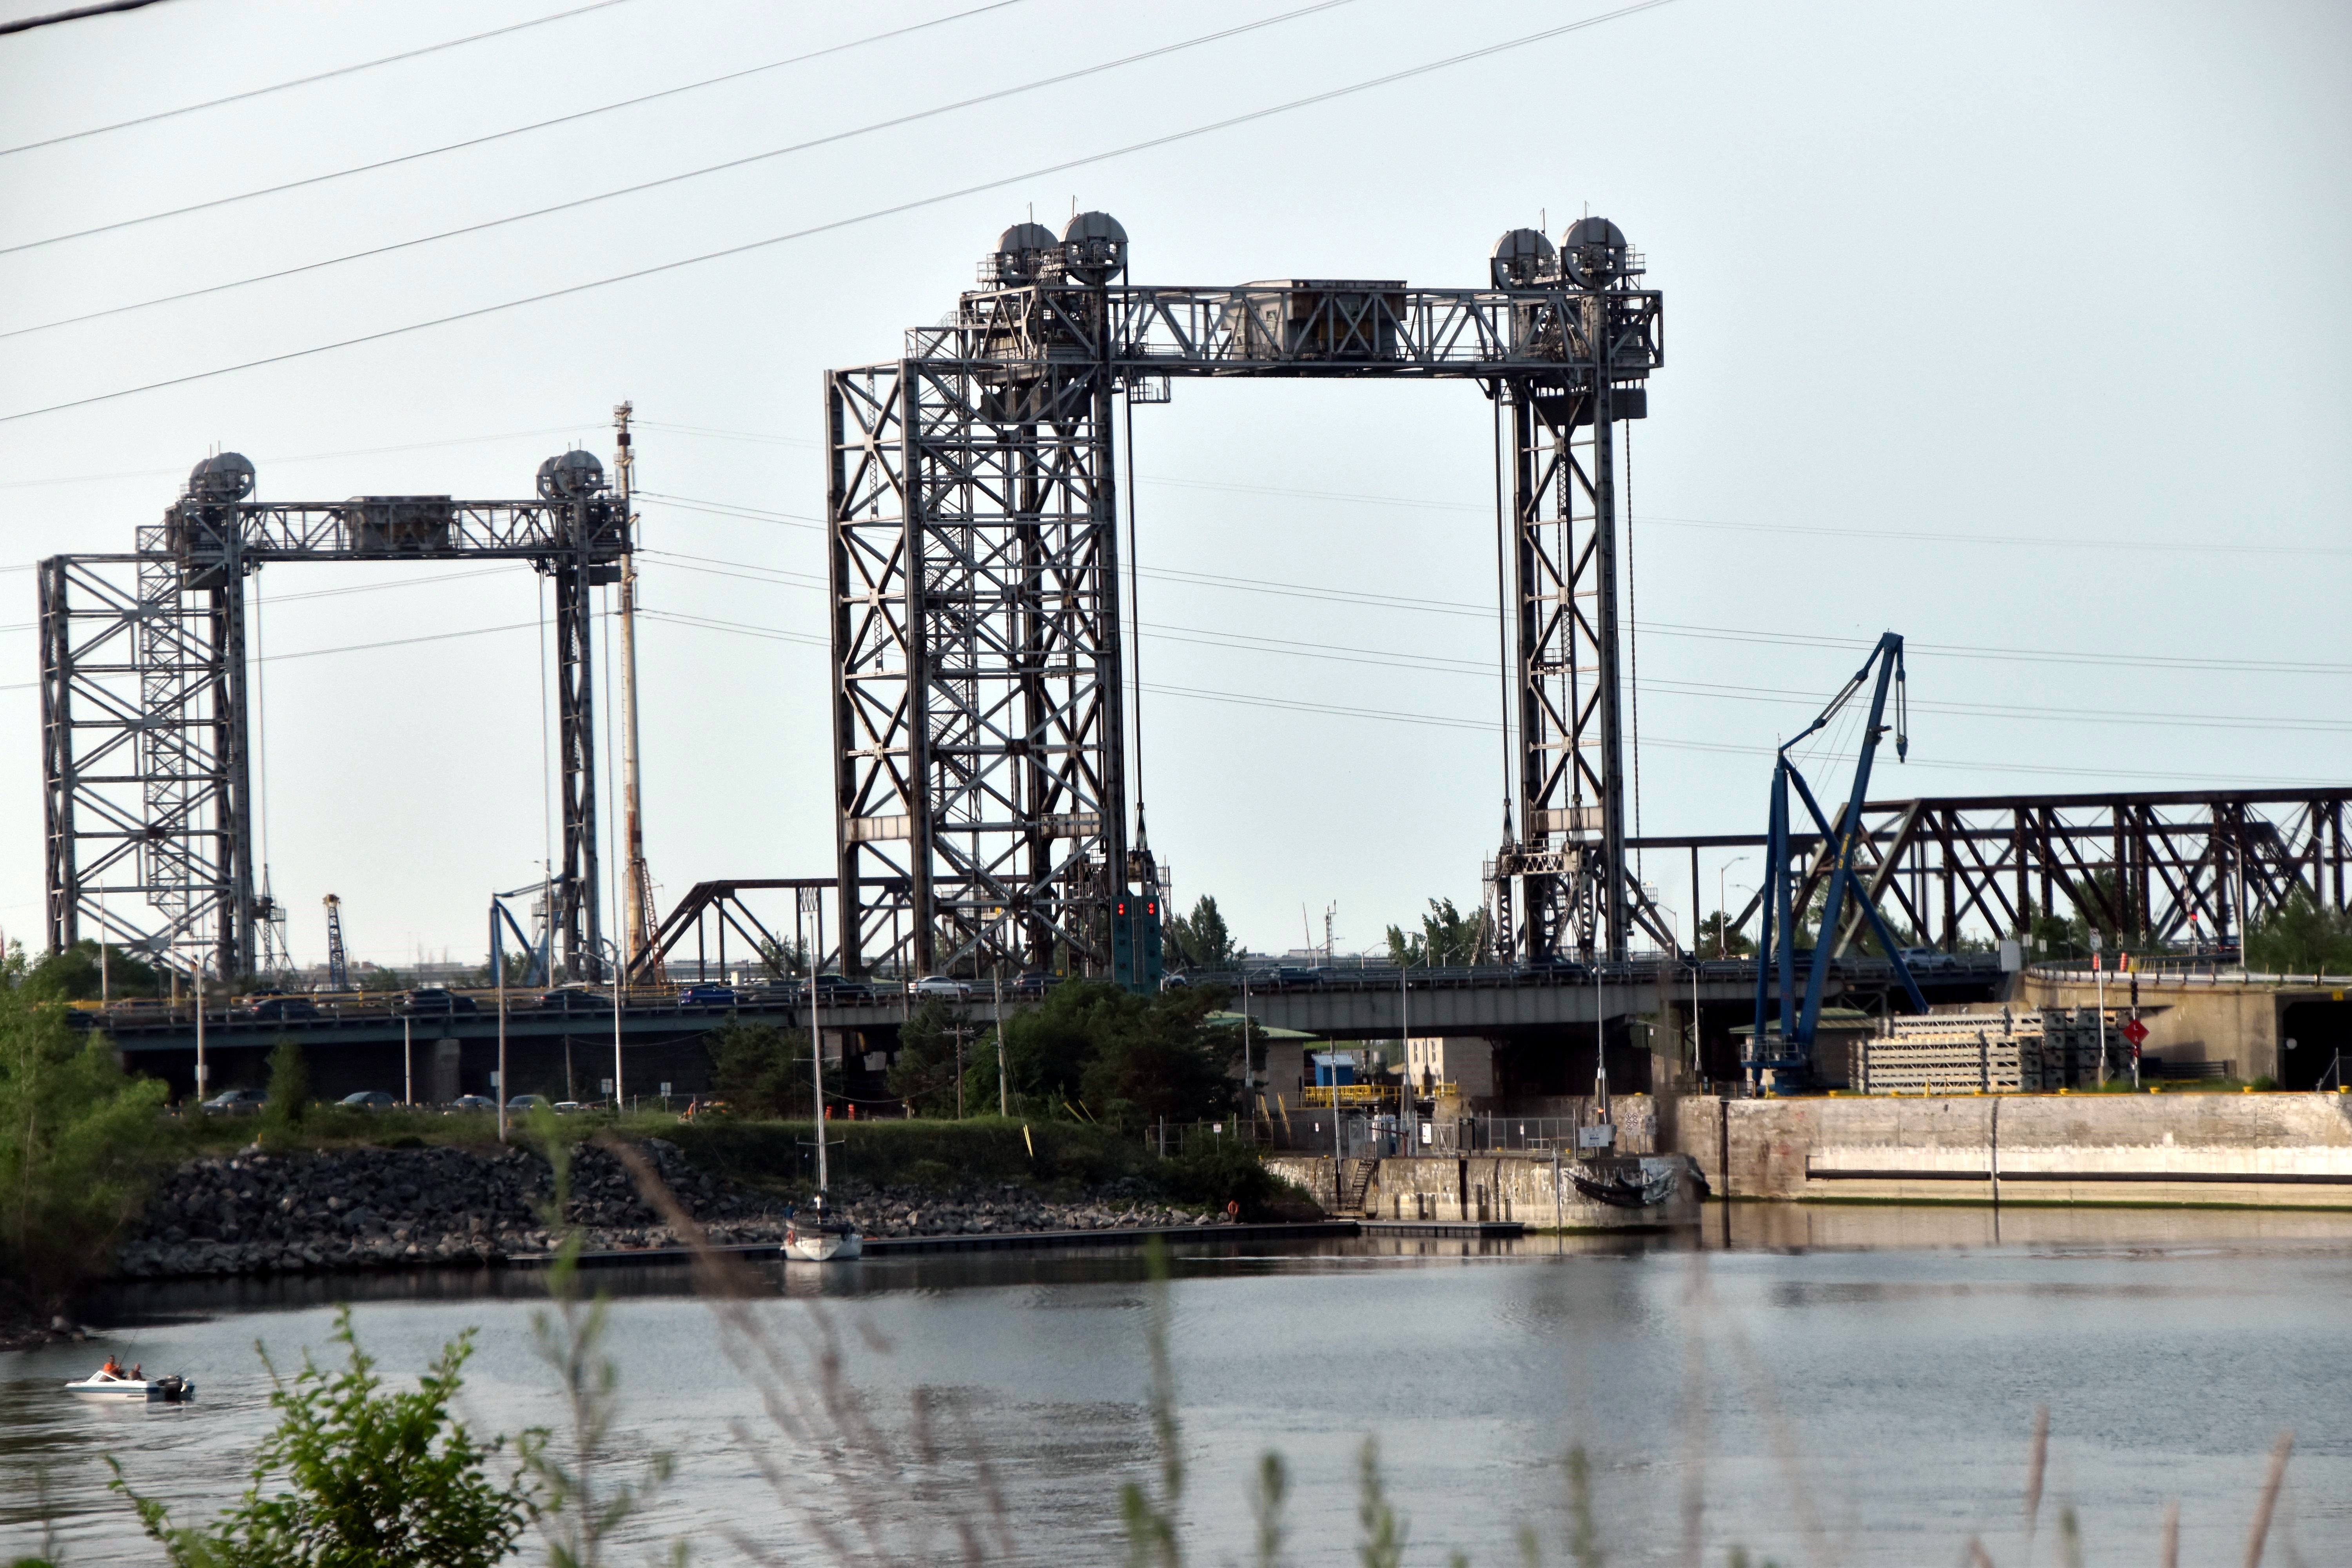


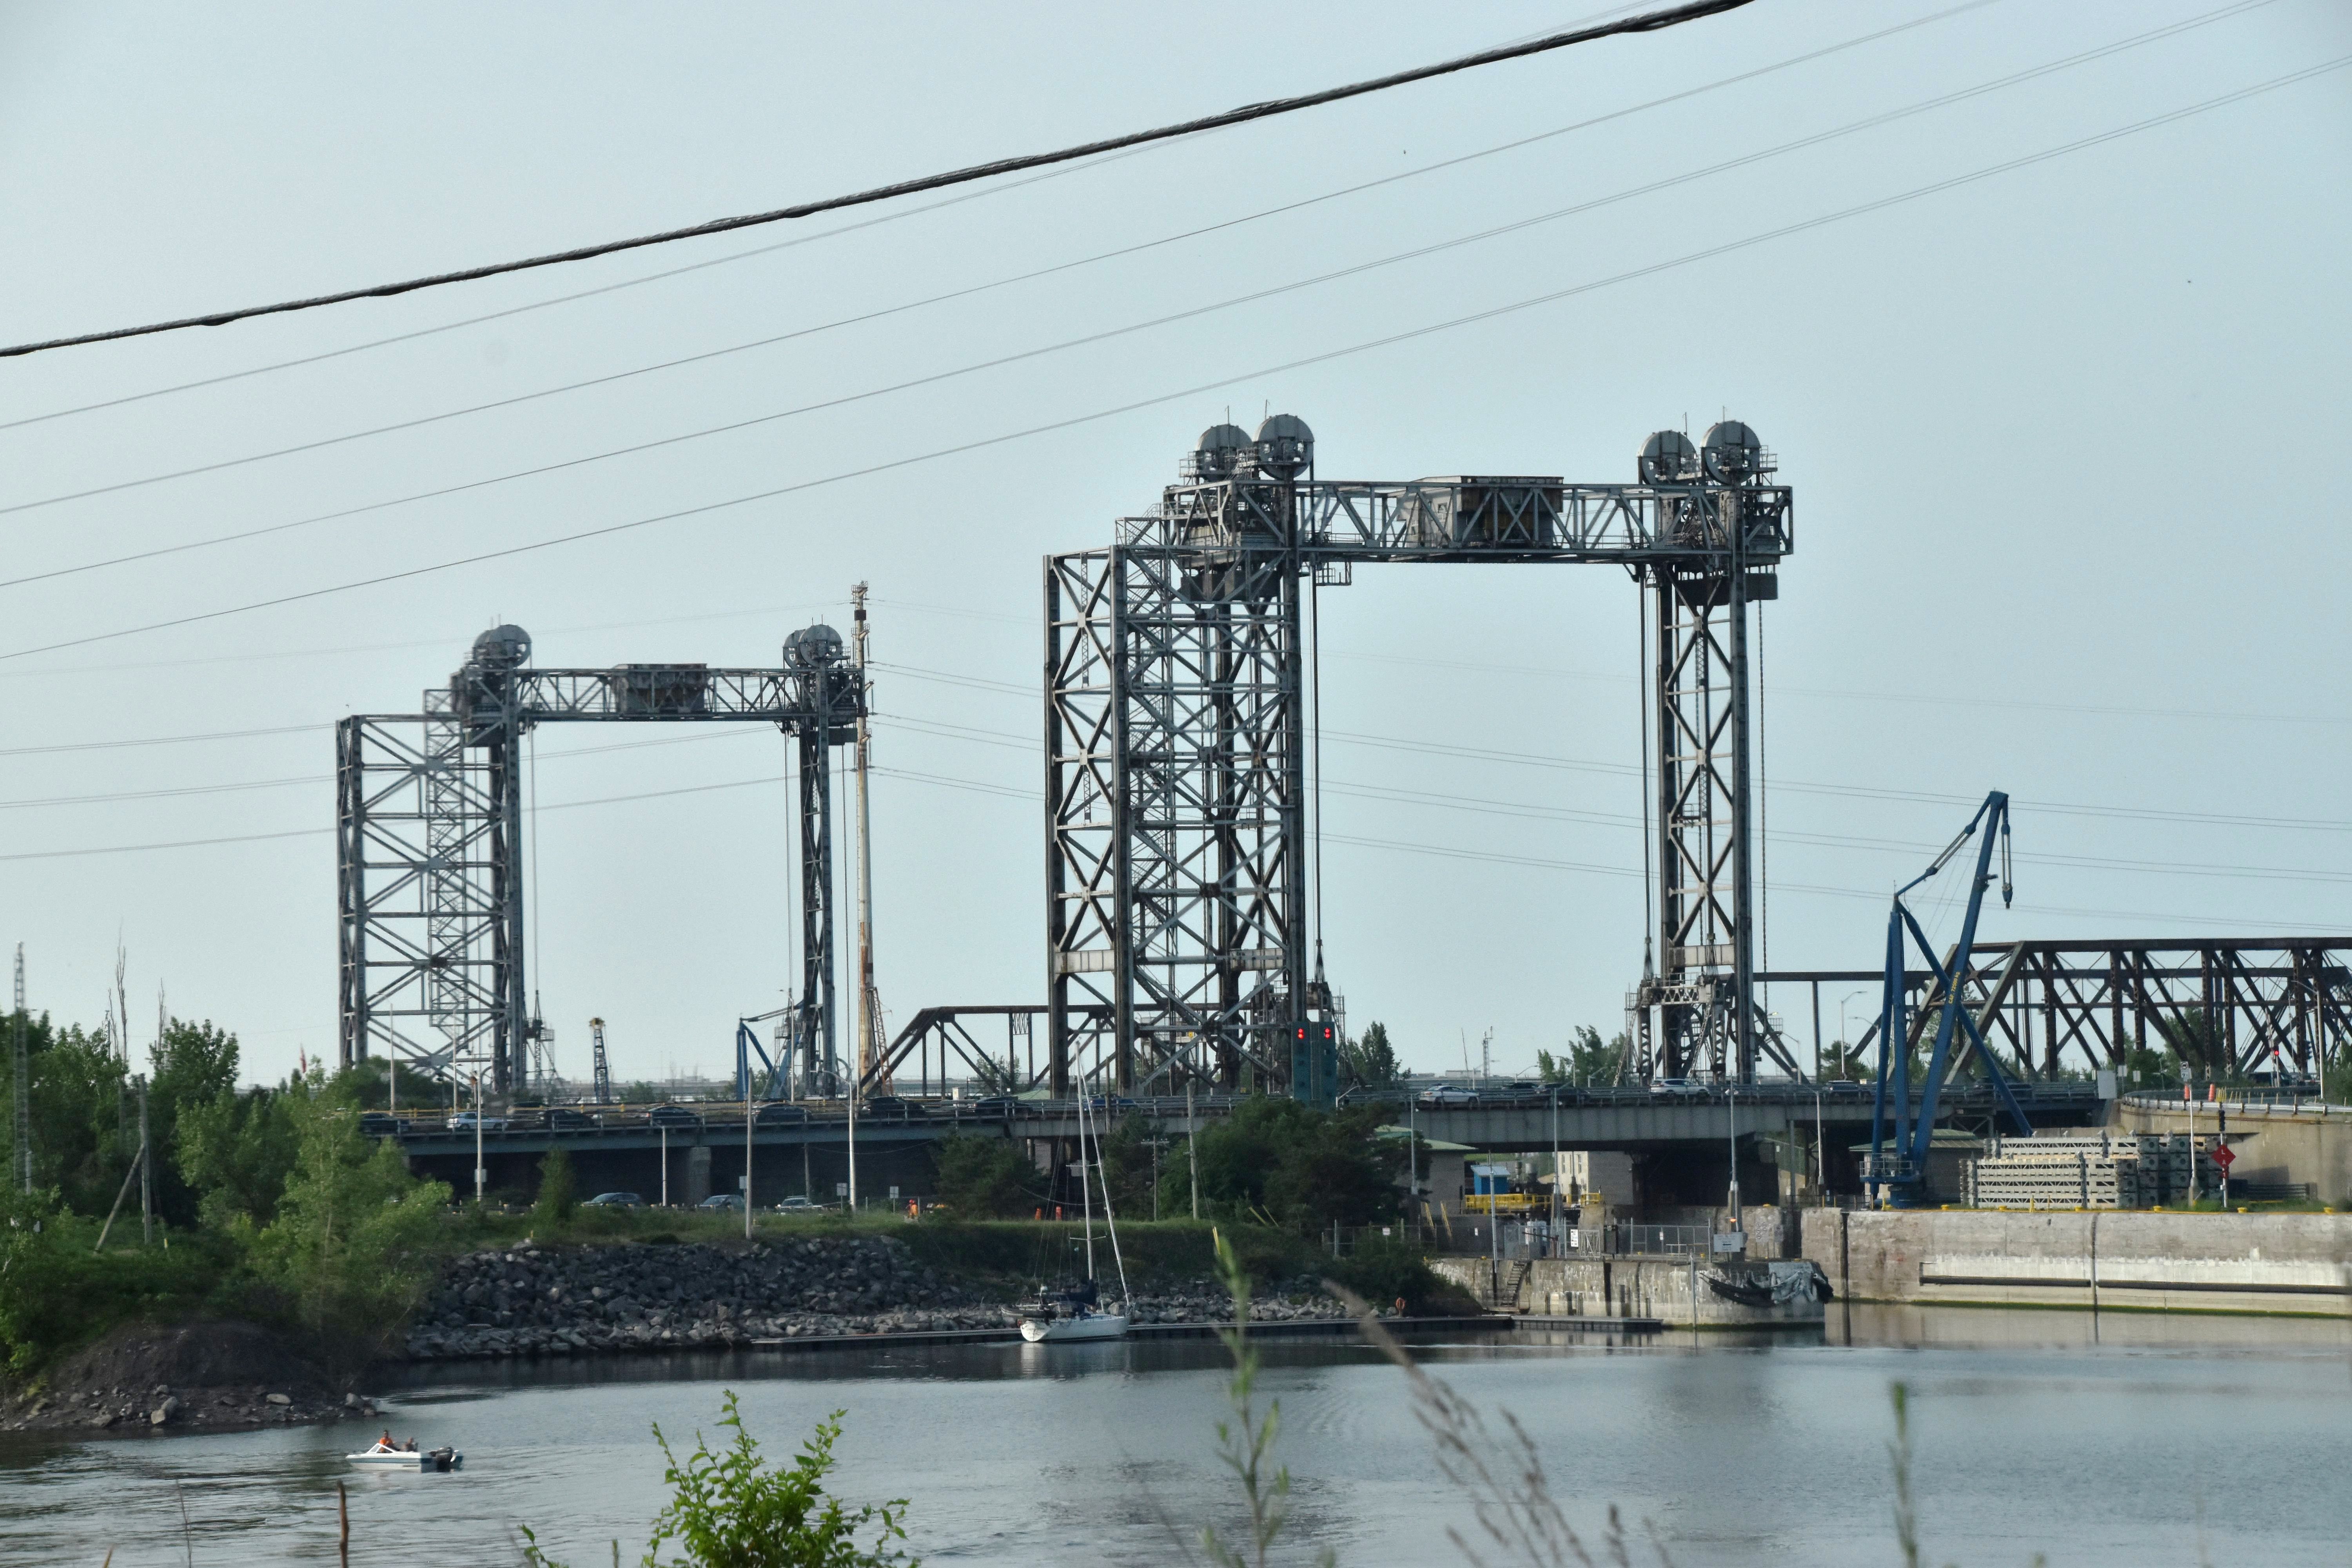
Distant north elevation of lift spans.
![]()

Oblique views of St. Lambert Diversion lift span from southwest quadrant around span.
![]()


Oblique views of St. Lambert Diversion lift span from southwest quadrant around span, bridge in raised position.
![]()
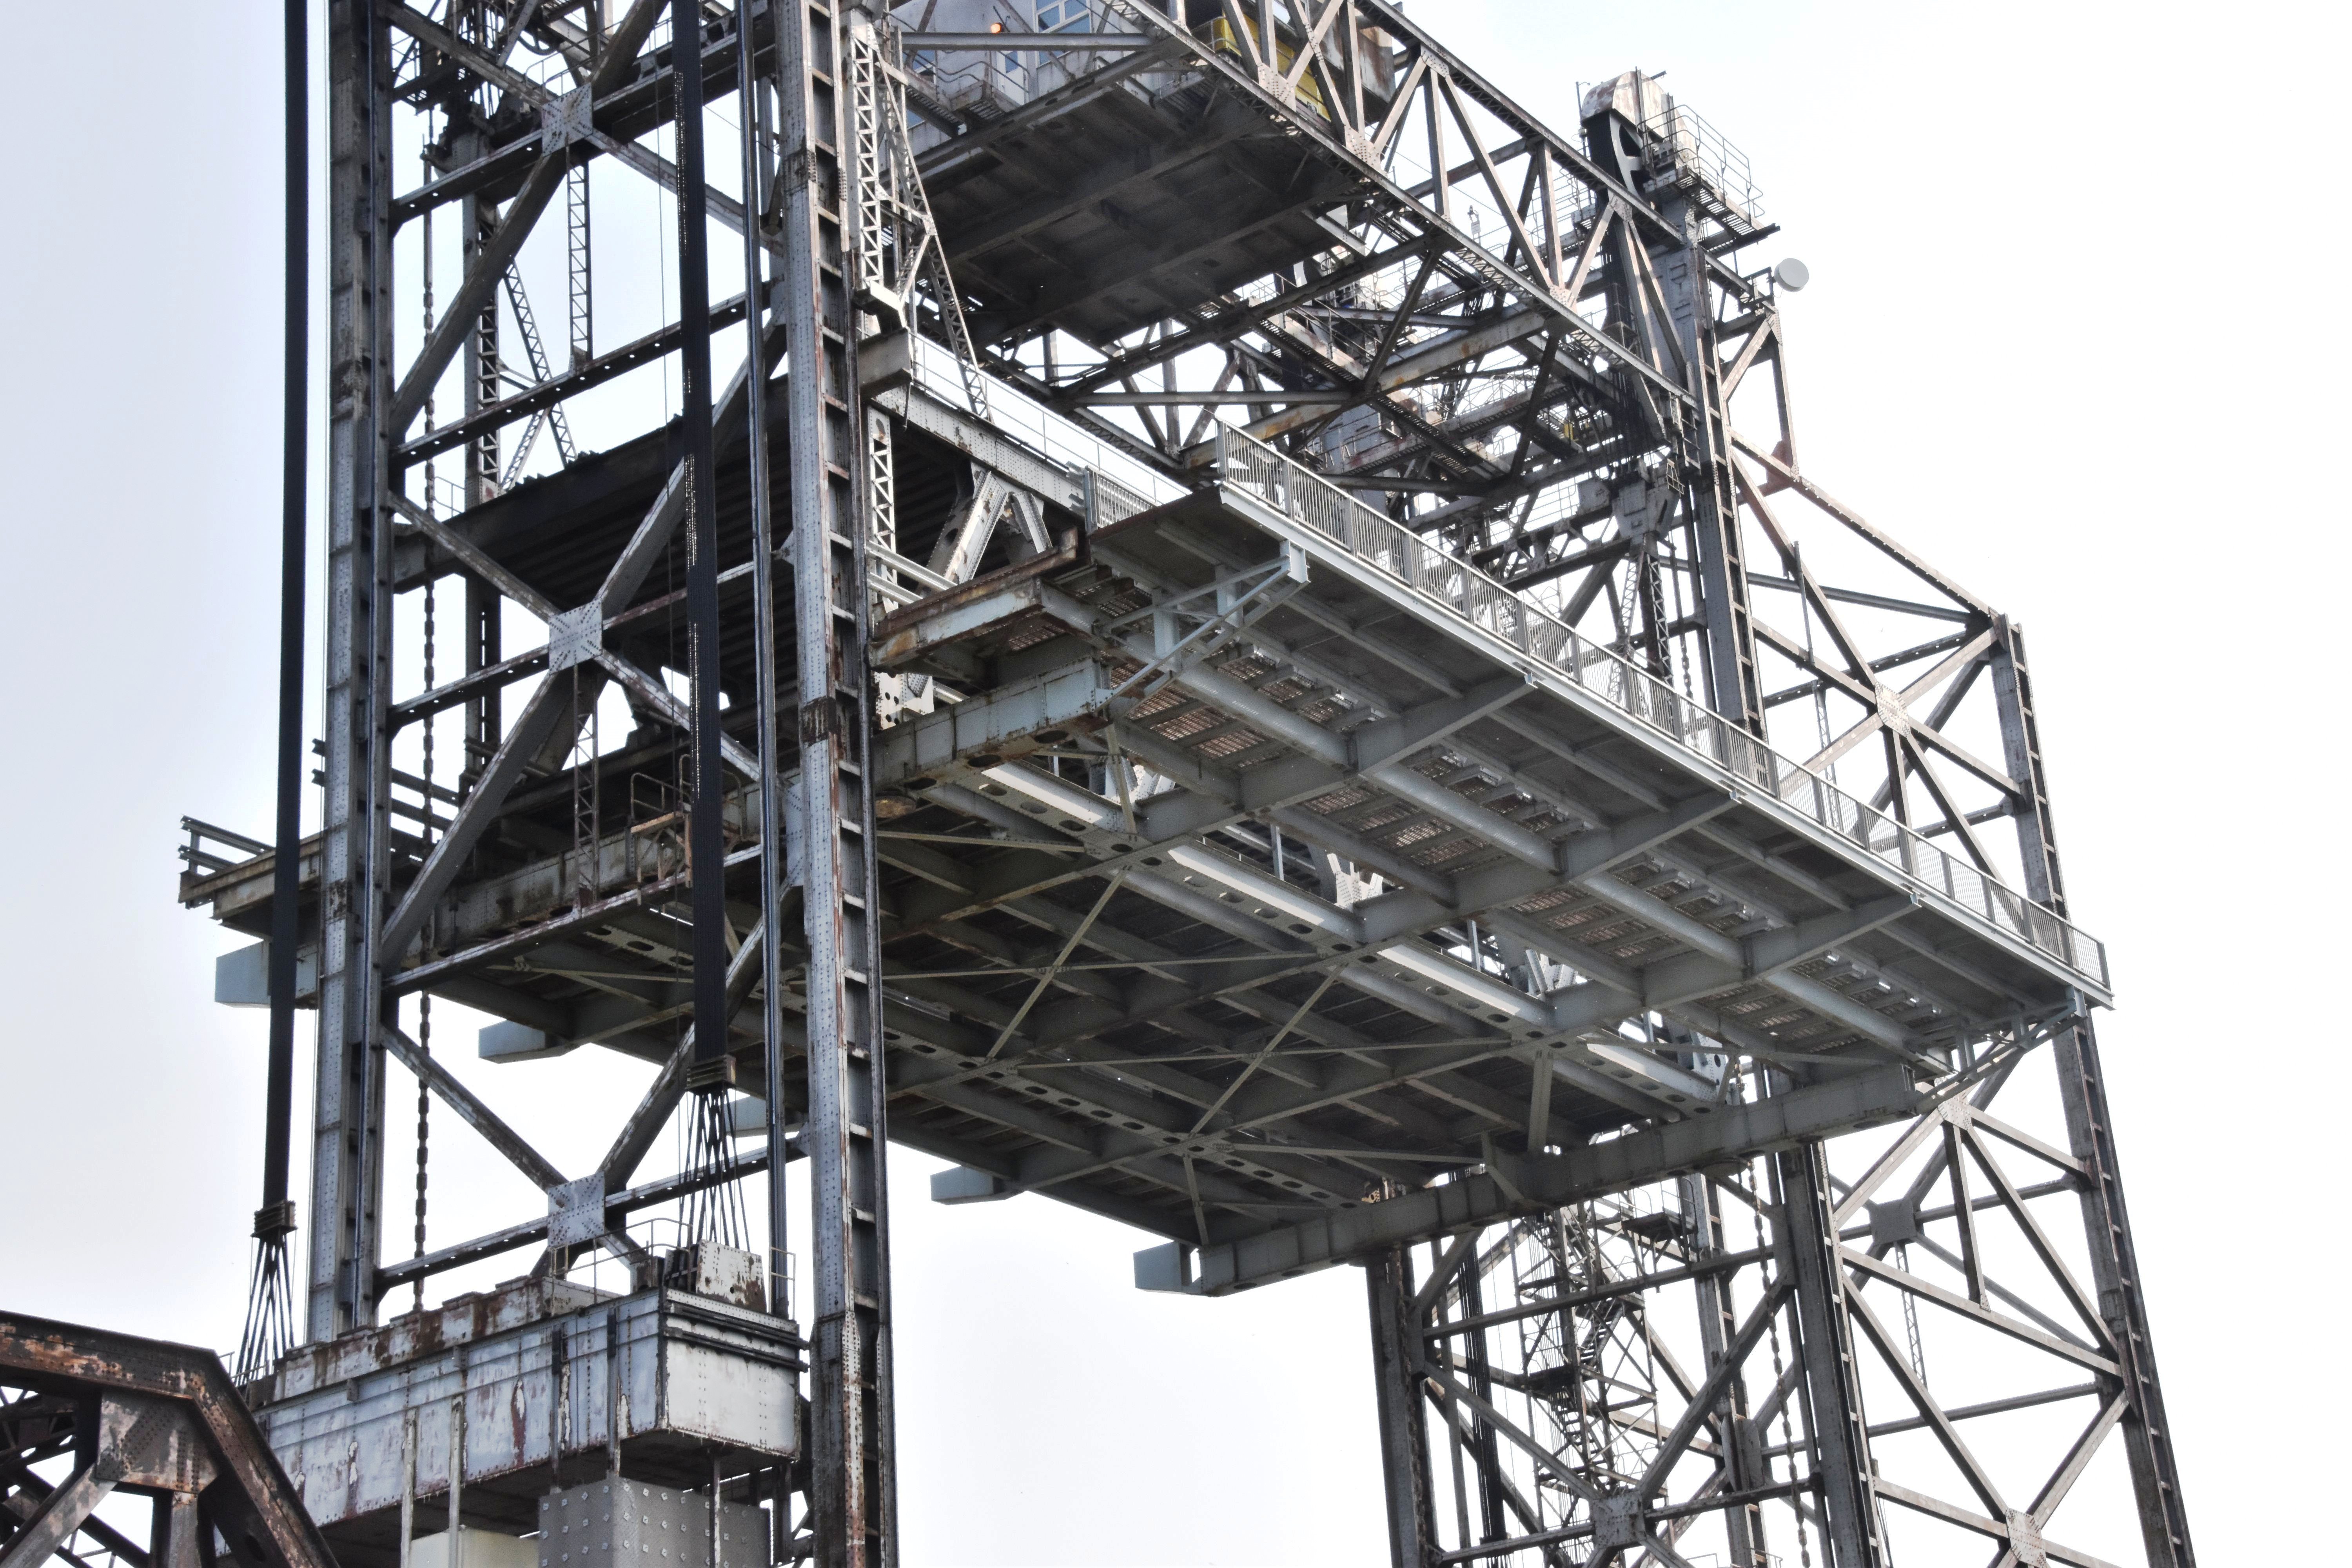
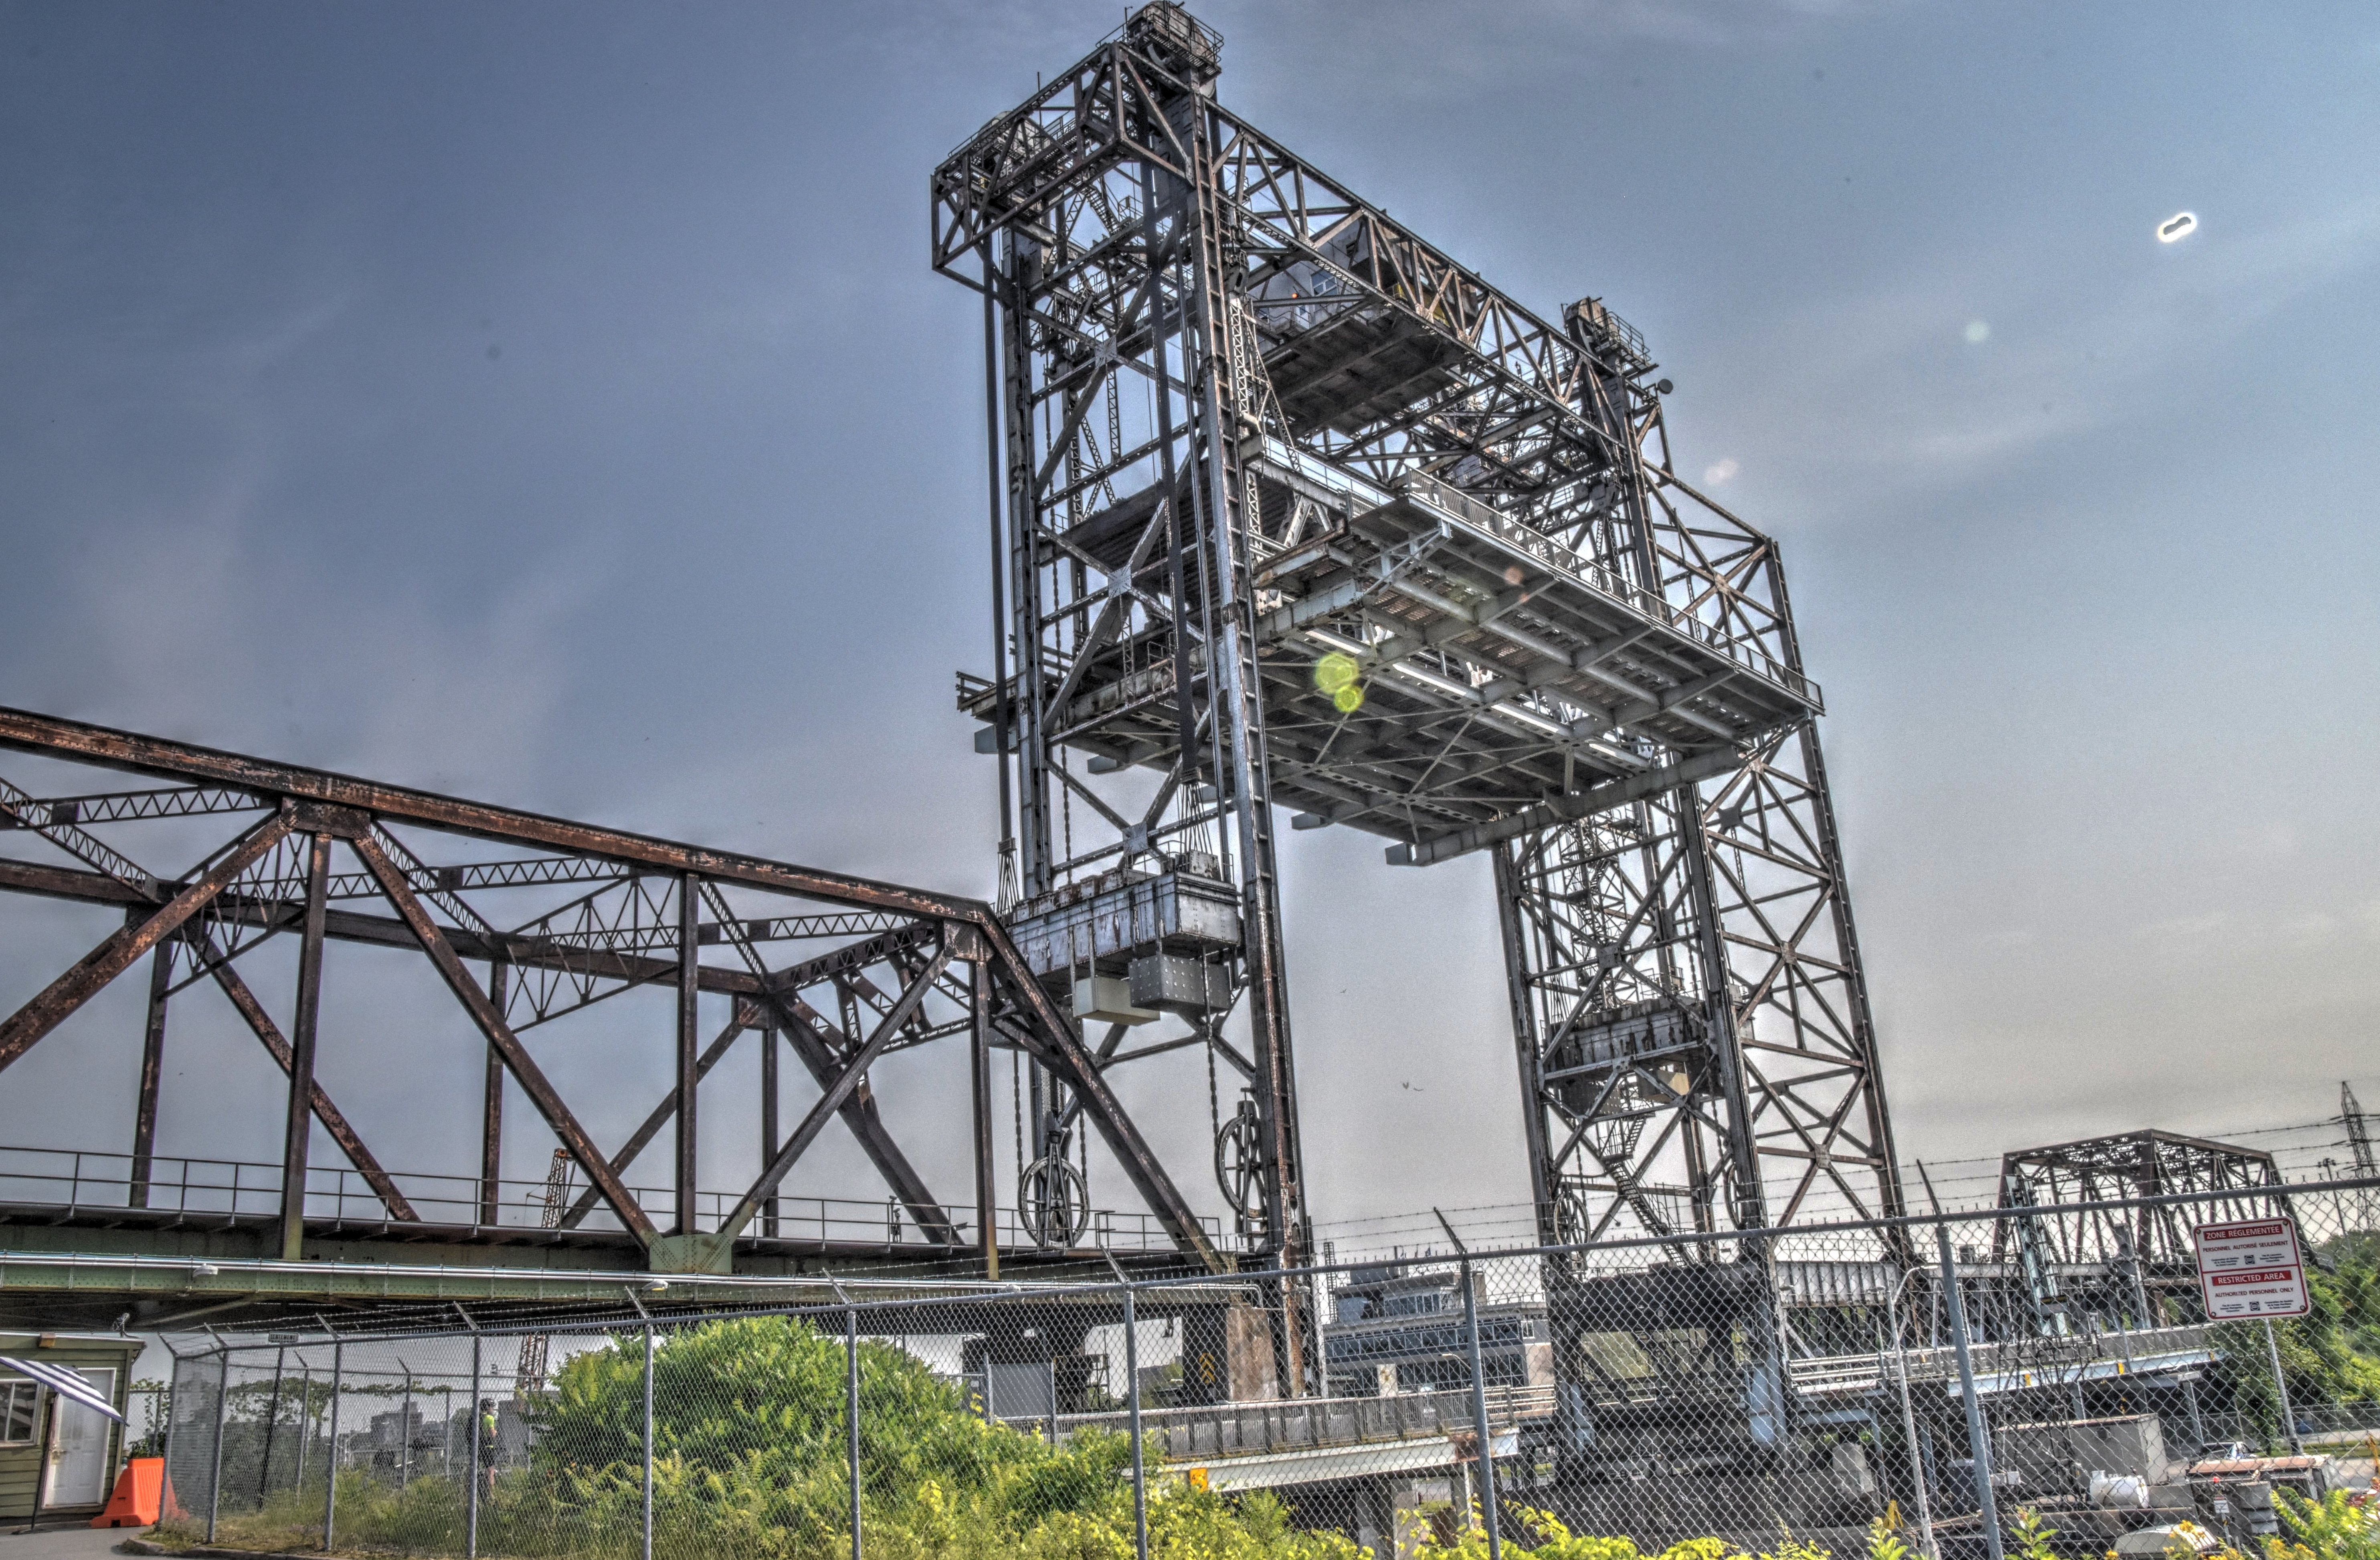
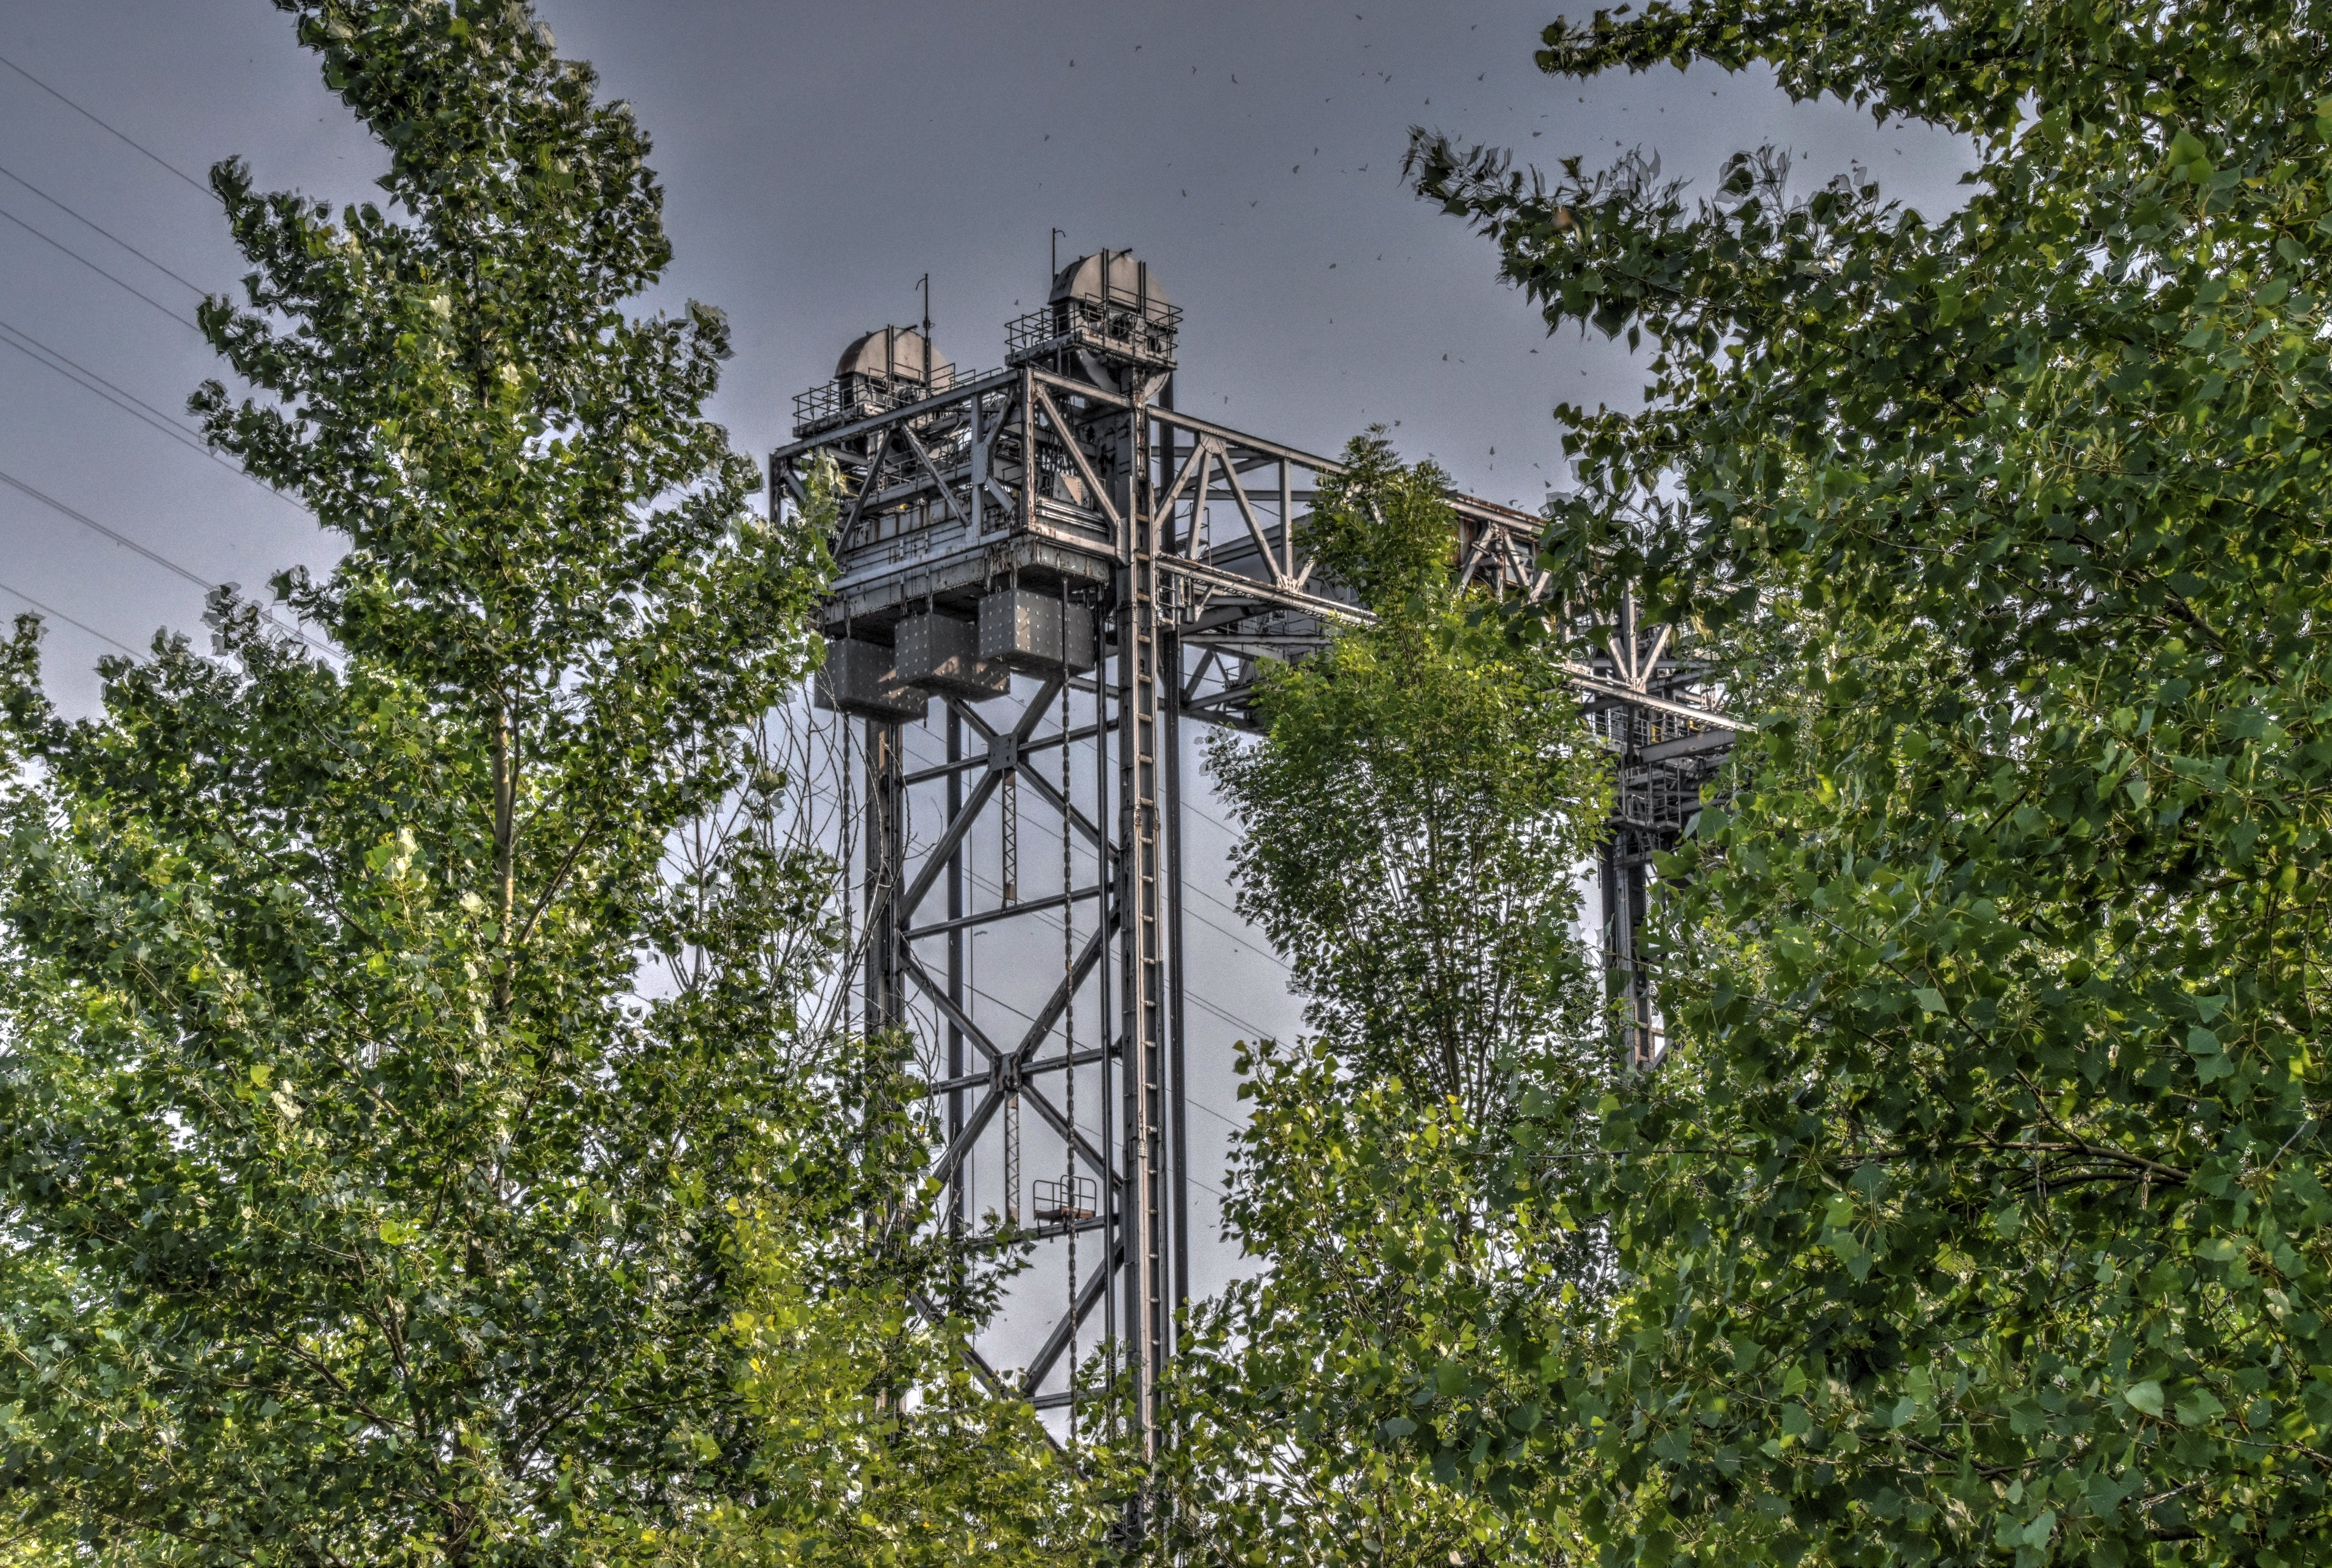
View of lift span in raised position.
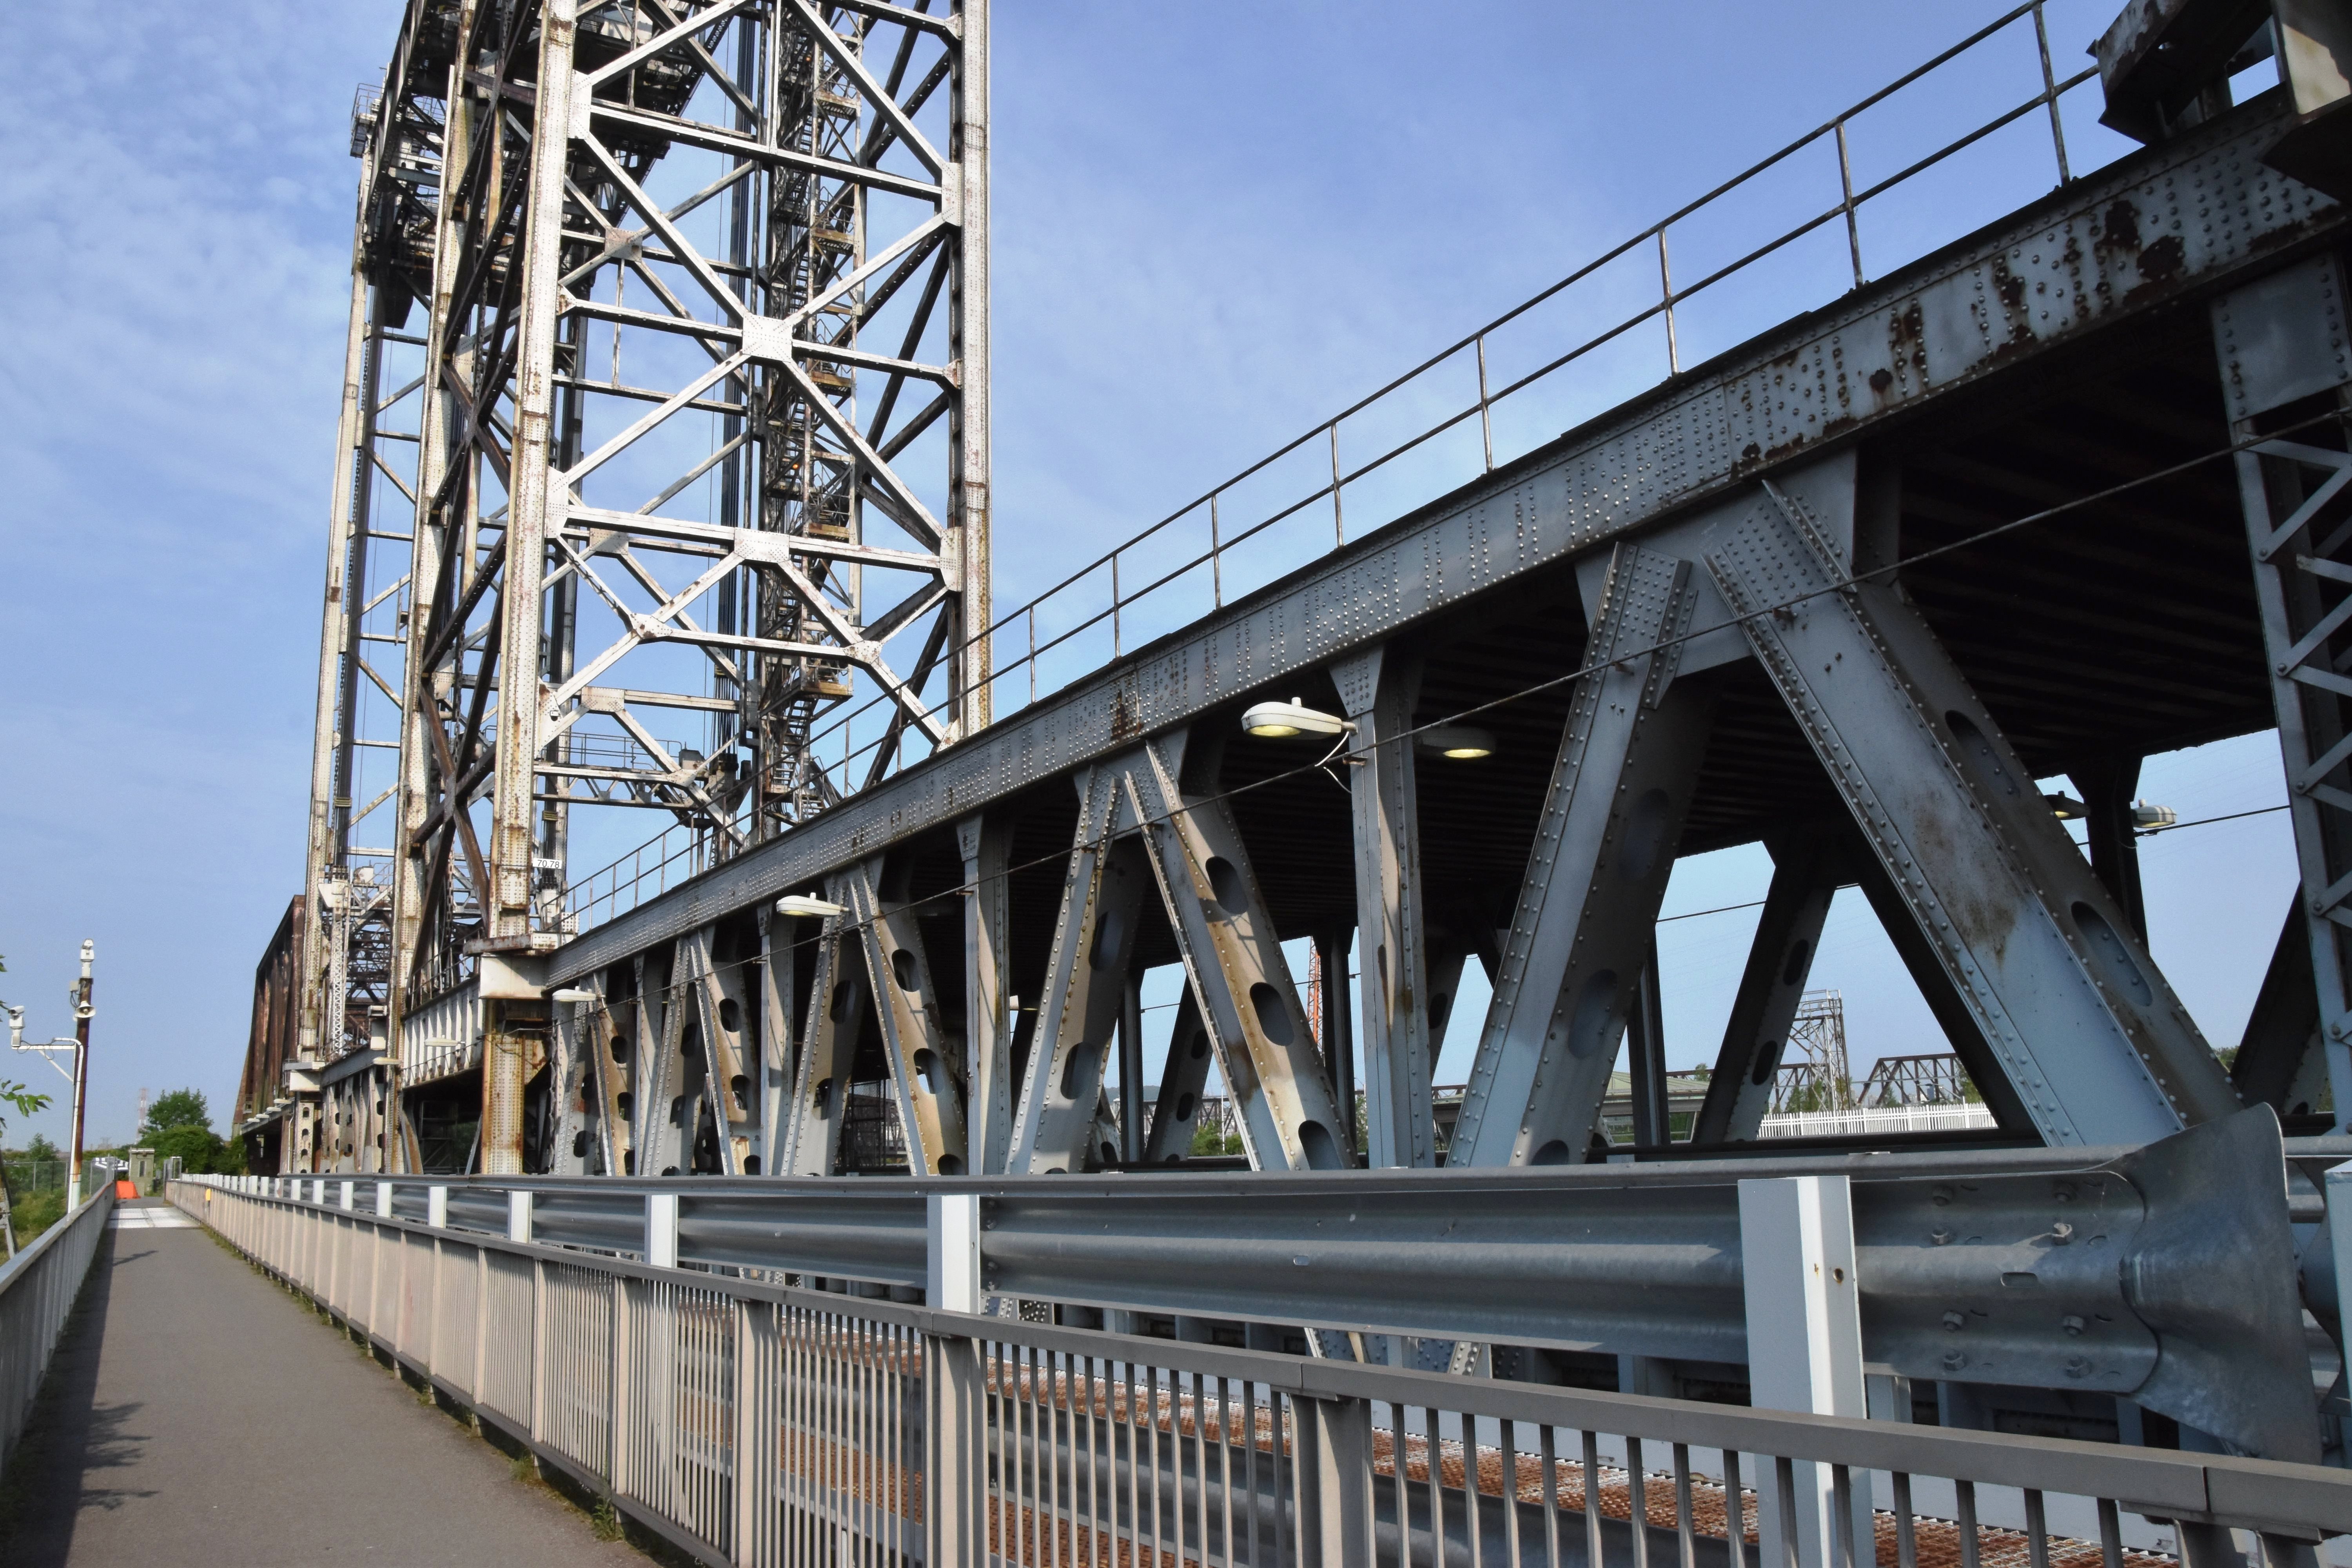
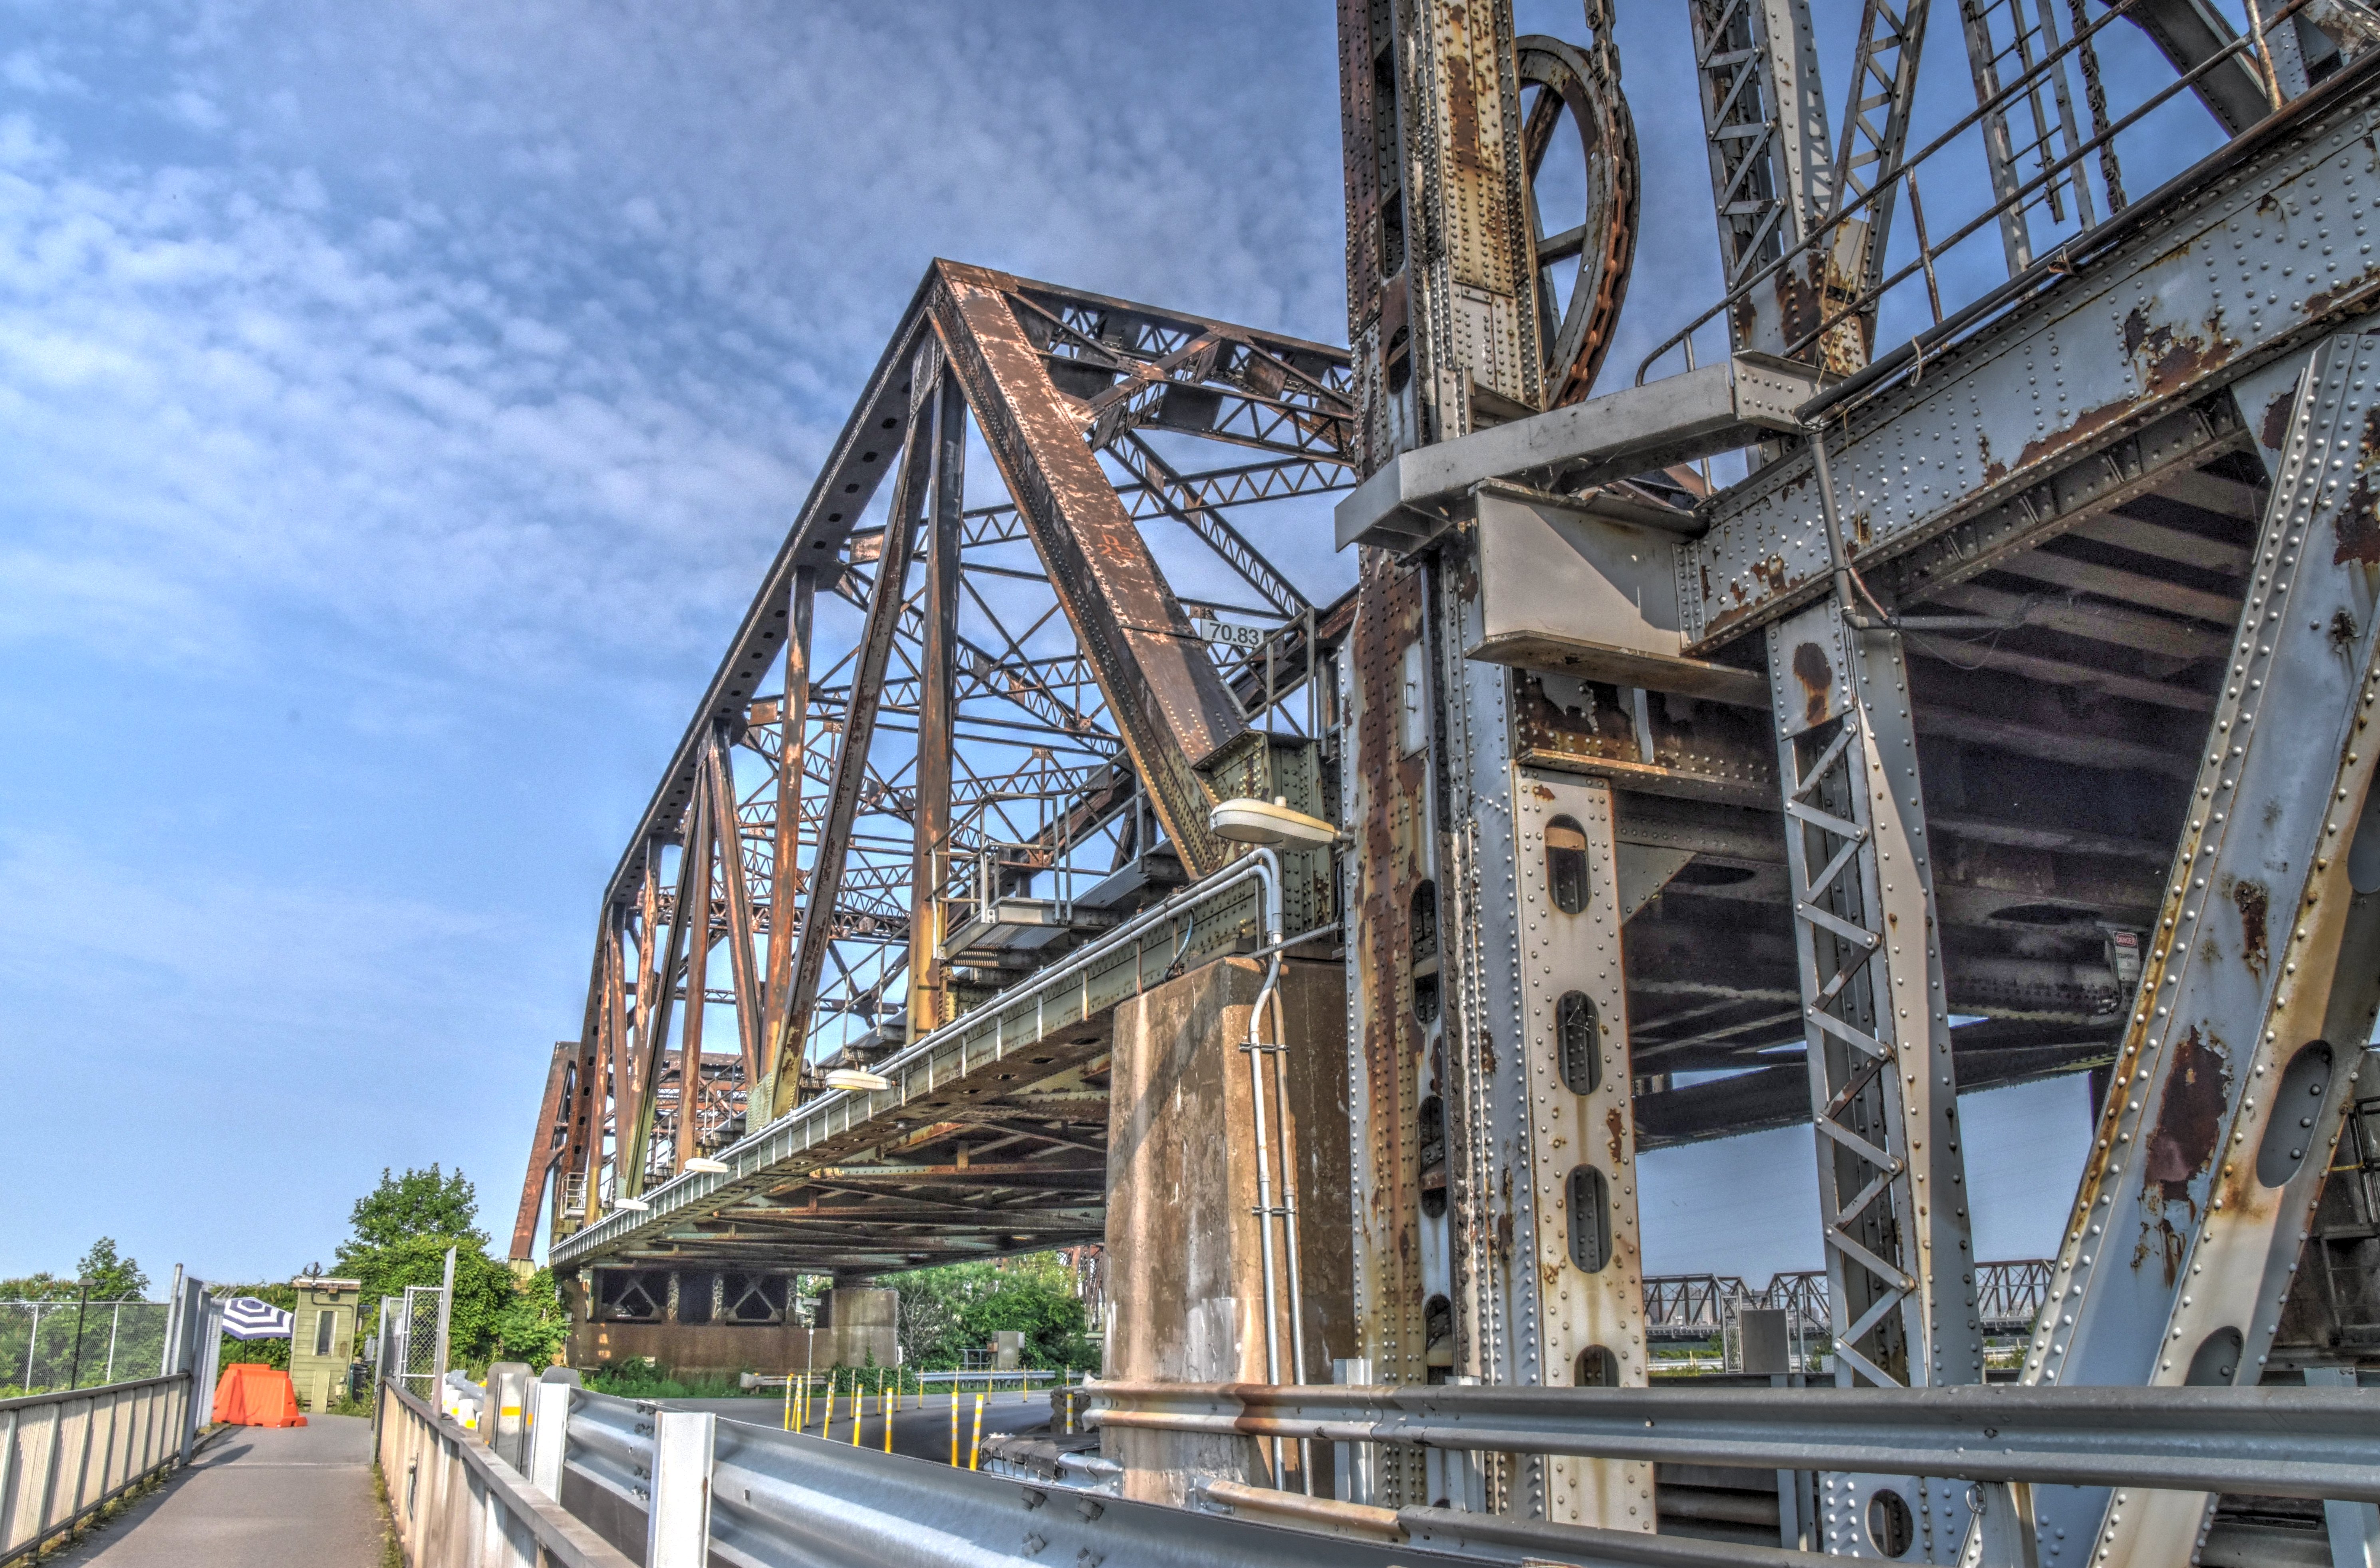
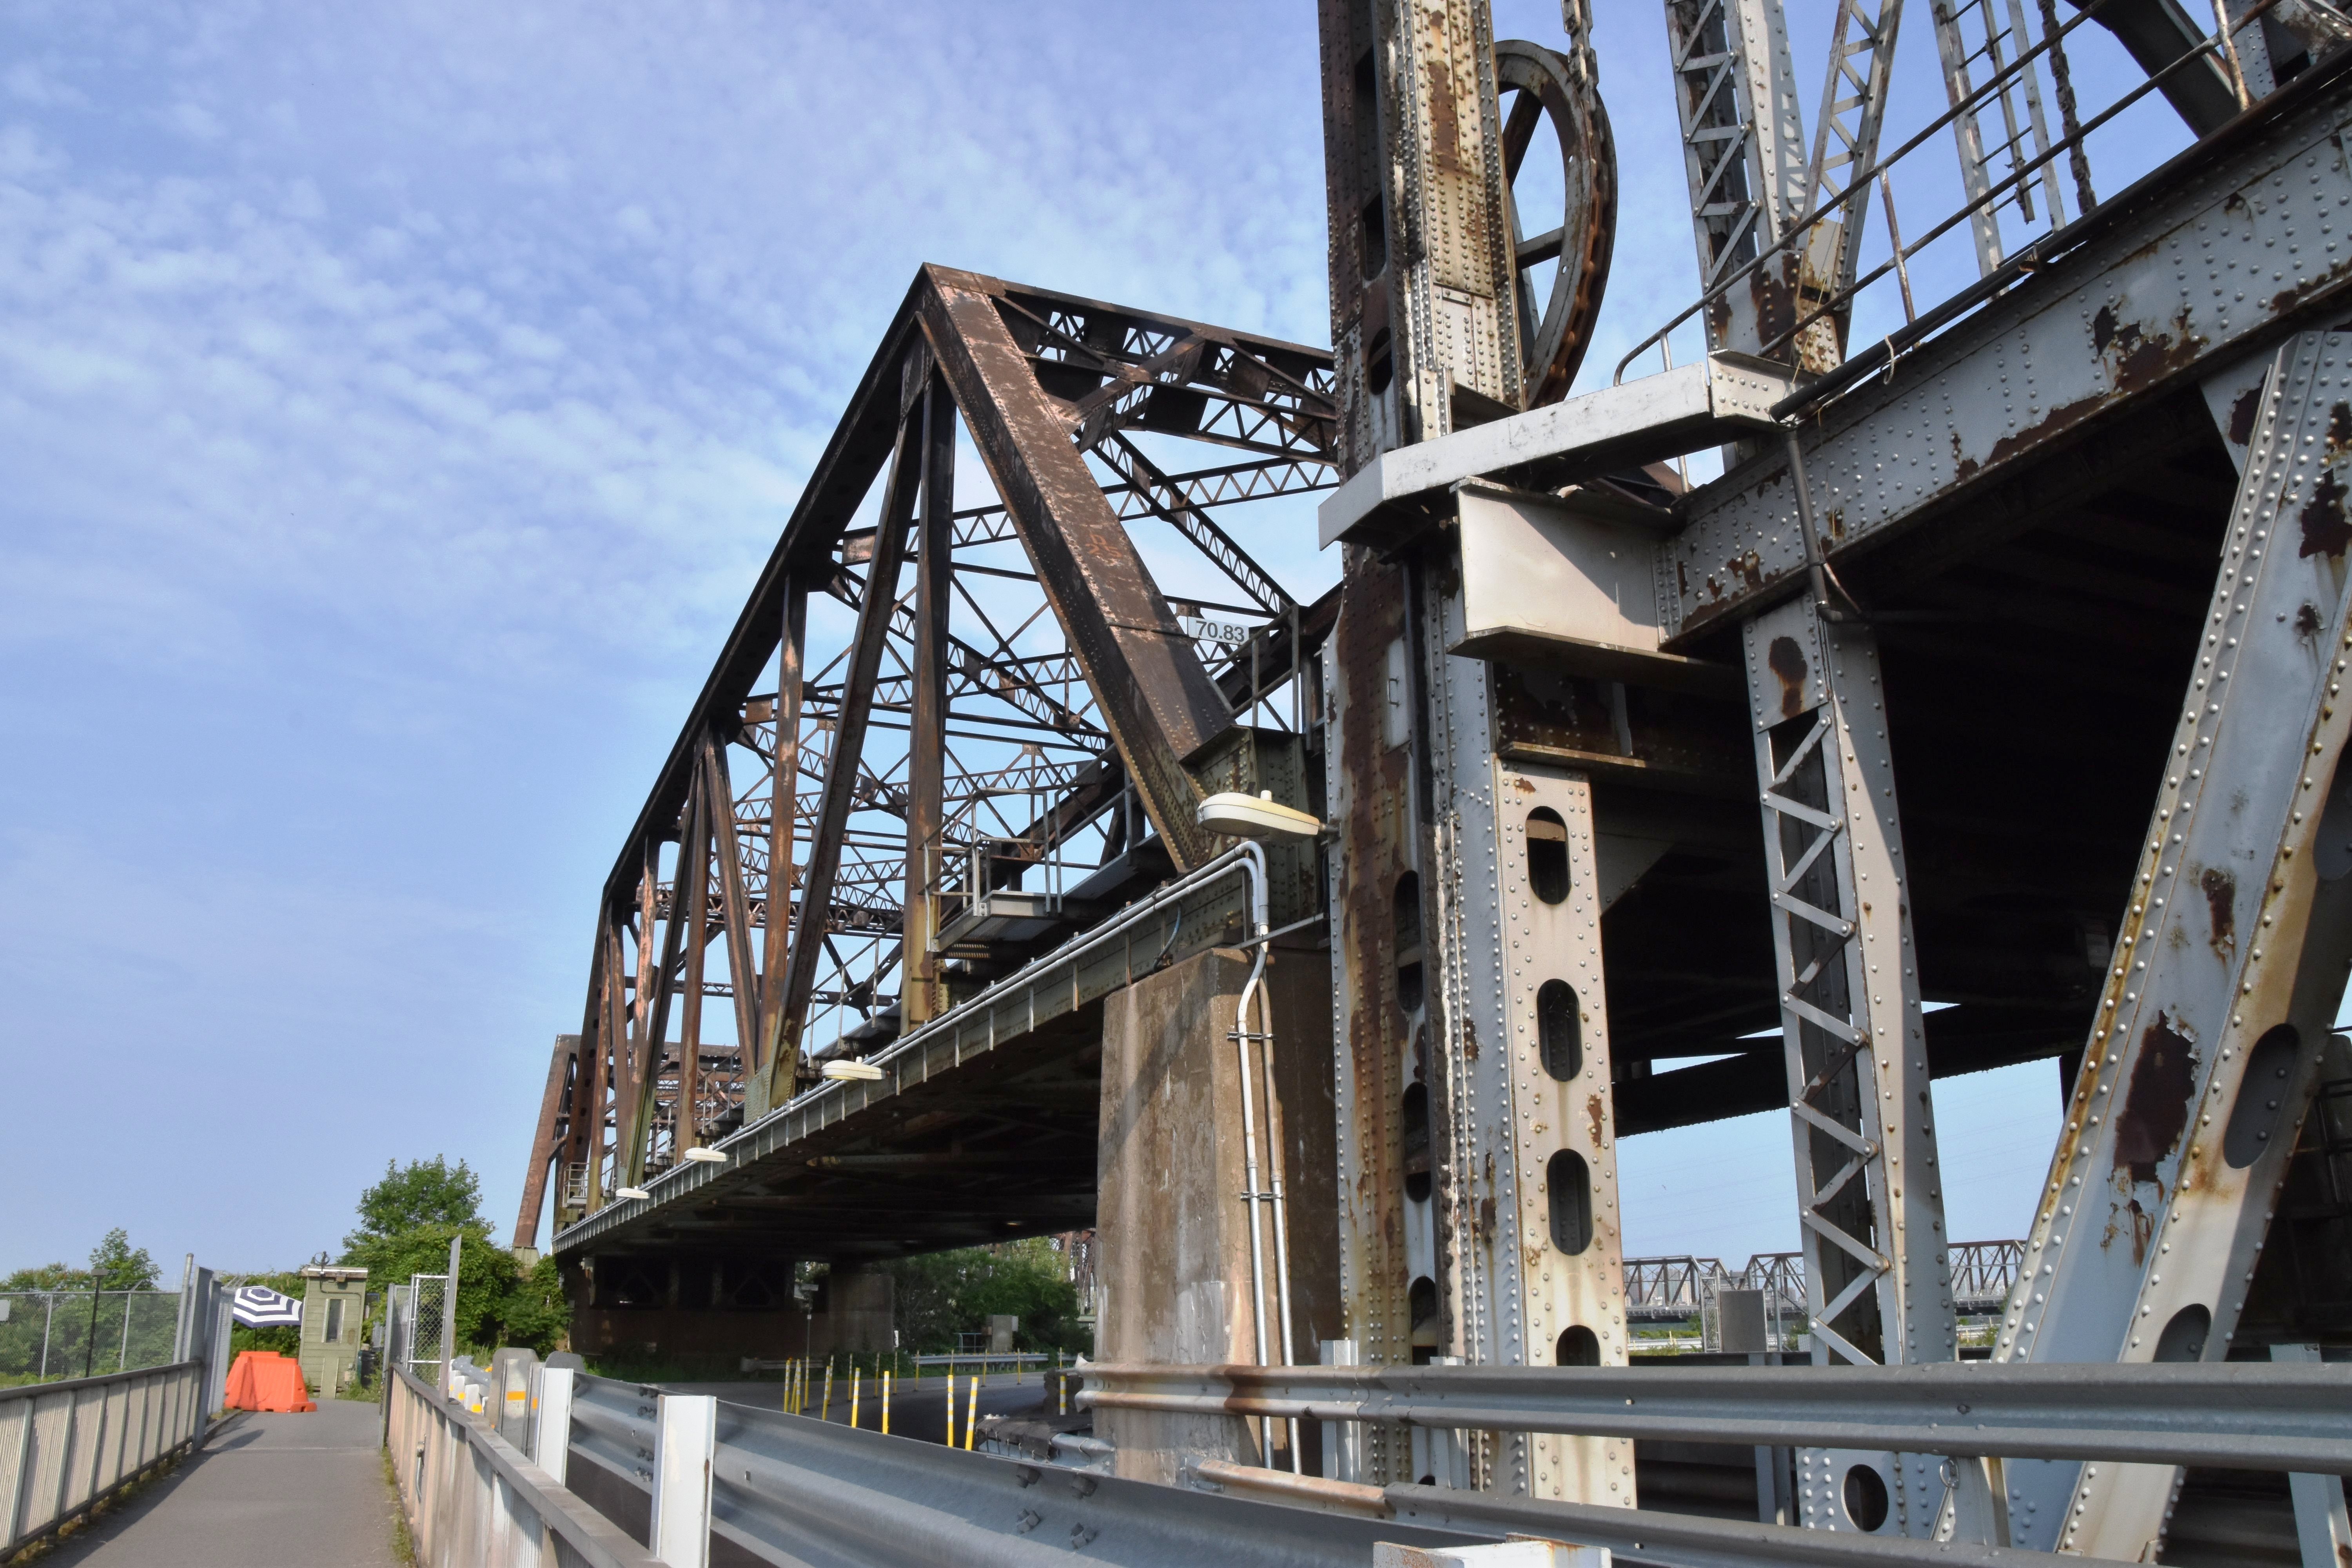
![]()
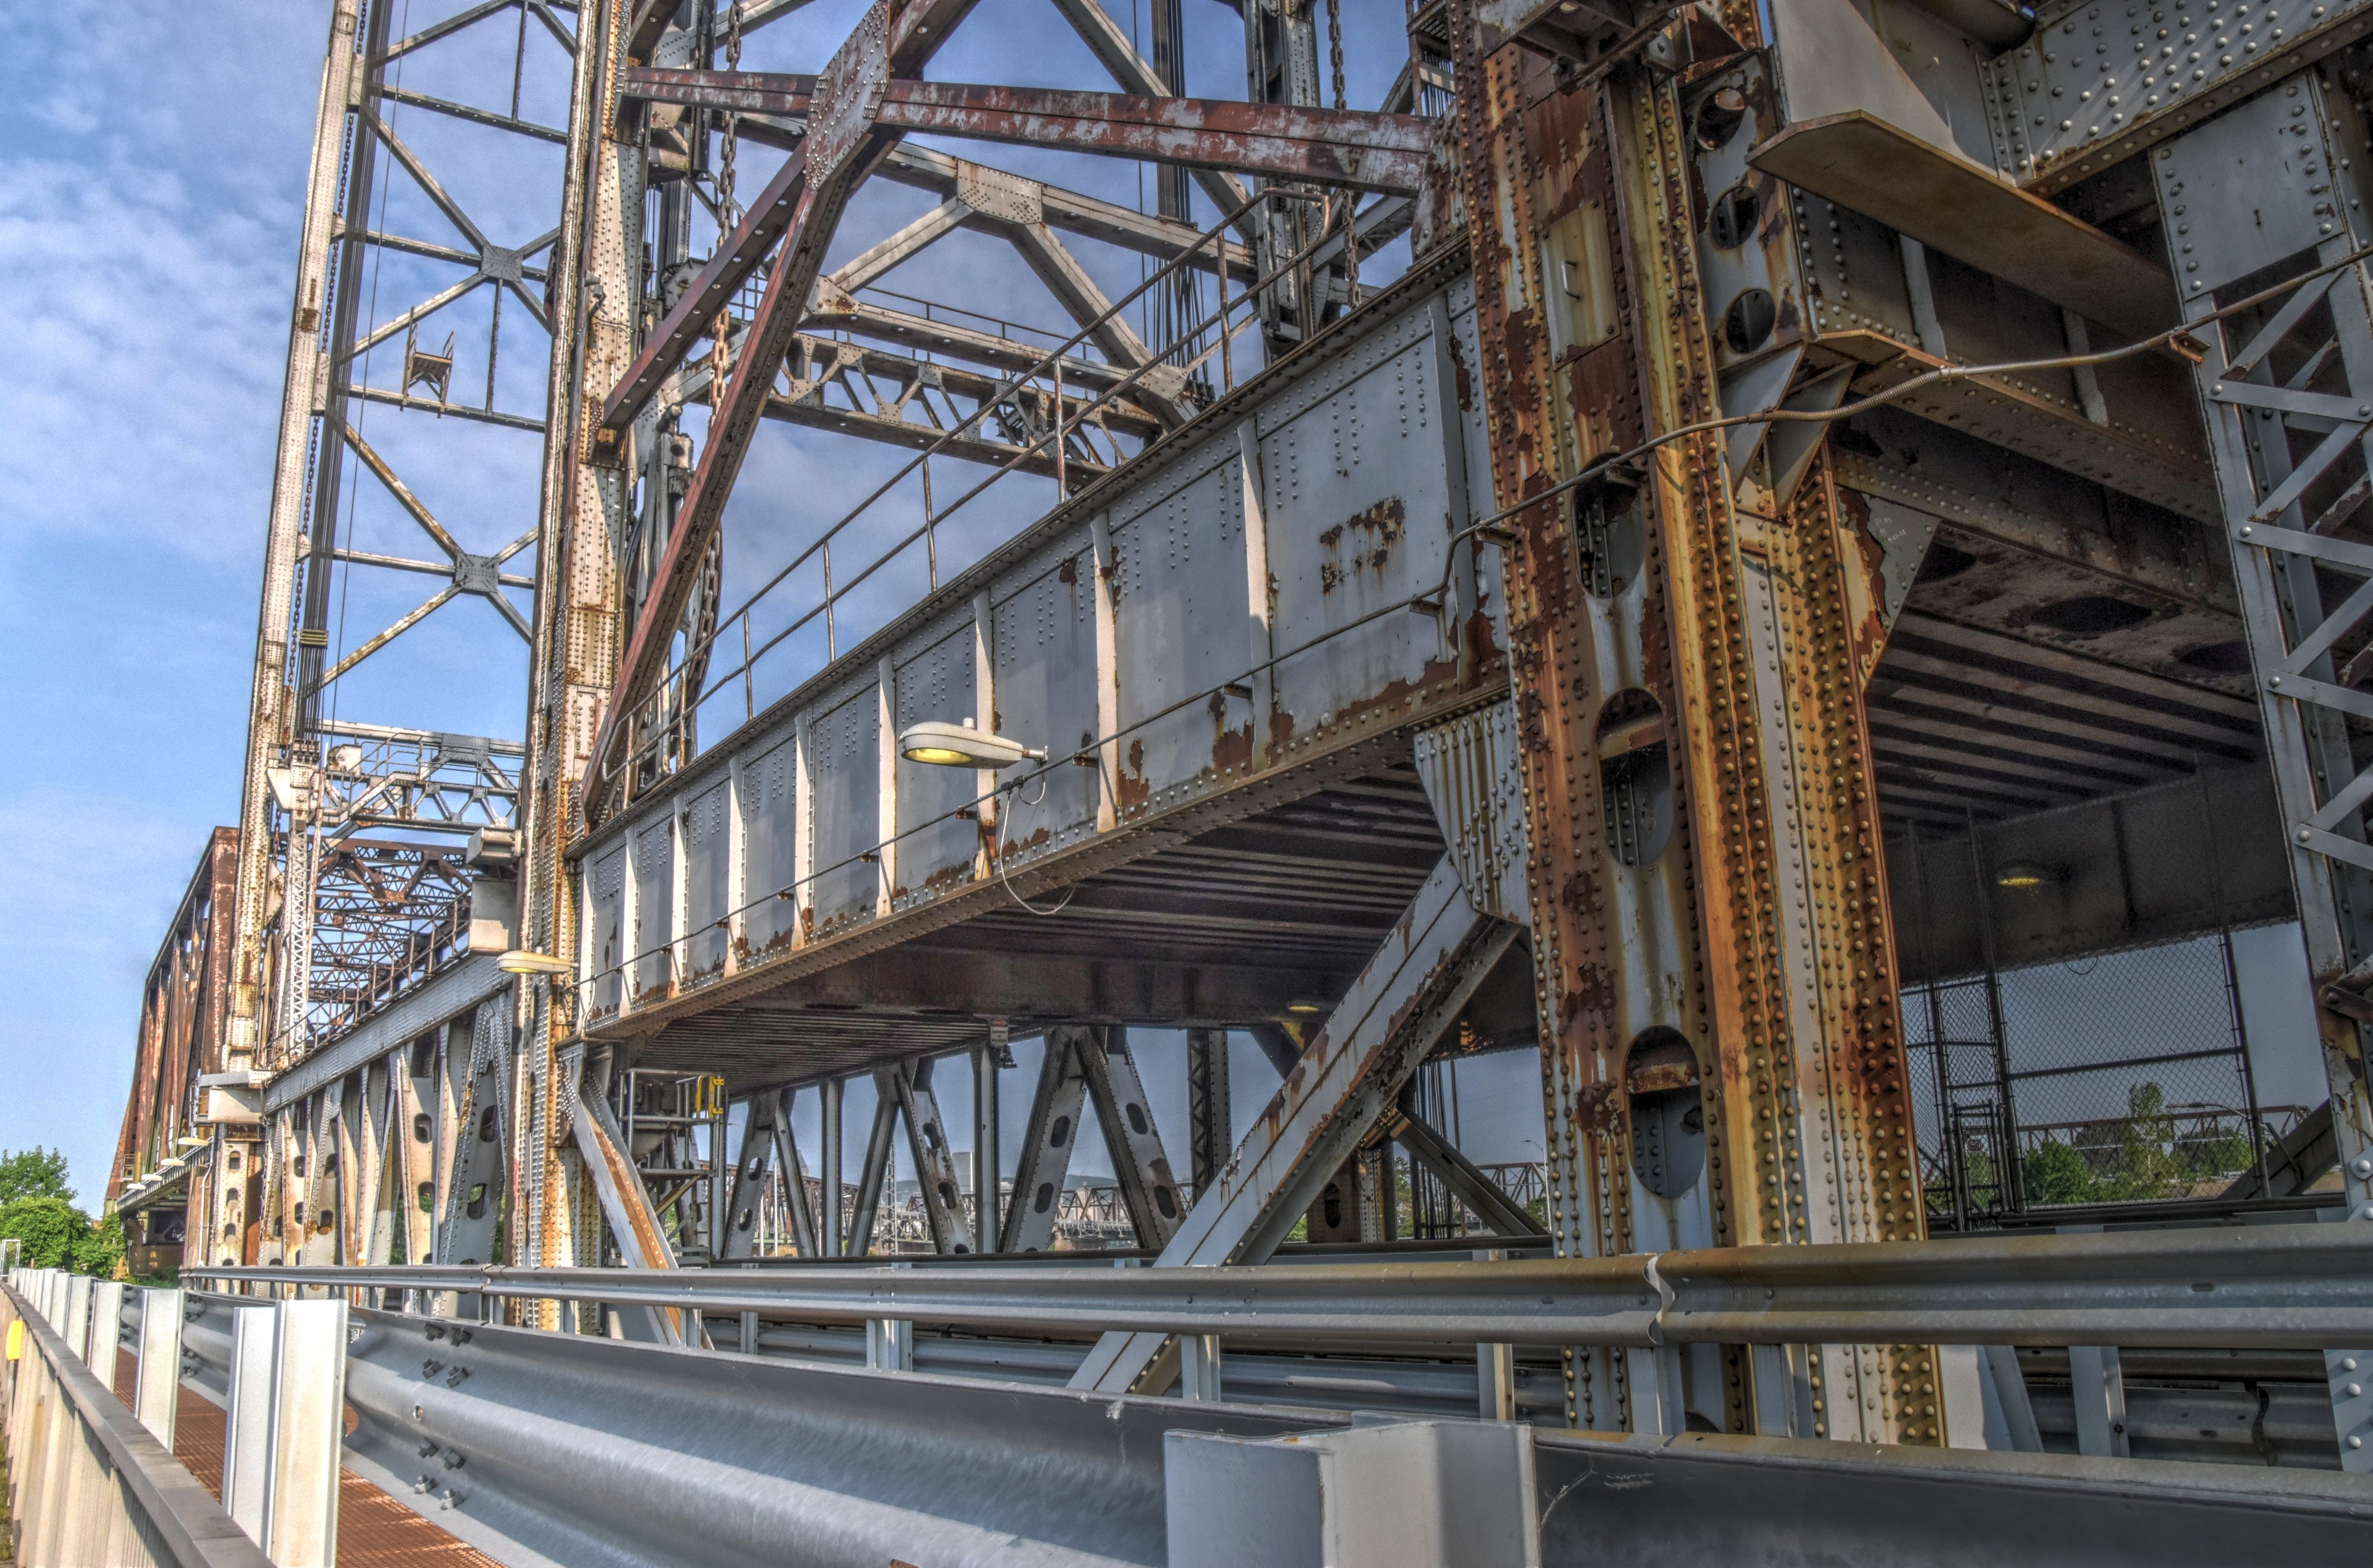


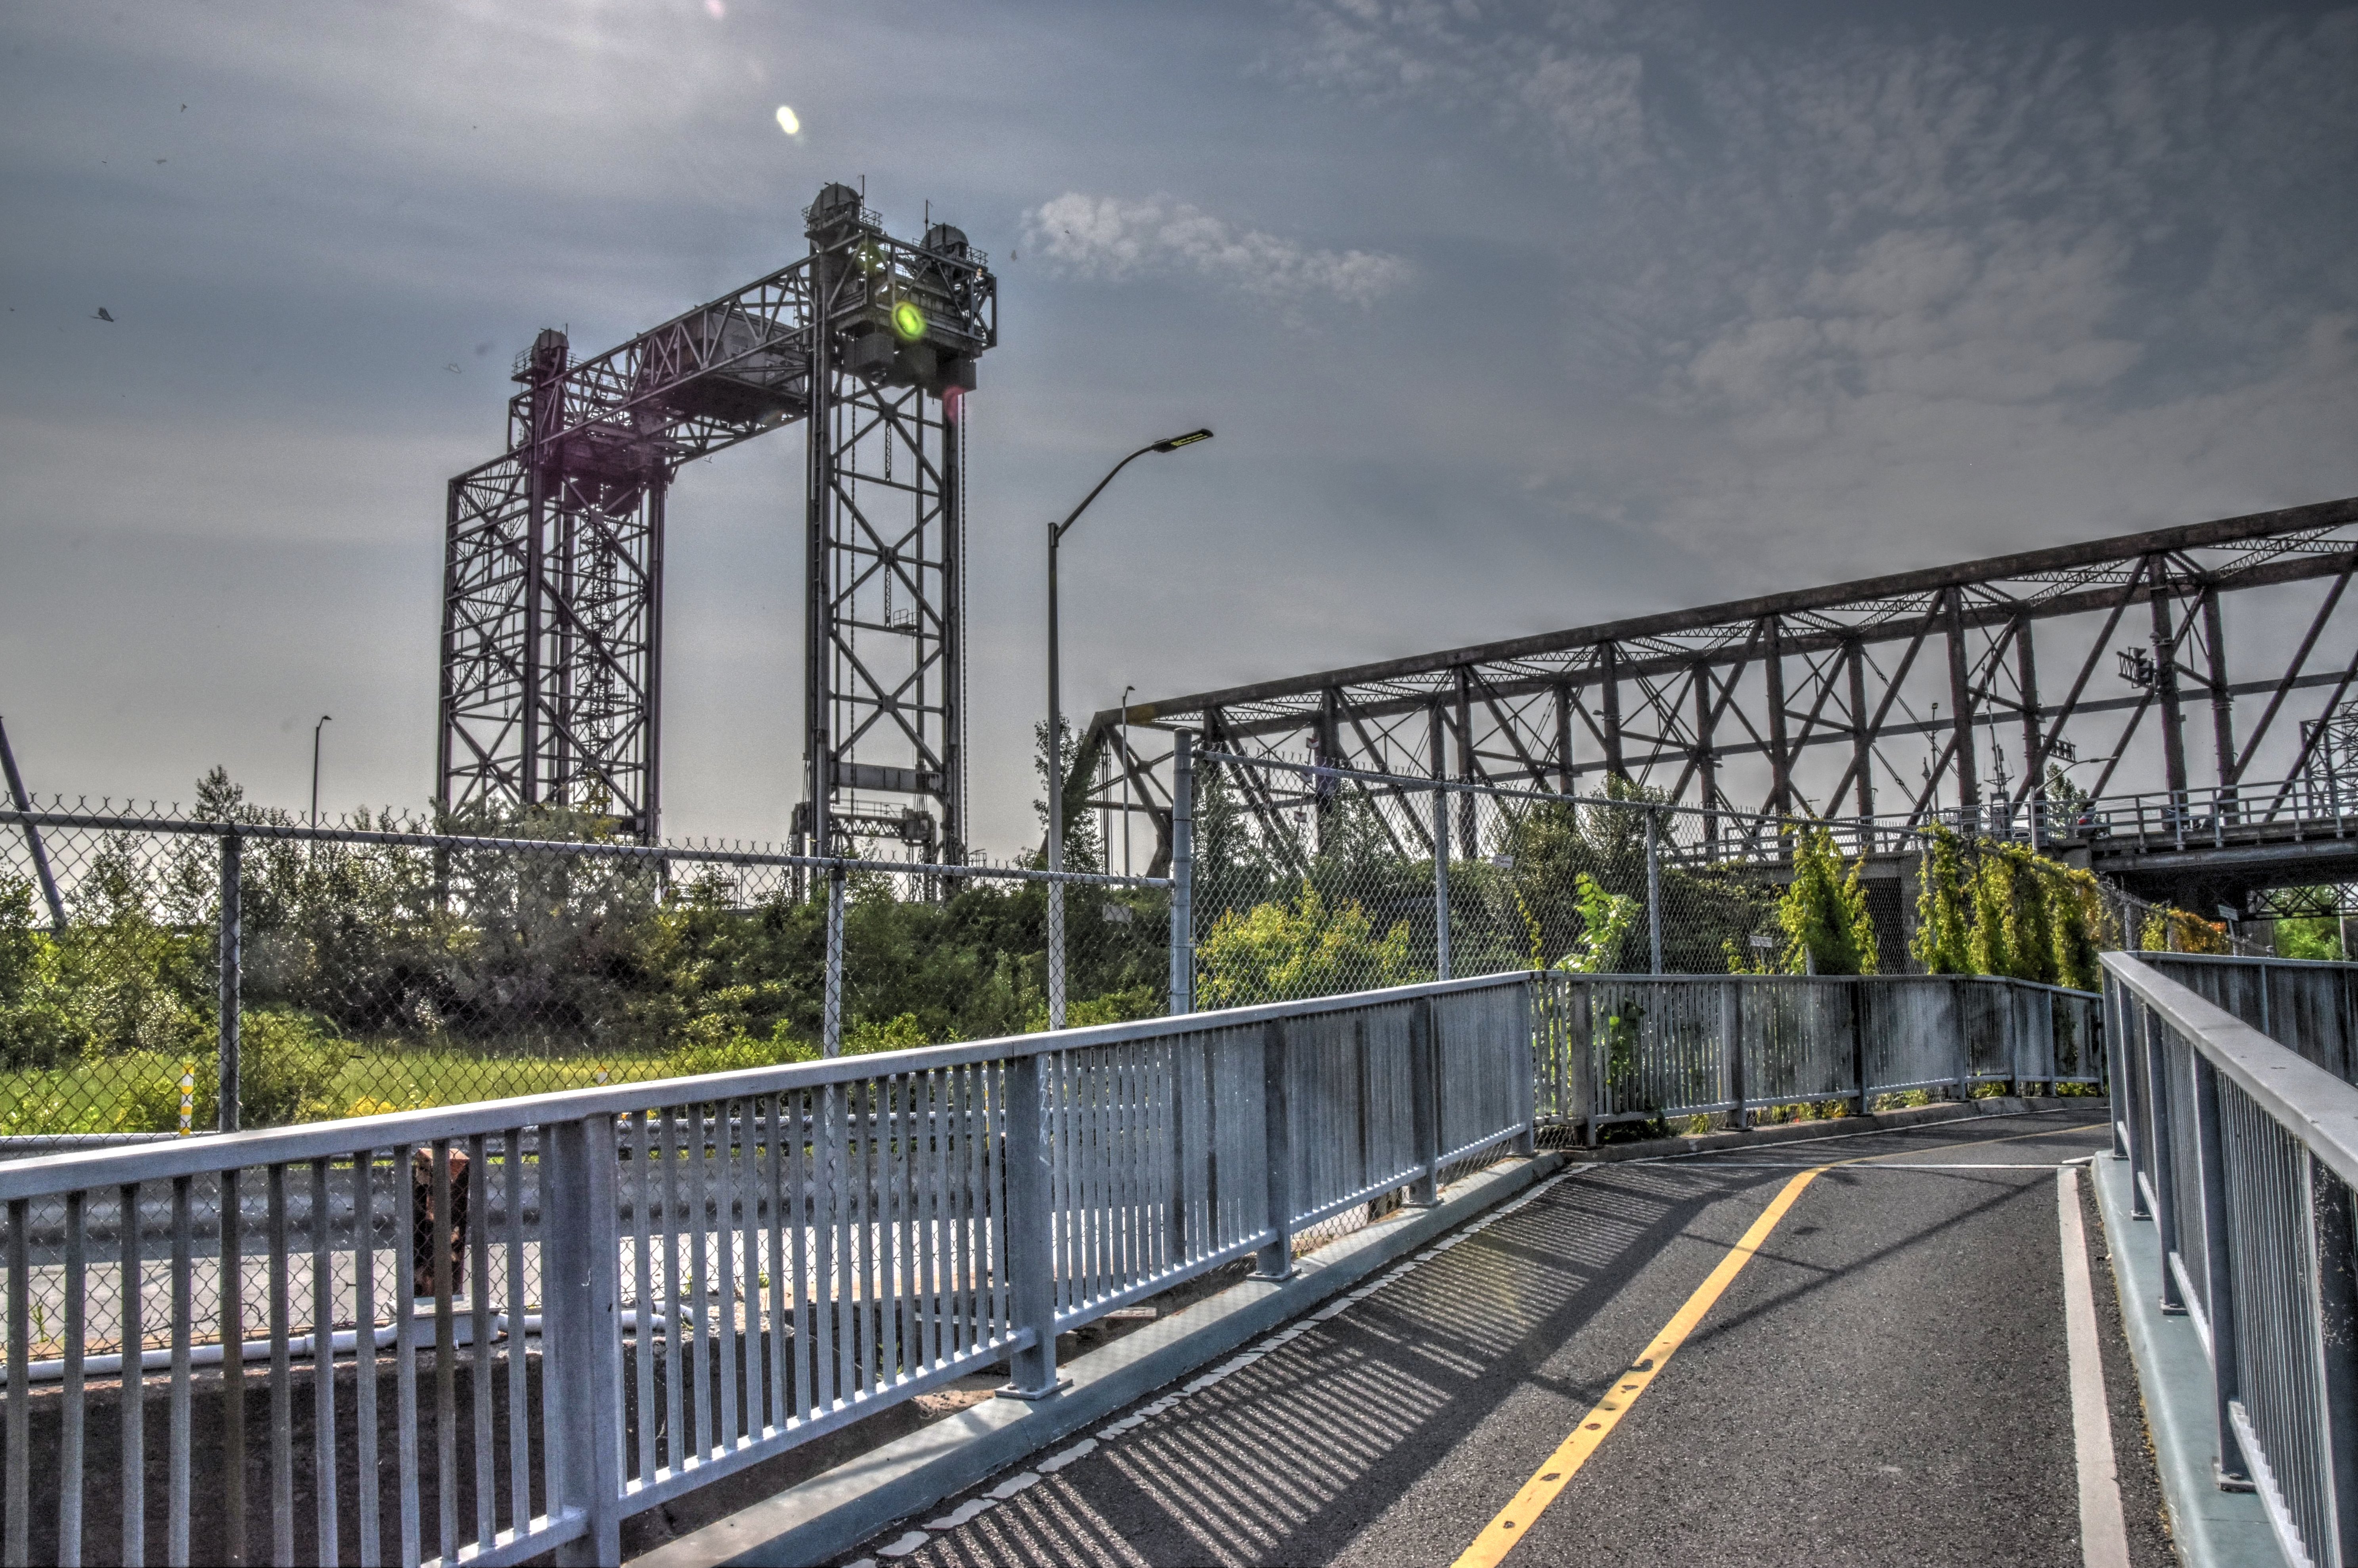
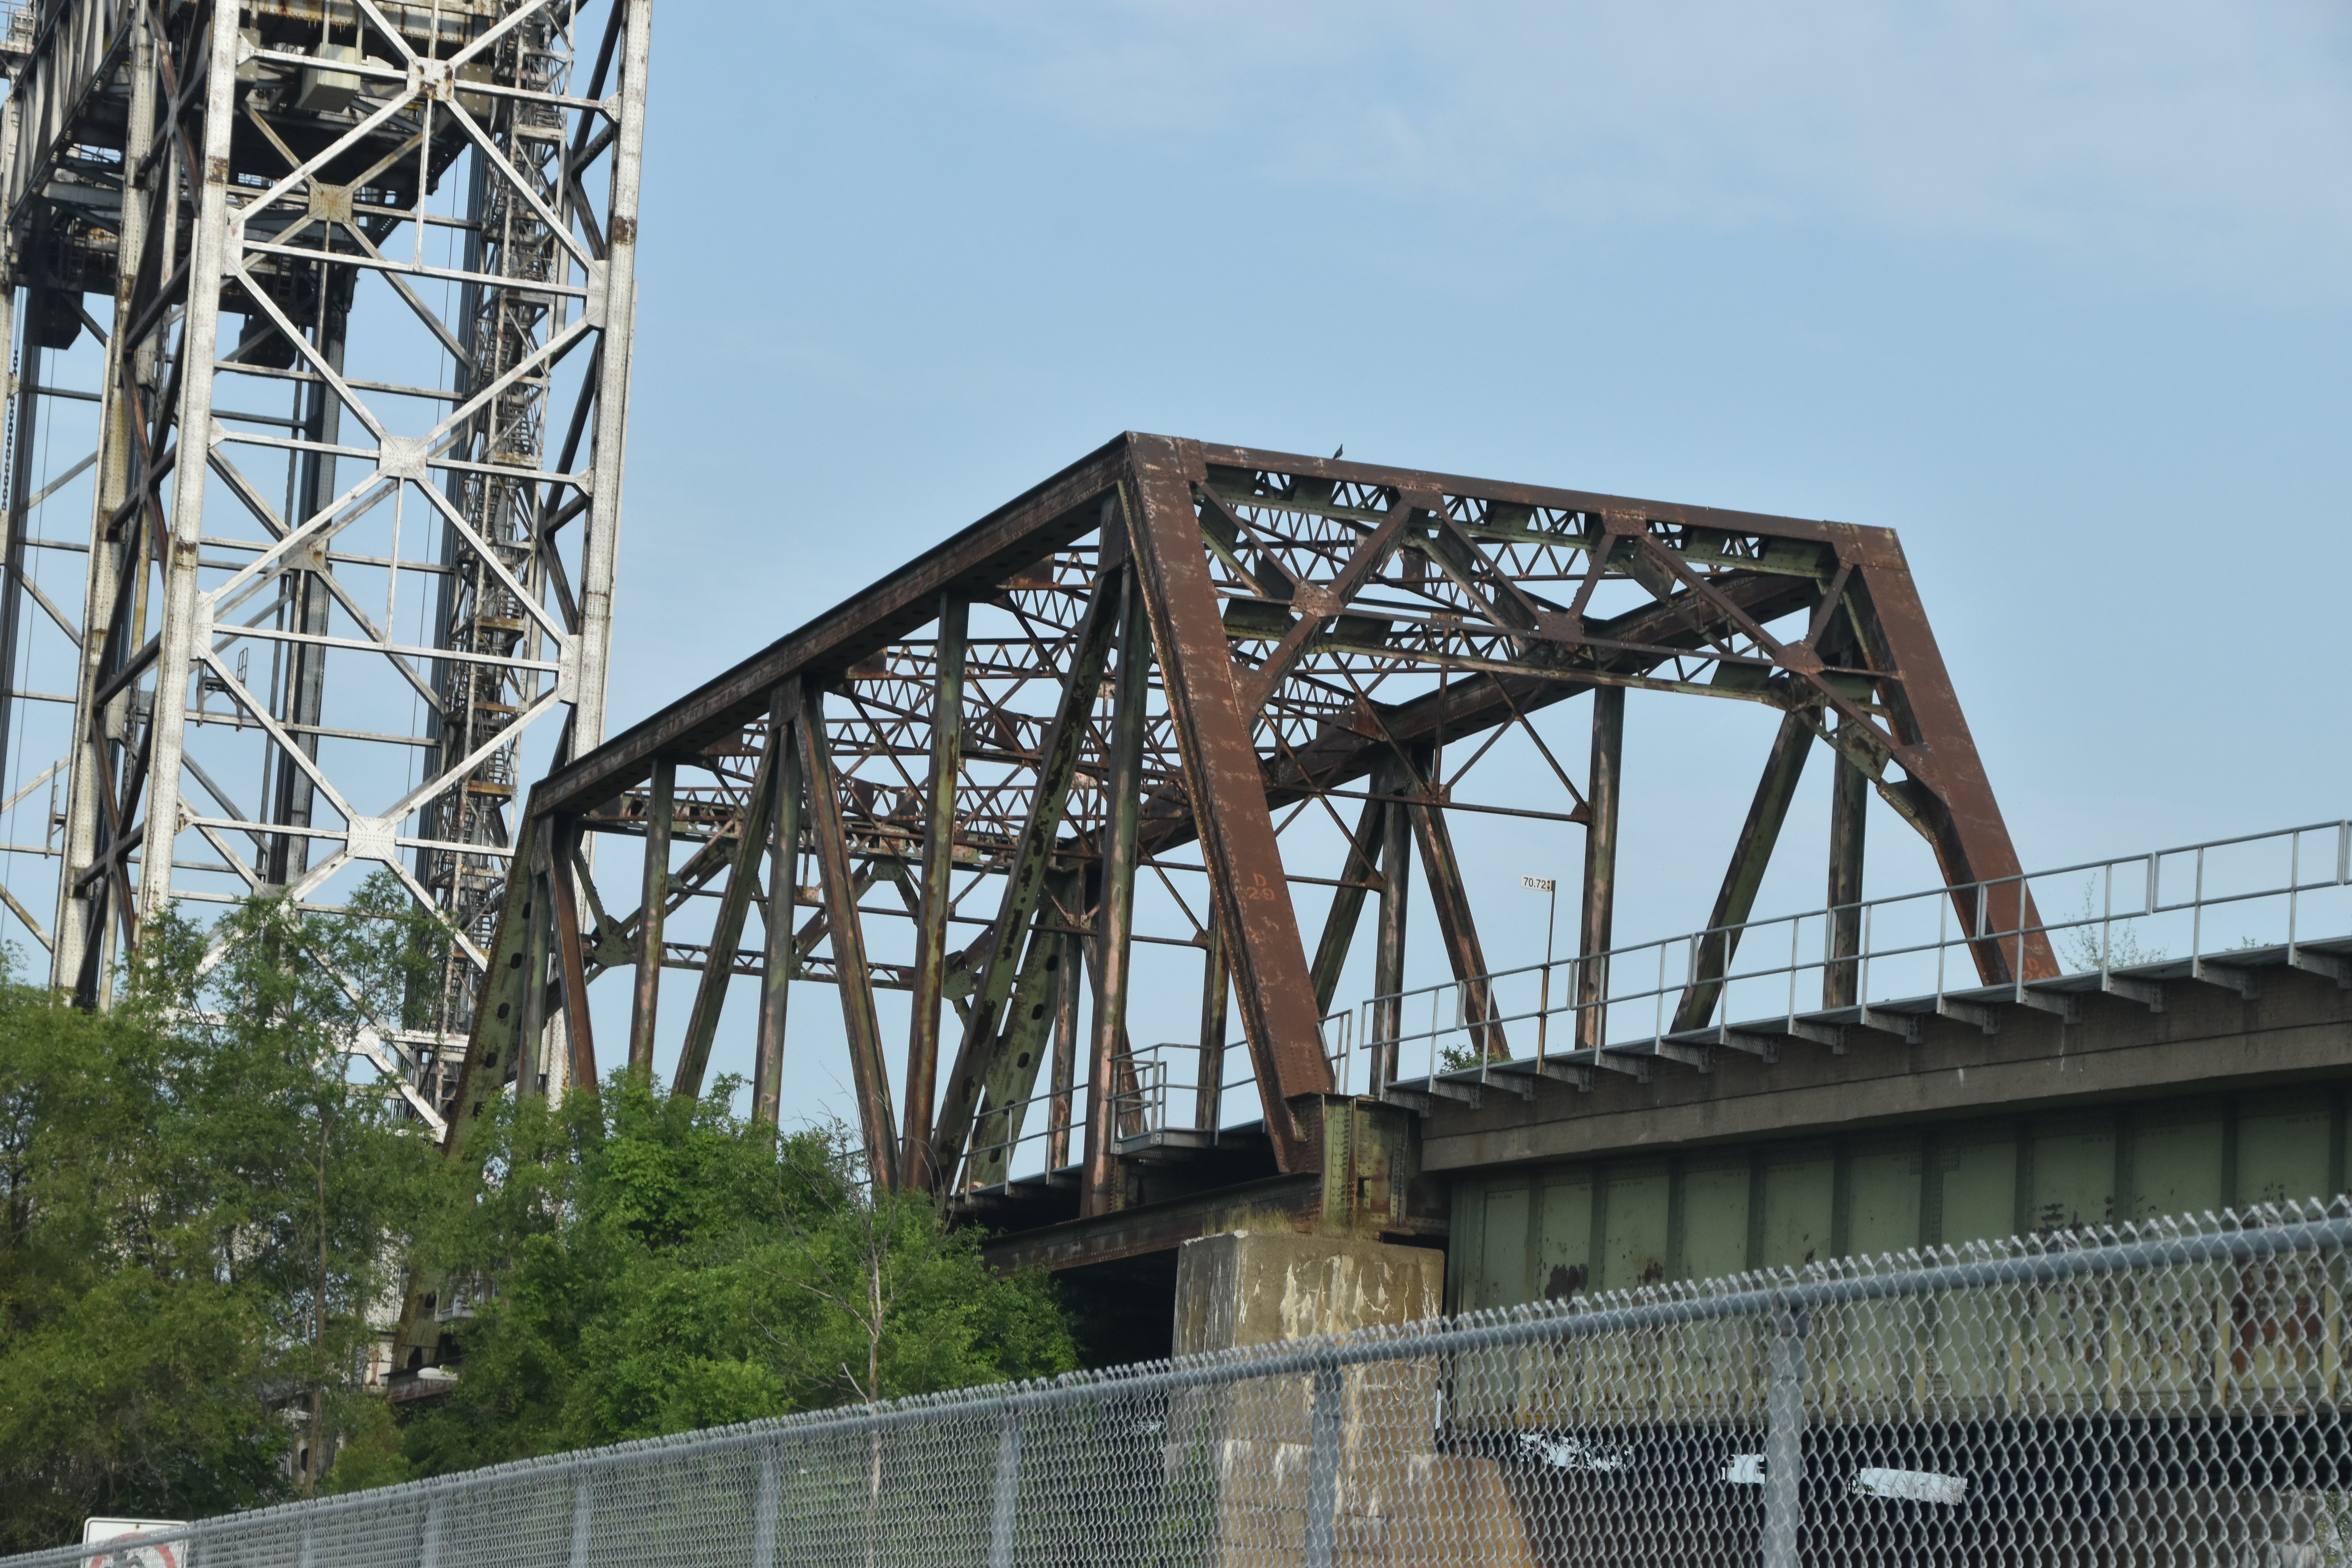
View on St. Lambert Diversion bridge walkway showing lift span, and second truss span with capability to be converted to a lift span.
![]()

View on St. Lambert Diversion bridge walkway showing lift span, and second truss span with capability to be converted to a lift span.
![]()


Vertical post, which is designed to assist in converting the adjacent span into a lift span if needed.
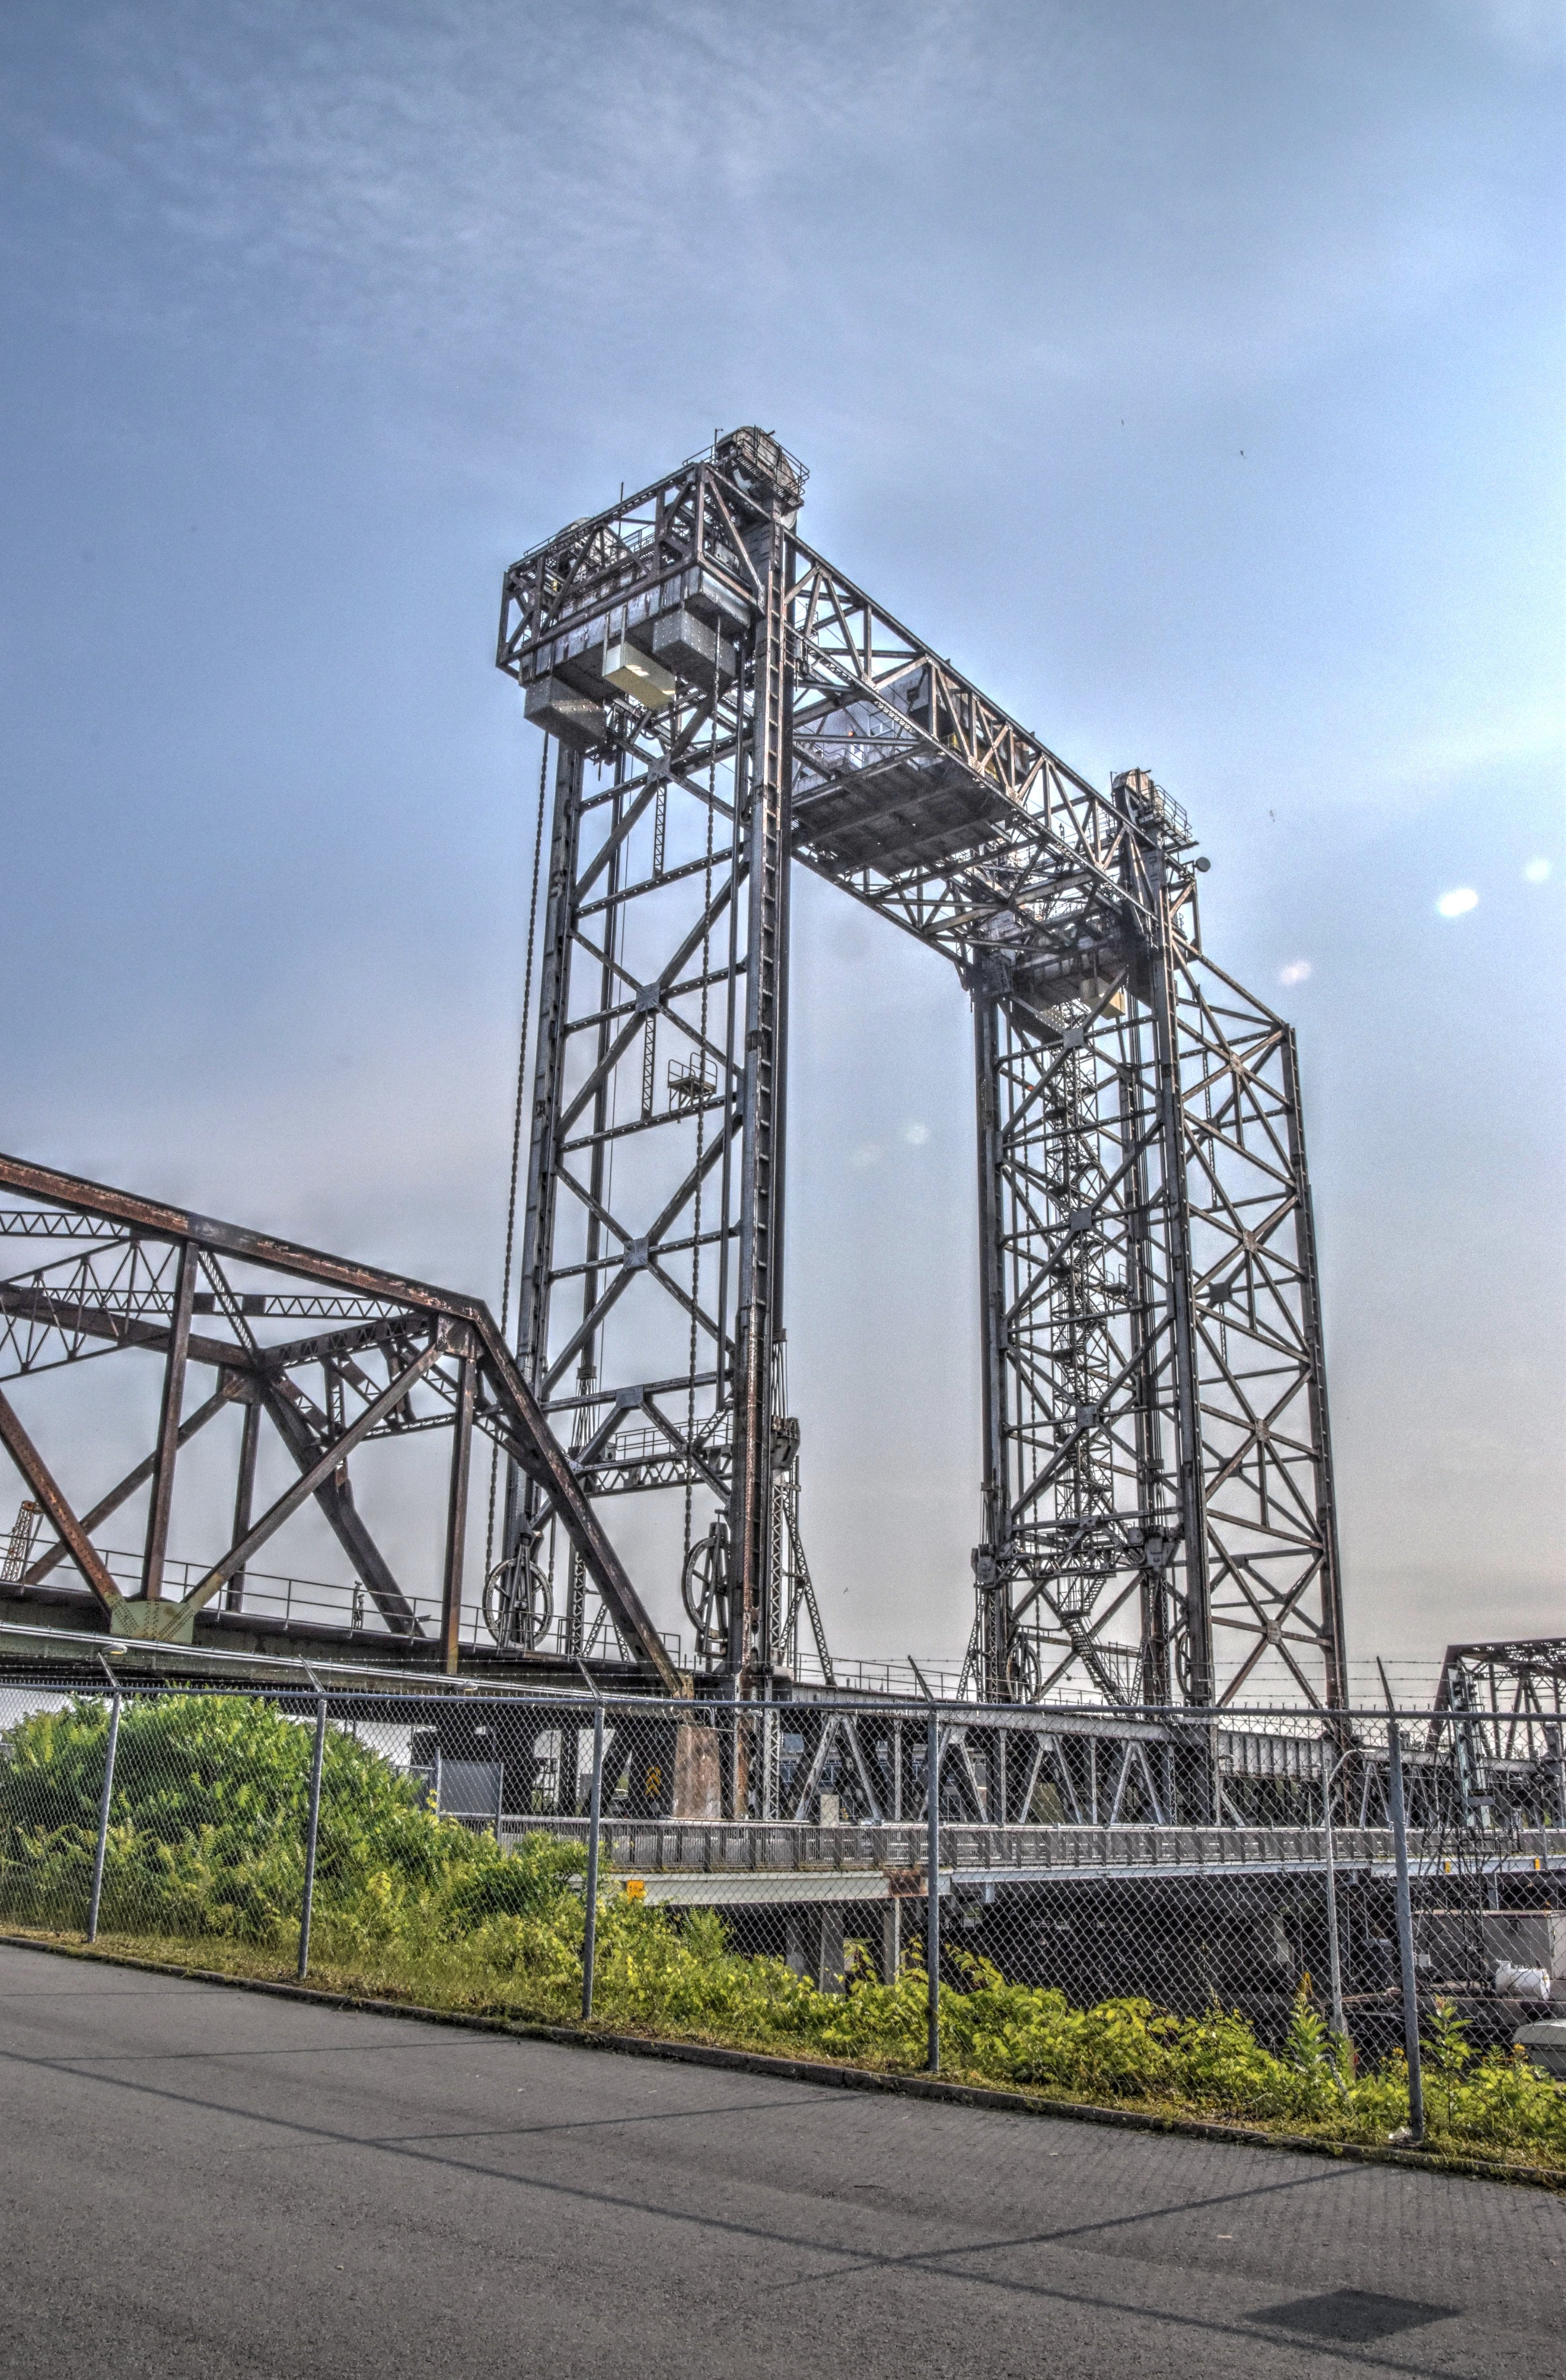
![]()
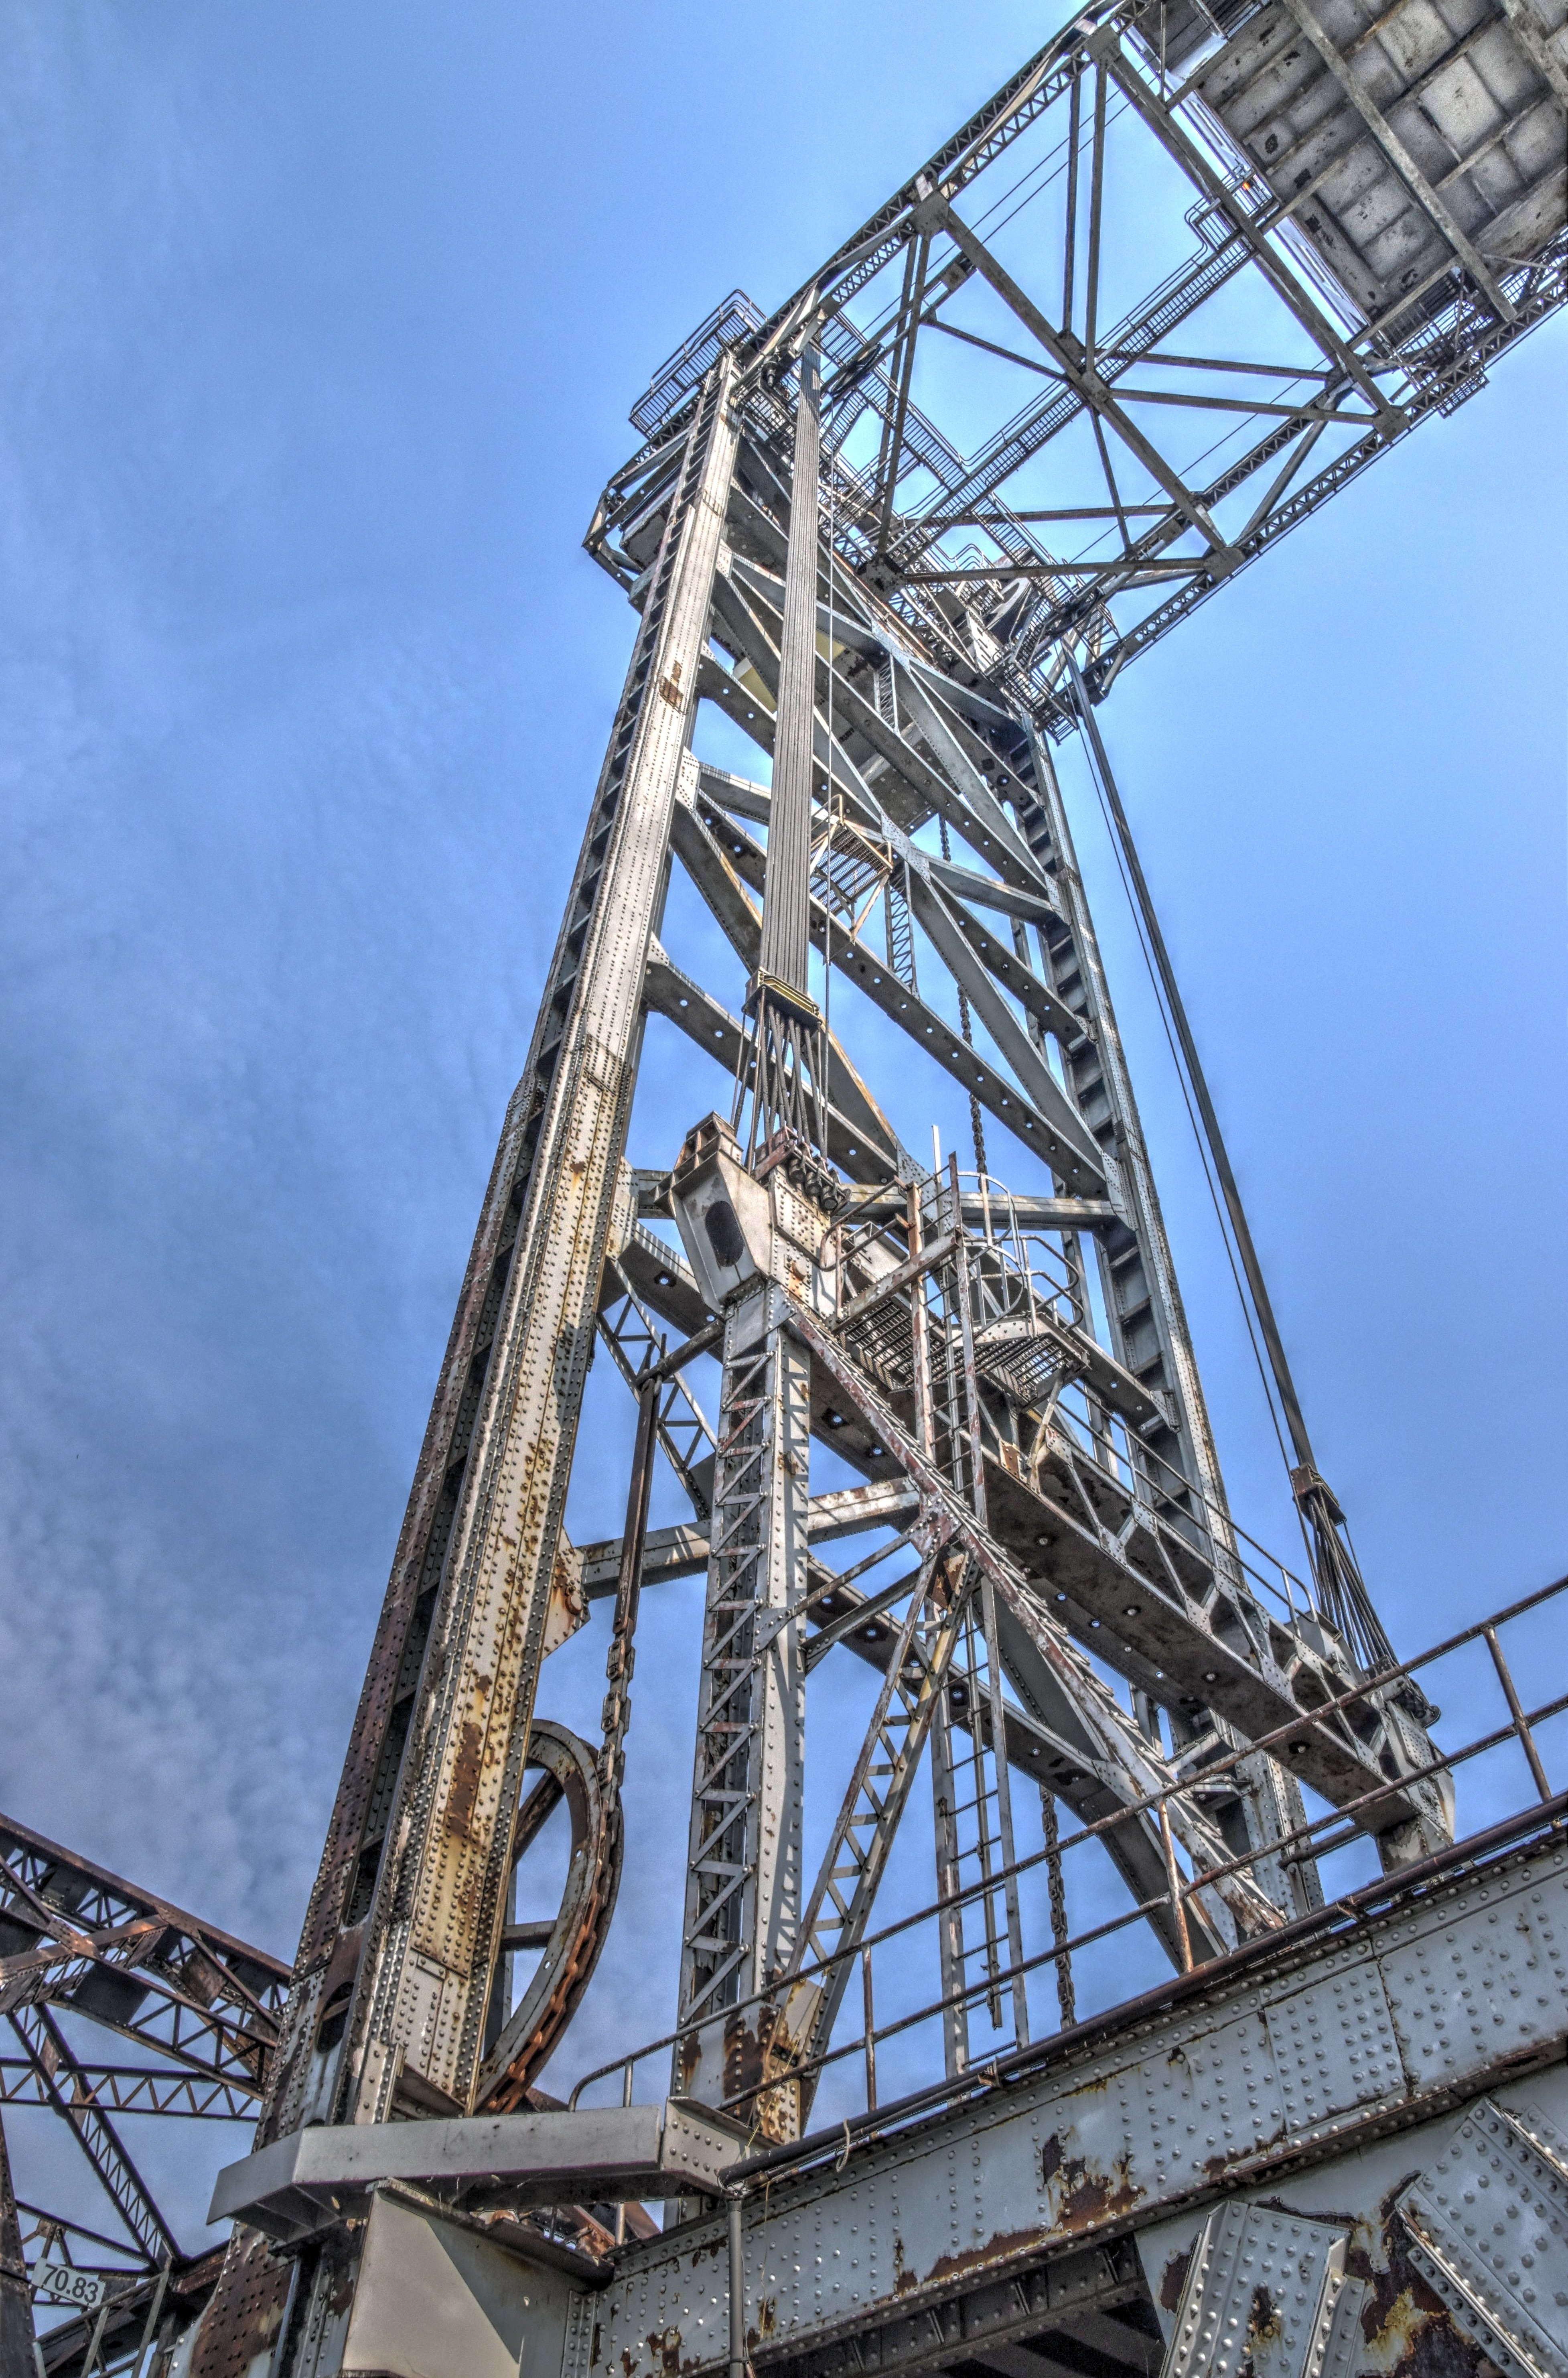

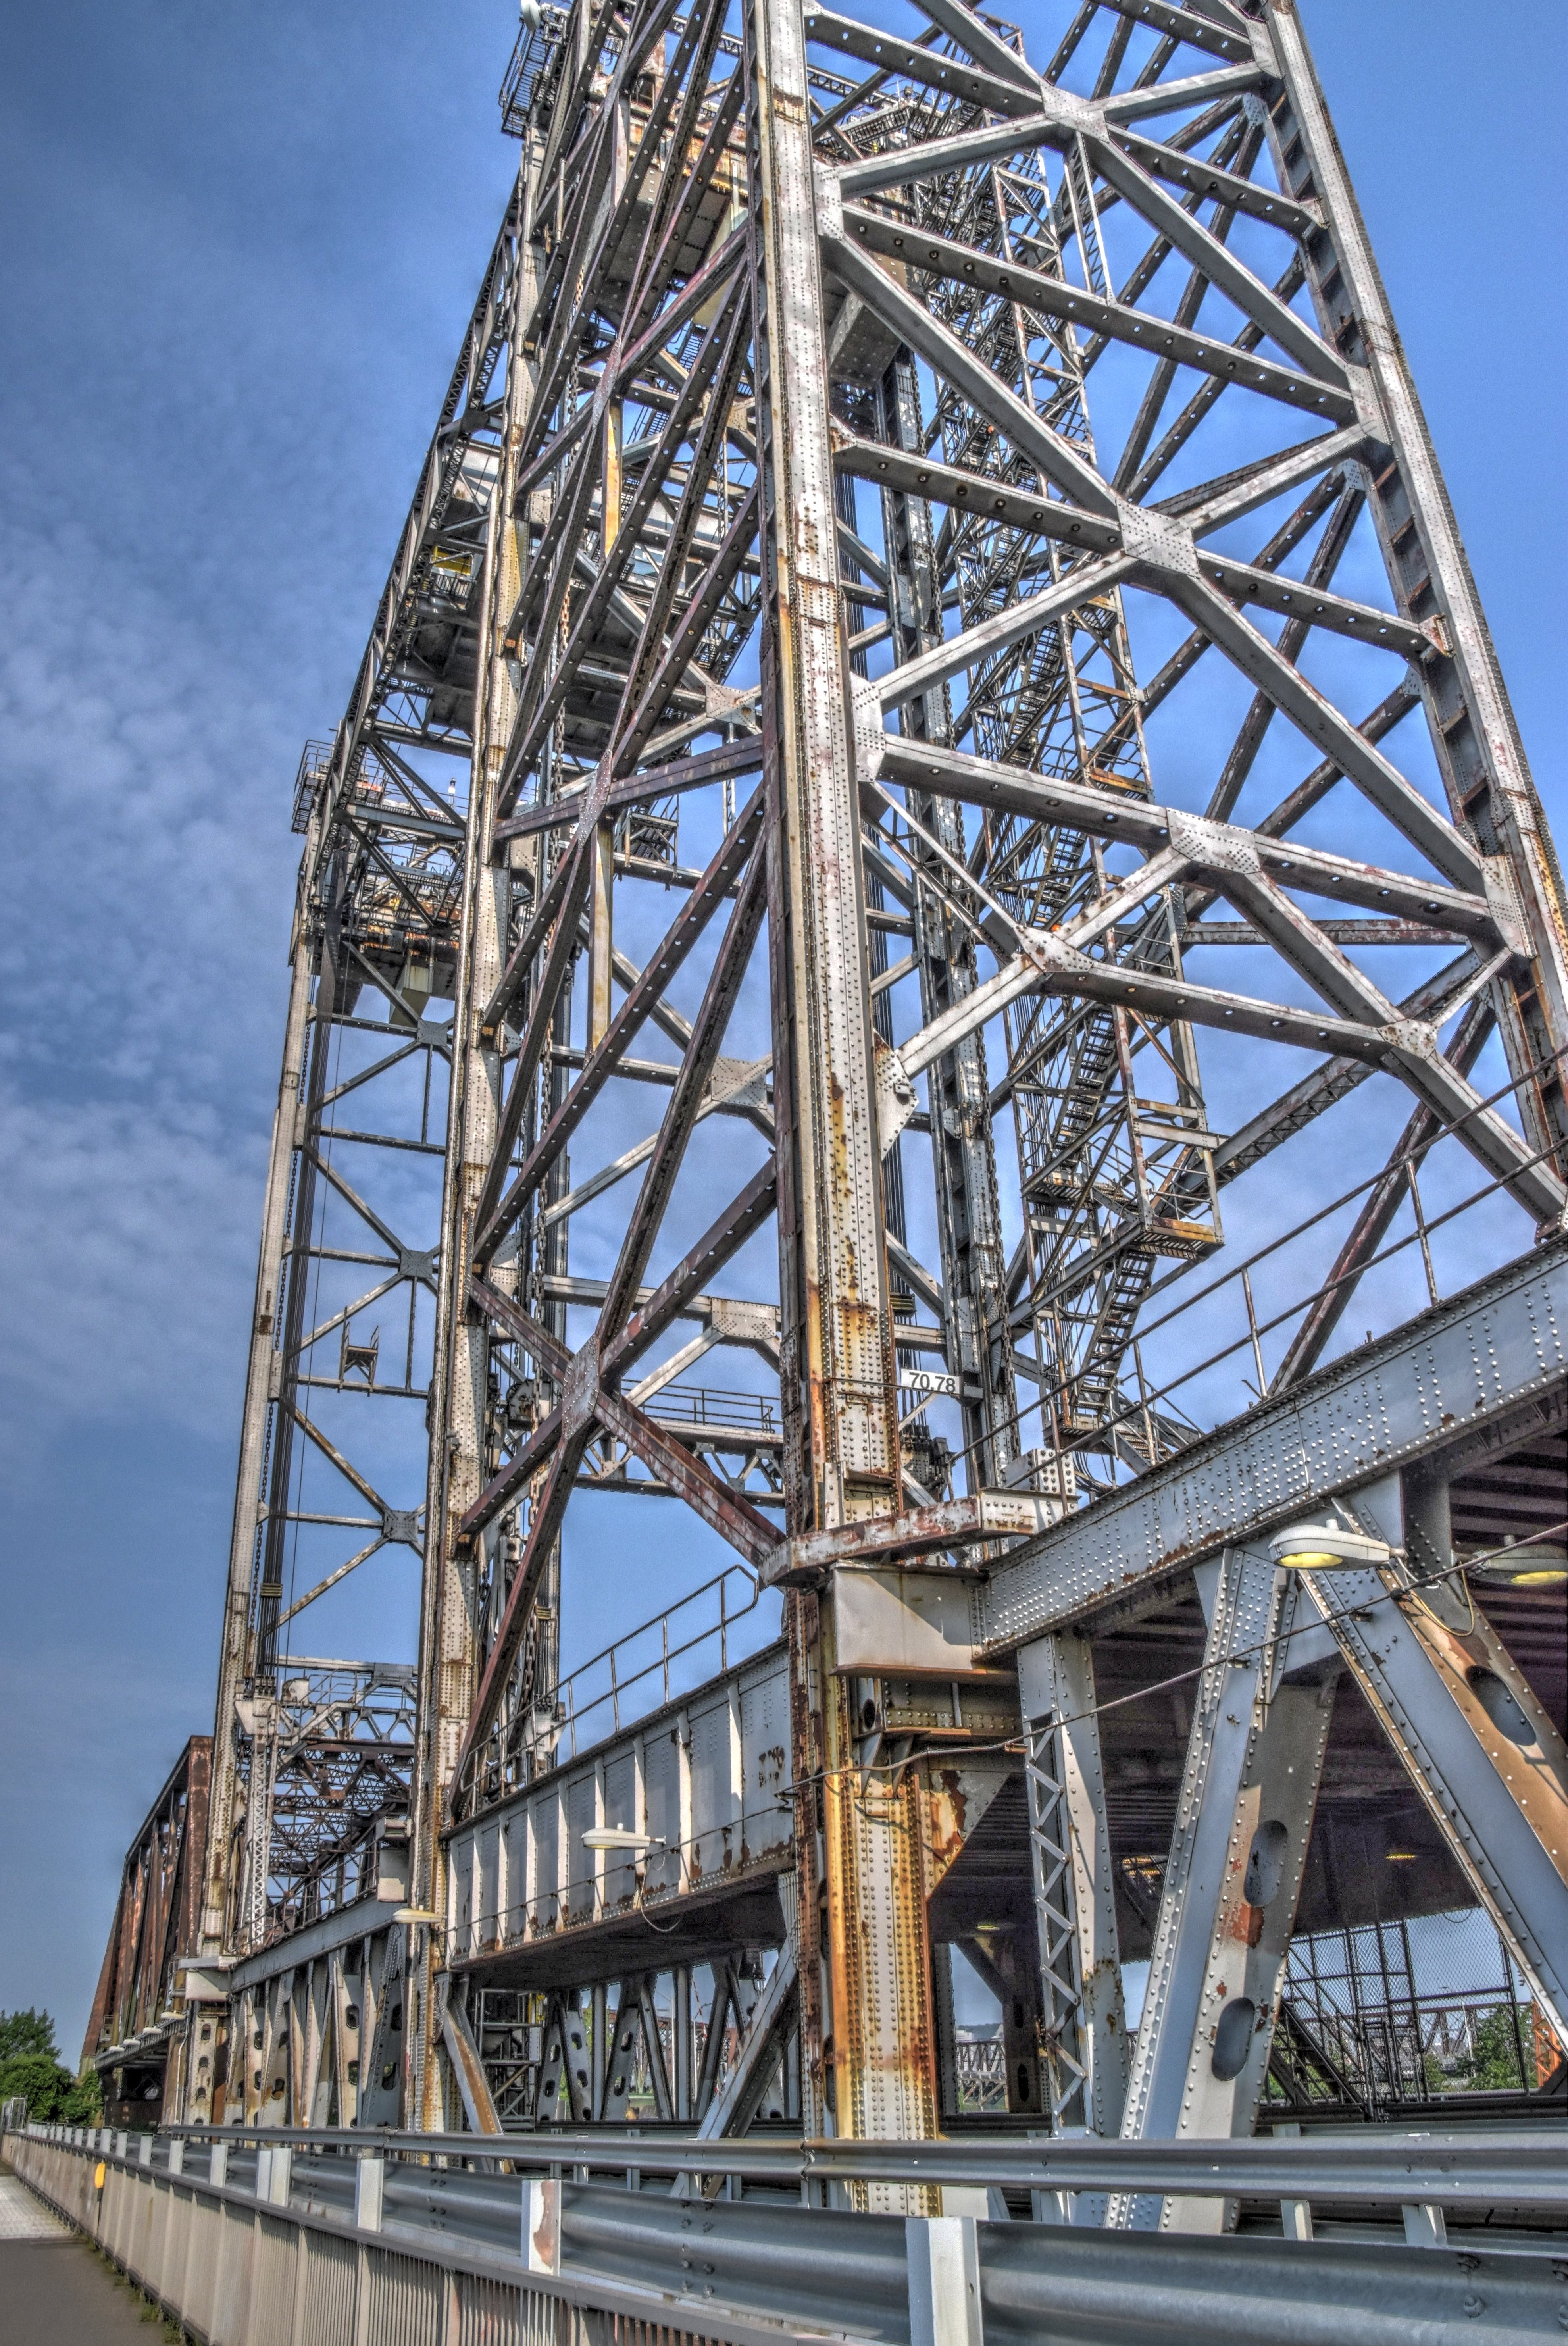
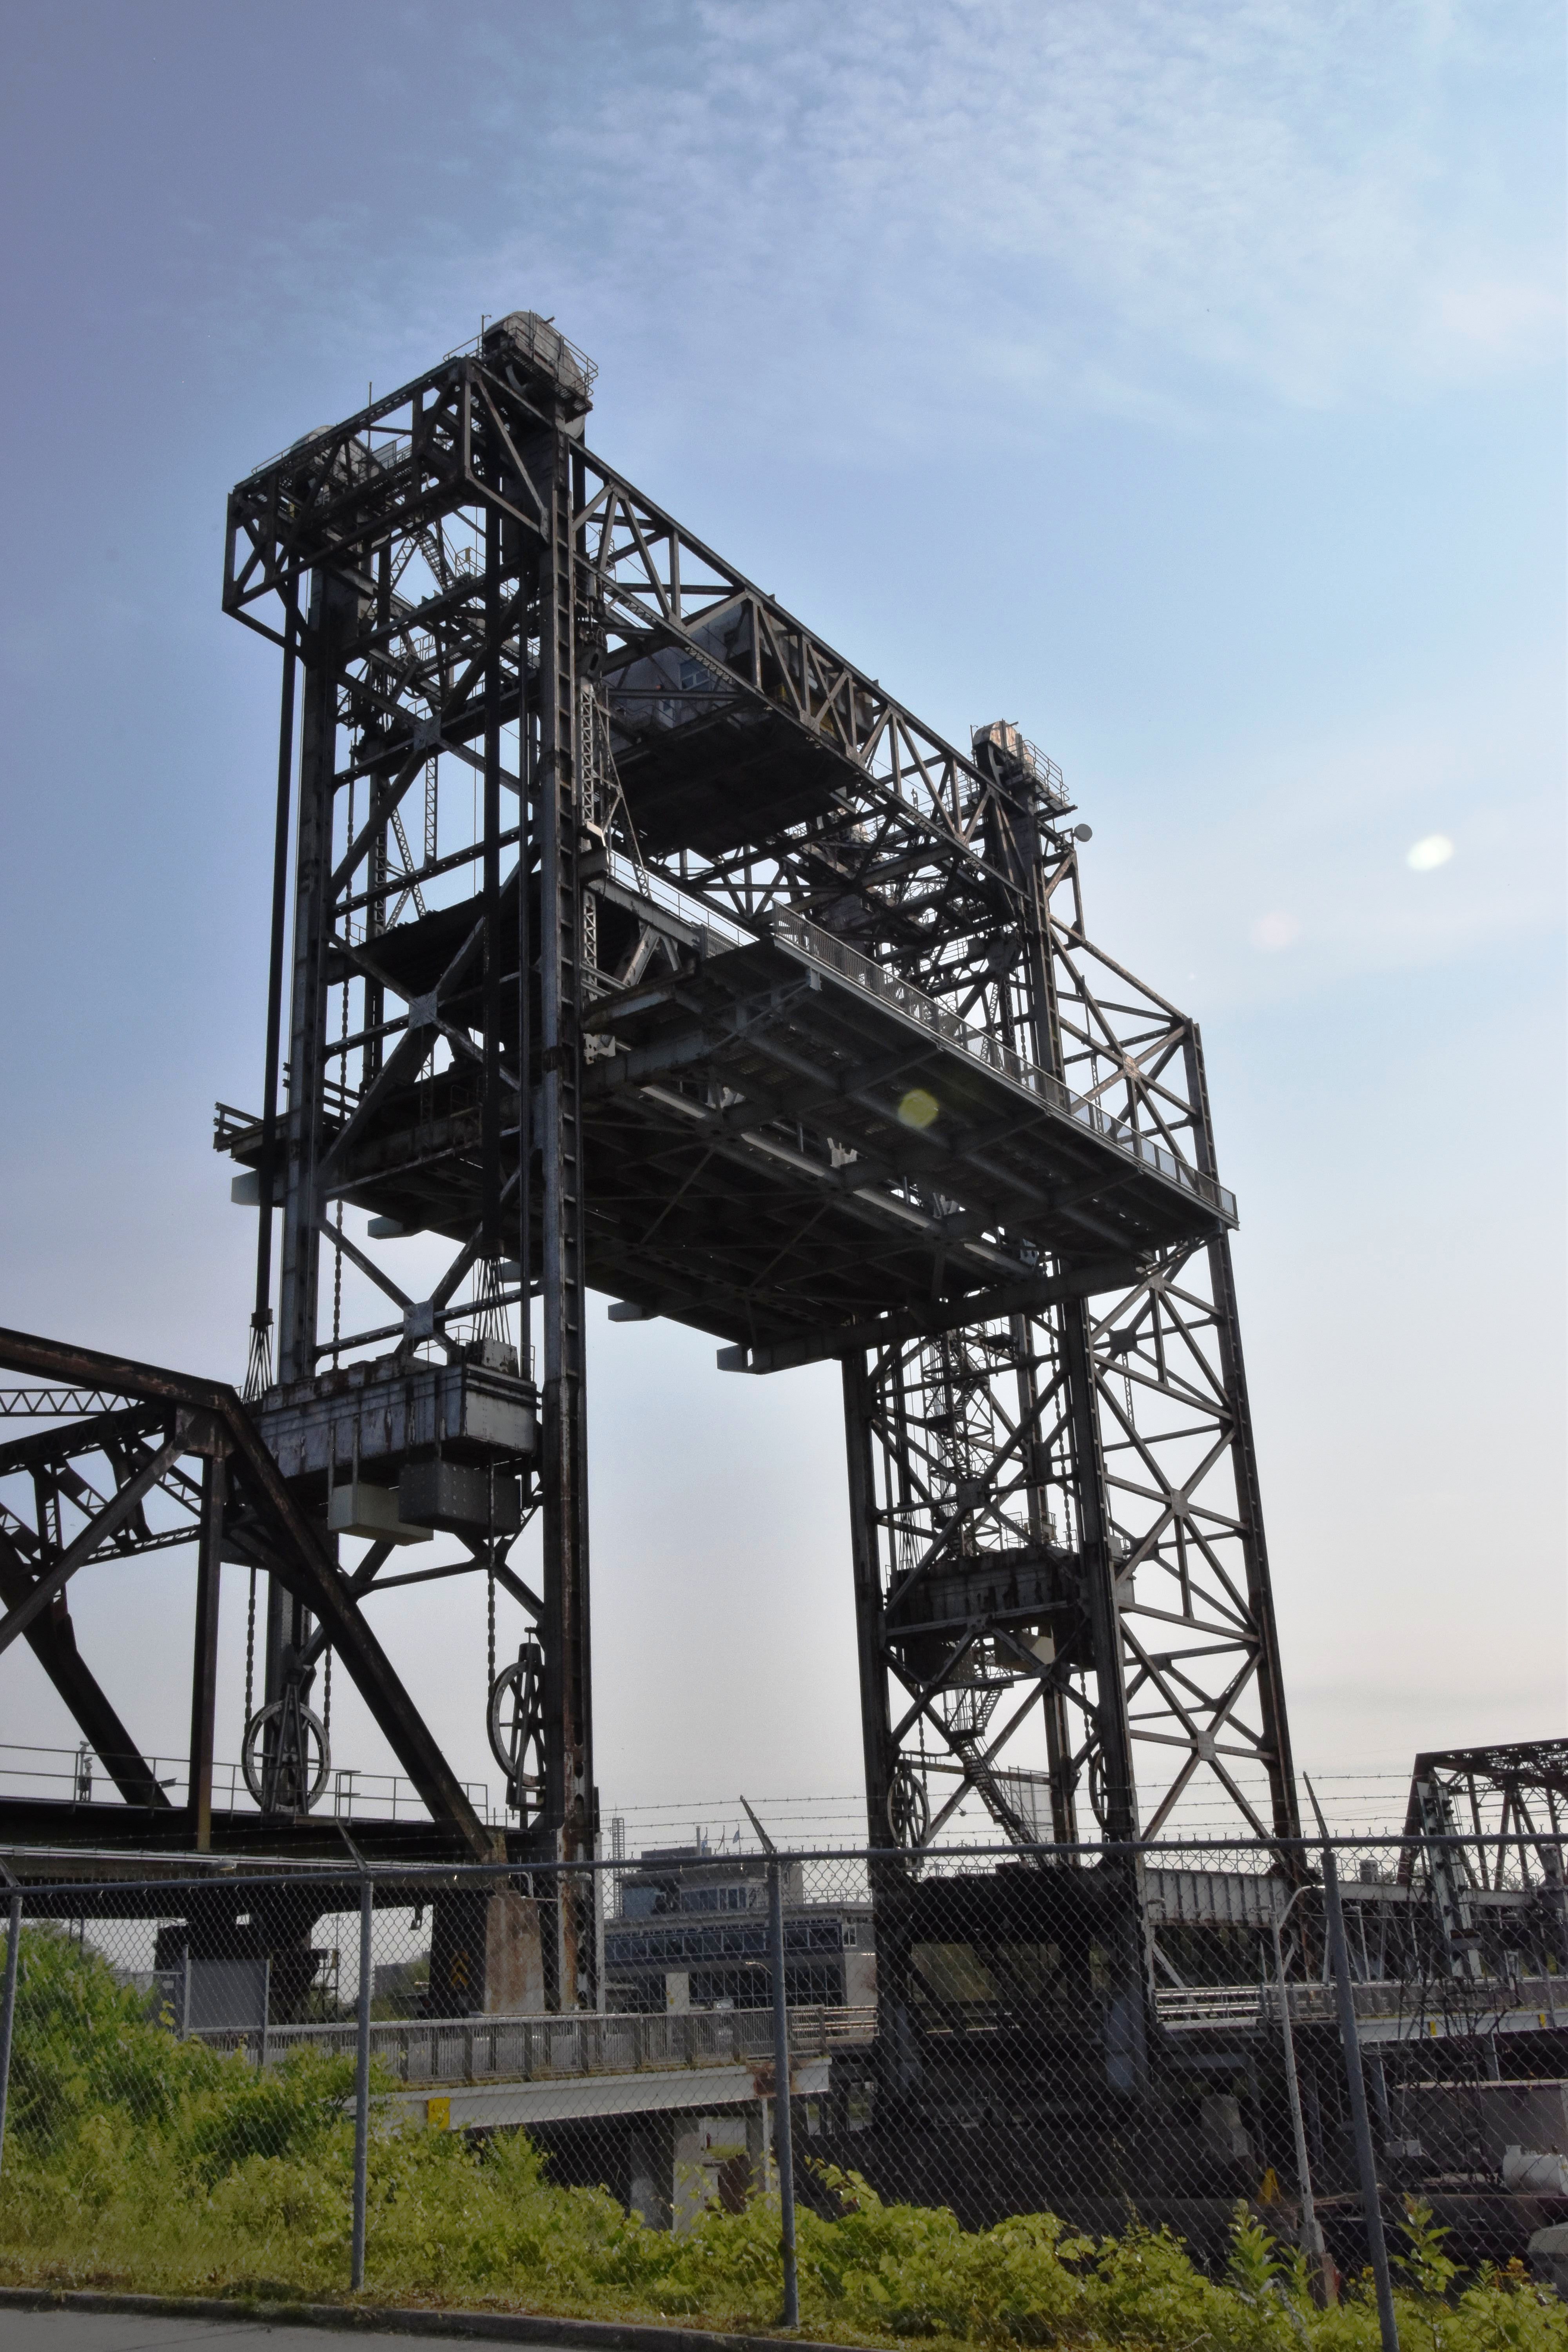
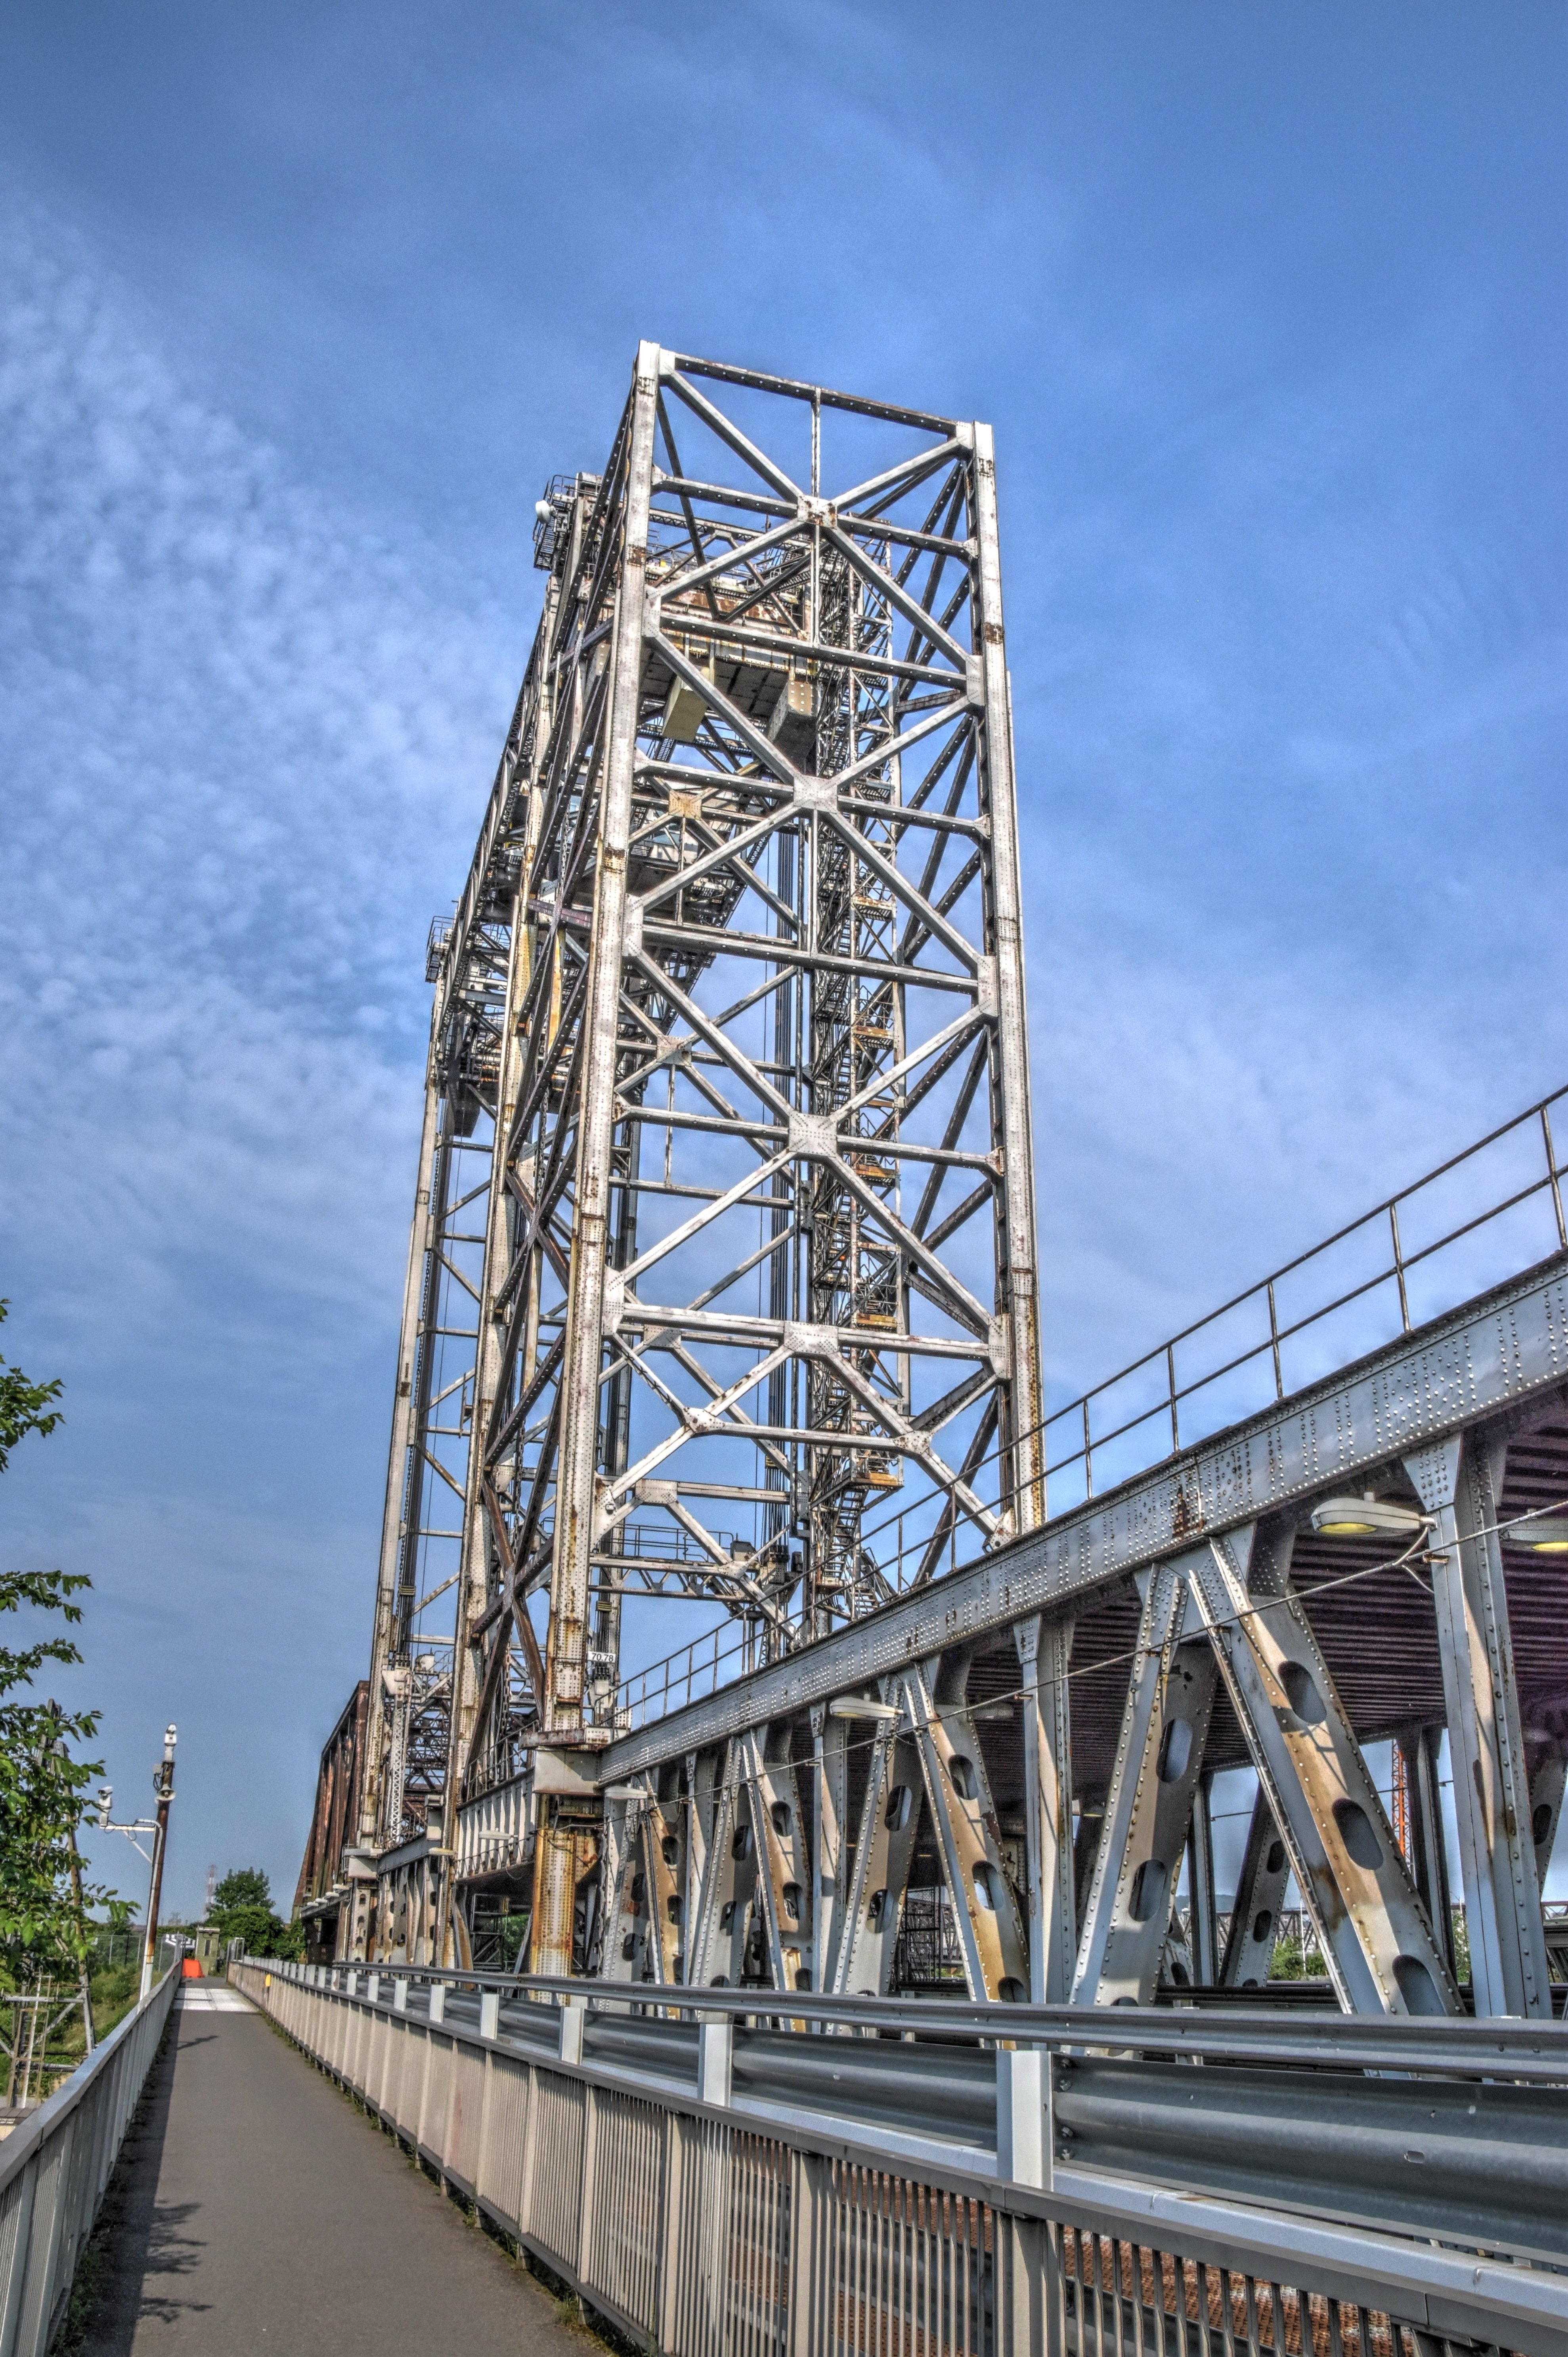
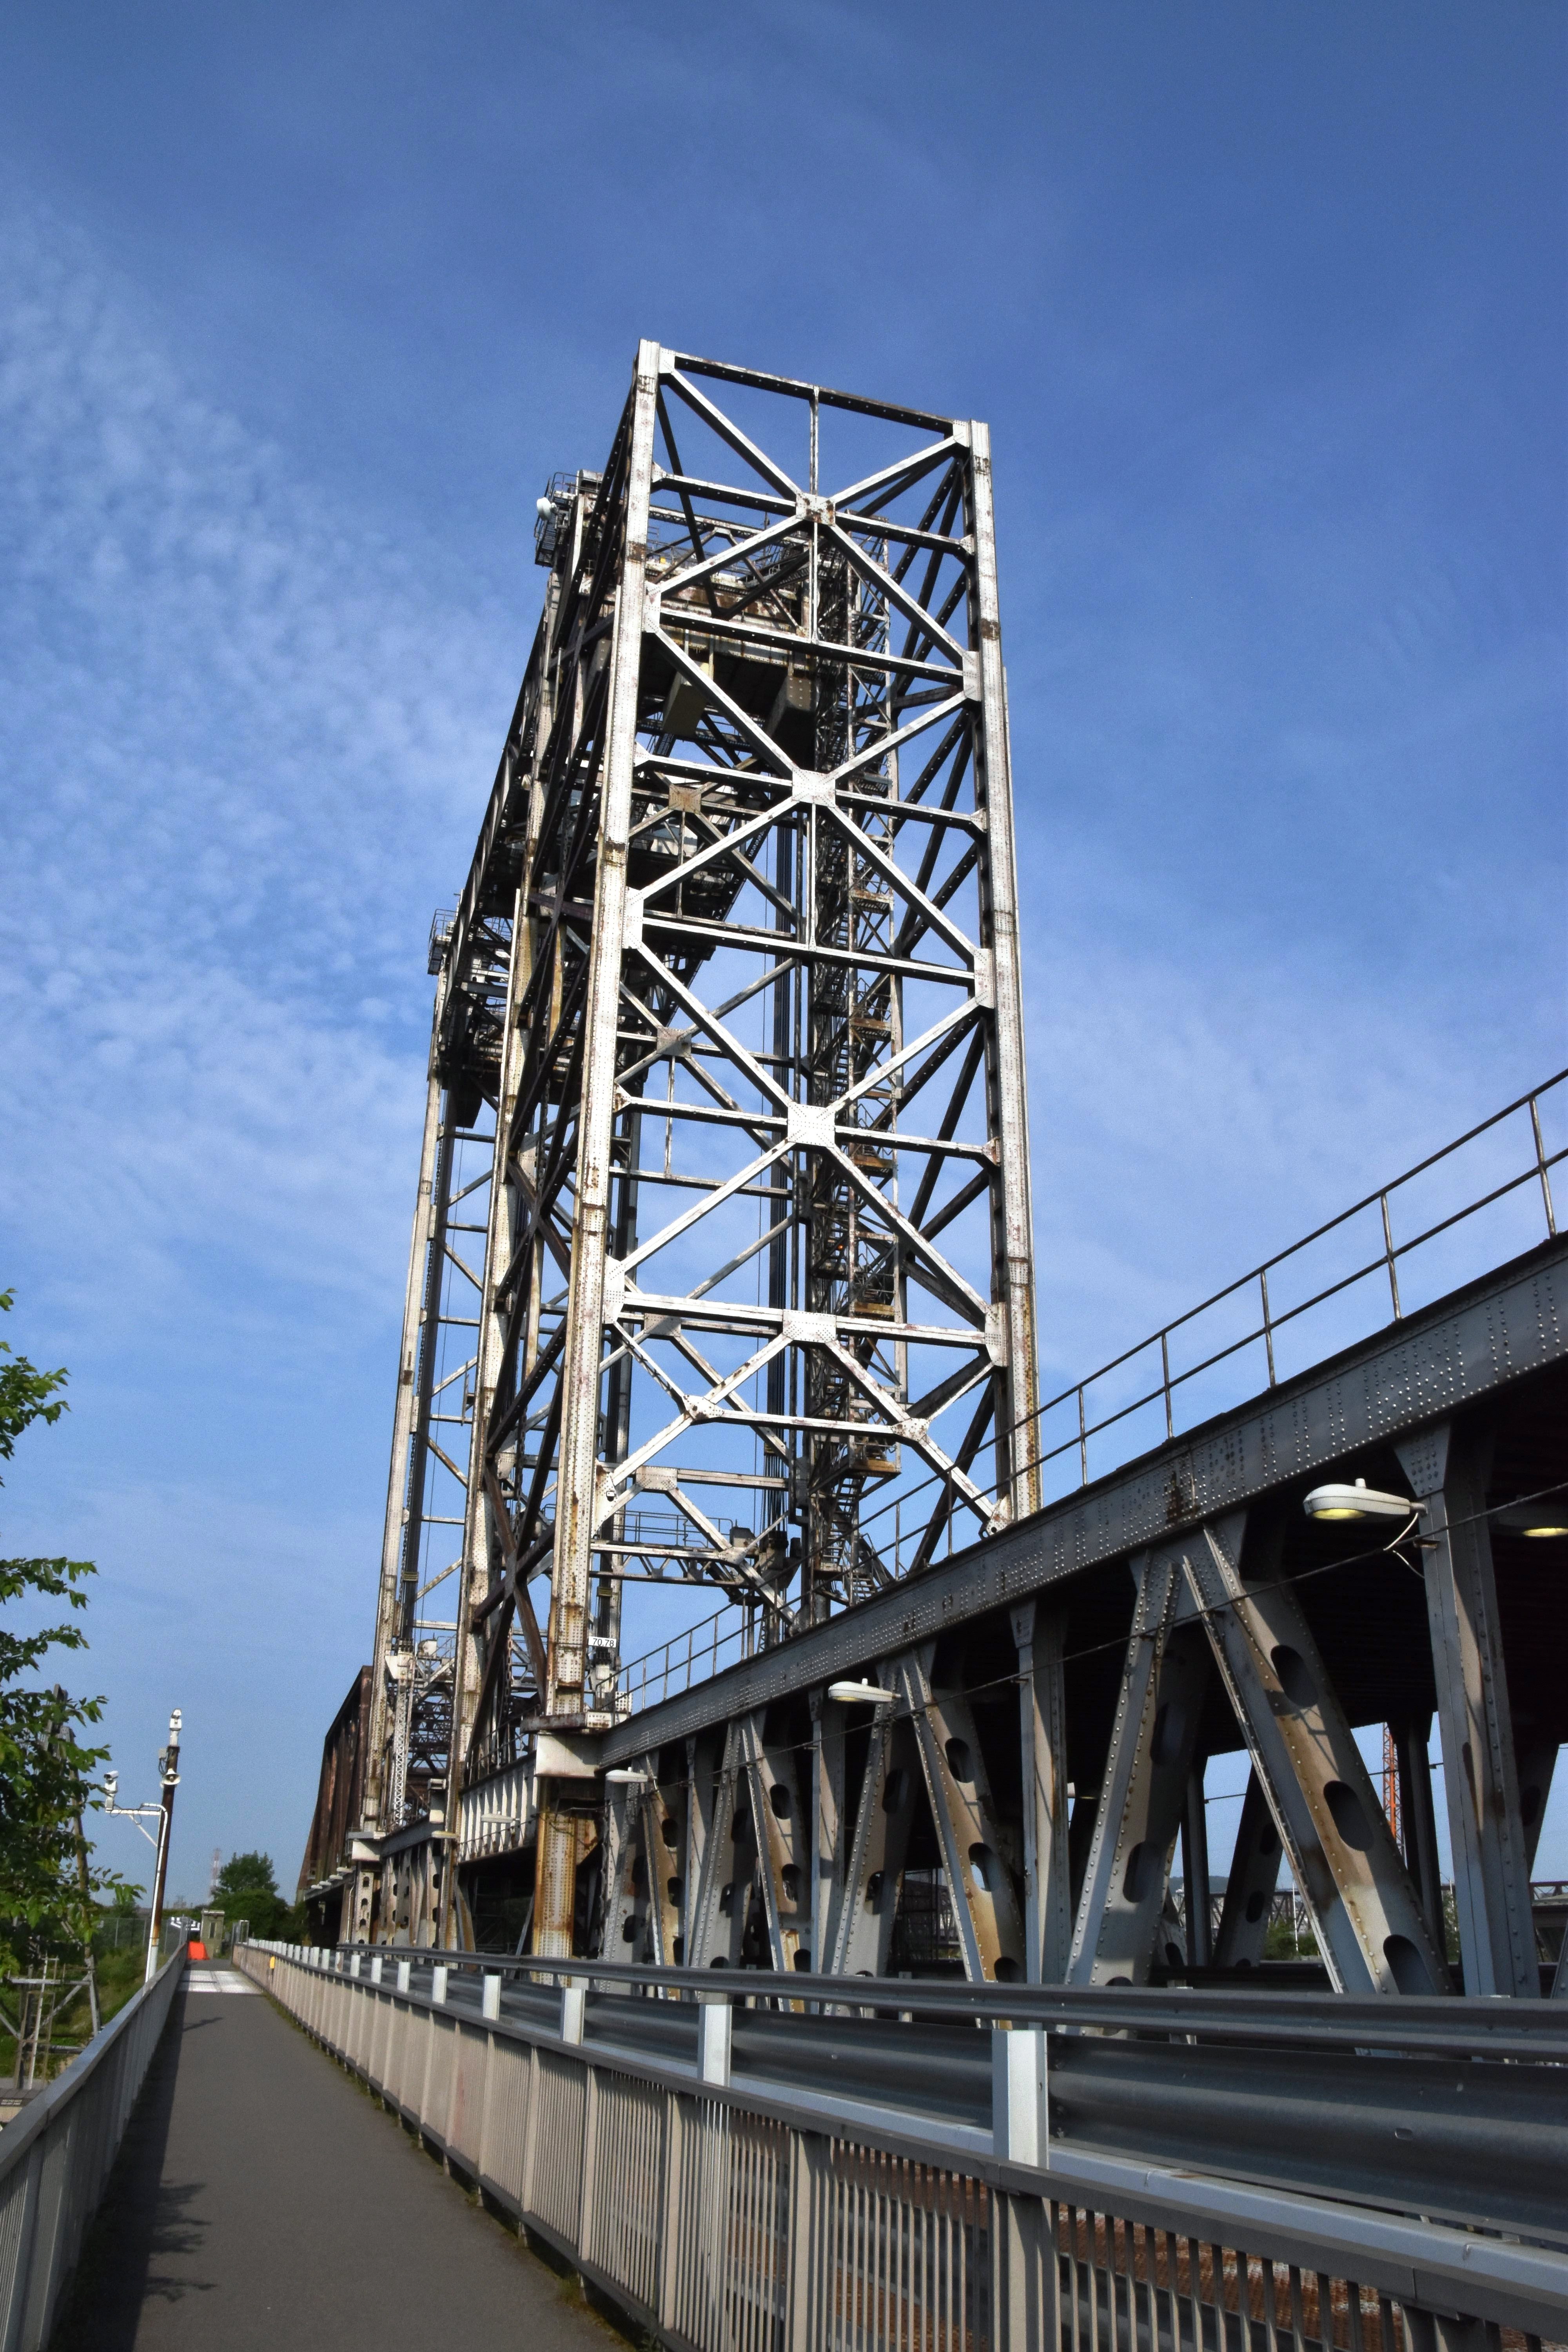
Looking up at west tower.
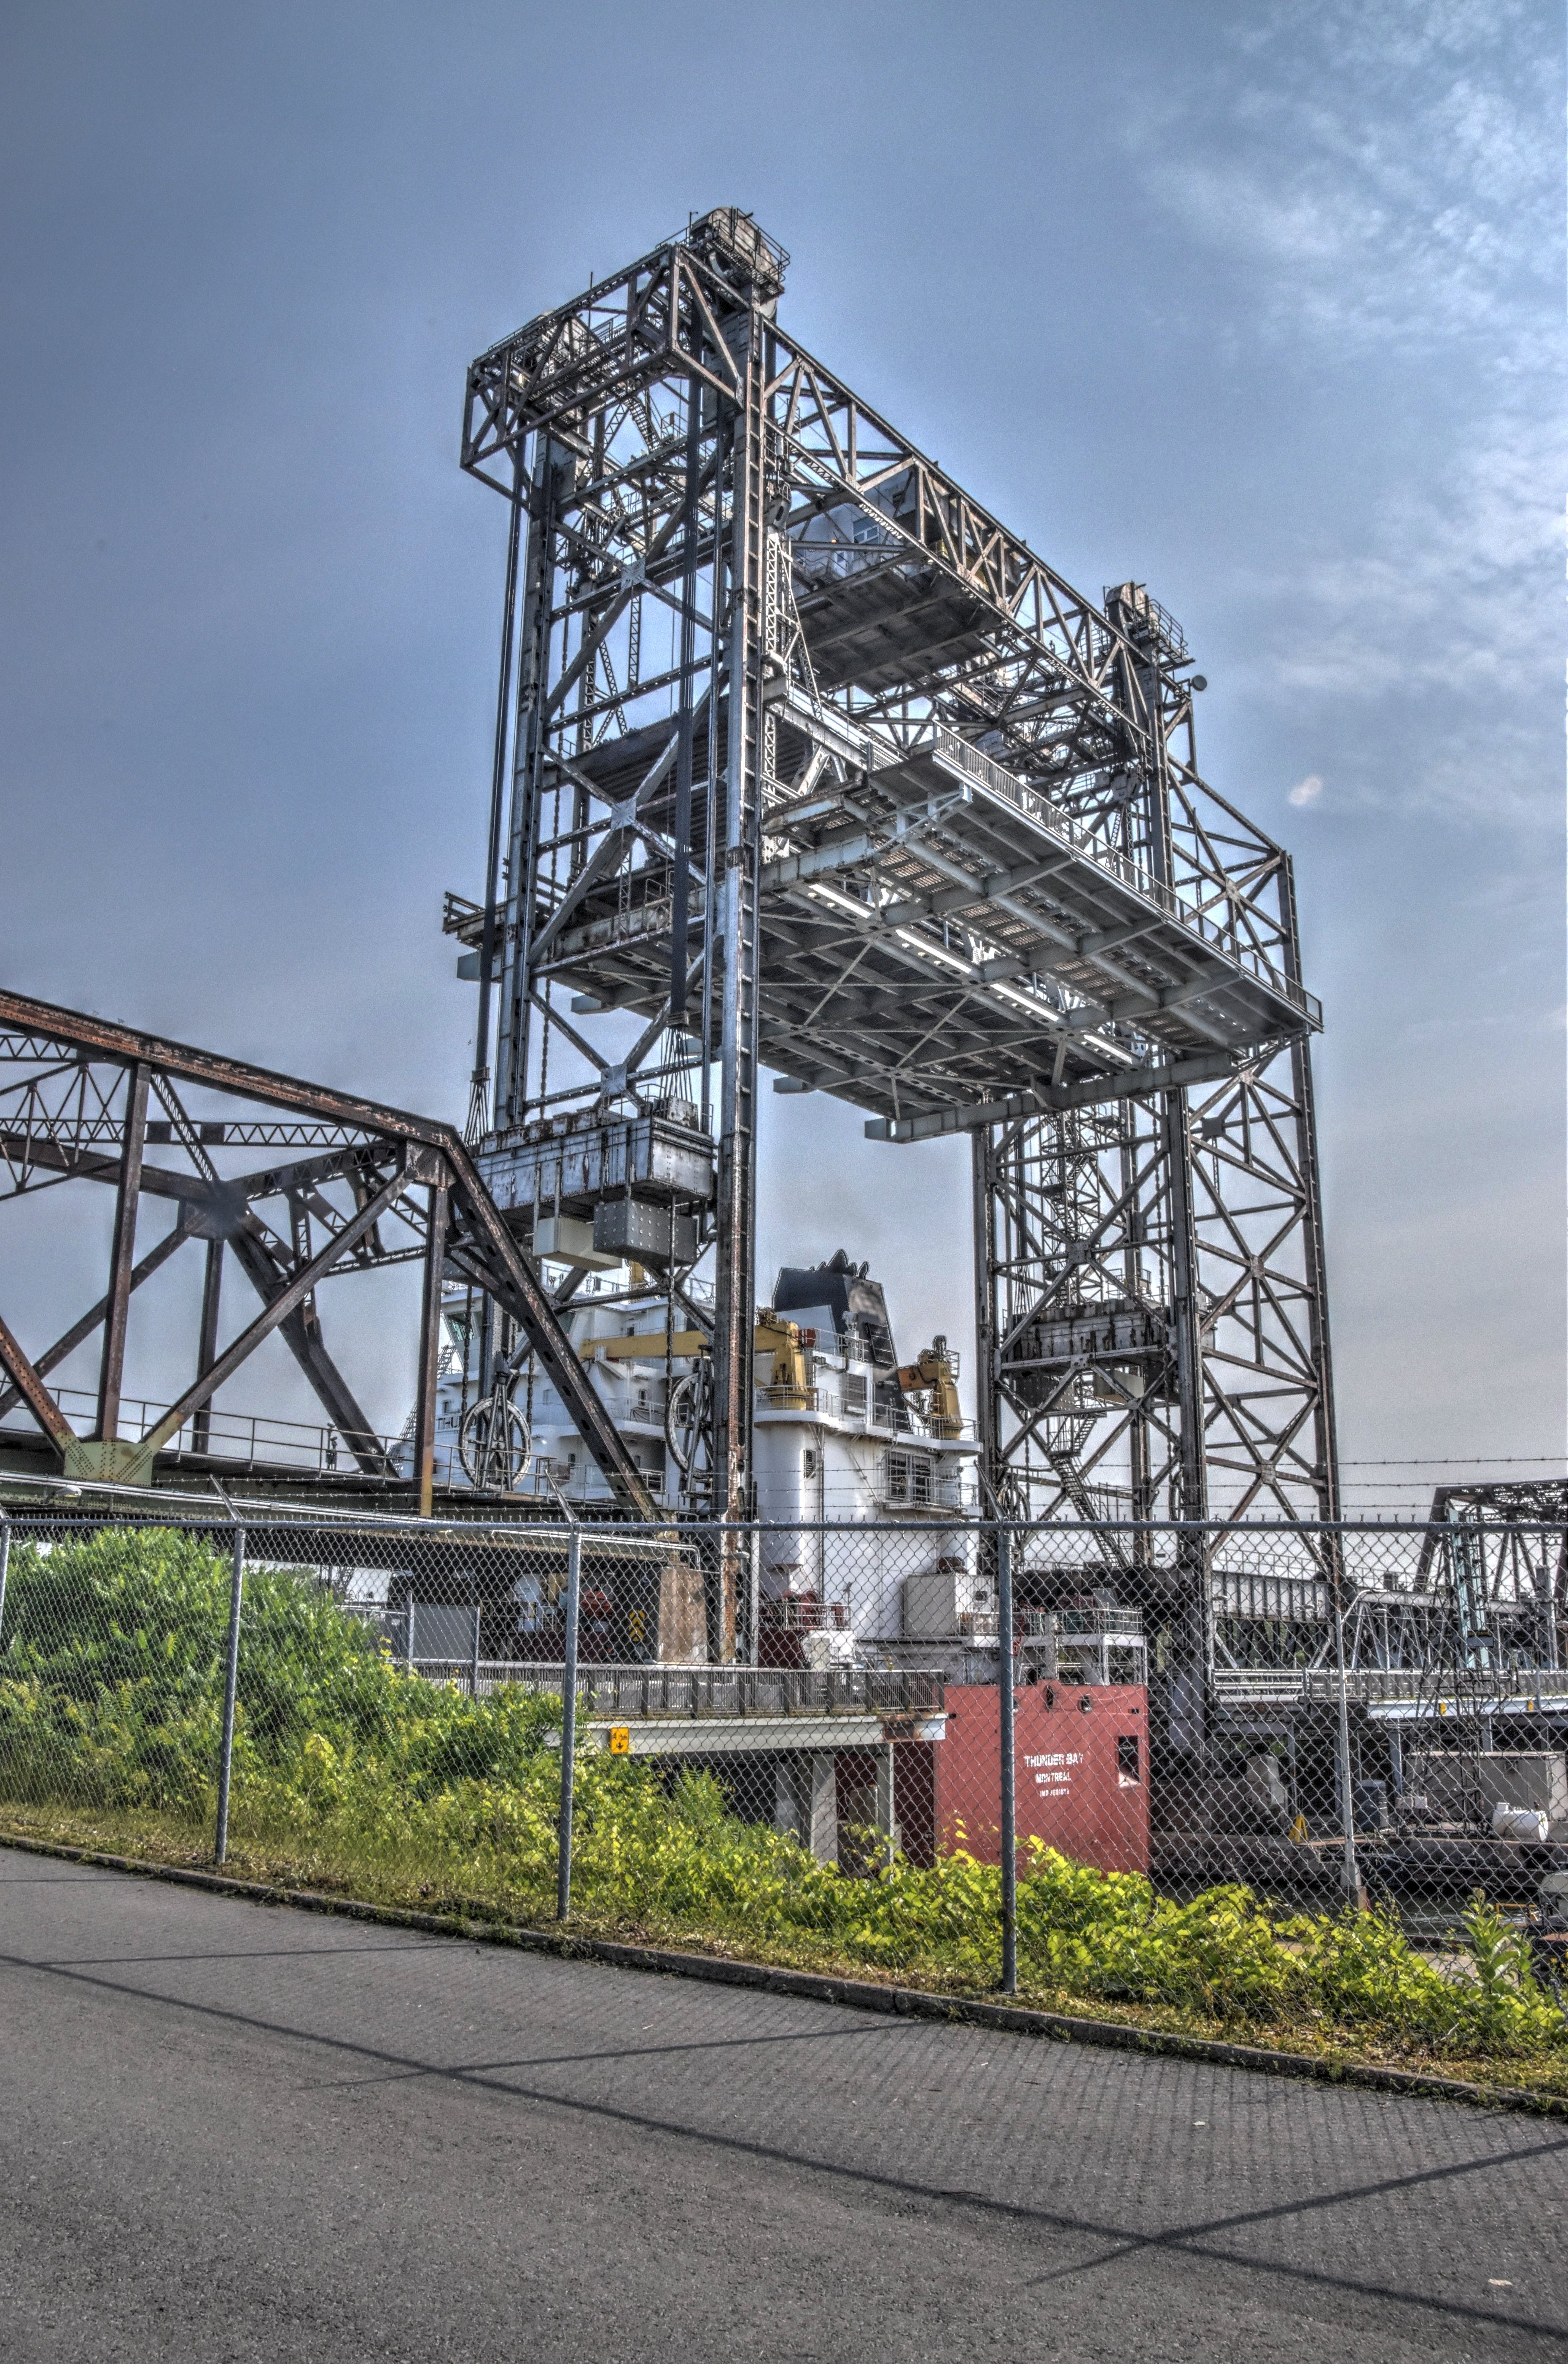
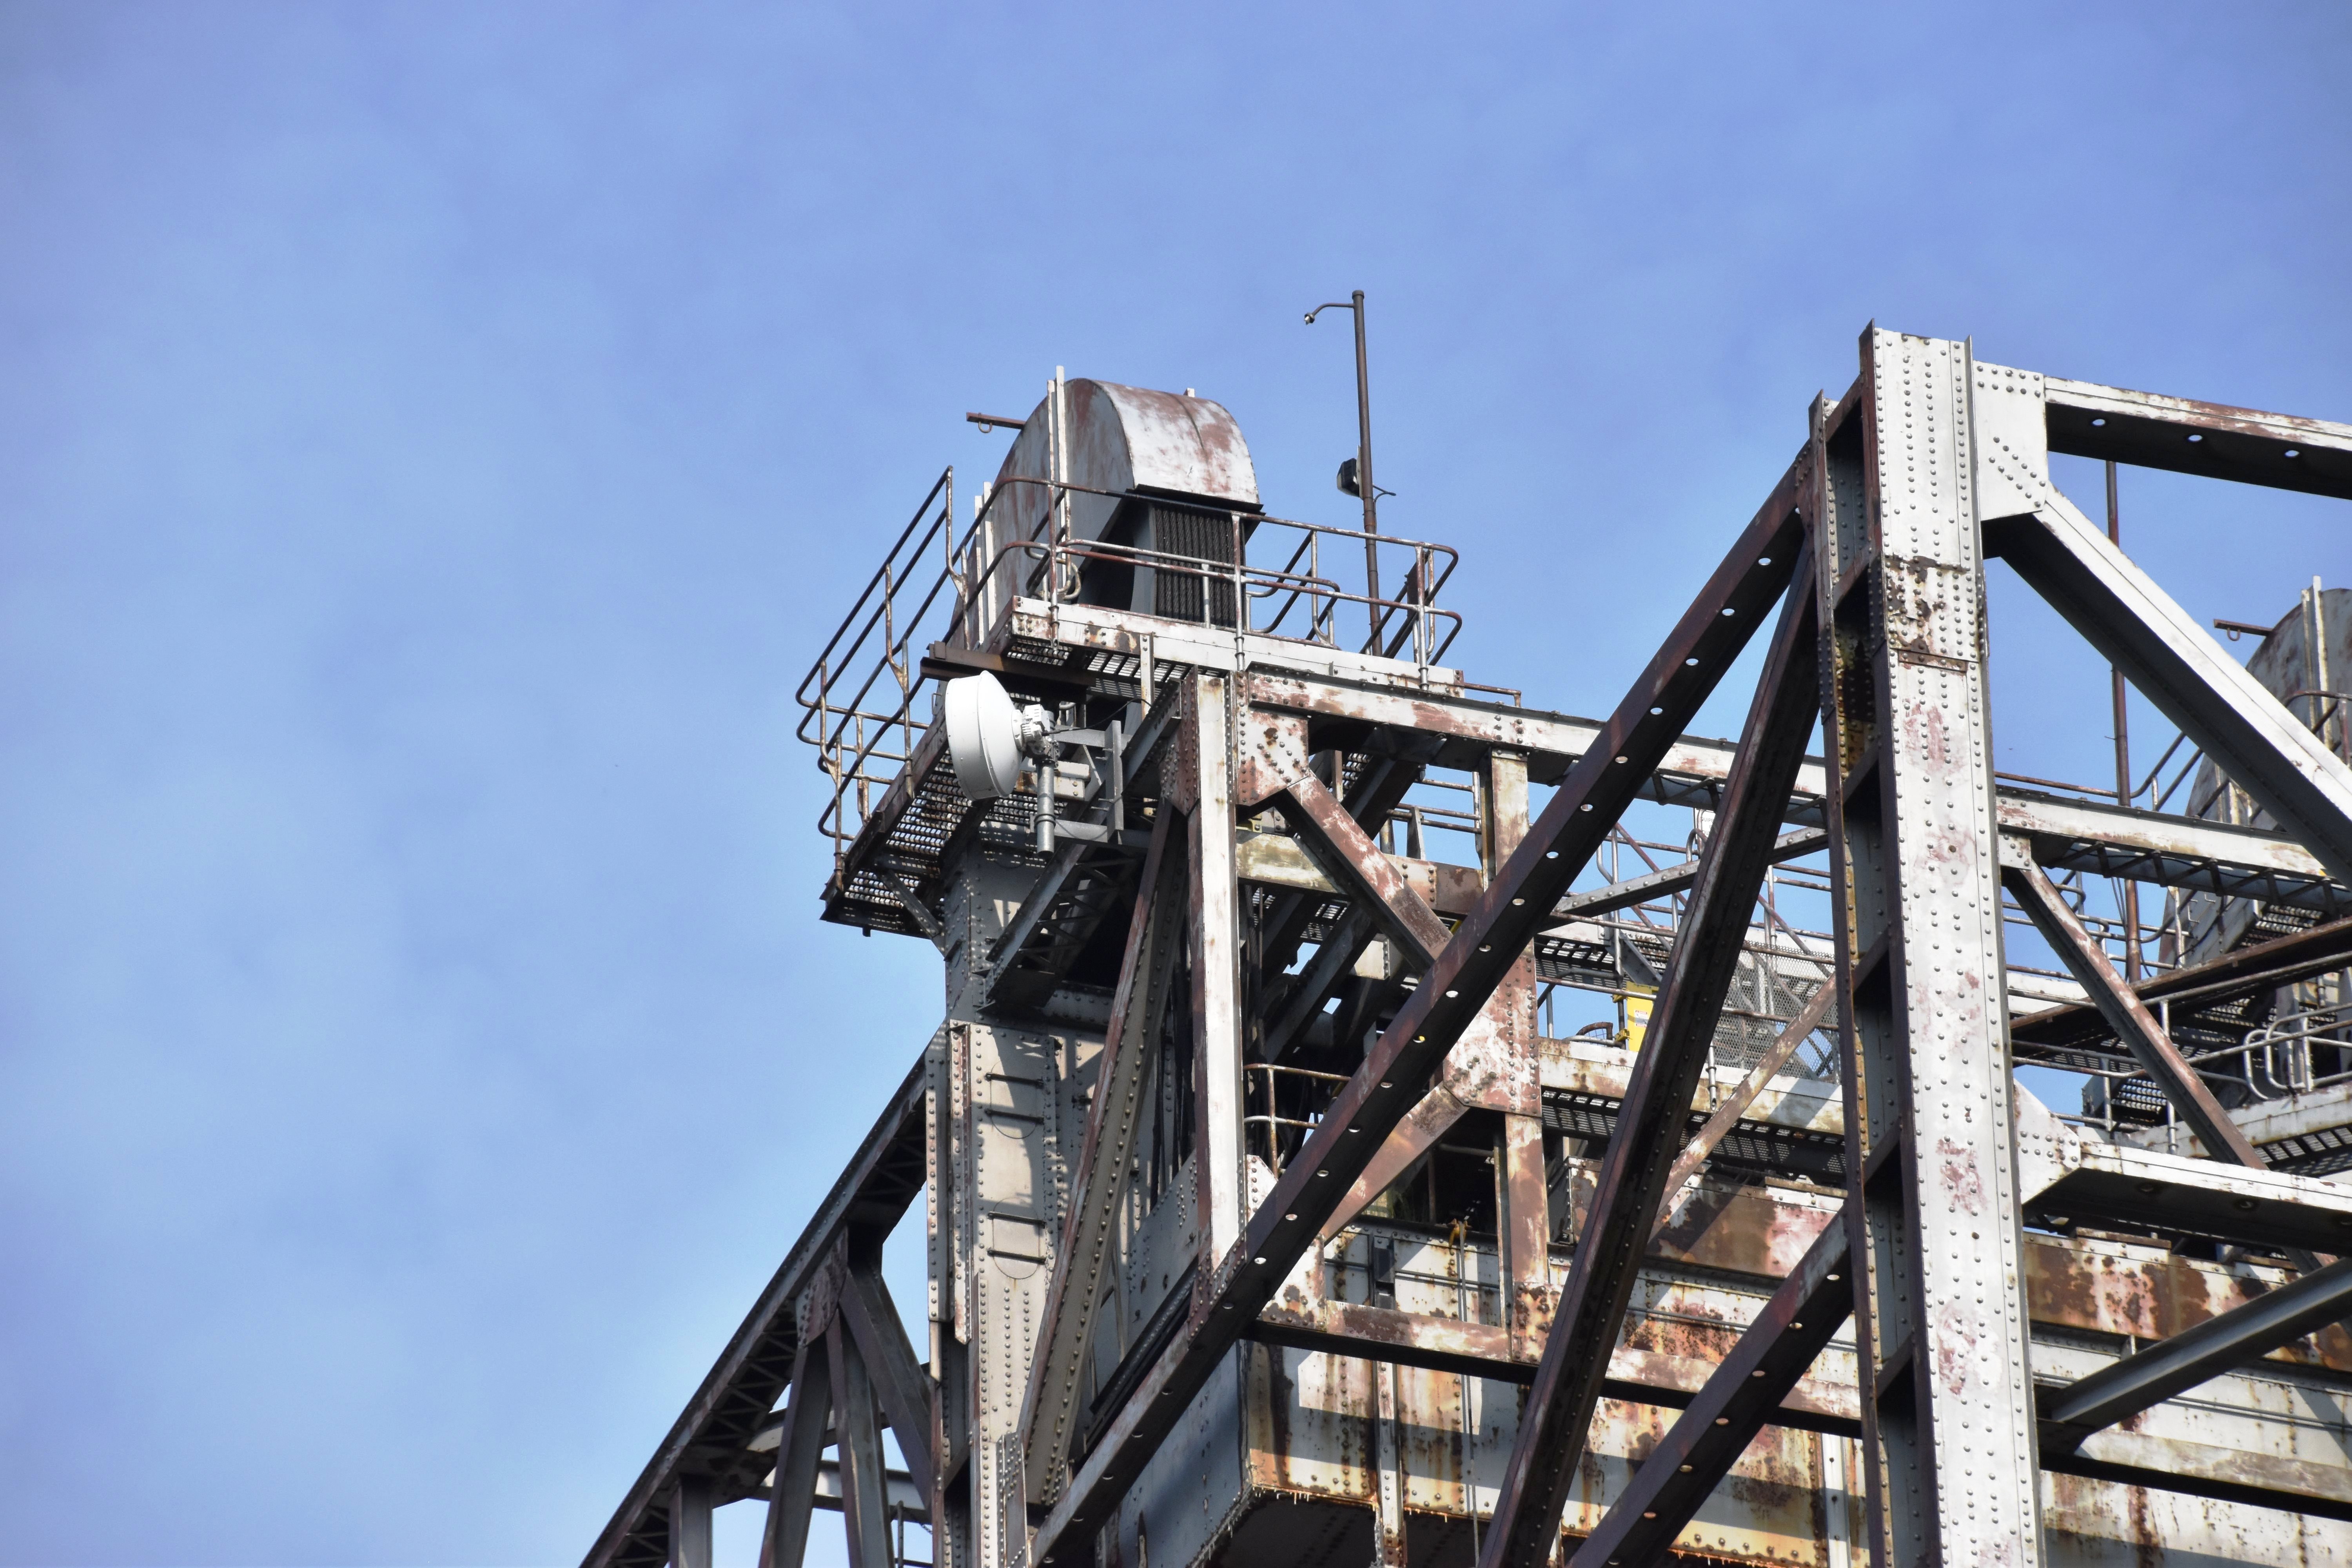
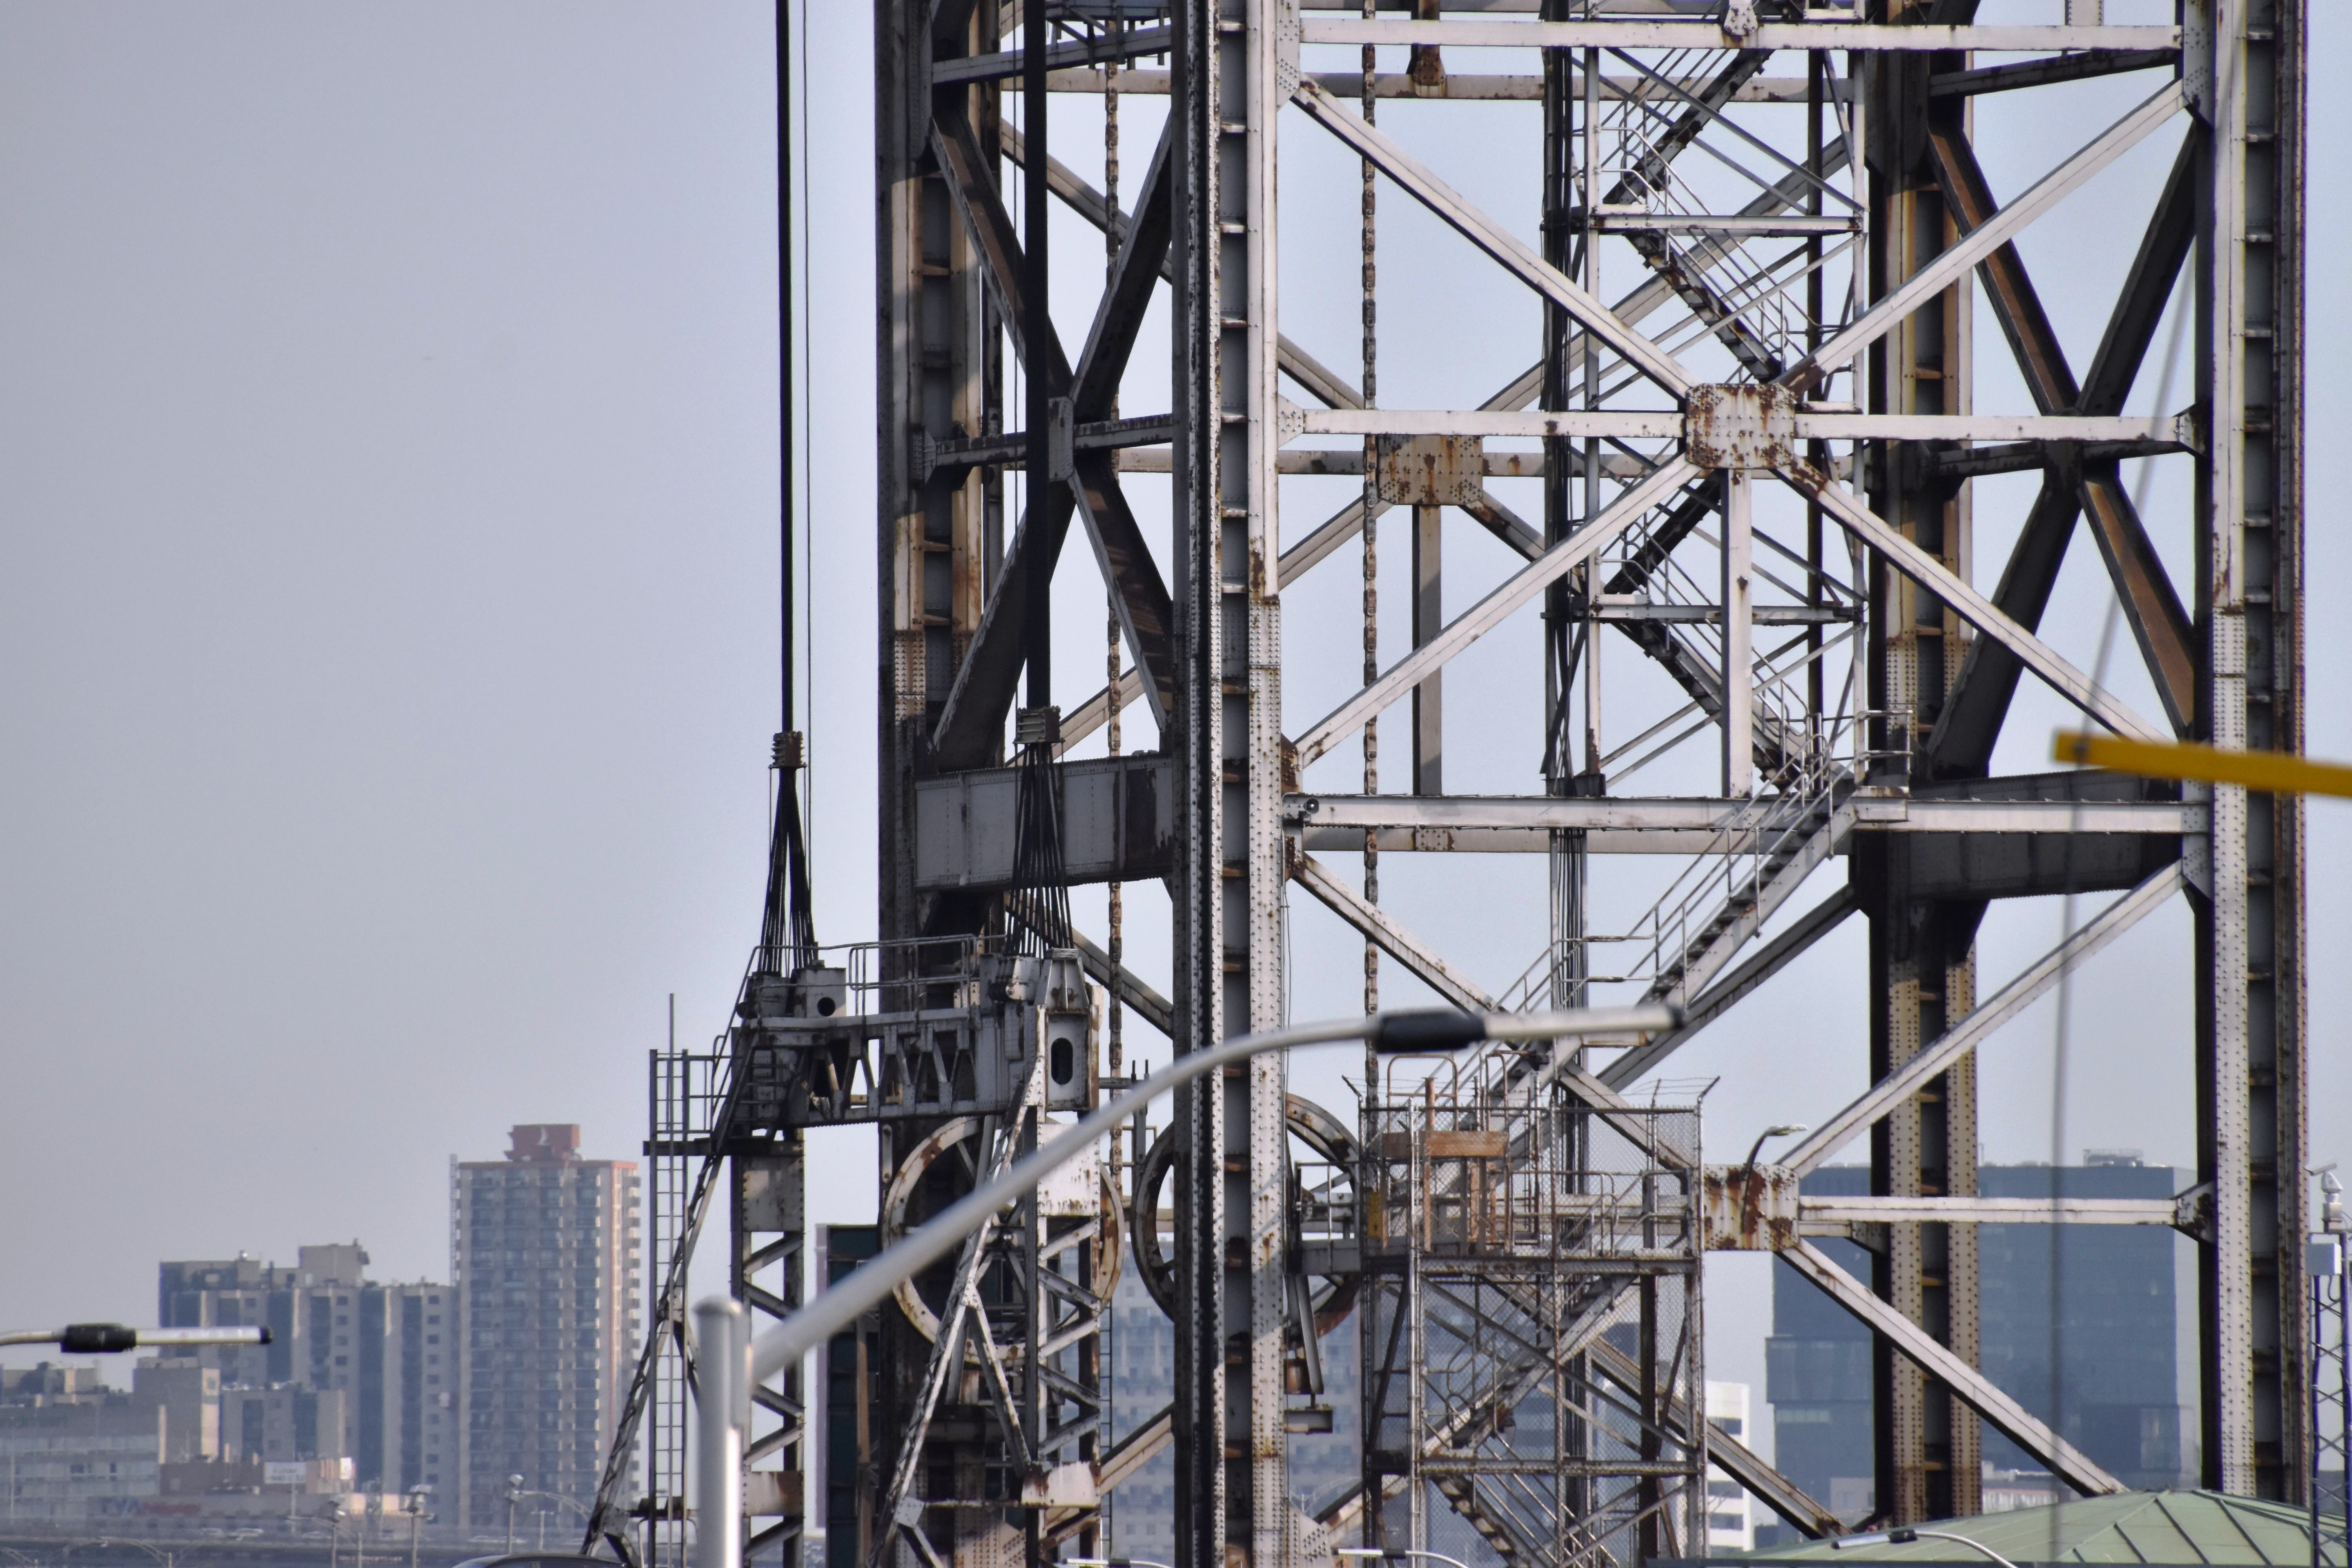
![]()
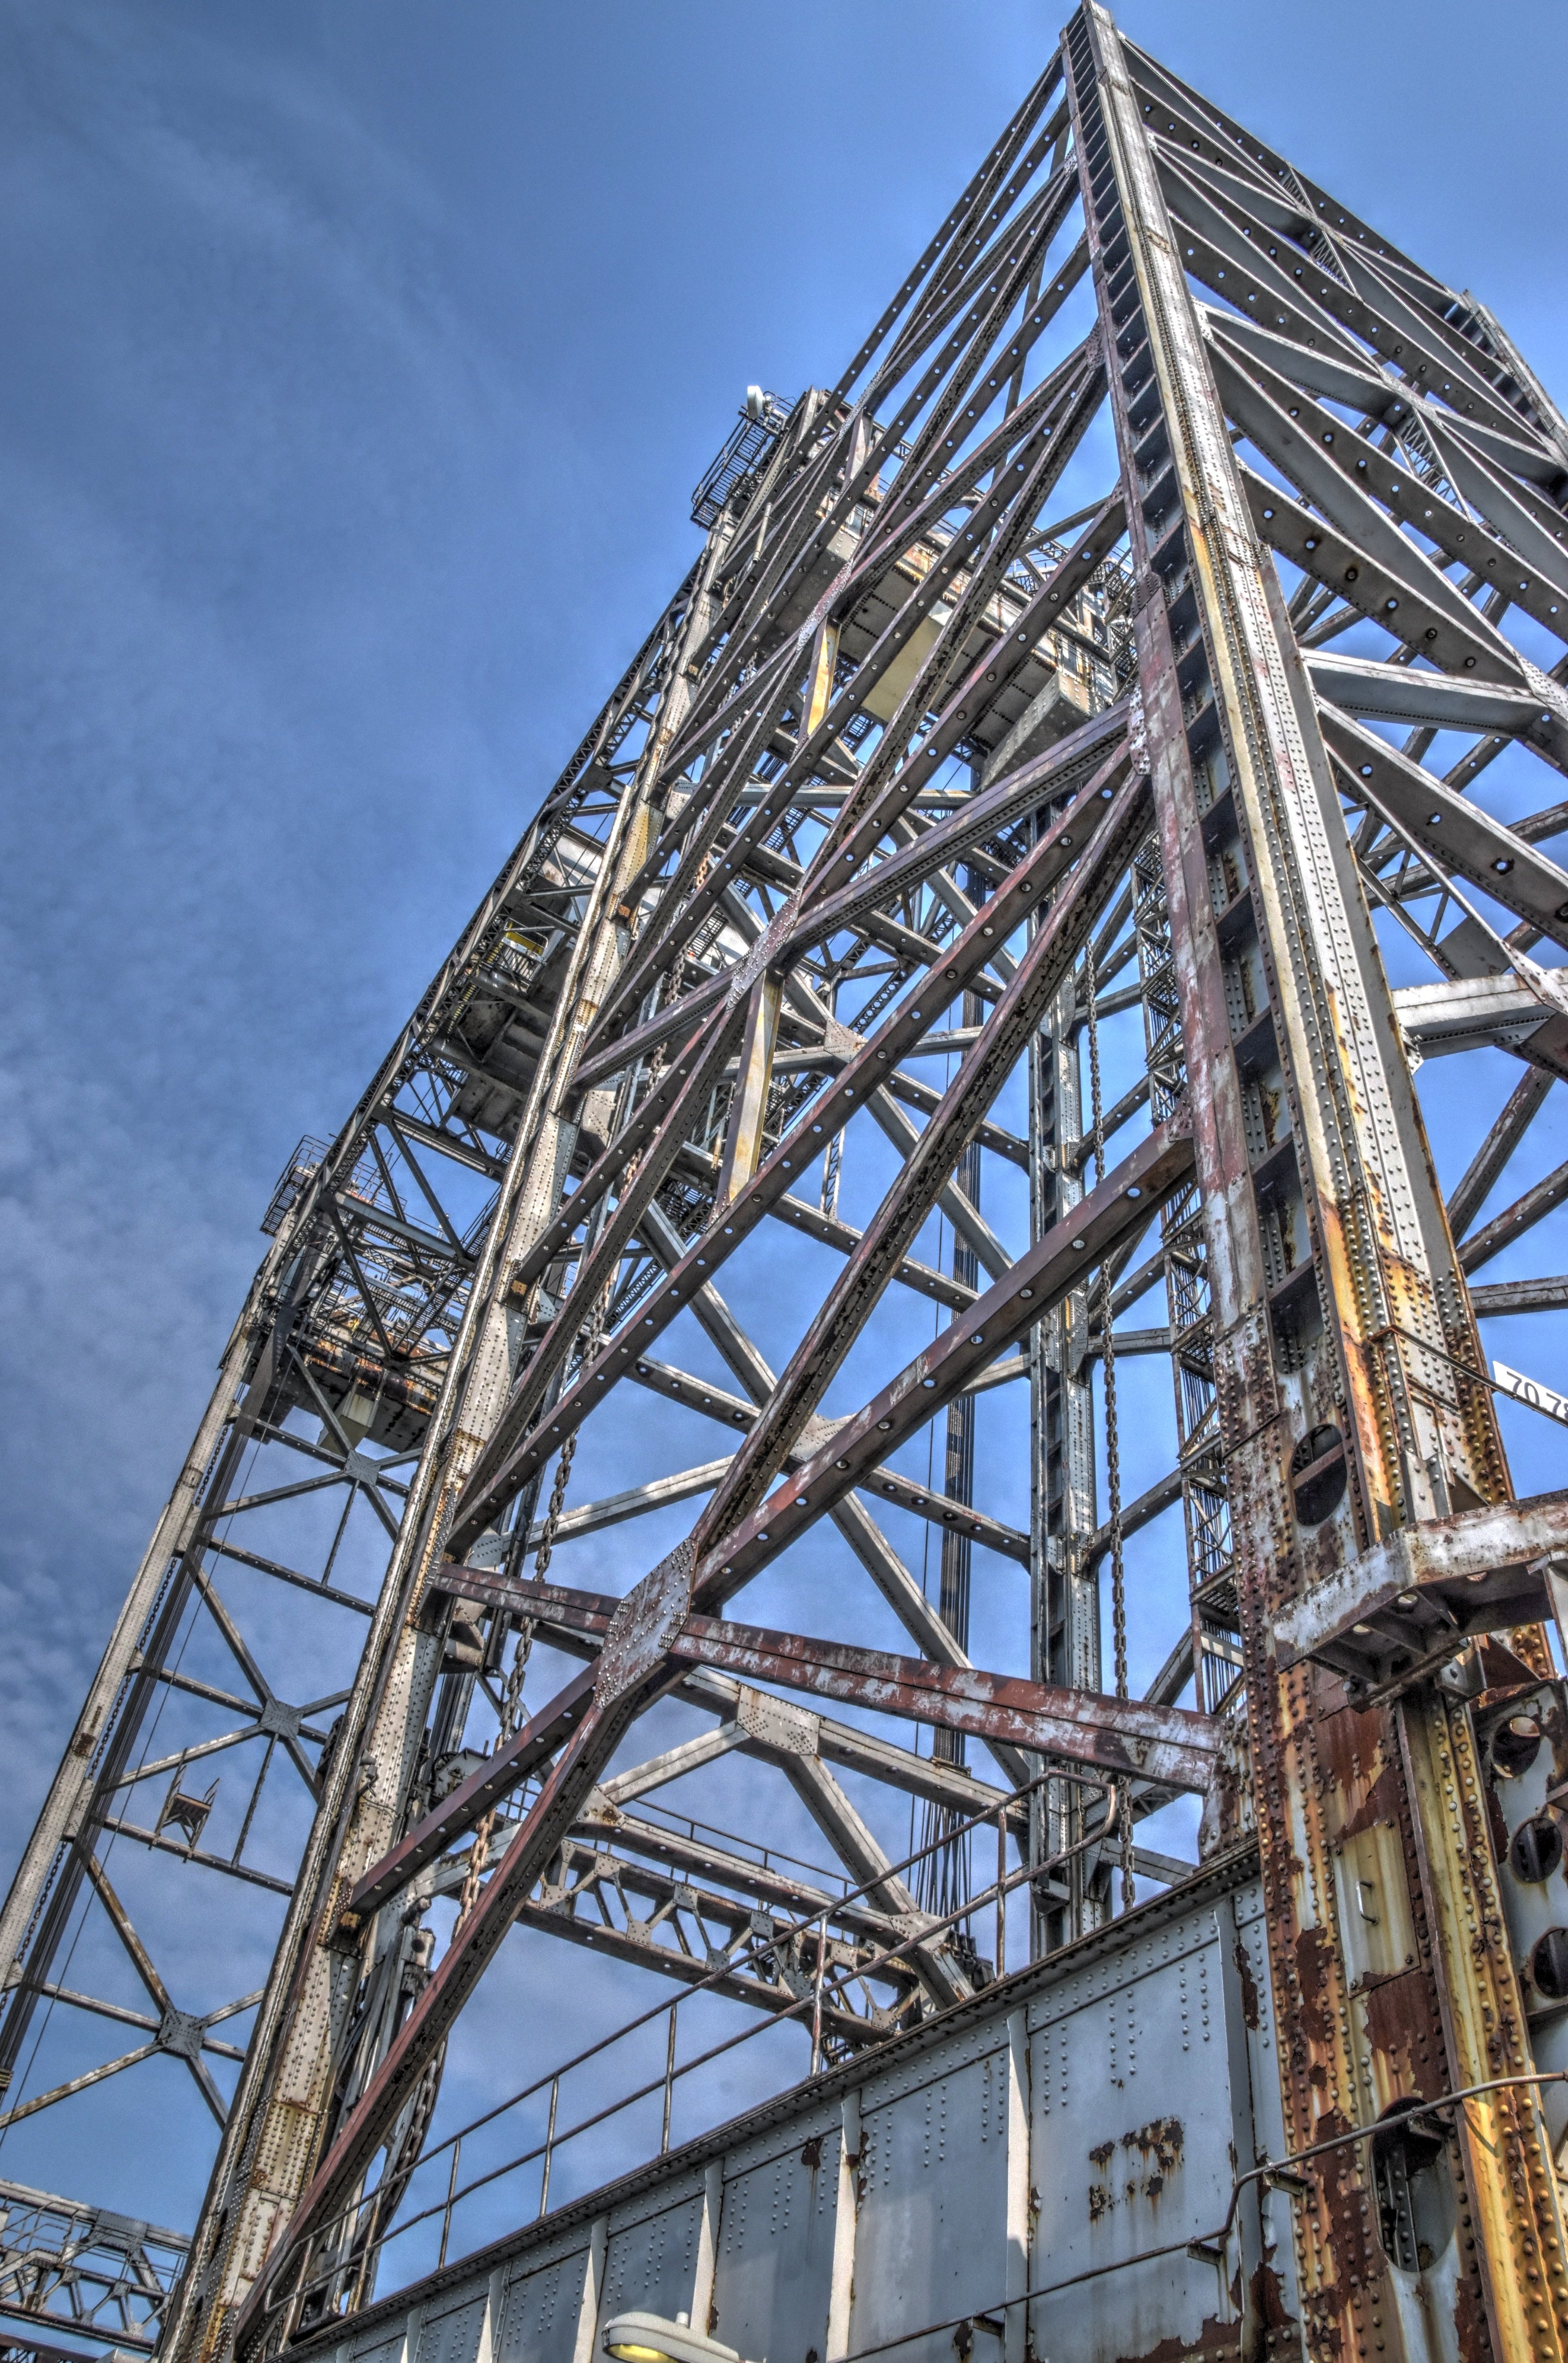


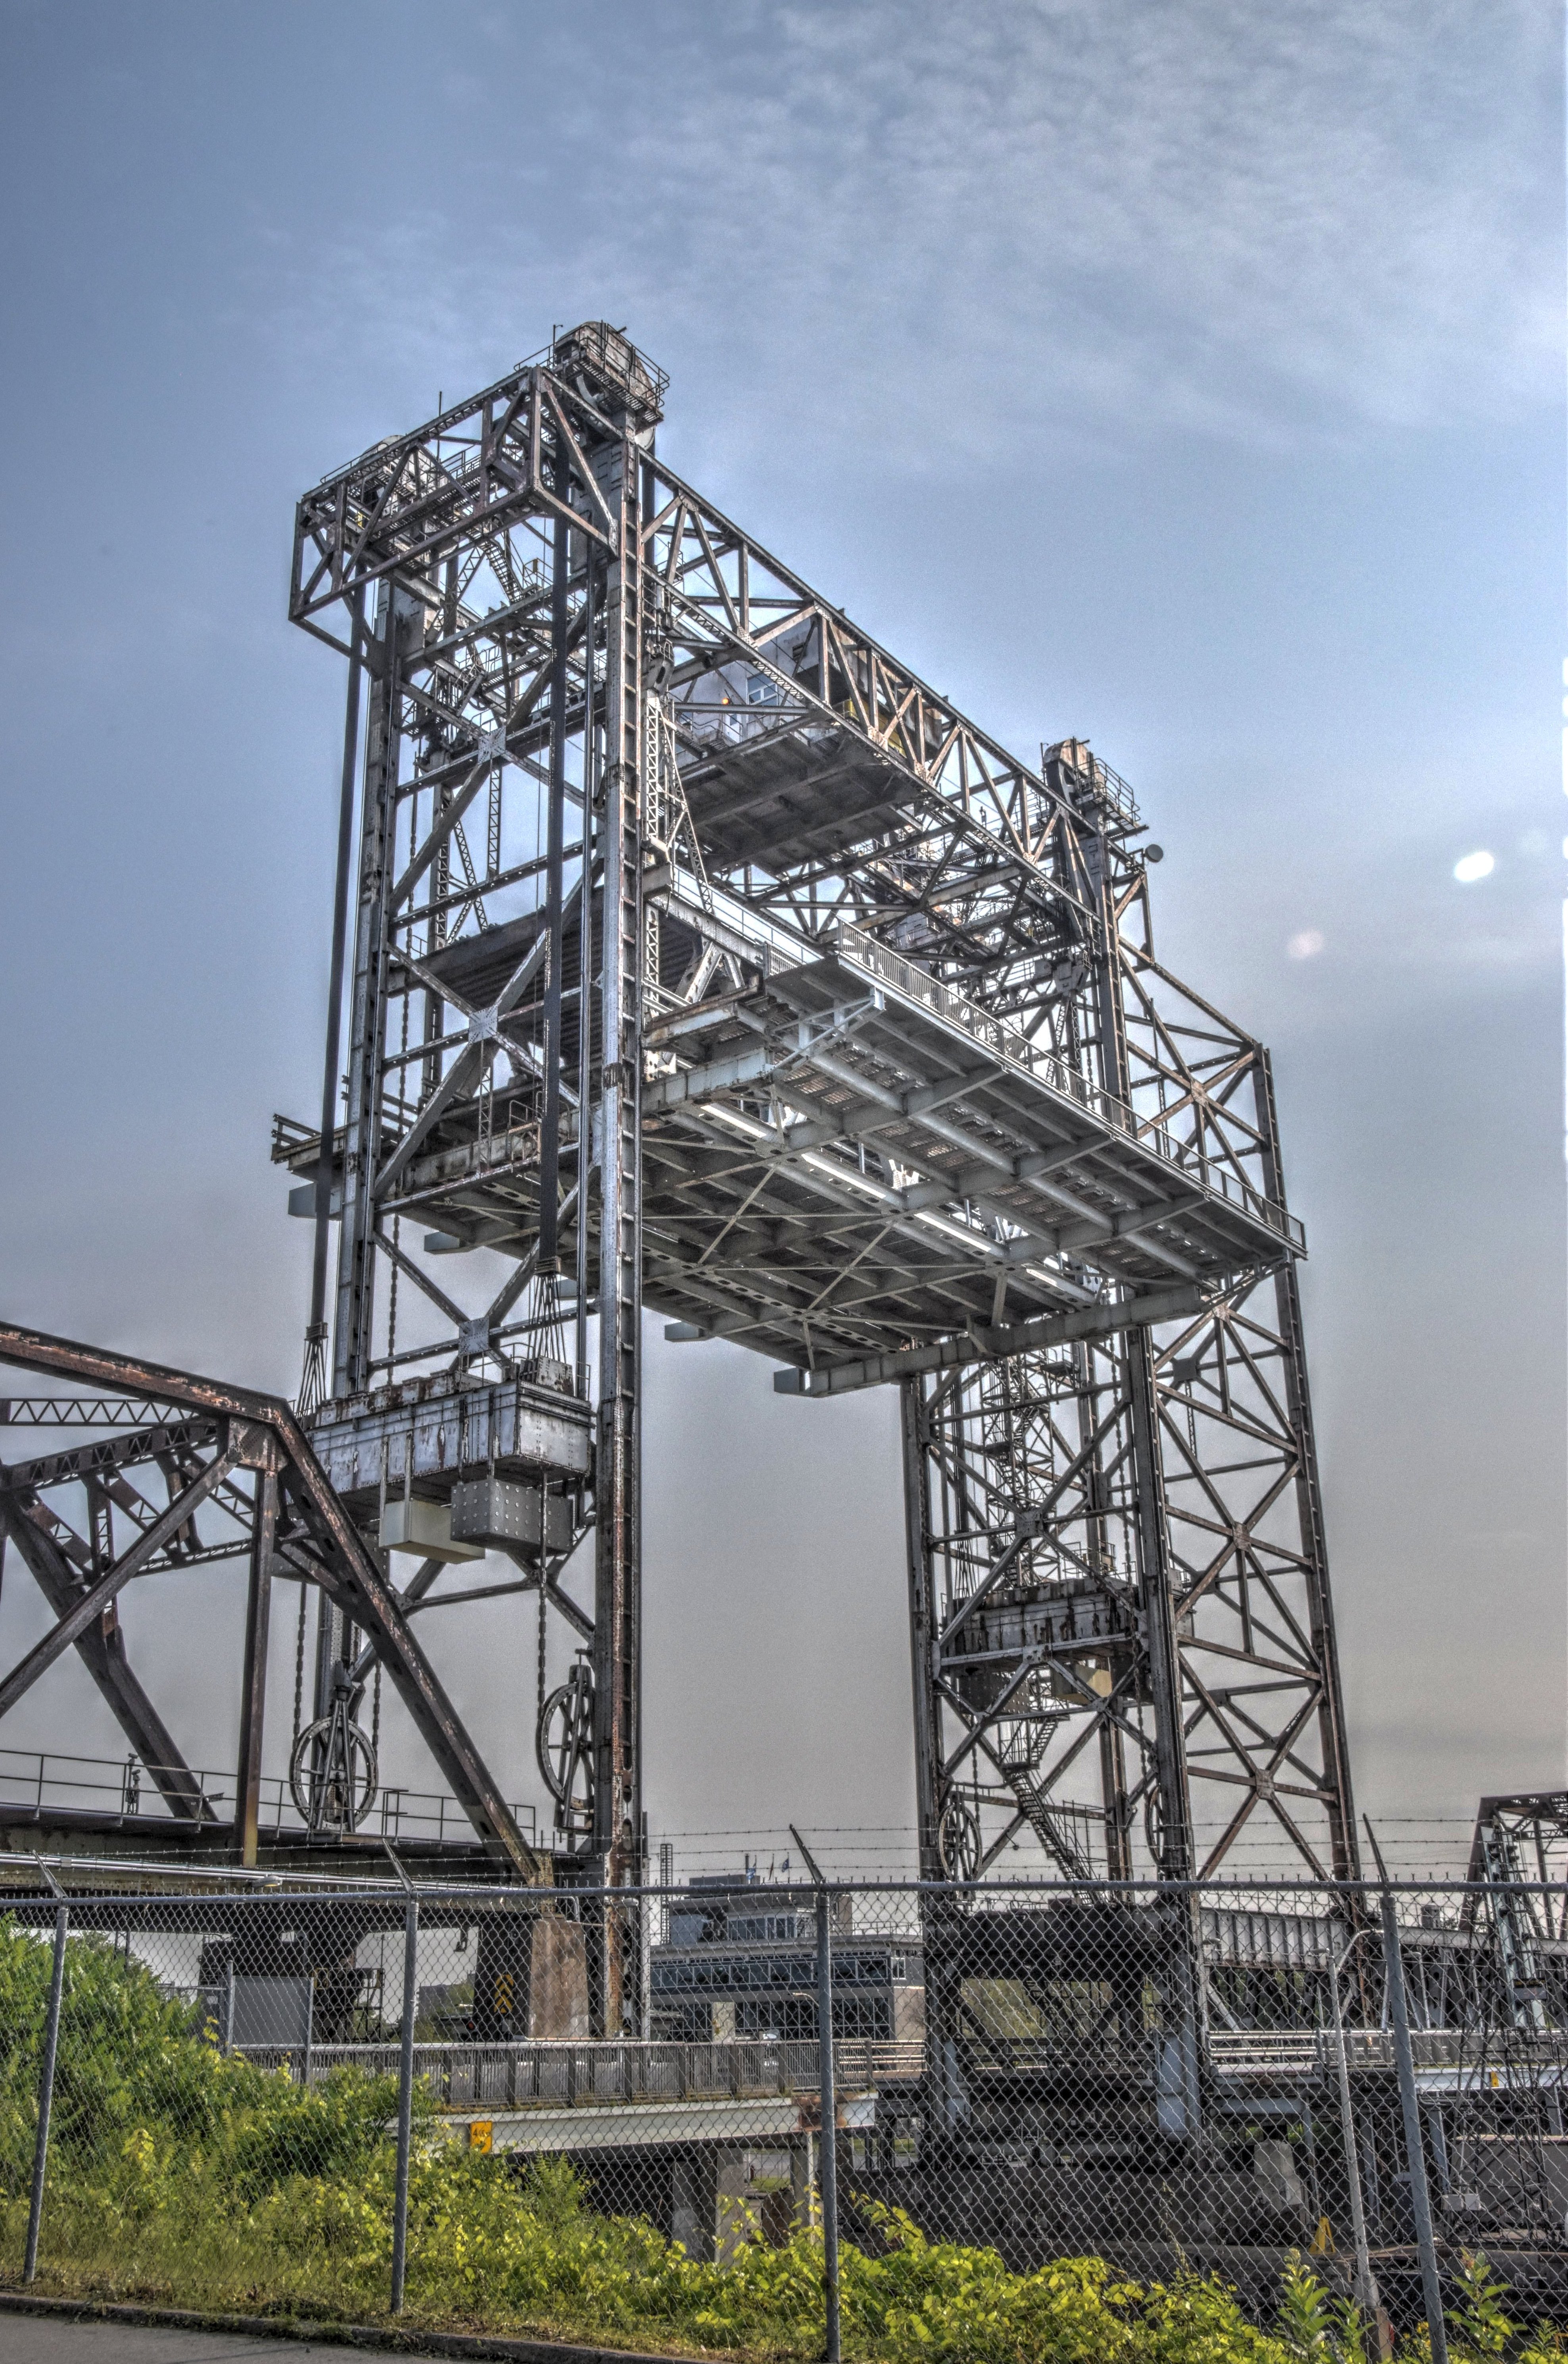
Looking up at east tower, which is larger than the west tower because it was designed to handle a second lift span to the east in the future if needed.
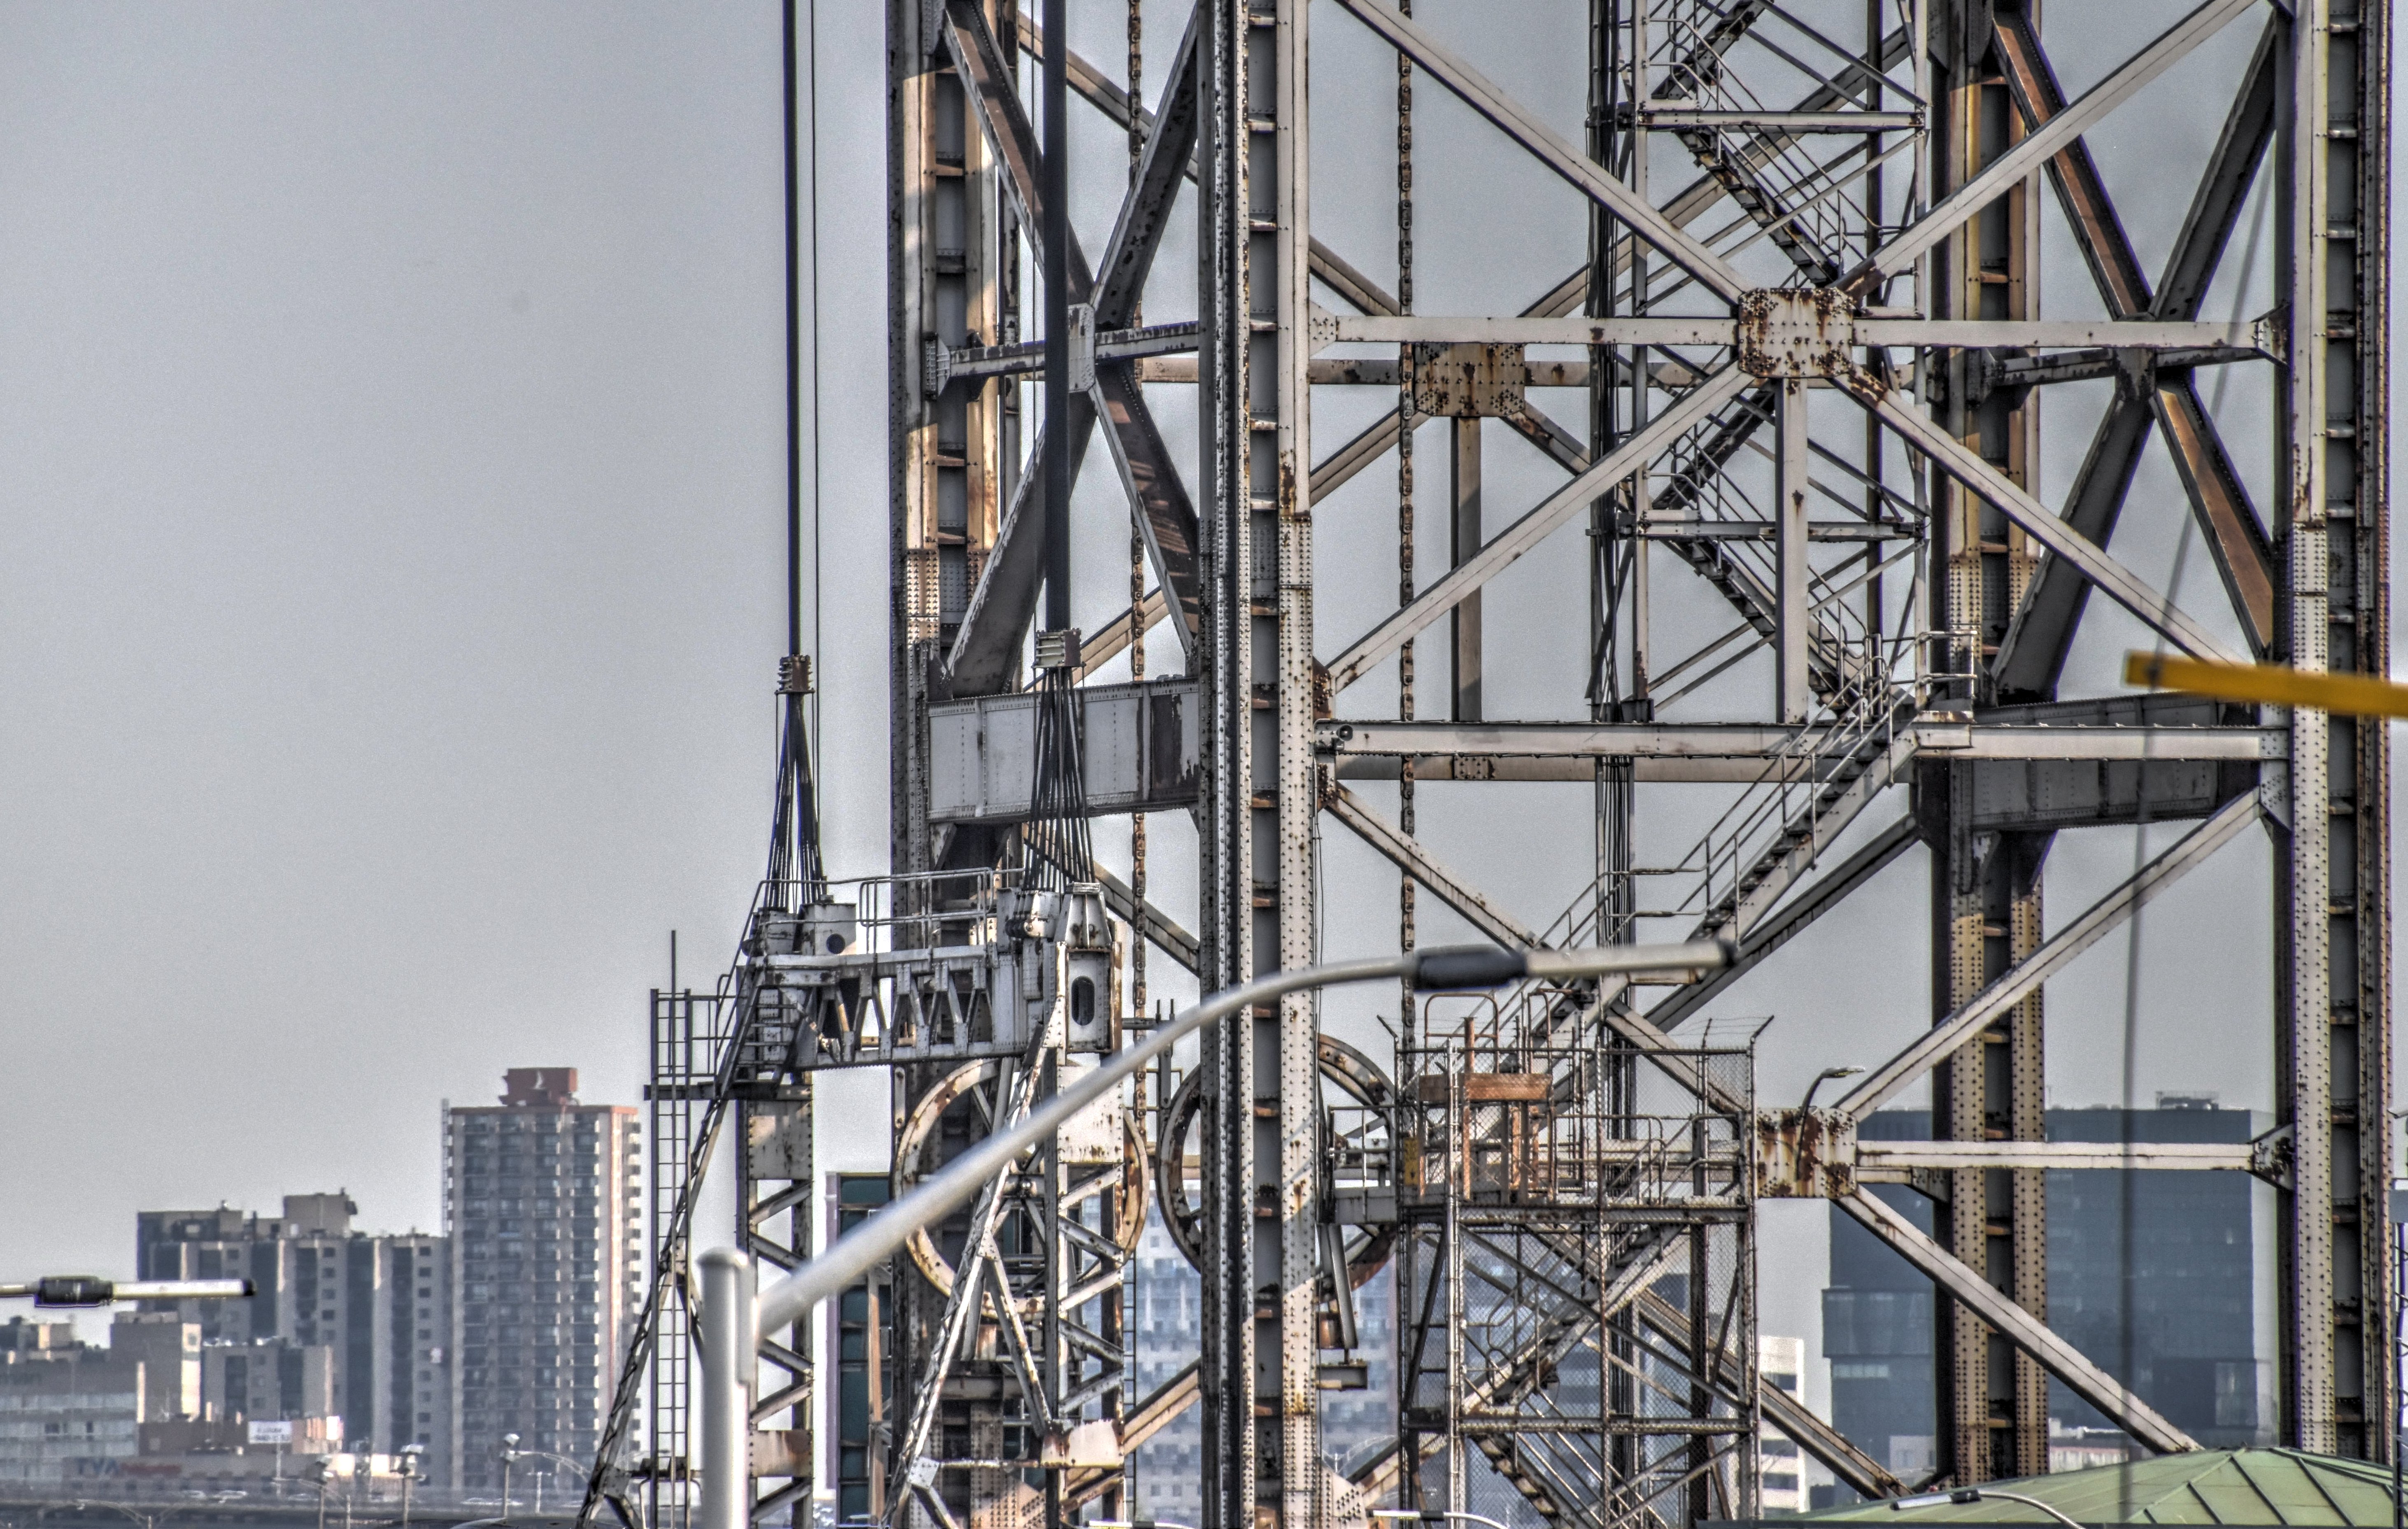
![]()


Looking up at both towers.
![]()

Distant view of tower.
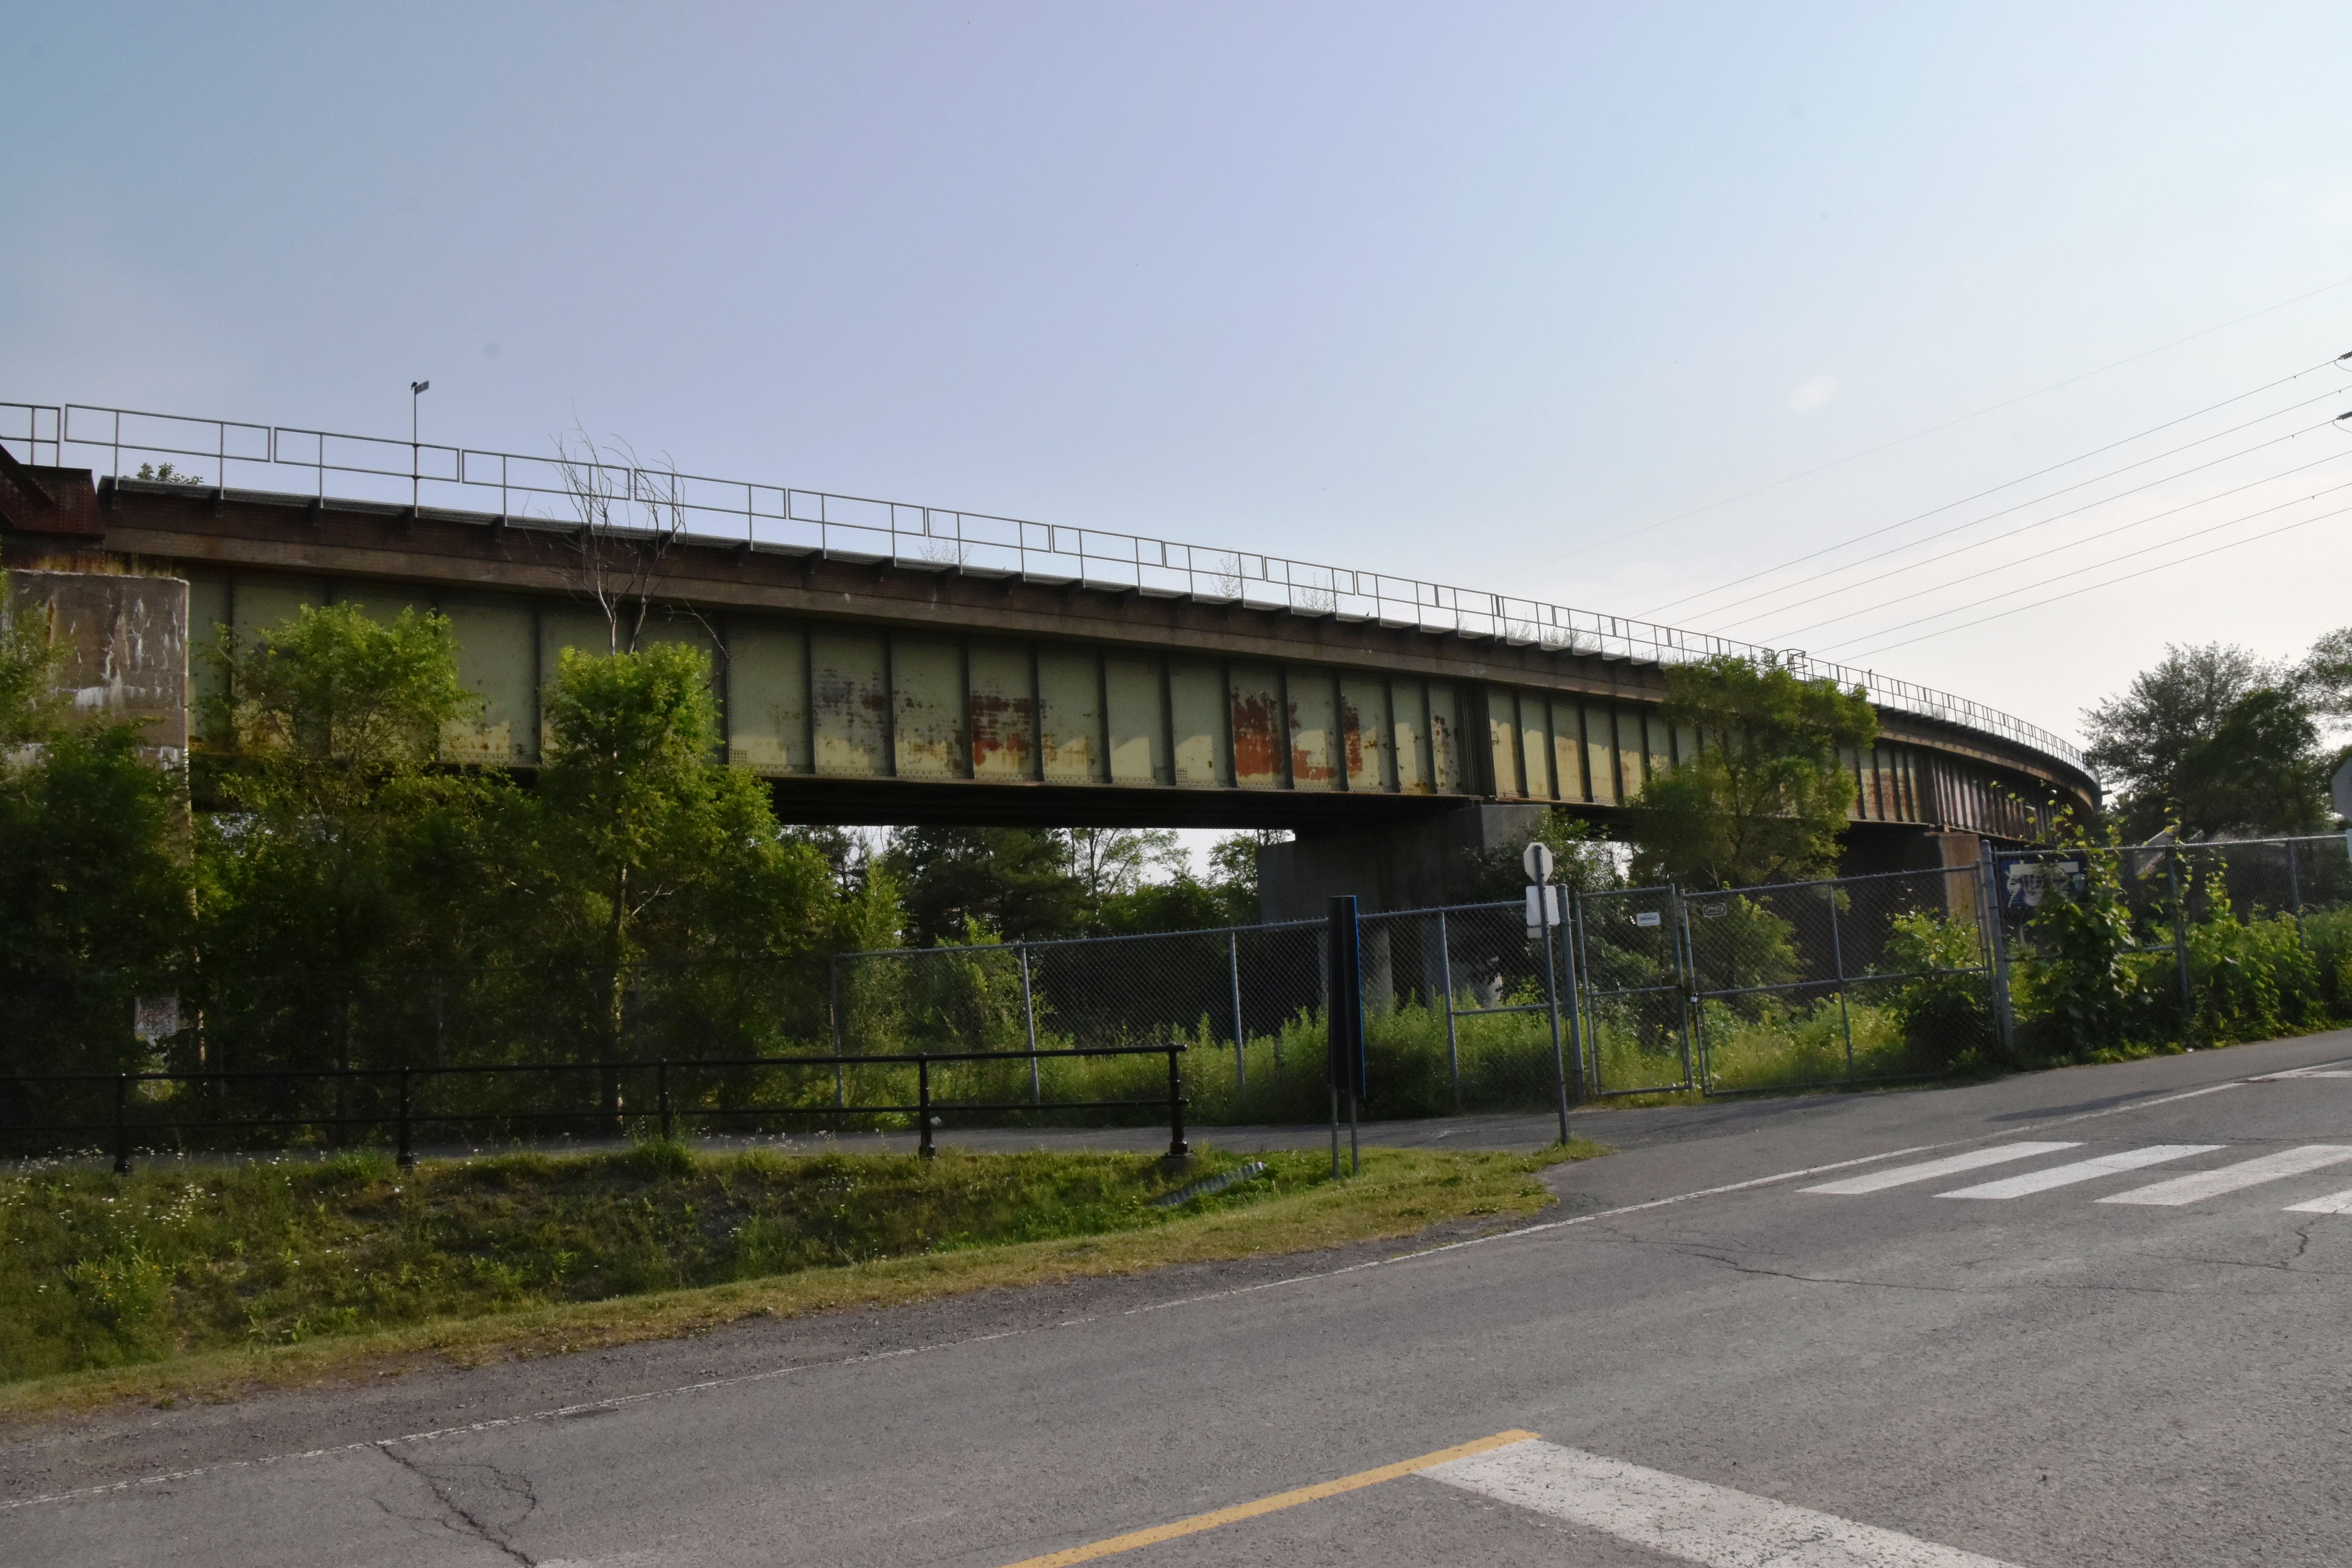
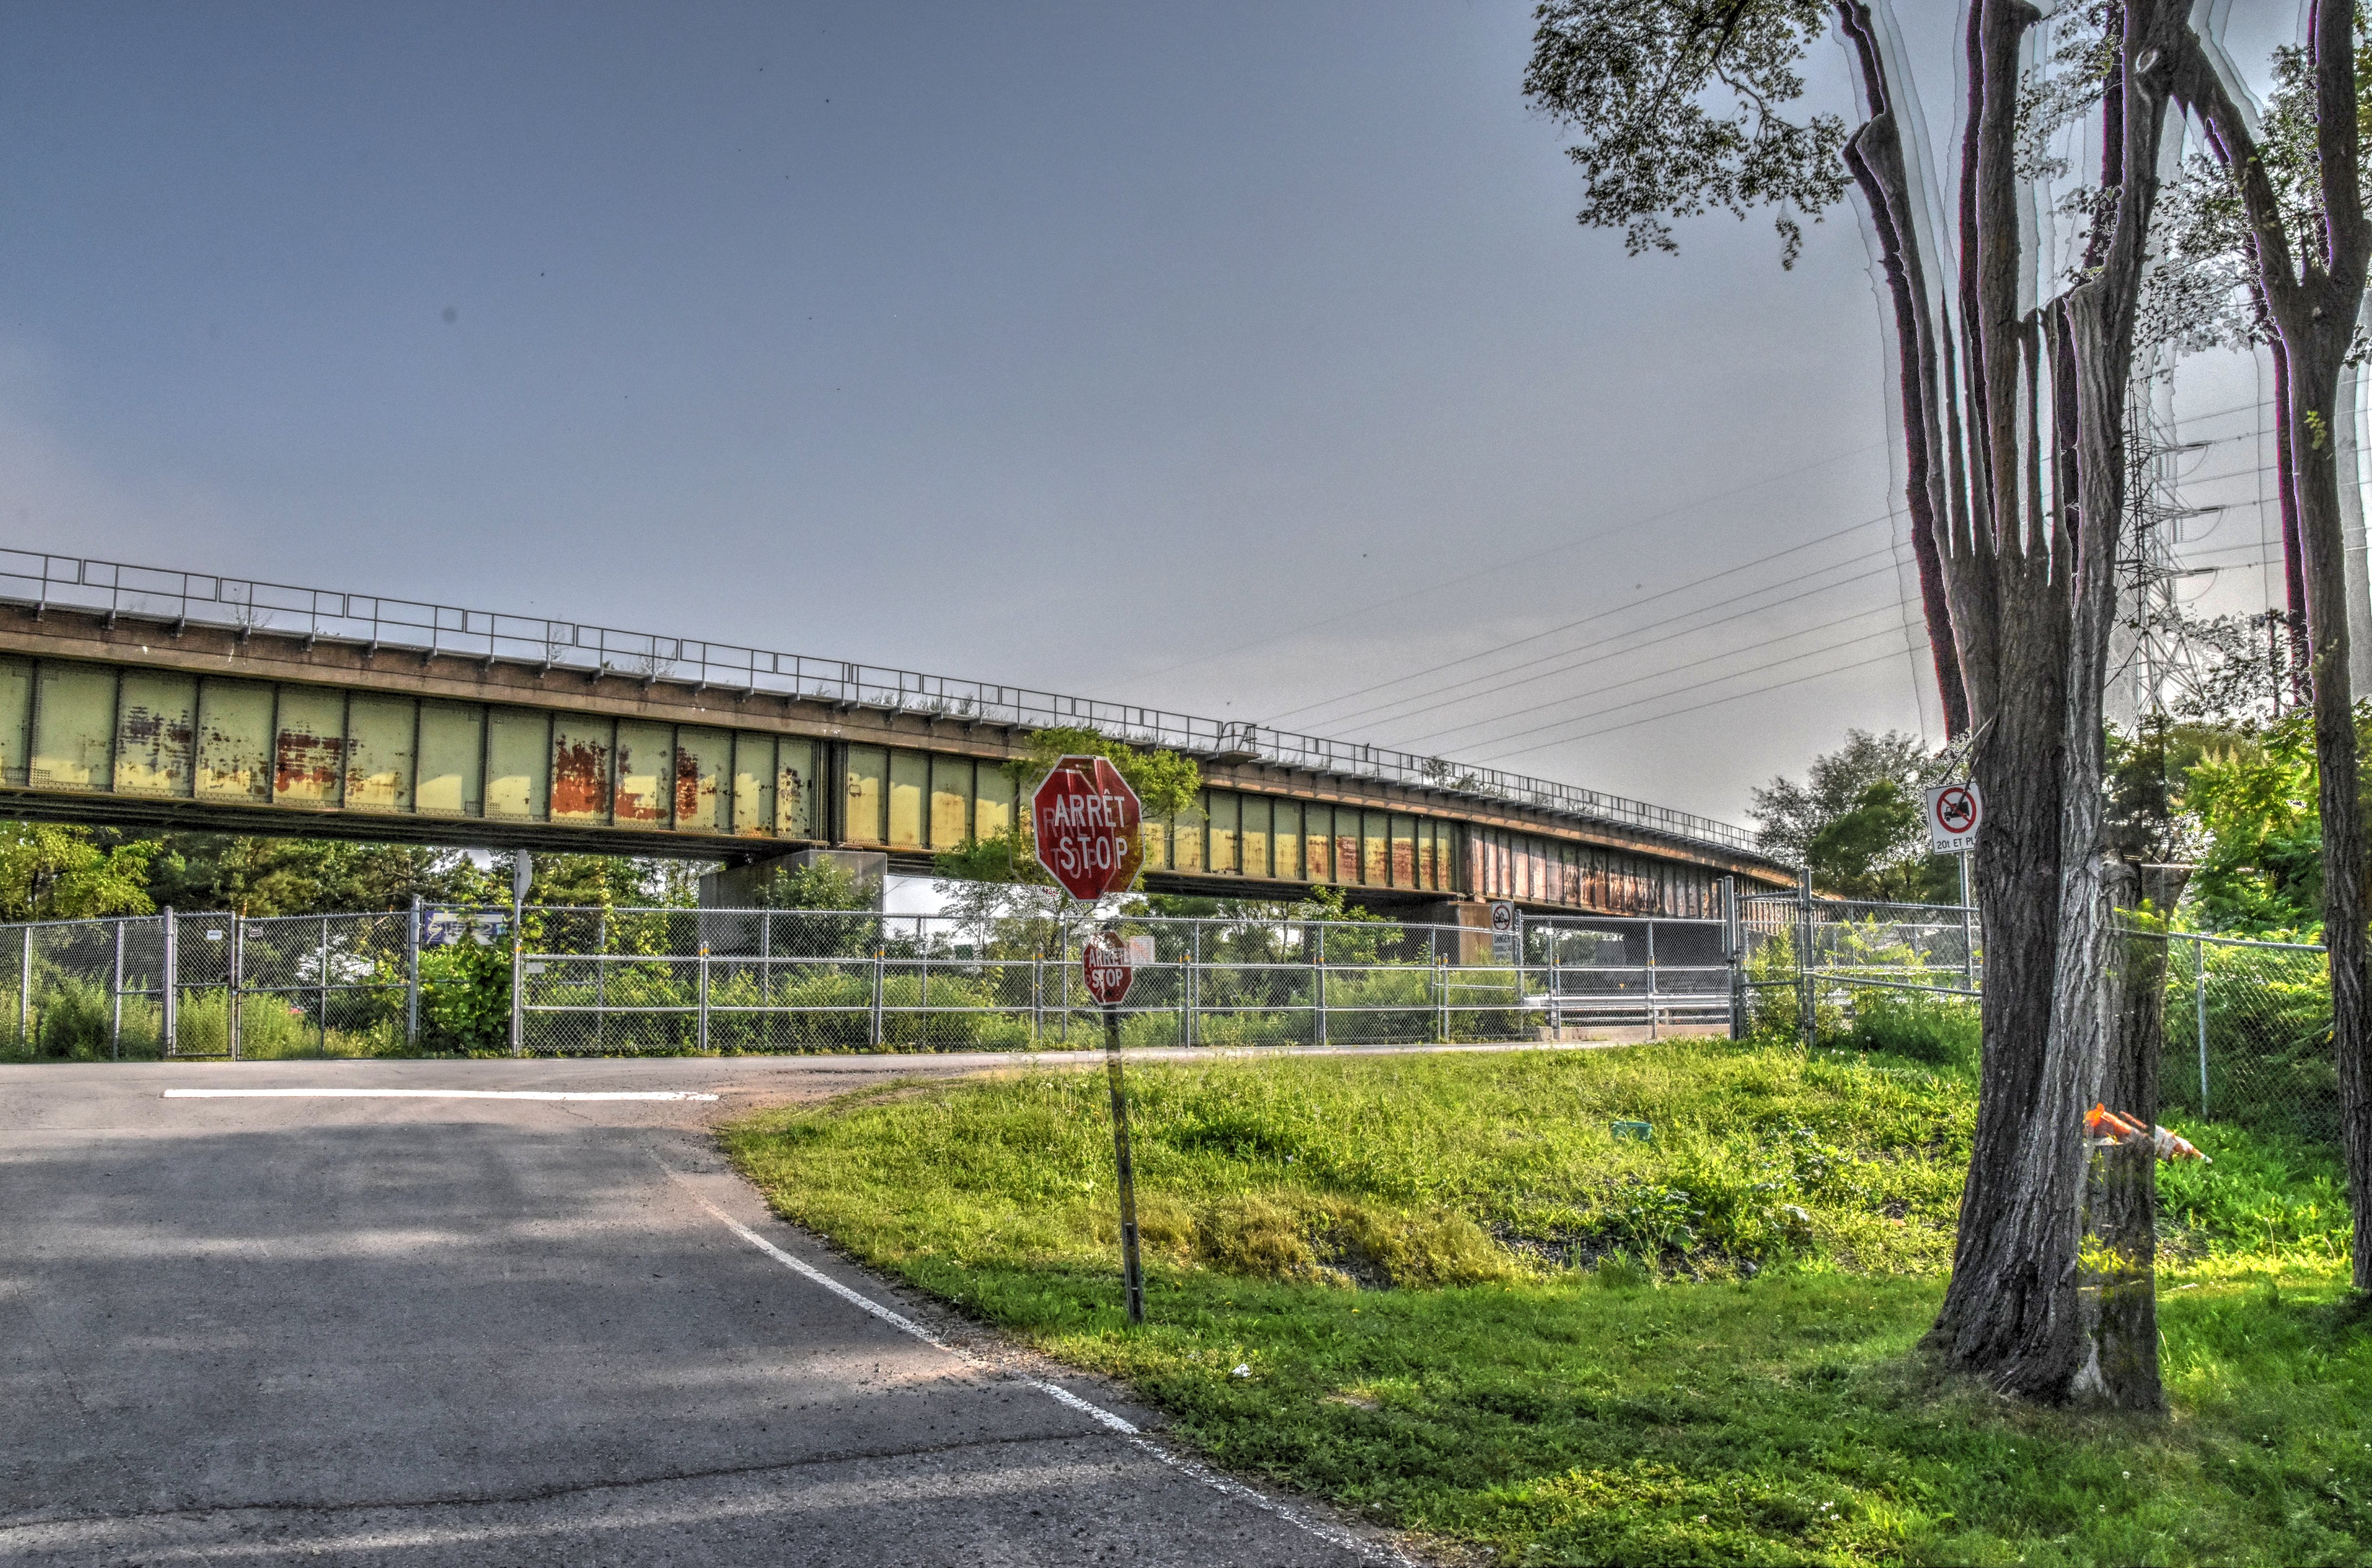
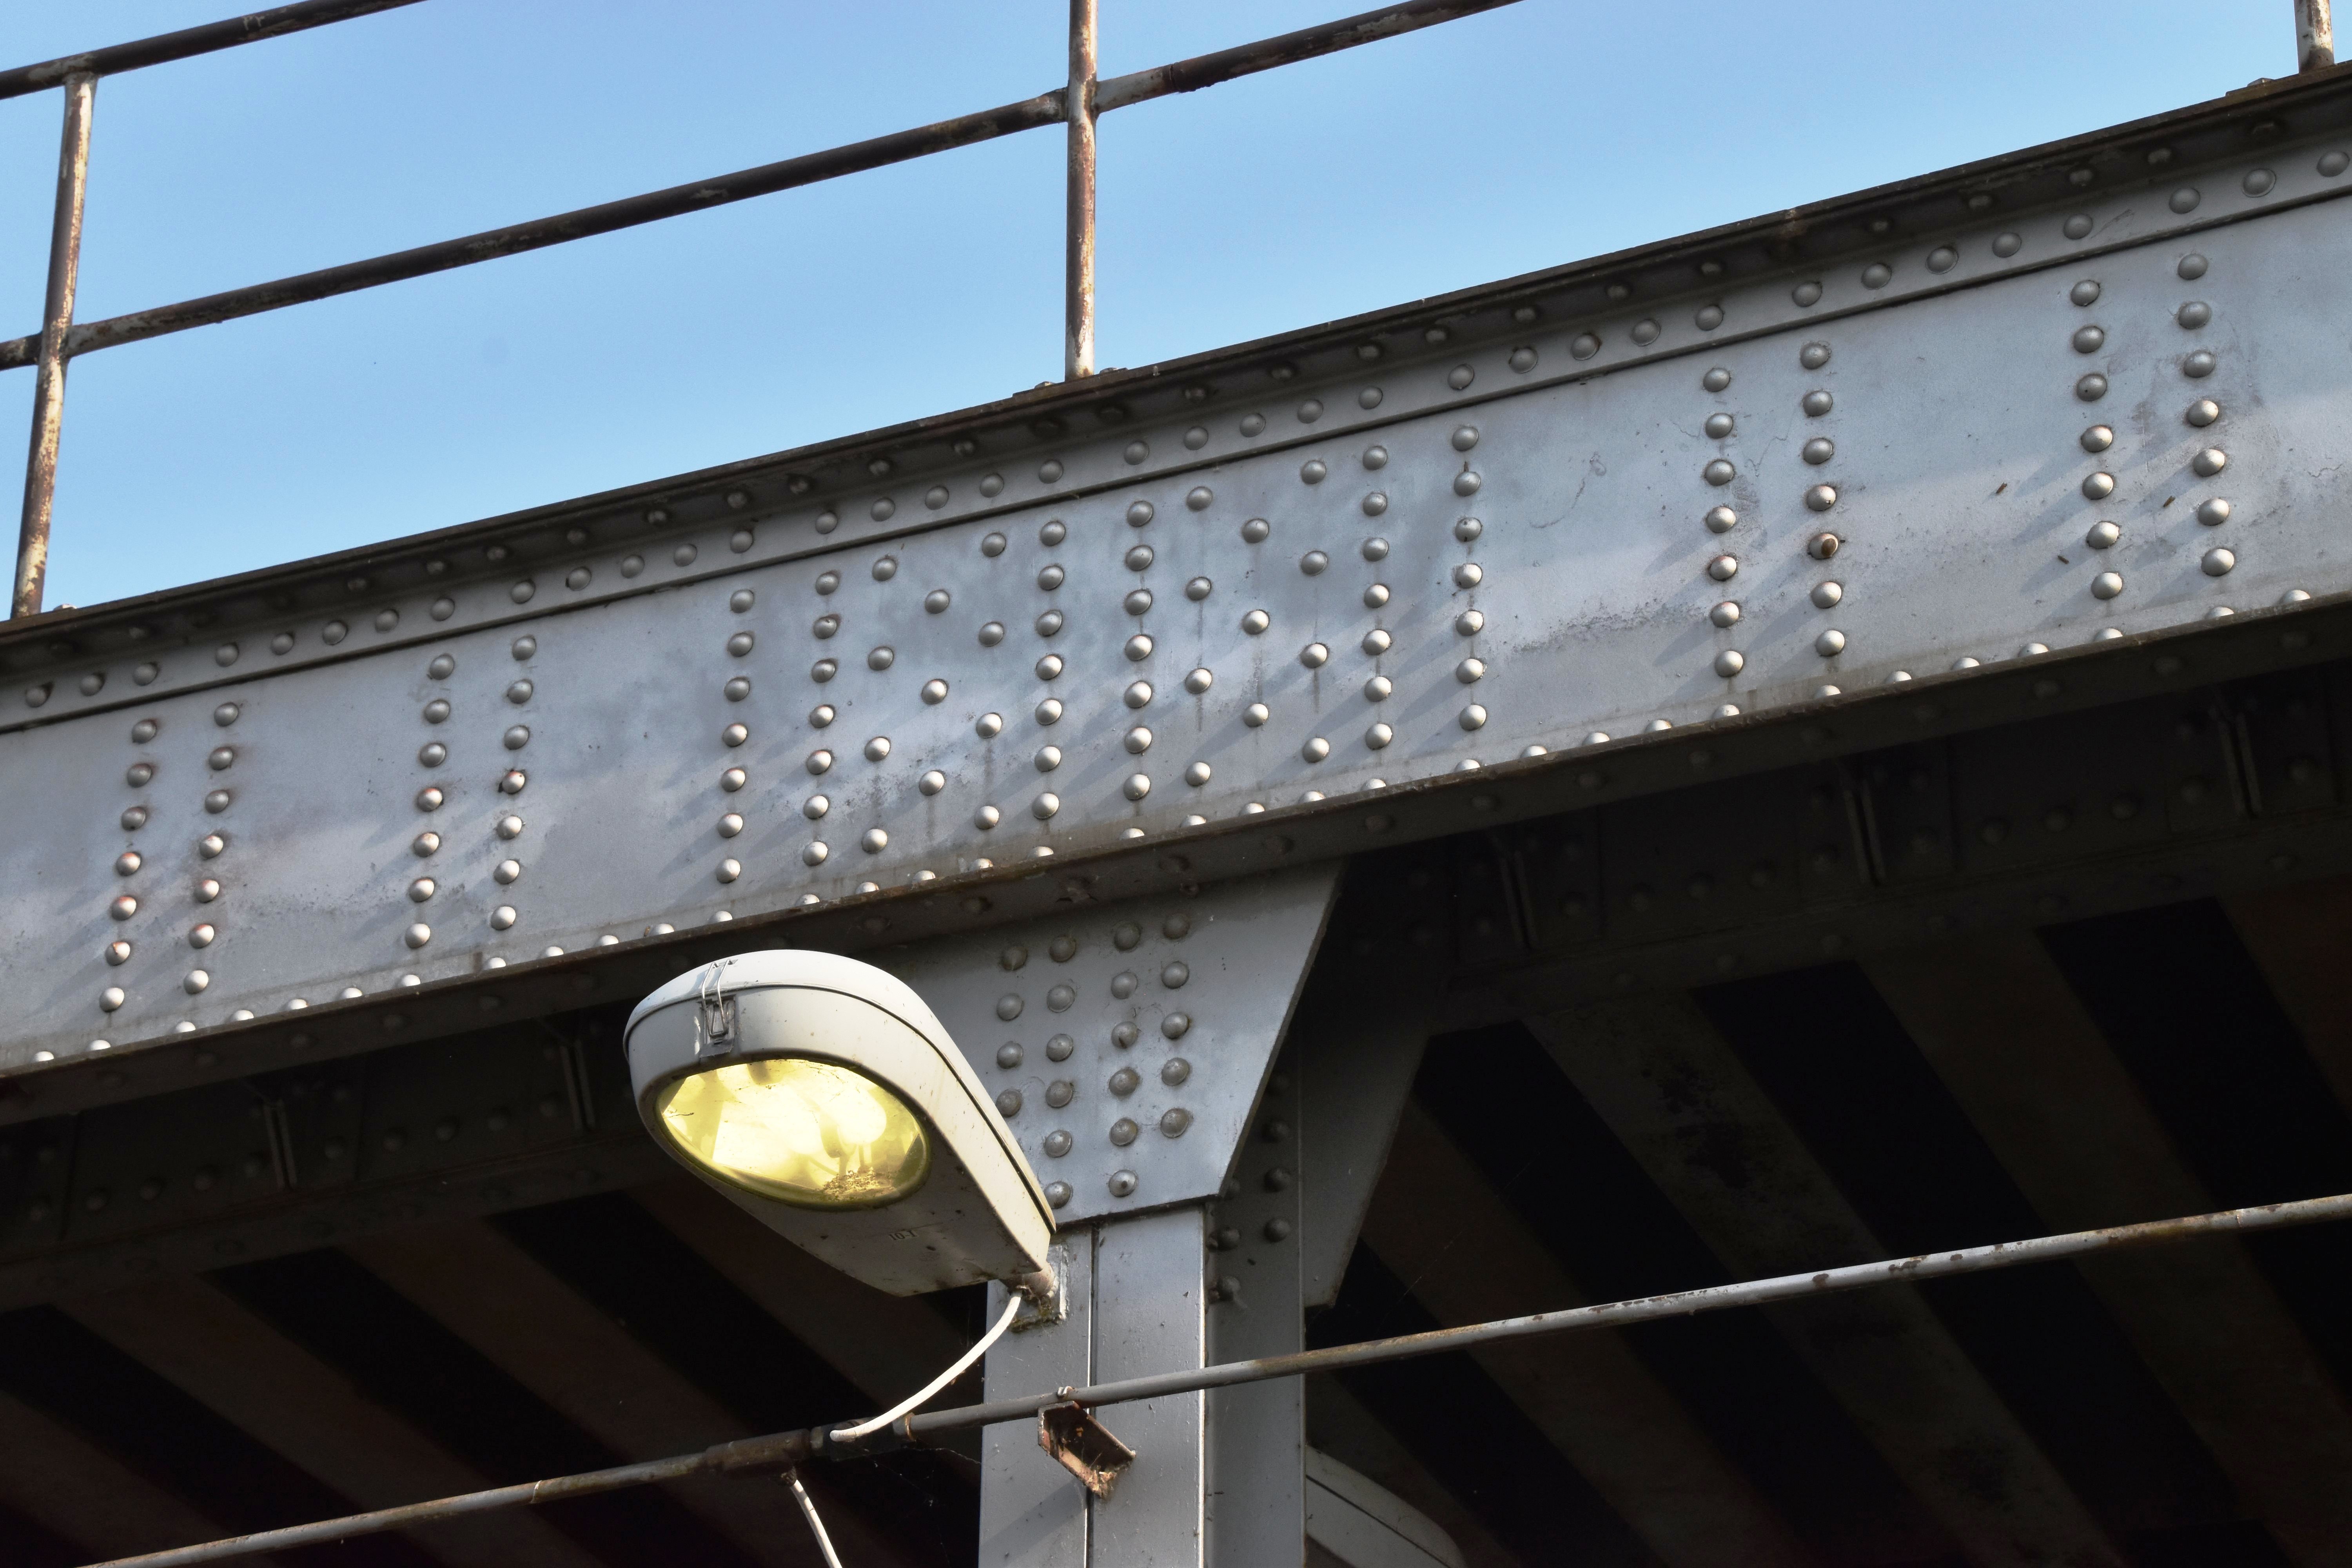
![]()
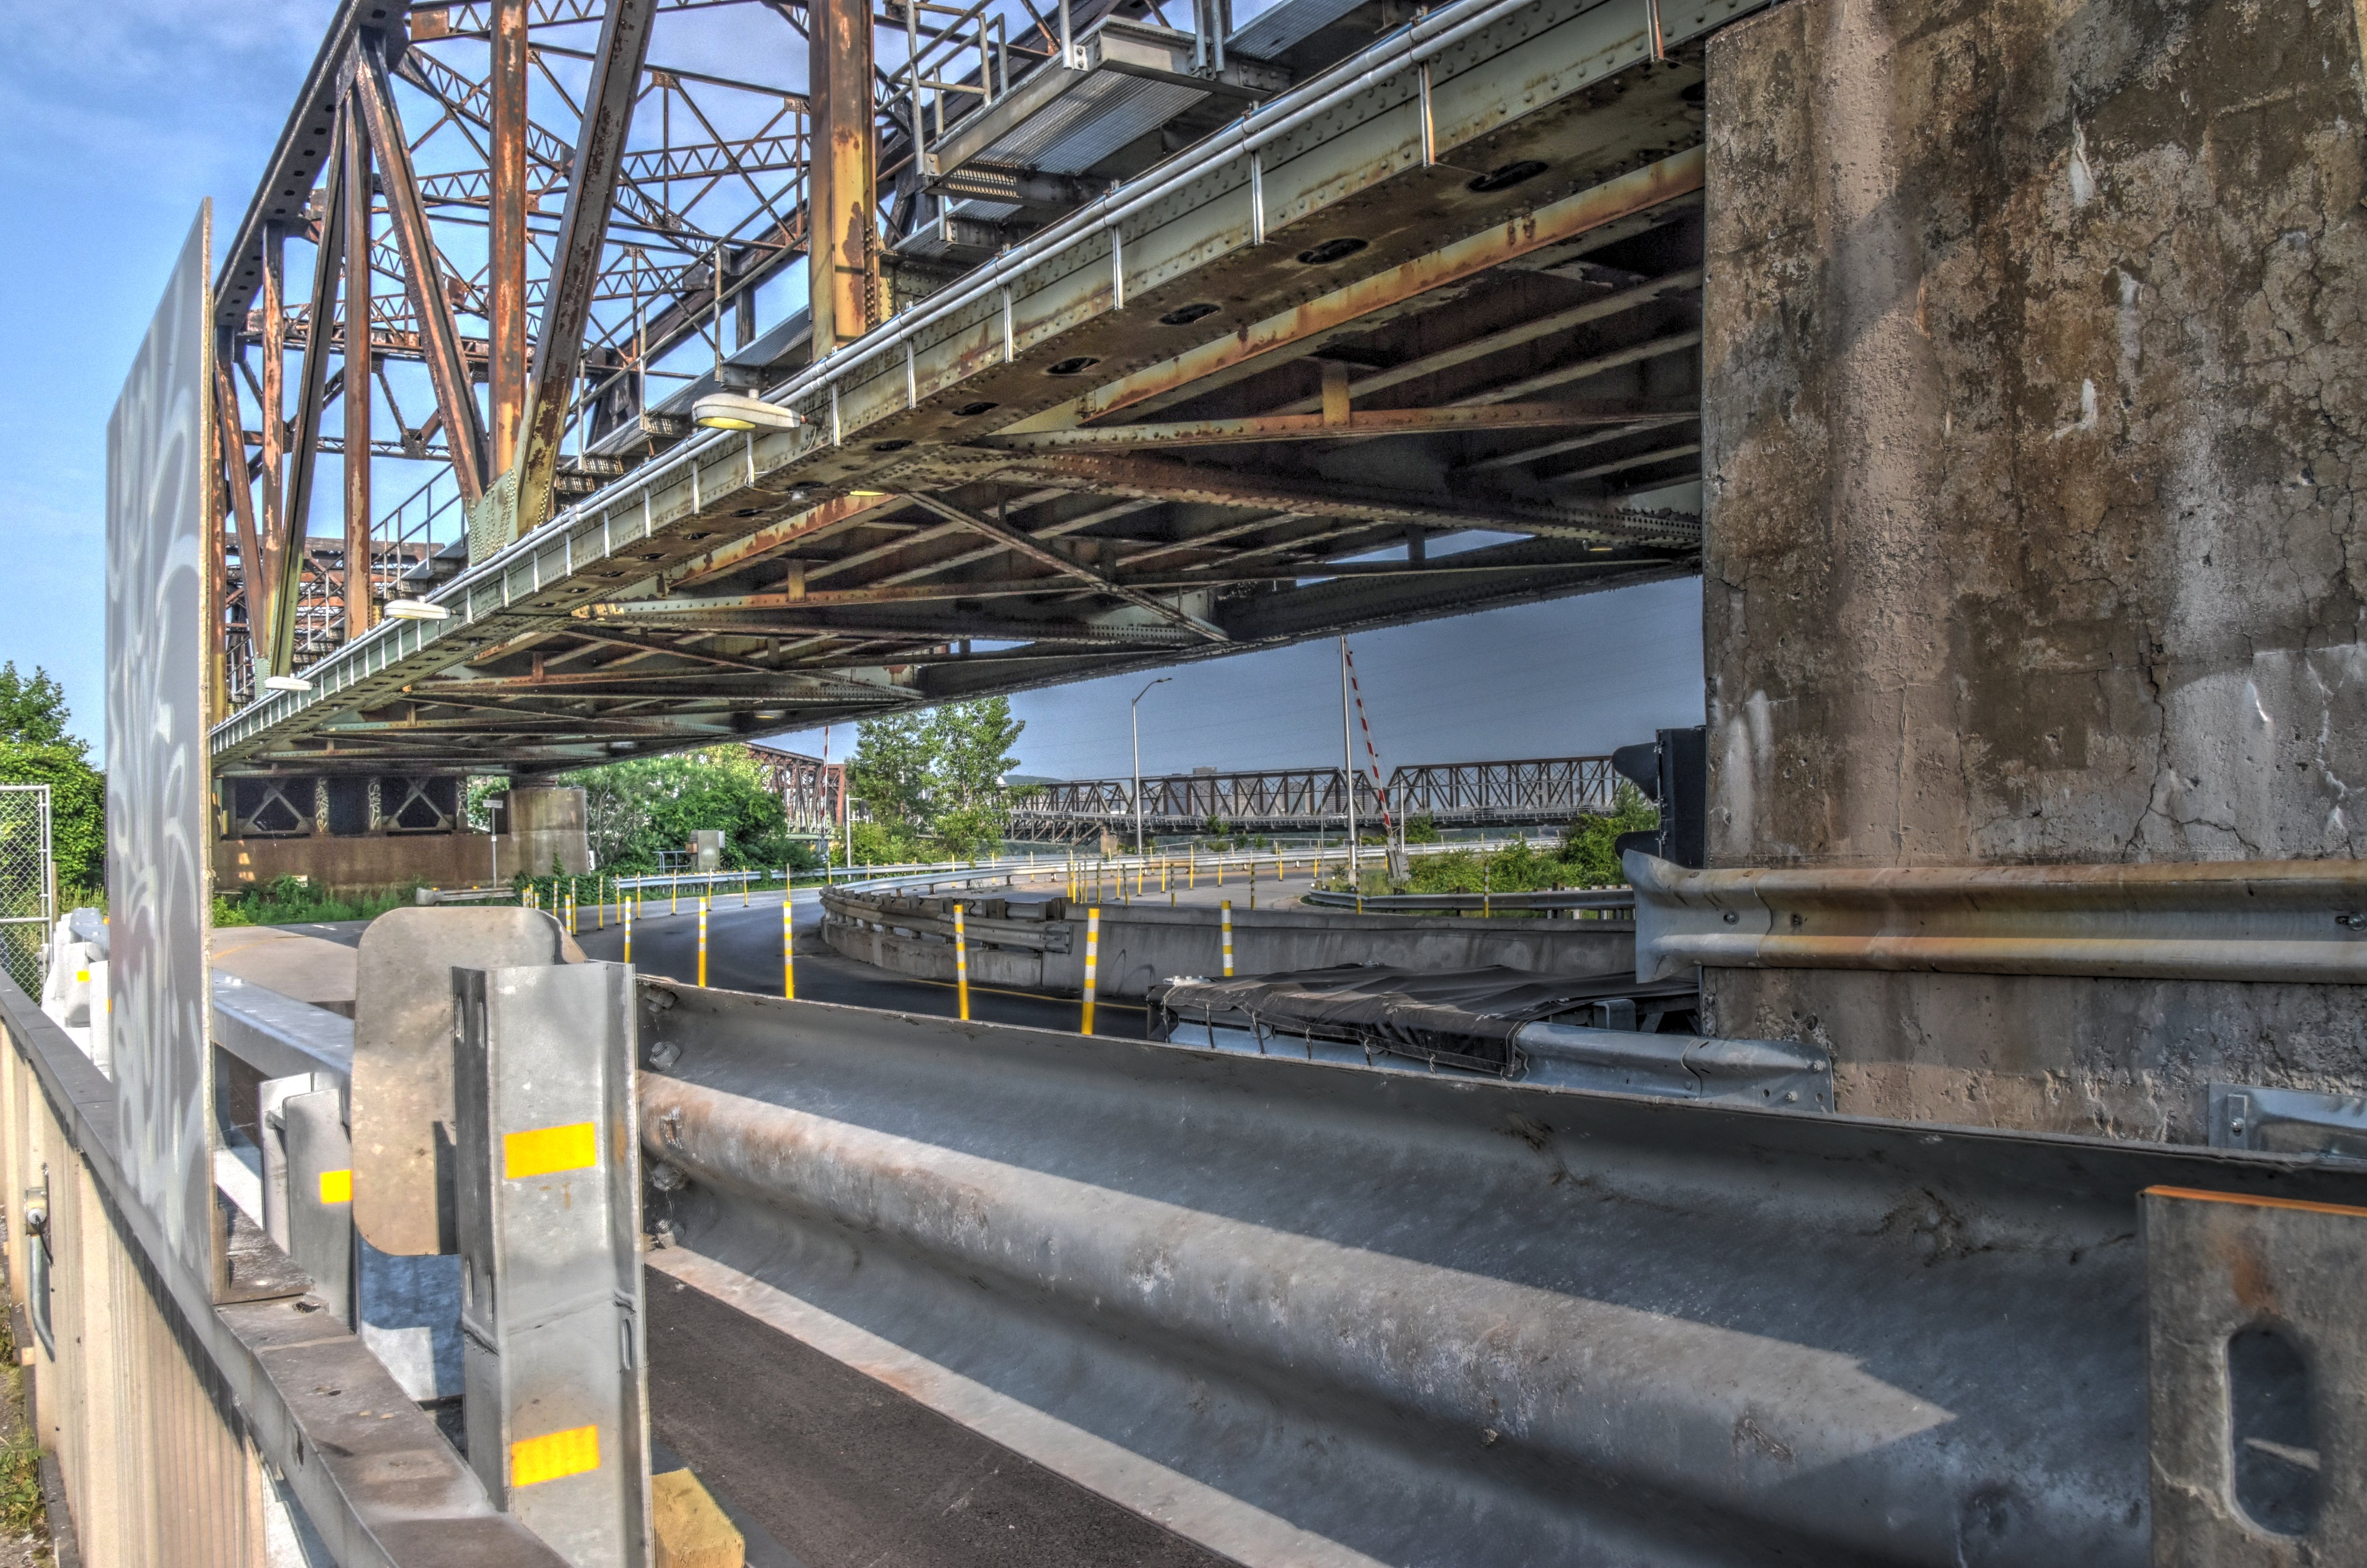


Views showing highway passing under St. Lambert Diversion railway span.
![]()
Oblique view of far eastern truss span from southeast quadrant.
![]()


Elevation of far eastern truss span from southeast quadrant.
![]()


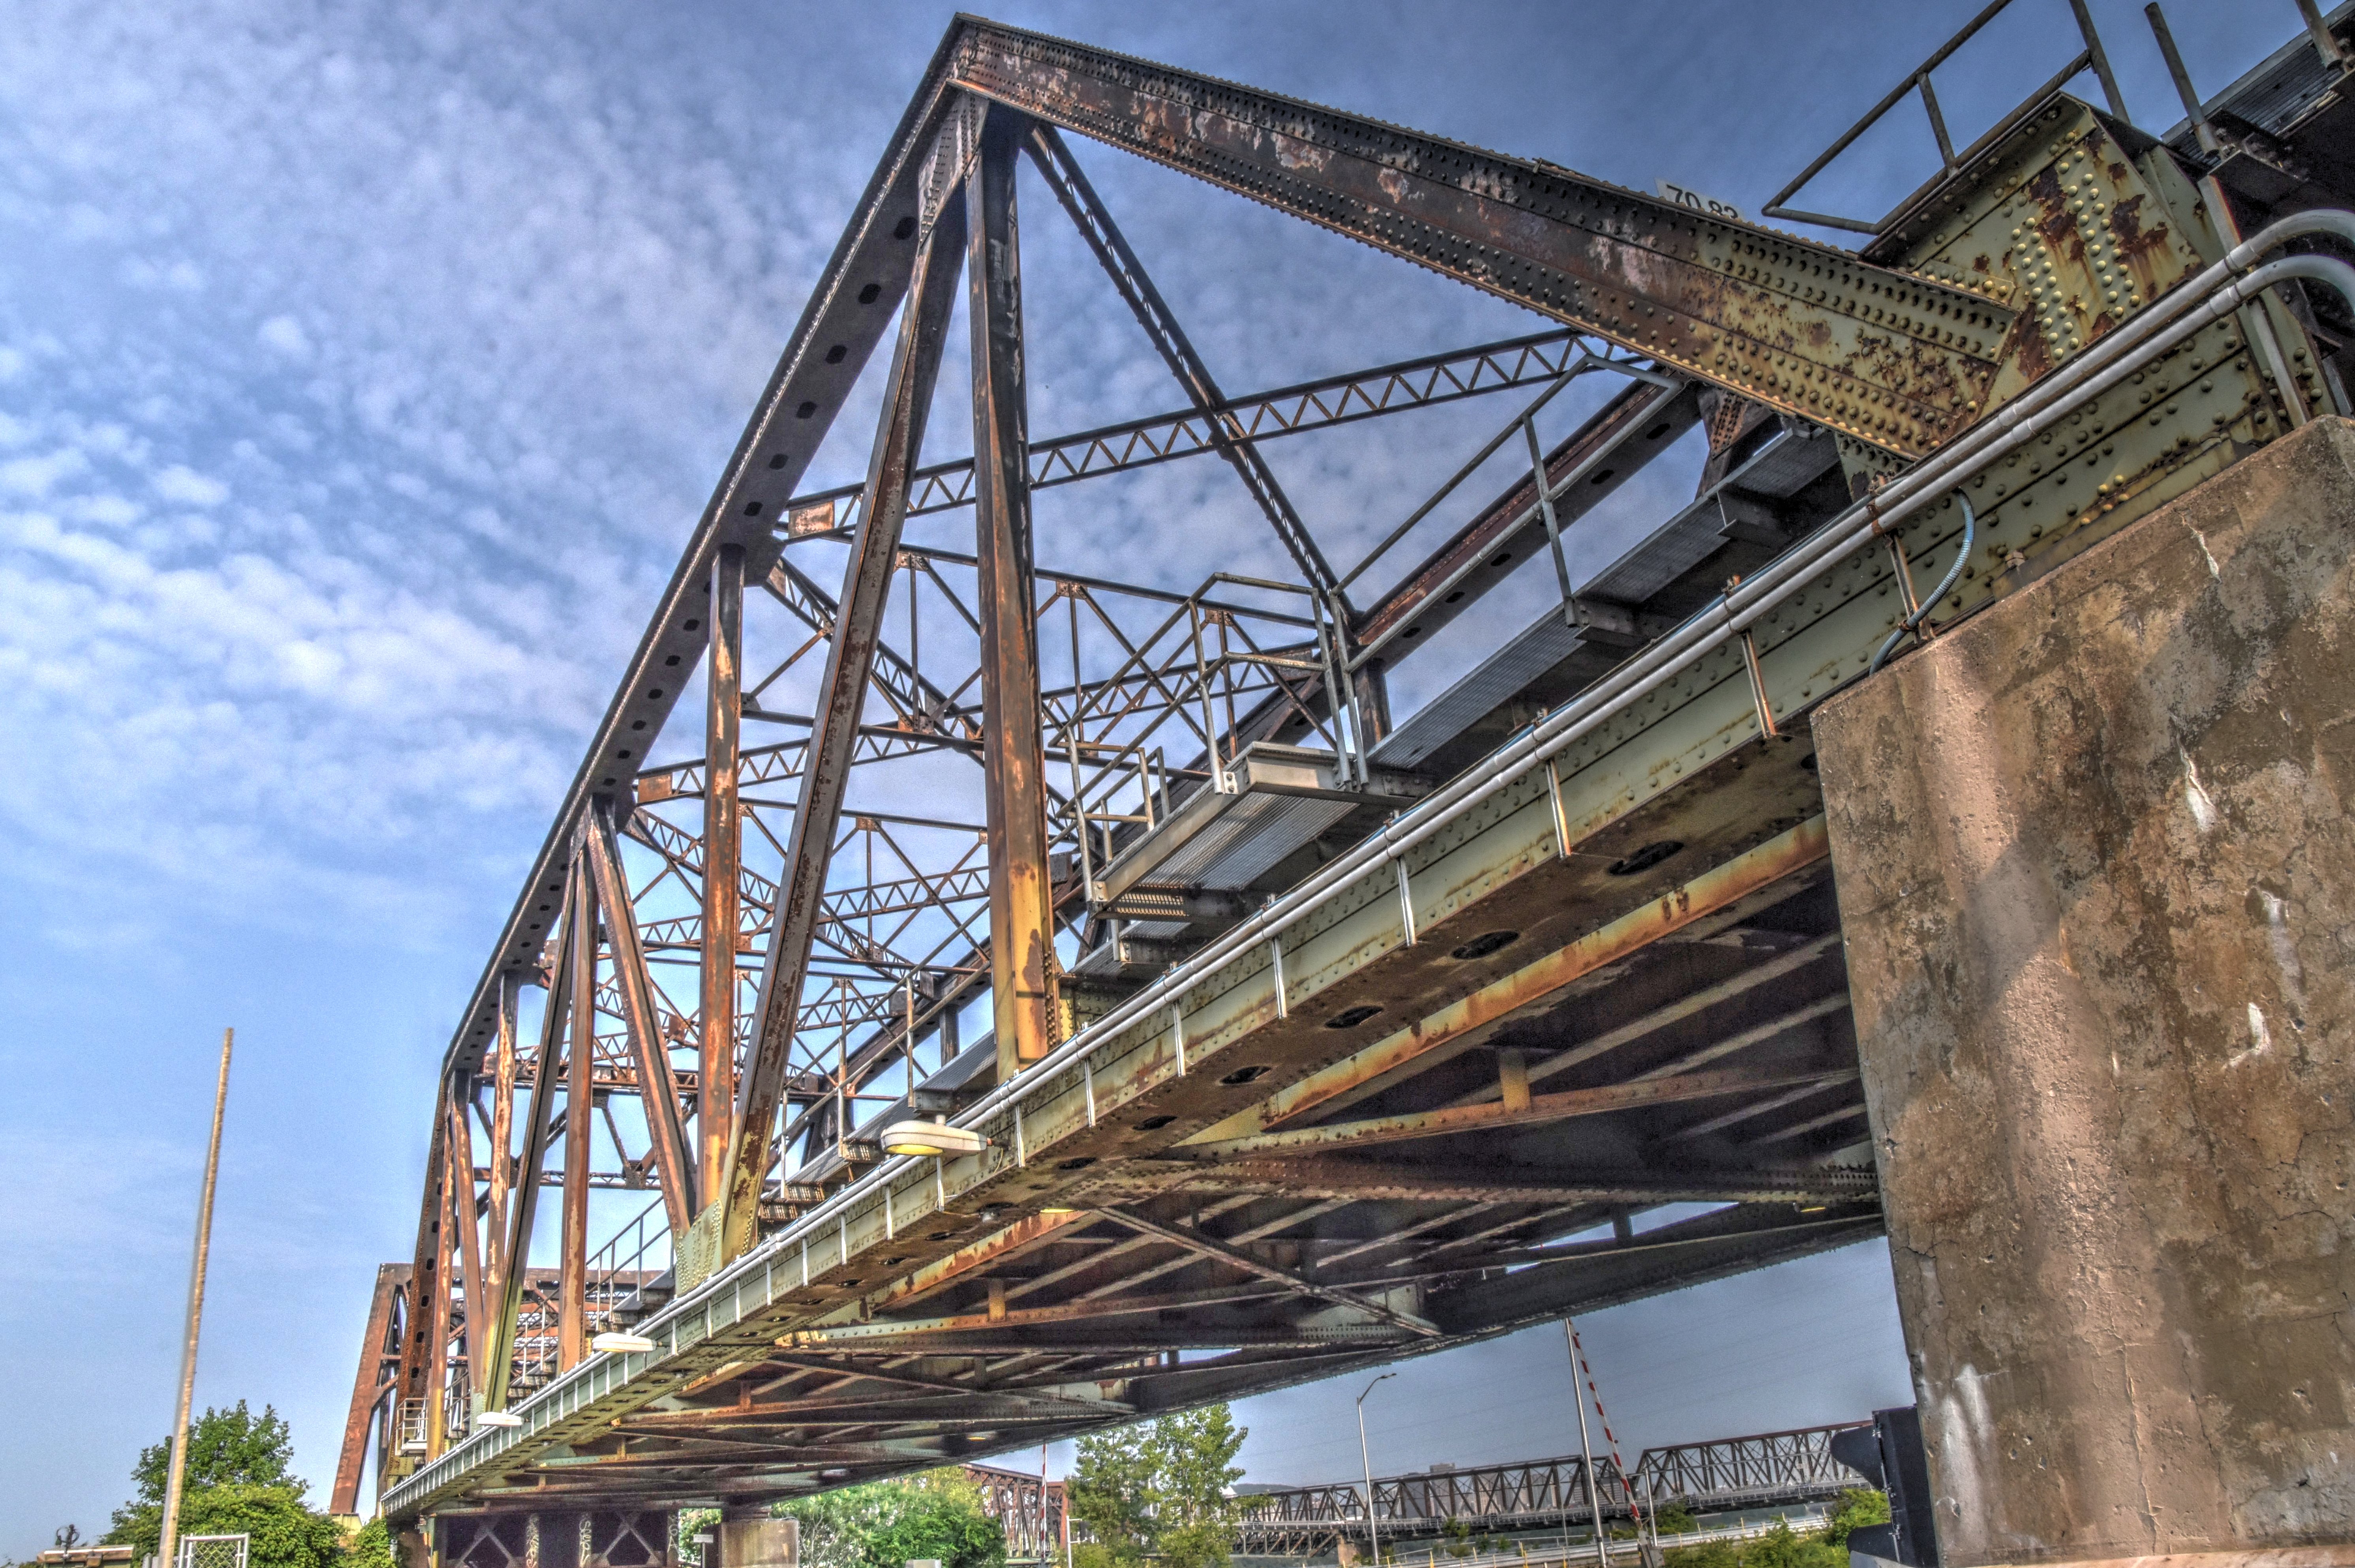
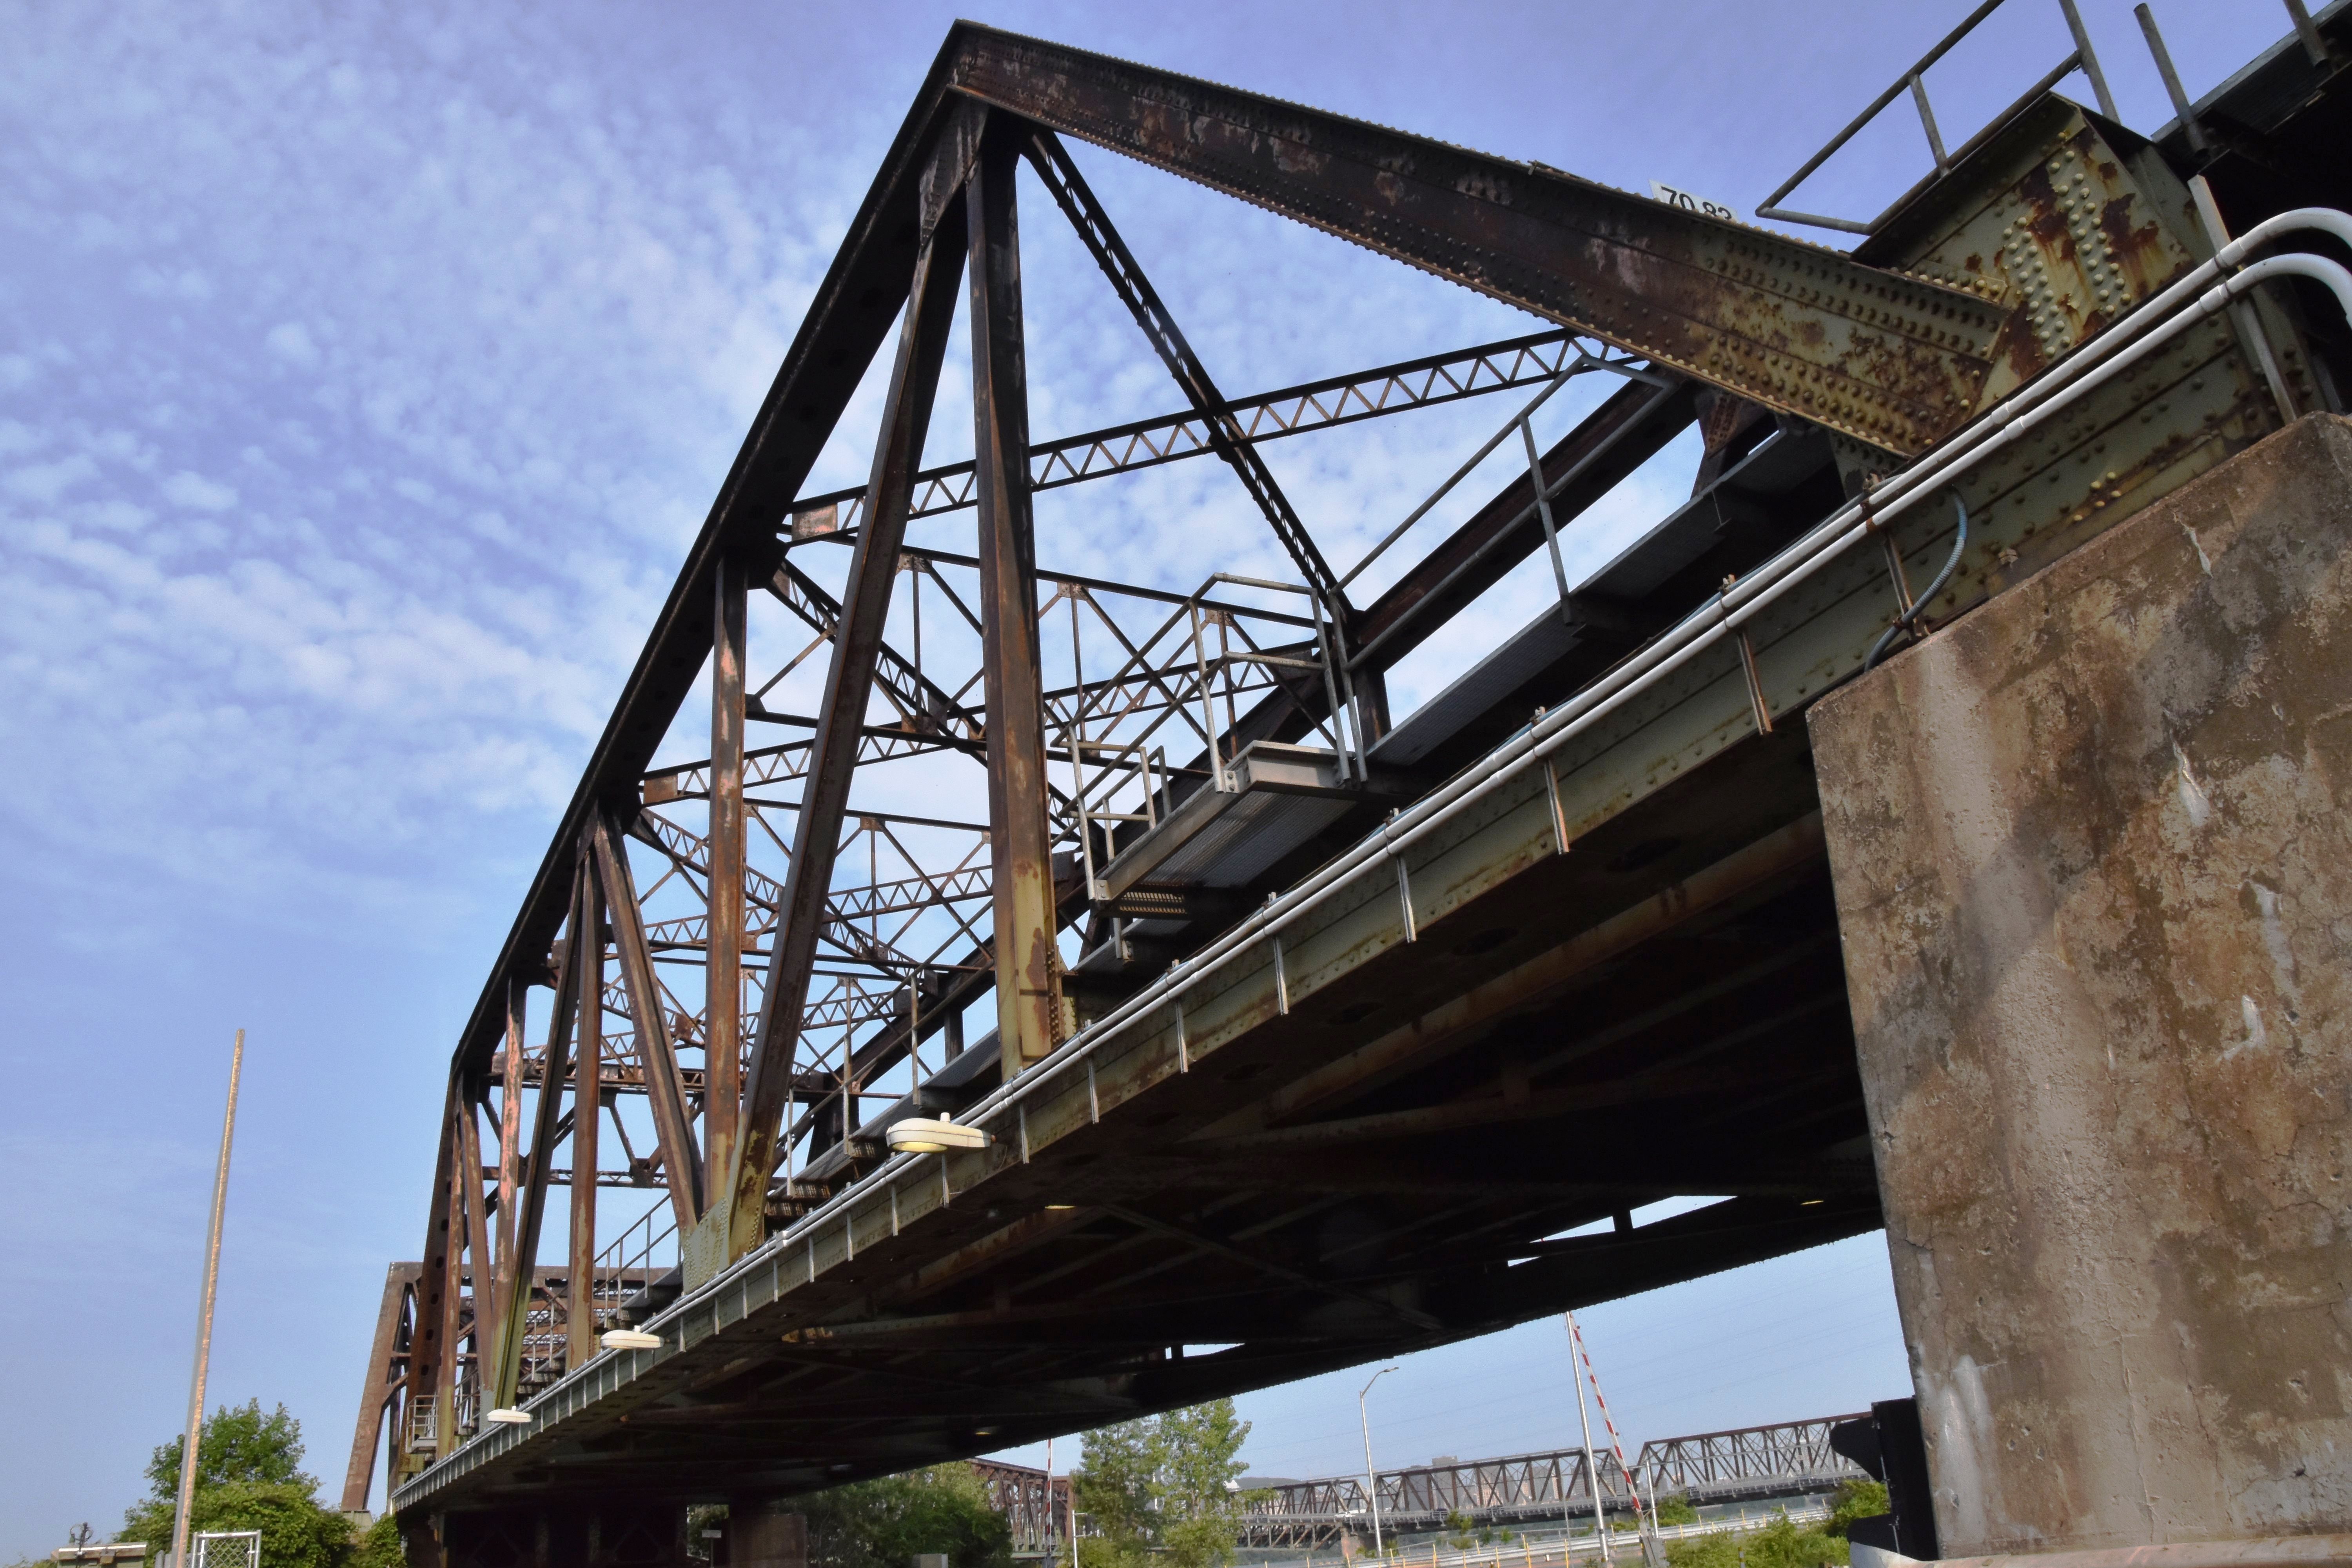
Oblique view of first truss span west of St. Lambert Diversion lift span from southeast quadrant.
![]()


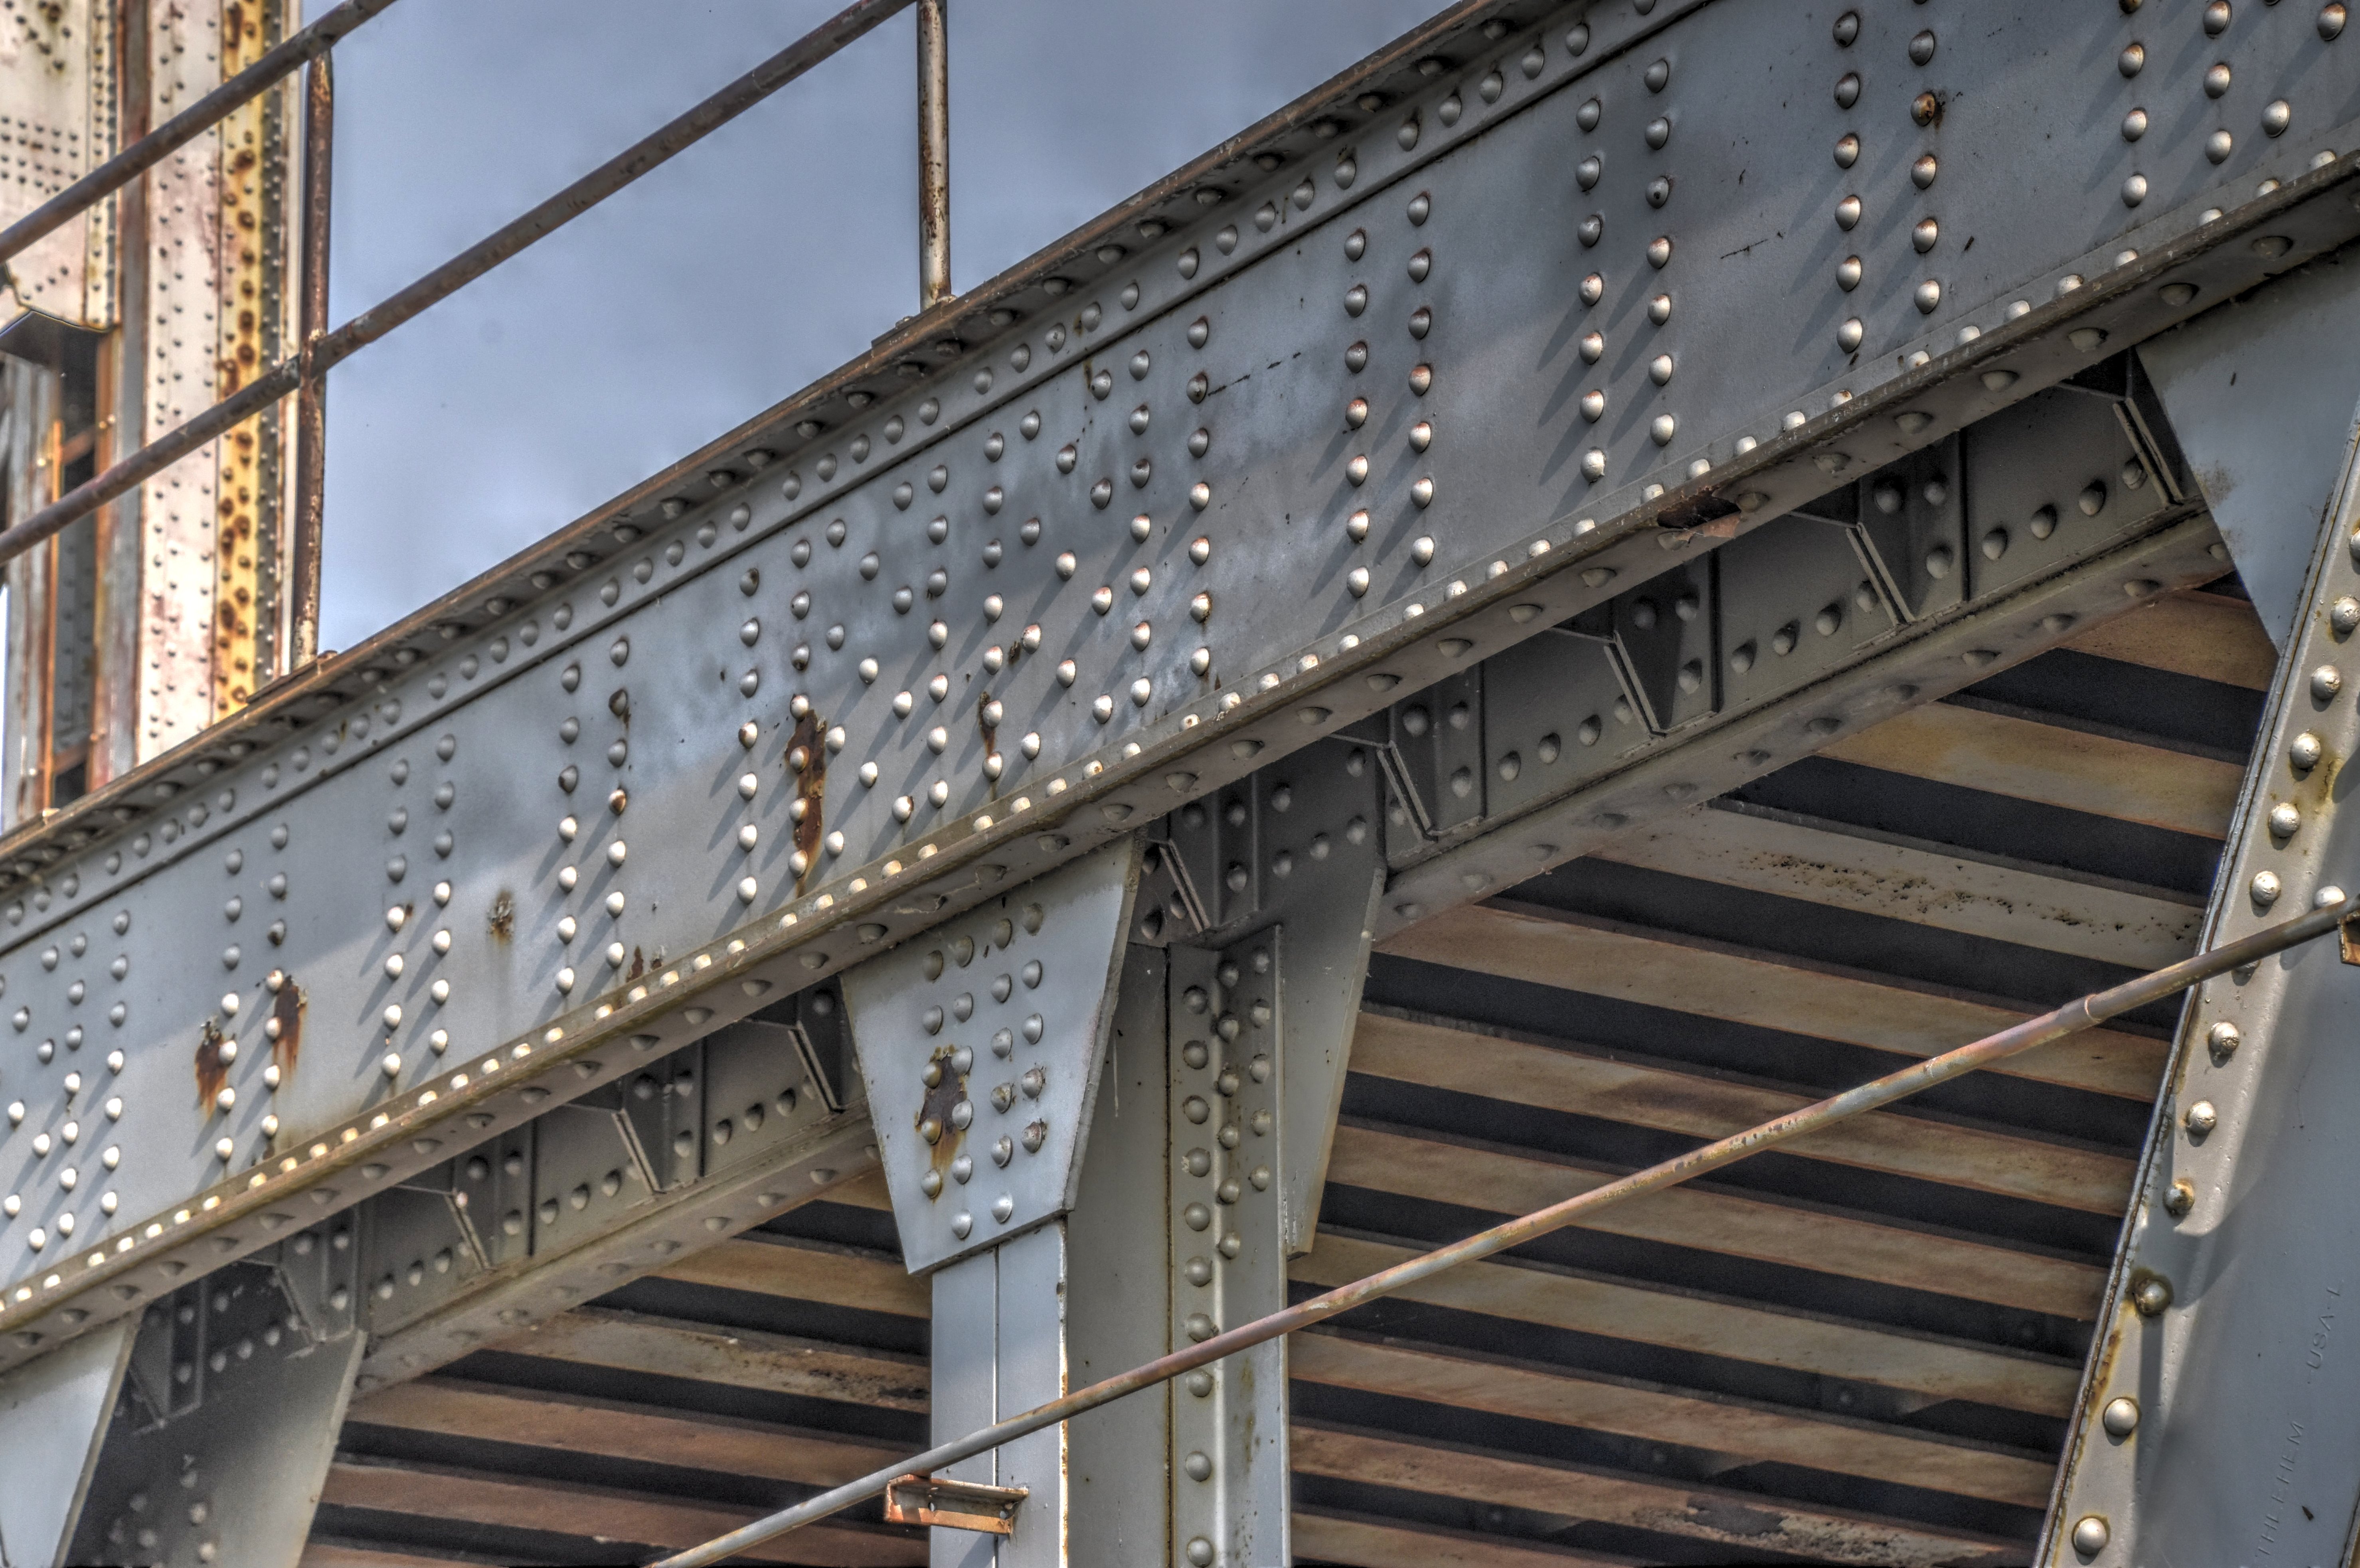
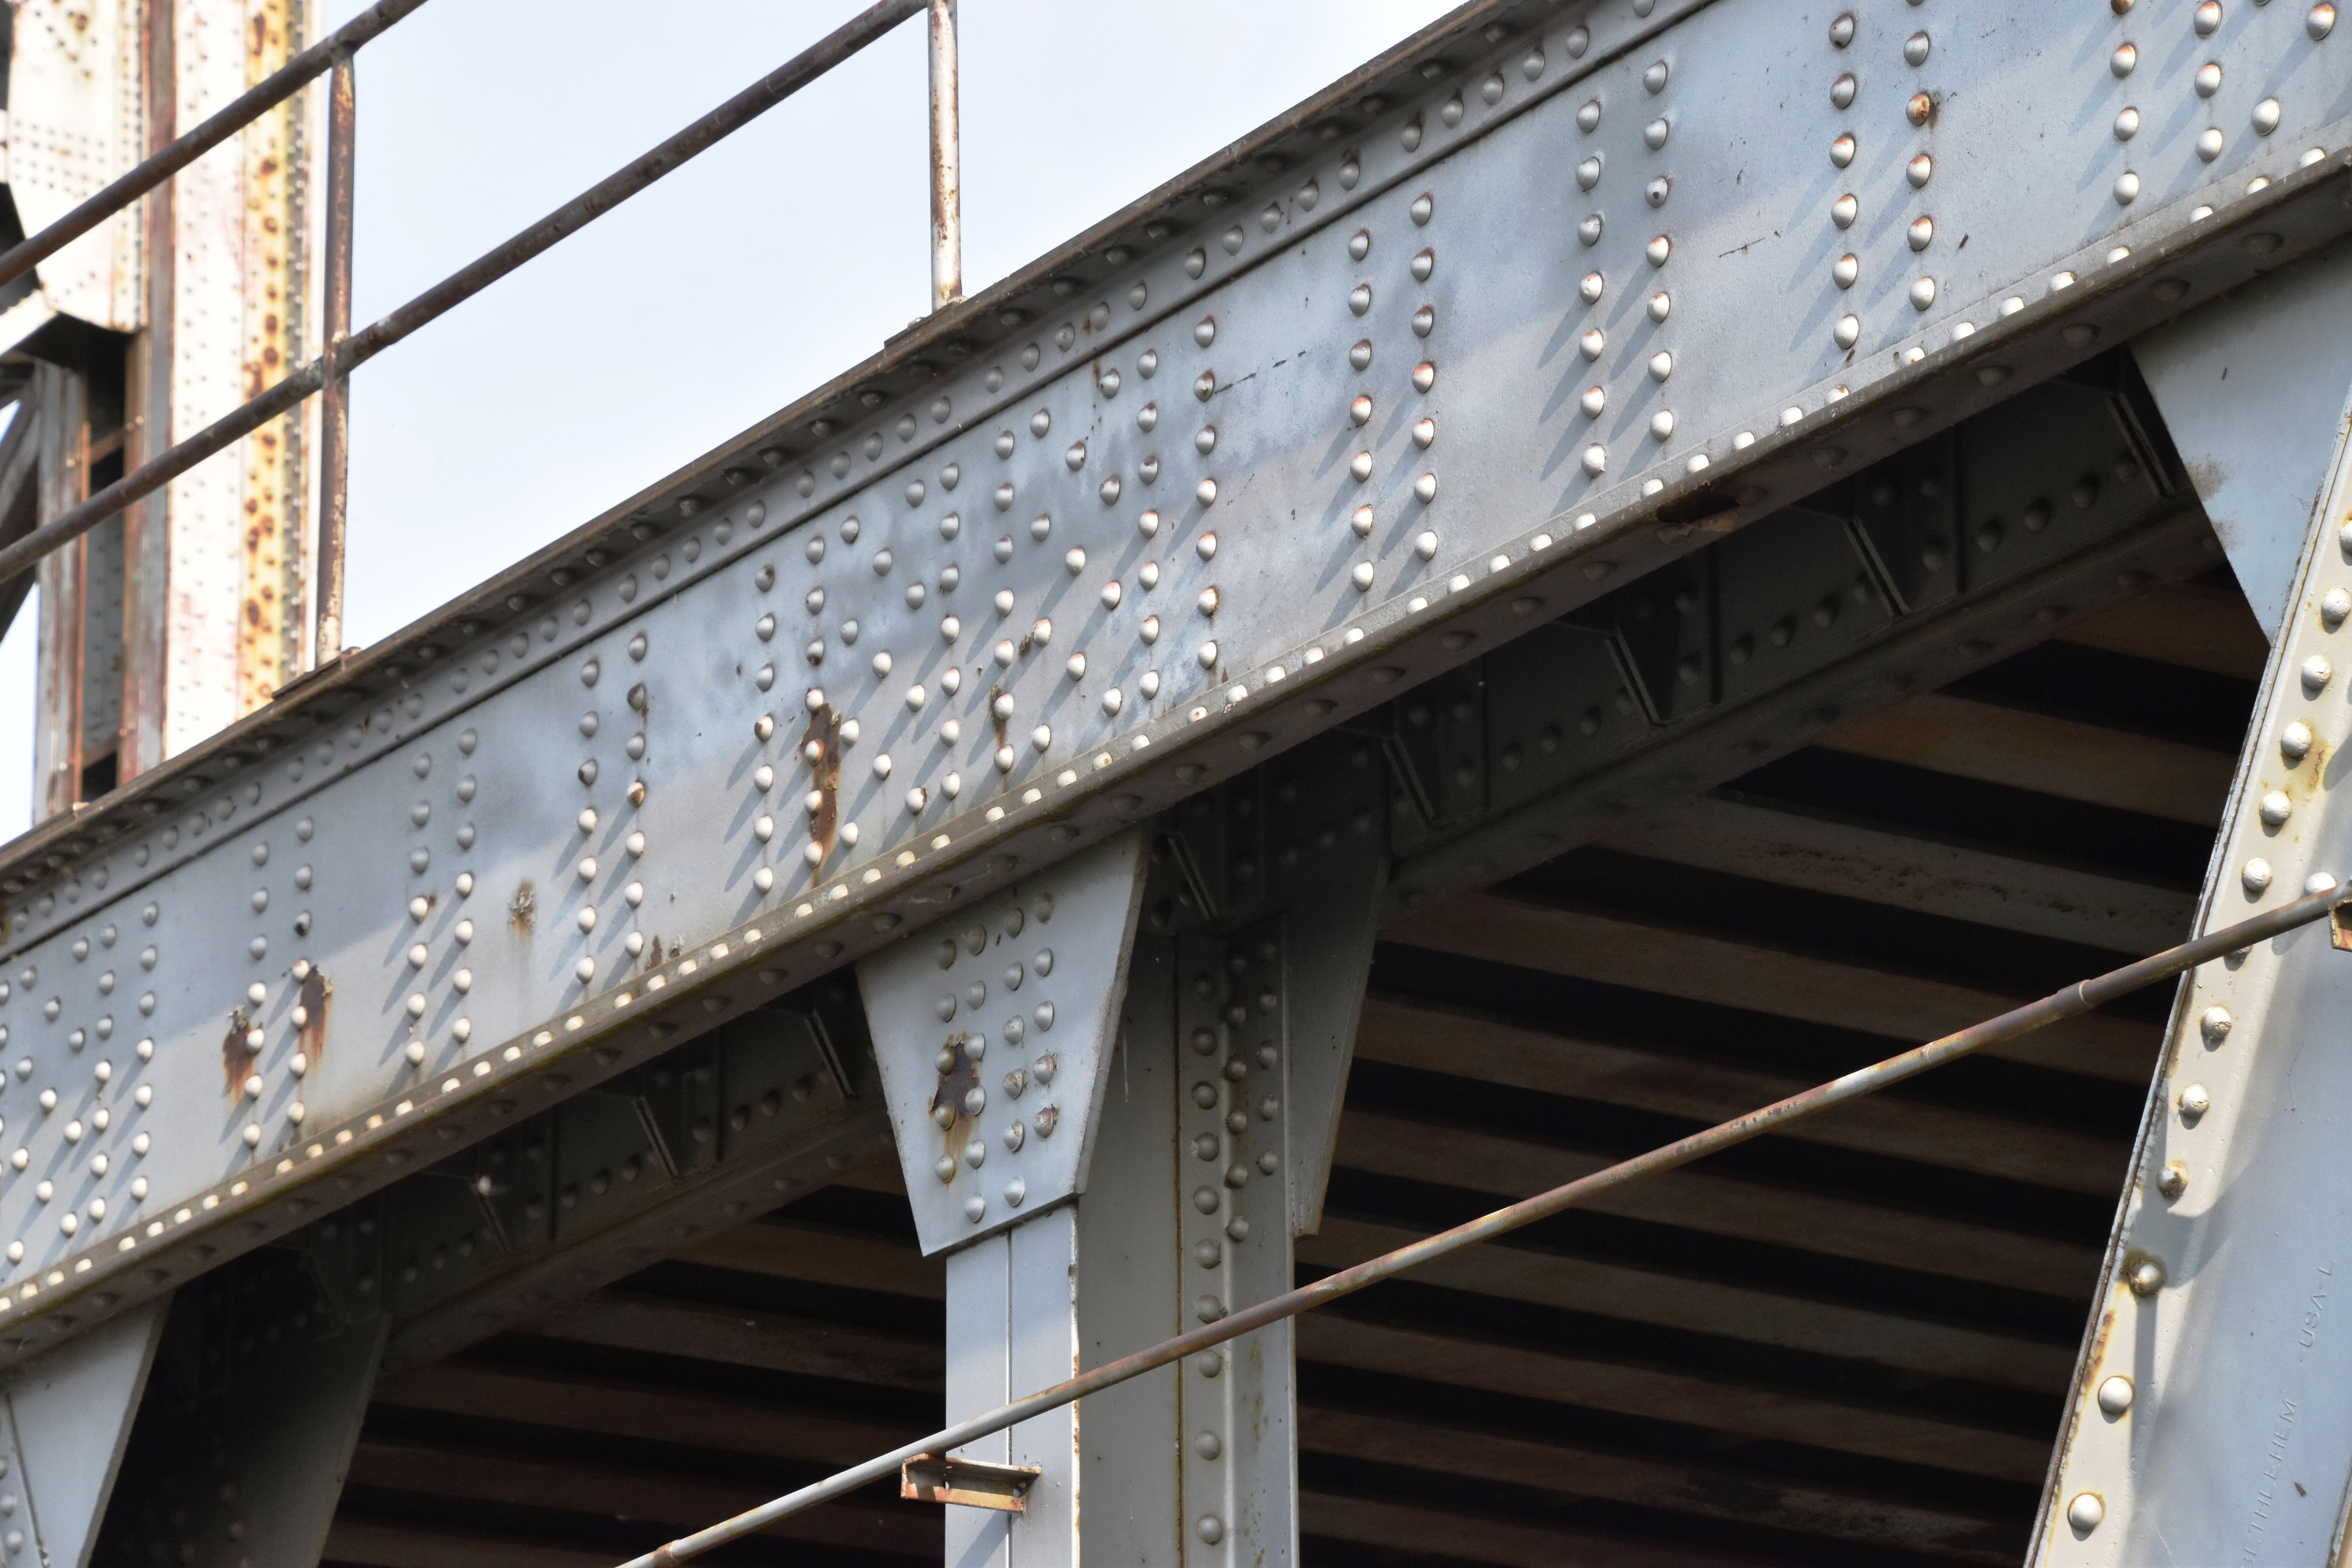
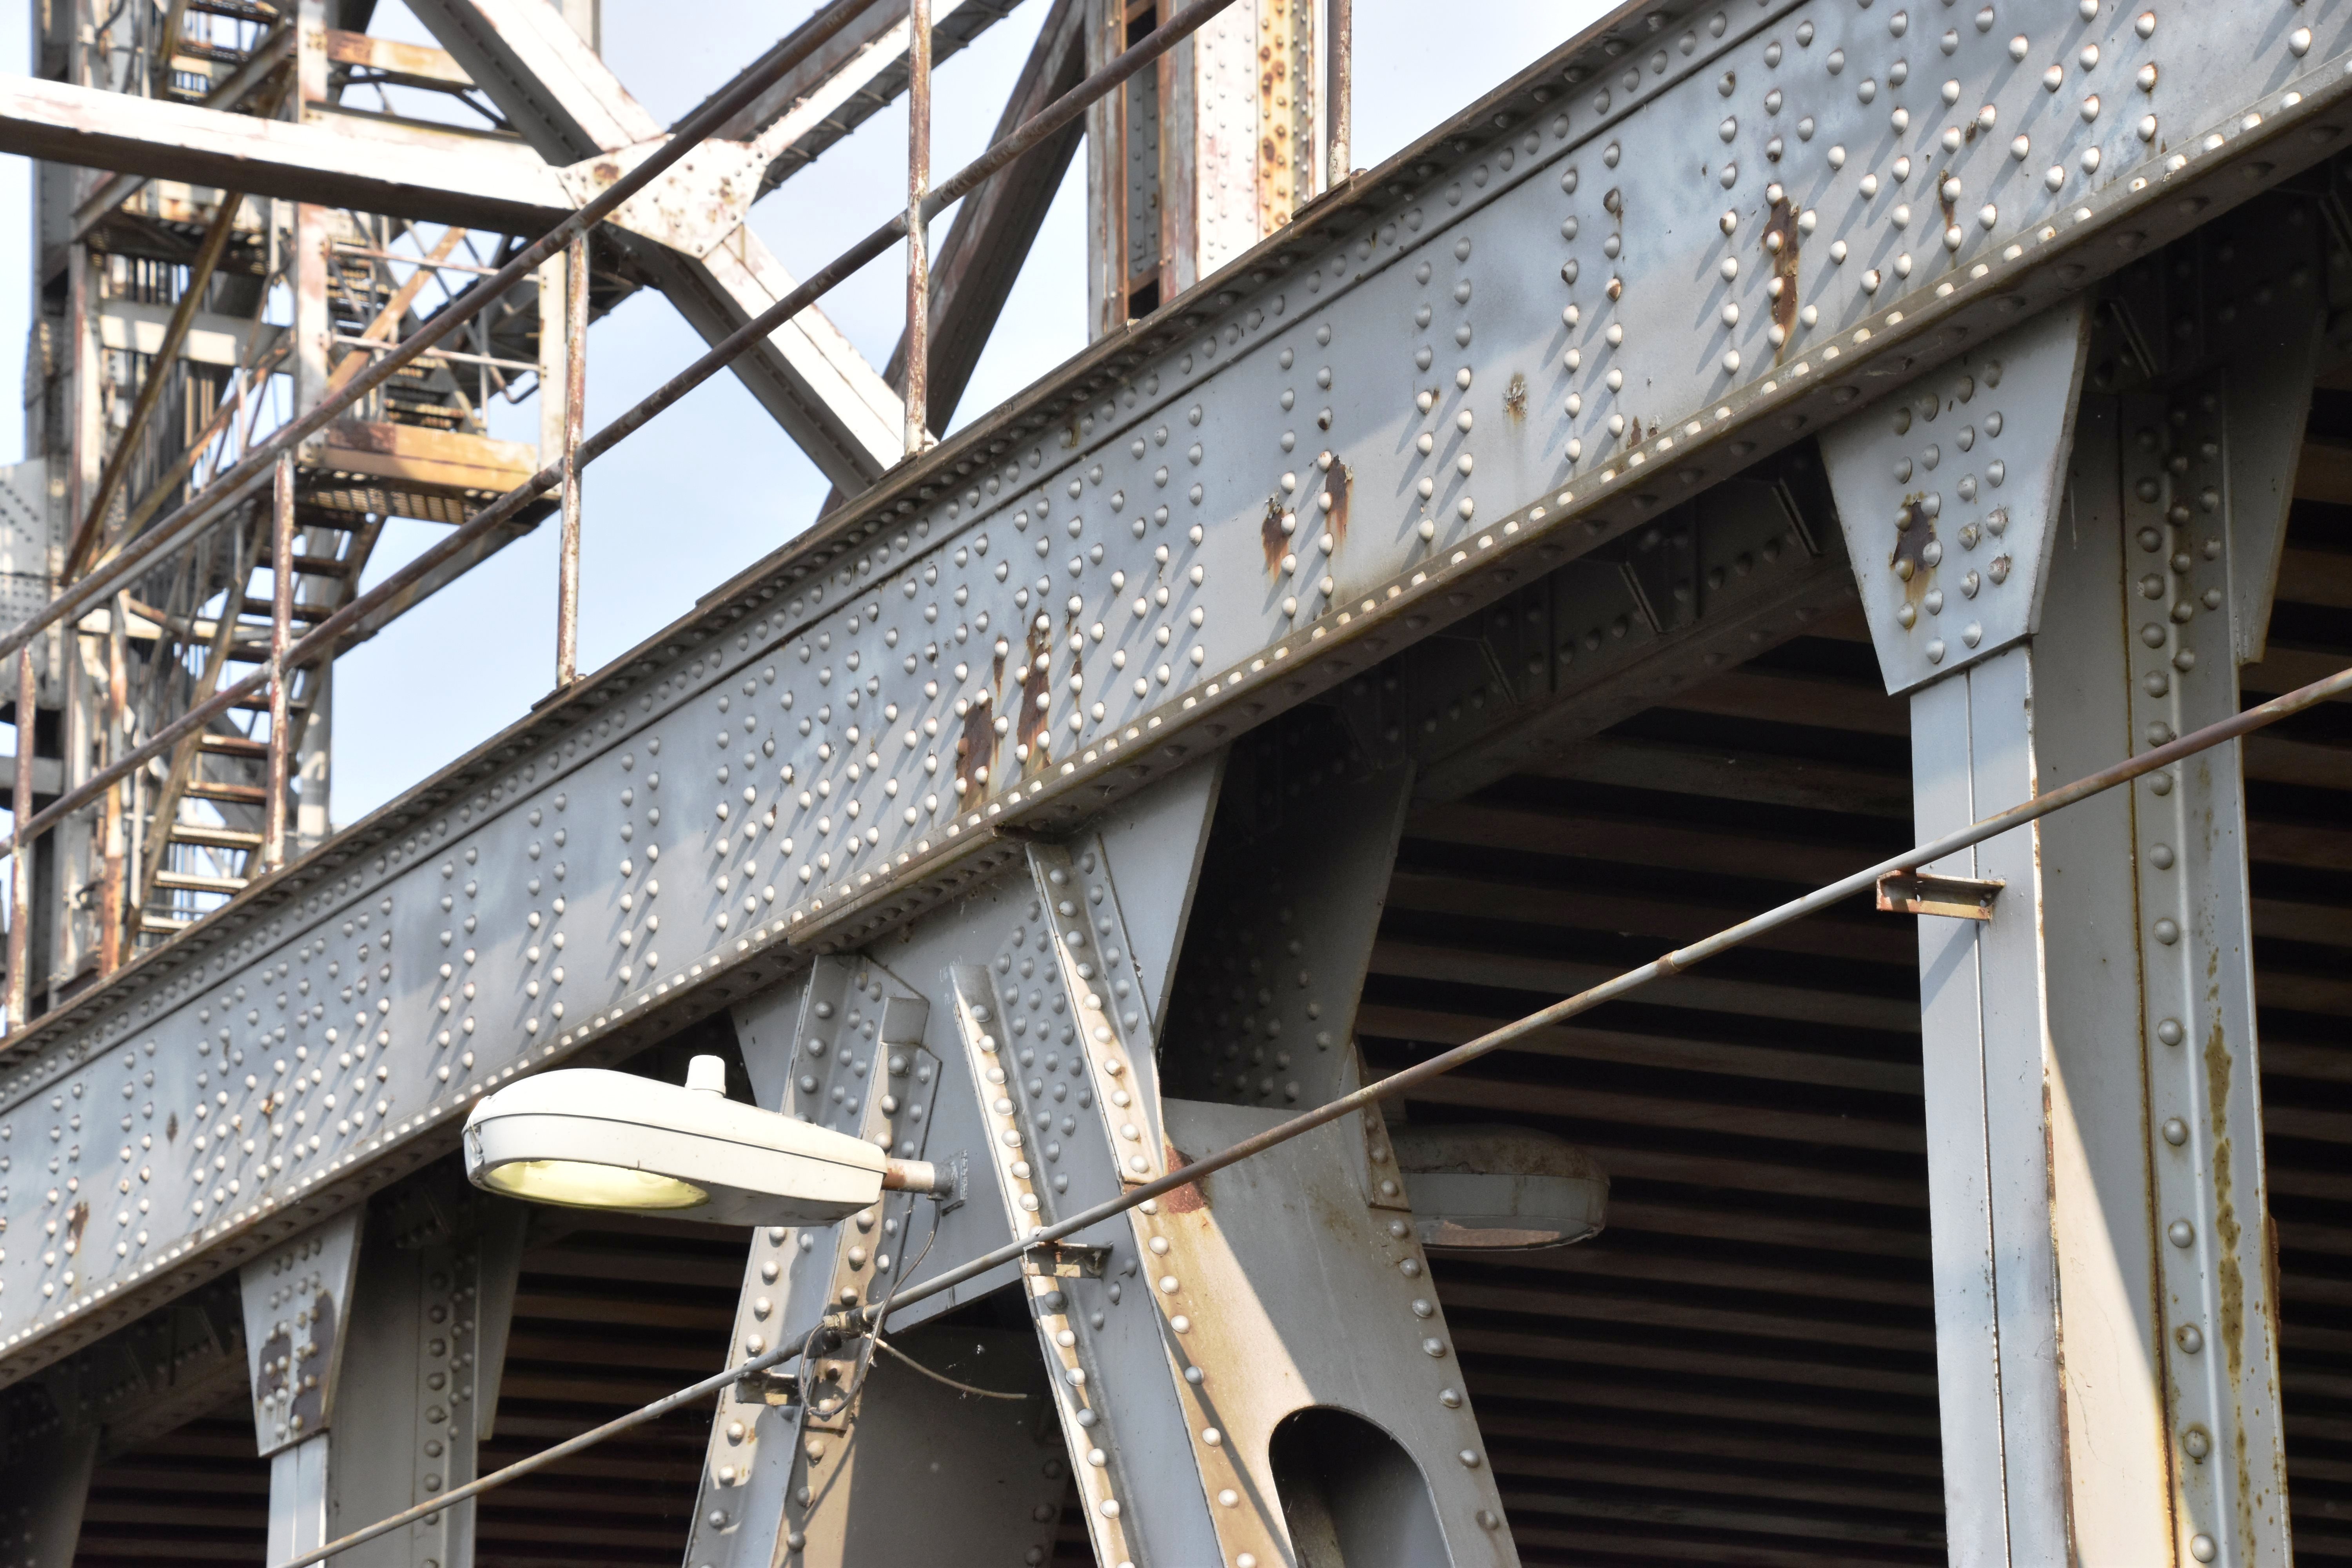
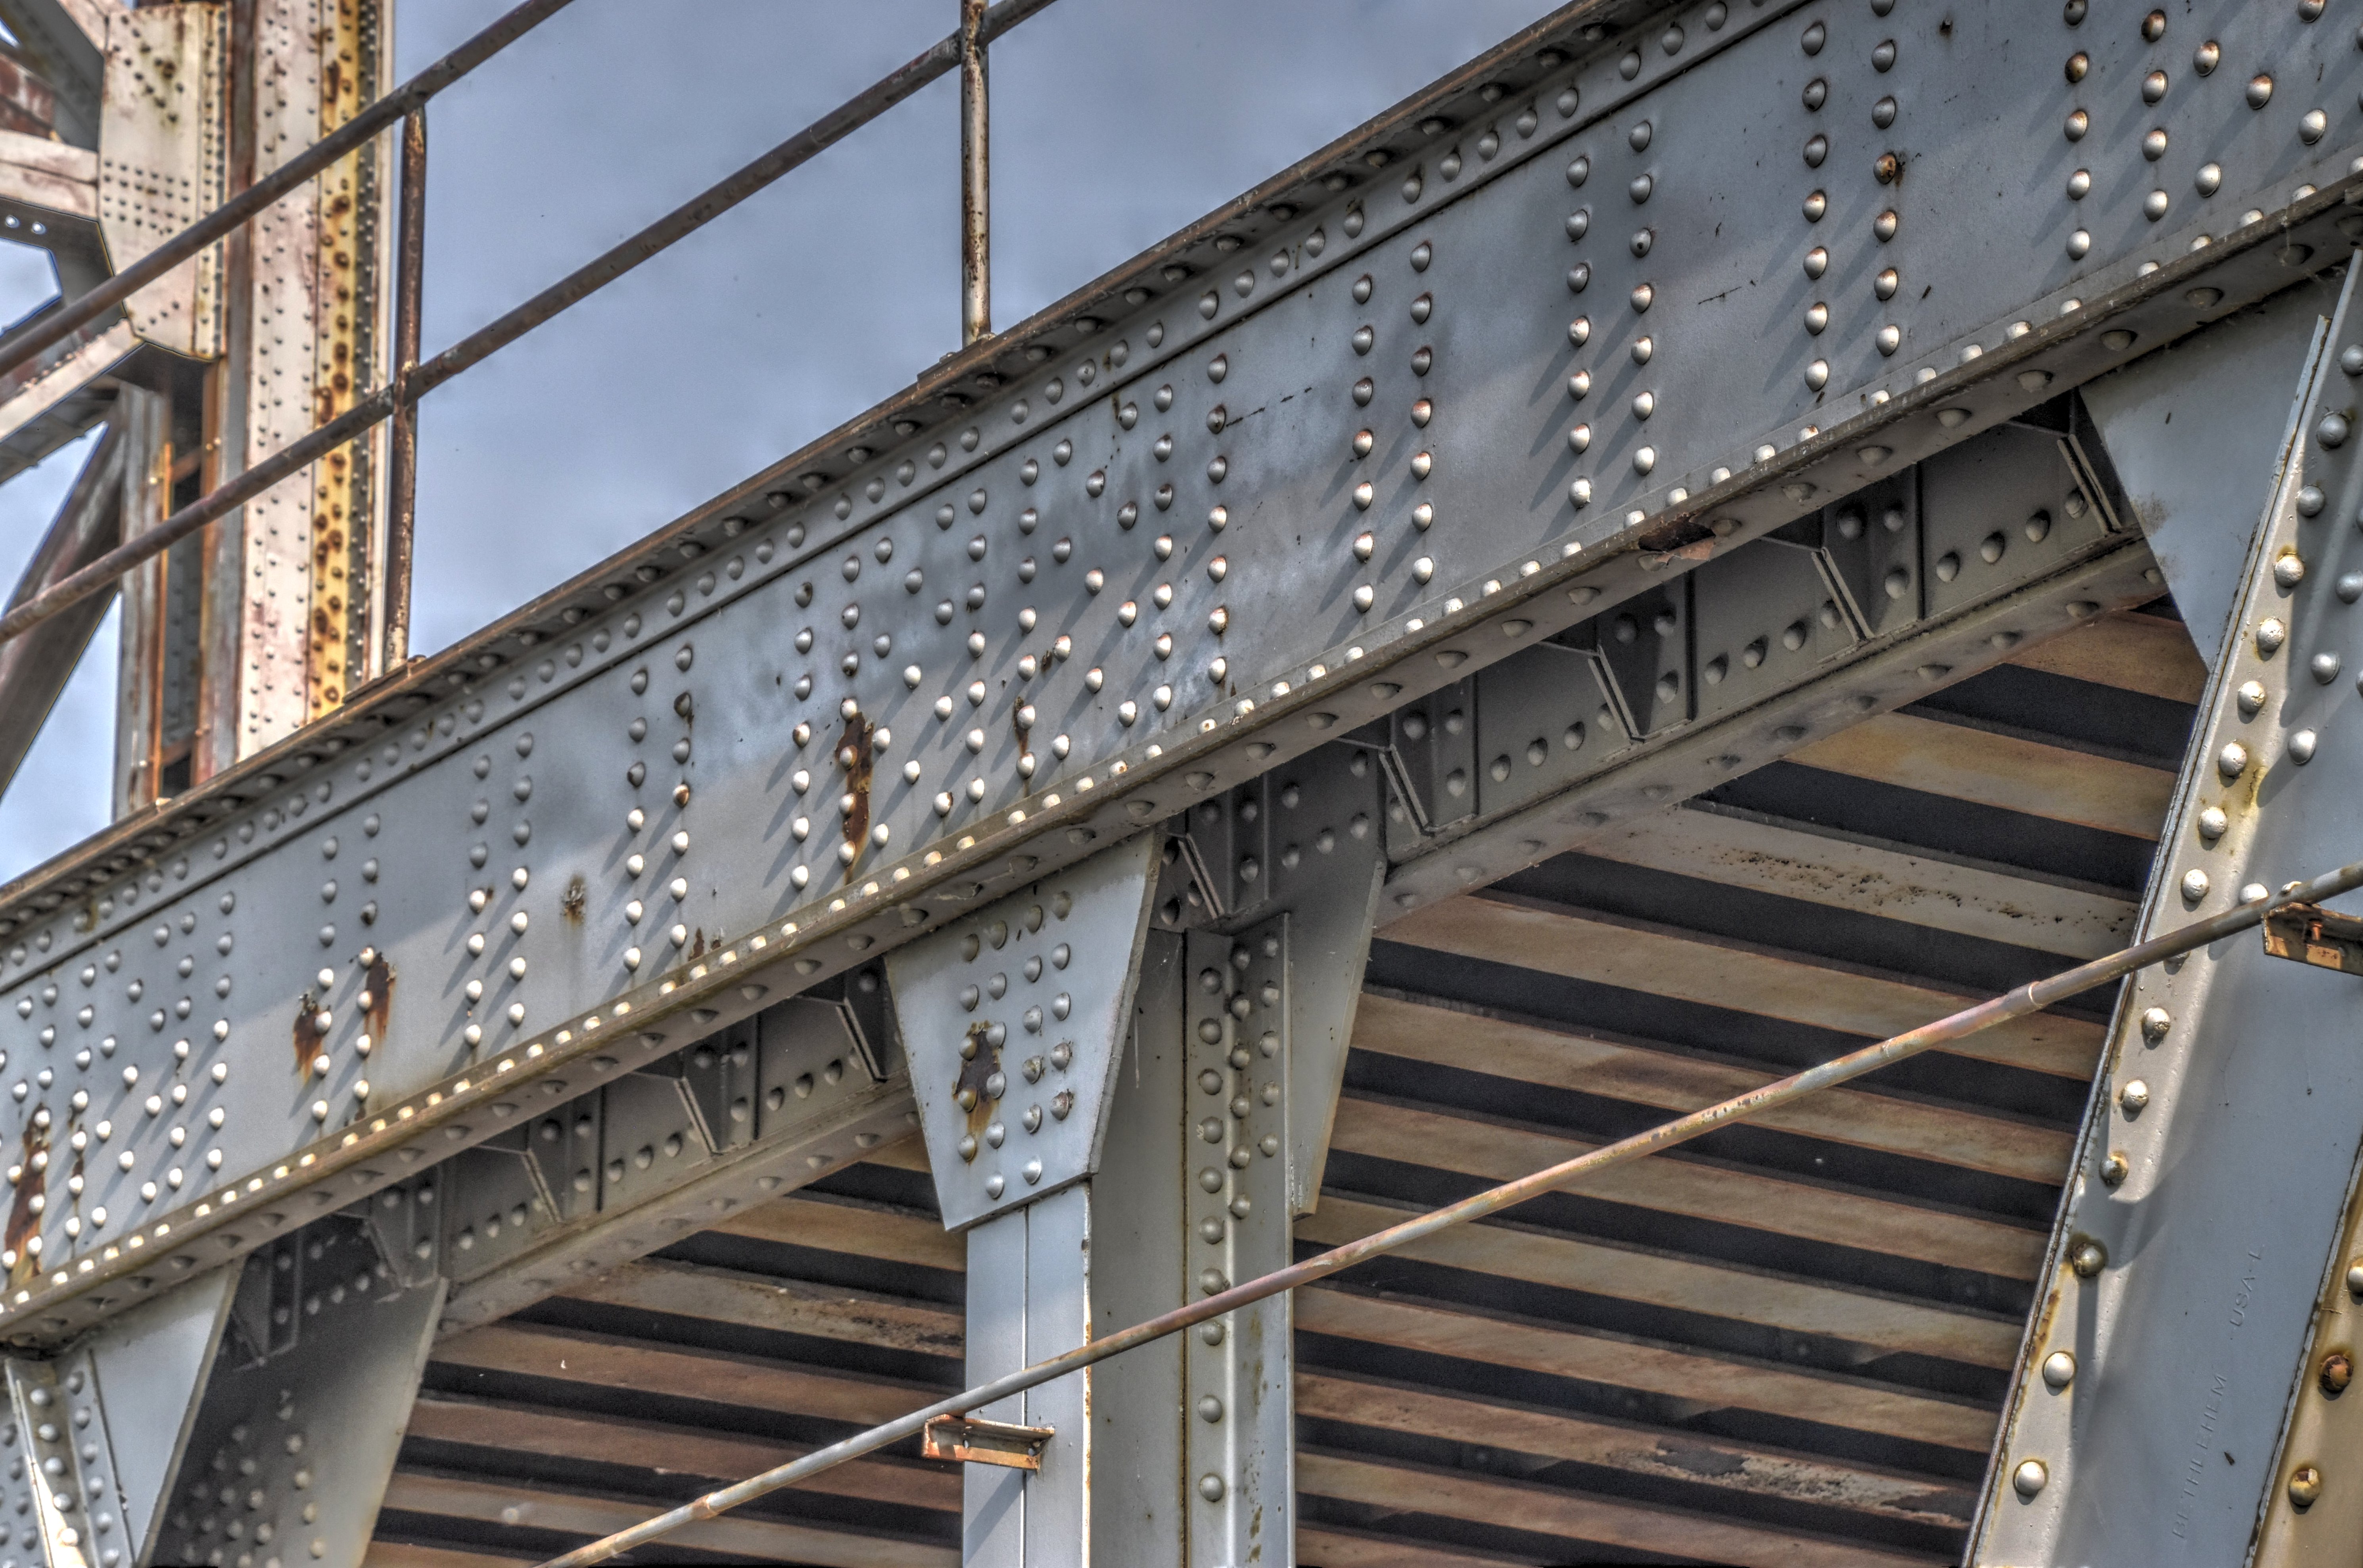
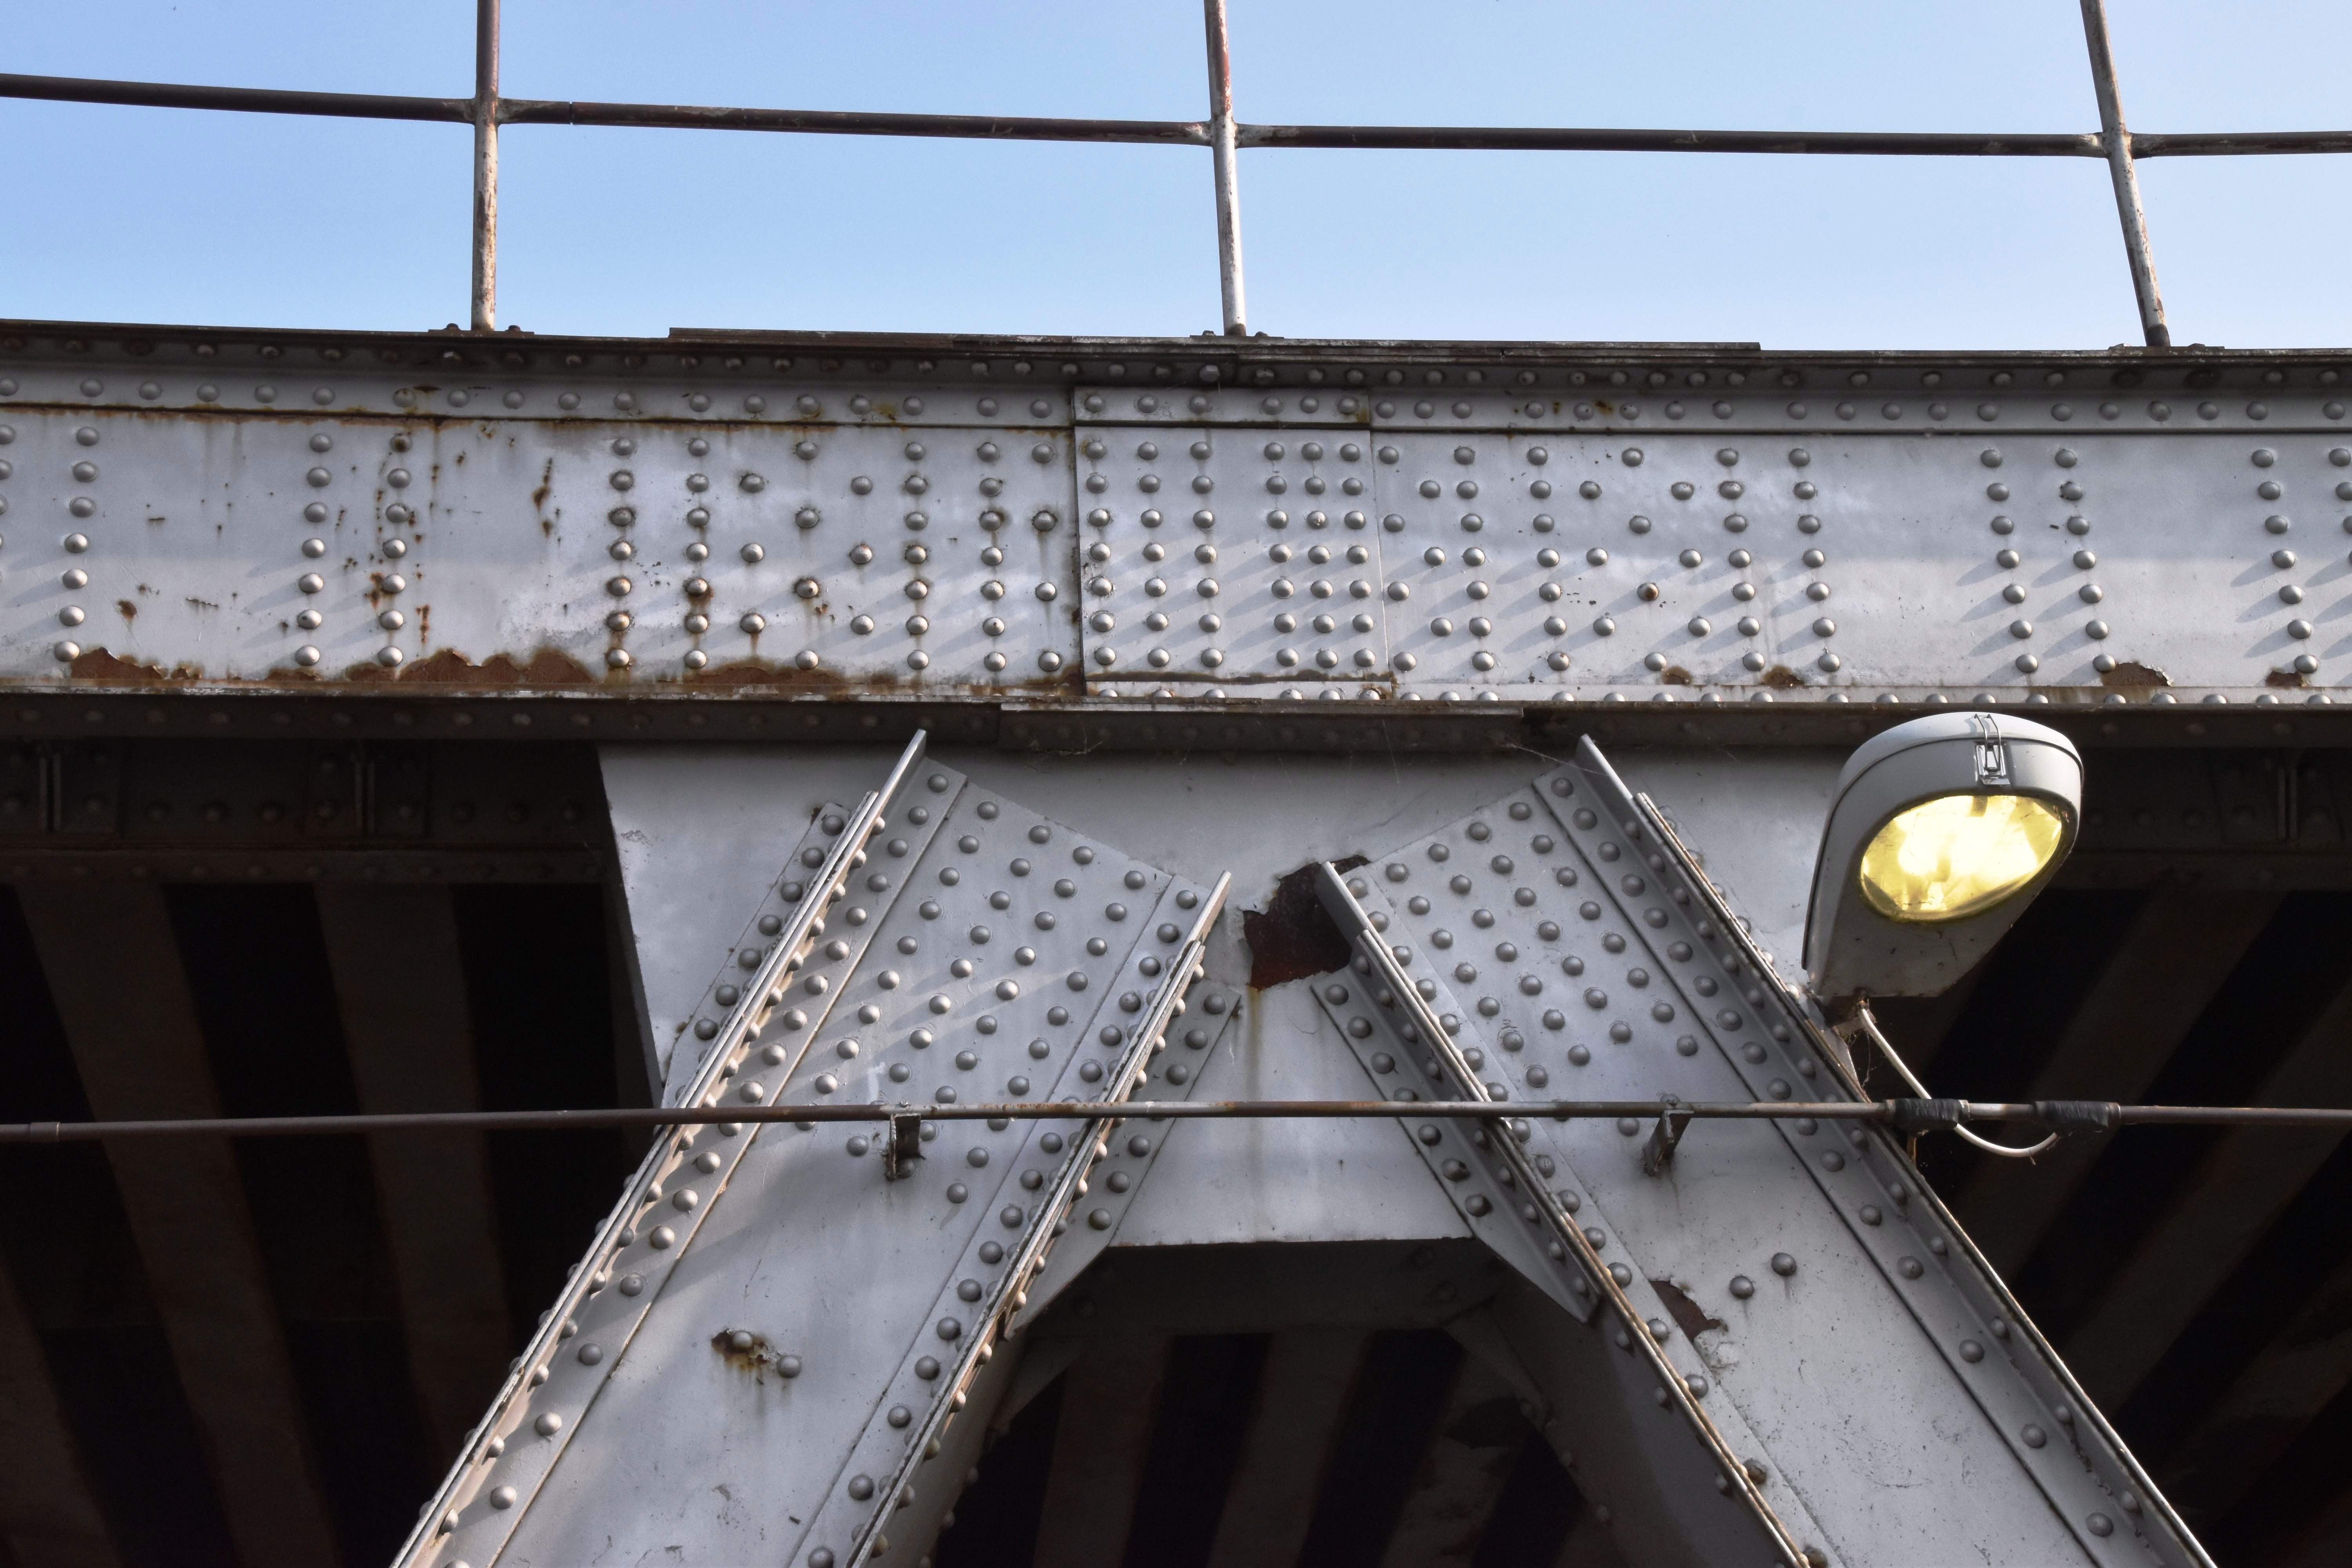
South elevation of approach girder spans.
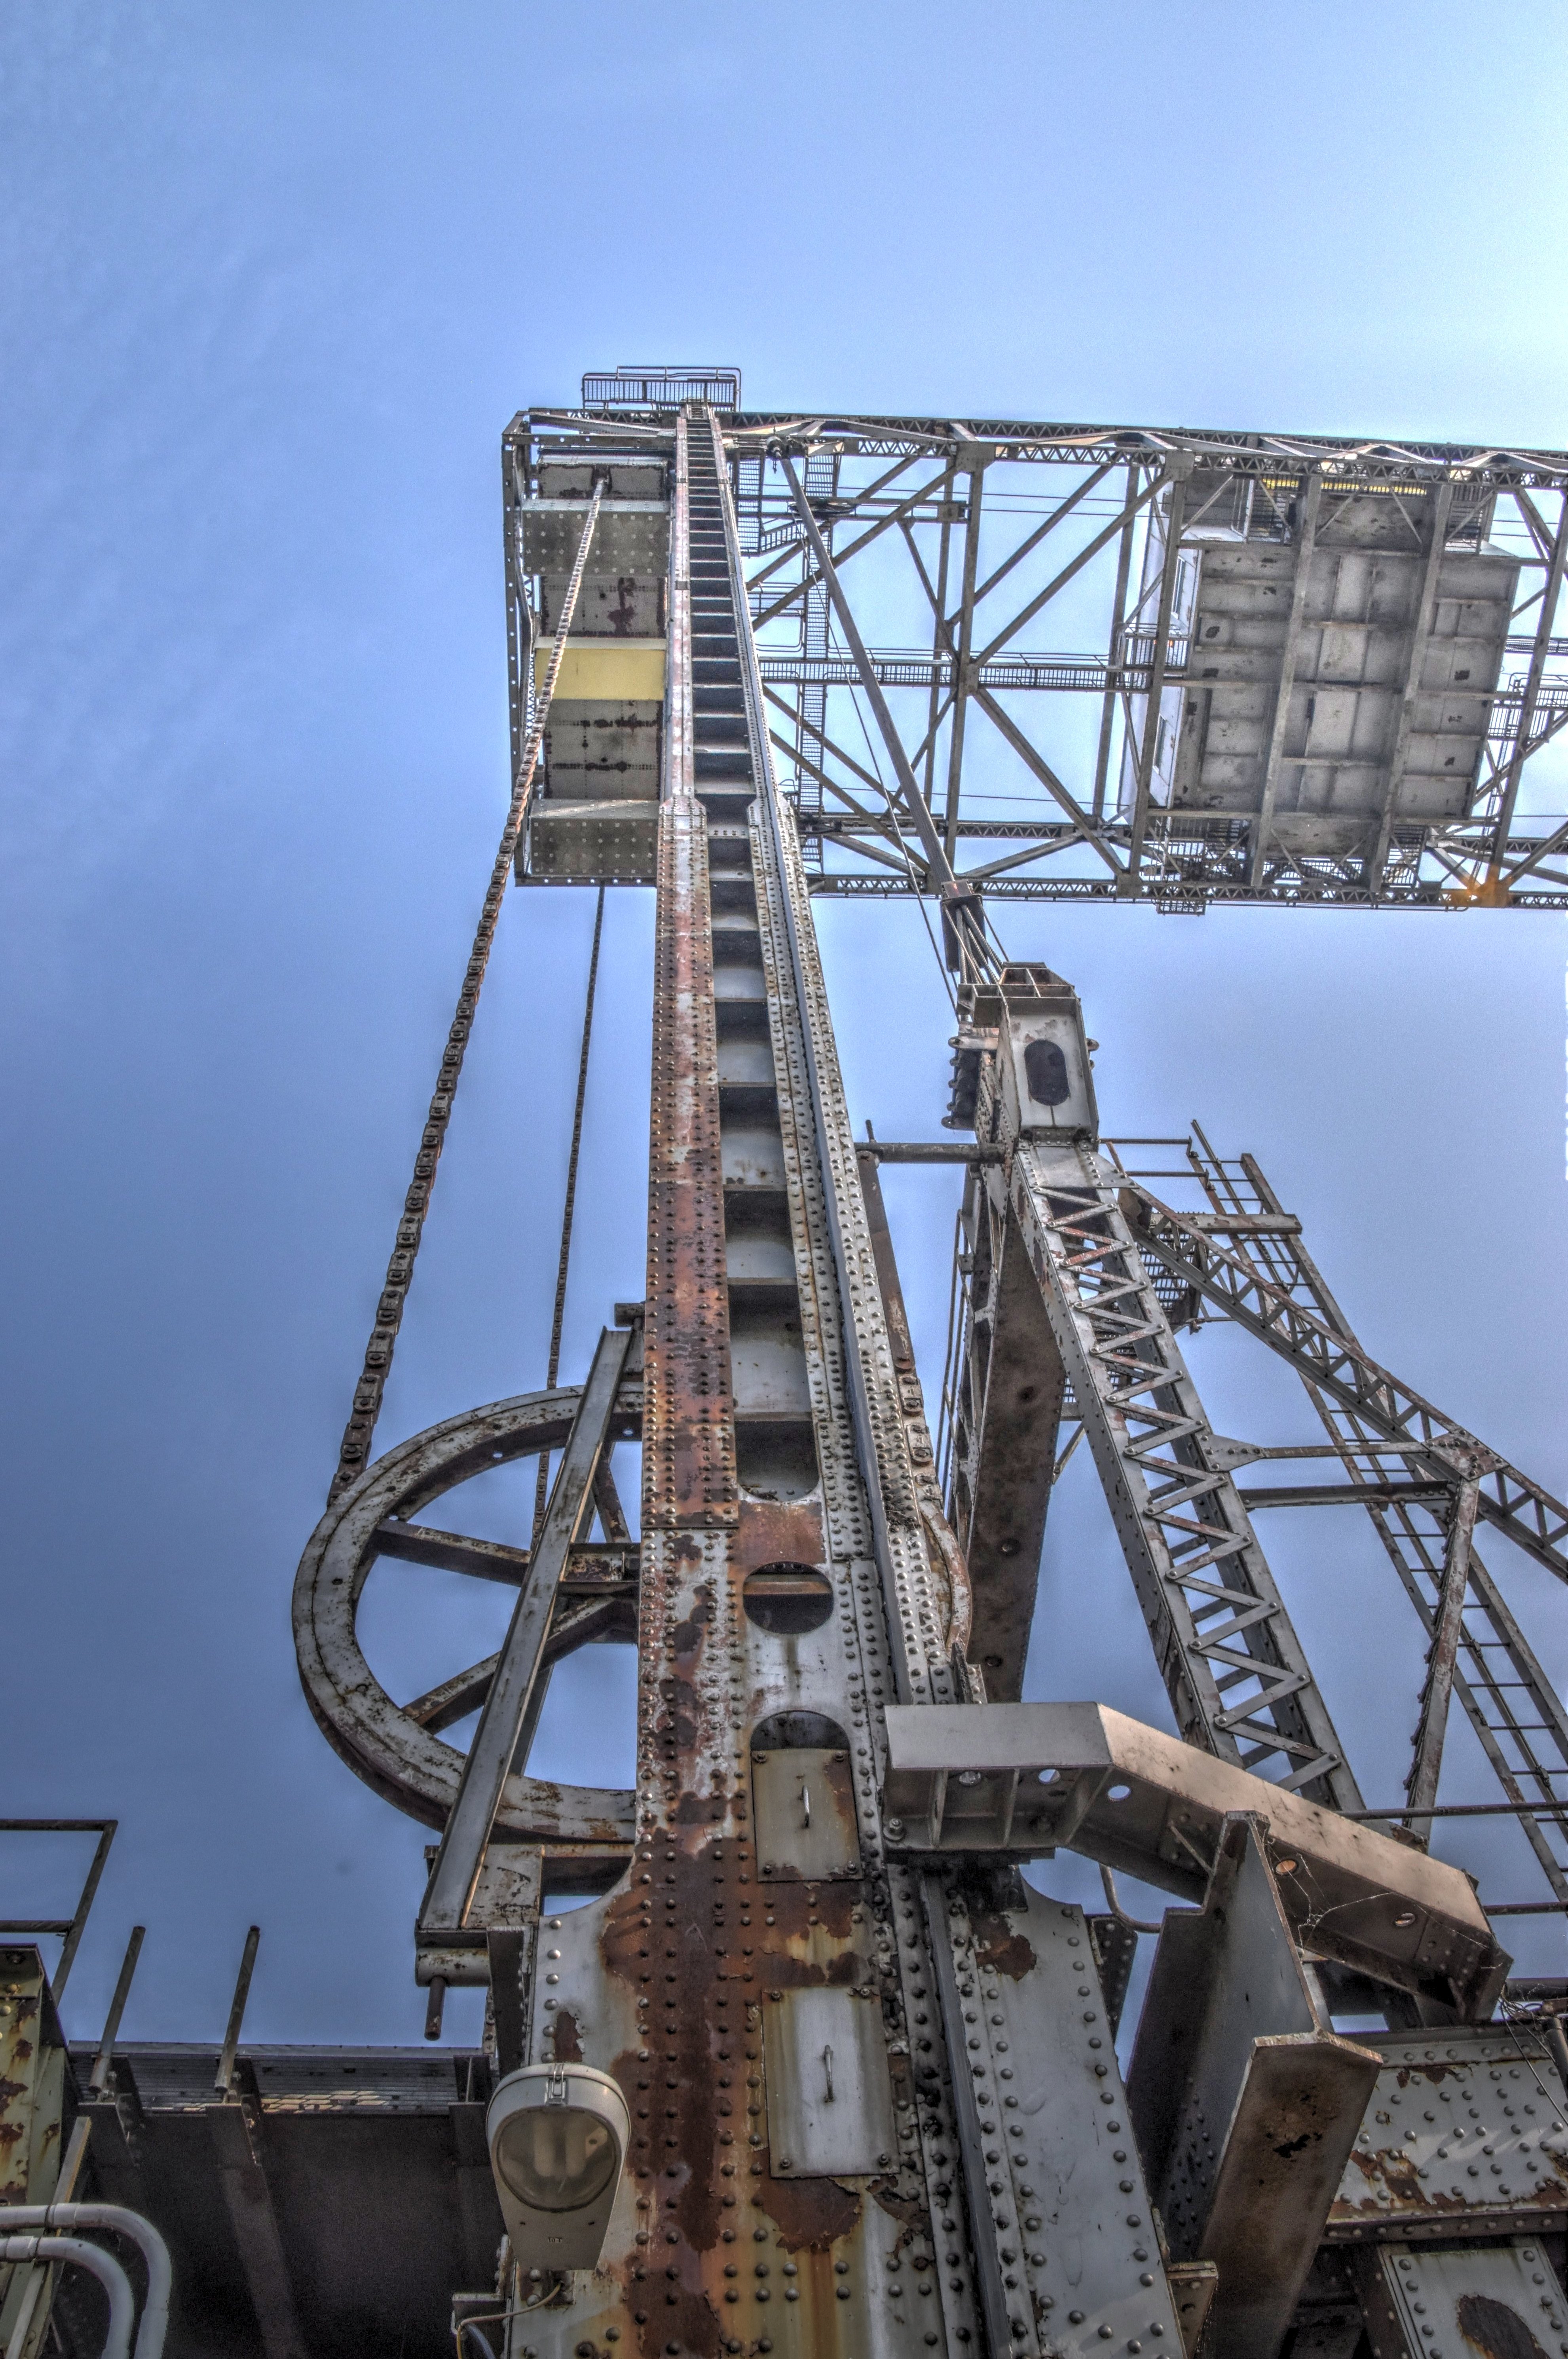
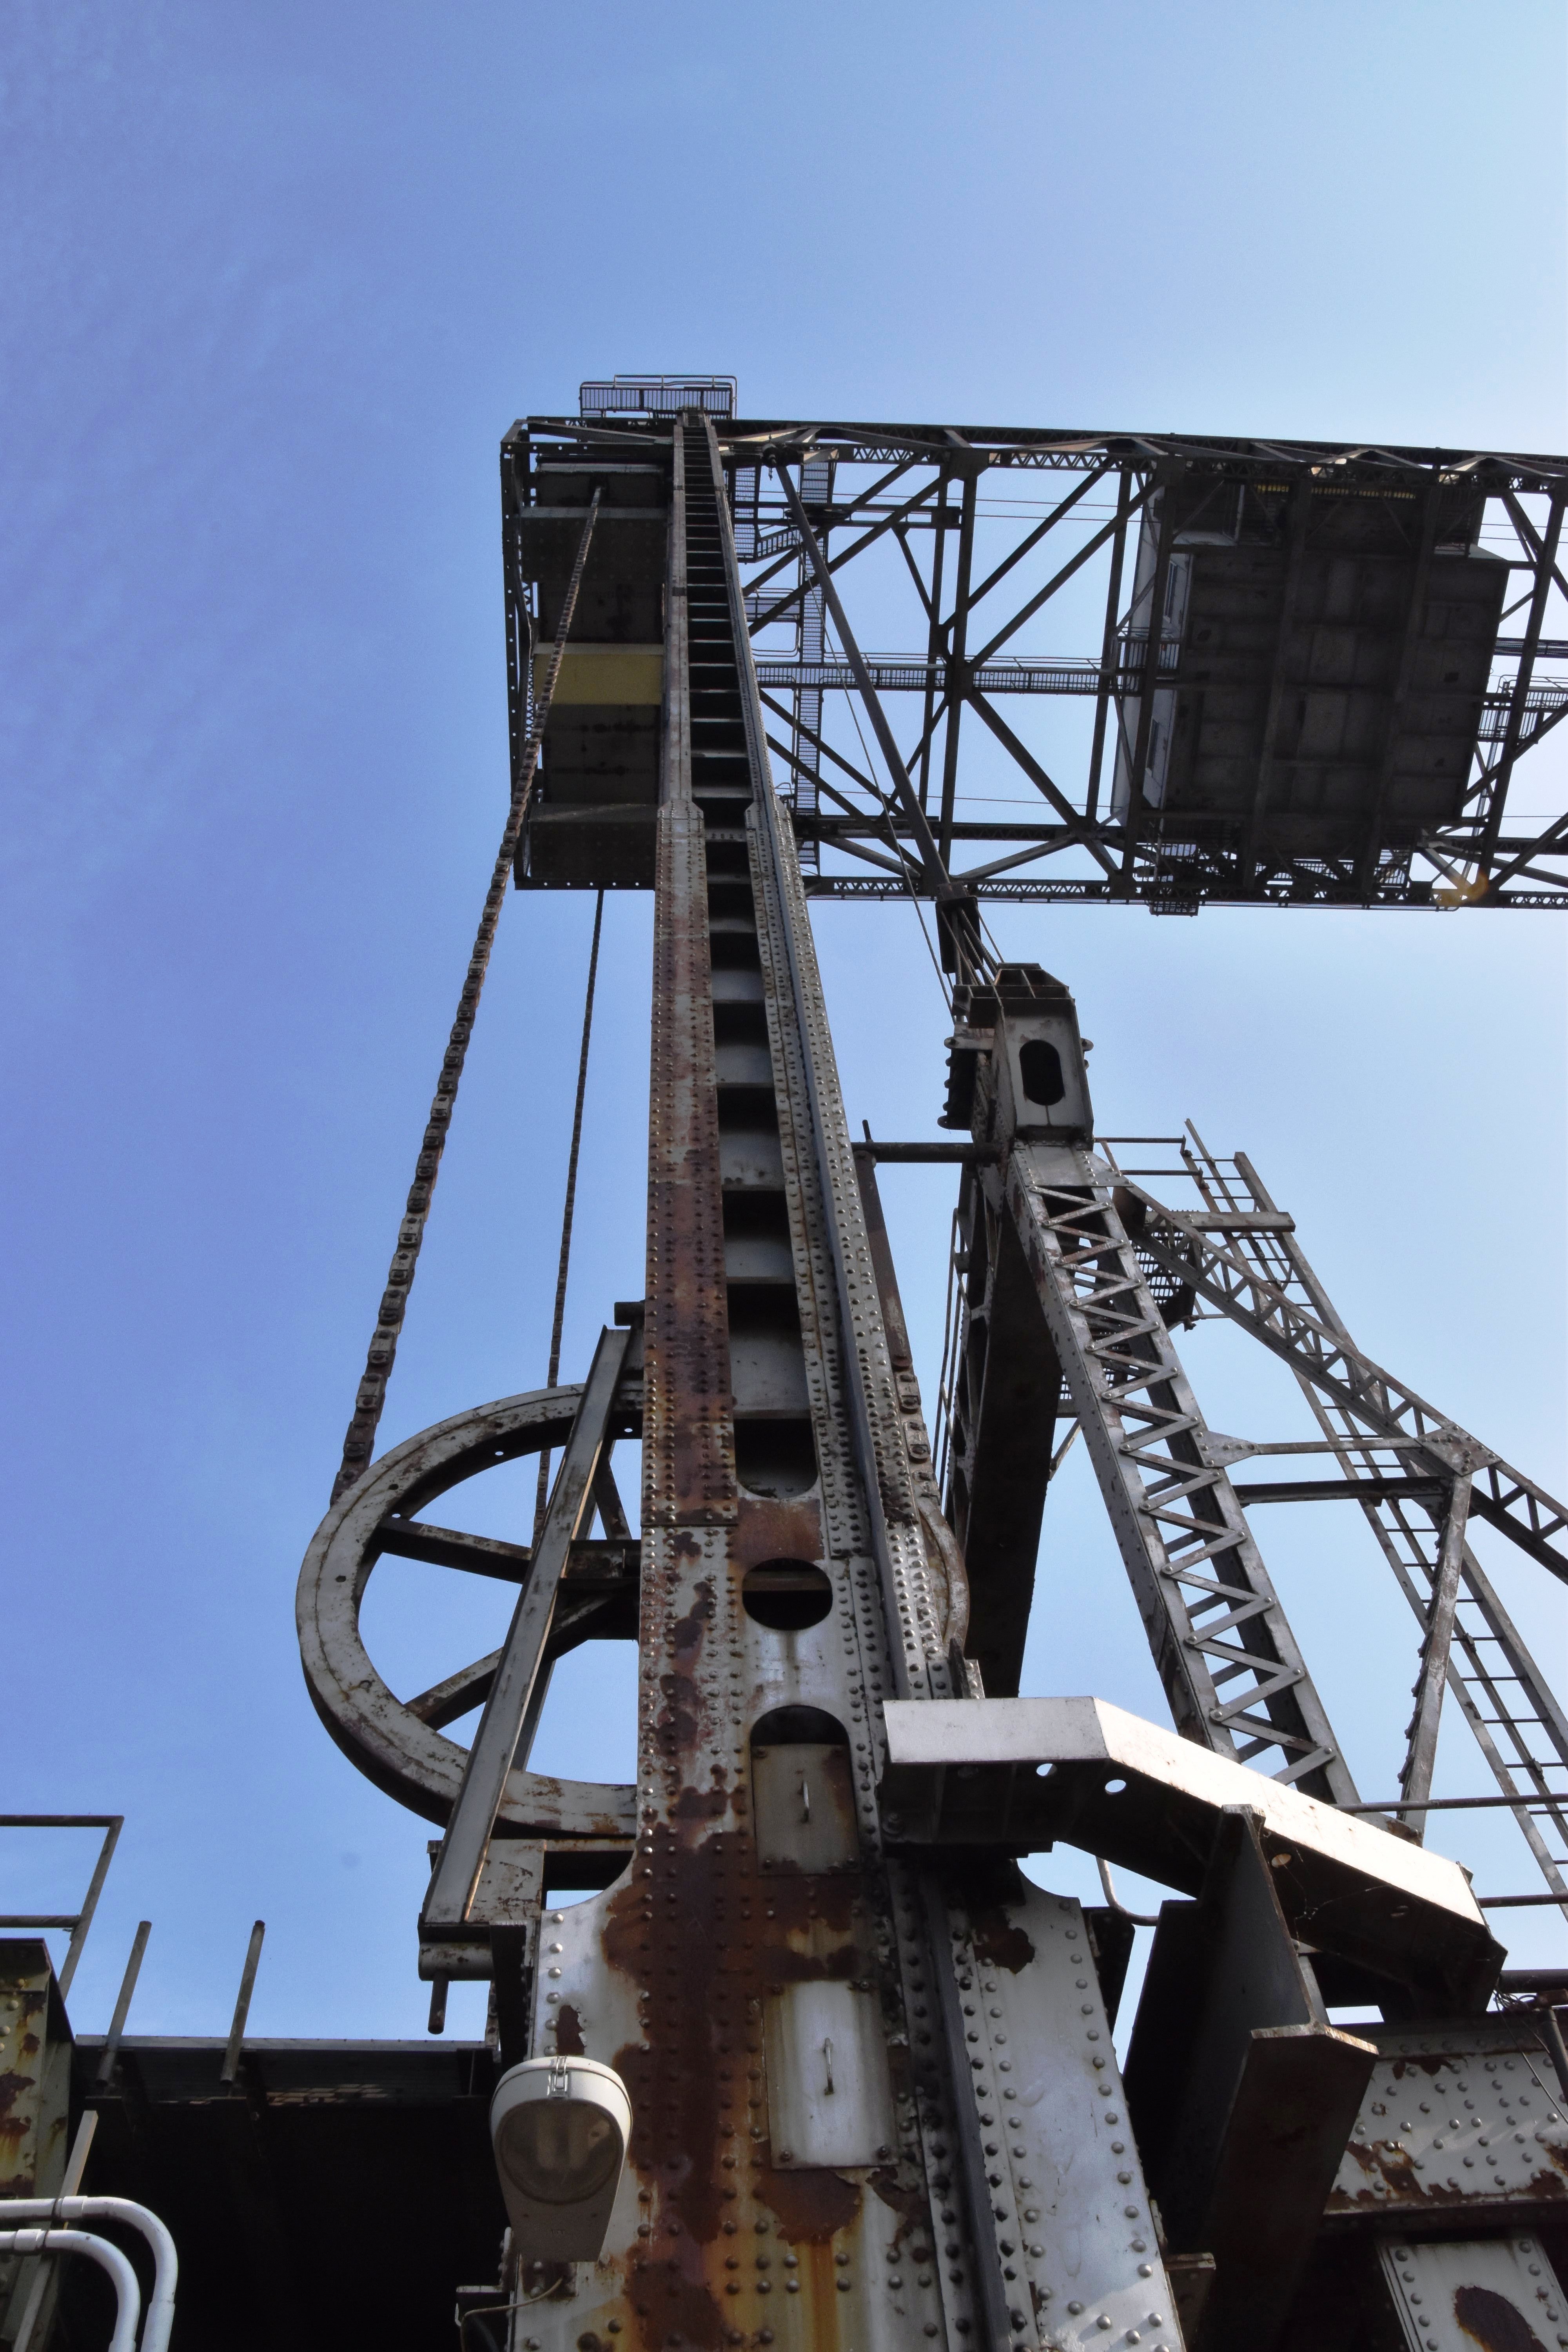
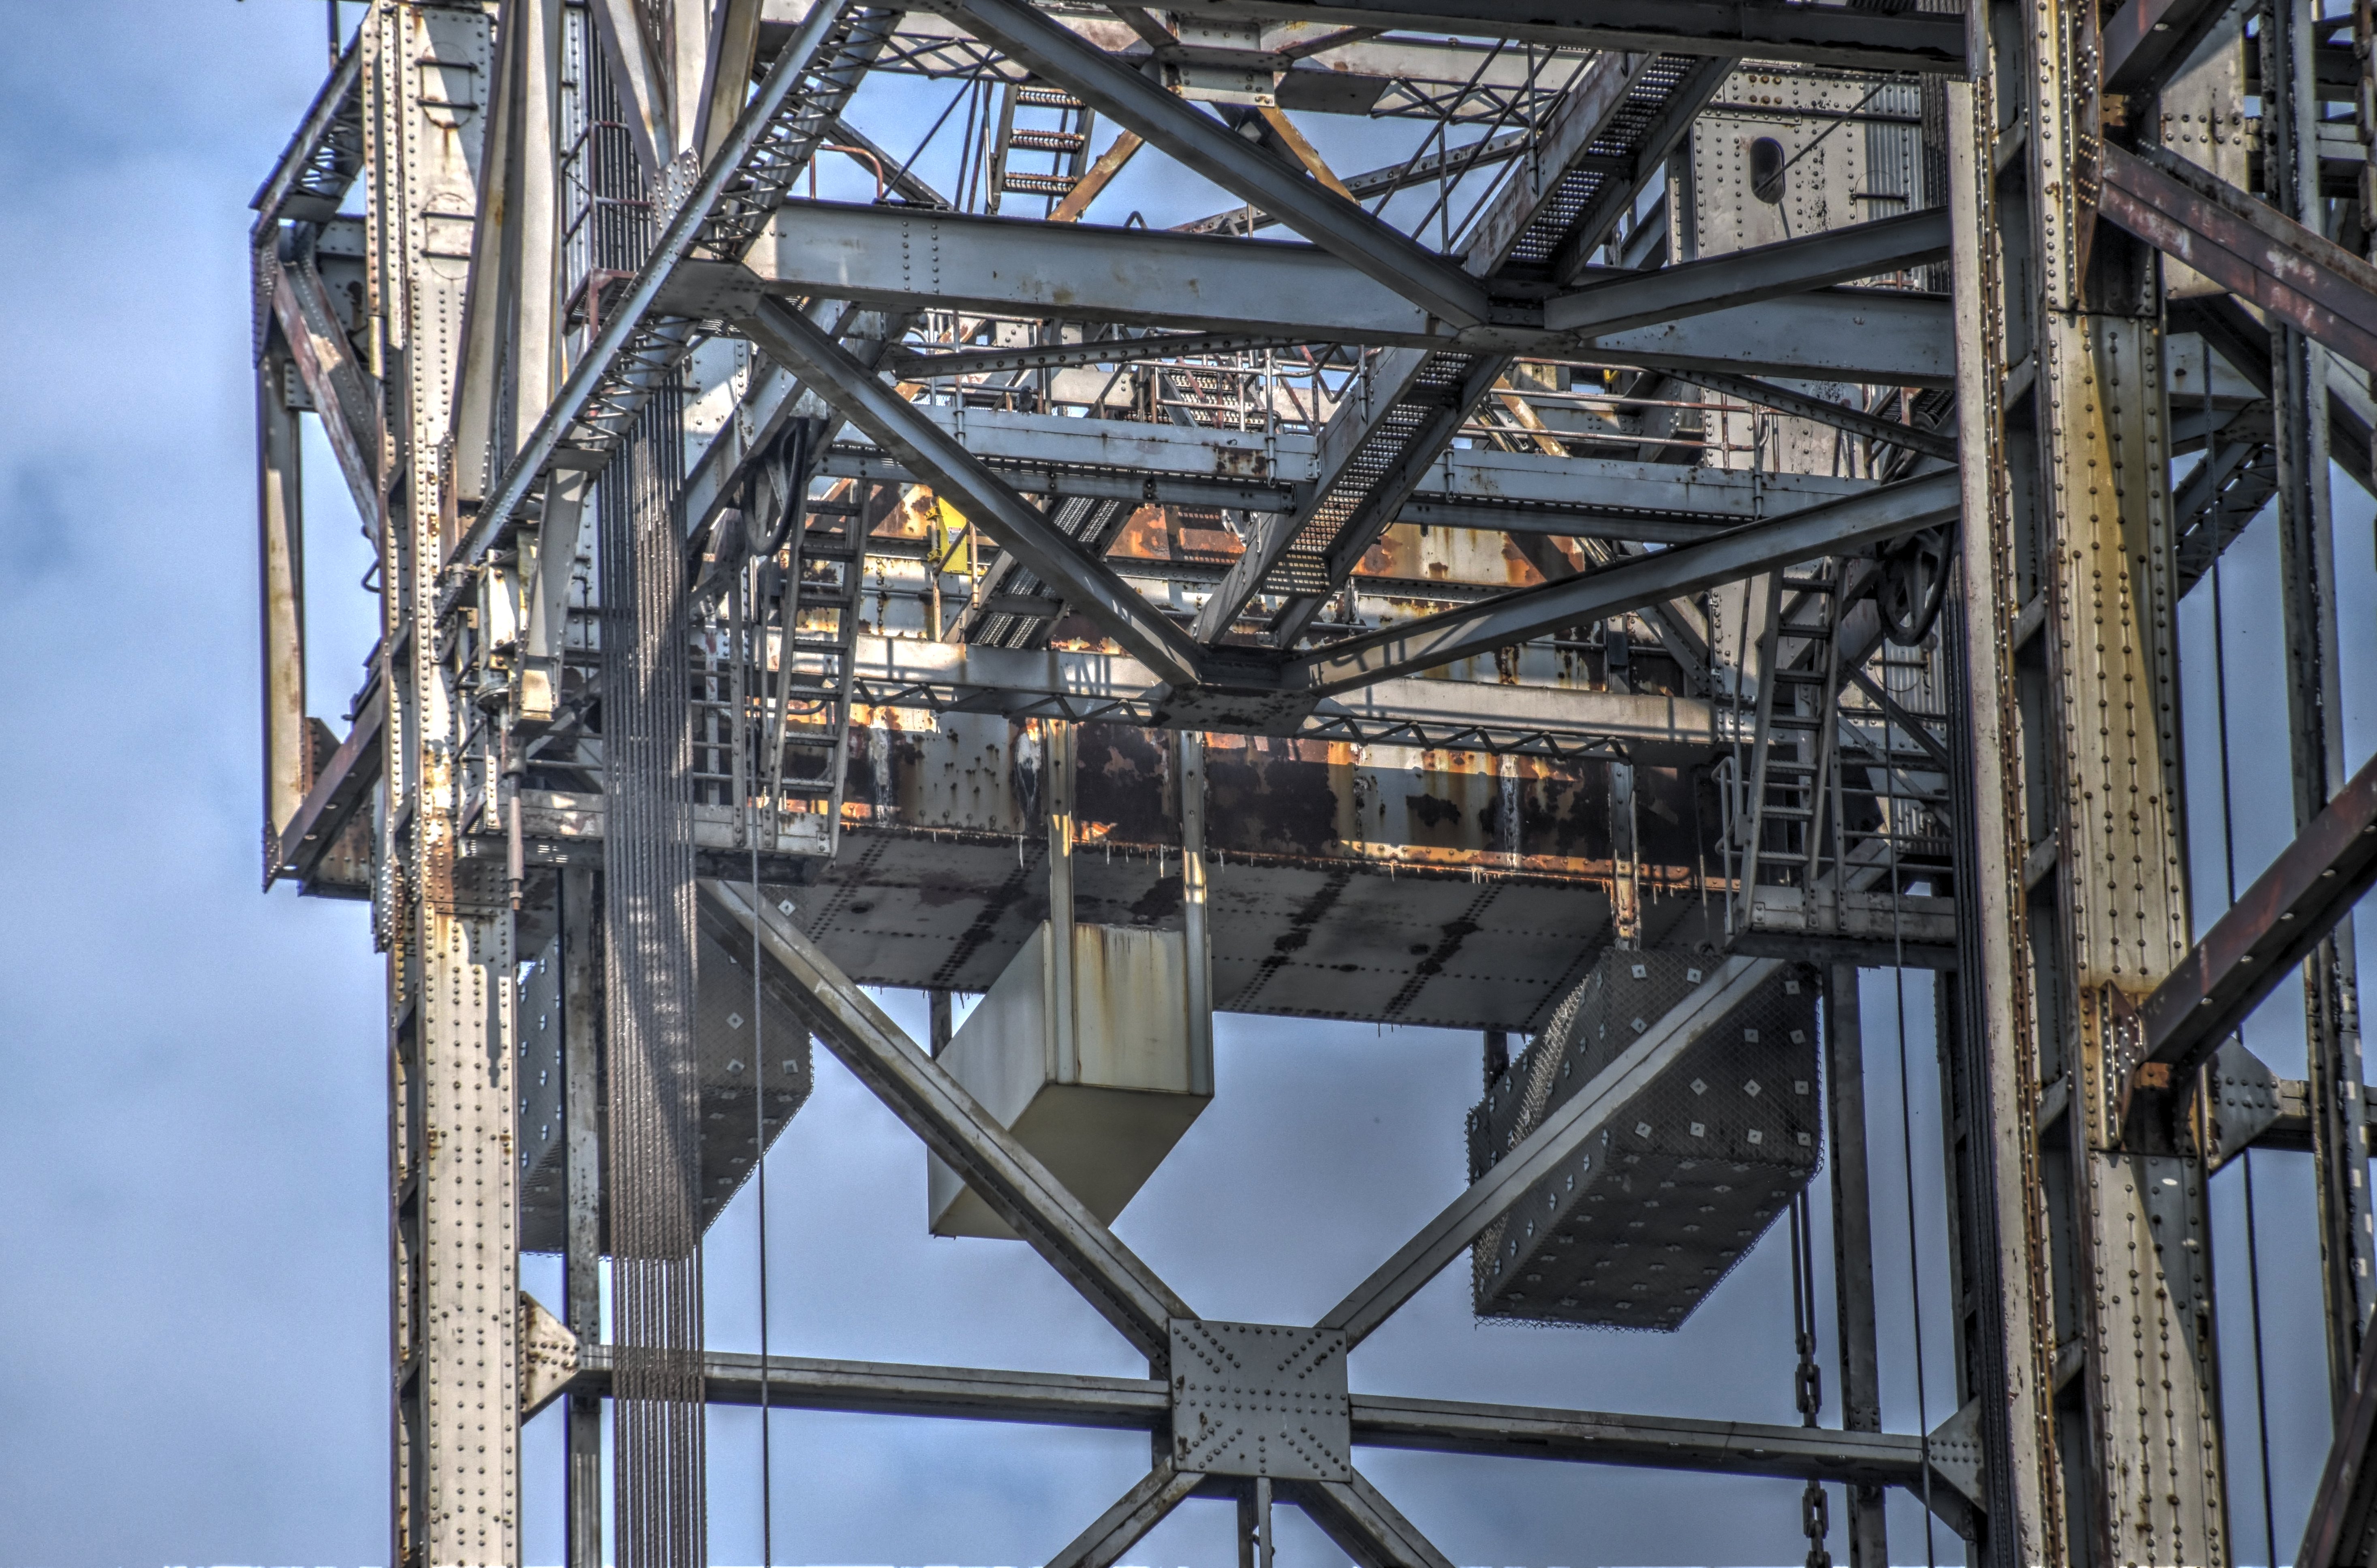
![]()


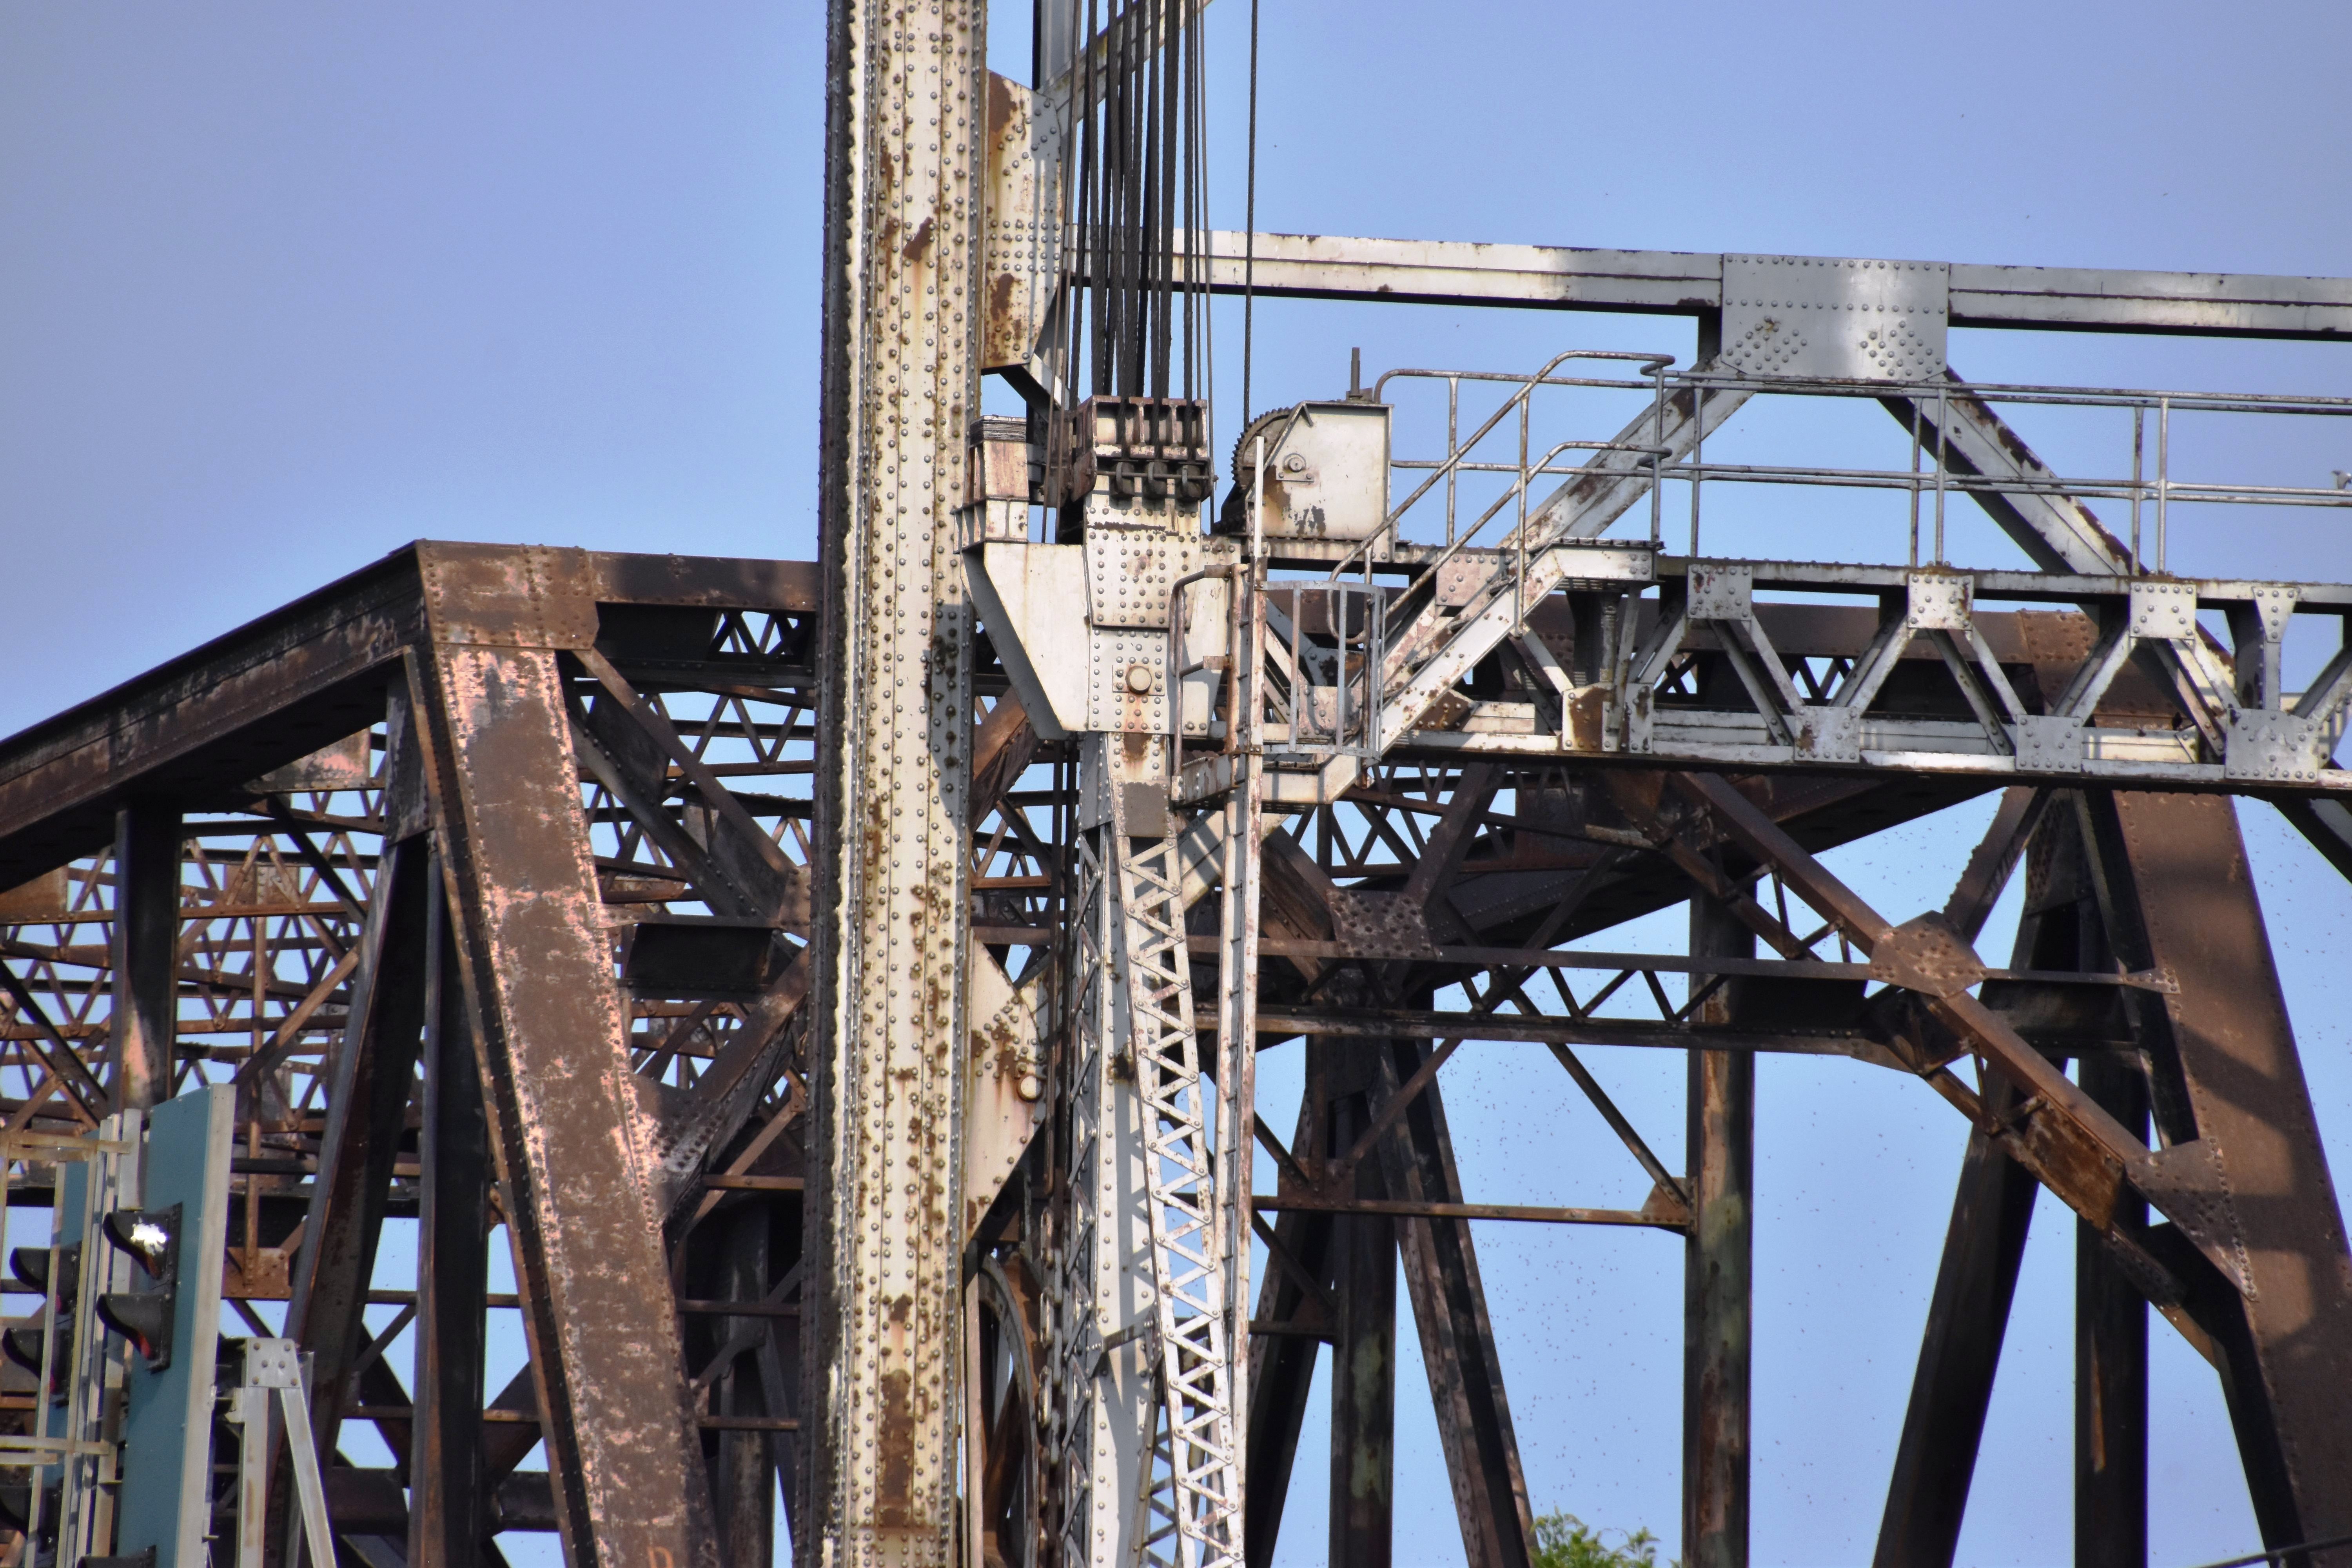
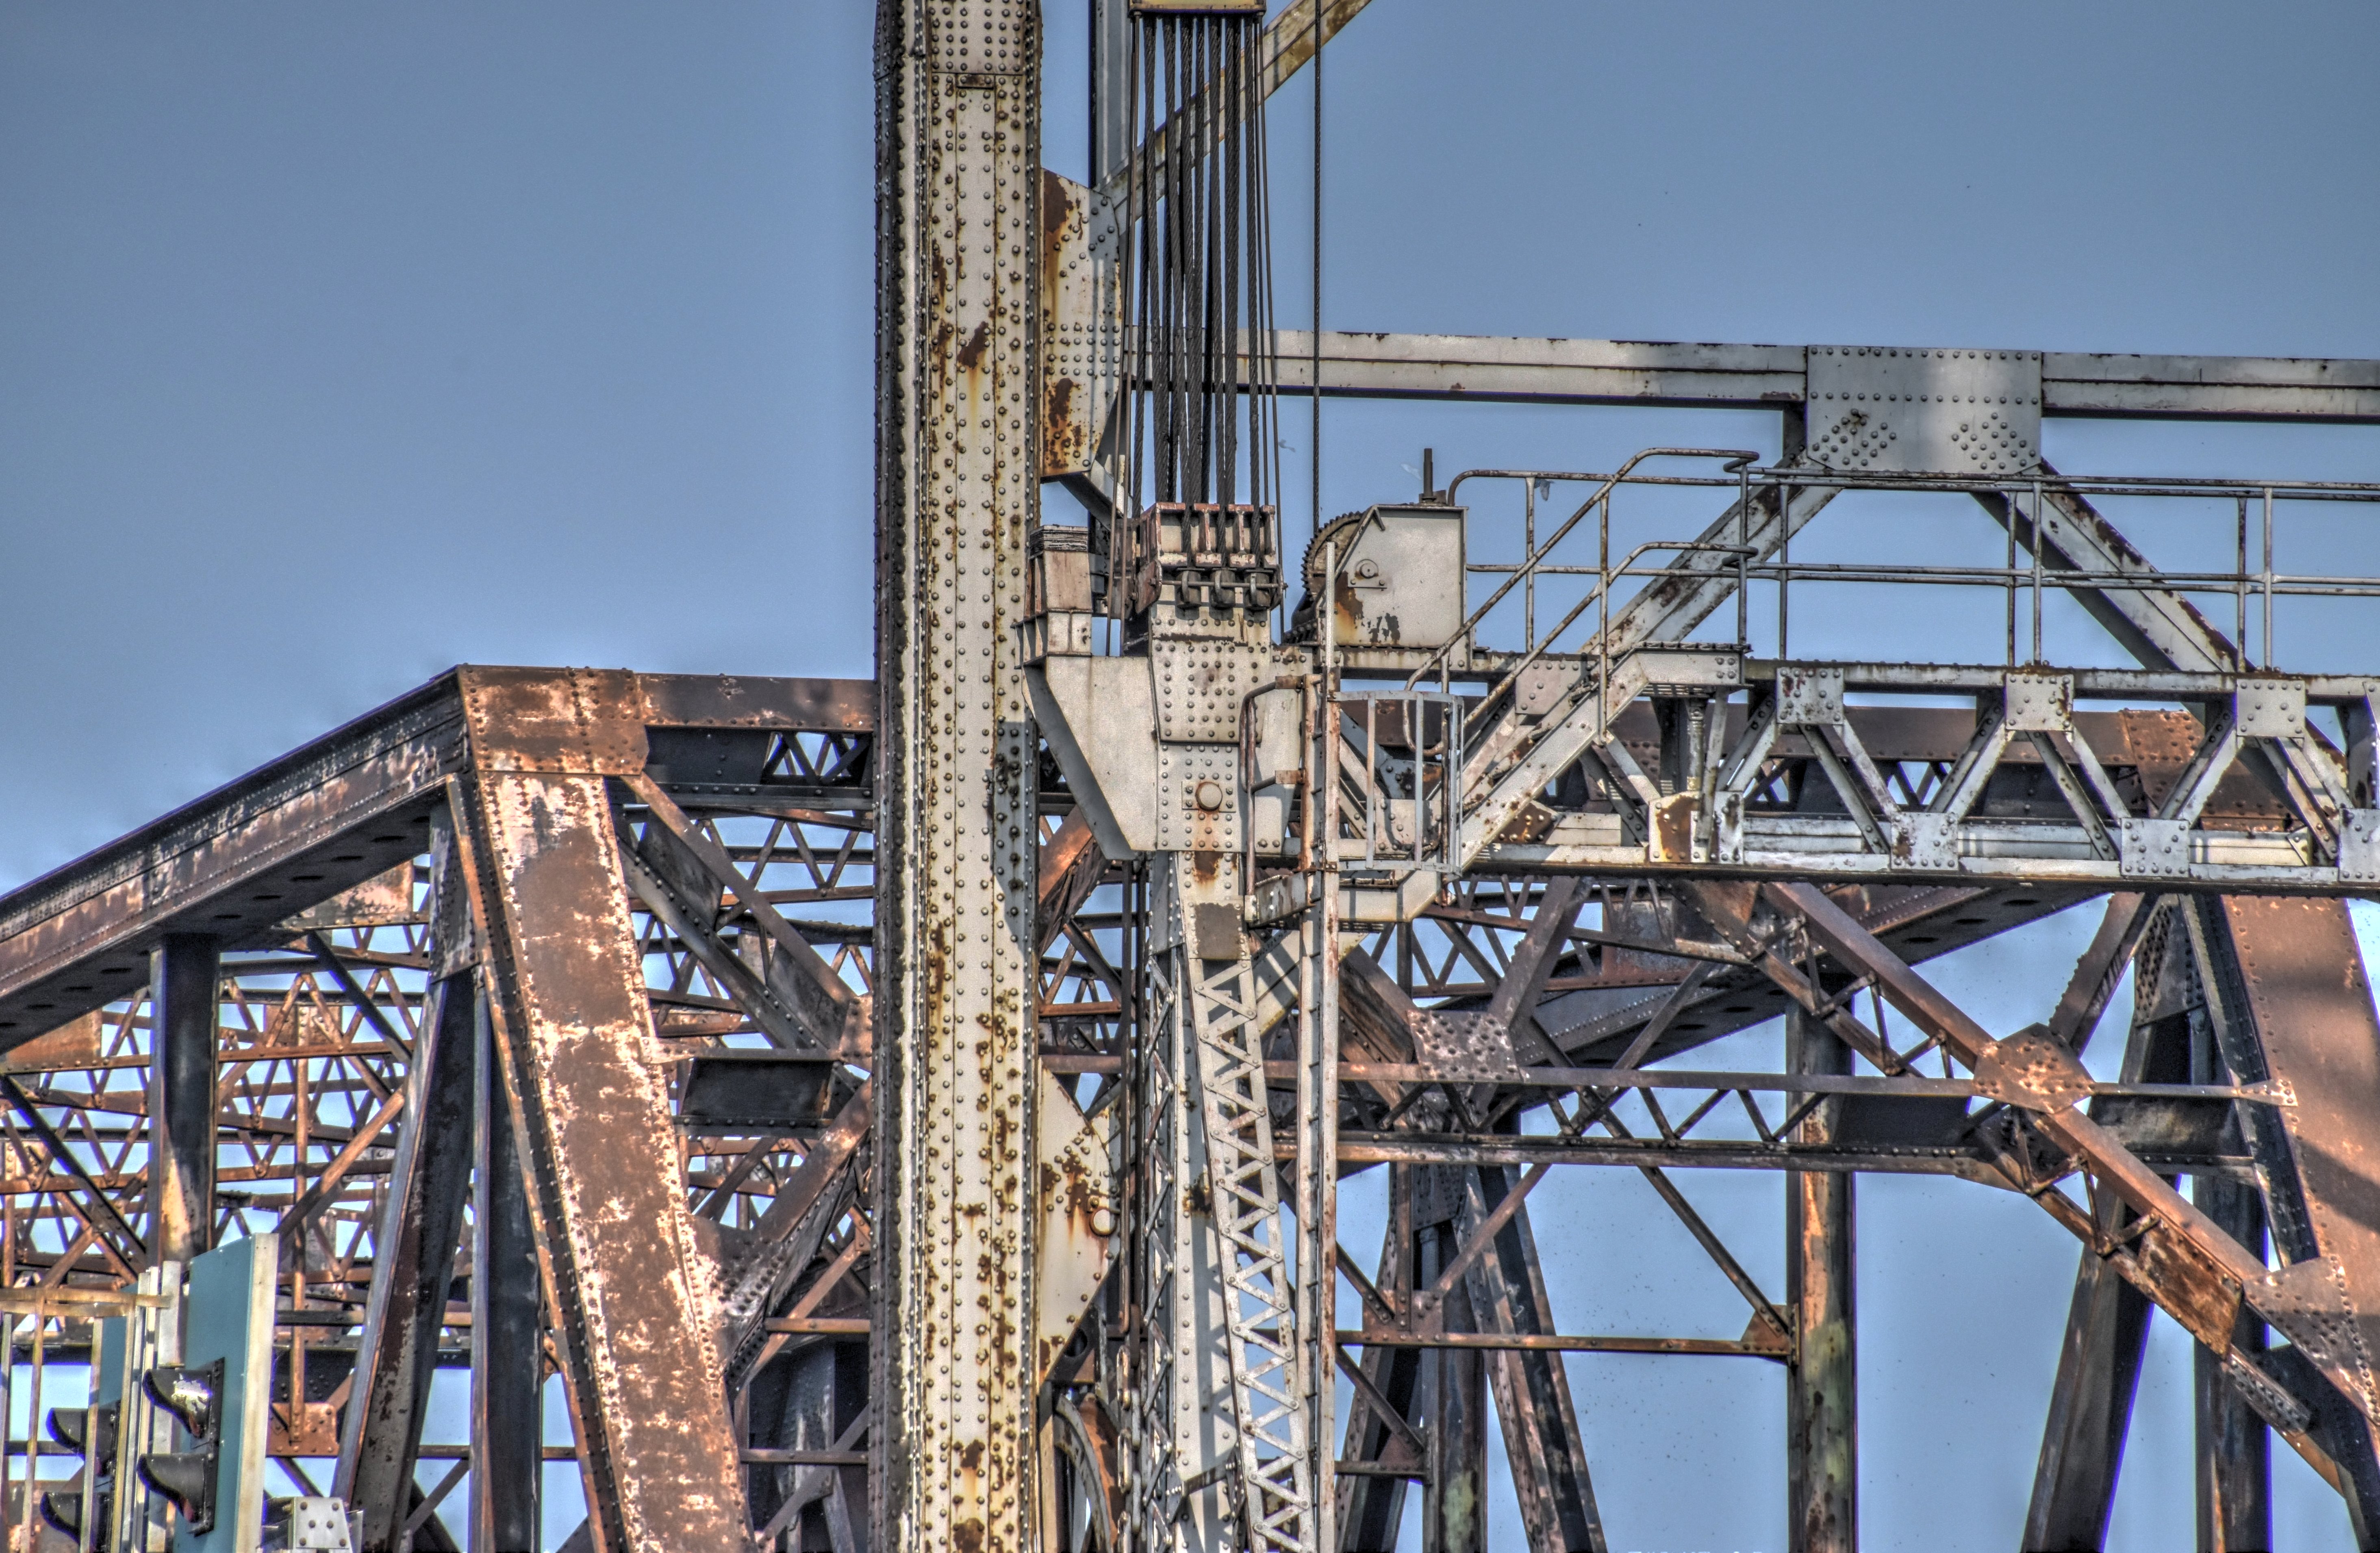
Counterweight sheaves.
![]()
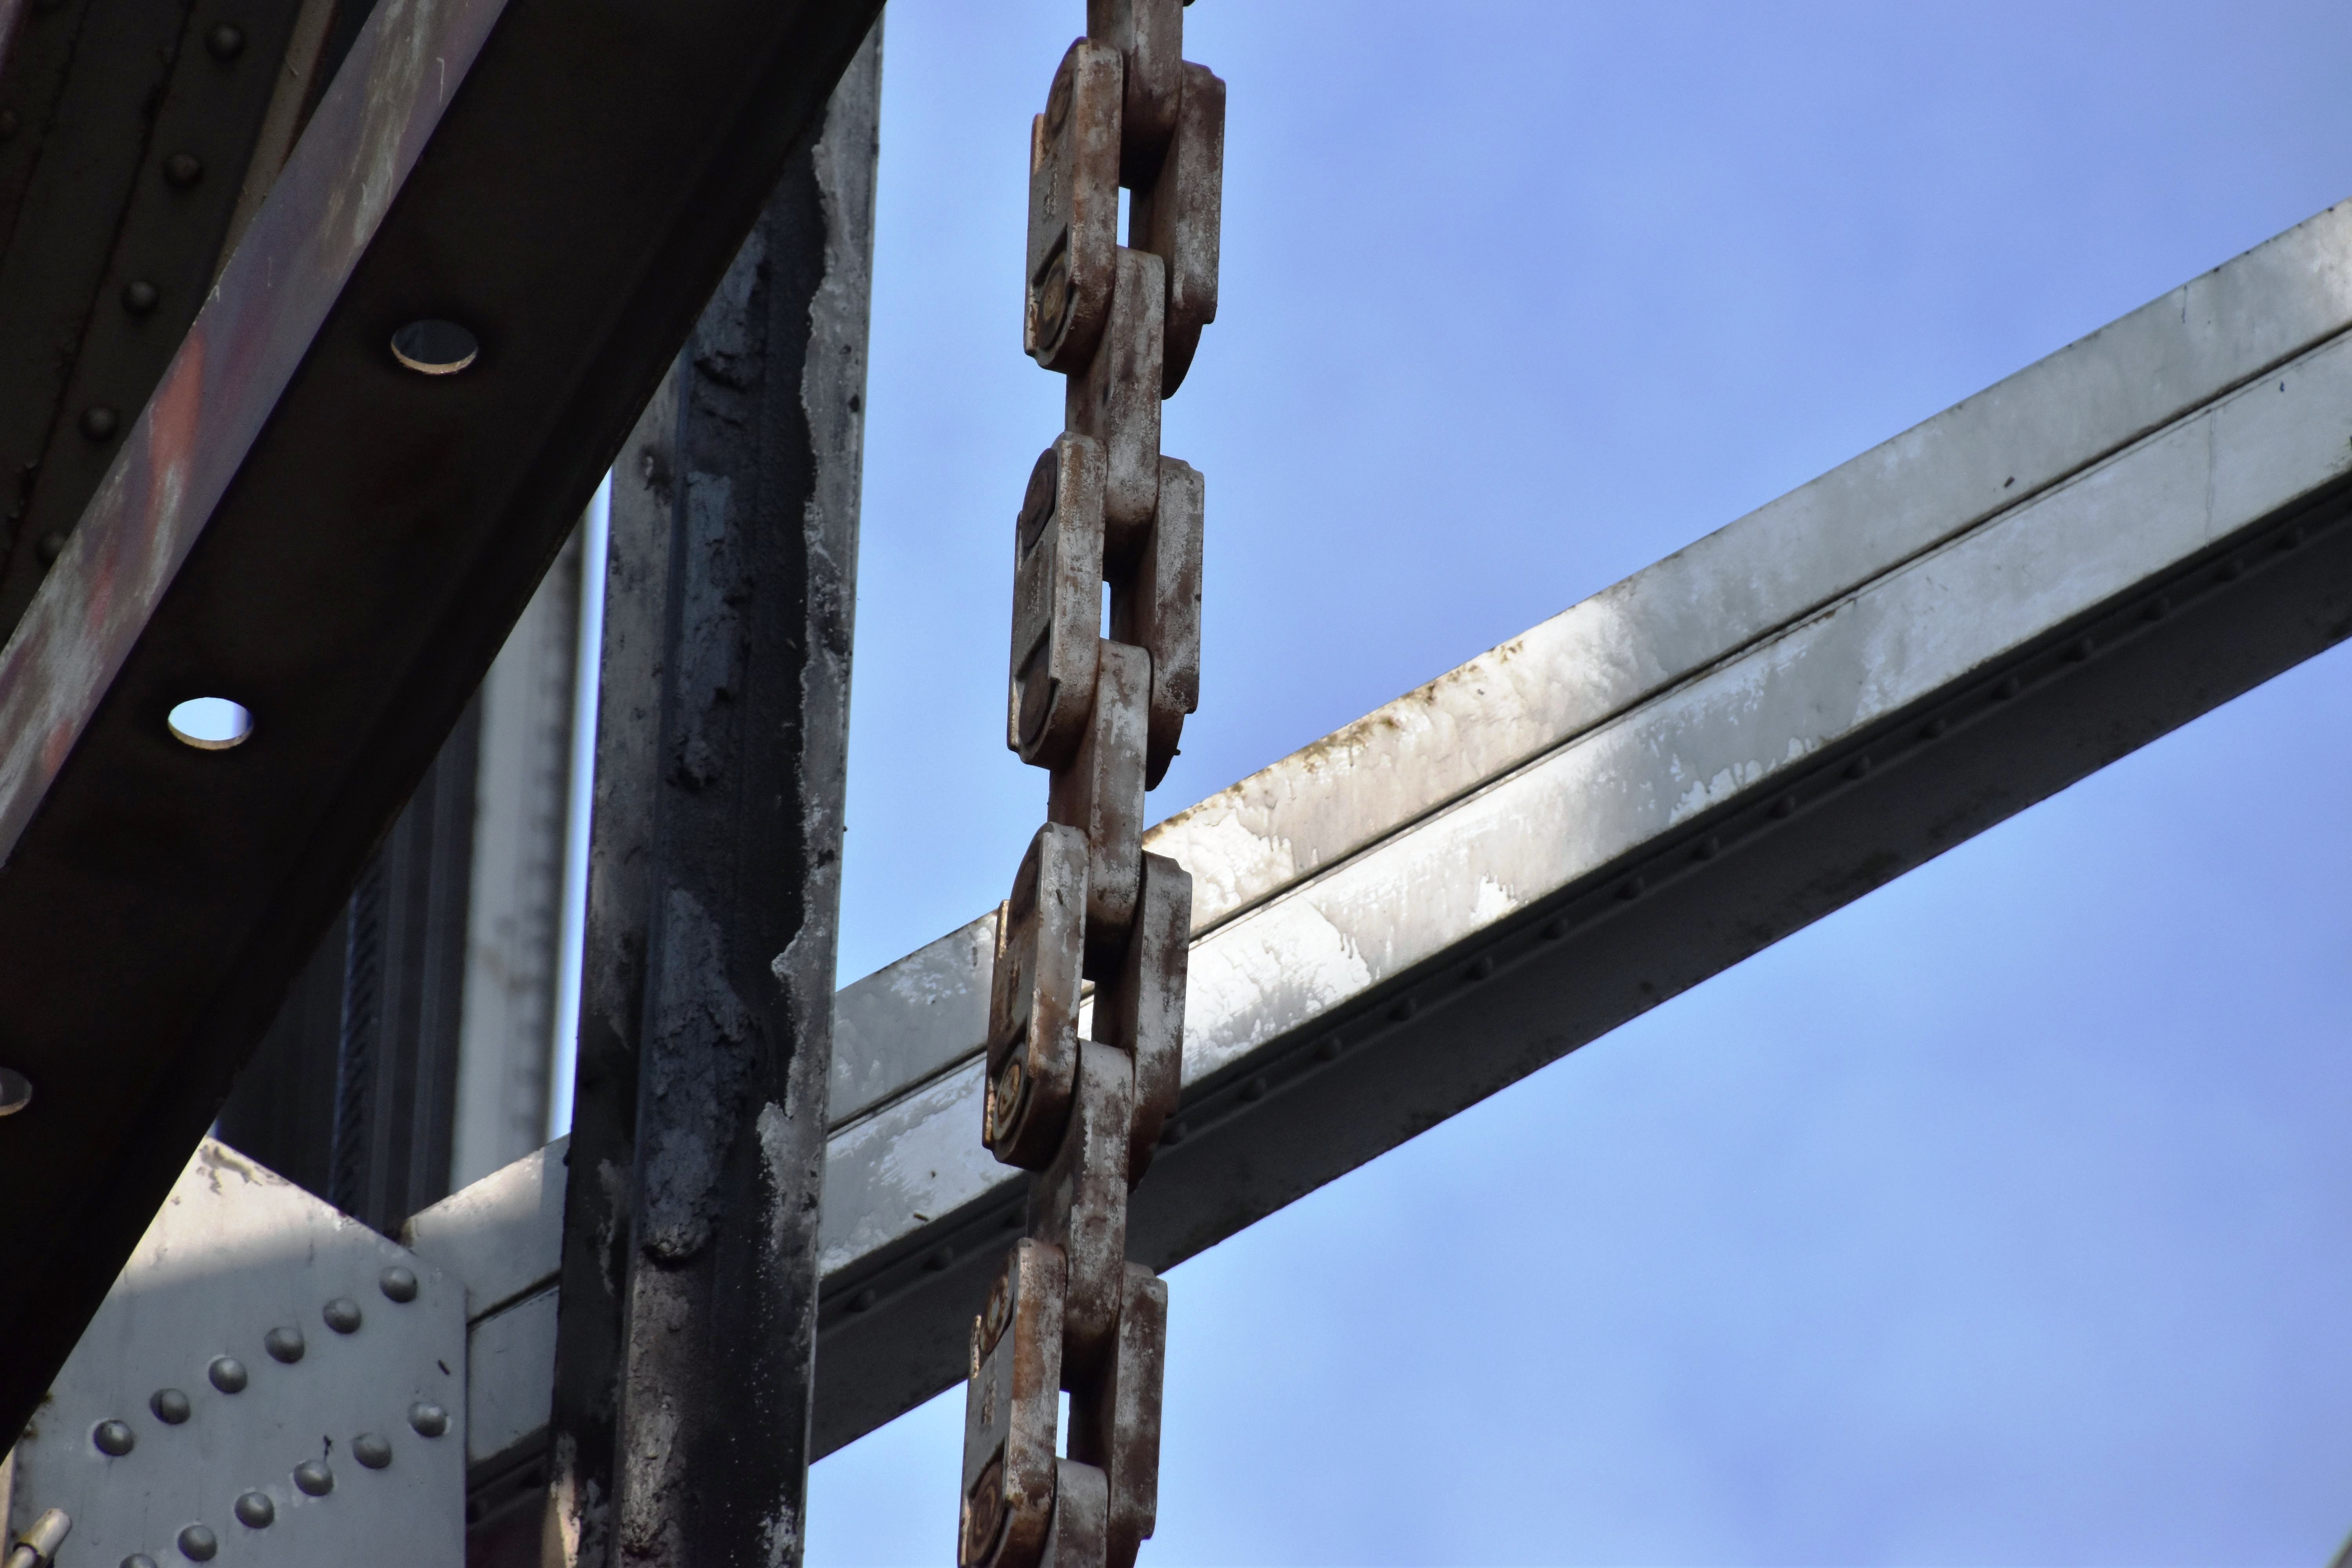
Lifting cable connections.
![]()

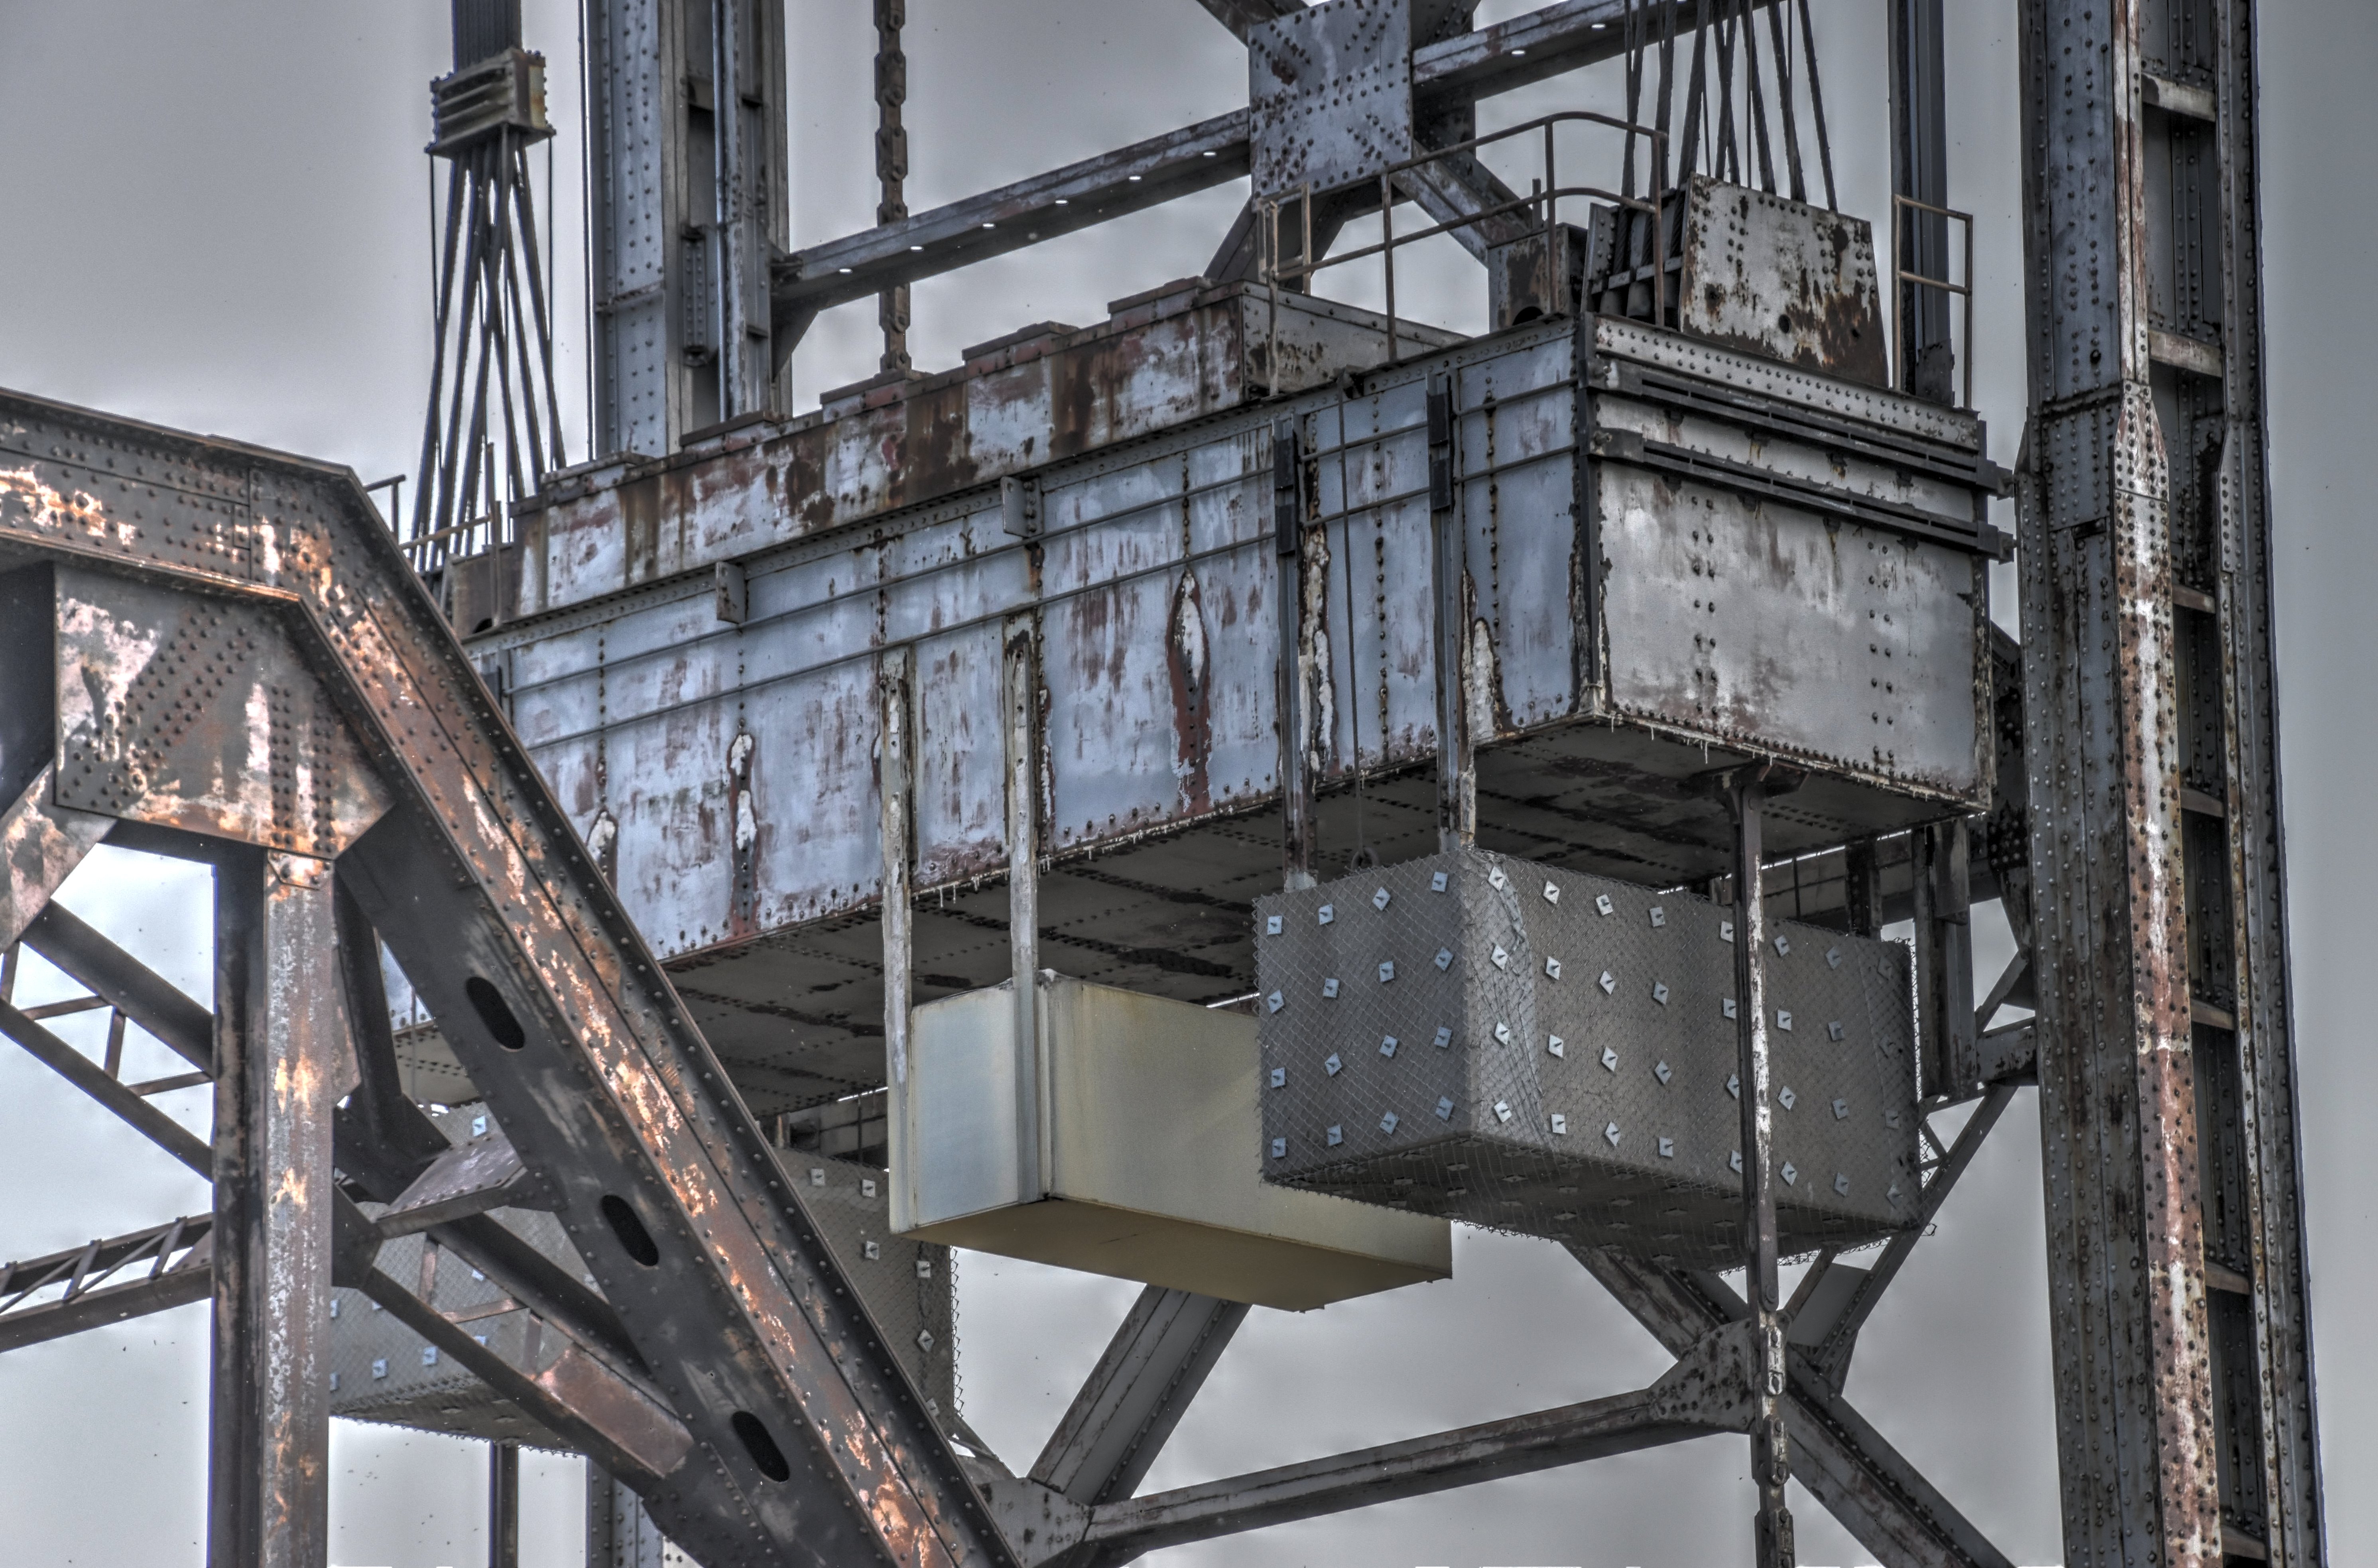


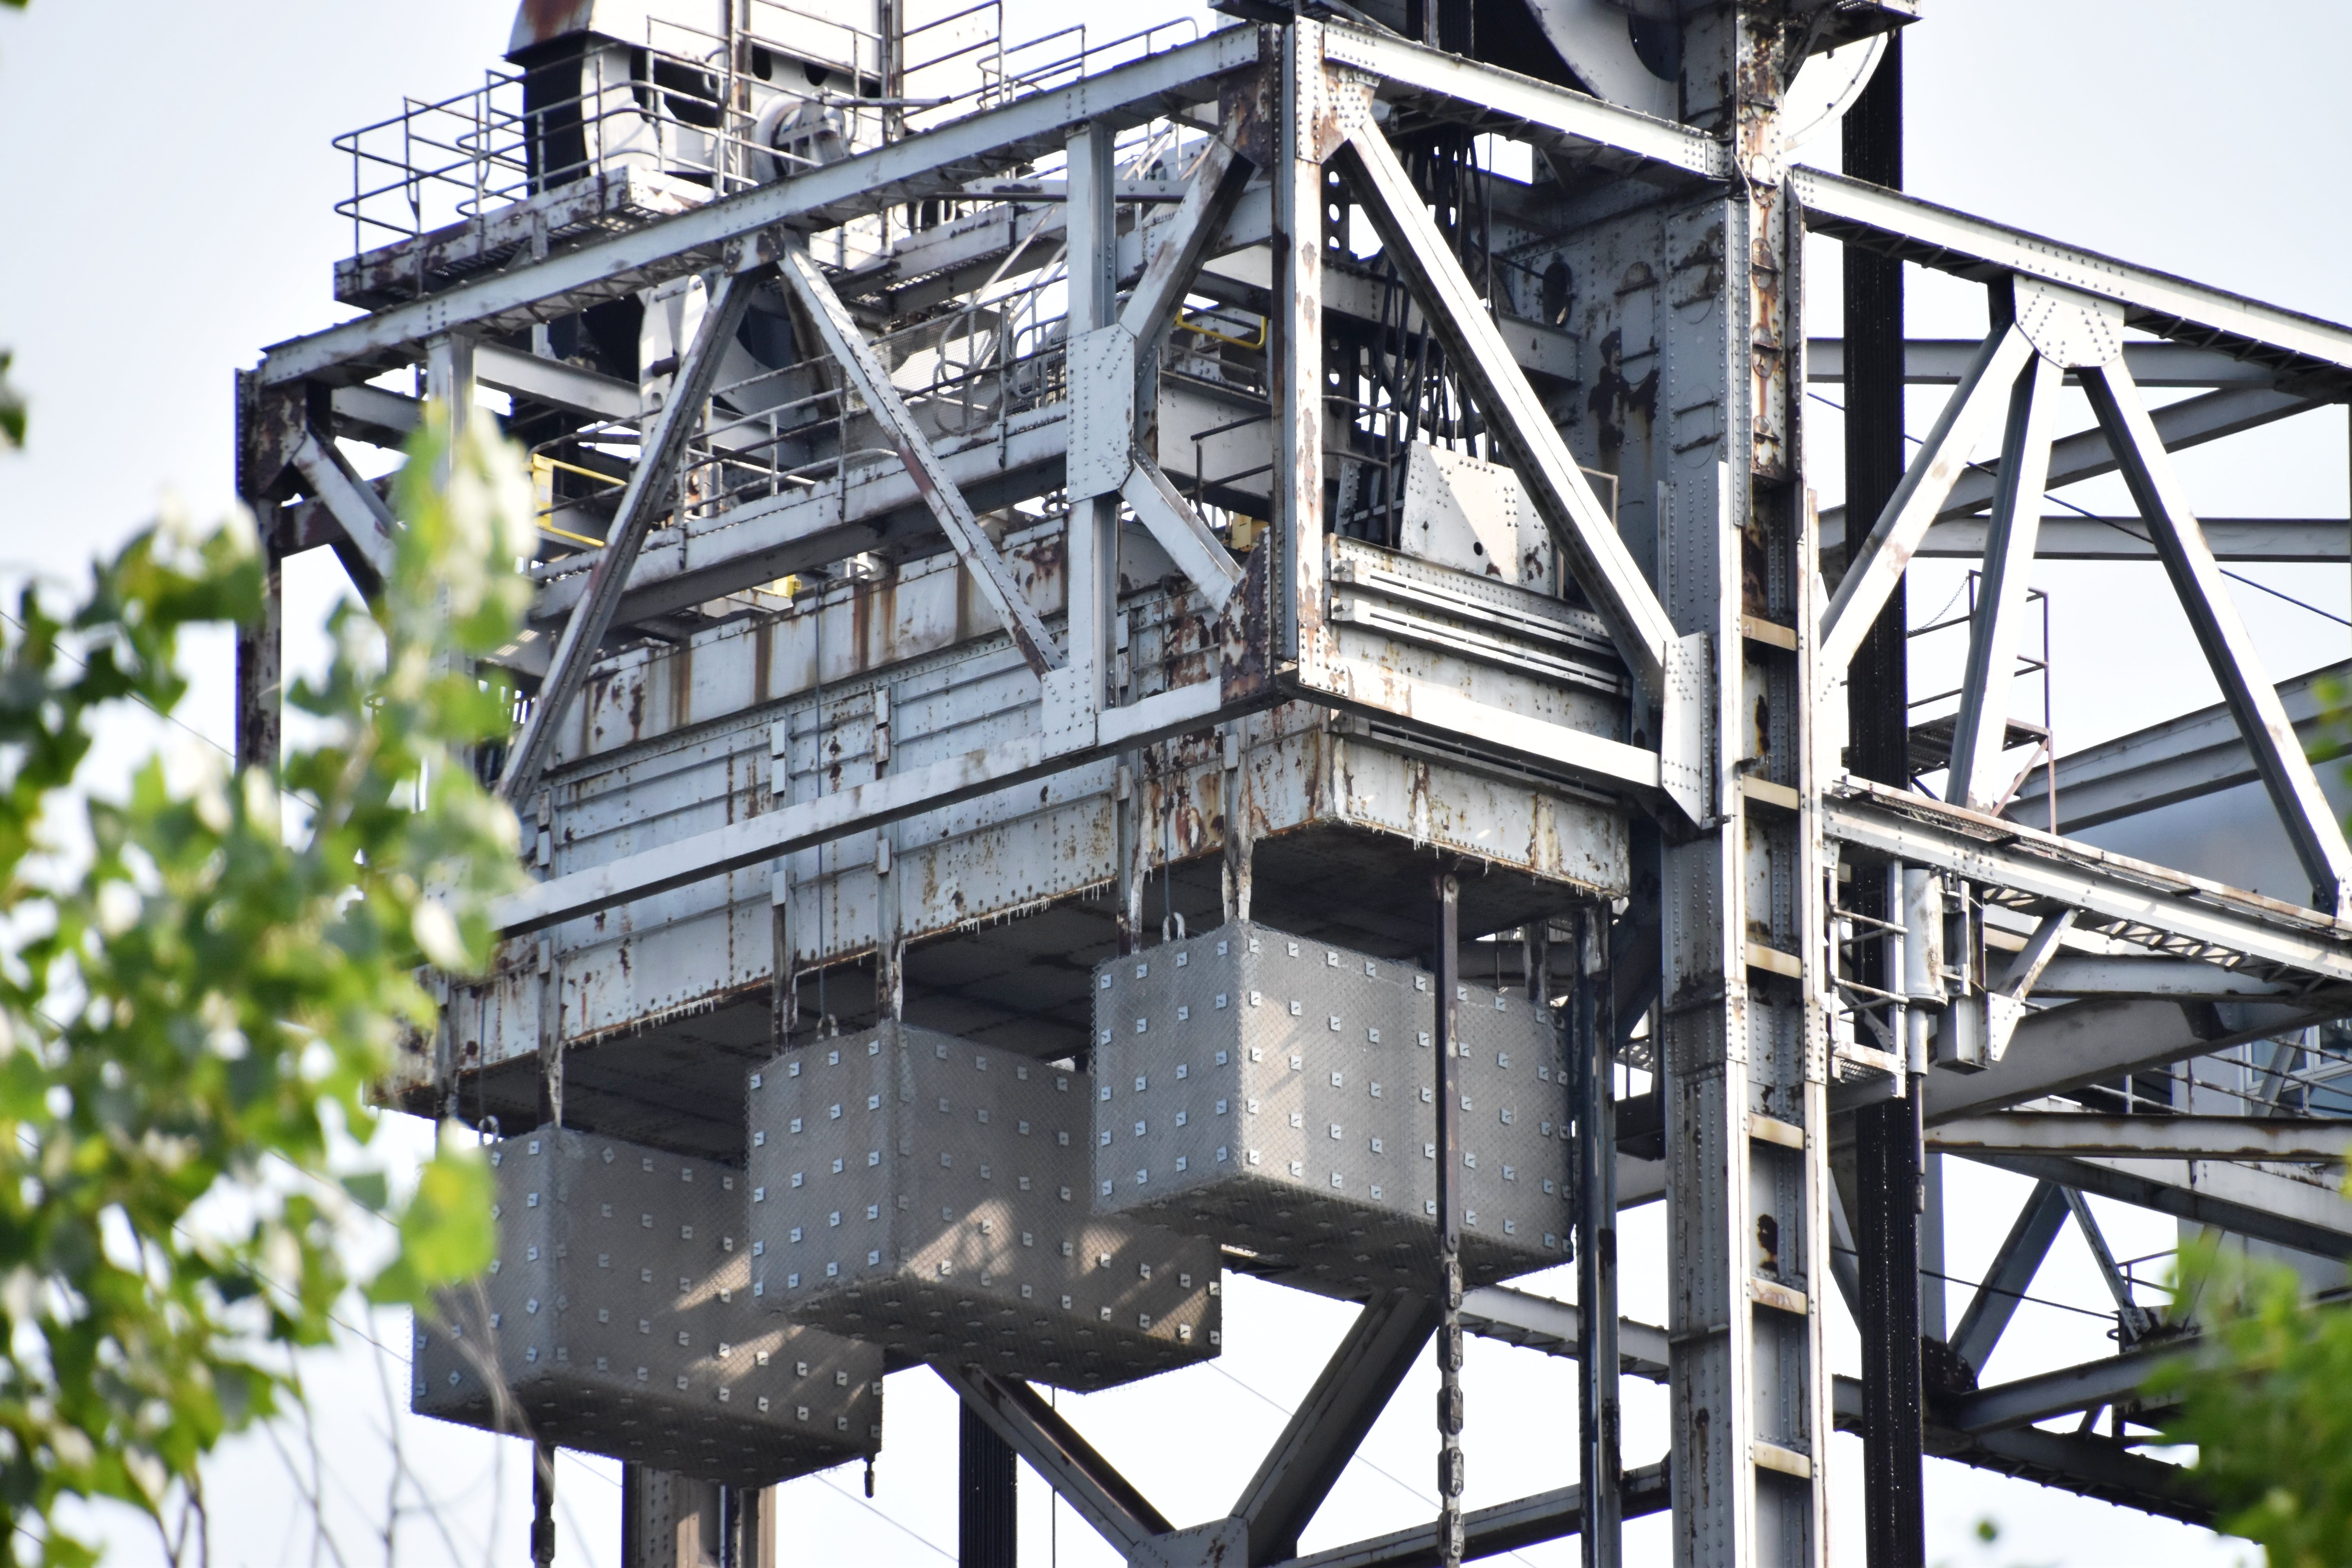
Counterweights.
![]()


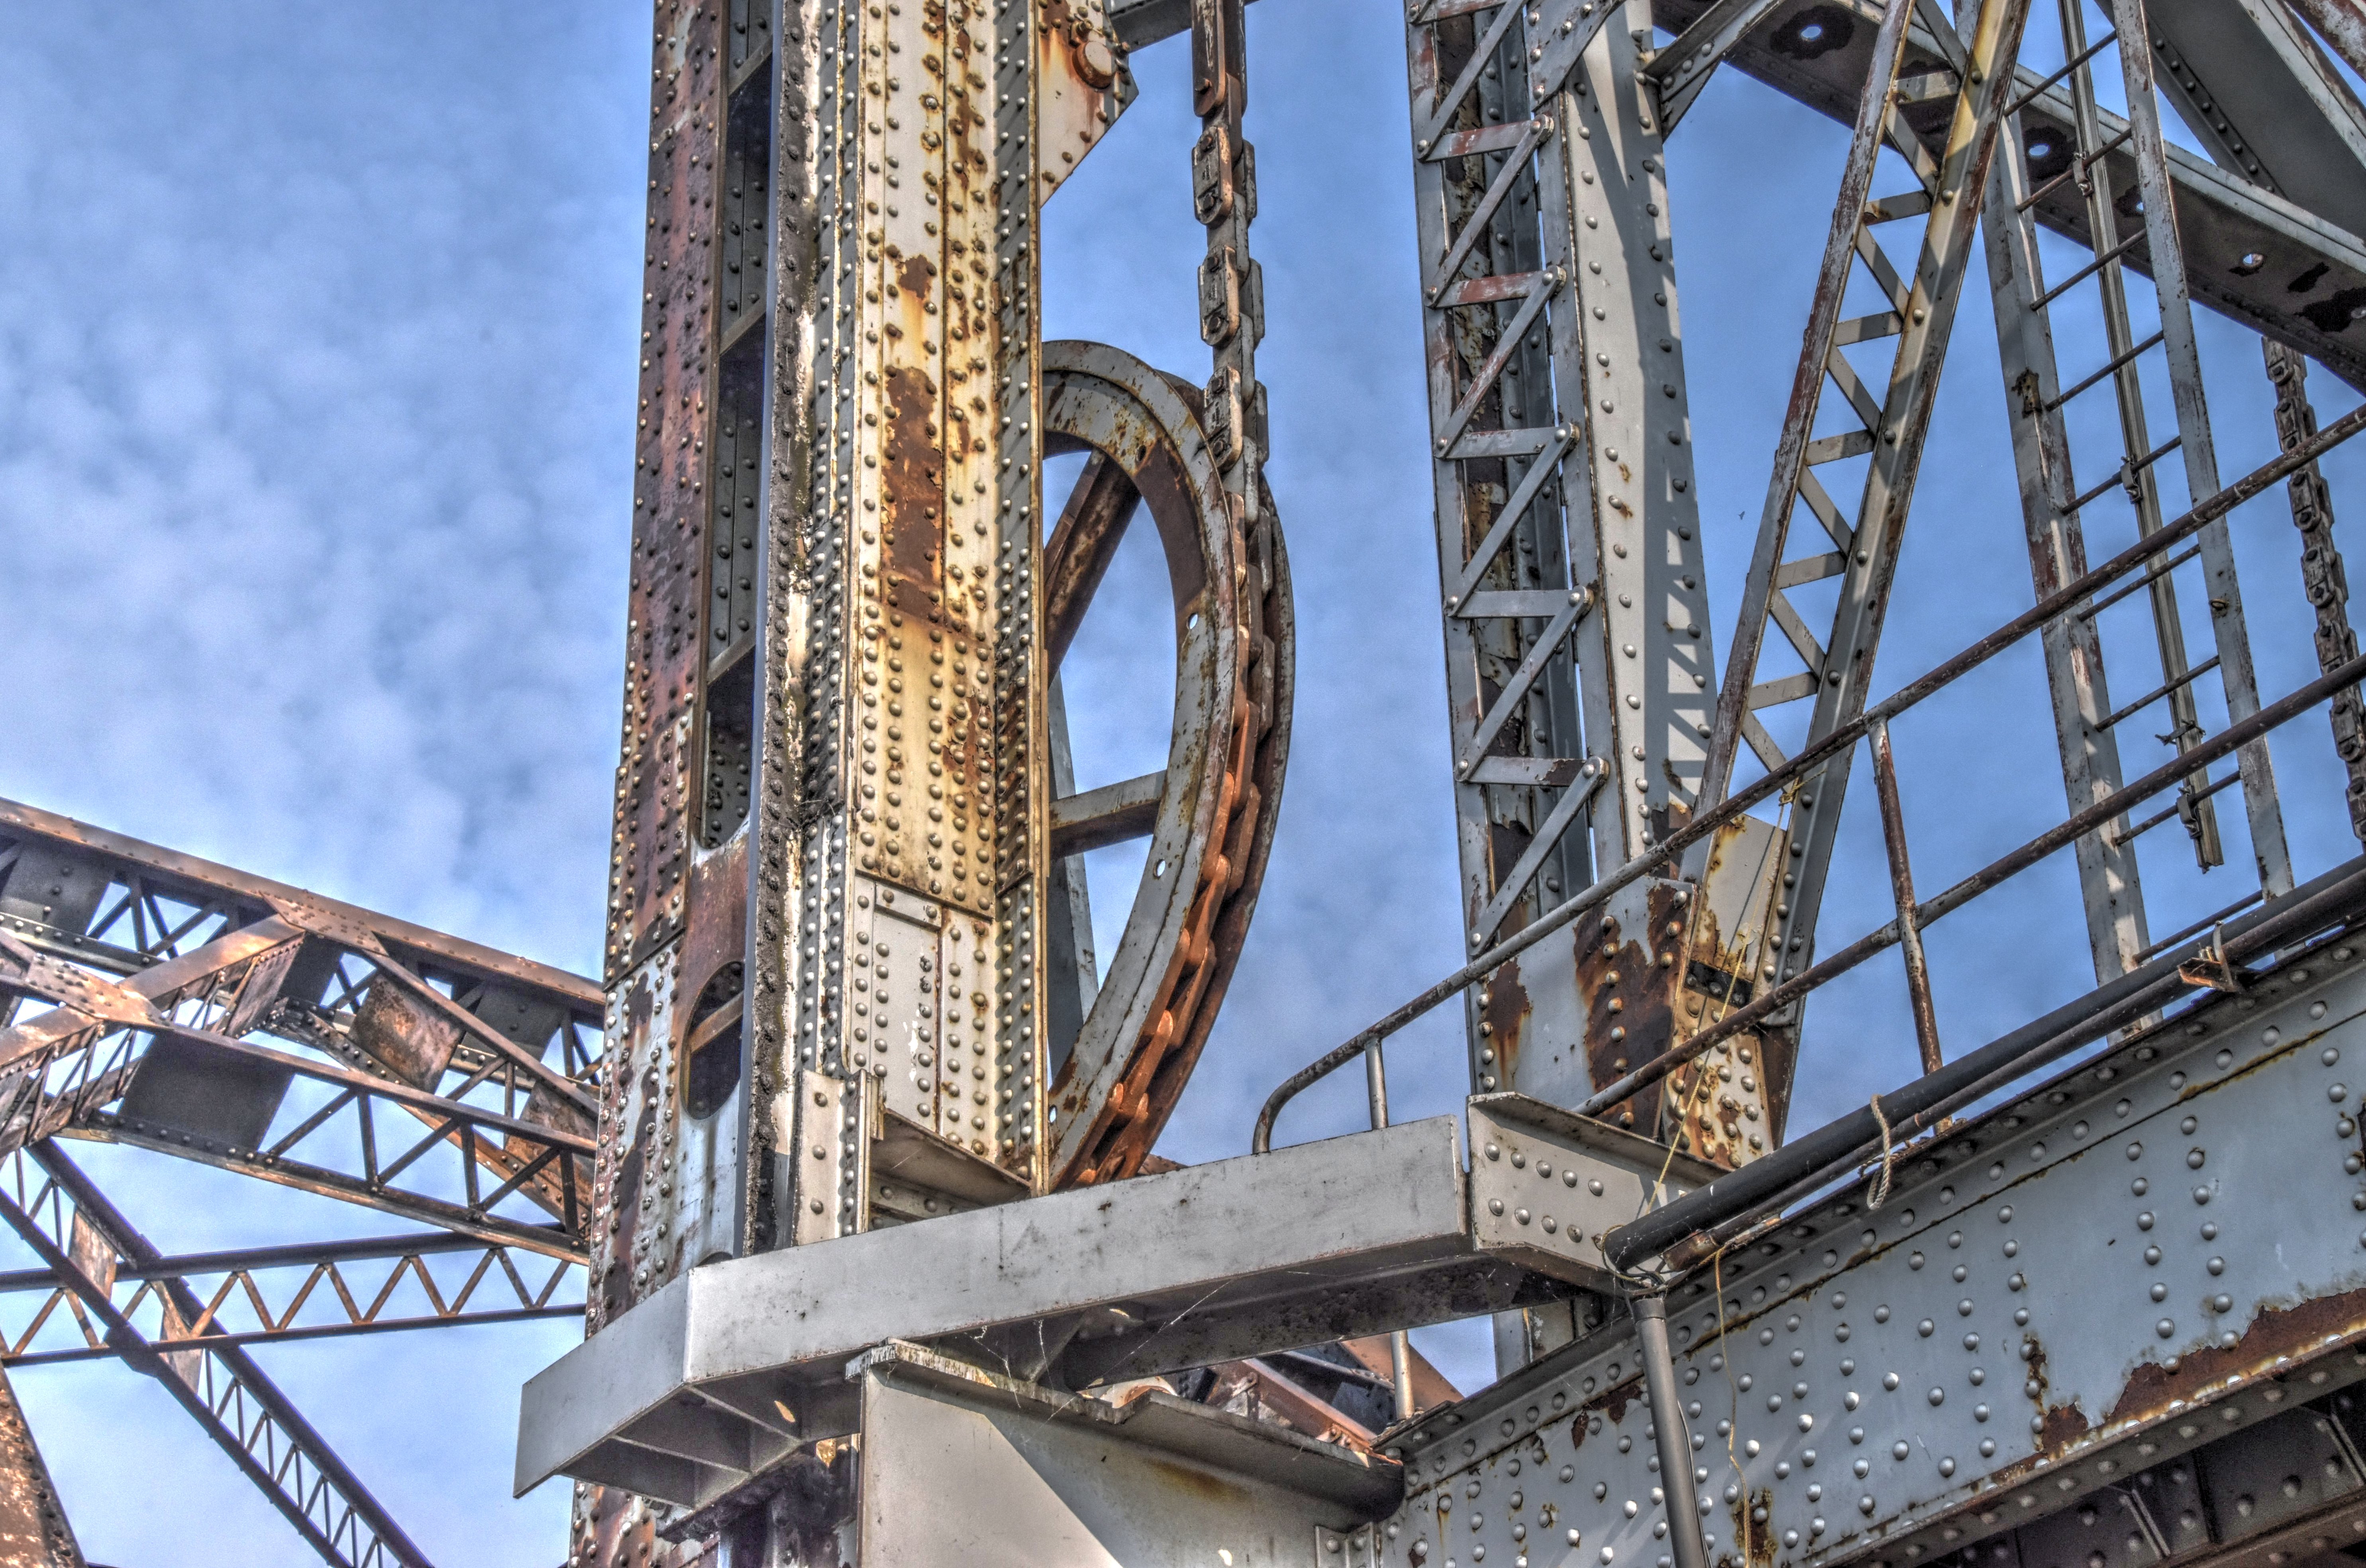
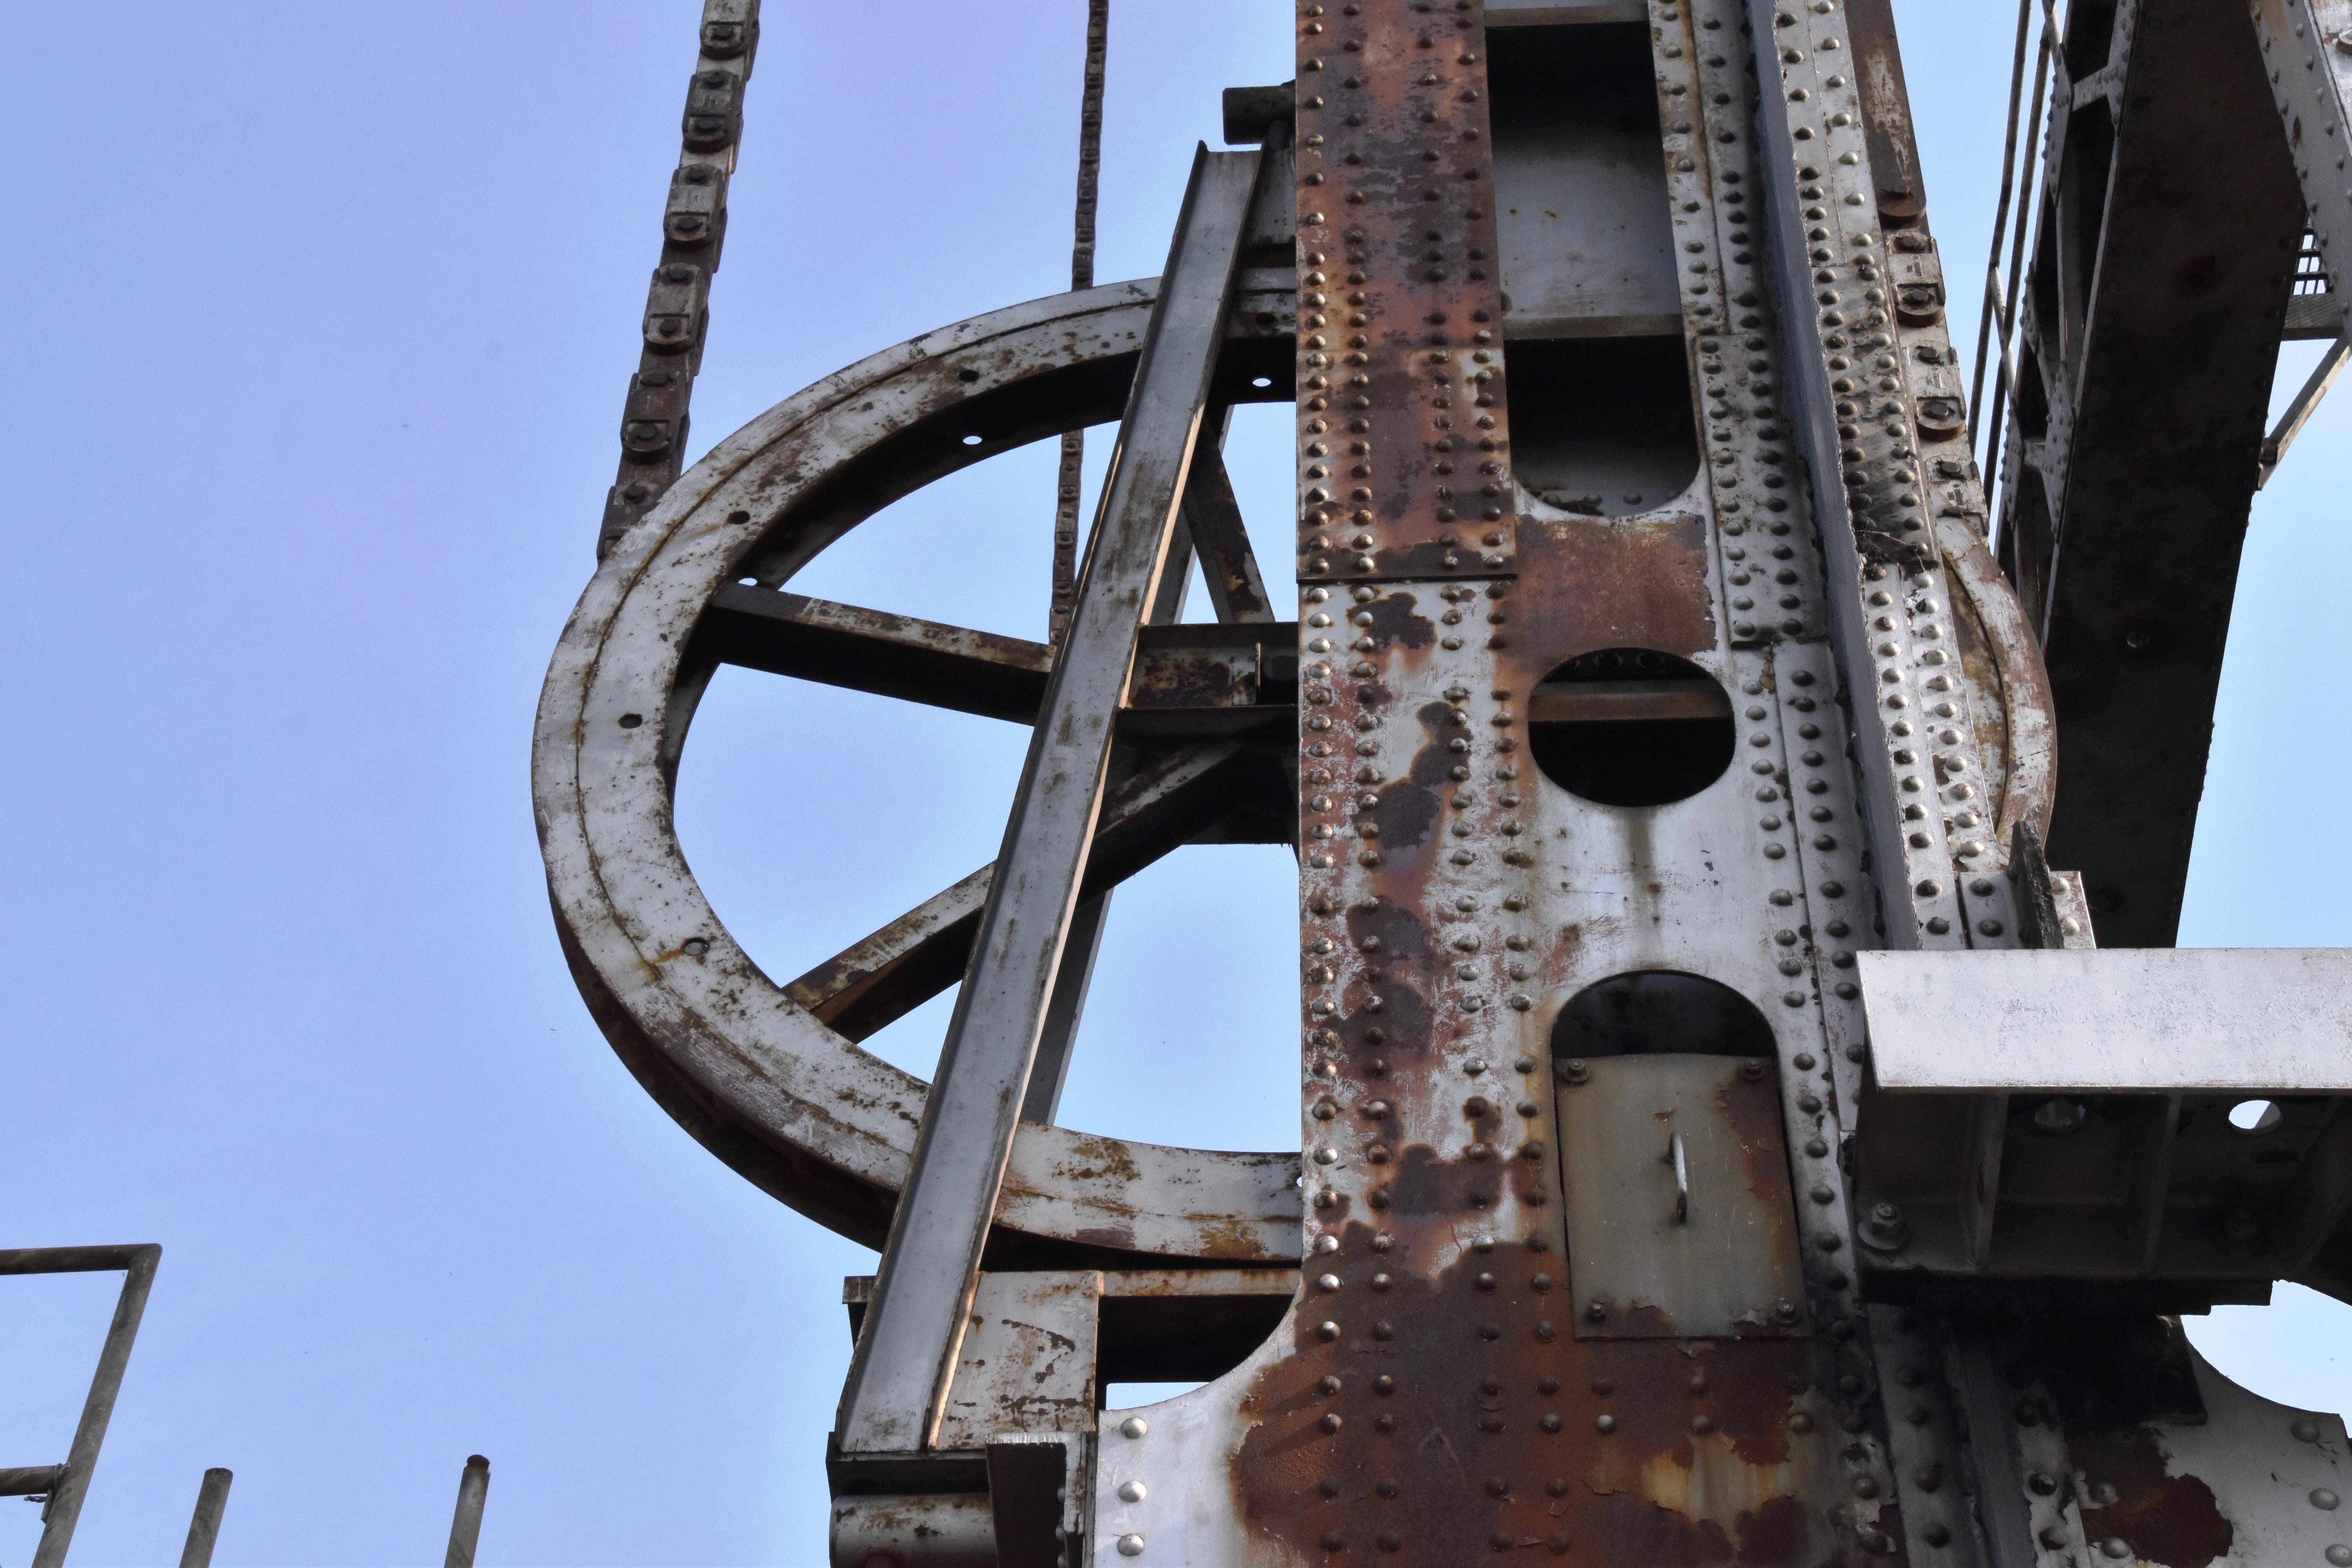
Counterchain sheaves.
![]()


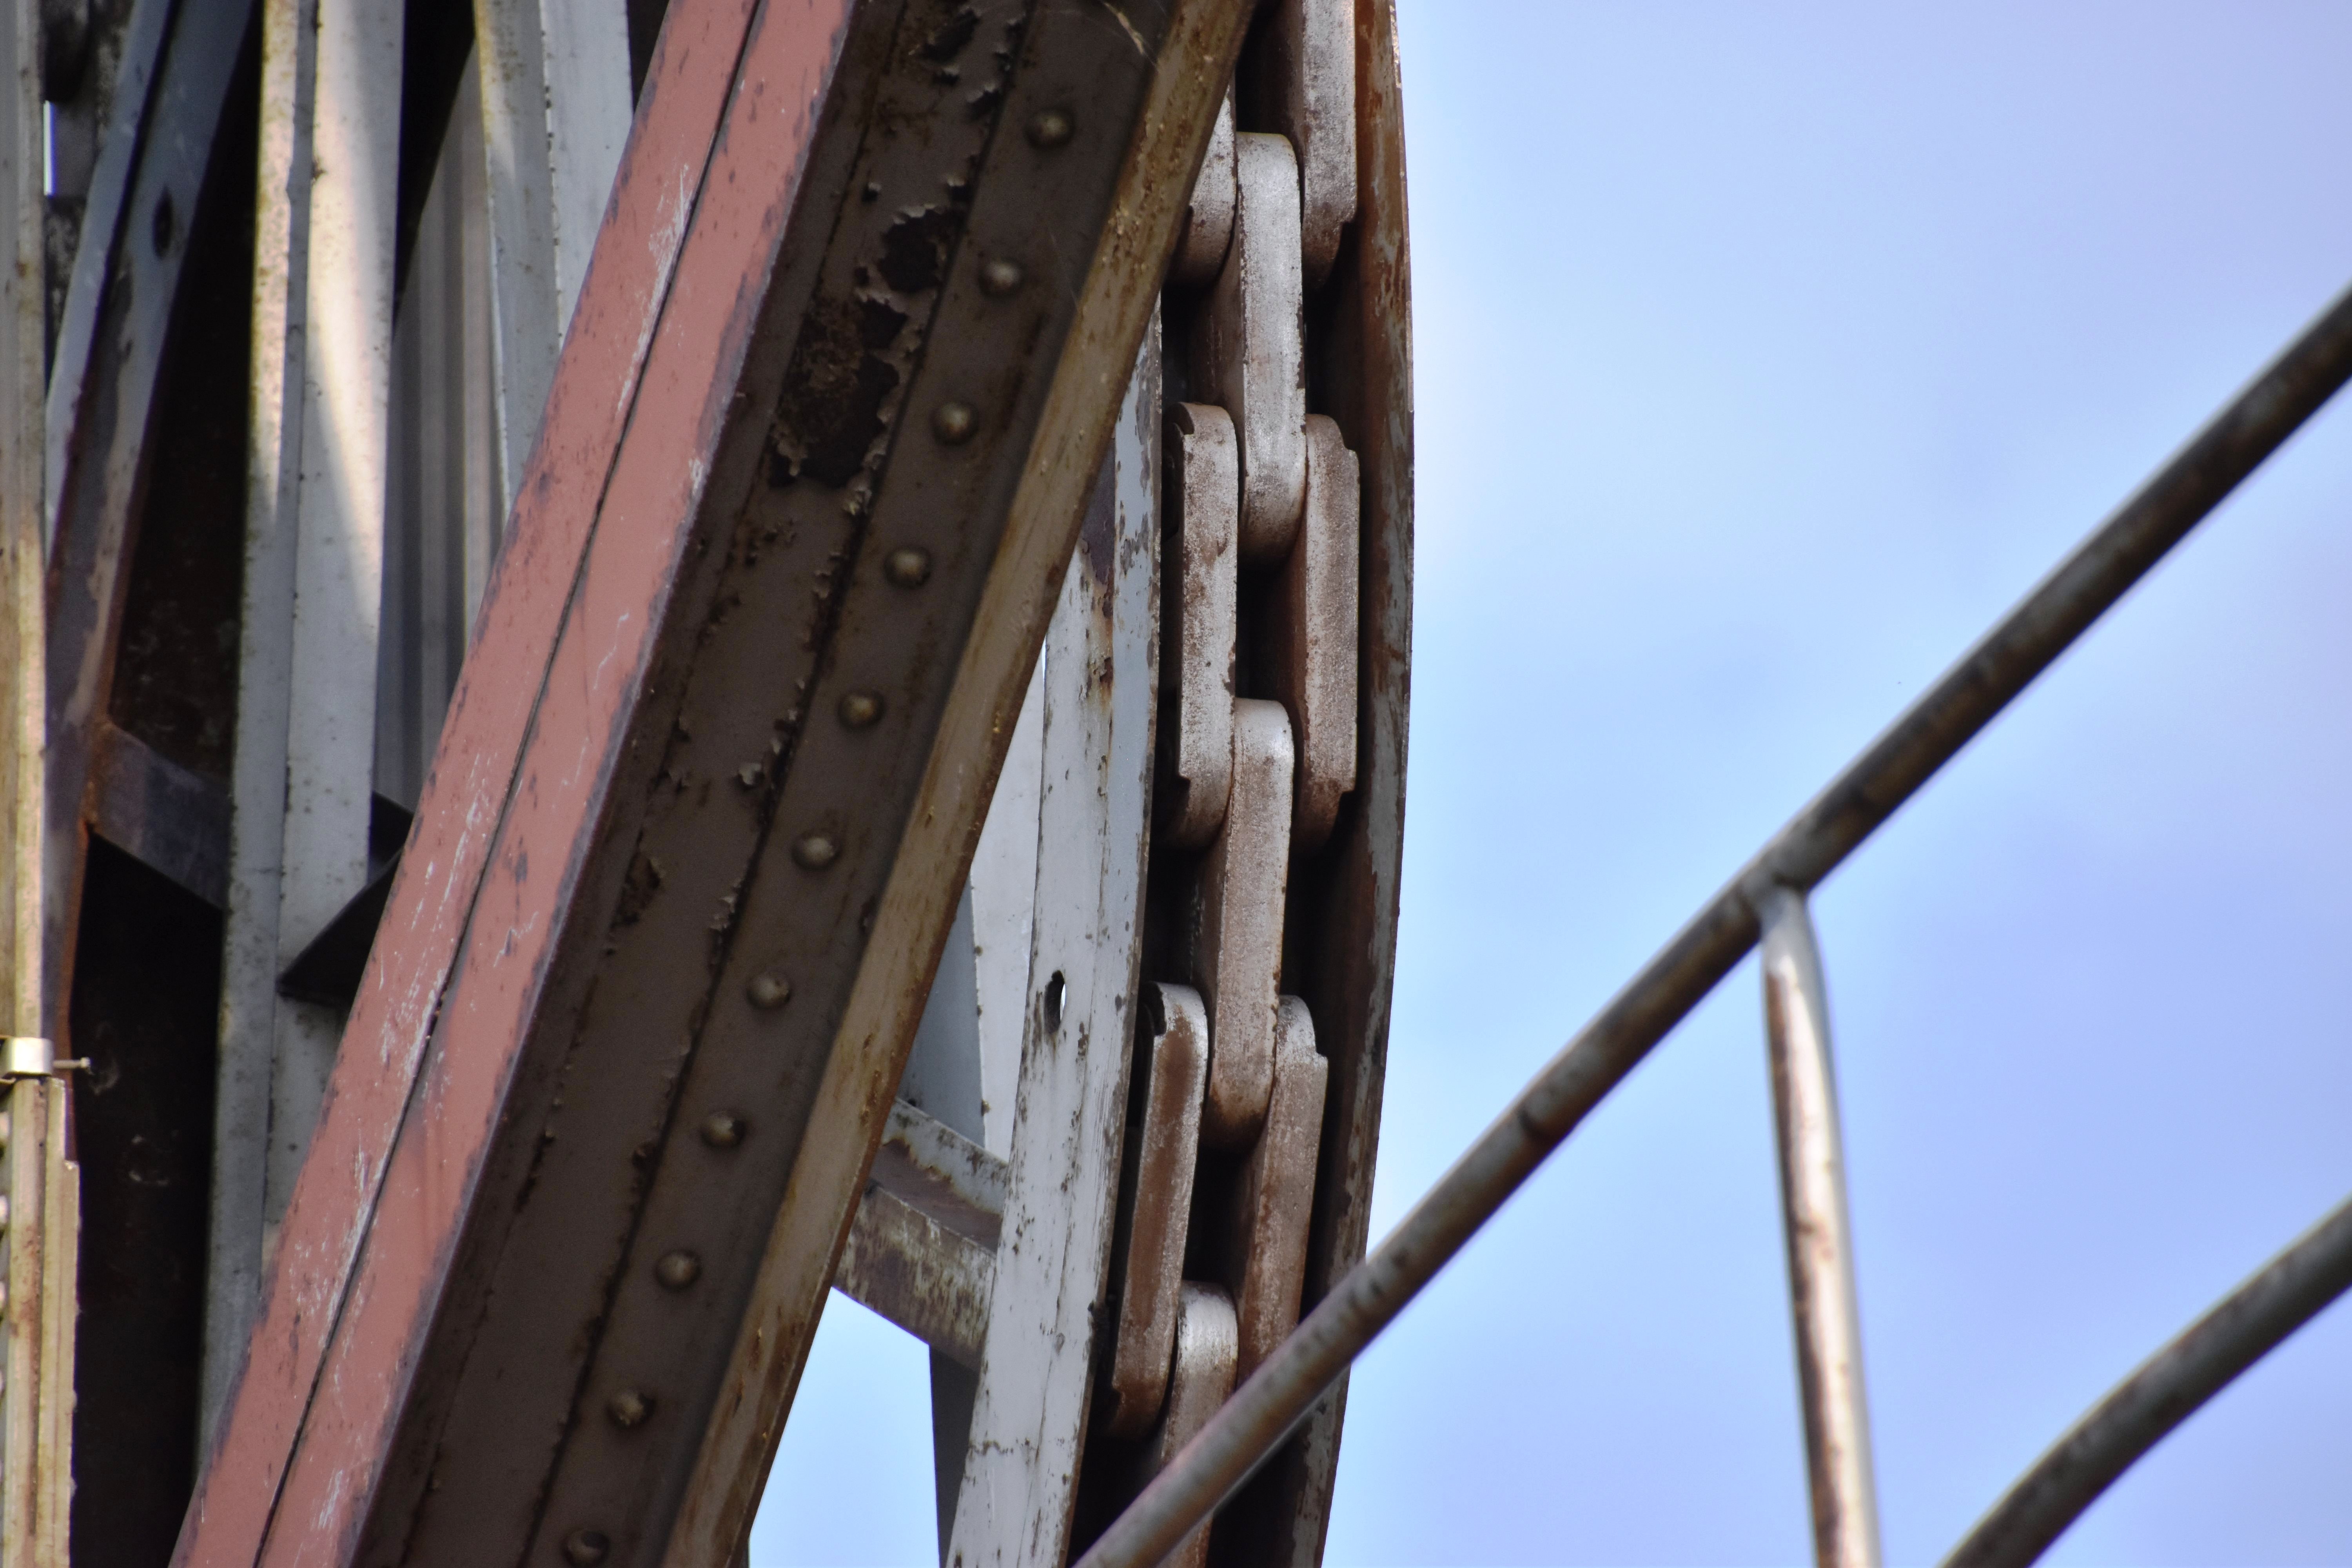
Counterchain detail.
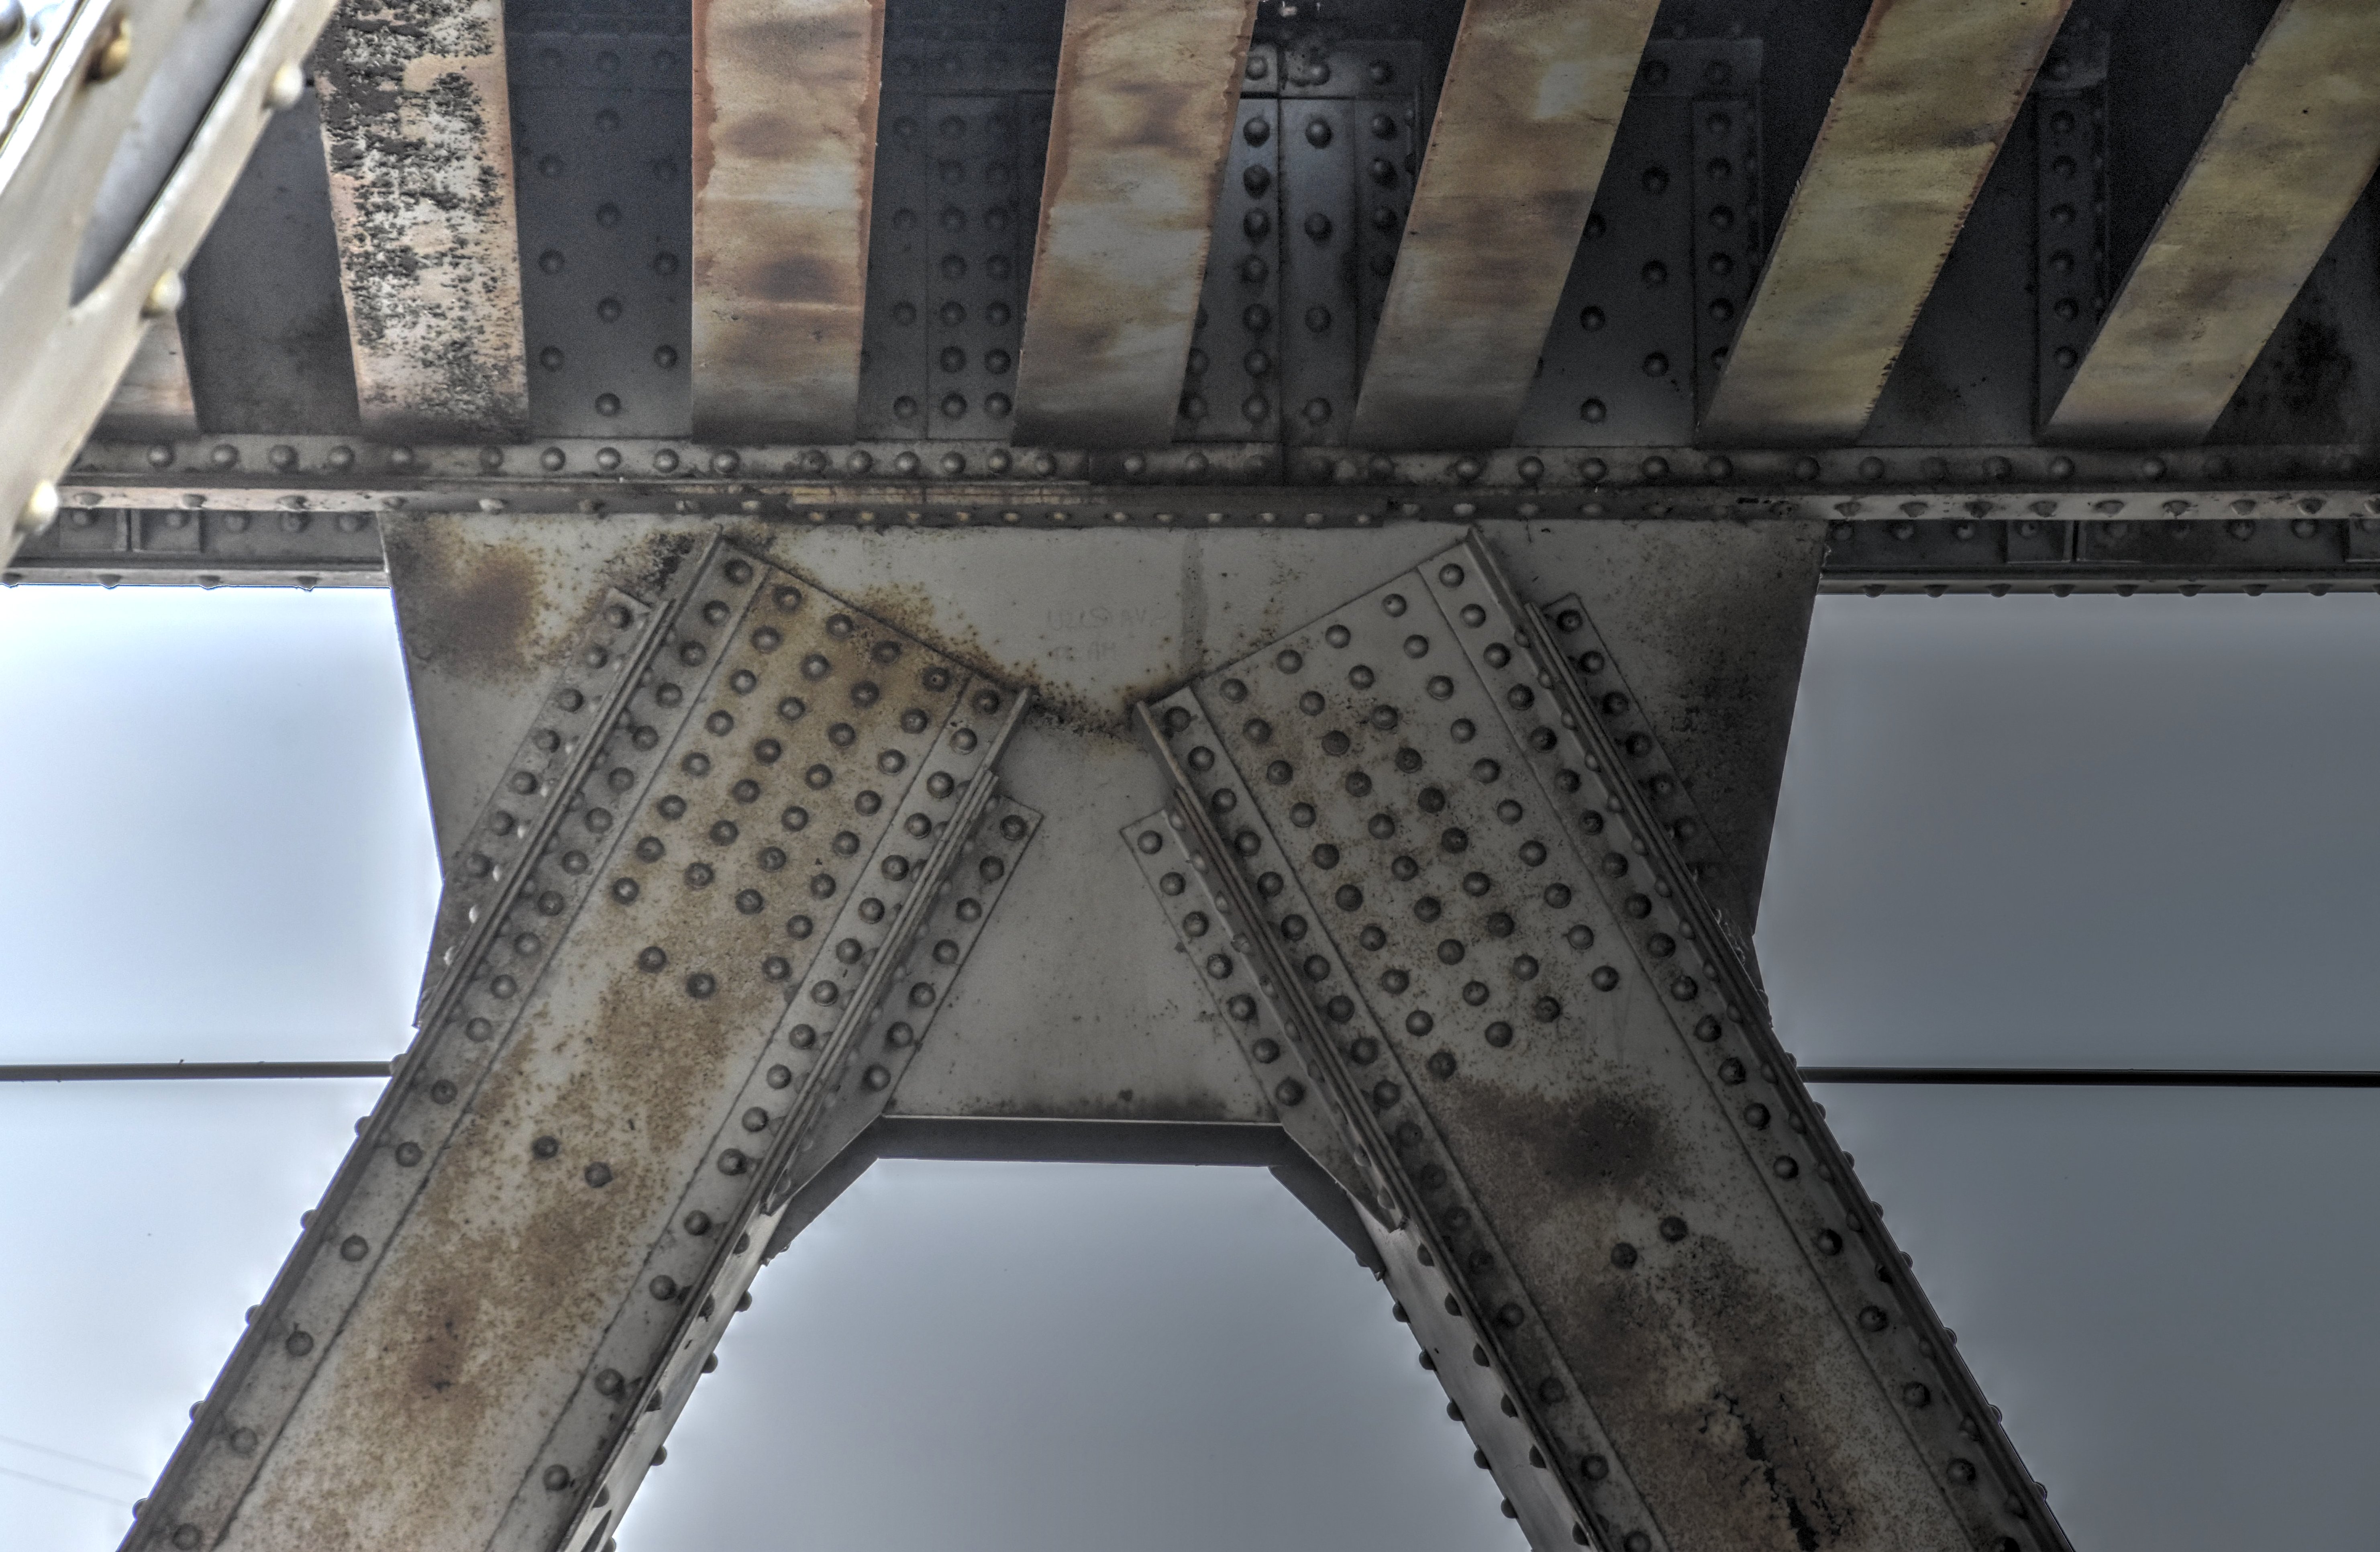
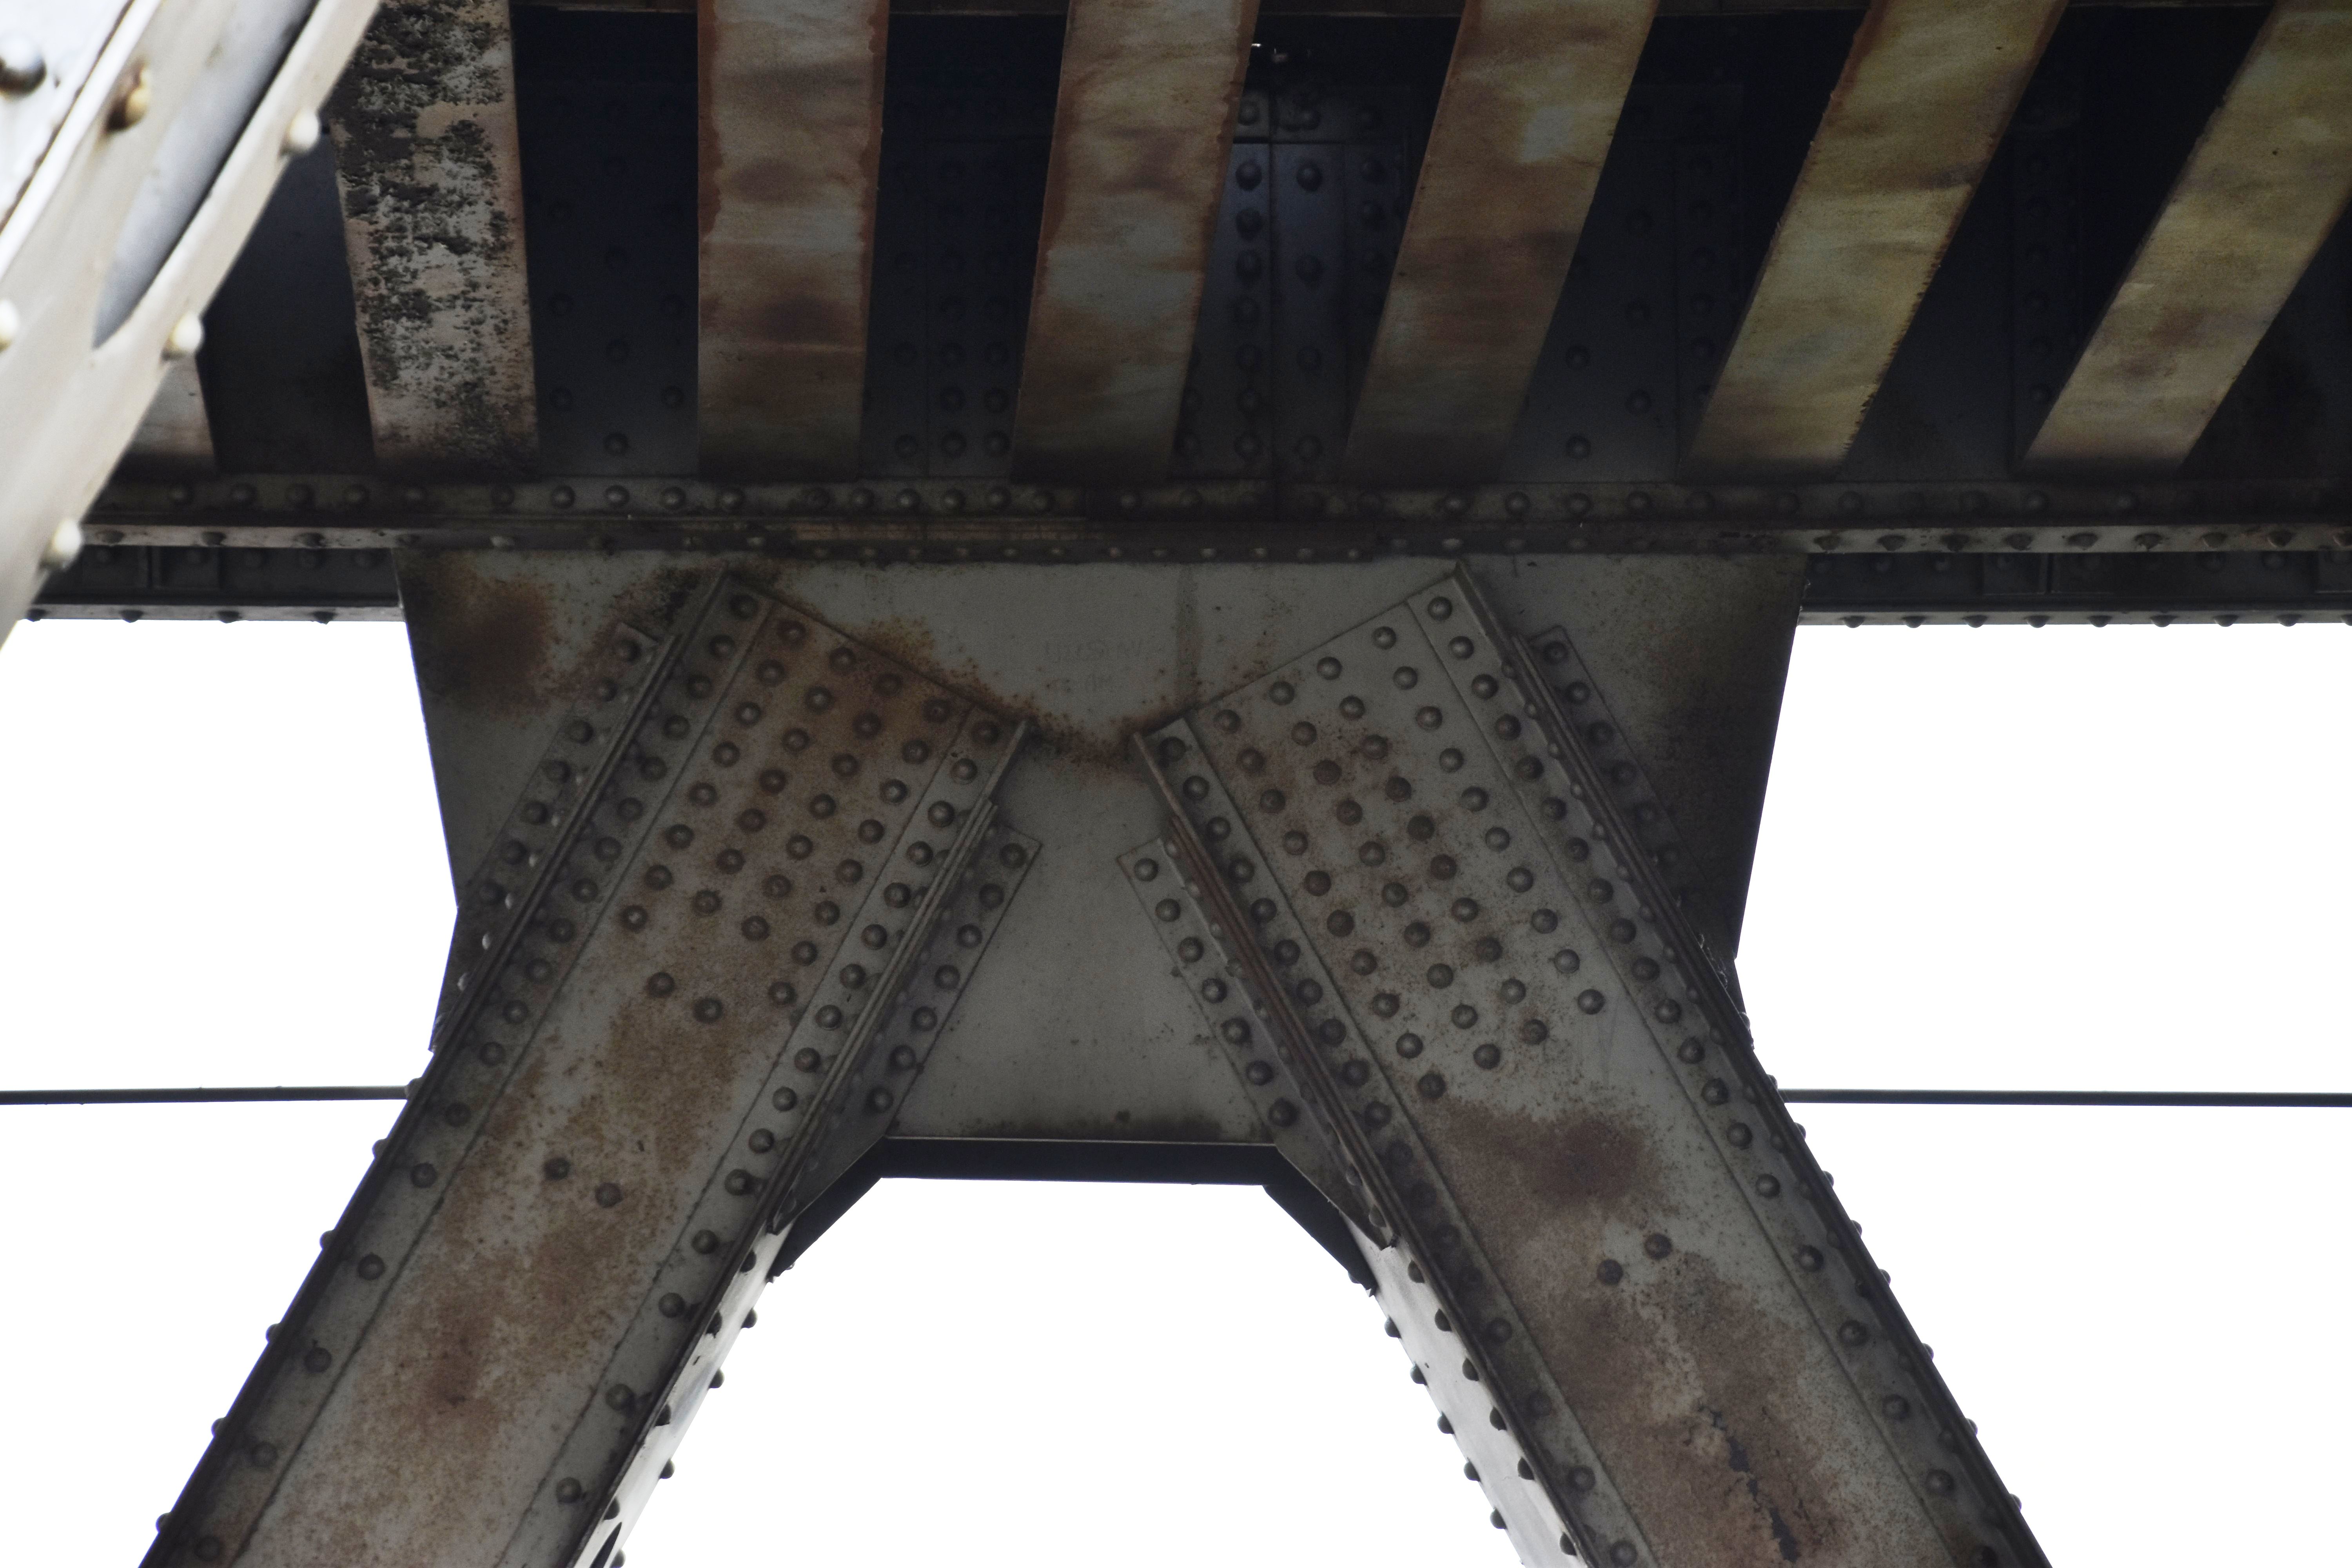
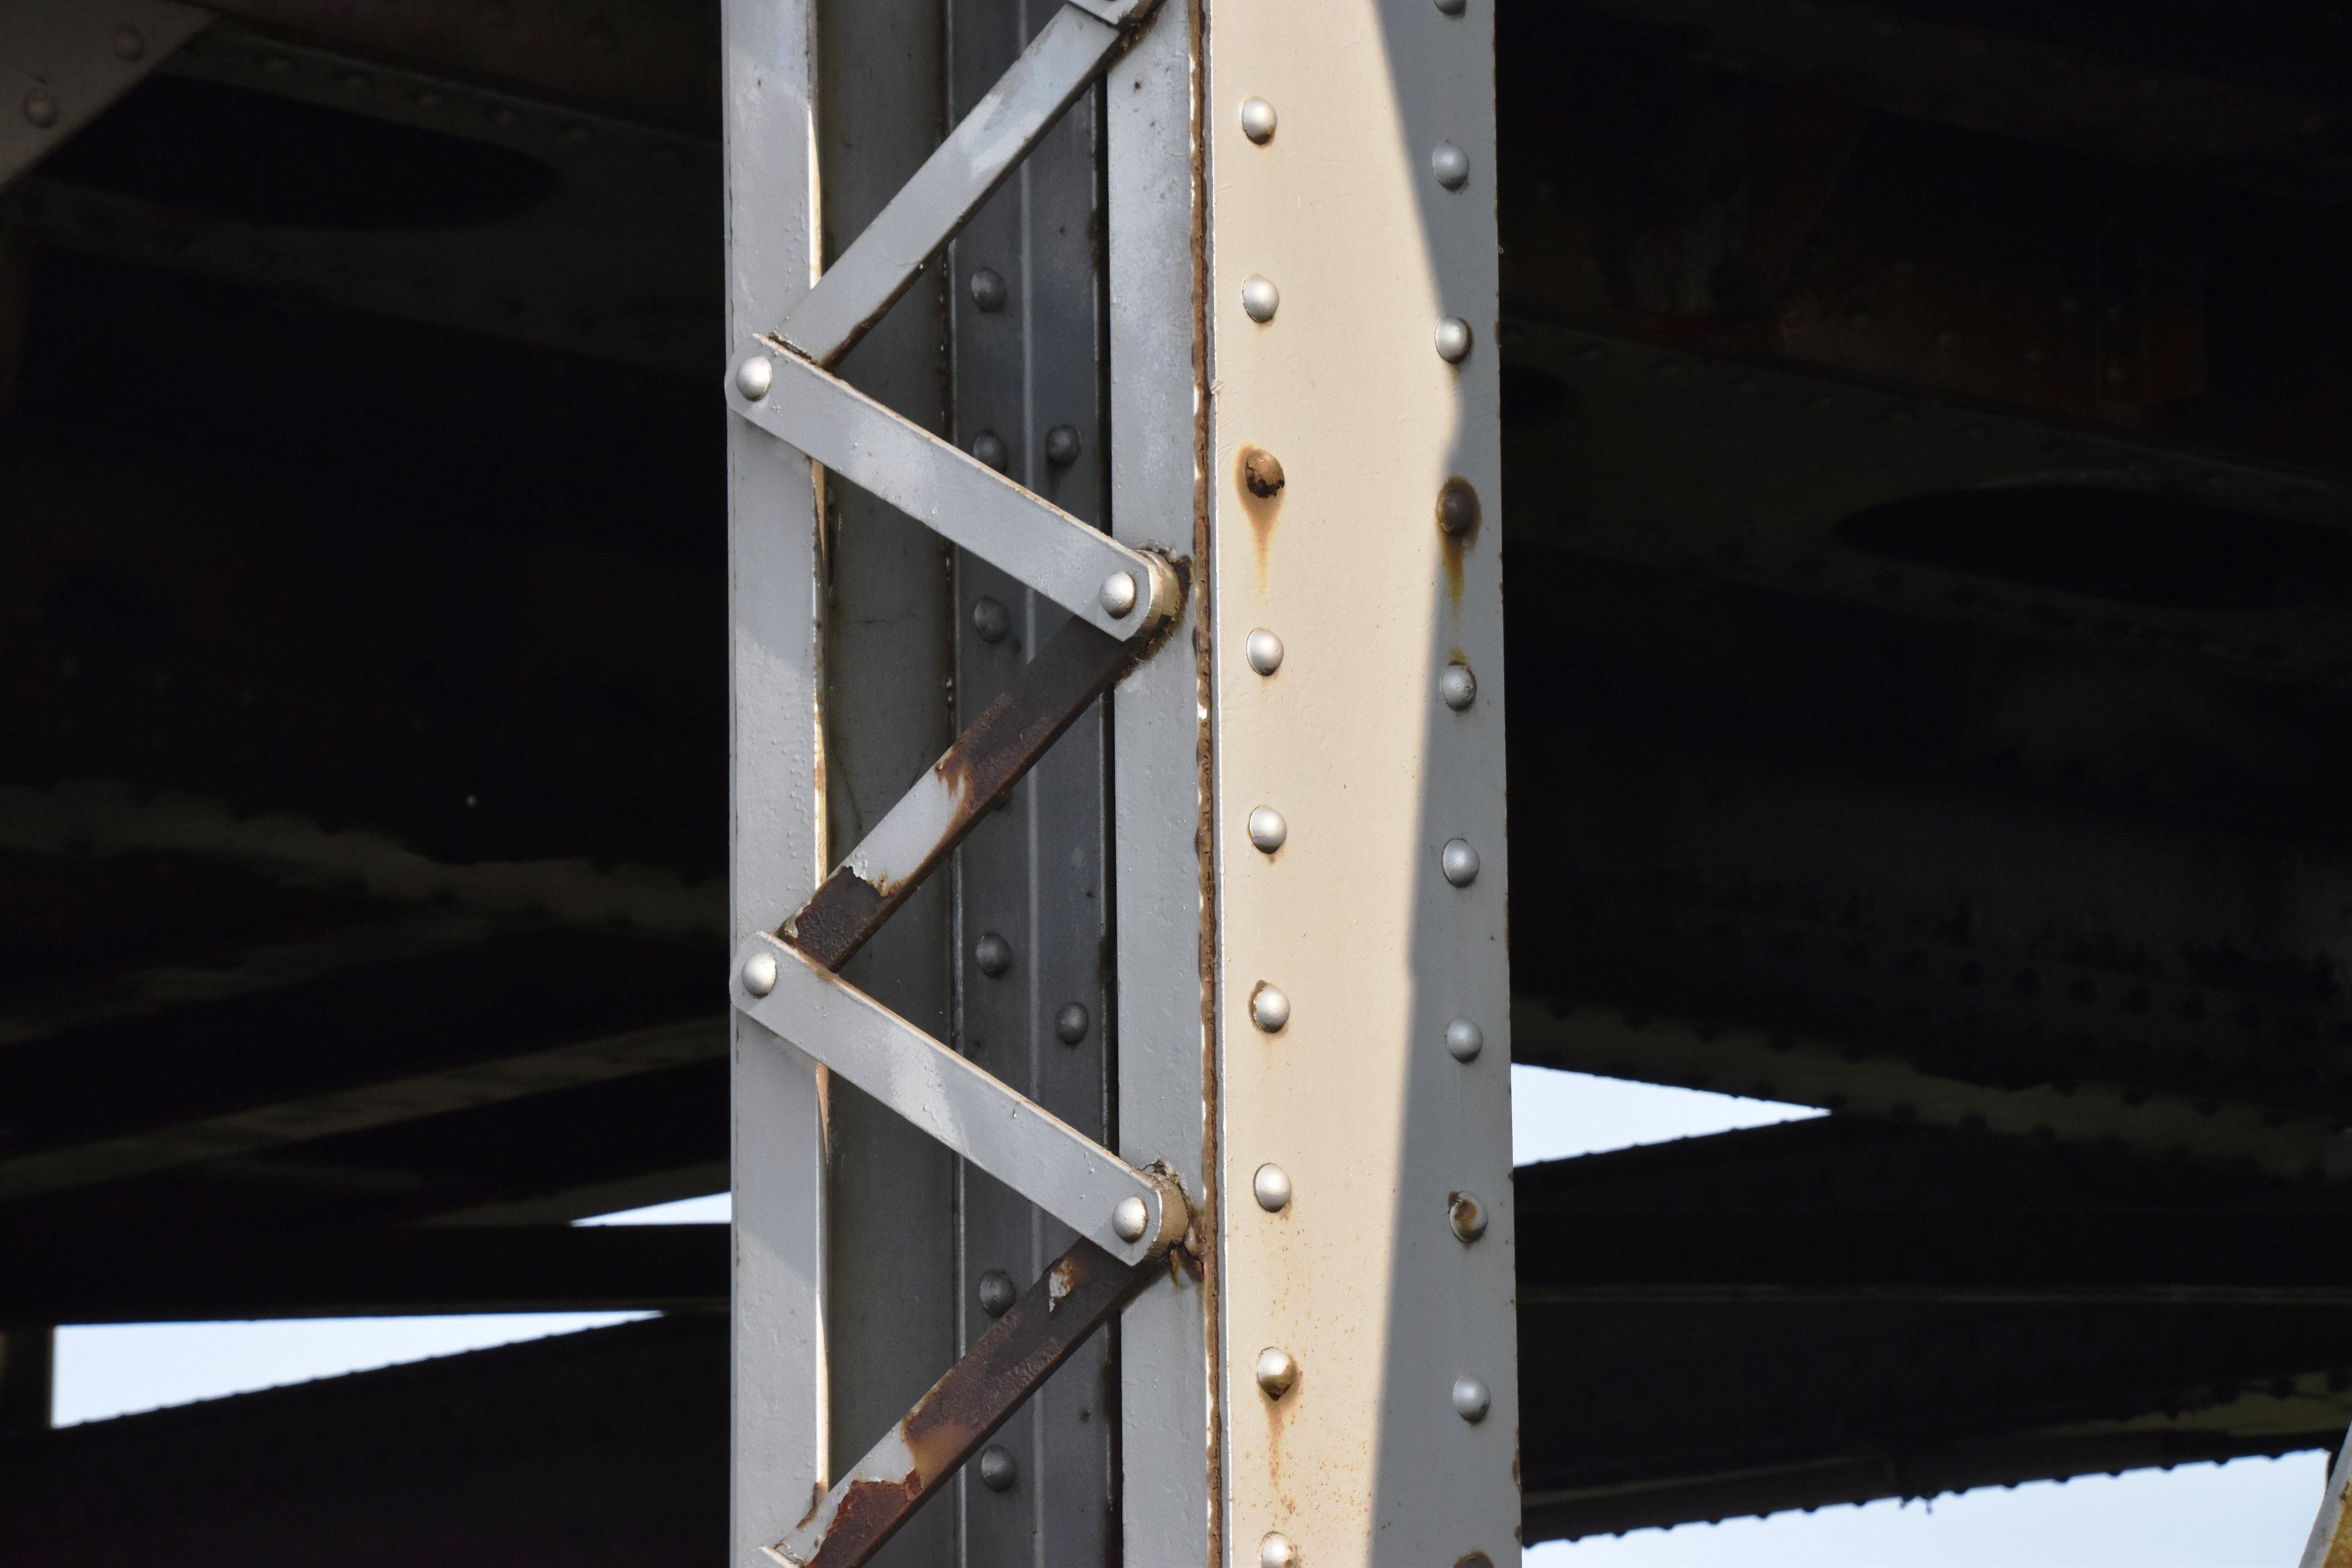
![]()
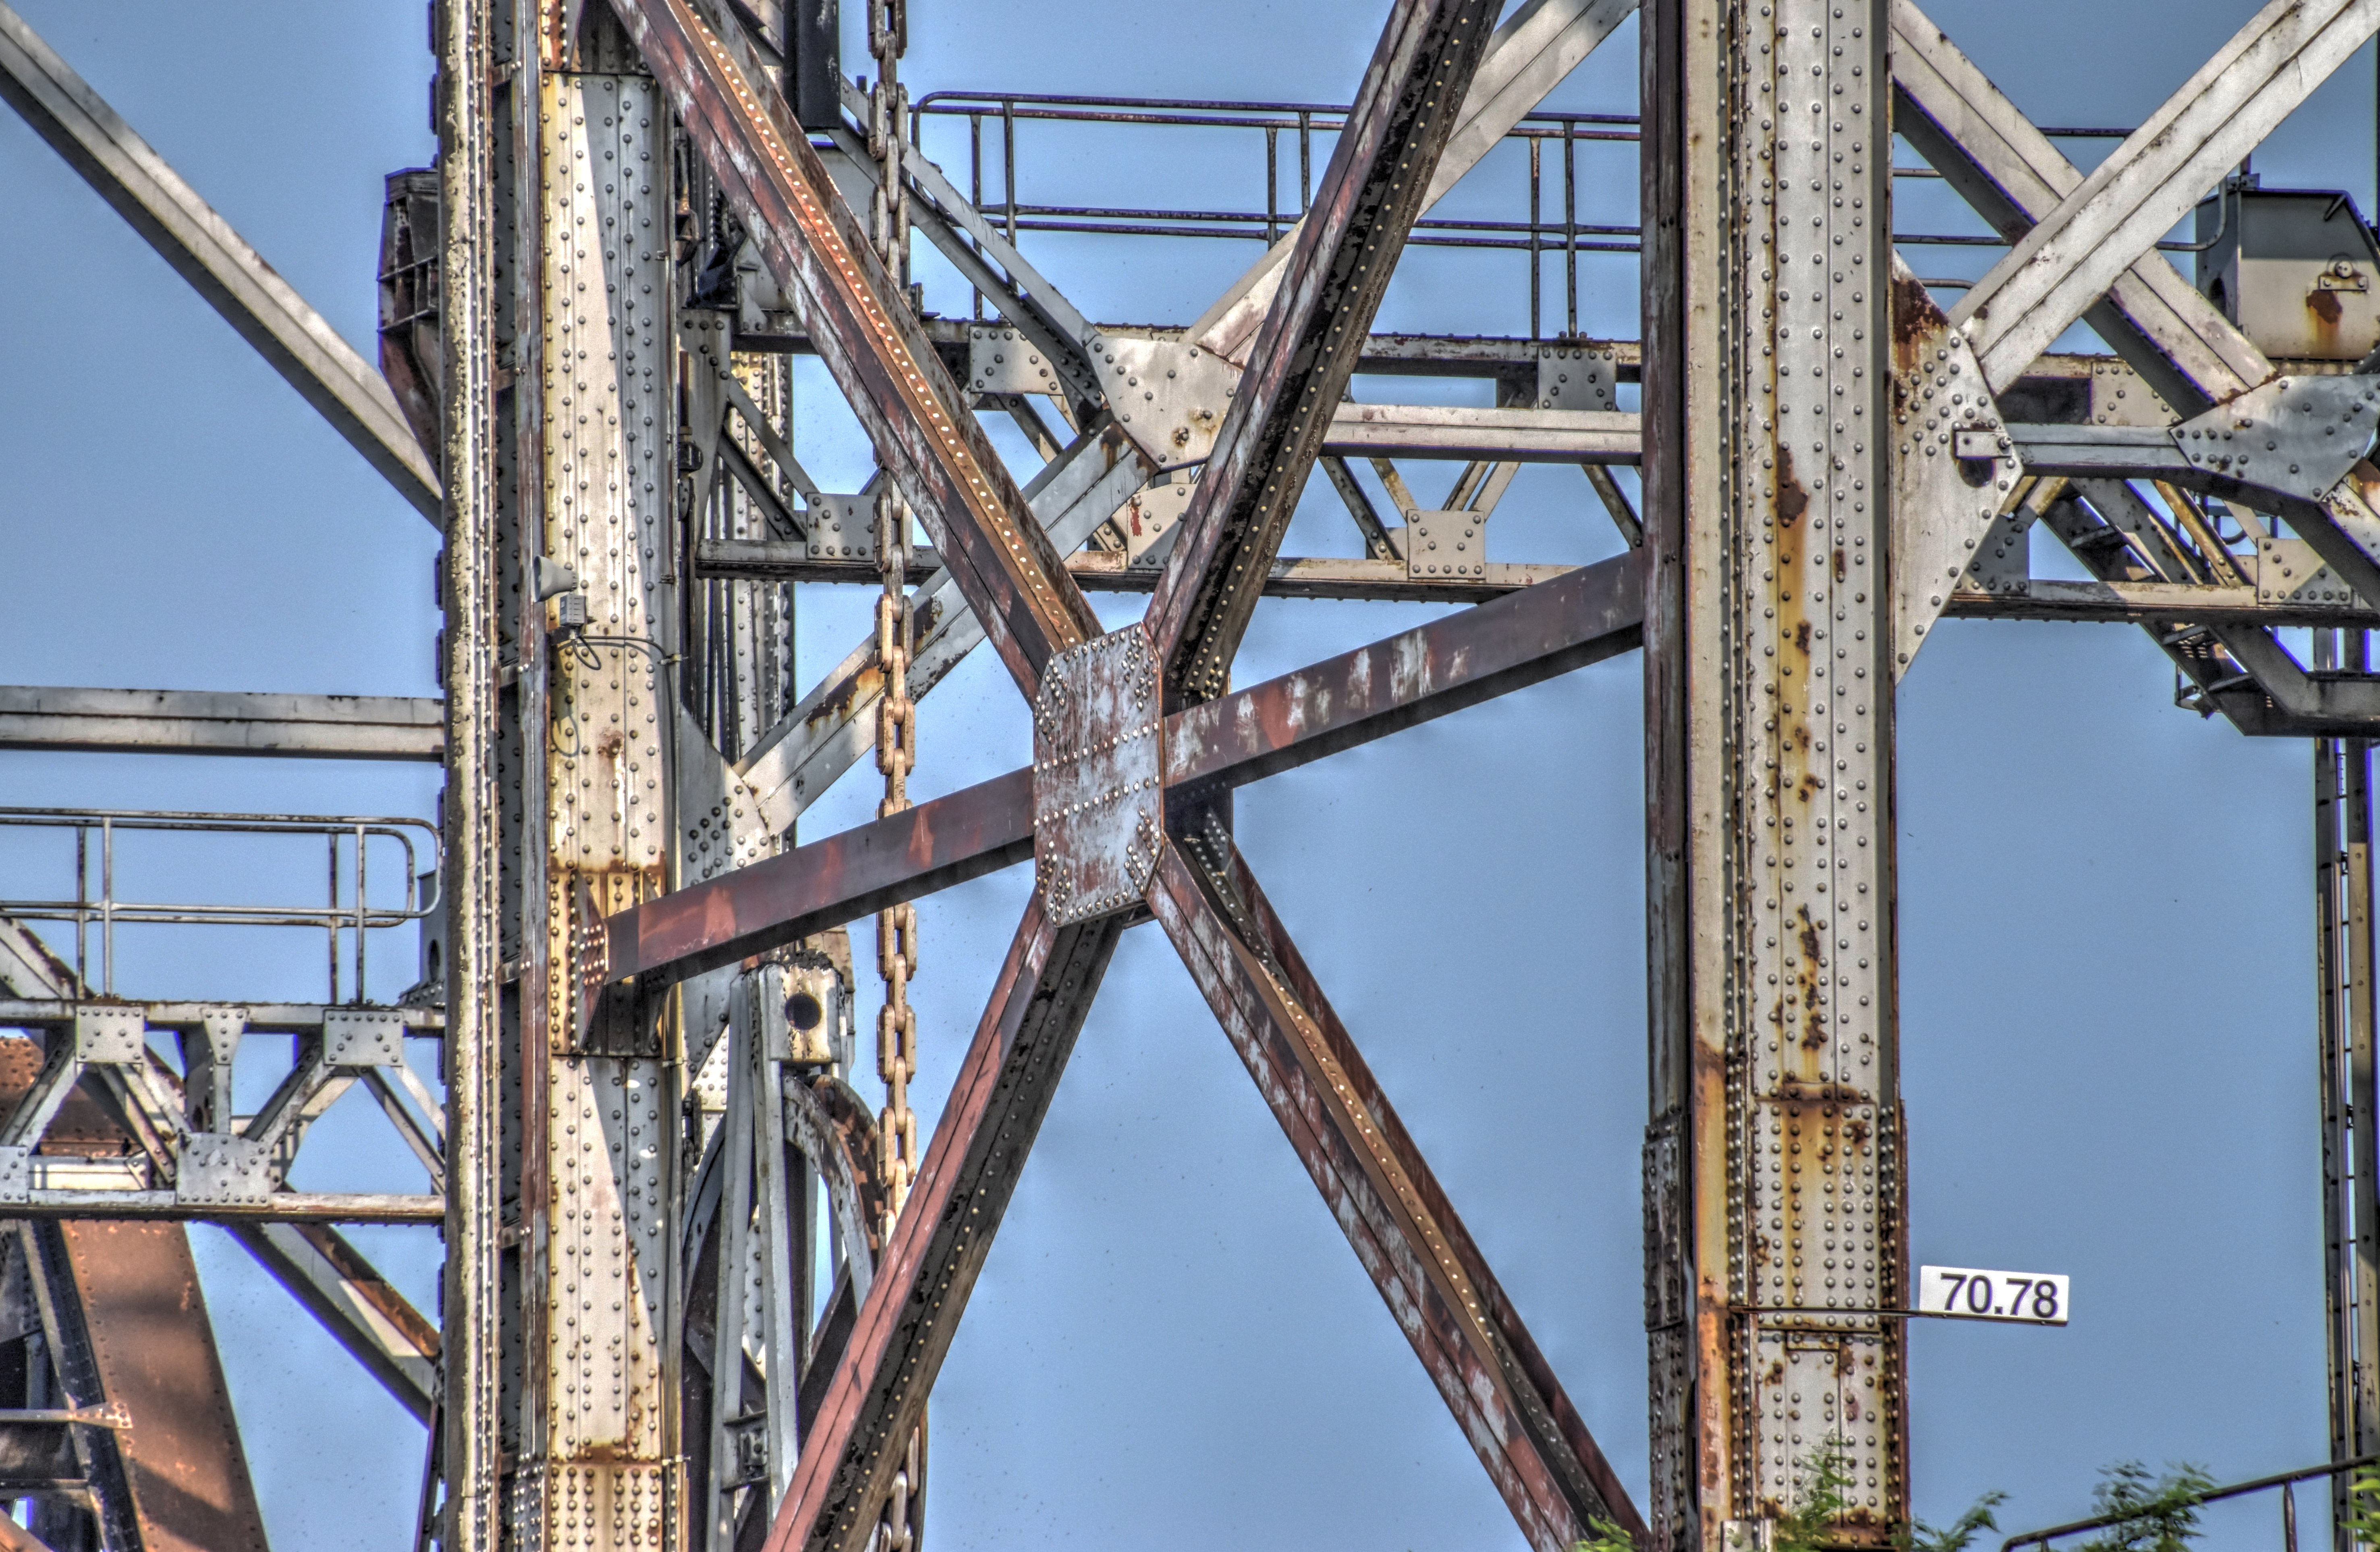
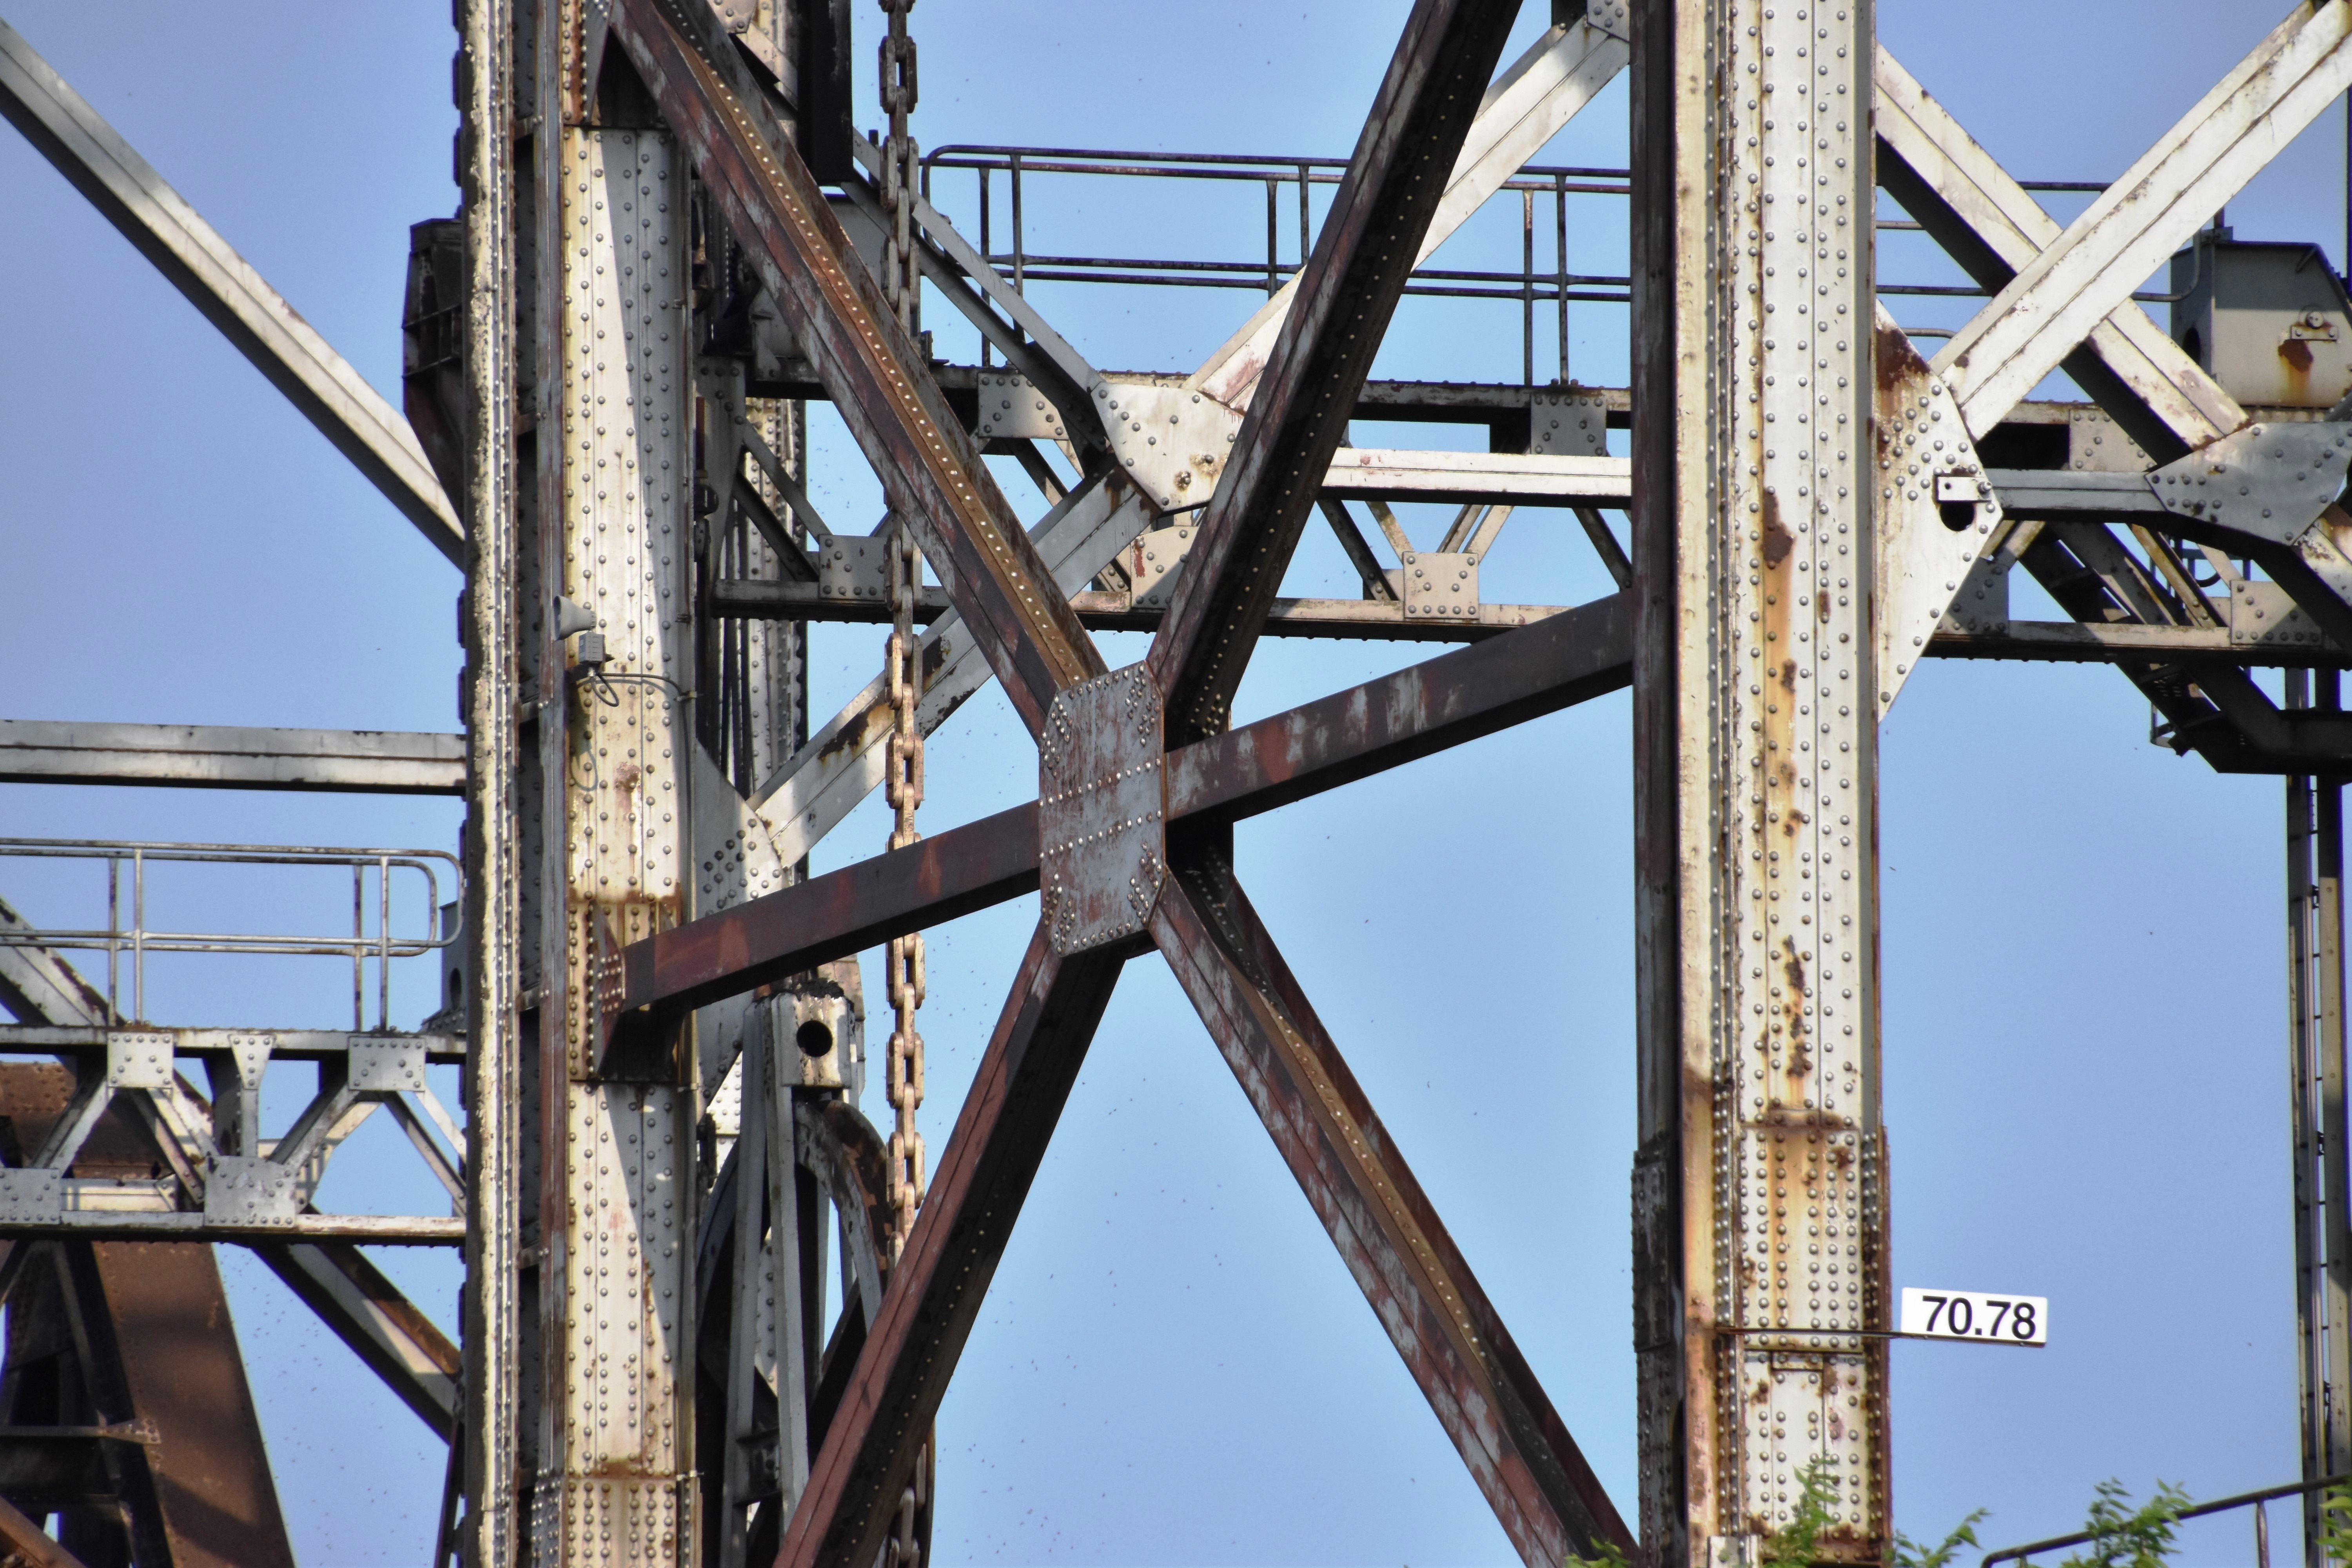


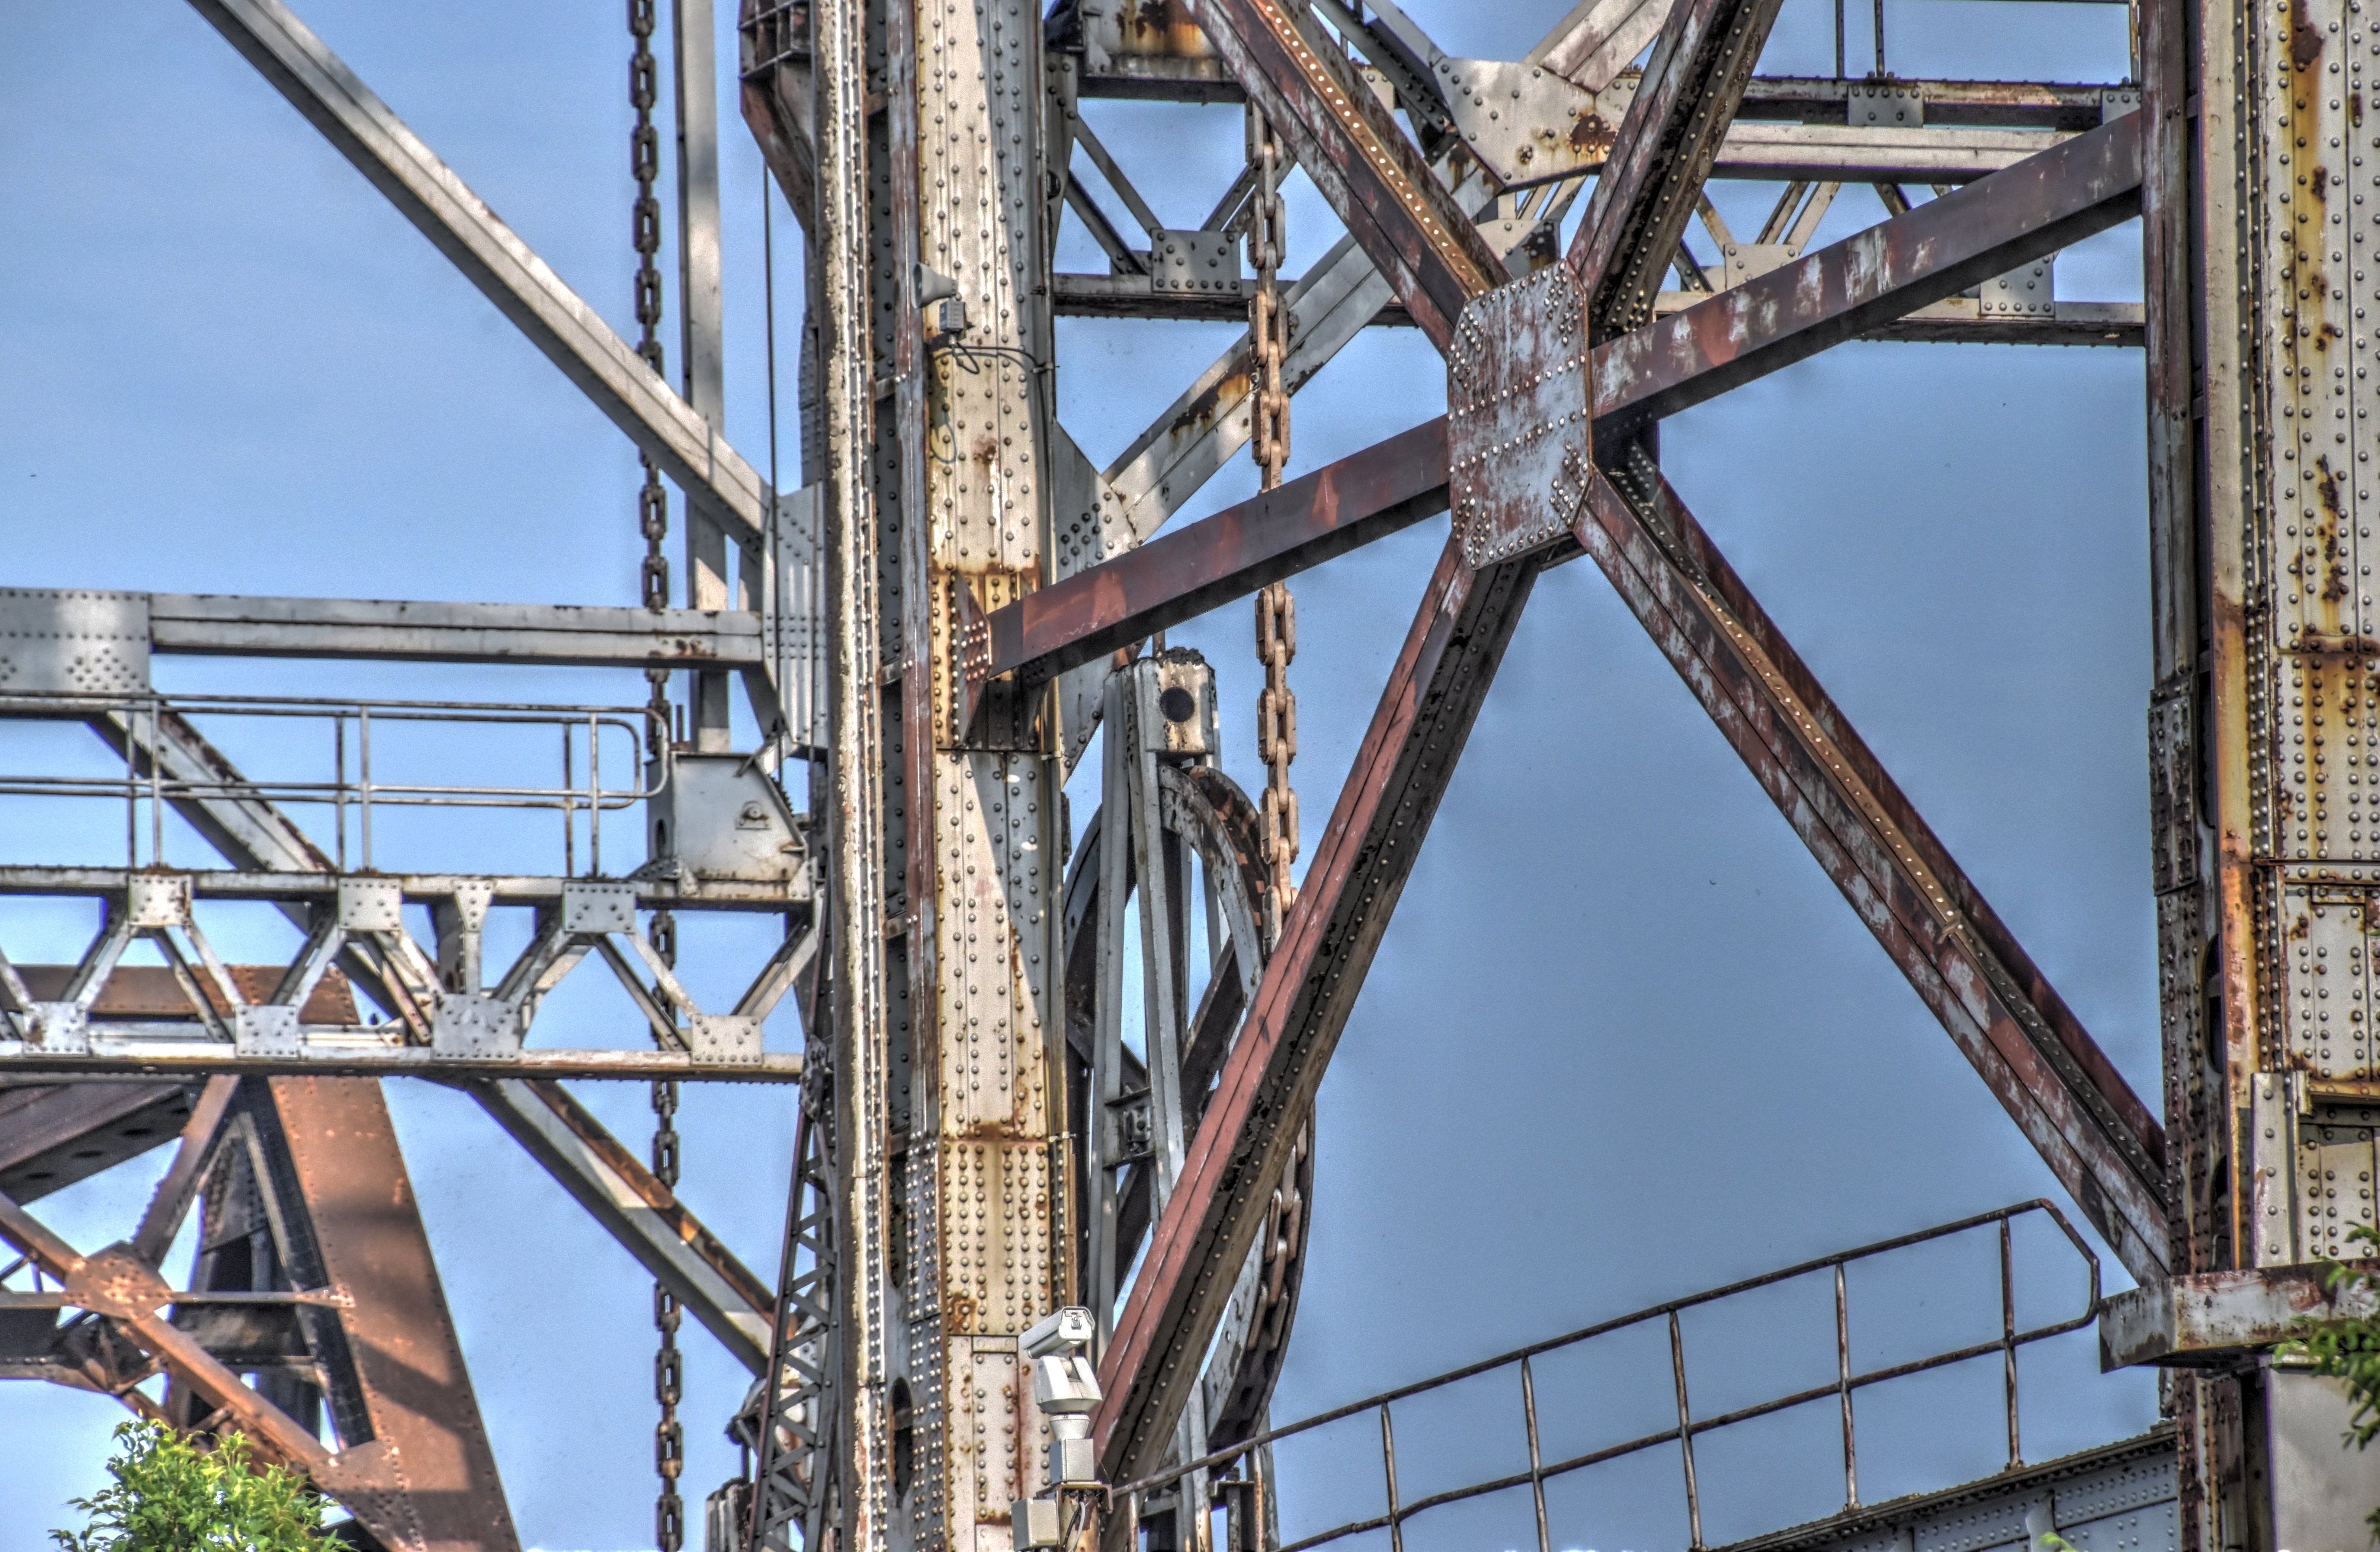
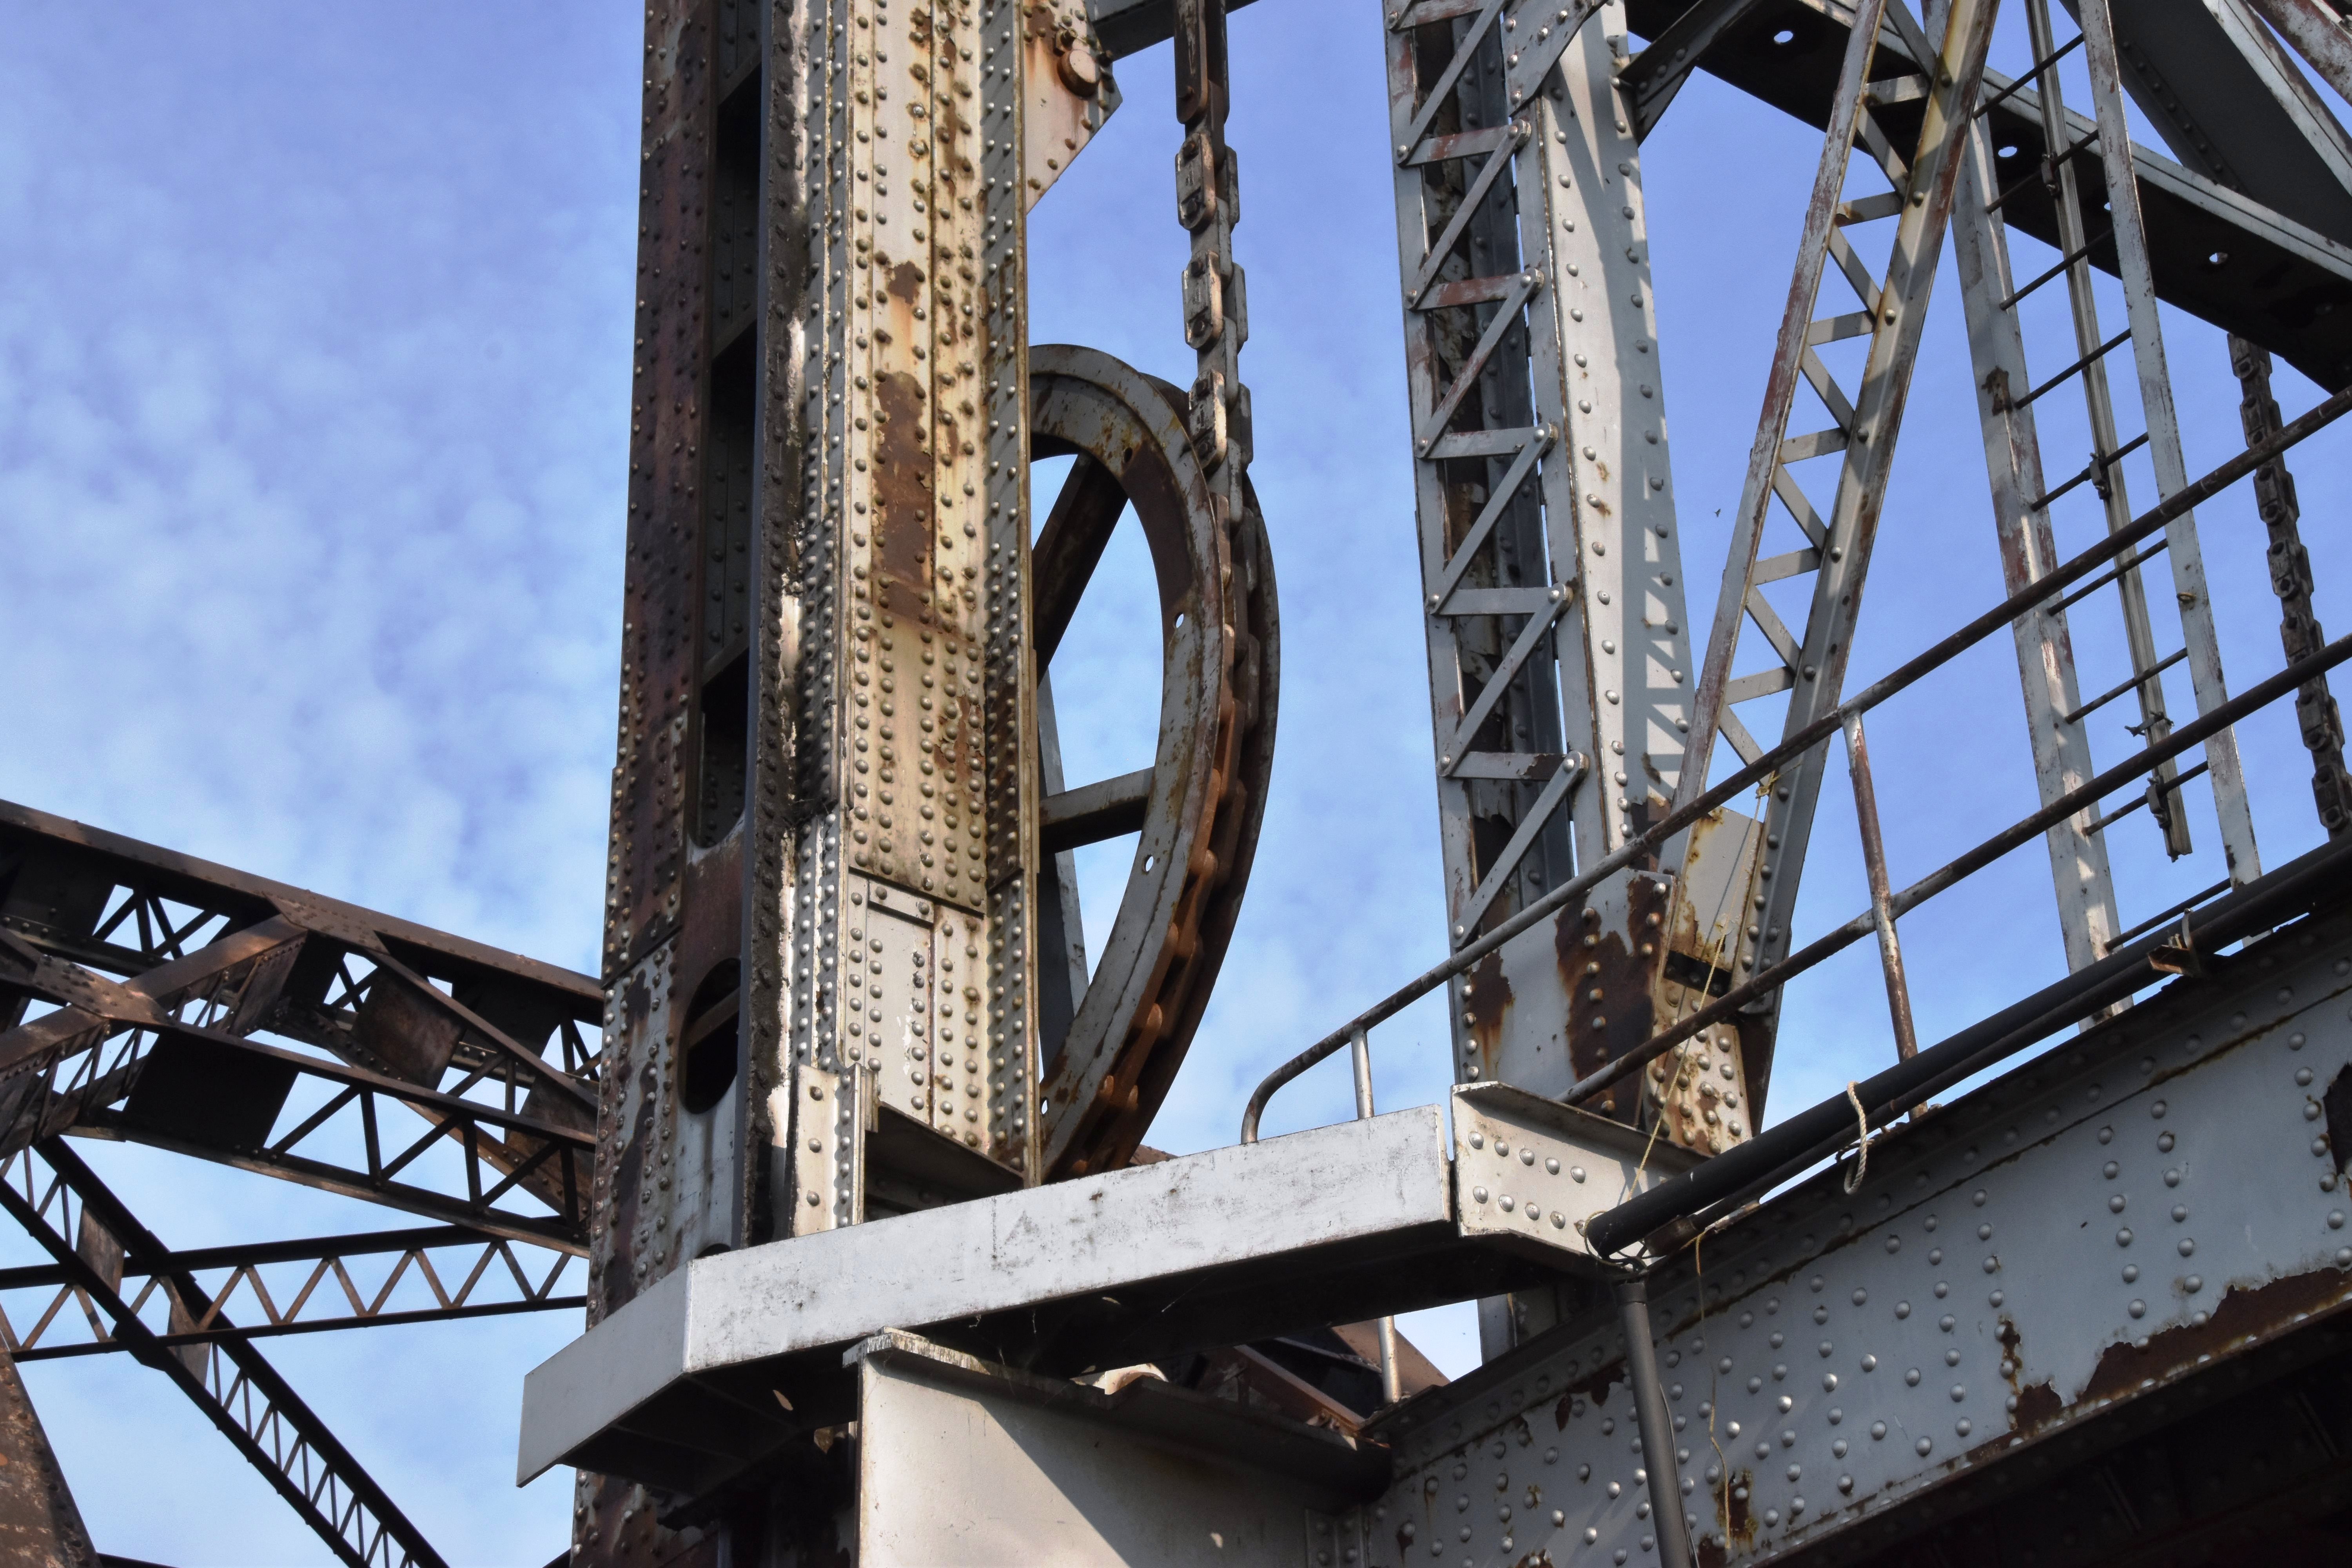
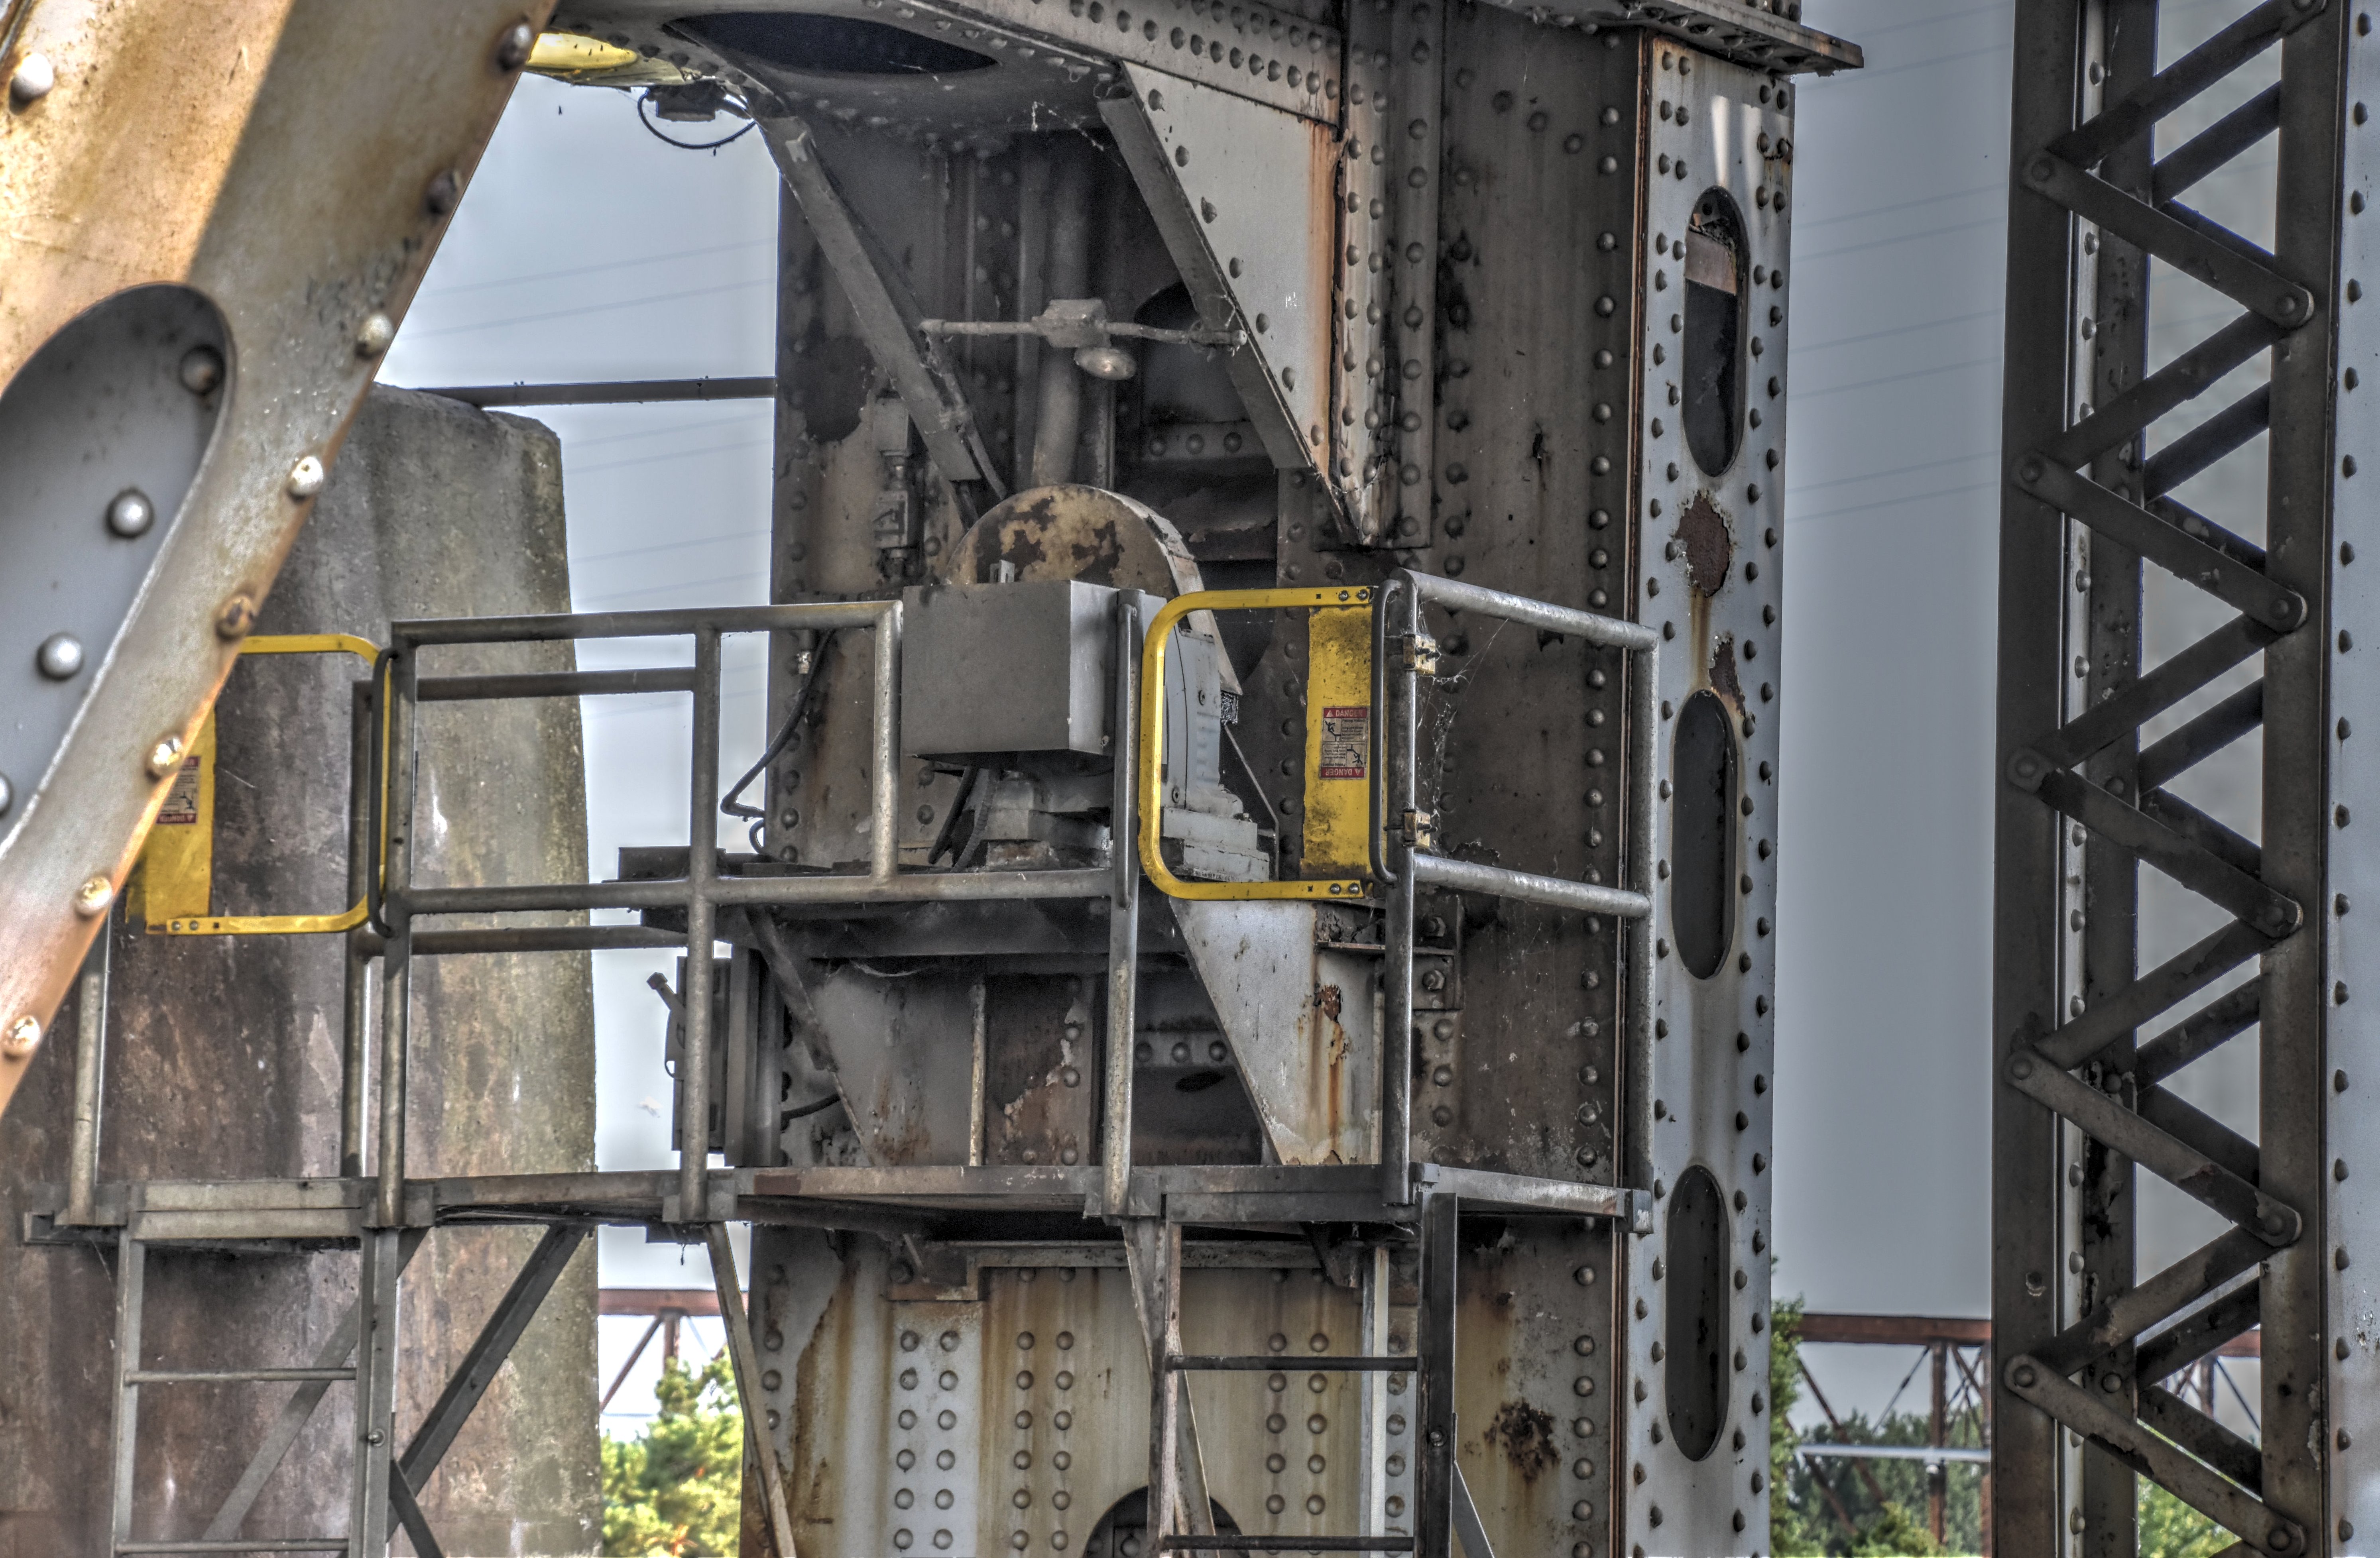
Lift tower details.
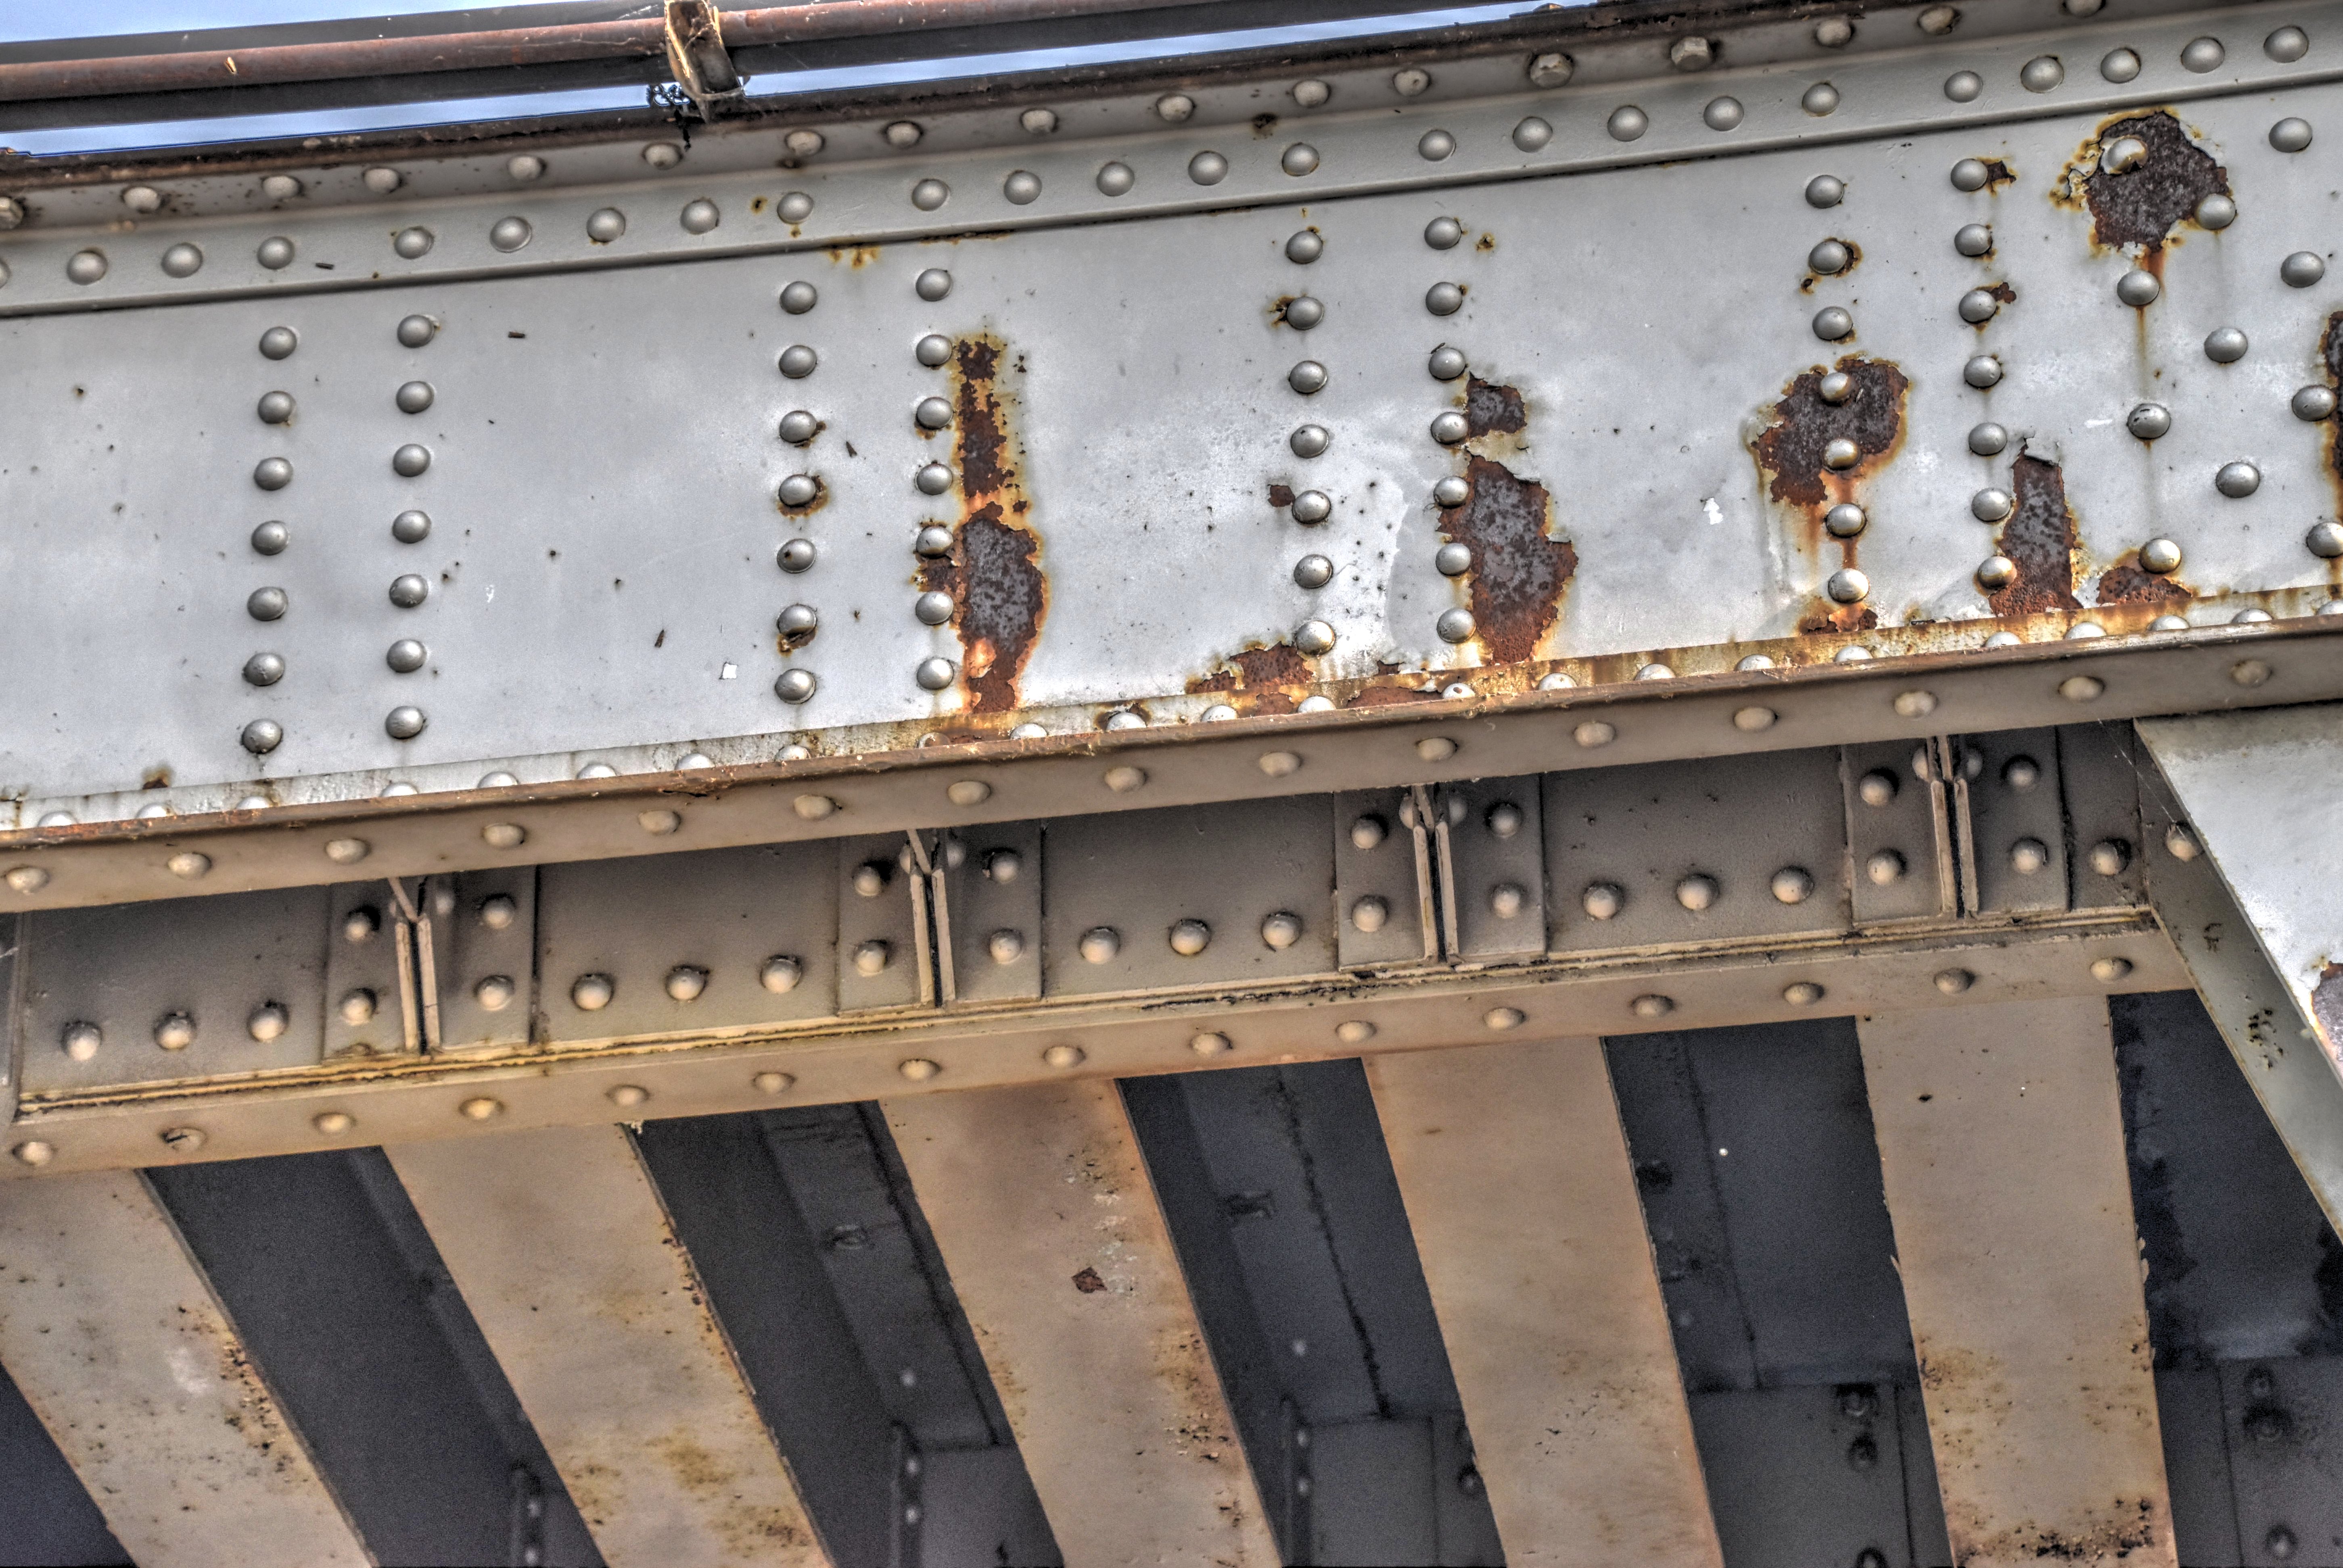
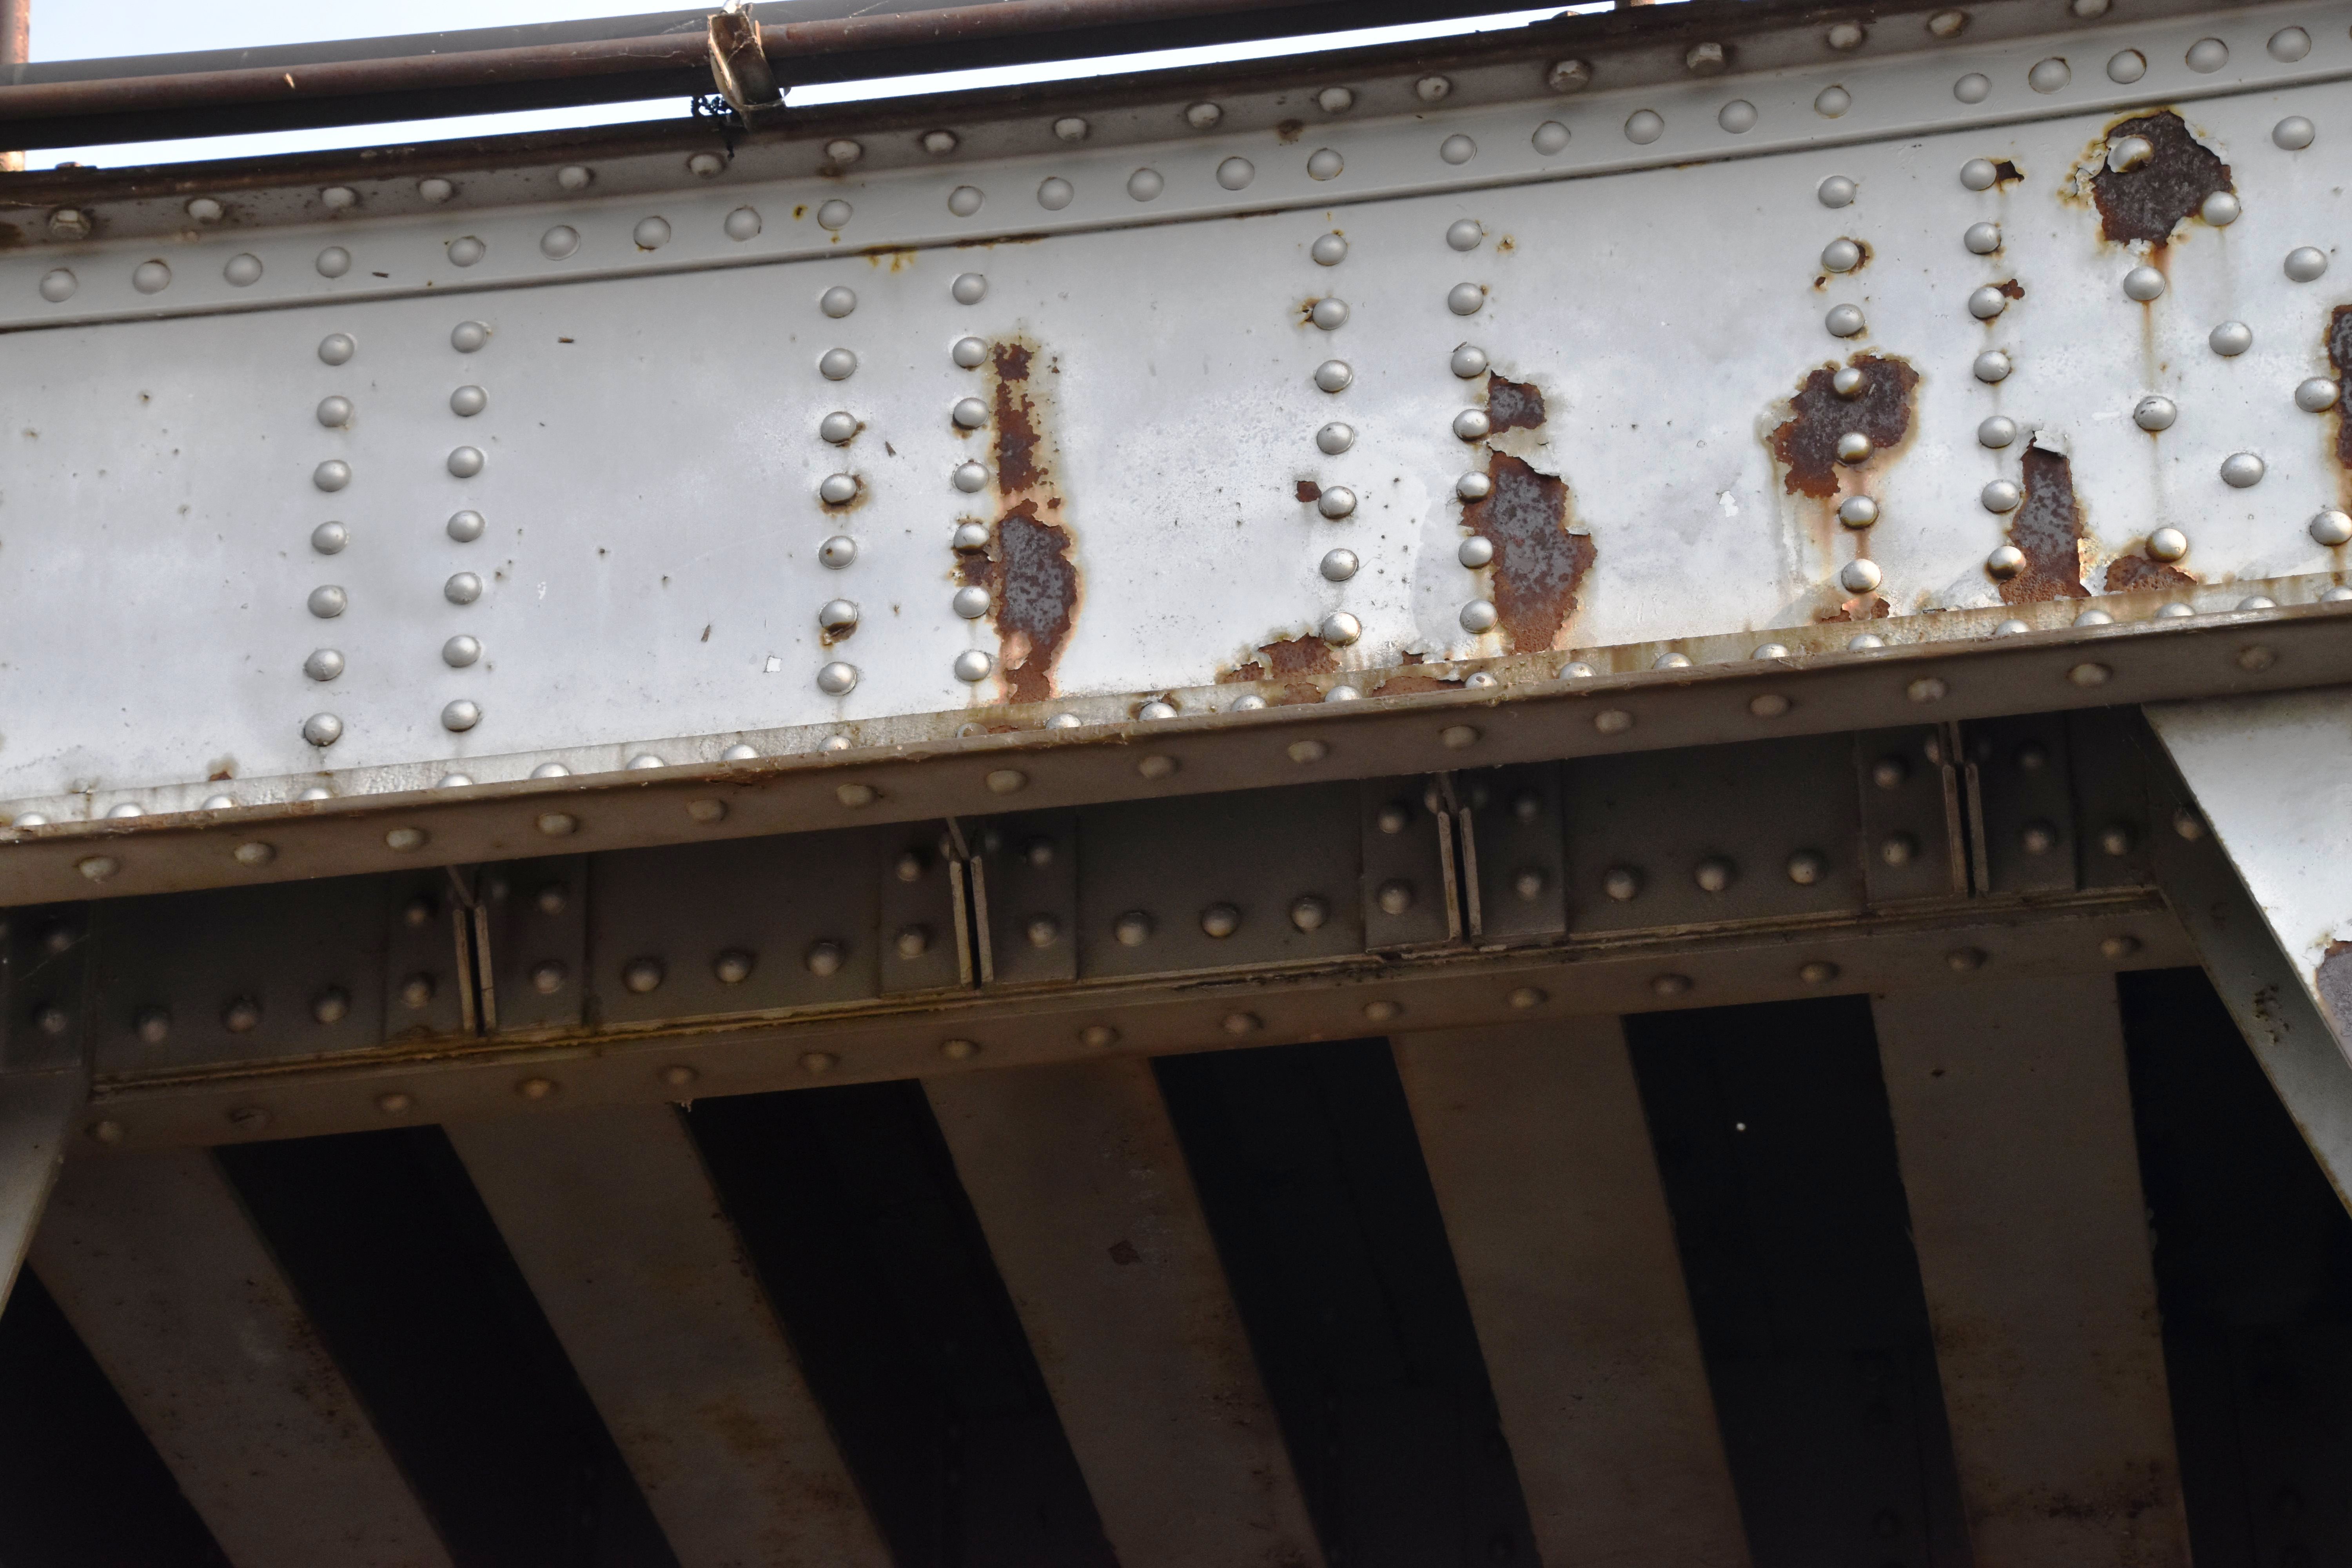
![]()
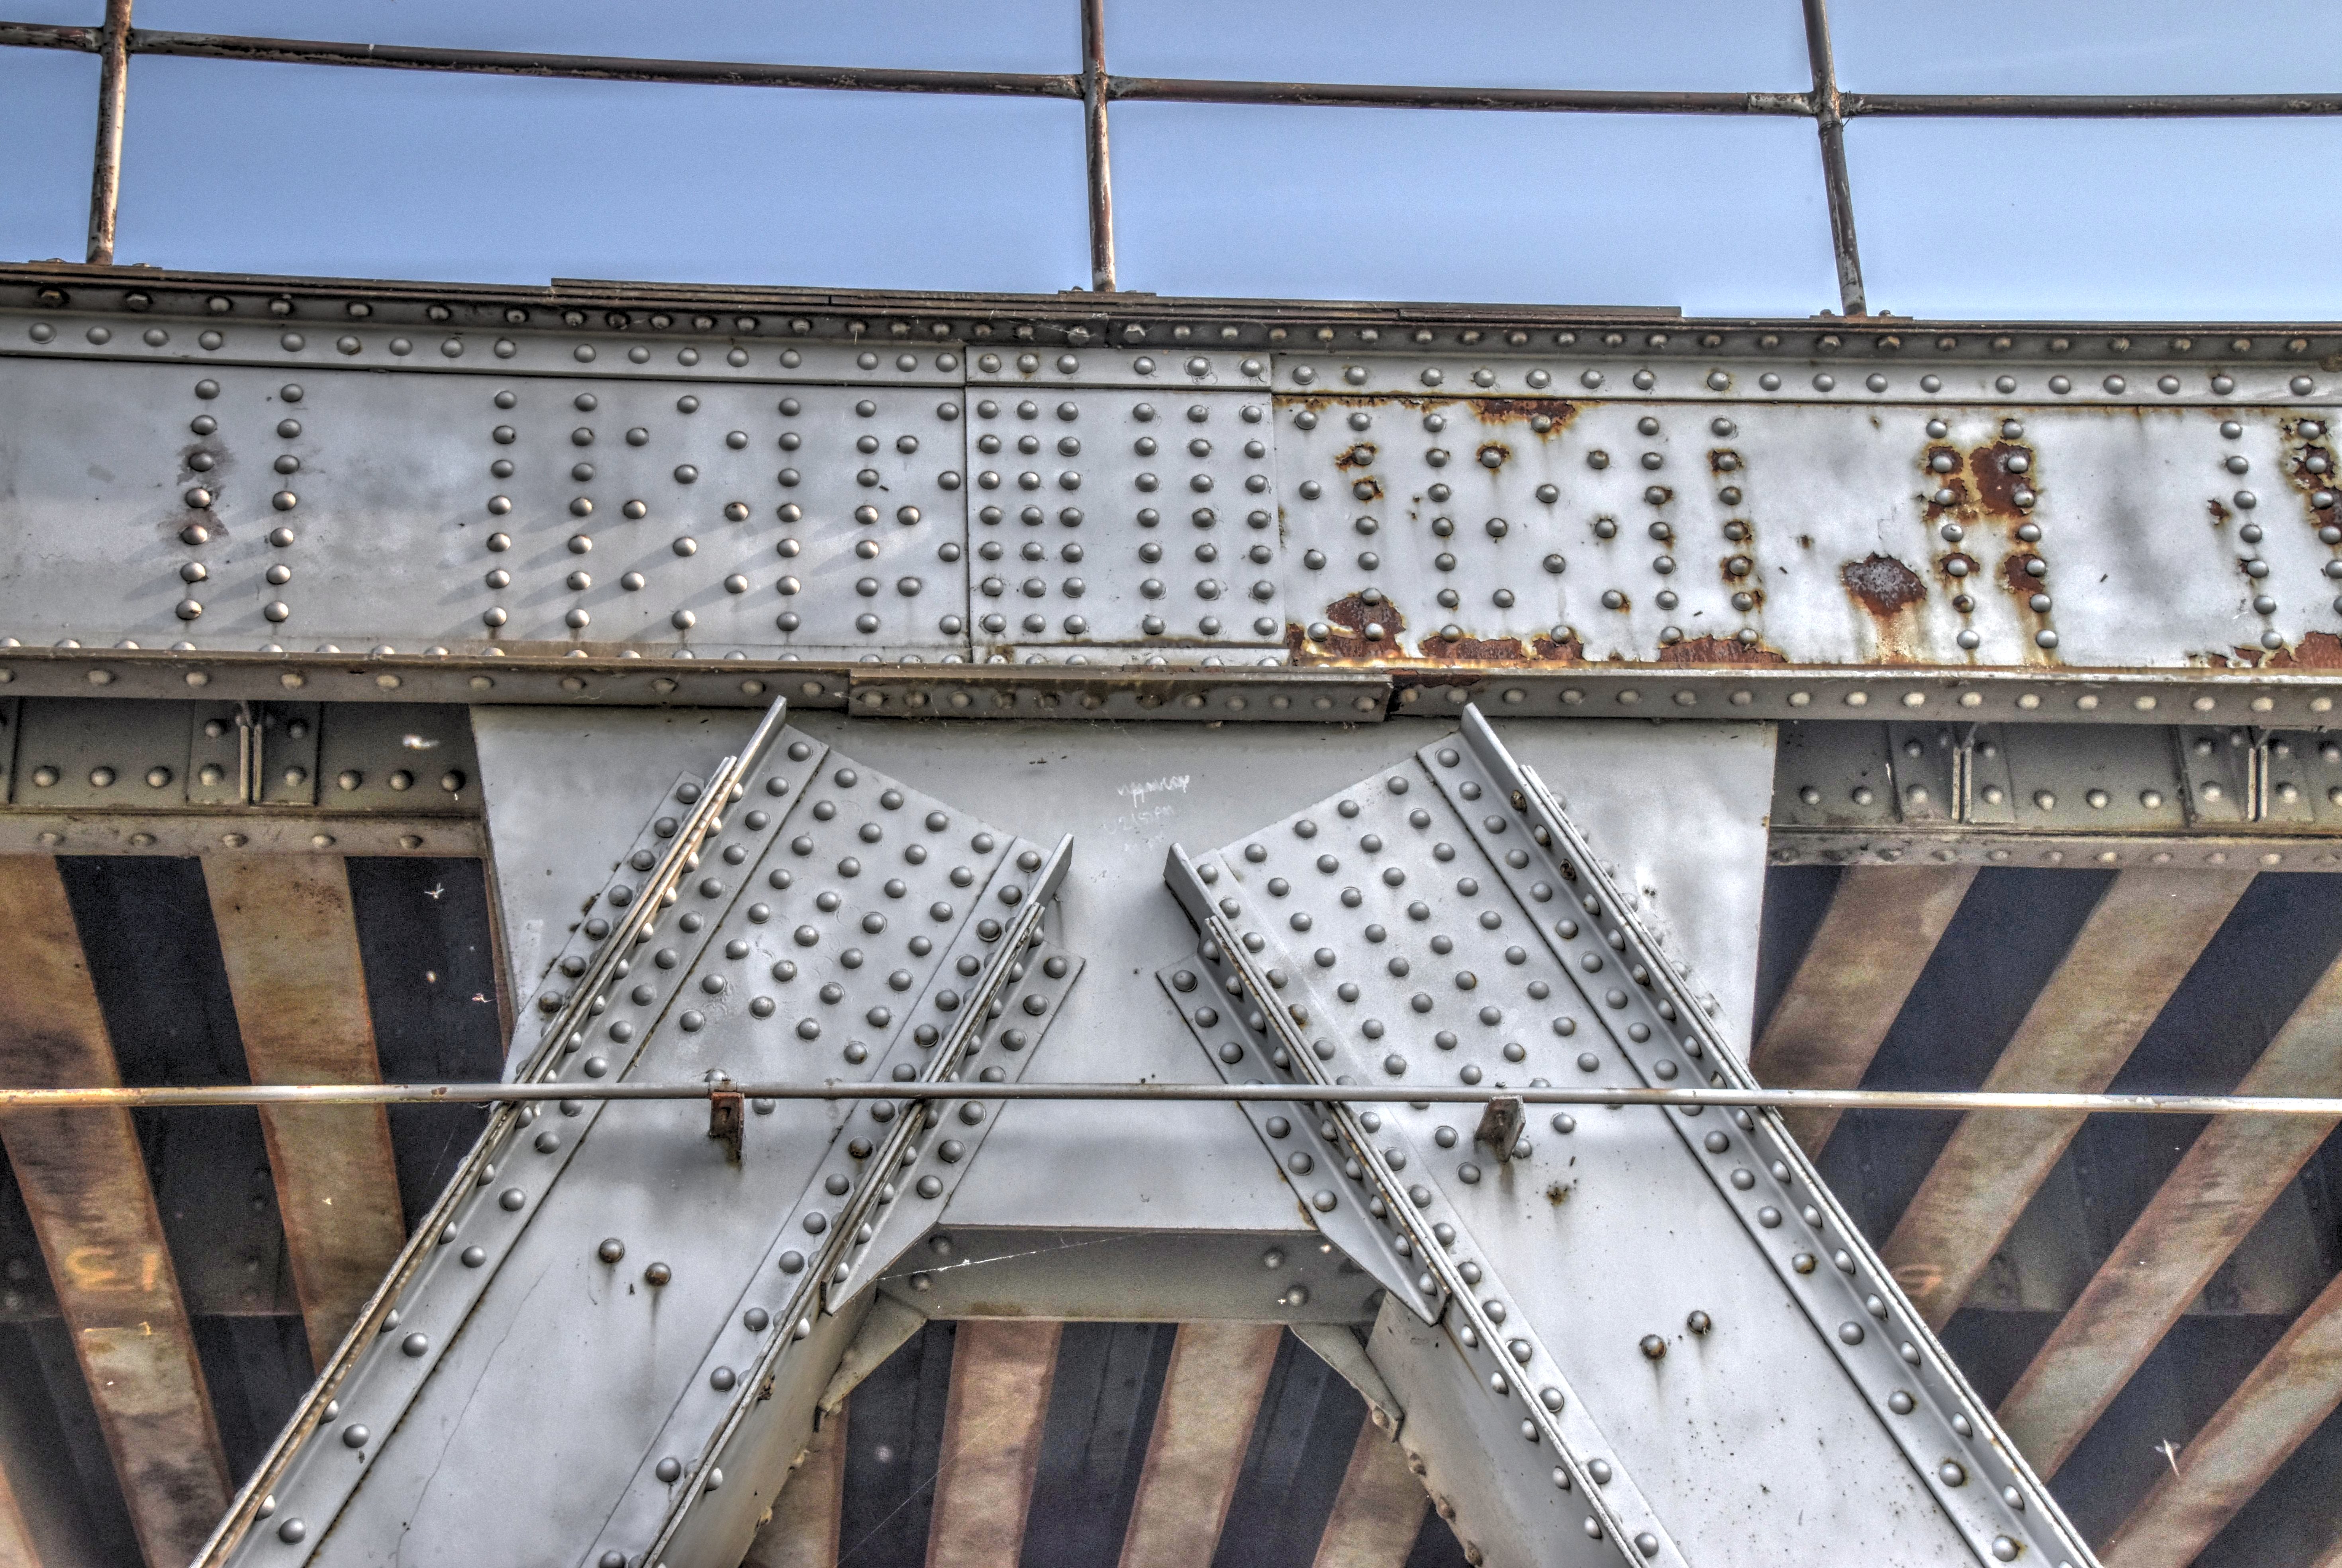


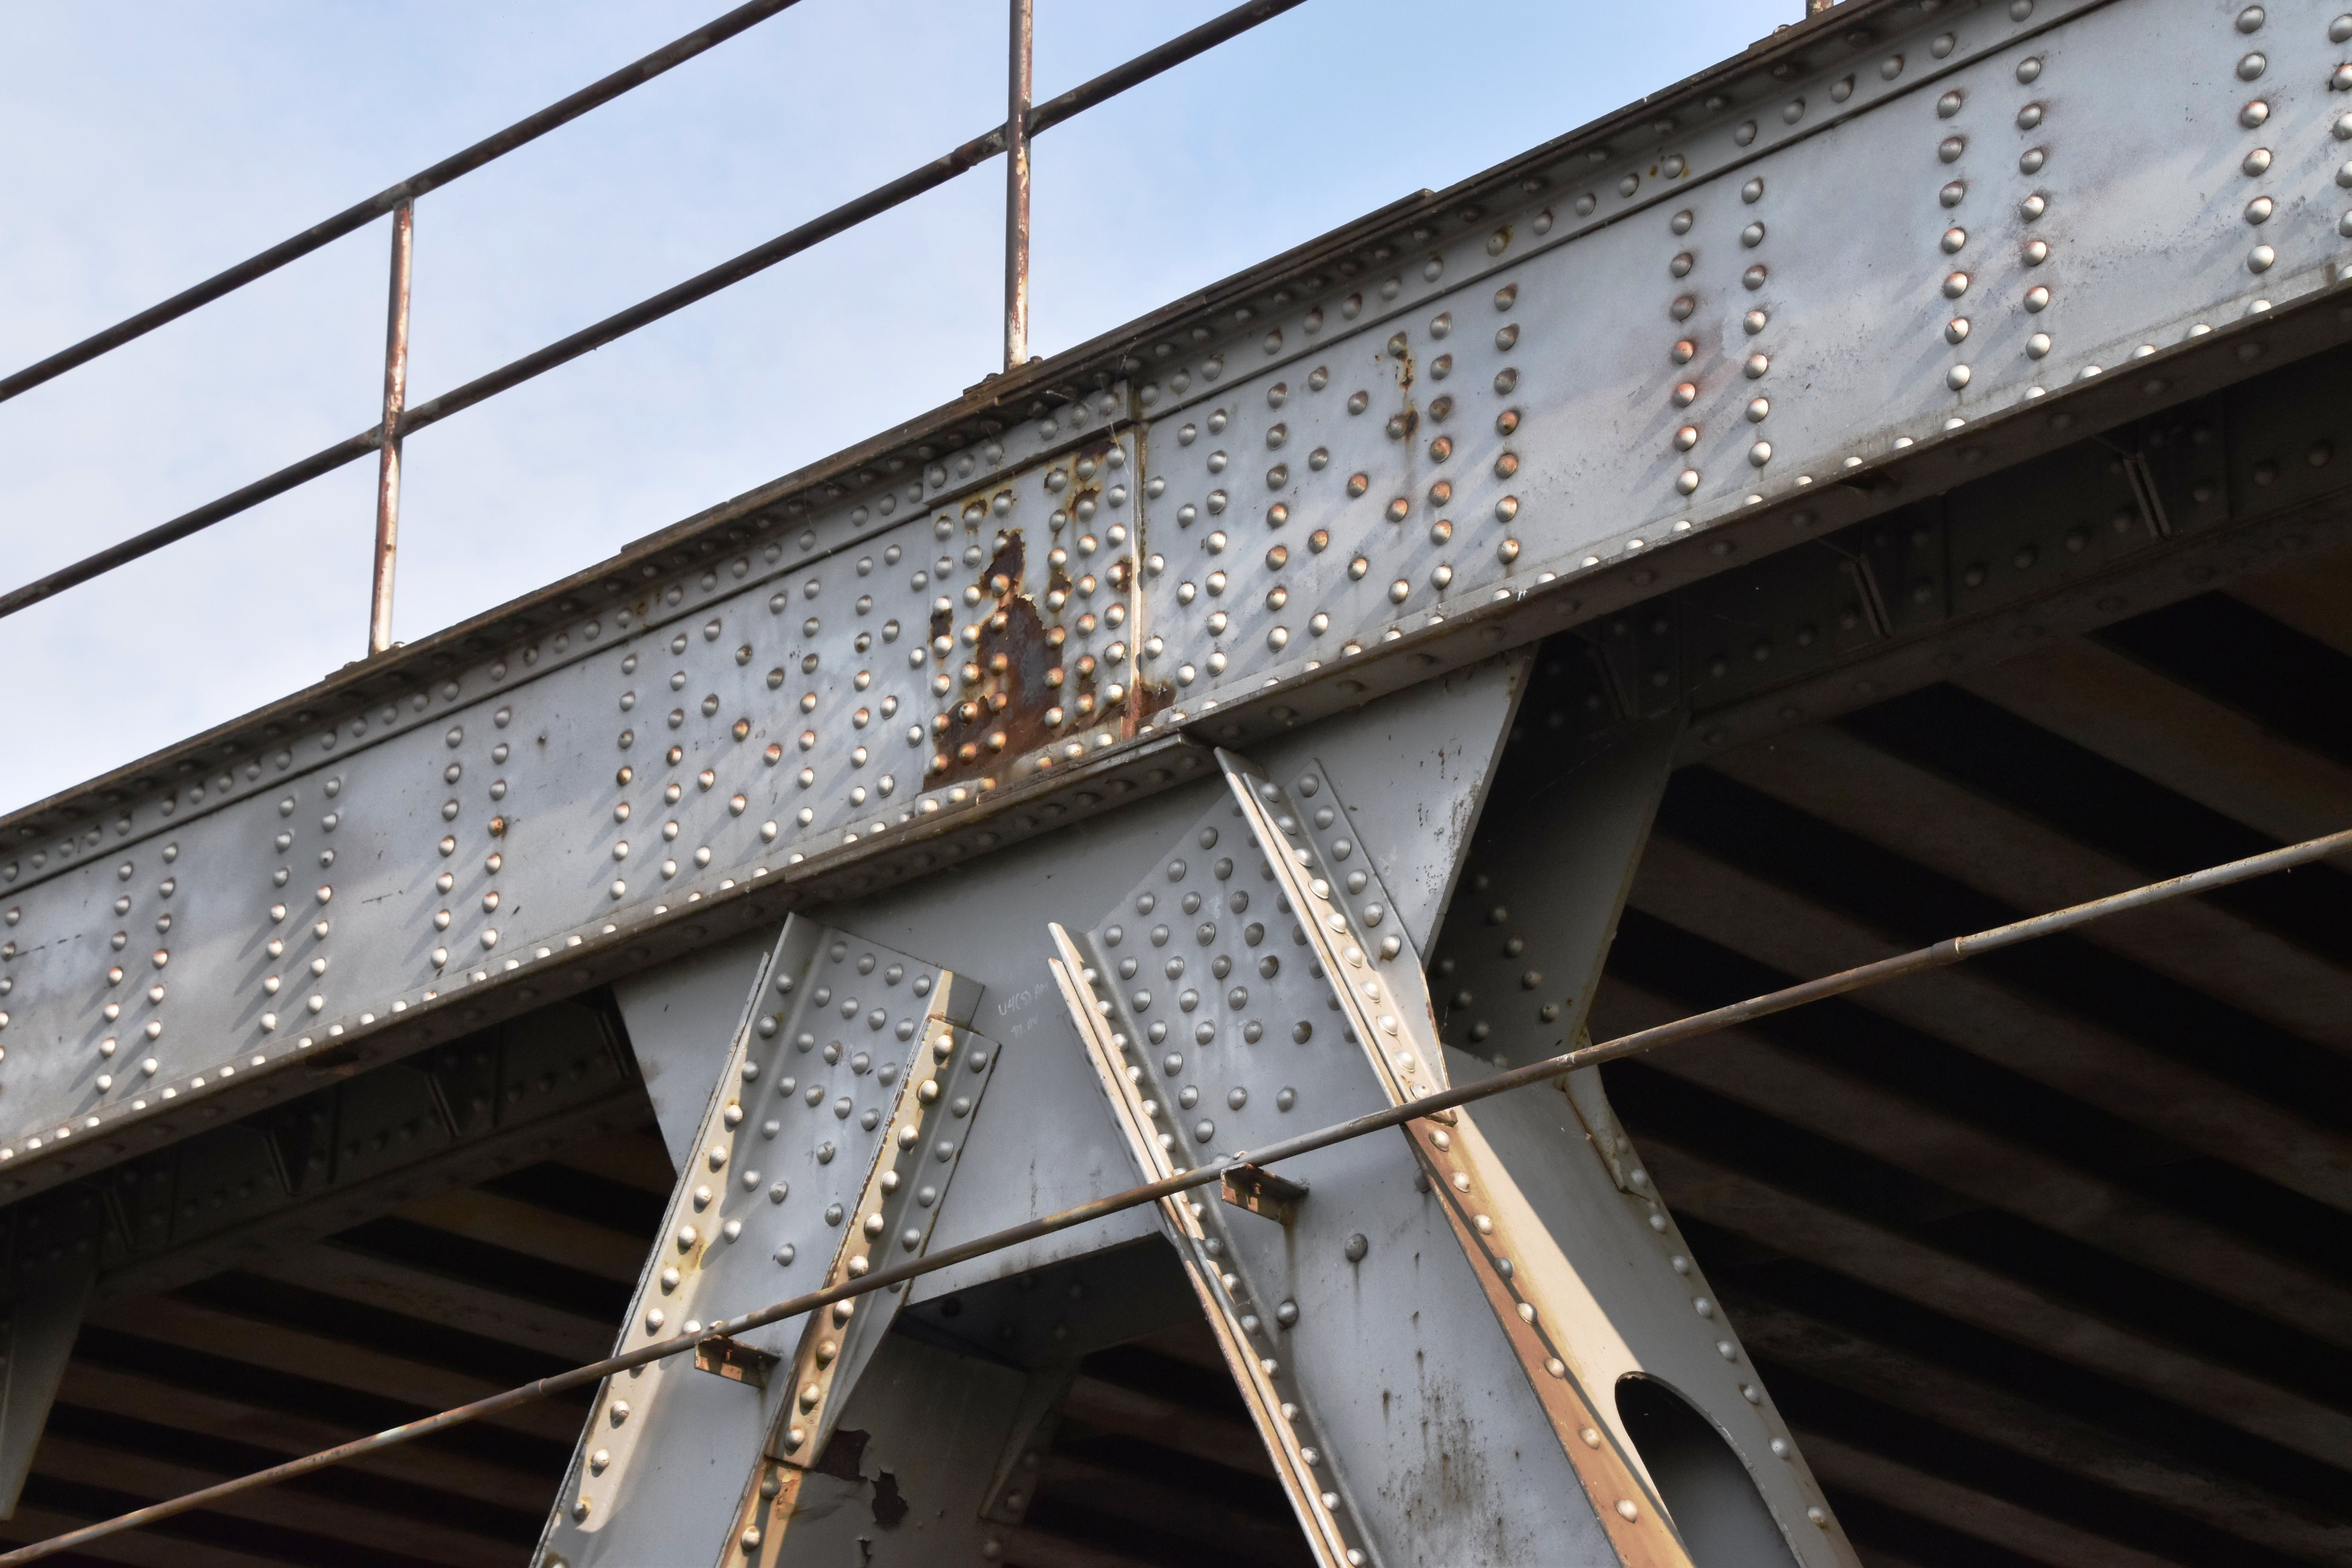


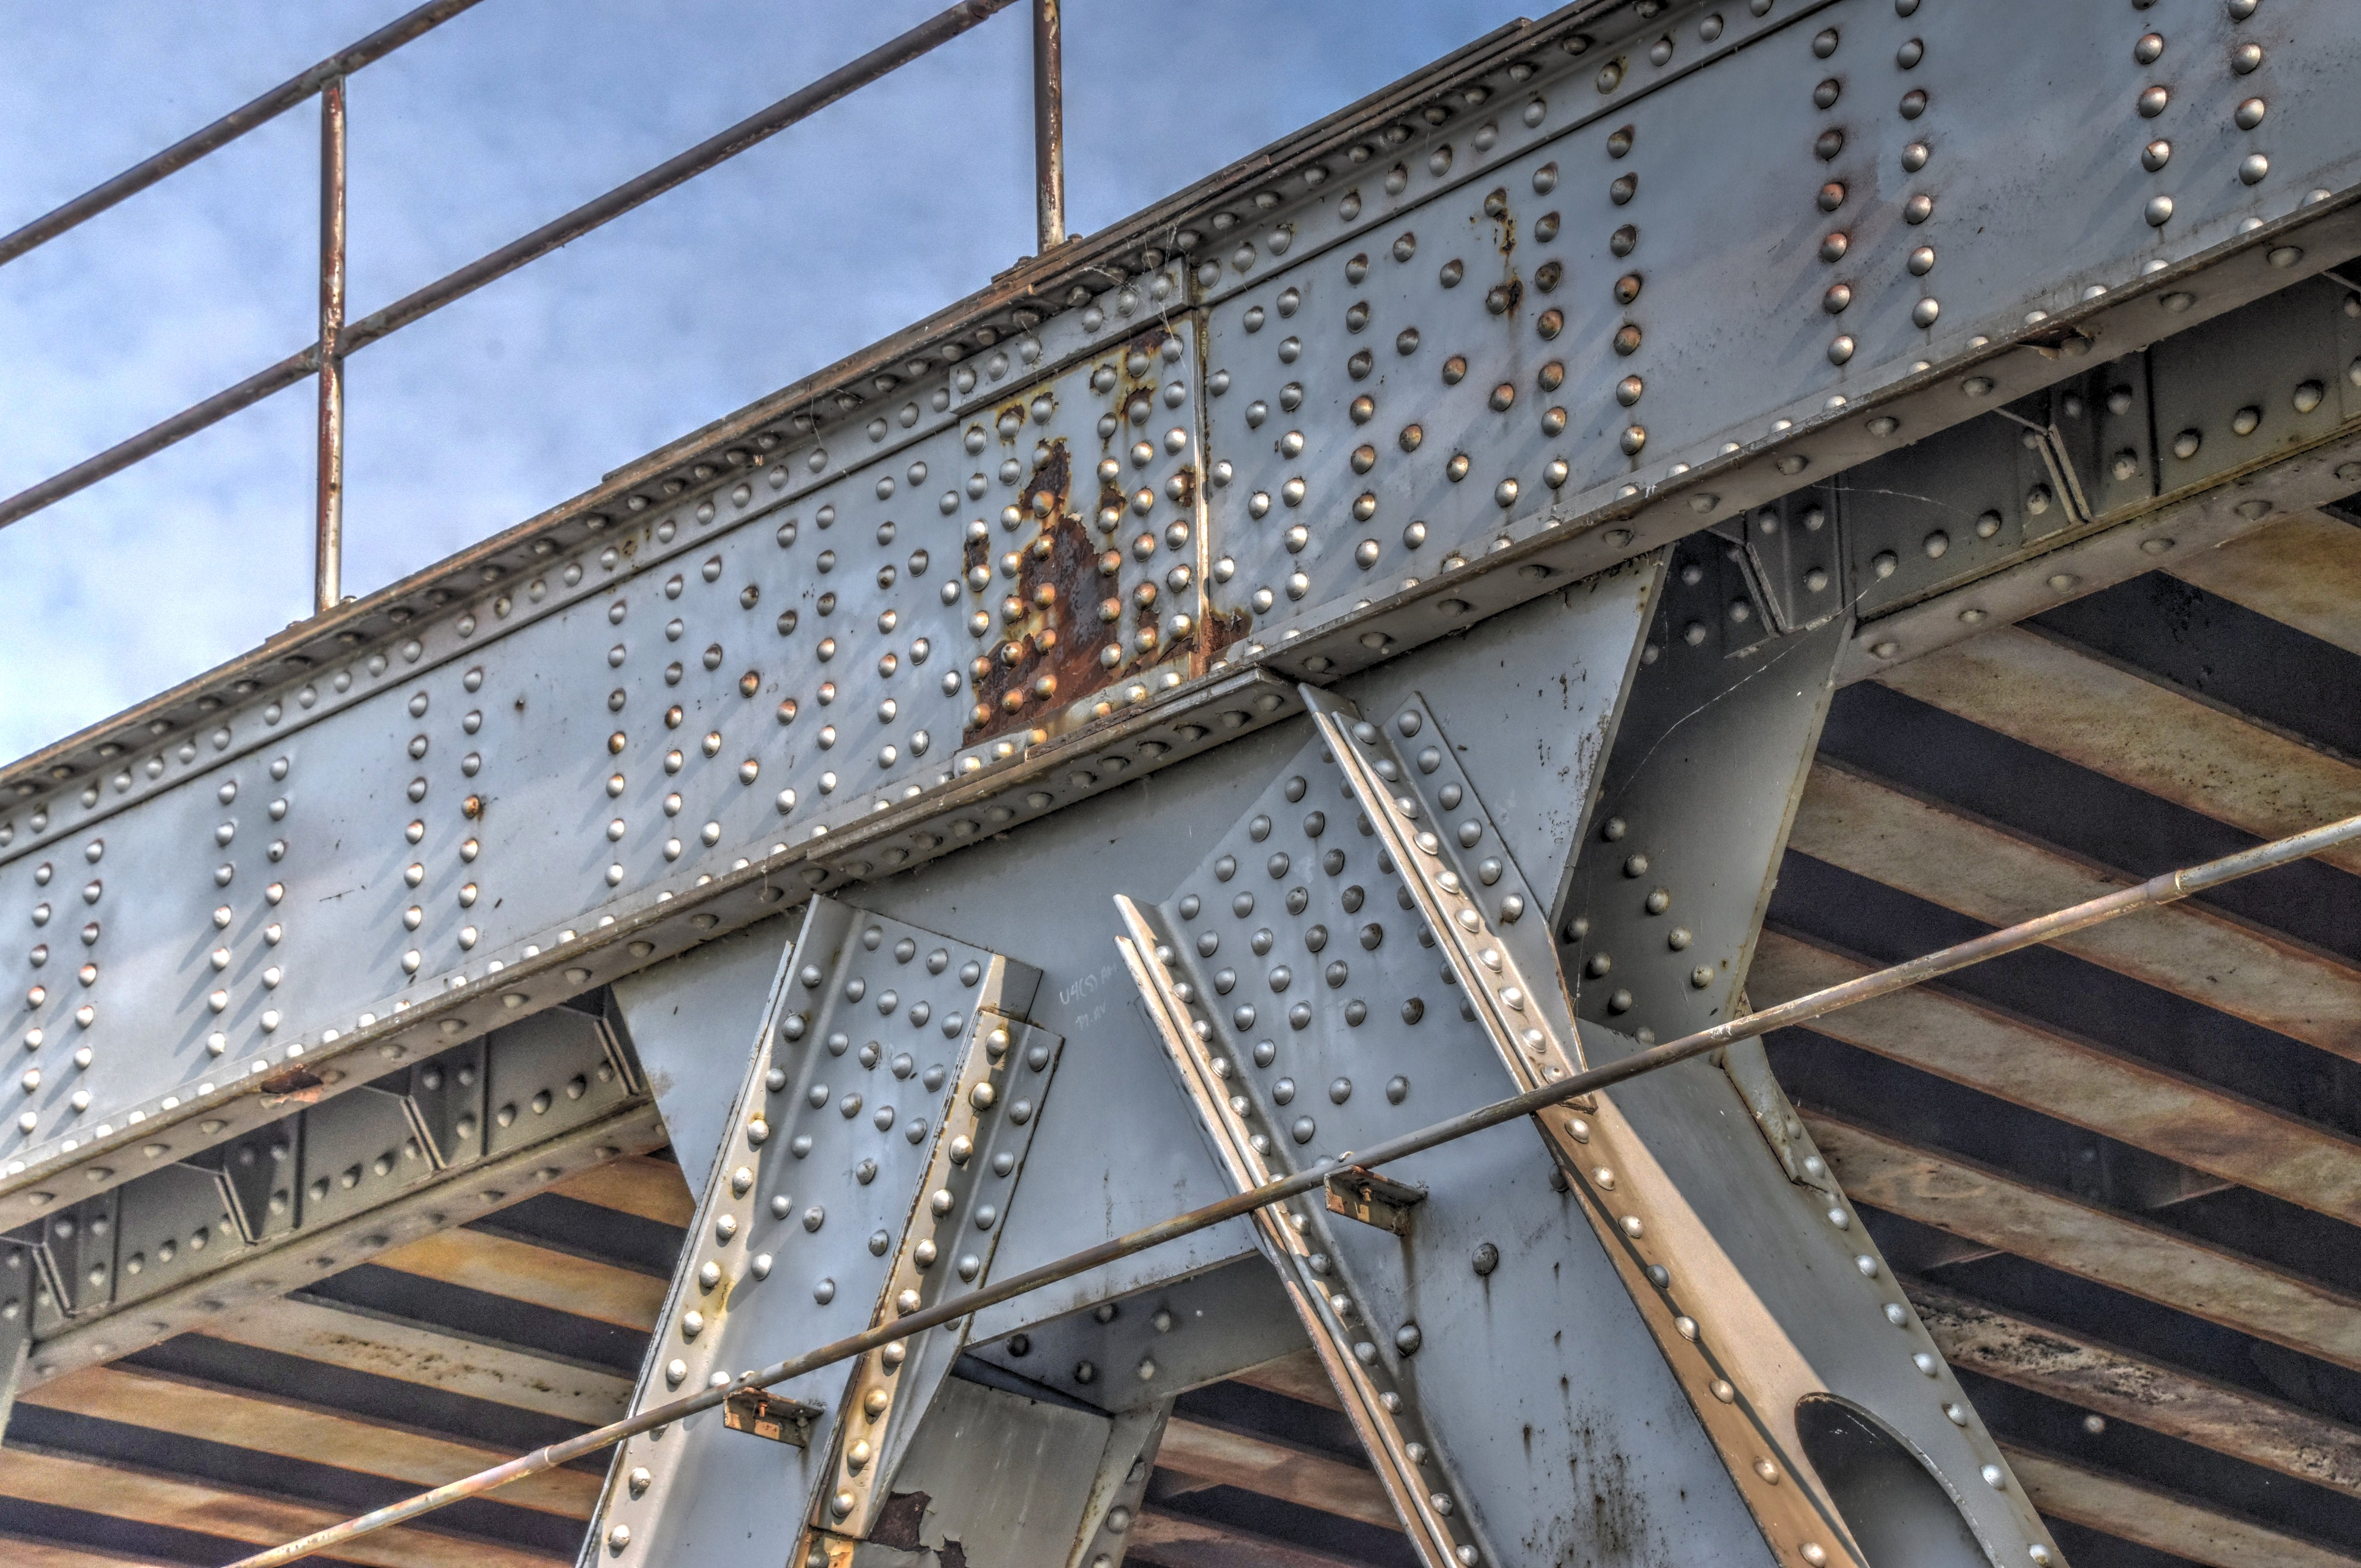


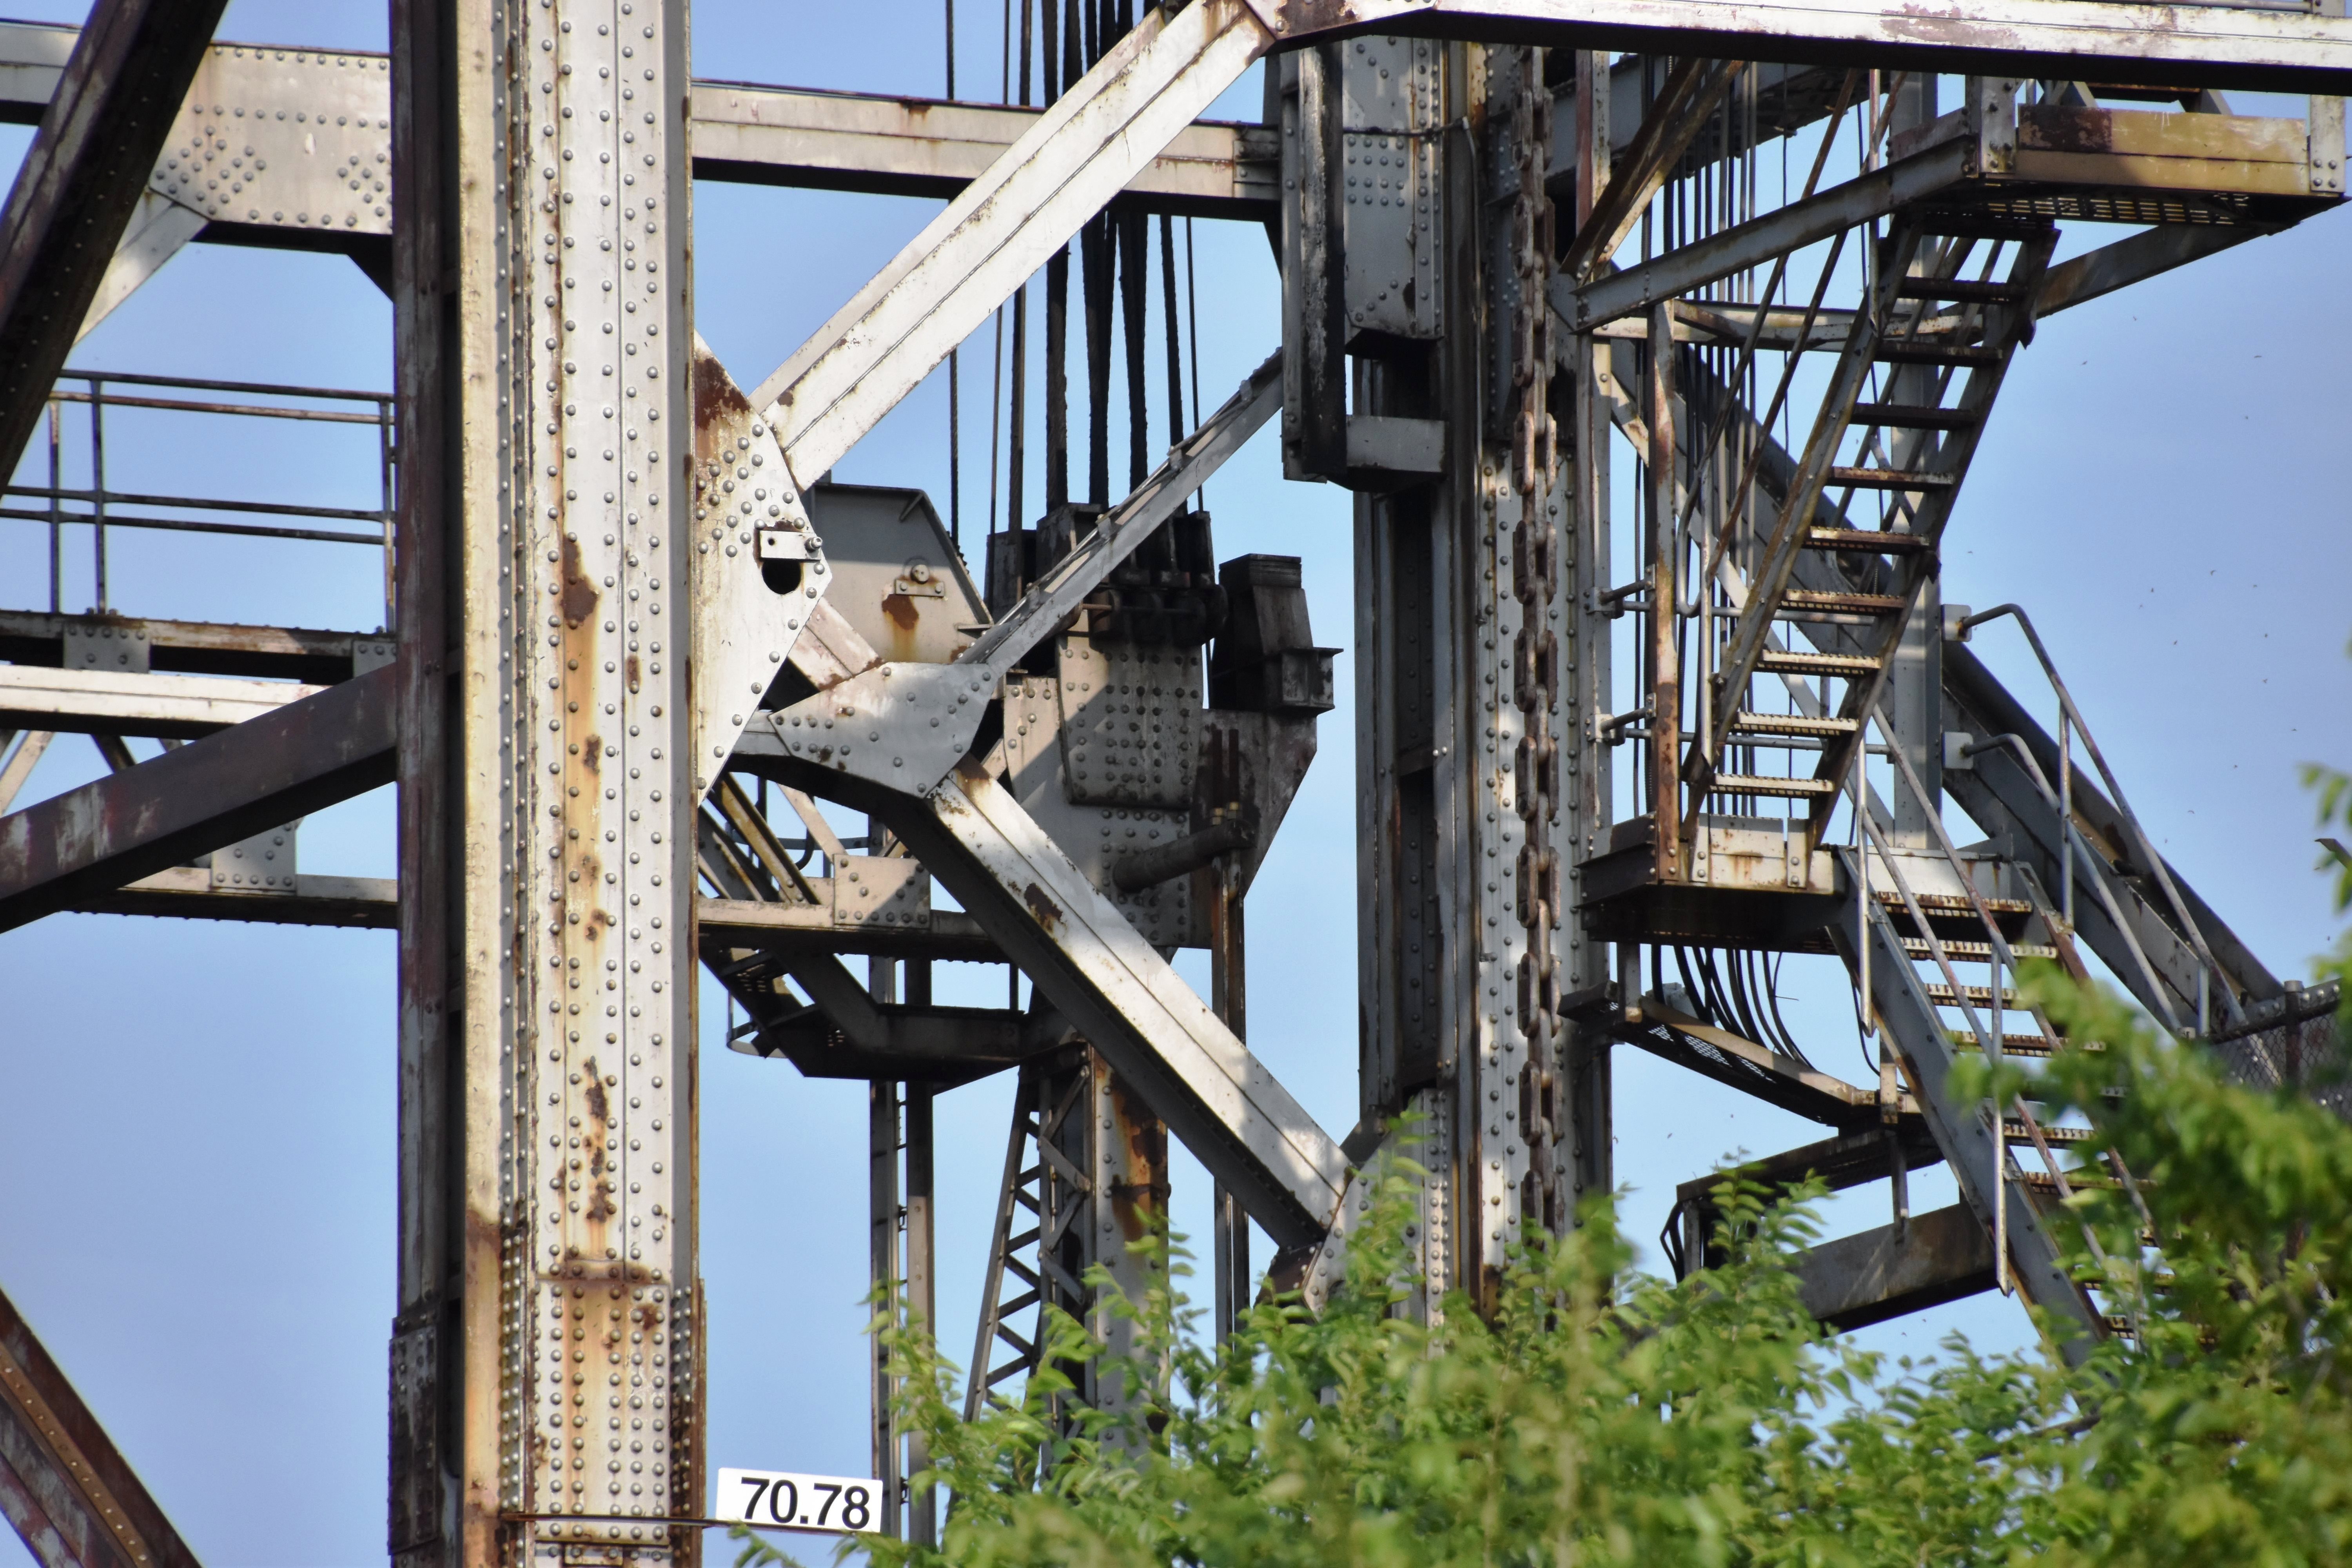
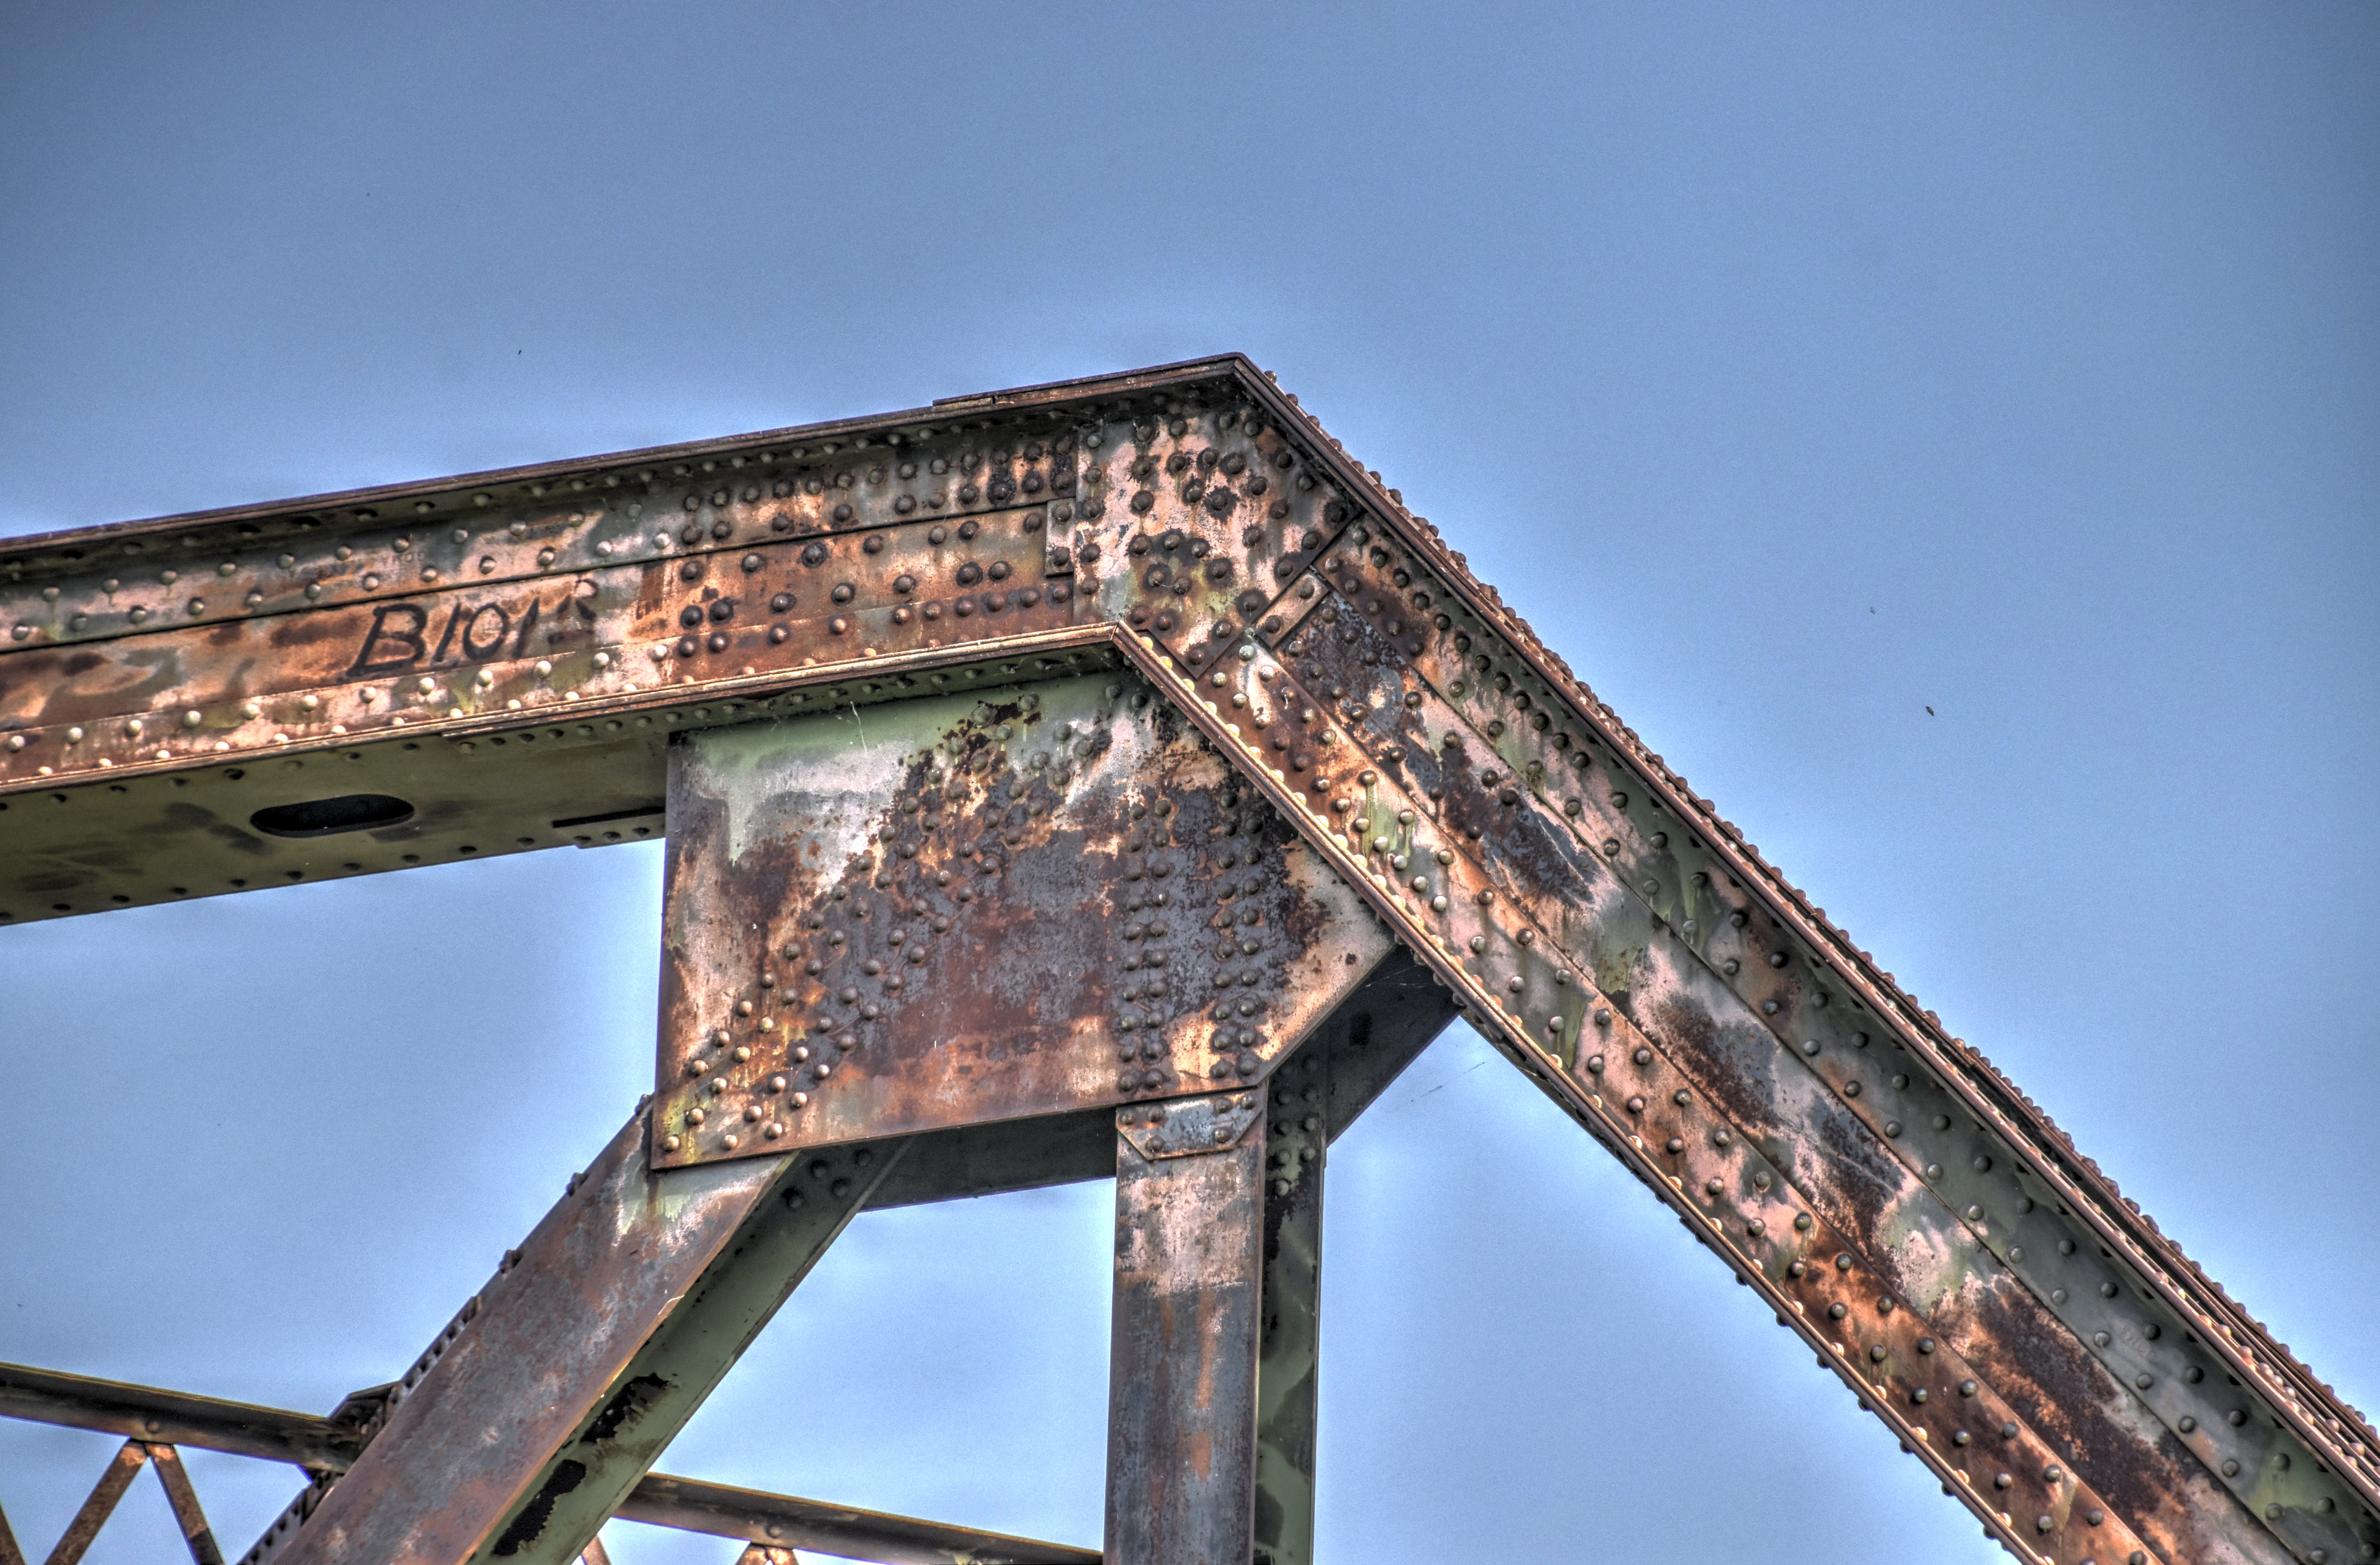
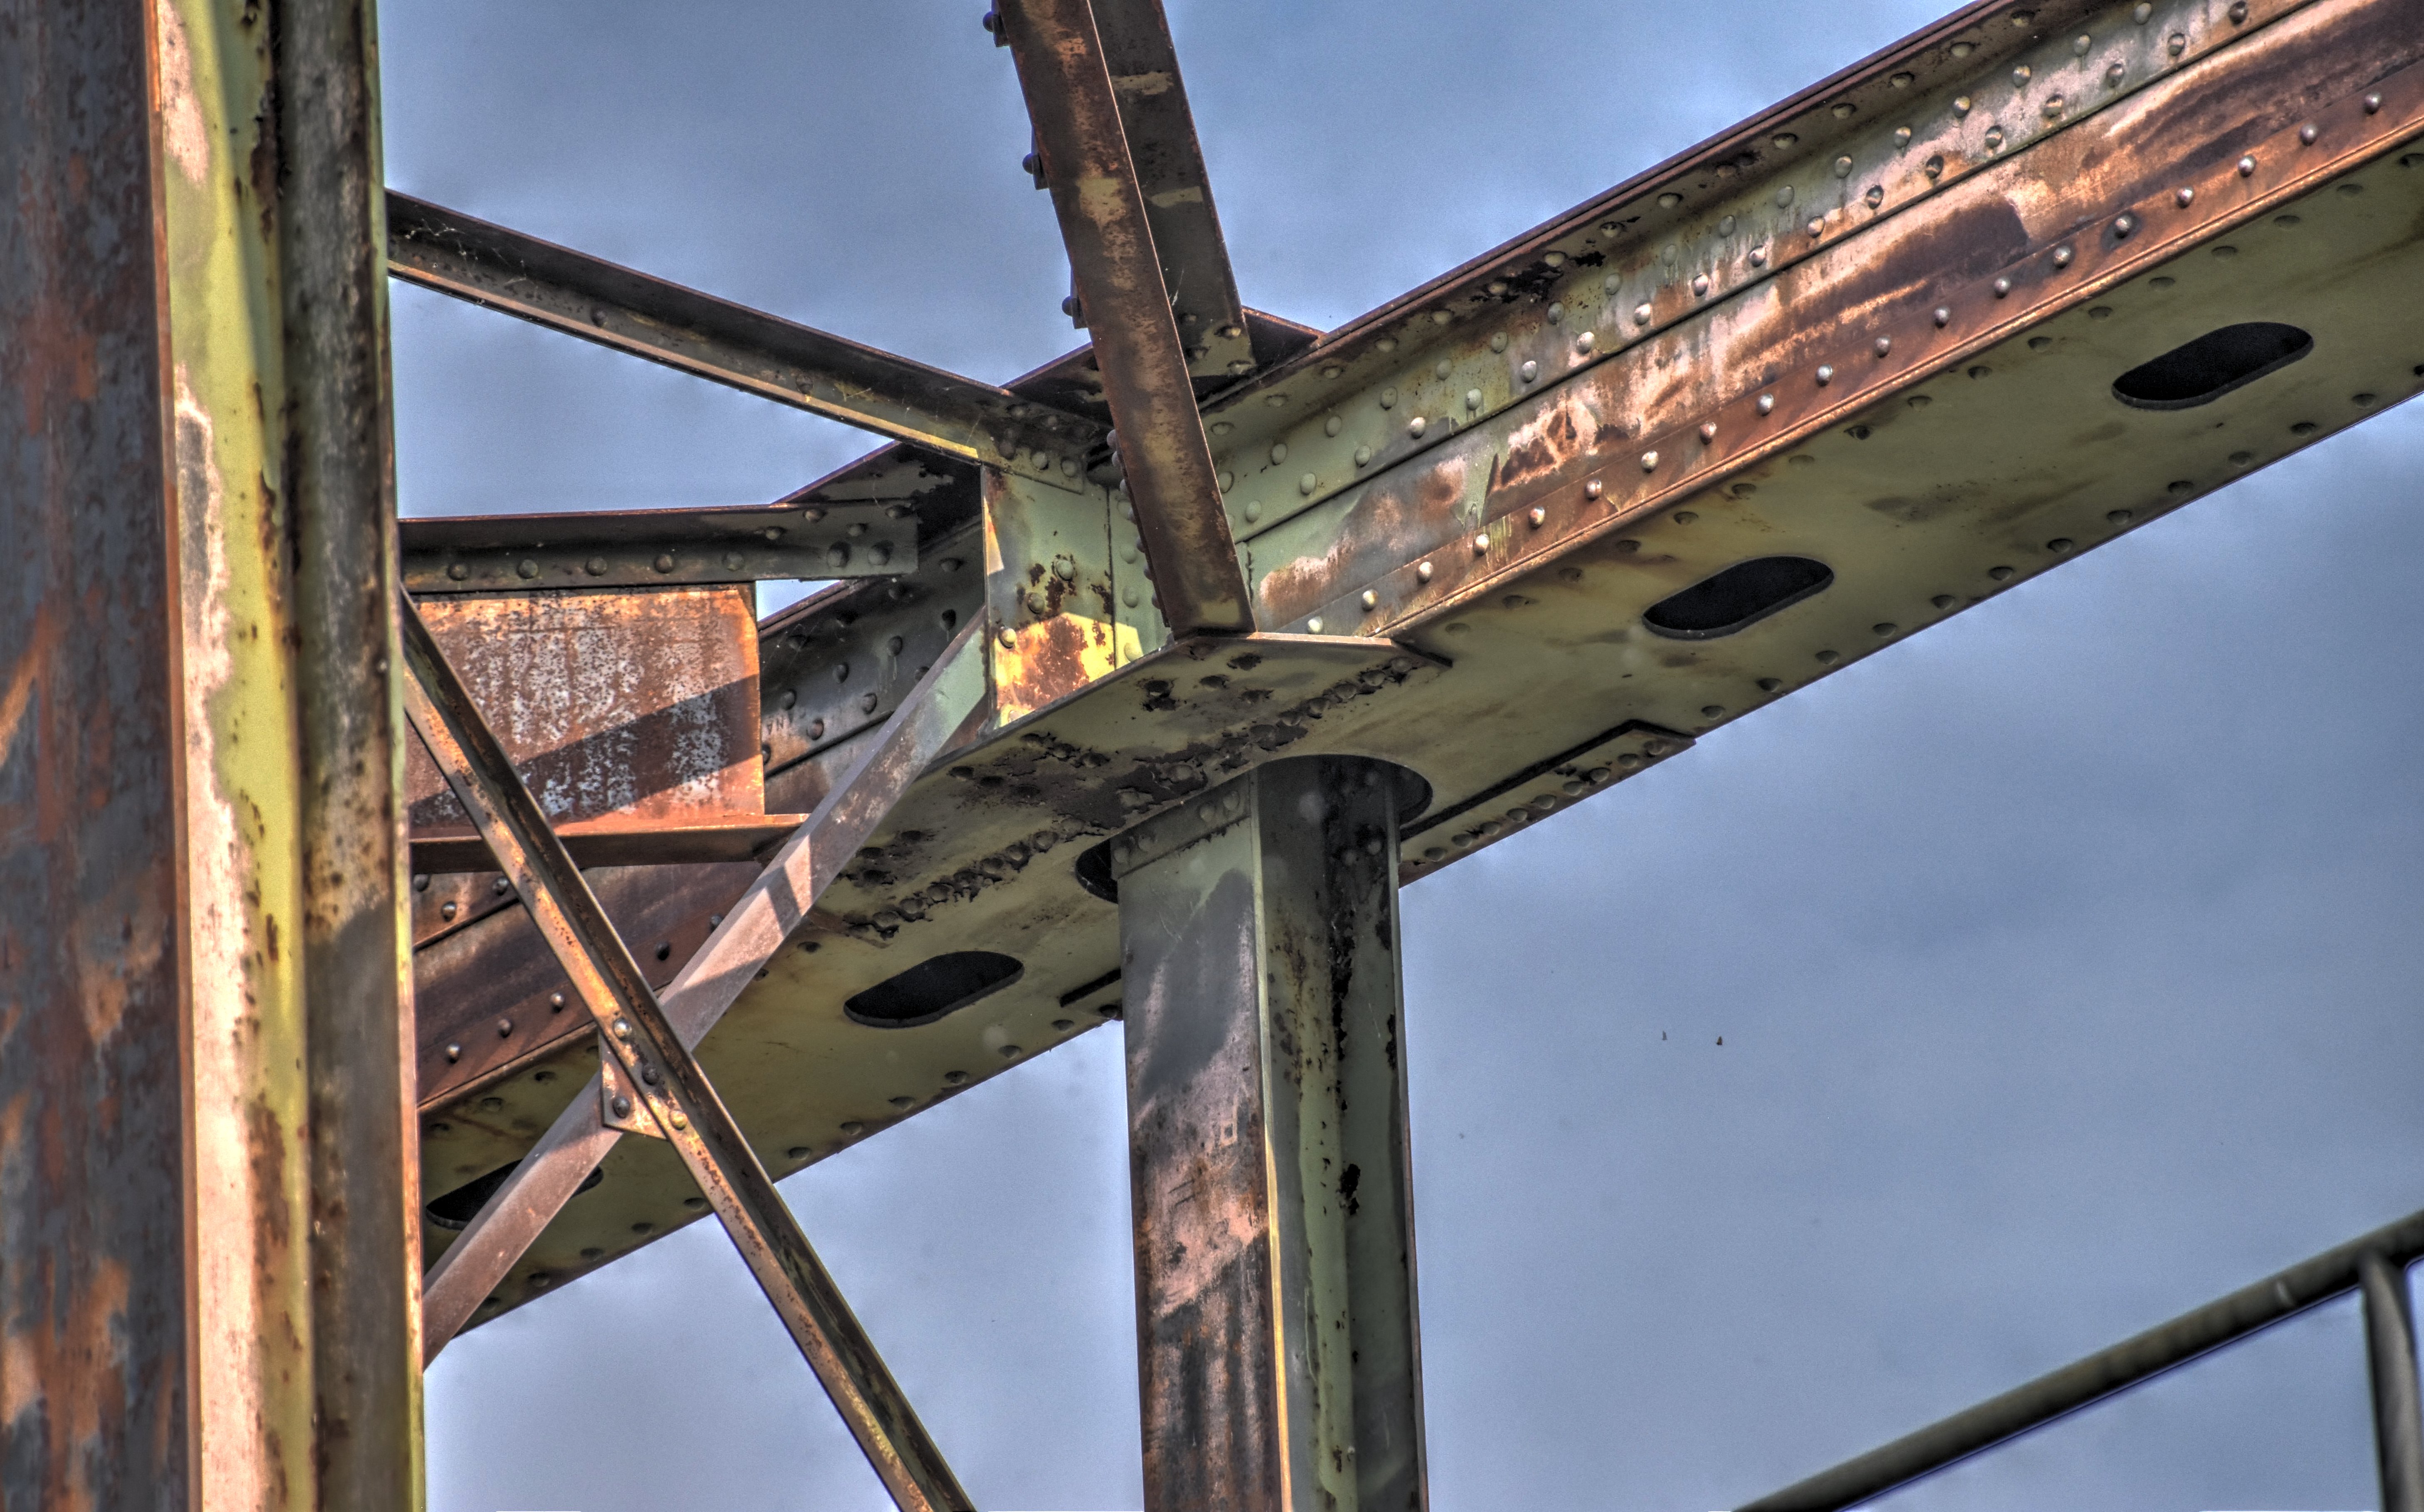
Lift span top chord connections.
![]()


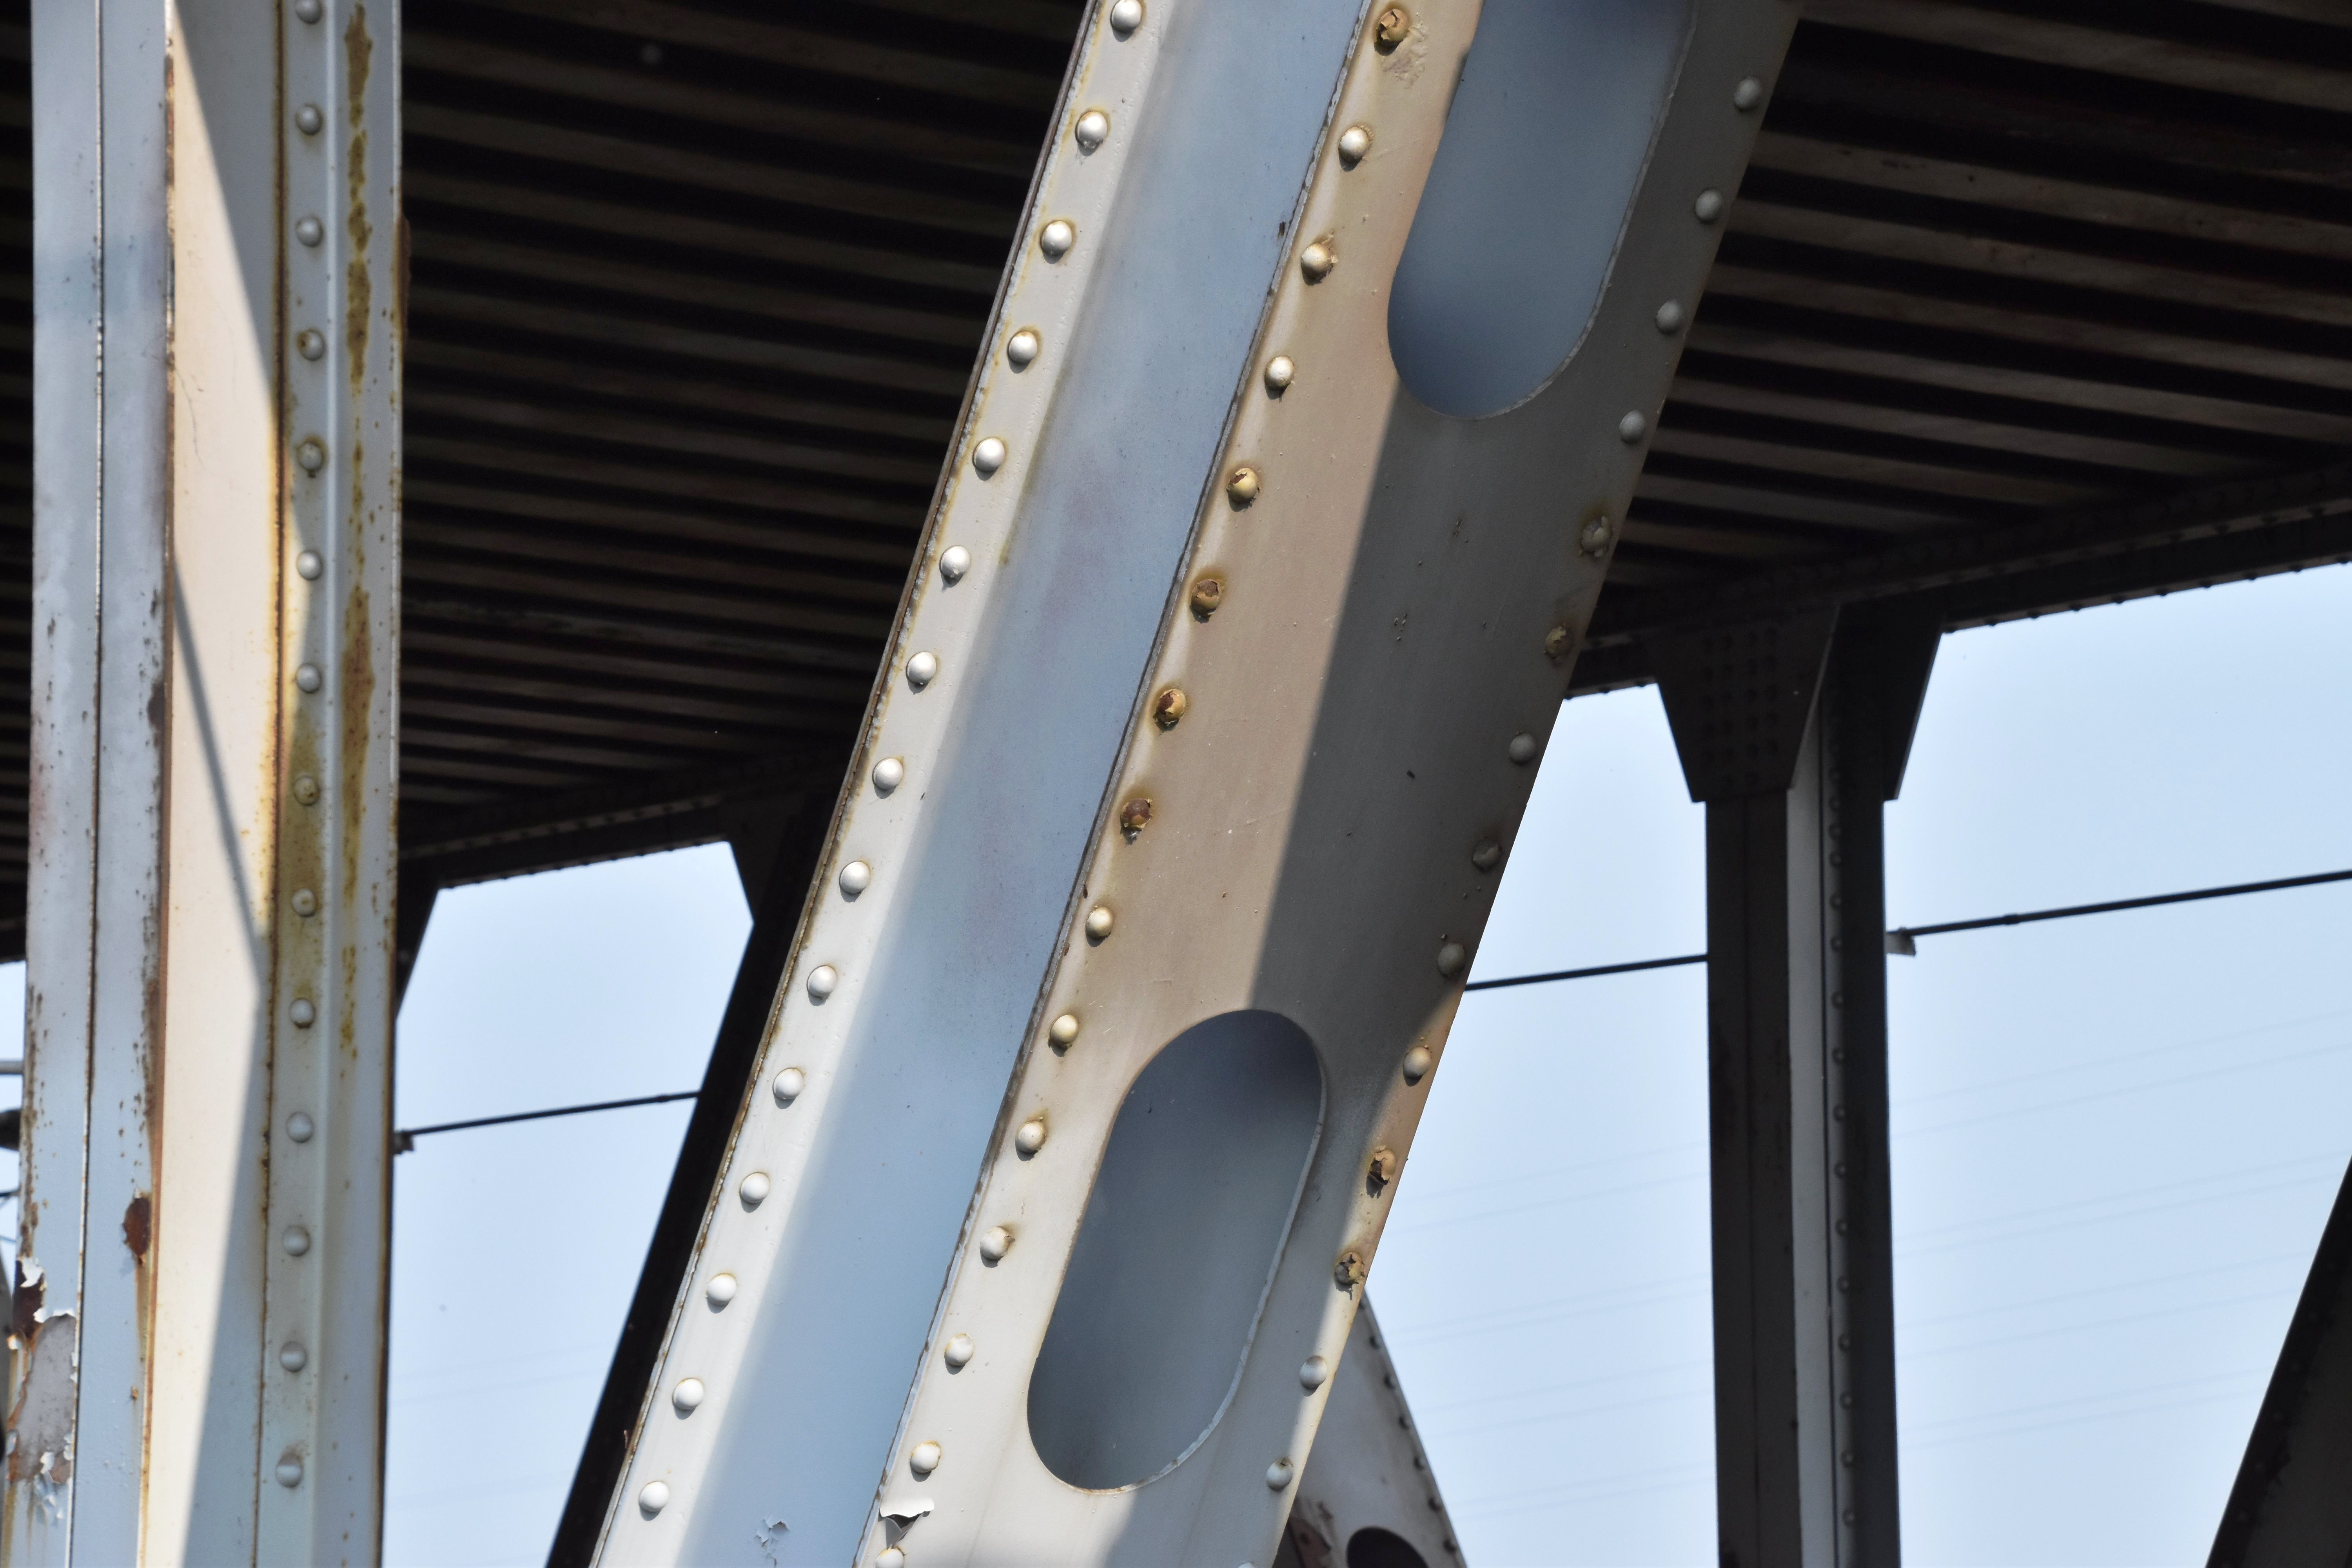
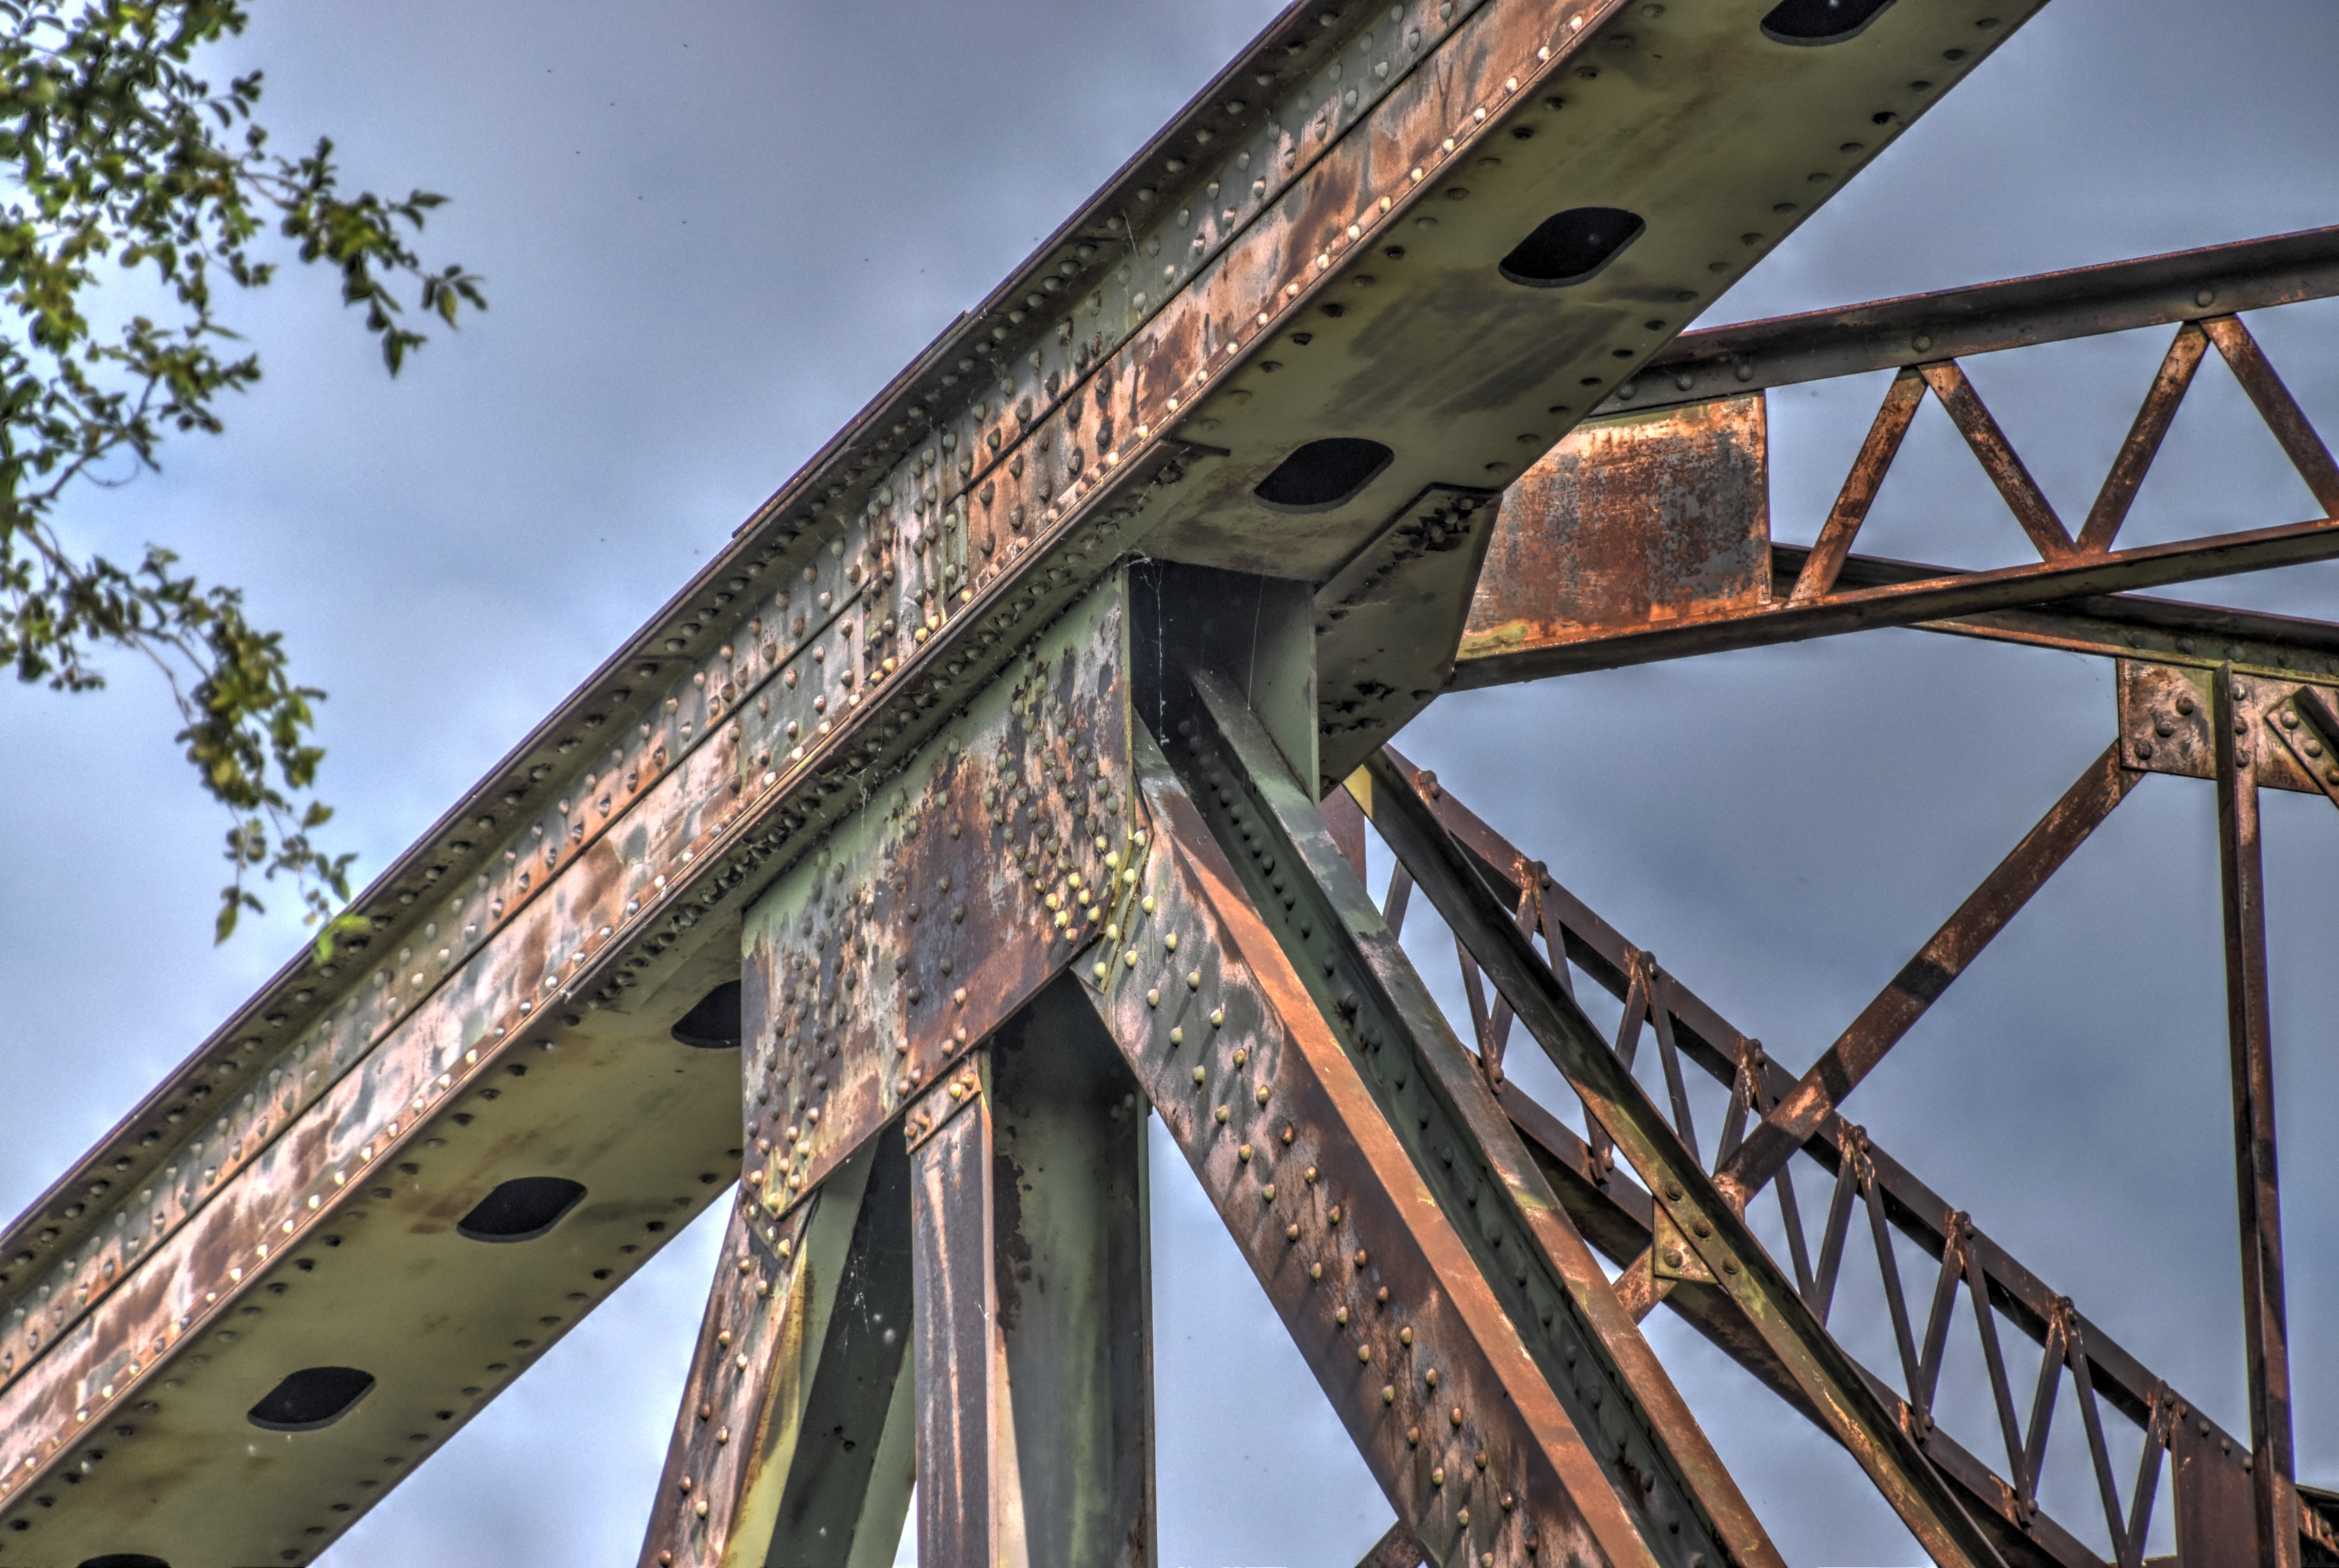
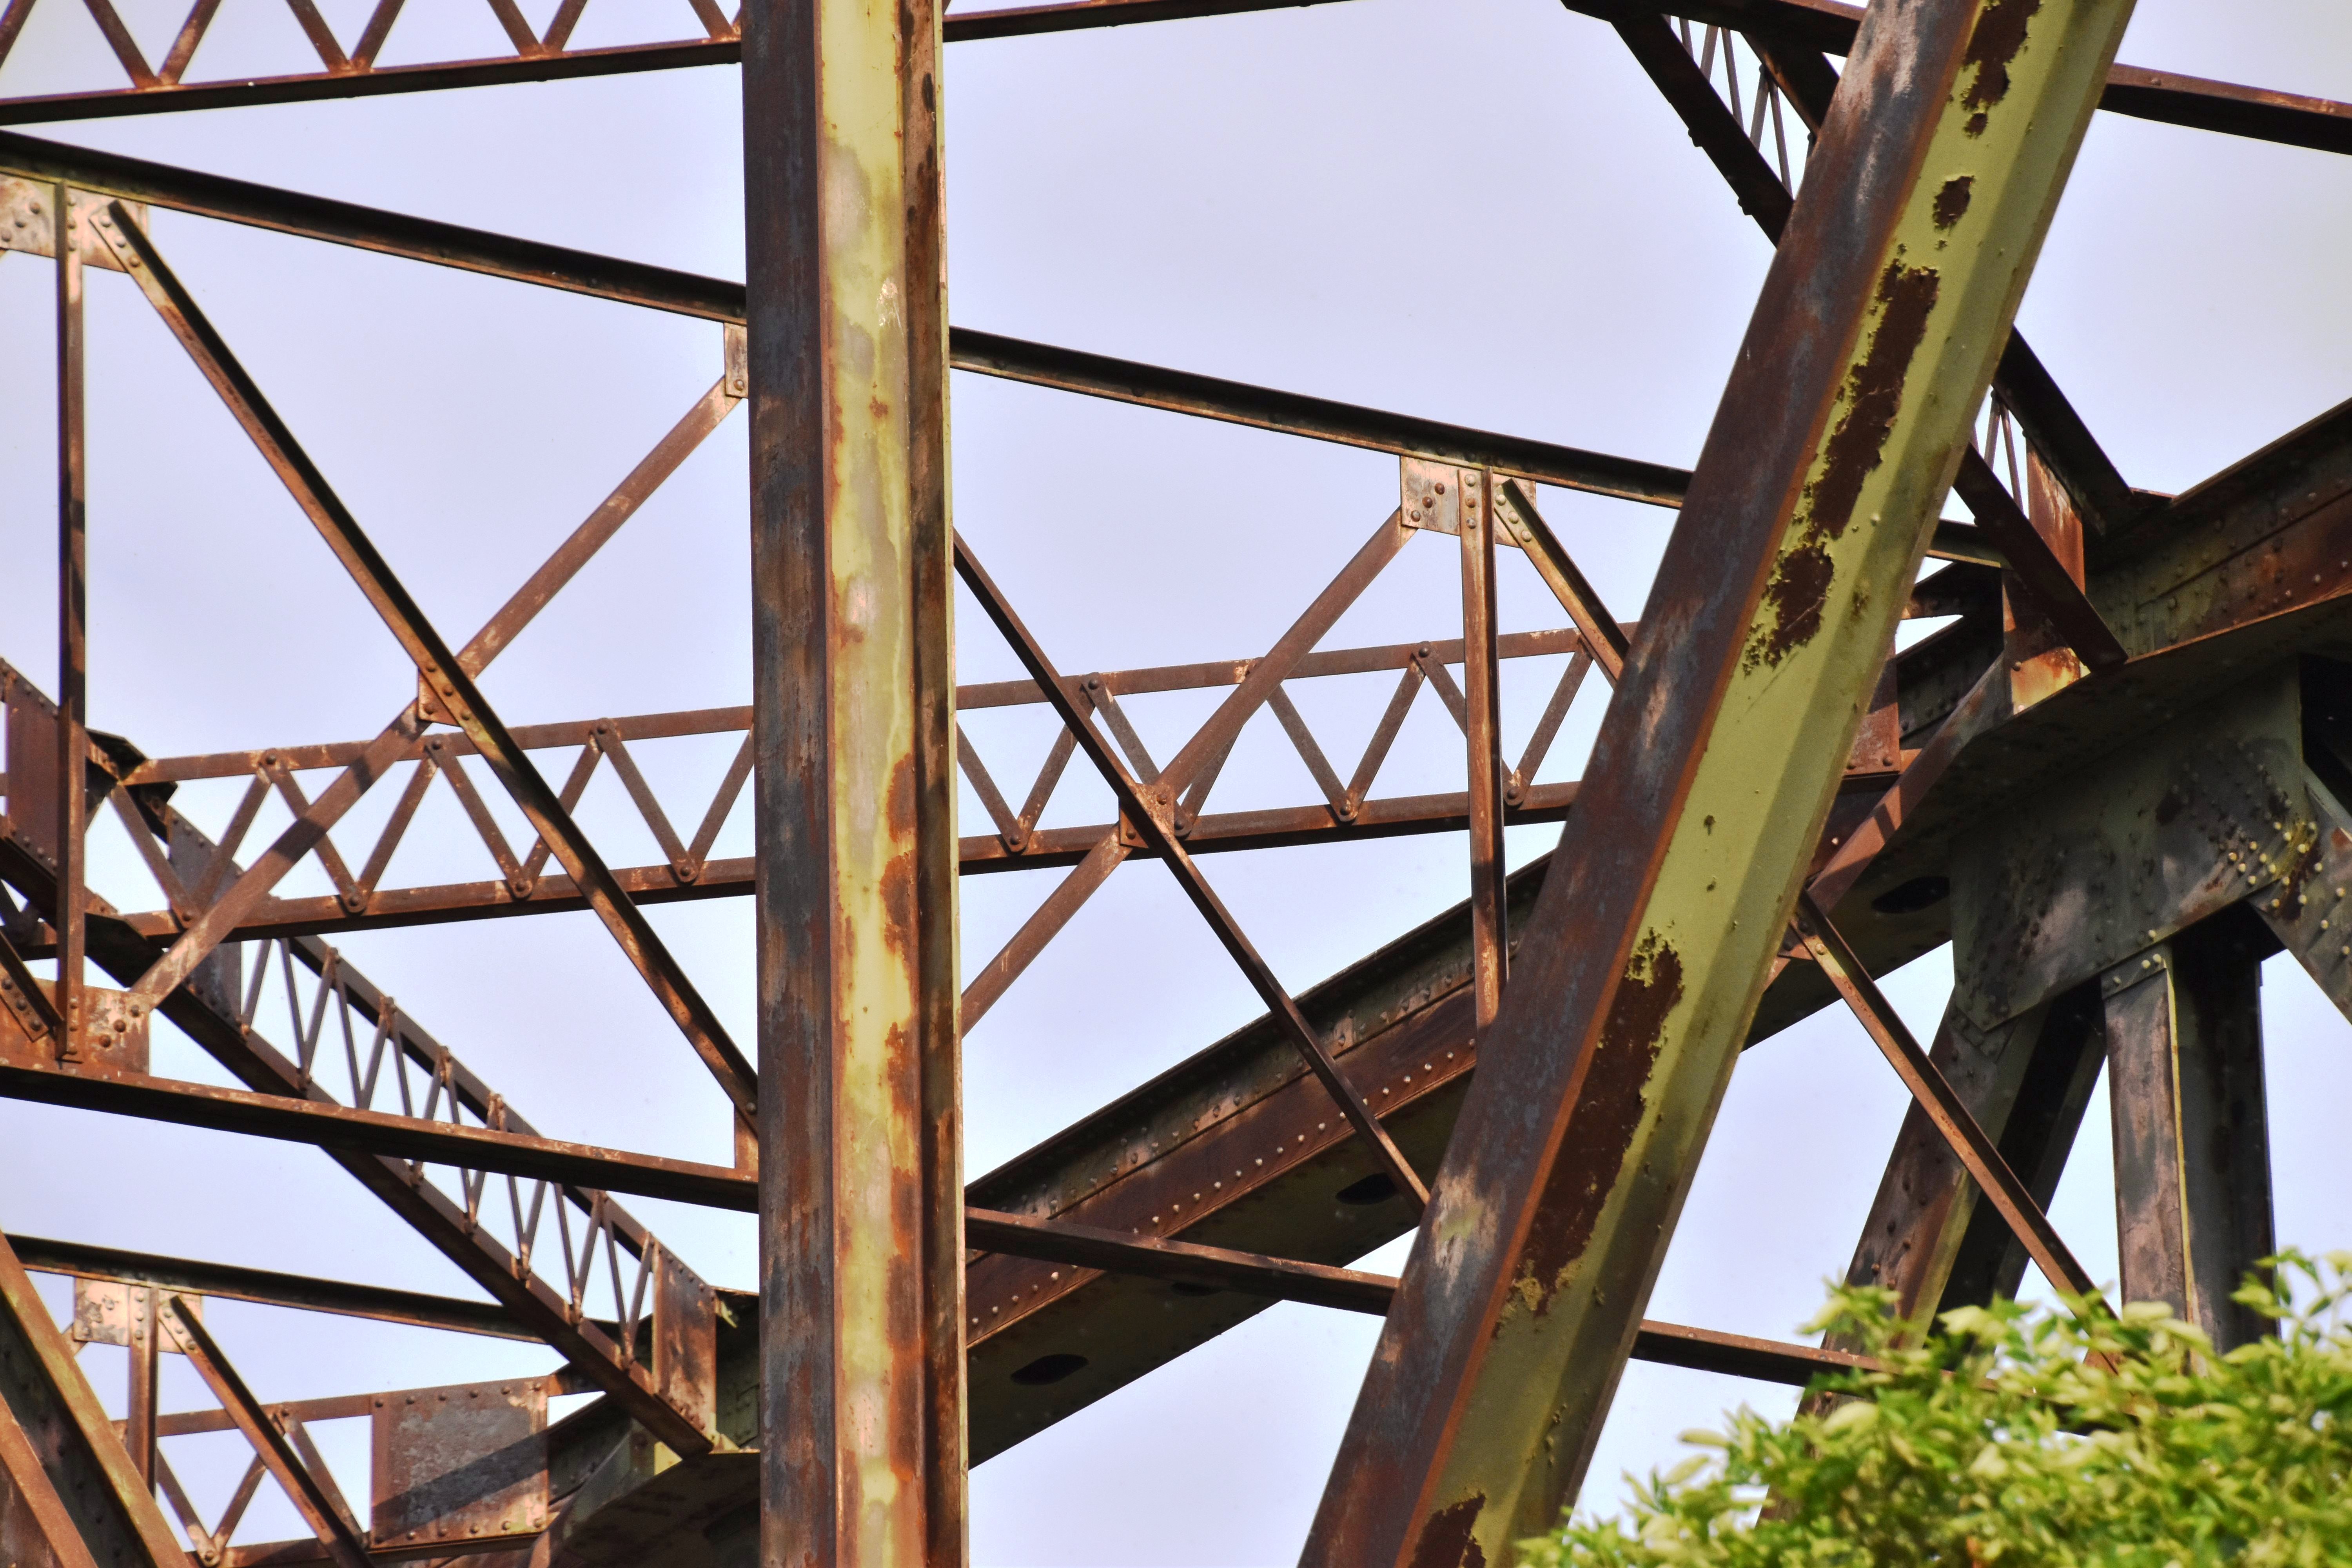
Lift span diagonal members.
![]()


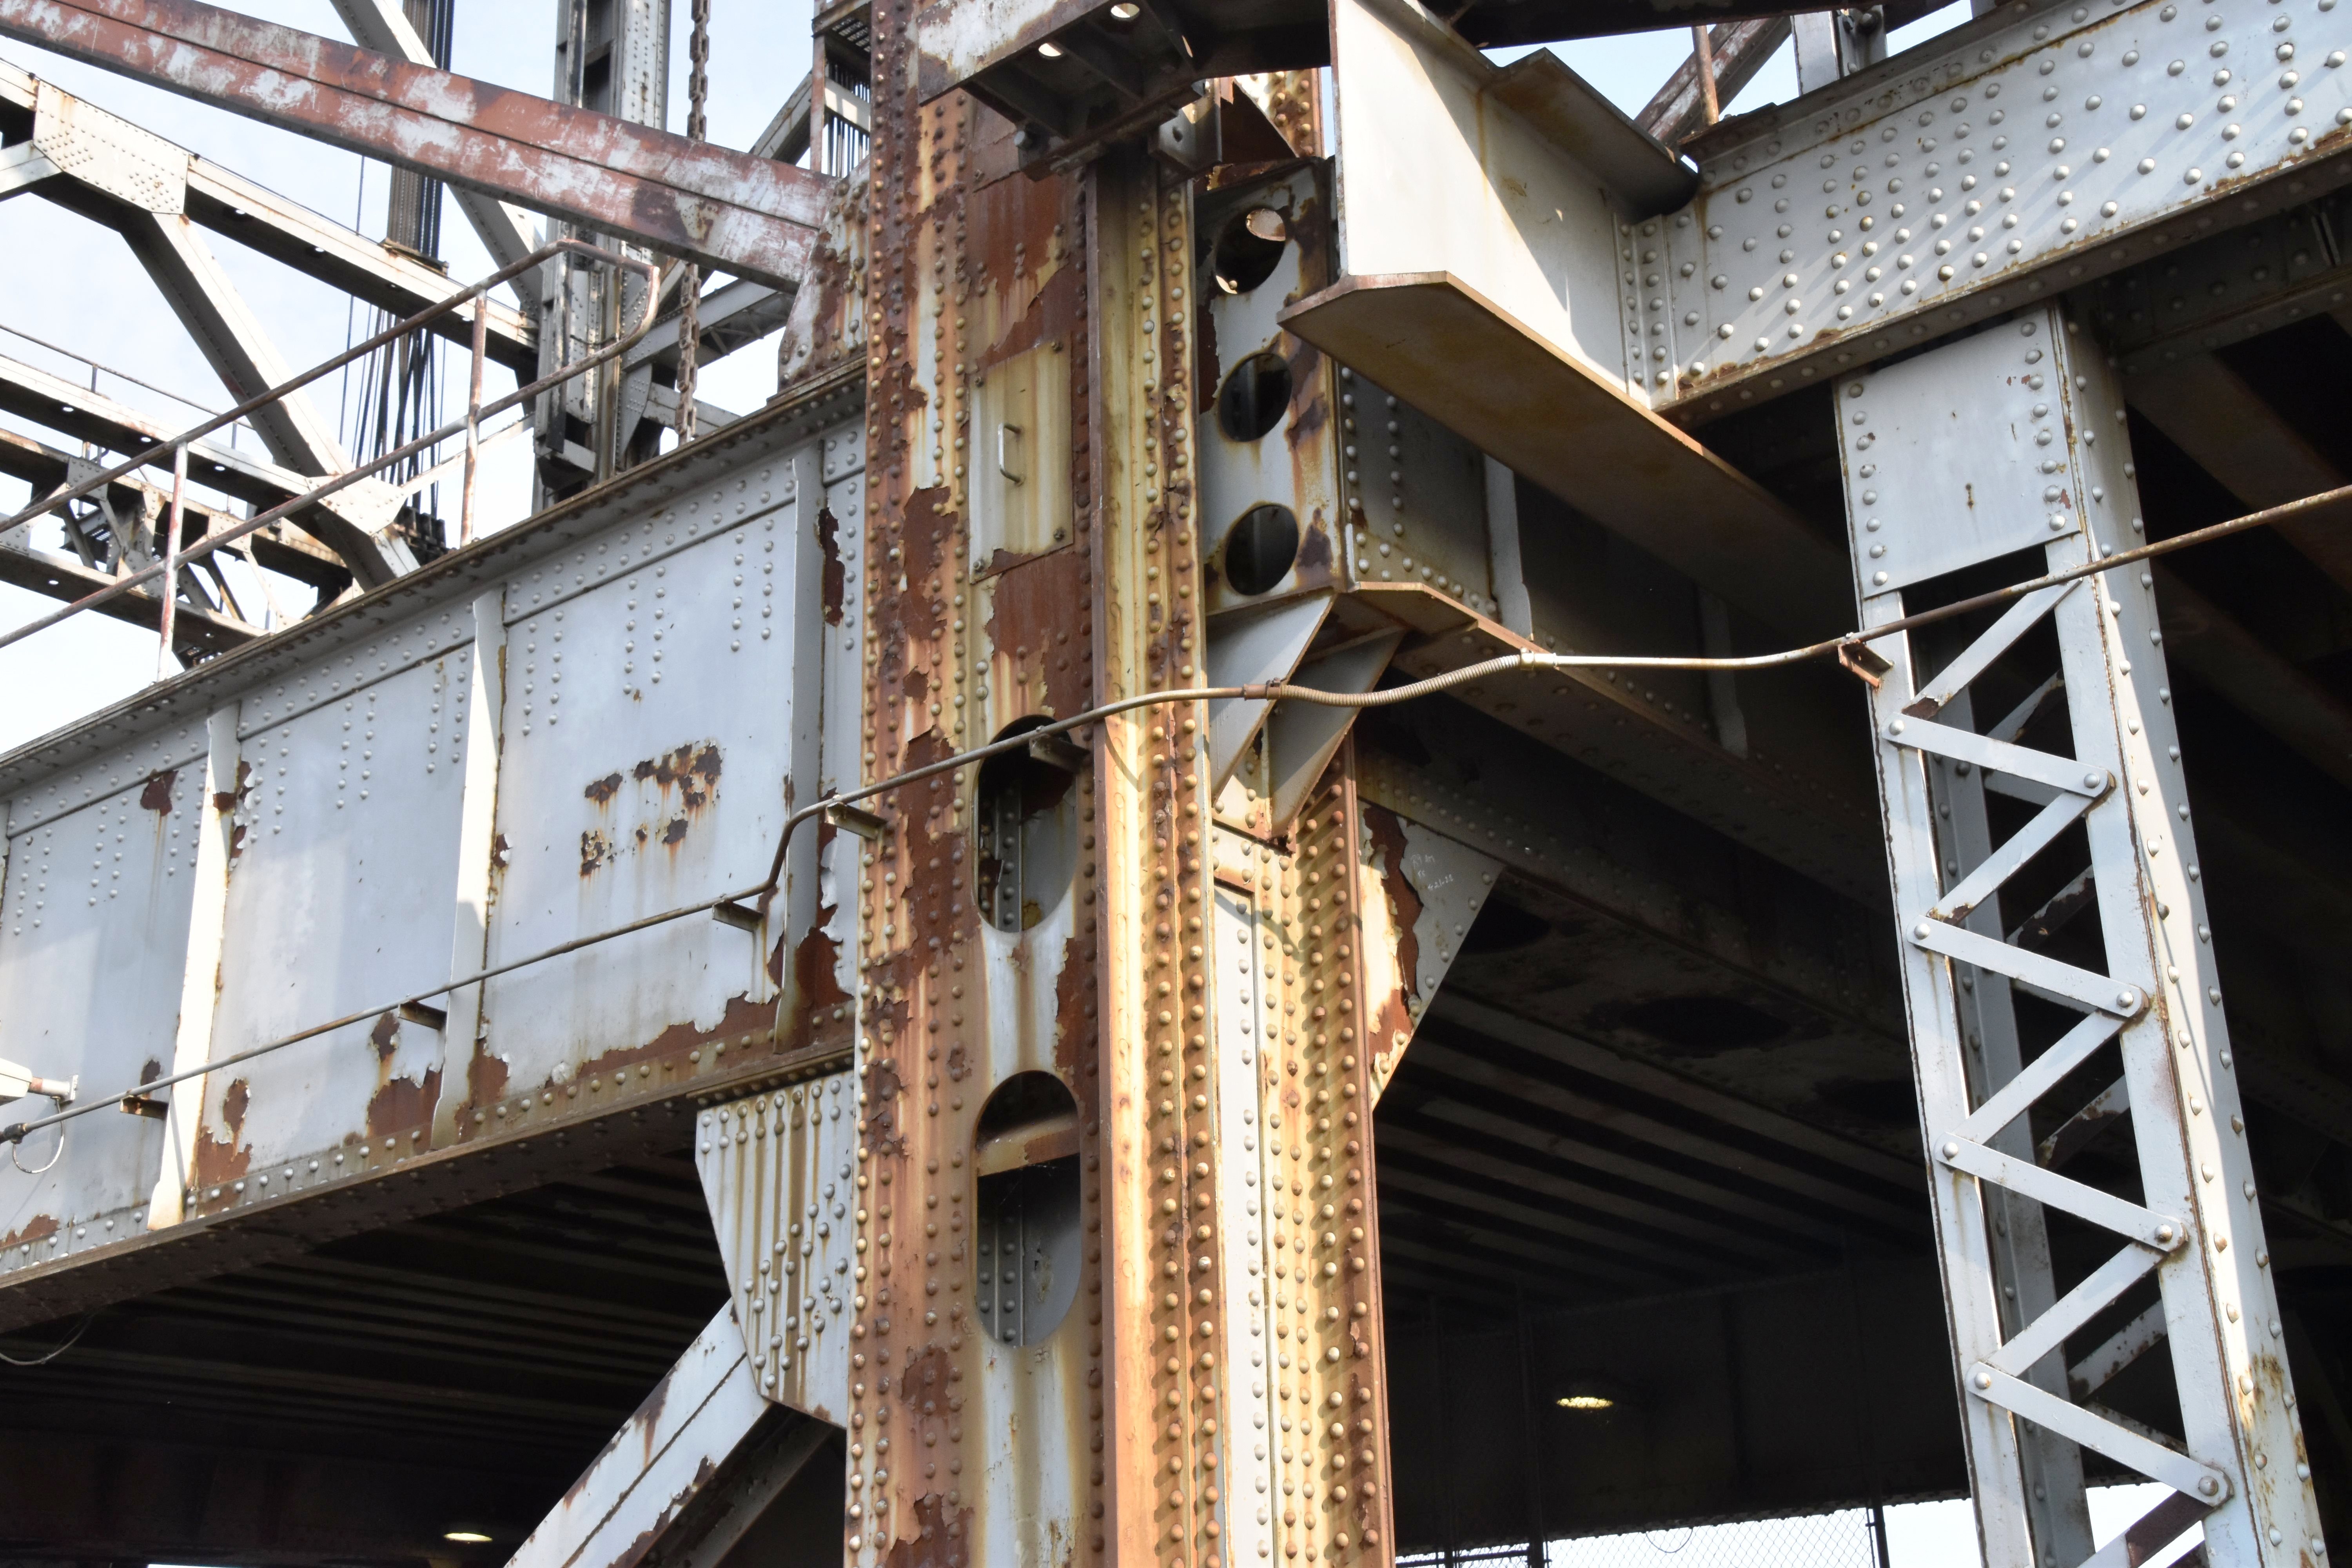


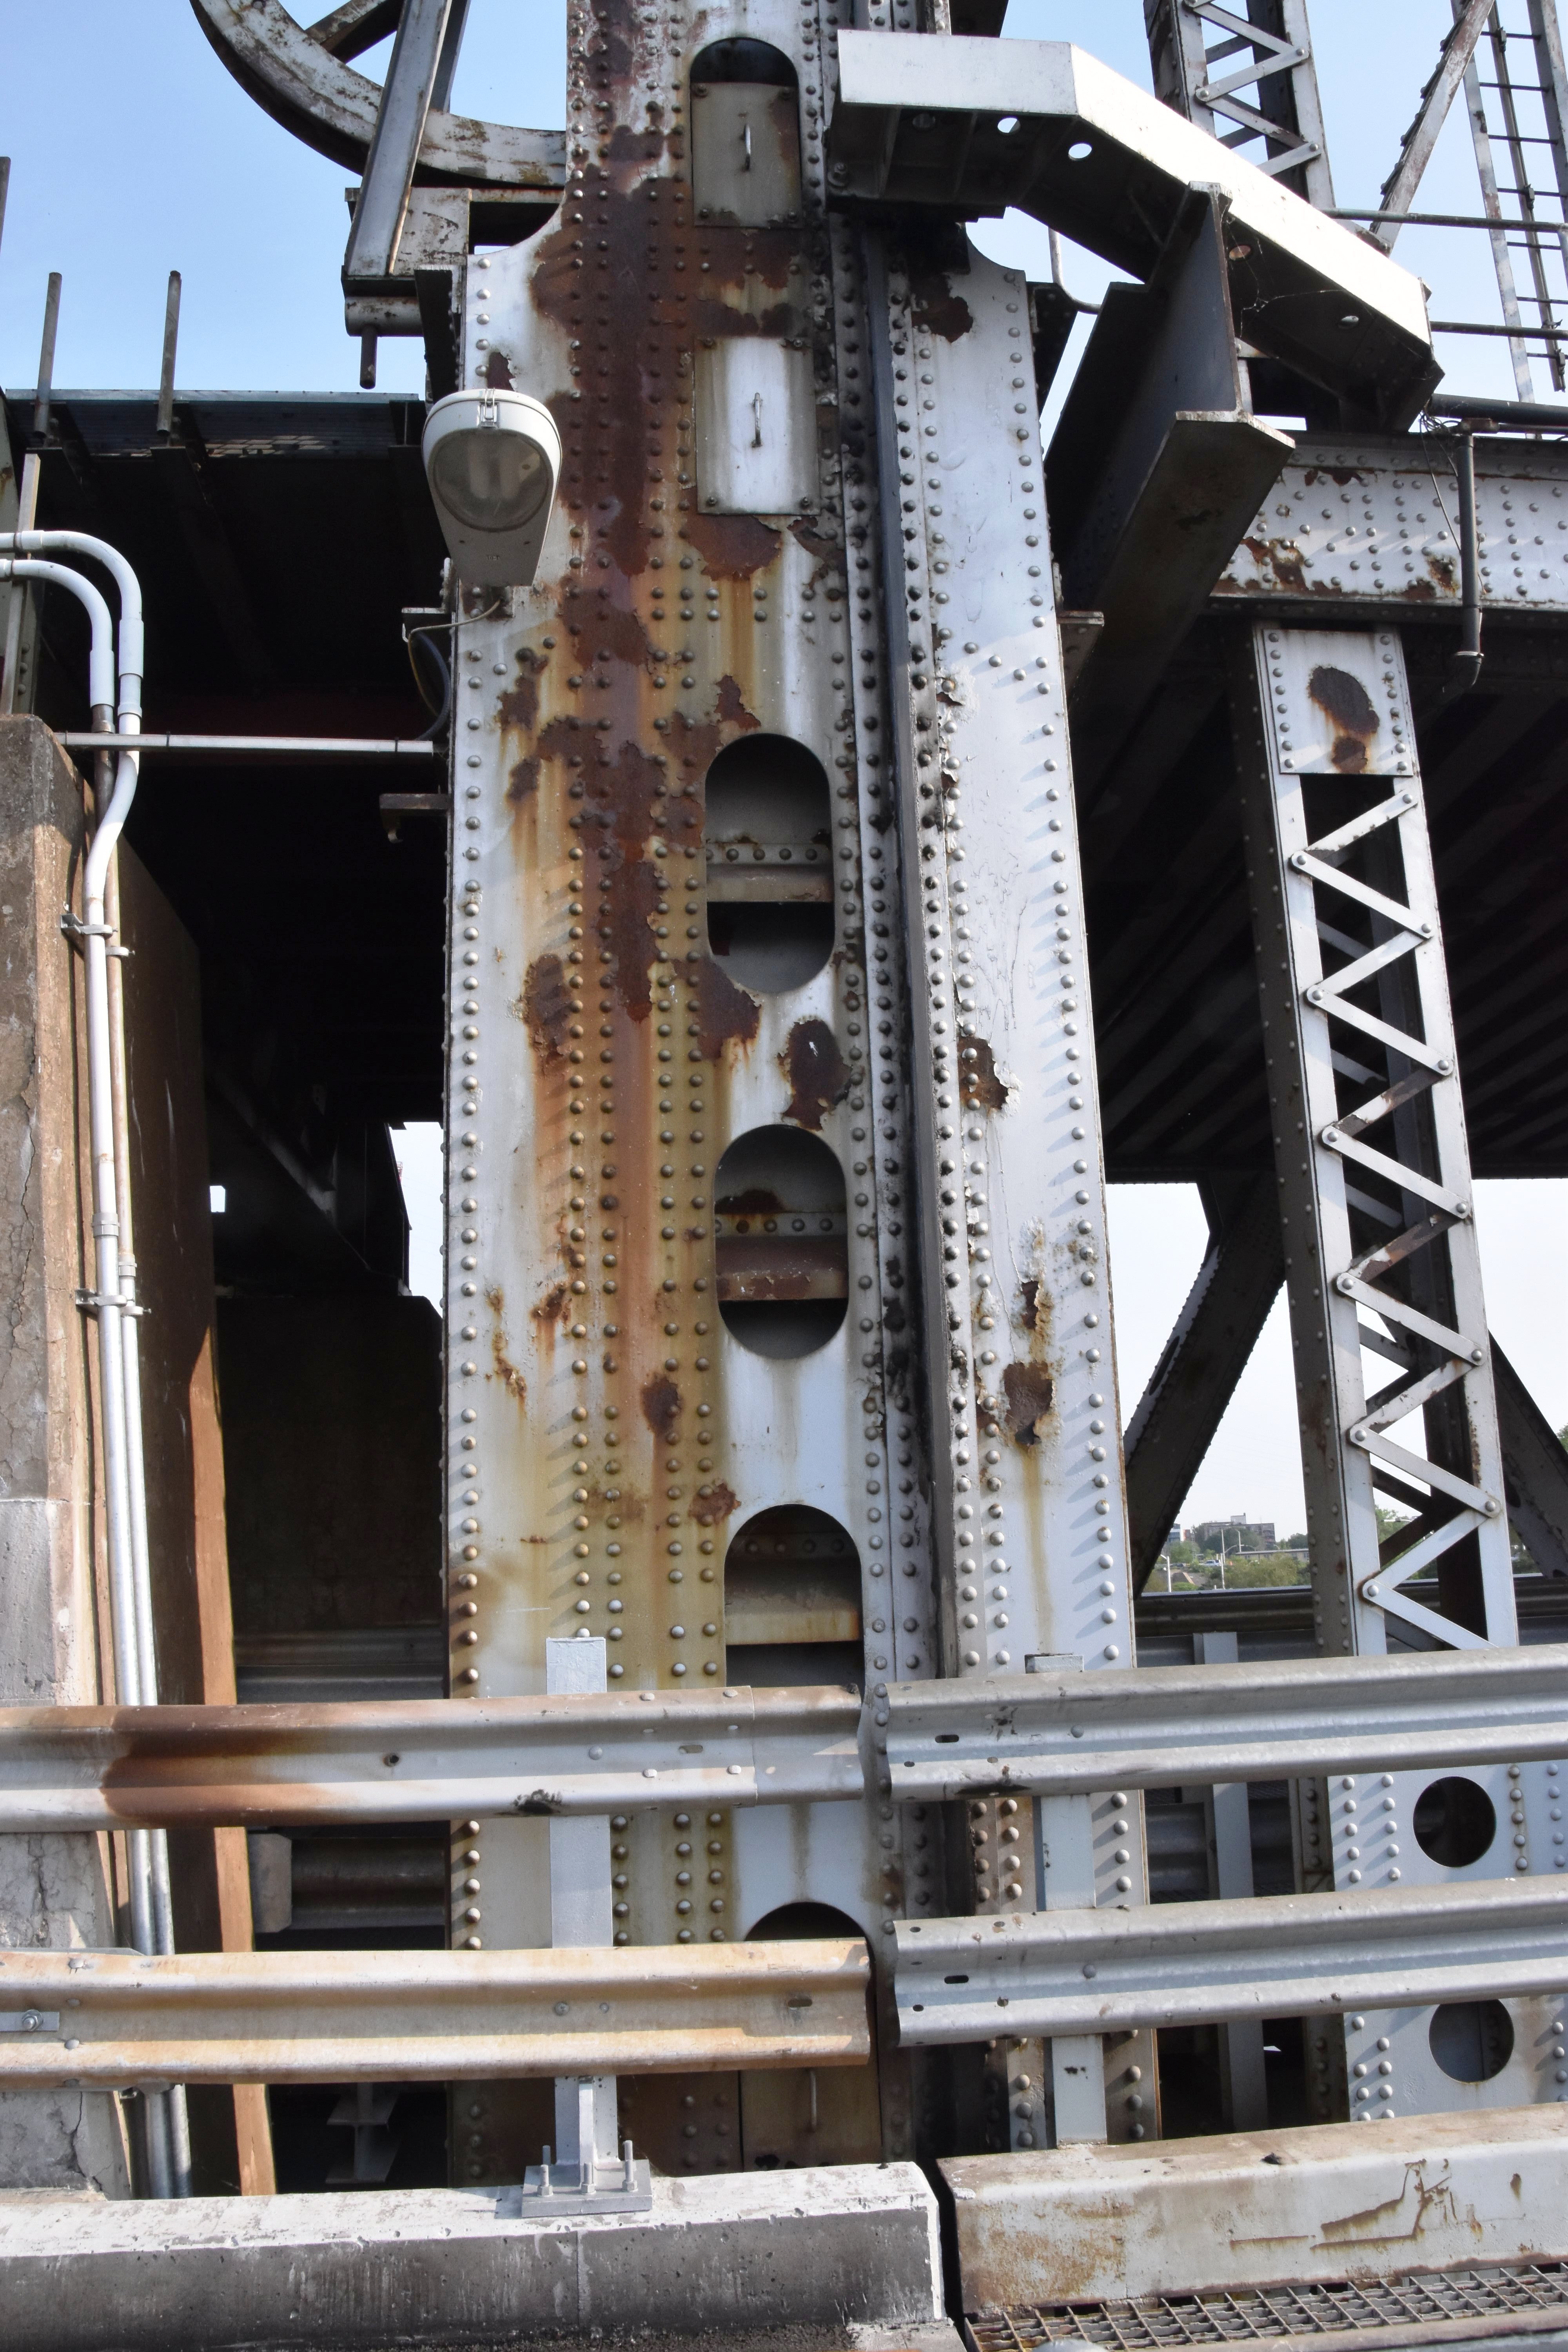
Lift tower post.
![]()

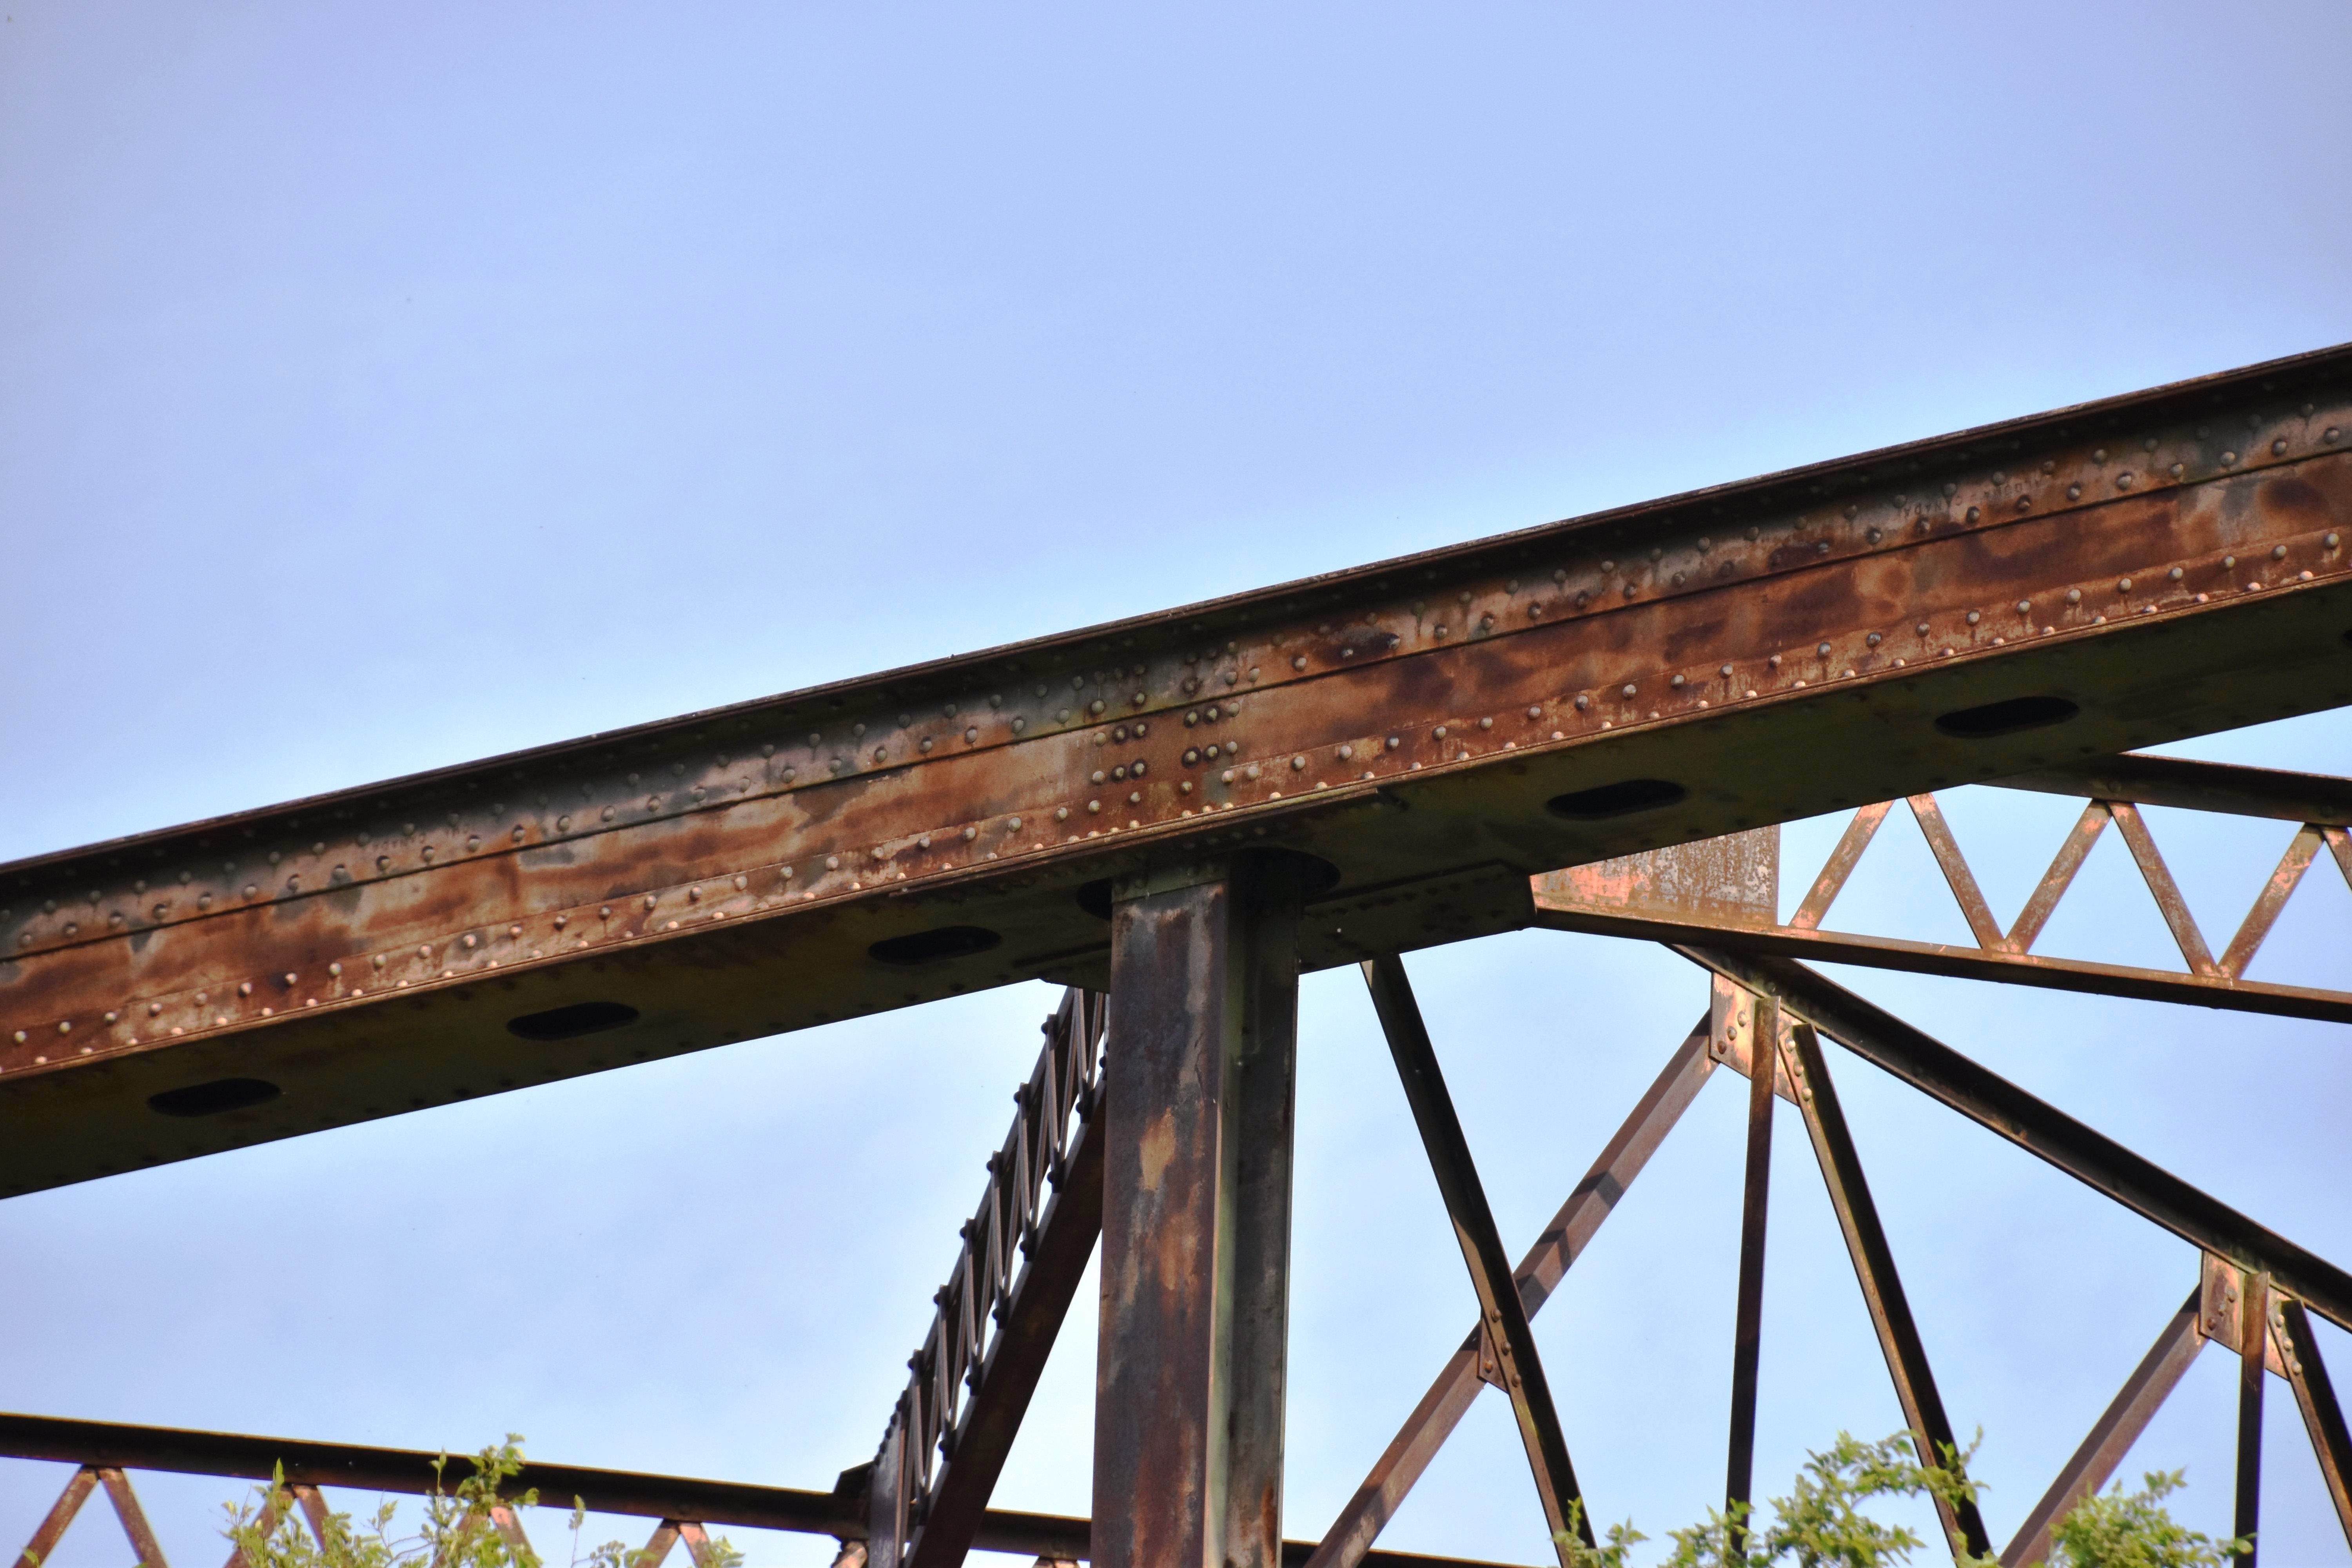
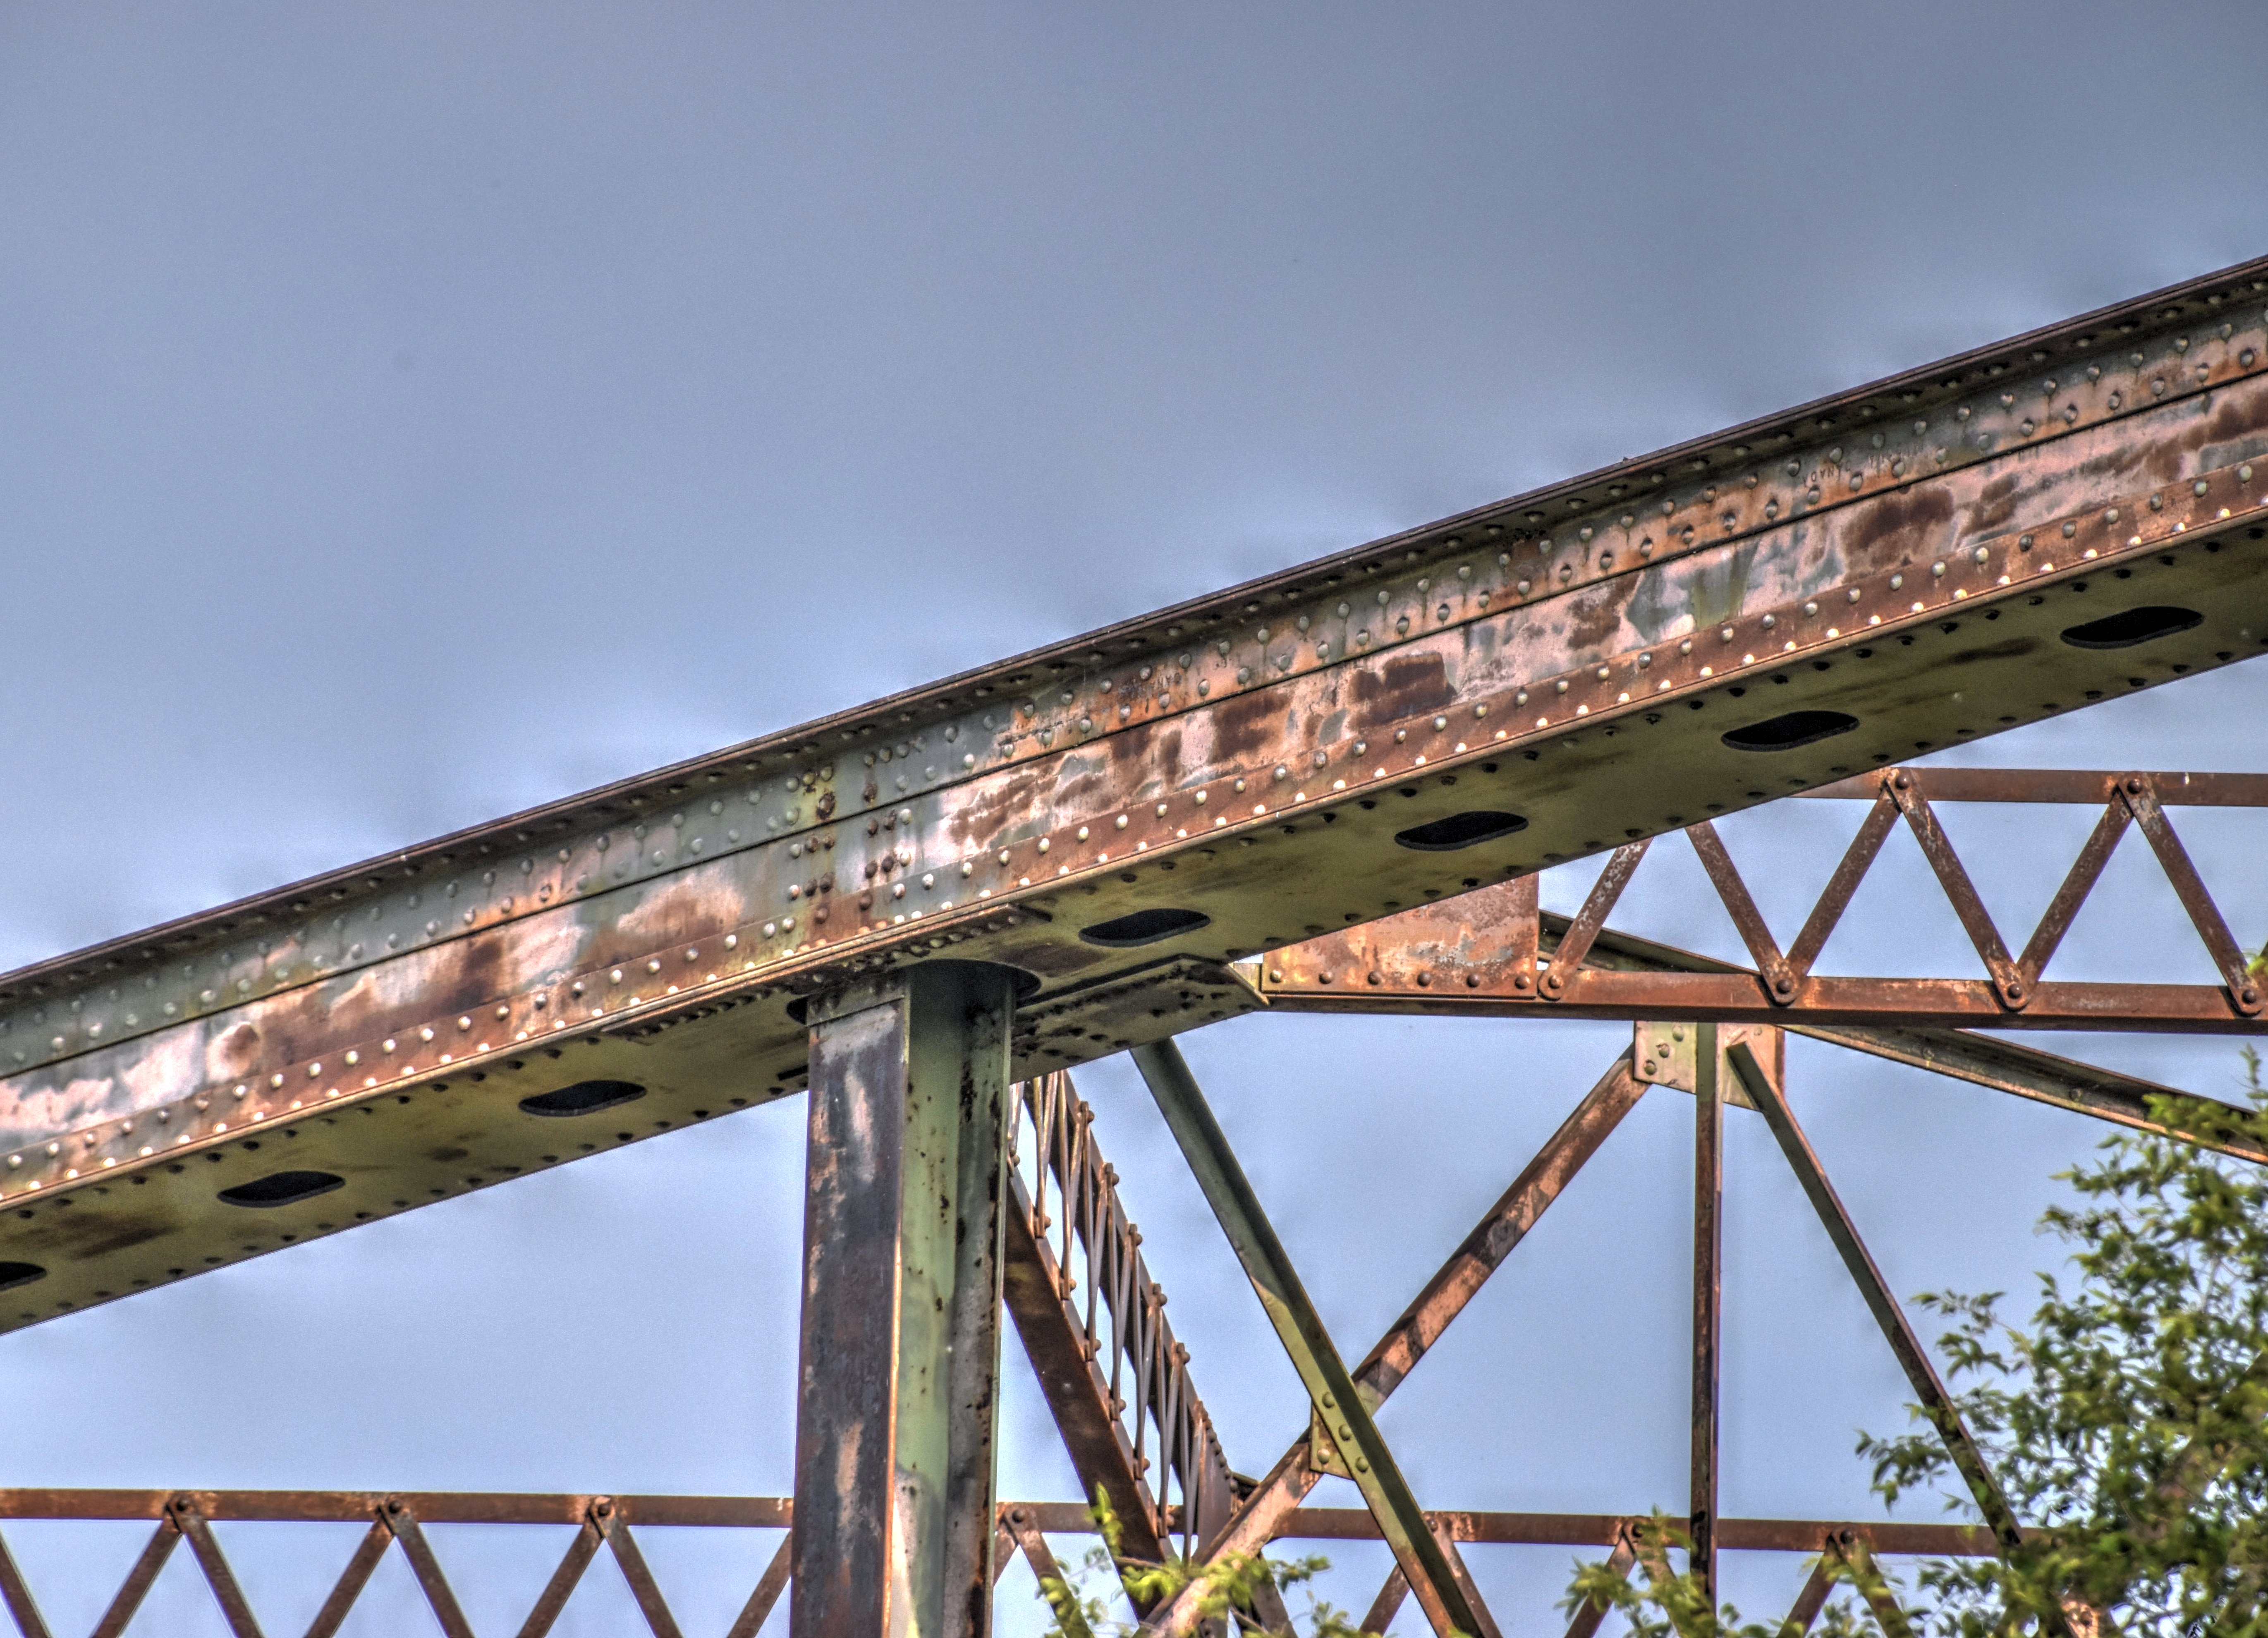
Lift span verticals.
![]()


Lift span end vertical.
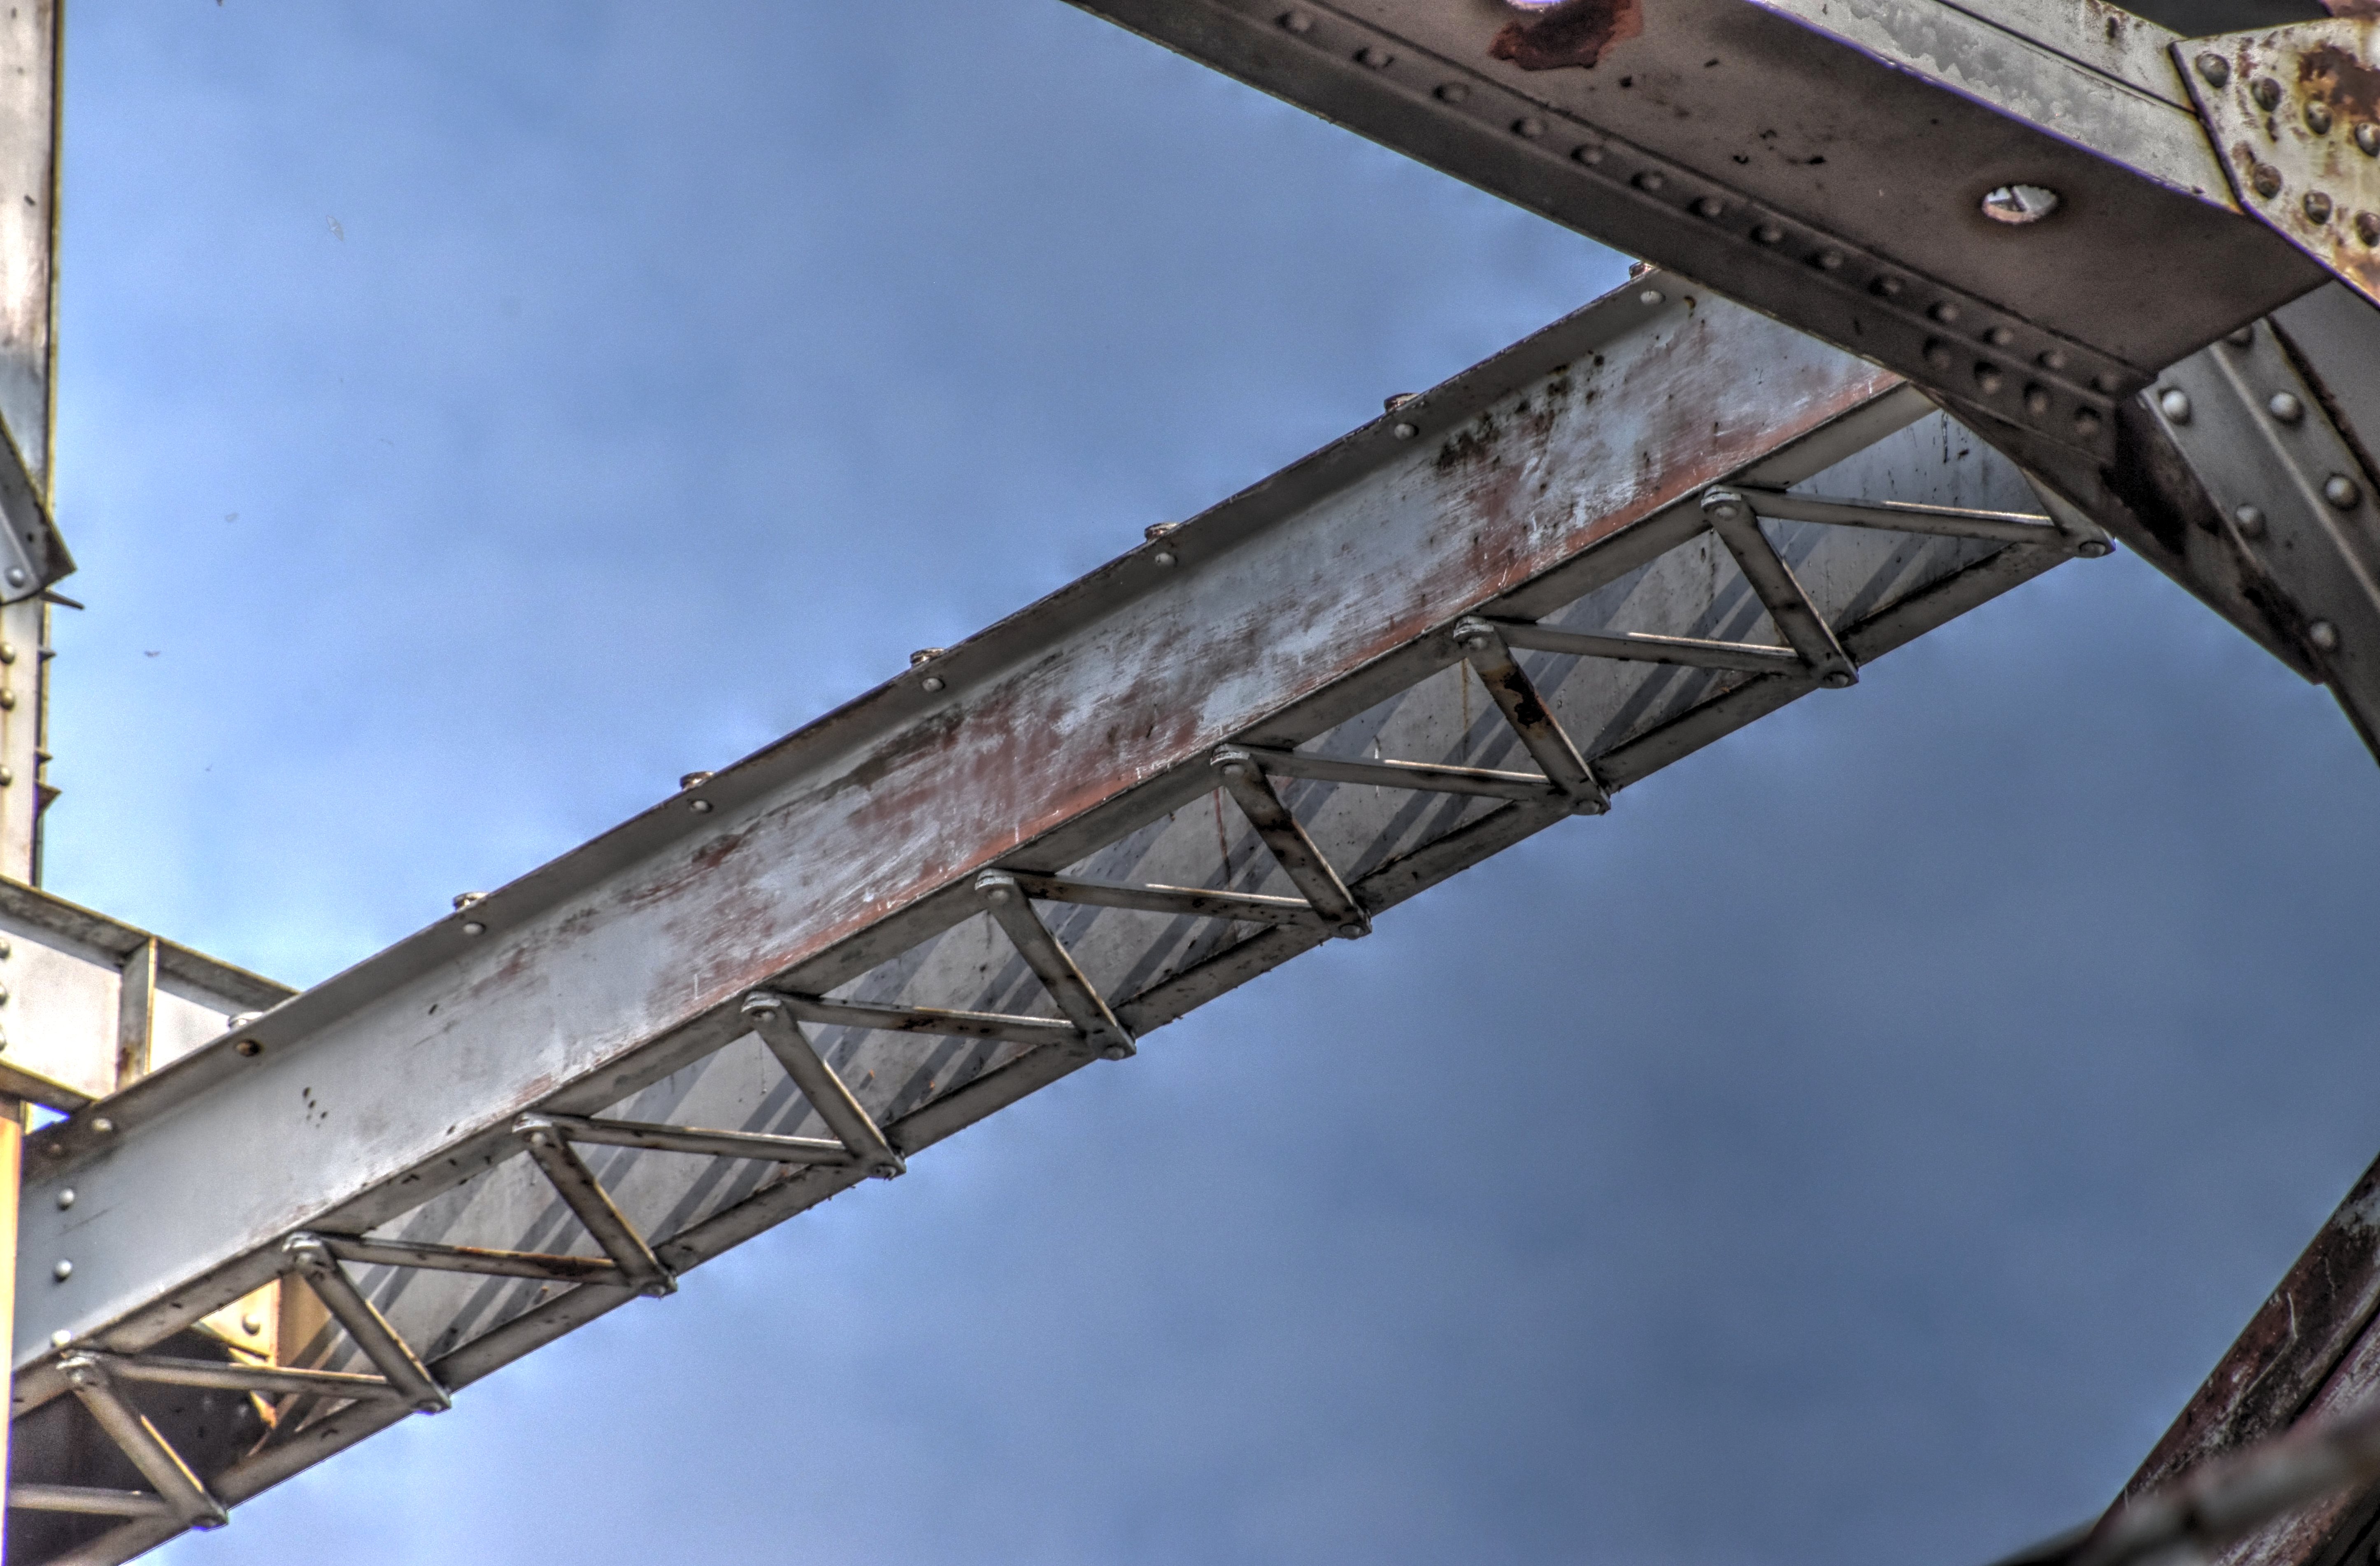
![]()
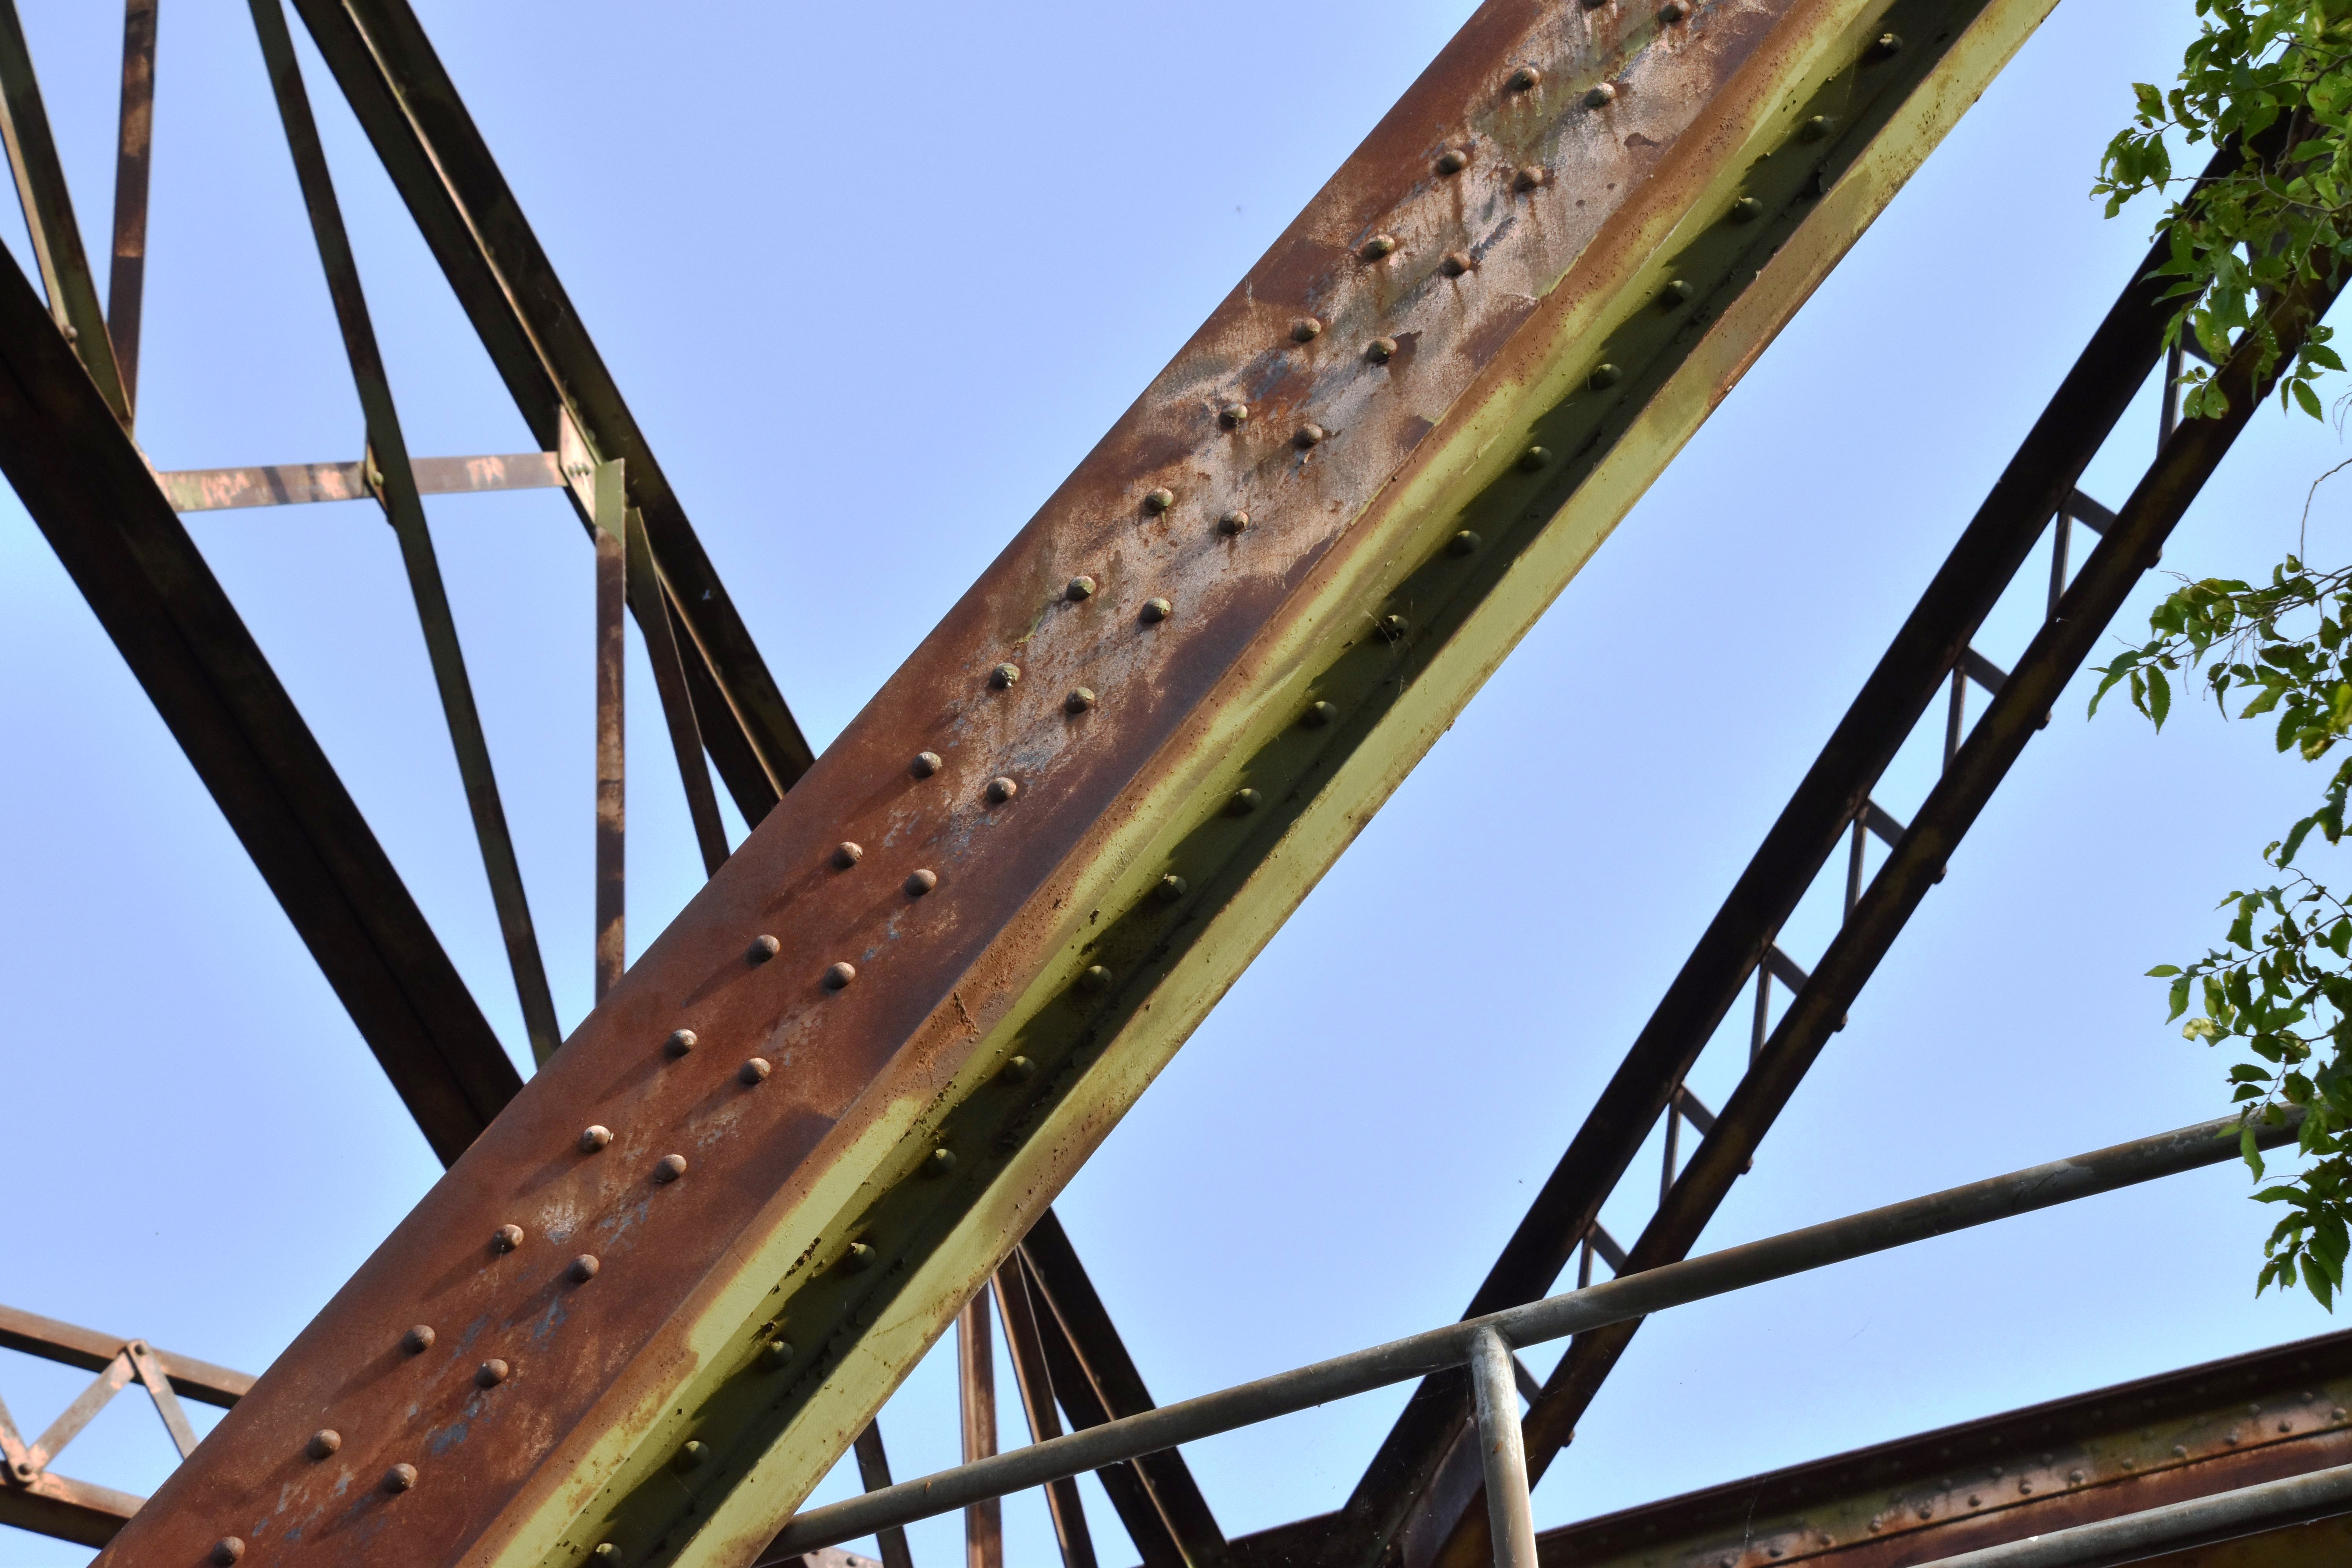
Lift span top chord.
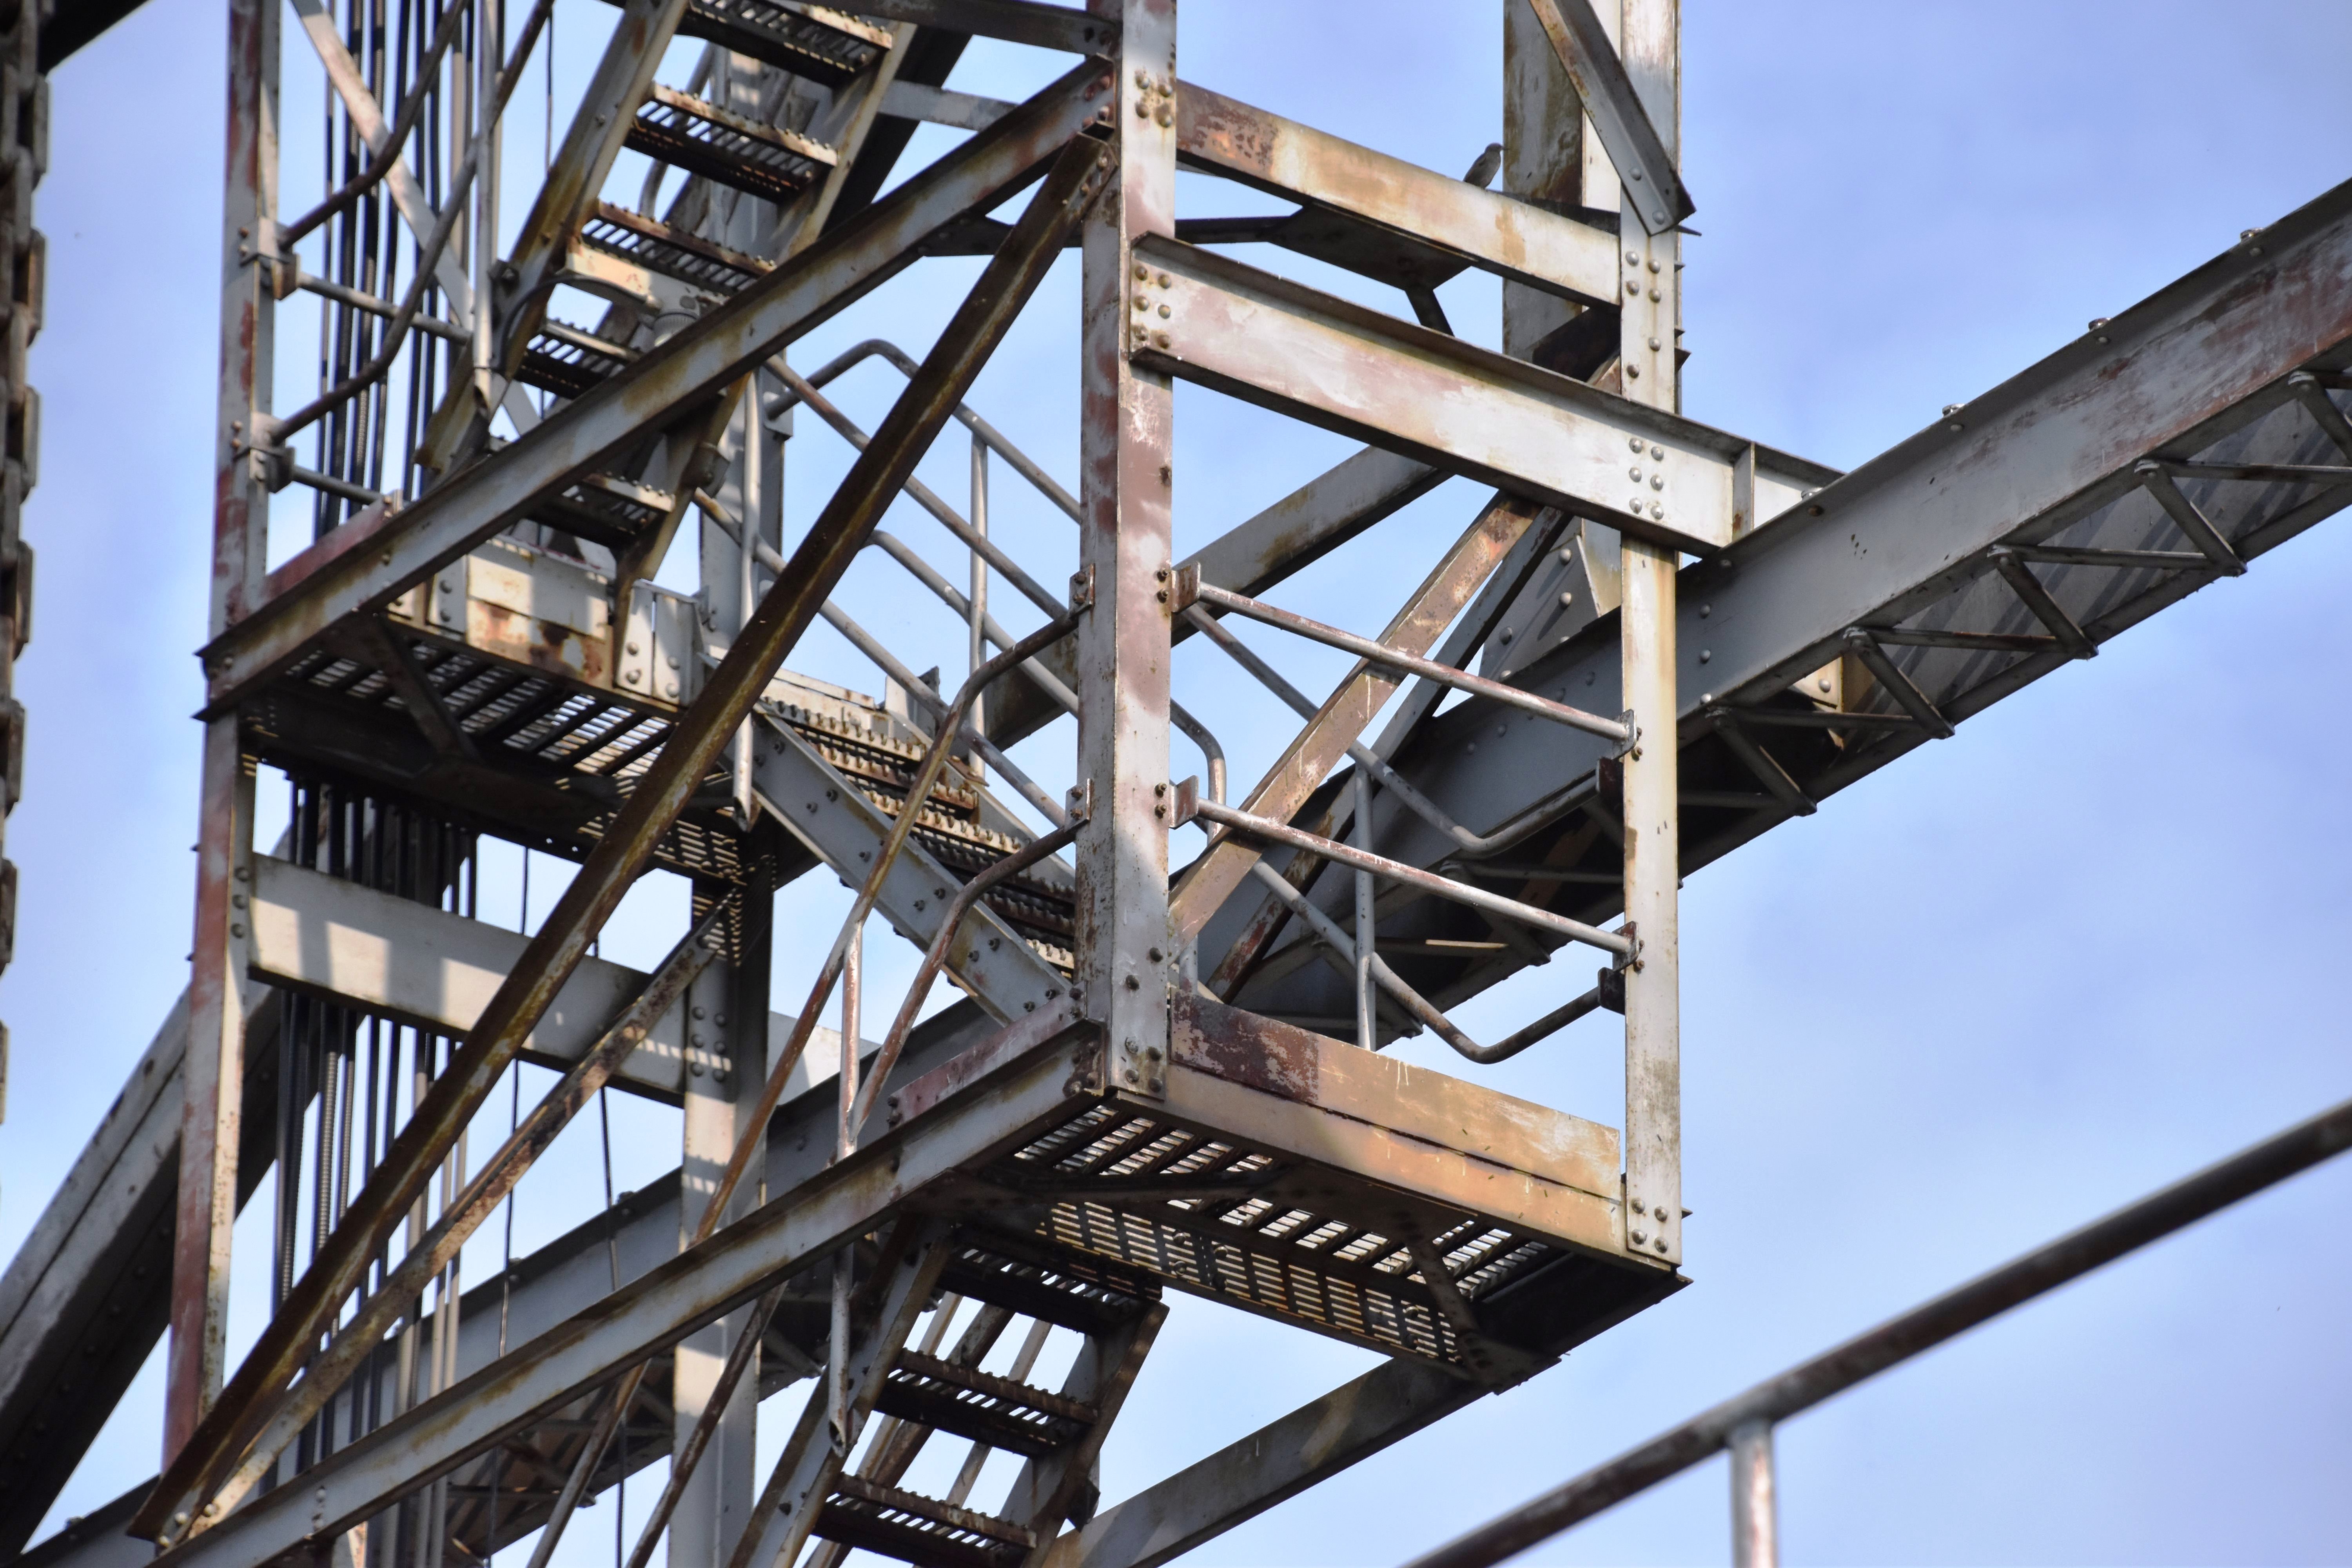
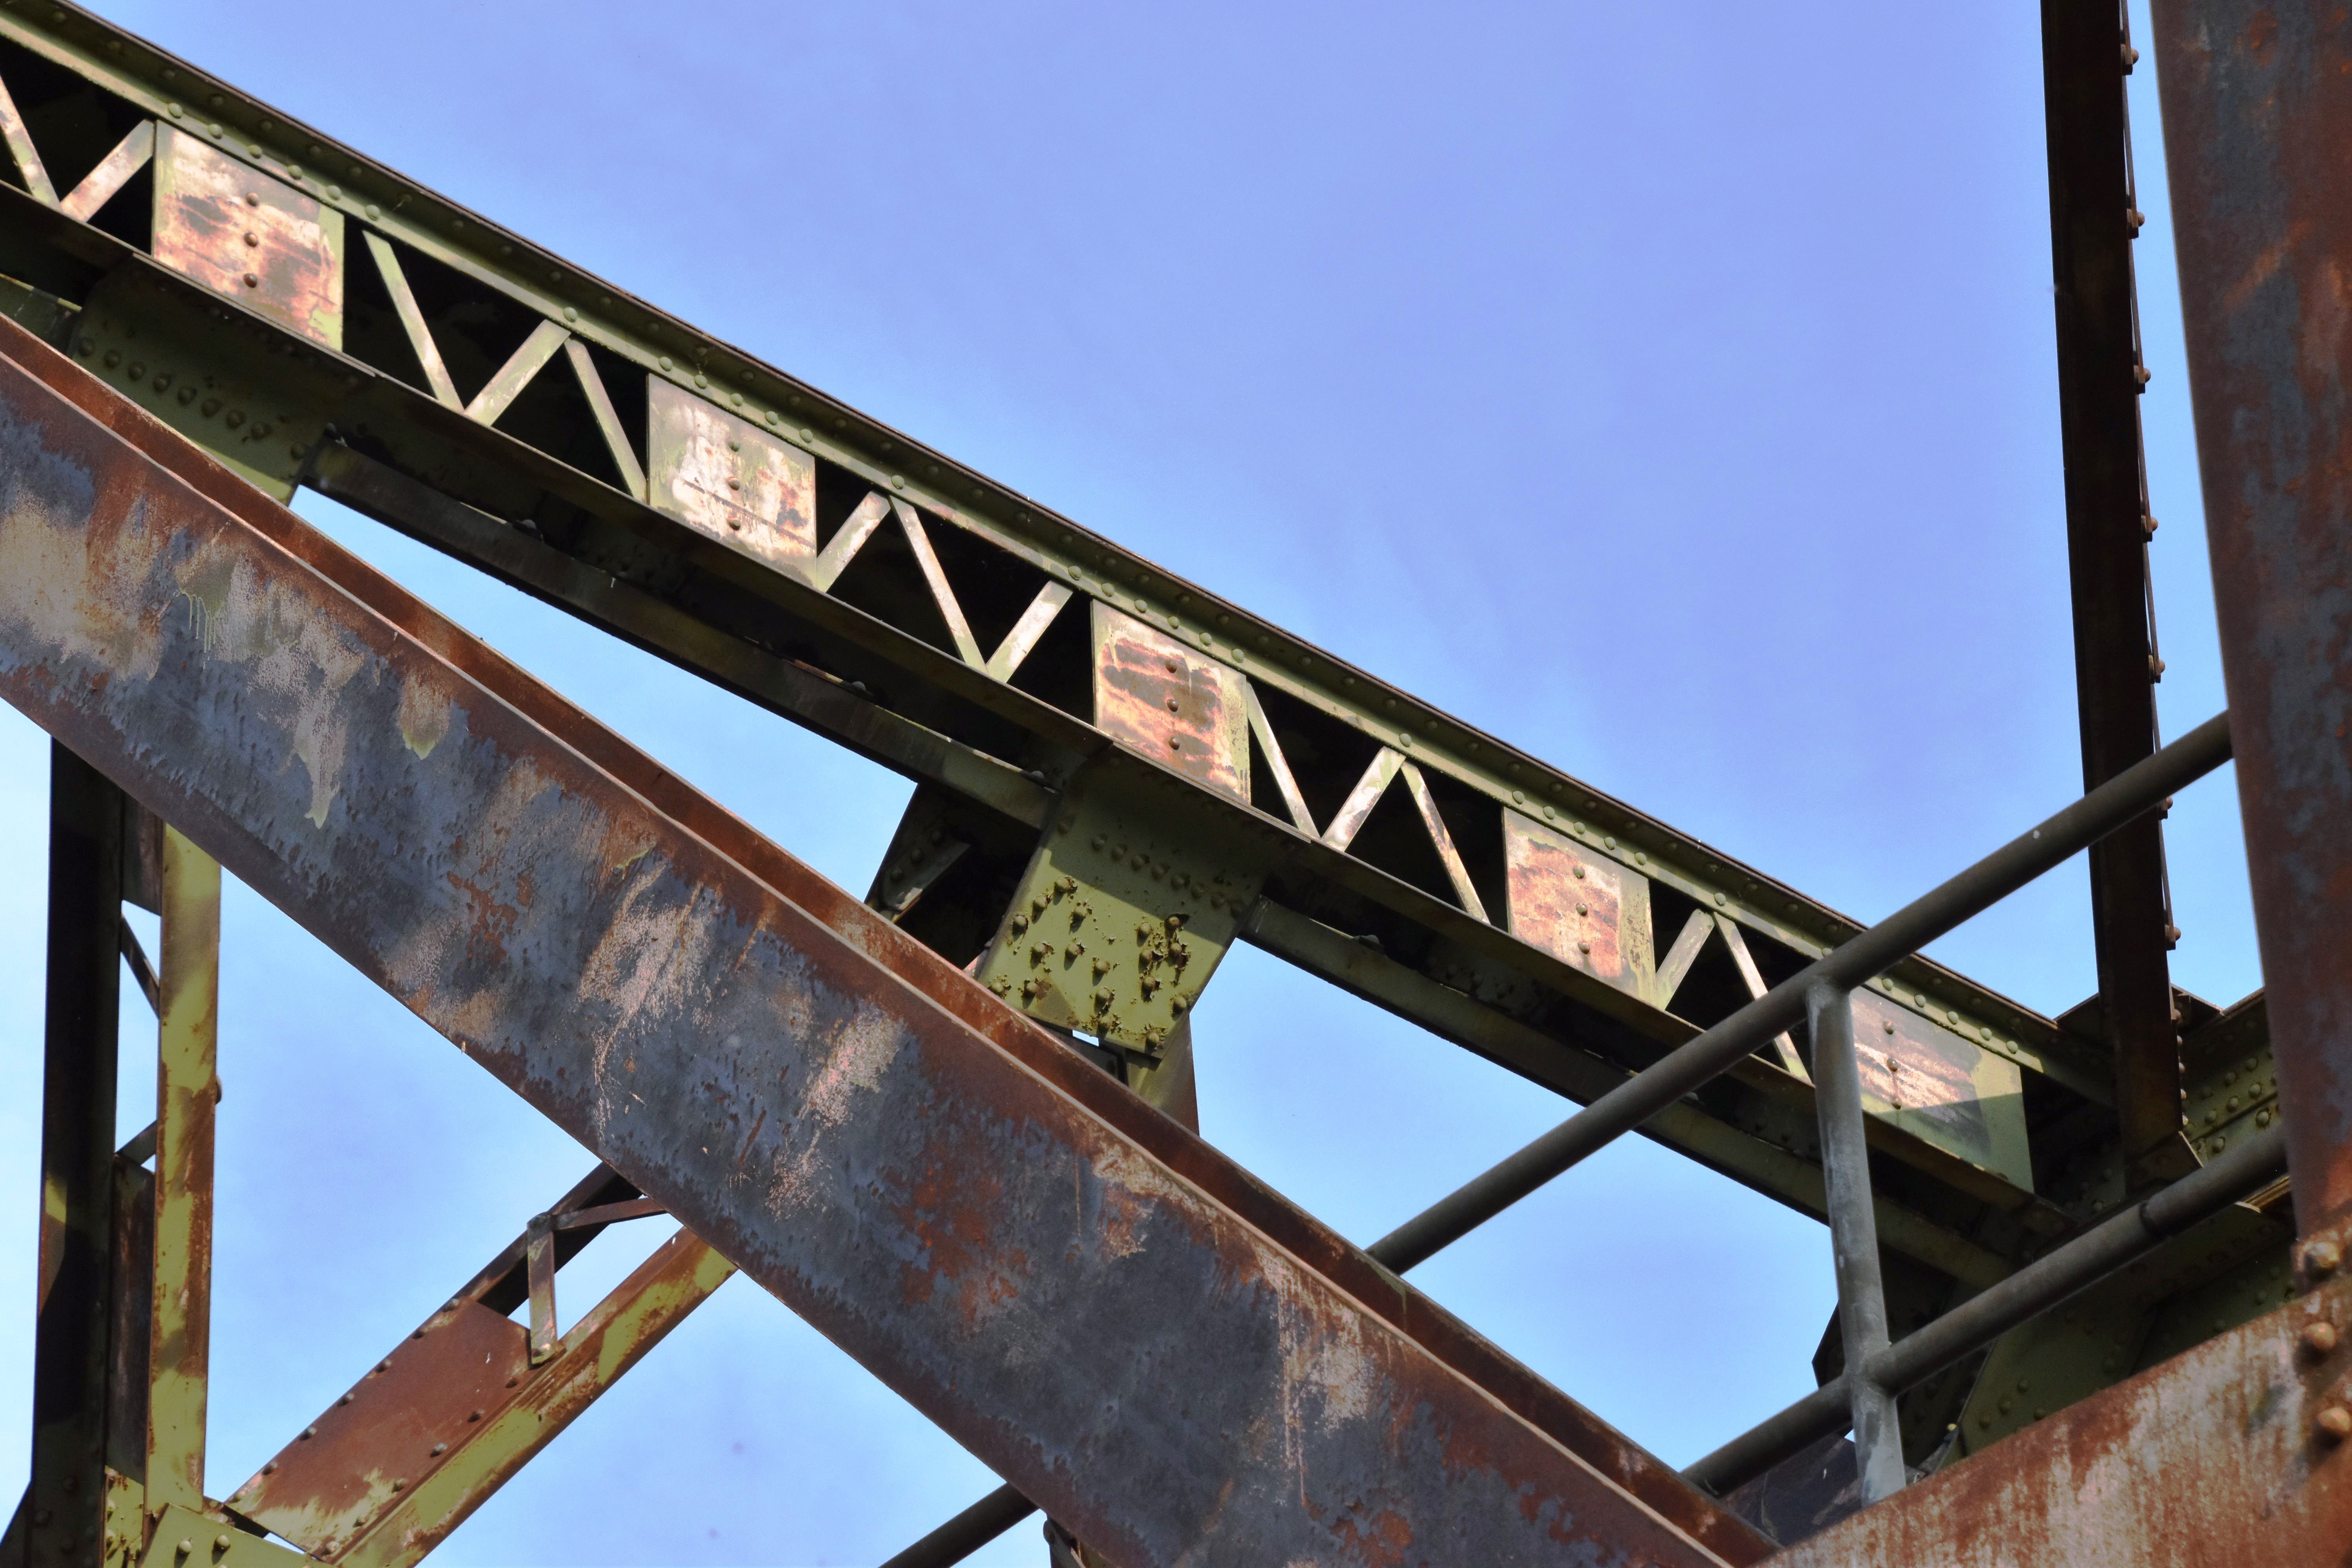
![]()


Details at top of lift span.
![]()


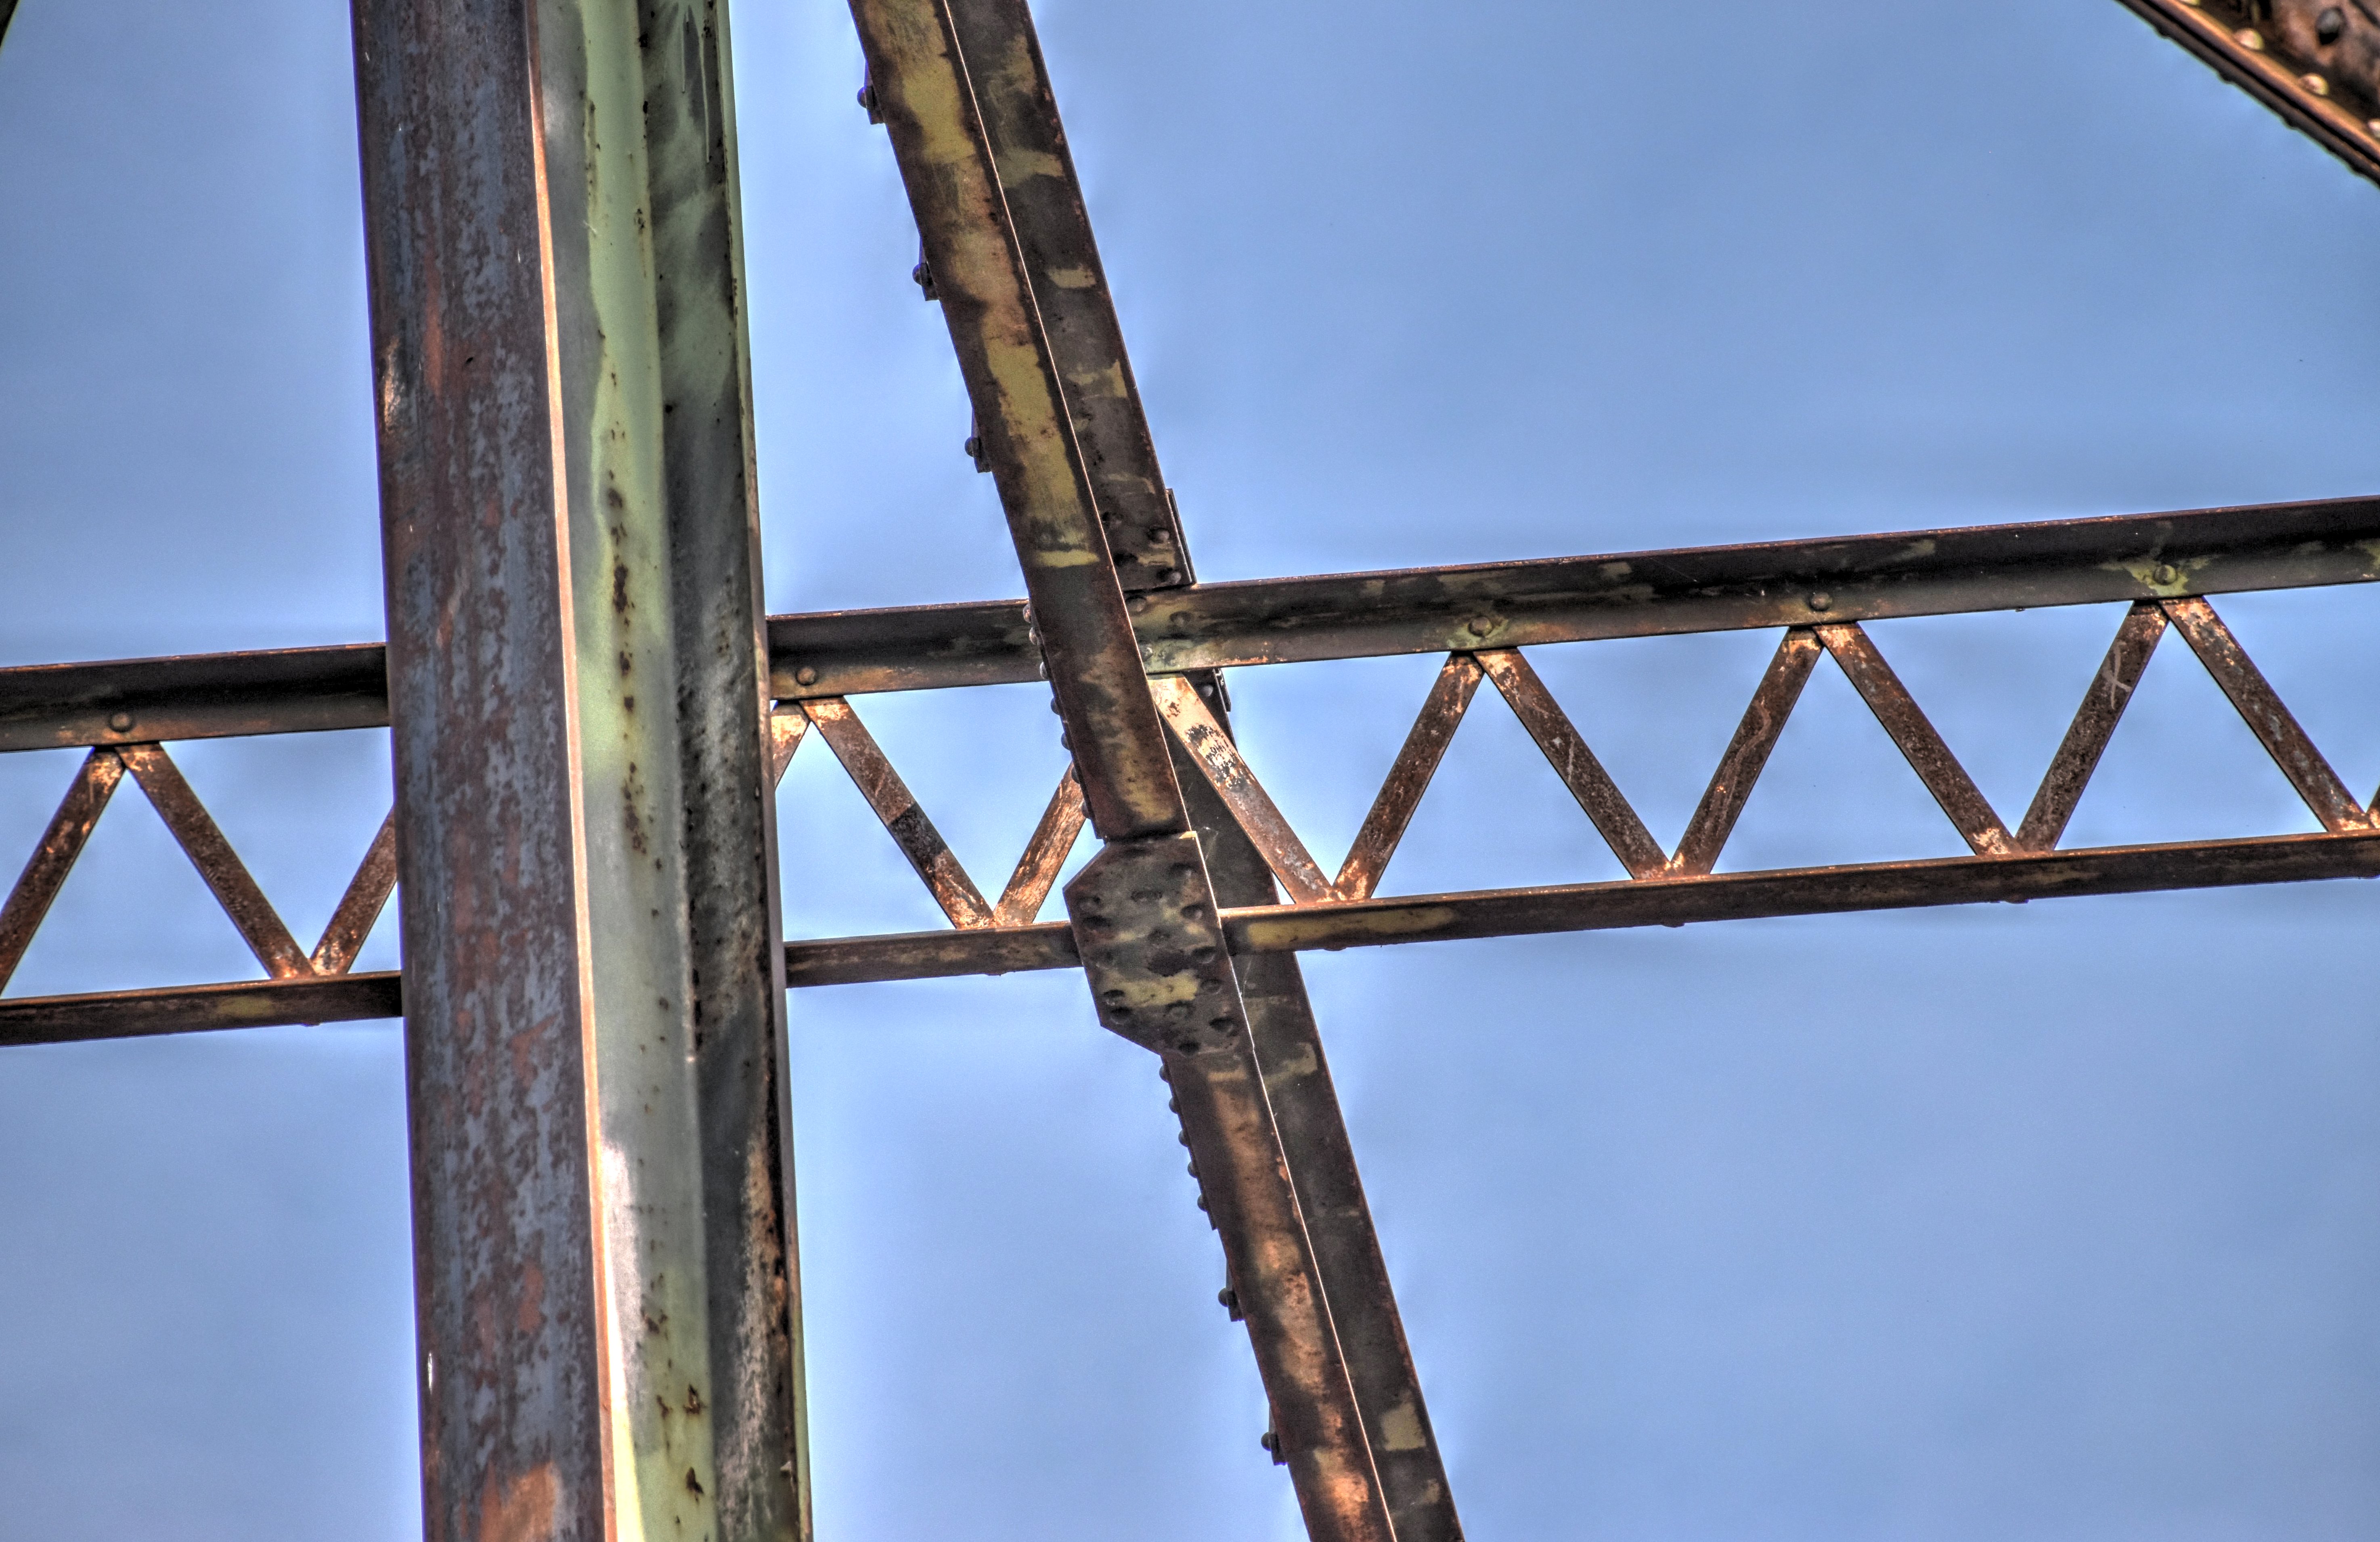
Fixed truss top chord connections as viewed from beside bridge.
![]()


Fixed truss bottom chord connections as viewed from beside bridge.
![]()


Fixed truss end post.
![]()


Fixed truss members.
![]()


Fixed truss bracing.
![]()

Ship entering the canal.
![]()
![]()
| Back |
| Home |
| Top |

![]()