Uncredited photos on this page taken by: Nathan Holth. Unless stated in a caption, all photos are Copyright with All Rights Reserved. Learn about reuse of our photos.
![]()

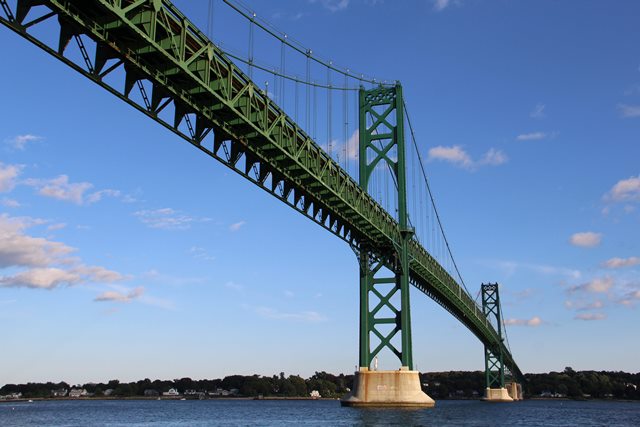
Photo Credit: C. Hanchey
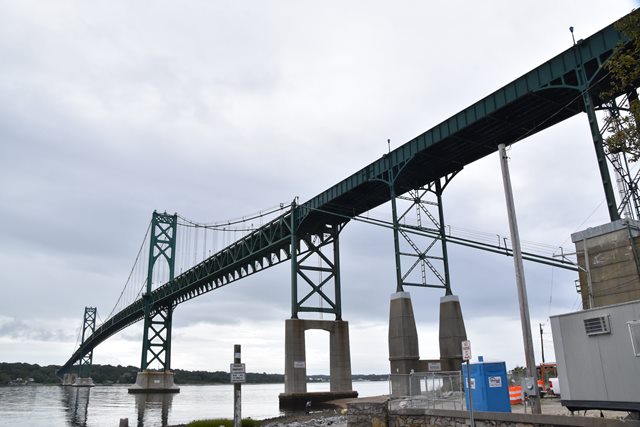
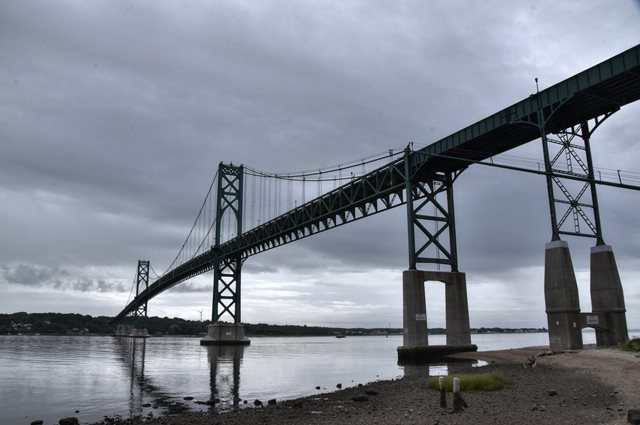
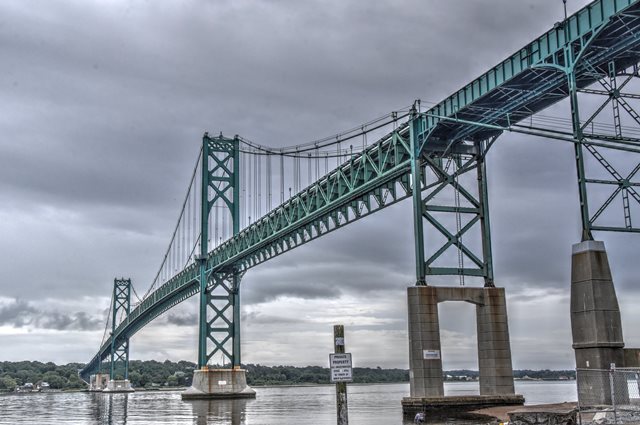
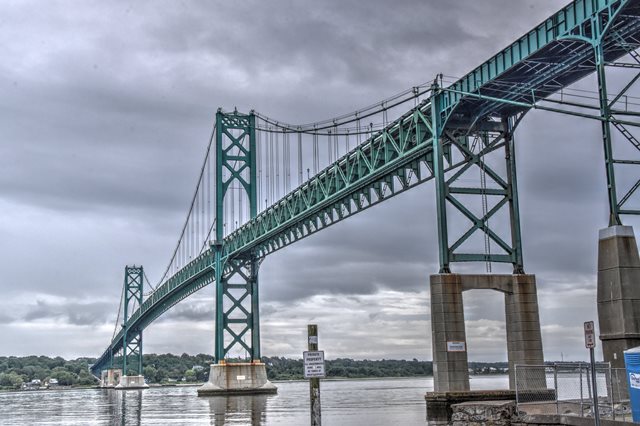
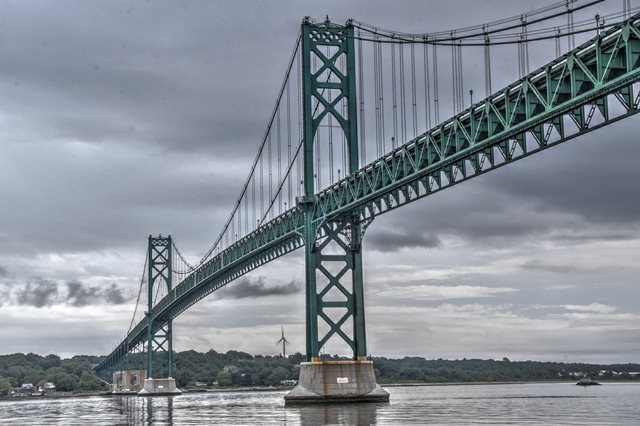
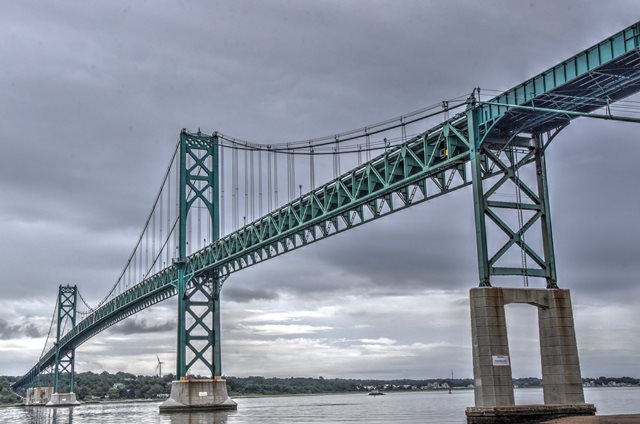
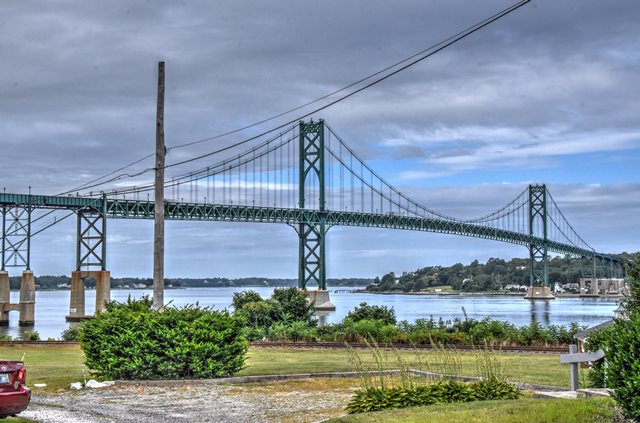
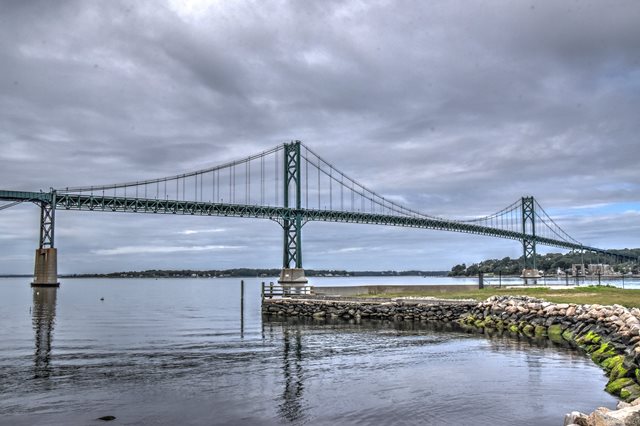
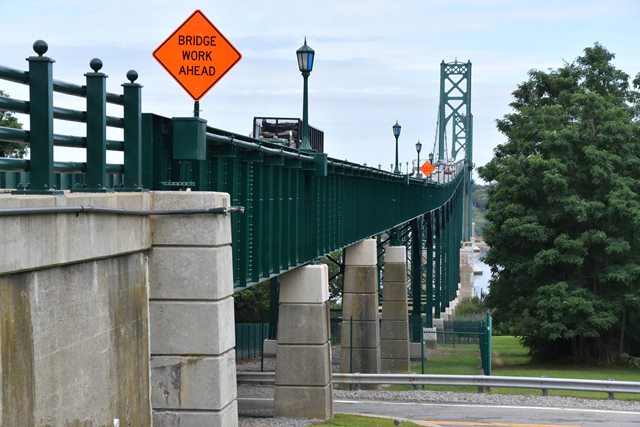
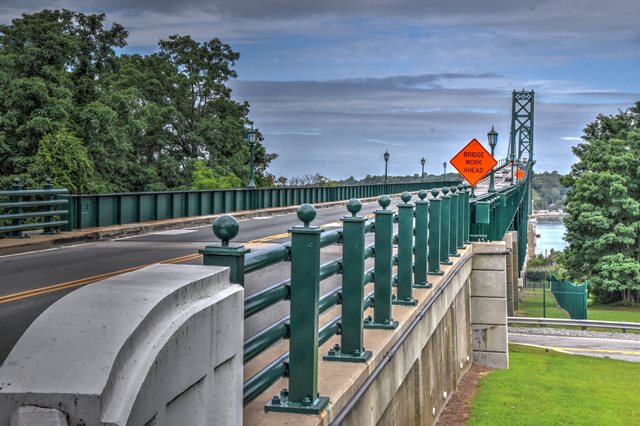
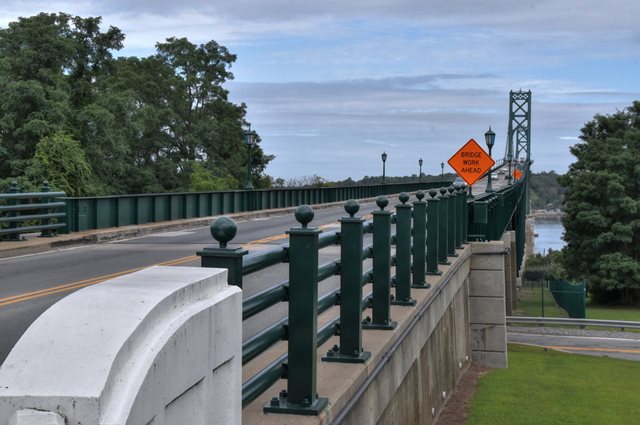
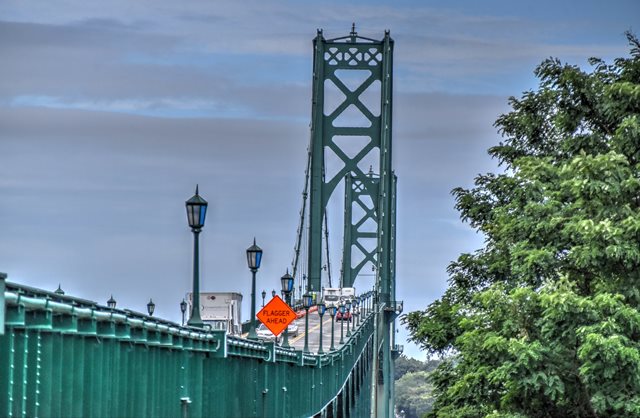
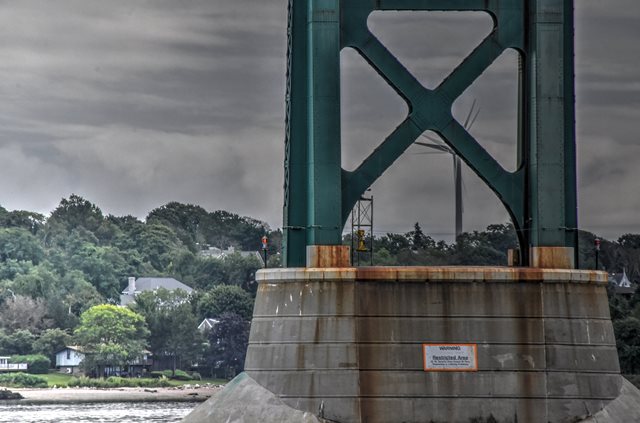
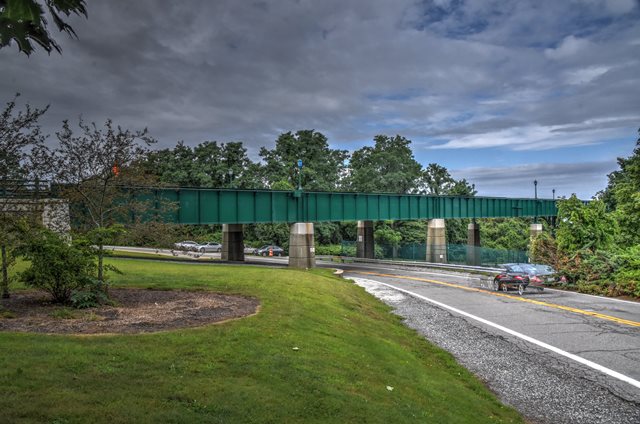
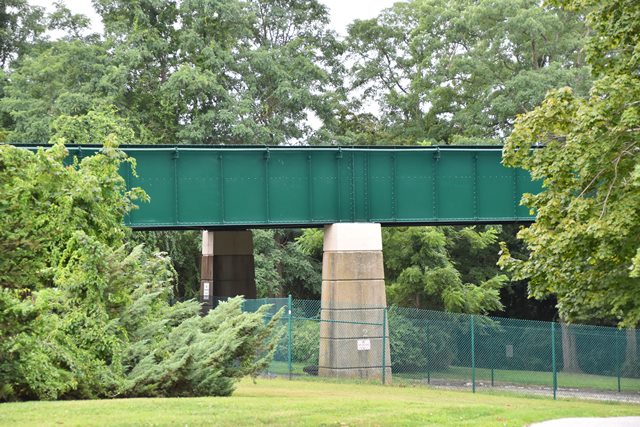
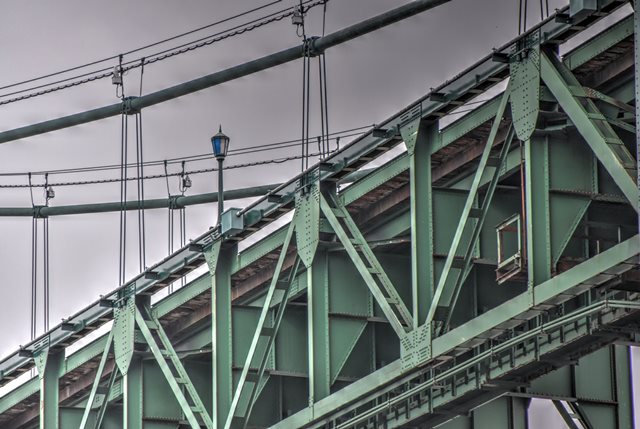
Views beside bridge.
![]()


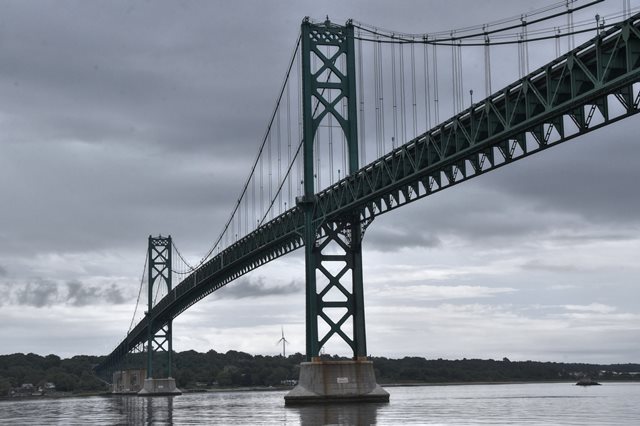


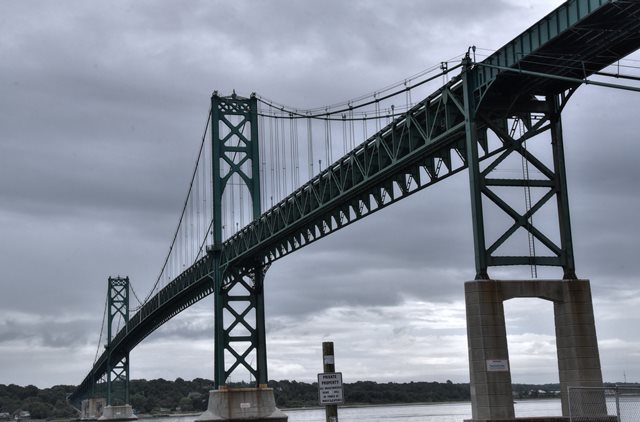
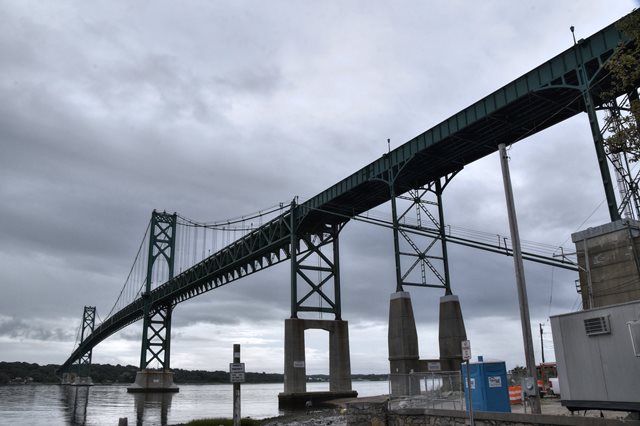
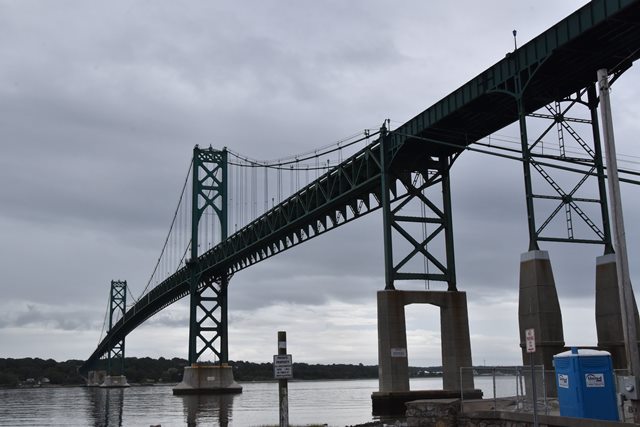
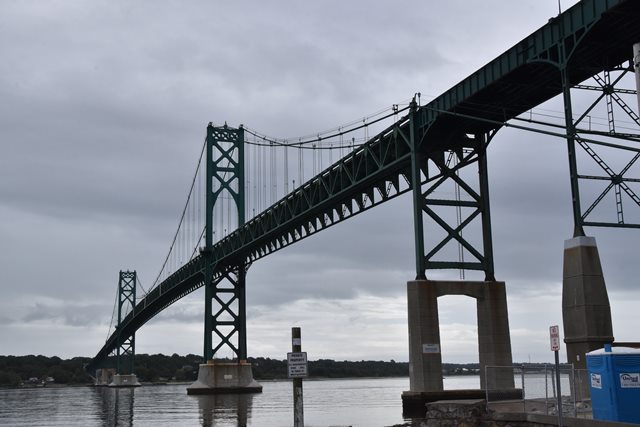
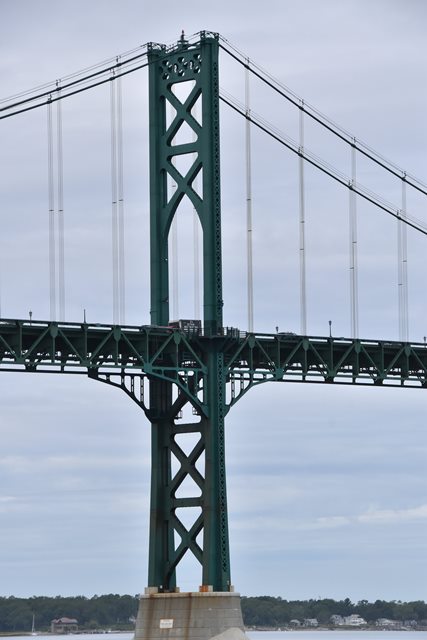
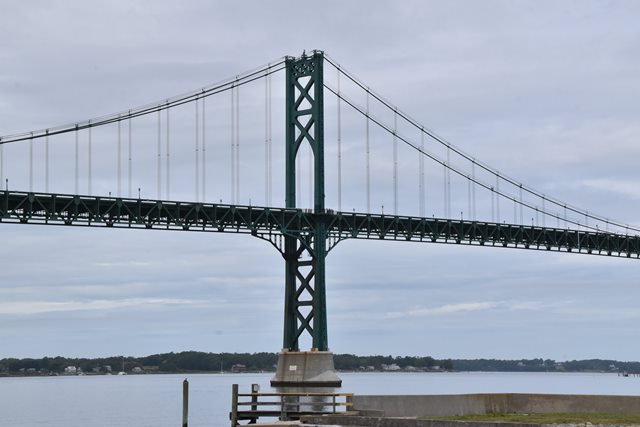
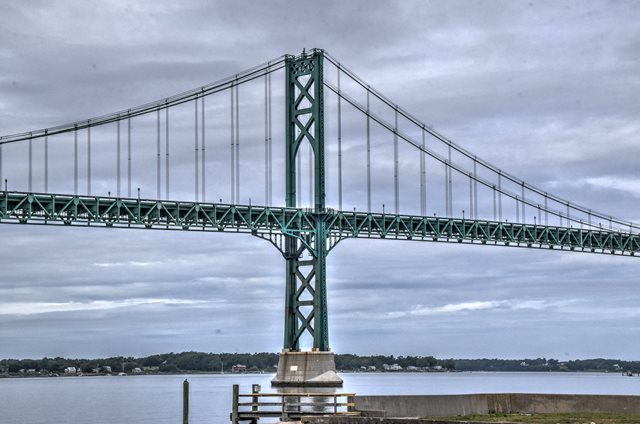
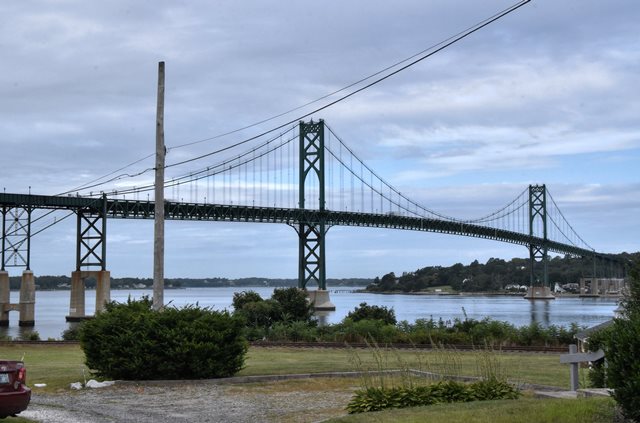
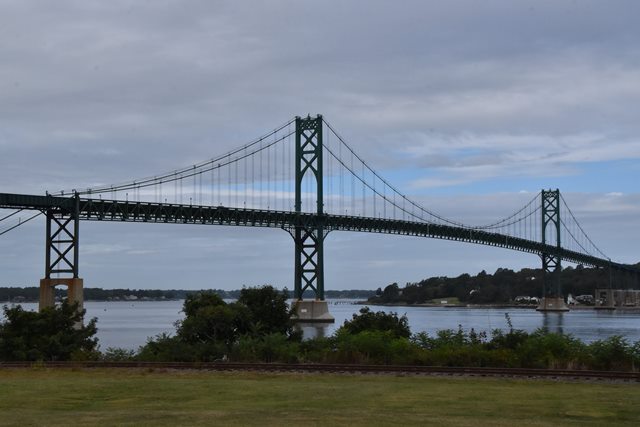
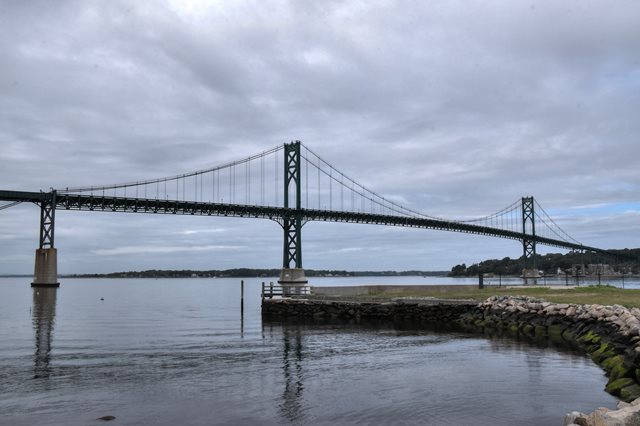
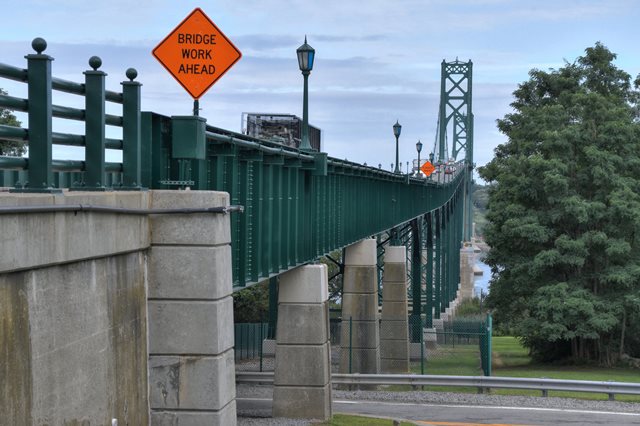
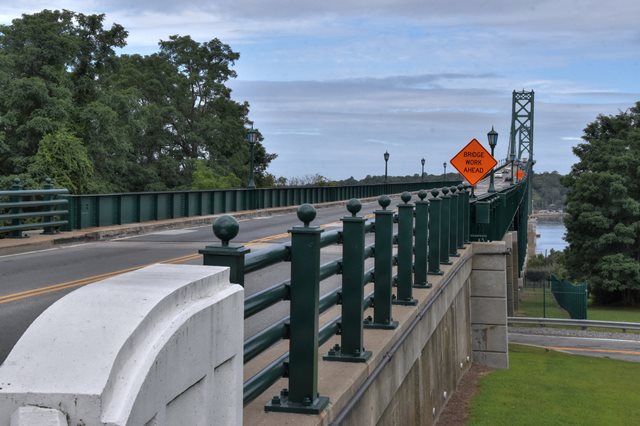
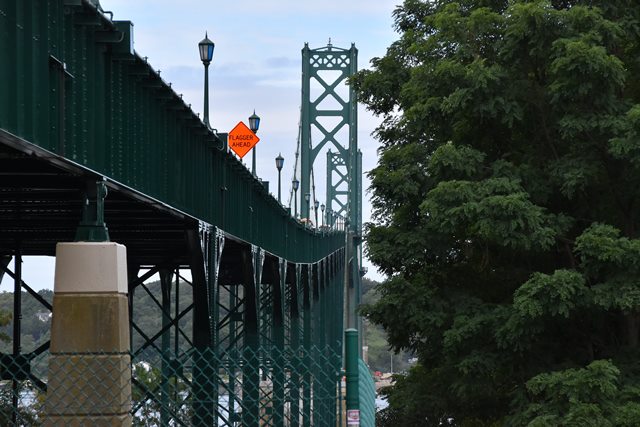
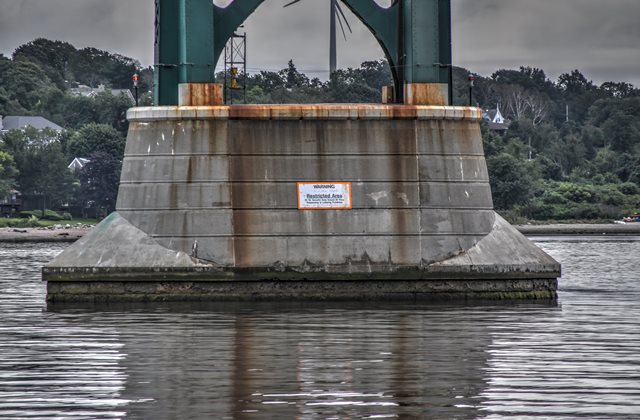
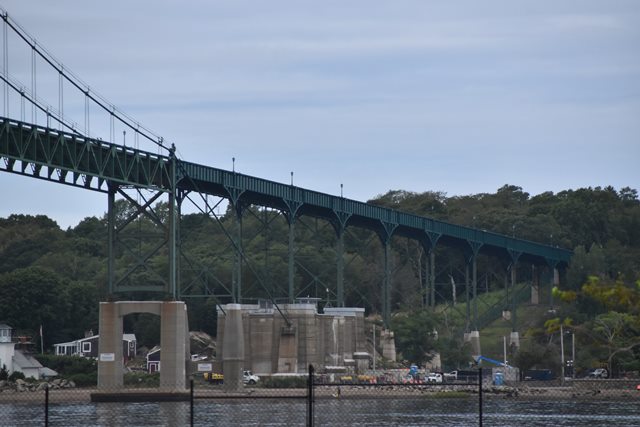
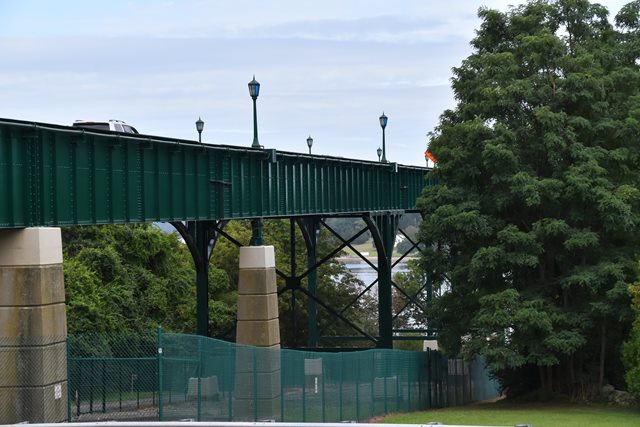
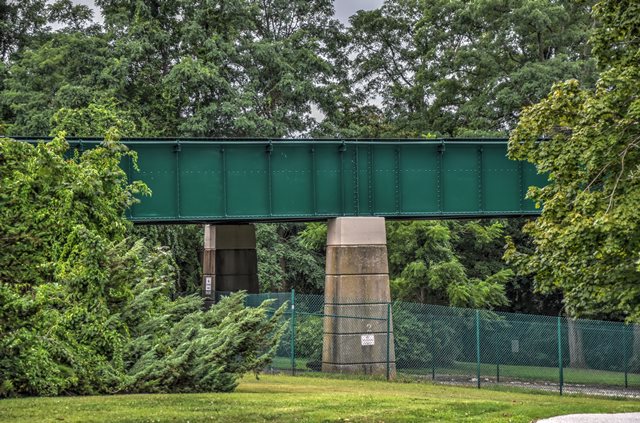
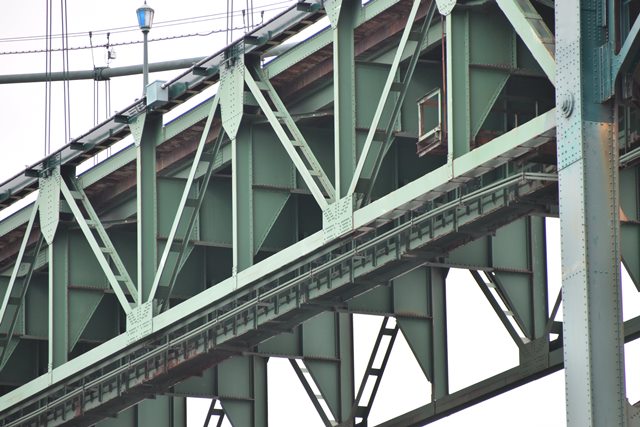
Views beside bridge showing main spans from northeast quadrant.
![]()
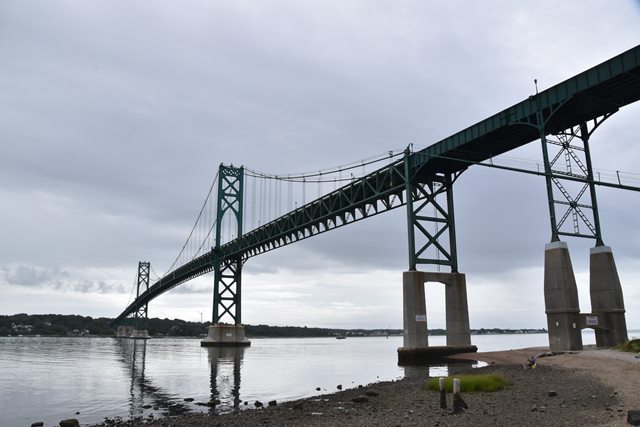
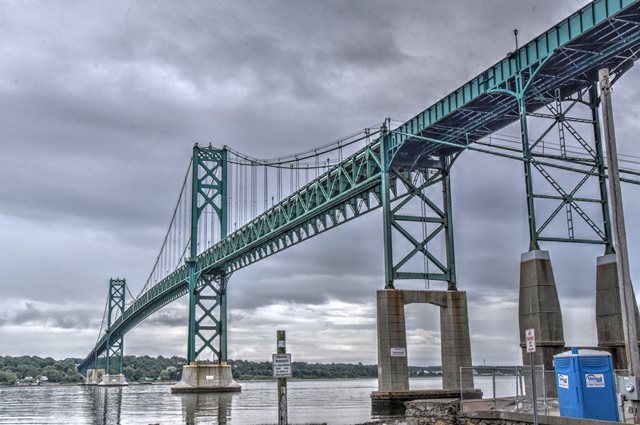
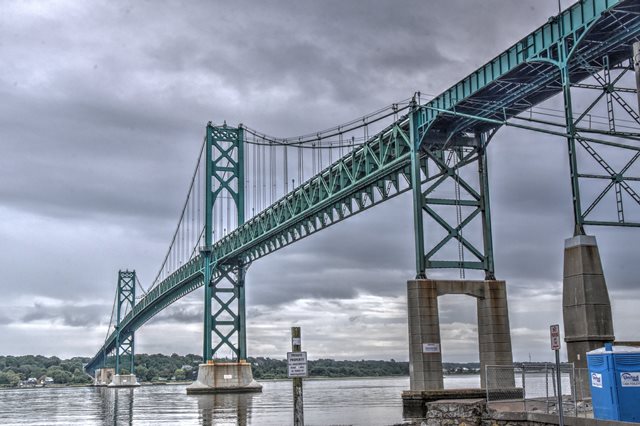
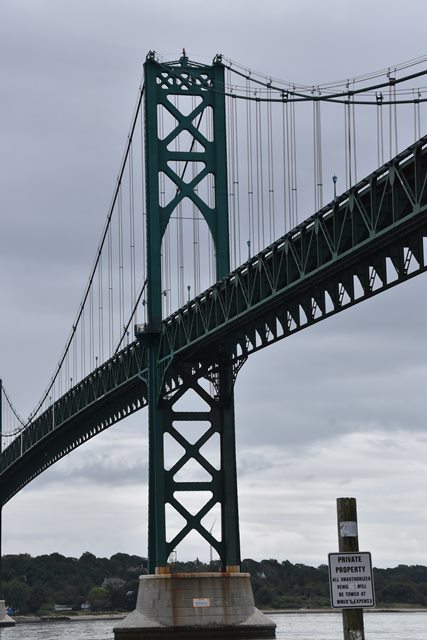
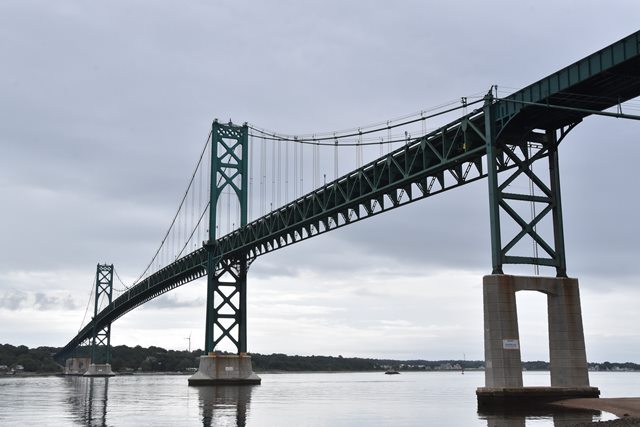
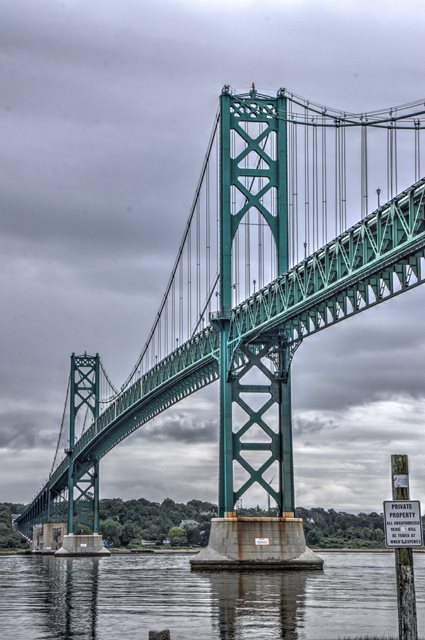
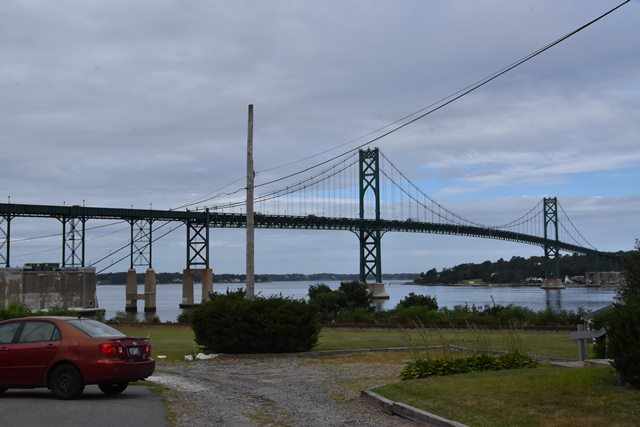
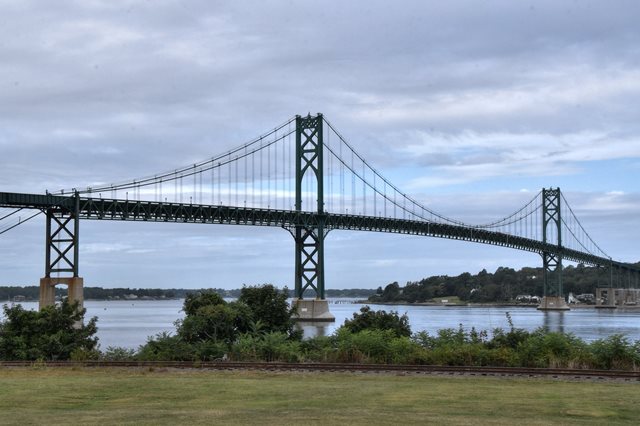
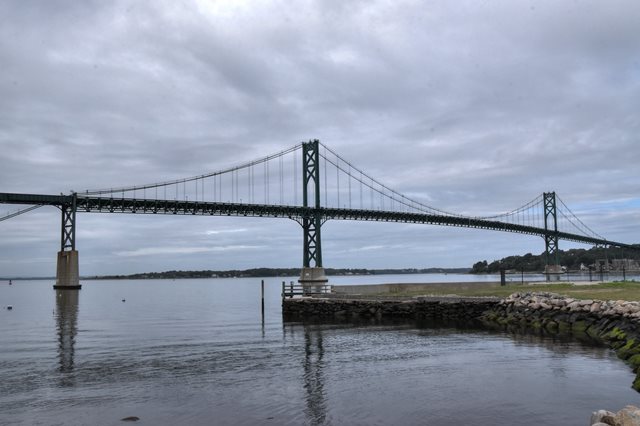
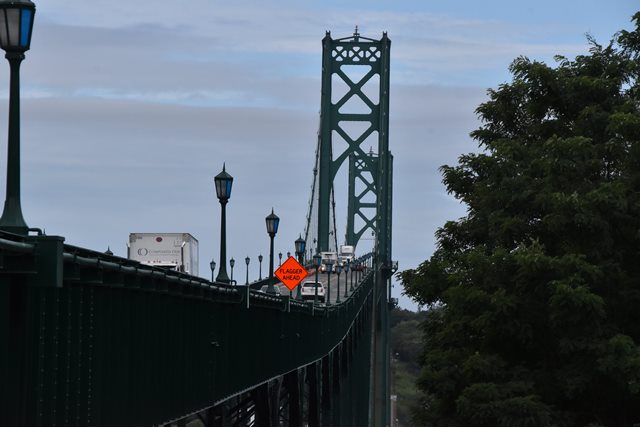
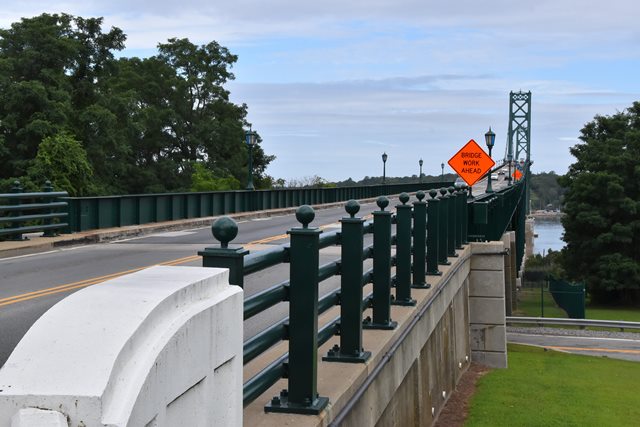
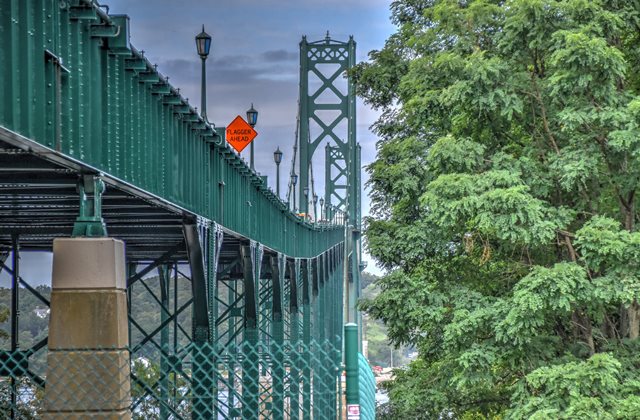
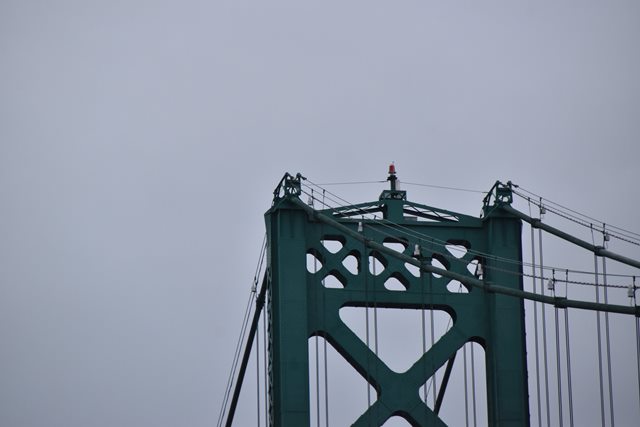
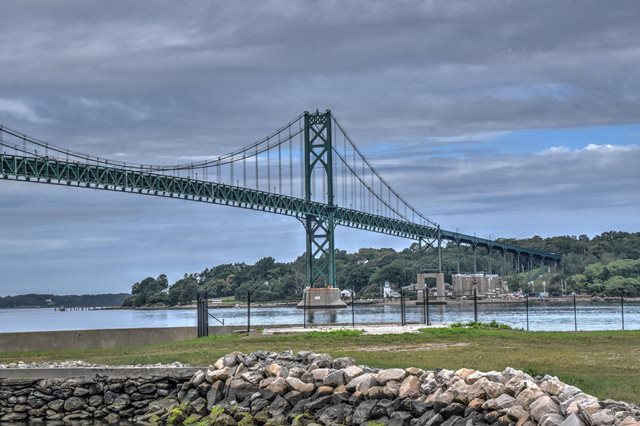
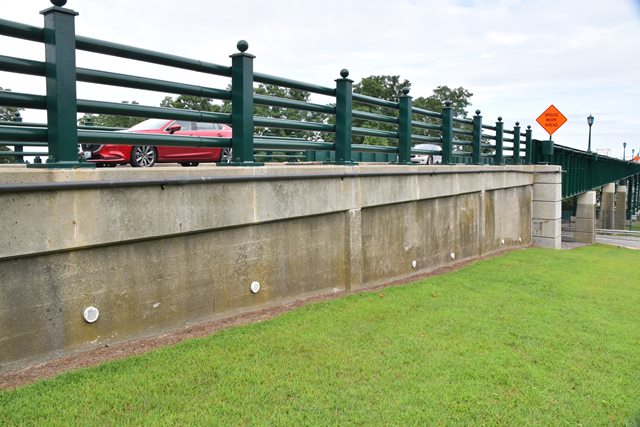
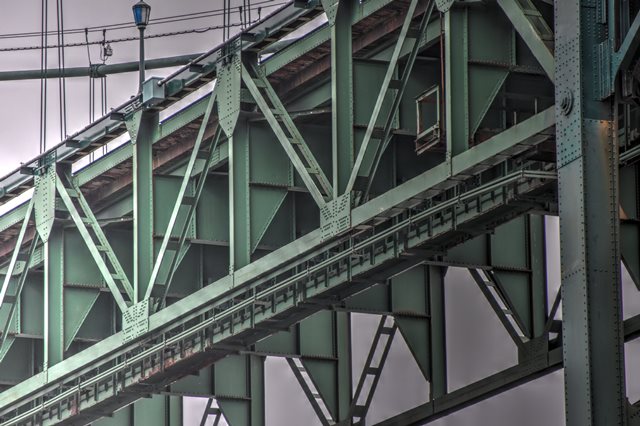
Views beside bridge from northeast quadrant.
![]()

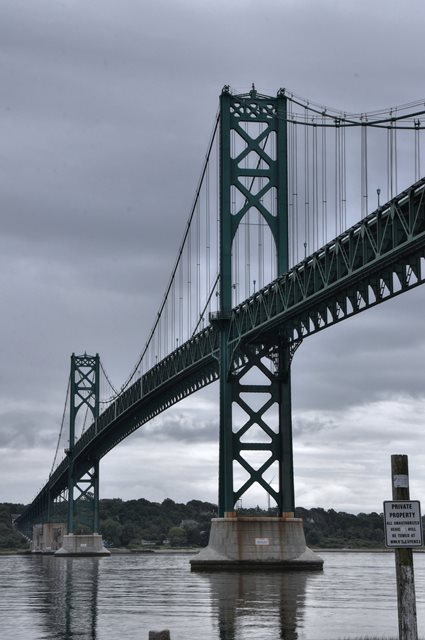
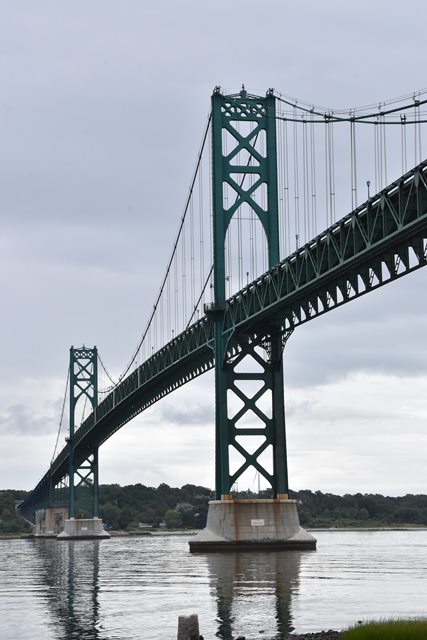

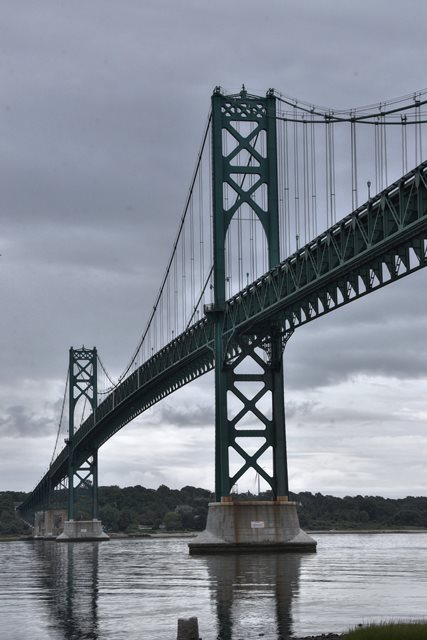
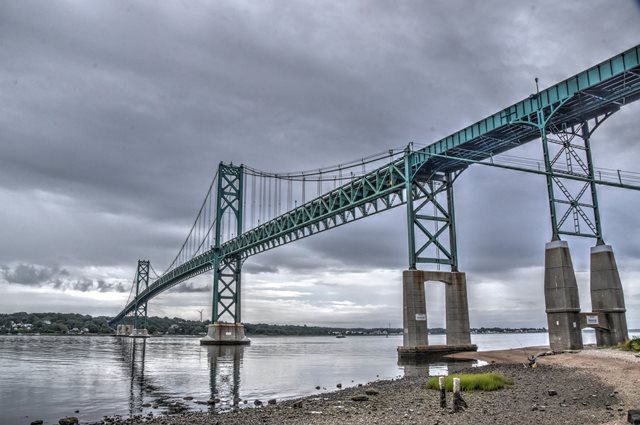
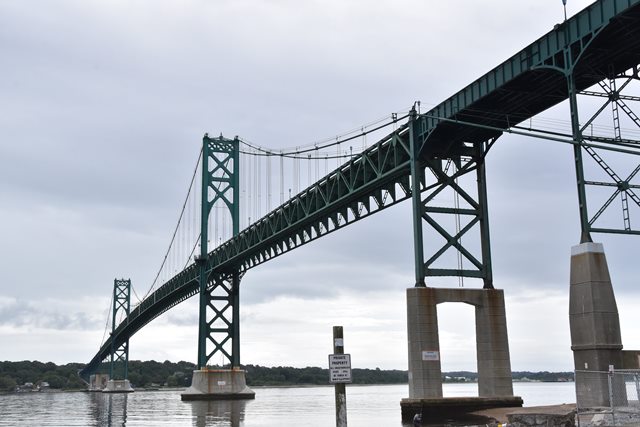
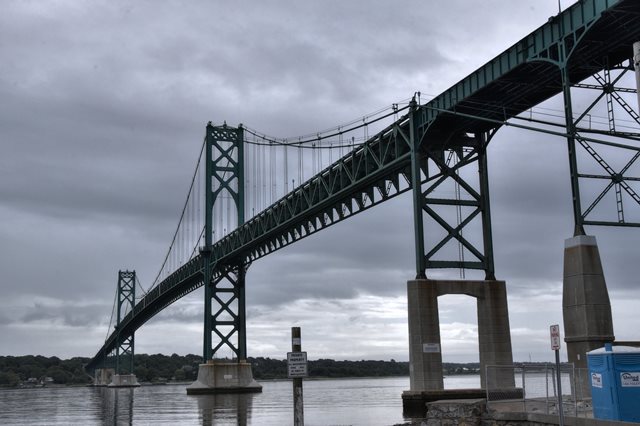
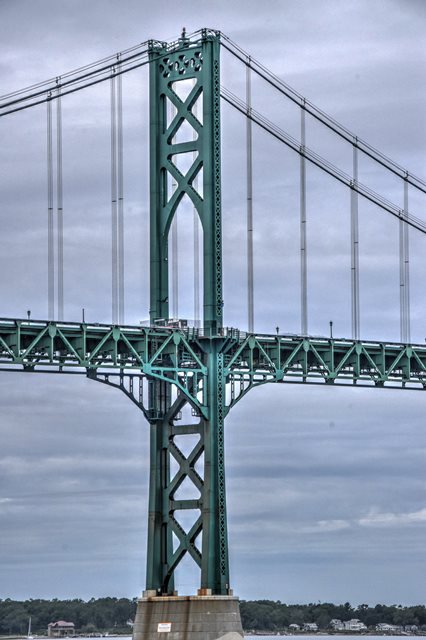
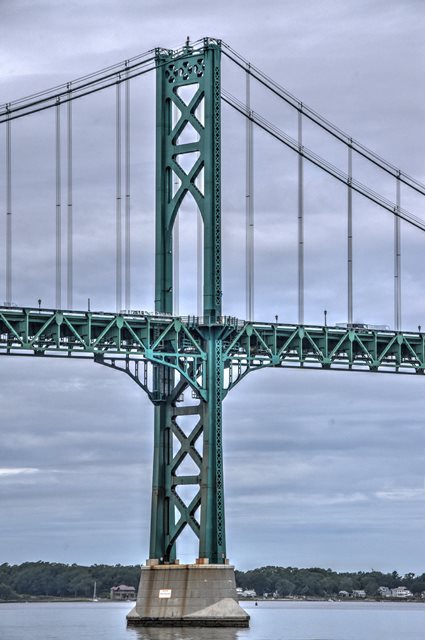
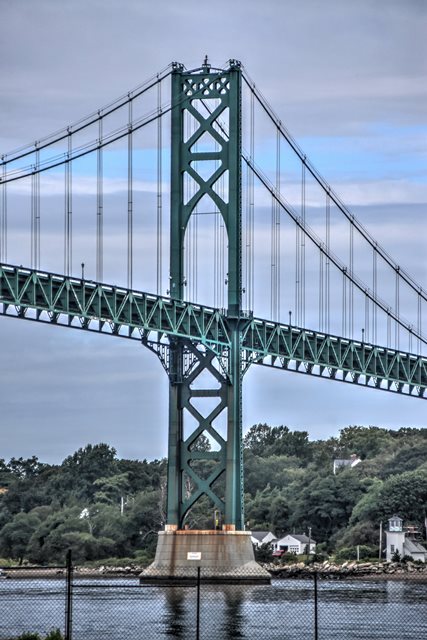
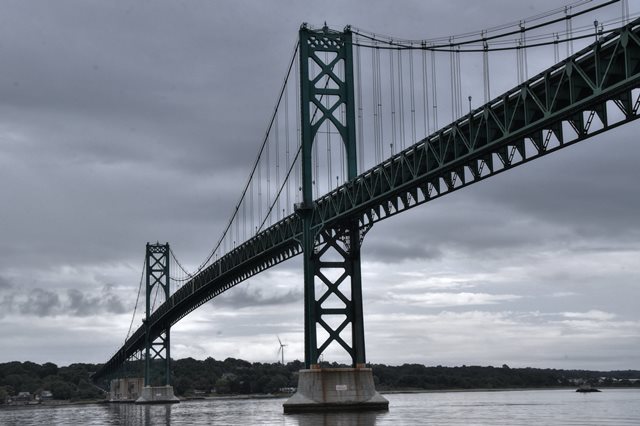
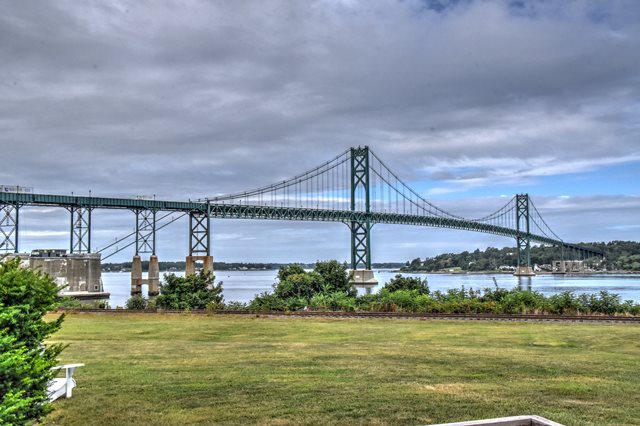
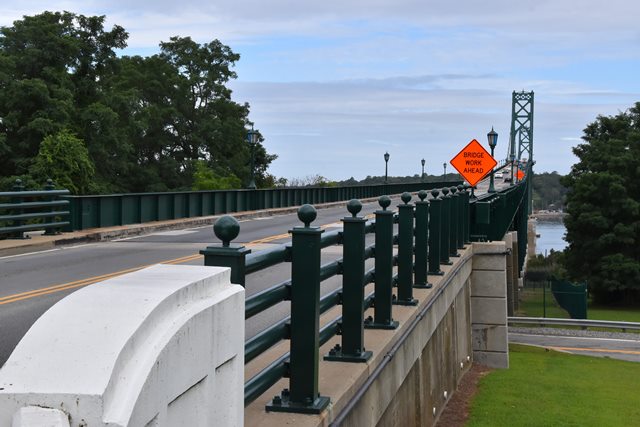
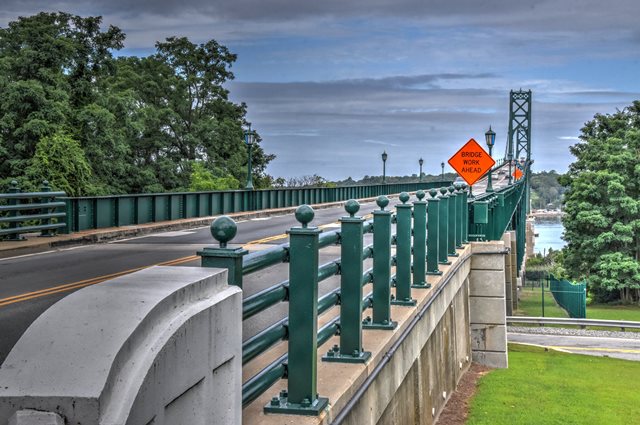
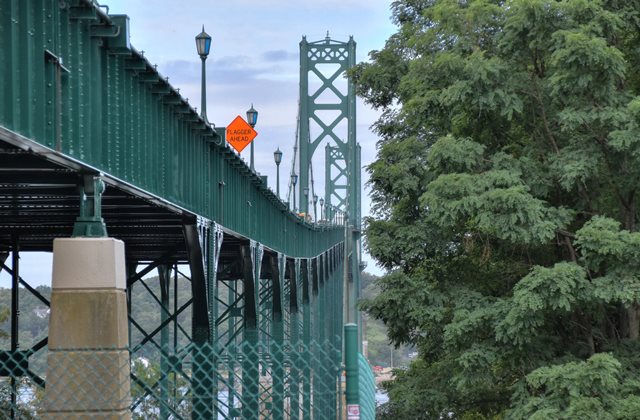
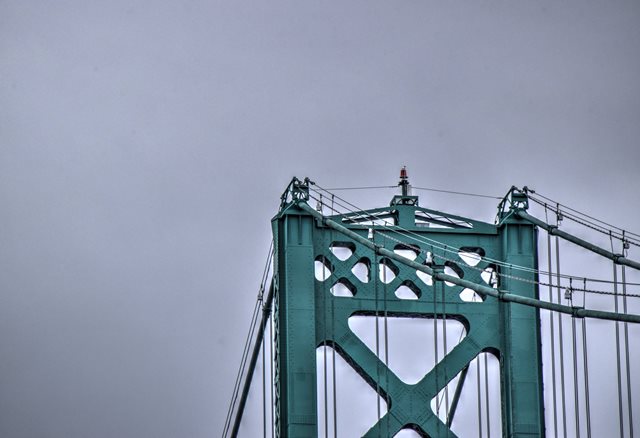
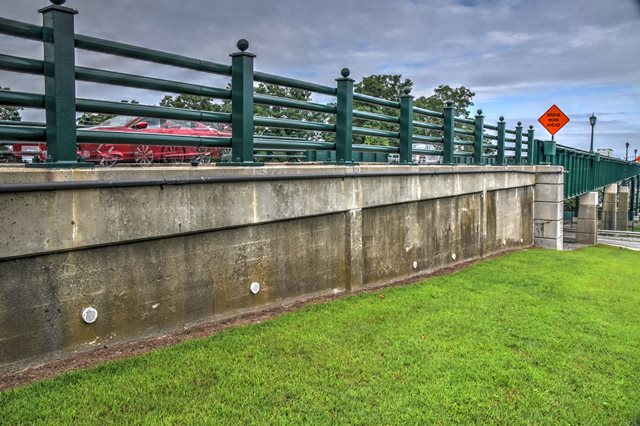
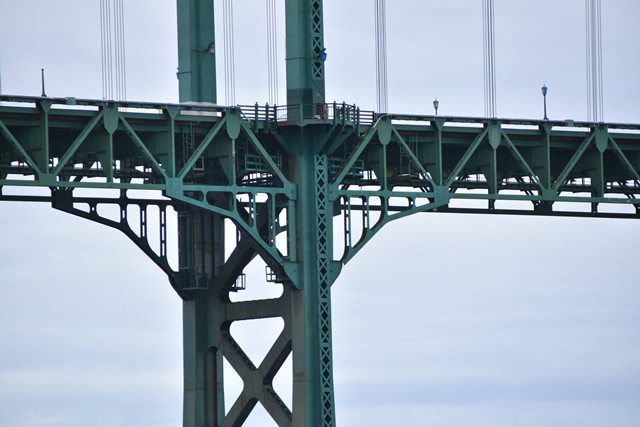
Views beside bridge showing main spans from northeast quadrant, portrait orientation.
![]()
![]()
![]()
![]()

Panoramic views beside bridge from northeast quadrant.
![]()
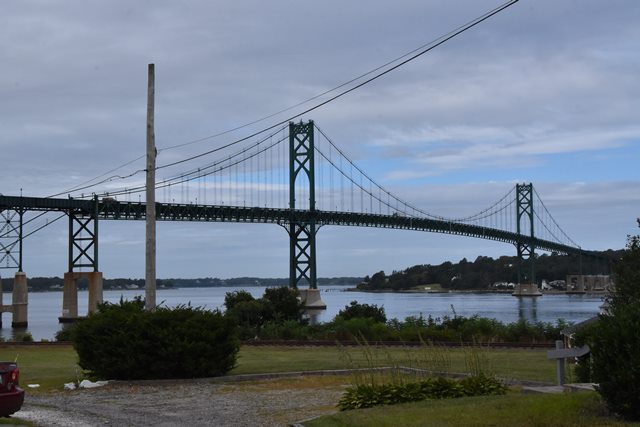
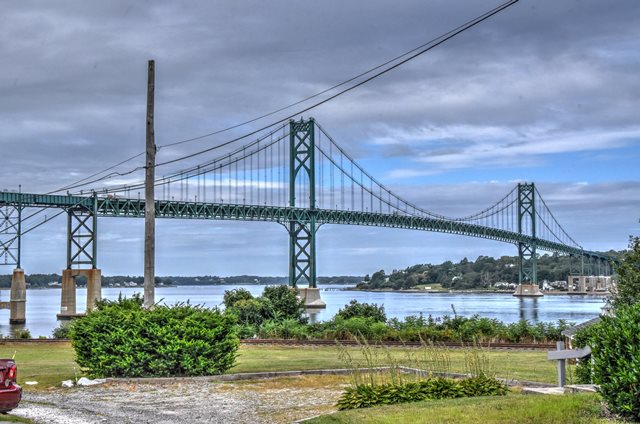


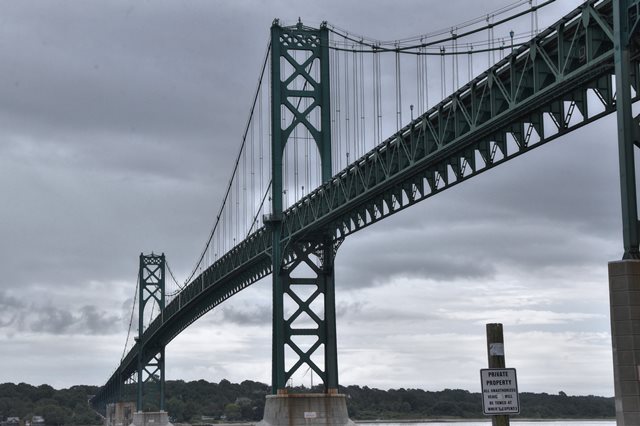
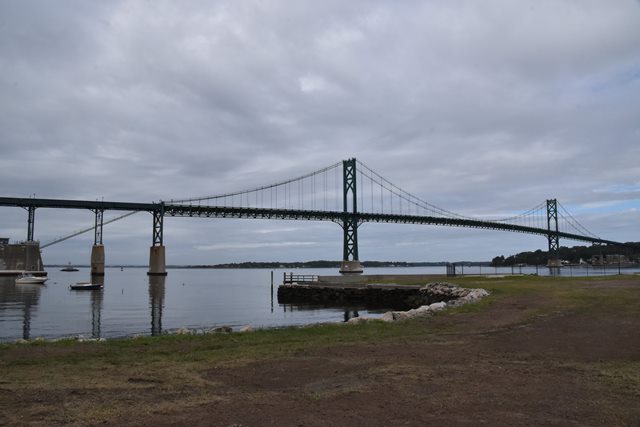
Elevation from southeast quadrant.
![]()


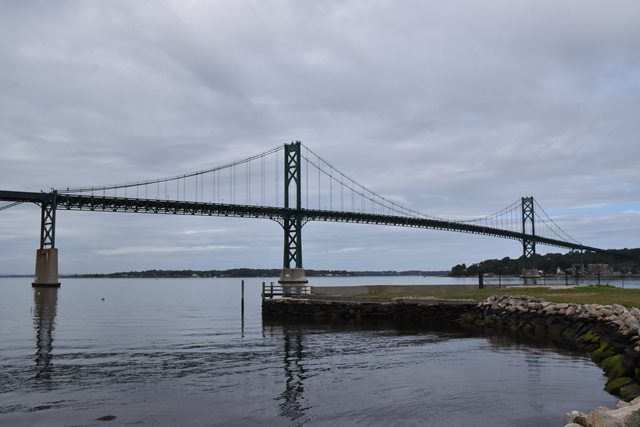


Elevation from southeast quadrant from Bristol Ferry Town Common.
![]()


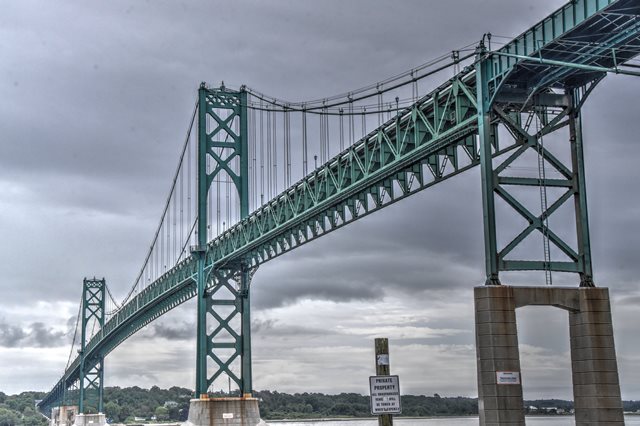
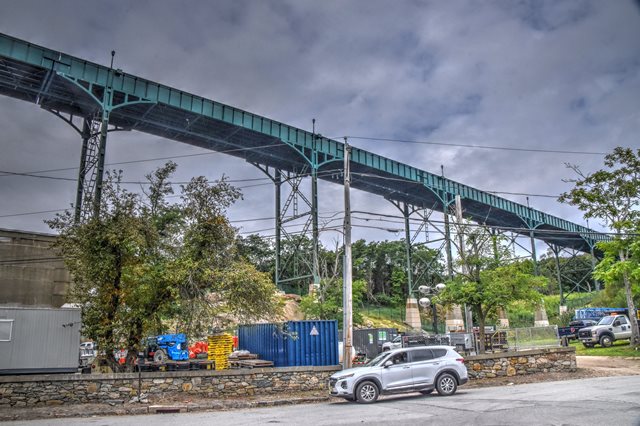
Views beside bridge from southeast quadrant.
![]()

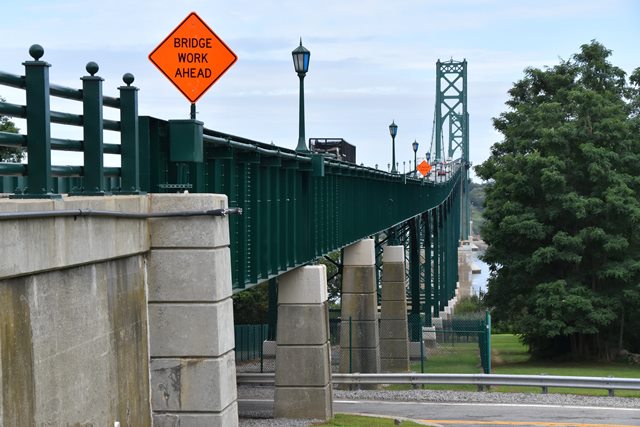
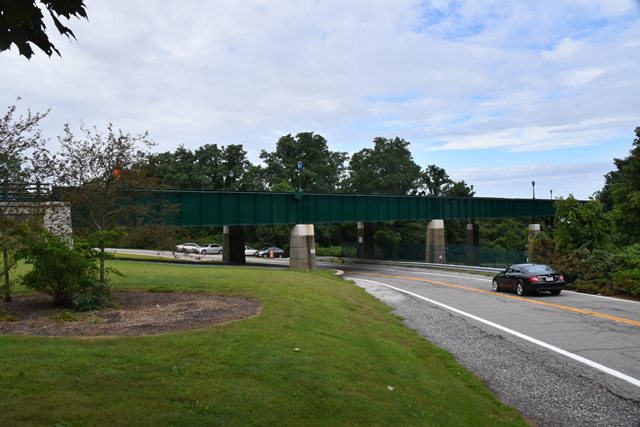
Views beside roadway from northwest quadrant.
![]()


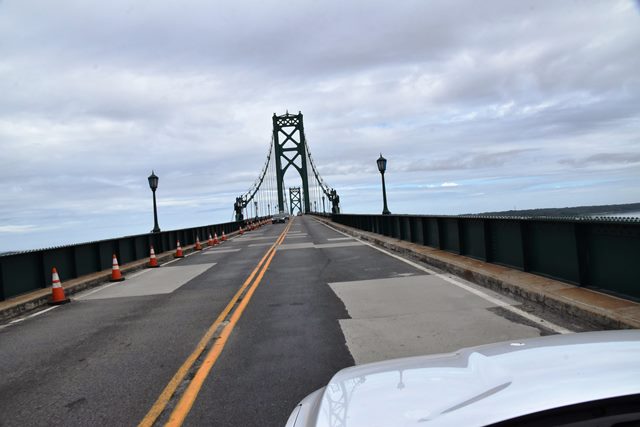


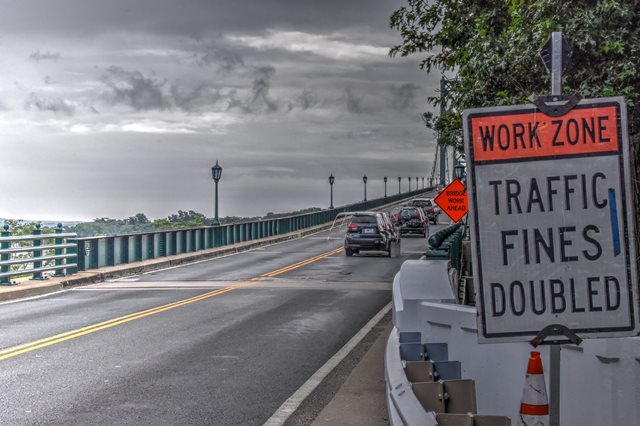
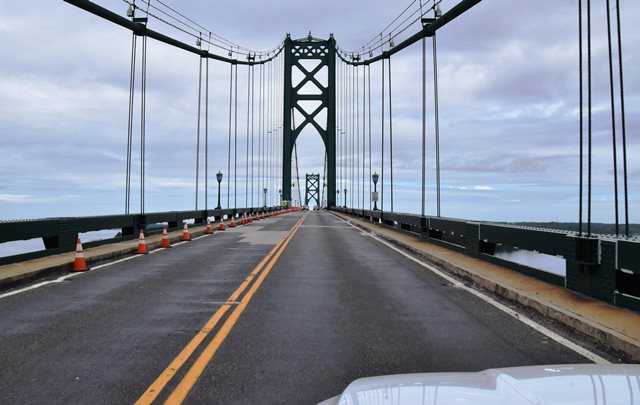
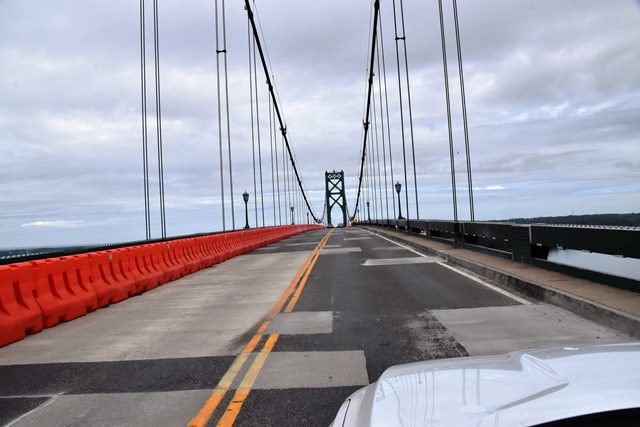
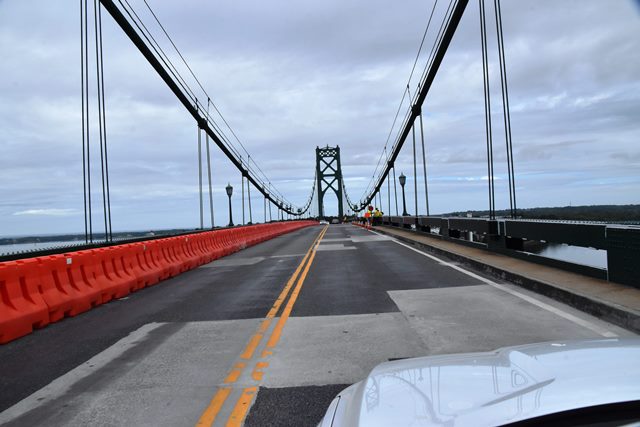
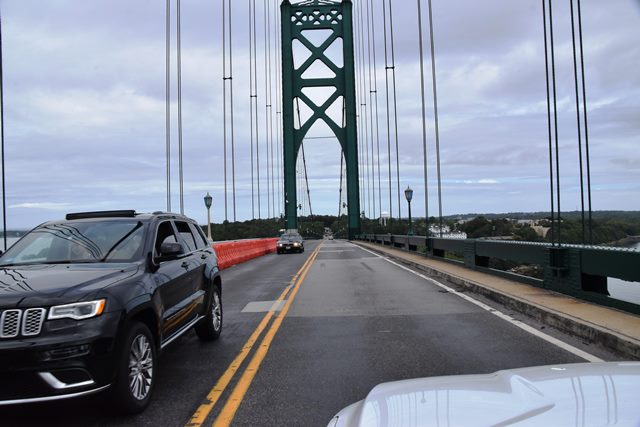
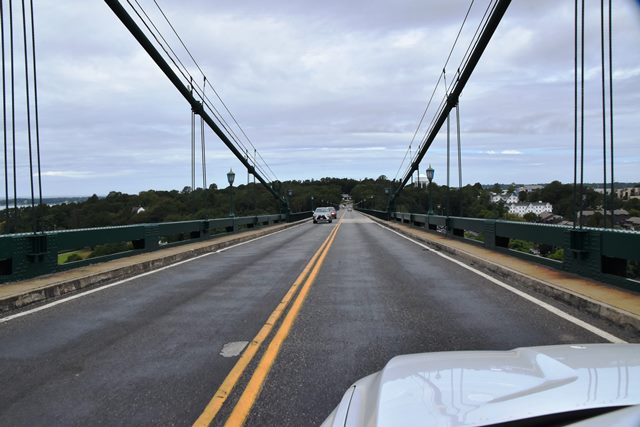
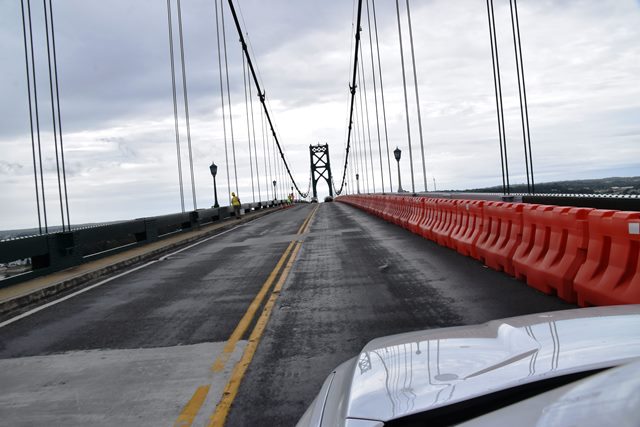
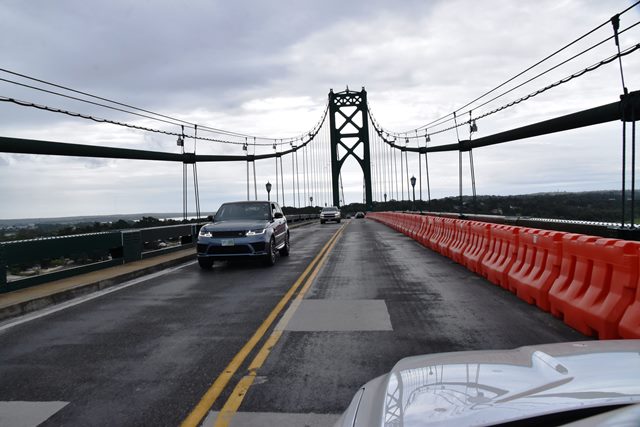
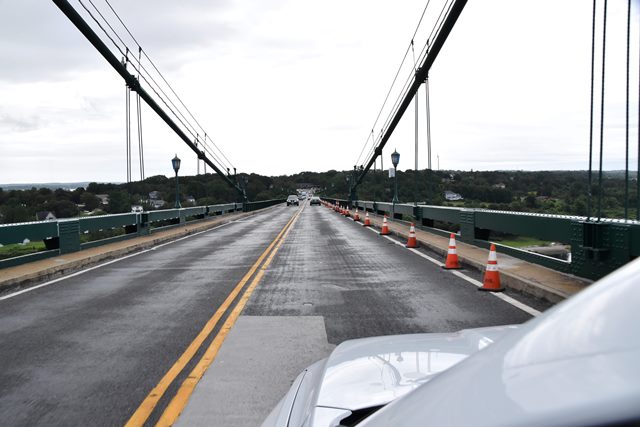
Driving northbound over bridge. Views on south approach.
![]()
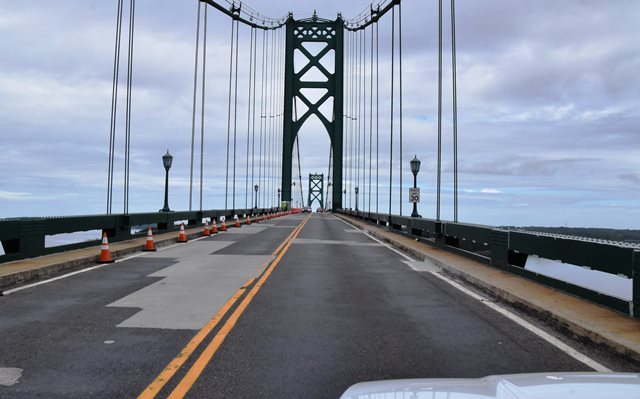
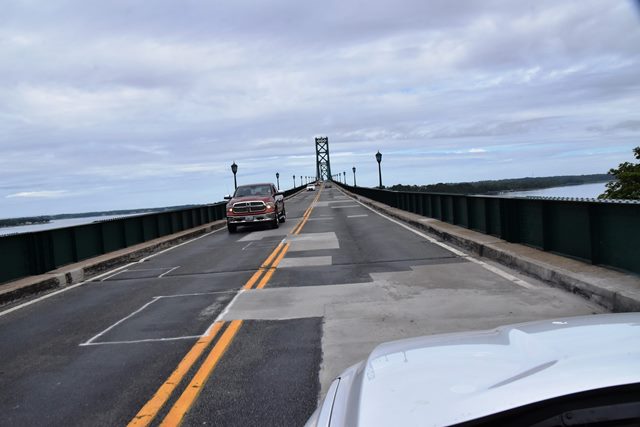
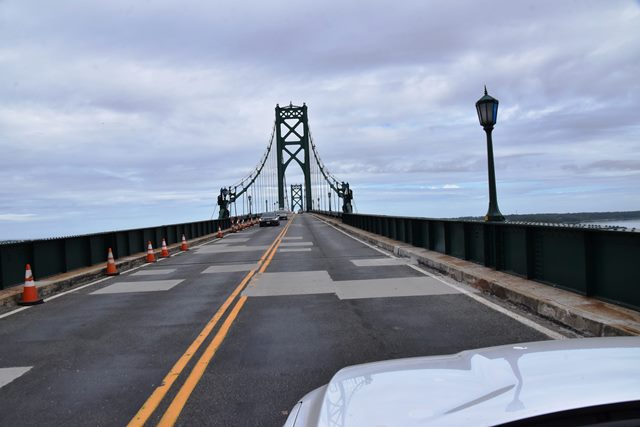
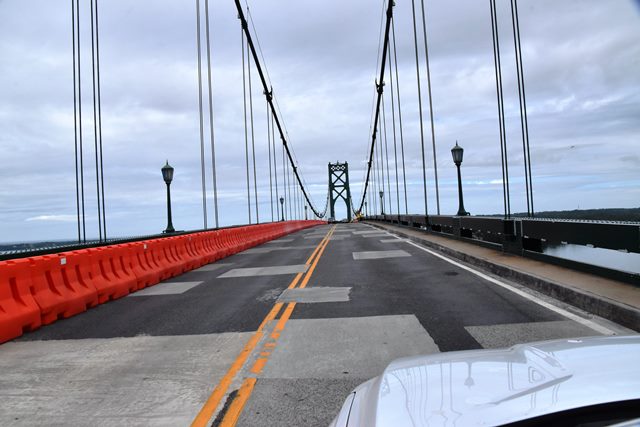
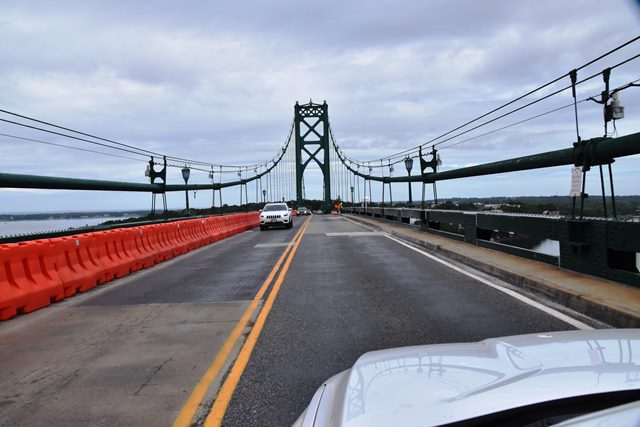
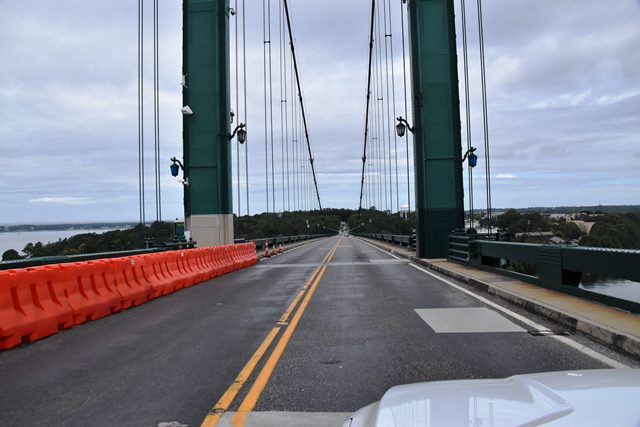
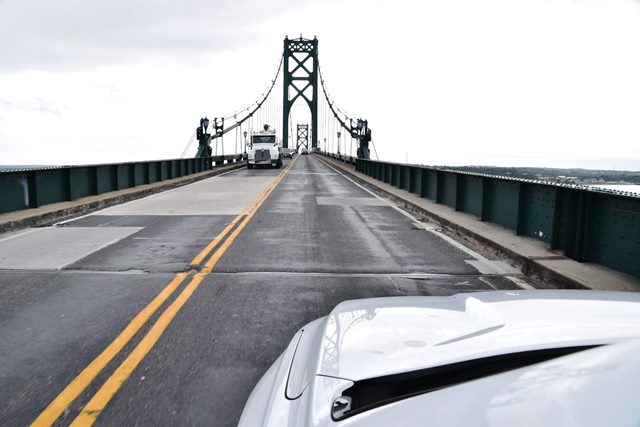
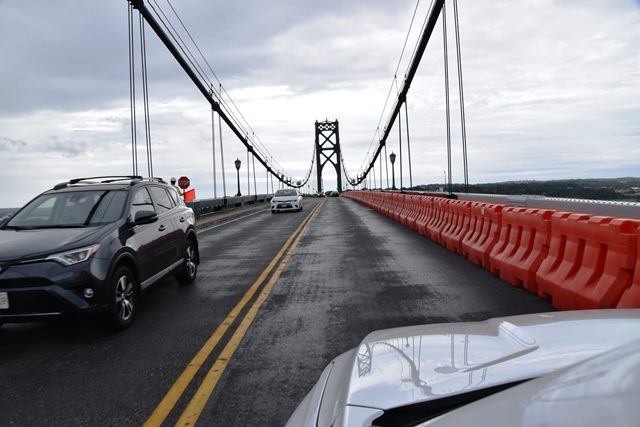
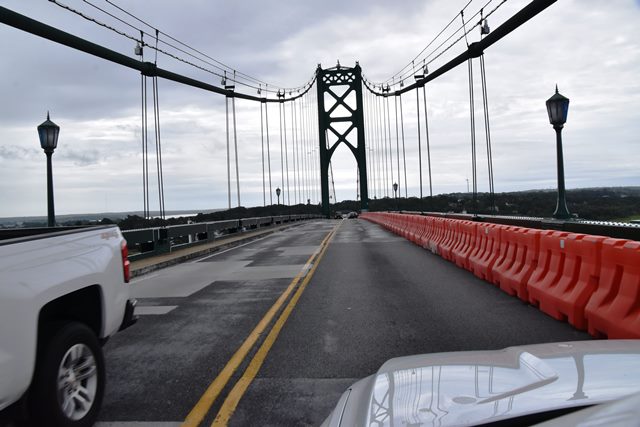
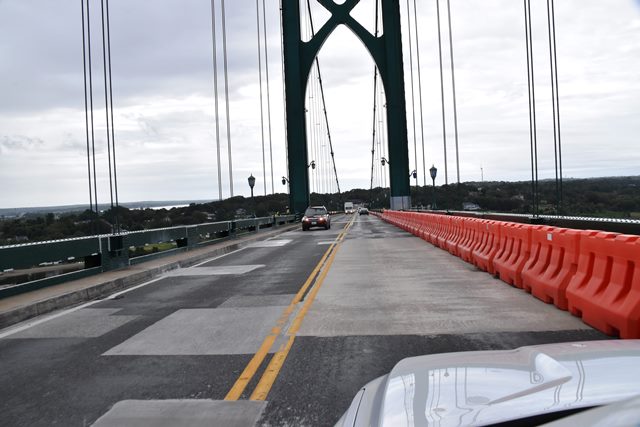
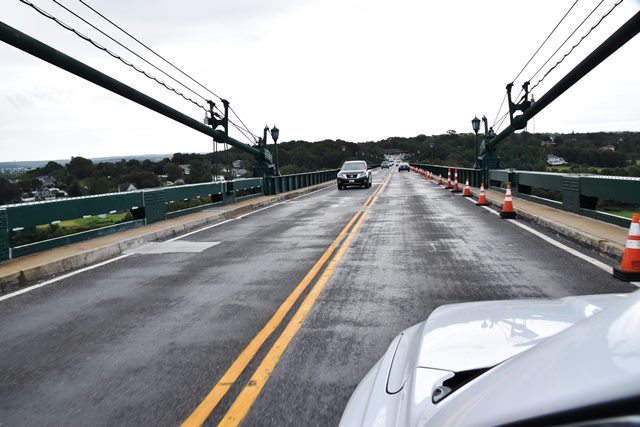
Driving northbound over bridge. Views on south suspended span.
![]()
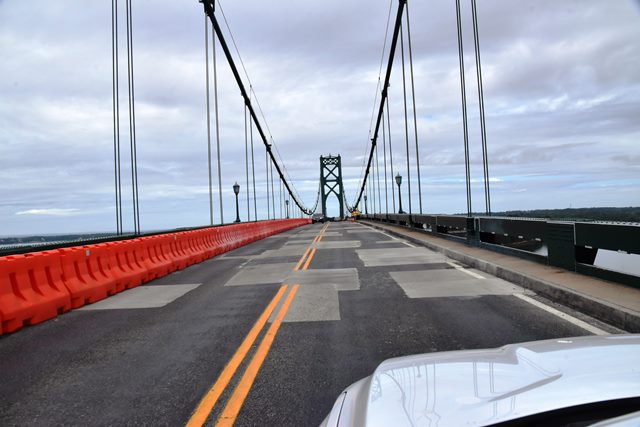


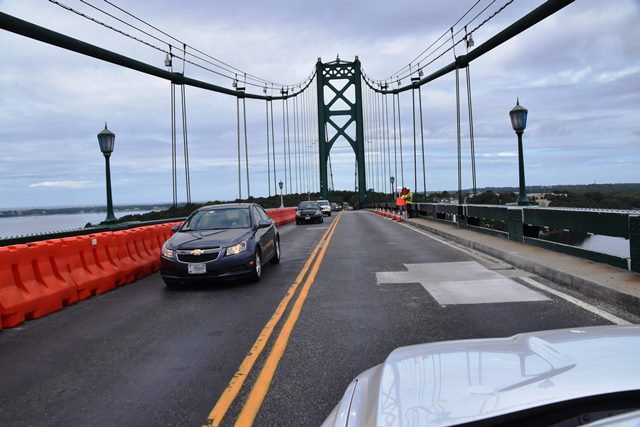


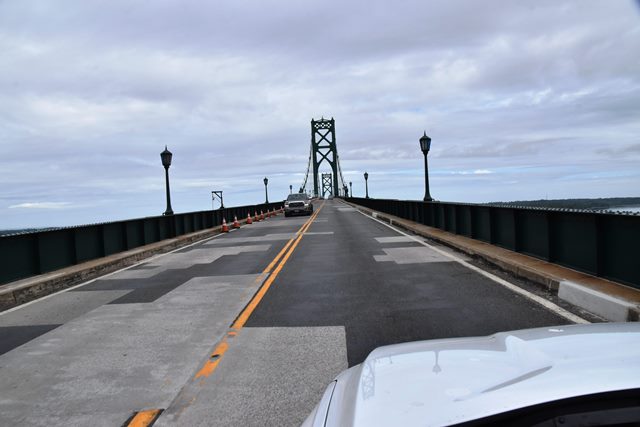
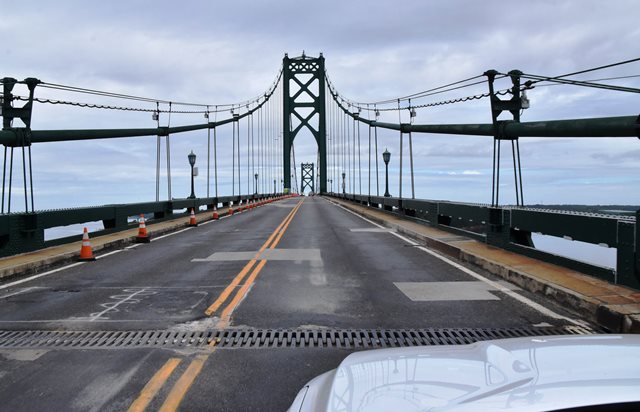
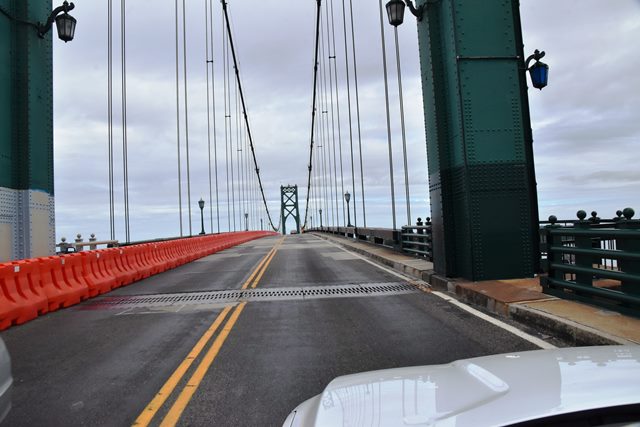
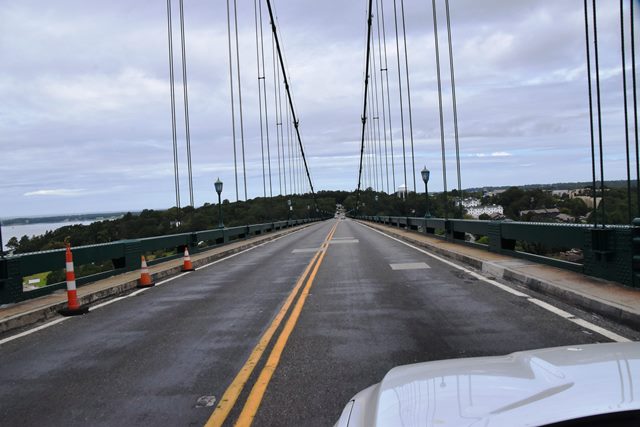
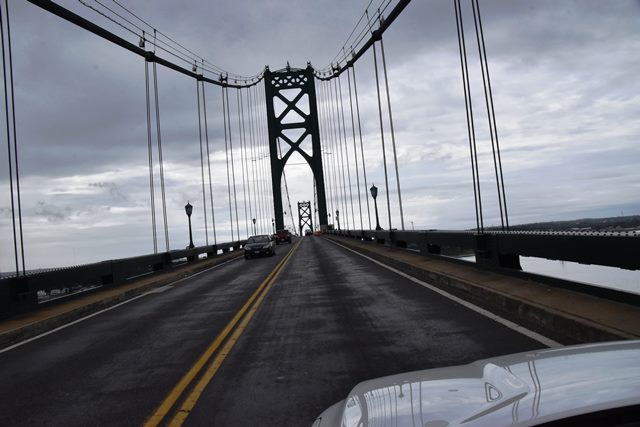
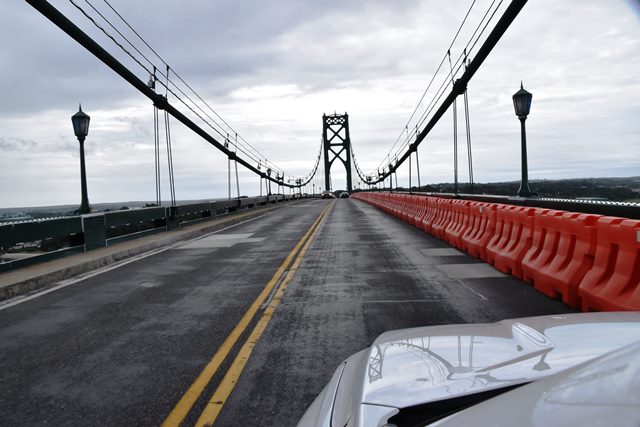
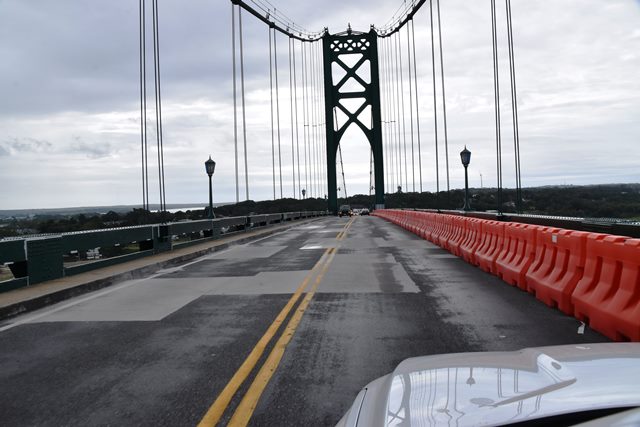
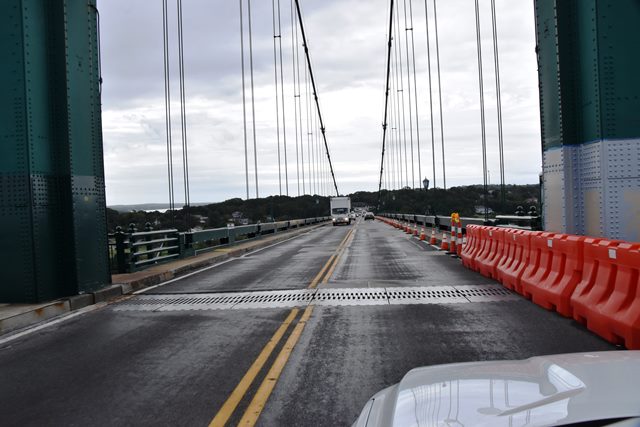
Driving northbound over bridge. Views on middle suspended span.
![]()


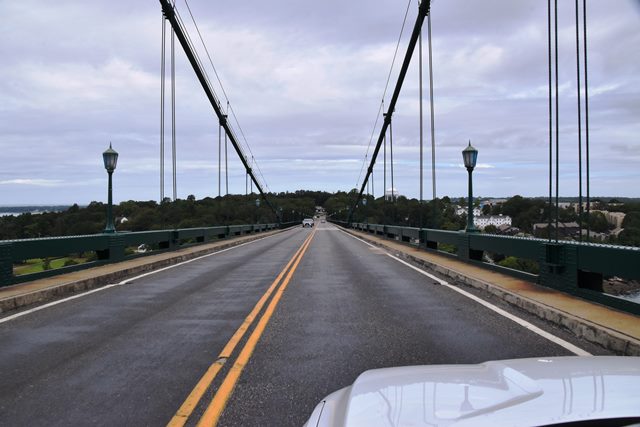

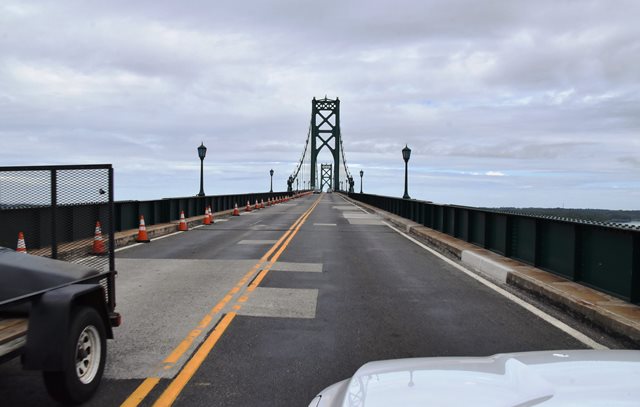
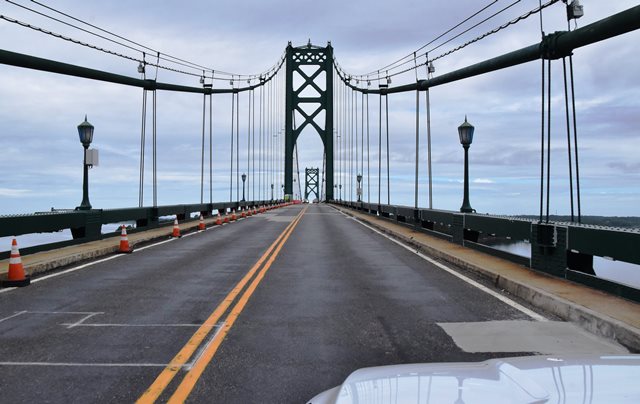
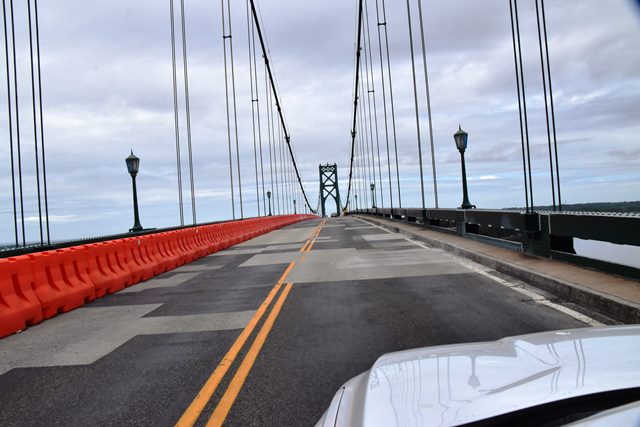
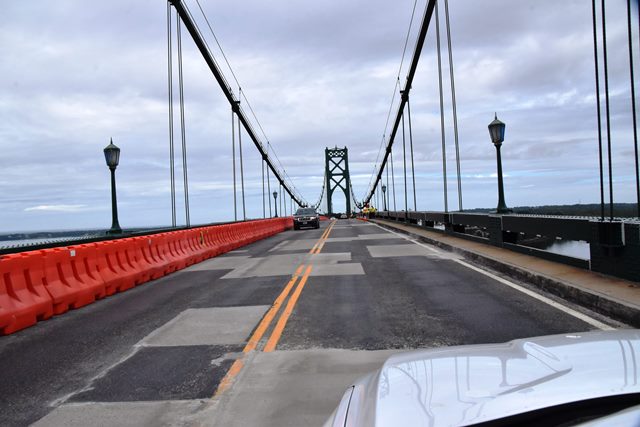
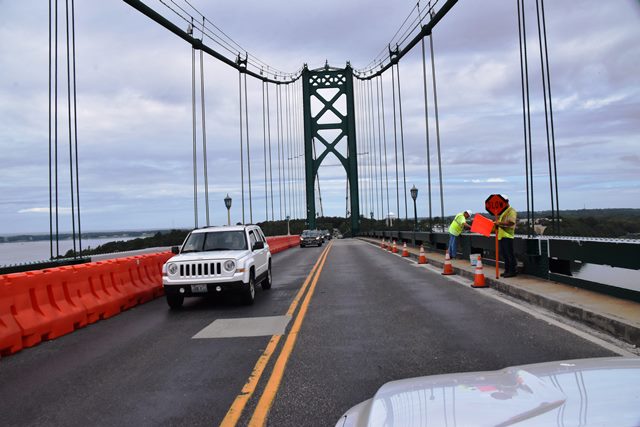
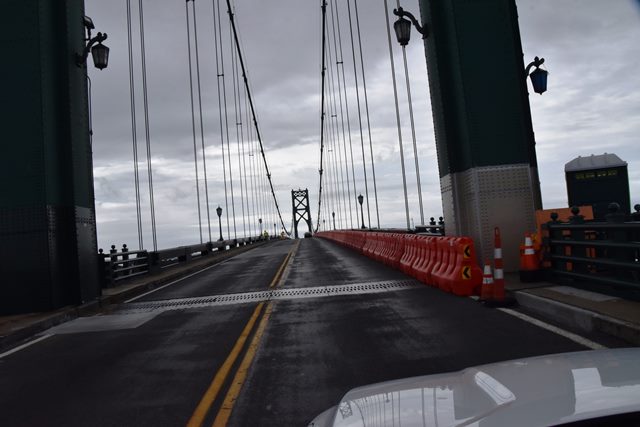
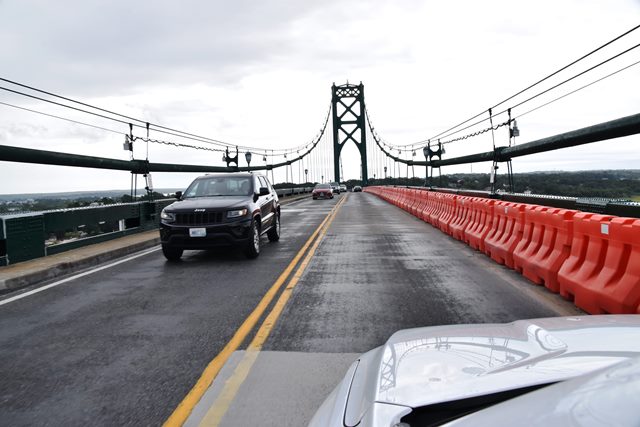
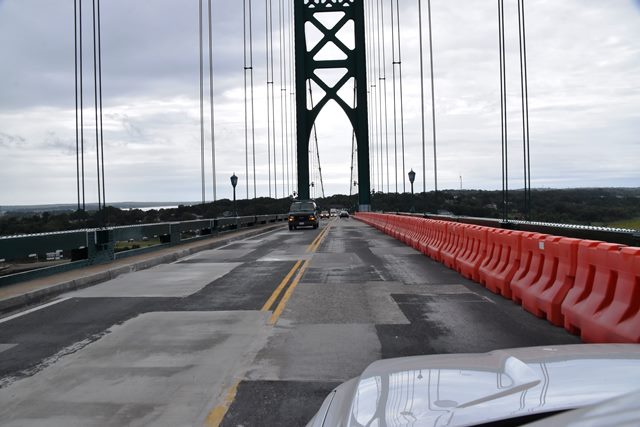
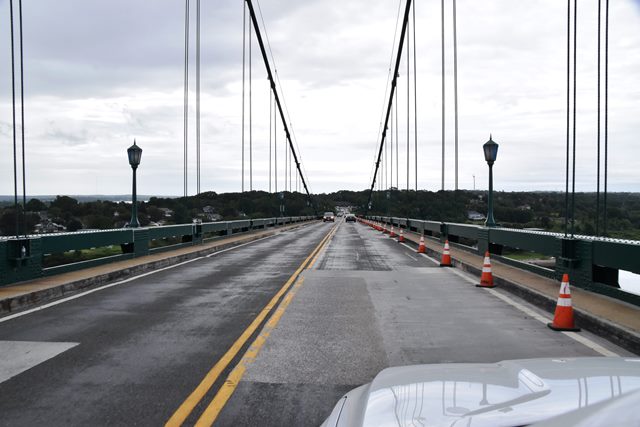
Driving northbound over bridge. Views on north suspended span.
![]()


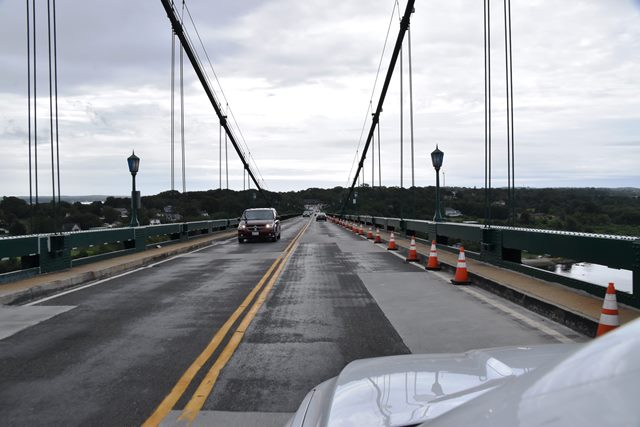
Driving southbound over bridge. Views on north approach.
![]()


Driving southbound over bridge. Views on north suspended span.
![]()


Driving southbound over bridge. Views on middle suspended span.
![]()
Driving southbound over bridge. Views on south suspended span.
![]()

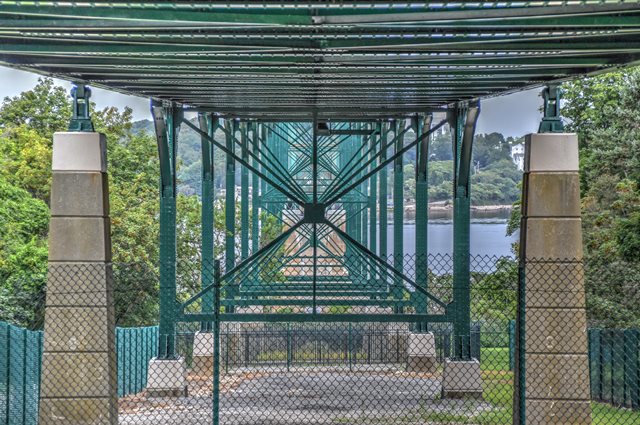
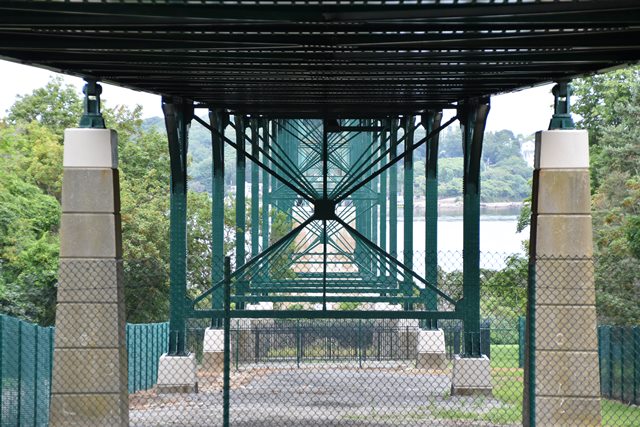
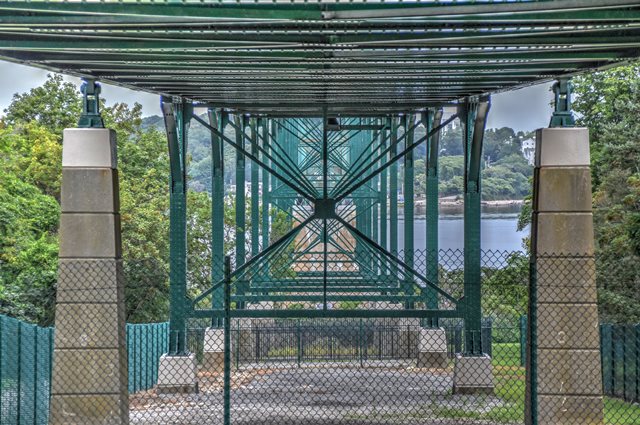
View looking north through bracing of south approach spans.
![]()


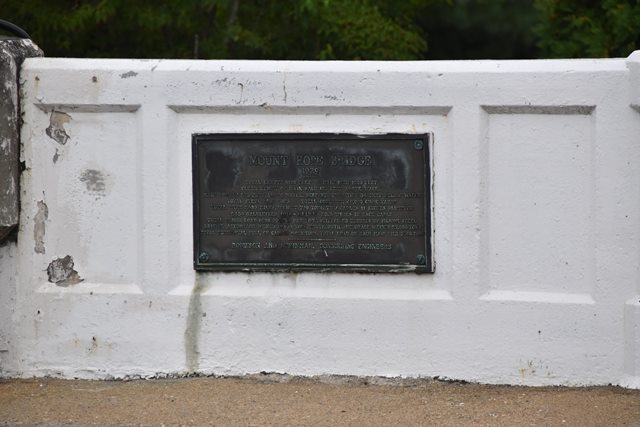
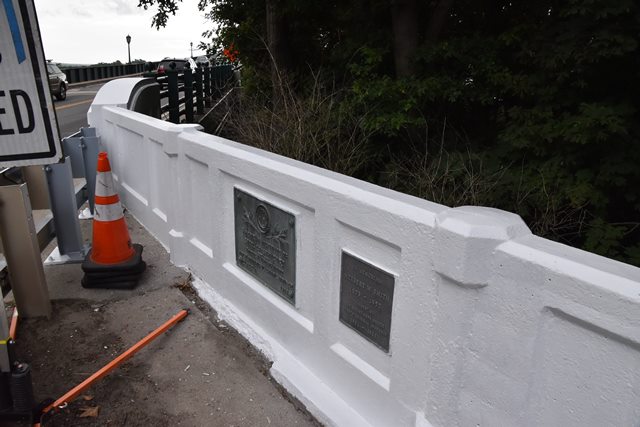
Main plaque.
![]()
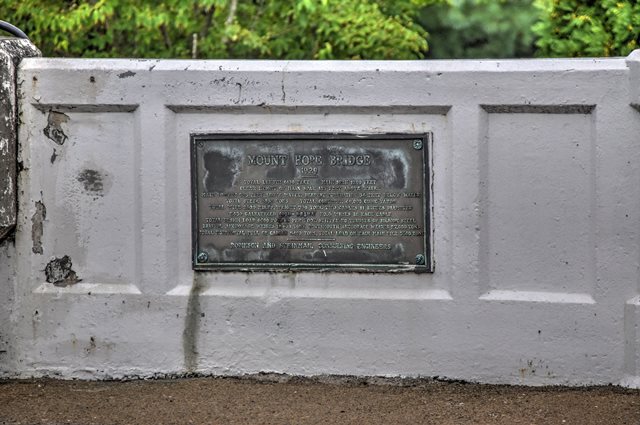
Plaque showing bridge dimensions.
![]()


Interpretive plaque.
![]()

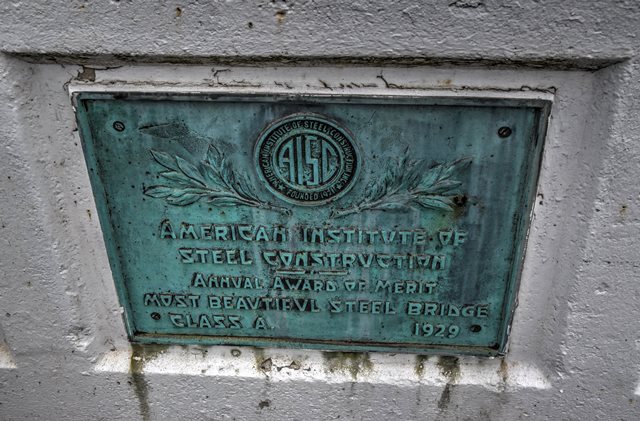

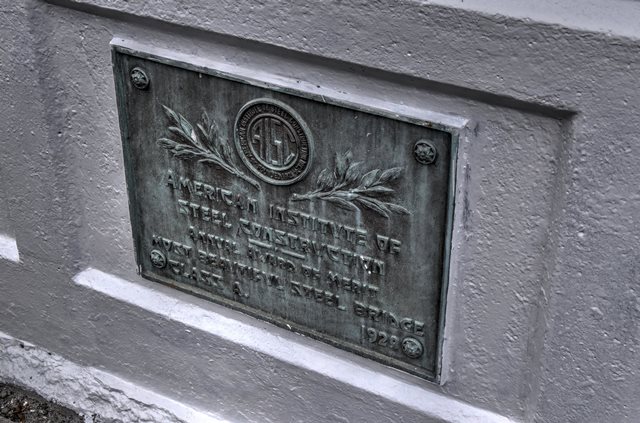
AISC Award plaque.
![]()

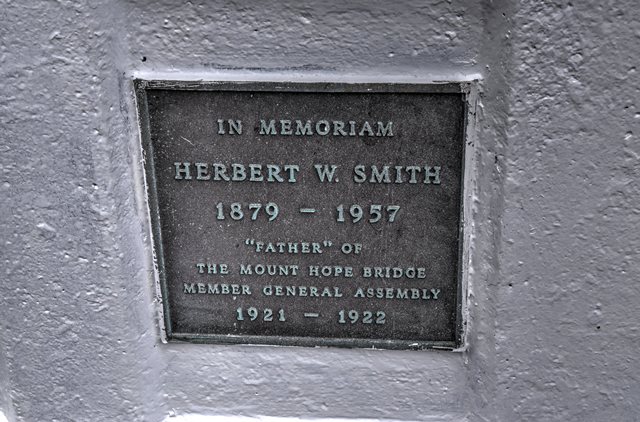
Memorial plaque.
![]()
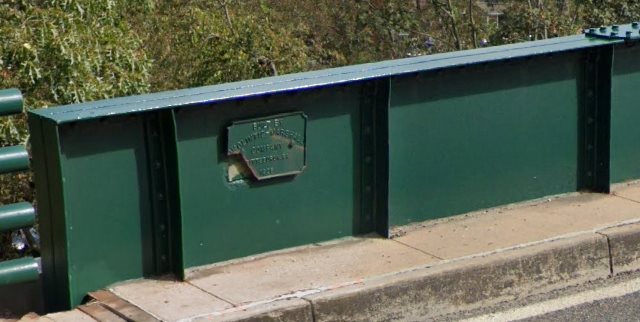
Photo Credit: Google Street View
Builder plaque, McClintic Marshall. HistoricBridges.org was chased off the bridge by security forces before getting this plaque photographed!
![]()
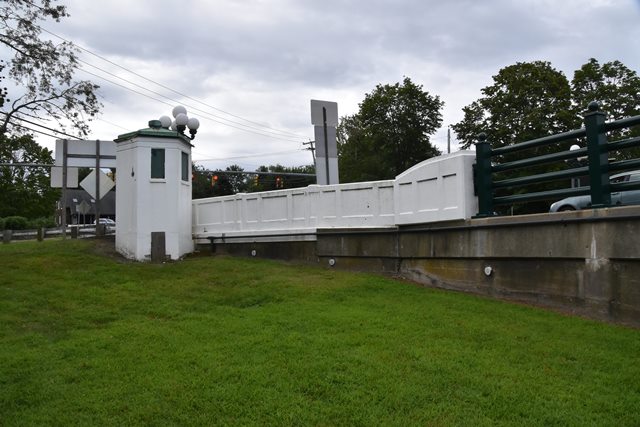
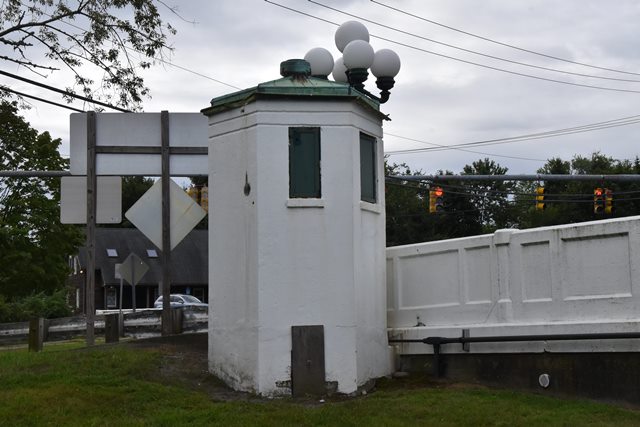
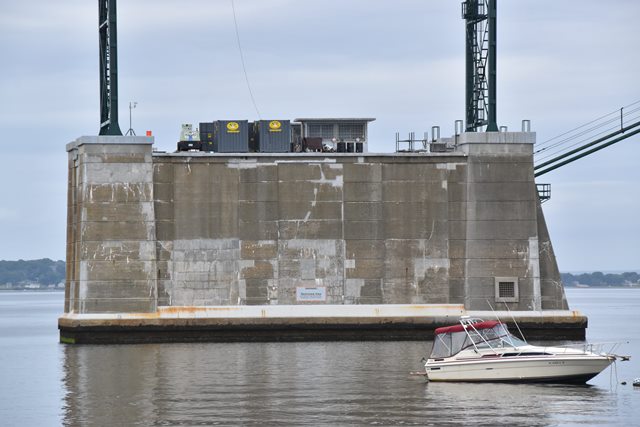
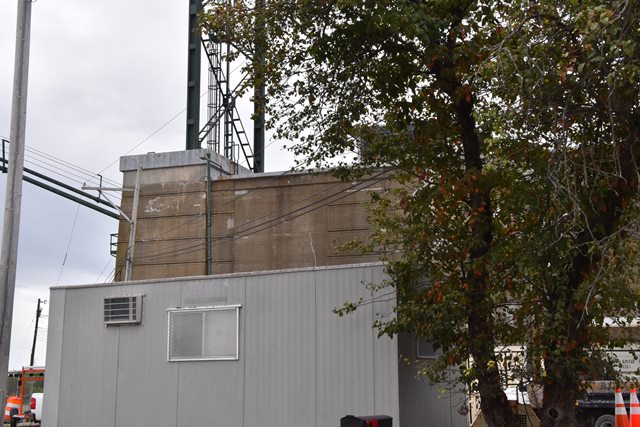
Building at south abutment.
![]()
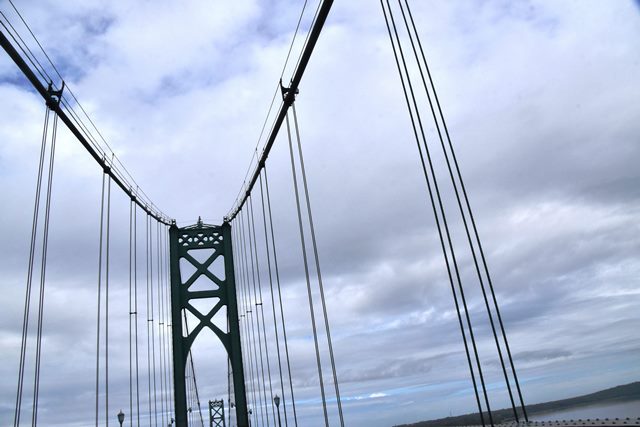
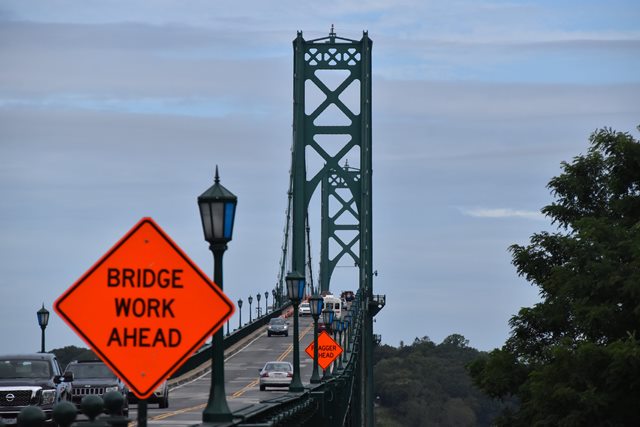
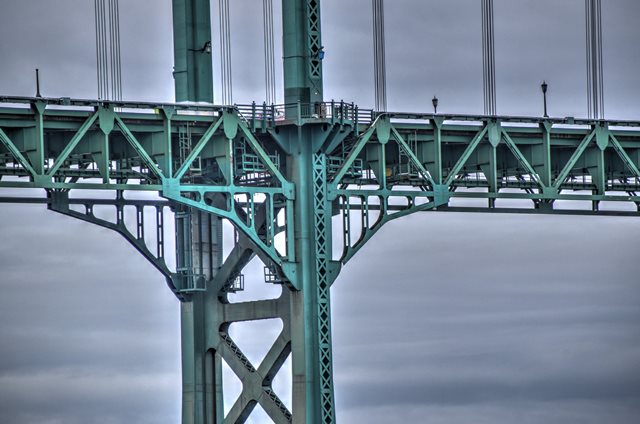
Looking up at tower from on bridge.
![]()
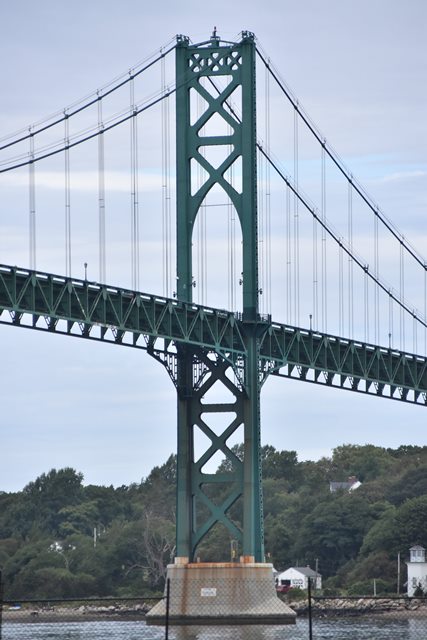
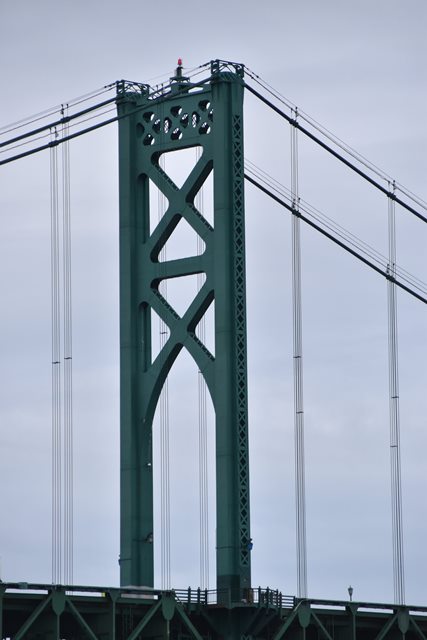
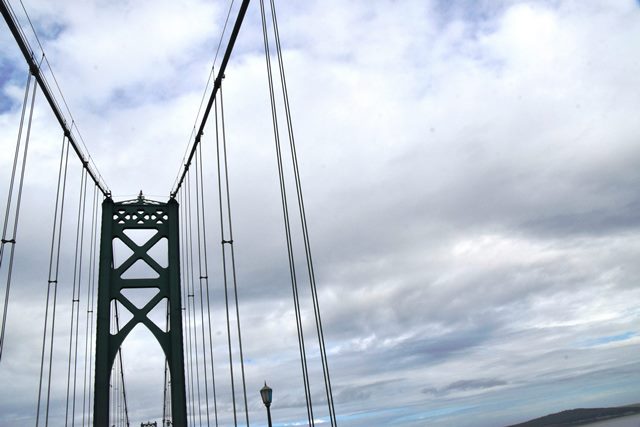
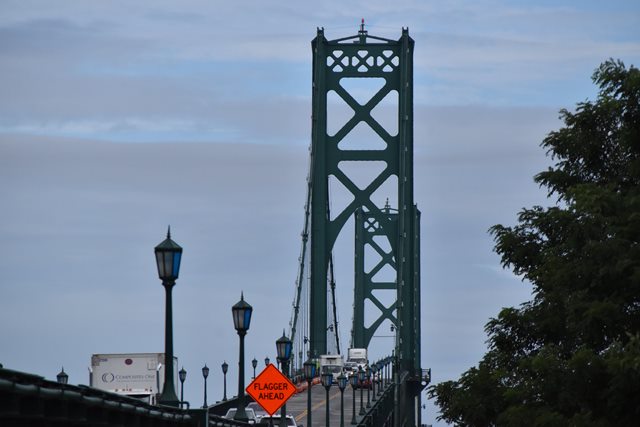
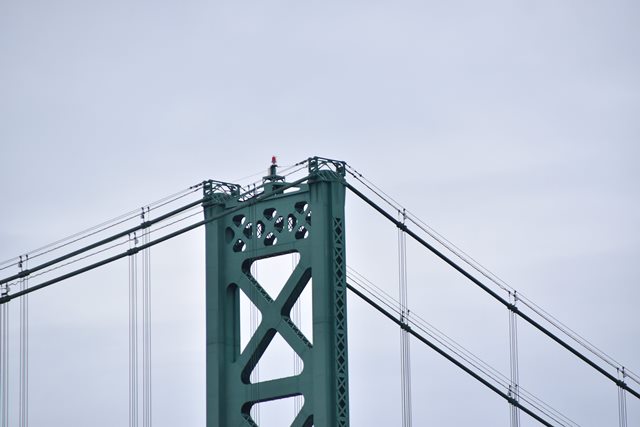
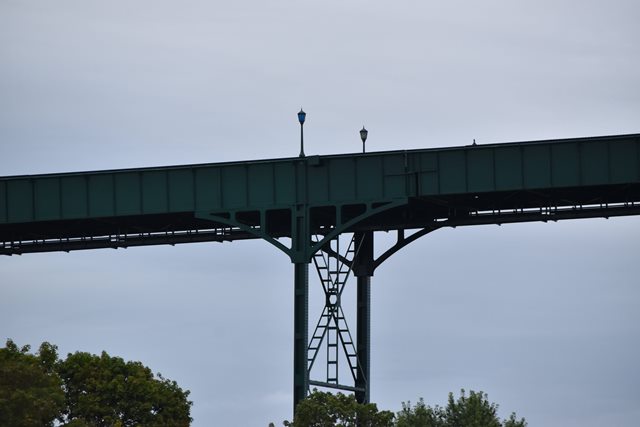
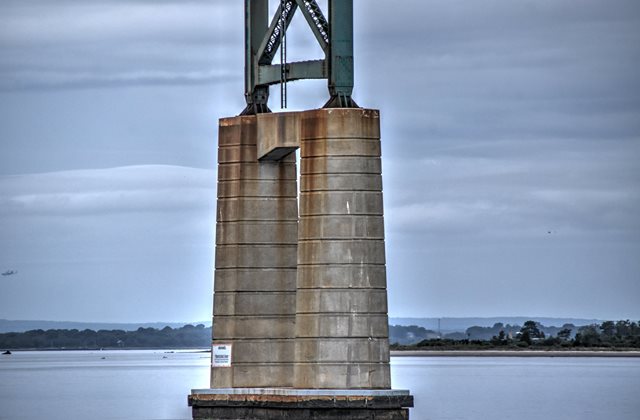
Tower overviews.
![]()
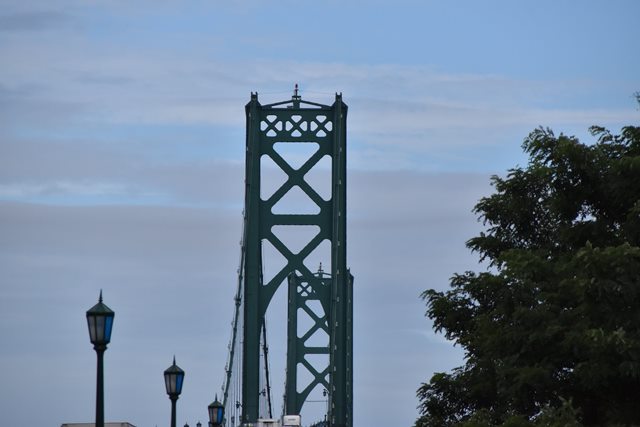


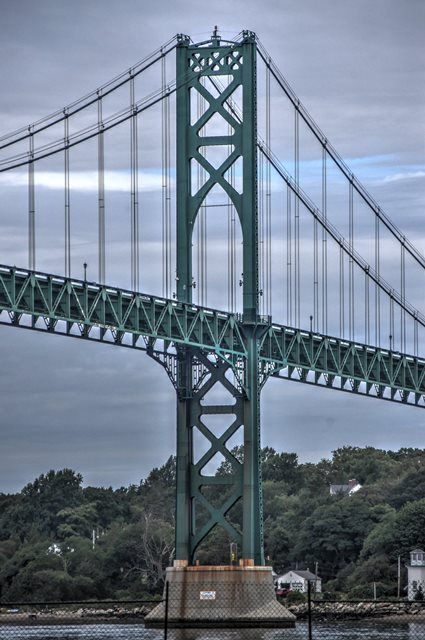
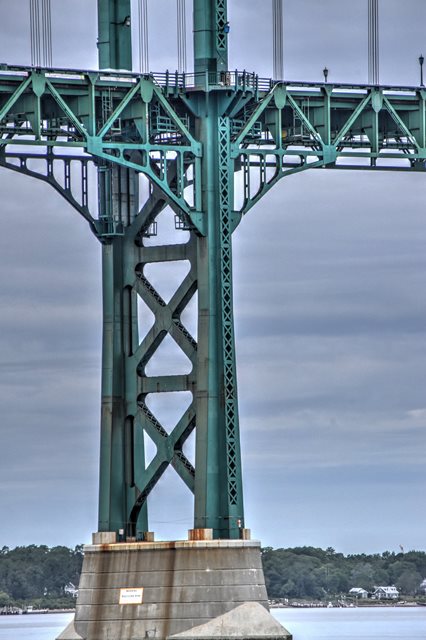
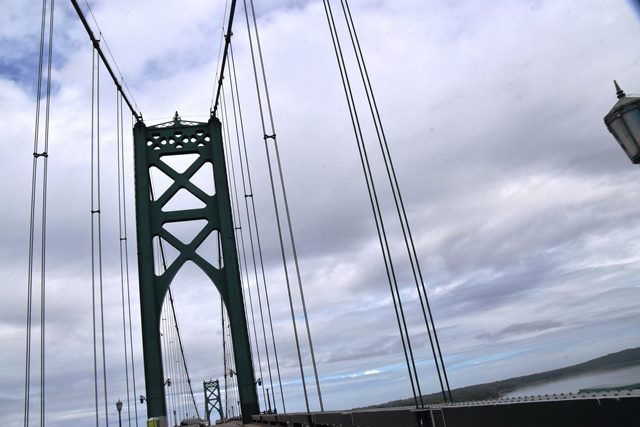
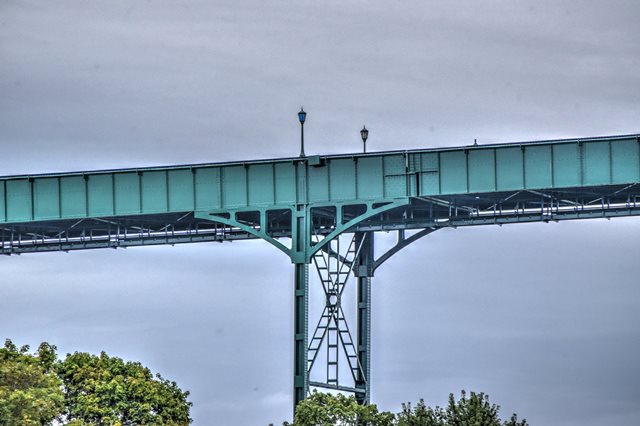
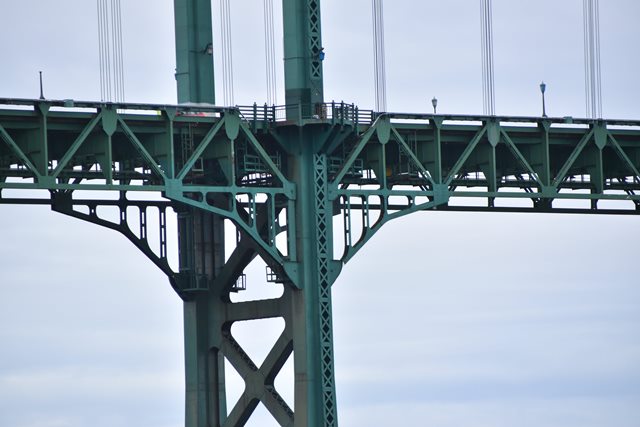
Tower as viewed from beside bridge.
![]()

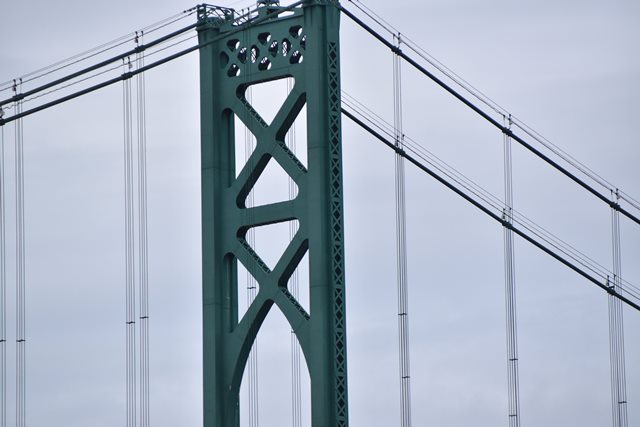
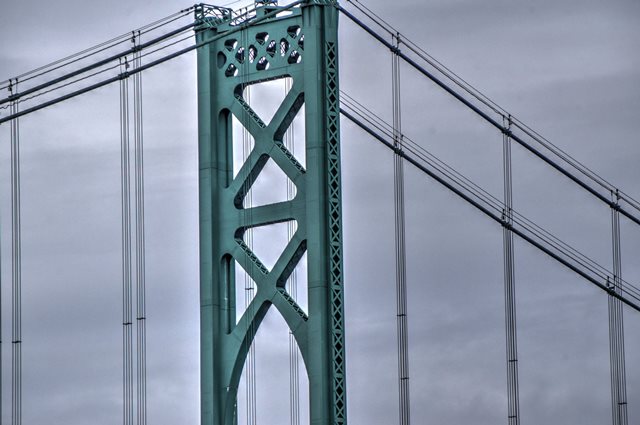

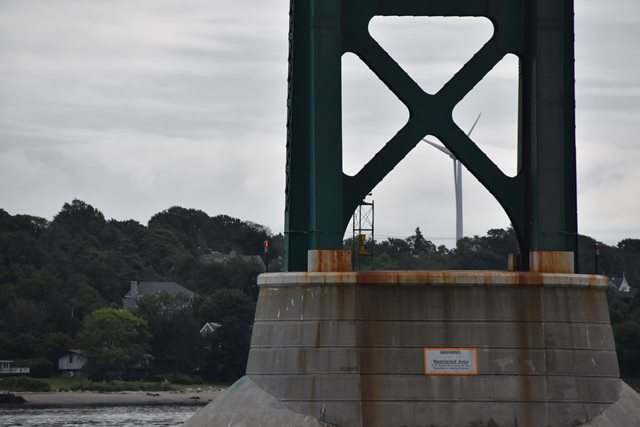


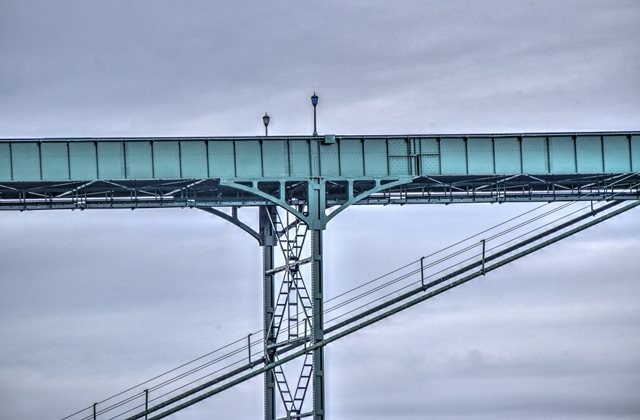
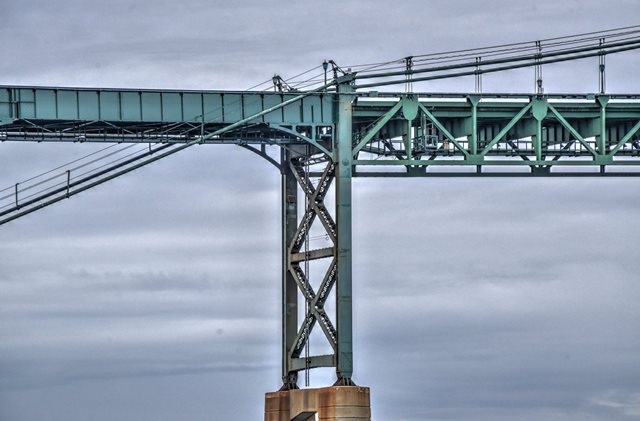
Tower details.
![]()

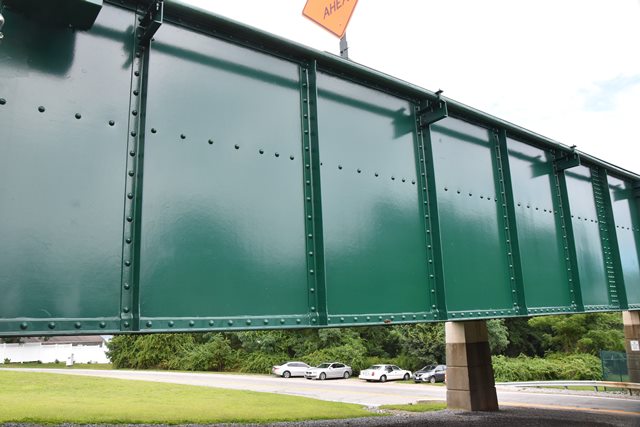
East elevation of south approach spans.
![]()


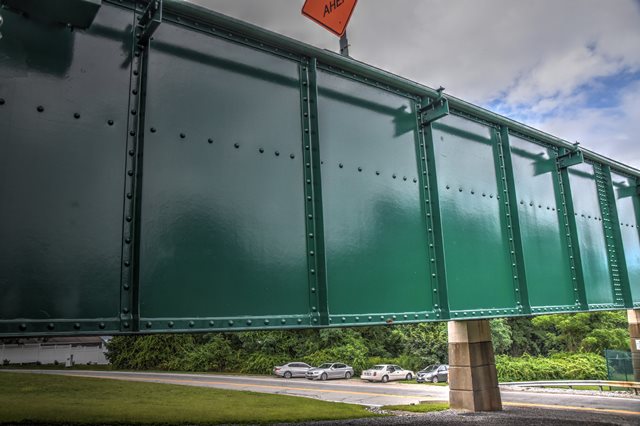
North approach spans as seen from southeast quadrant.
![]()
East elevation of north approach spans.
![]()

Views of far southern approach spans.
![]()
South abutment.
![]()
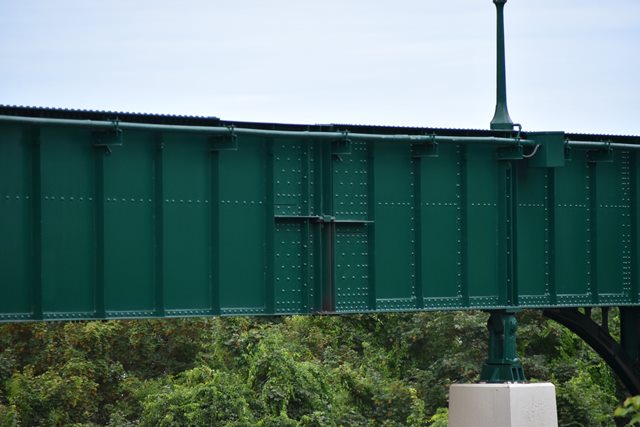


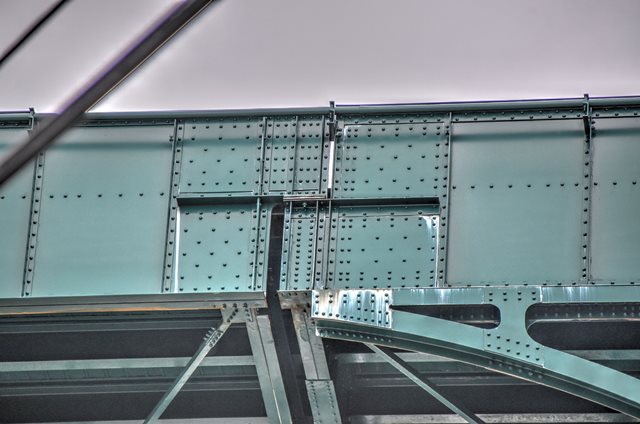
Approach girder details.
![]()
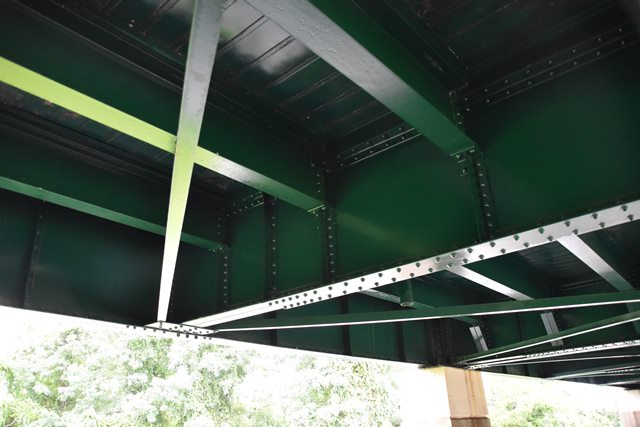


Floorbeams for approach spans.
![]()


Approach girder bearing detail.
![]()


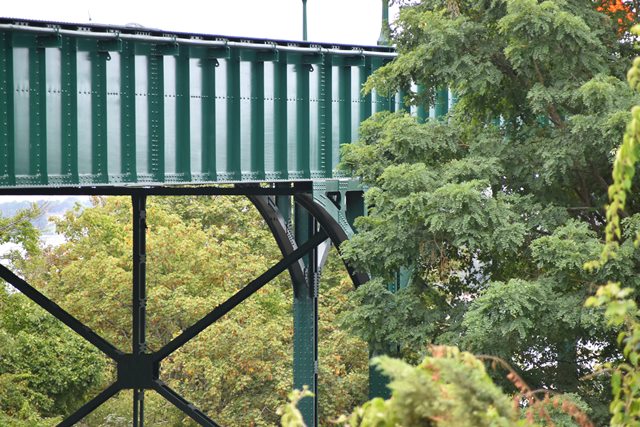
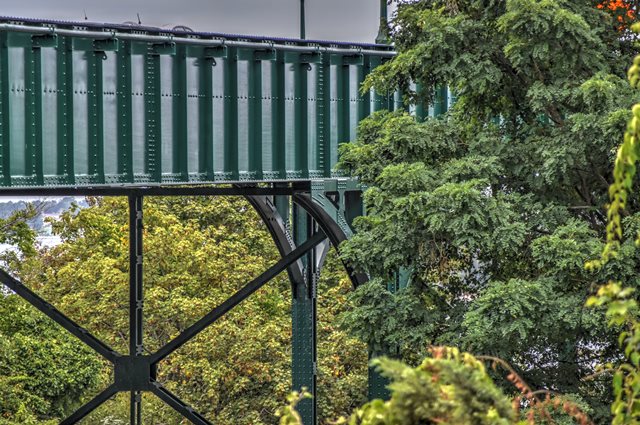
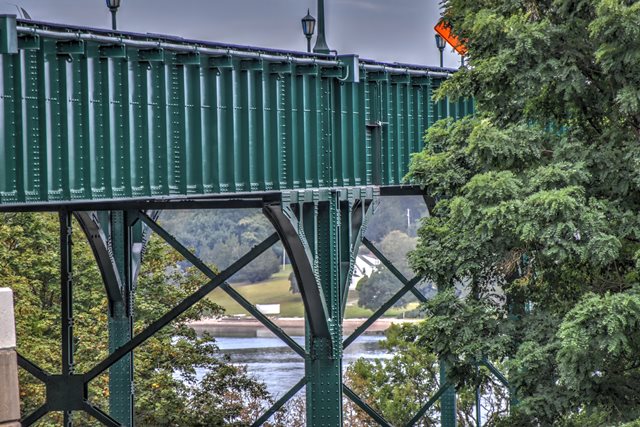
Overview of arched supports under girder approach spans.
![]()


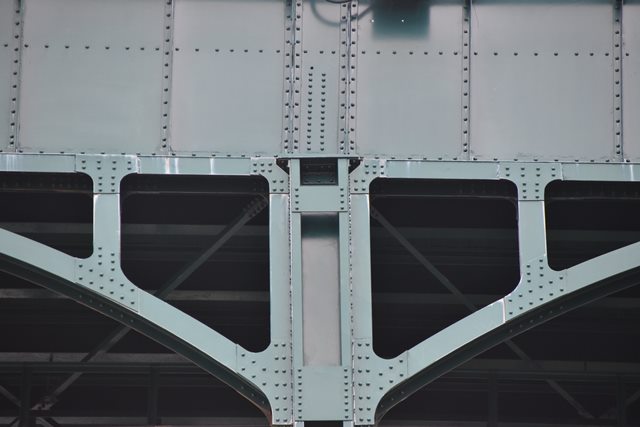
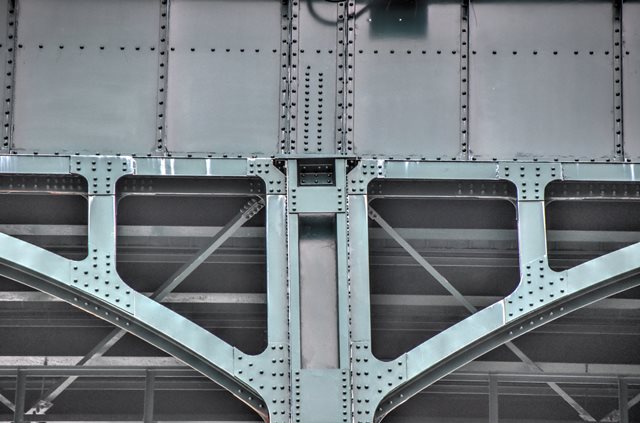
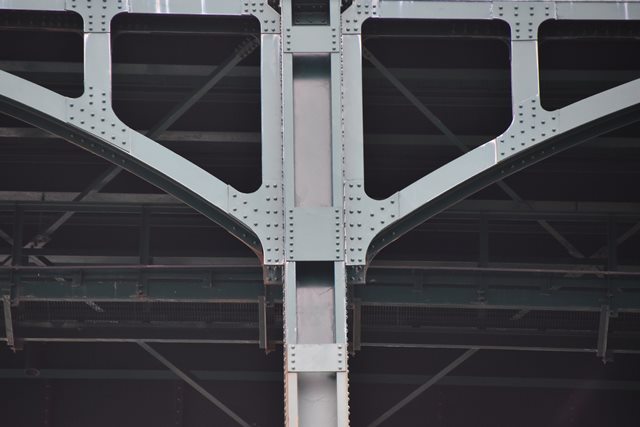

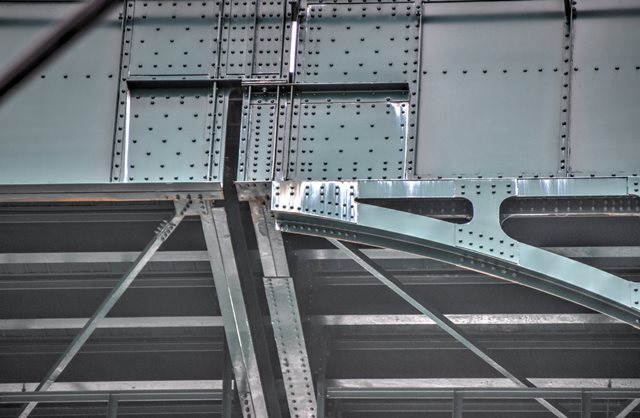
Detail of arched supports under girder approach spans.
![]()


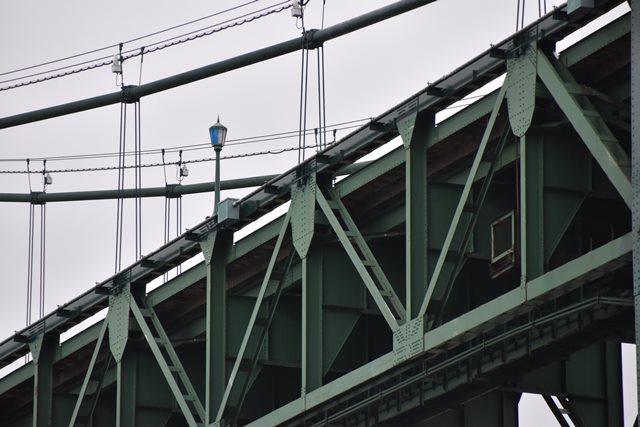

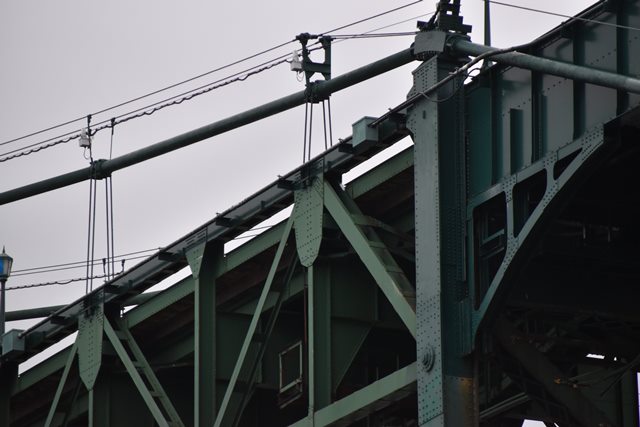

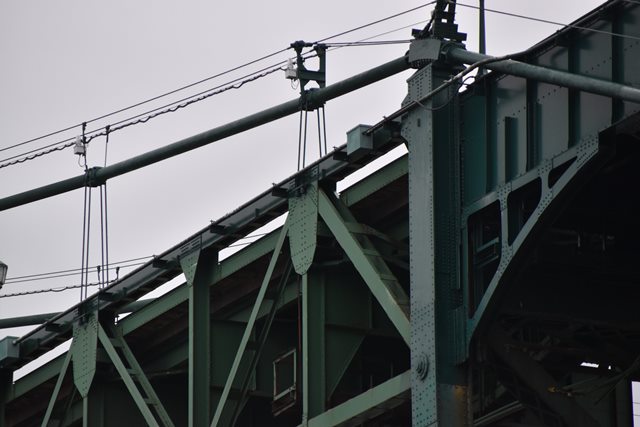
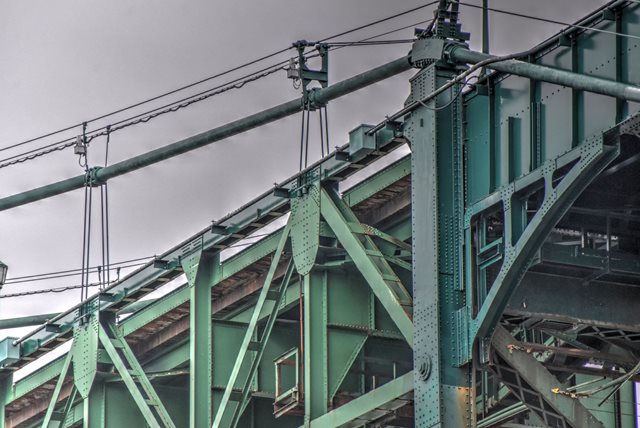


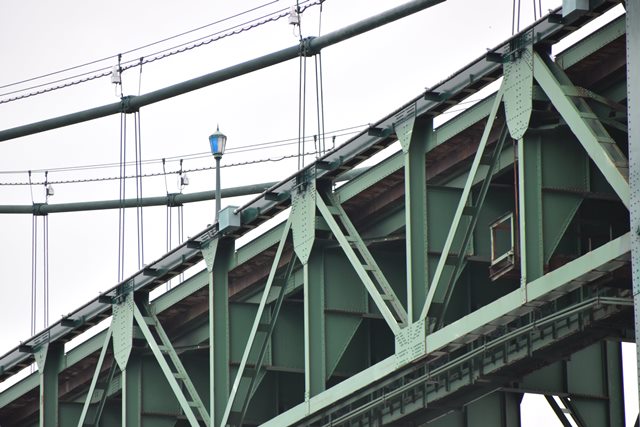


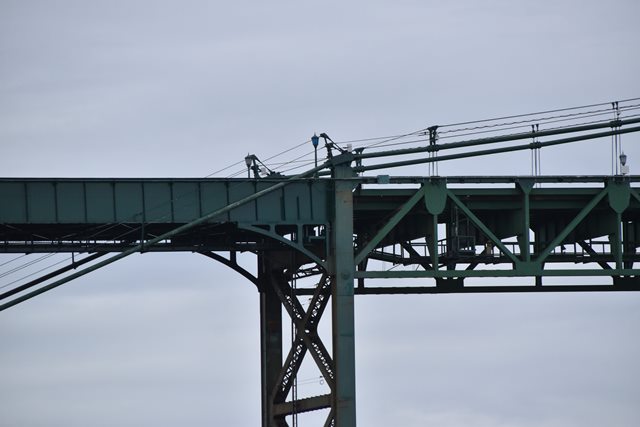
Stiffening truss.
![]()

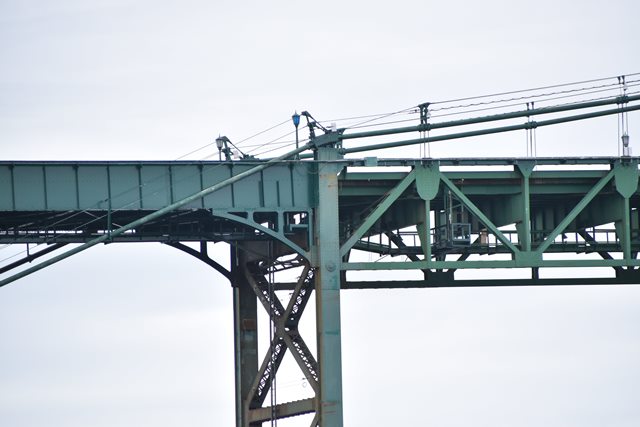
View of cable bent from on bridge.
![]()

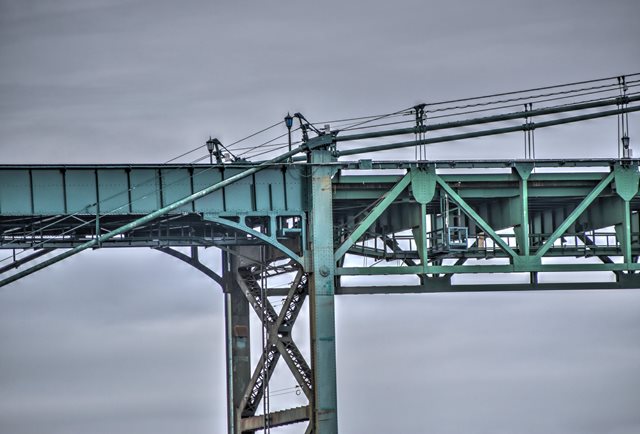
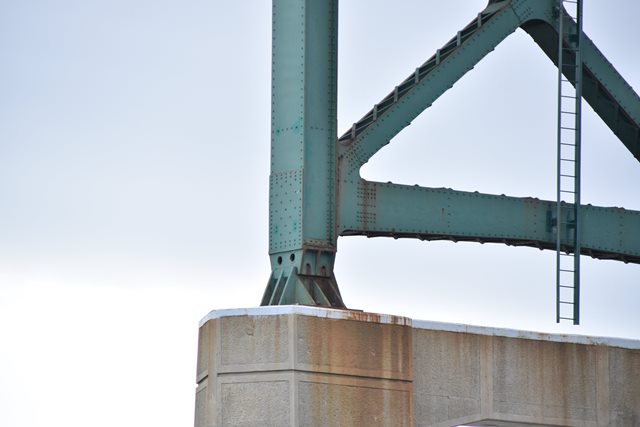
Cable bent overview.
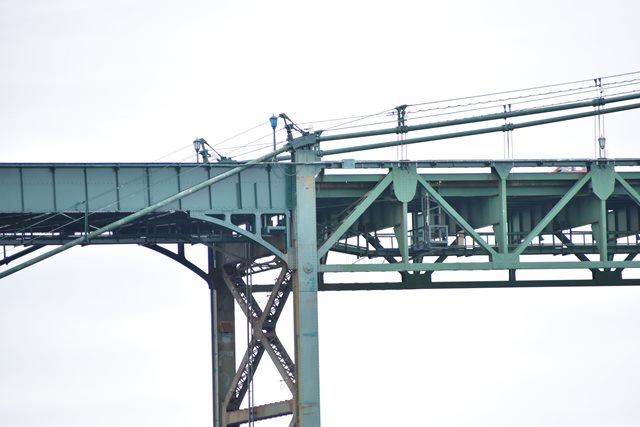
![]()
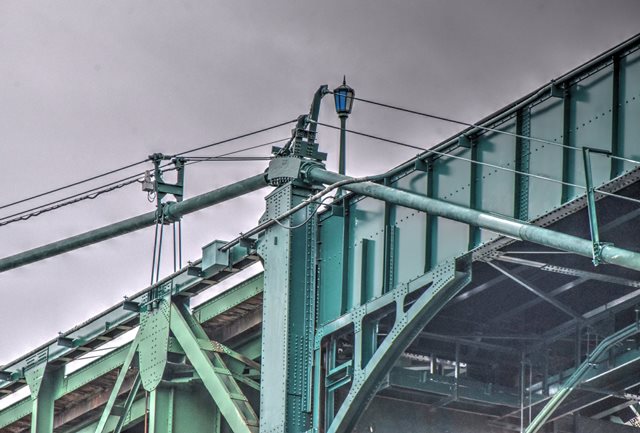
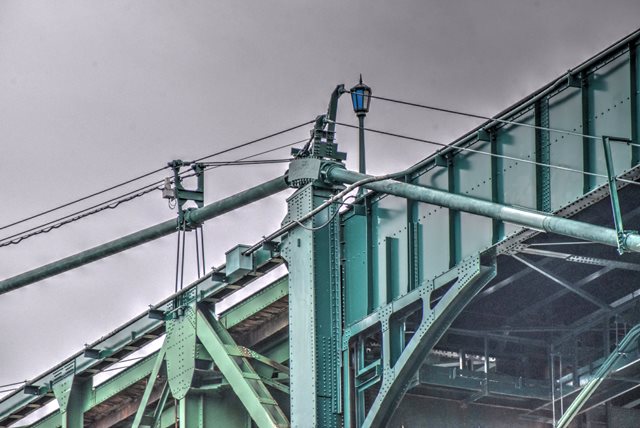
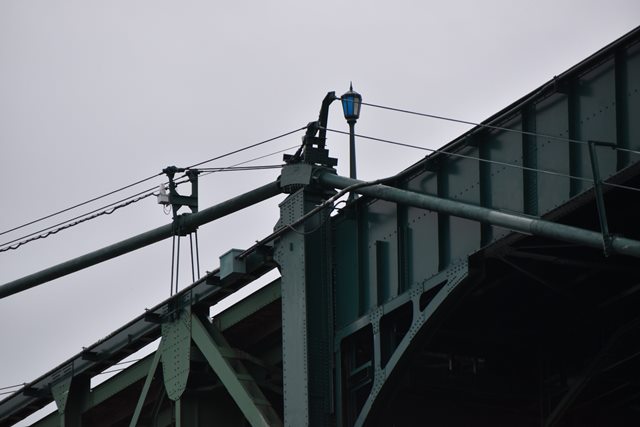
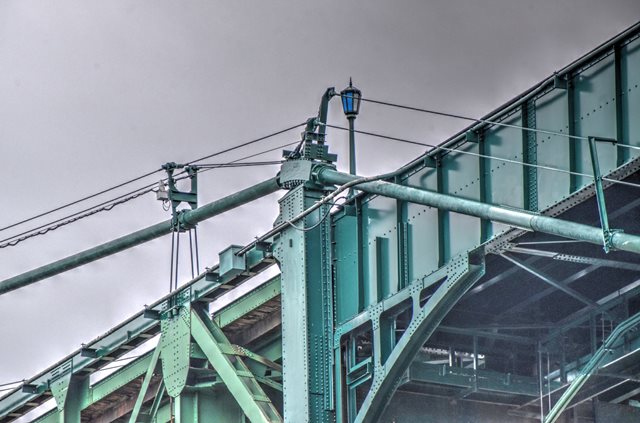
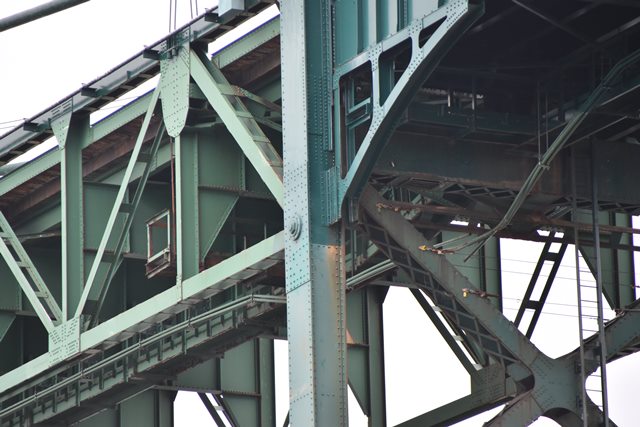
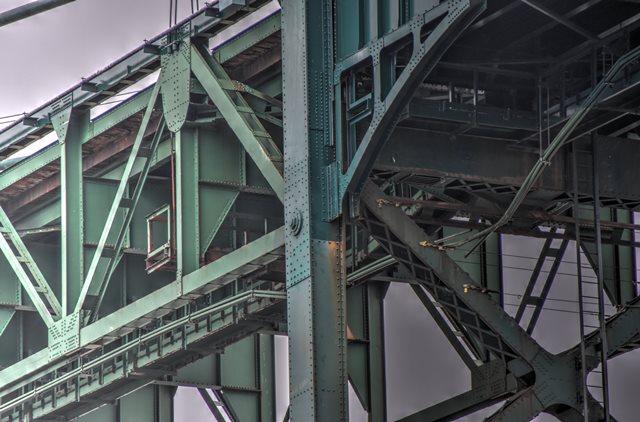
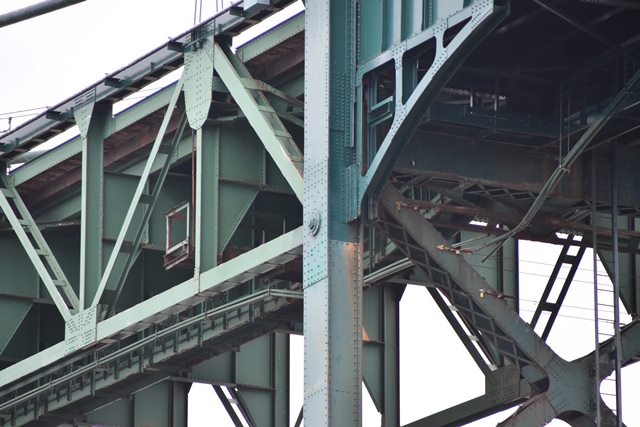
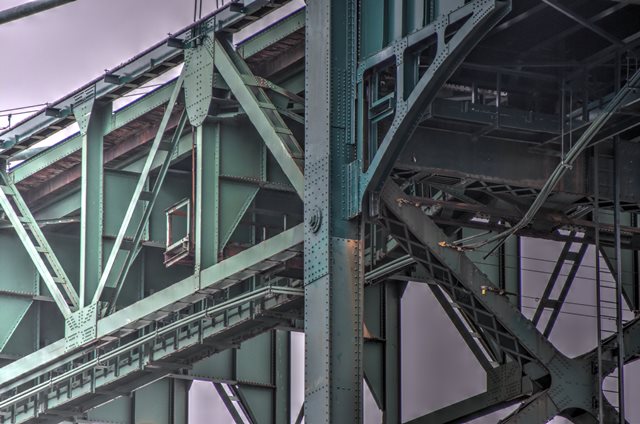
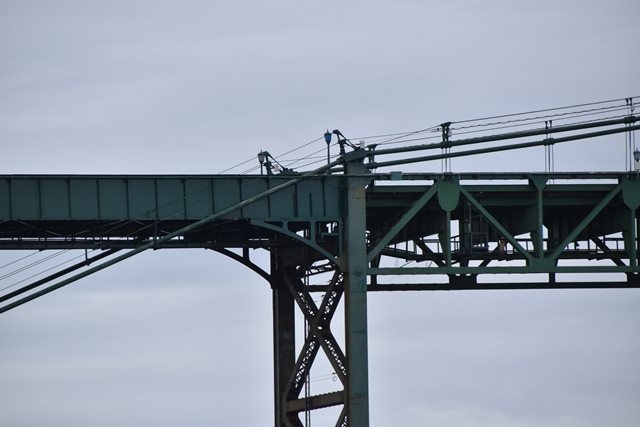
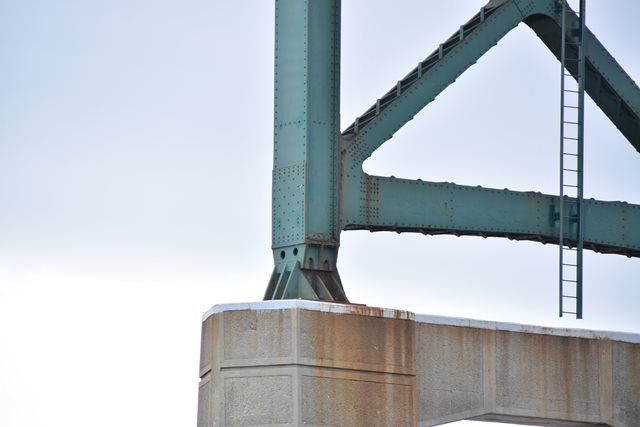
Details at the cable bent.
![]()


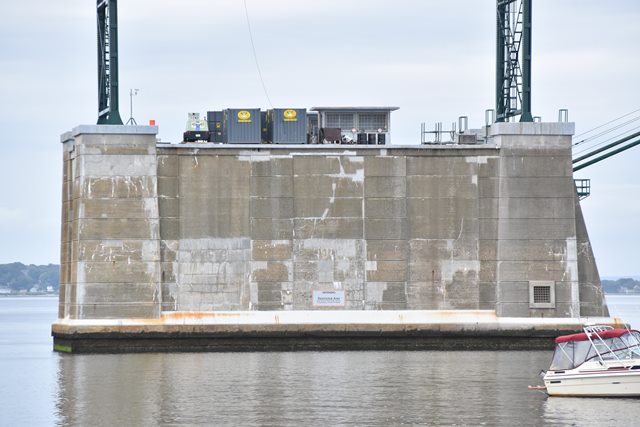

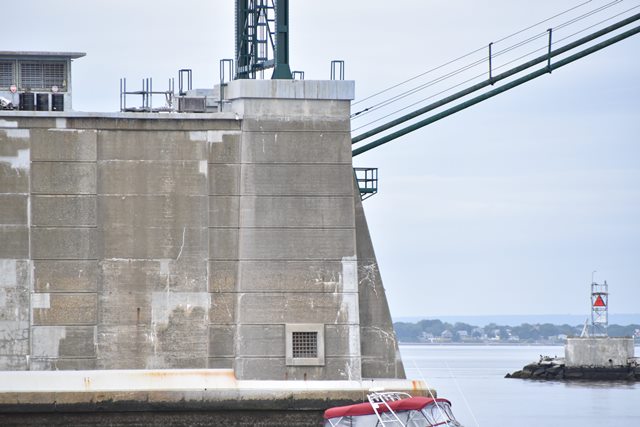


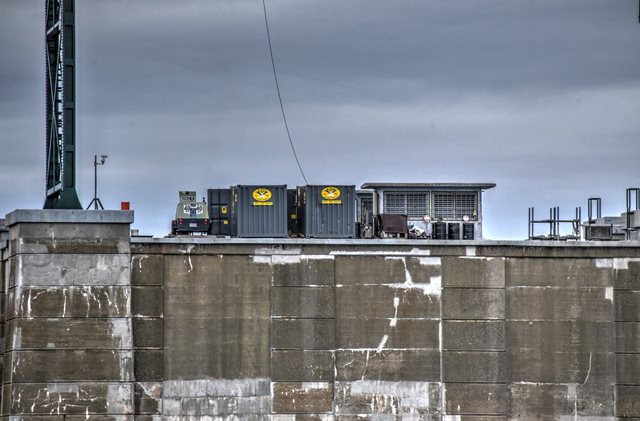
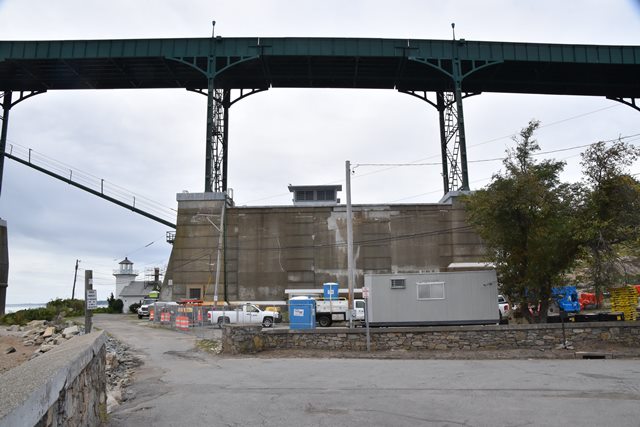
South anchorage.
![]()


North anchorage.
![]()

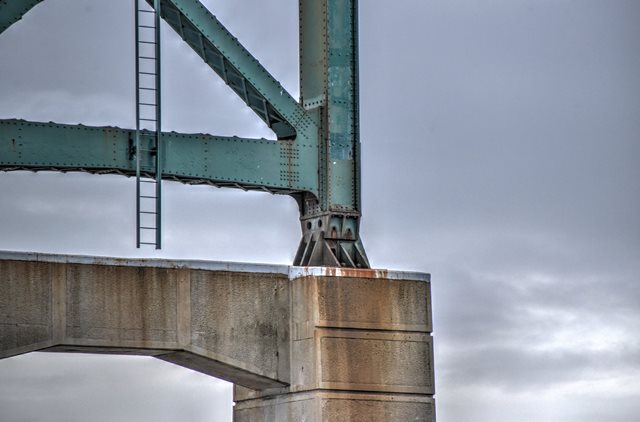


Bent bearings on foundation.
![]()


Main cable below deck.
![]()

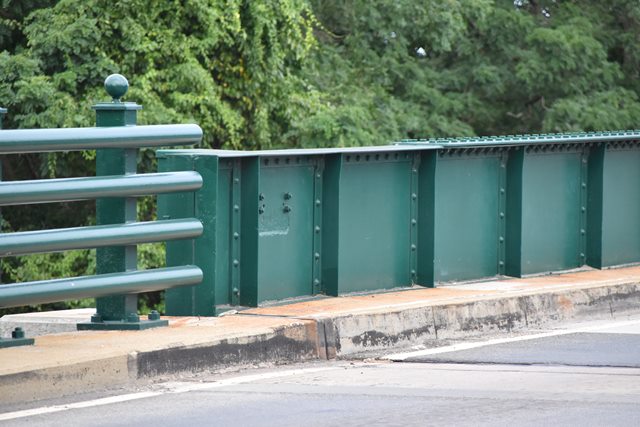
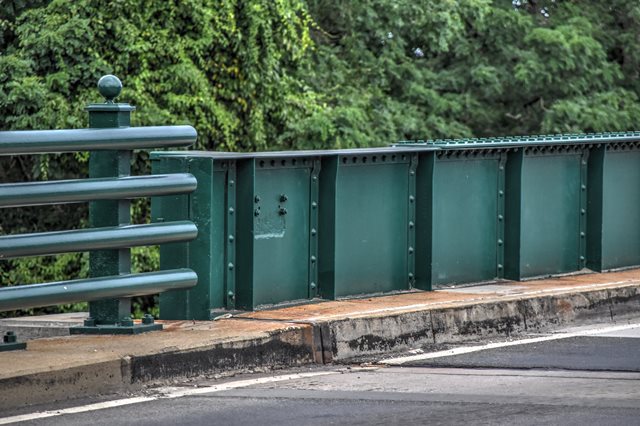
Approach railing.
![]()
![]()

![]()