Uncredited photos on this page taken by: Nathan Holth. Unless stated in a caption, all photos are Copyright with All Rights Reserved. Learn about reuse of our photos.
![]()


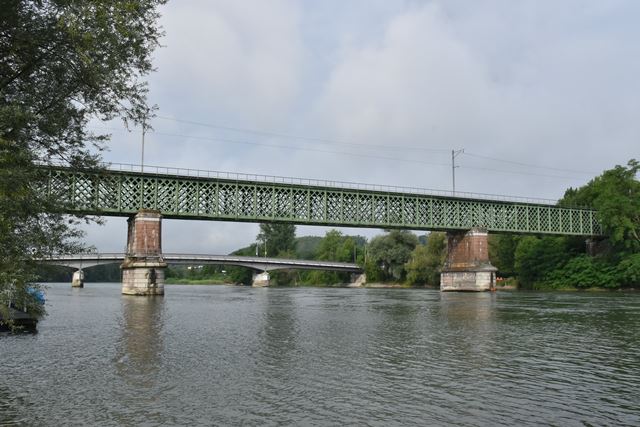


Elevation from east quadrant.
![]()


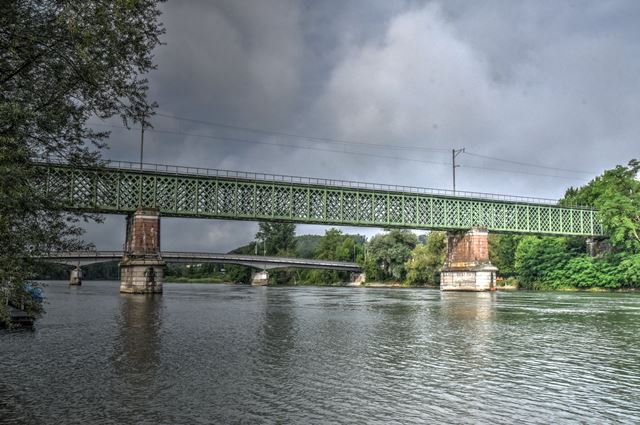
Elevation from south quadrant.
![]()


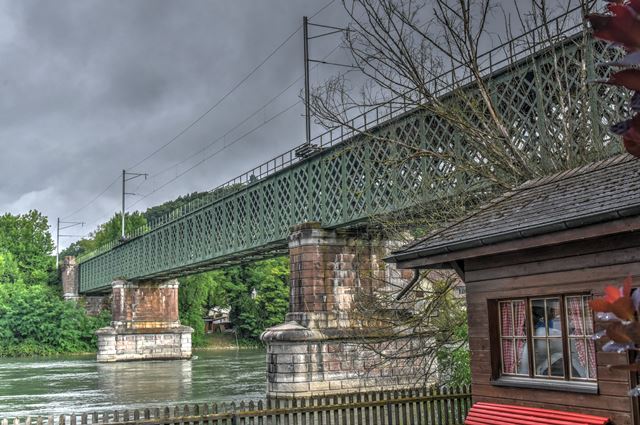
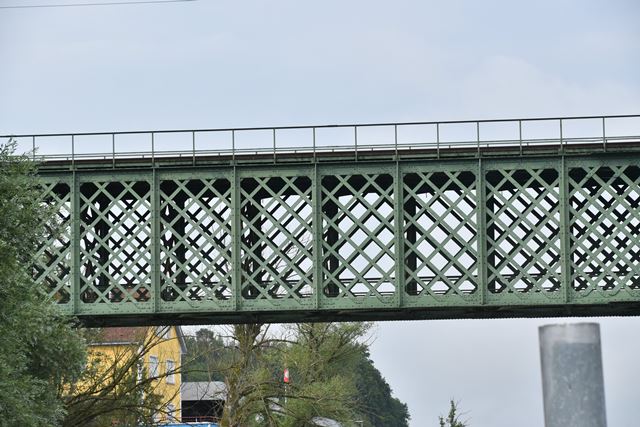
Views beside bridge from south quadrant.
![]()
![]()
Panoramic southwest elevation.
![]()


Train on bridge.
![]()

Central girder span from east quadrant.
![]()


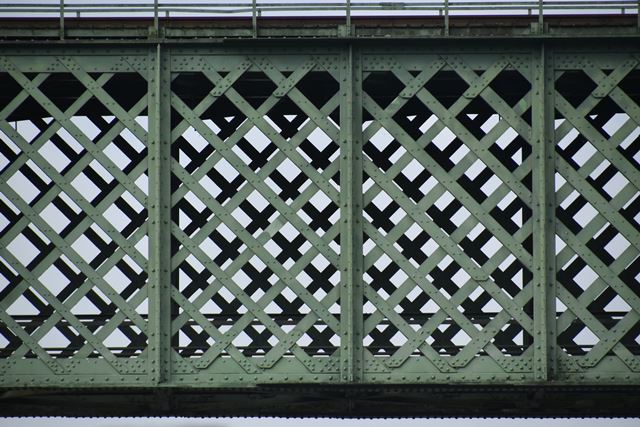


Views of lattice girder.
![]()

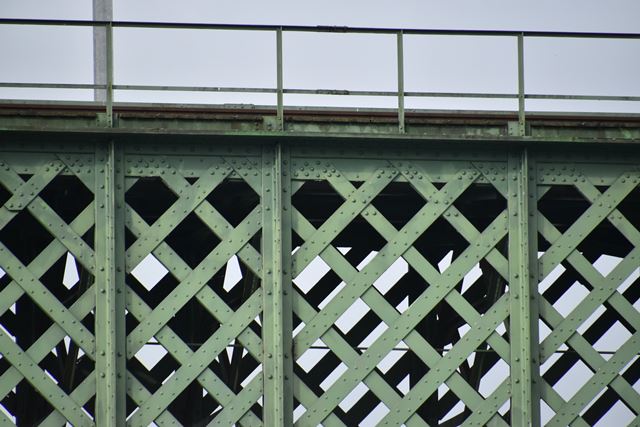
Top chord of lattice girder.
![]()


Bottom chord of lattice girder.
![]()
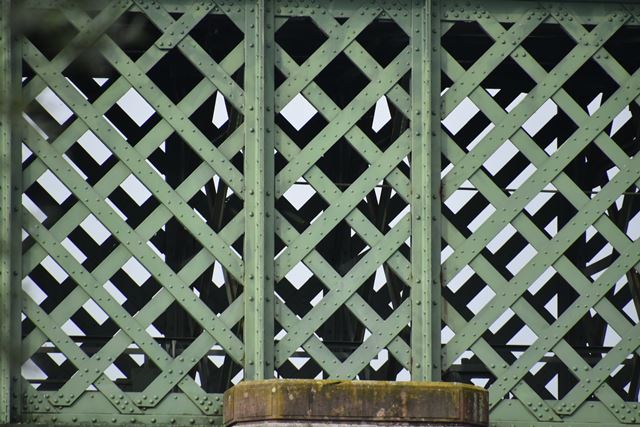
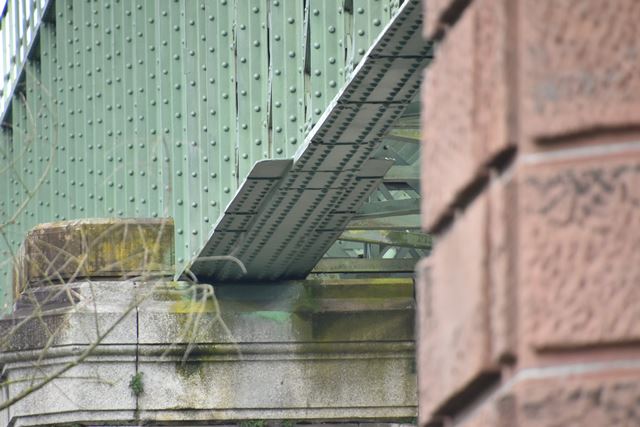
Detail of lattice girder at pier.
![]()
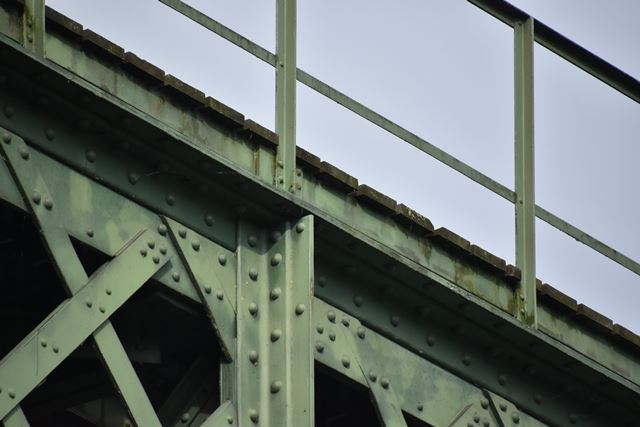


Vertical member connection to top chord.
![]()


Vertical member connection to bottom chord.
![]()


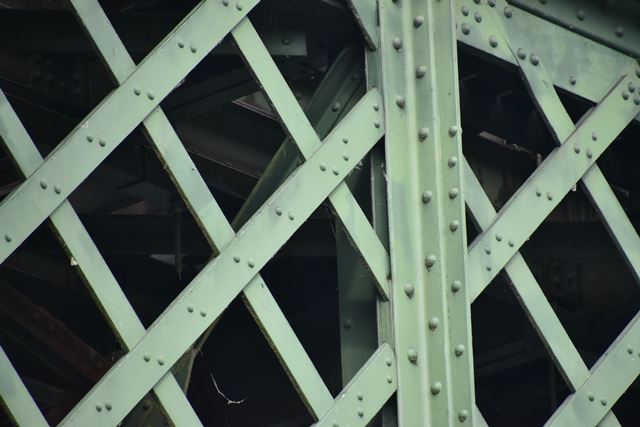
Lattice diagonal and vertical member details.
![]()
Lattice diagonal detail.
![]()

Sway and lateral bracing. Some of this appears to be bolted and not original.
![]()


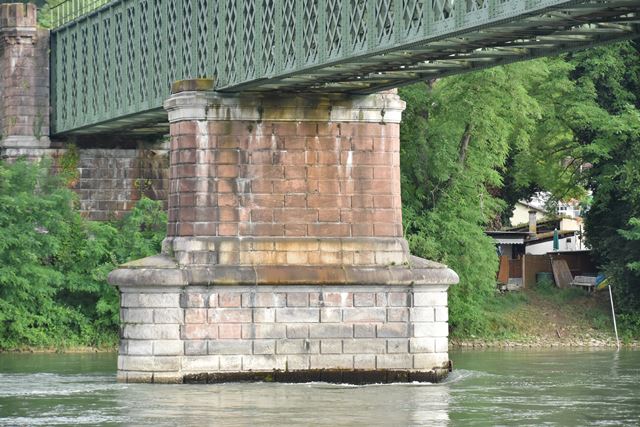
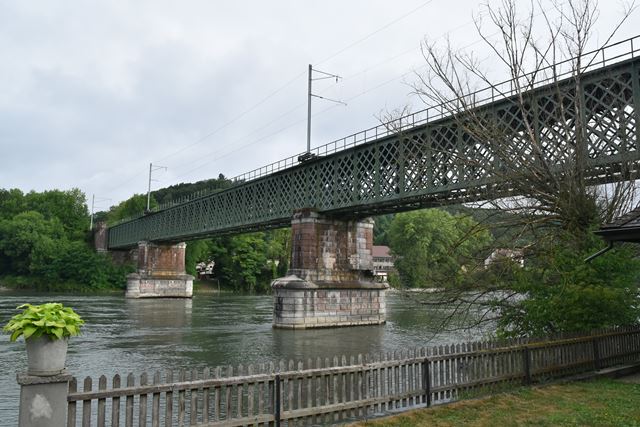
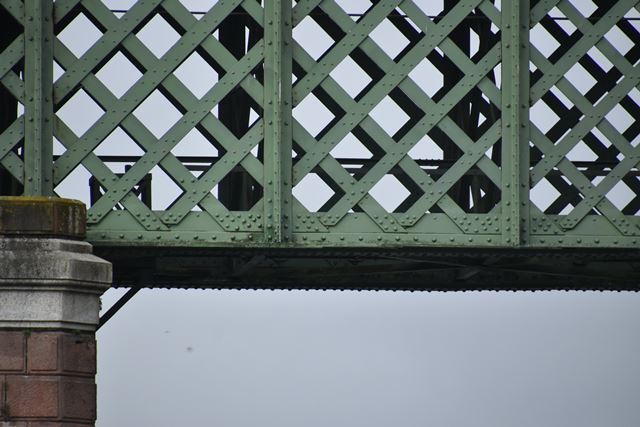
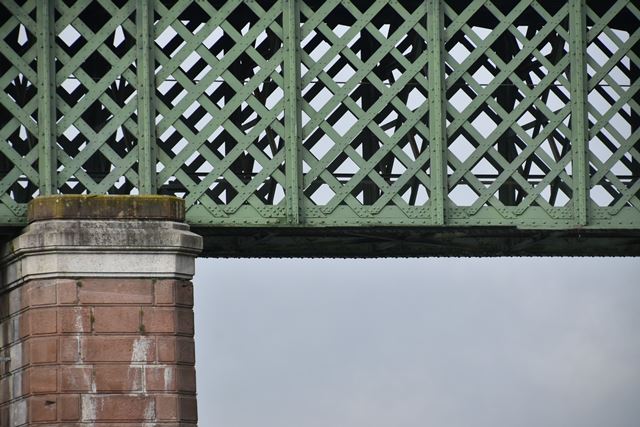
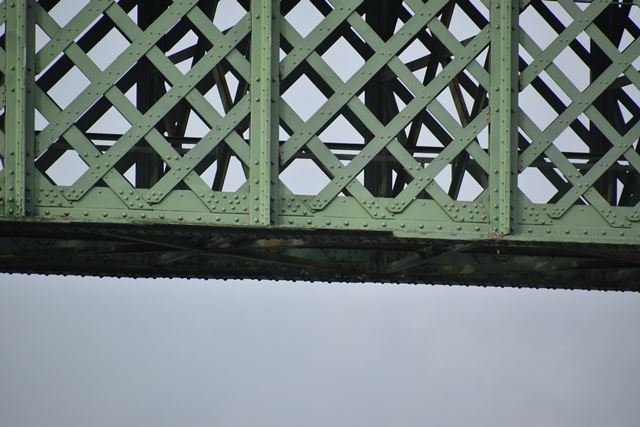
Girder piers.
![]()
Pier at transition from lattice girder to stone arch spans.
![]()
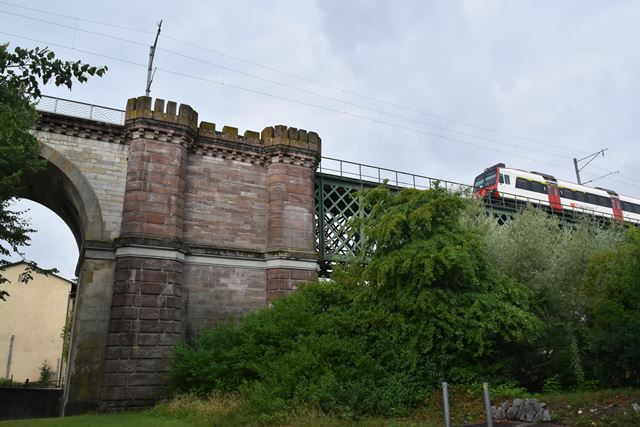
Southeast abutment.
![]()

Northwest abutment.
![]()


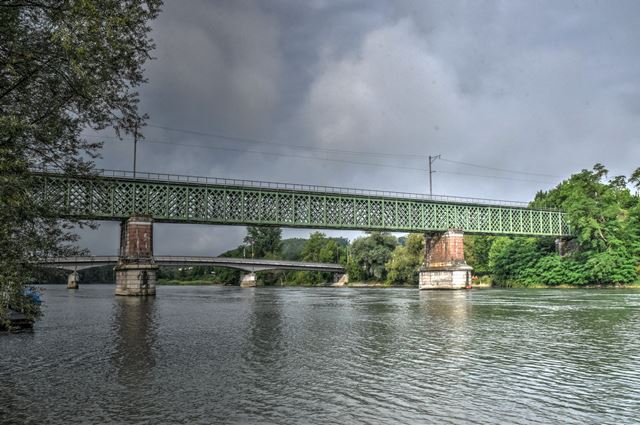
Southwest elevation of arch spans.
![]()
Views of southwestern approach spans.
![]()


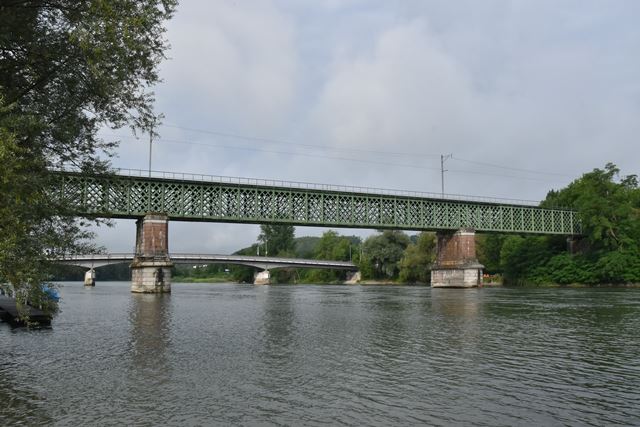
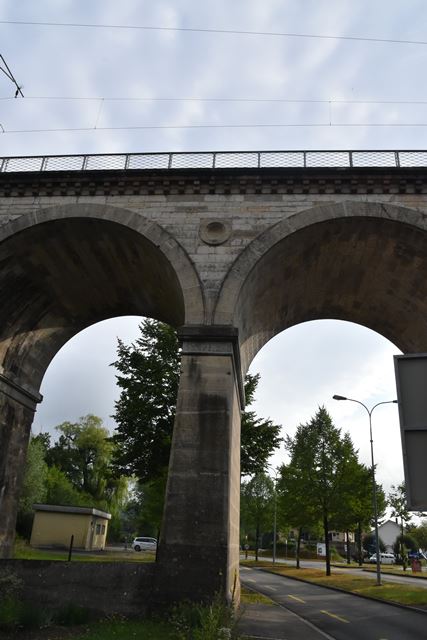
Arch spans.
![]()

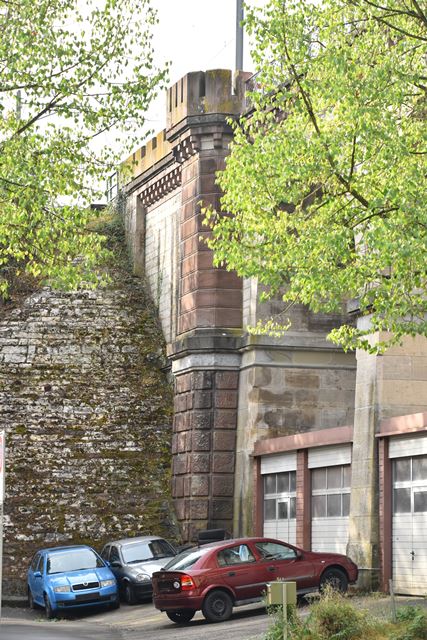
Arch piers.
![]()


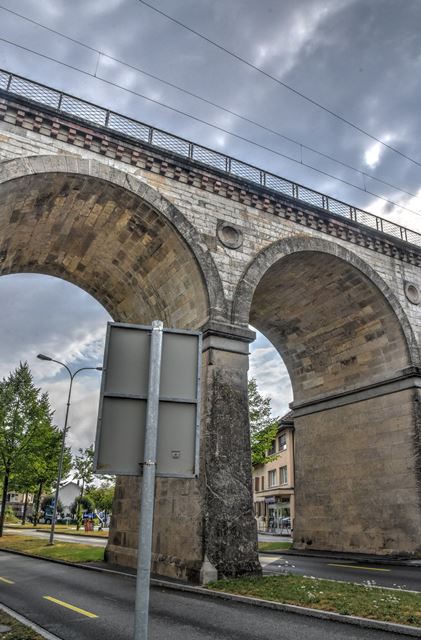
Views under arch spans.
![]()

Arch details.
![]()
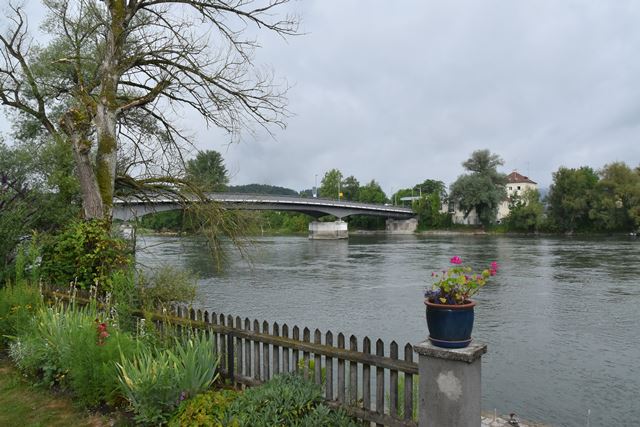


Nearby highway bridge.
![]()
![]()
| Back |
| Home |
| Top |

![]()