Uncredited photos on this page taken by: Nathan Holth. Unless stated in a caption, all photos are Copyright with All Rights Reserved. Learn about reuse of our photos.
![]()


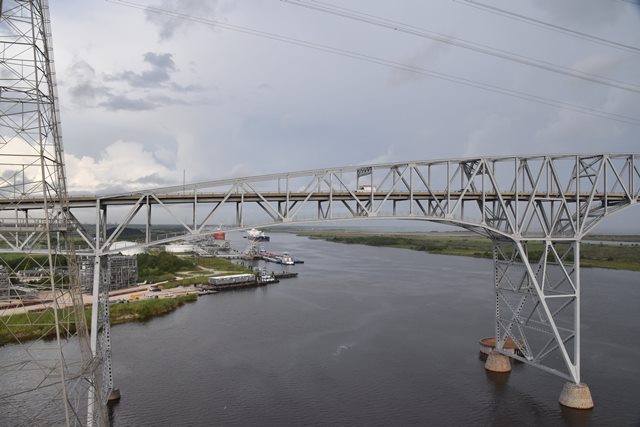
Main spans elevation from southeast quadrant.
![]()


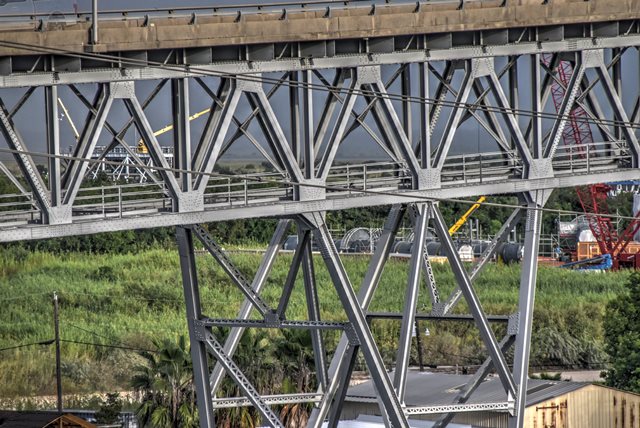
Views beside bridge showing large truss spans from southeast quadrant.
![]()


Views beside bridge showing main truss spans from southeast quadrant.
![]()


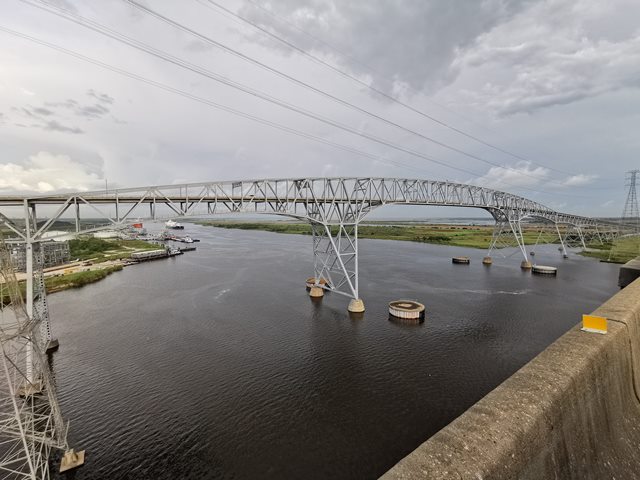
East elevation of navigation span.
![]()


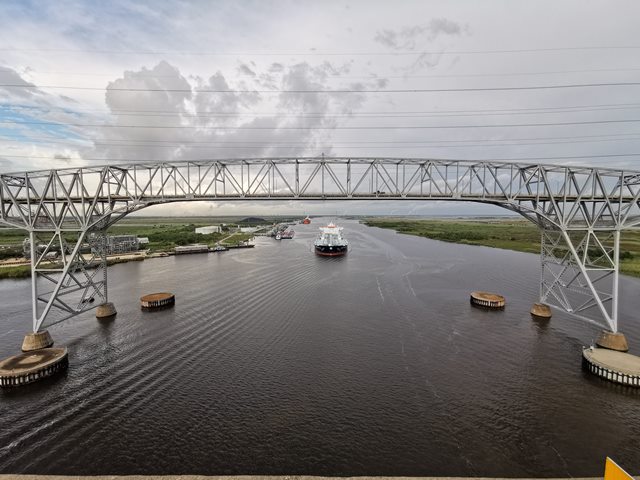
Minerva Baltica passing under bridge. East elevation of navigation span.
![]()
![]()
![]()
![]()
![]()
![]()
![]()
![]()
Panoramic elevation from southeast quadrant.
![]()
![]()
![]()
![]()
![]()
![]()
![]()
![]()
![]()
![]()
![]()
![]()
![]()
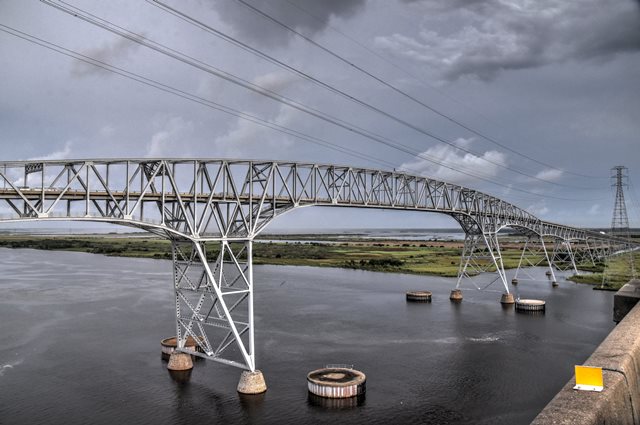
Panoramic east elevation.
![]()


Partial east elevation.
![]()


Distant views from approaching roadway.
![]()


Distant portal view facing south.
![]()


Driving over bridge, views on approach facing south.
![]()


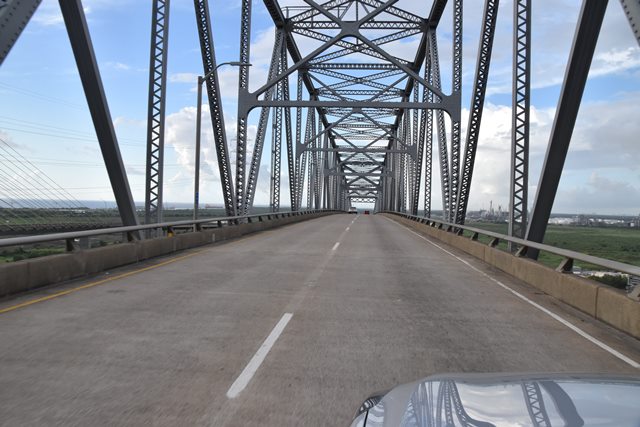


Driving over bridge, views on main spans facing south.
![]()


Oblique views from southeast quadrant with rainbow visible.
![]()


Views beside bridge from southeast quadrant with faint rainbow visible.
![]()


Oblique views from southeast quadrant.
![]()


Views beside bridge showing truss spans from southeast quadrant.
![]()


Oblique views of large truss spans from southeast quadrant.
![]()
East elevation of anchor span.
![]()


North approach elevation from east of bridge.
![]()


South approach elevation from east of bridge.
![]()


Distant oblique view from southwest quadrant.
![]()


Oblique views from southwest quadrant.
![]()


Distant oblique view of main span from southwest quadrant.
![]()


Views beside bridge from southwest quadrant.
![]()


Oblique views of main spans from southwest quadrant.
![]()


Views of truss web.
![]()


West elevation of south approach spans.
![]()


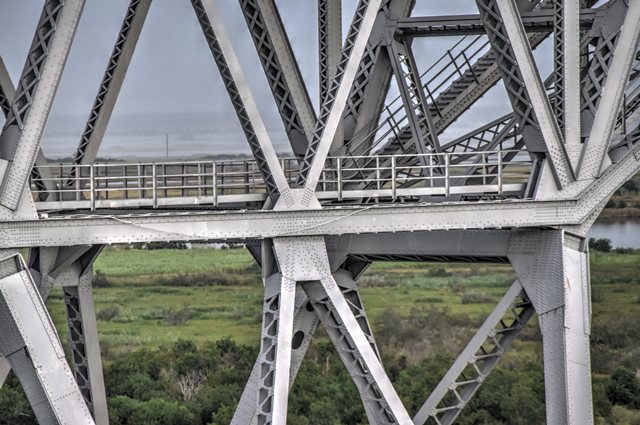
Top chord connections as viewed from beside bridge at ends of through truss portions.
![]()


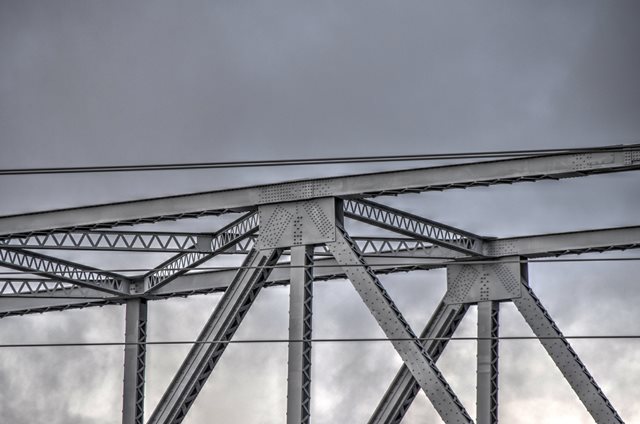


Top chord connections on through truss as viewed from beside bridge.
![]()


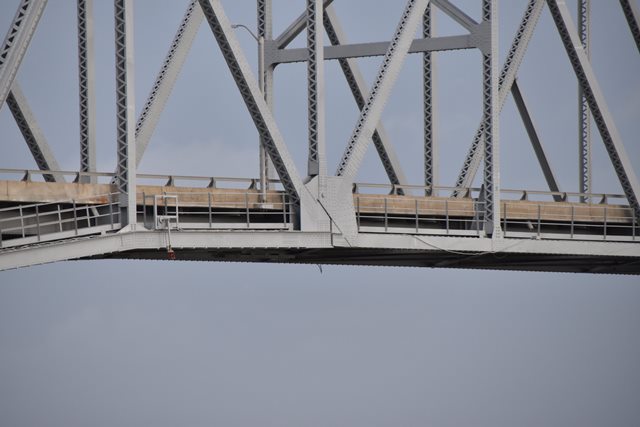


Bottom chord connections as viewed from beside bridge.
![]()


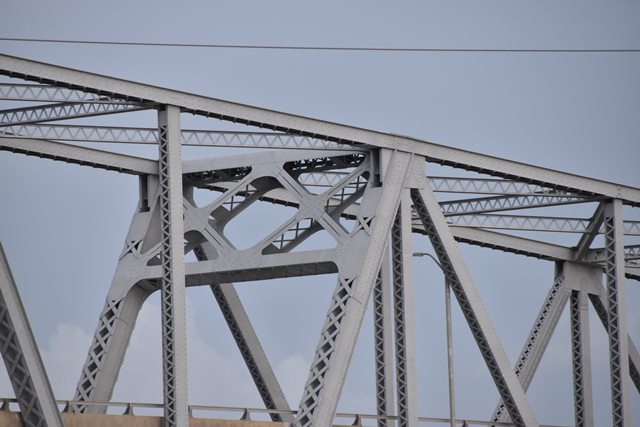
Top chord connections as viewed from beside bridge, view at transition from cantilever arm to suspended span.
![]()


Bottom chord connections as viewed from beside bridge, view at transition from cantilever arm to suspended span.
![]()


Top chord connection as viewed from beside bridge, views of the center connection (on the suspended span) which has an unusual pin.
![]()


Bottom chord connection as viewed from beside bridge, views of the center connection (on the suspended span).
![]()


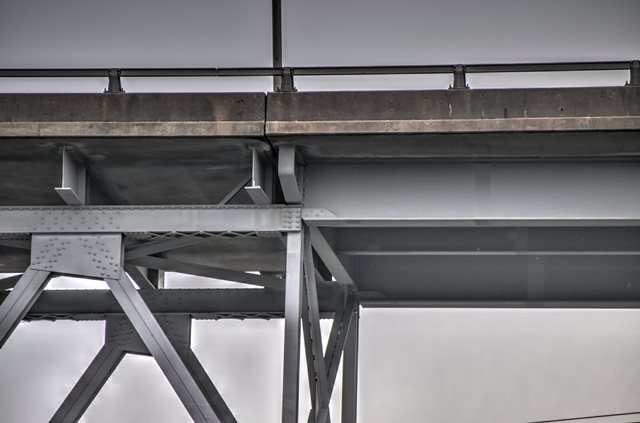
Views of approach spans.
![]()


Details of approach spans.
![]()


Approach span bents, 2D style.
![]()


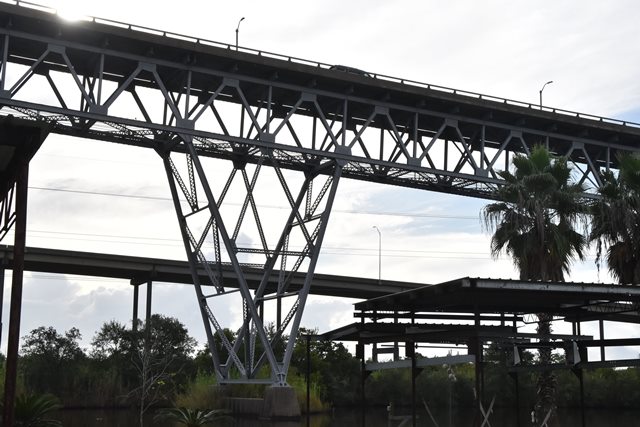


Approach span bents, 3D style.
![]()


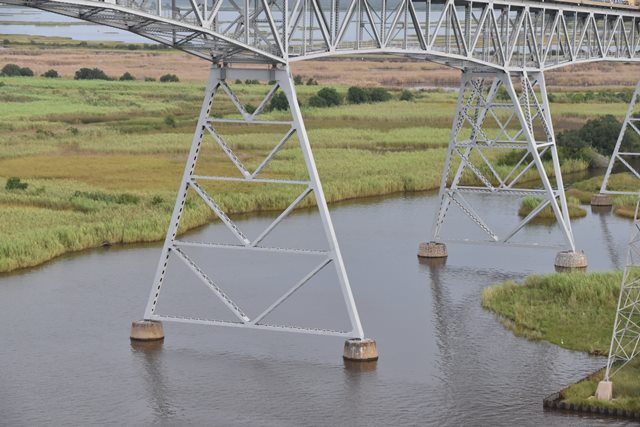
Main span bents.
![]()


Bottom chord connections at bents.
![]()


Details of bents.
![]()


Bearings for bents.
![]()


Approach span top chord connections as viewed from beside bridge.
![]()


Approach span bottom chord connections as viewed from beside bridge.
![]()


Approach deck truss bearings.
![]()


Pin and hanger detail for approach girder spans.
![]()


Bearing for approach girders.
![]()


Bearing details at transition from truss to girder spans.
![]()


Top chord connections for approach spans as viewed from beside bridge.
![]()


Minerva Baltica passing under bridge.
![]()
![]()

![]()