
Uncredited photos on this page taken by: Nathan Holth. Unless stated in a caption, all photos are Copyright with All Rights Reserved. Learn about reuse of our photos.
![]()


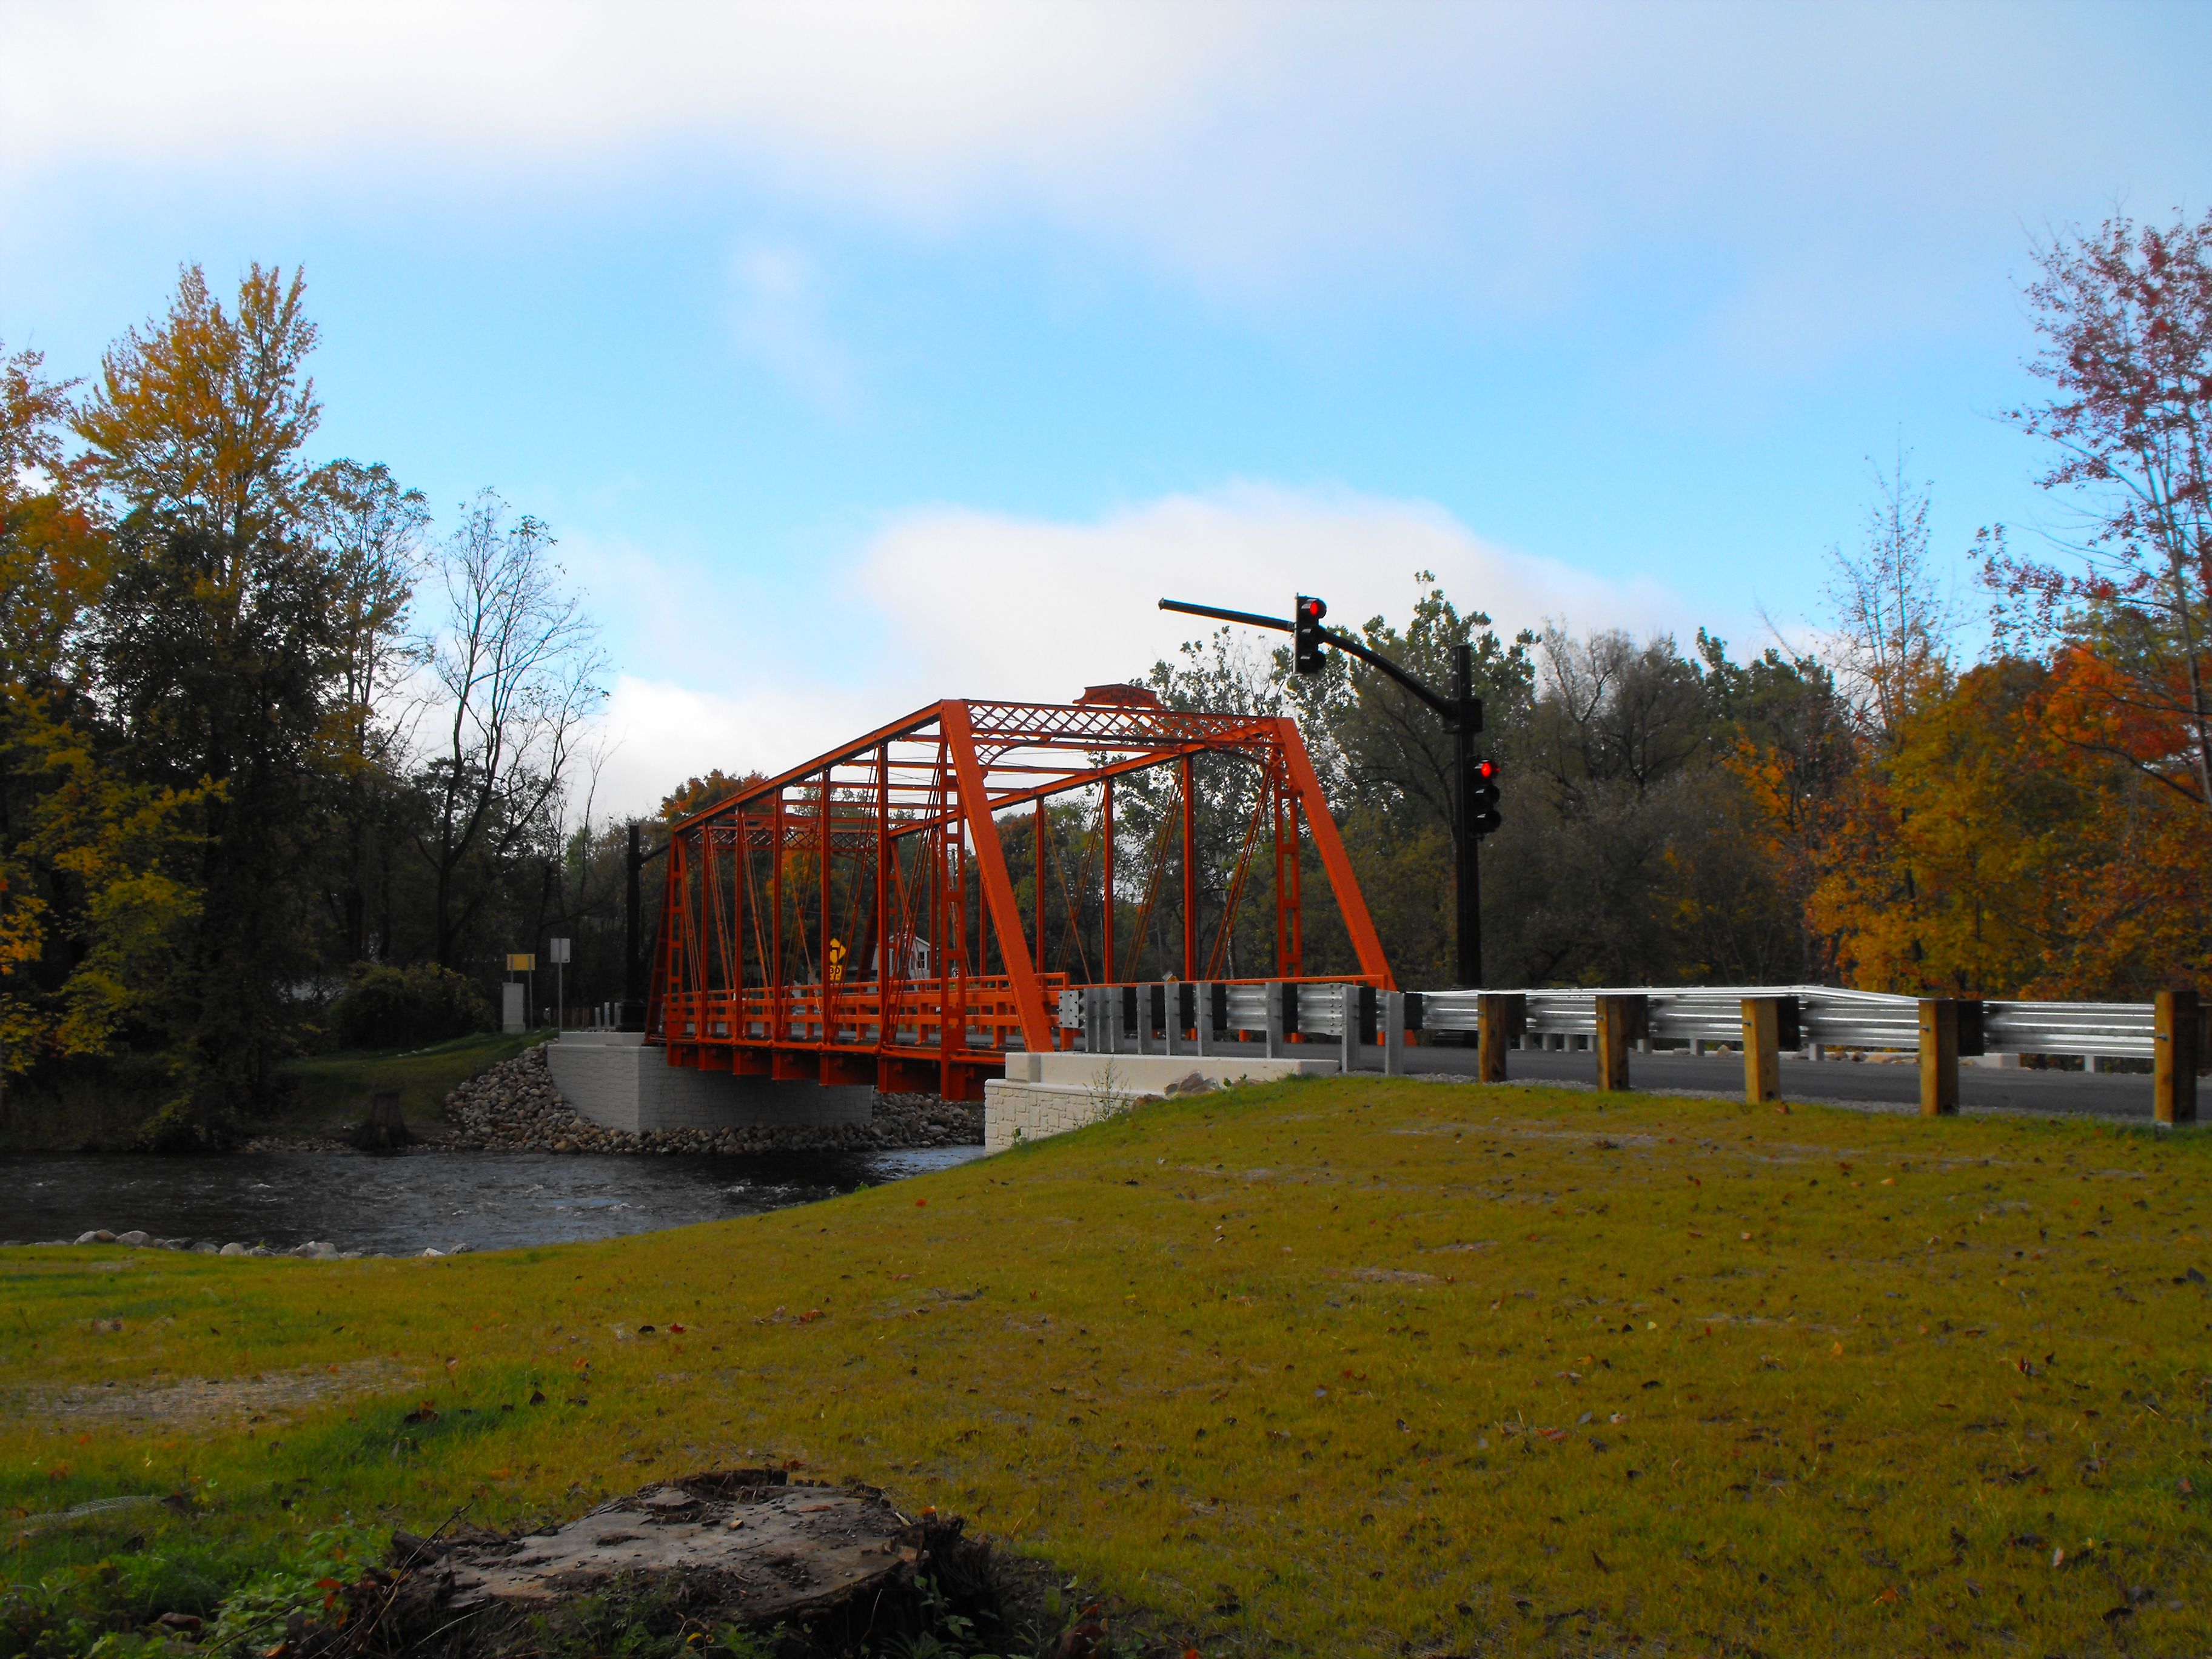
Post-rehab elevation.
![]()


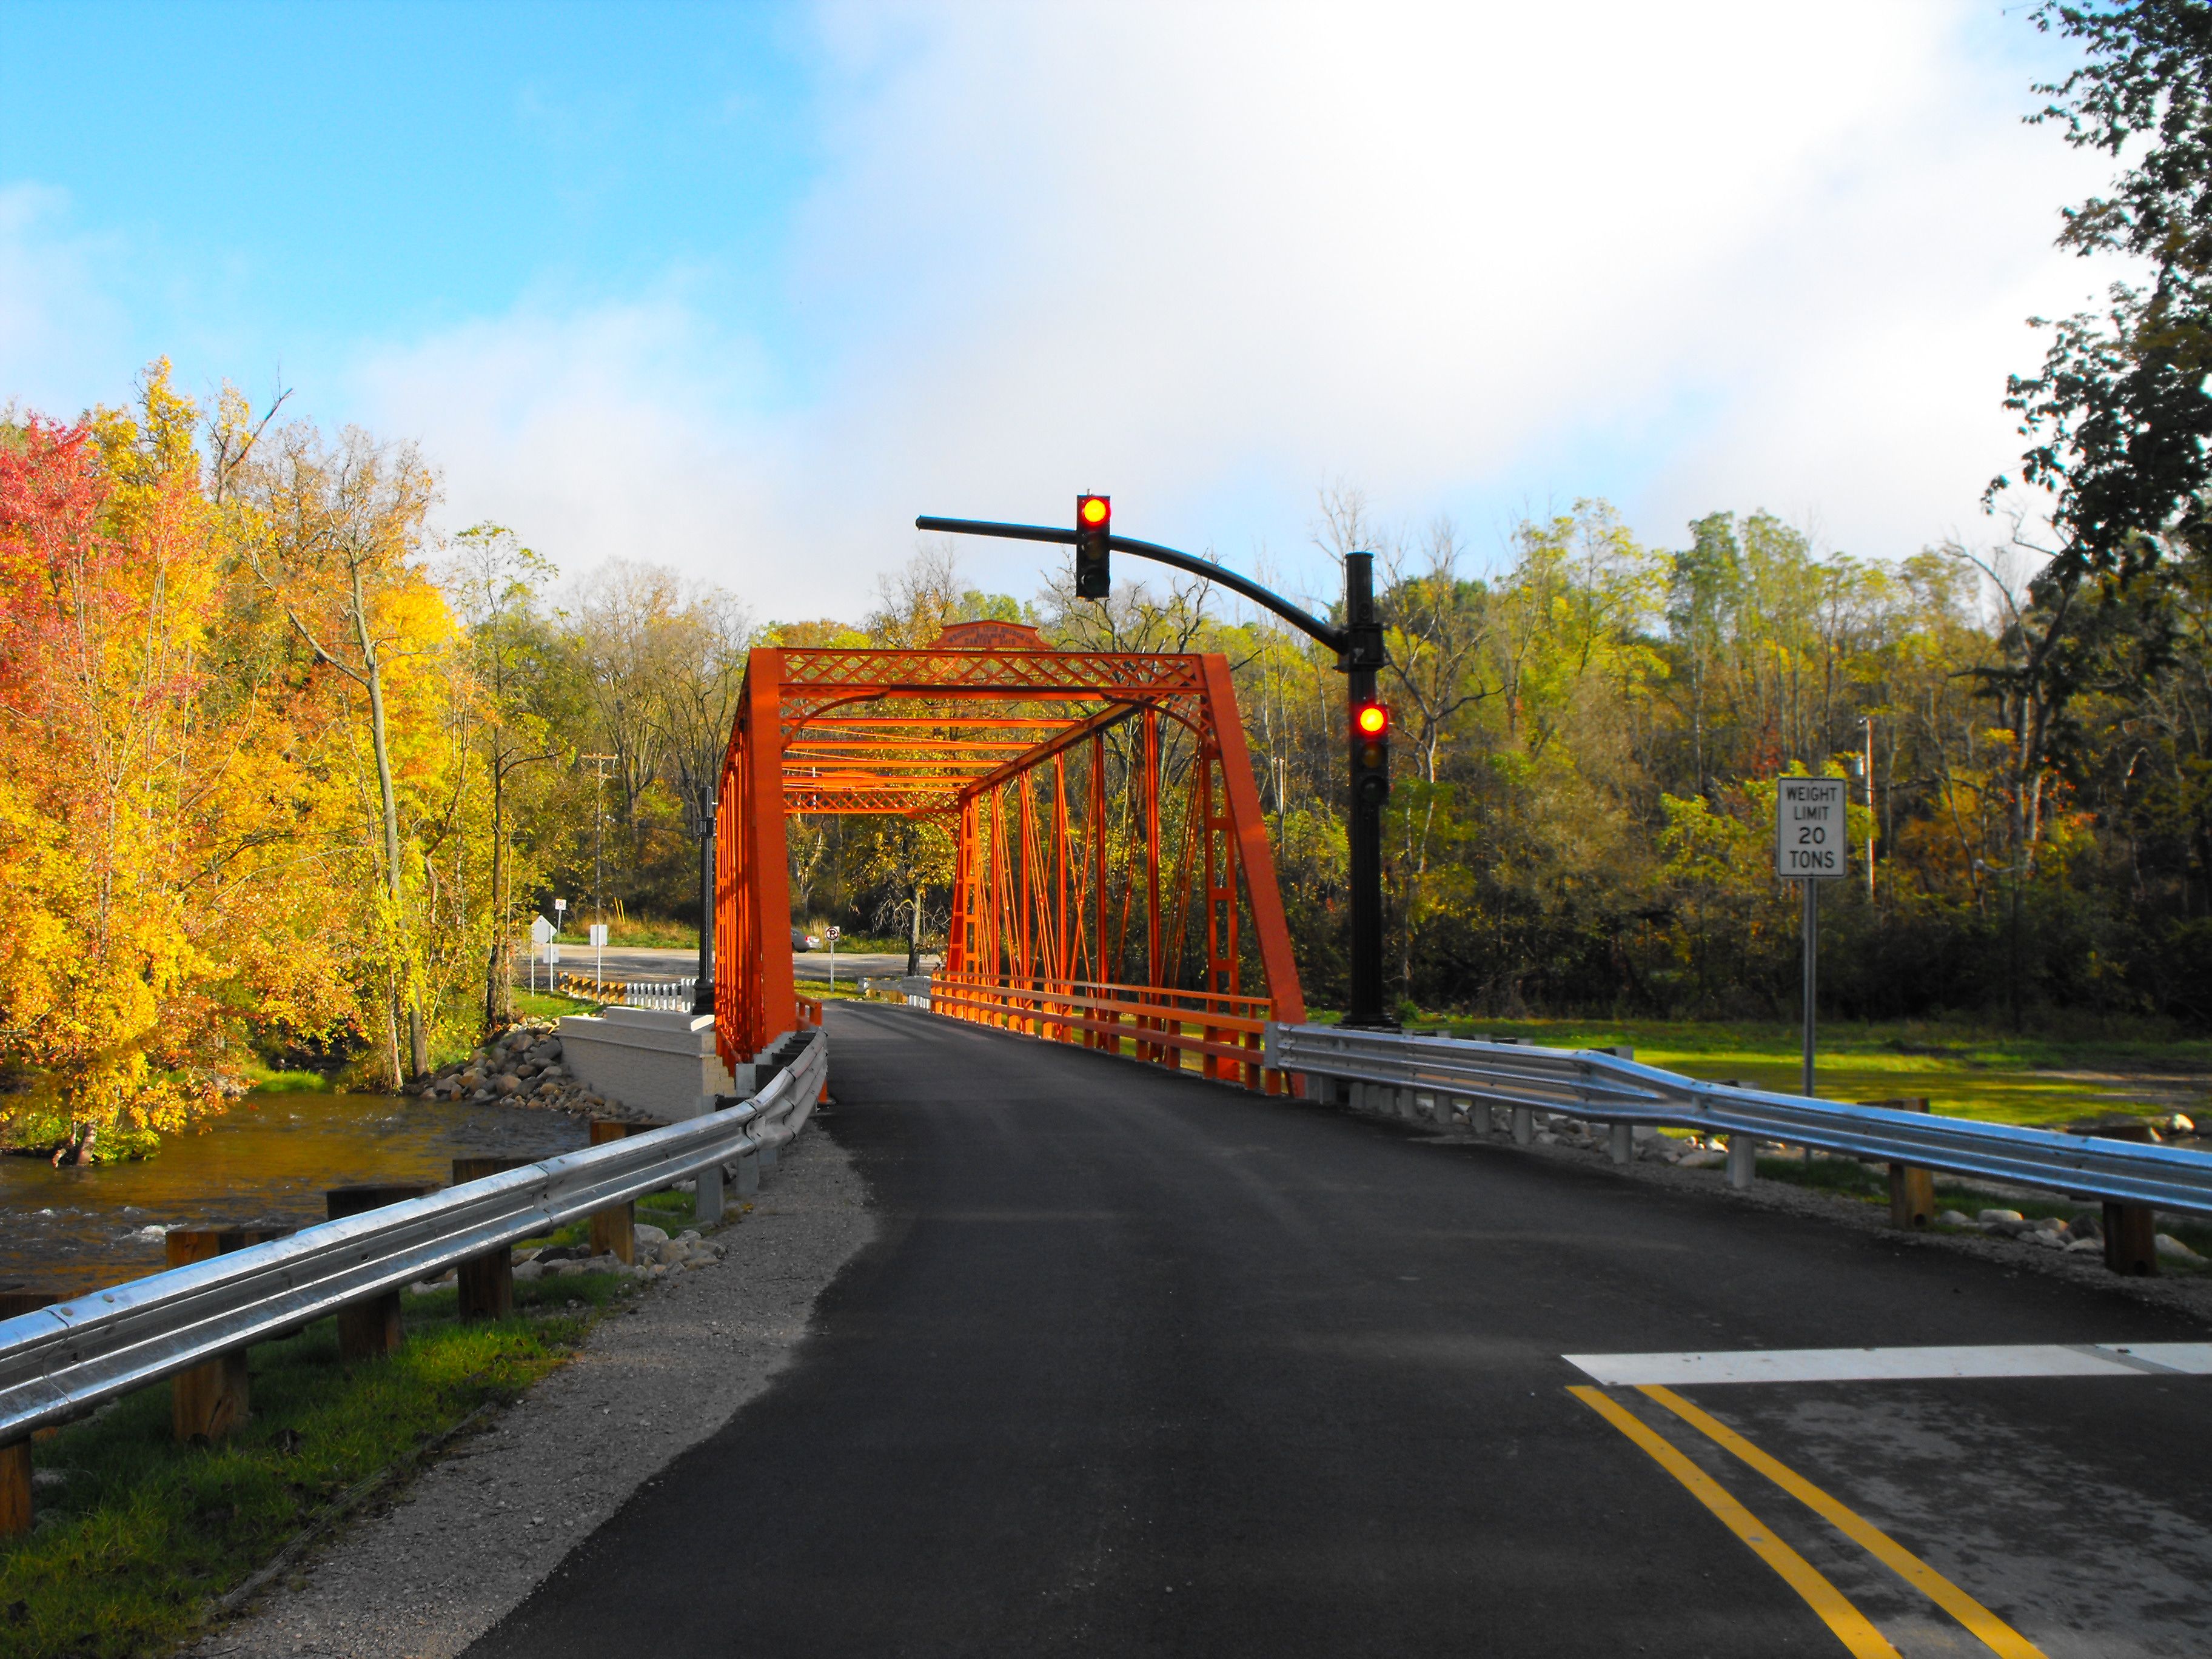
Post-rehab oblique views.
![]()
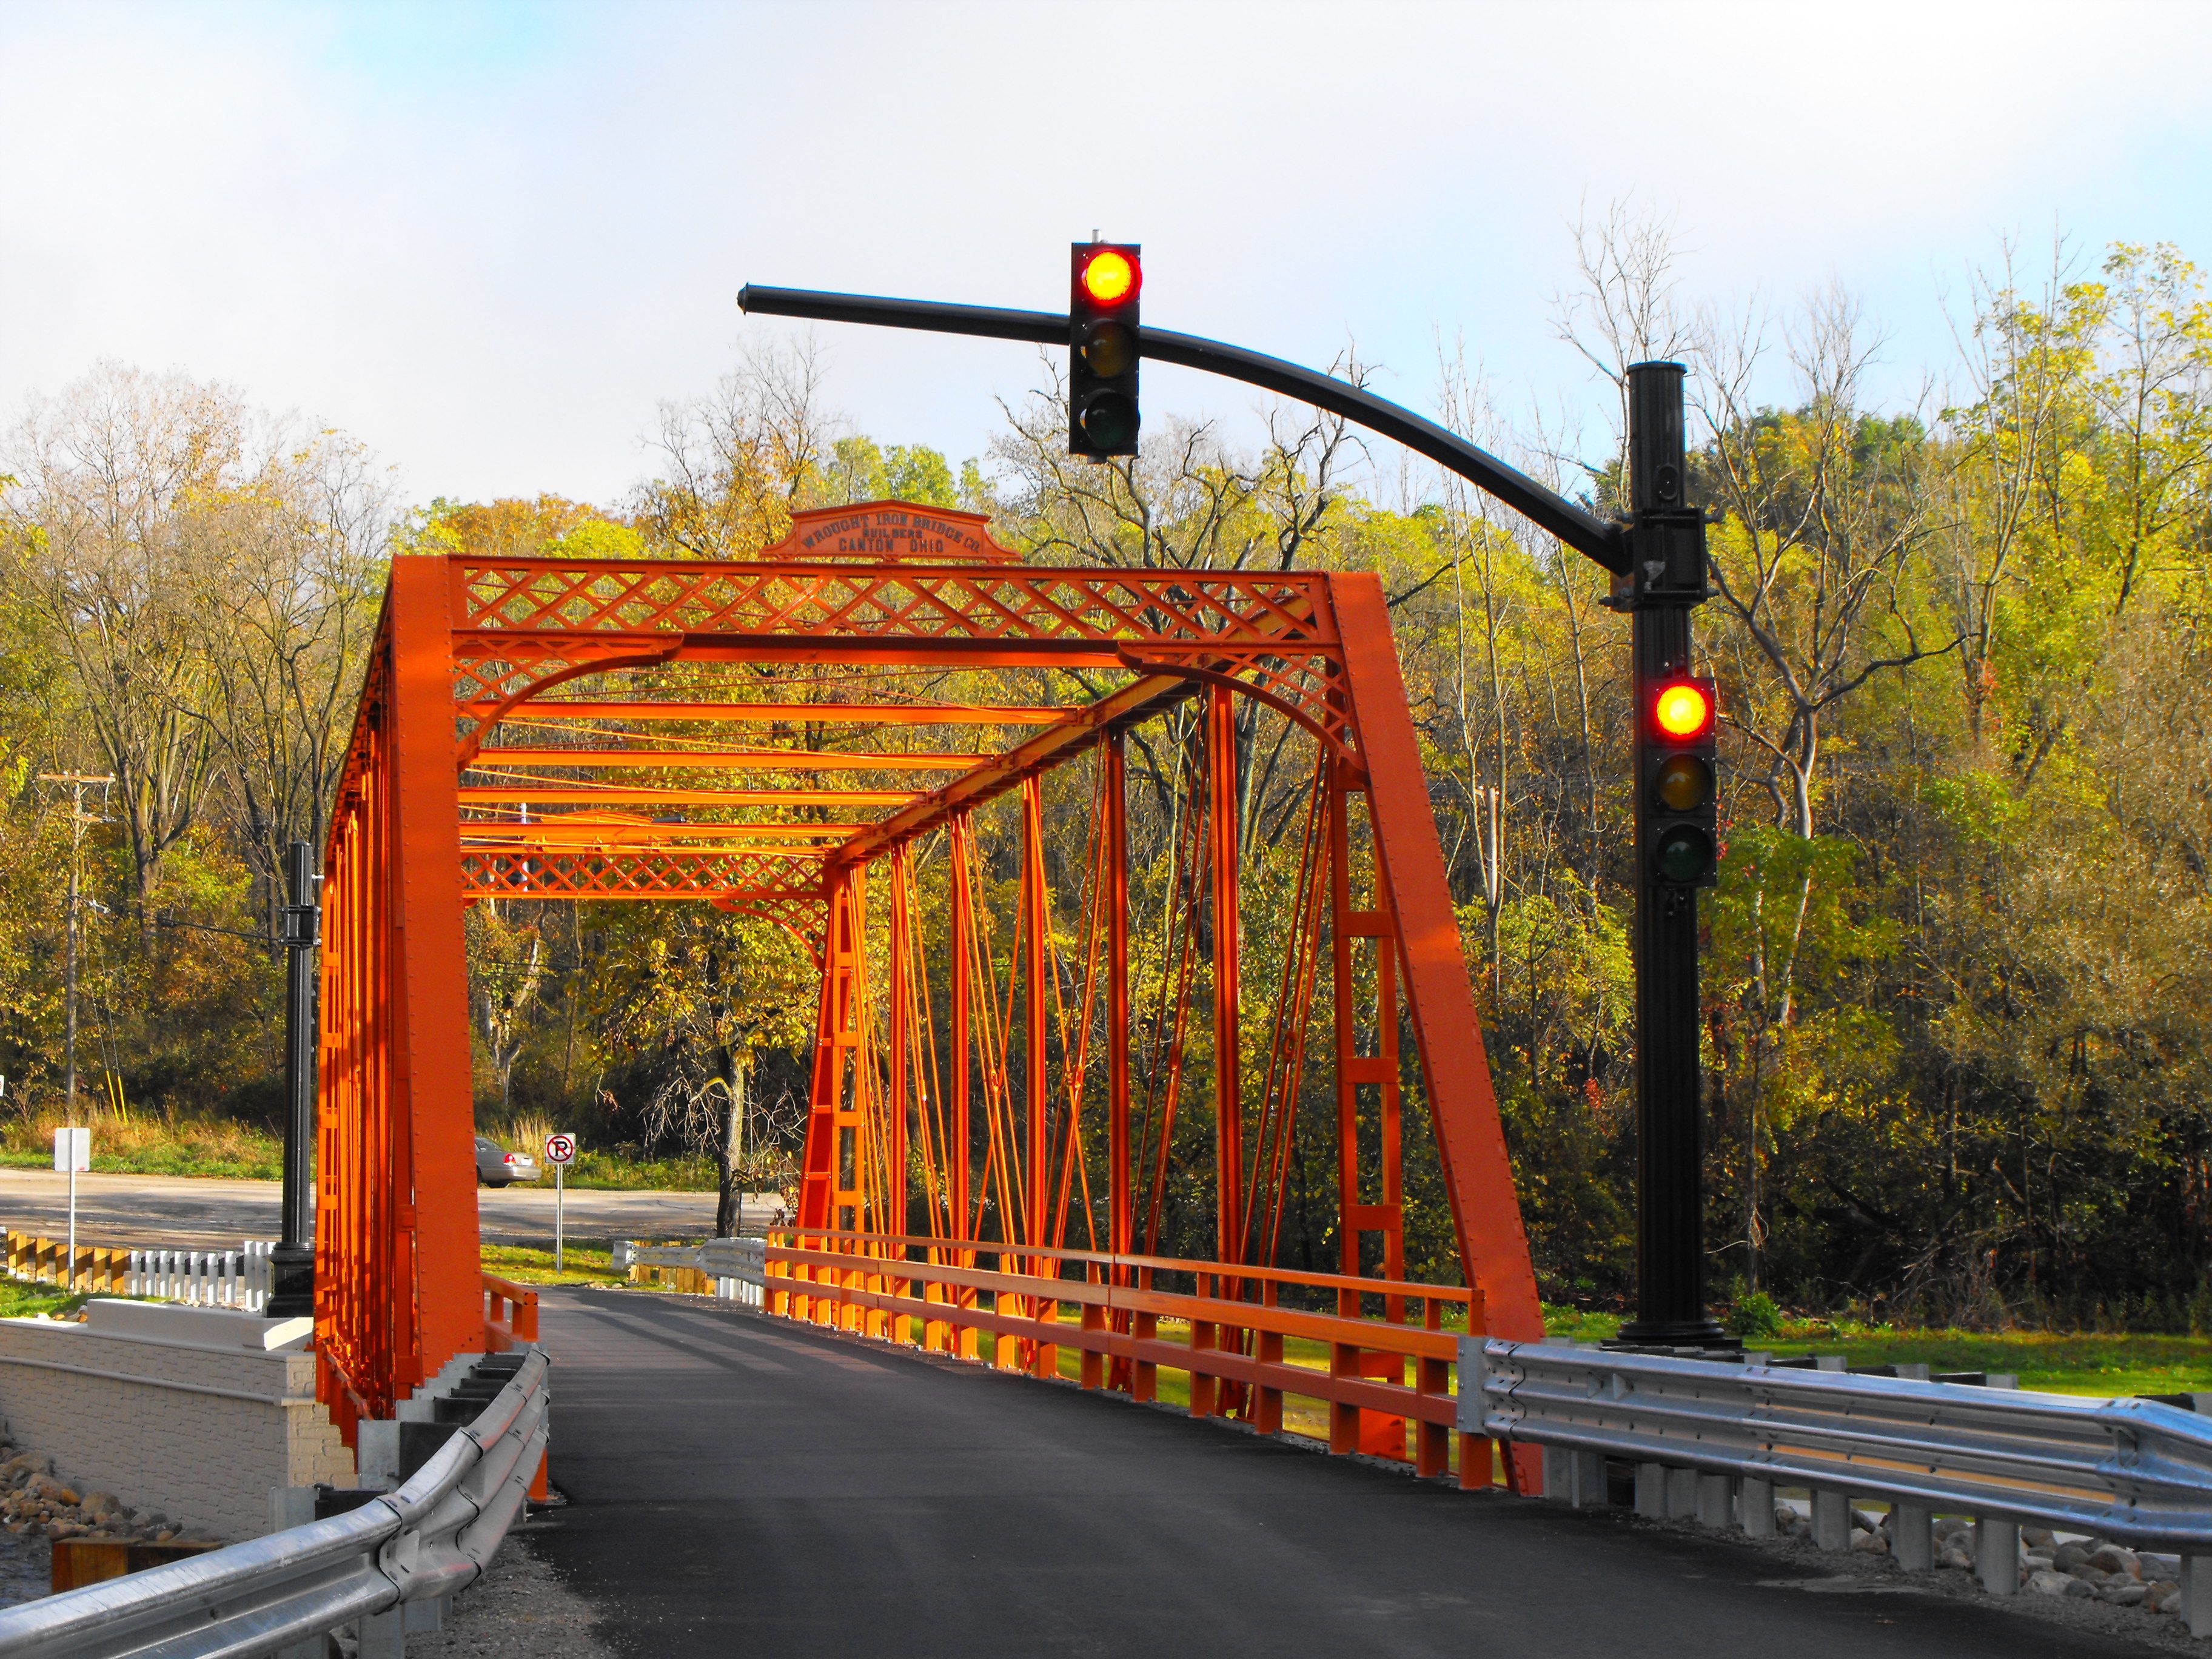

Post-rehab portal views.
![]()

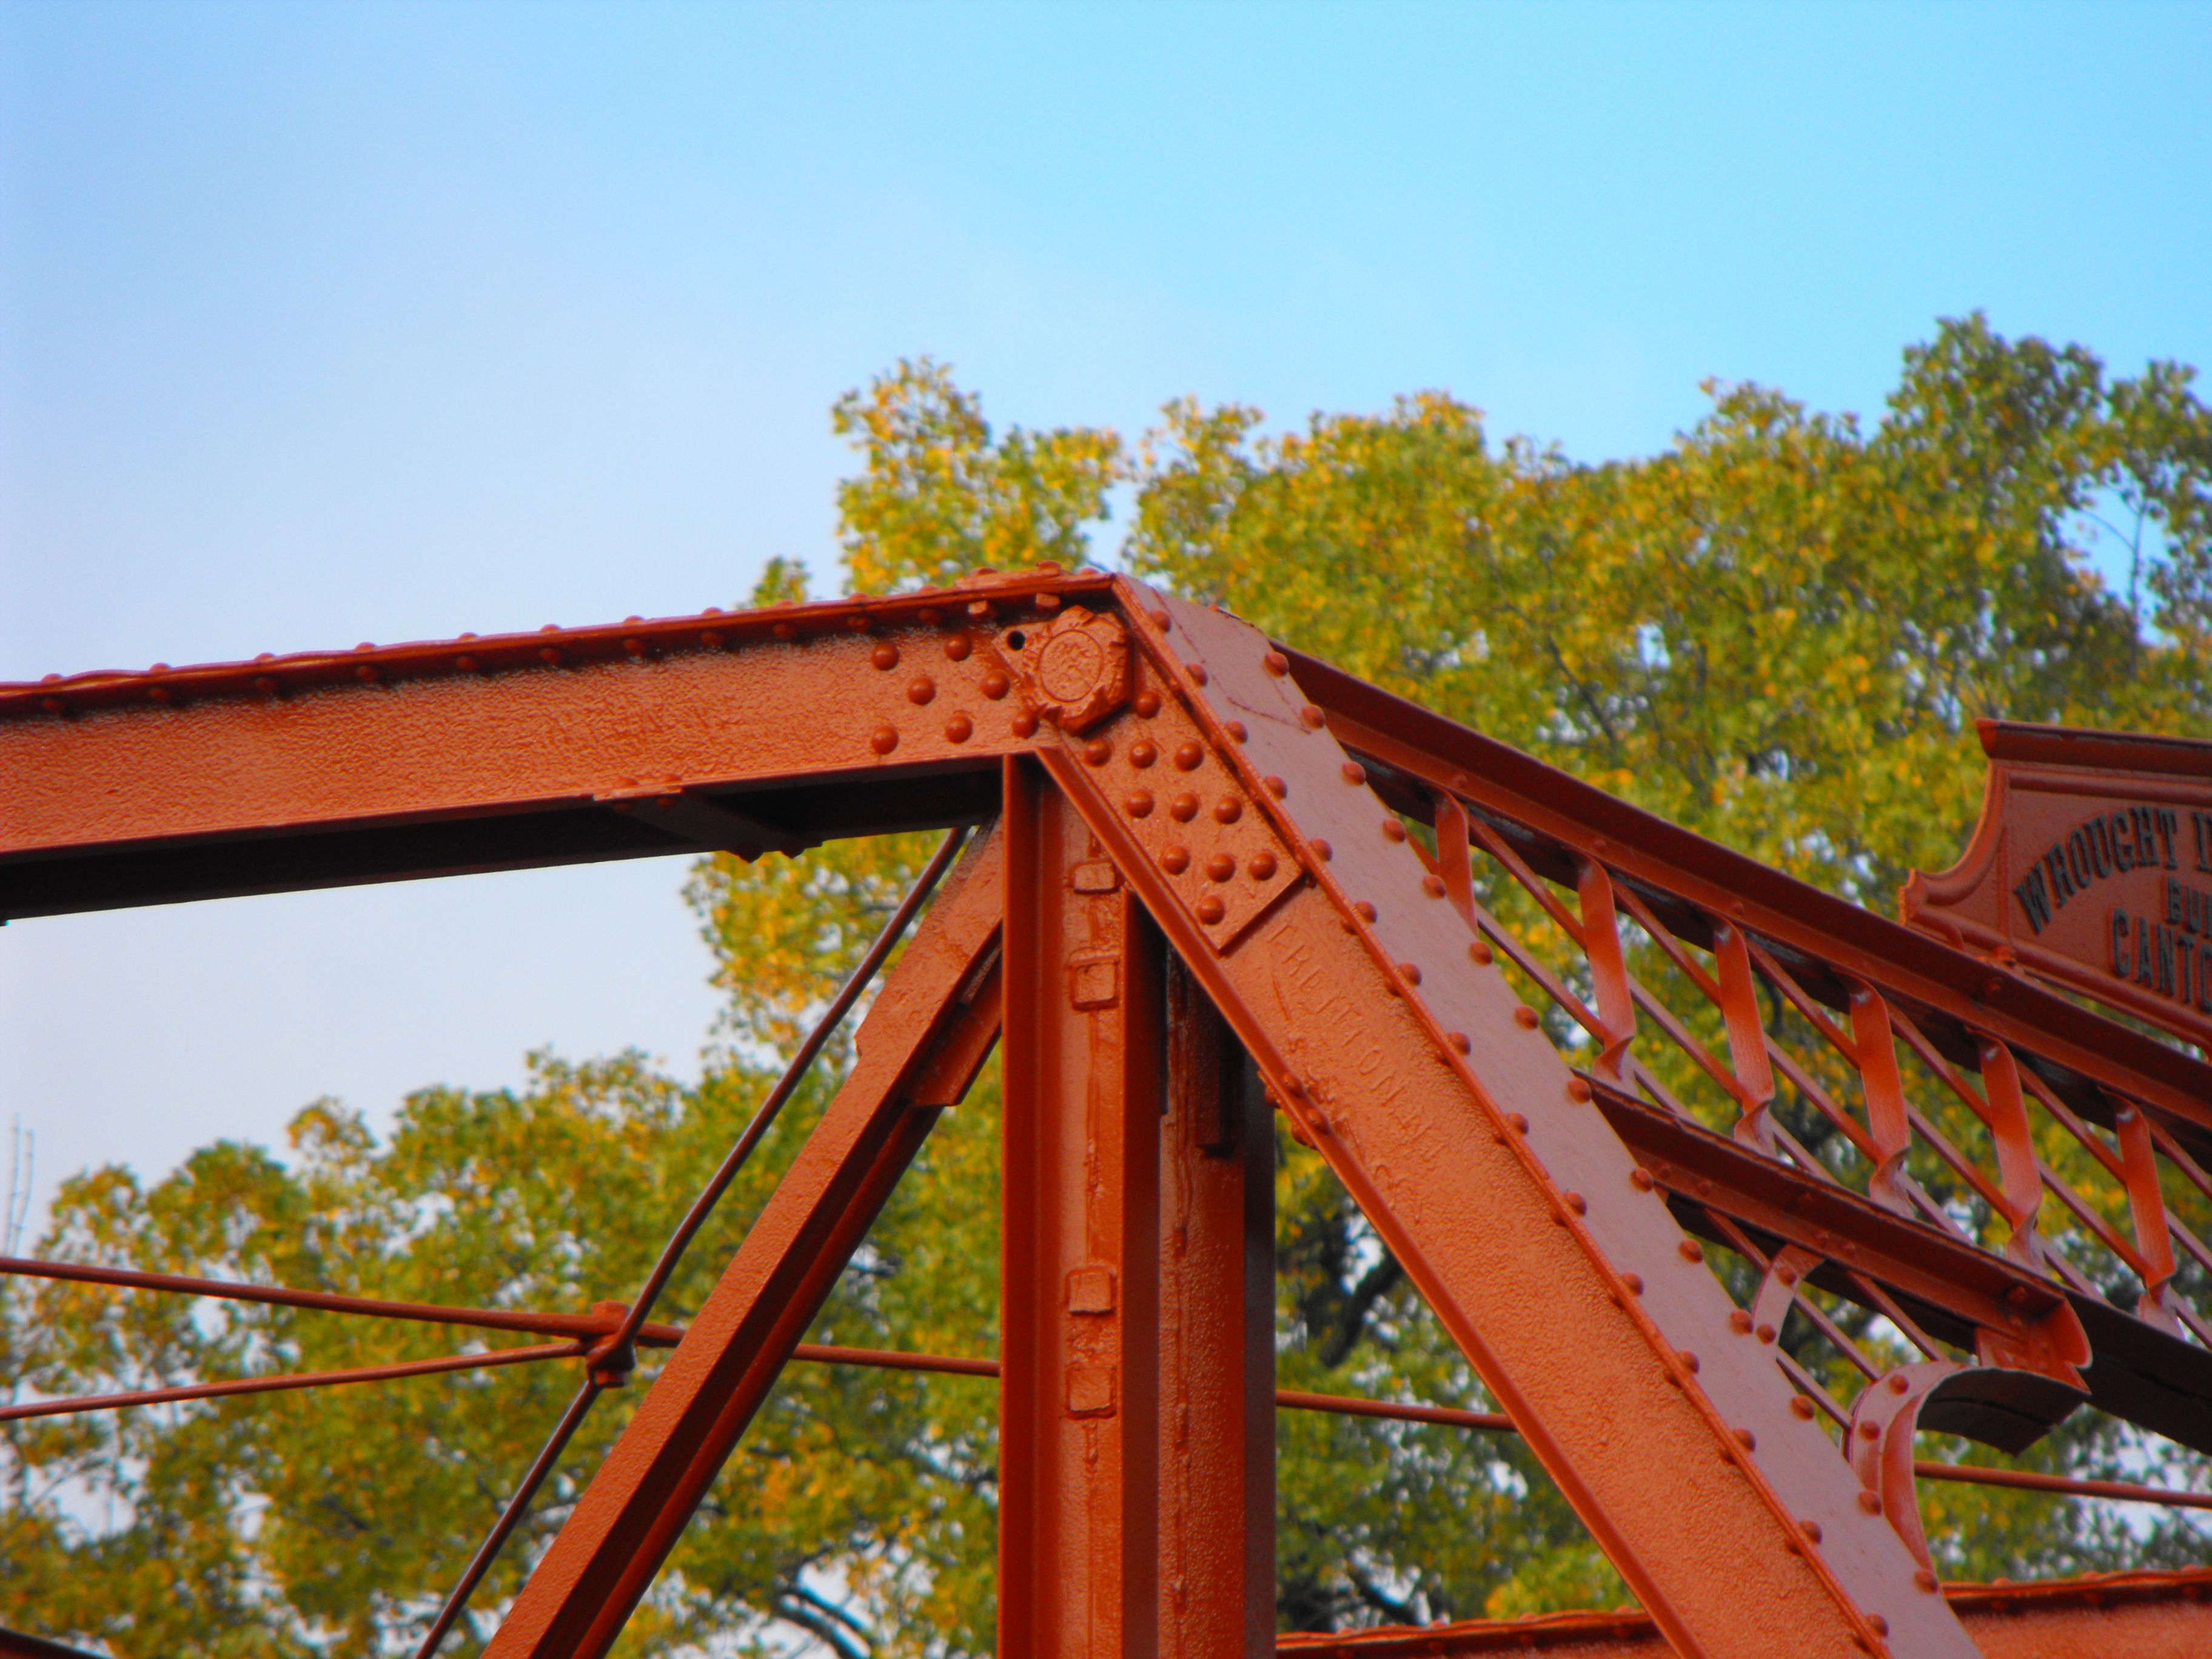

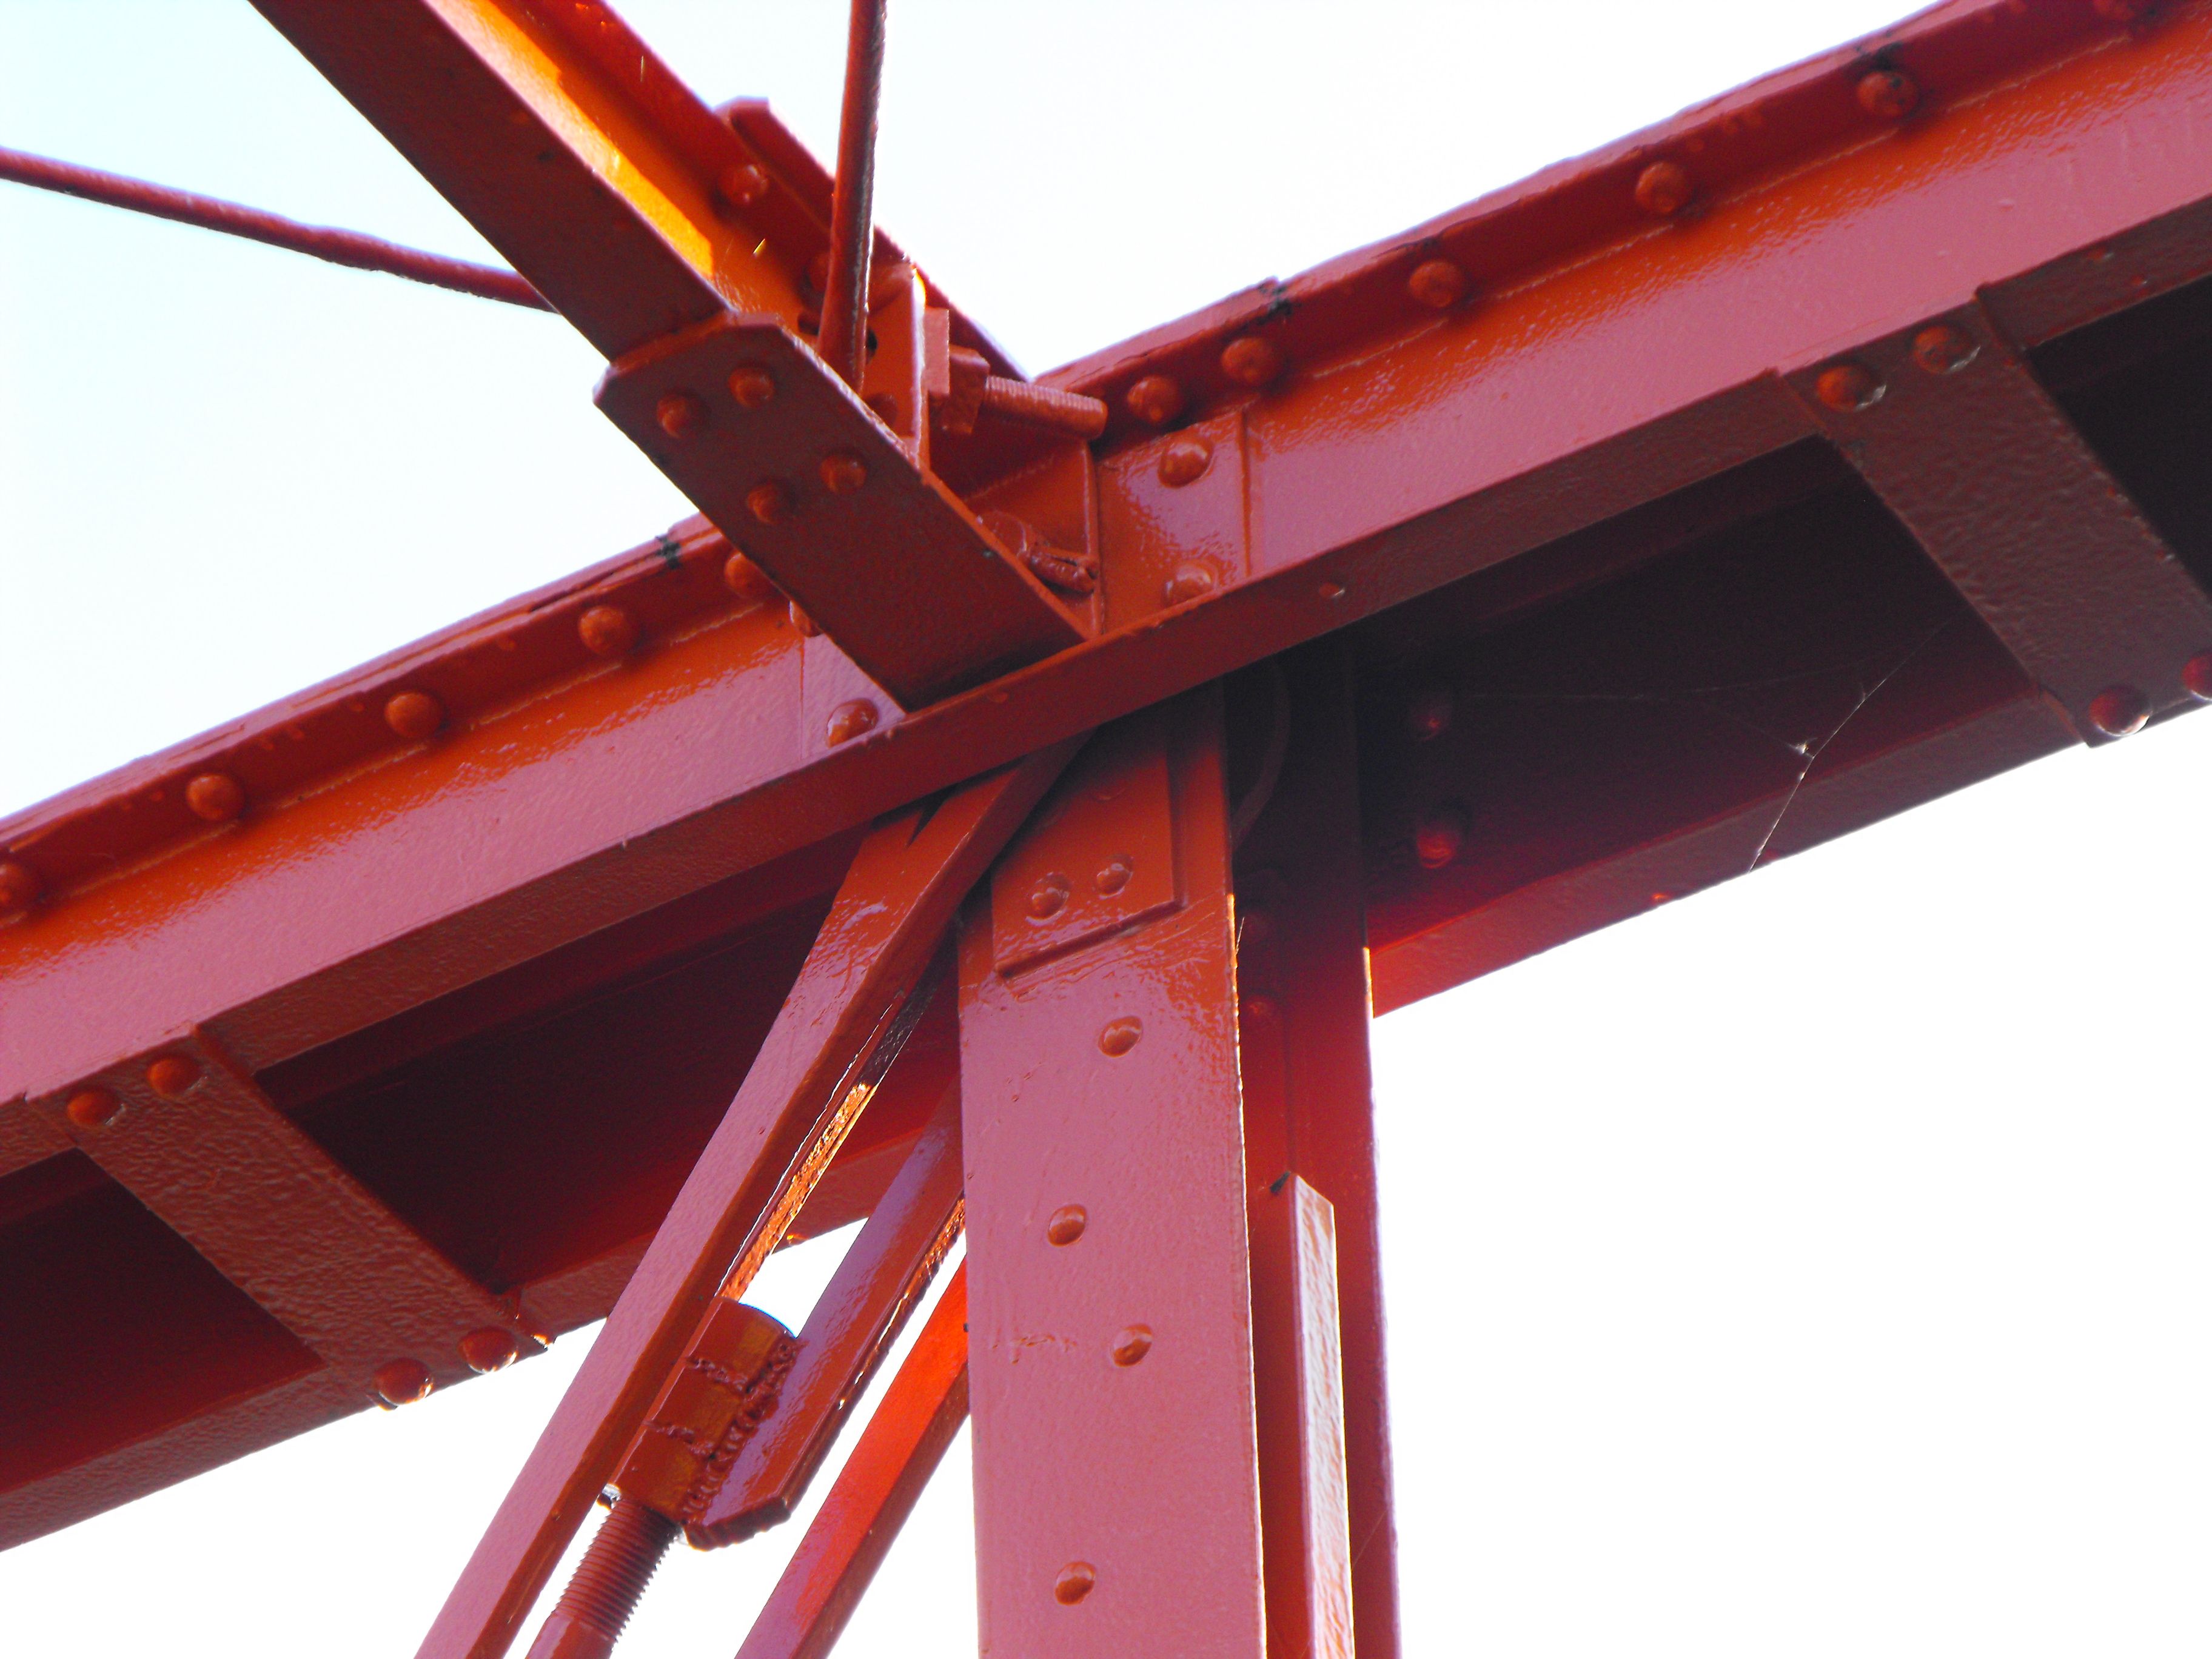
Post-rehab top chord connections.
![]()


Post-rehab bottom chord connections.
![]()

Post-rehab view of Trenton brand.
![]()


Post-rehab diagonal members.
![]()


Post-rehab plaques.
![]()

Post-rehab bearing and base of endpost.
![]()
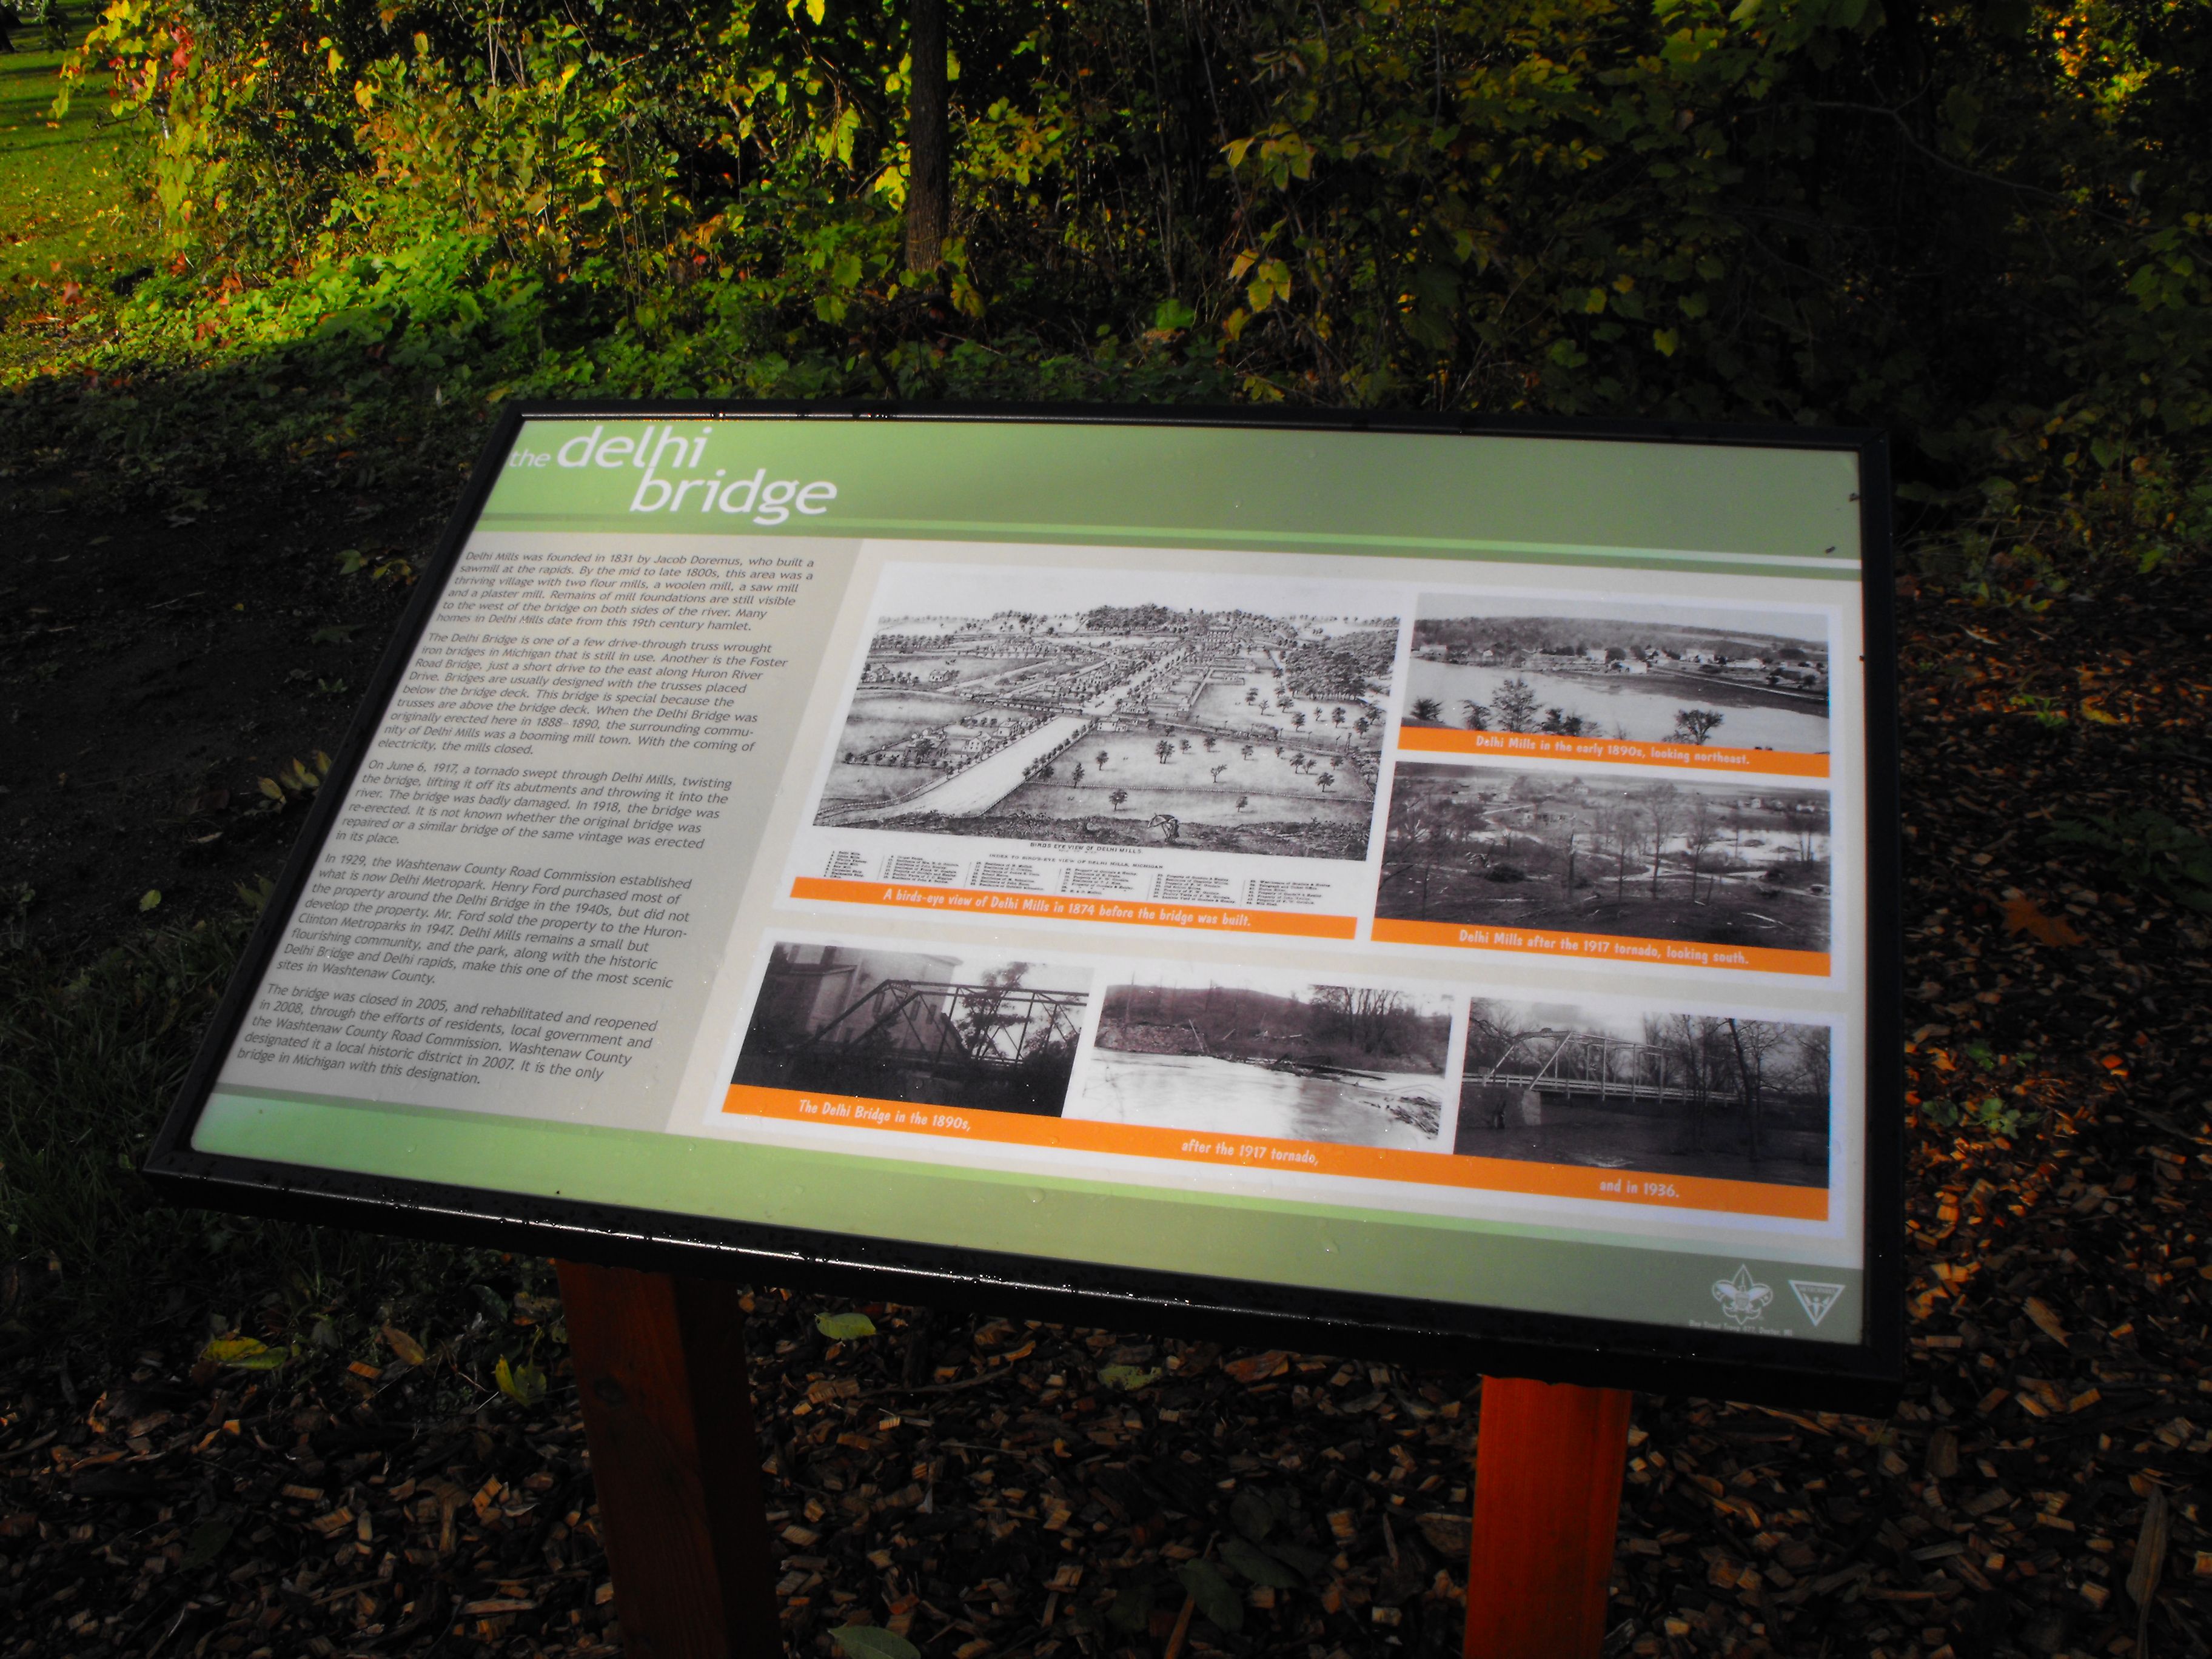

Post-rehab showing new interpretive signage.
![]()


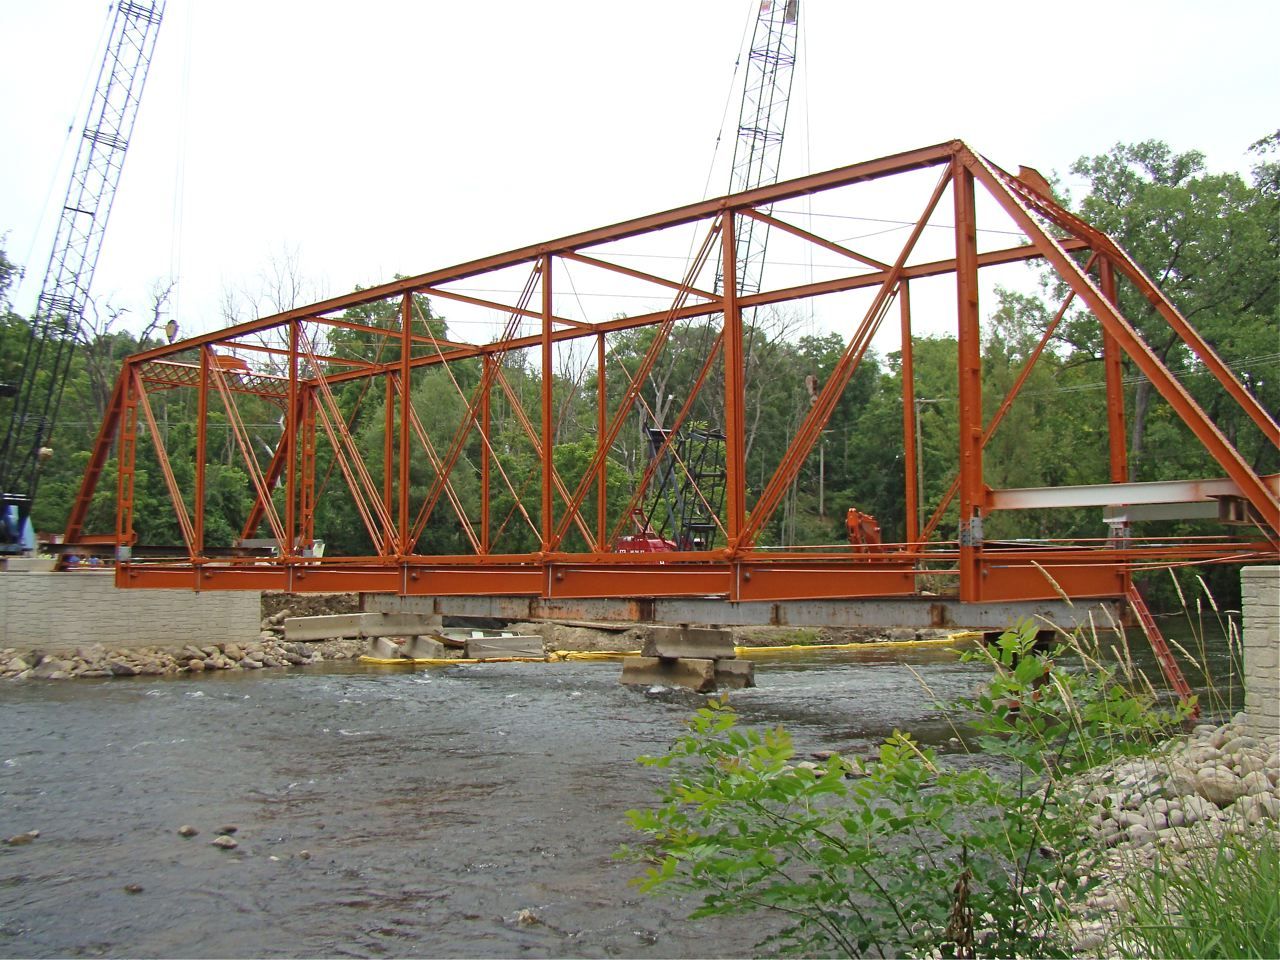

Photo Credit: Scott Hedberg
Views showing the bridge being lifted back into place after rehab work on the trusses was done.
![]()
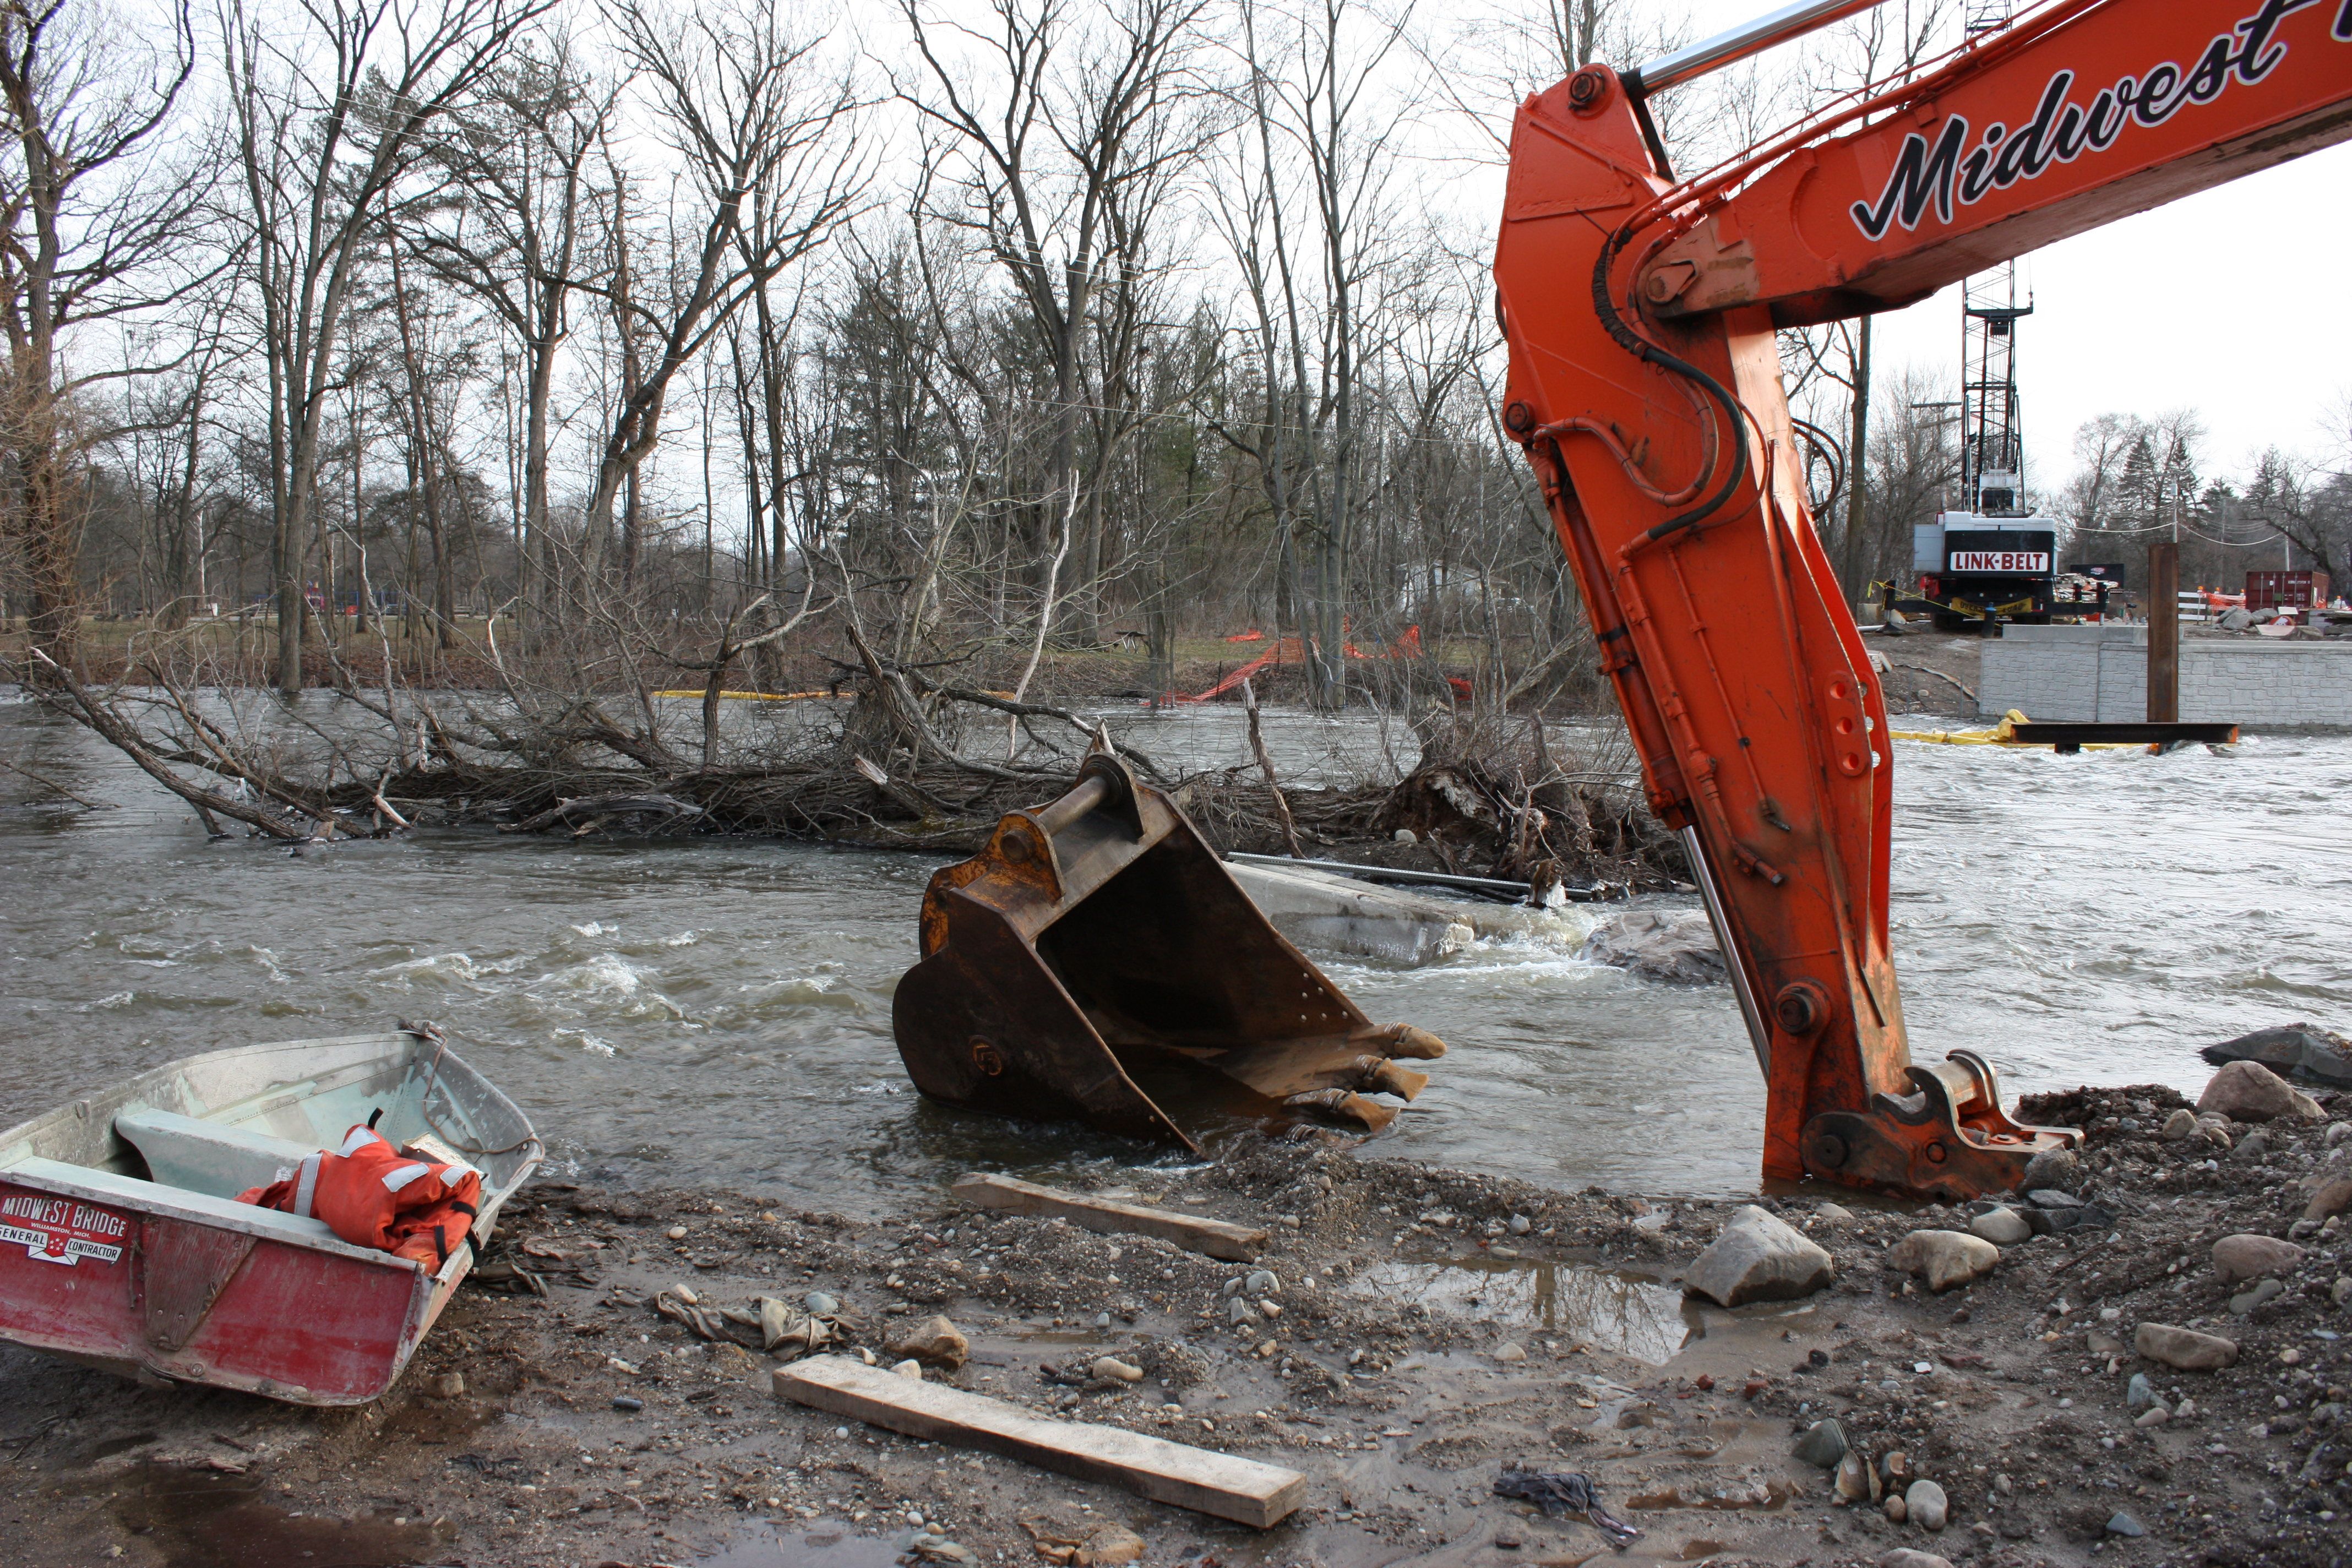
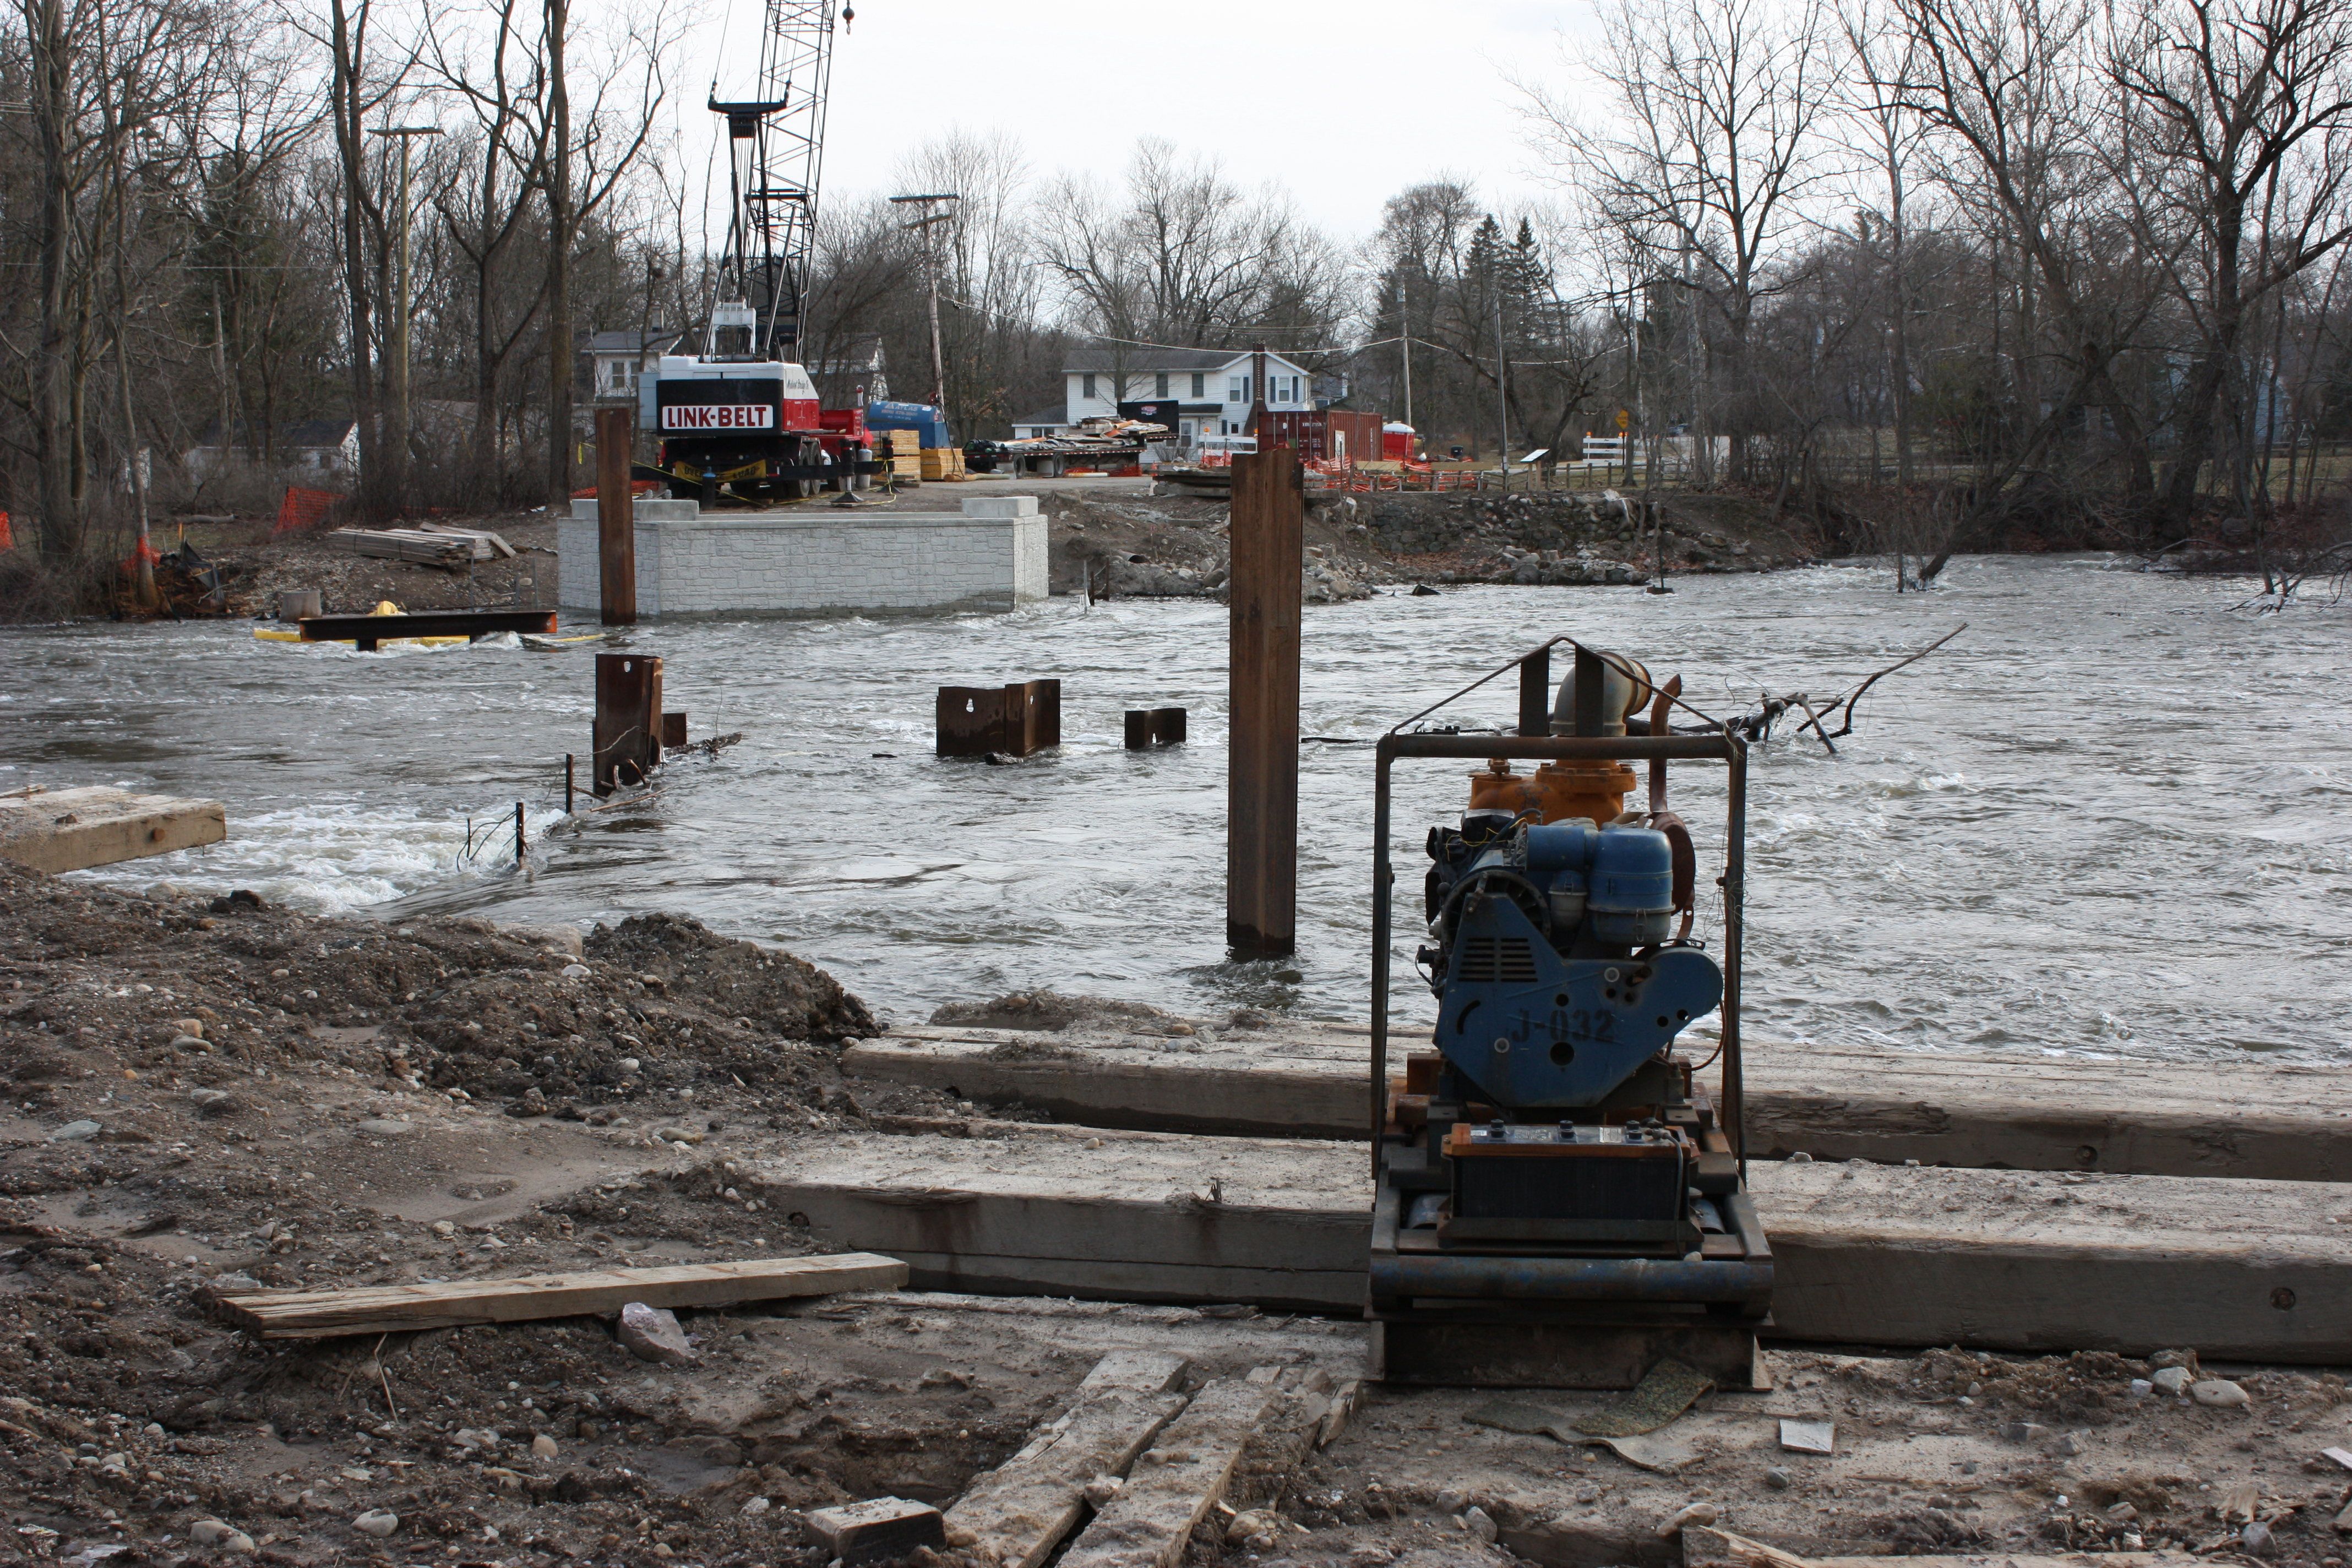
Photo Credit: Charlie Unbehaun
Overviews of construction site showing the bridge during rehab, located off-shore. The "pi" shaped item in the river was a support for a rail system that was used to move the bridge offshore.
![]()


Photo Credit: Charlie Unbehaun
Views showing the truss bridge during rehab, located off-shore.
![]()
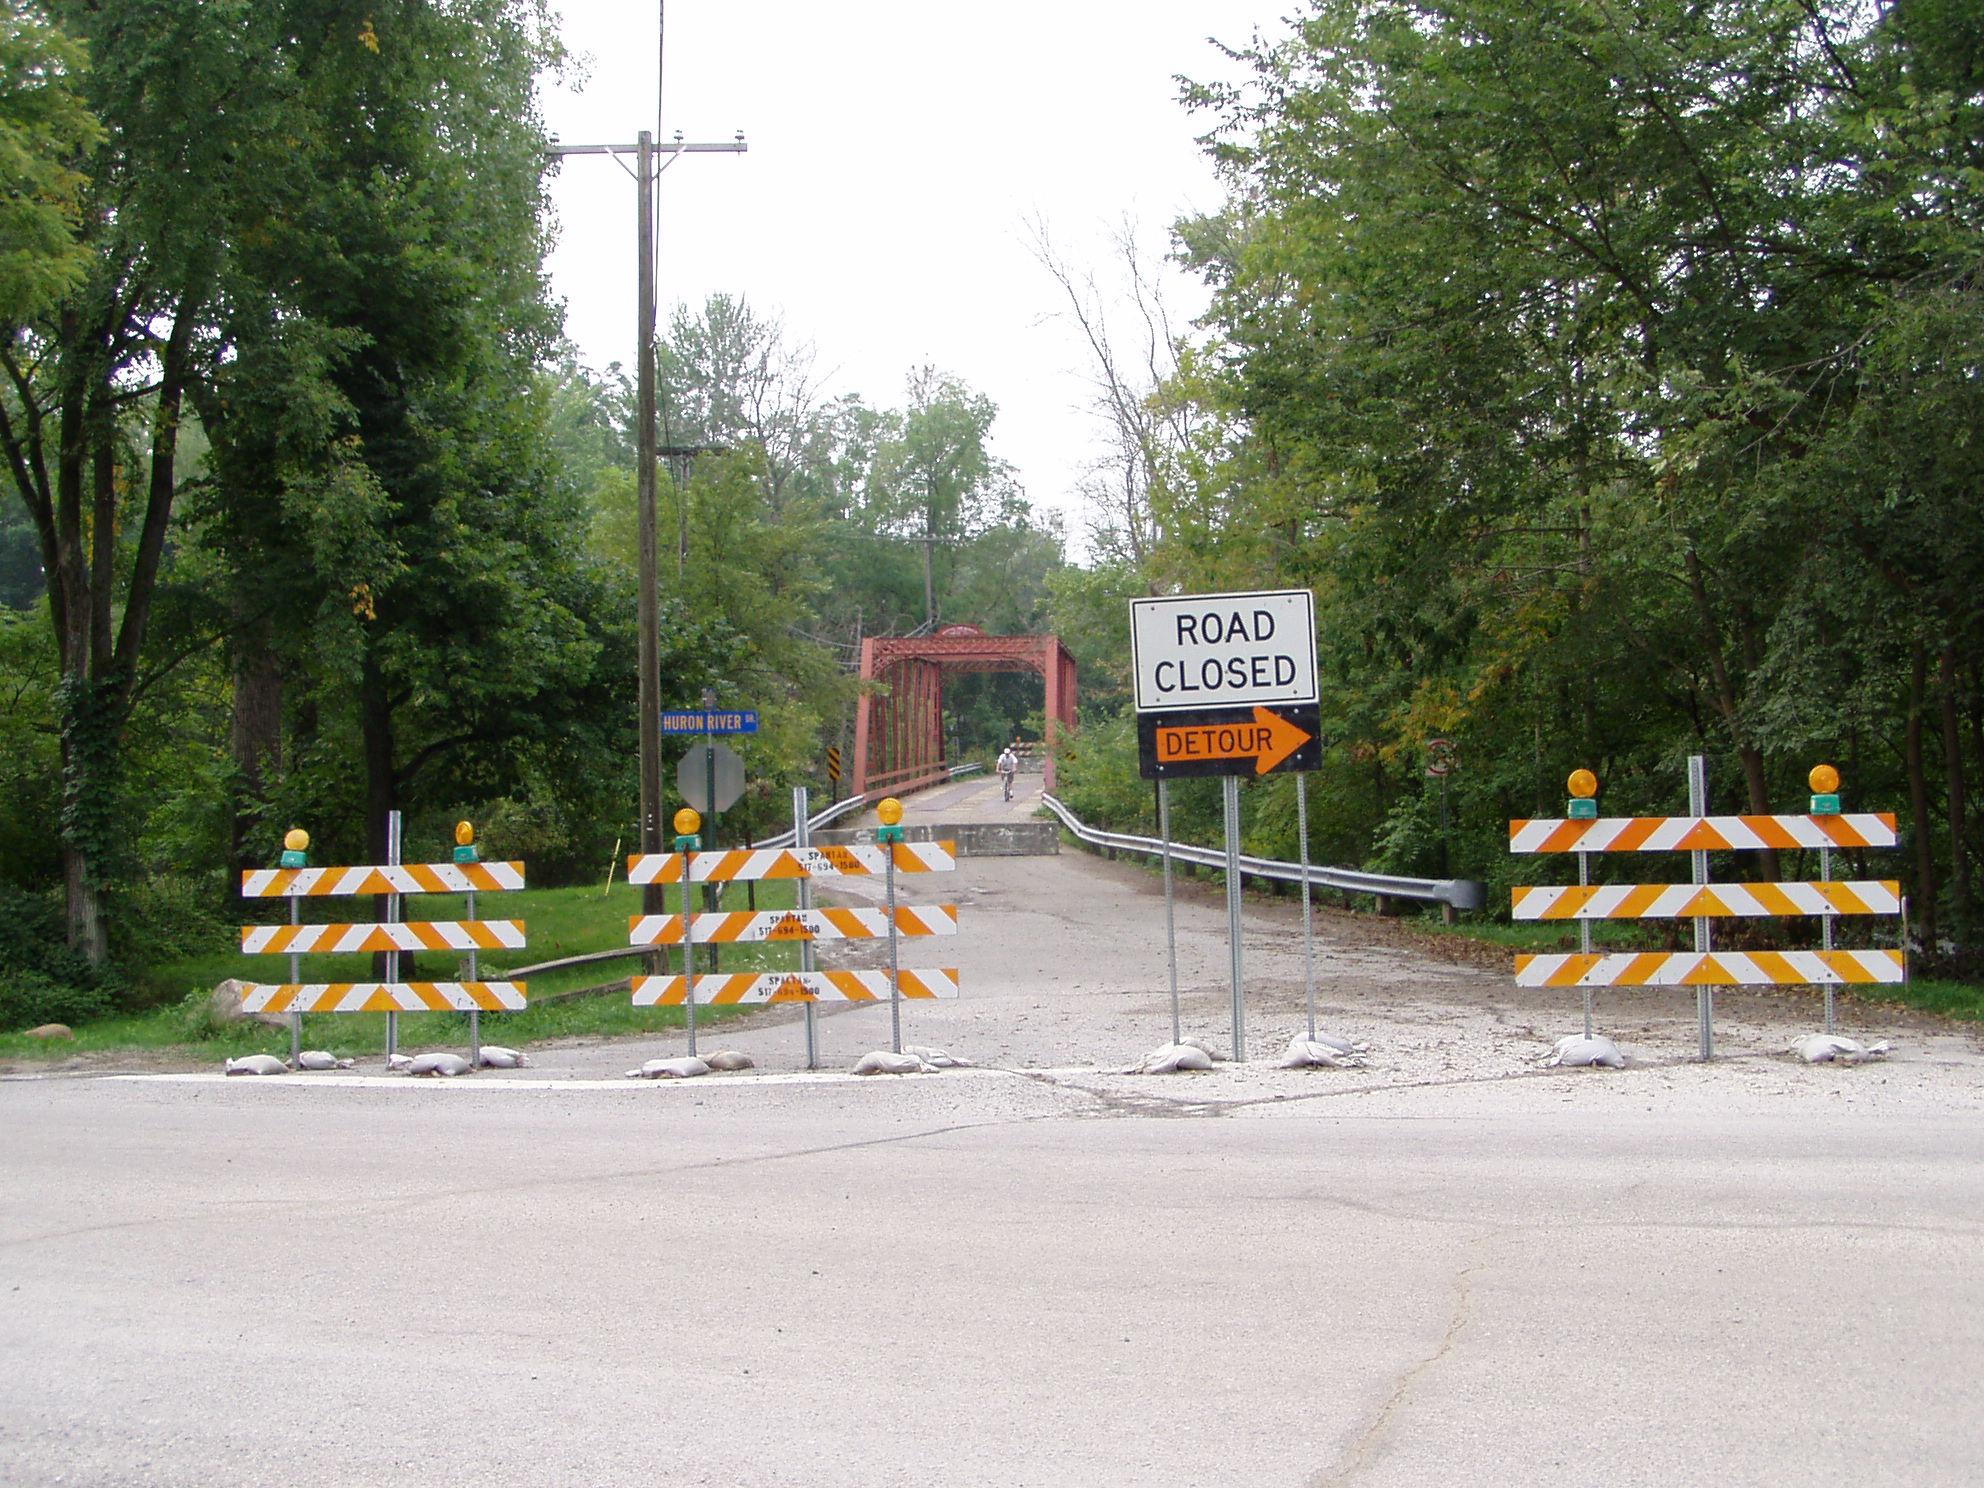
Pre-rehabilitation: A view of the bridge after it had been closed to traffic.
![]()

Photo Credit: Charlie Unbehaun
Pre-rehabilitation: Spring 2005, showing the "Save East Delhi Bridge" sign on Huron River Road.
![]()
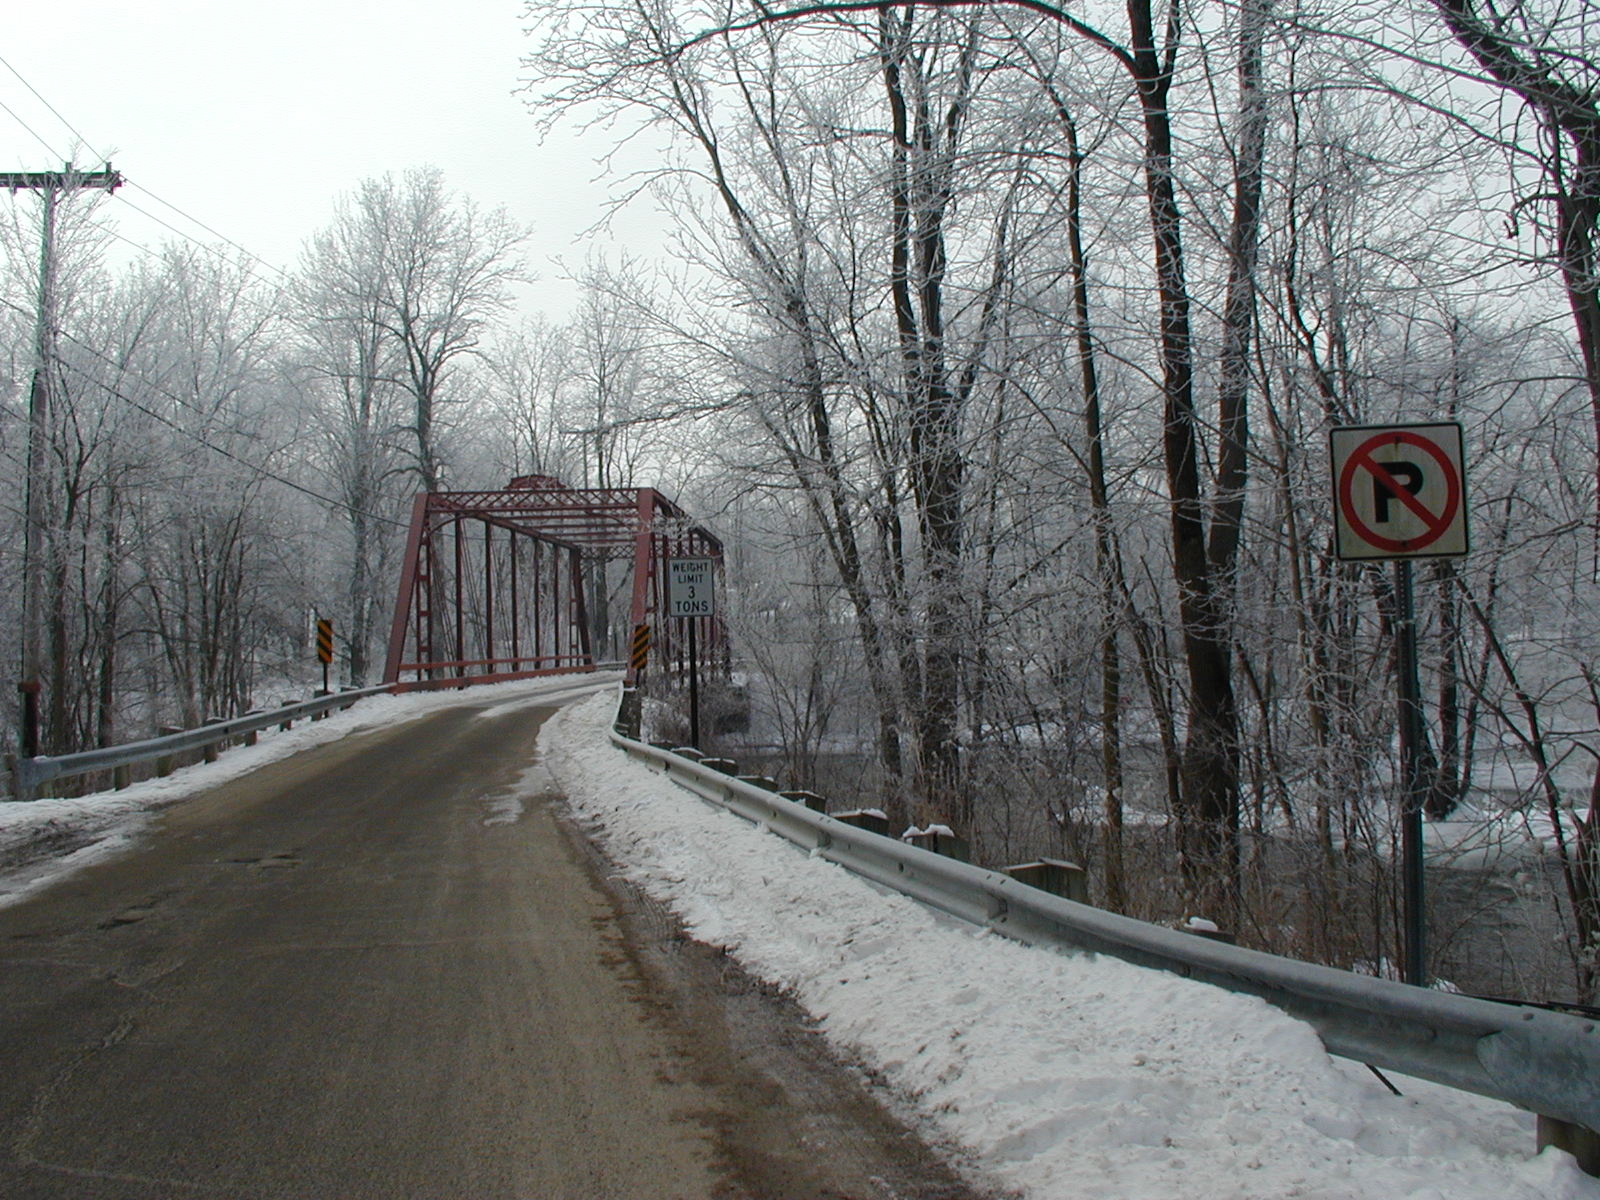
Photo Credit: Charlie Unbehaun
Pre-rehabilitation: A view of the bridge, with a pretty icing on the trees.
![]()

Photo Credit: Charlie Unbehaun
Pre-rehabilitation: A full view of the bridge from a distance.
![]()
![]()
| Back |
| Home |
| Top |

![]()


