
Uncredited photos on this page taken by: Nathan Holth and Rick McOmber. Unless stated in a caption, all photos are Copyright with All Rights Reserved. Learn about reuse of our photos.
![]()


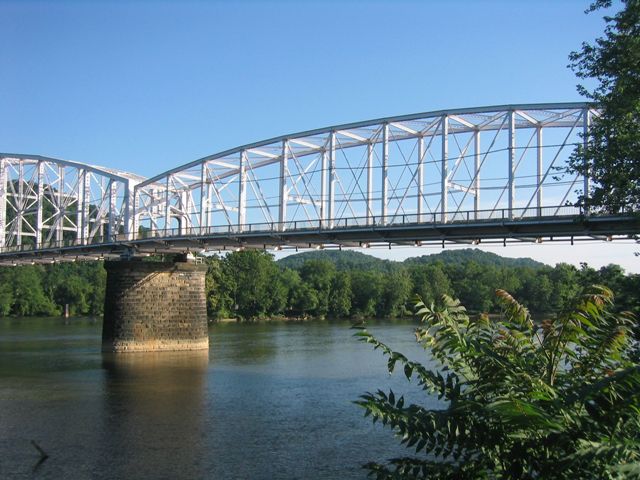


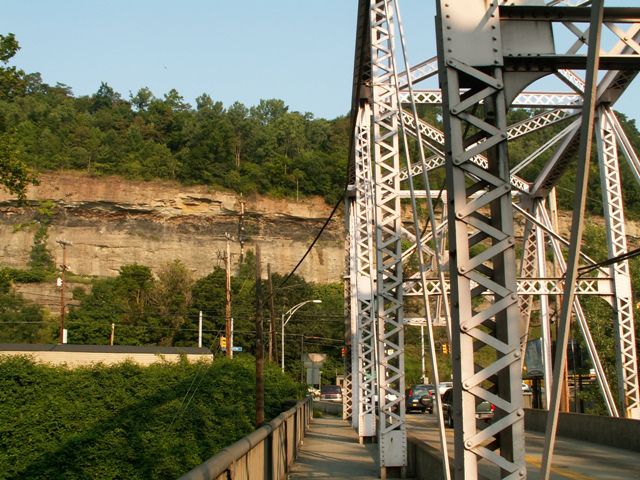
Views beside bridge, southeast quadrant.
![]()


Views beside bridge of main span, southeast quadrant.
![]()


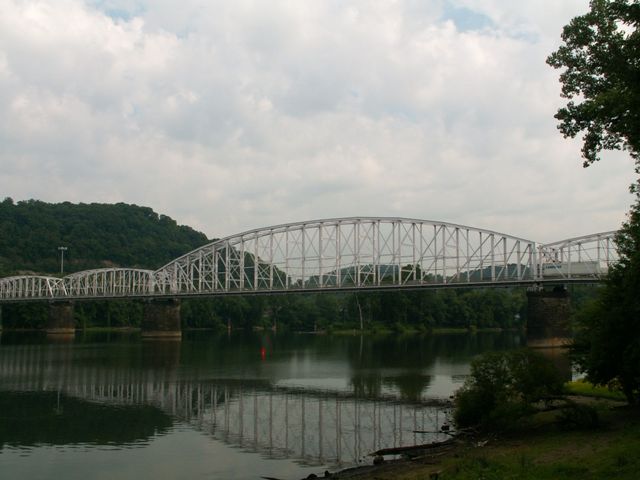

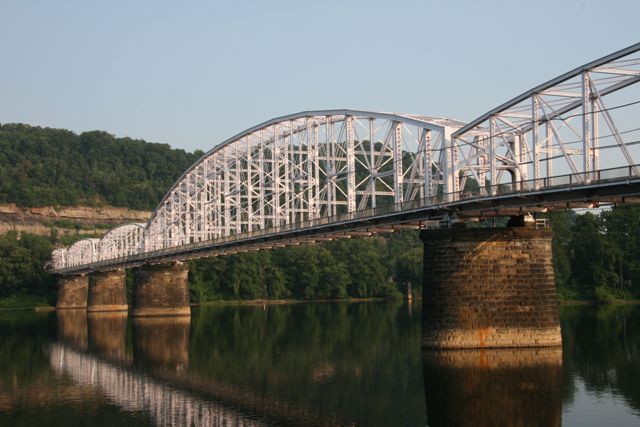
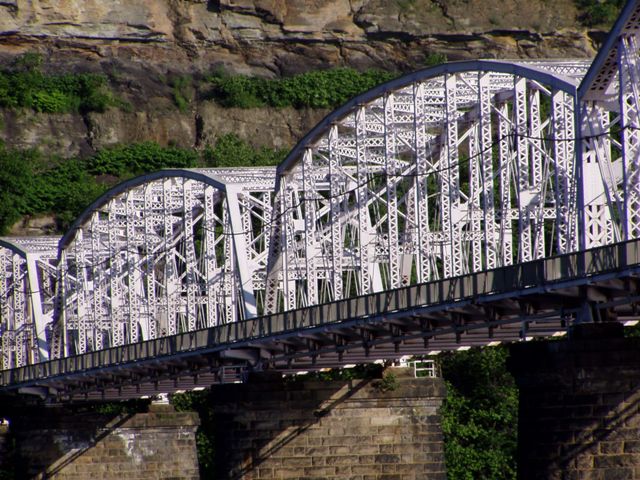
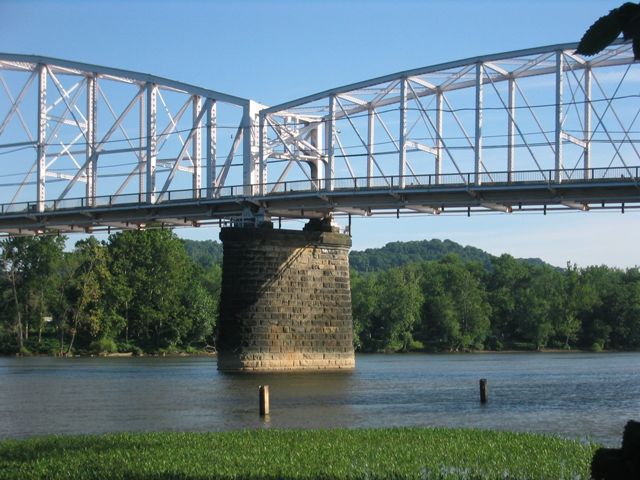
South elevation from eastern riverbank.
![]()


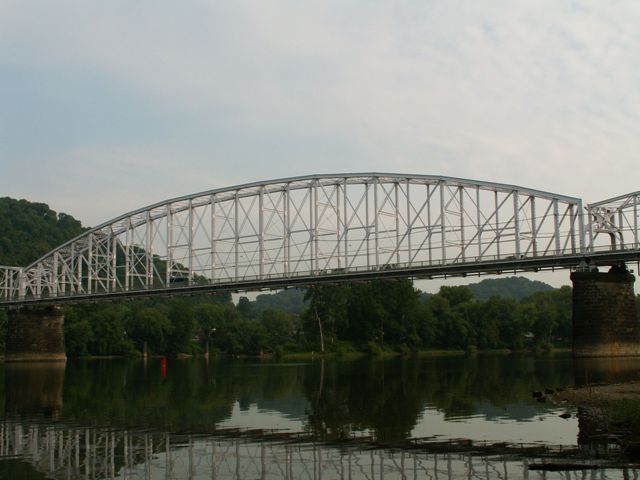

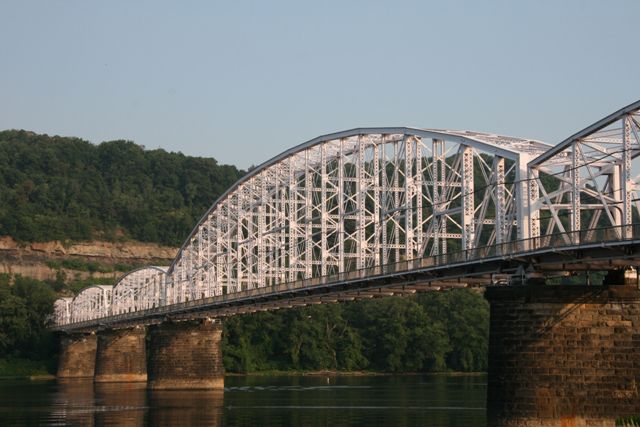
South elevation of main span from eastern riverbank.
![]()


South elevation of approach spans from eastern riverbank.
![]()


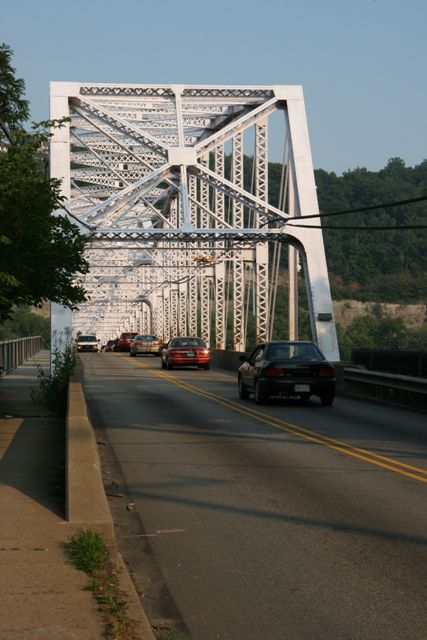
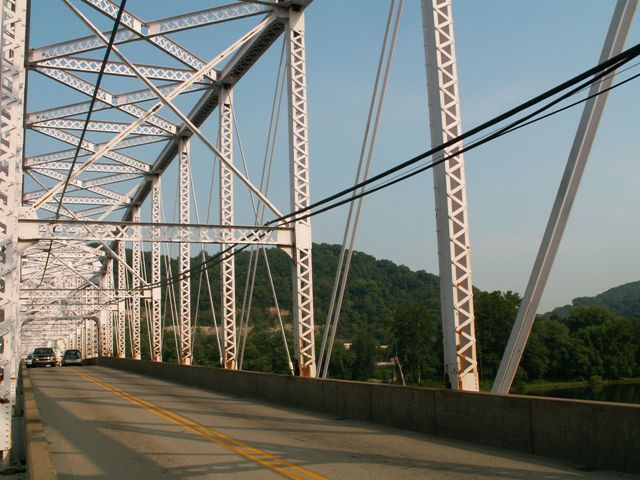
Portal views facing west.
![]()
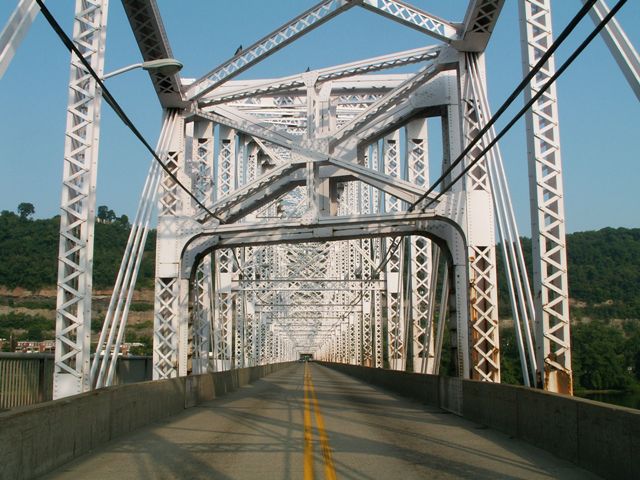
Portal view of main span from approach span, facing west.
![]()

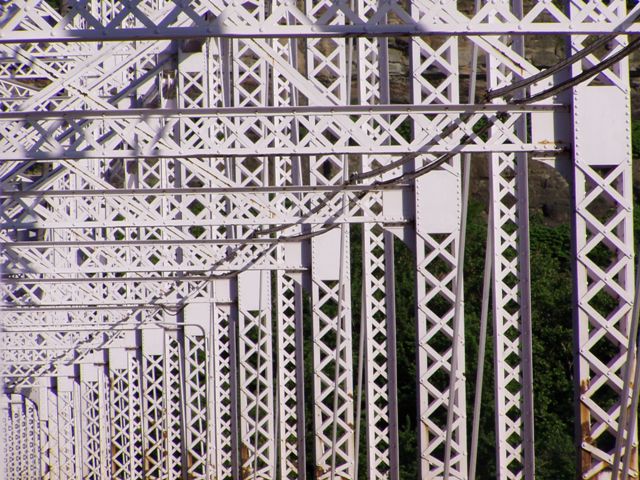
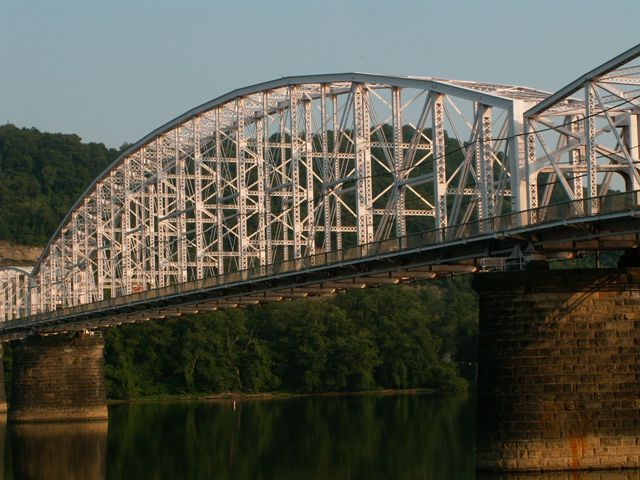
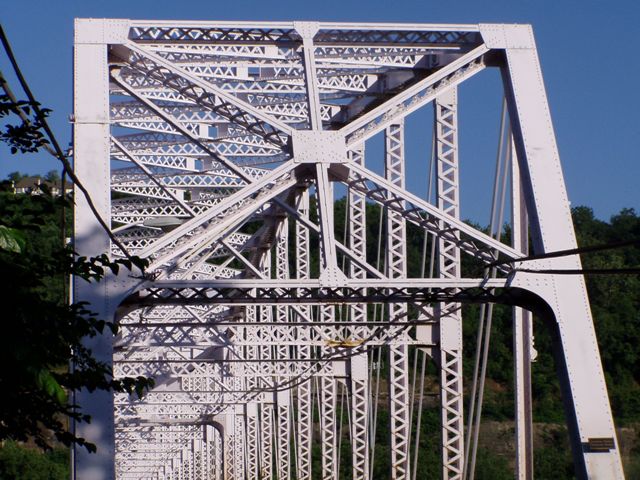
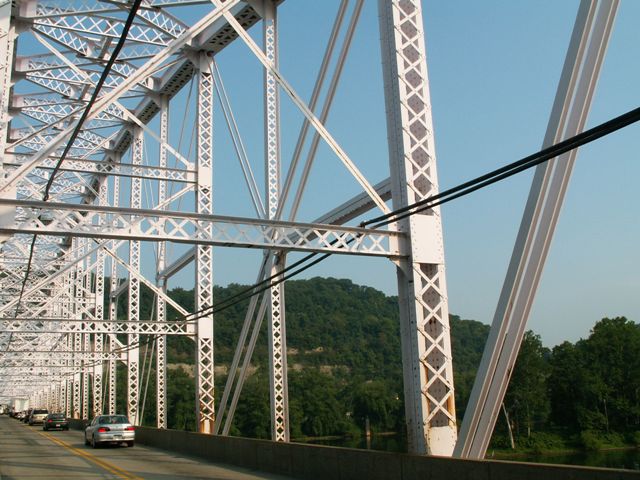
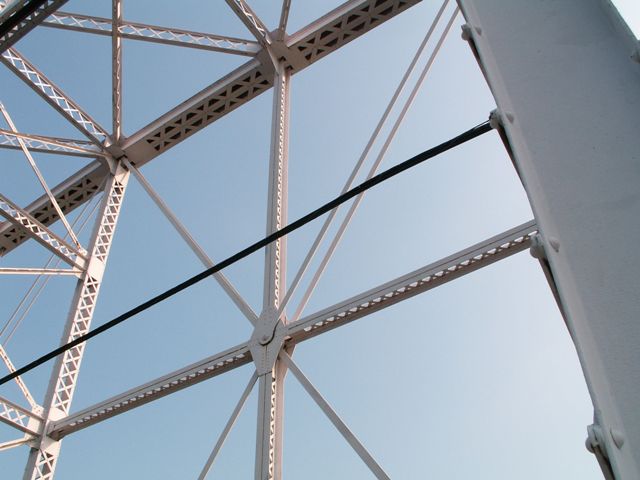
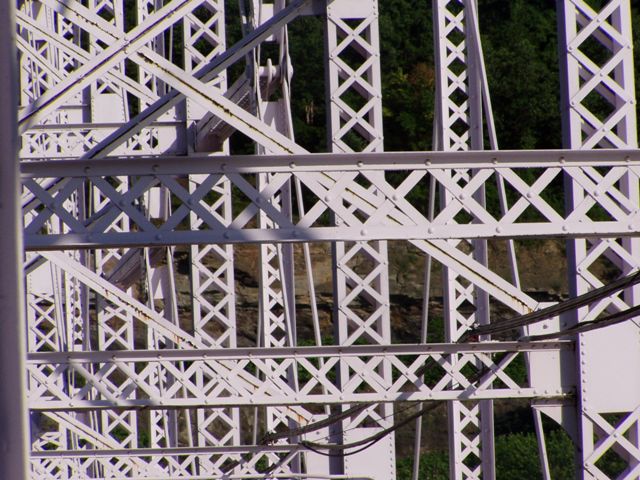
Zoomed views highlighting the square shape formed by the vertical members and lower sway bracing members.
![]()


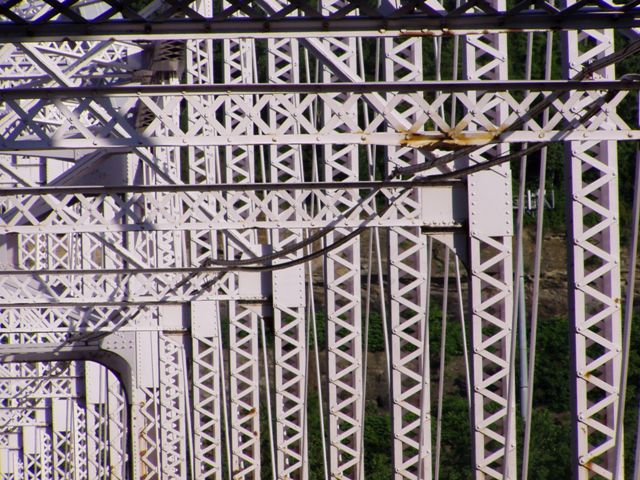
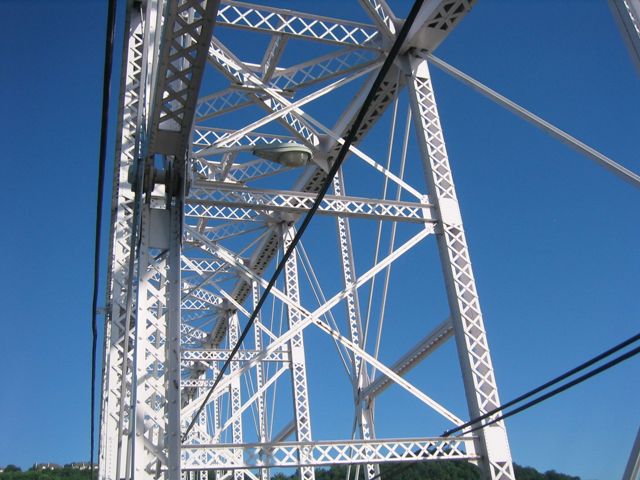
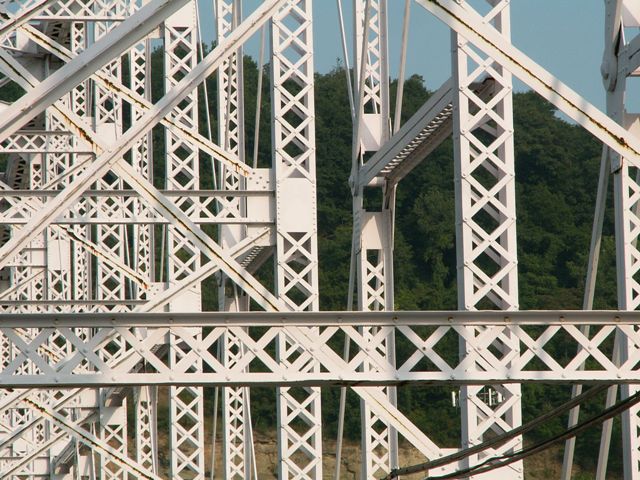
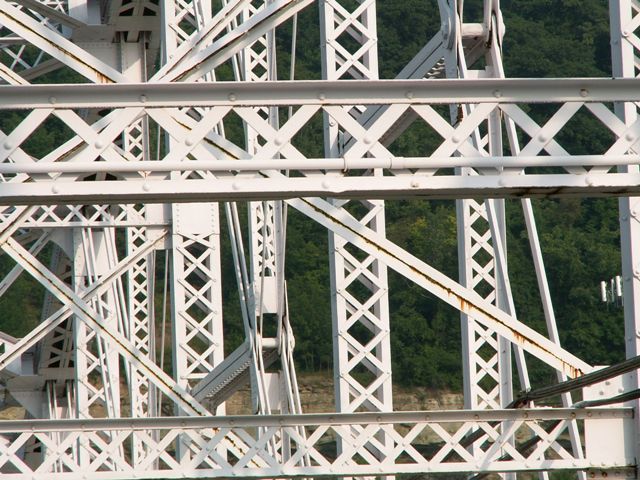
Zoomed view from beside bridge showing how complex the network of steel on this bridge is.
![]()


Zoomed views of the western approach spans.
![]()
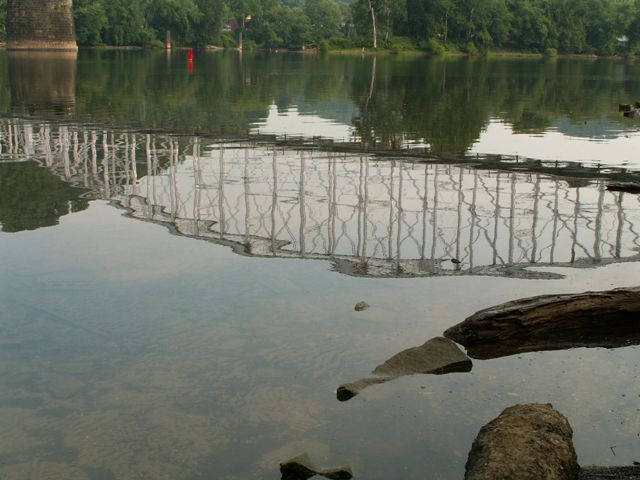
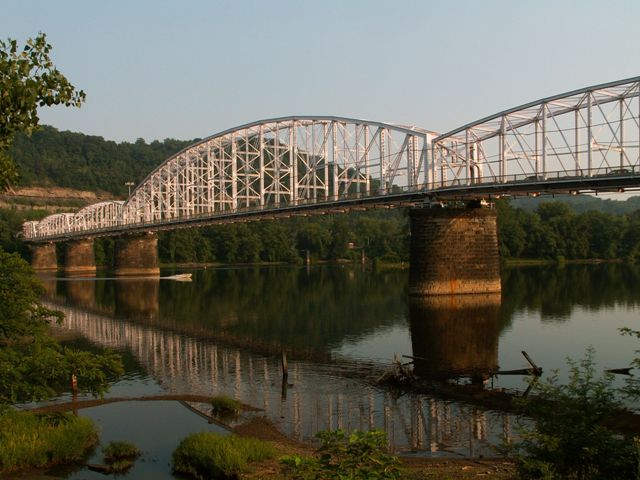
Reflection.
![]()


Views of the eastern portal.
![]()

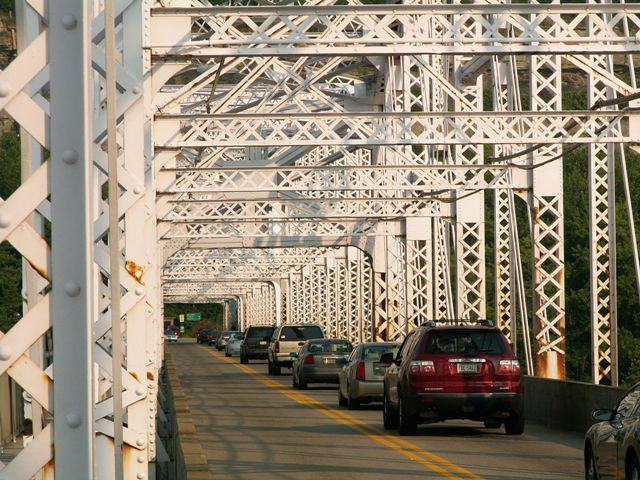
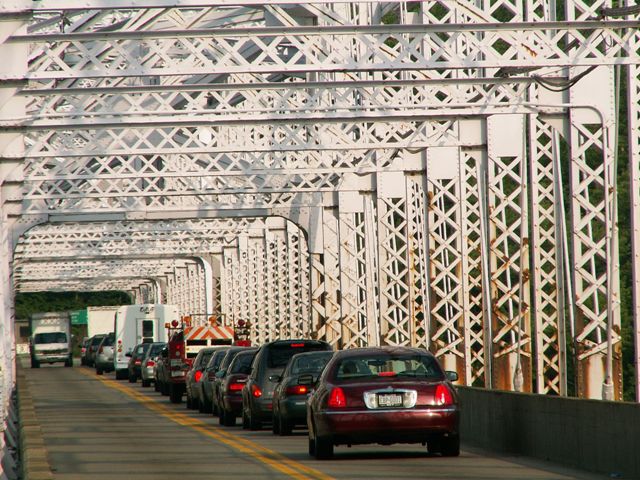

Zoomed views showing the tunnel effect.
![]()
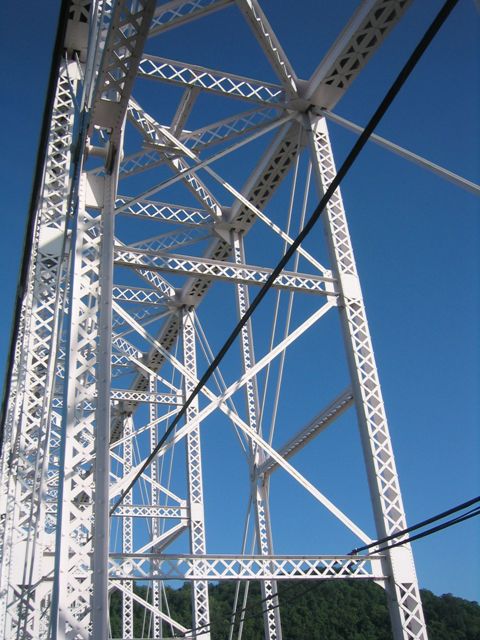


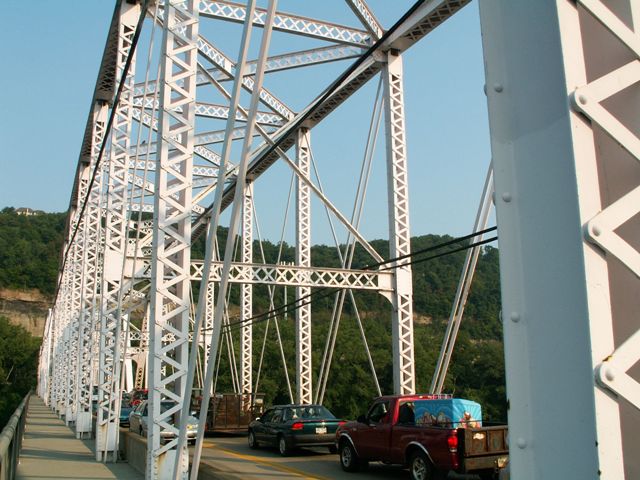
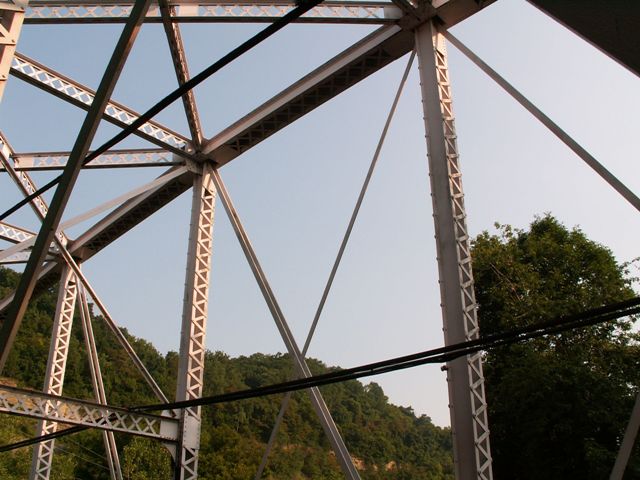
Views of the elaborate sway bracing system and trusses.
![]()
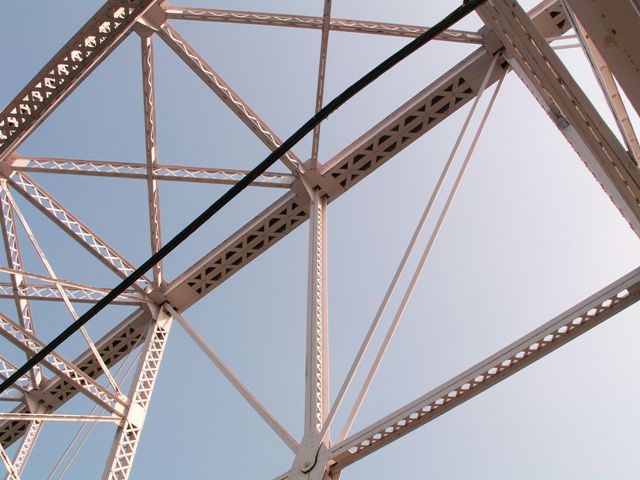
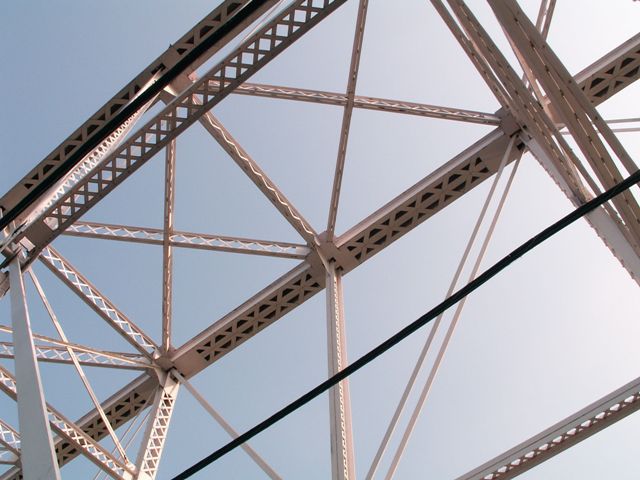
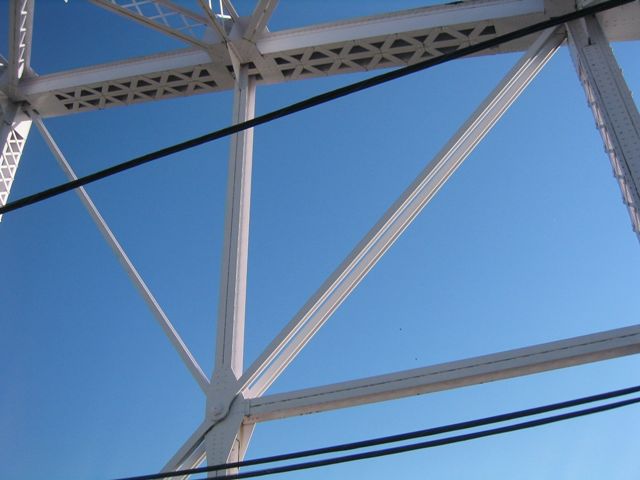
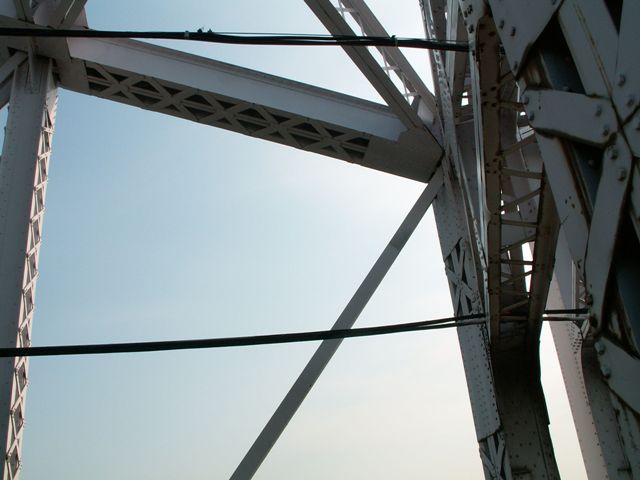
Looking directly up at the bracing system and top chords.
![]()


Views of the truss web from the sidewalk.
![]()

Views of individual truss panels.
![]()


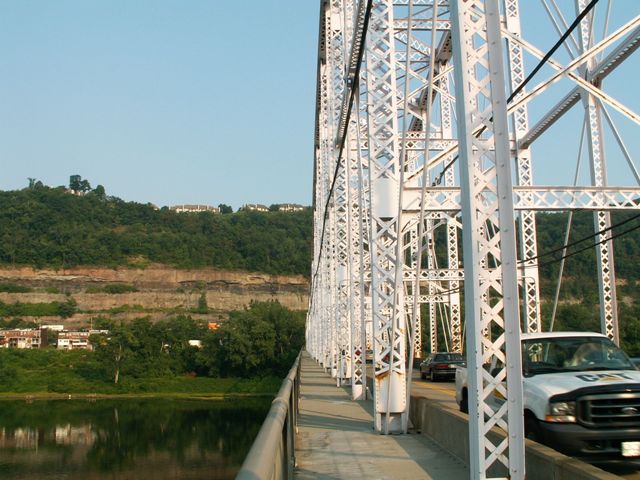
Views of western approach spans as seen from sidewalk on southern side of bridge.
![]()
Sidewalk portals.
![]()
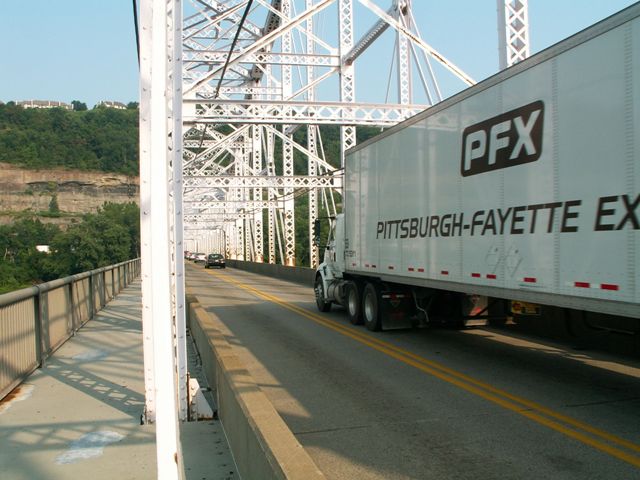
Truck on bridge.
![]()


Pier.
![]()

Abutment.
![]()


Random views showing the beautiful, elaborate geometric art that this bridge exhibits.
![]()


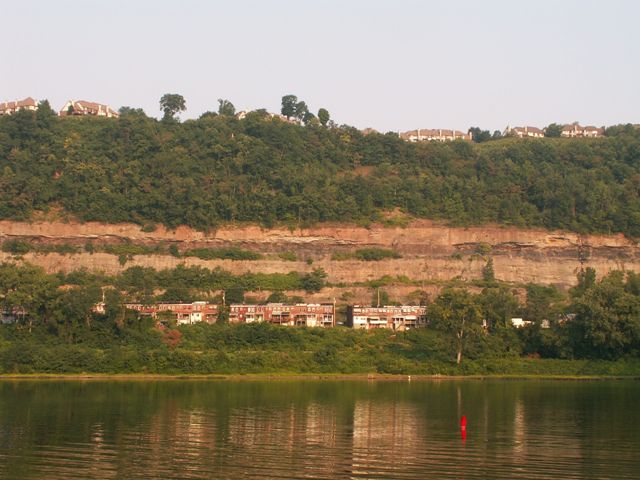


Scenery at bridge.
![]()
![]()
| Back |
| Home |
| Top |

![]()