Uncredited photos on this page taken by: Nathan Holth. Unless stated in a caption, all photos are Copyright with All Rights Reserved. Learn about reuse of our photos.
![]()
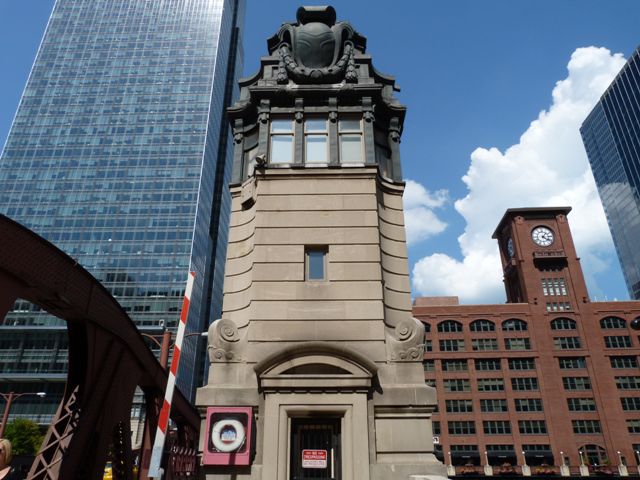


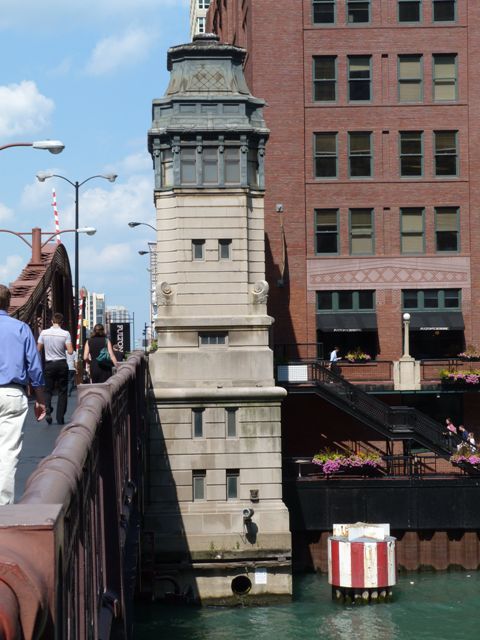


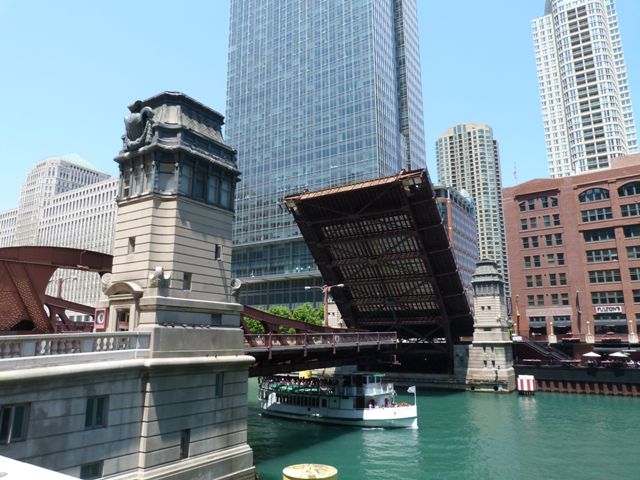

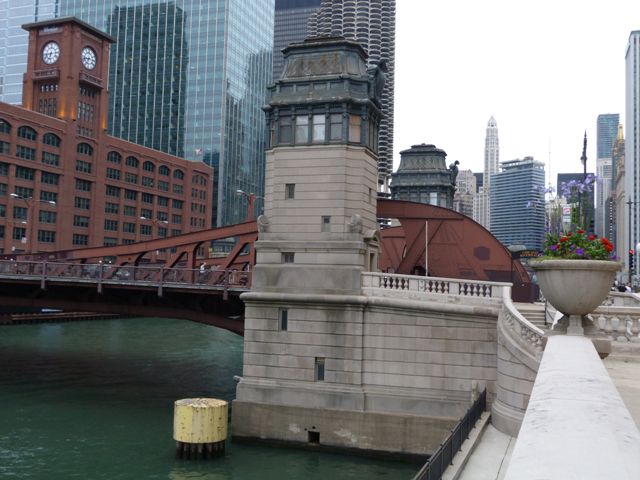


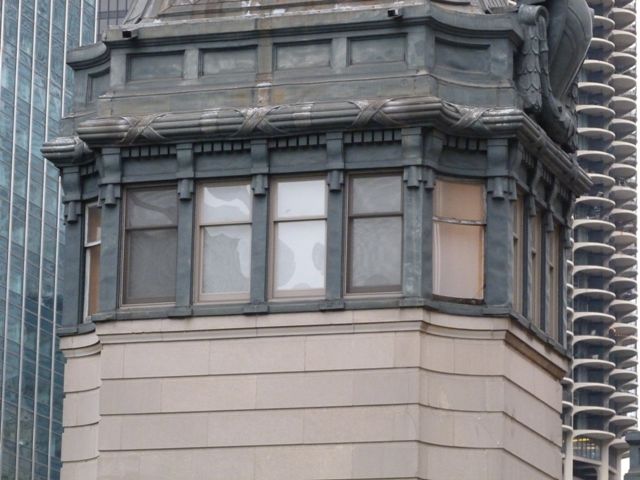
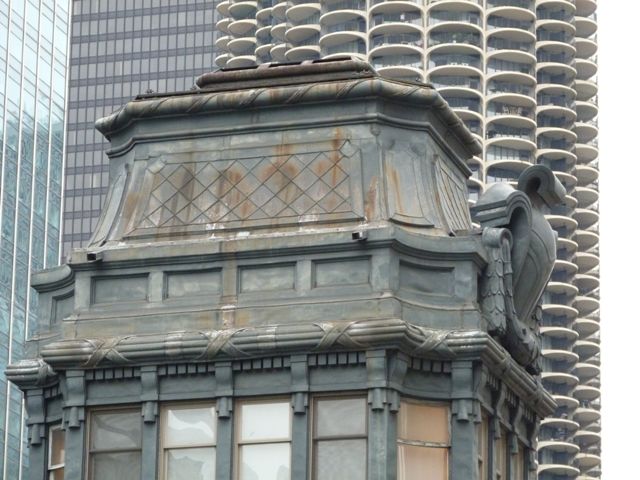
Bridge tender house overviews.
![]()
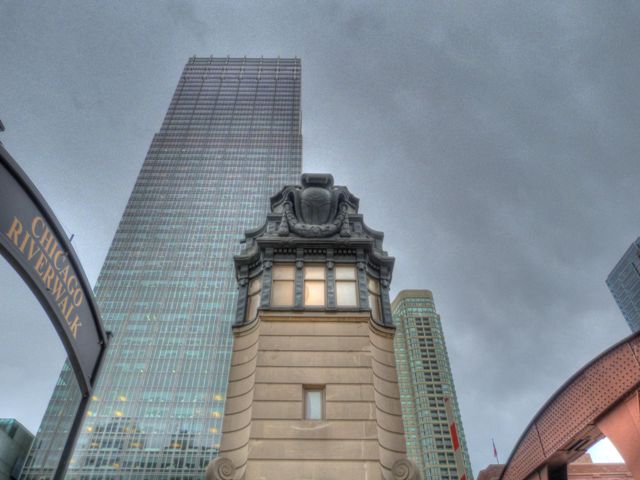
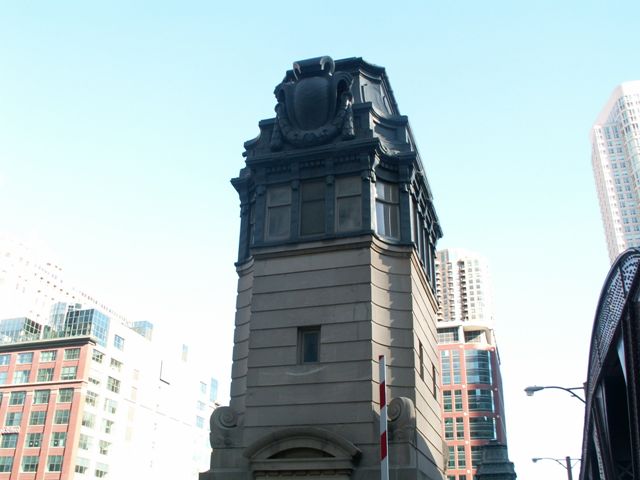
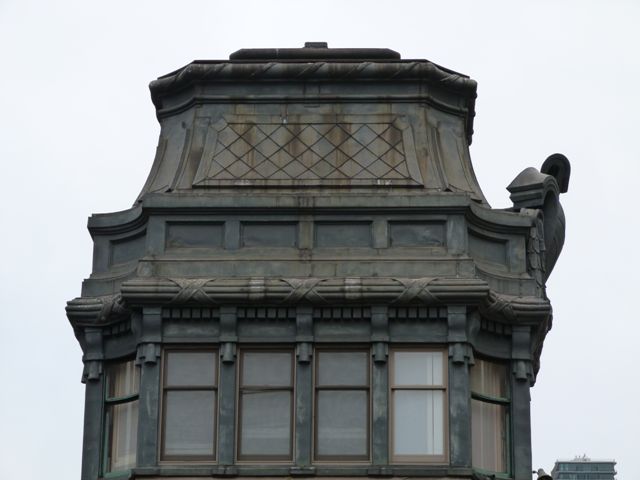
HDR Photos: Bridge tender house overviews.
![]()


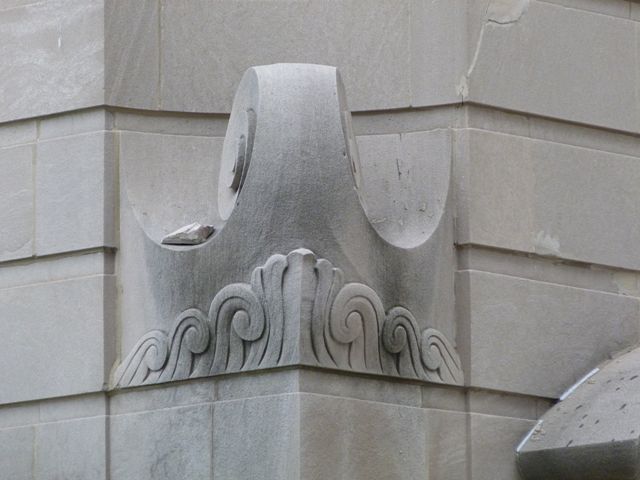

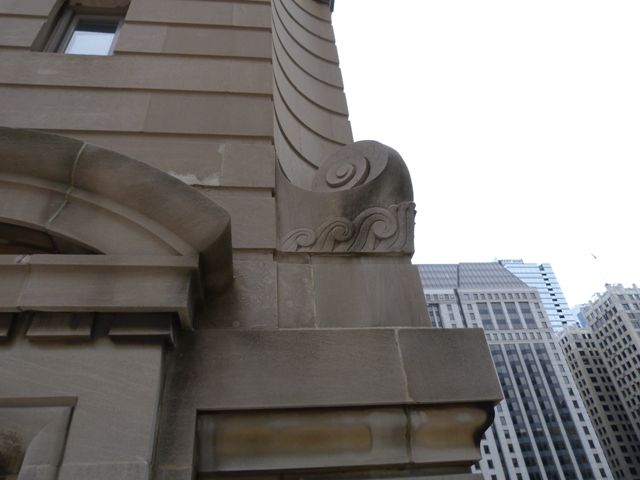
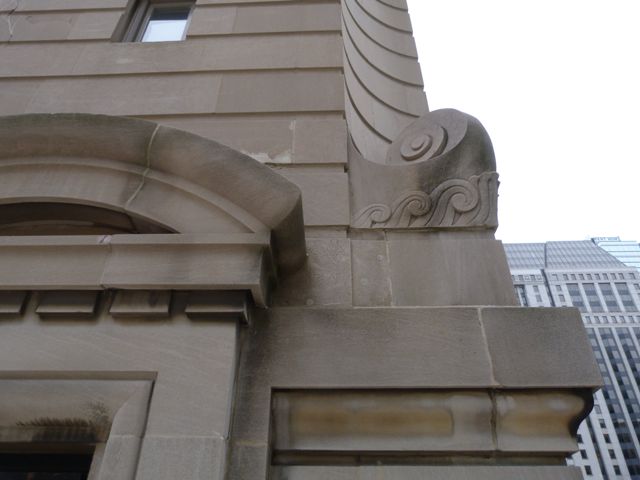

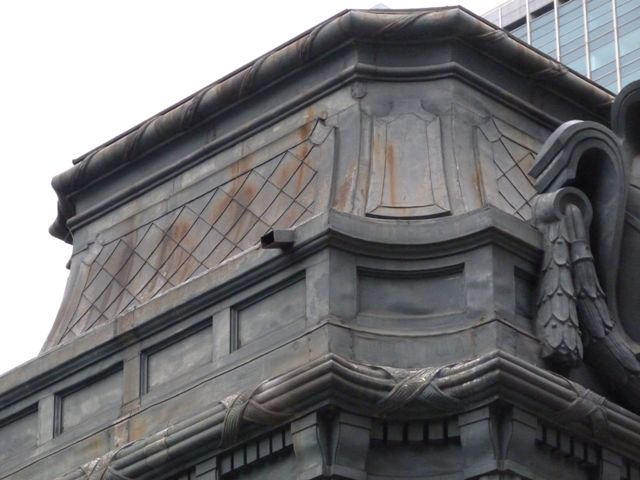
Bridge tender house architectural details.
![]()
Bridge tender house windows.
![]()


Bridge tender house doorway details.
![]()

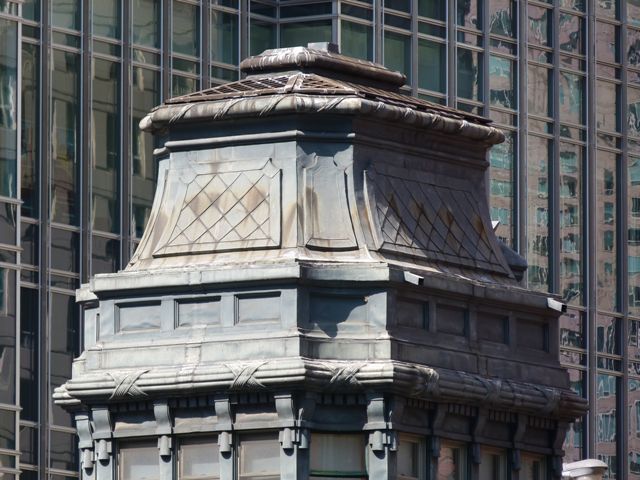

Bridge tender house roof details.
![]()

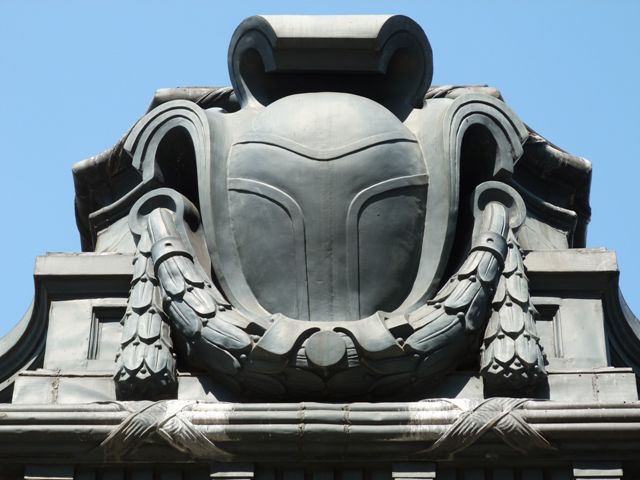


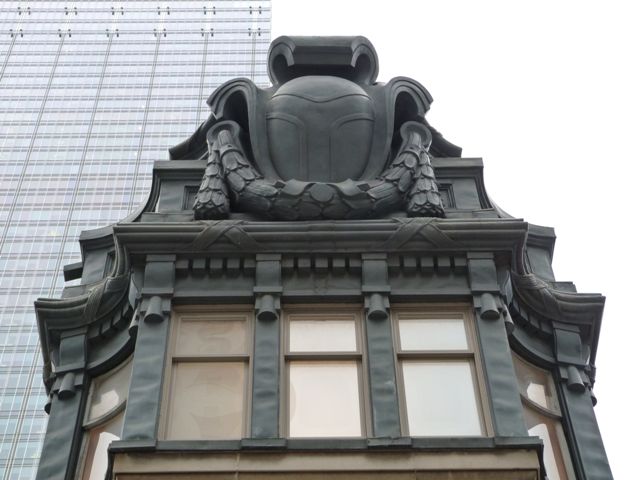


Details of bridge tender house, showing the Municipal Device logo on the building.
![]()
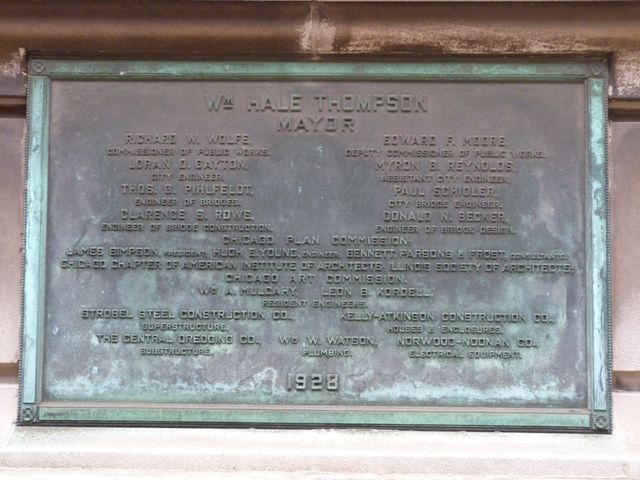
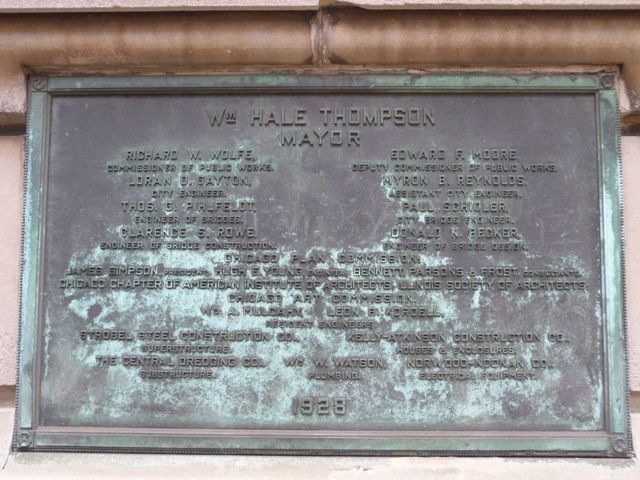
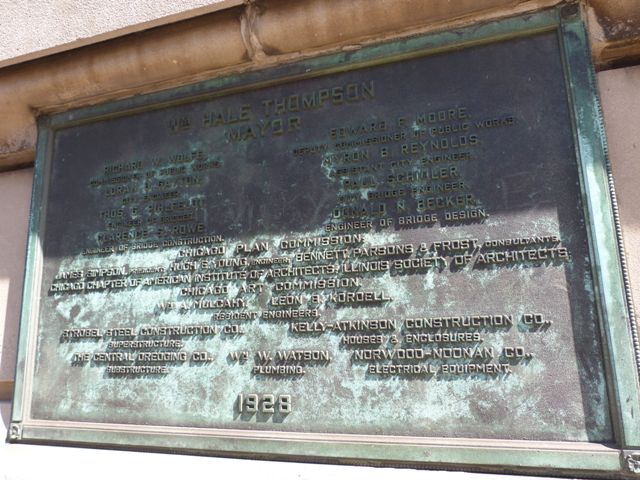
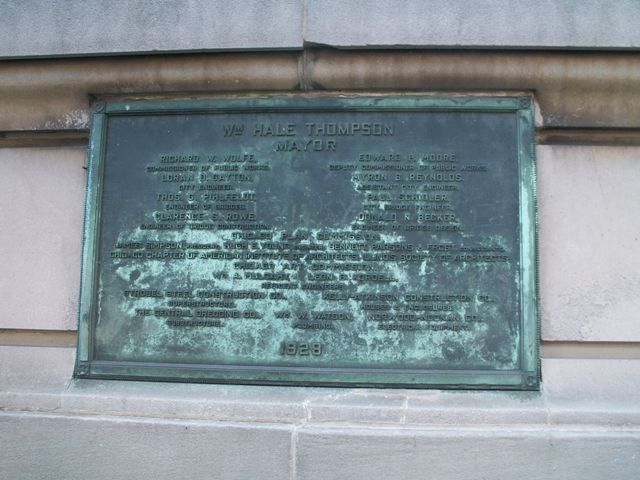
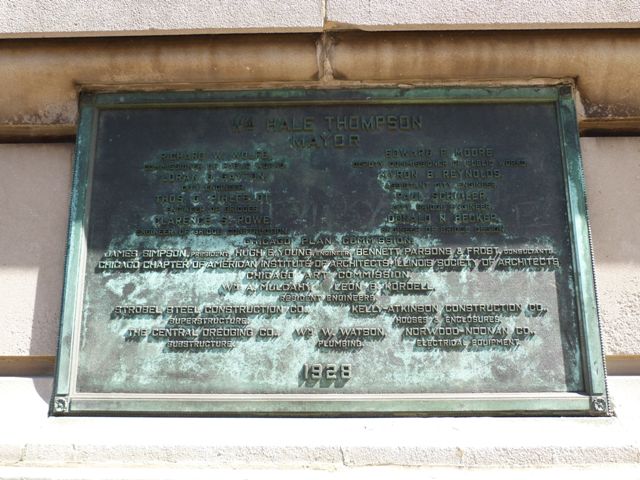
Main plaque.
![]()


Hubbard's Folly interpretive plaque.
![]()
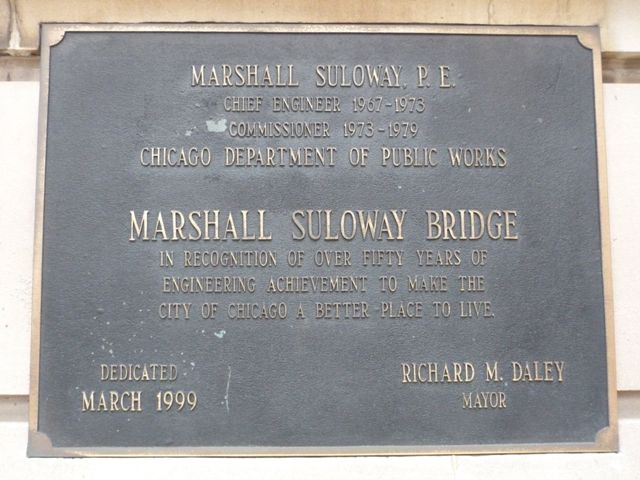

Commemorative plaque.
![]()
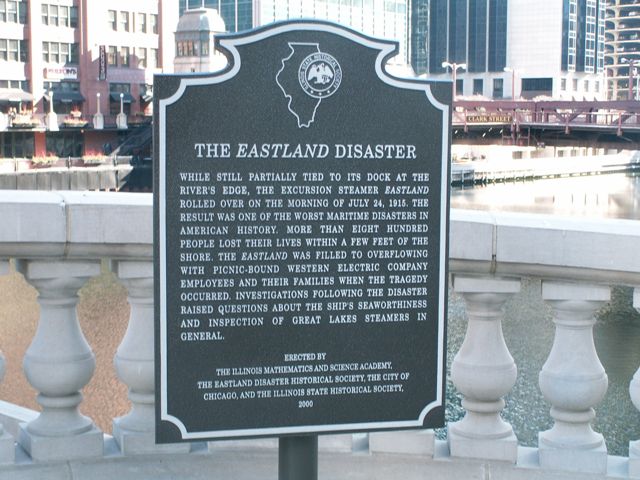
Eastland disaster interpretive plaque.
![]()


Carnegie brand.
![]()
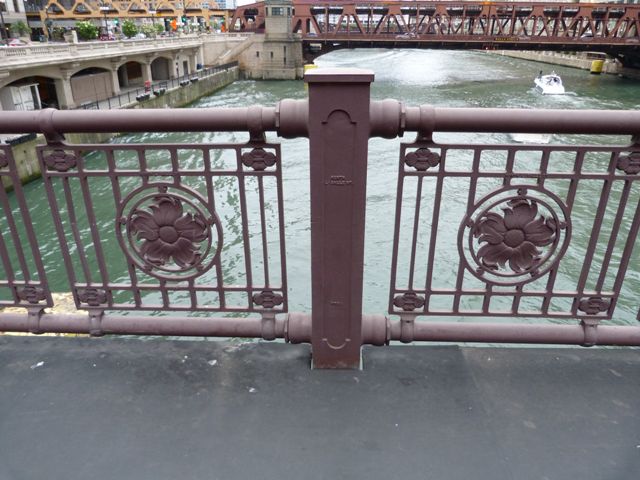
Railing.
![]()


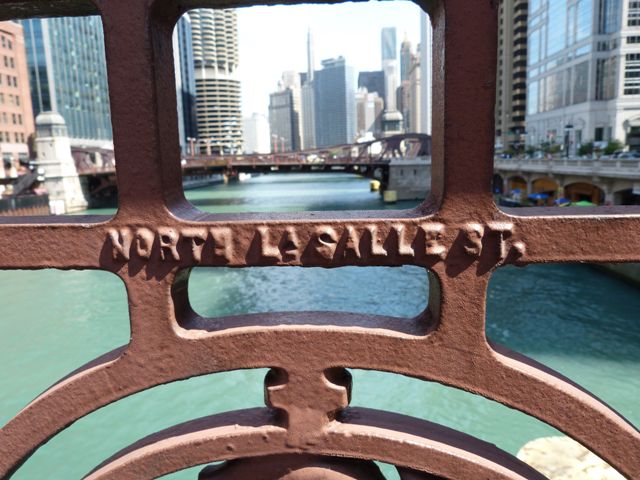

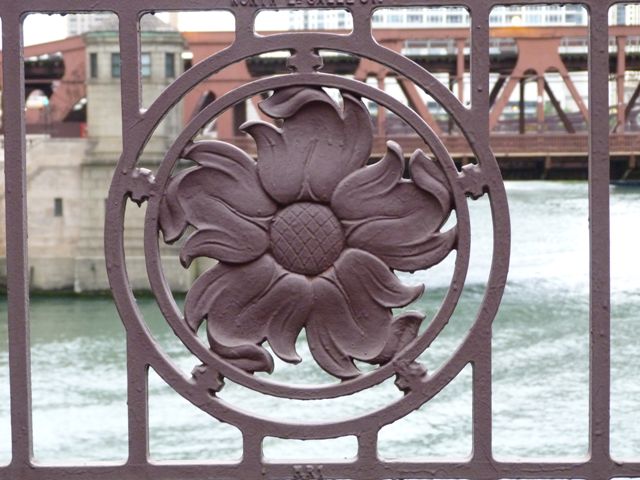

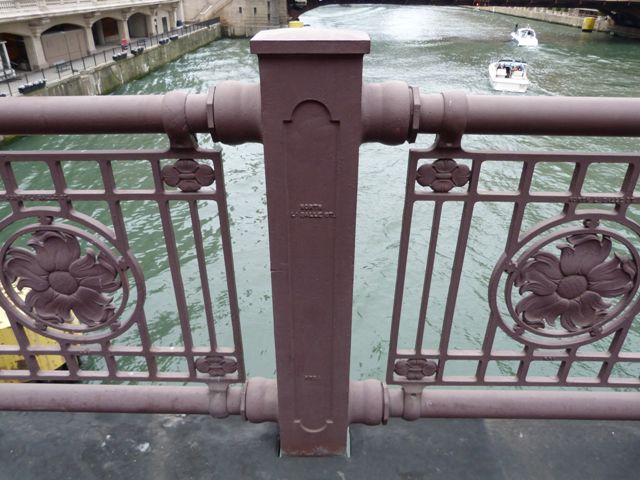
Railing details.
![]()

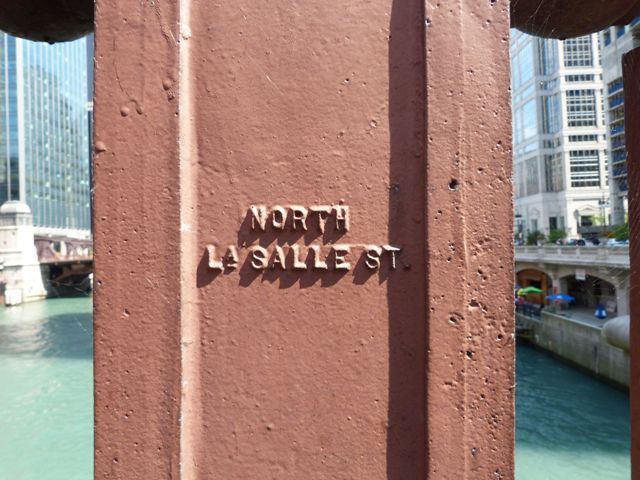
Concrete railing near bridge tender house.
![]()


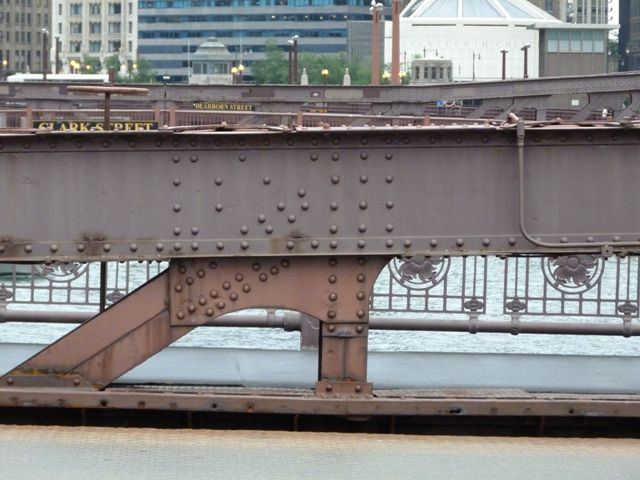
Views of center of bridge.
![]()


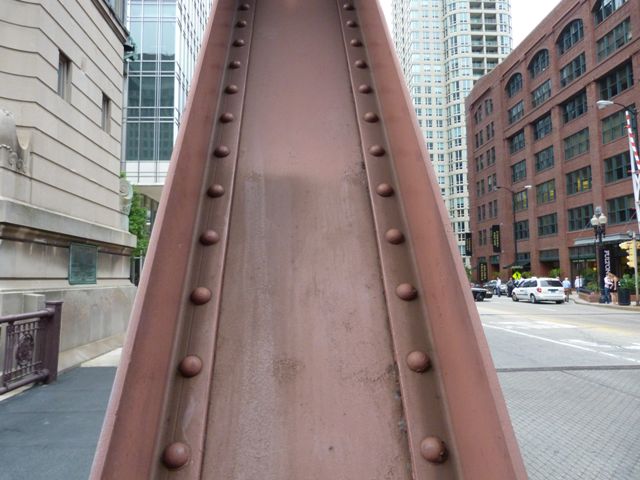
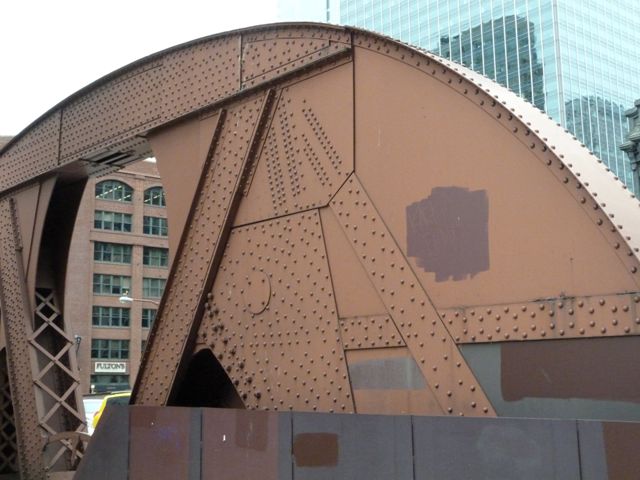
Diagonal members.
![]()

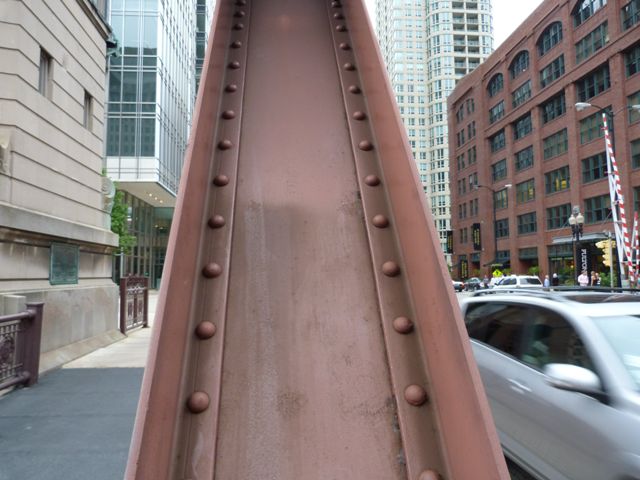
Vertical members.
![]()
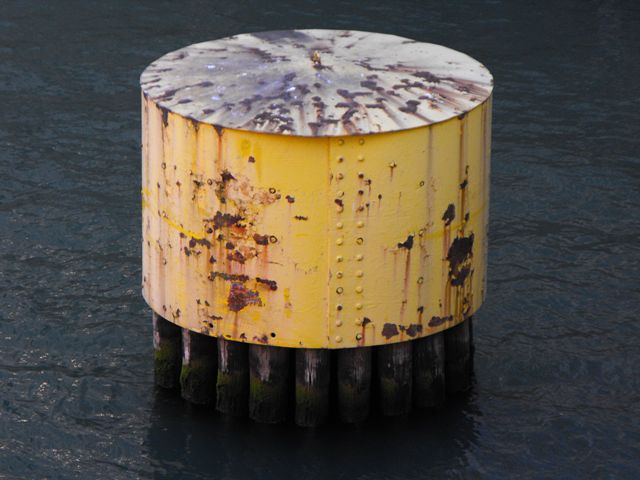
Bridge "dolphin" fender.
![]()


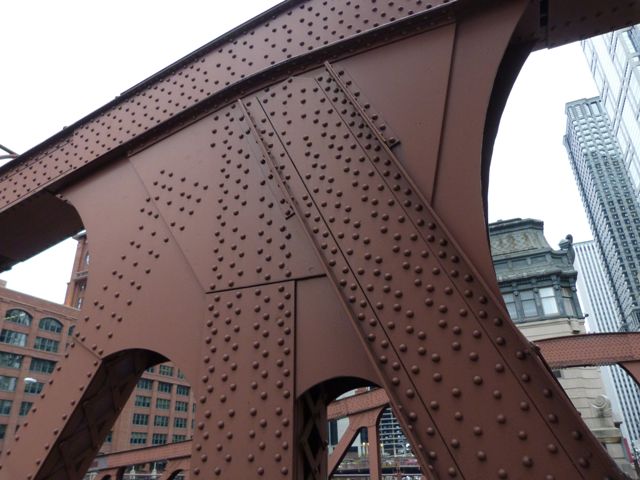
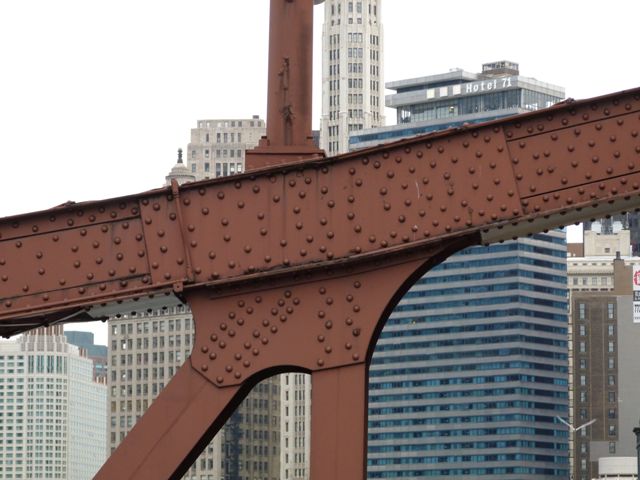


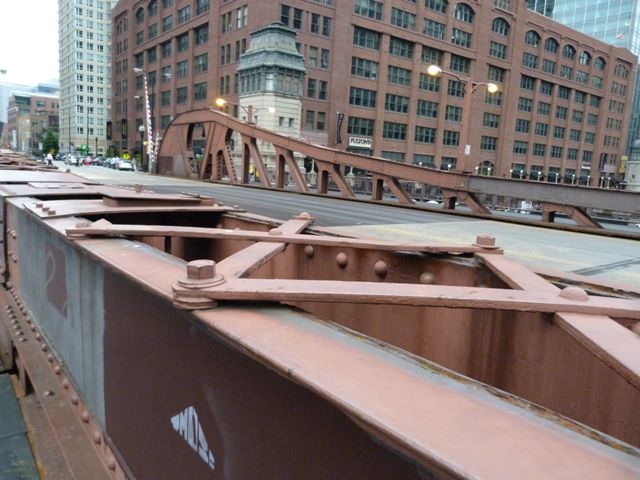
Top chord connections.
![]()


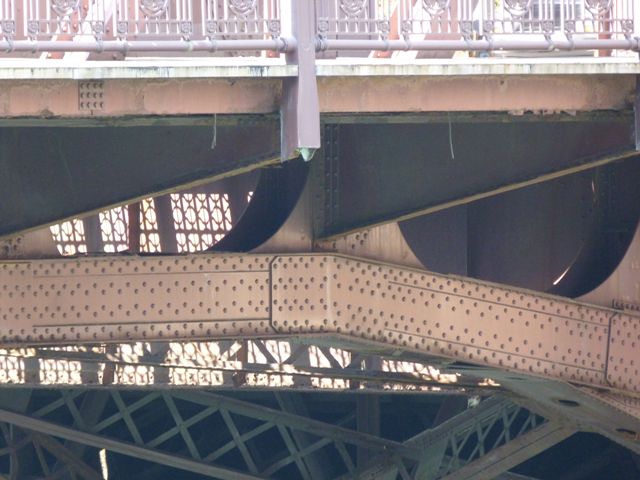


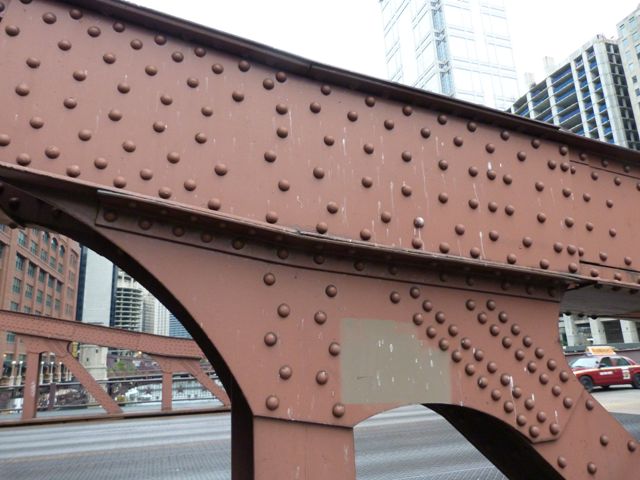
Bottom chord connections.
![]()

Detail at center of bridge where locking mechanism is located.
![]()


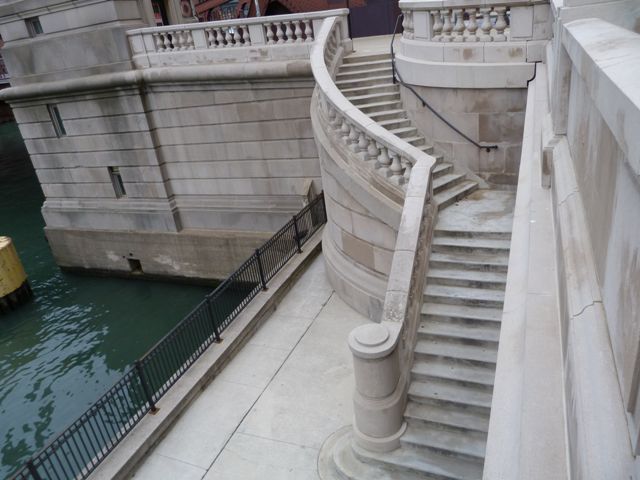

Abutment.
![]()


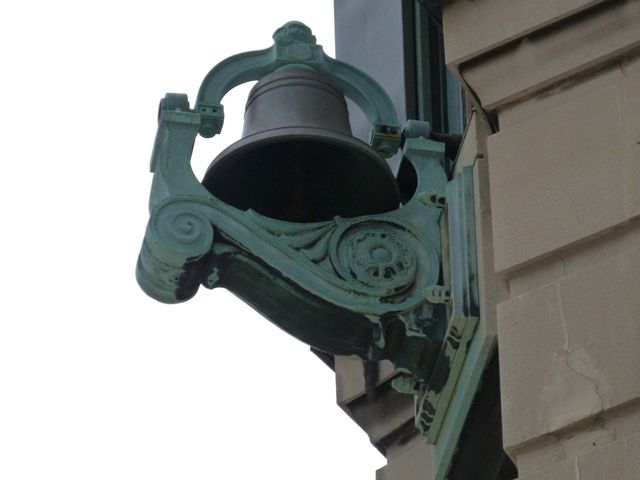
Bell.
![]()

Bridge hose connection.
![]()


Bridge position indicator.
![]()


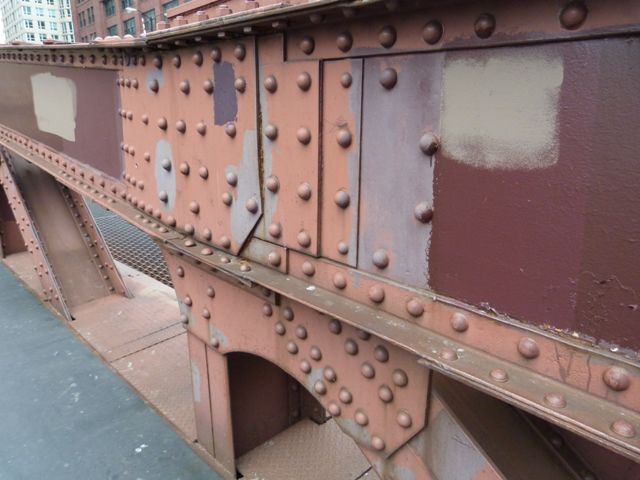
Bottom chord.
![]()

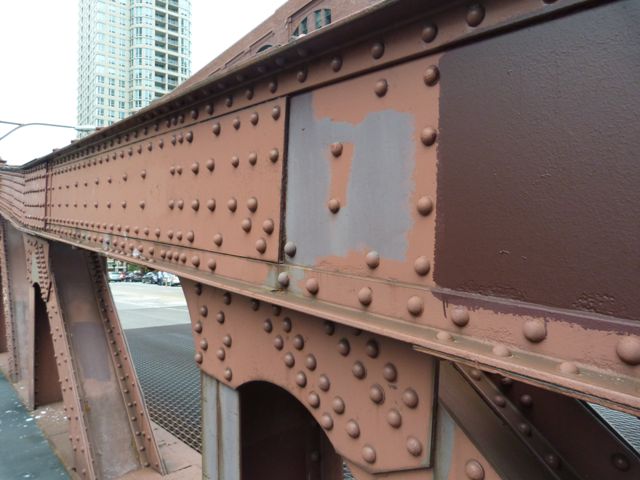
Top chord.
![]()

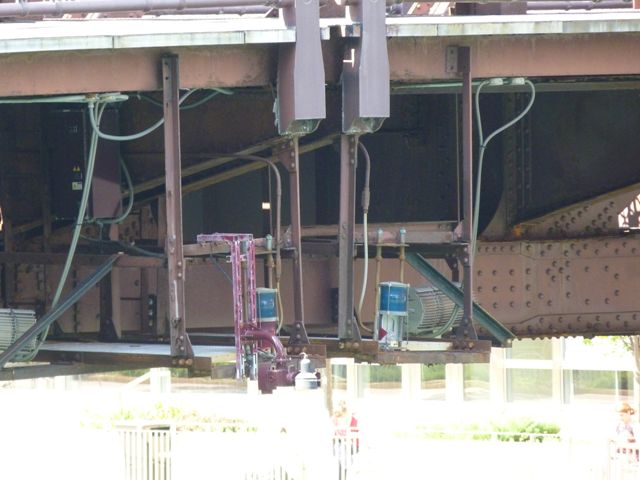
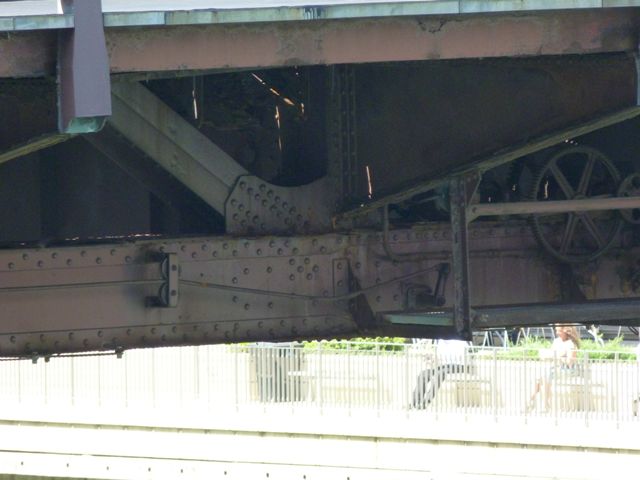
Rack and pinion.
![]()
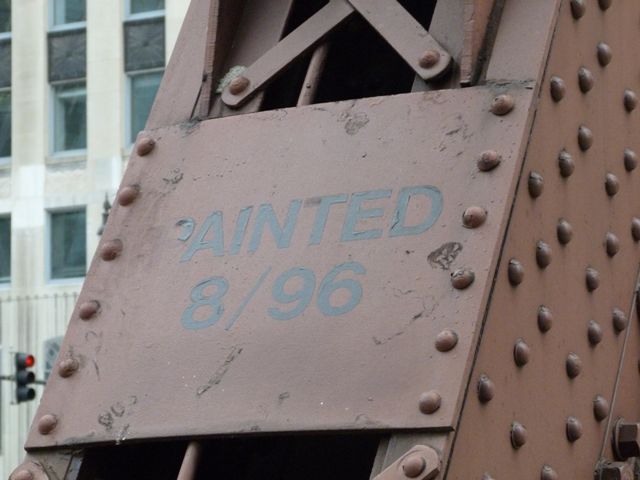
Bridge paint date.
![]()

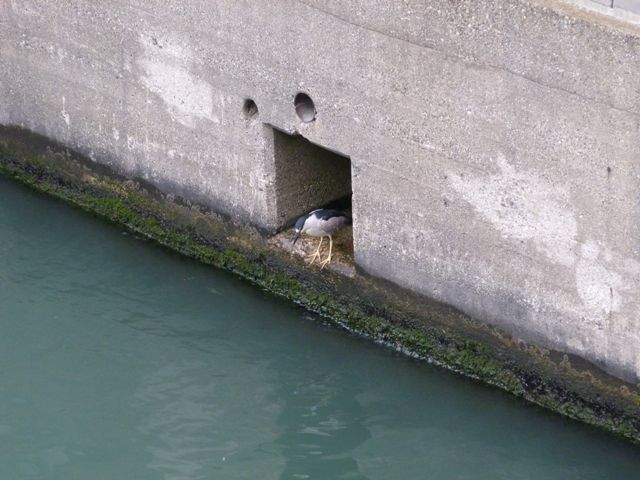
Bird at the base of an abutment.
![]()
![]()
| Back |
| Home |
| Top |

![]()