
Uncredited photos on this page taken by: Nathan Holth. Unless stated in a caption, all photos are Copyright with All Rights Reserved. Learn about reuse of our photos.
![]()


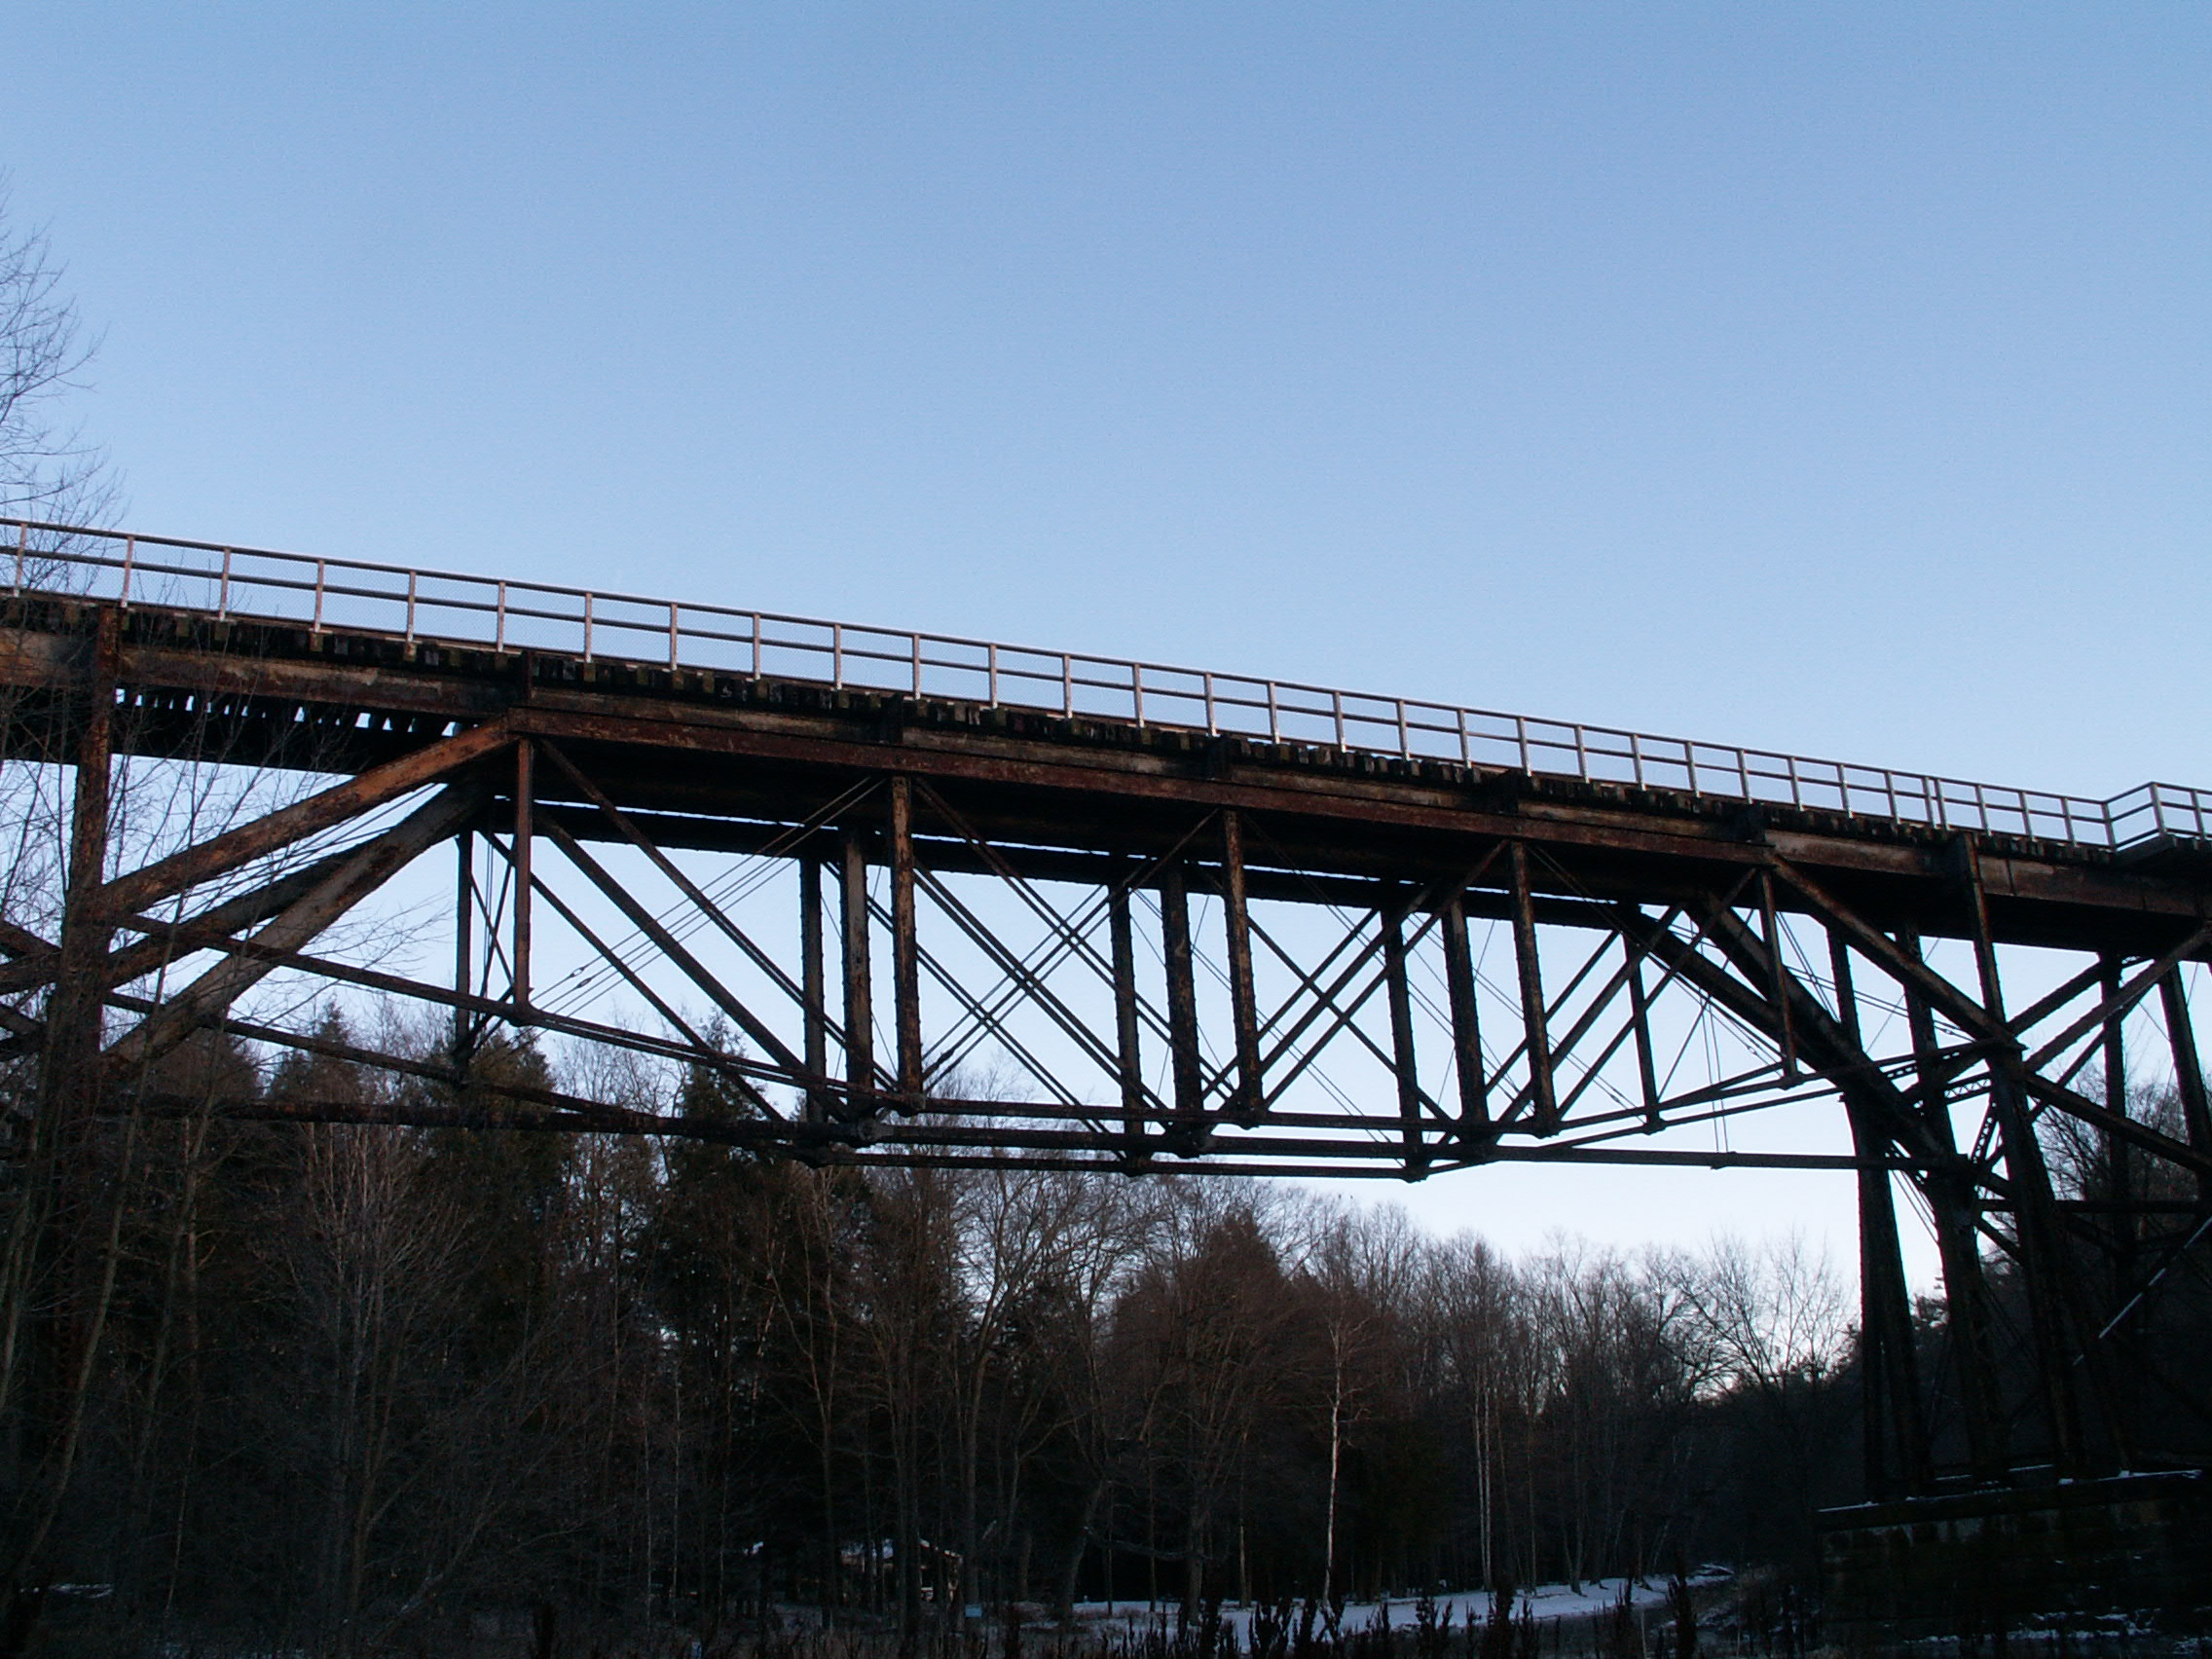
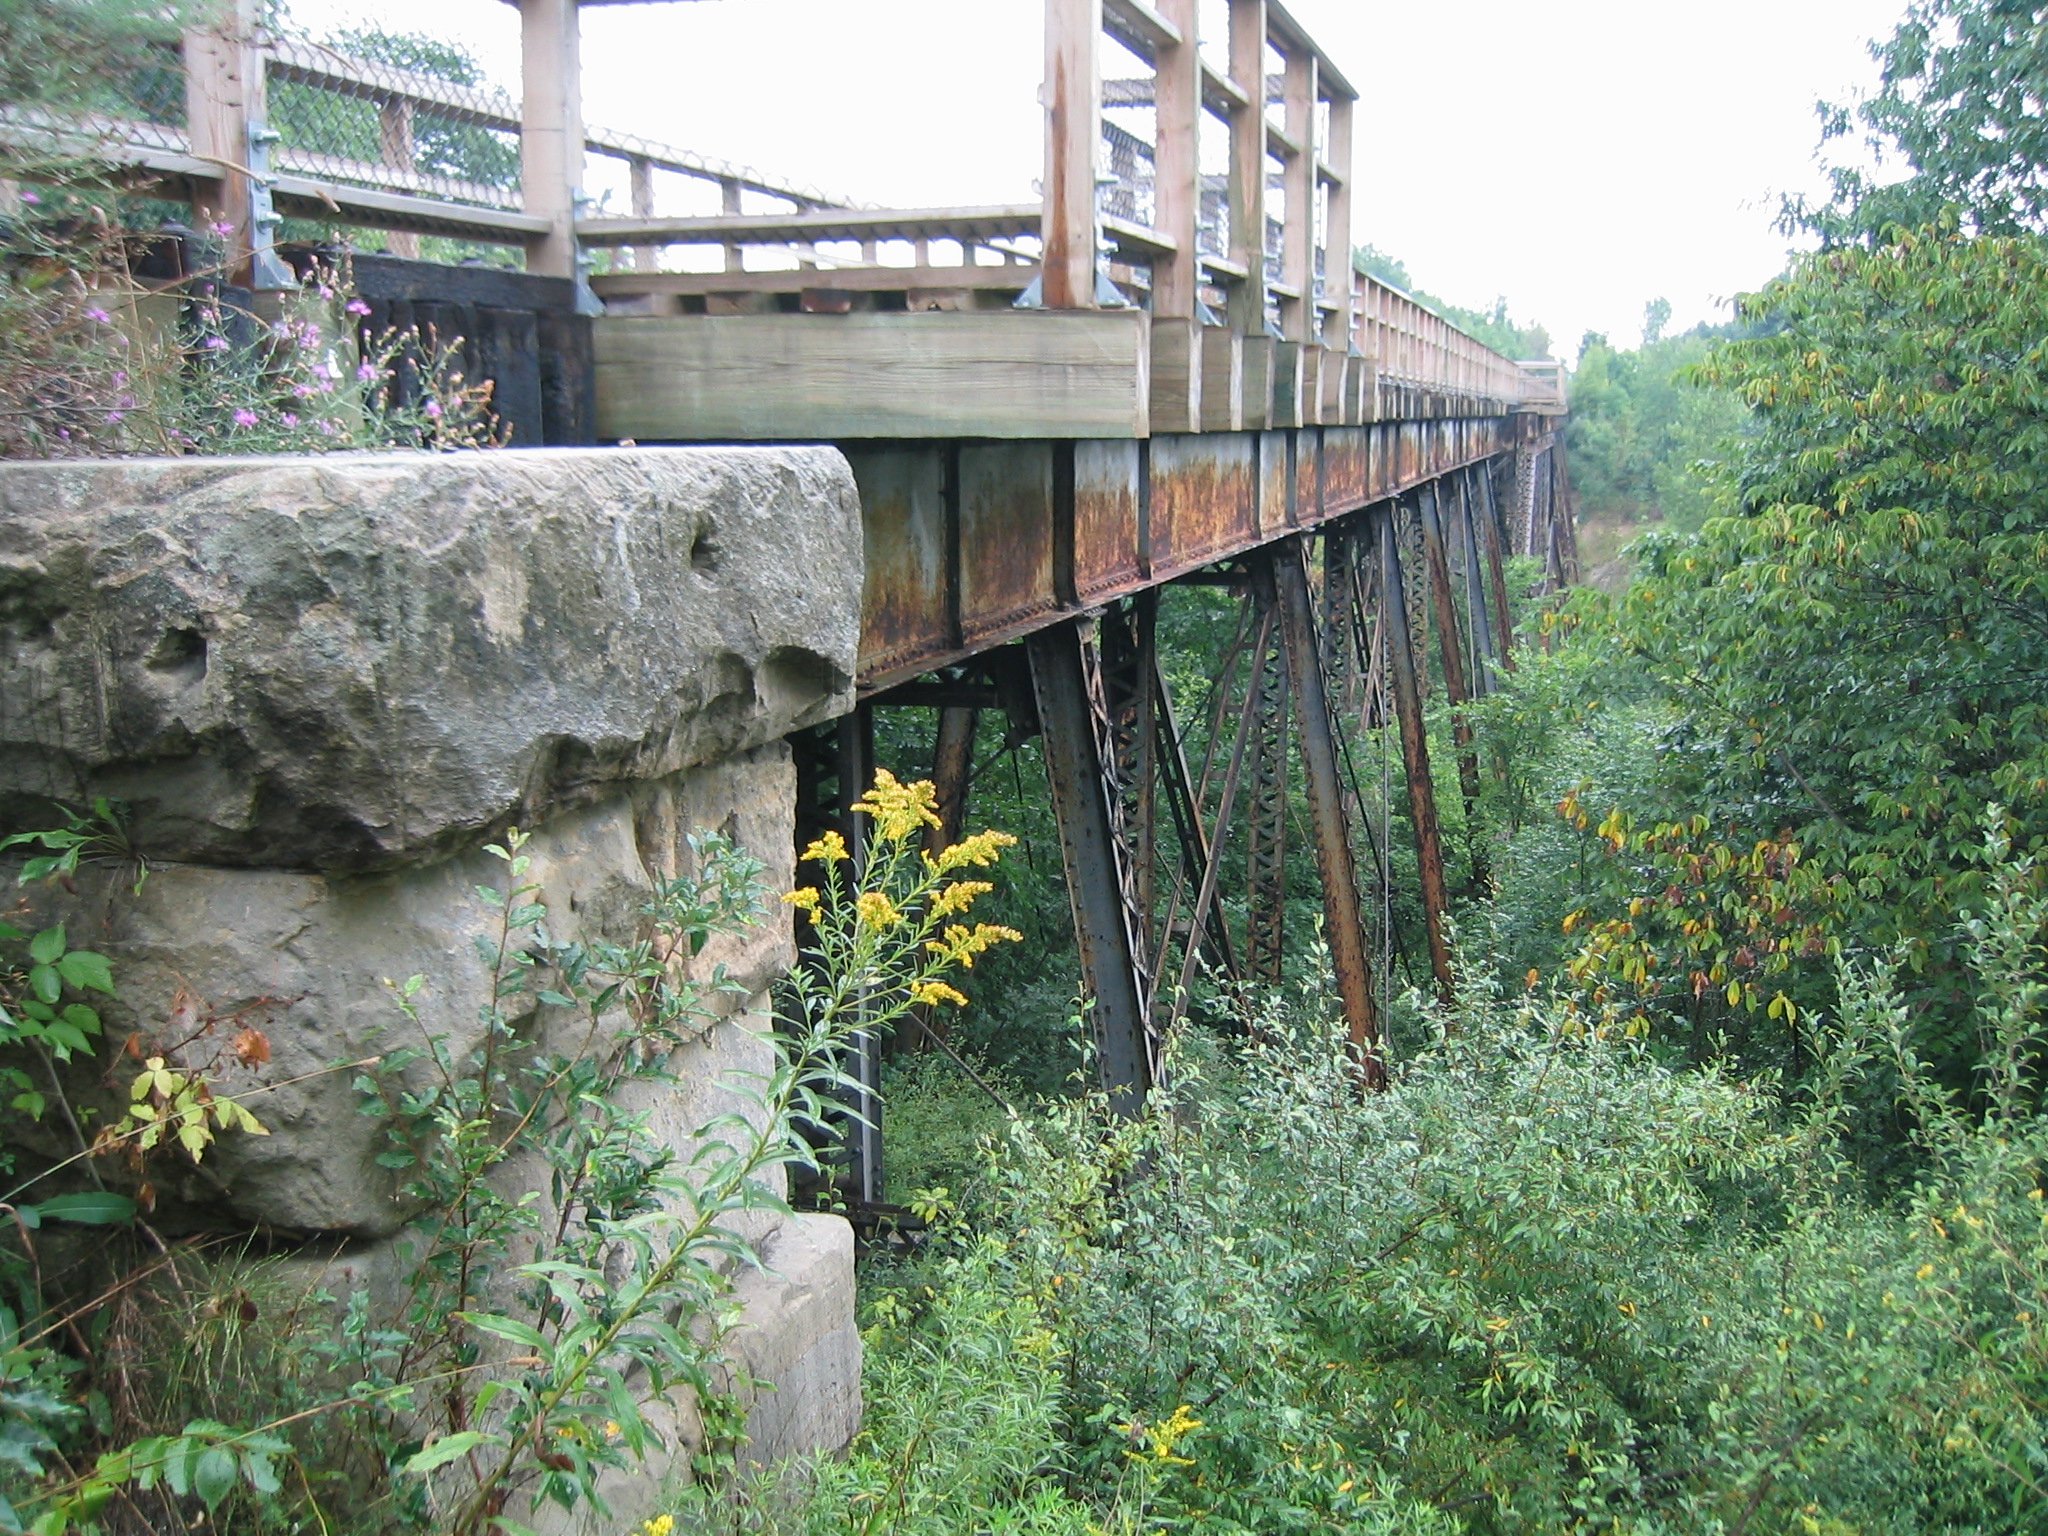
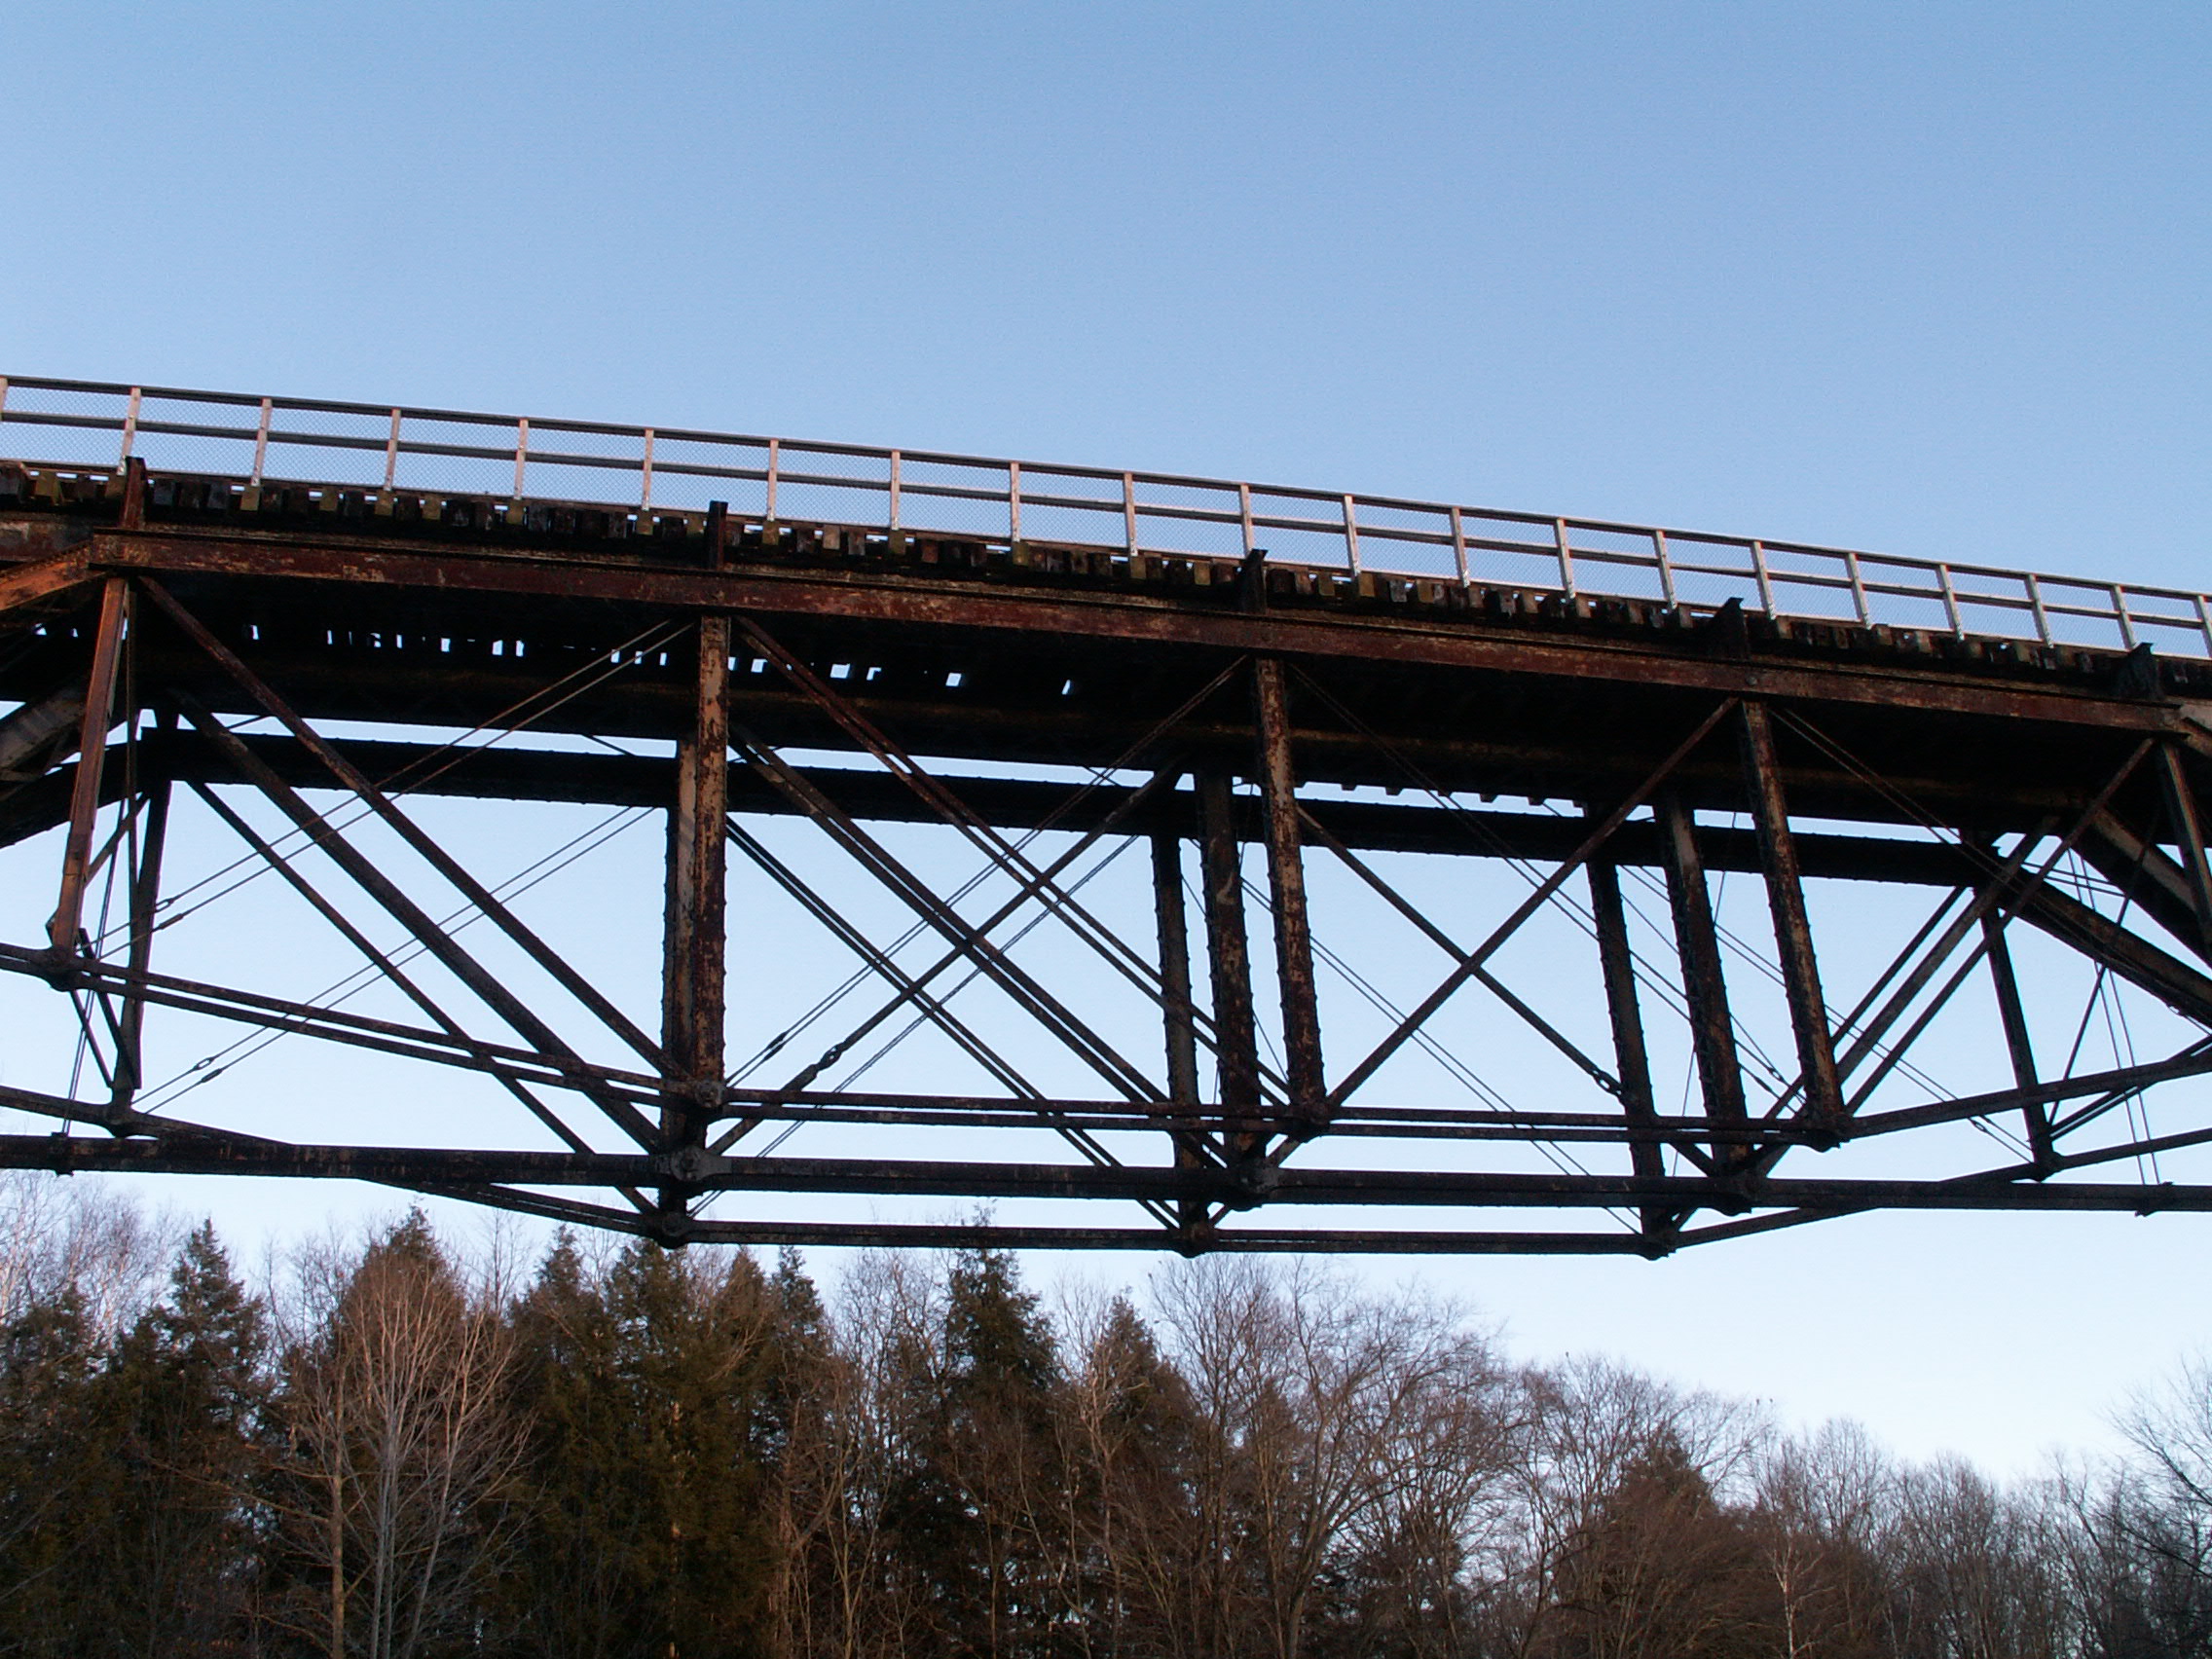
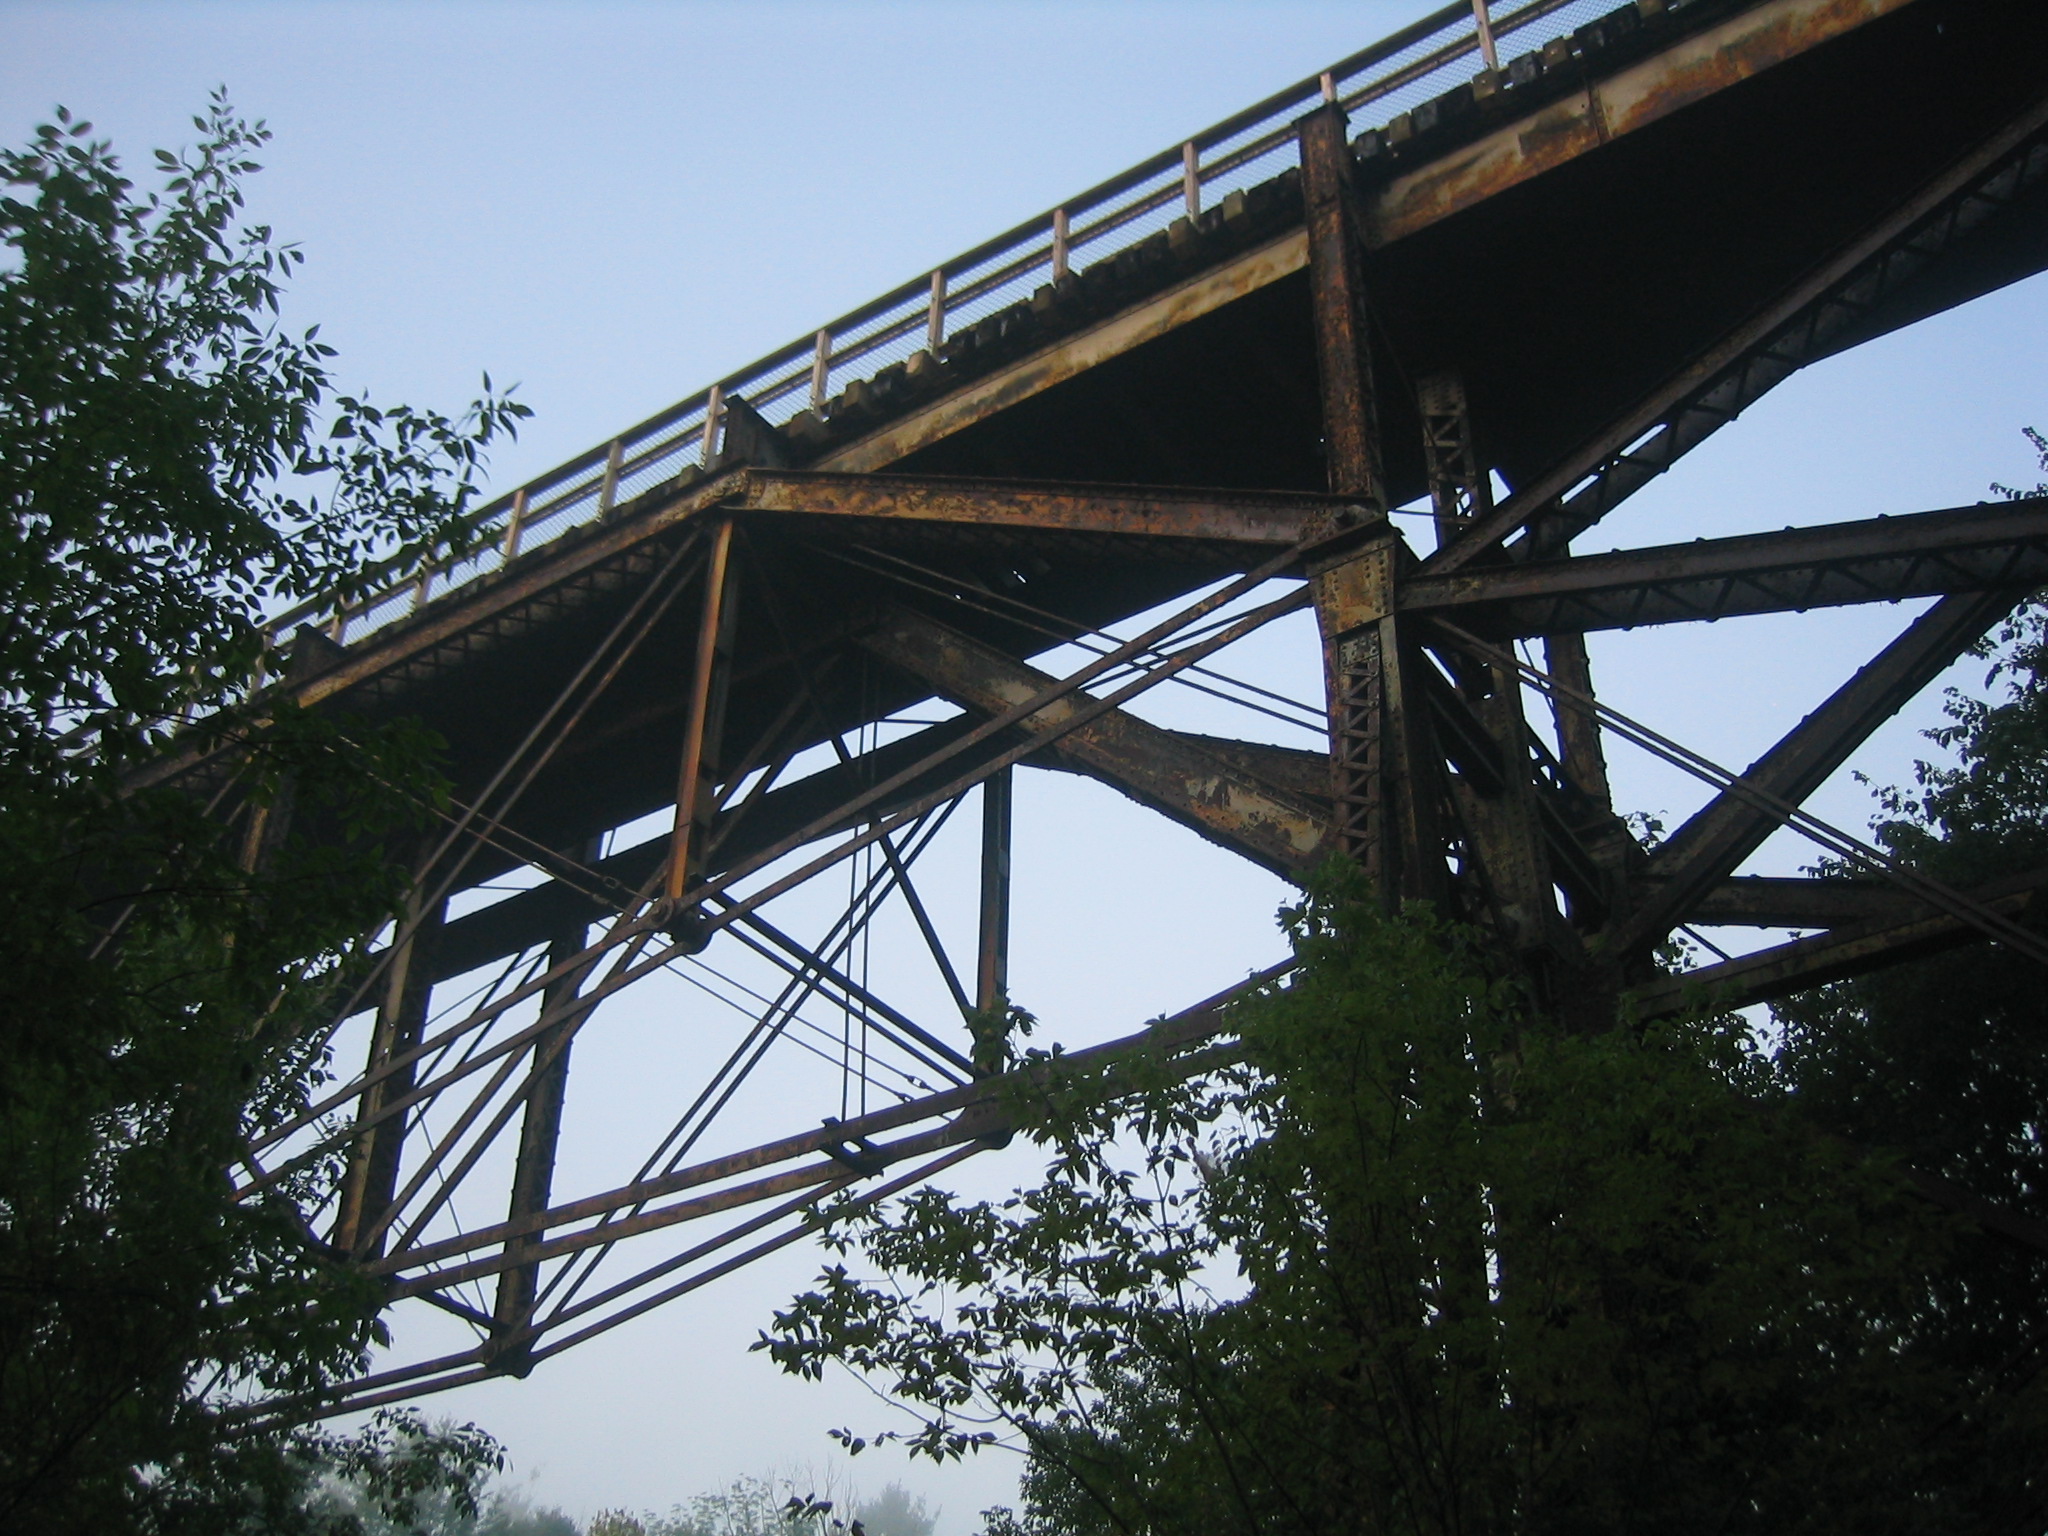
West elevation of main span.
![]()


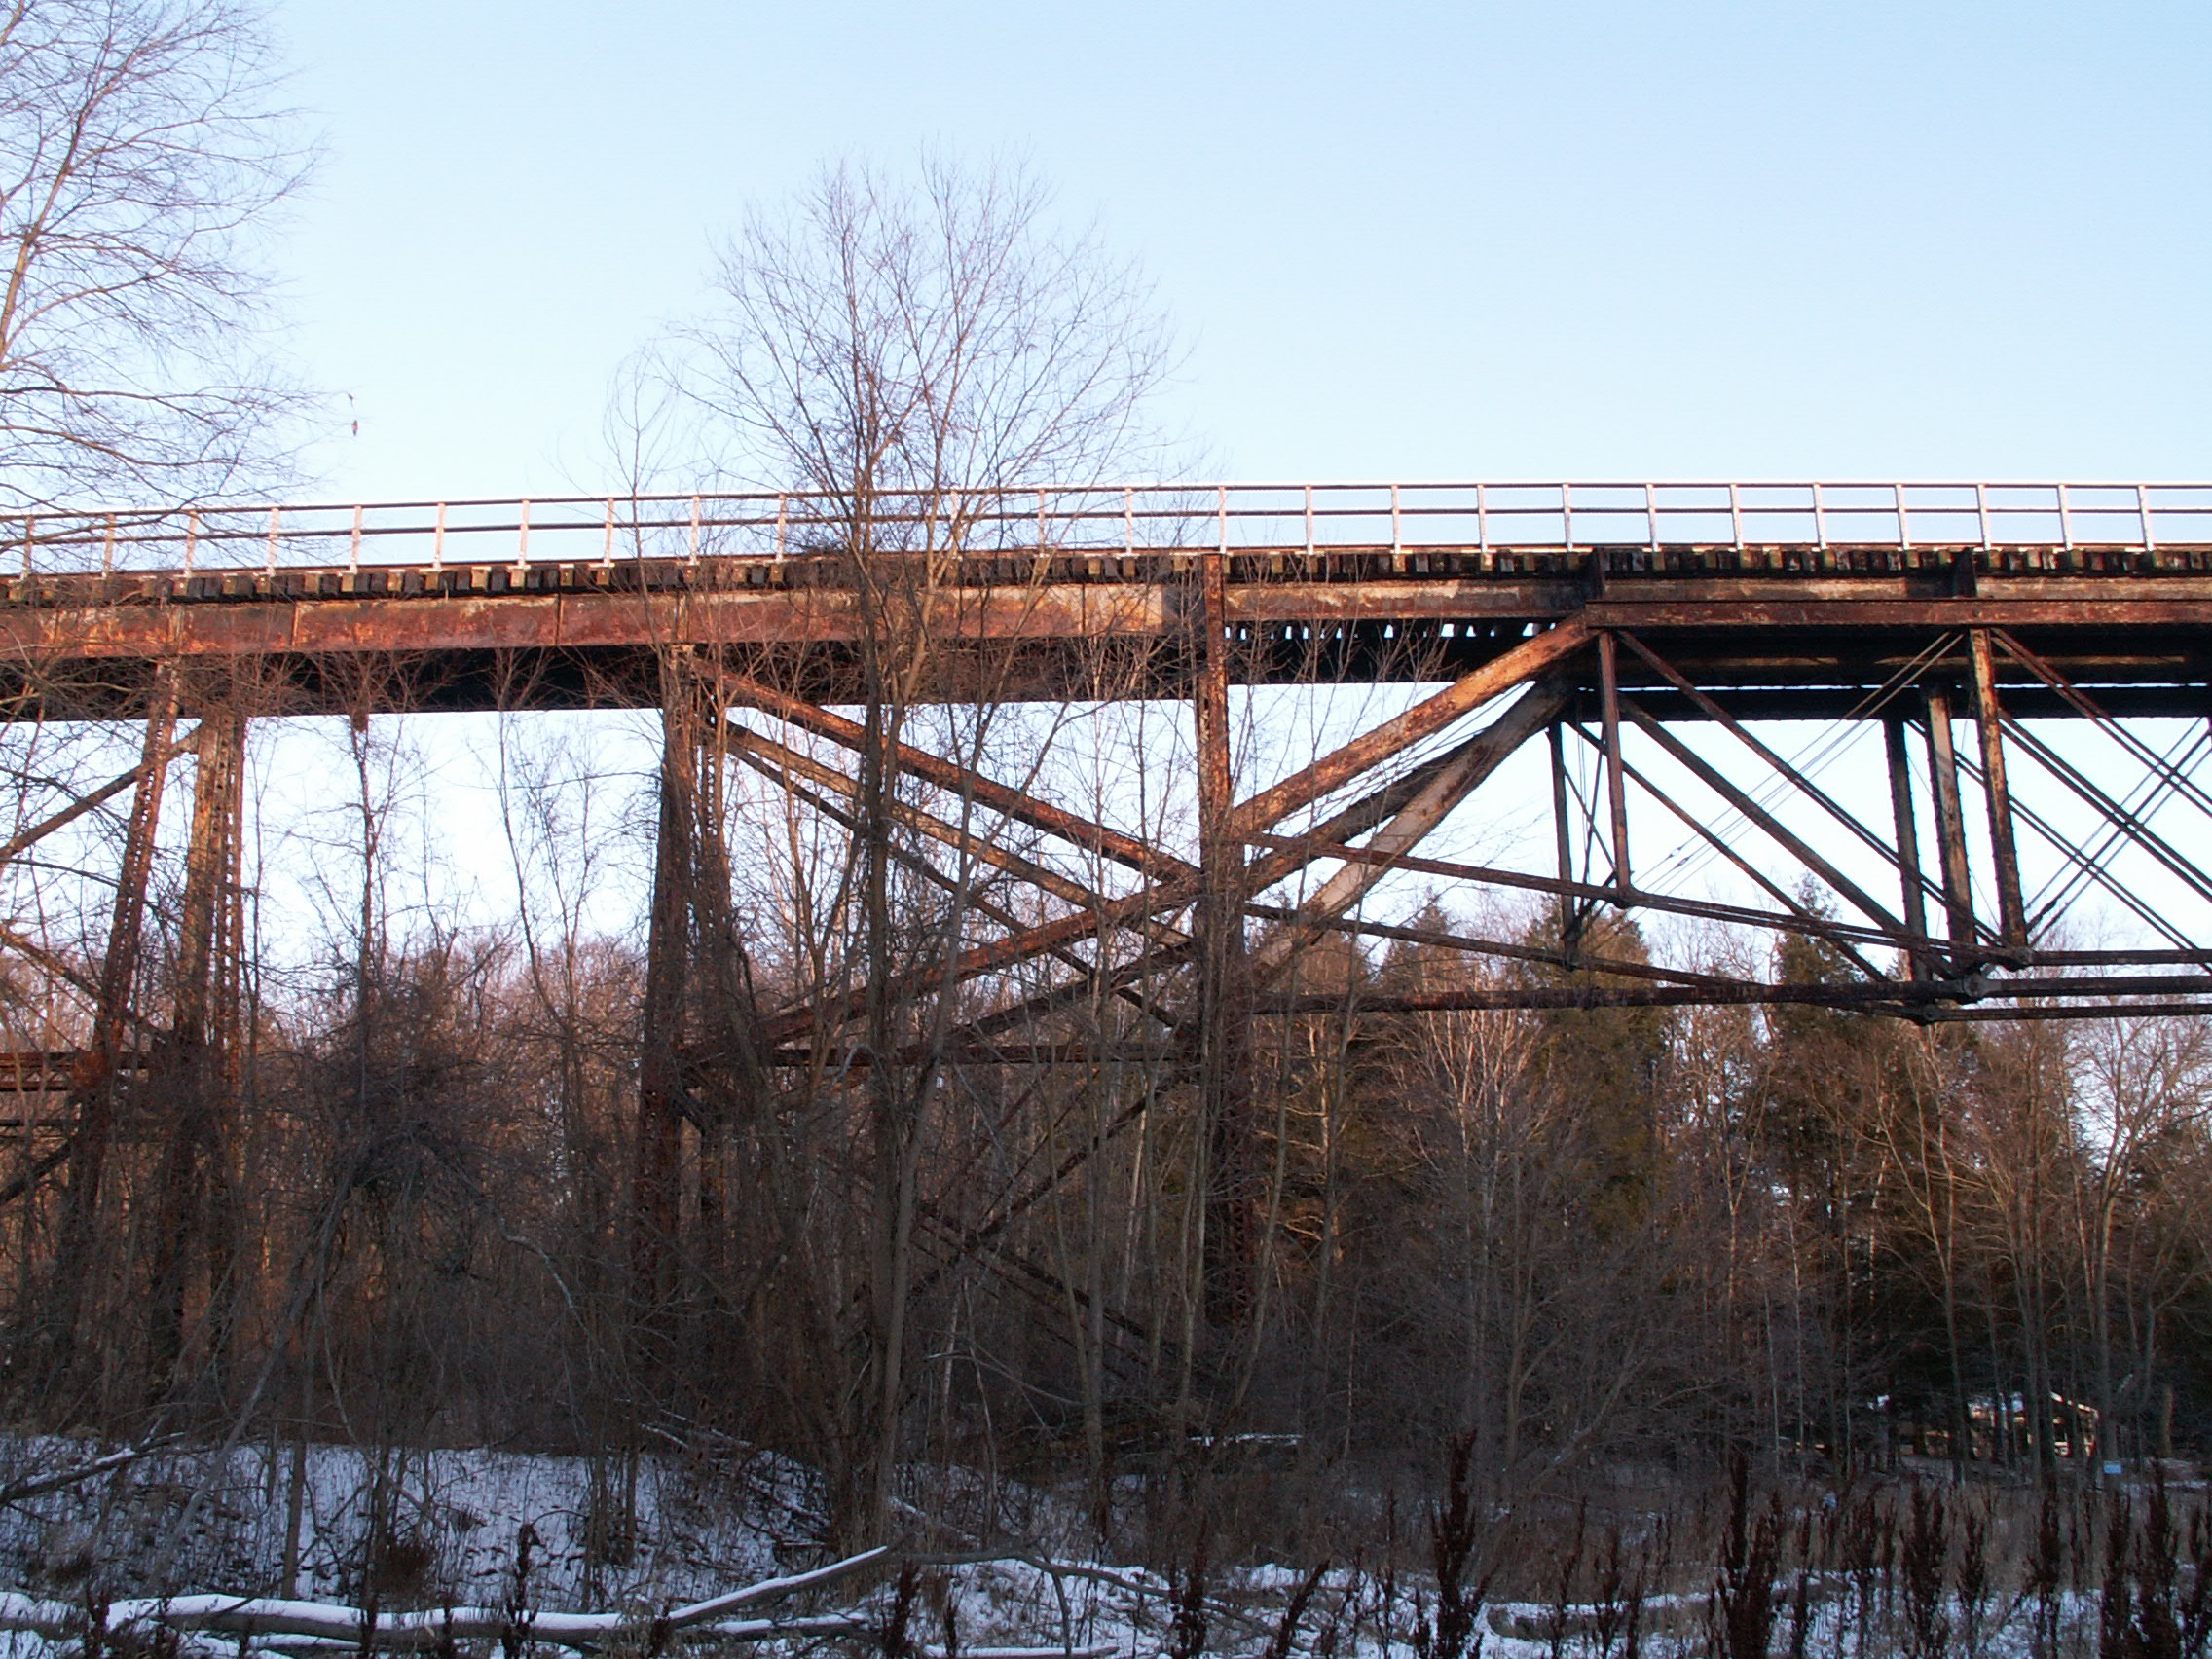
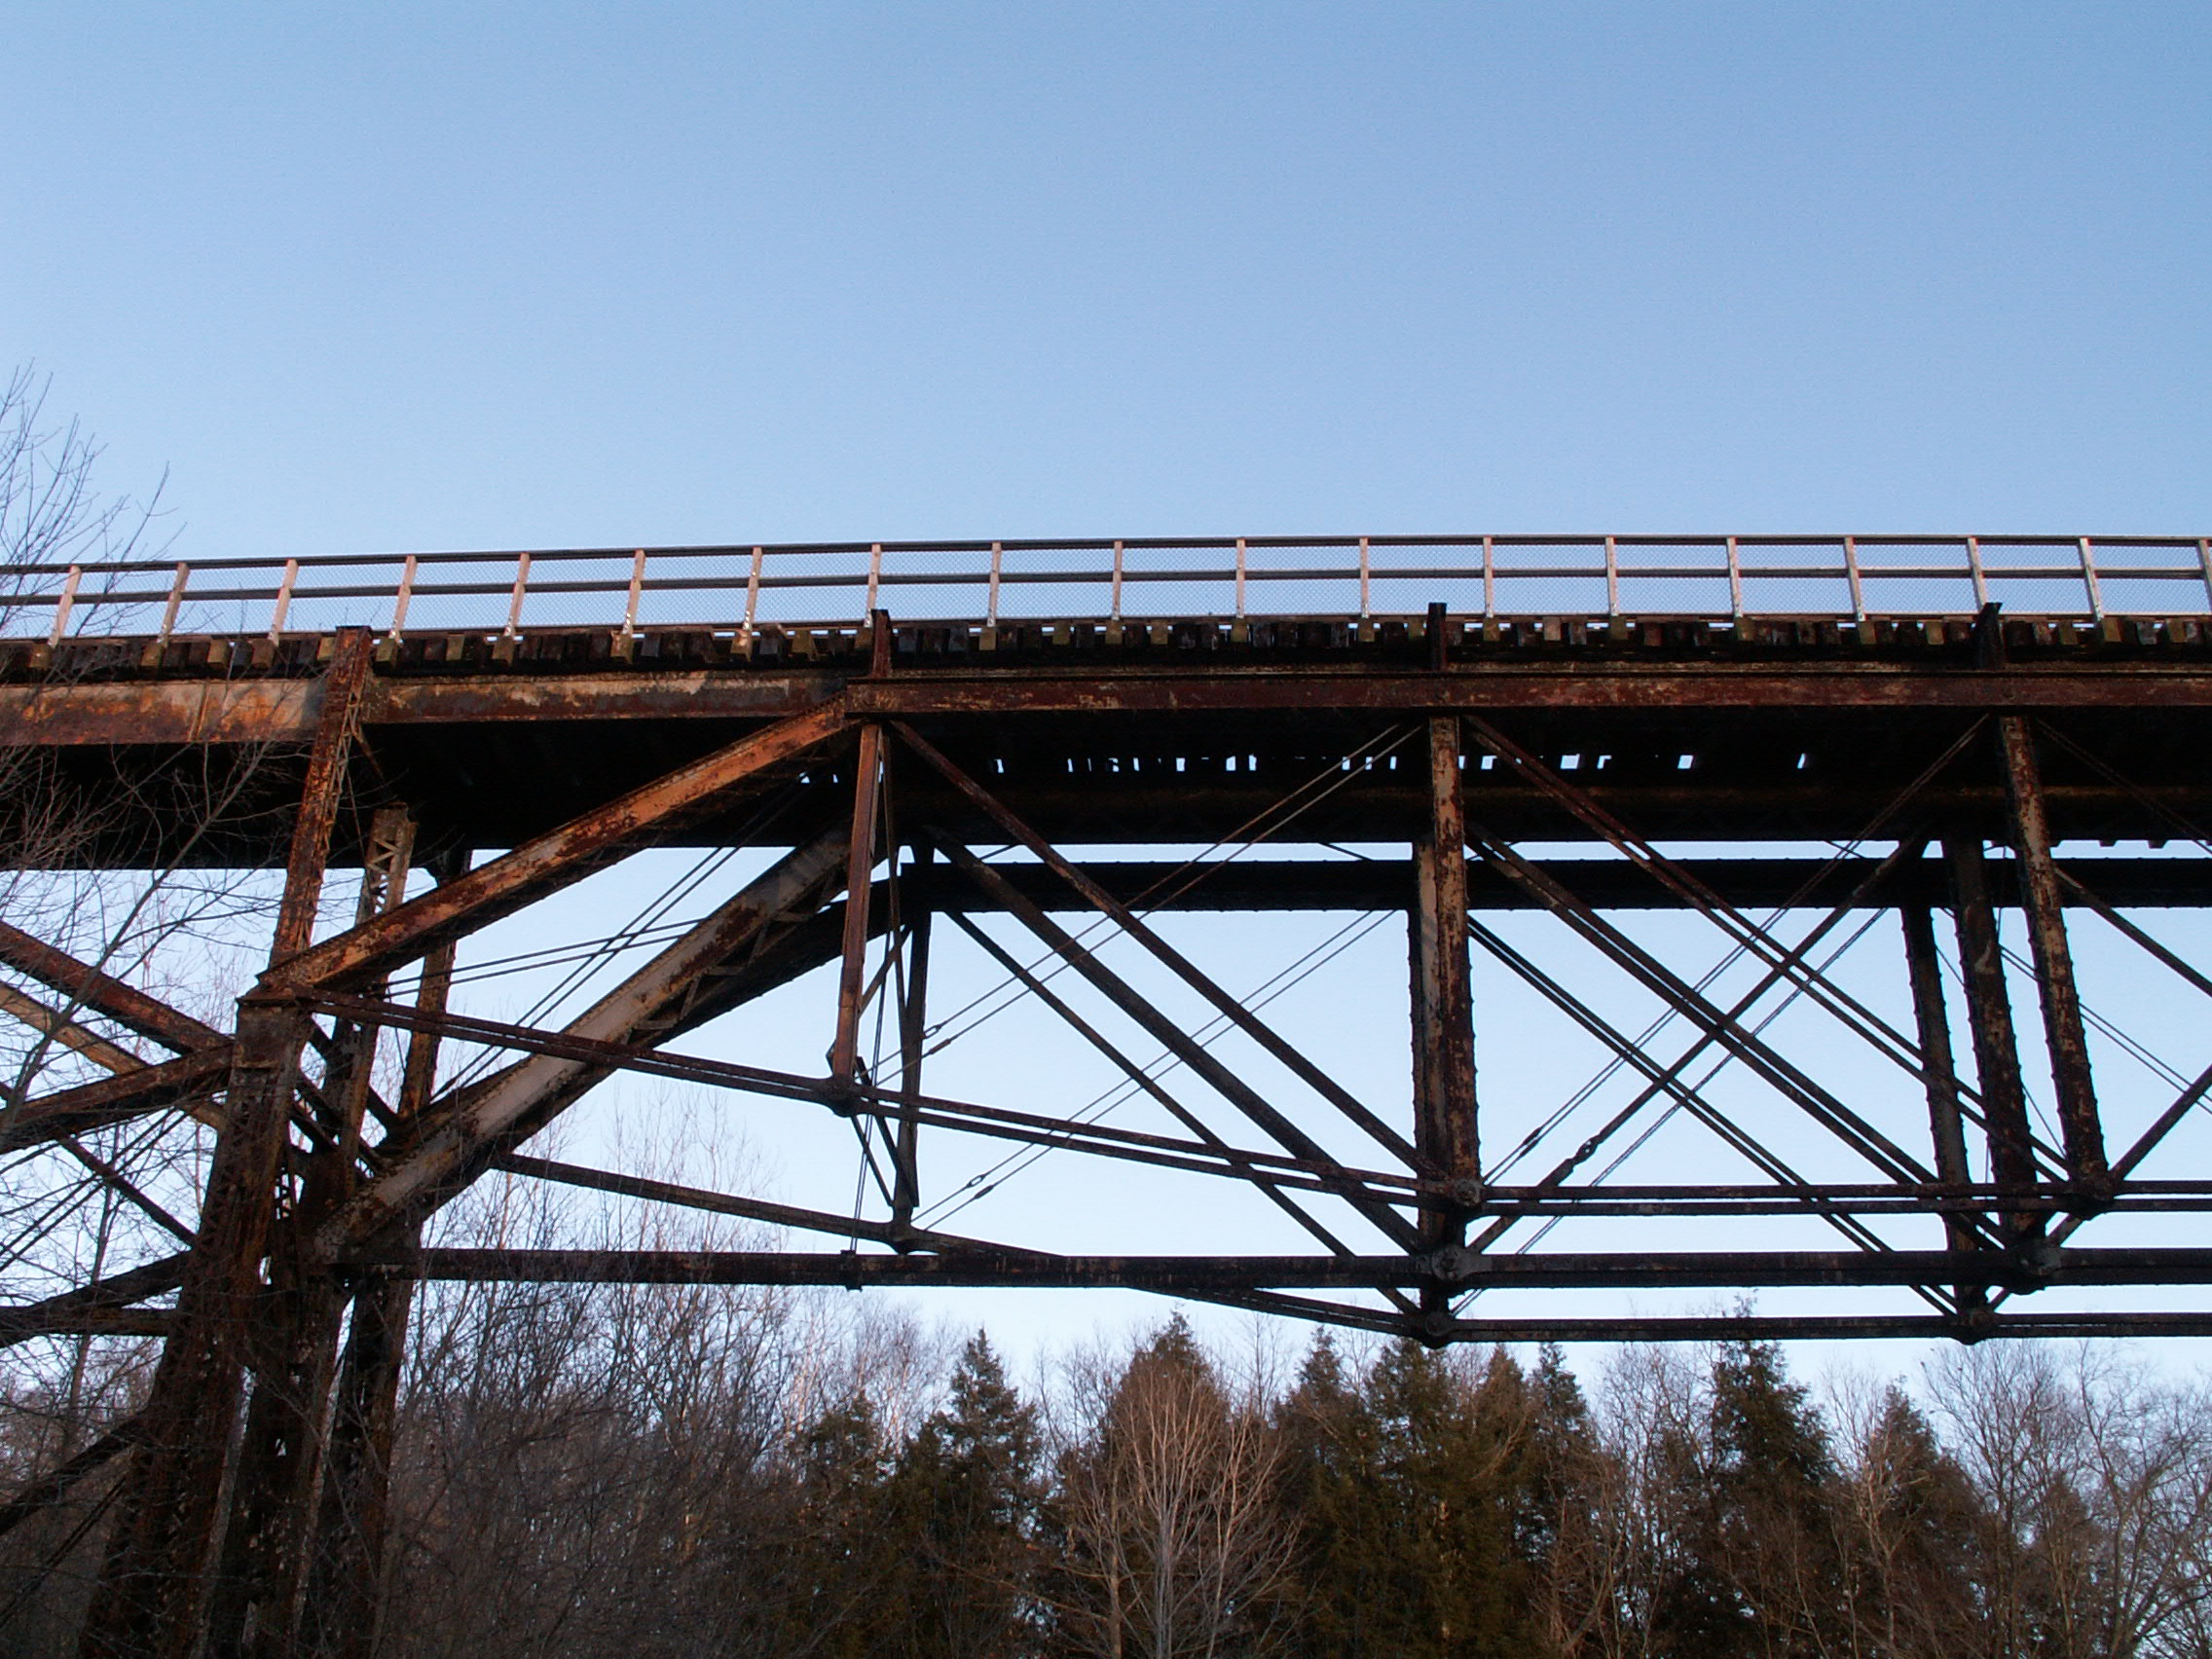
West elevation of northern approach spans.
![]()

West elevation of southern approach spans.
![]()


West elevation of individual approach spans.
![]()
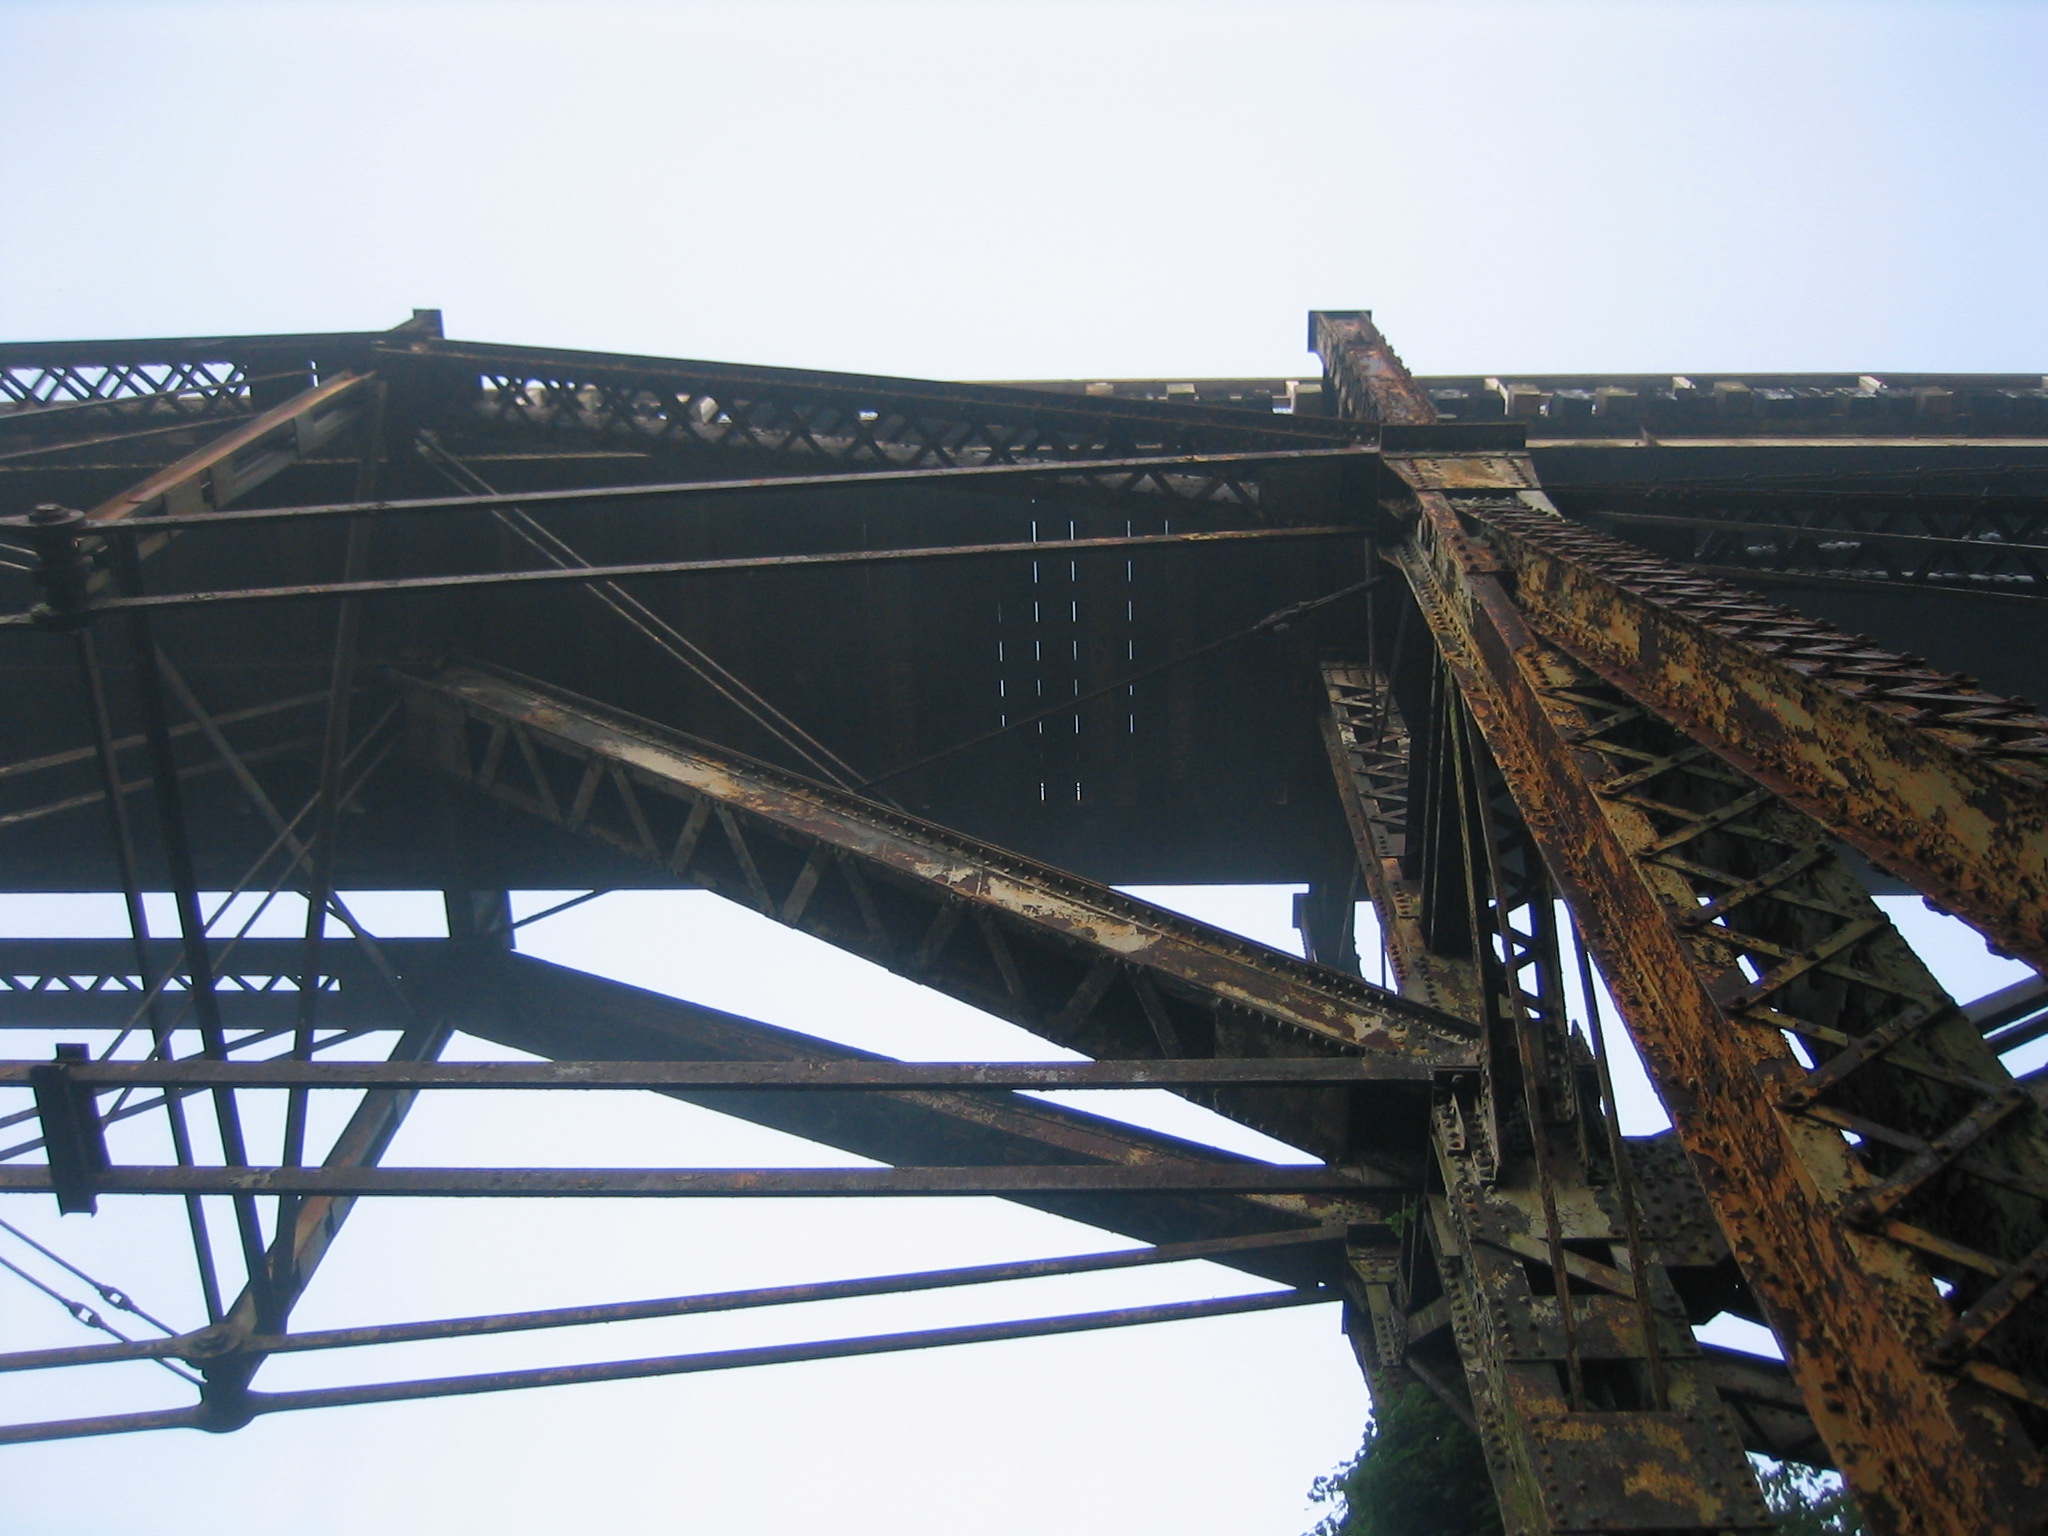


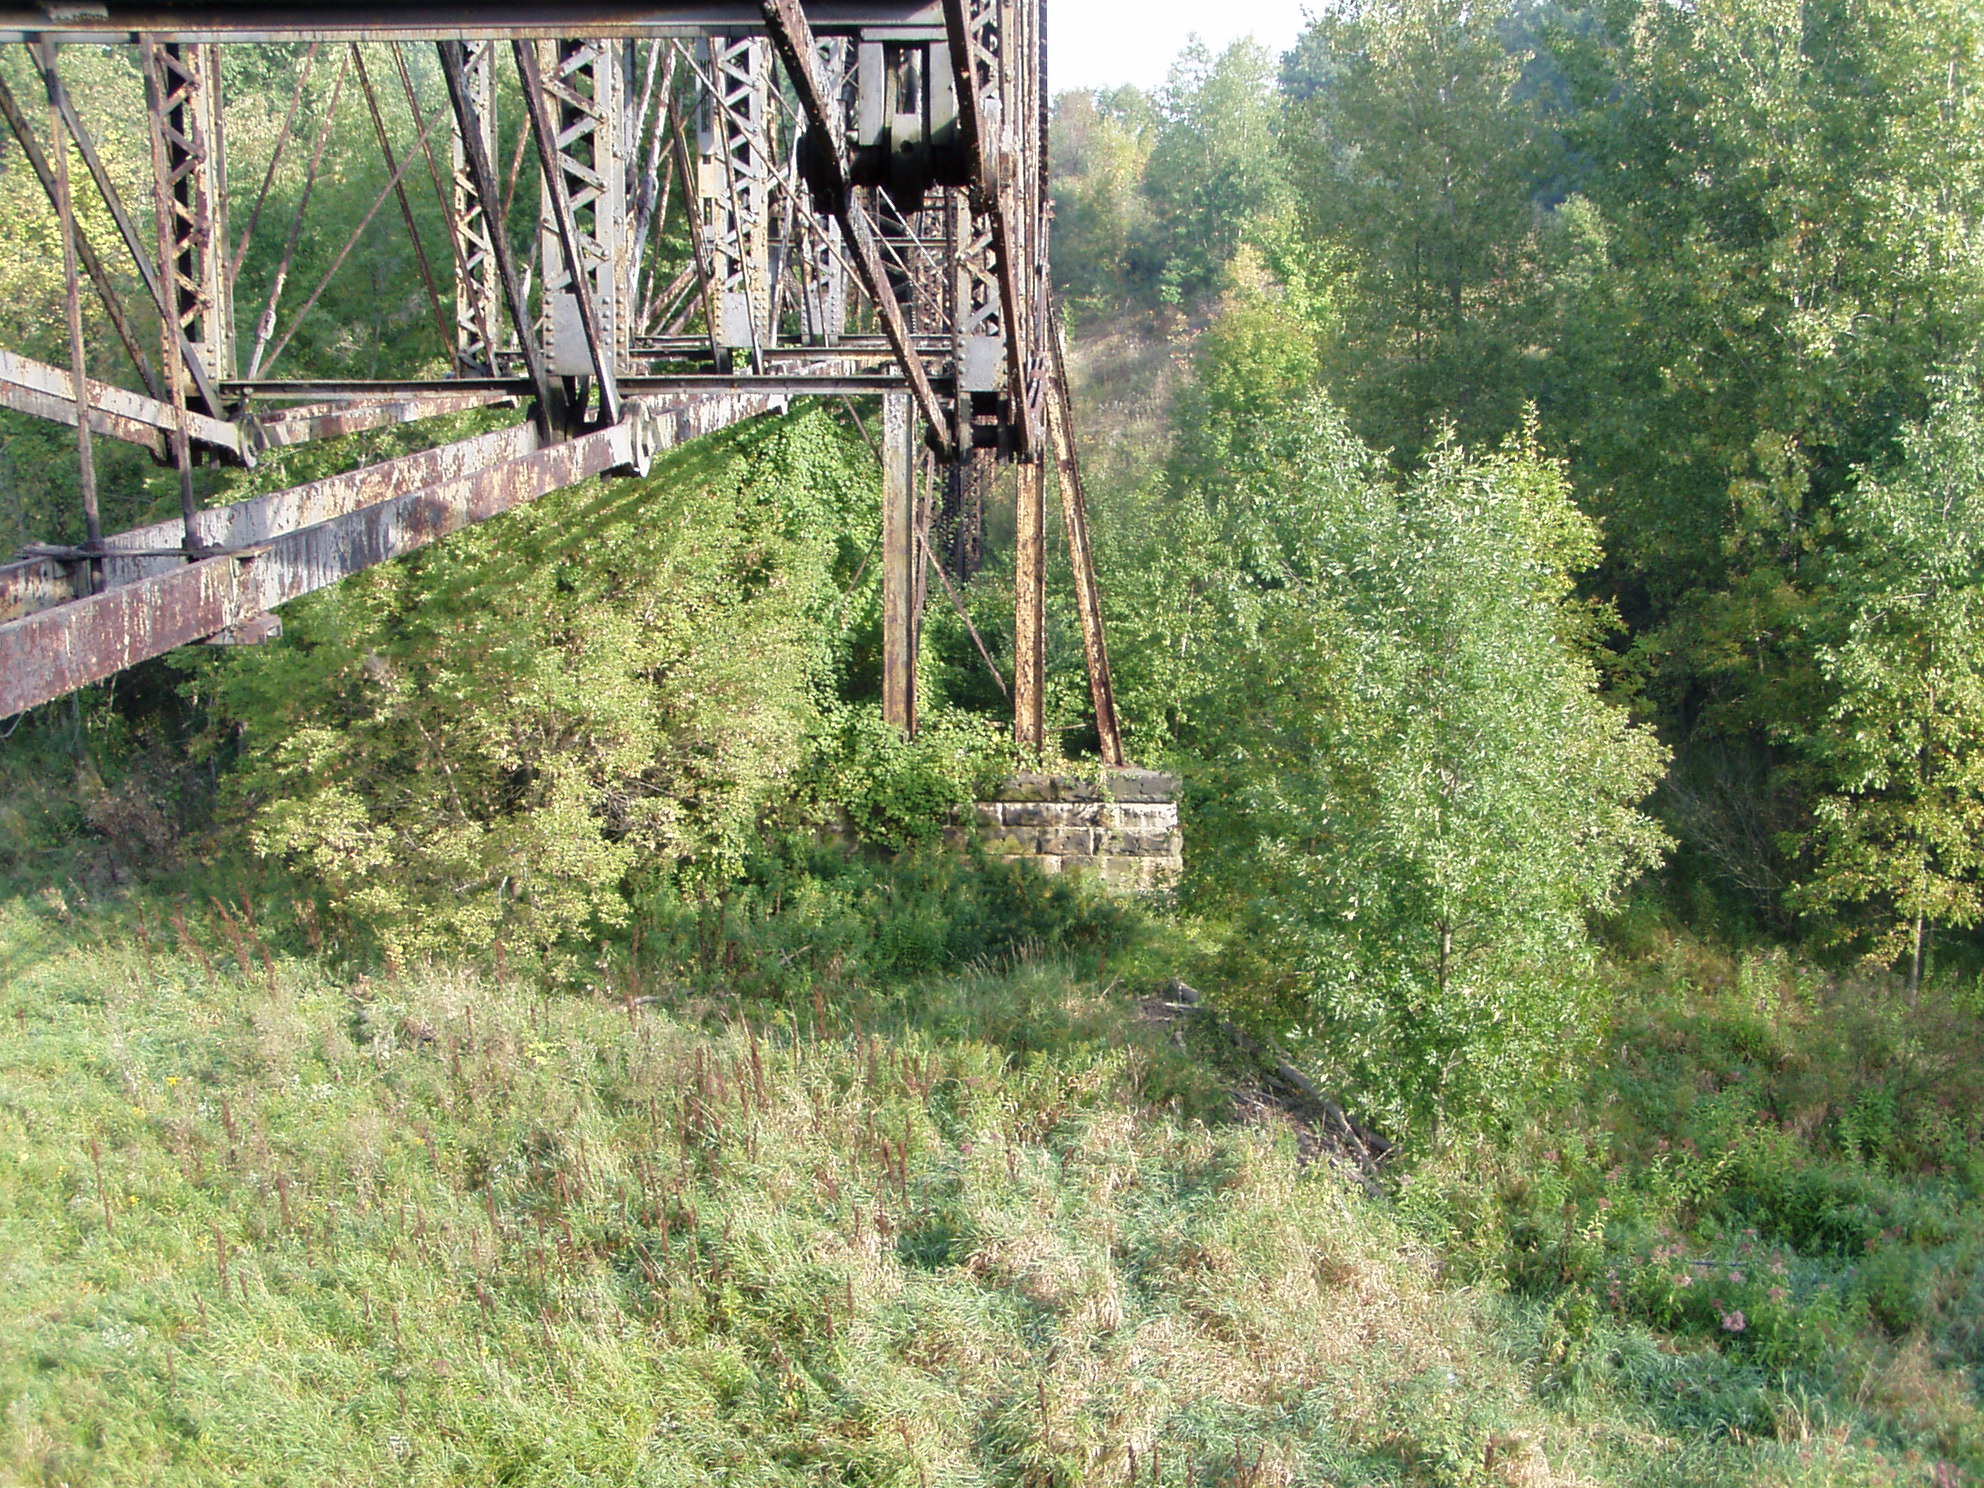
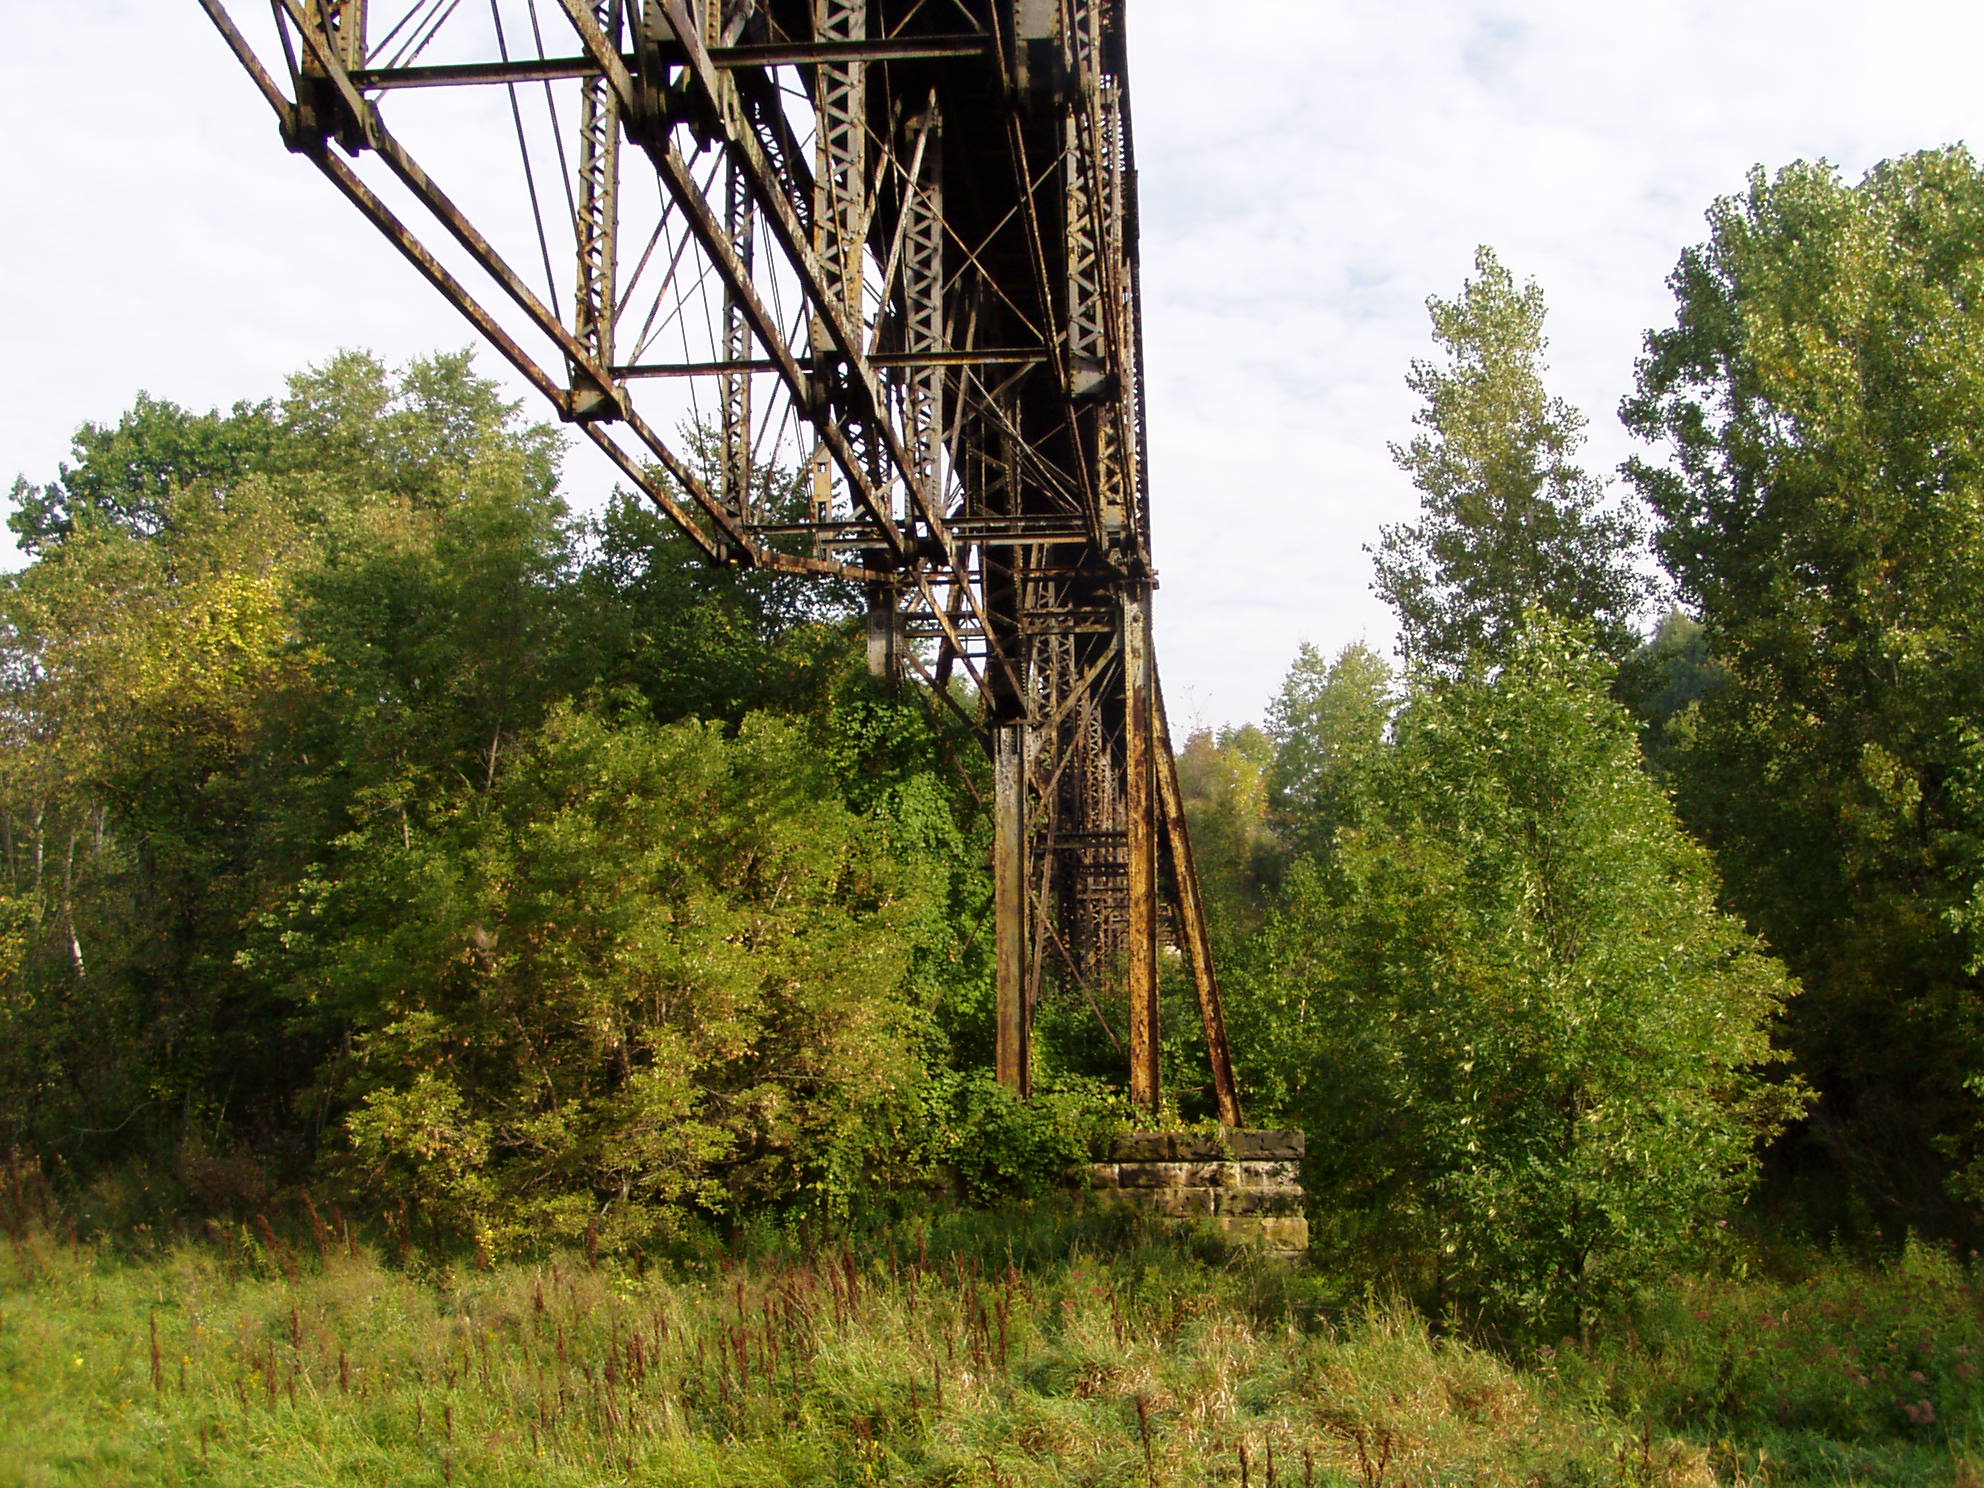
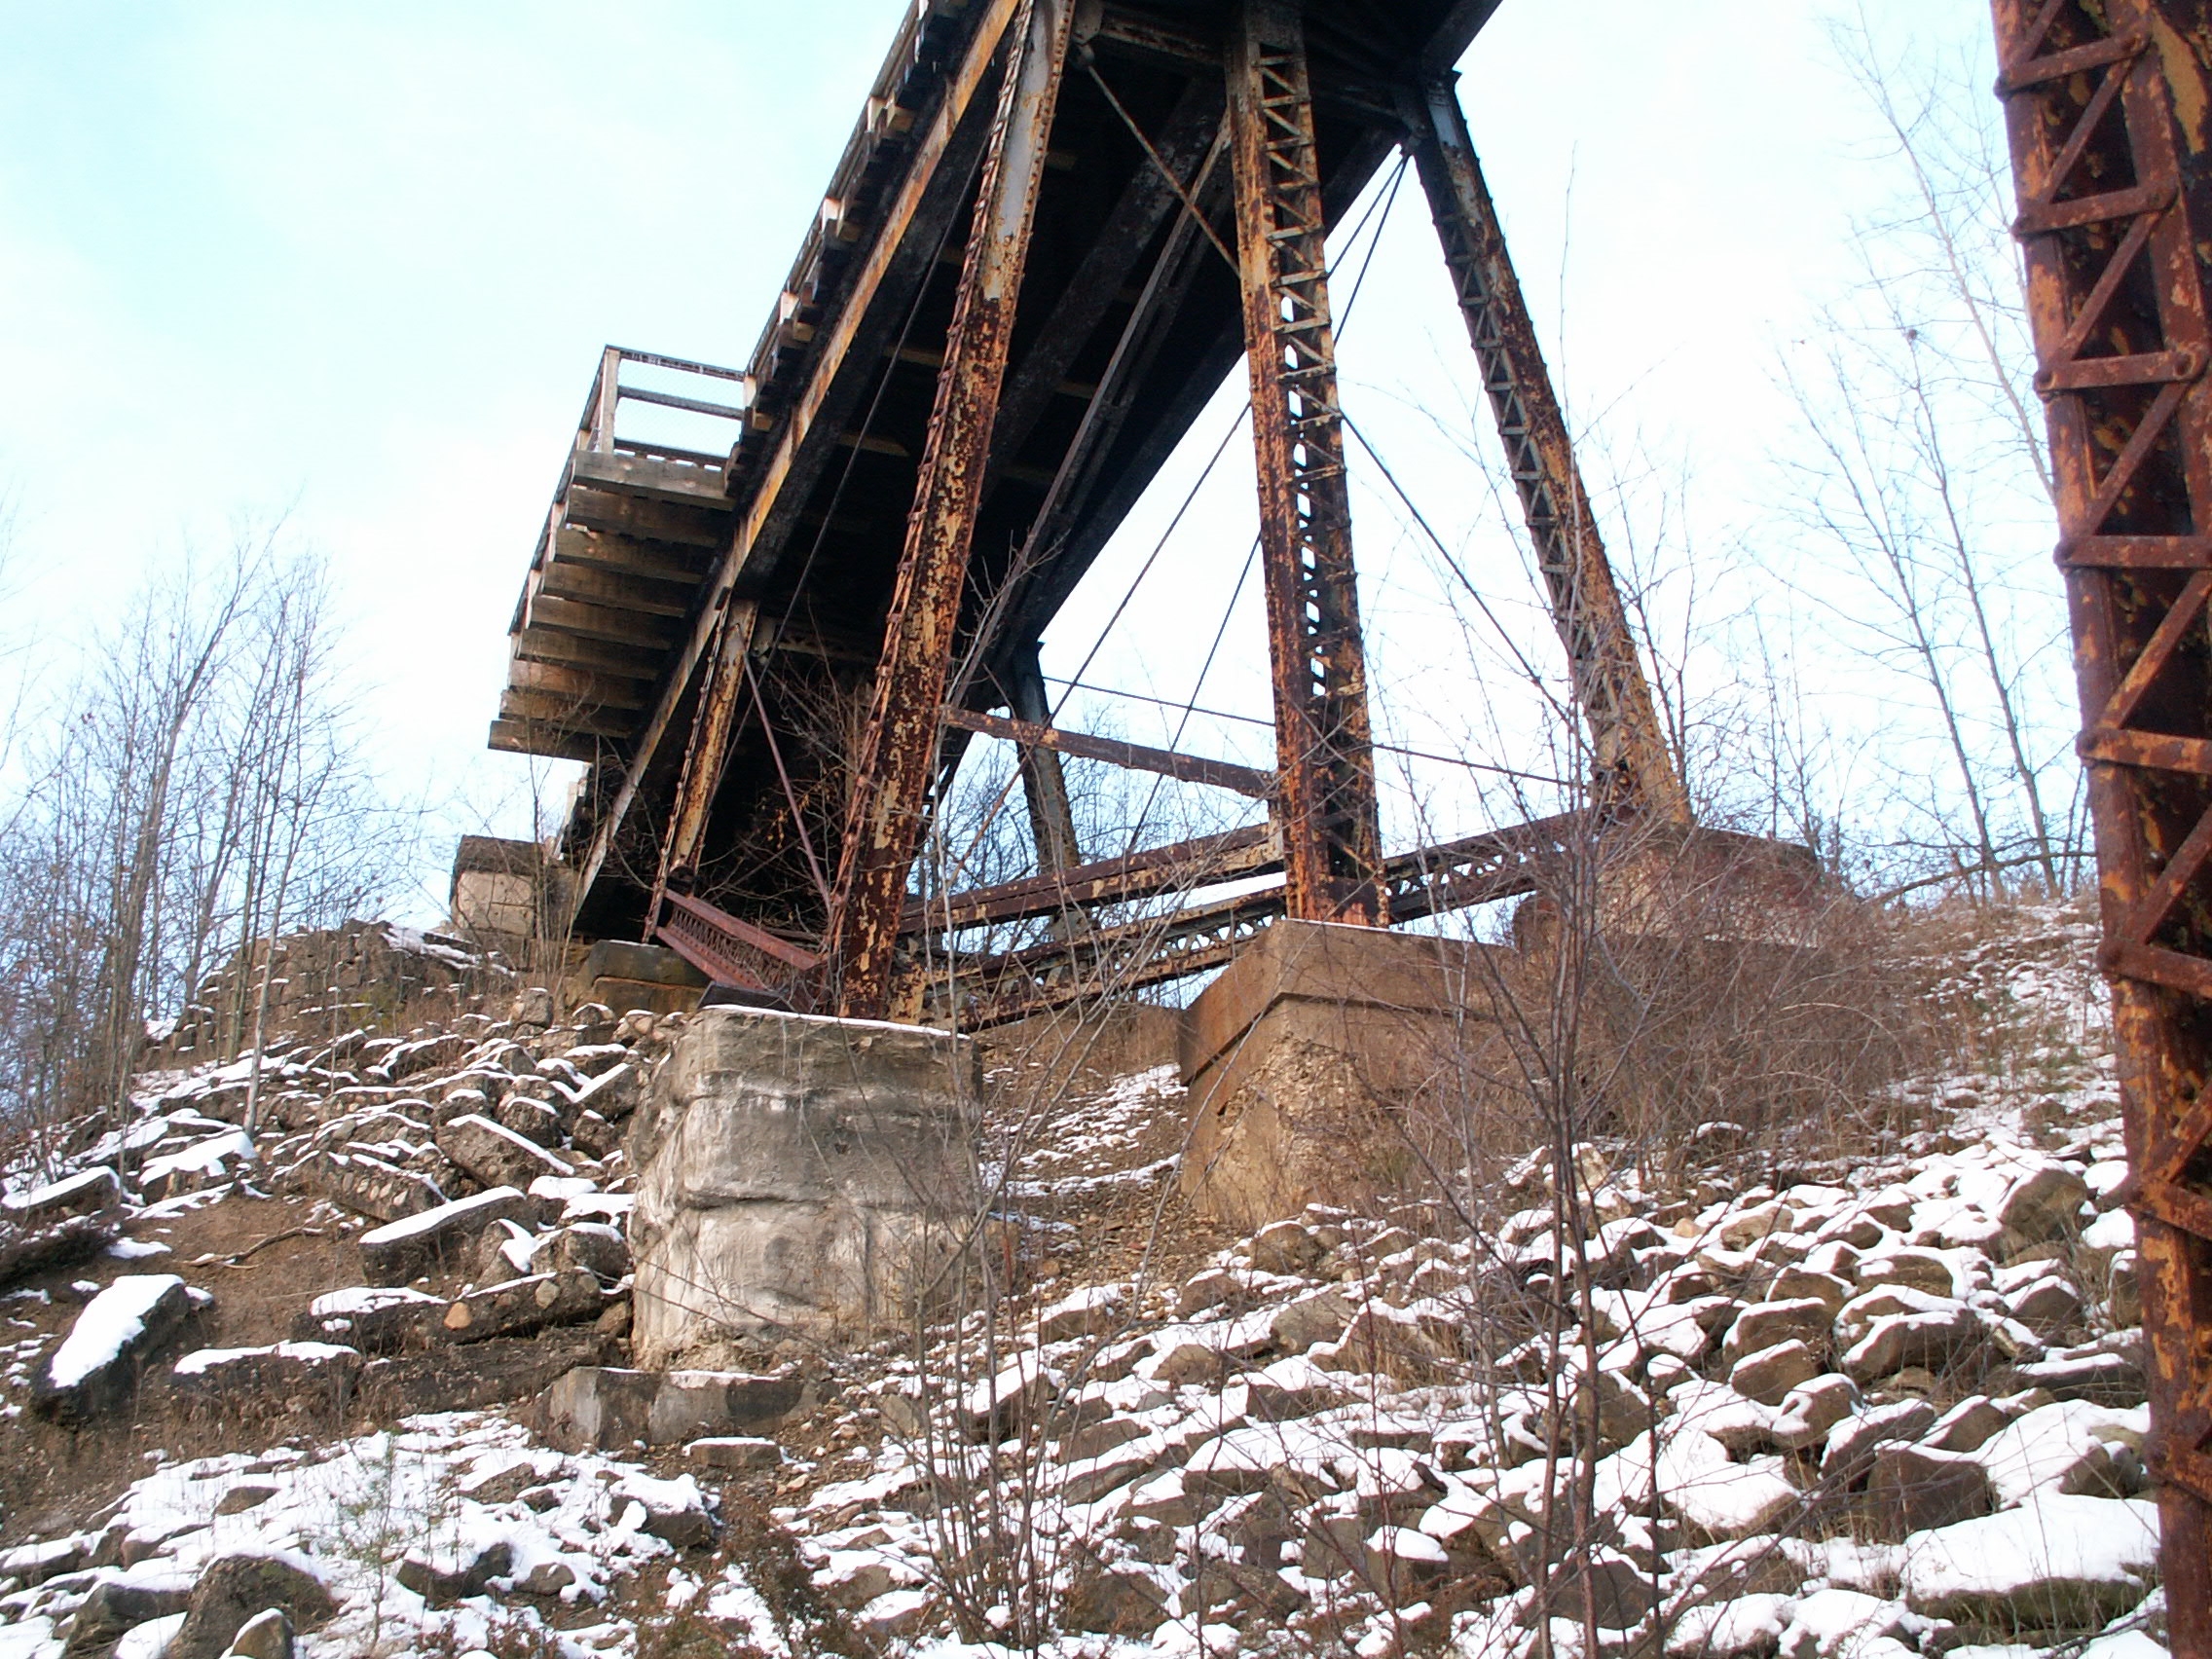
Views under end of main span.
![]()


Views beside bridge.
![]()


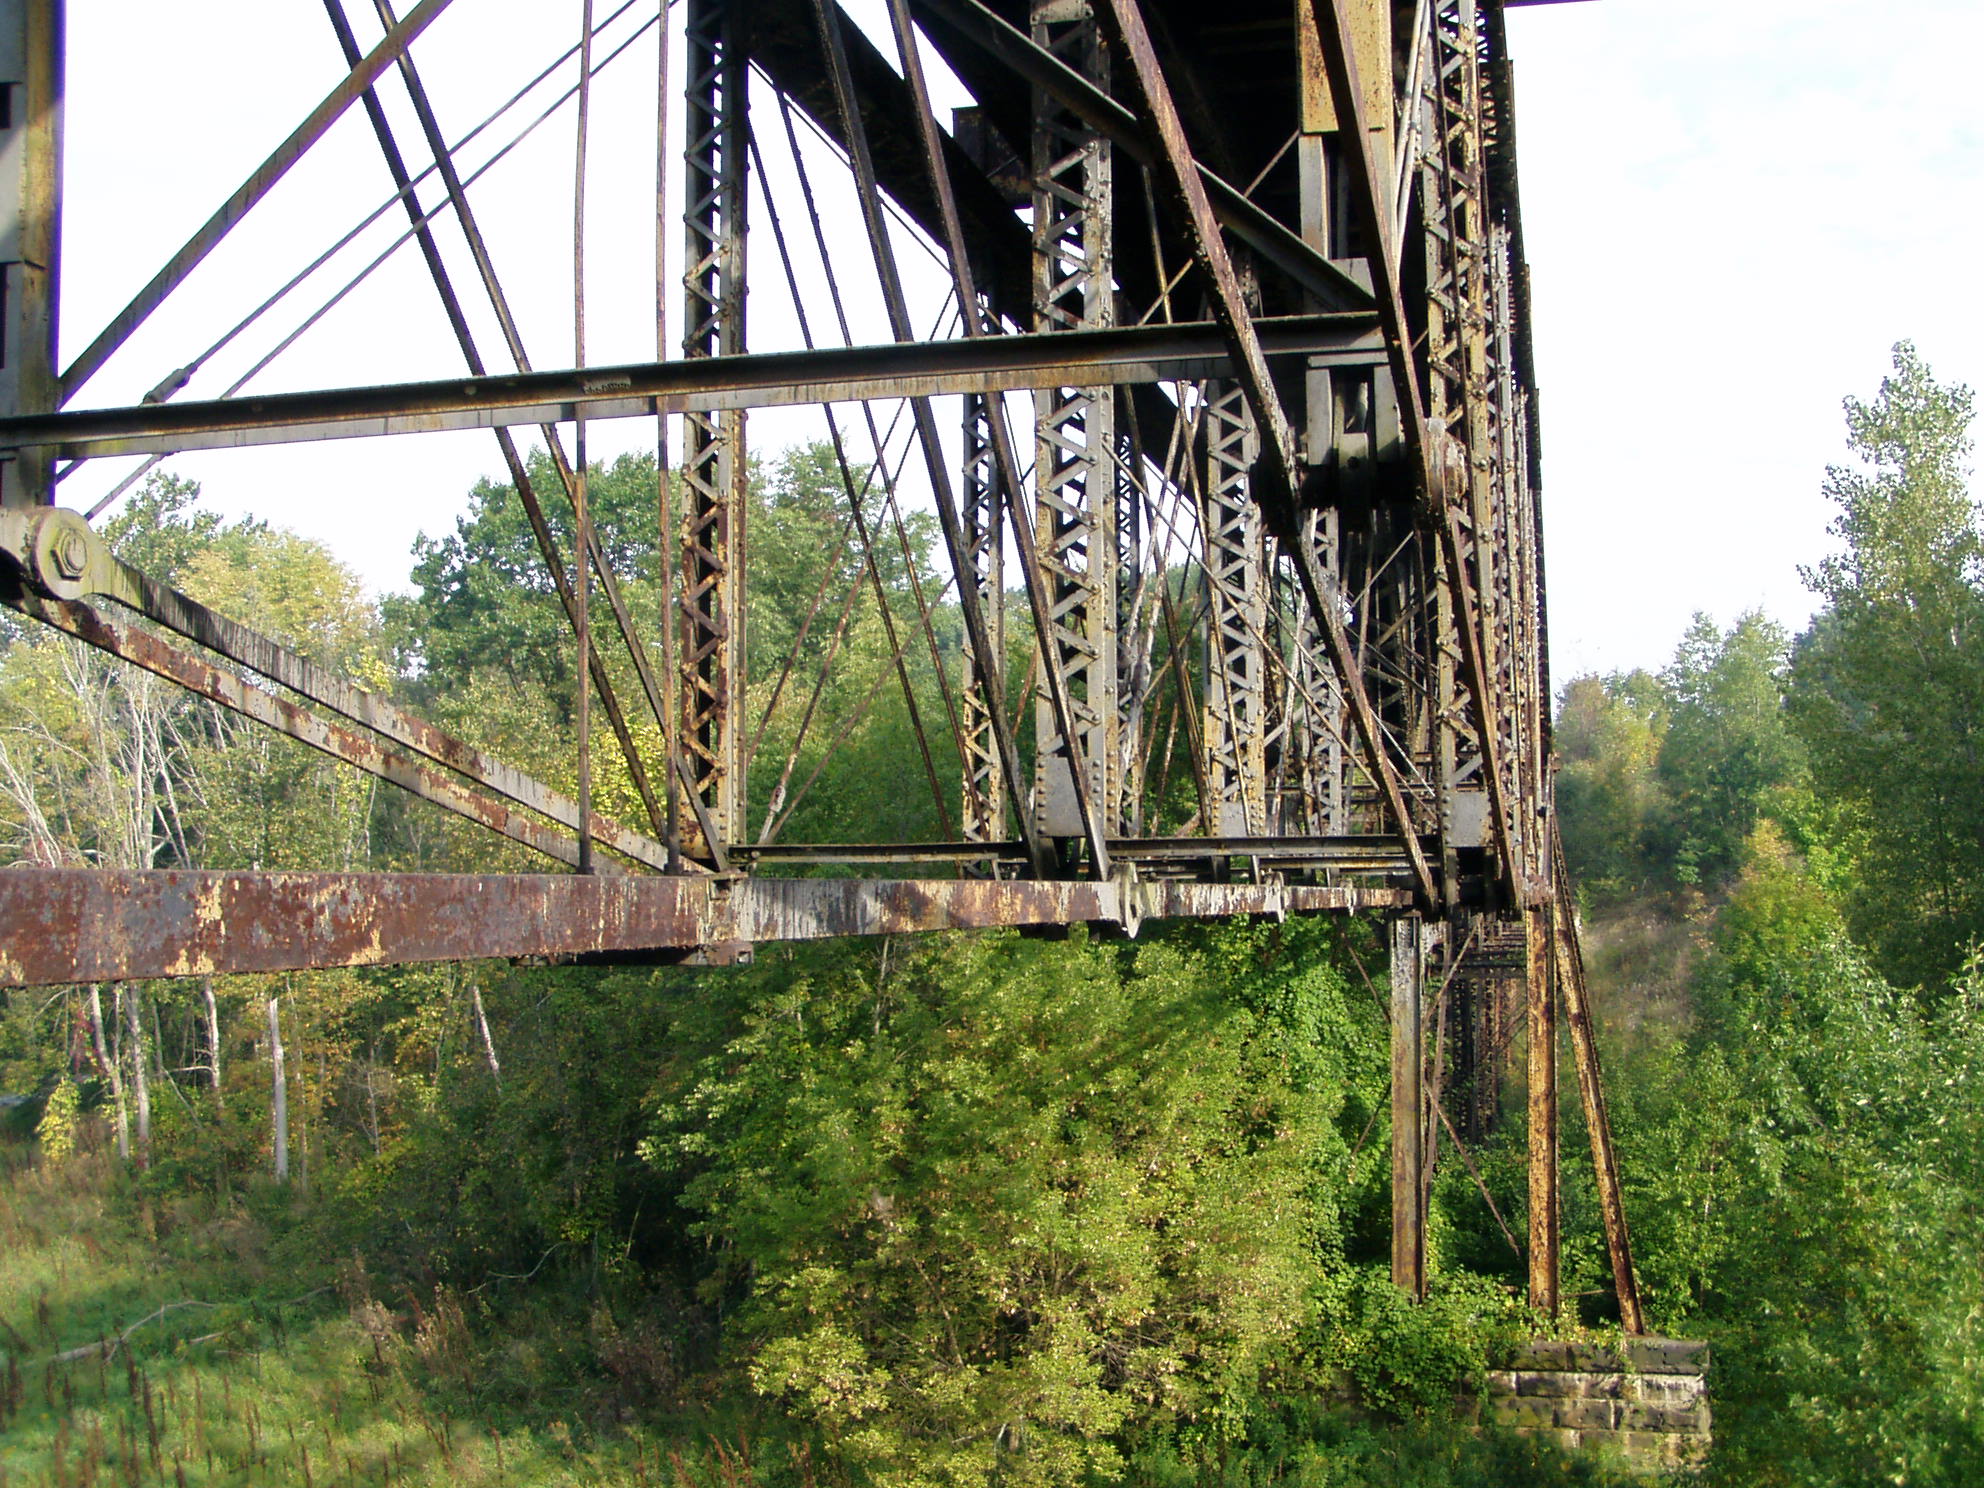


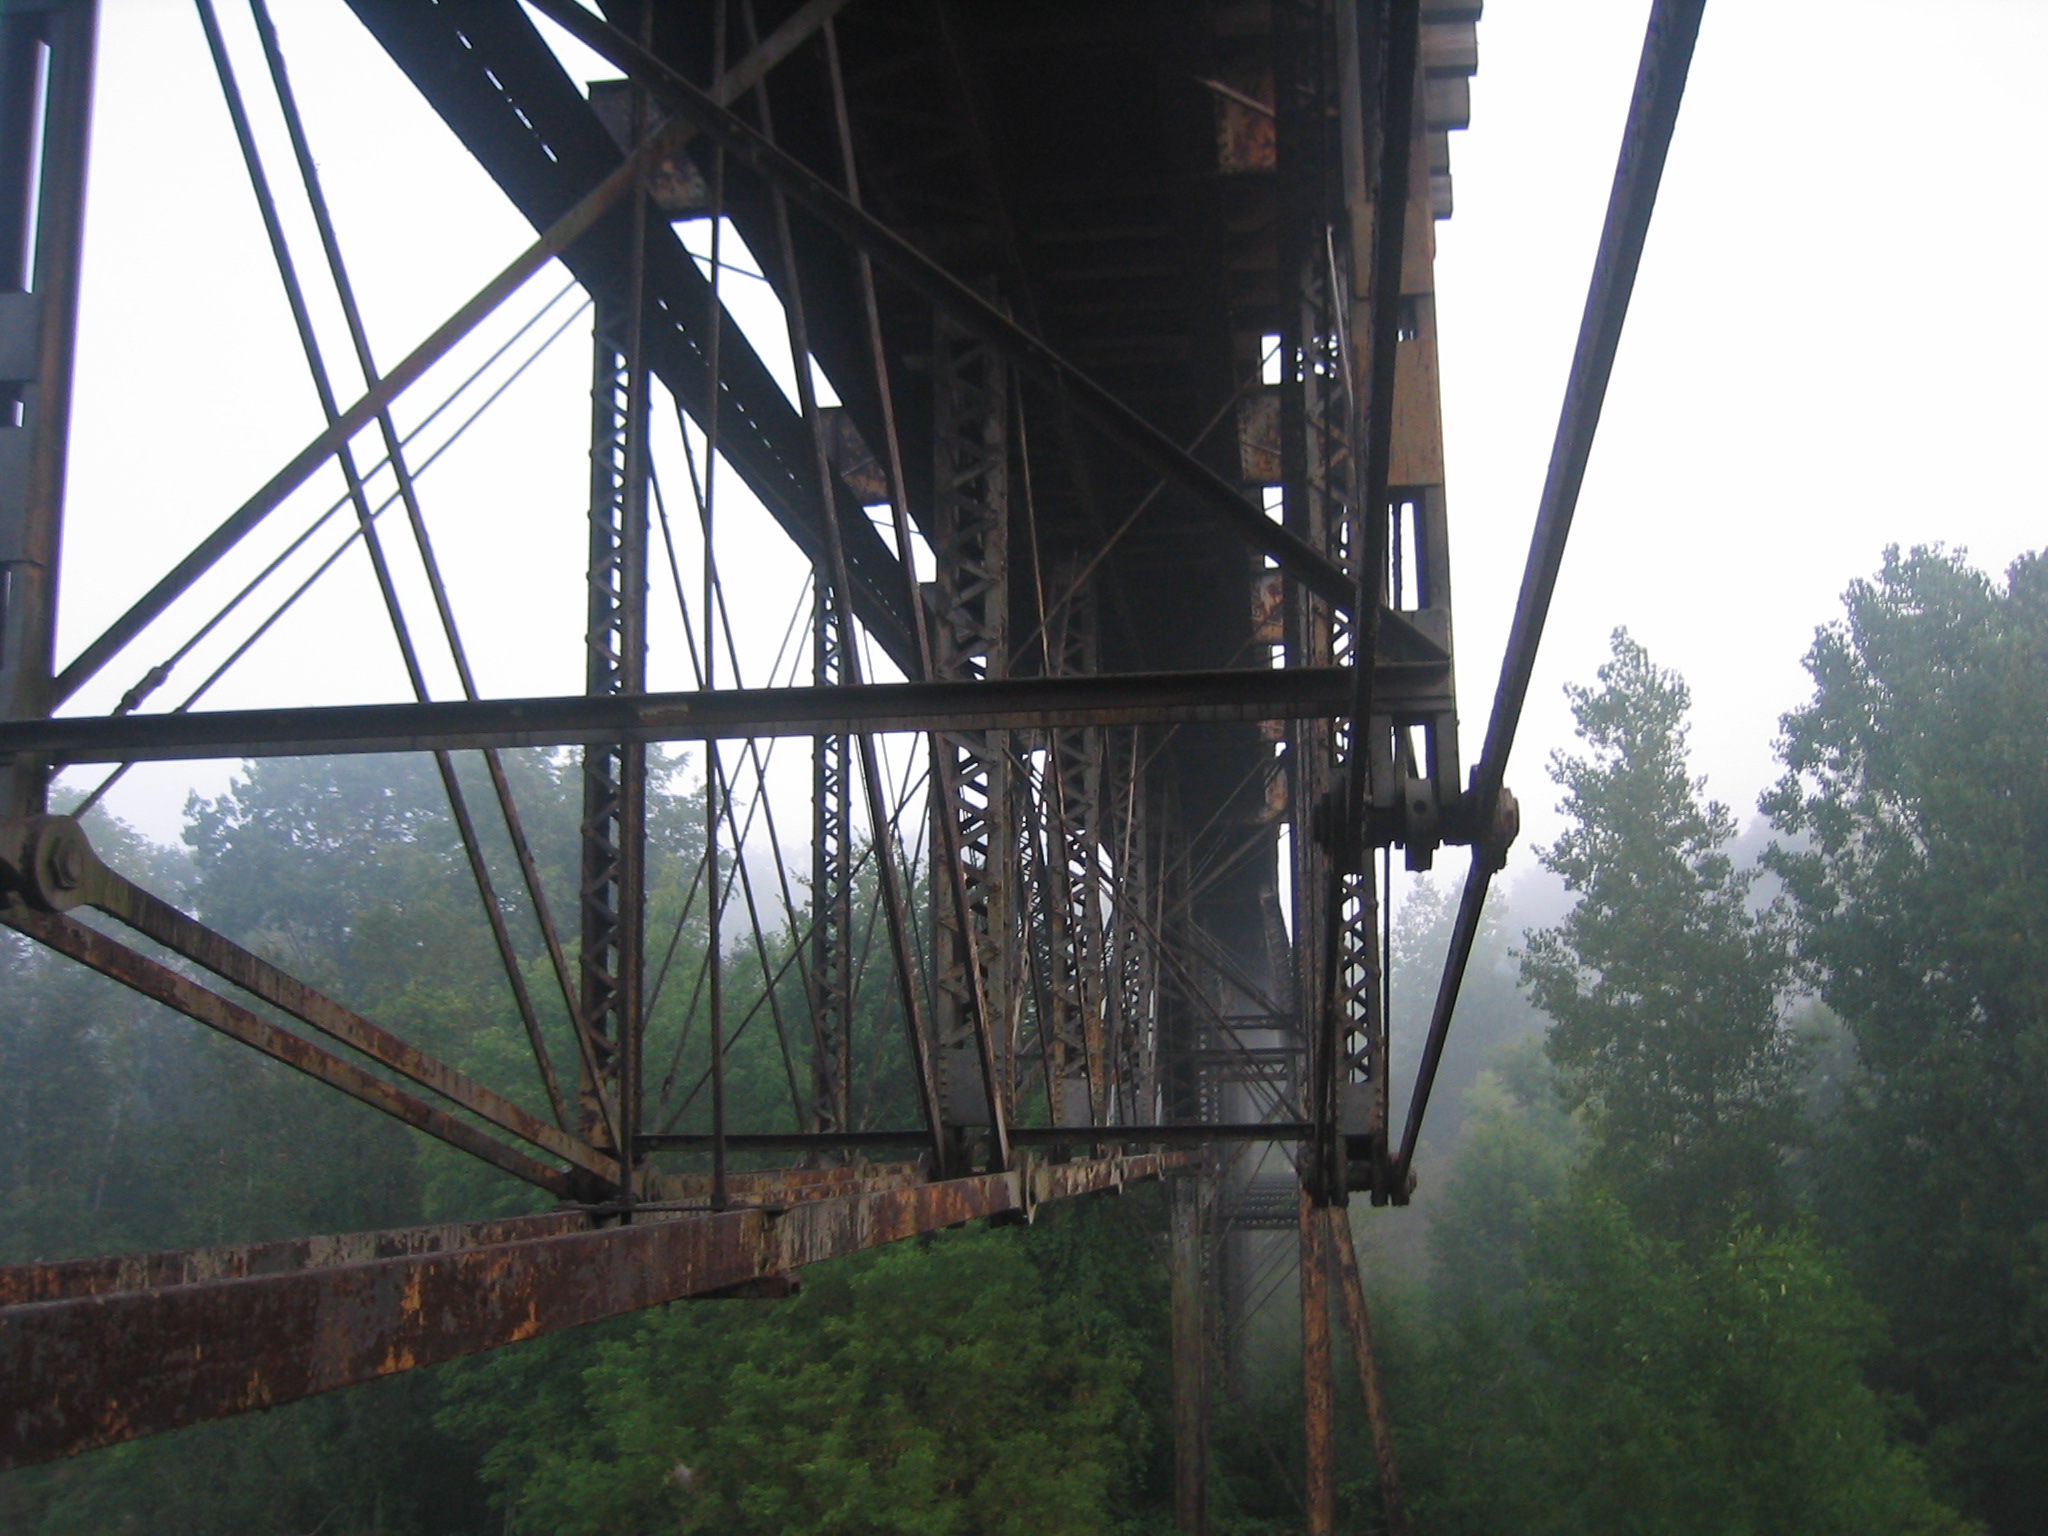

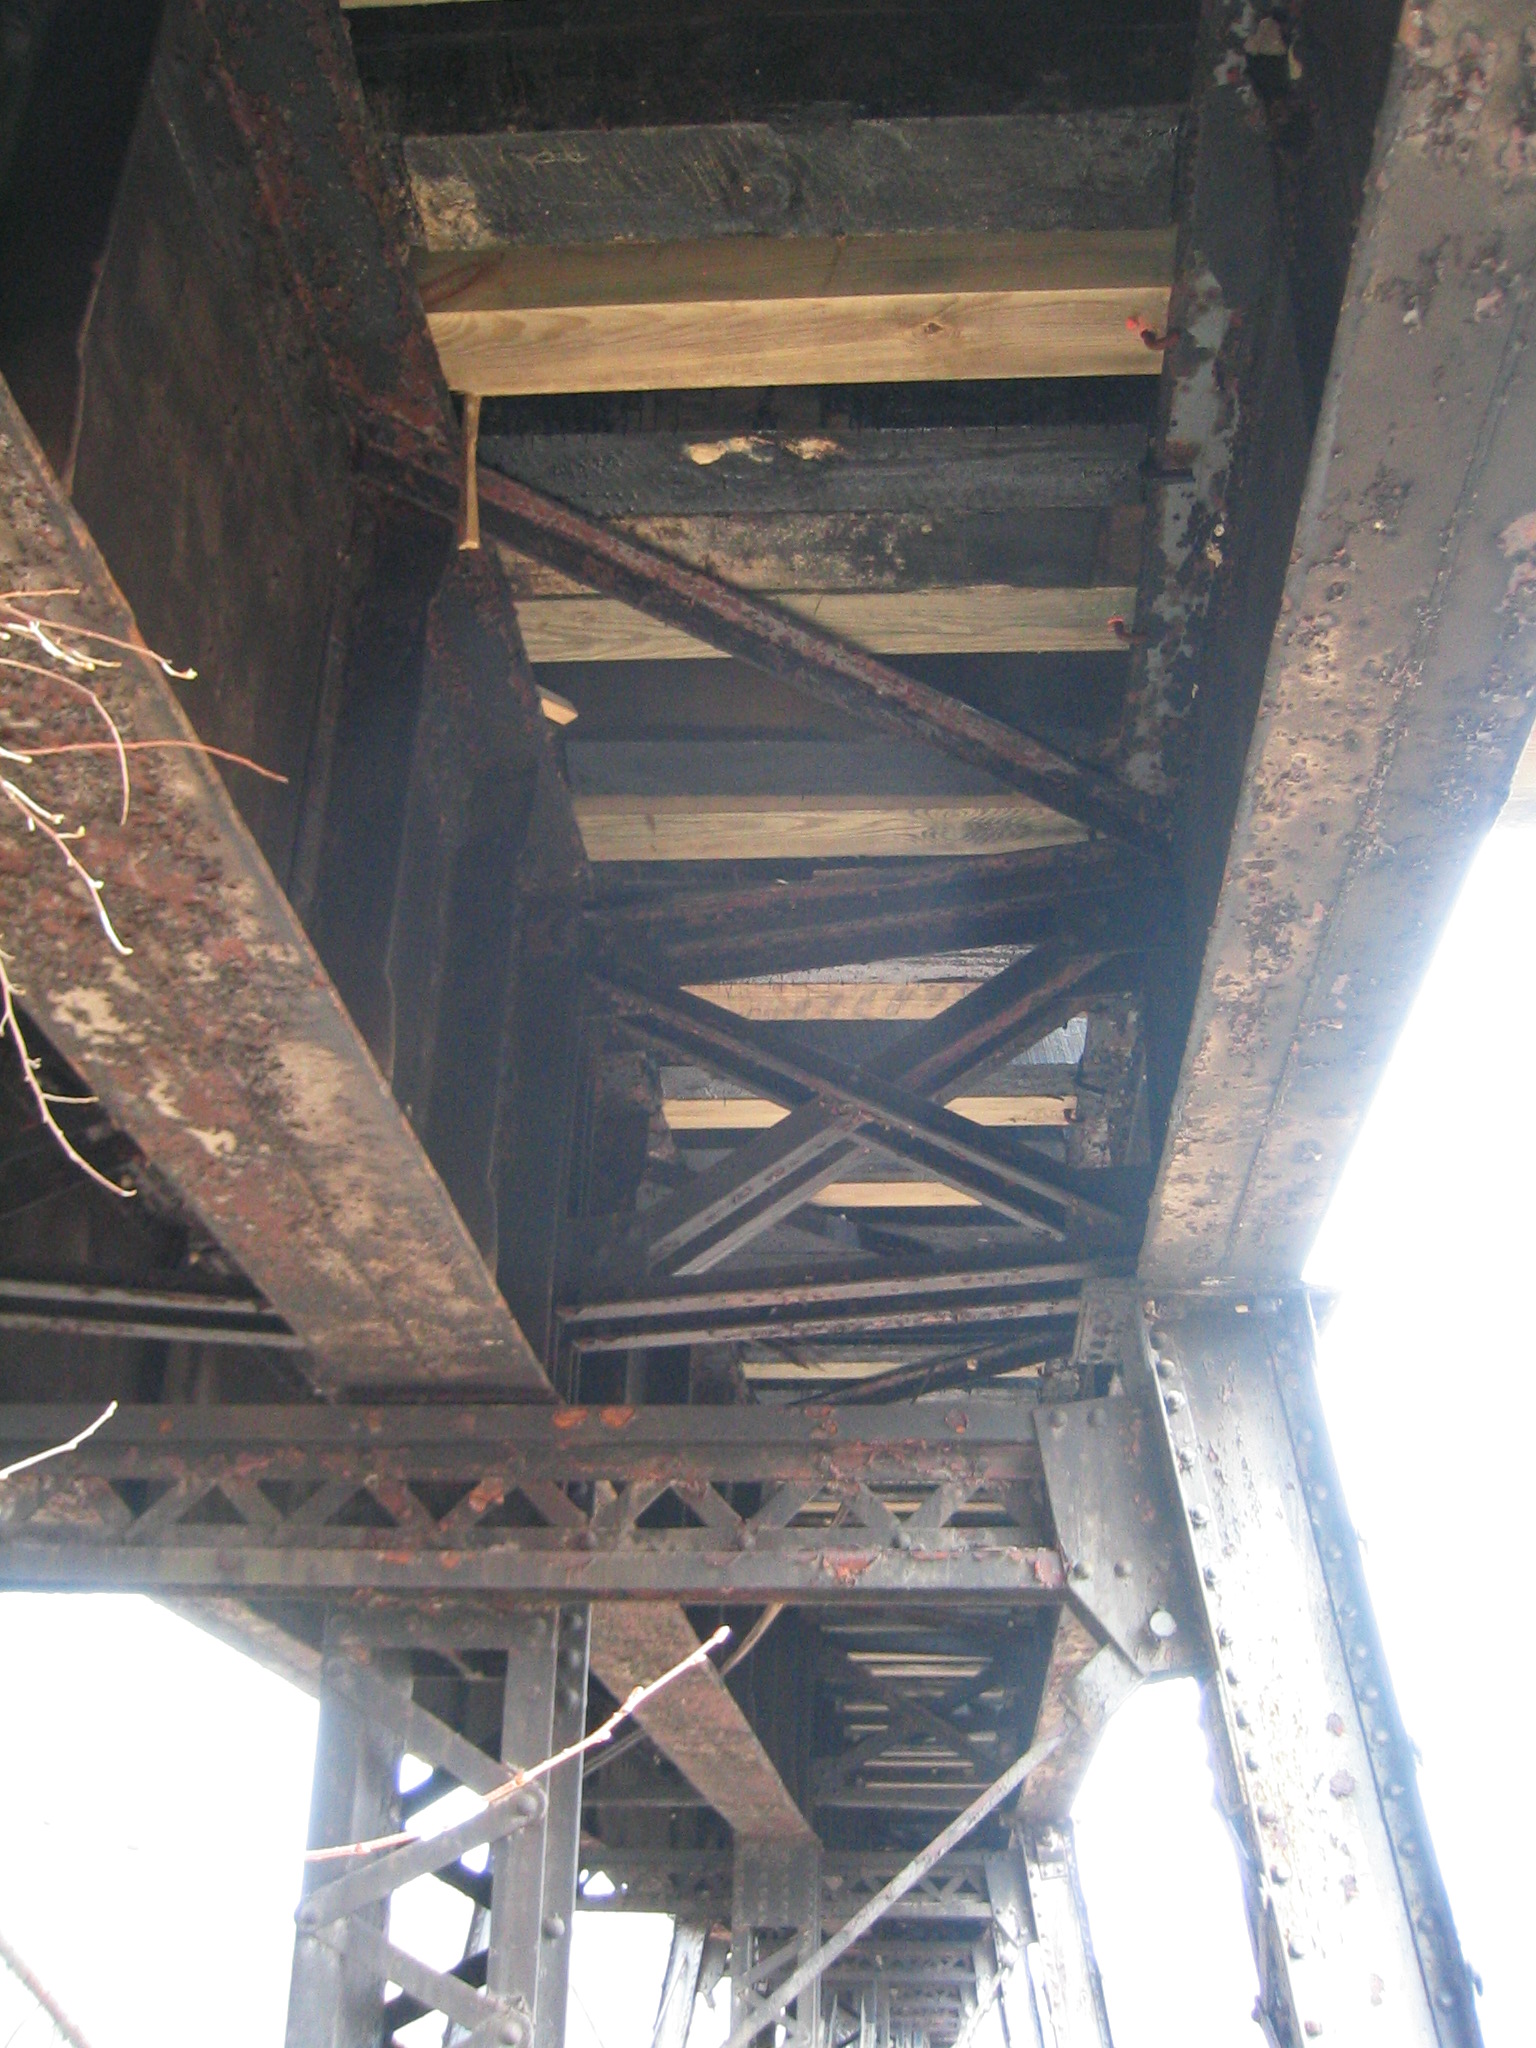
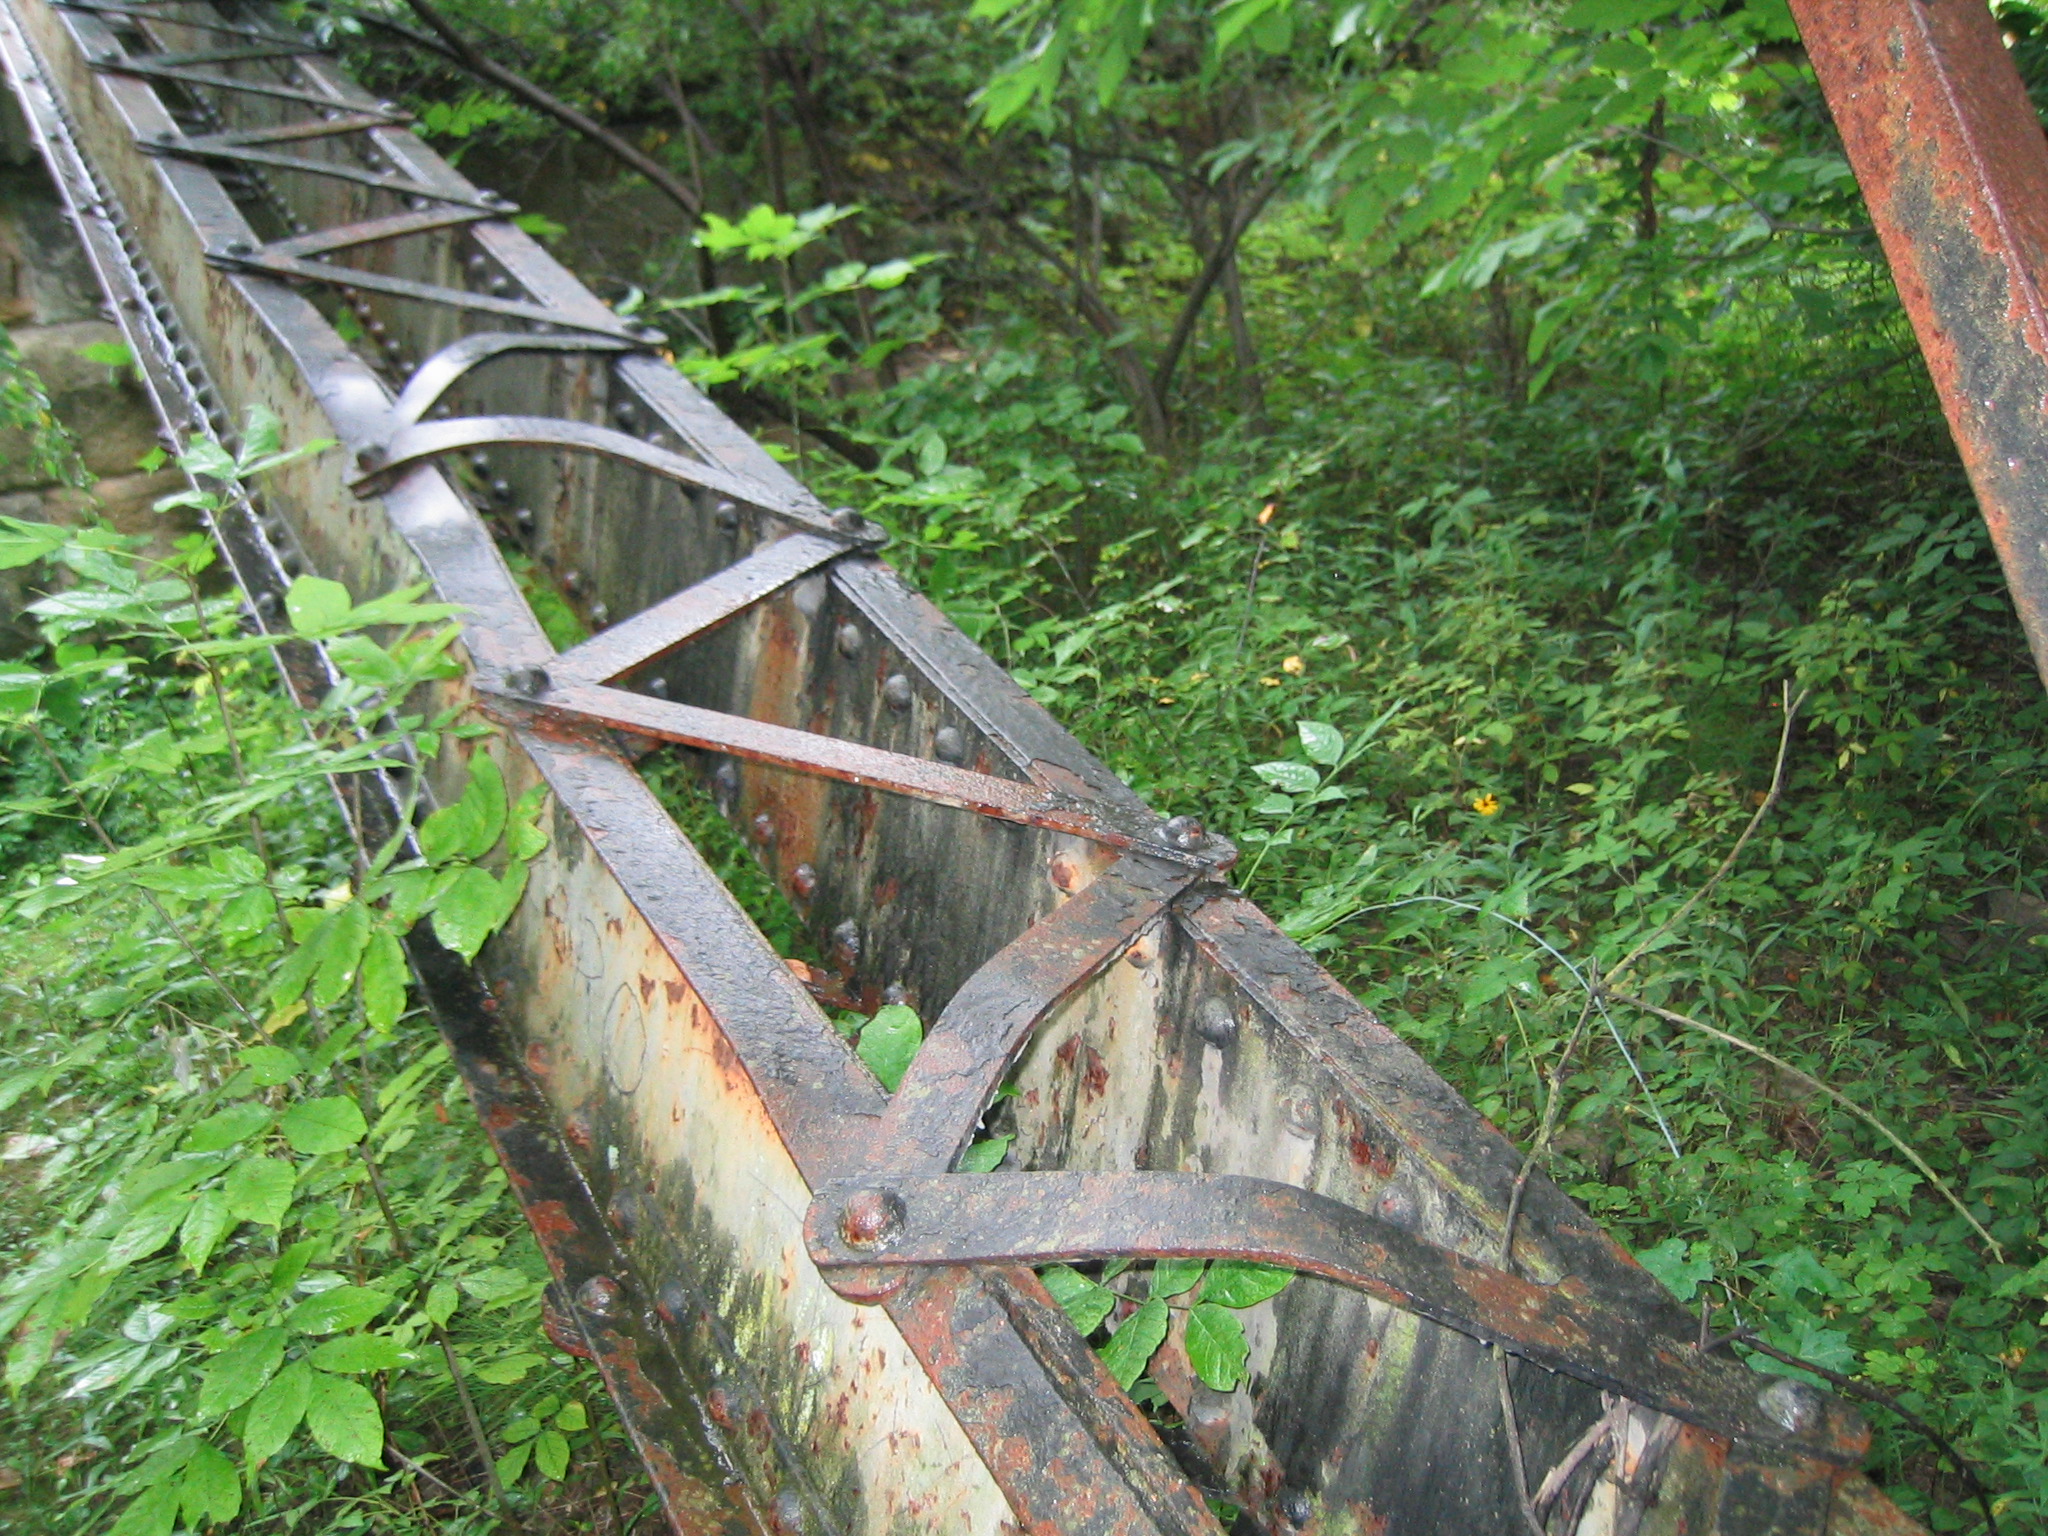
Views under bridge from beside bottom chord.
![]()


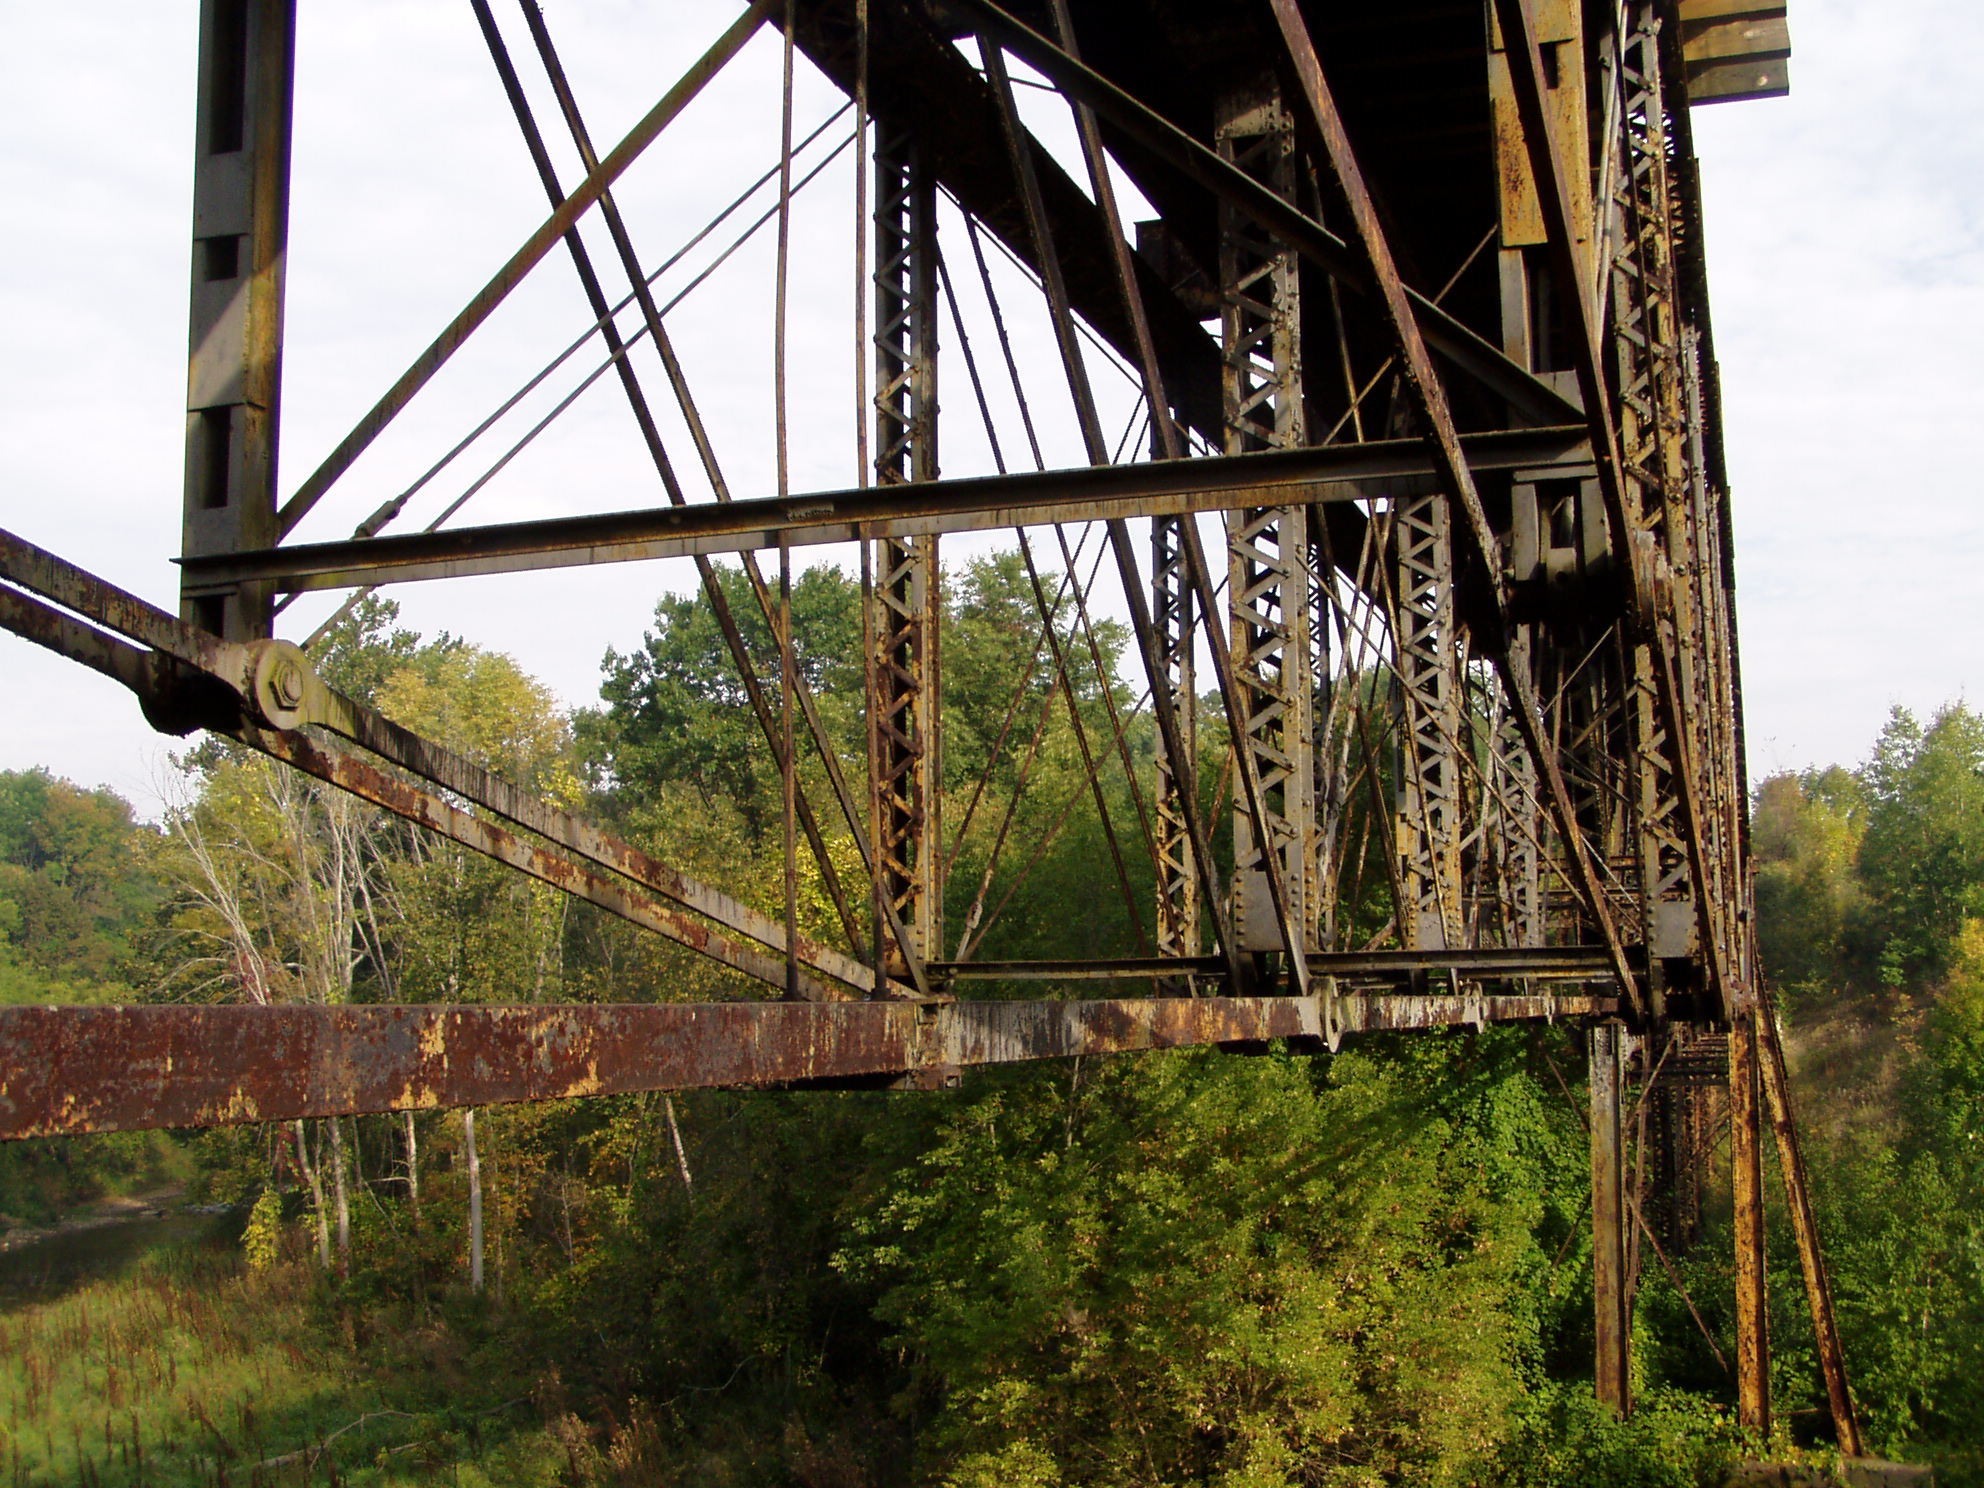
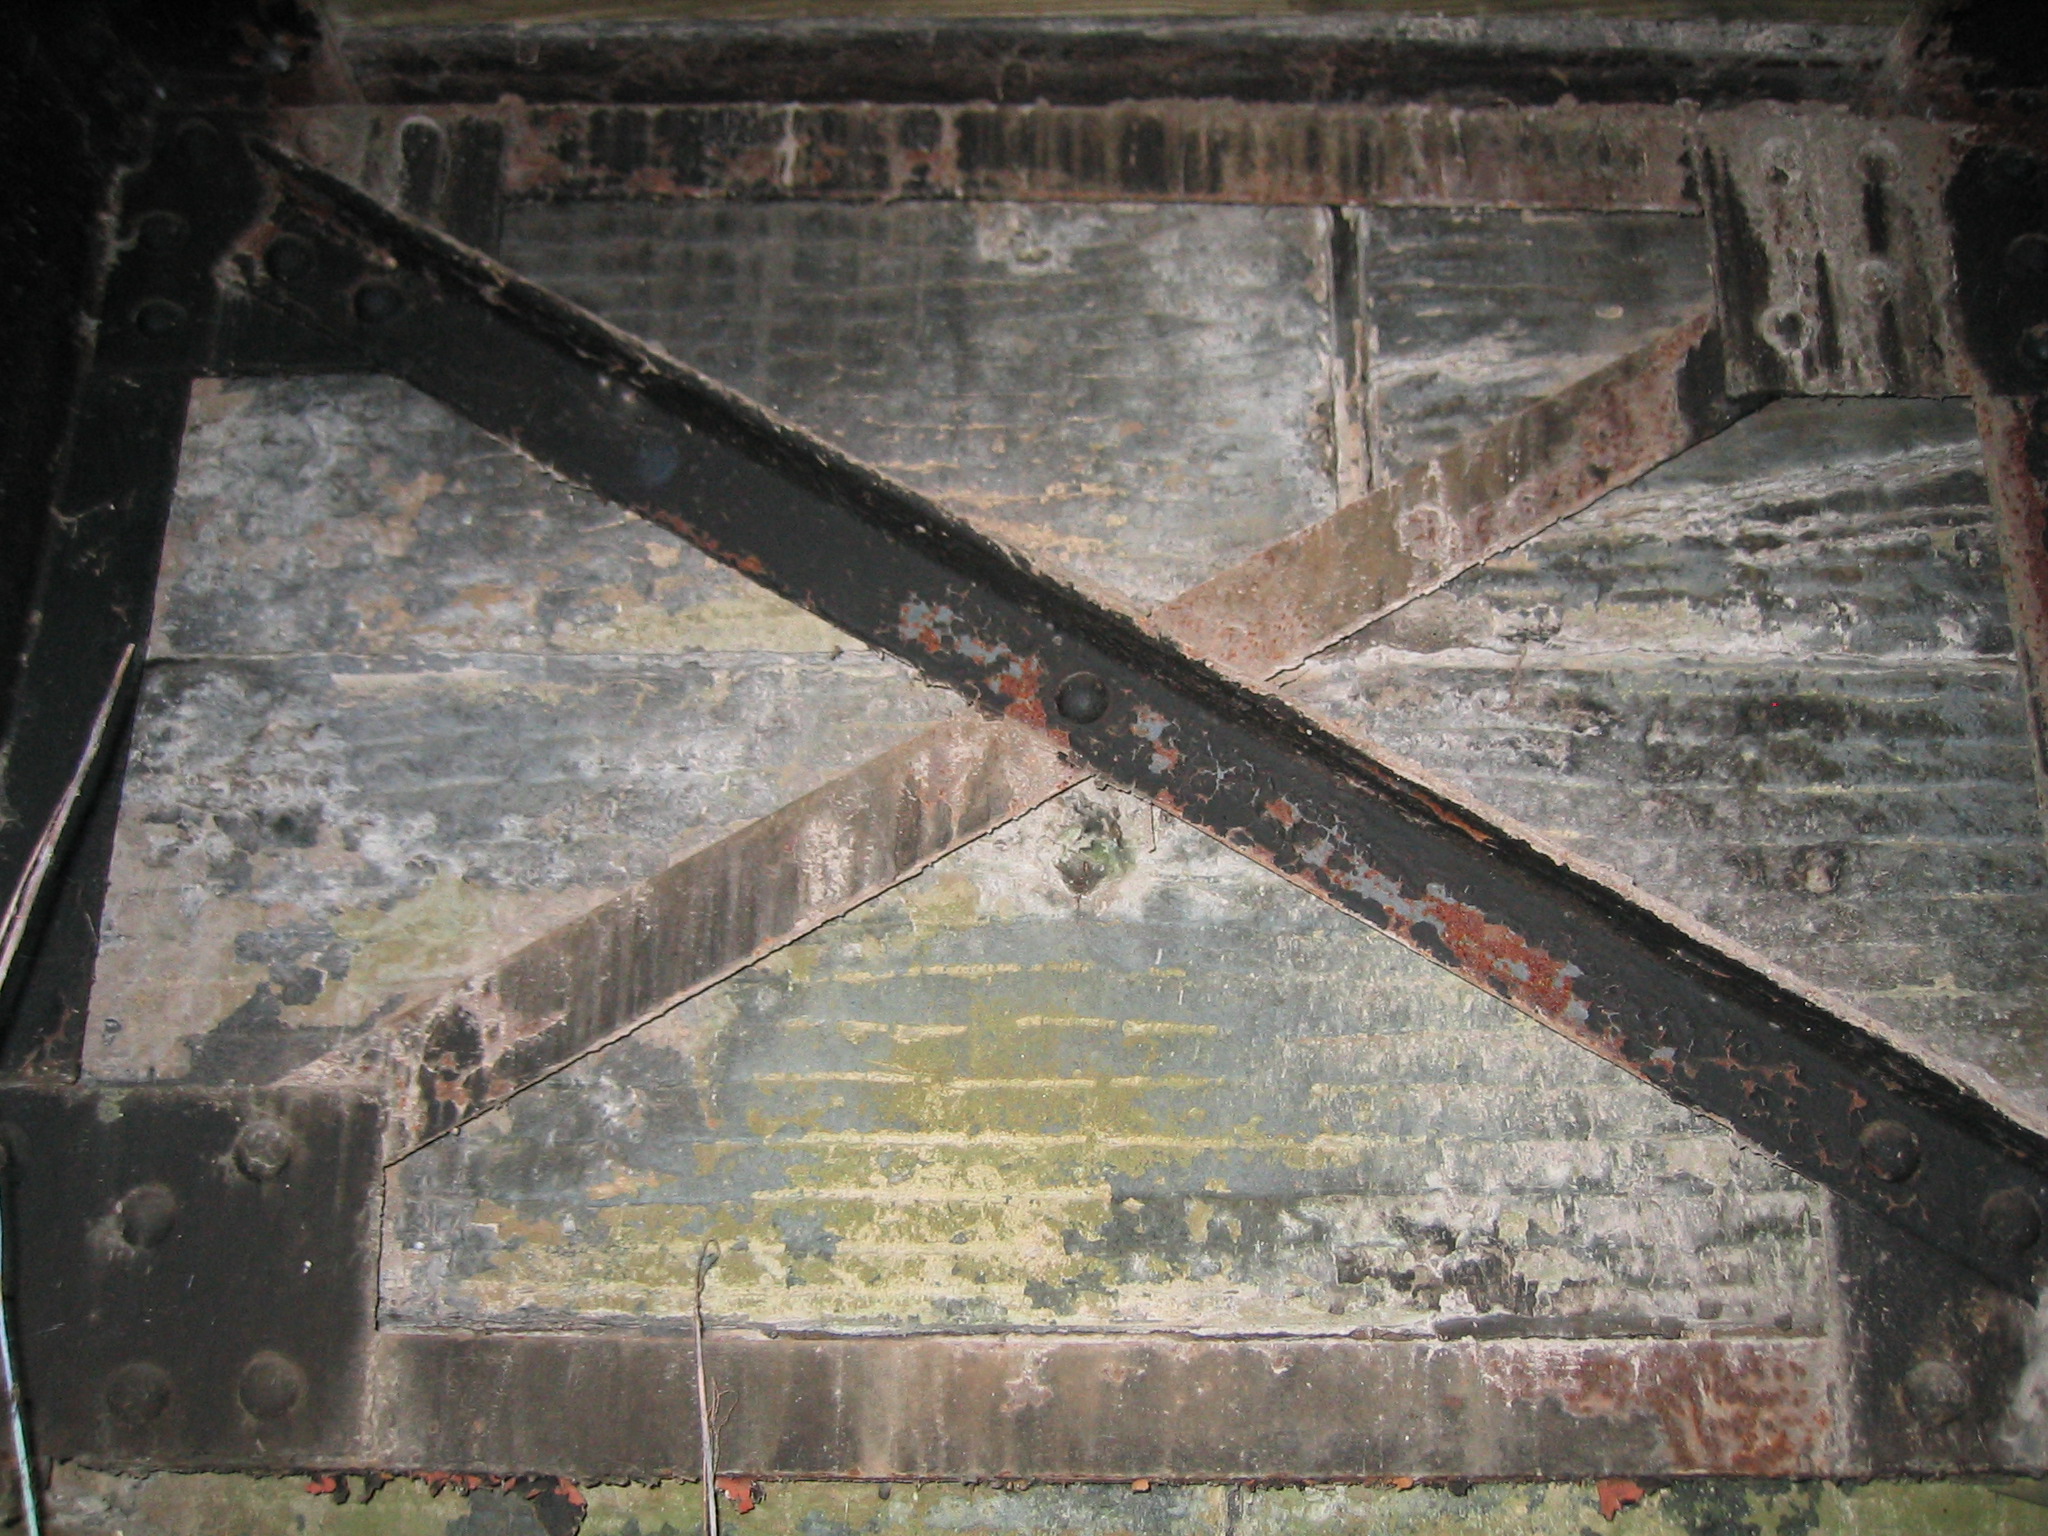
Views of truss web.
![]()
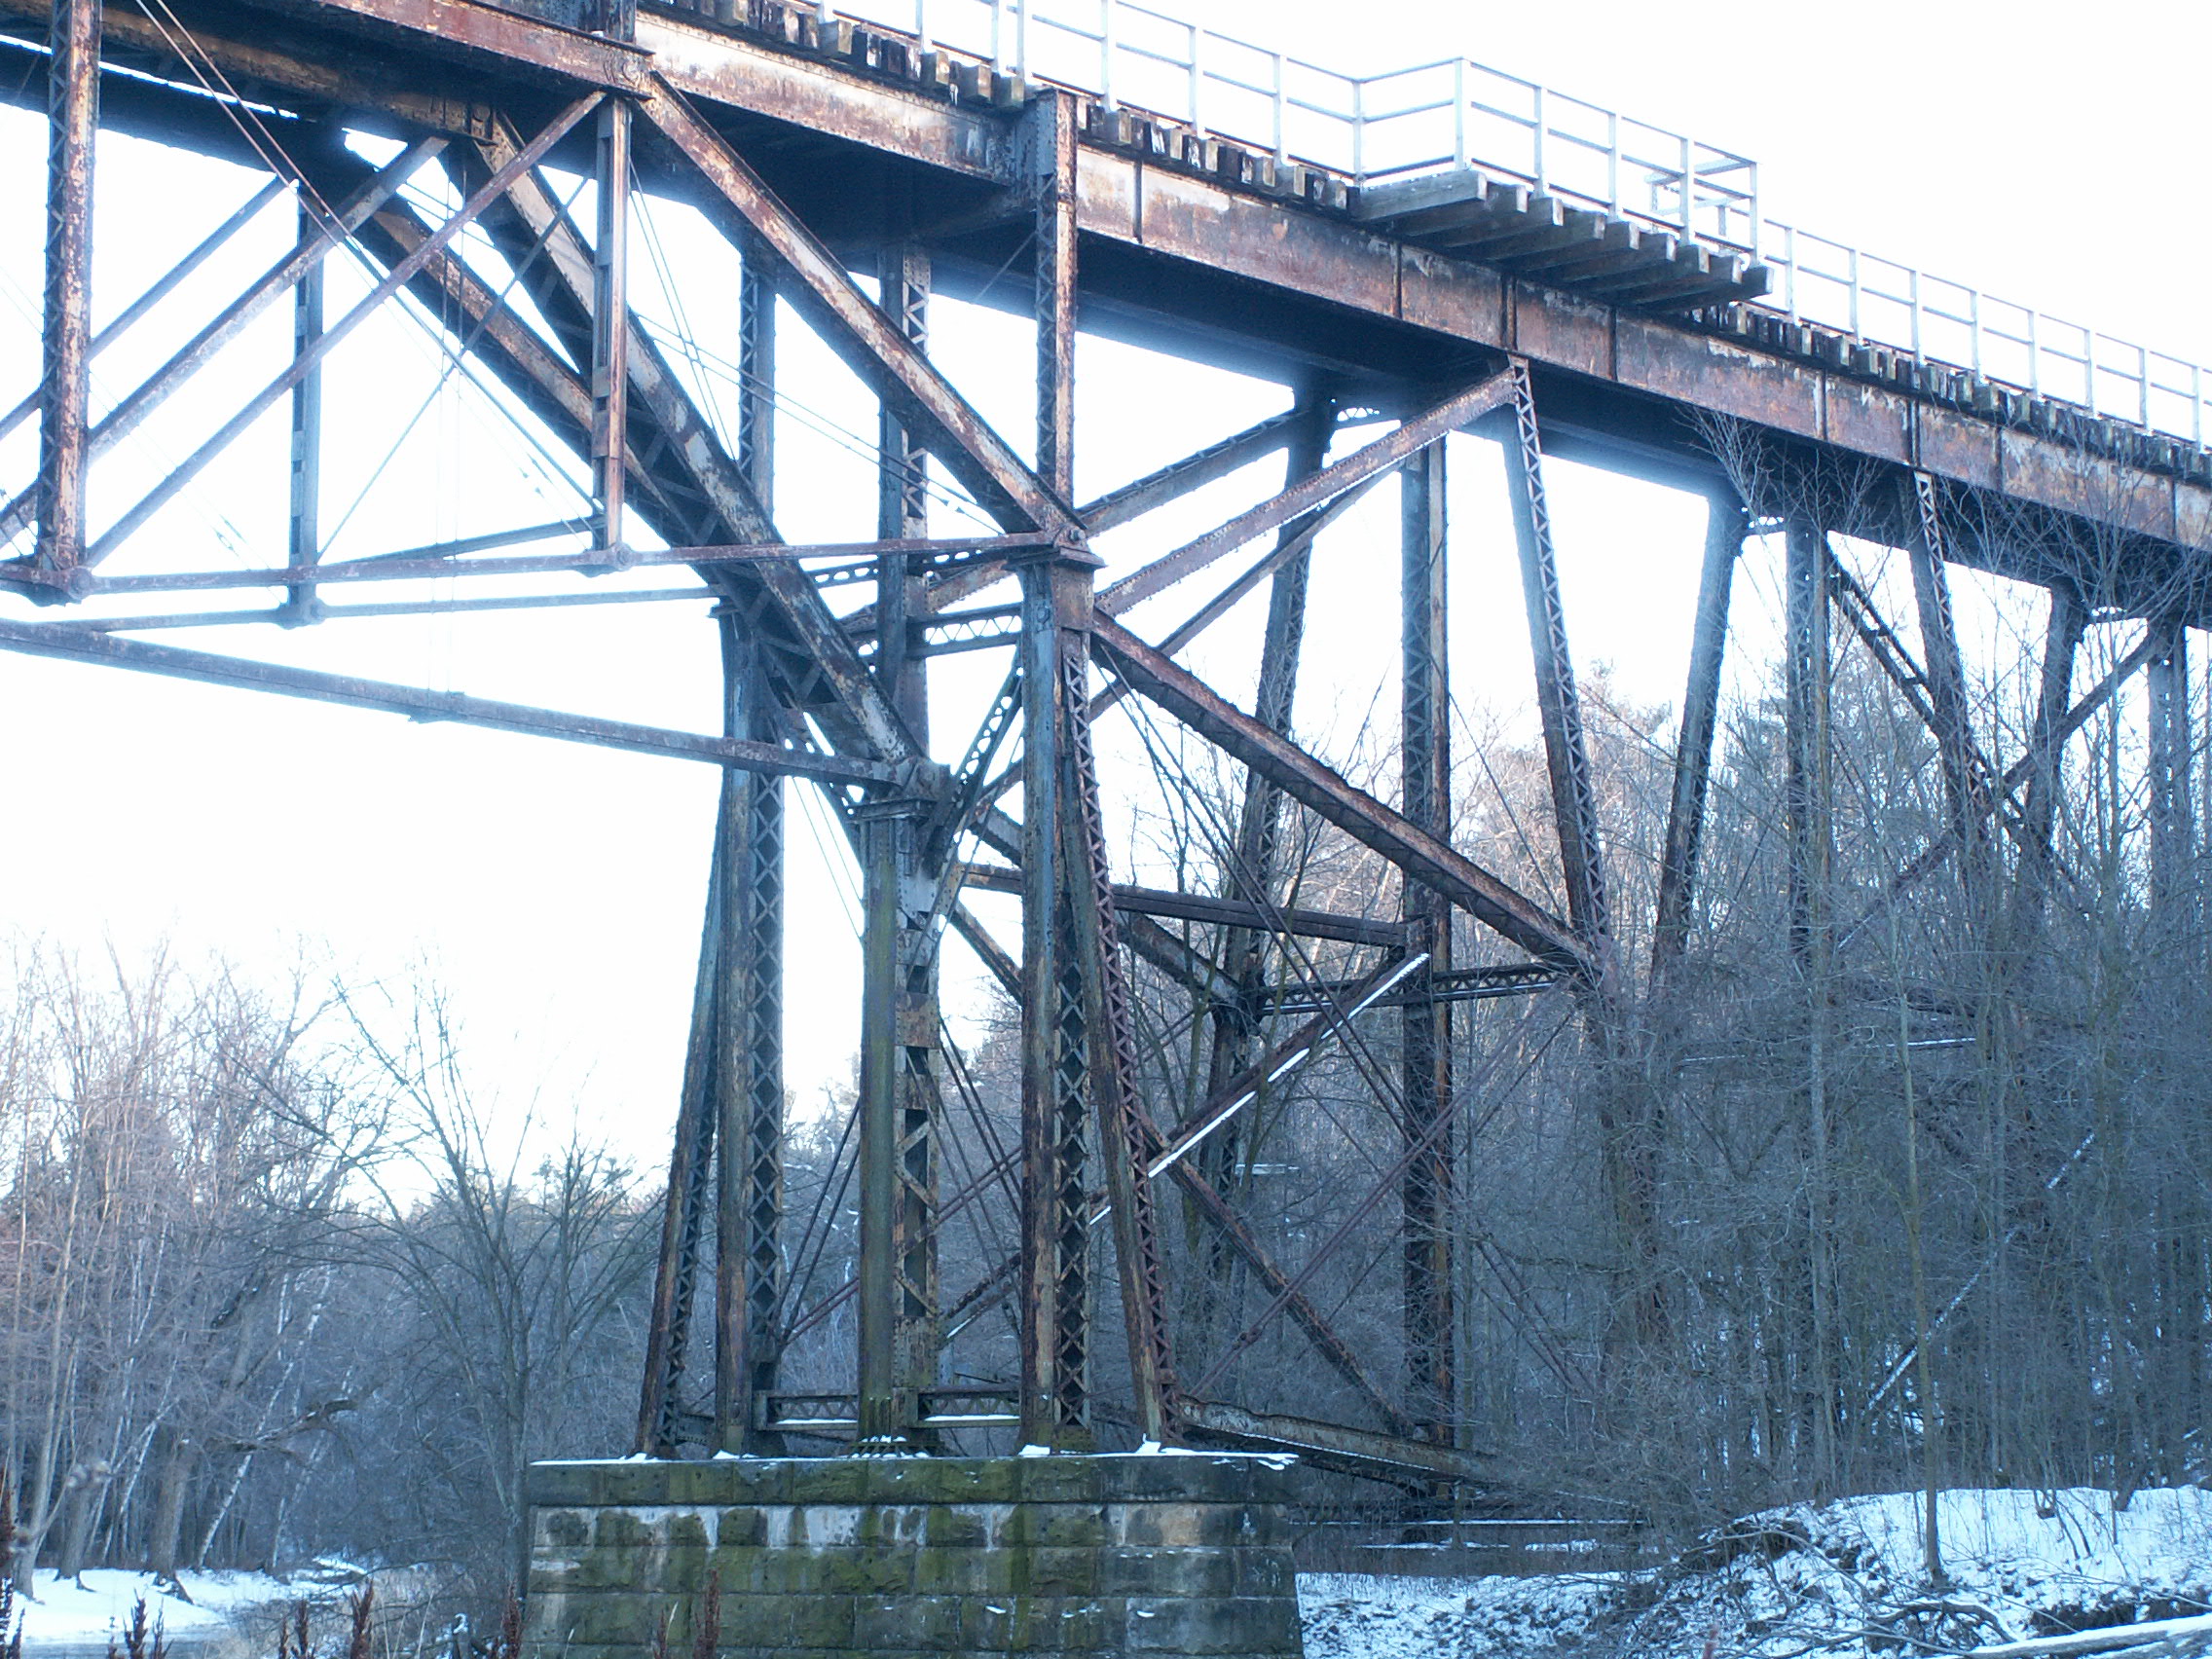


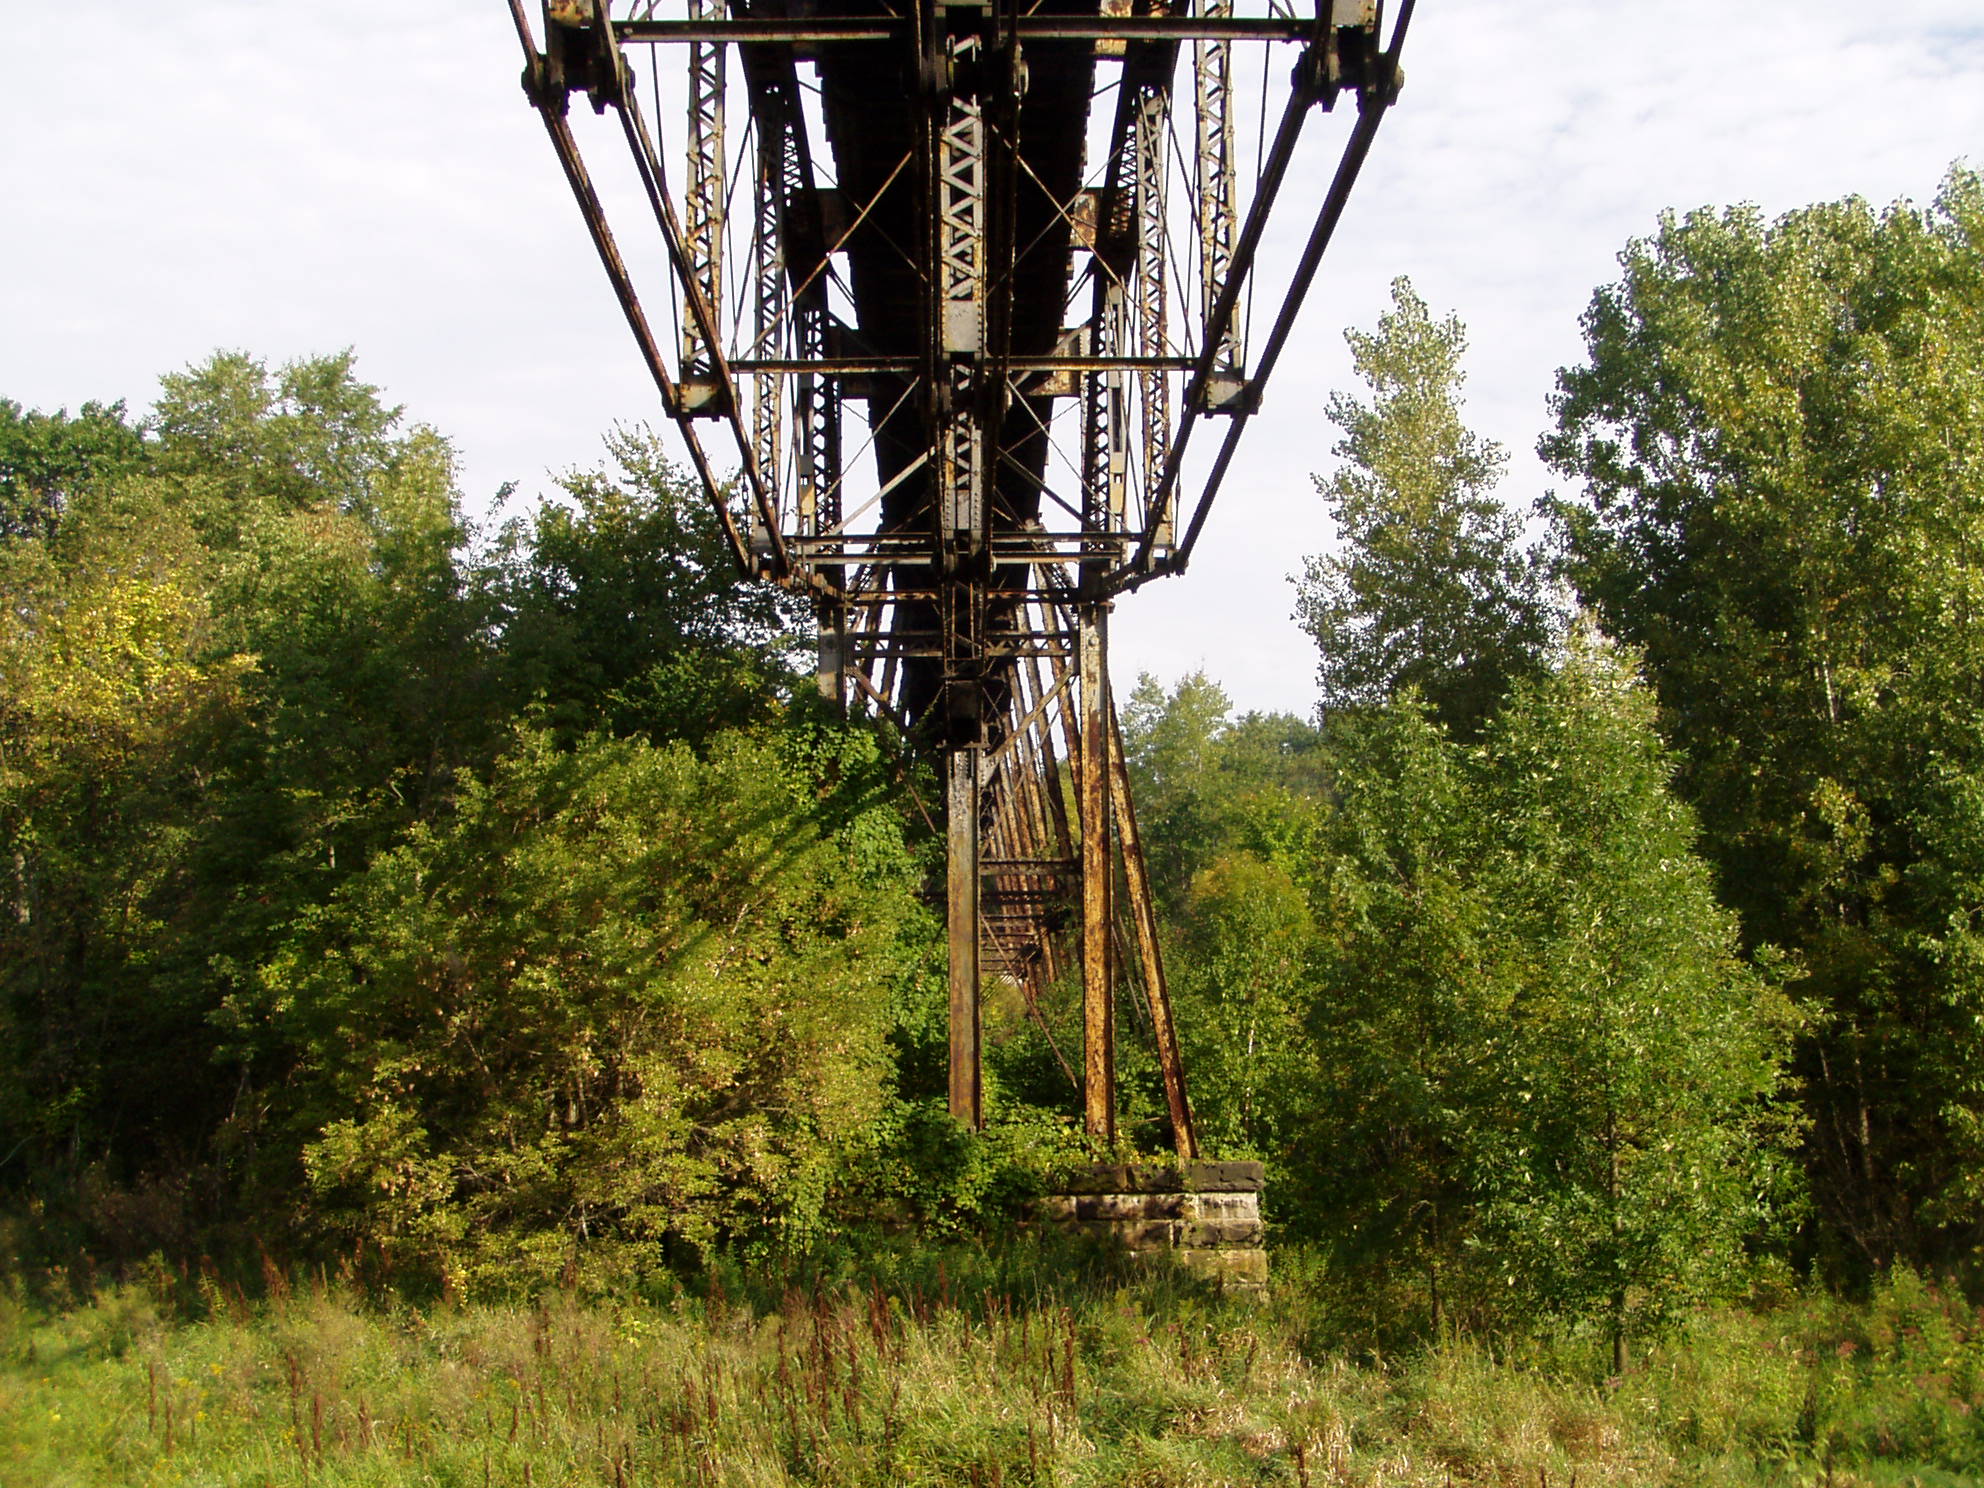
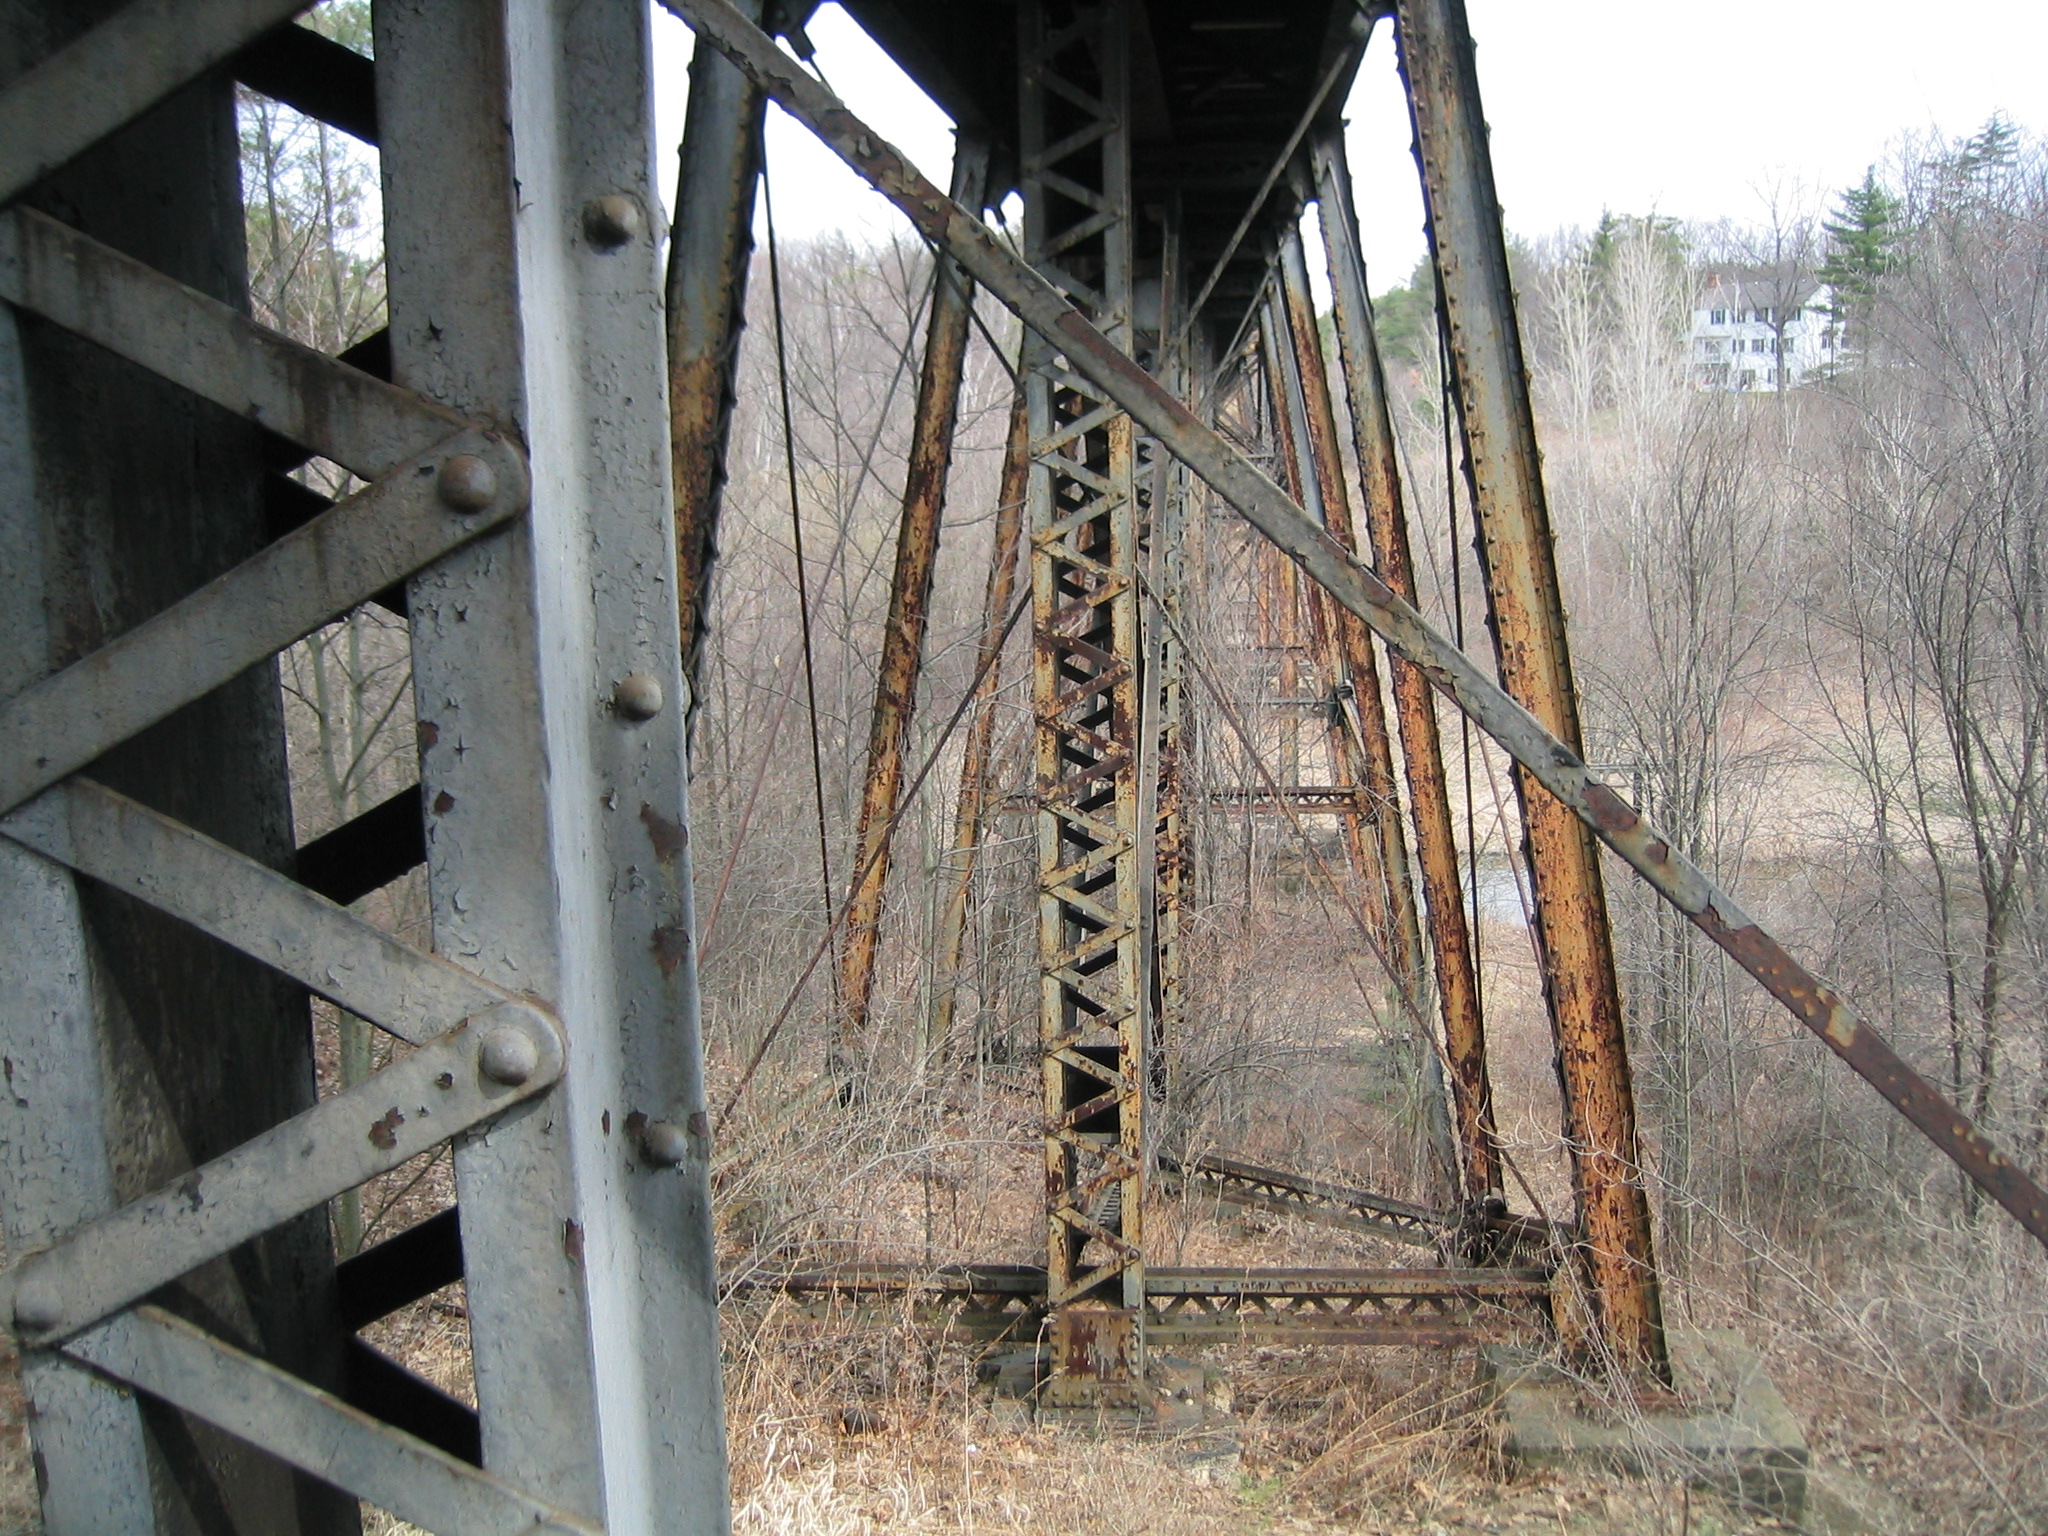
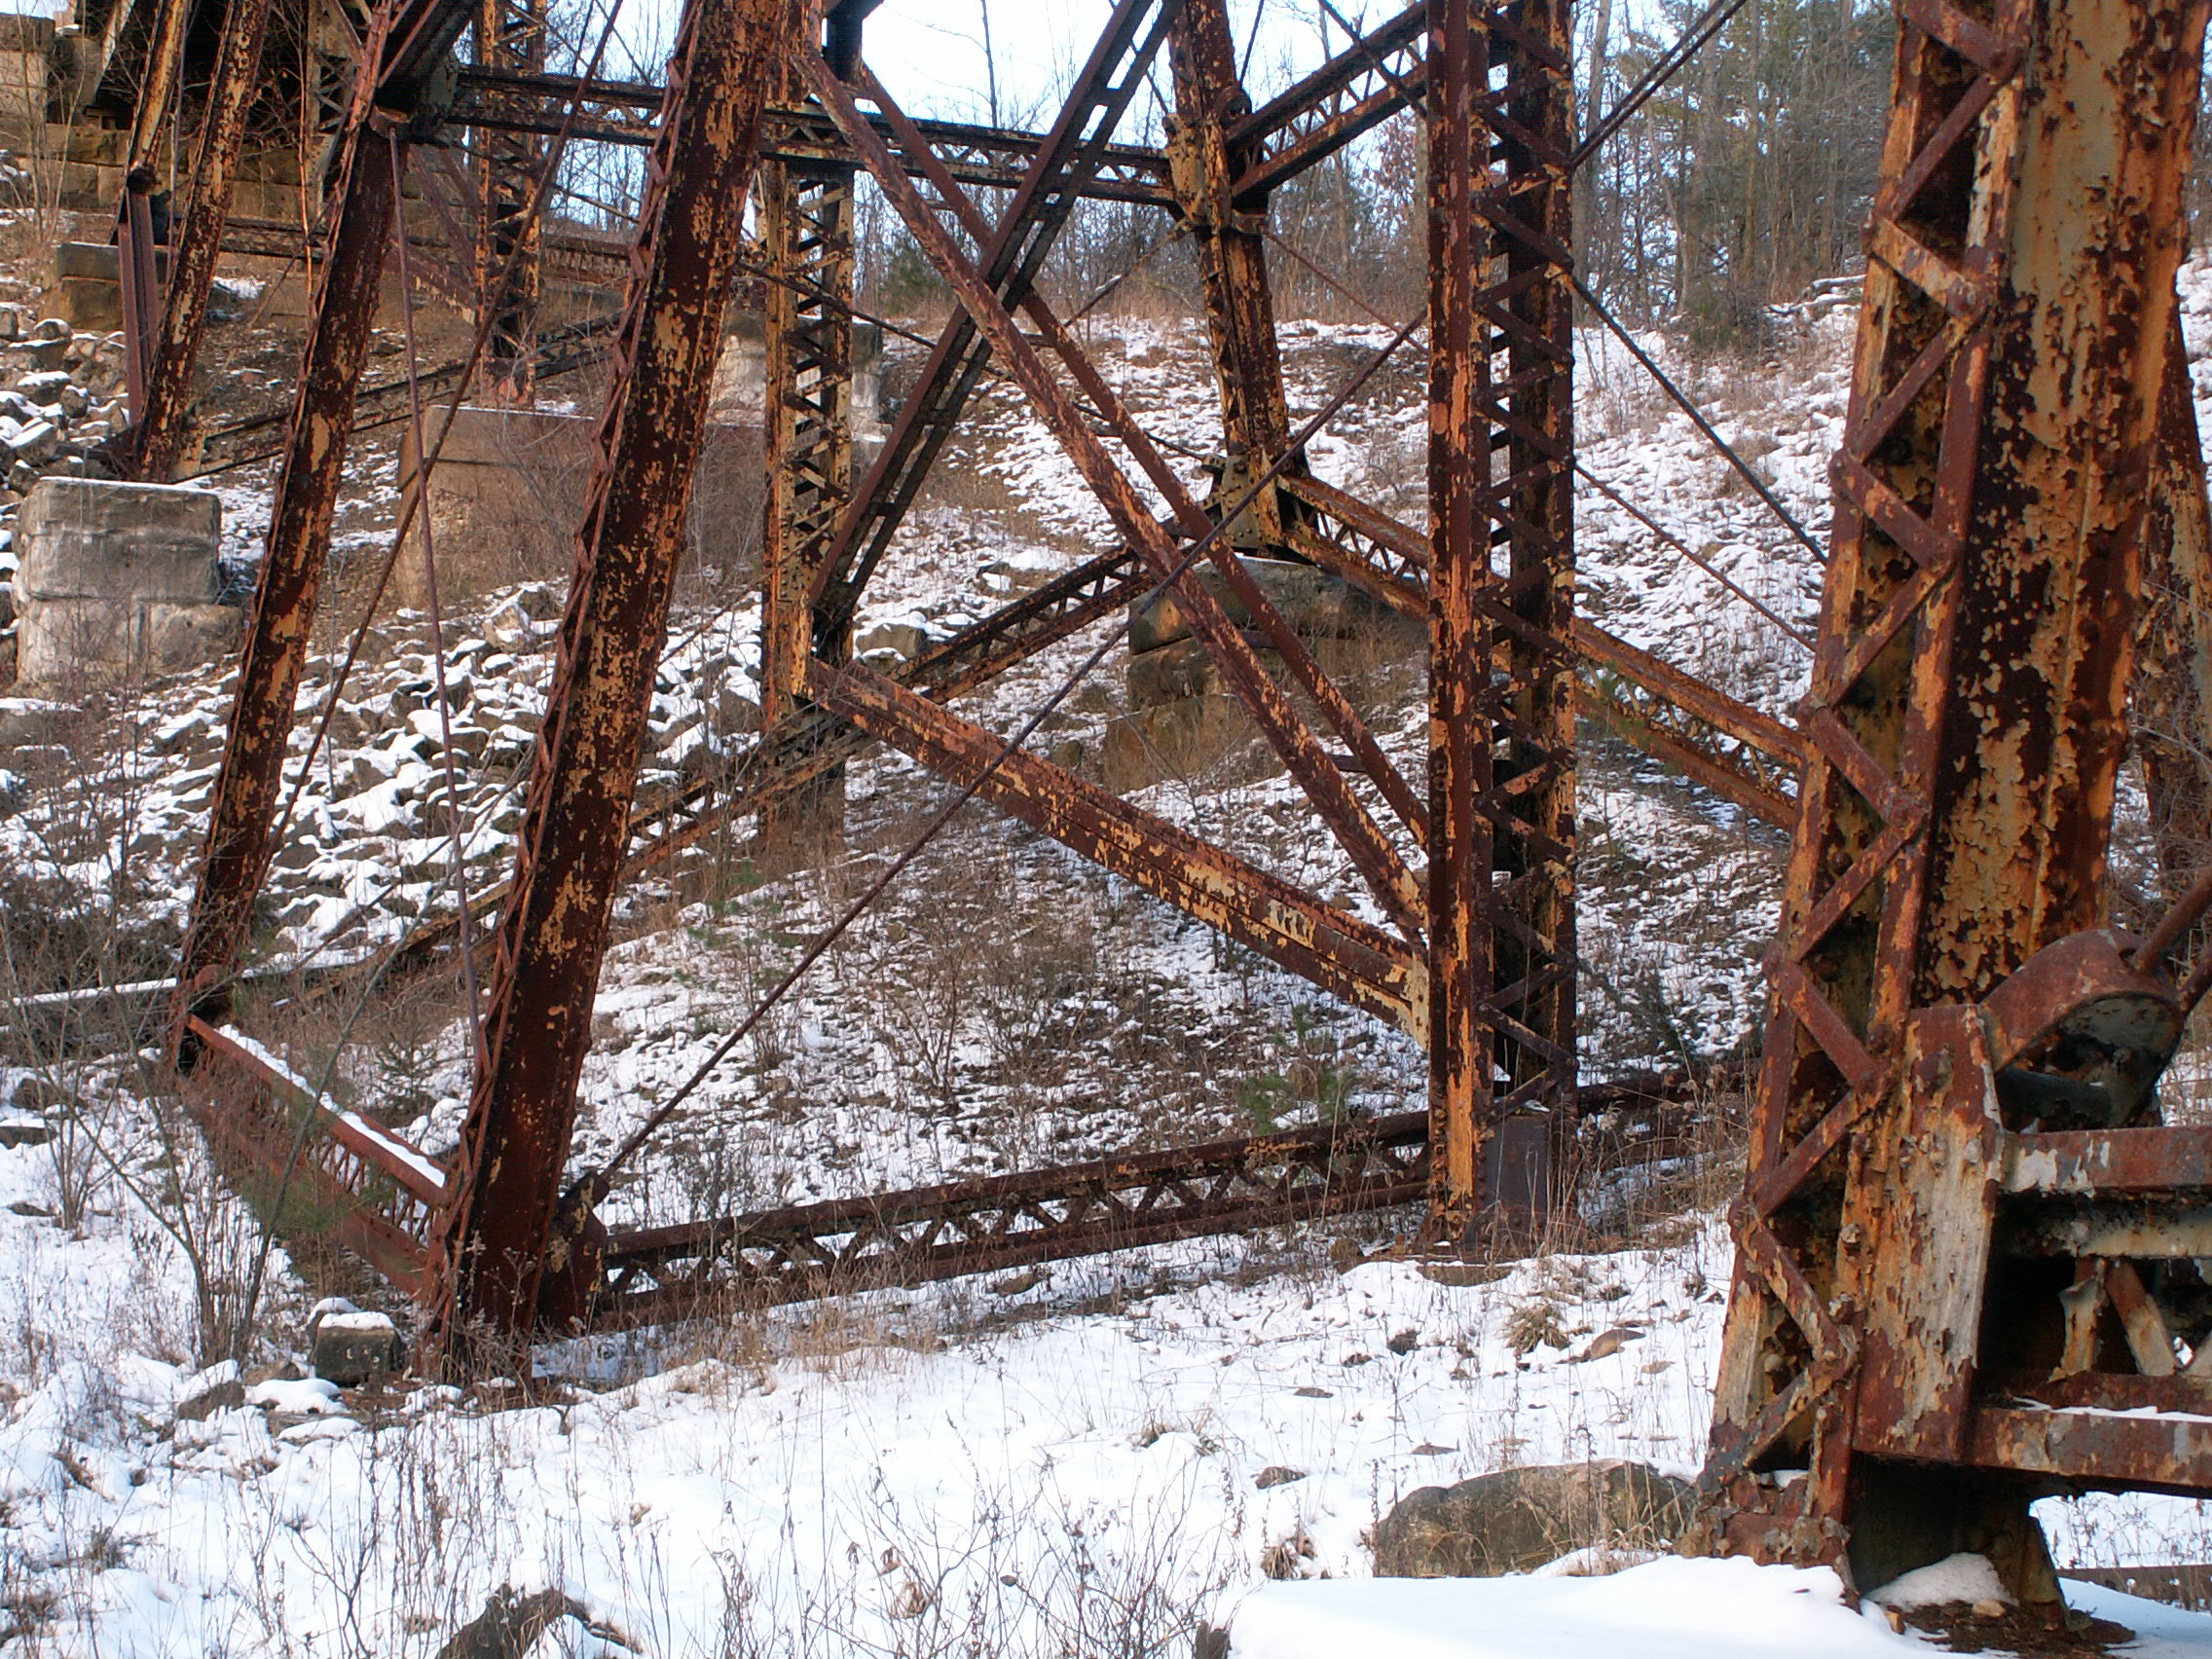
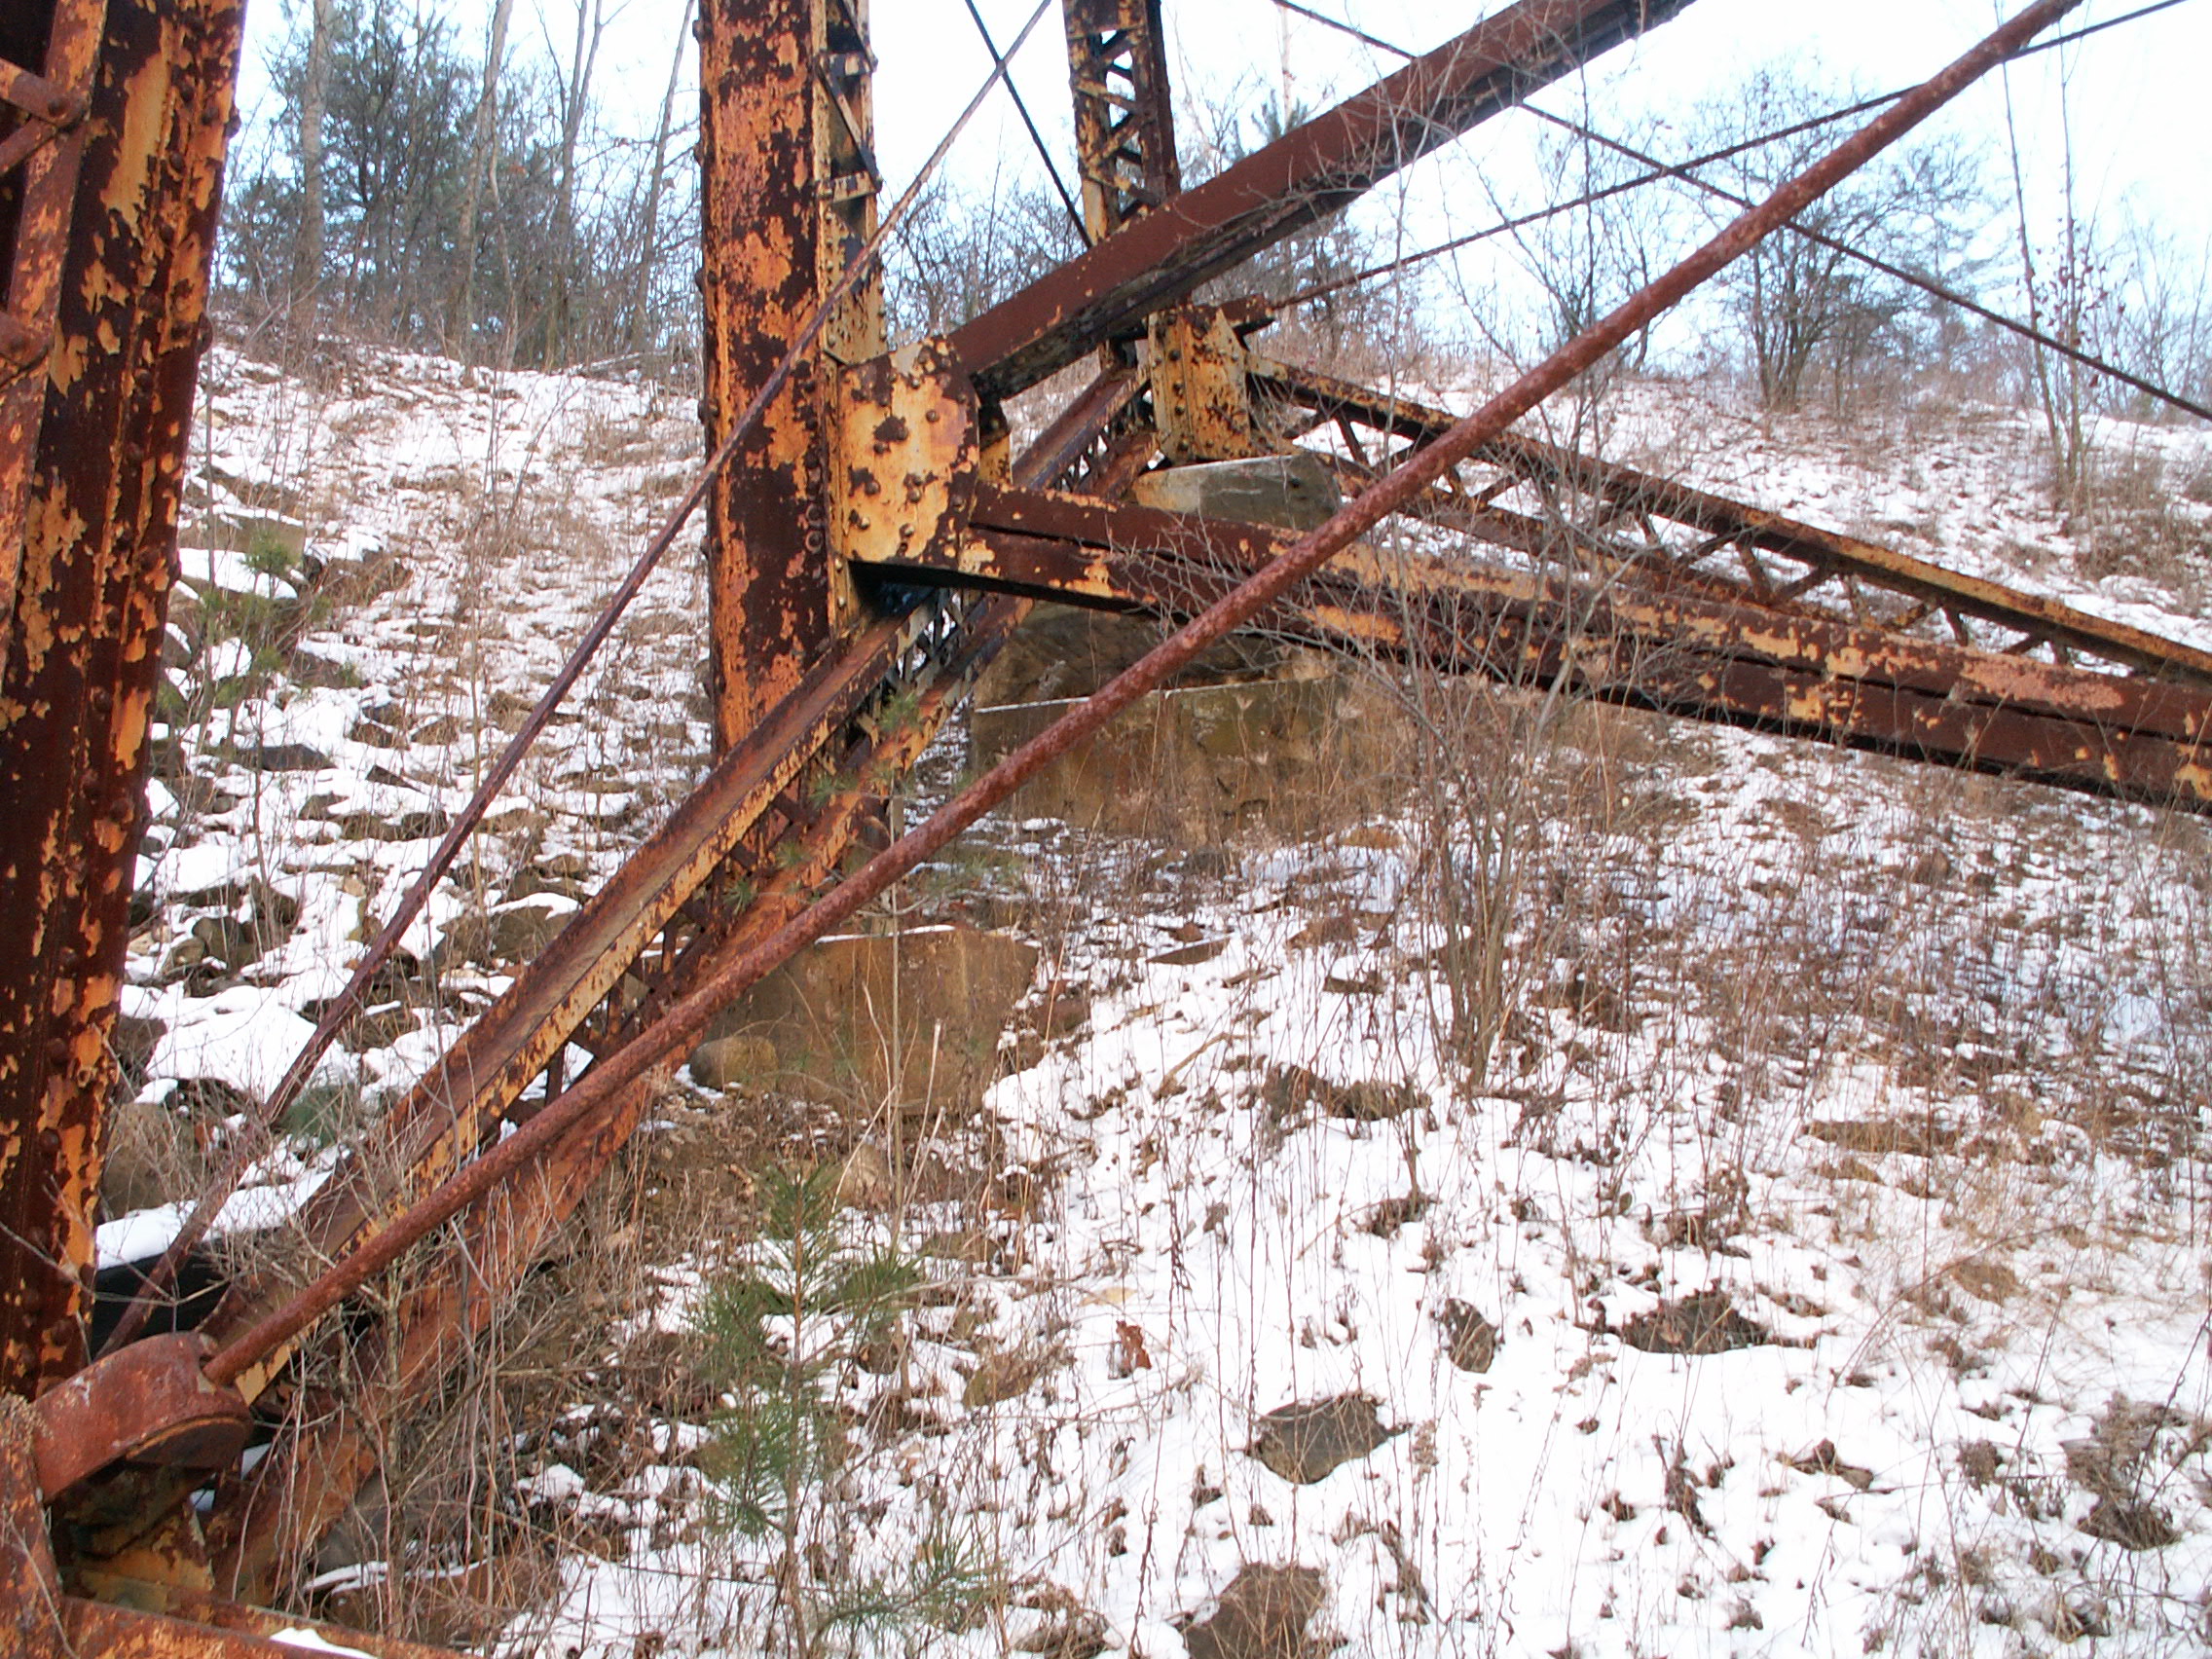
Elevation of bents for main span.
![]()


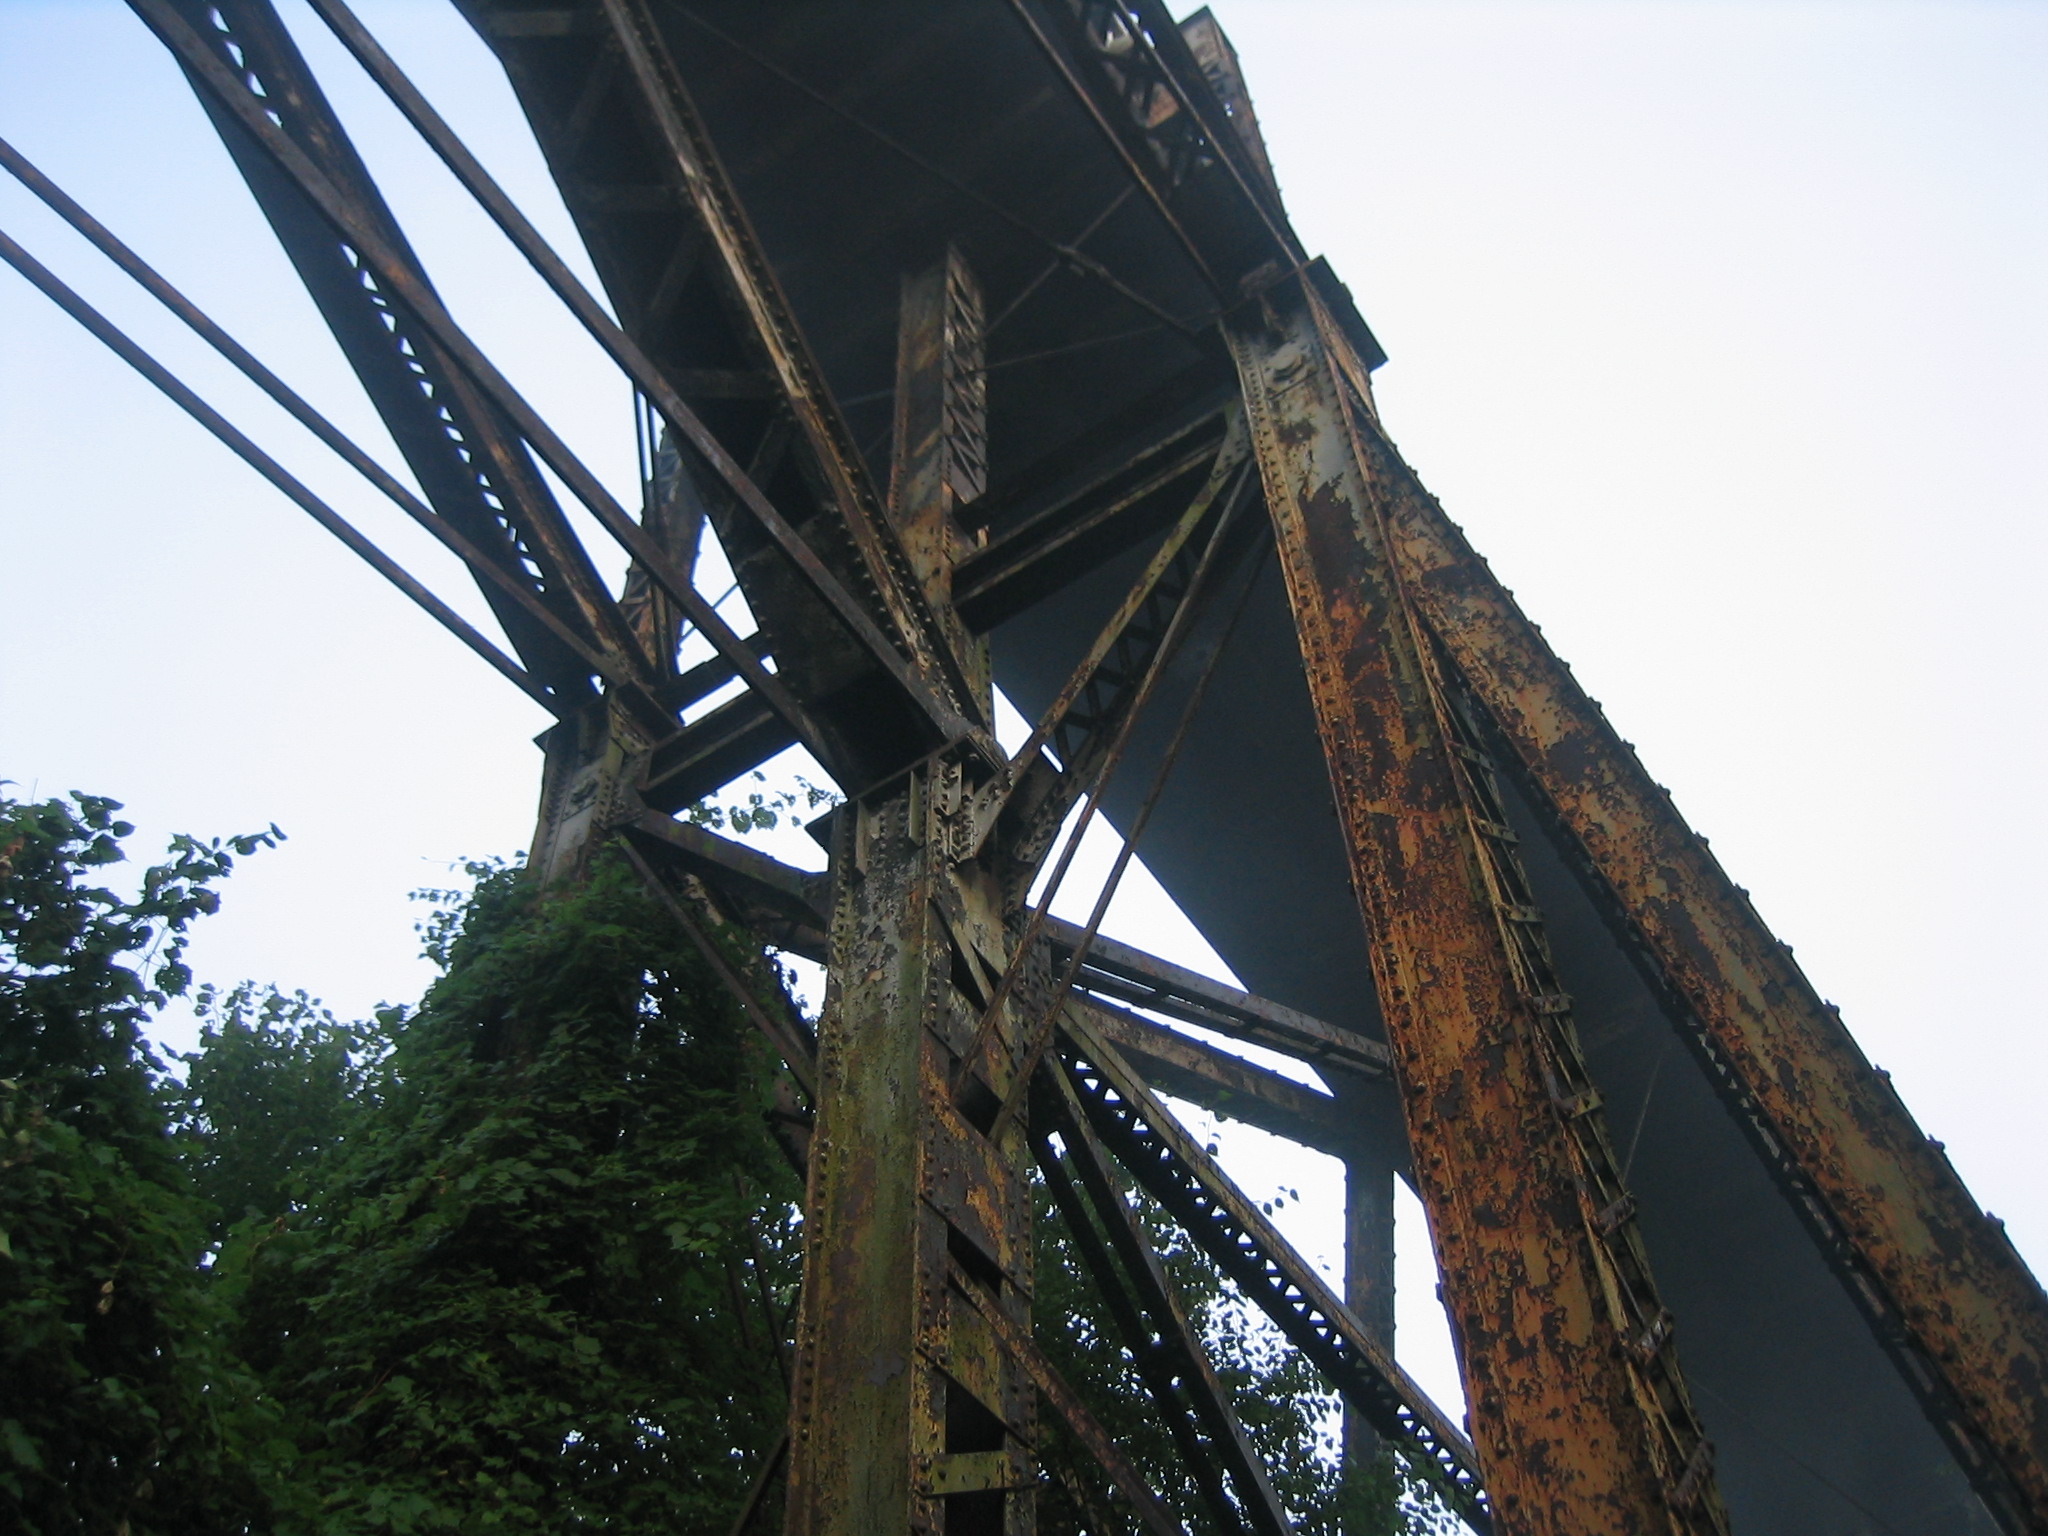


Looking up at main span bent.
![]()


Looking up at ends of main span.
![]()


Looking up at center of main span.
![]()


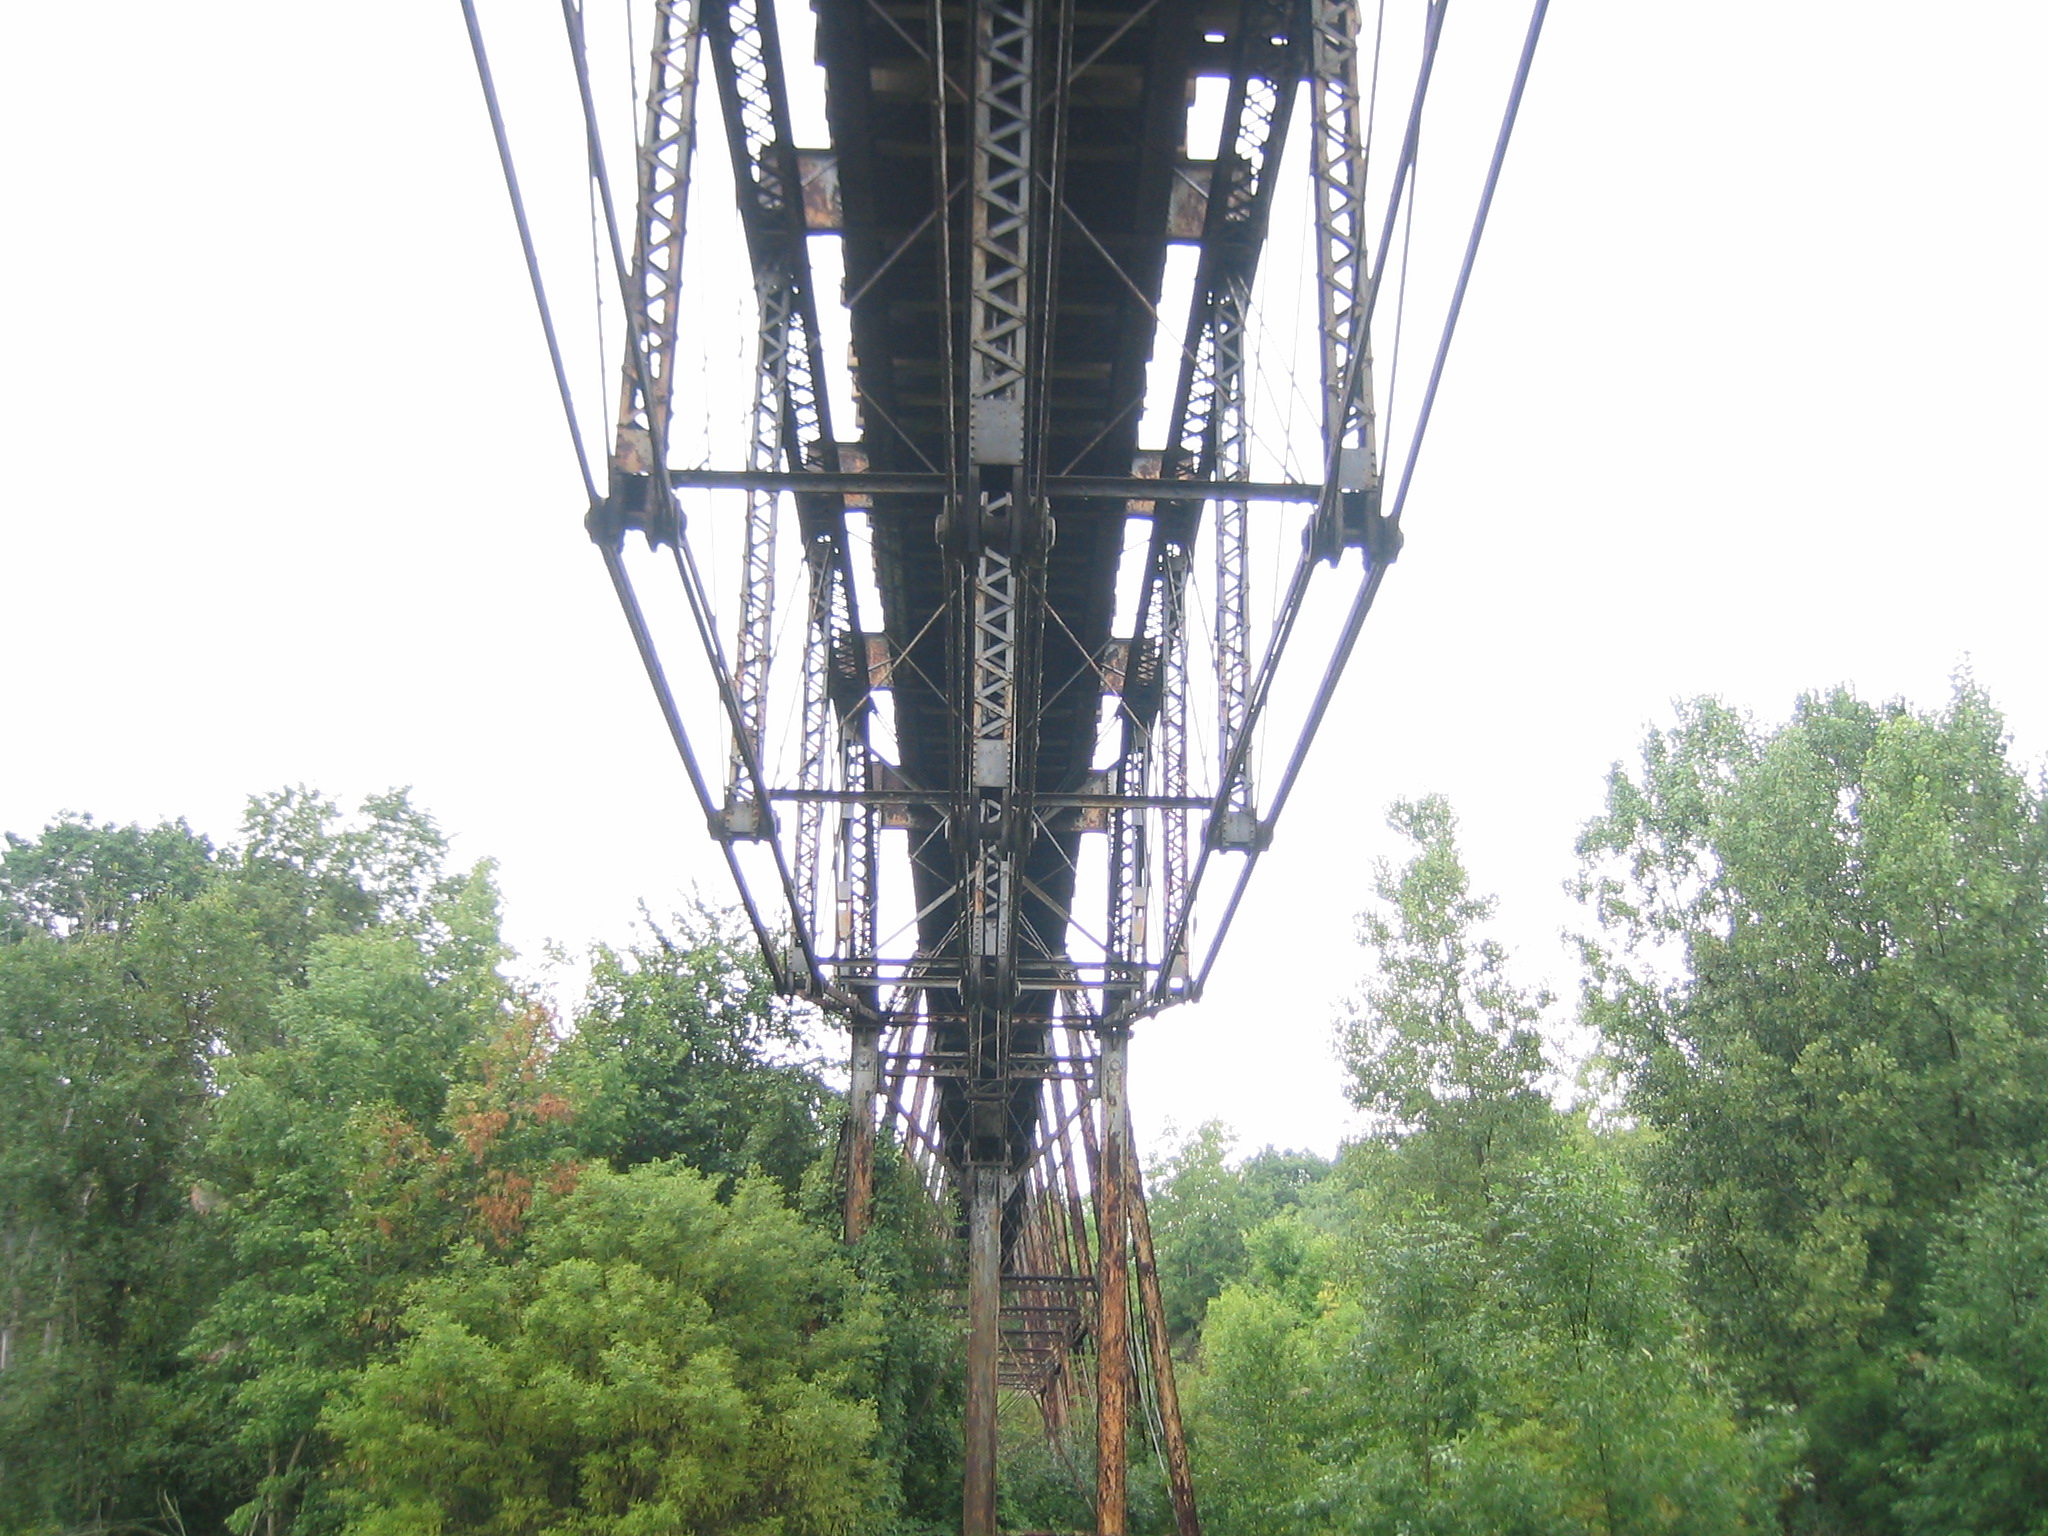


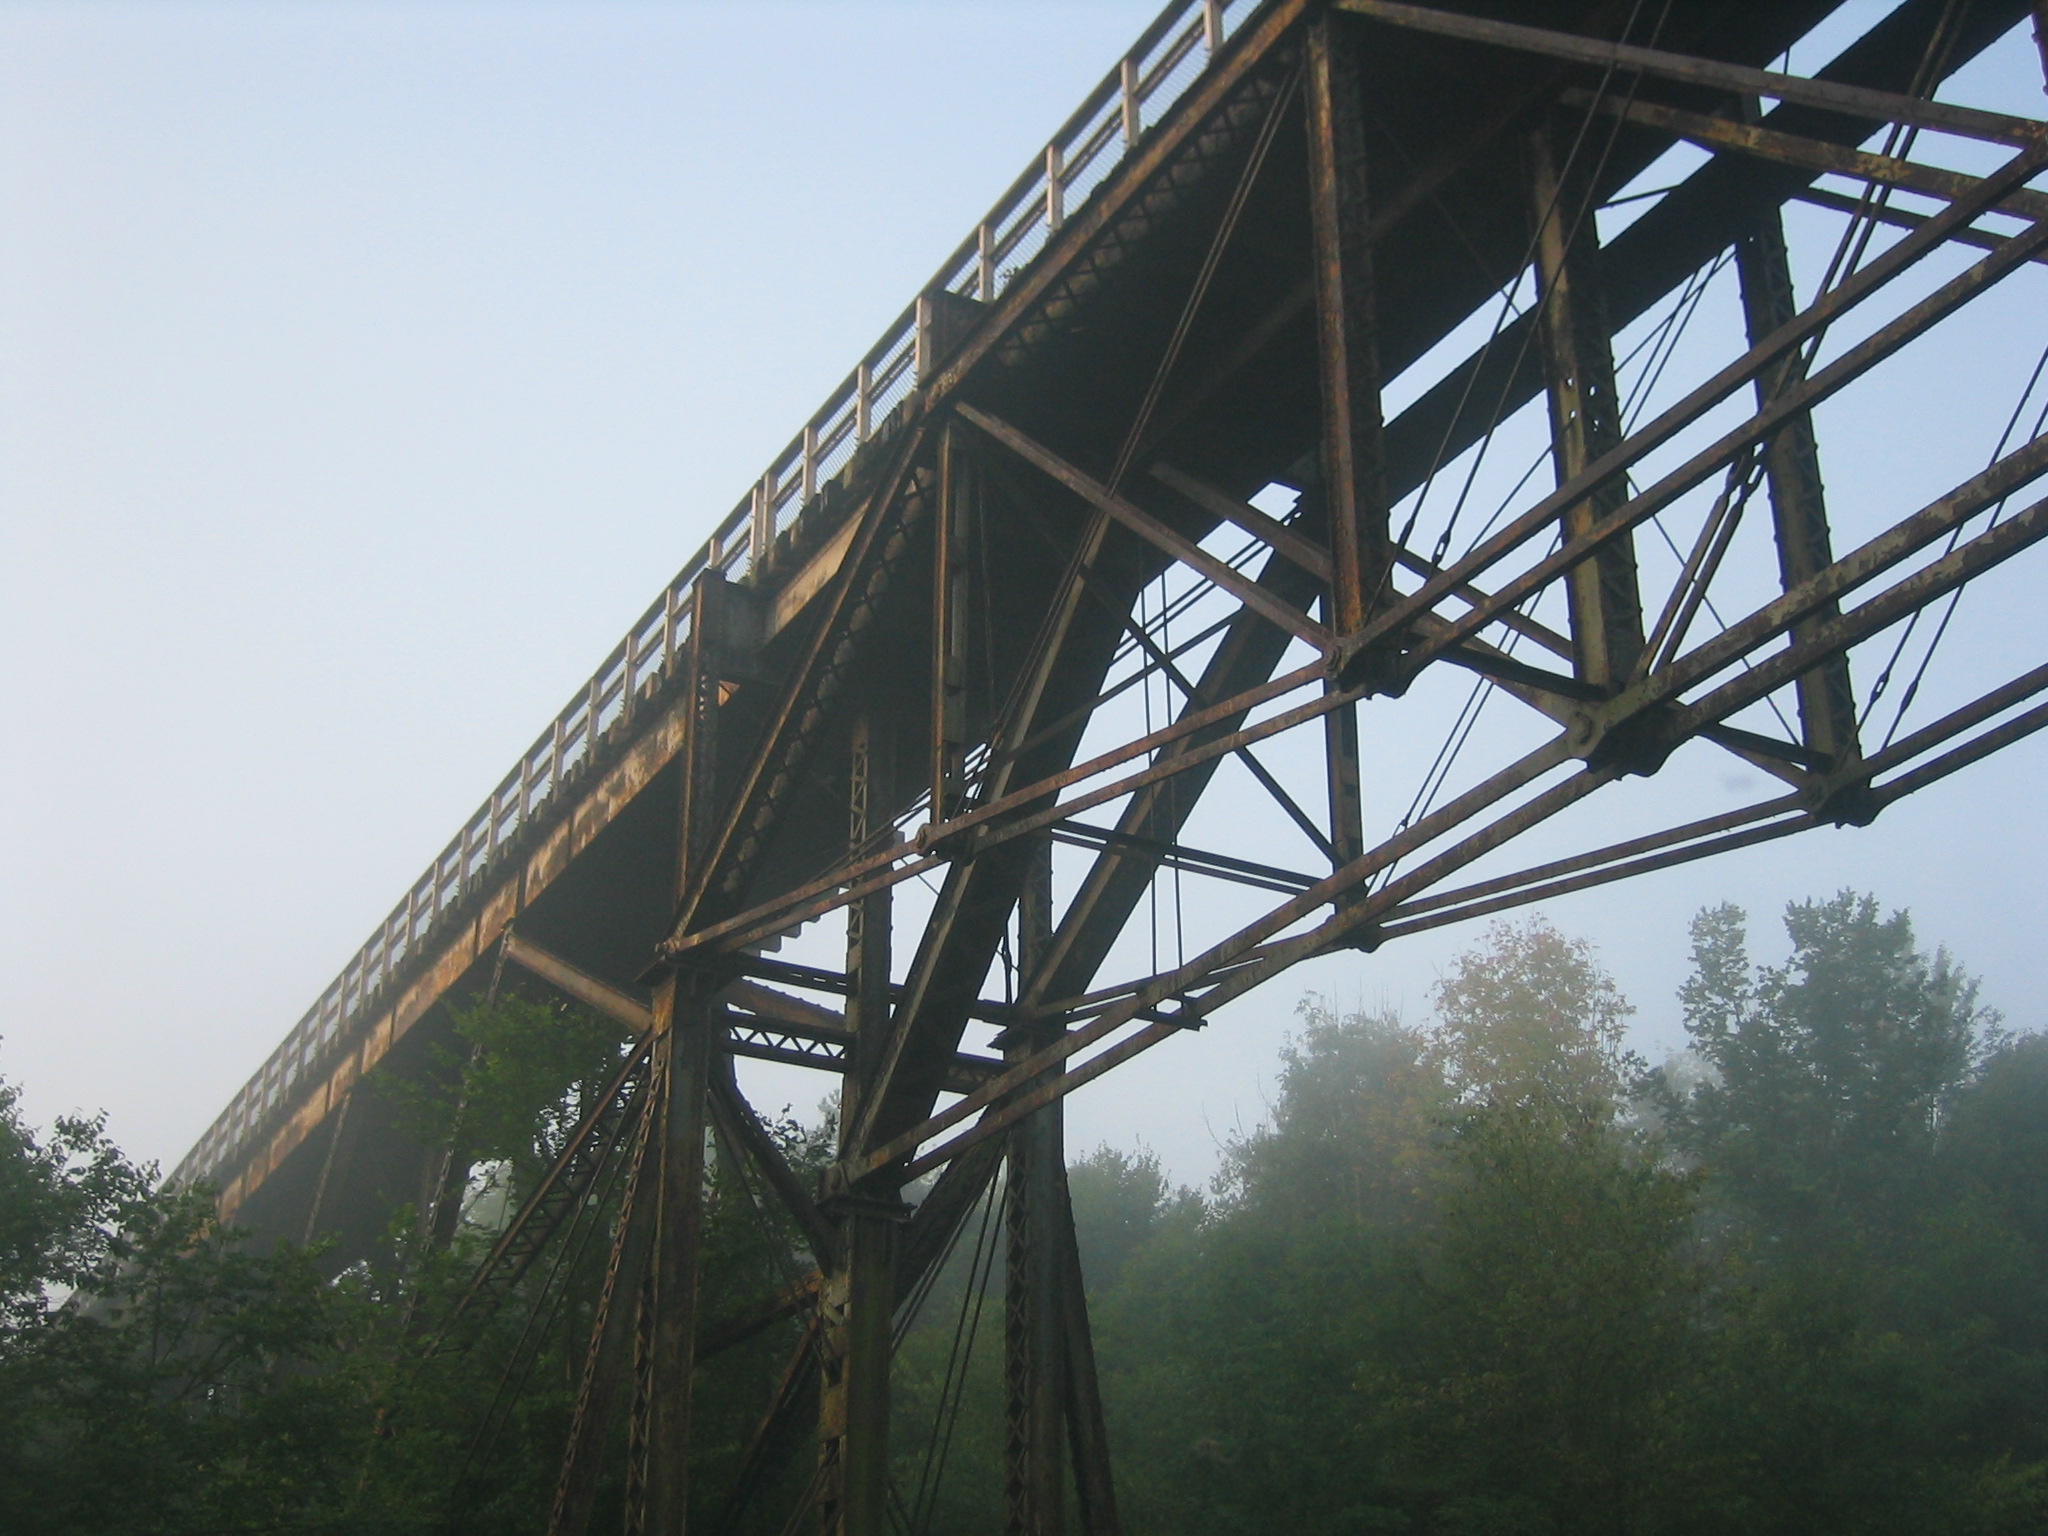
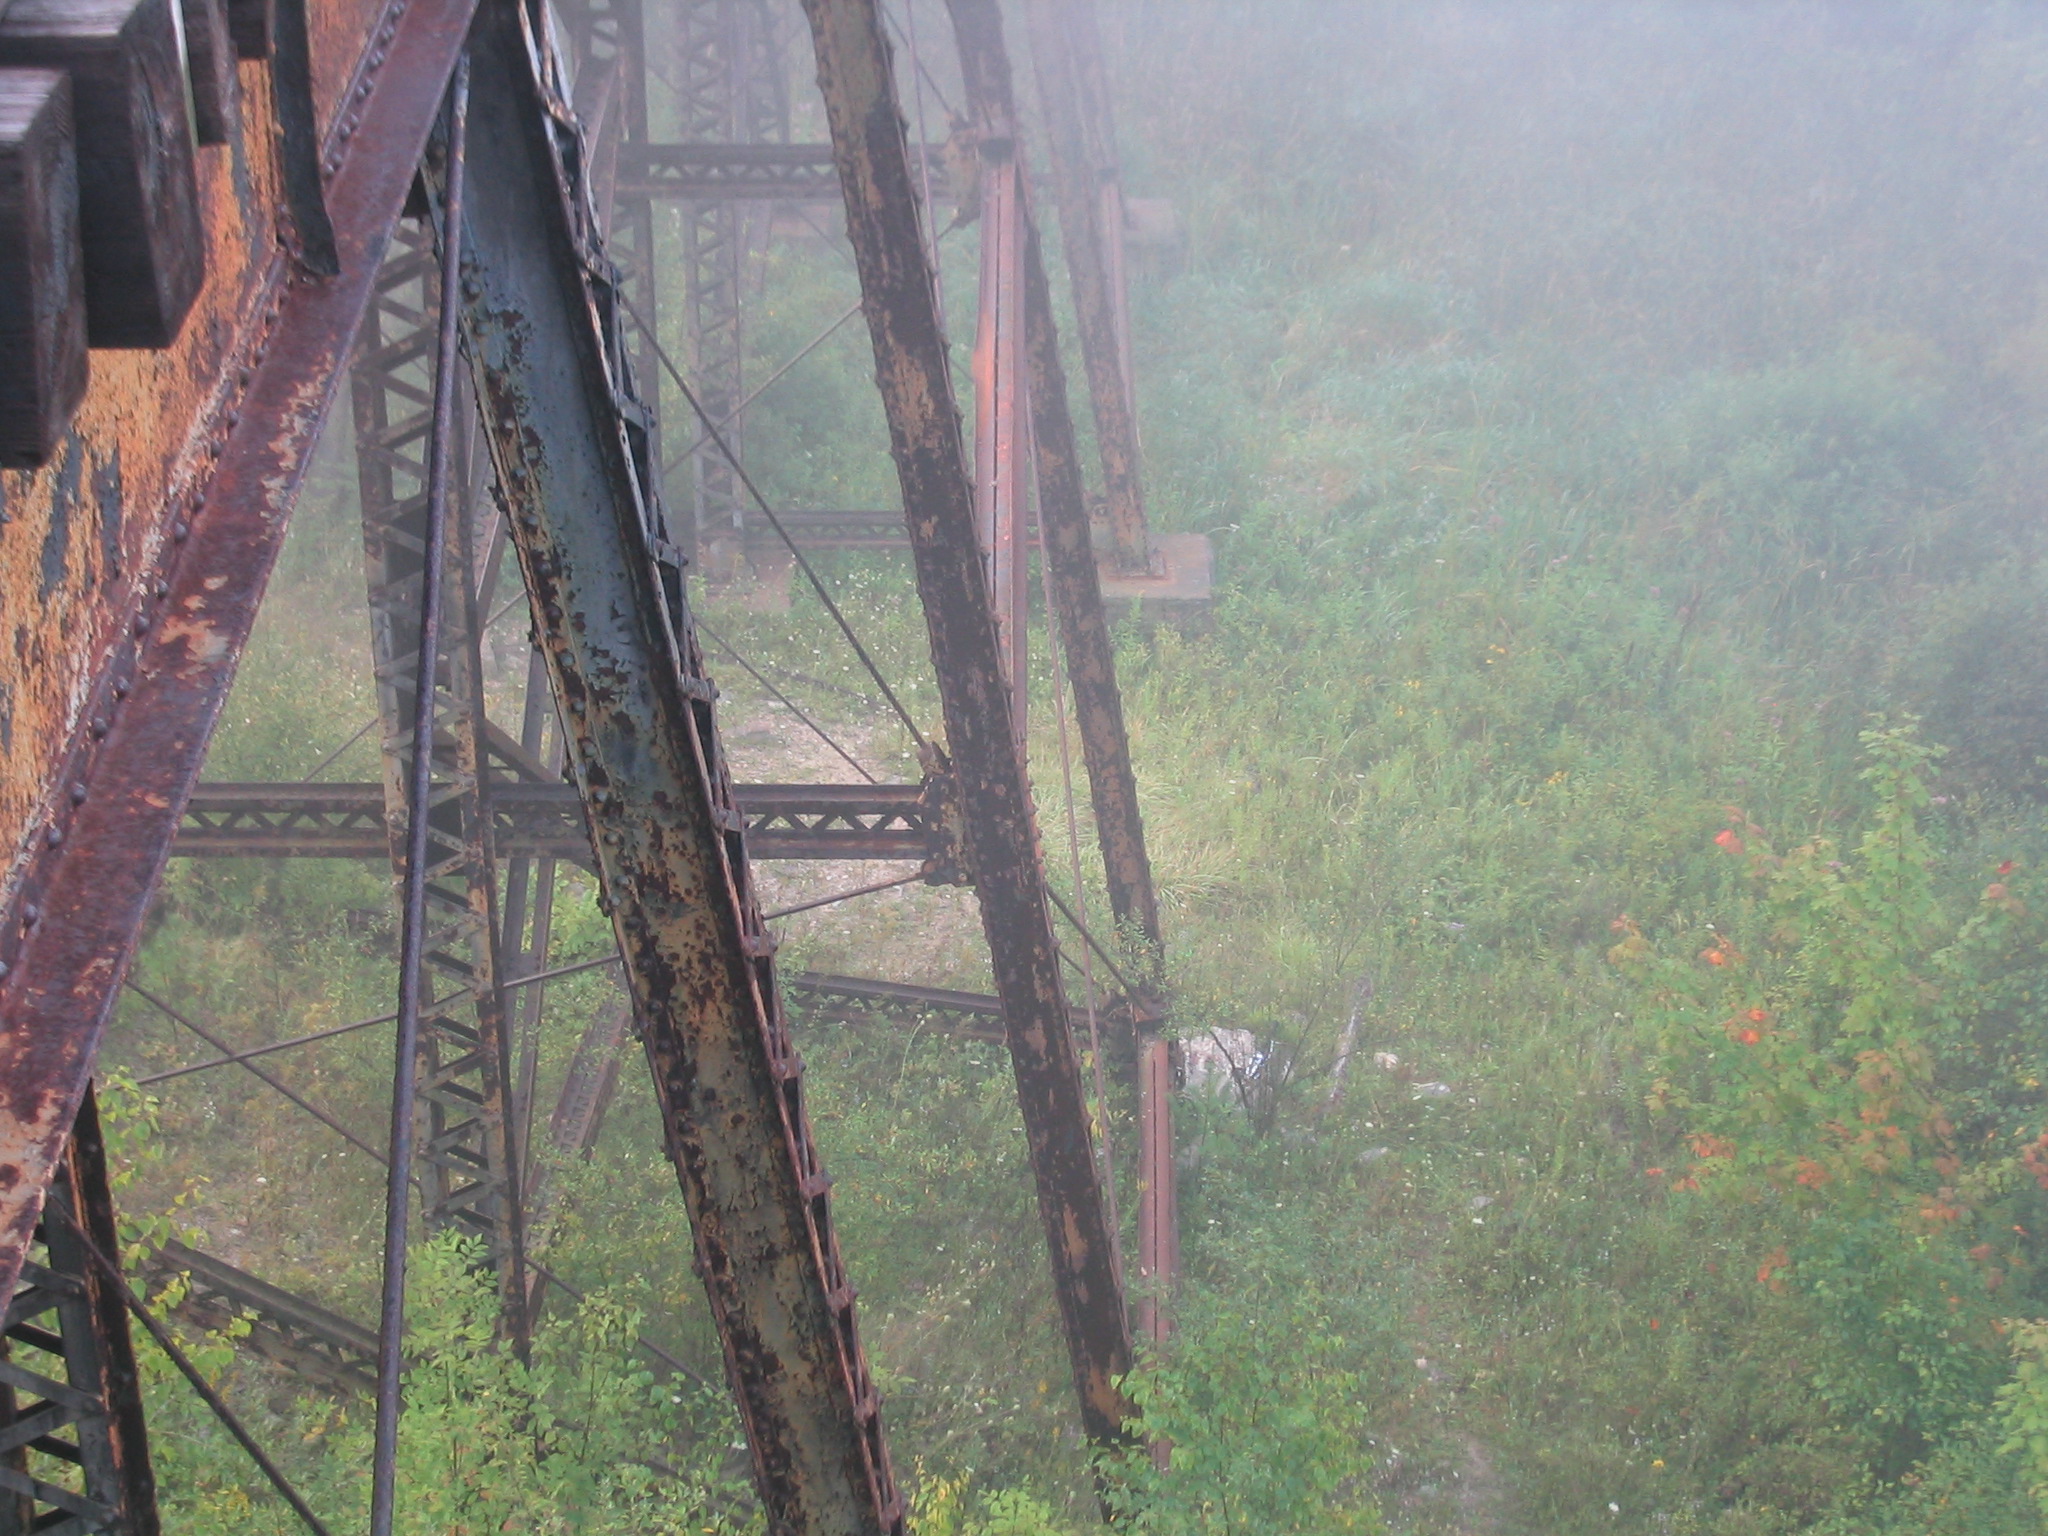
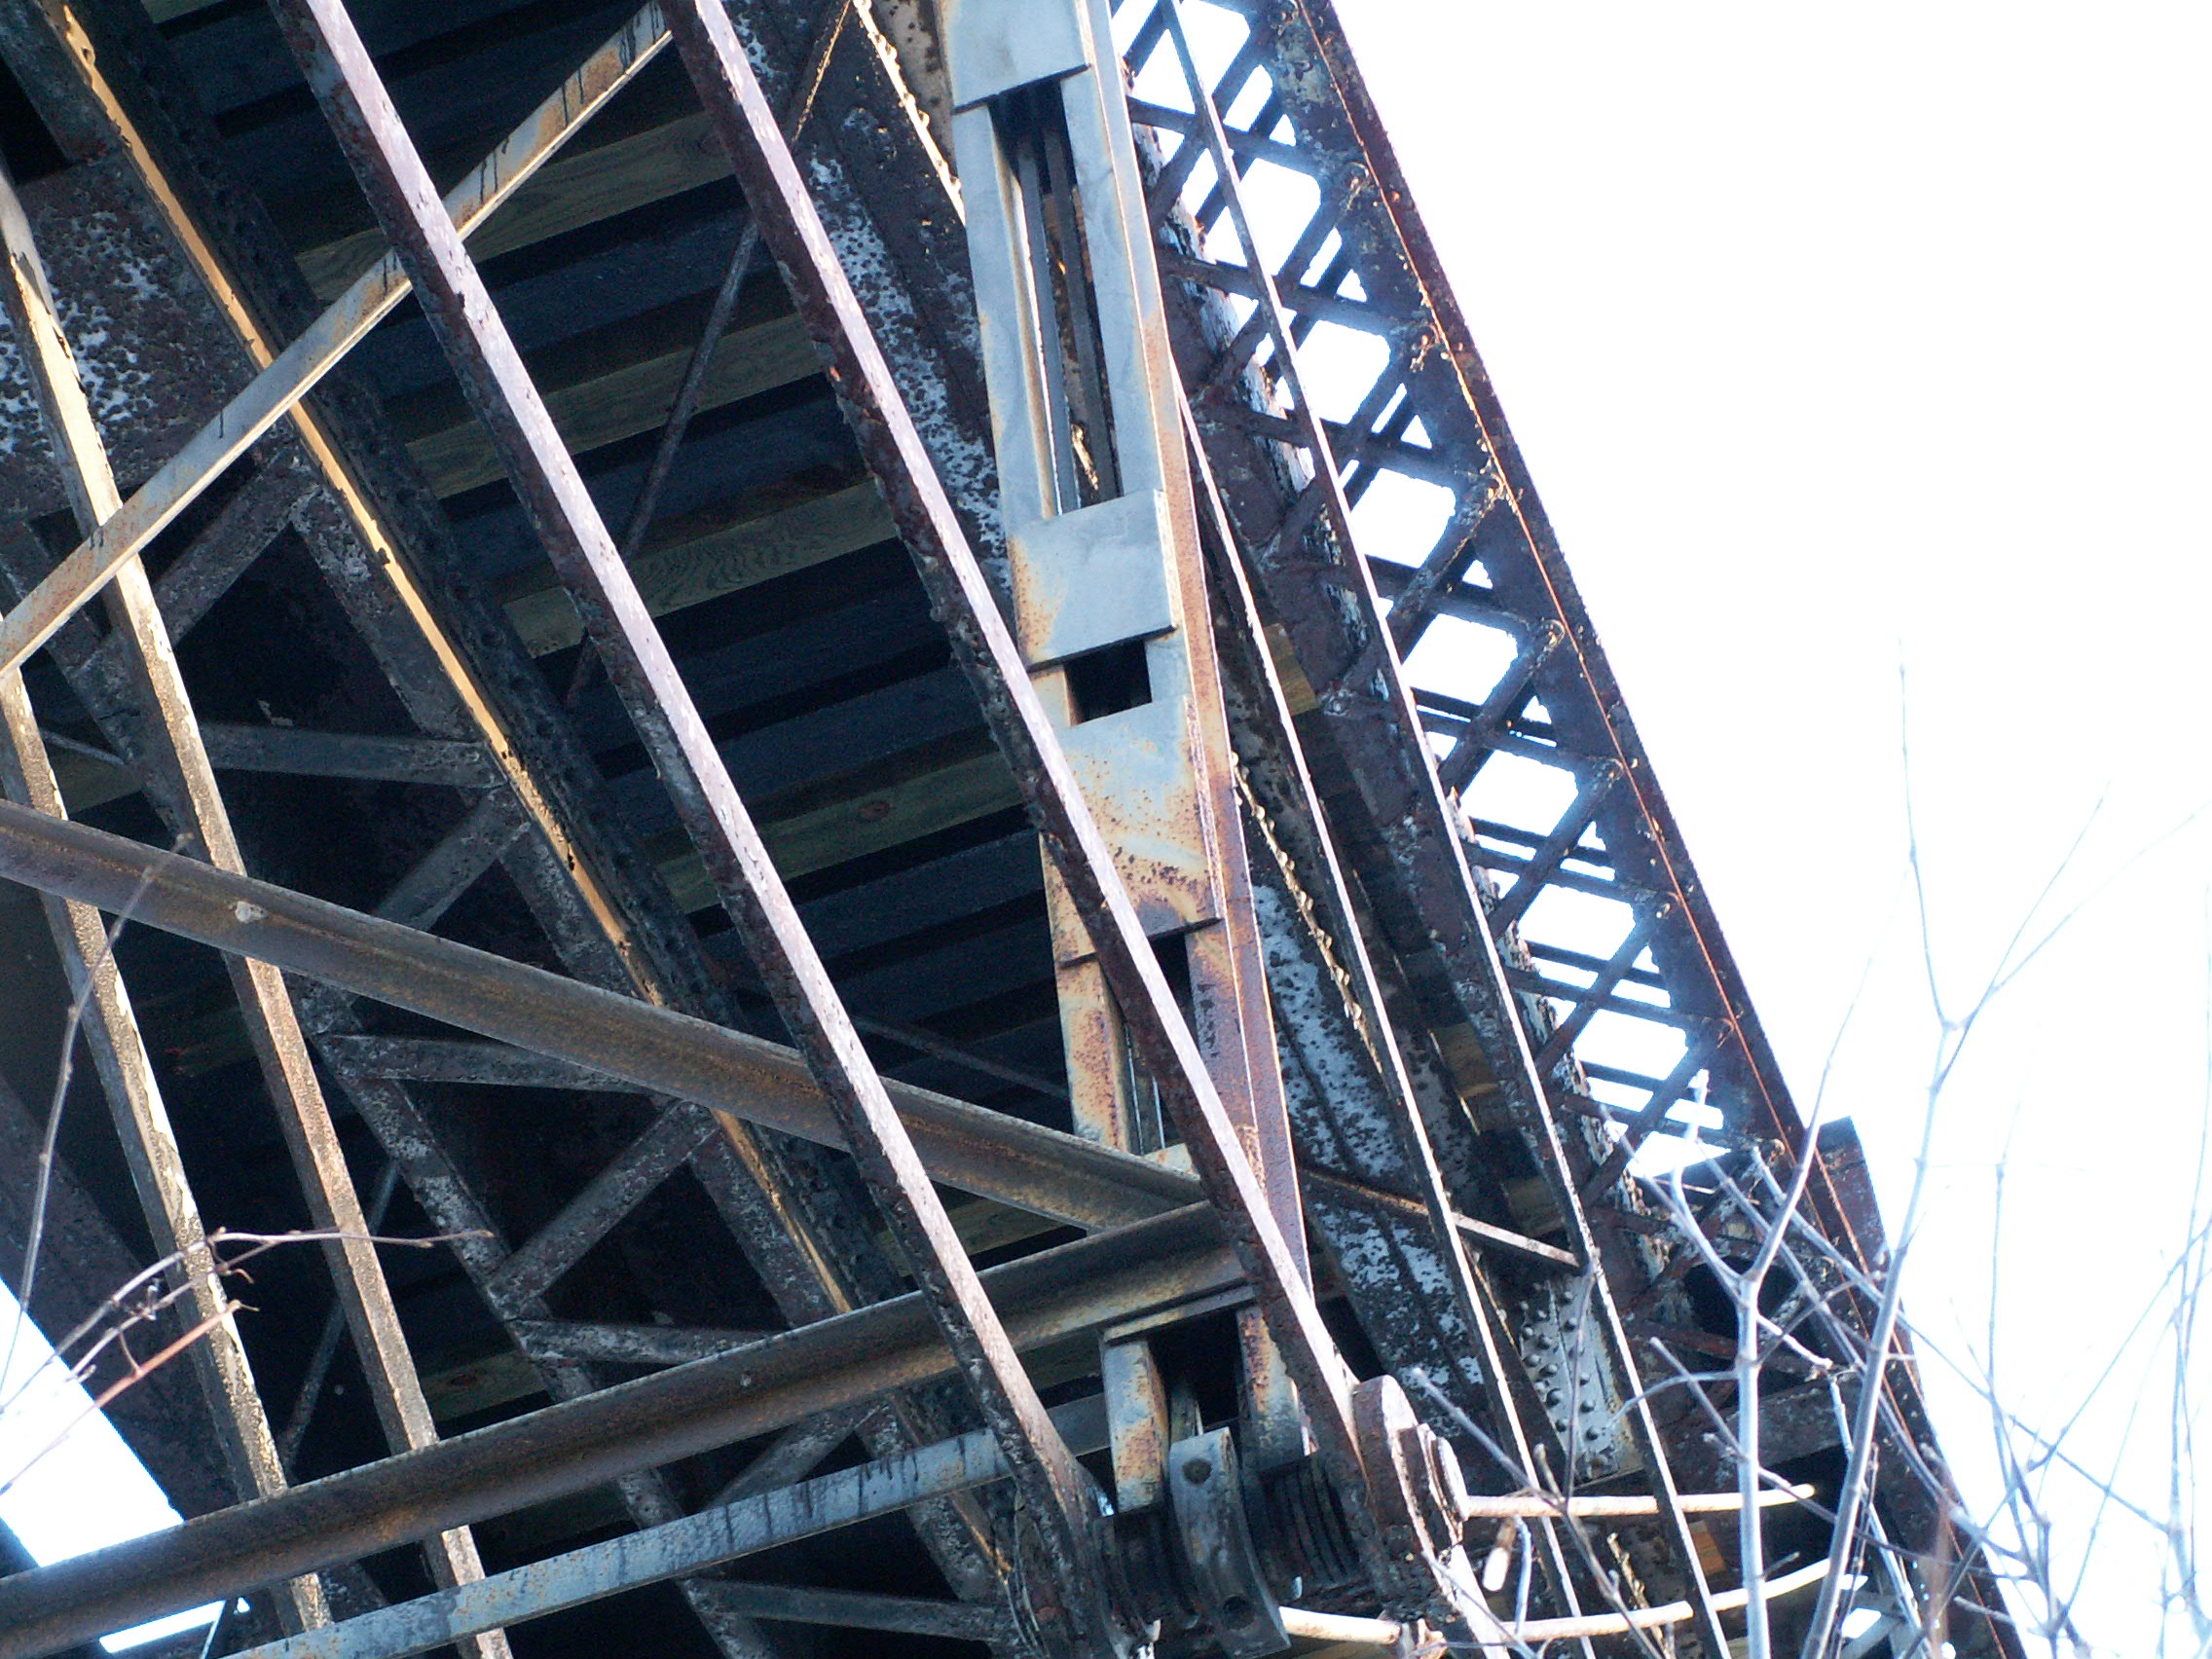
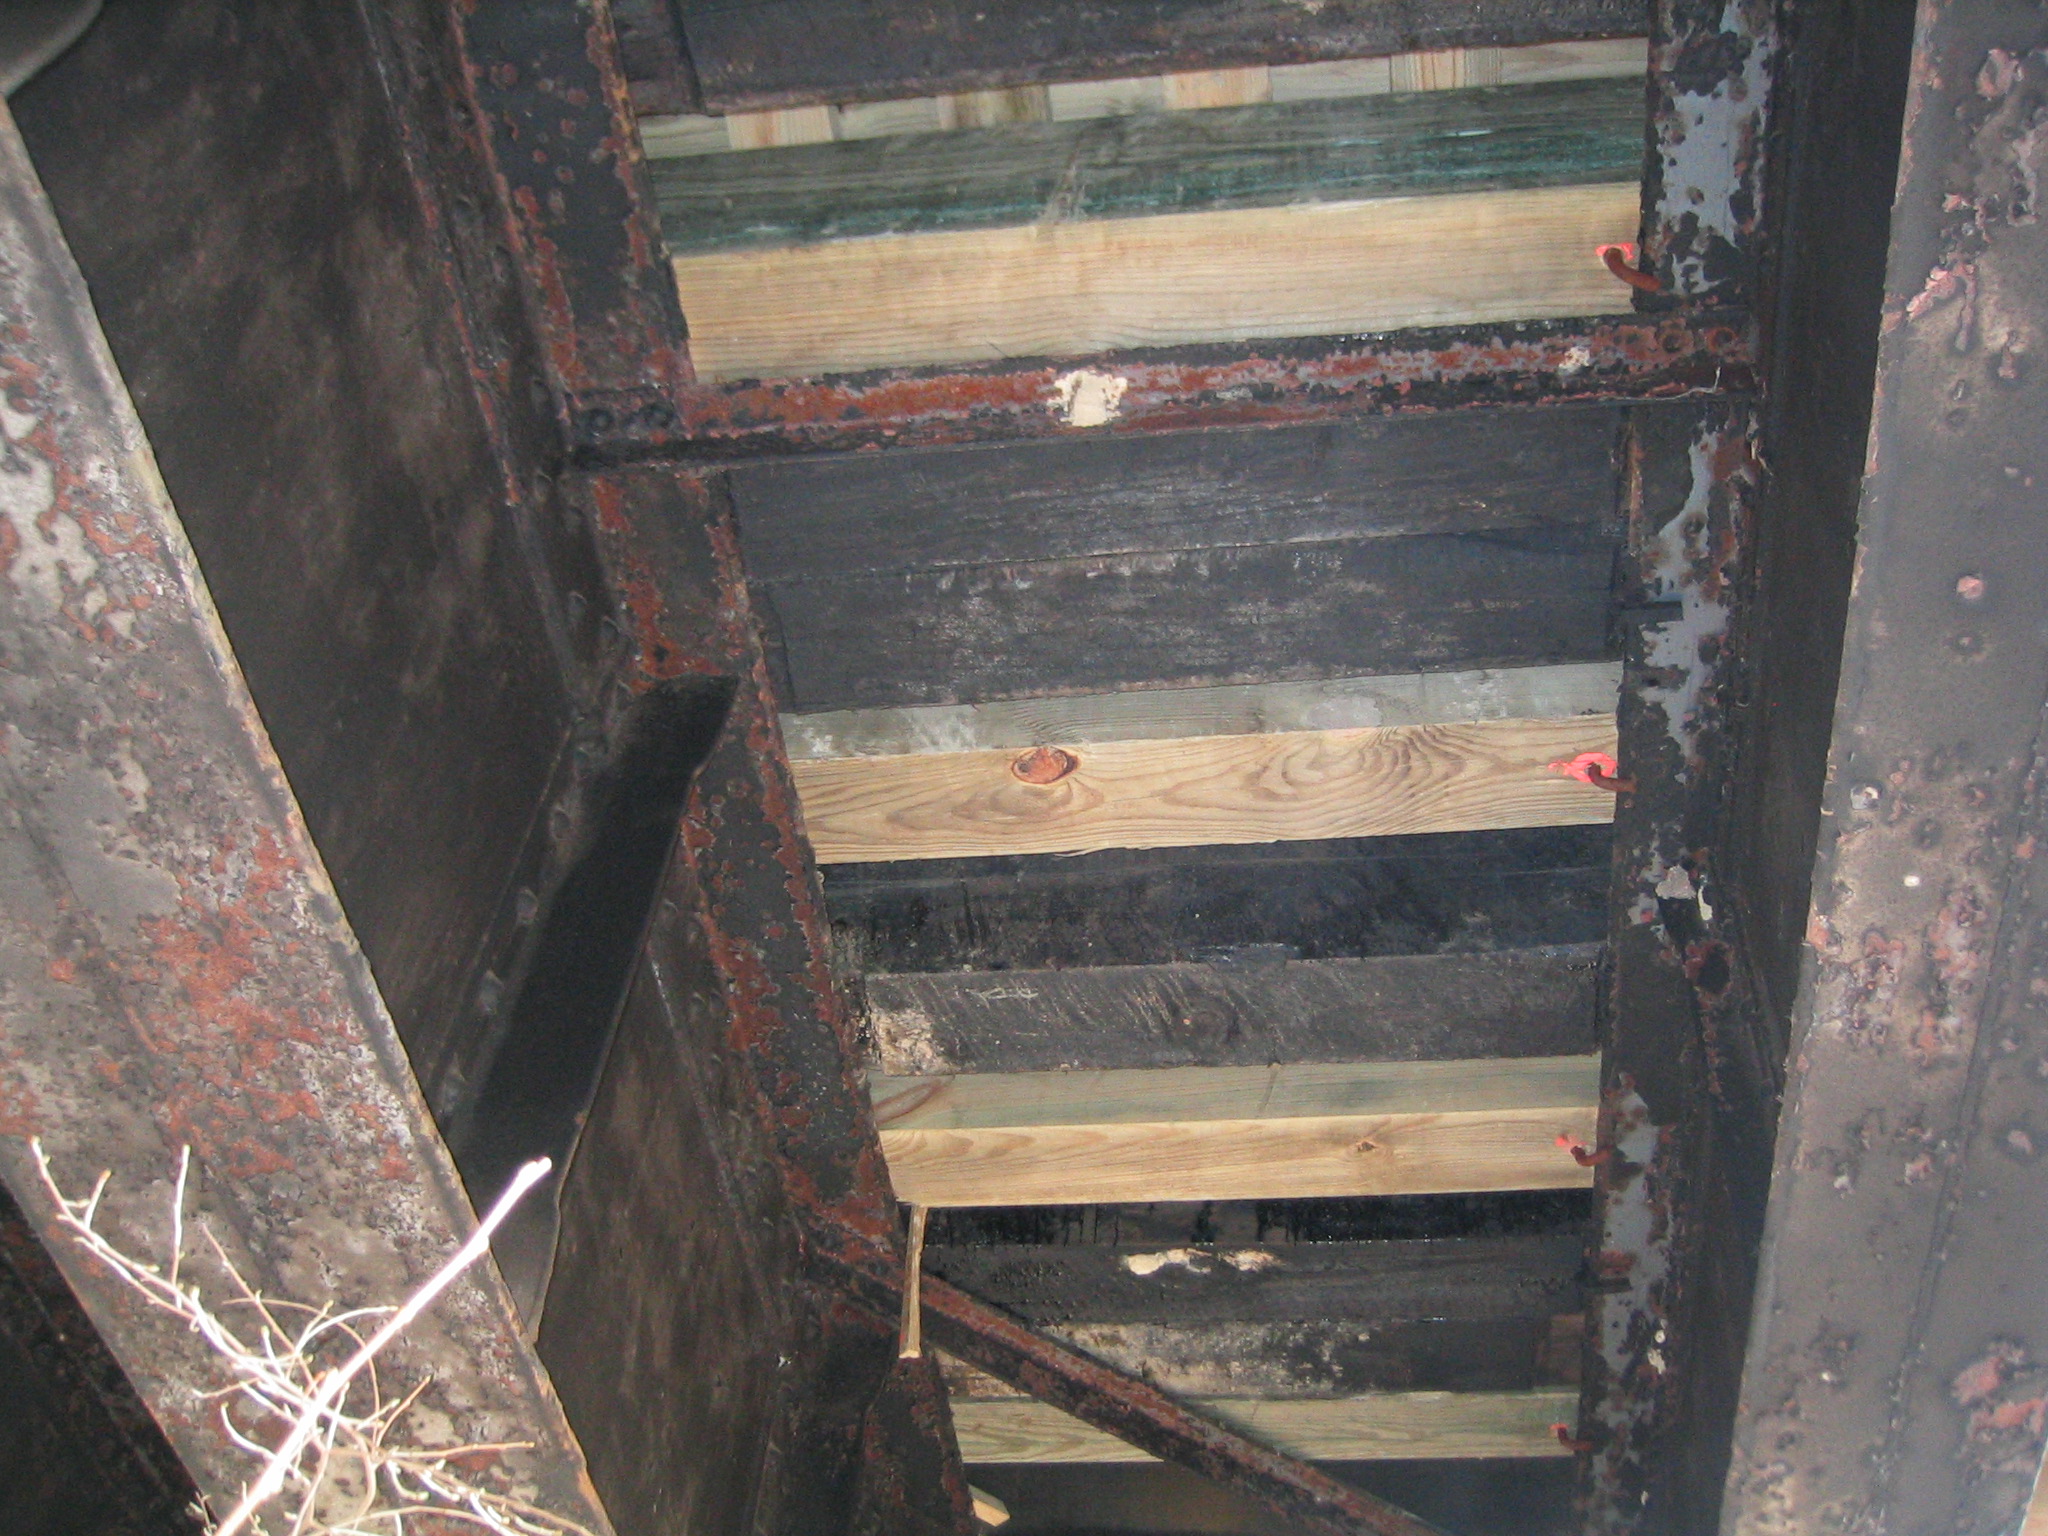
Views under main span.
![]()
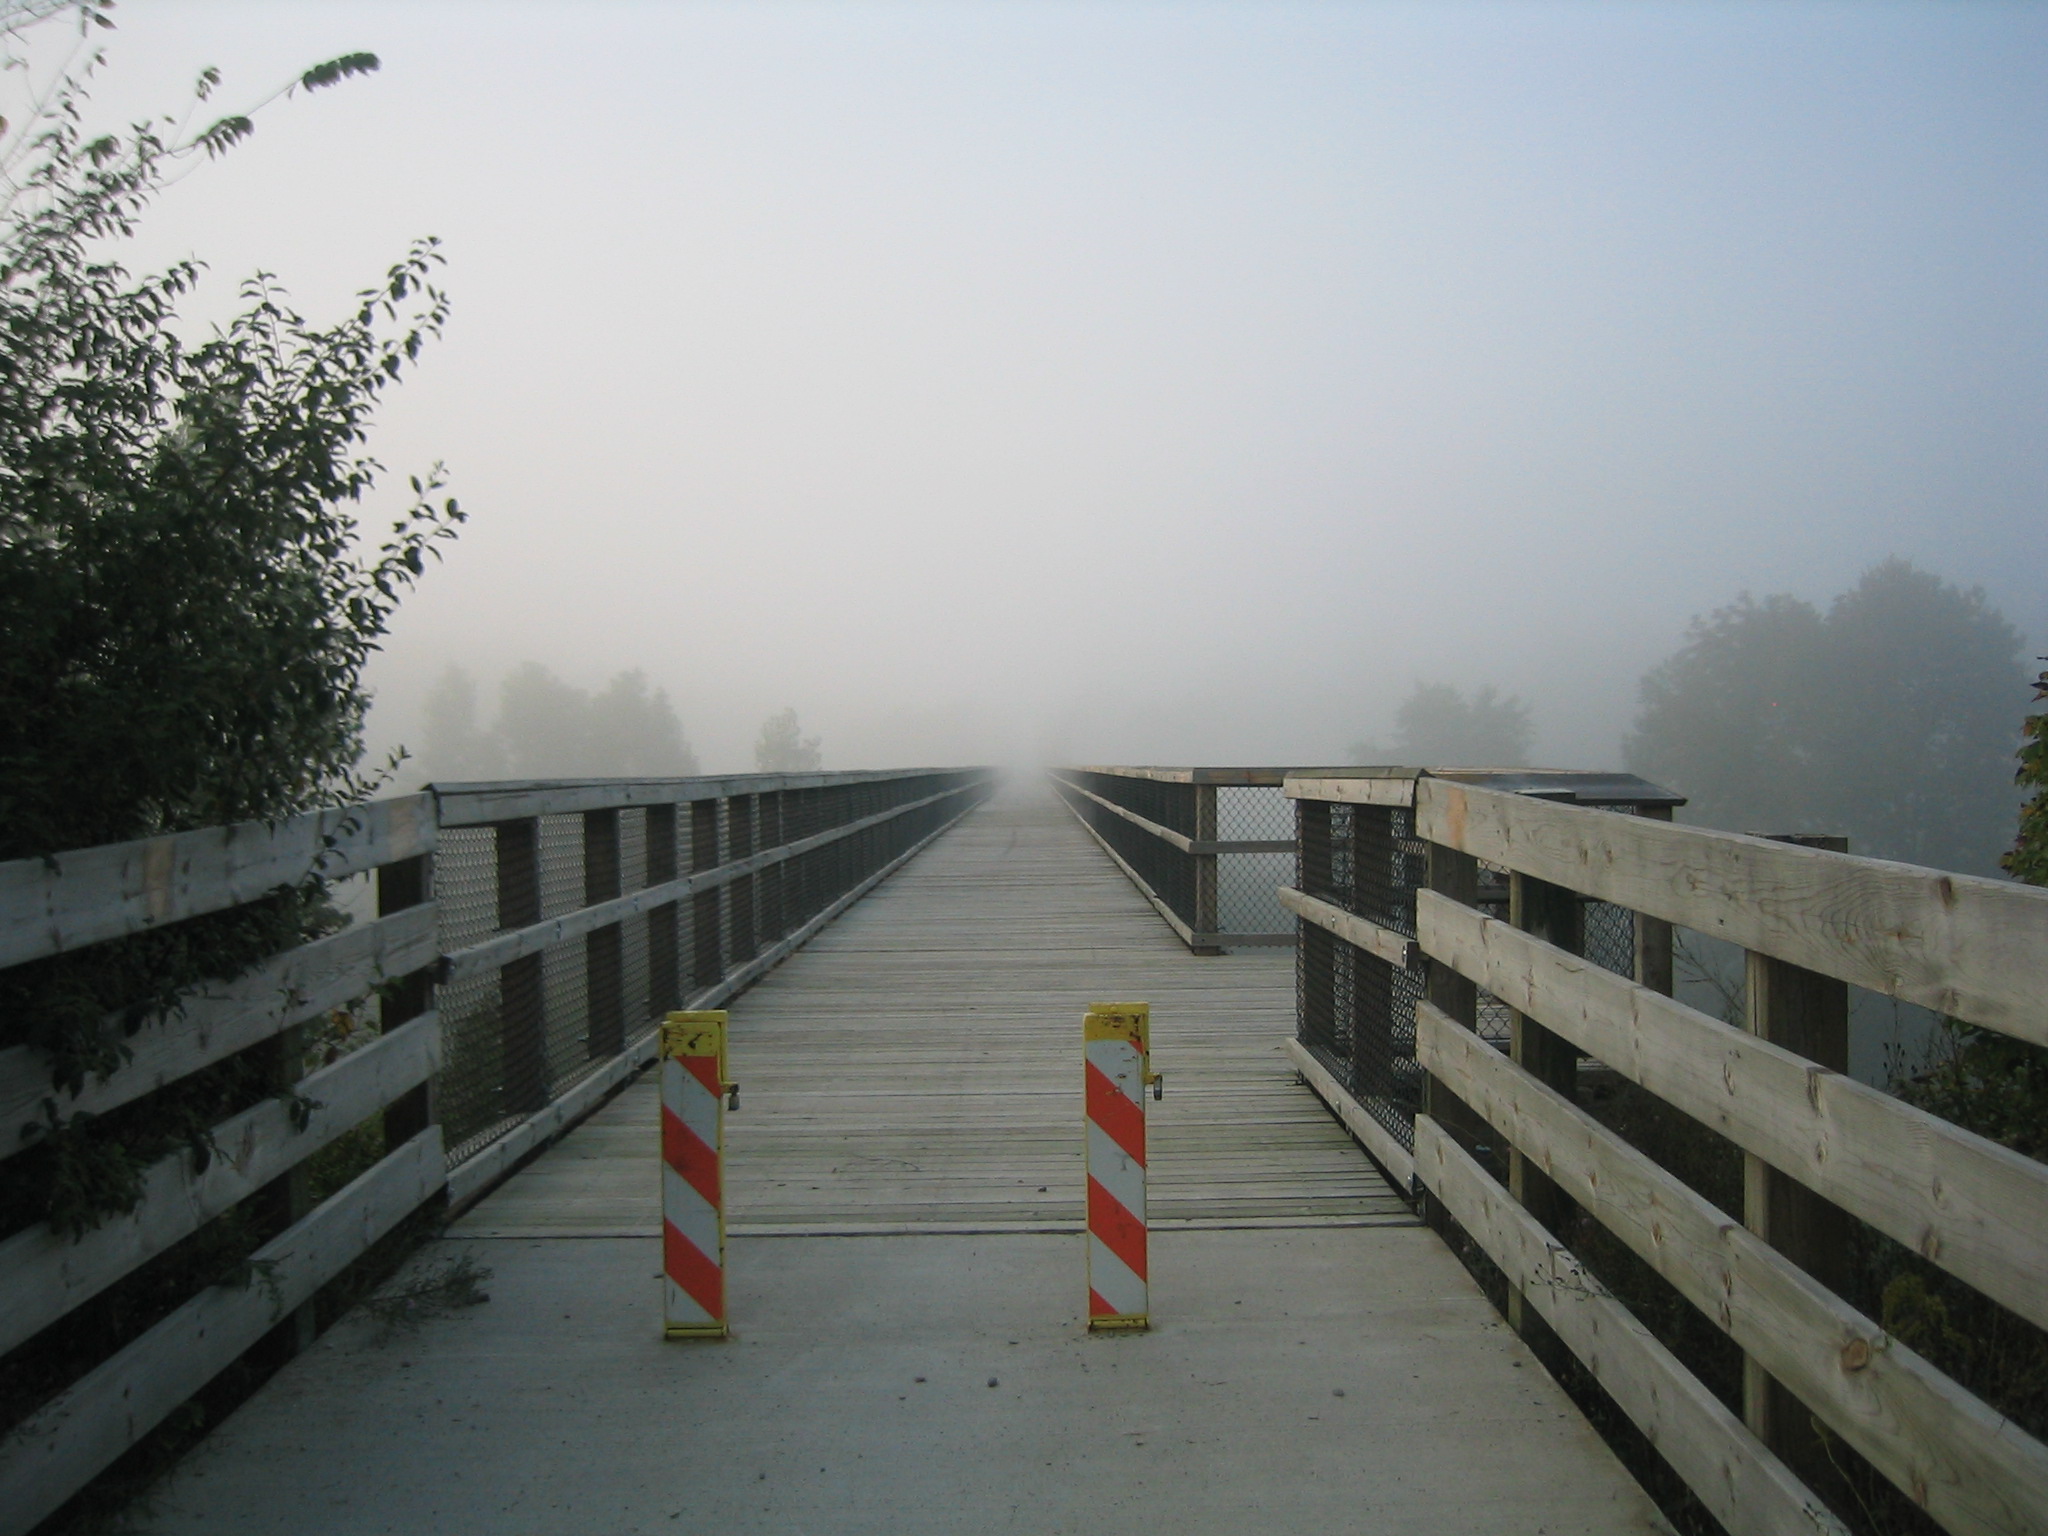
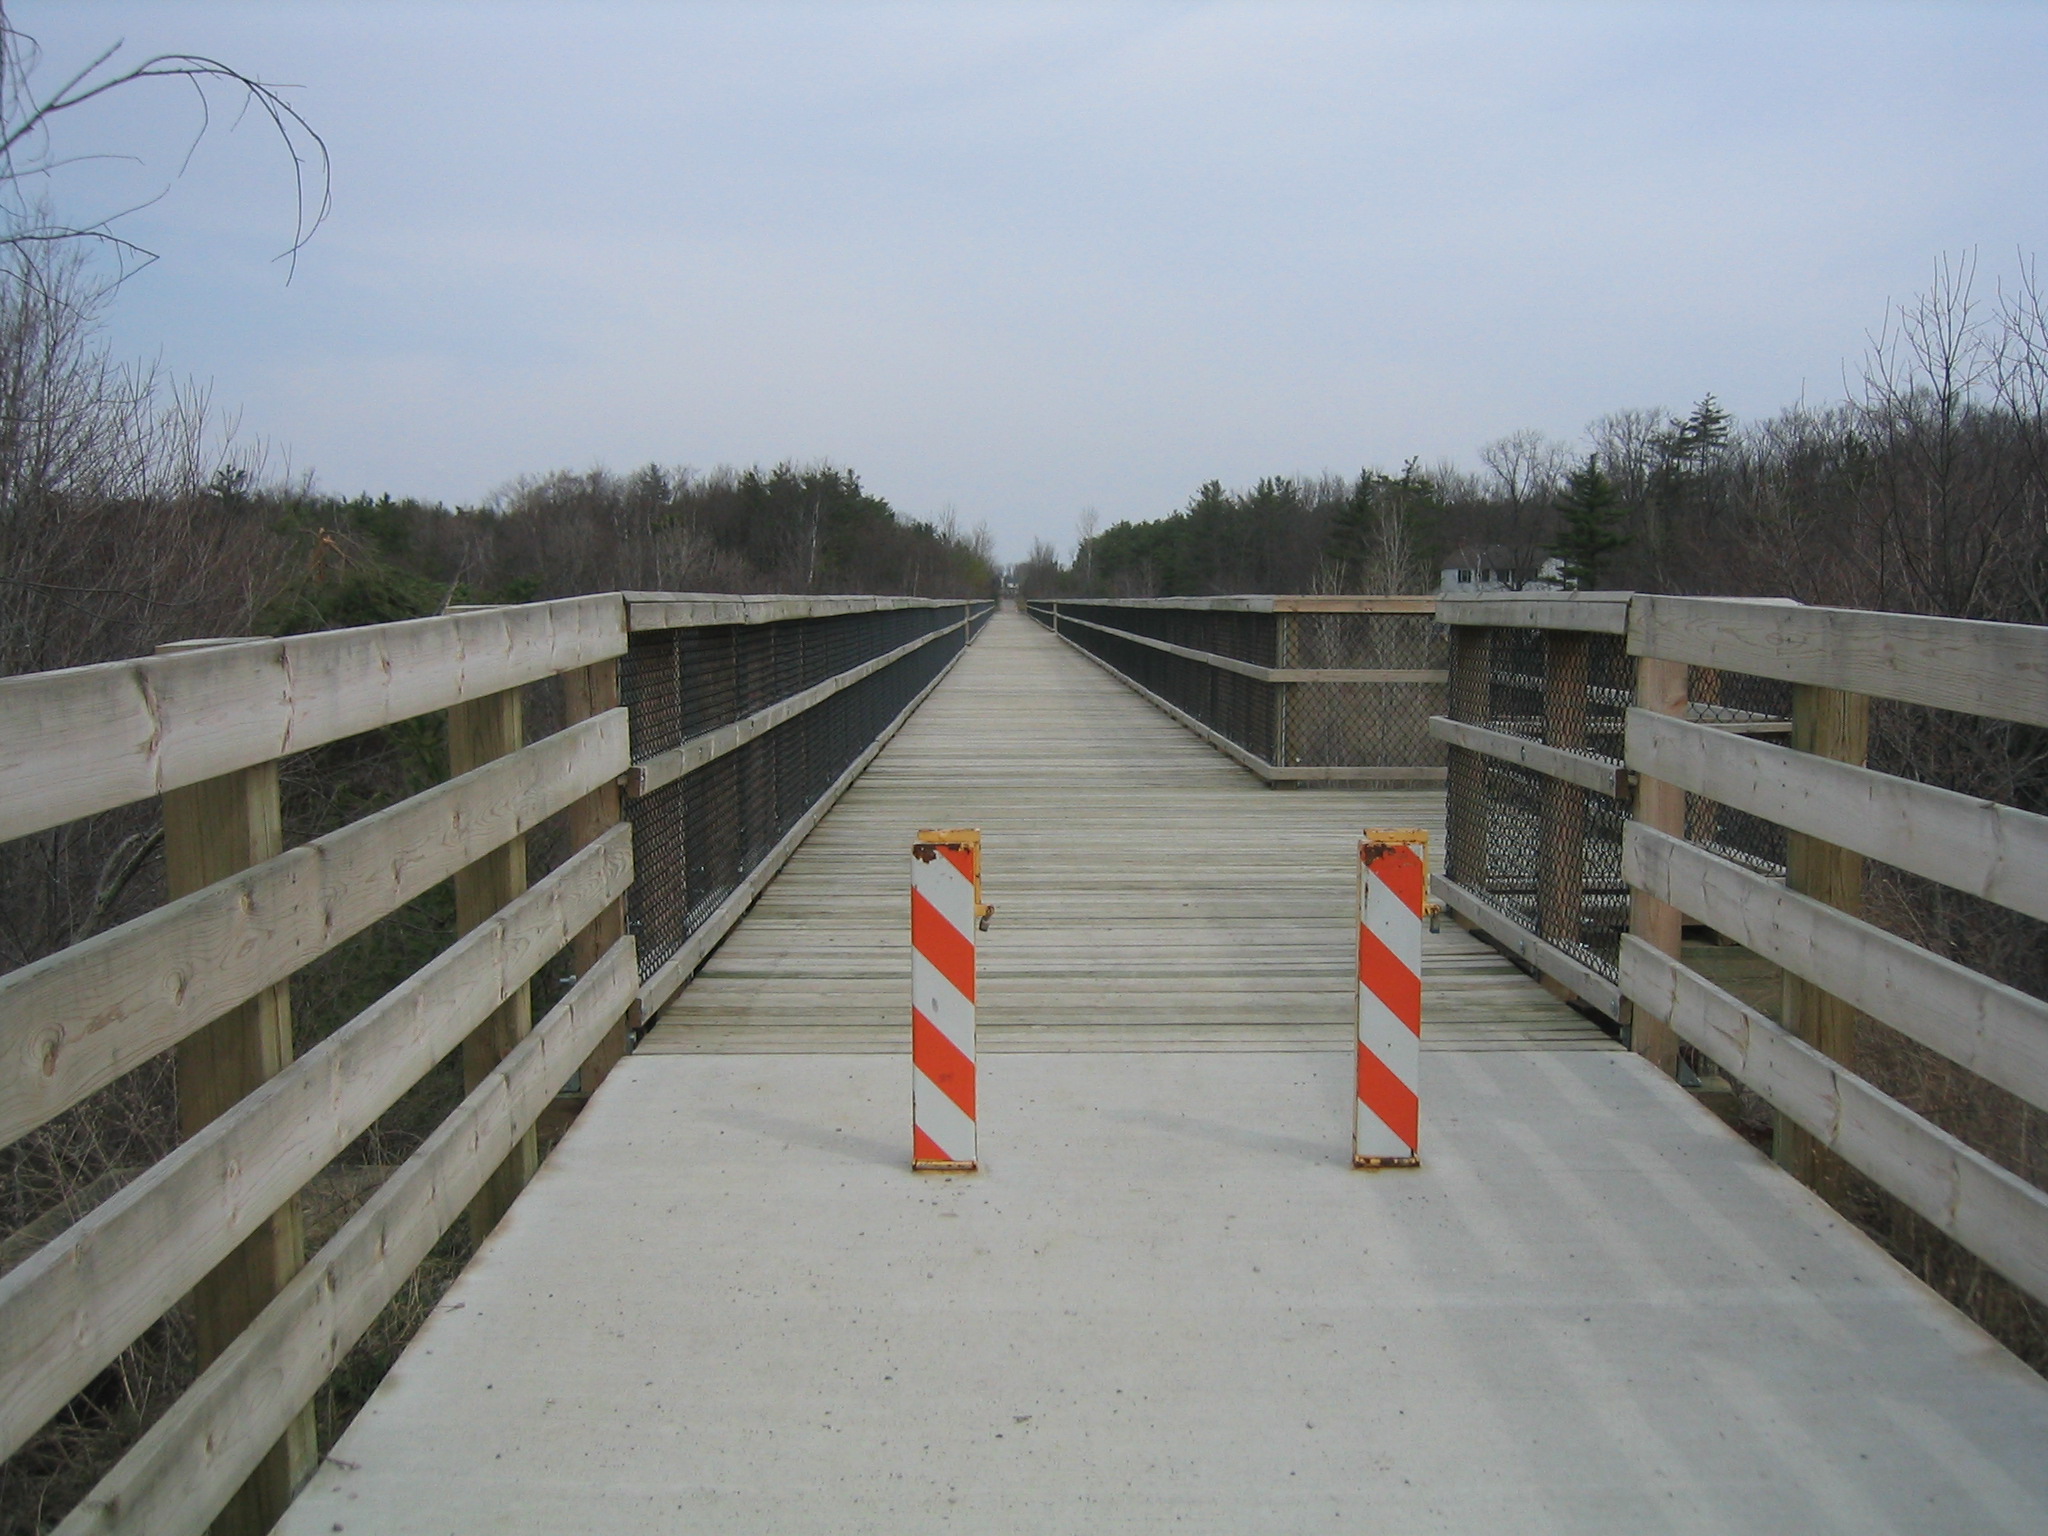

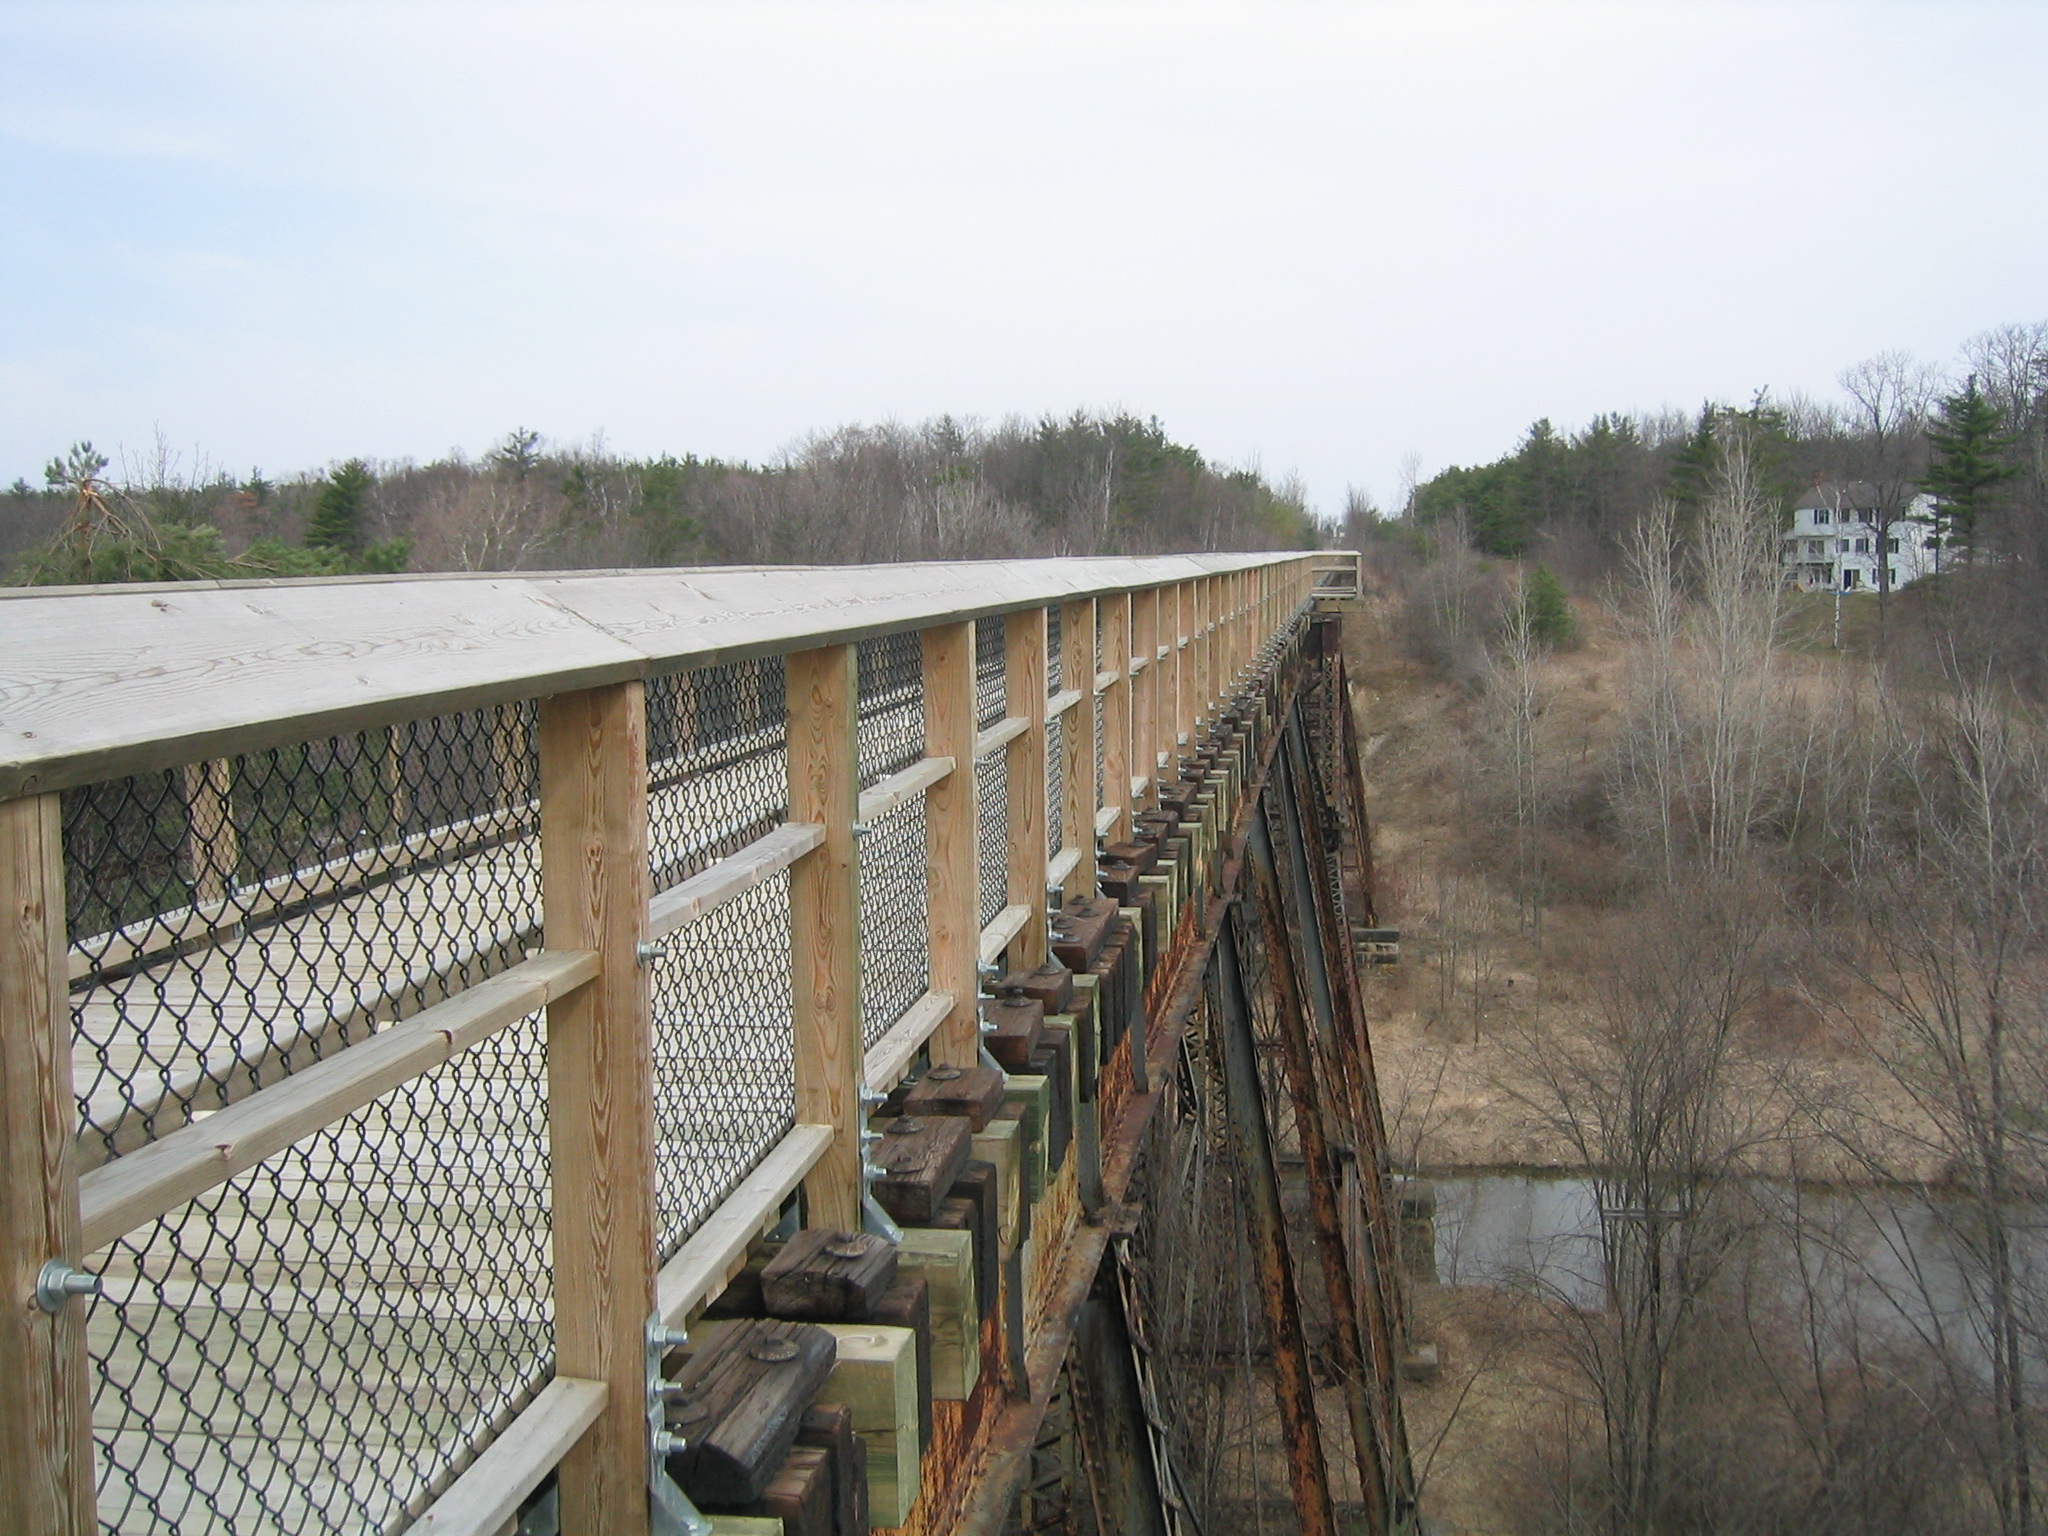
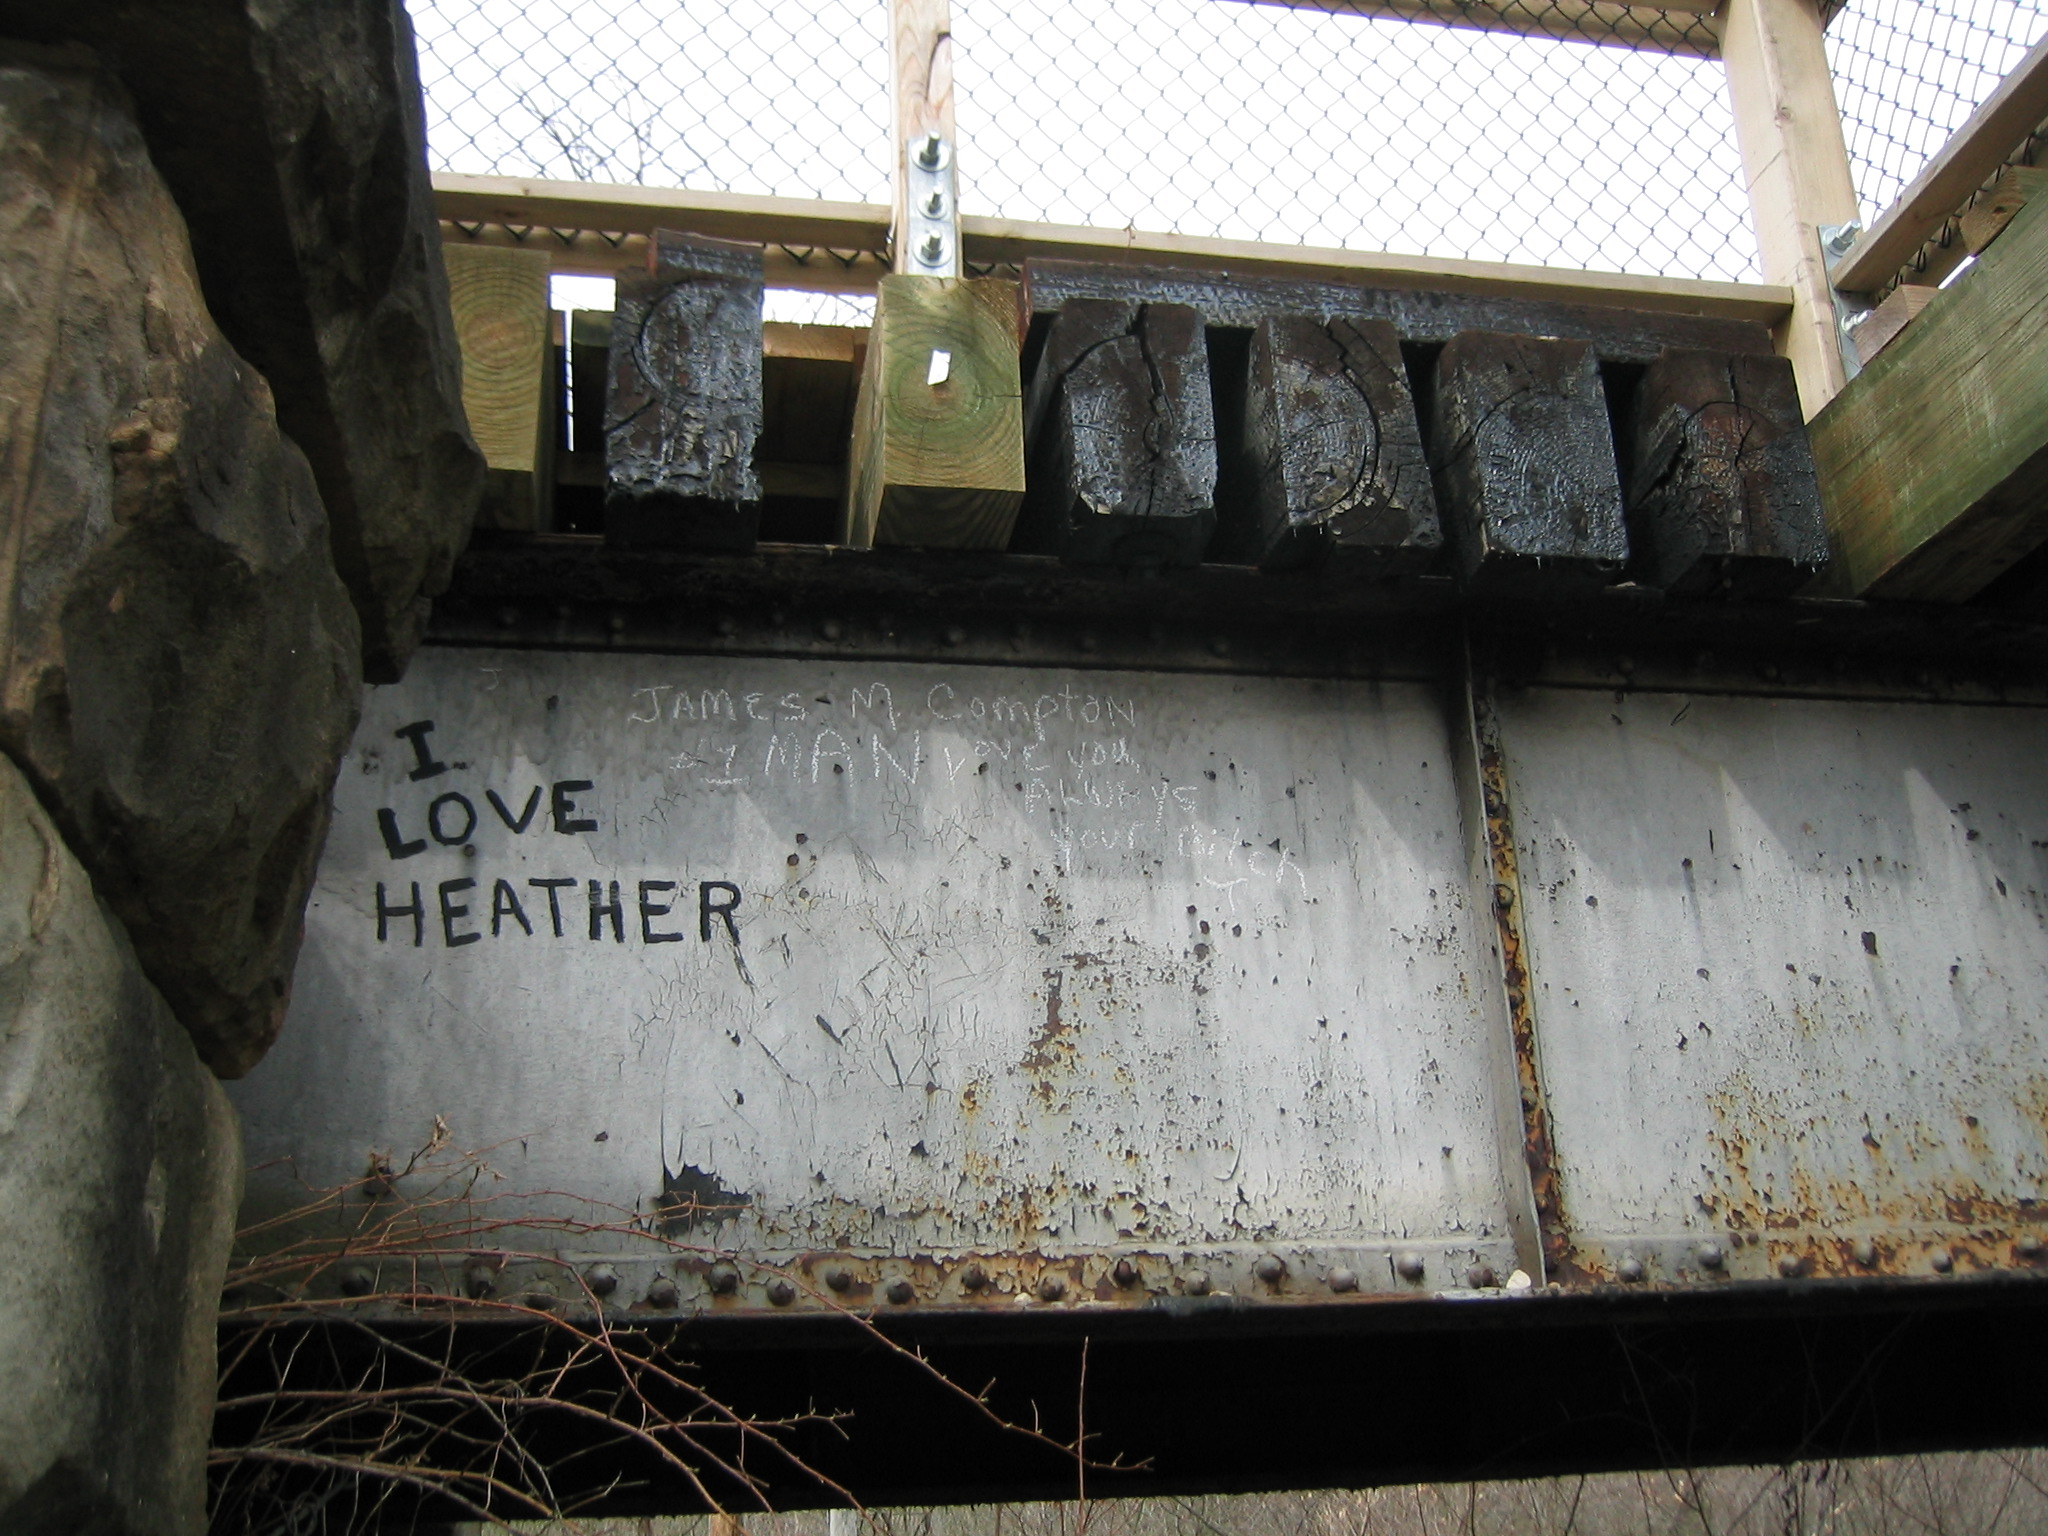
Views on bridge.
![]()

Remains of plaque.
![]()
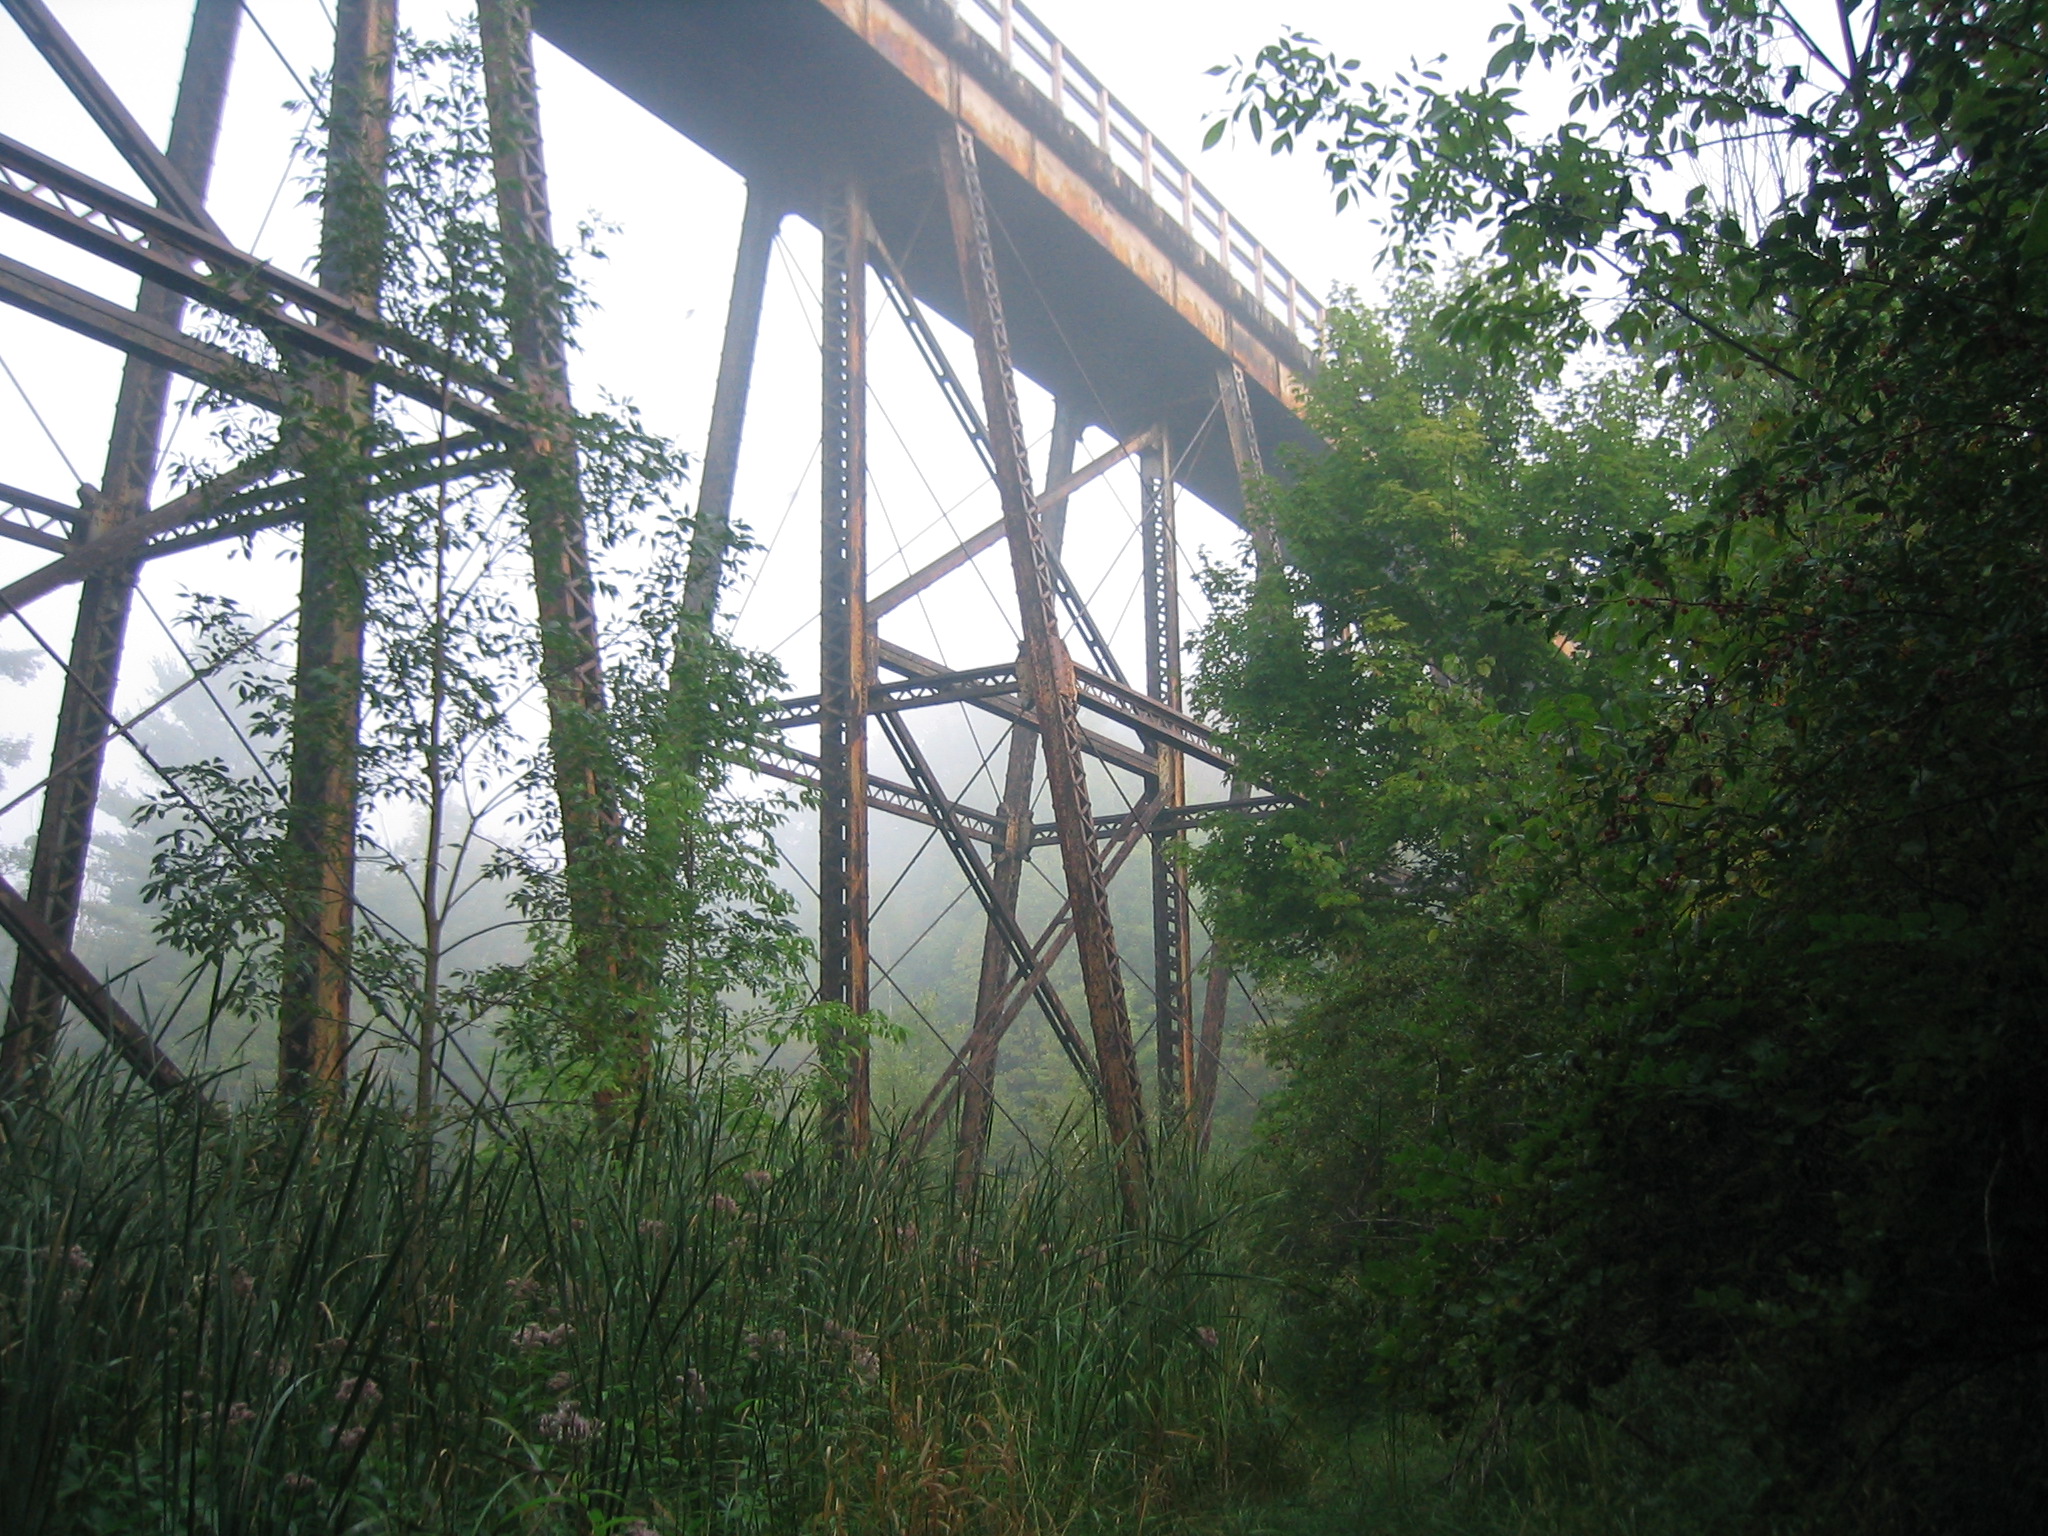

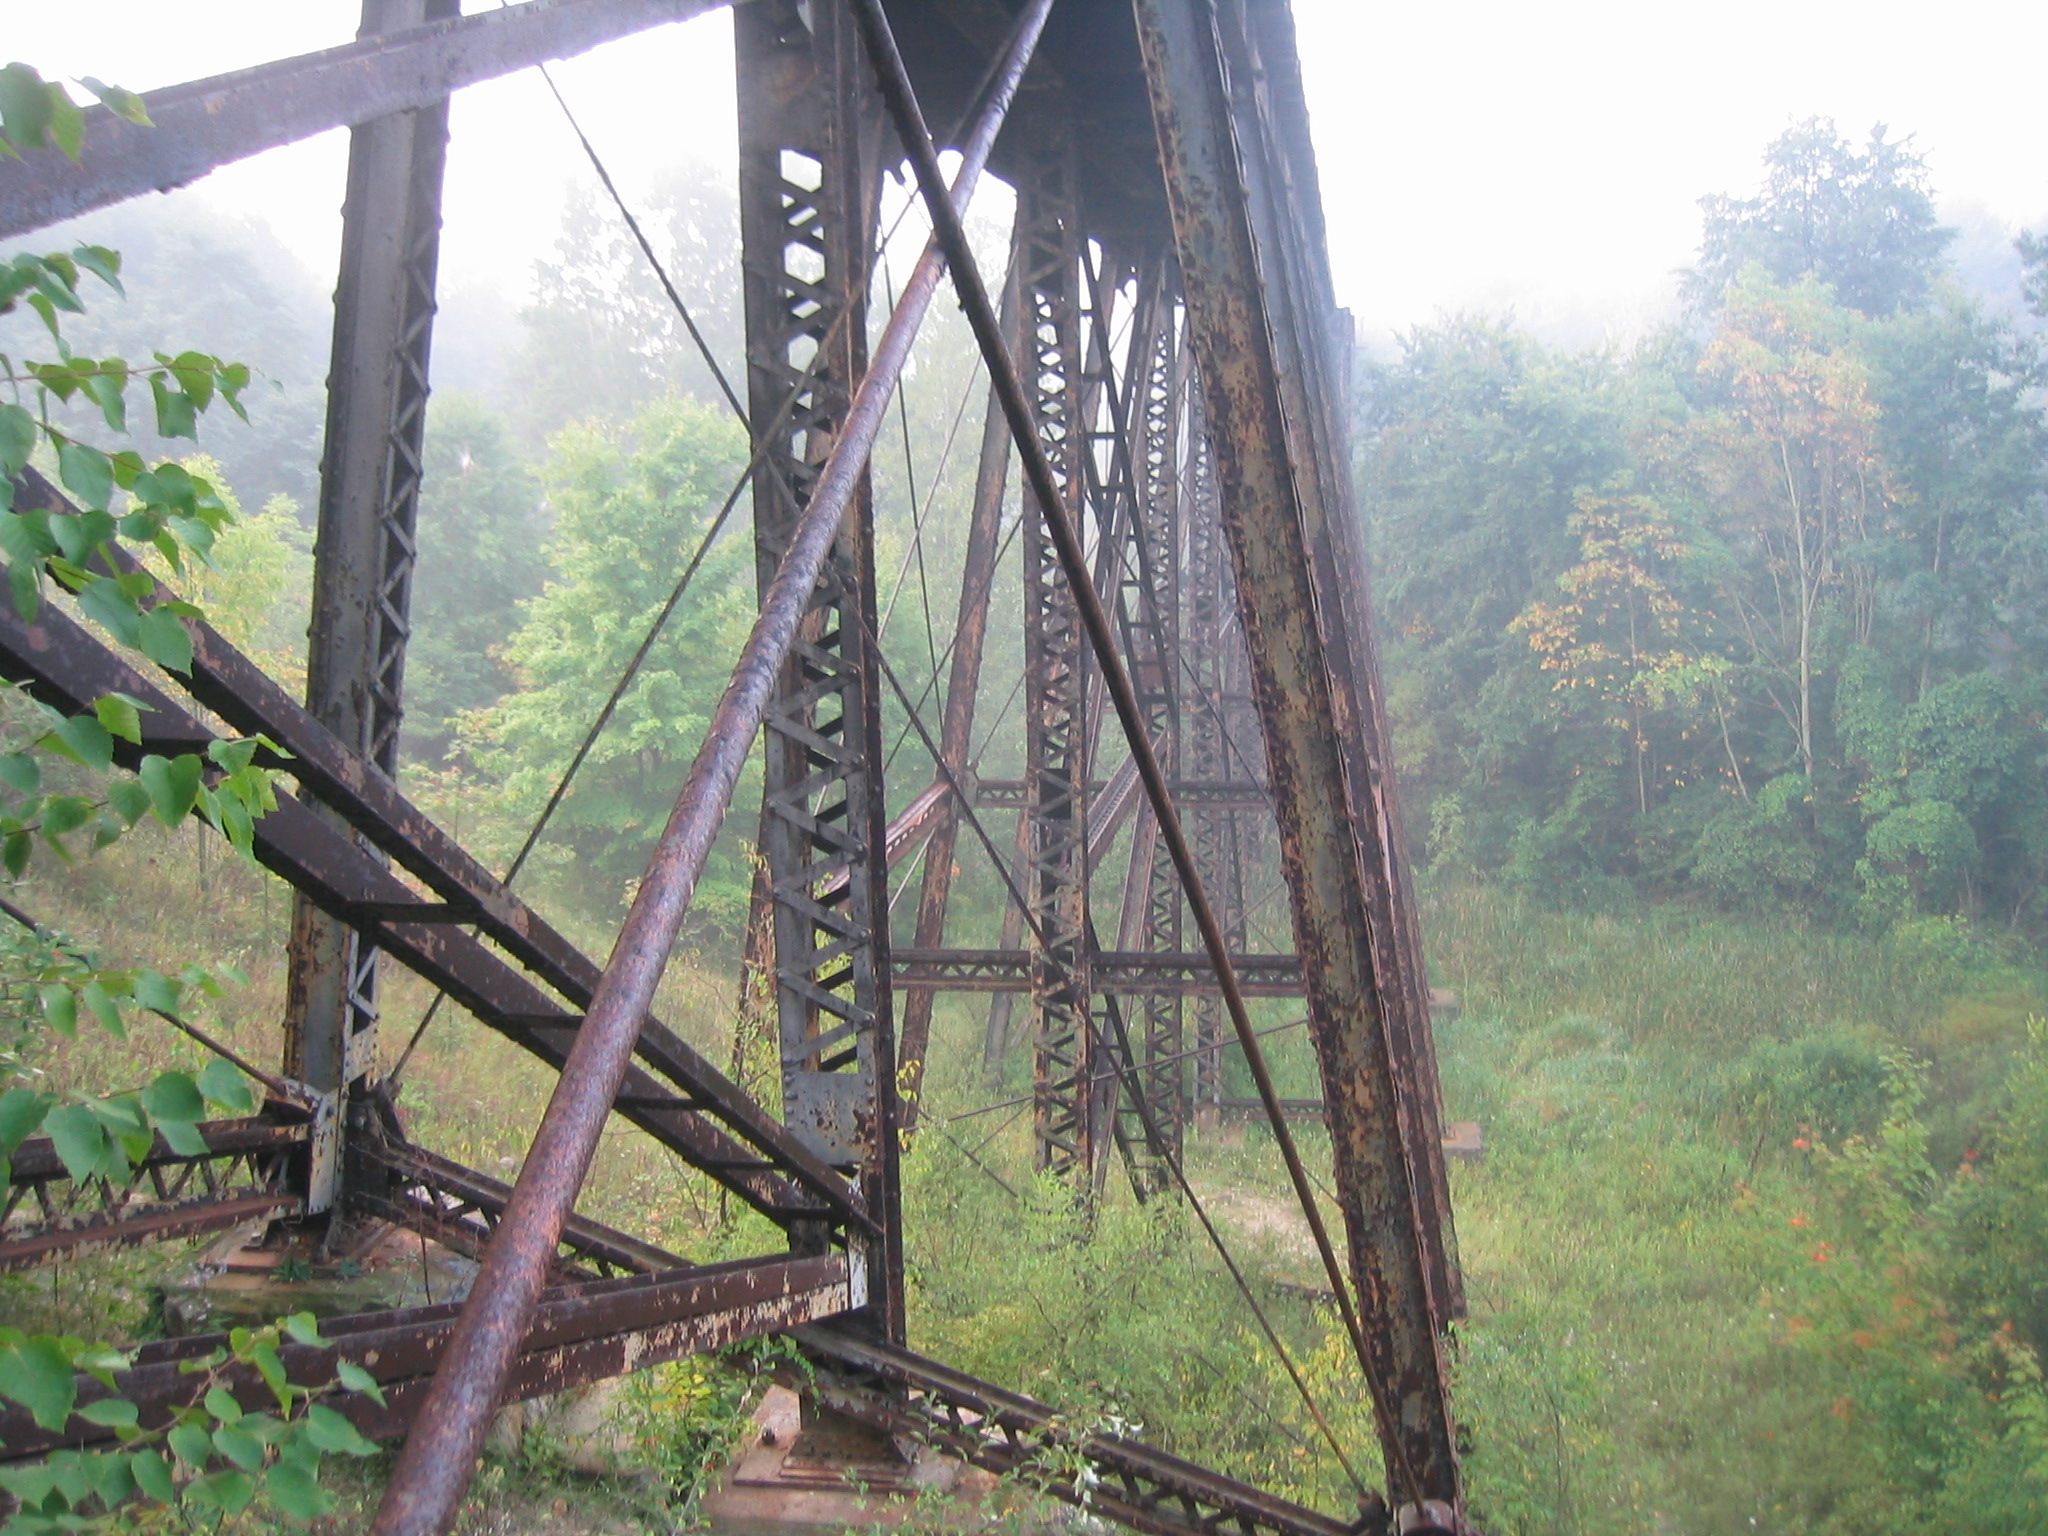
Views of approach span bents.
![]()


View toward abutments showing the end spans.
![]()


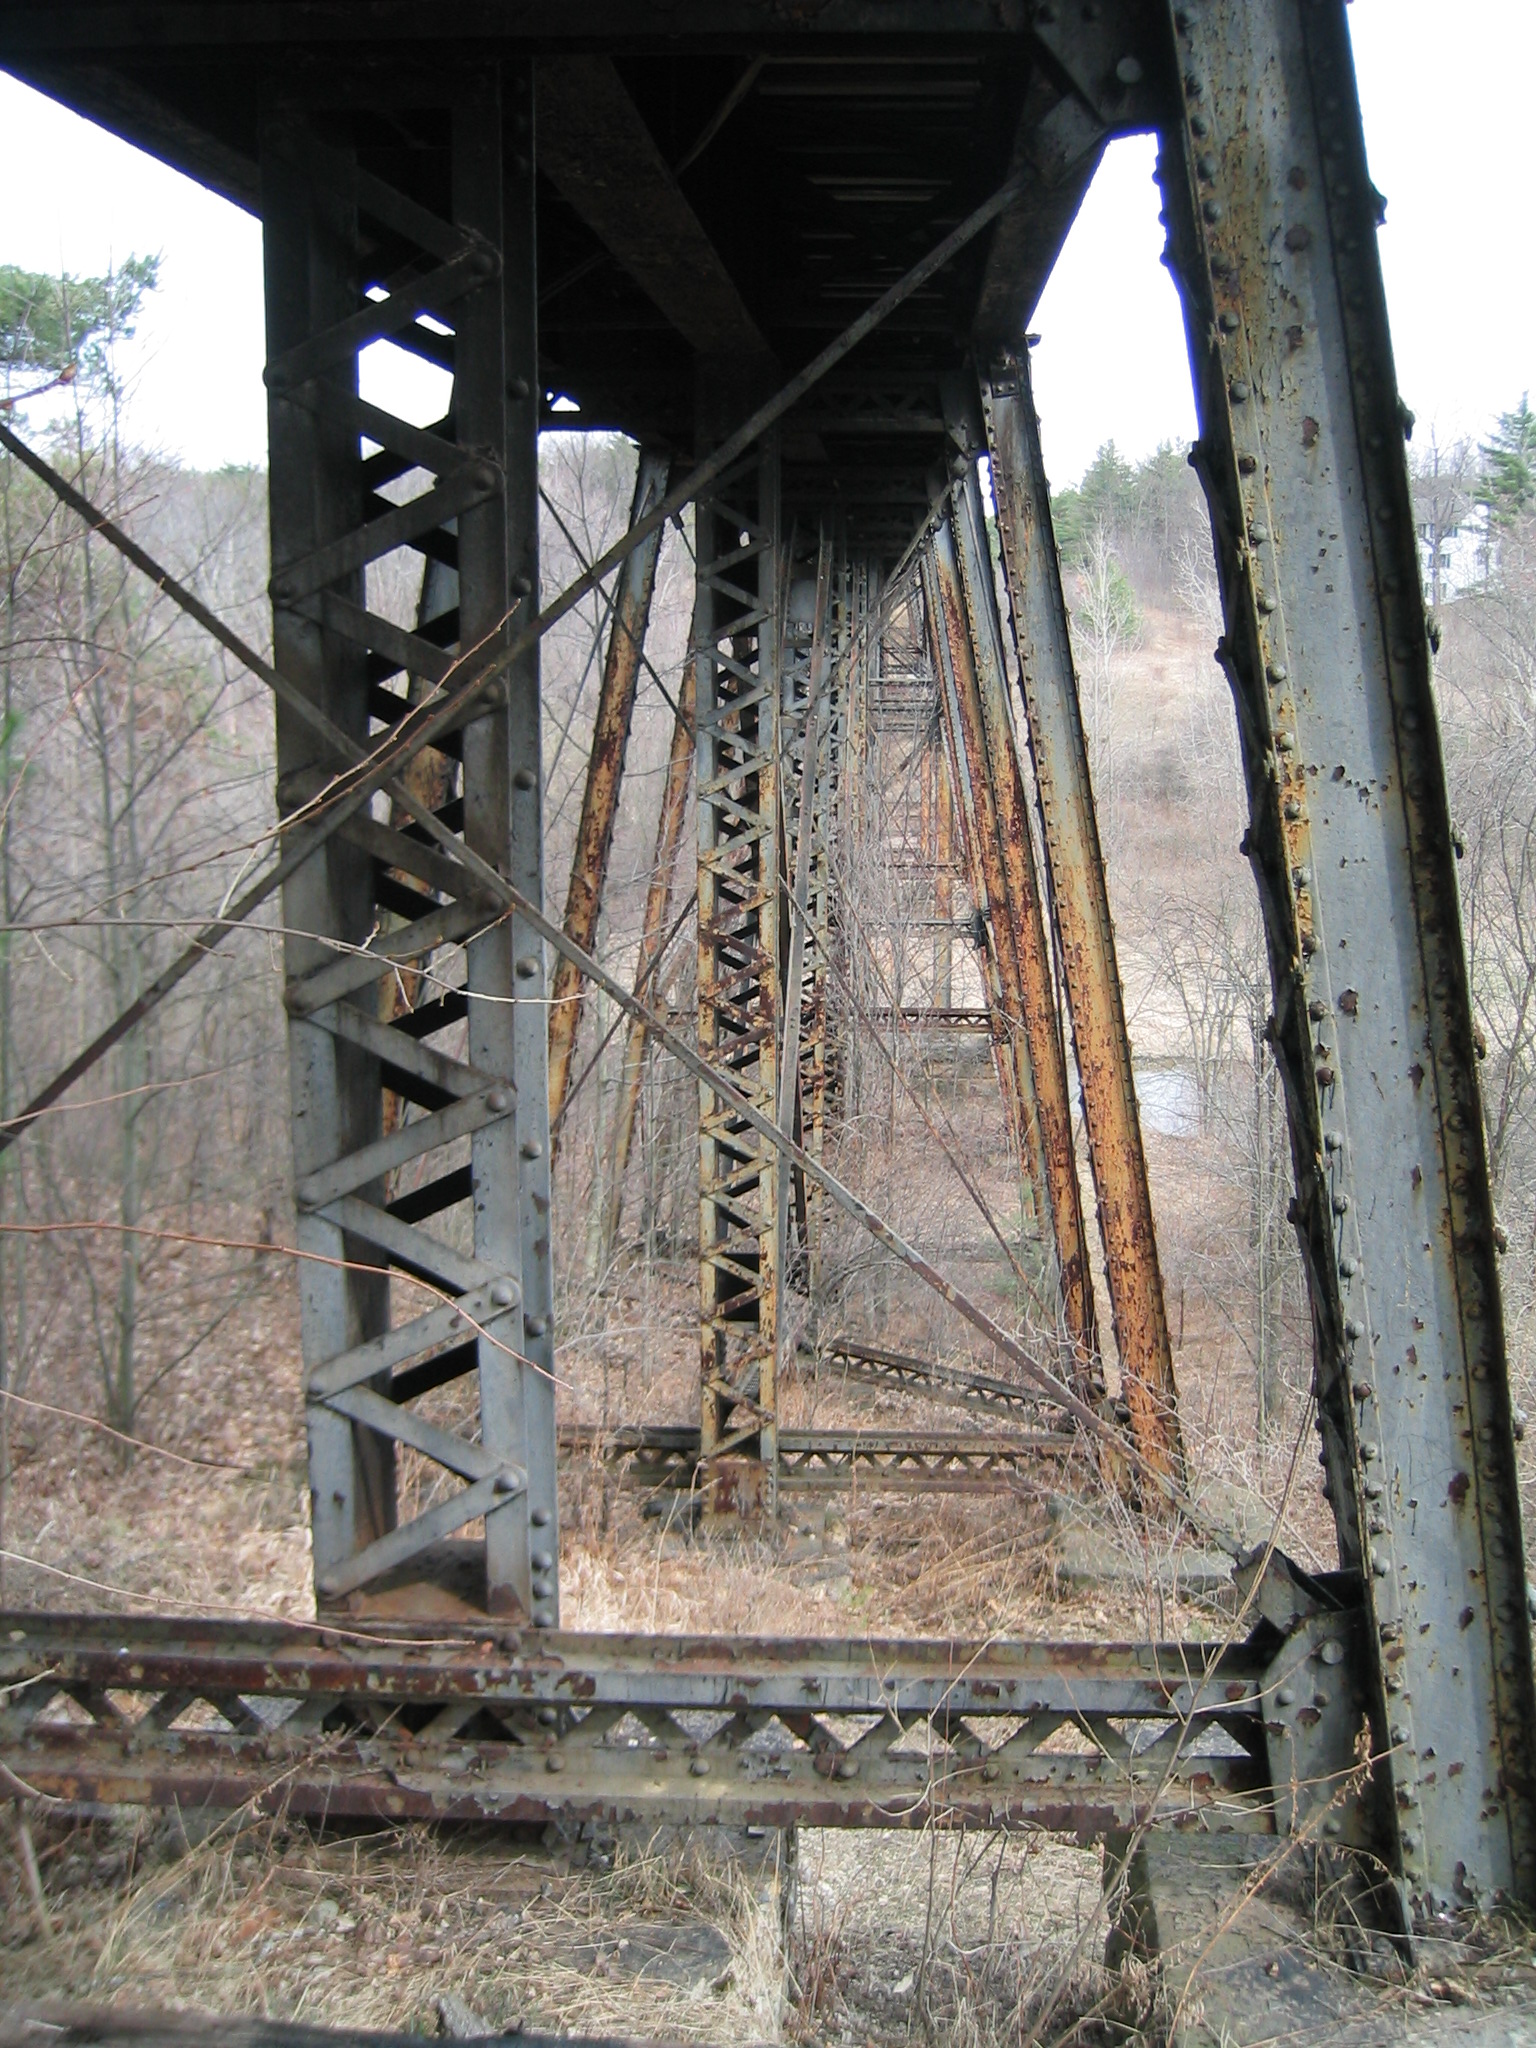

Views under approach spans.
![]()


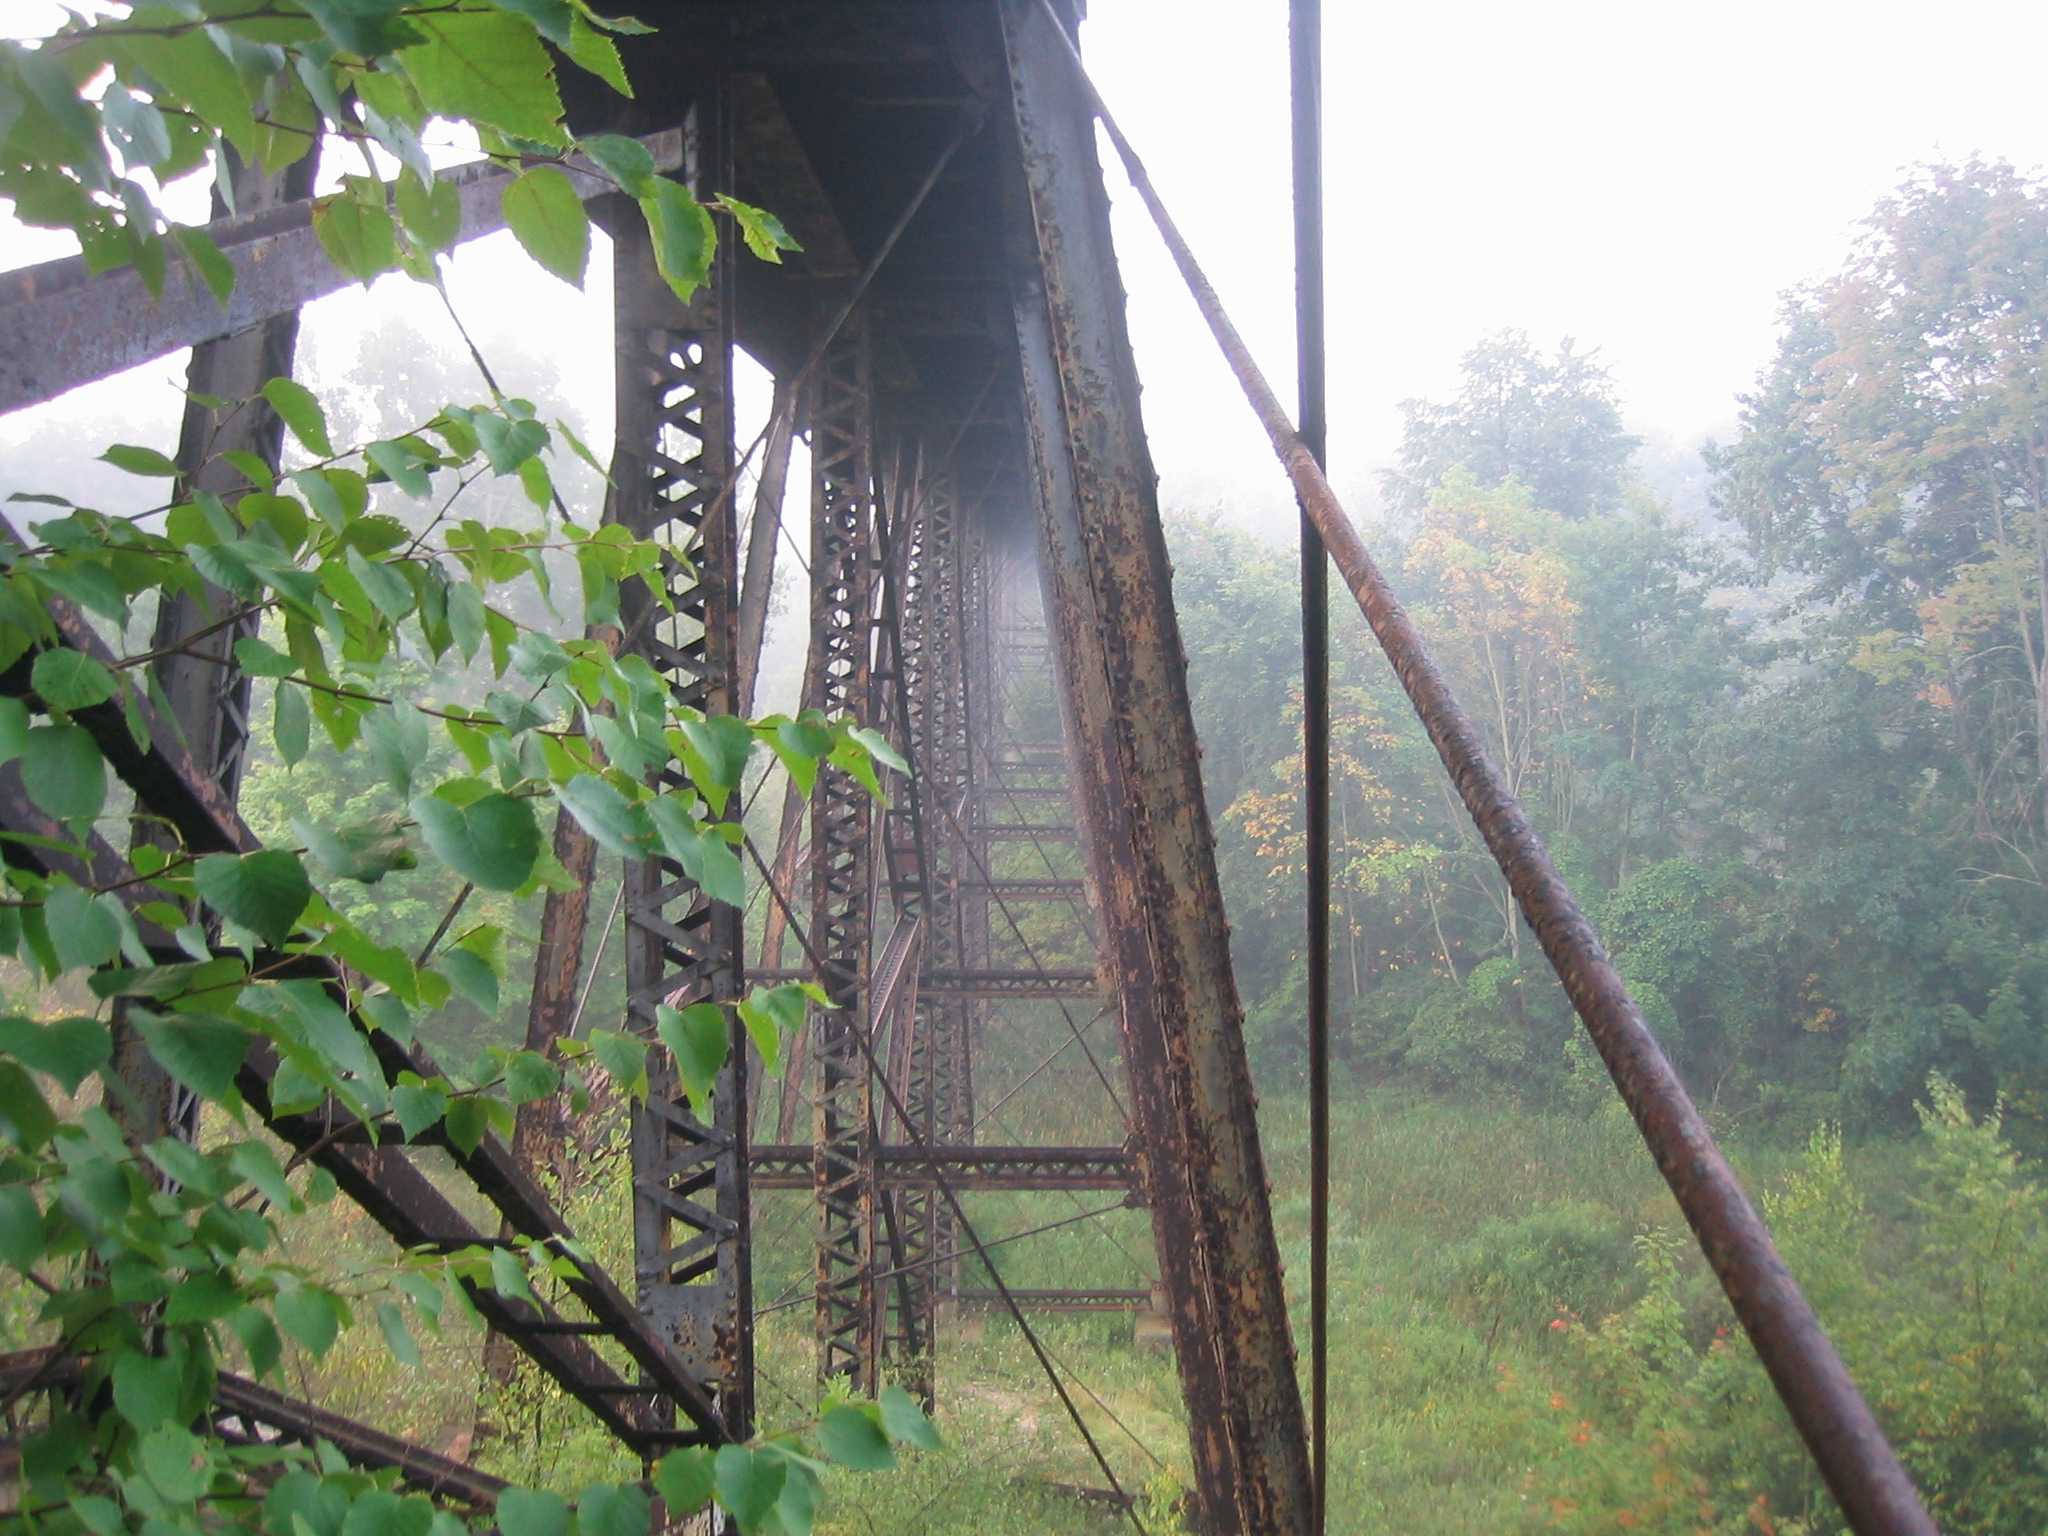
Looking up at approach span bents.
![]()
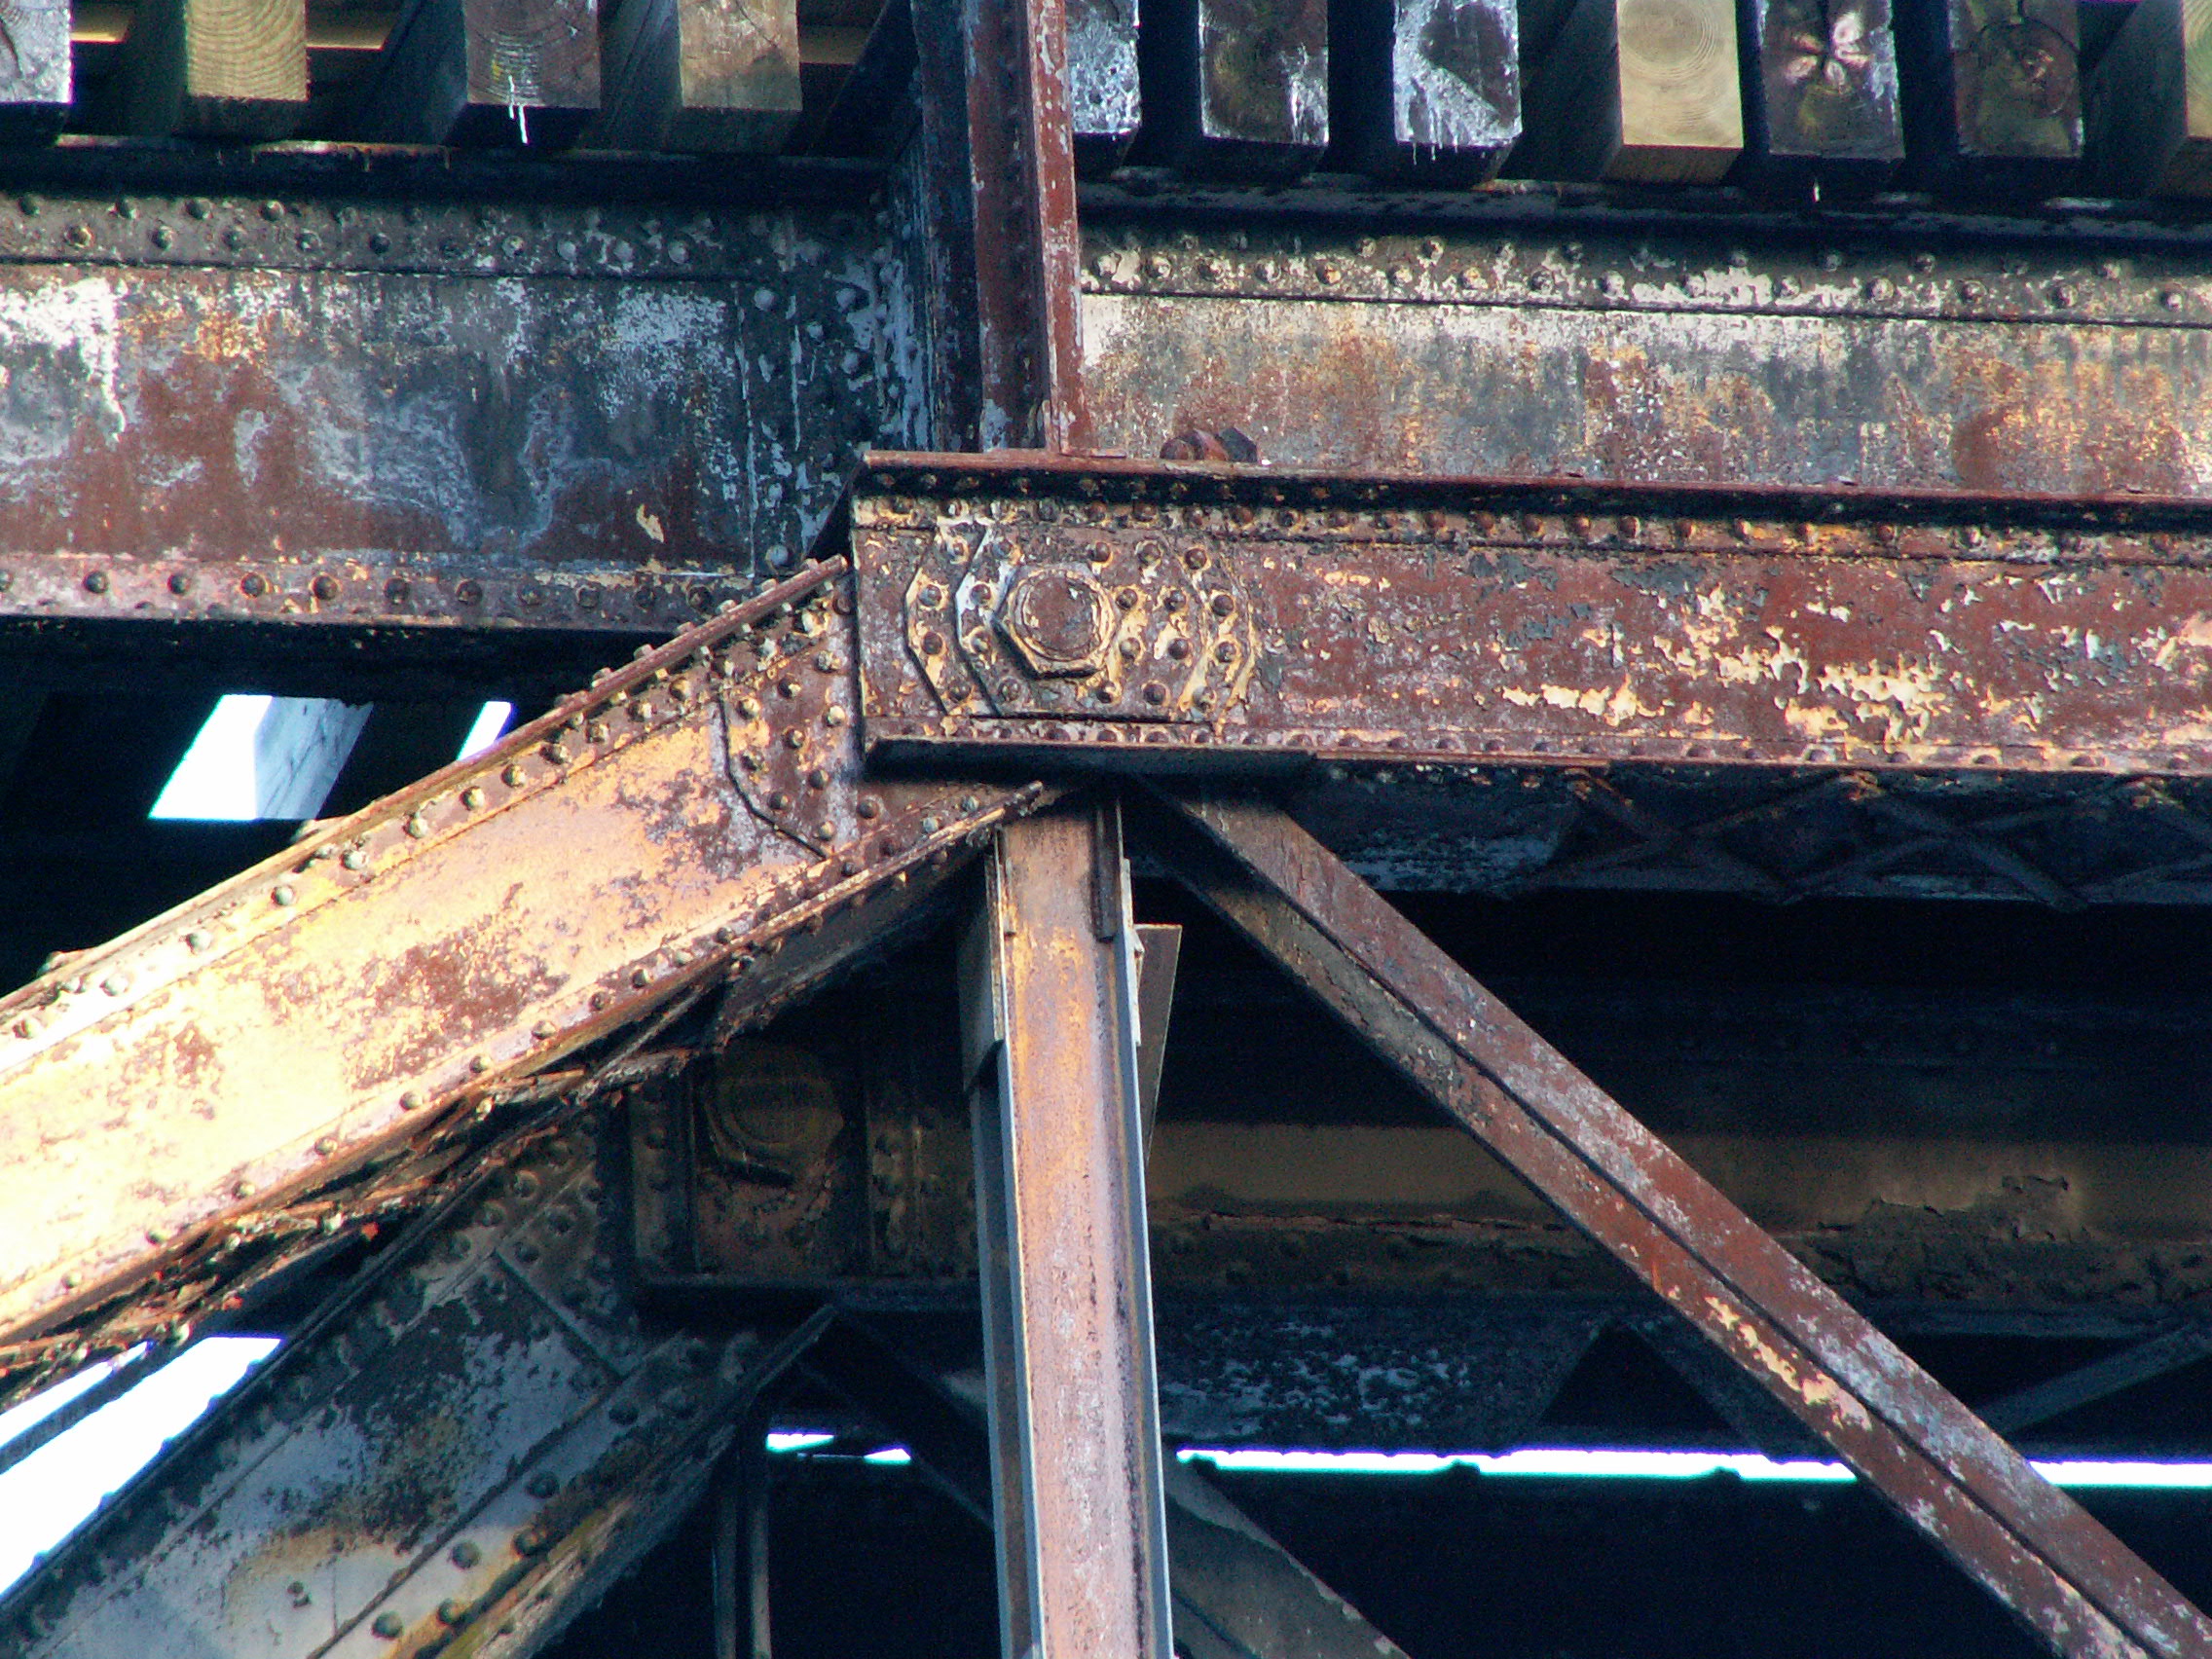


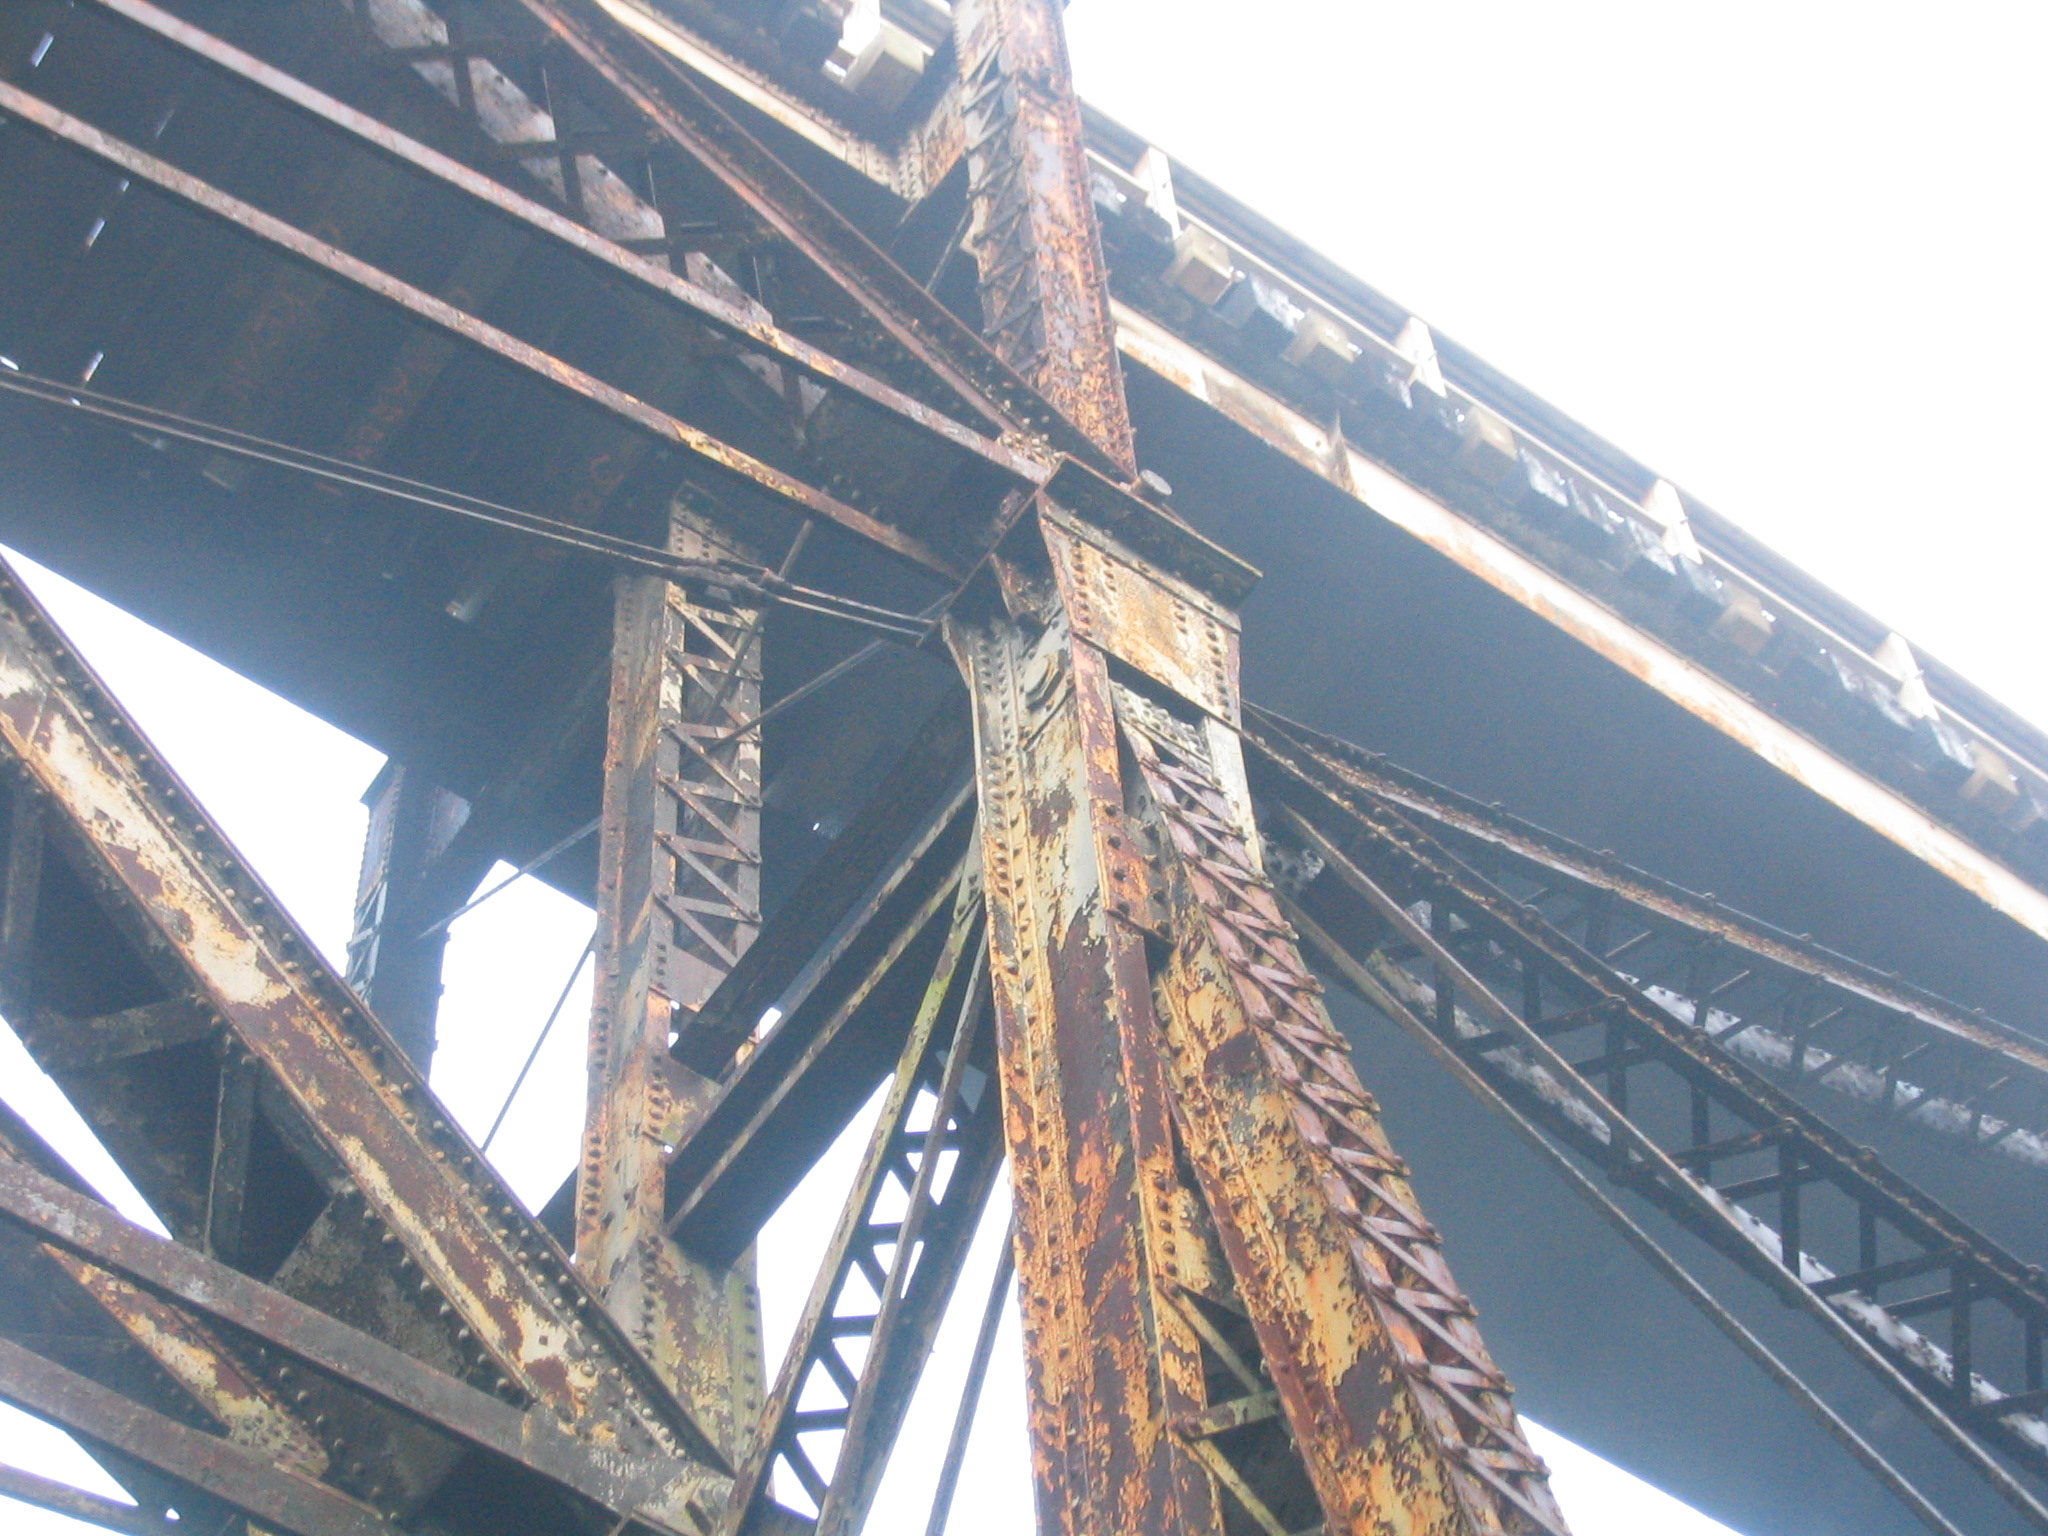
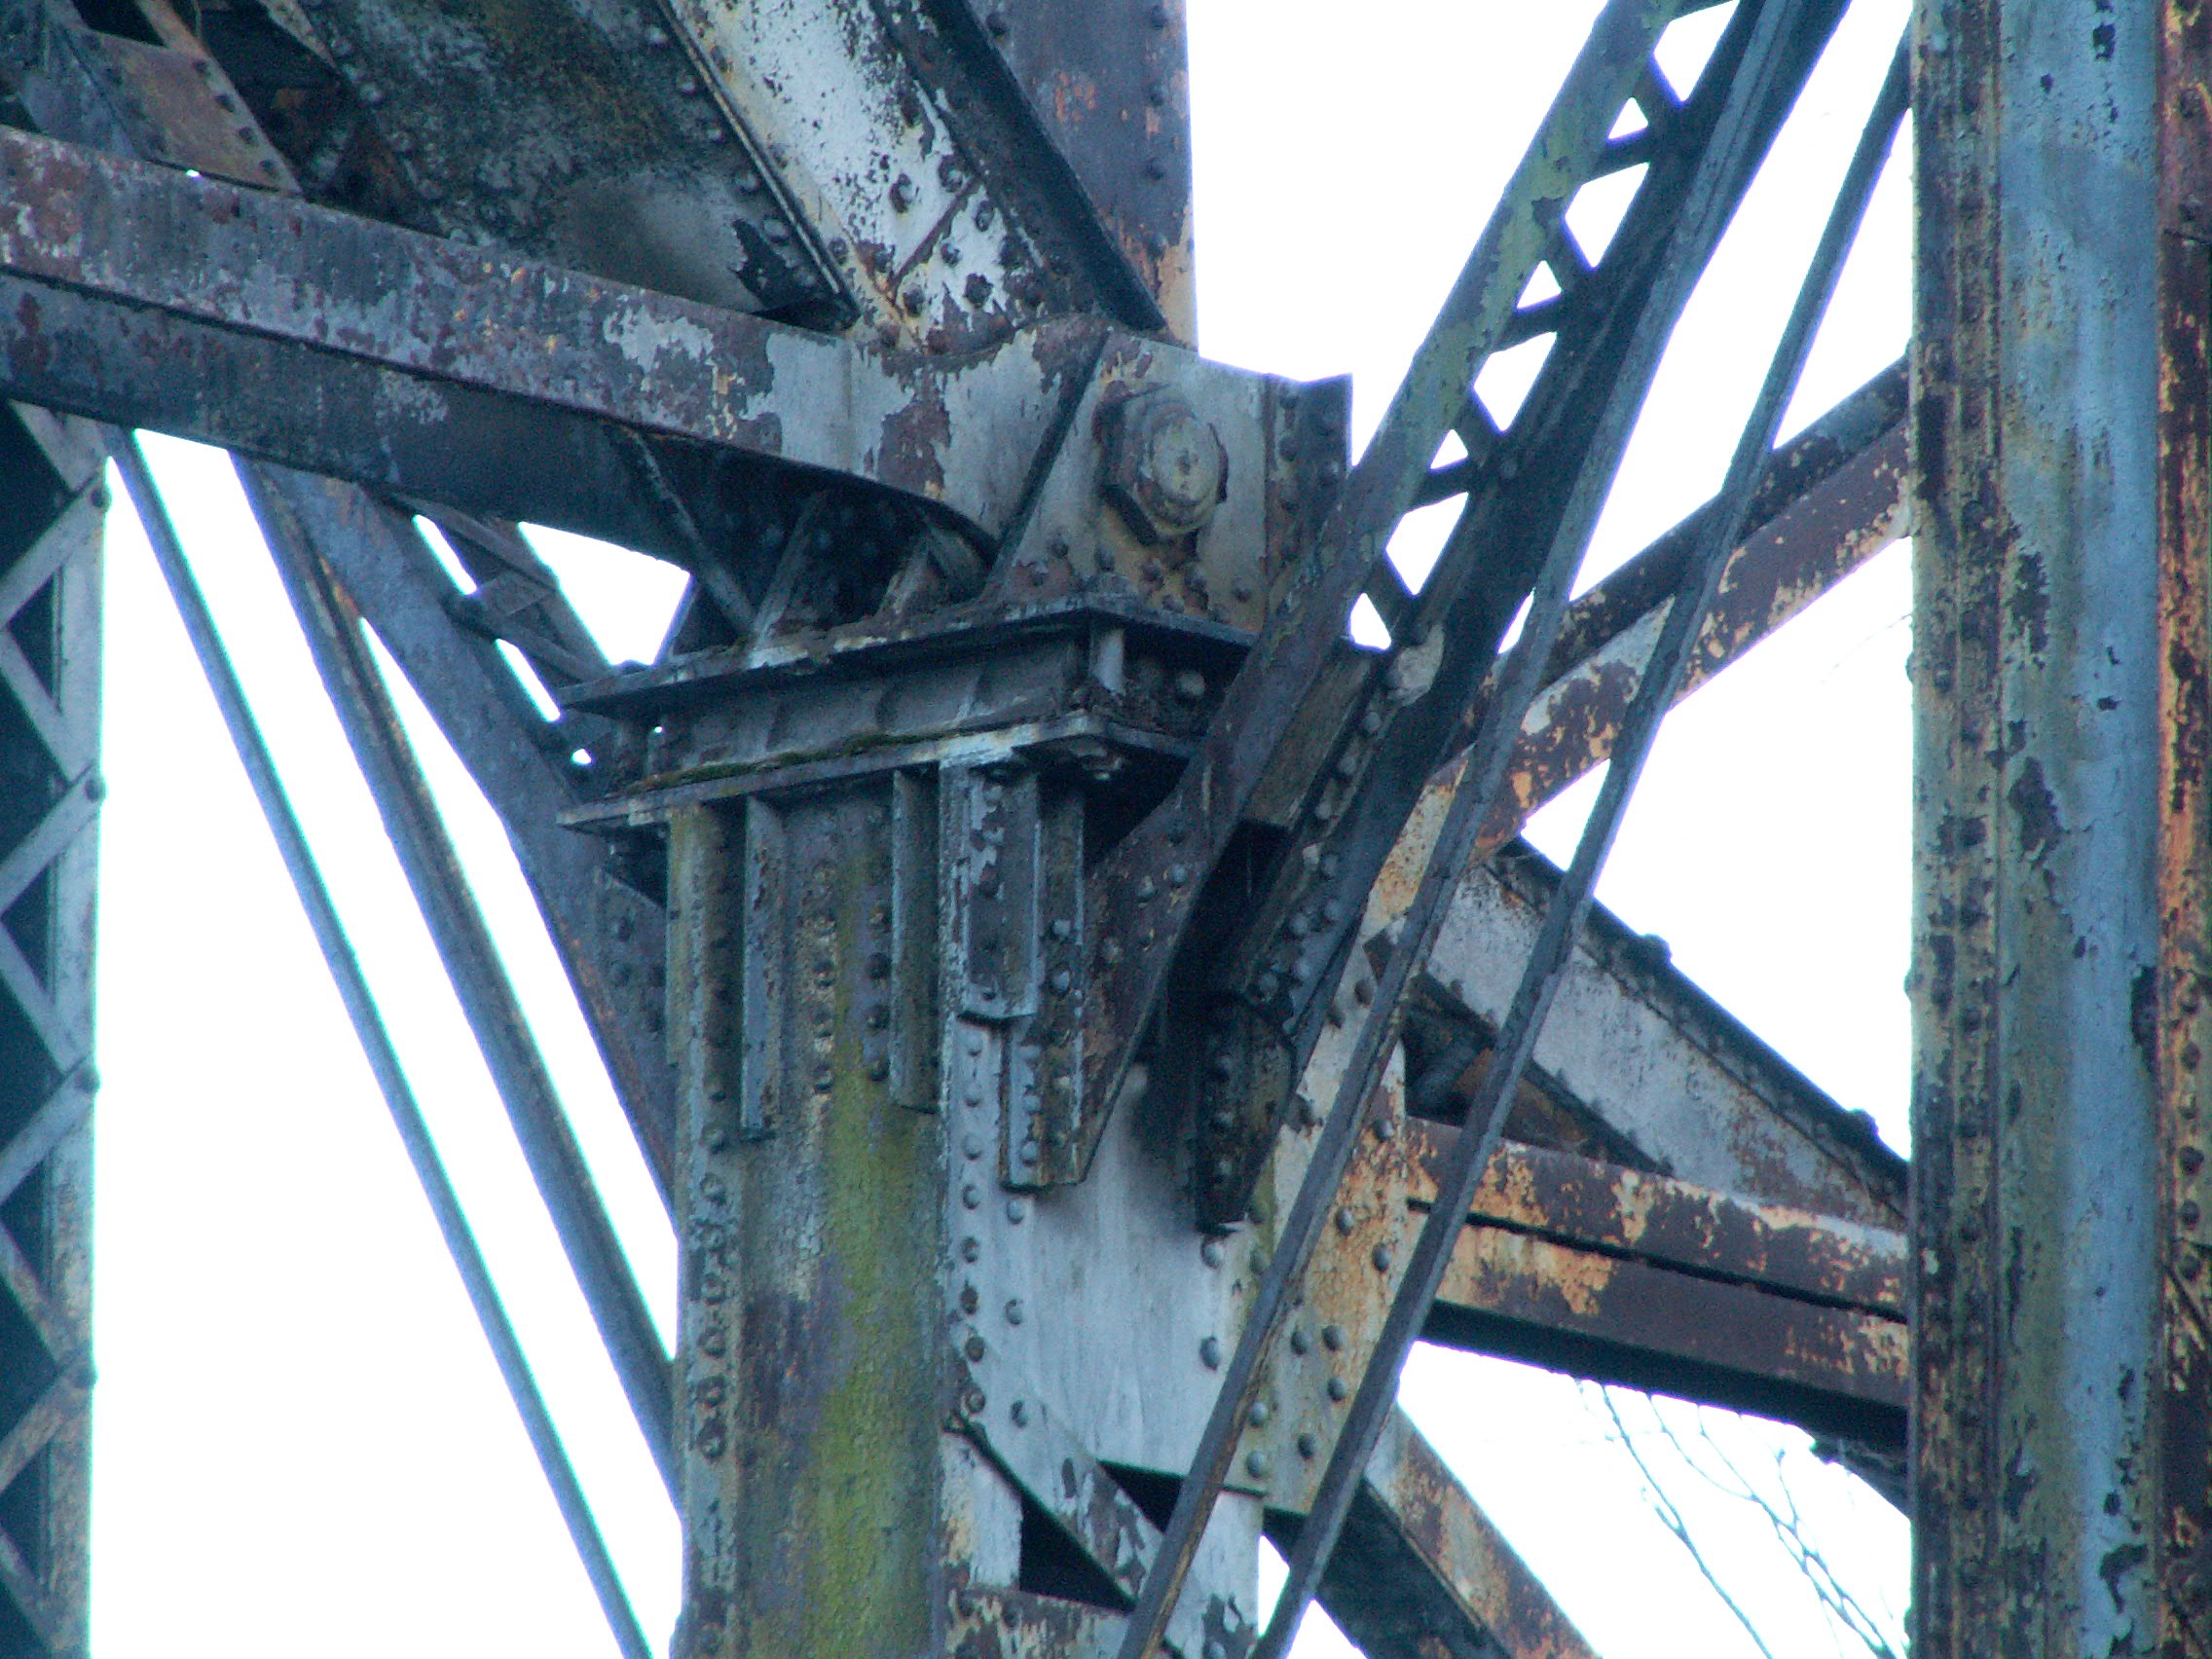
Top chord connections.
![]()

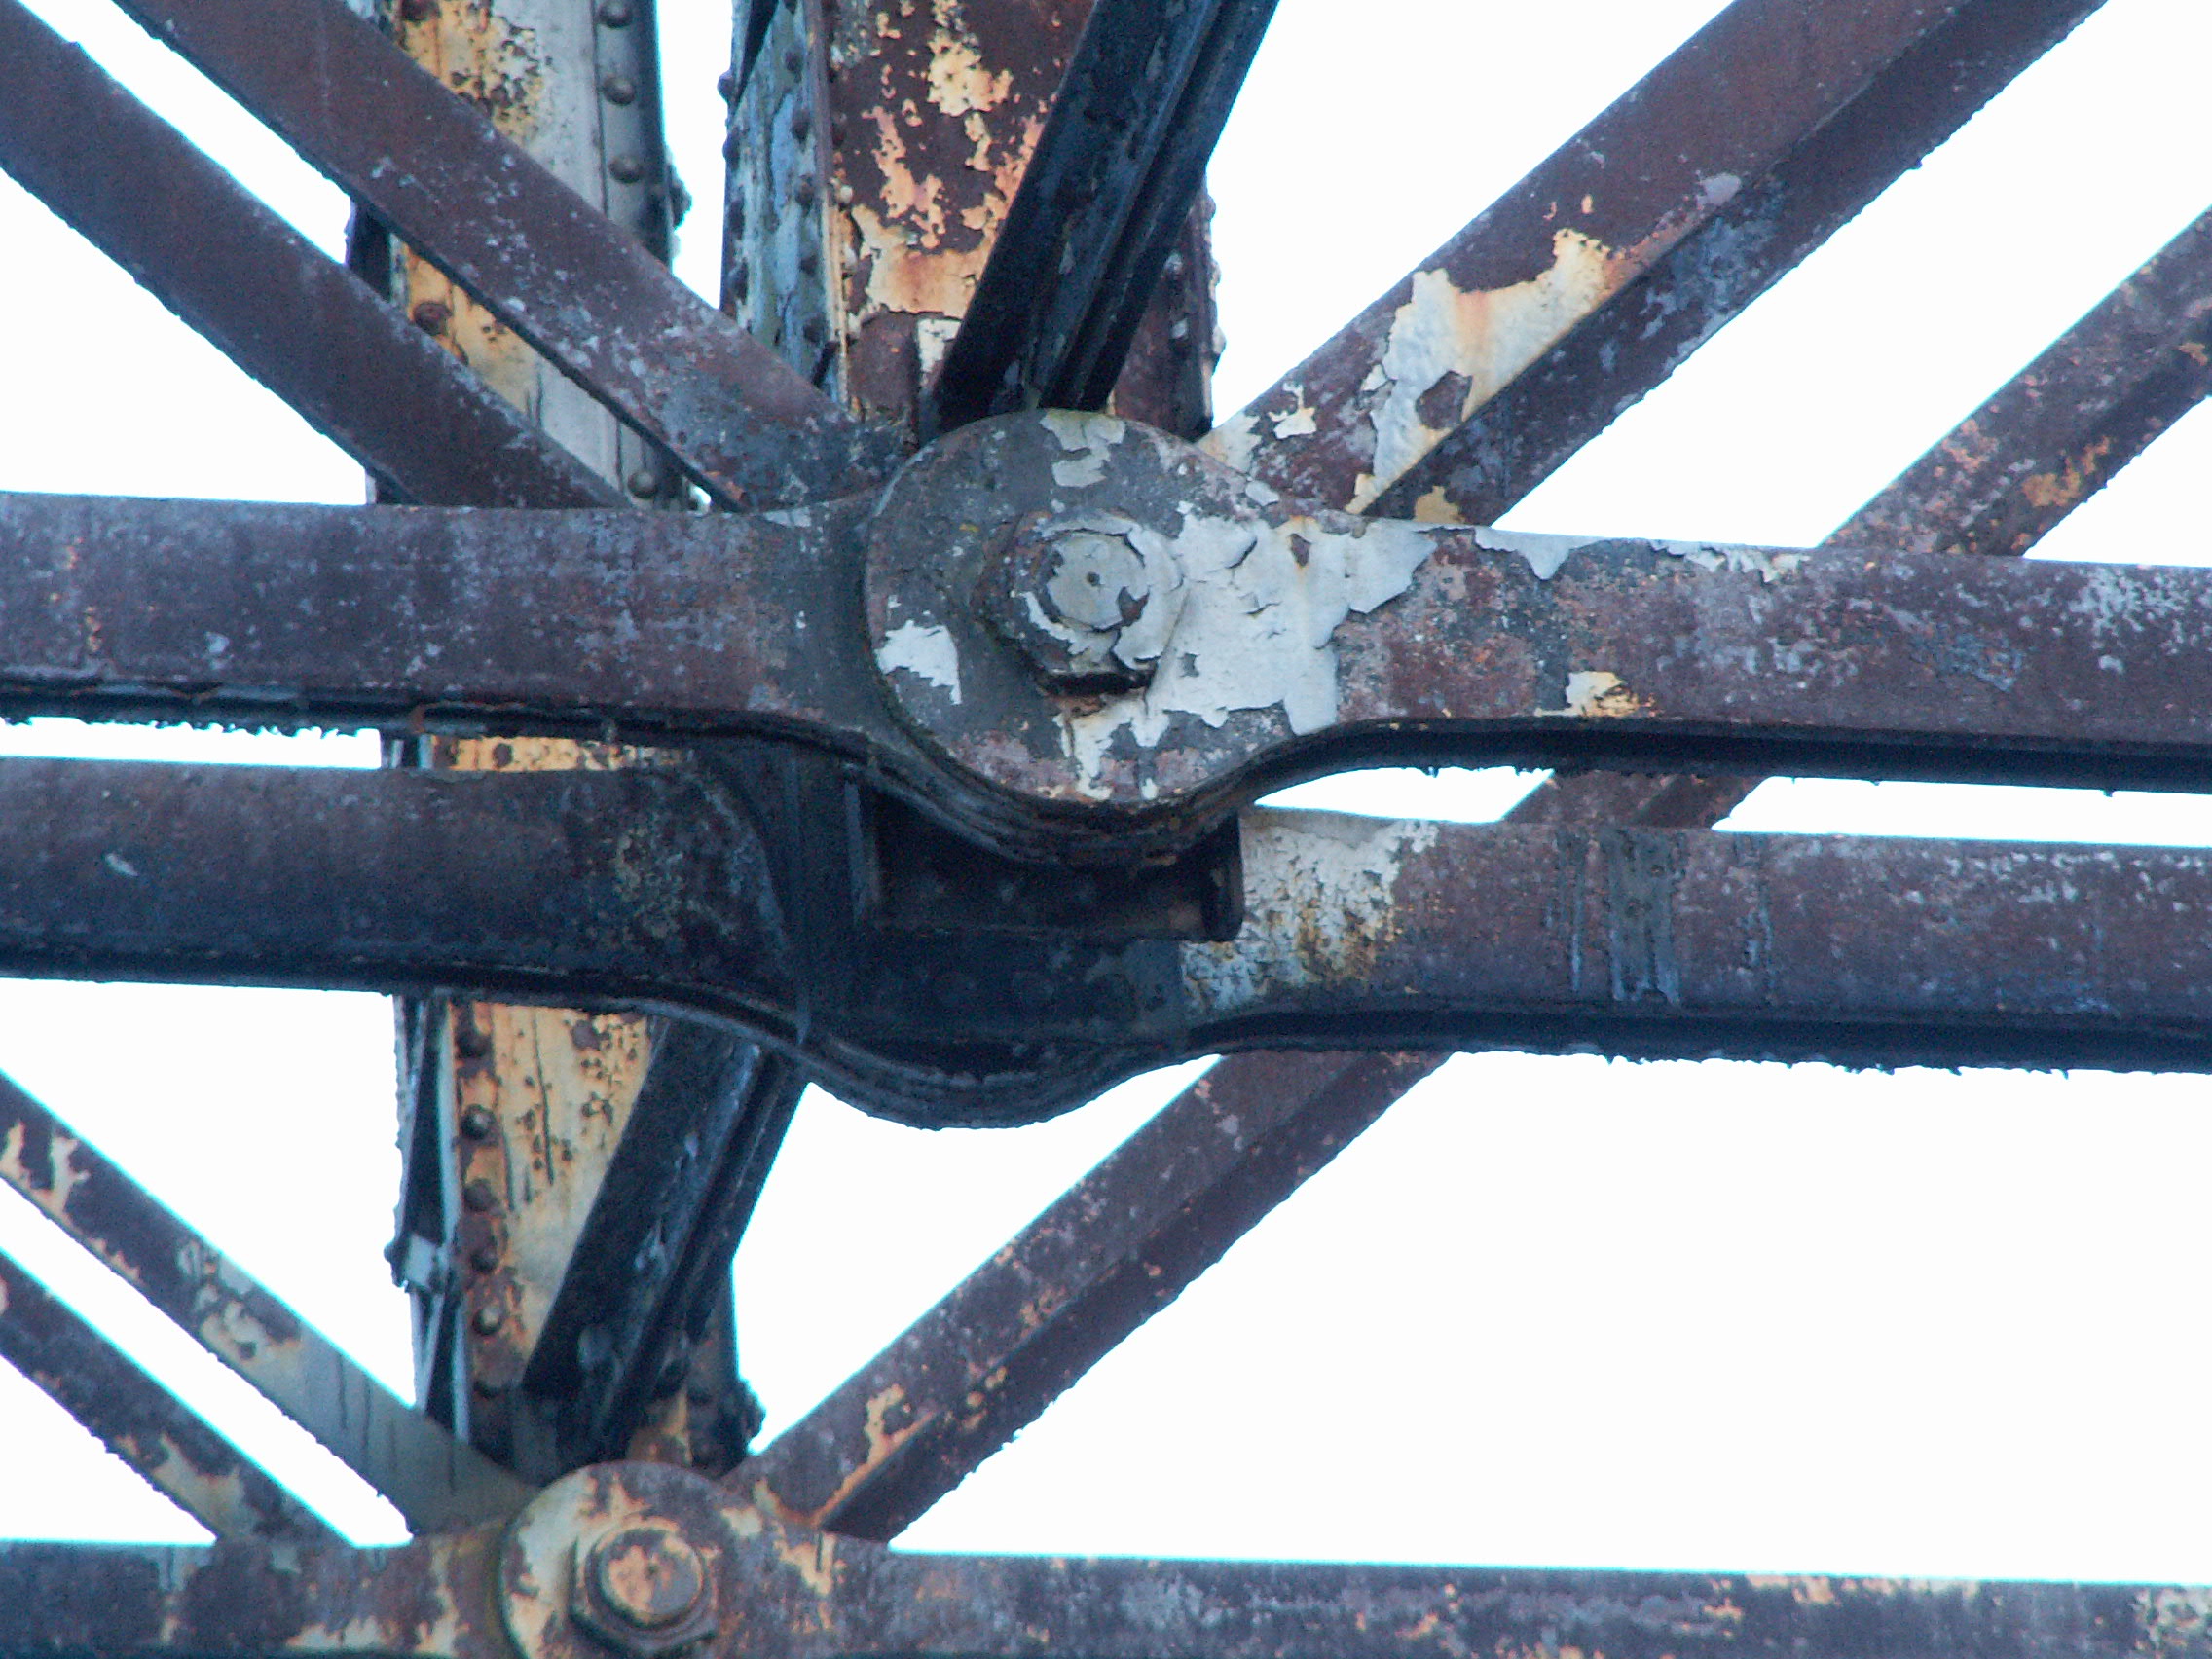

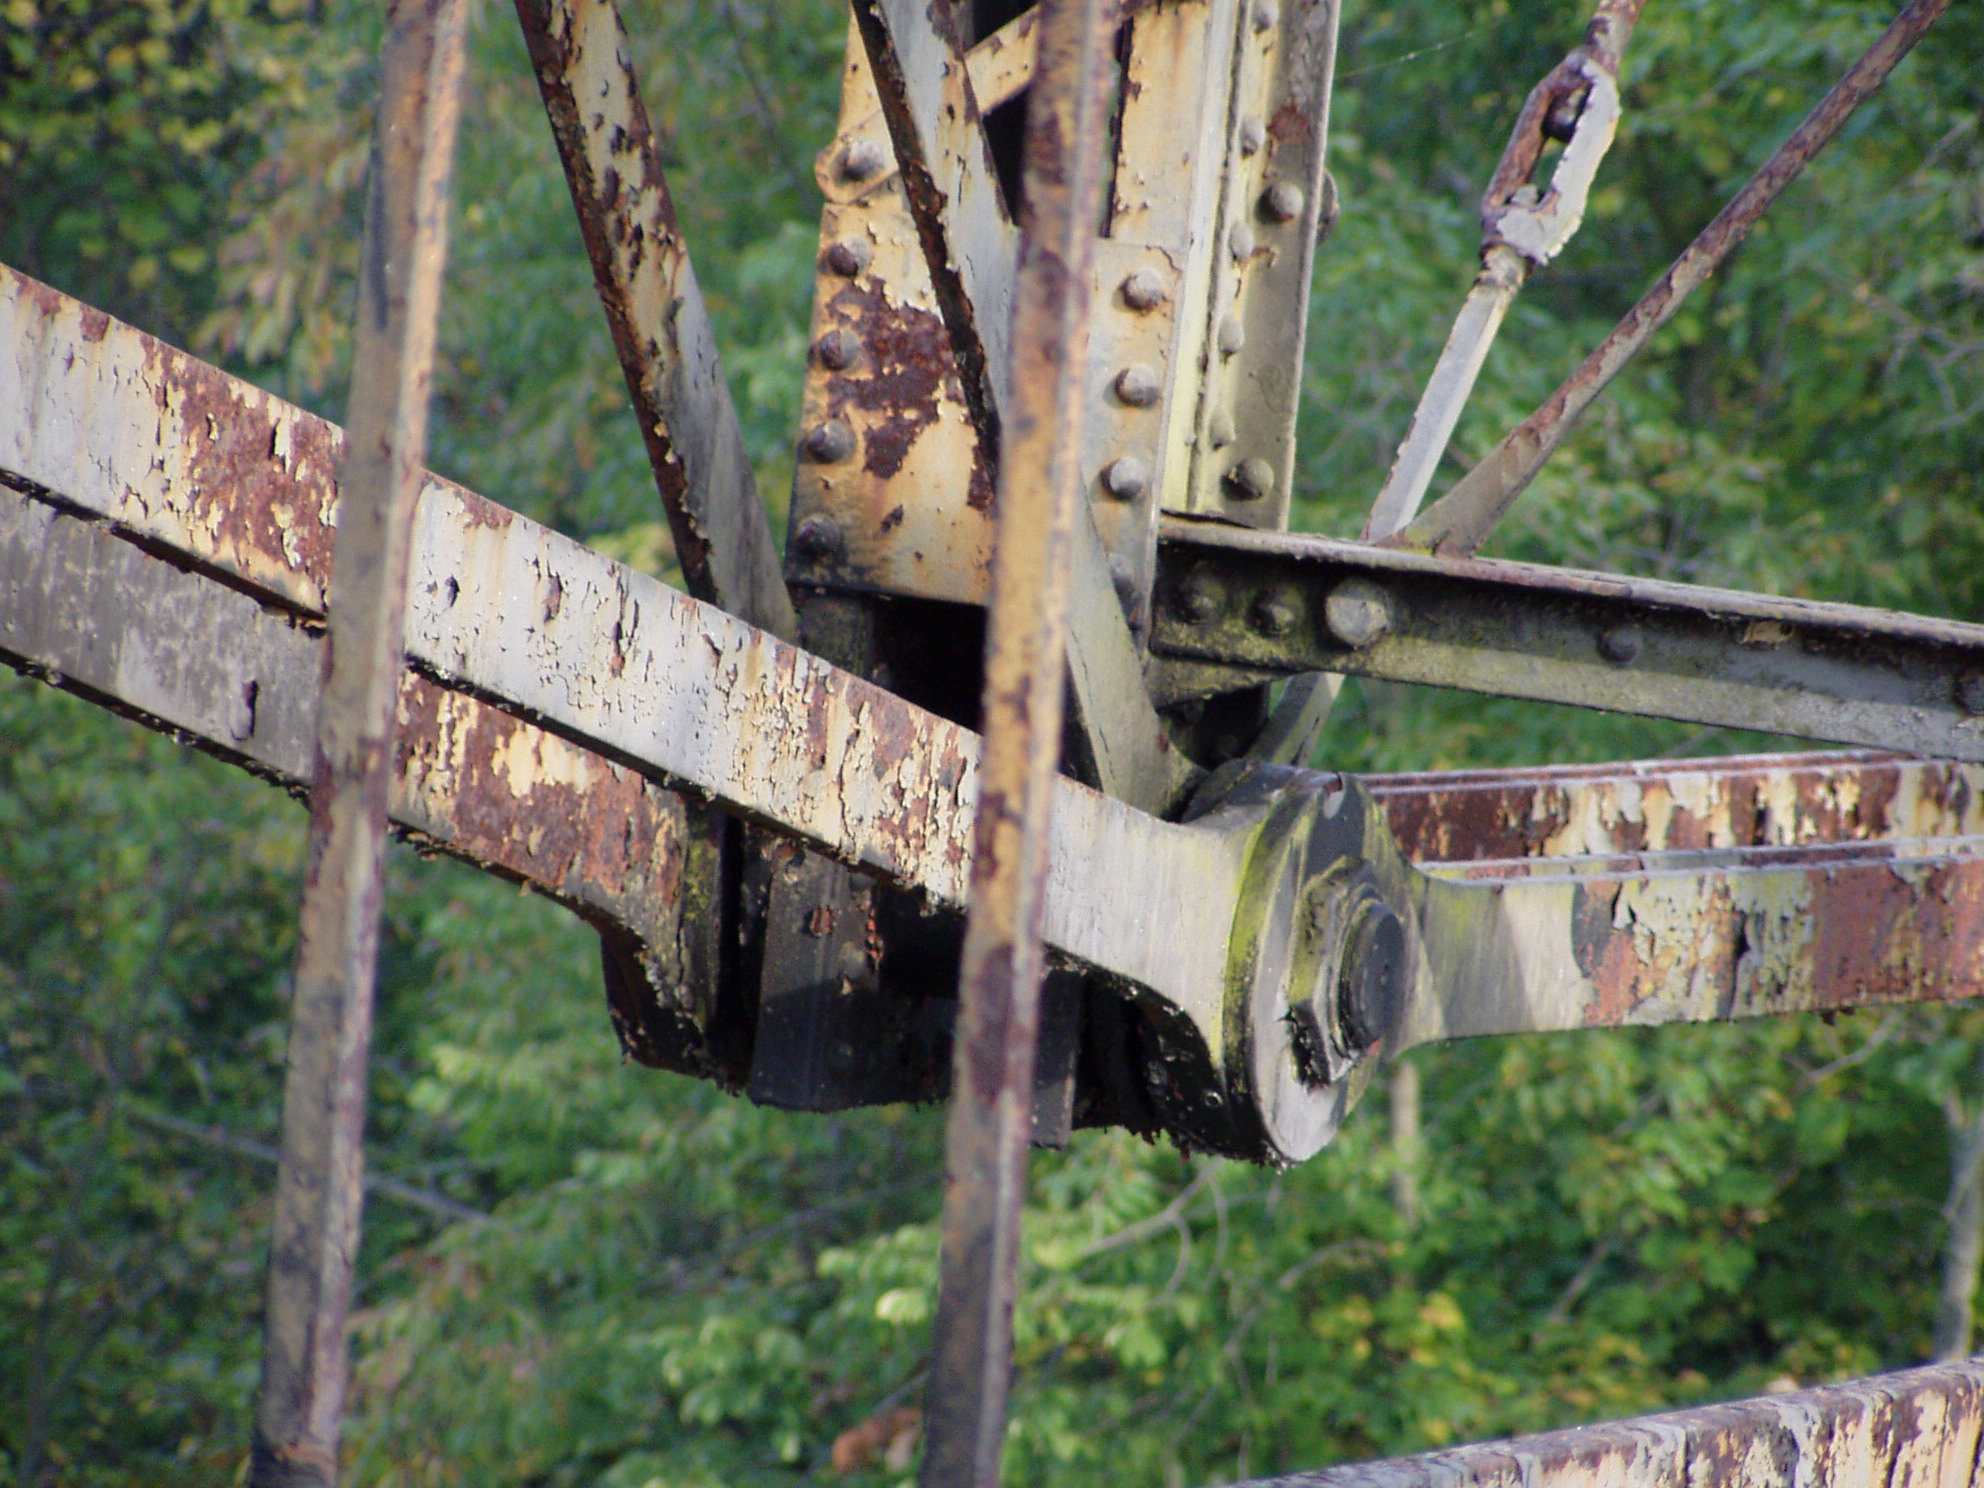


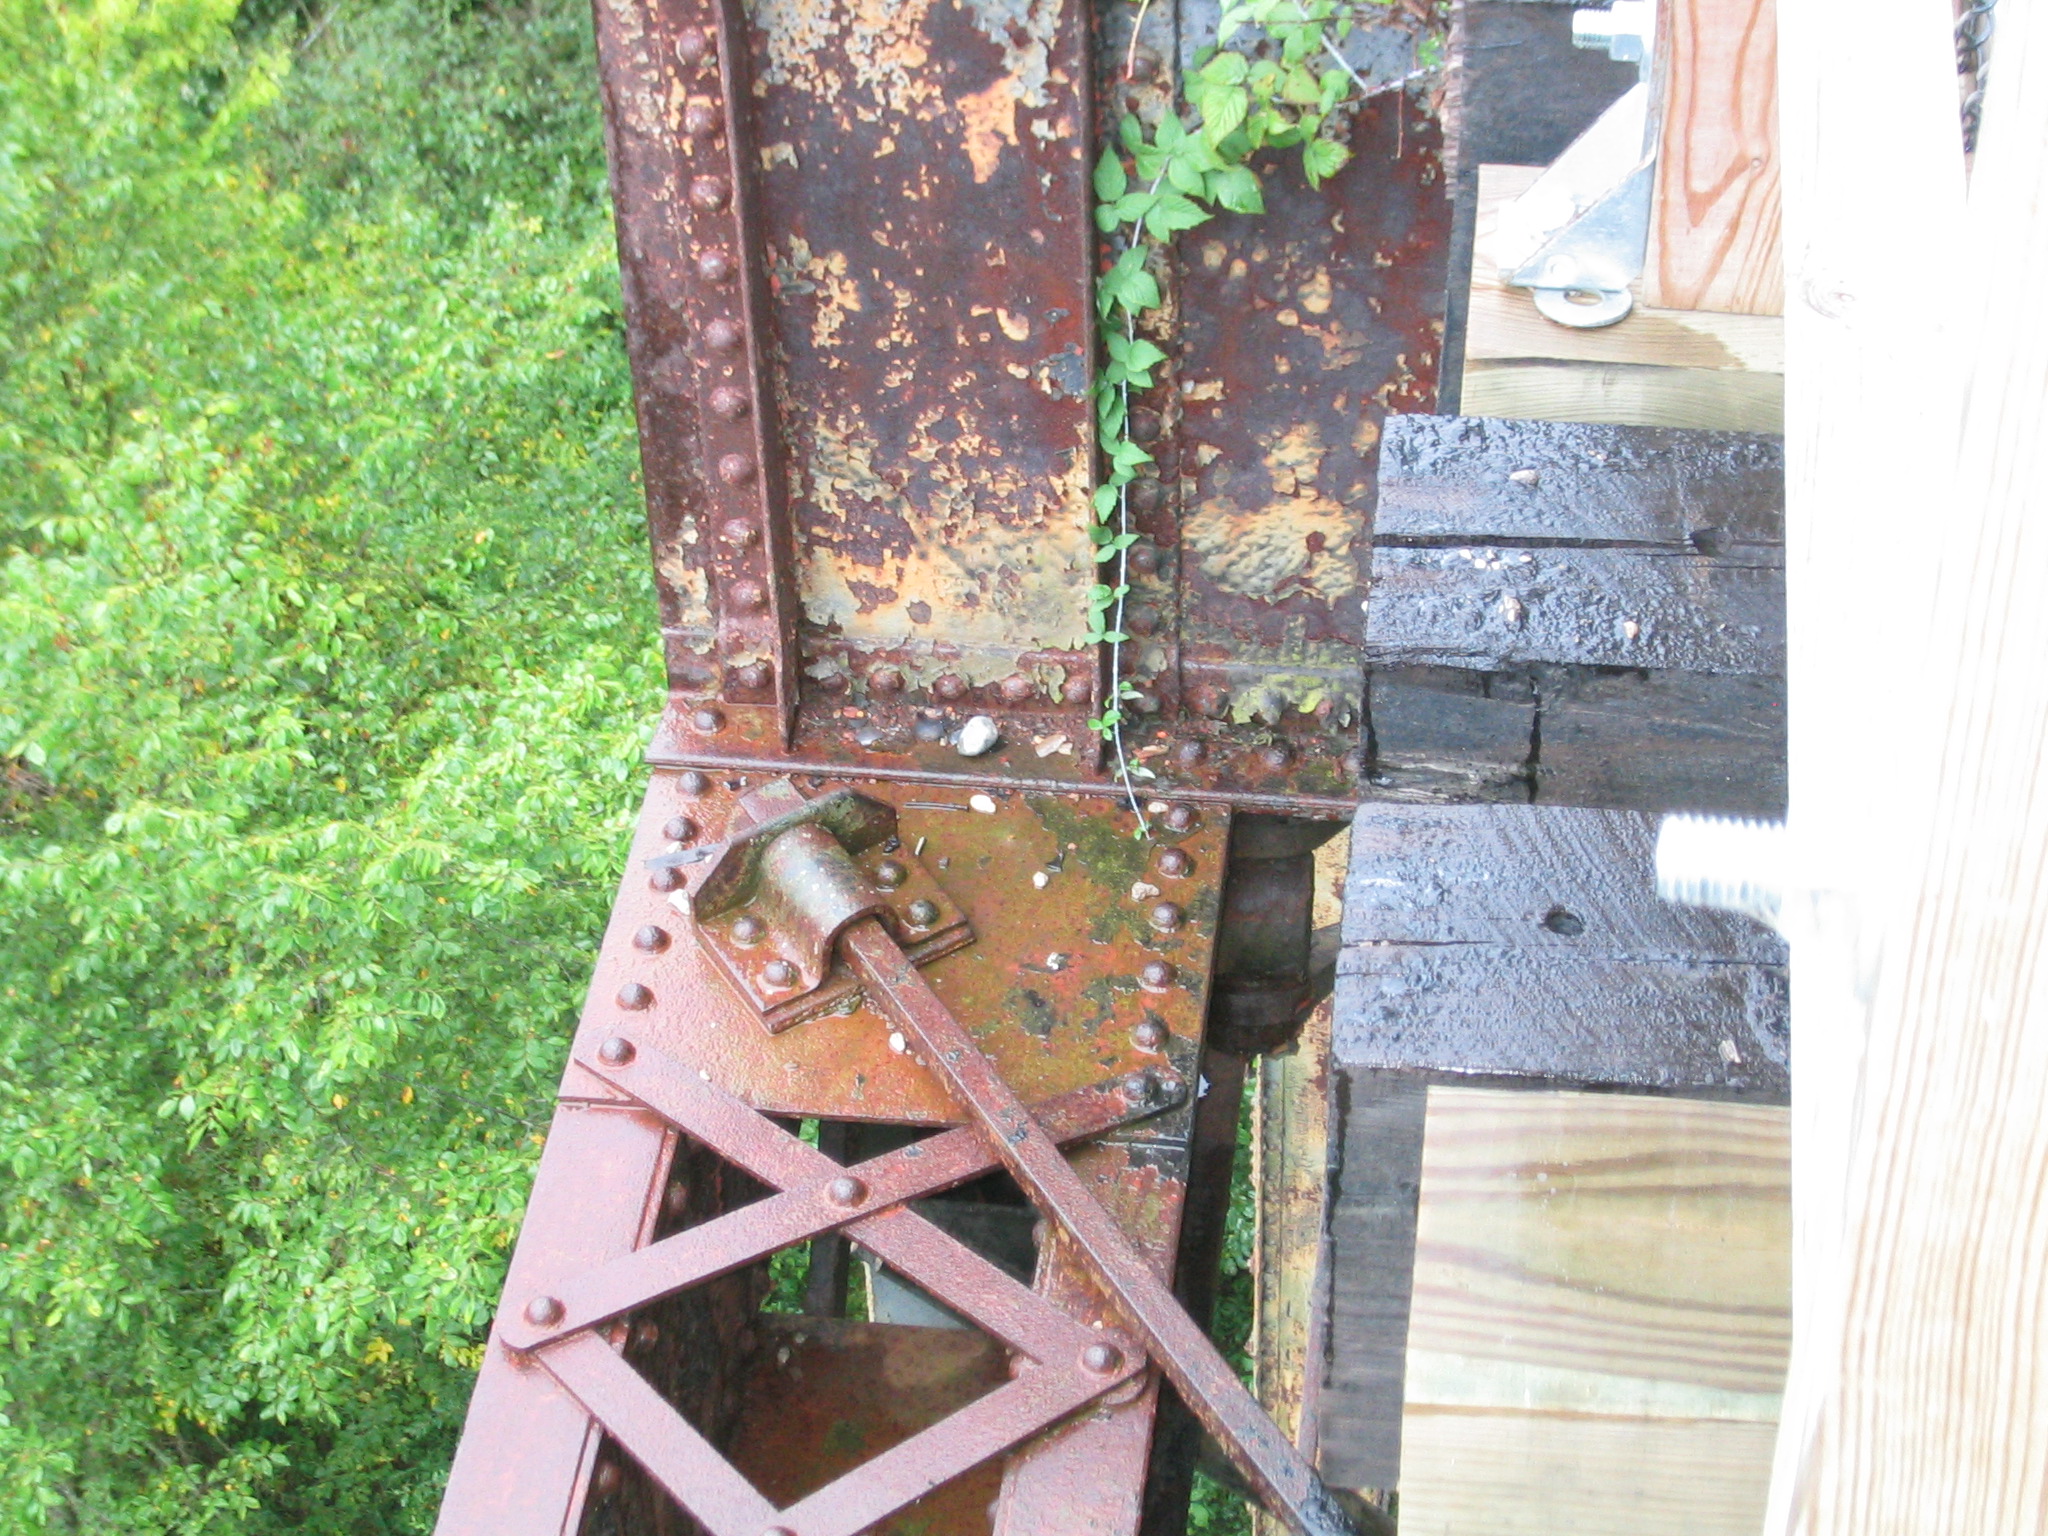
Bottom chord connections.
![]()

Bearings for center truss.
![]()


Bearings for outer trusses.
![]()


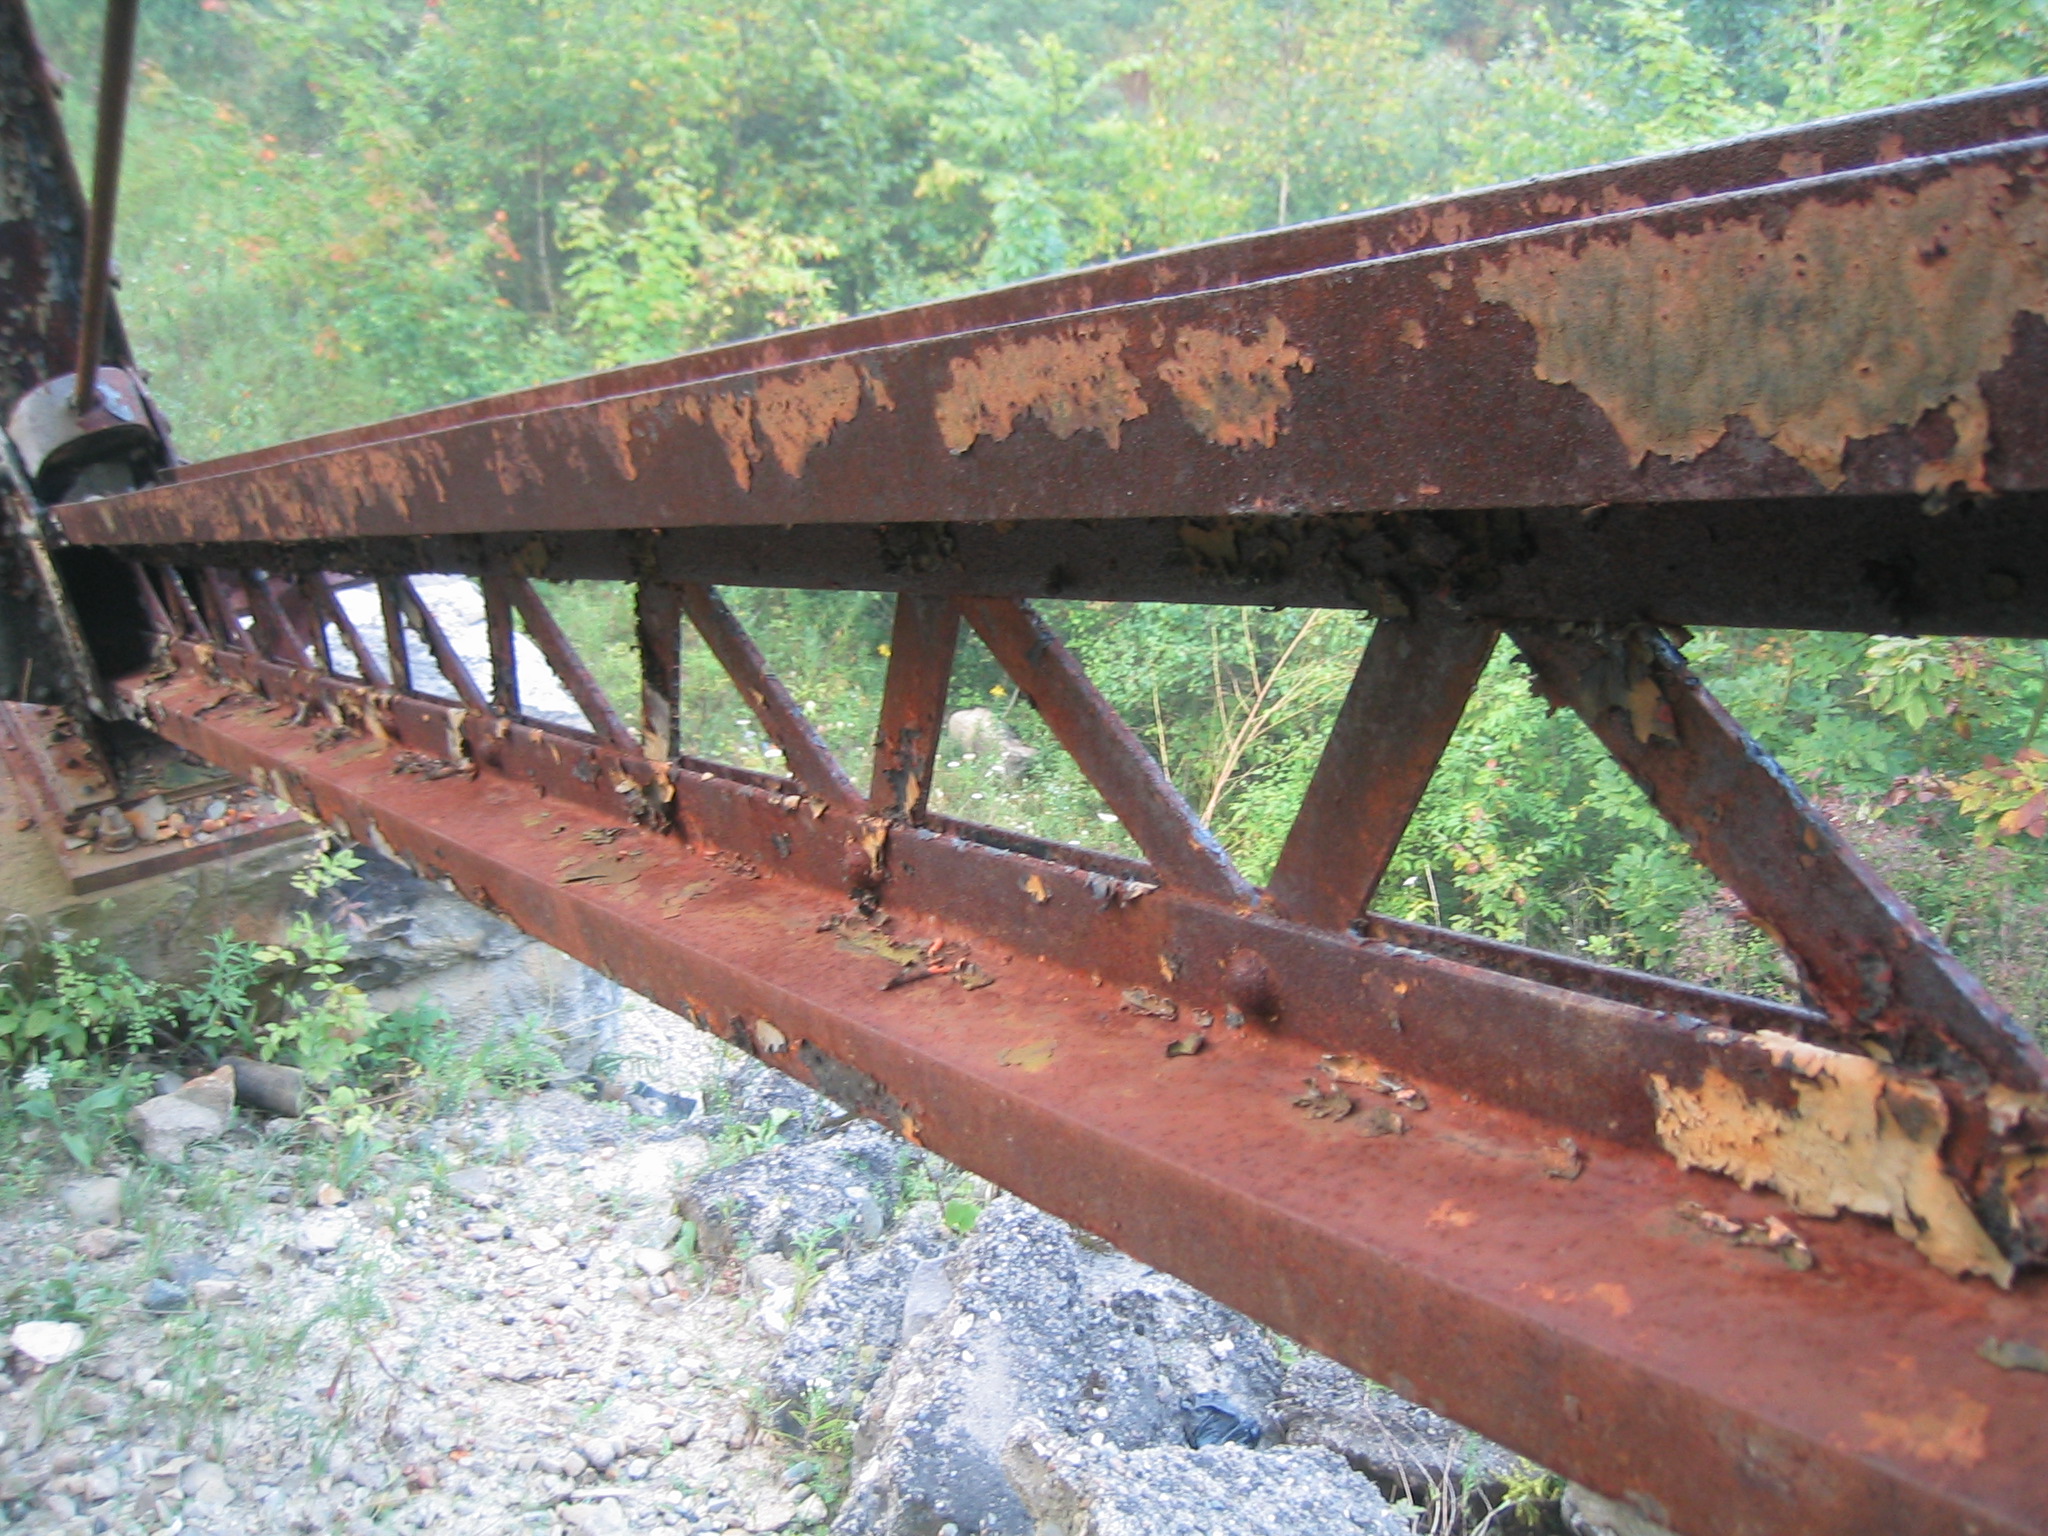
Top chord.
![]()

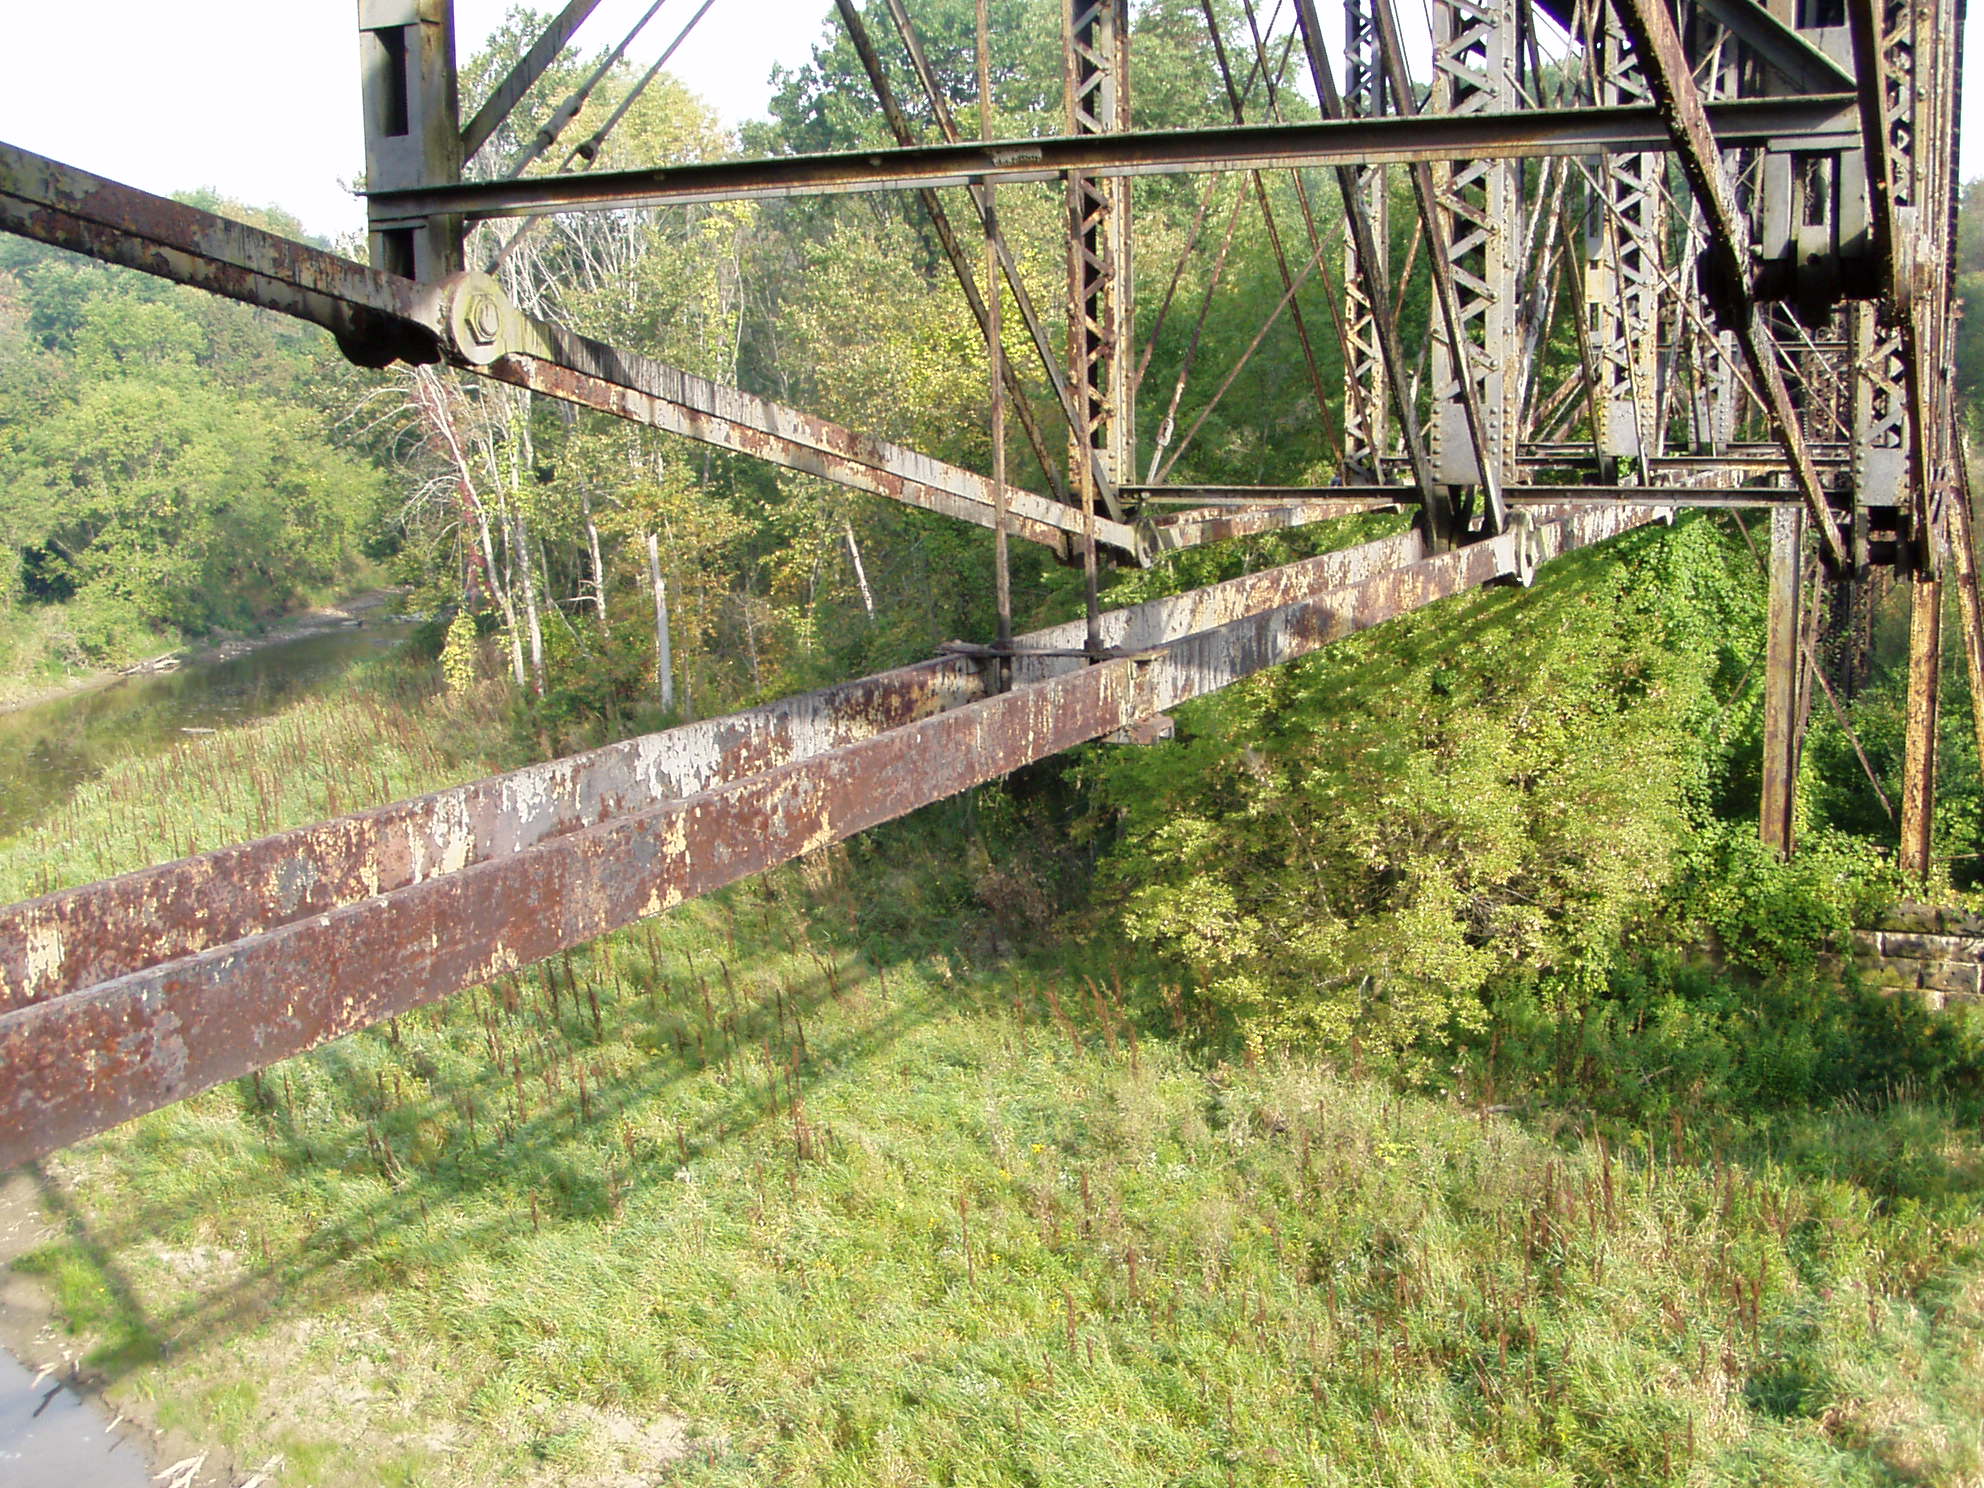
Bottom chord.
![]()

Replaced vertical member.
![]()
Lateral bracing connection to top chord.
![]()

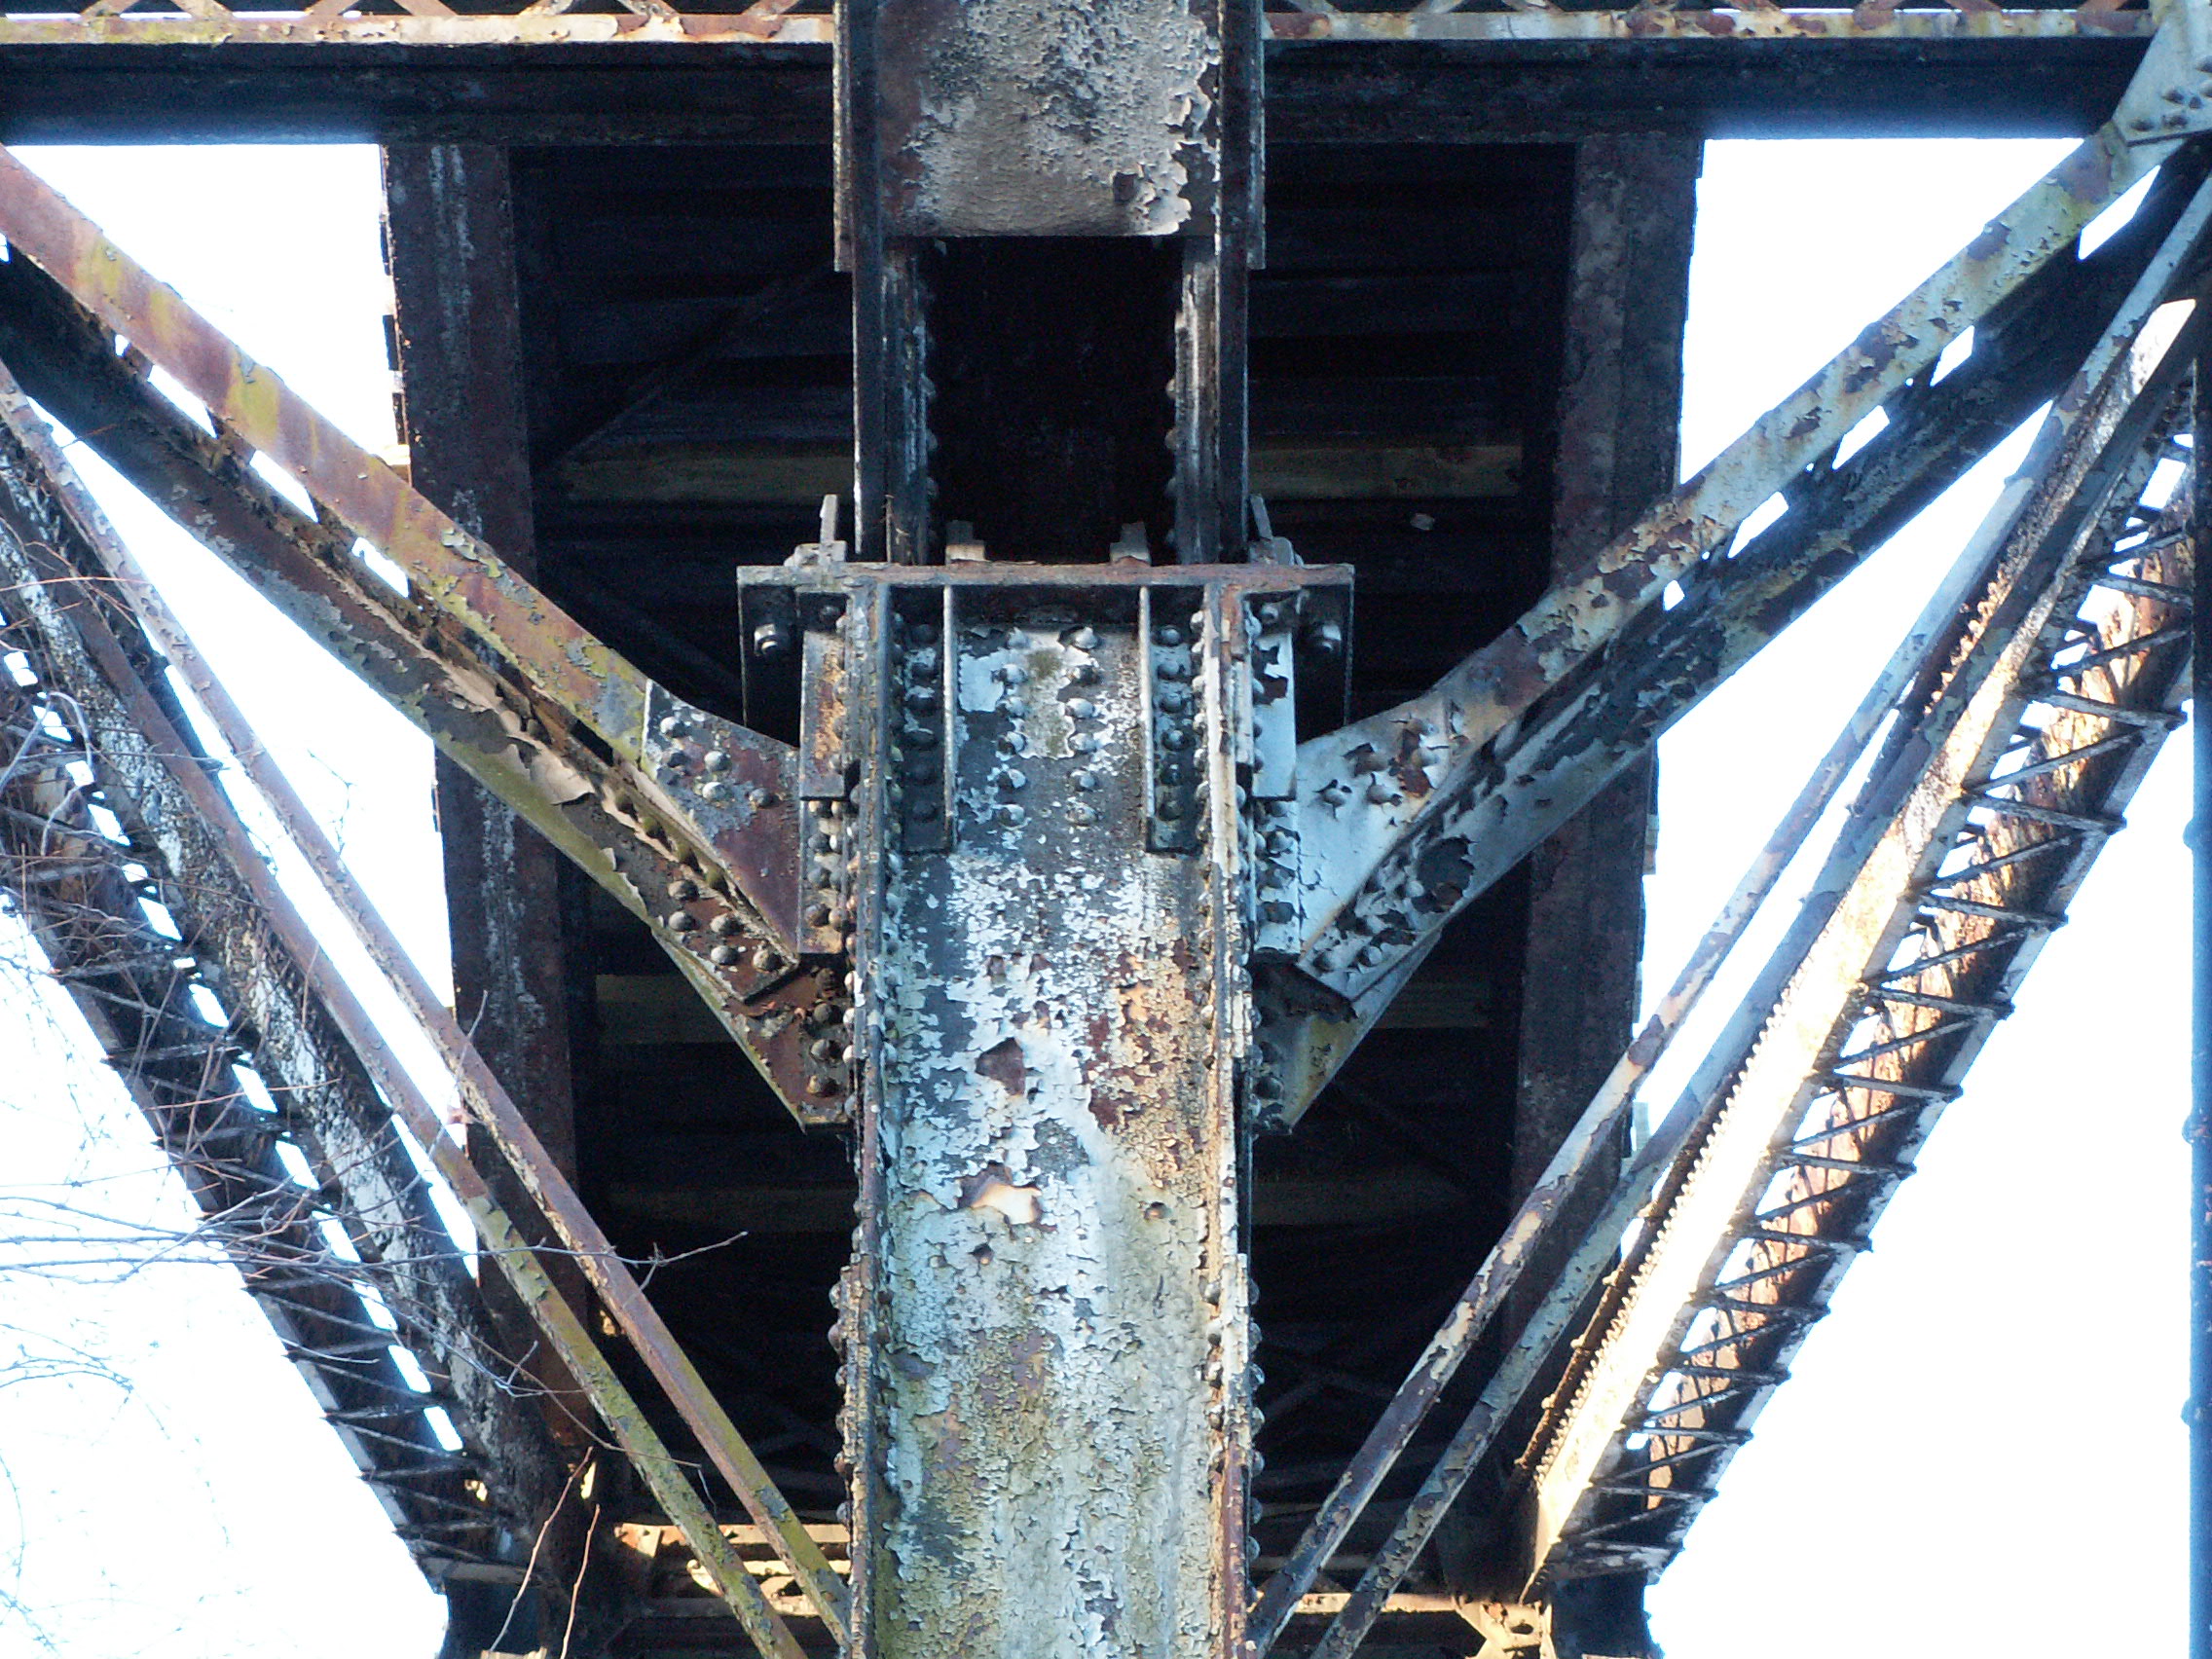
Main span bent post.
![]()


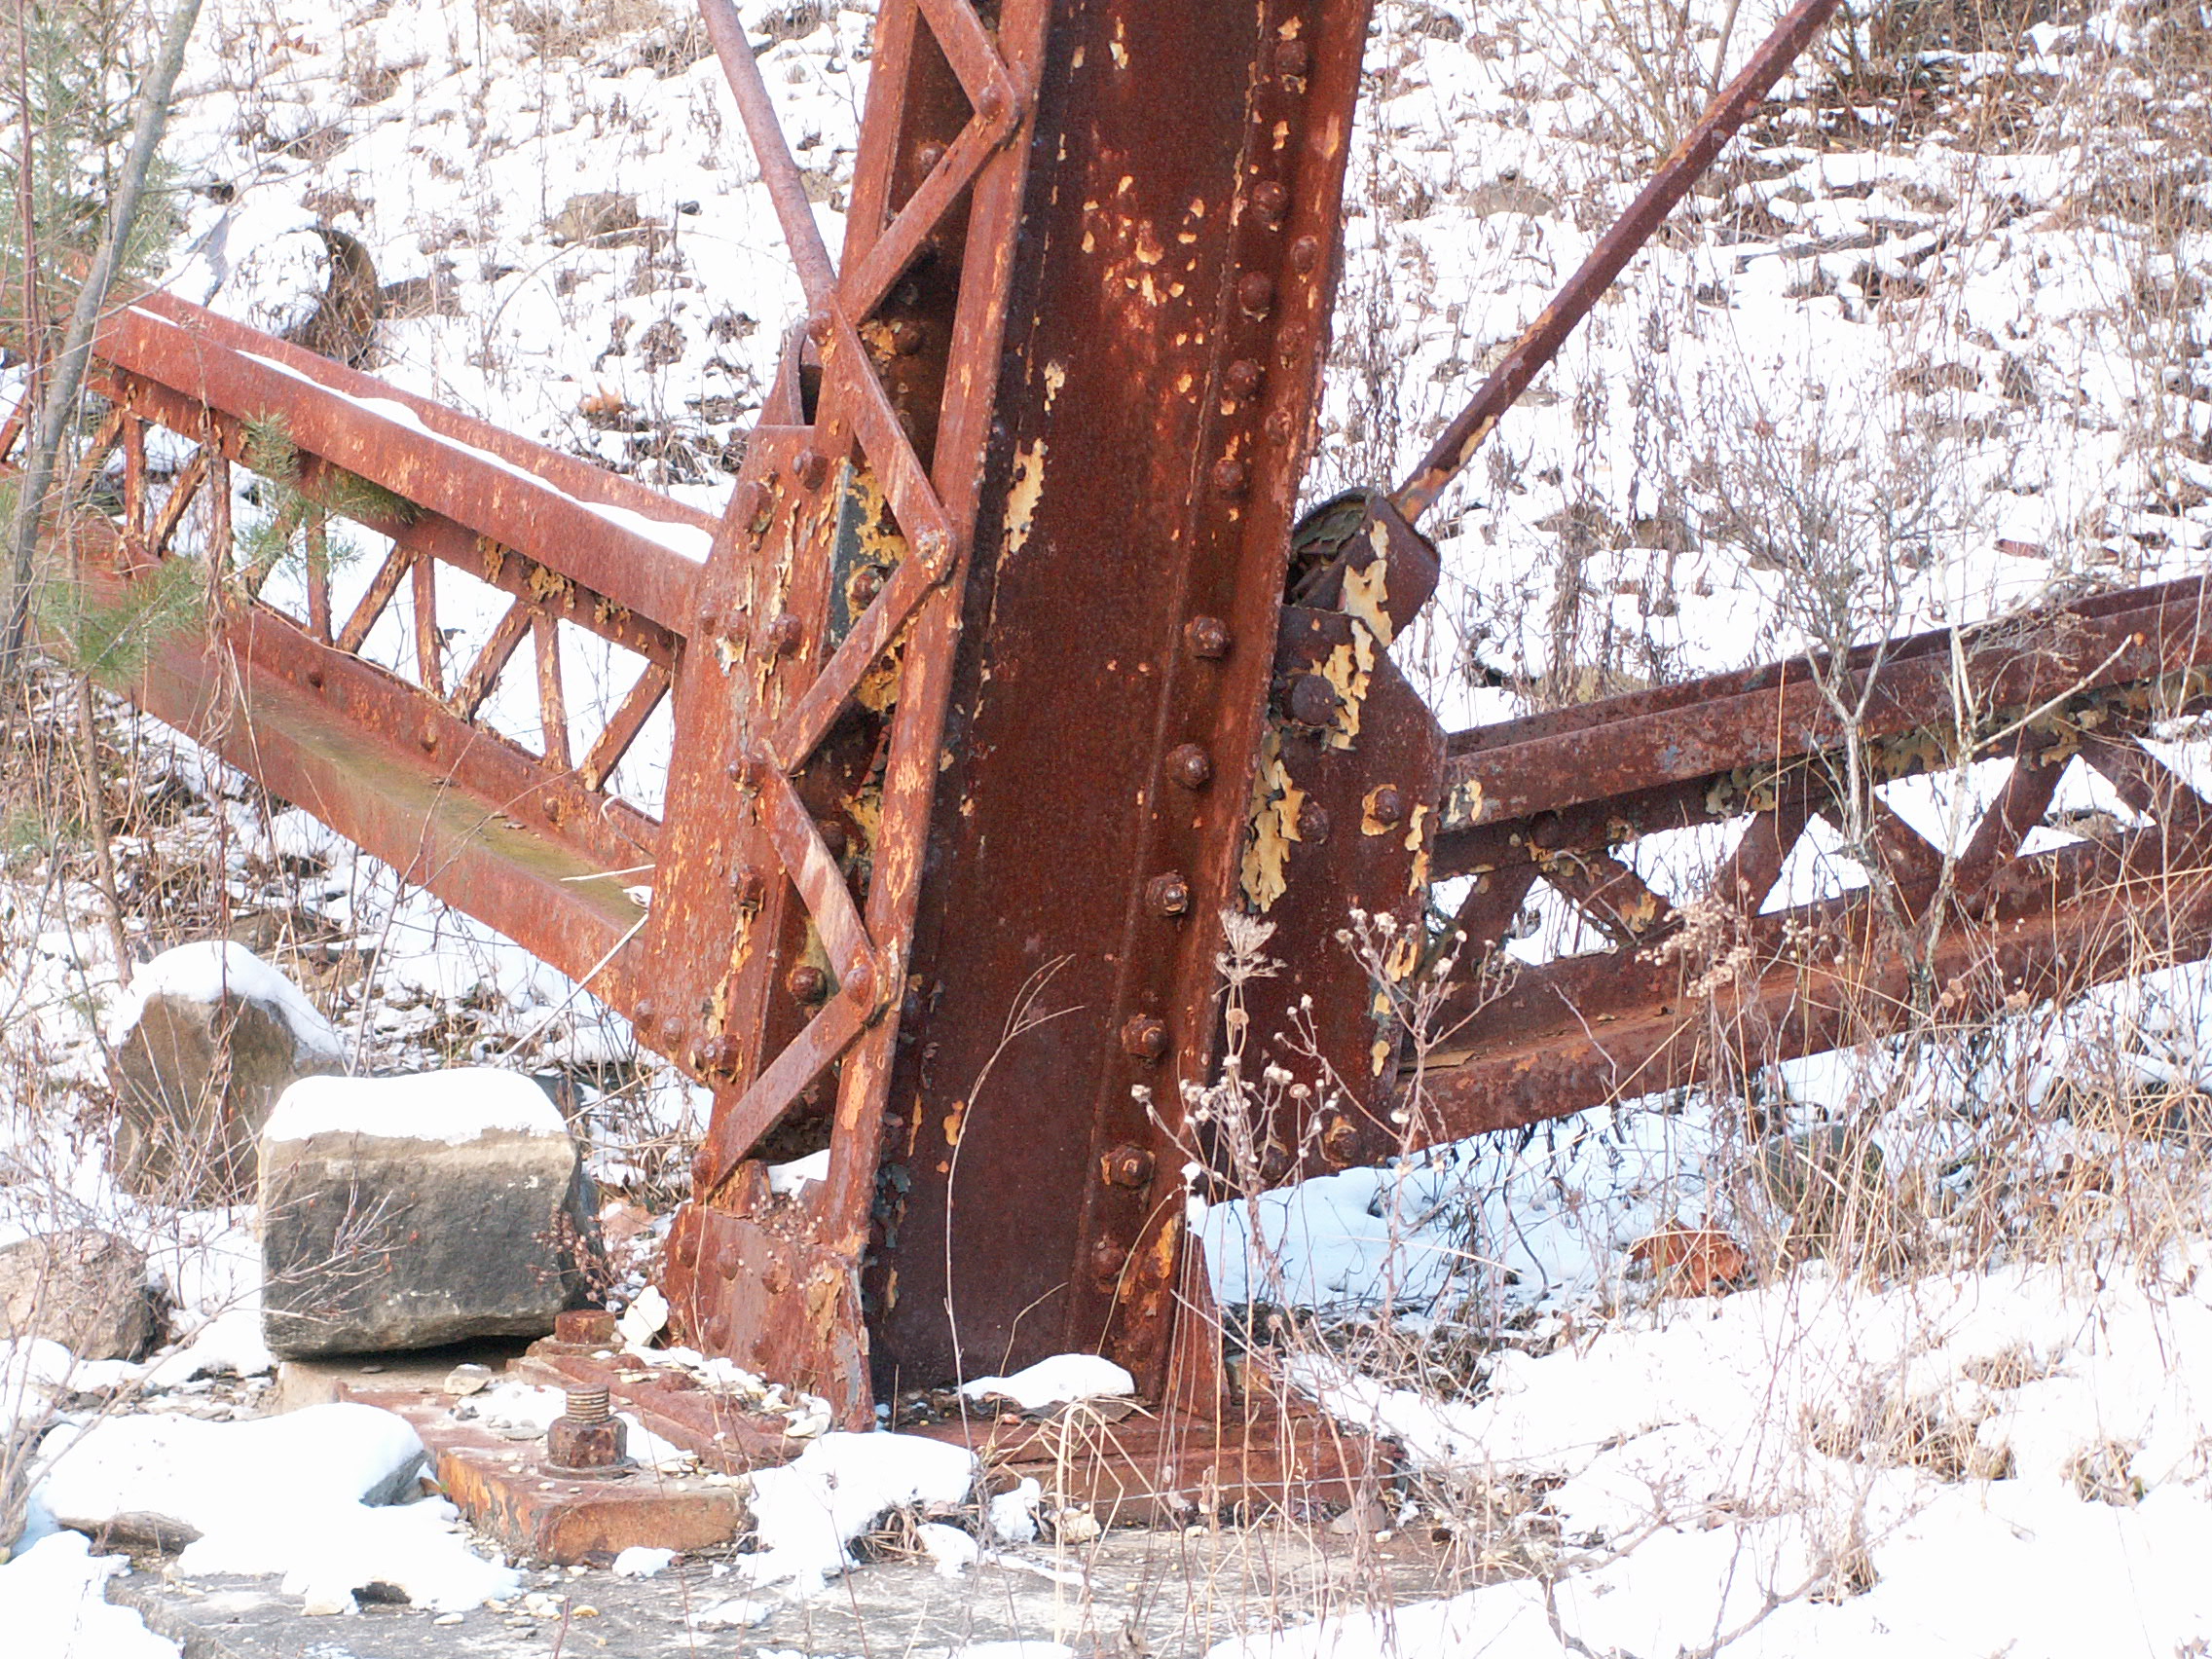


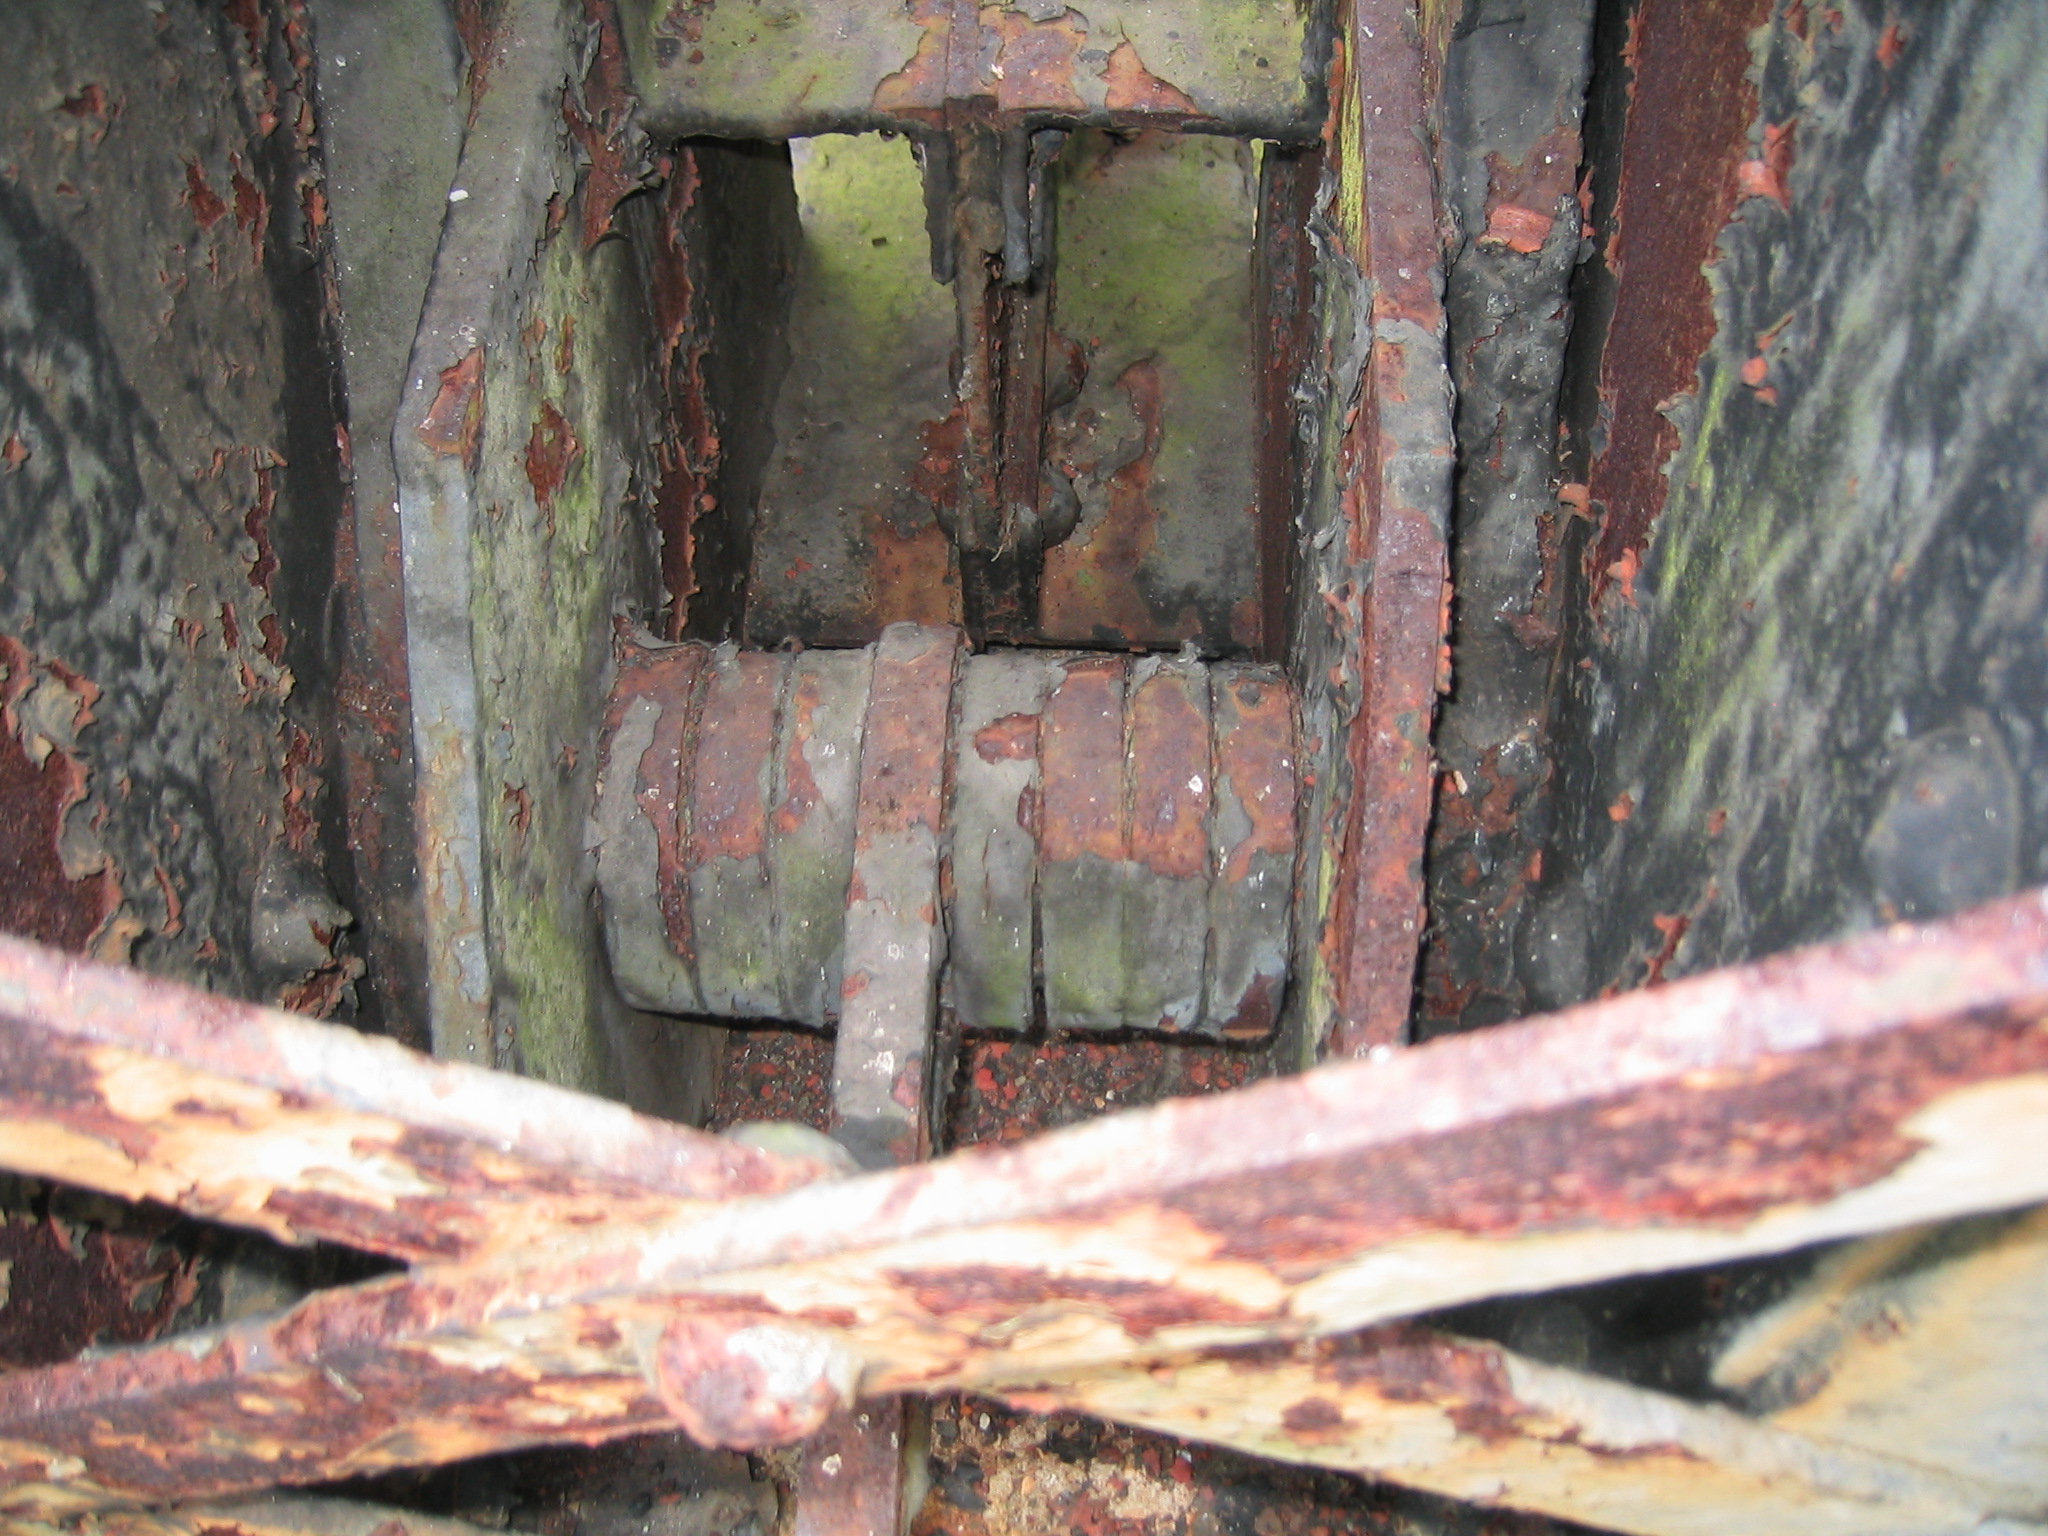
Bearings for bents.
![]()

Footing for bent.
![]()

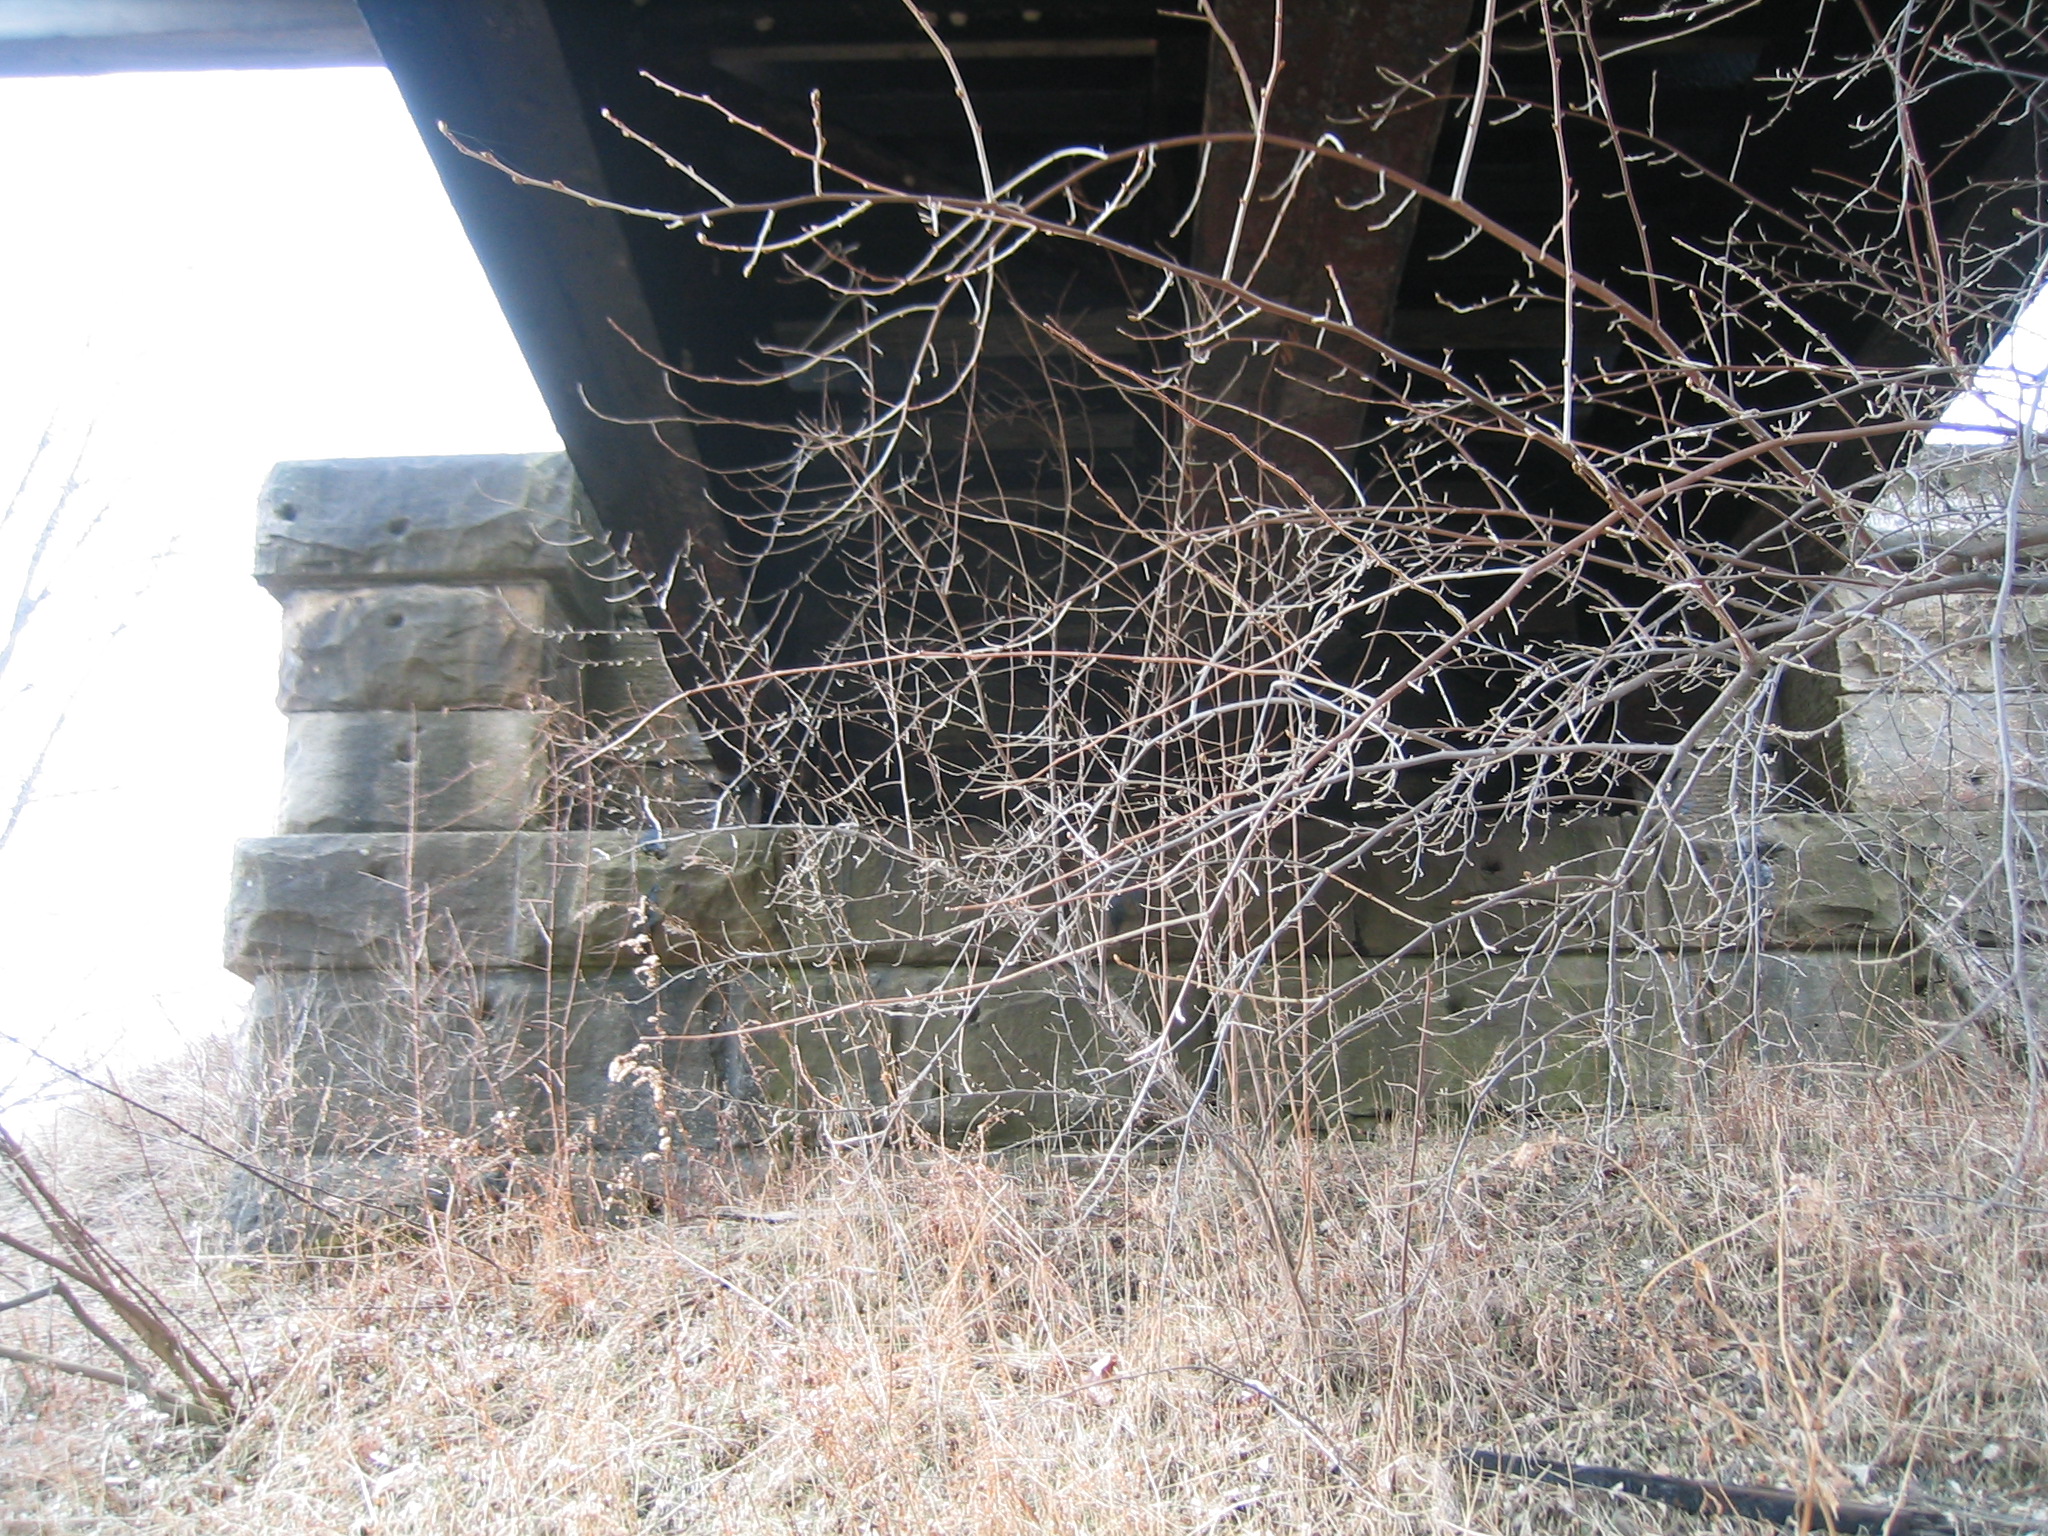

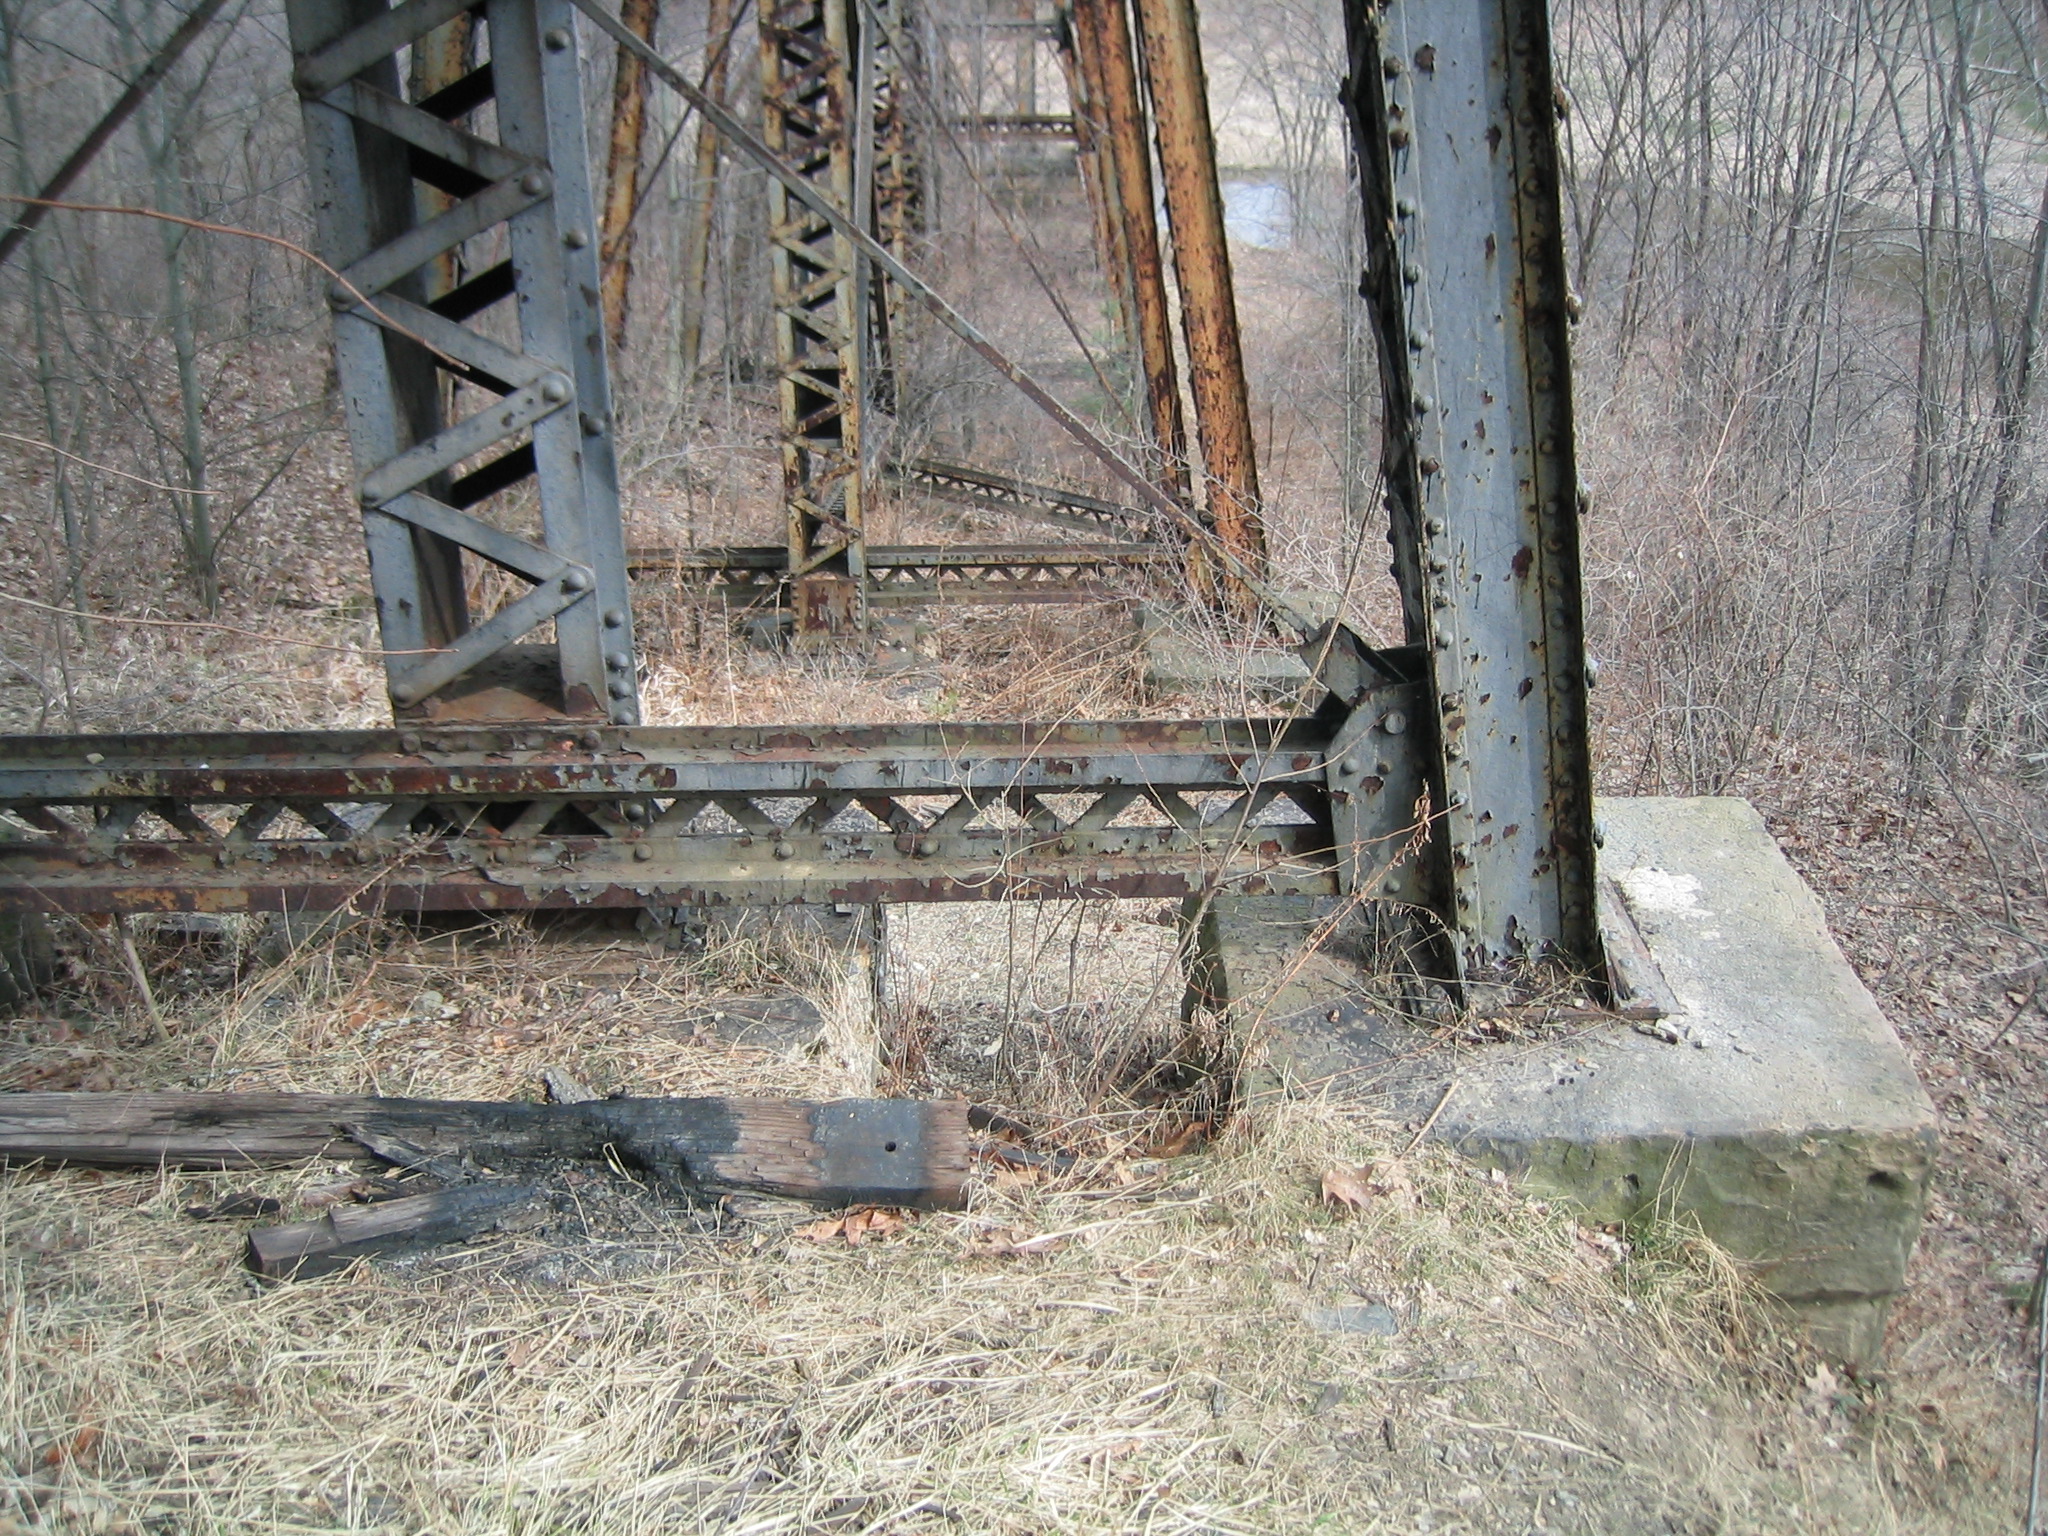
Abutments.
![]()

Views o the lower bracing for bents showing the odd angles it runs at as the bearings rest according to the hilly terrain.
![]()
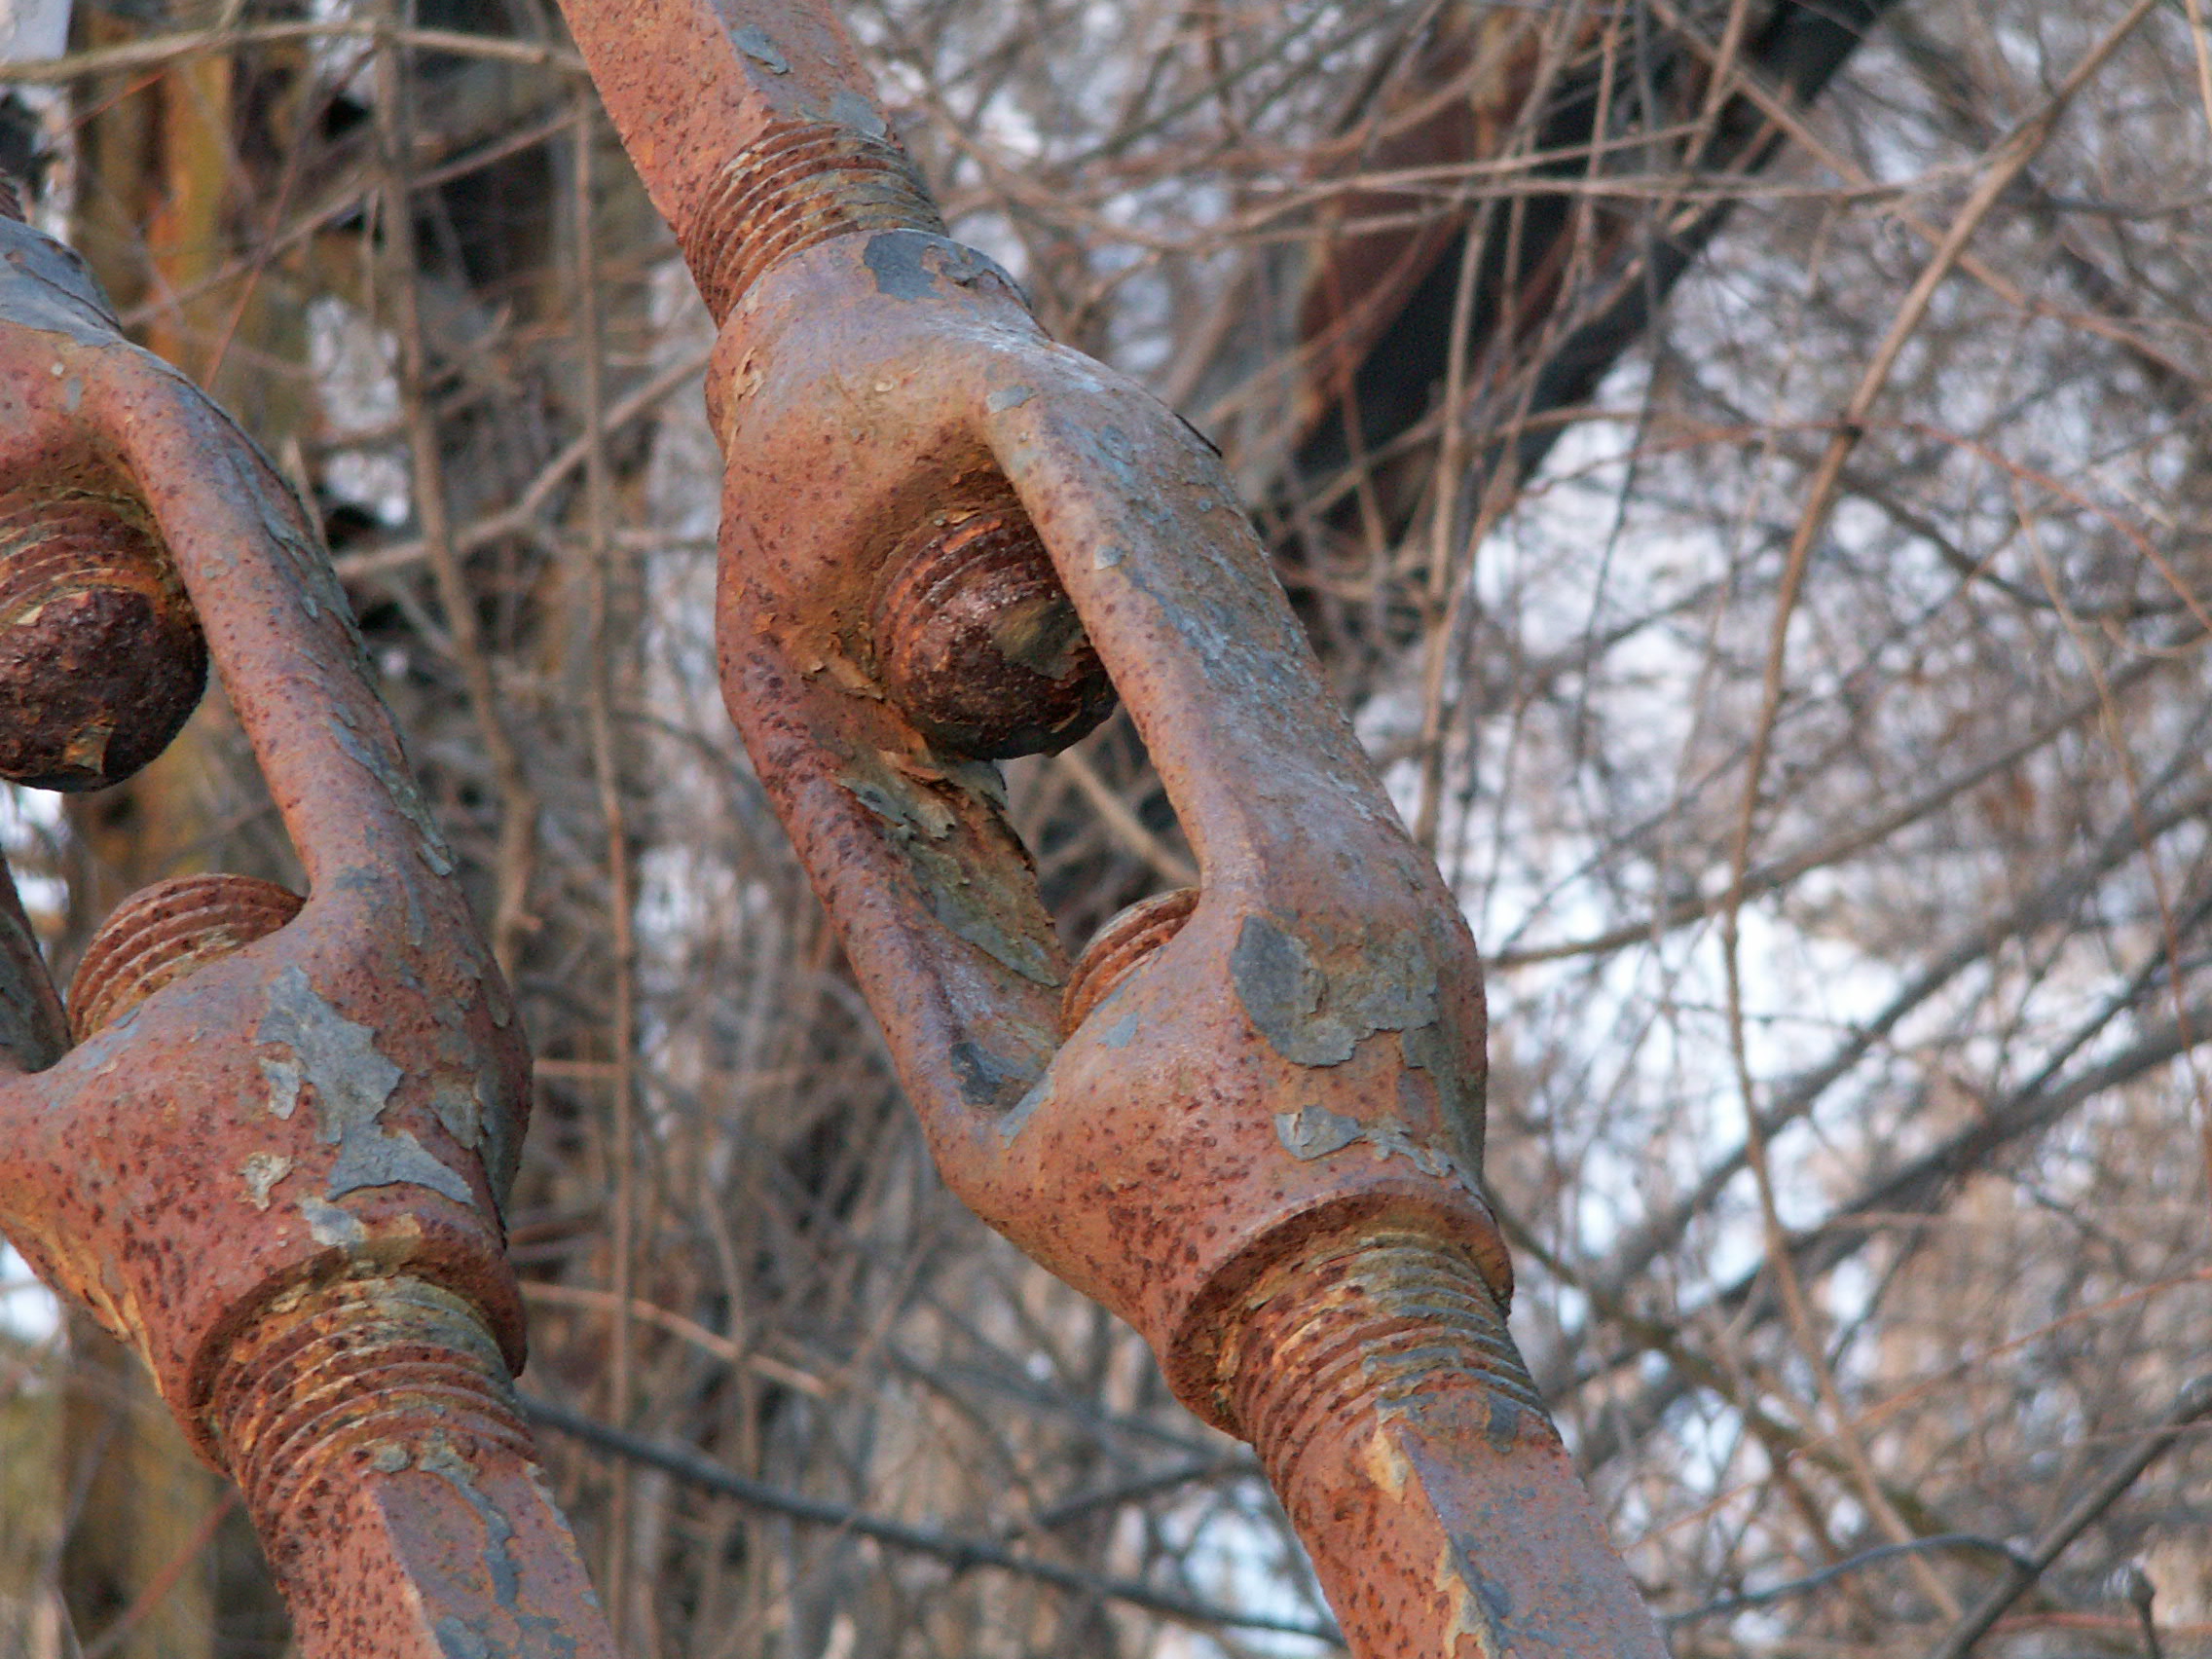


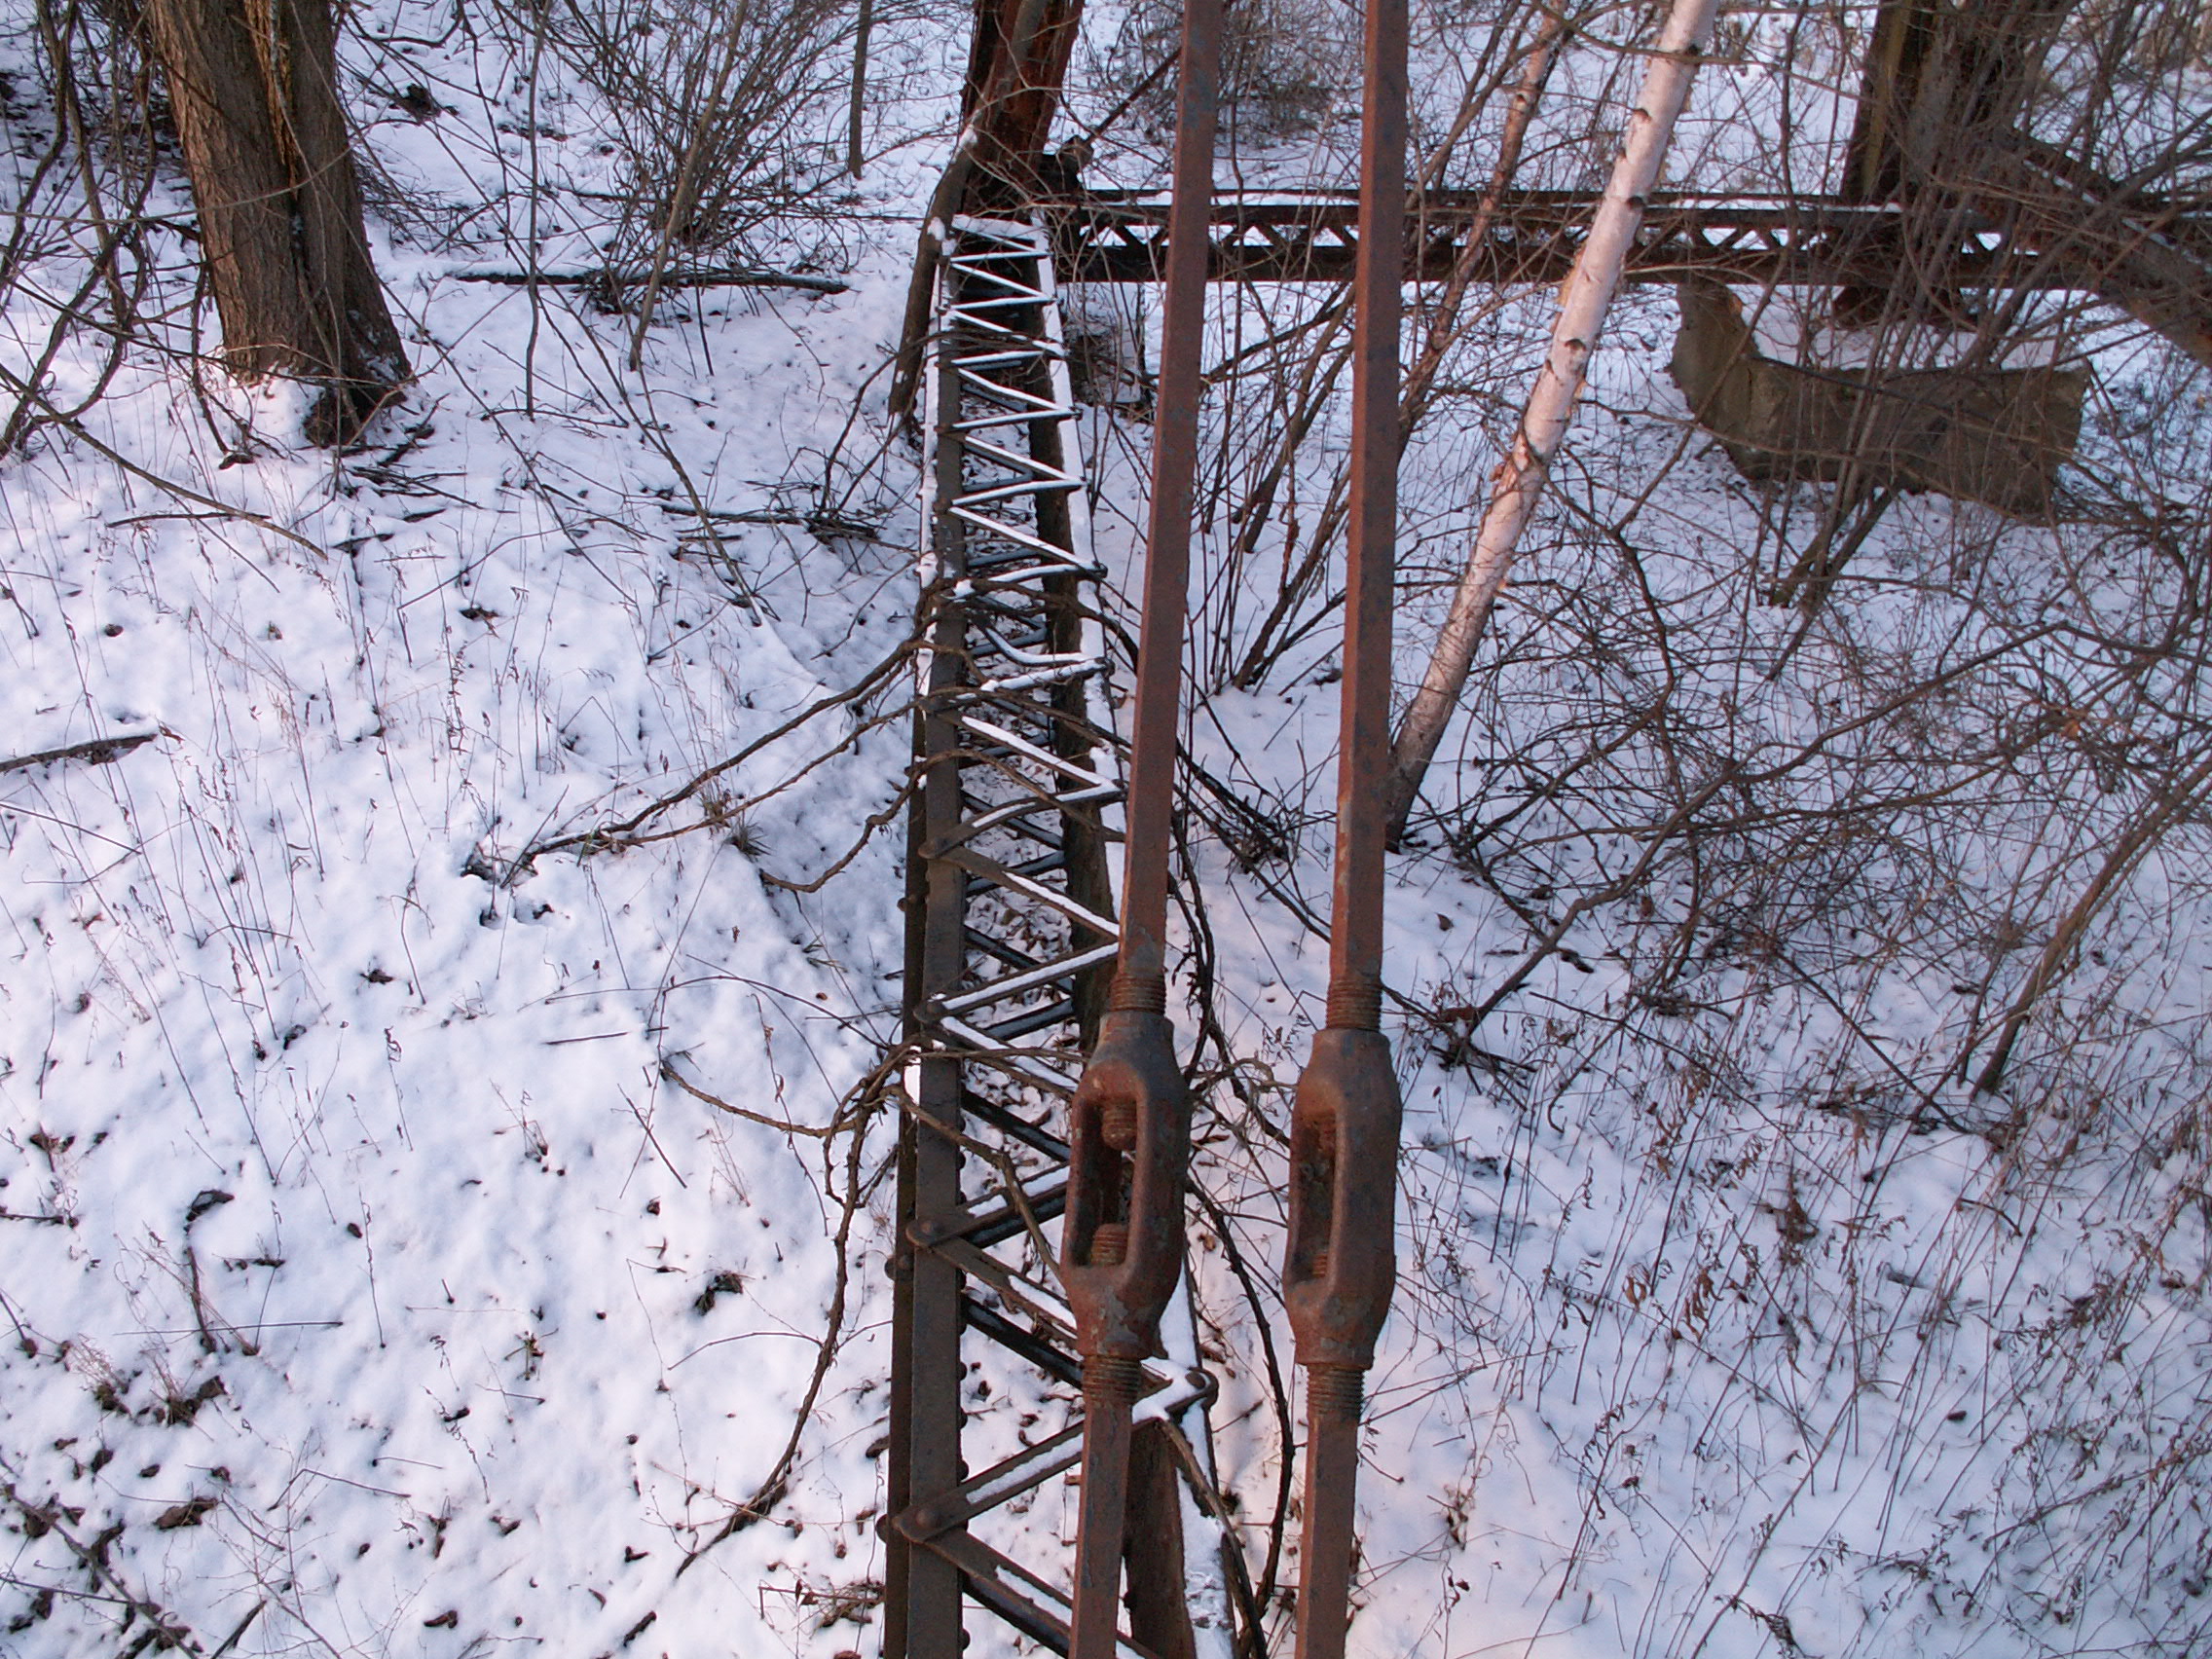
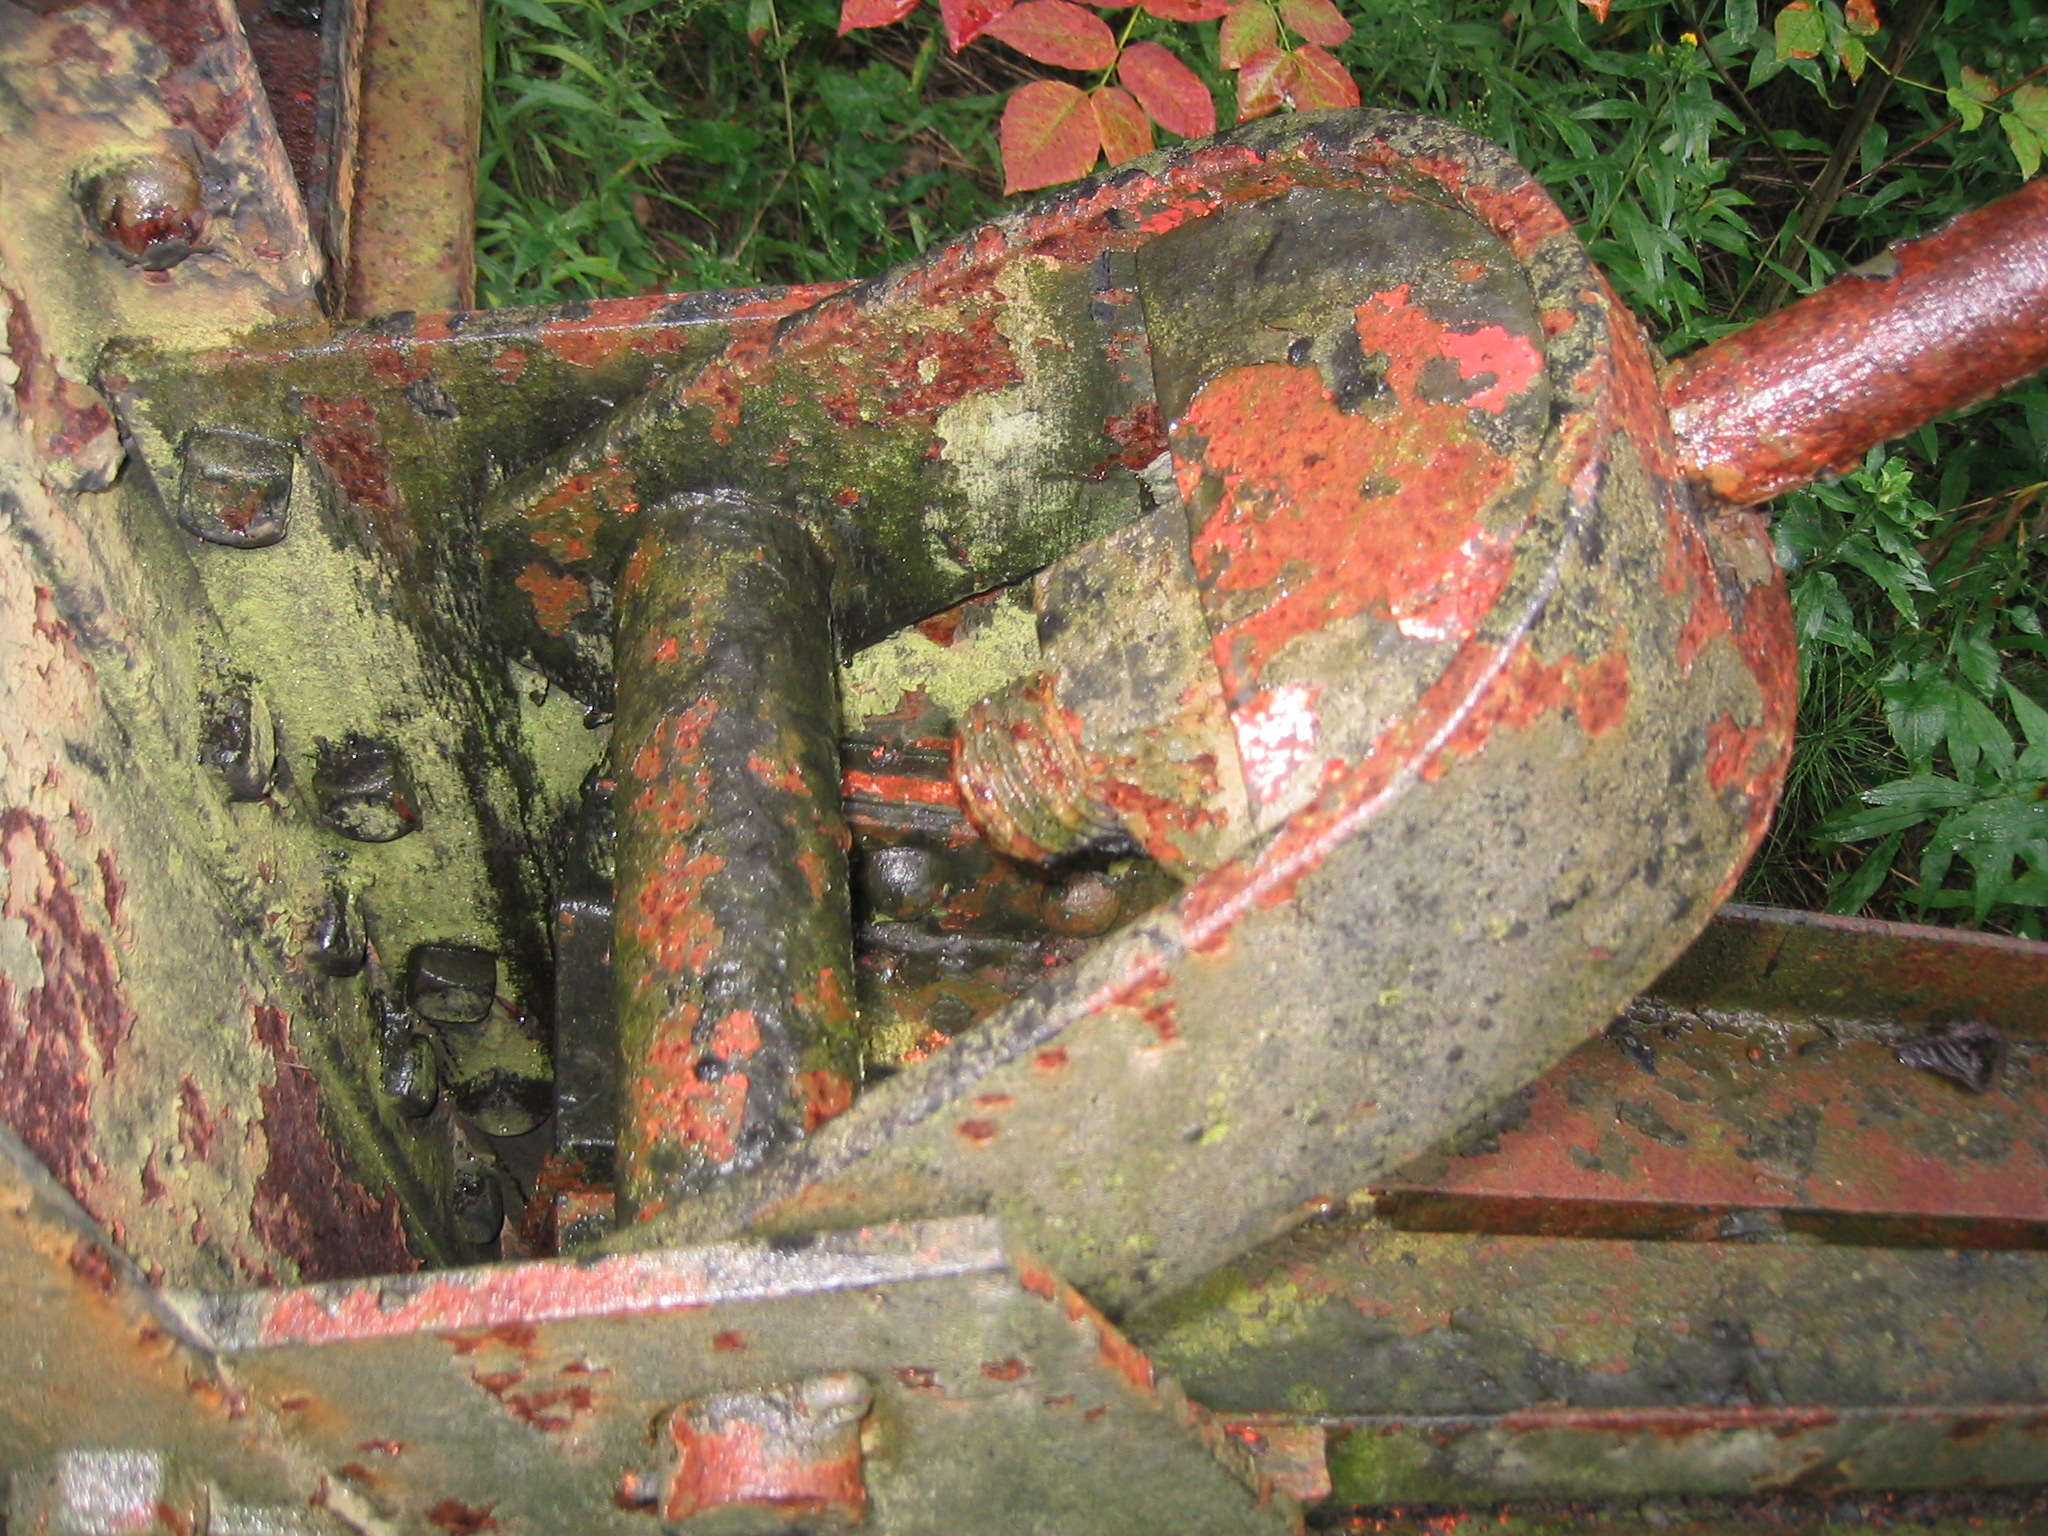
Turnbuckles on bents.
![]()


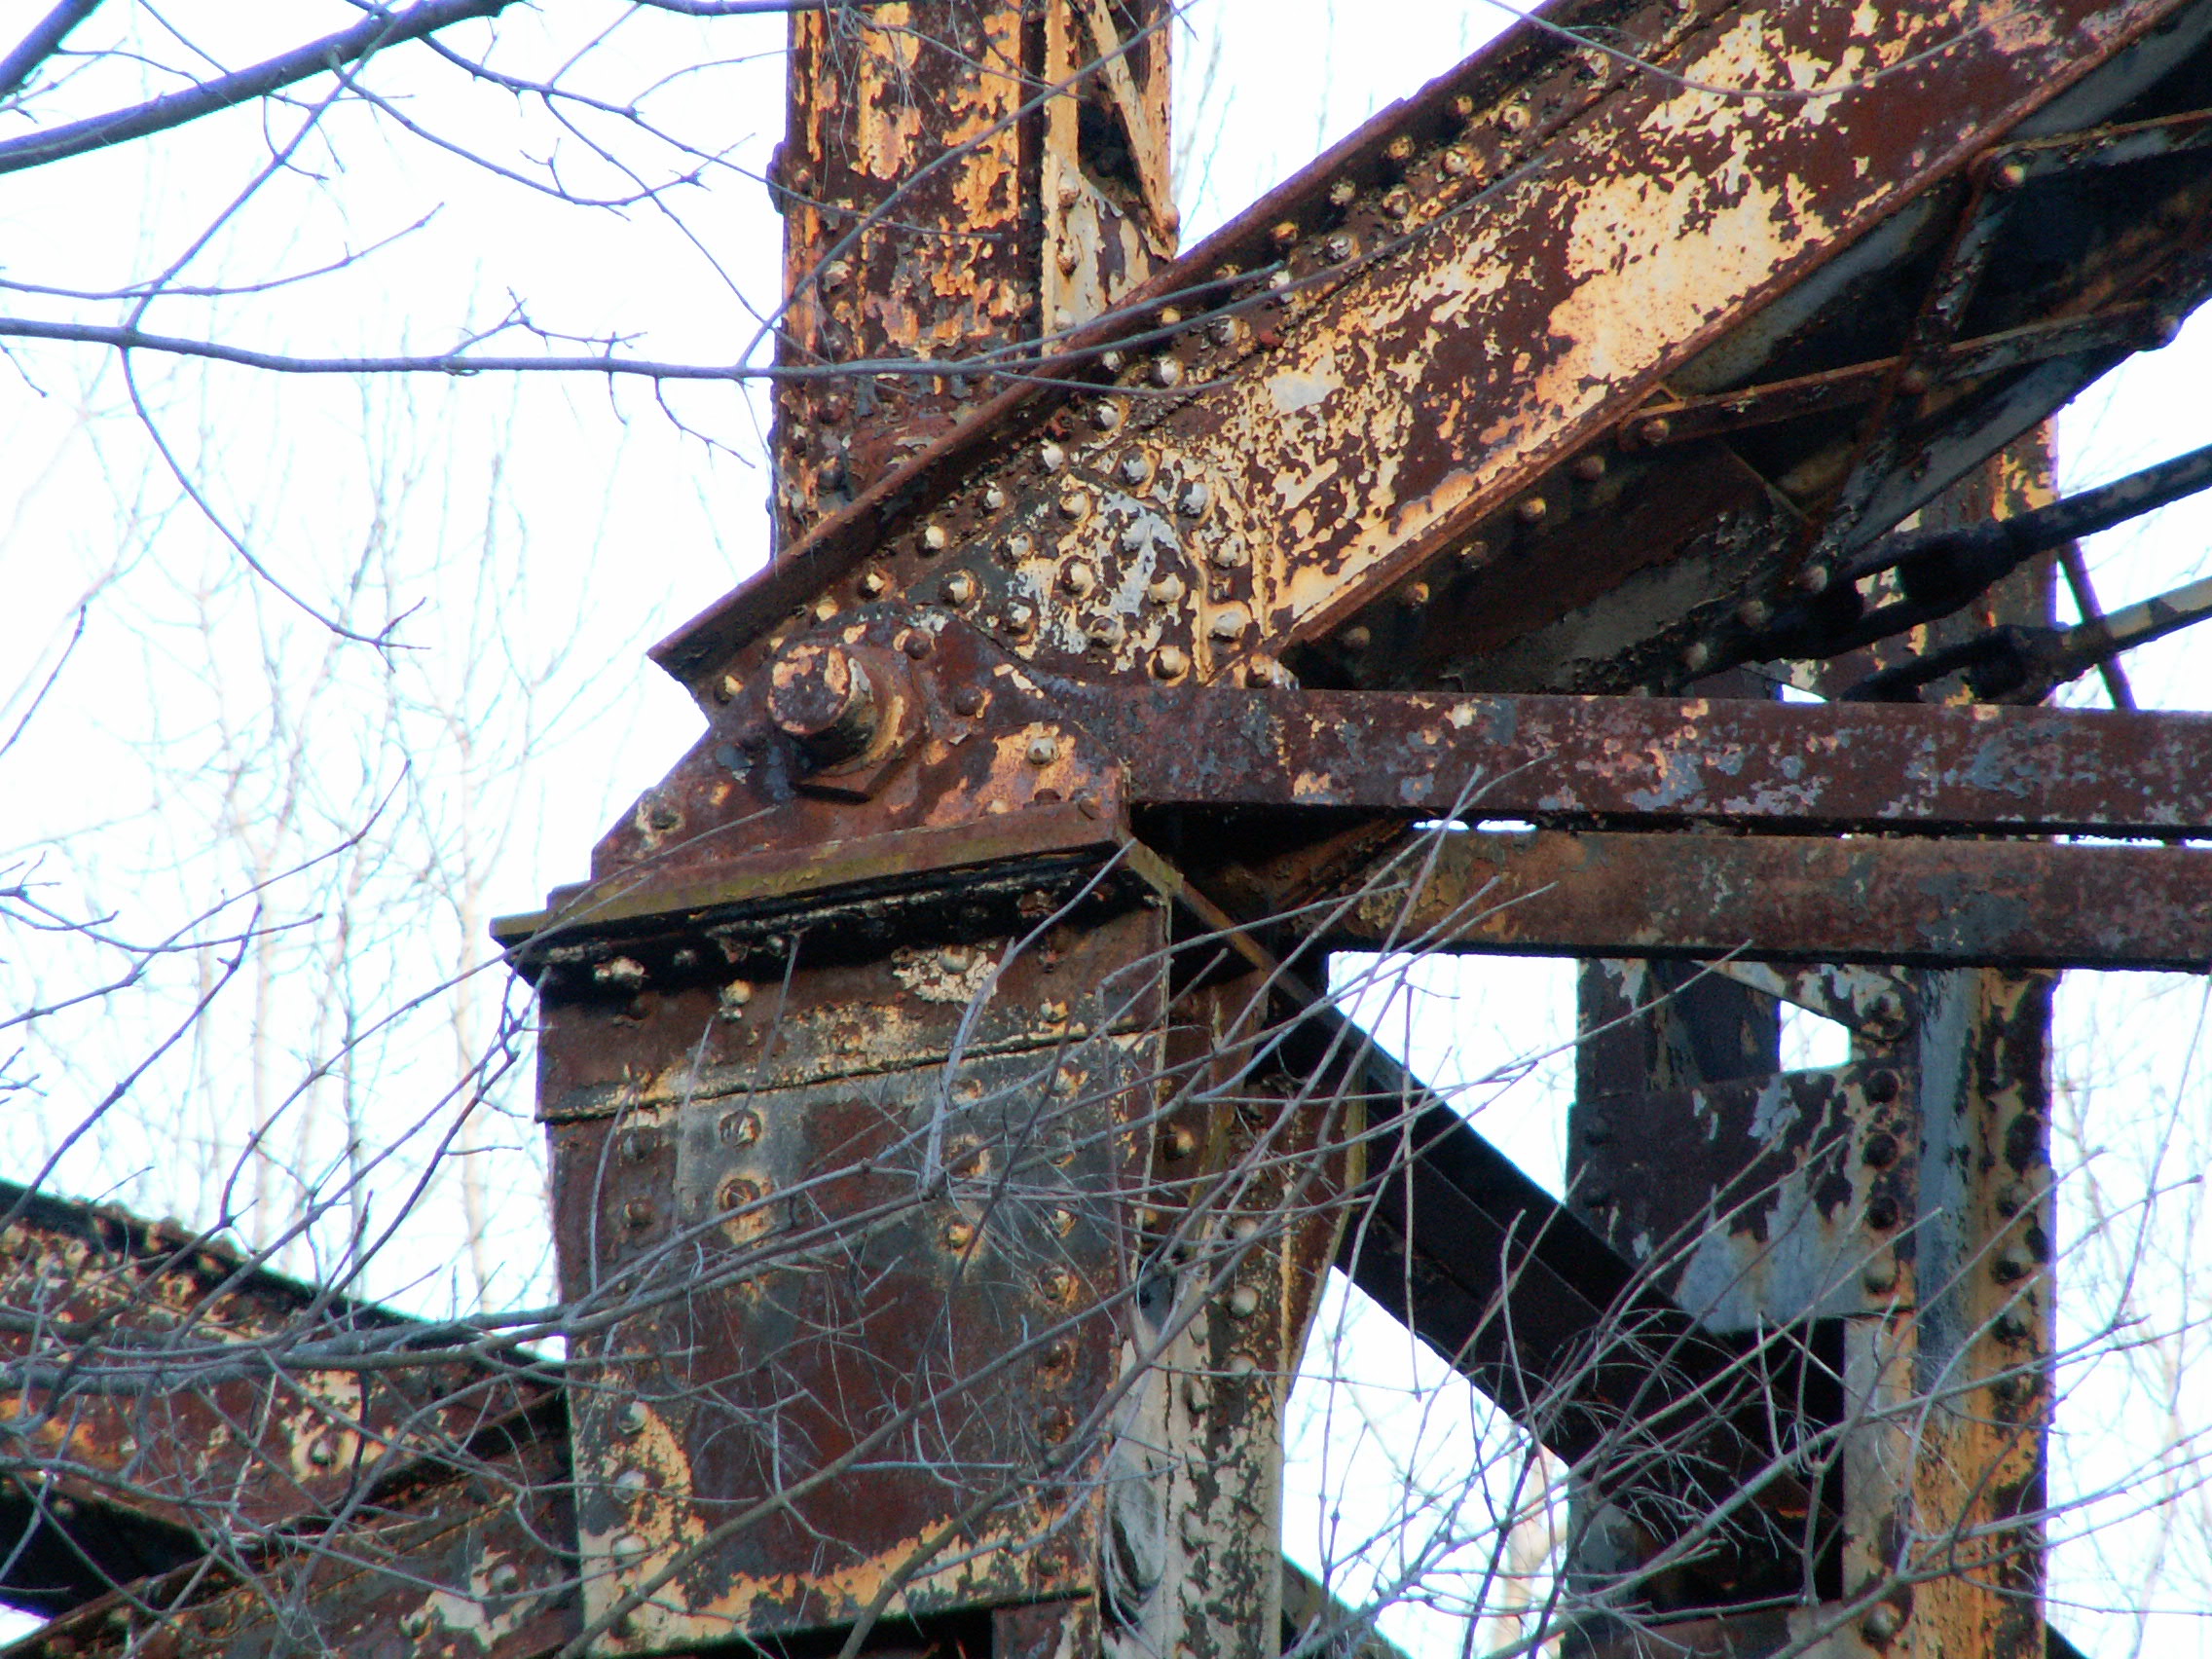
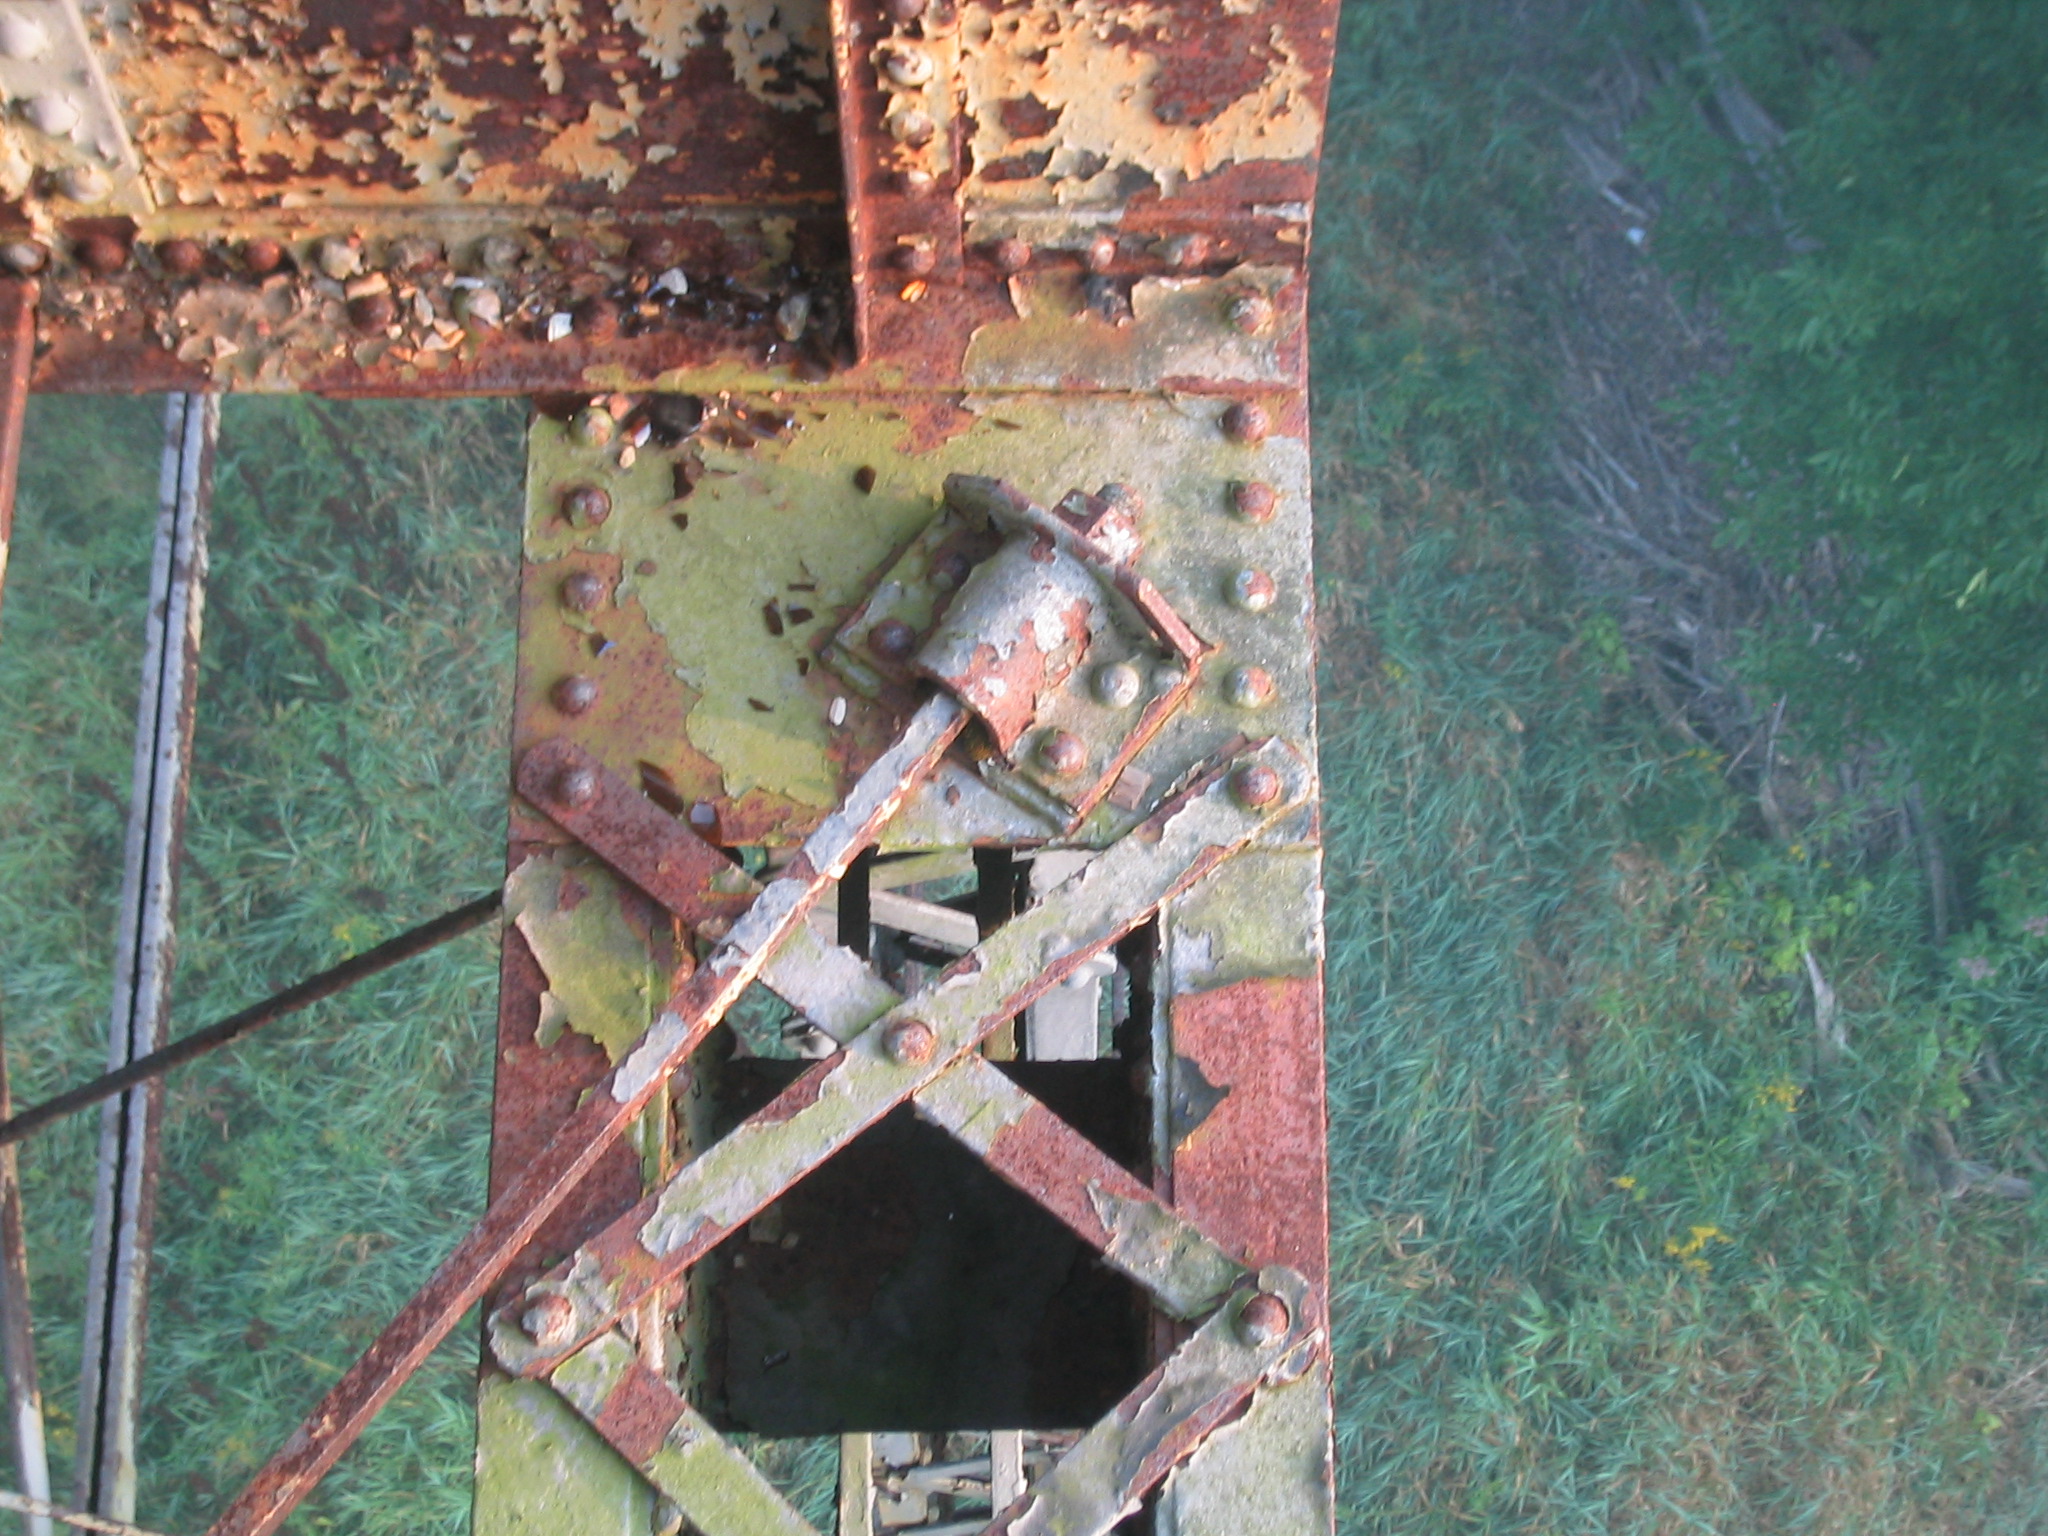
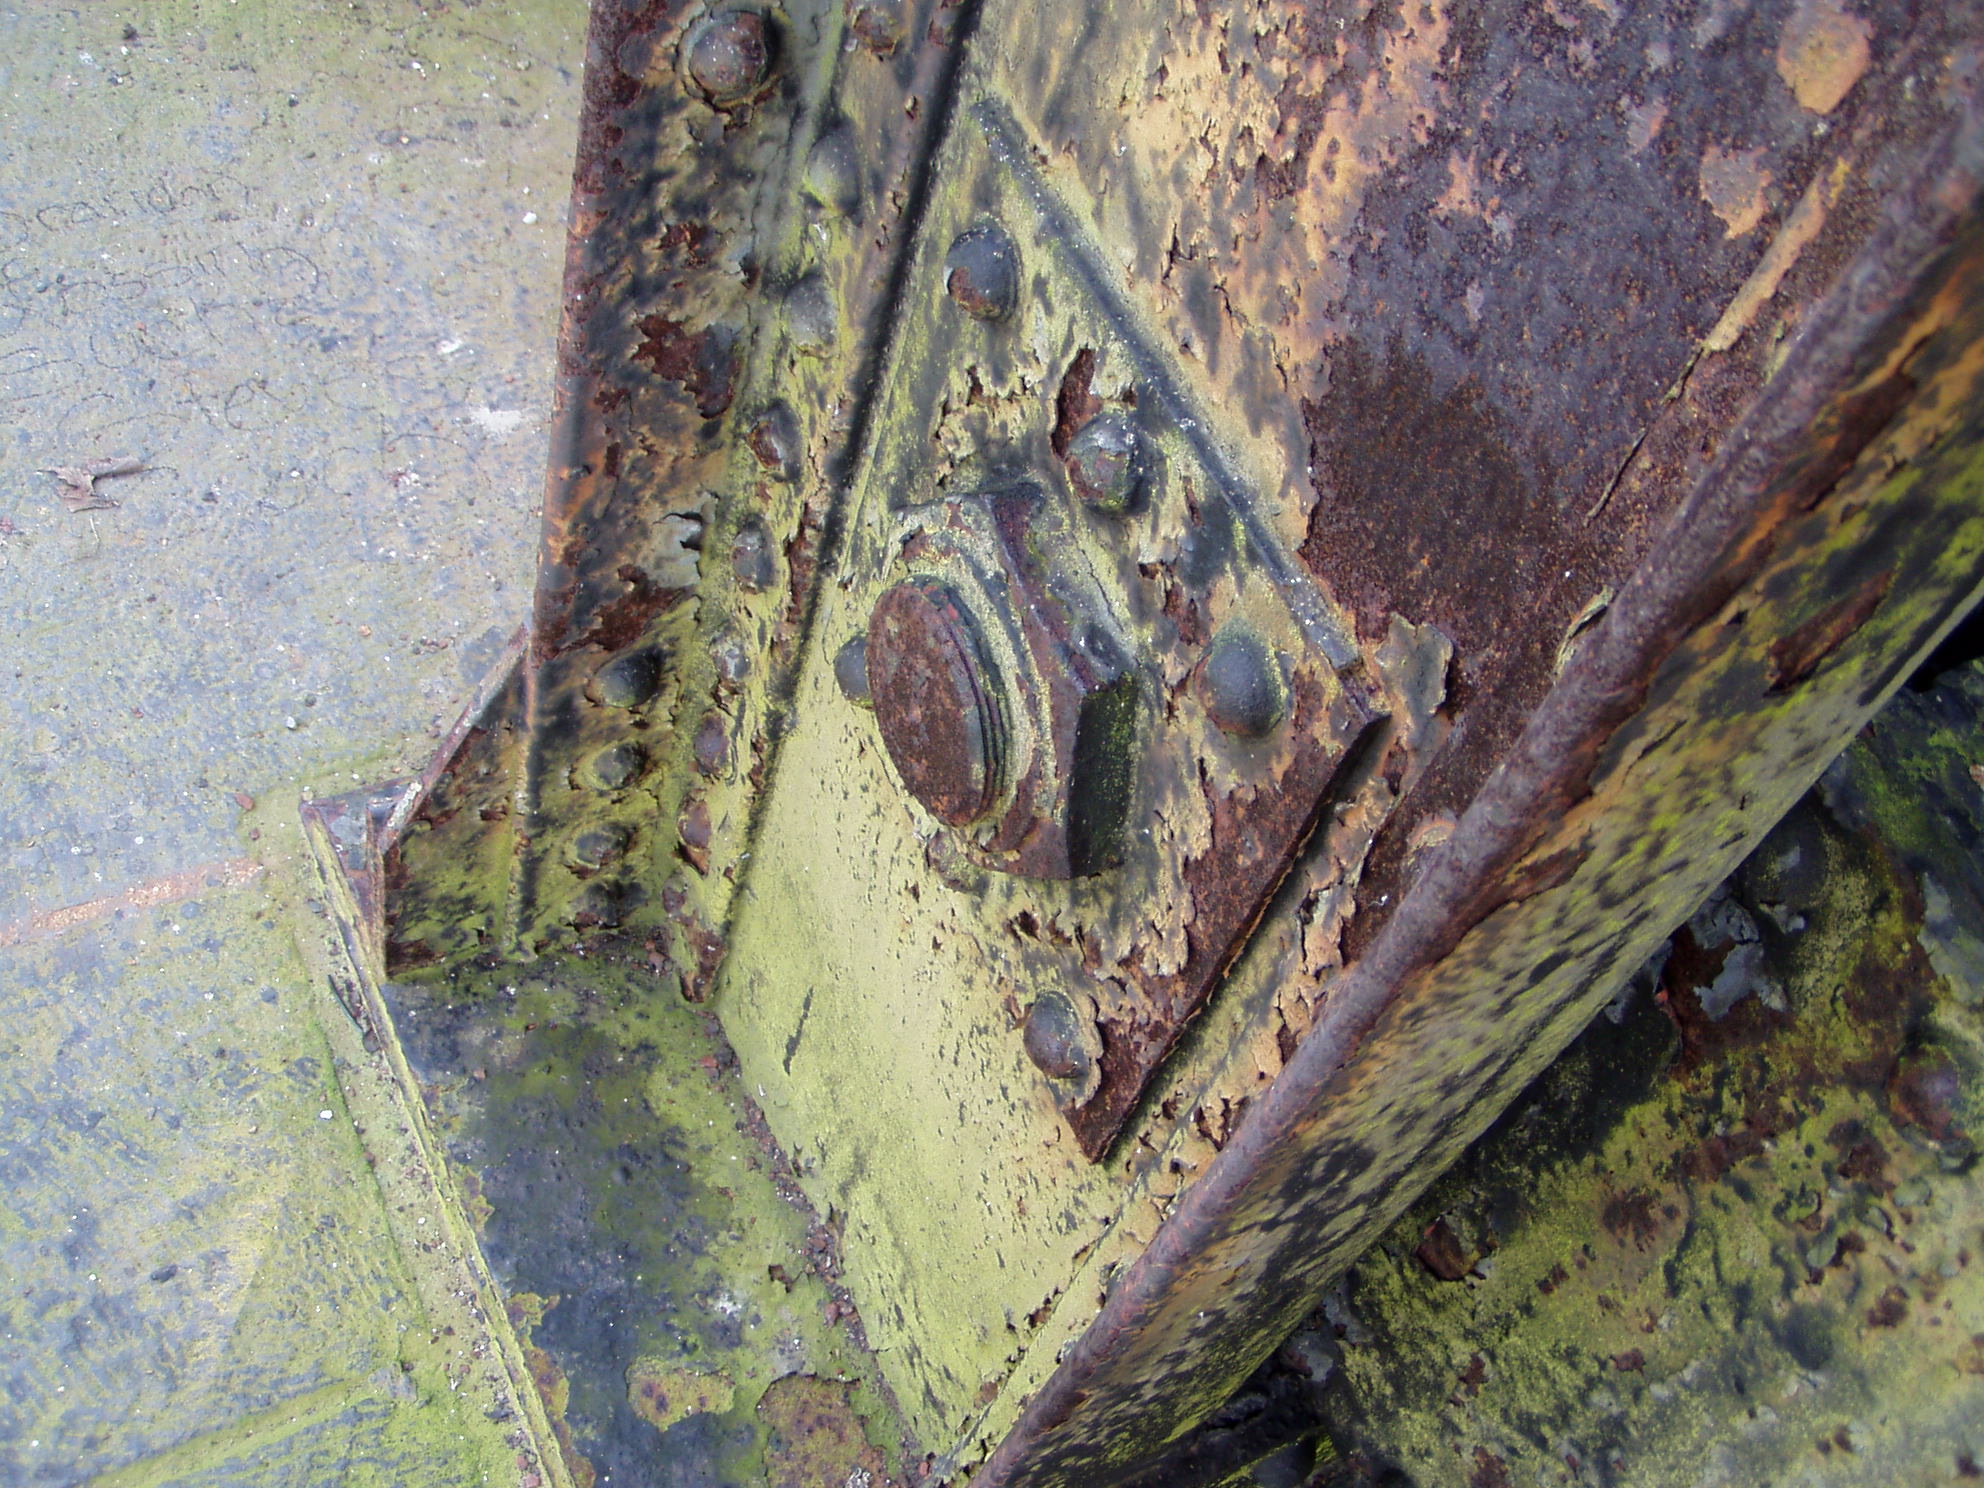
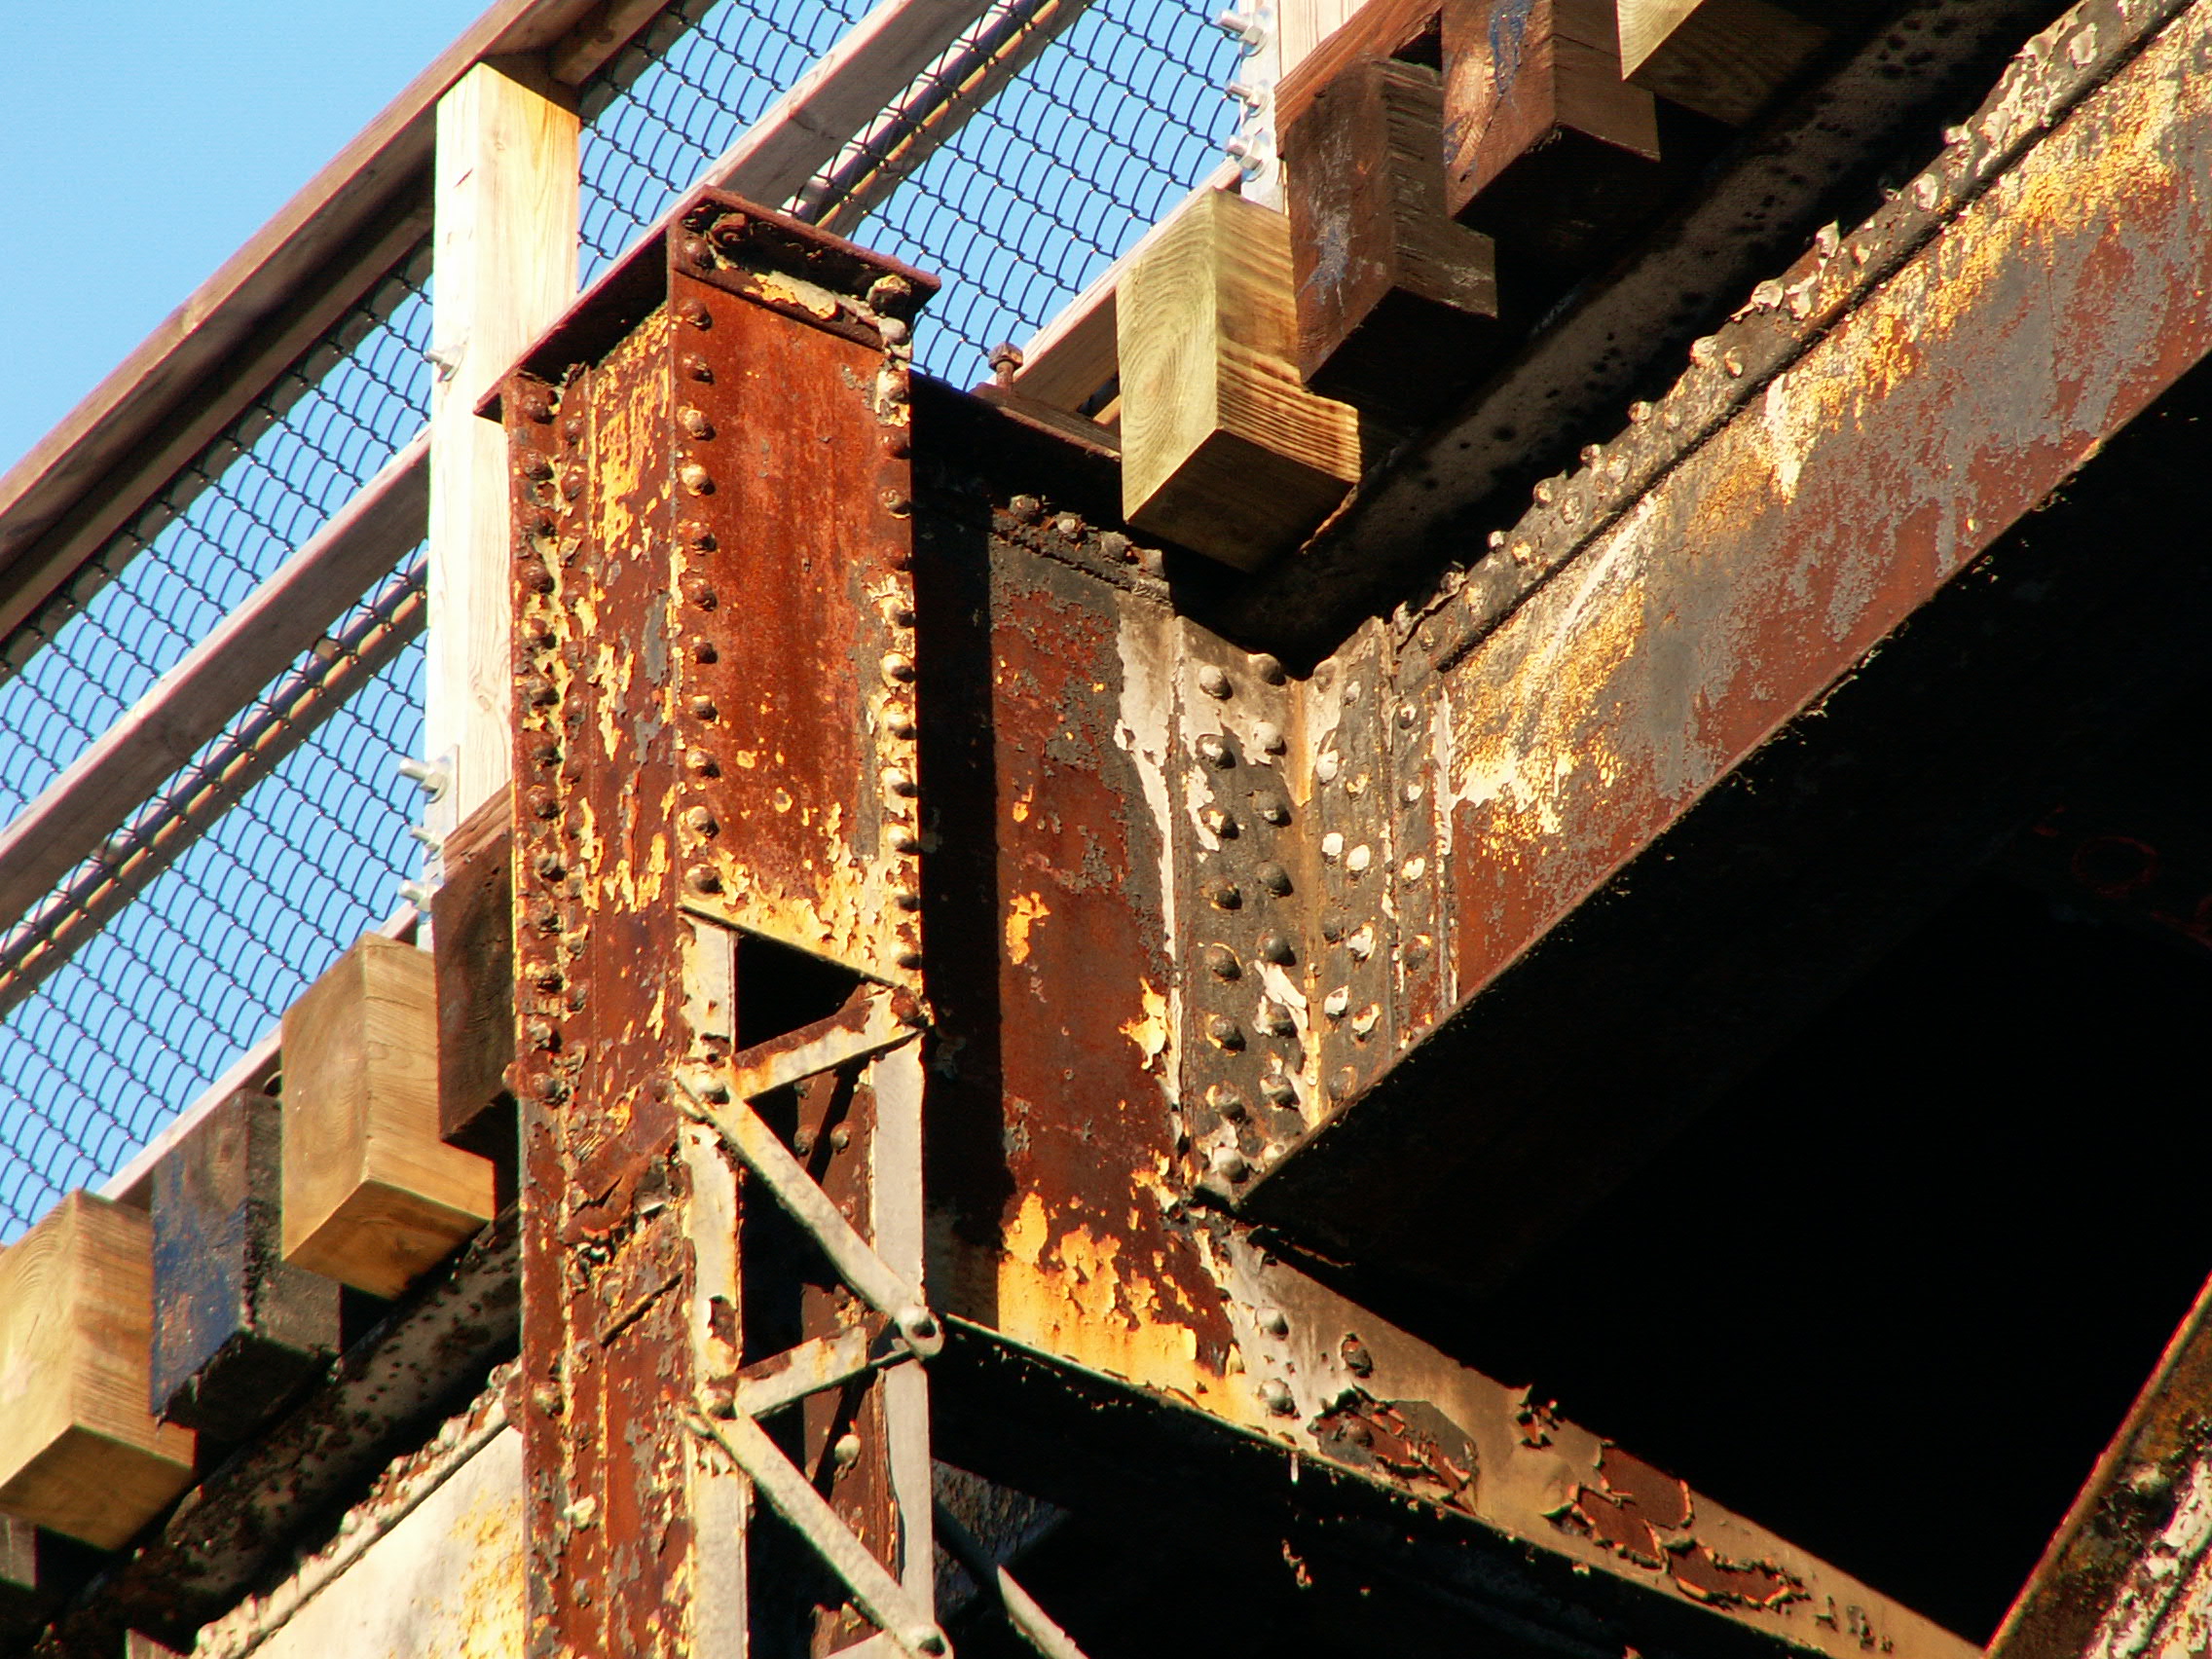
Connections on bents.
![]()


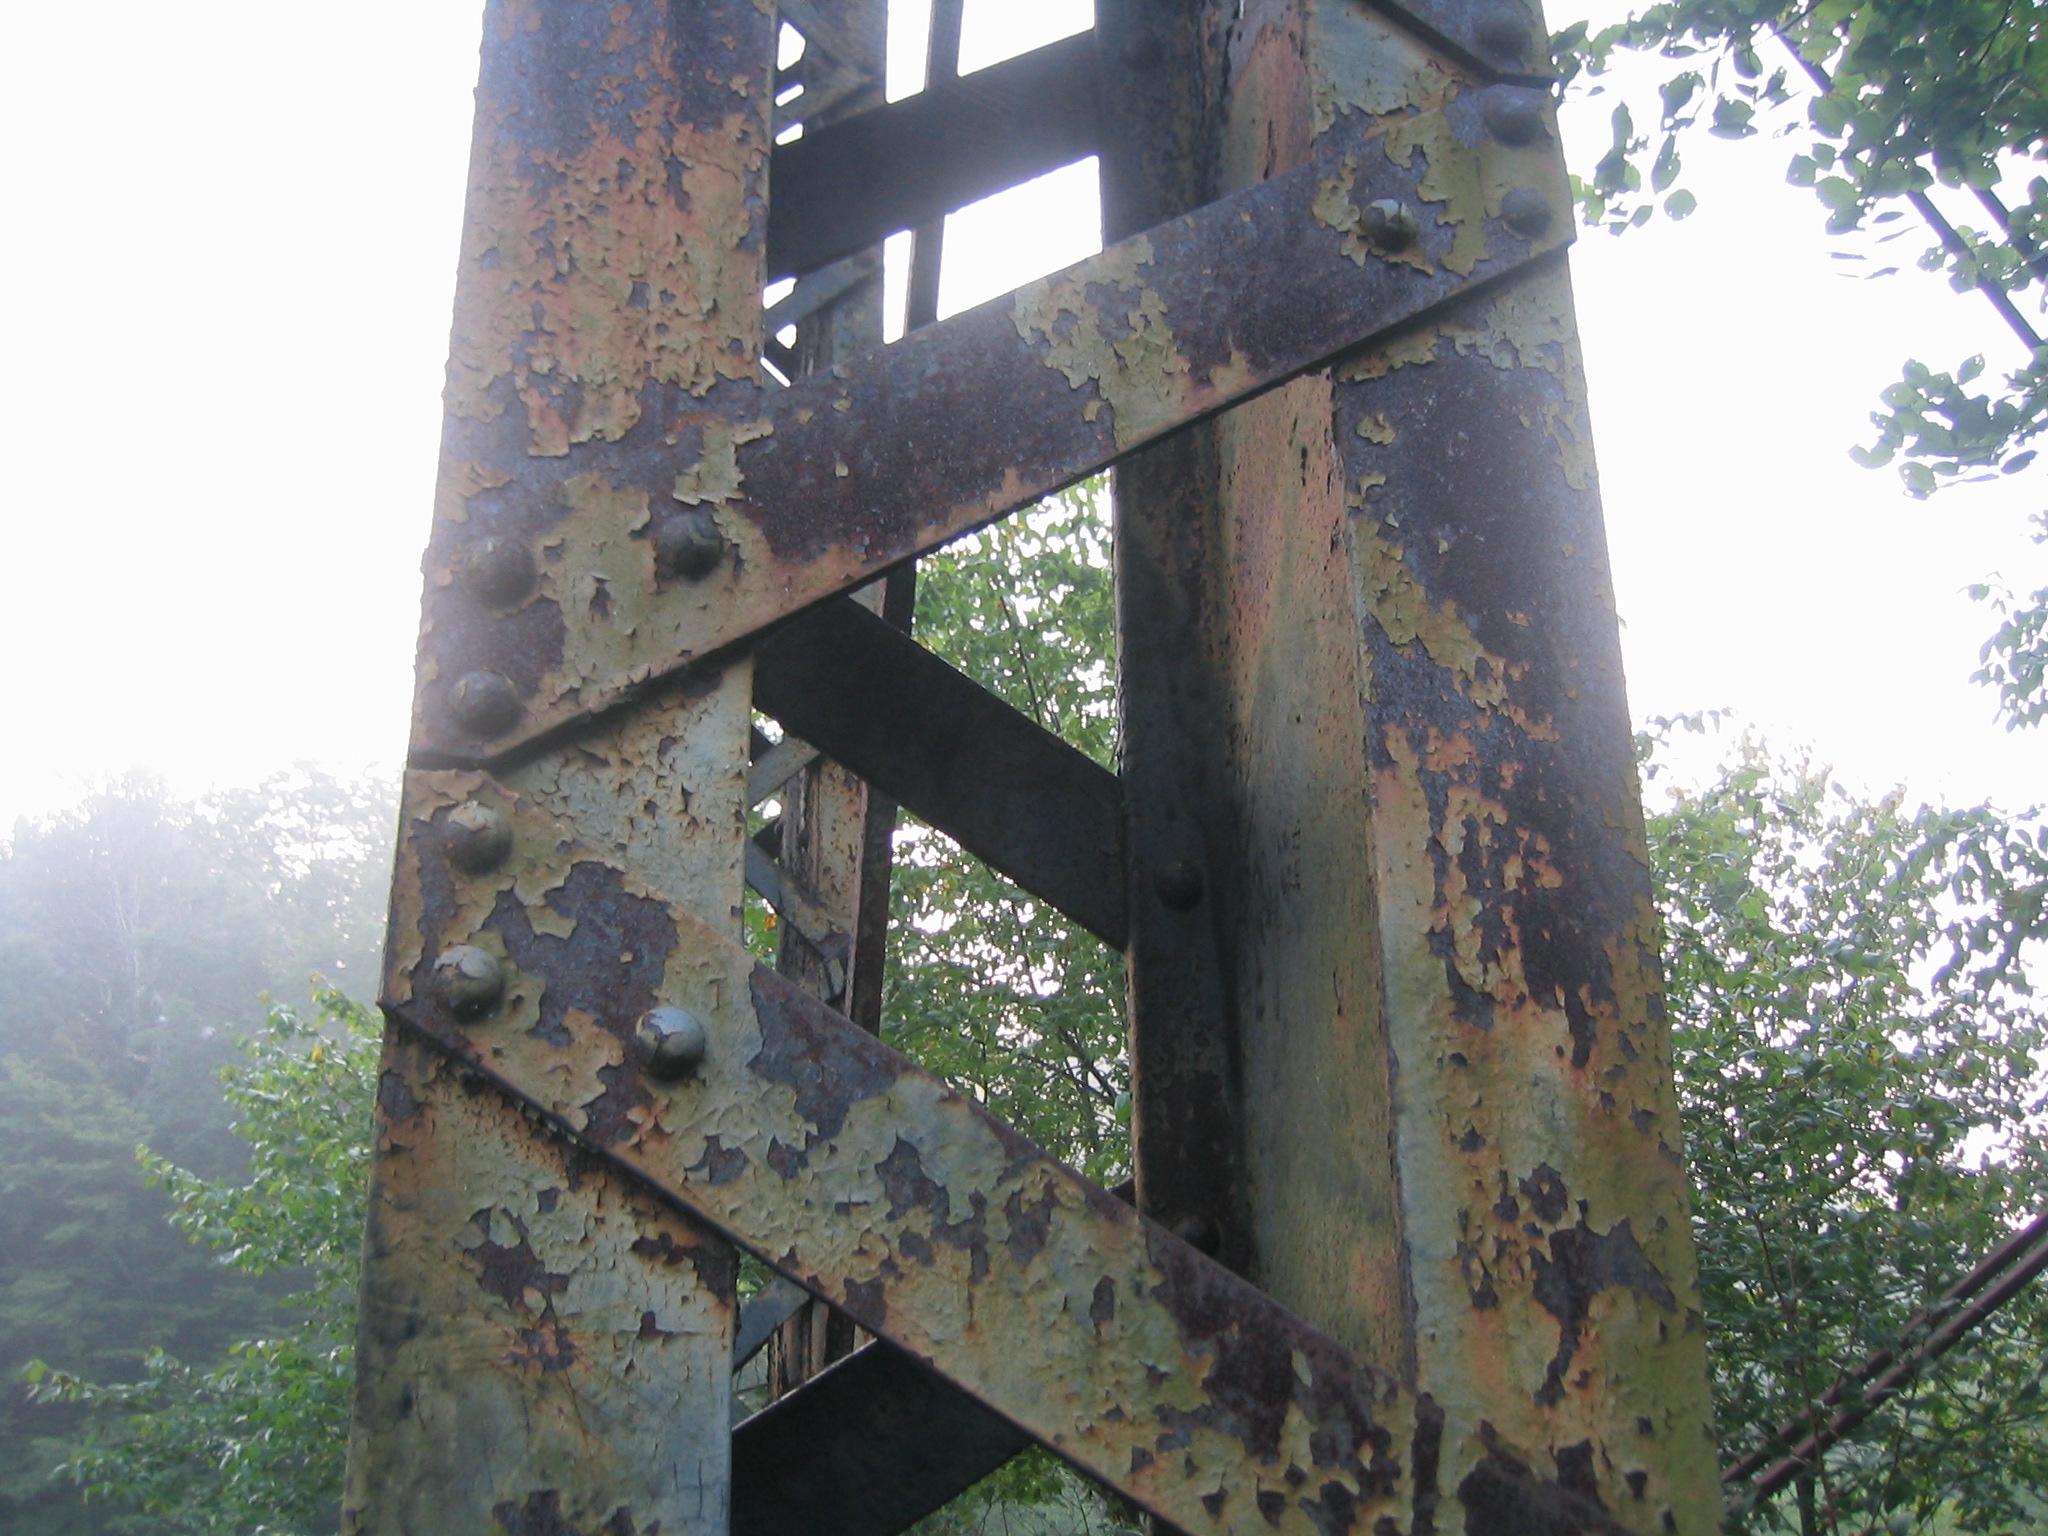

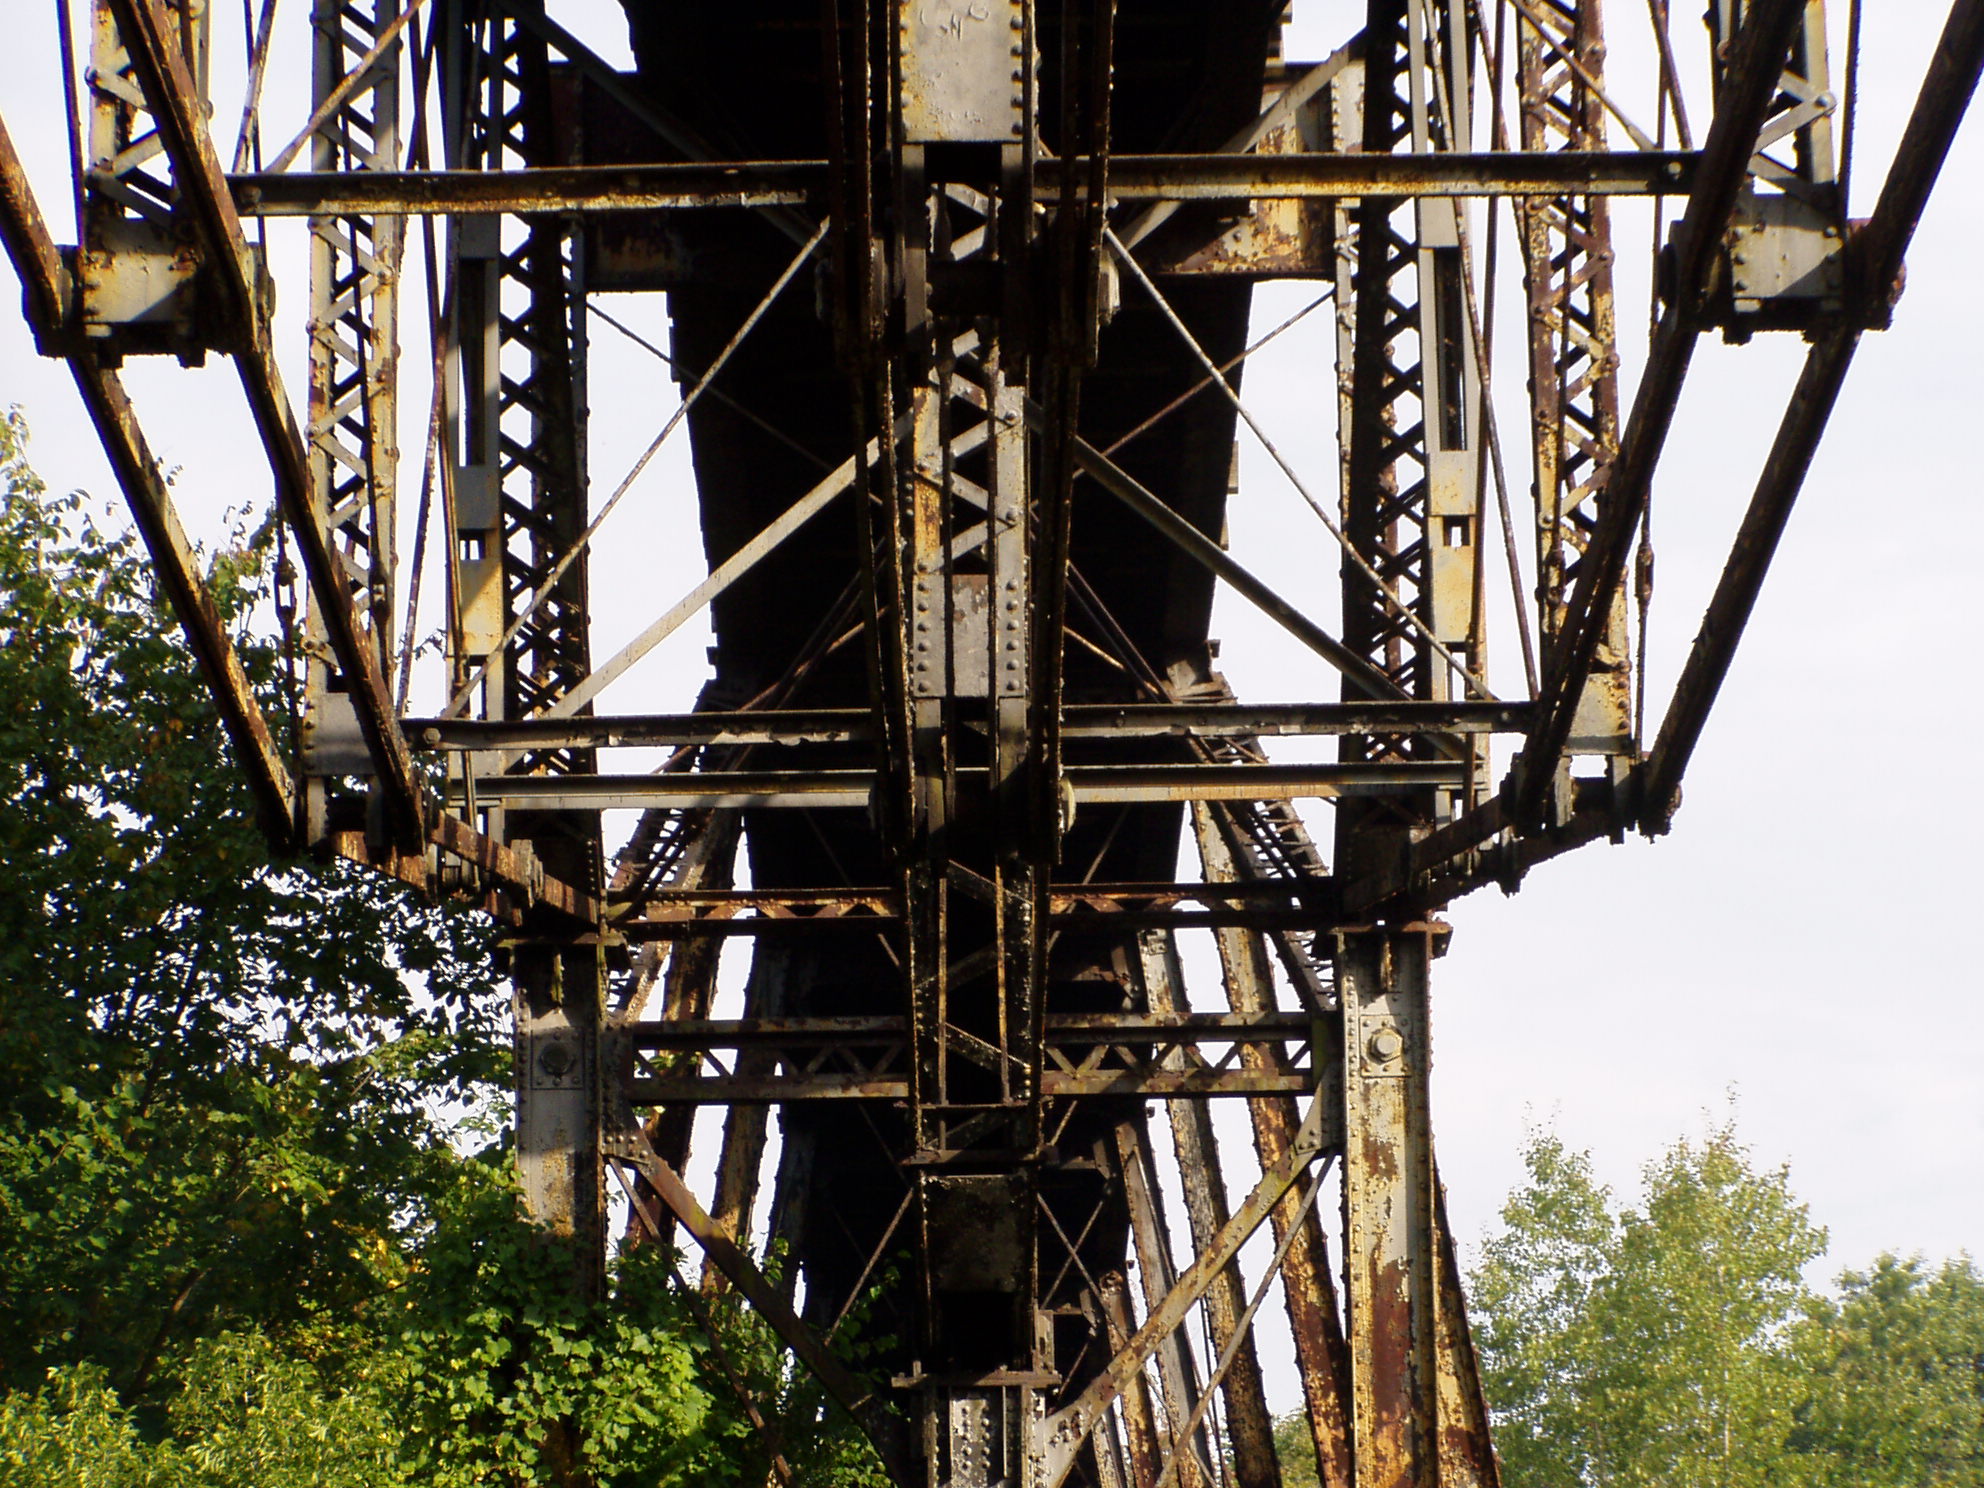
Details of bents.
![]()

View under approach span showing girders.
![]()
Approach girder details.
![]()
Girder bracing.
![]()


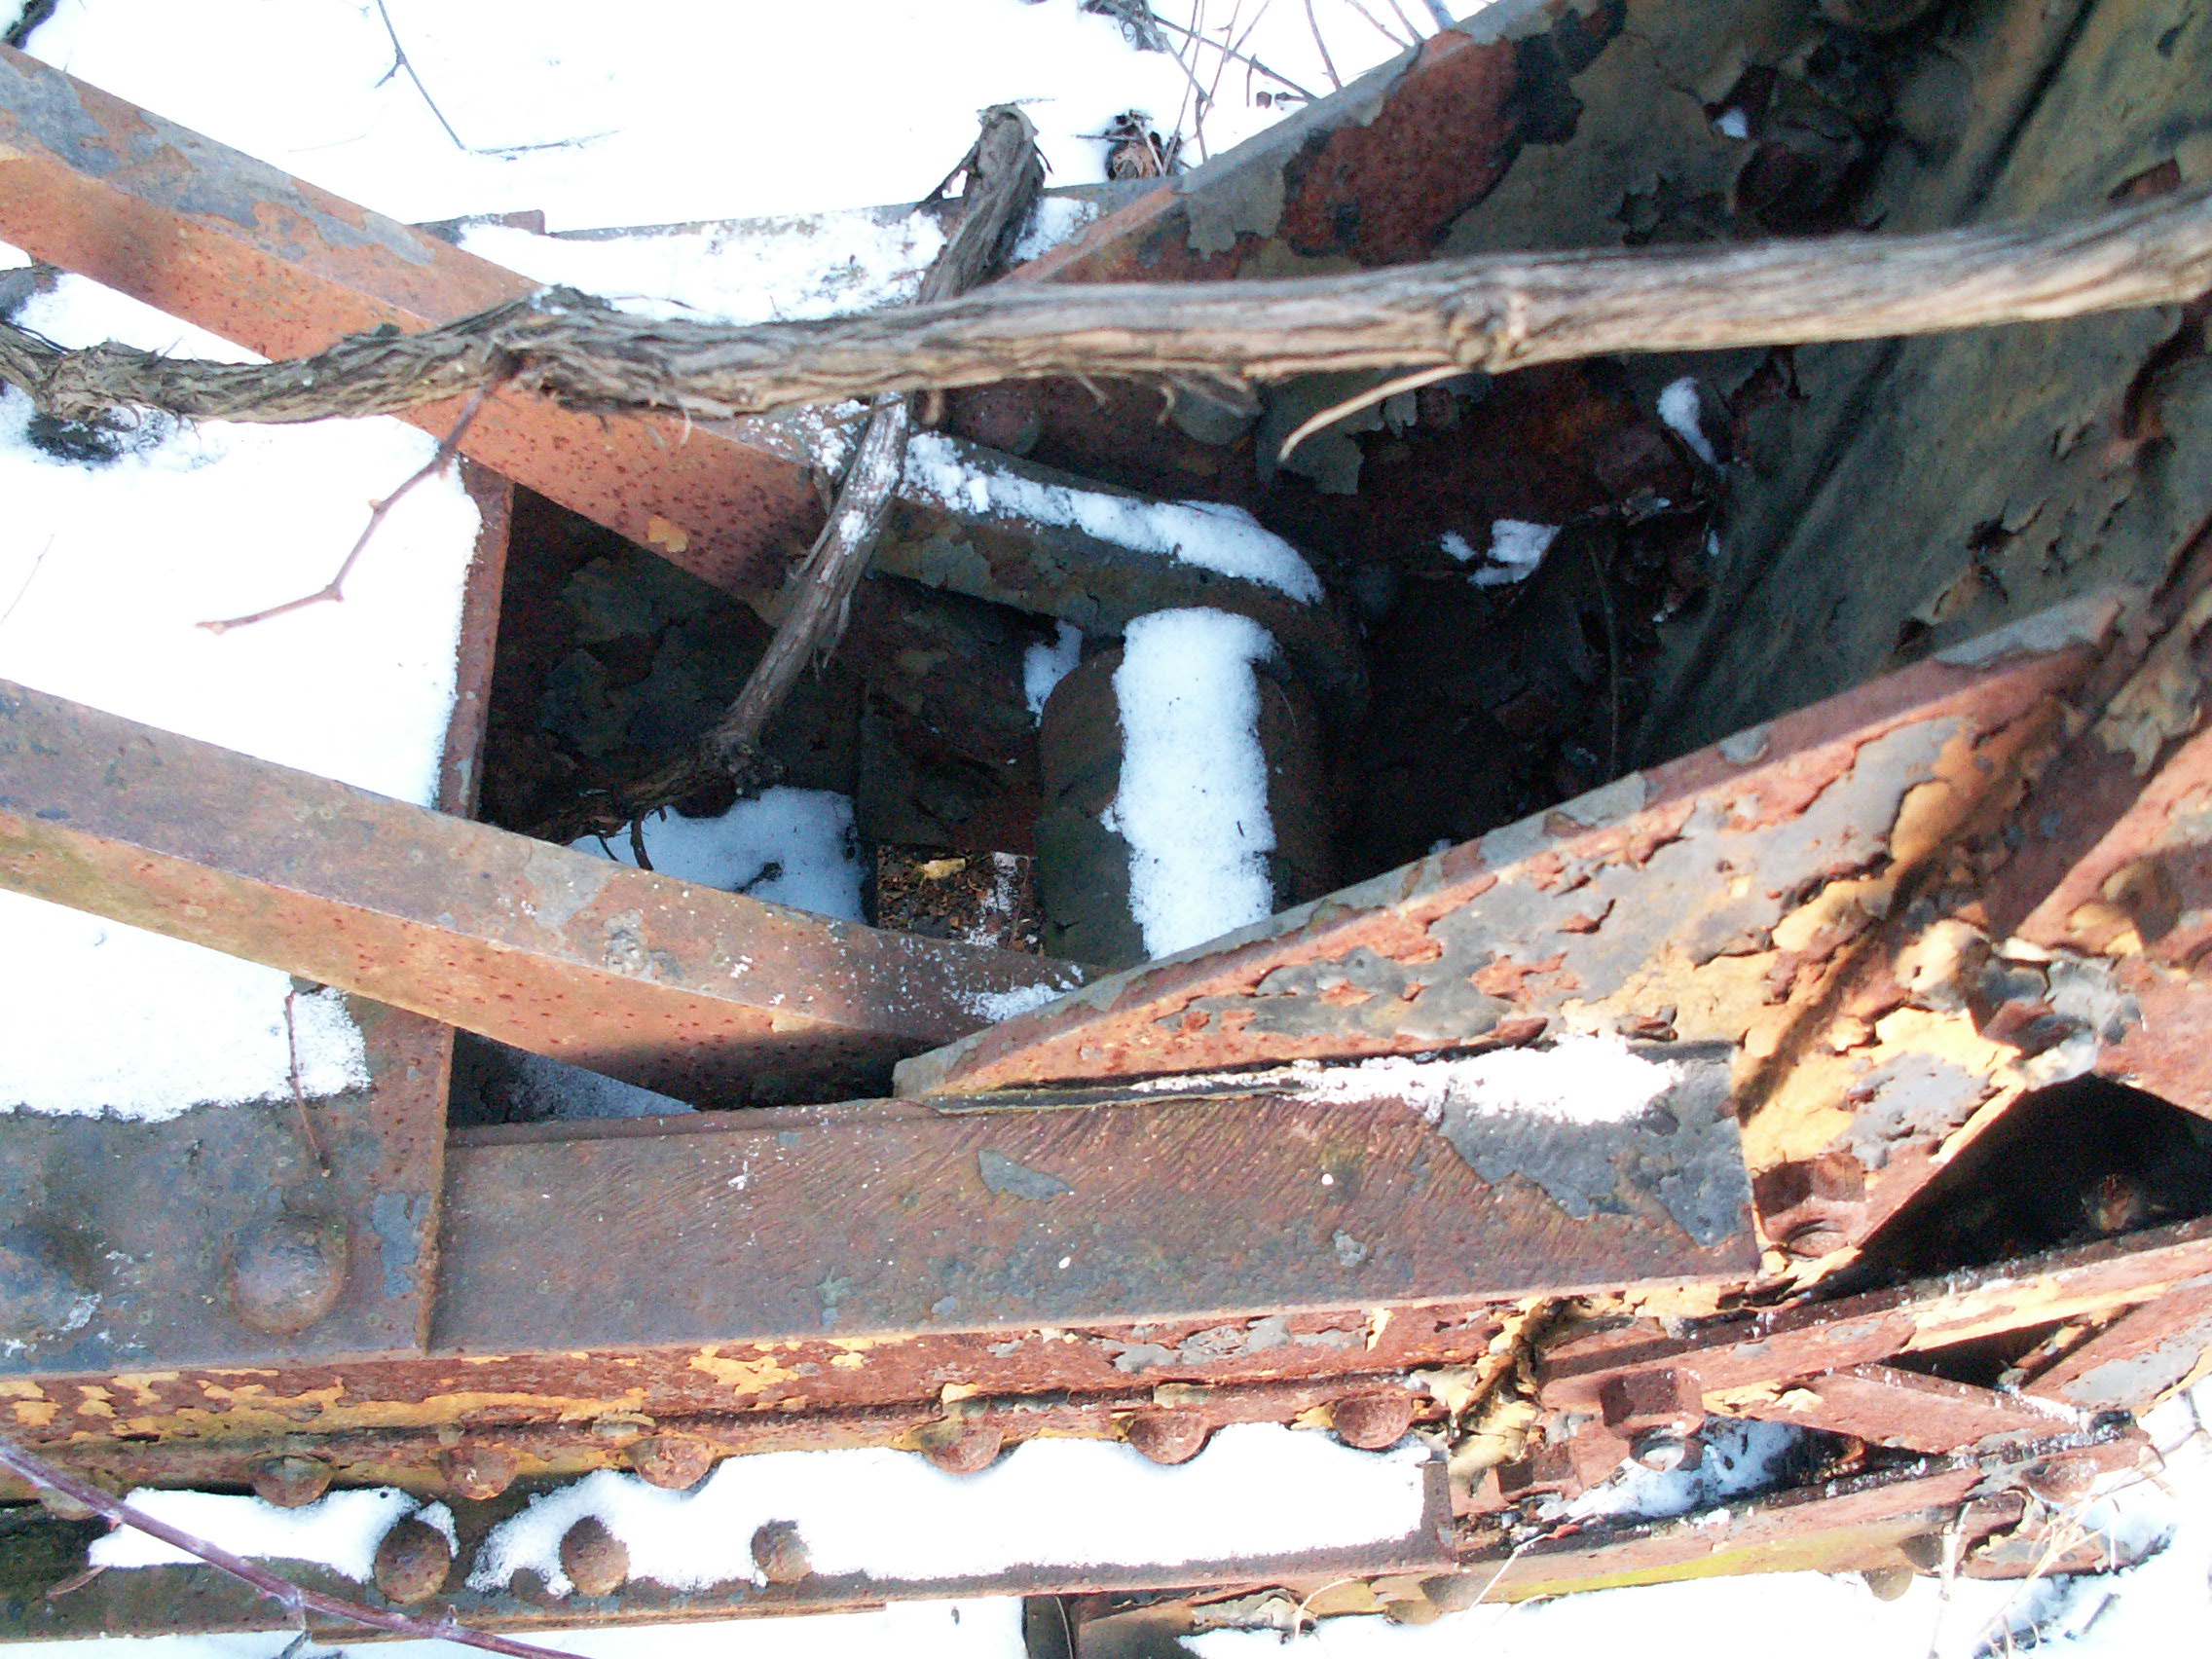
Damaged portions of bents.
![]()
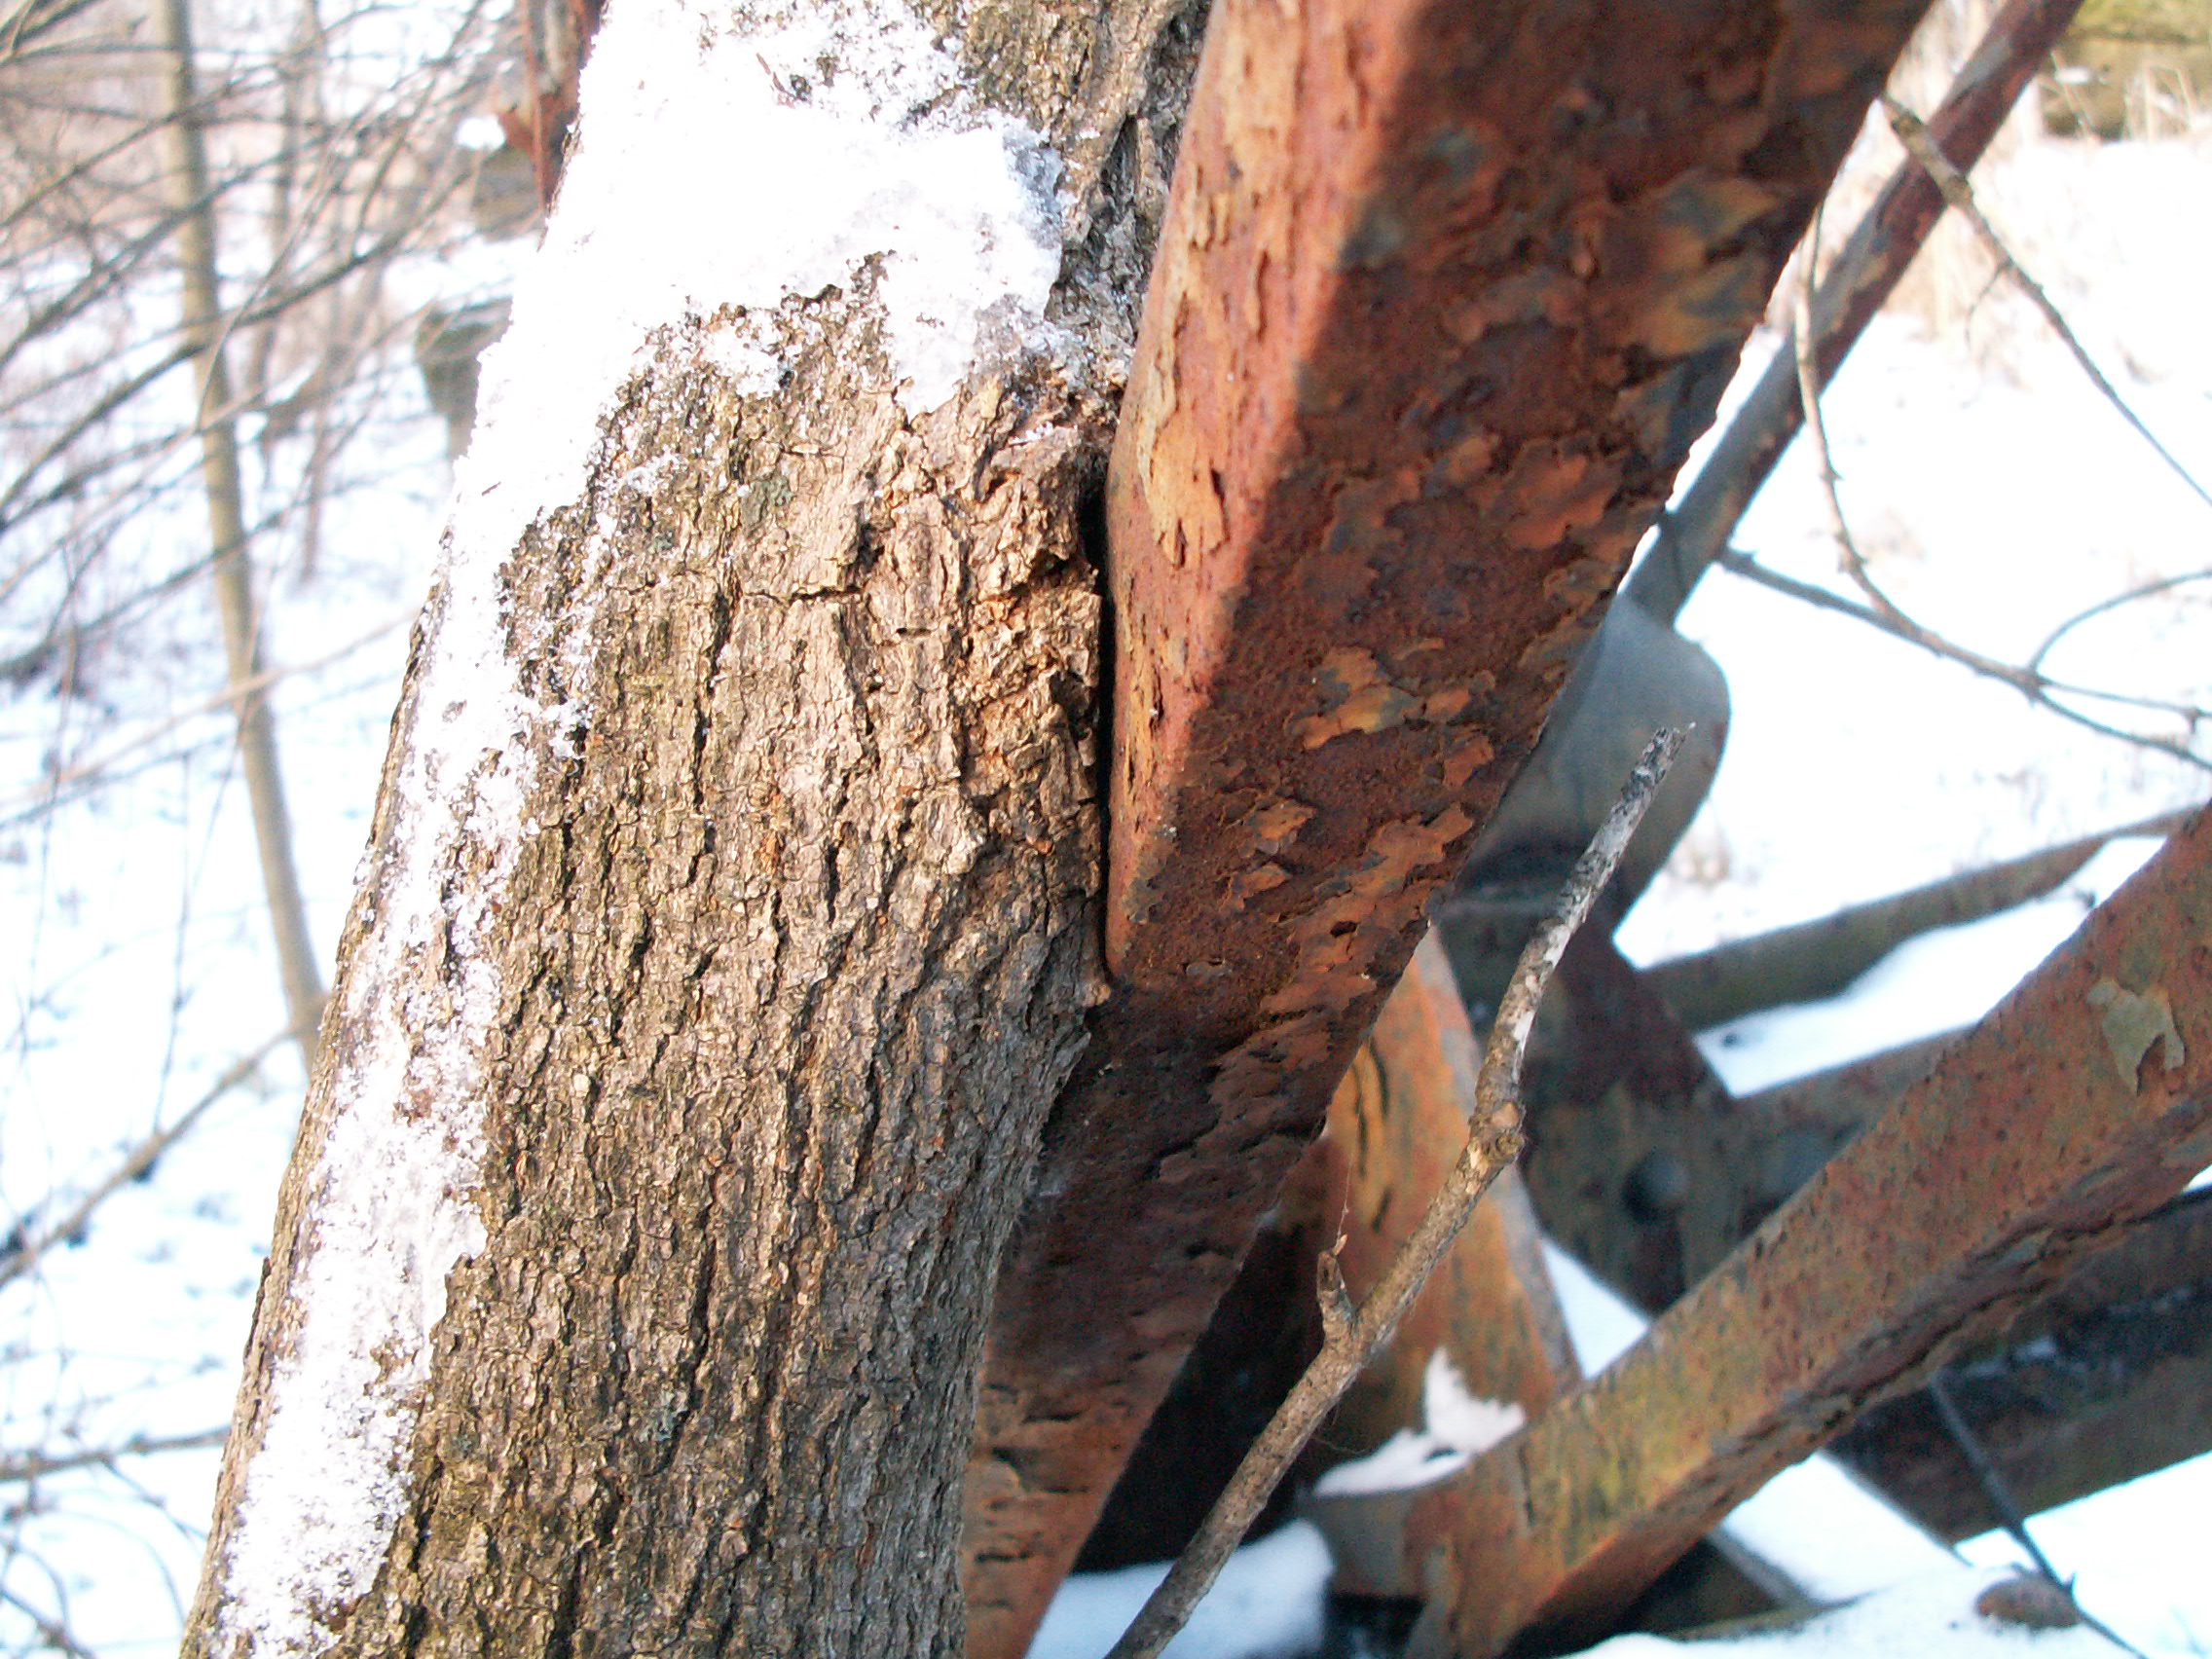

Tree growing around bent.
![]()
![]()
| Back |
| Home |
| Top |

![]()