
Uncredited photos on this page taken by: Nathan Holth and Rick McOmber. Unless stated in a caption, all photos are Copyright with All Rights Reserved. Learn about reuse of our photos.
![]()


Views of the plaques.
![]()


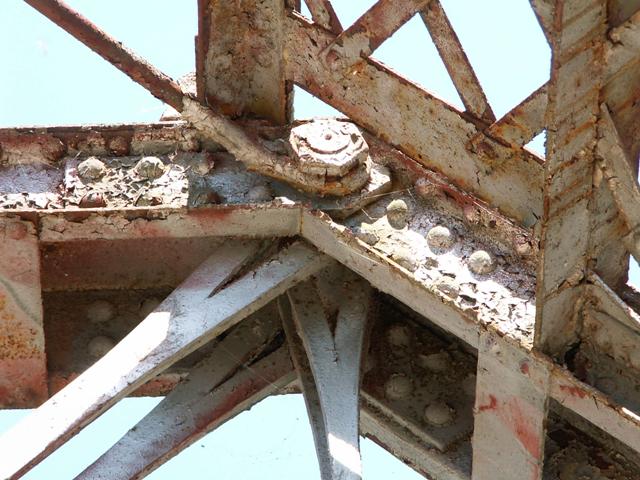
Details of top chord connections at hip vertical.
![]()


Details of top chord connections.
![]()


Details of bottom chord connections at hip vertical.
![]()


Details of bottom chord connections.
![]()


Overviews of bottom chord connections.
![]()


Sway bracing.
![]()

Zoom showing bent section of bottom chord.
![]()


Views under the bridge.
![]()


Turnbuckles.
![]()


Verticals.
![]()

End post.
![]()

Watch your balance, but you can get up close and personal with the bottom chord using this.
![]()

Abutment and tree.
![]()
![]()
| Back |
| Home |
| Top |

![]()