
Uncredited photos on this page taken by: Nathan Holth. Unless stated in a caption, all photos are Copyright with All Rights Reserved. Learn about reuse of our photos.
![]()


Elevation from southeast quadrant.
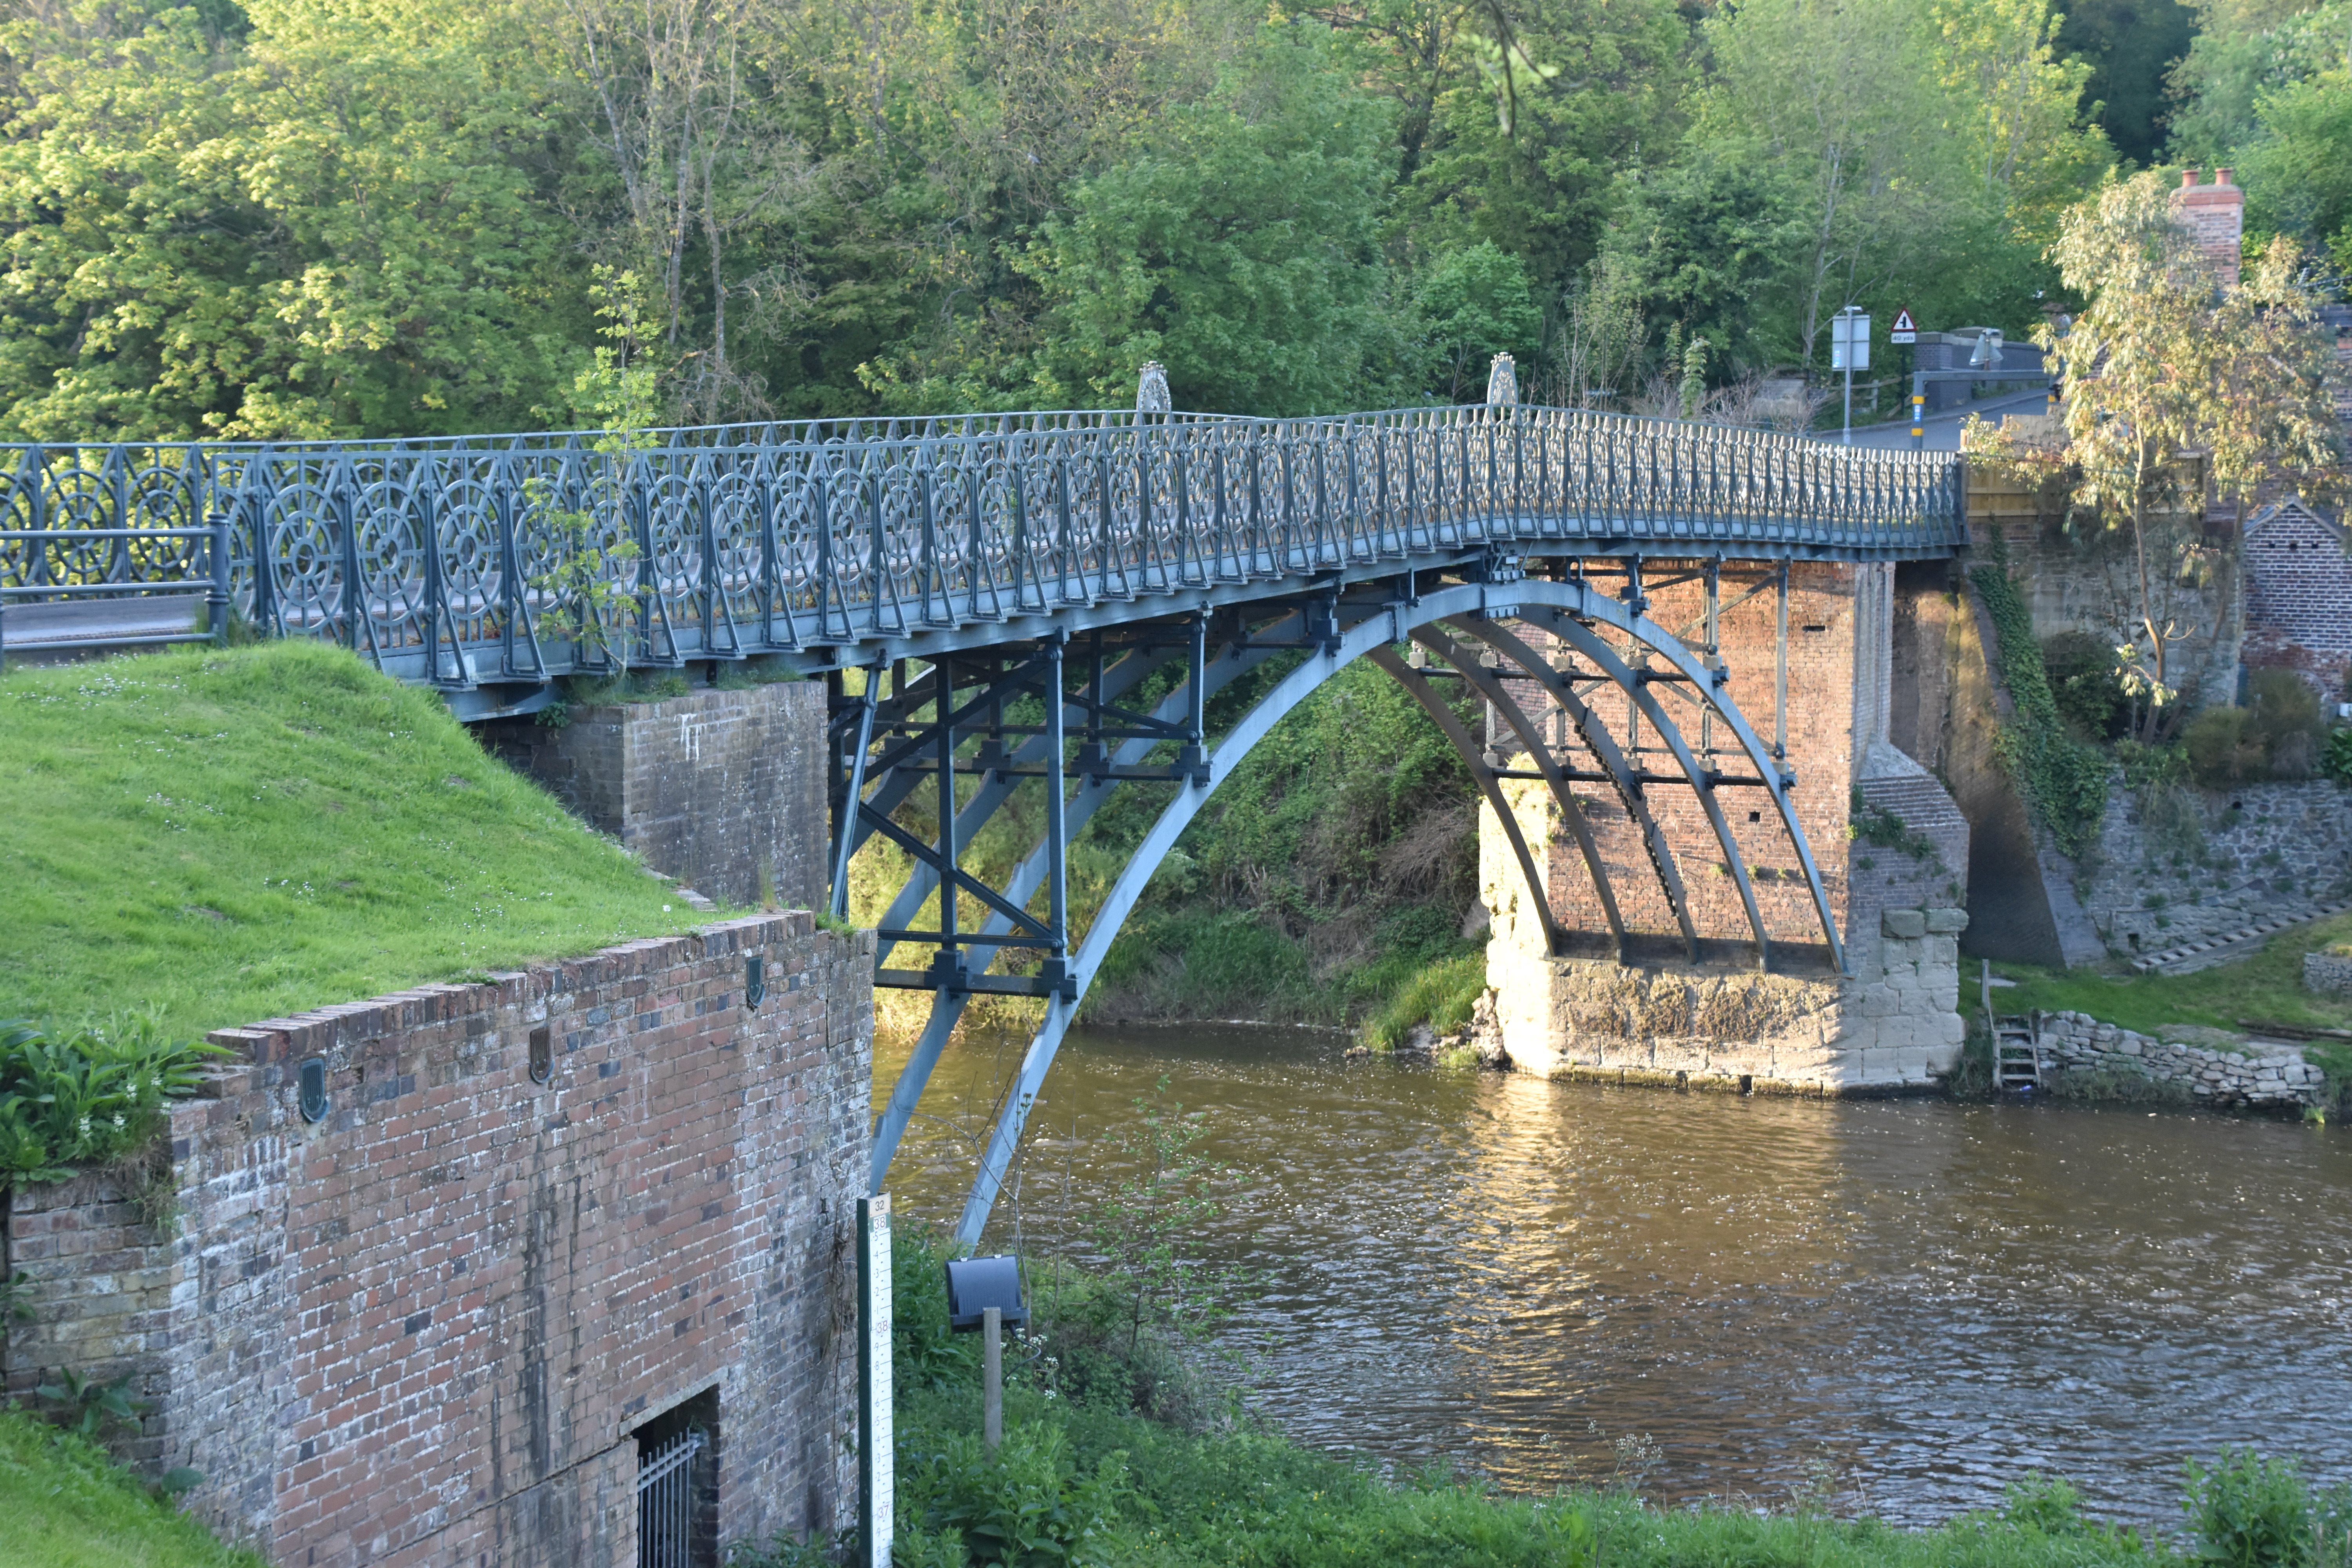
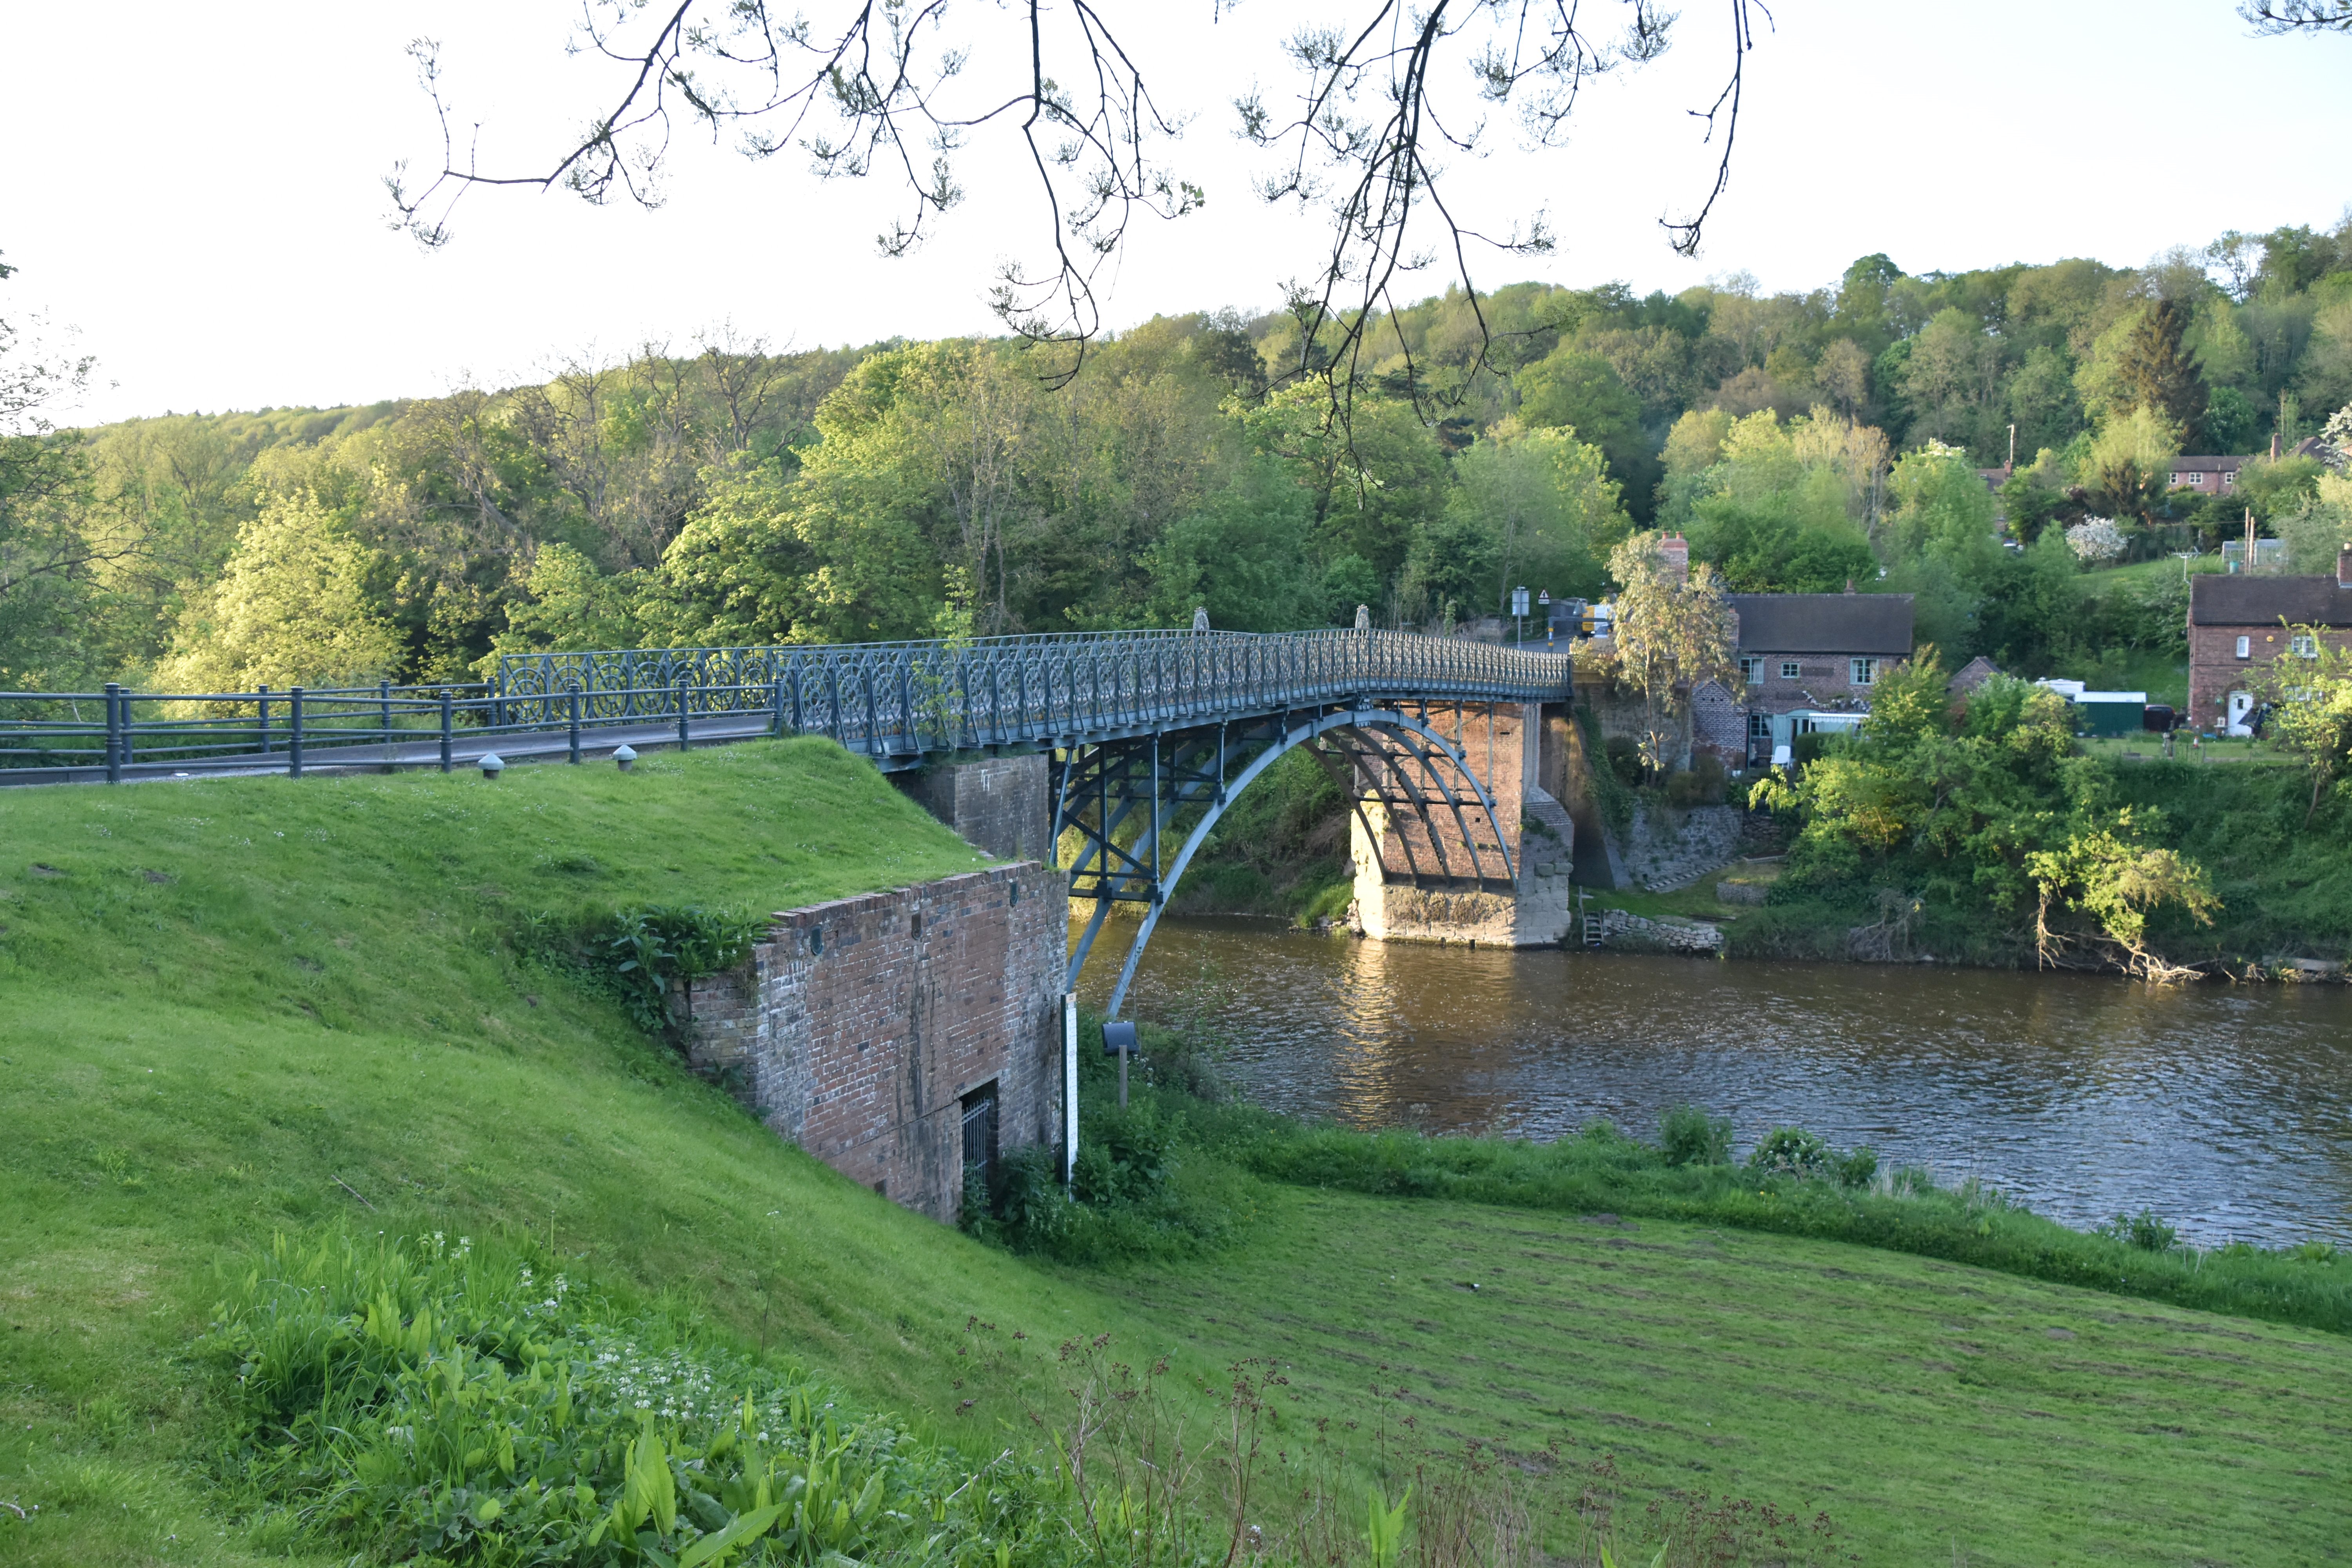
![]()


Distant oblique views from southeast quadrant.
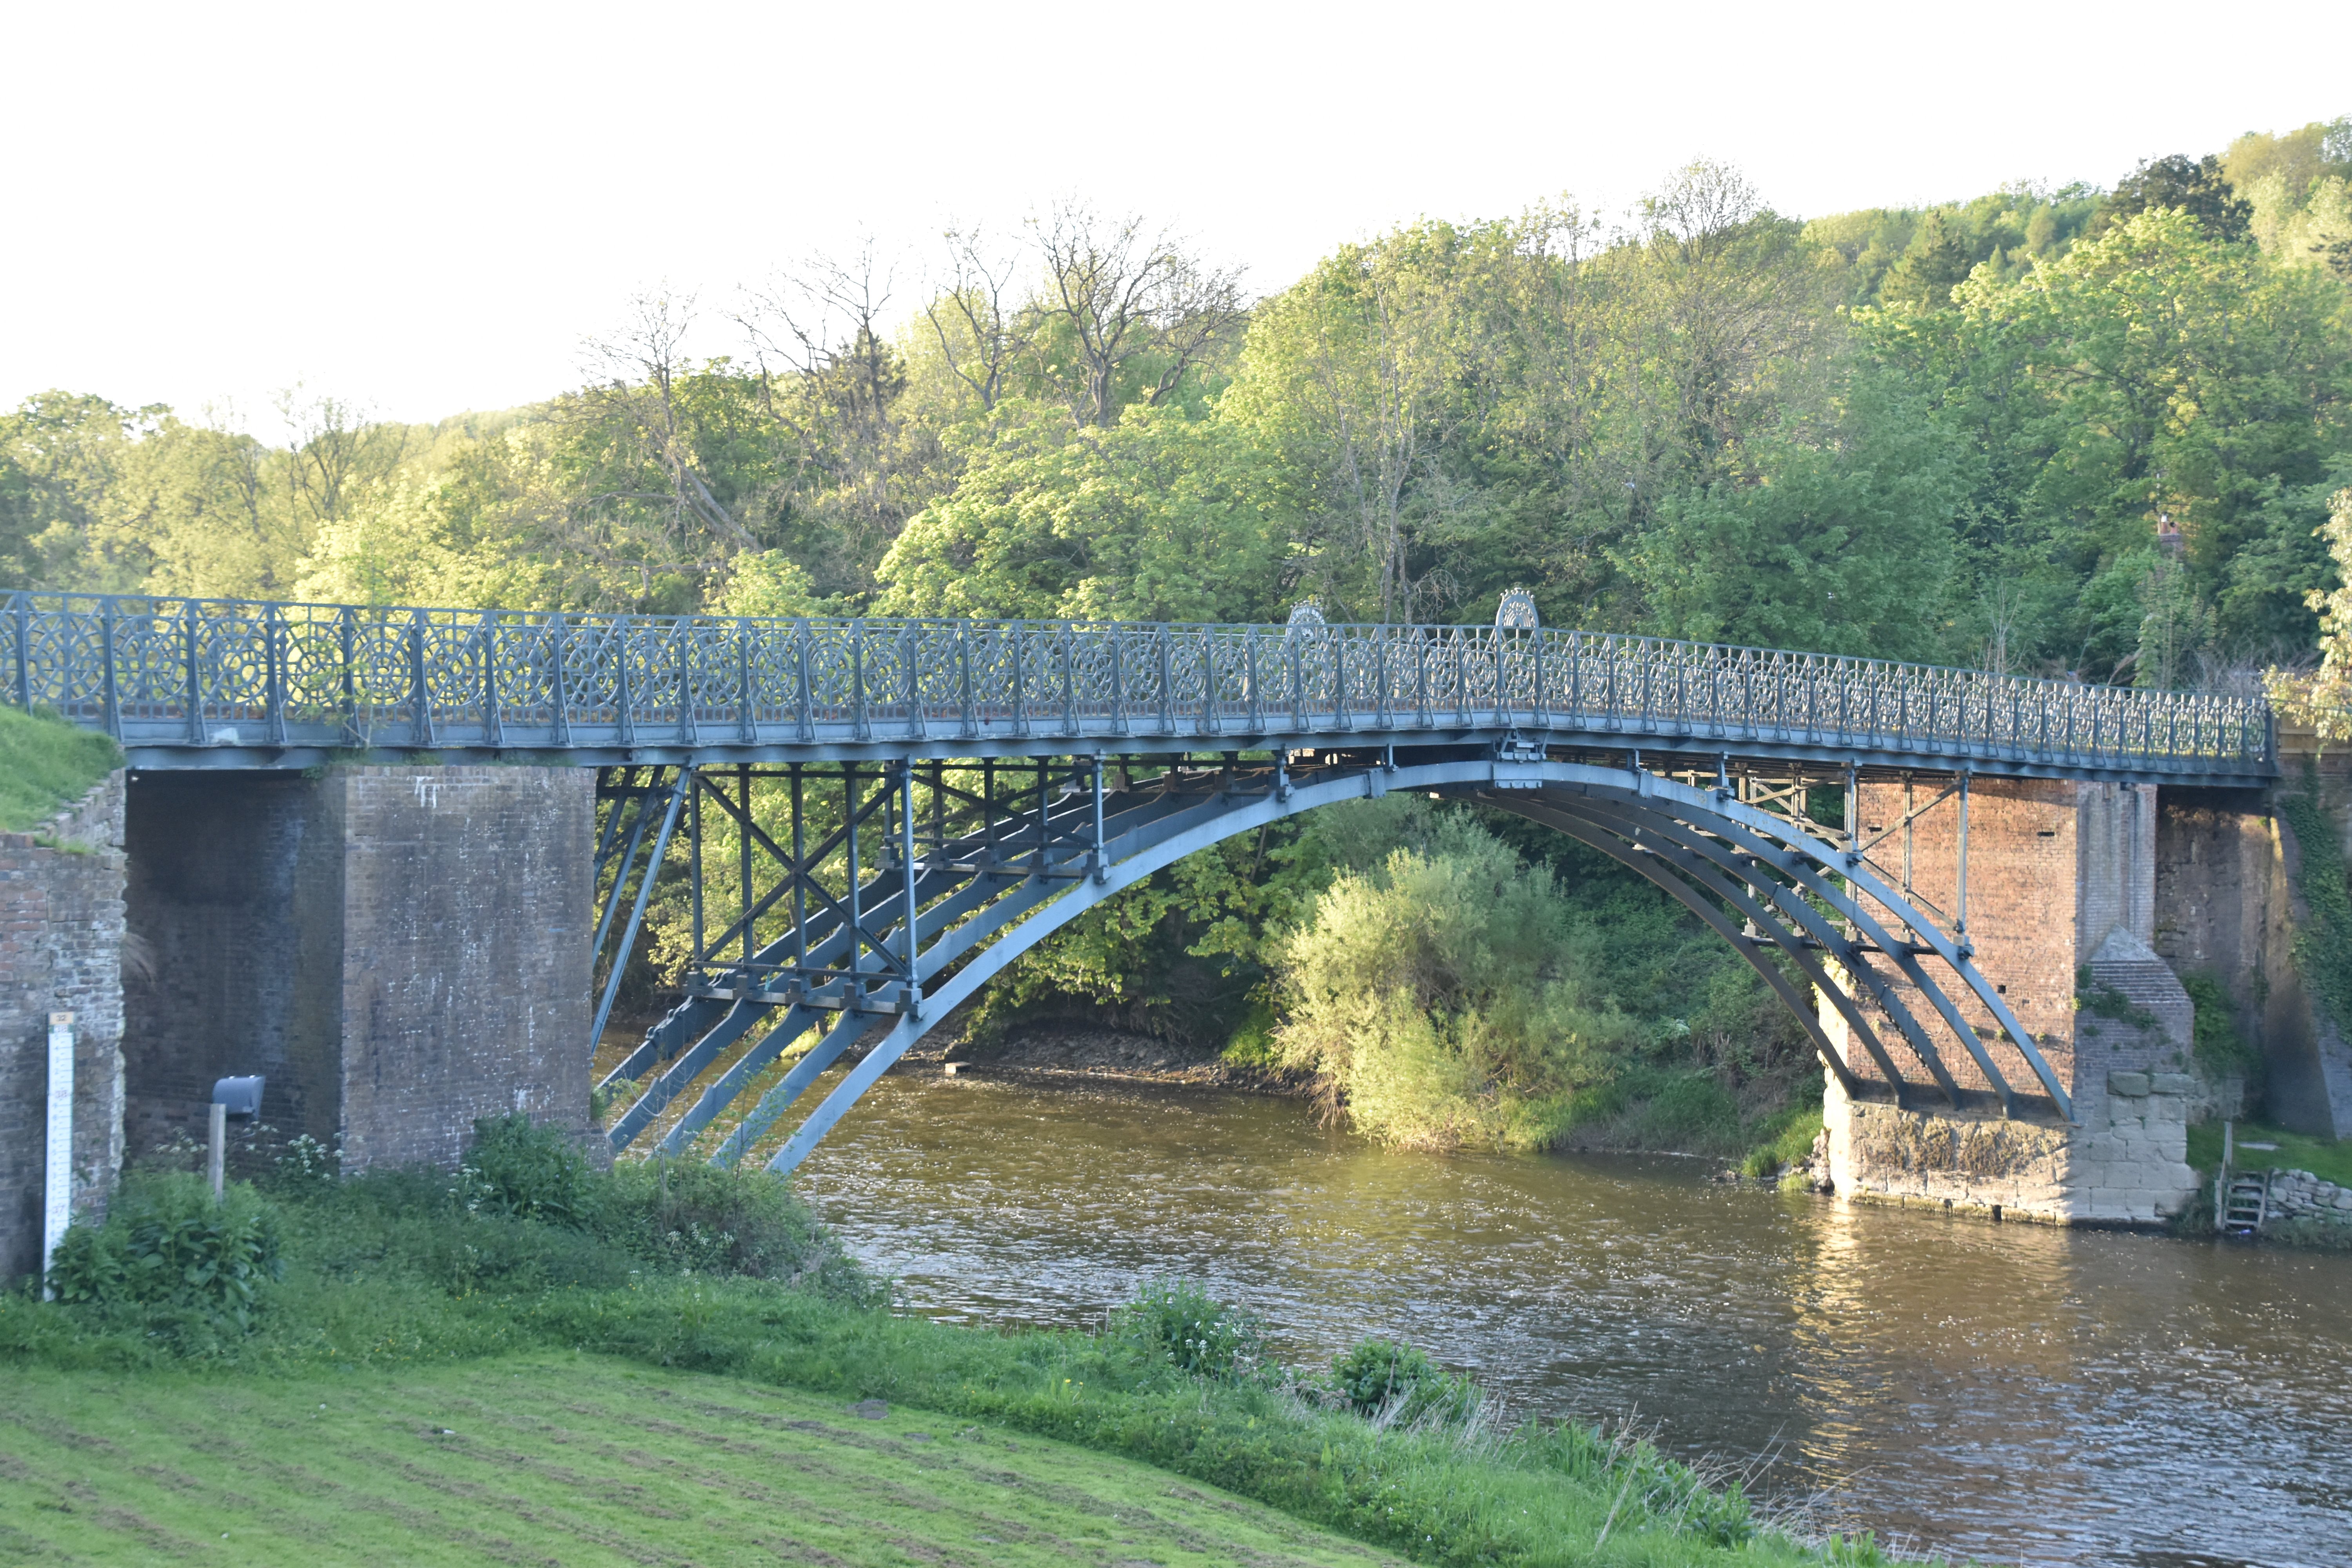
![]()

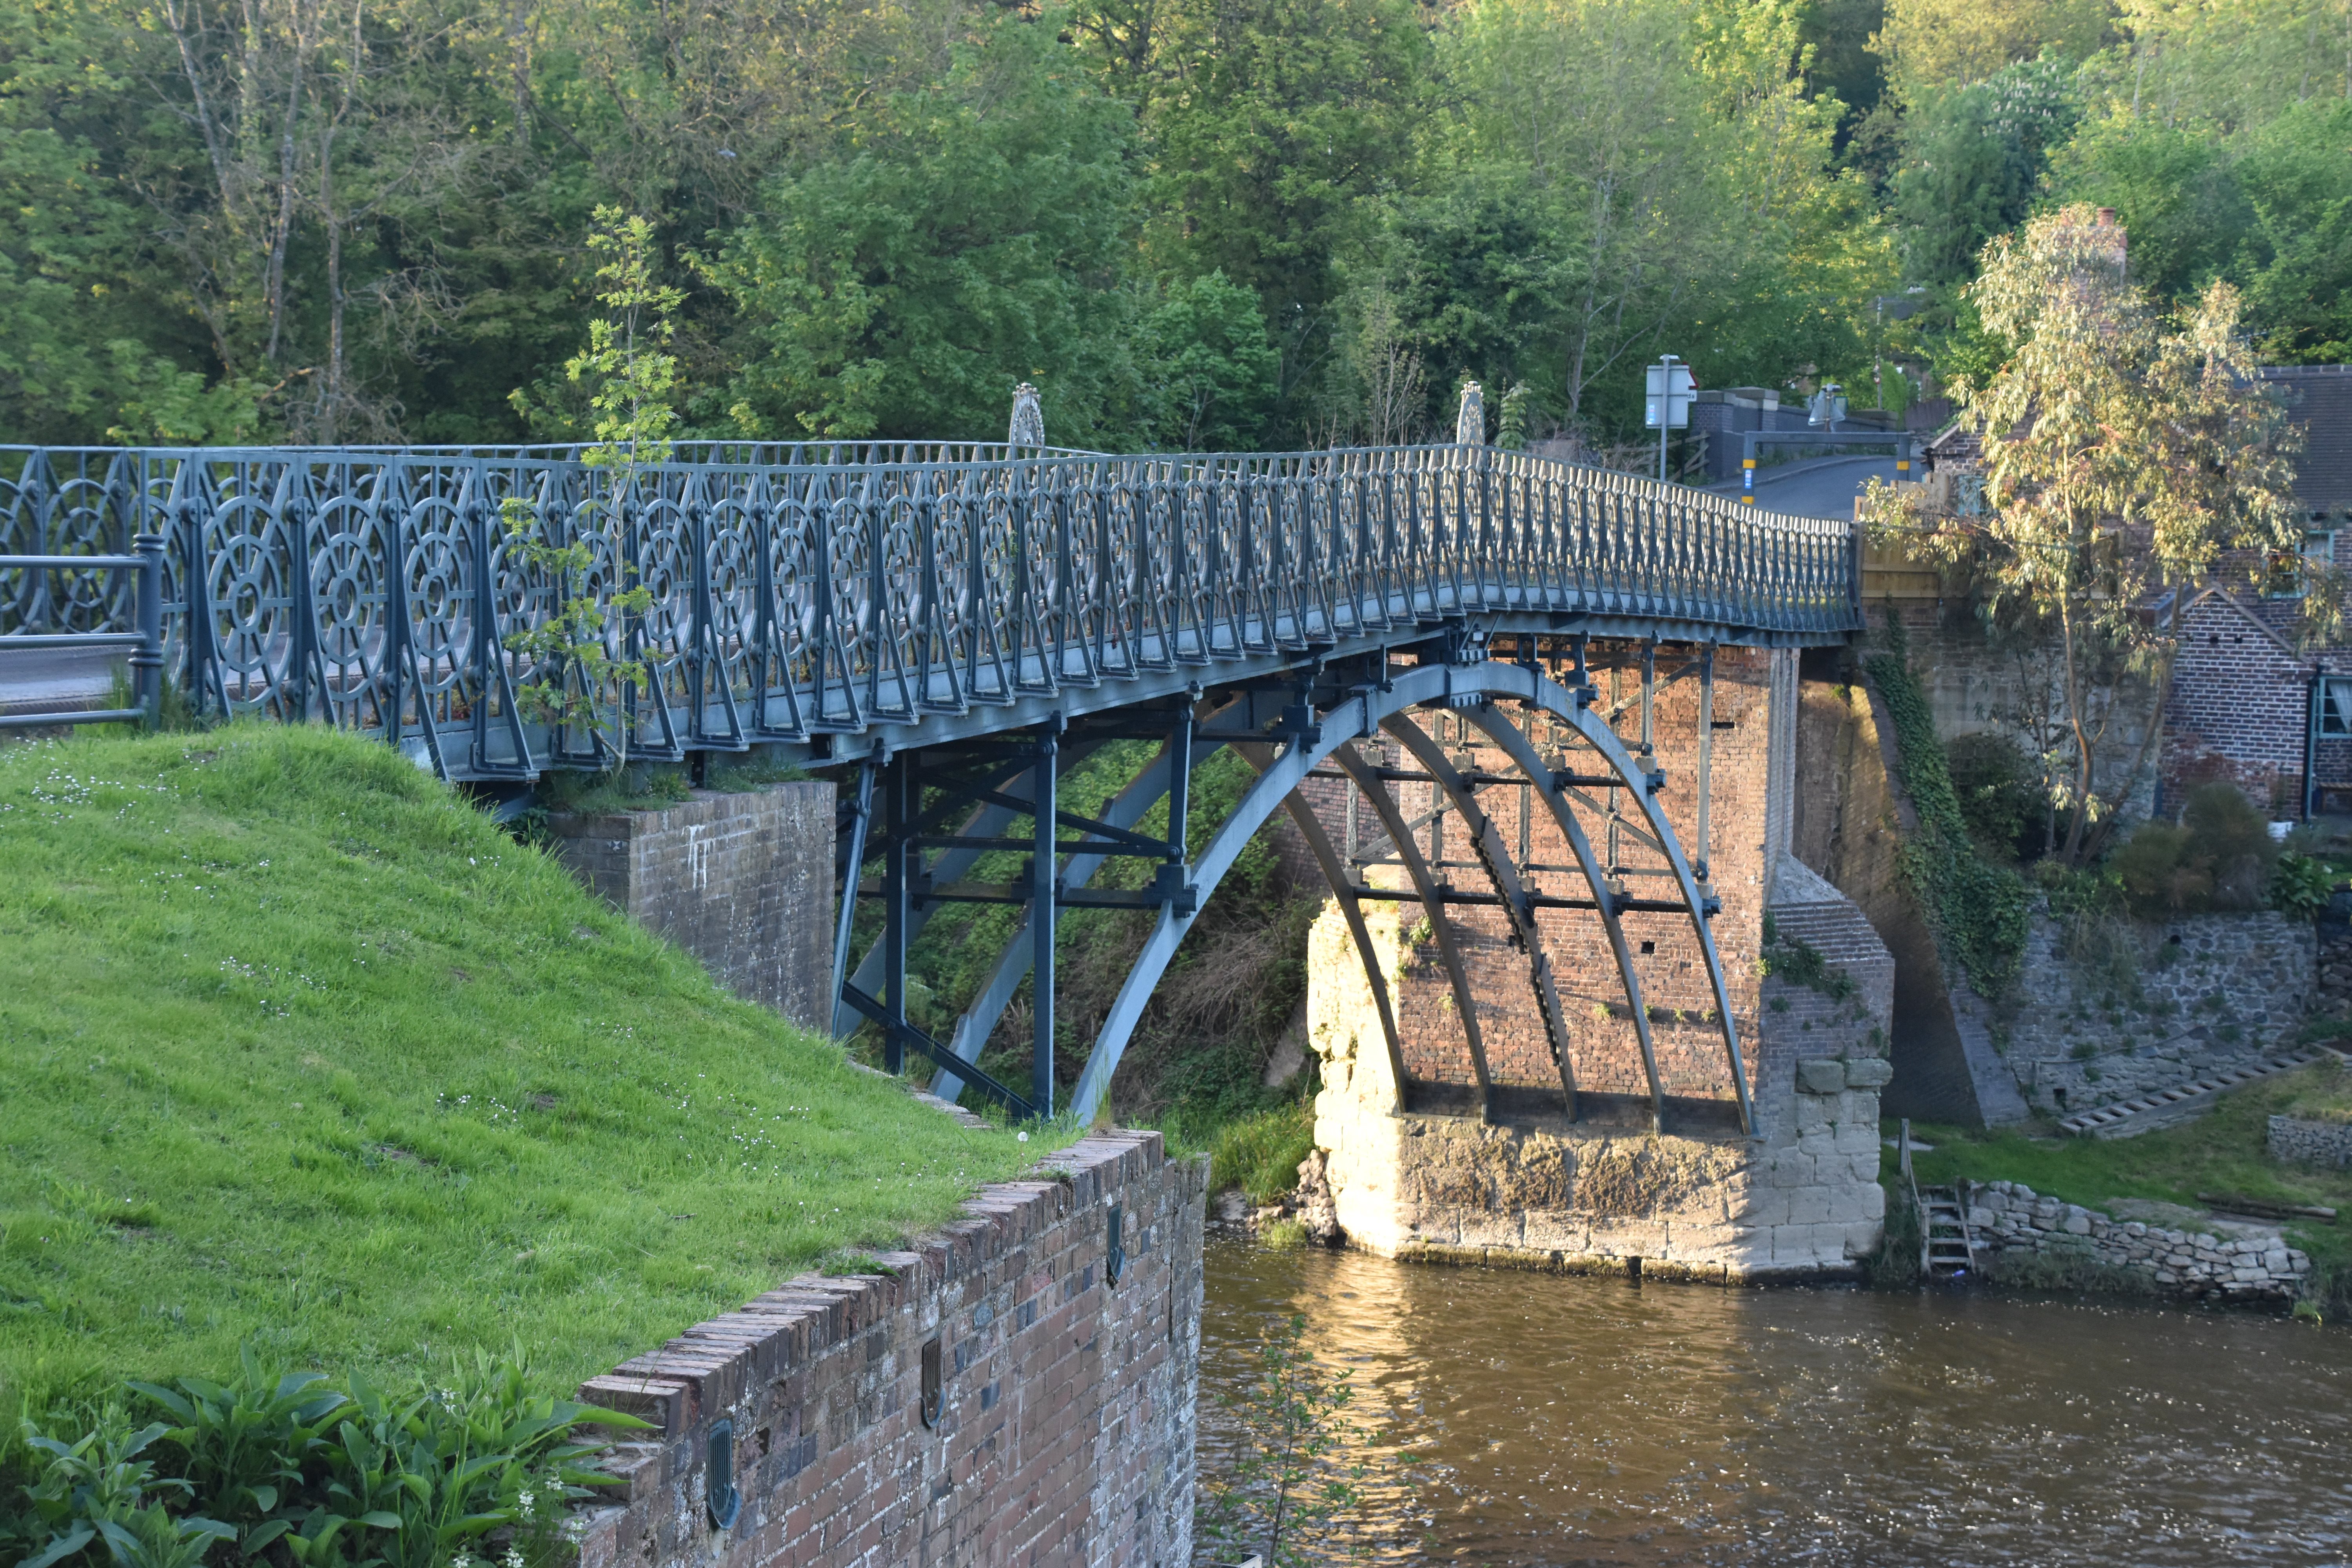
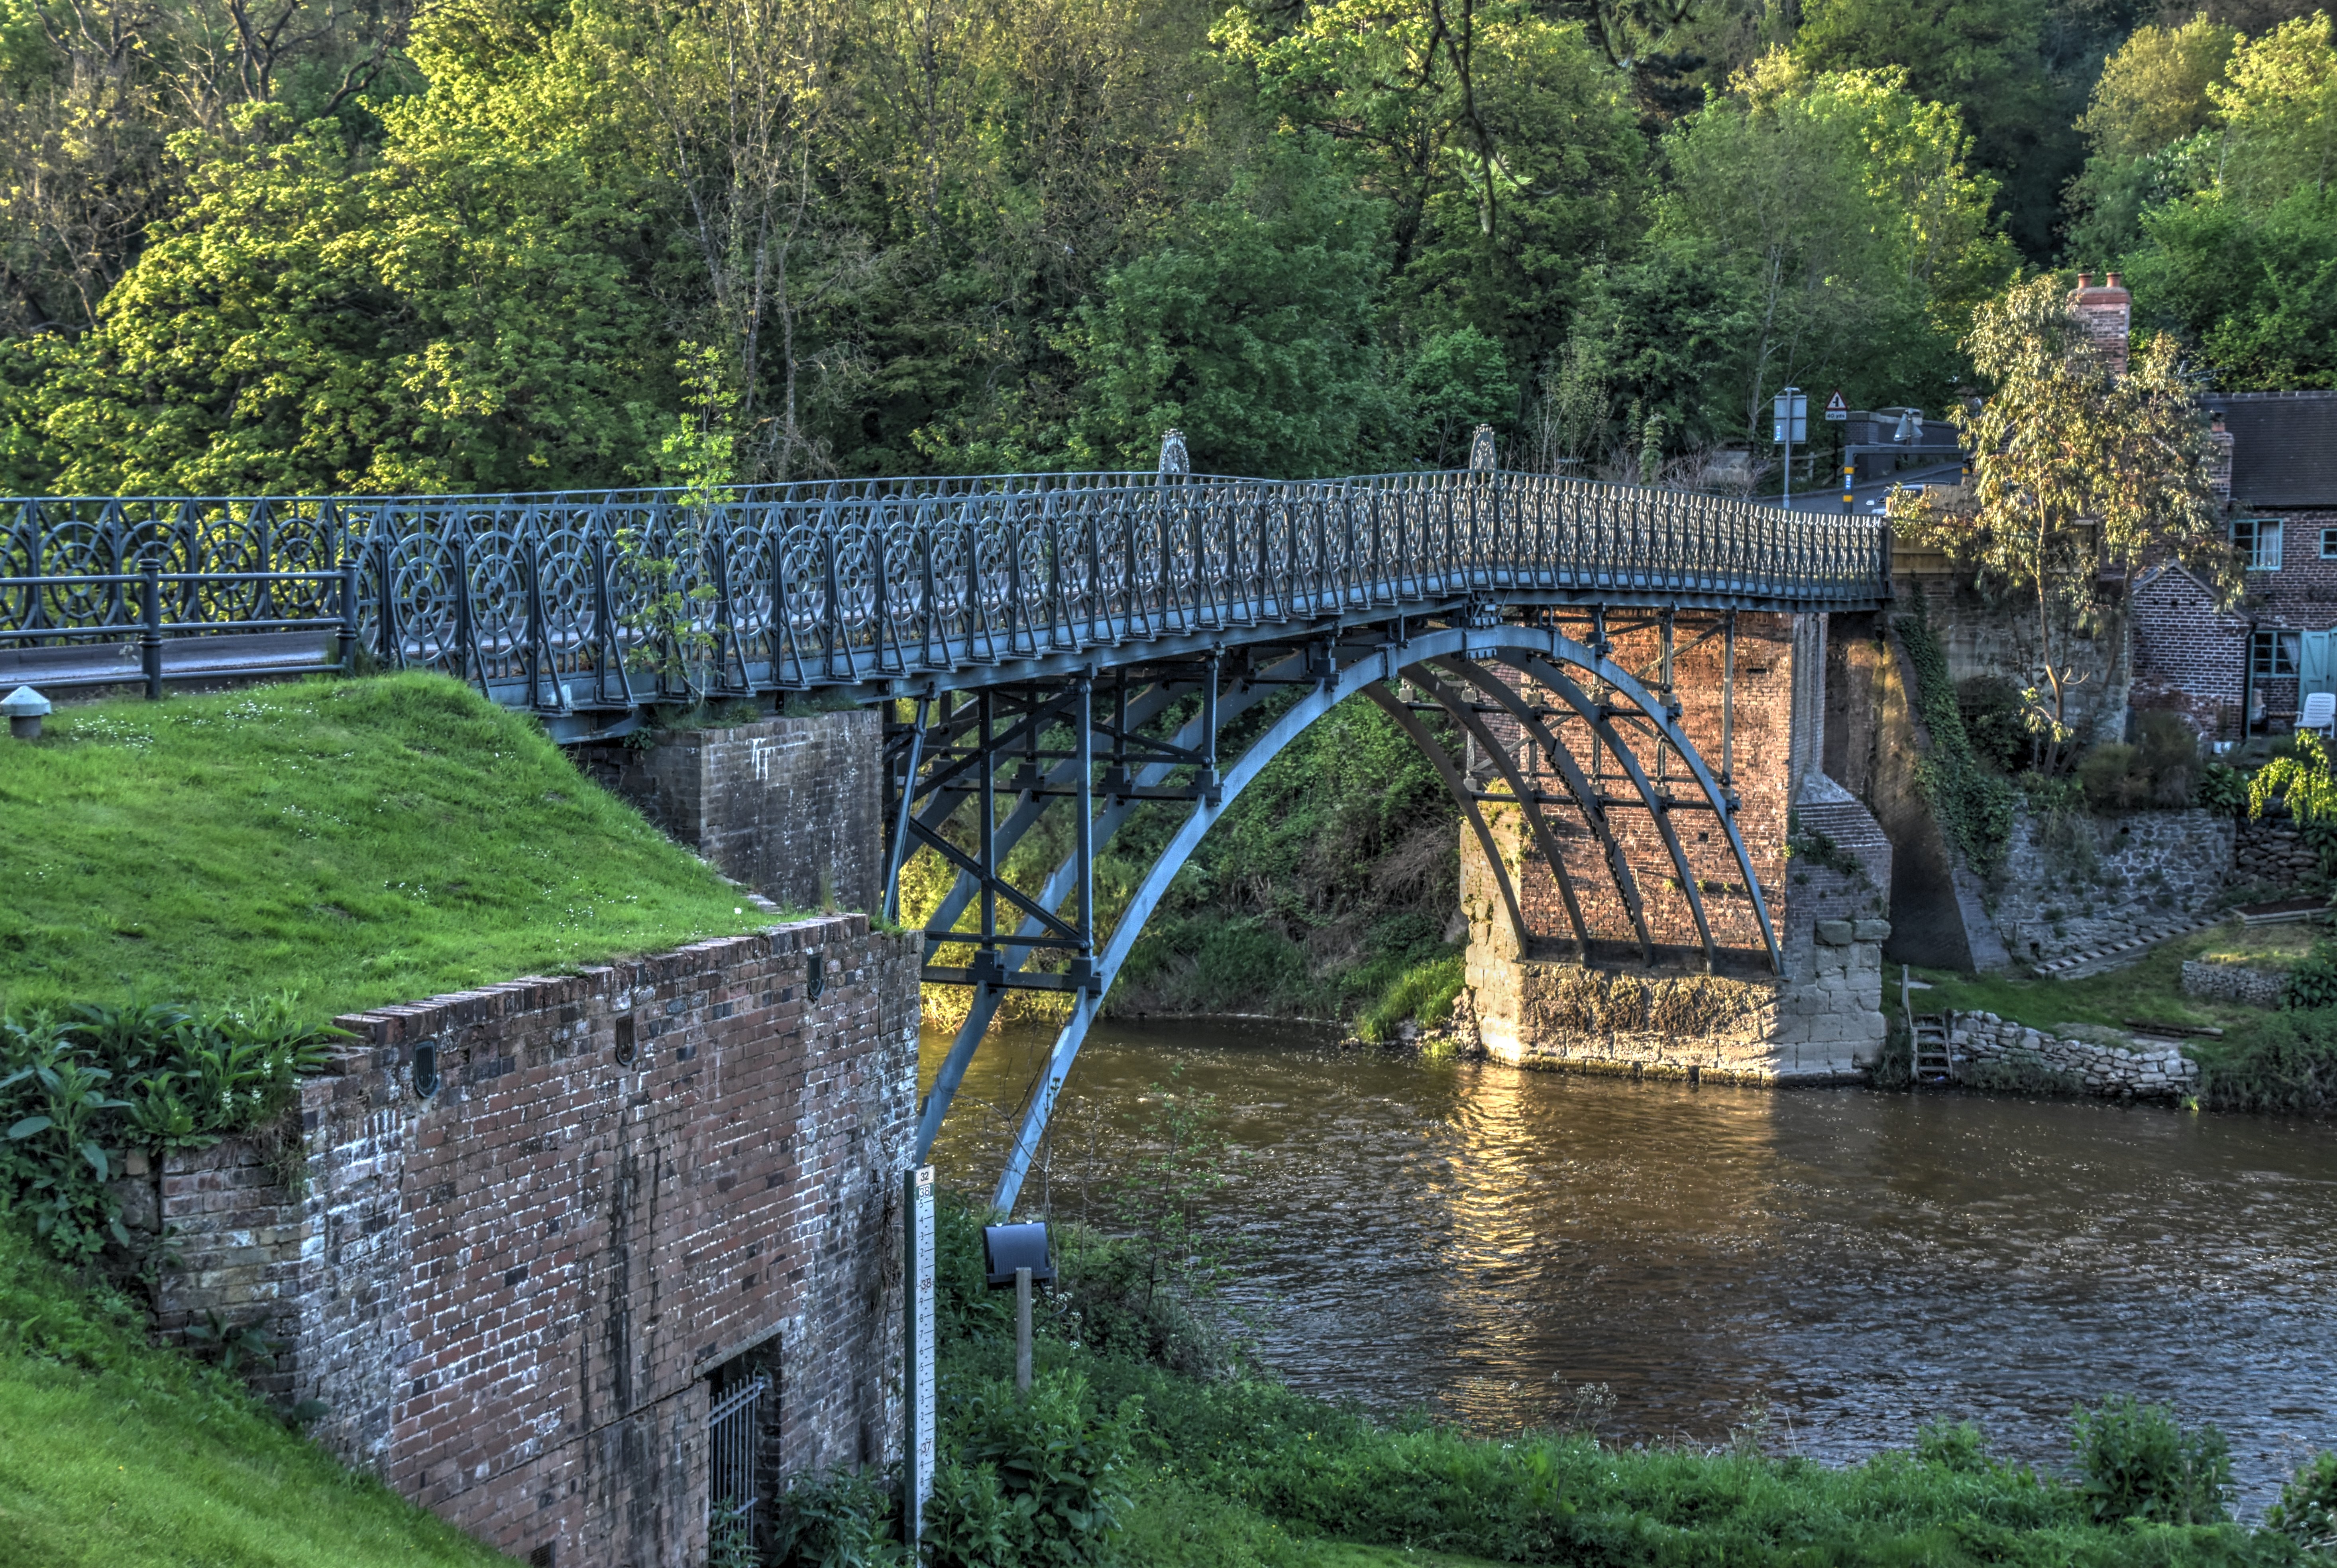
Oblique views from southeast quadrant.
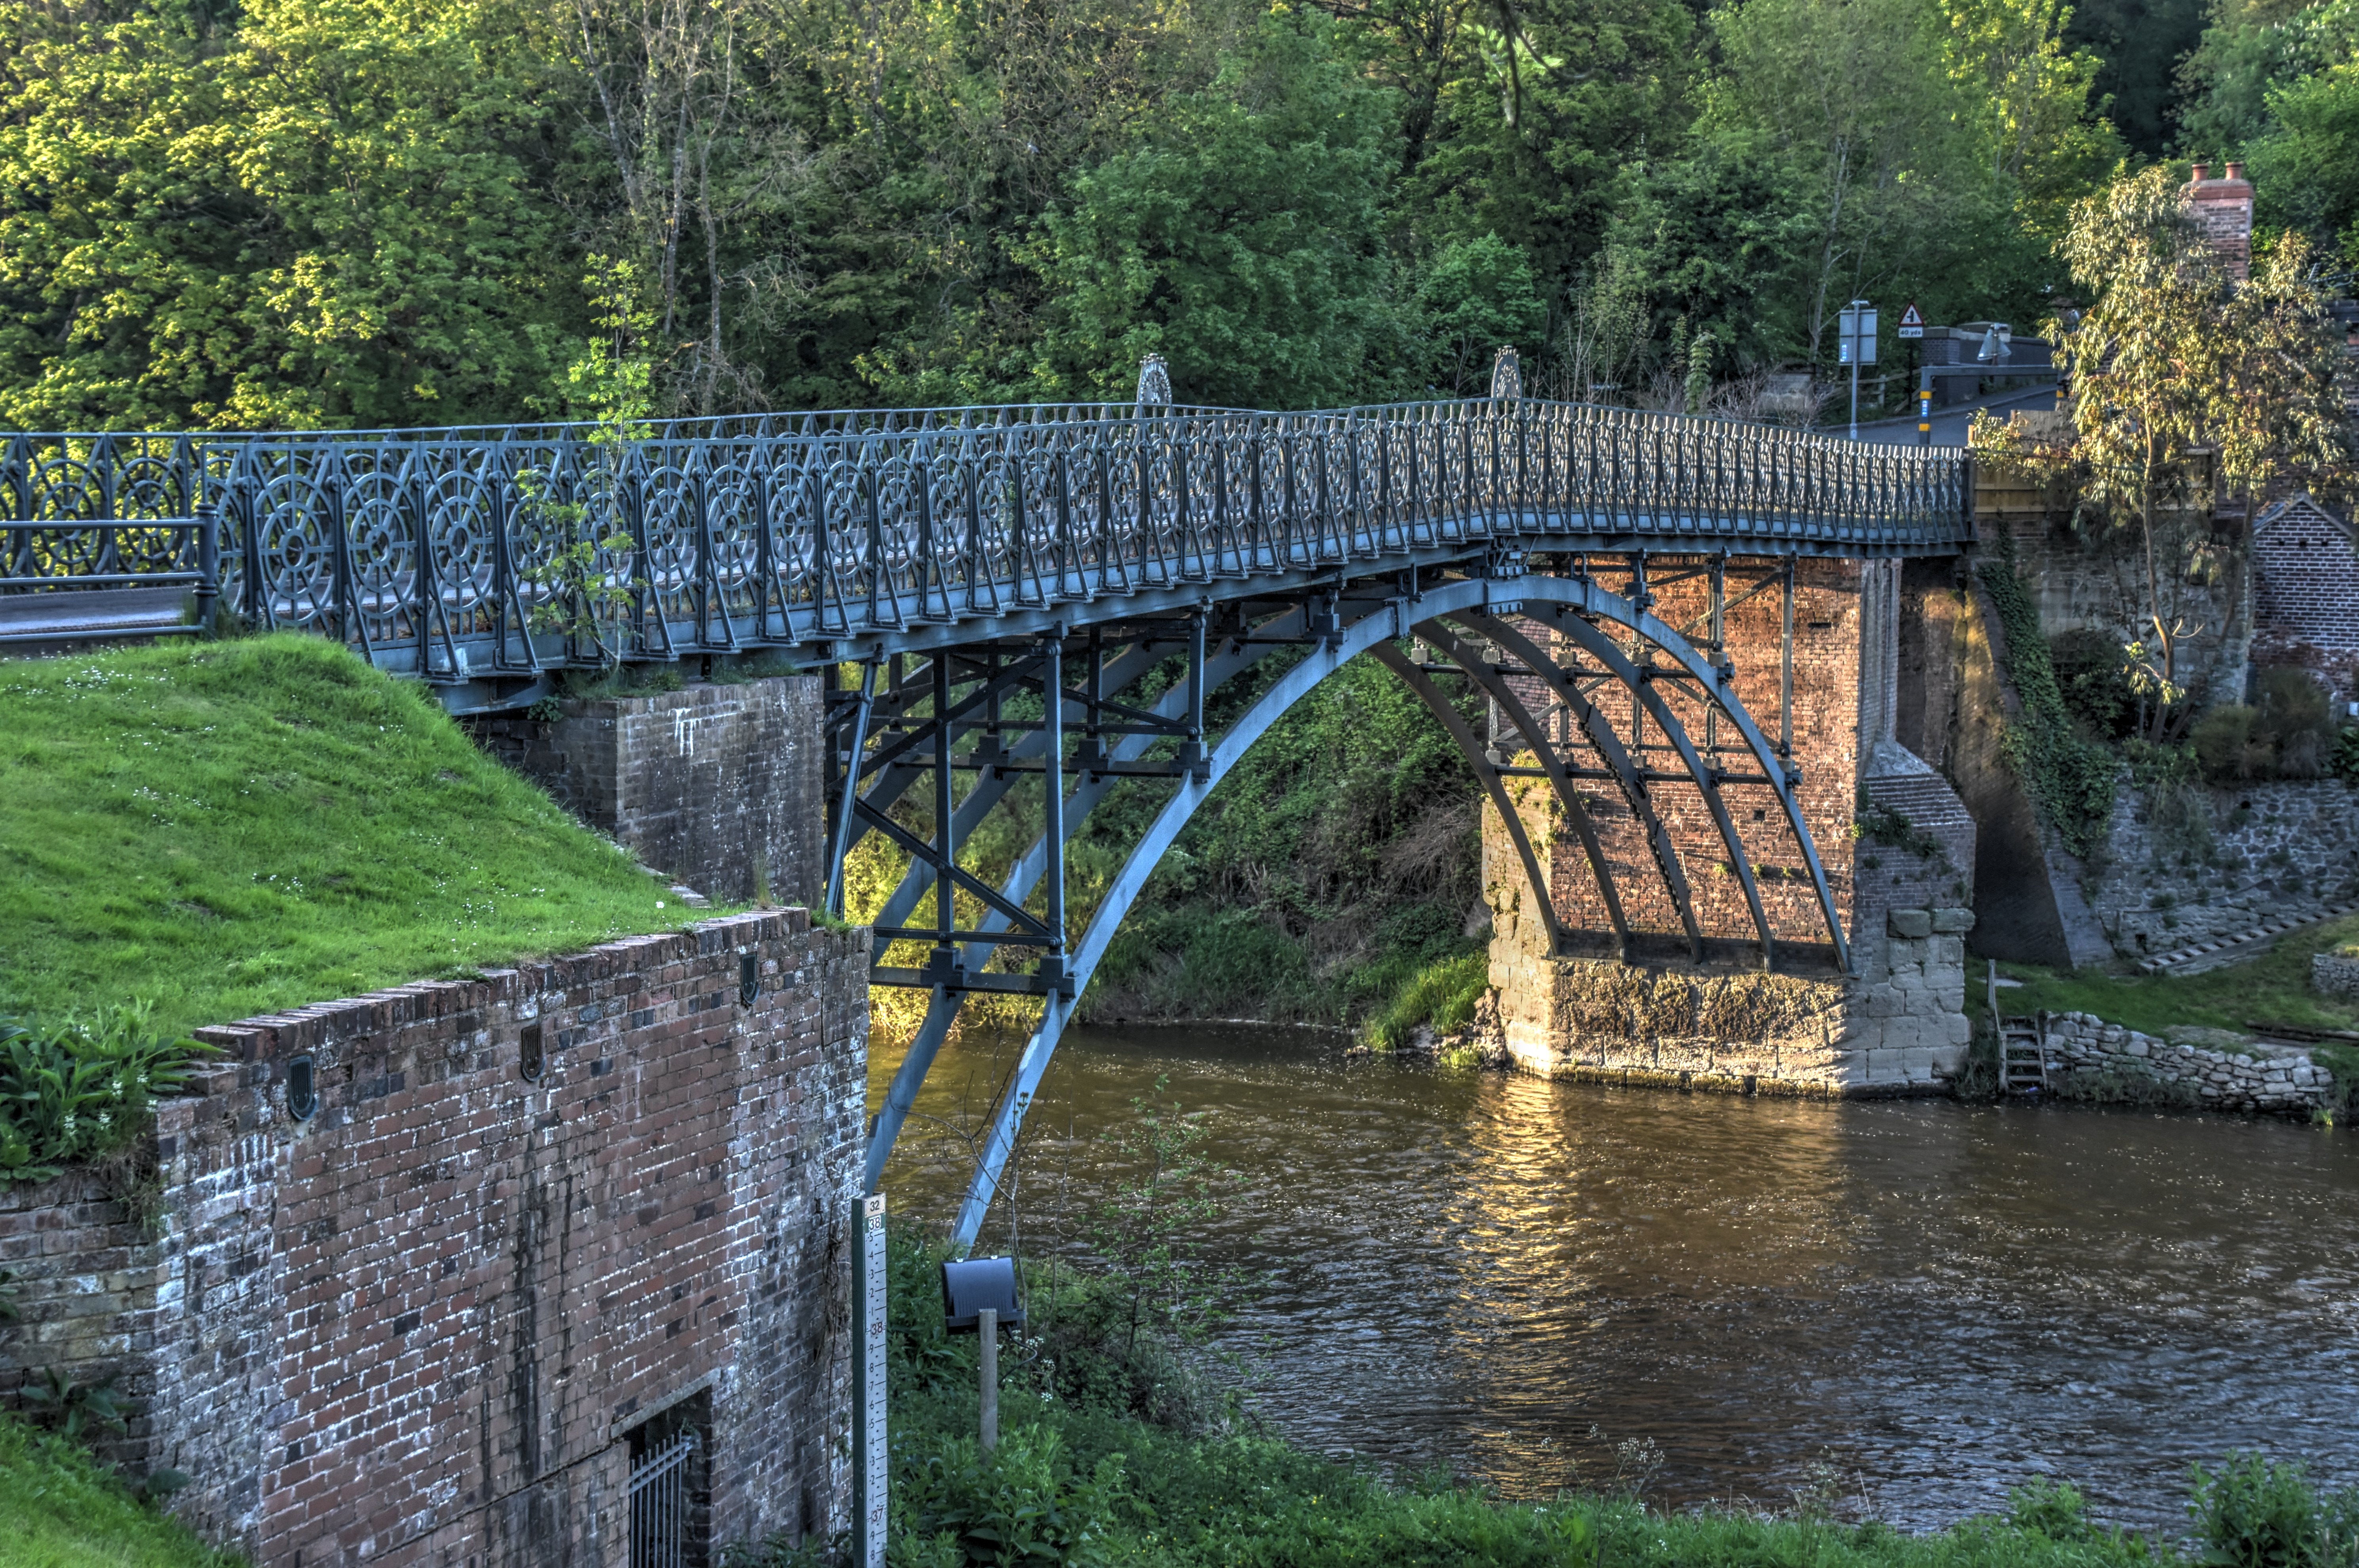
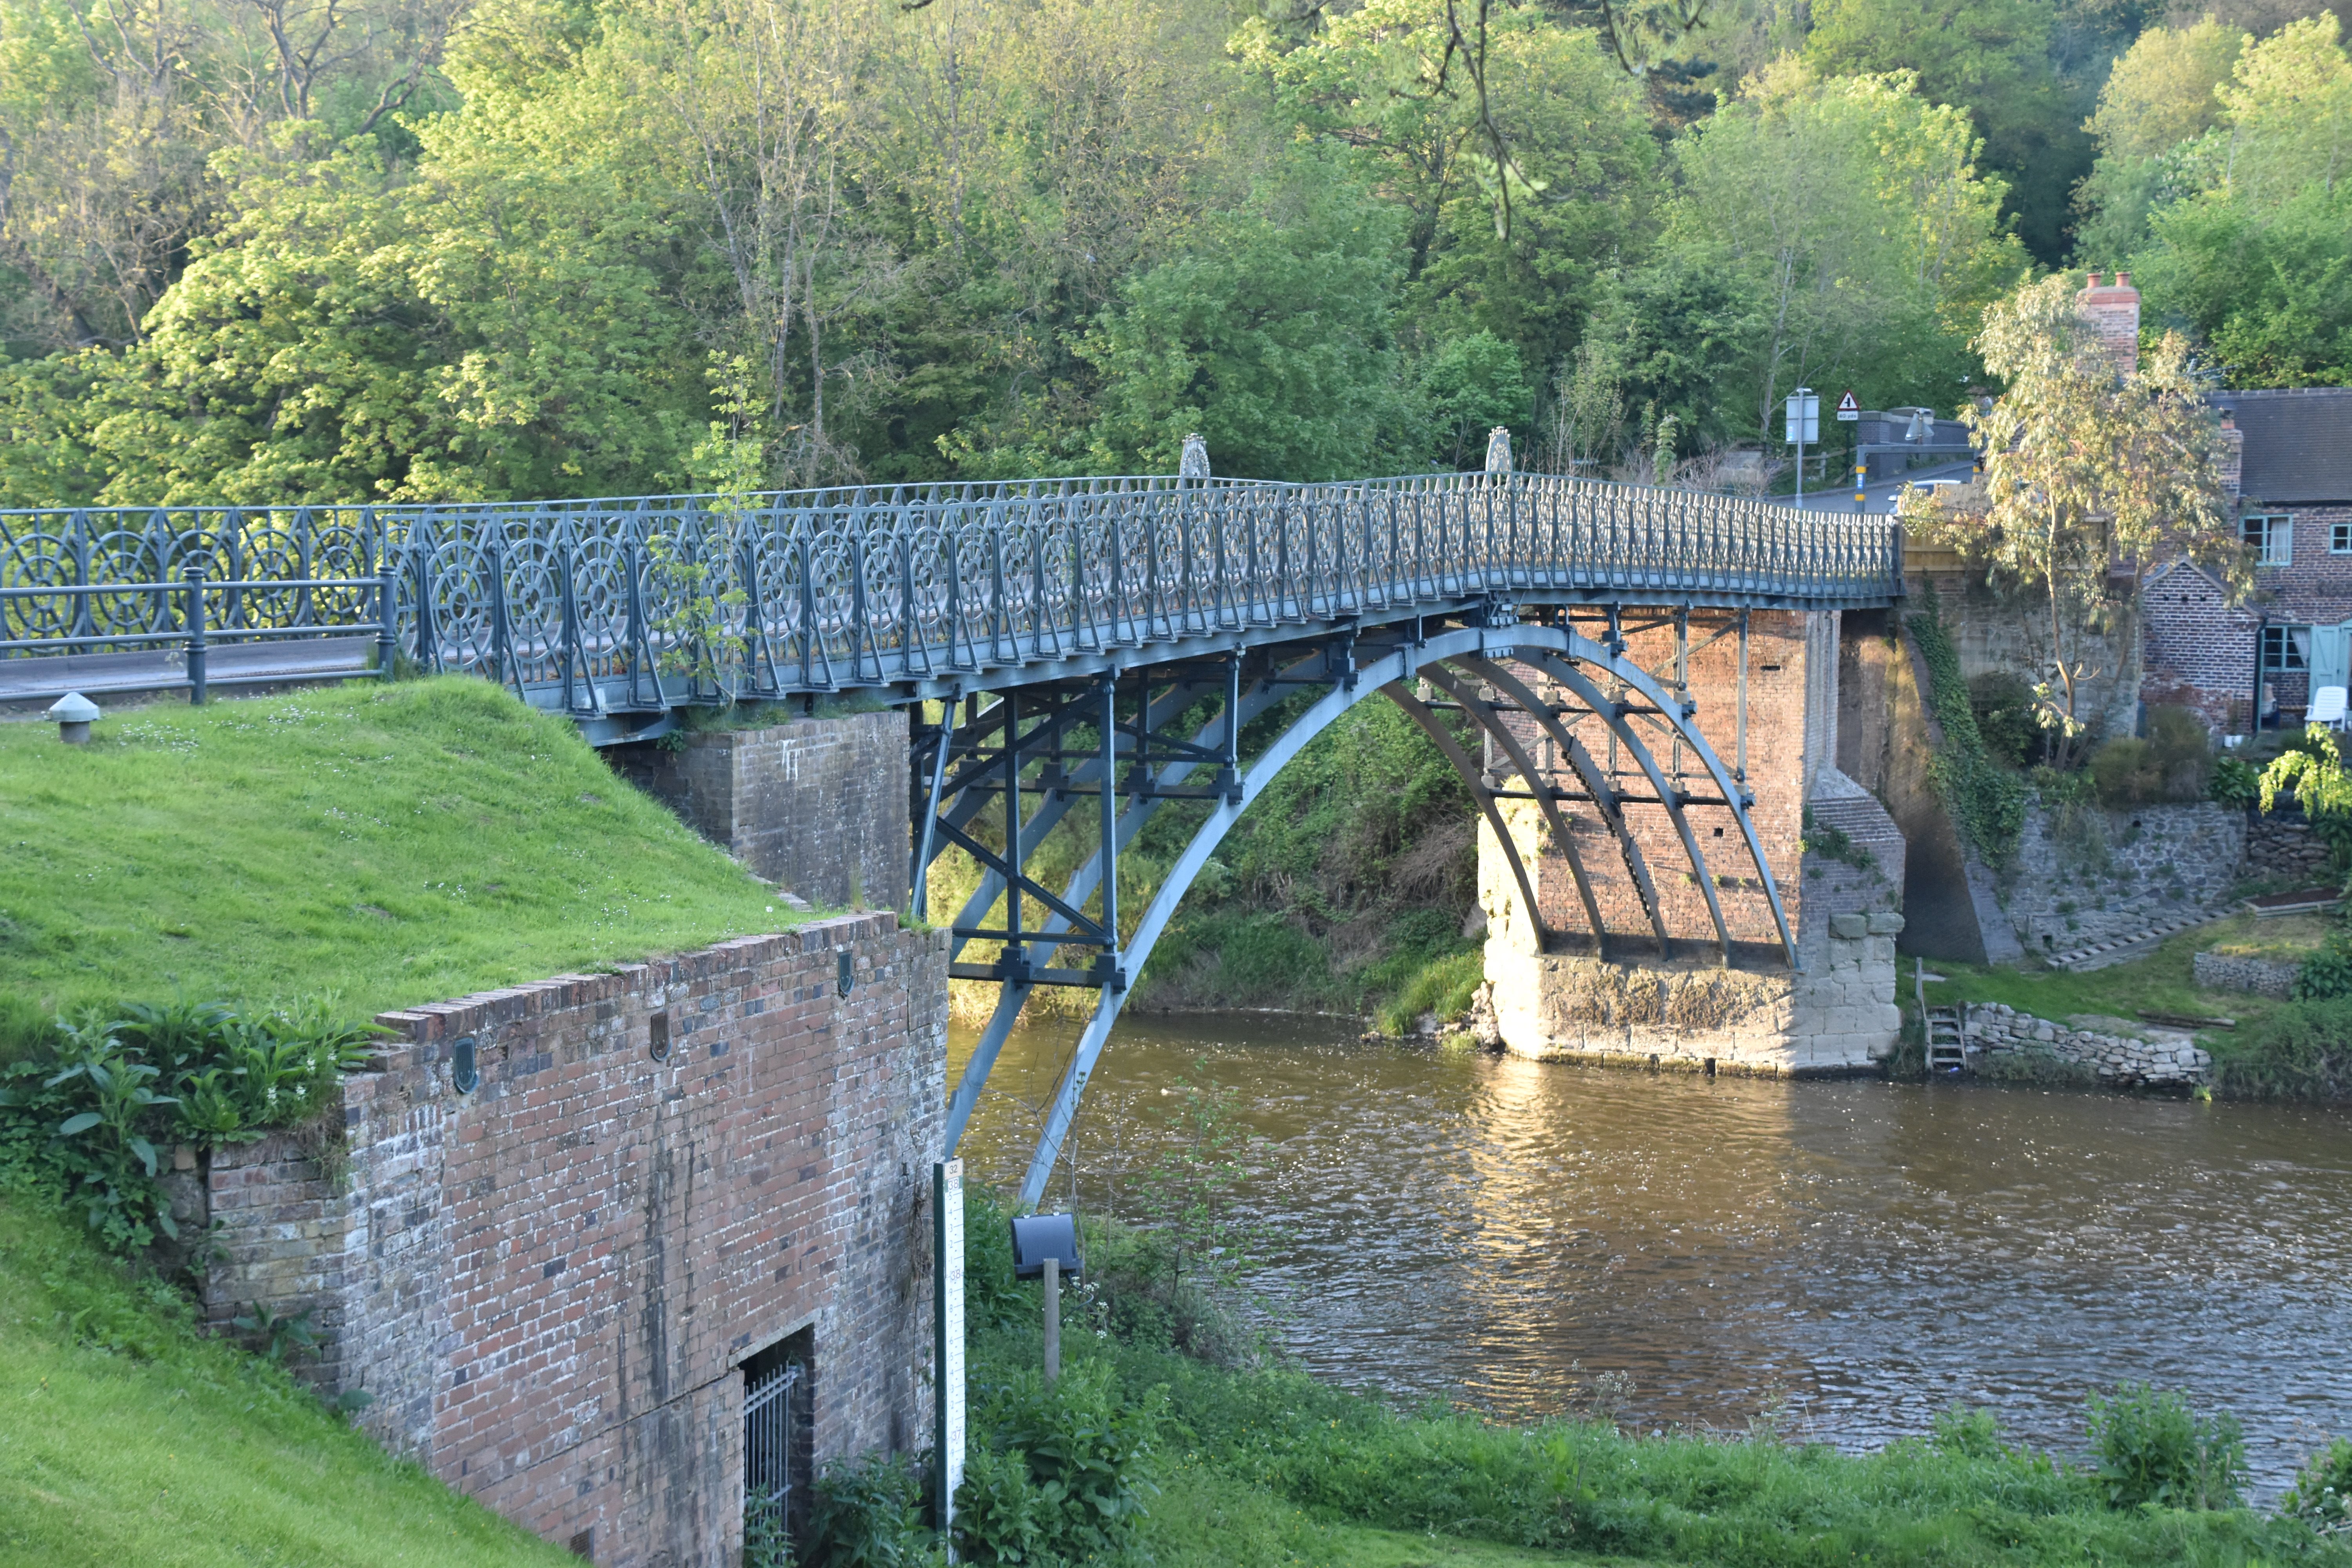
![]()


Views beside bridge from southeast quadrant.
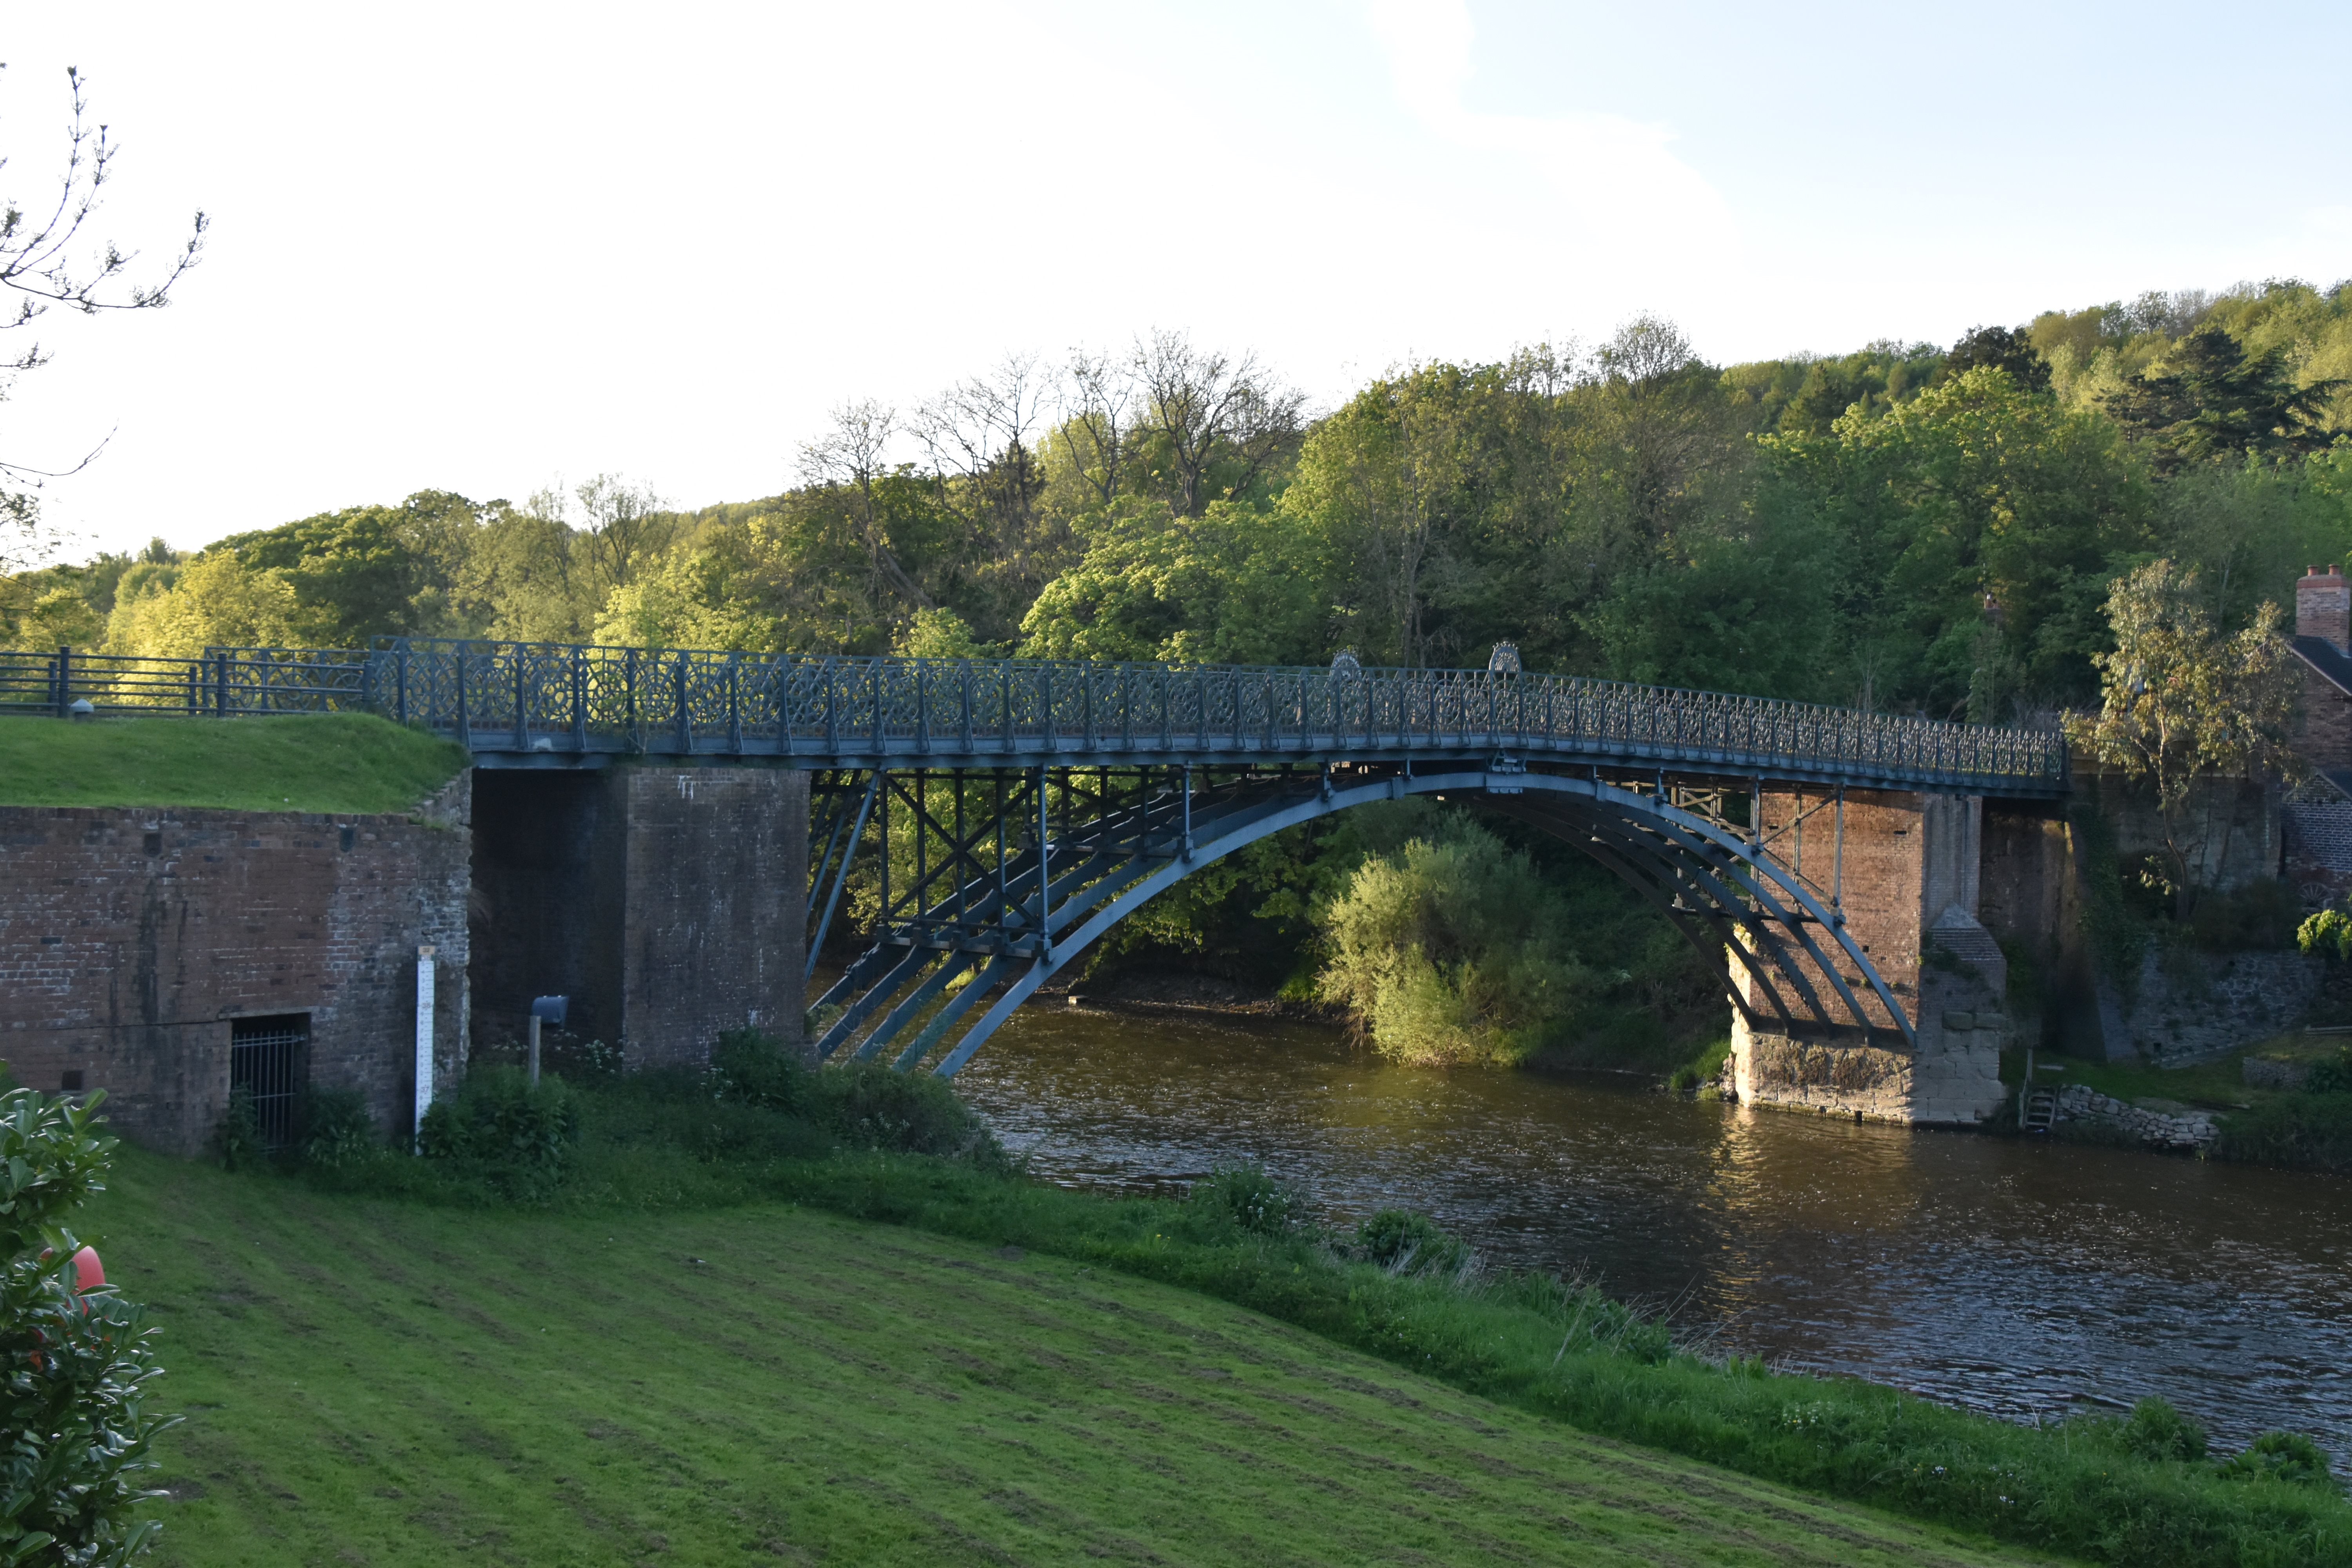
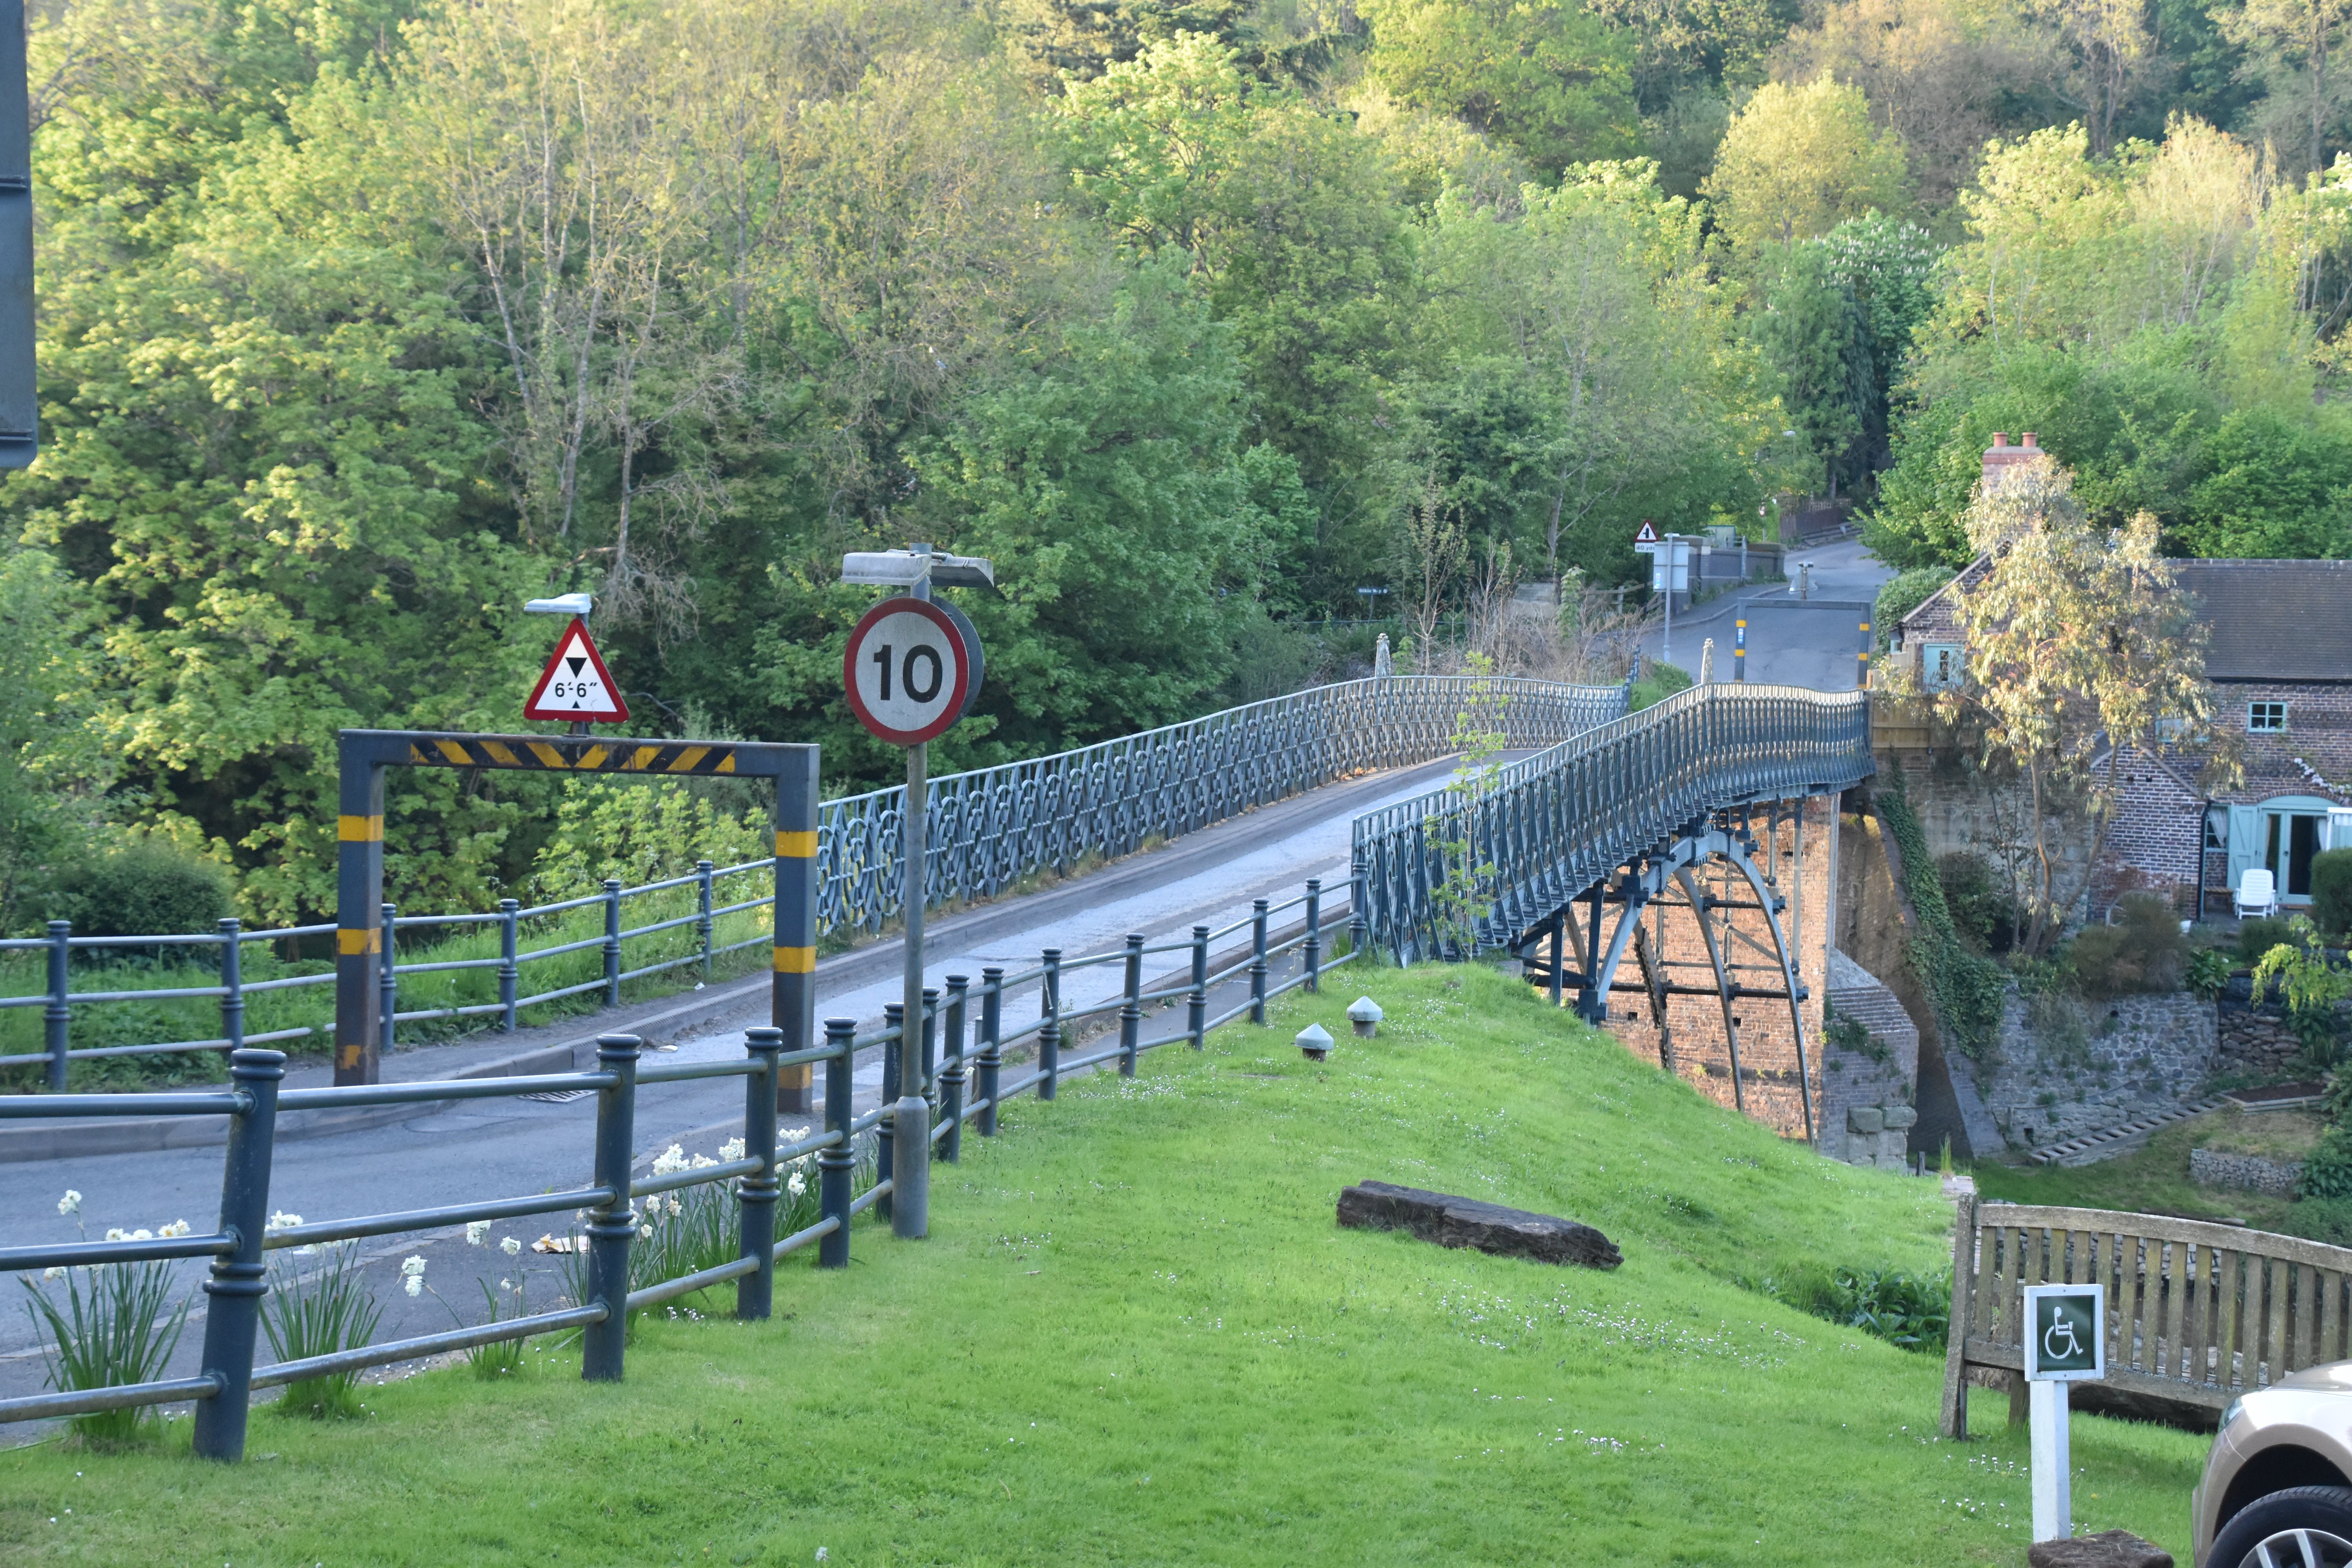
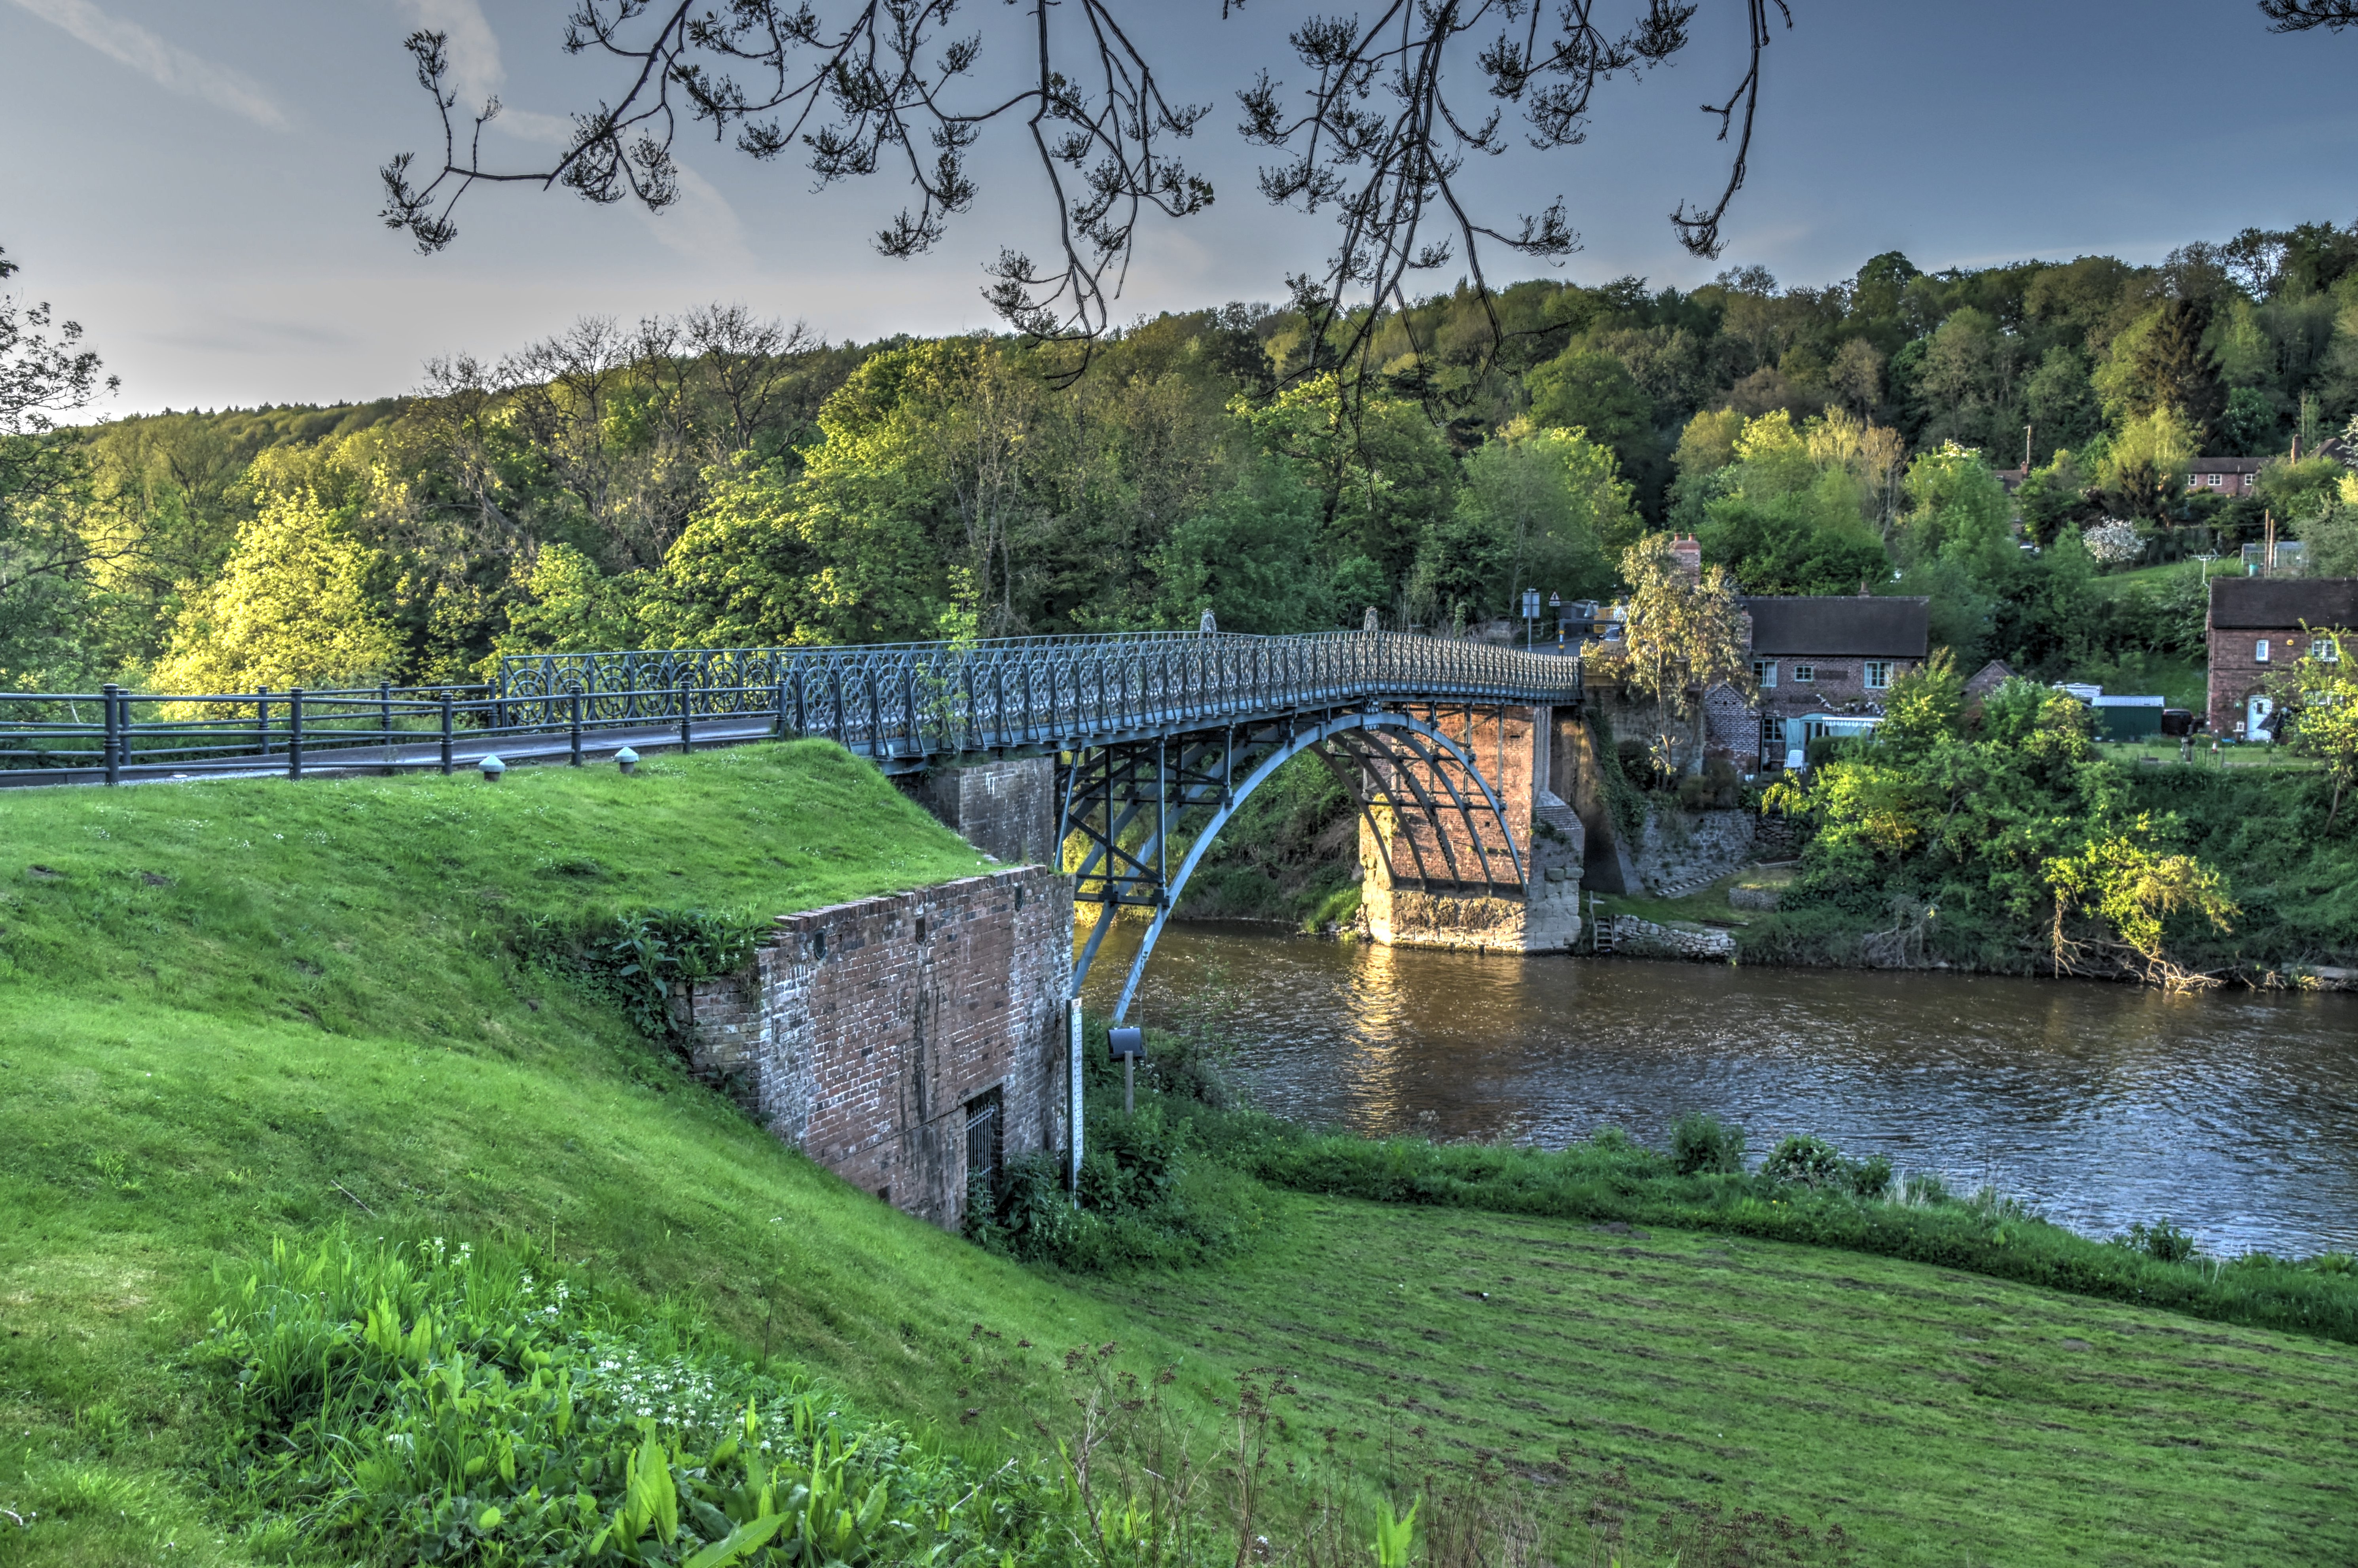
![]()
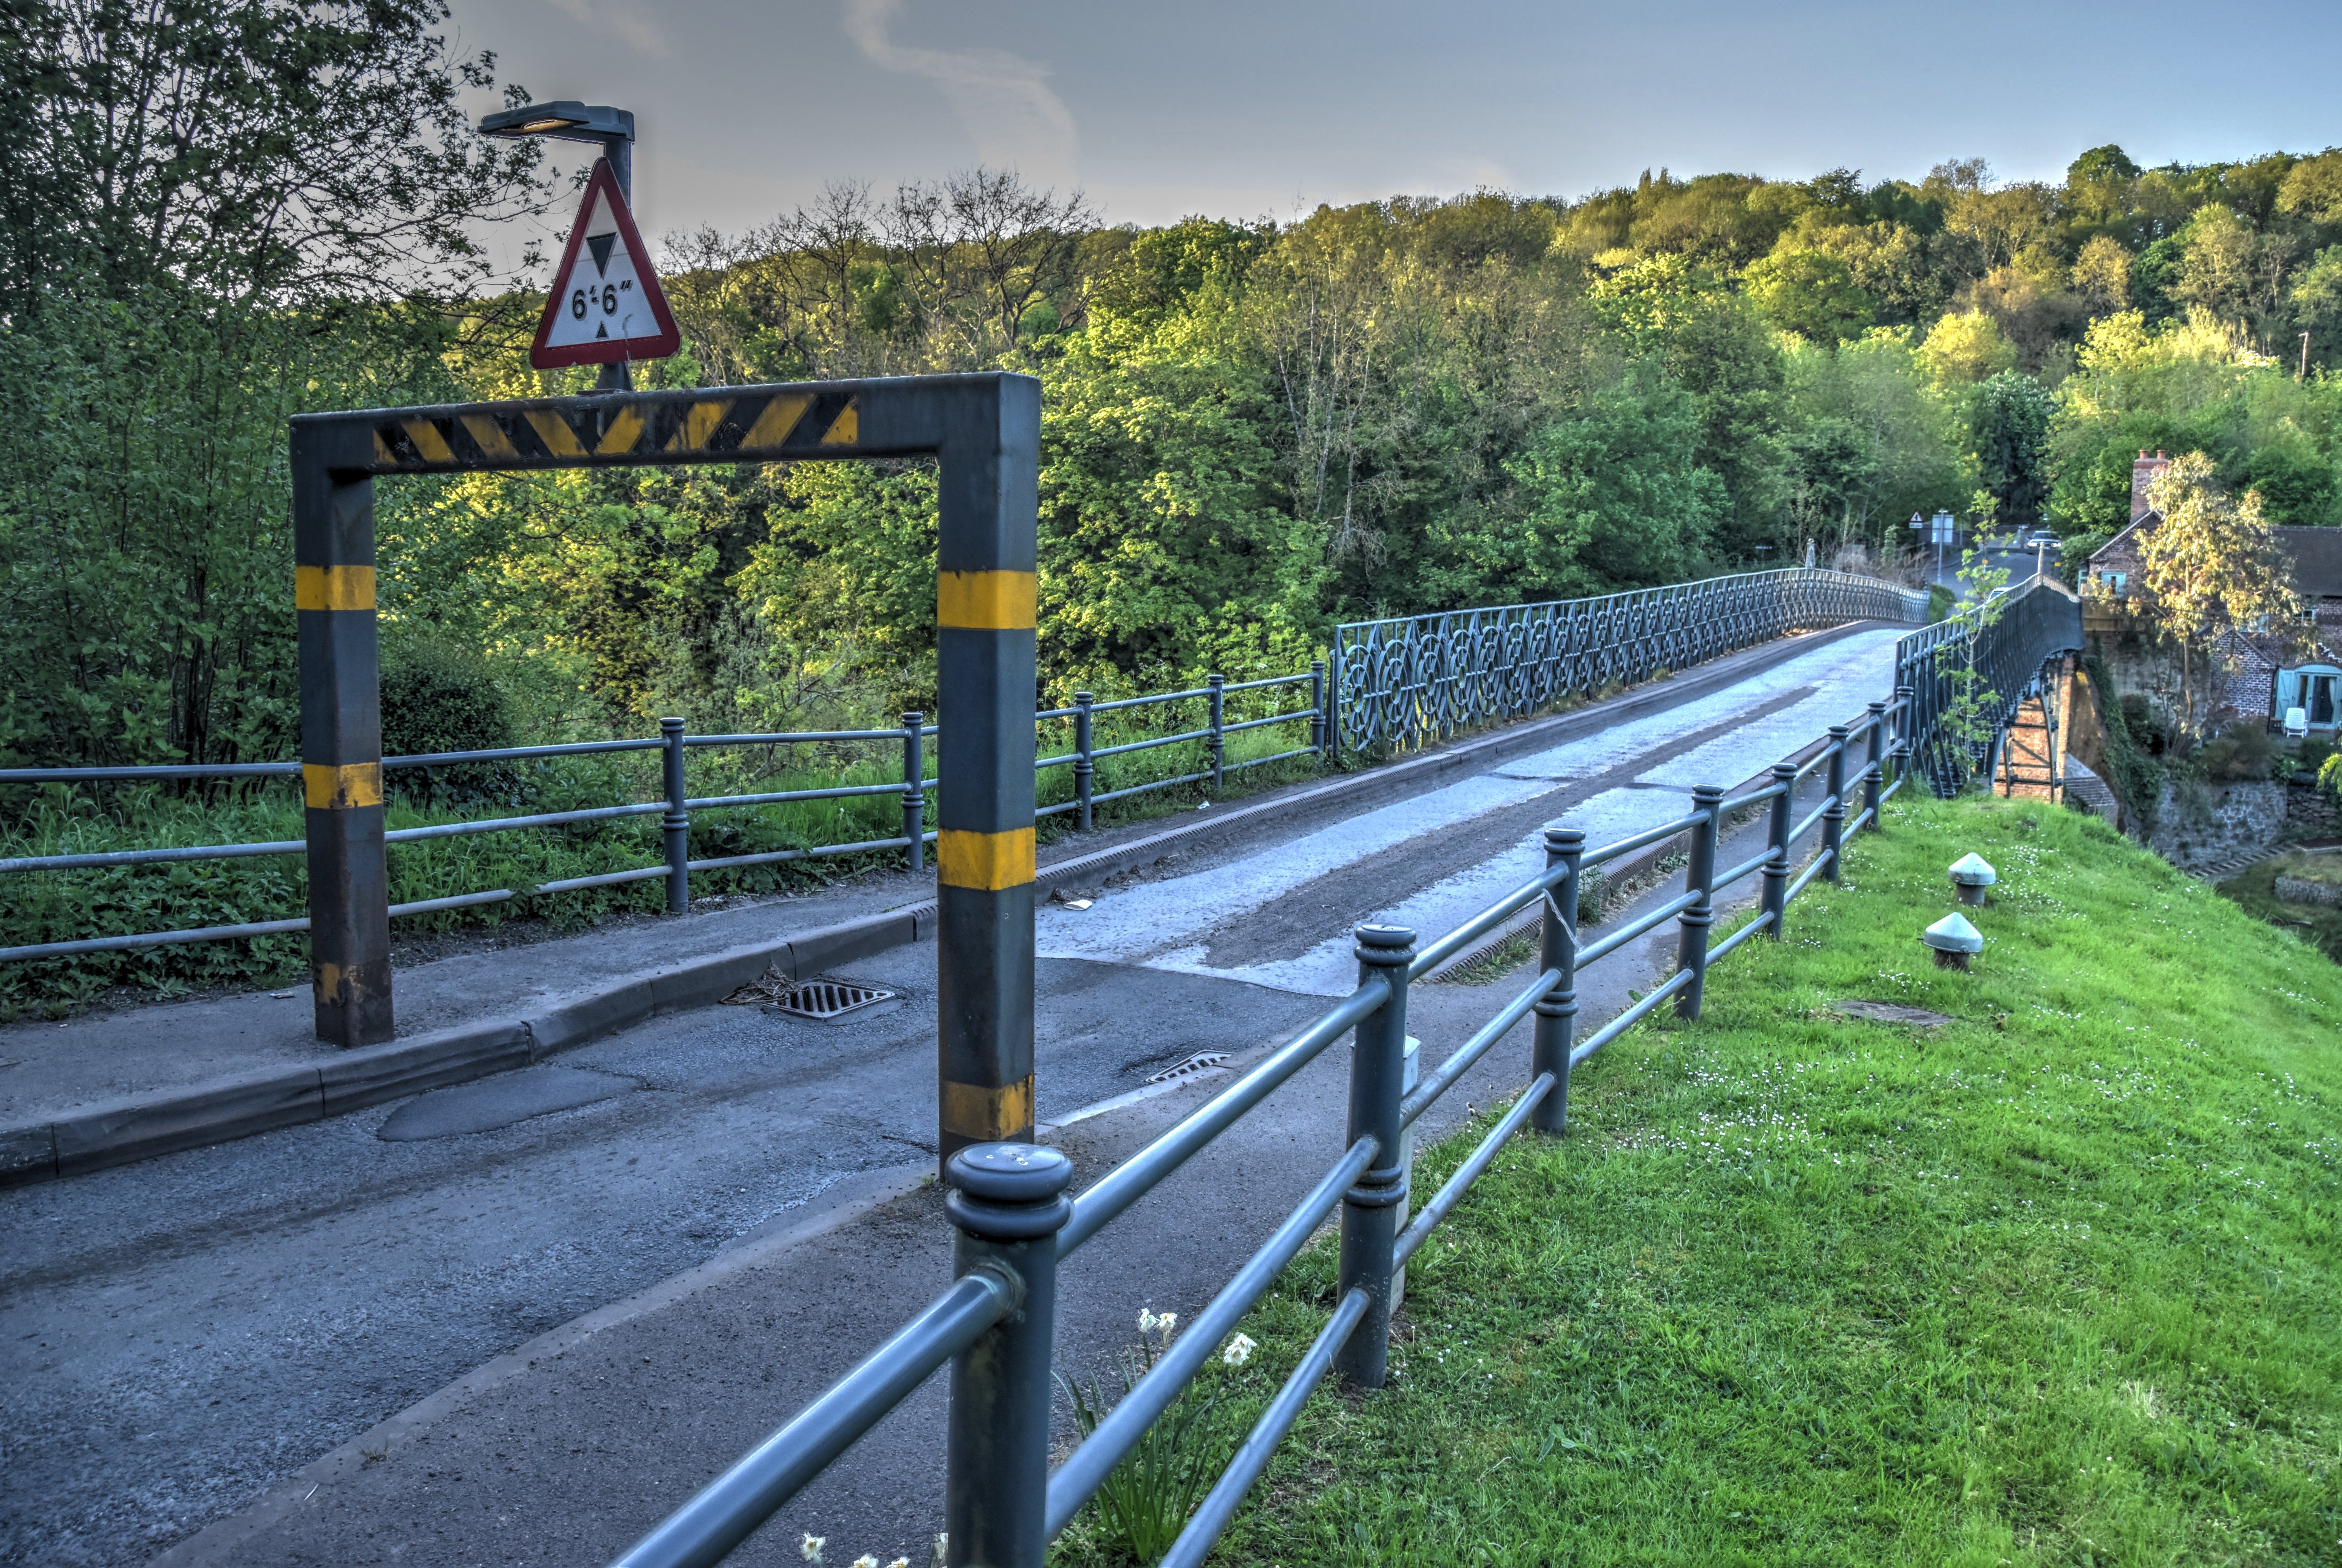
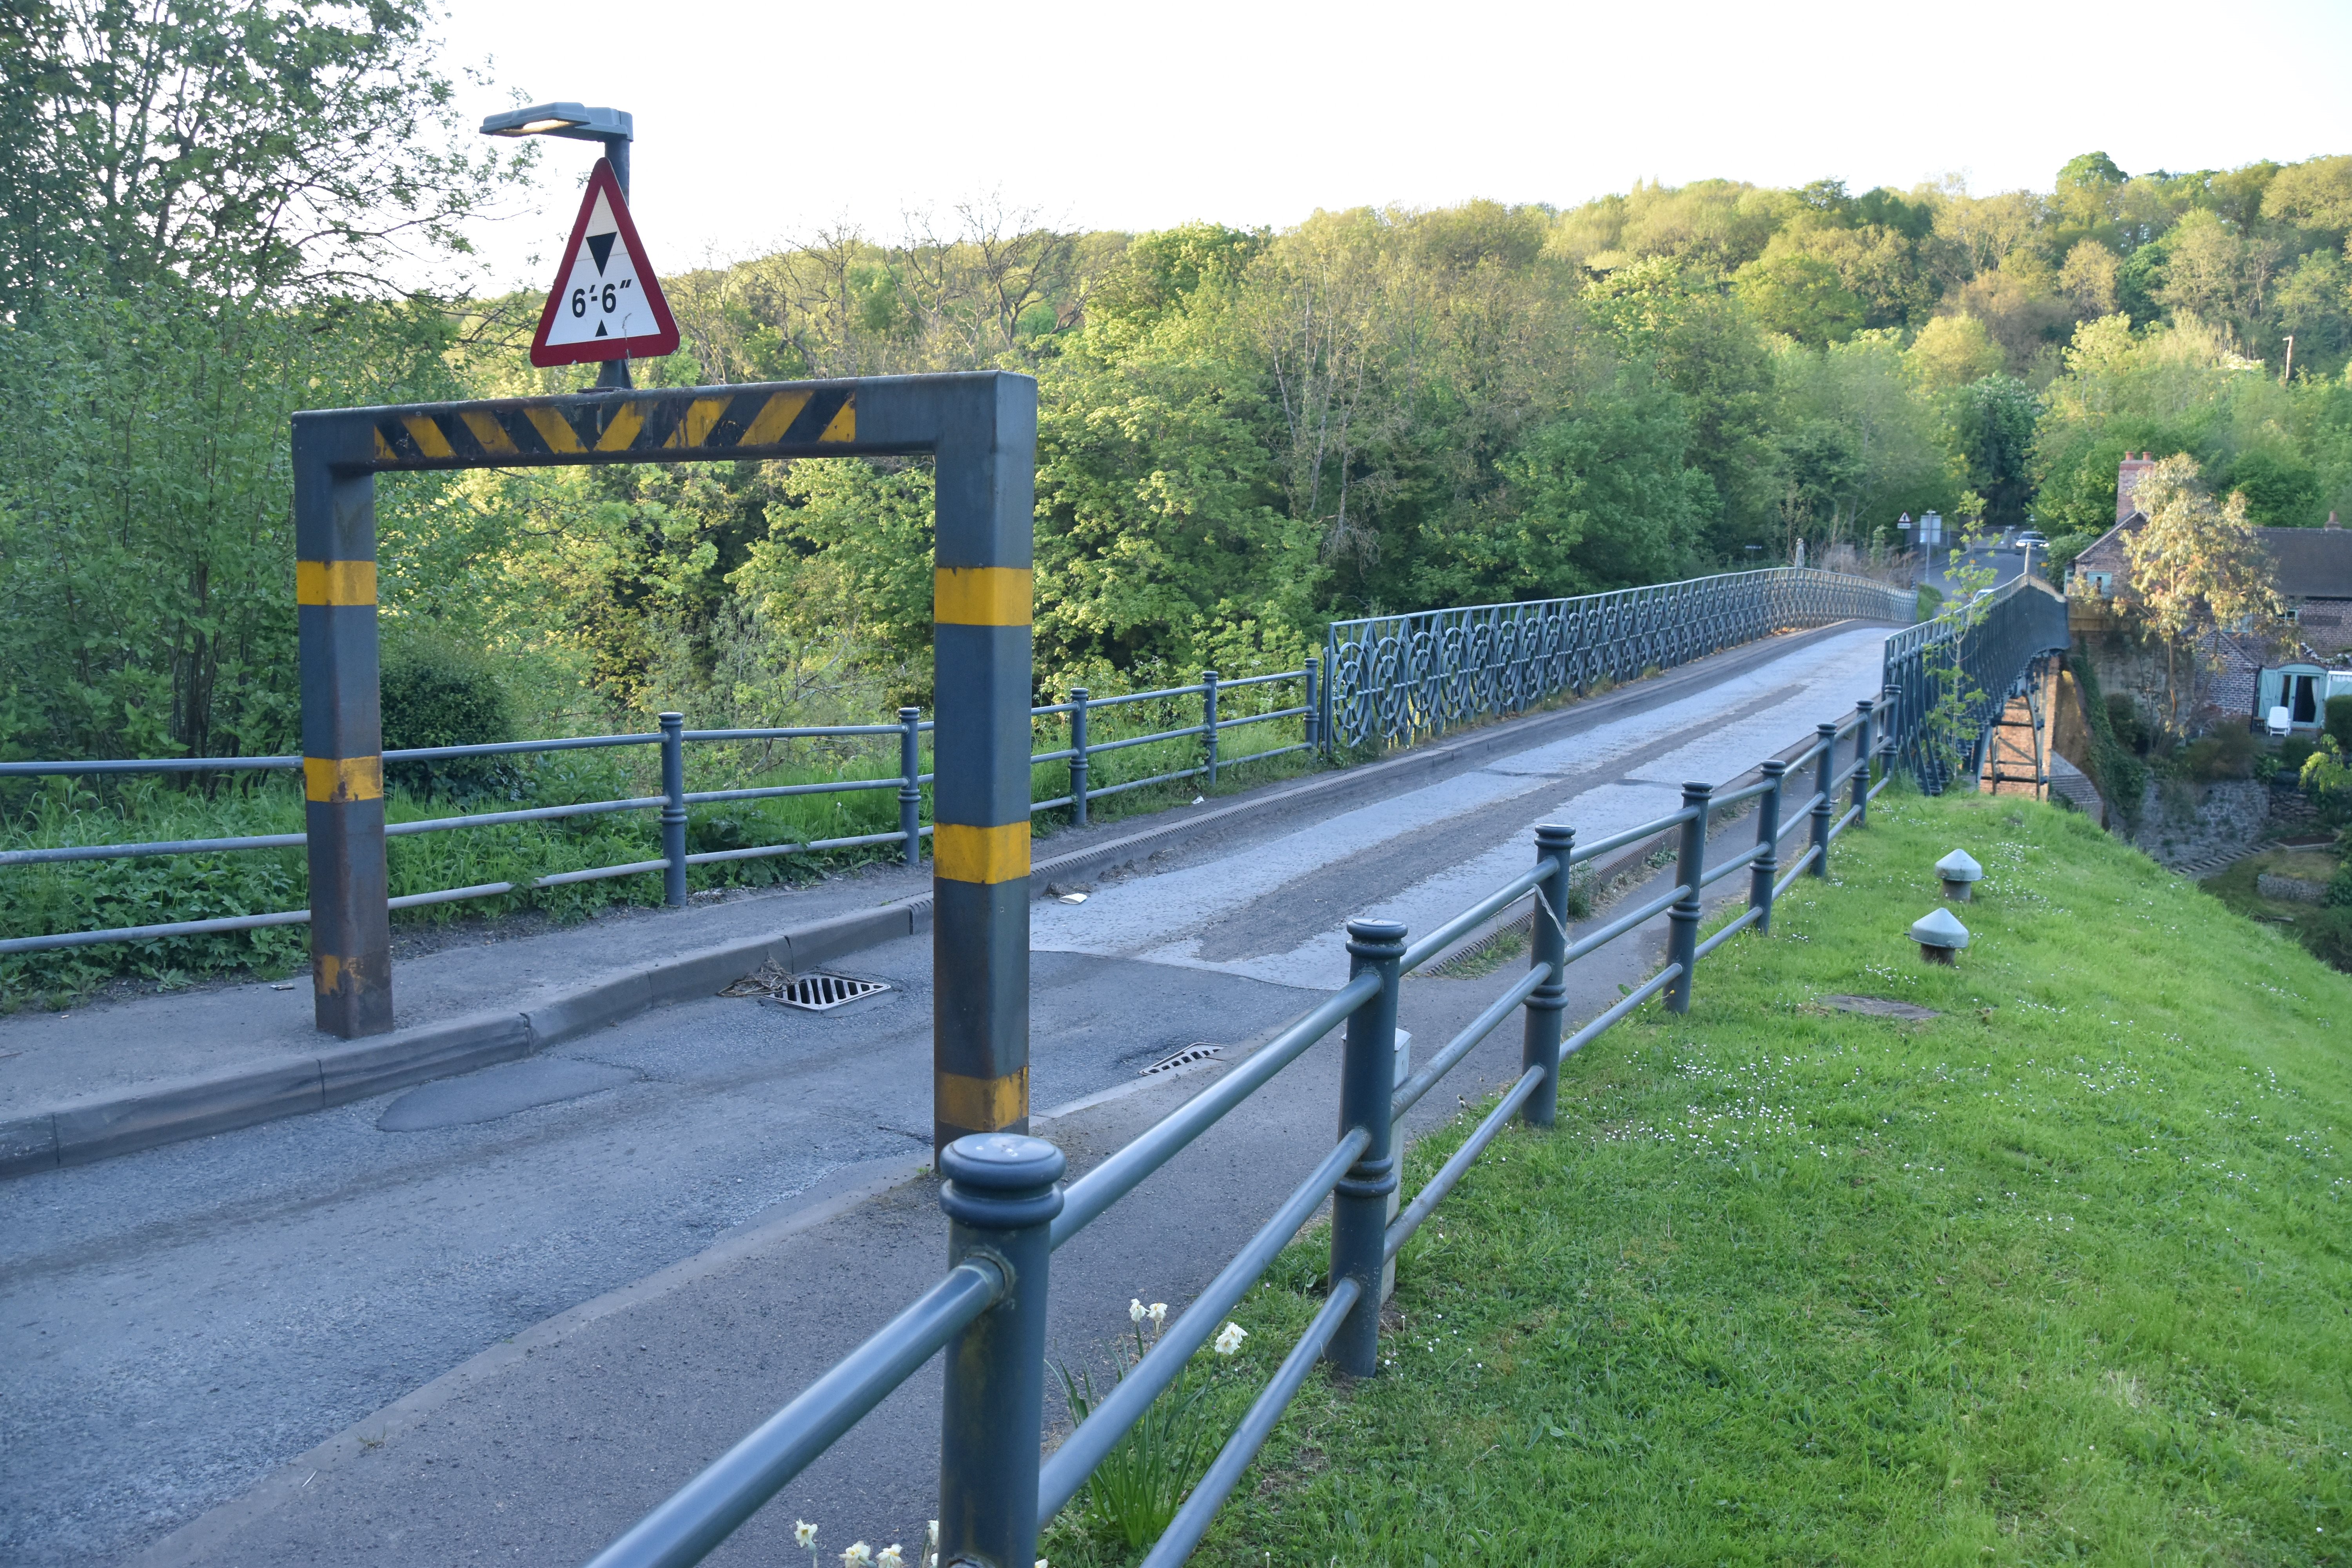
Views from beside approaching roadway from southeast quadrant.
![]()
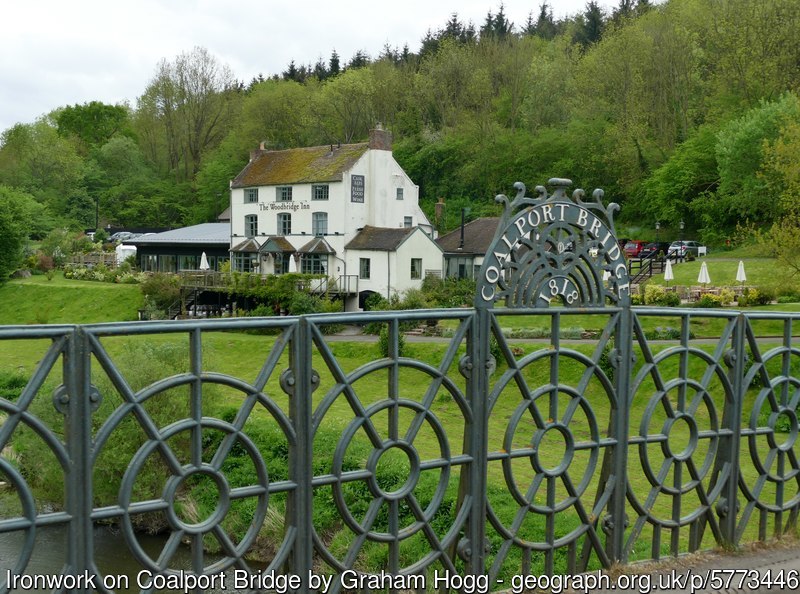
Photo Credit: Graham Hogg, CC BY-SA 2.0
View on bridge showing special center span railing panel reading "Coalport Bridge 1818."
![]()

Photo Credit: Mat Fascione, CC BY-SA 2.0
View on bridge showing special center span railing panel reading "Coalport Bridge 1818."
![]()

Photo Credit: Mat Fascione, CC BY-SA 2.0
View on bridge showing special center span railing panel reading "Coalport Bridge 1818."
![]()
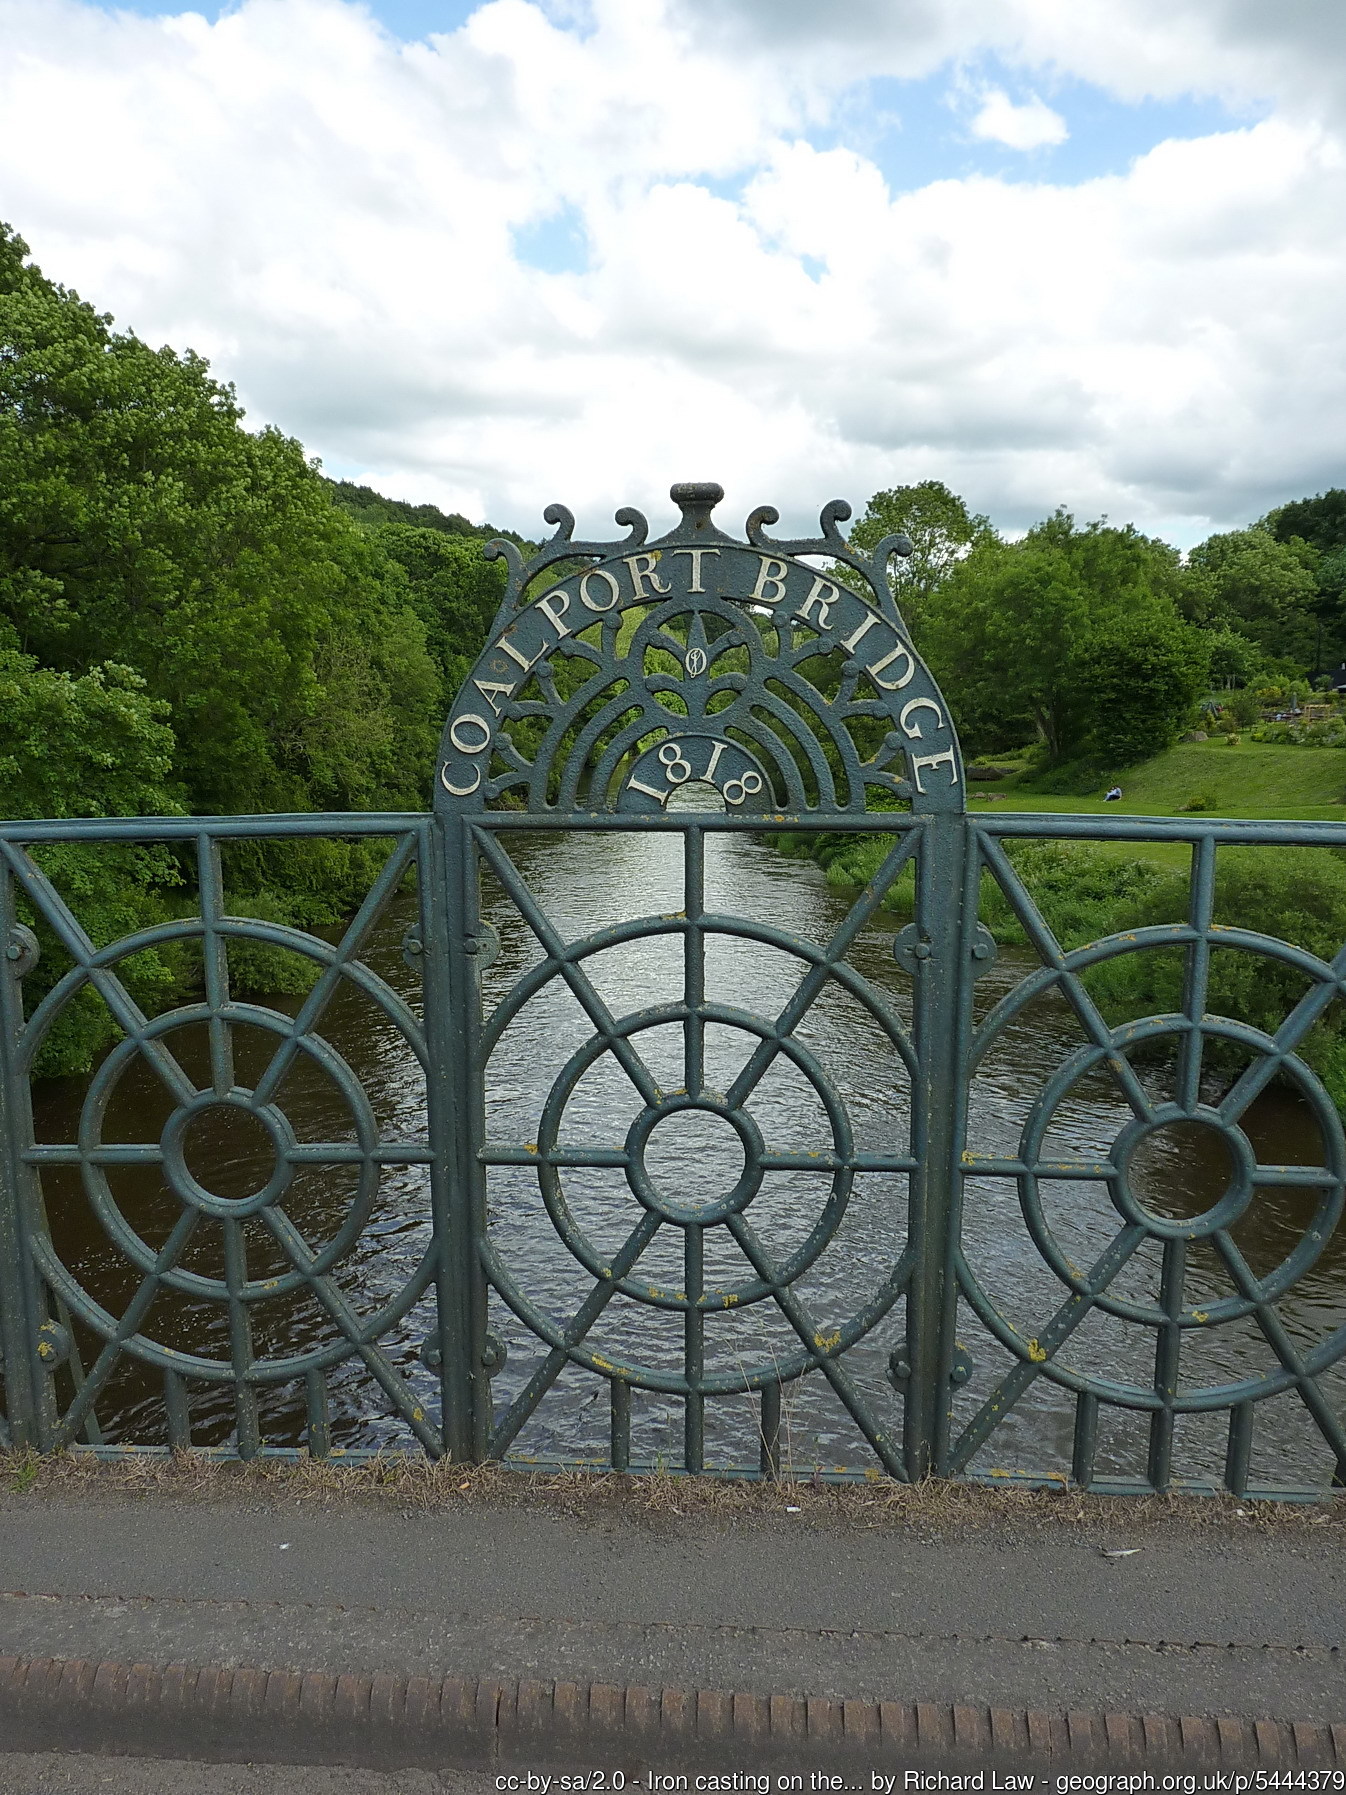
Photo Credit: Richard Law, CC BY-SA 2.0
View on bridge showing special center span railing panel reading "Coalport Bridge 1818."
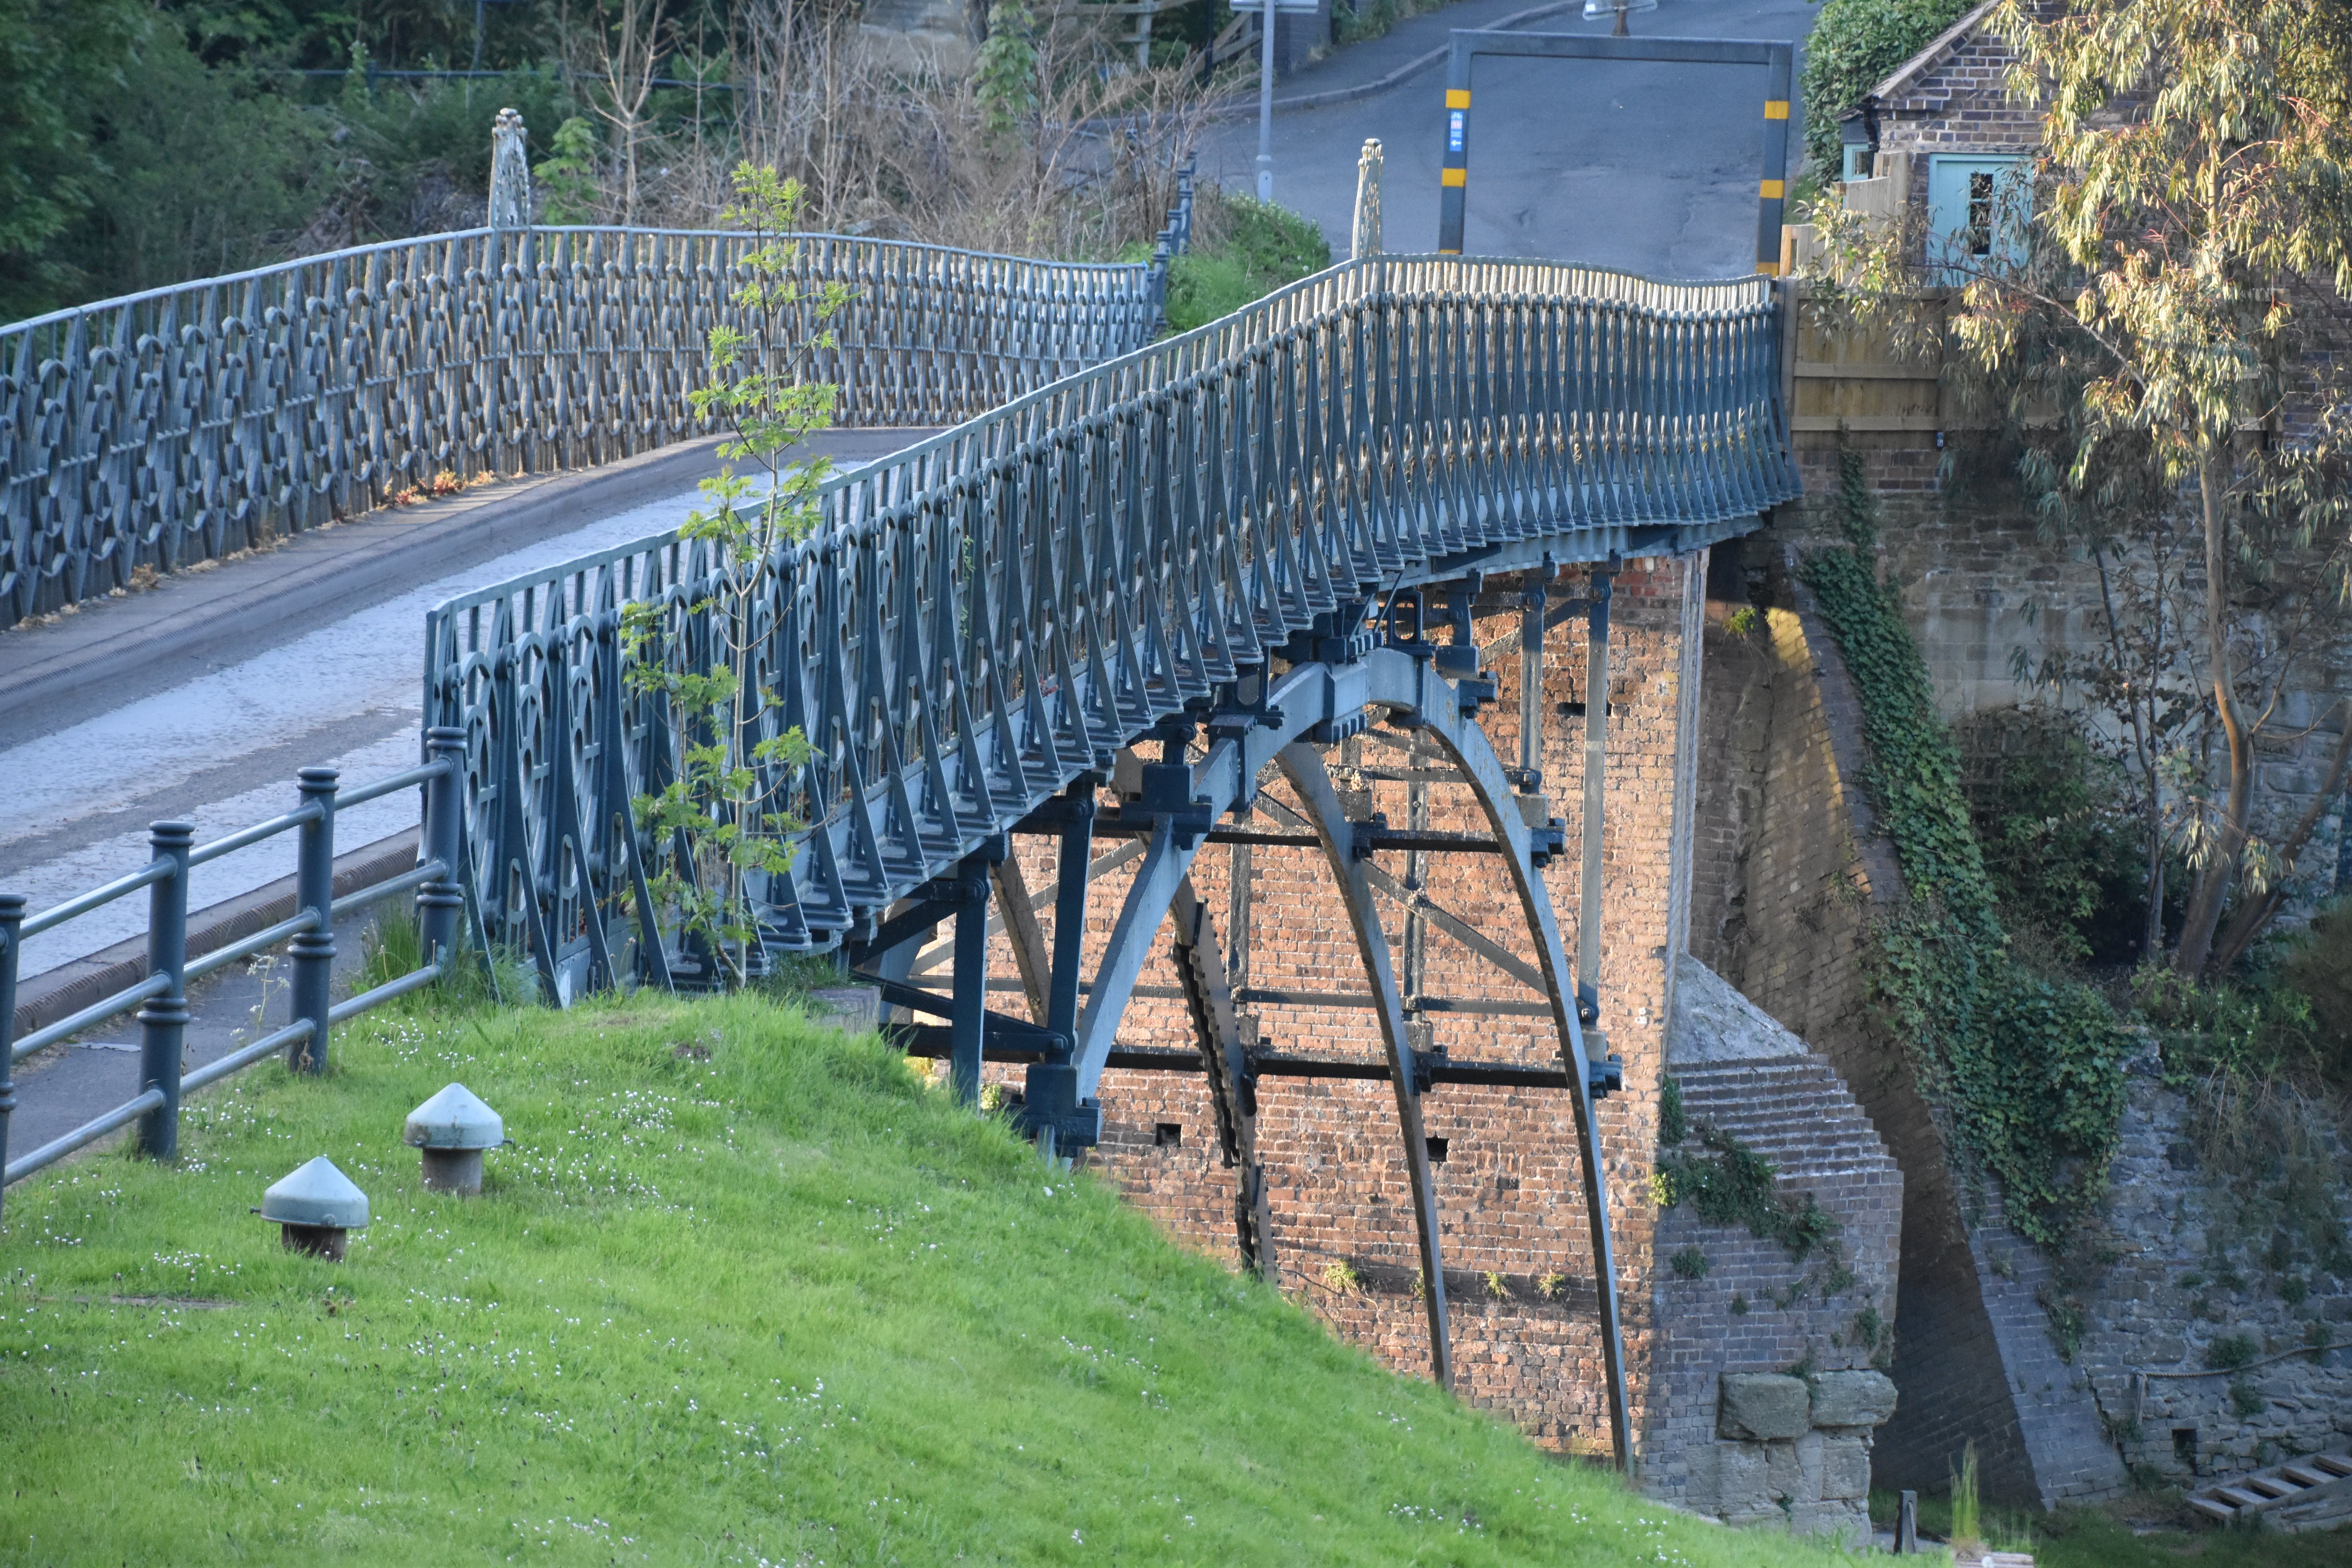
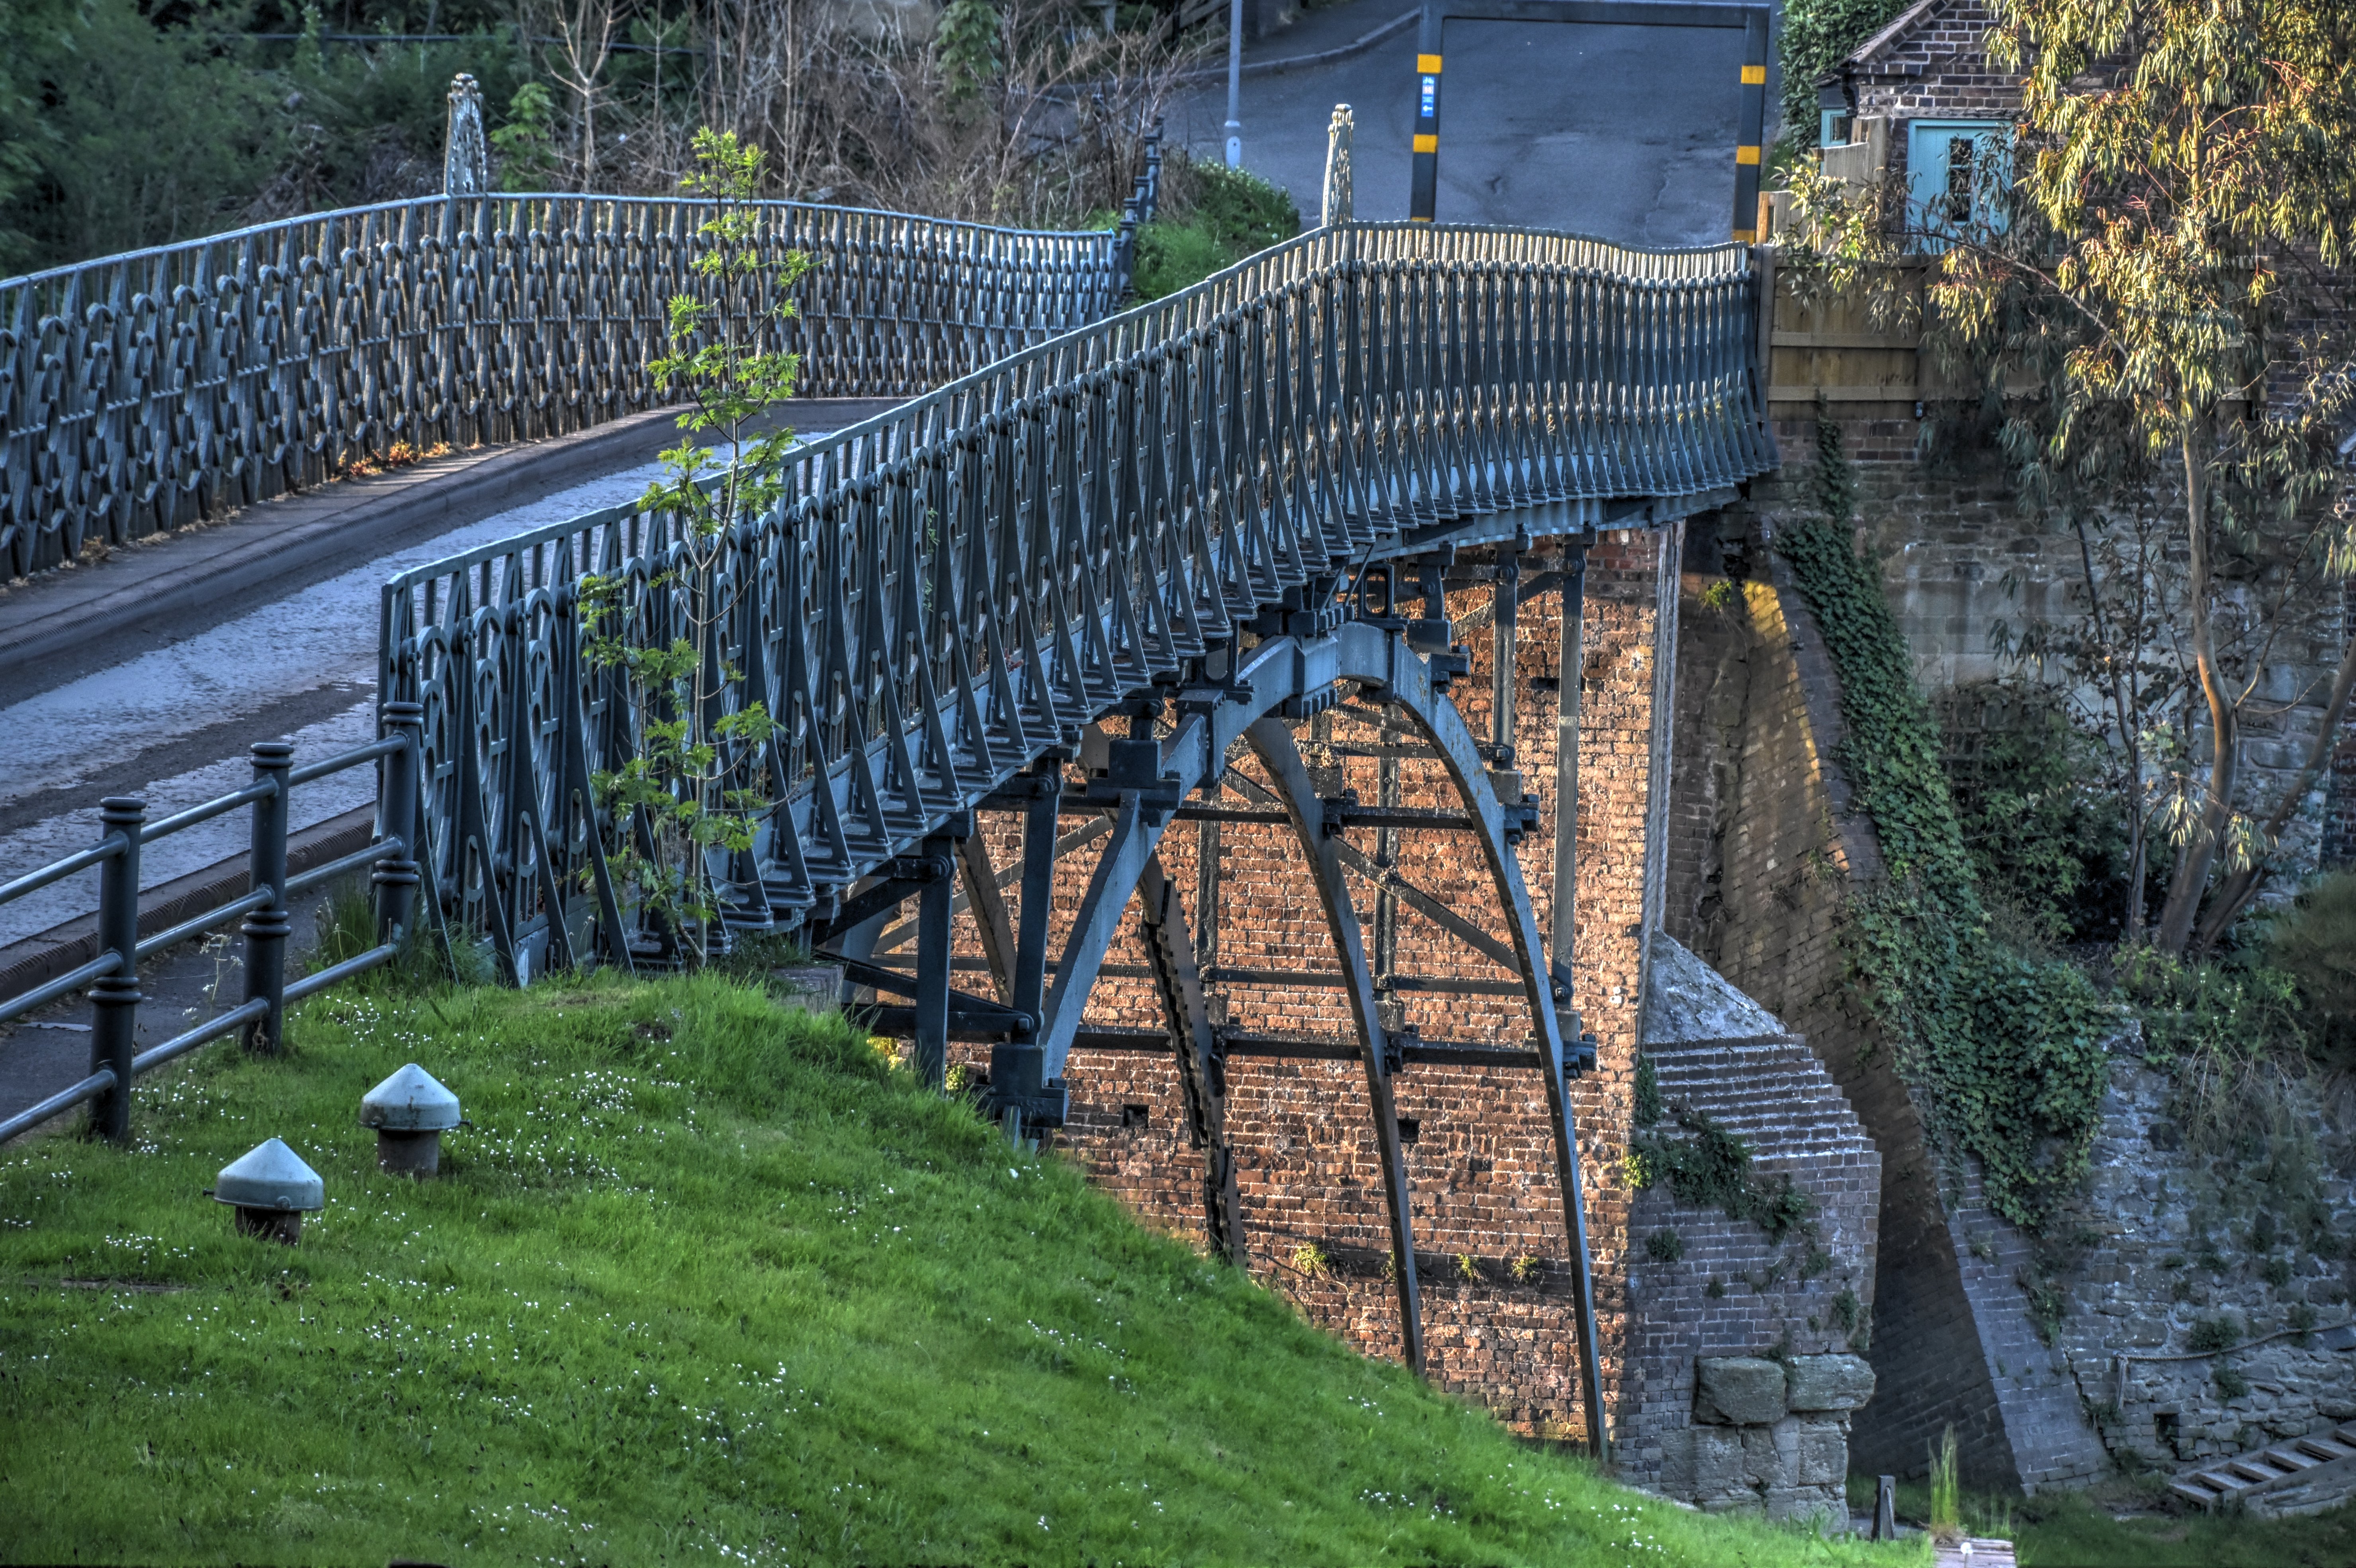
![]()
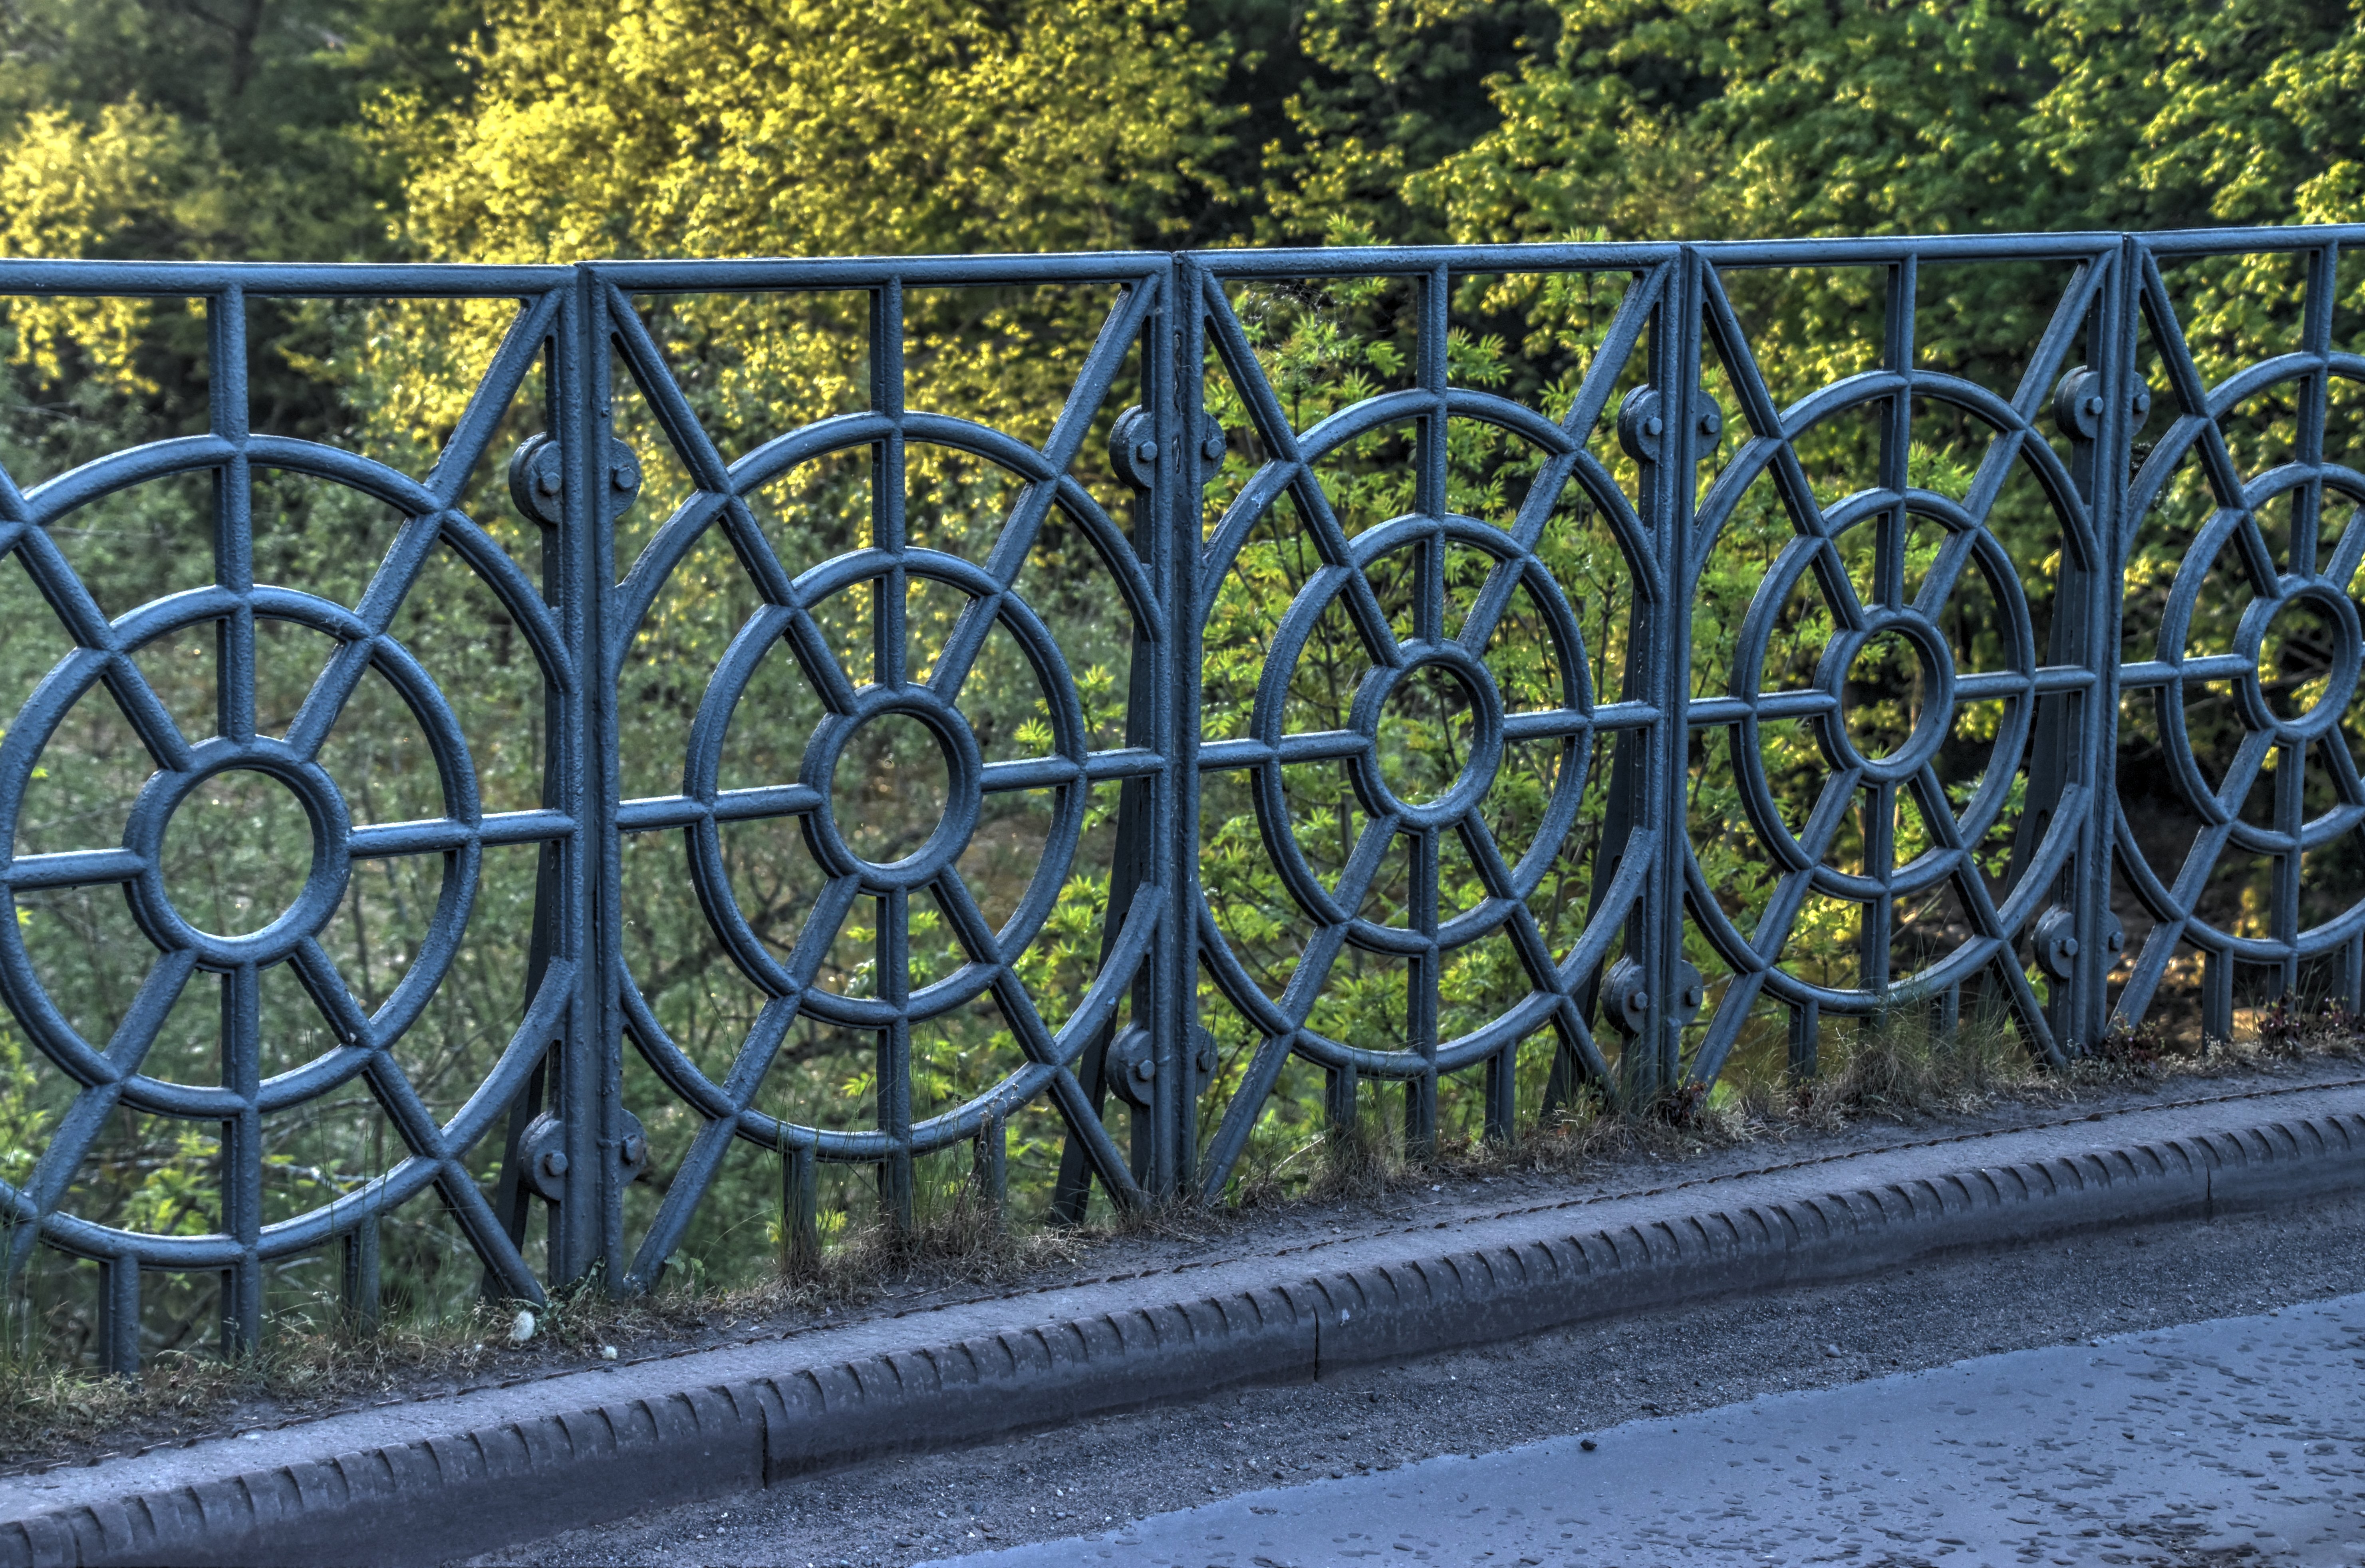


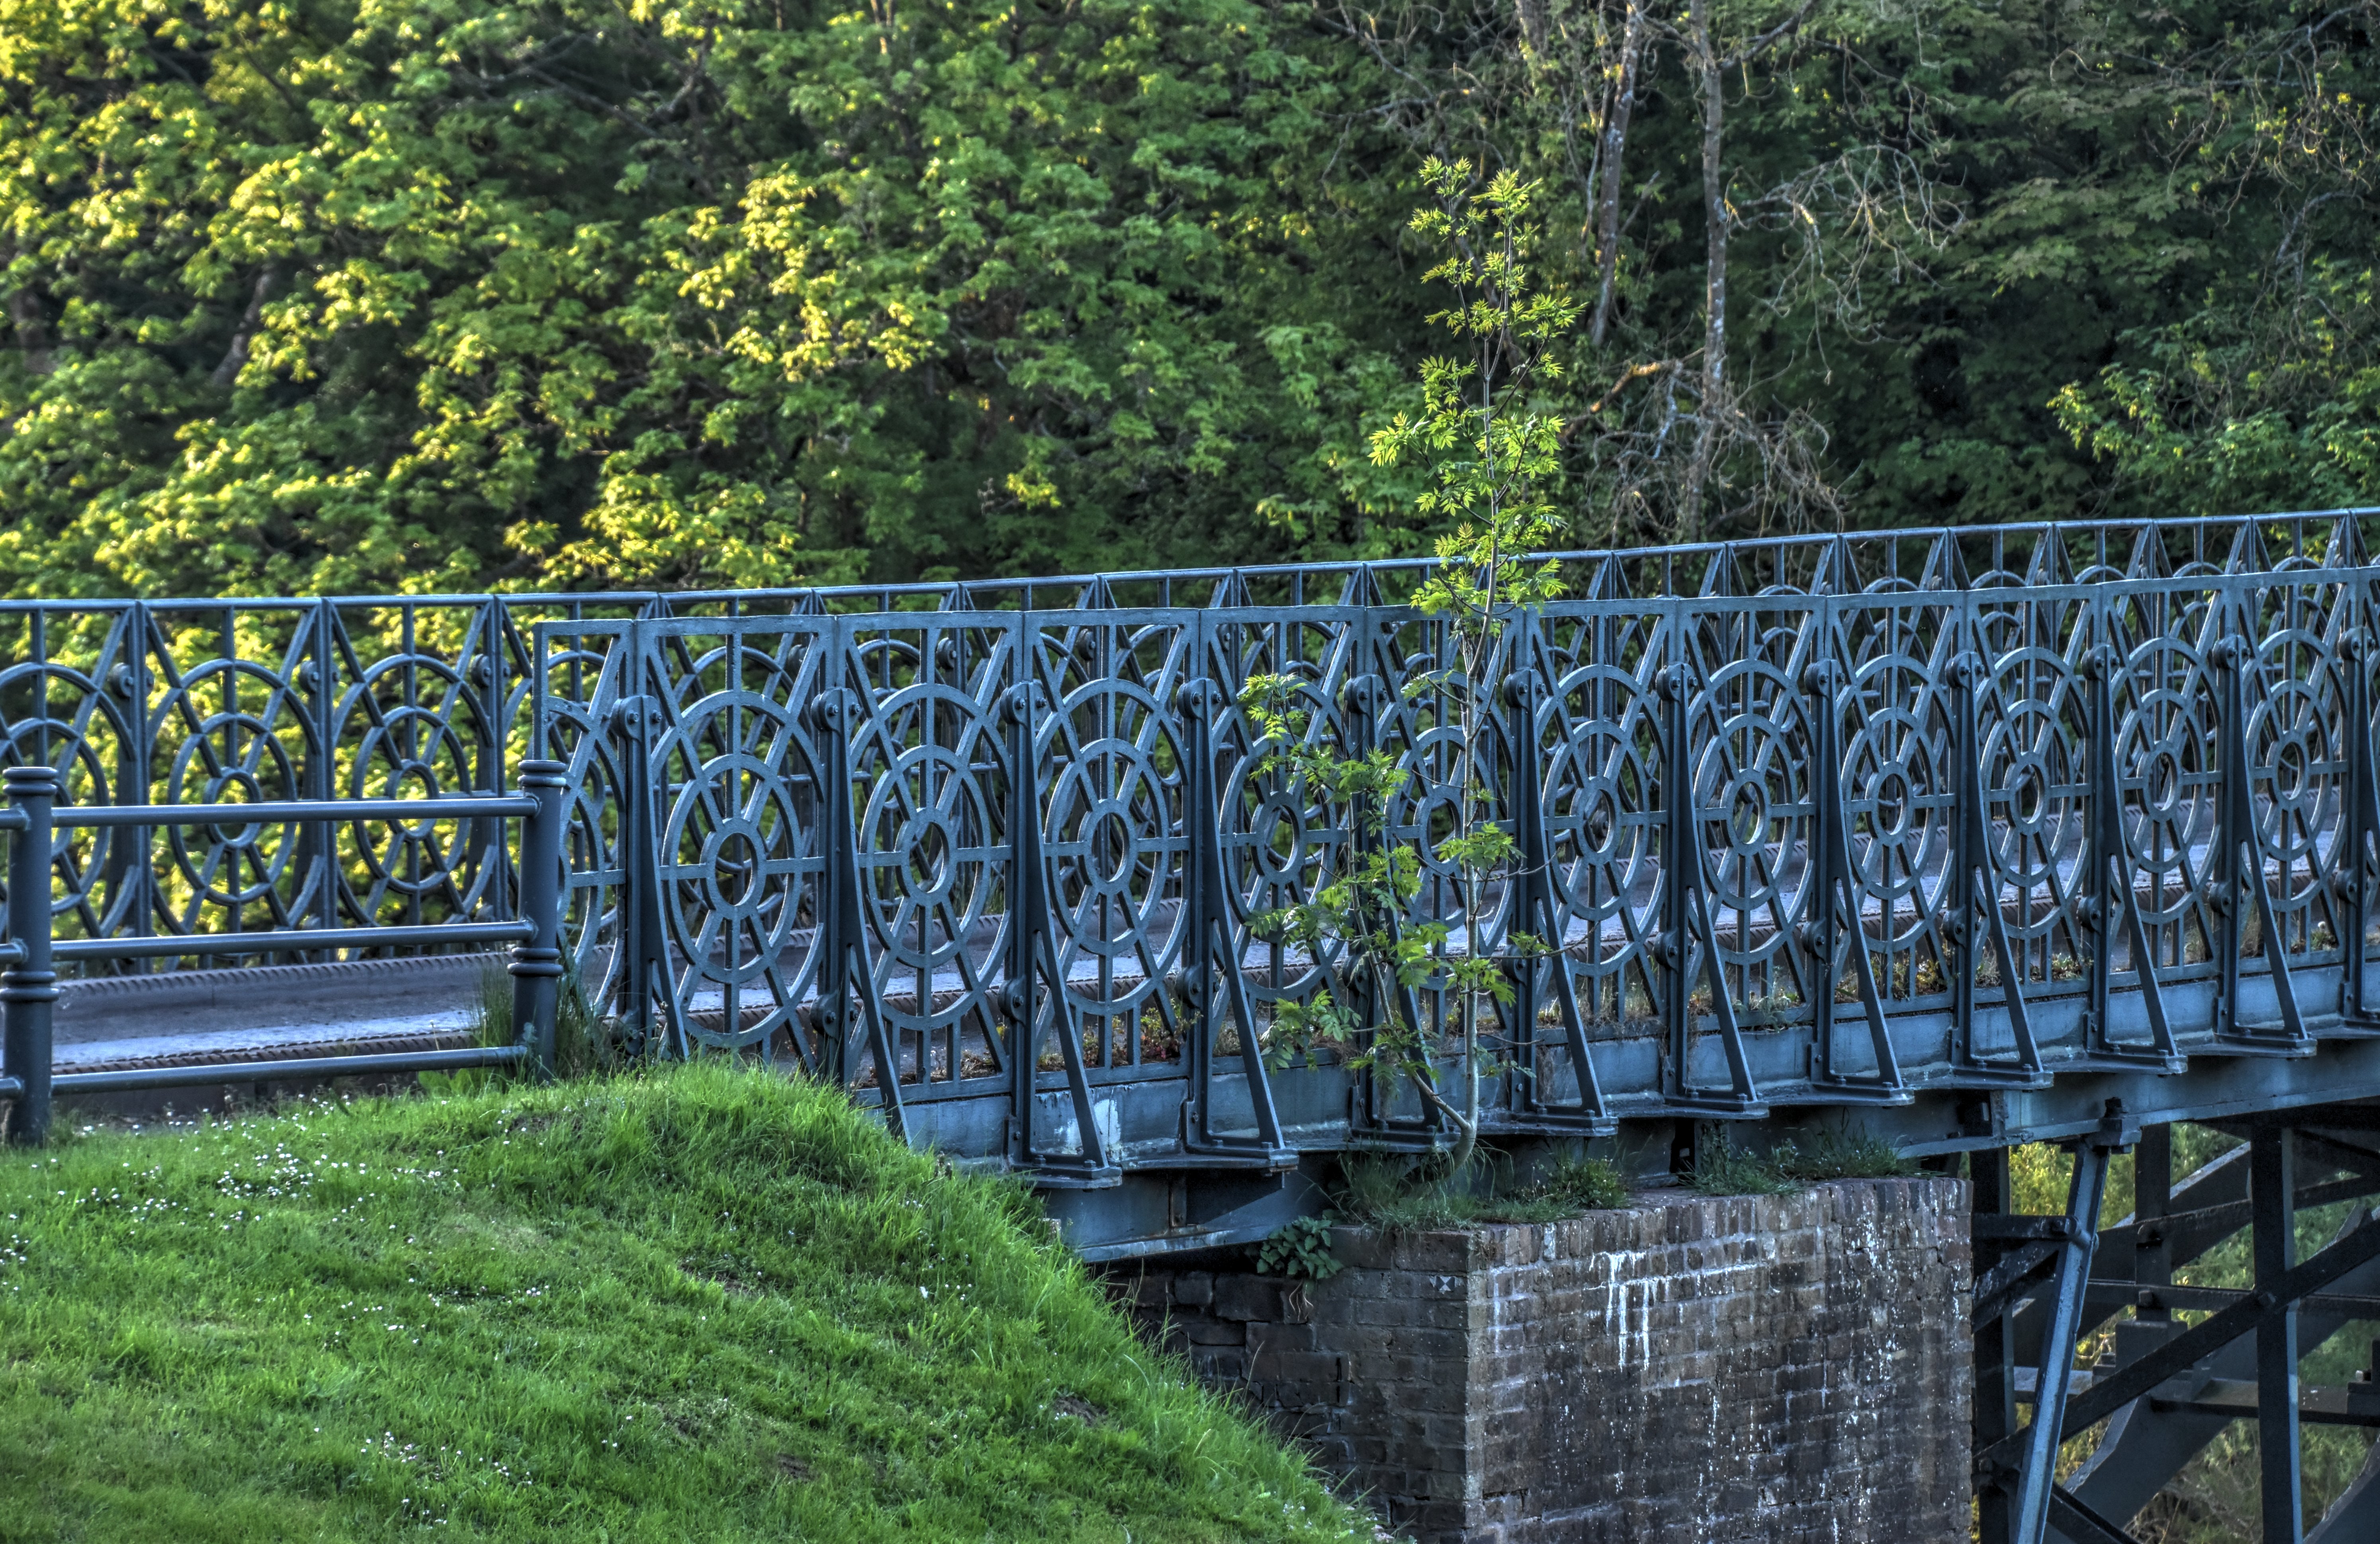

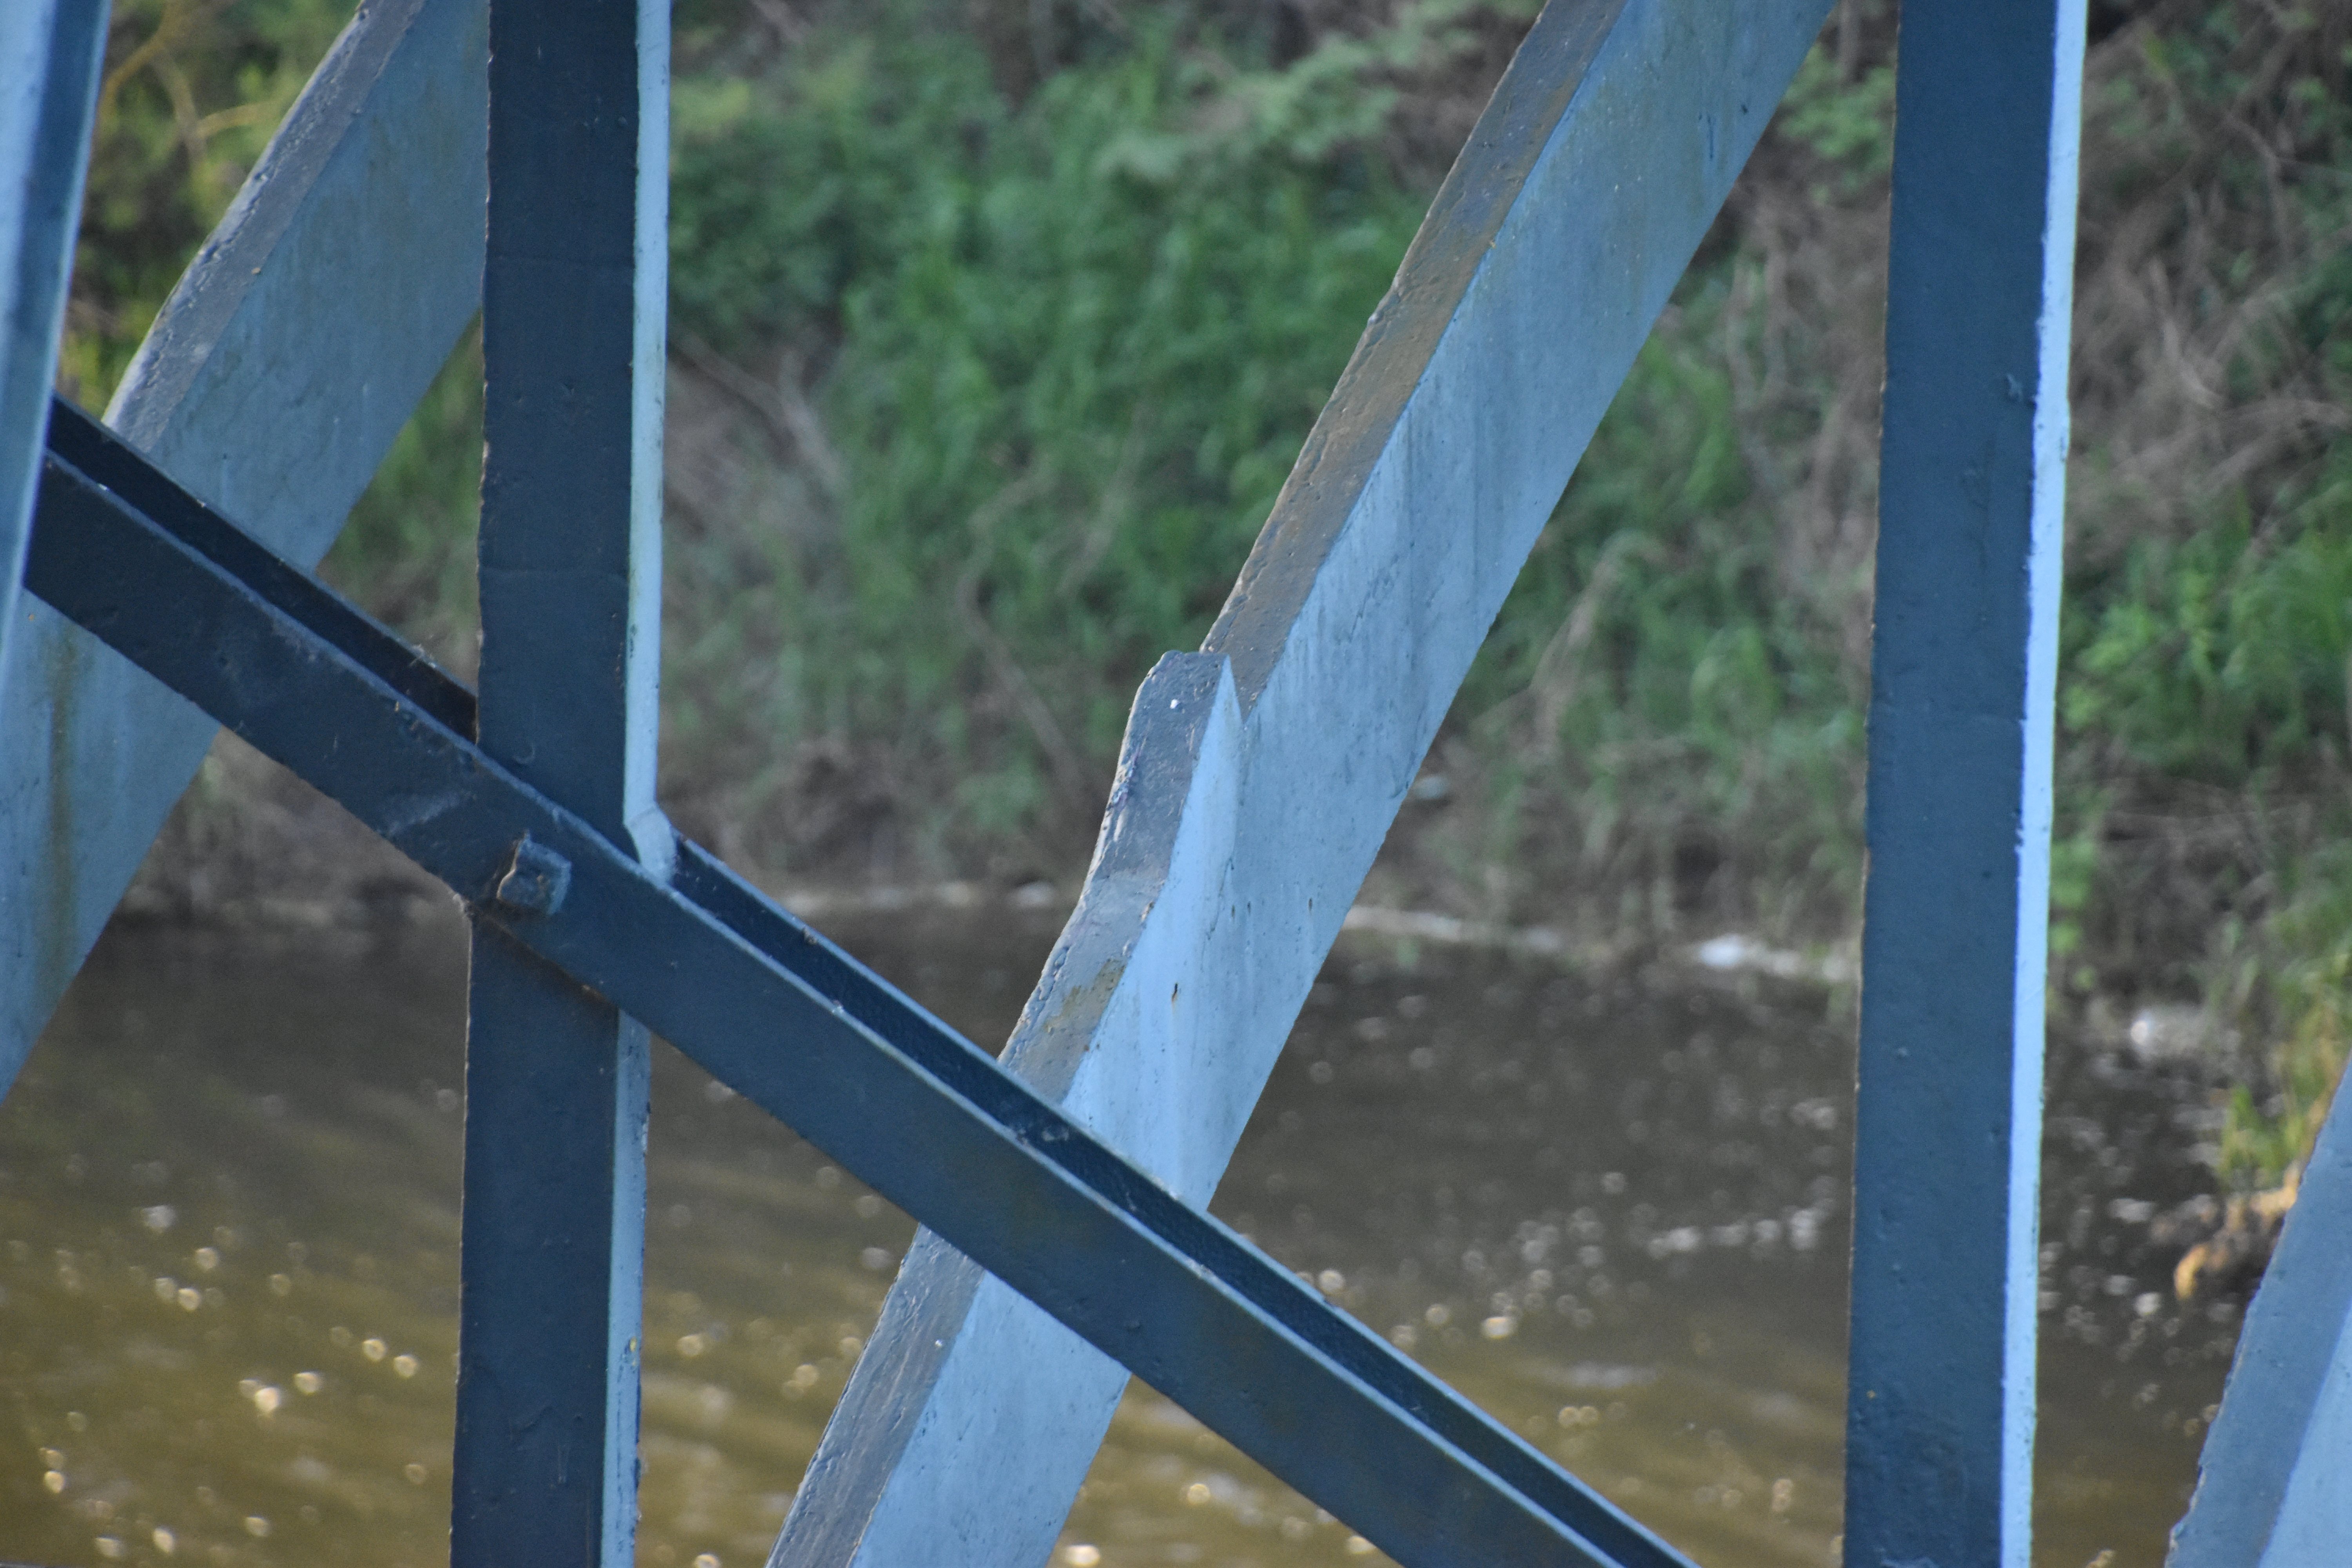
Railing.
![]()


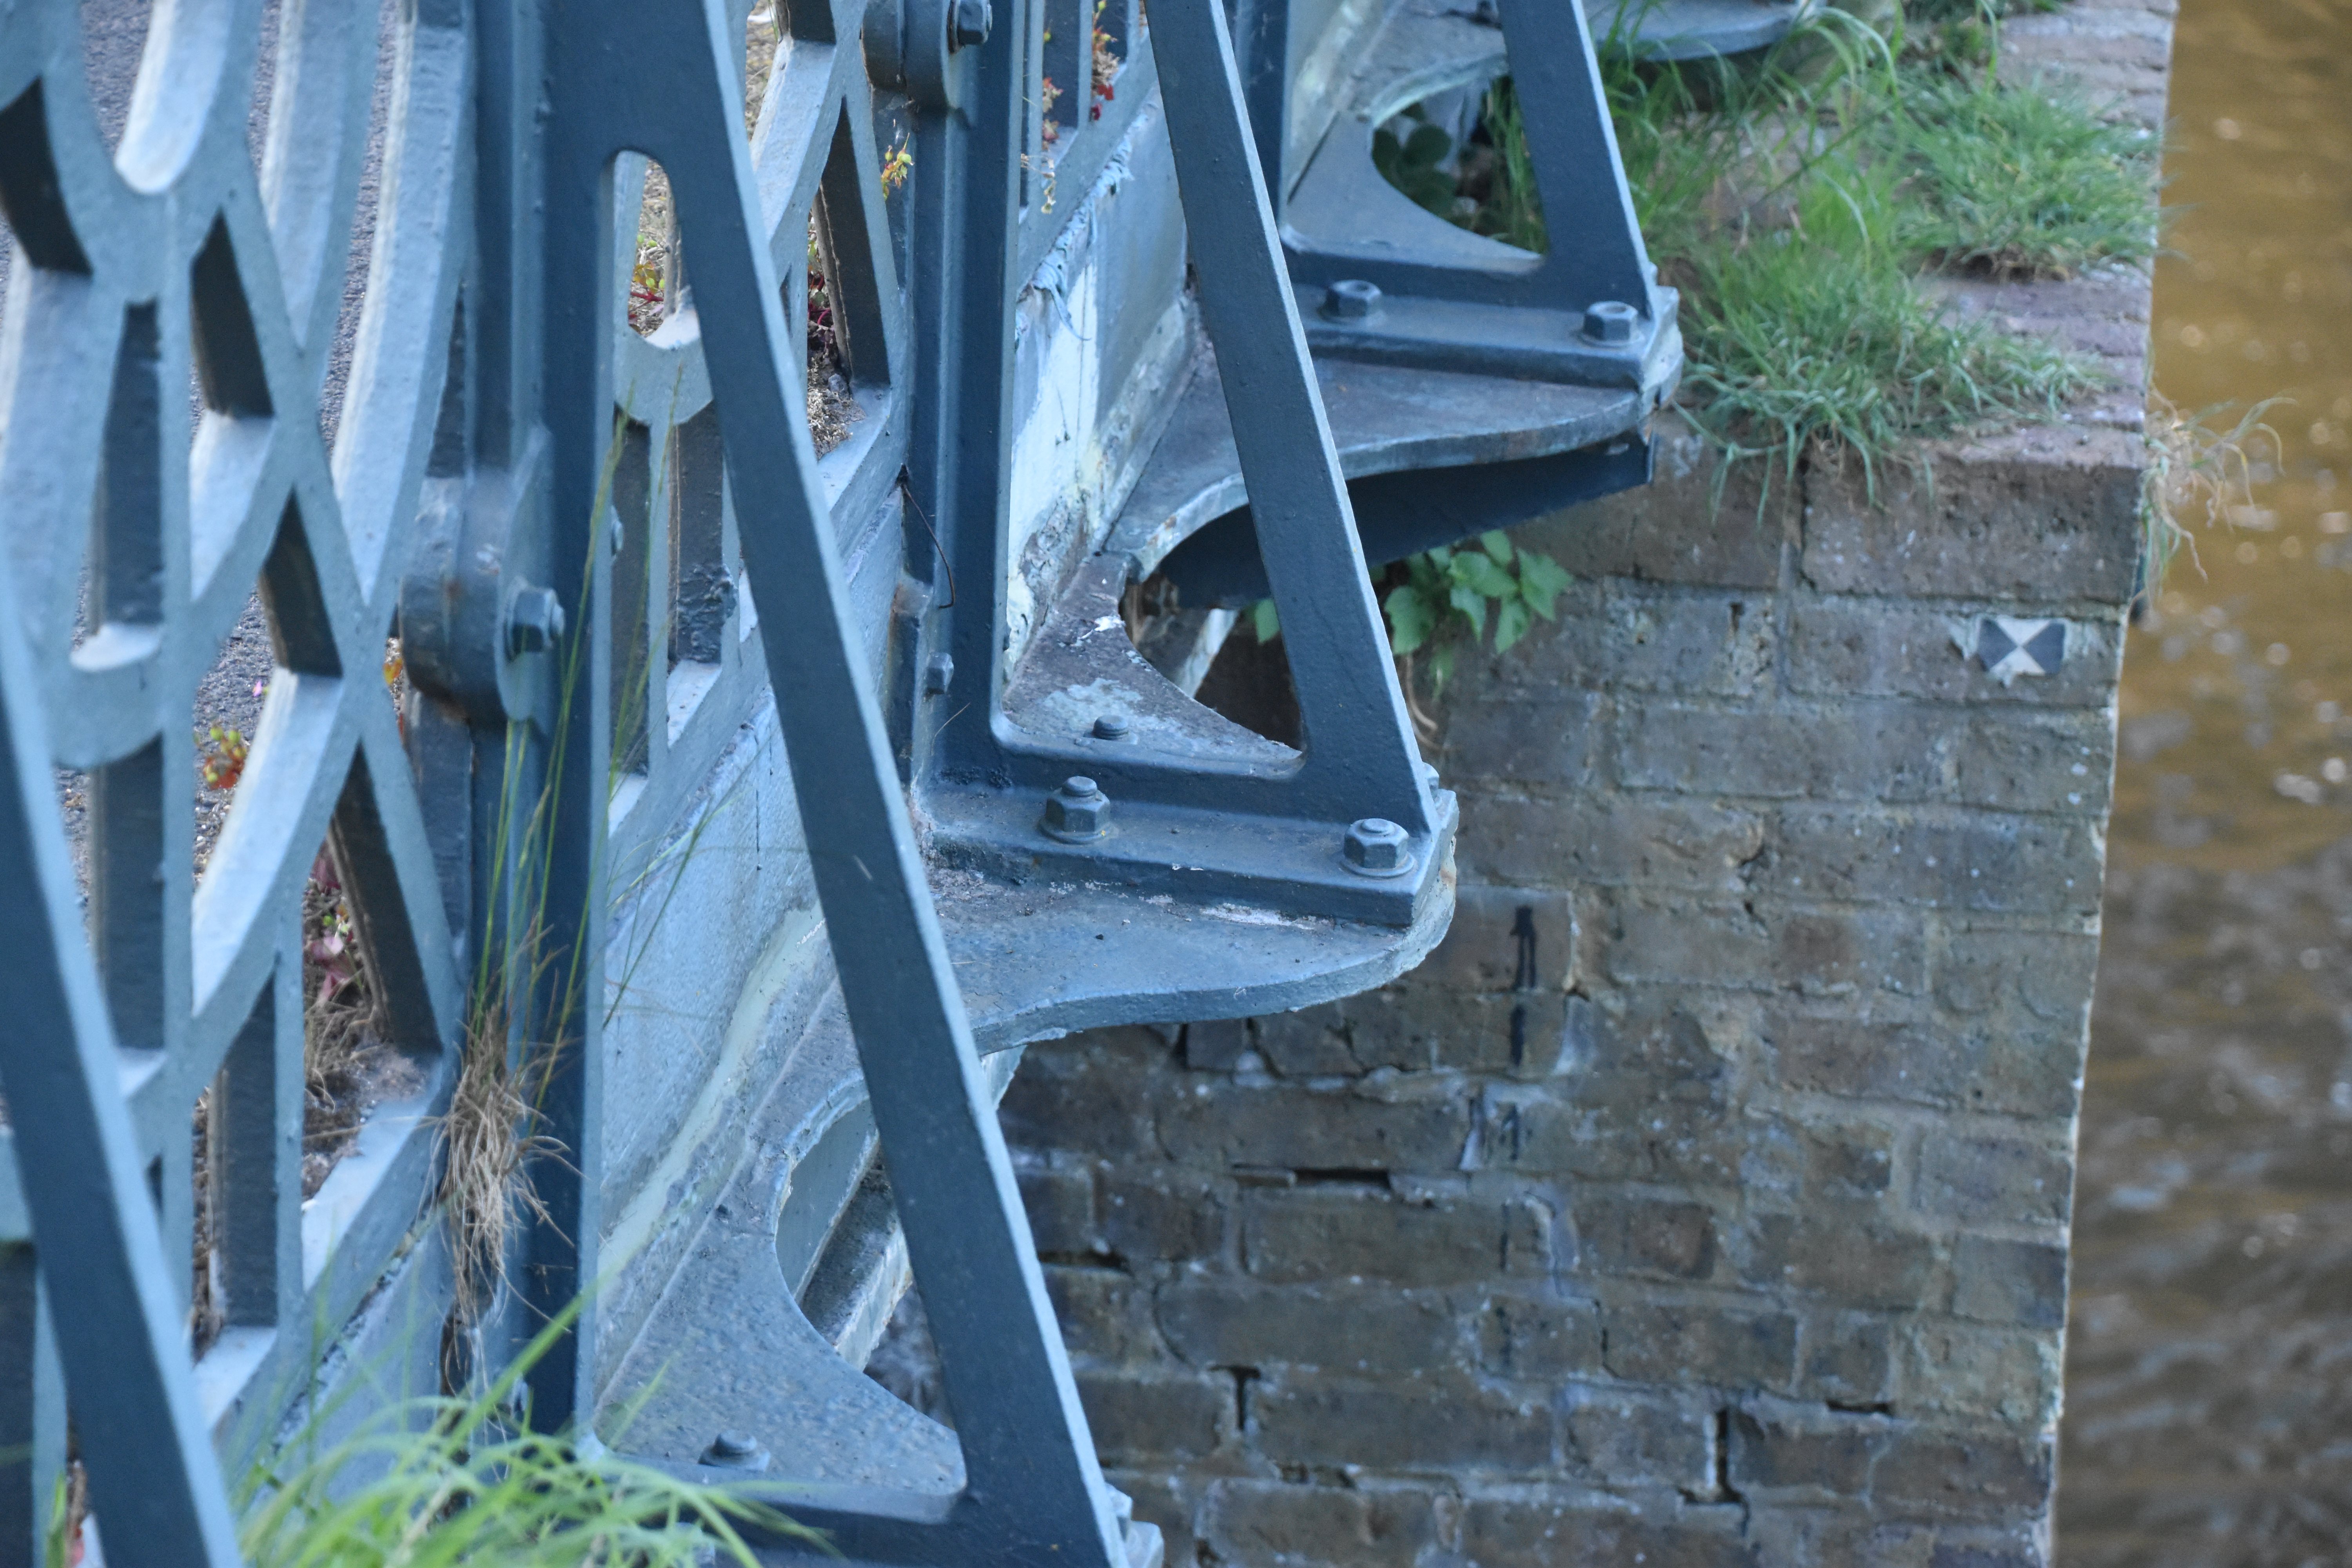
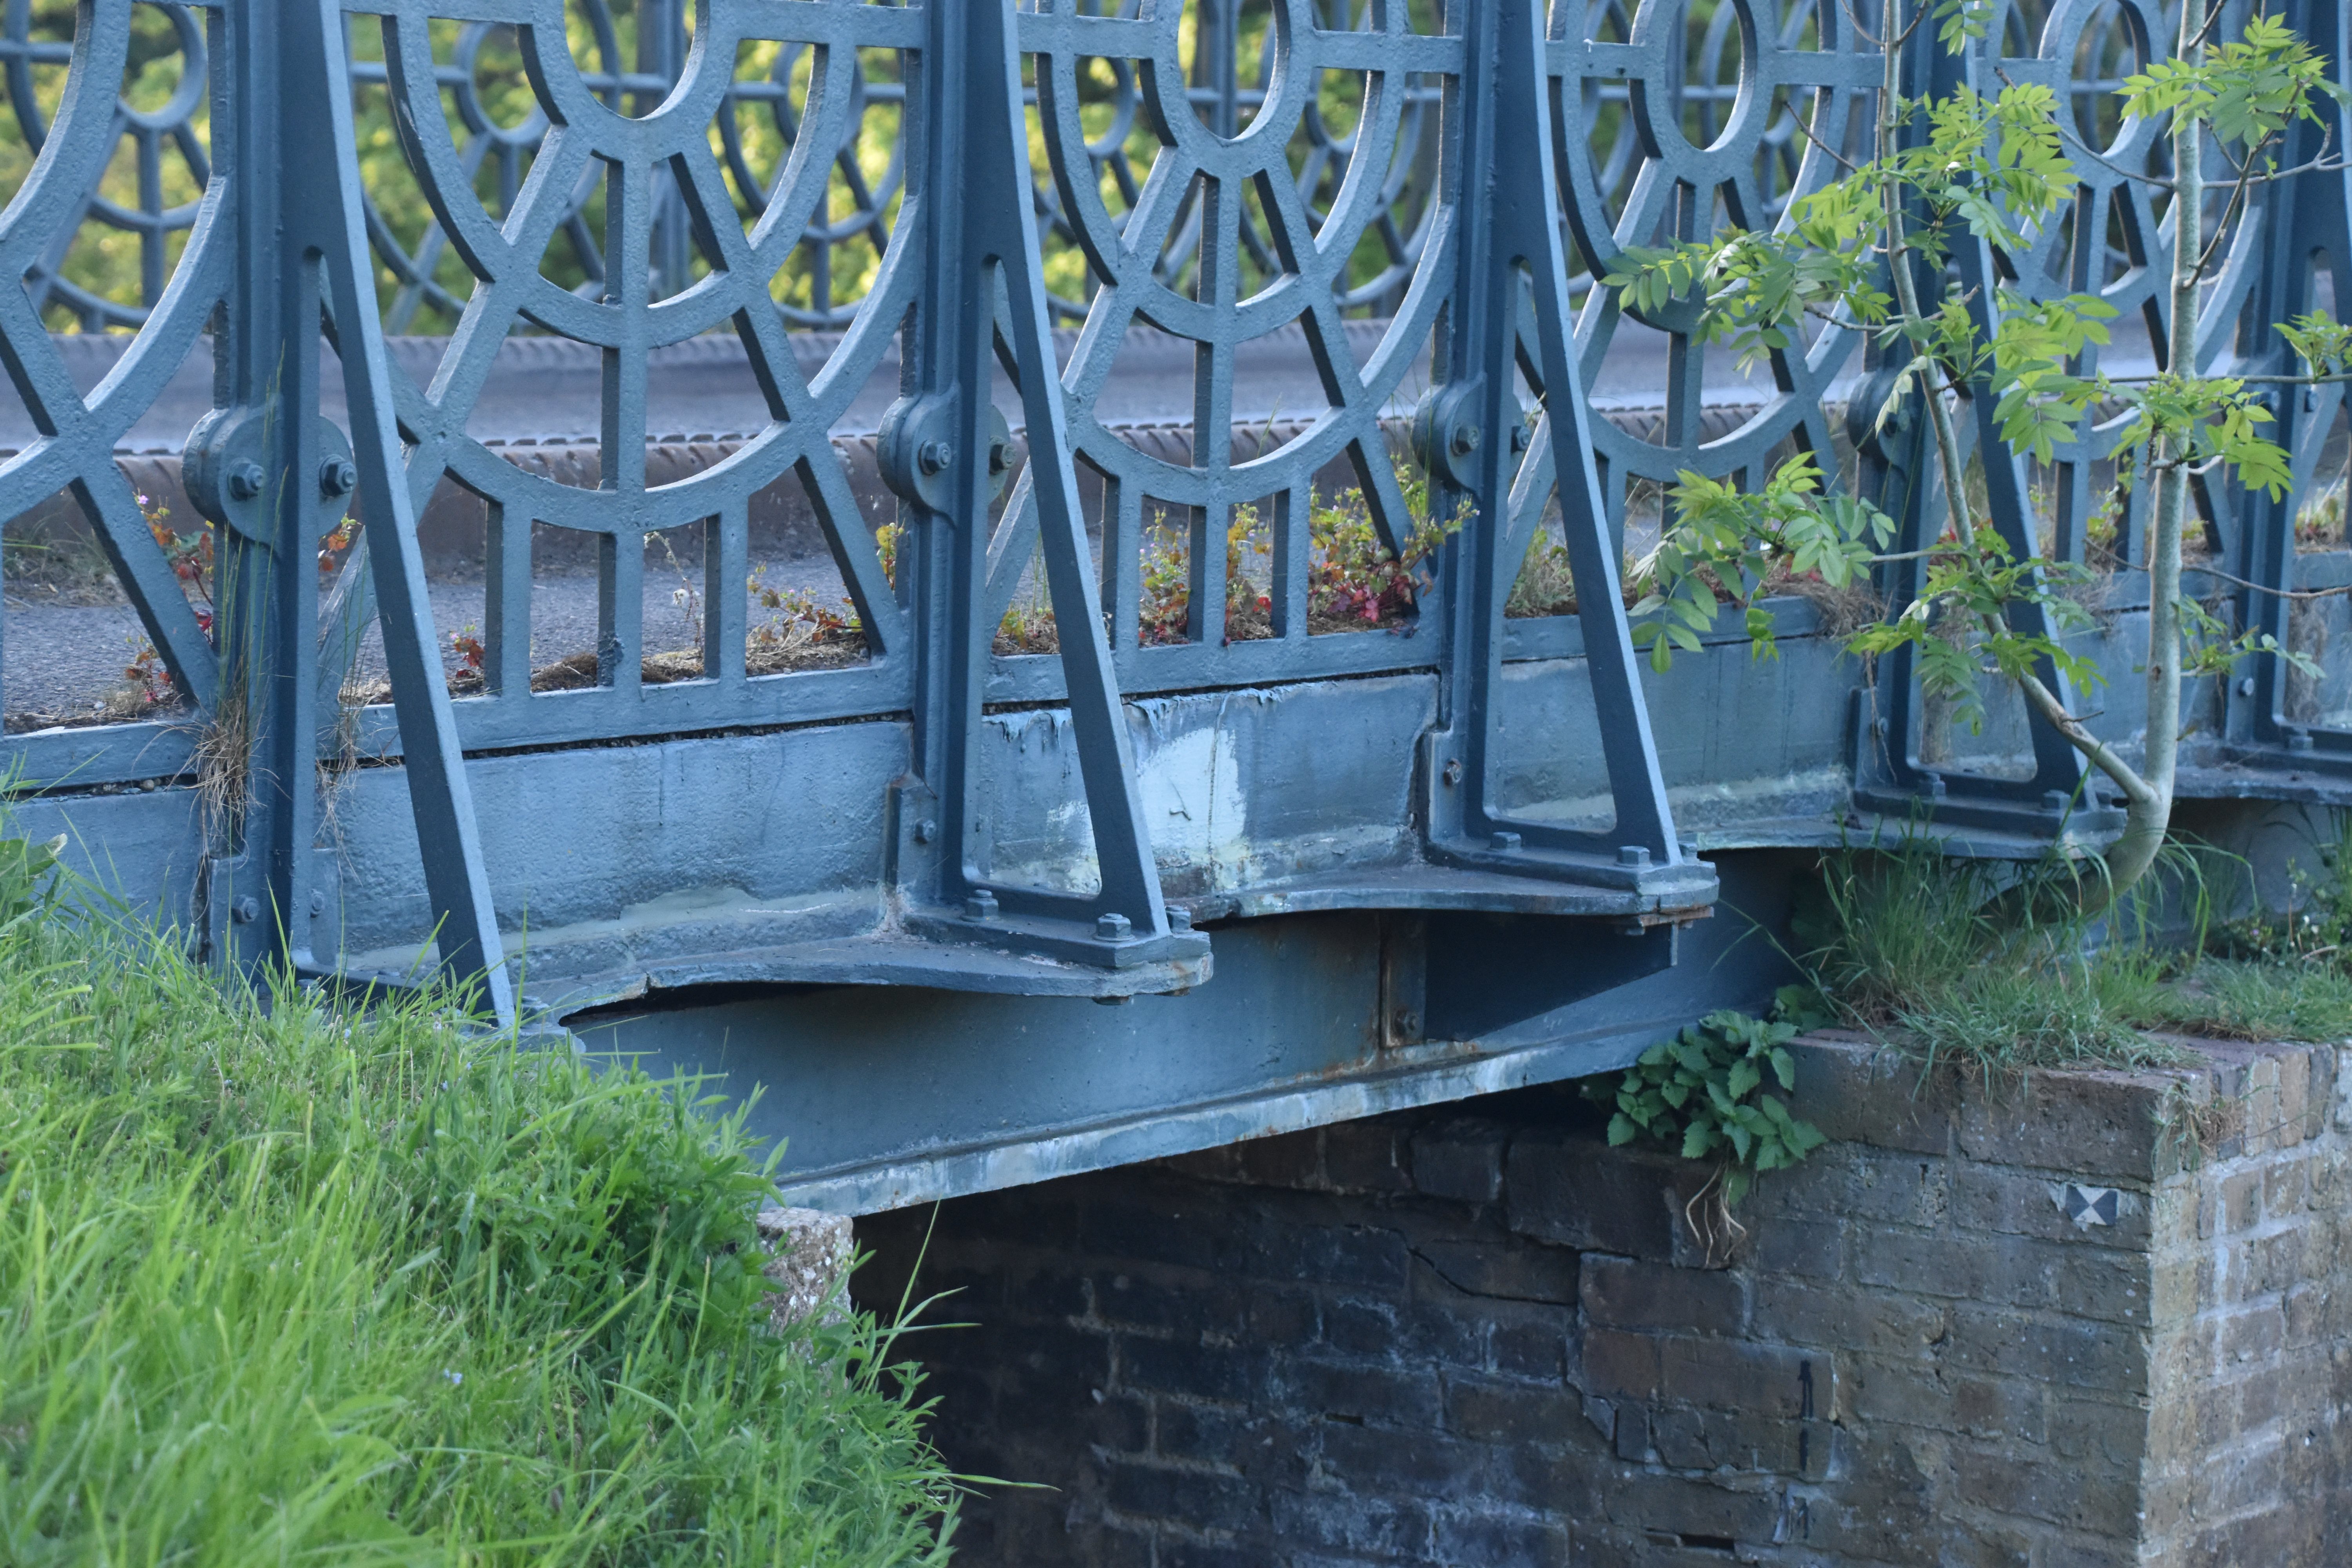

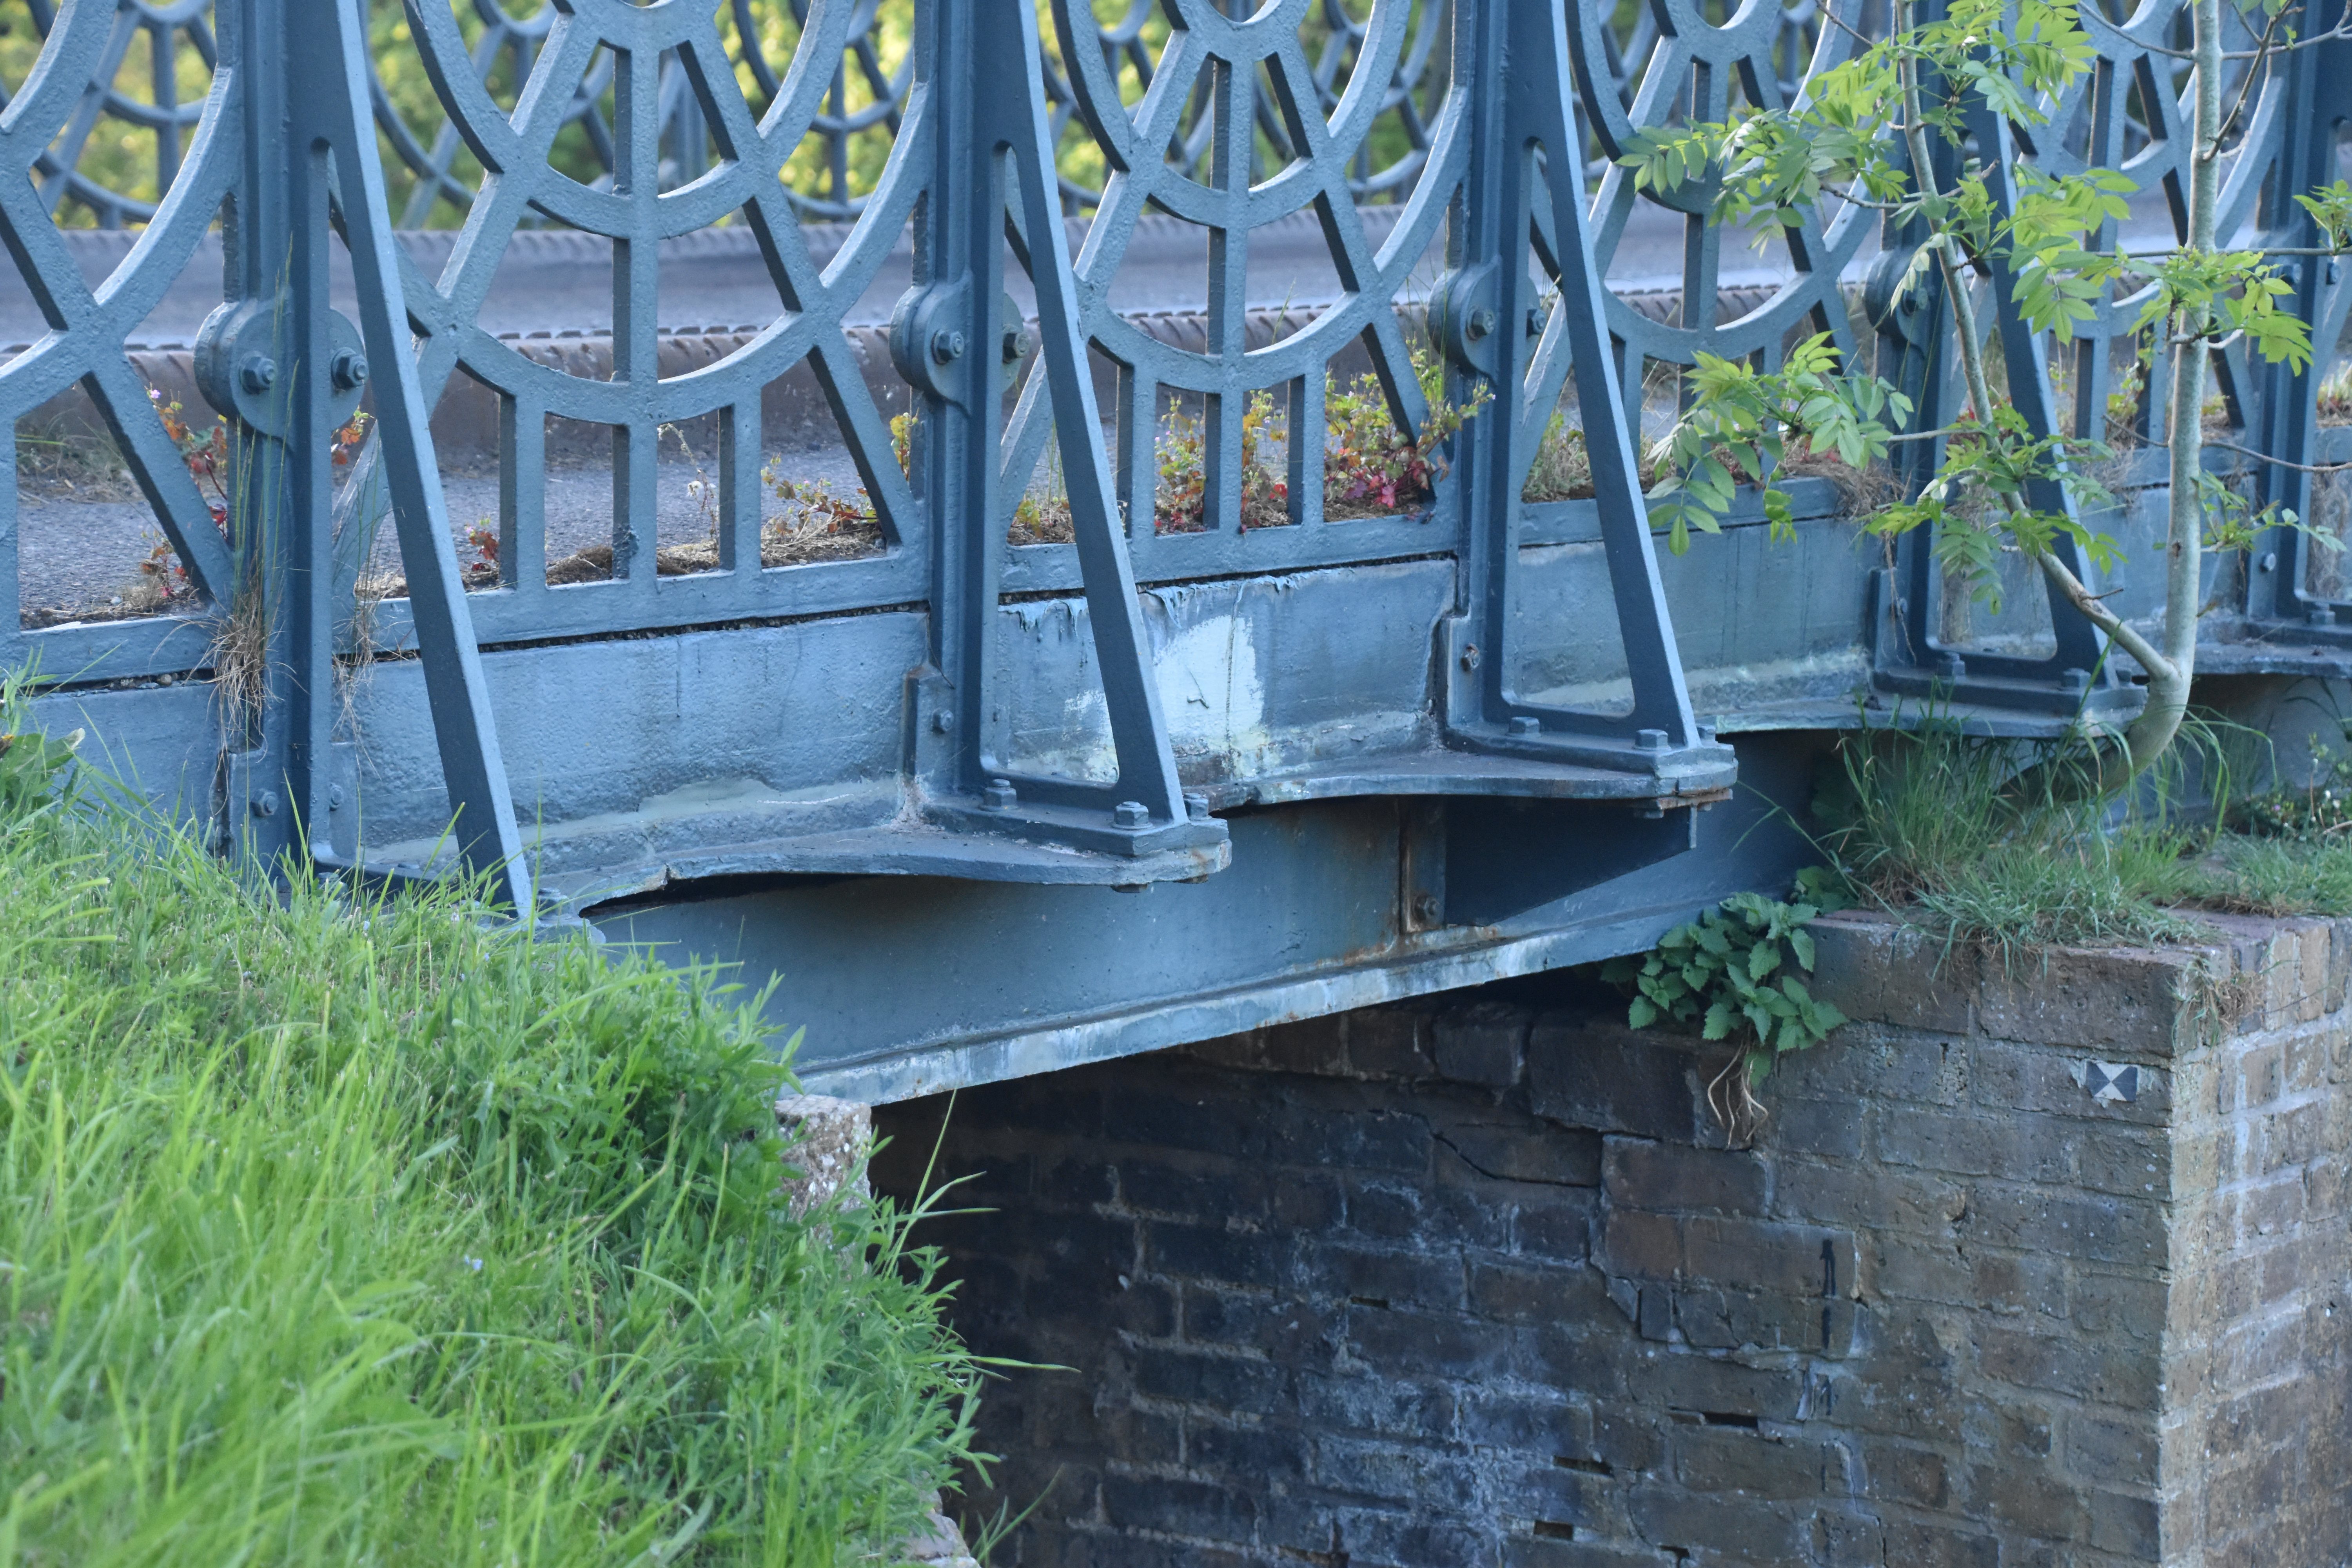
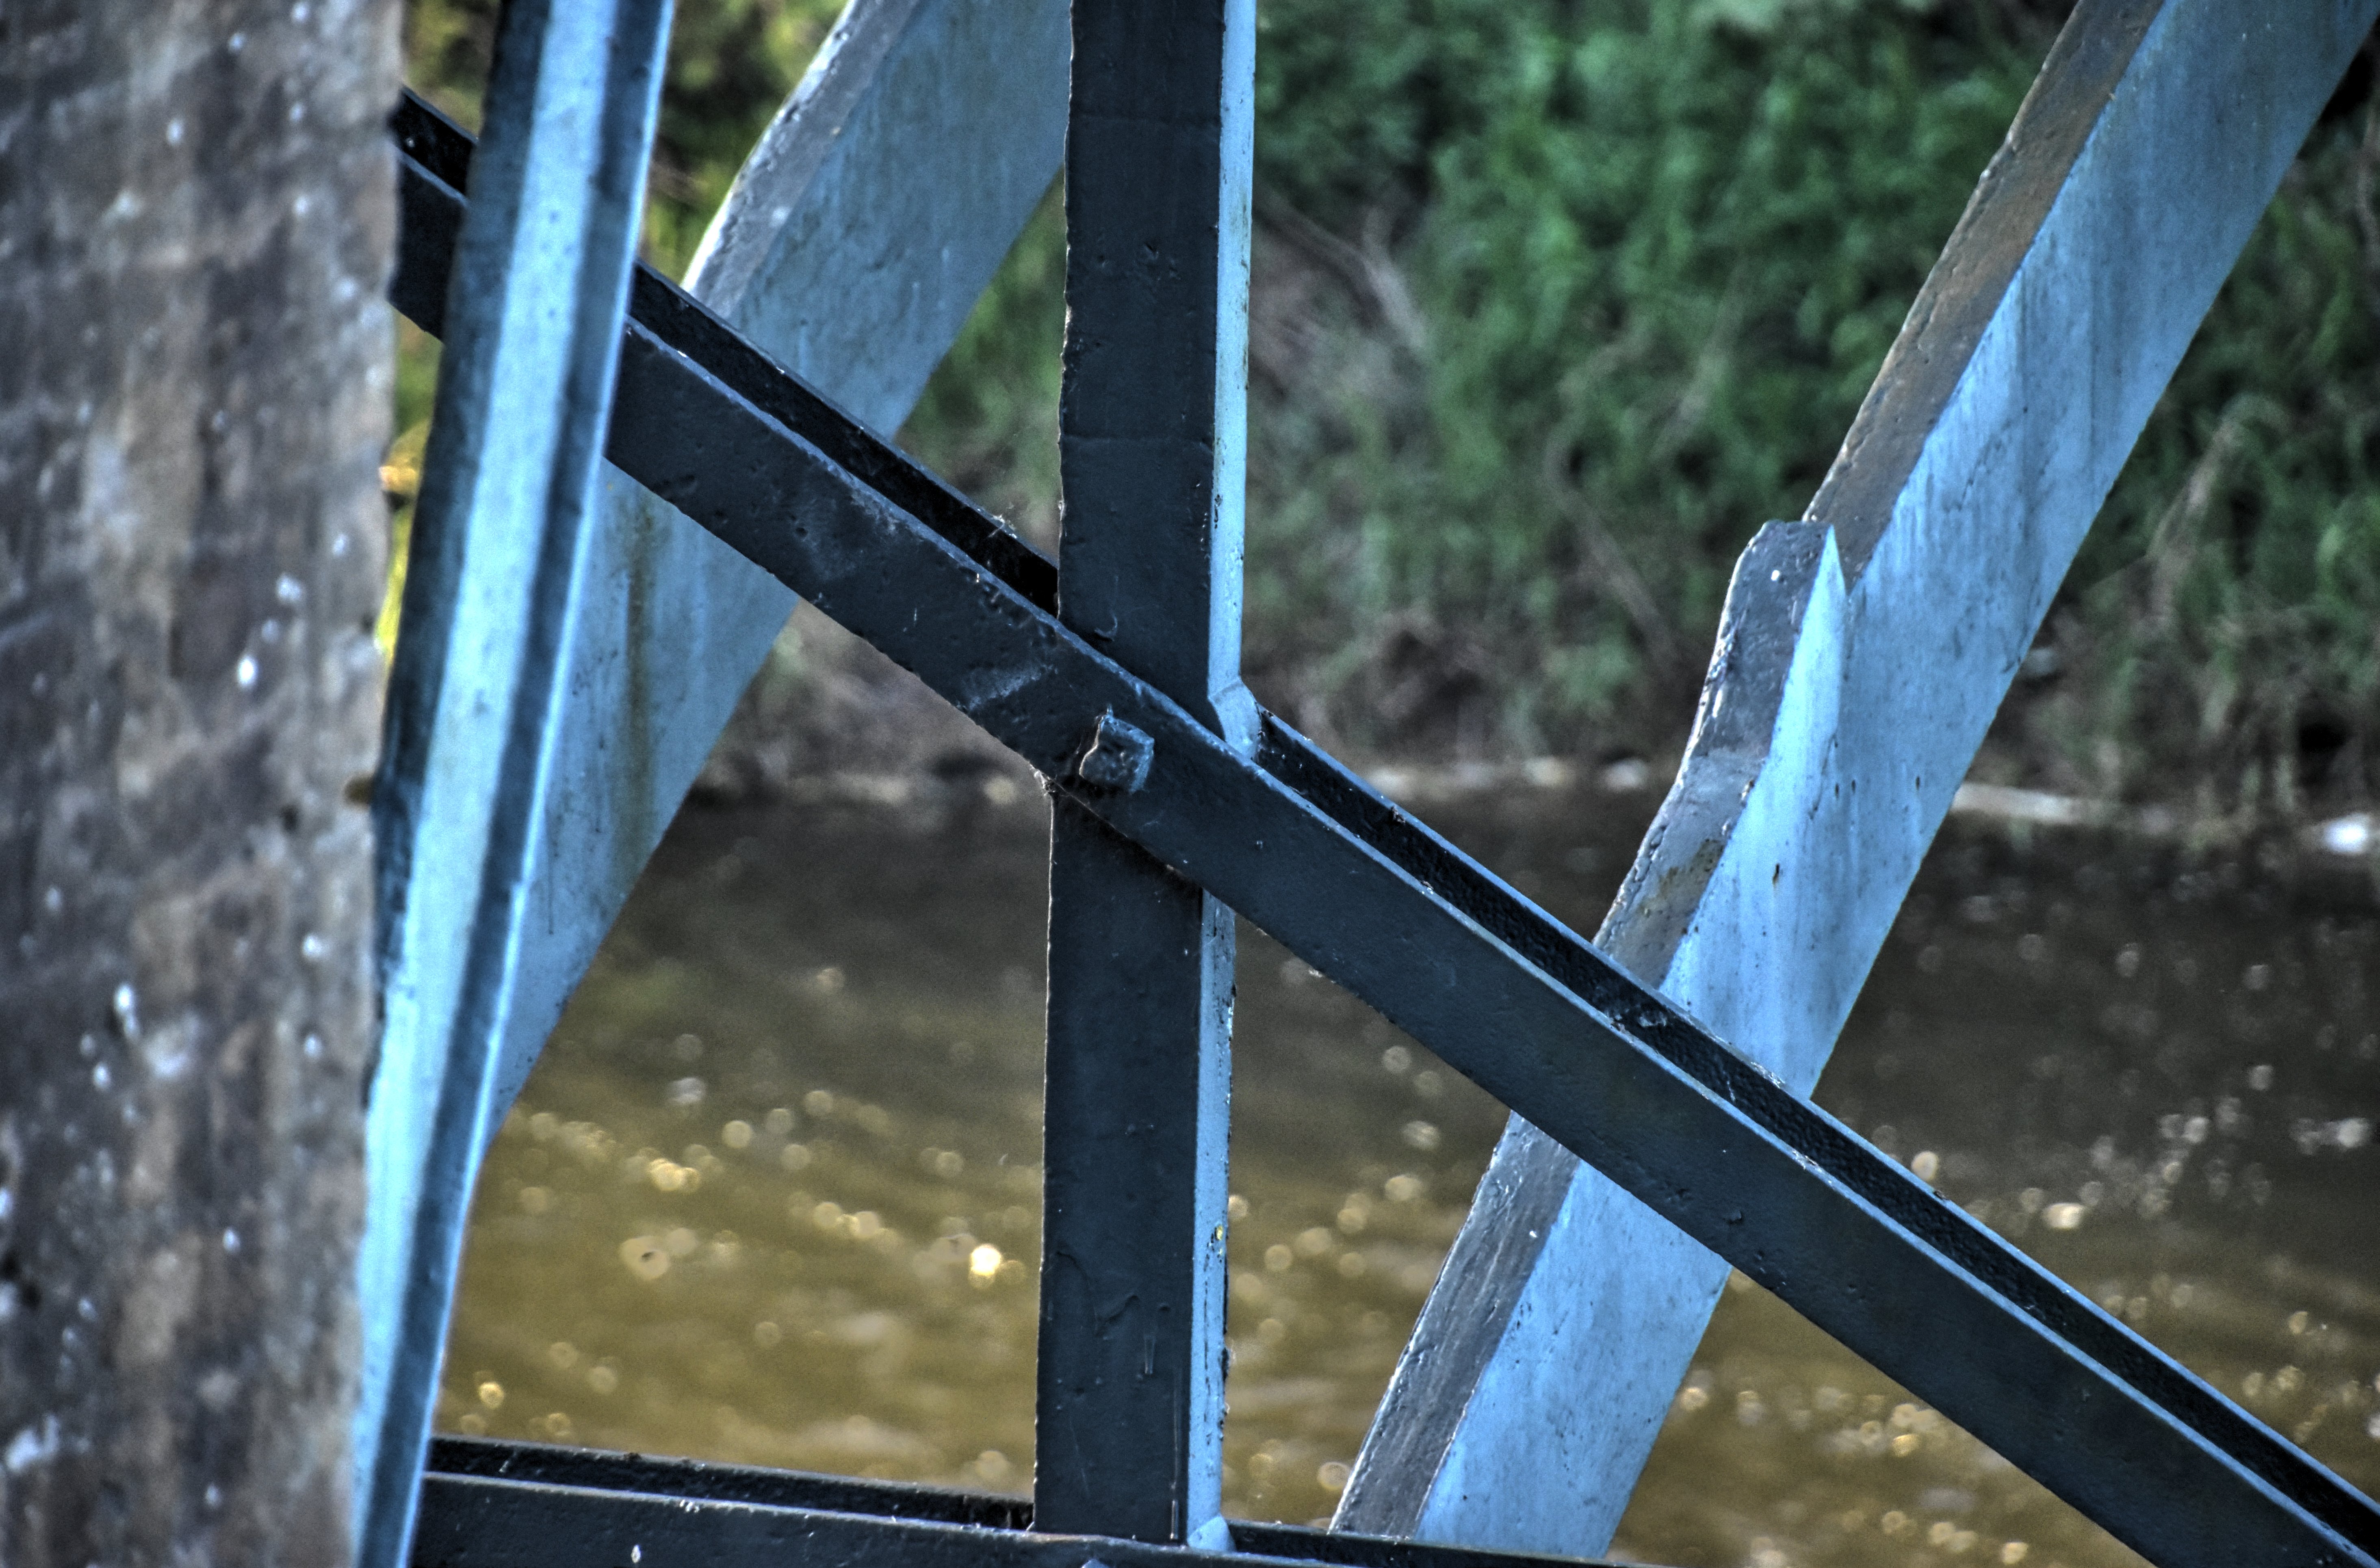
Railing outriggers.
![]()


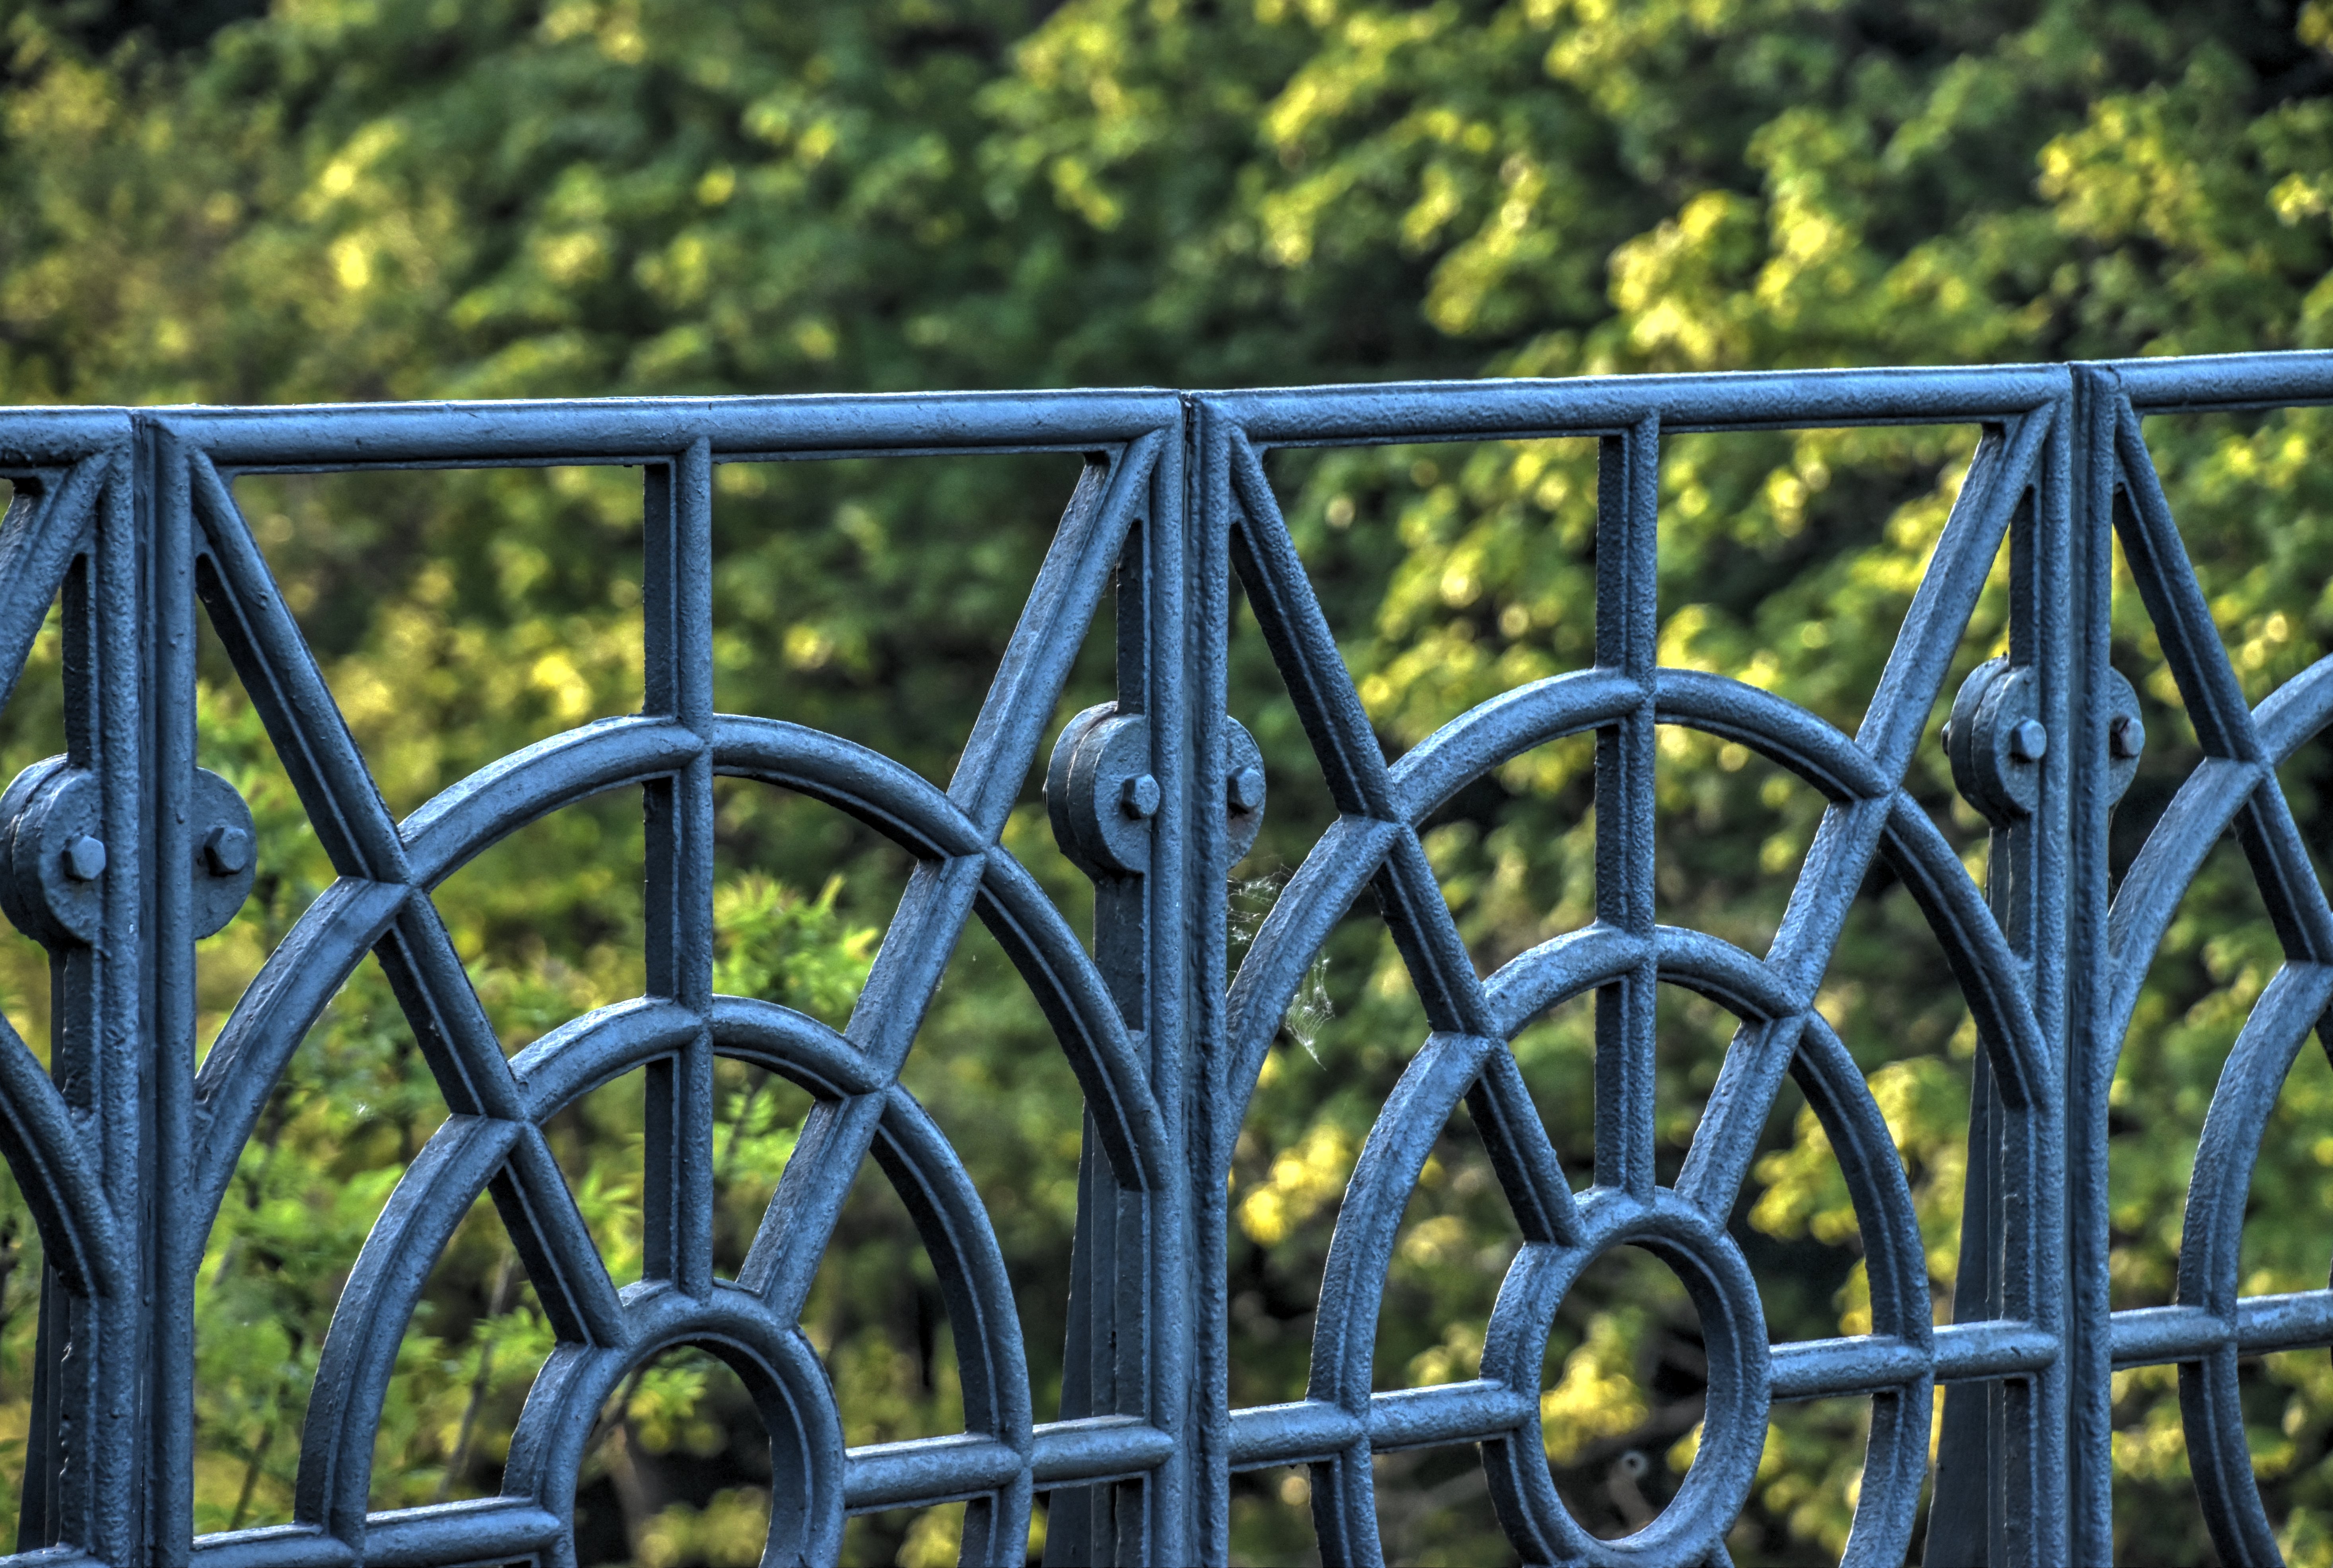


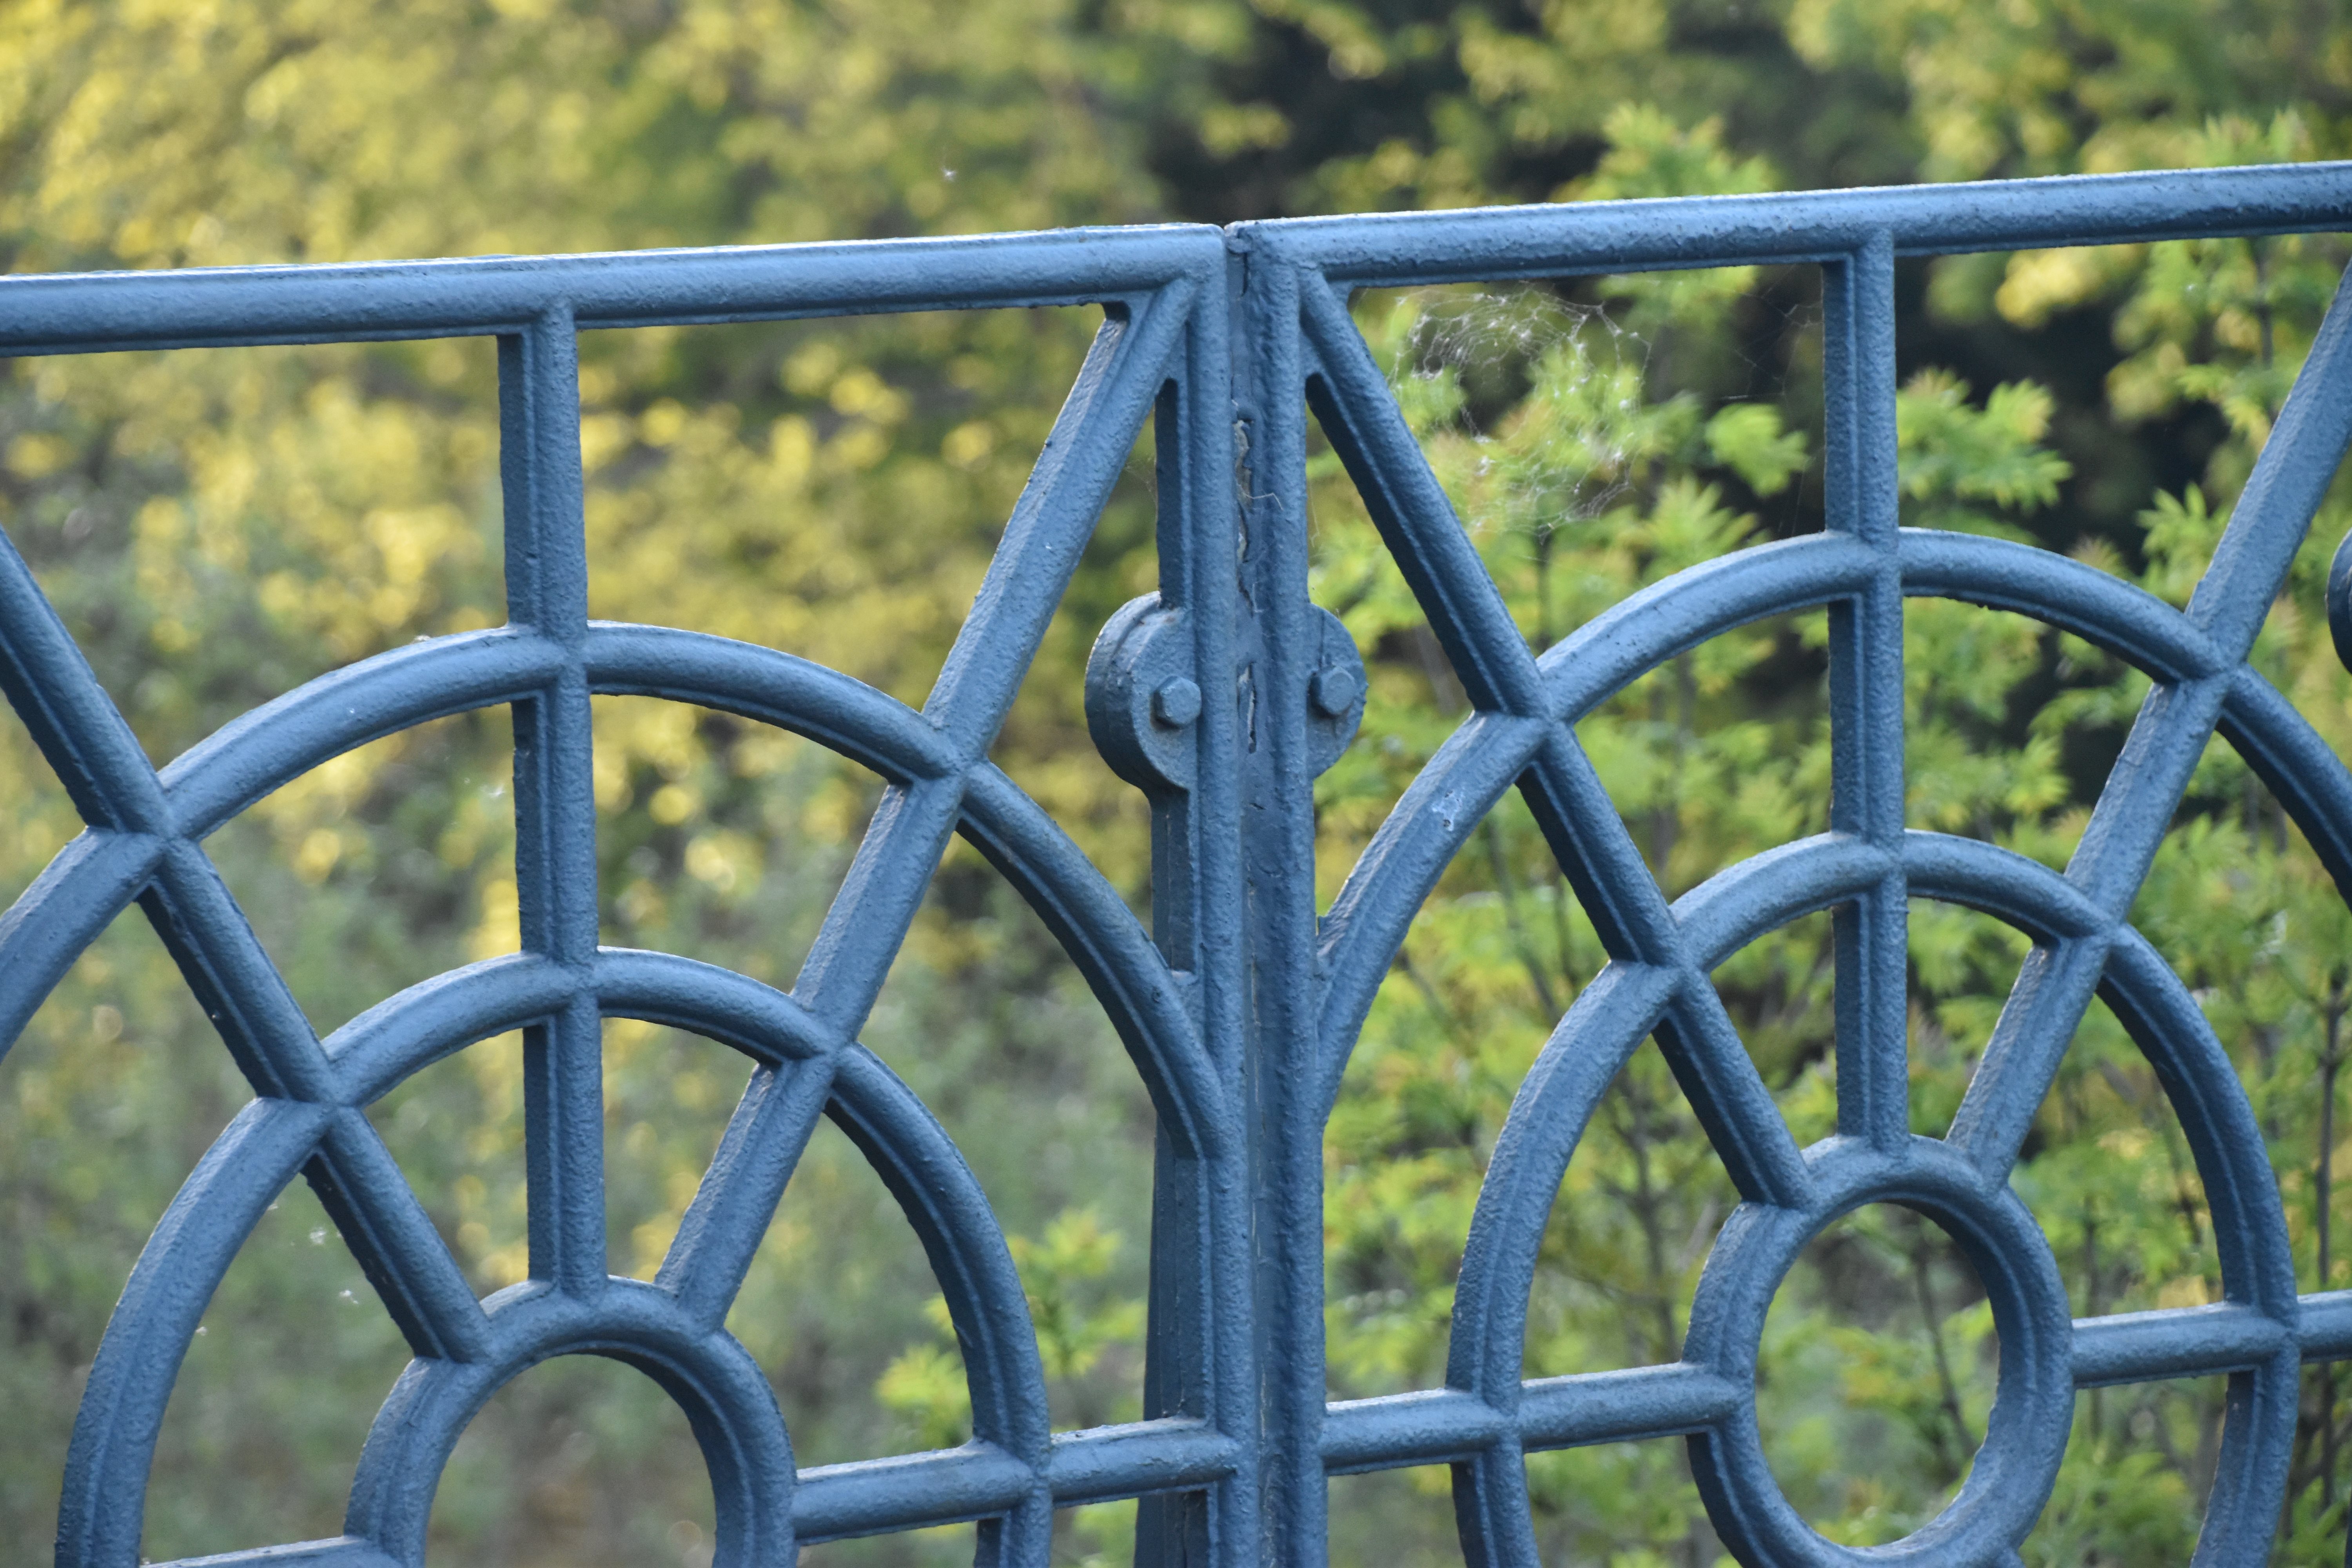
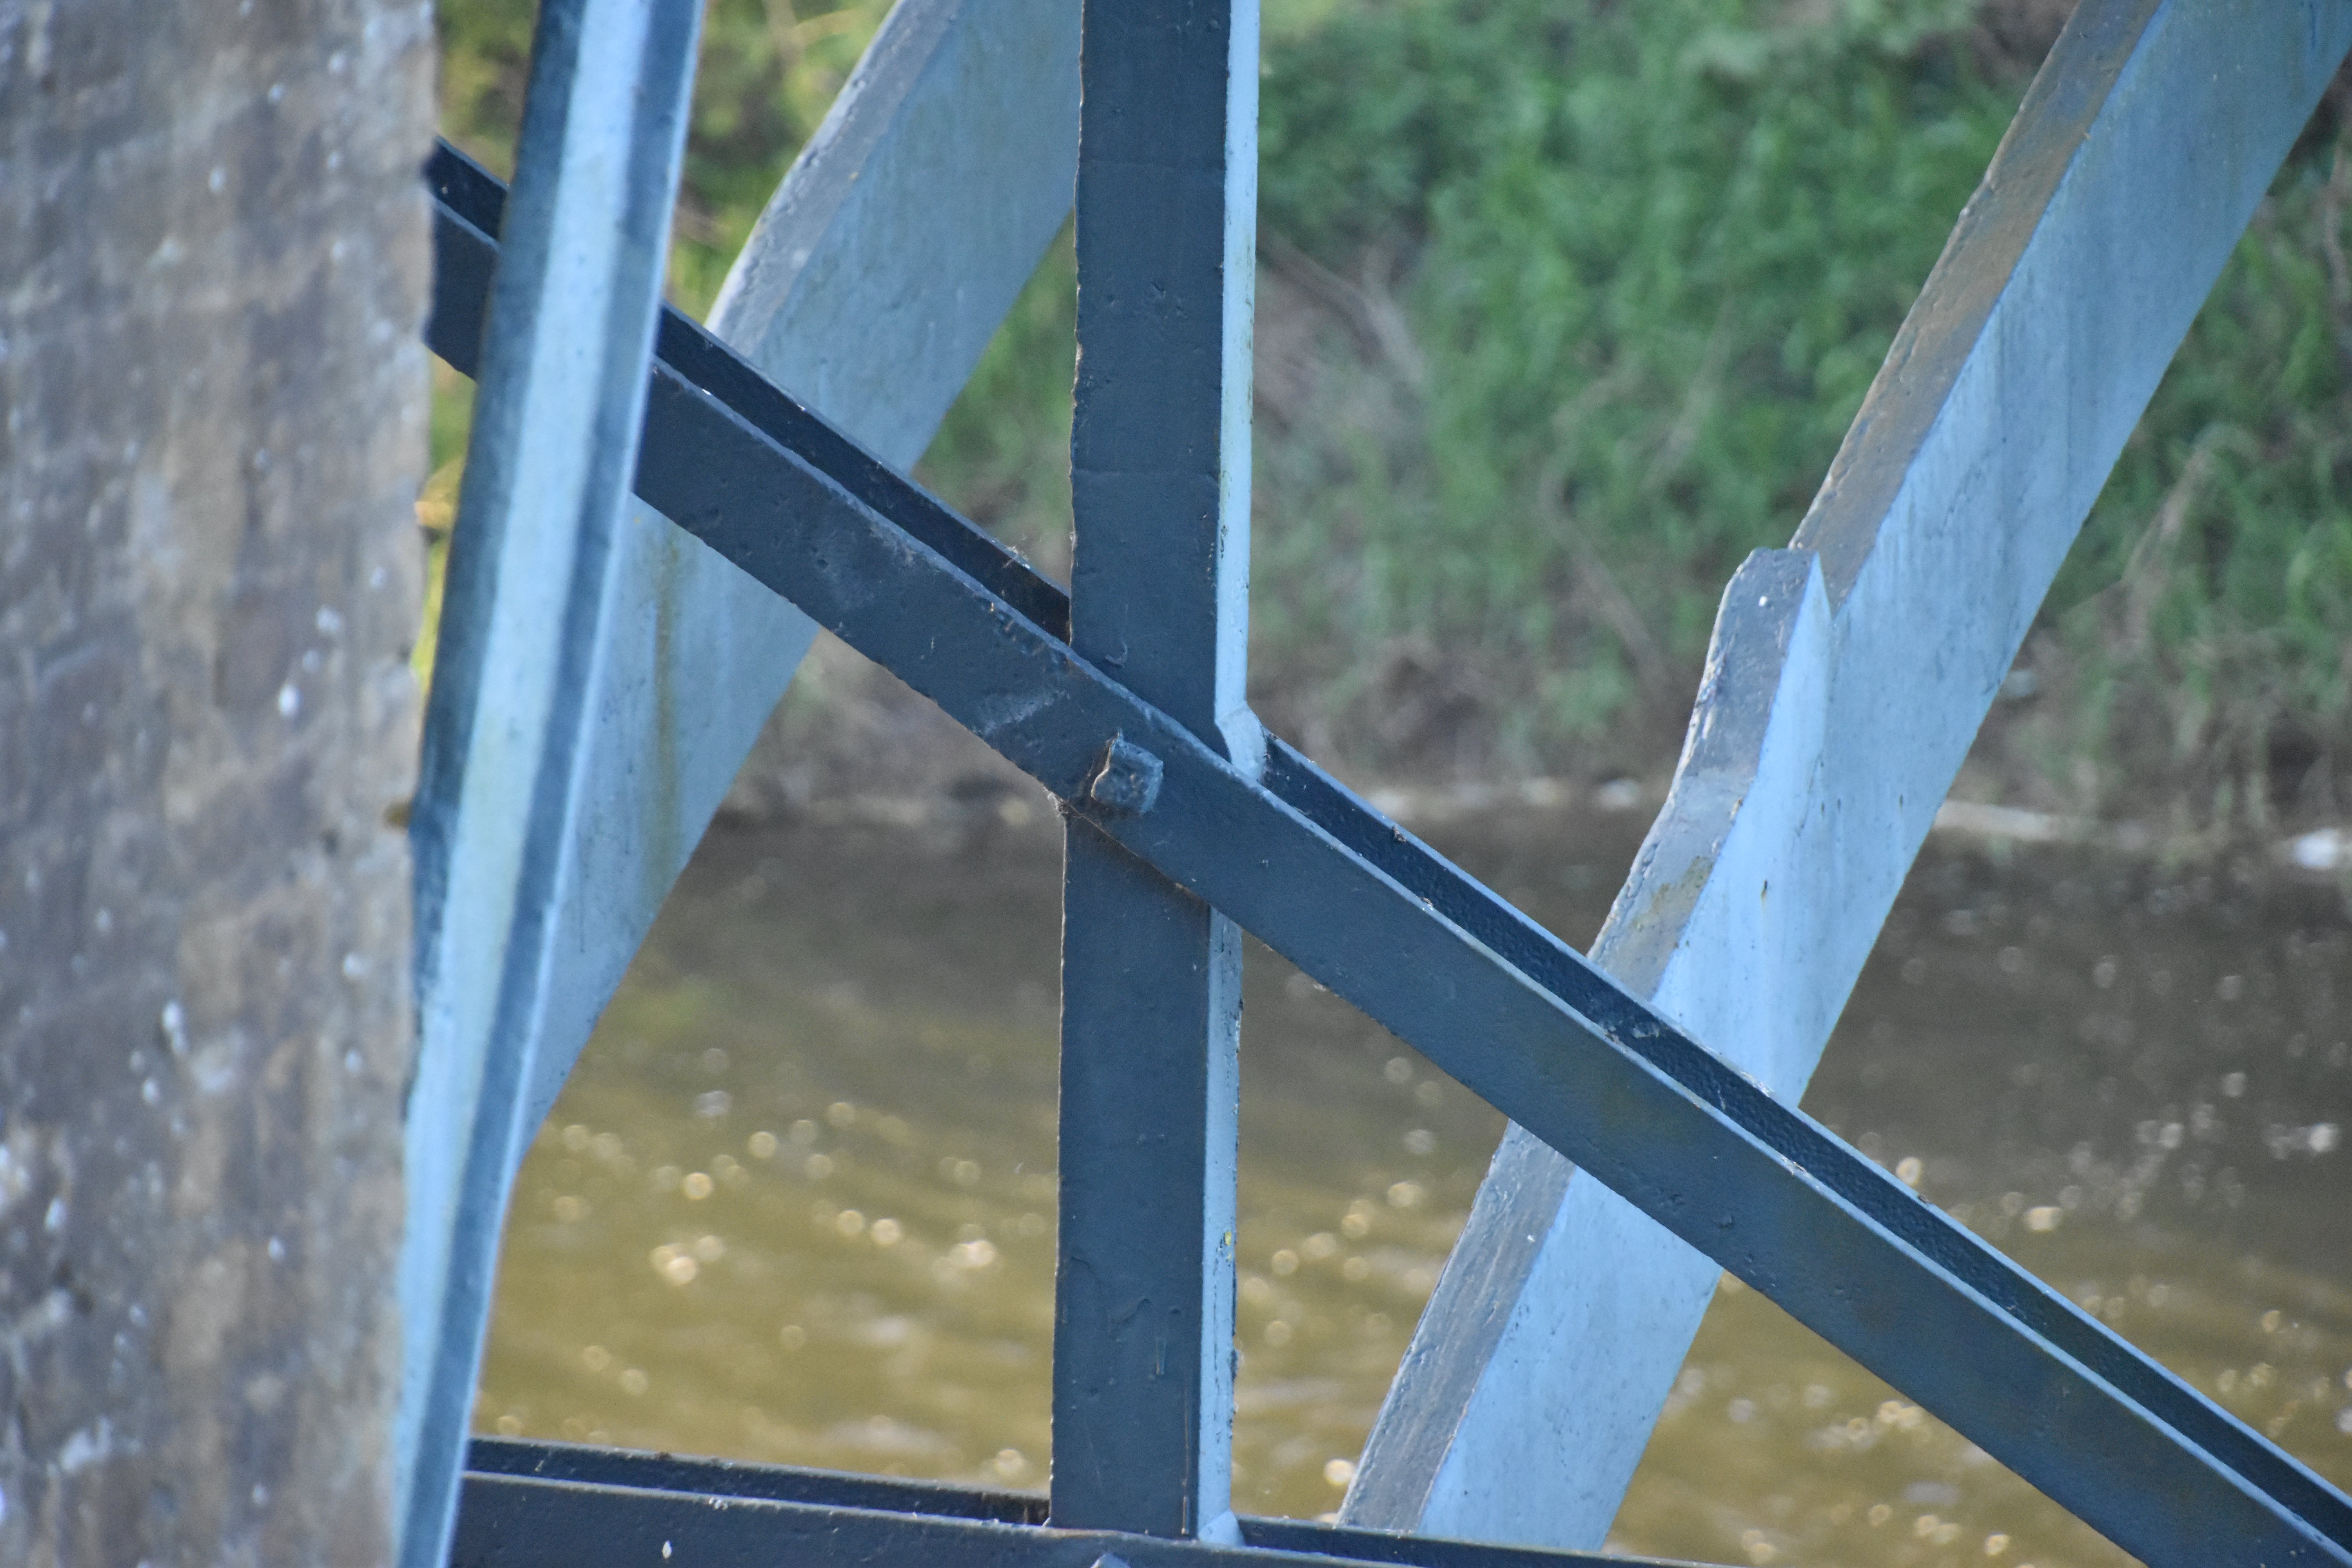
Railing details.
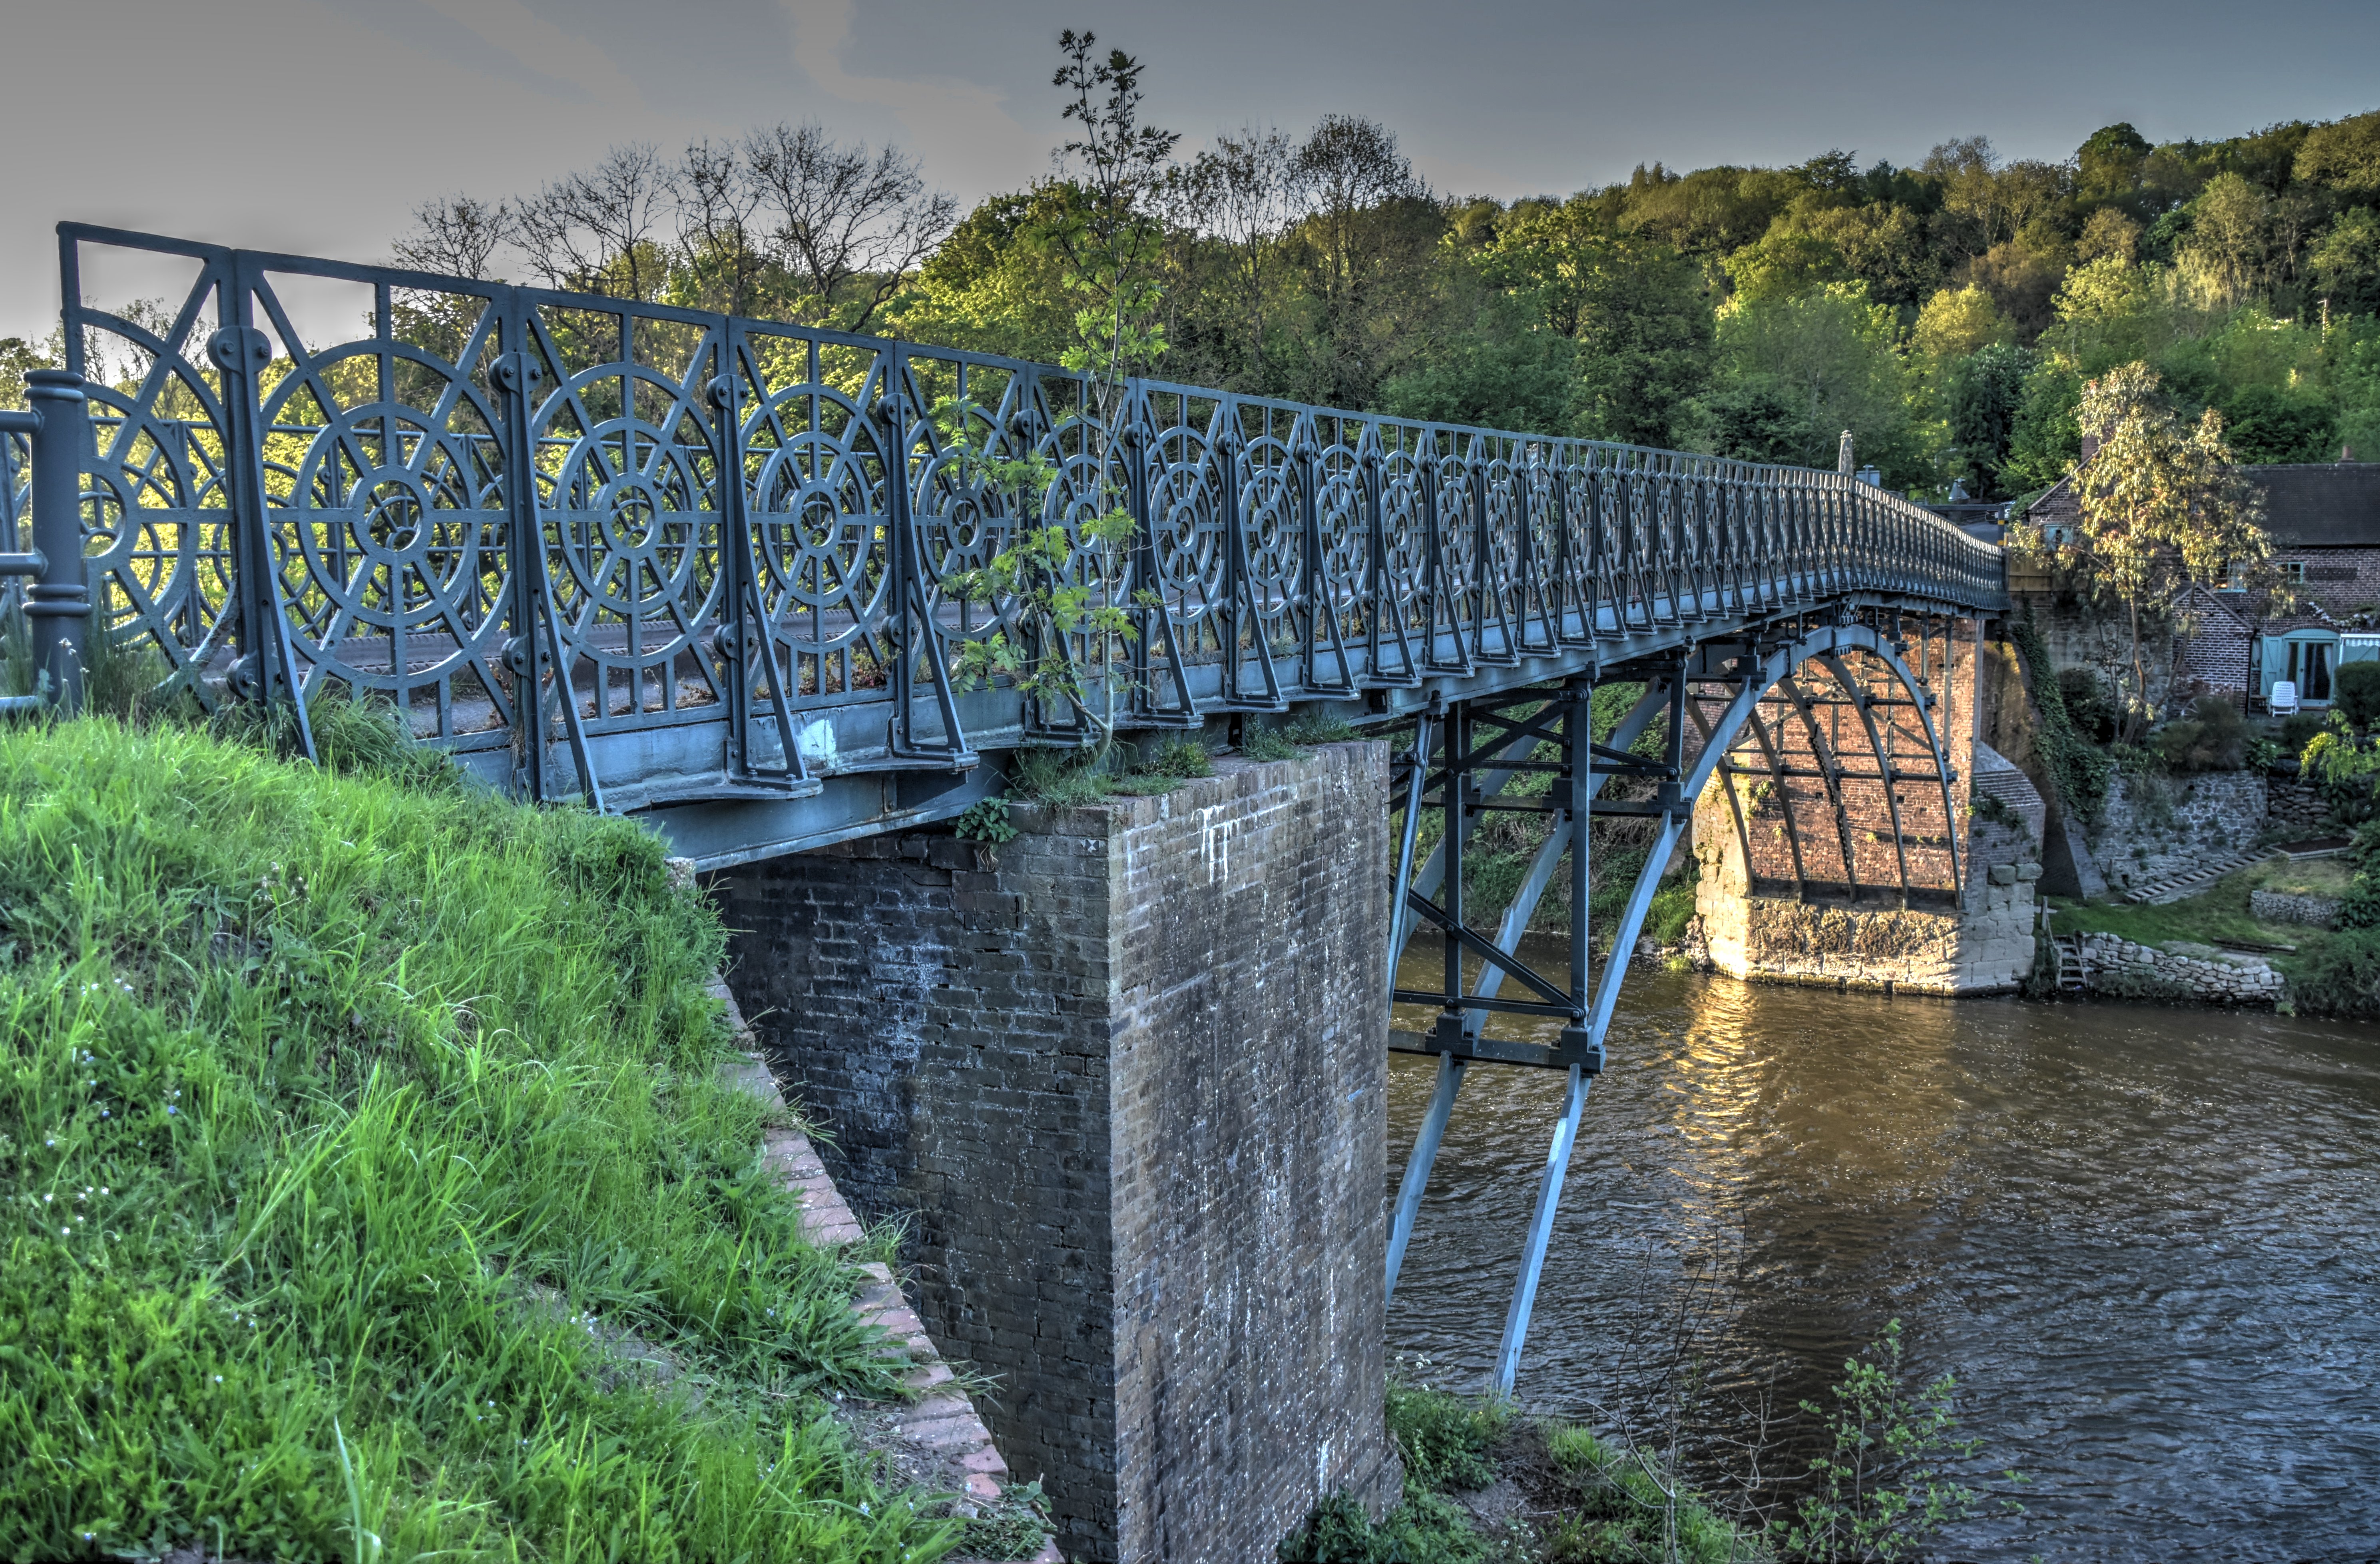
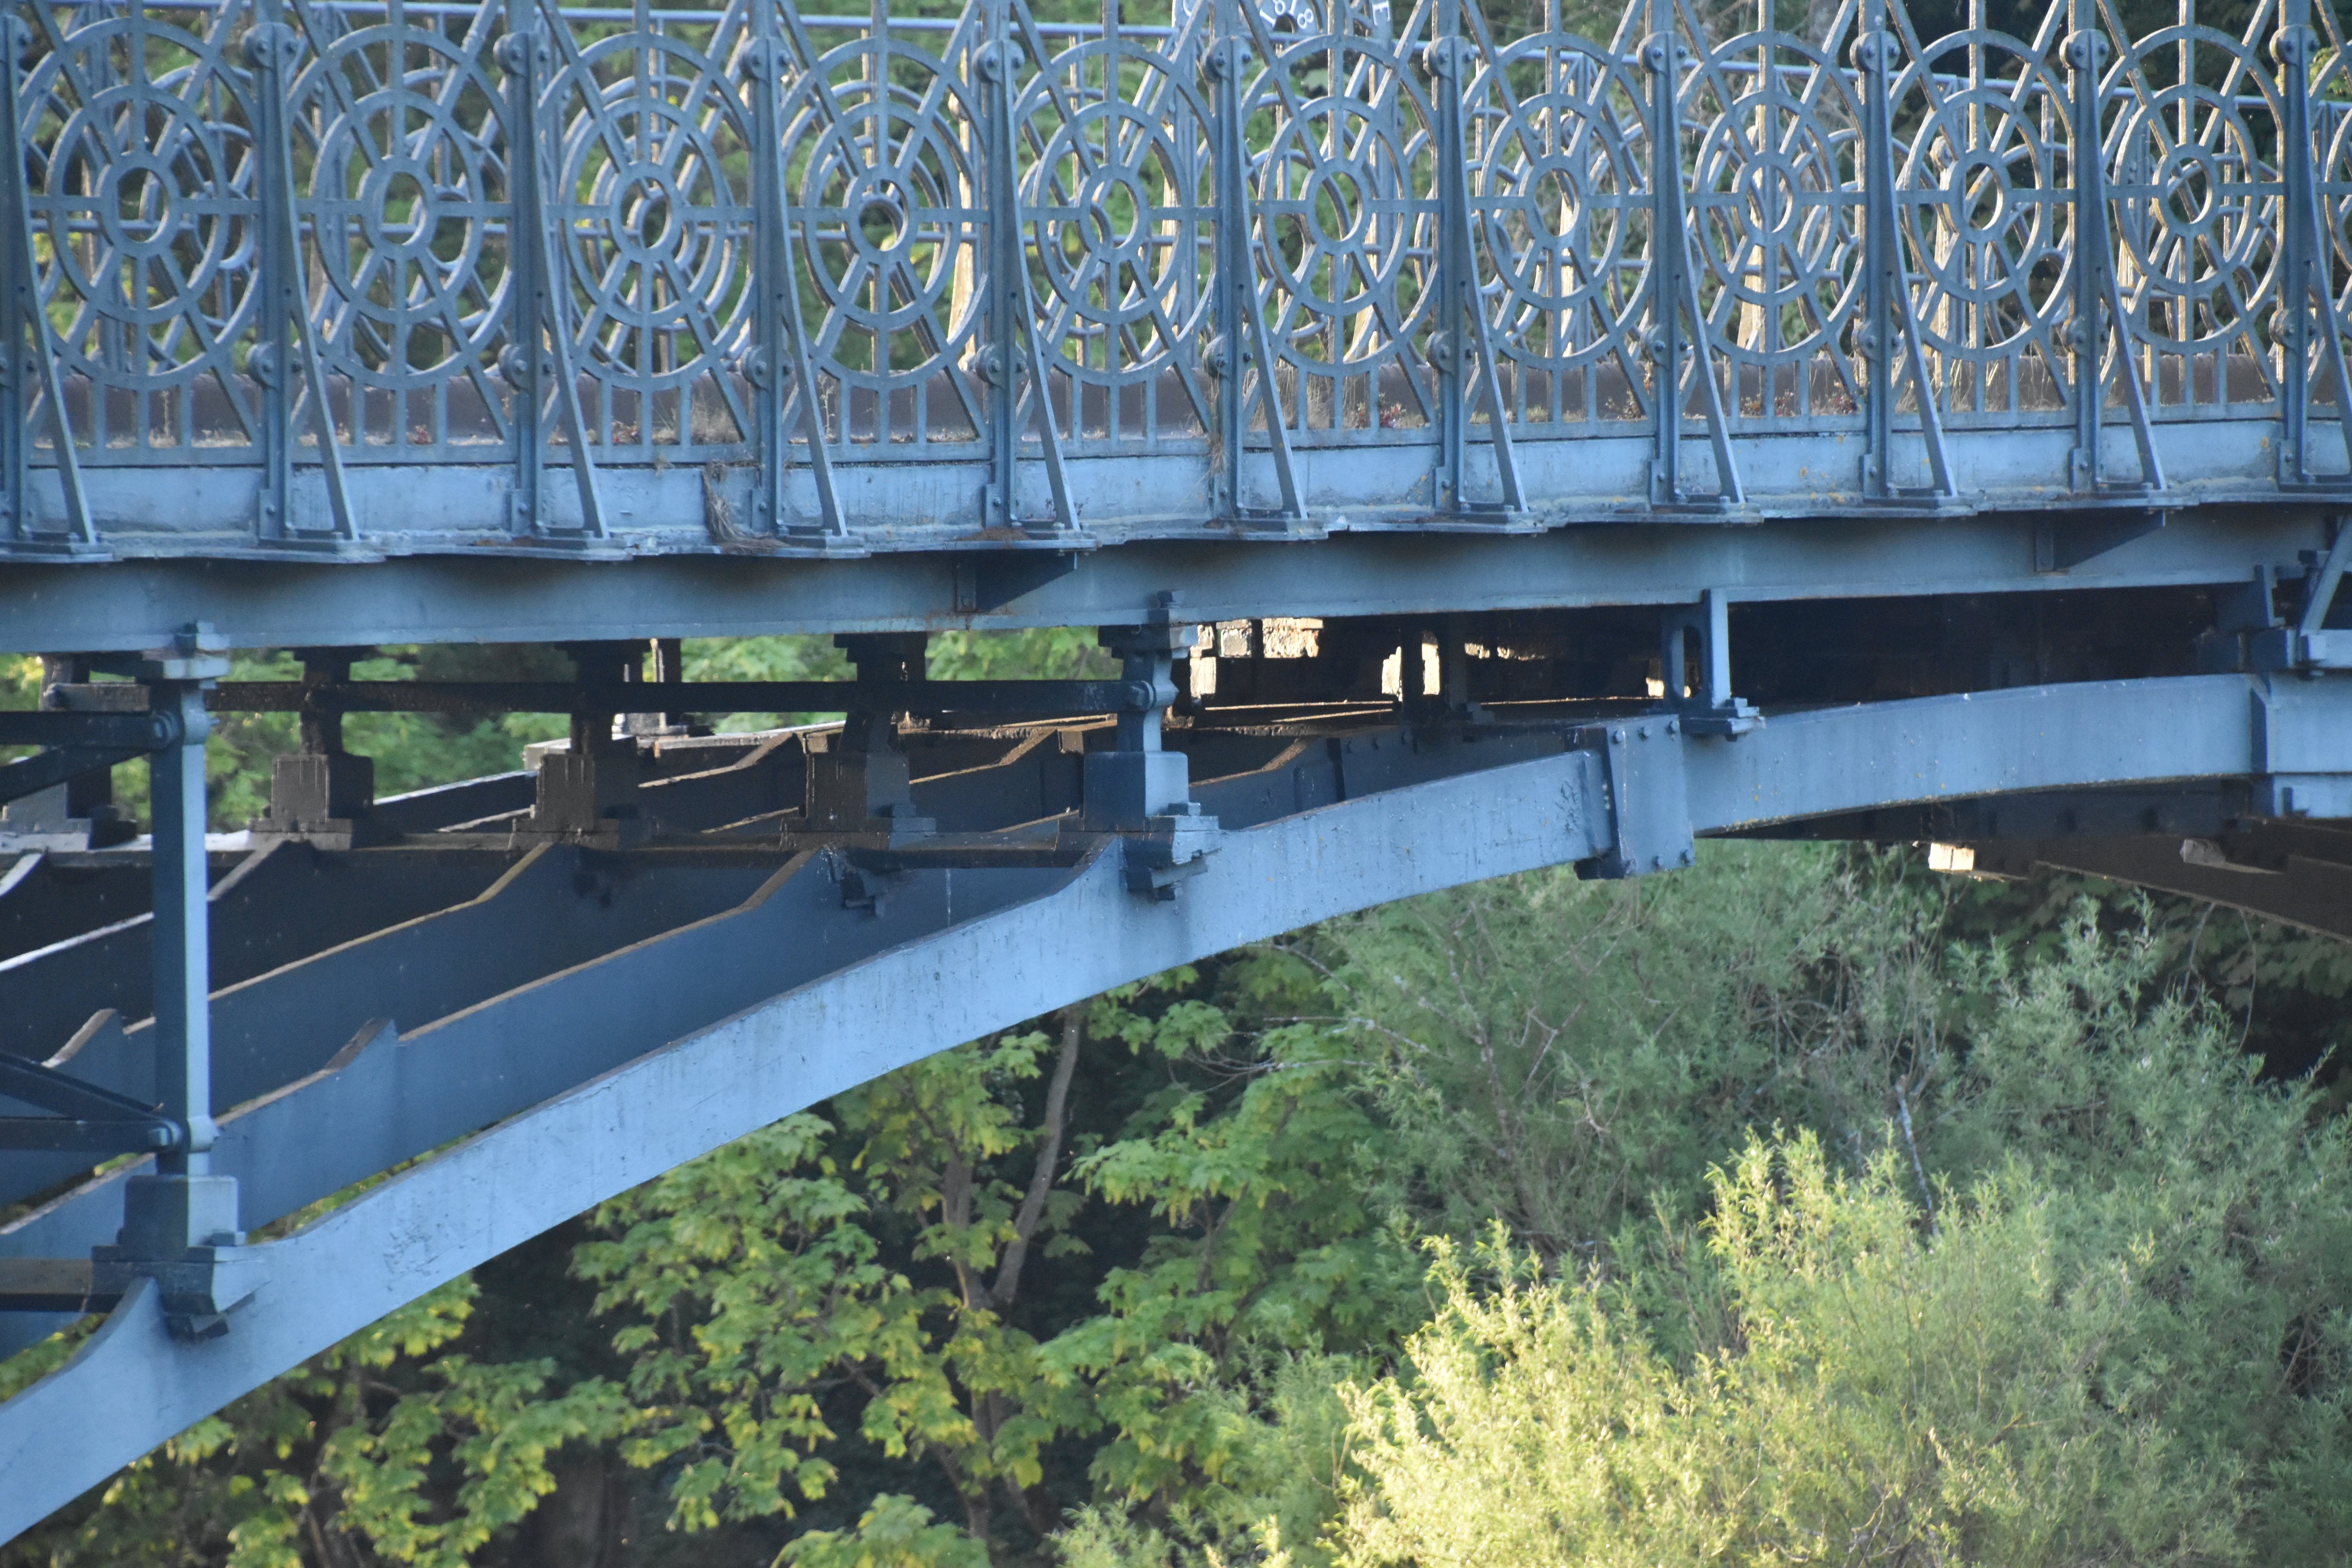
![]()


Overview of arch and pier.
![]()


Column and arch rib overview.
![]()


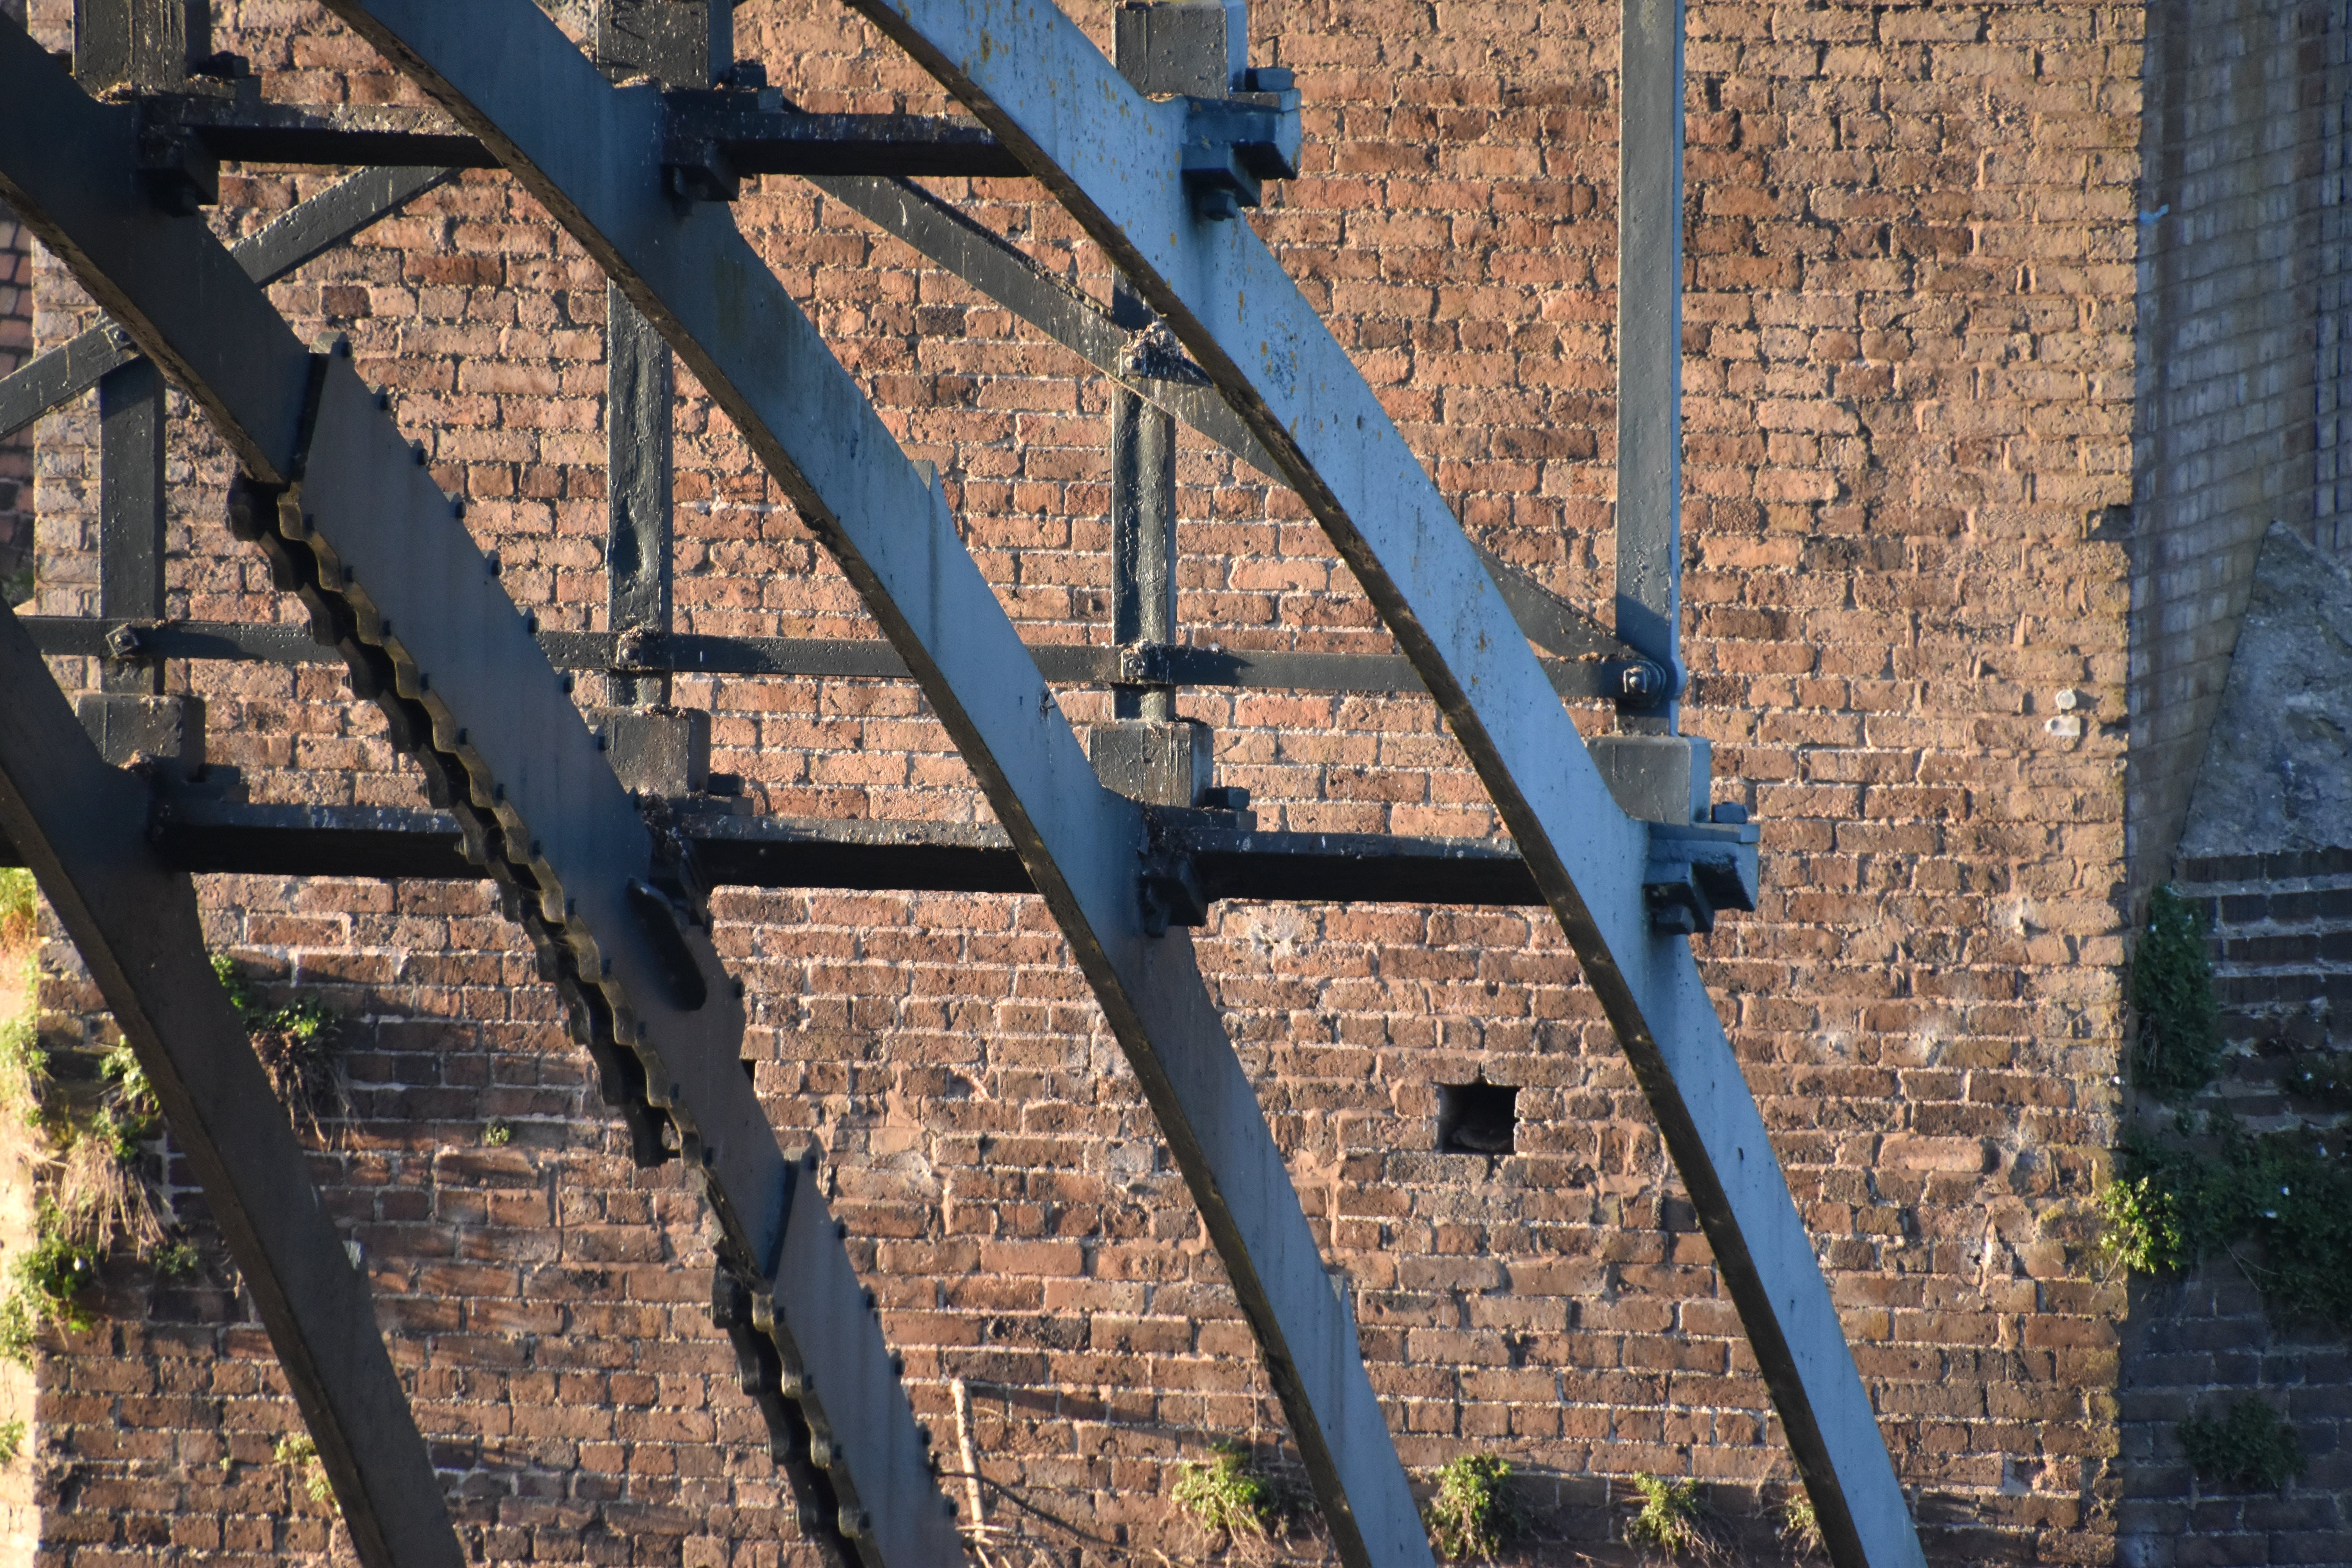
Arch ribs and skewbacks.
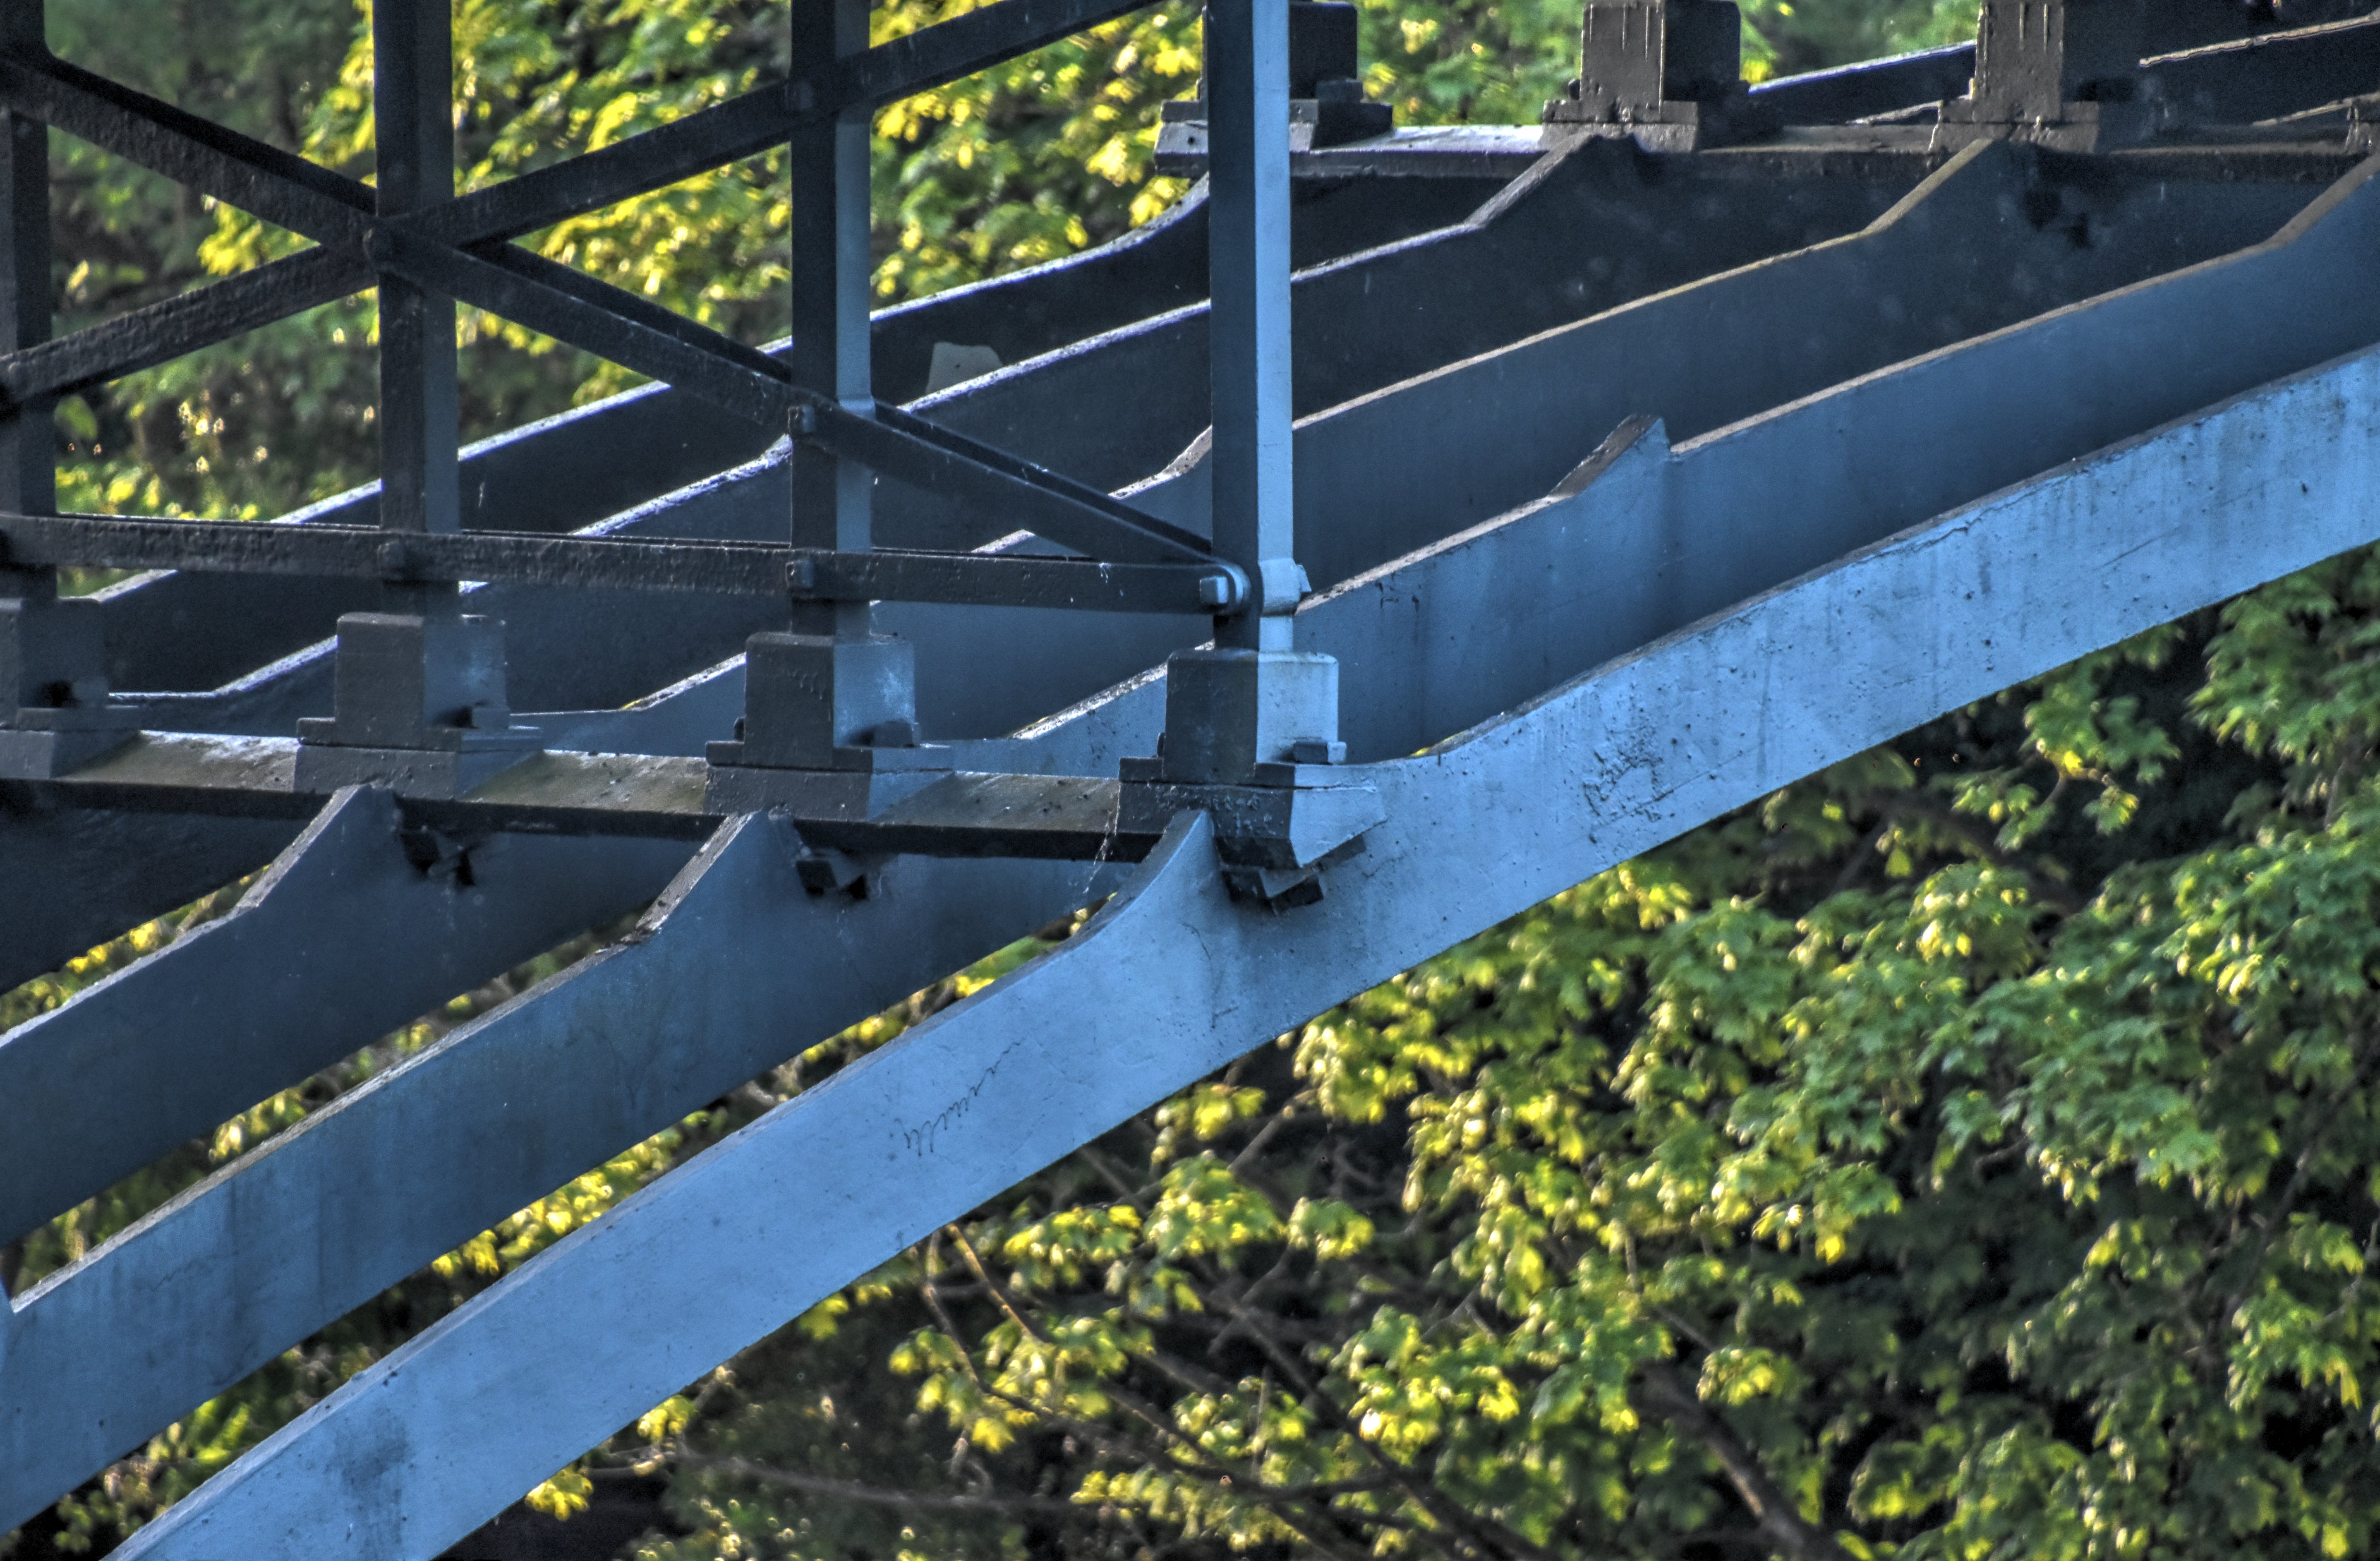
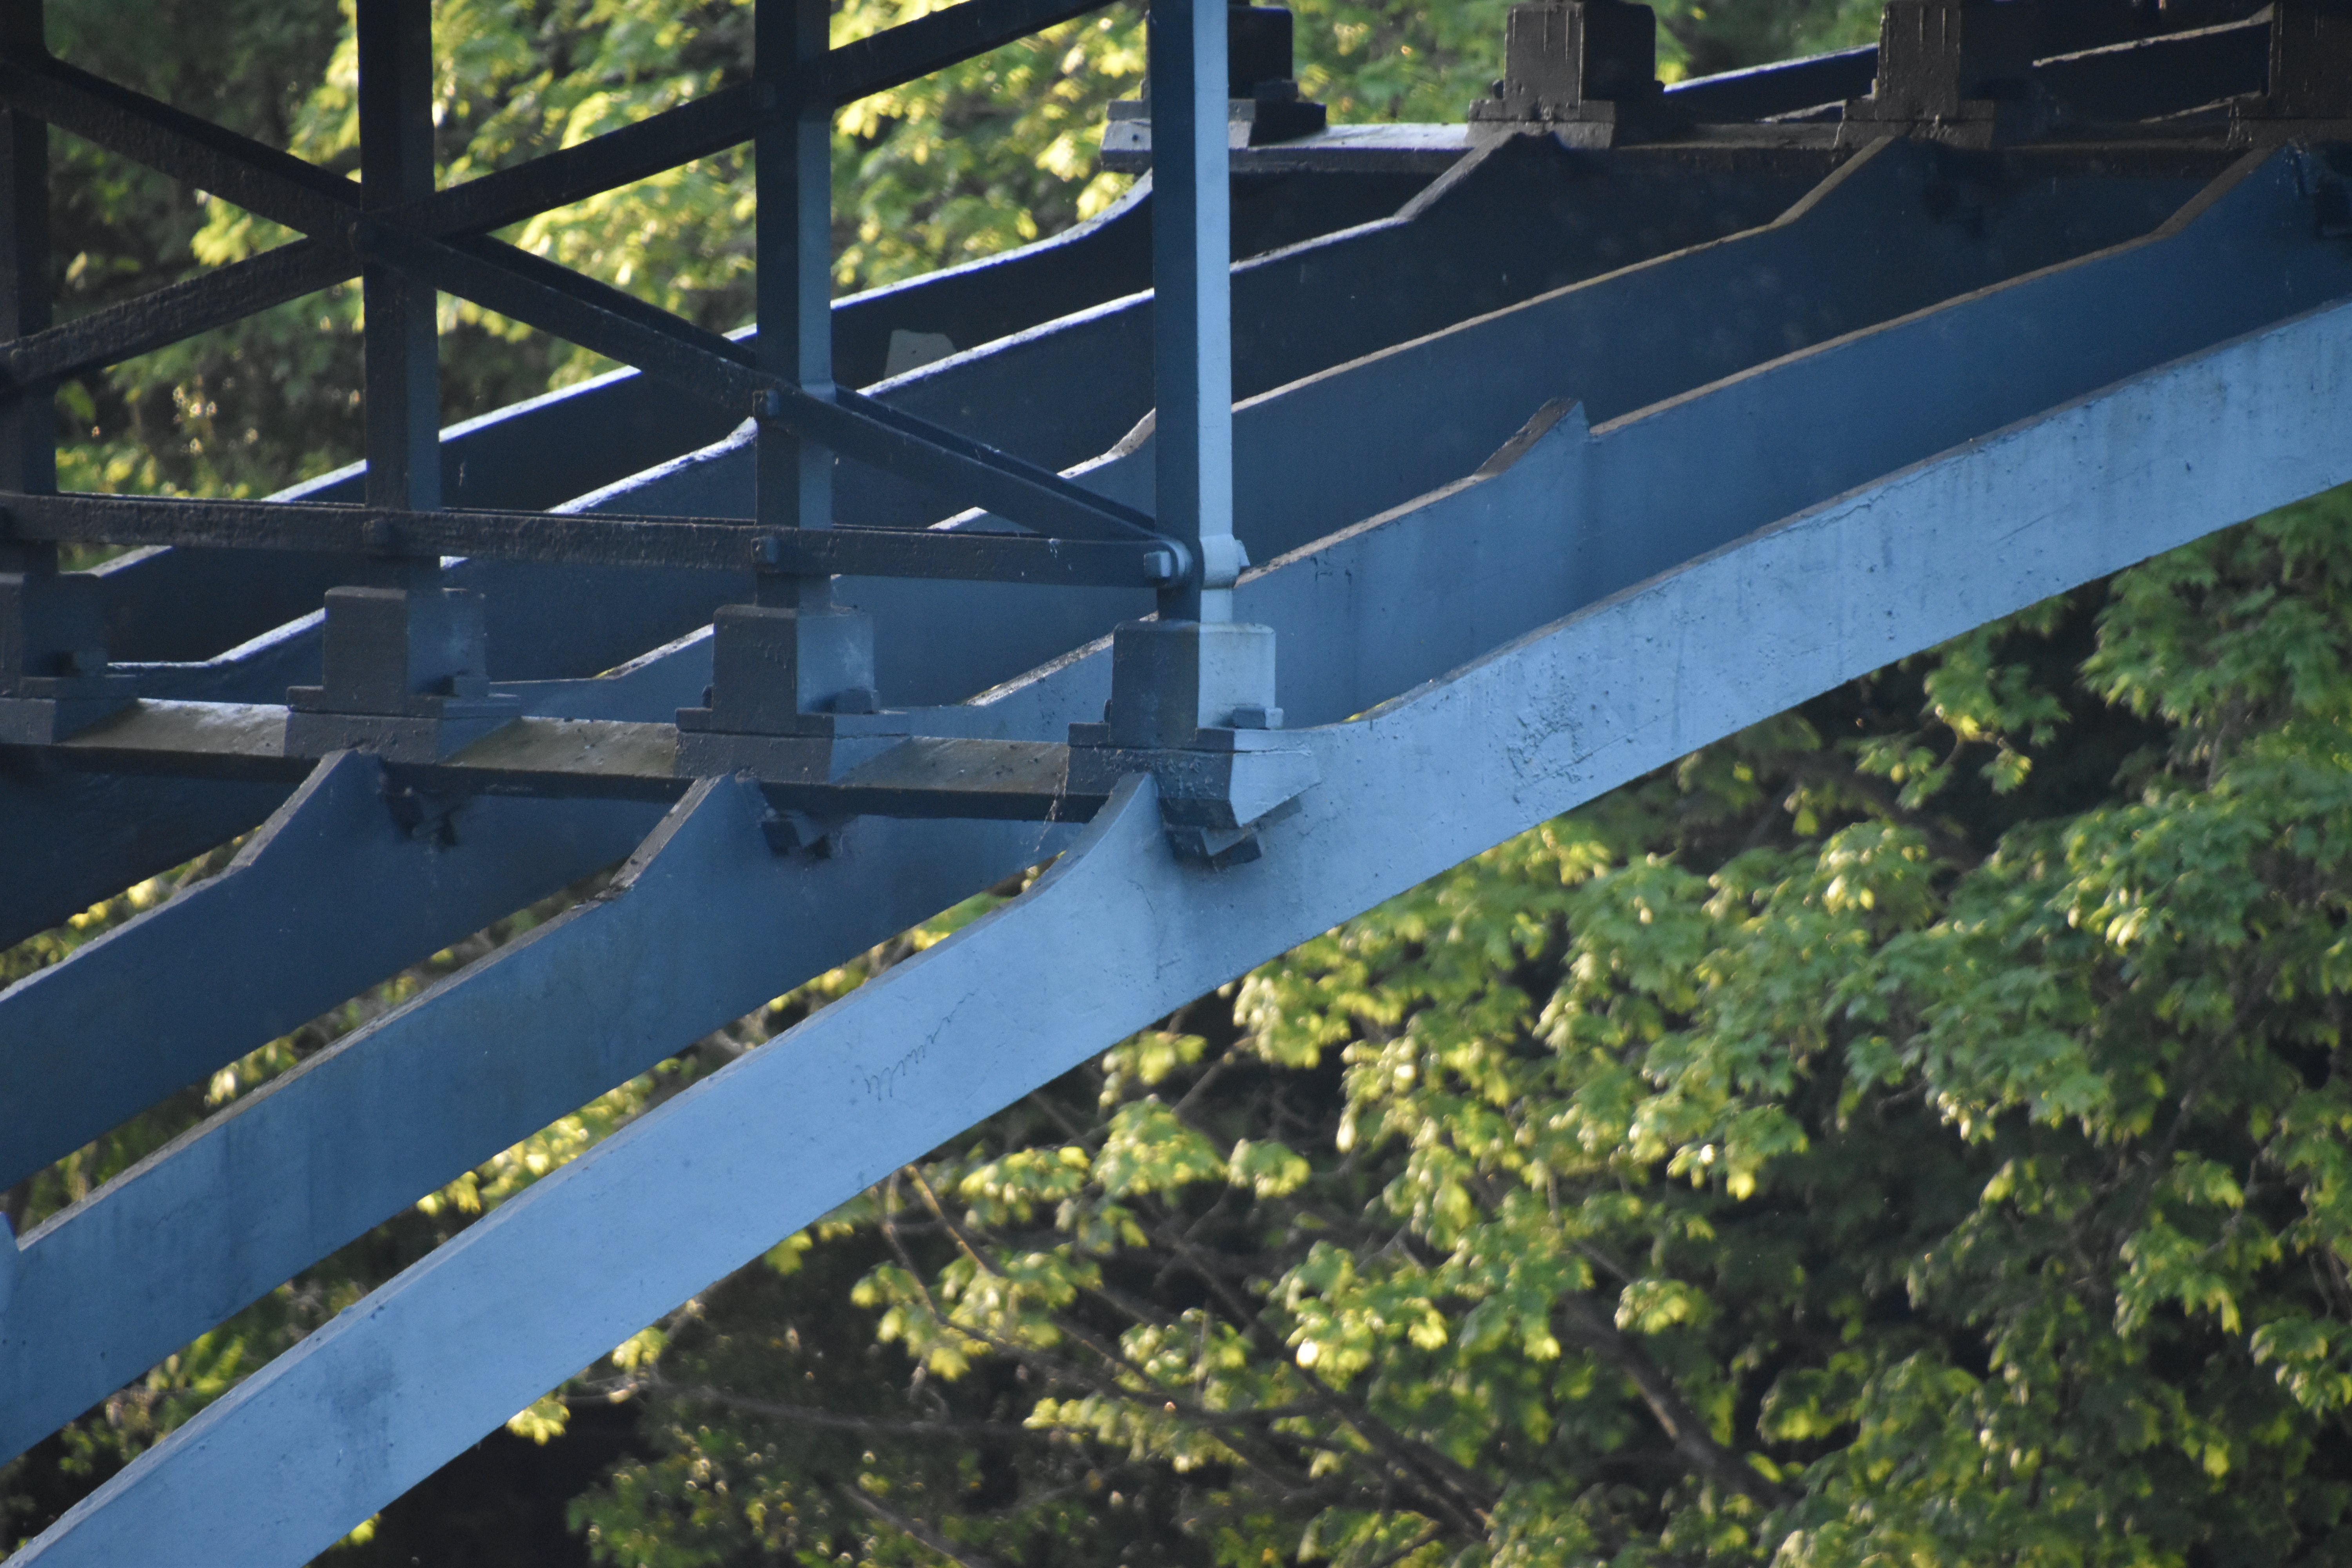
![]()


Oblique view showing all five arch ribs. Note that the center ribs have unused buttresses or notches. These are assumed to be the 1799 arch ribs.
![]()


Columns.
![]()


Arch rib details.
![]()


Arch rib details near crown.
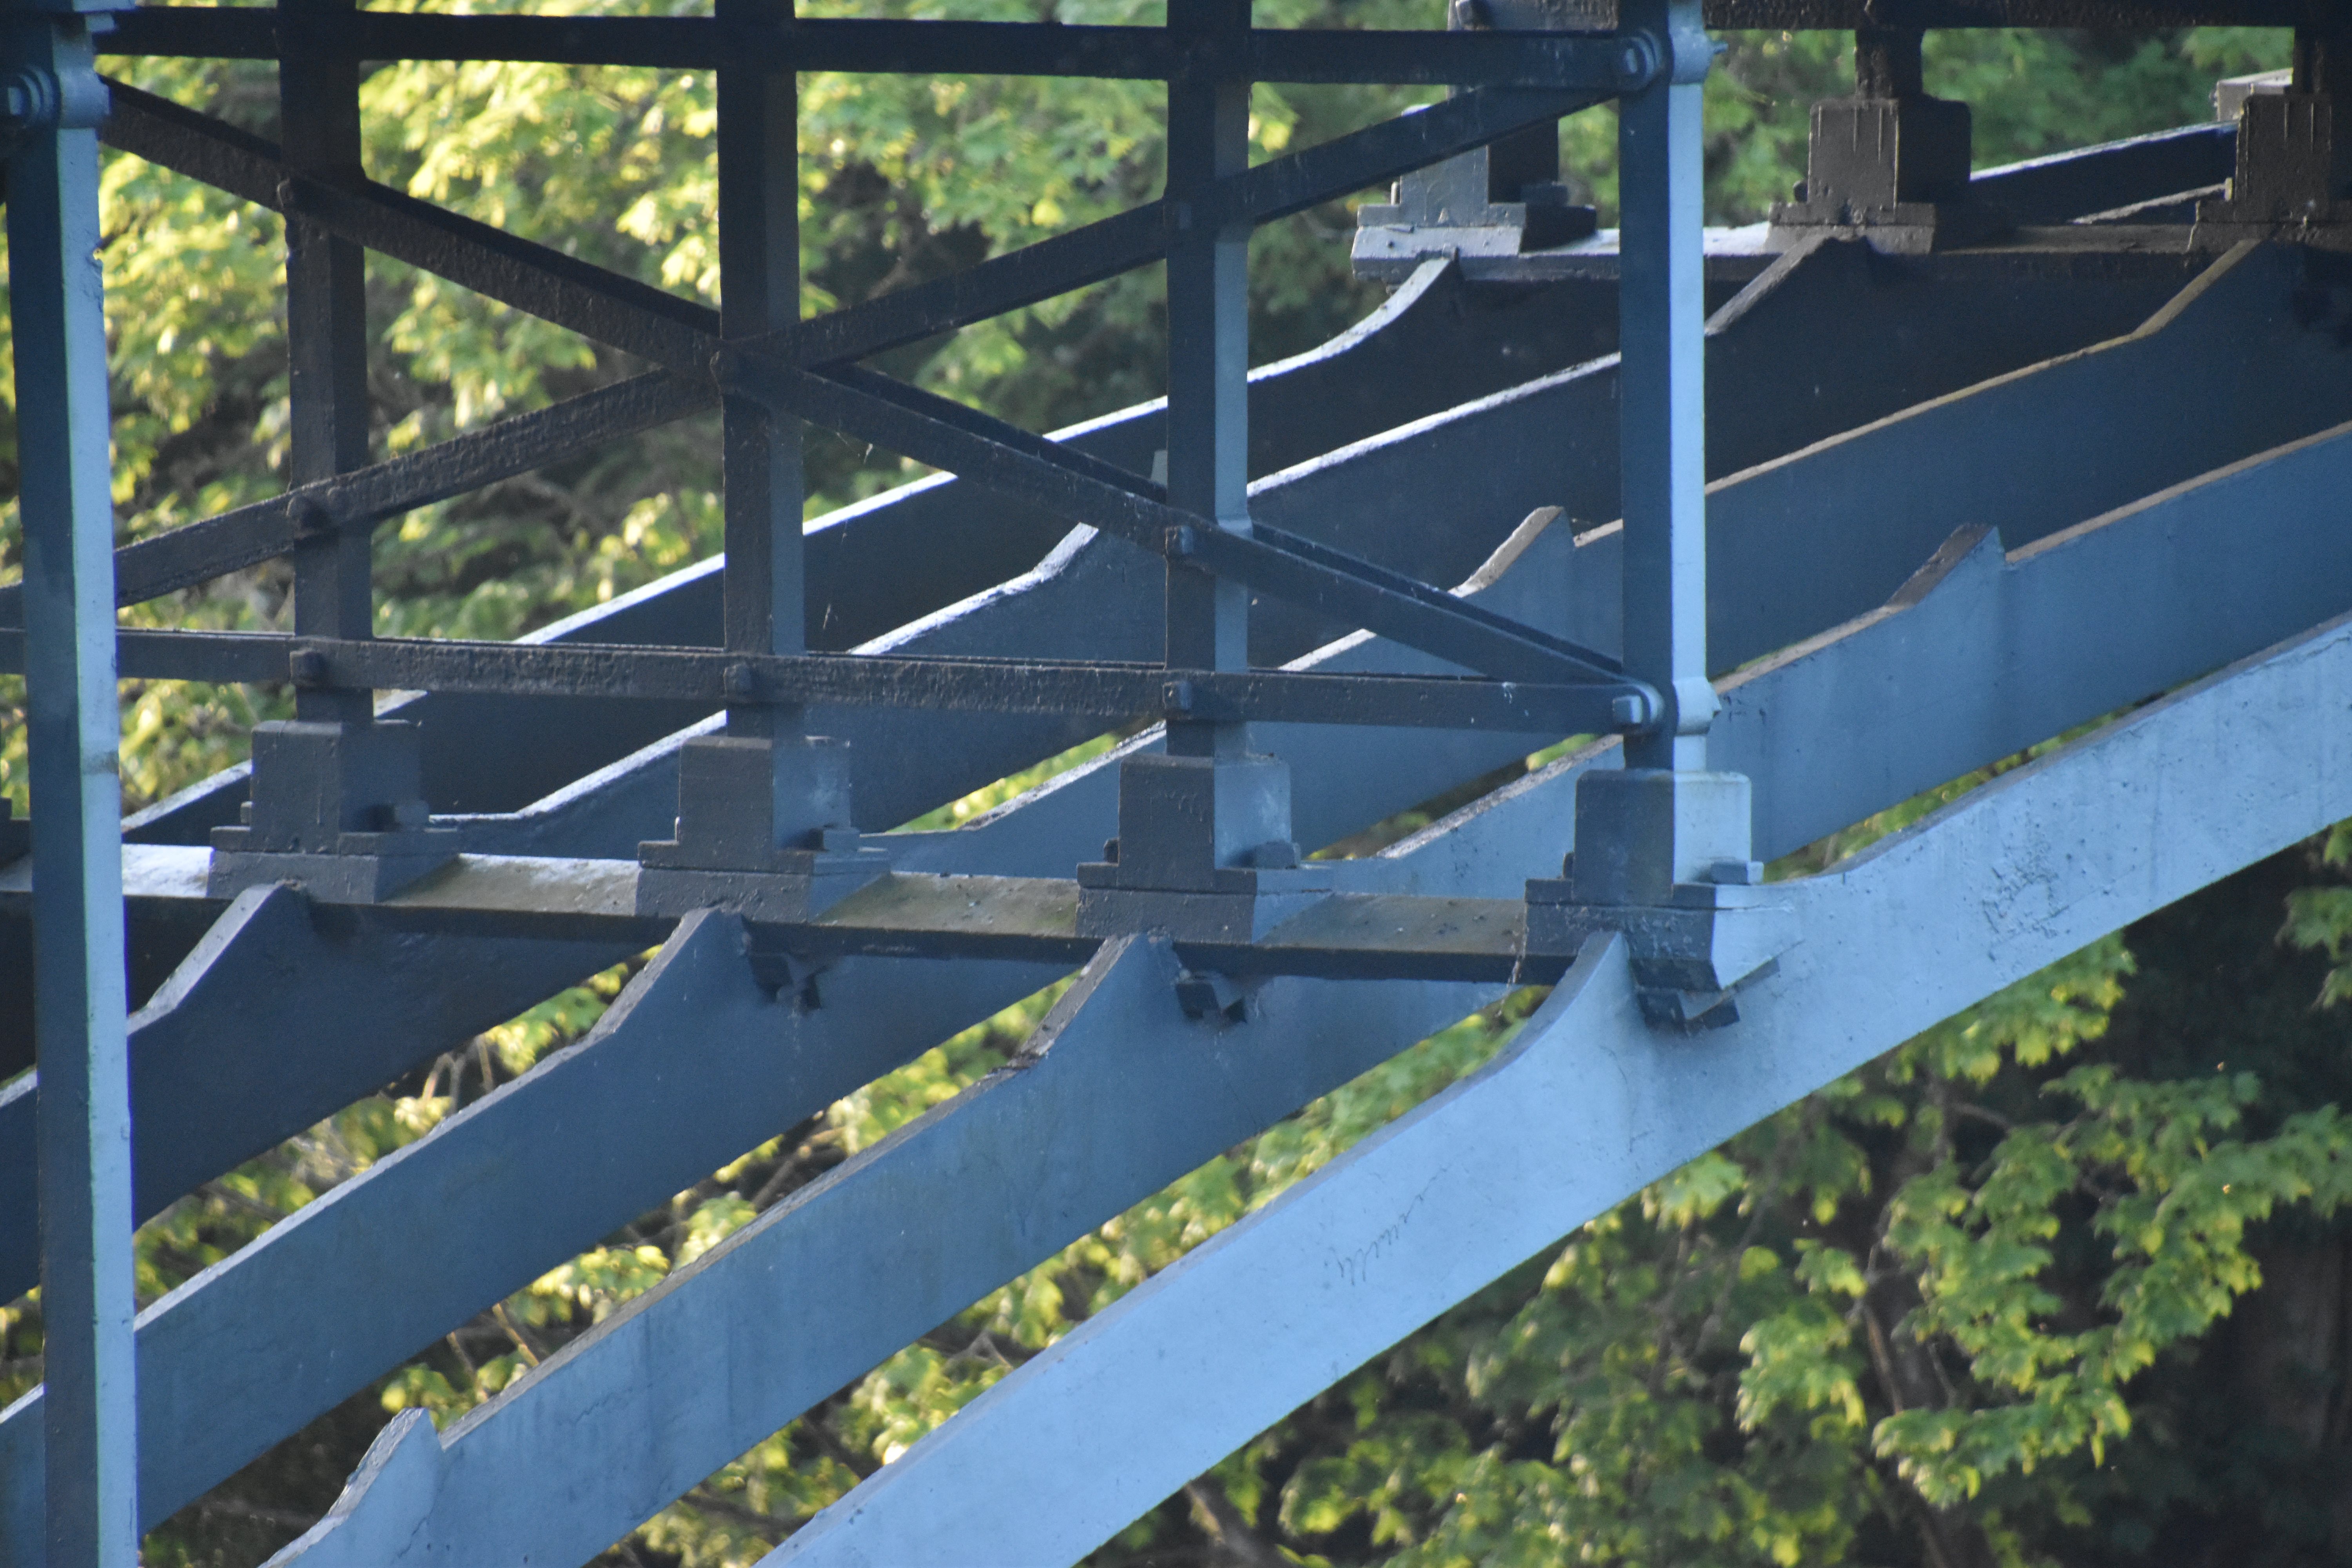
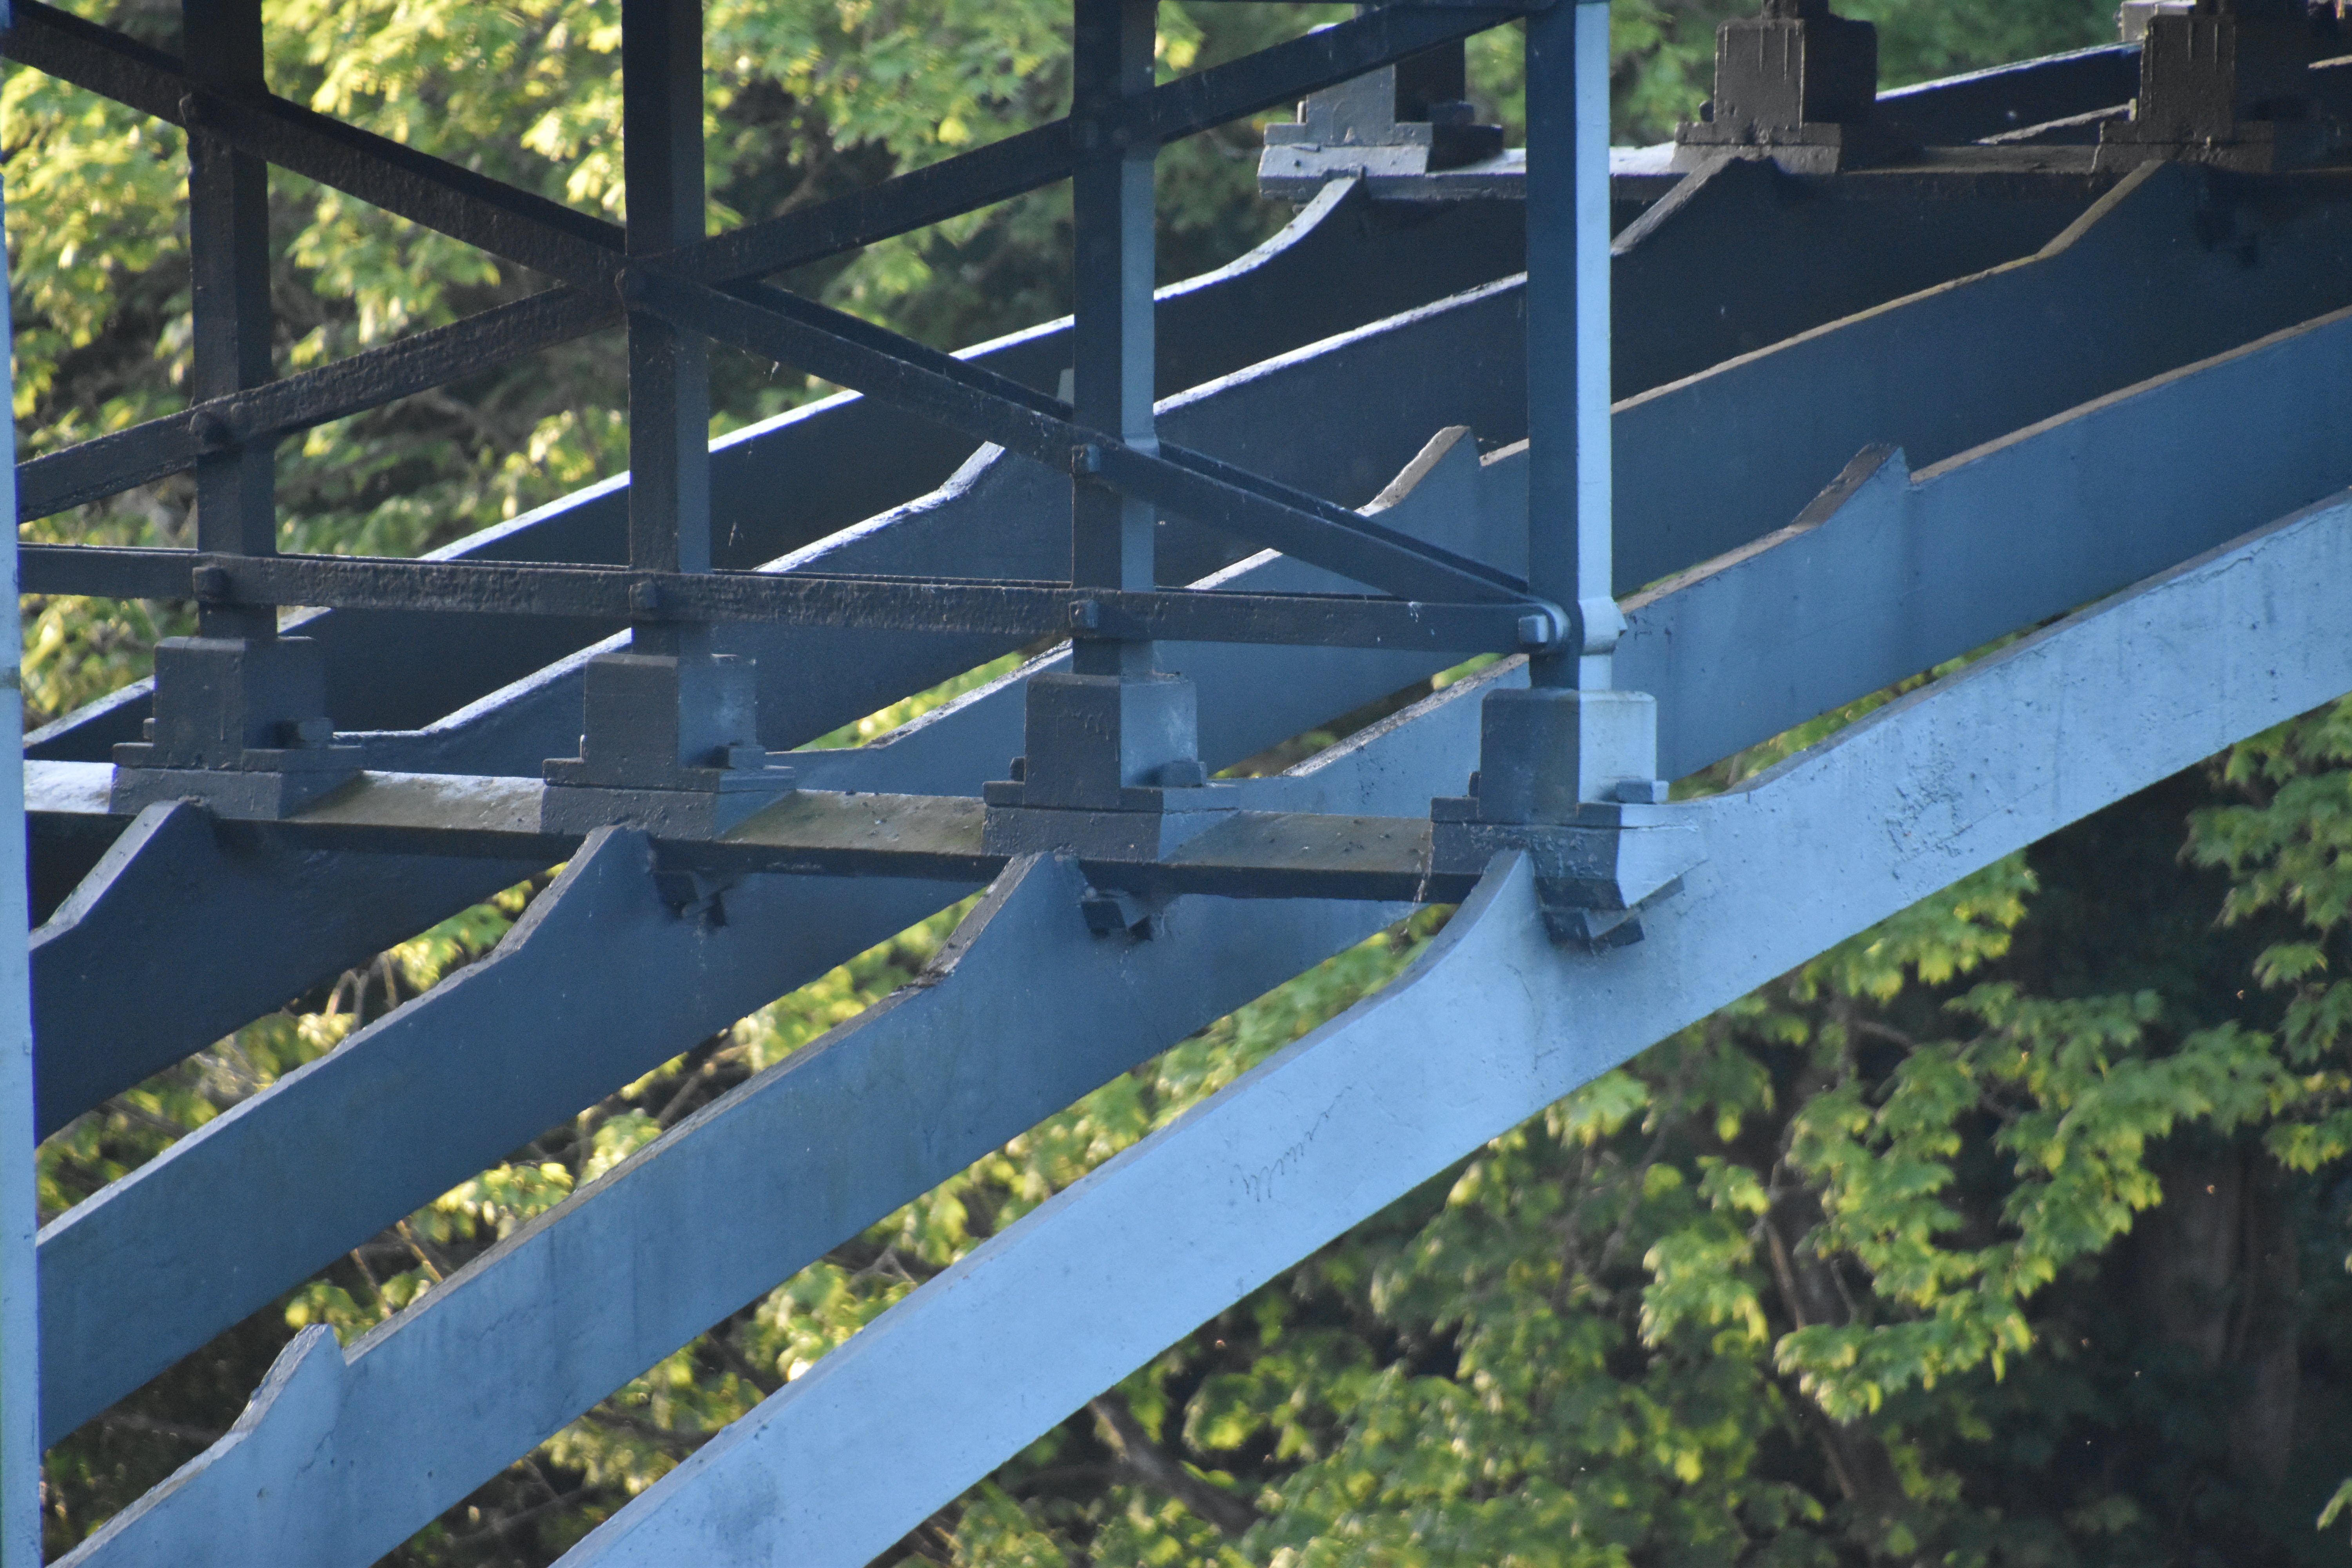
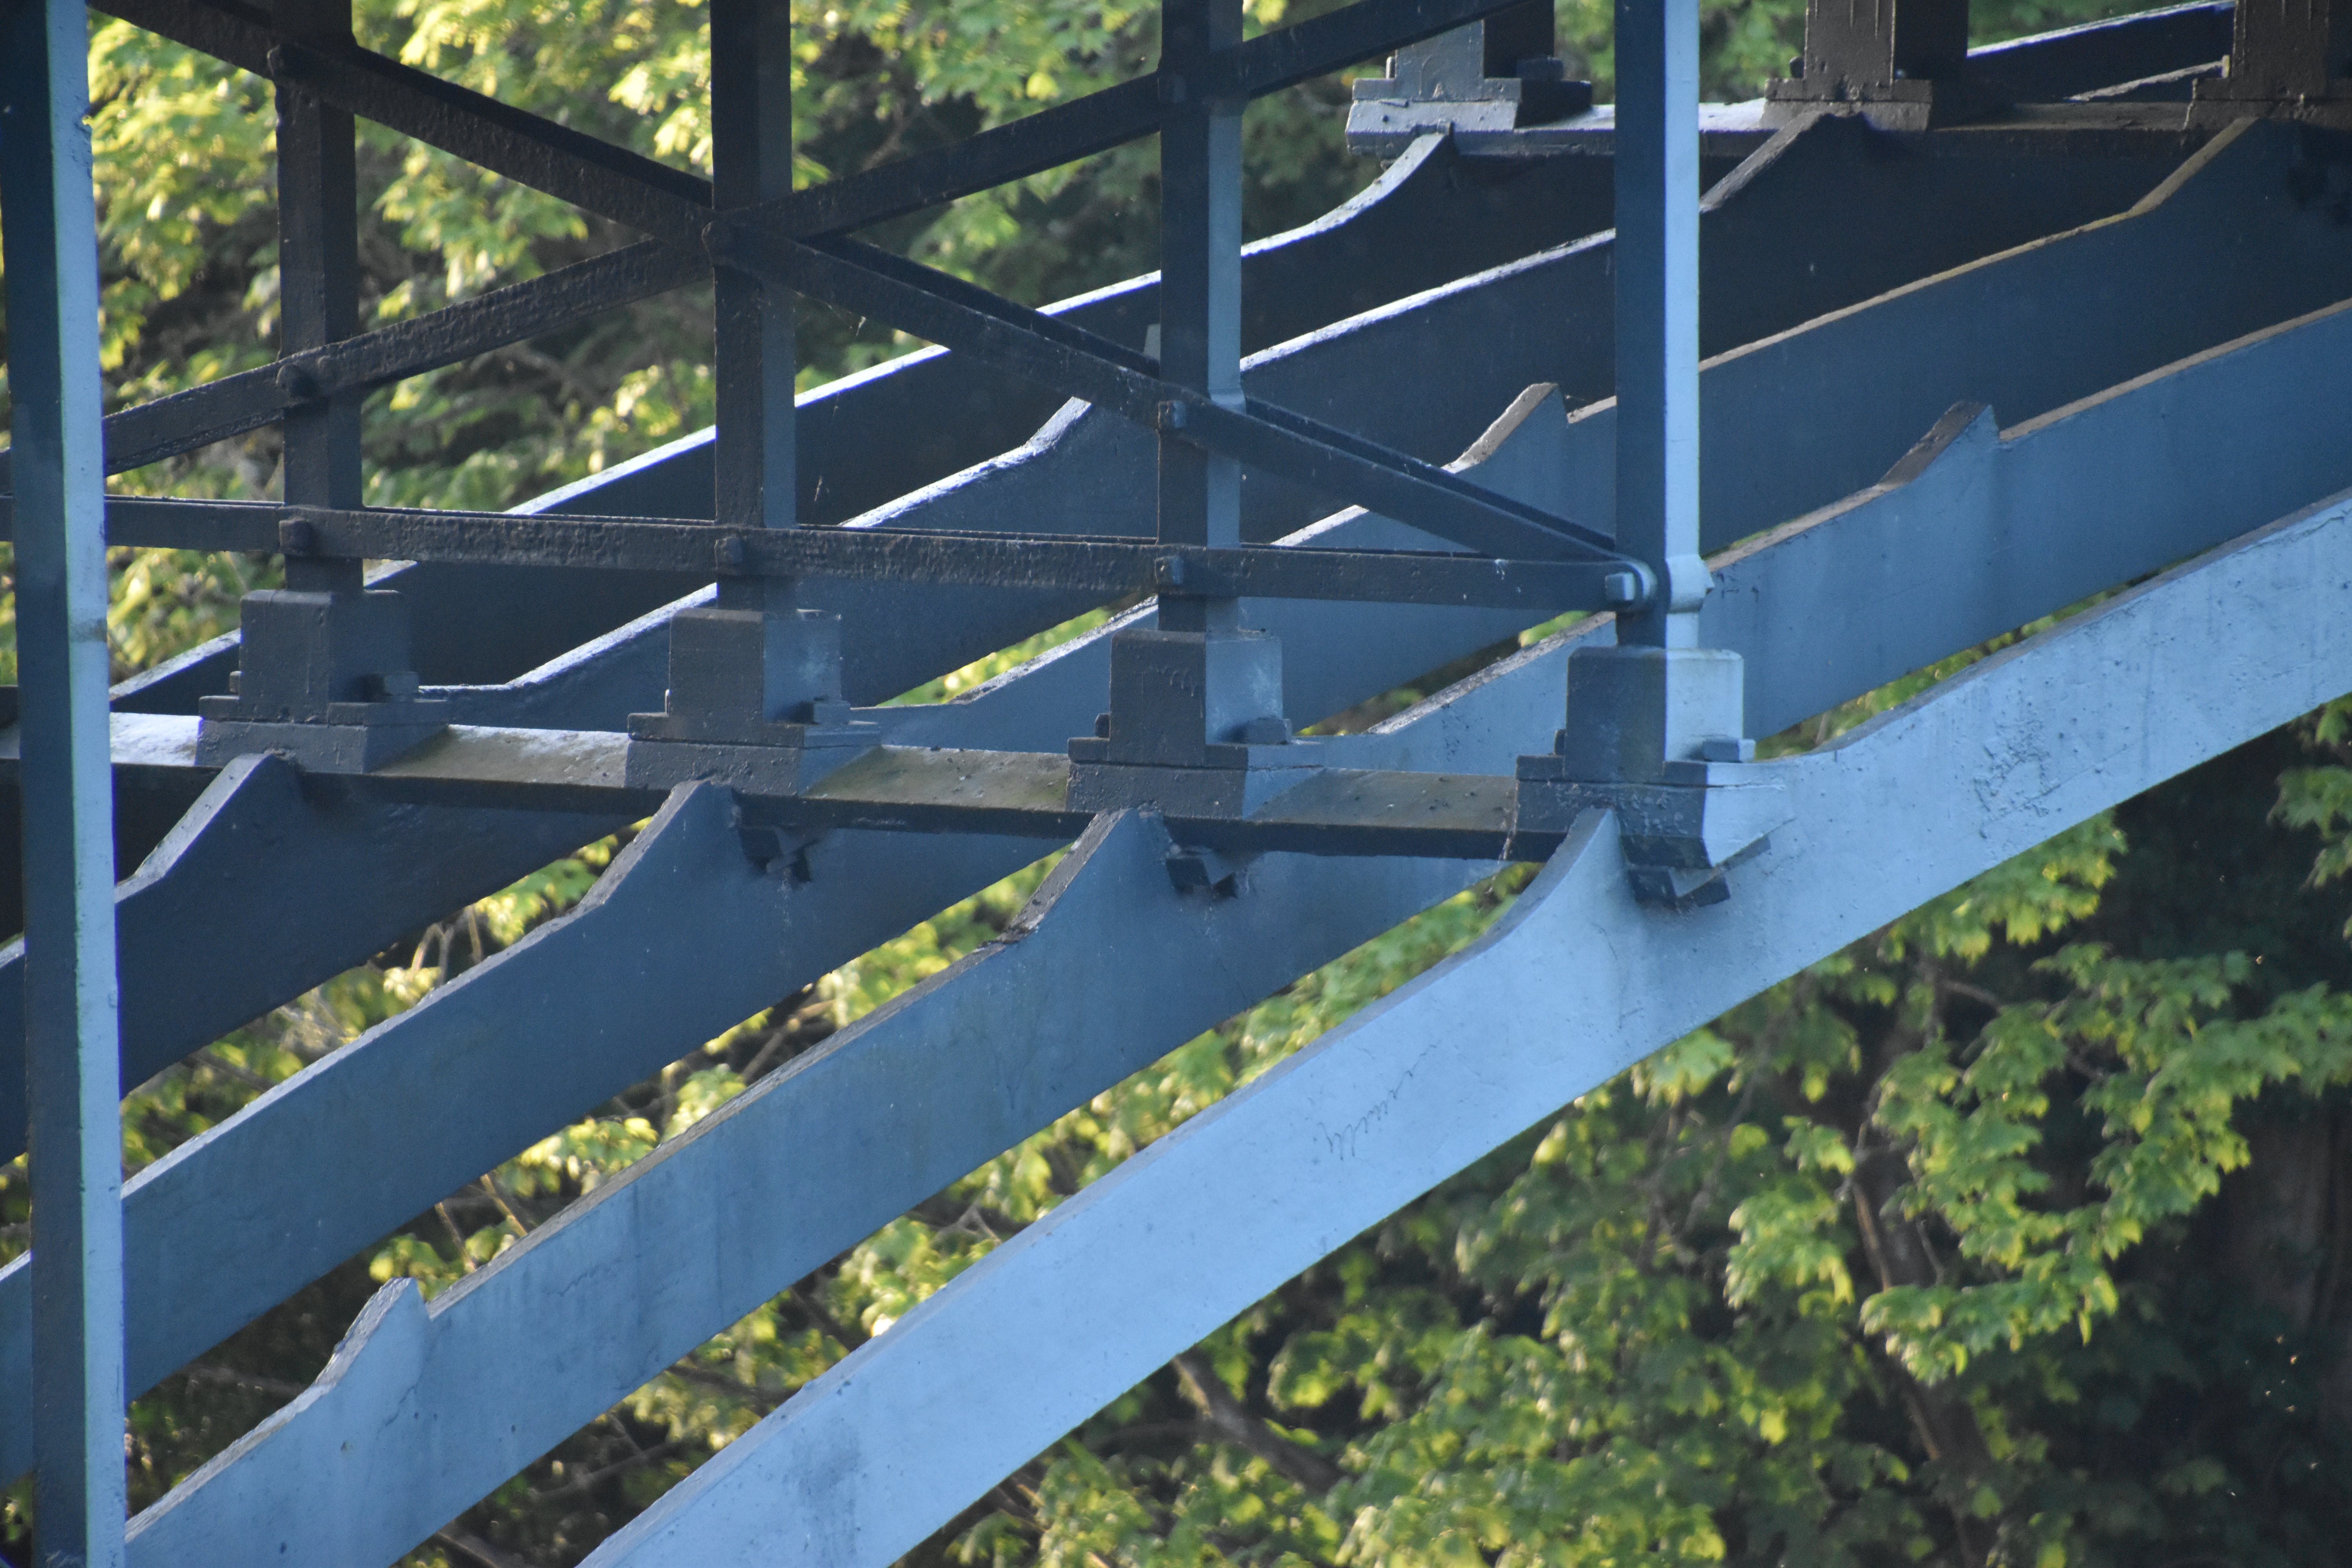
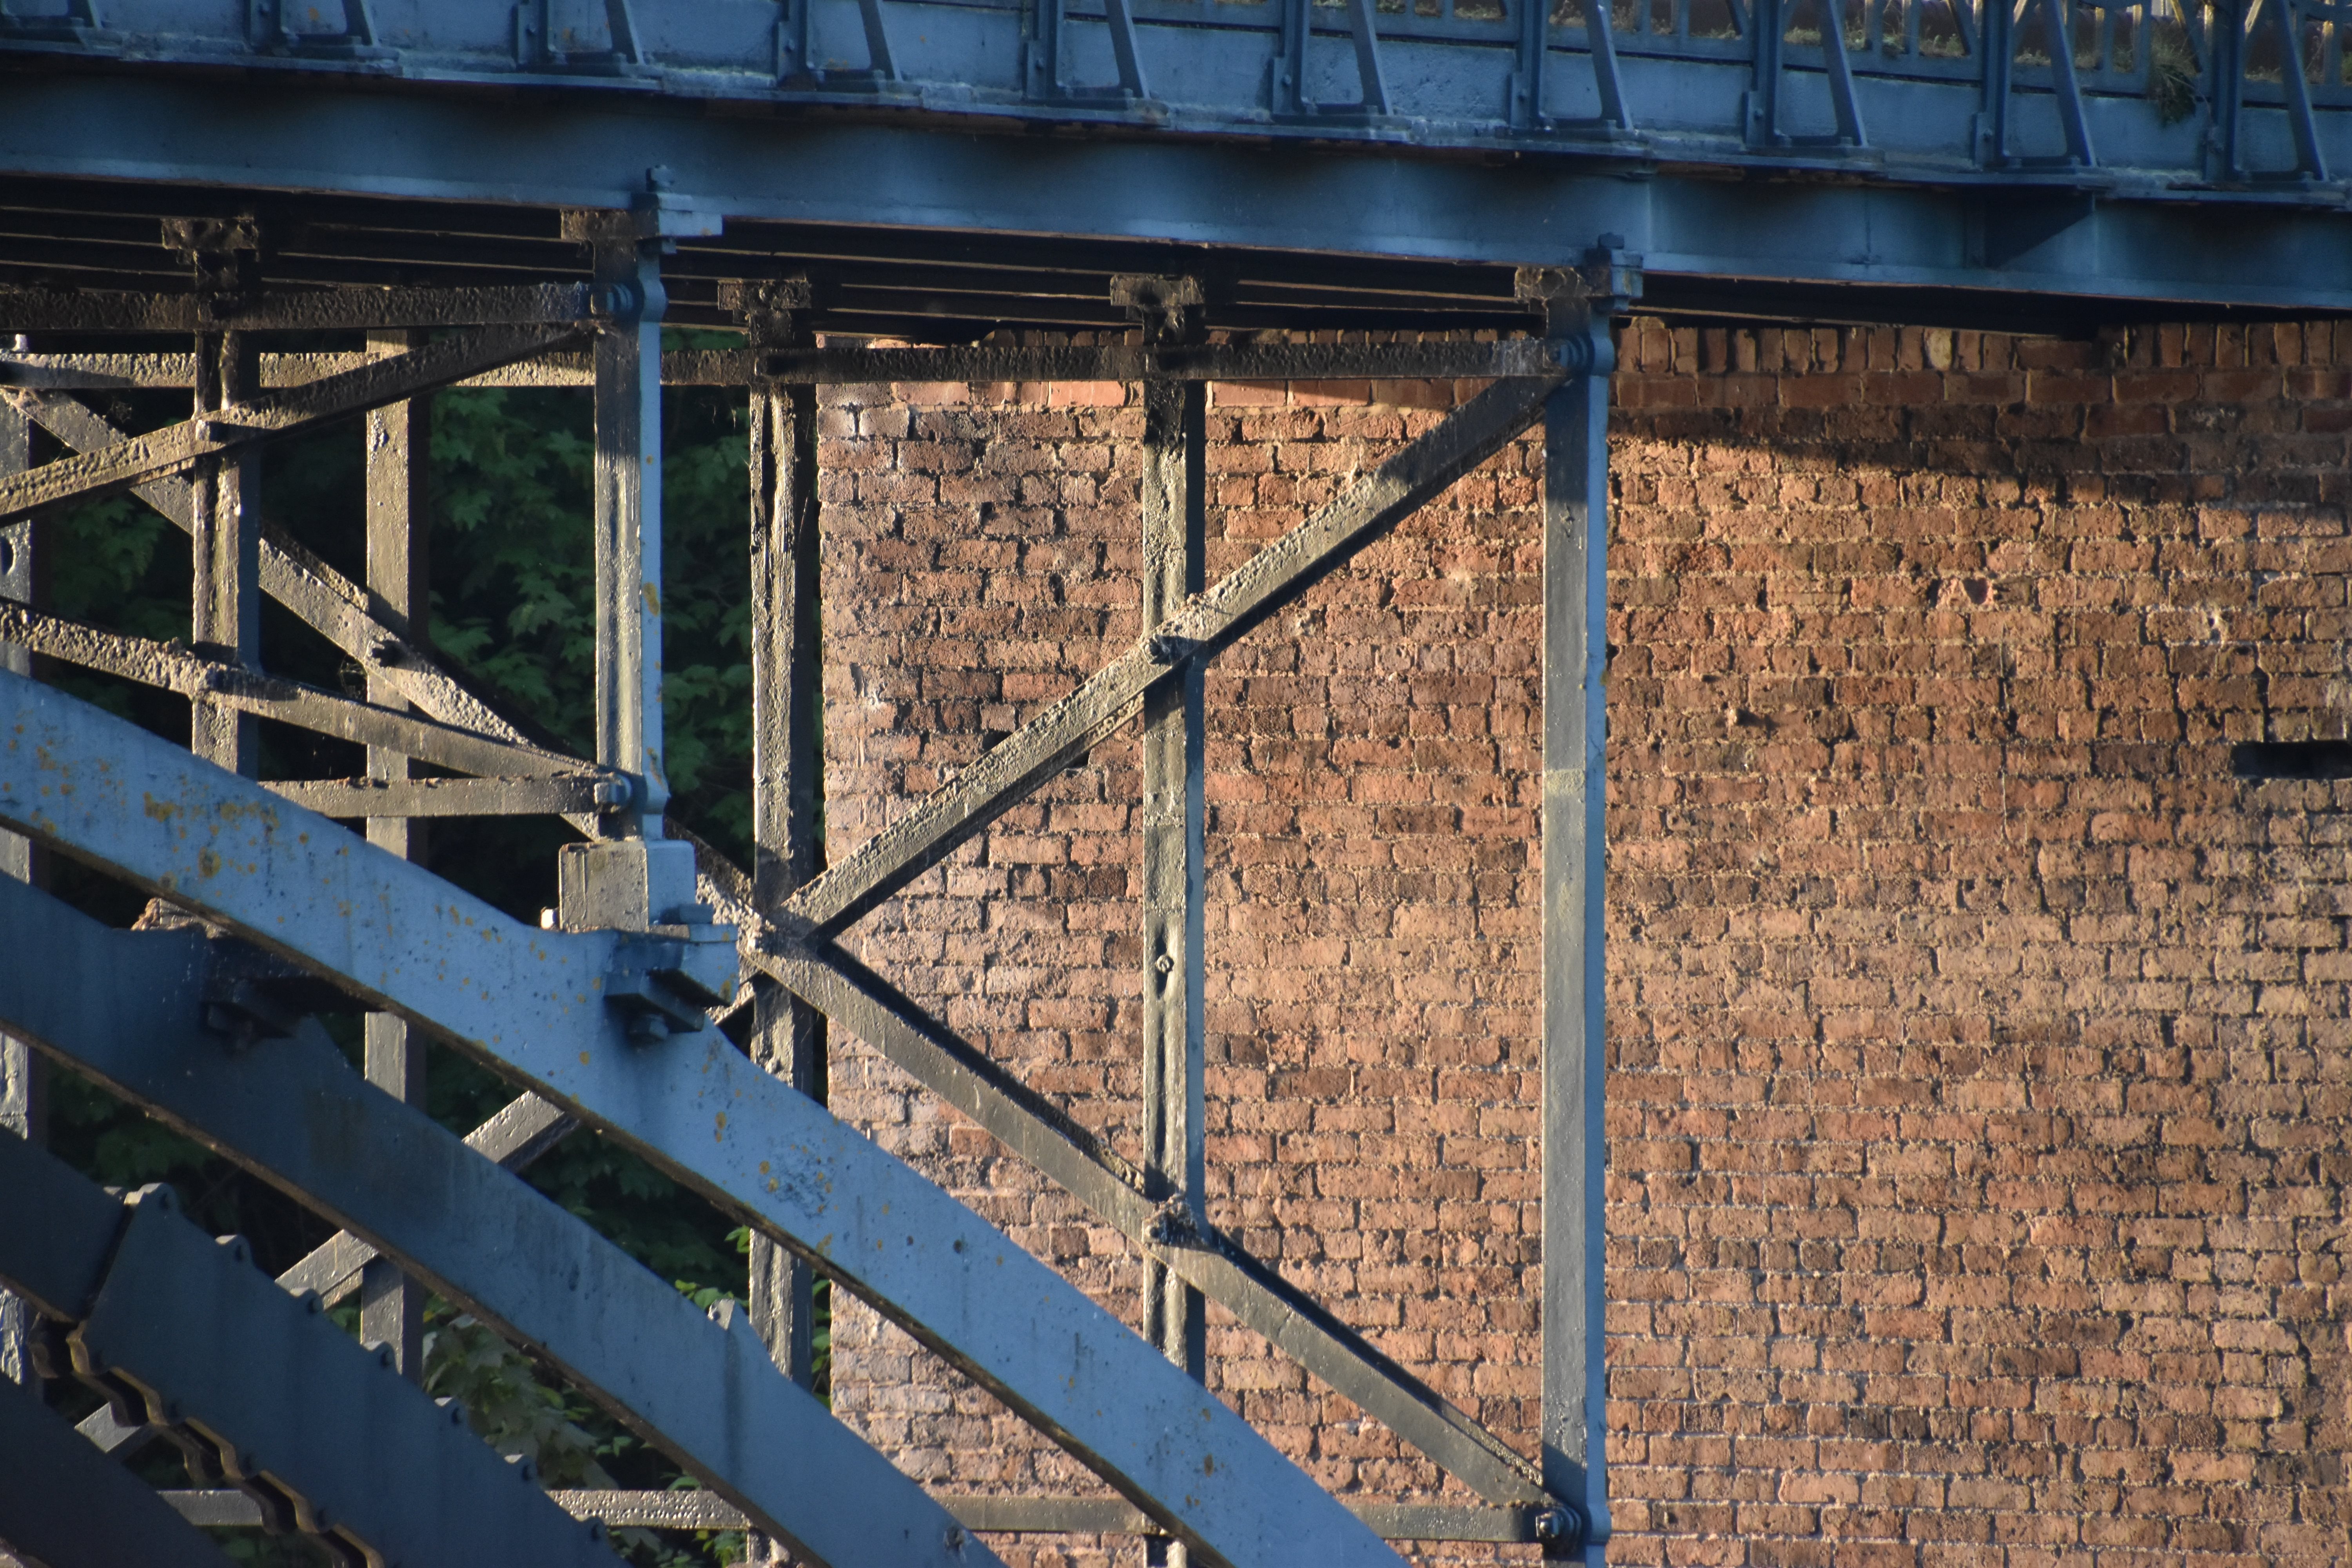
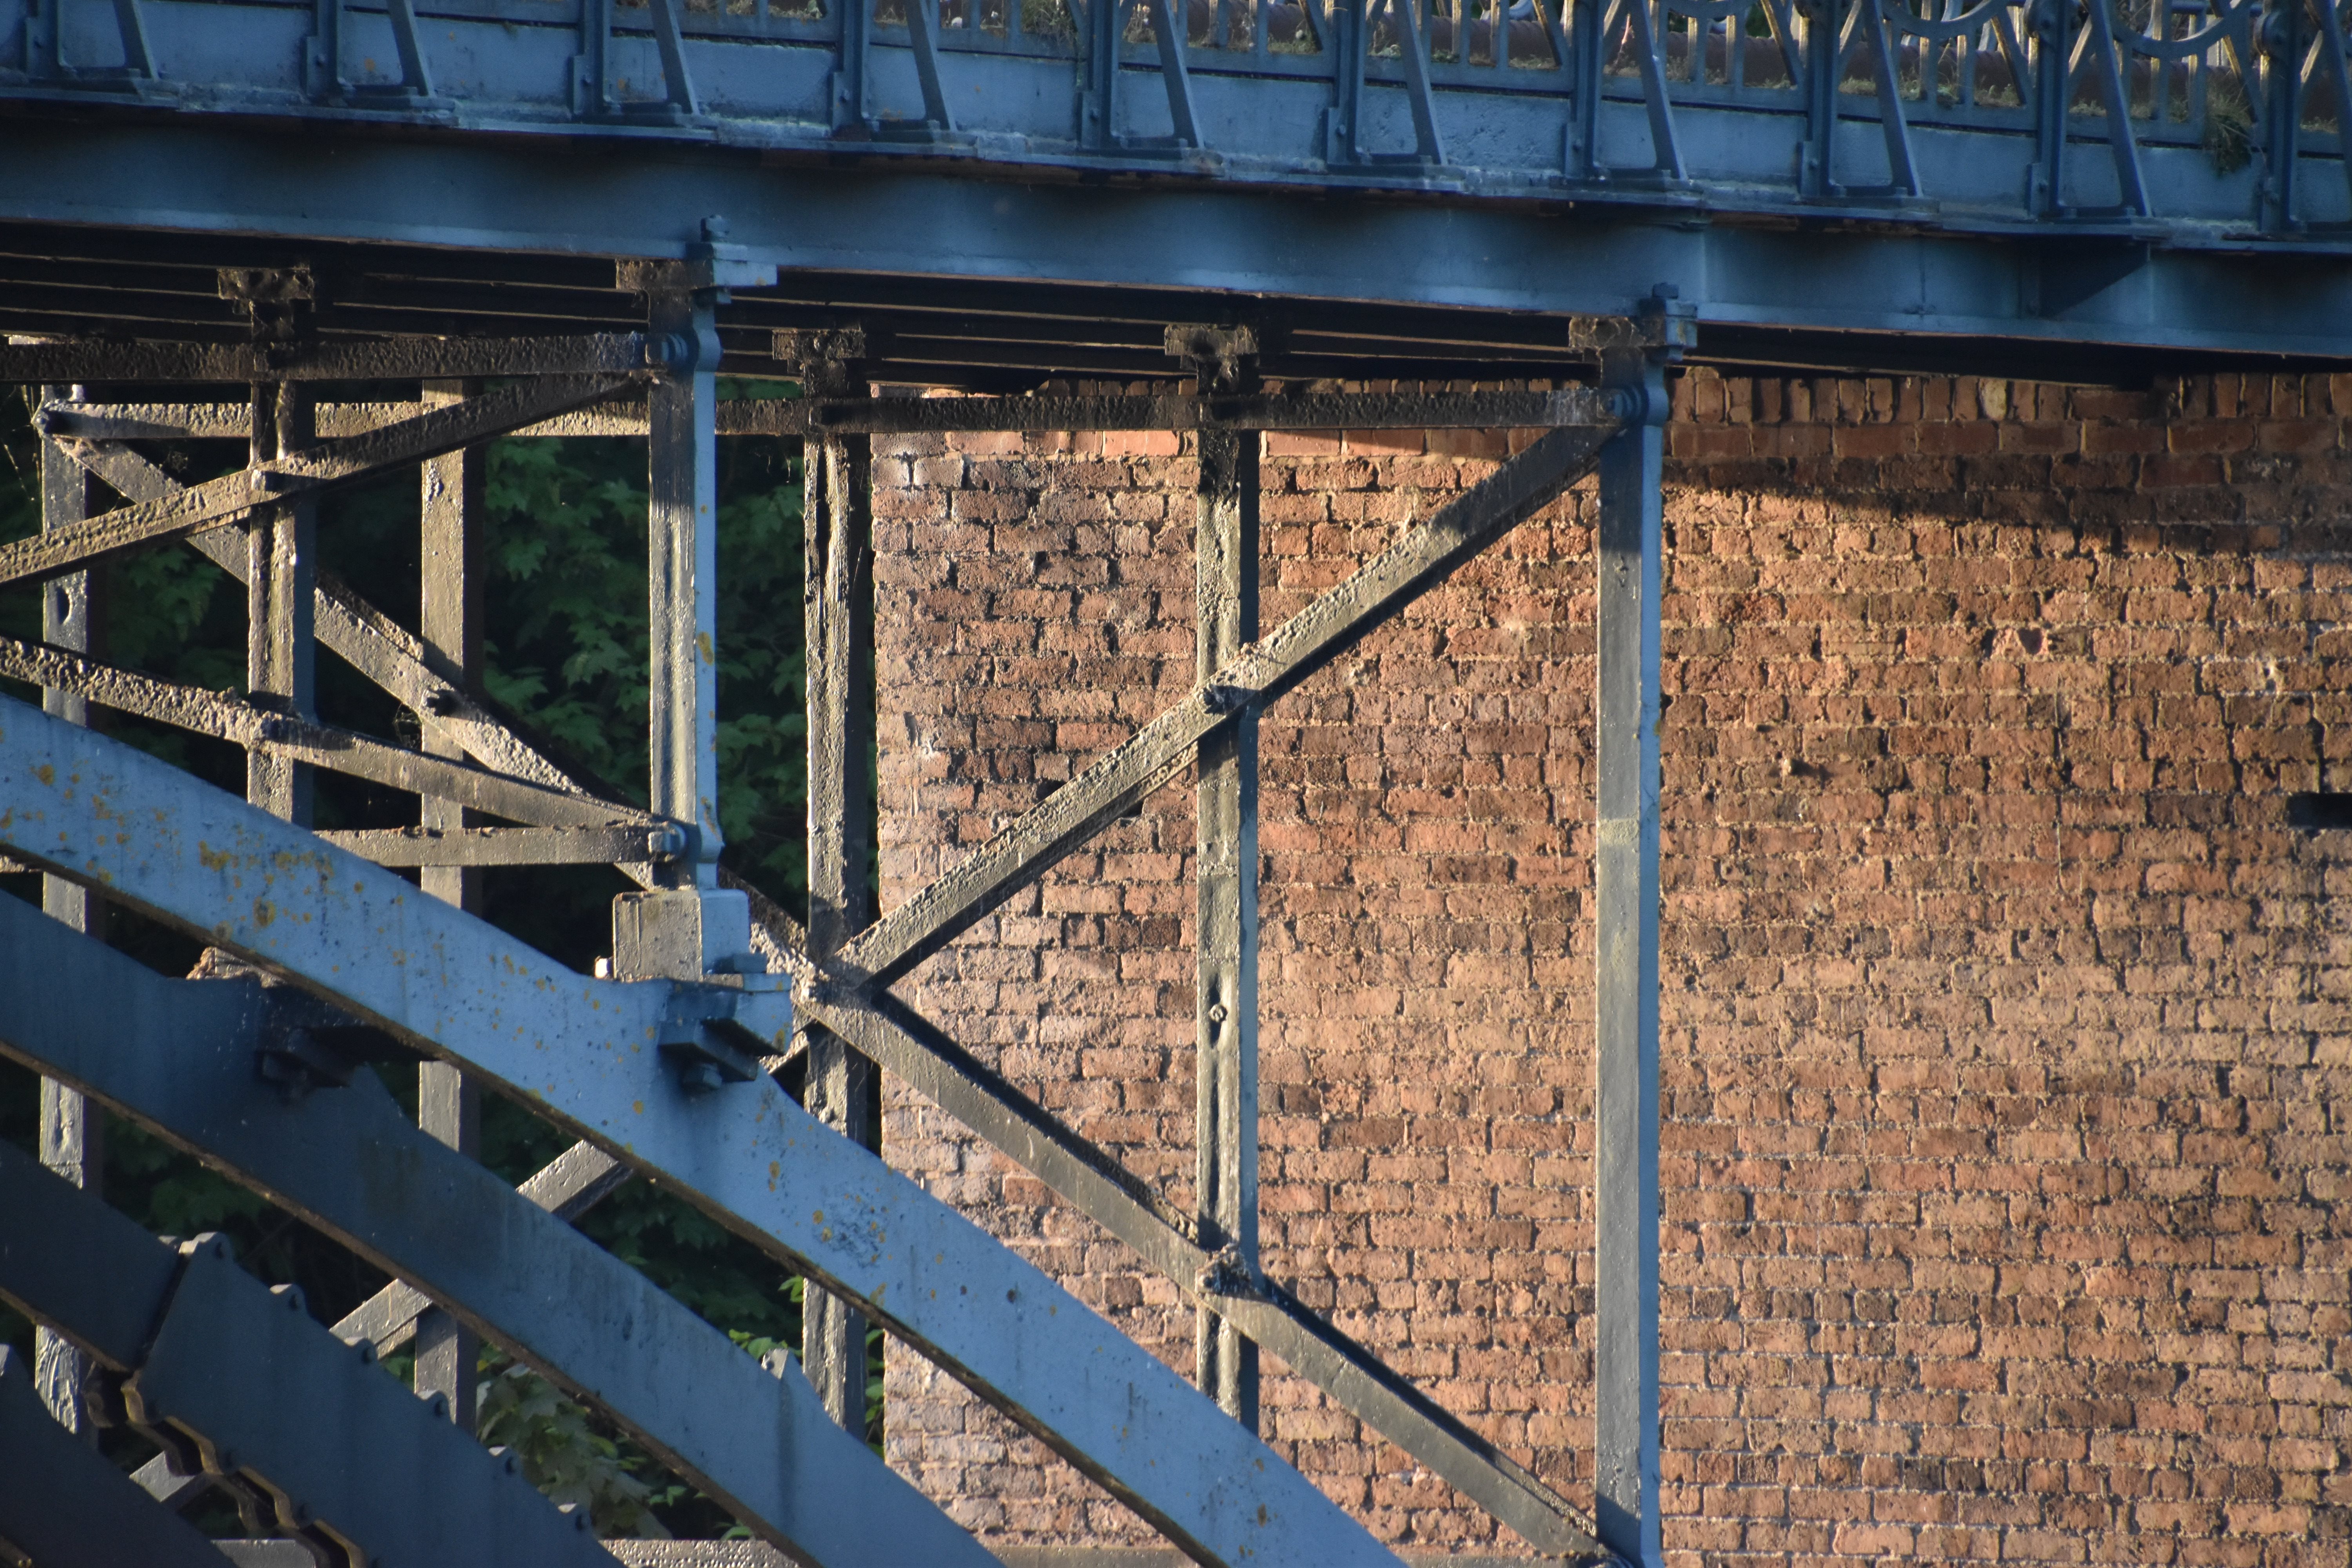
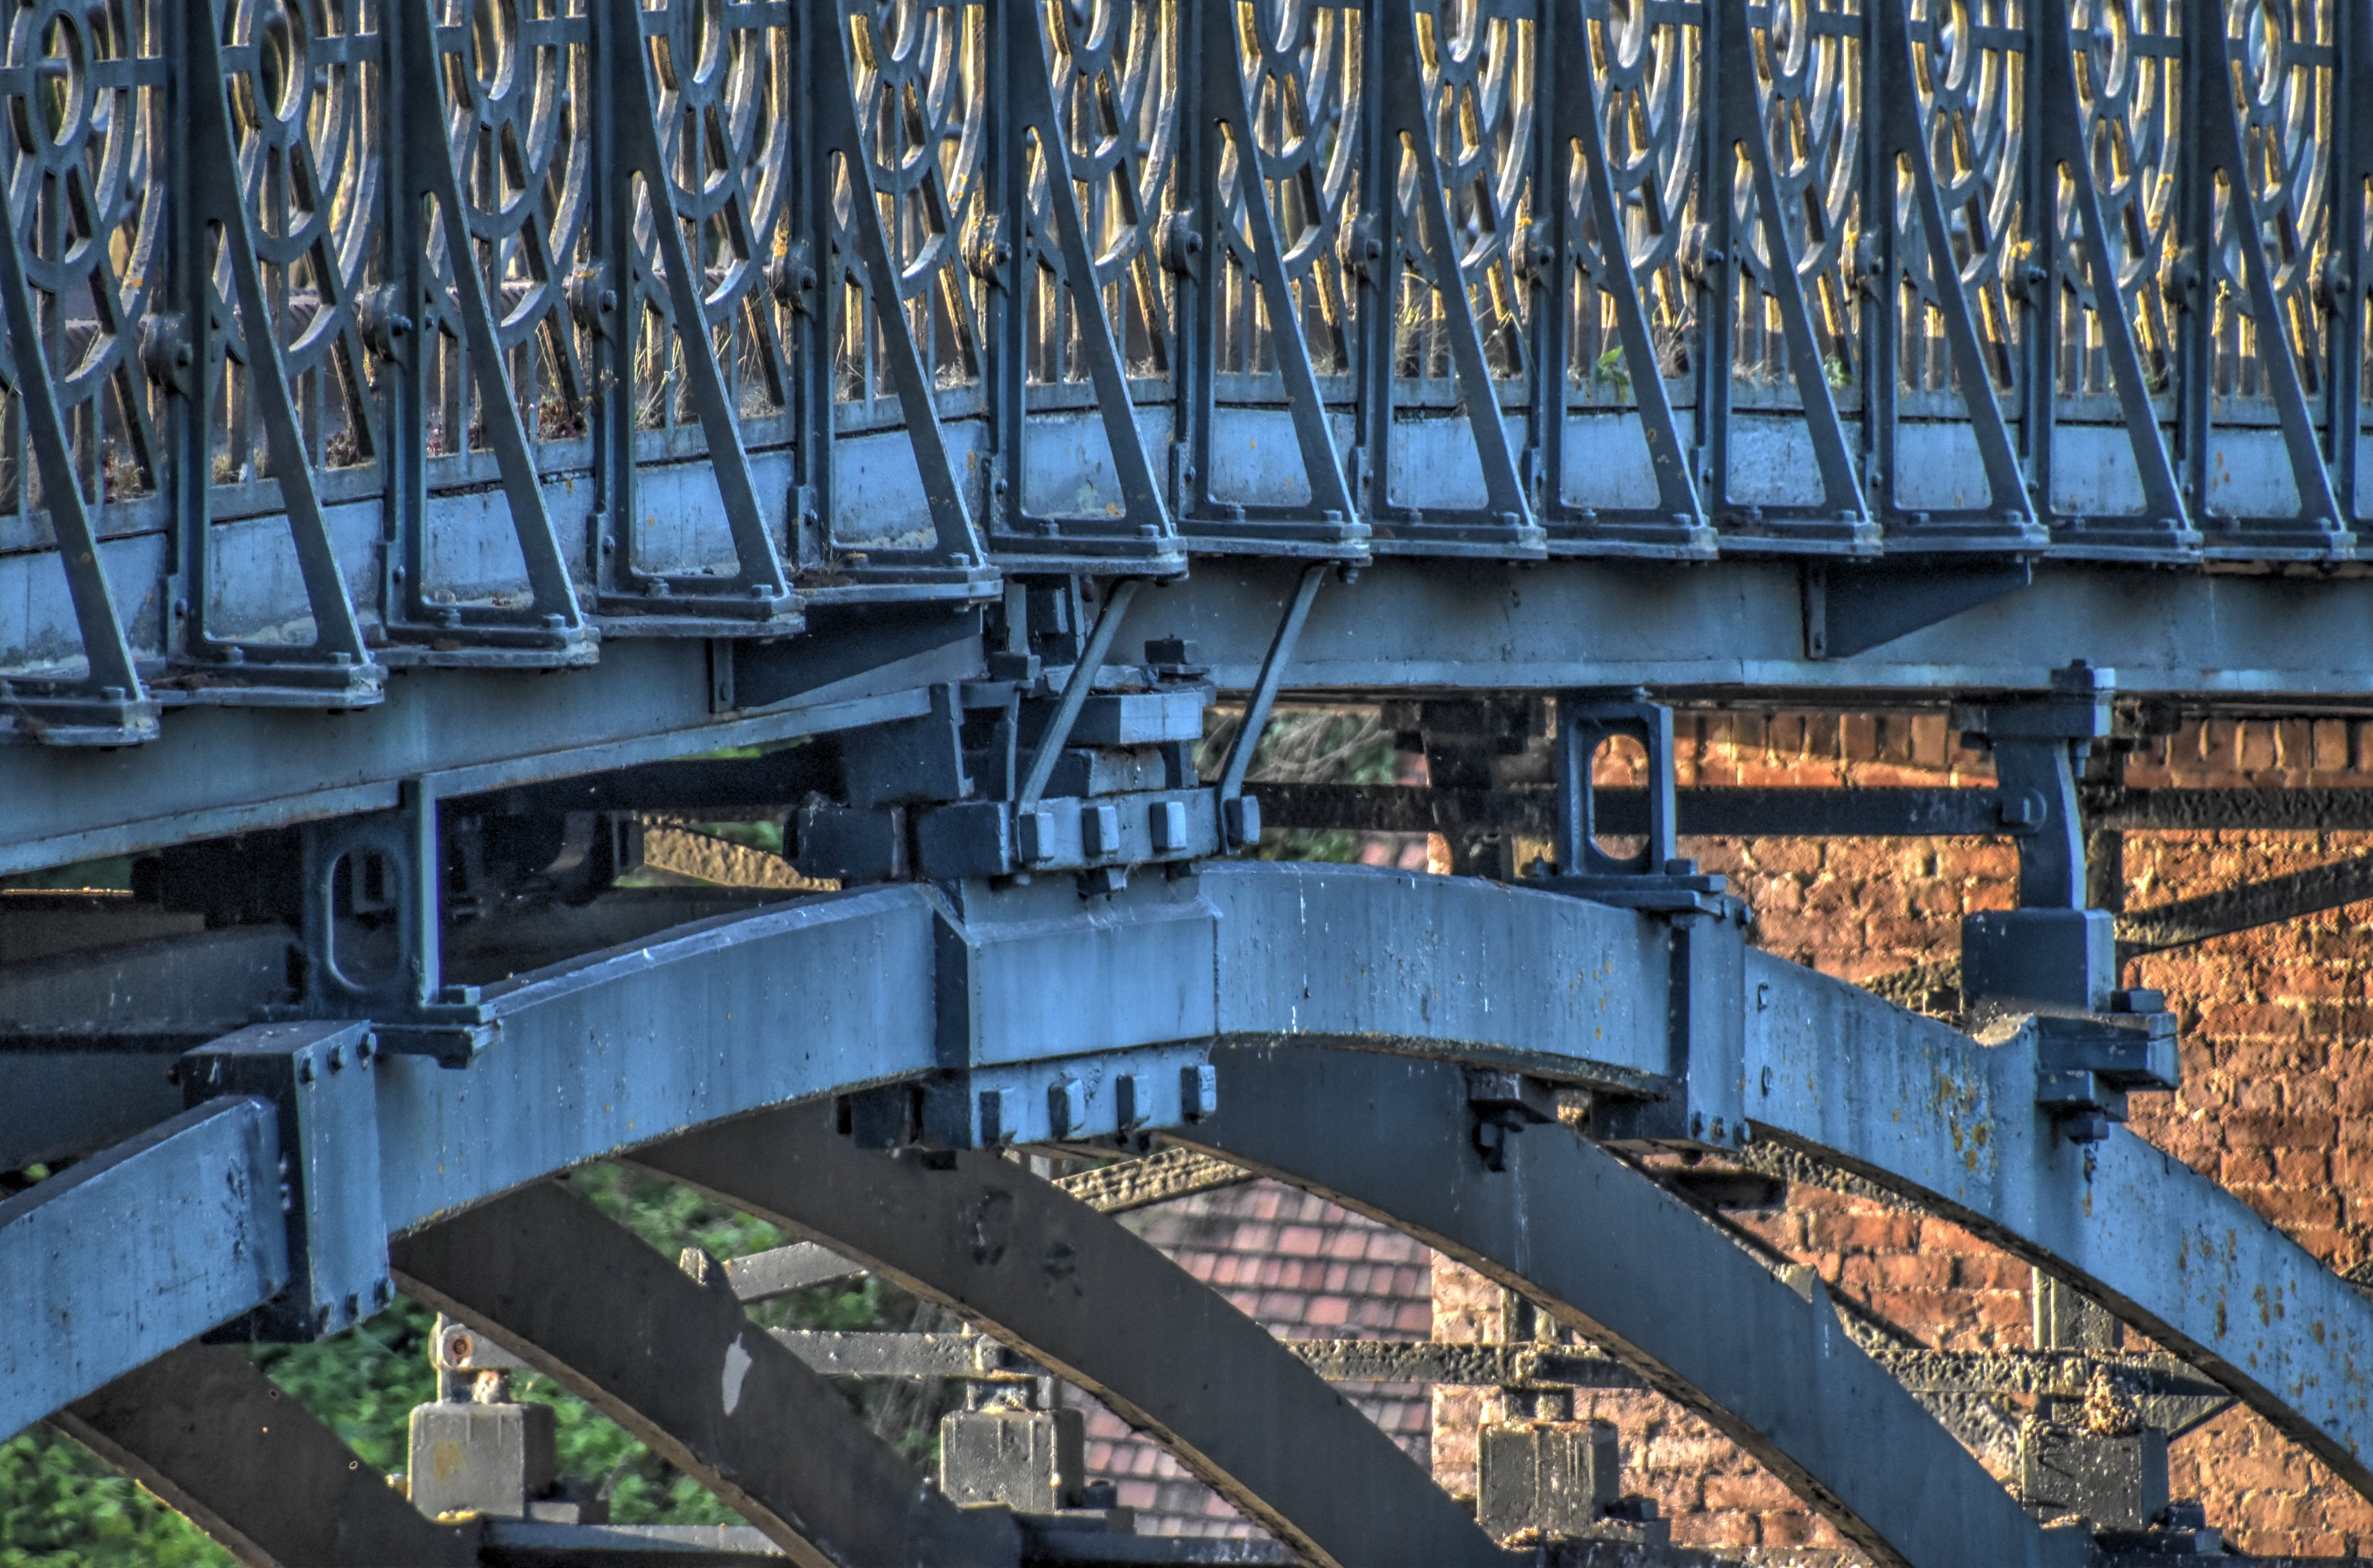
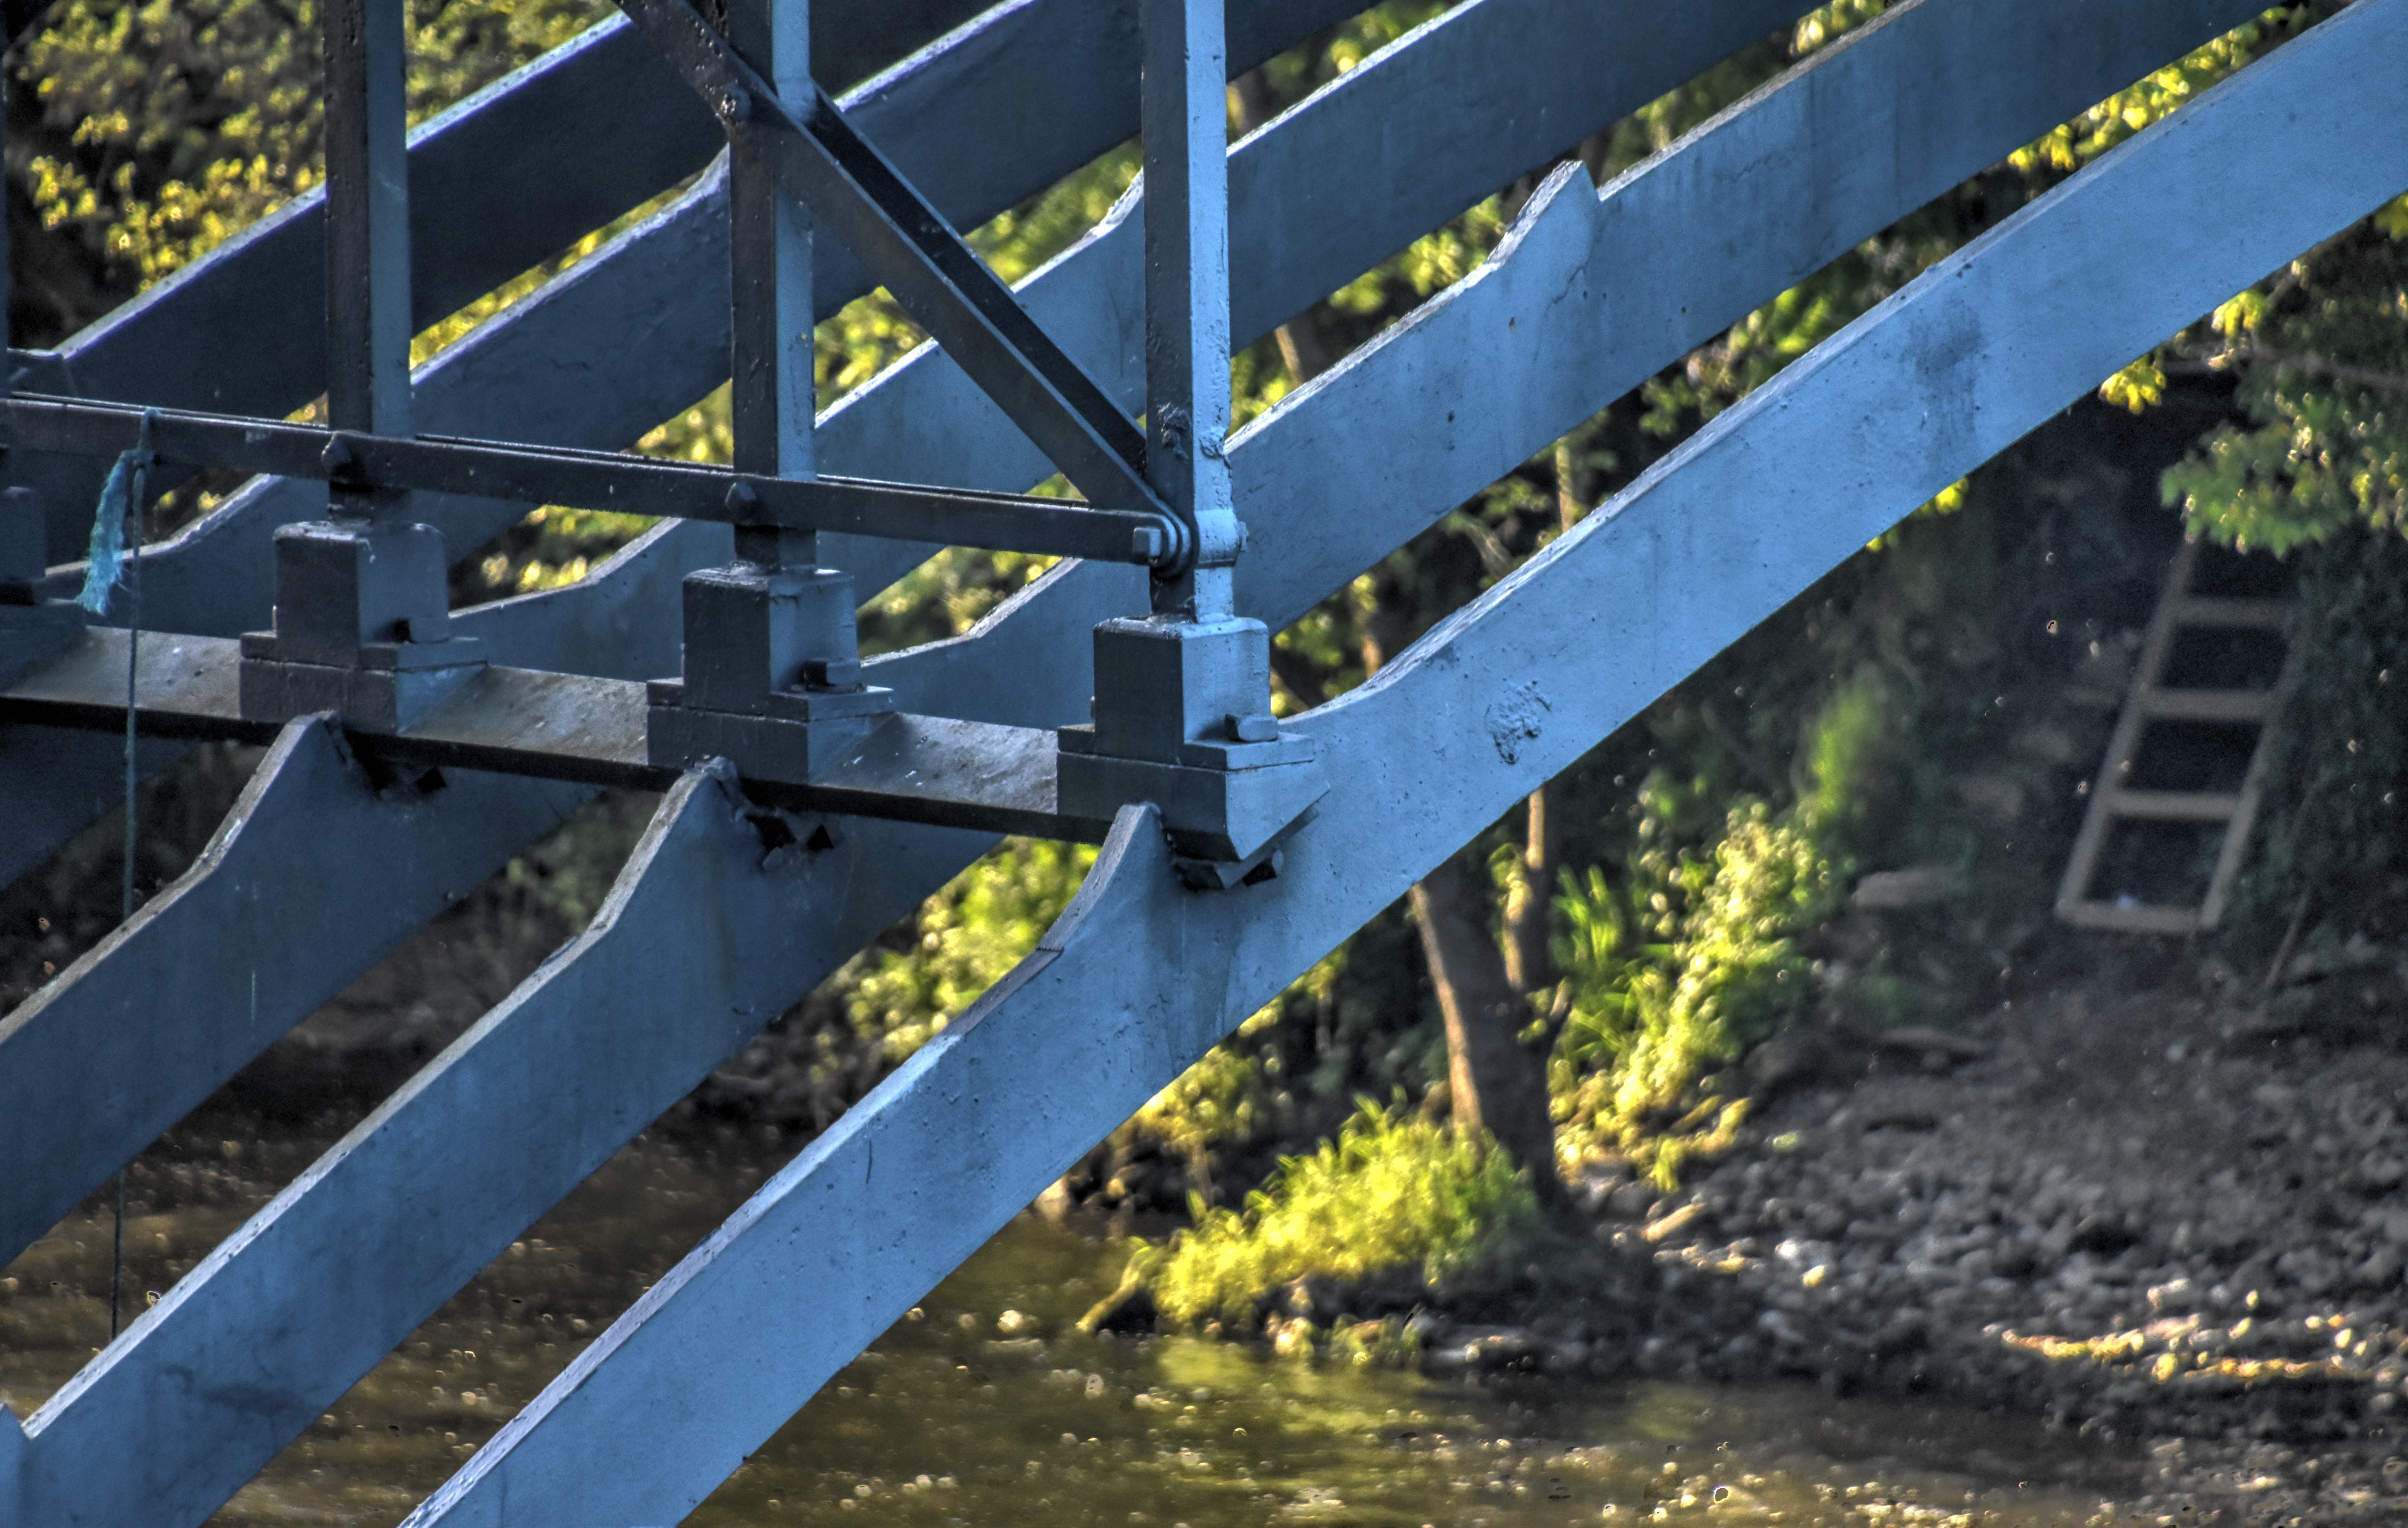
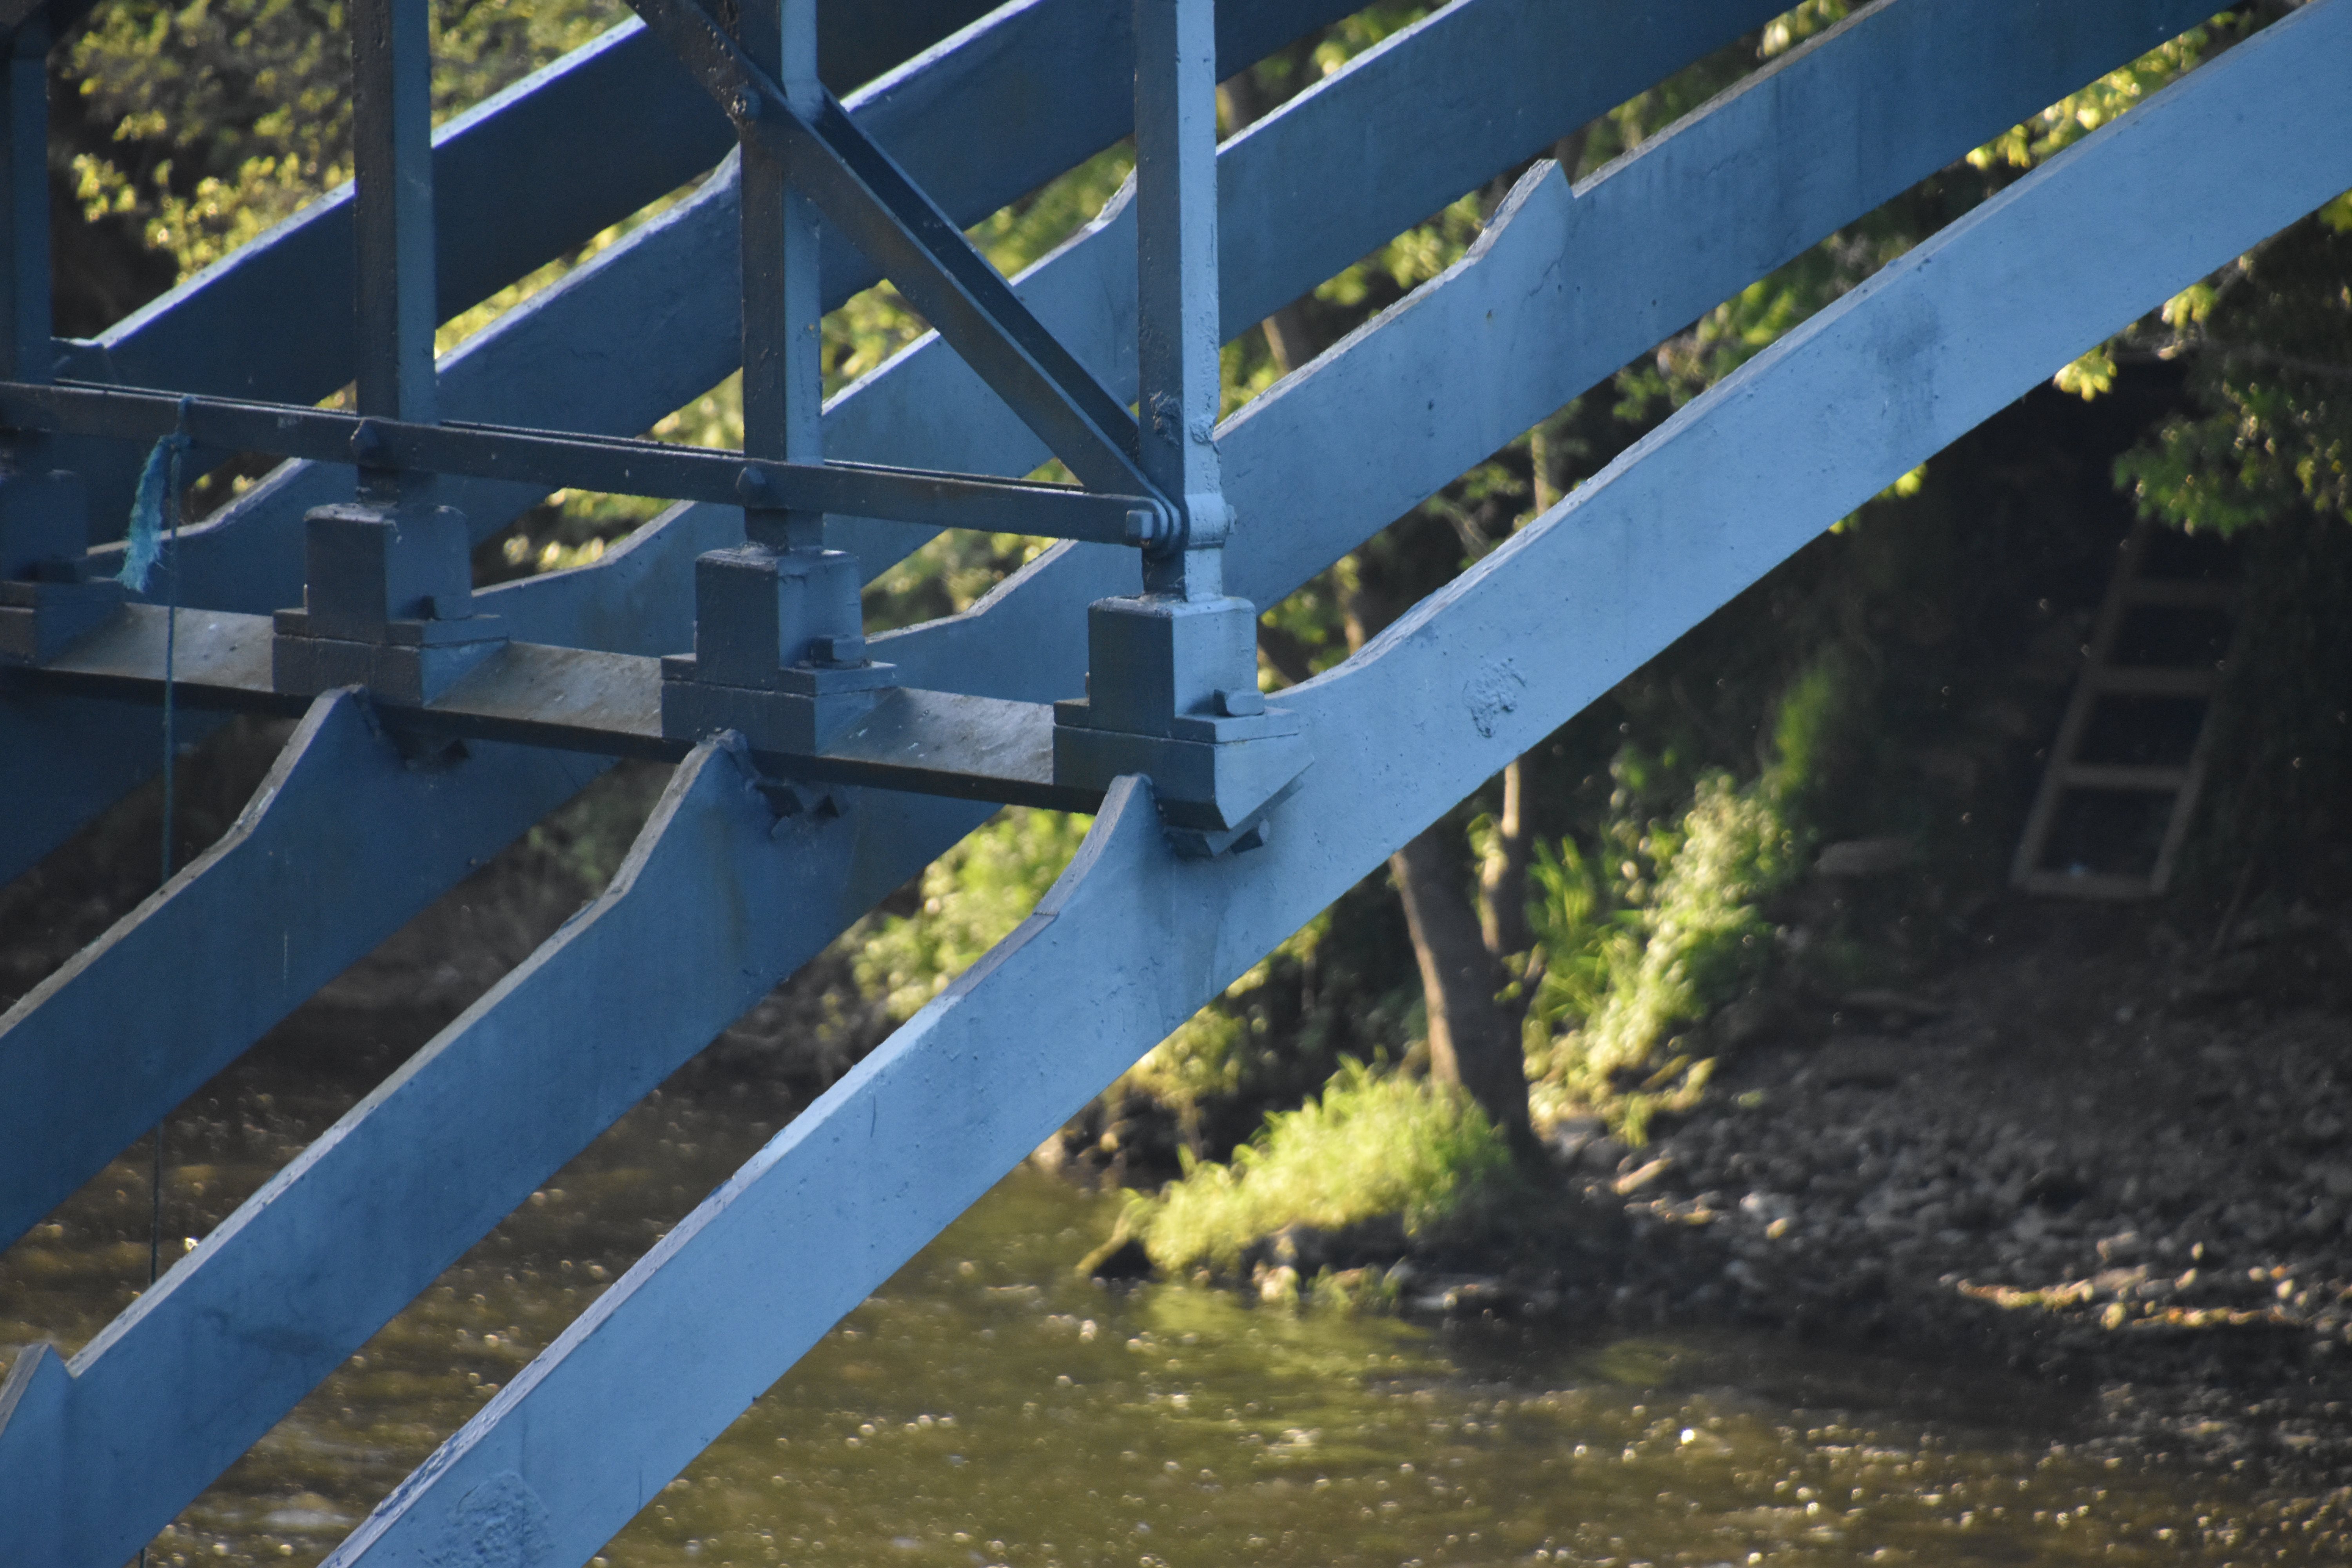
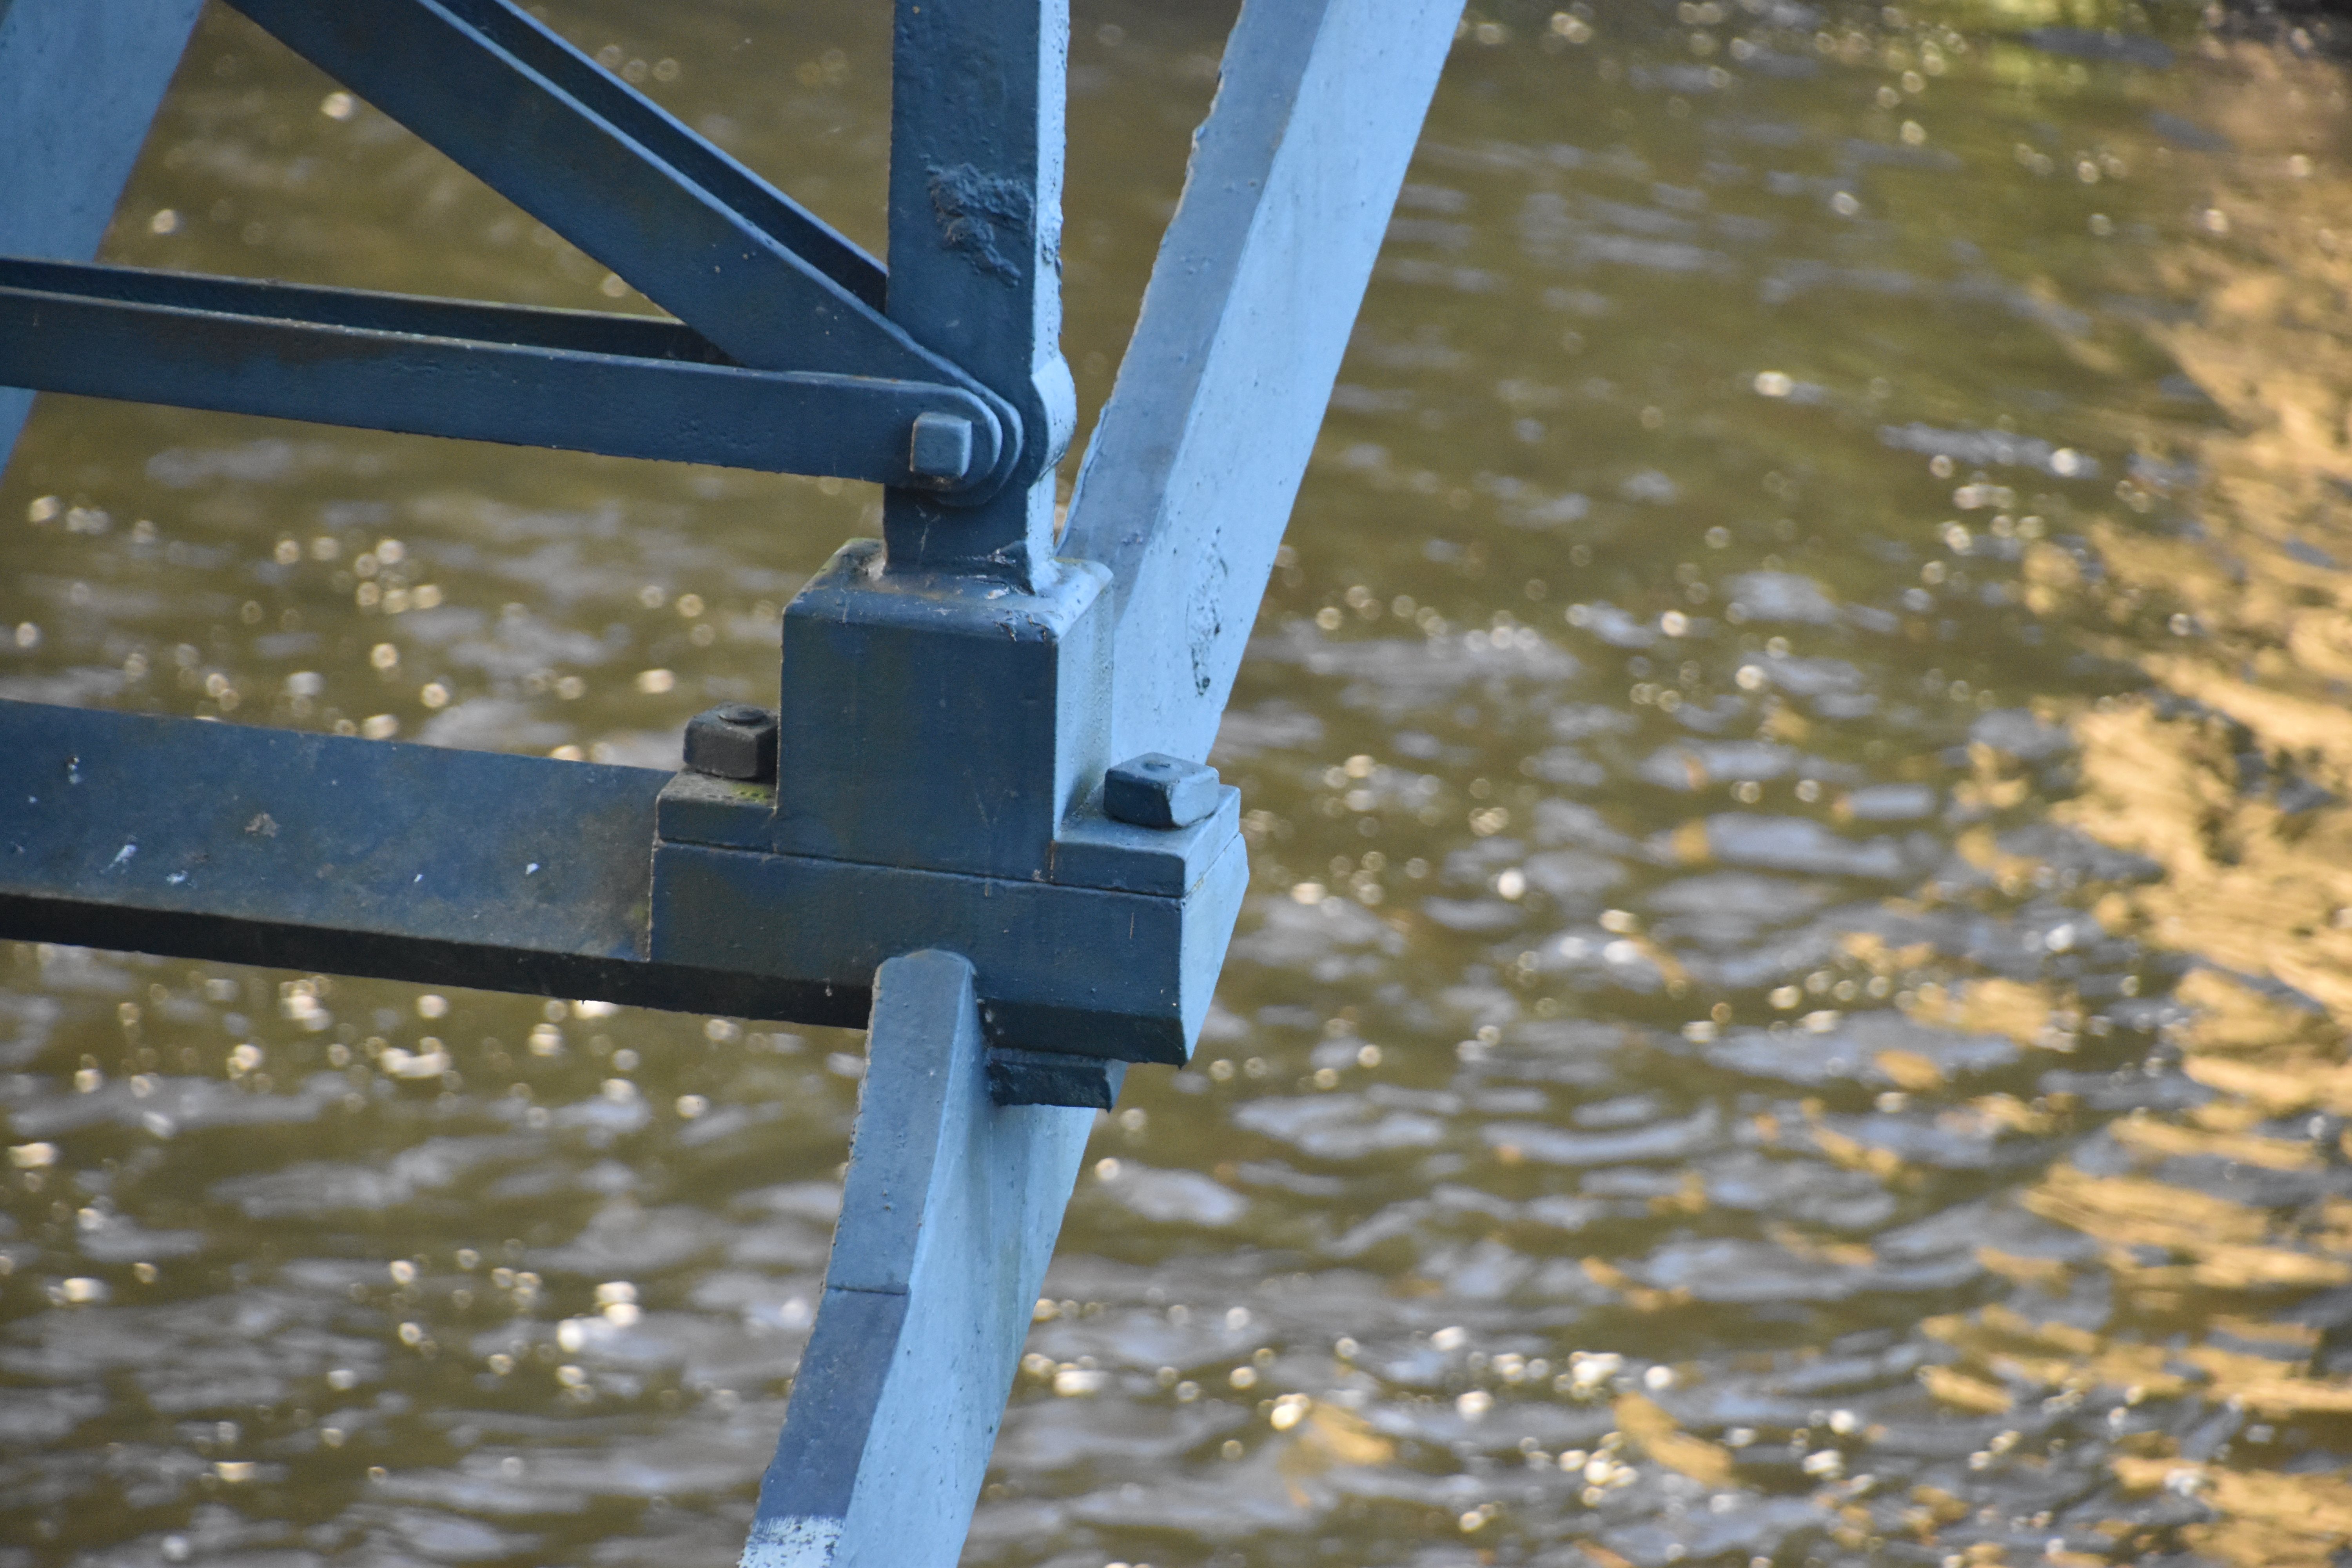
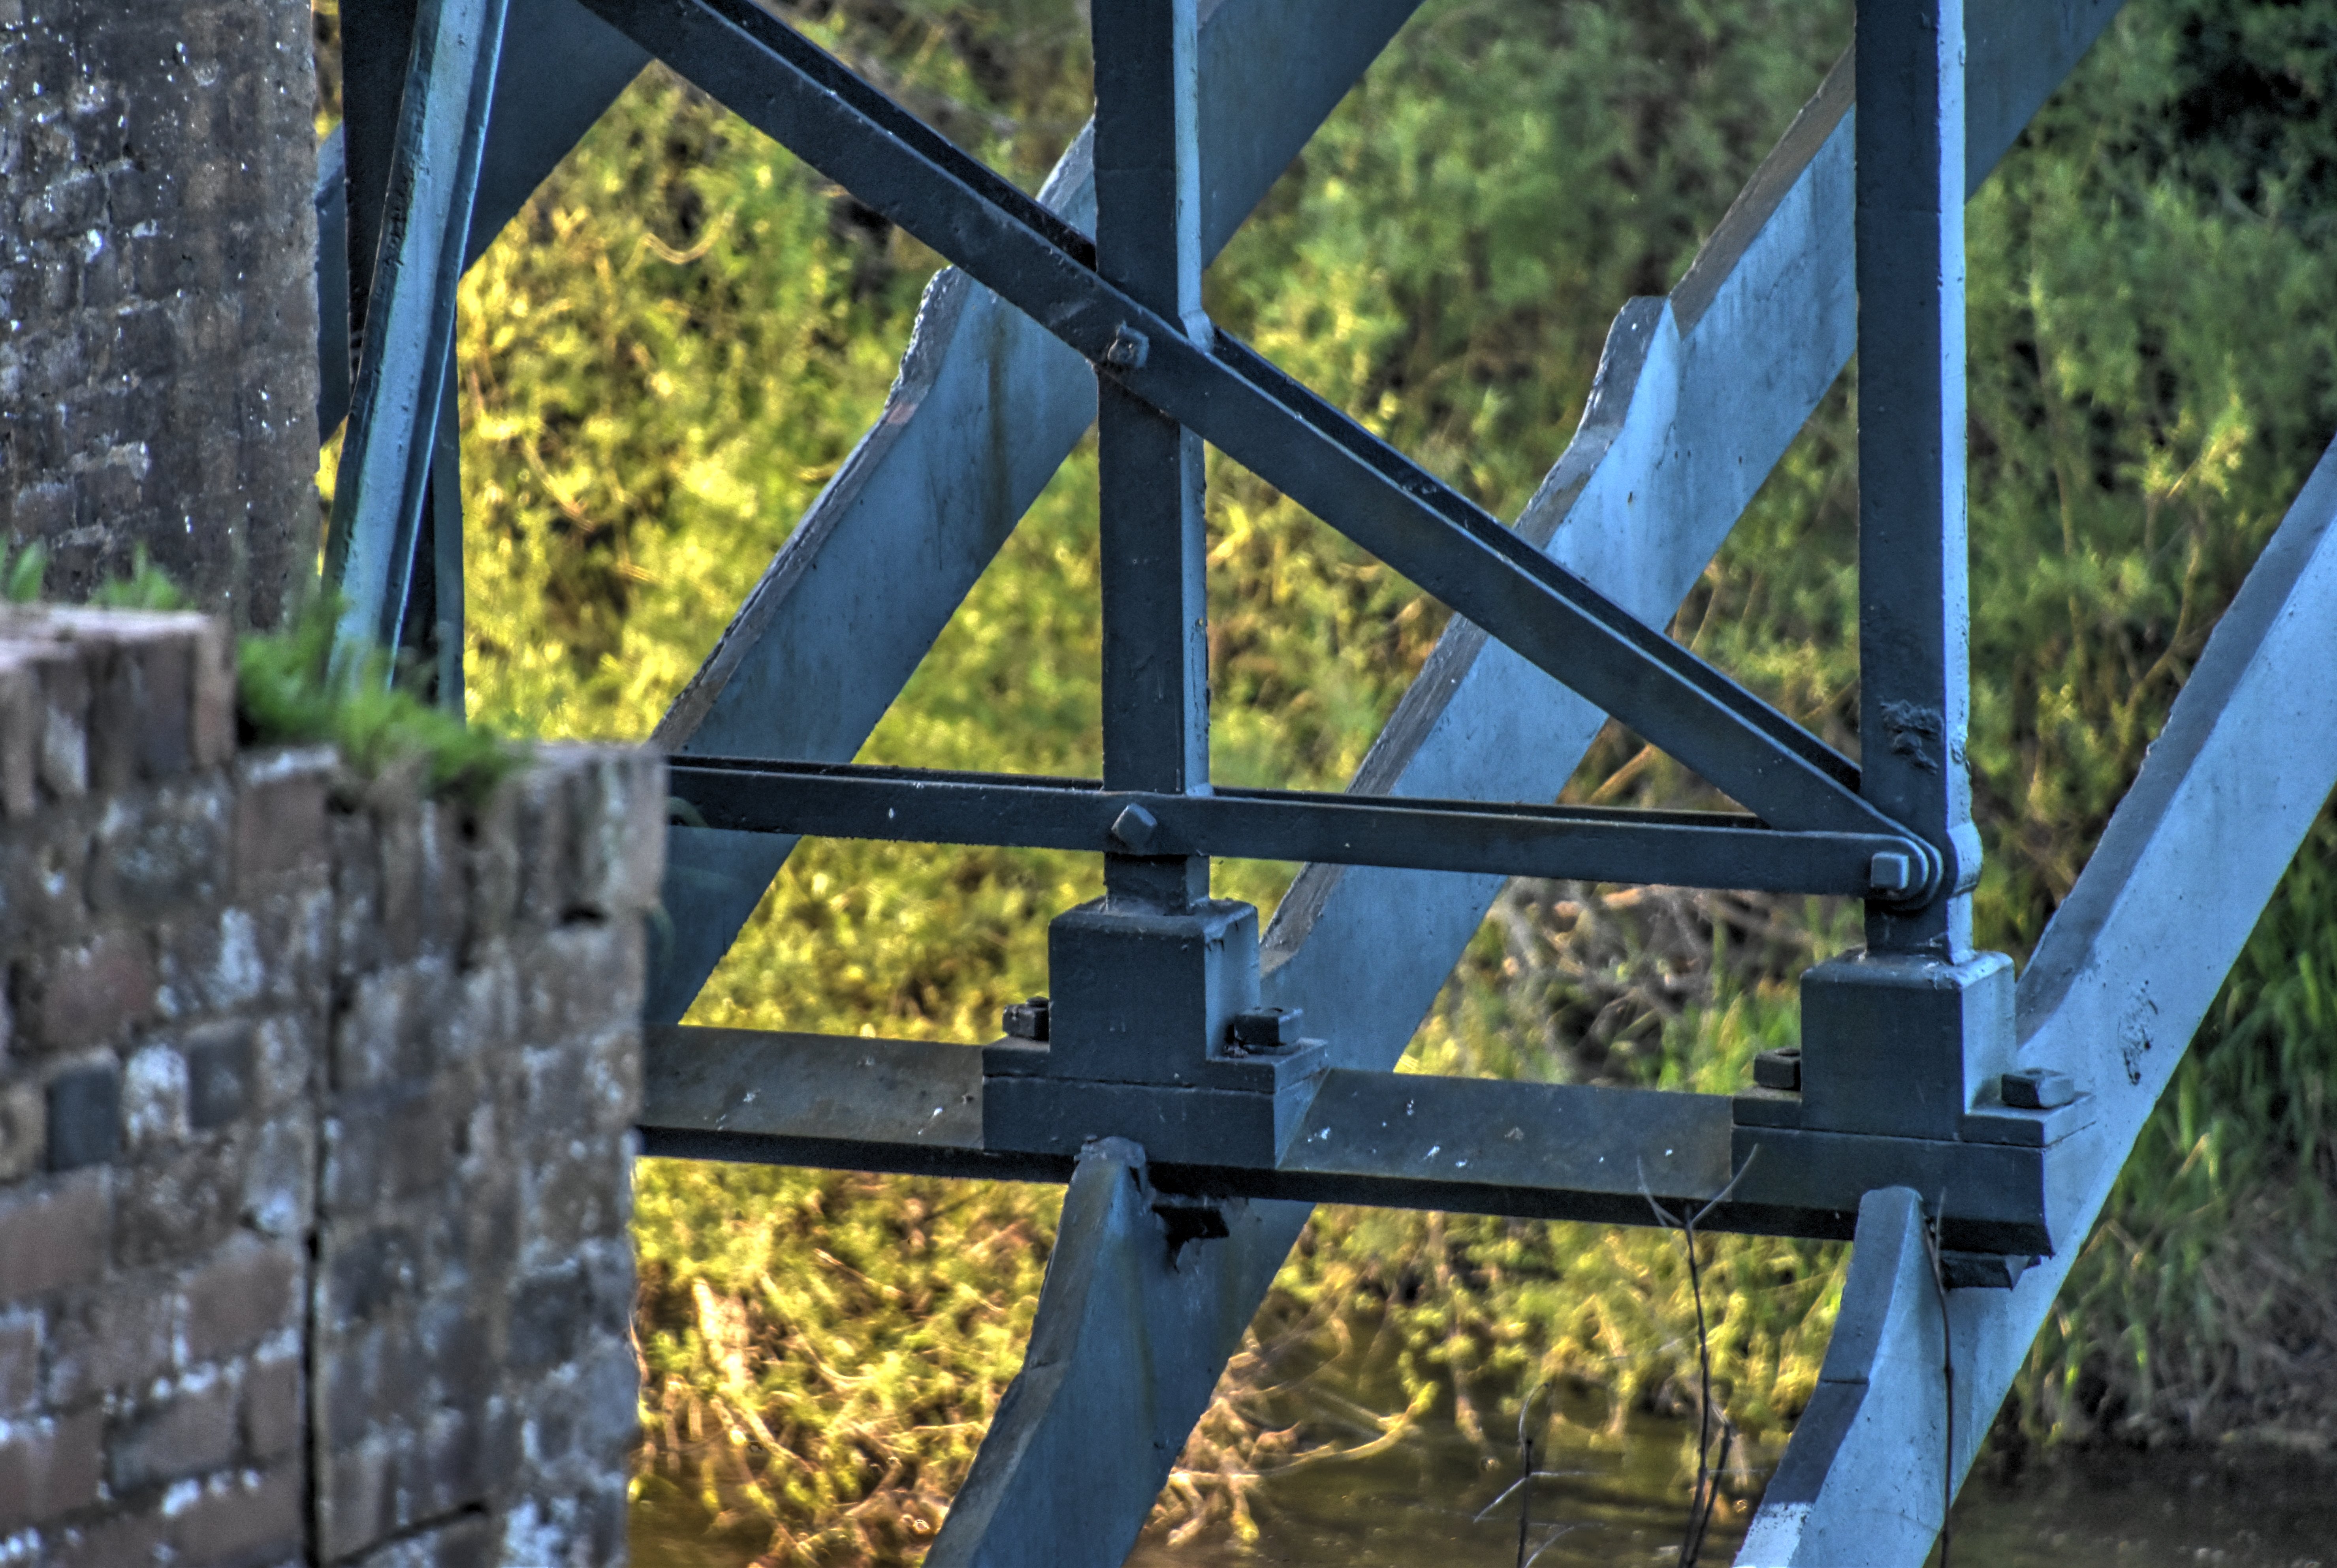
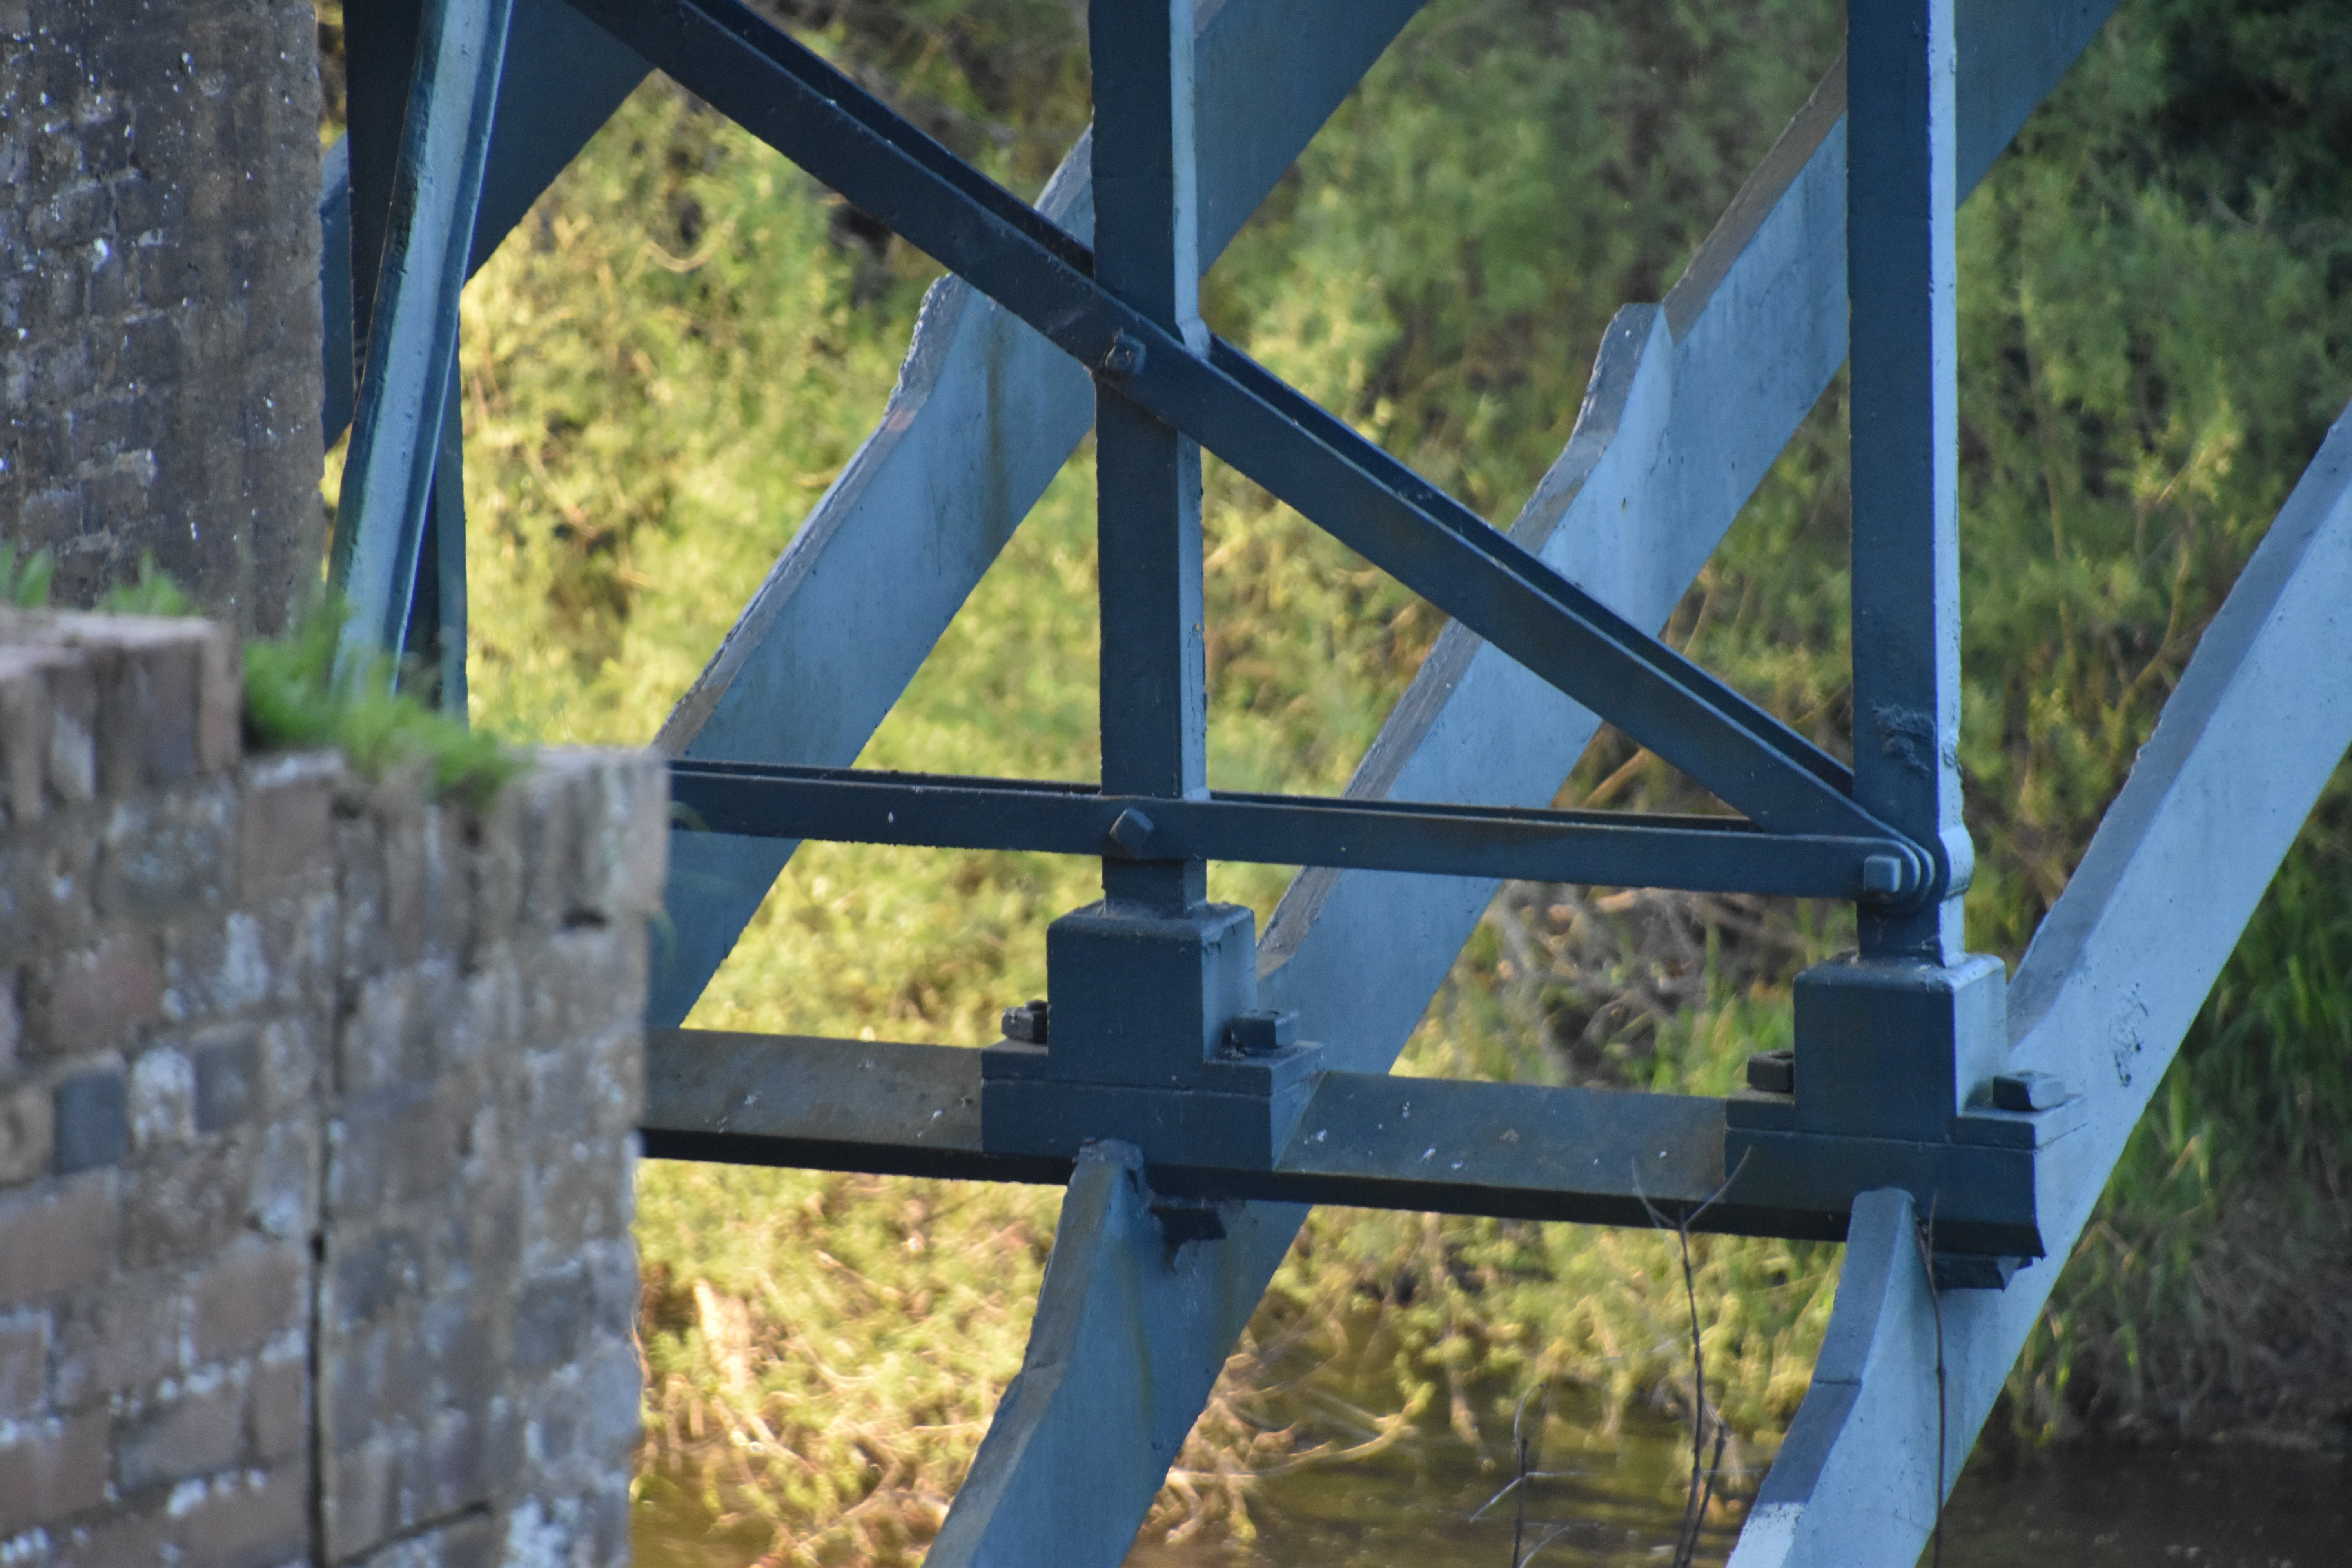
![]()
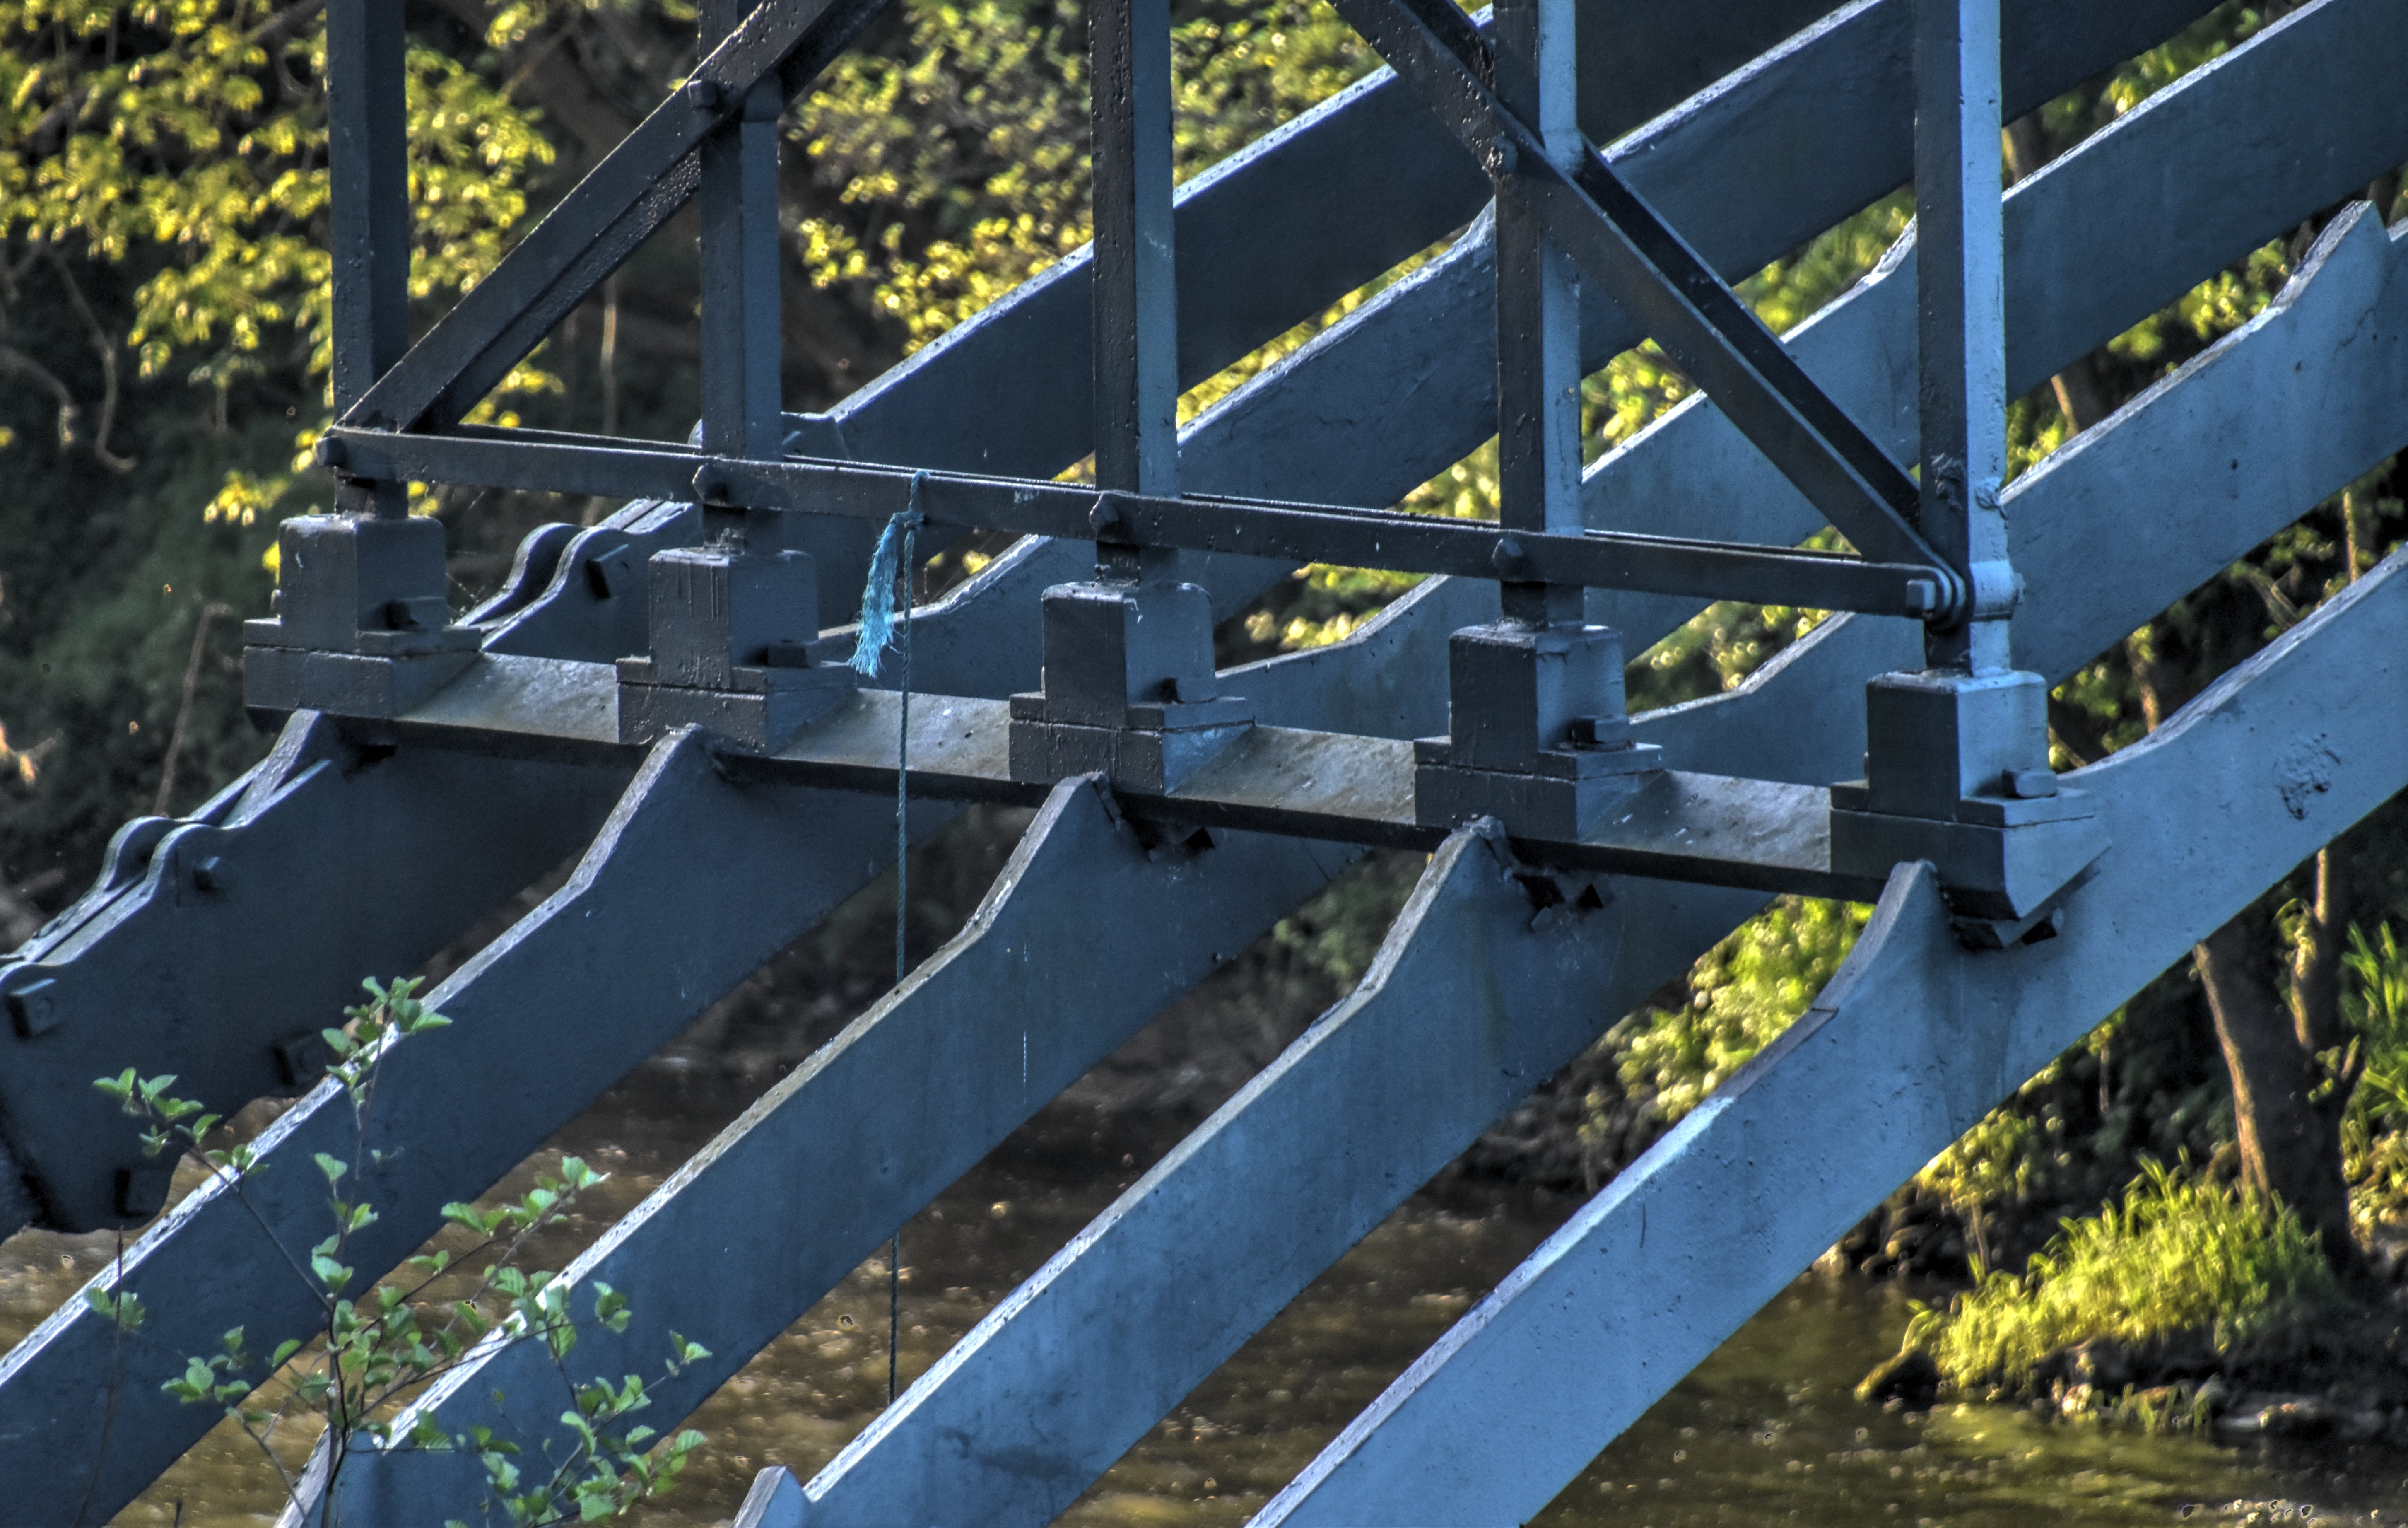
Bracing connections.
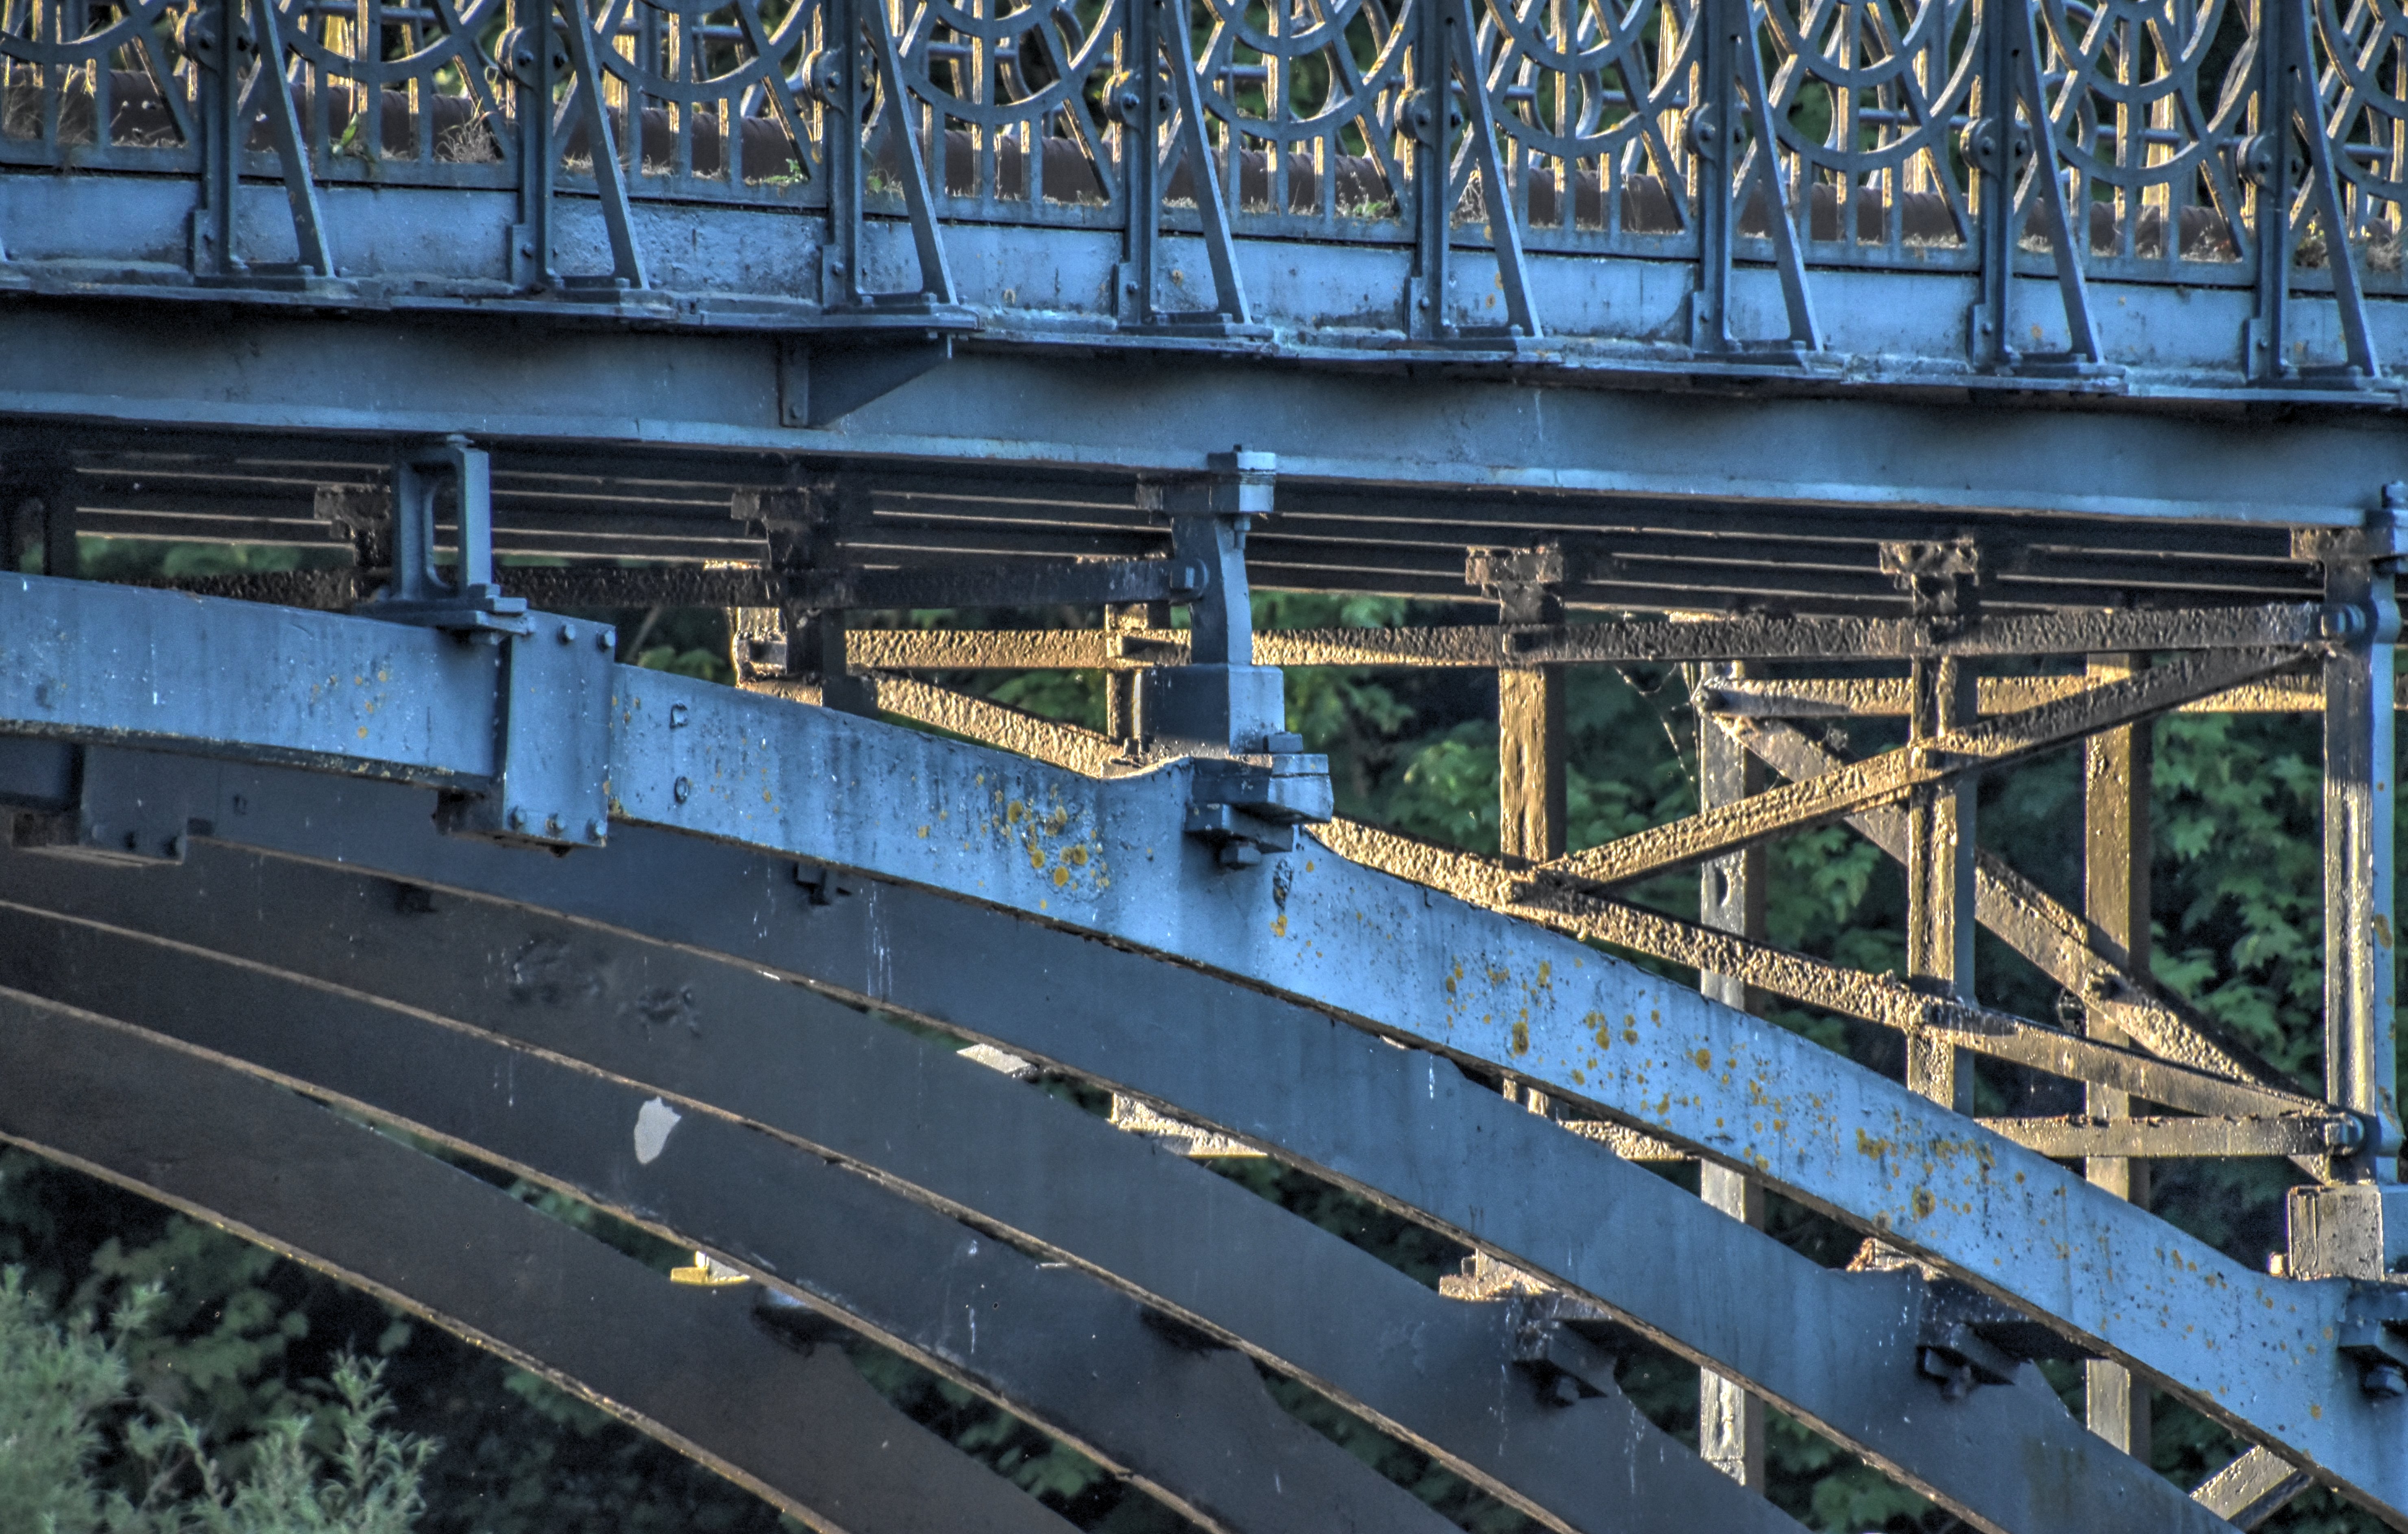
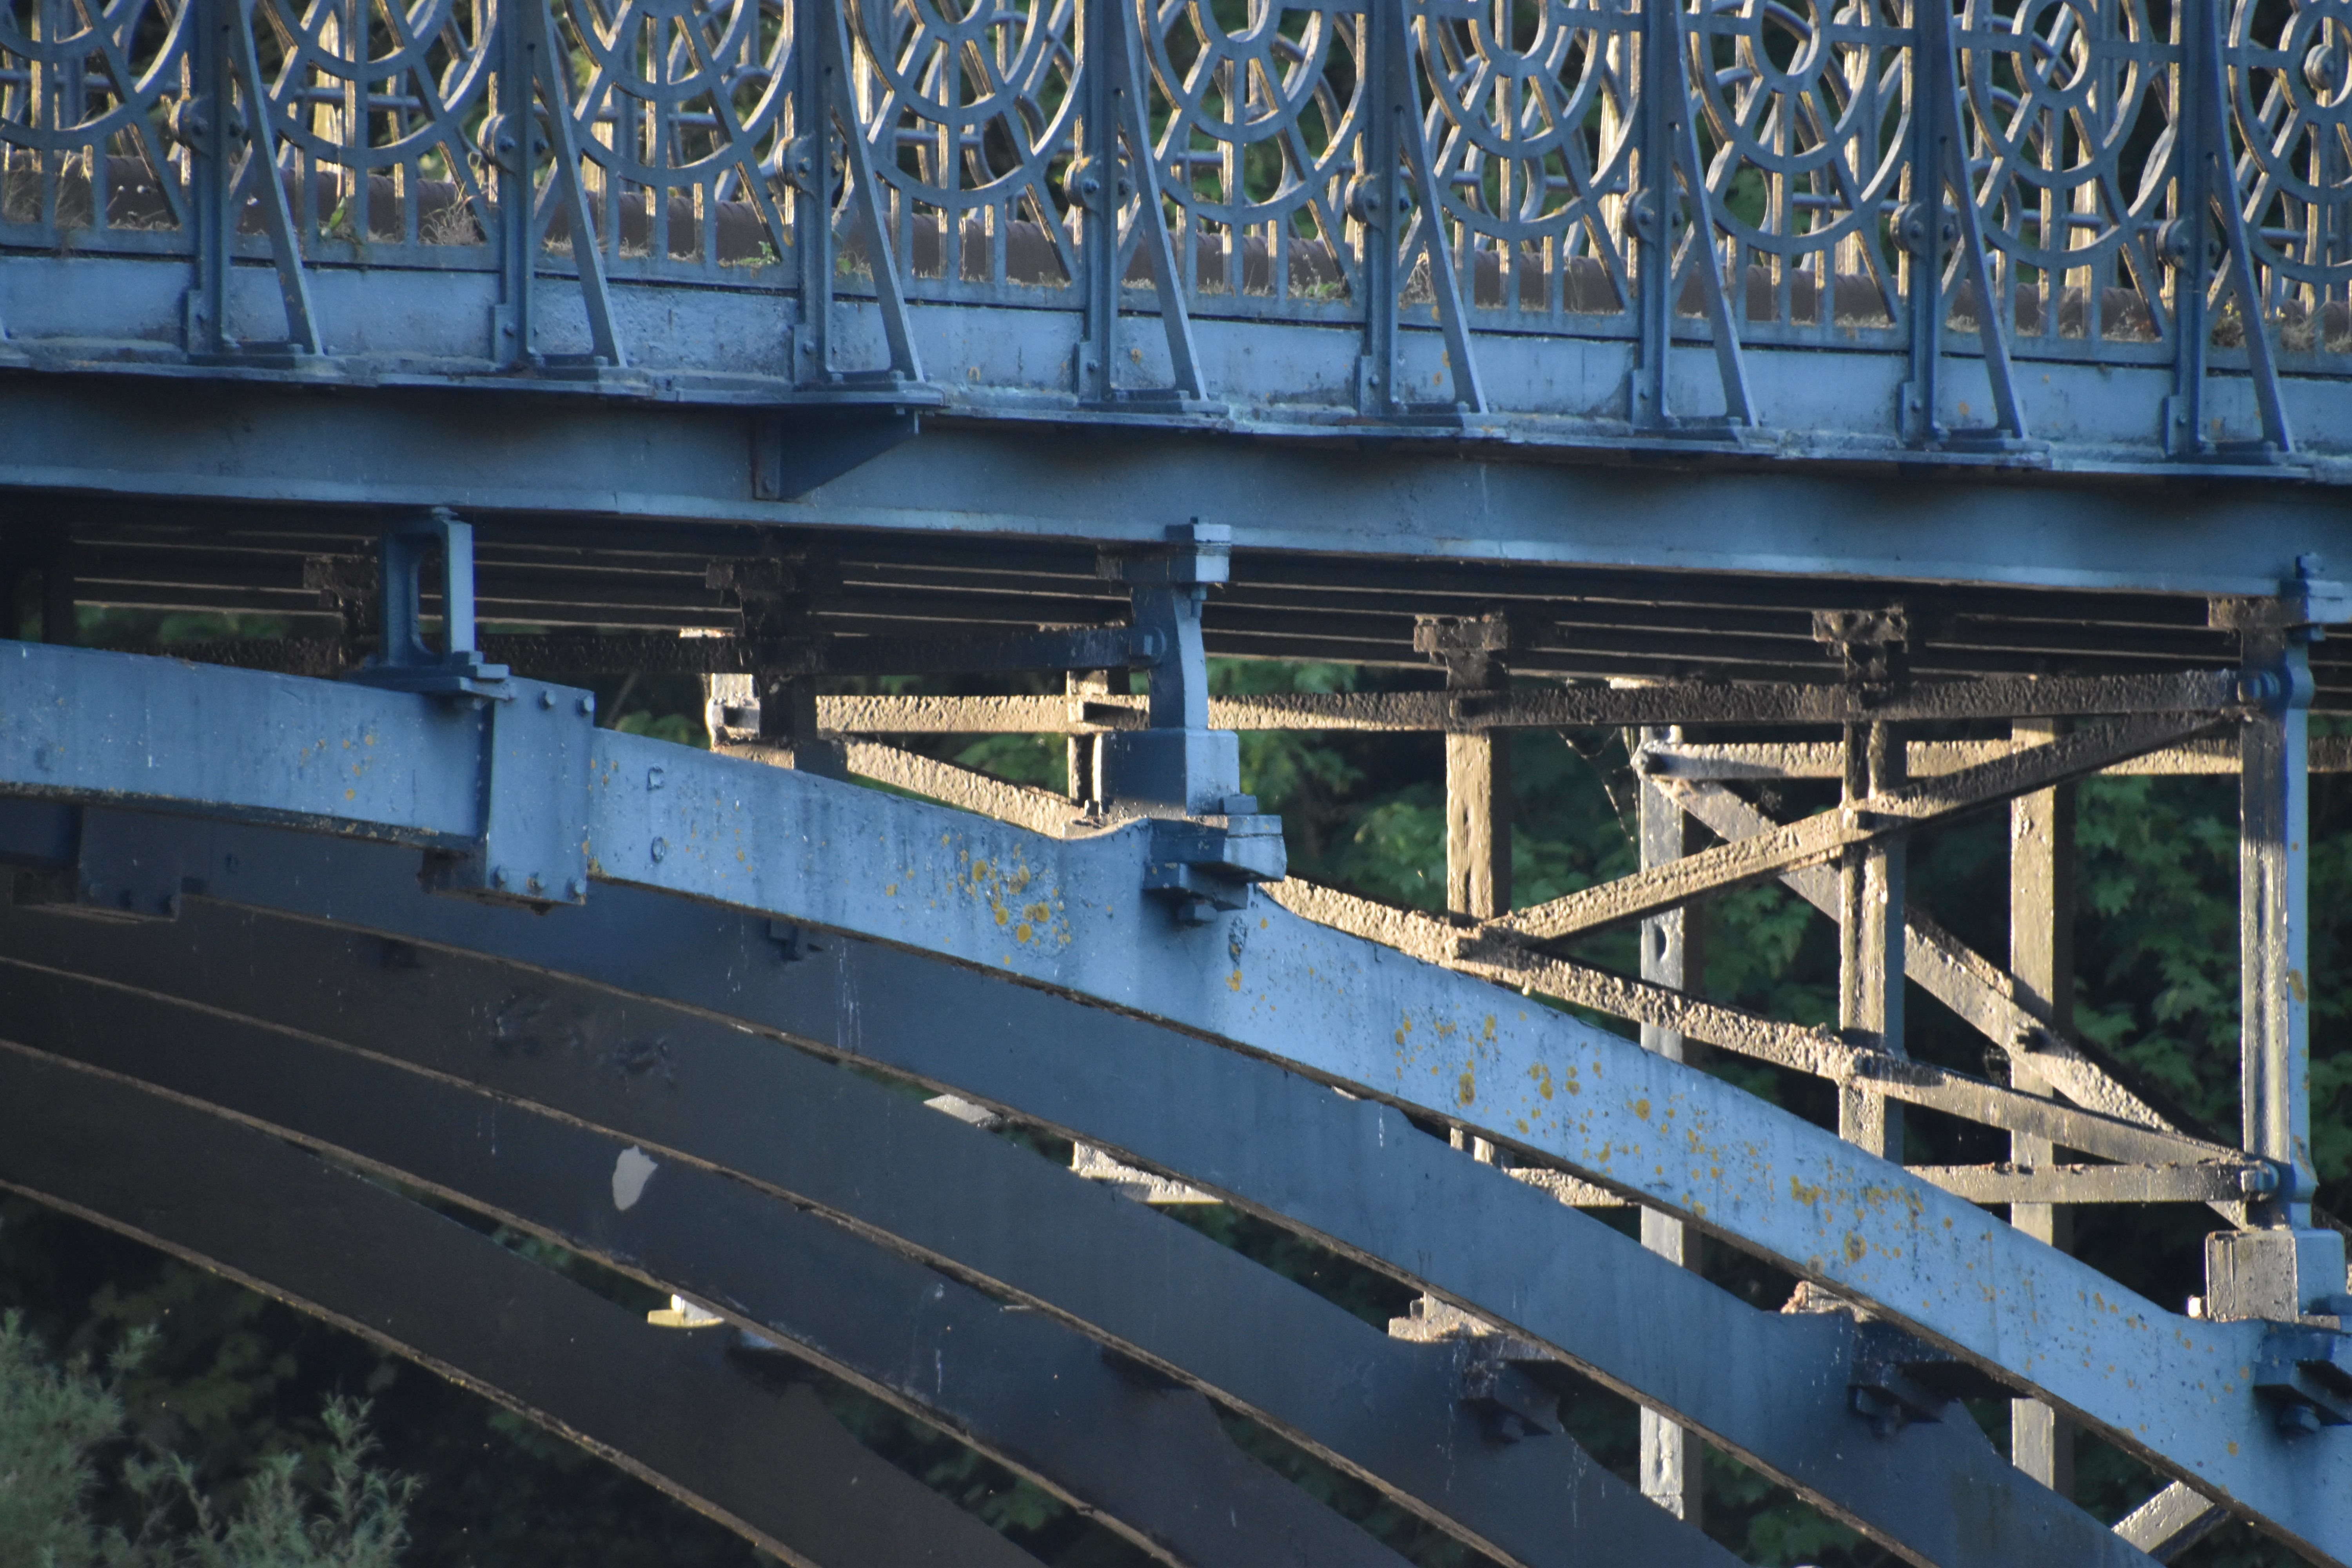
![]()


Fascia stringer resting on arch.
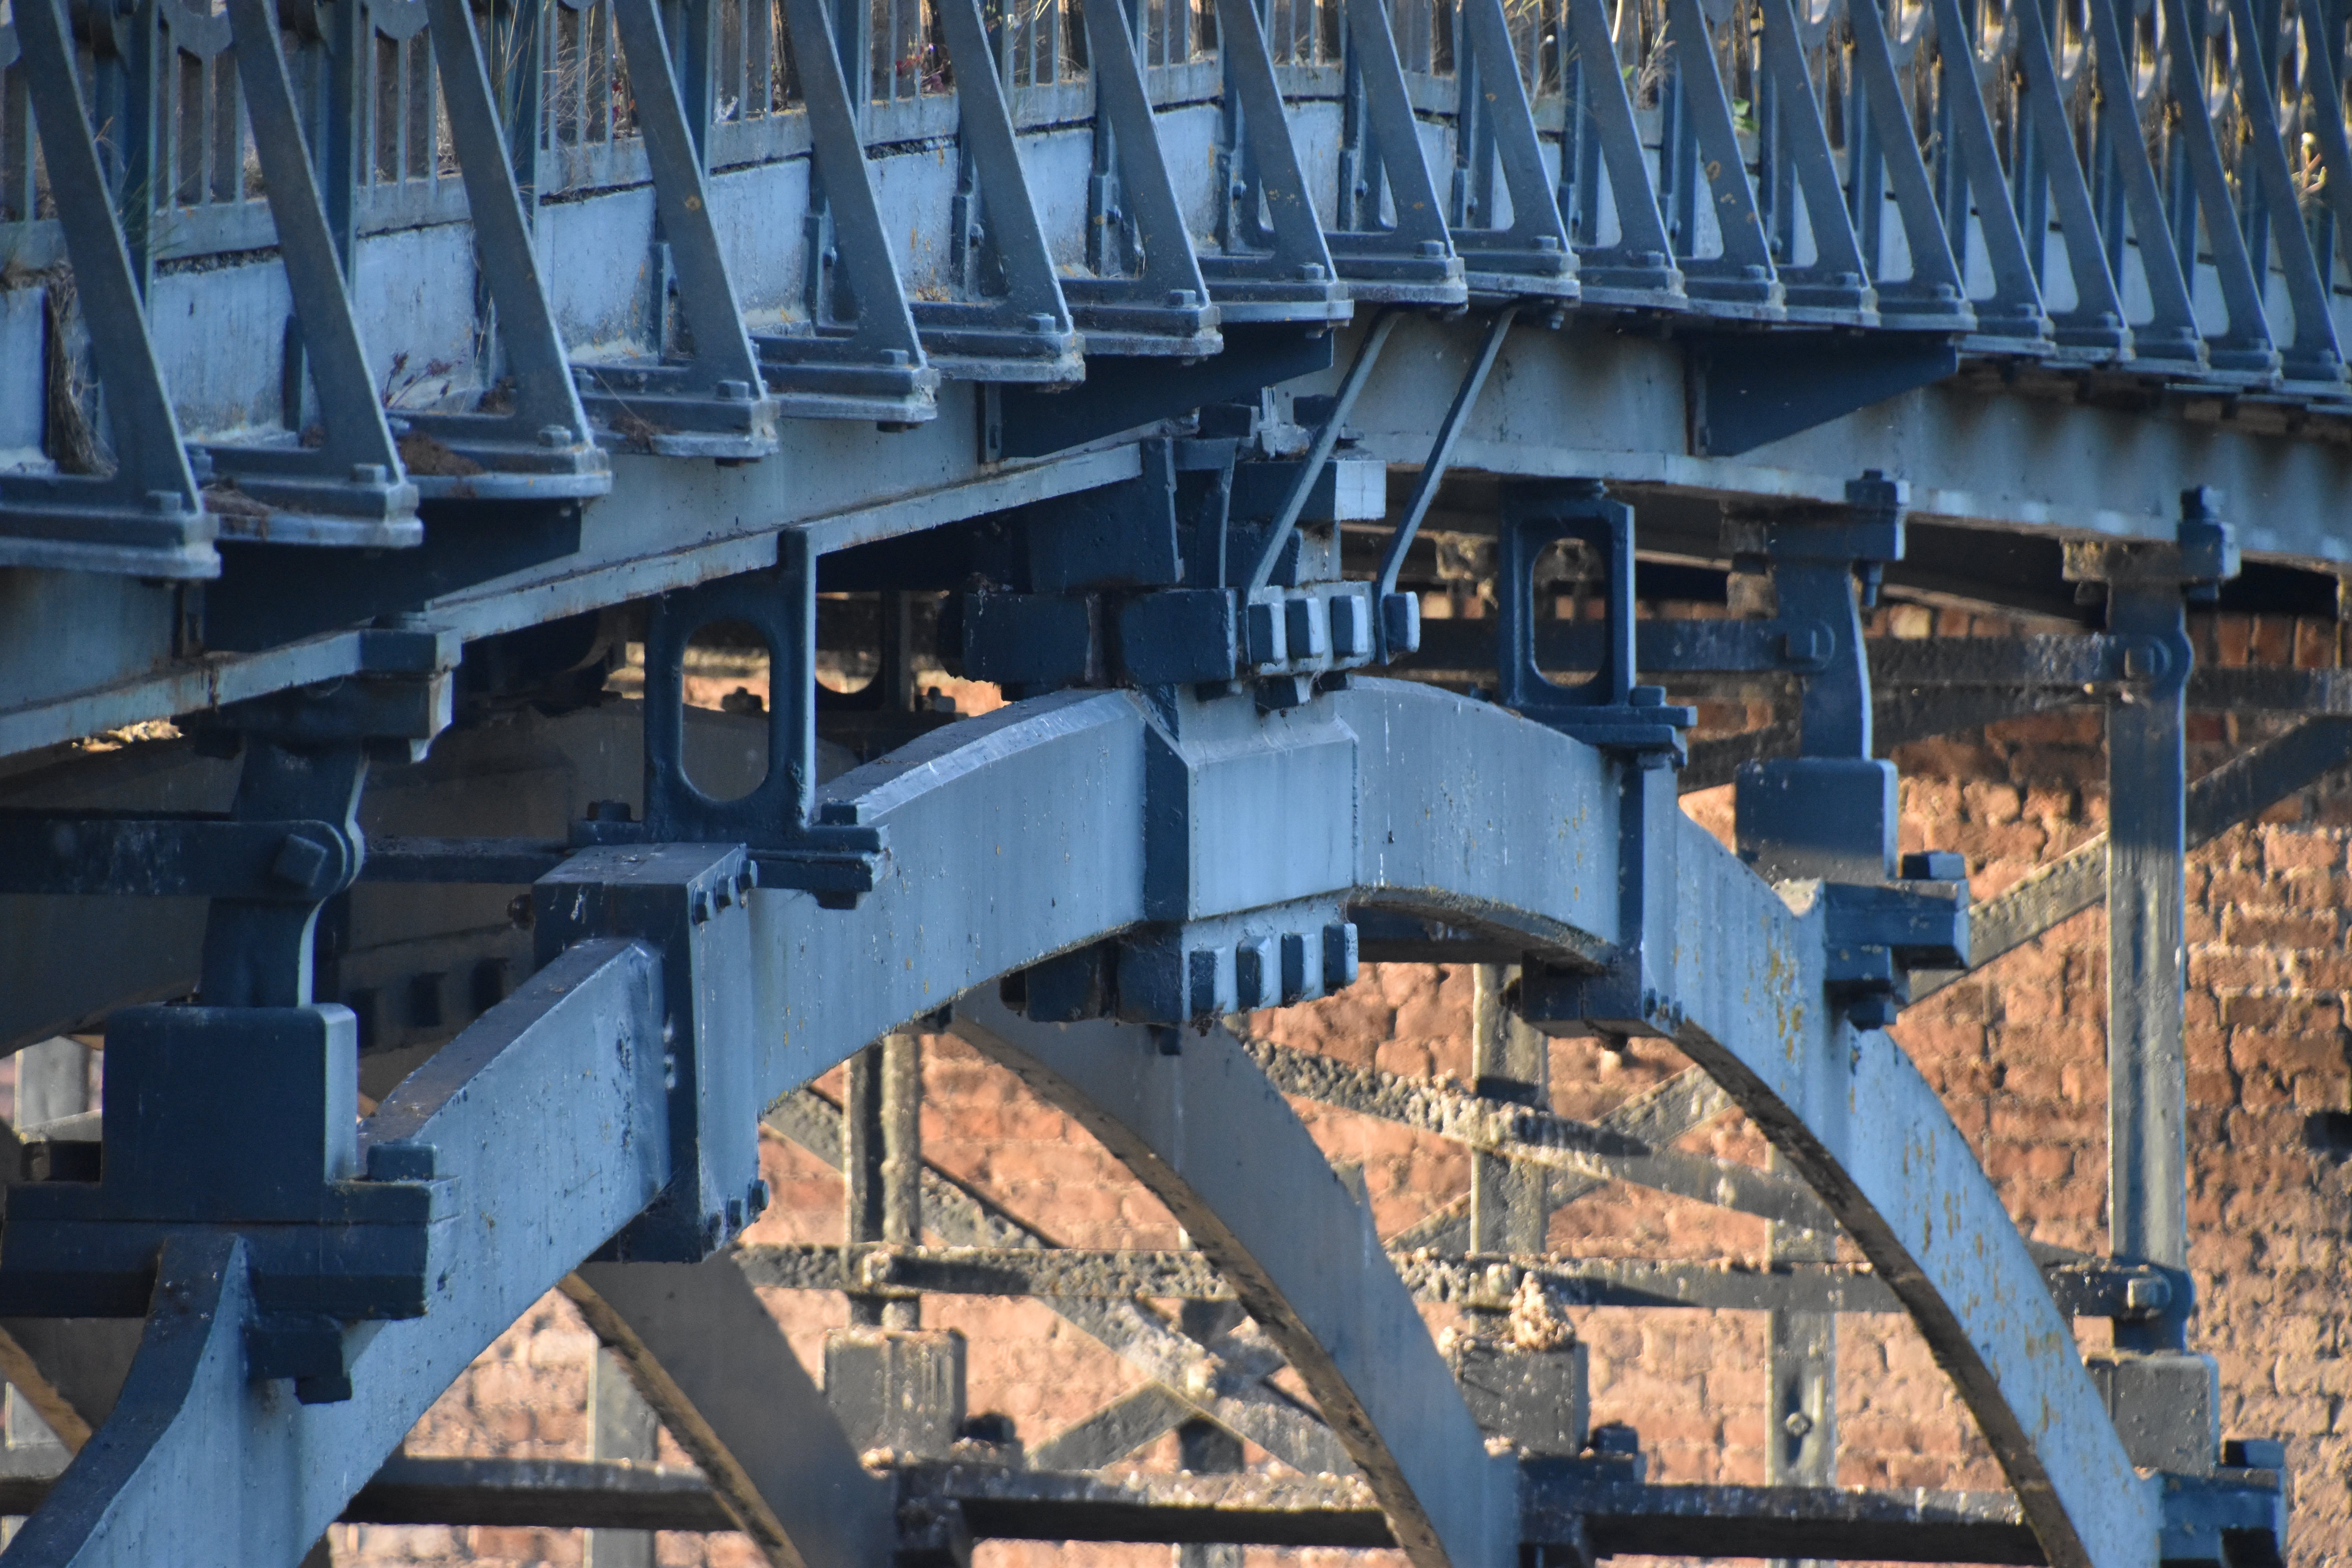
![]()


Overview of column connections to arch rib.
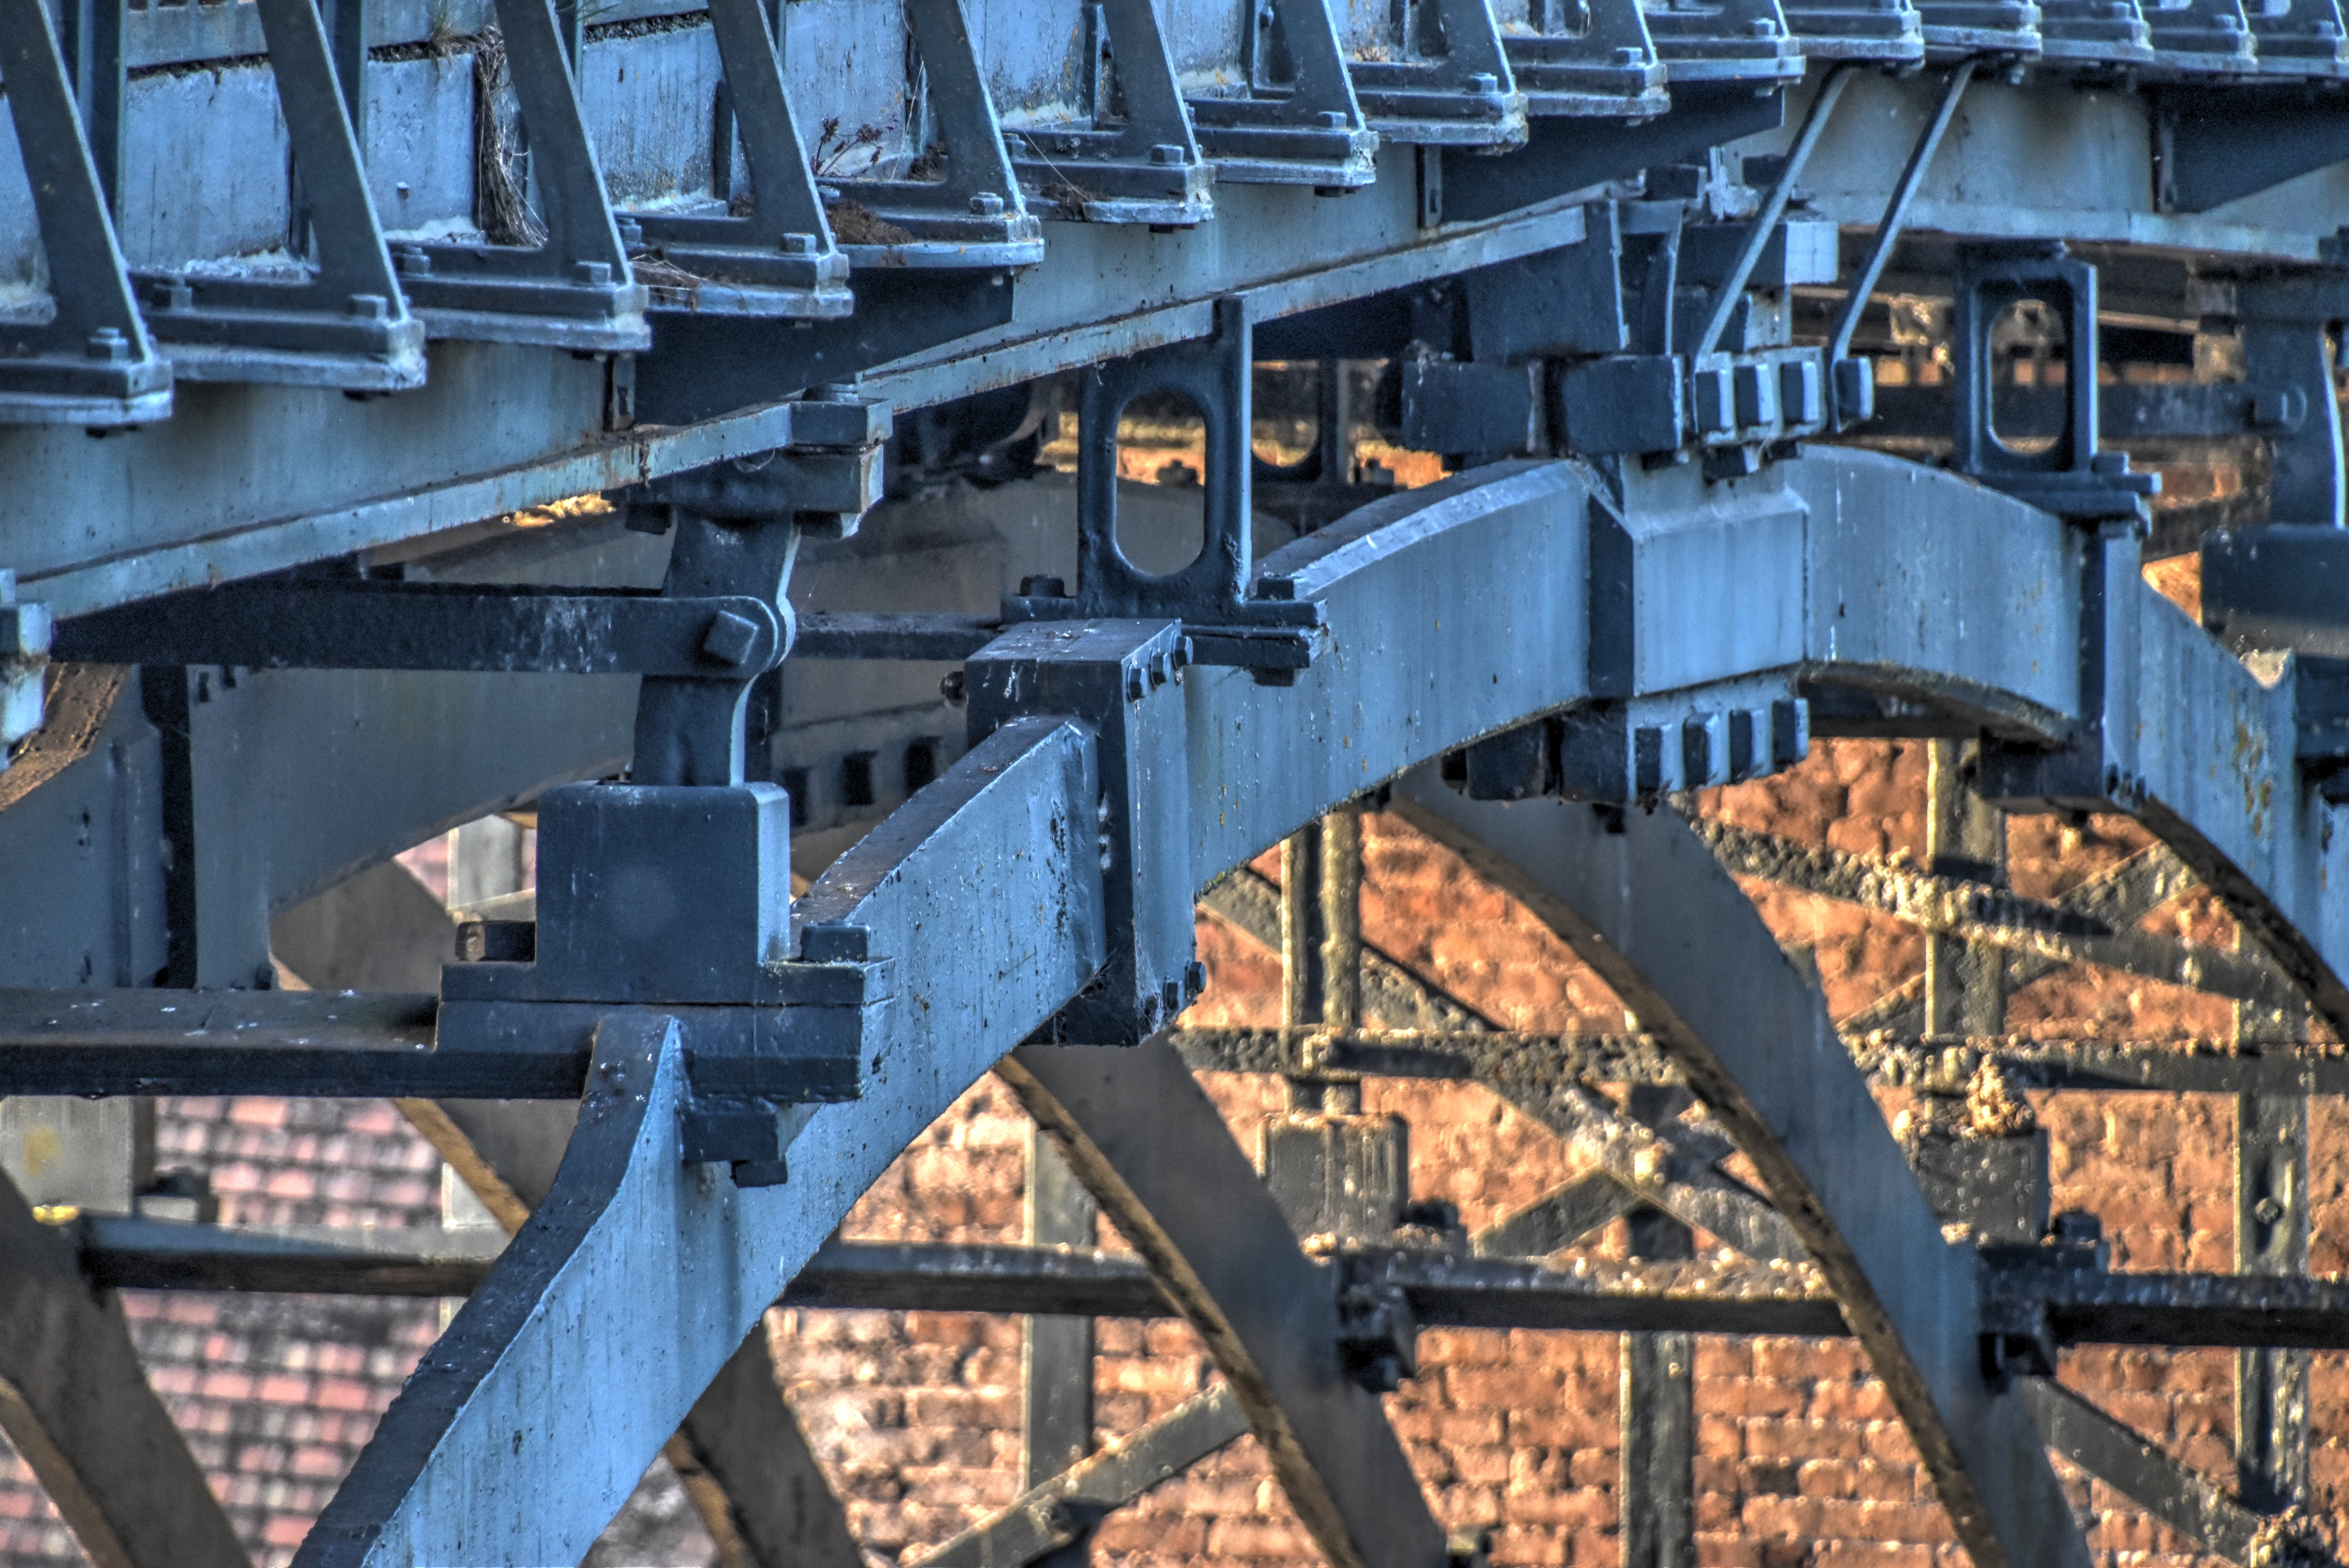
![]()


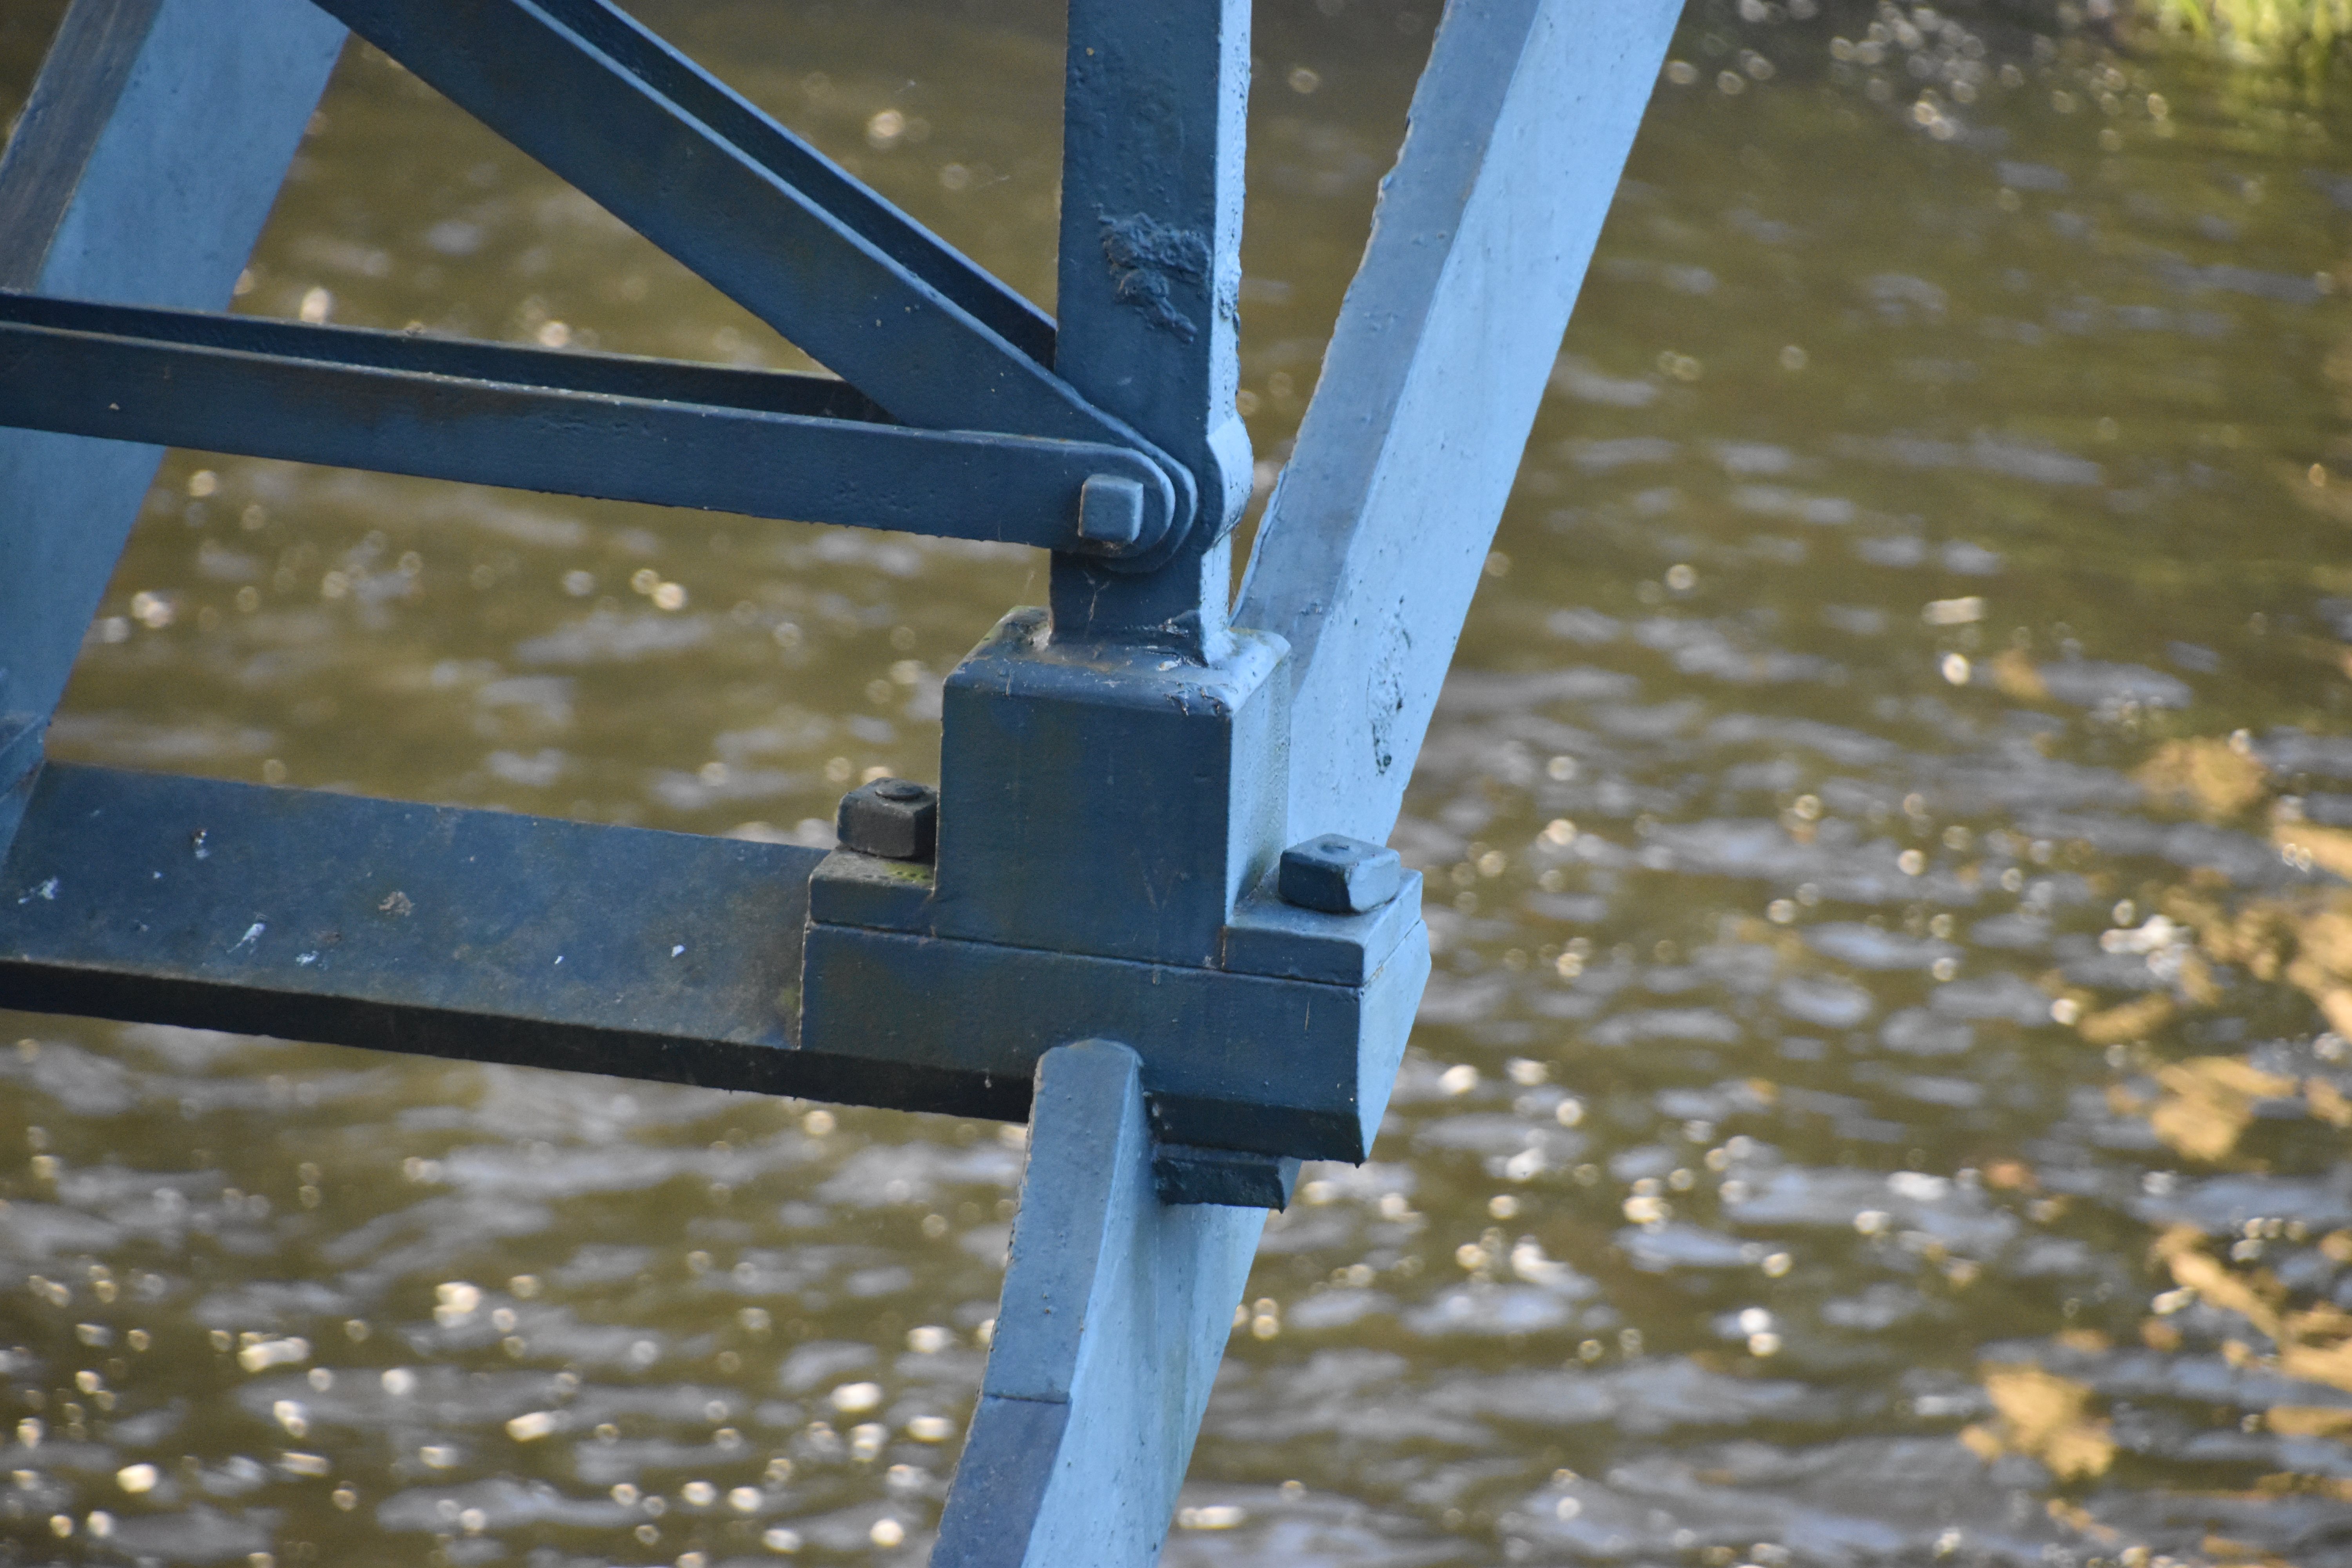
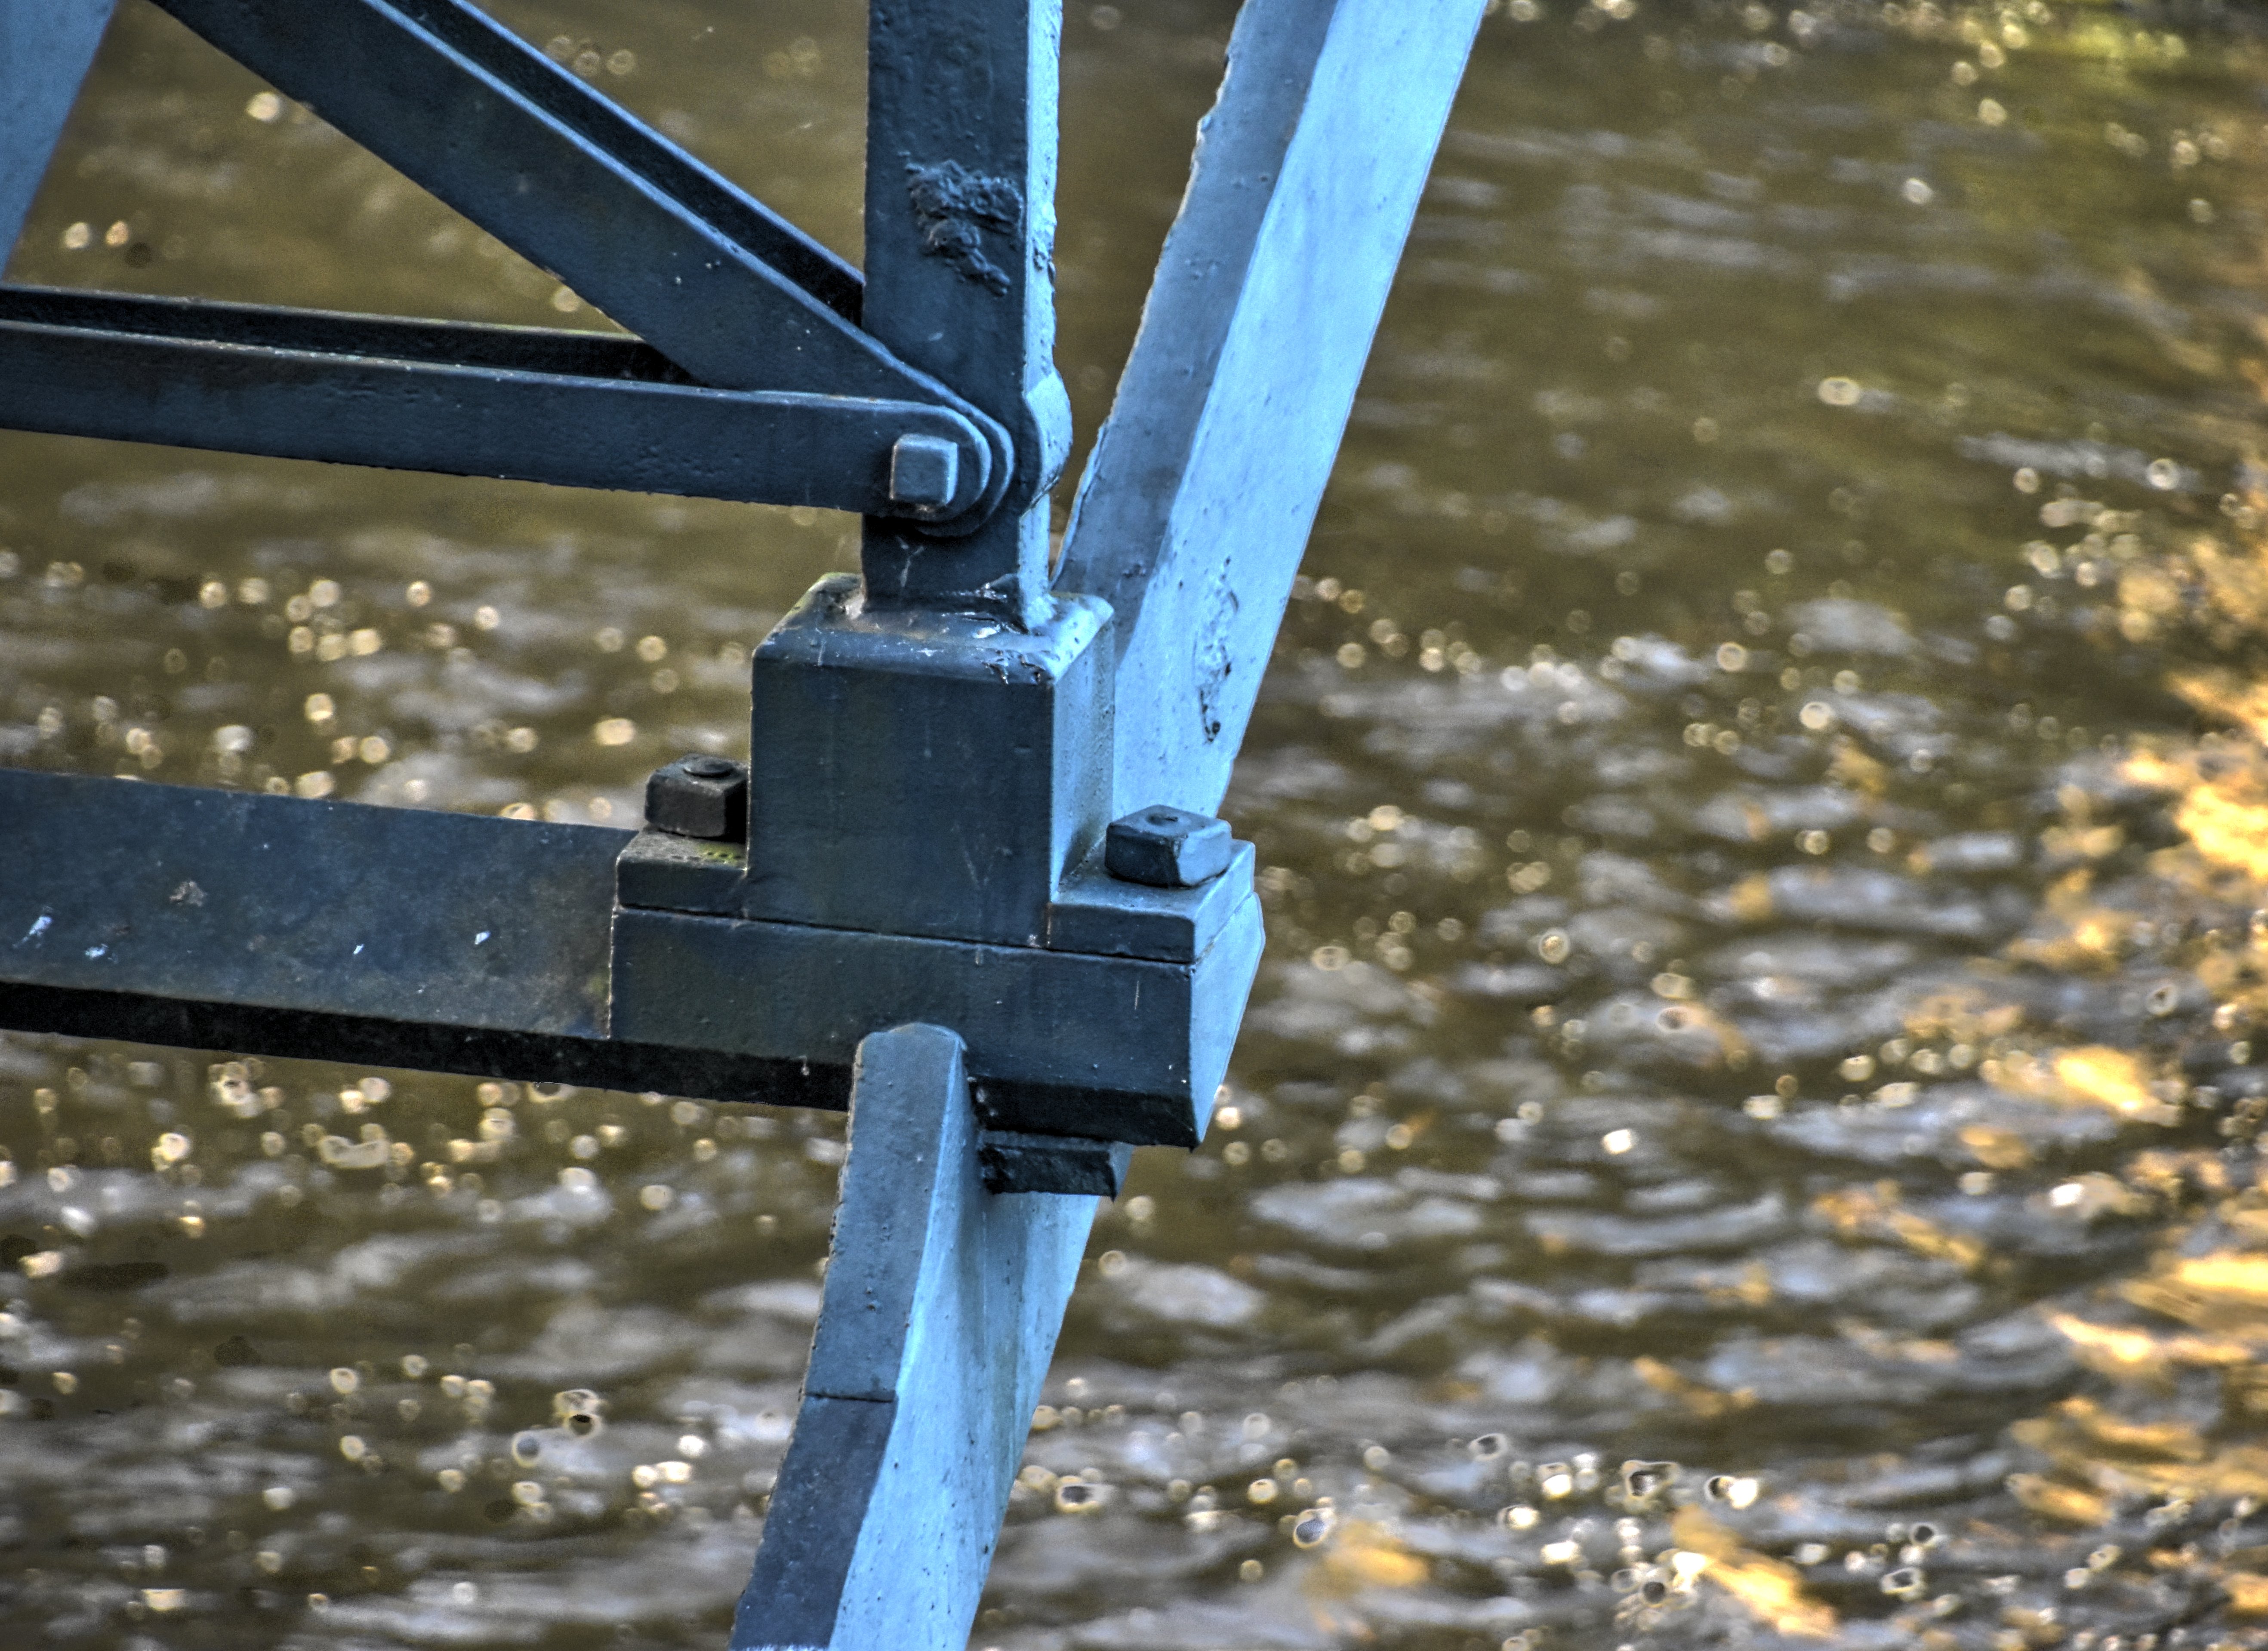

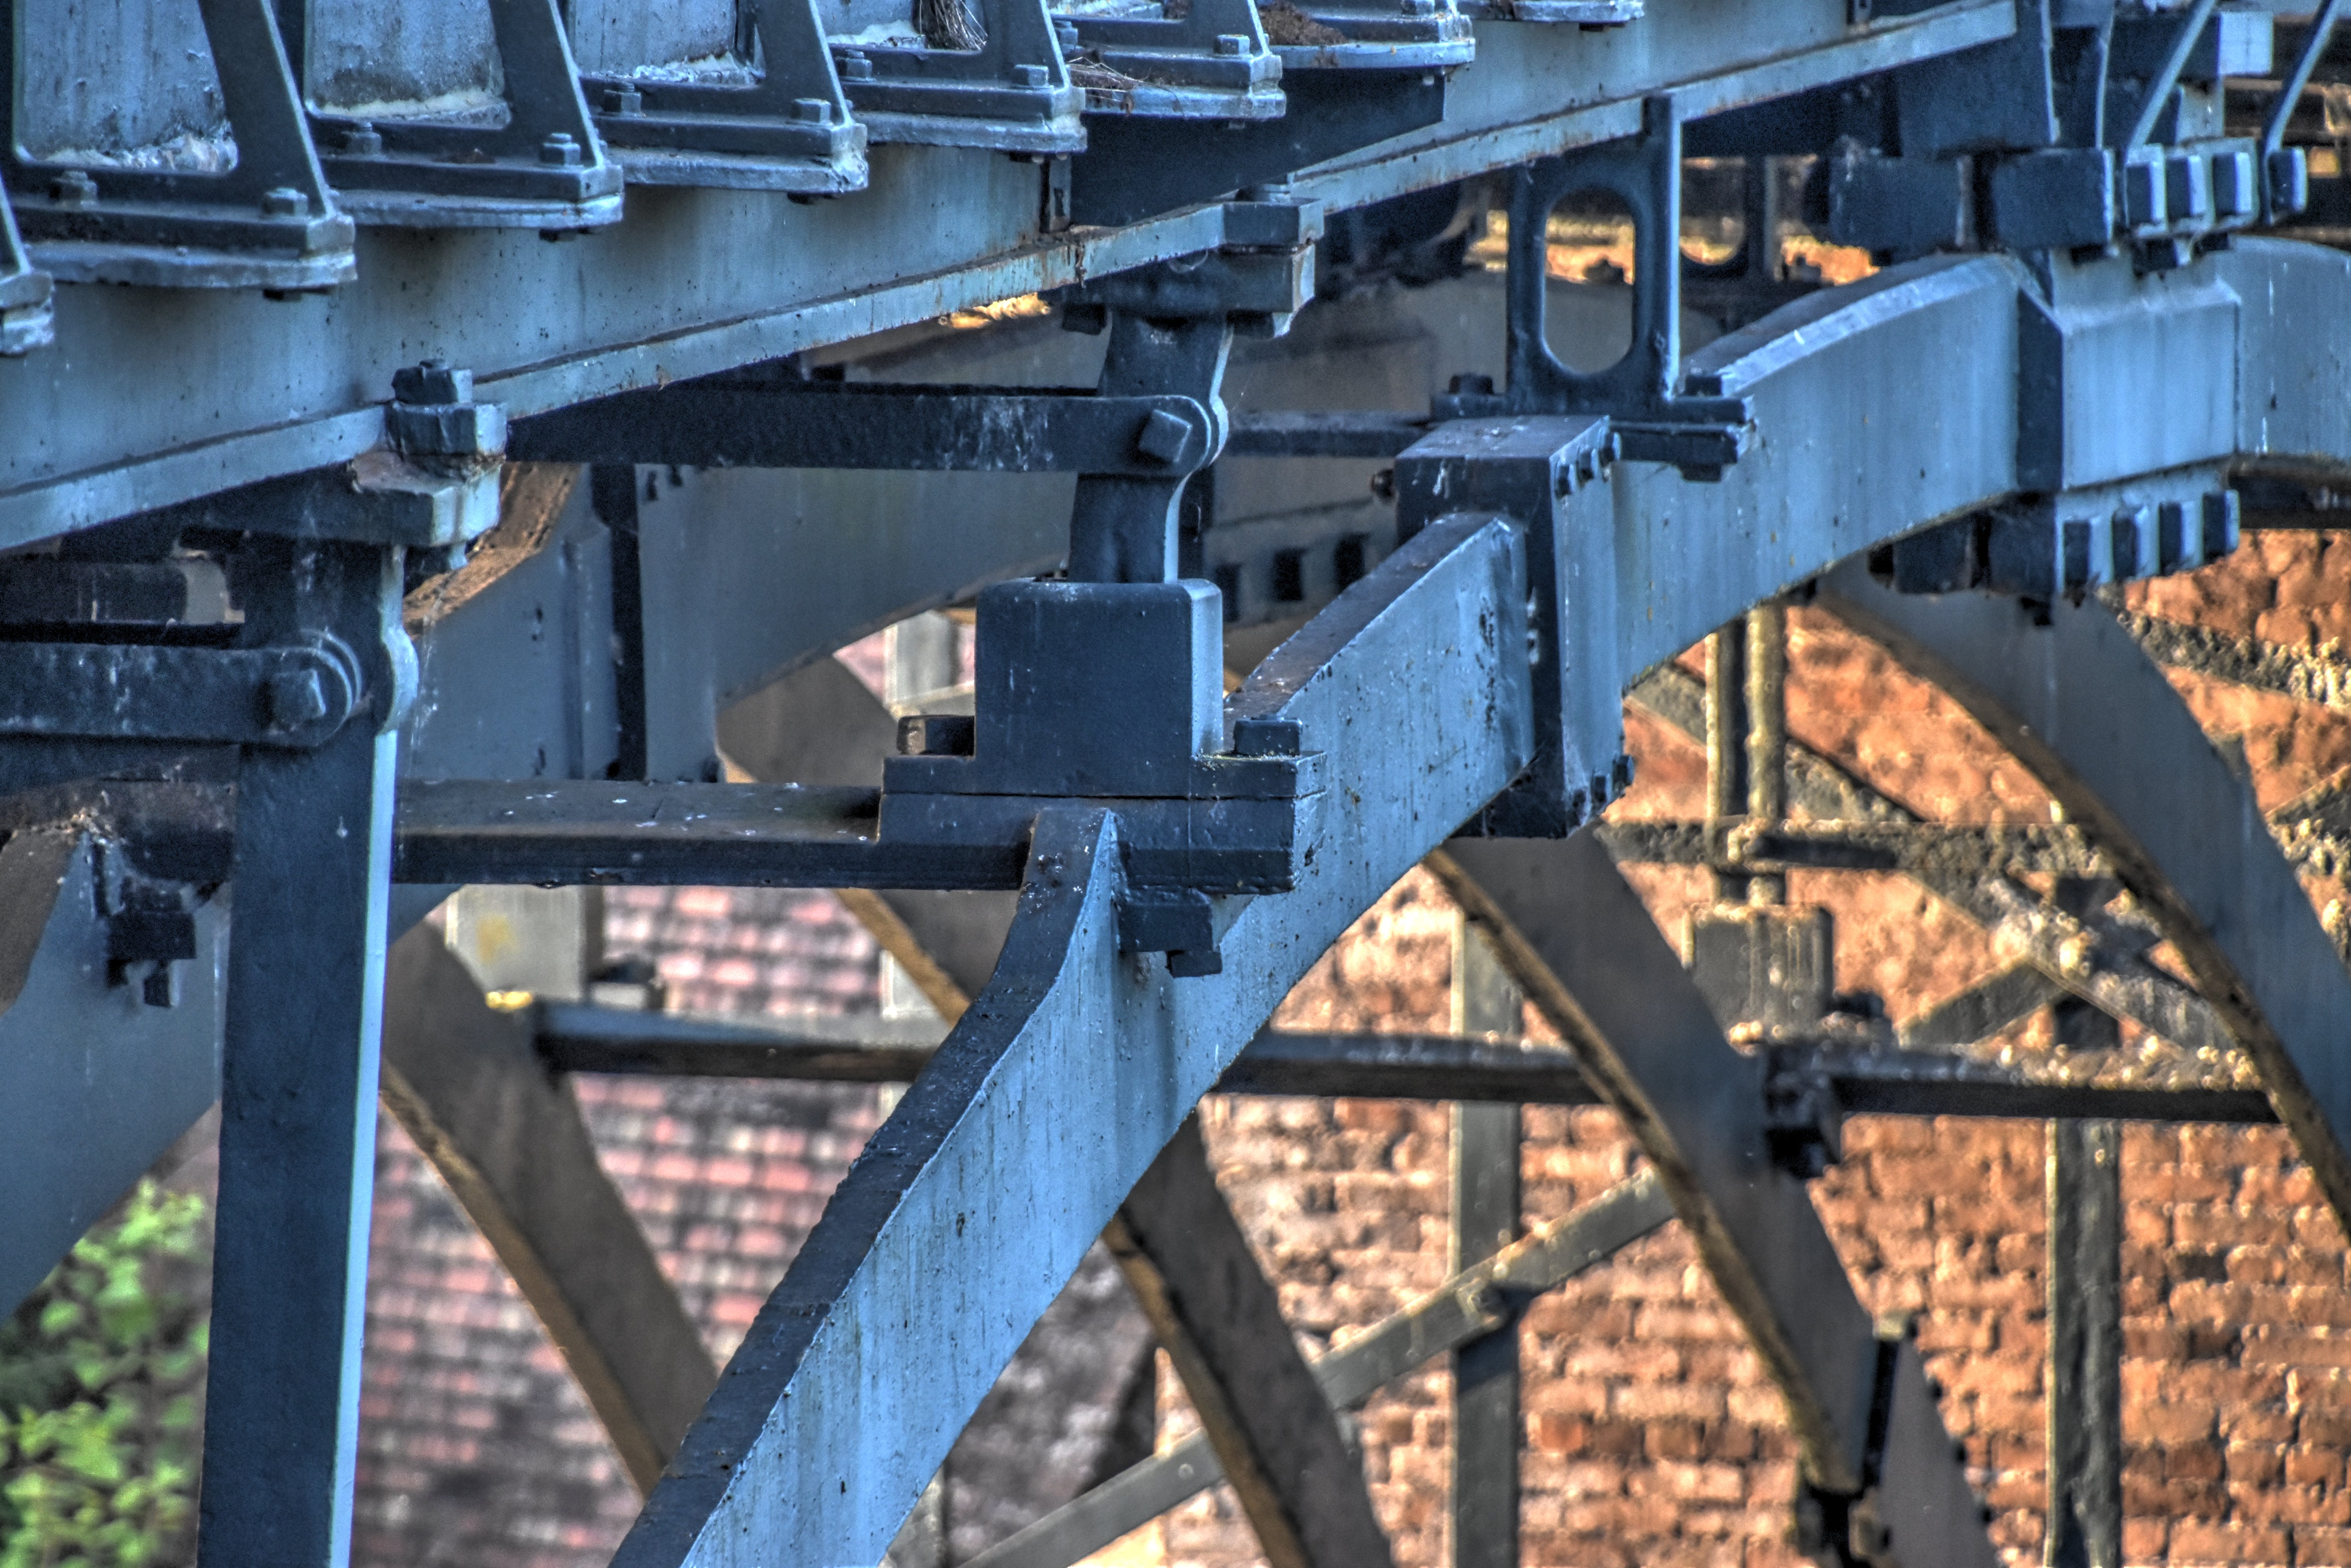


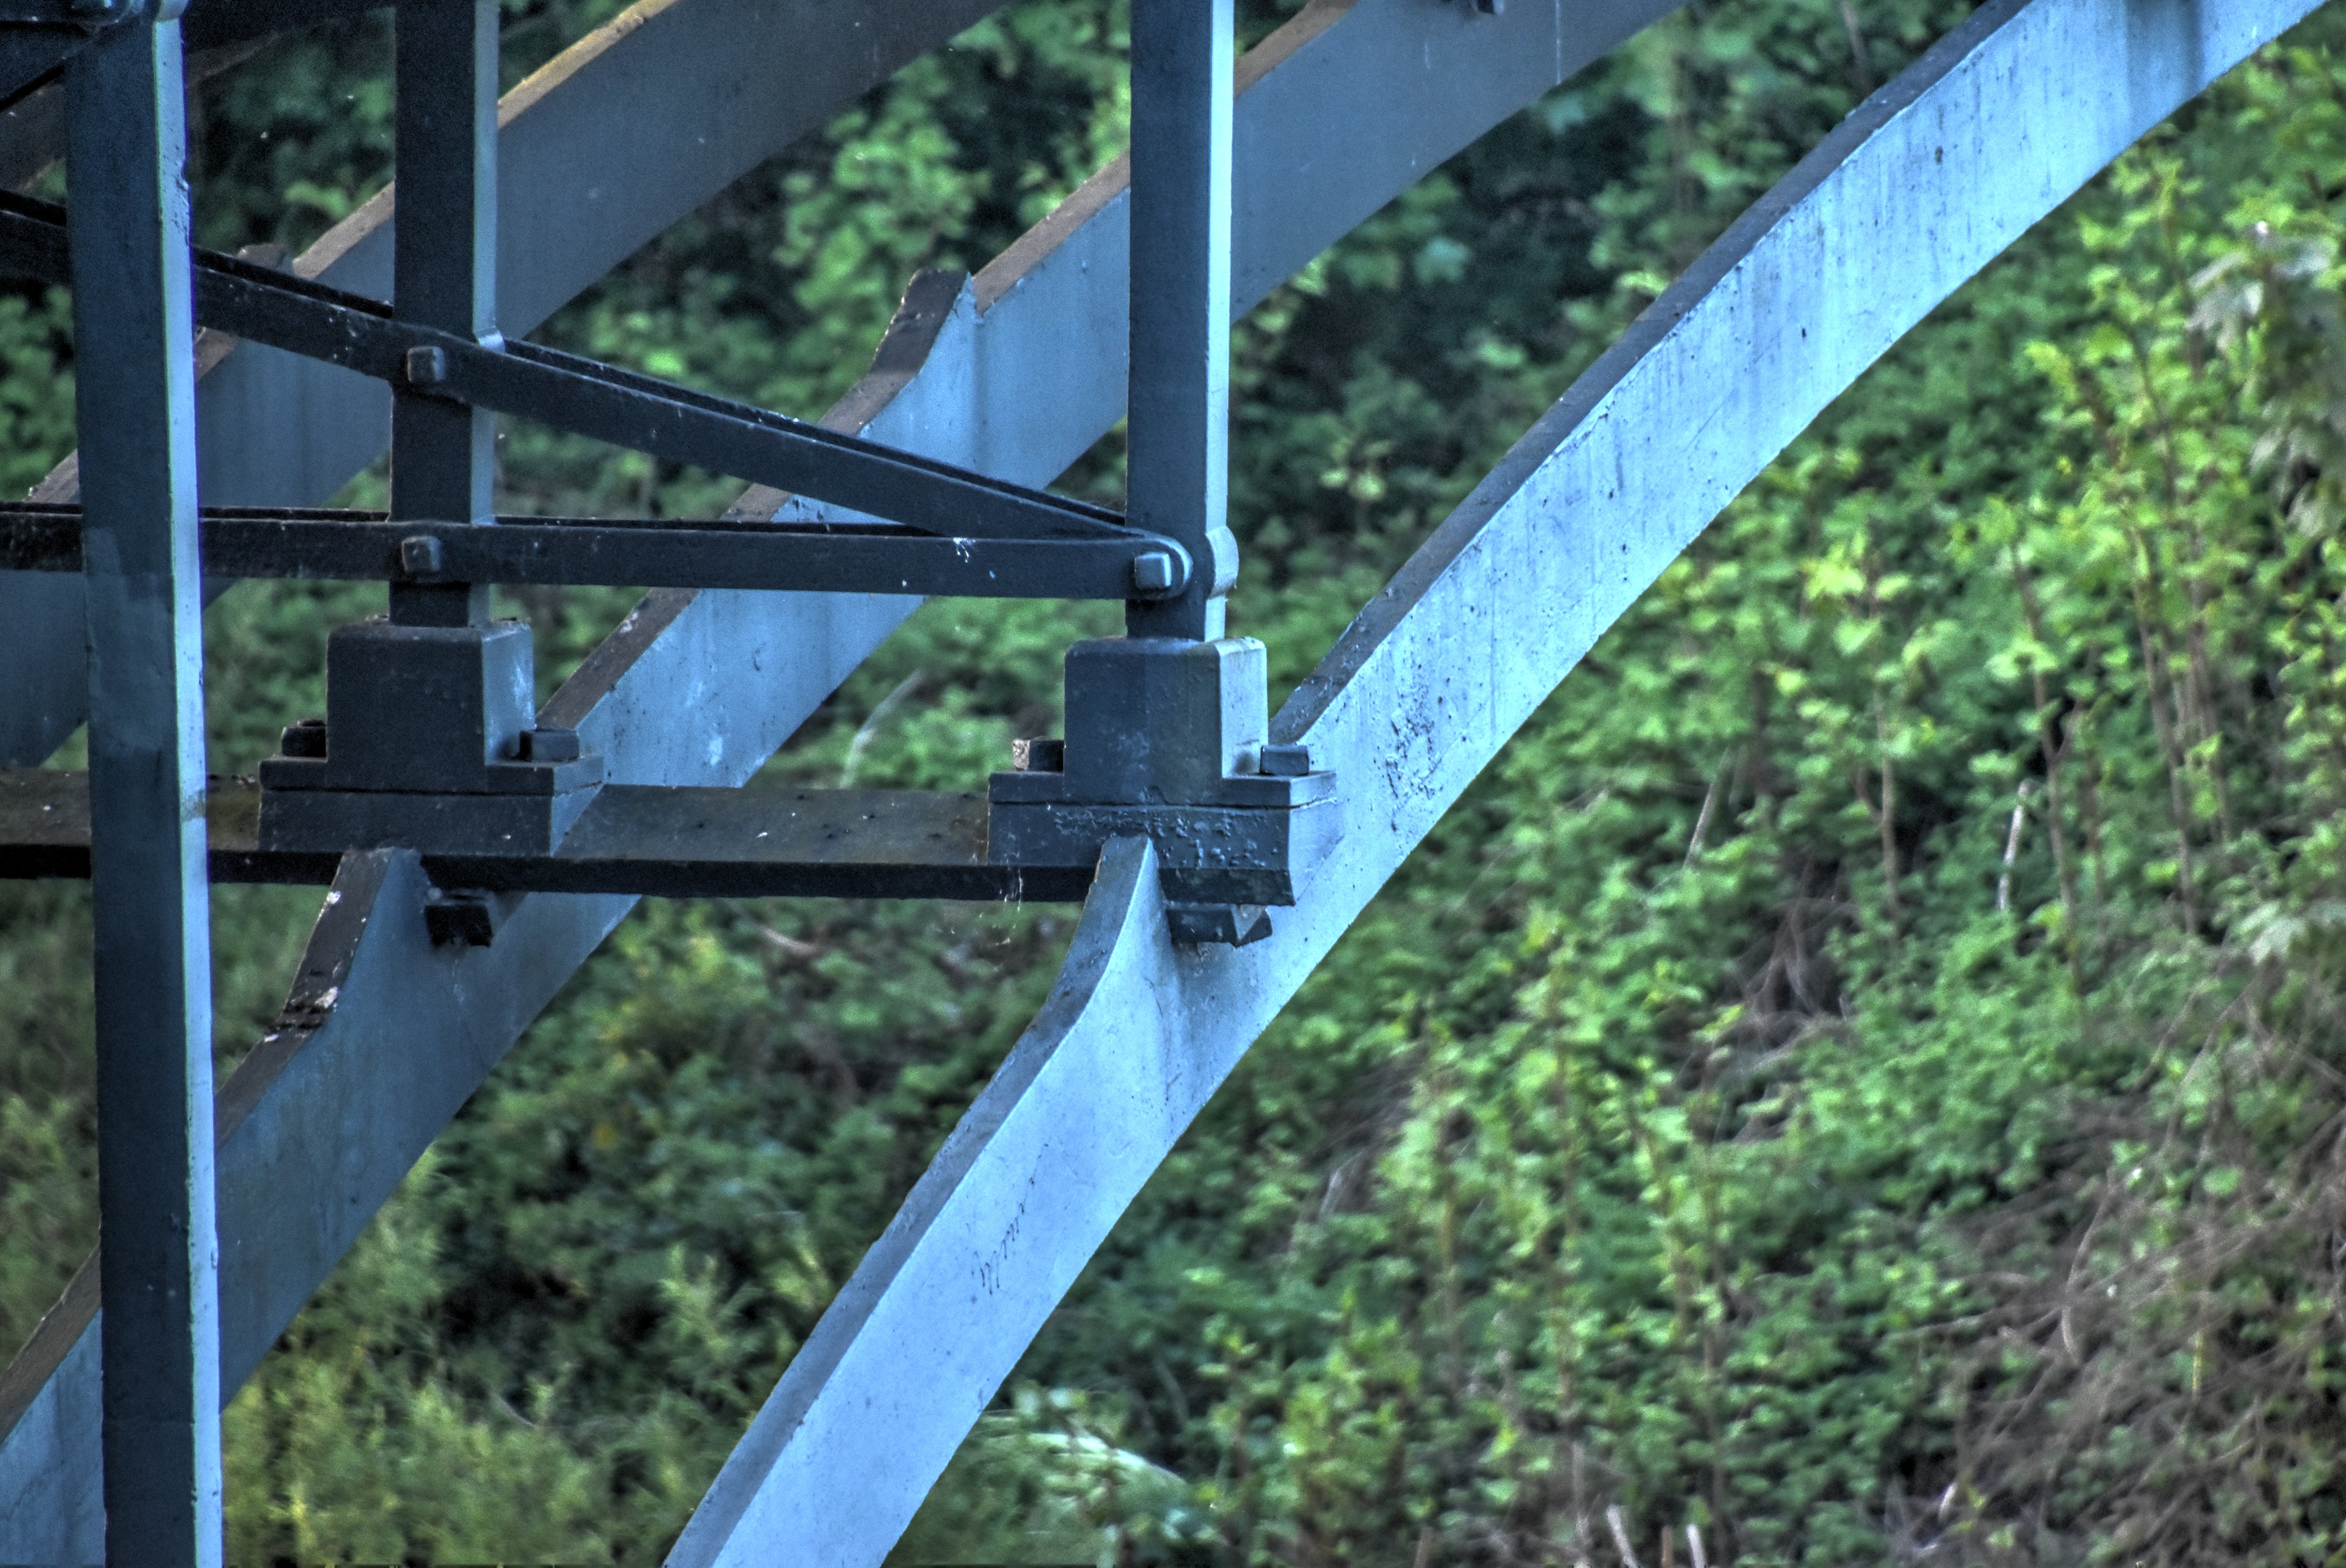

Details of column connections to arch rib.
![]()

Nearby hotel.
![]()
![]()
| Back |
| Home |
| Top |

![]()