Uncredited photos on this page taken by: Nathan Holth. Unless stated in a caption, all photos are Copyright with All Rights Reserved. Learn about reuse of our photos.
![]()
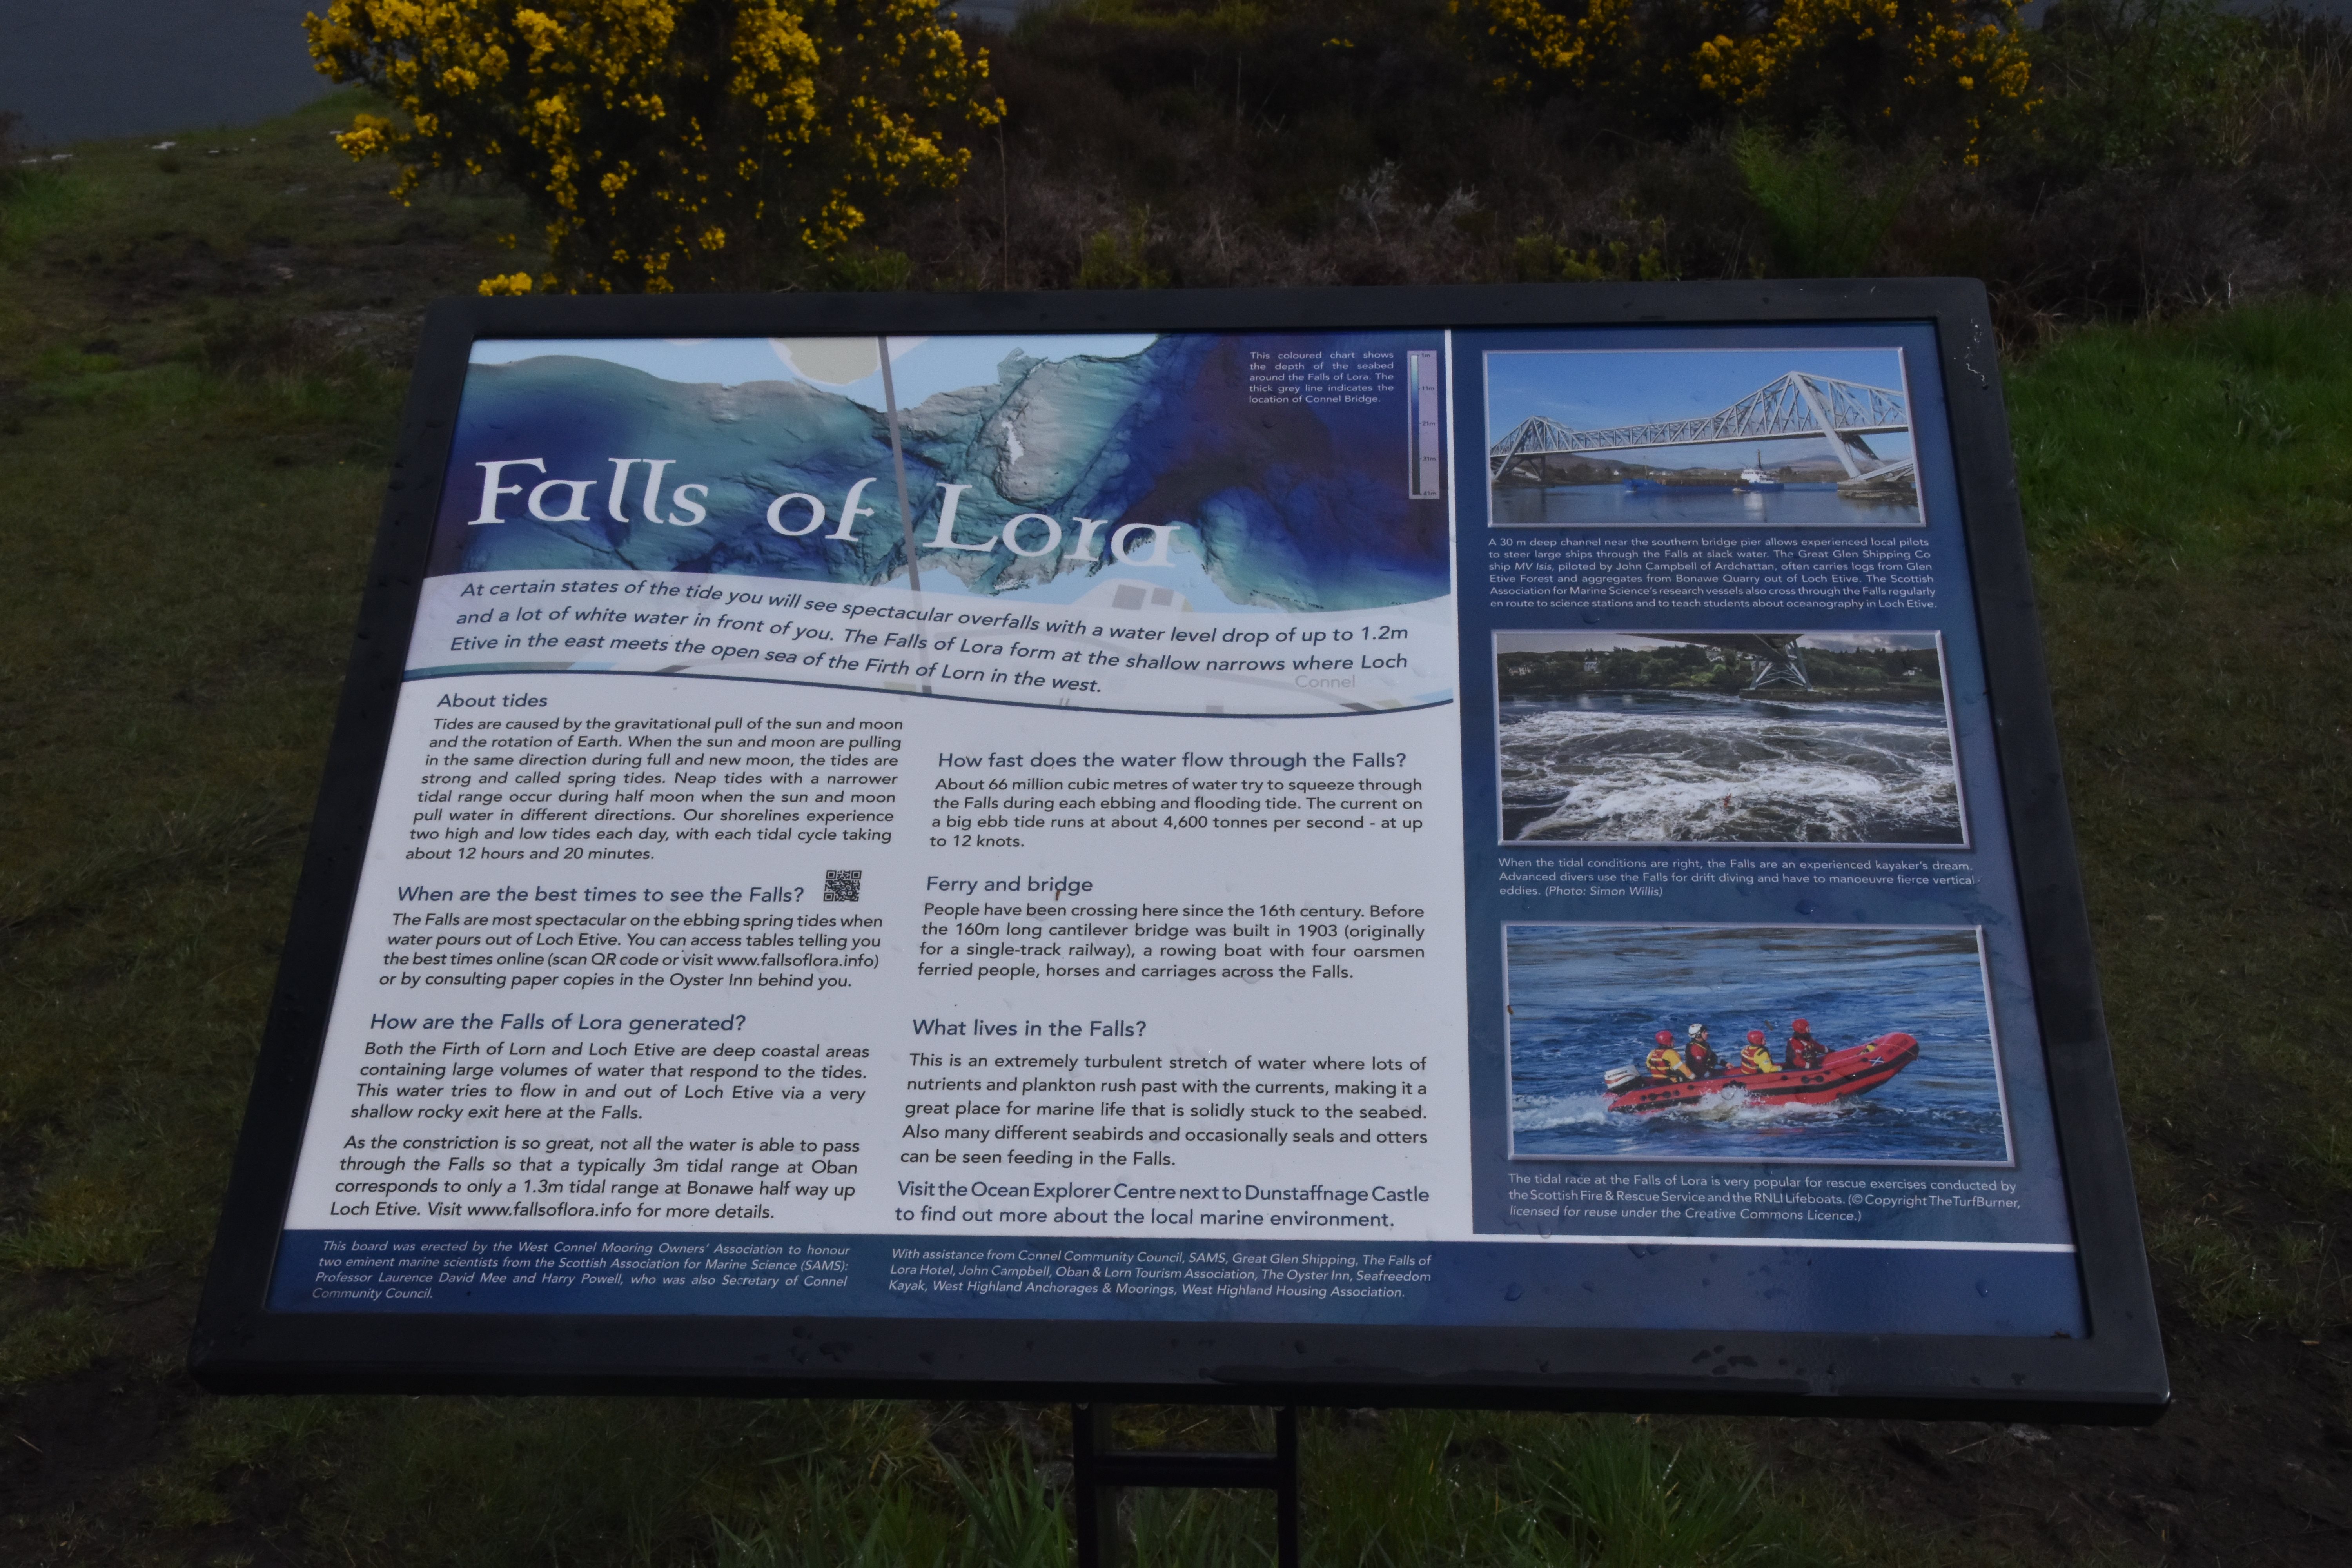
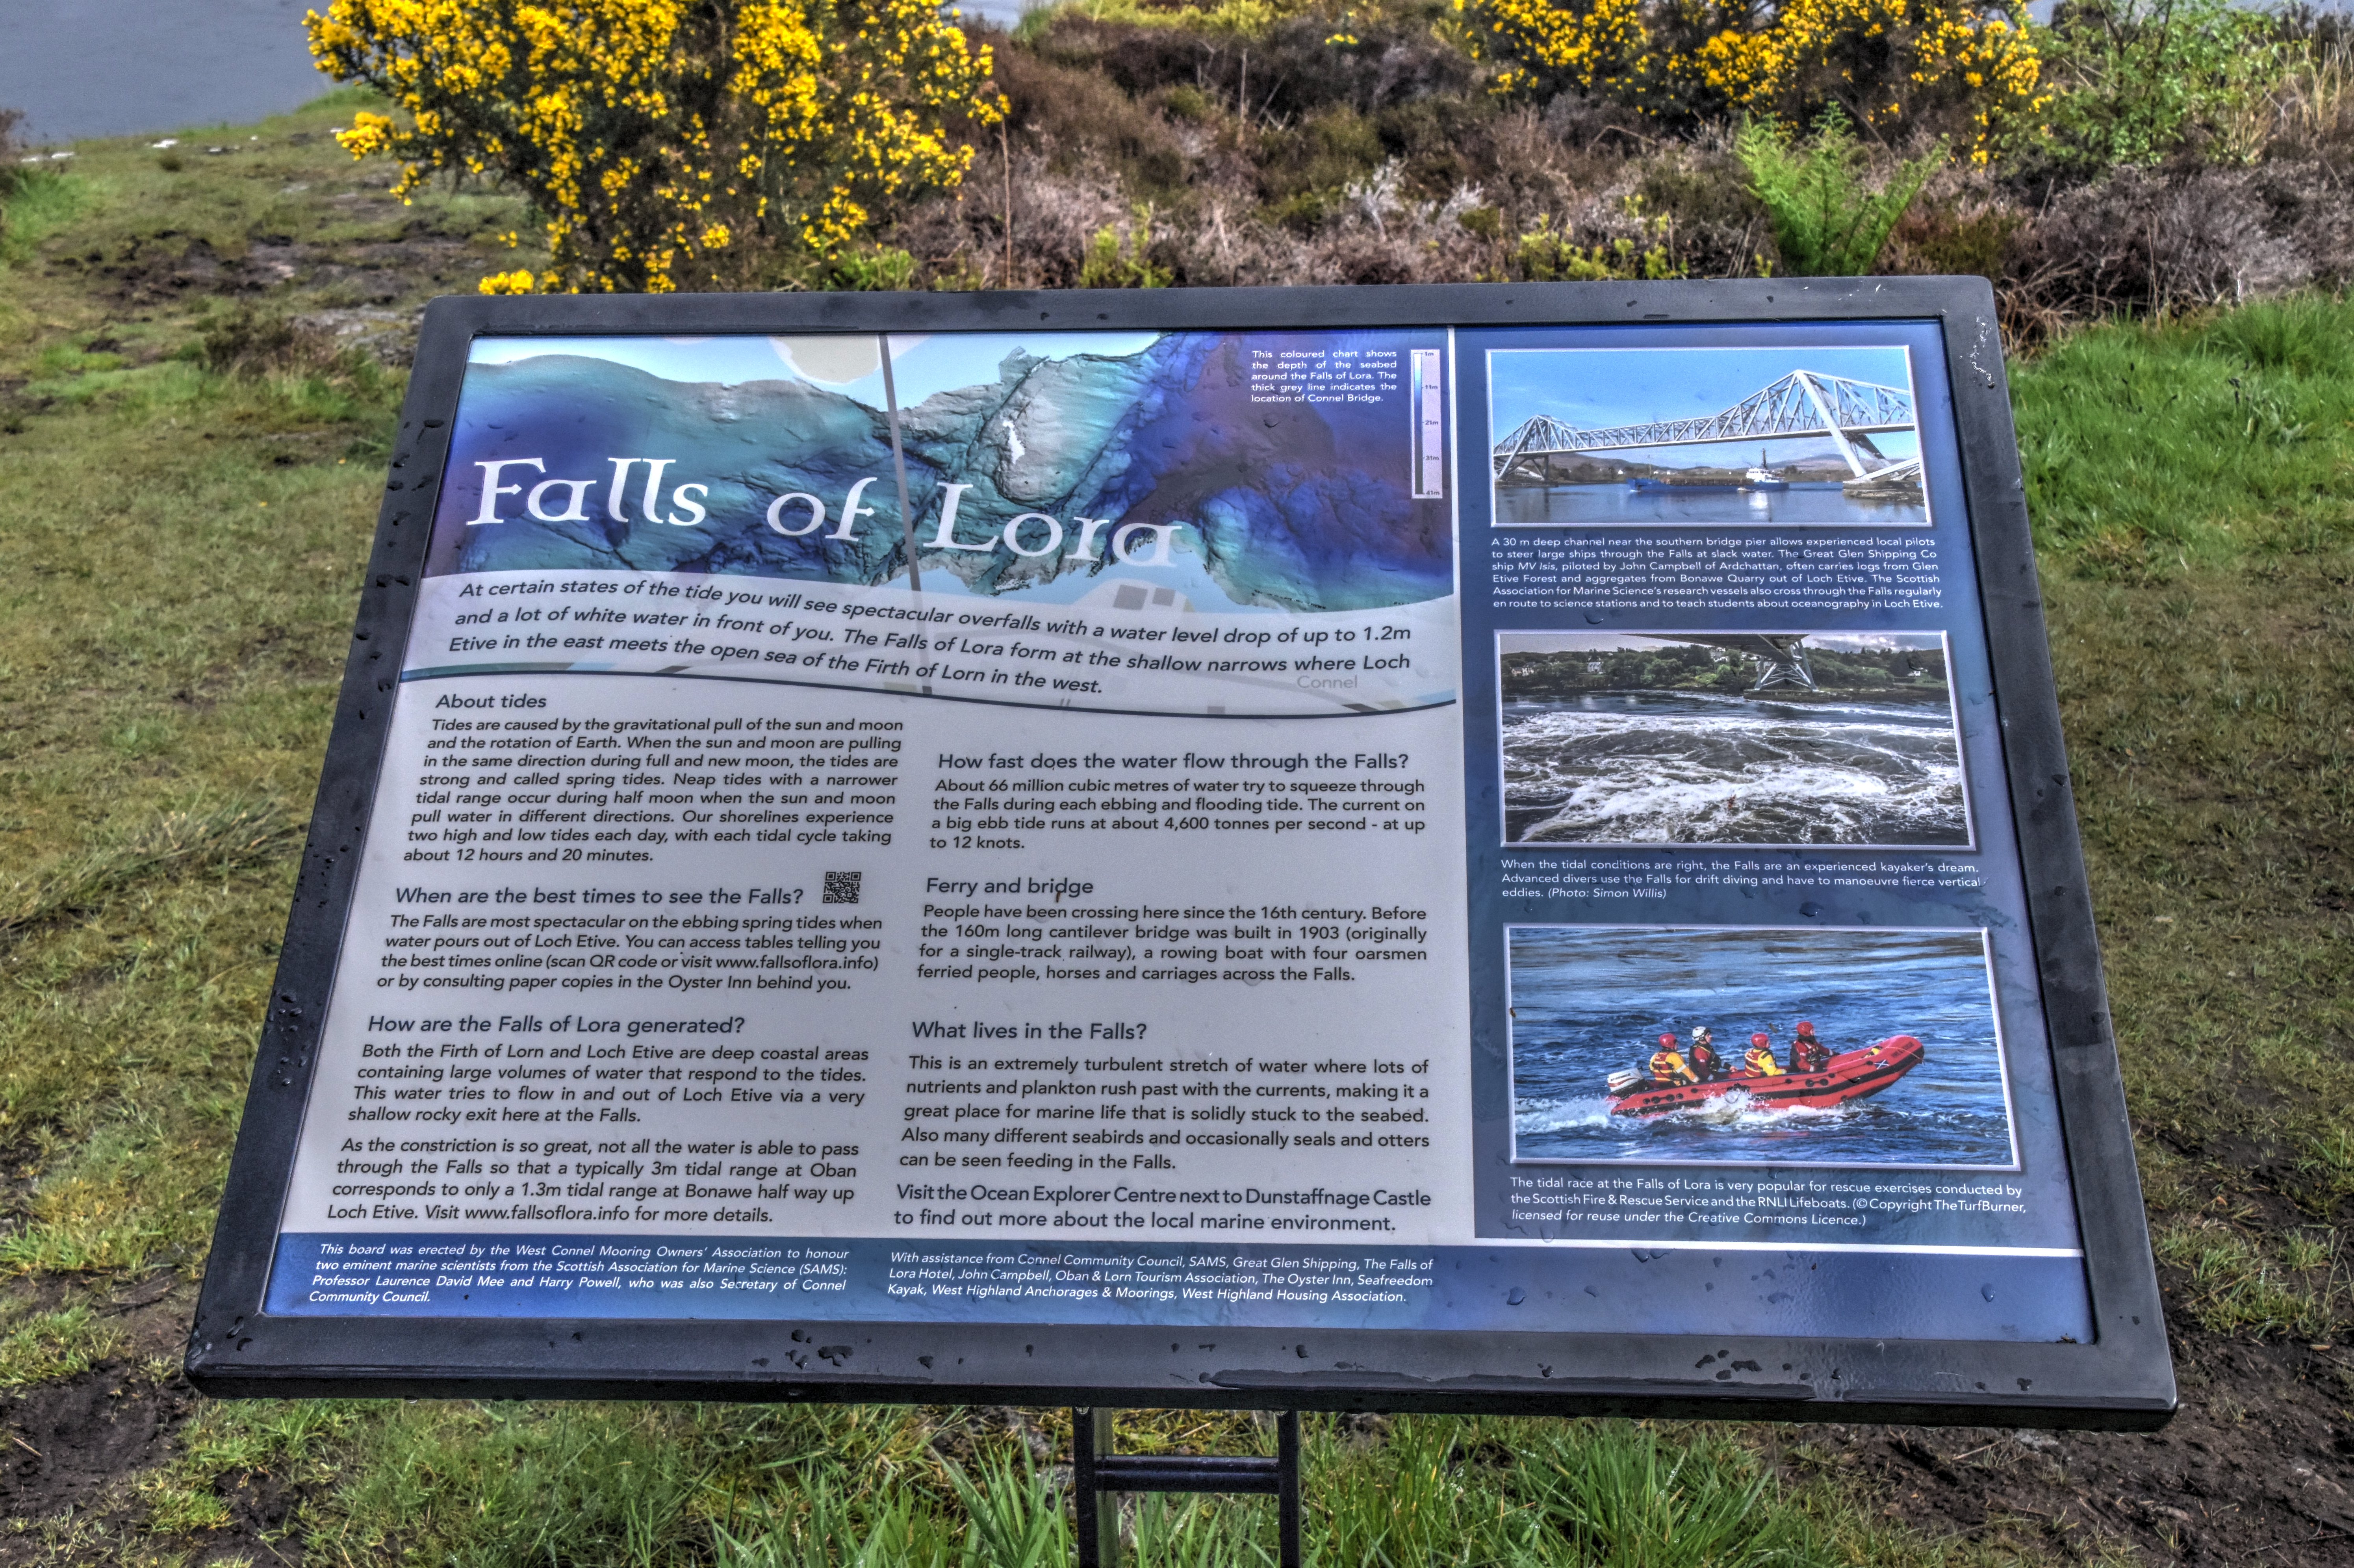
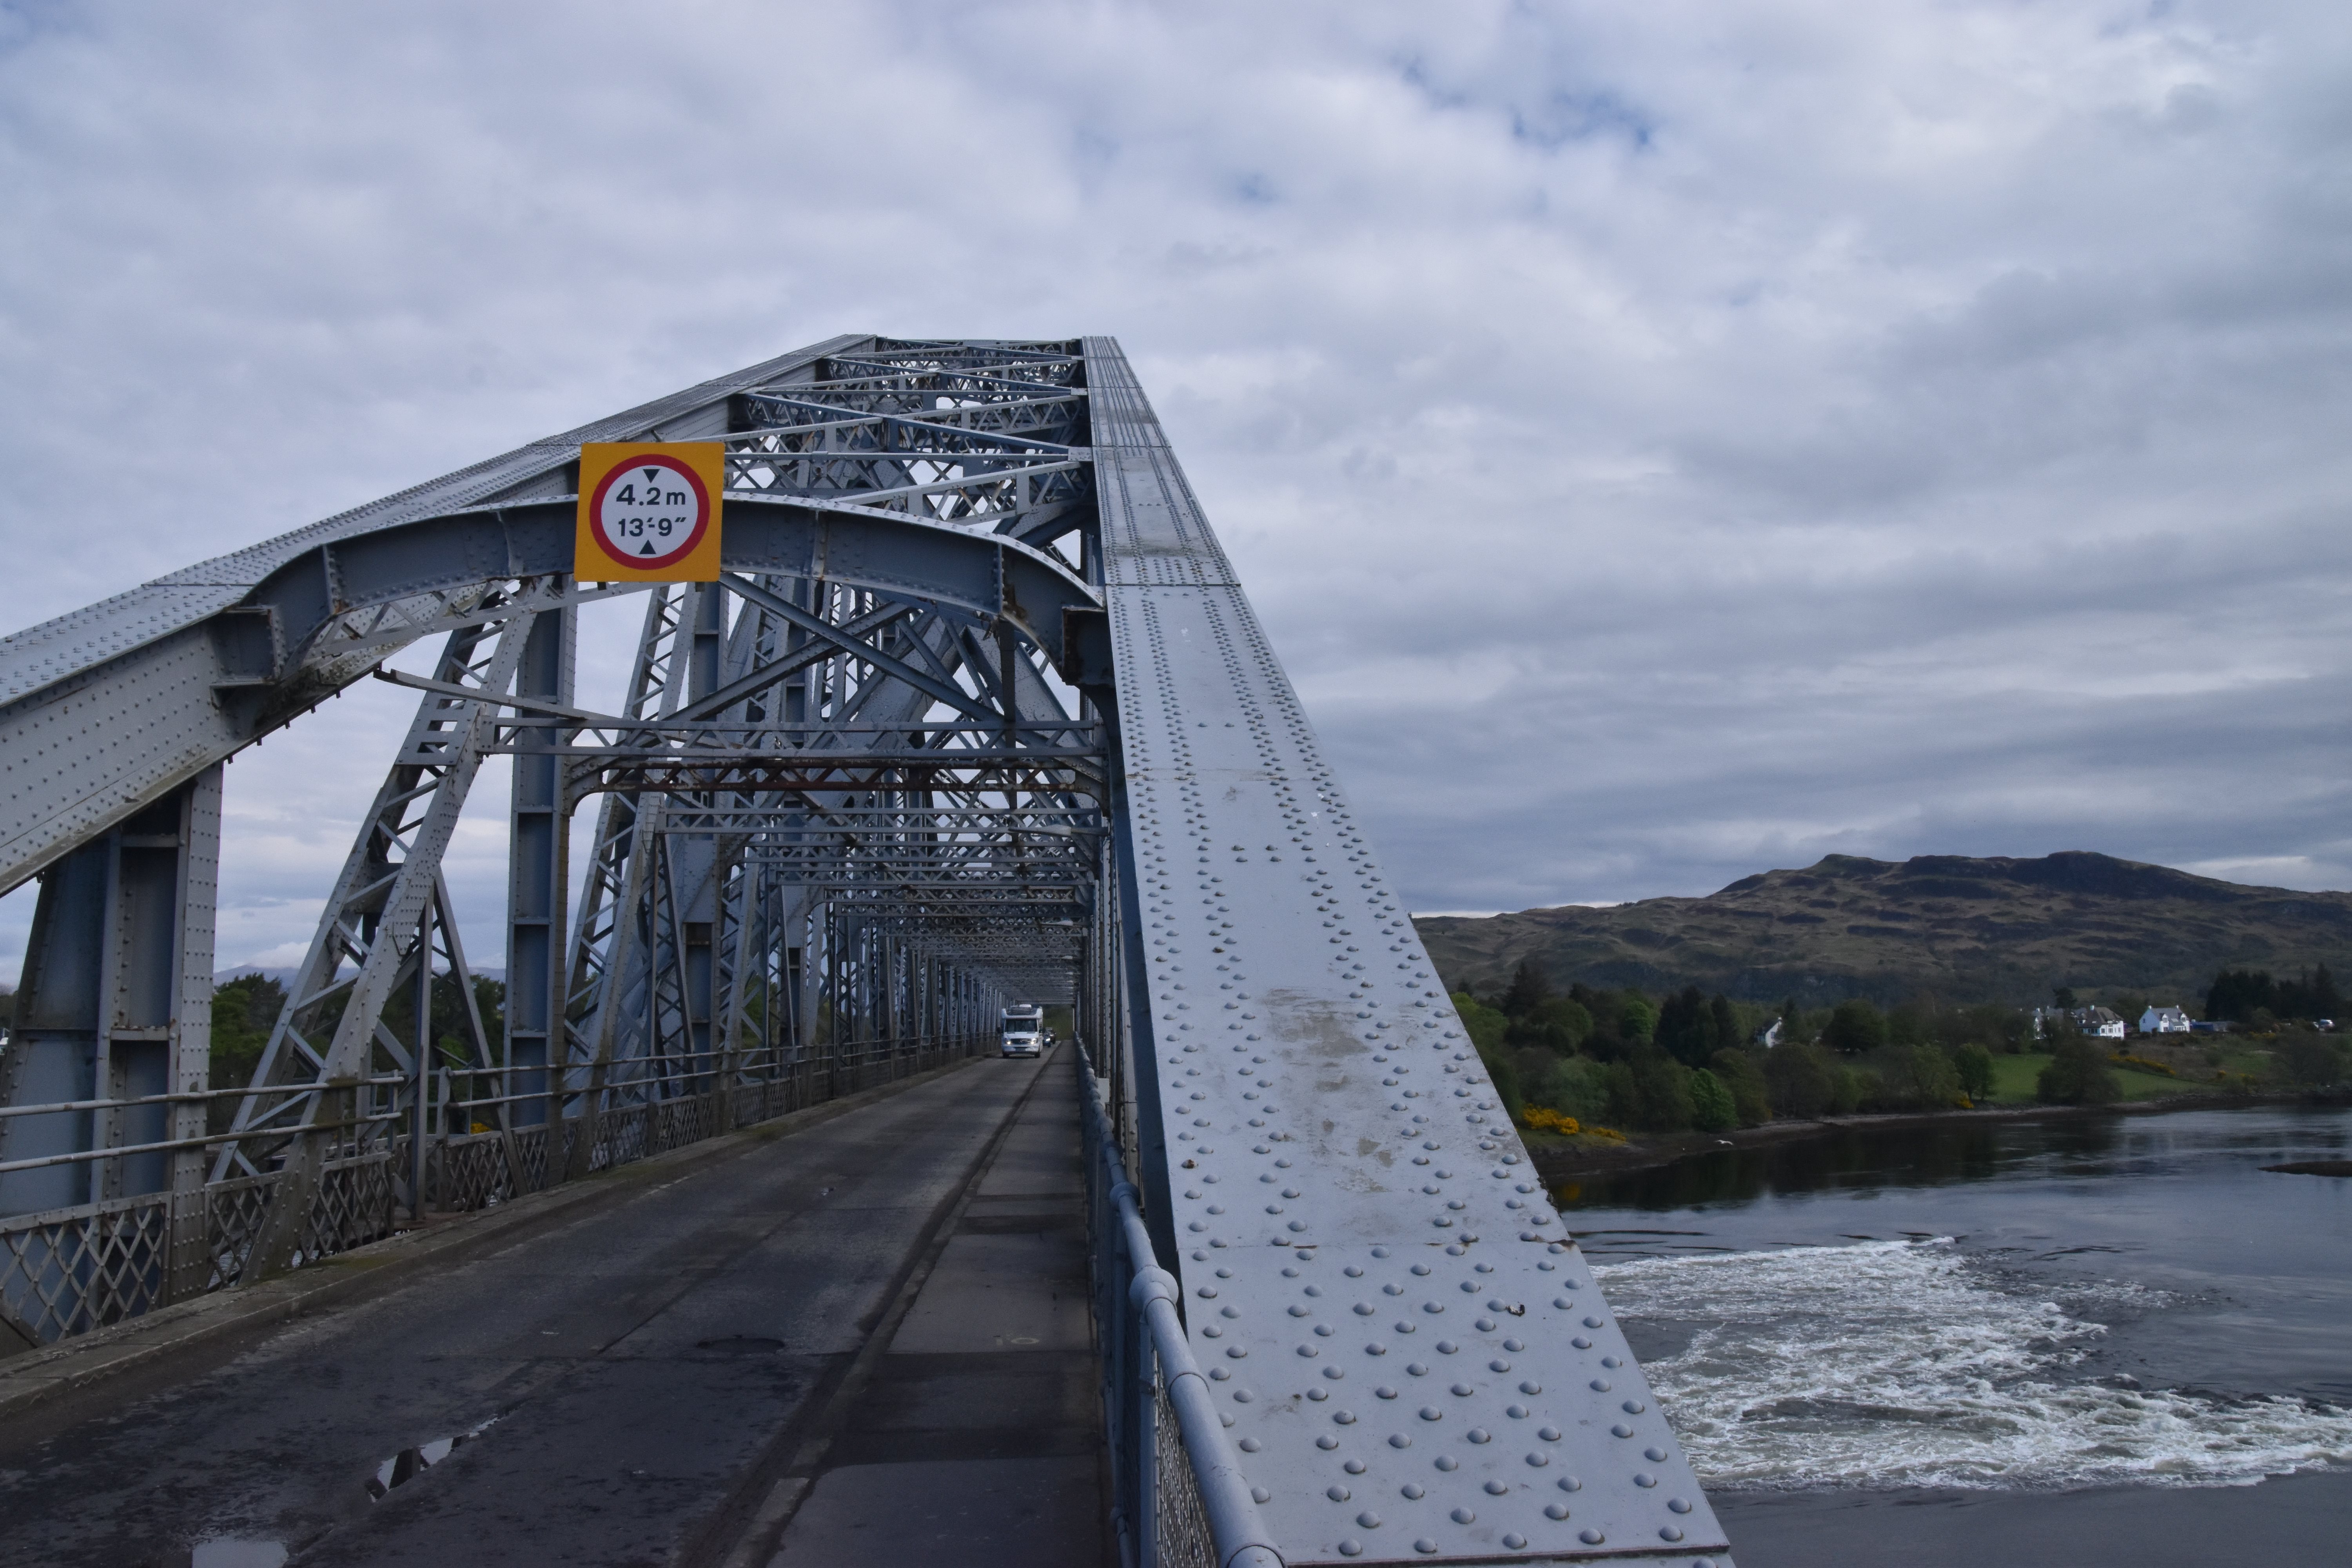
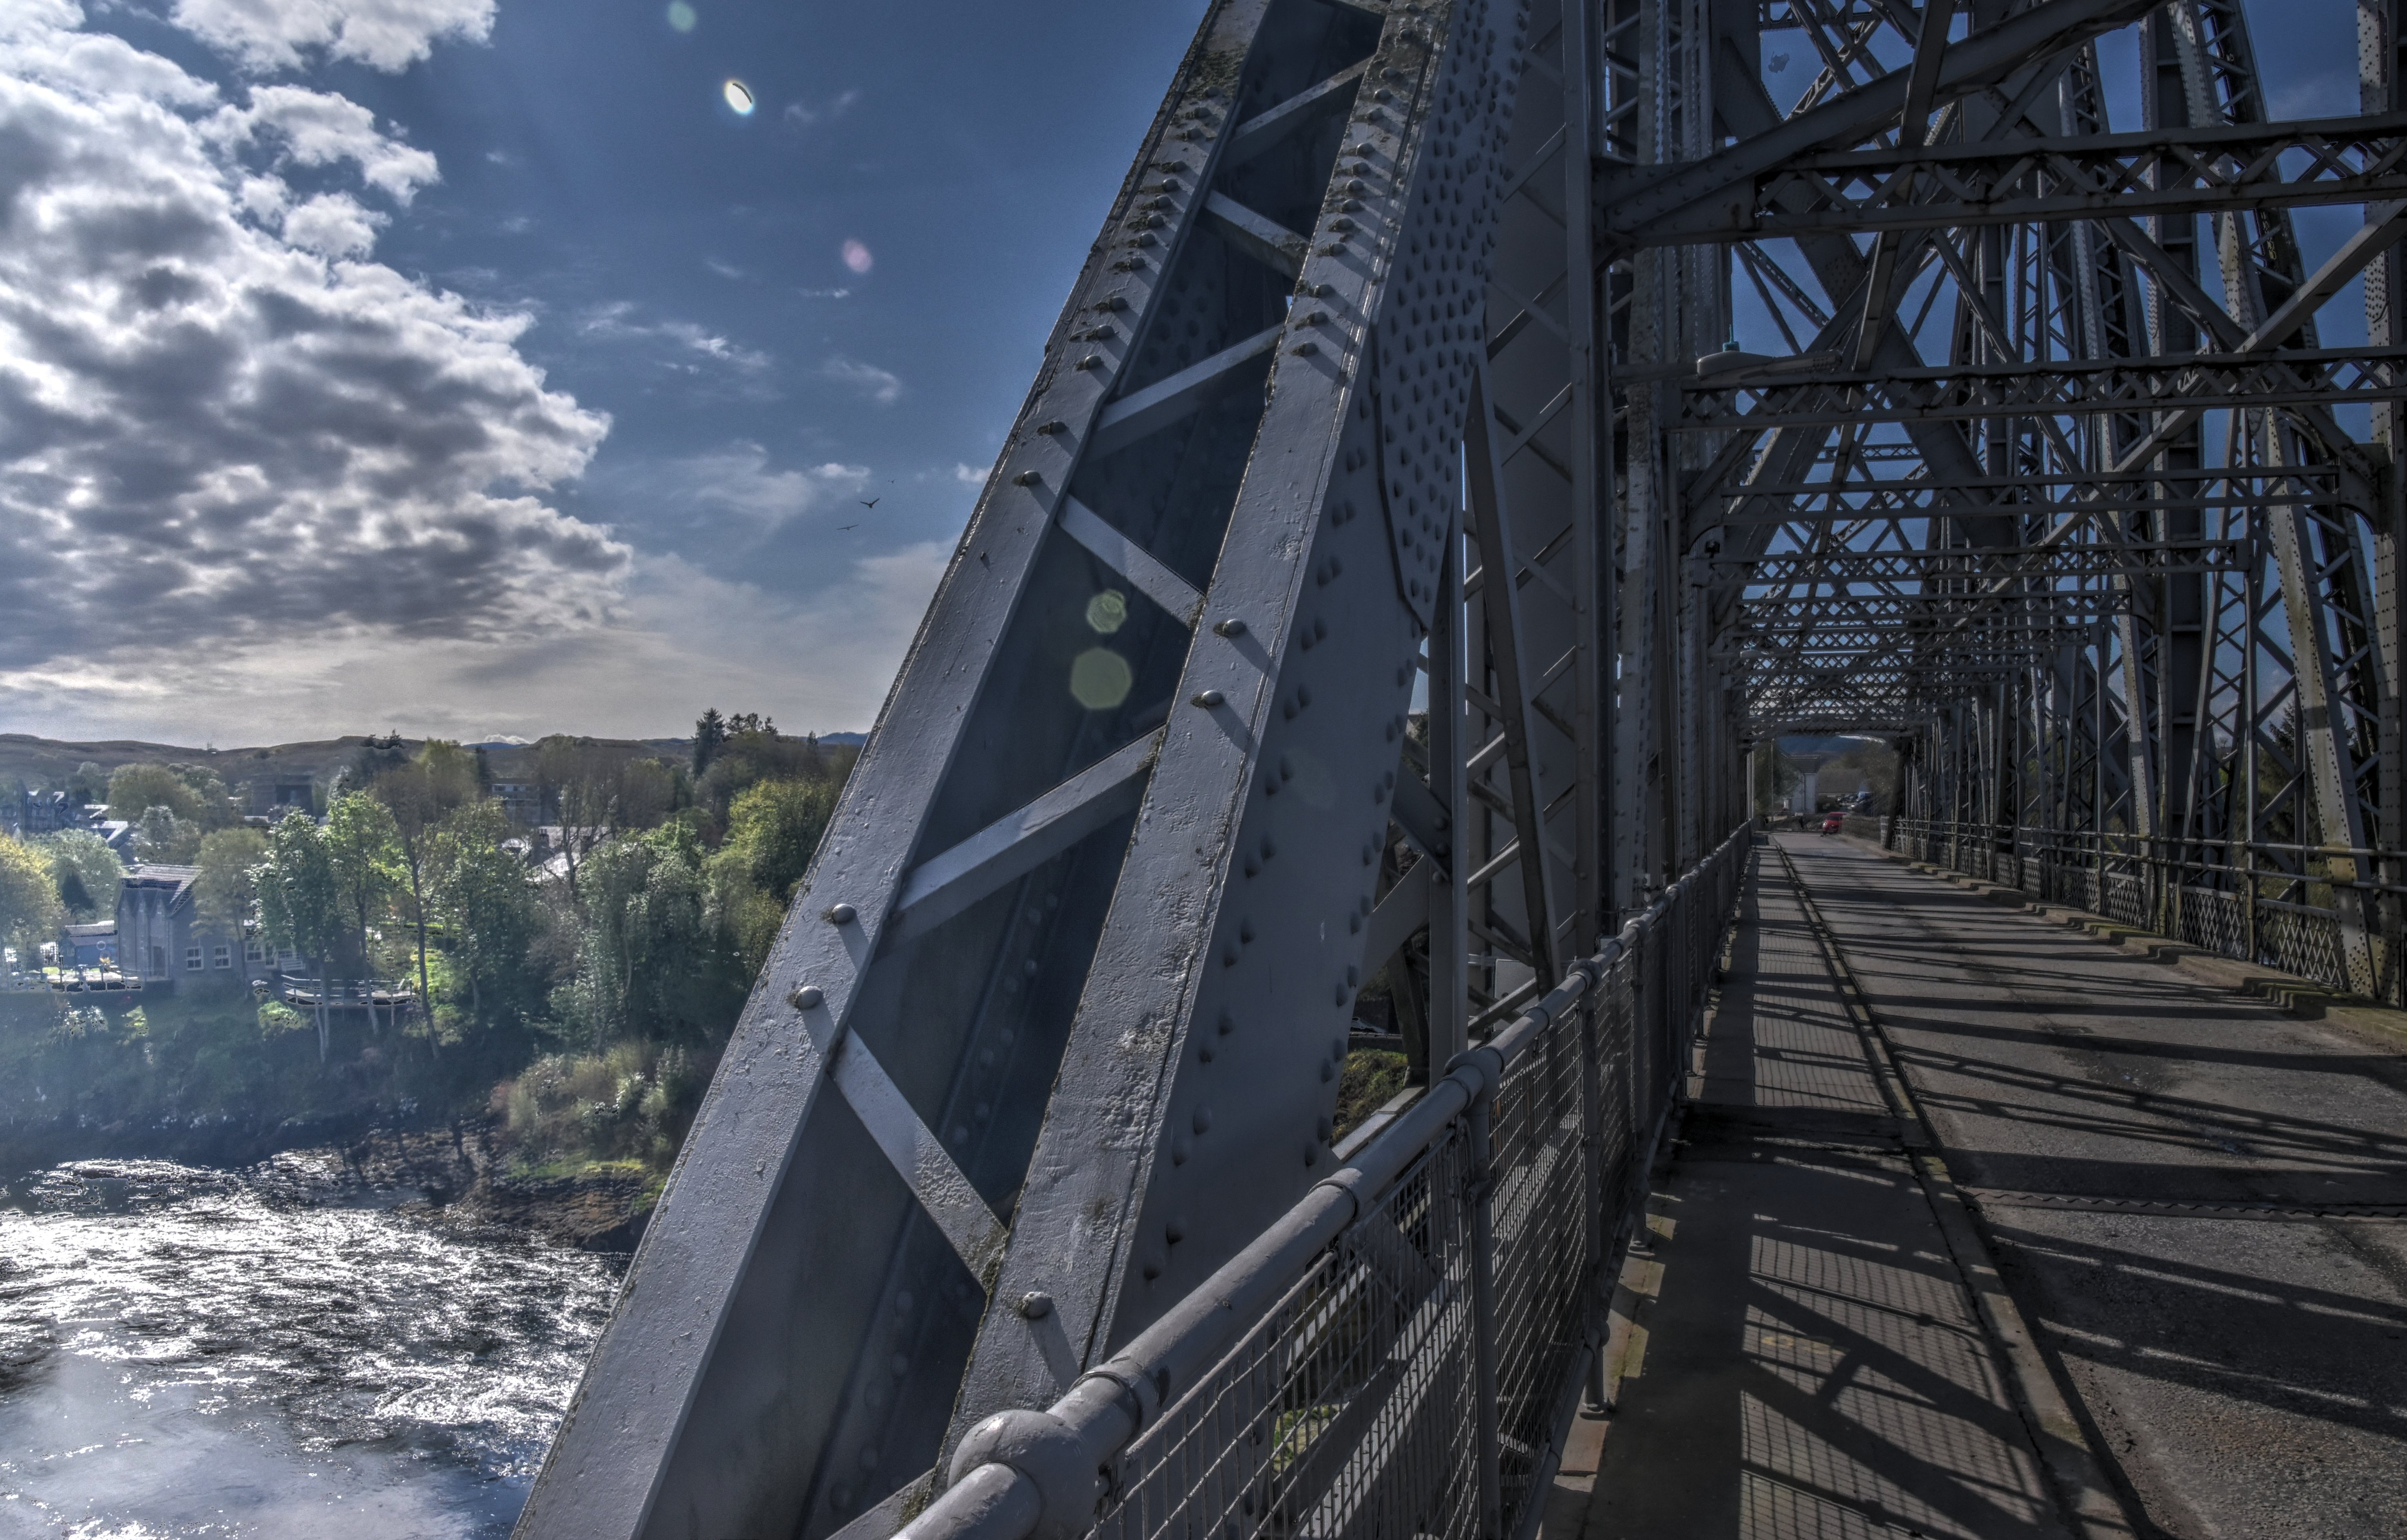
Falls of Lora interpretive sign.
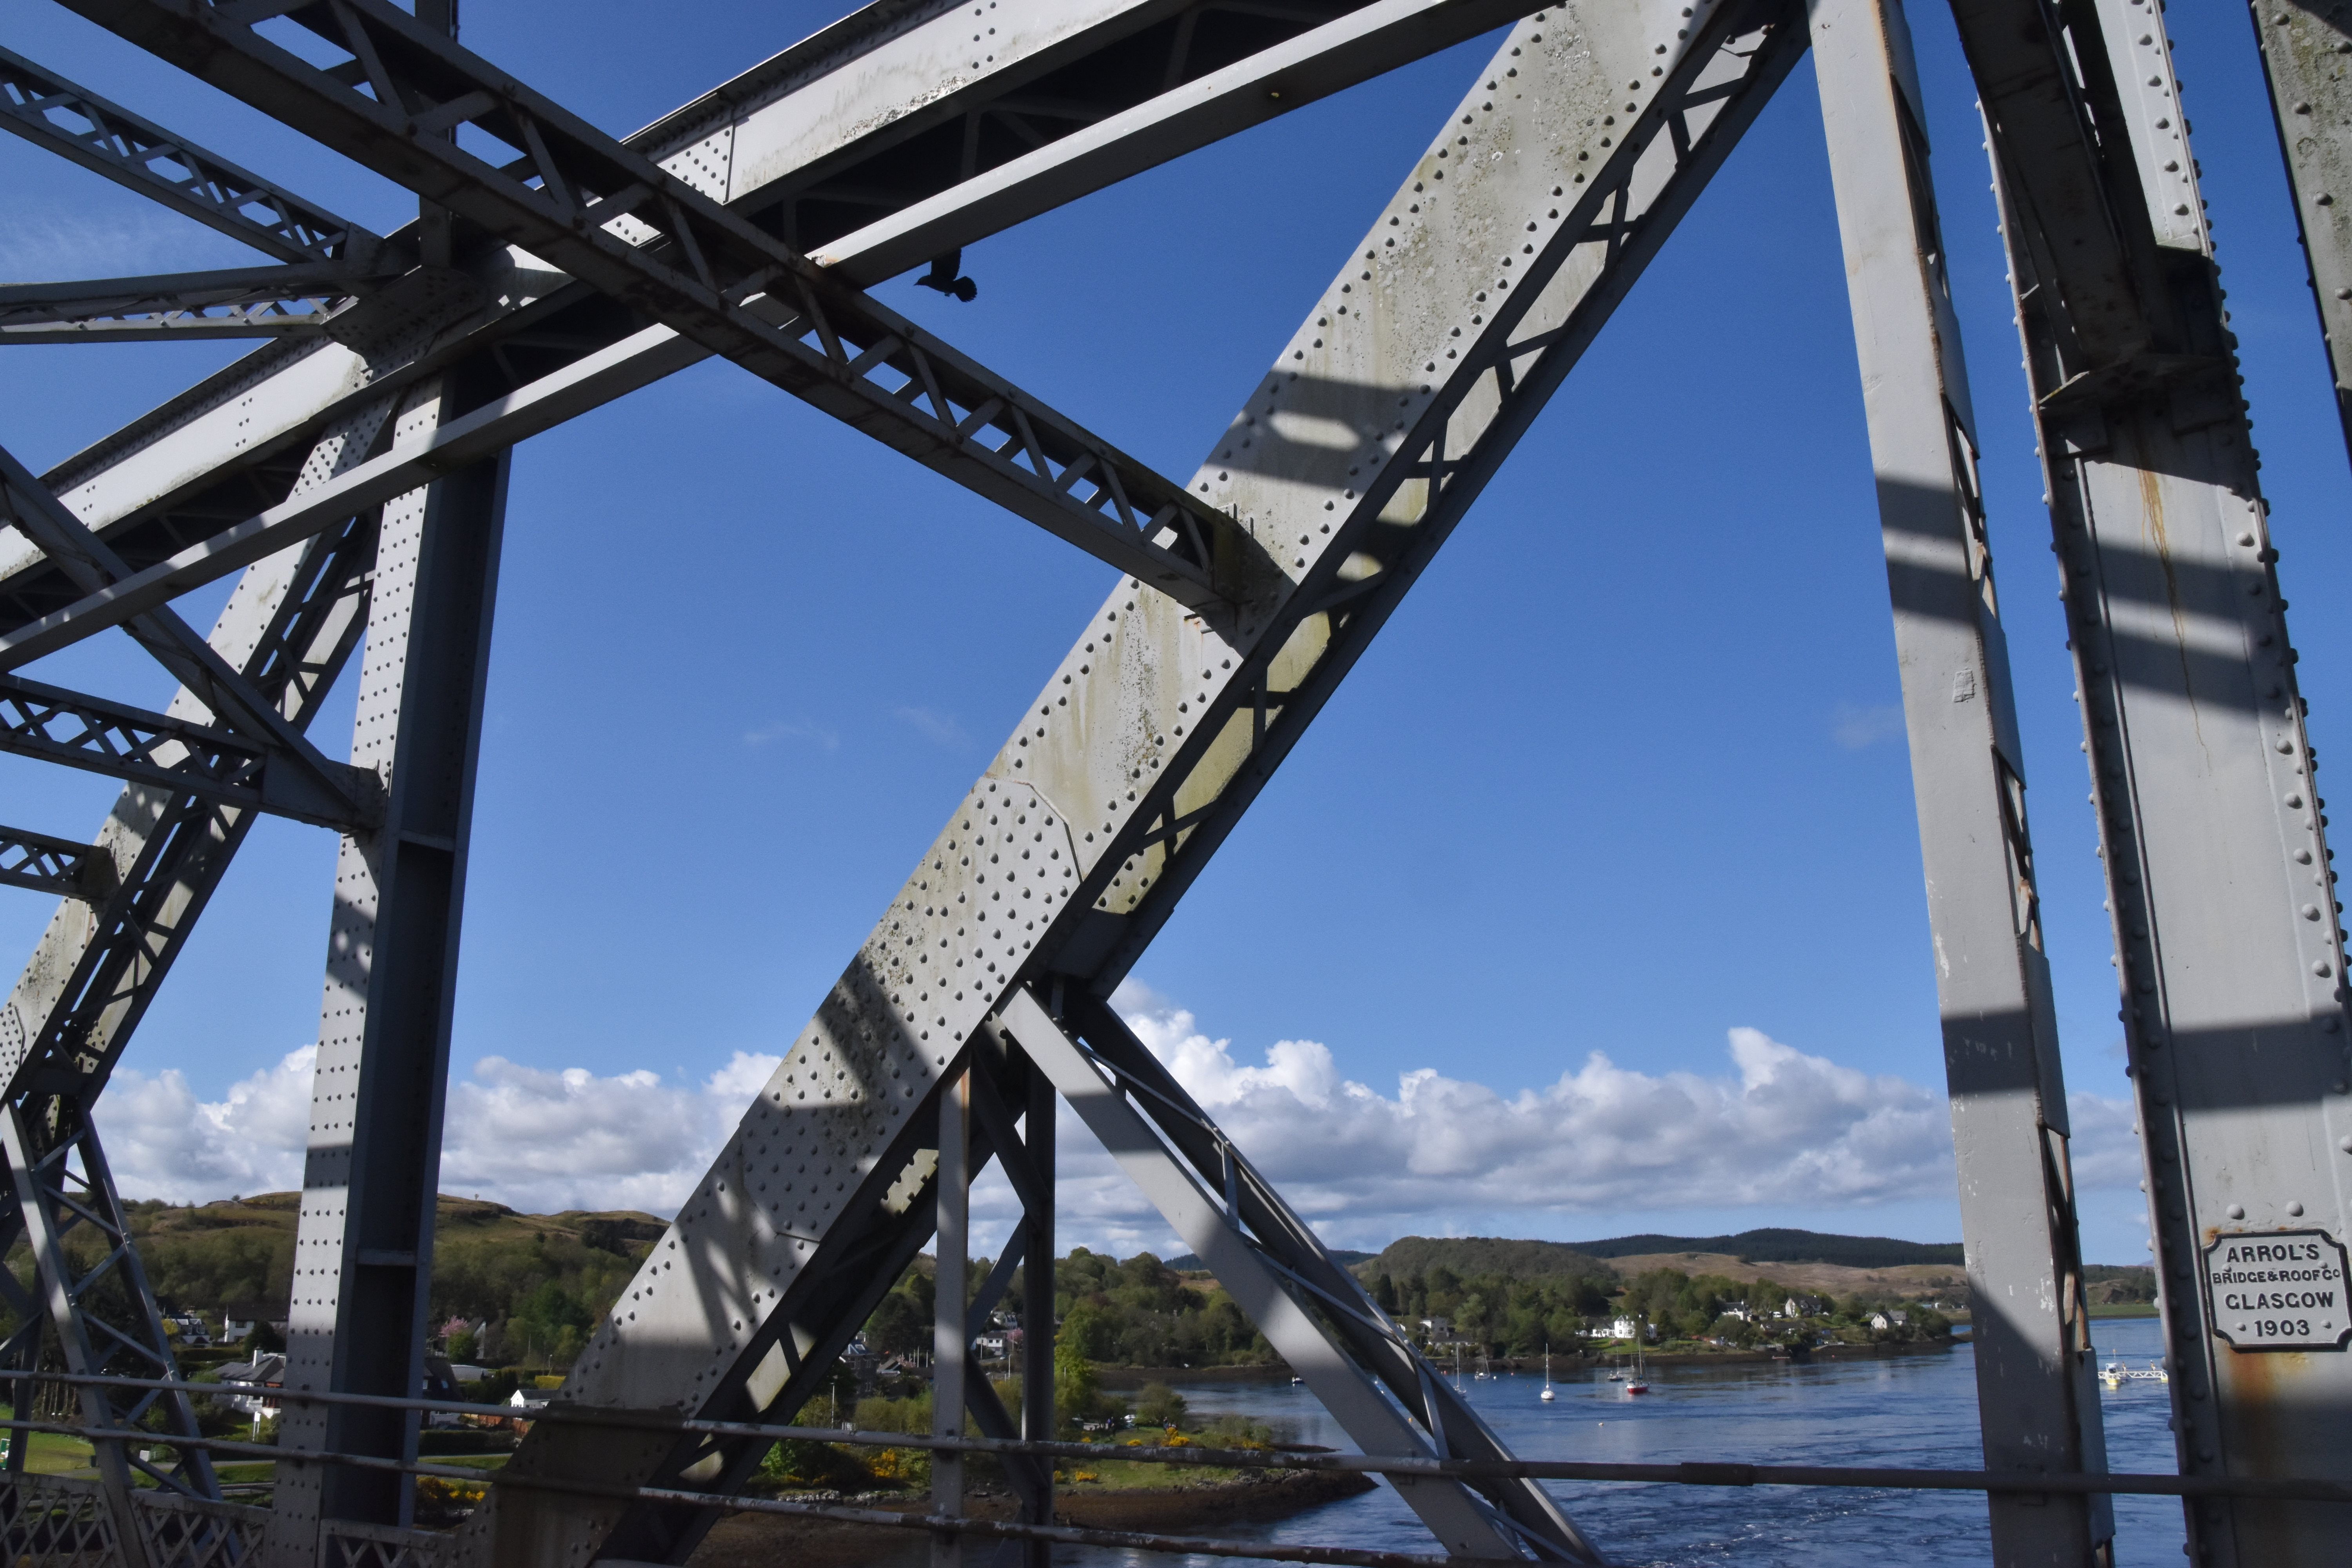
![]()
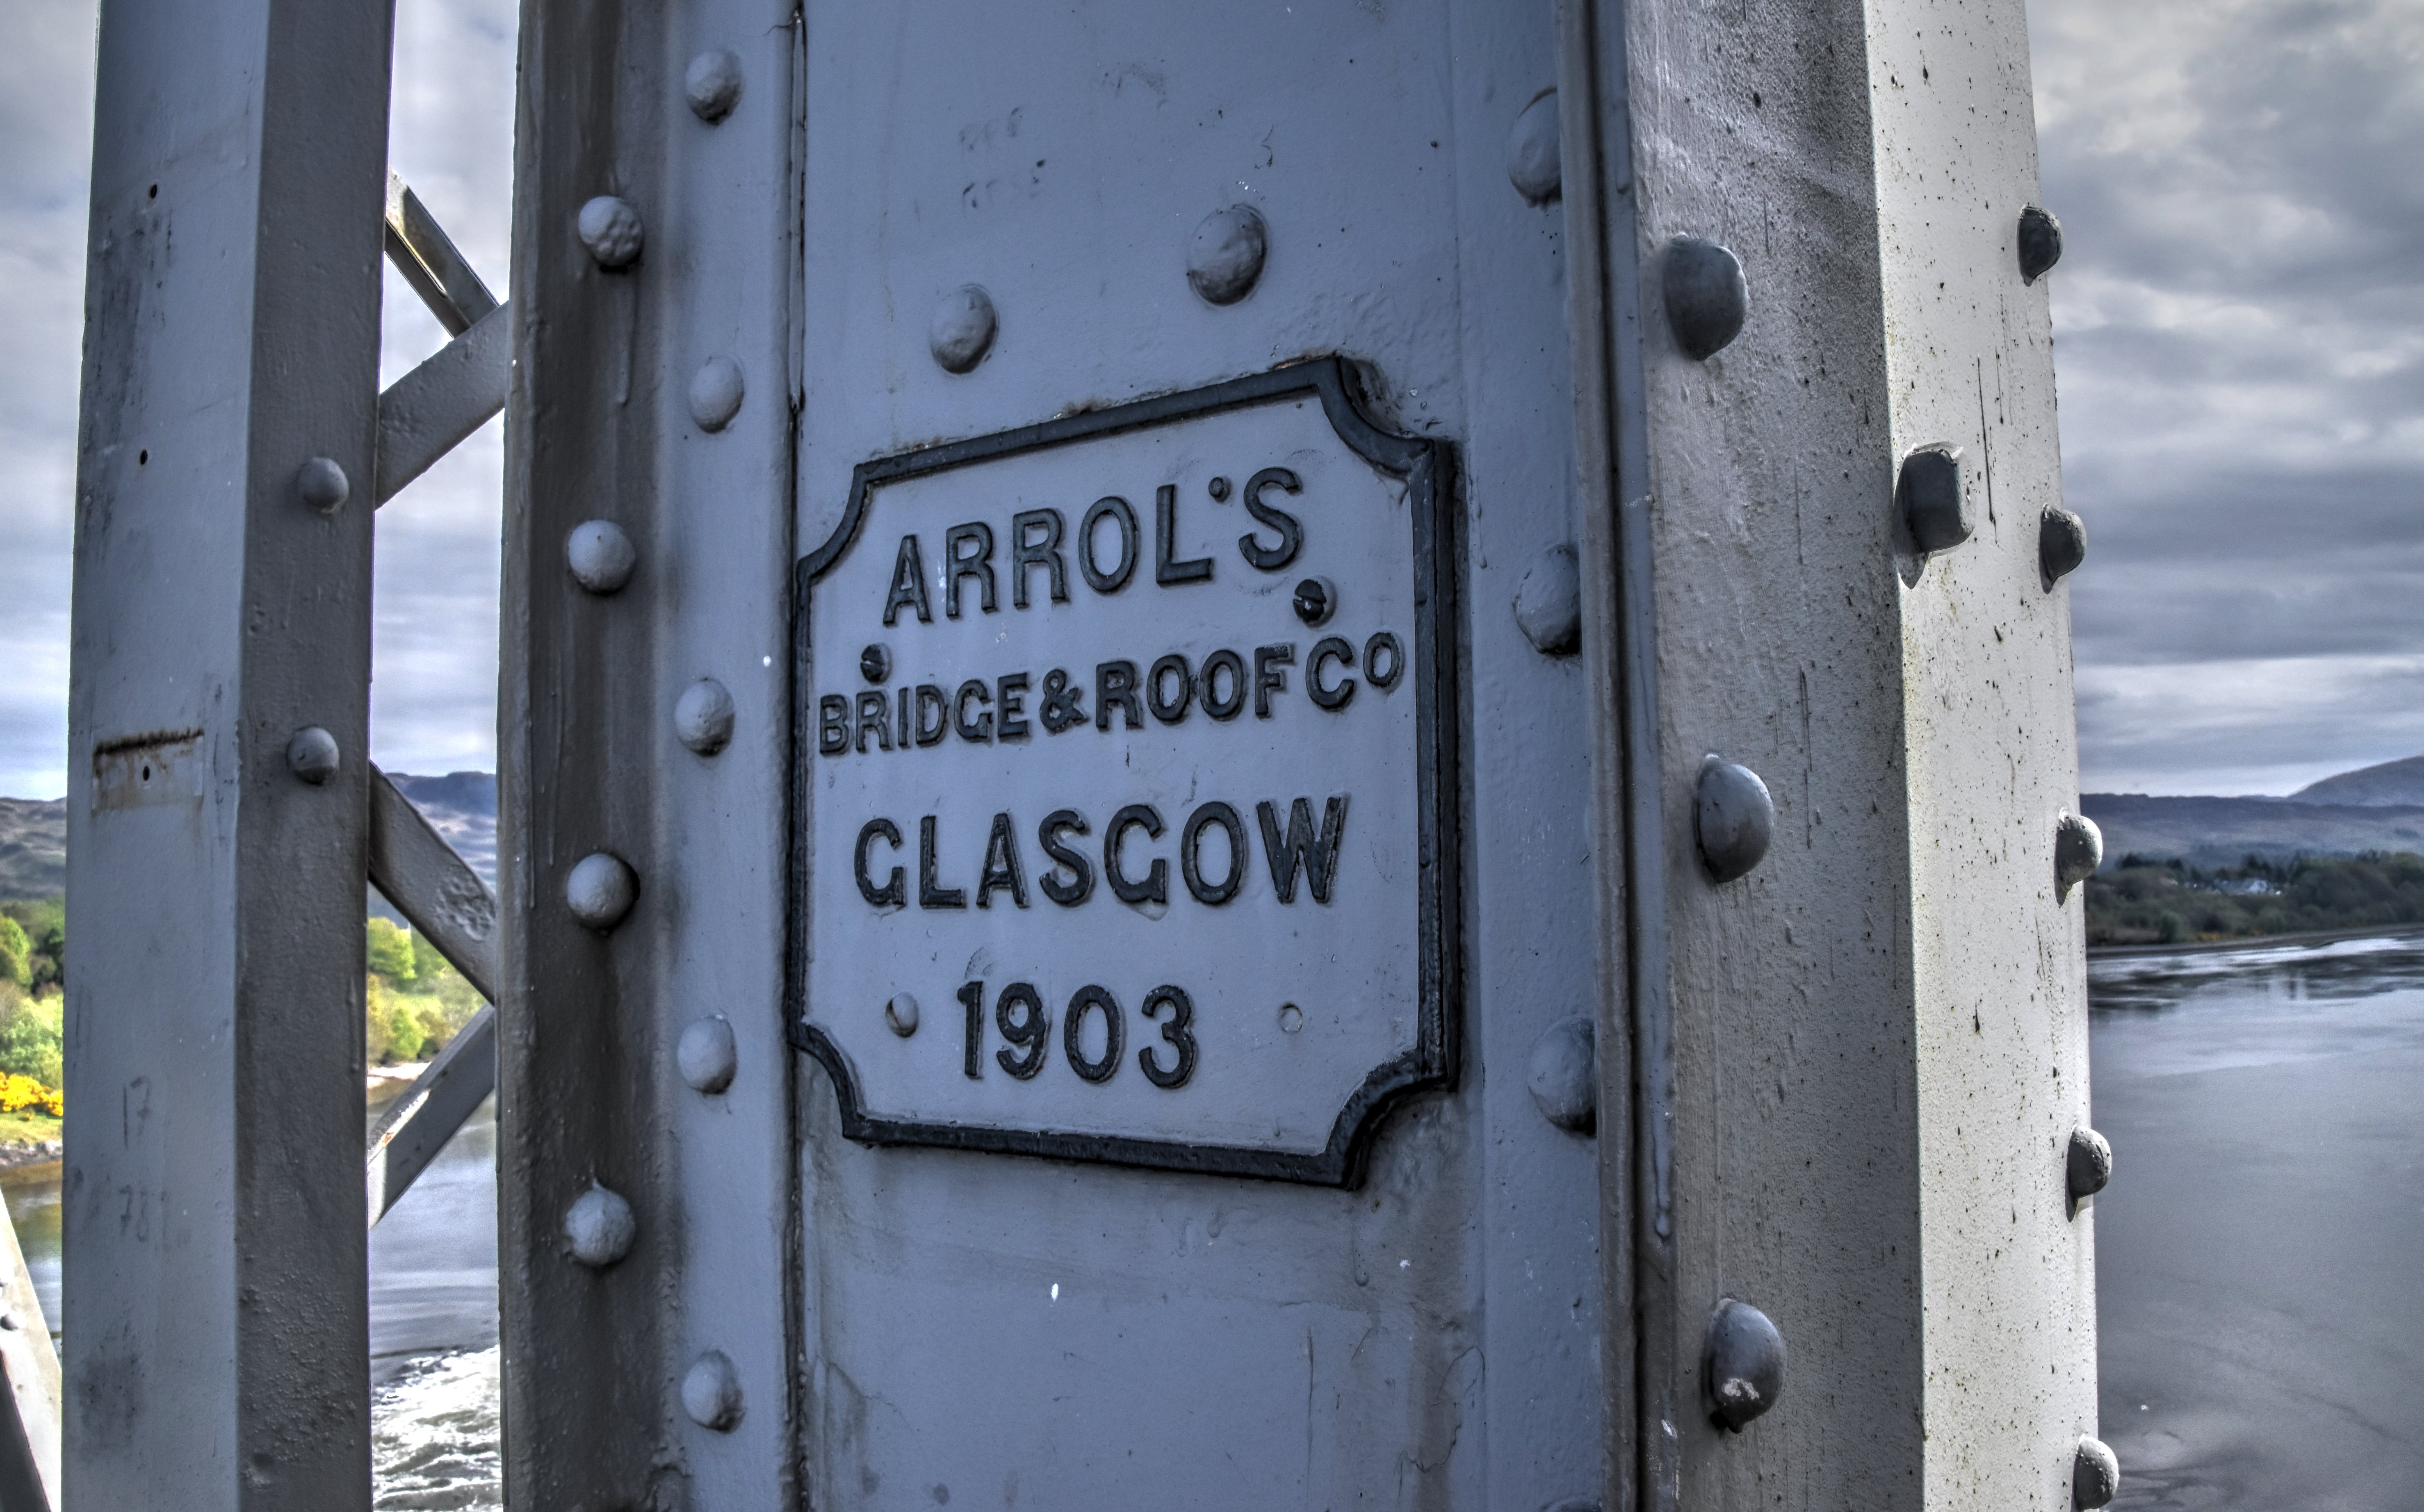
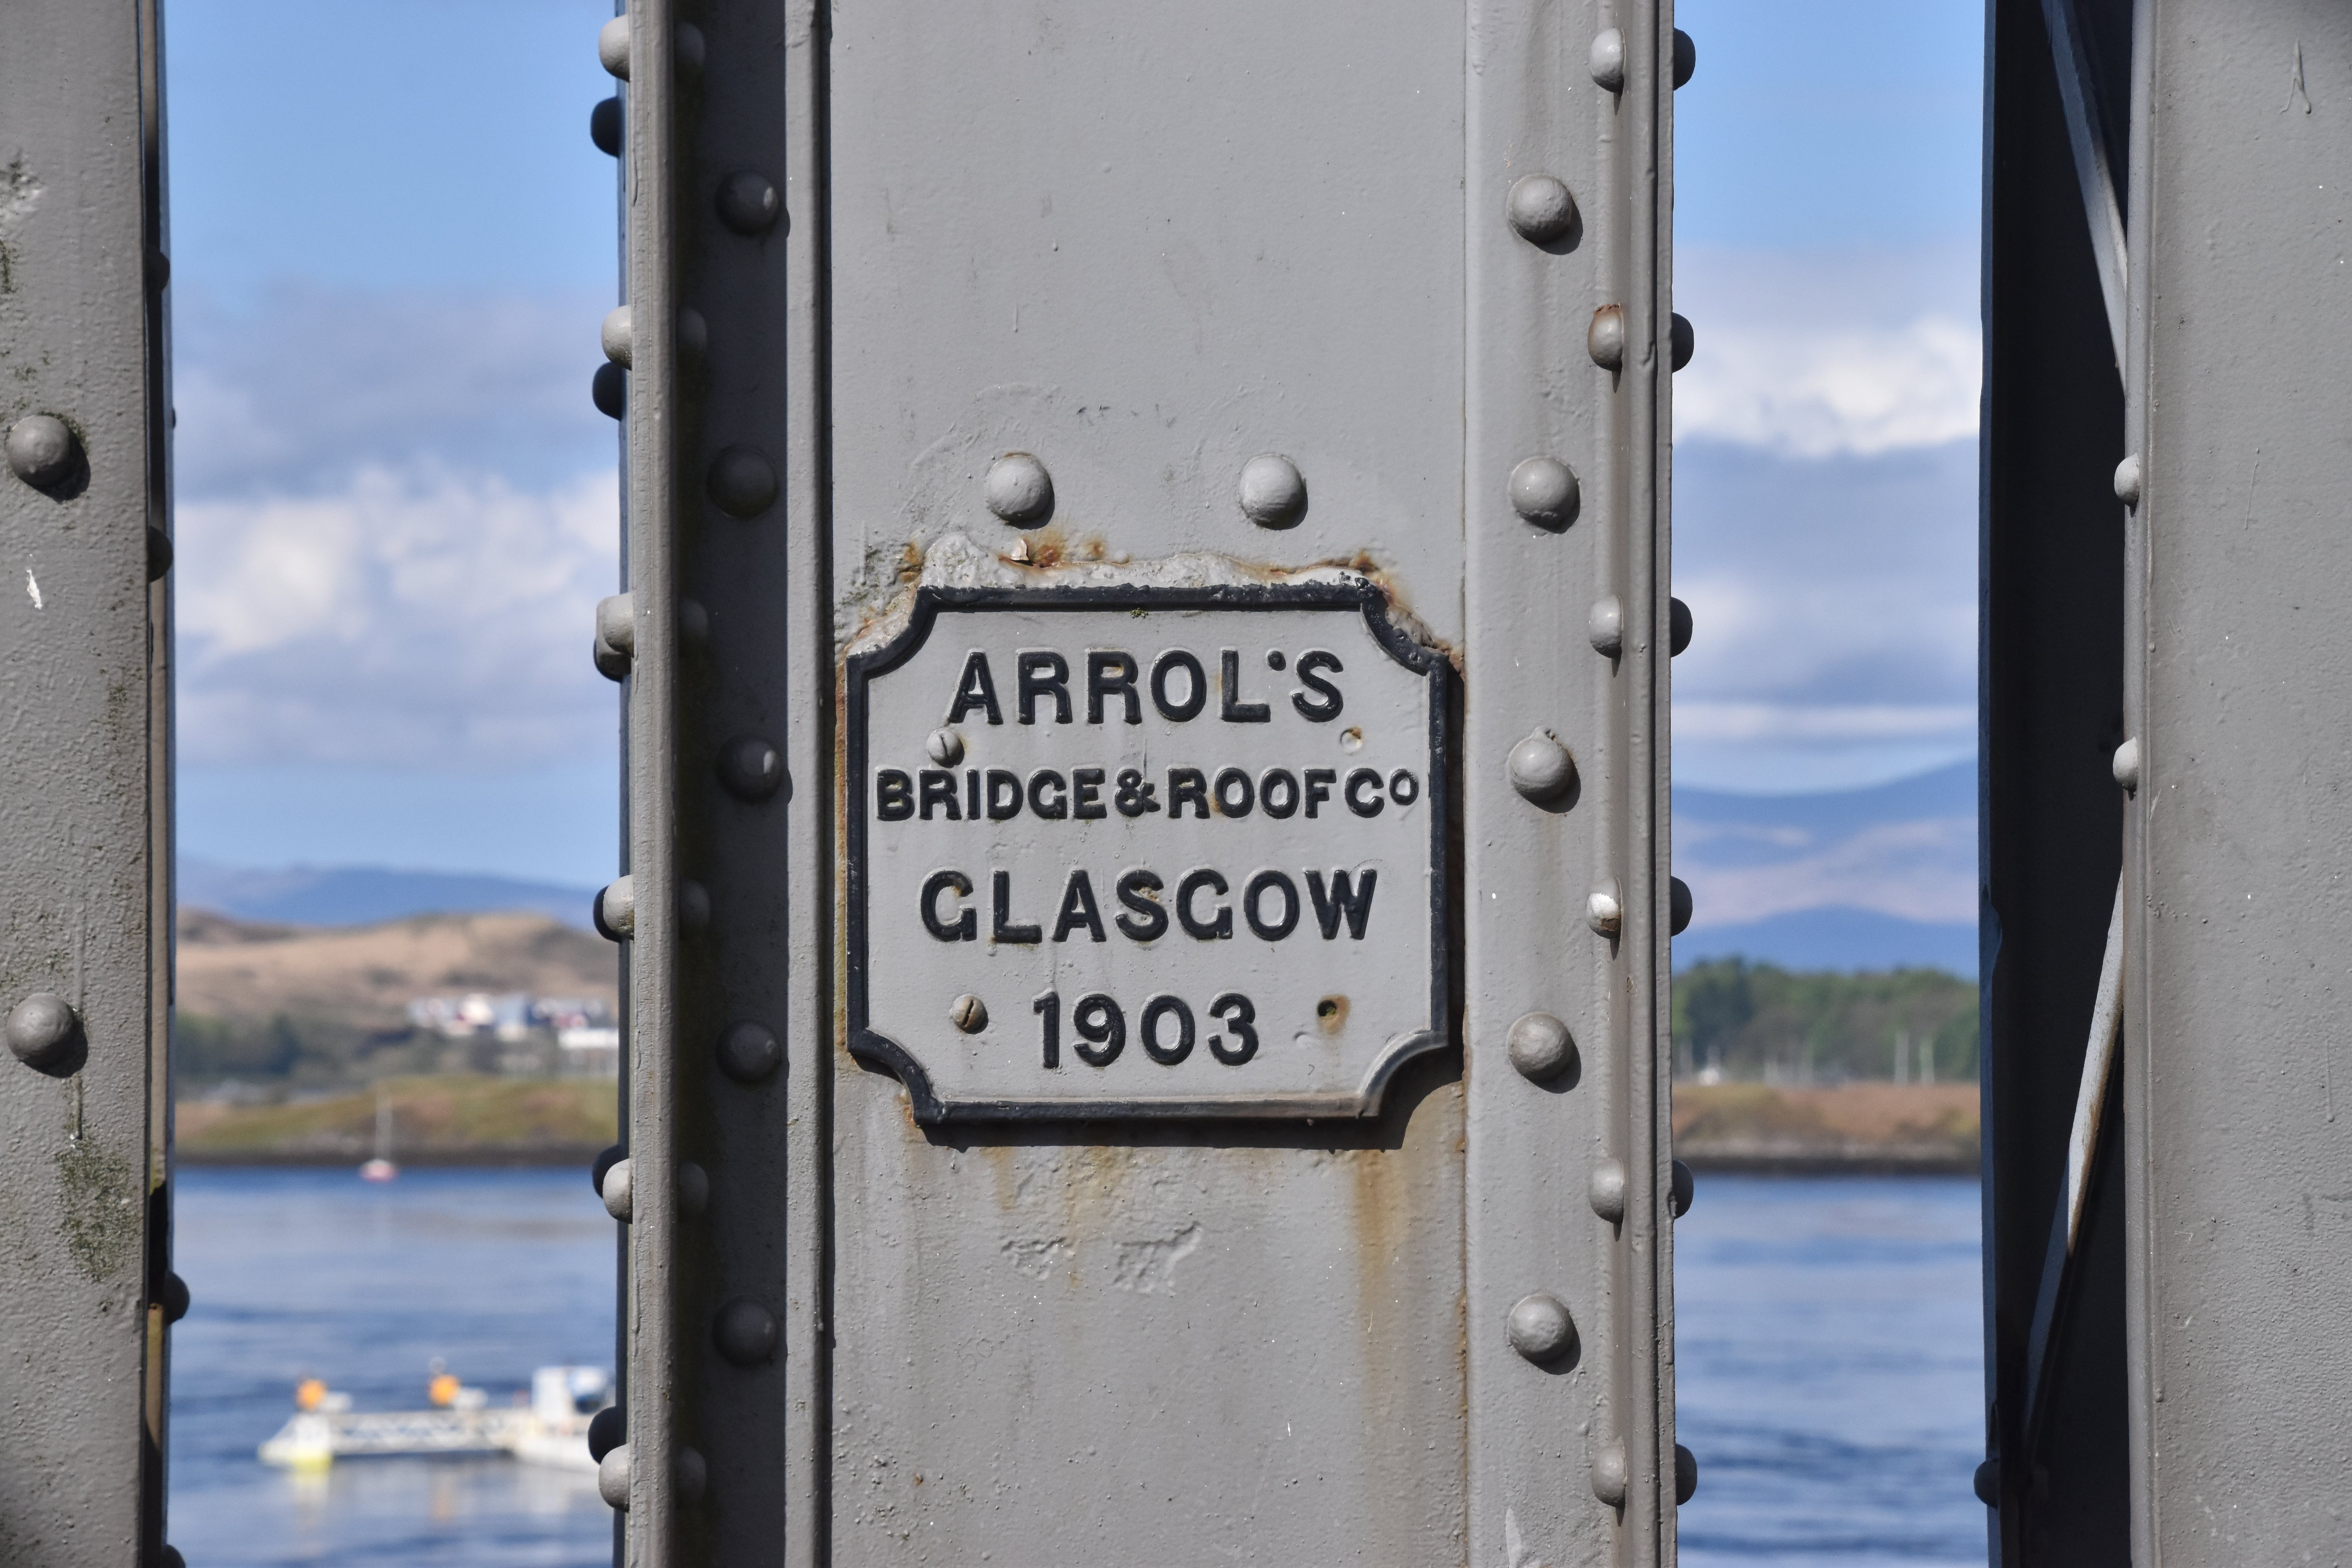
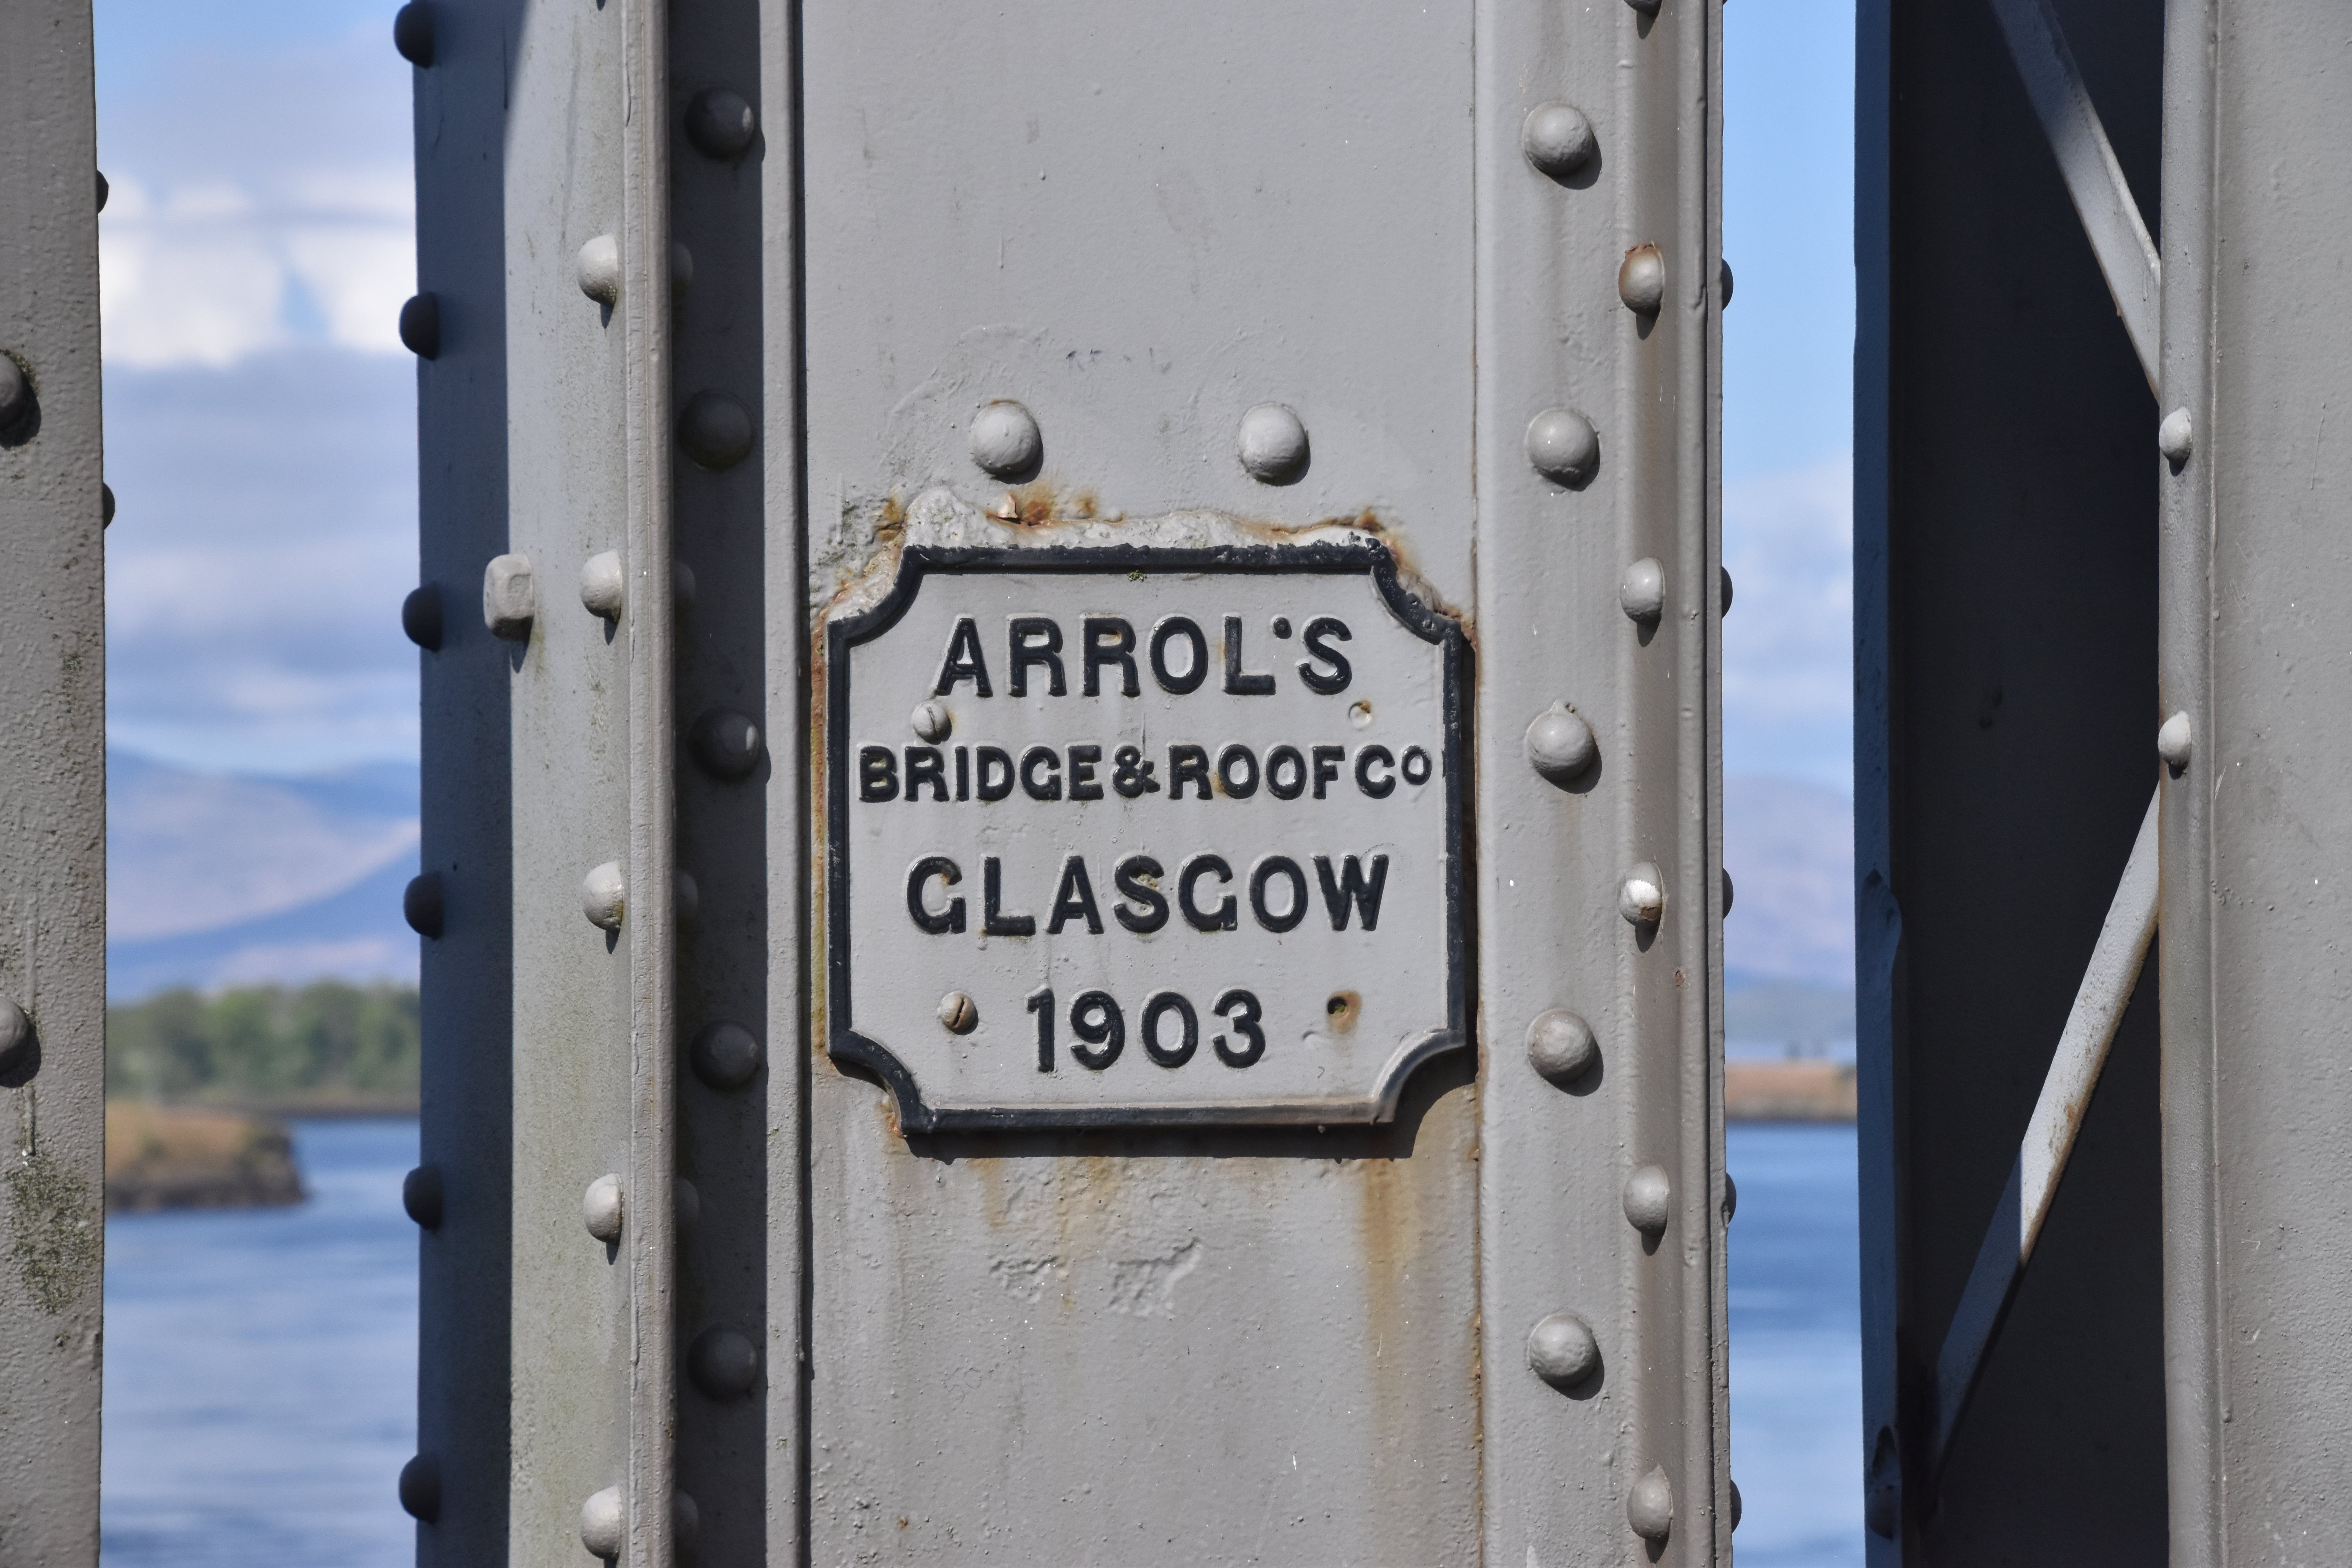
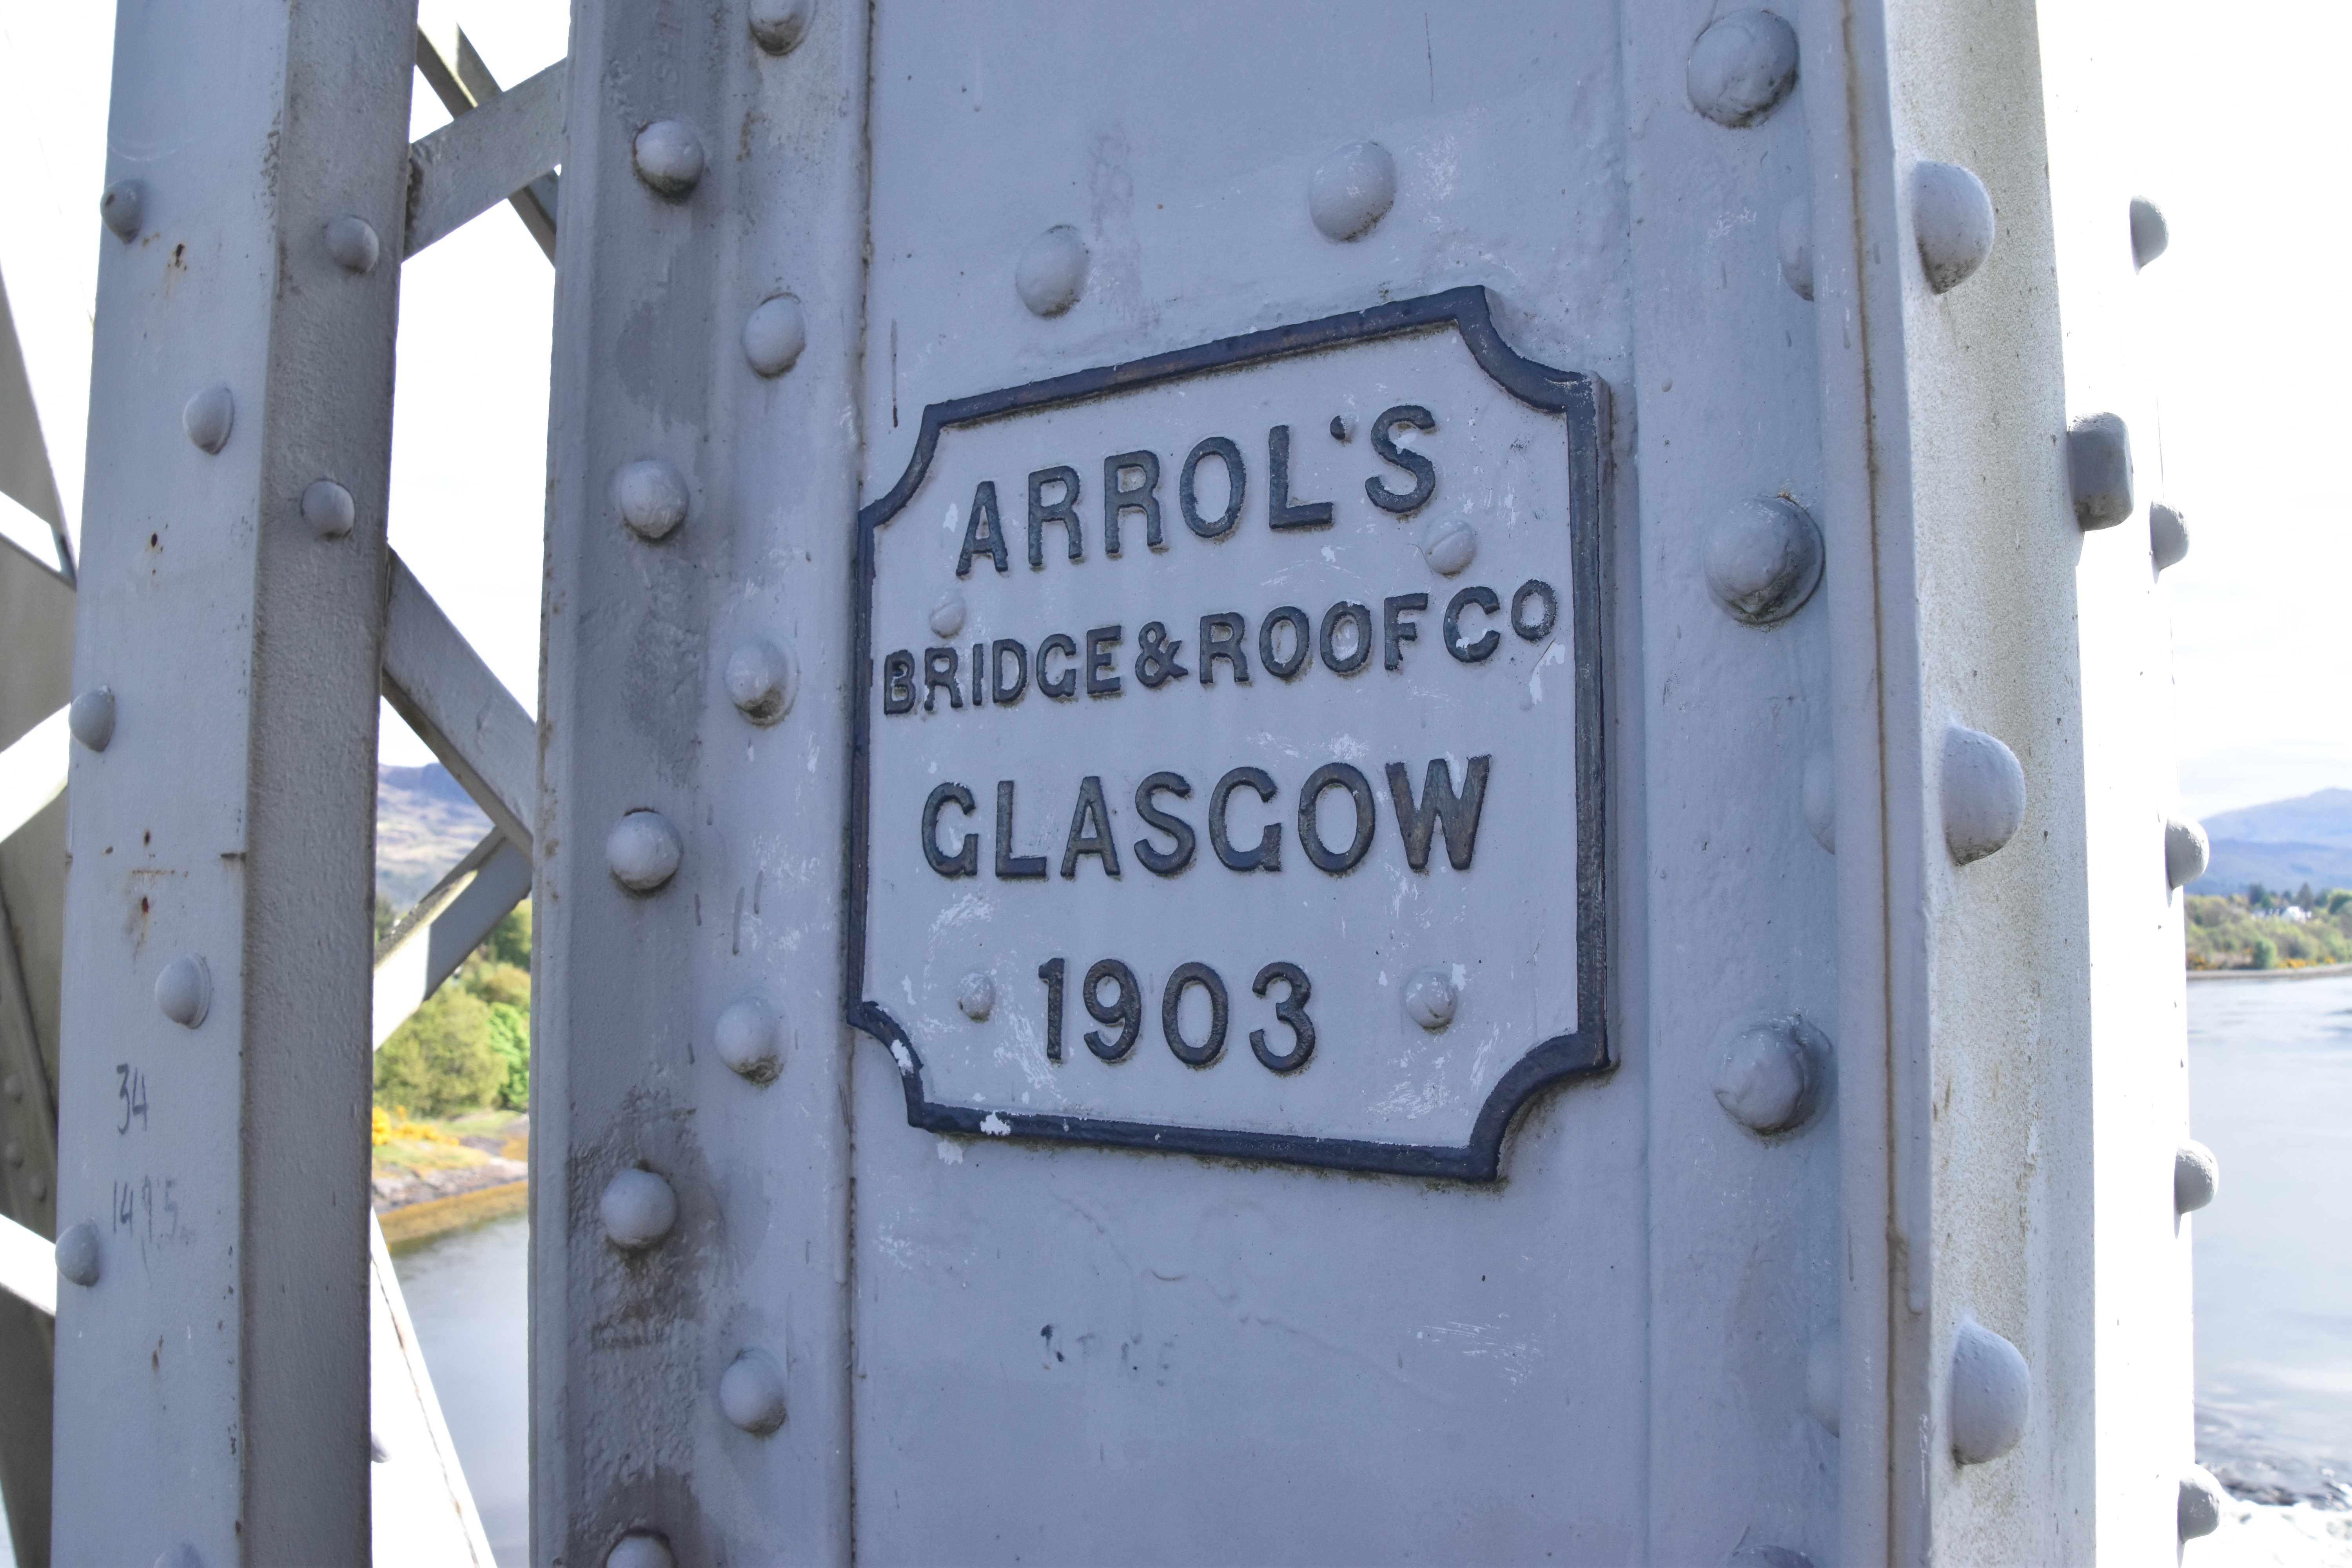
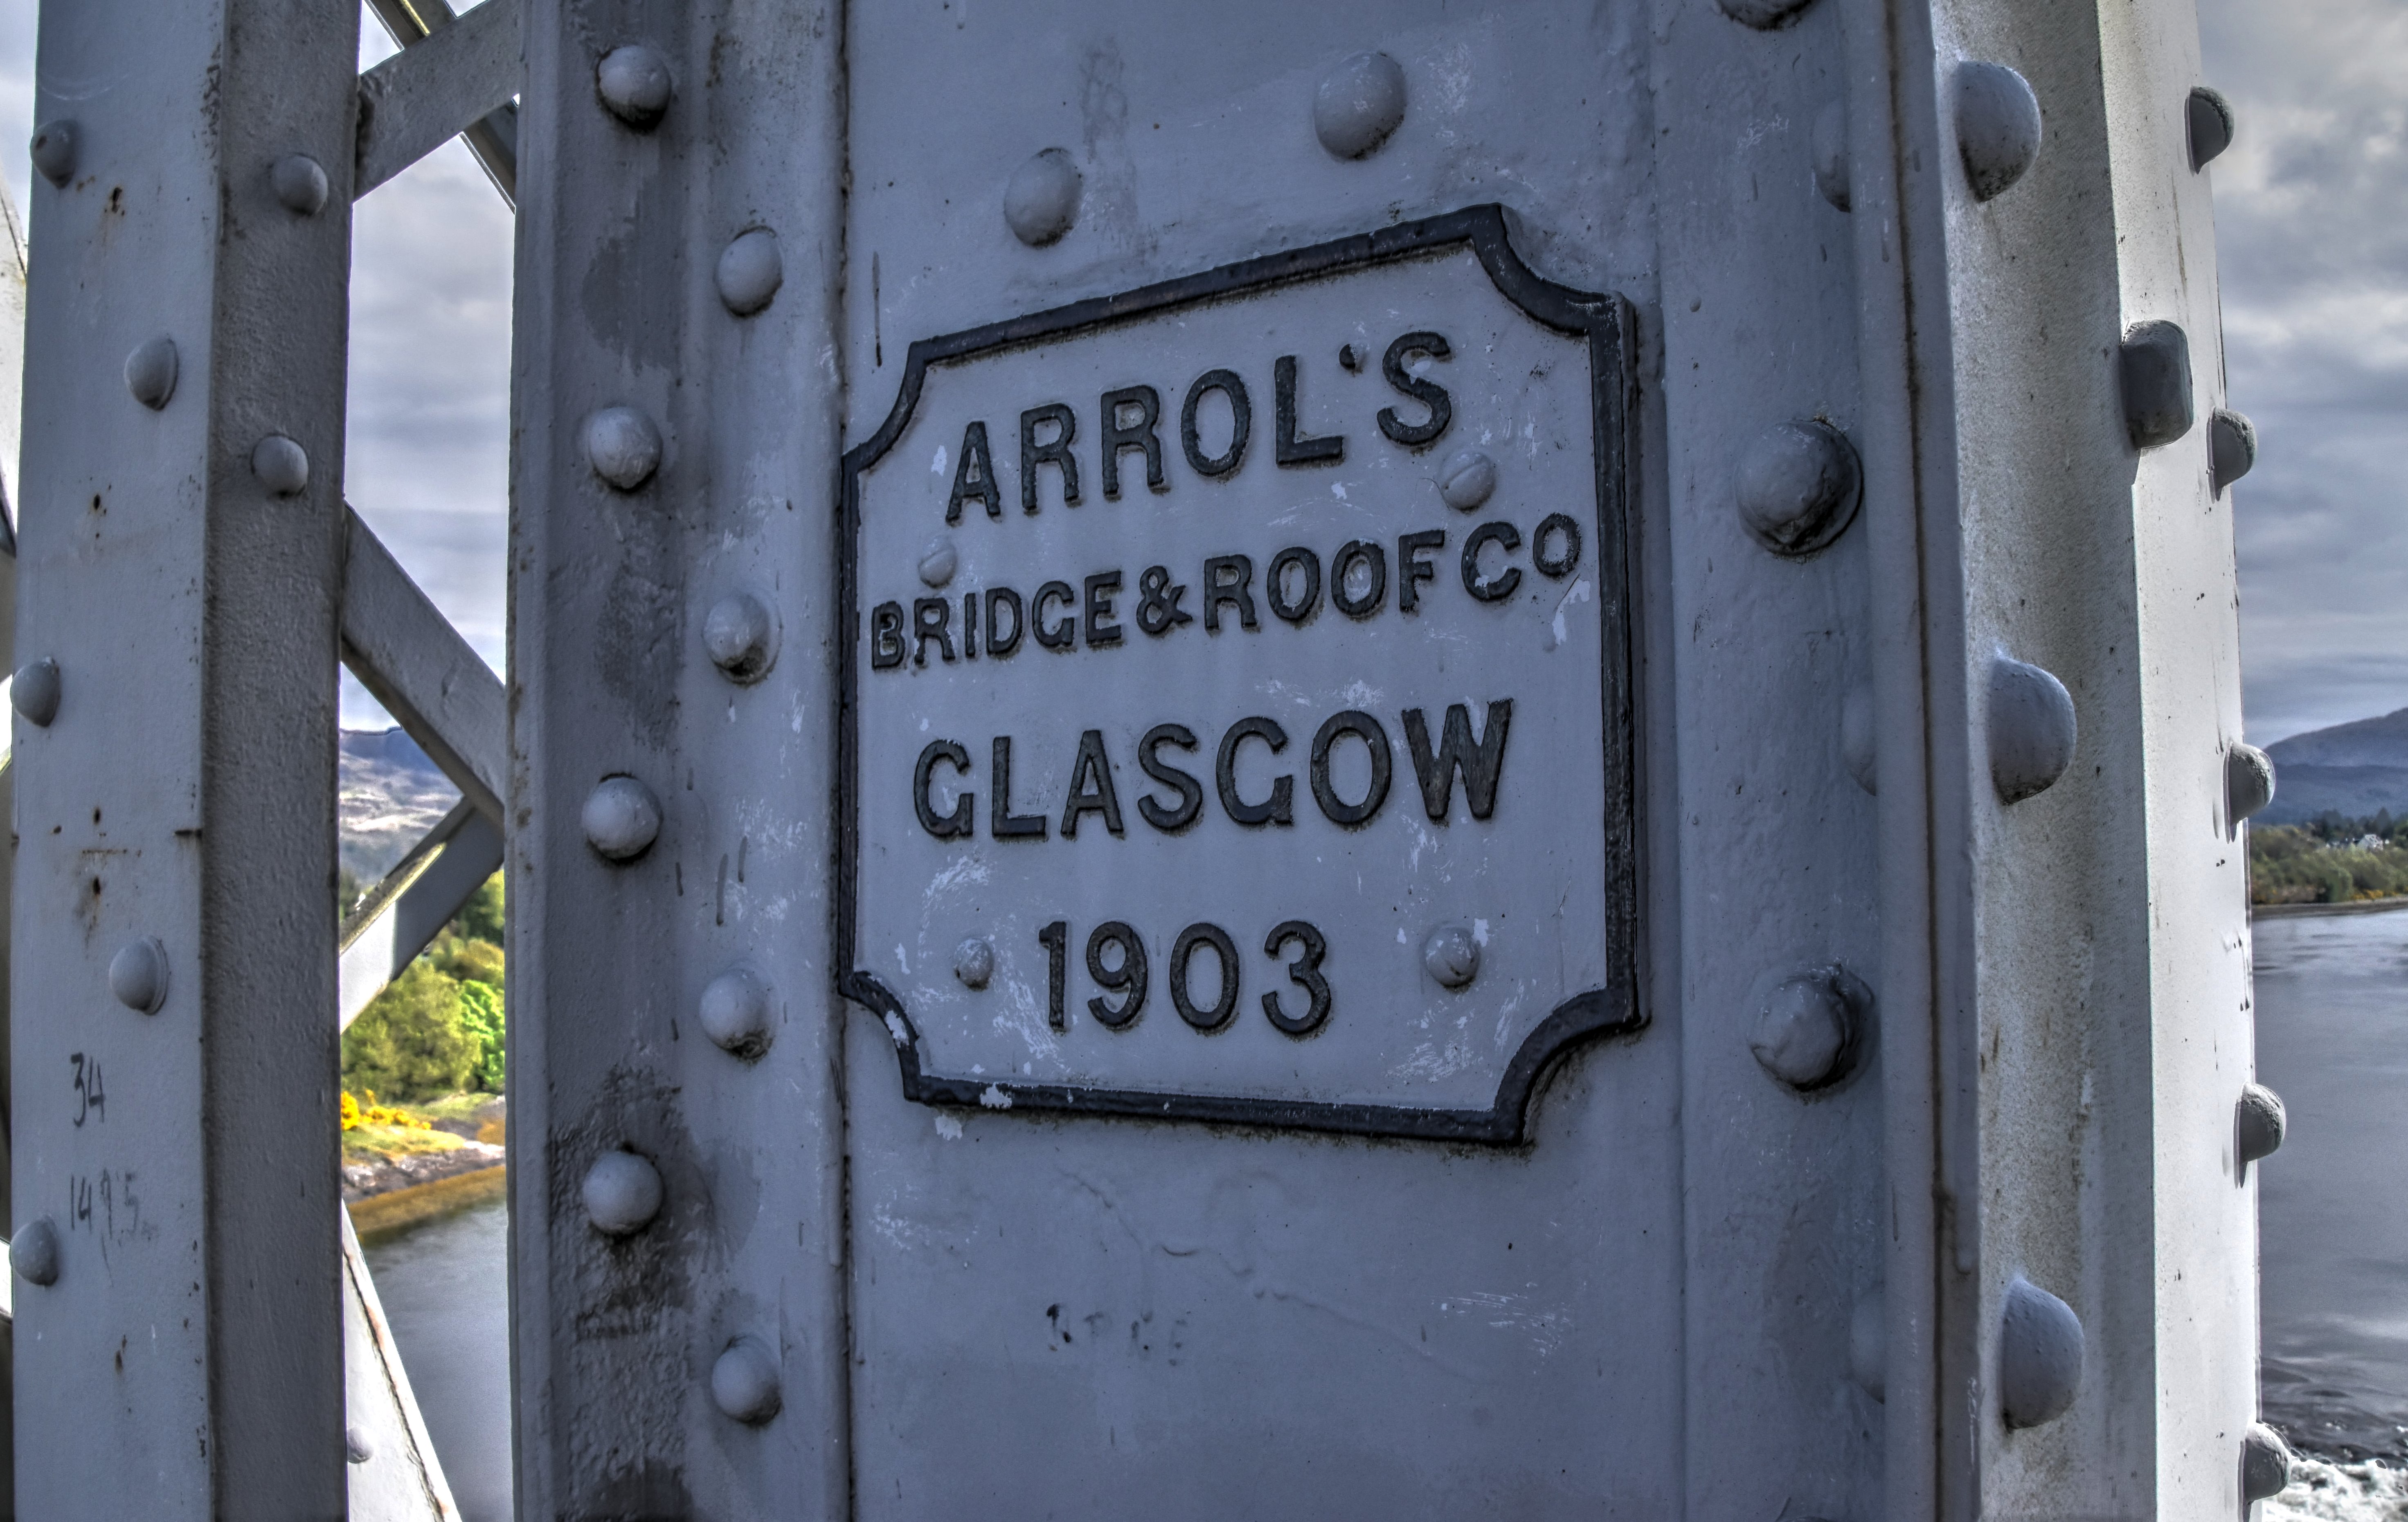
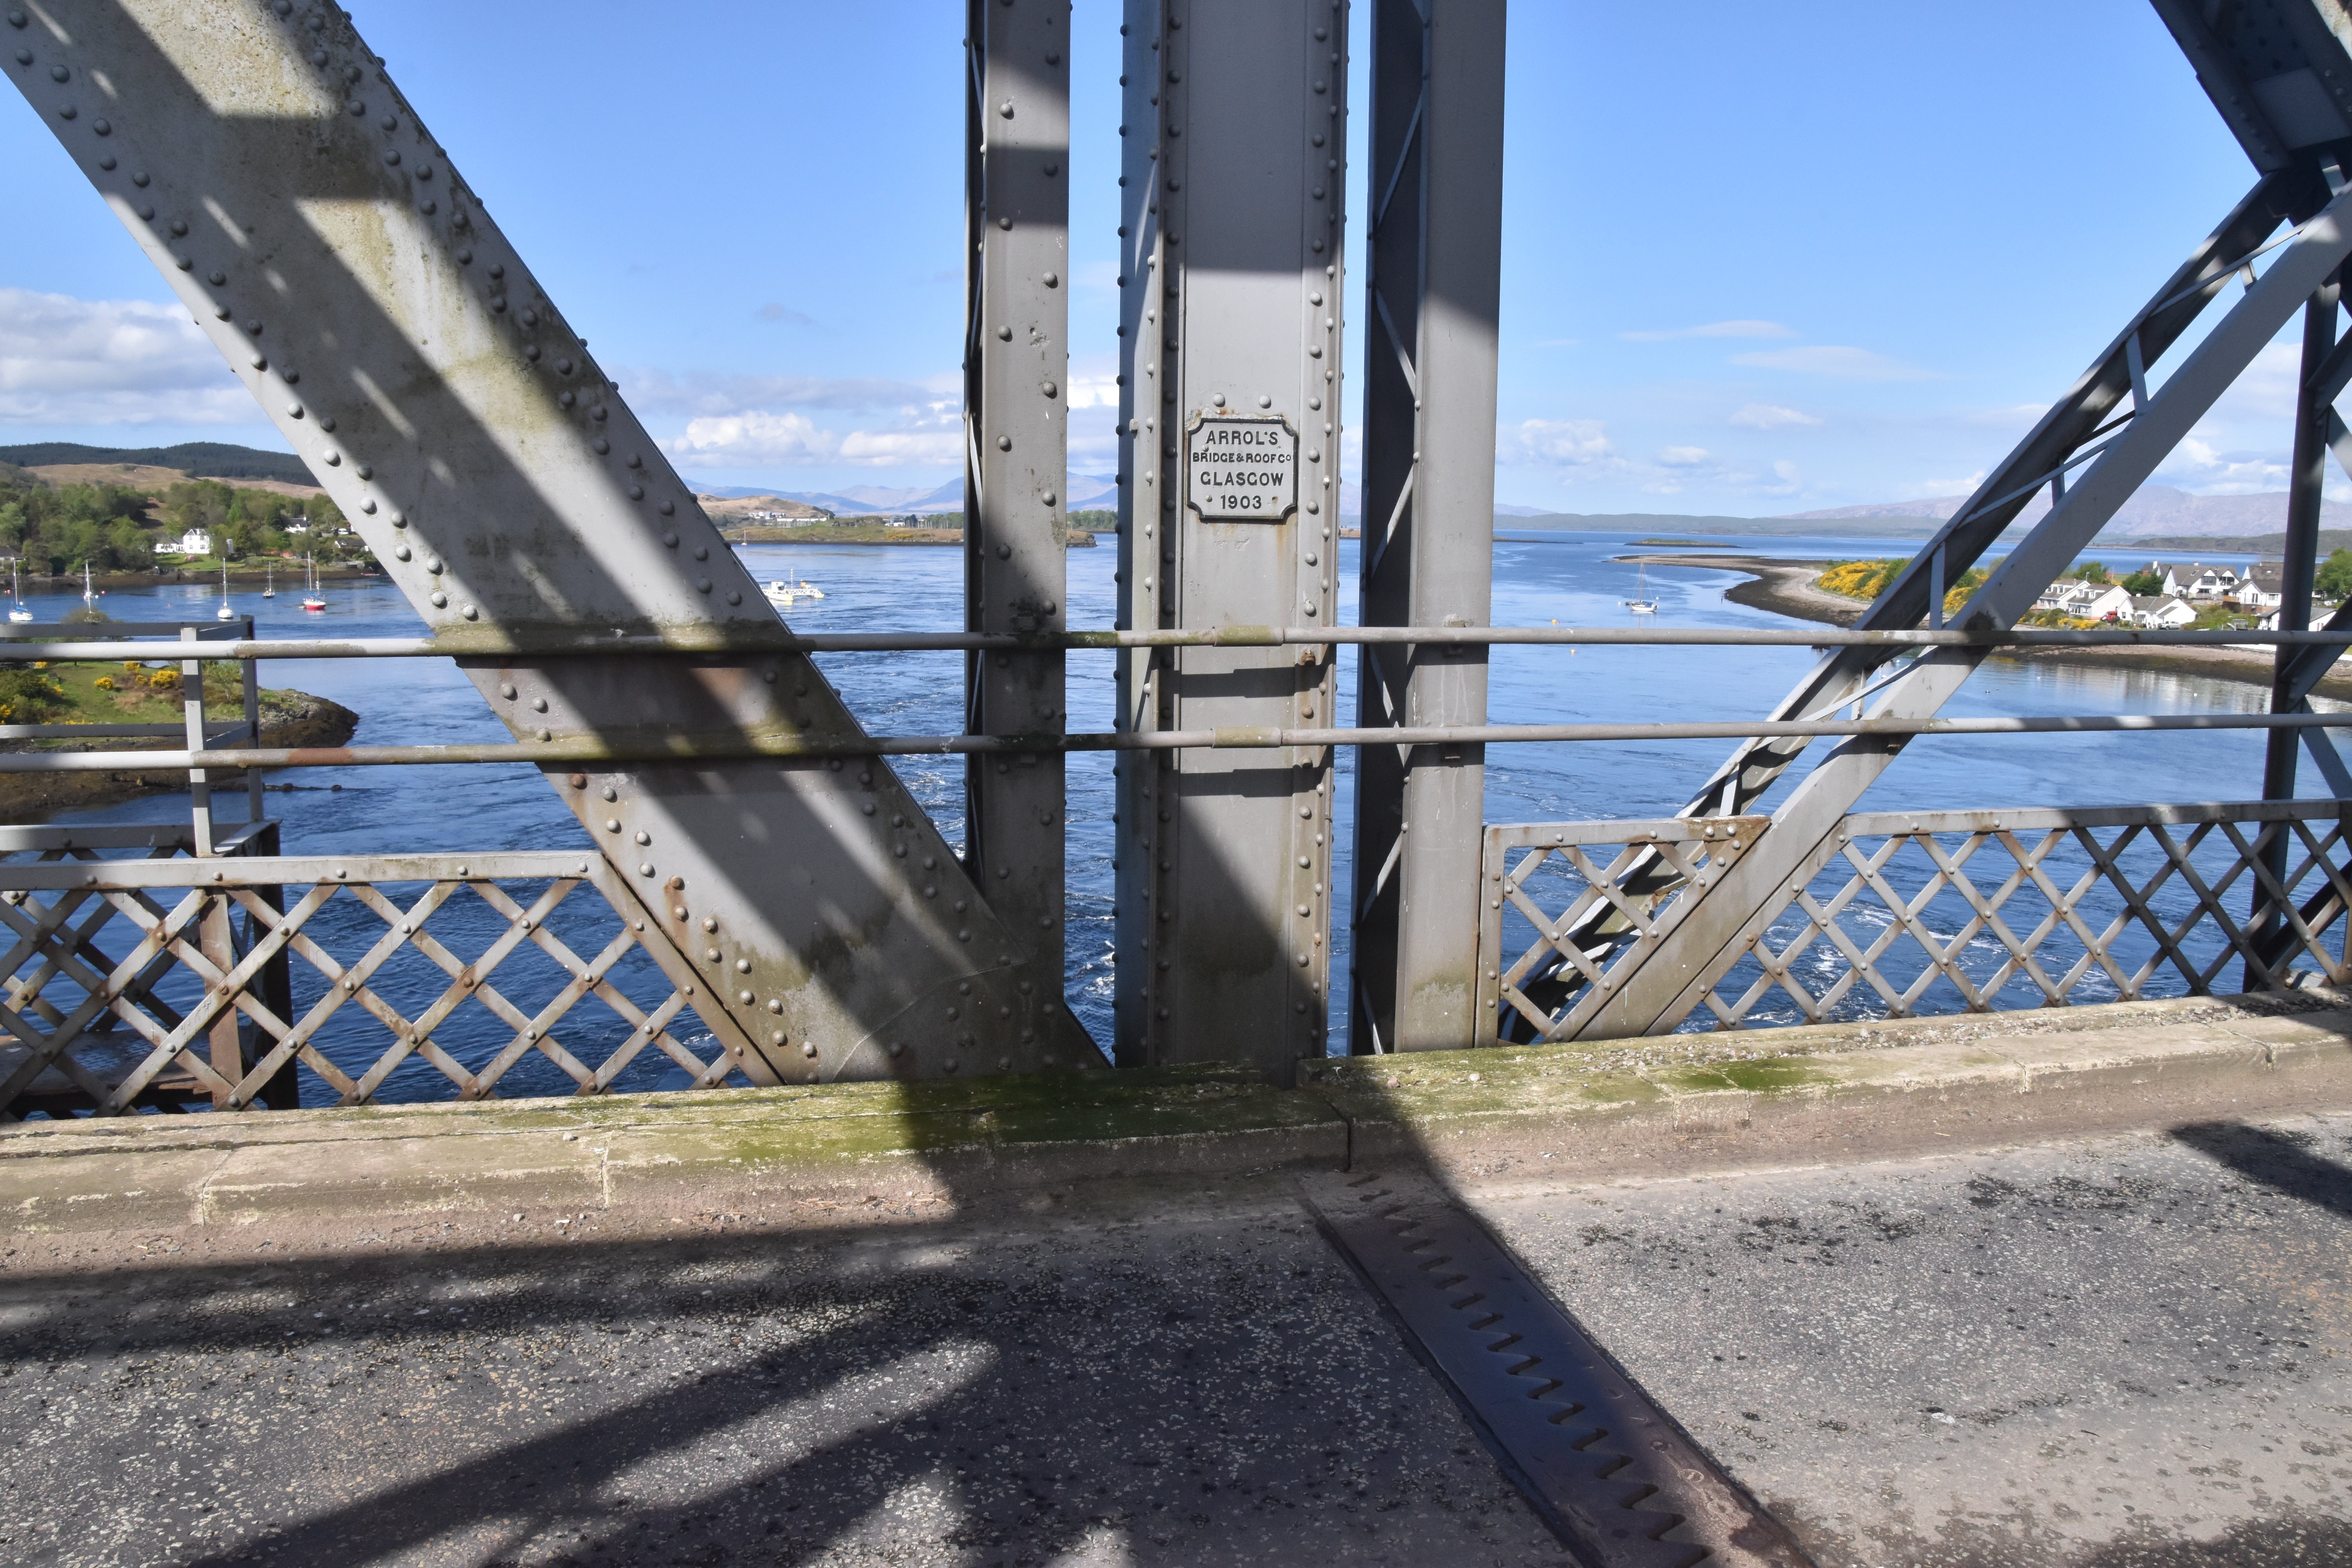
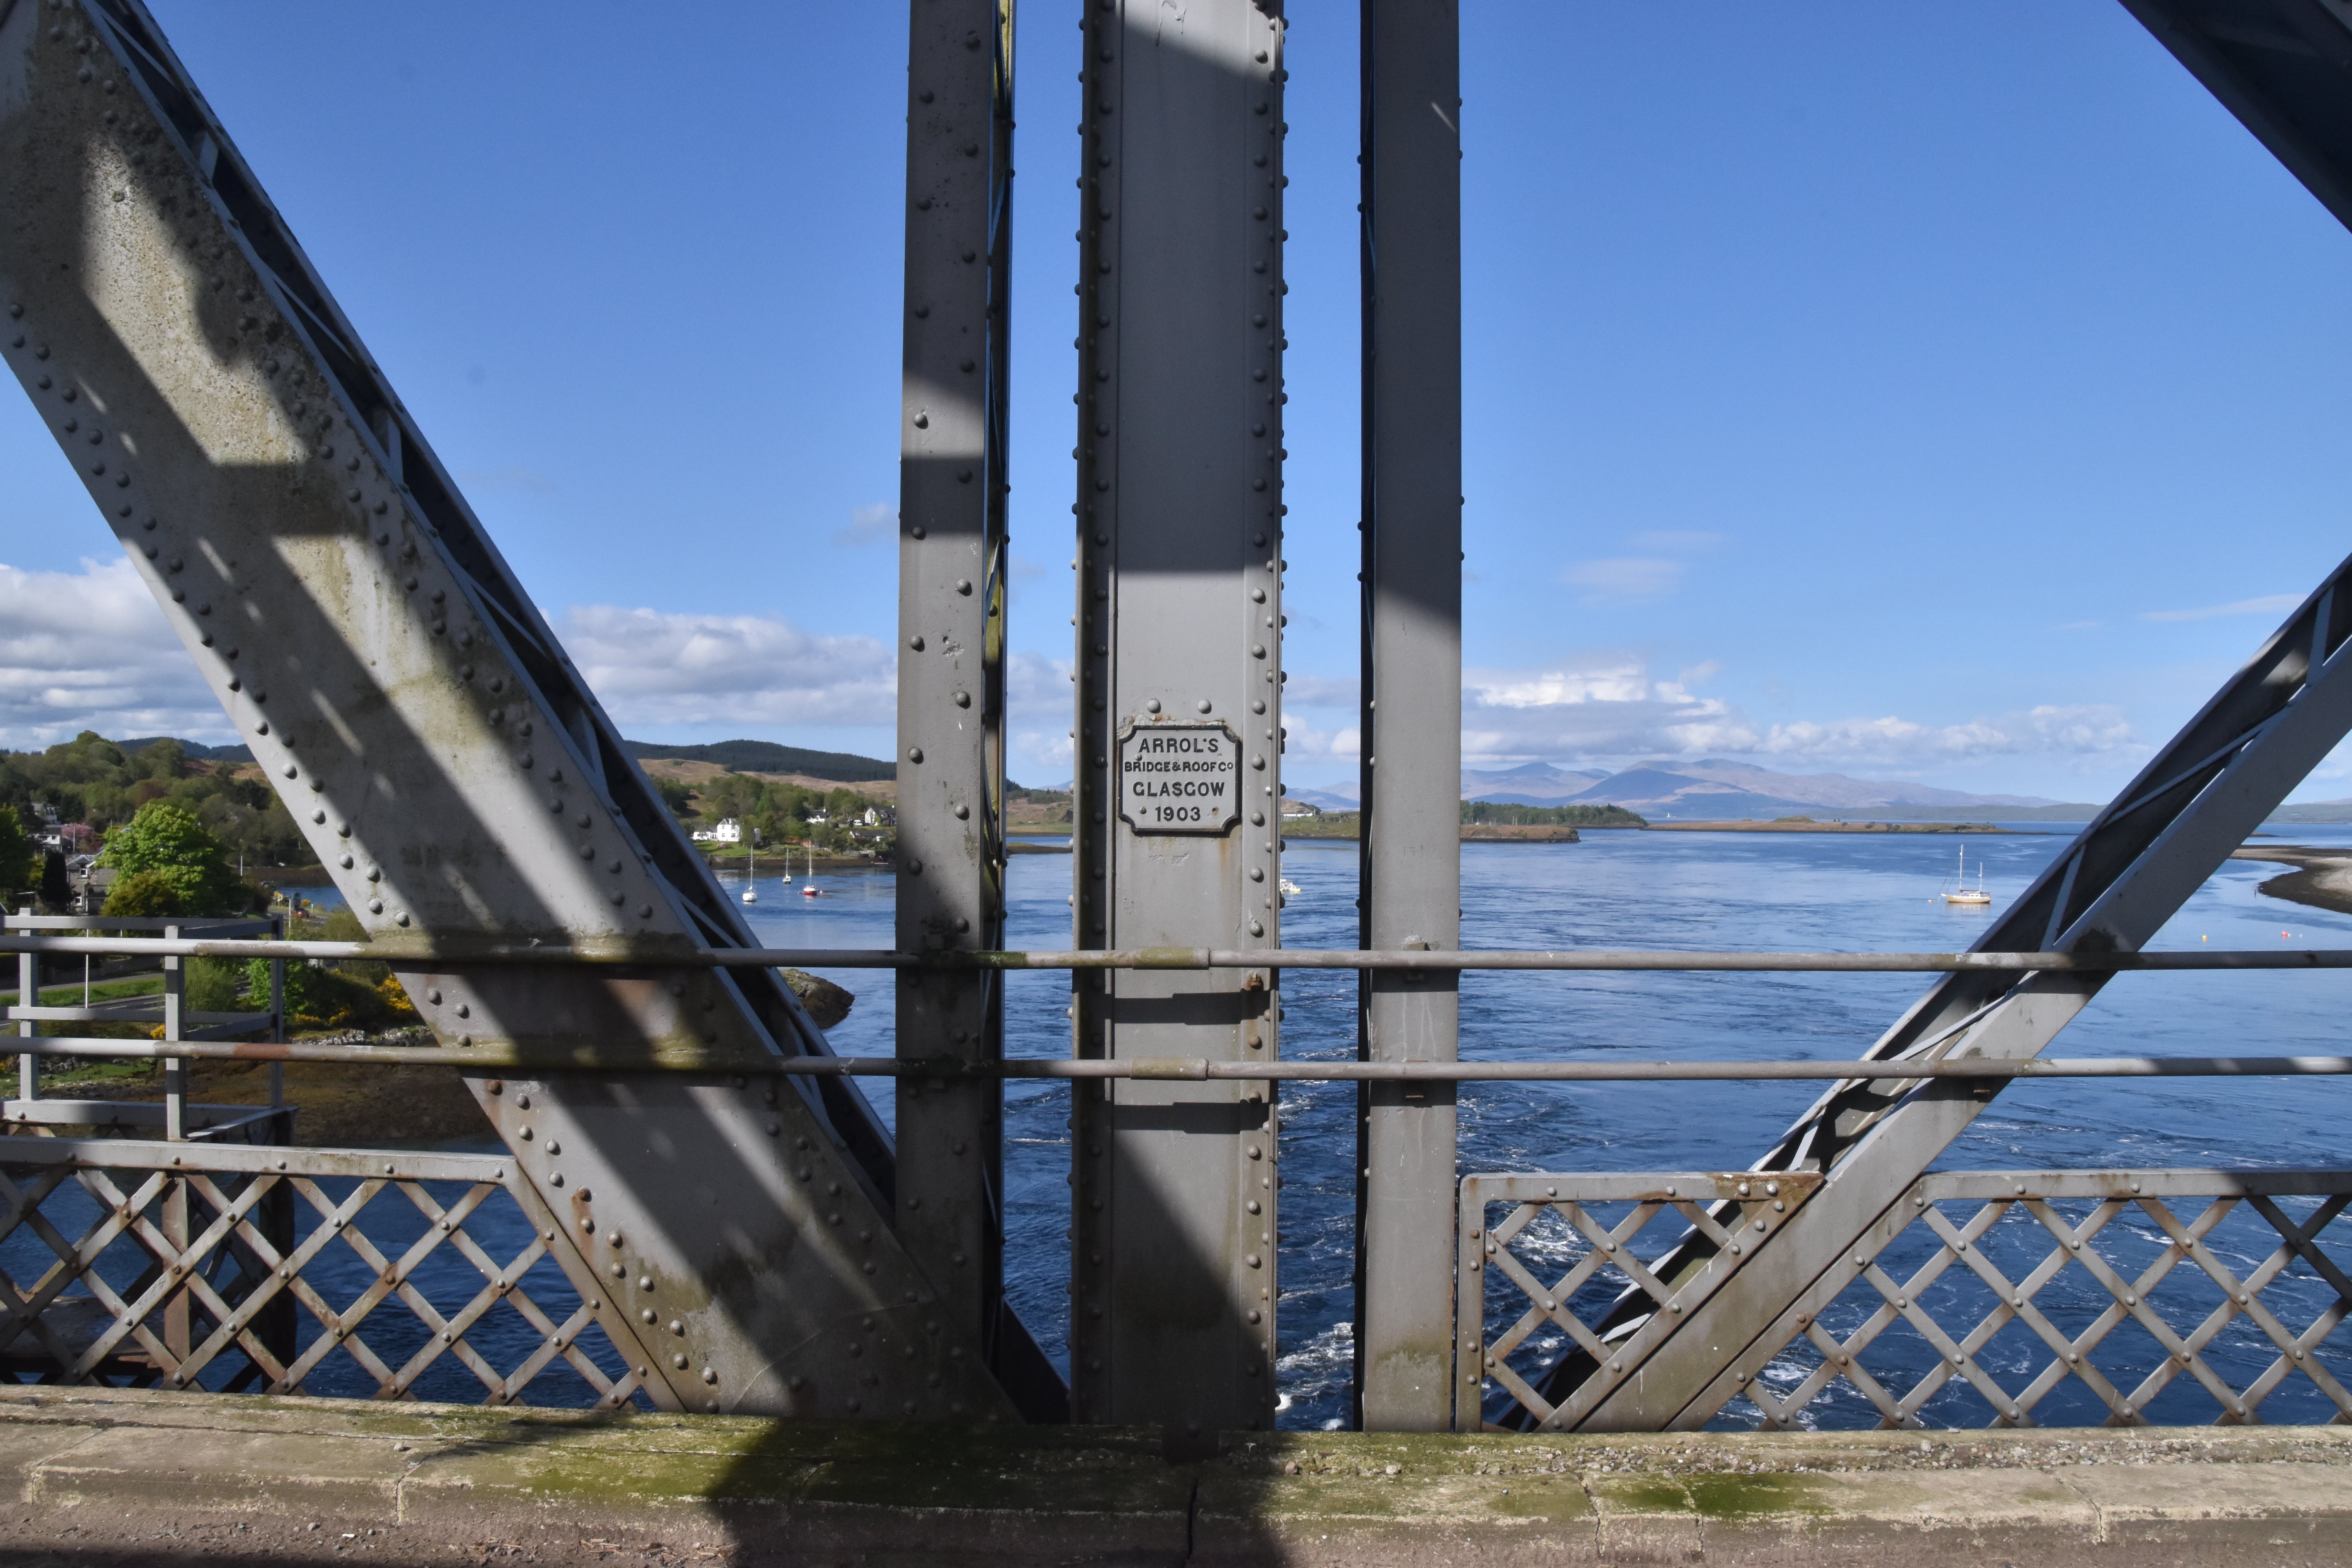
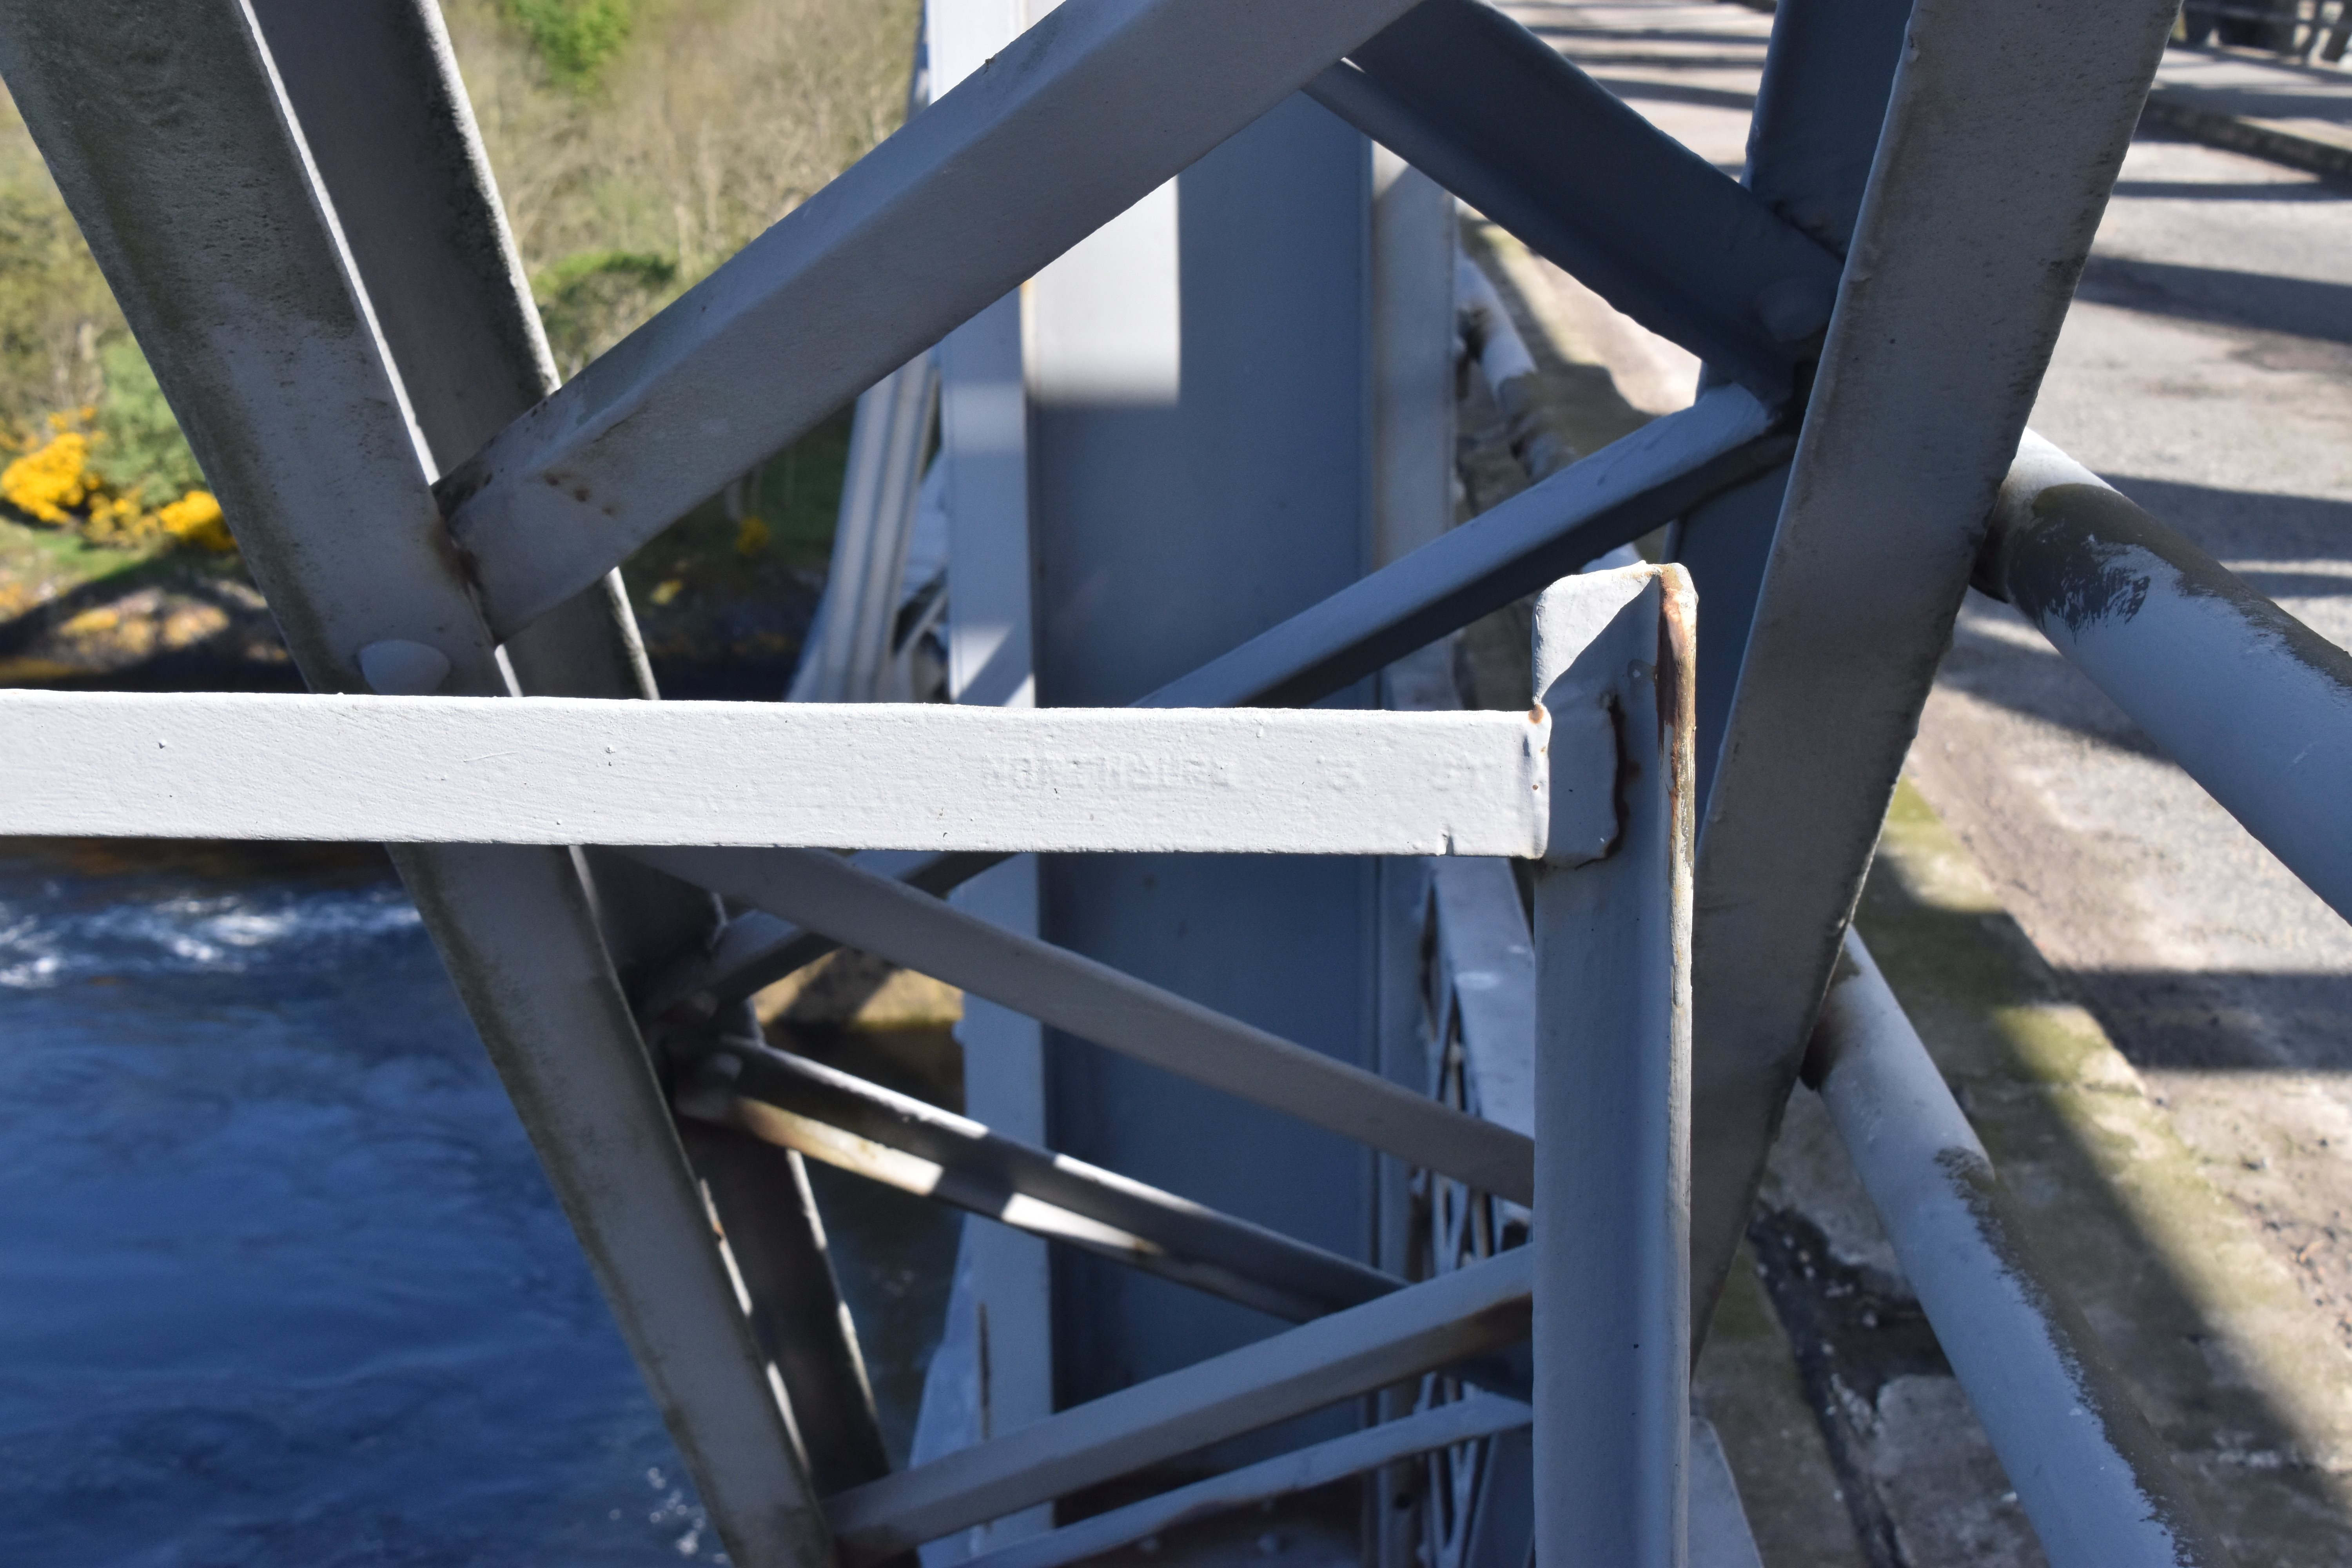
Builder plaque located at end of cantilever arm at start of suspended span.
![]()
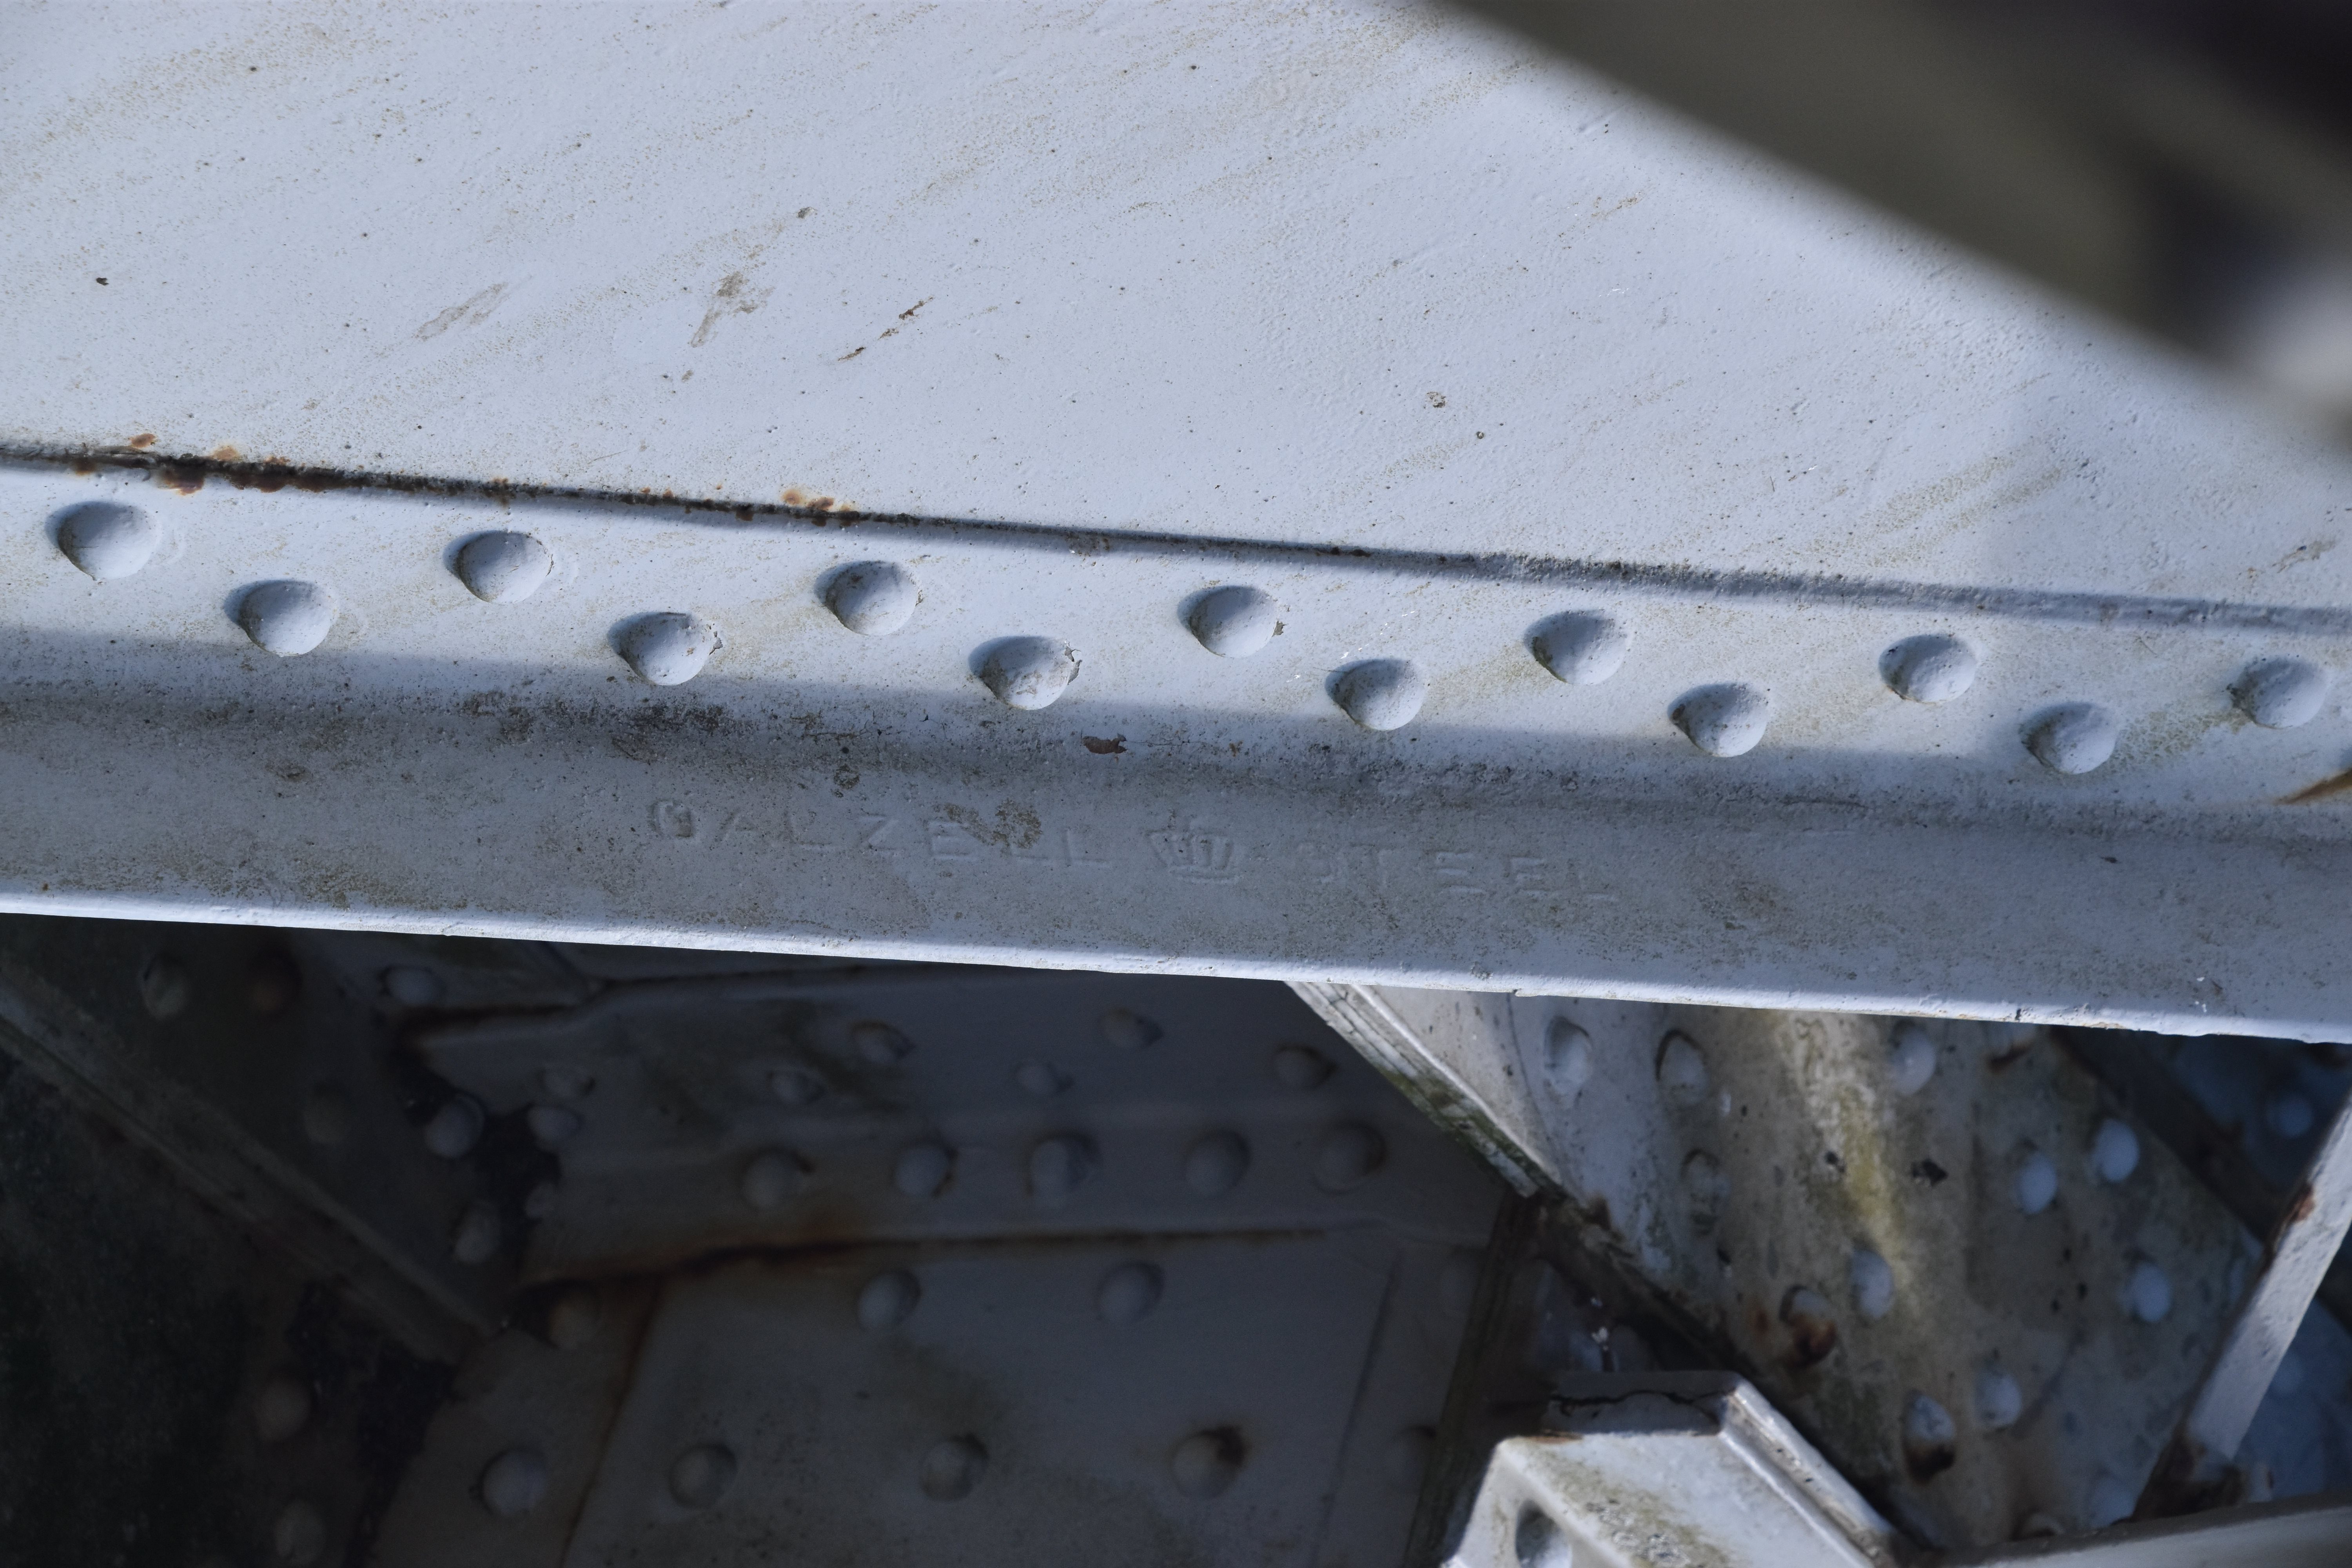
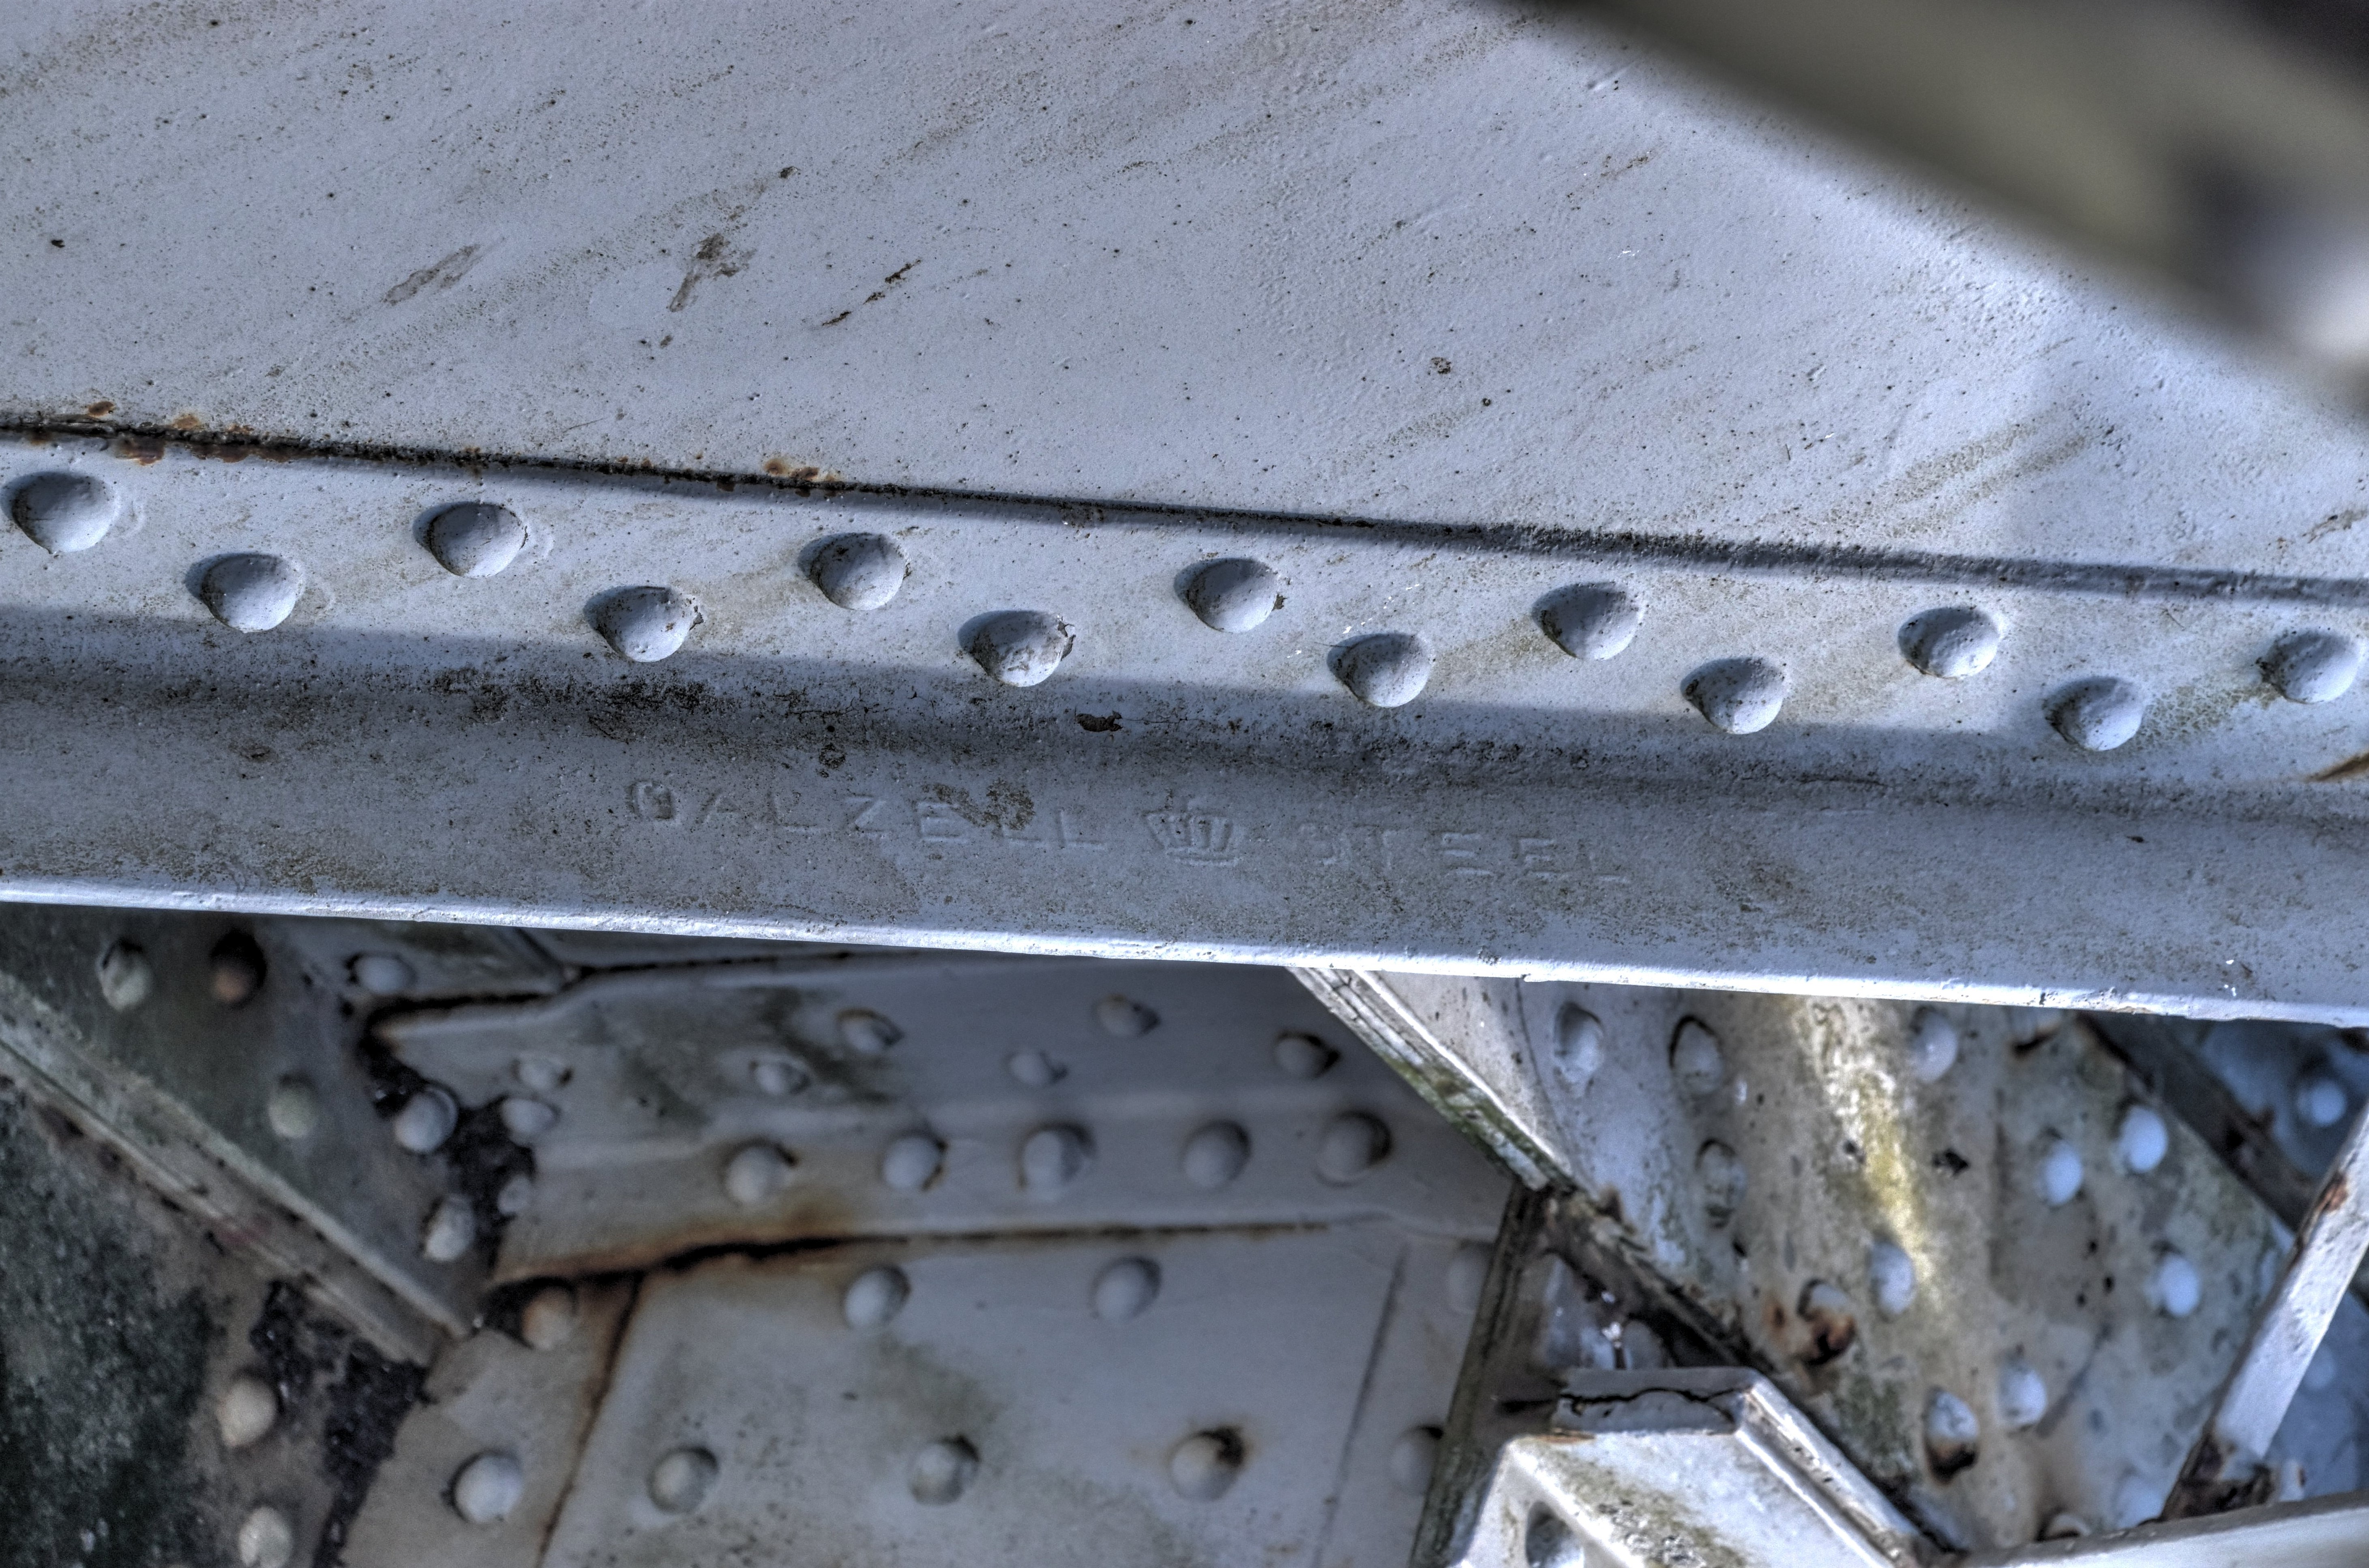
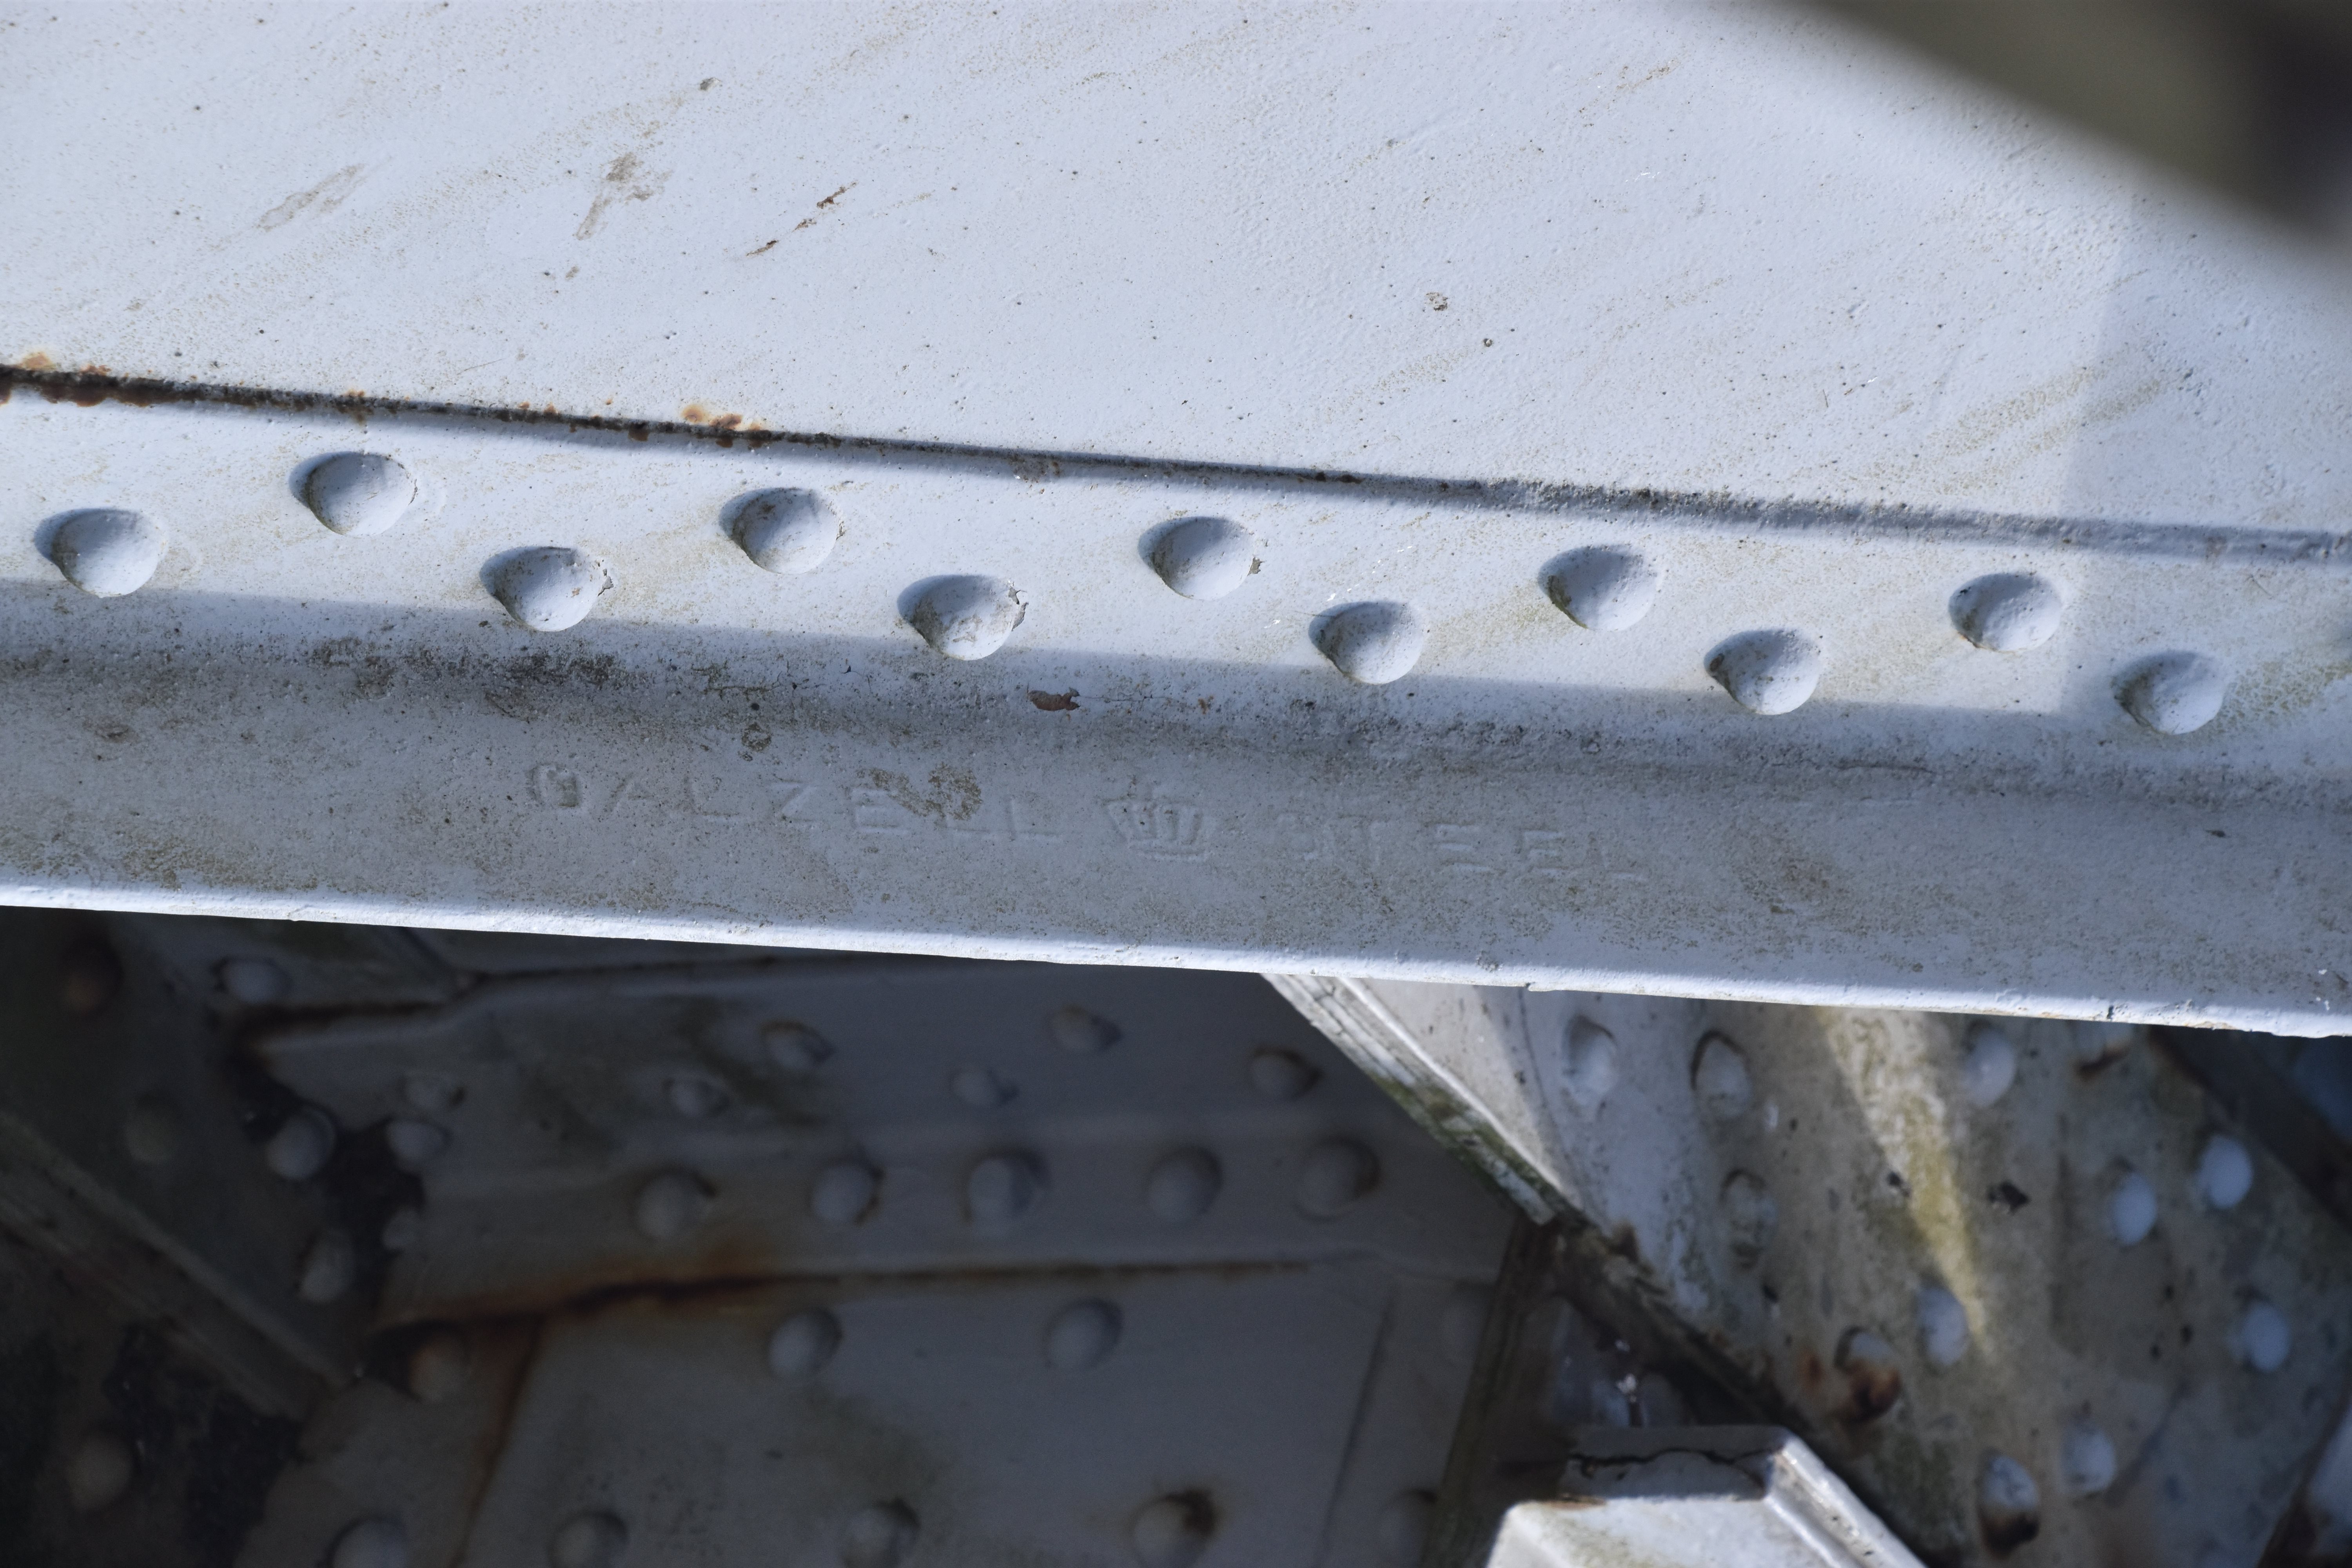
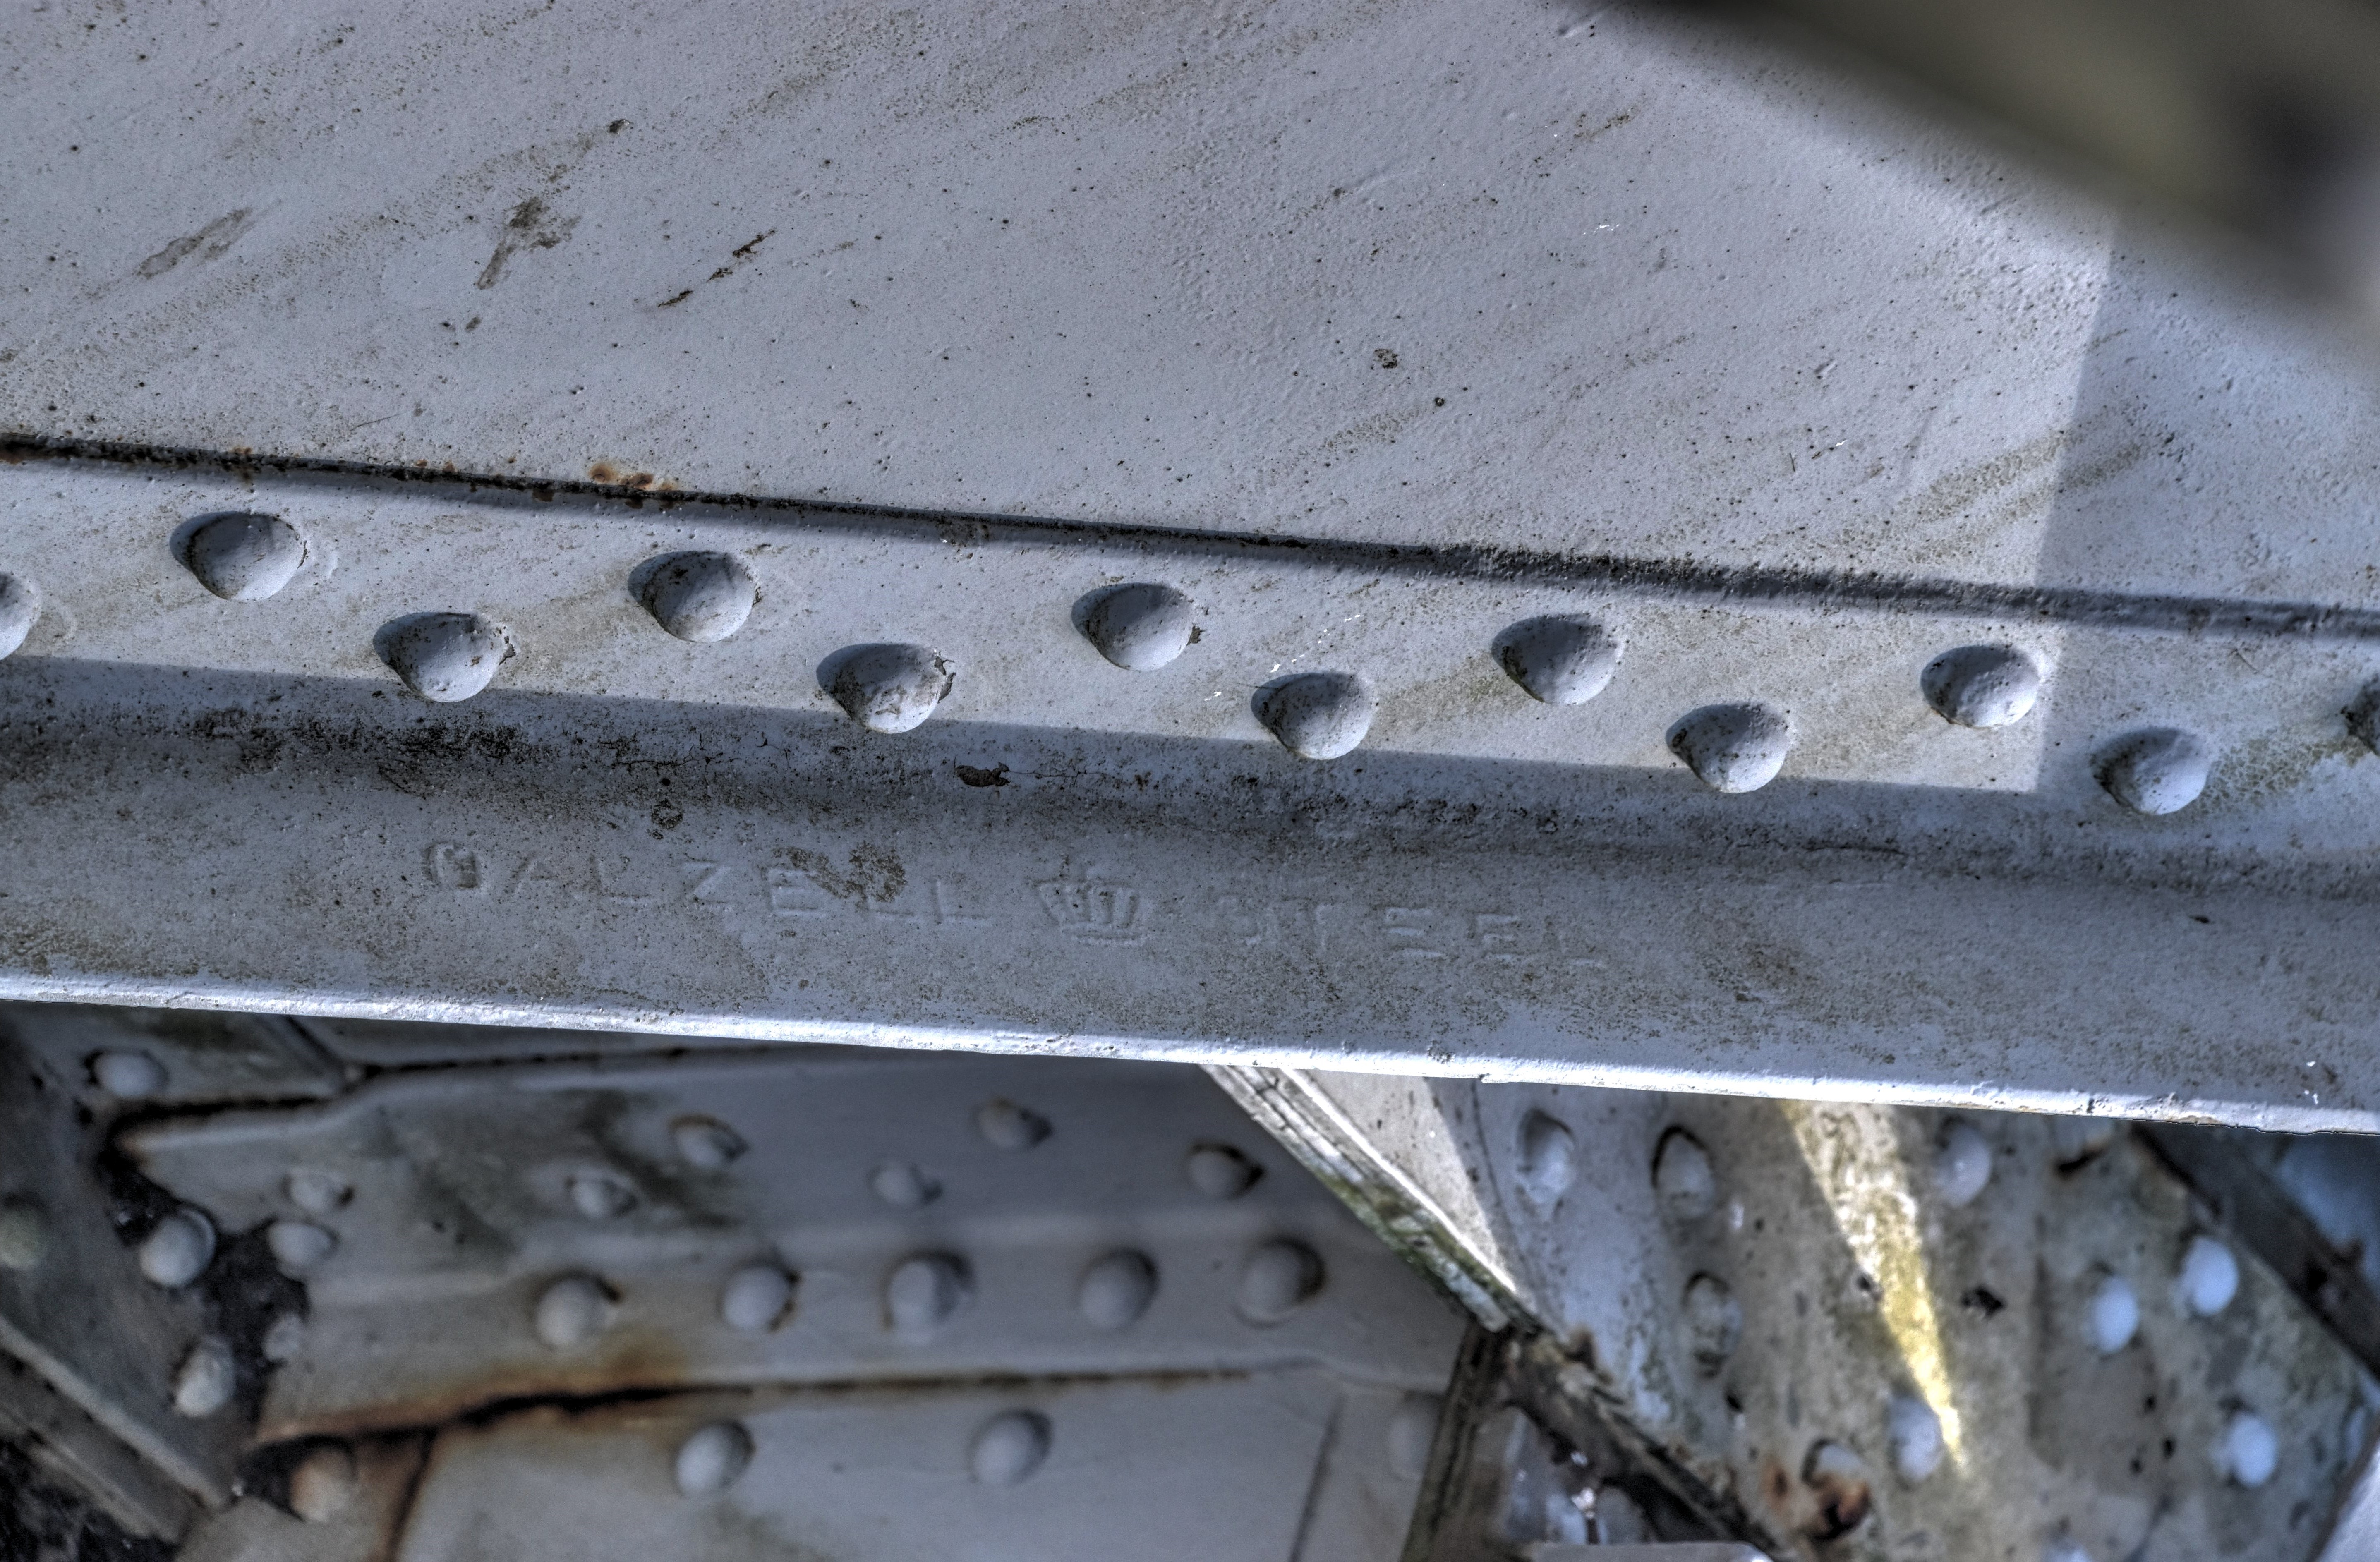
Dalzell Steel brand for David Colville and Sons (Dalzell Steel and Iron Works).
![]()
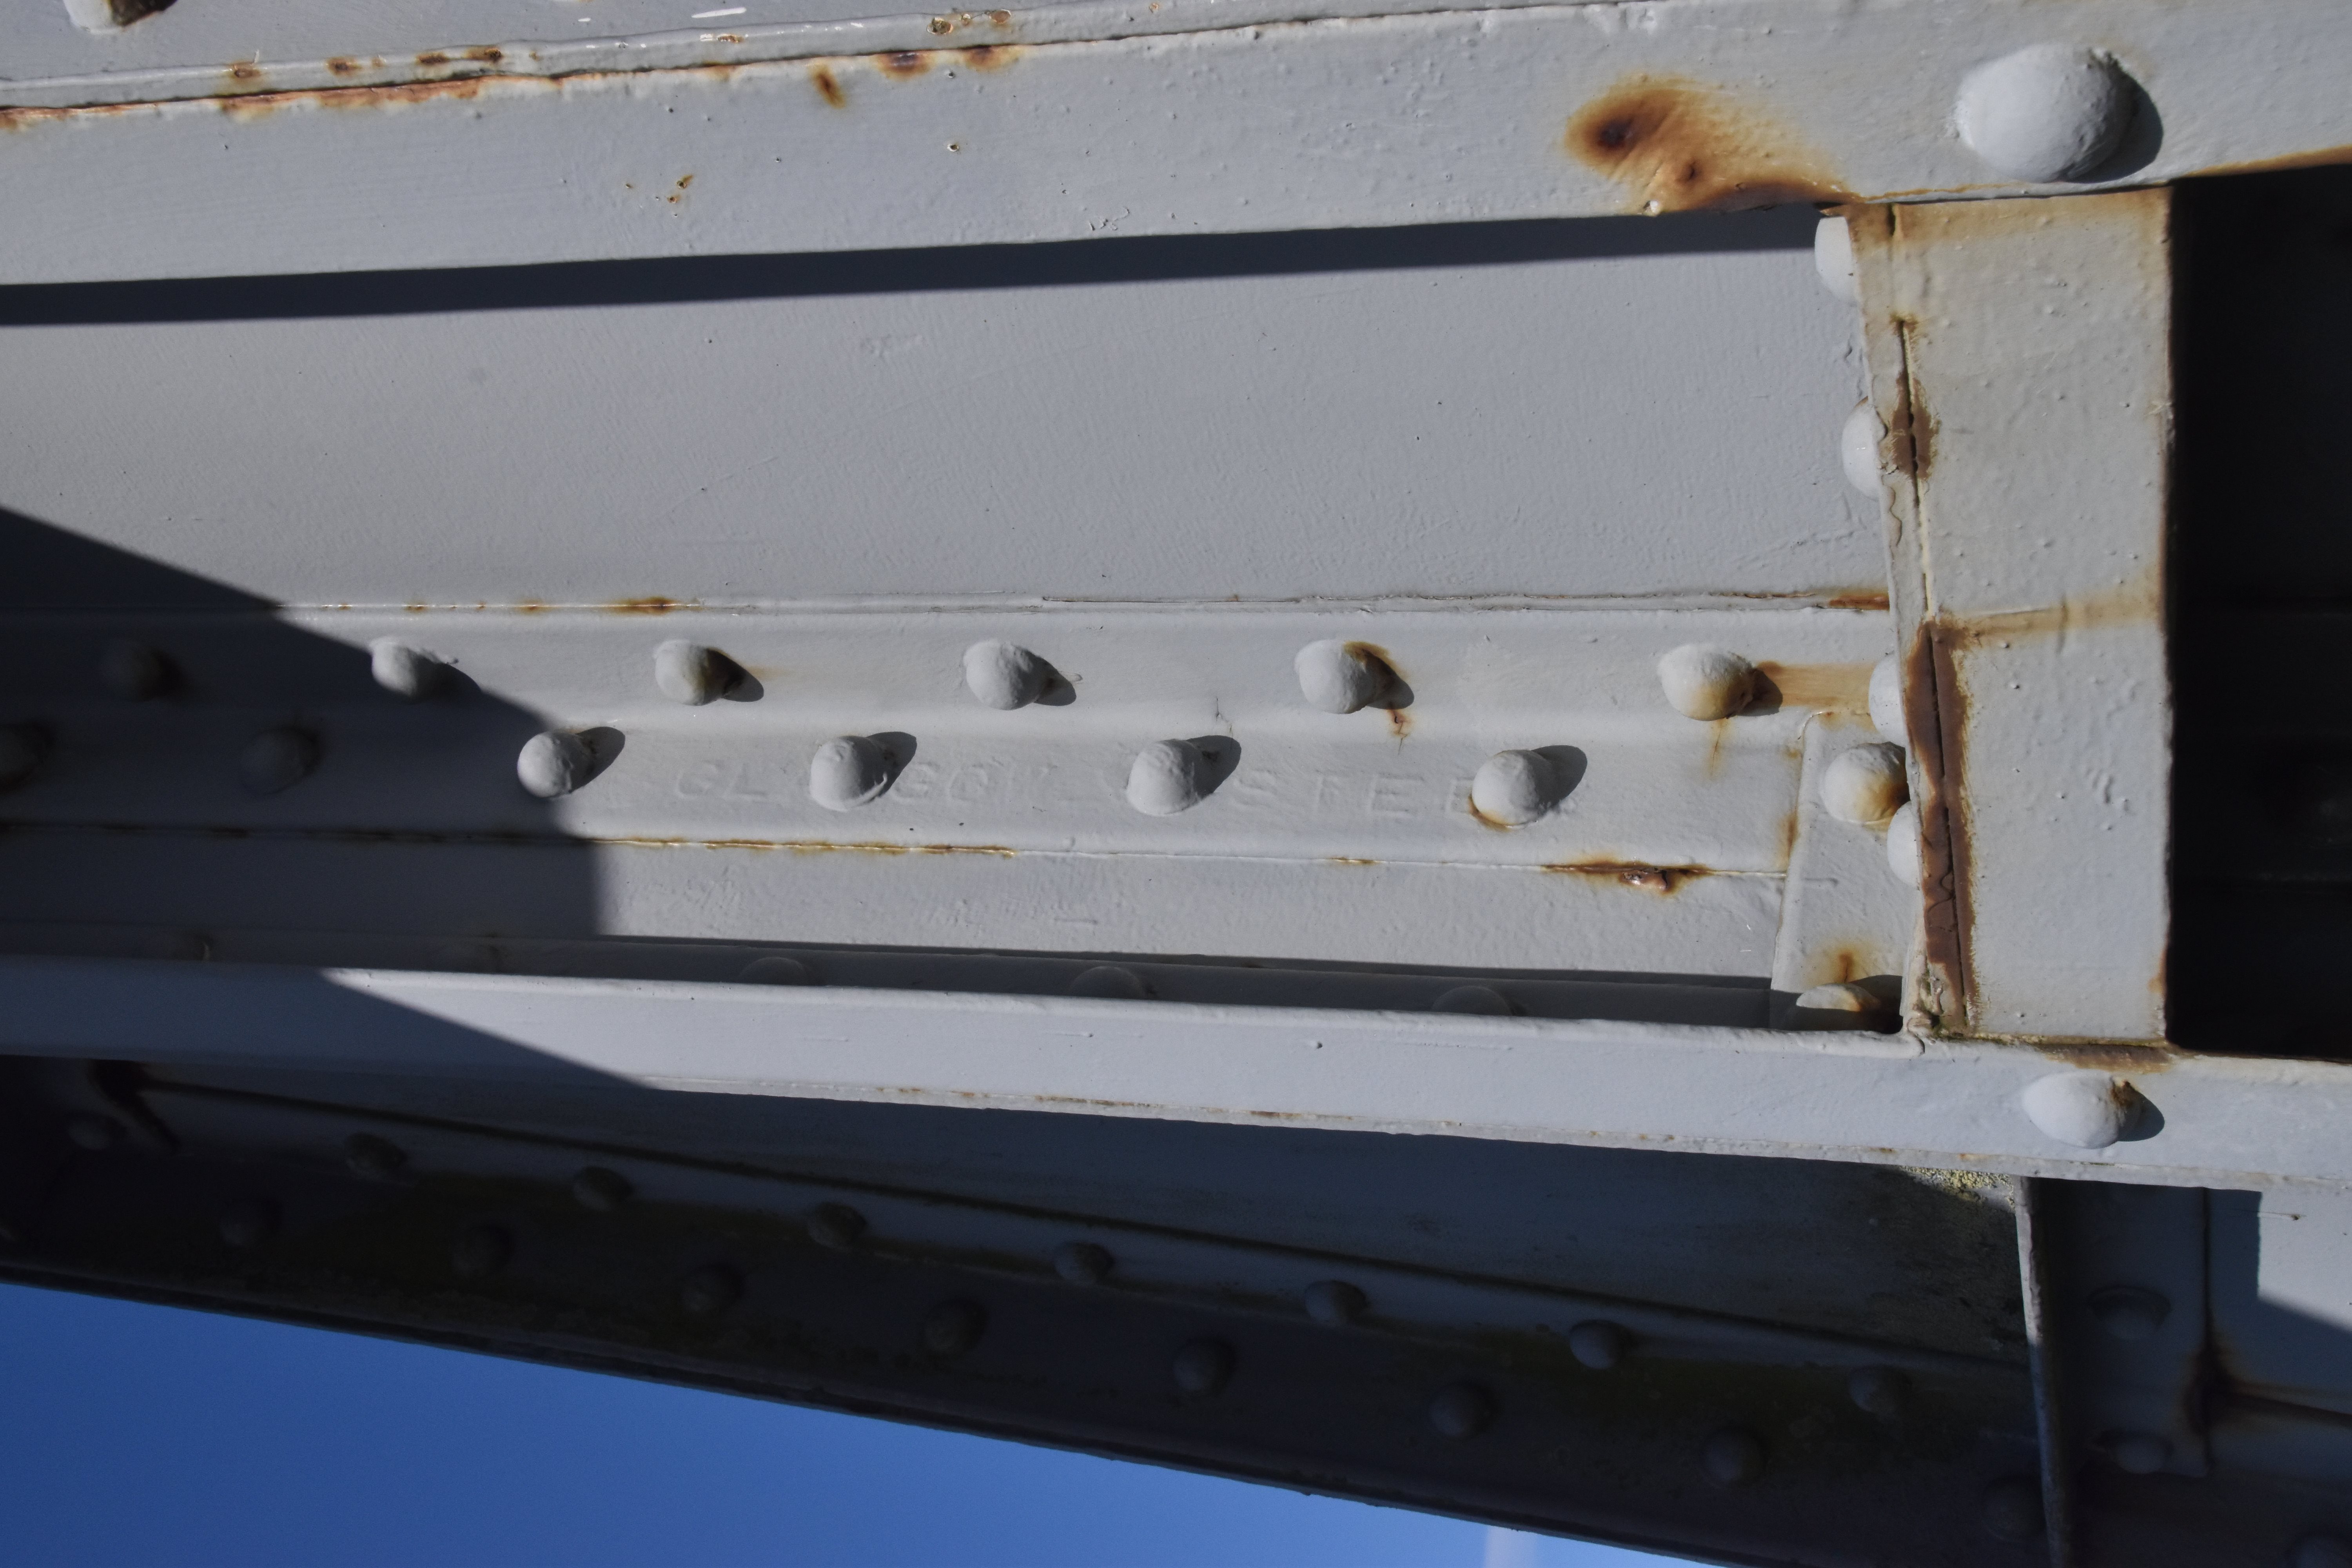
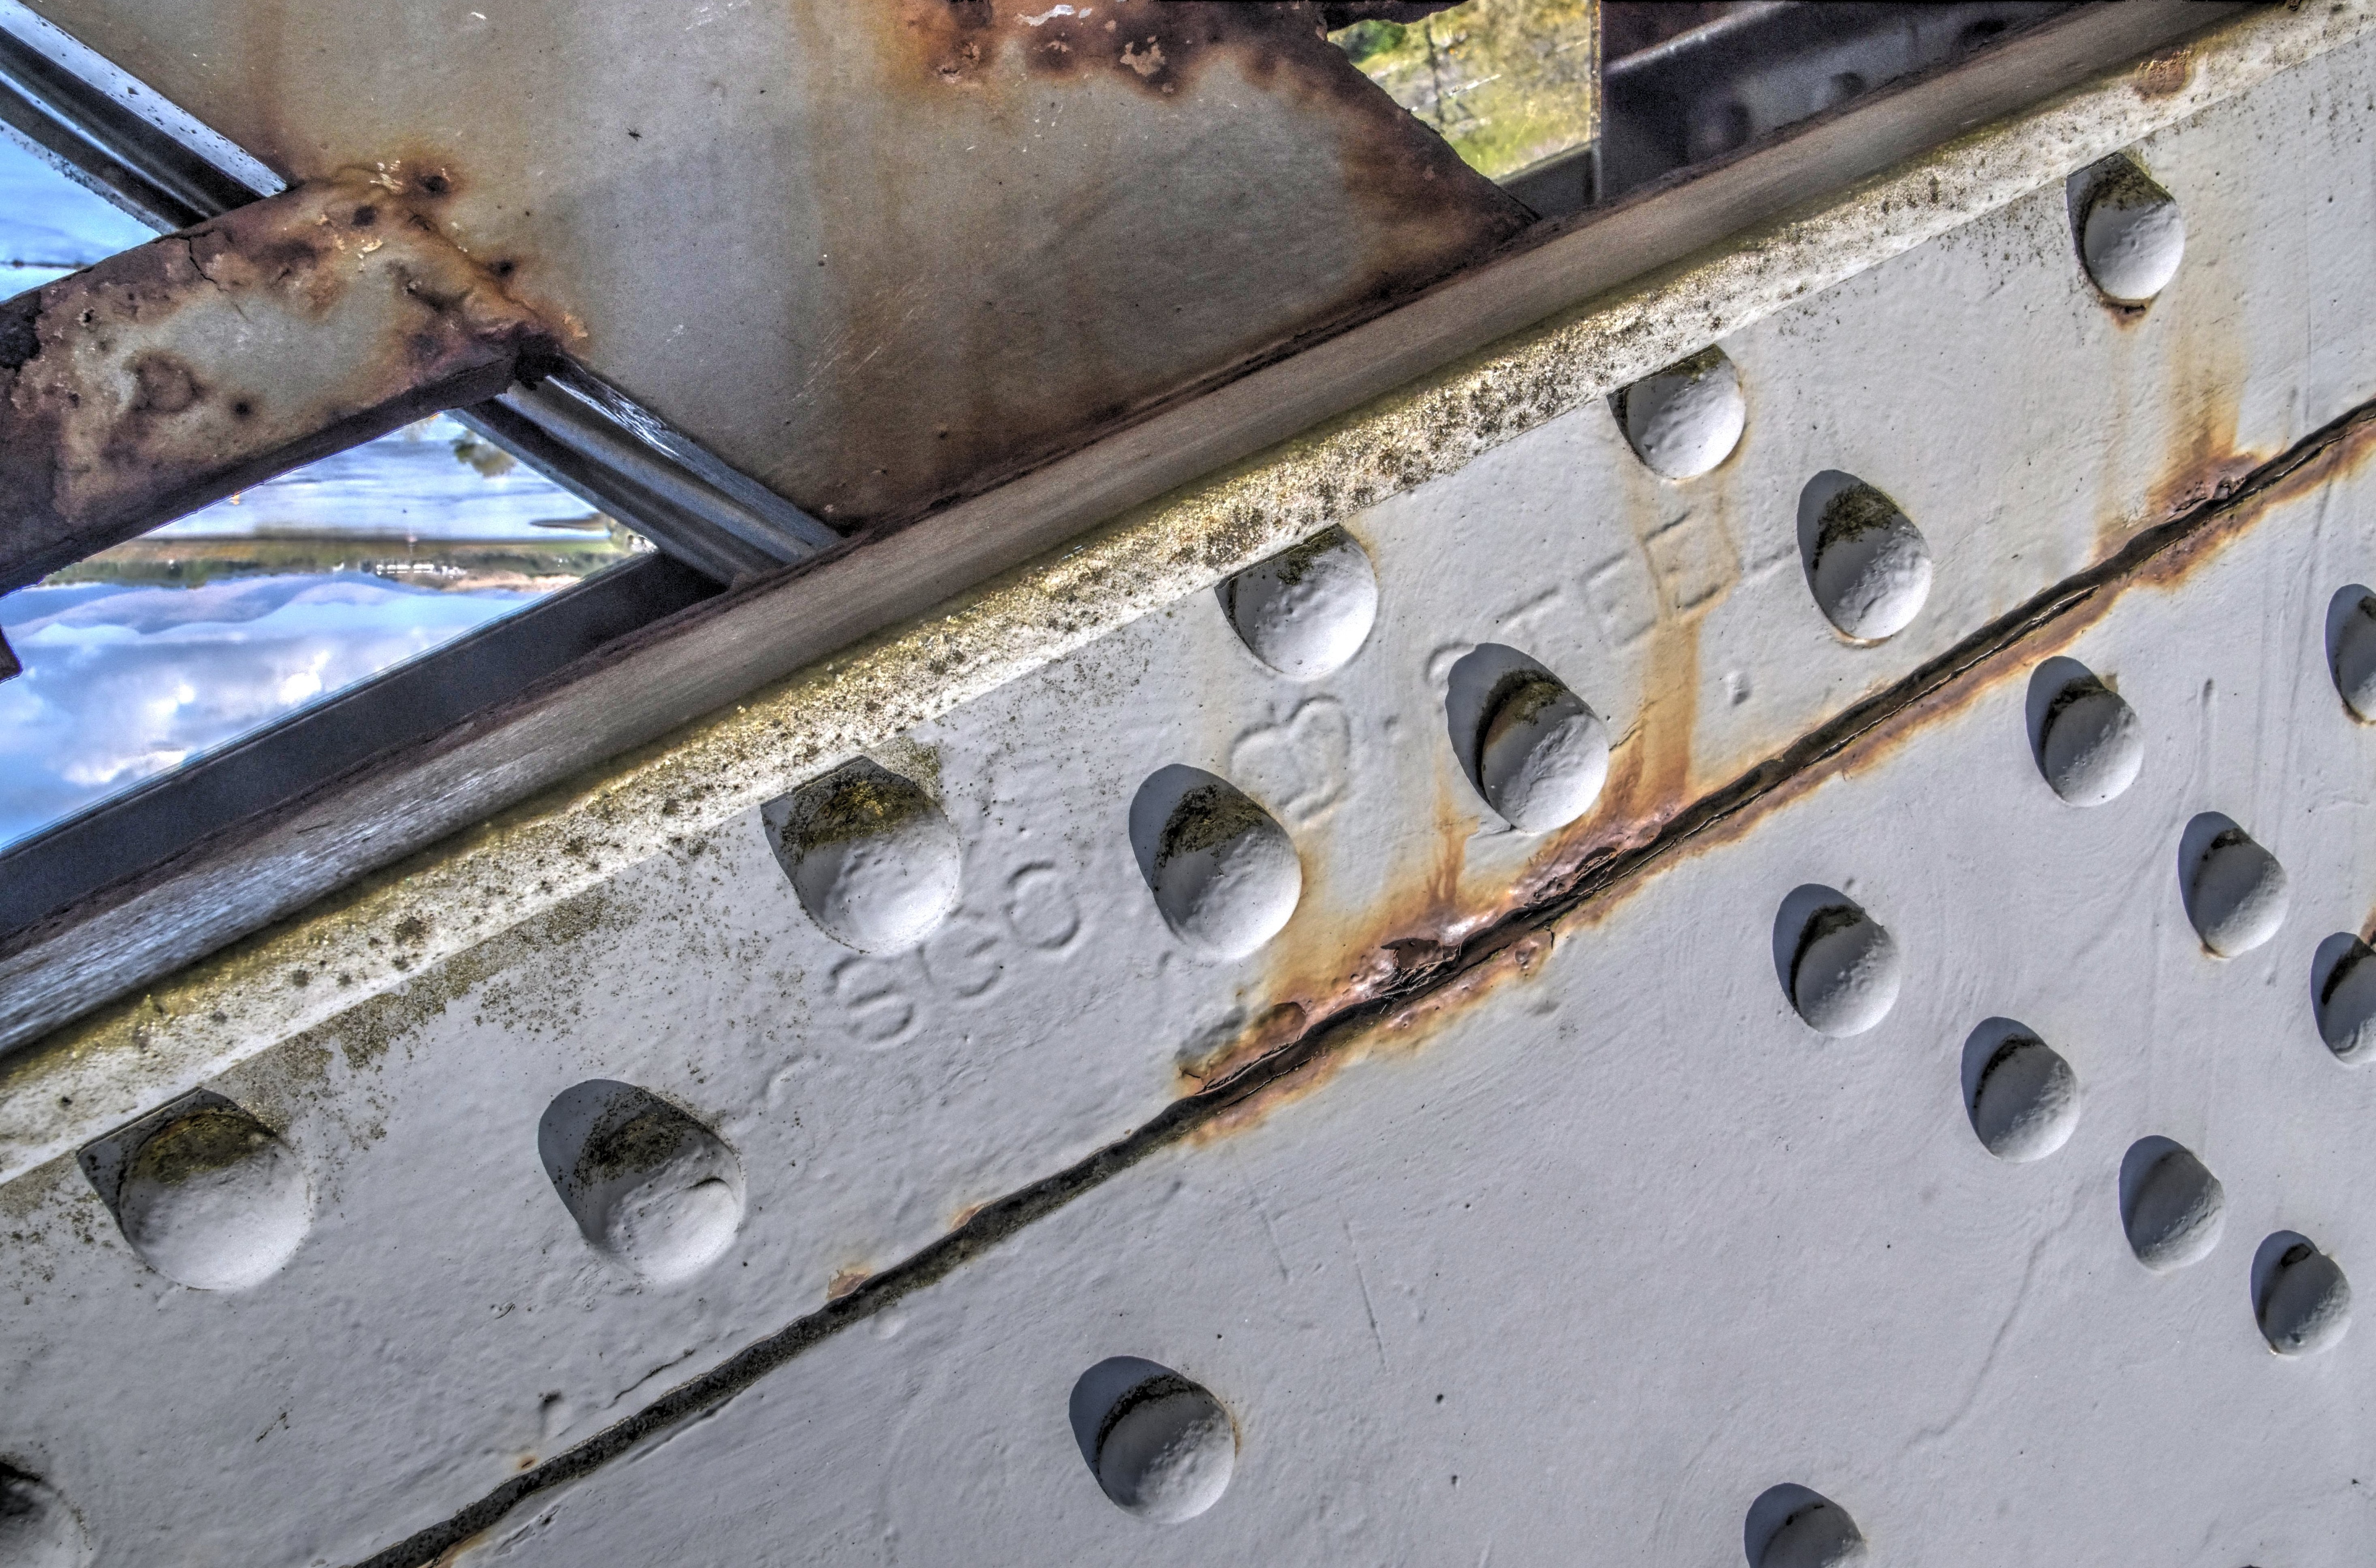

Glasgow Steel brand for Glasgow Iron and Steel Company.
![]()
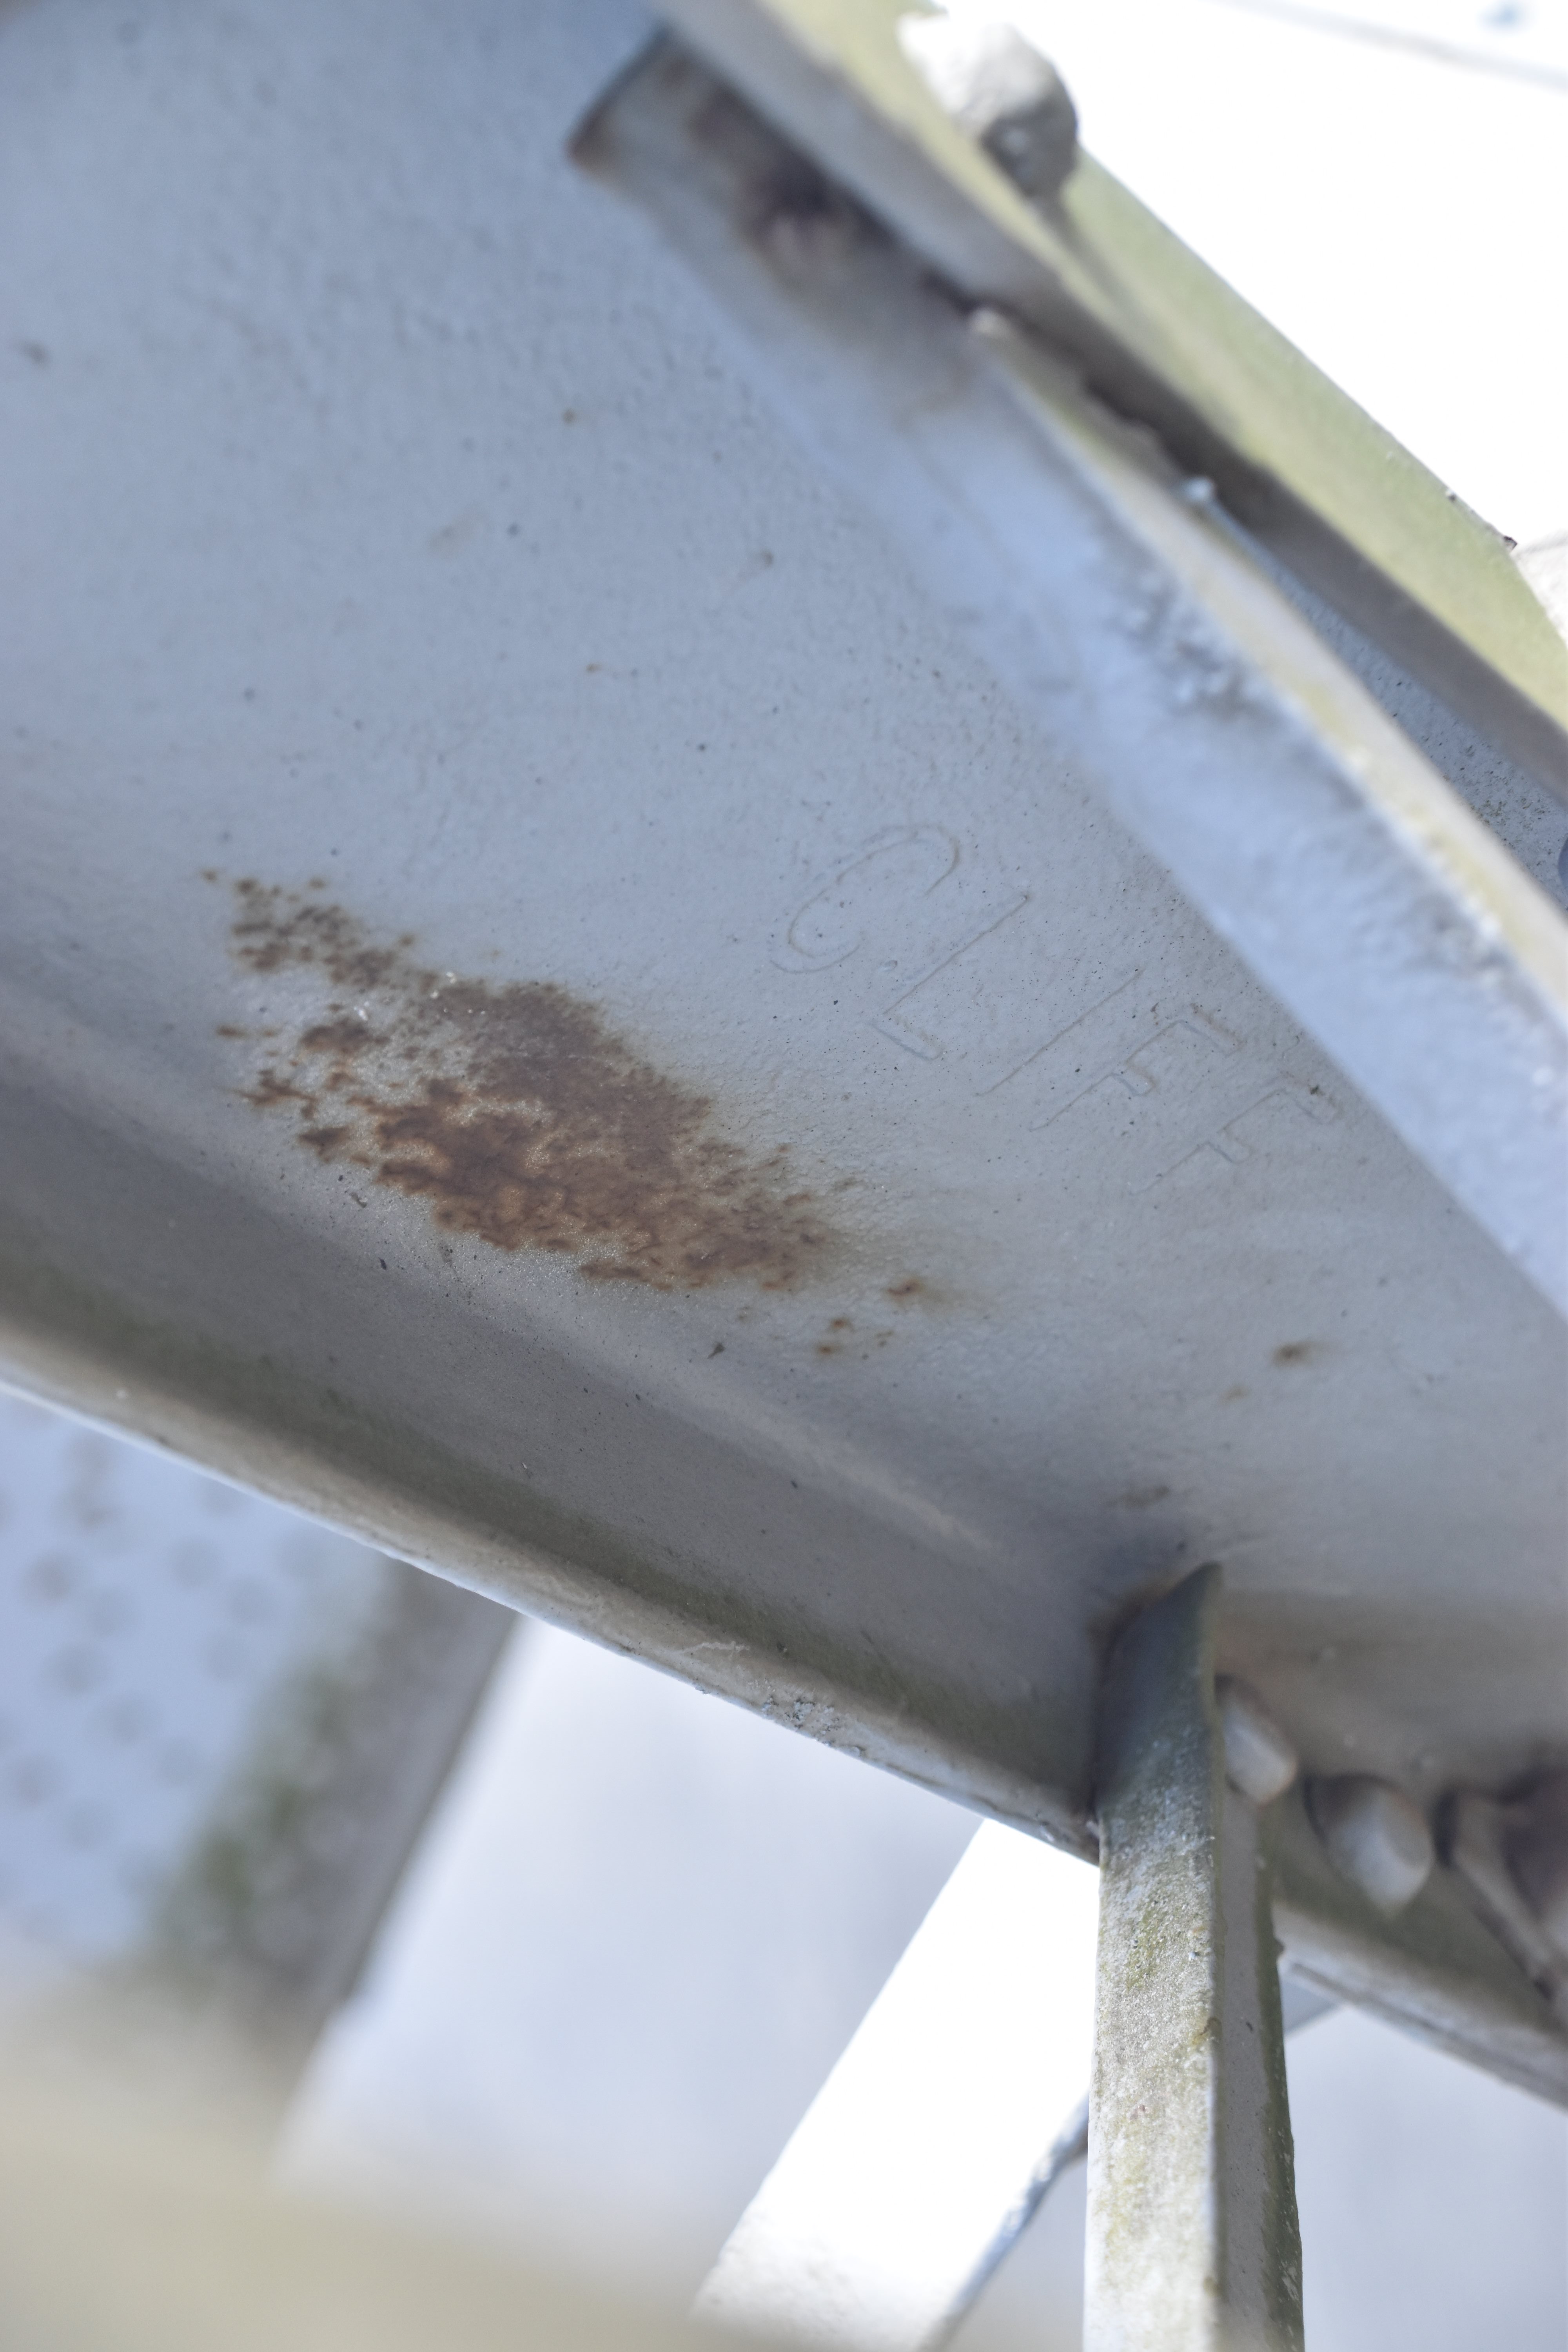
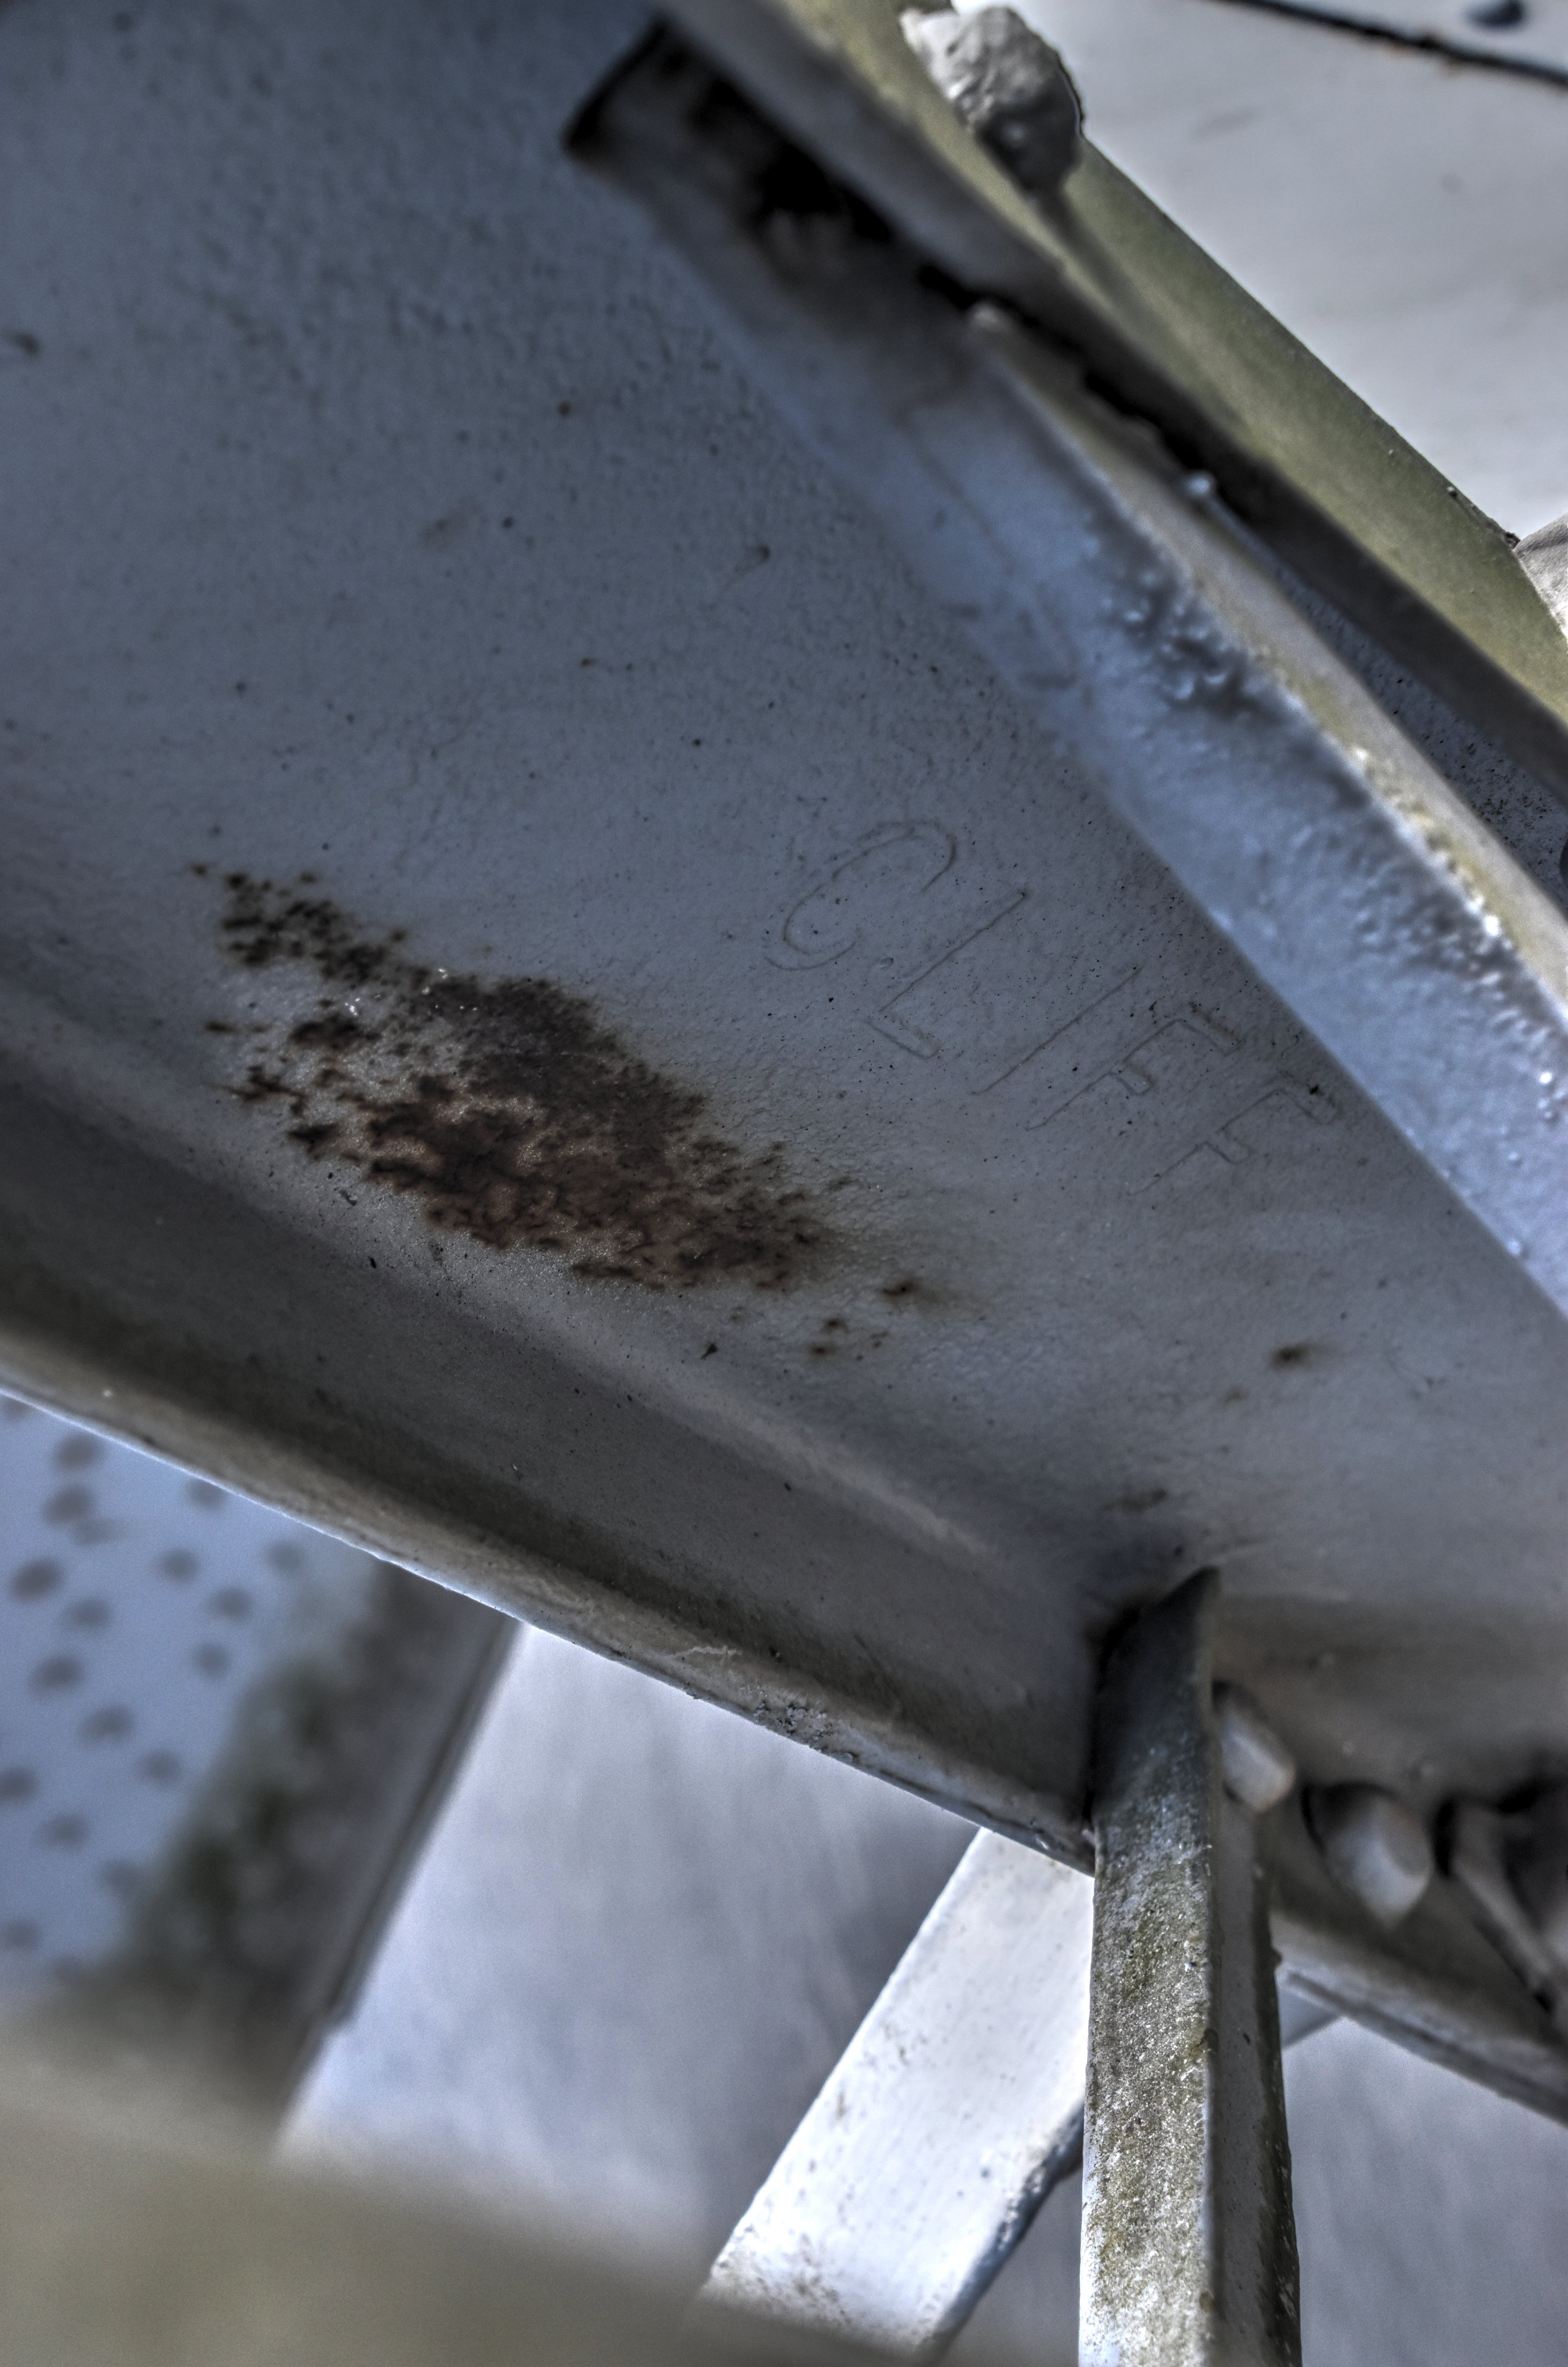
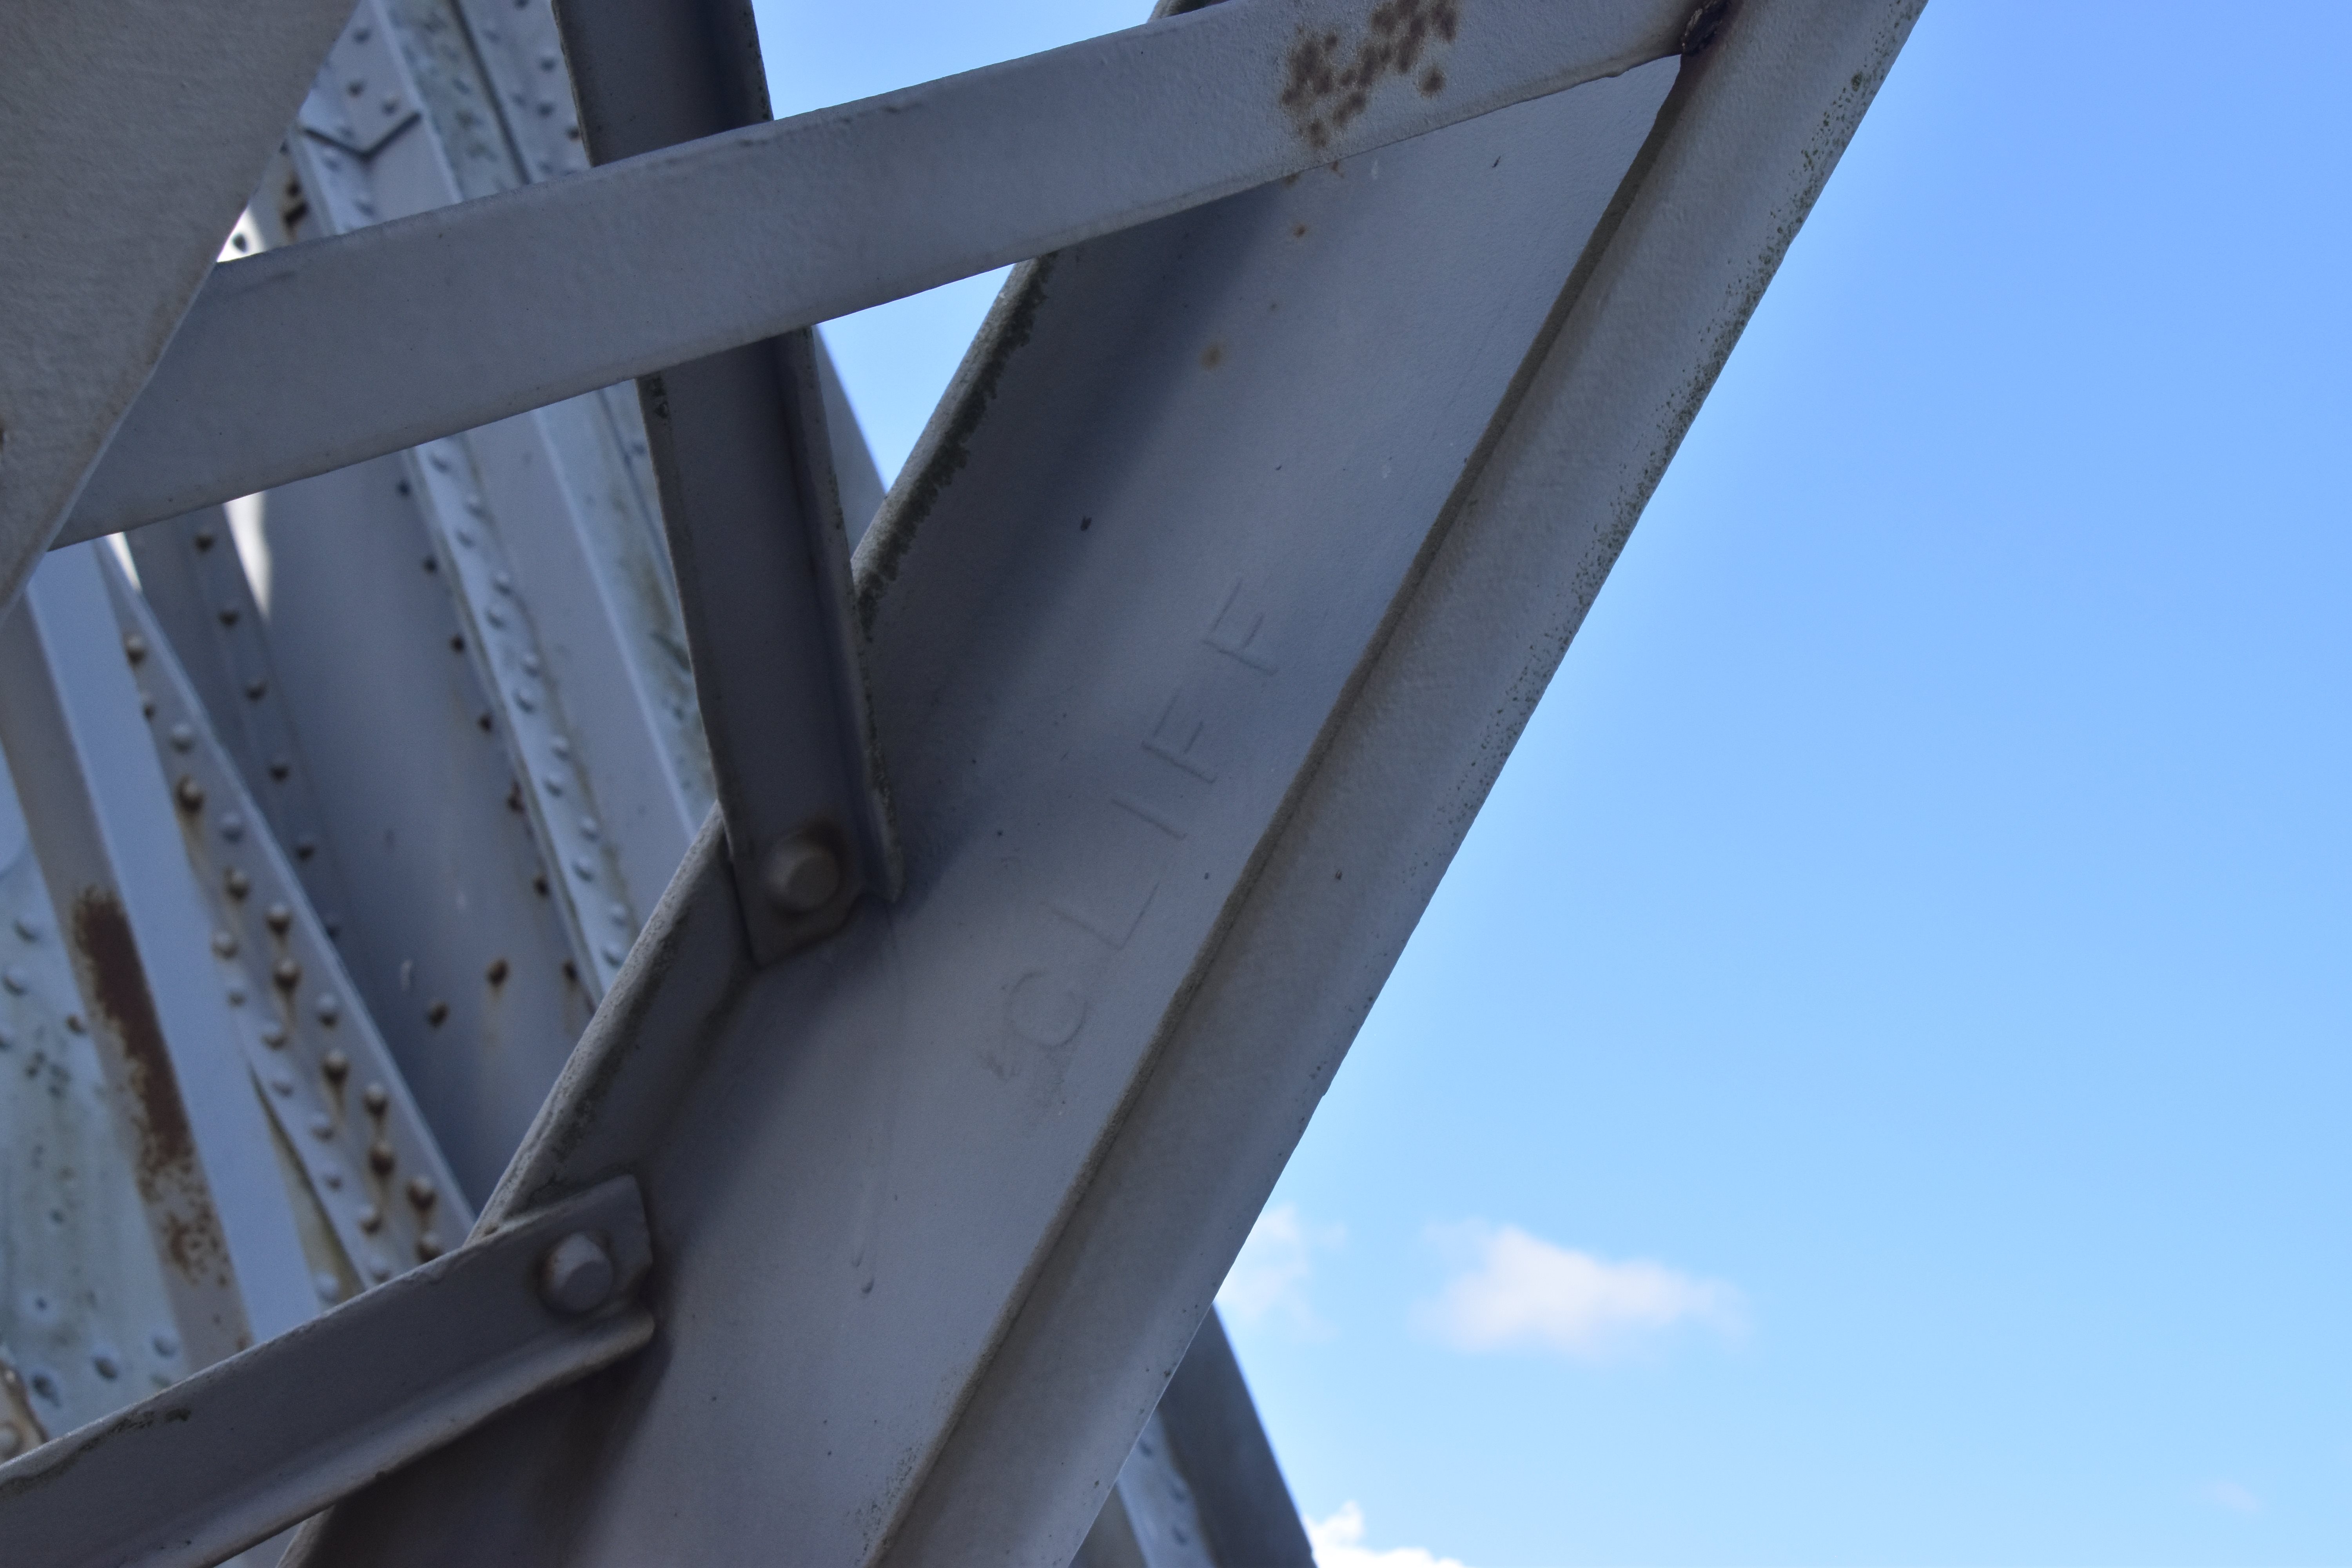
Cliff brand for Joseph Cliff and Sons (Frodingham Iron and Steel Company).
![]()


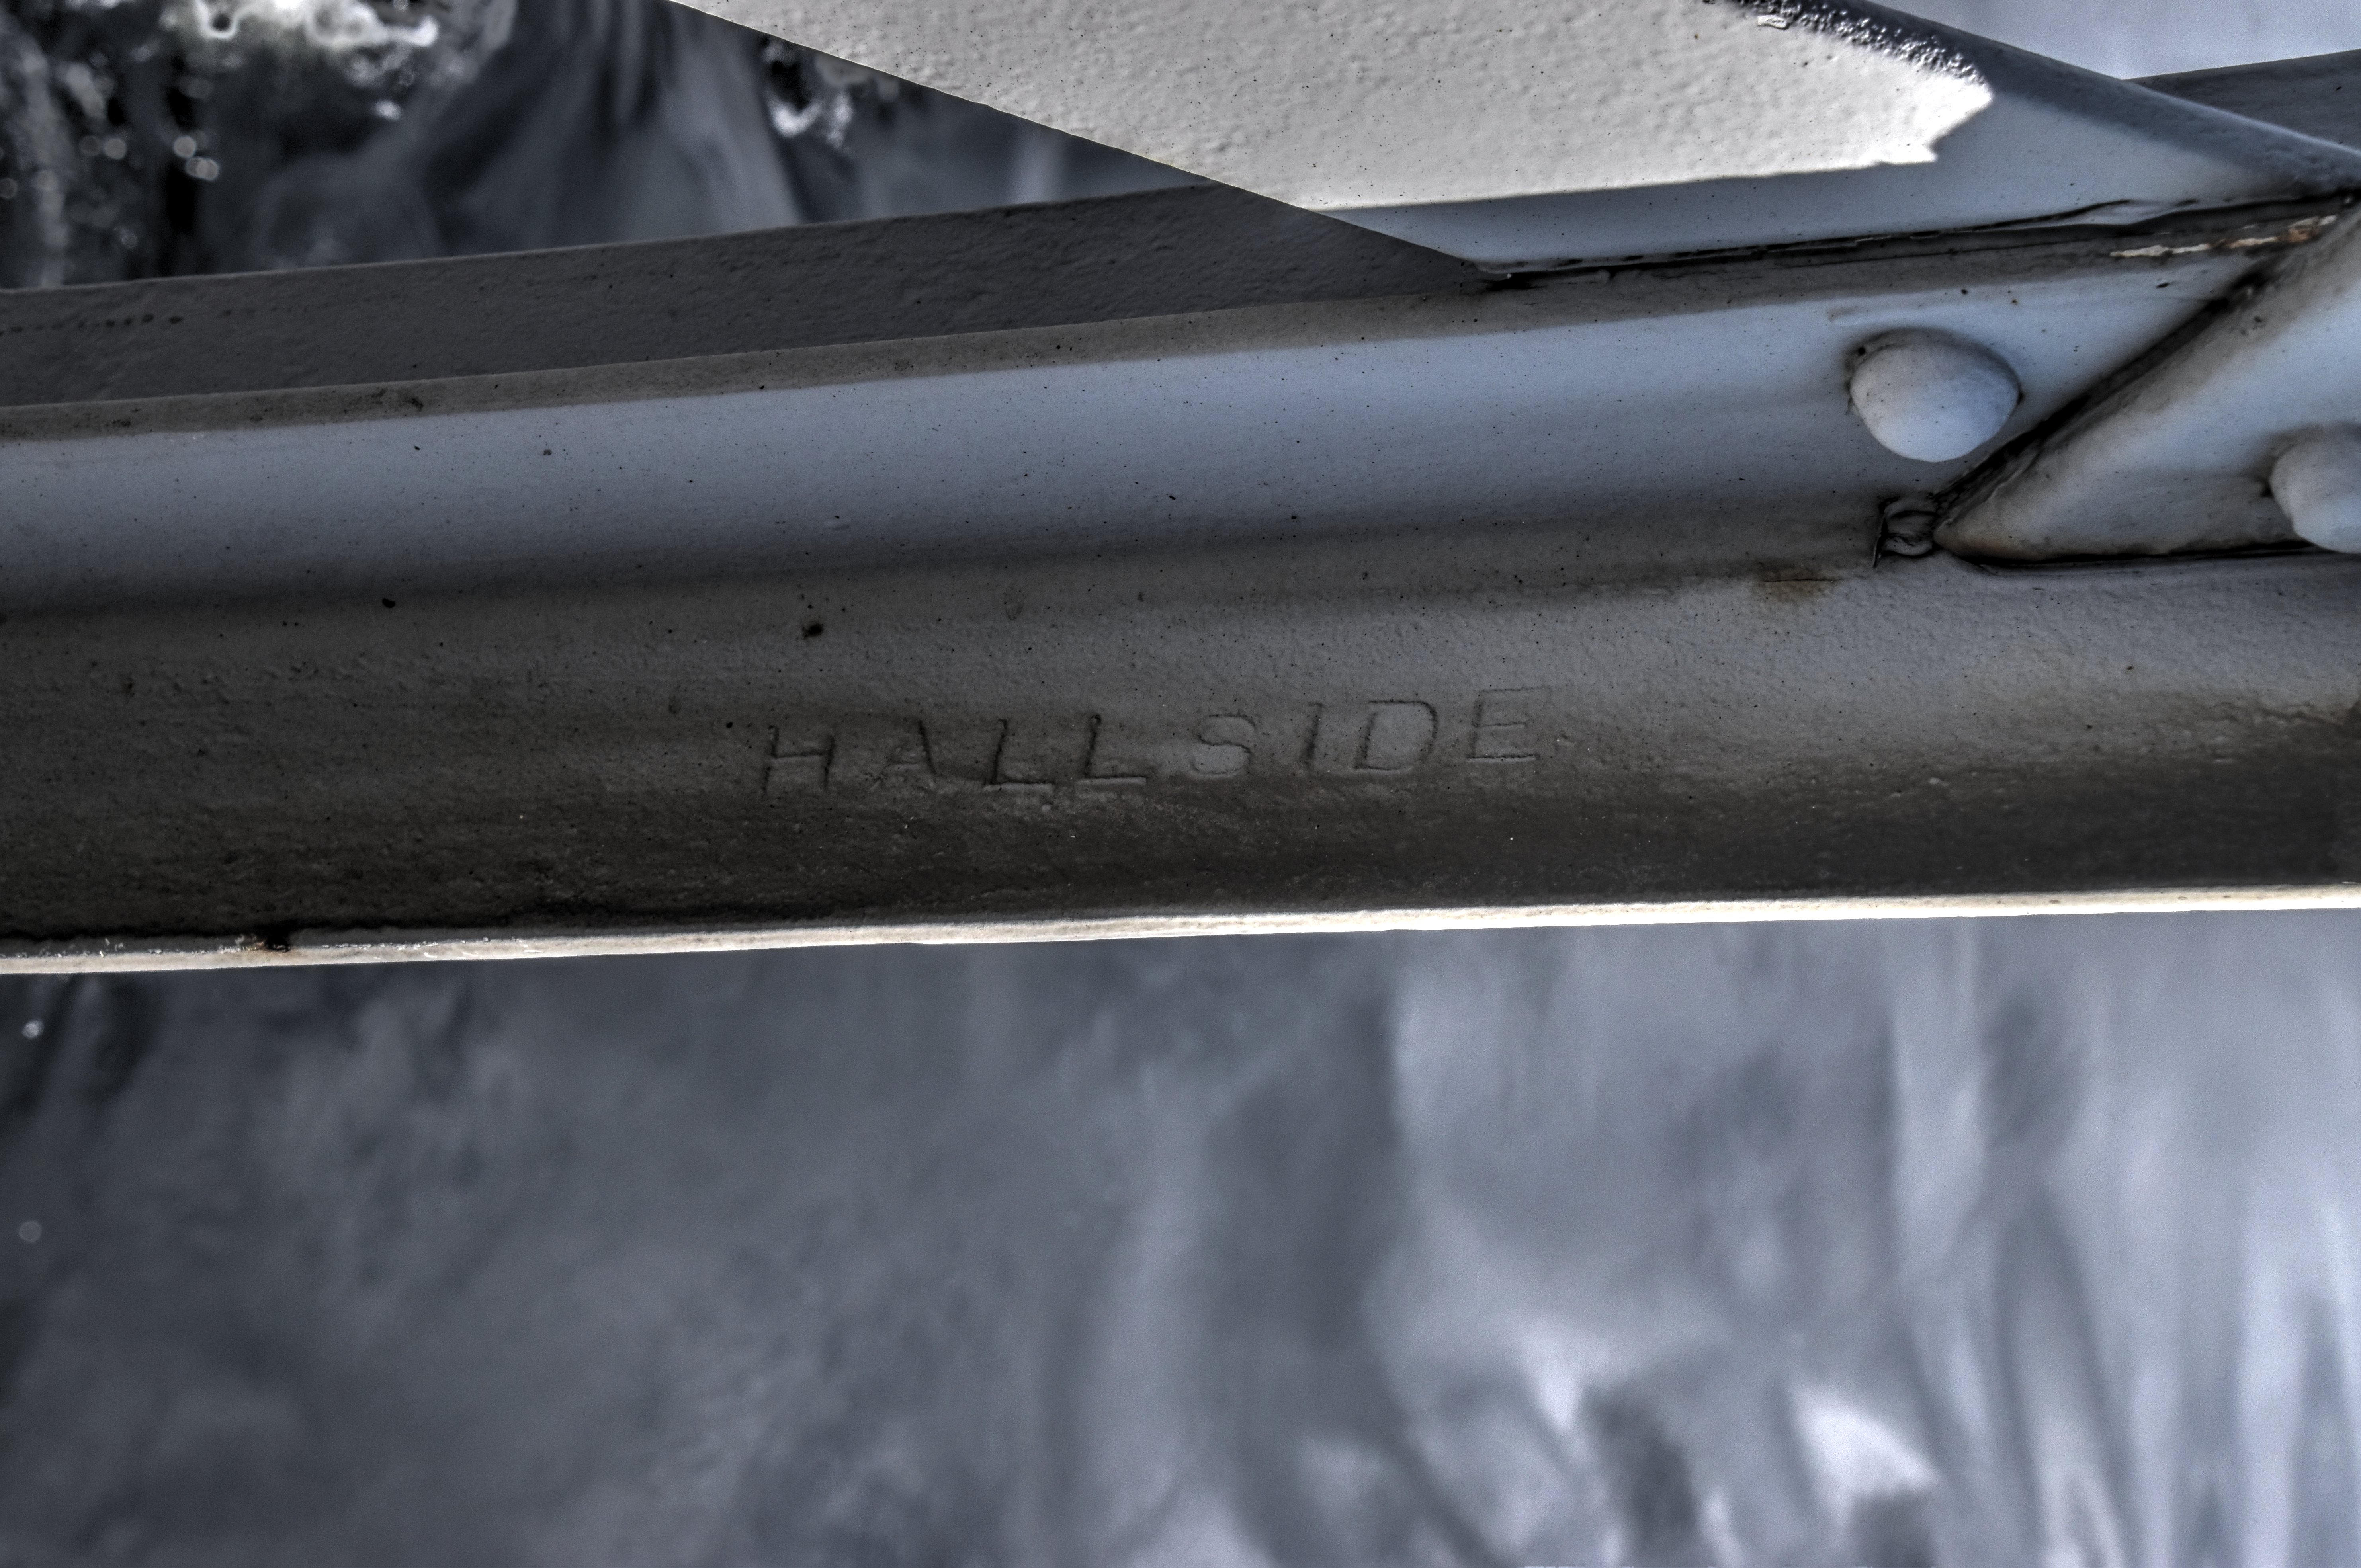
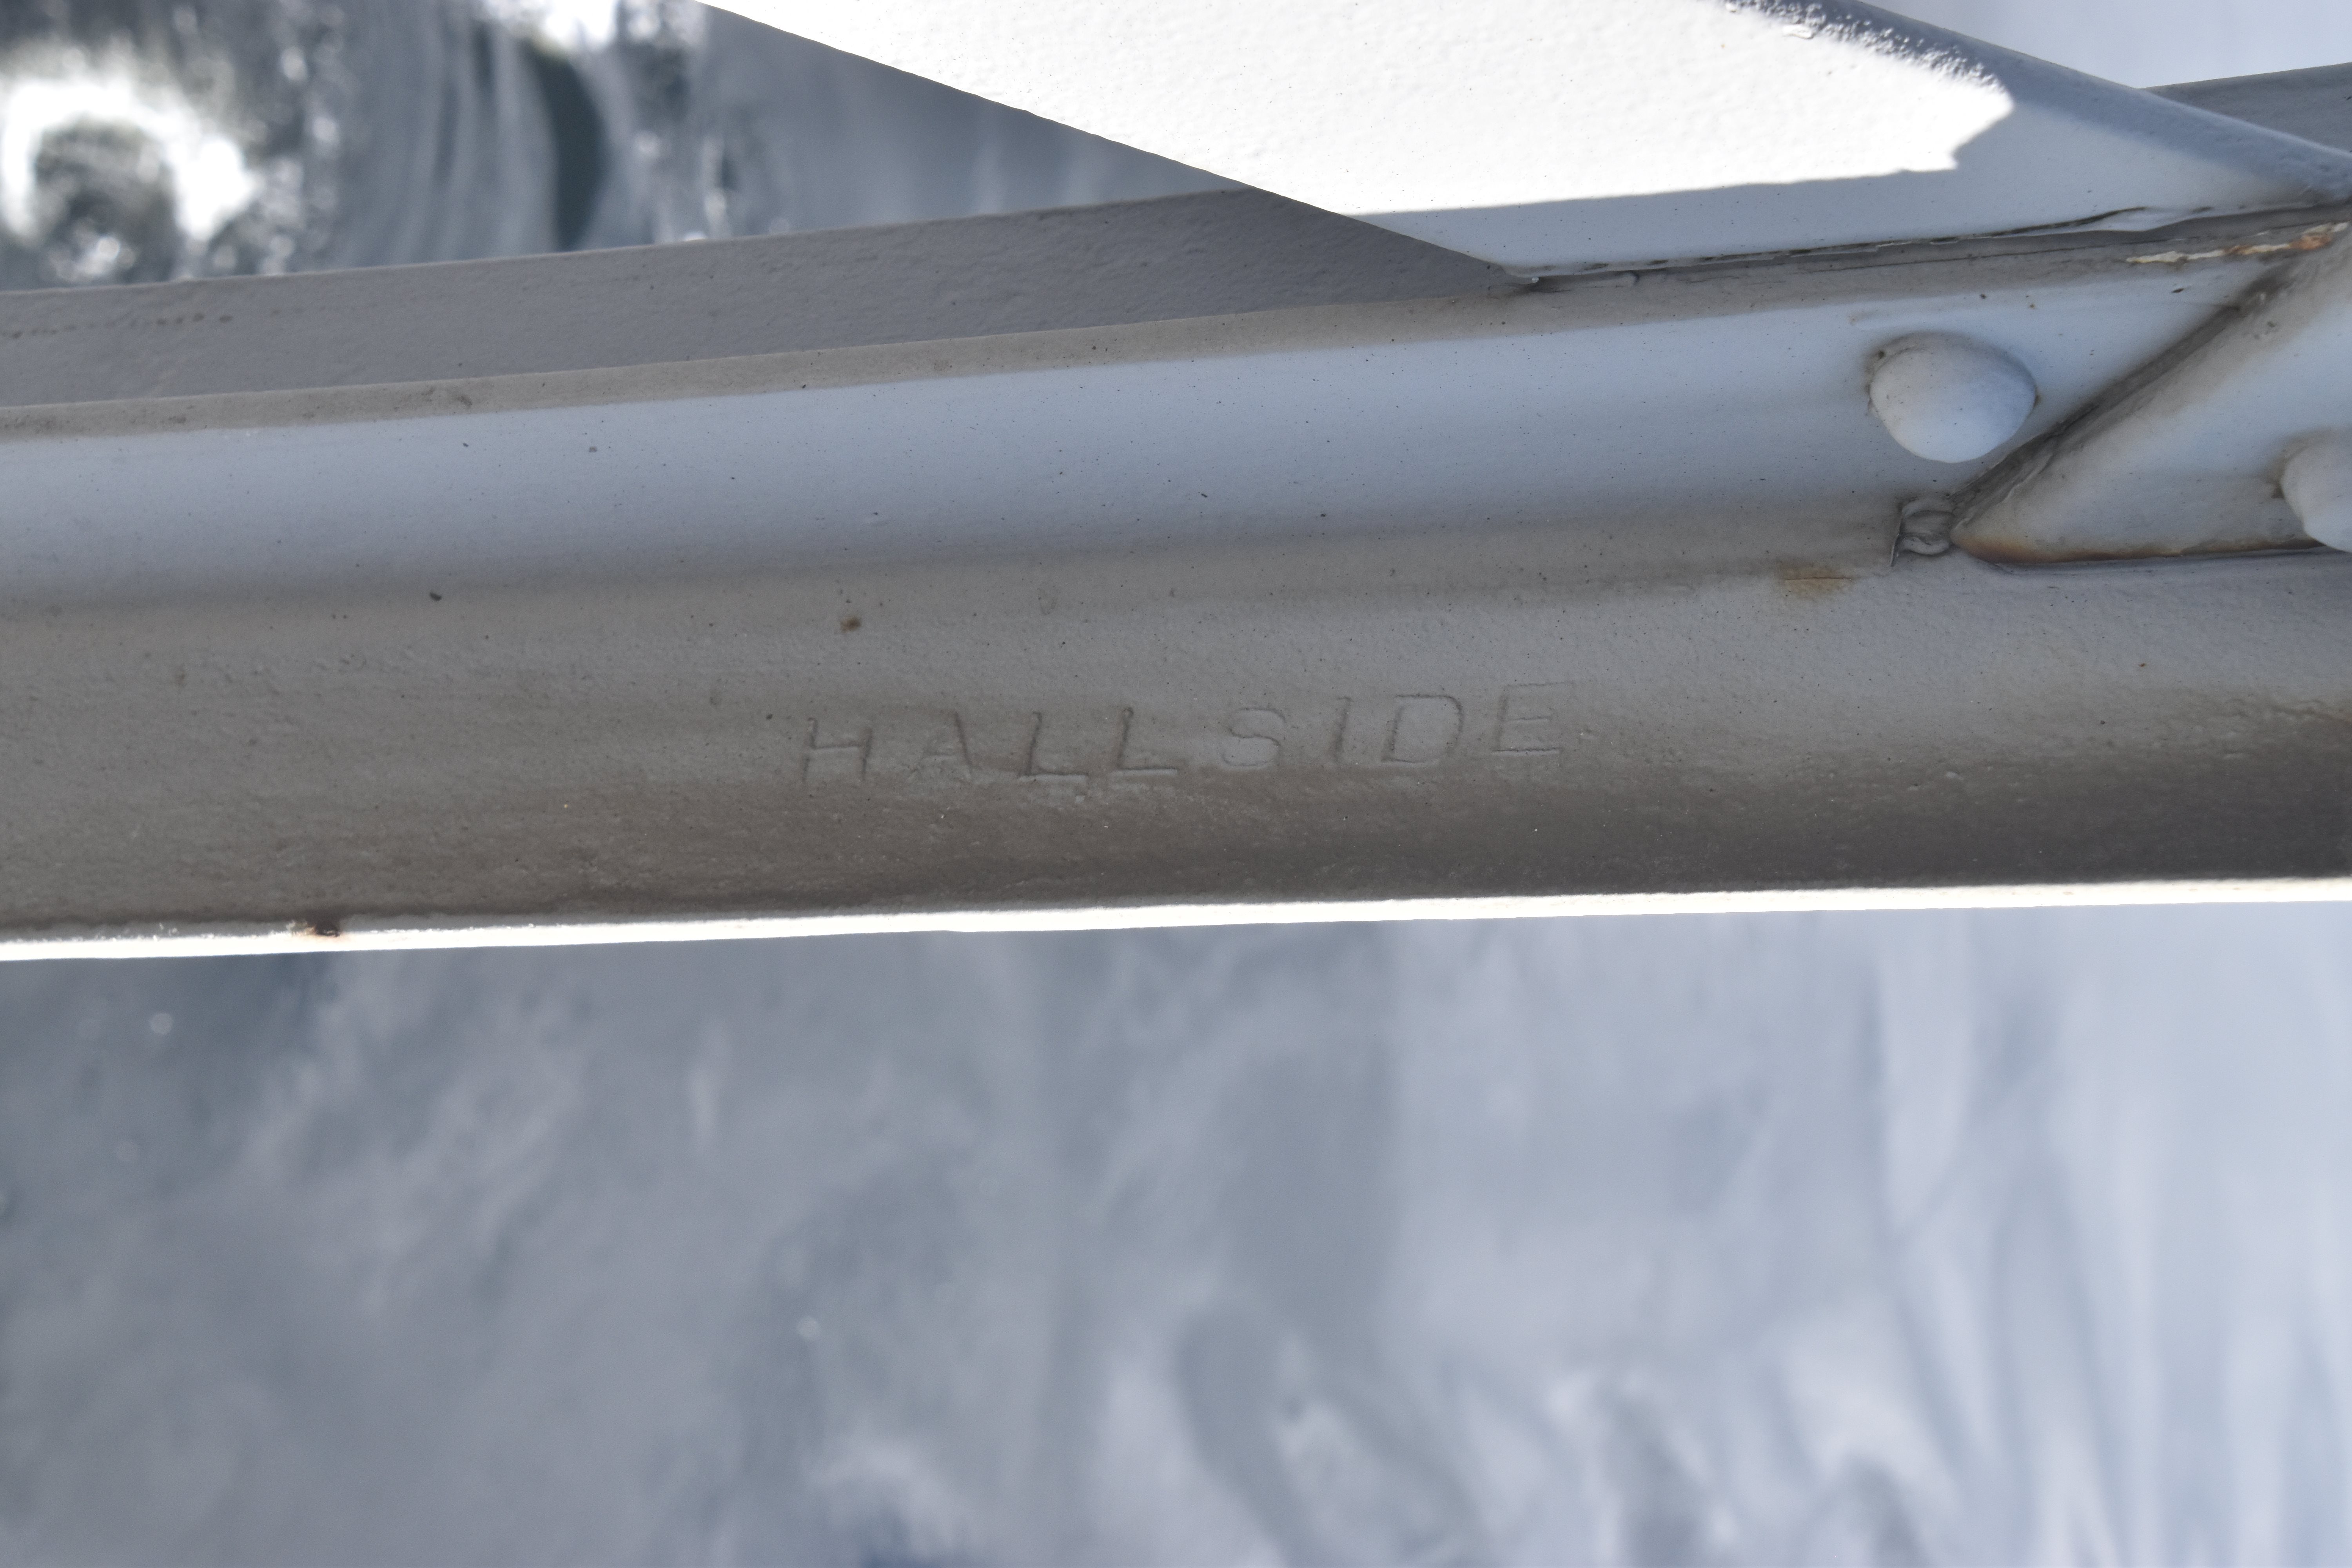
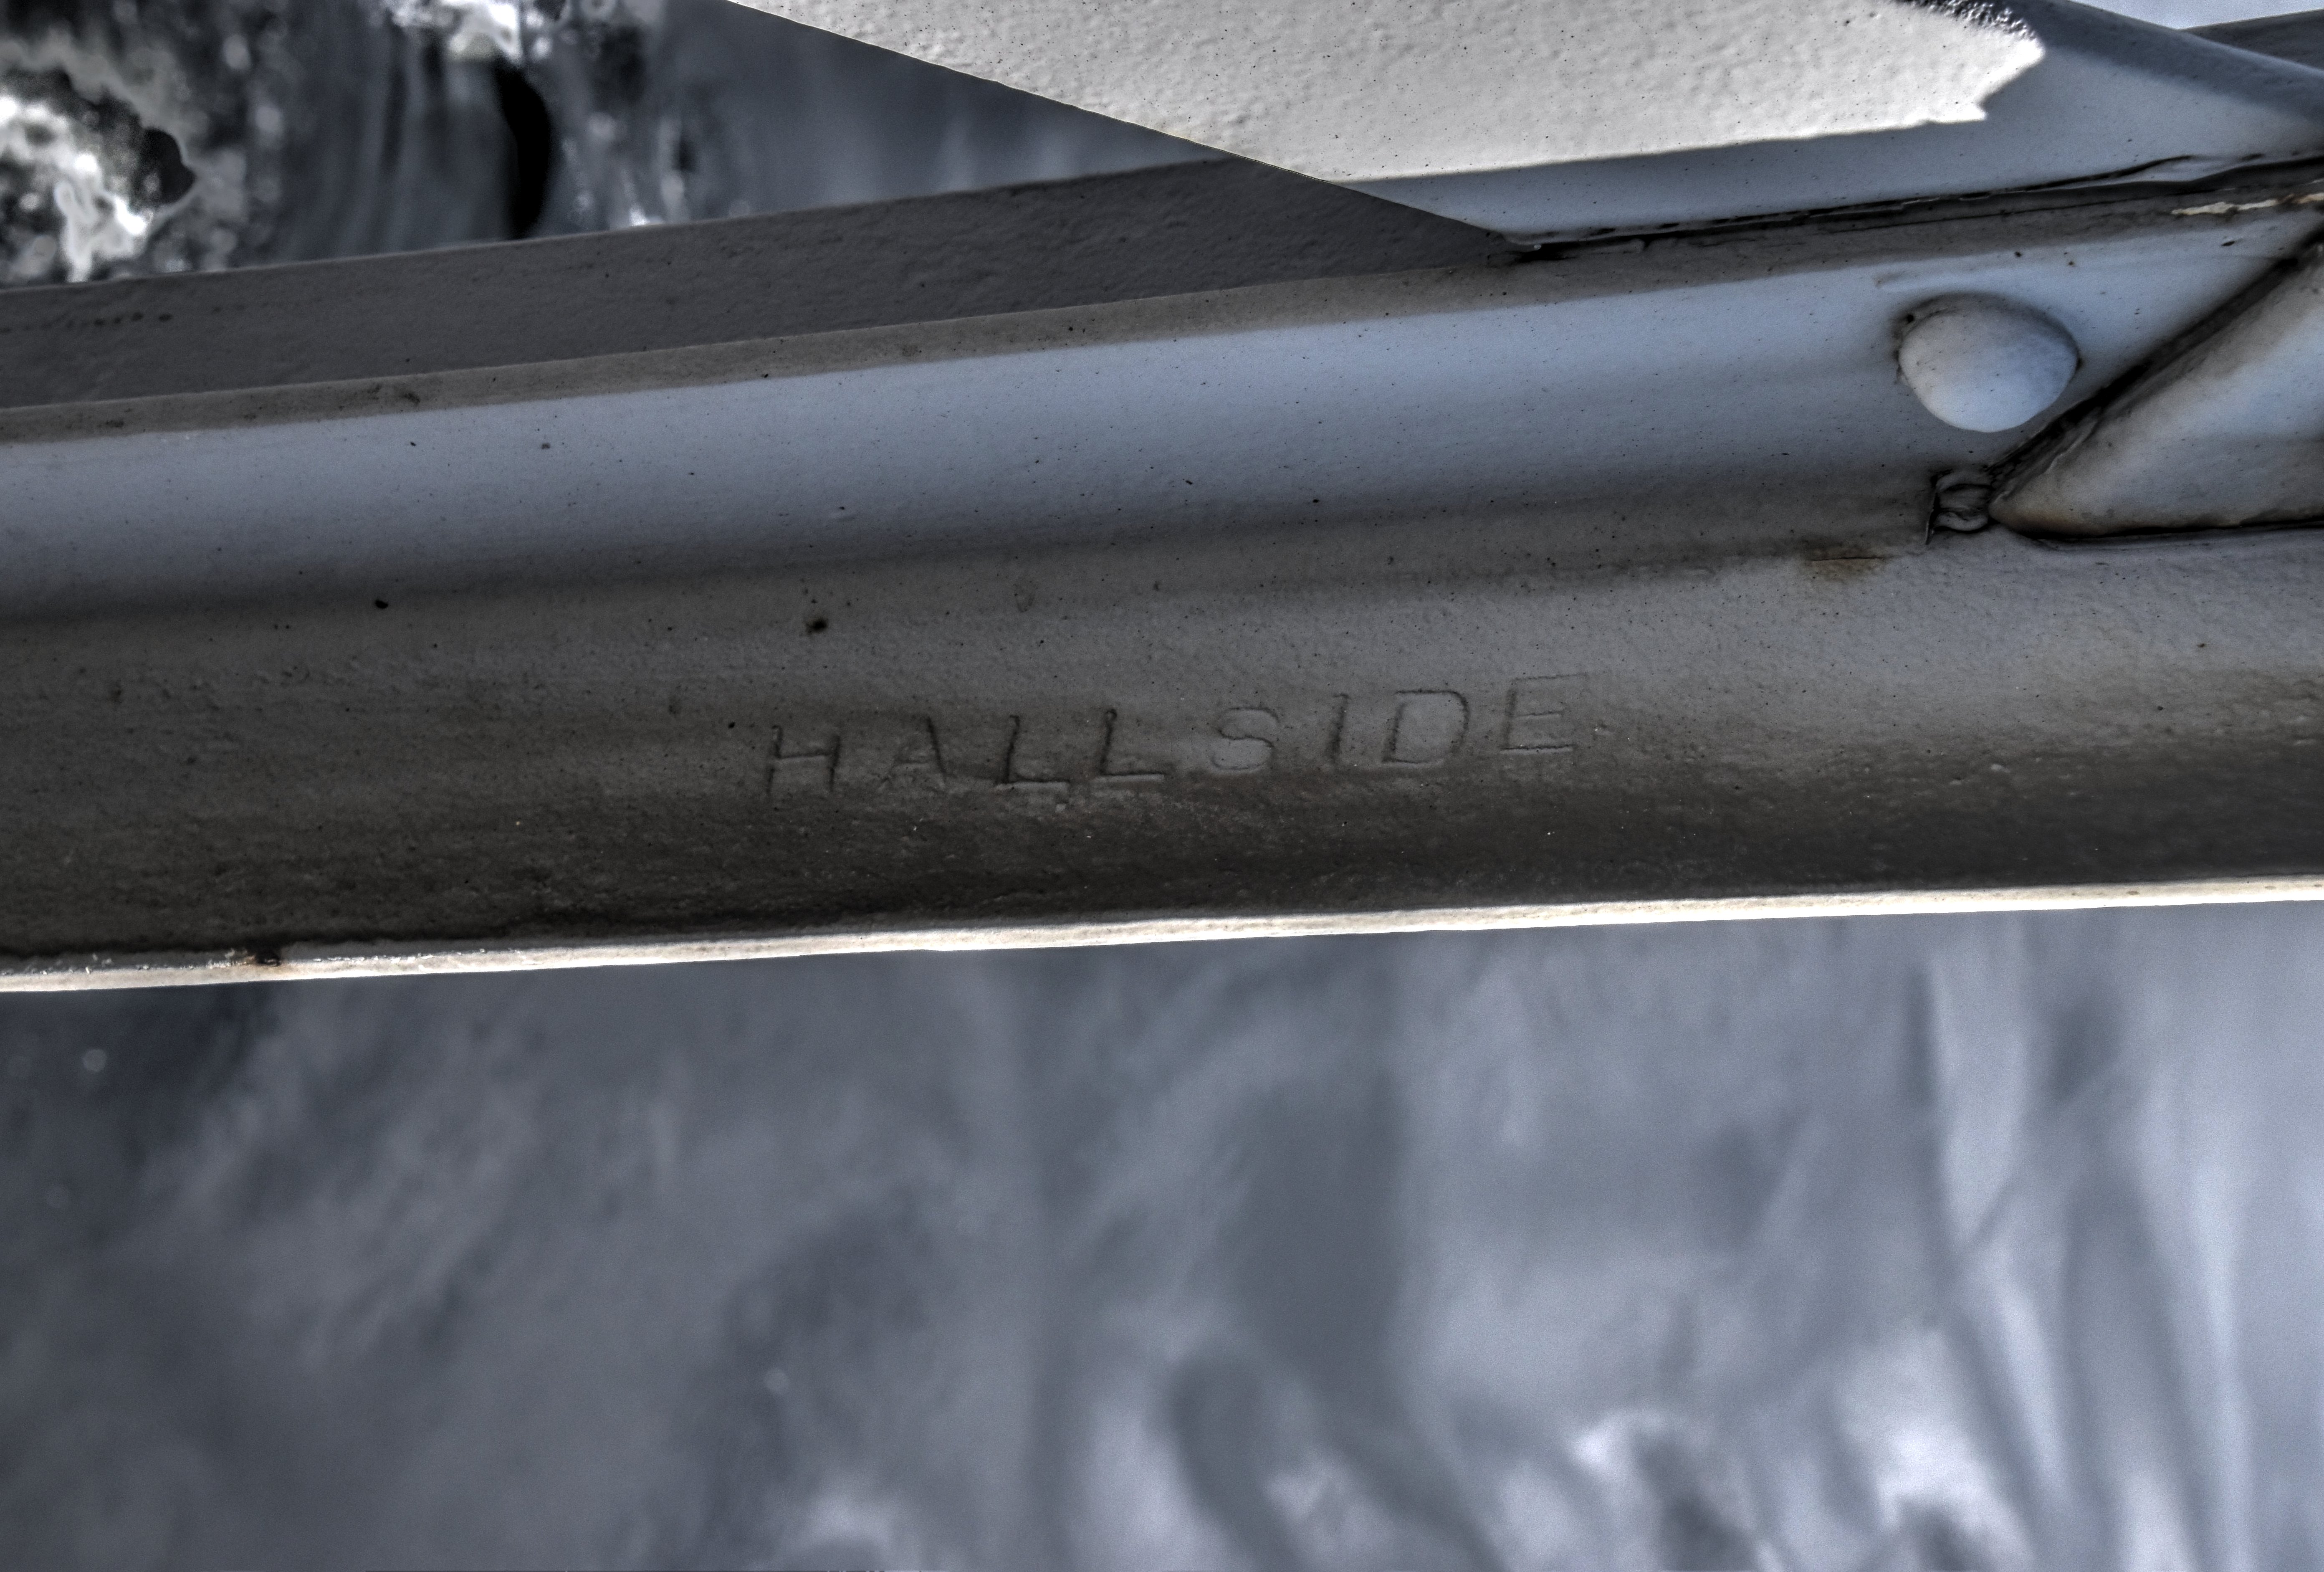
Hallside brand for Steel Company of Scotland (Hallside Works).
![]()

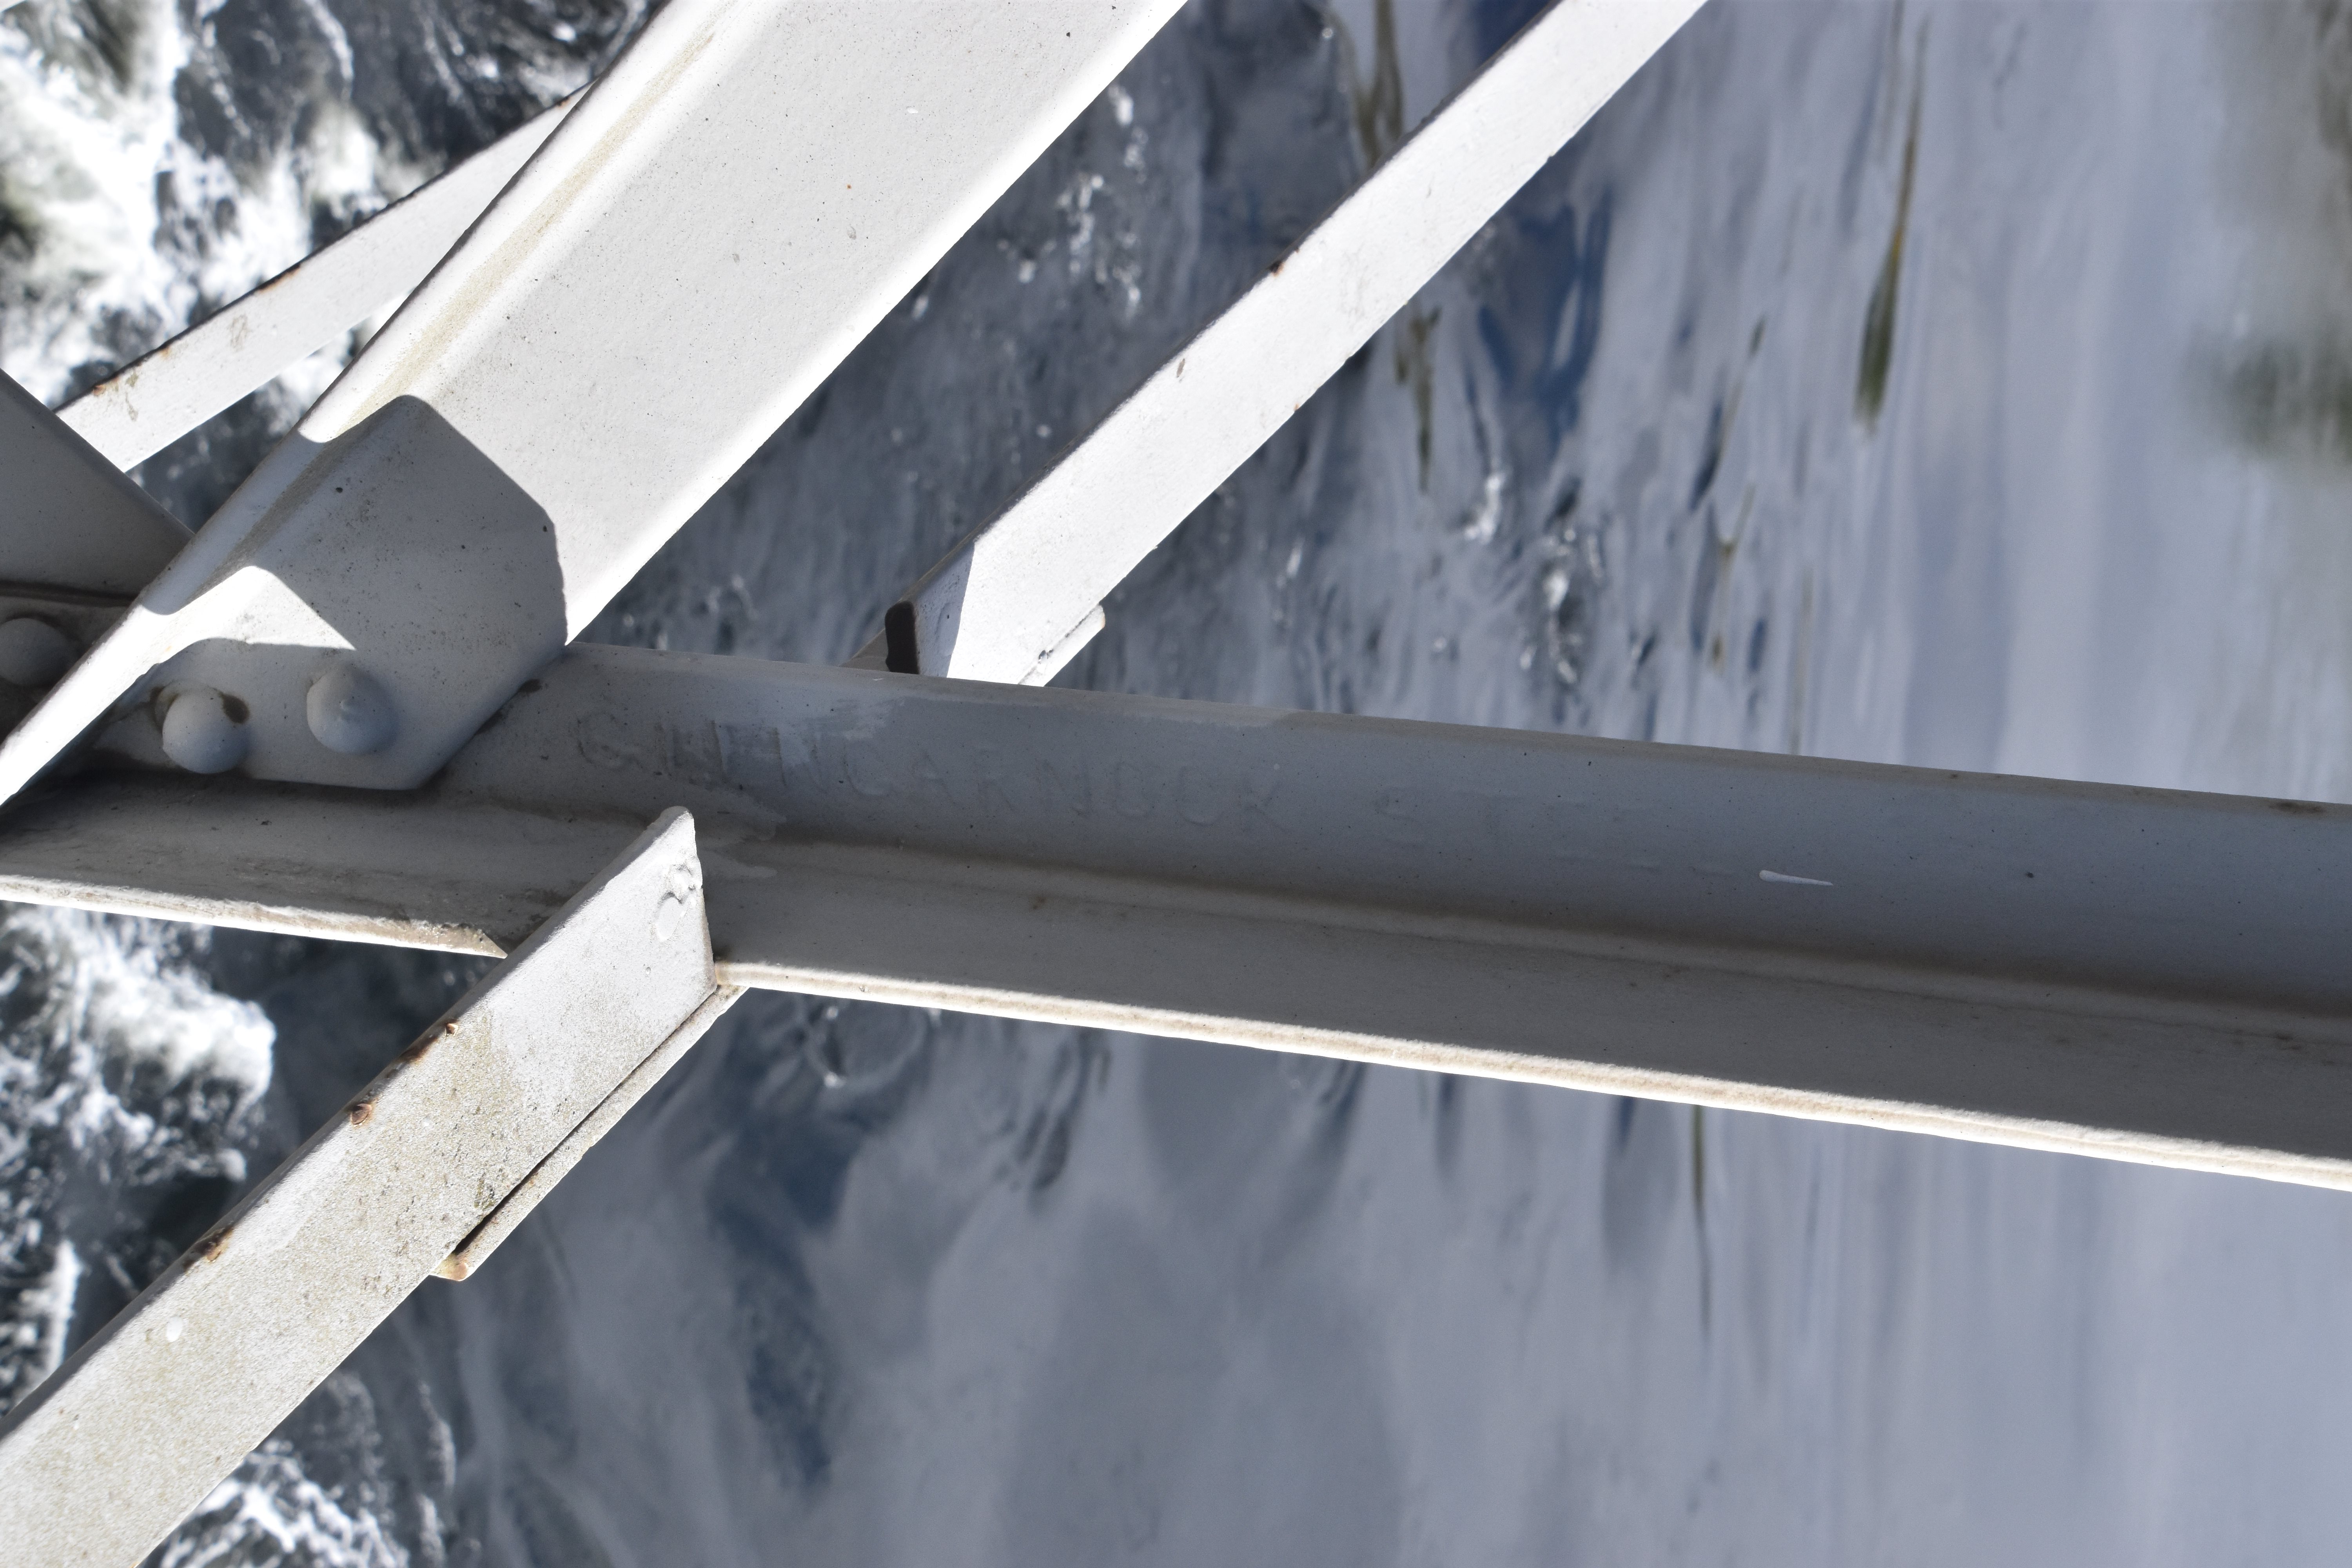
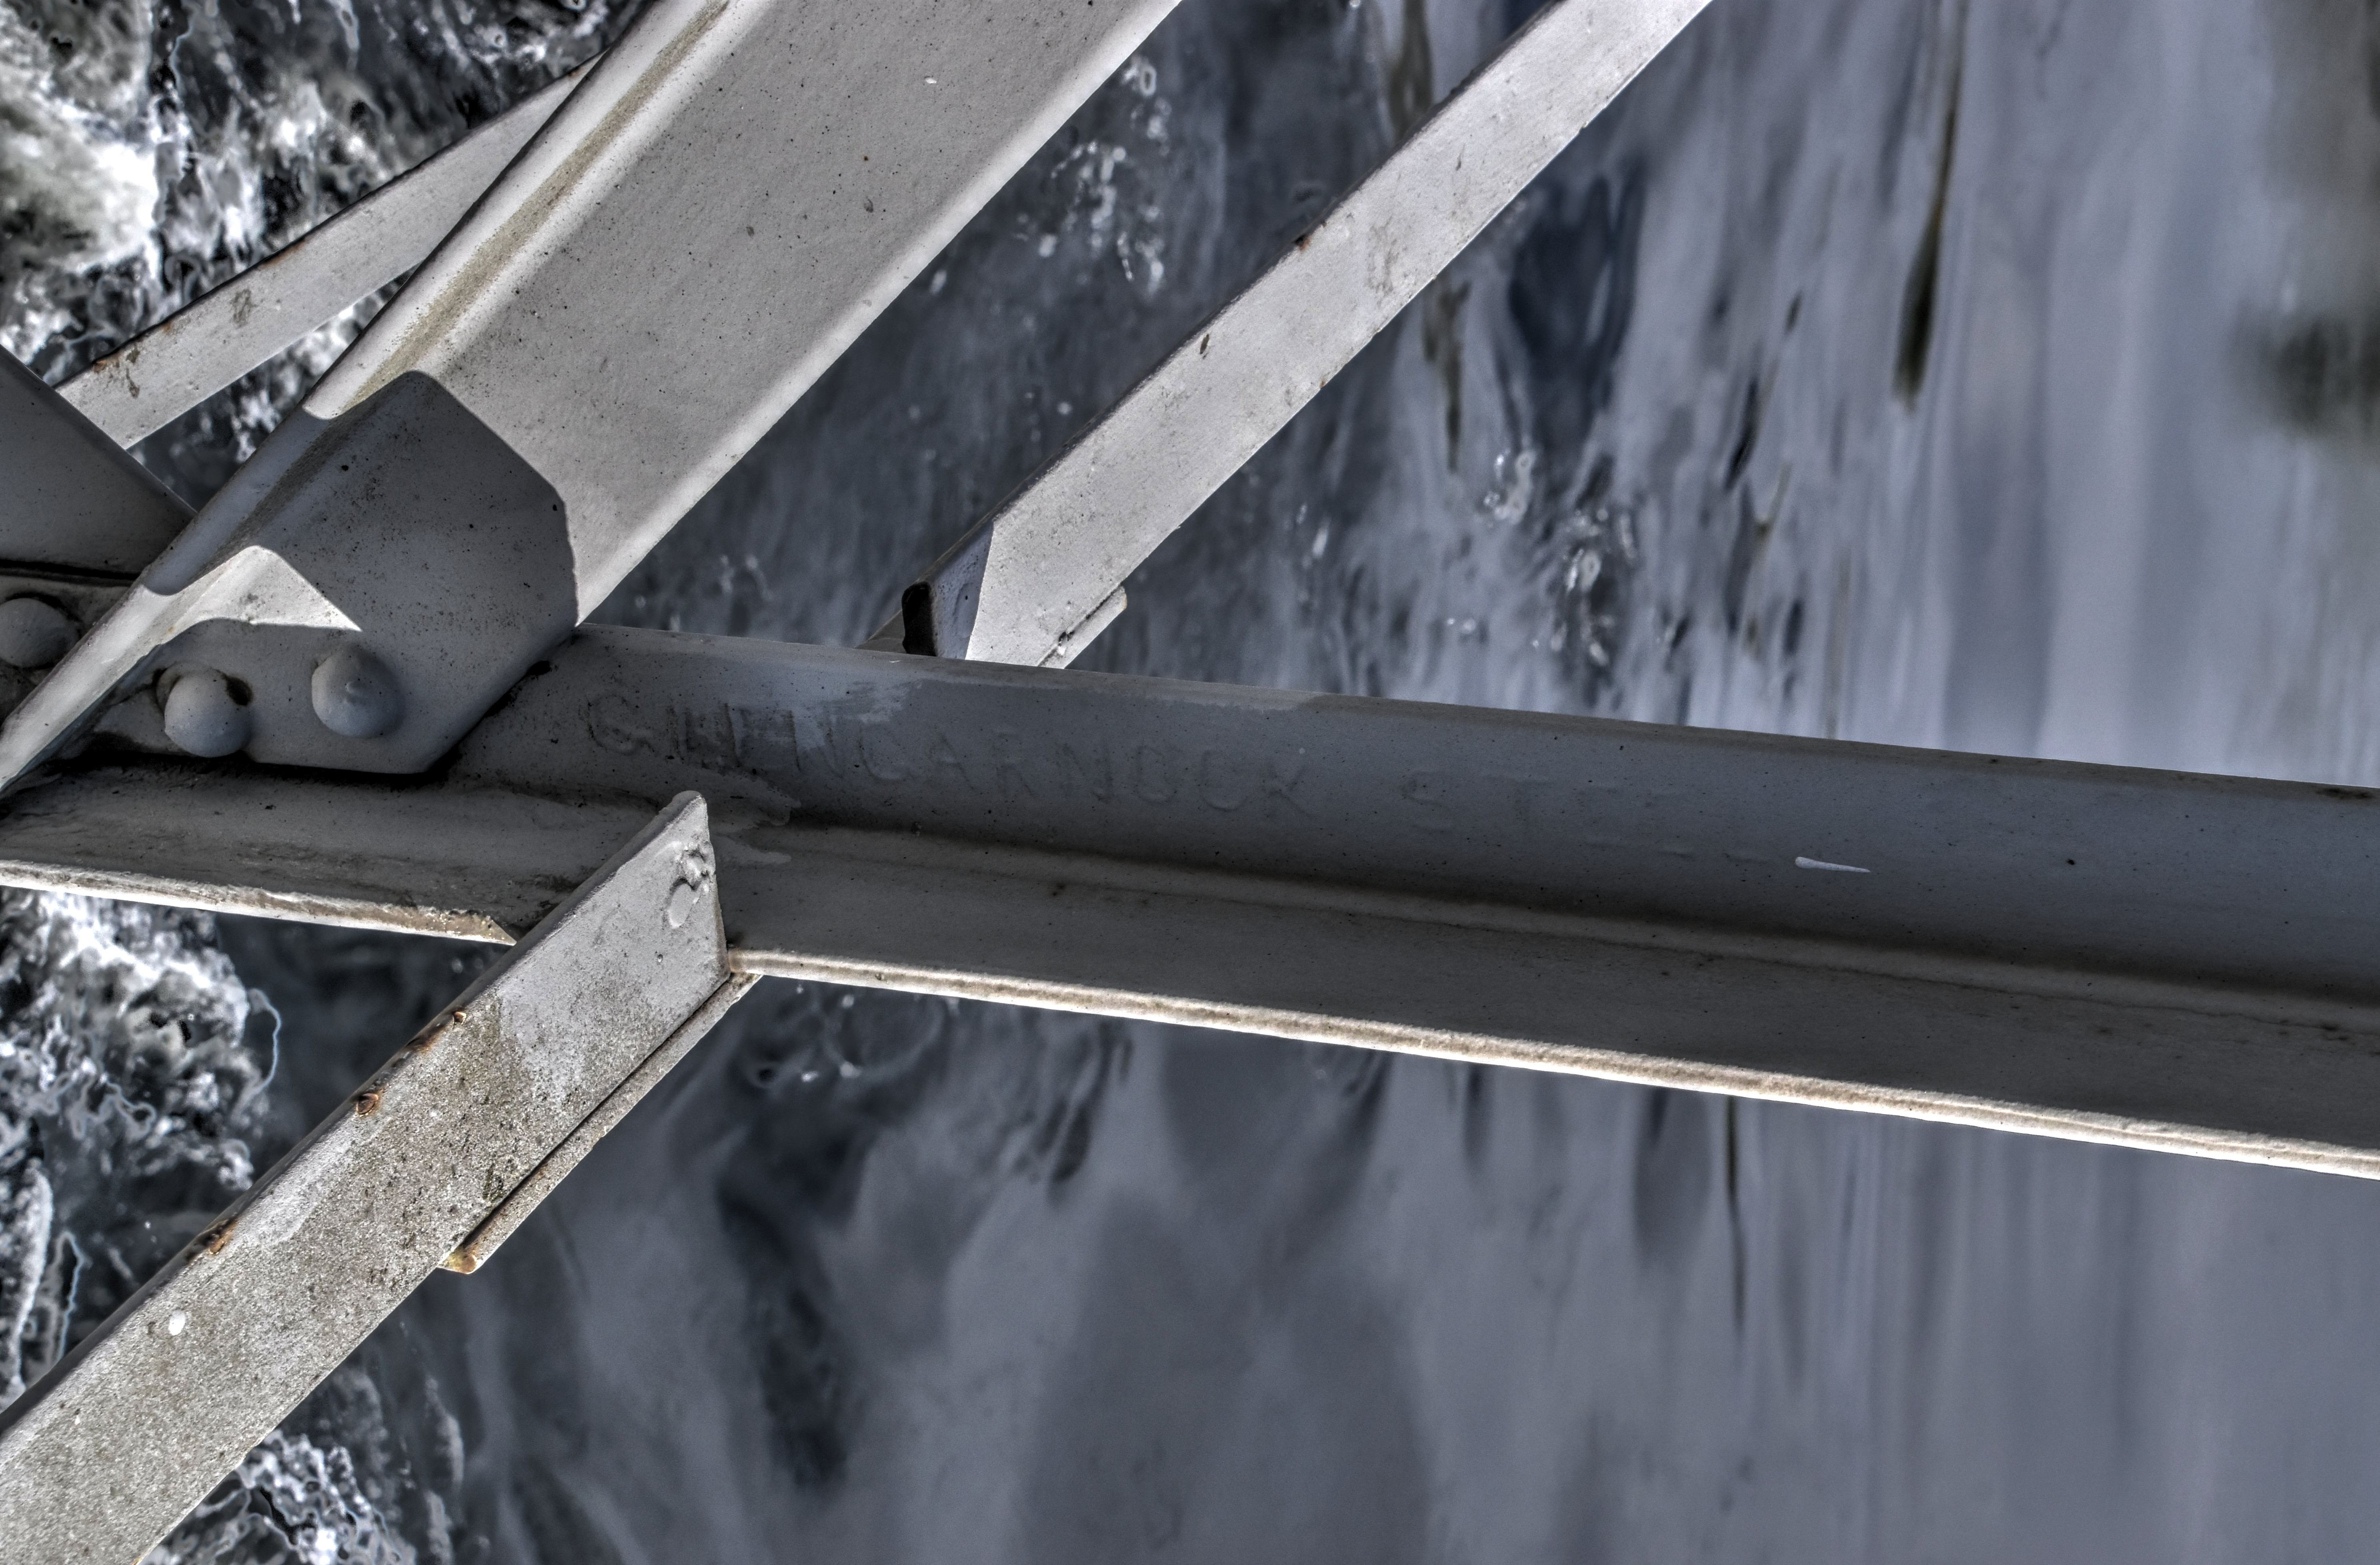
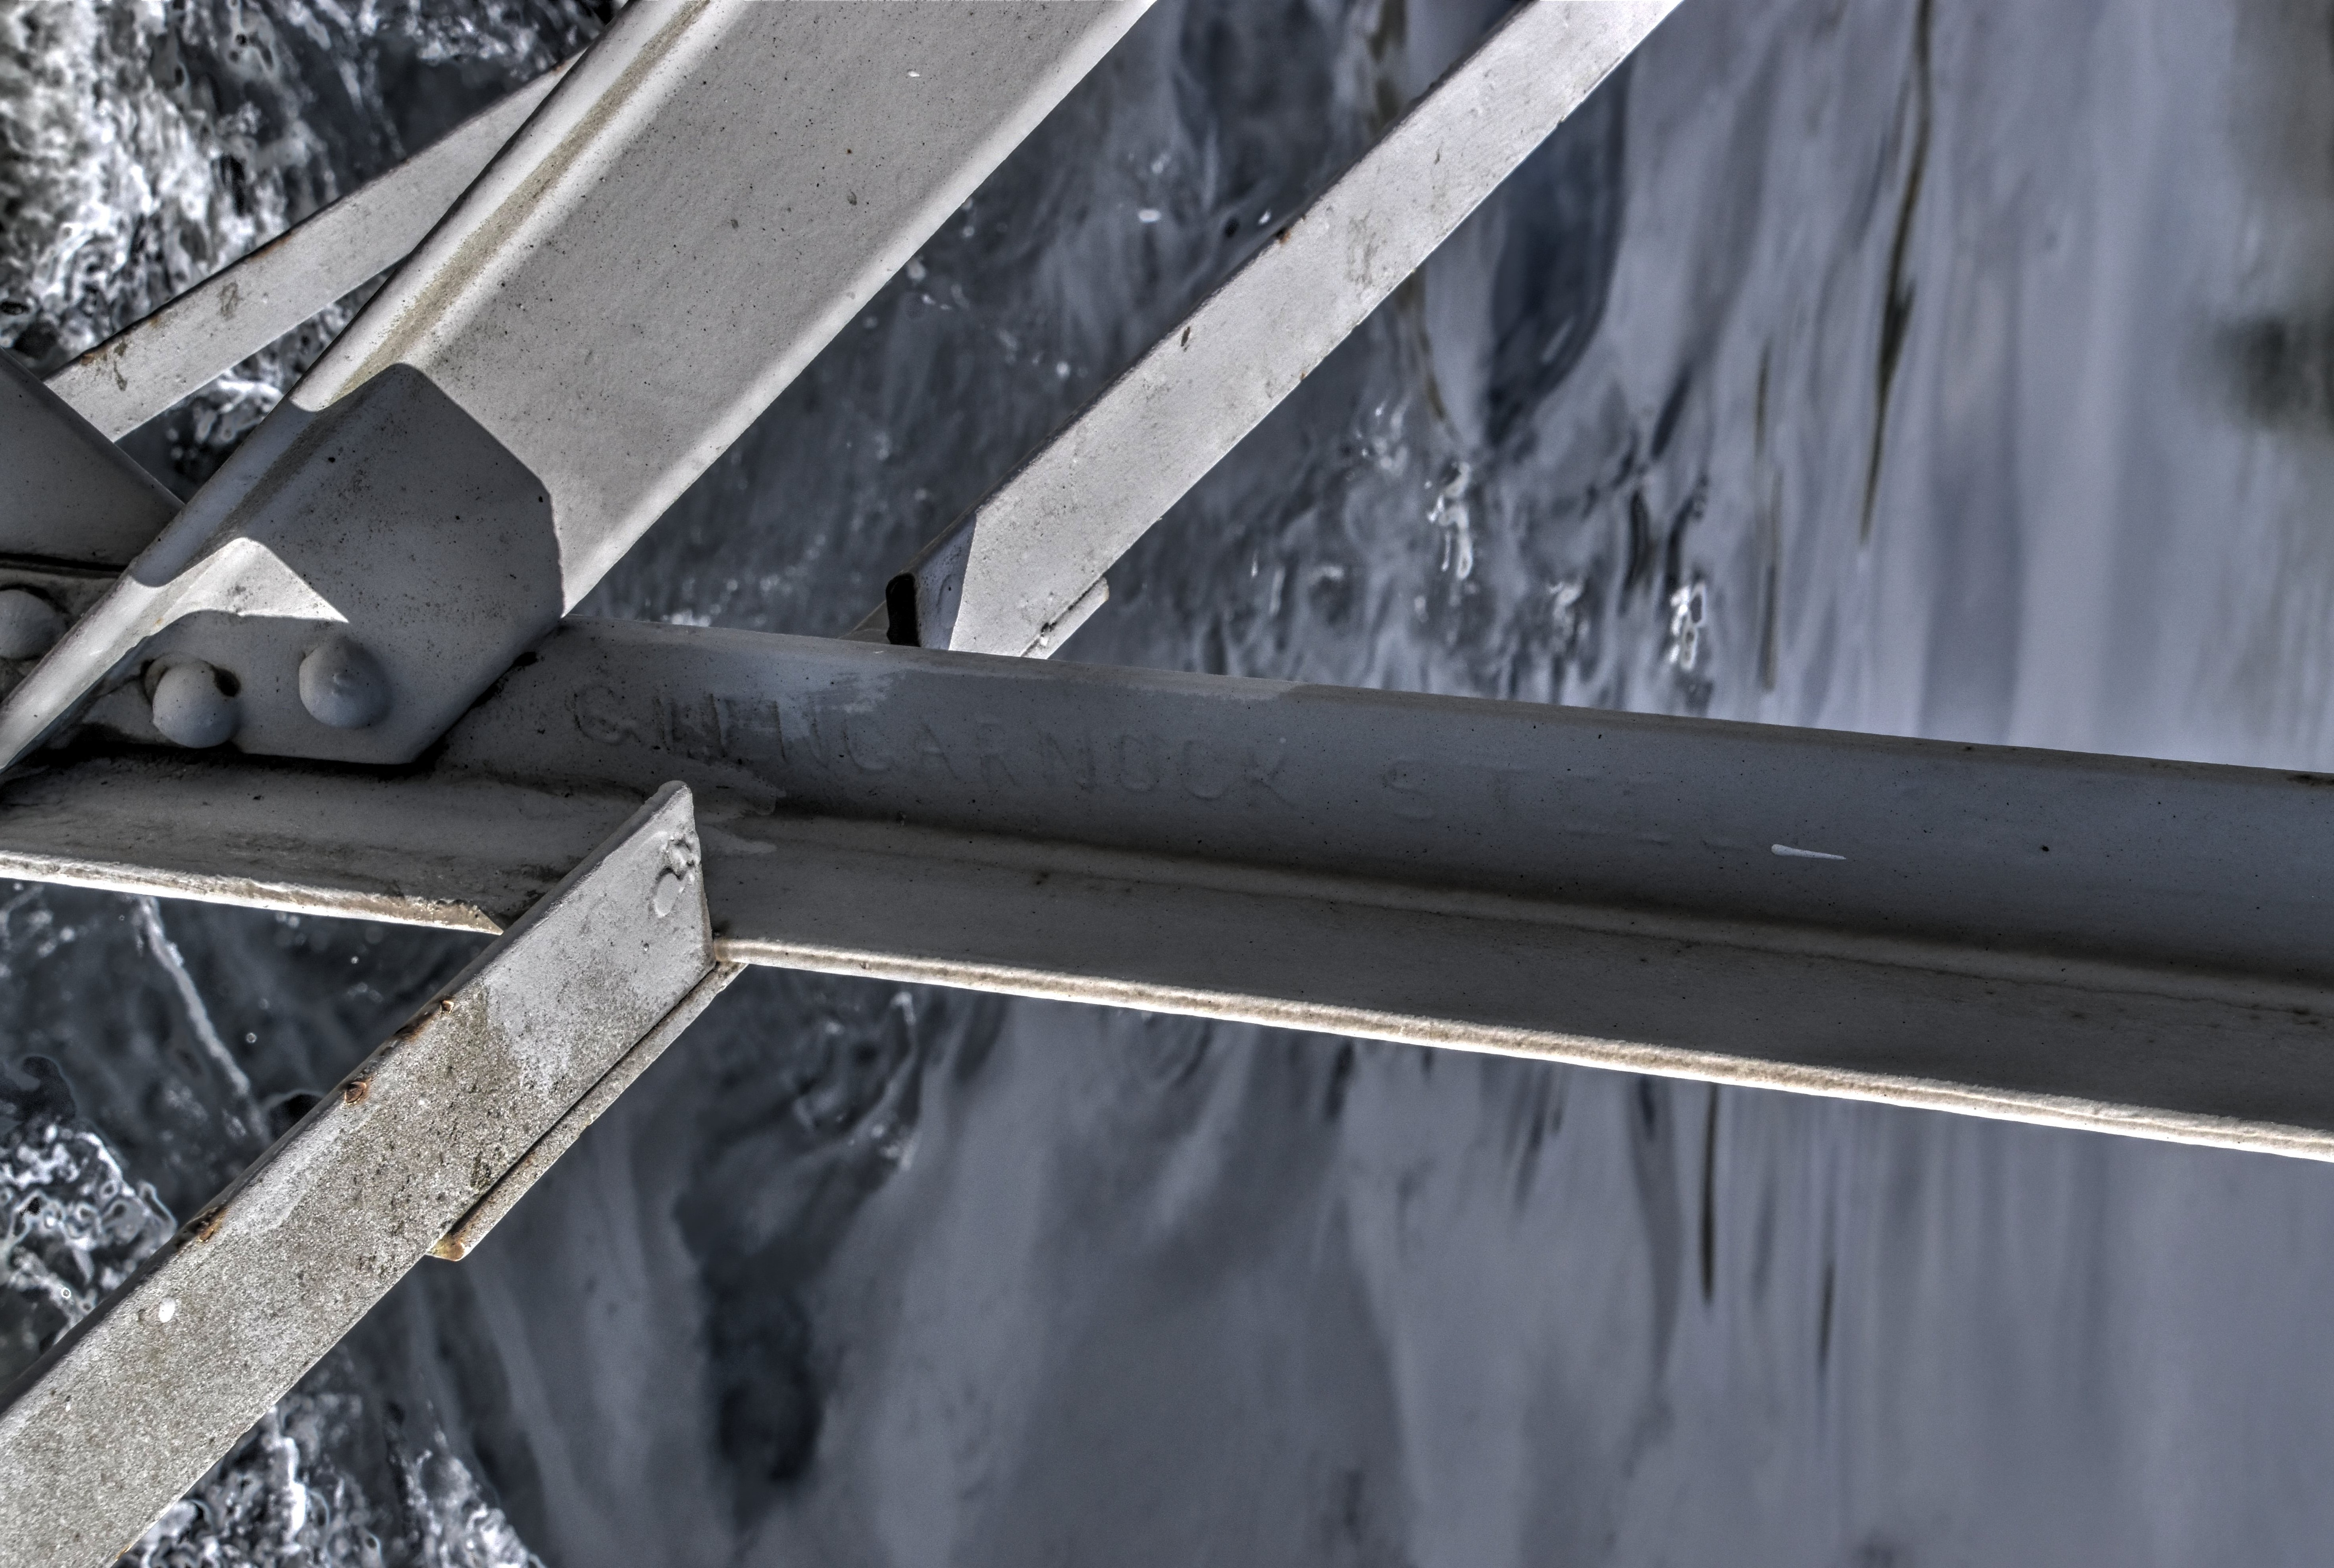
Glengarnock brand for Glengarnock Iron and Steel Company.
![]()

Lanarkshire brand for Lanarkshire Steel Company of Motherwell, Scotland.
![]()
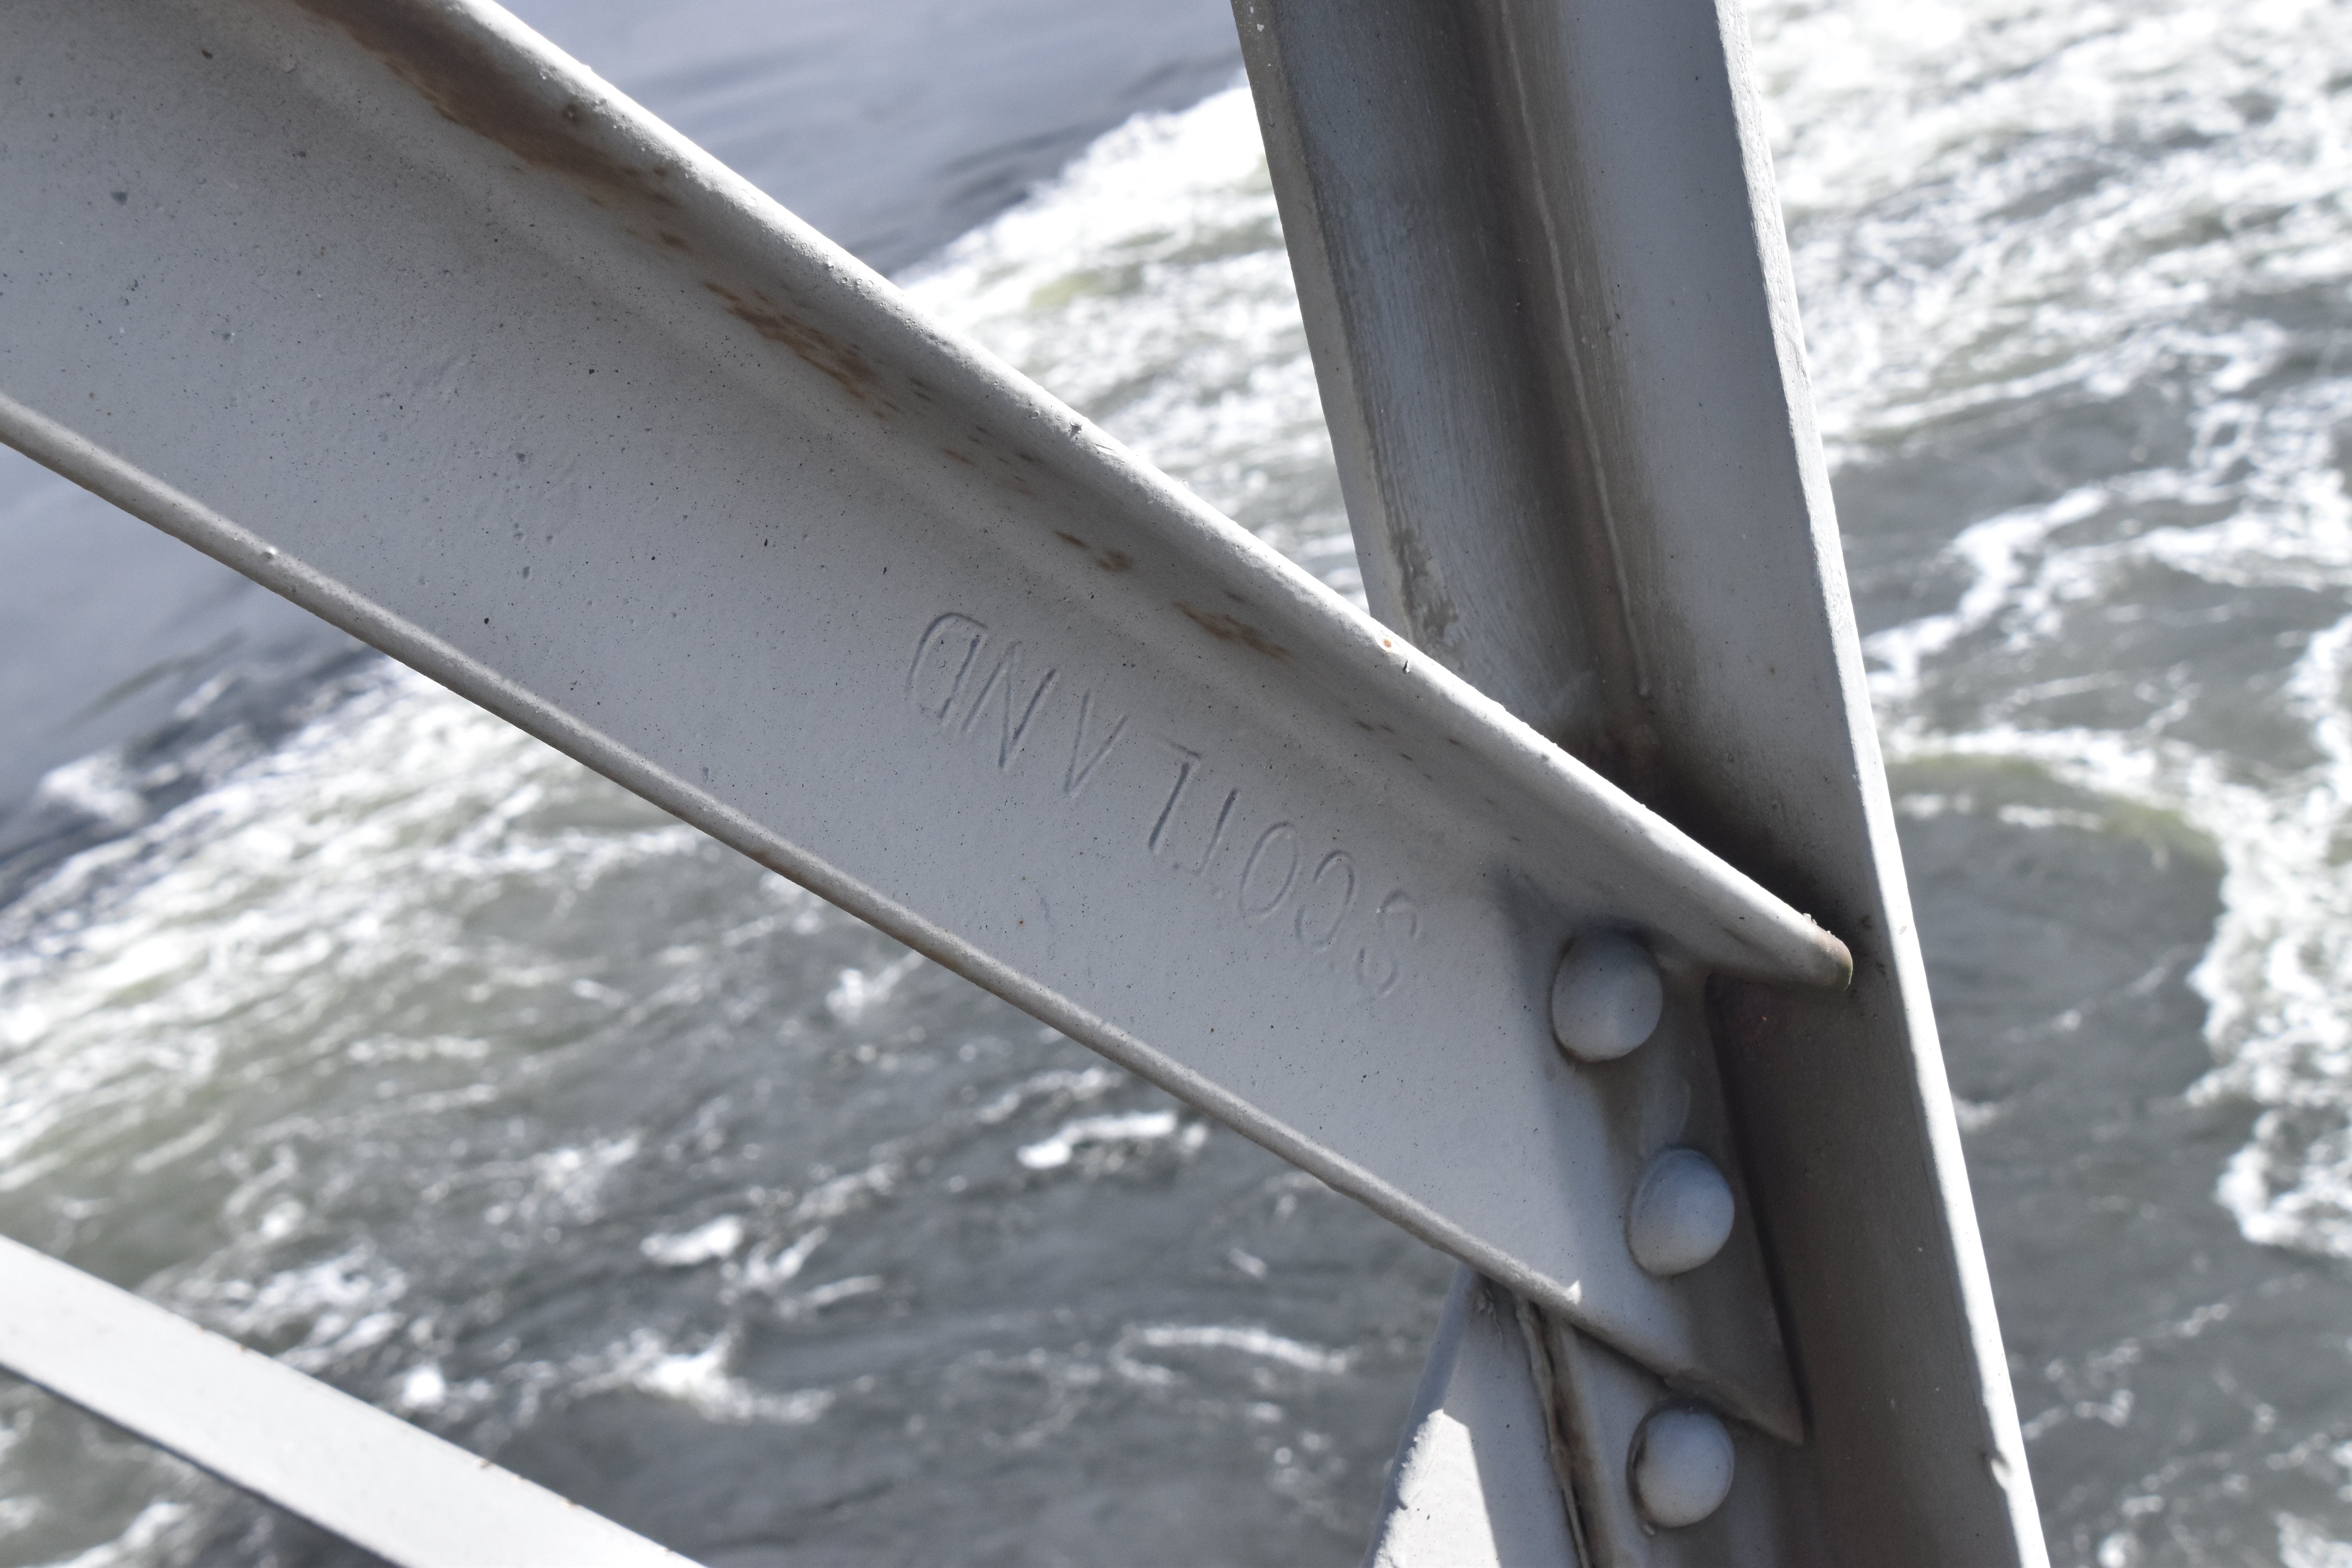
Scotland brand.
![]()
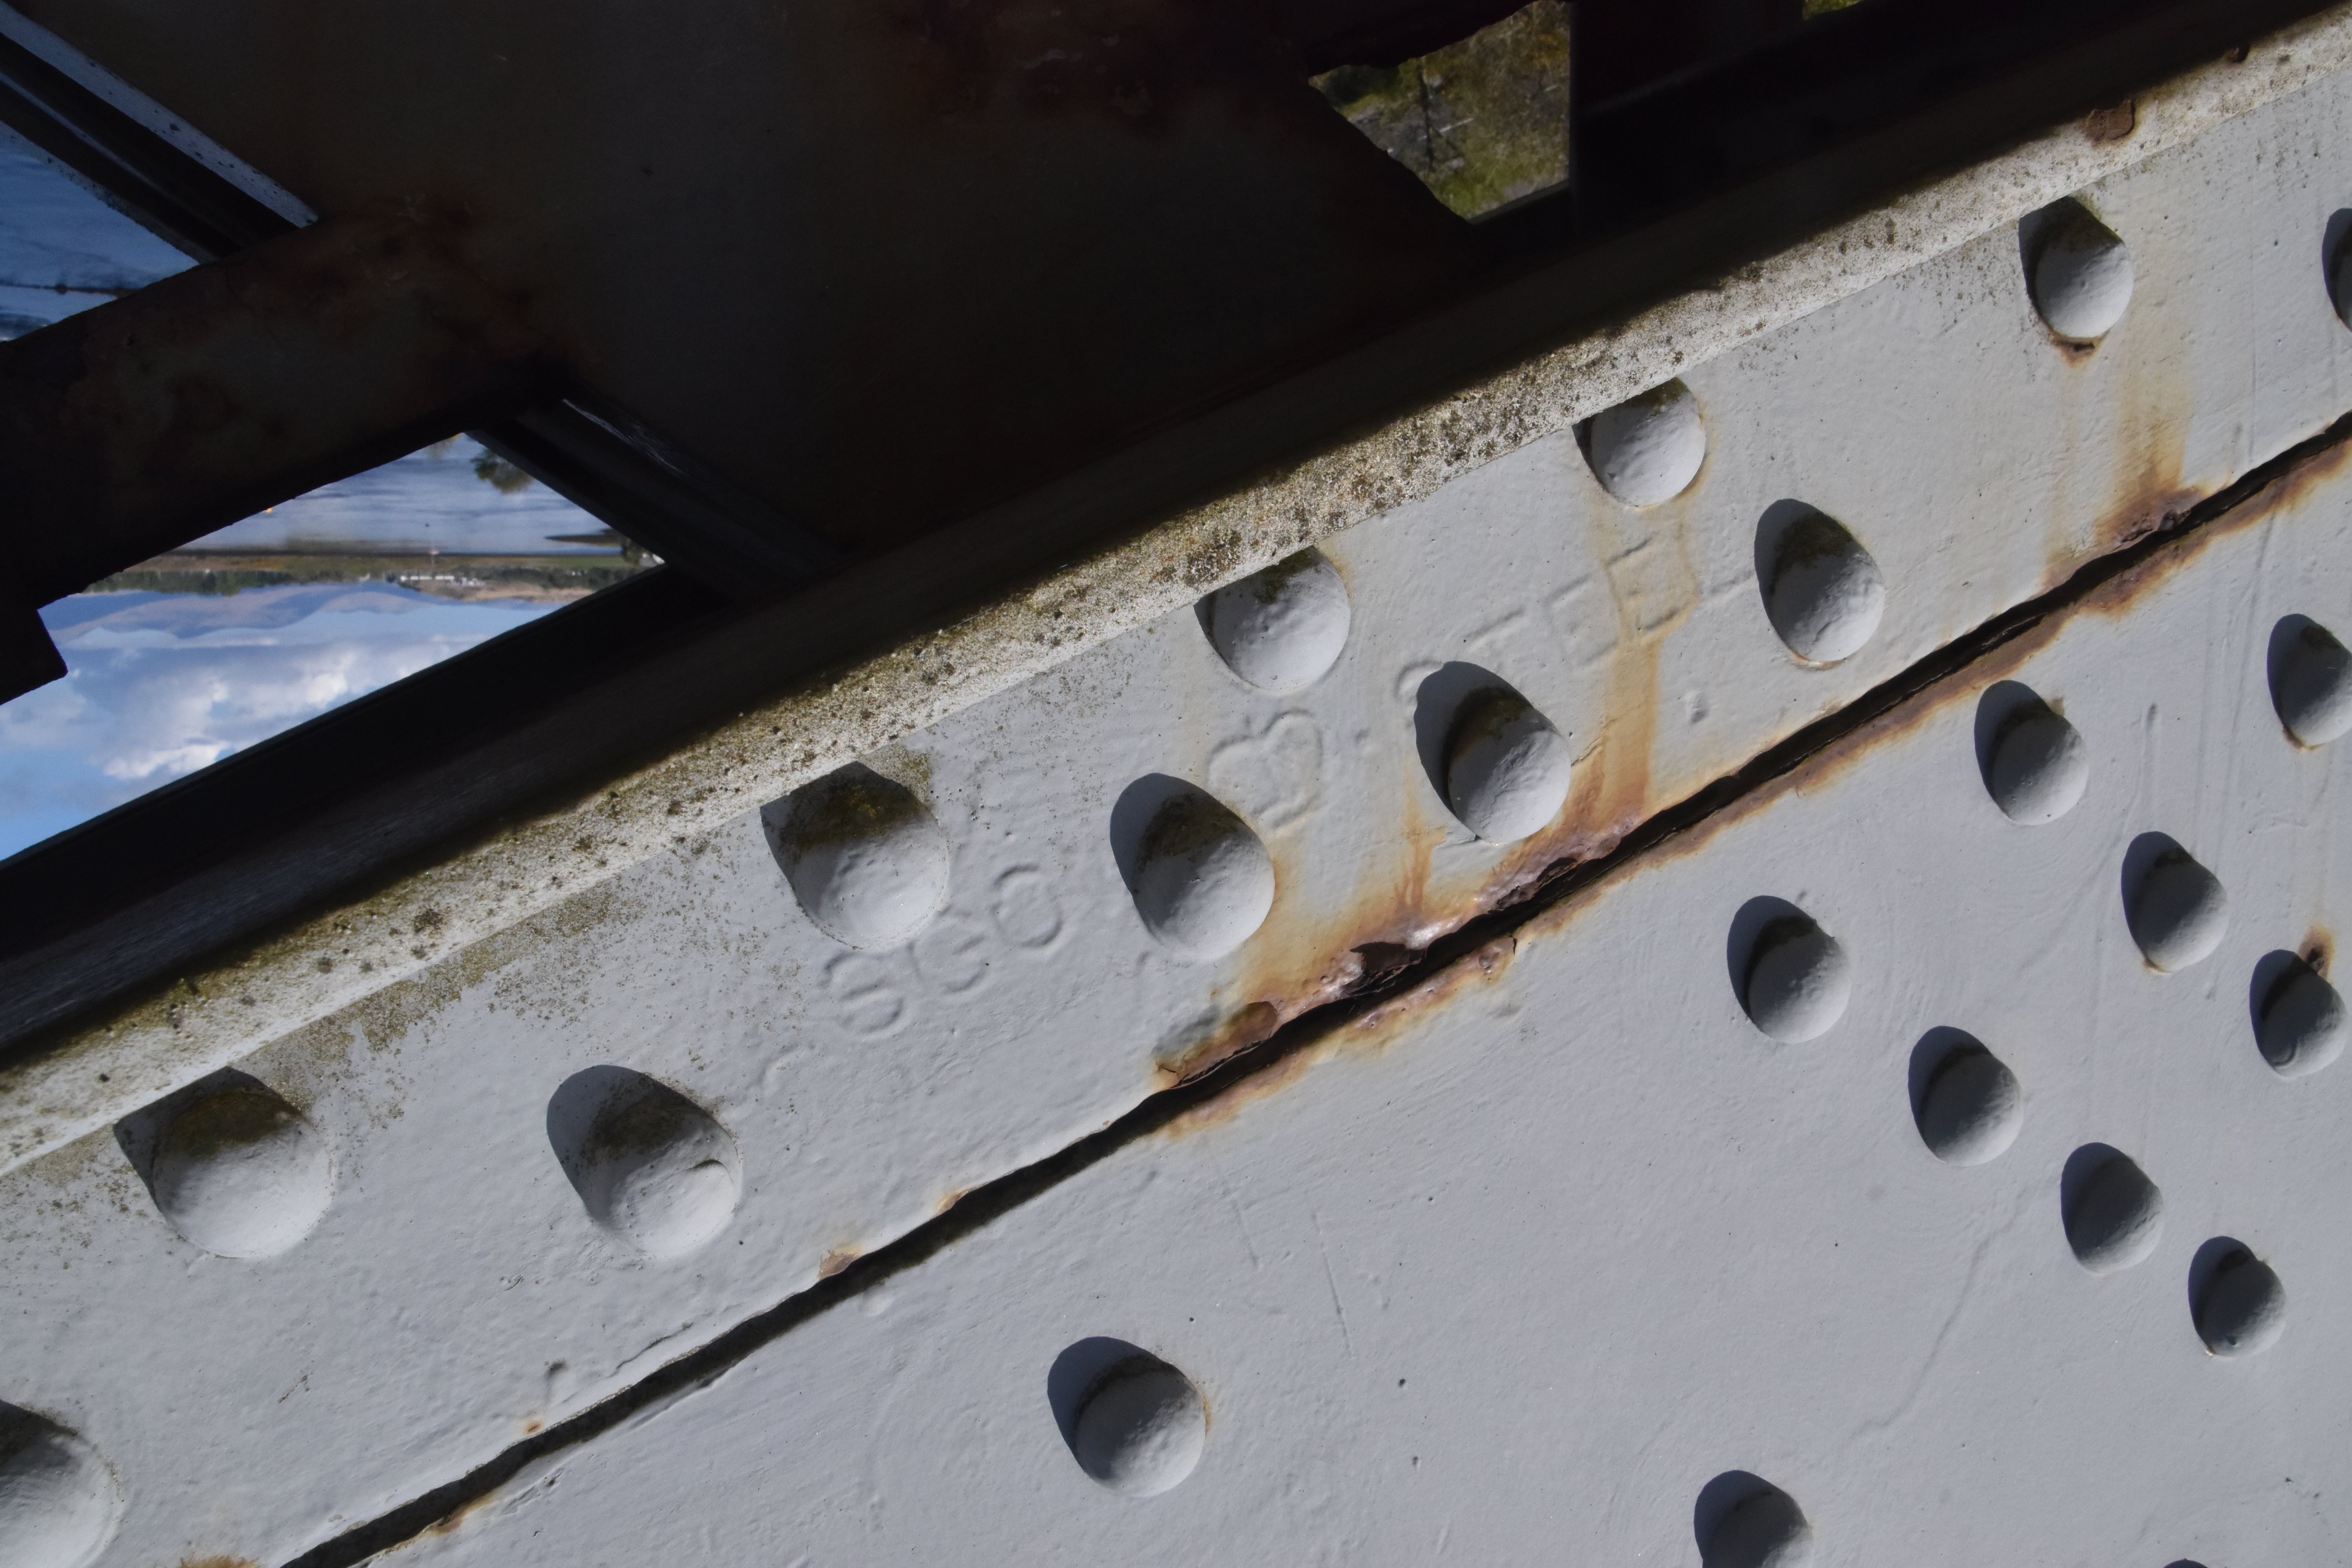
Unknown brand.
![]()
Unknown brand.
![]()

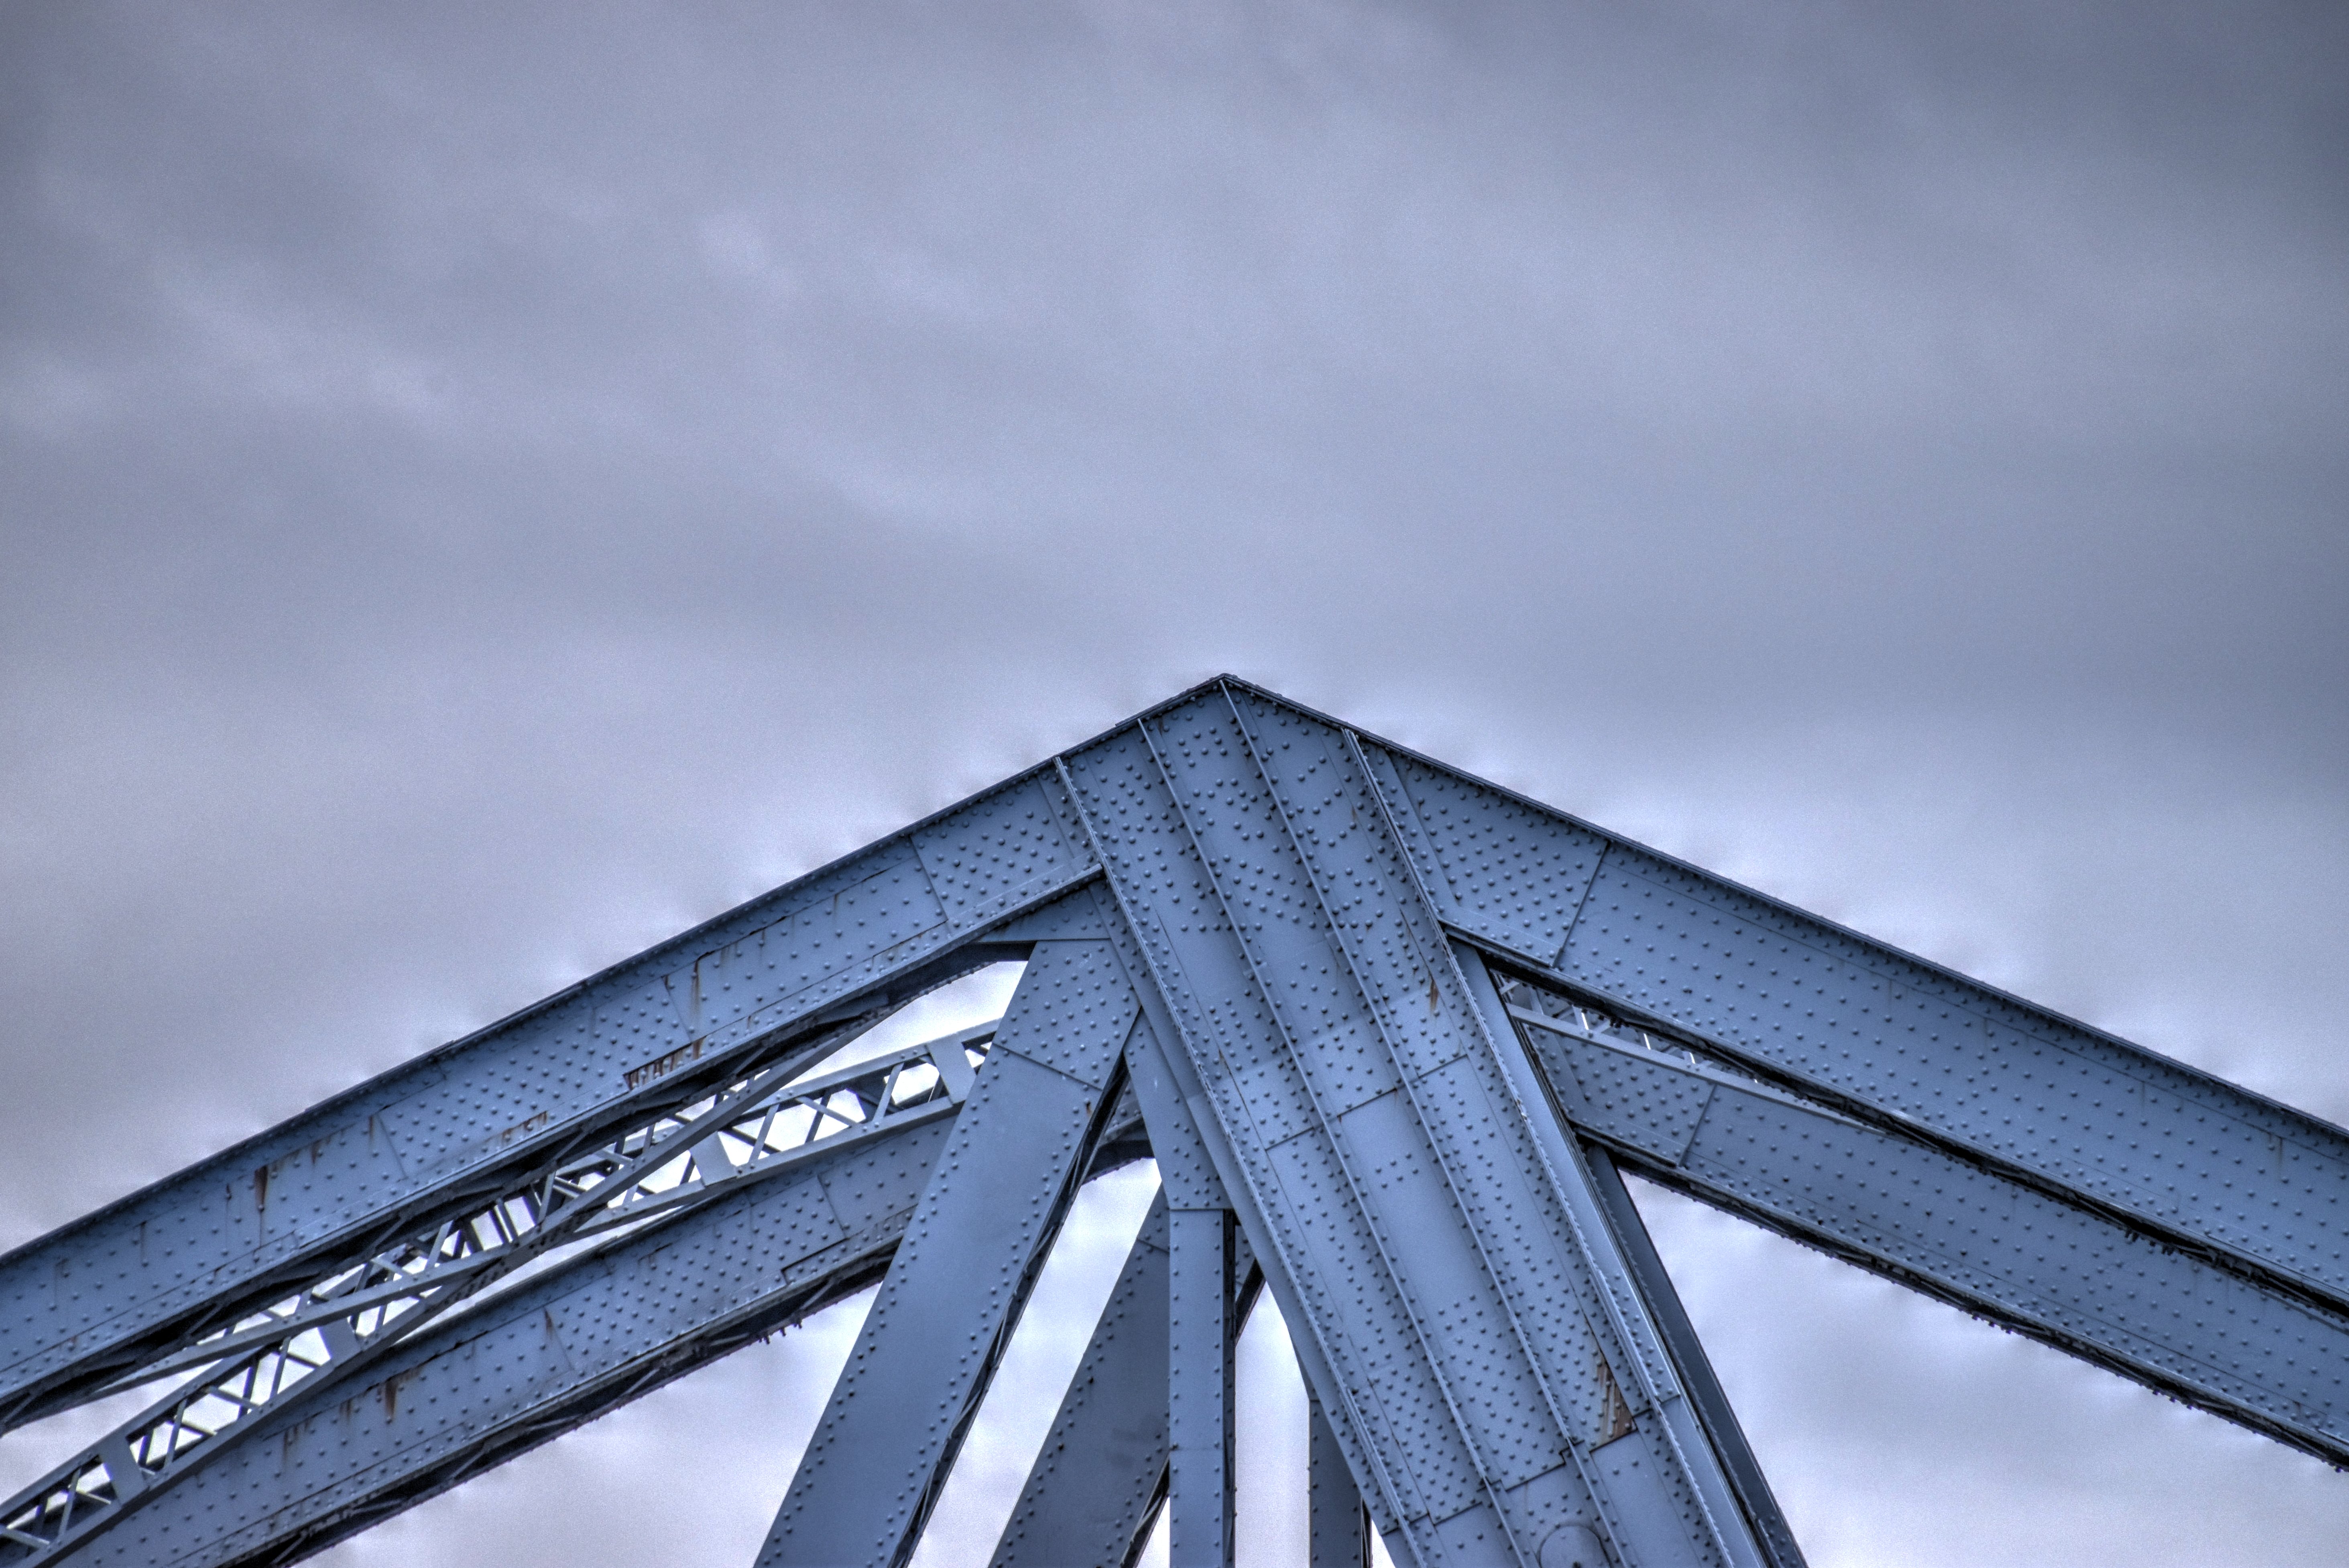


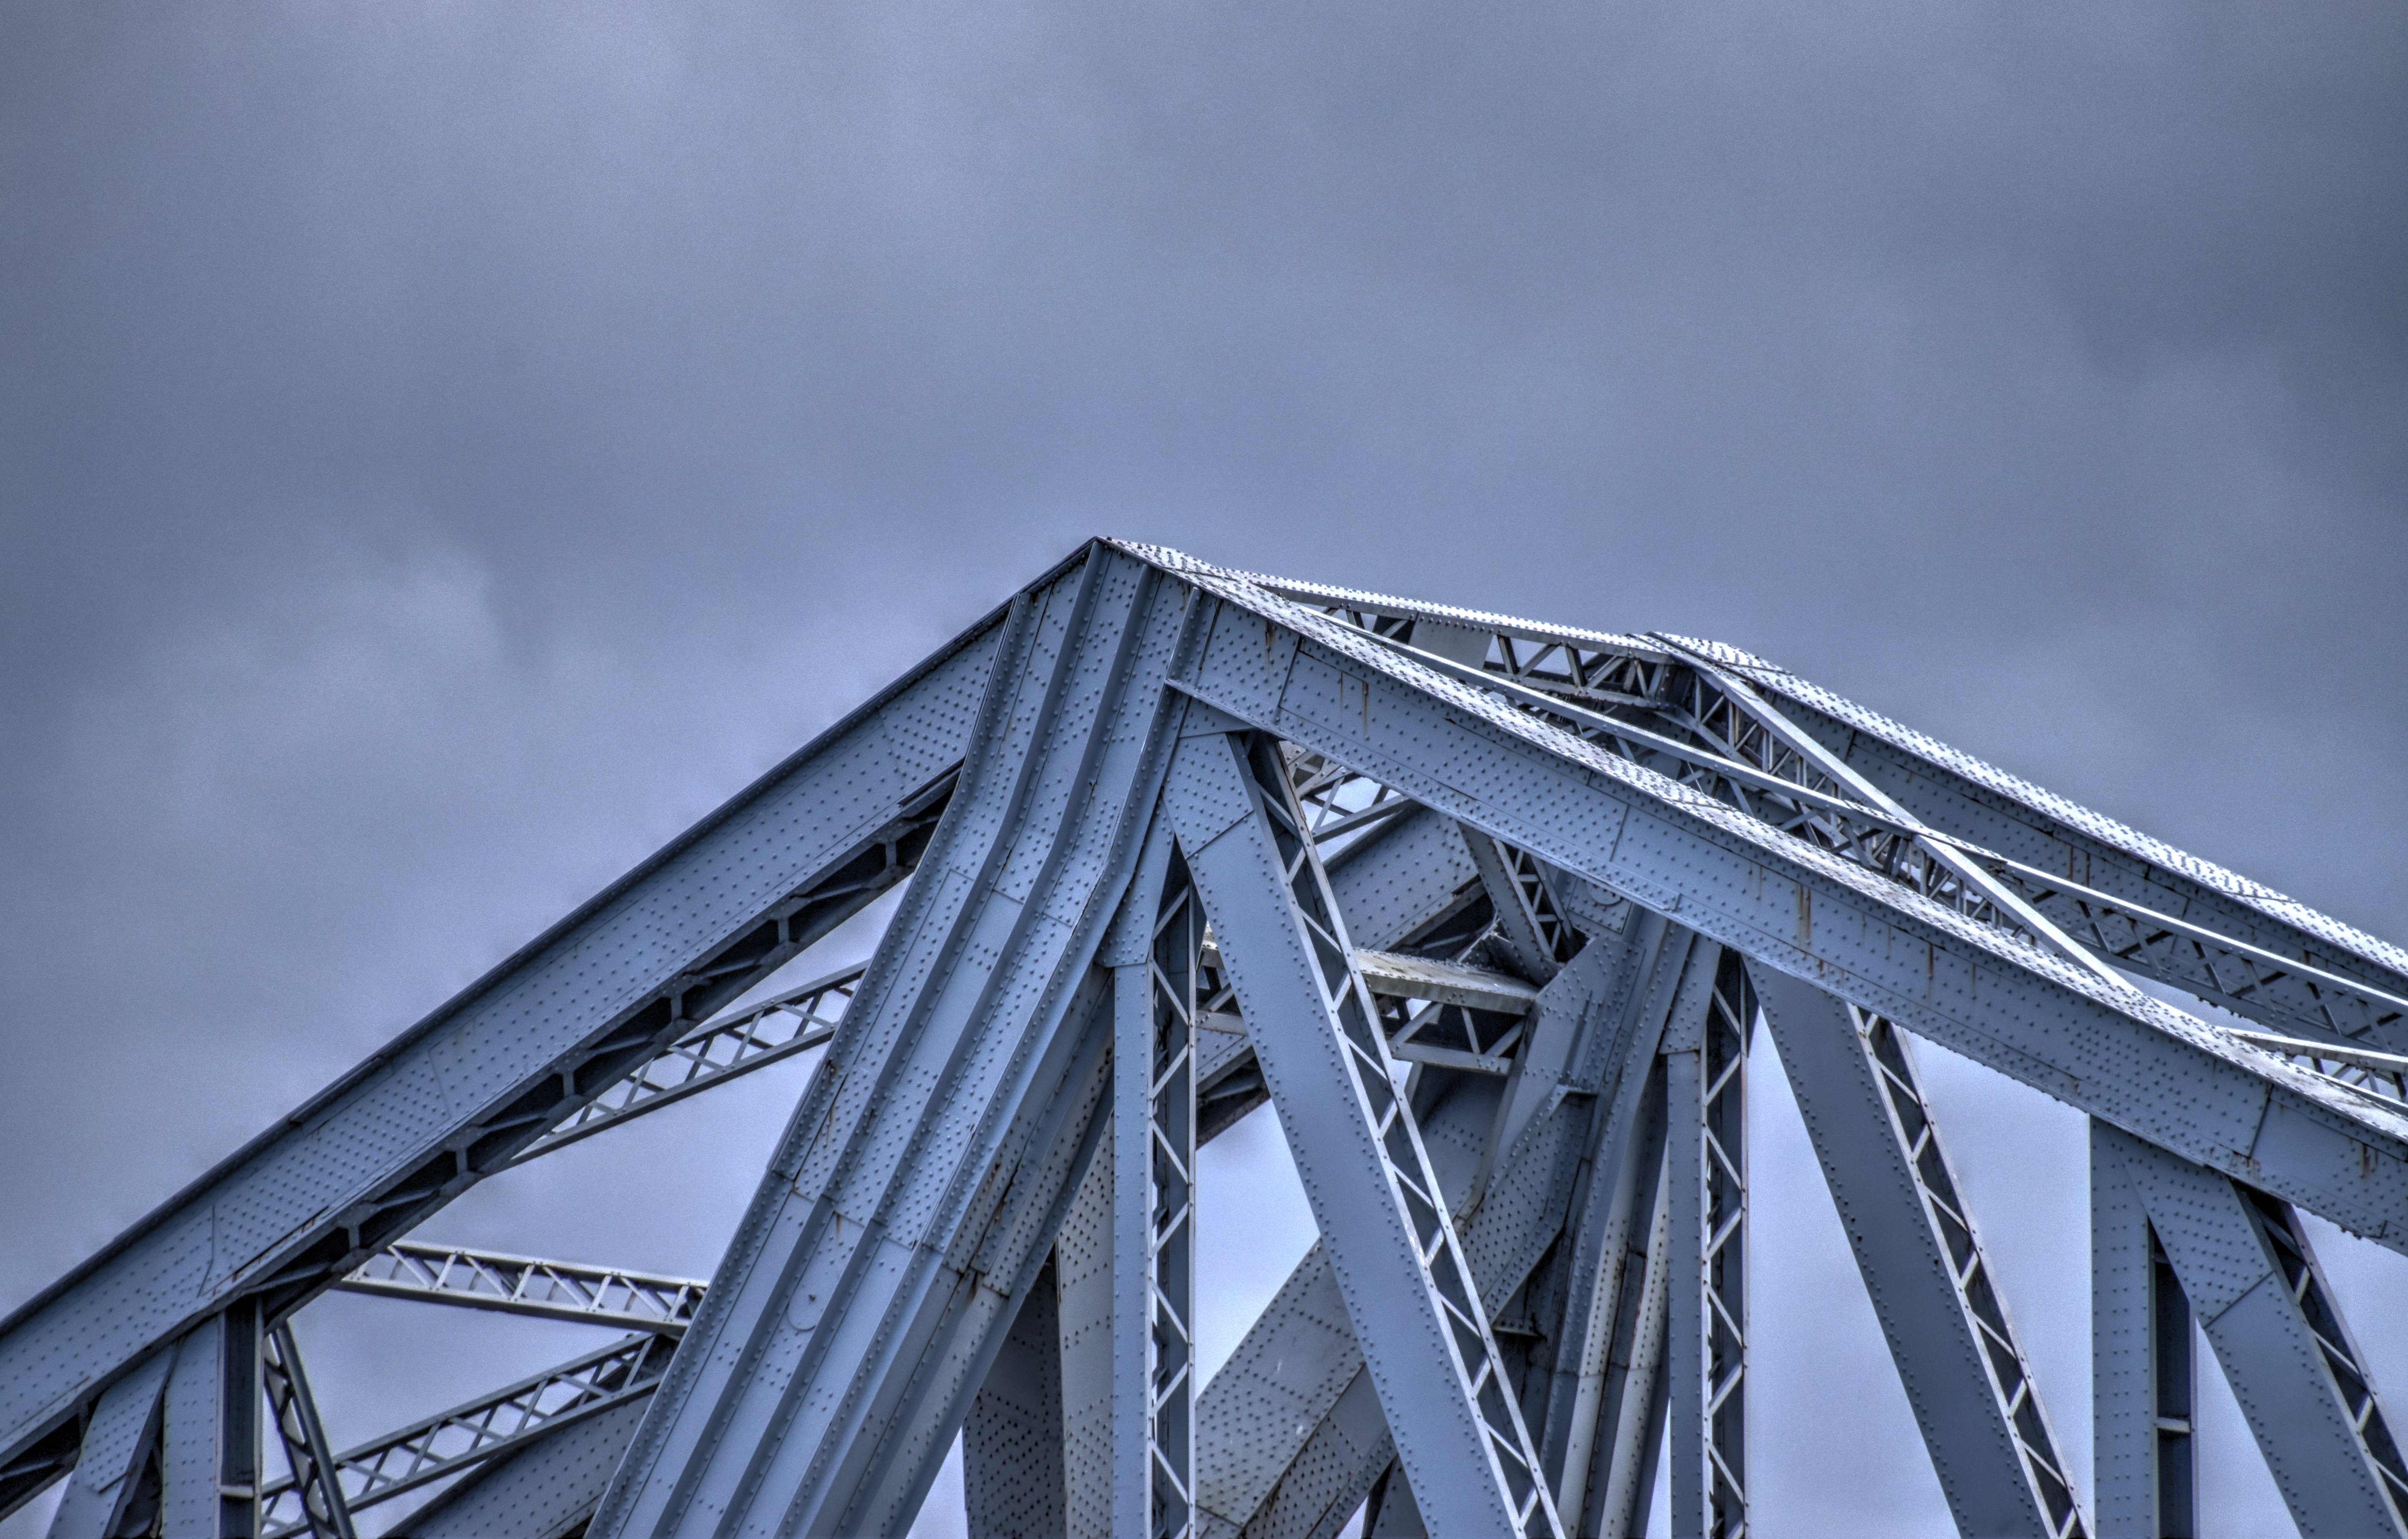
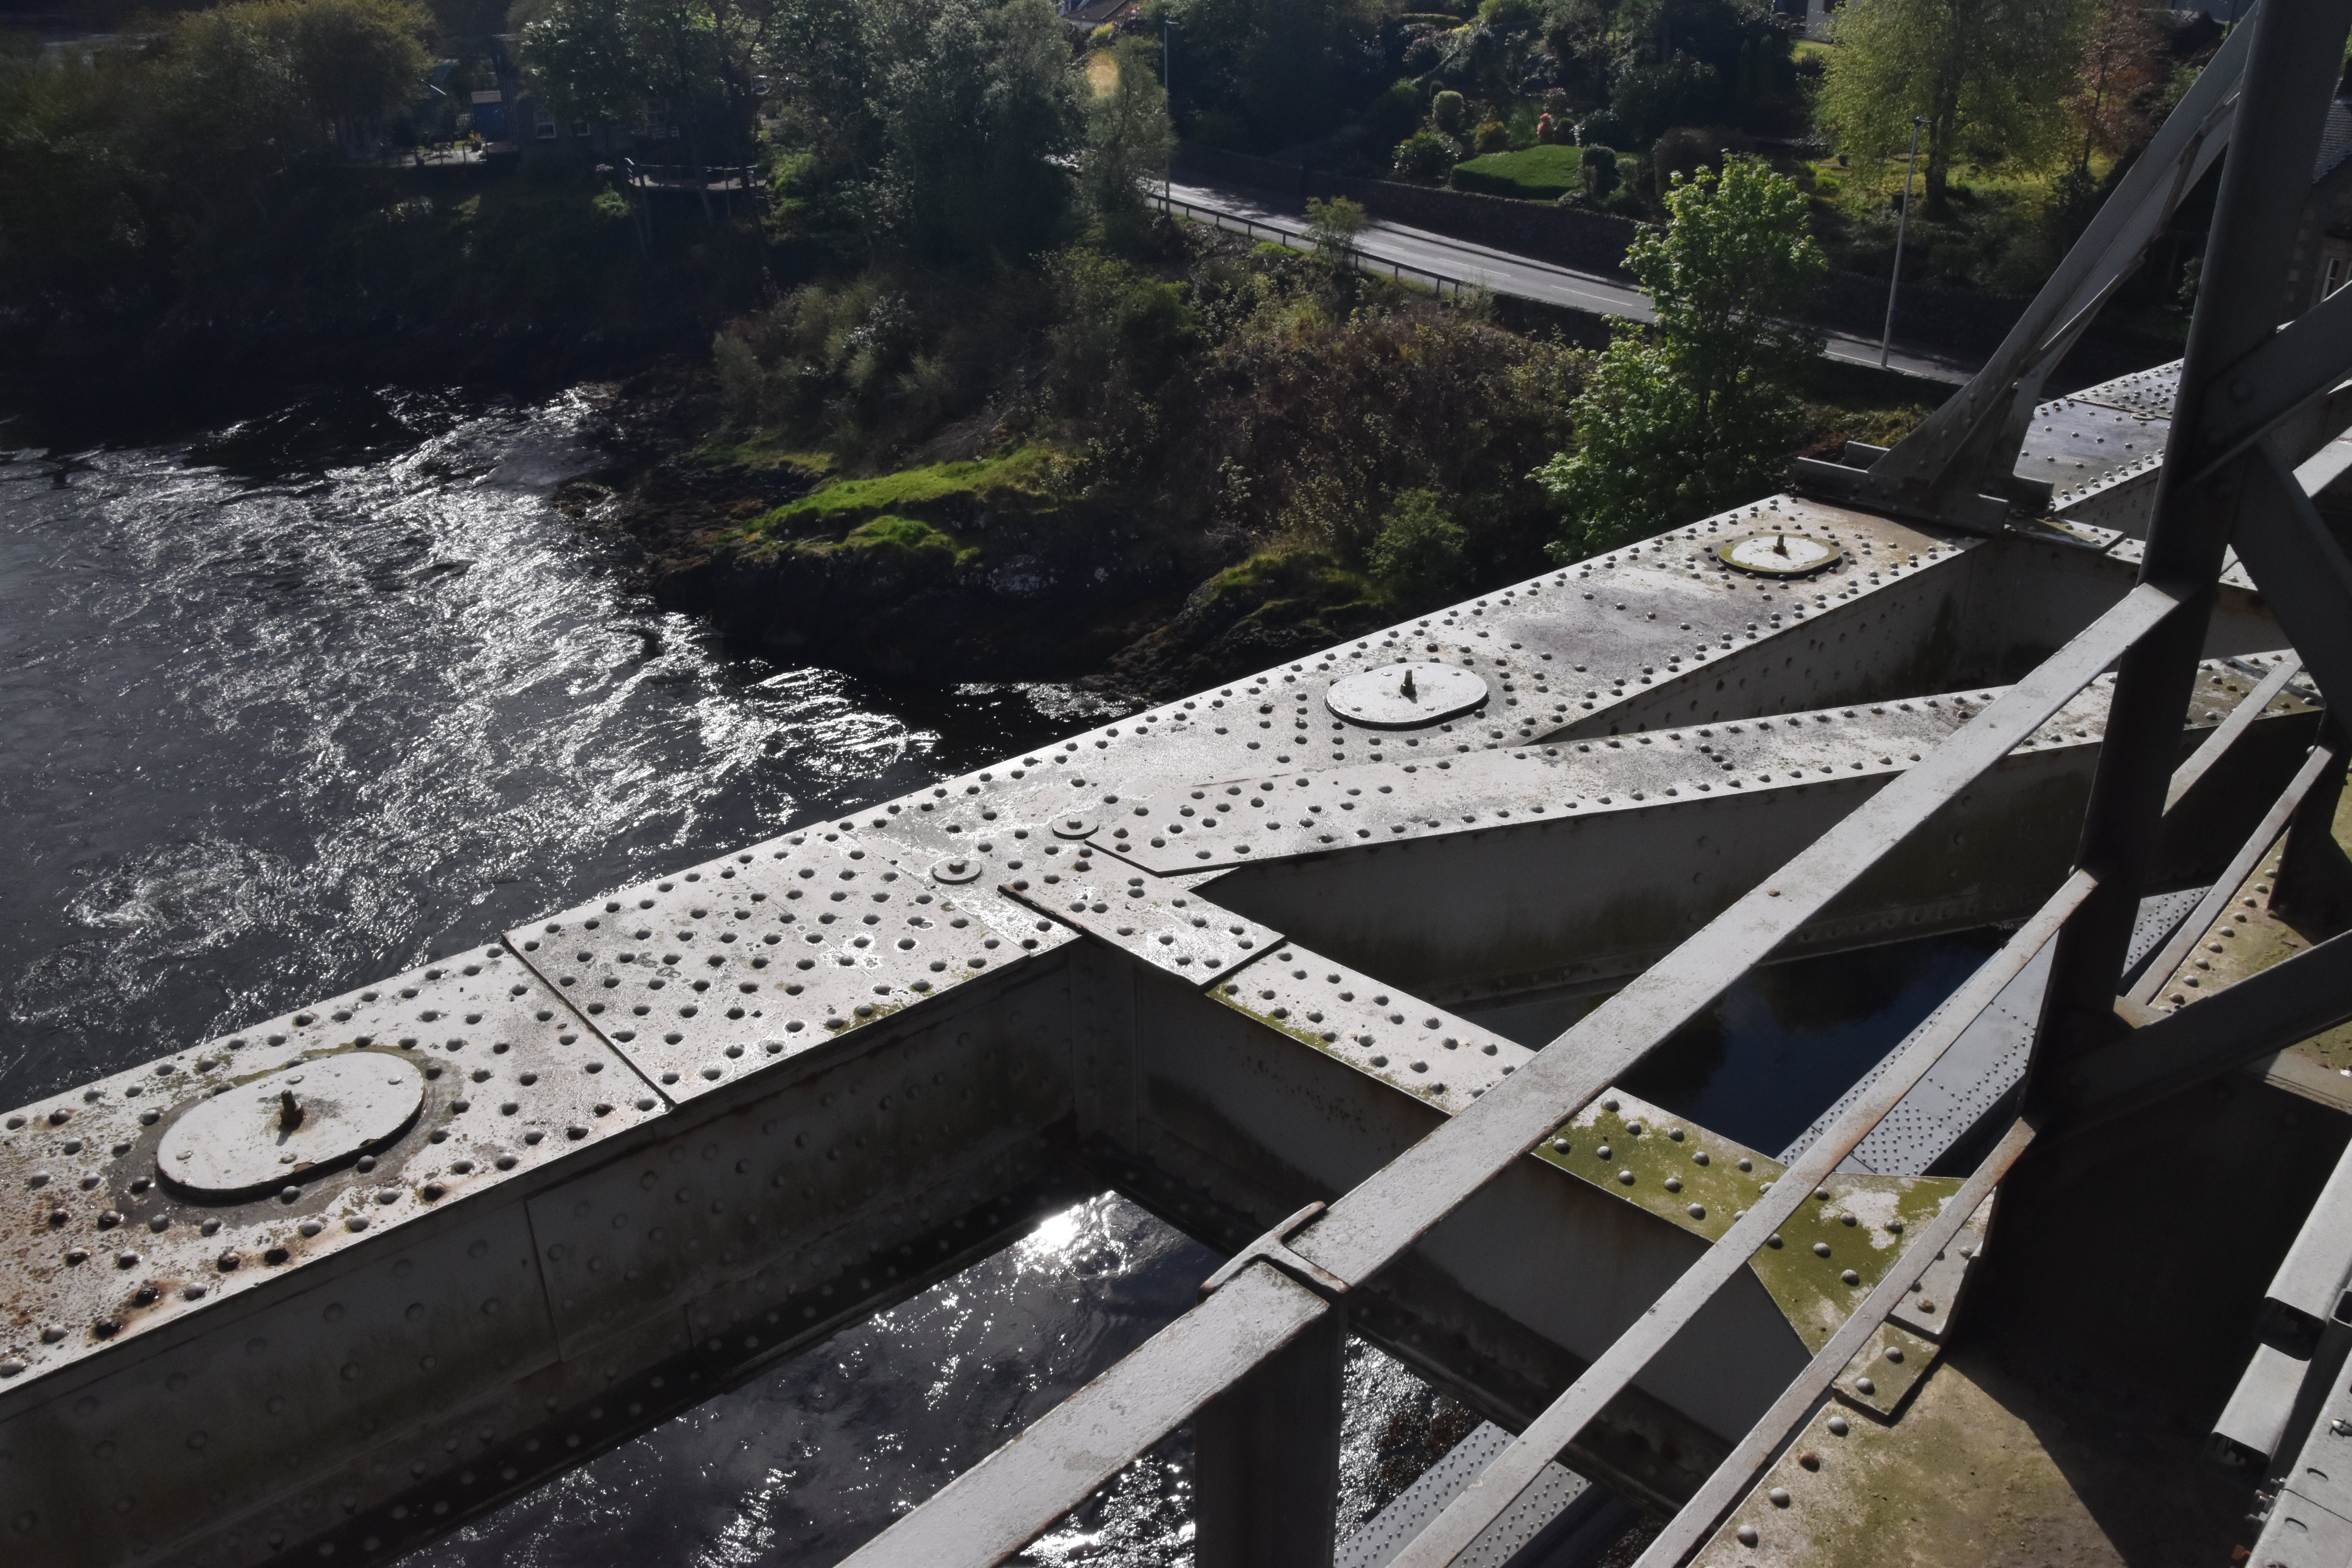
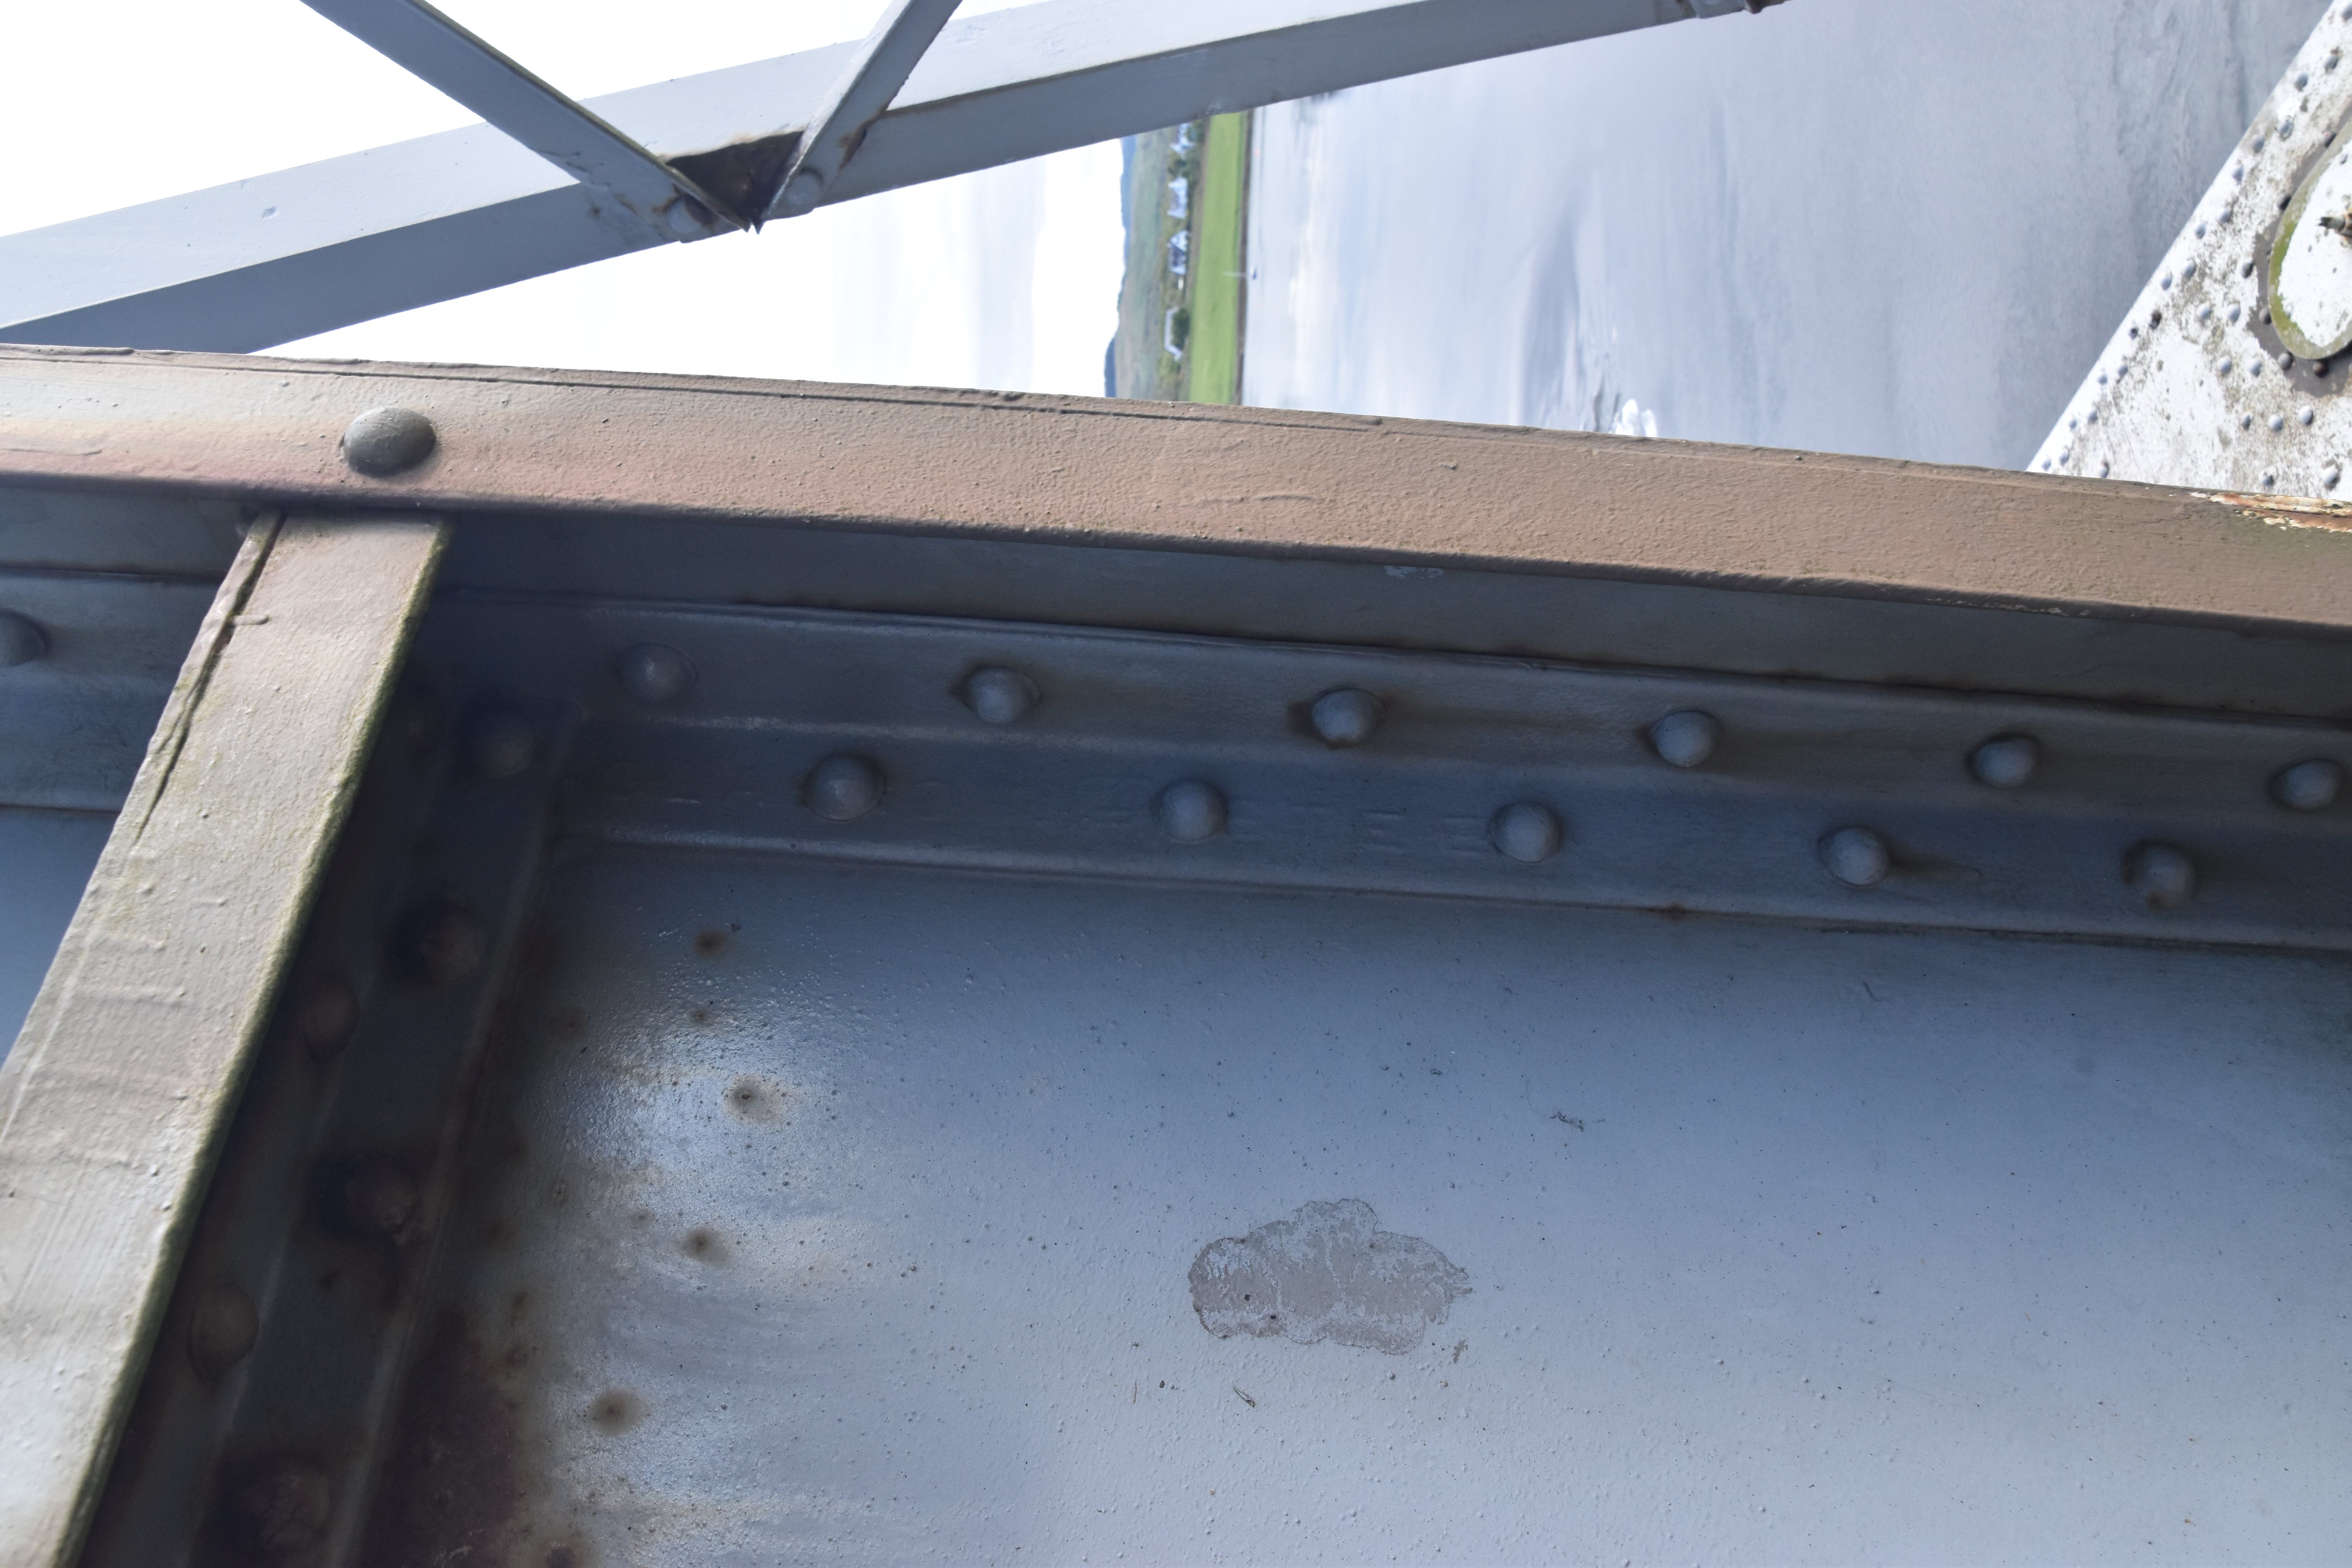
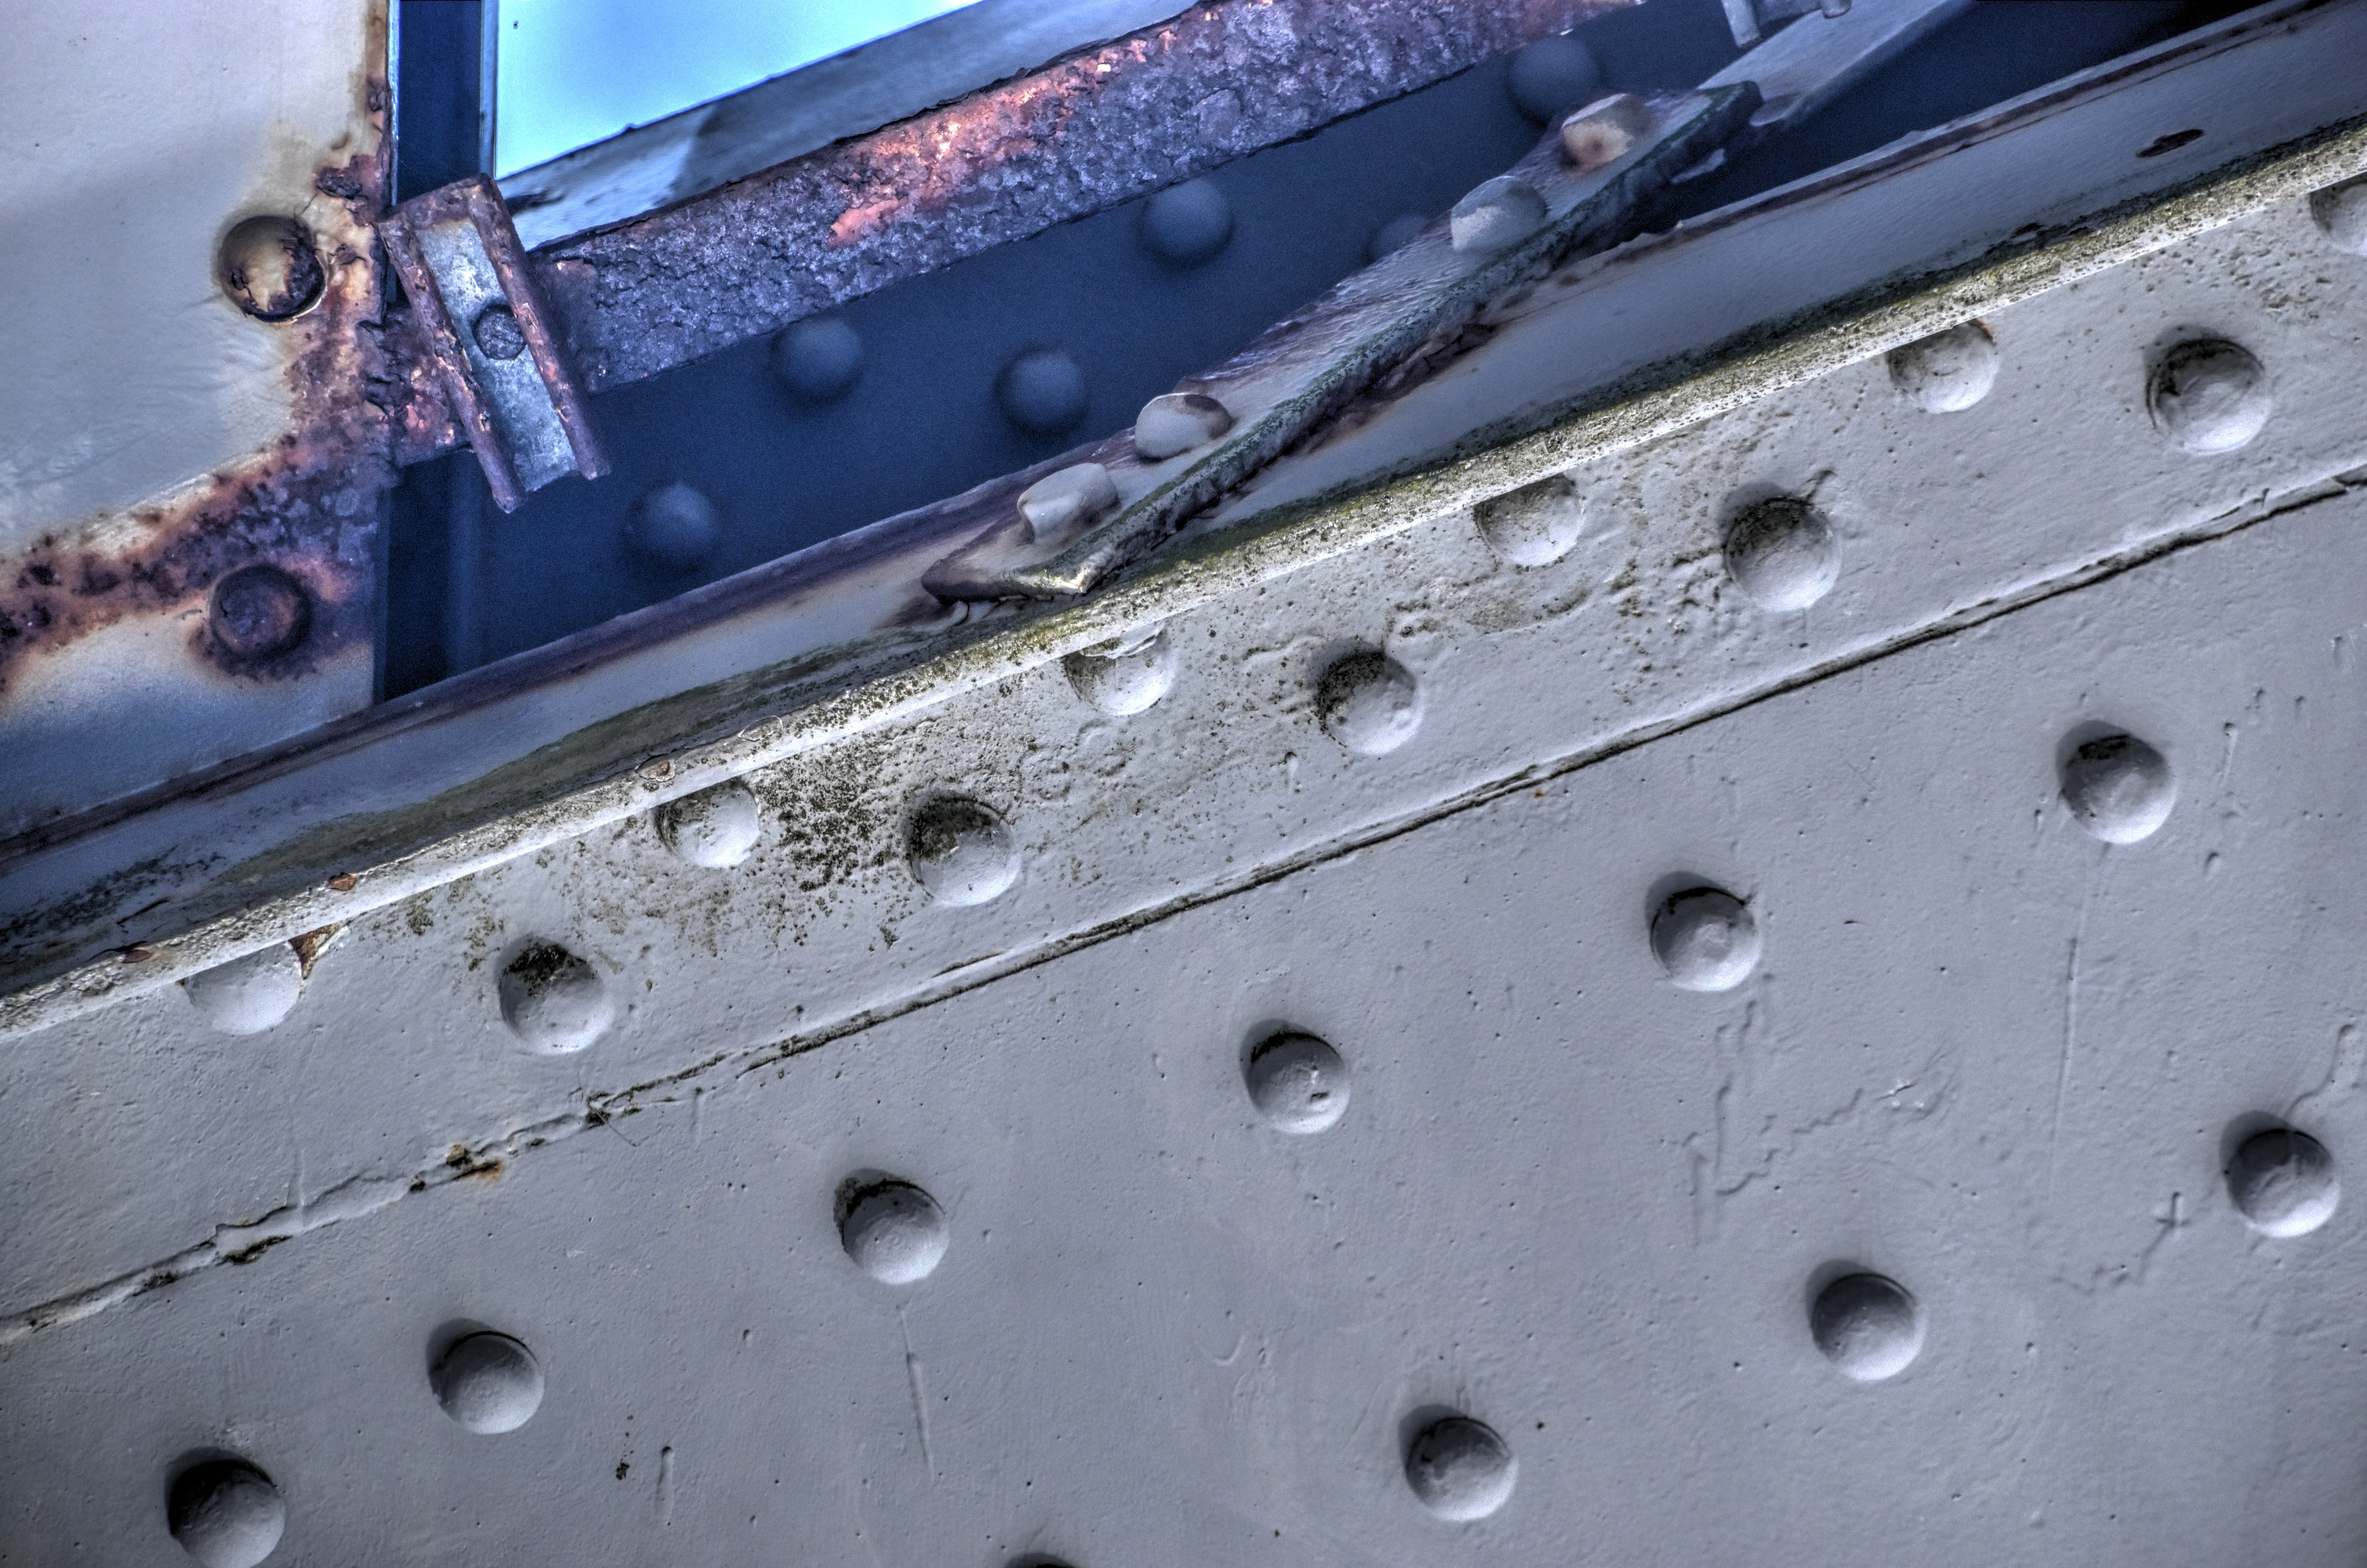
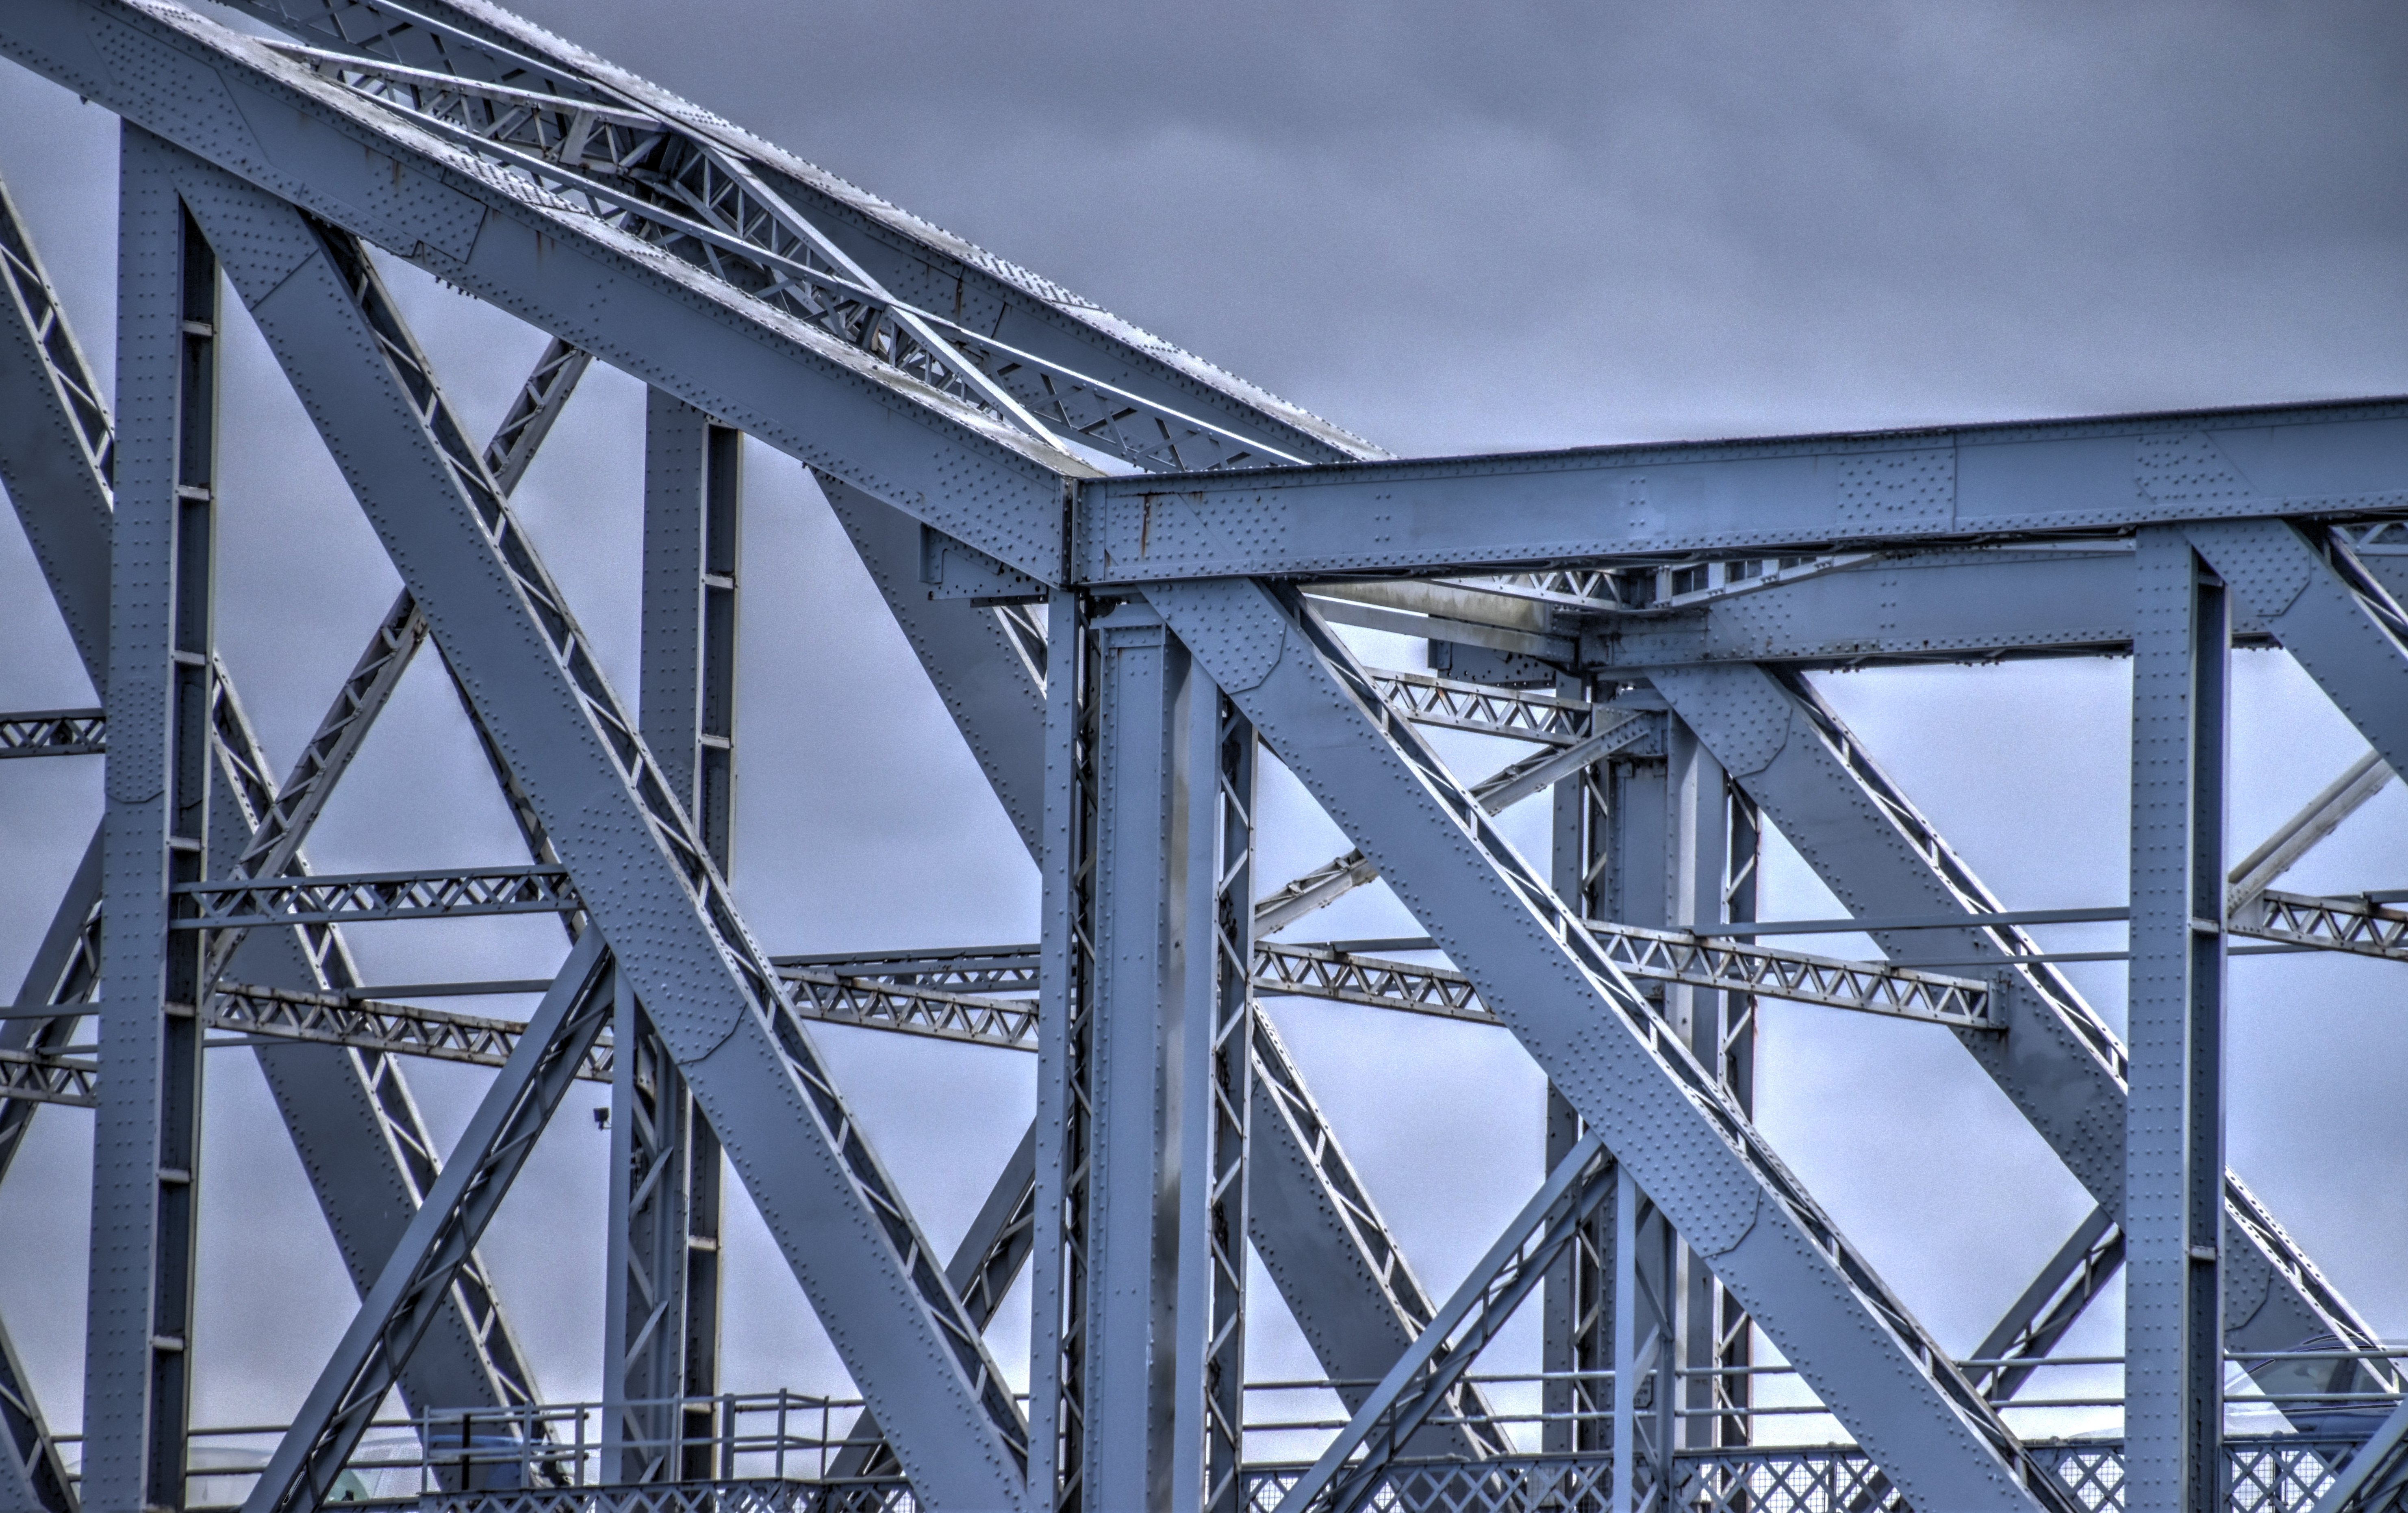
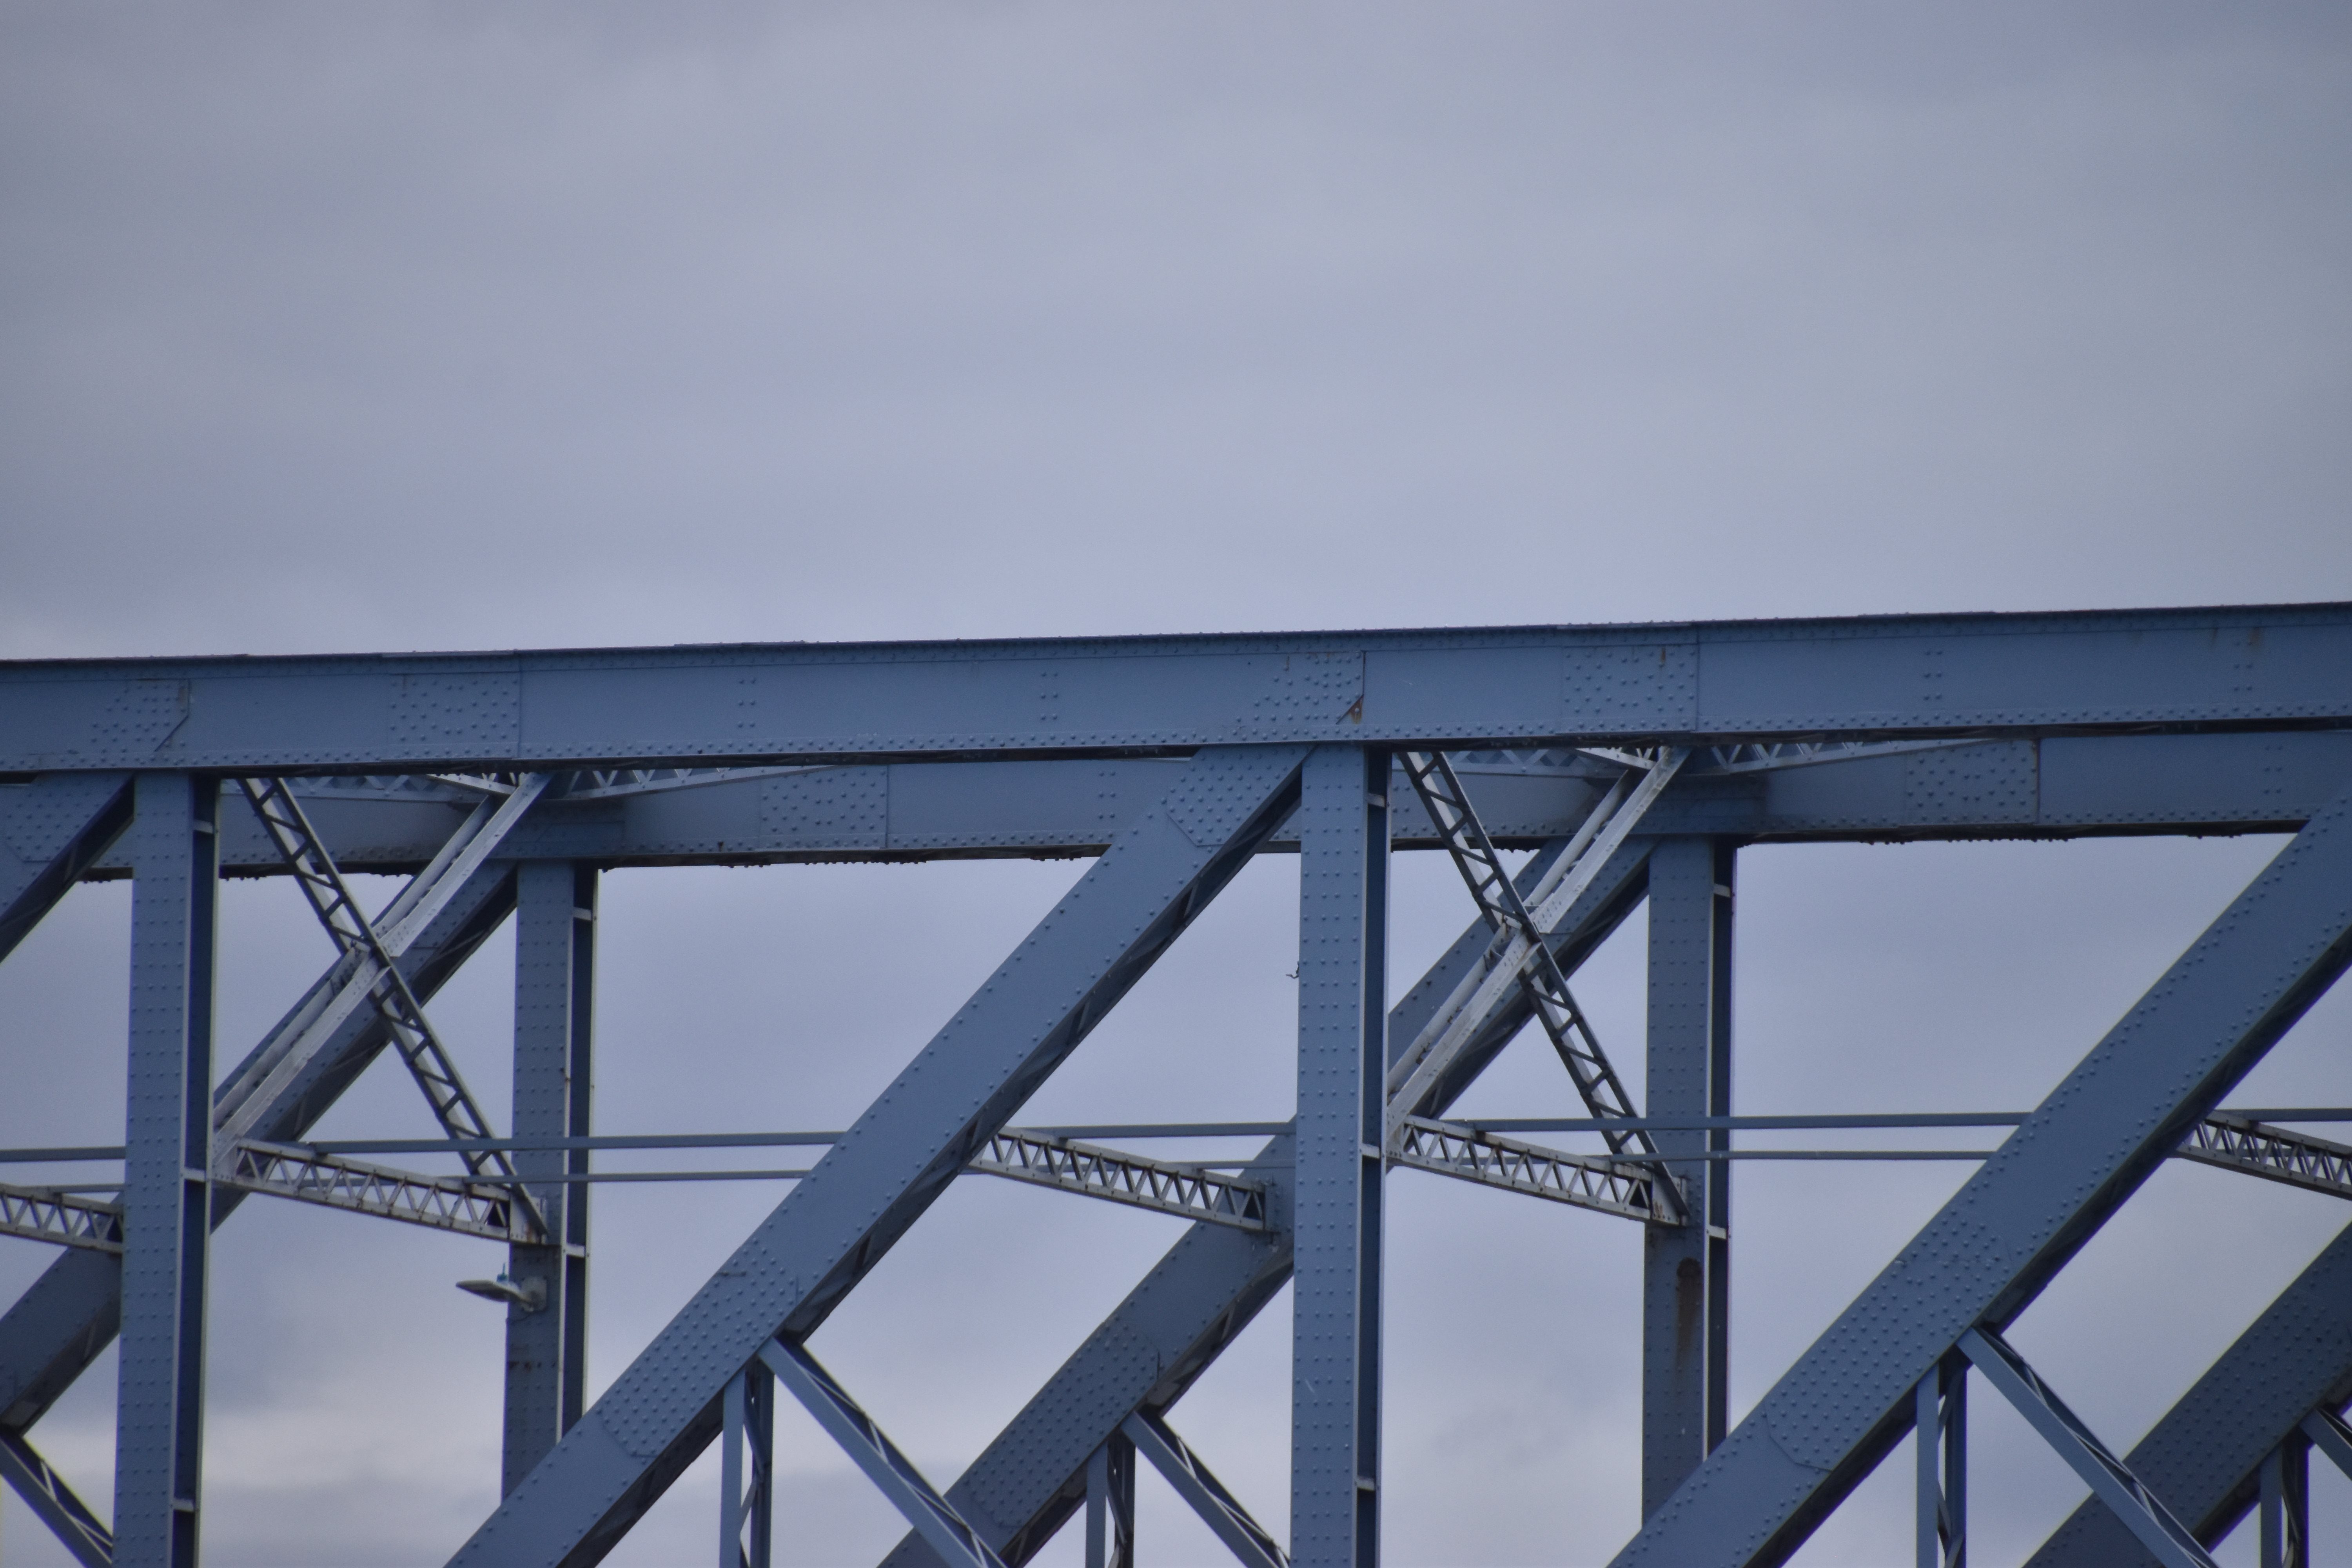
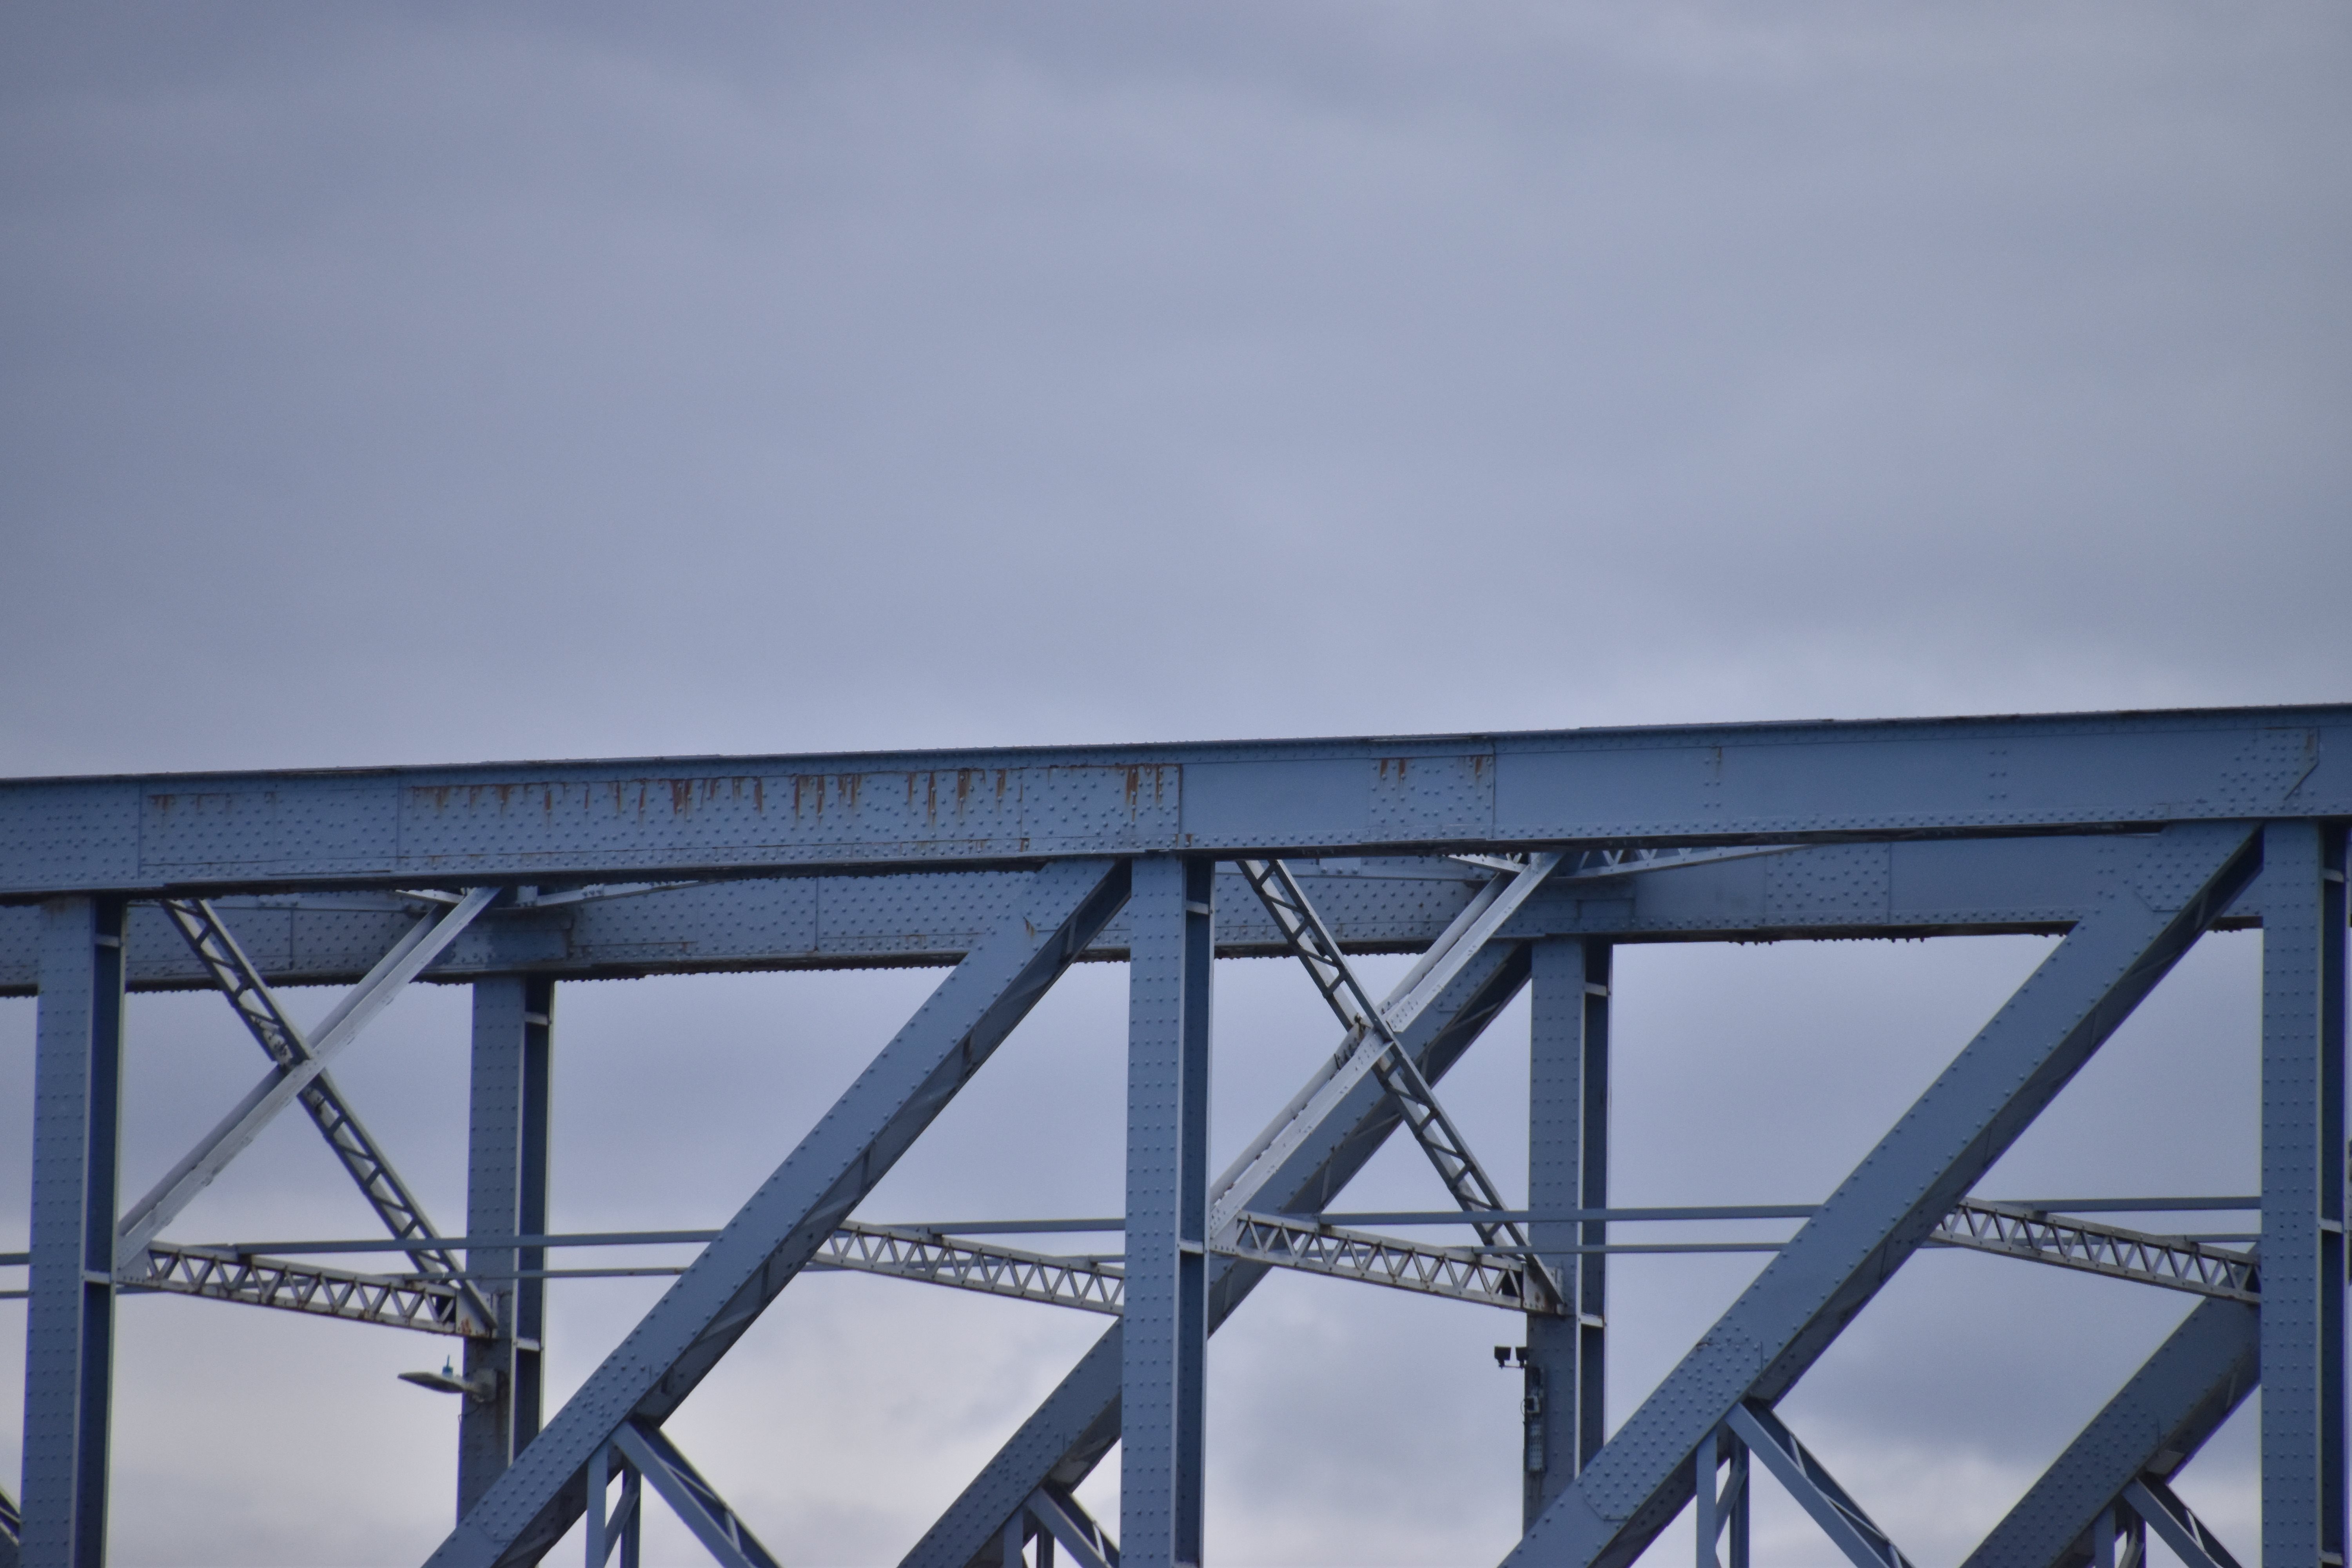
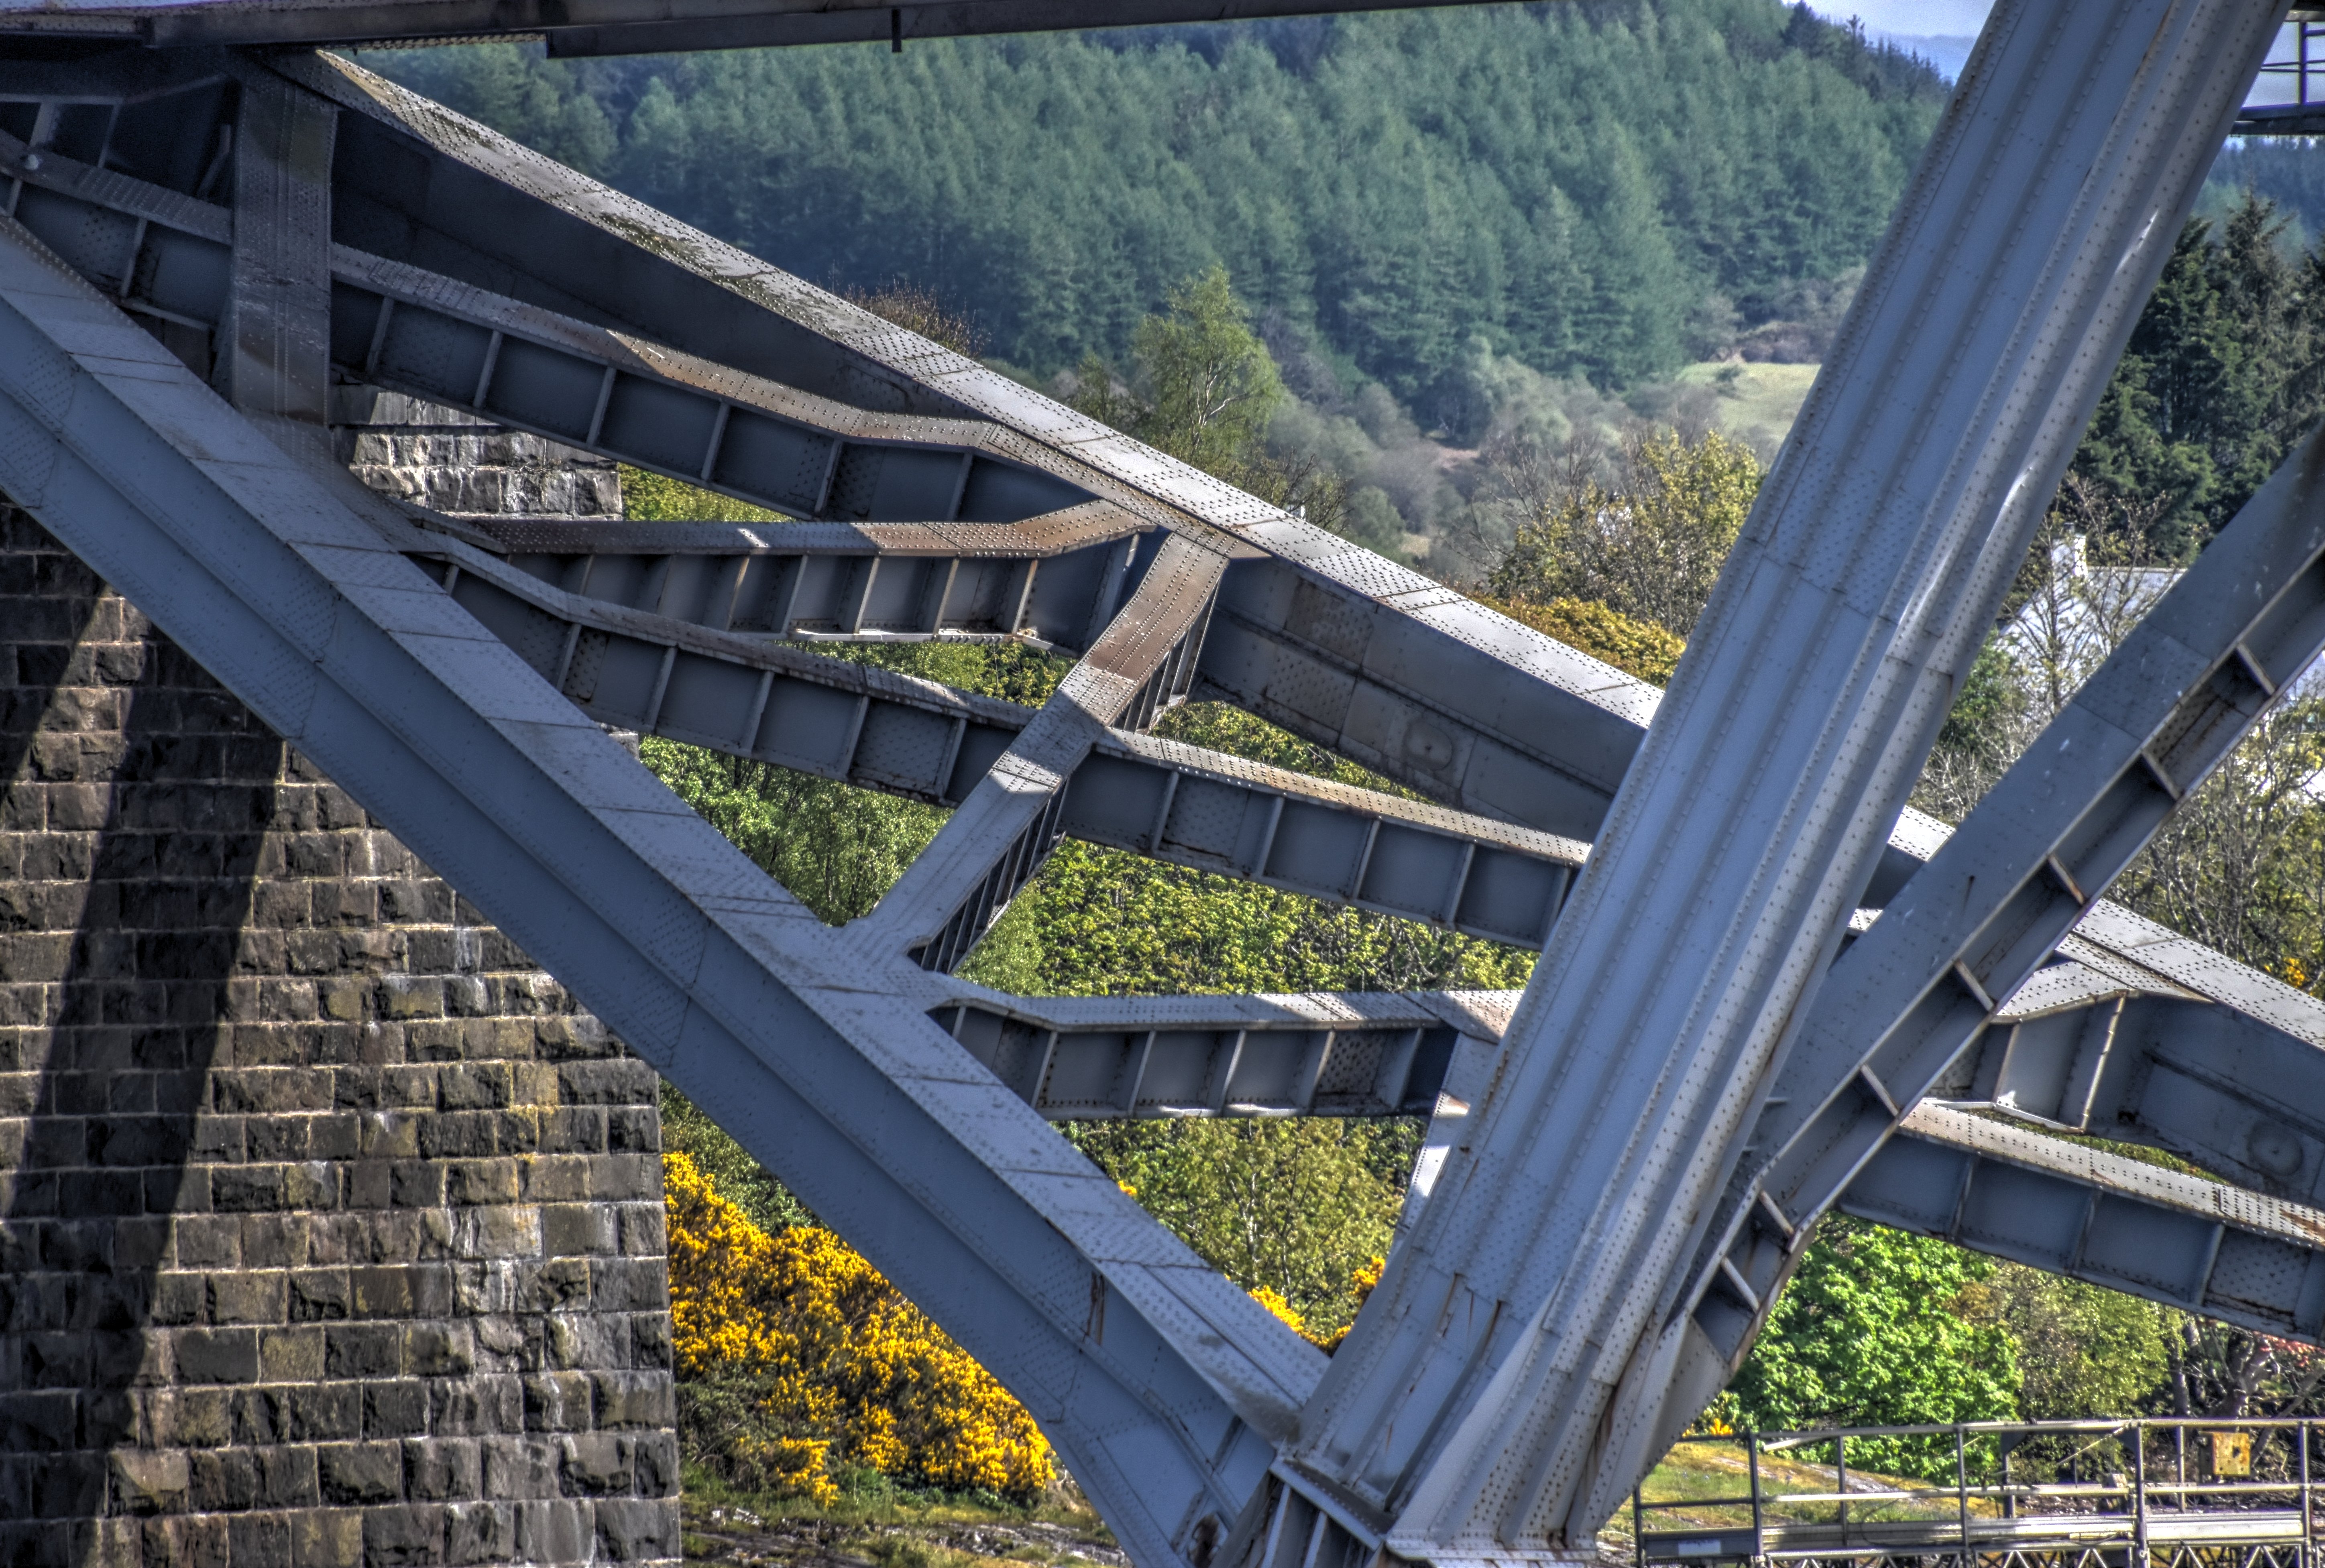
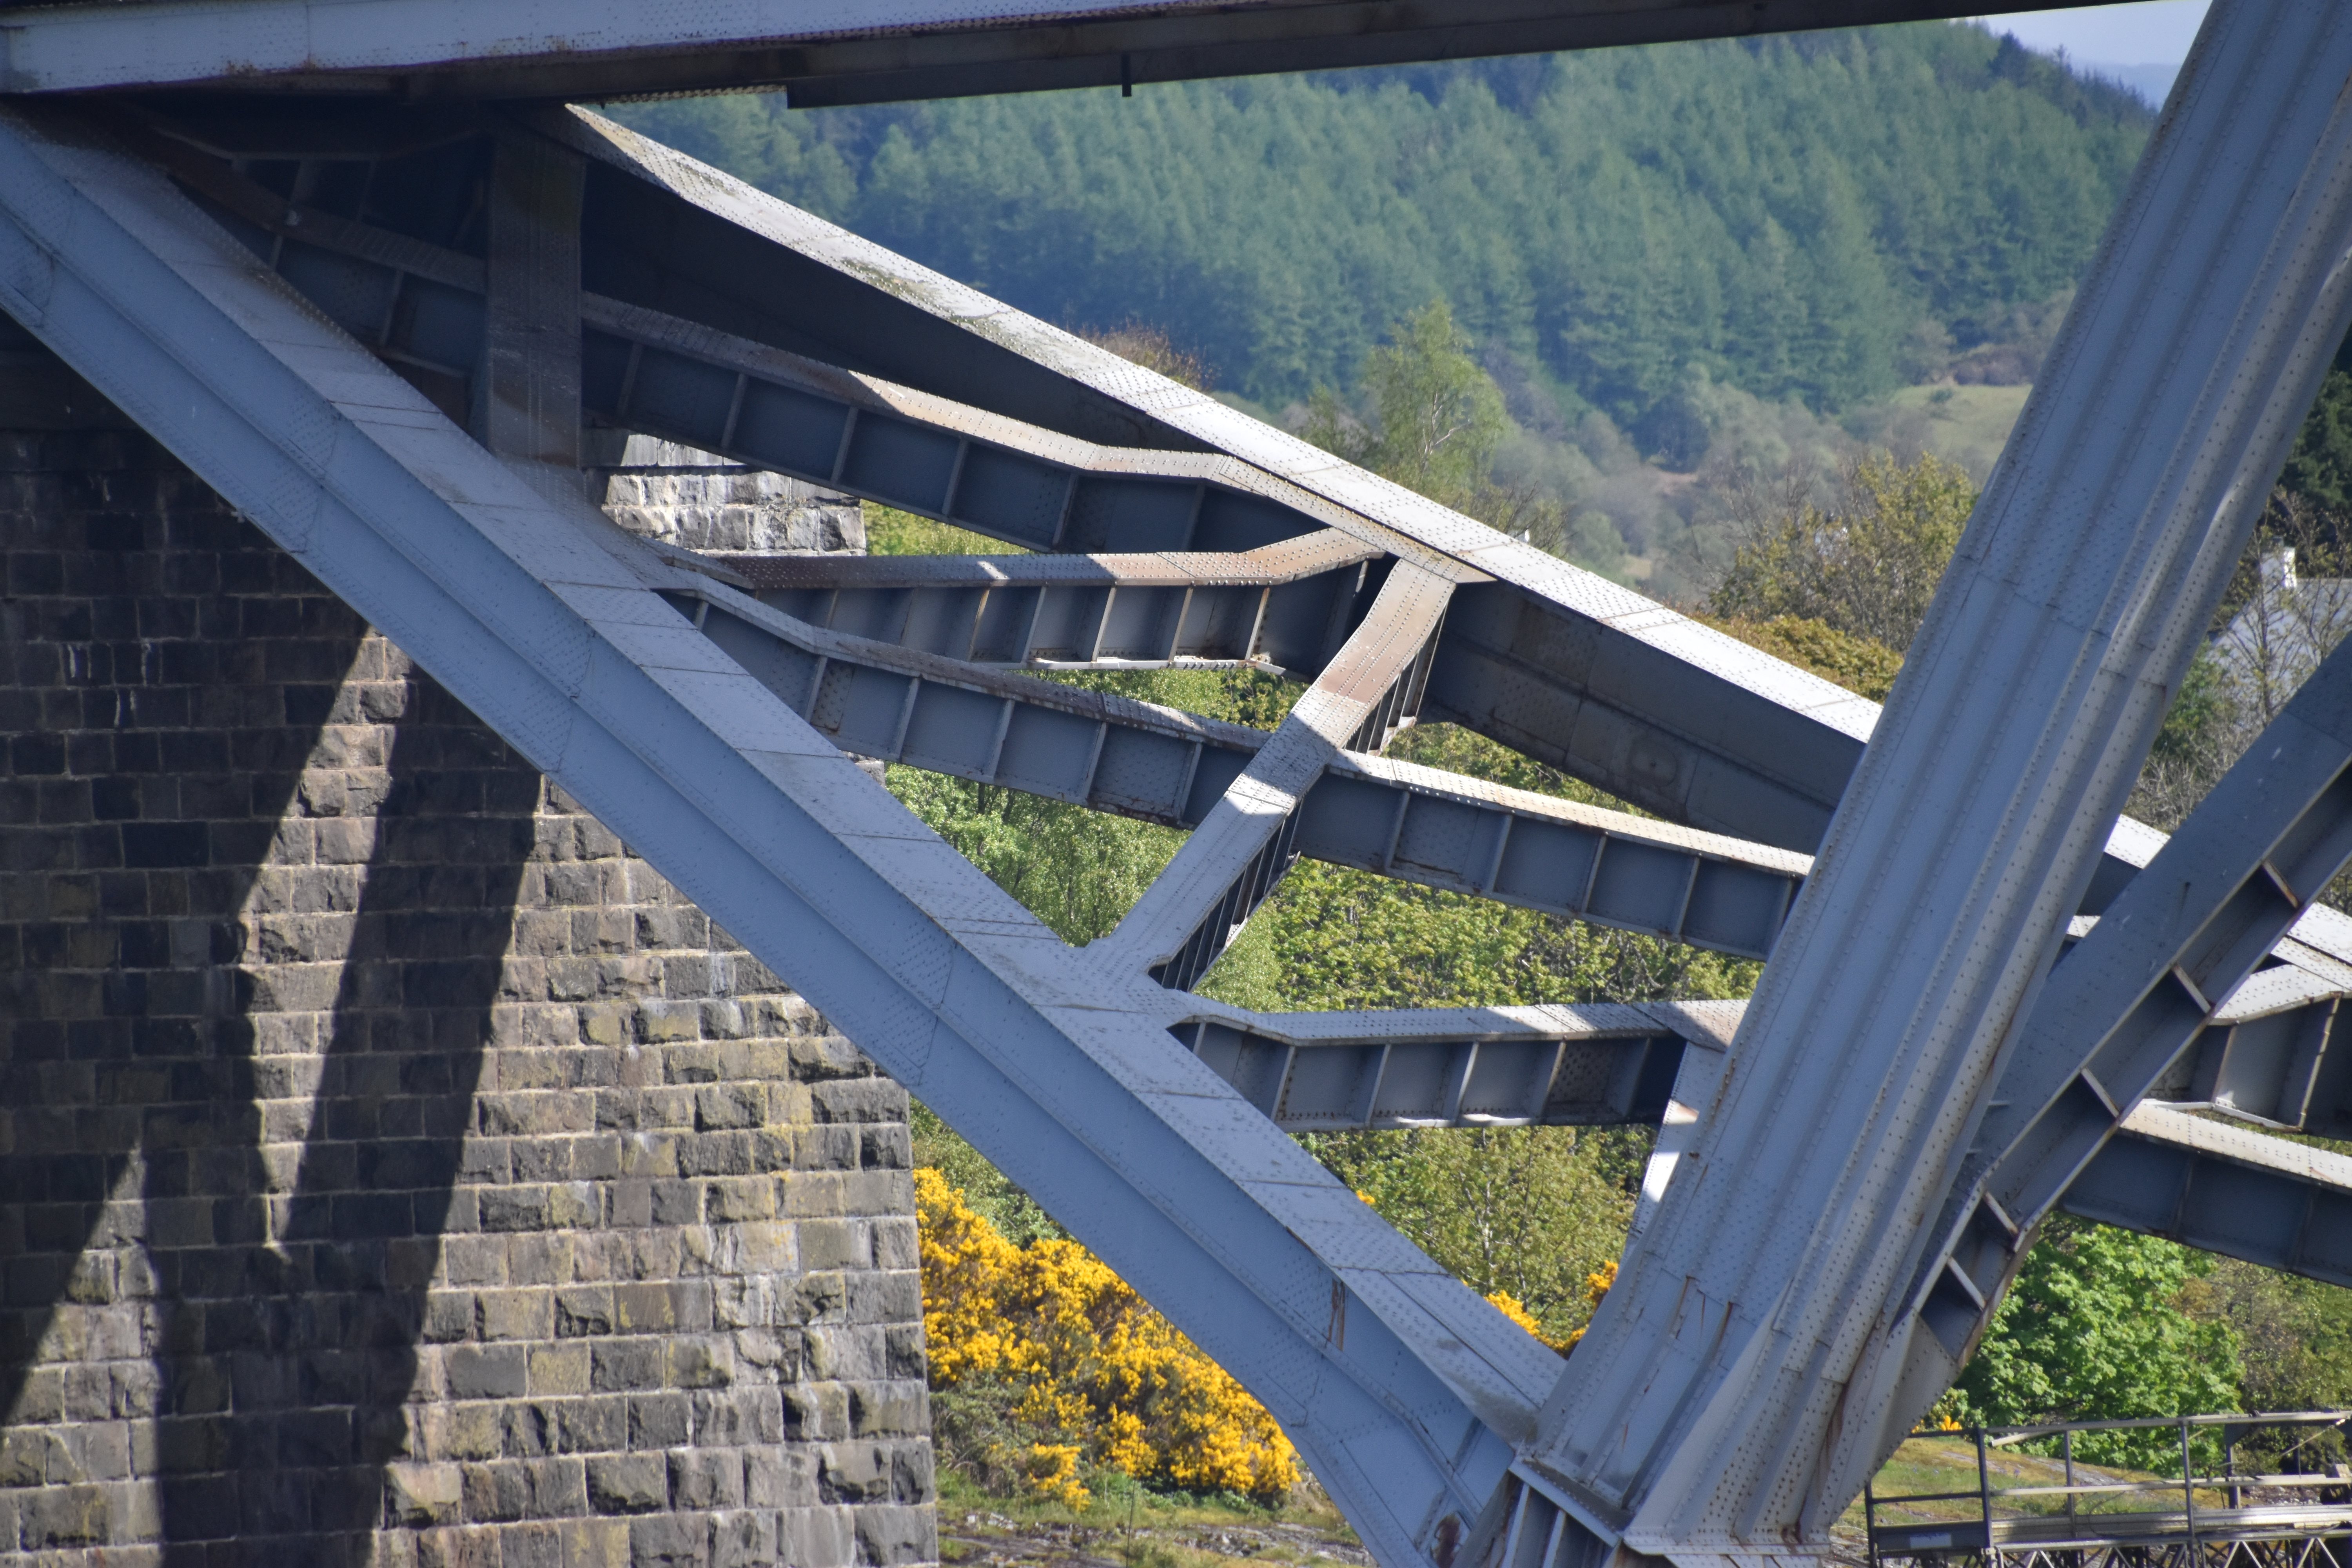
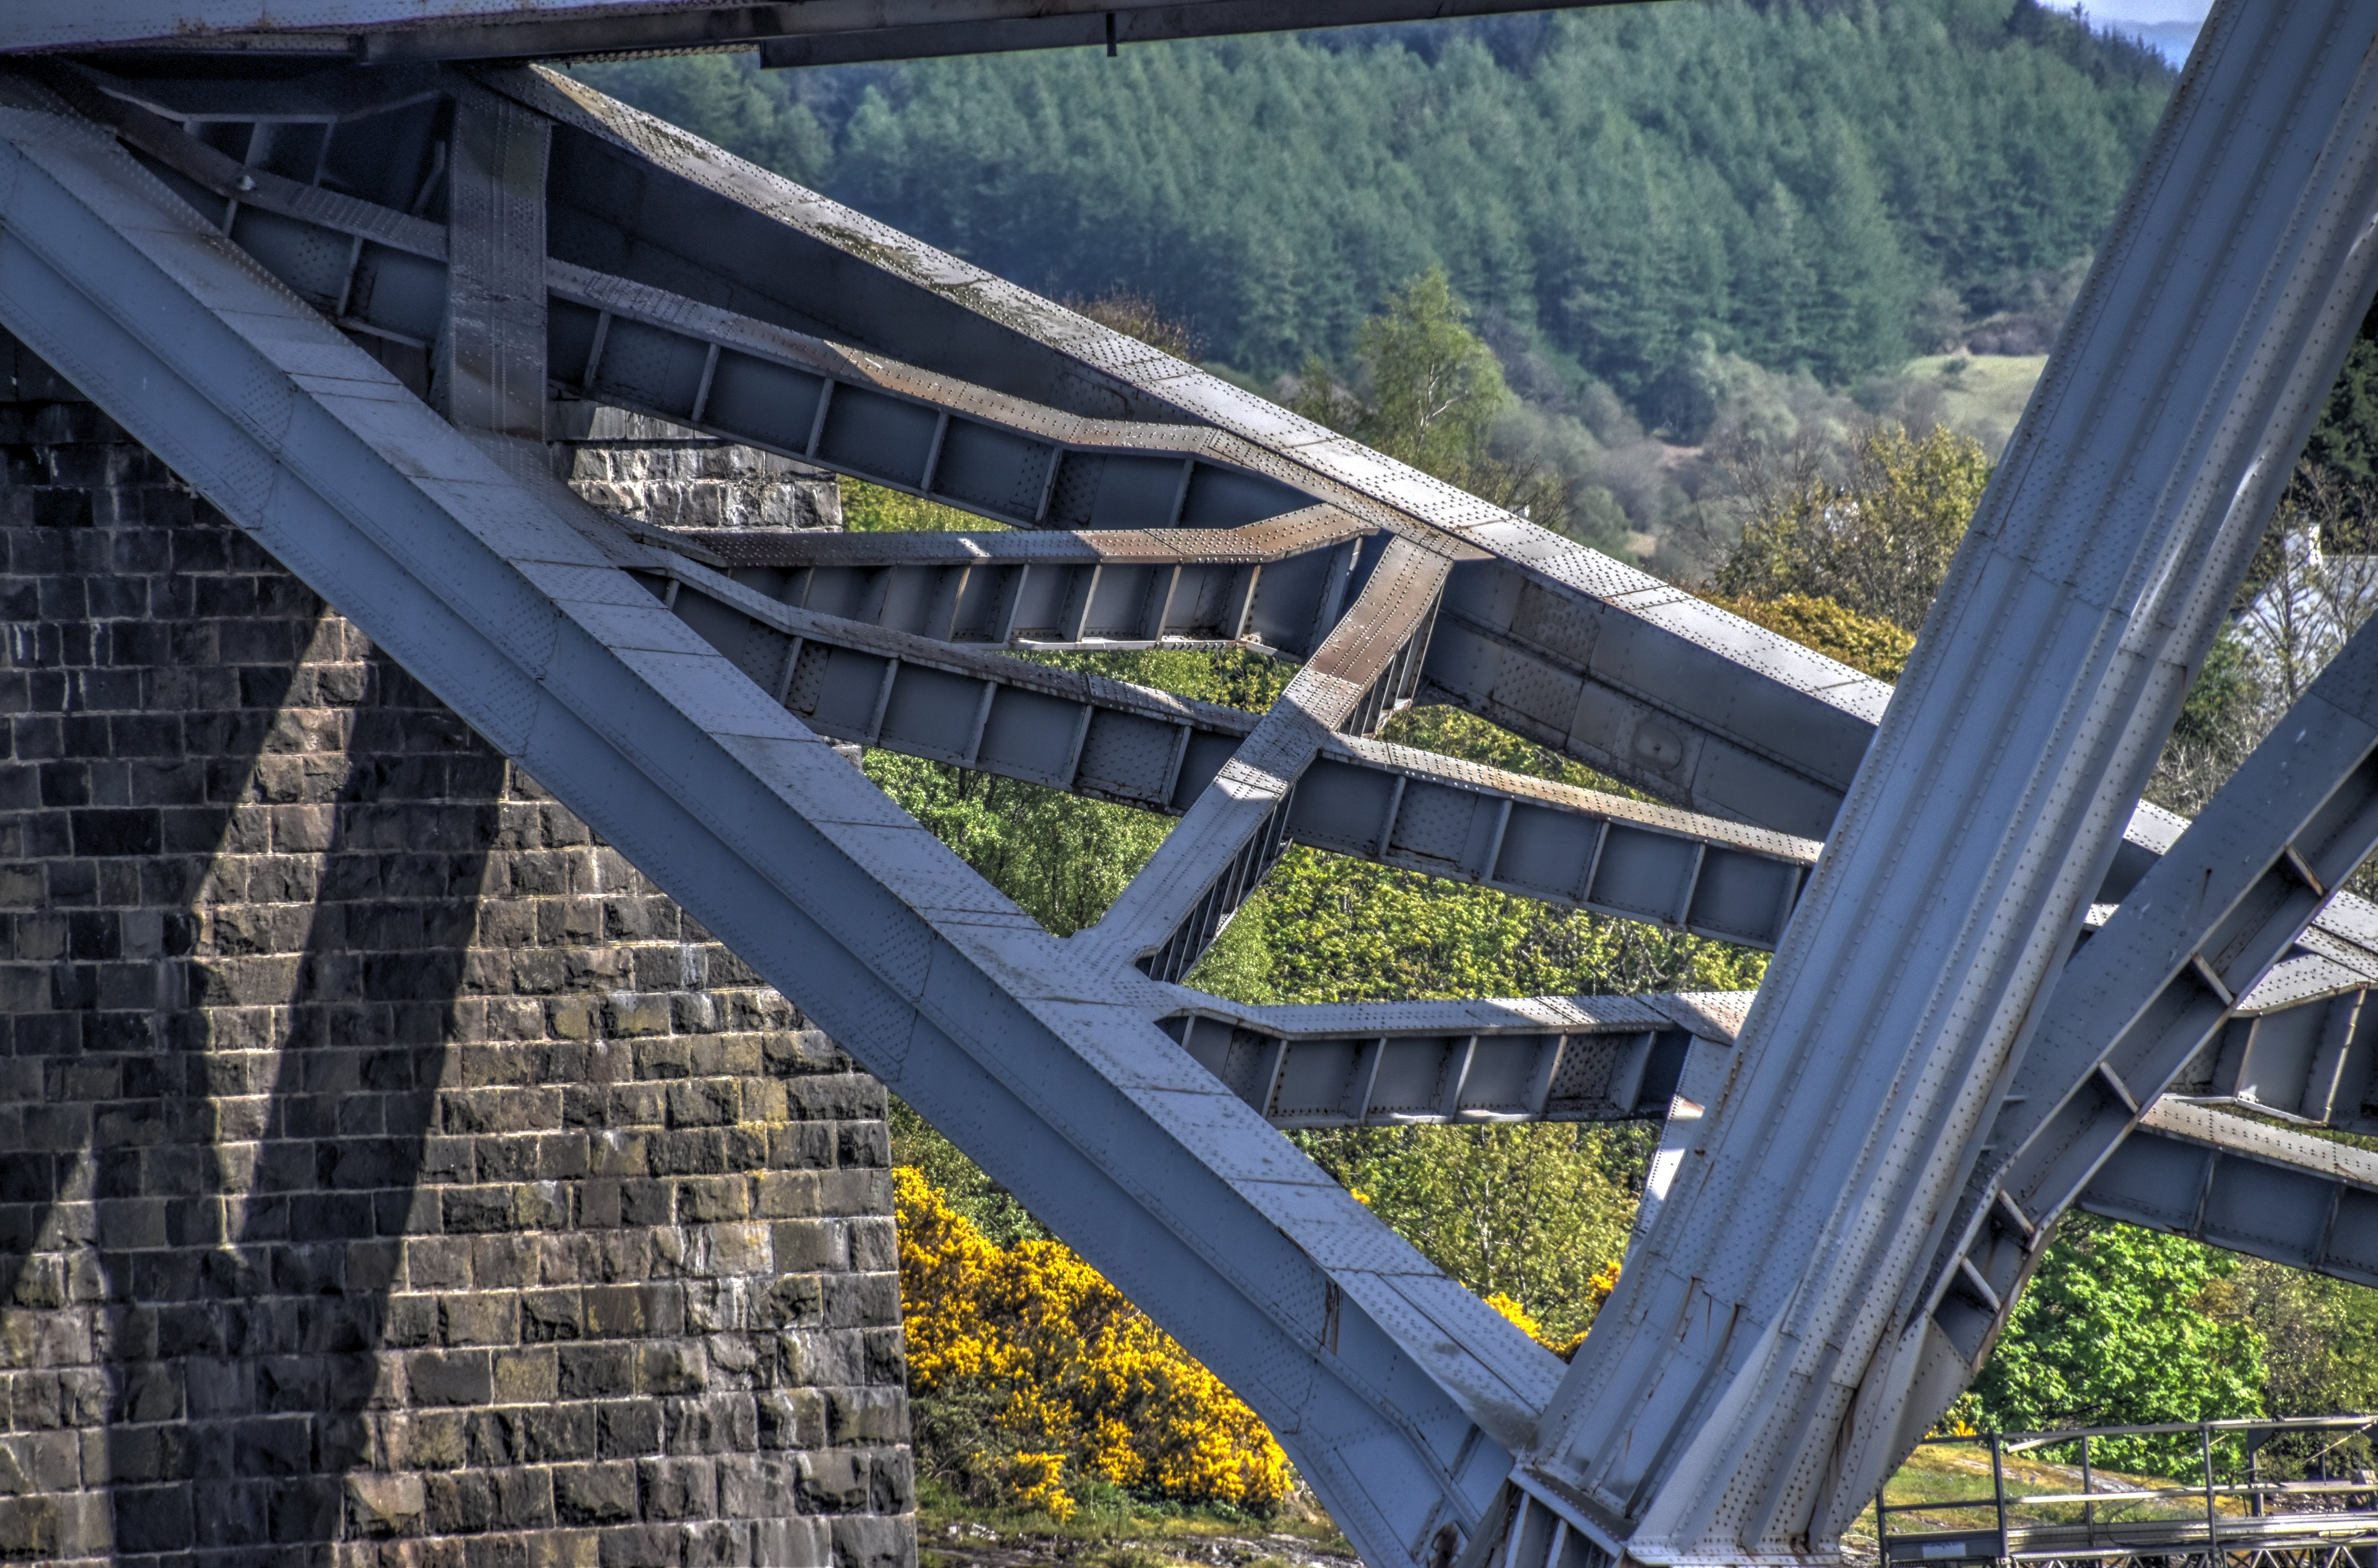
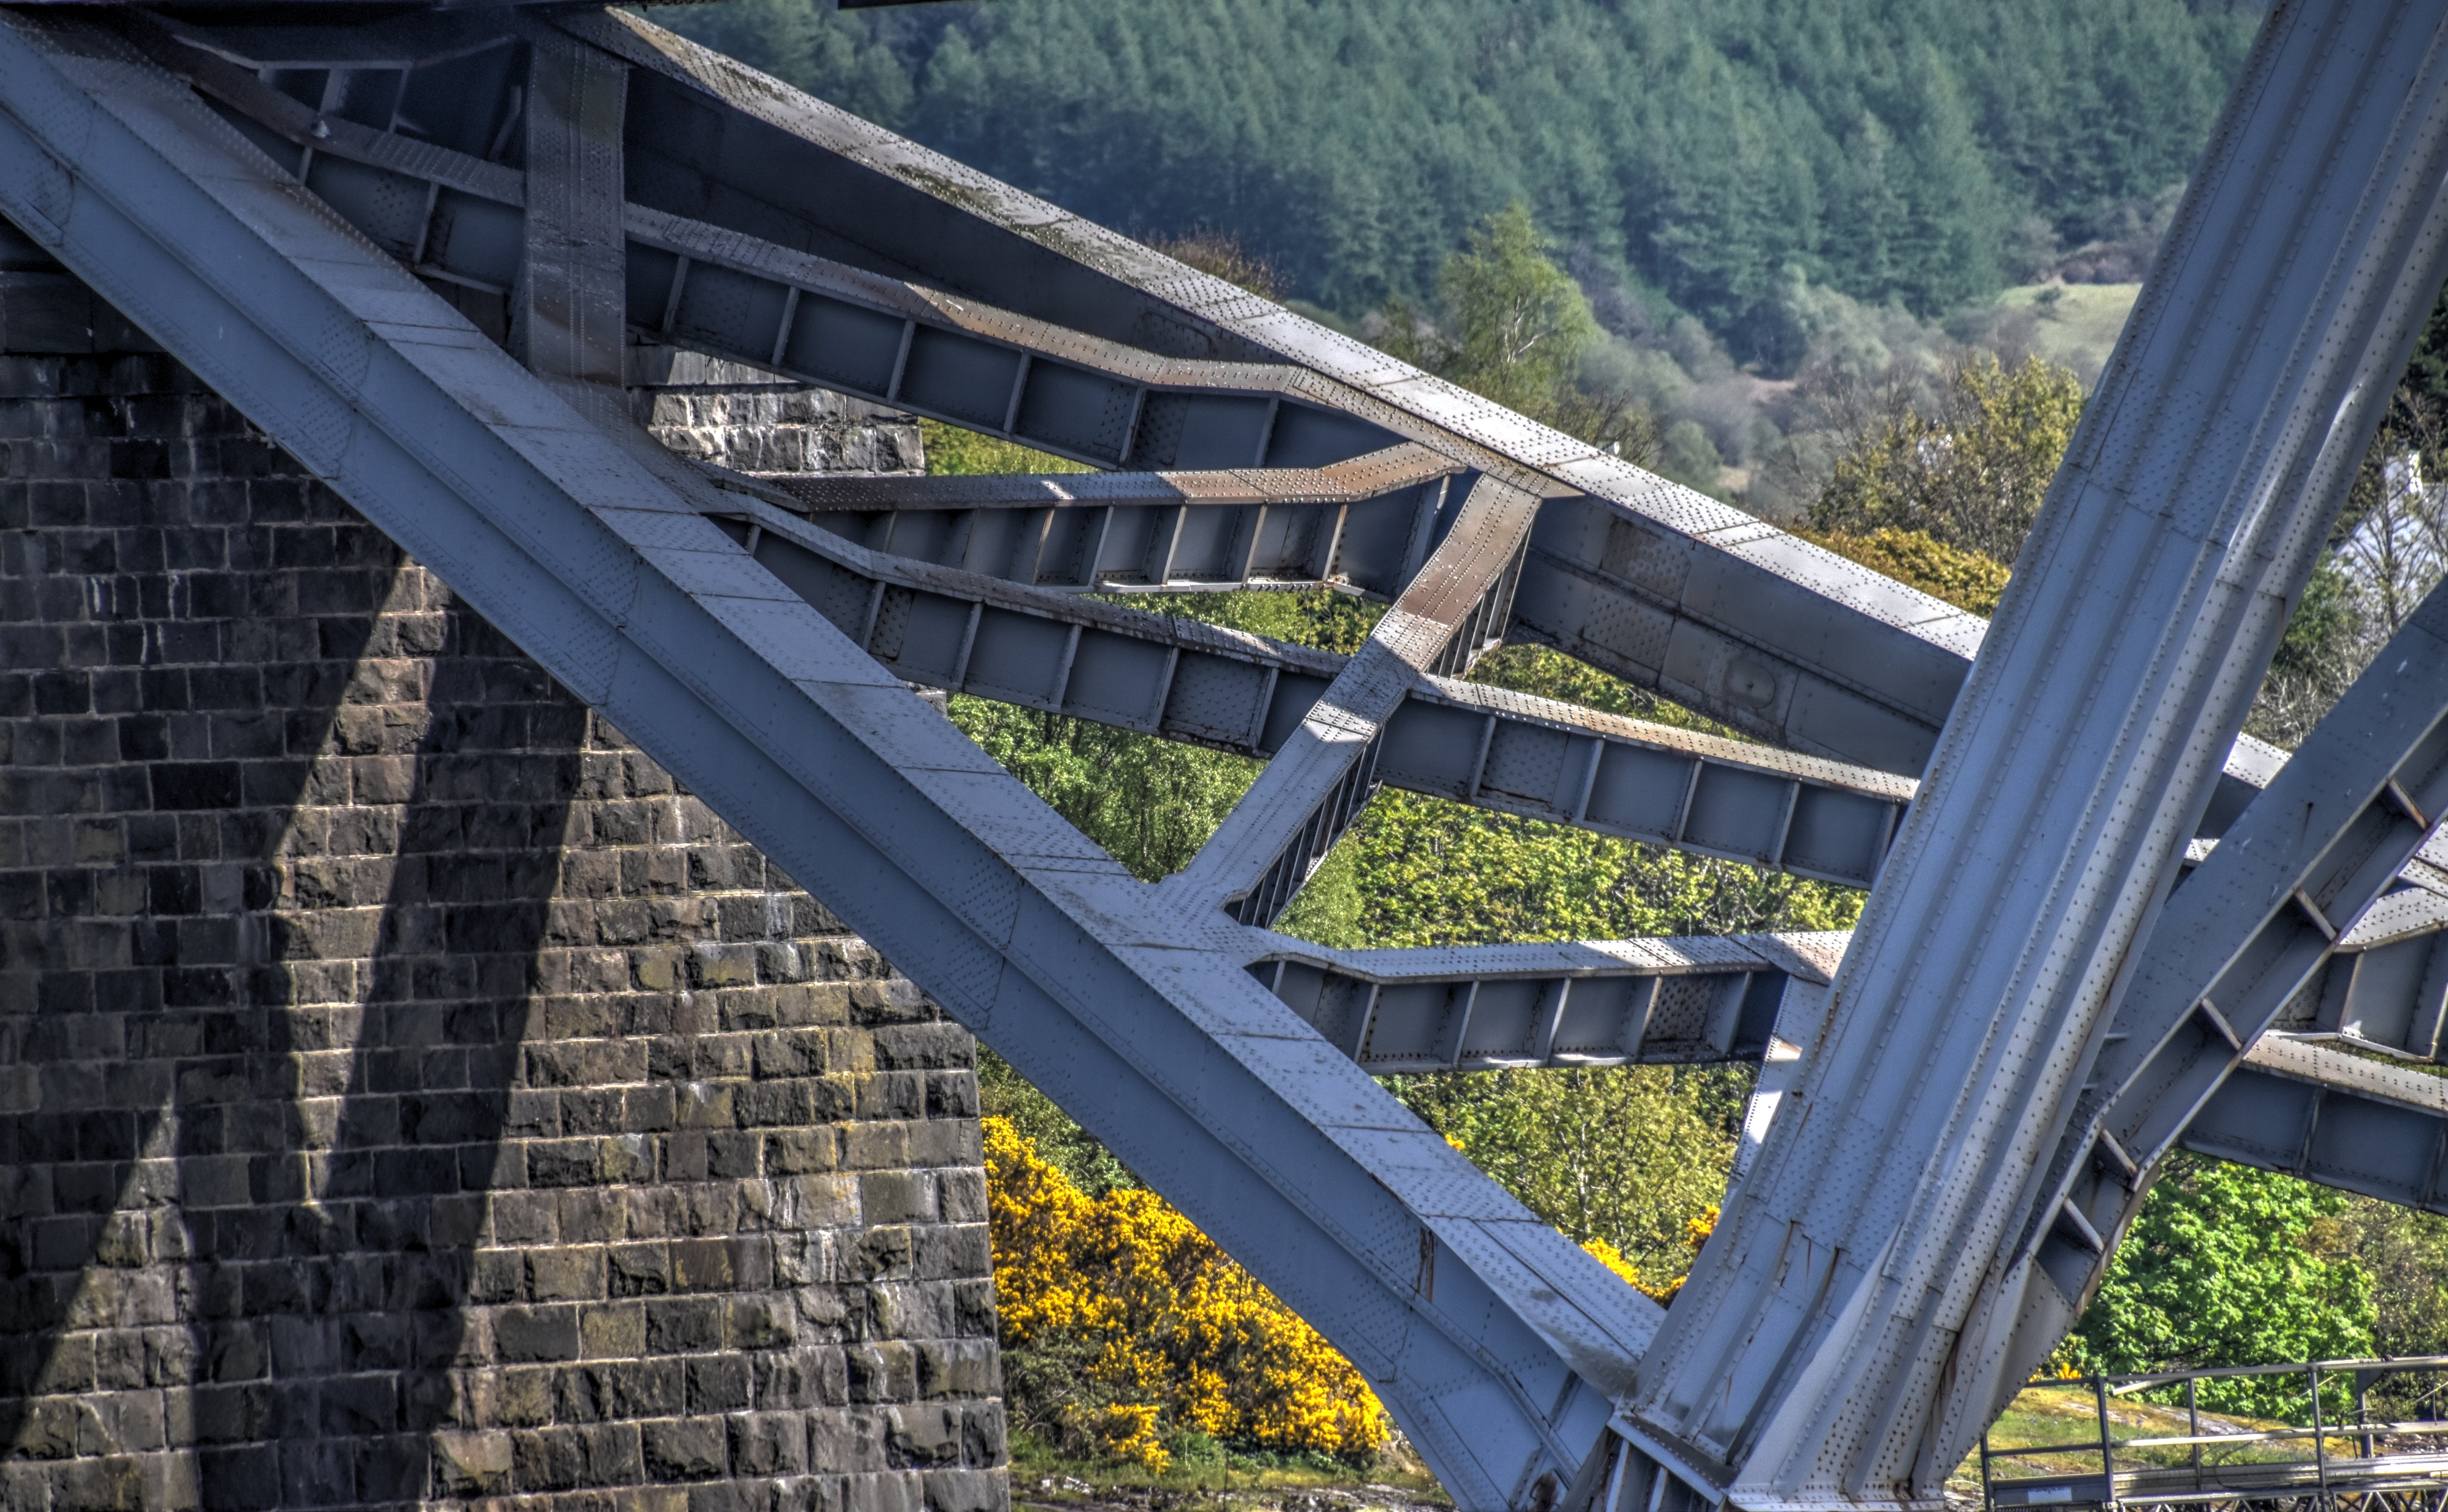
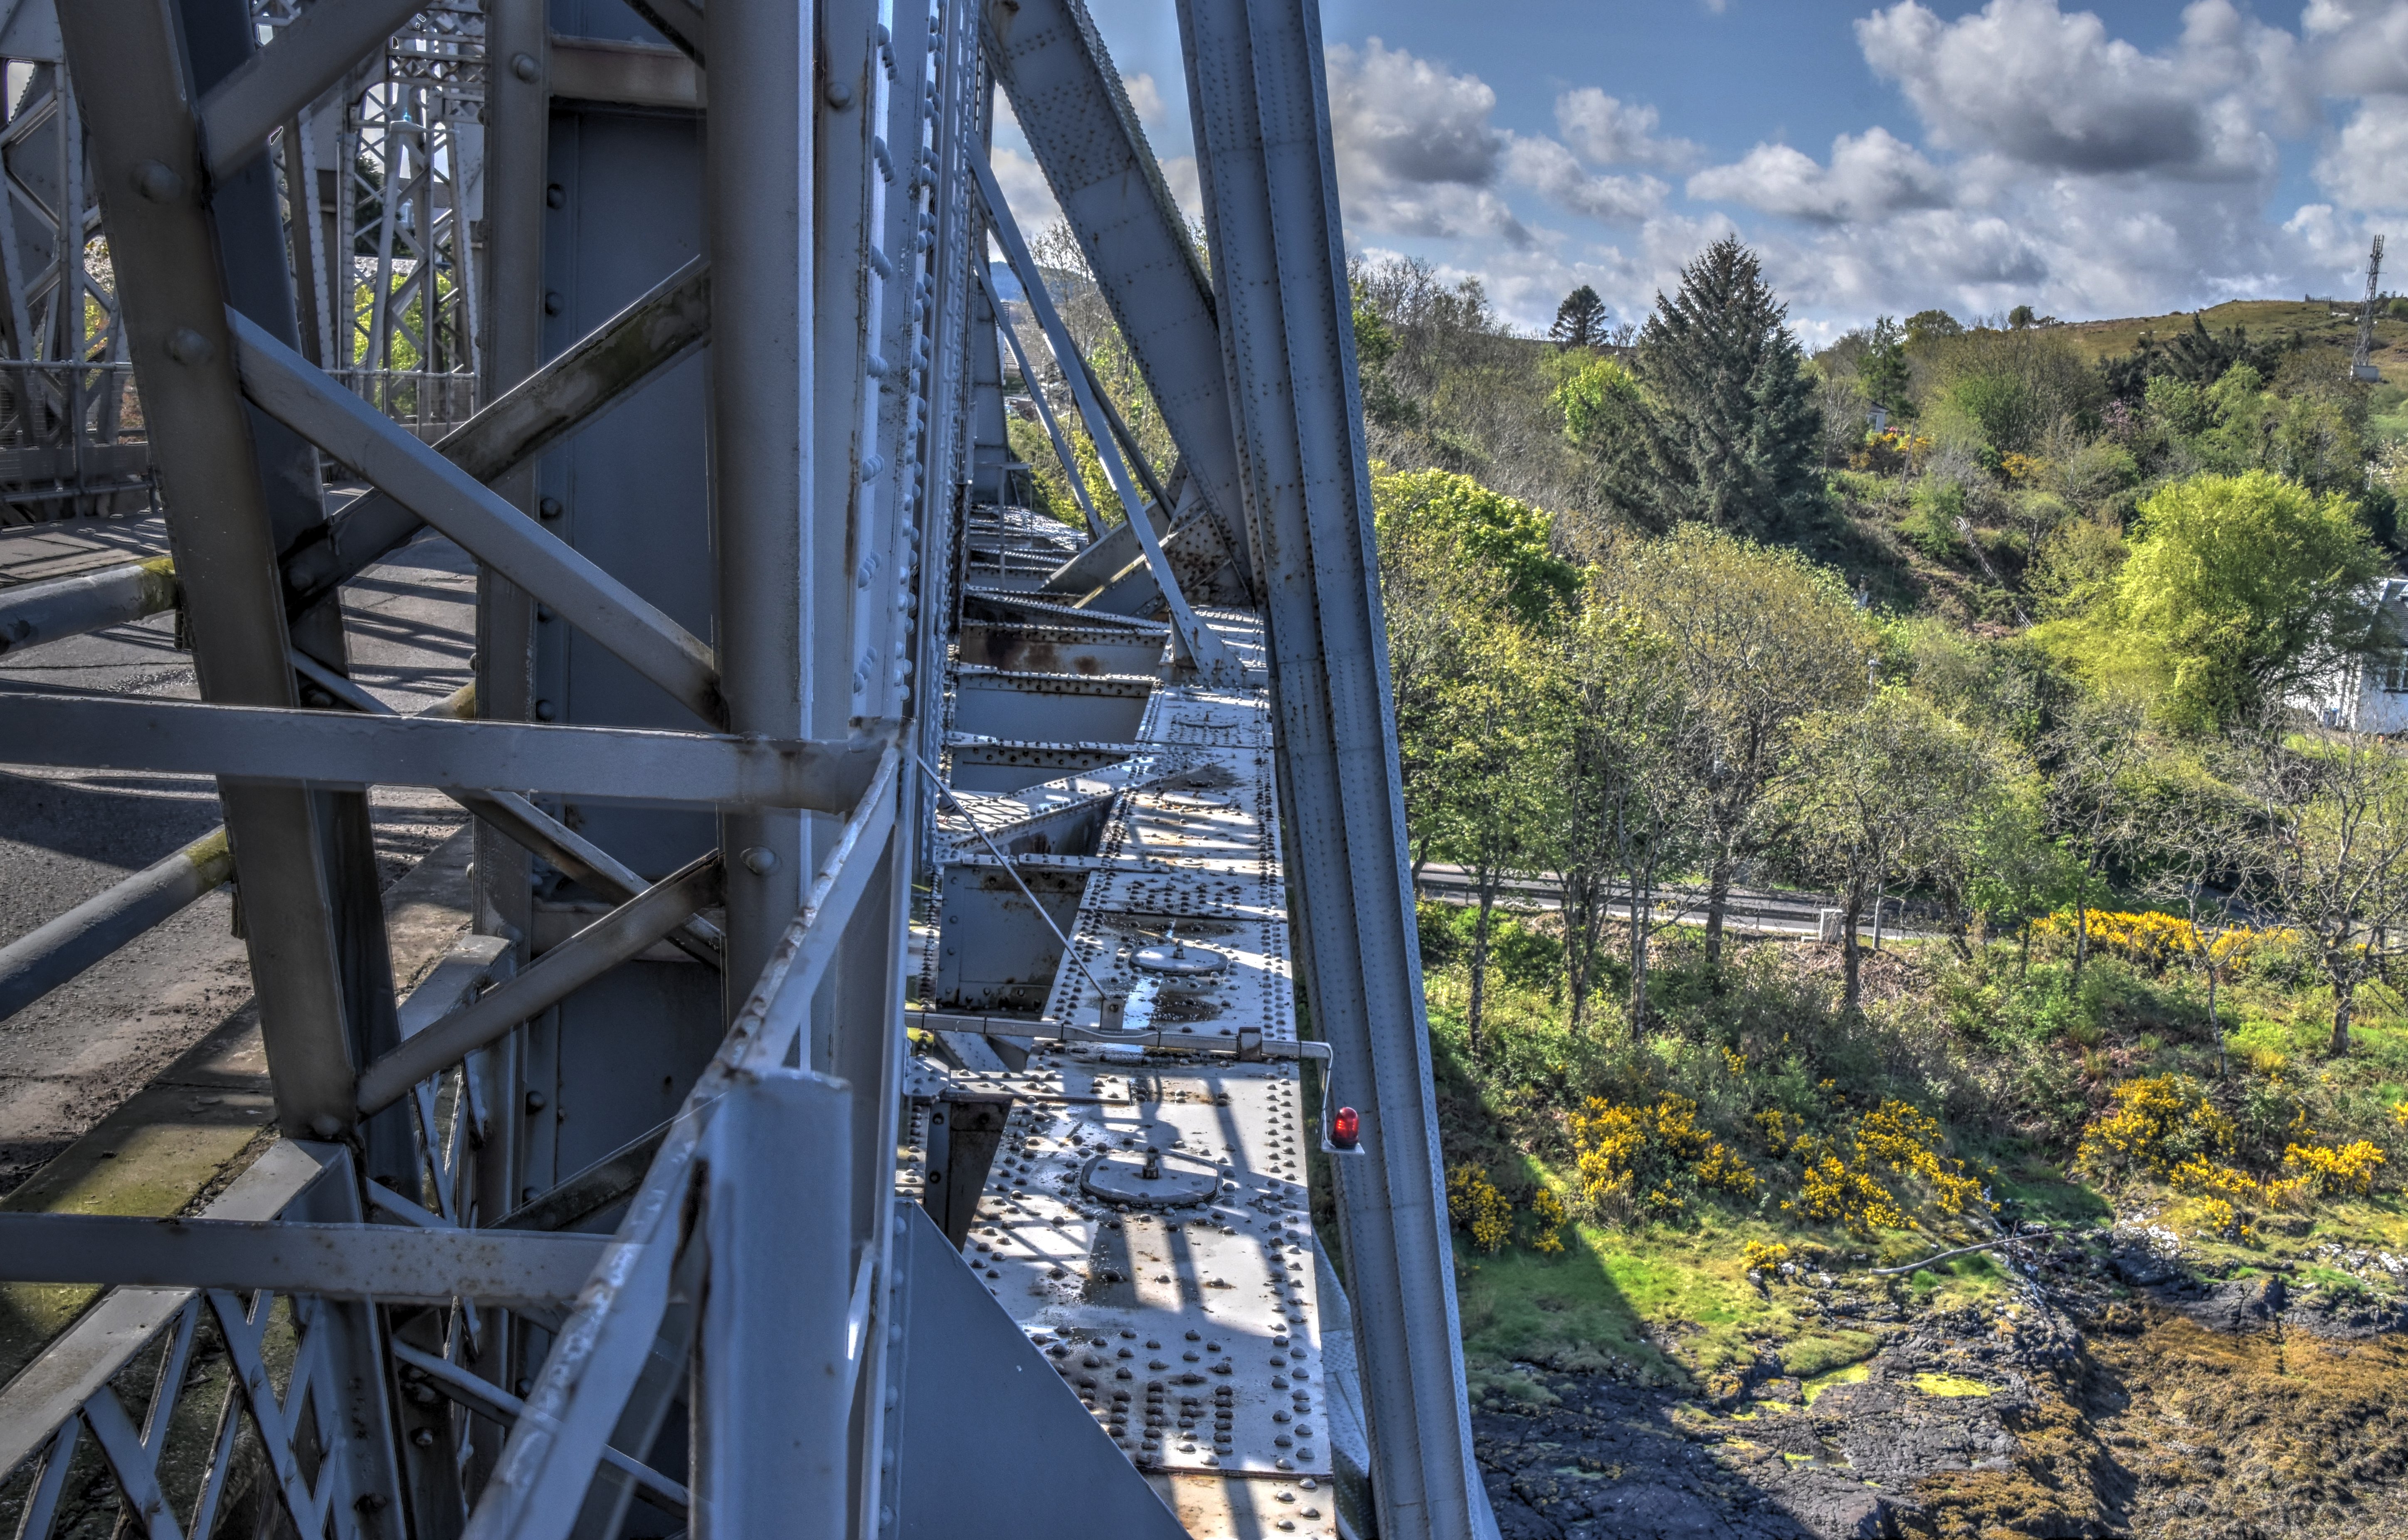
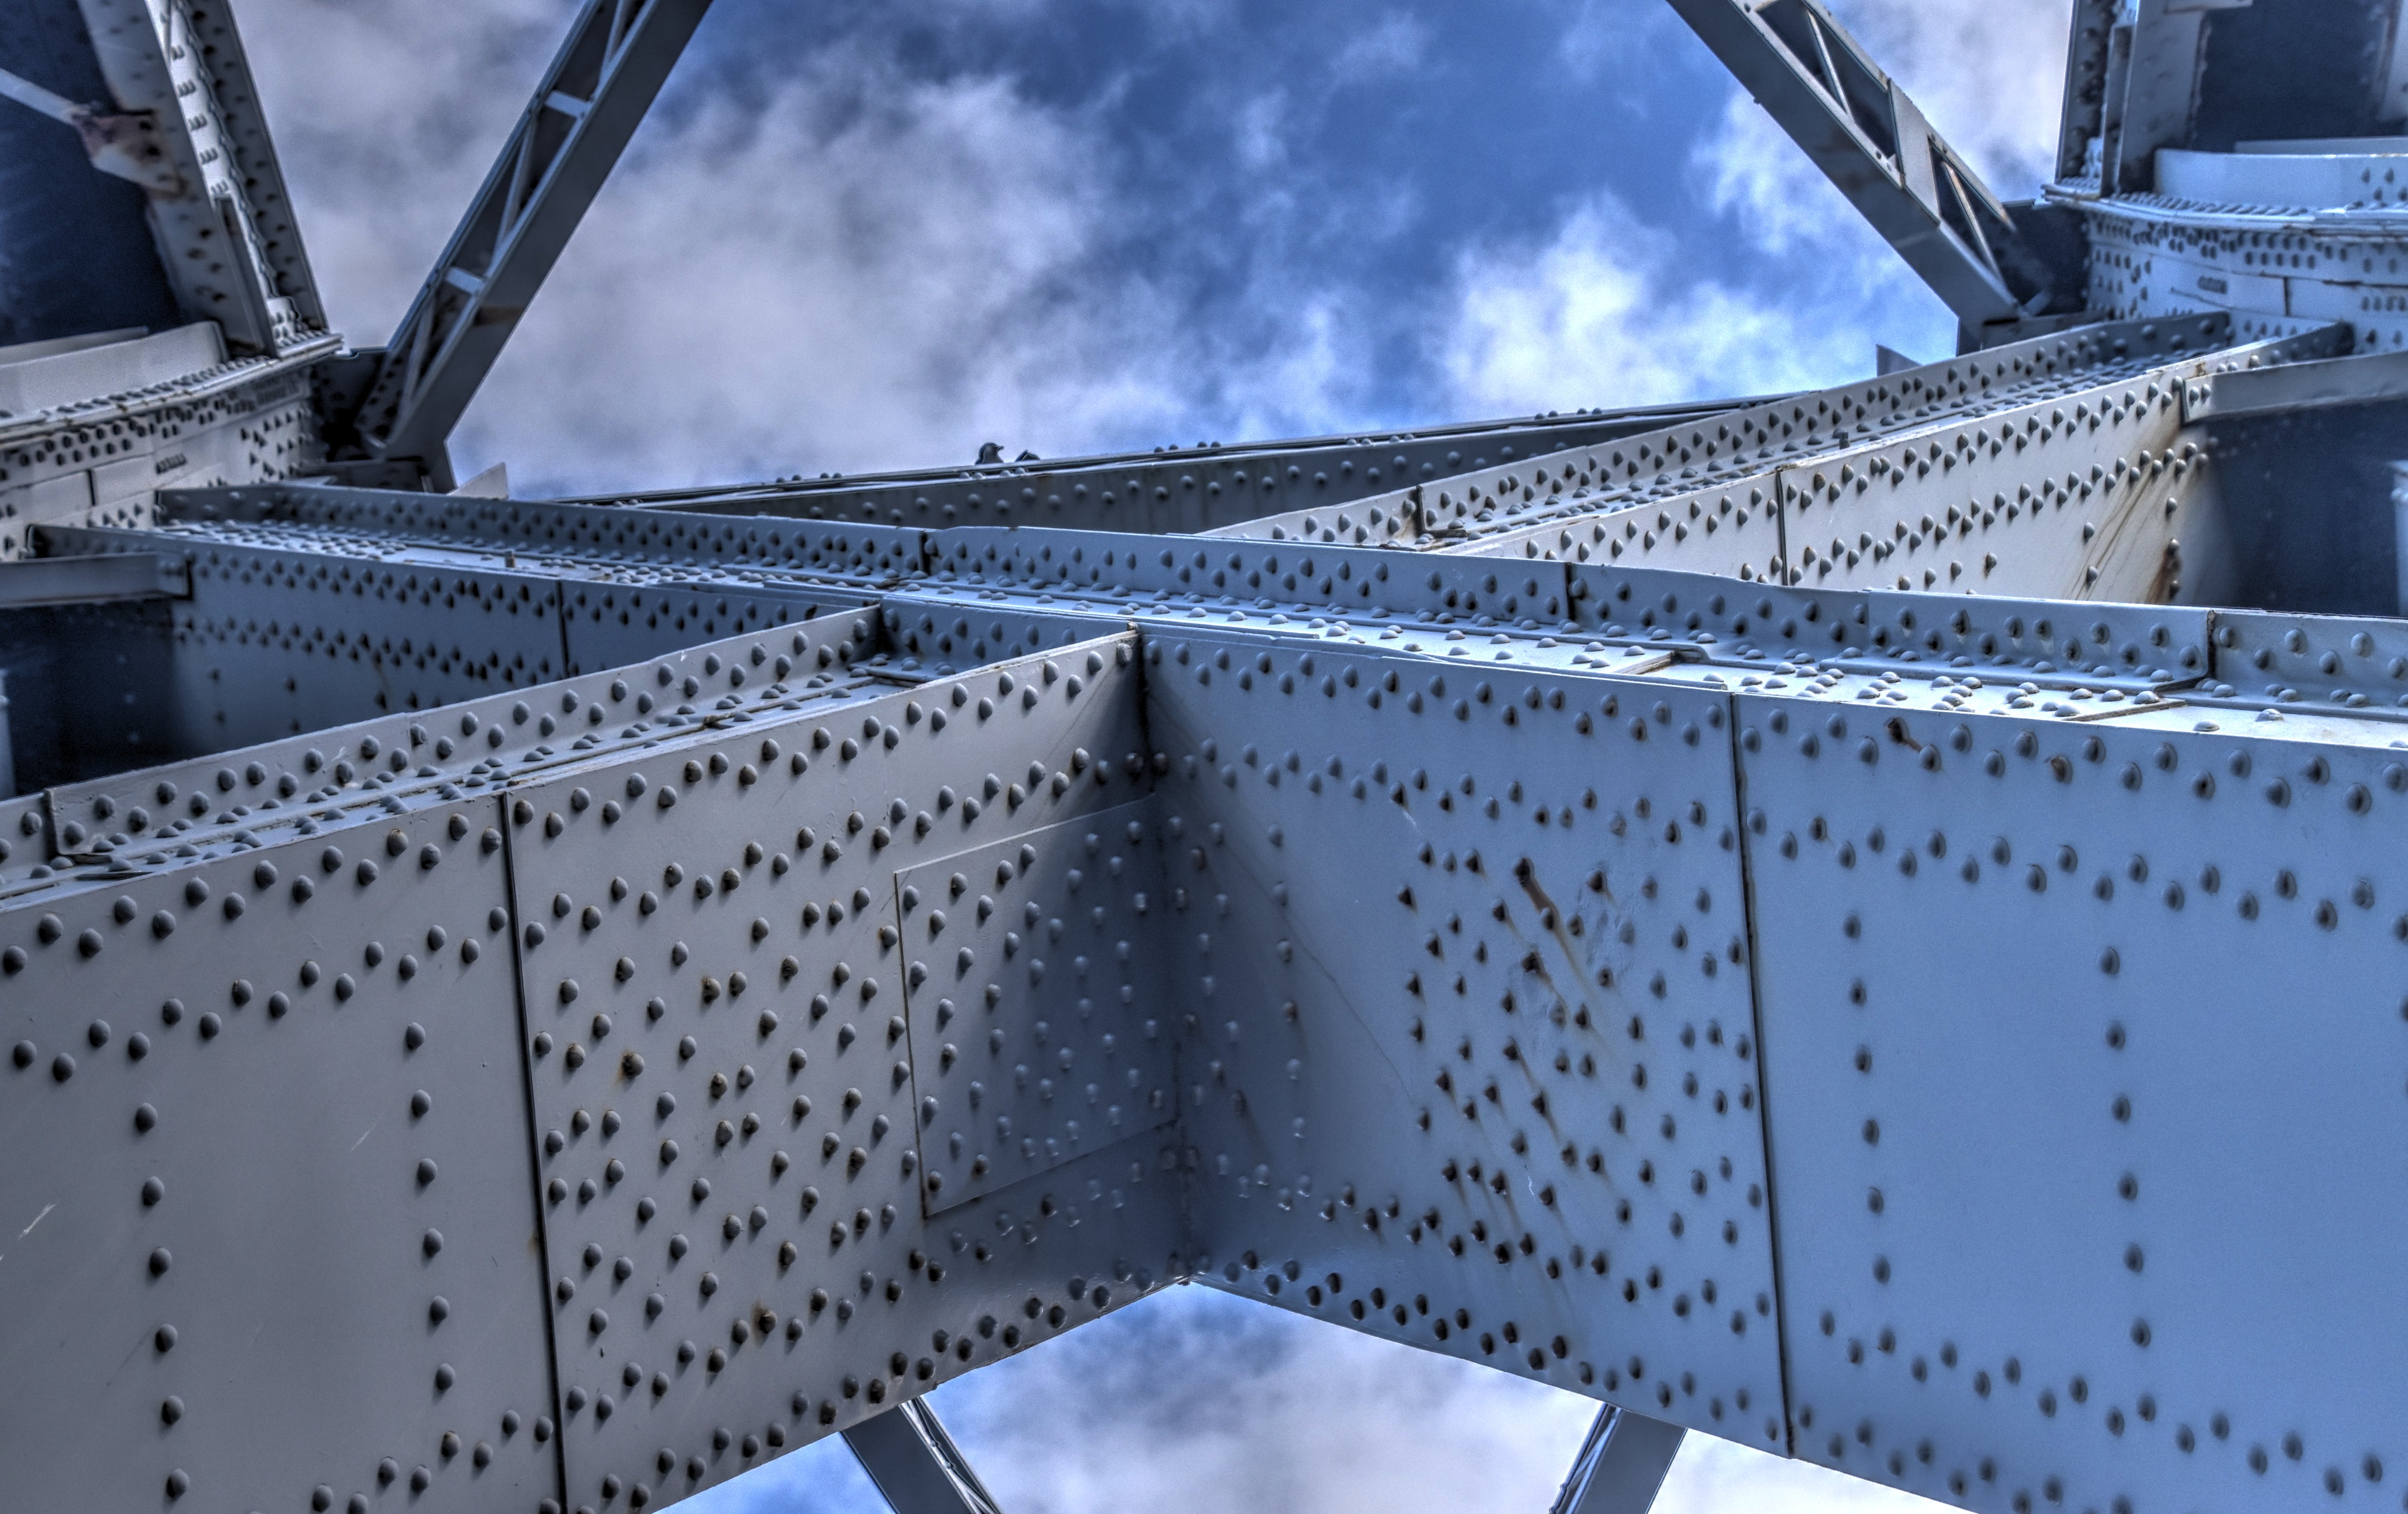
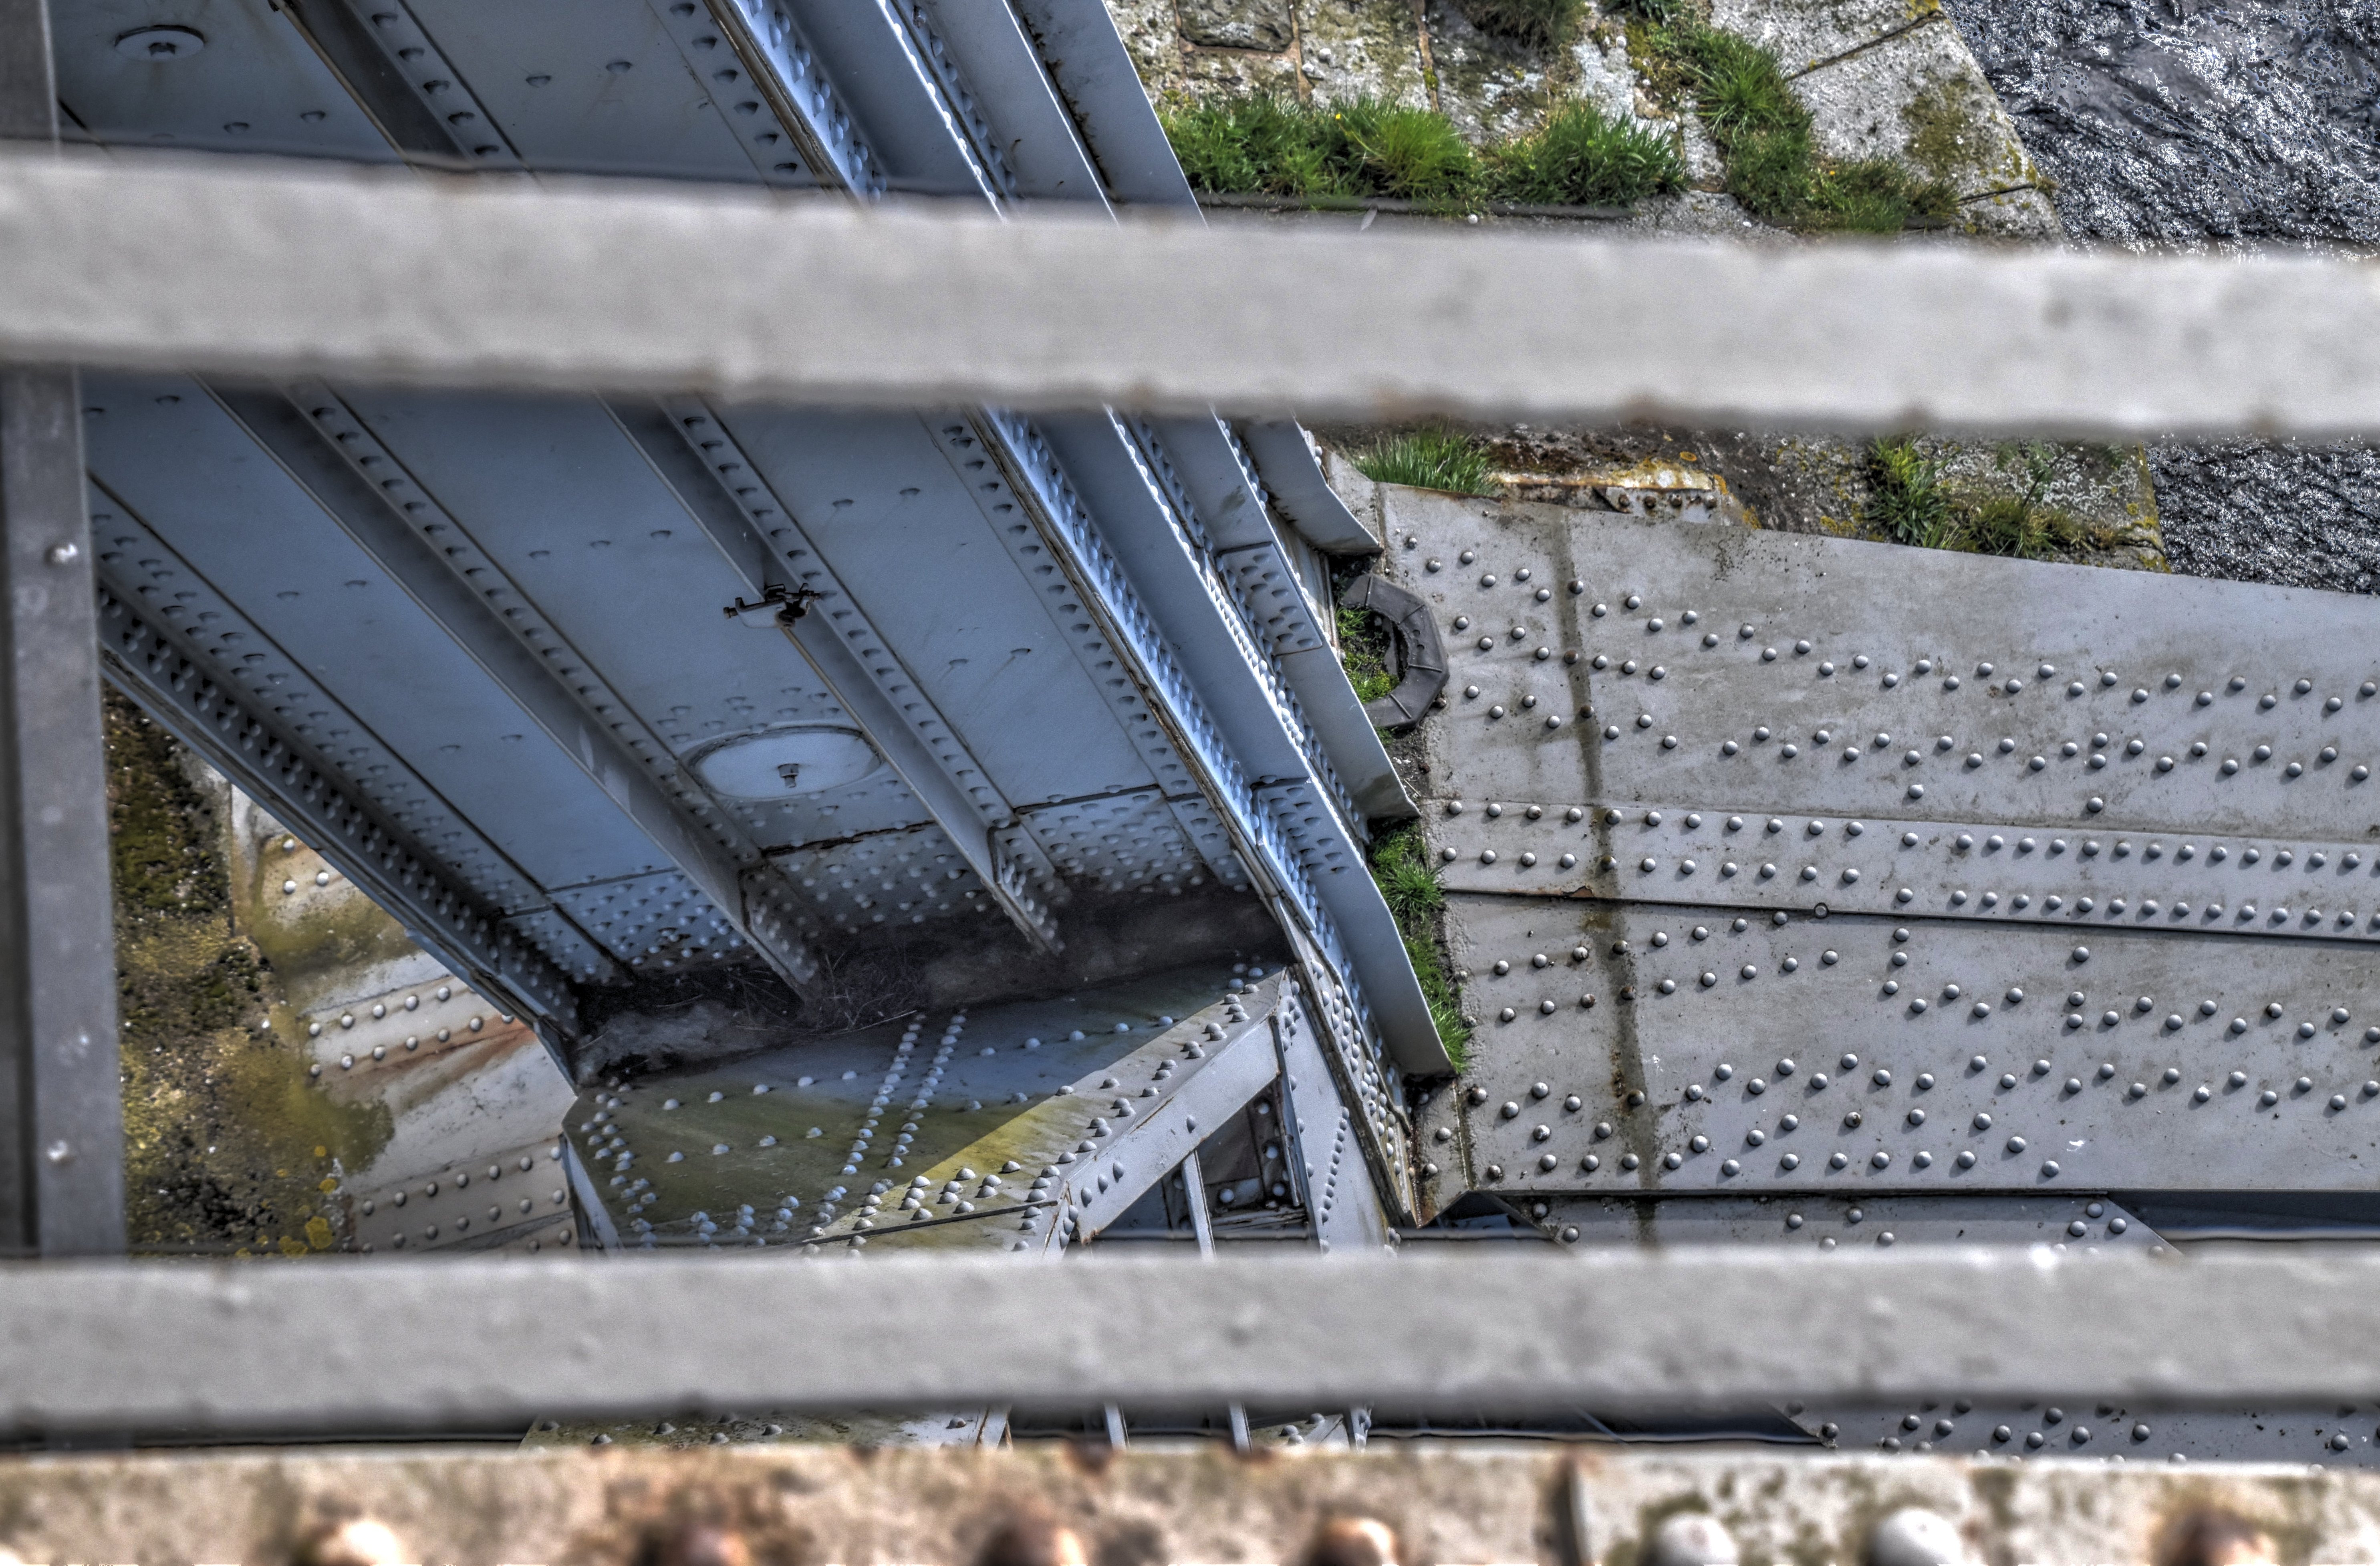
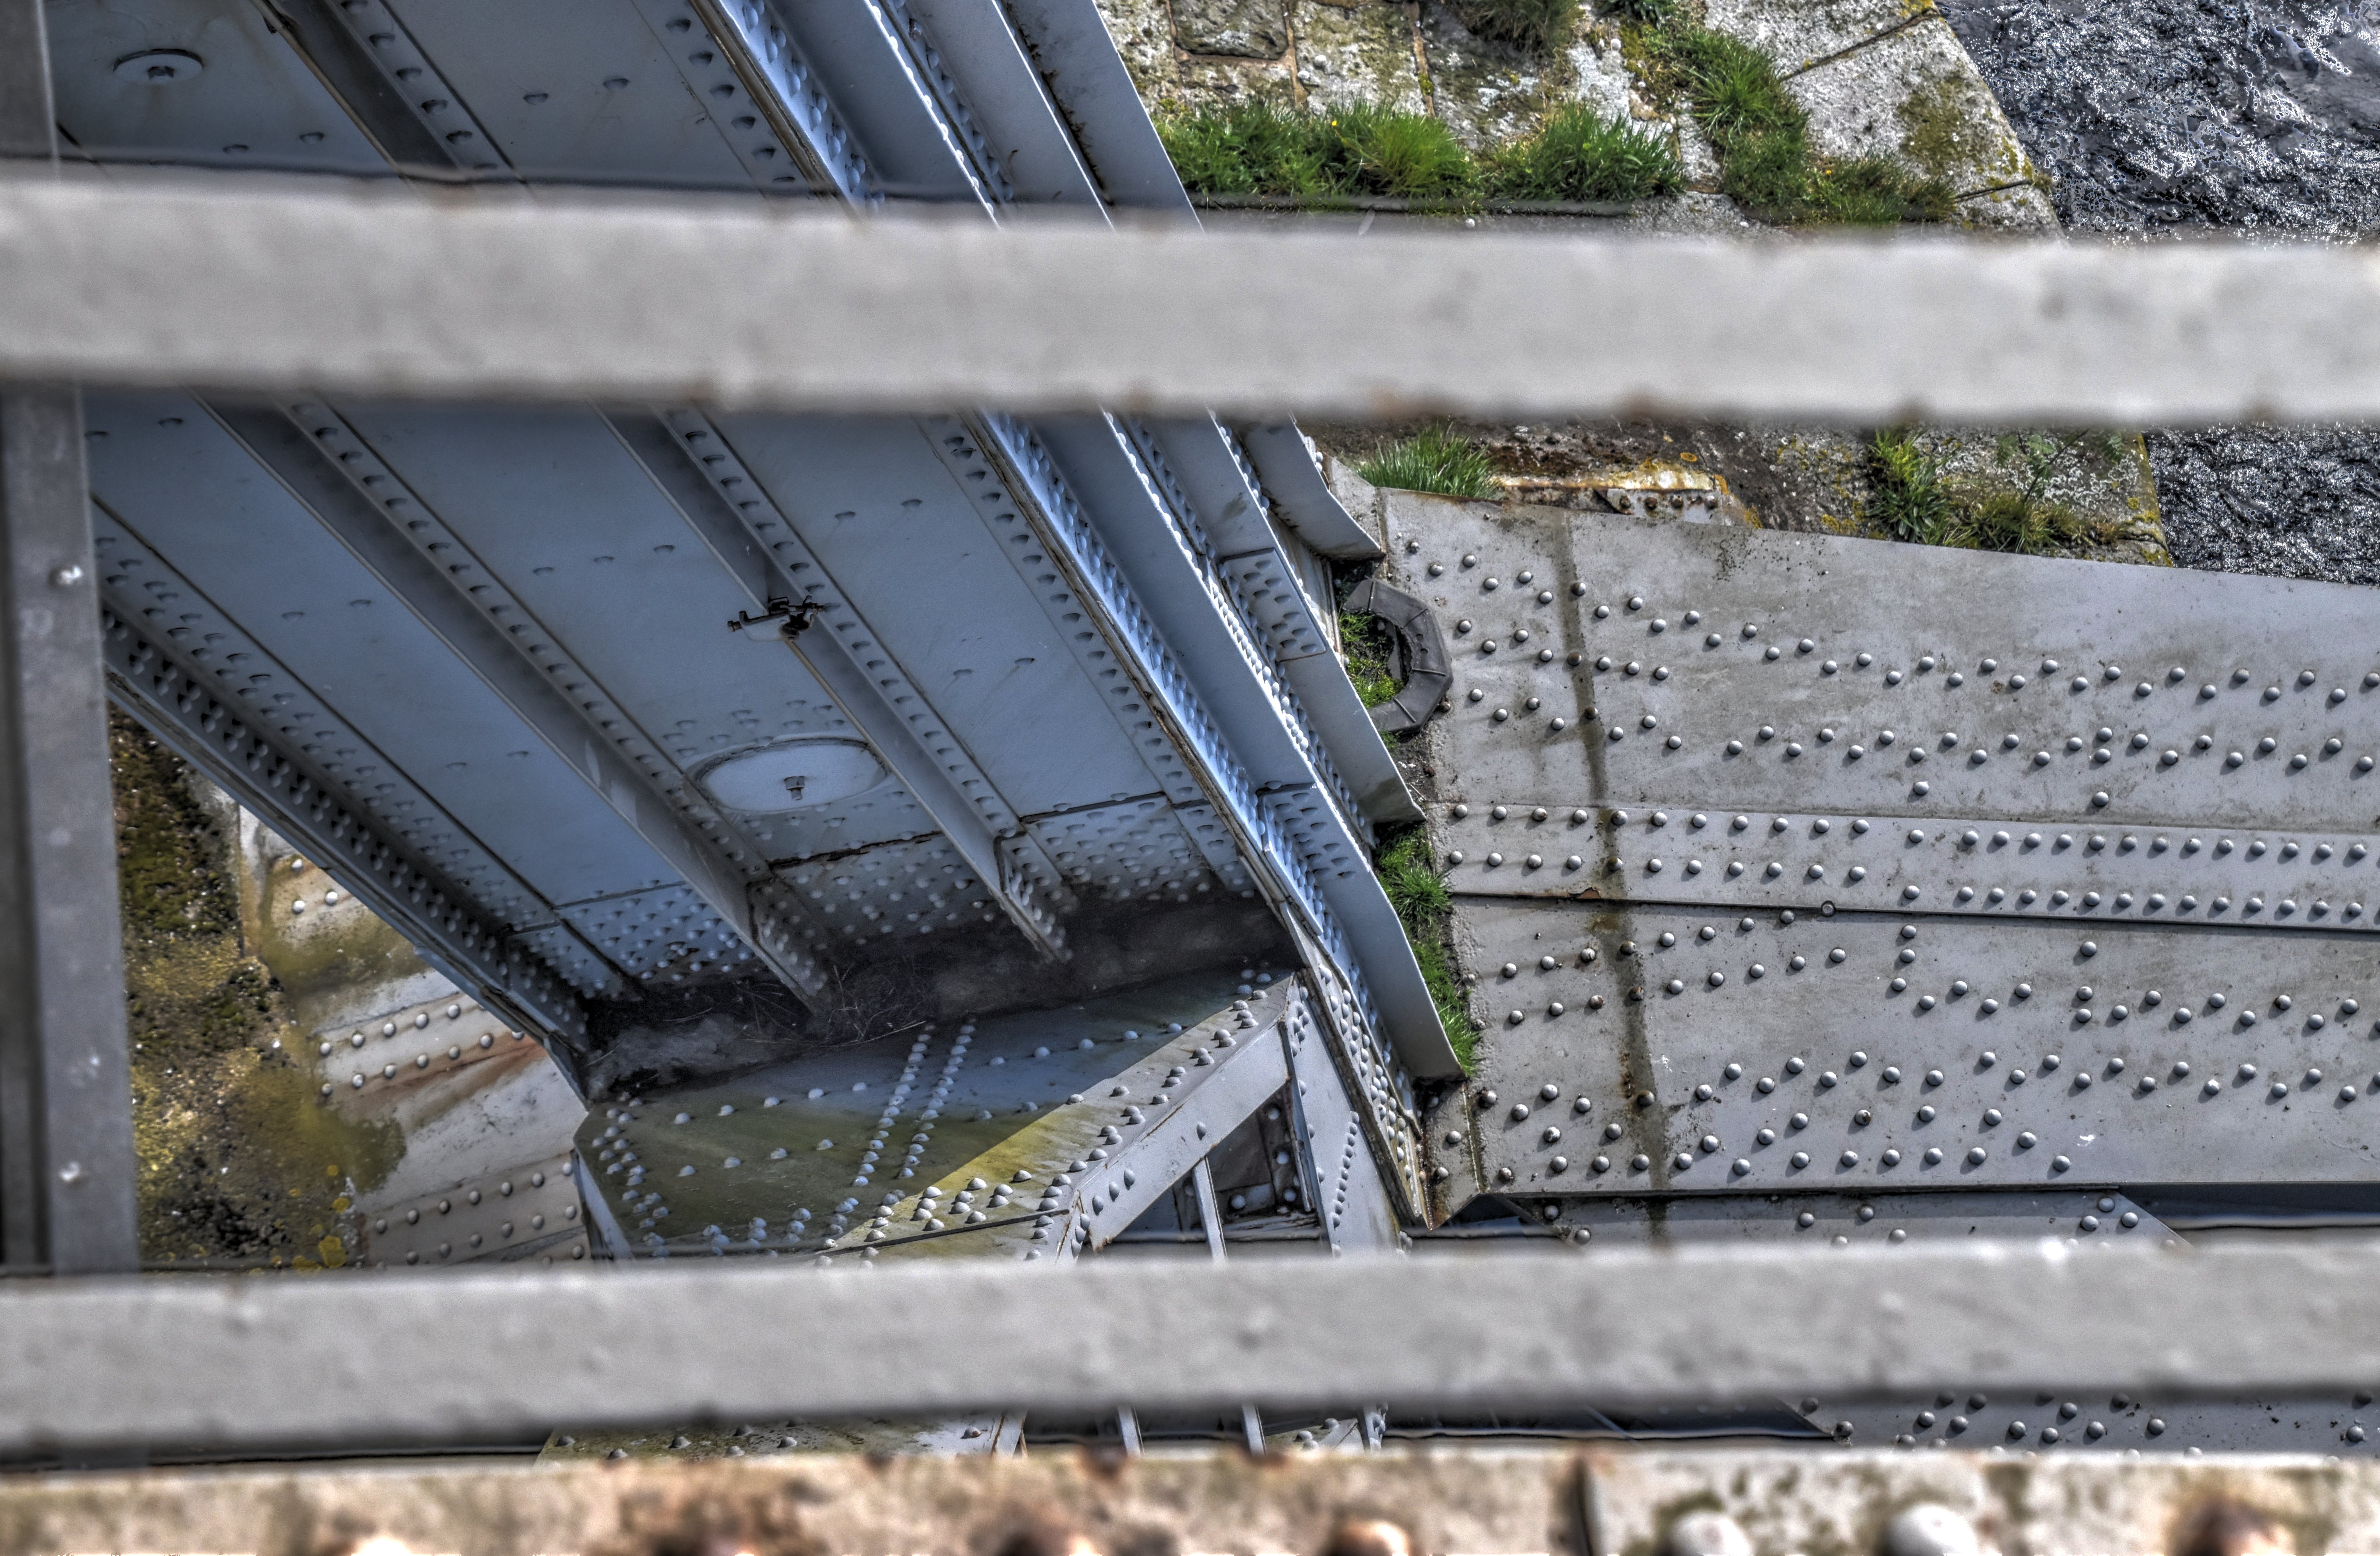
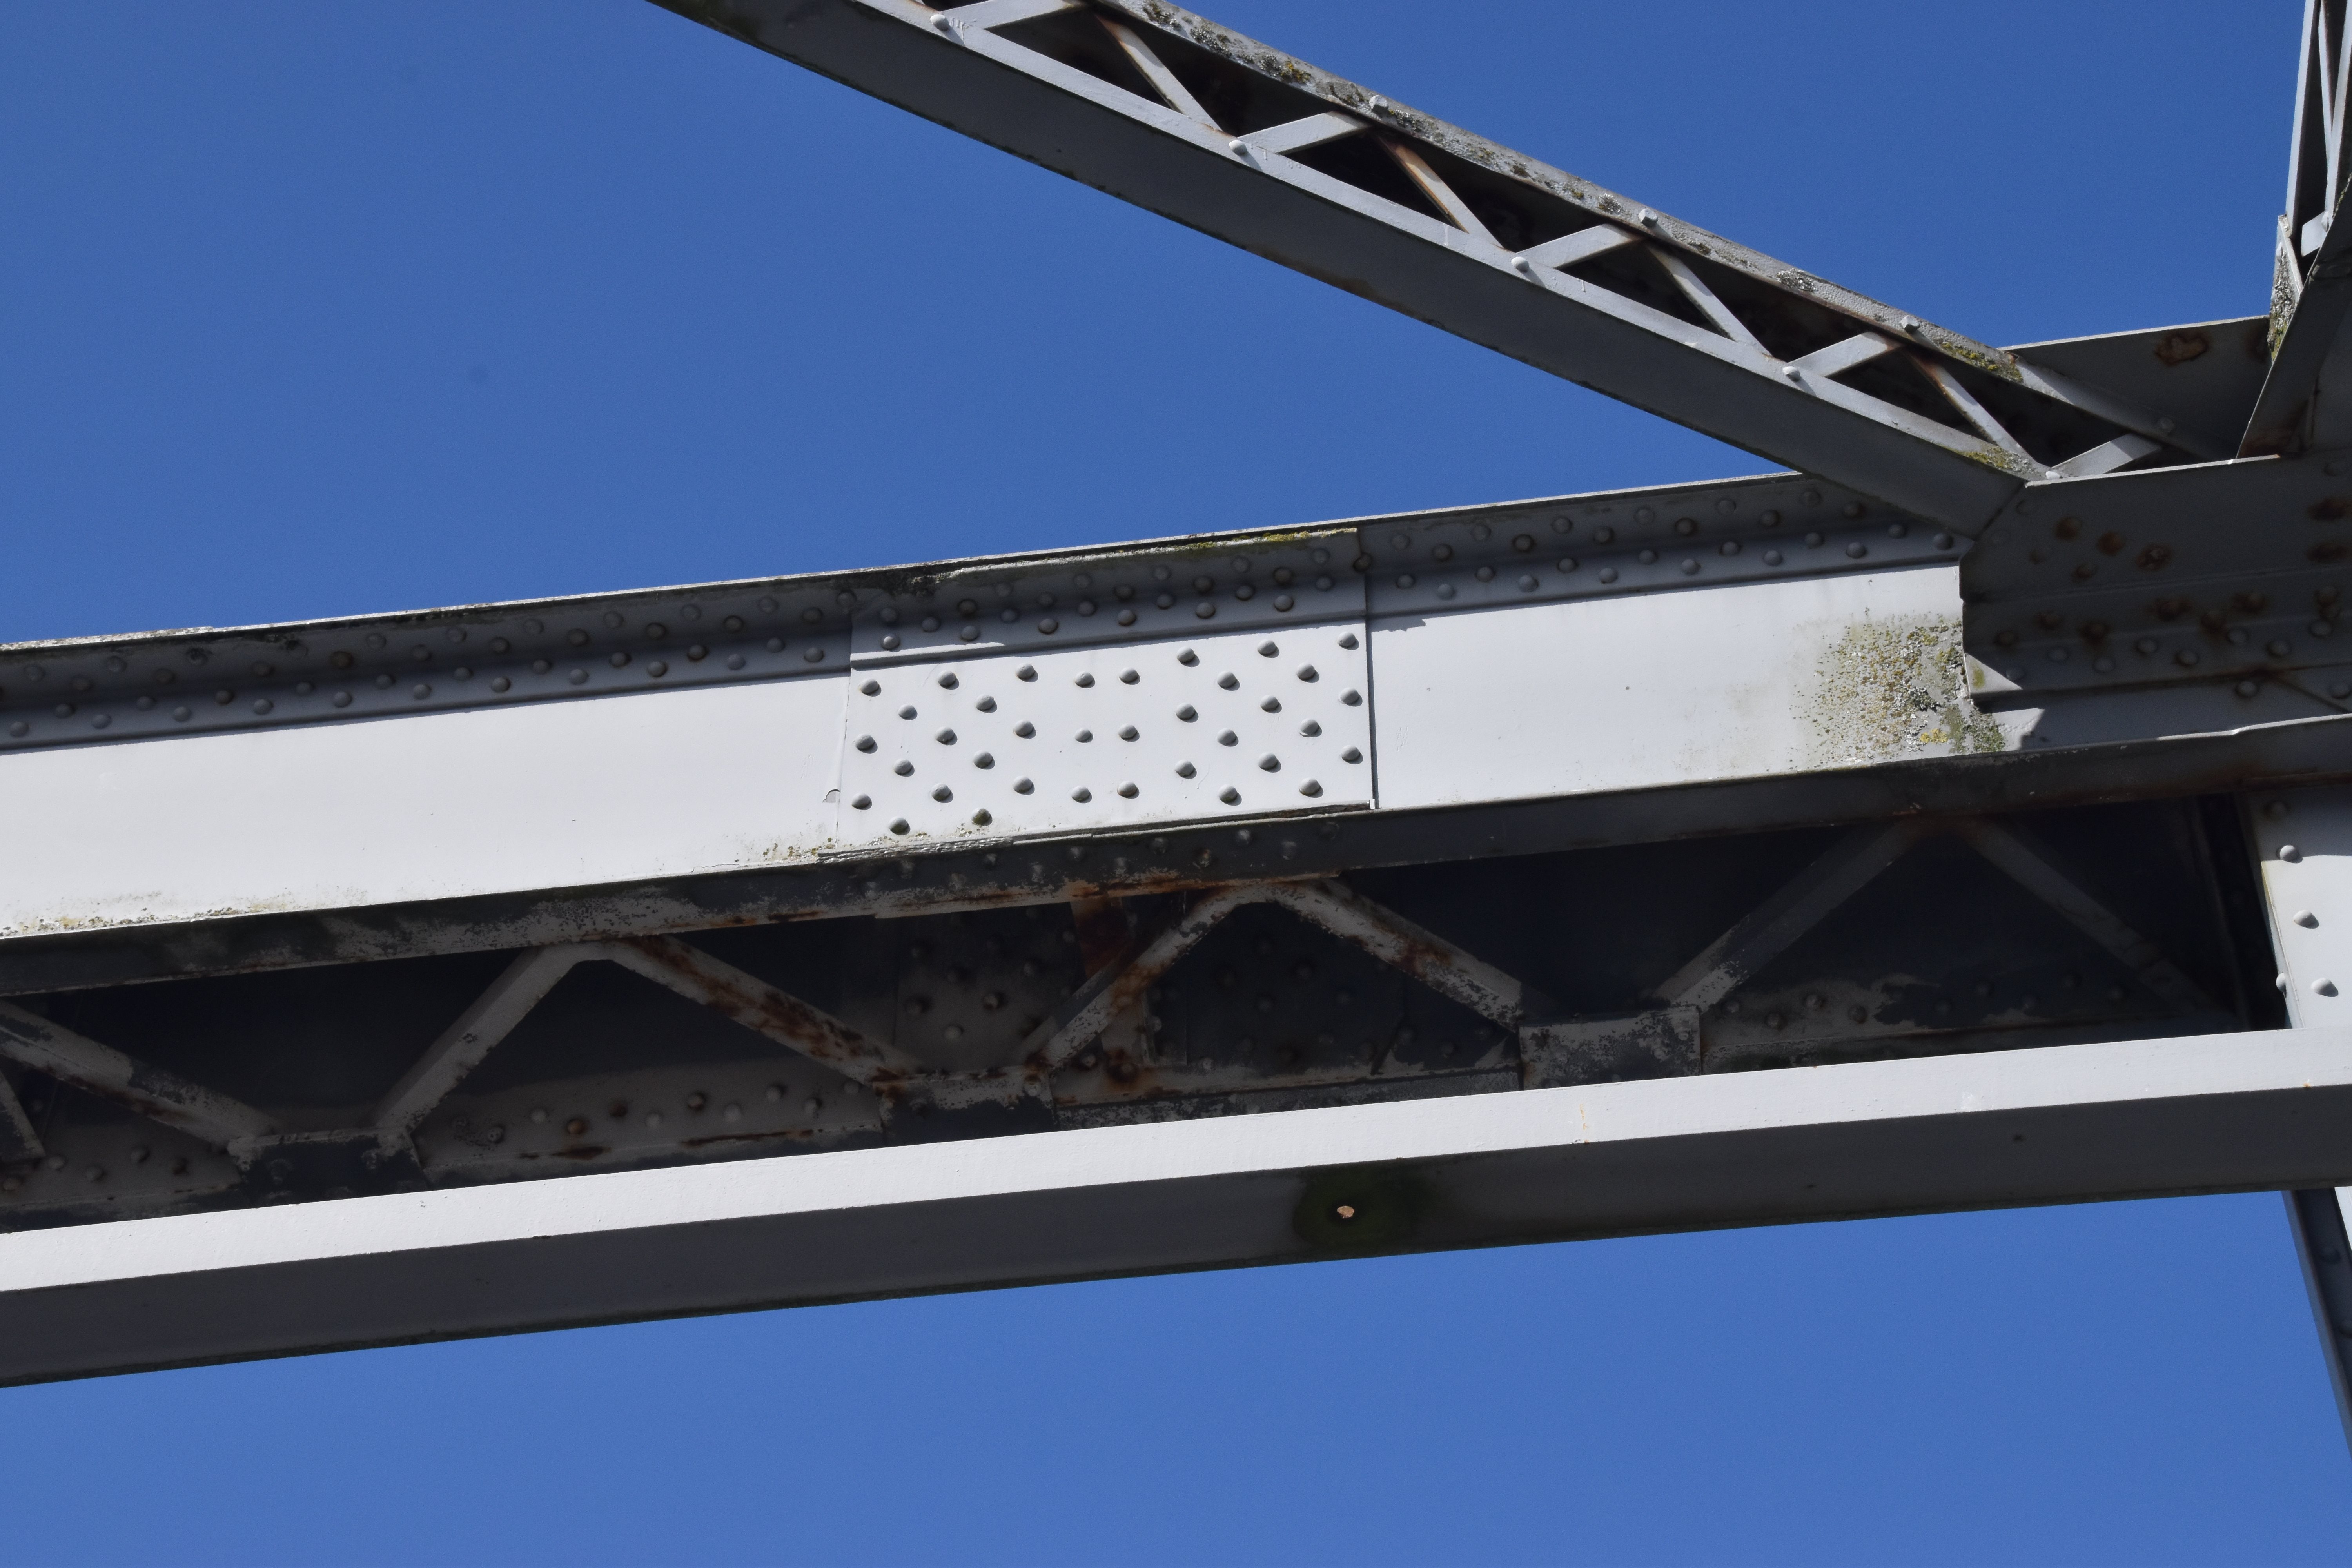
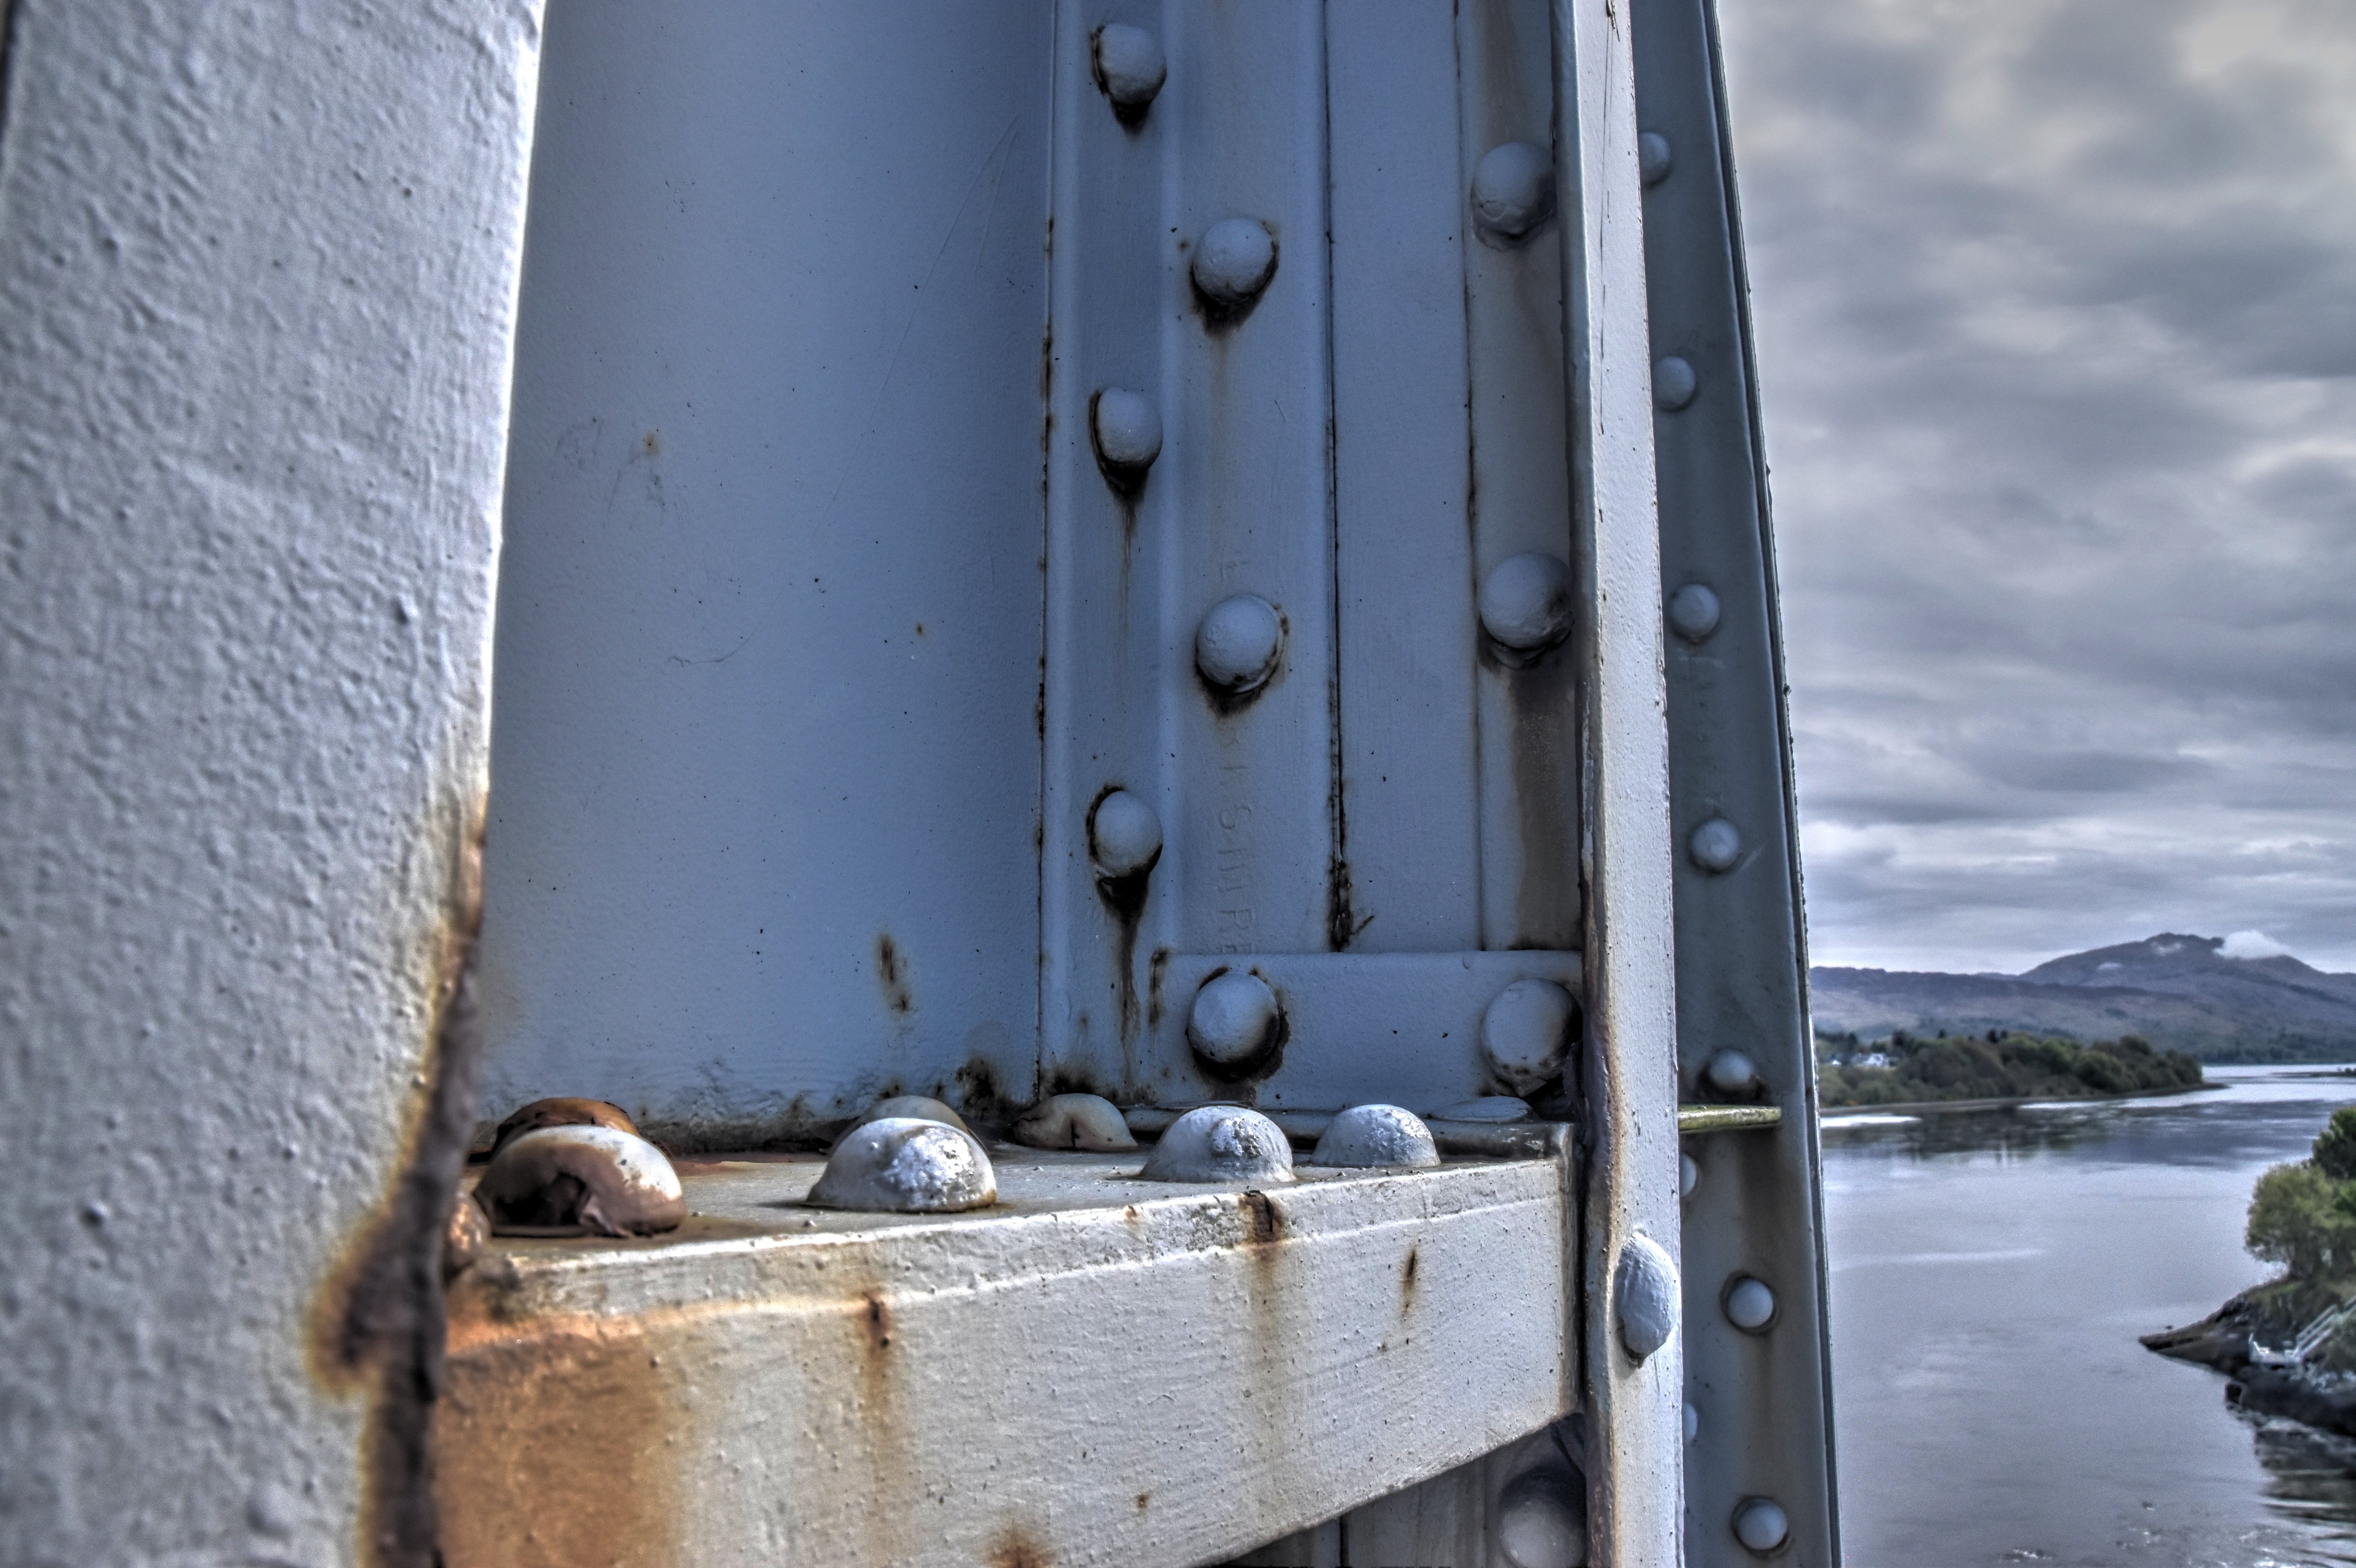
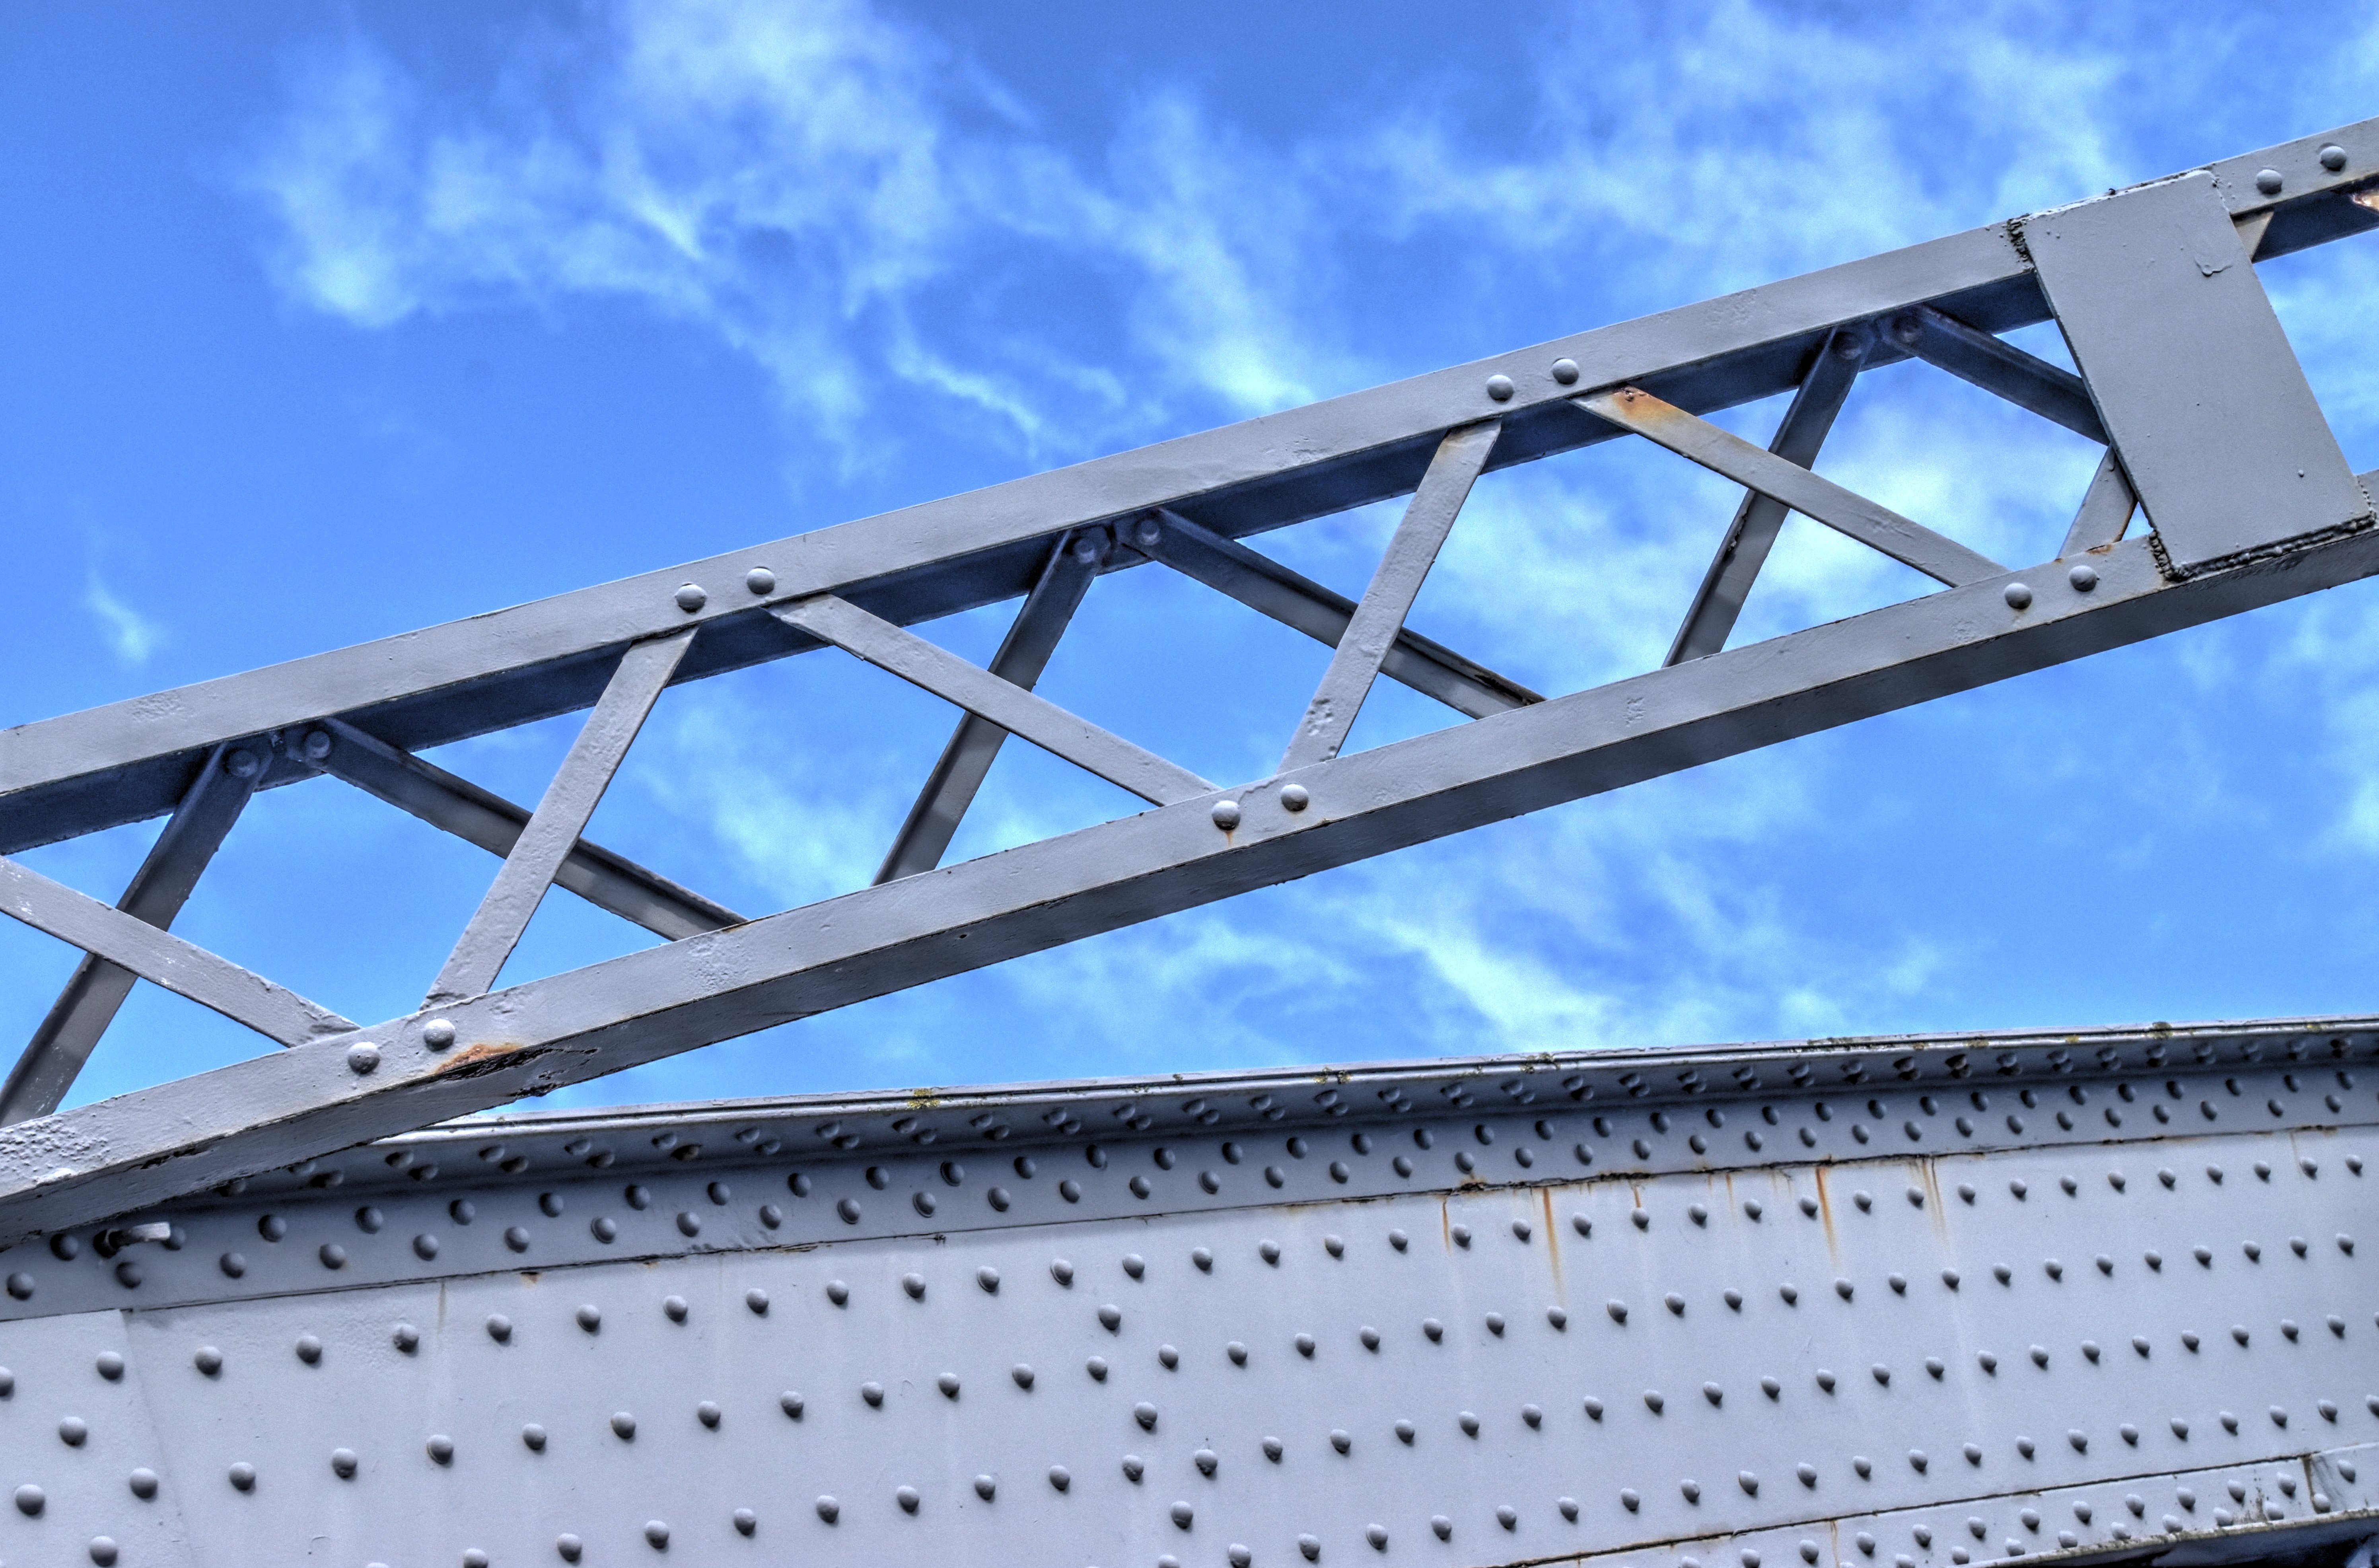
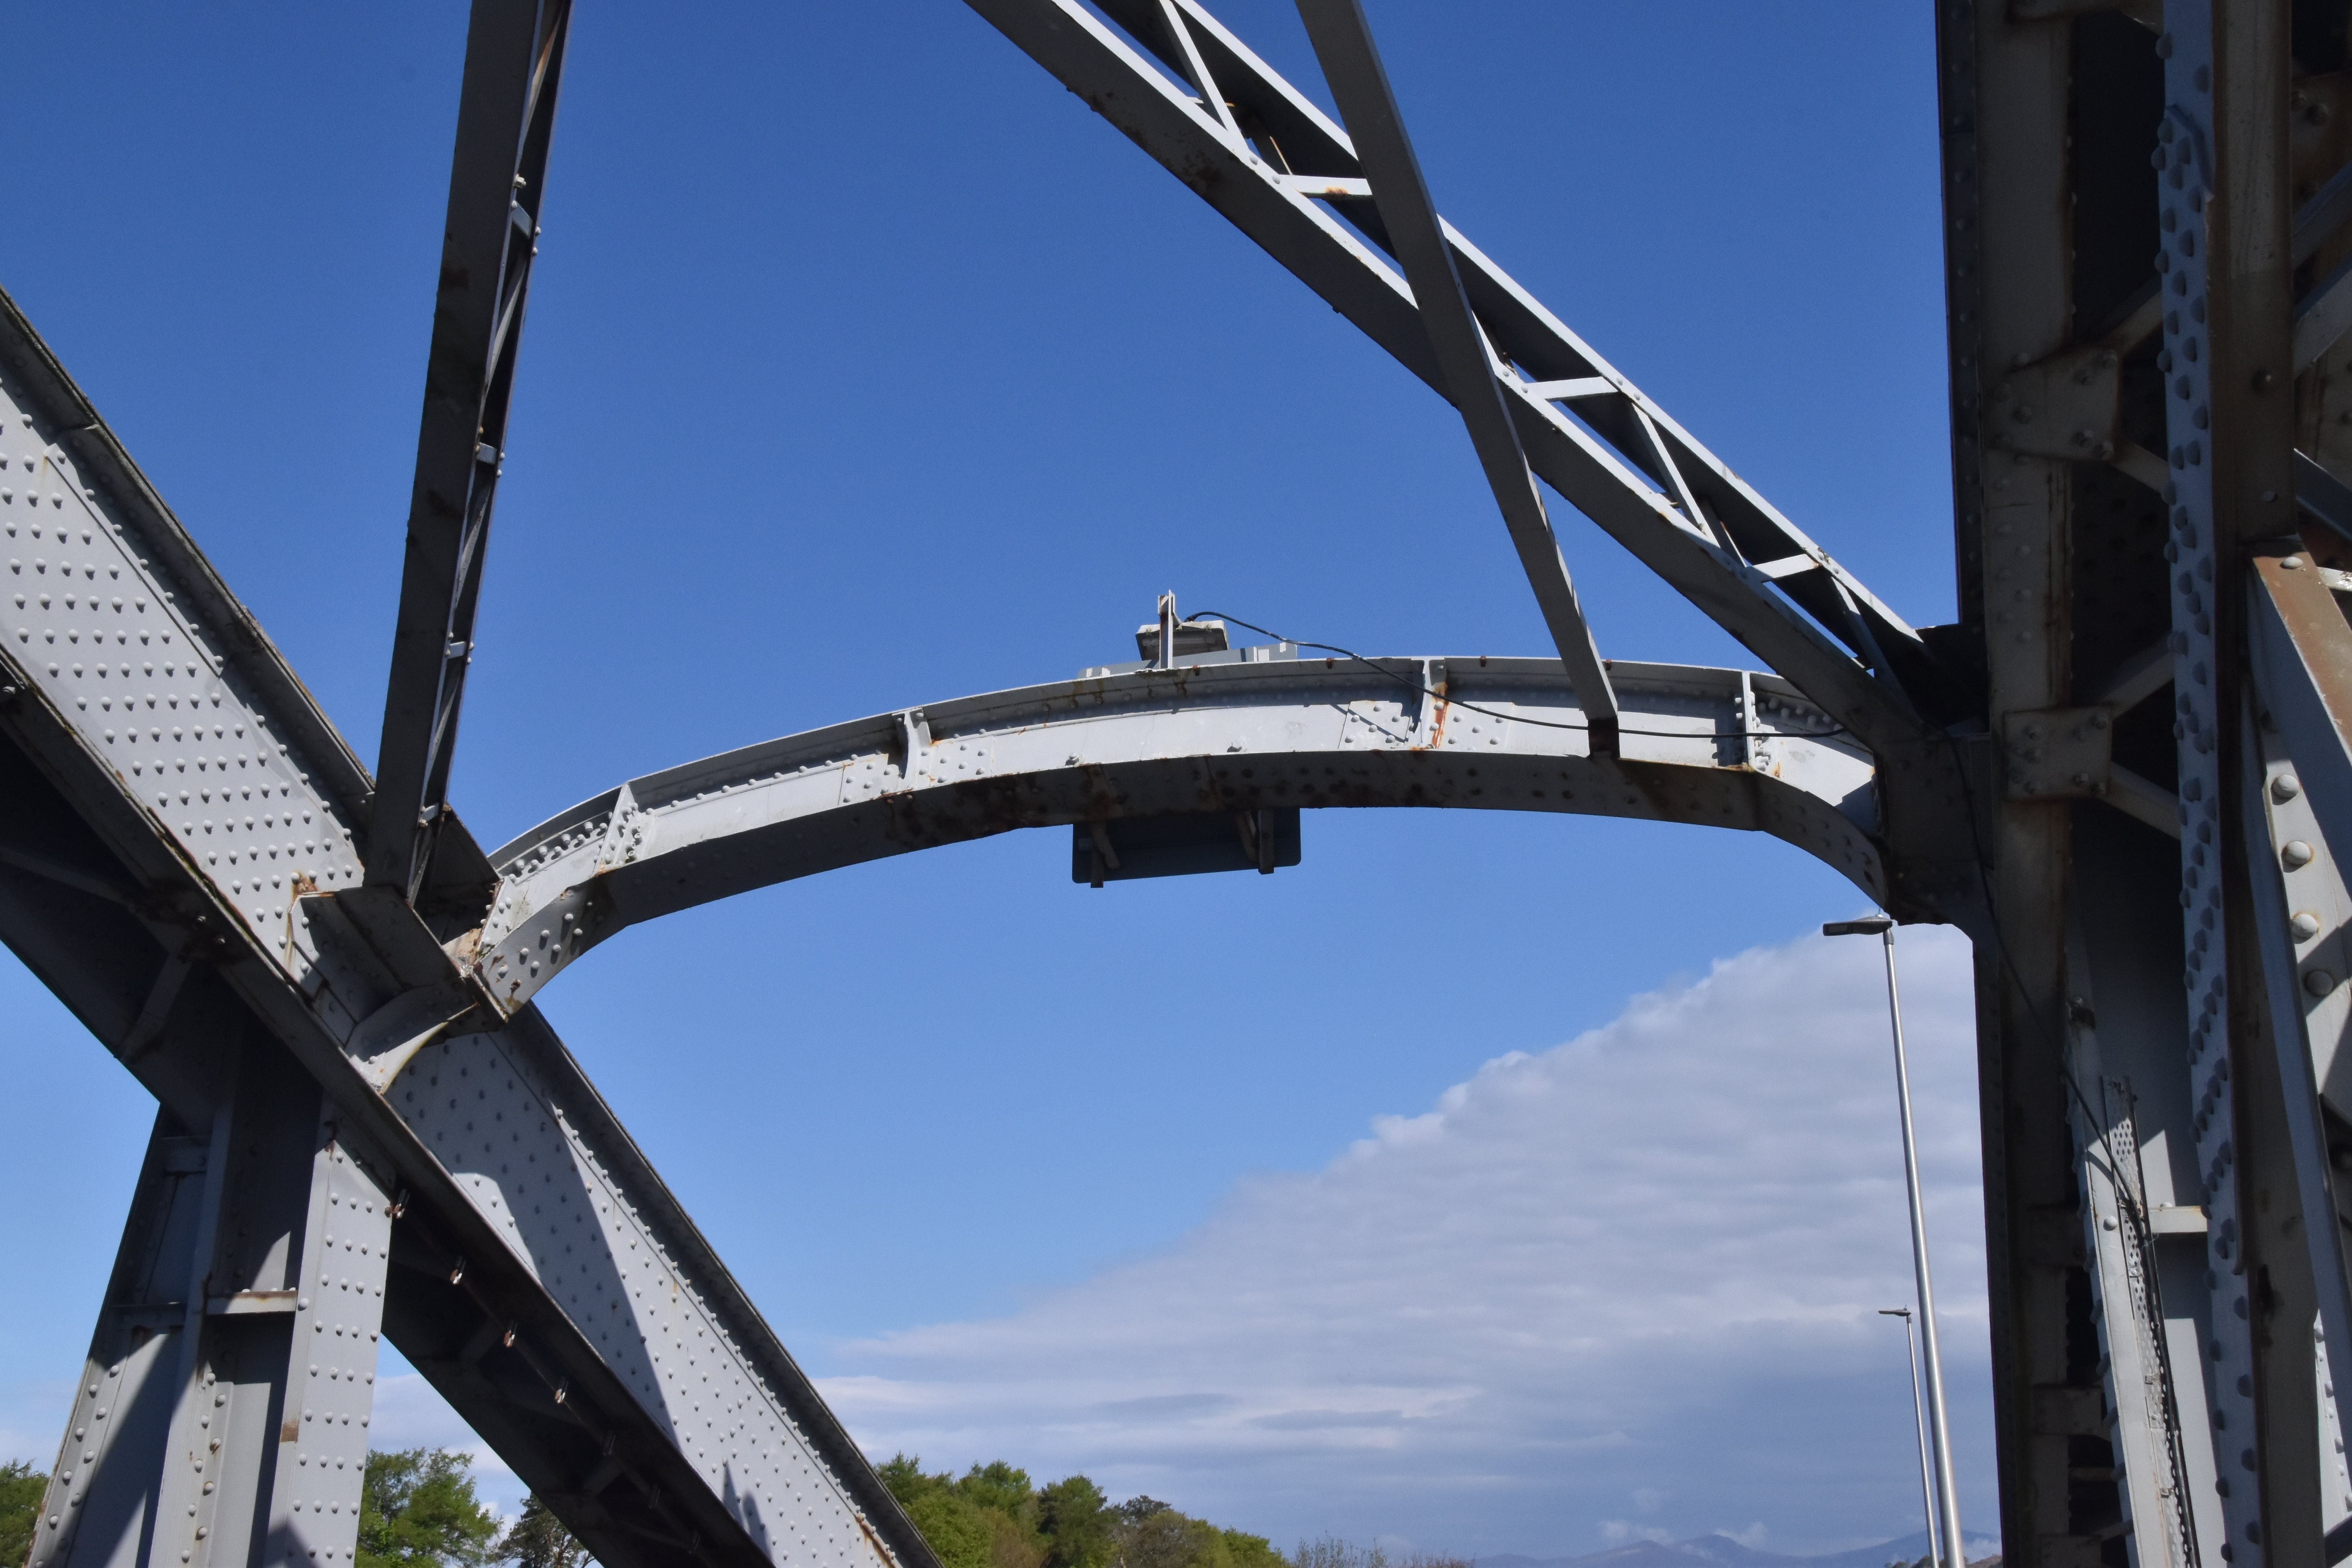
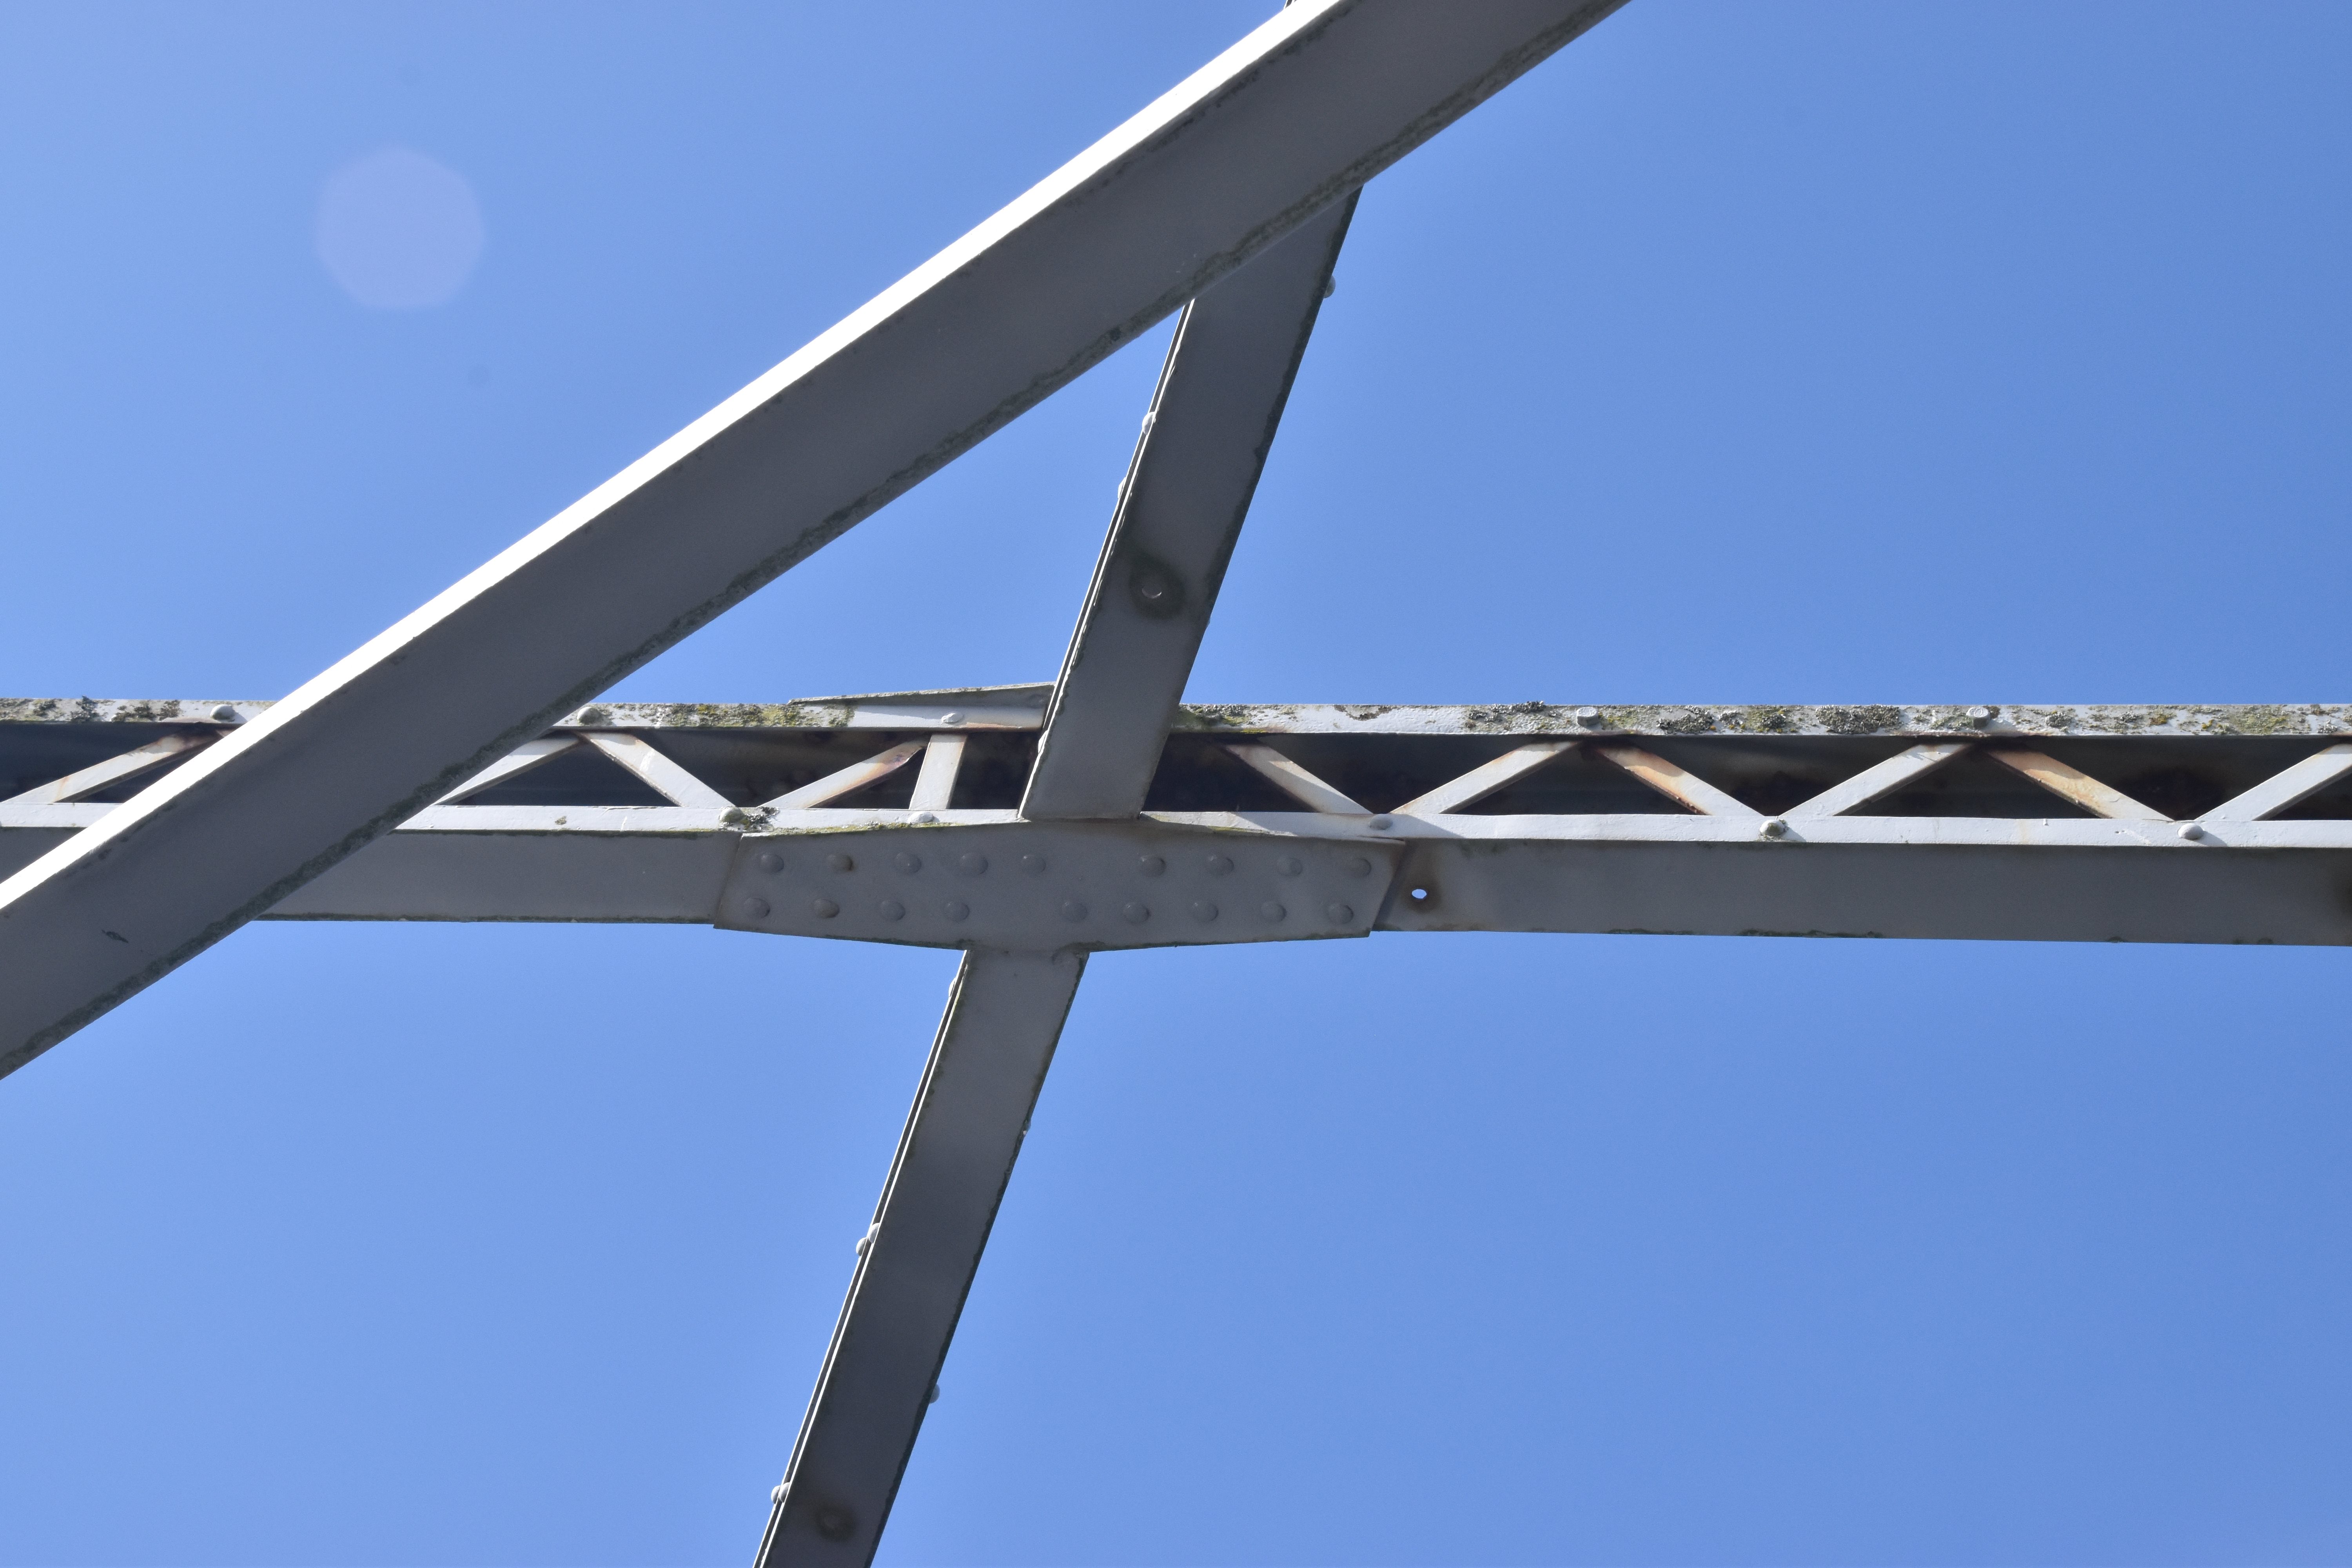
Top chord connections as viewed from beside bridge.
![]()

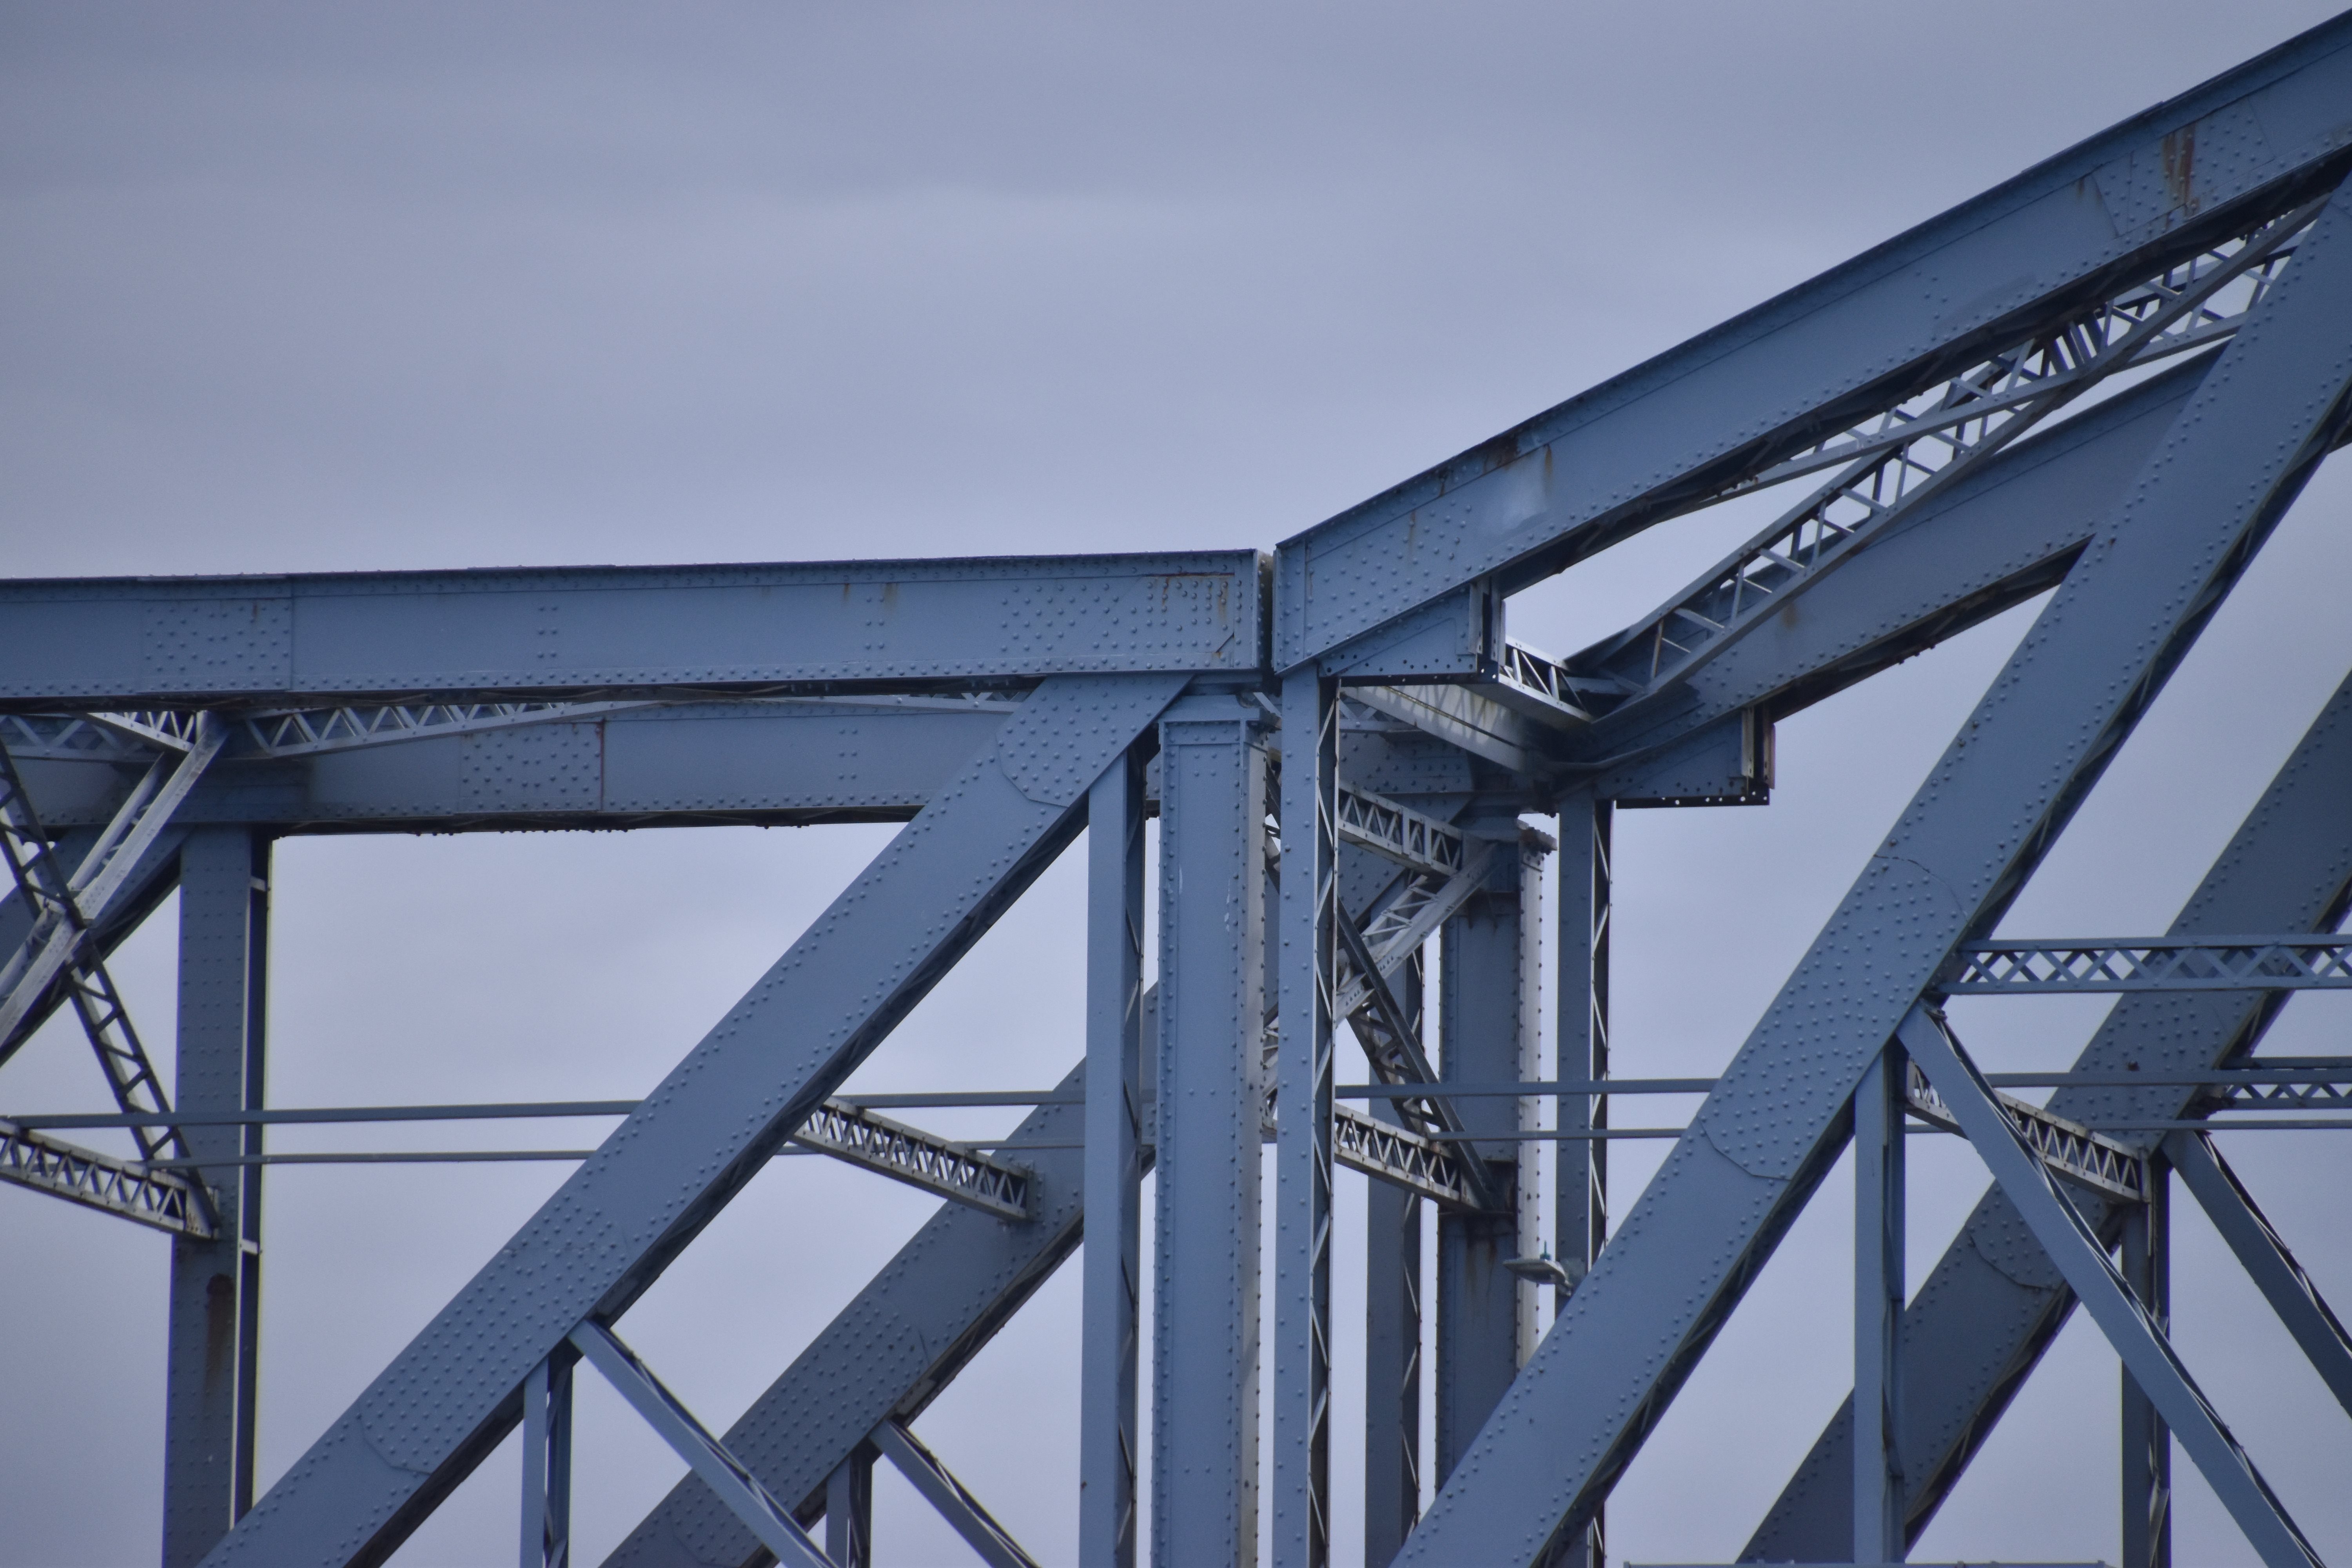


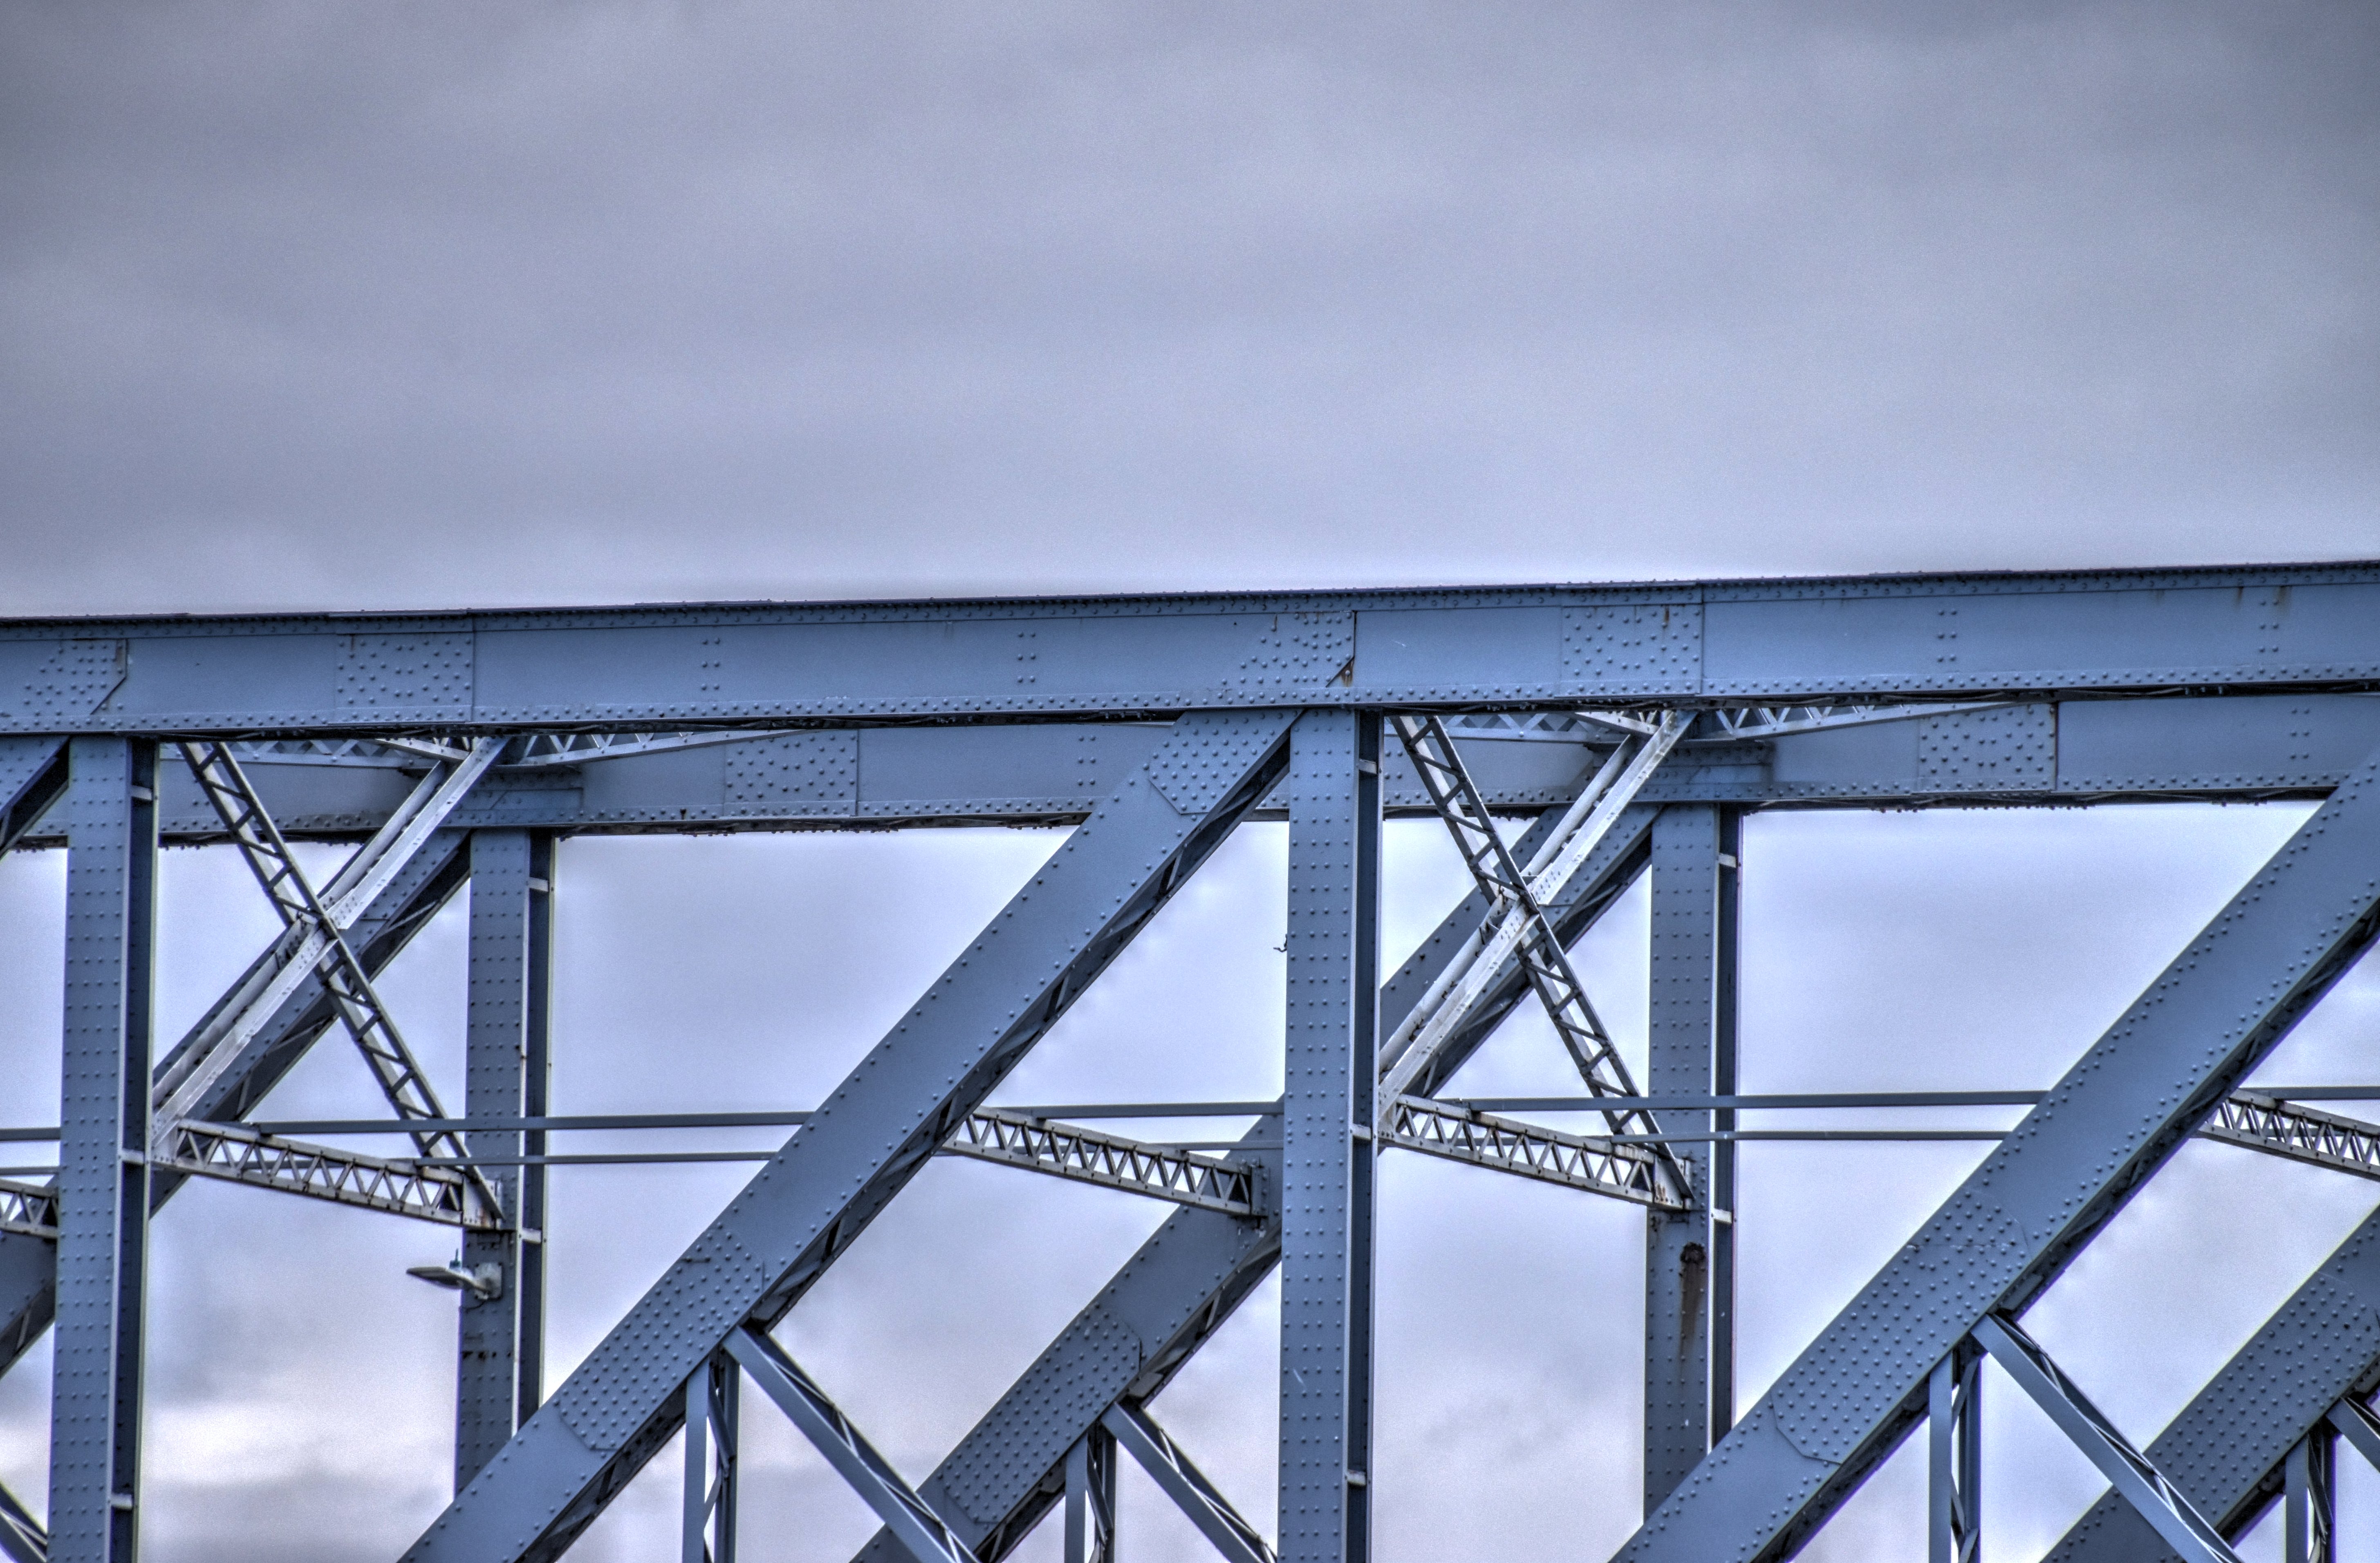
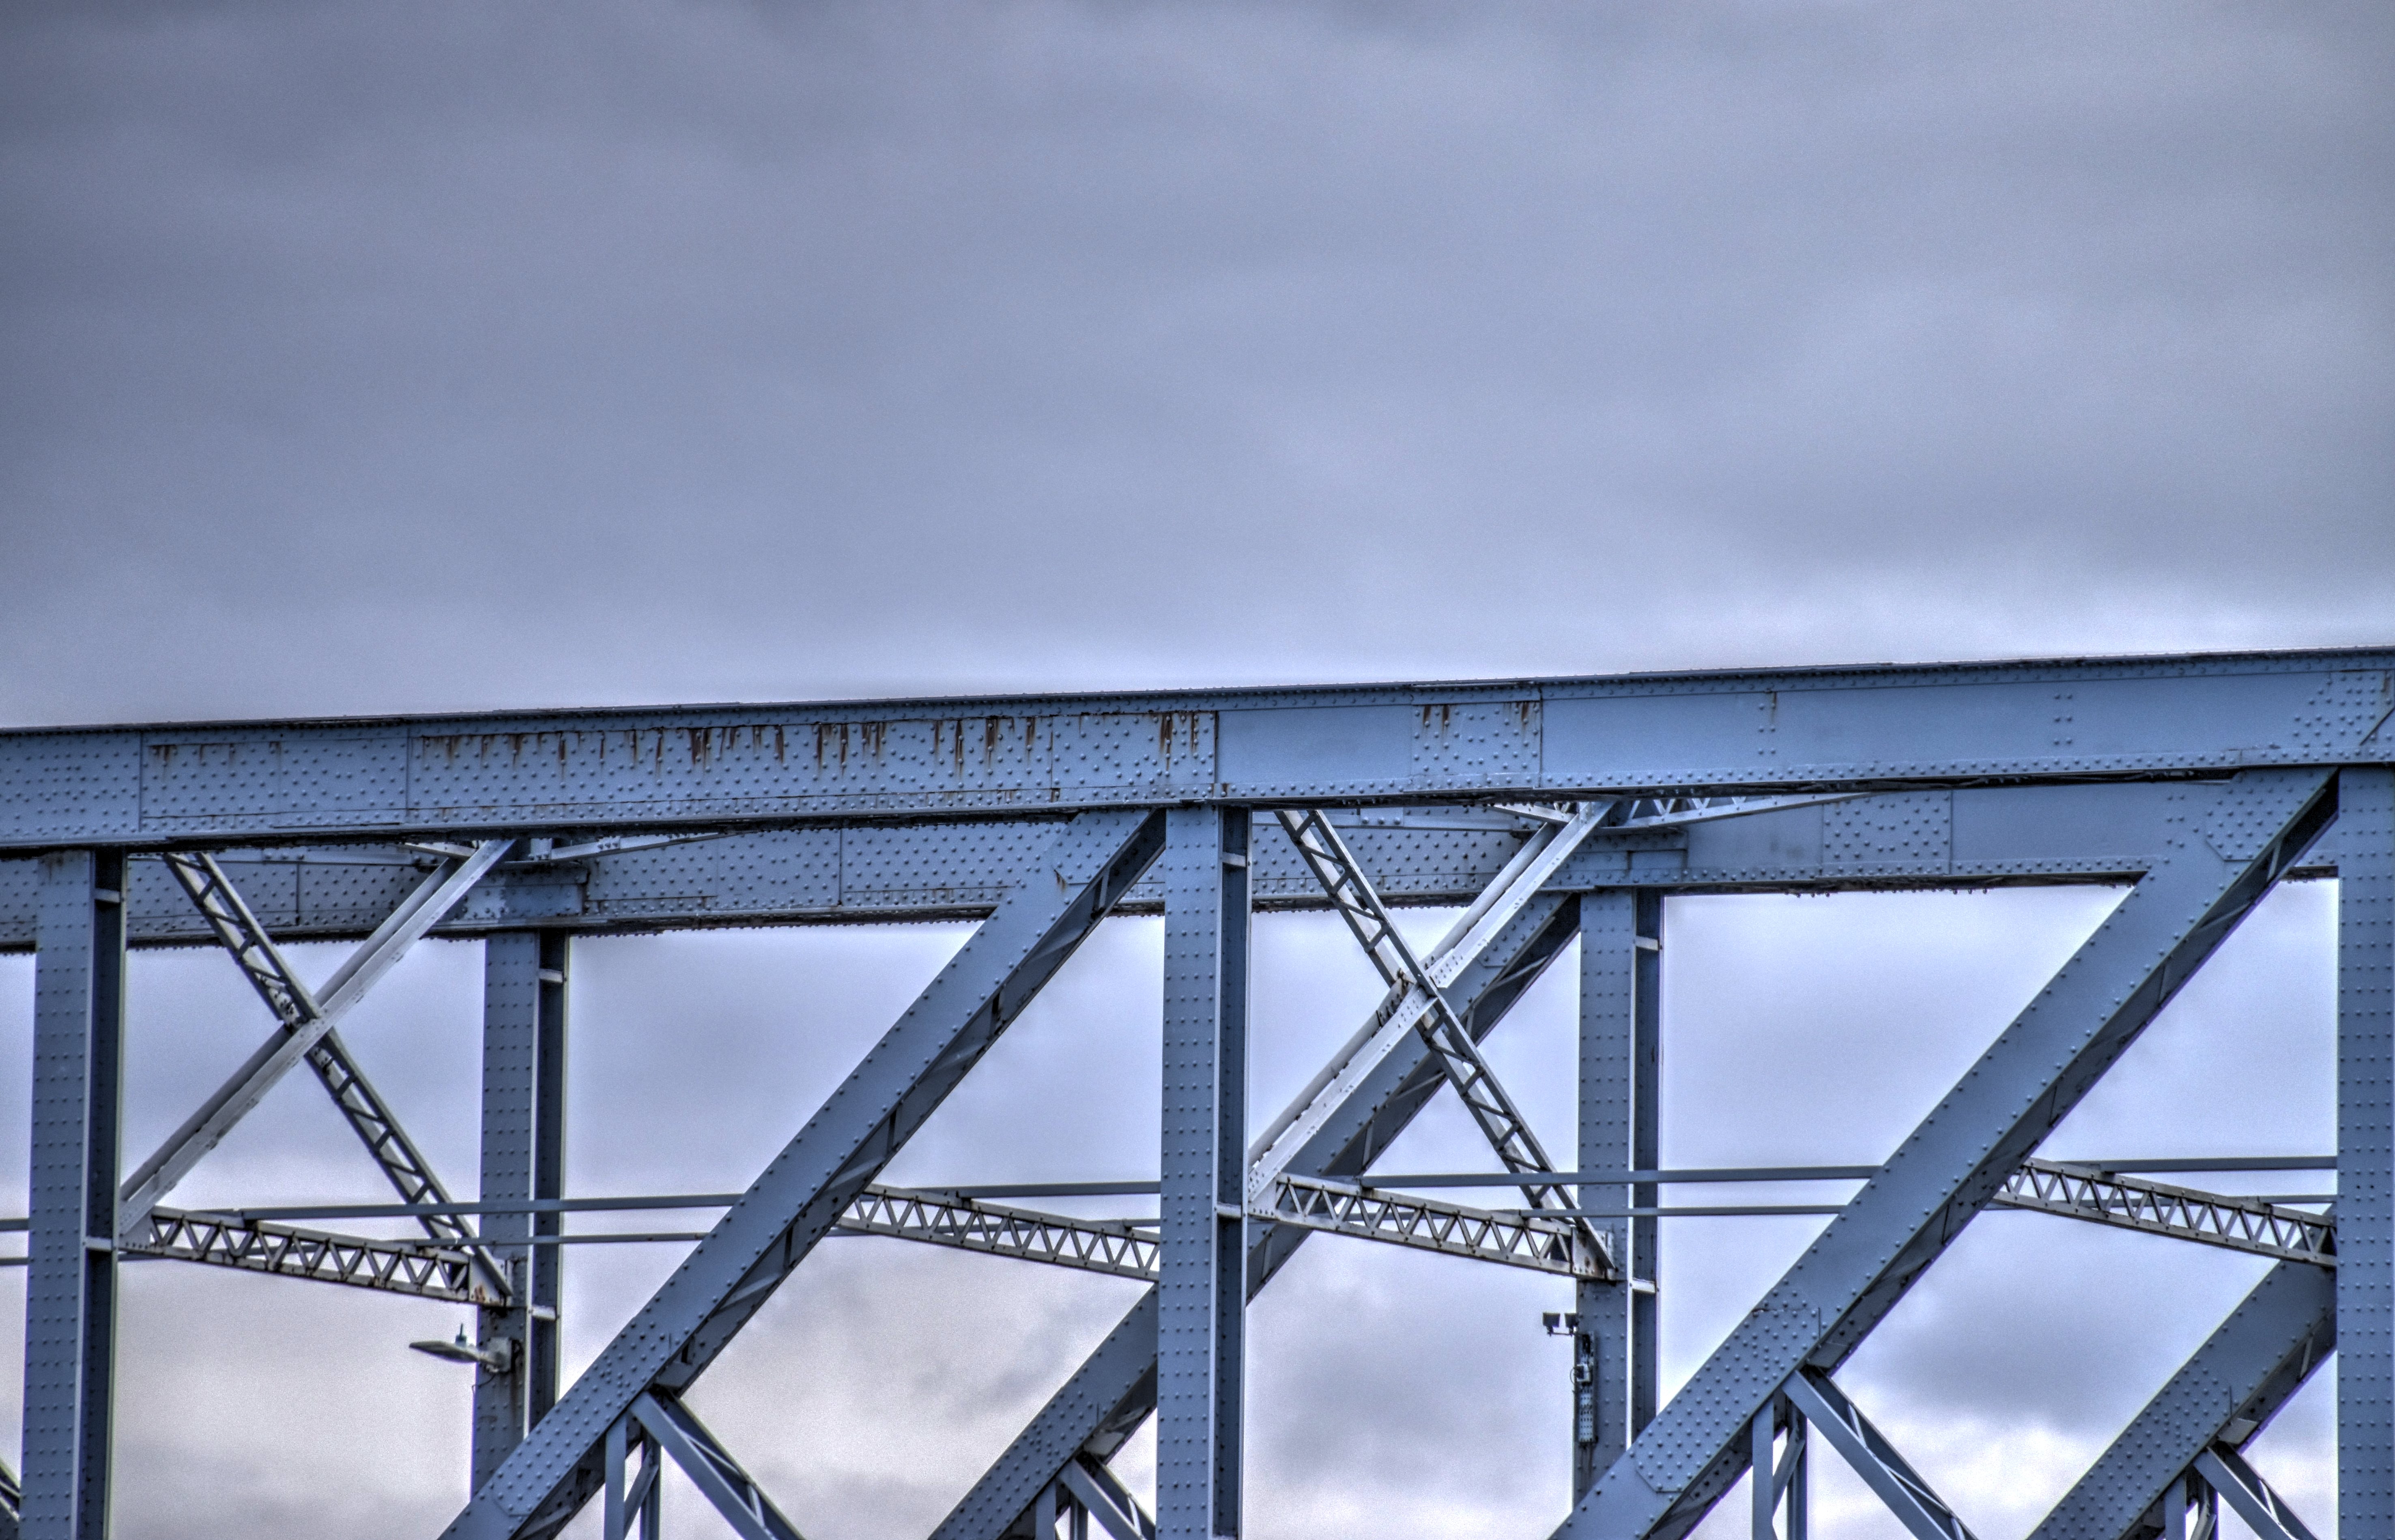
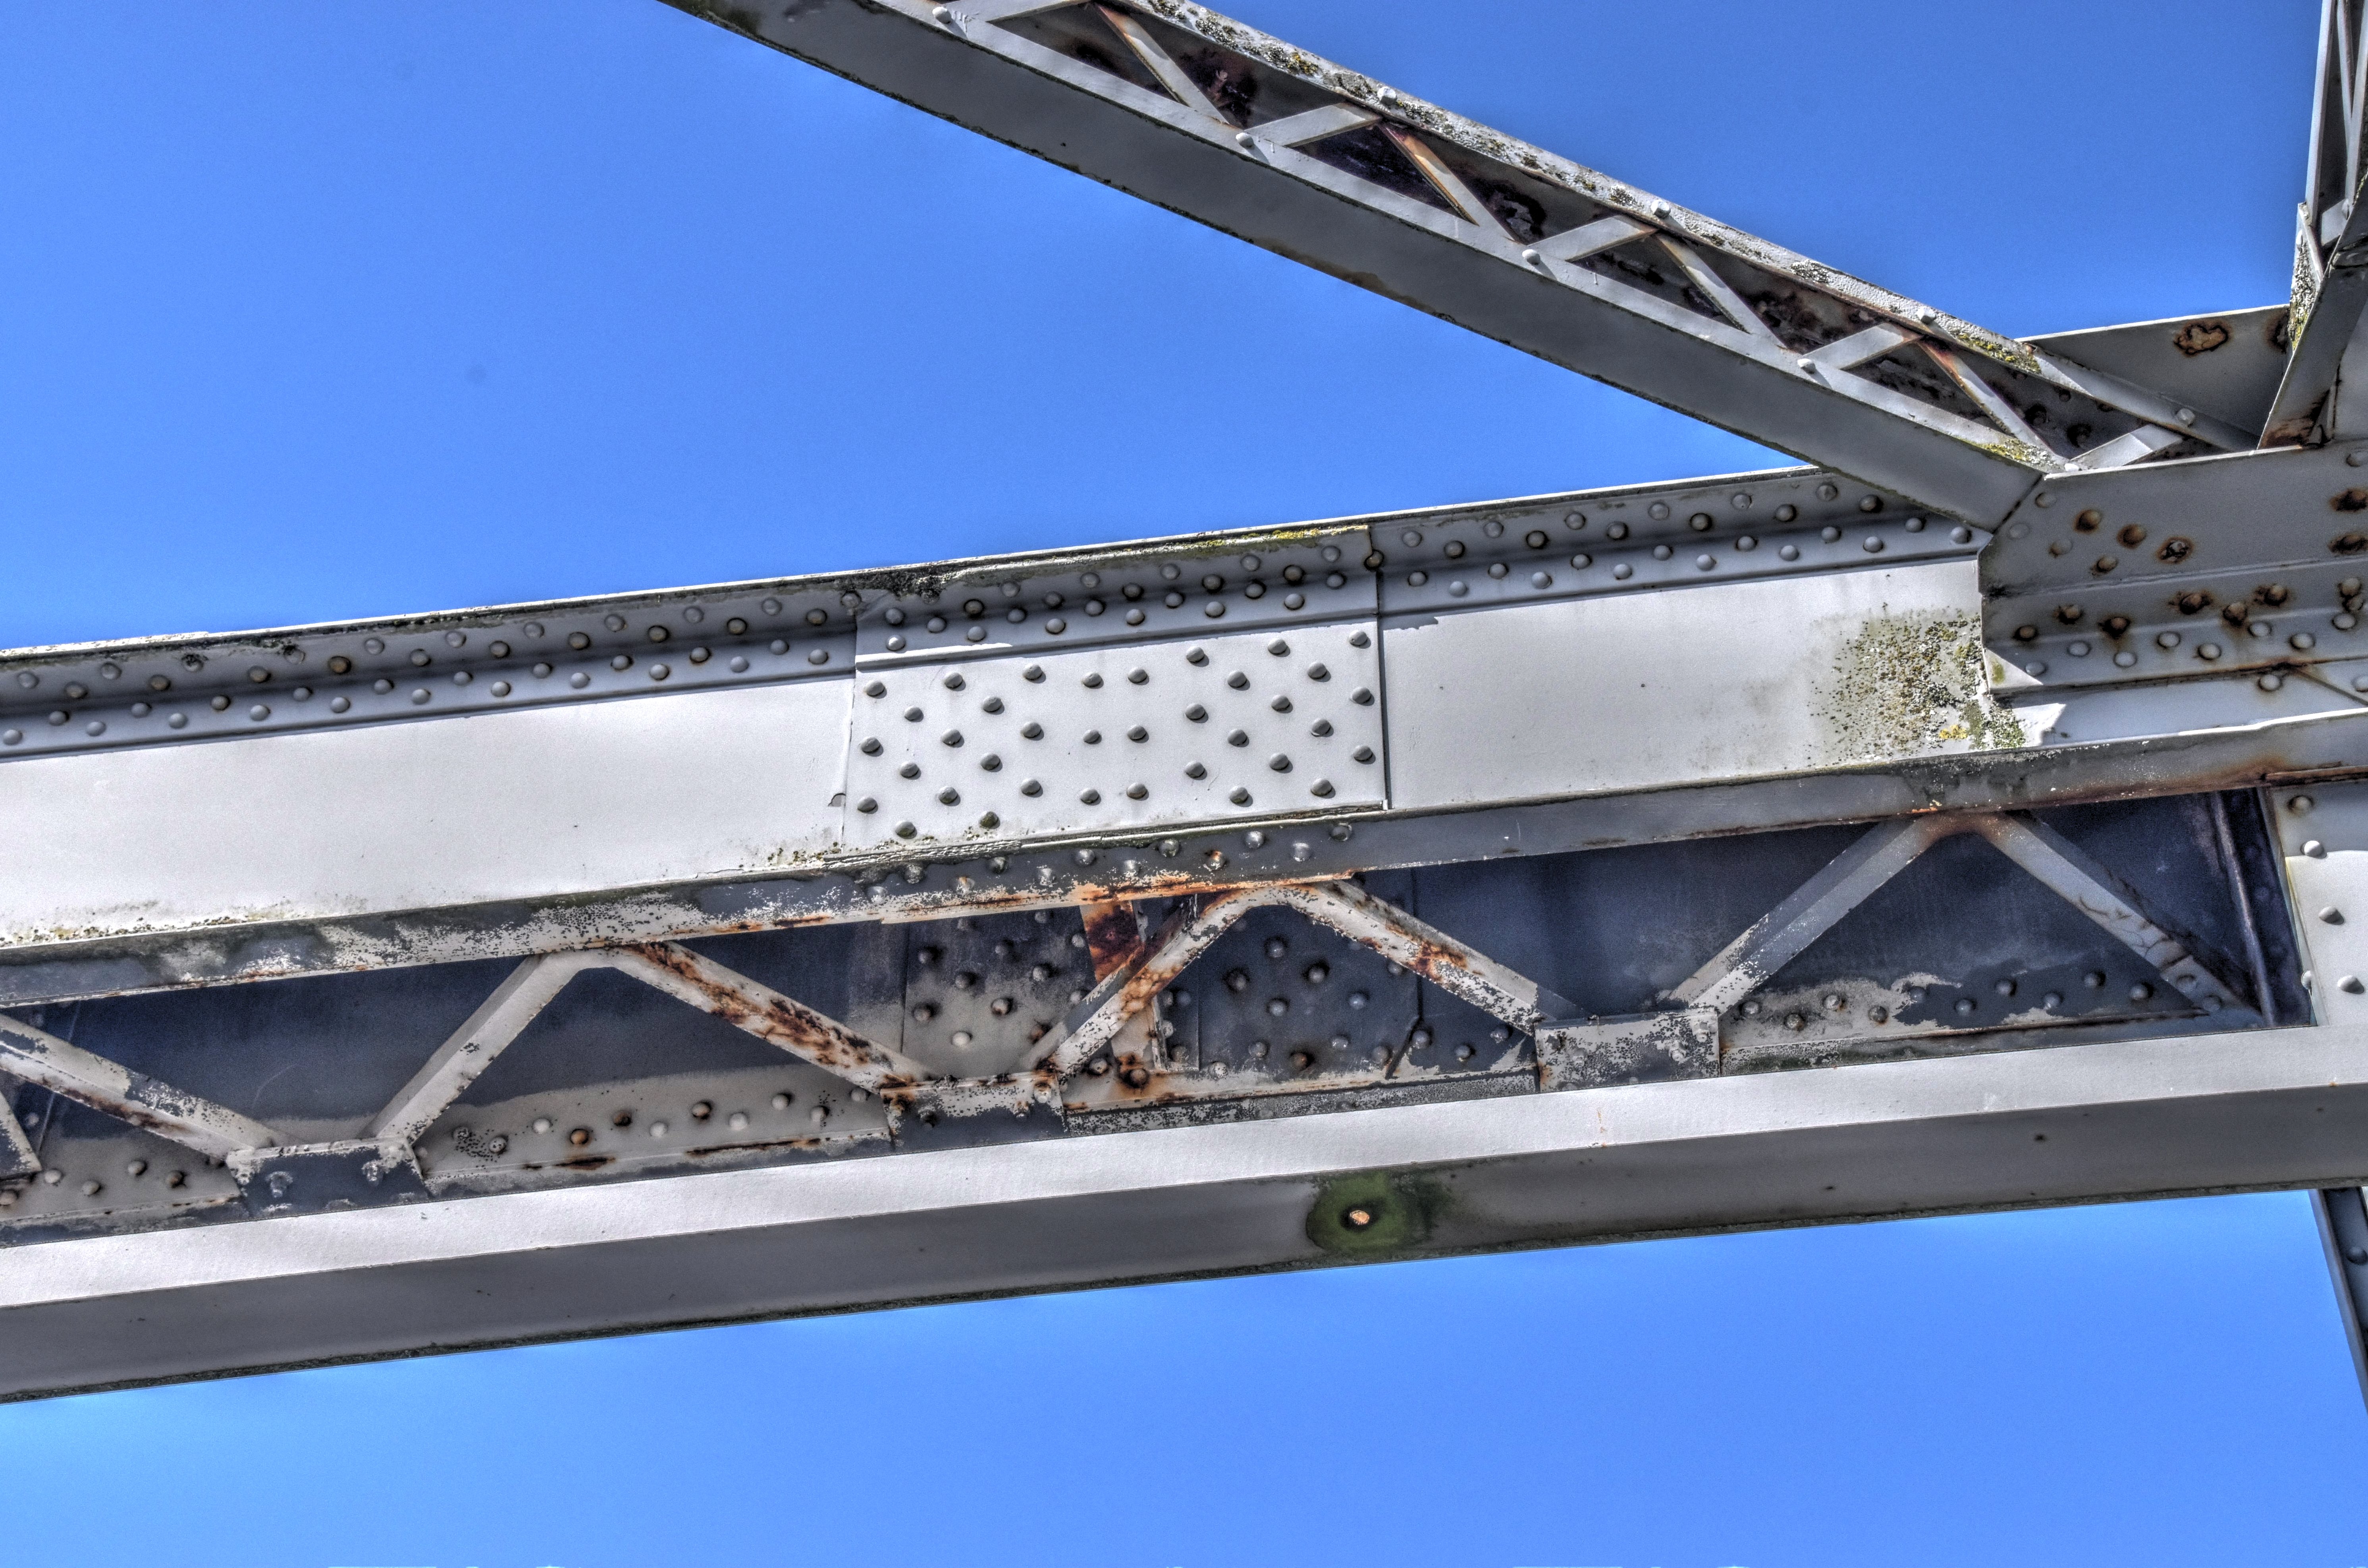
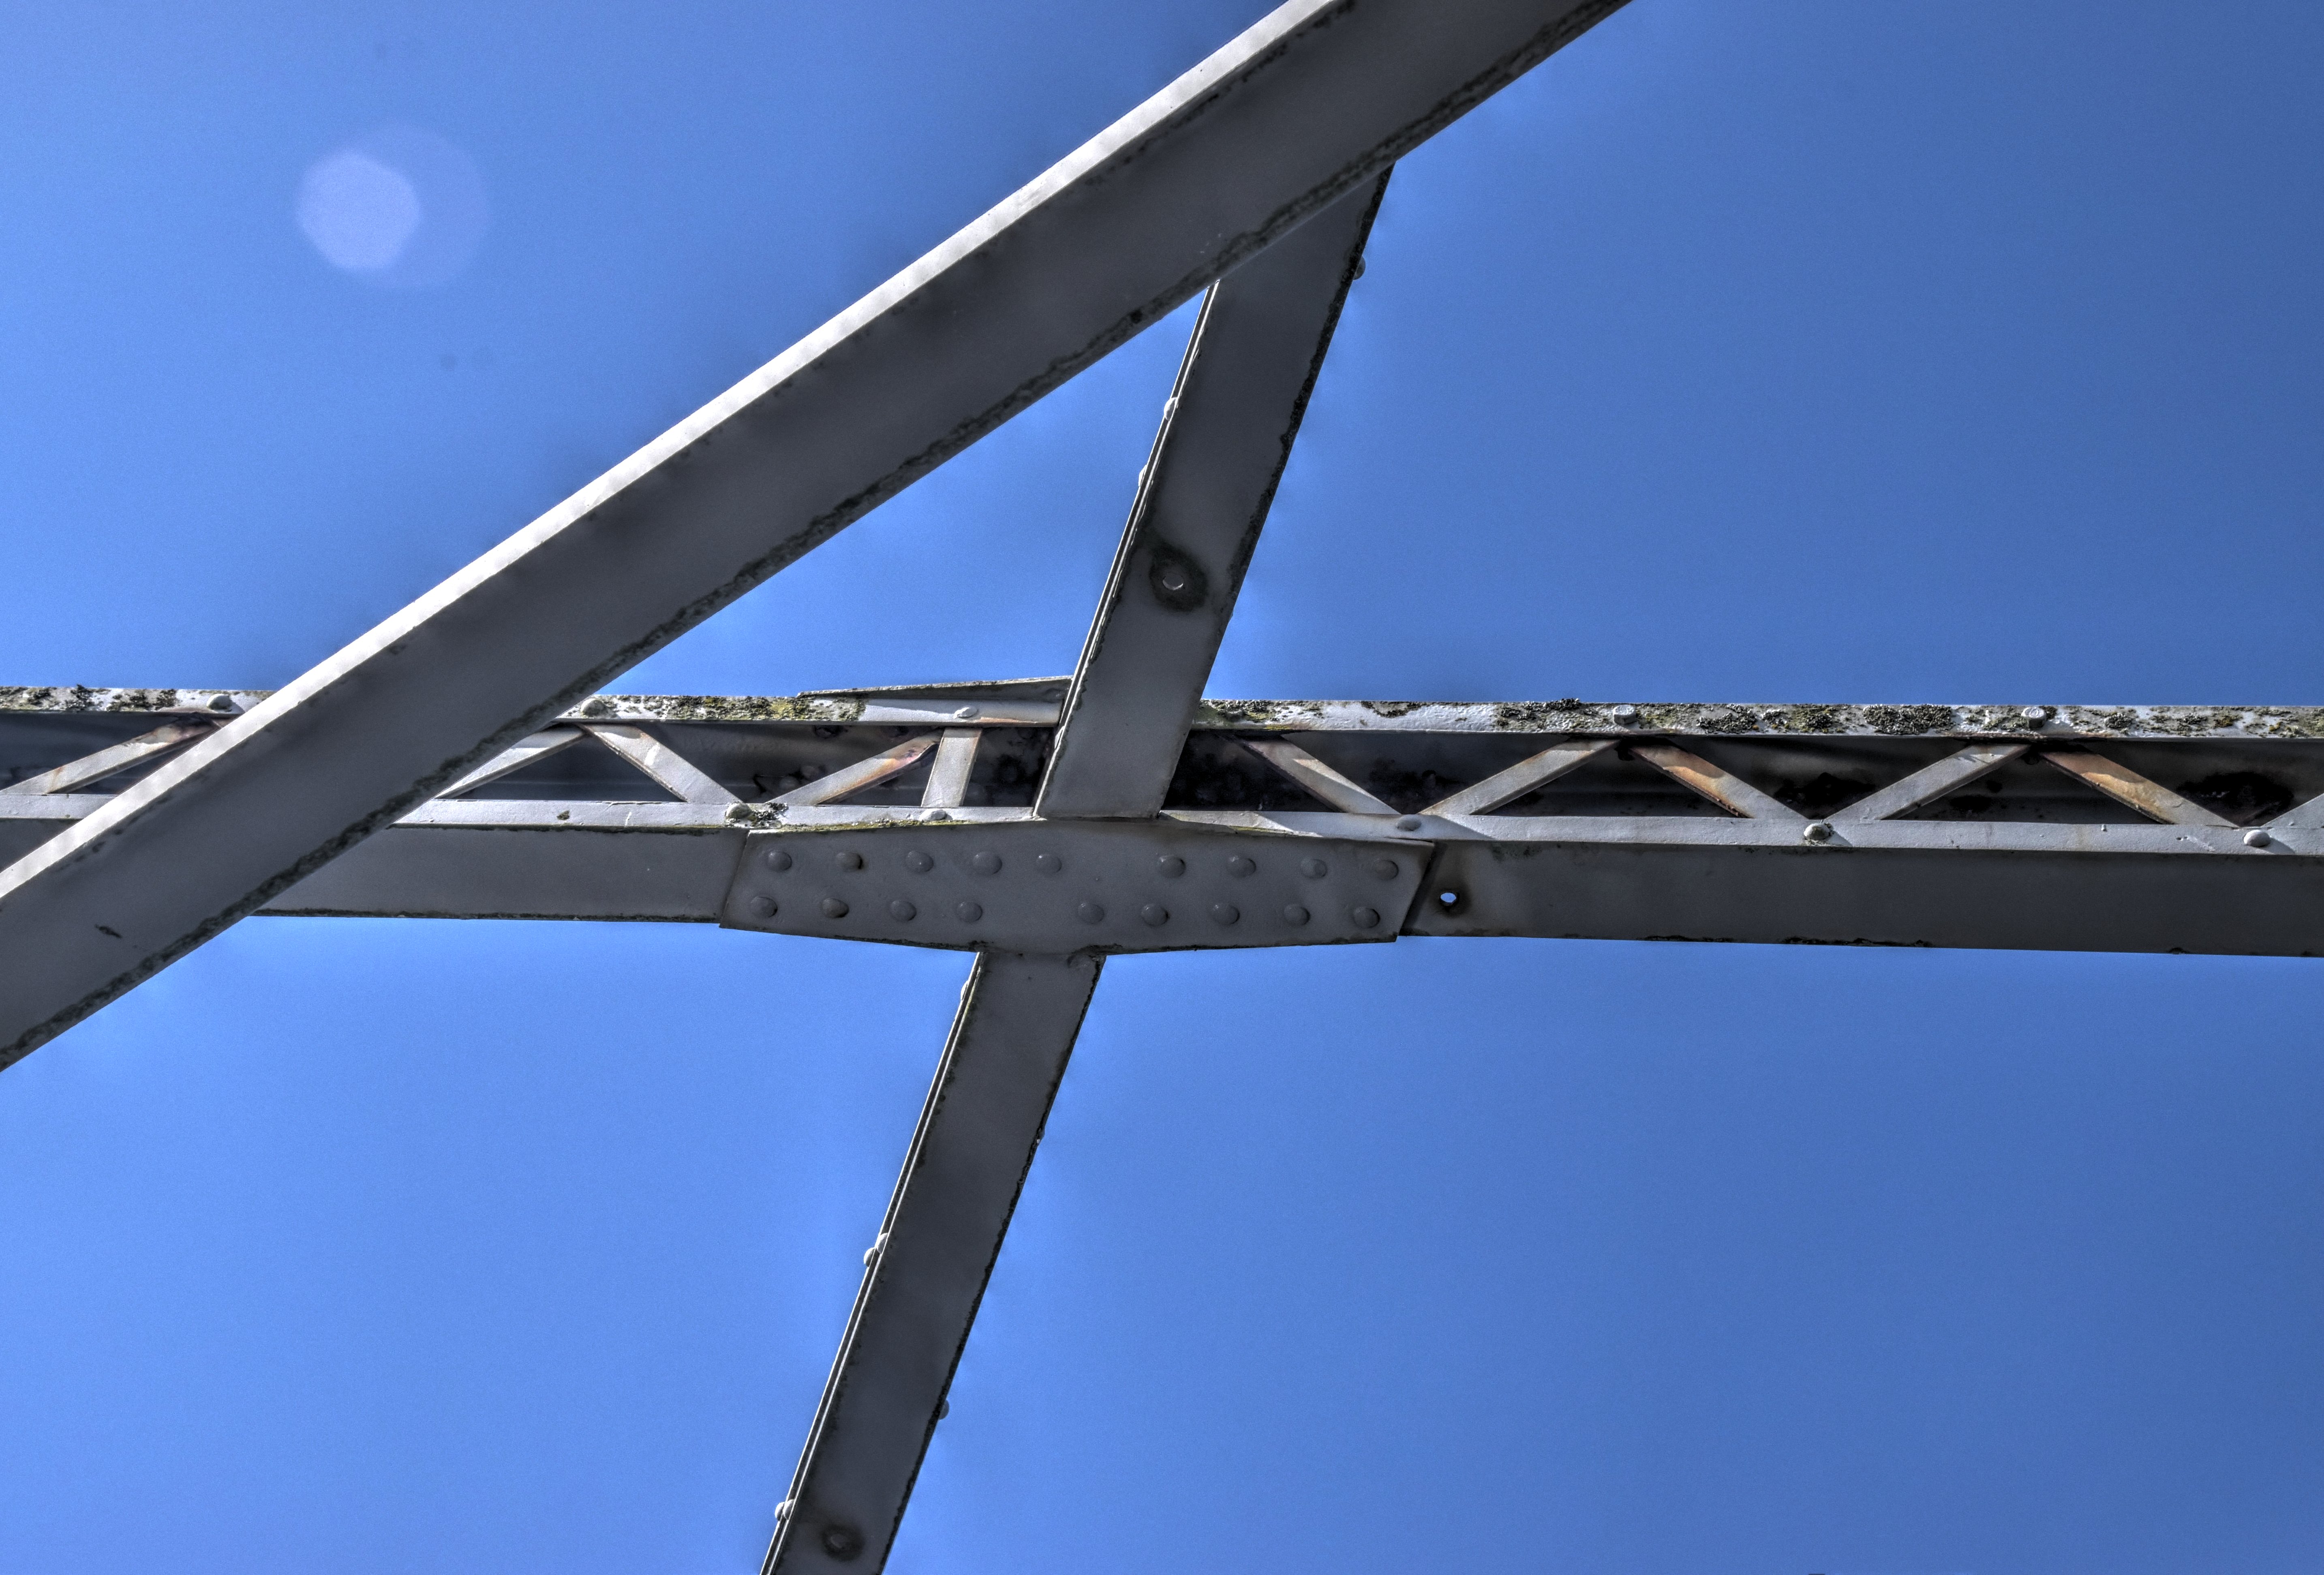
Top chord connections at end of suspended span as viewed from beside bridge.
![]()
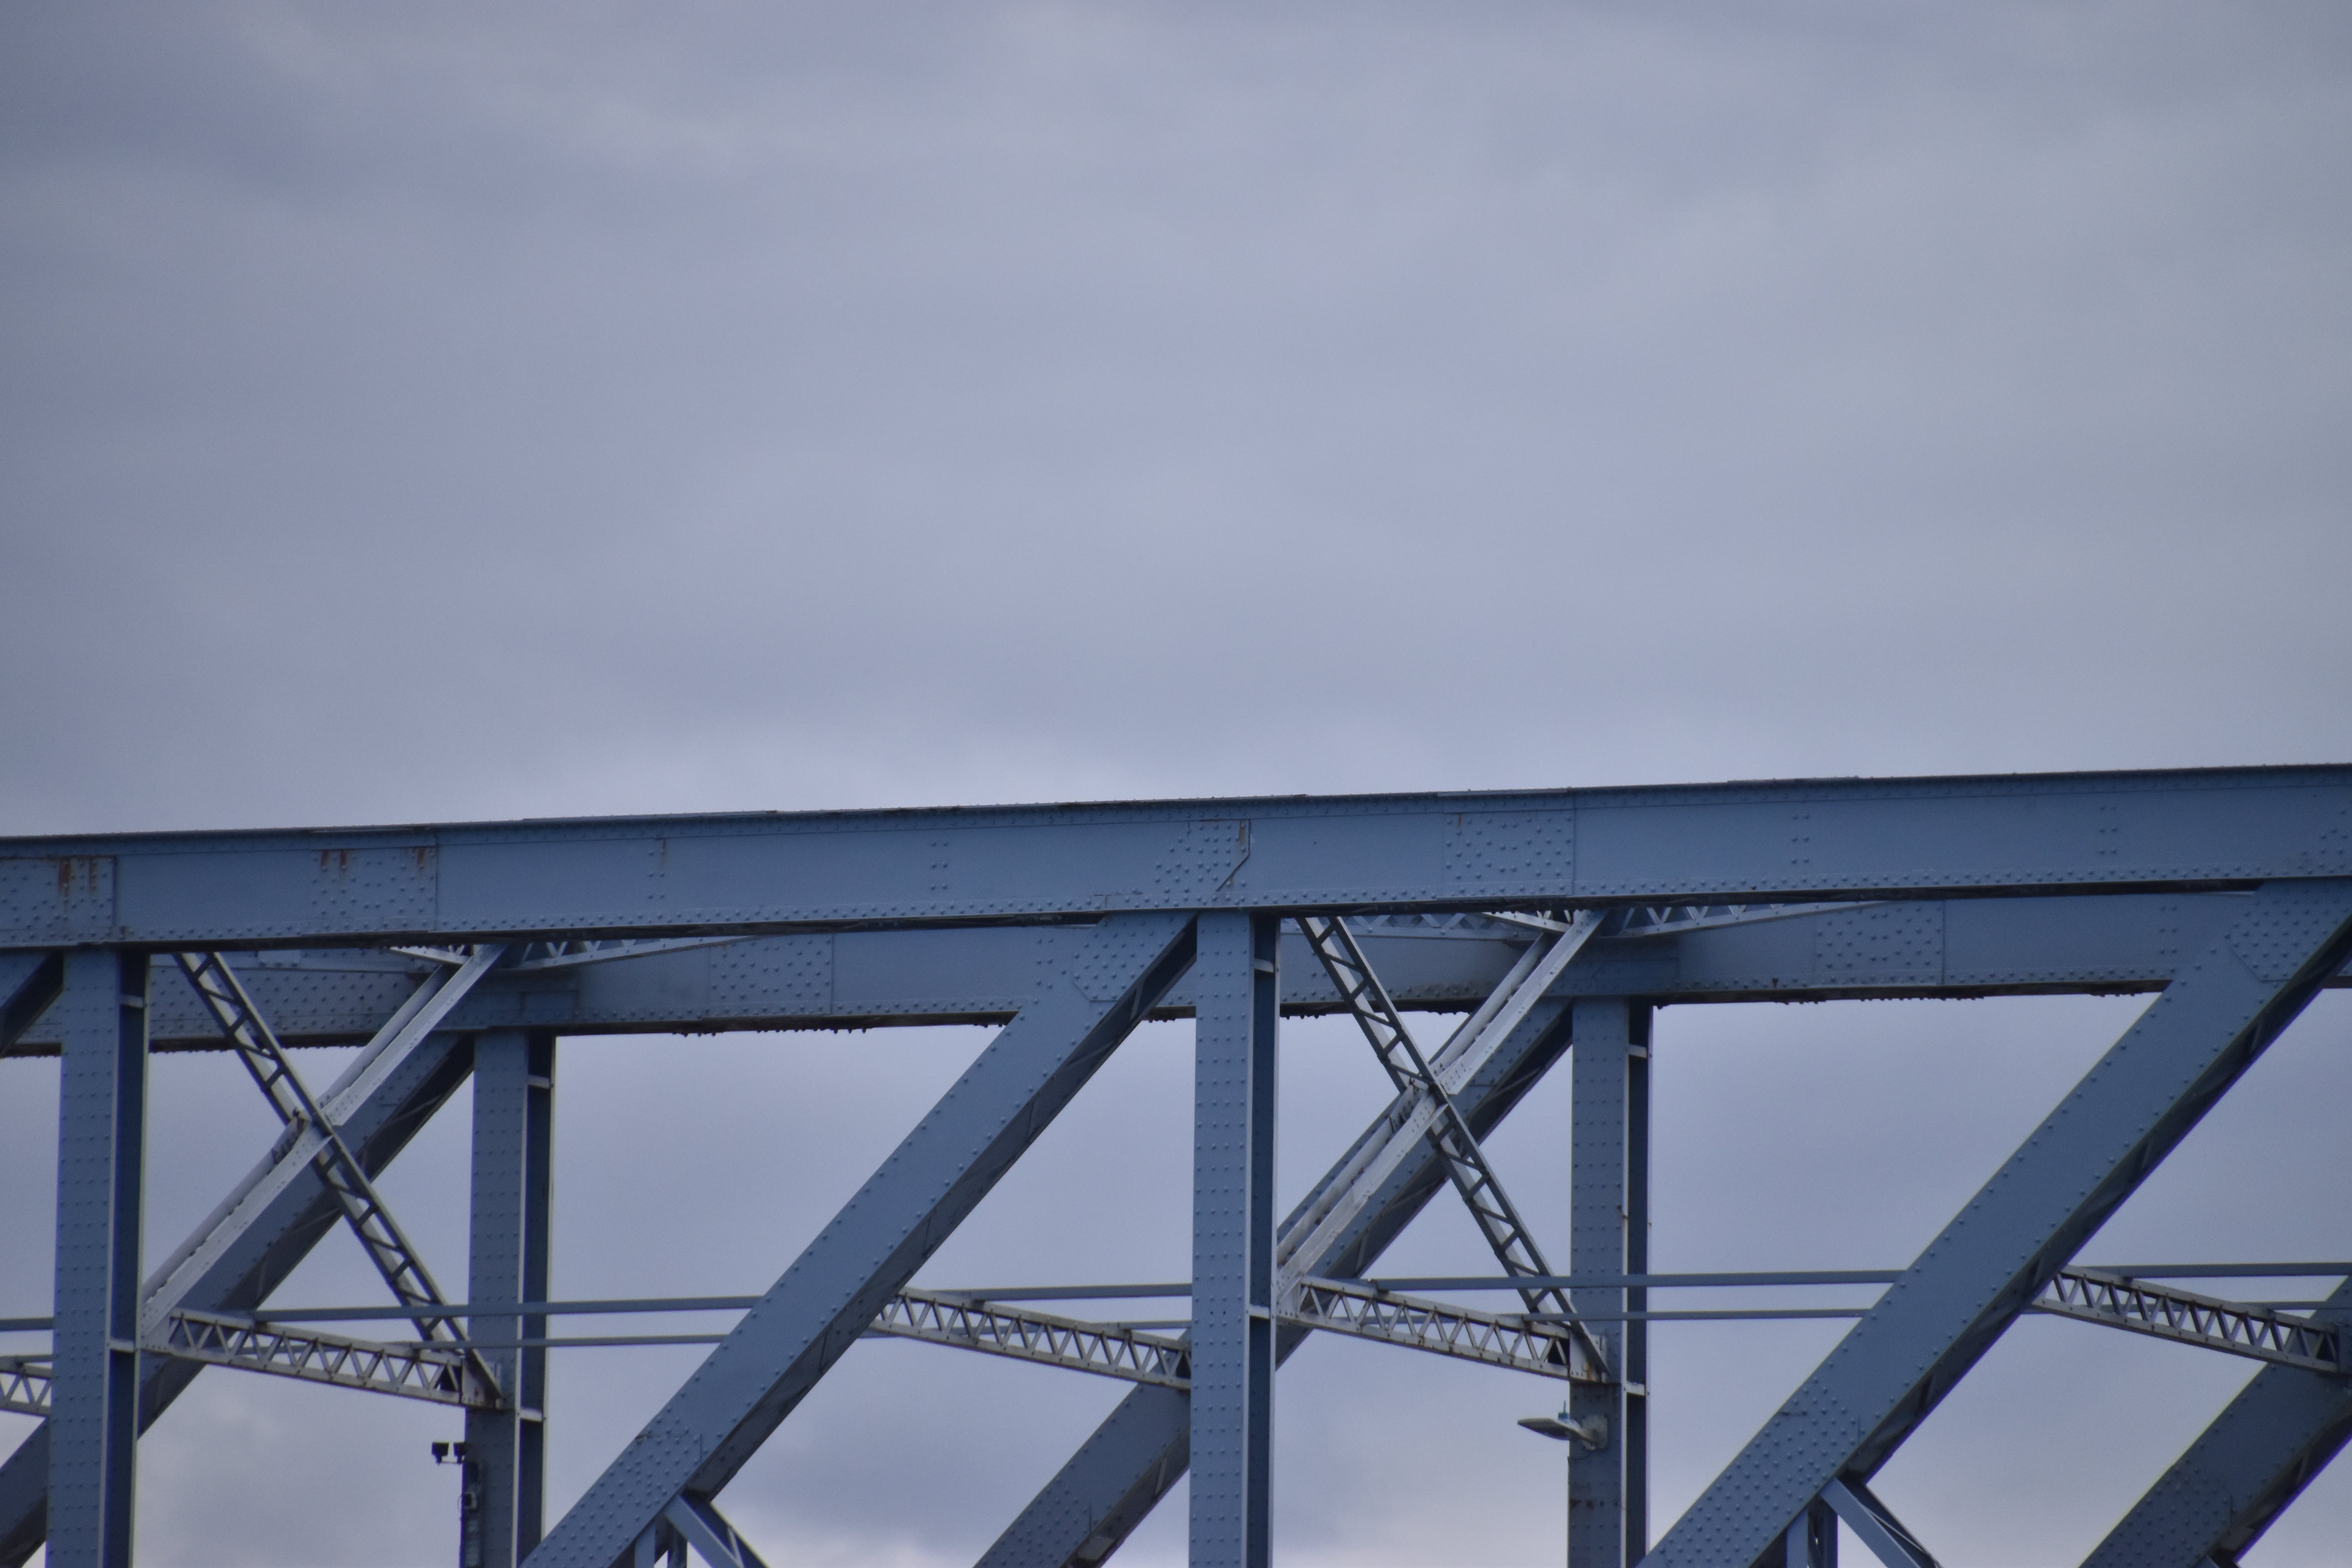
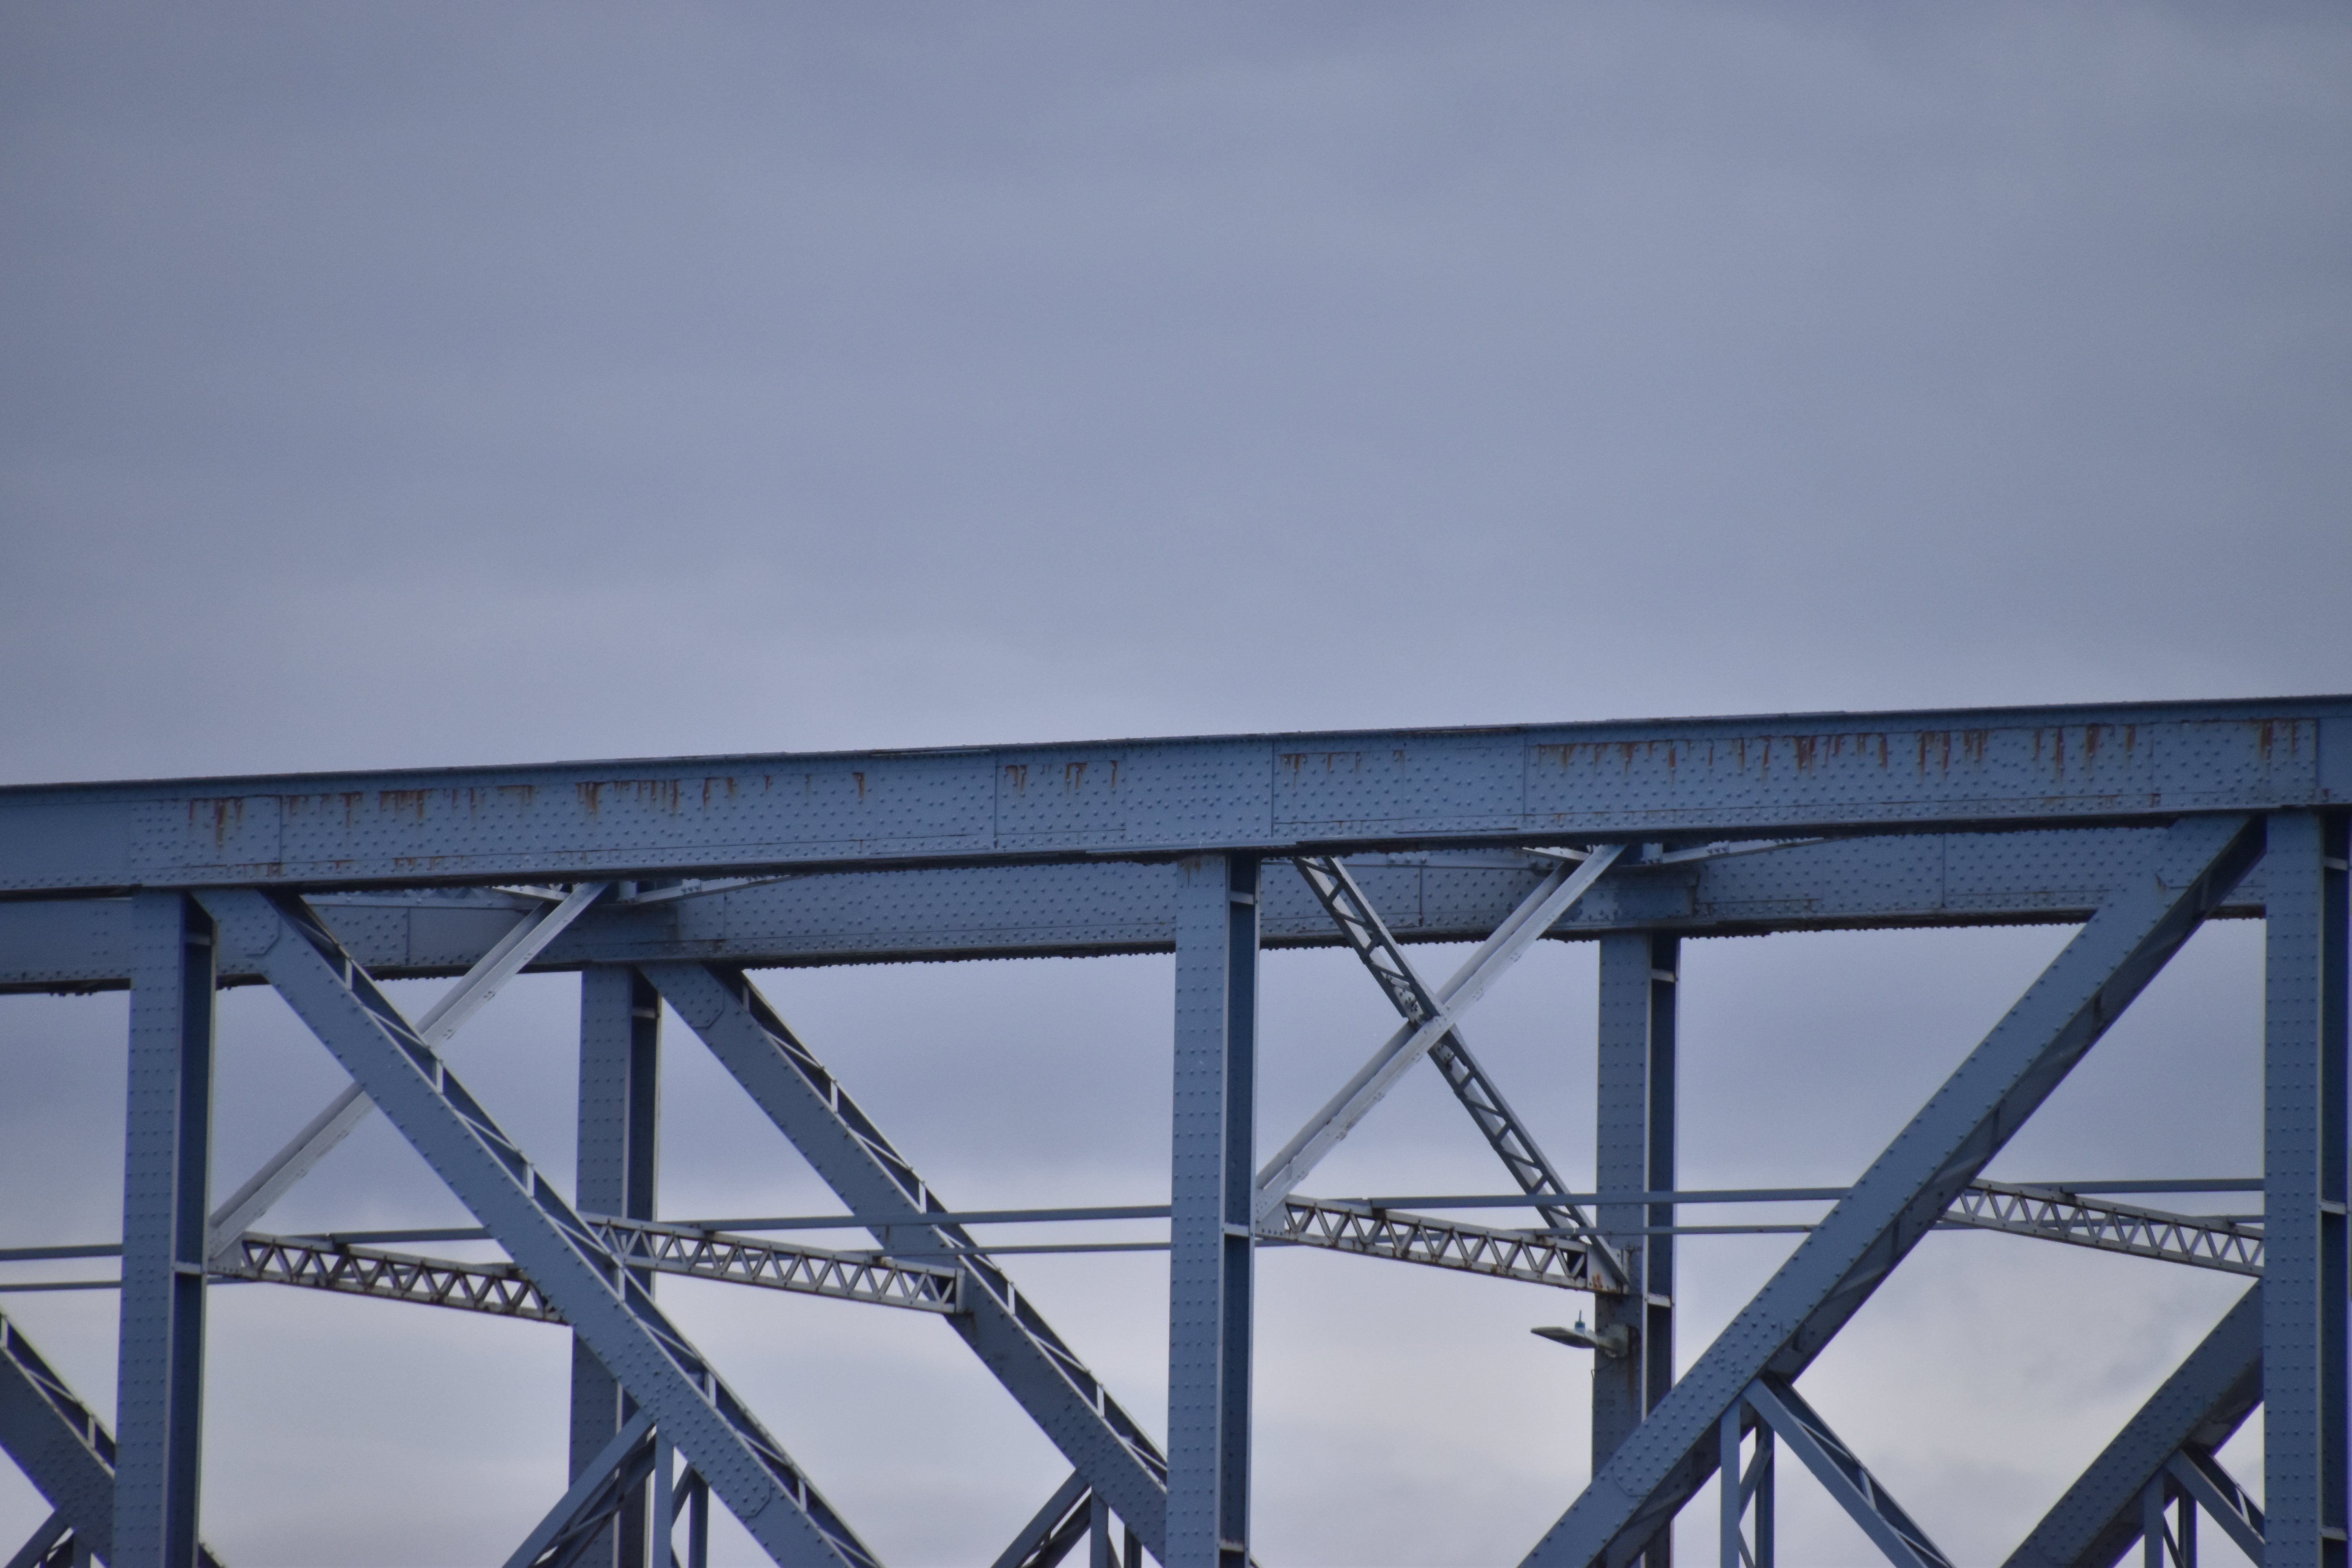

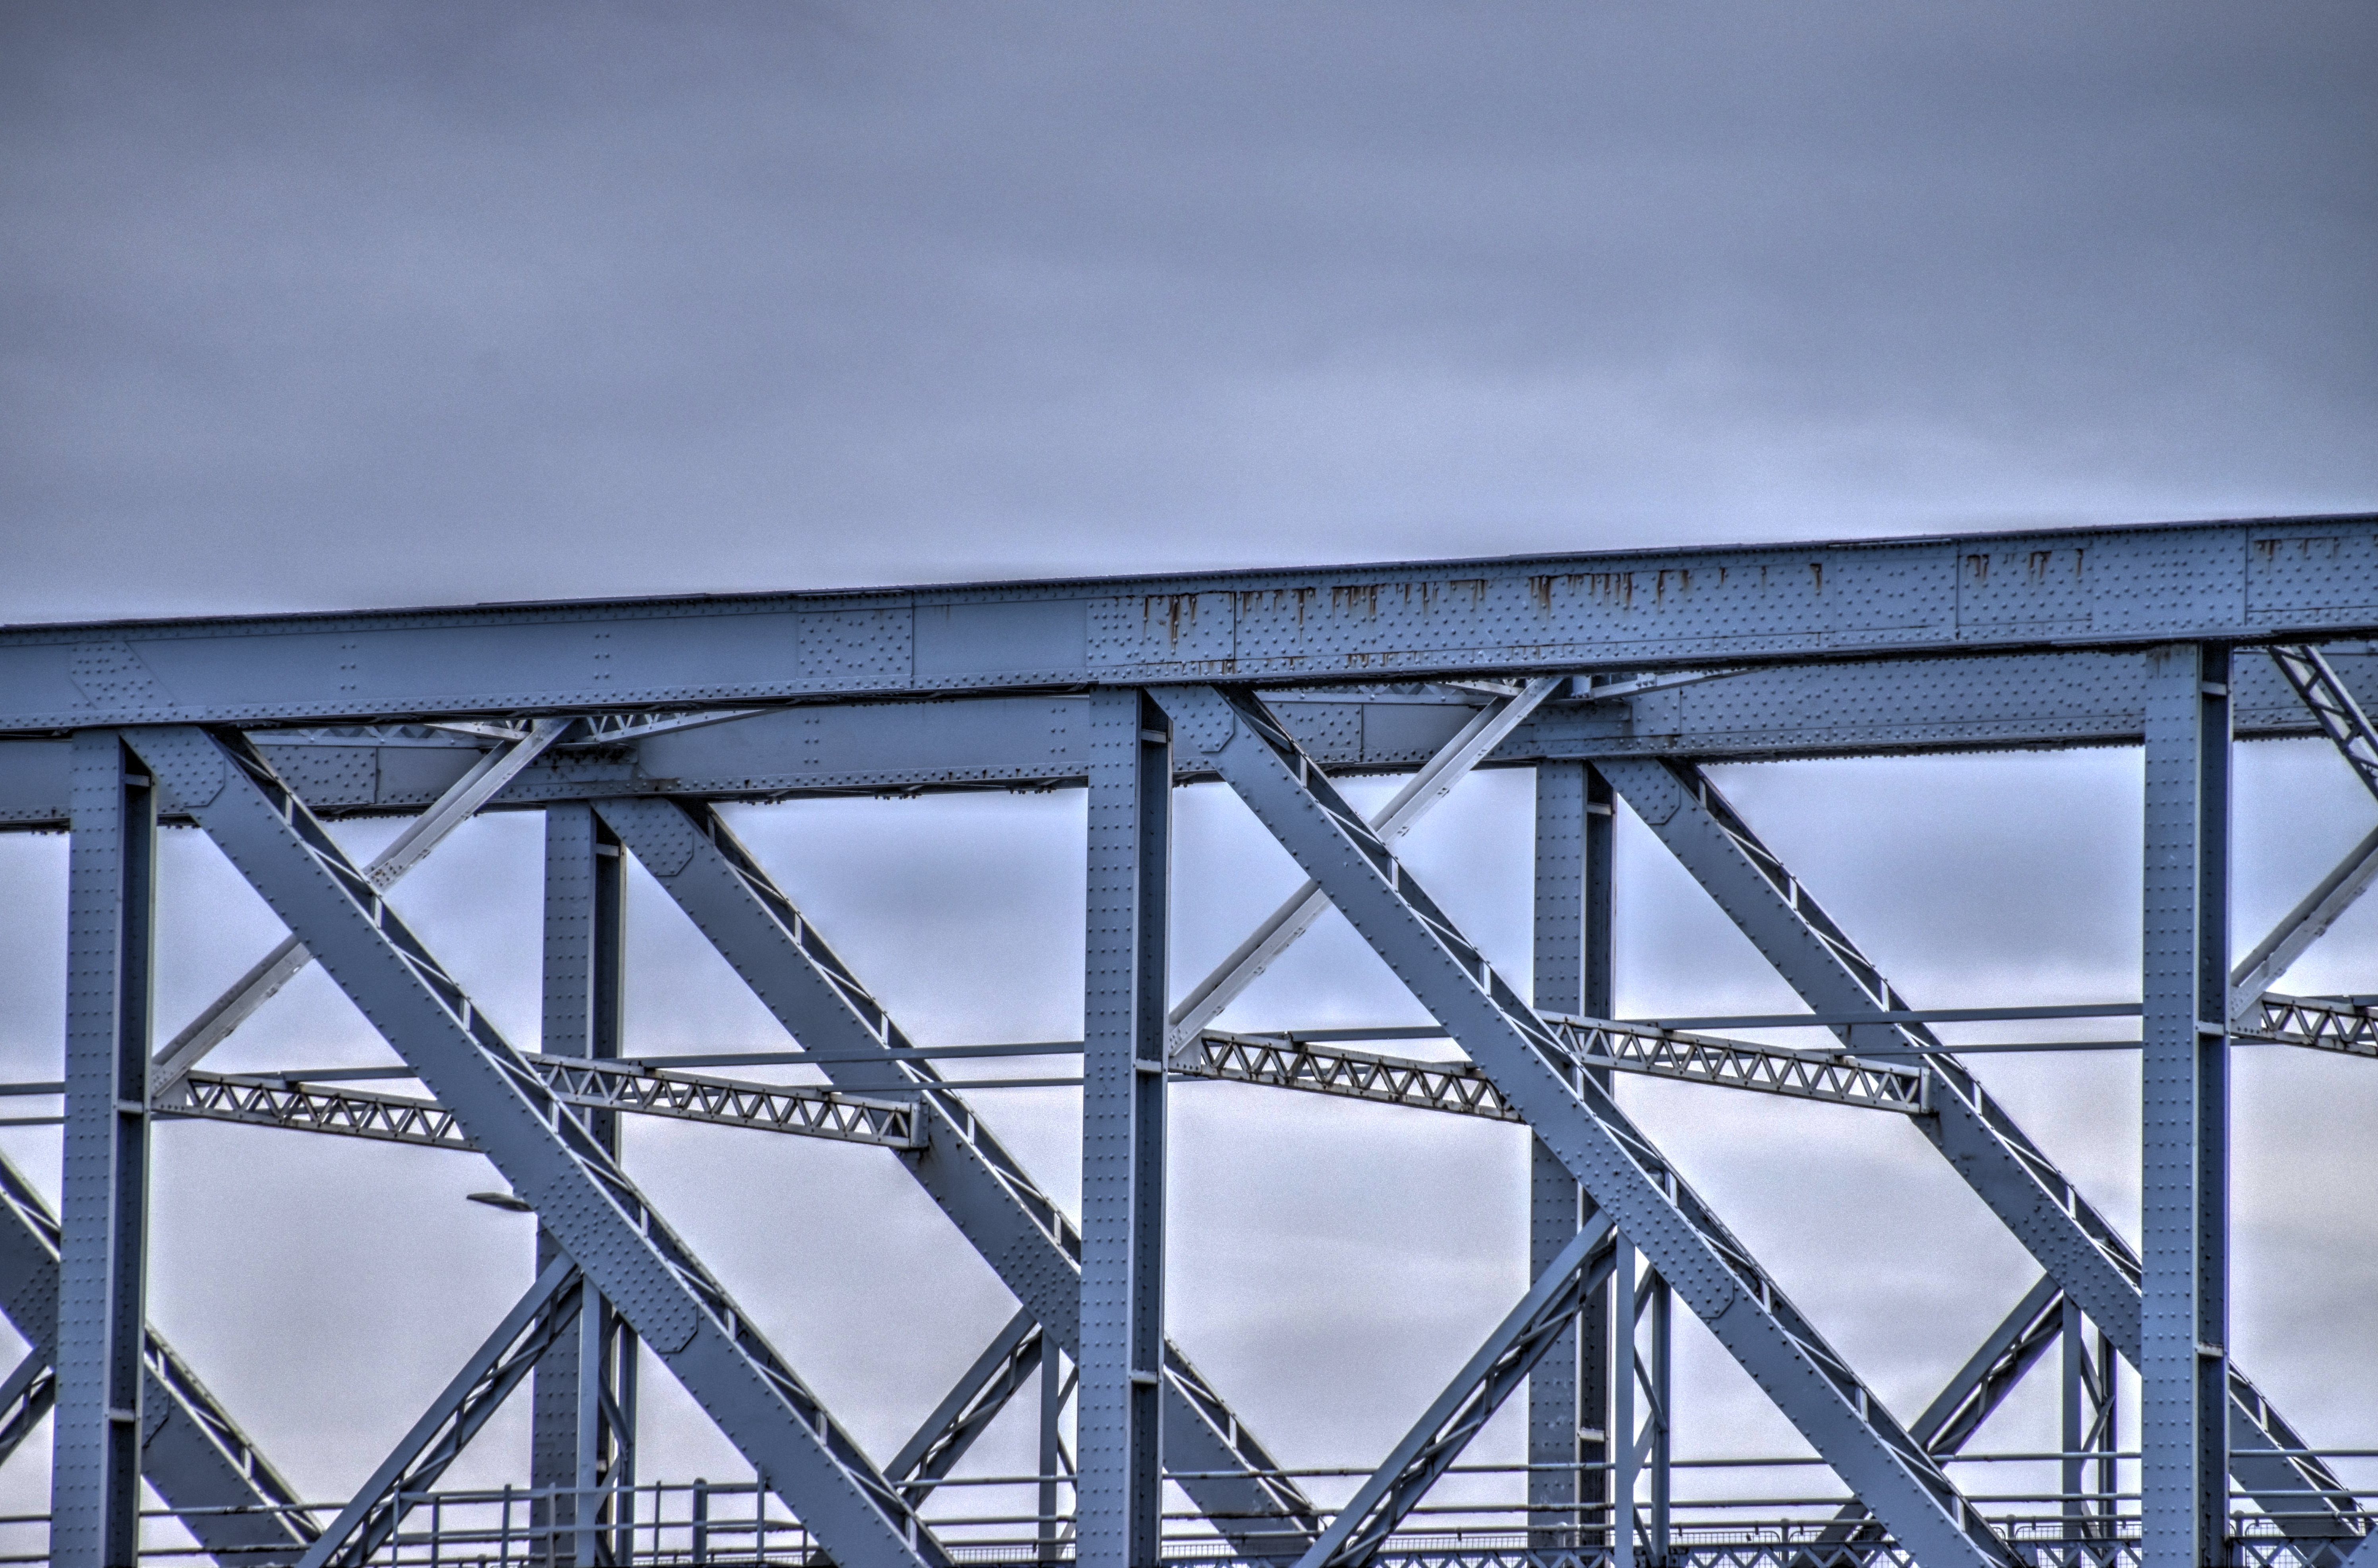


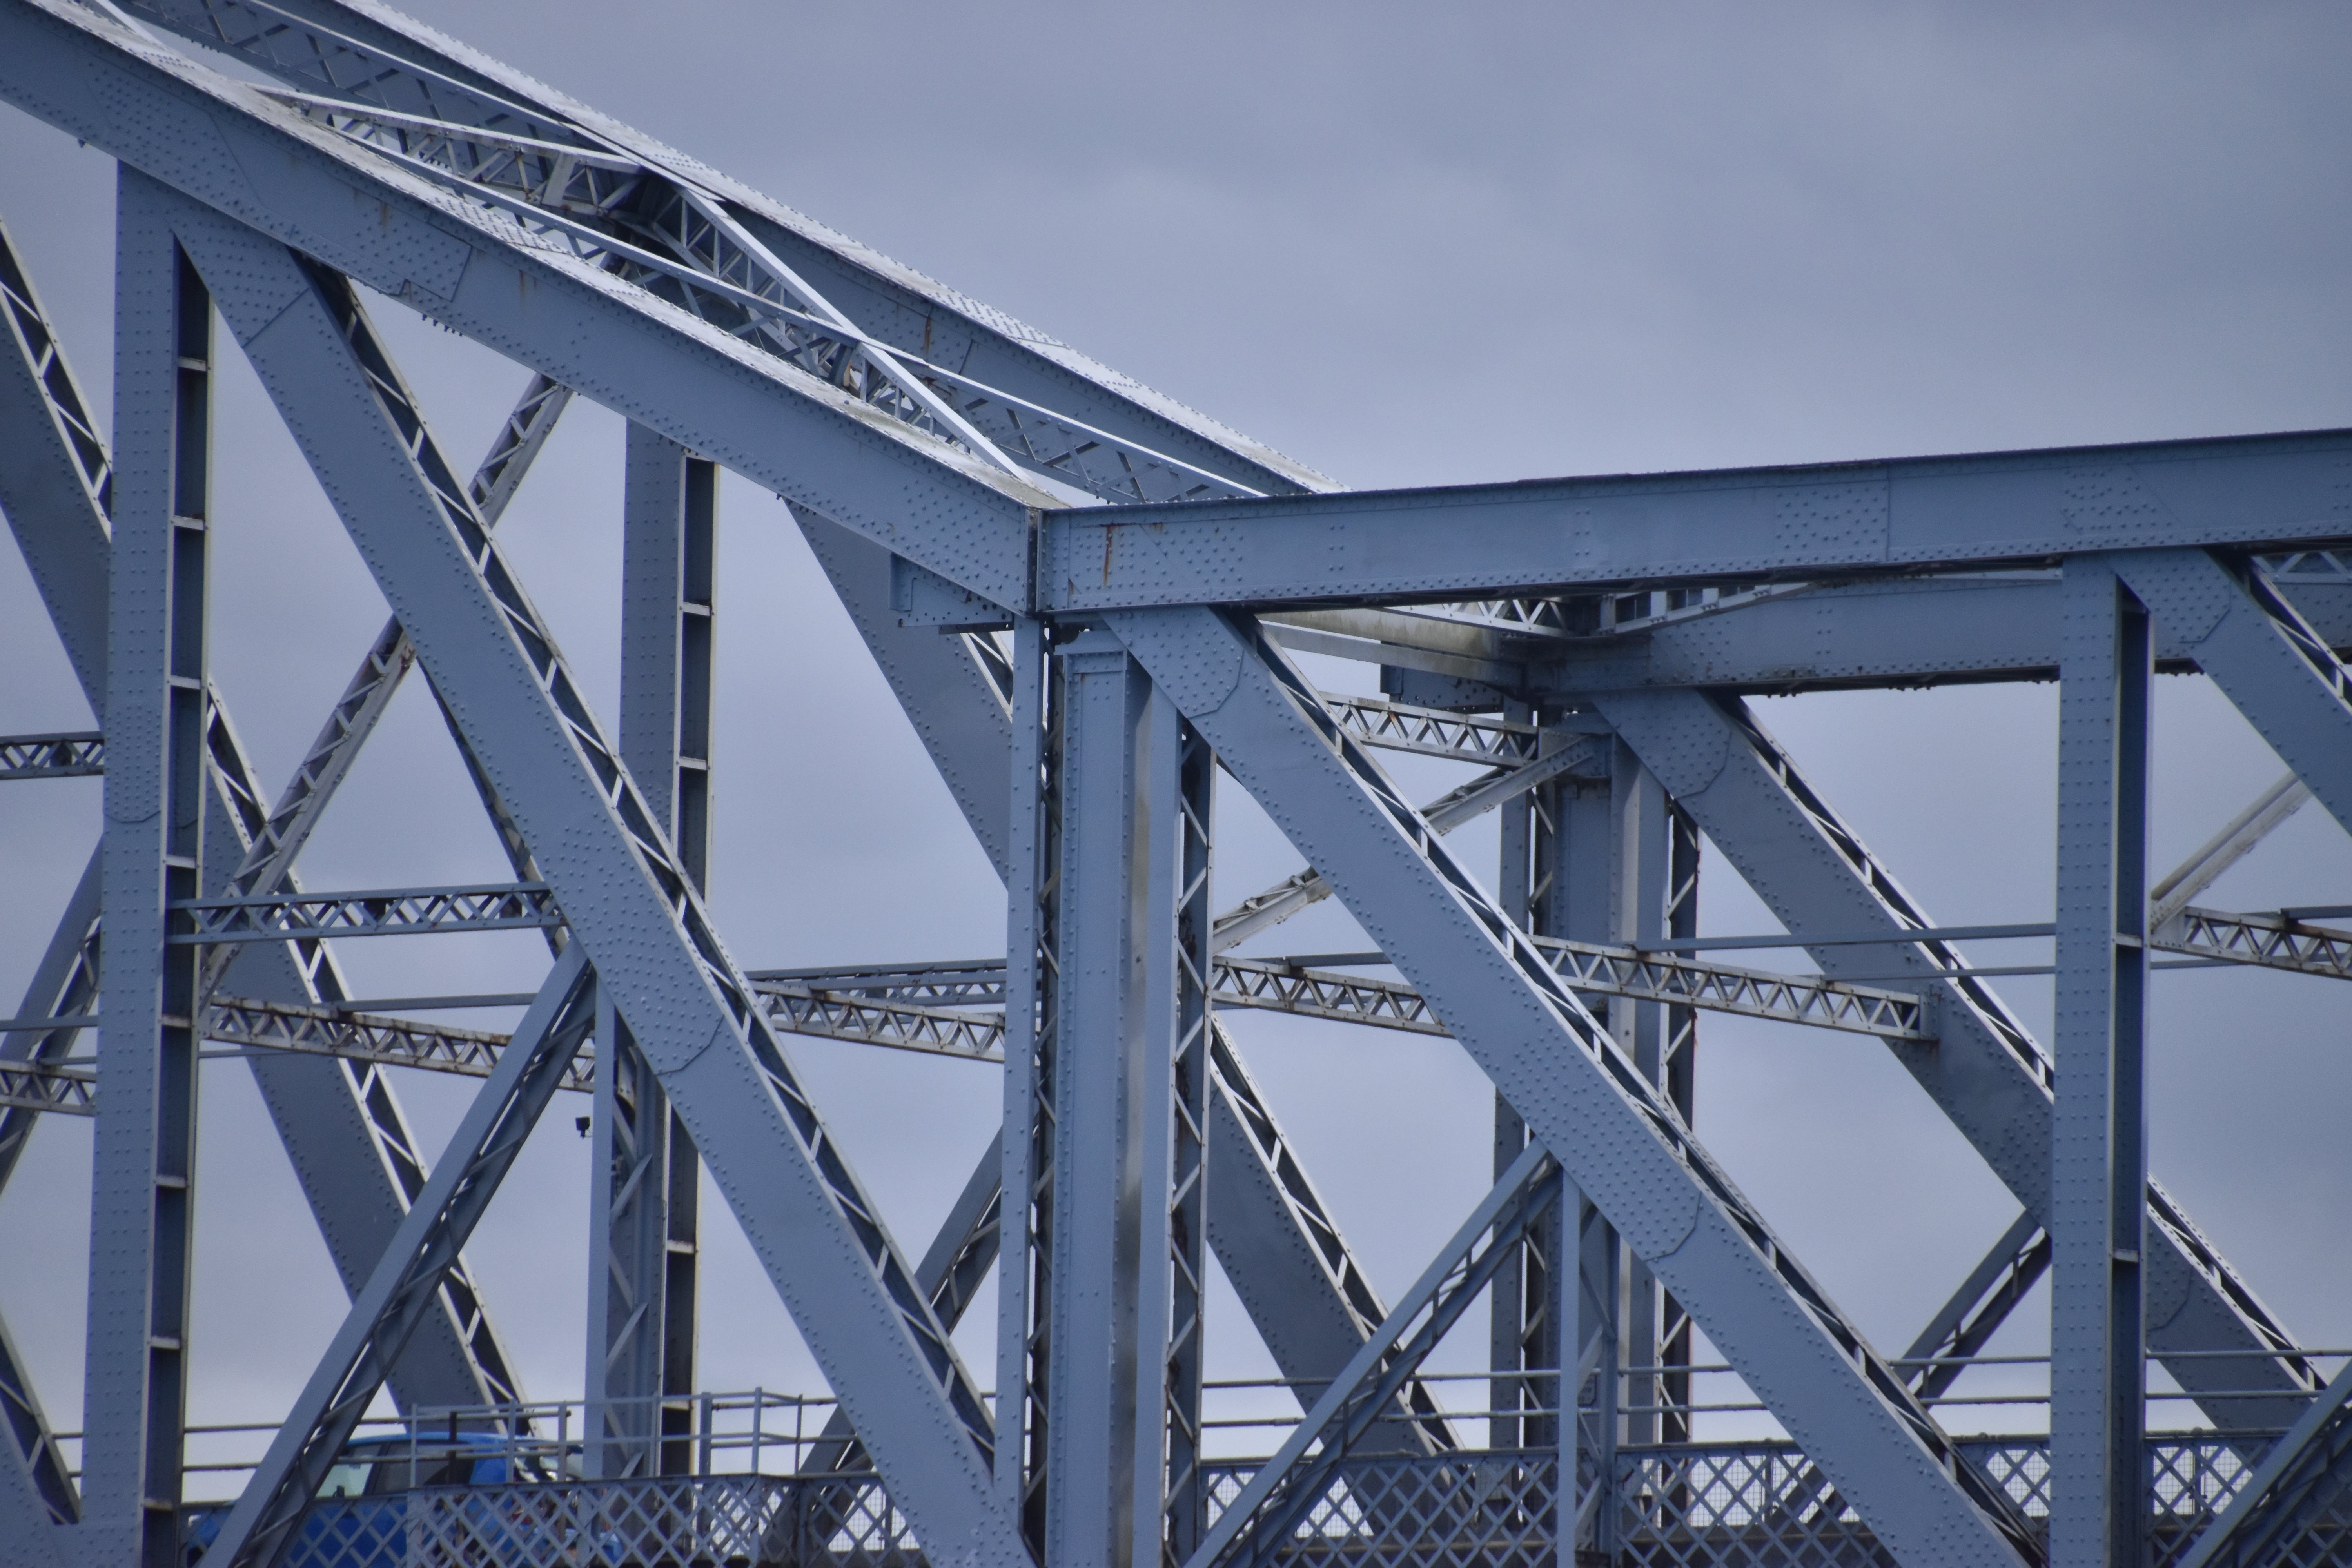
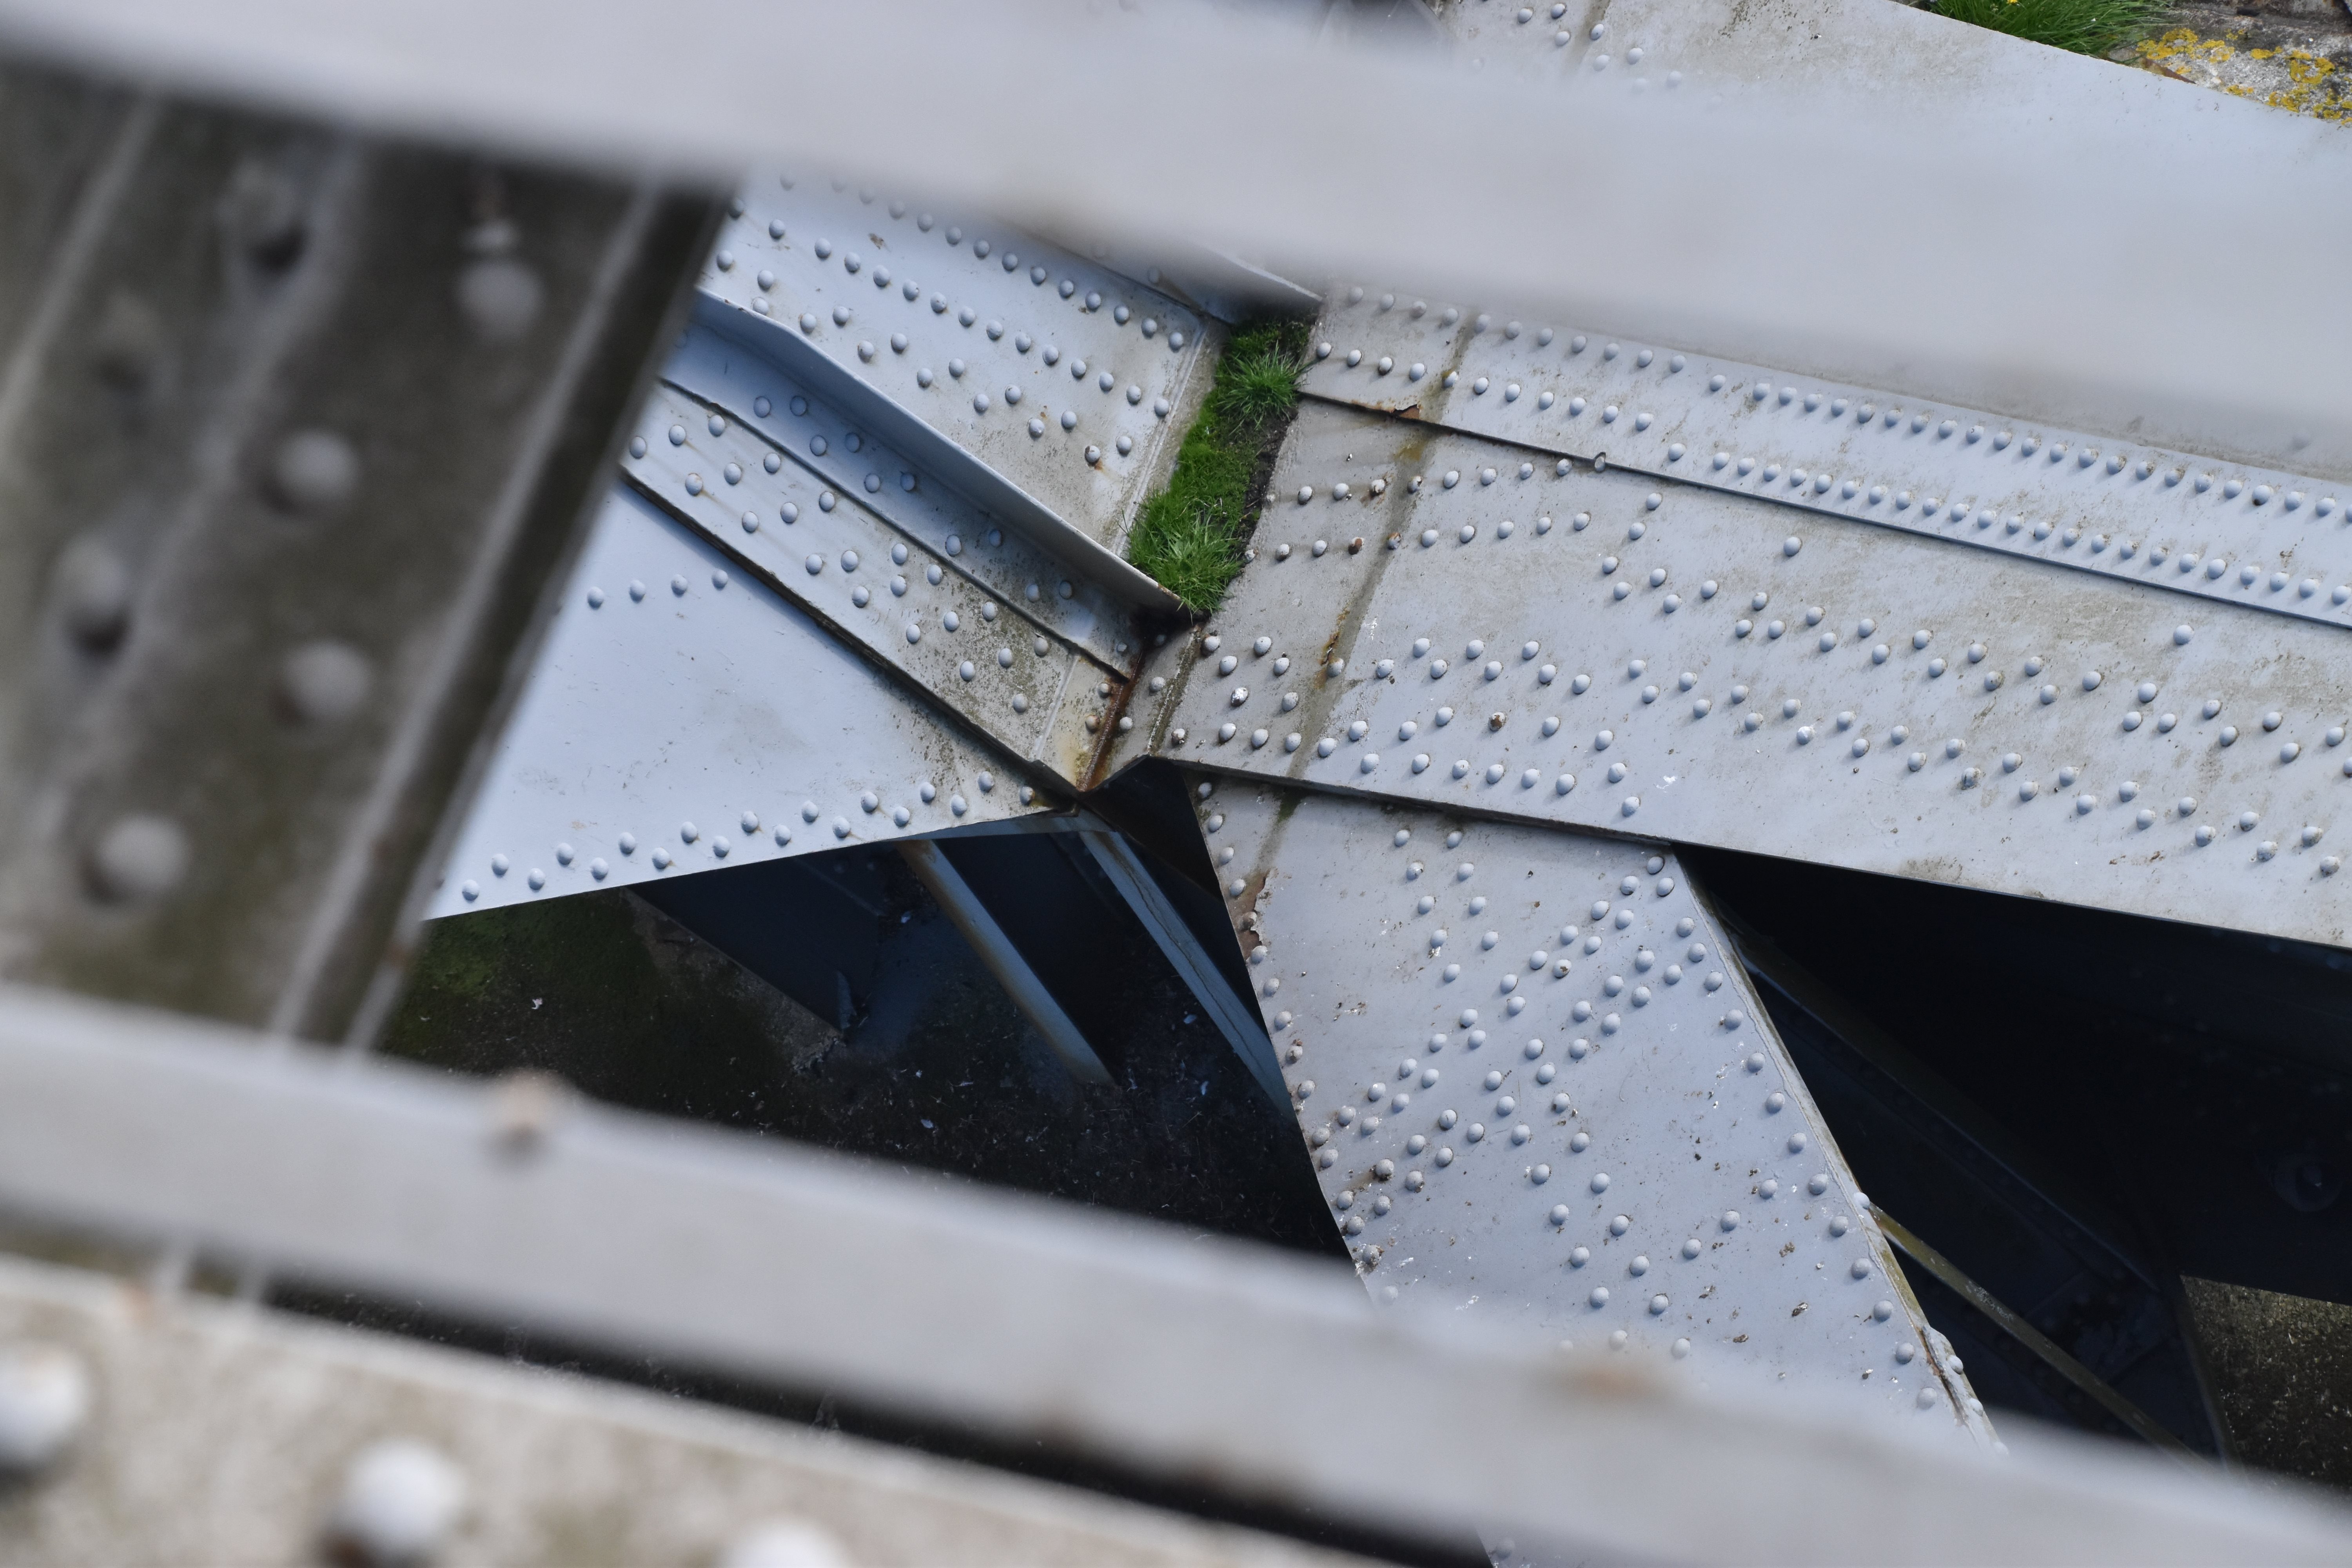
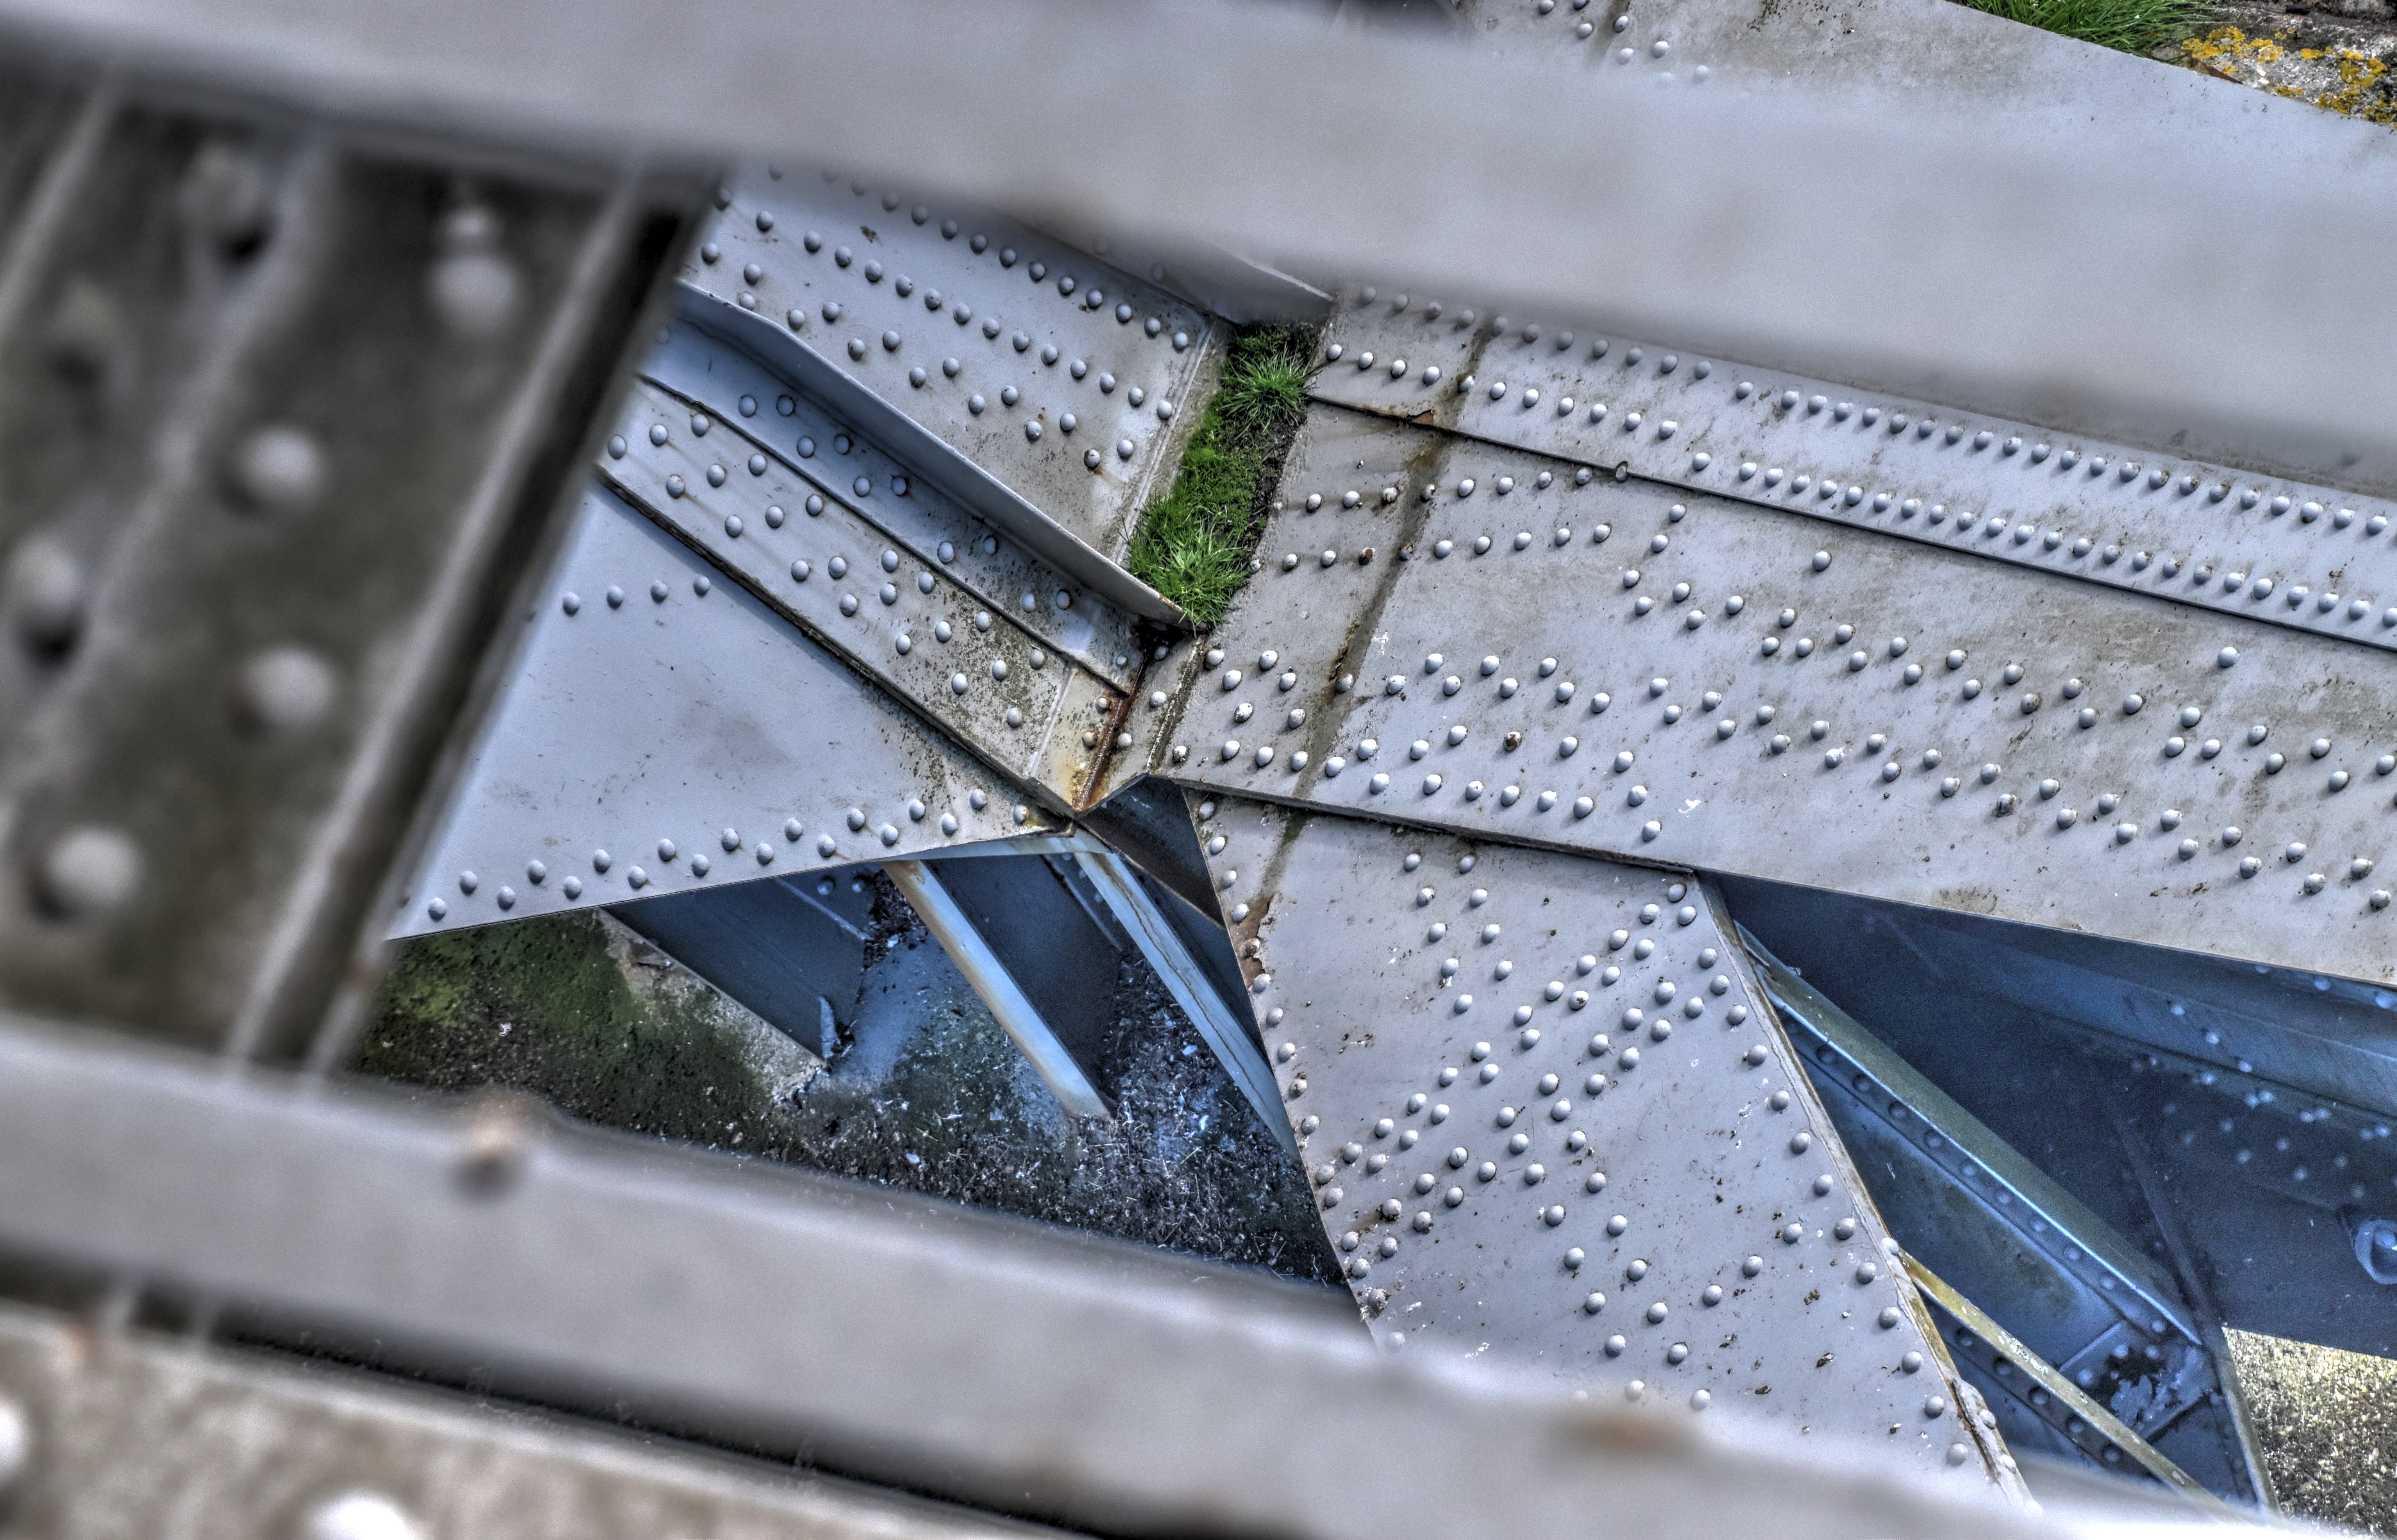
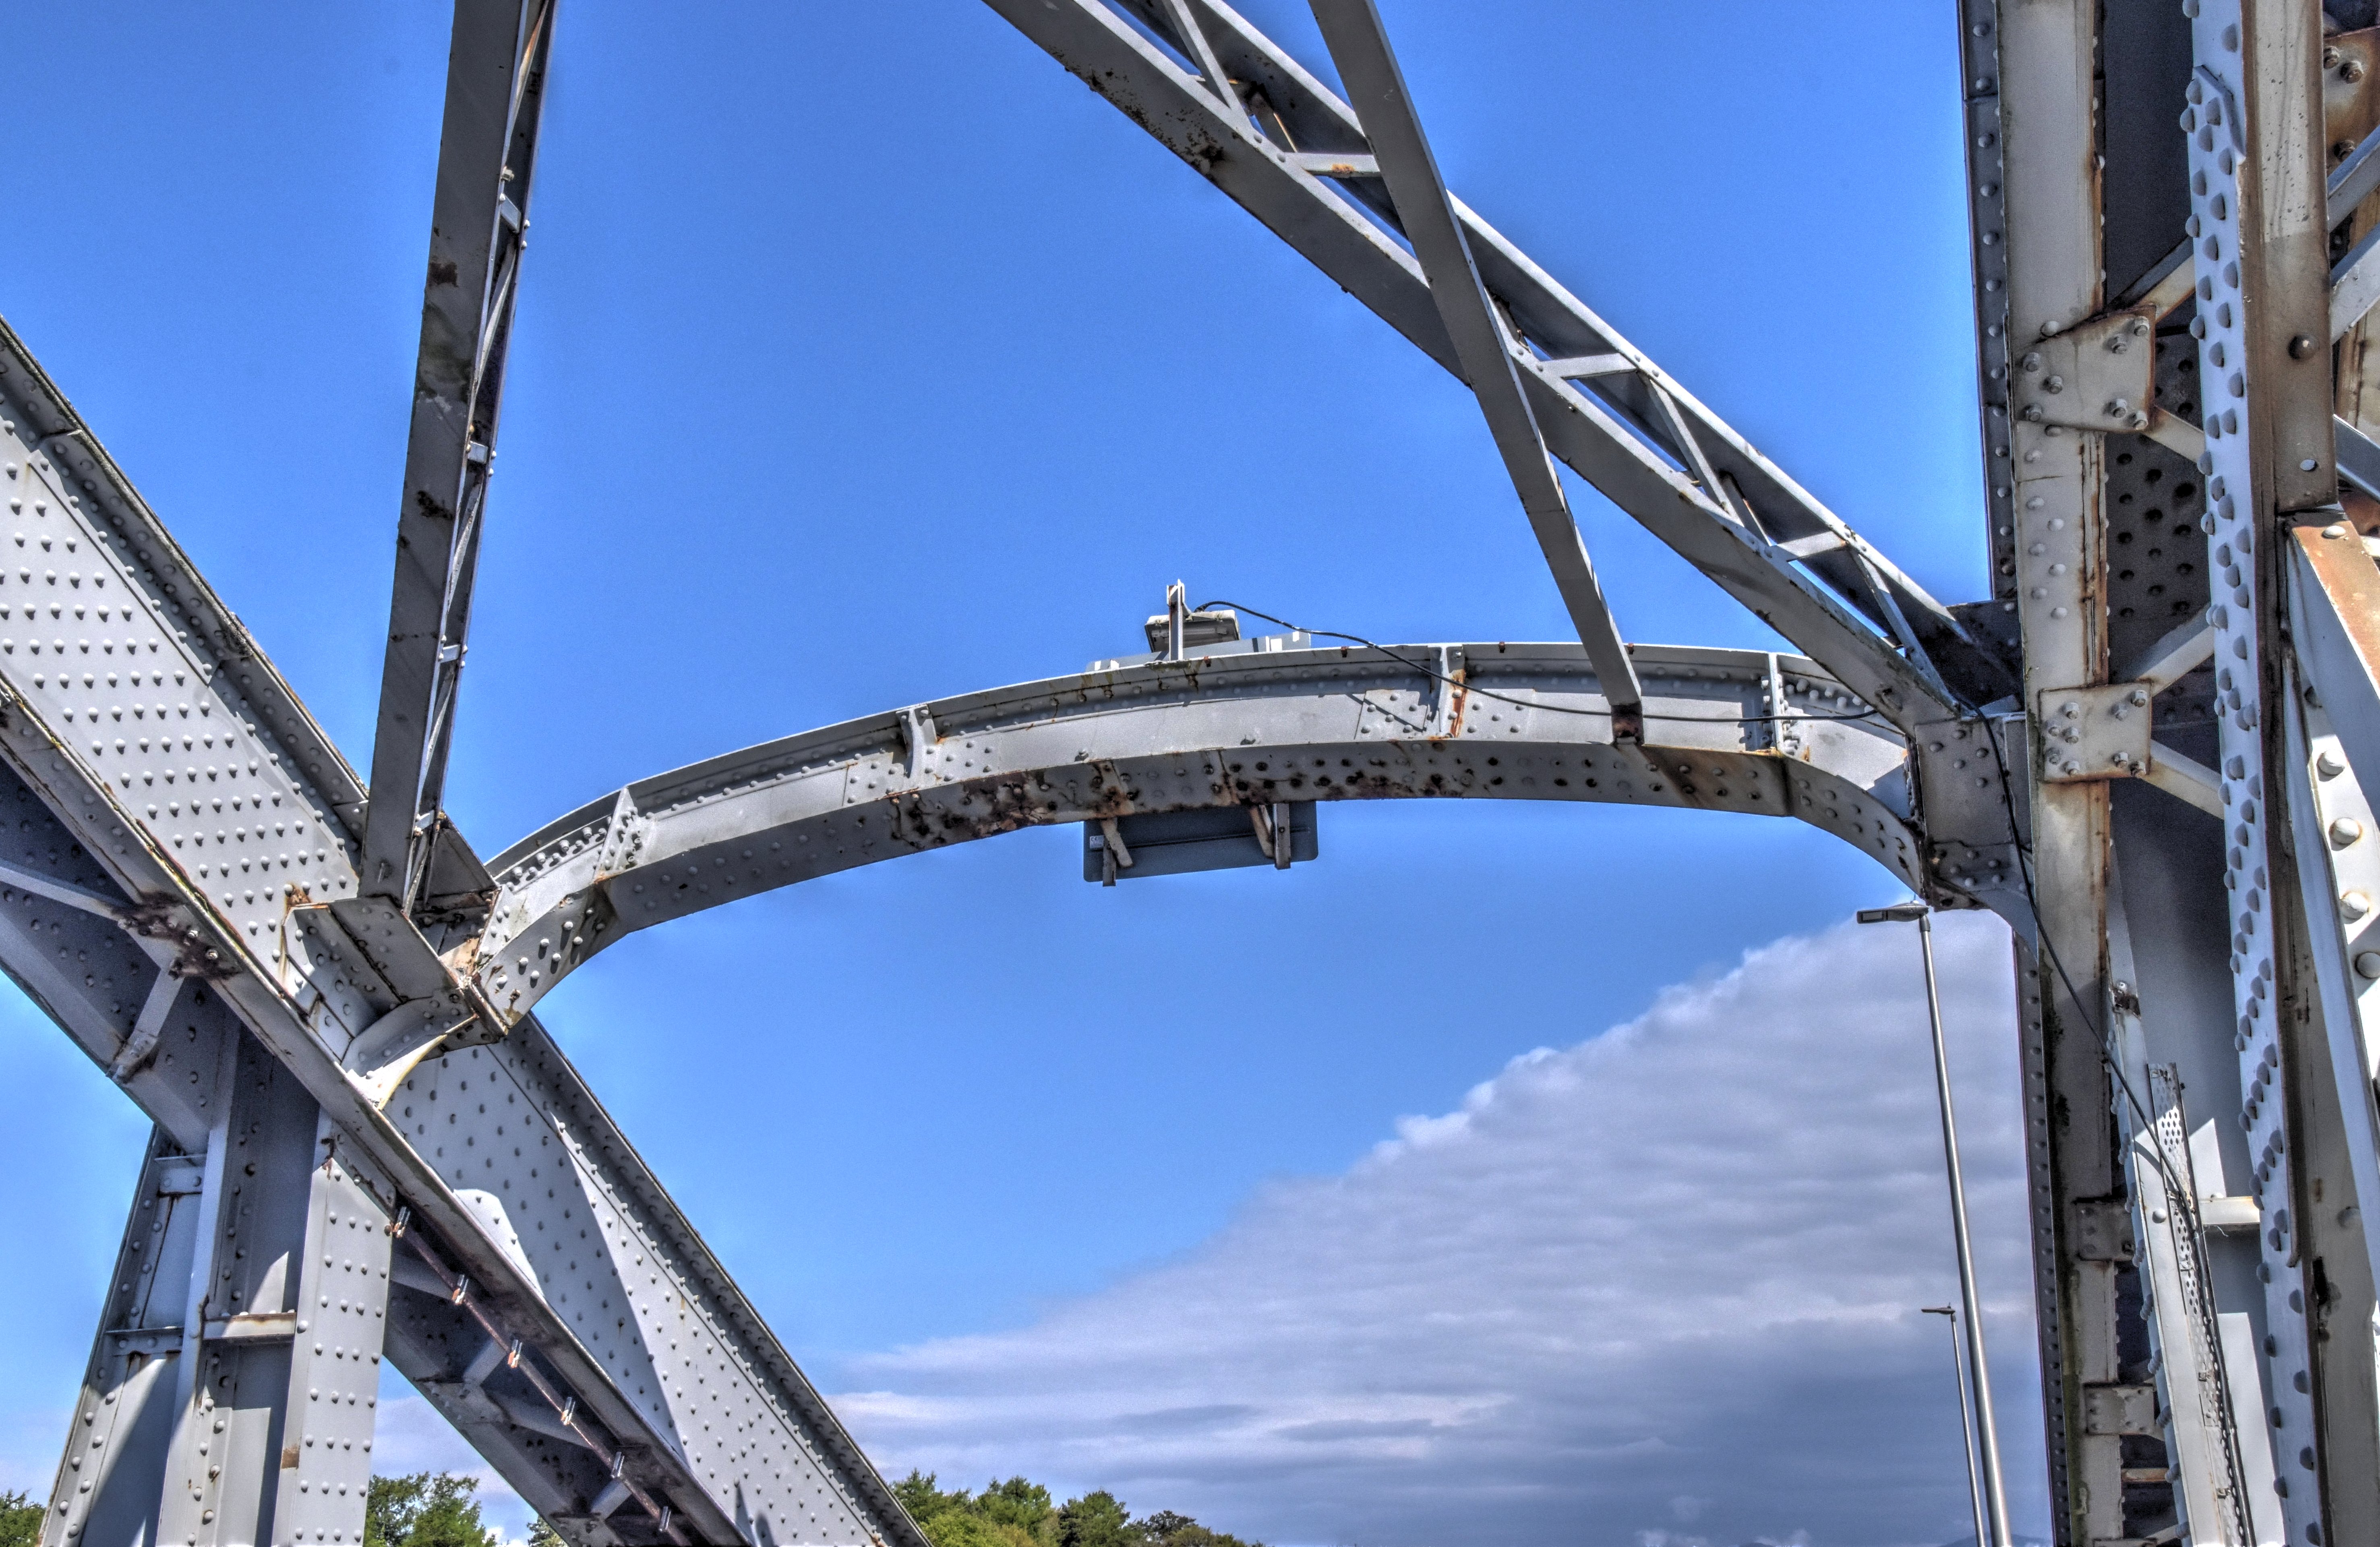
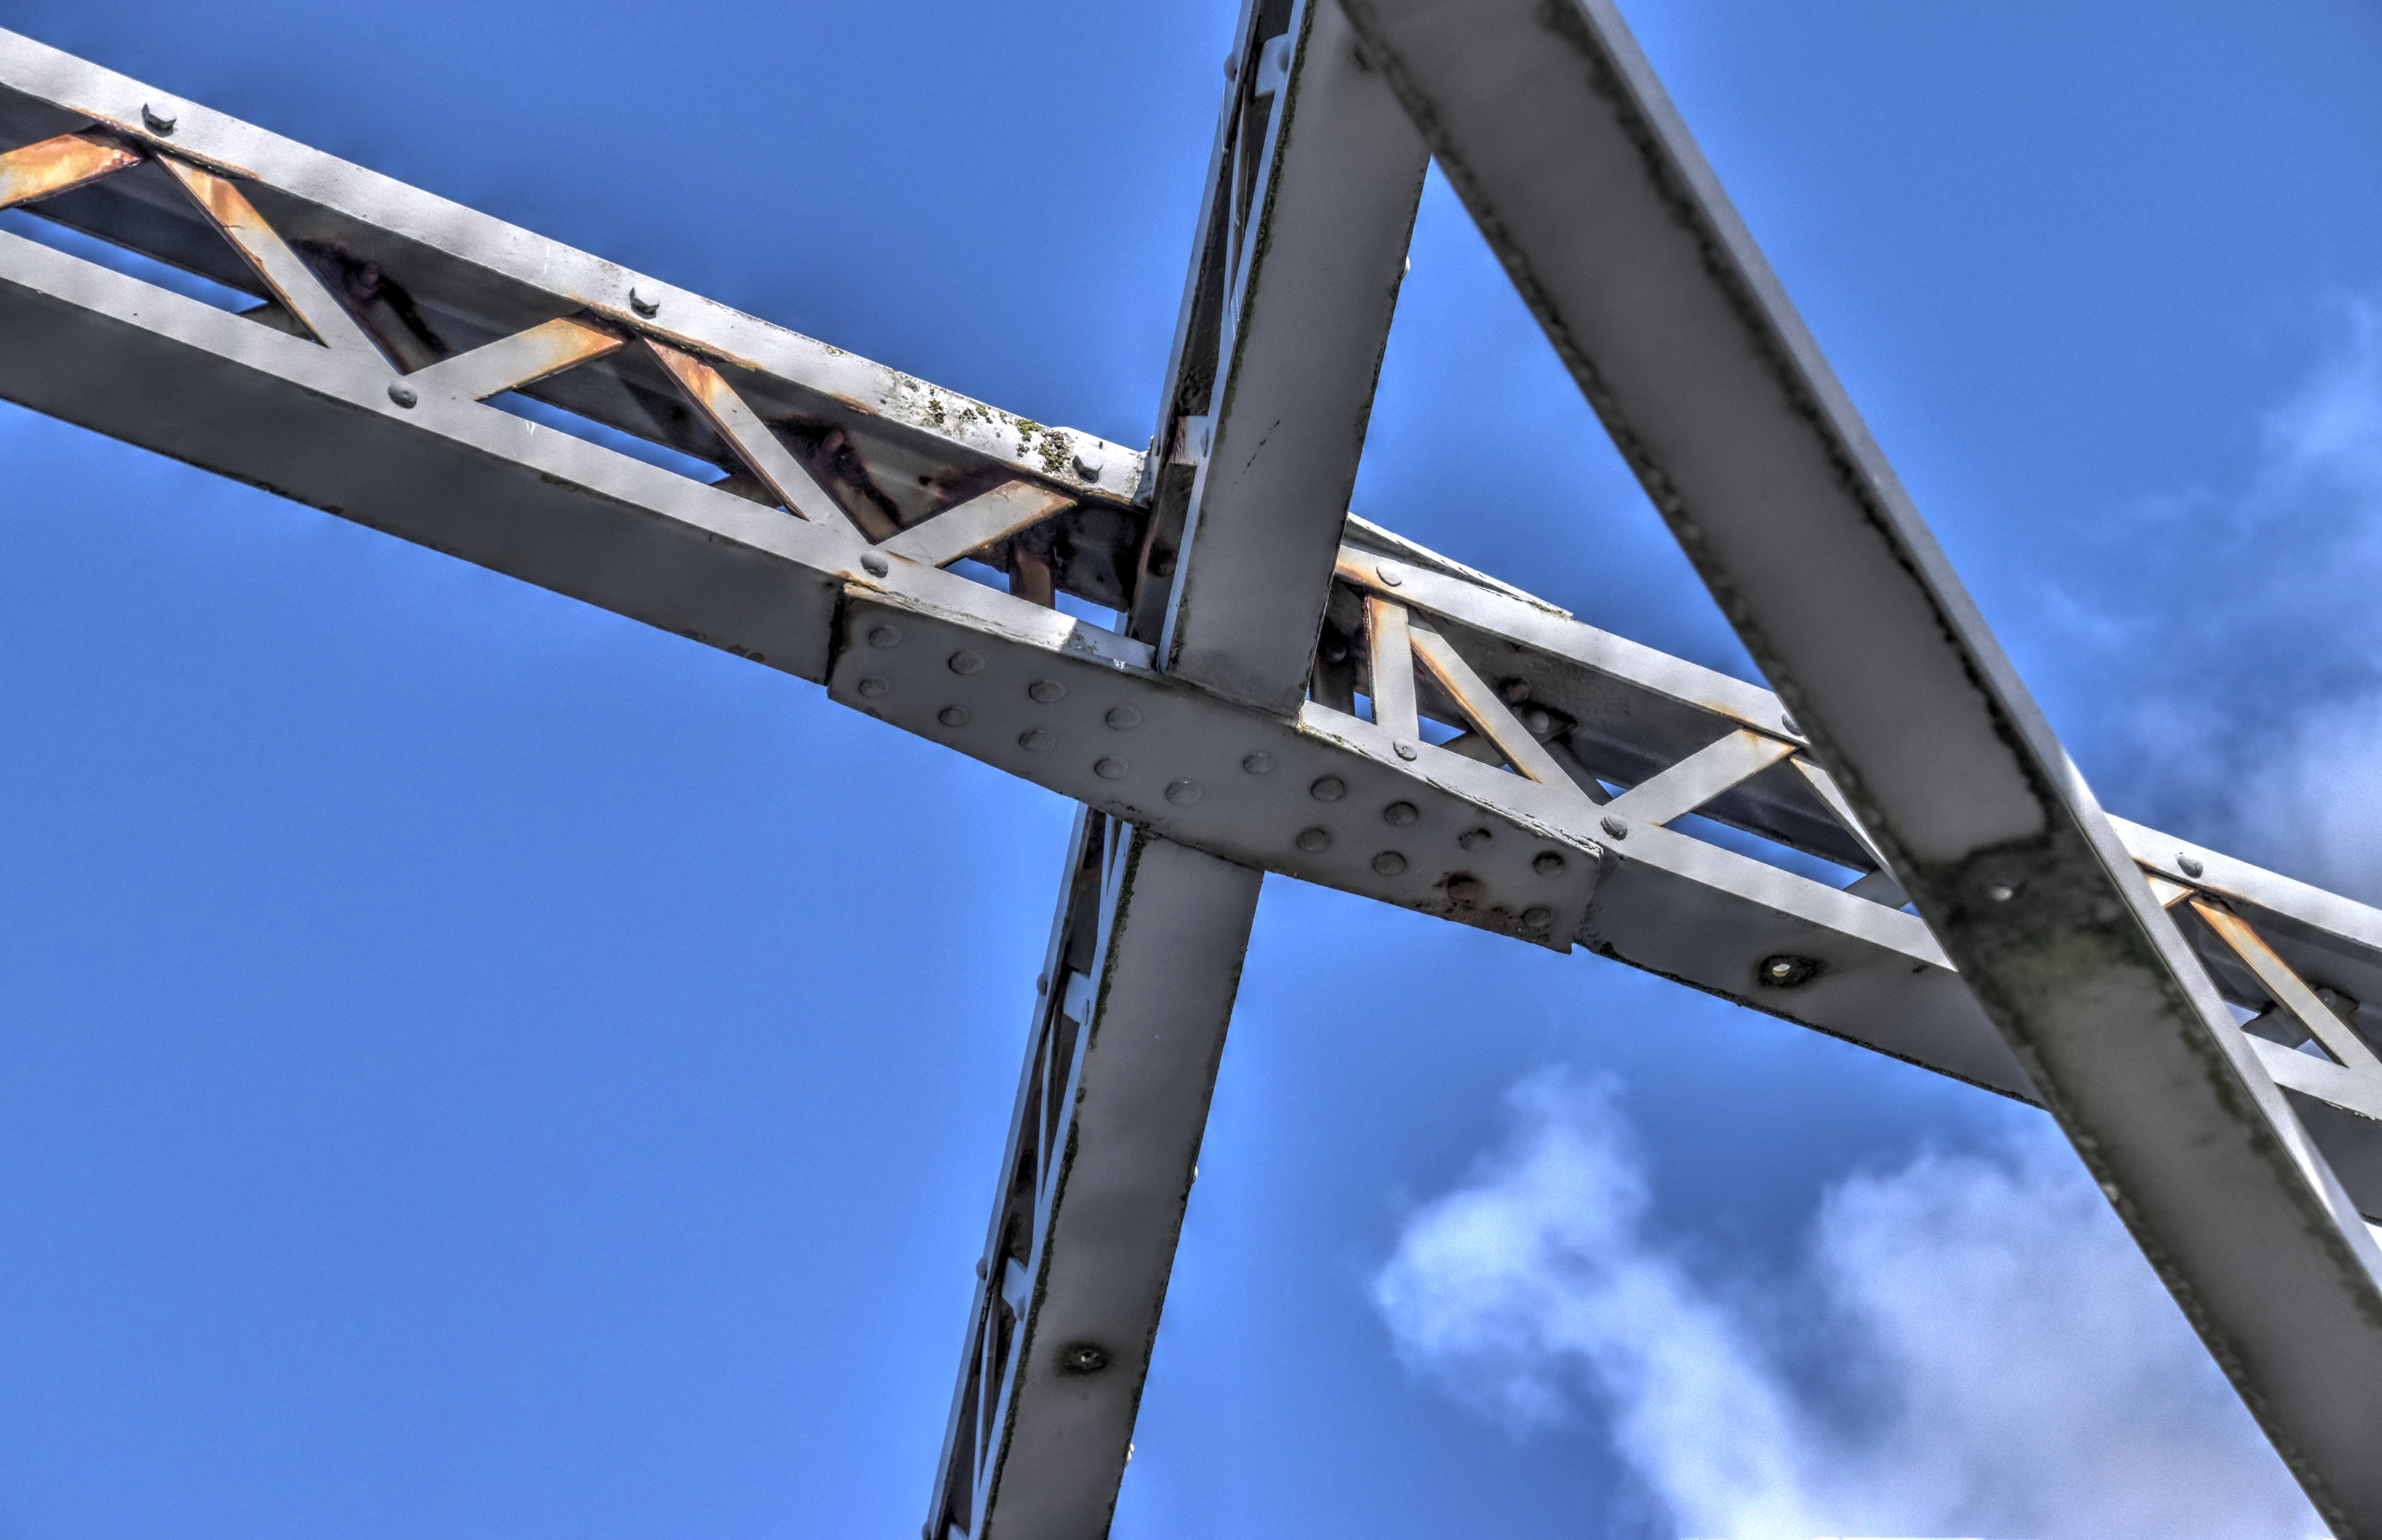
Top chord connections on suspended span as viewed from beside bridge.
![]()

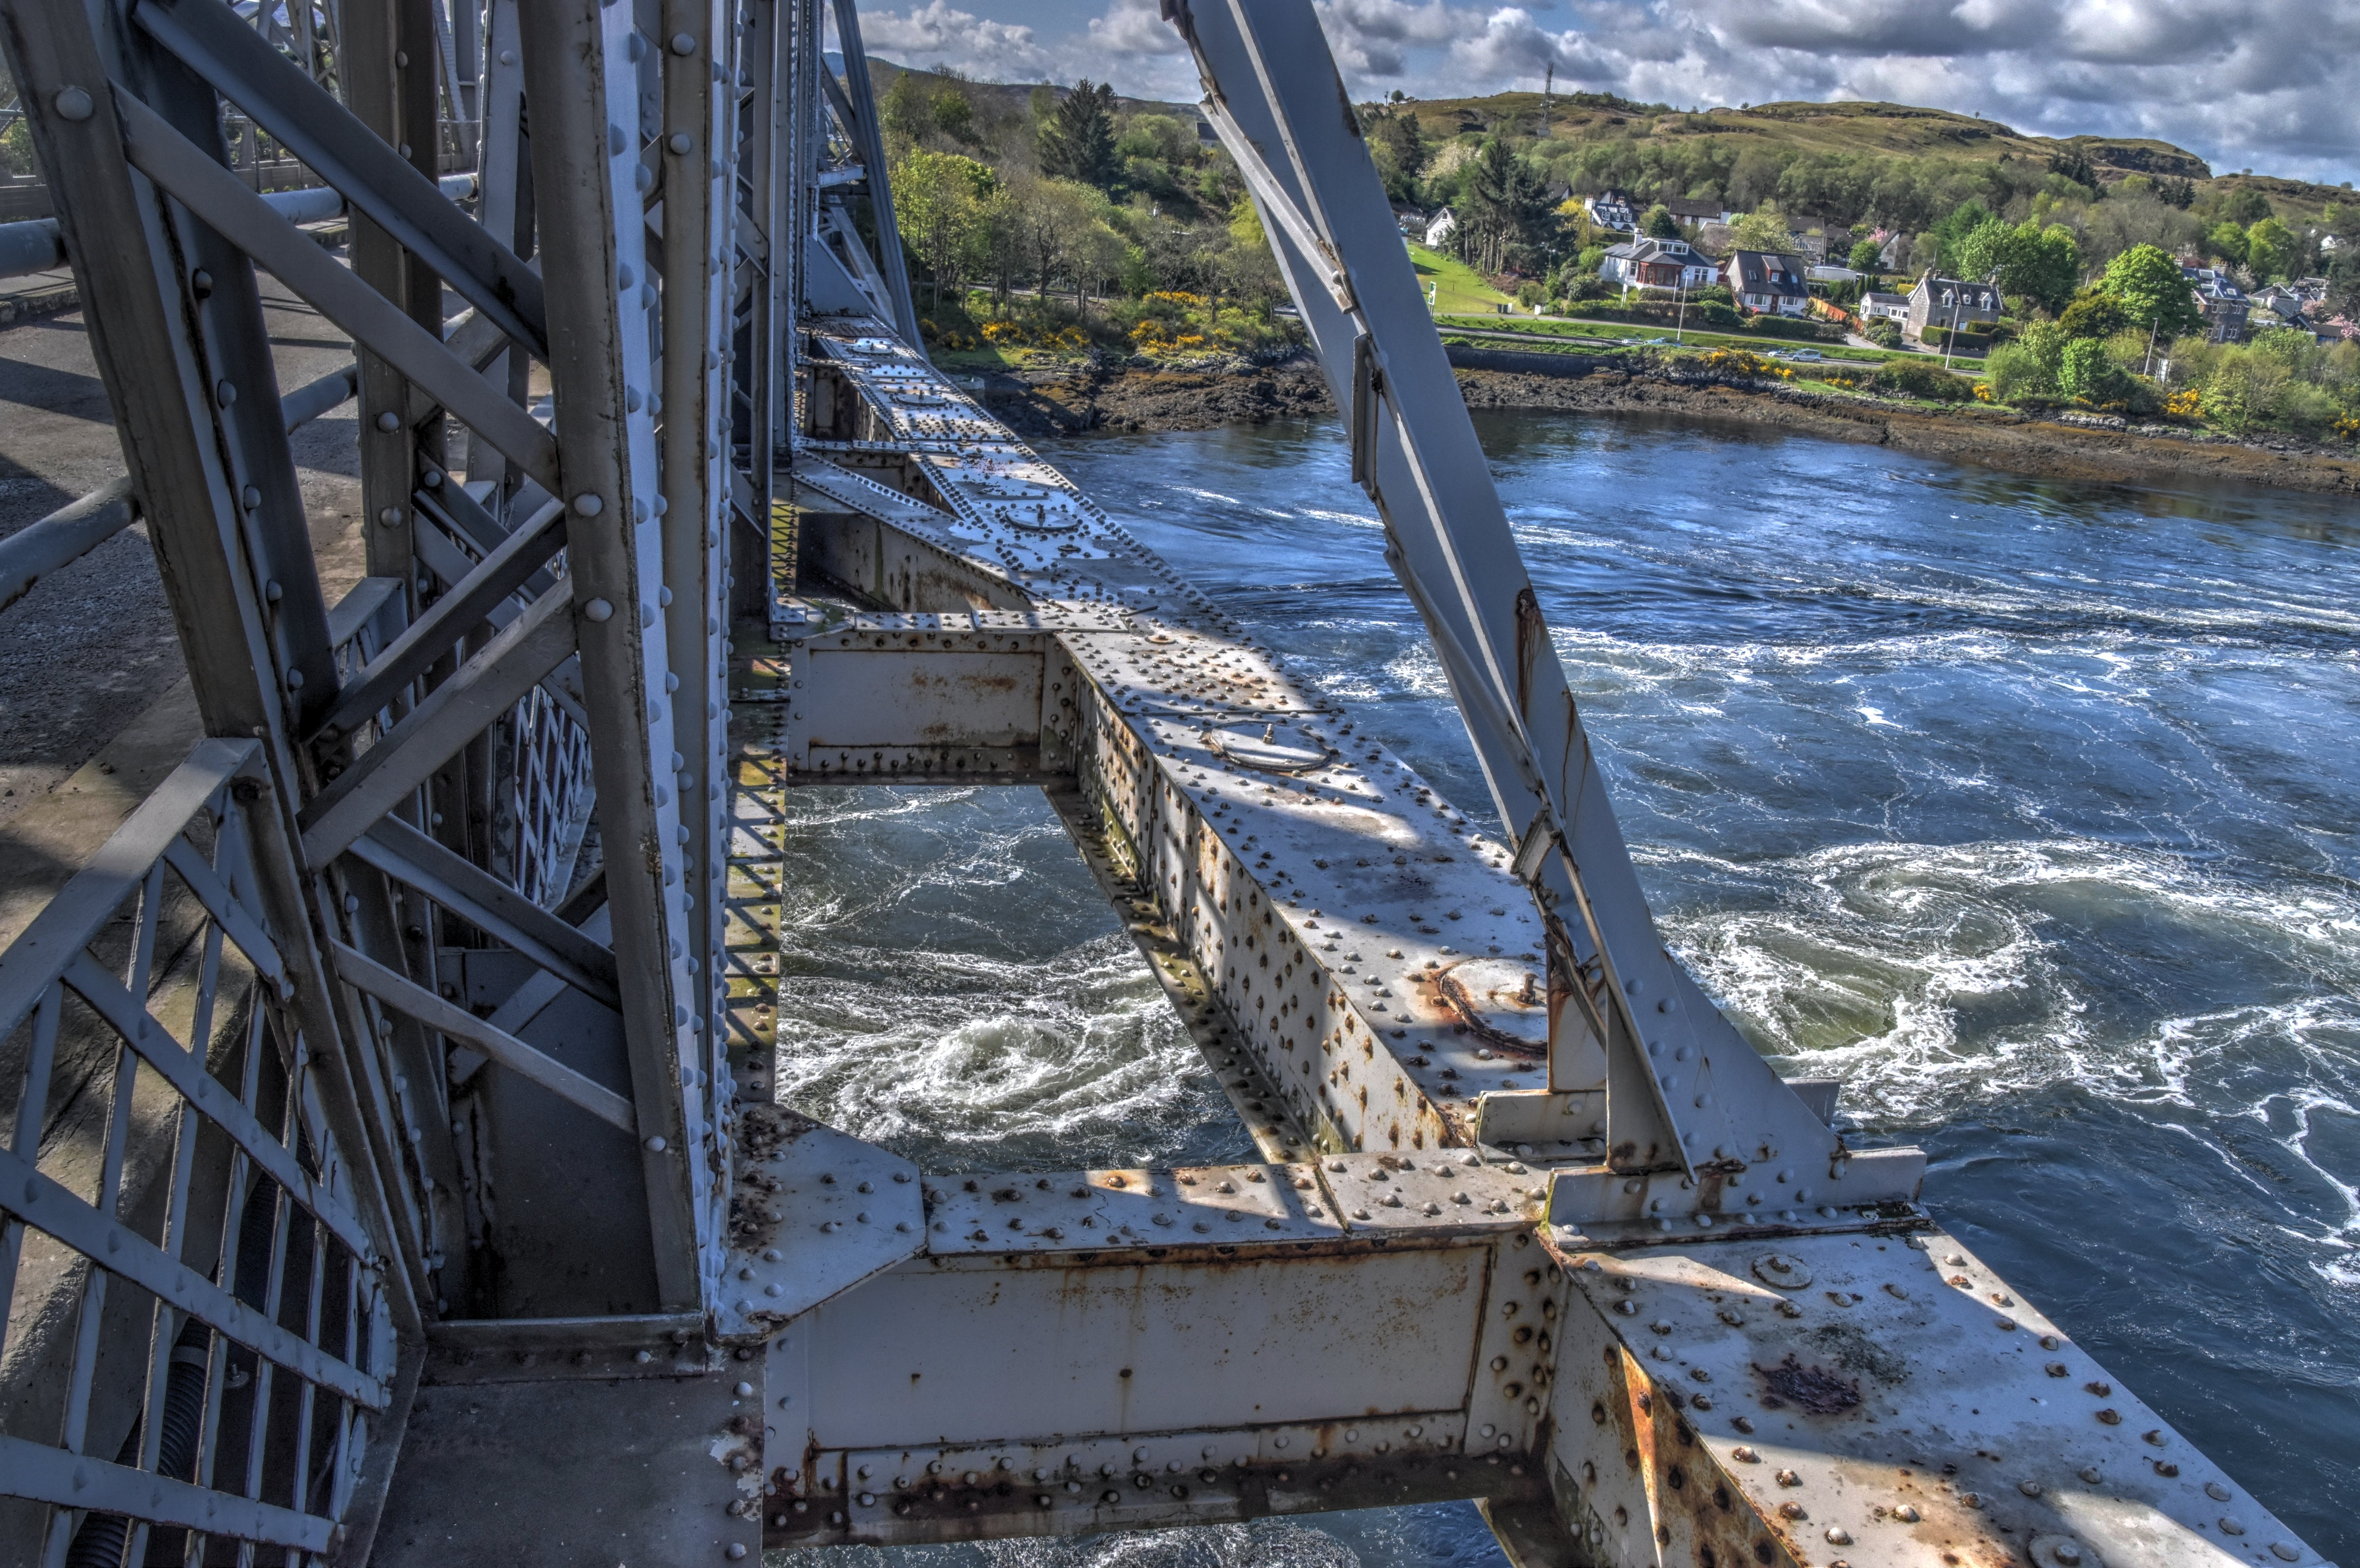
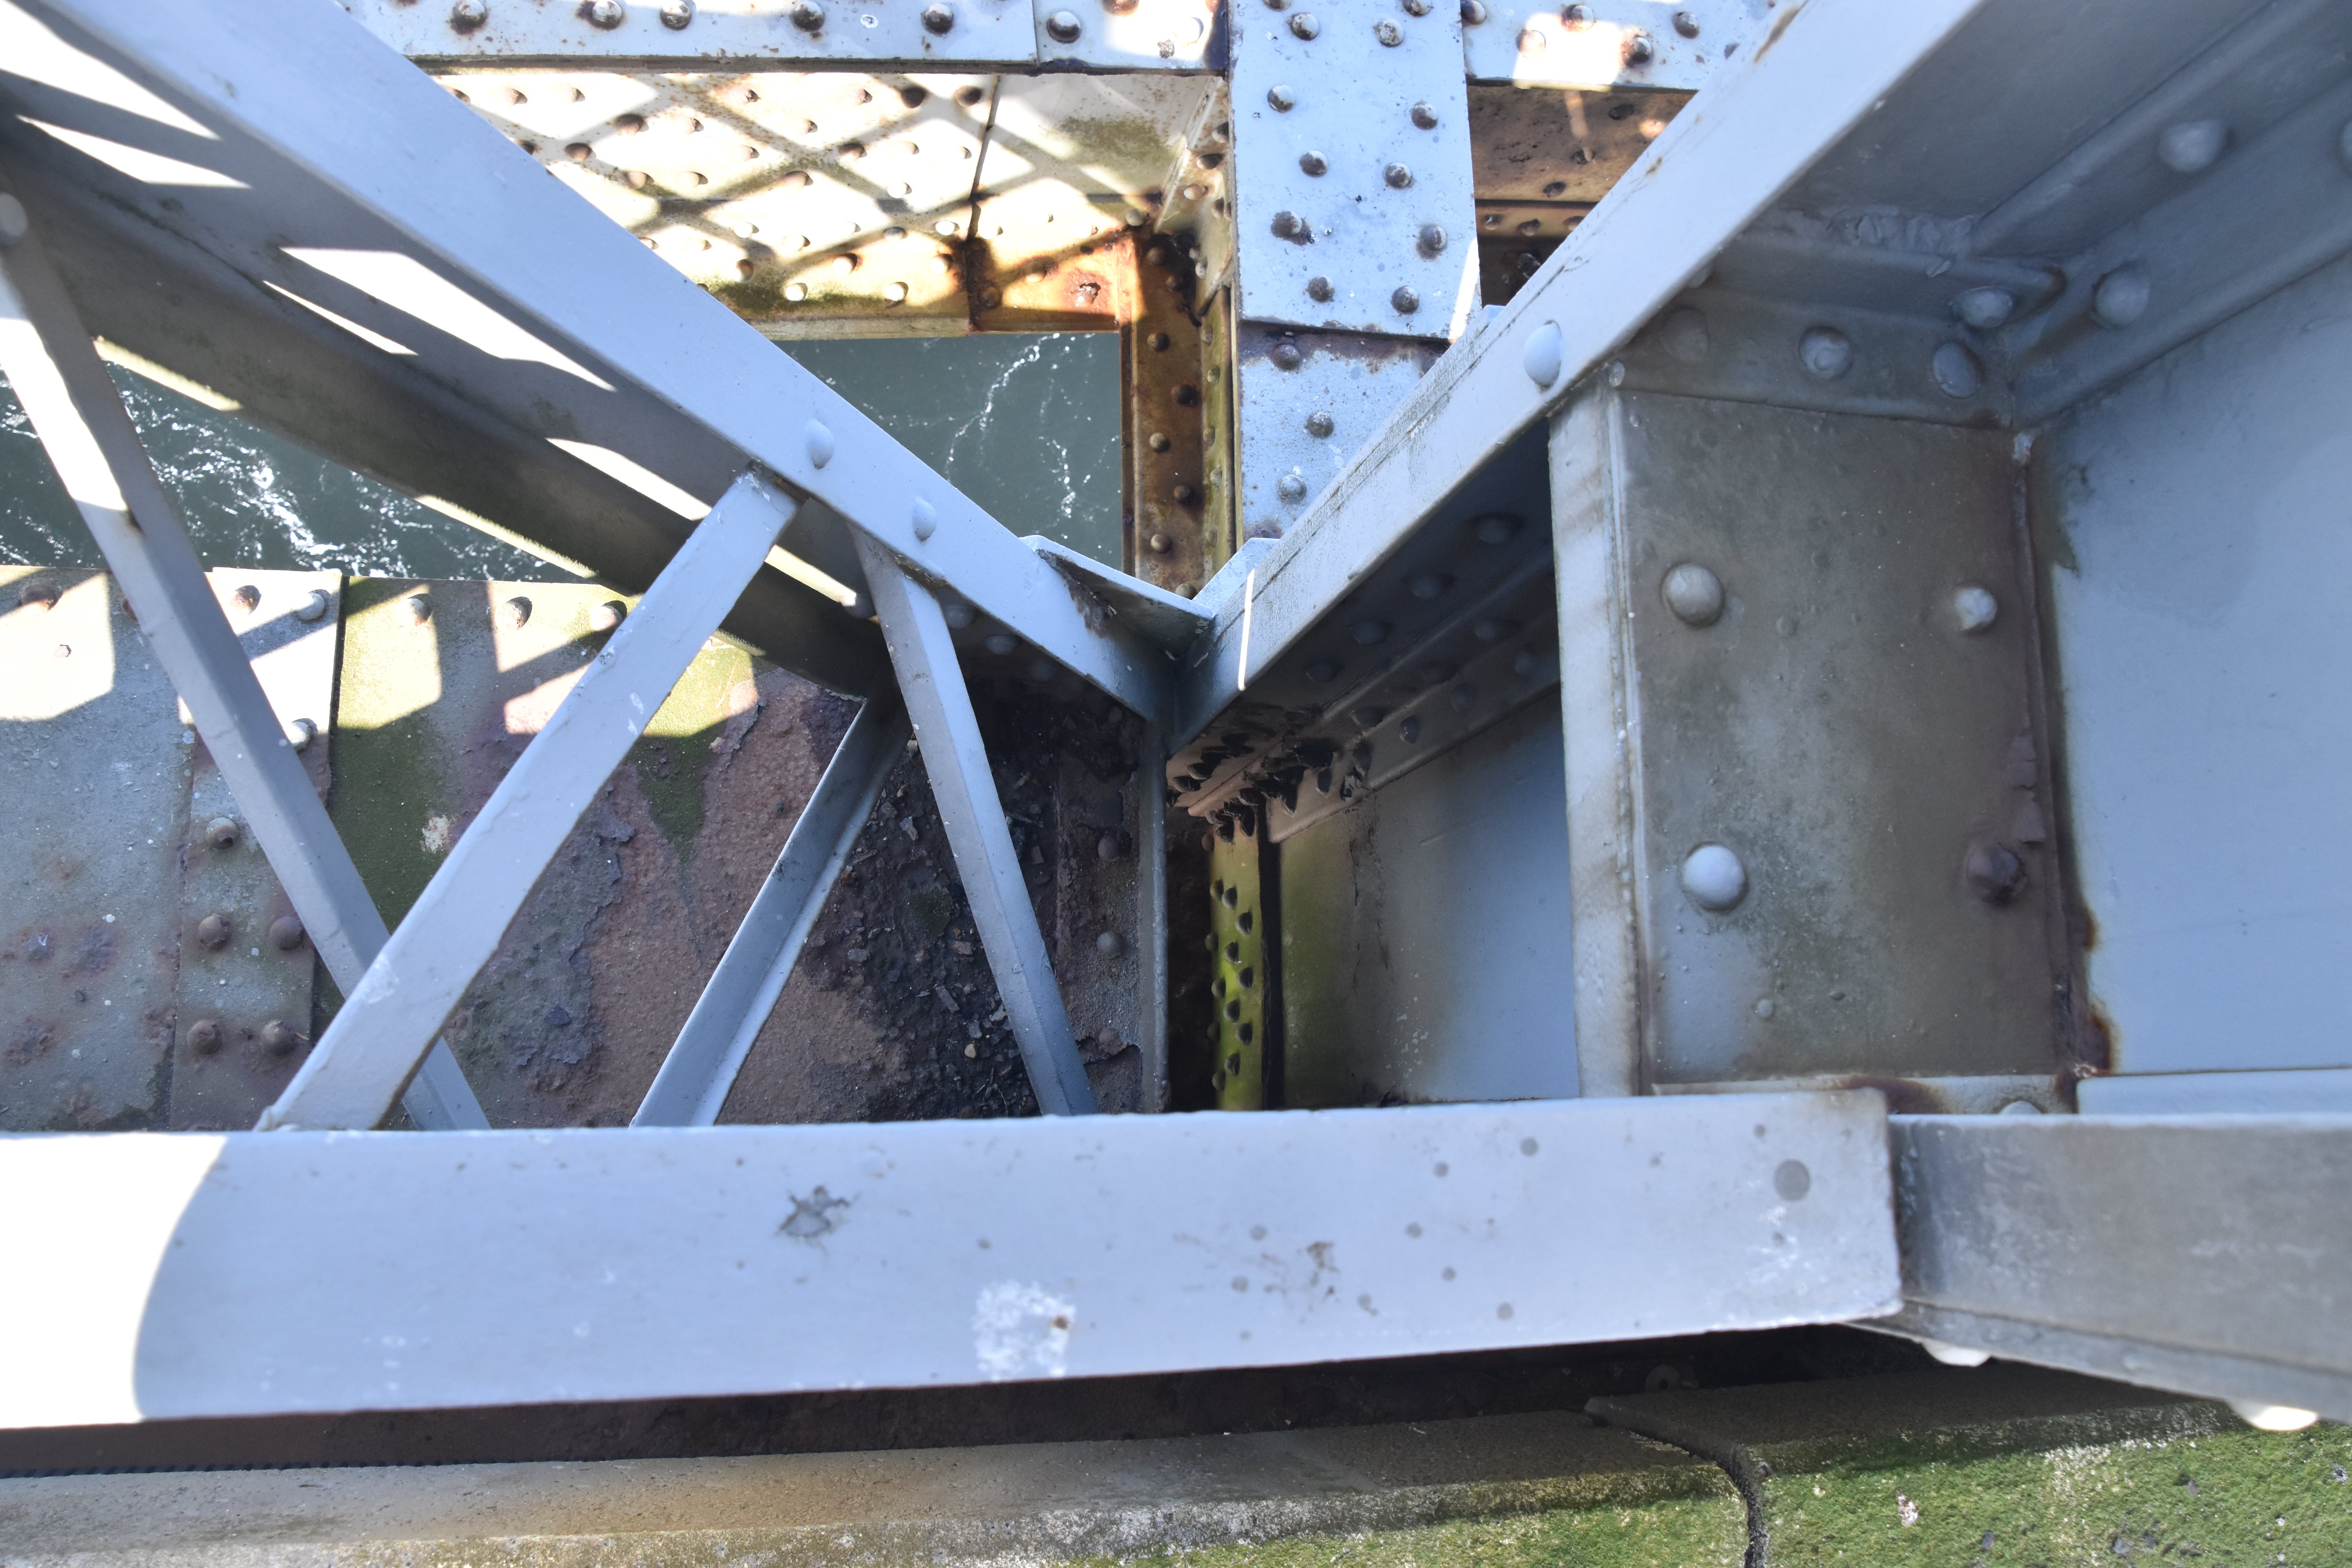
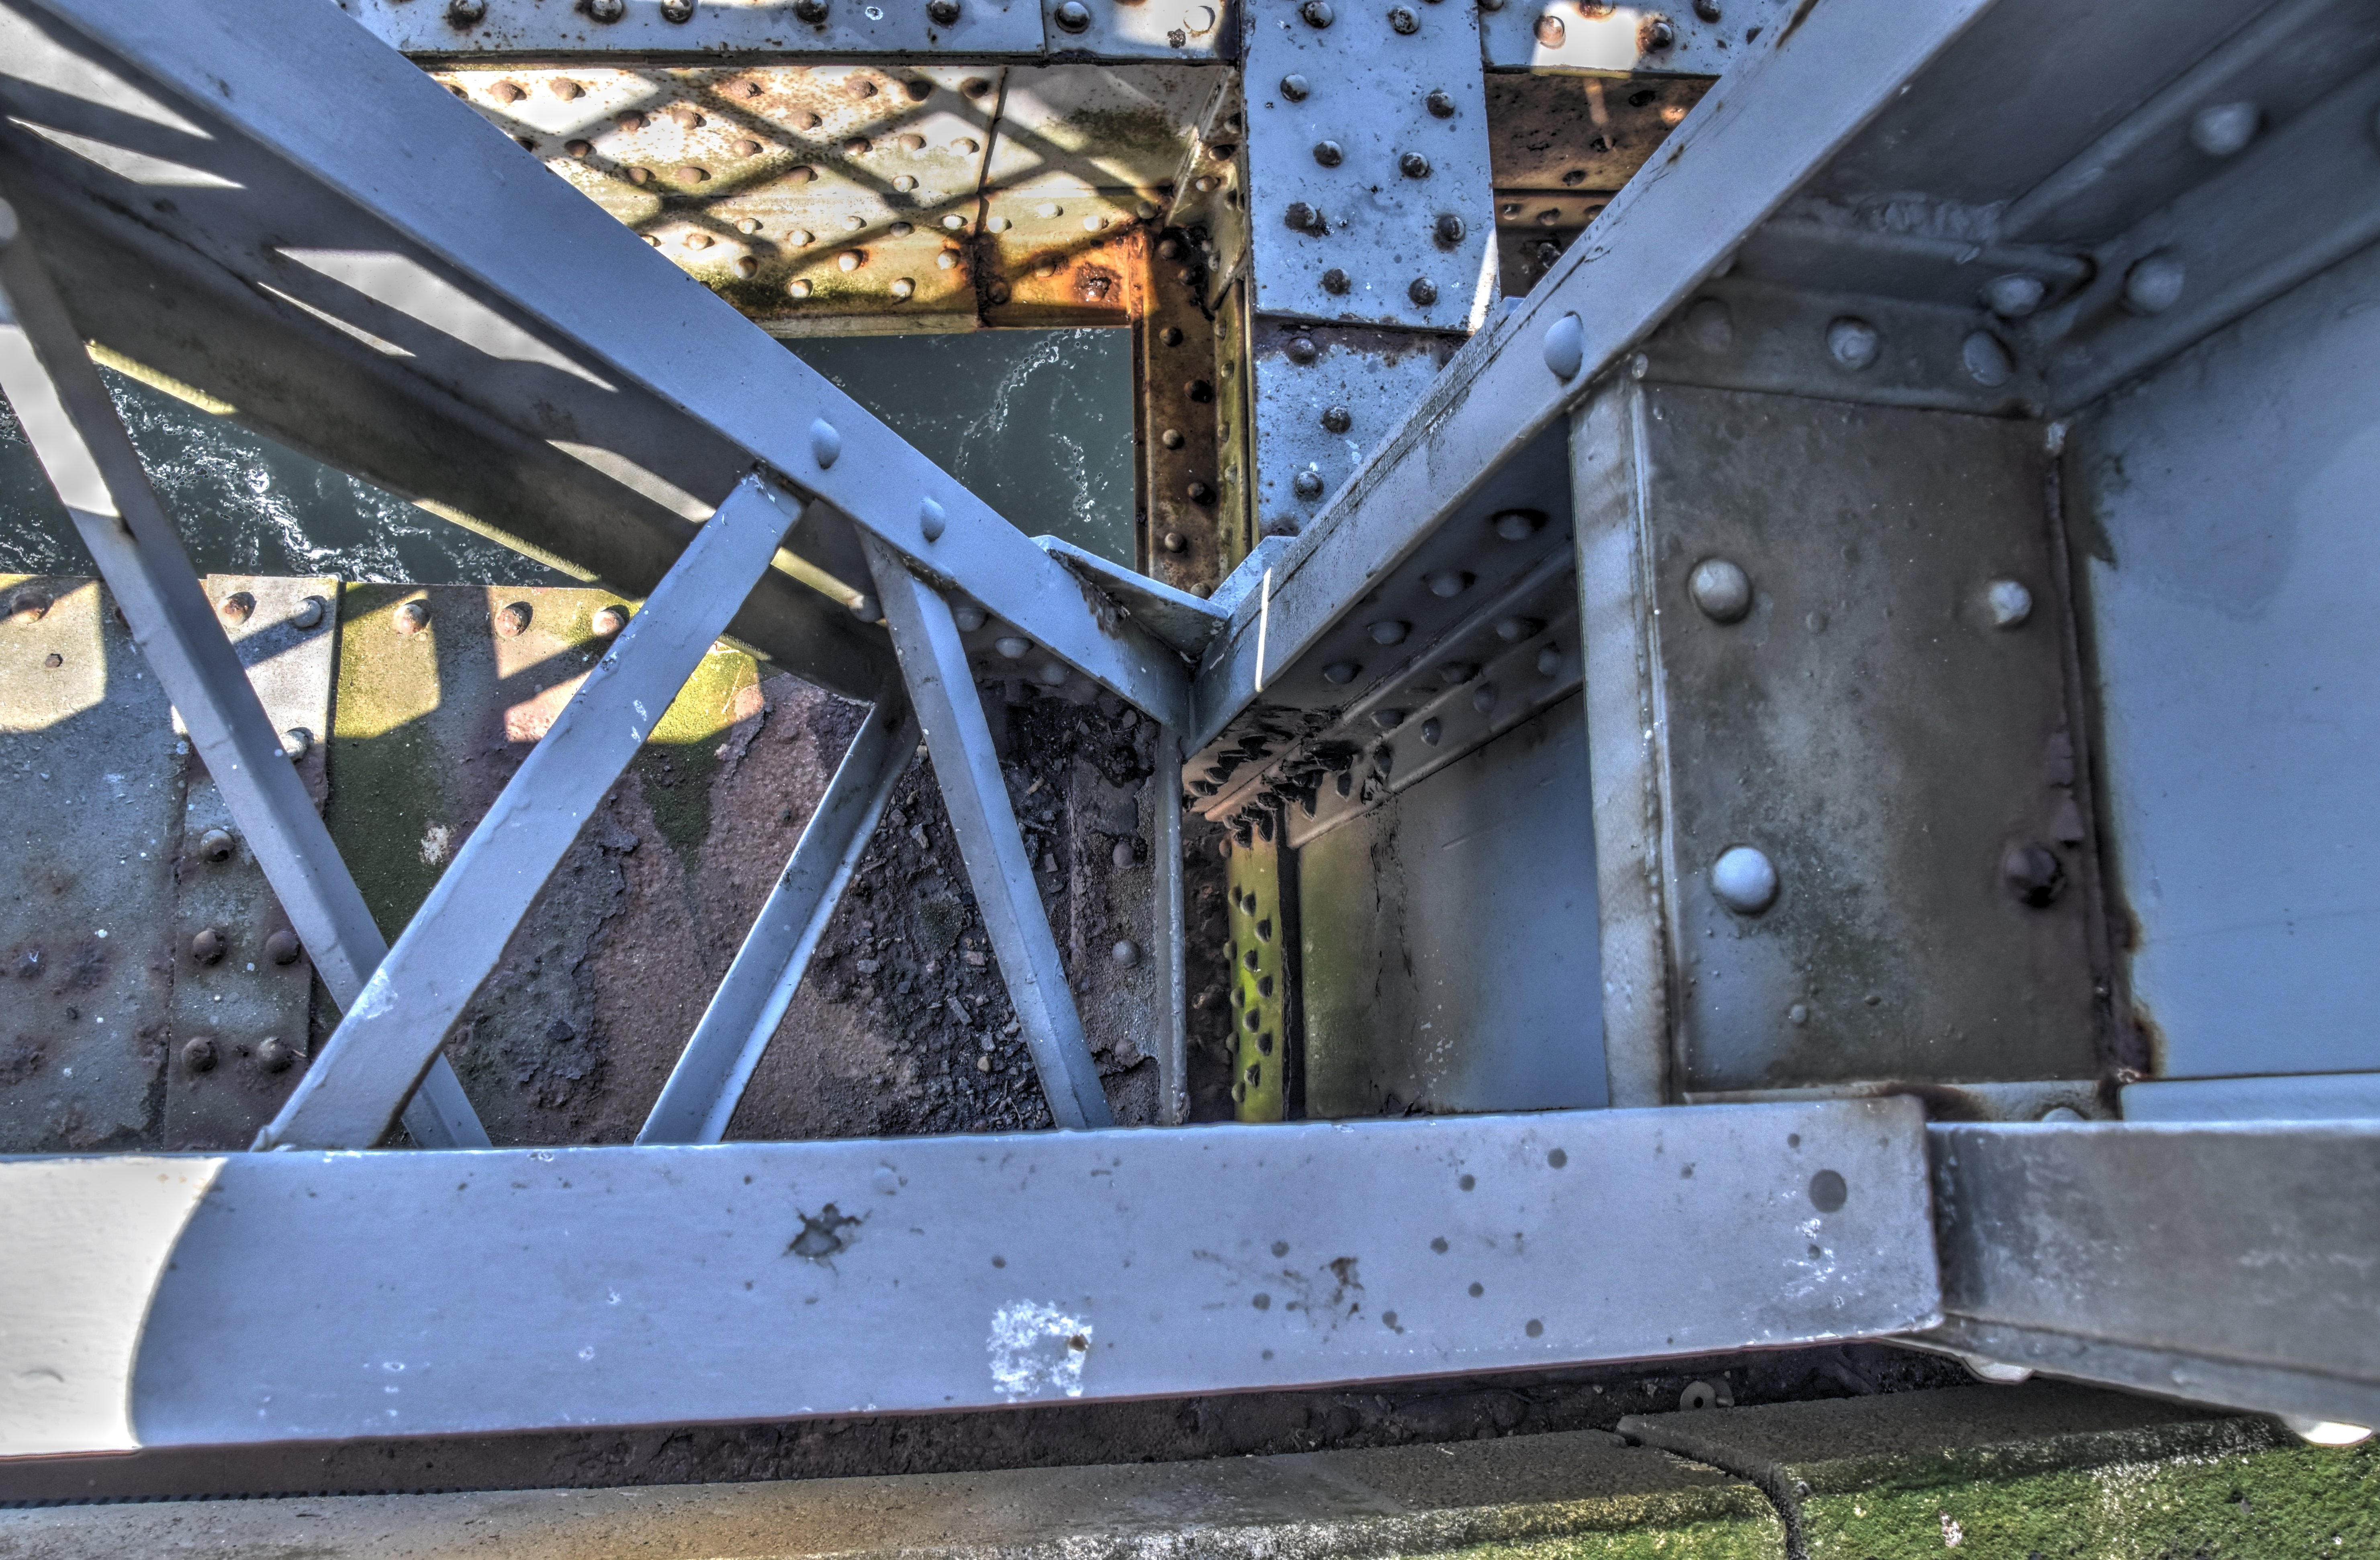
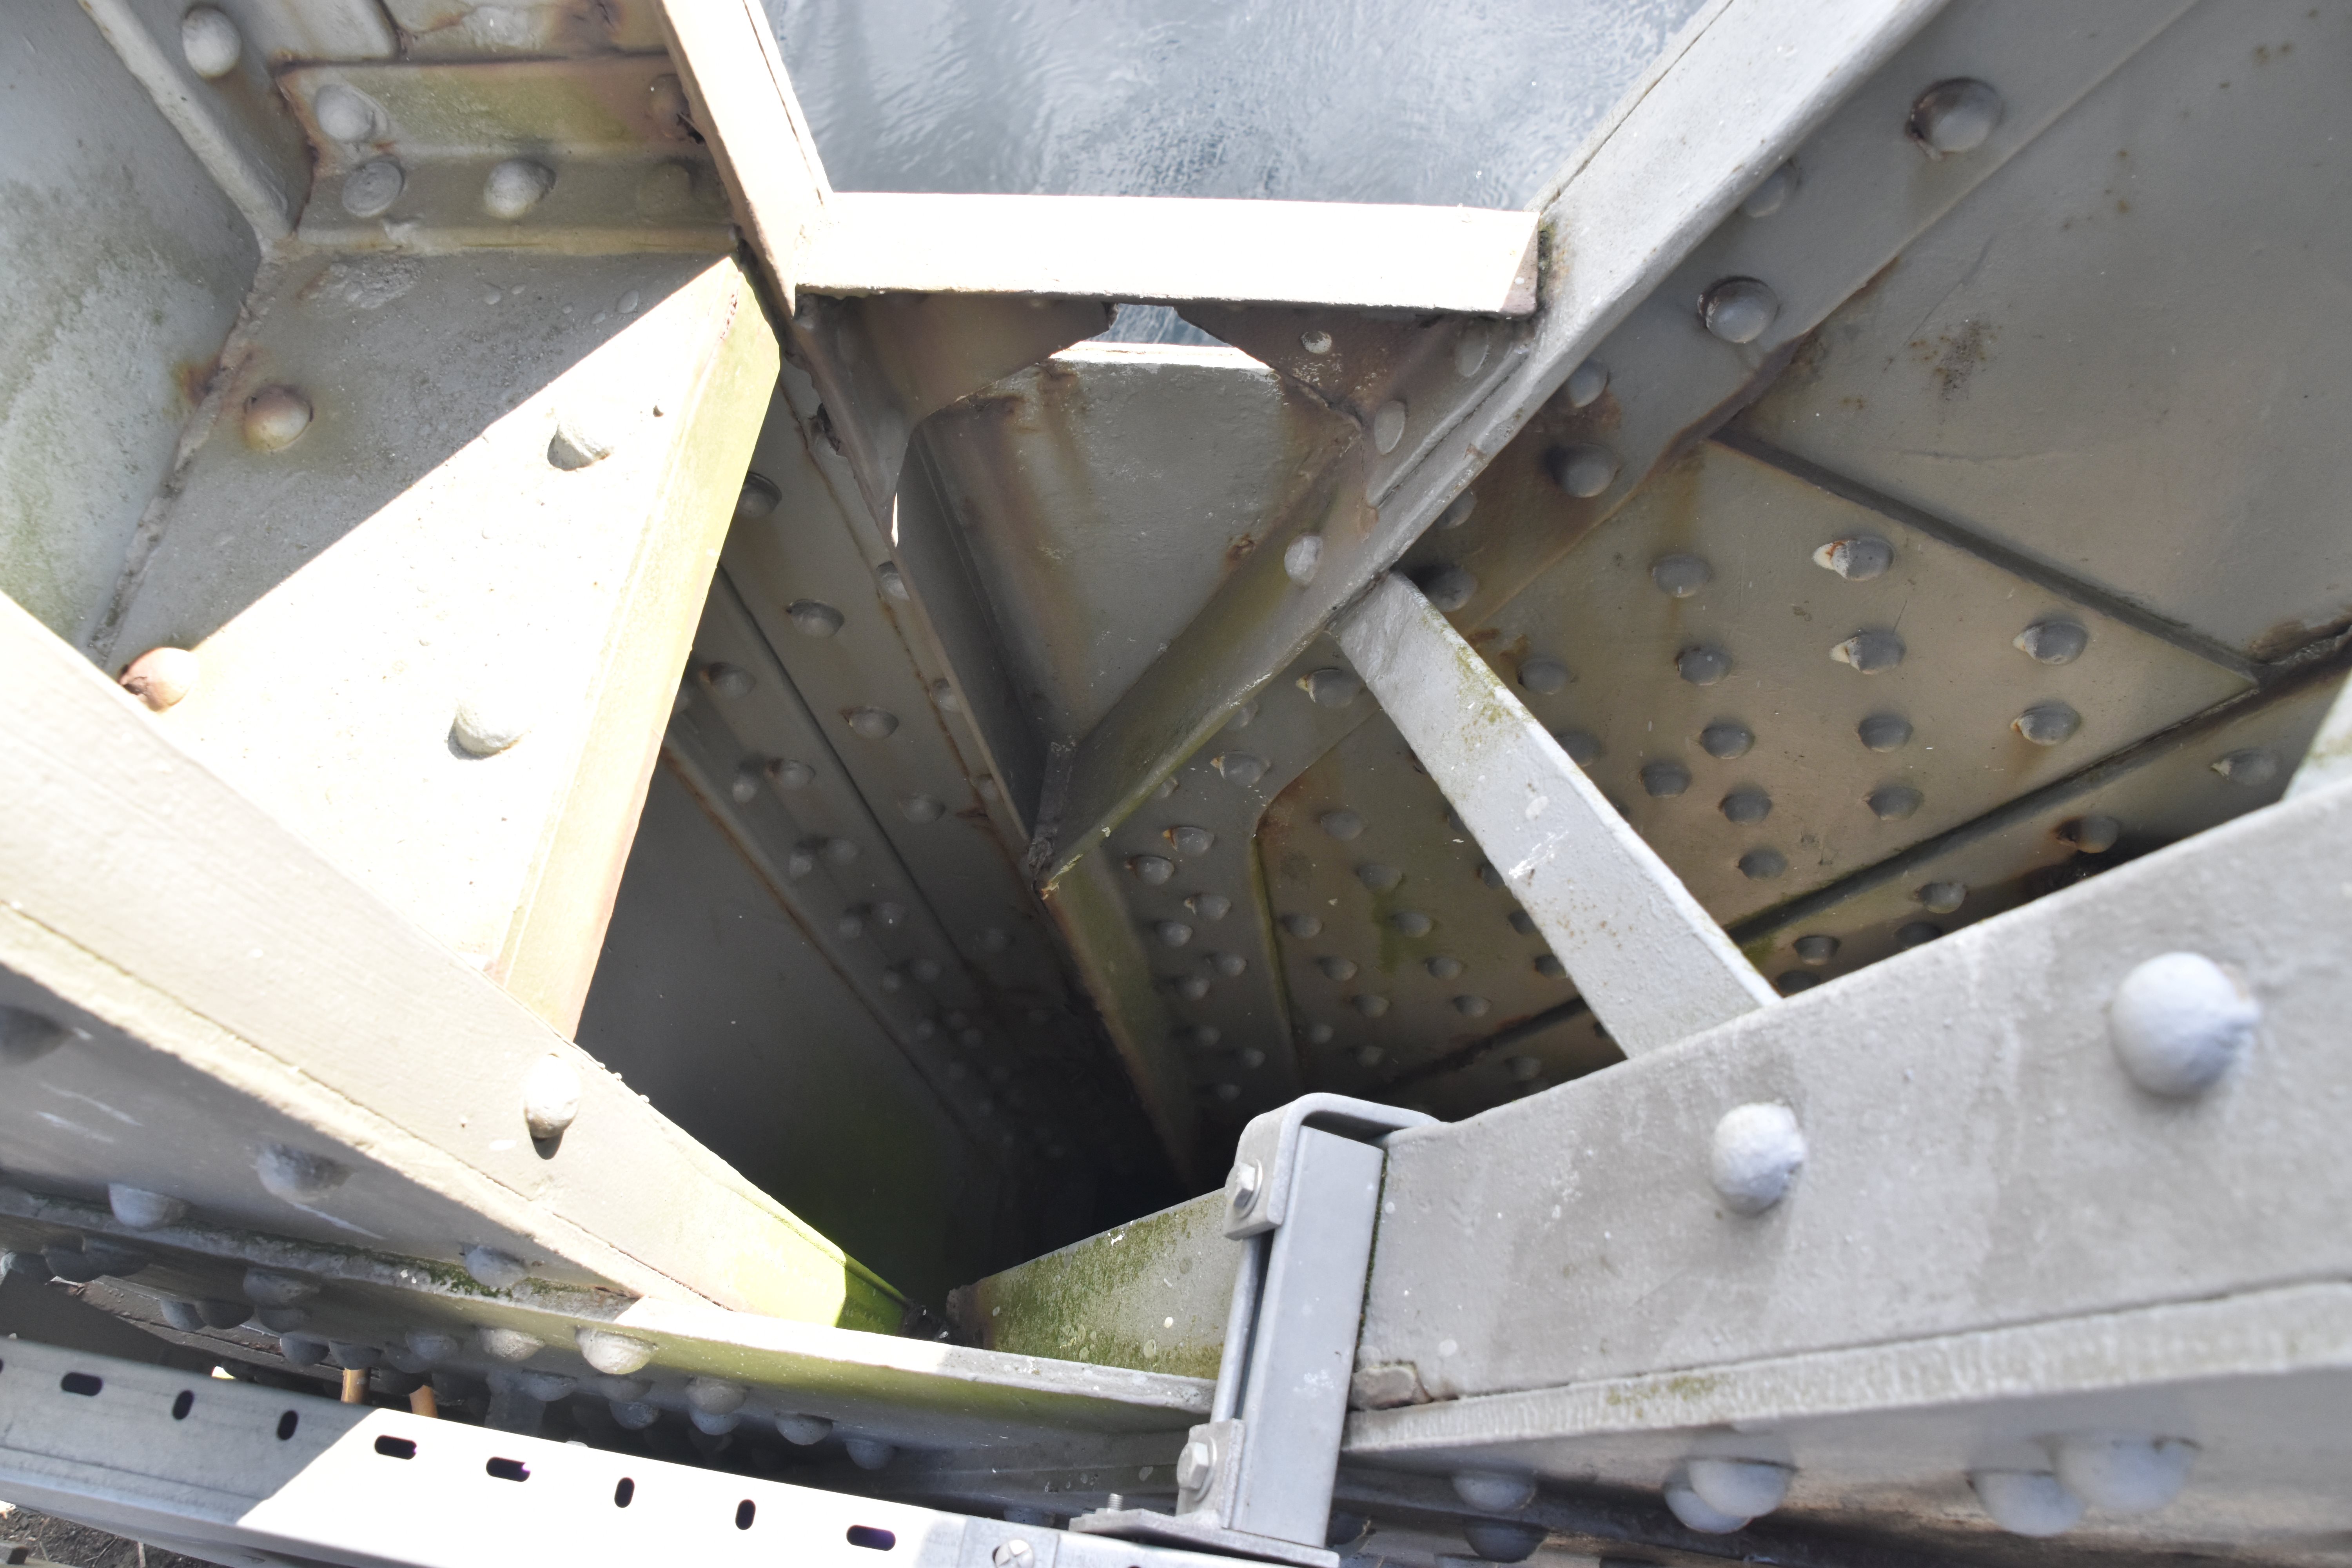
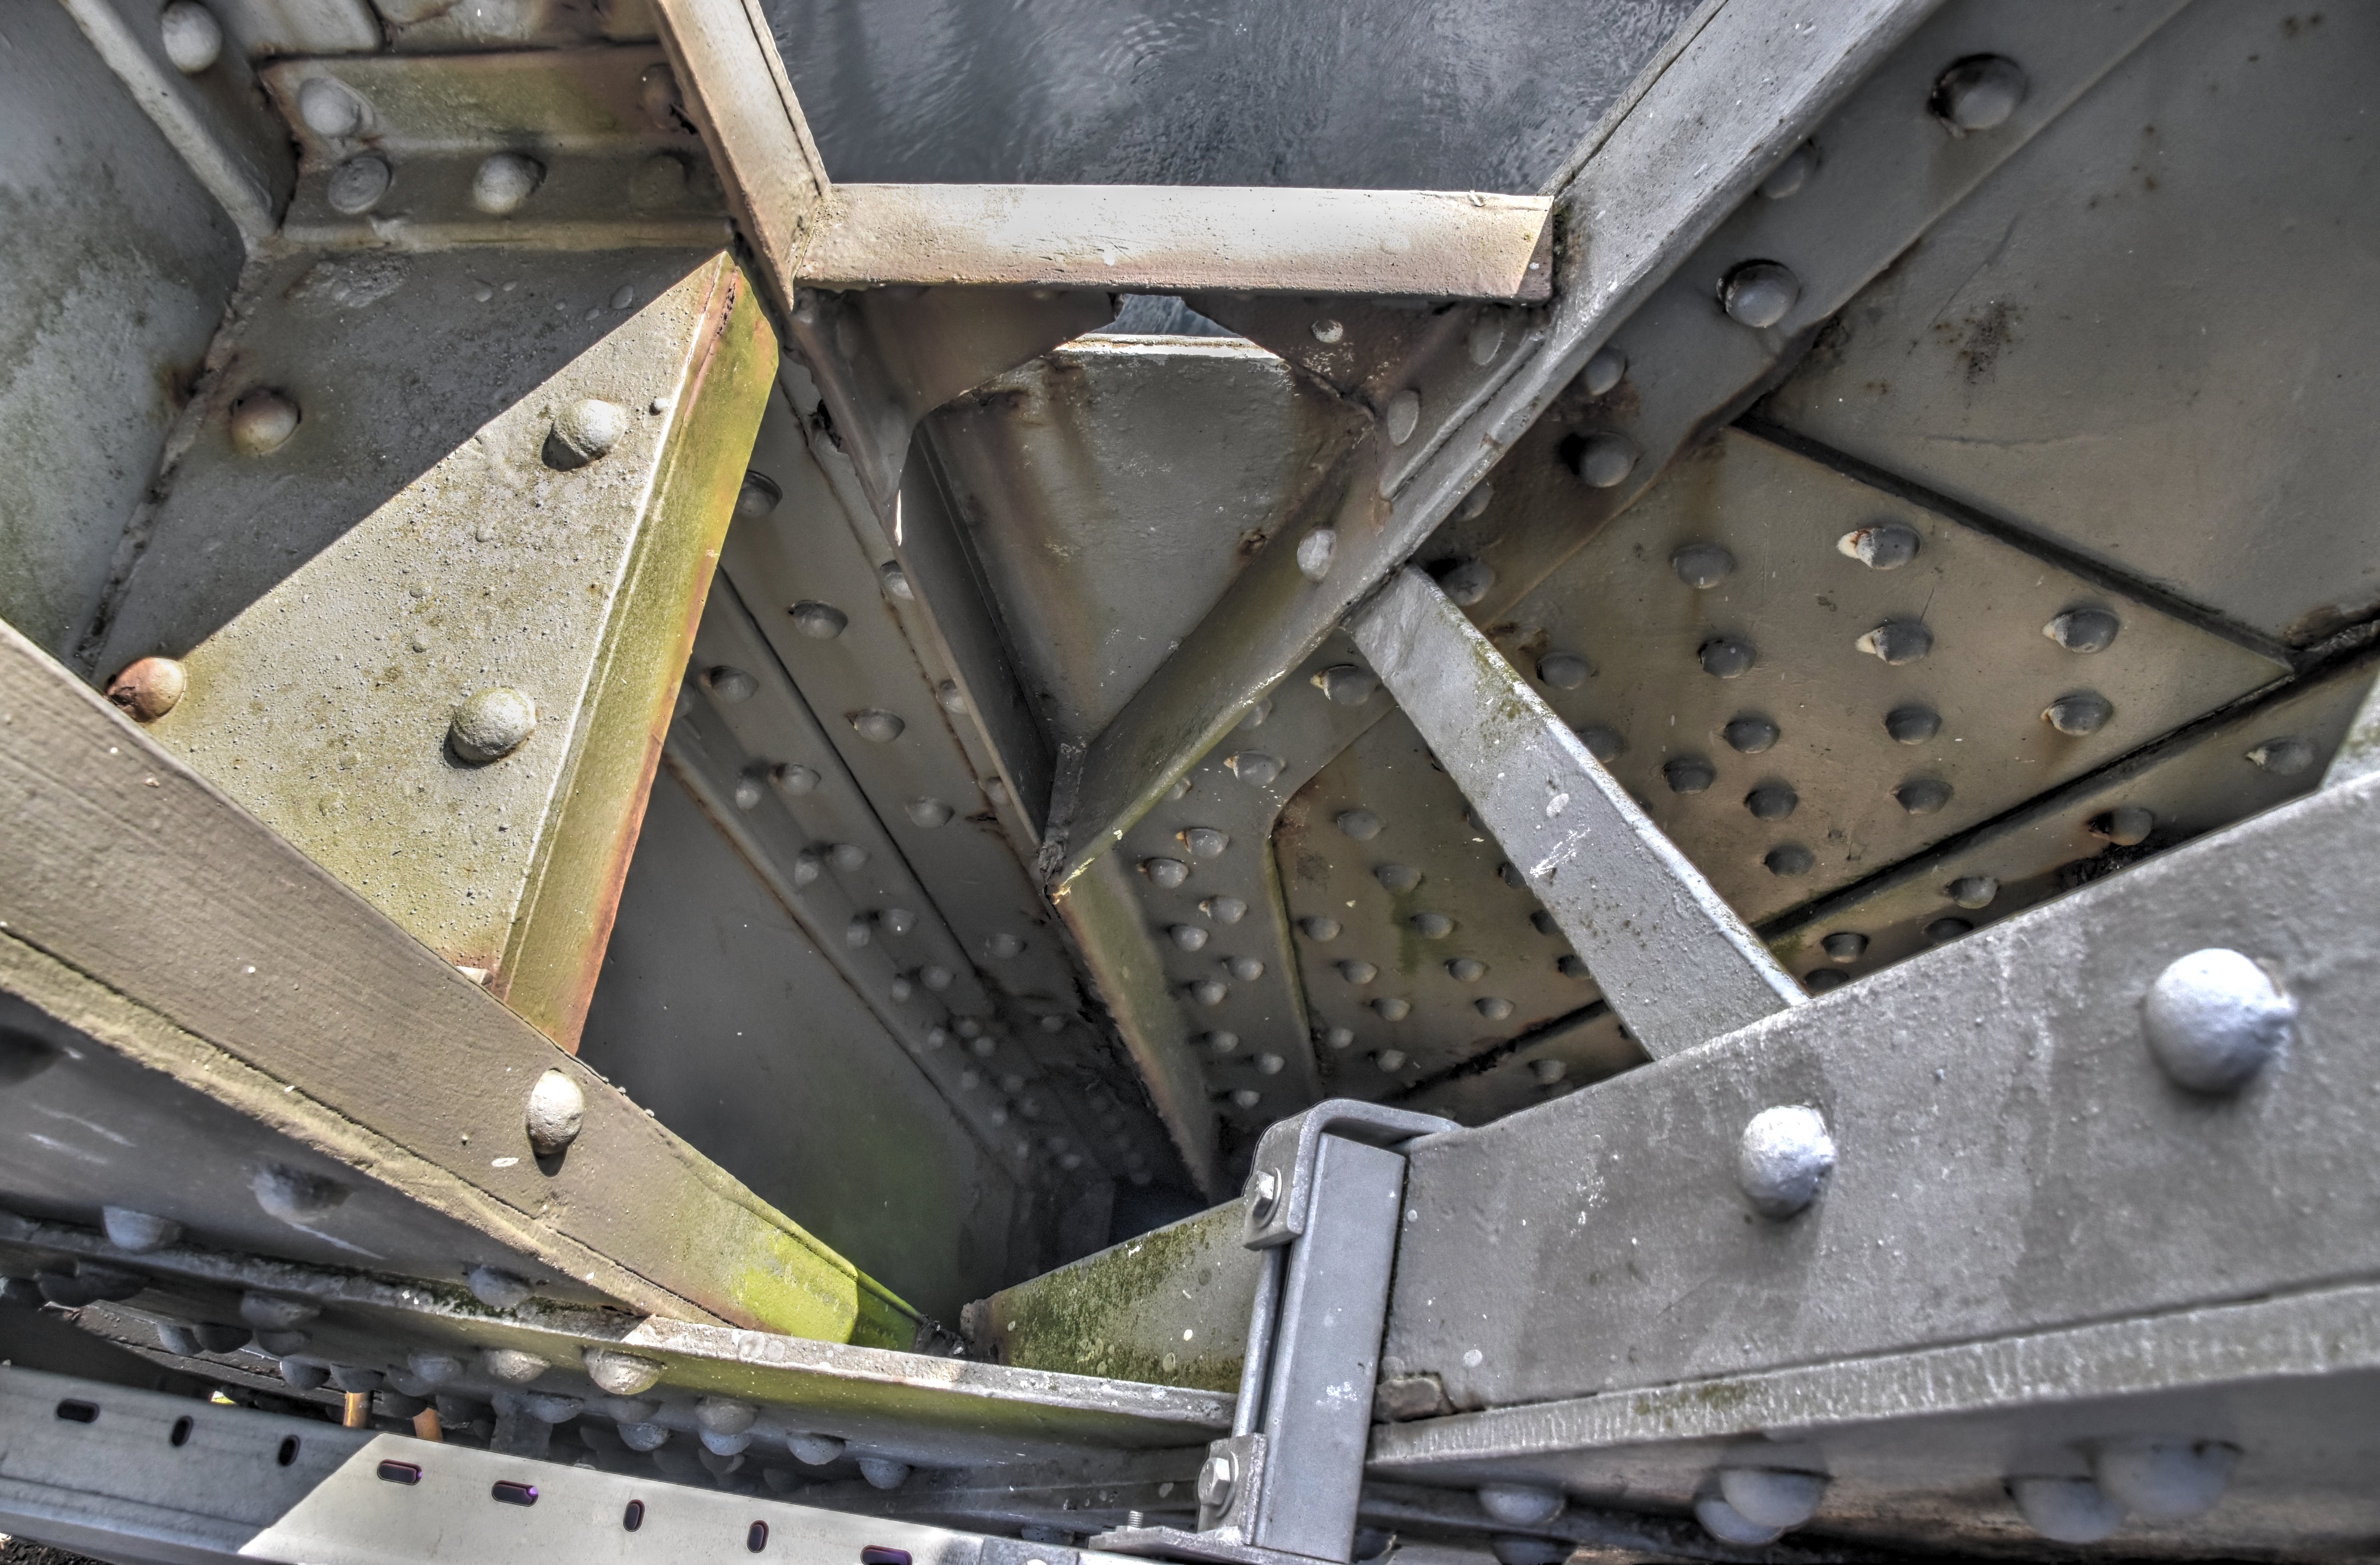
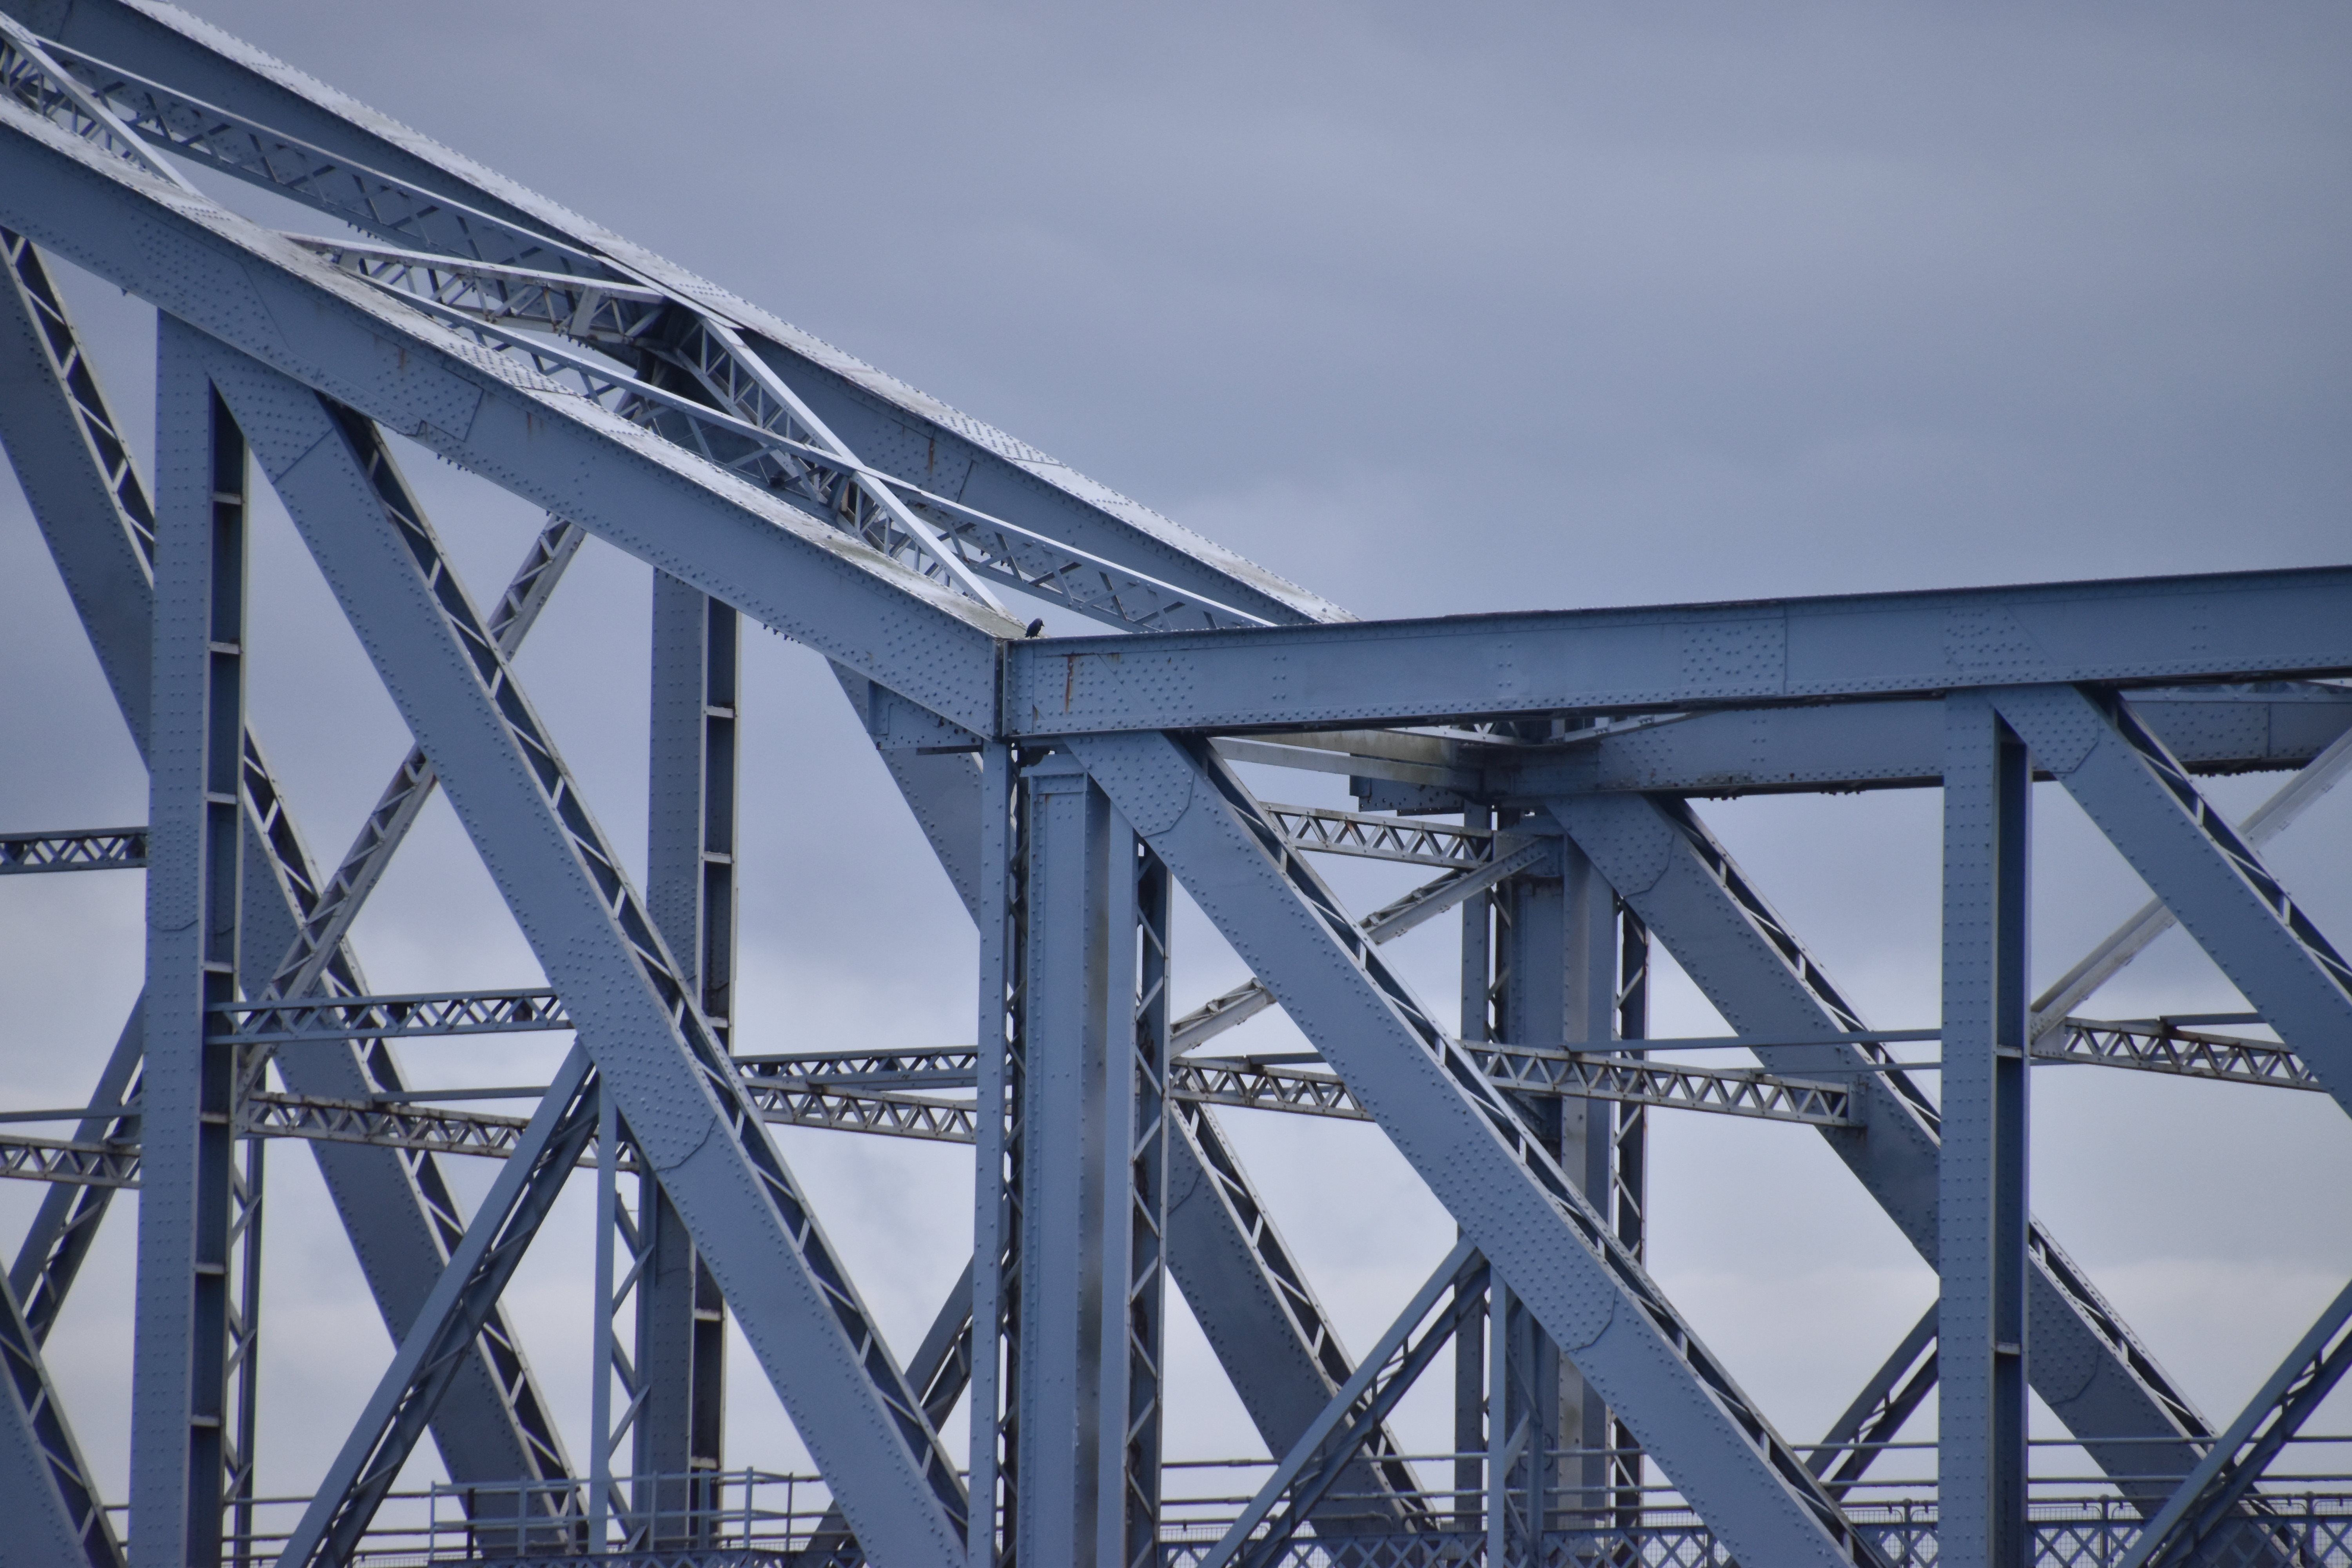
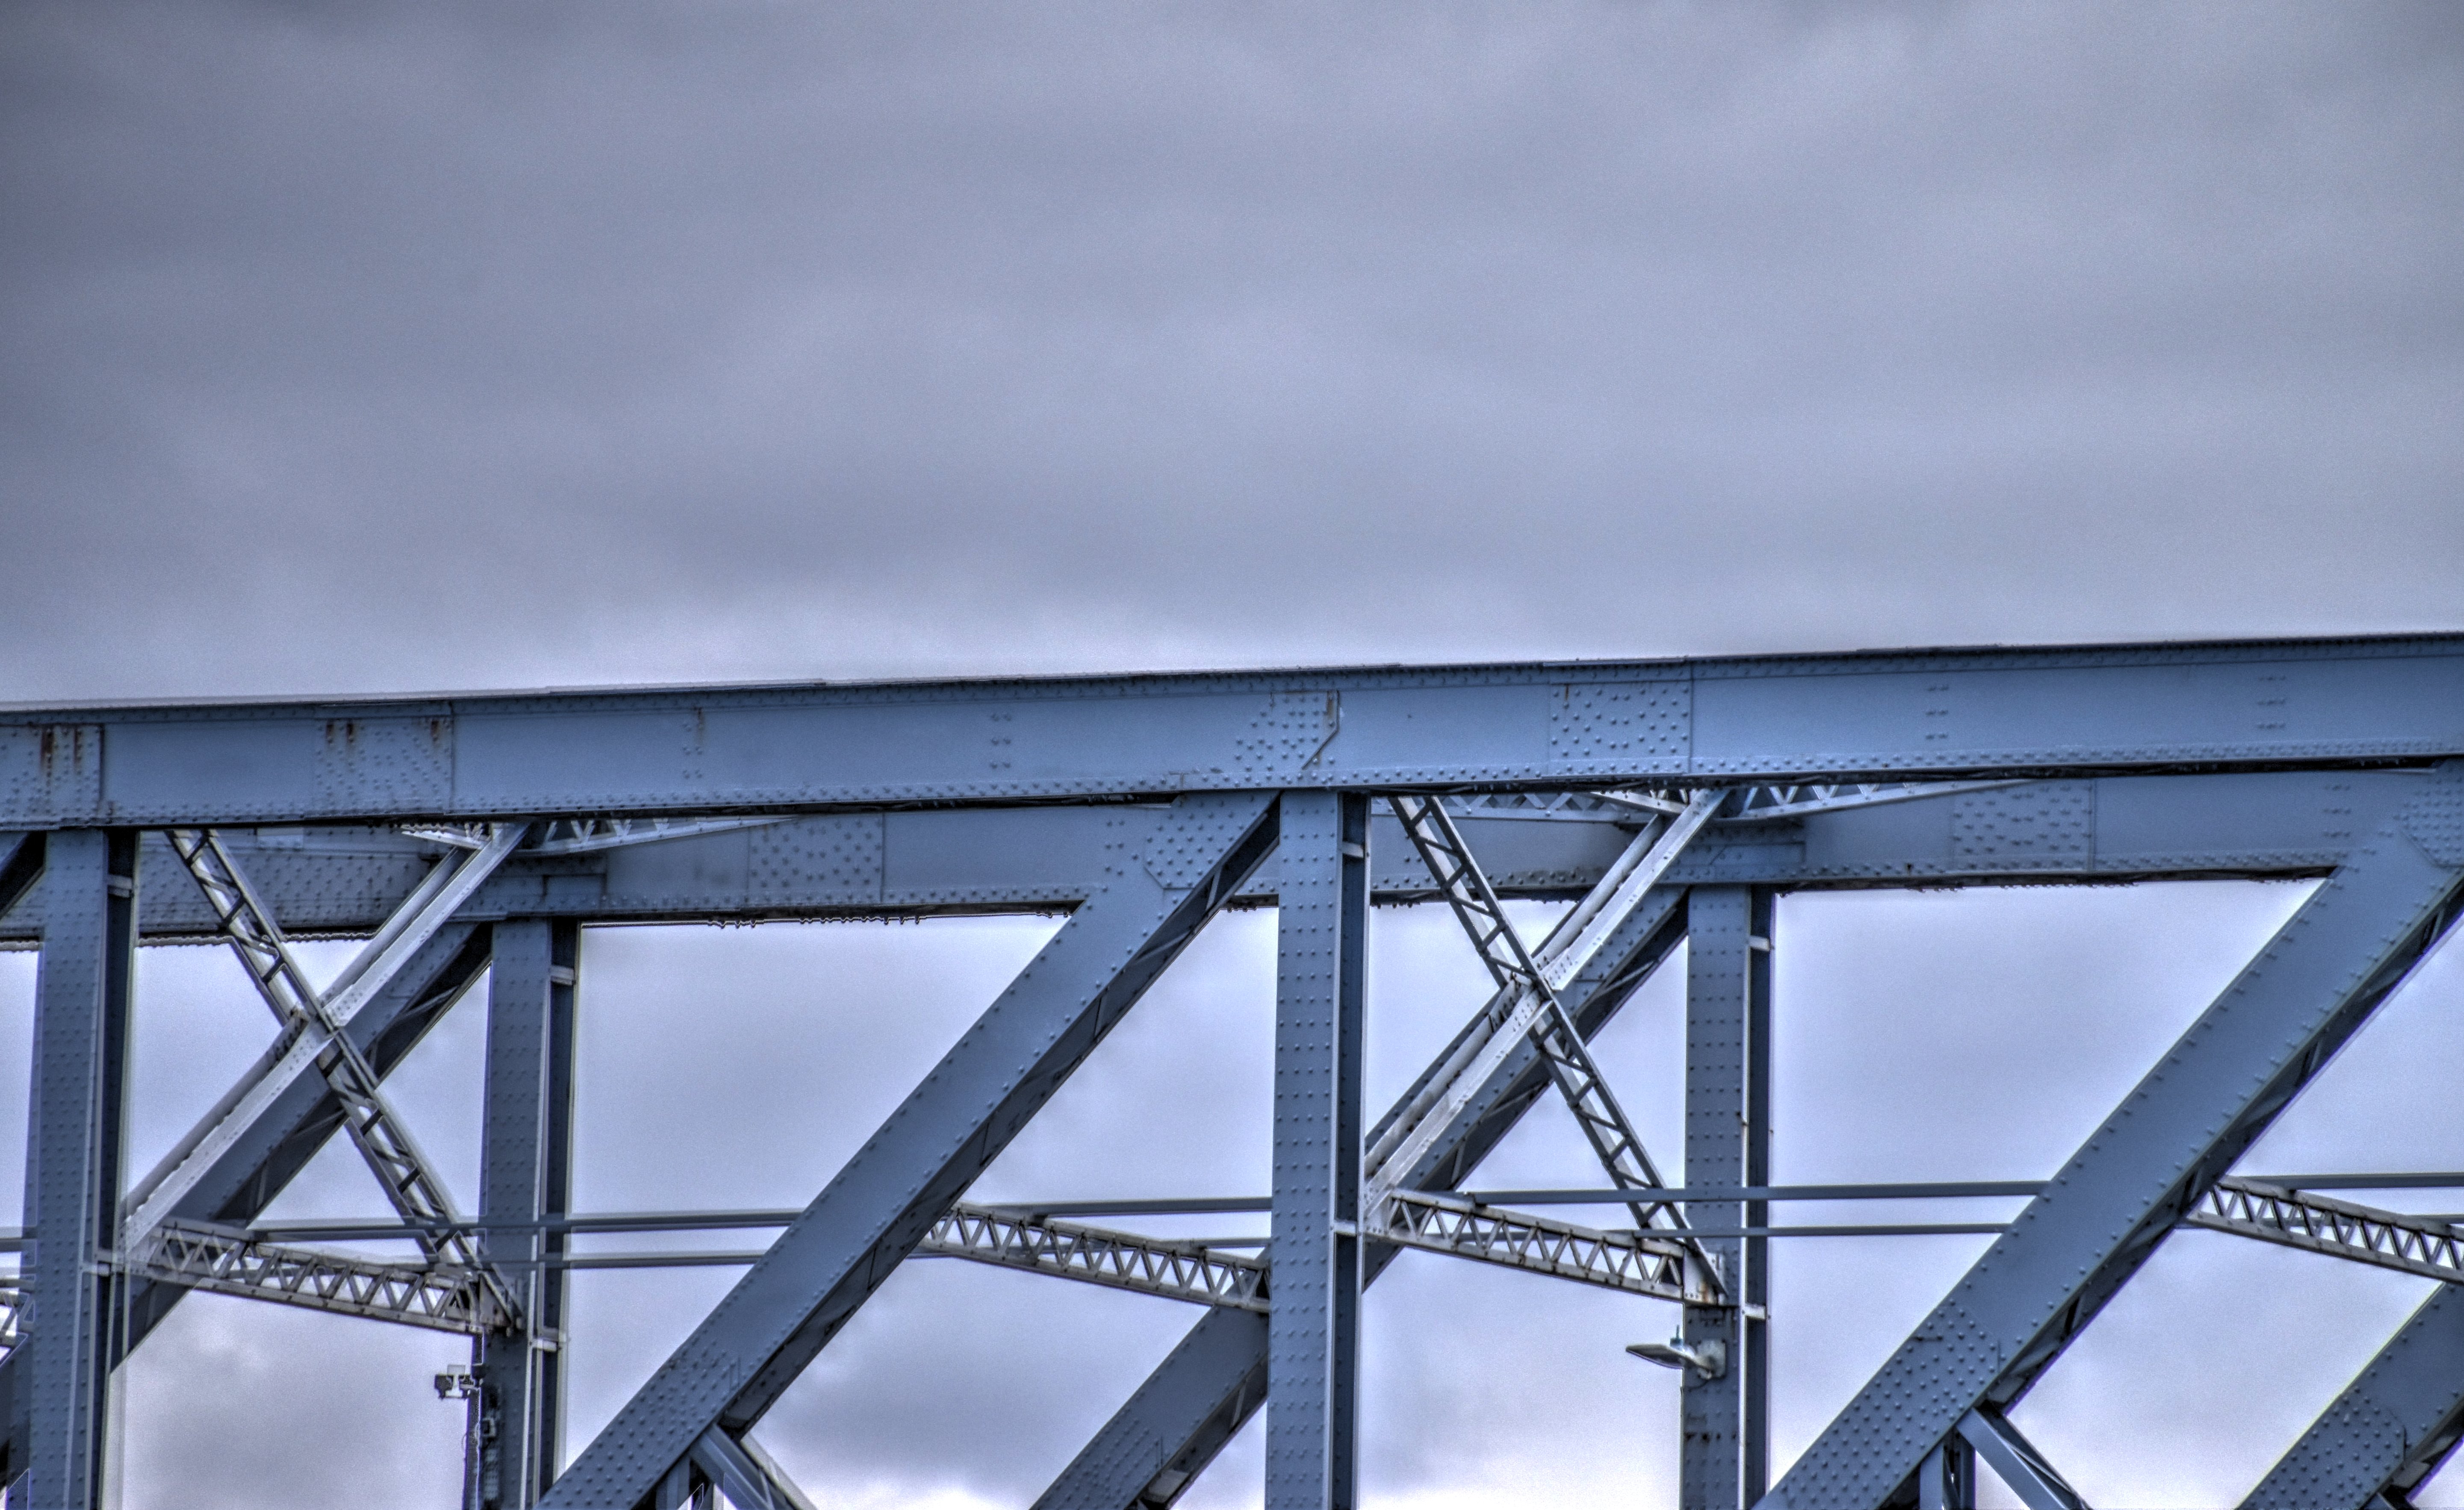
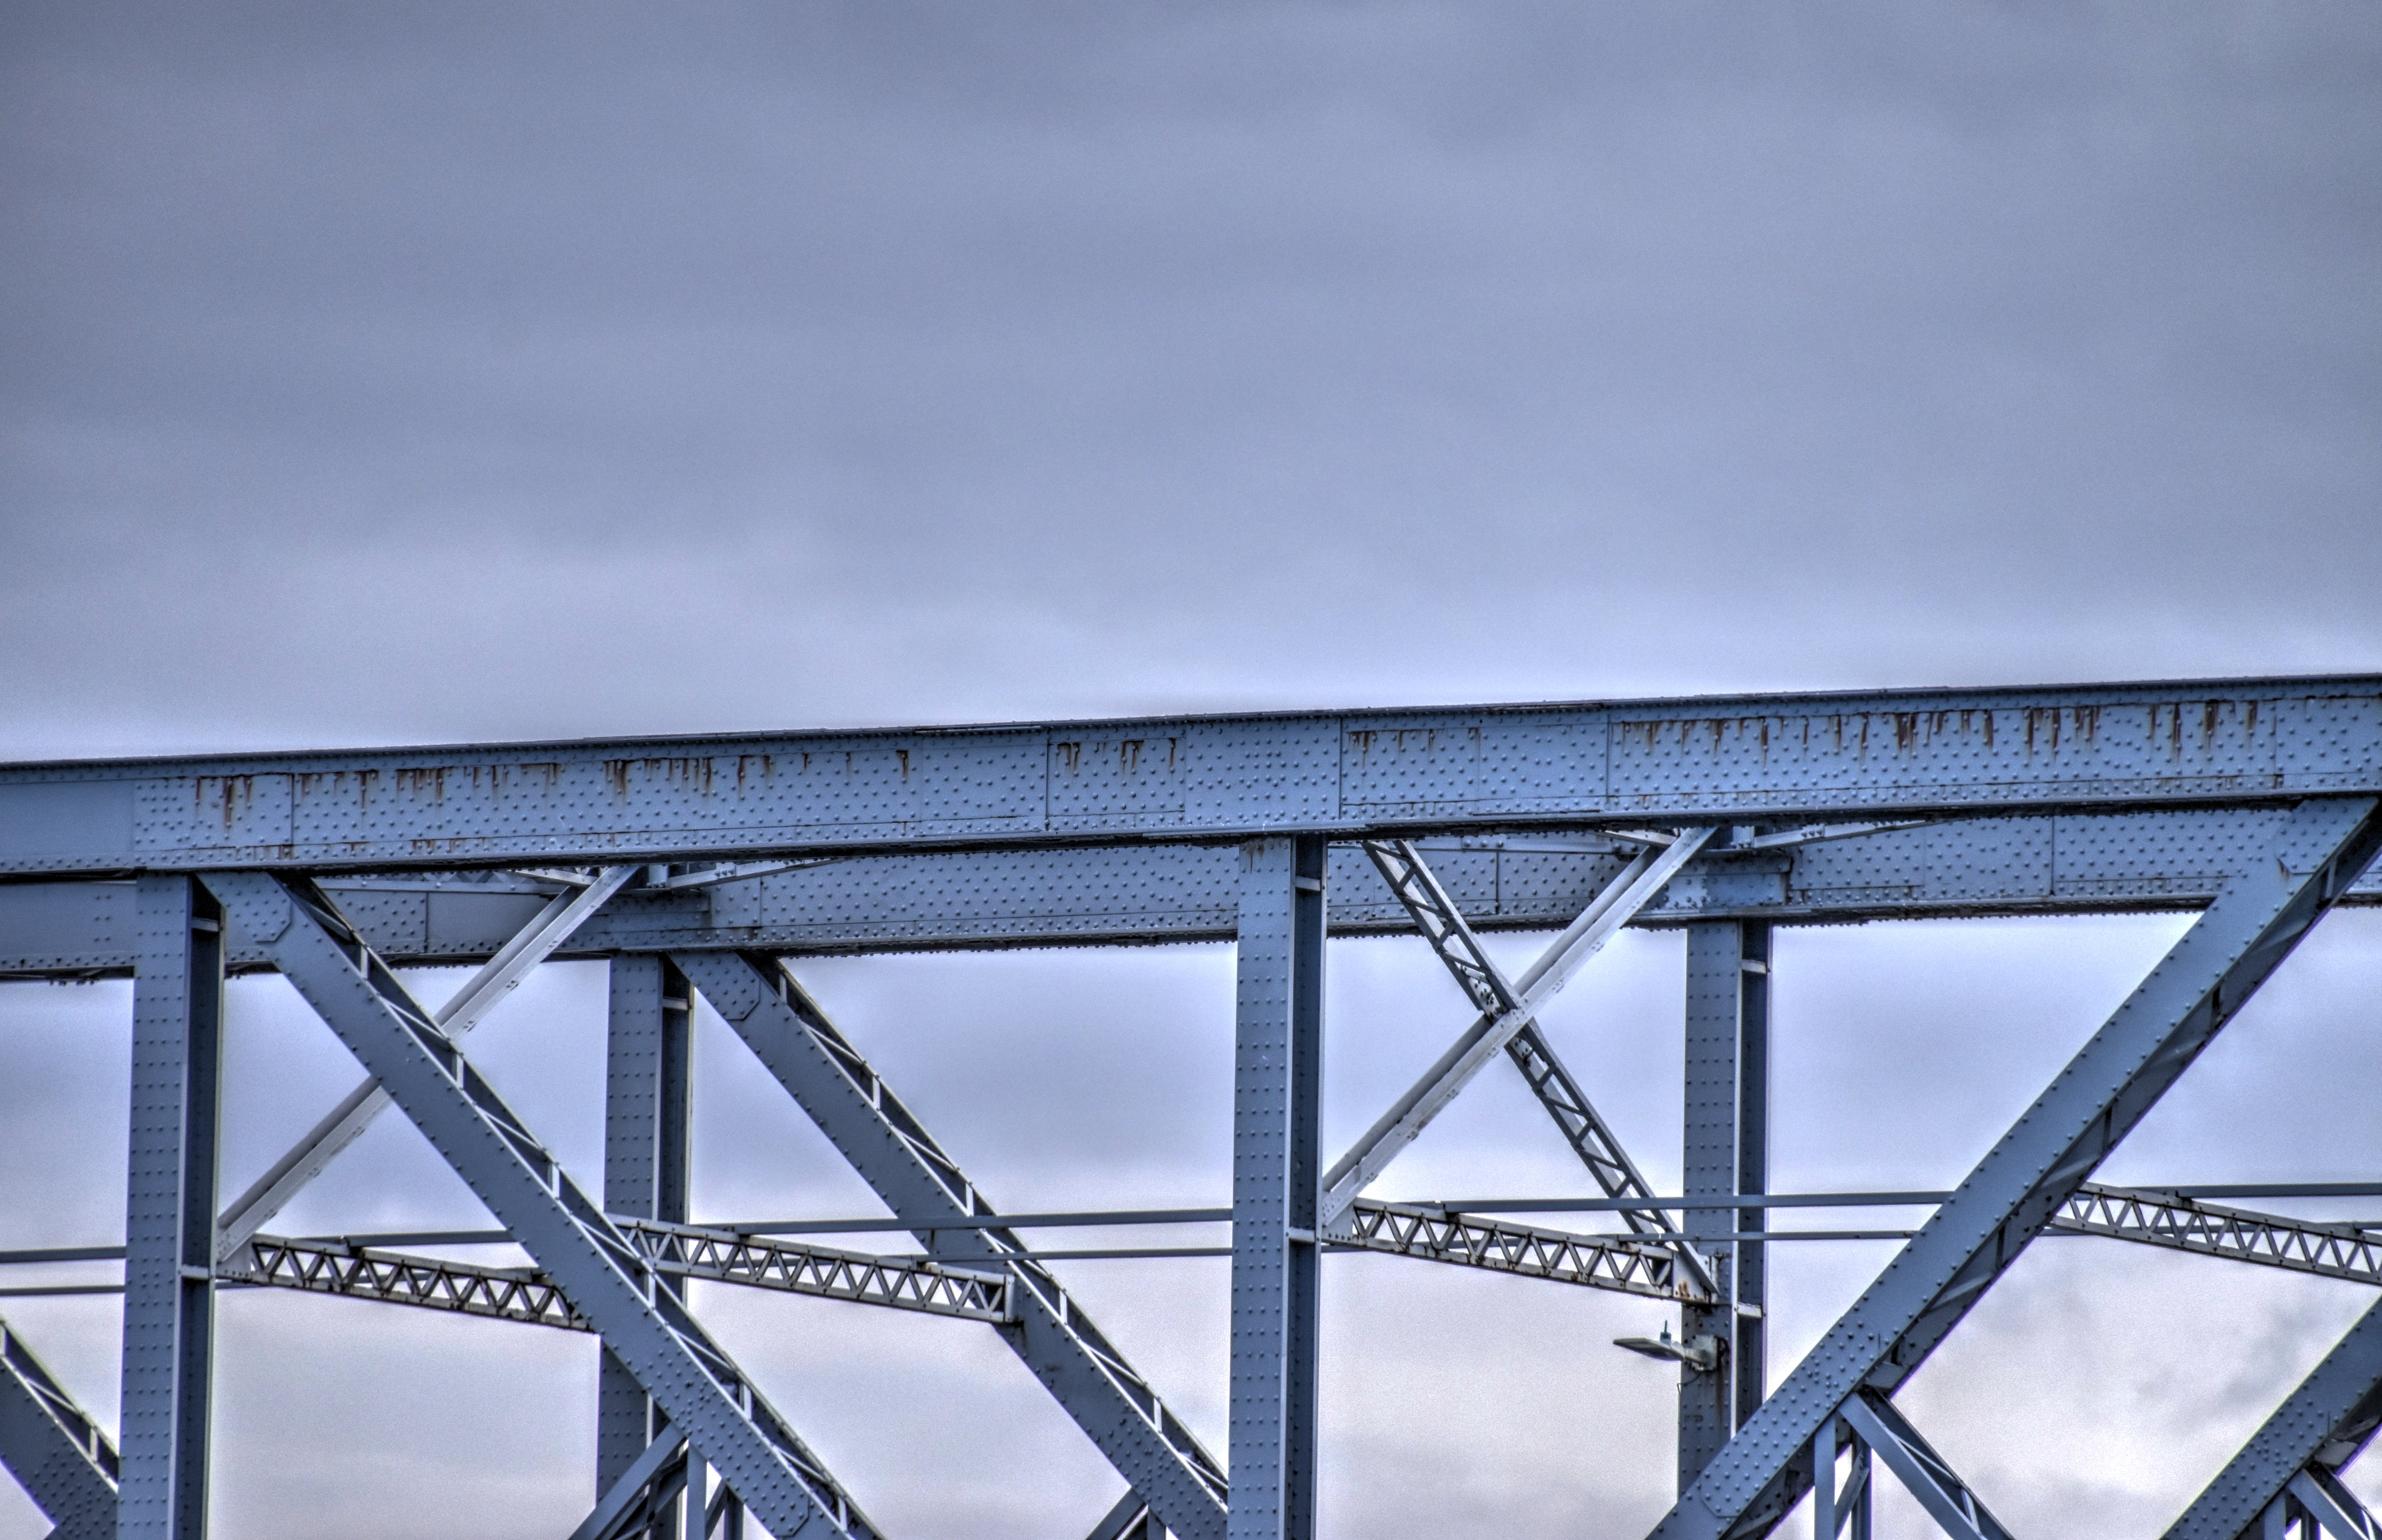
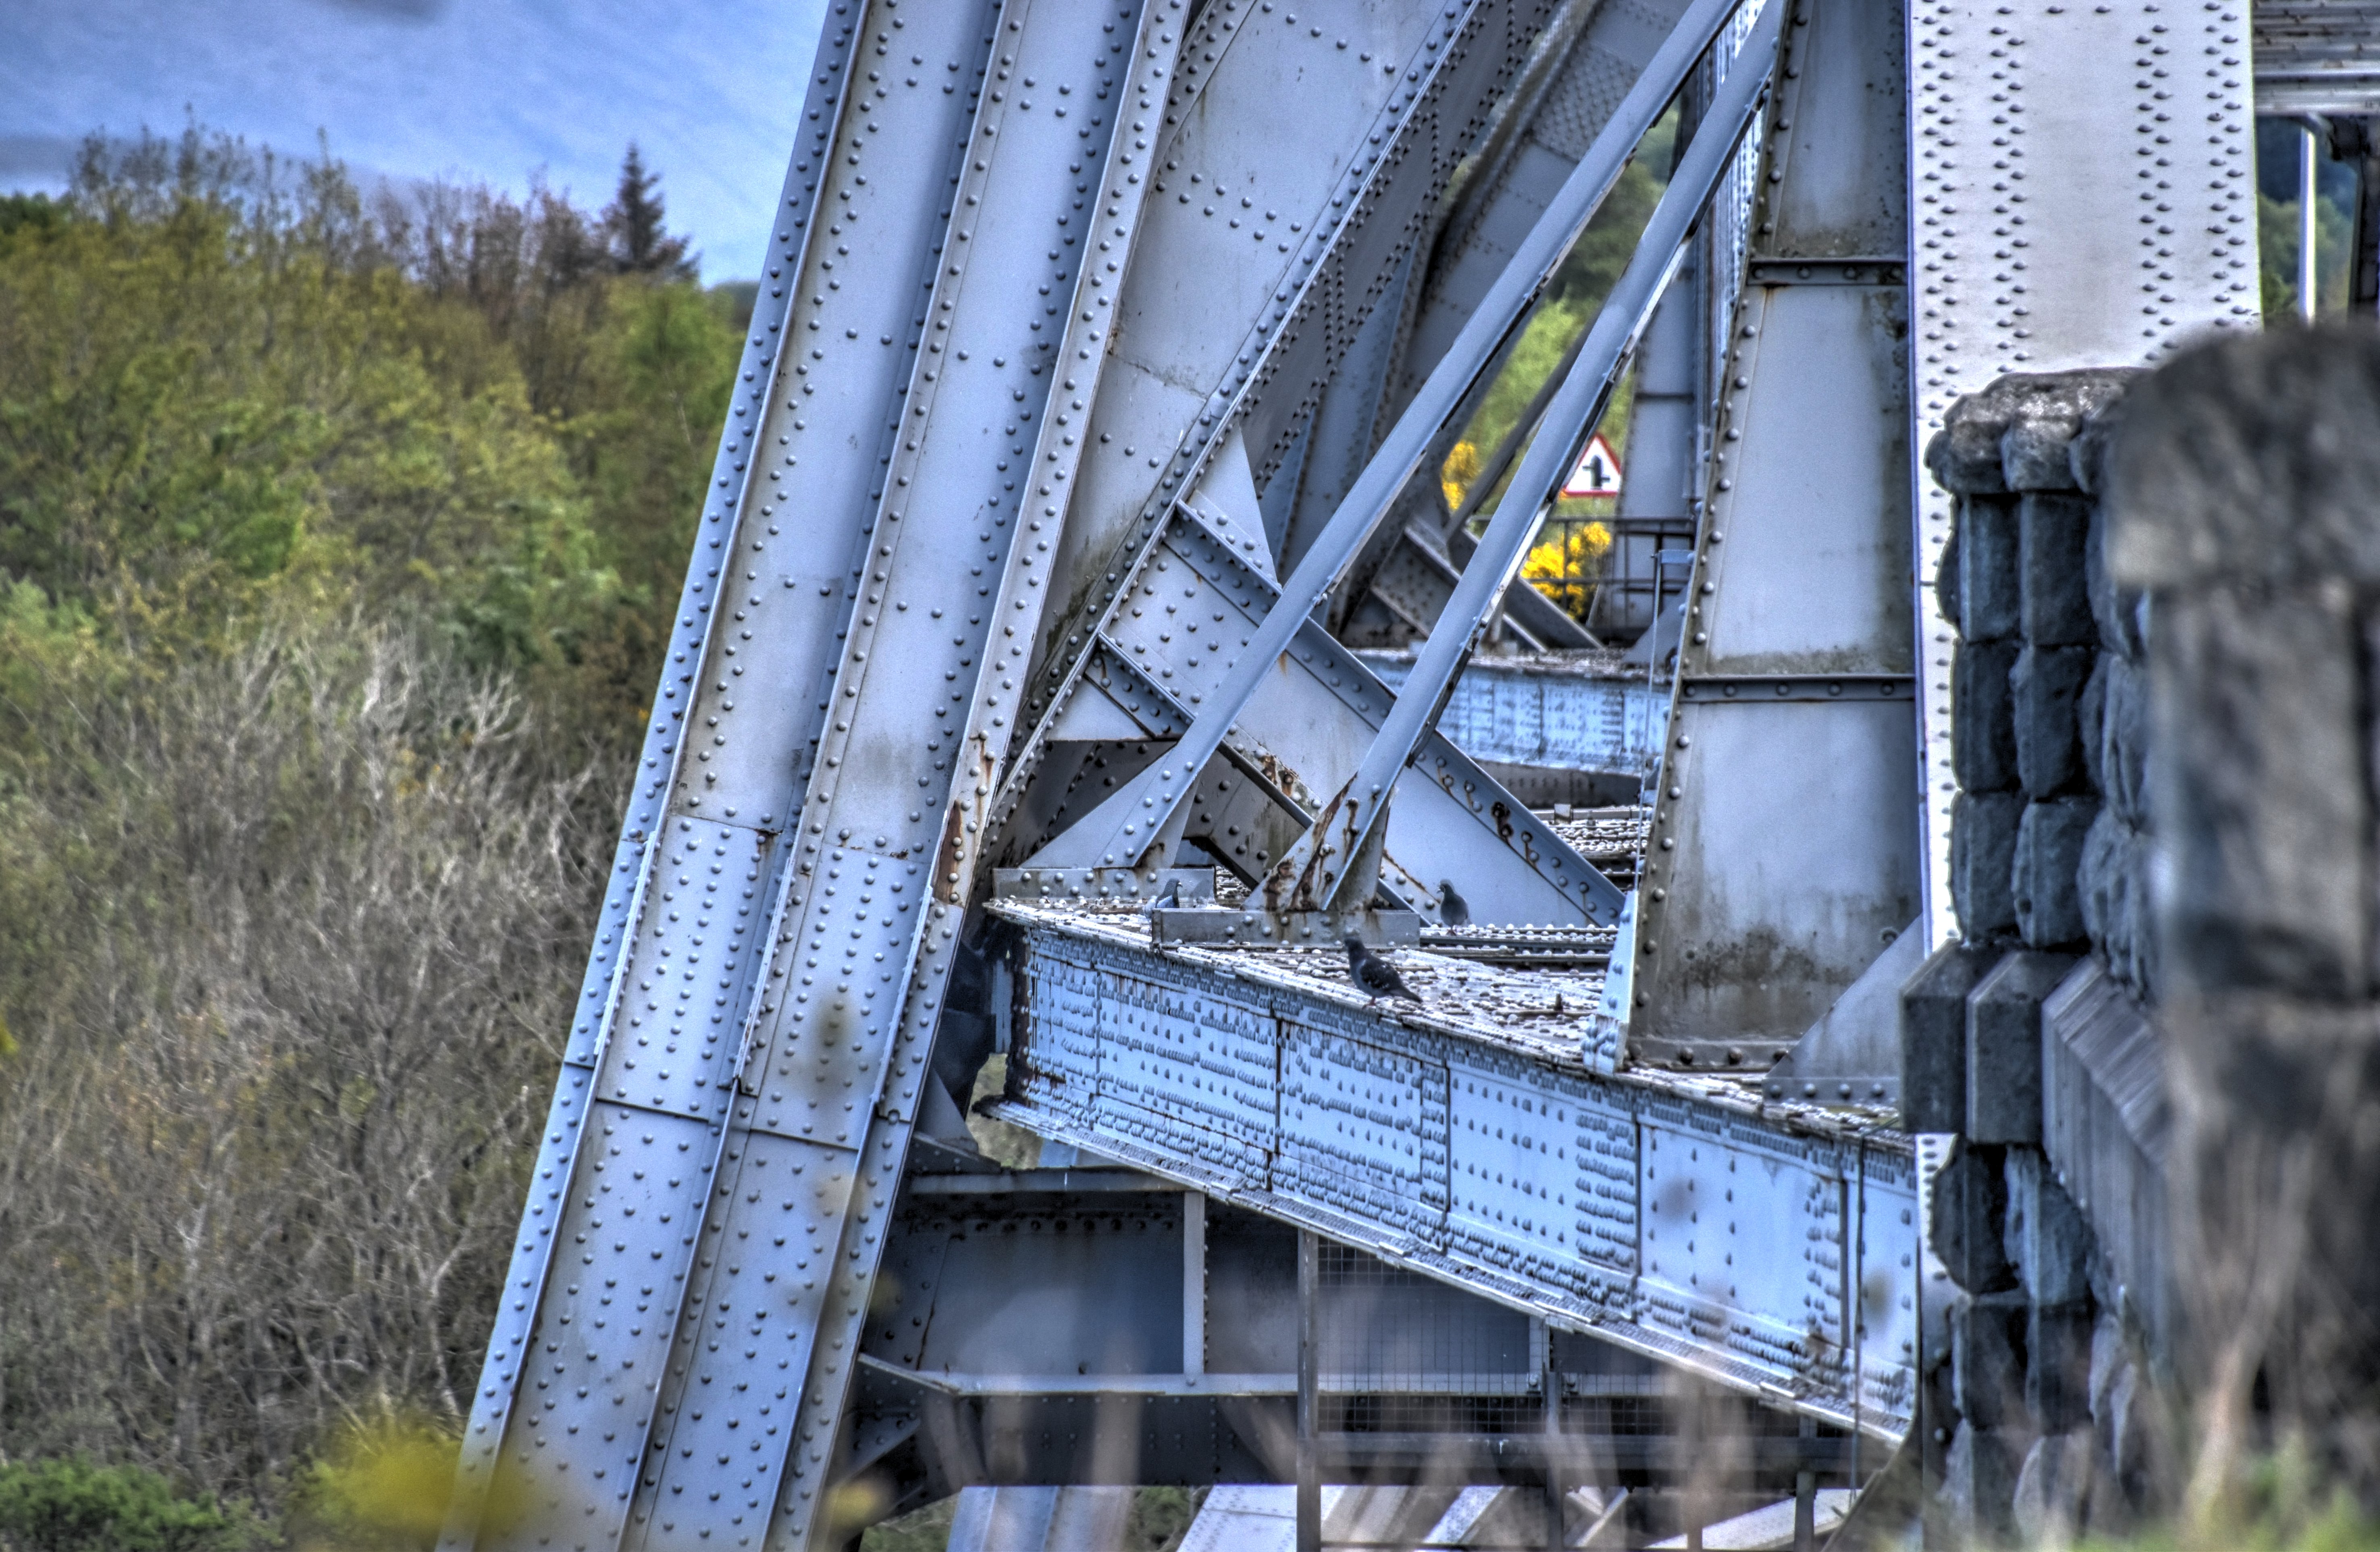
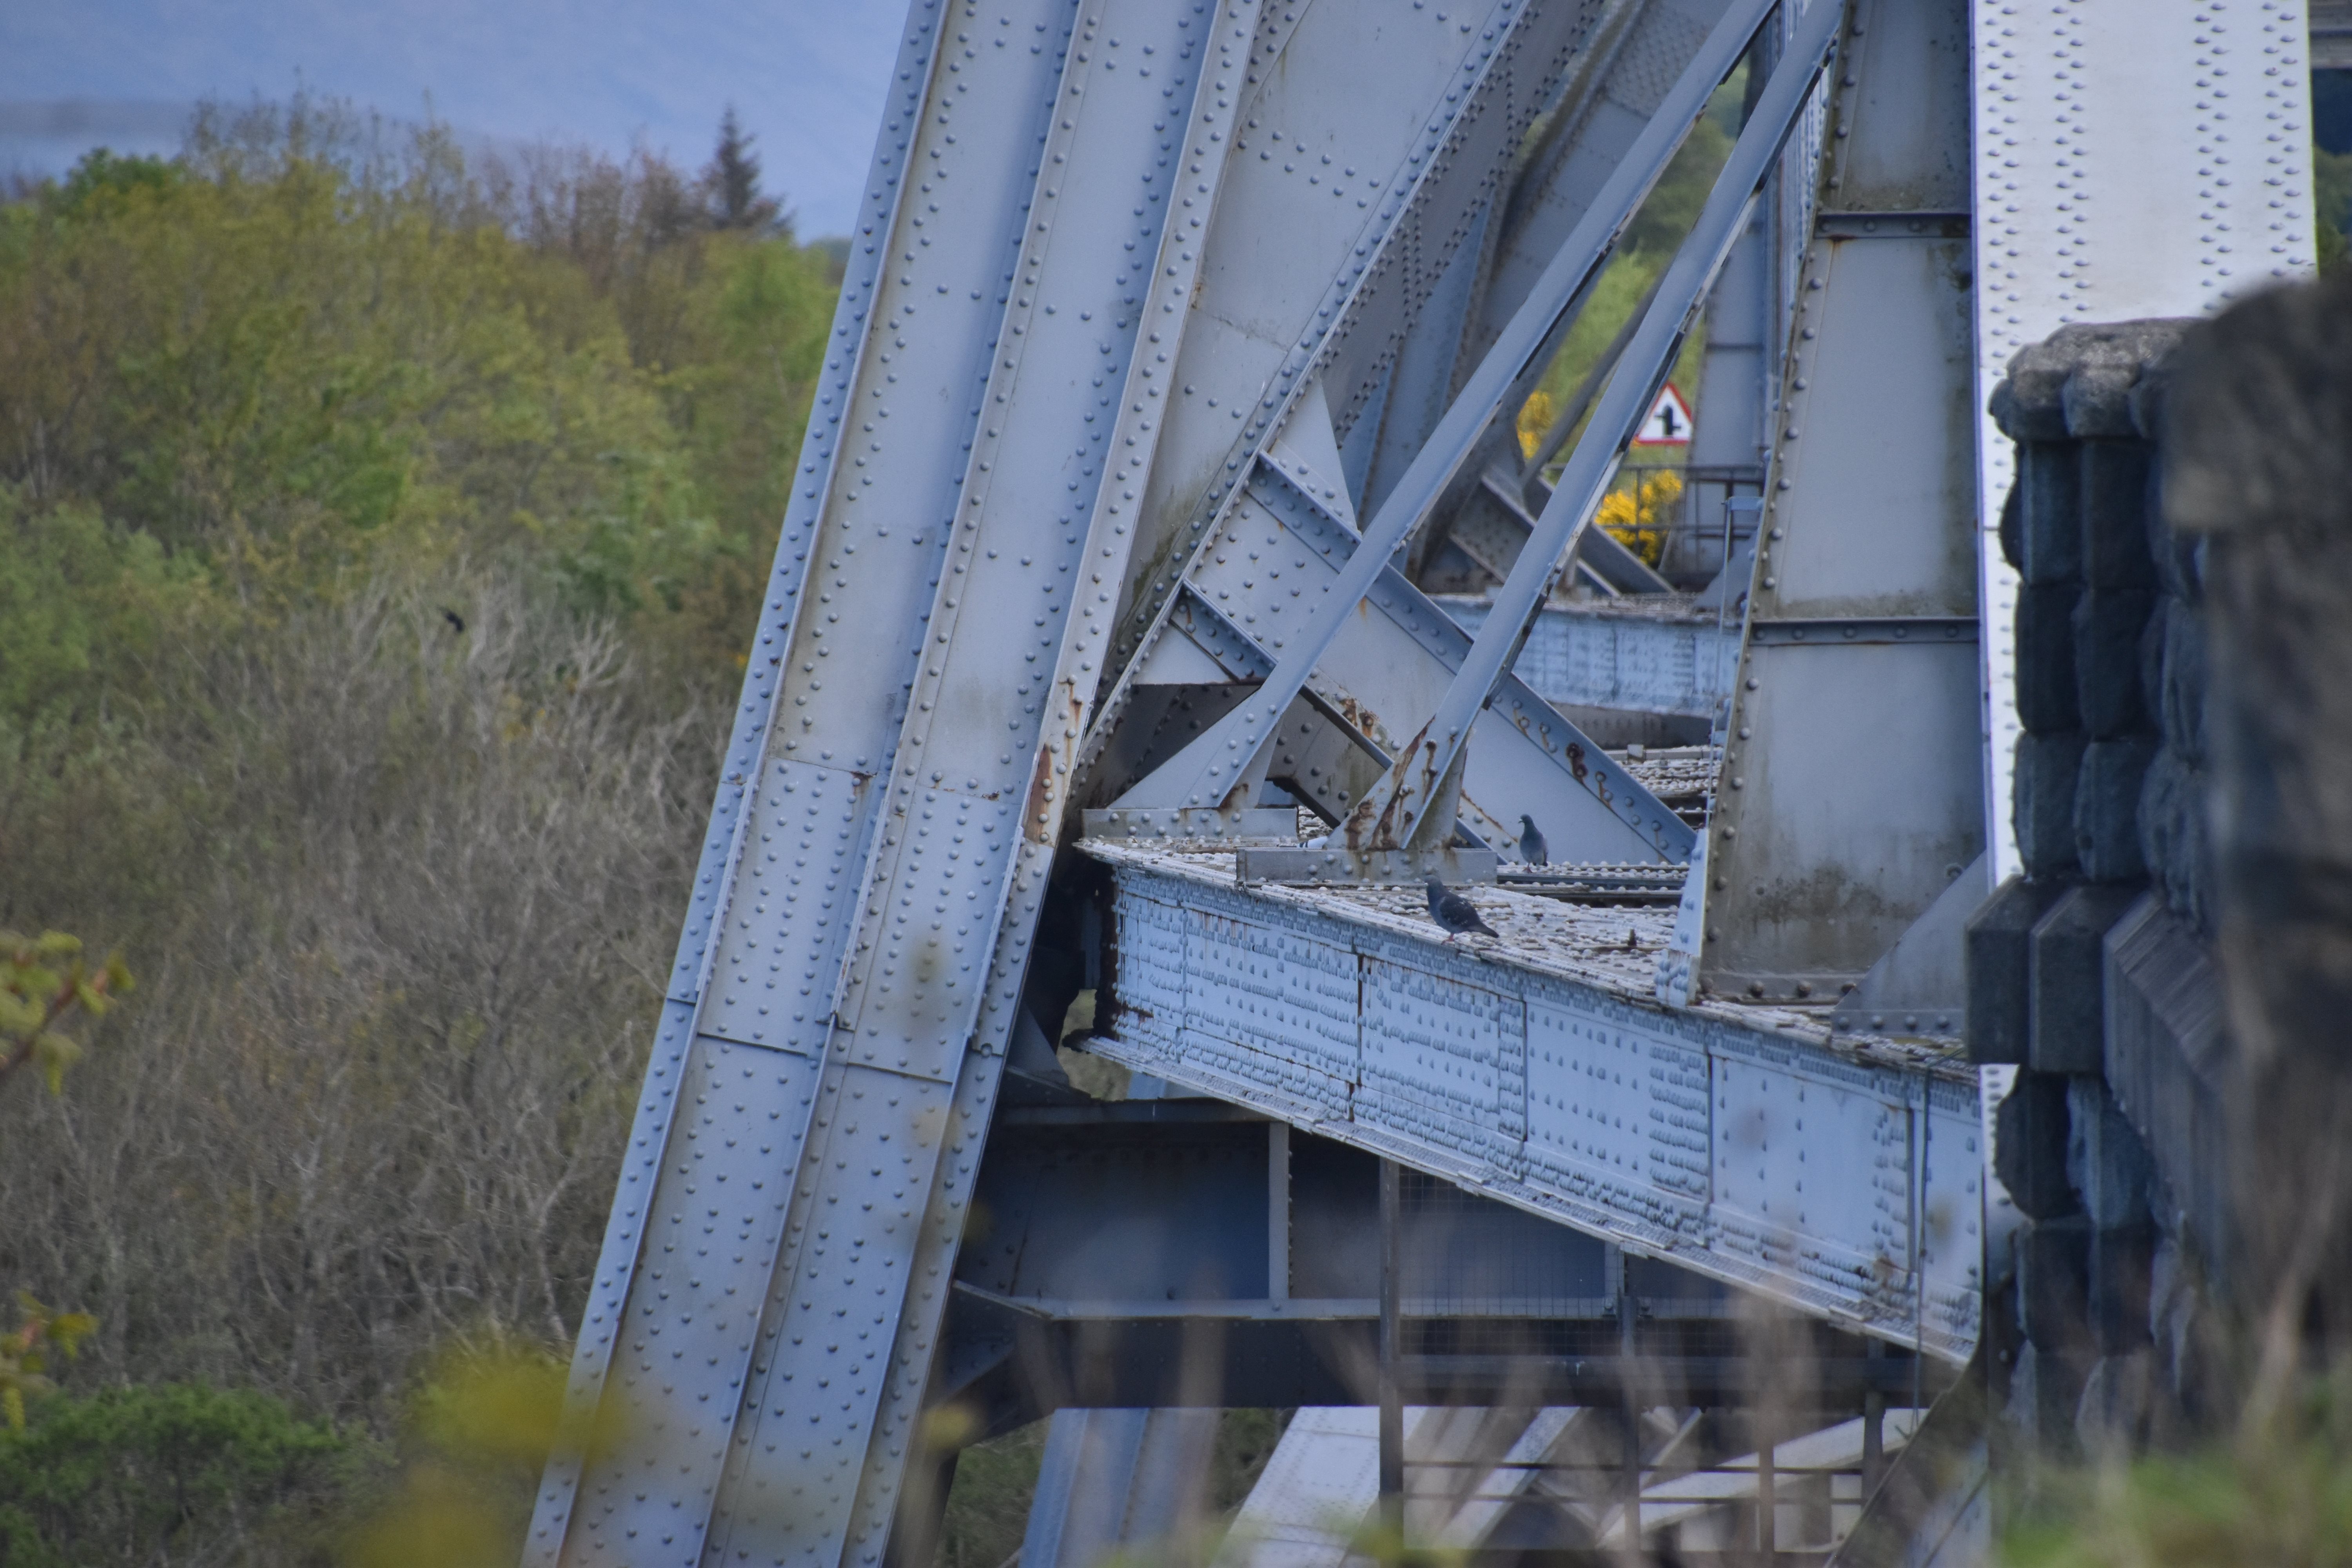
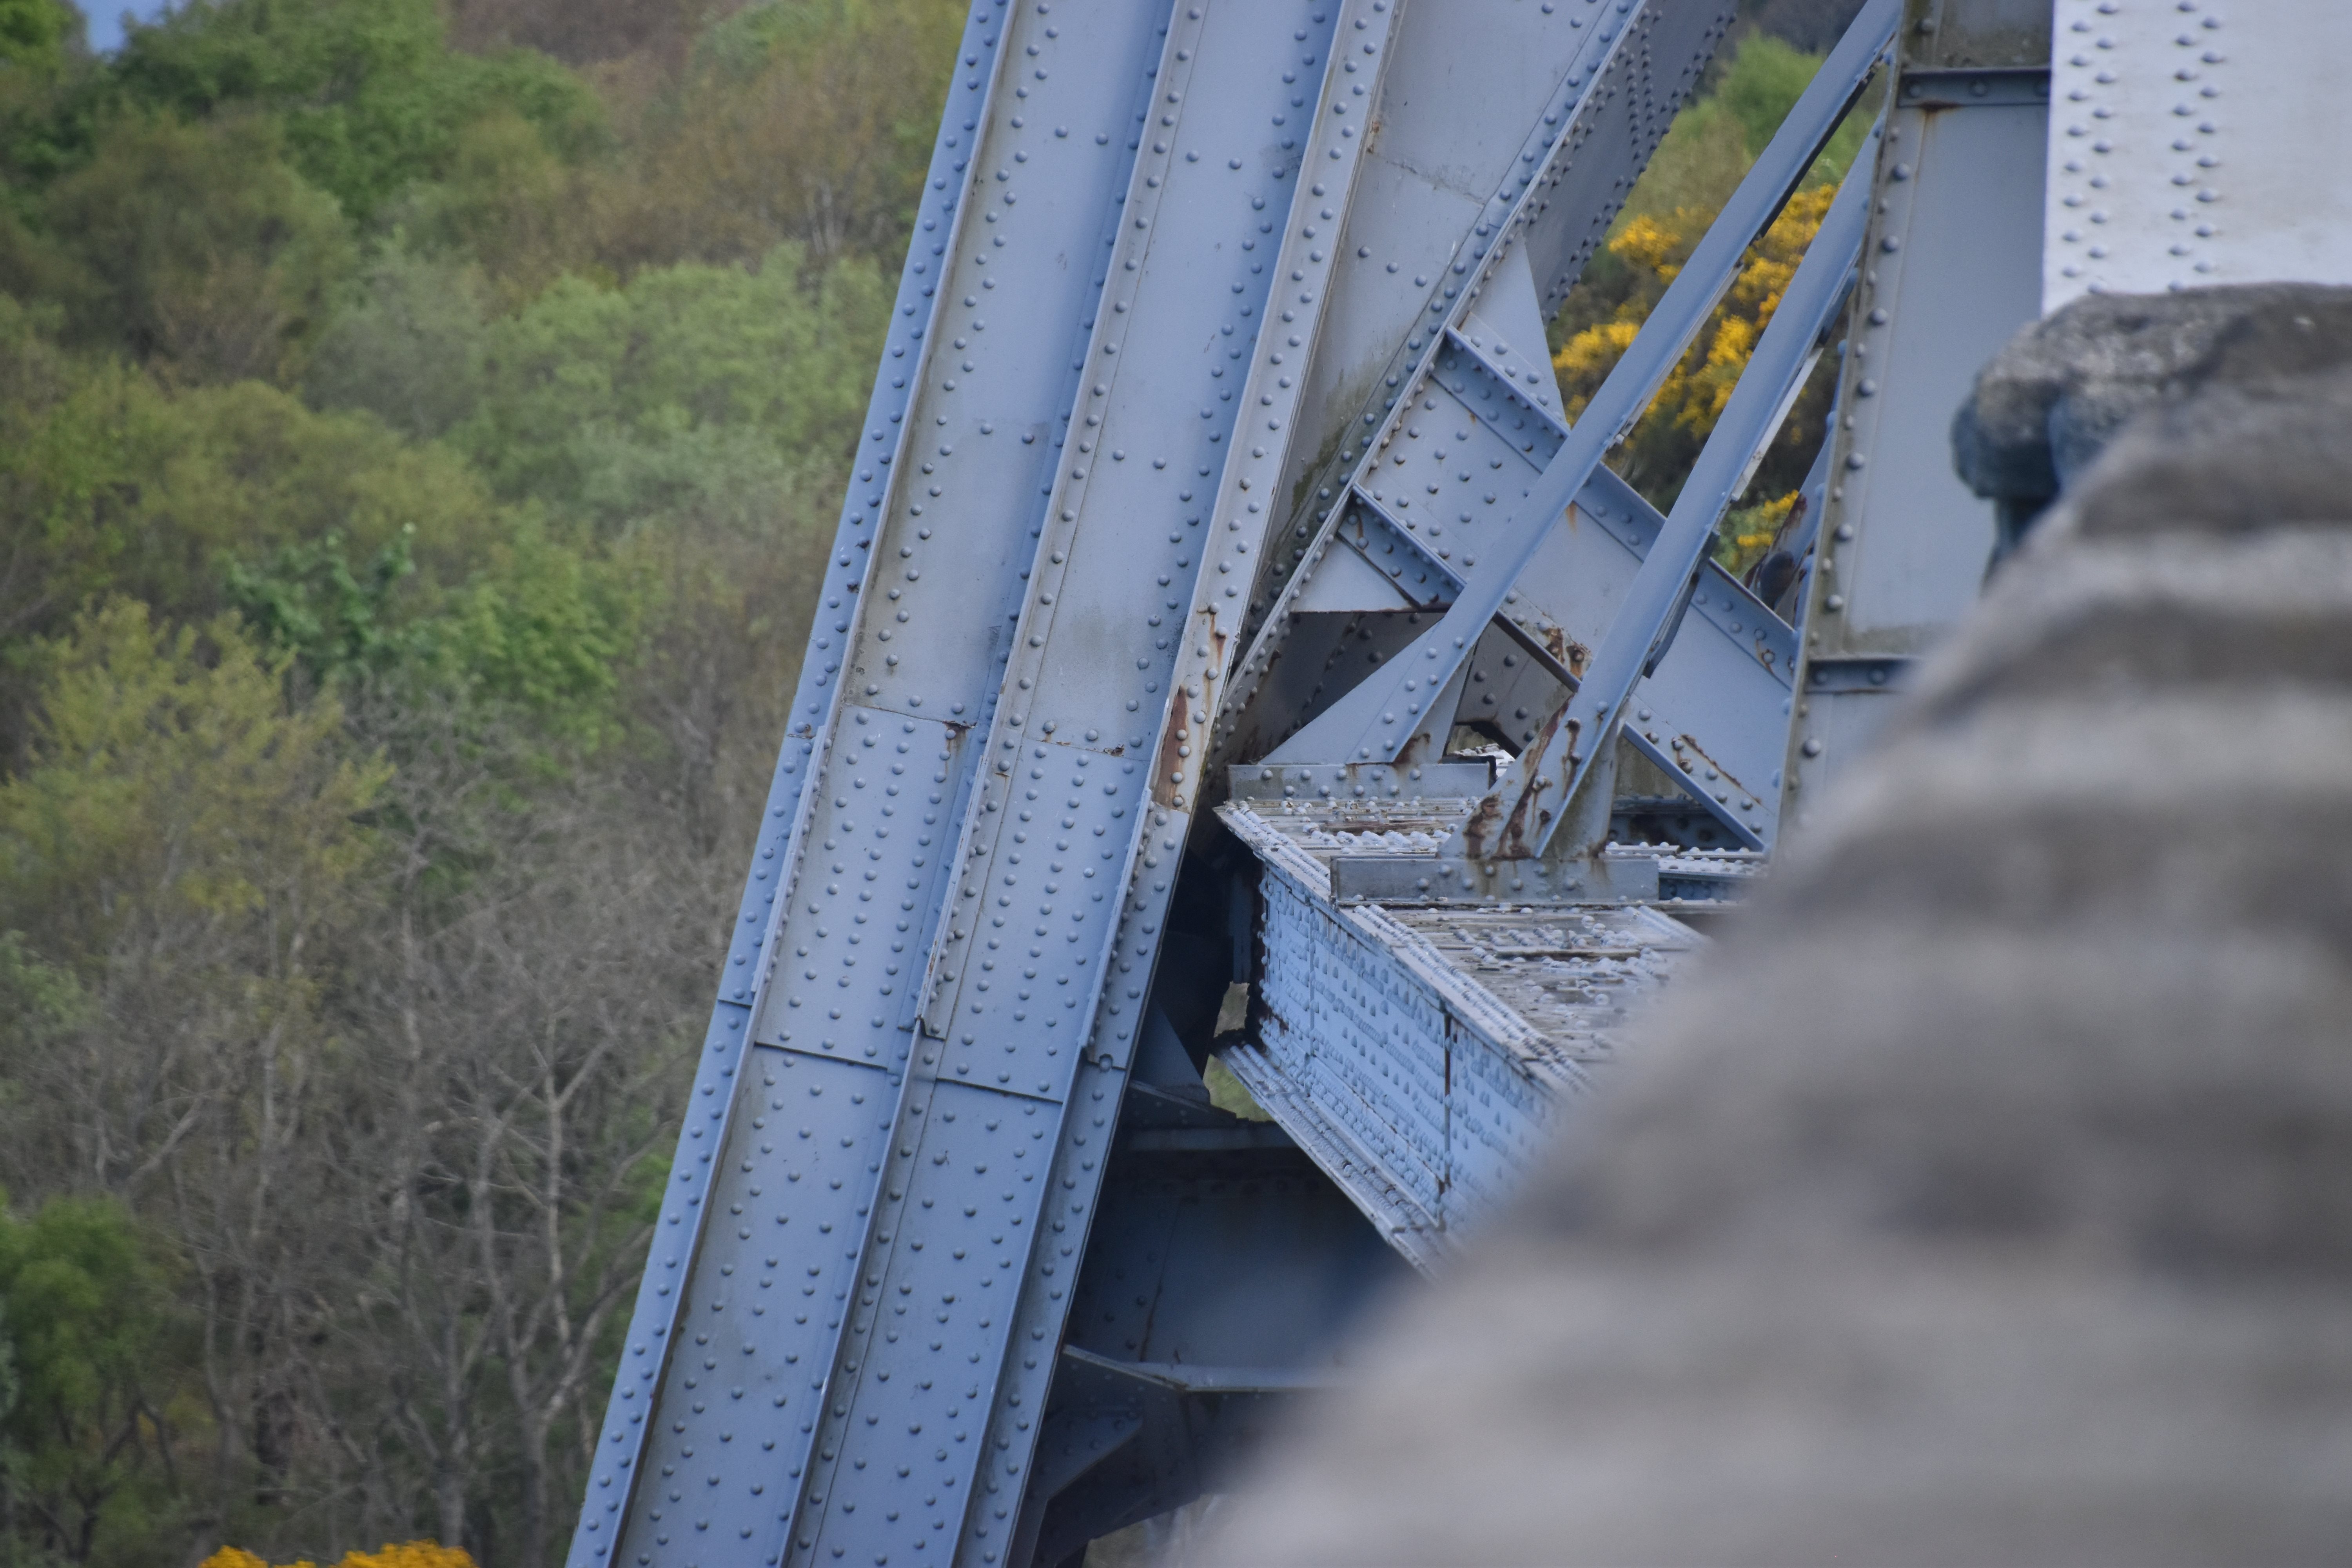
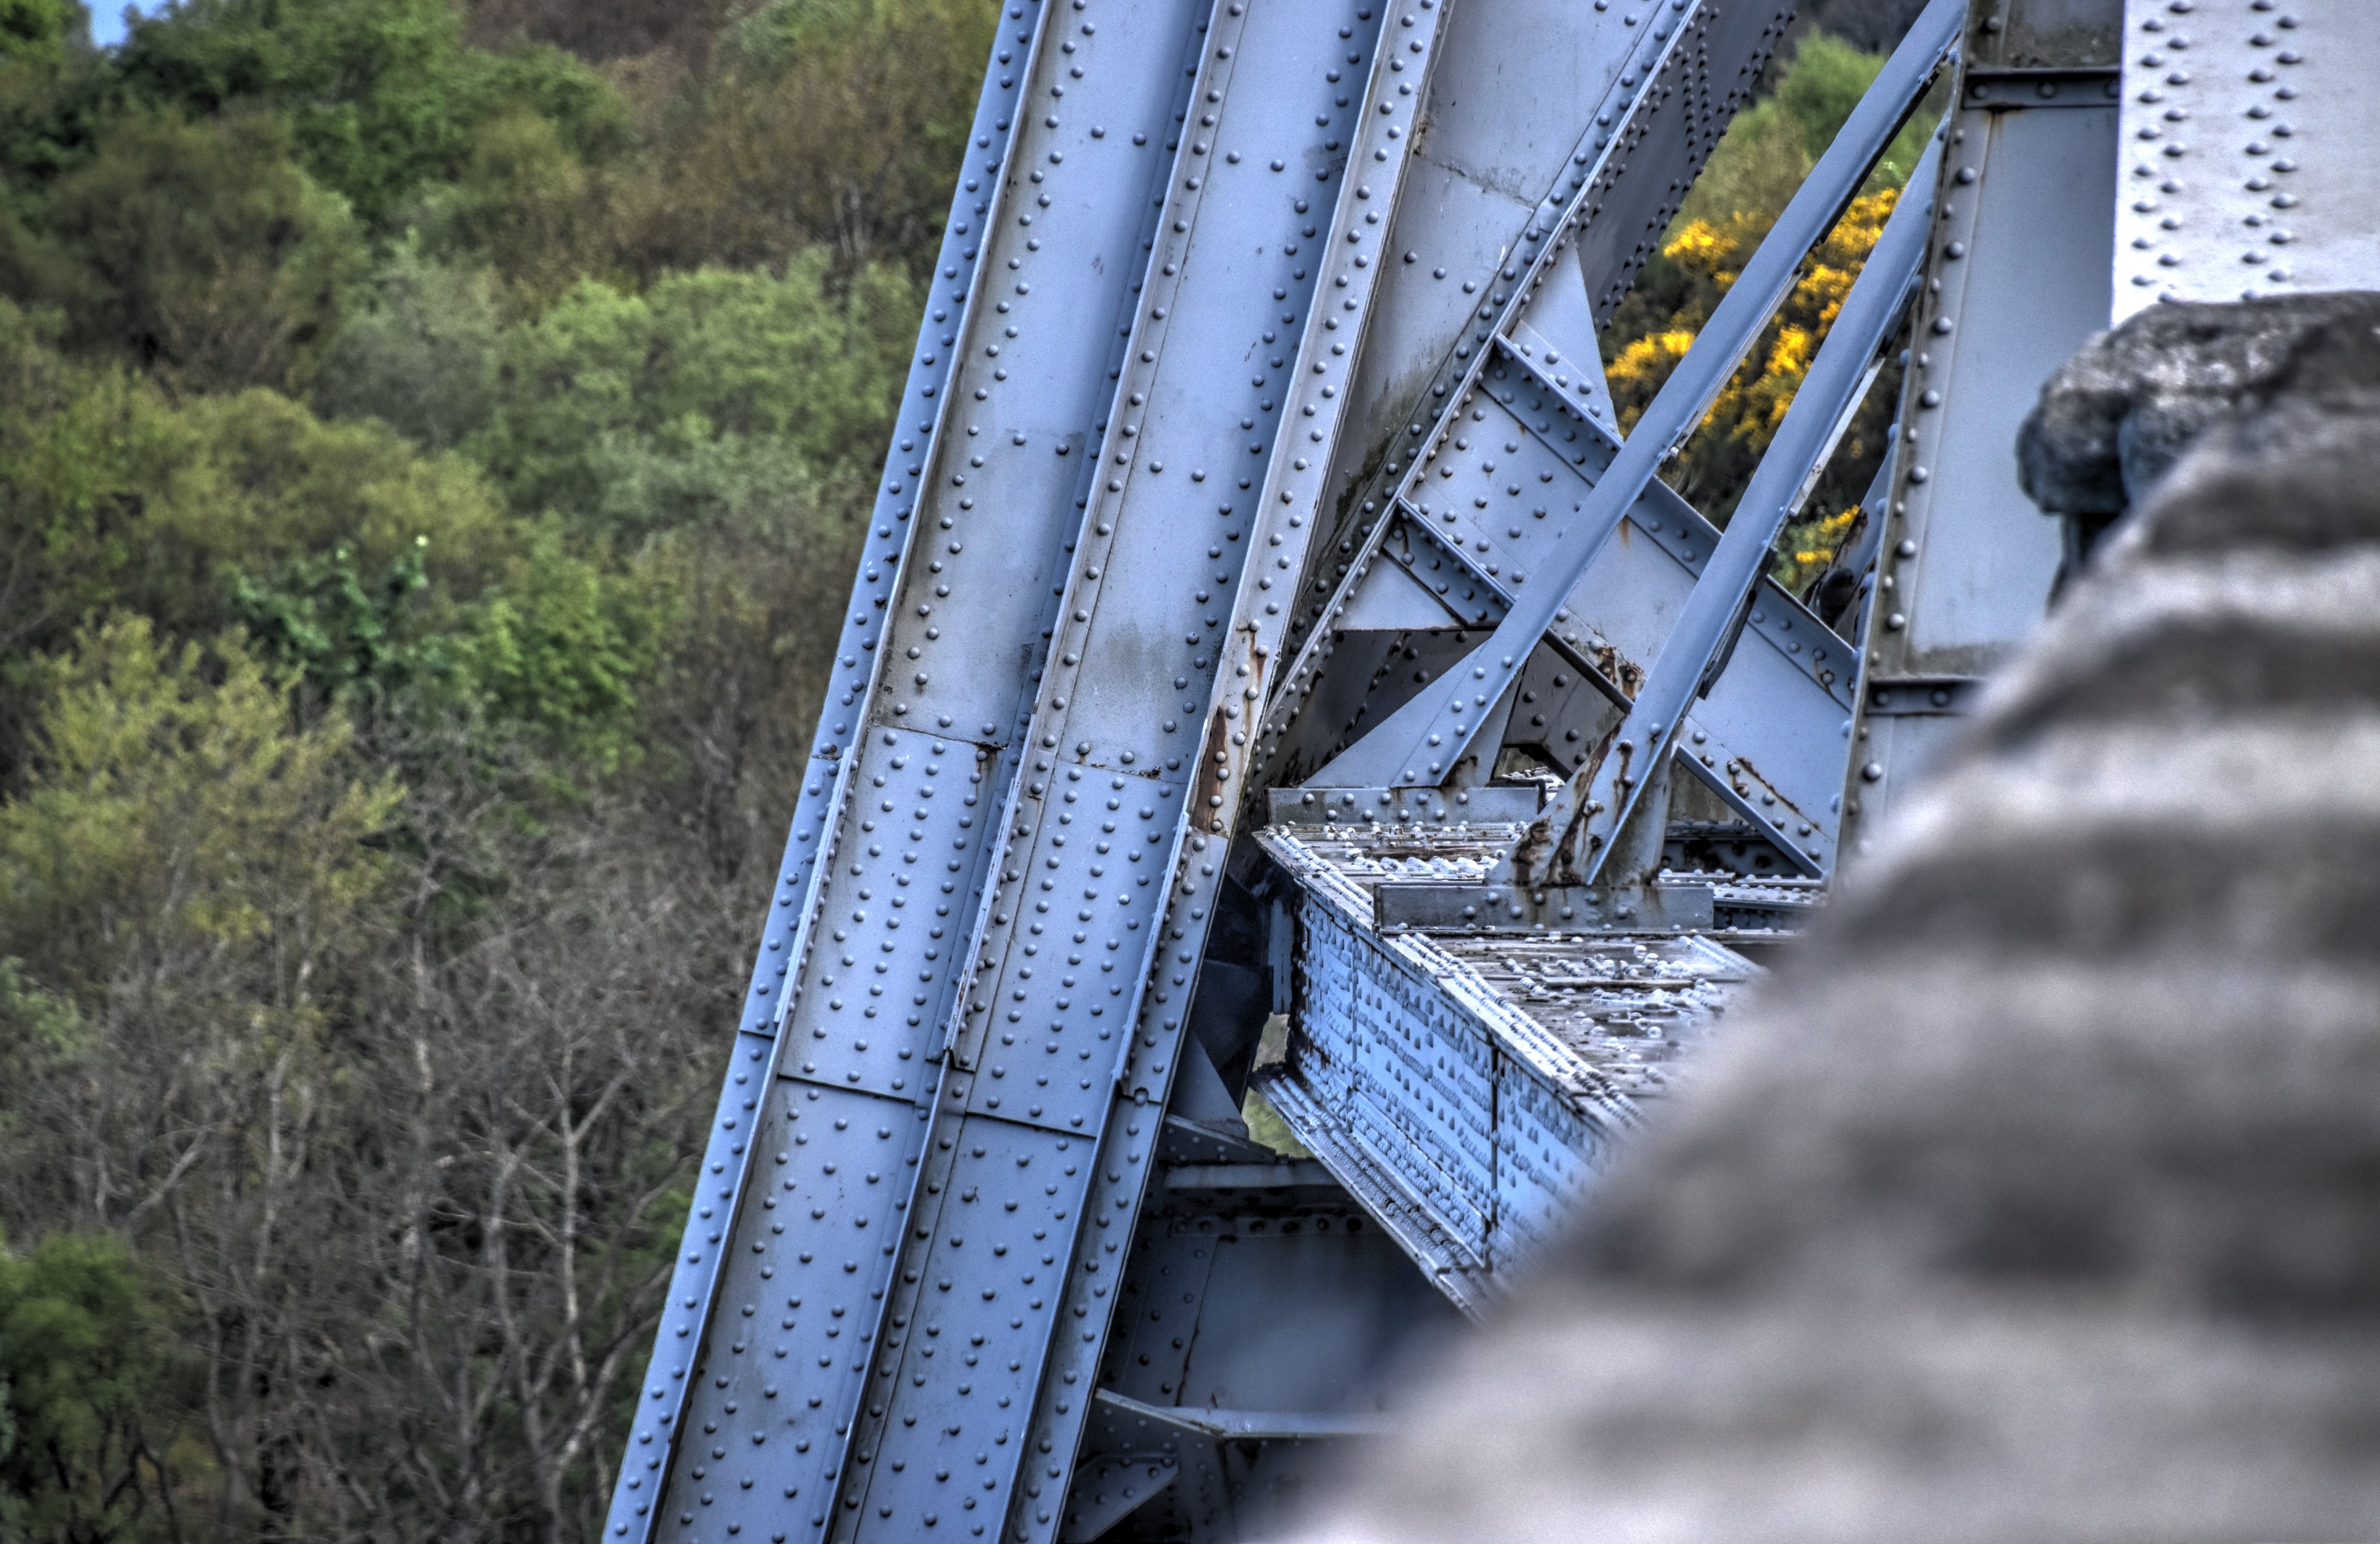
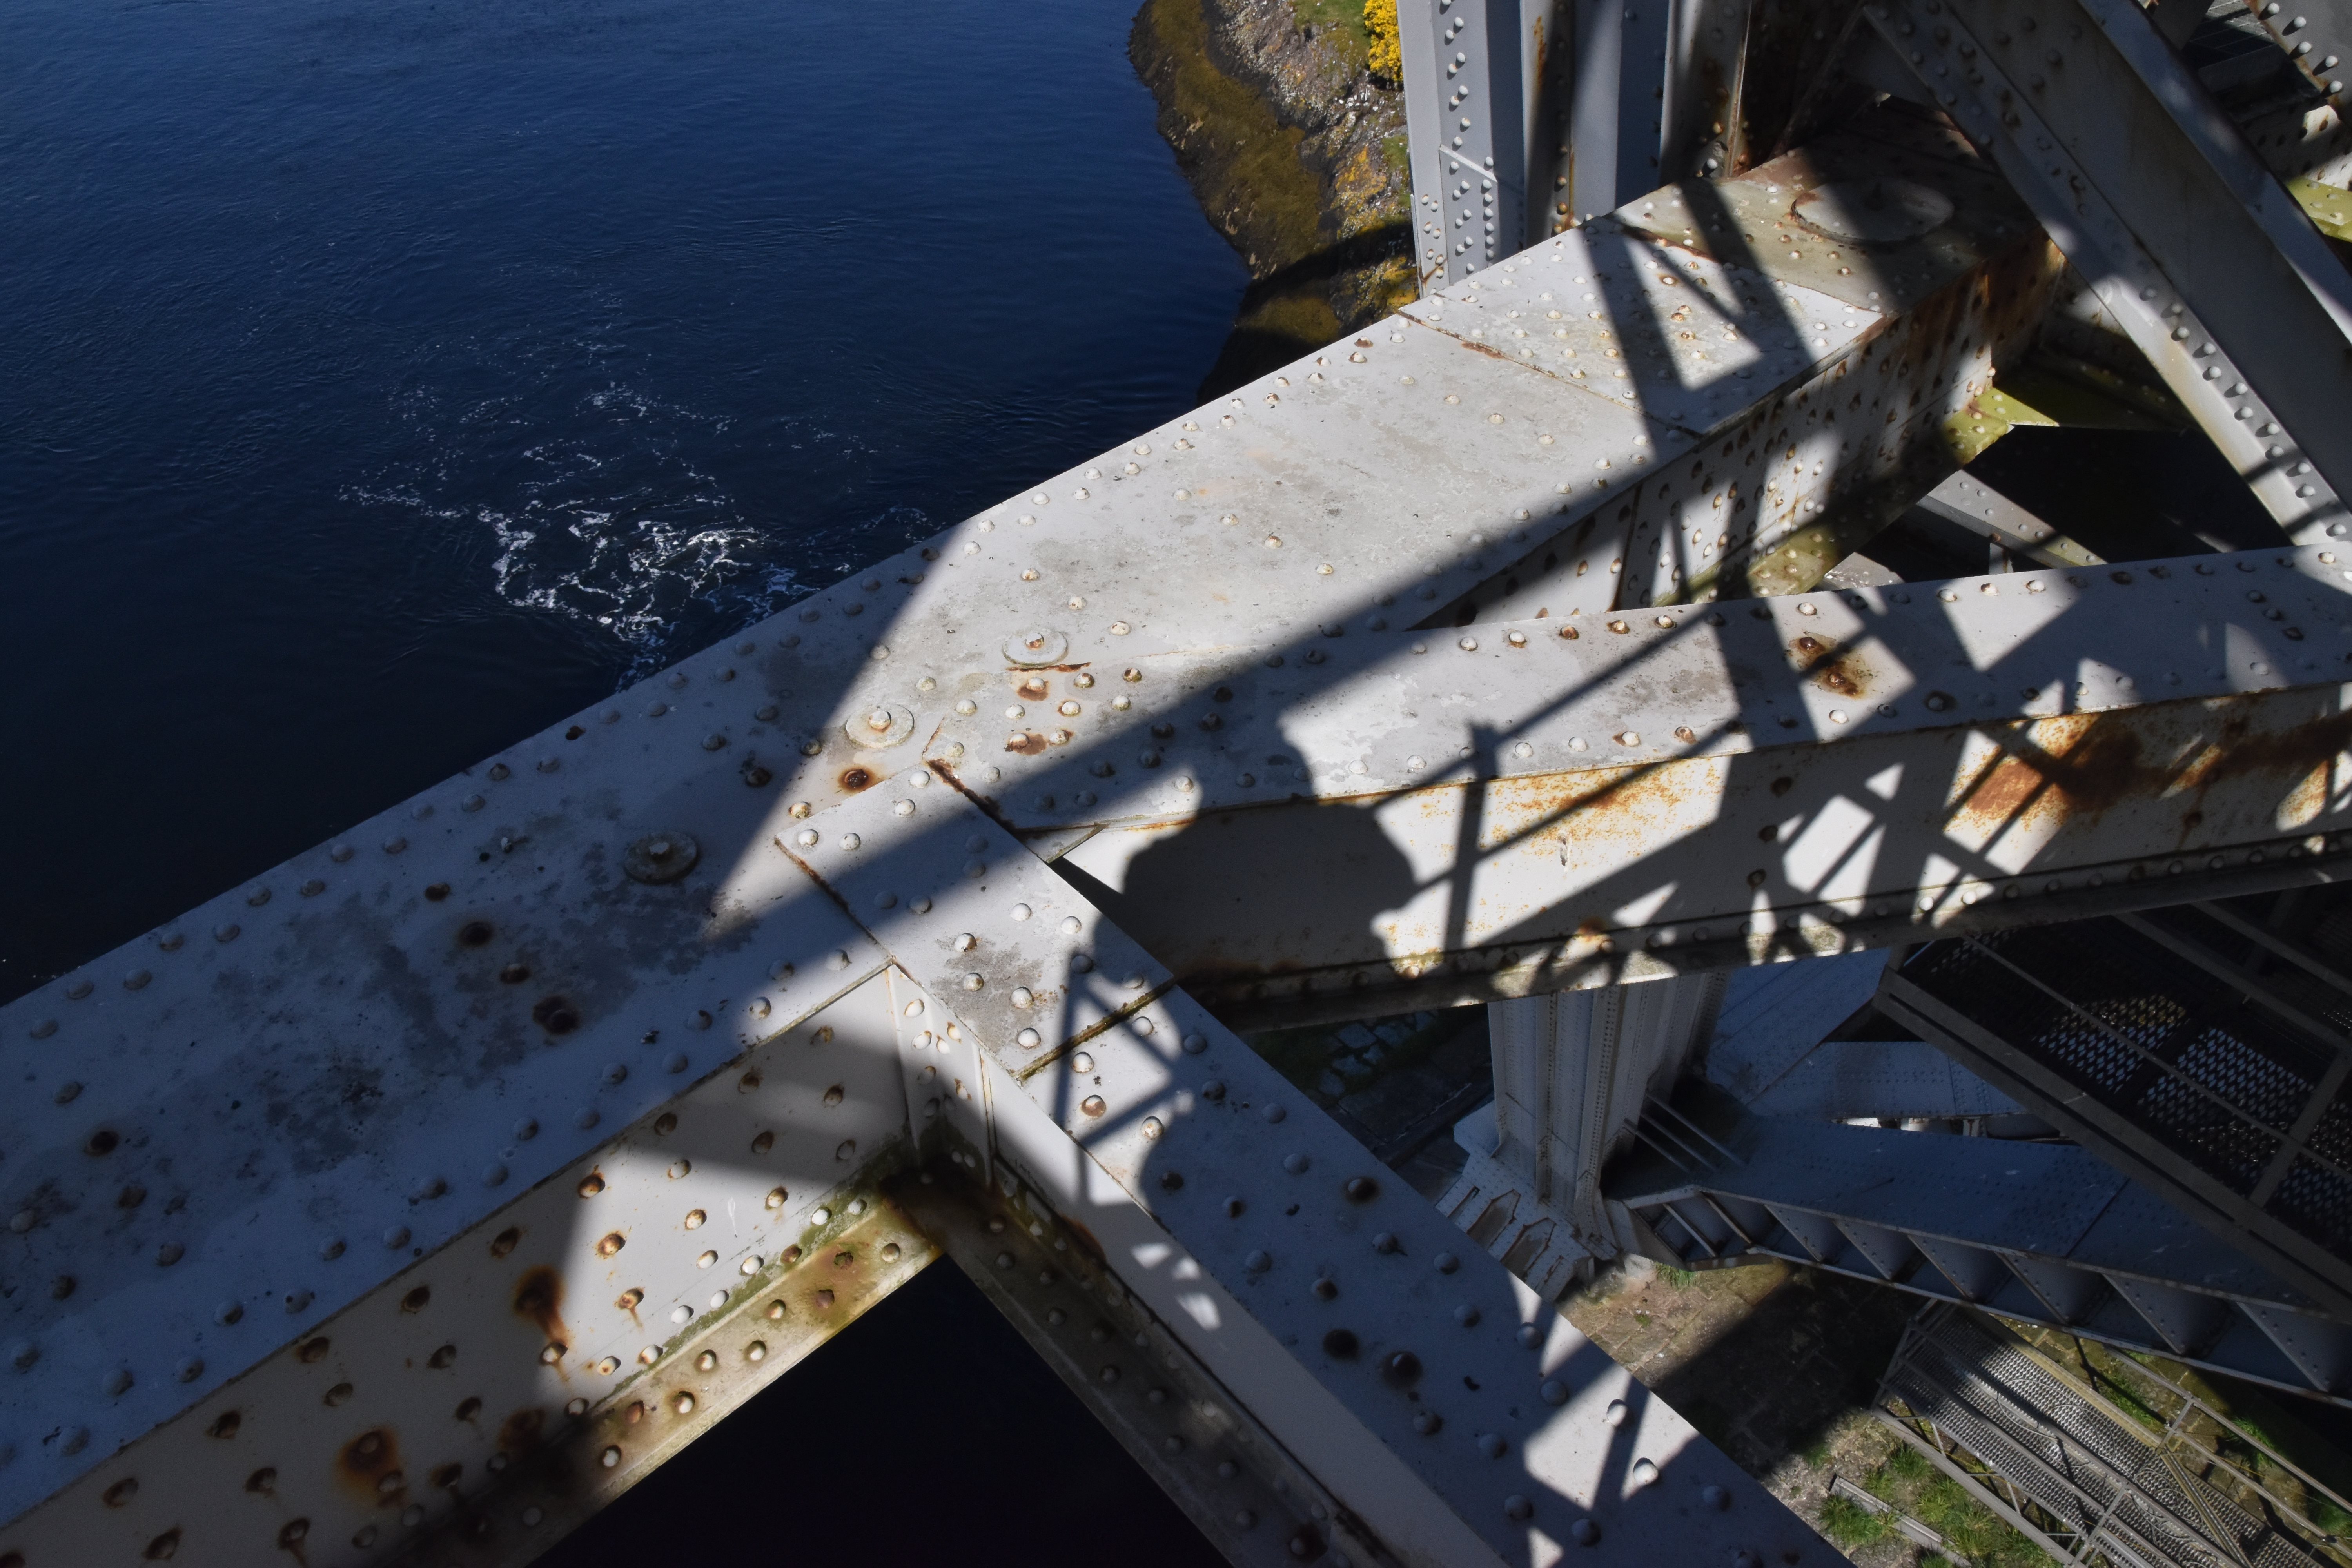
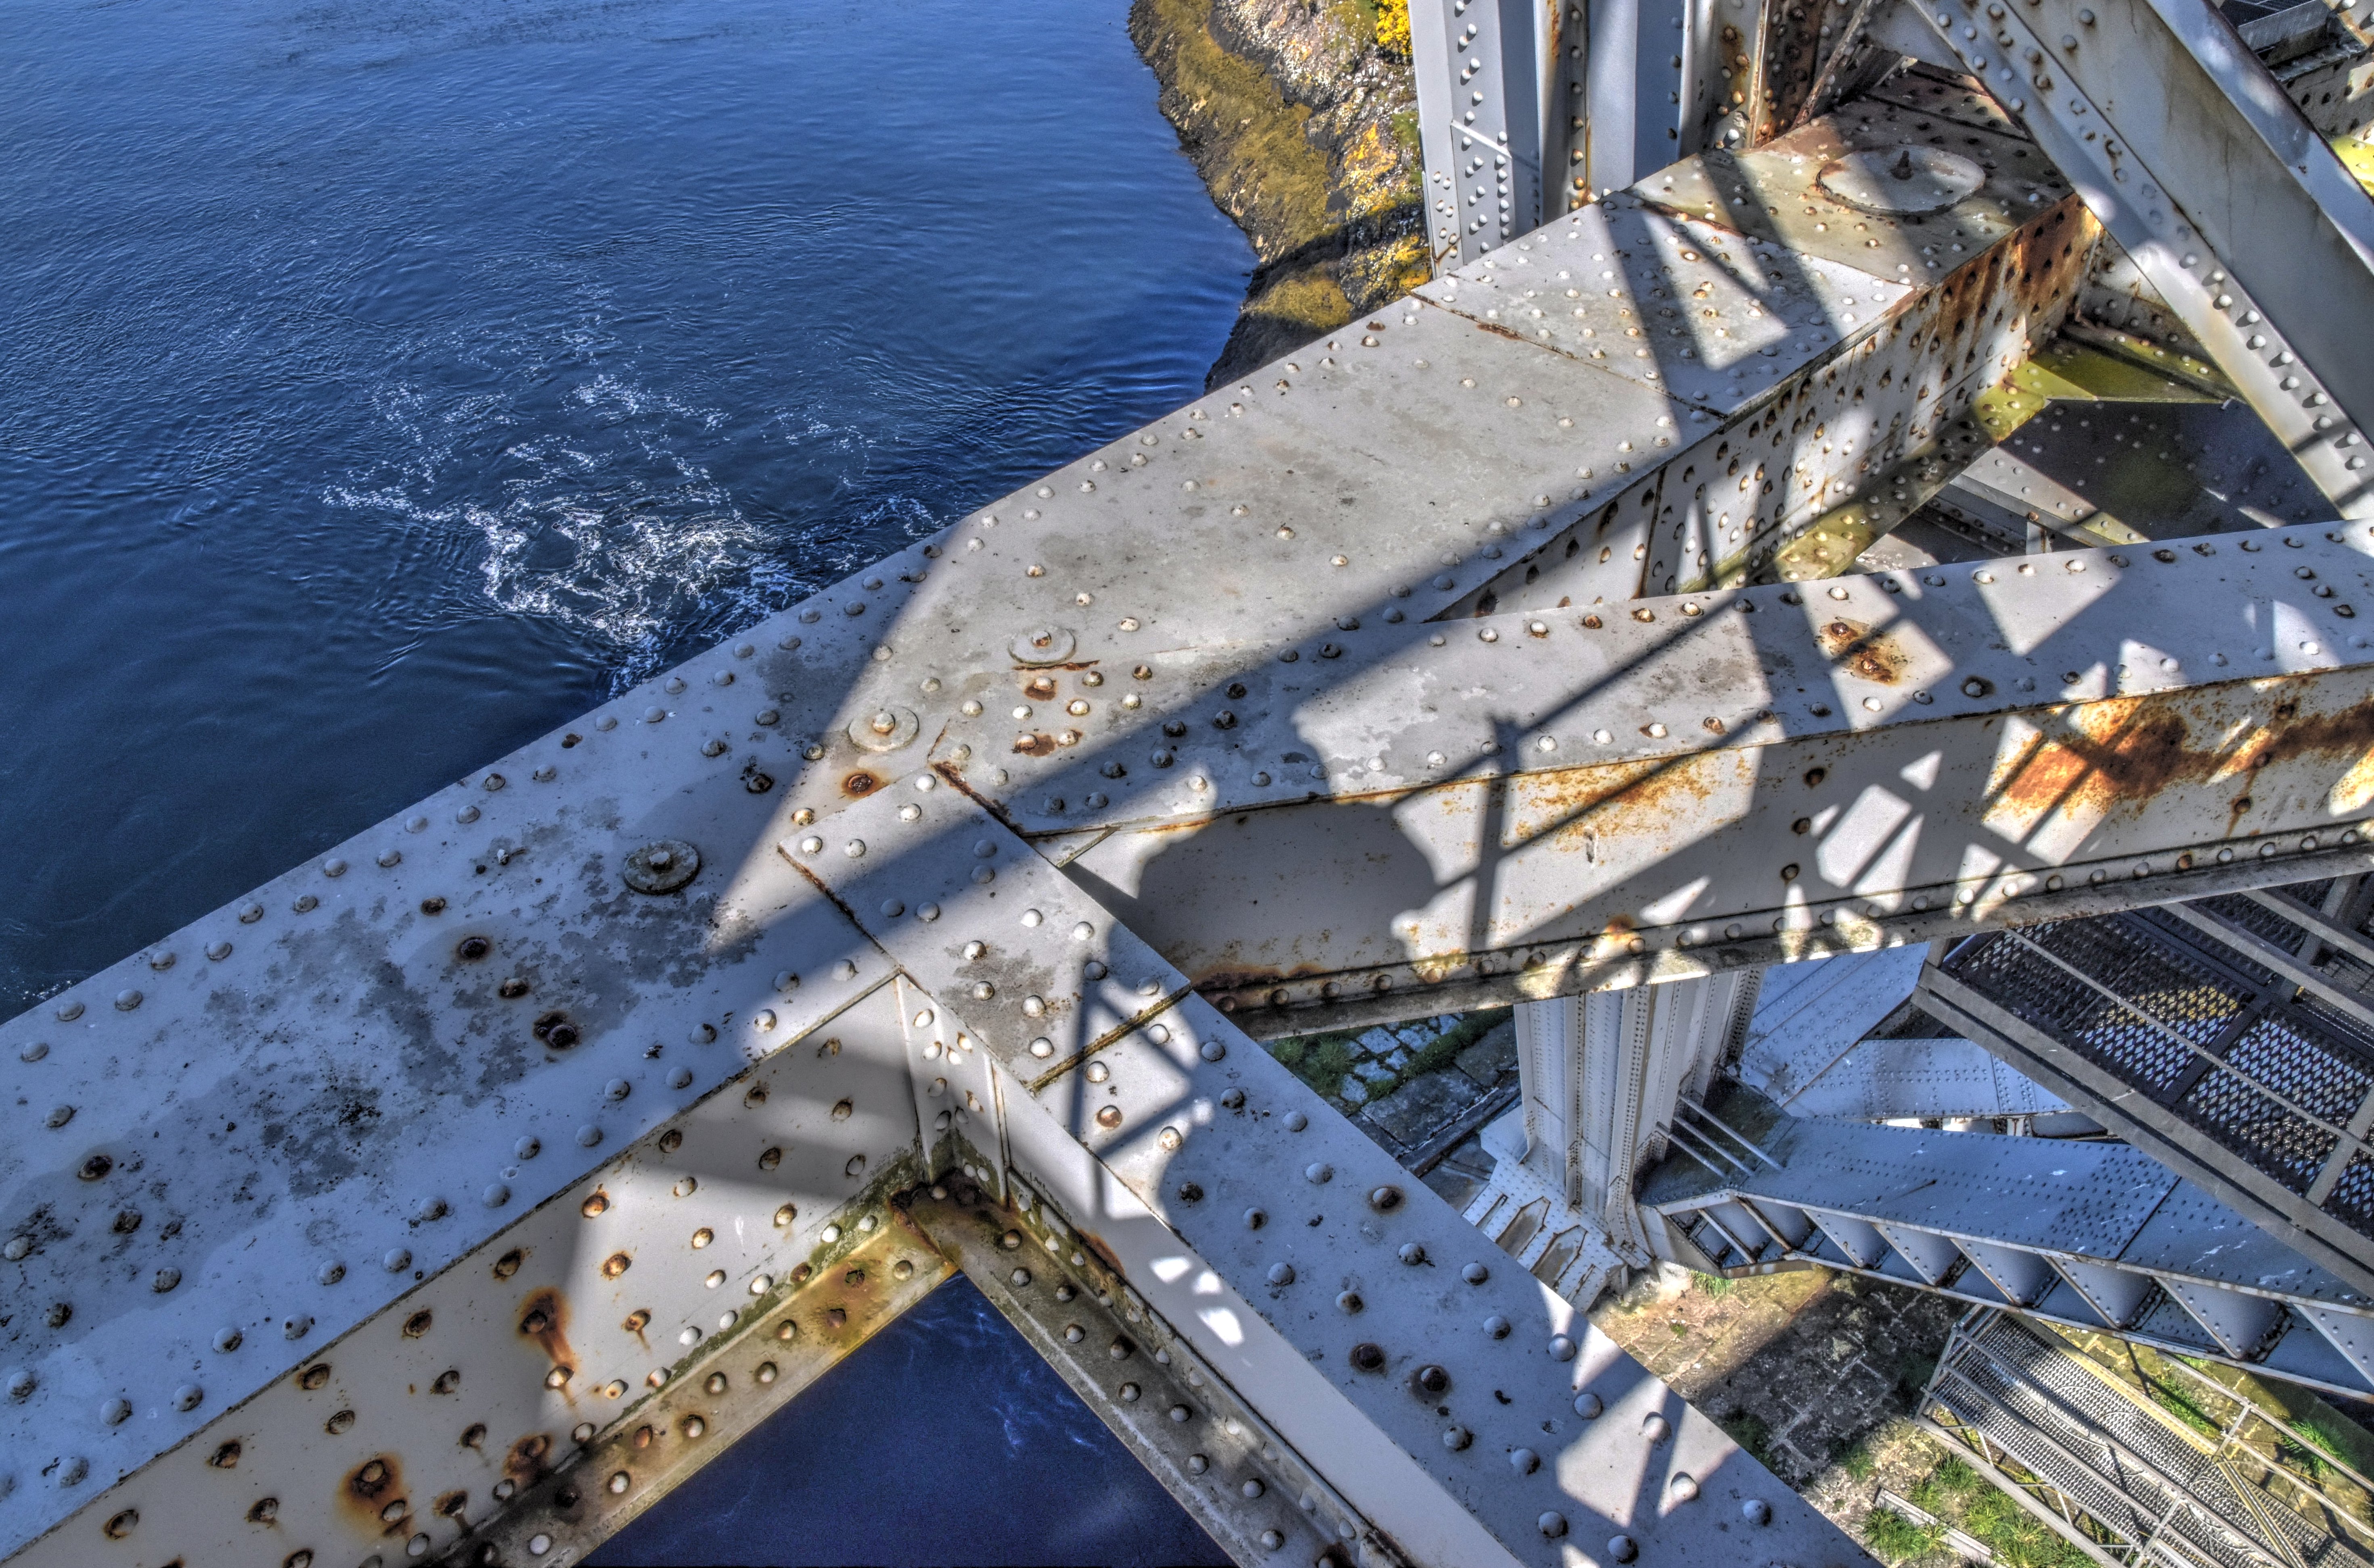
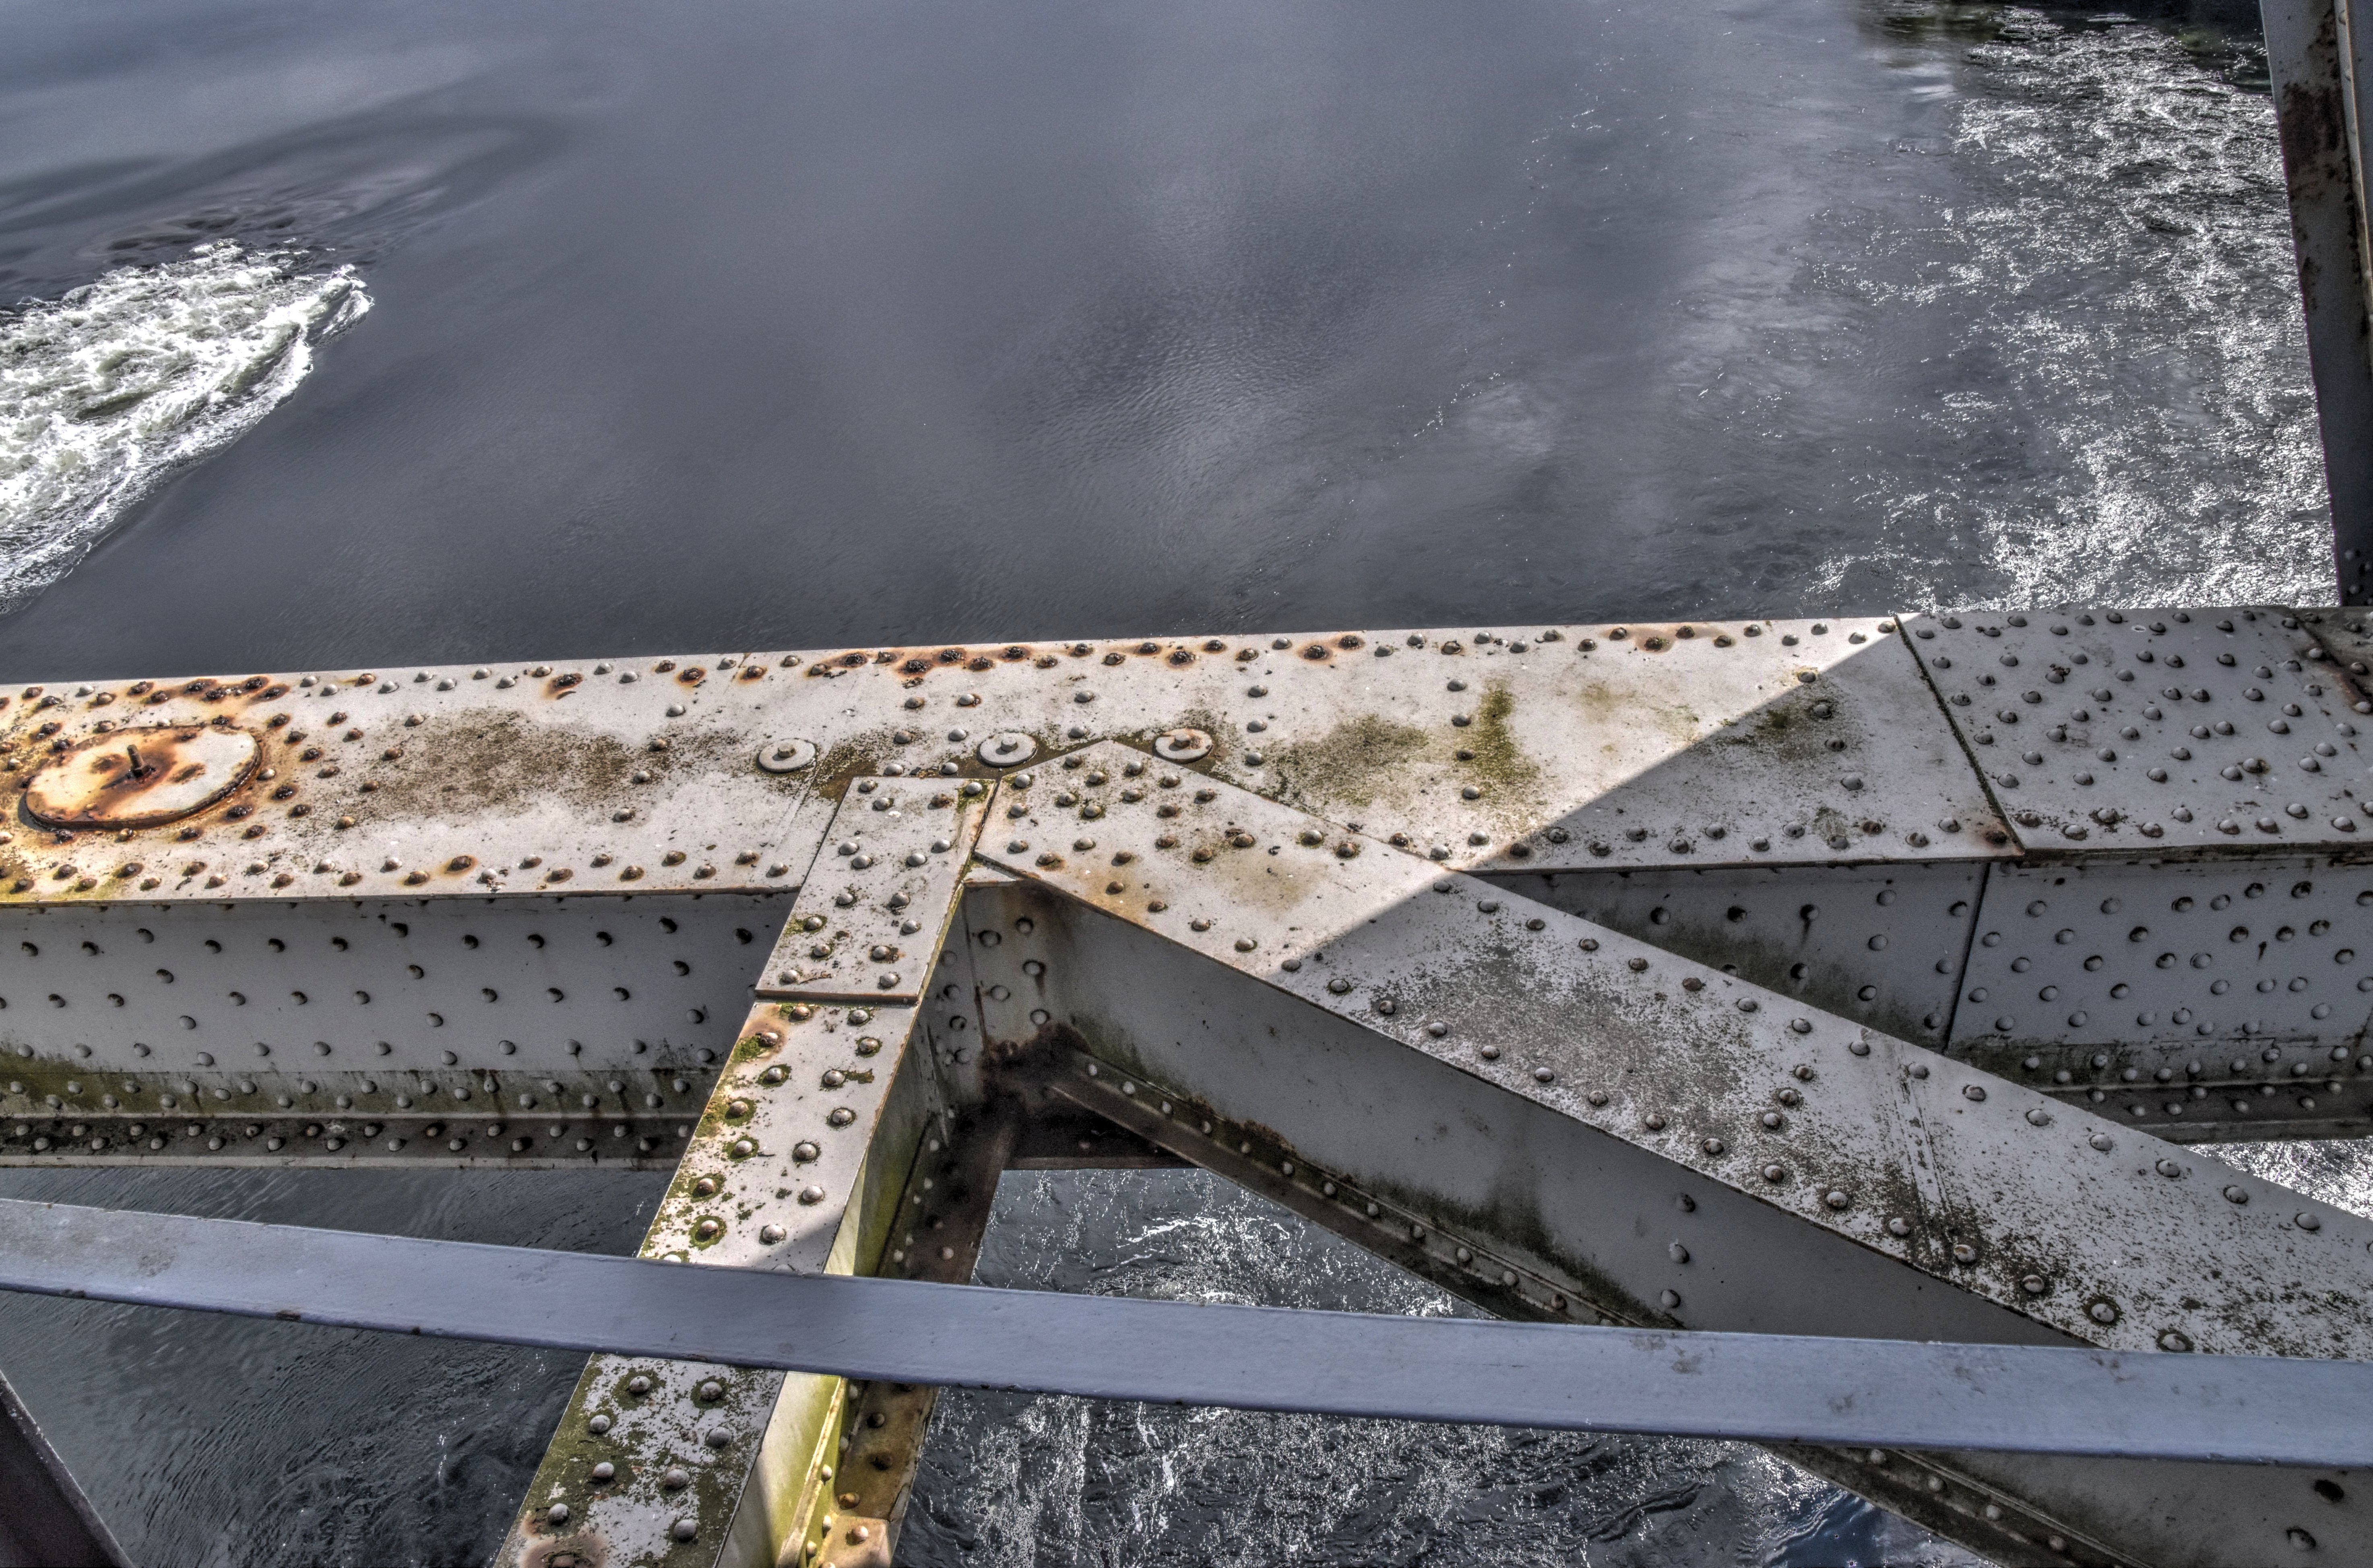
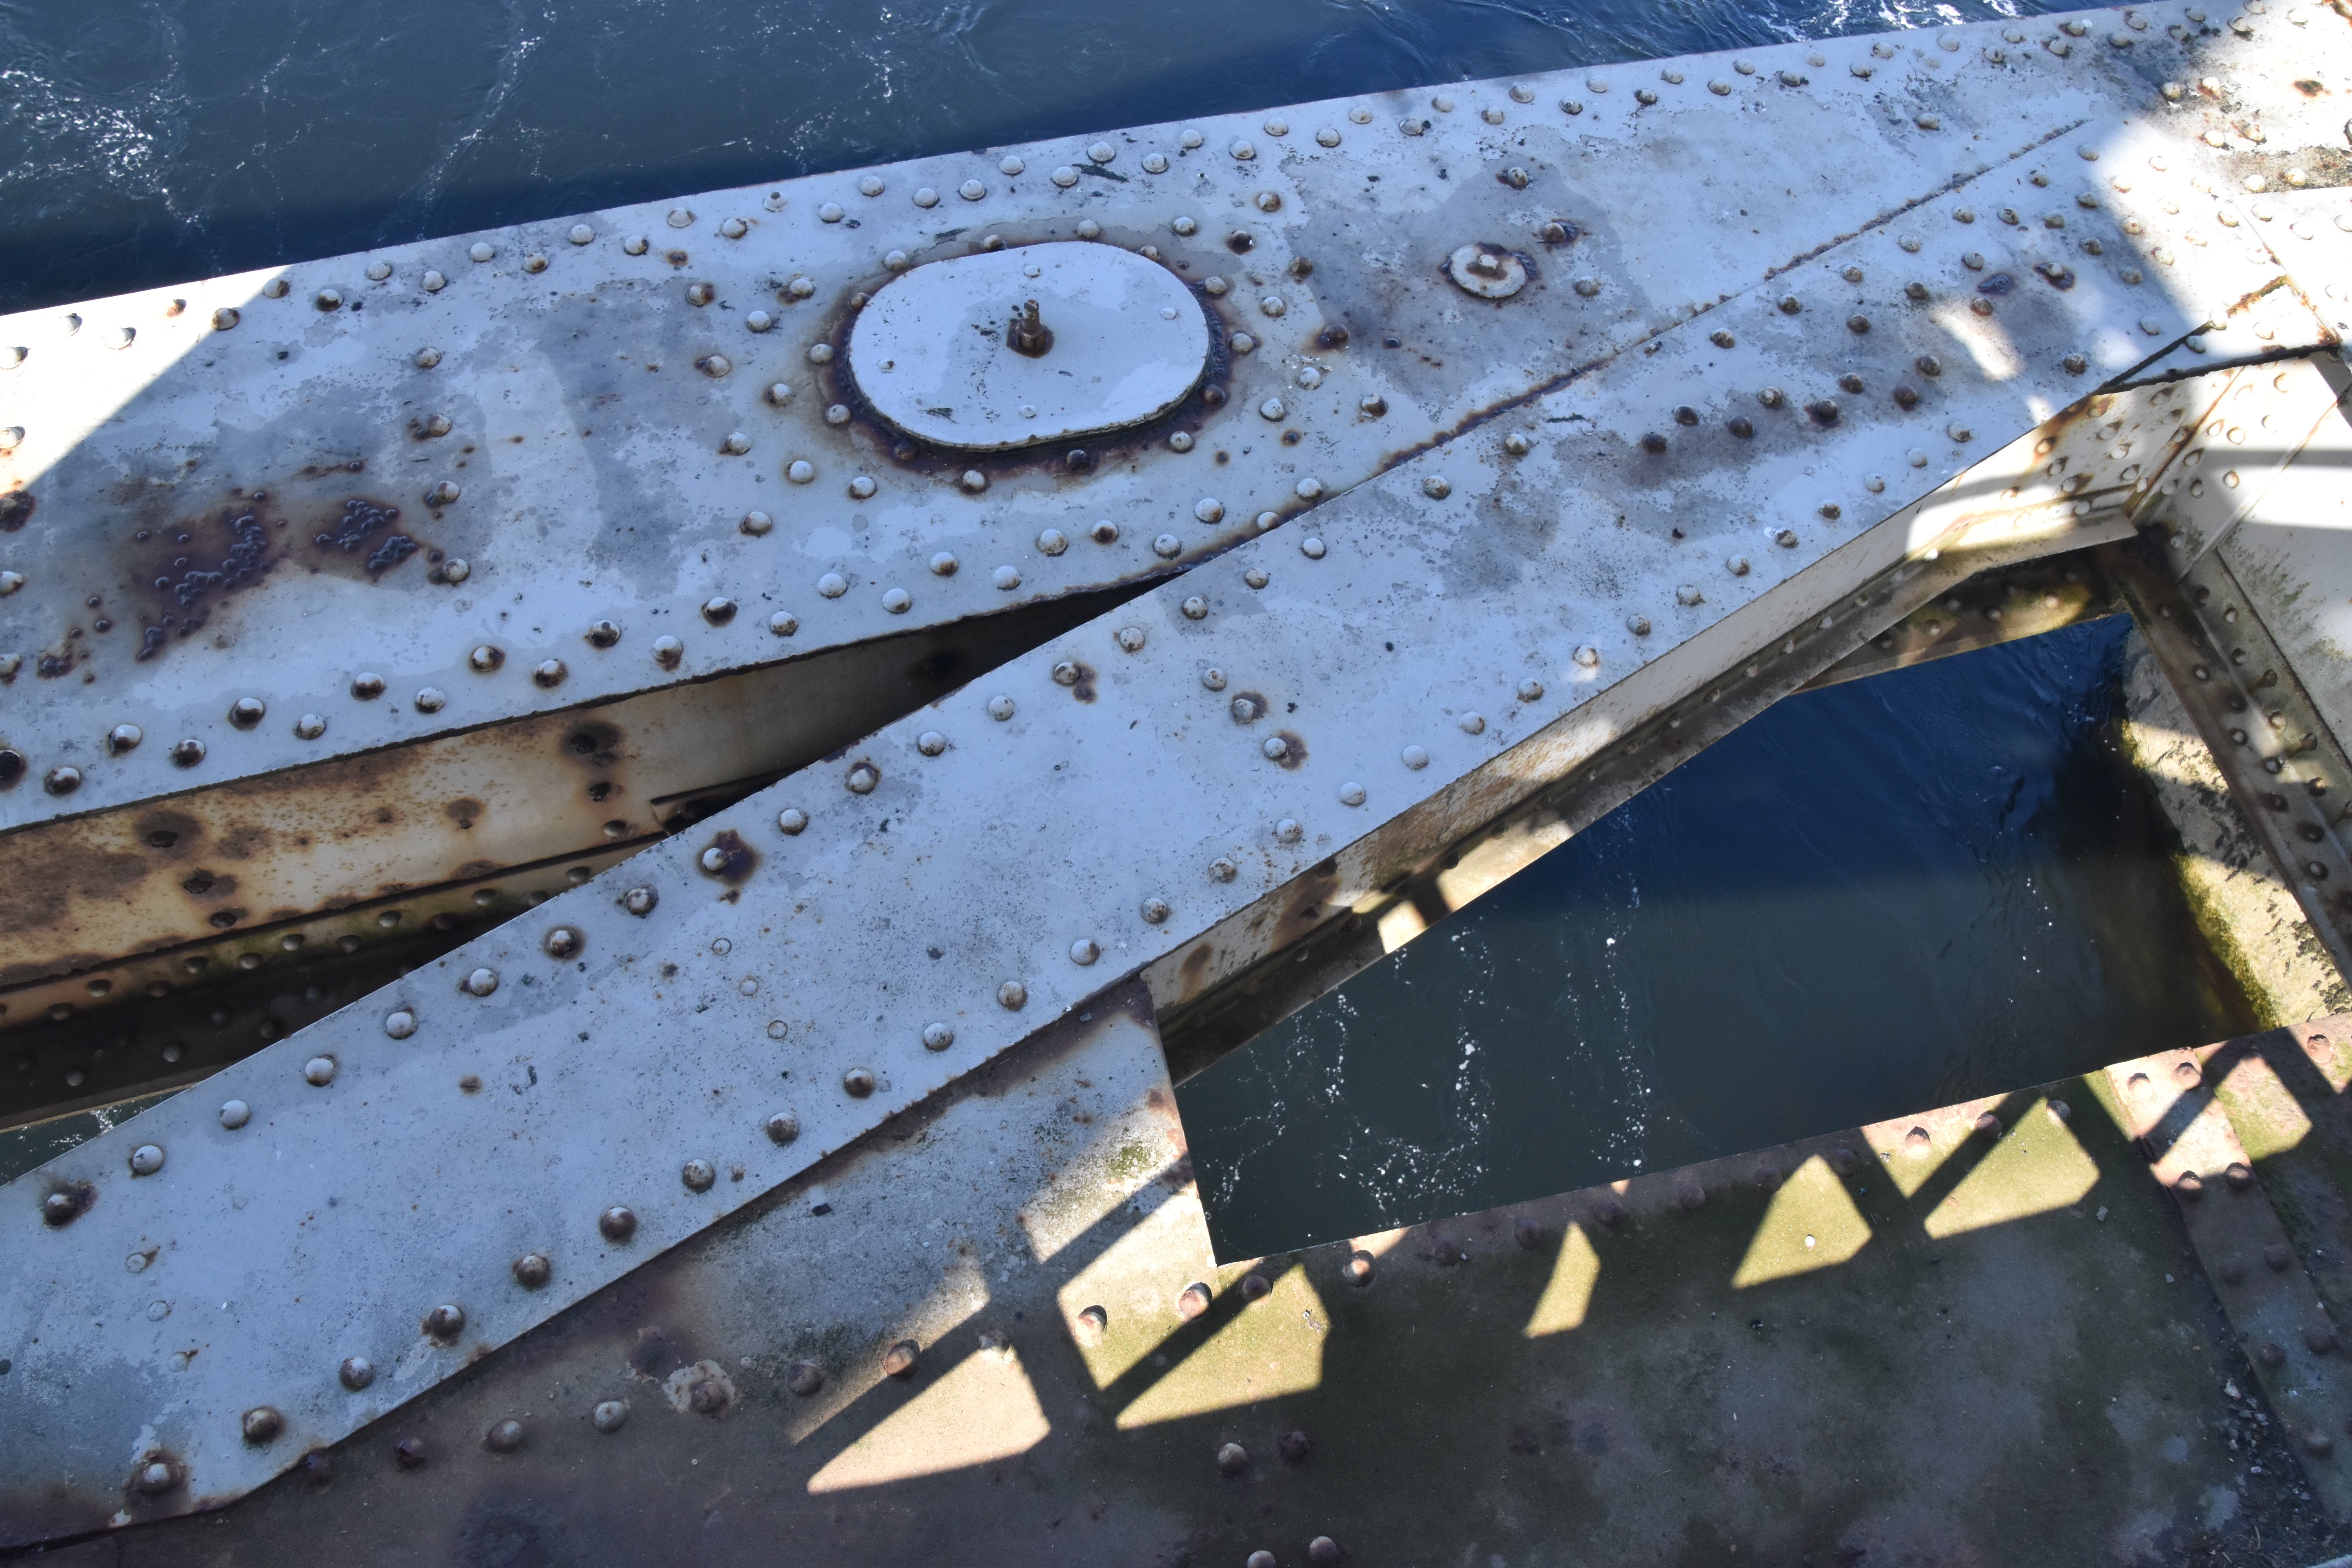
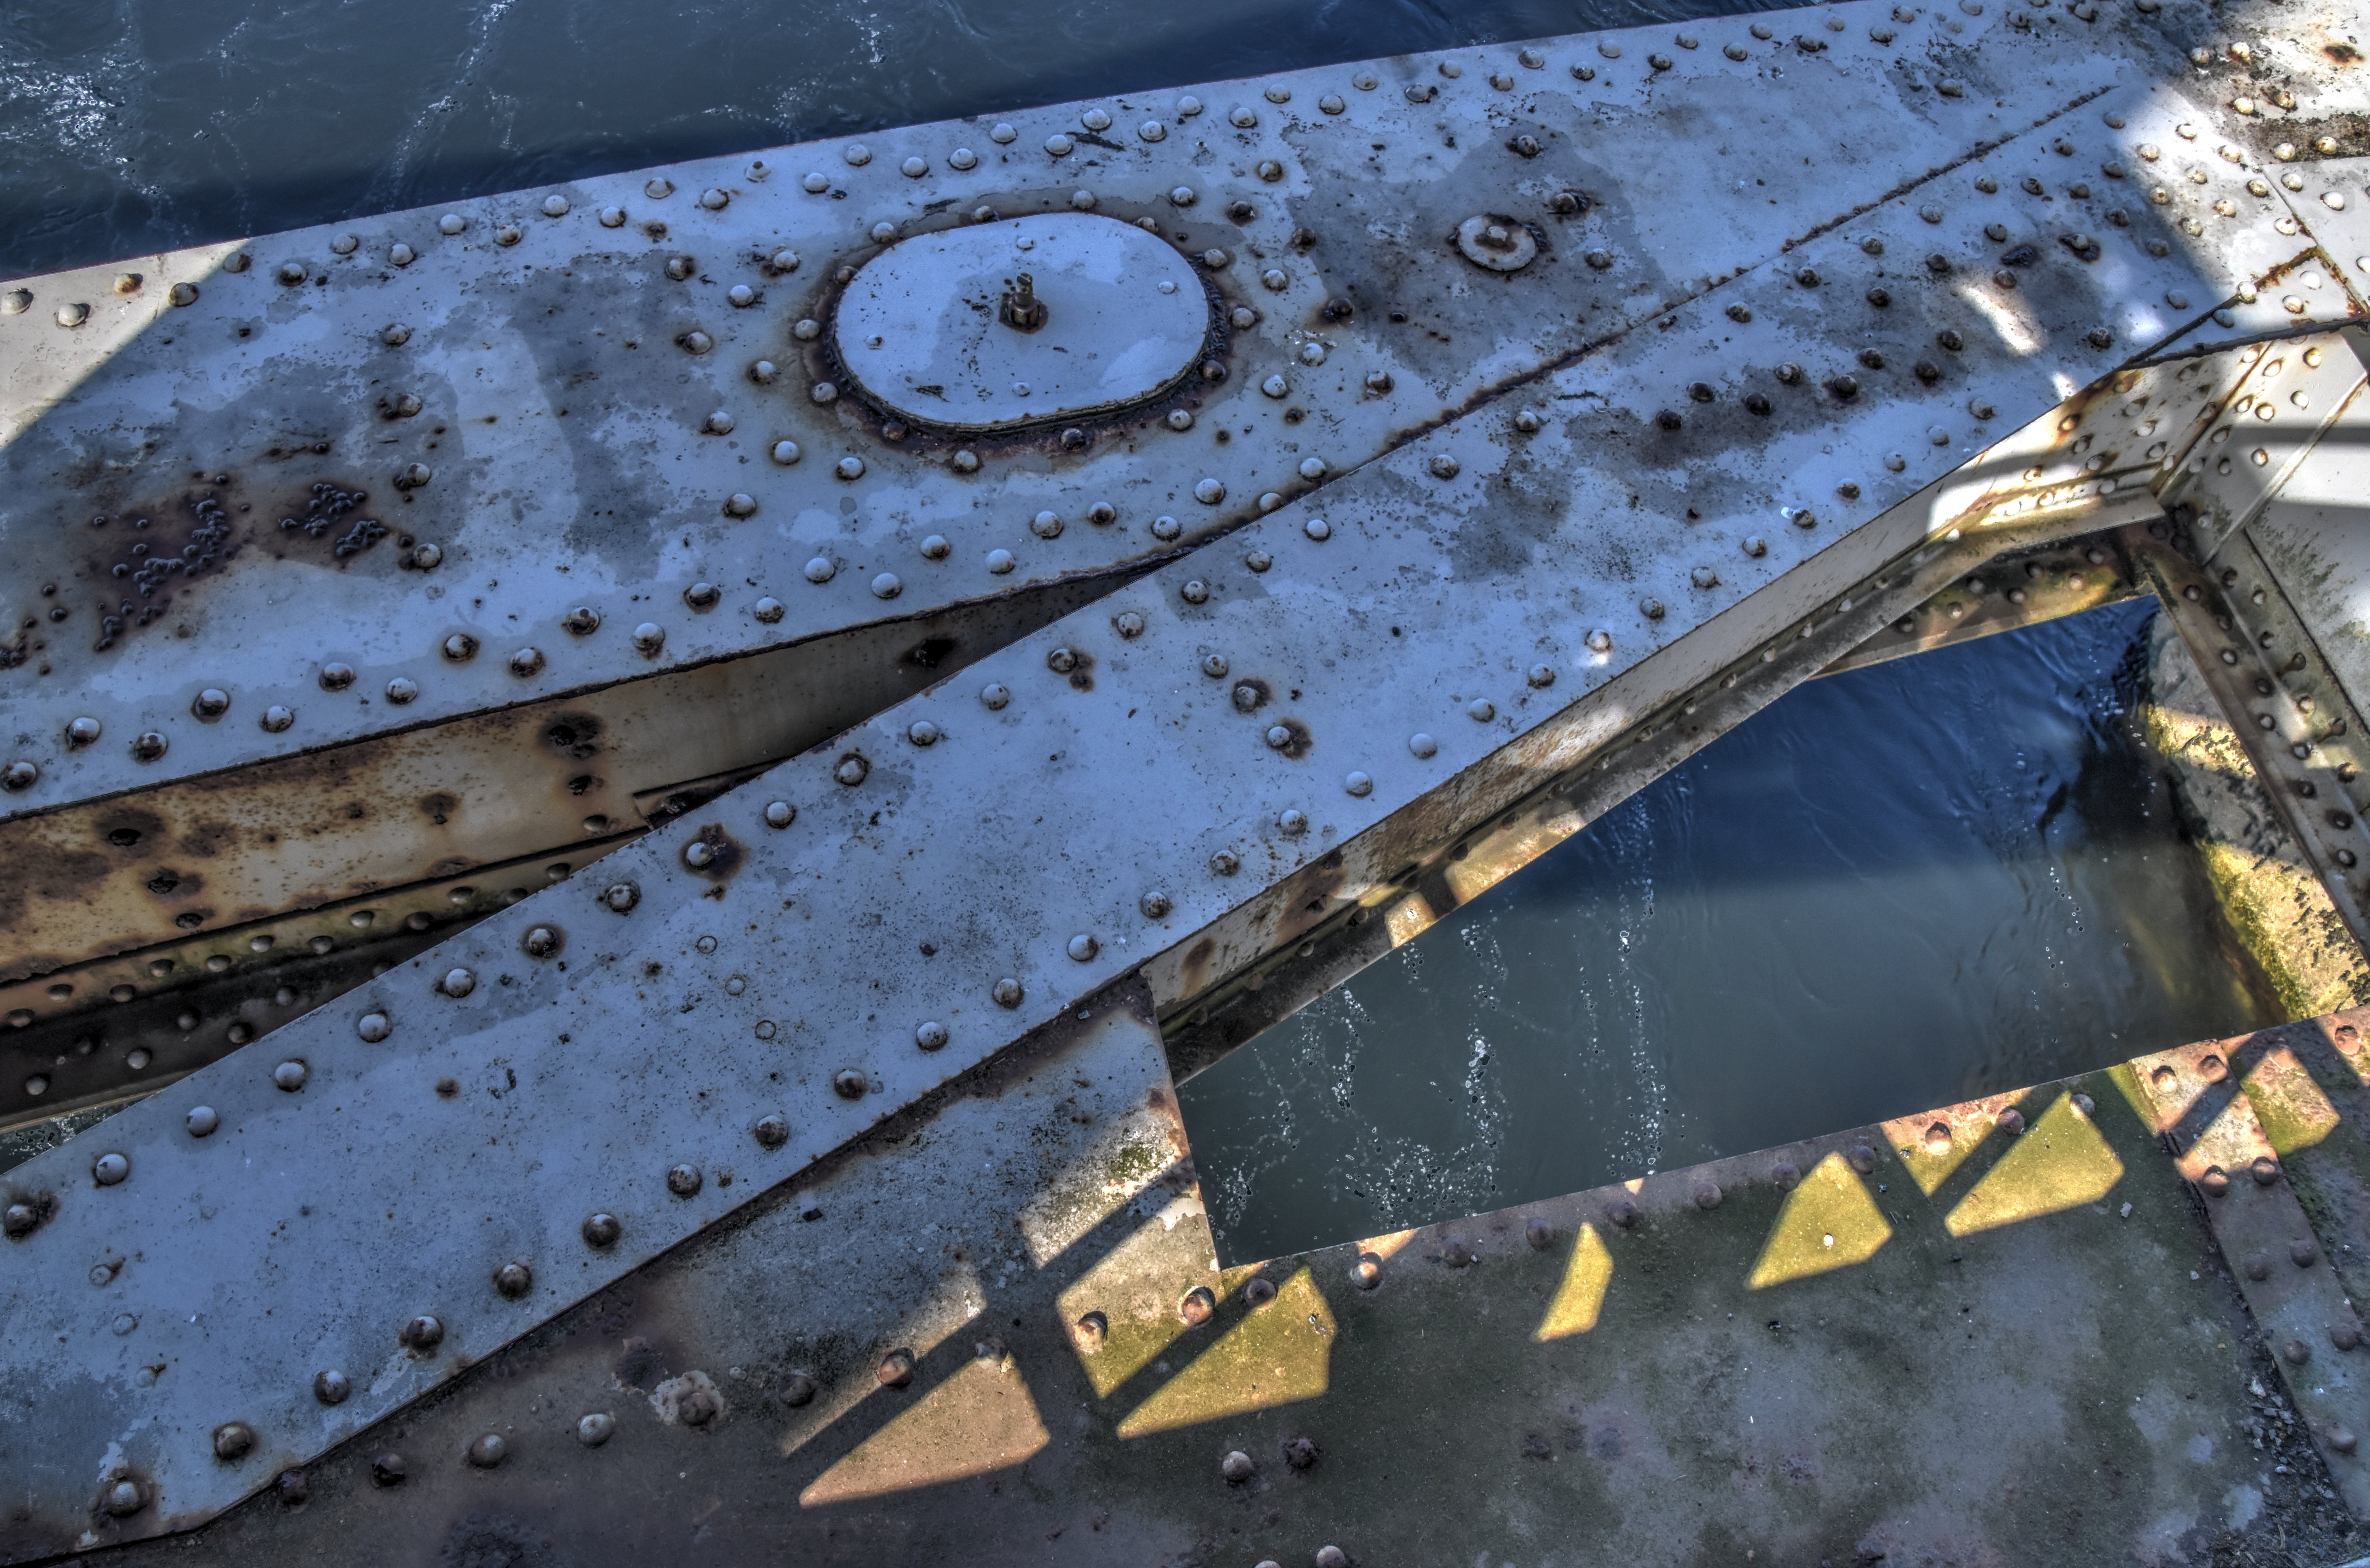
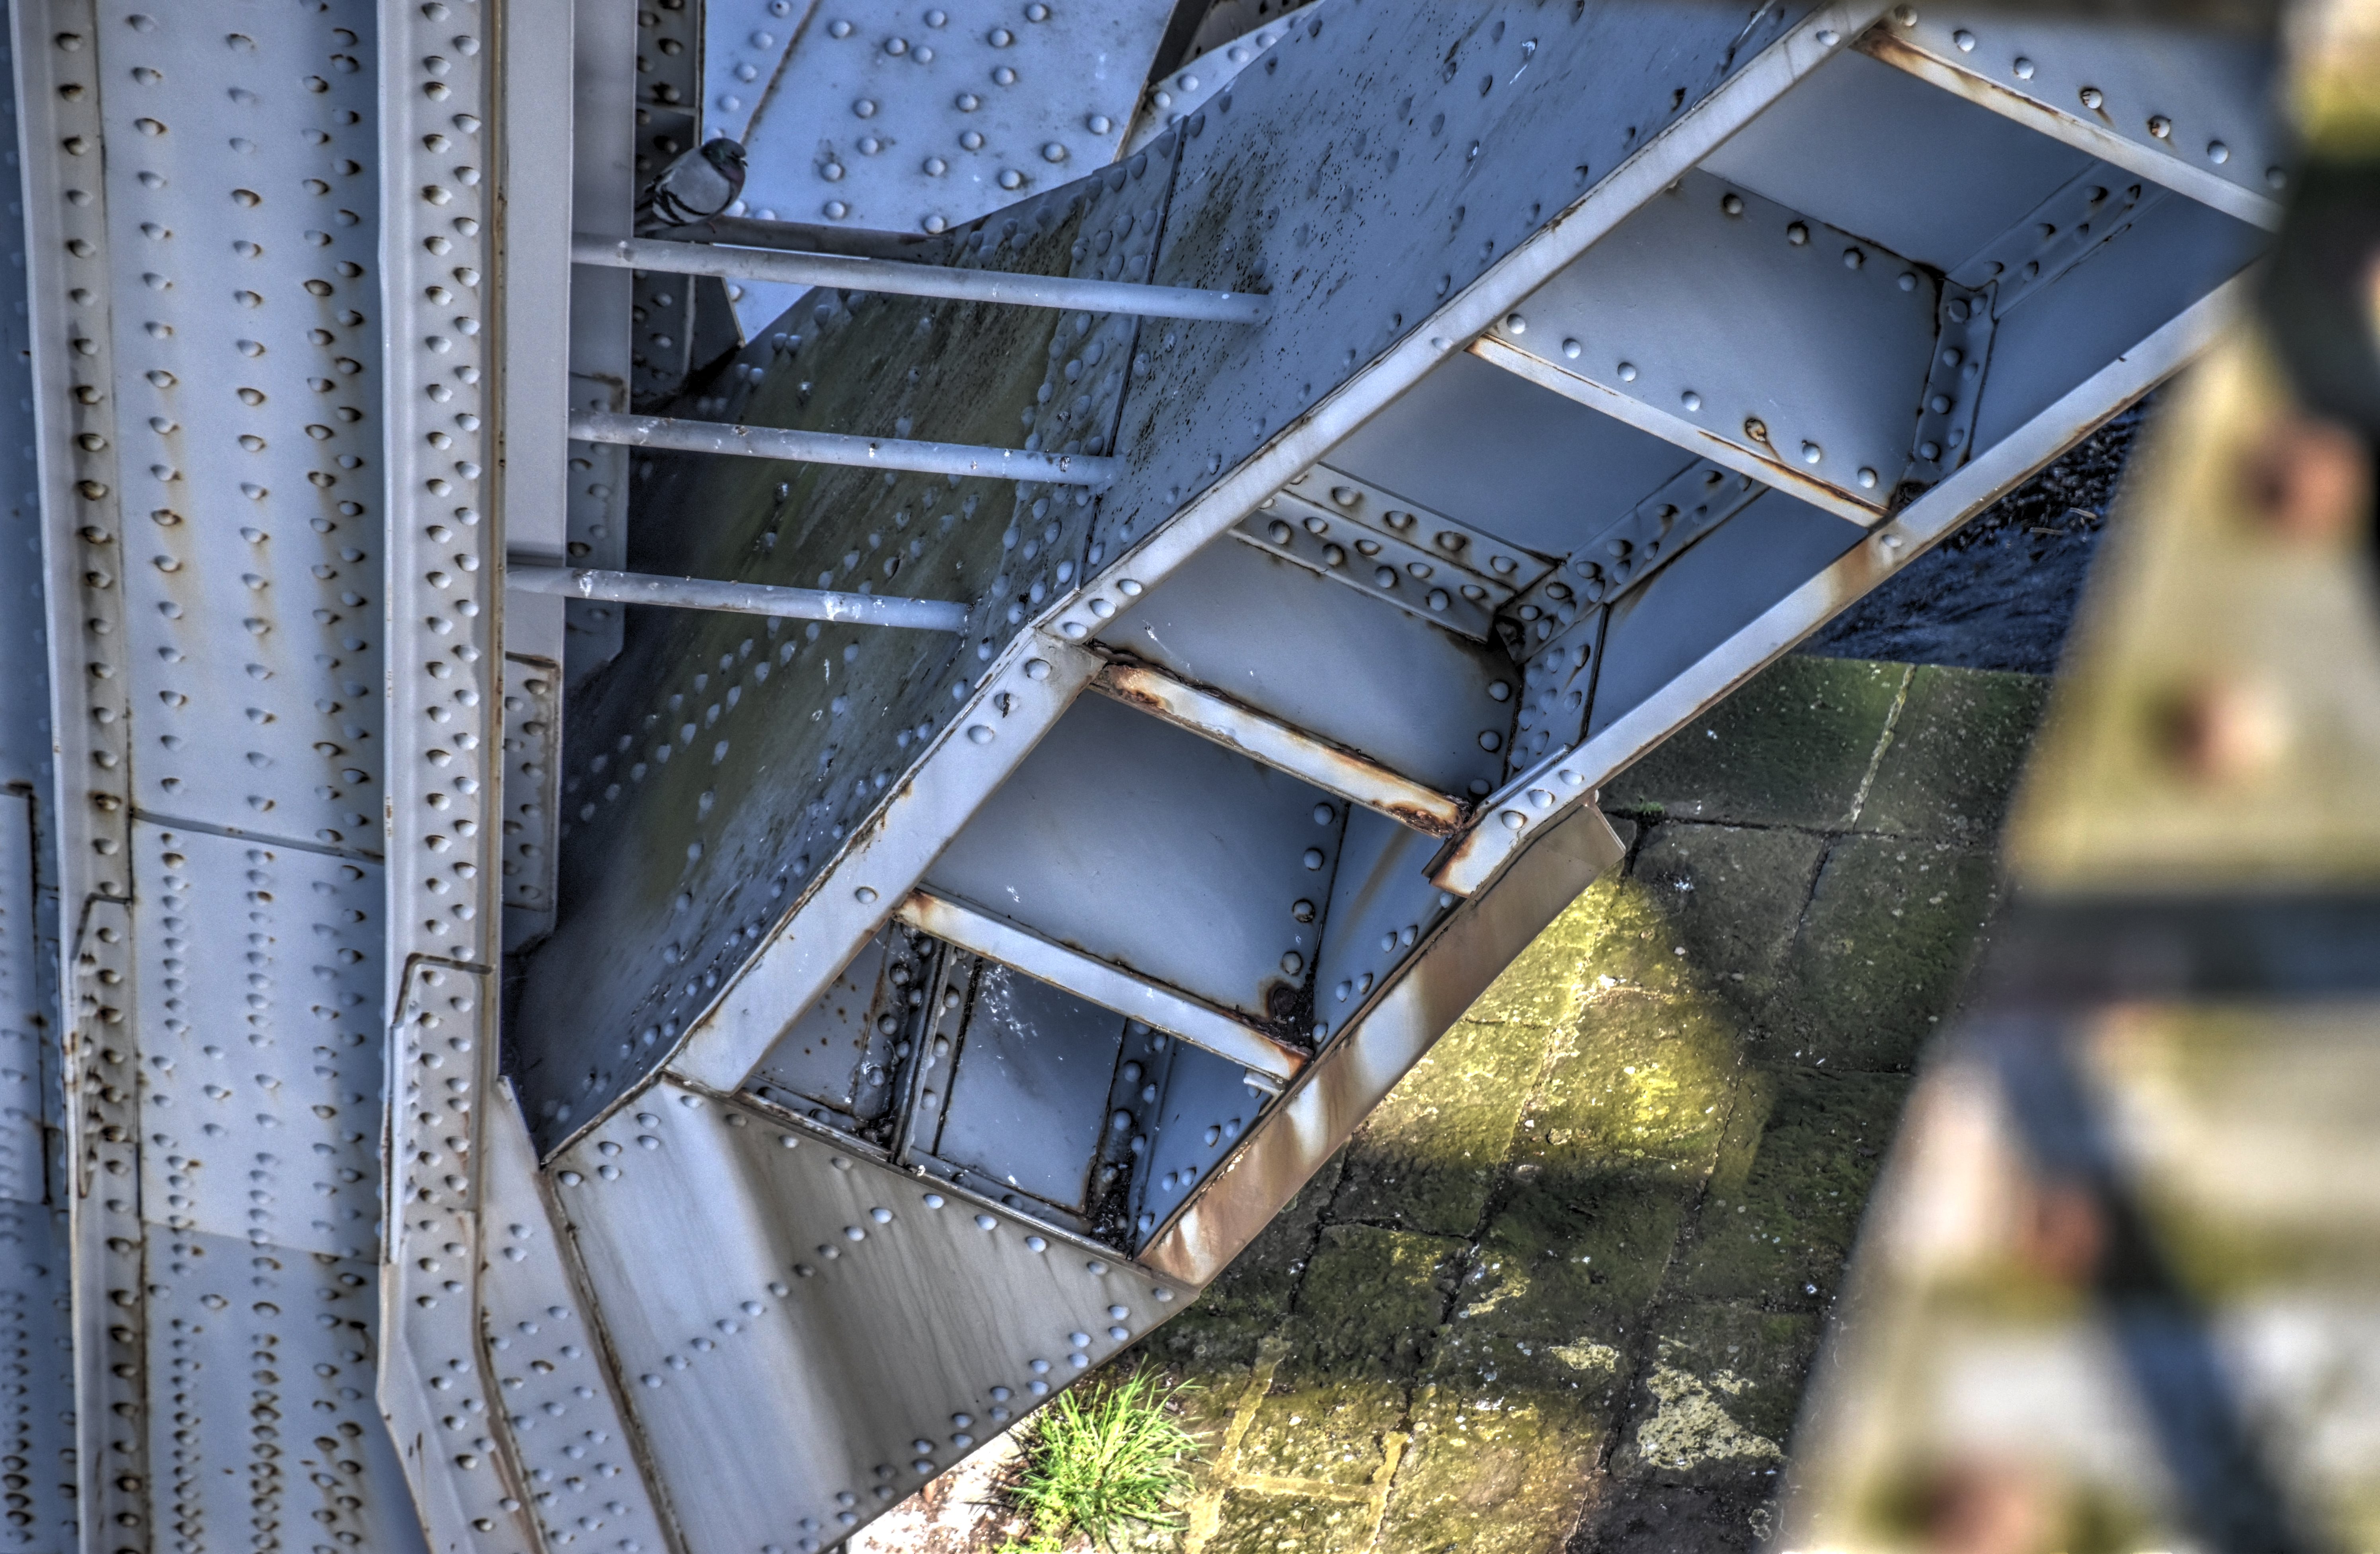
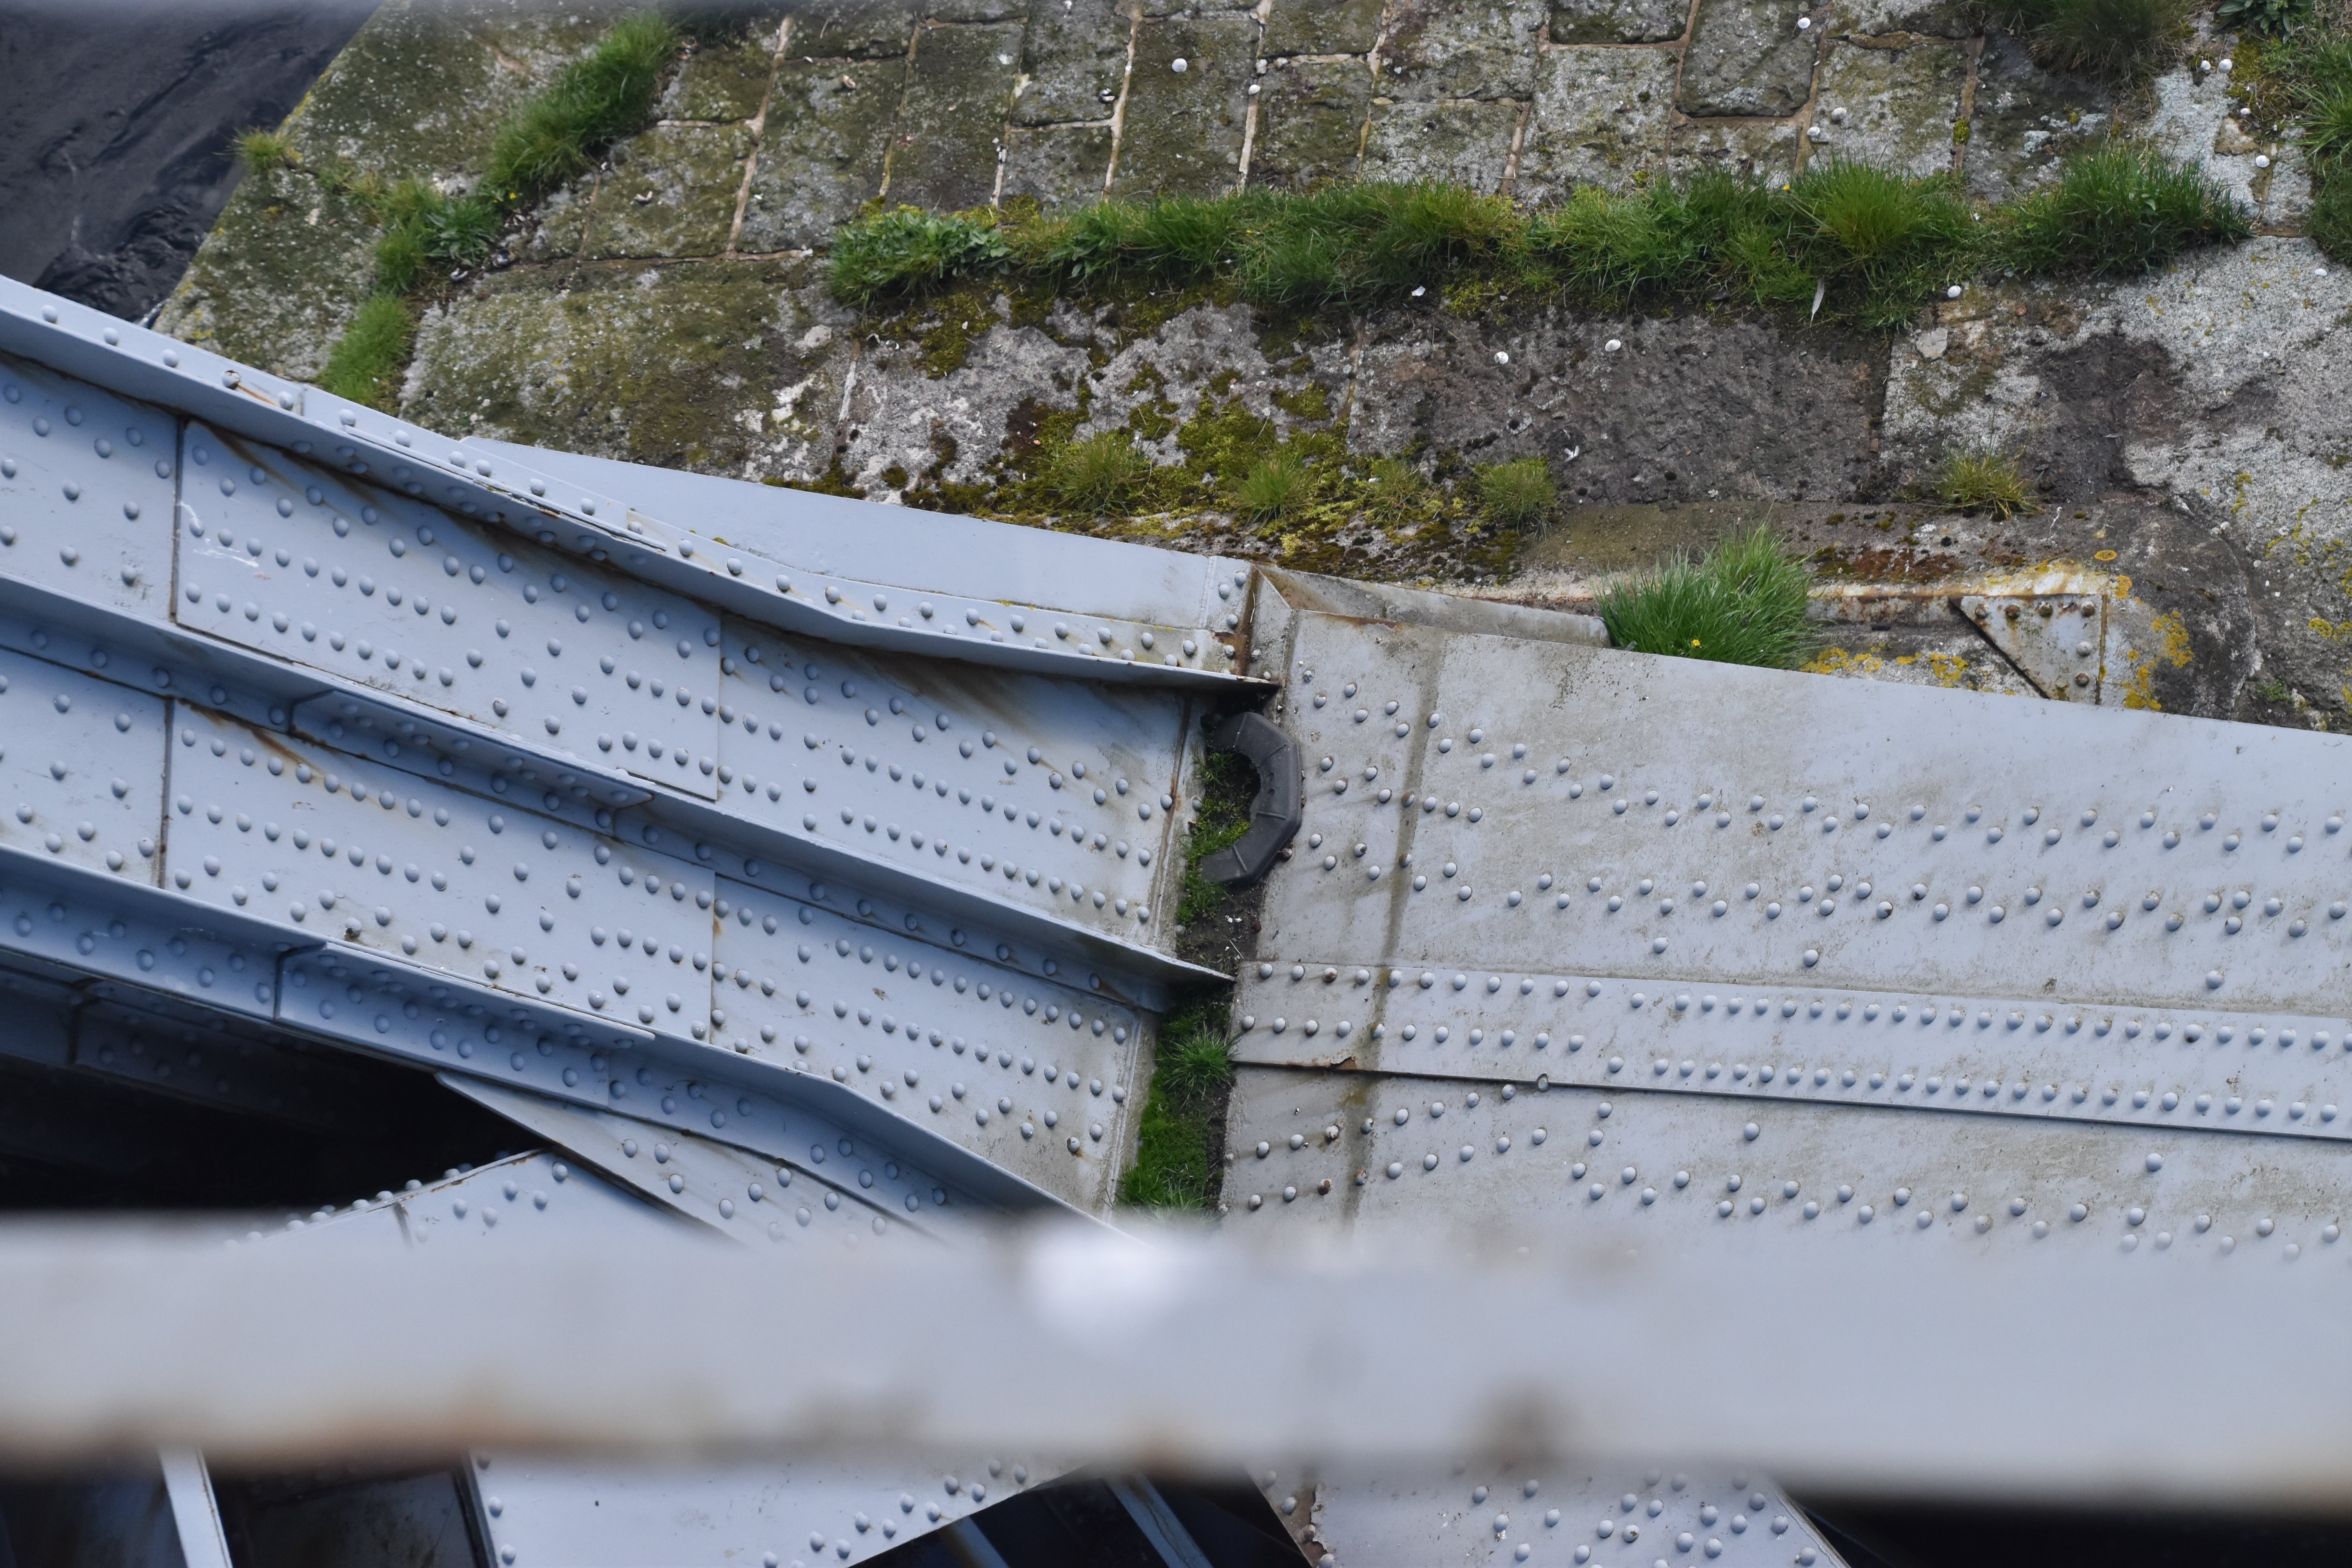
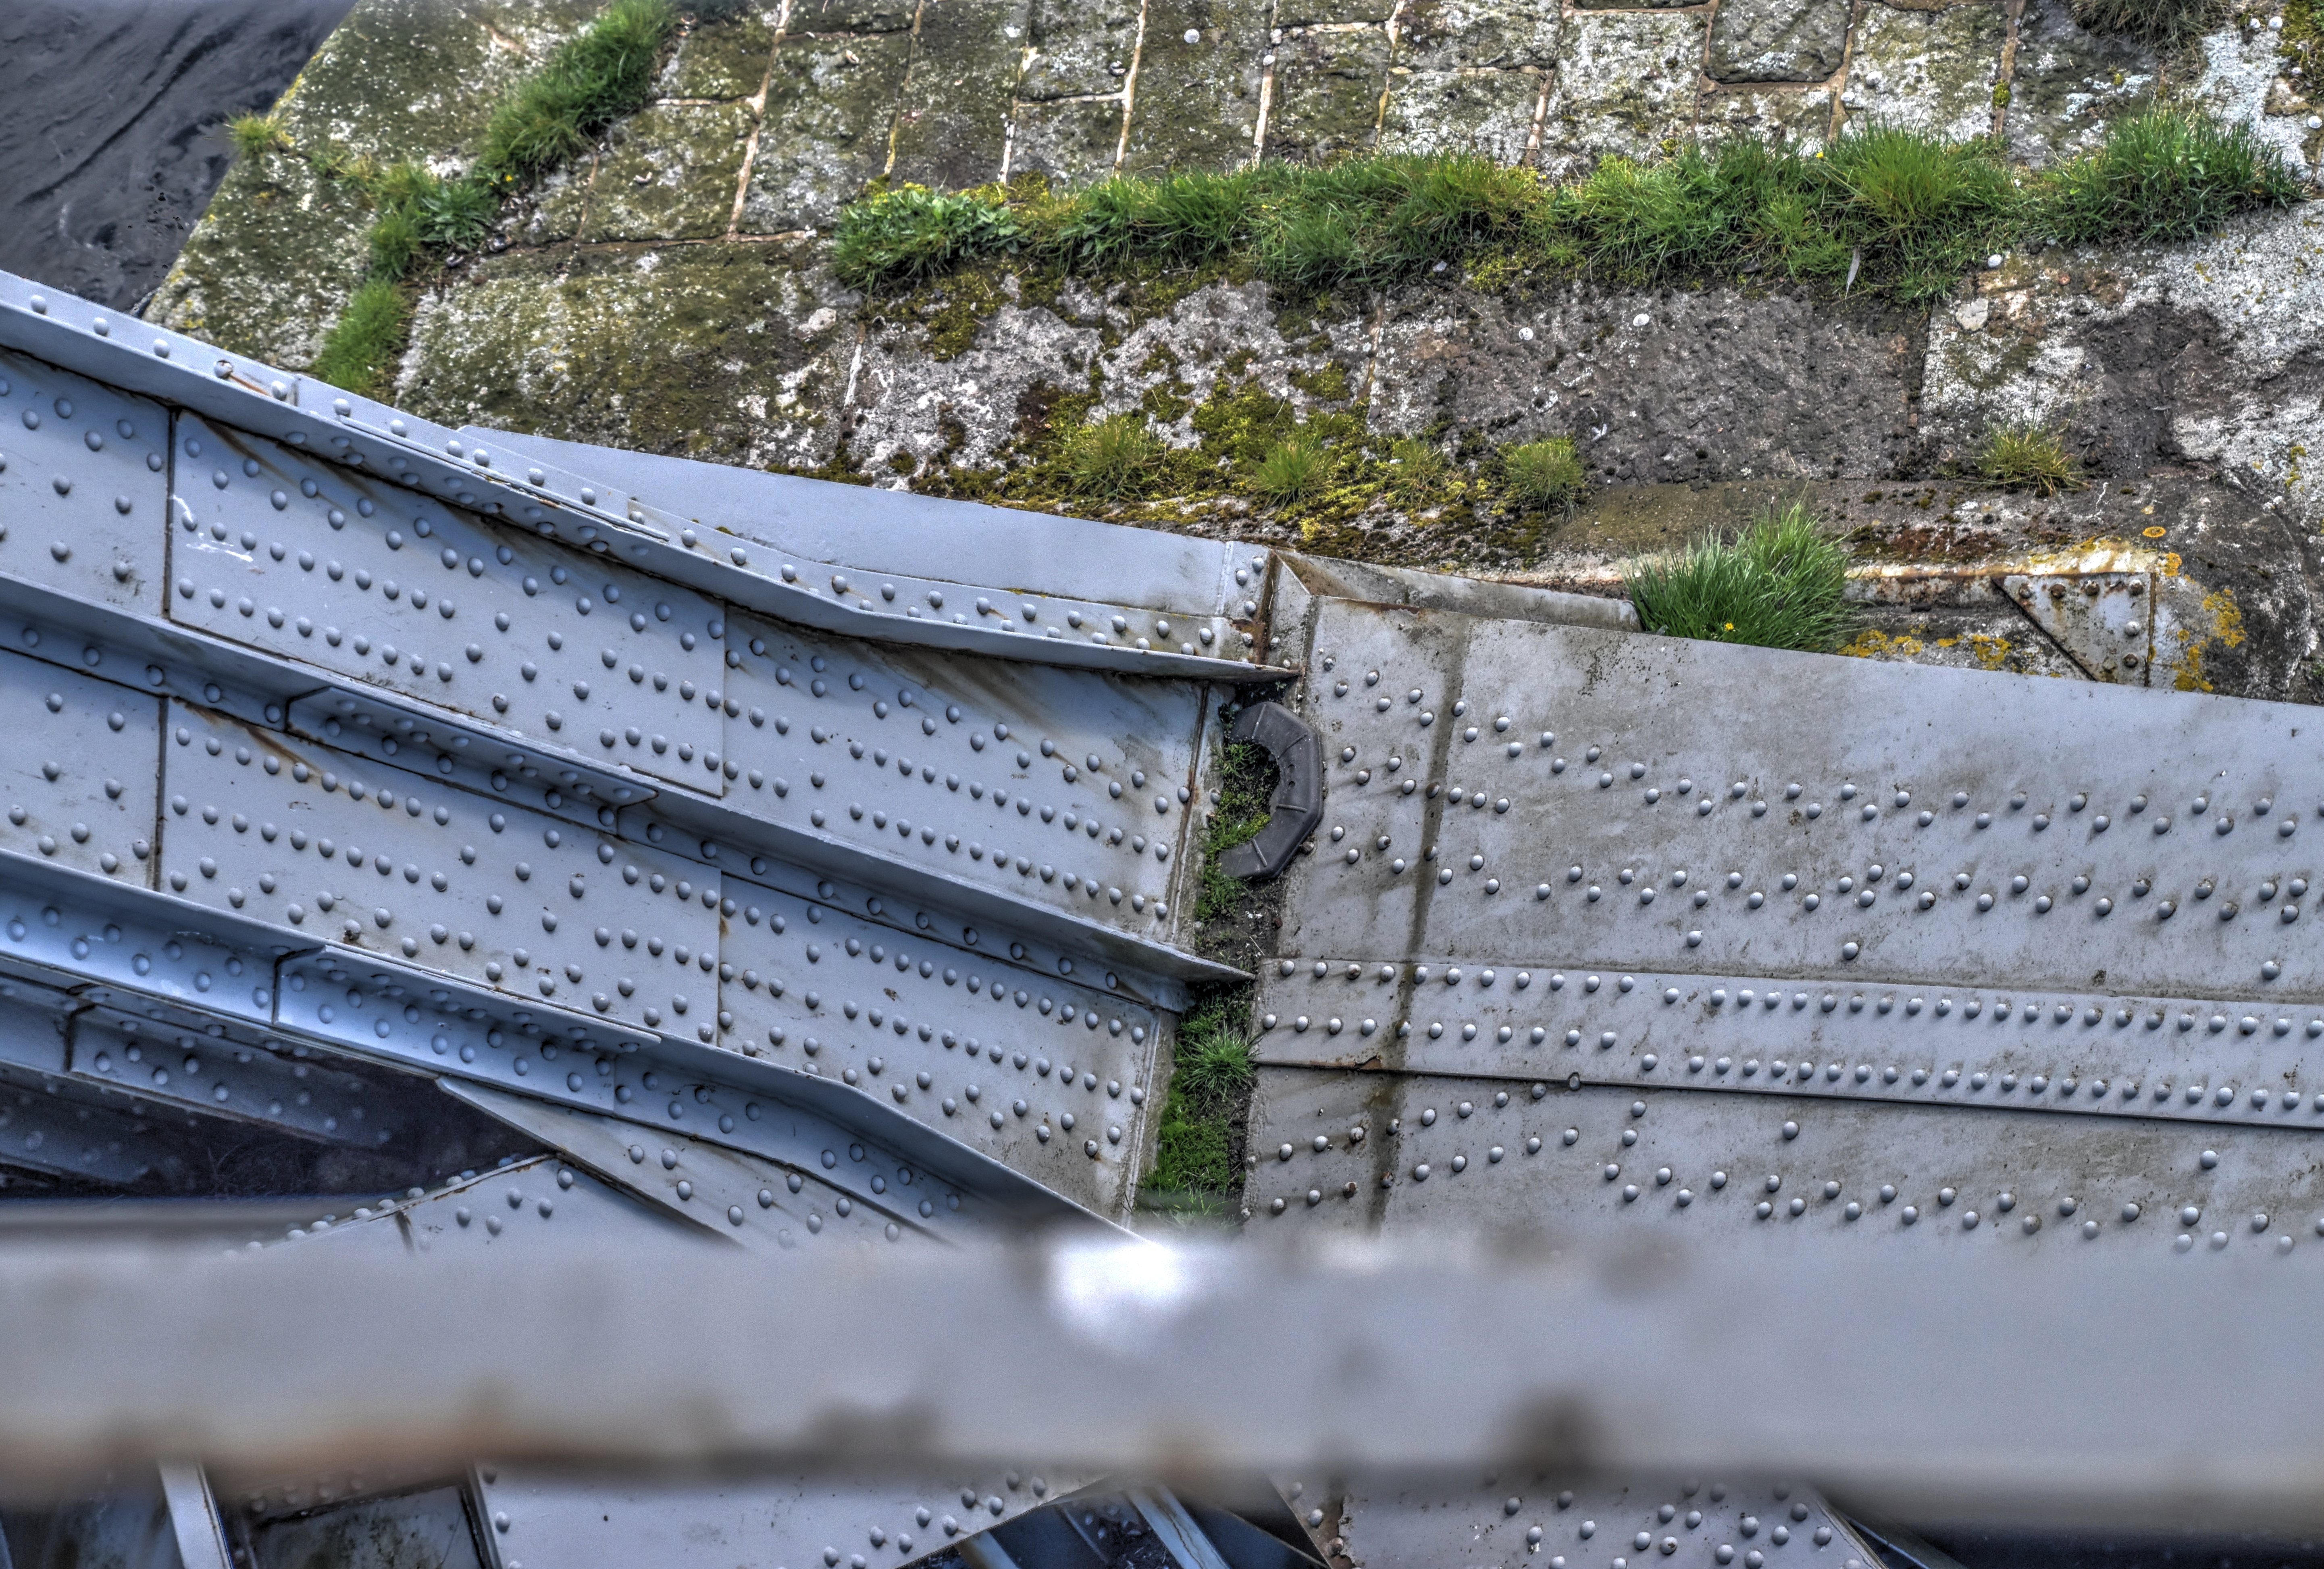
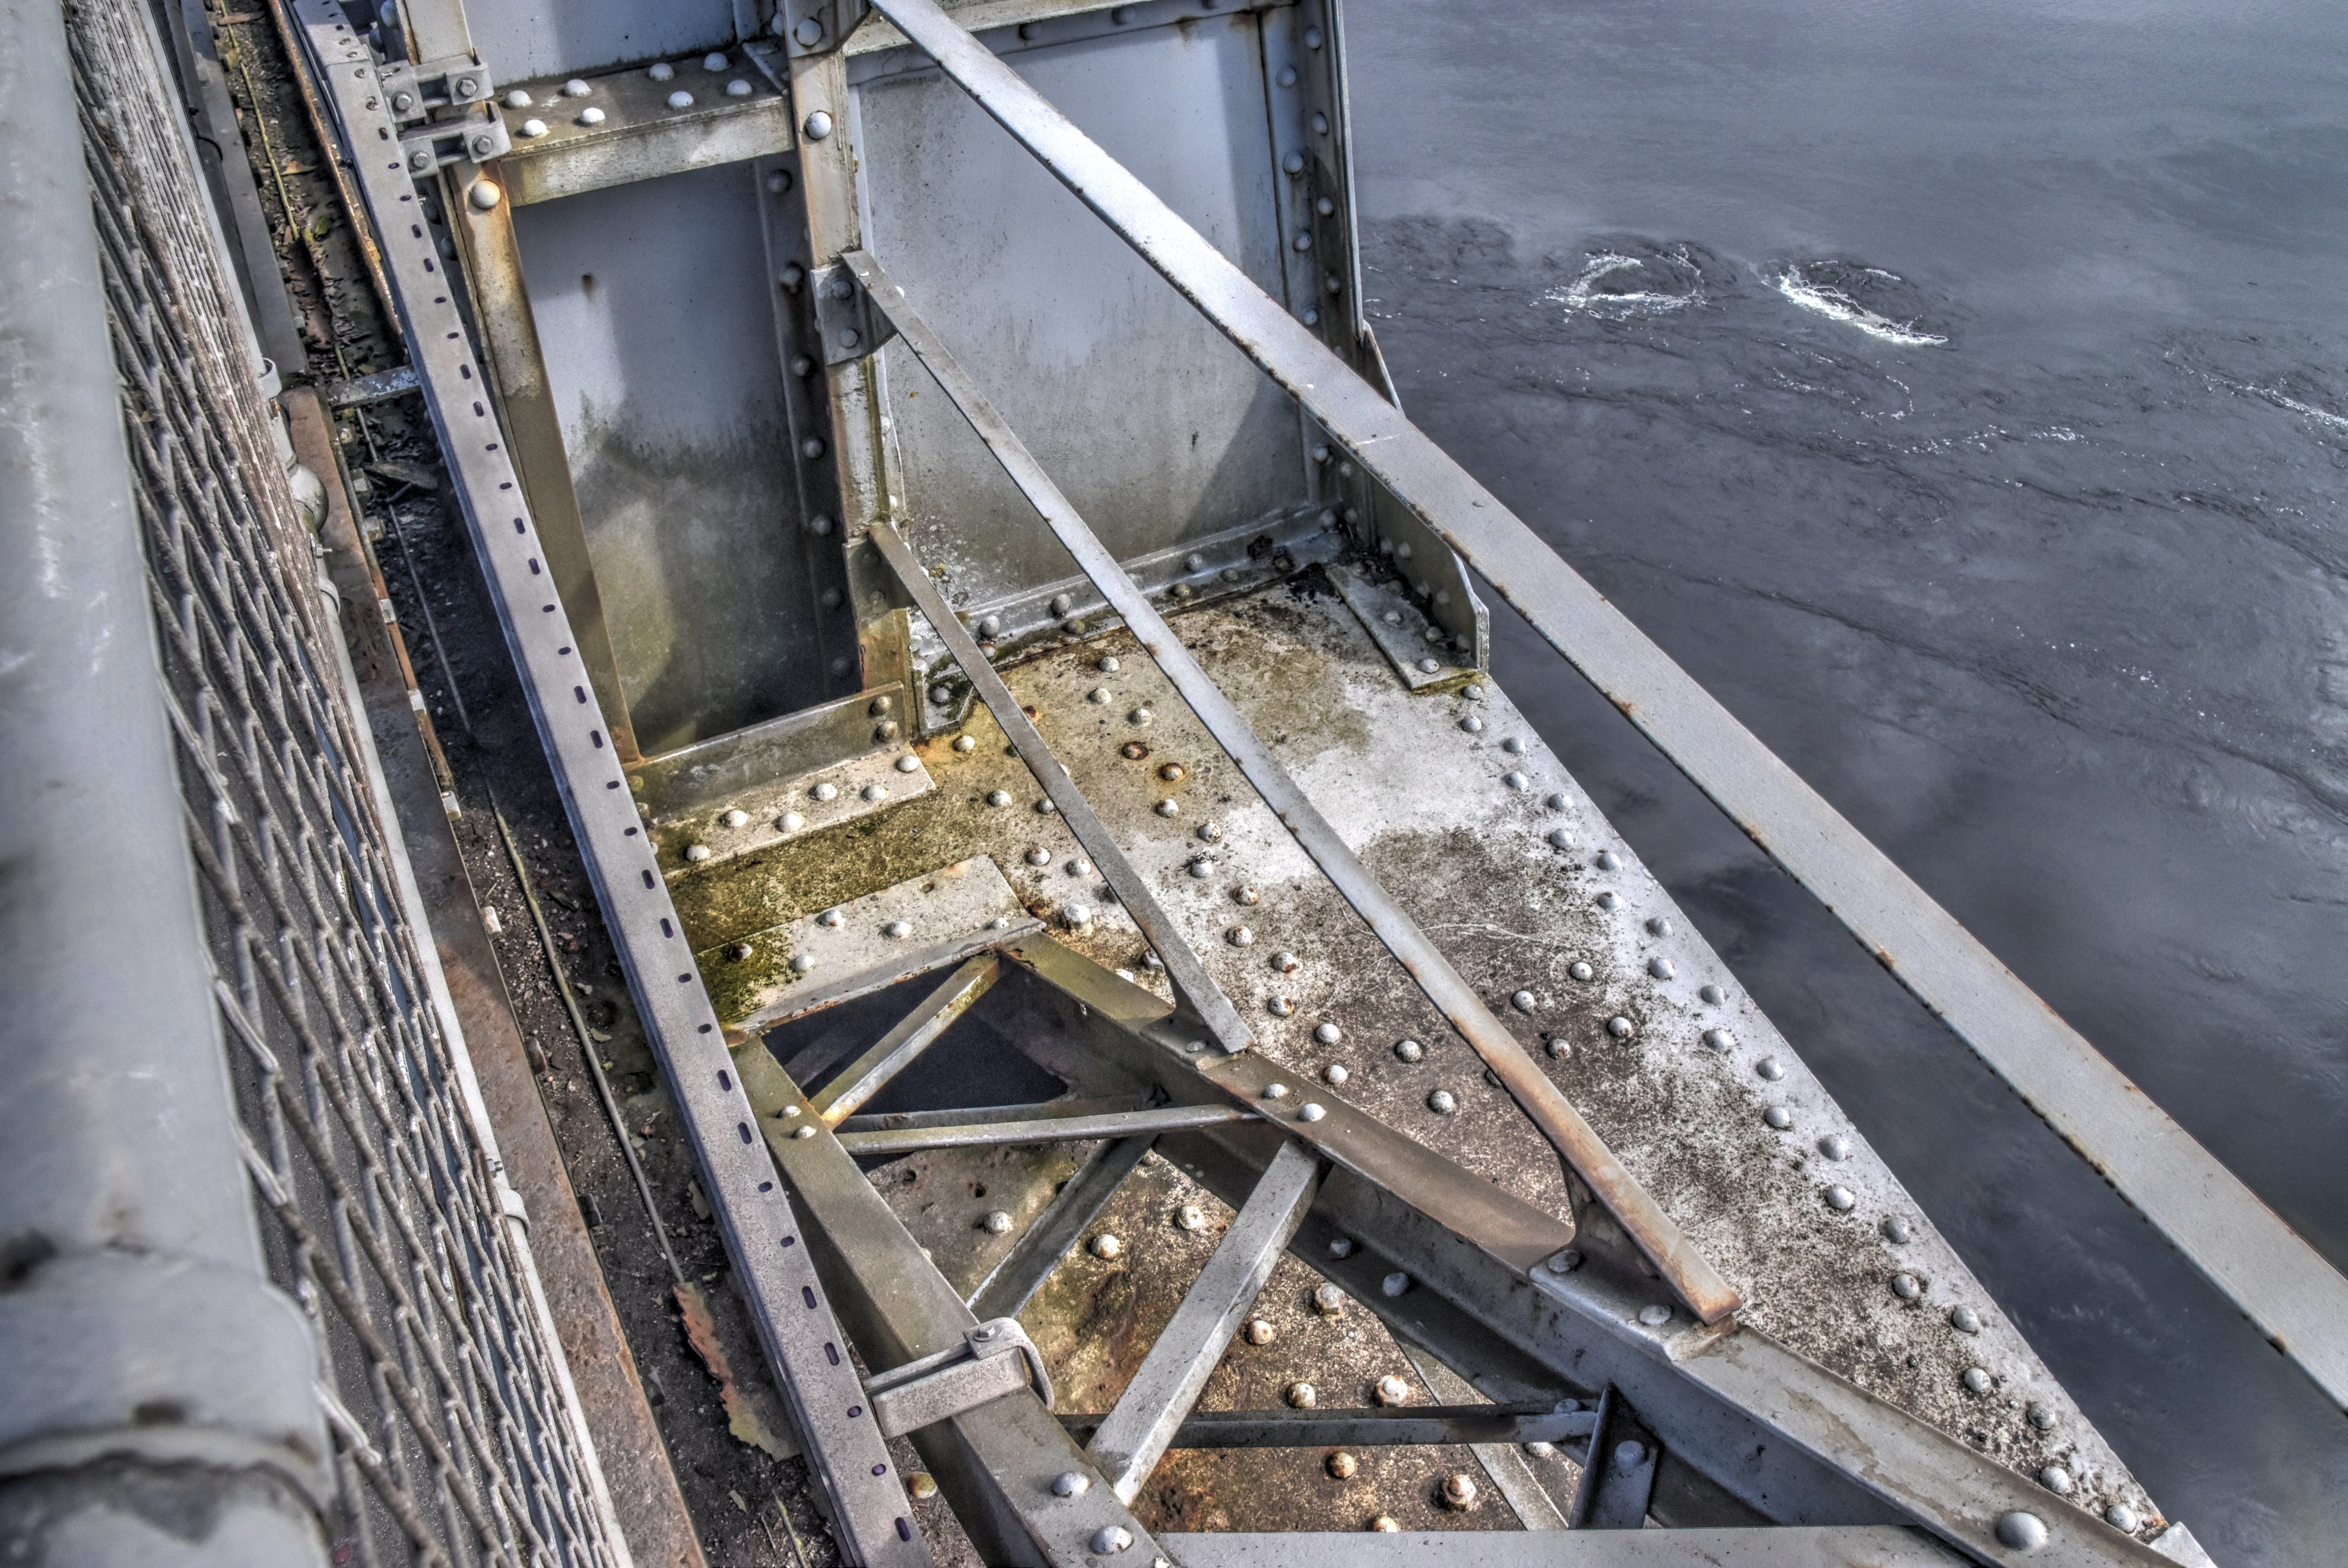
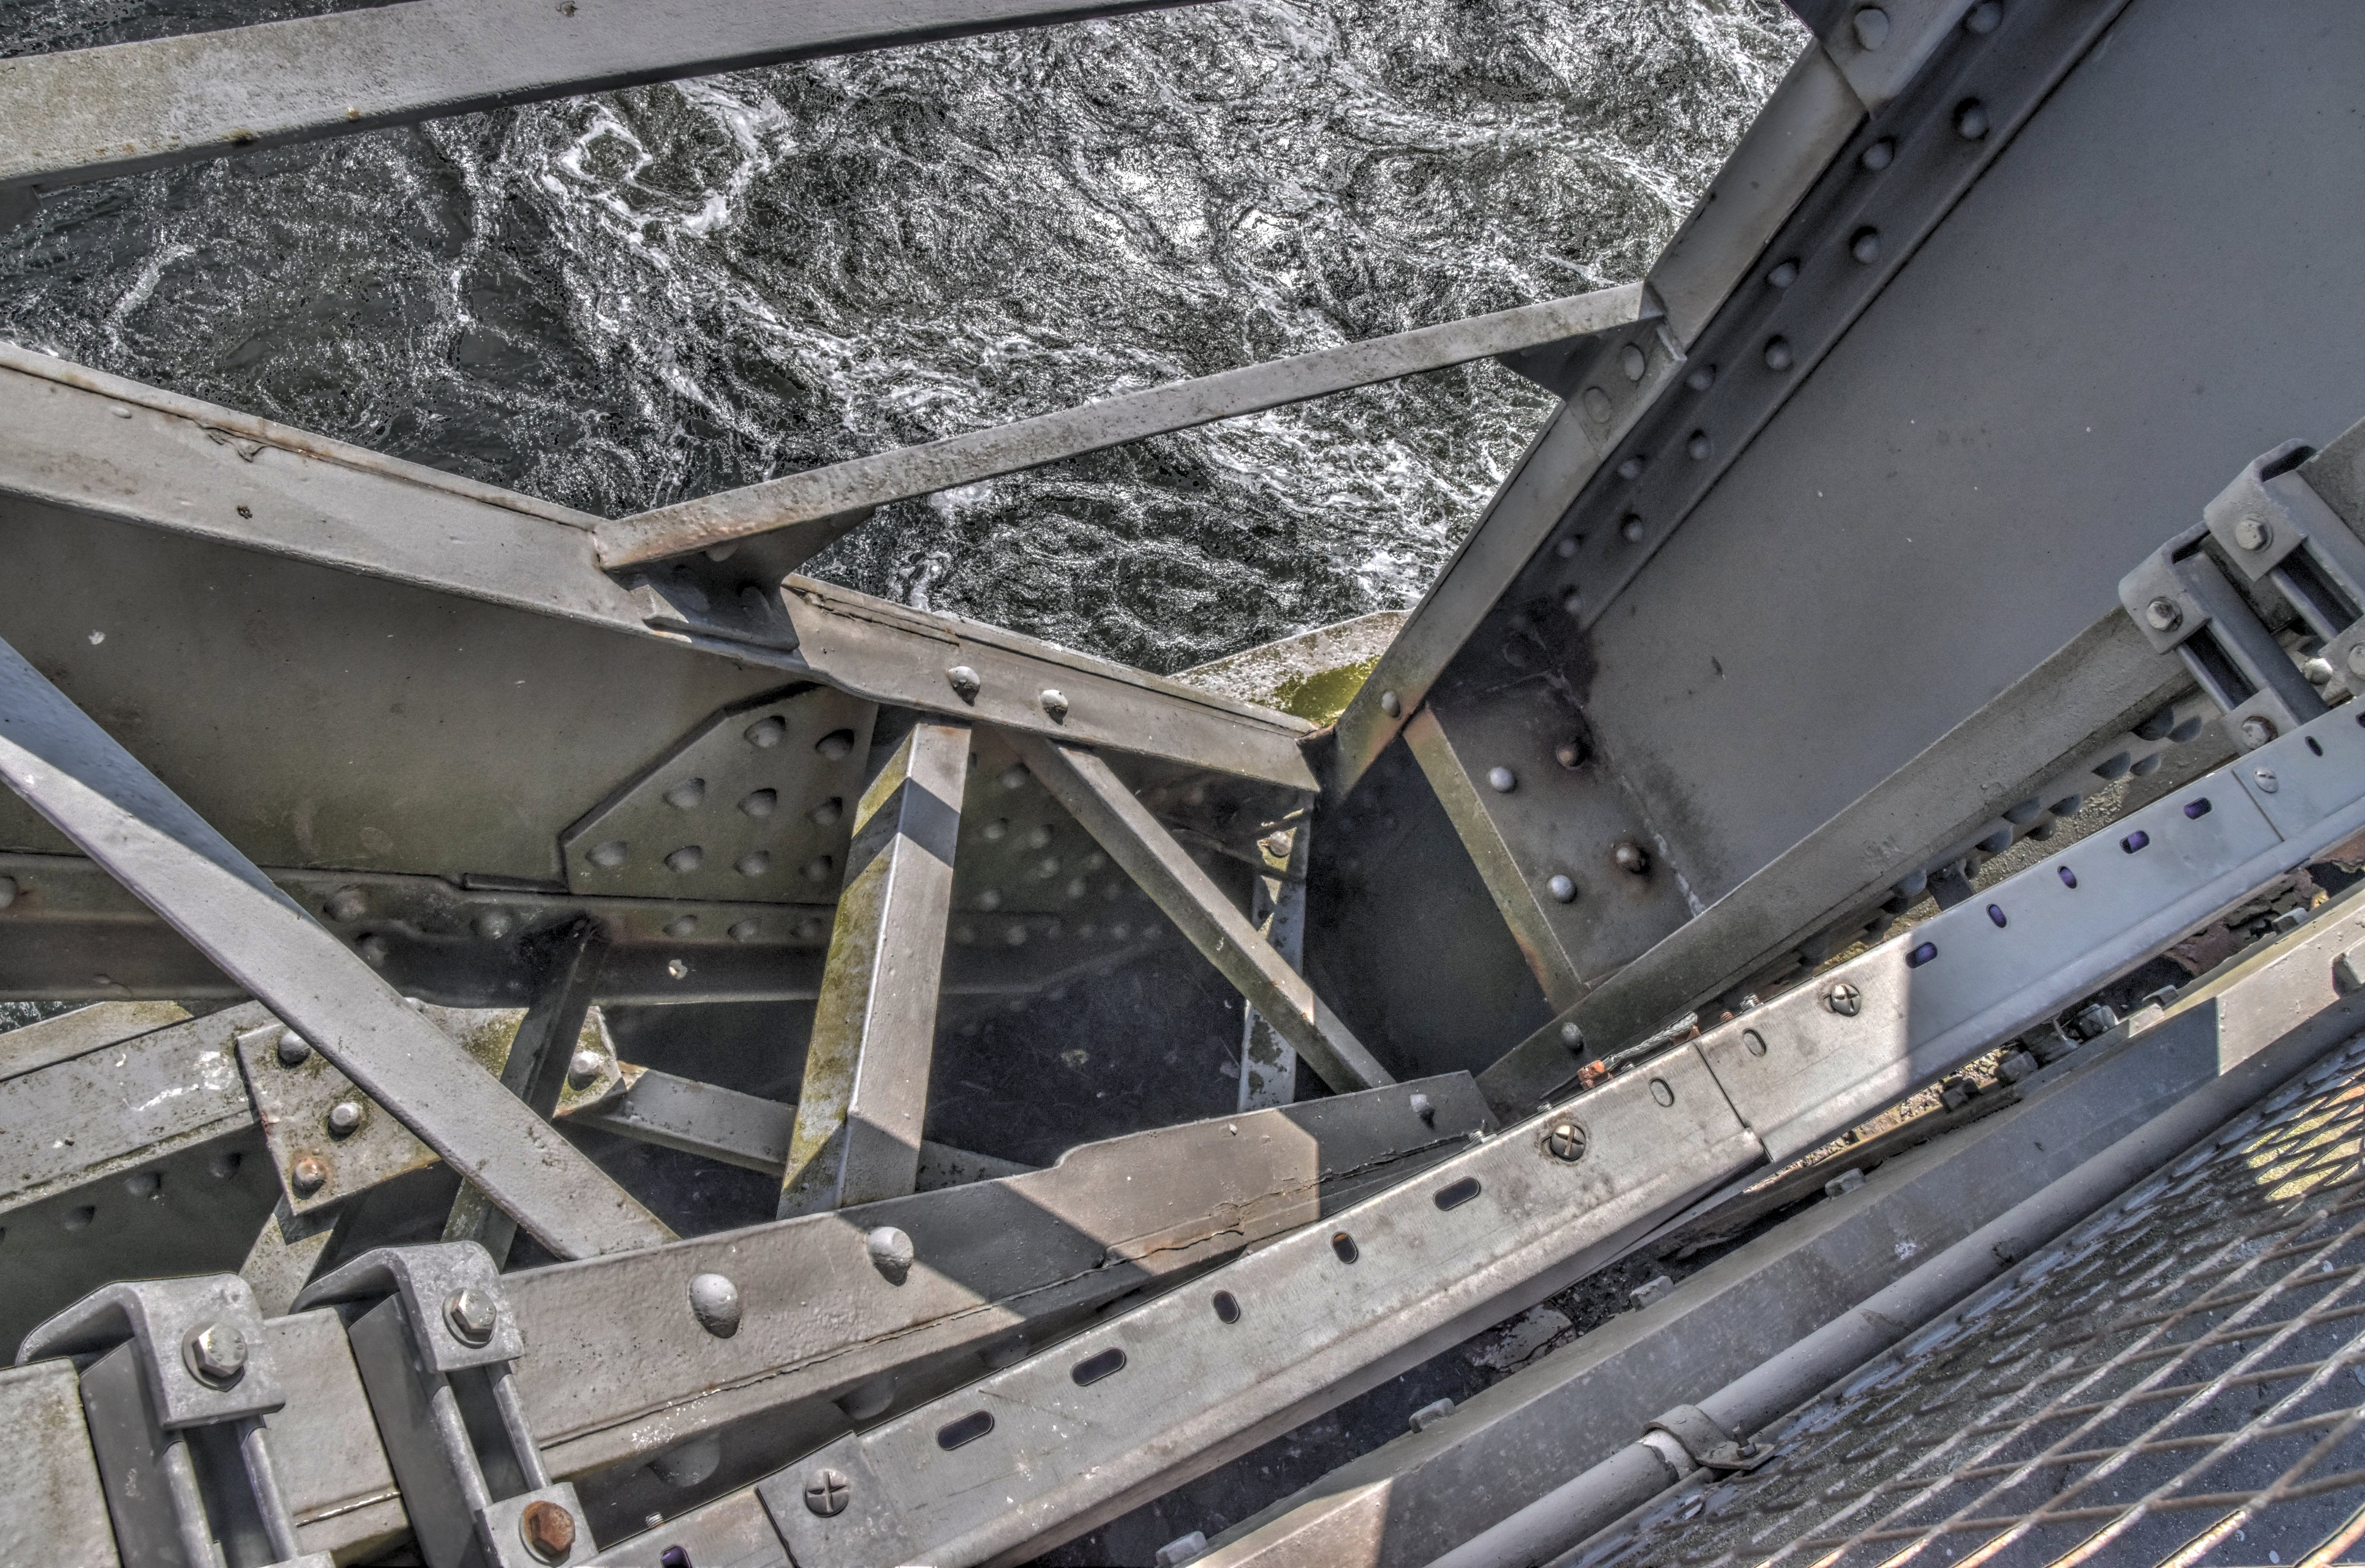
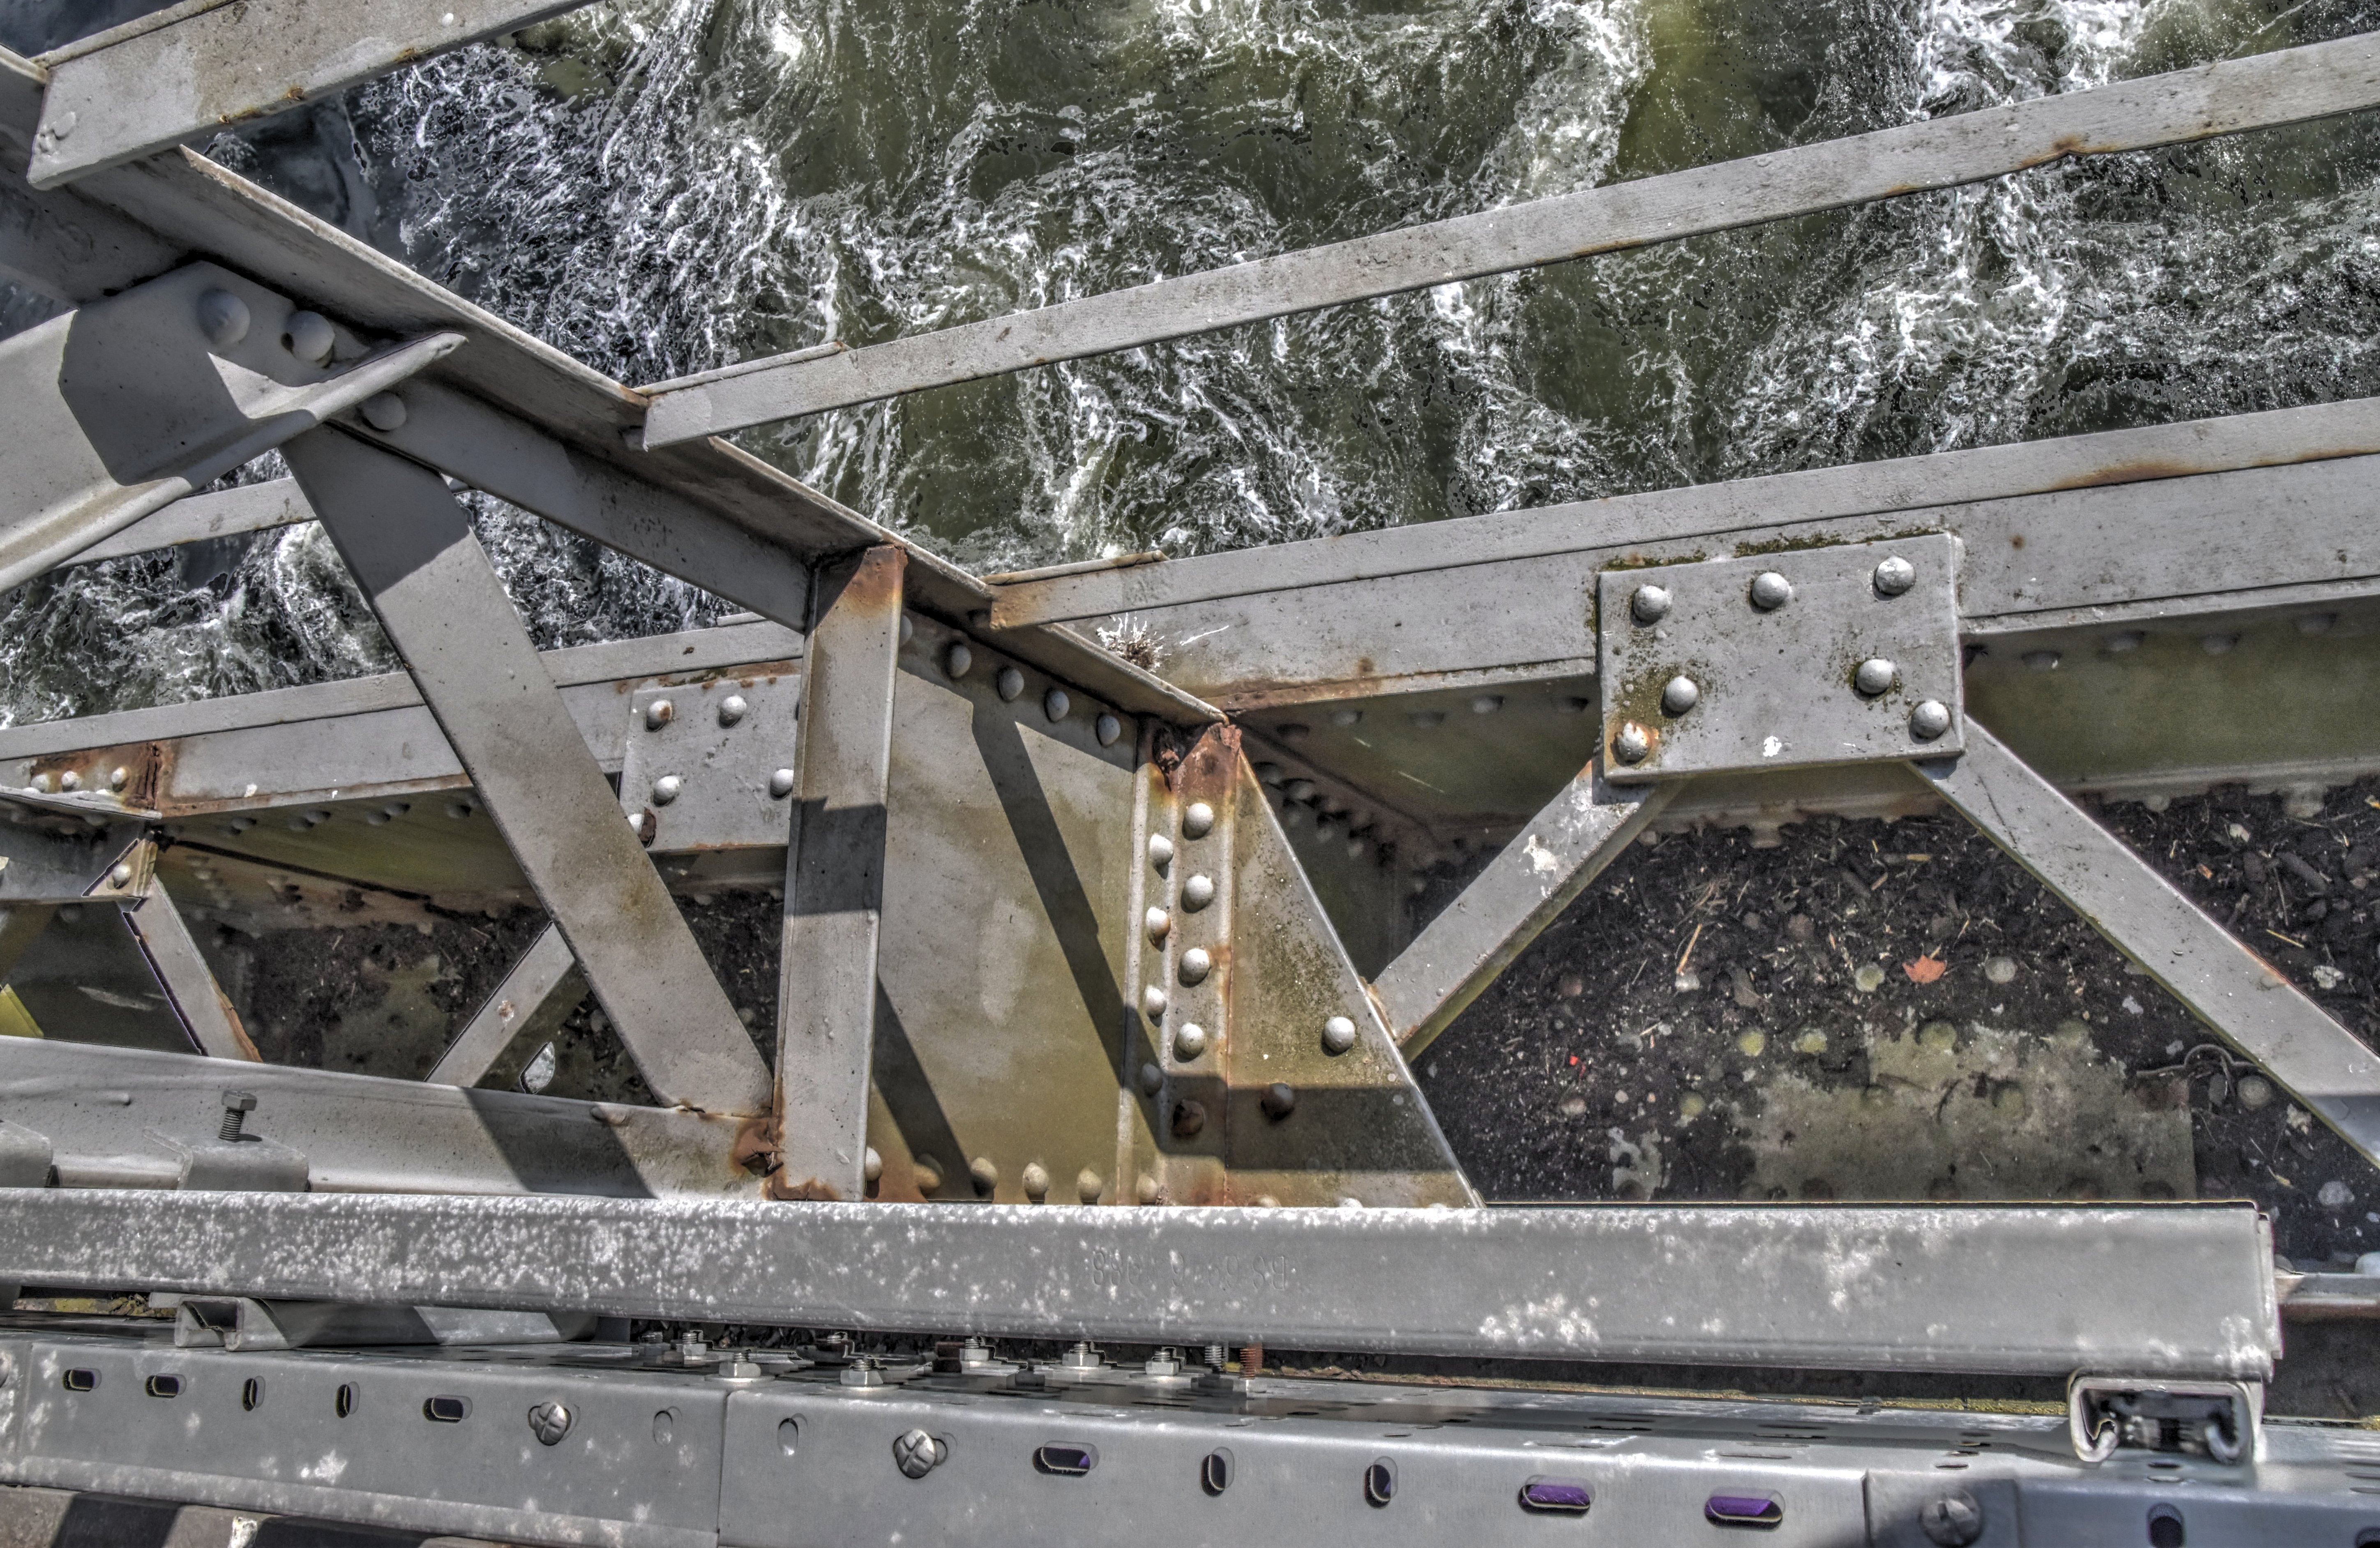
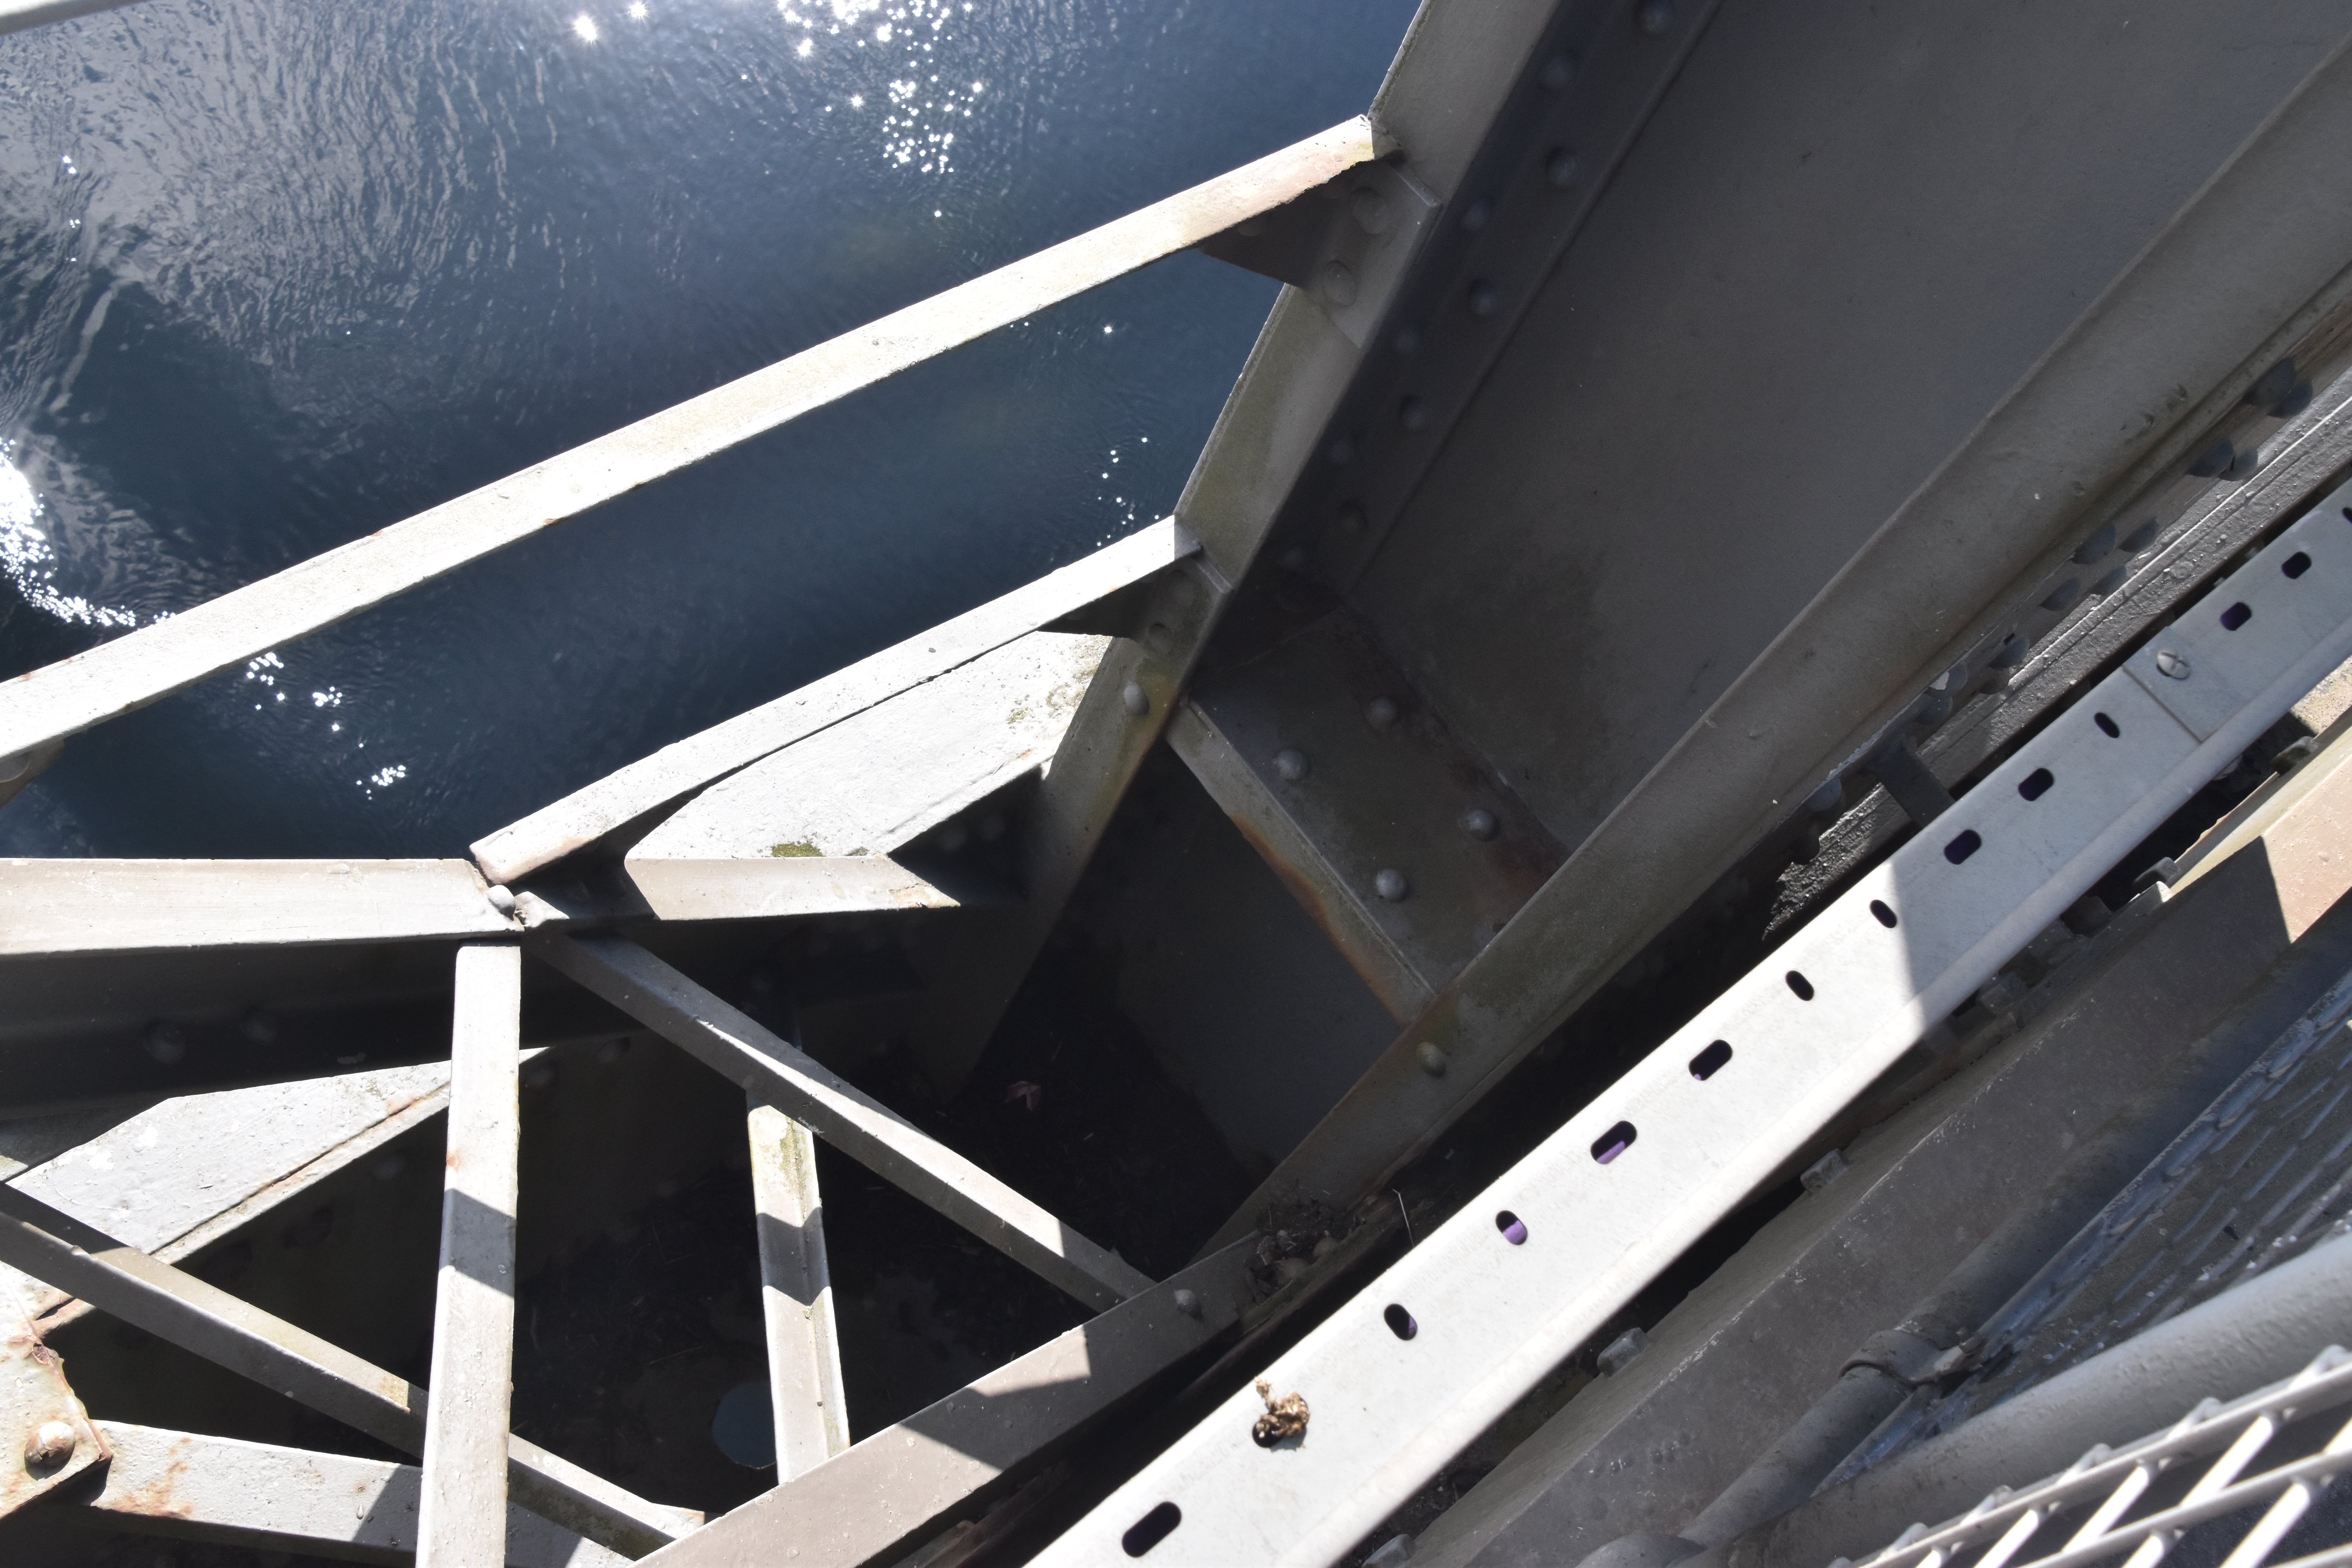
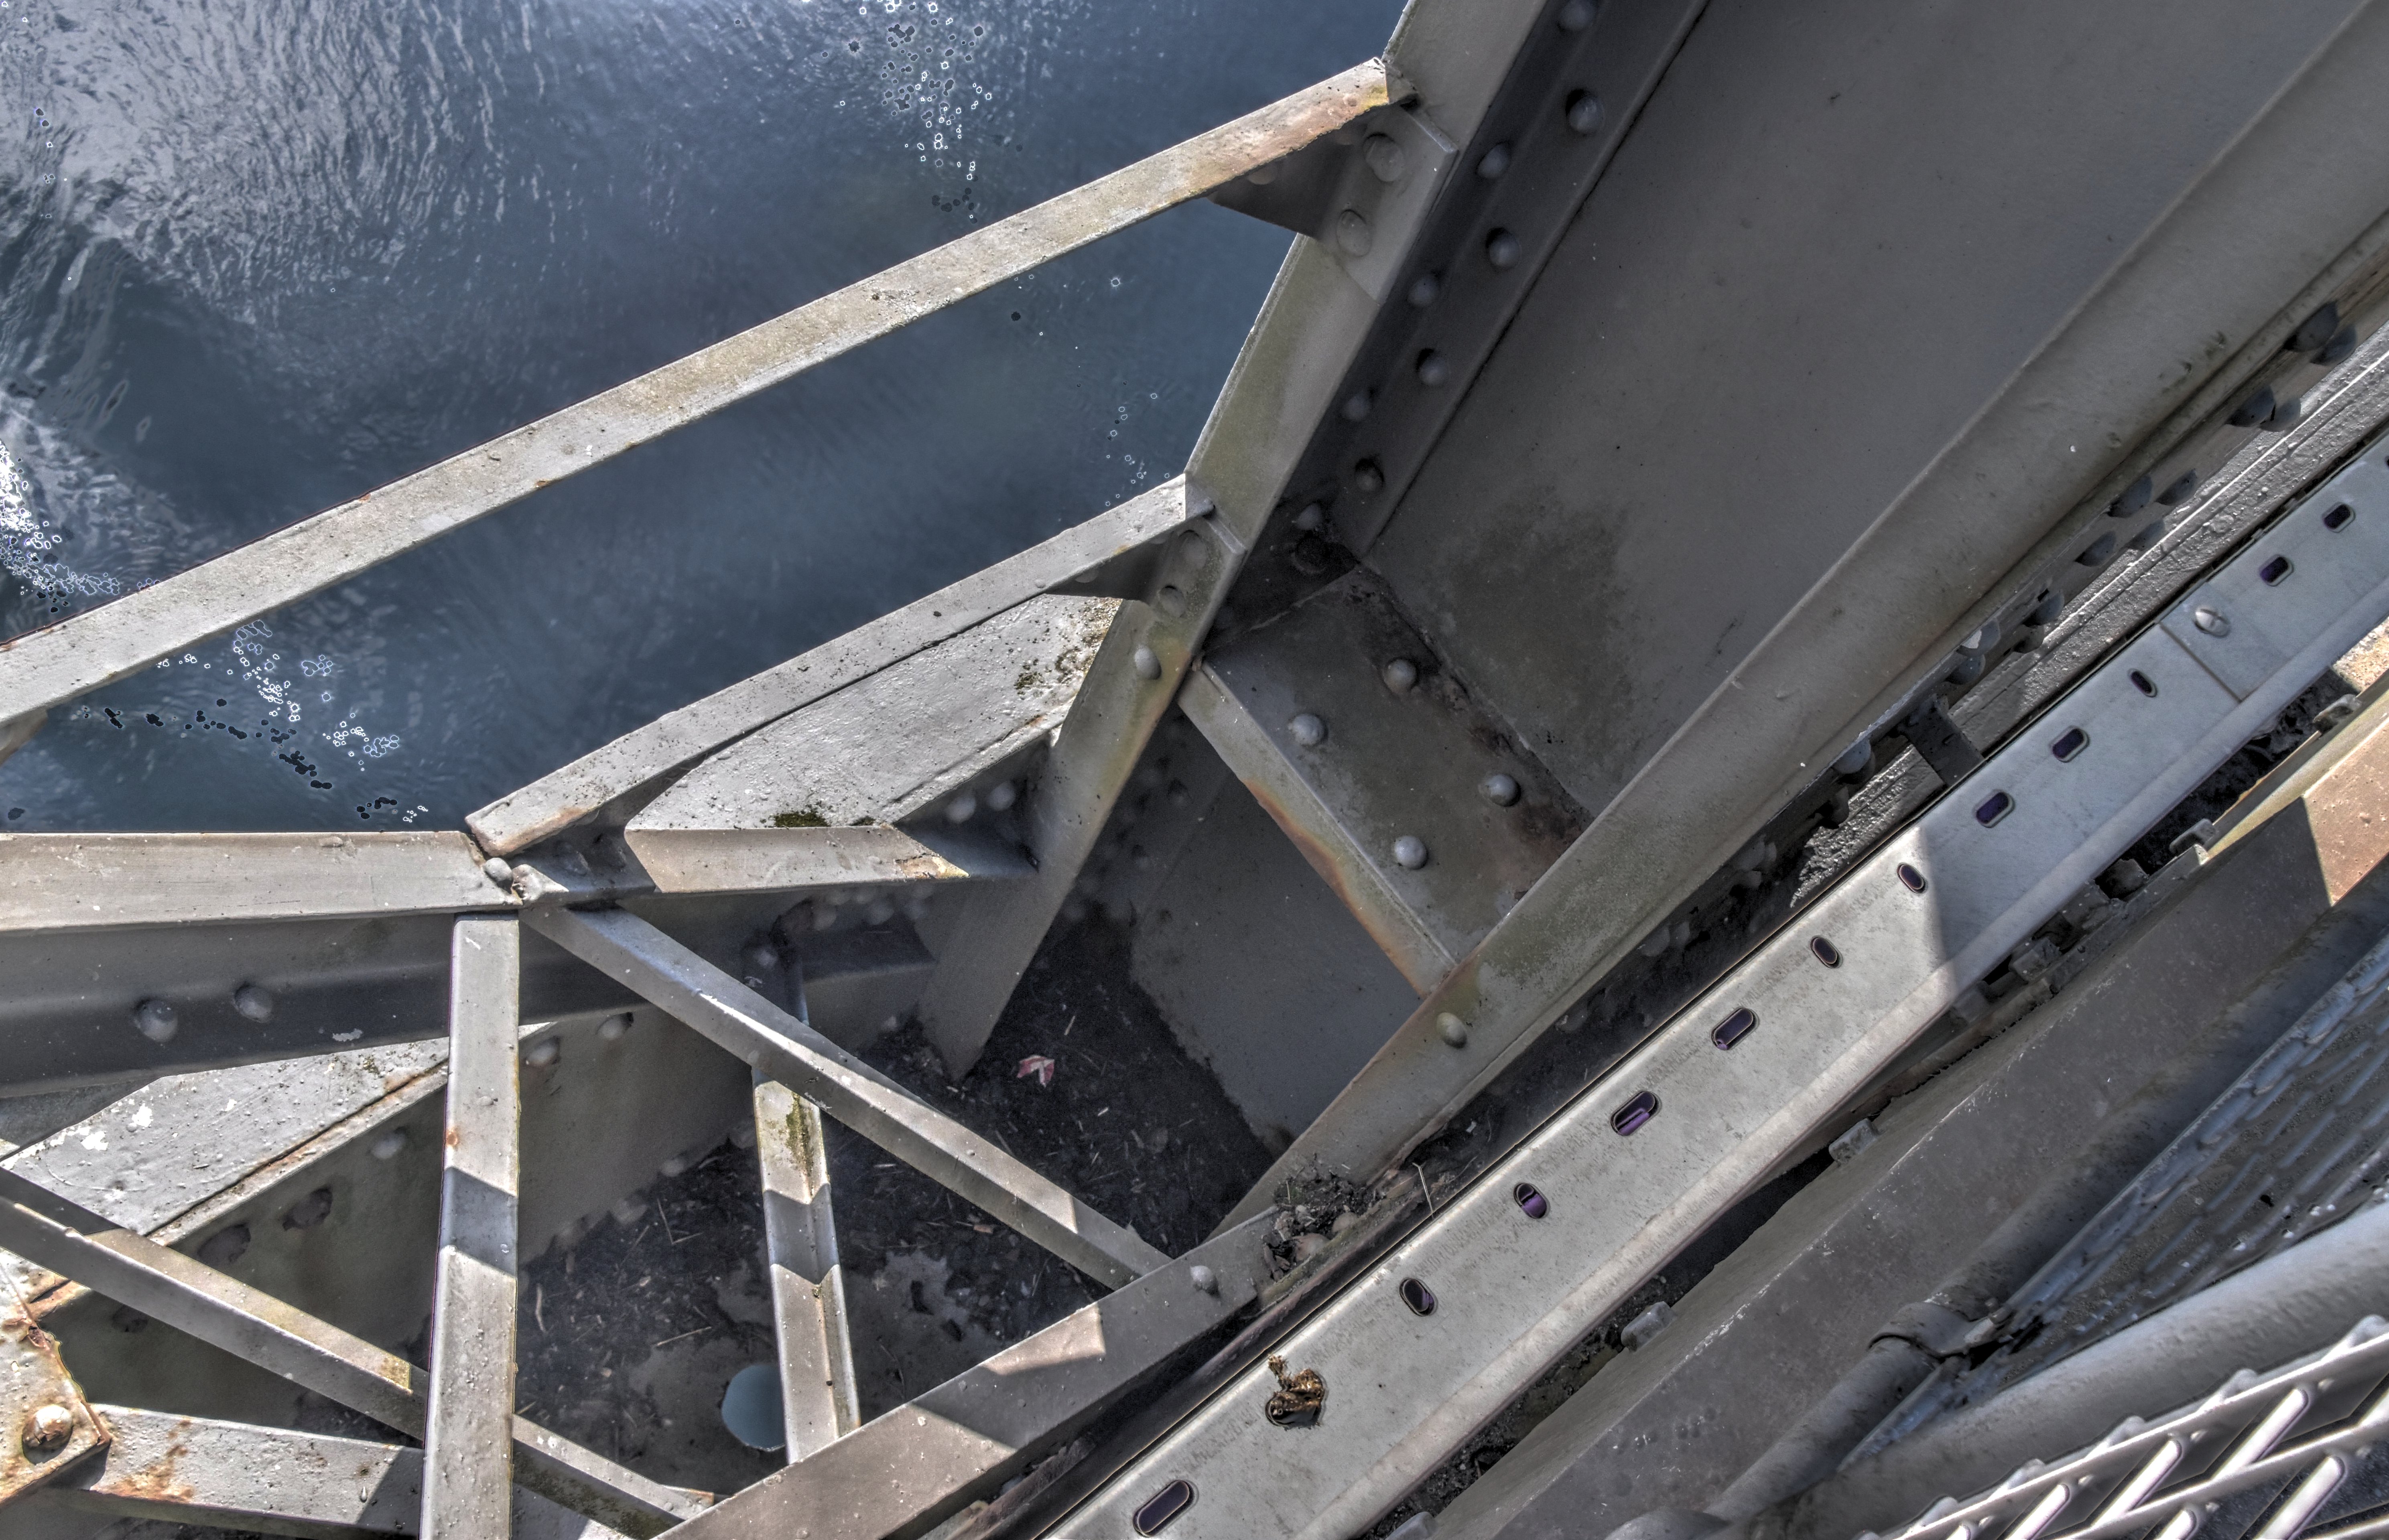
Bottom chord connections at end of suspended span as viewed from beside bridge.
![]()
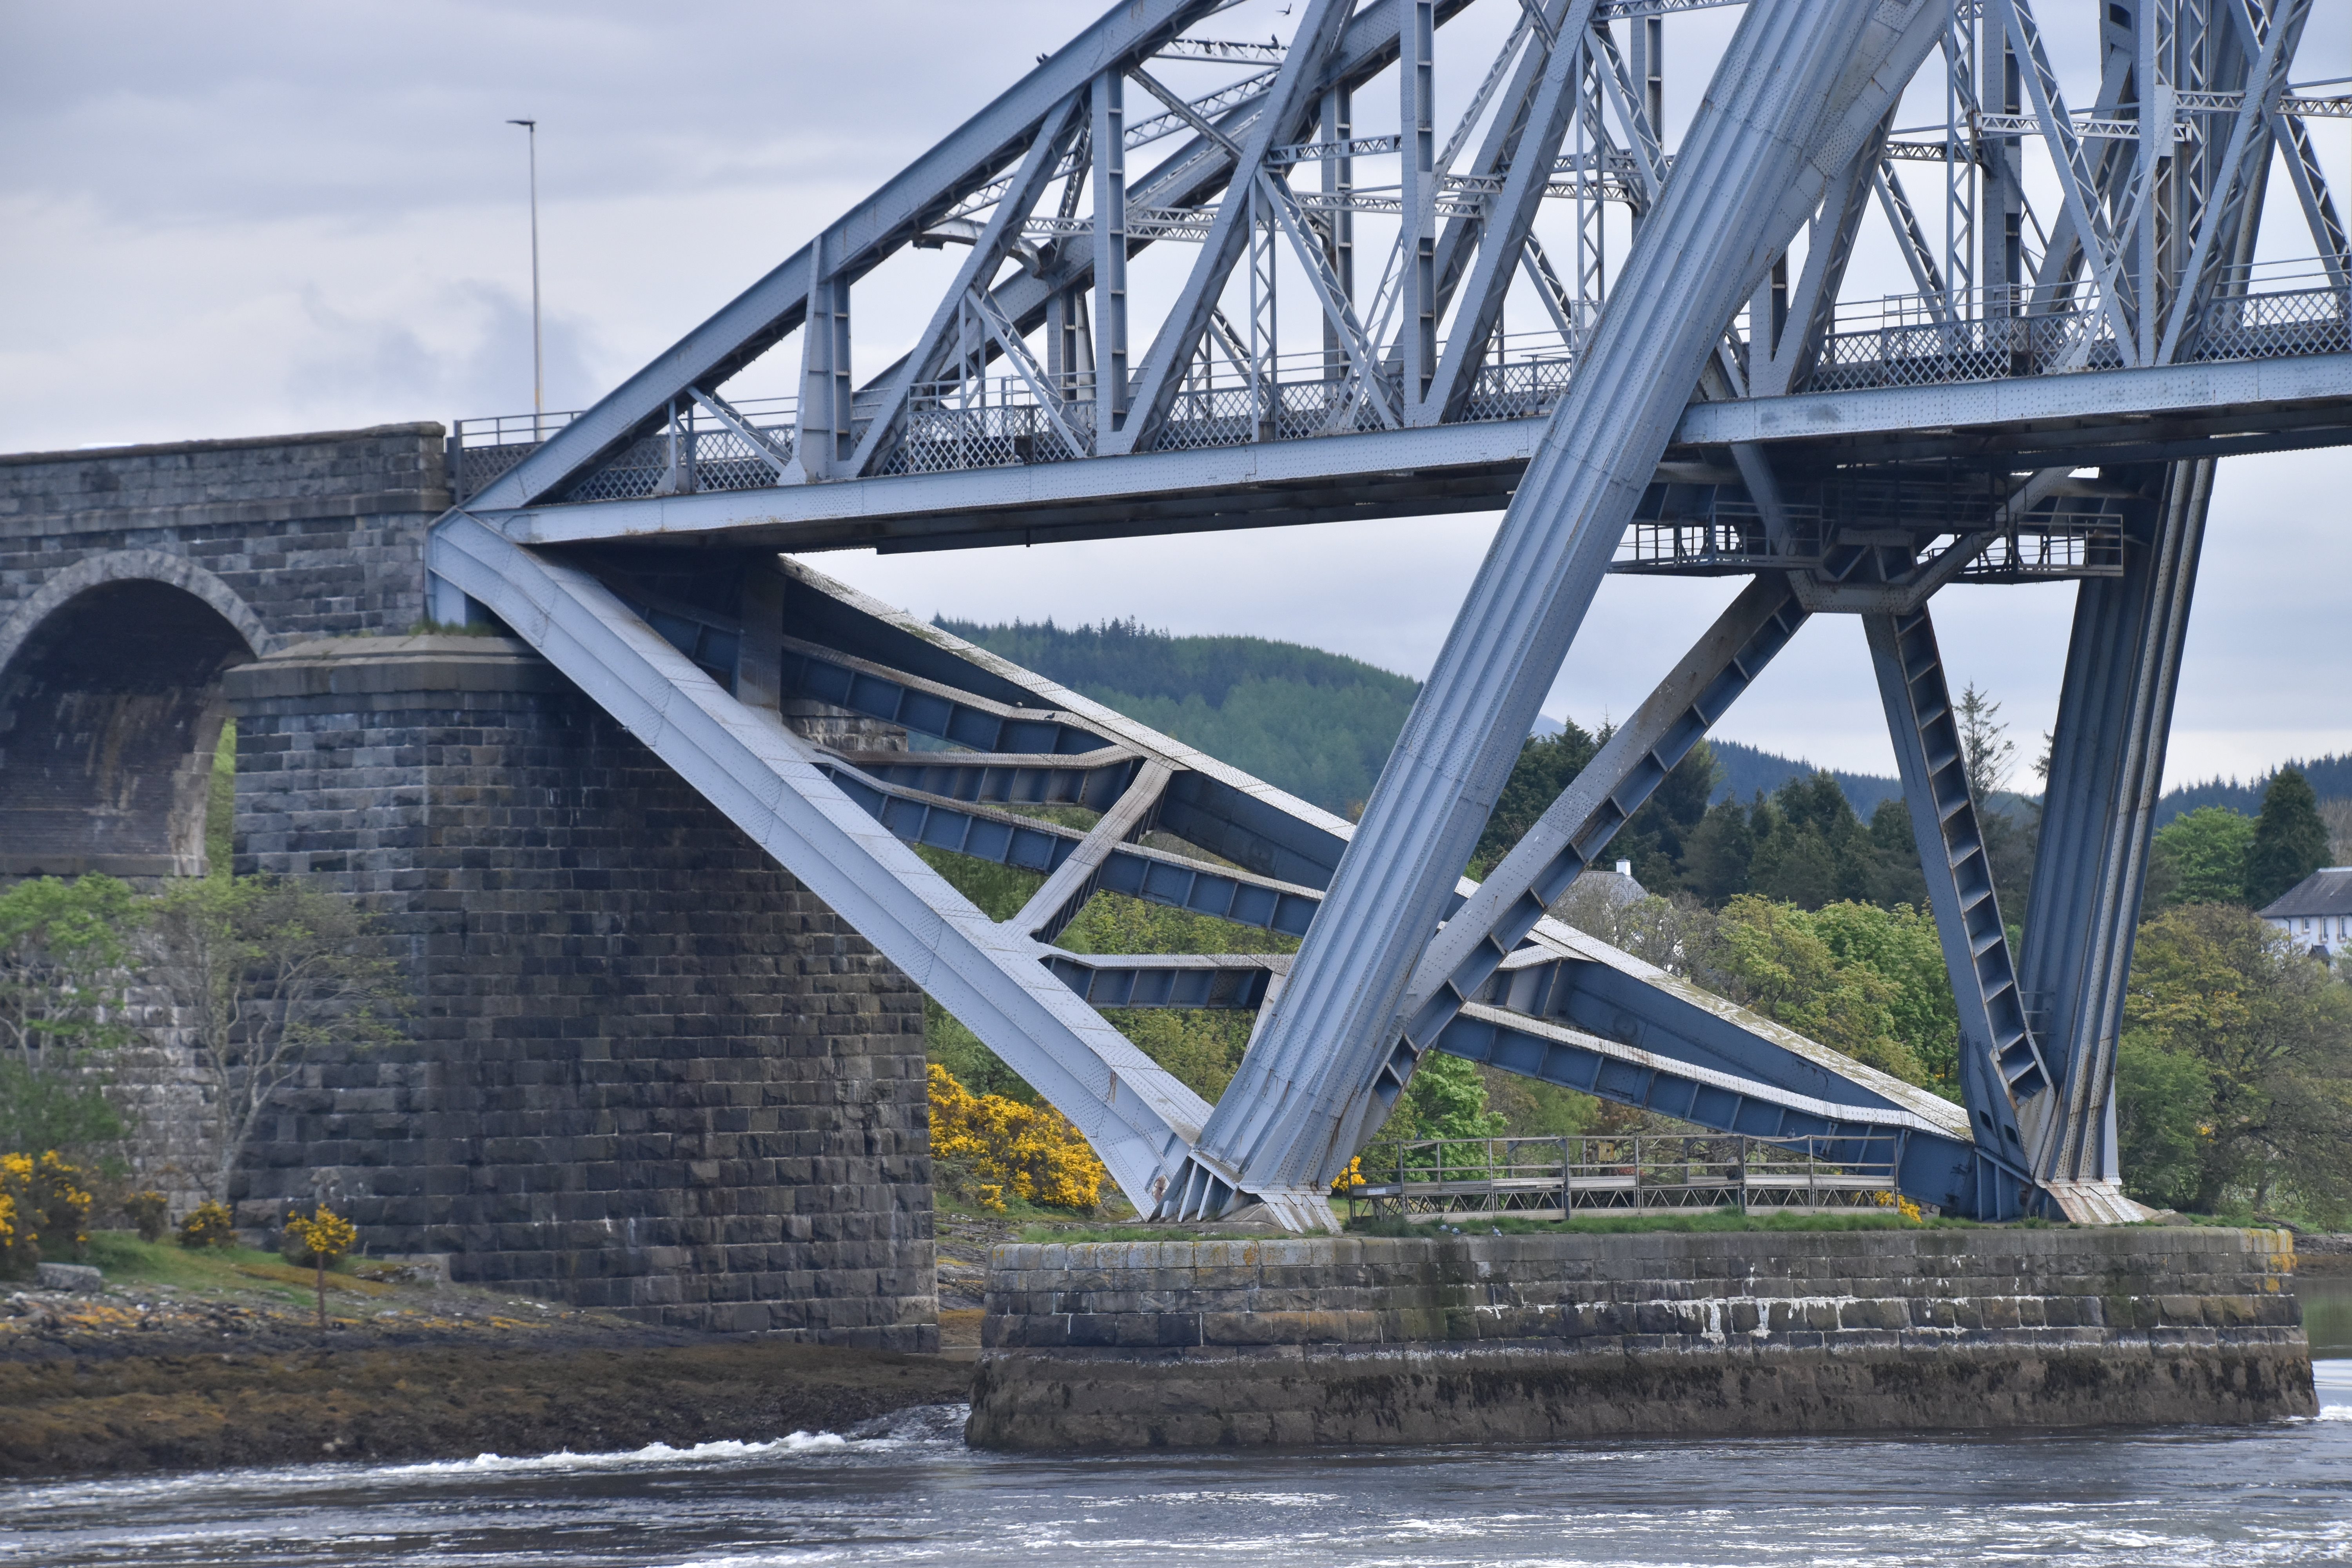
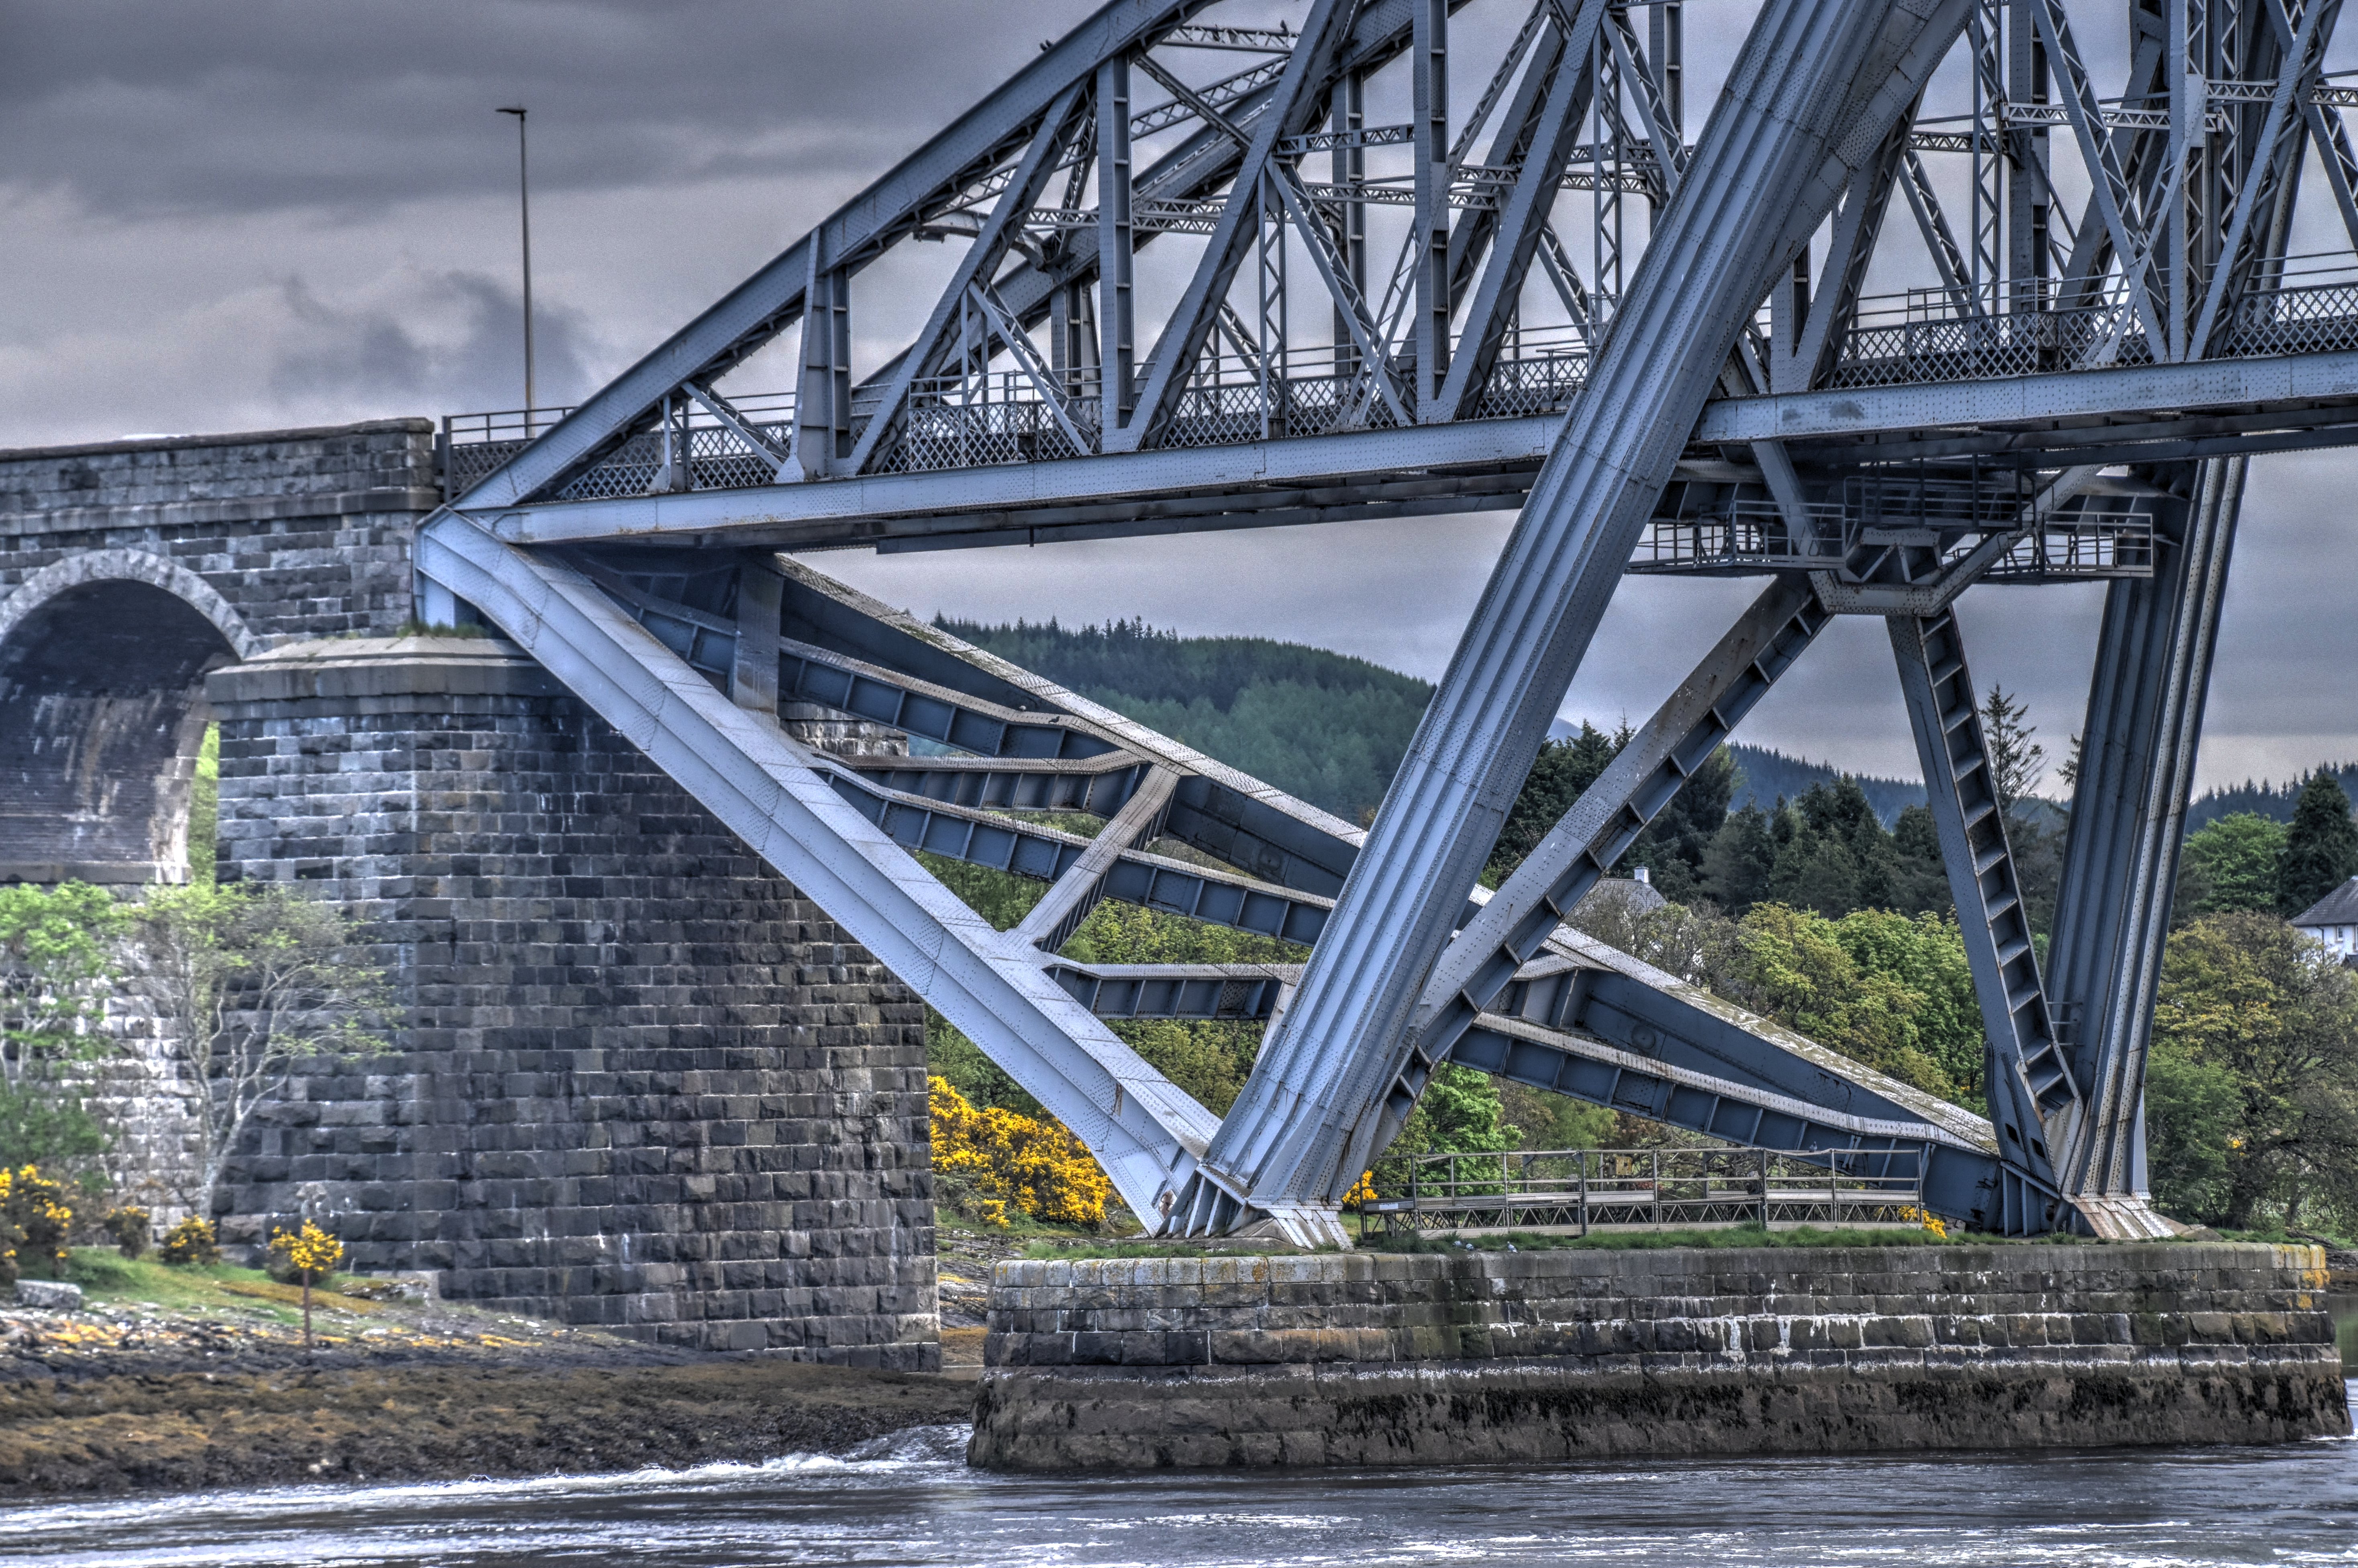
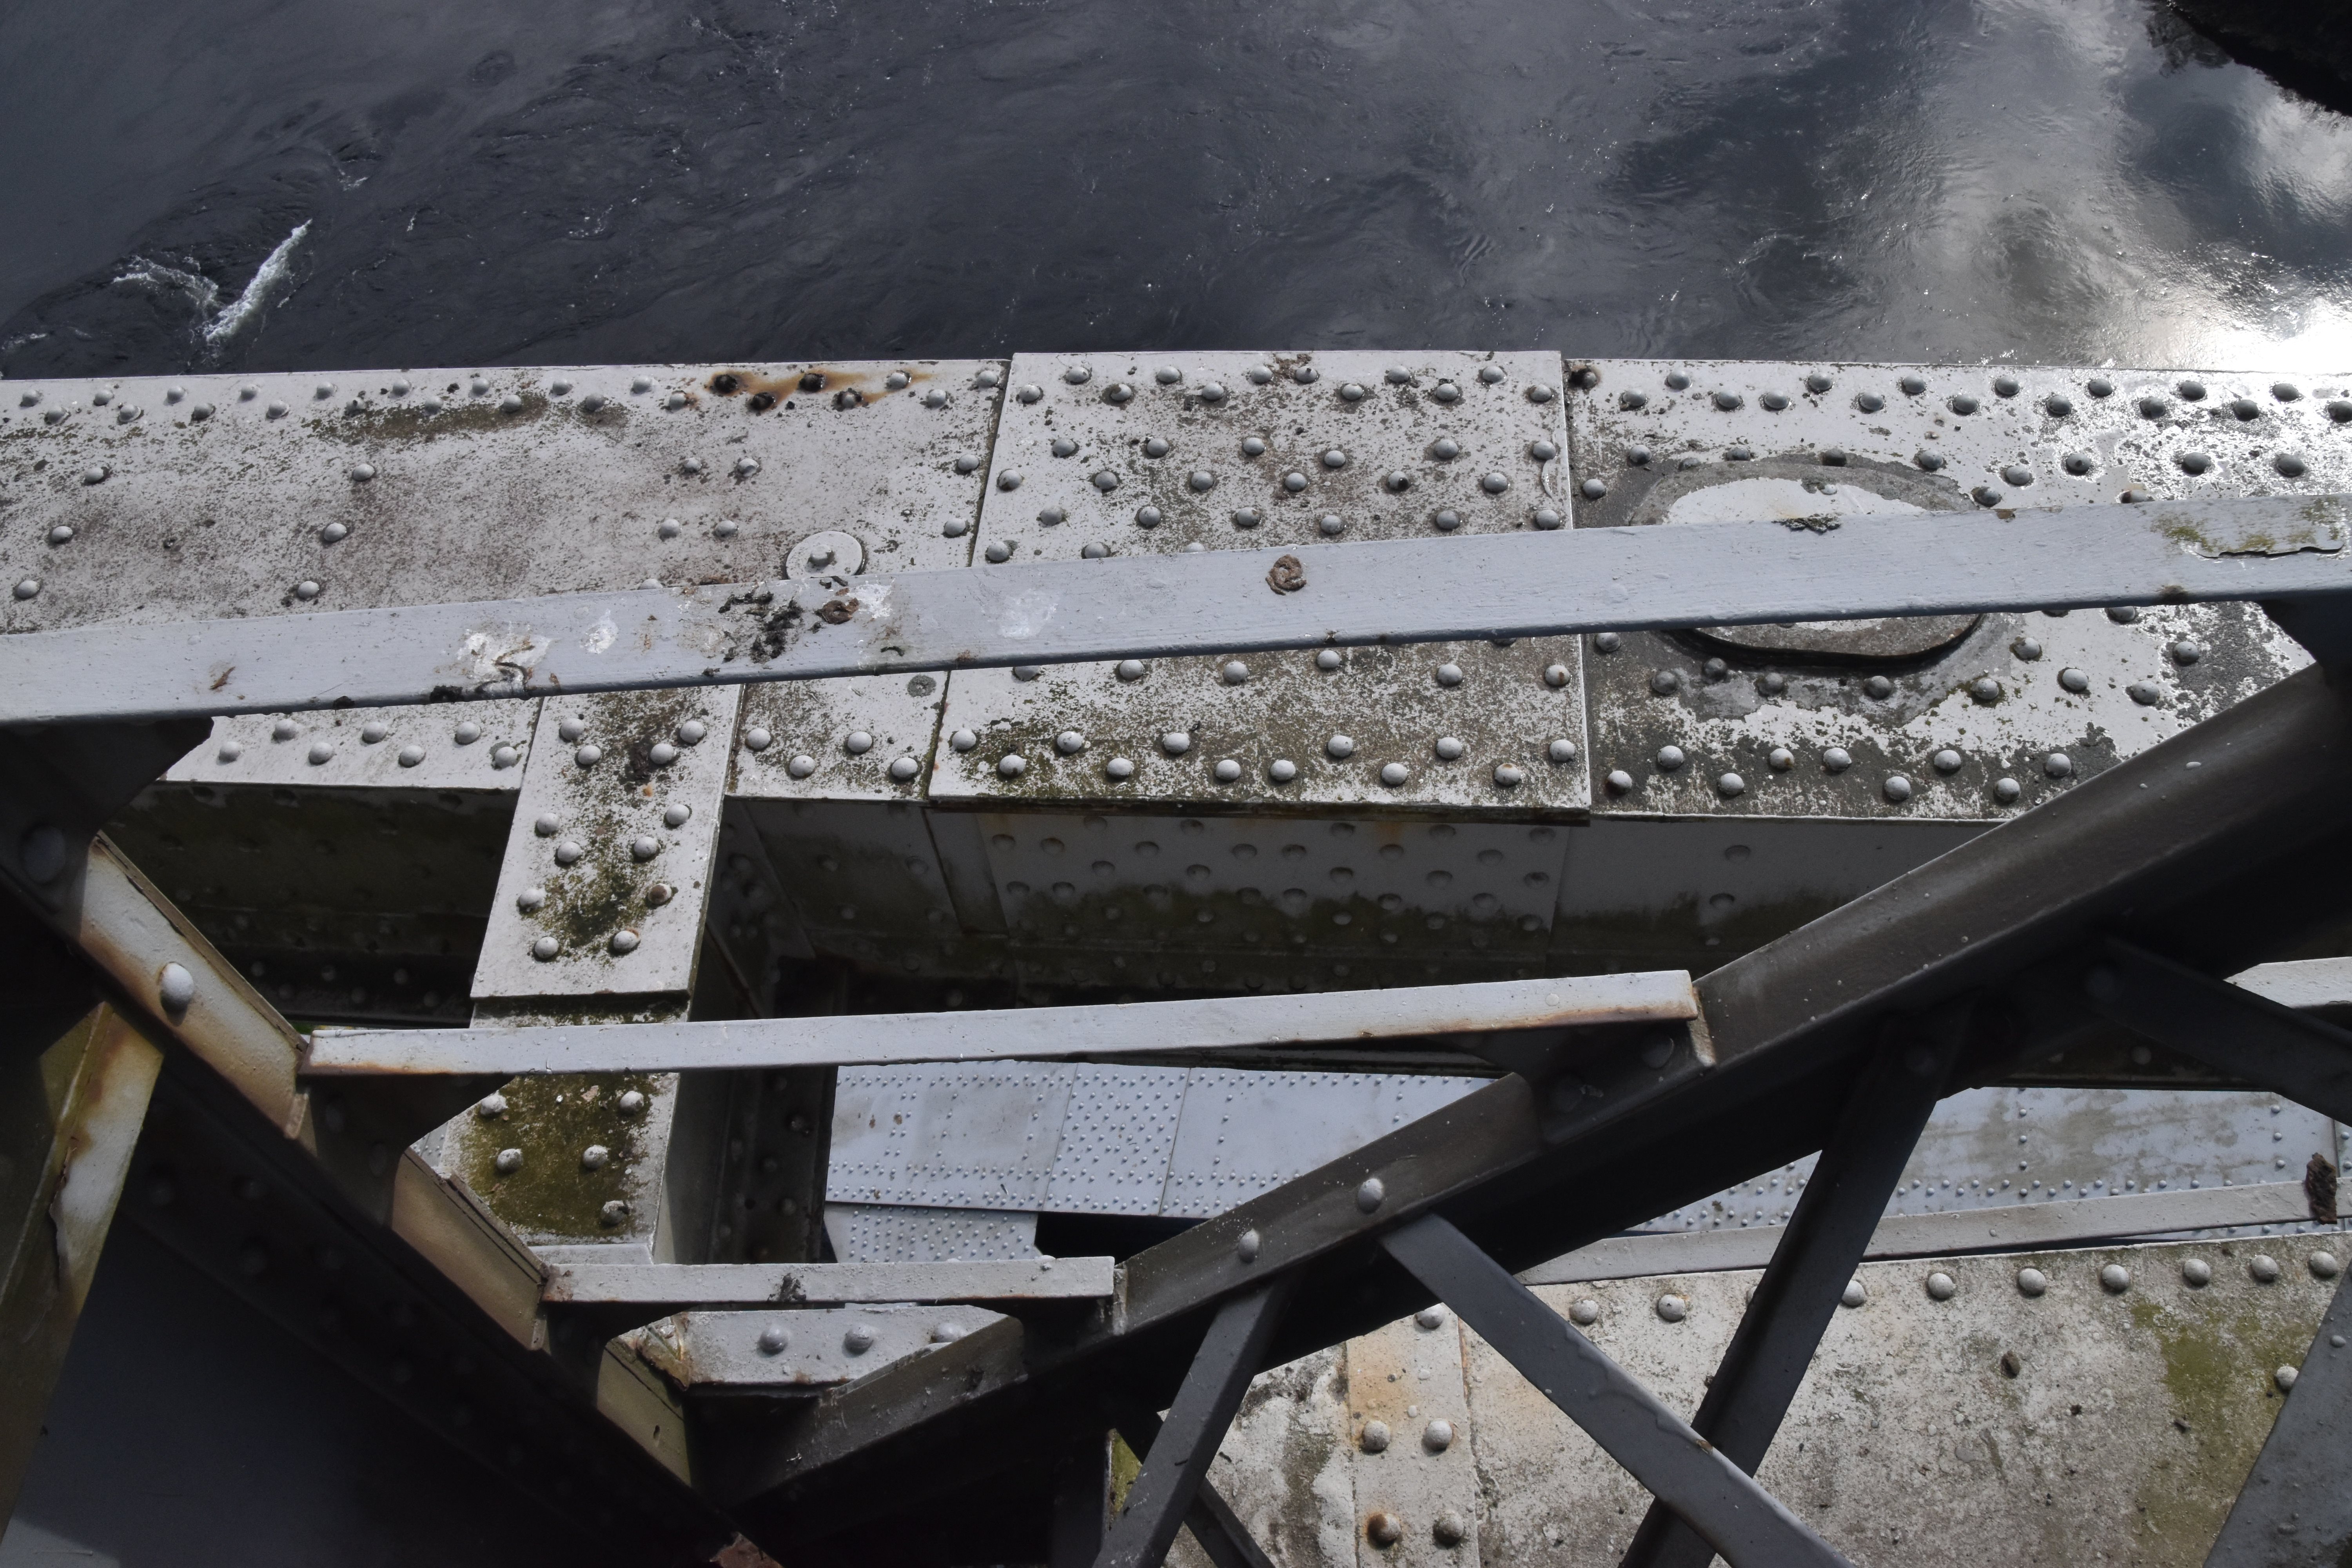
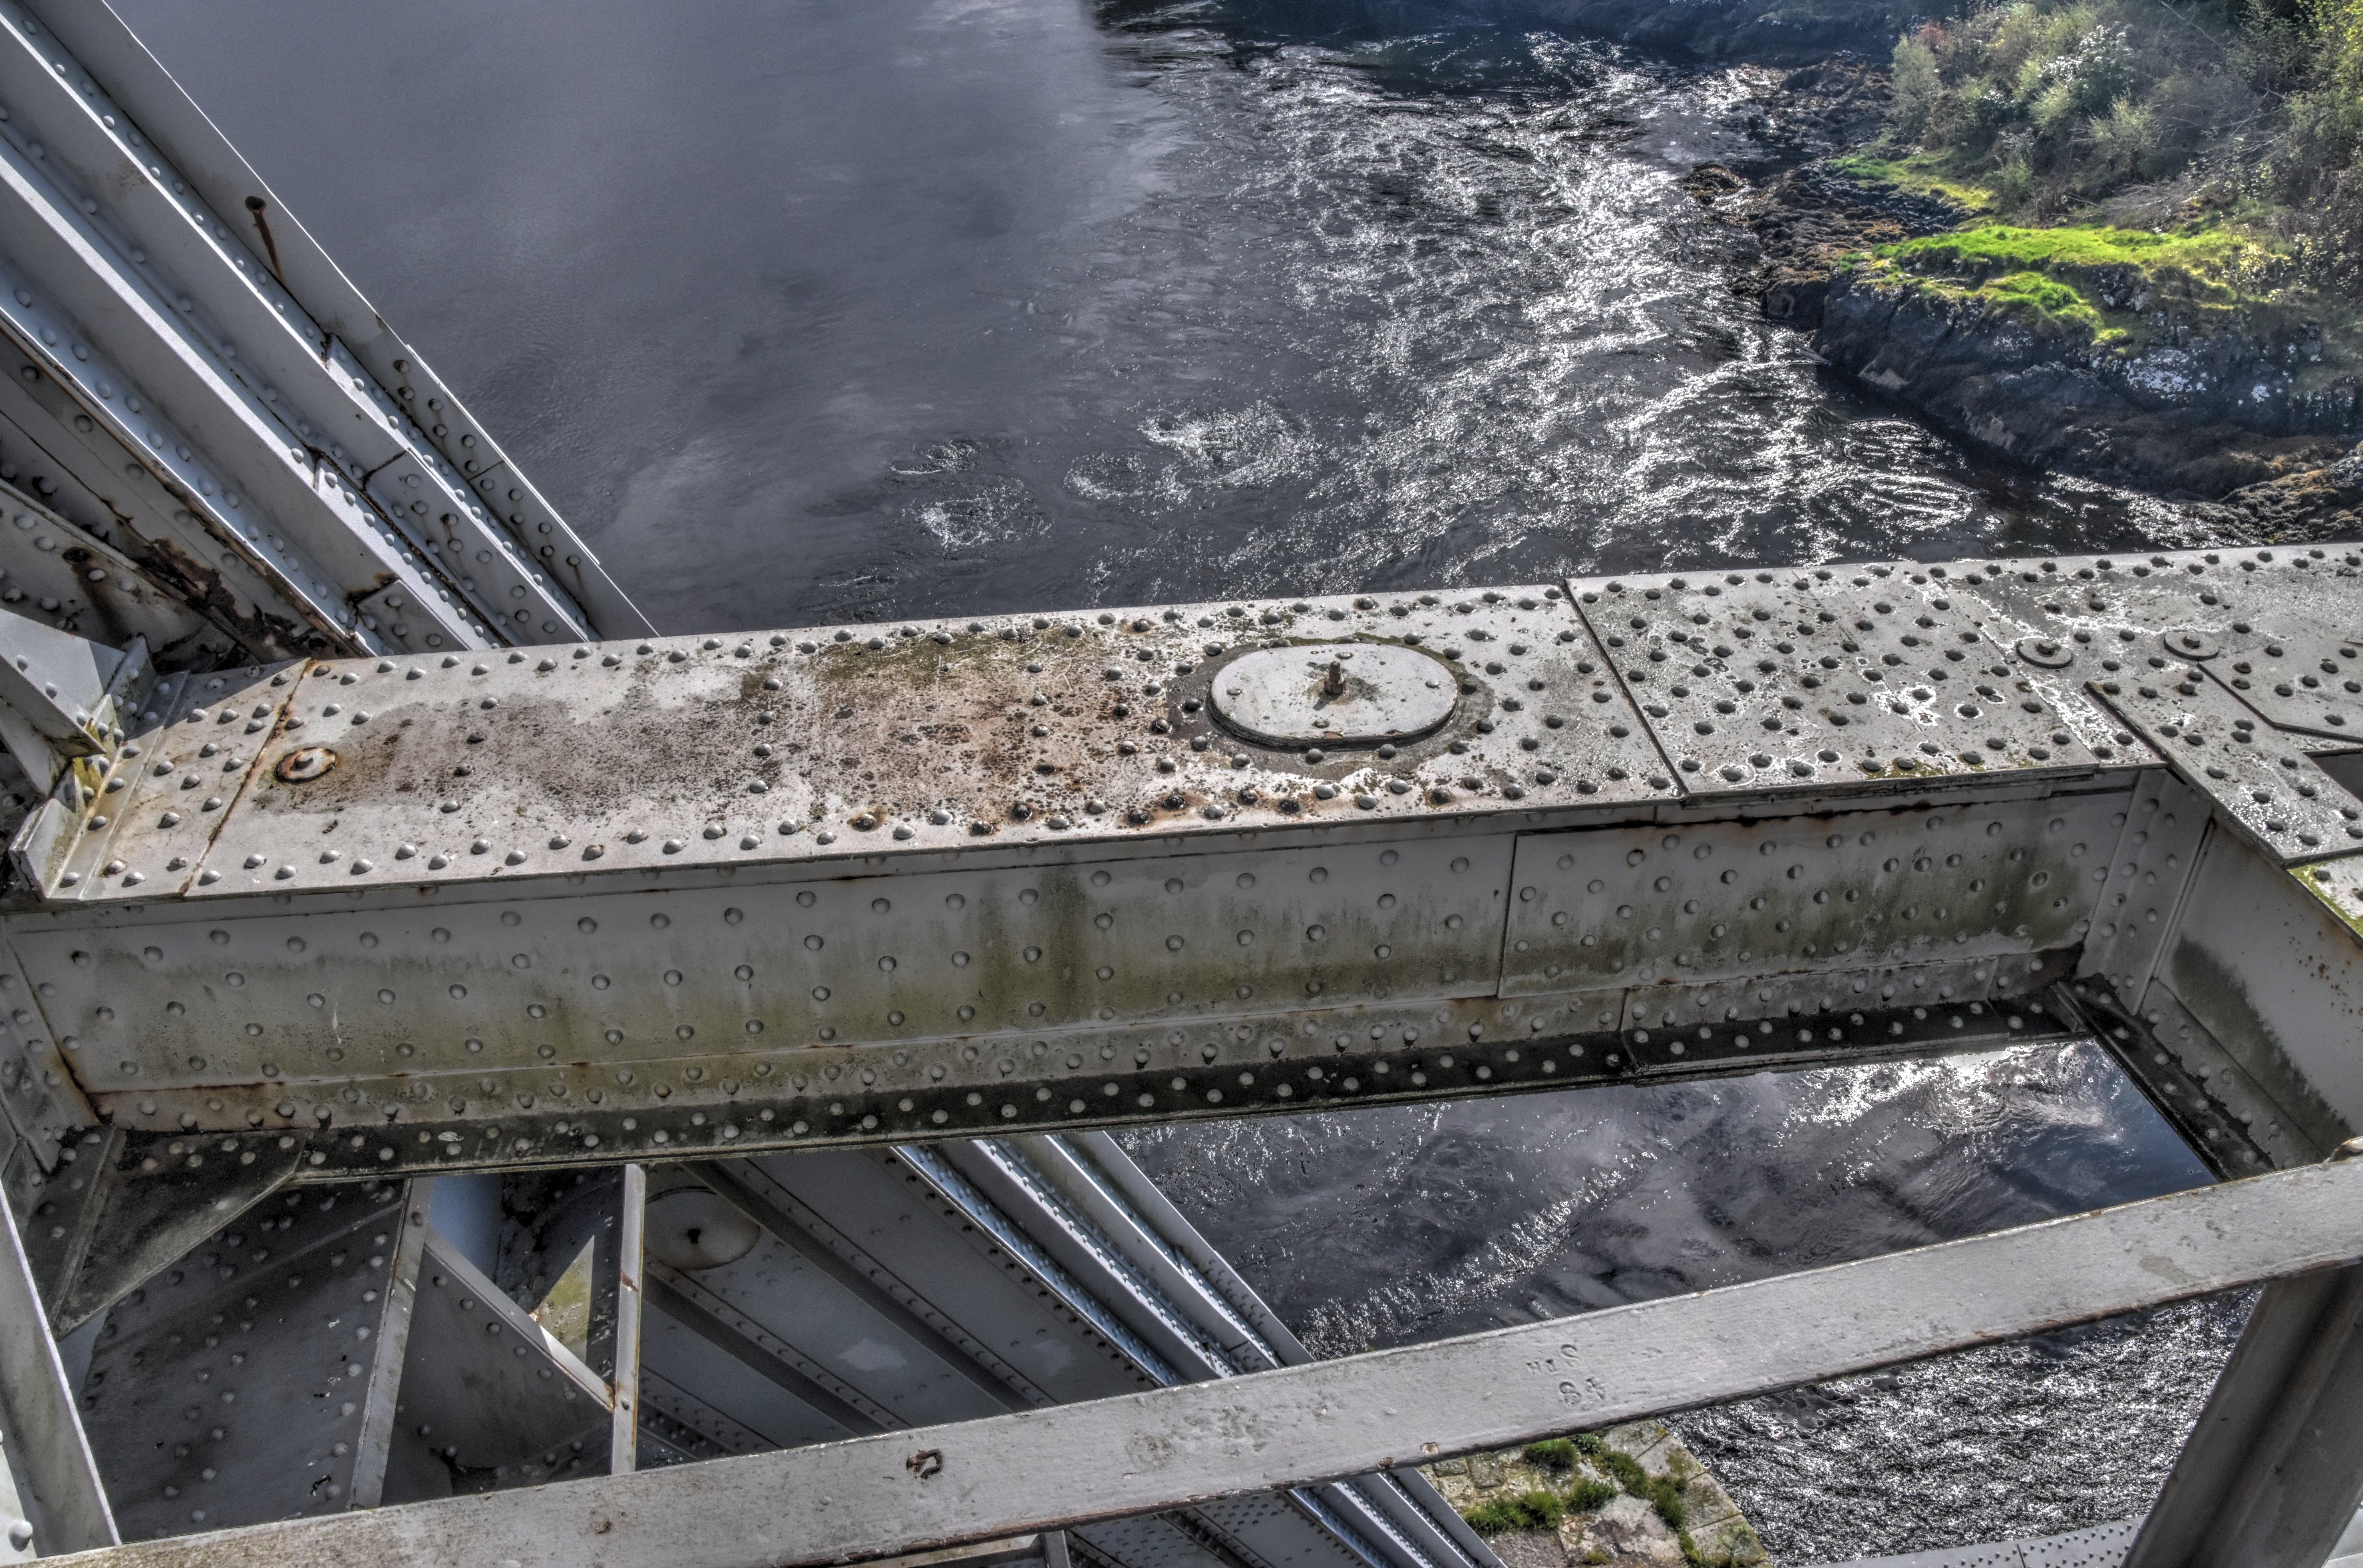
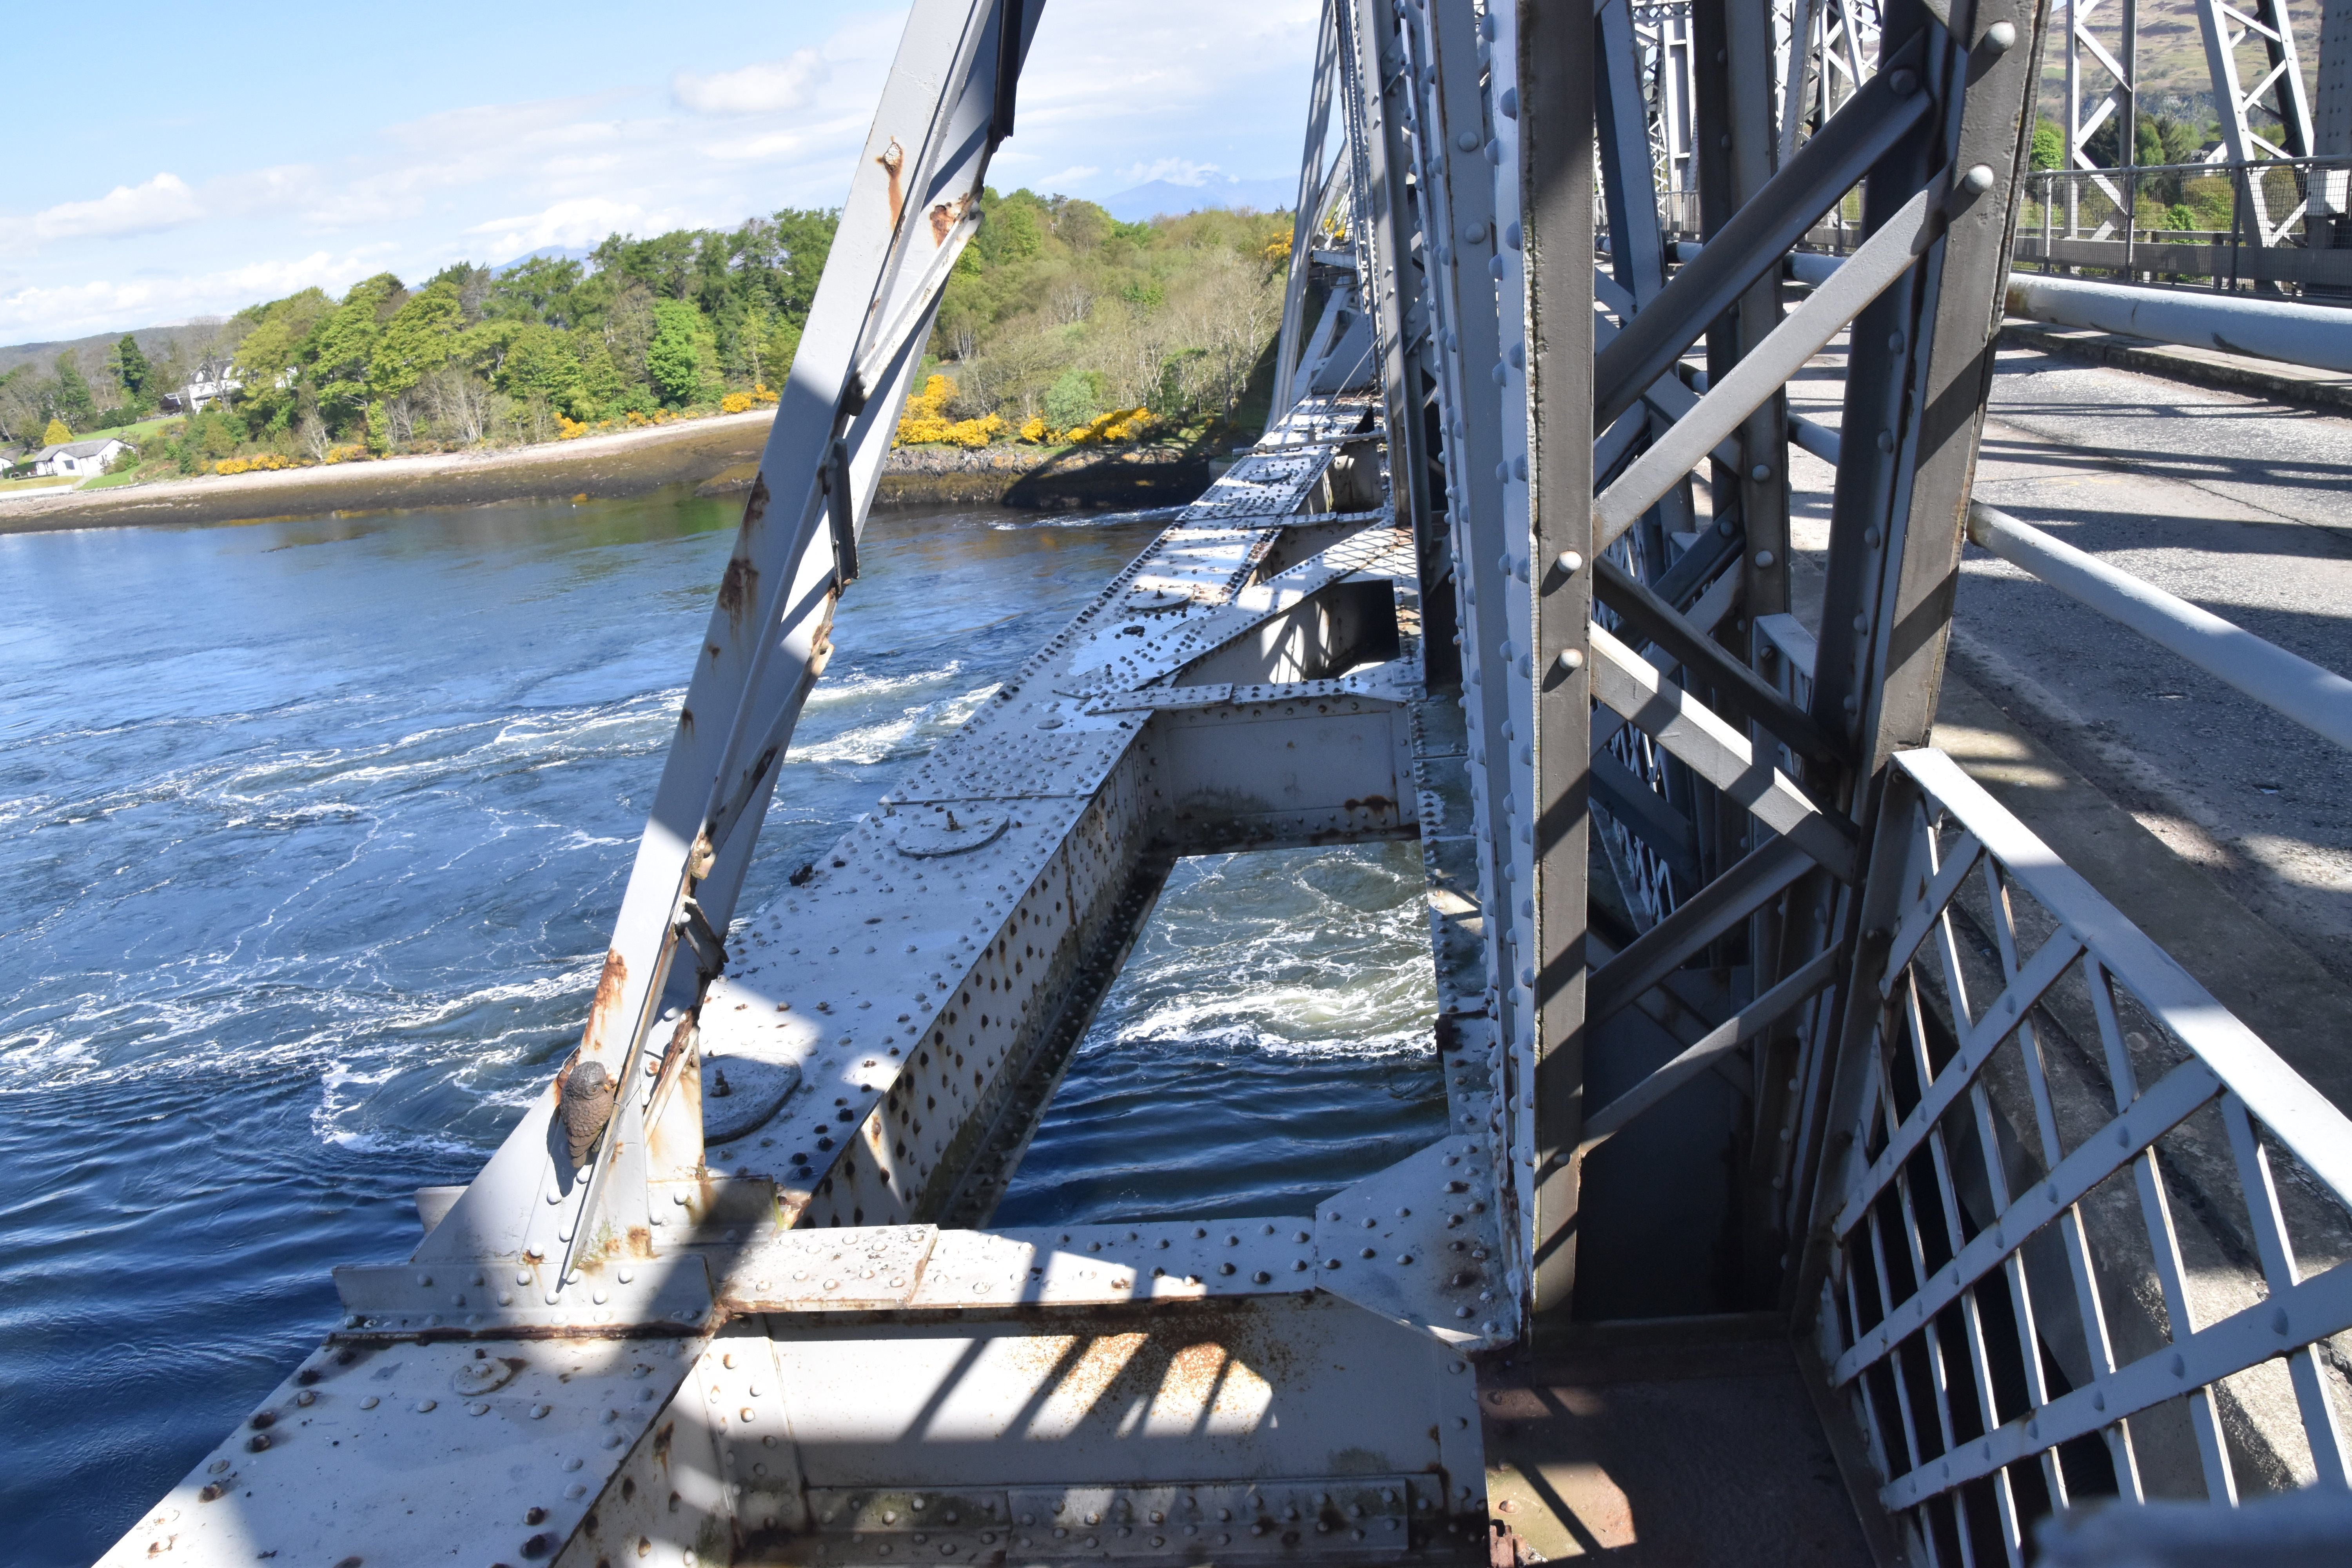
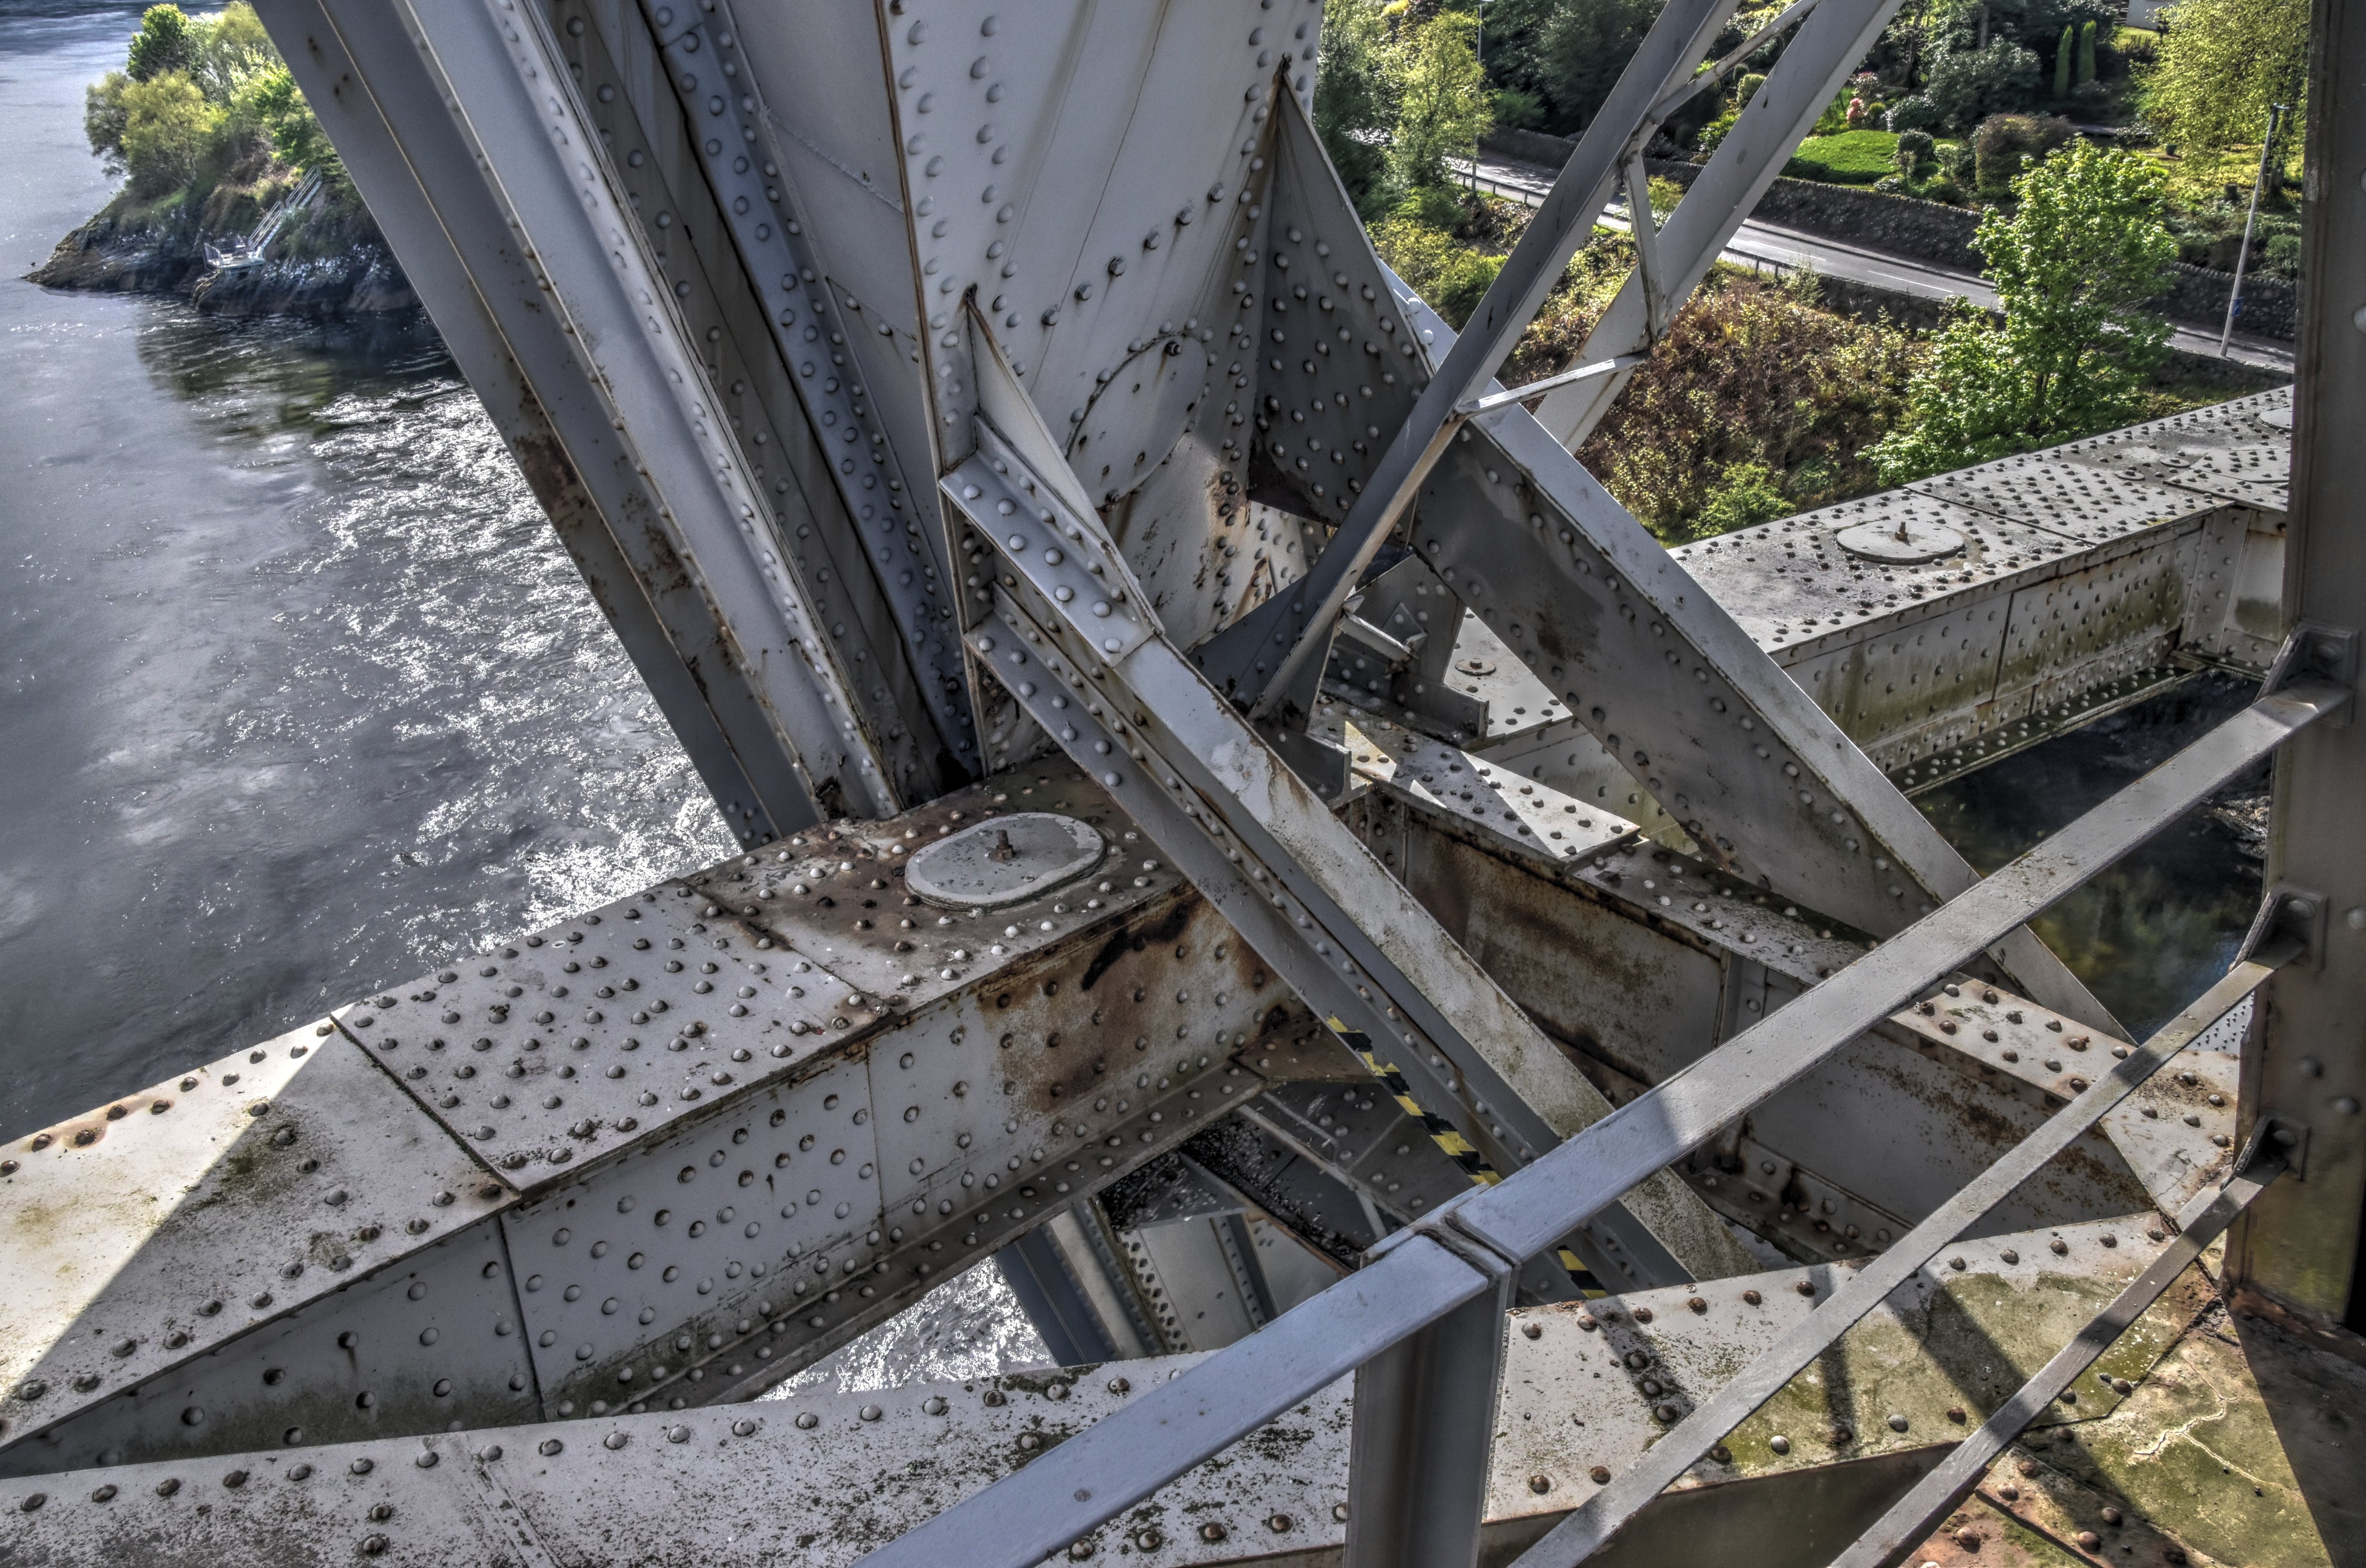
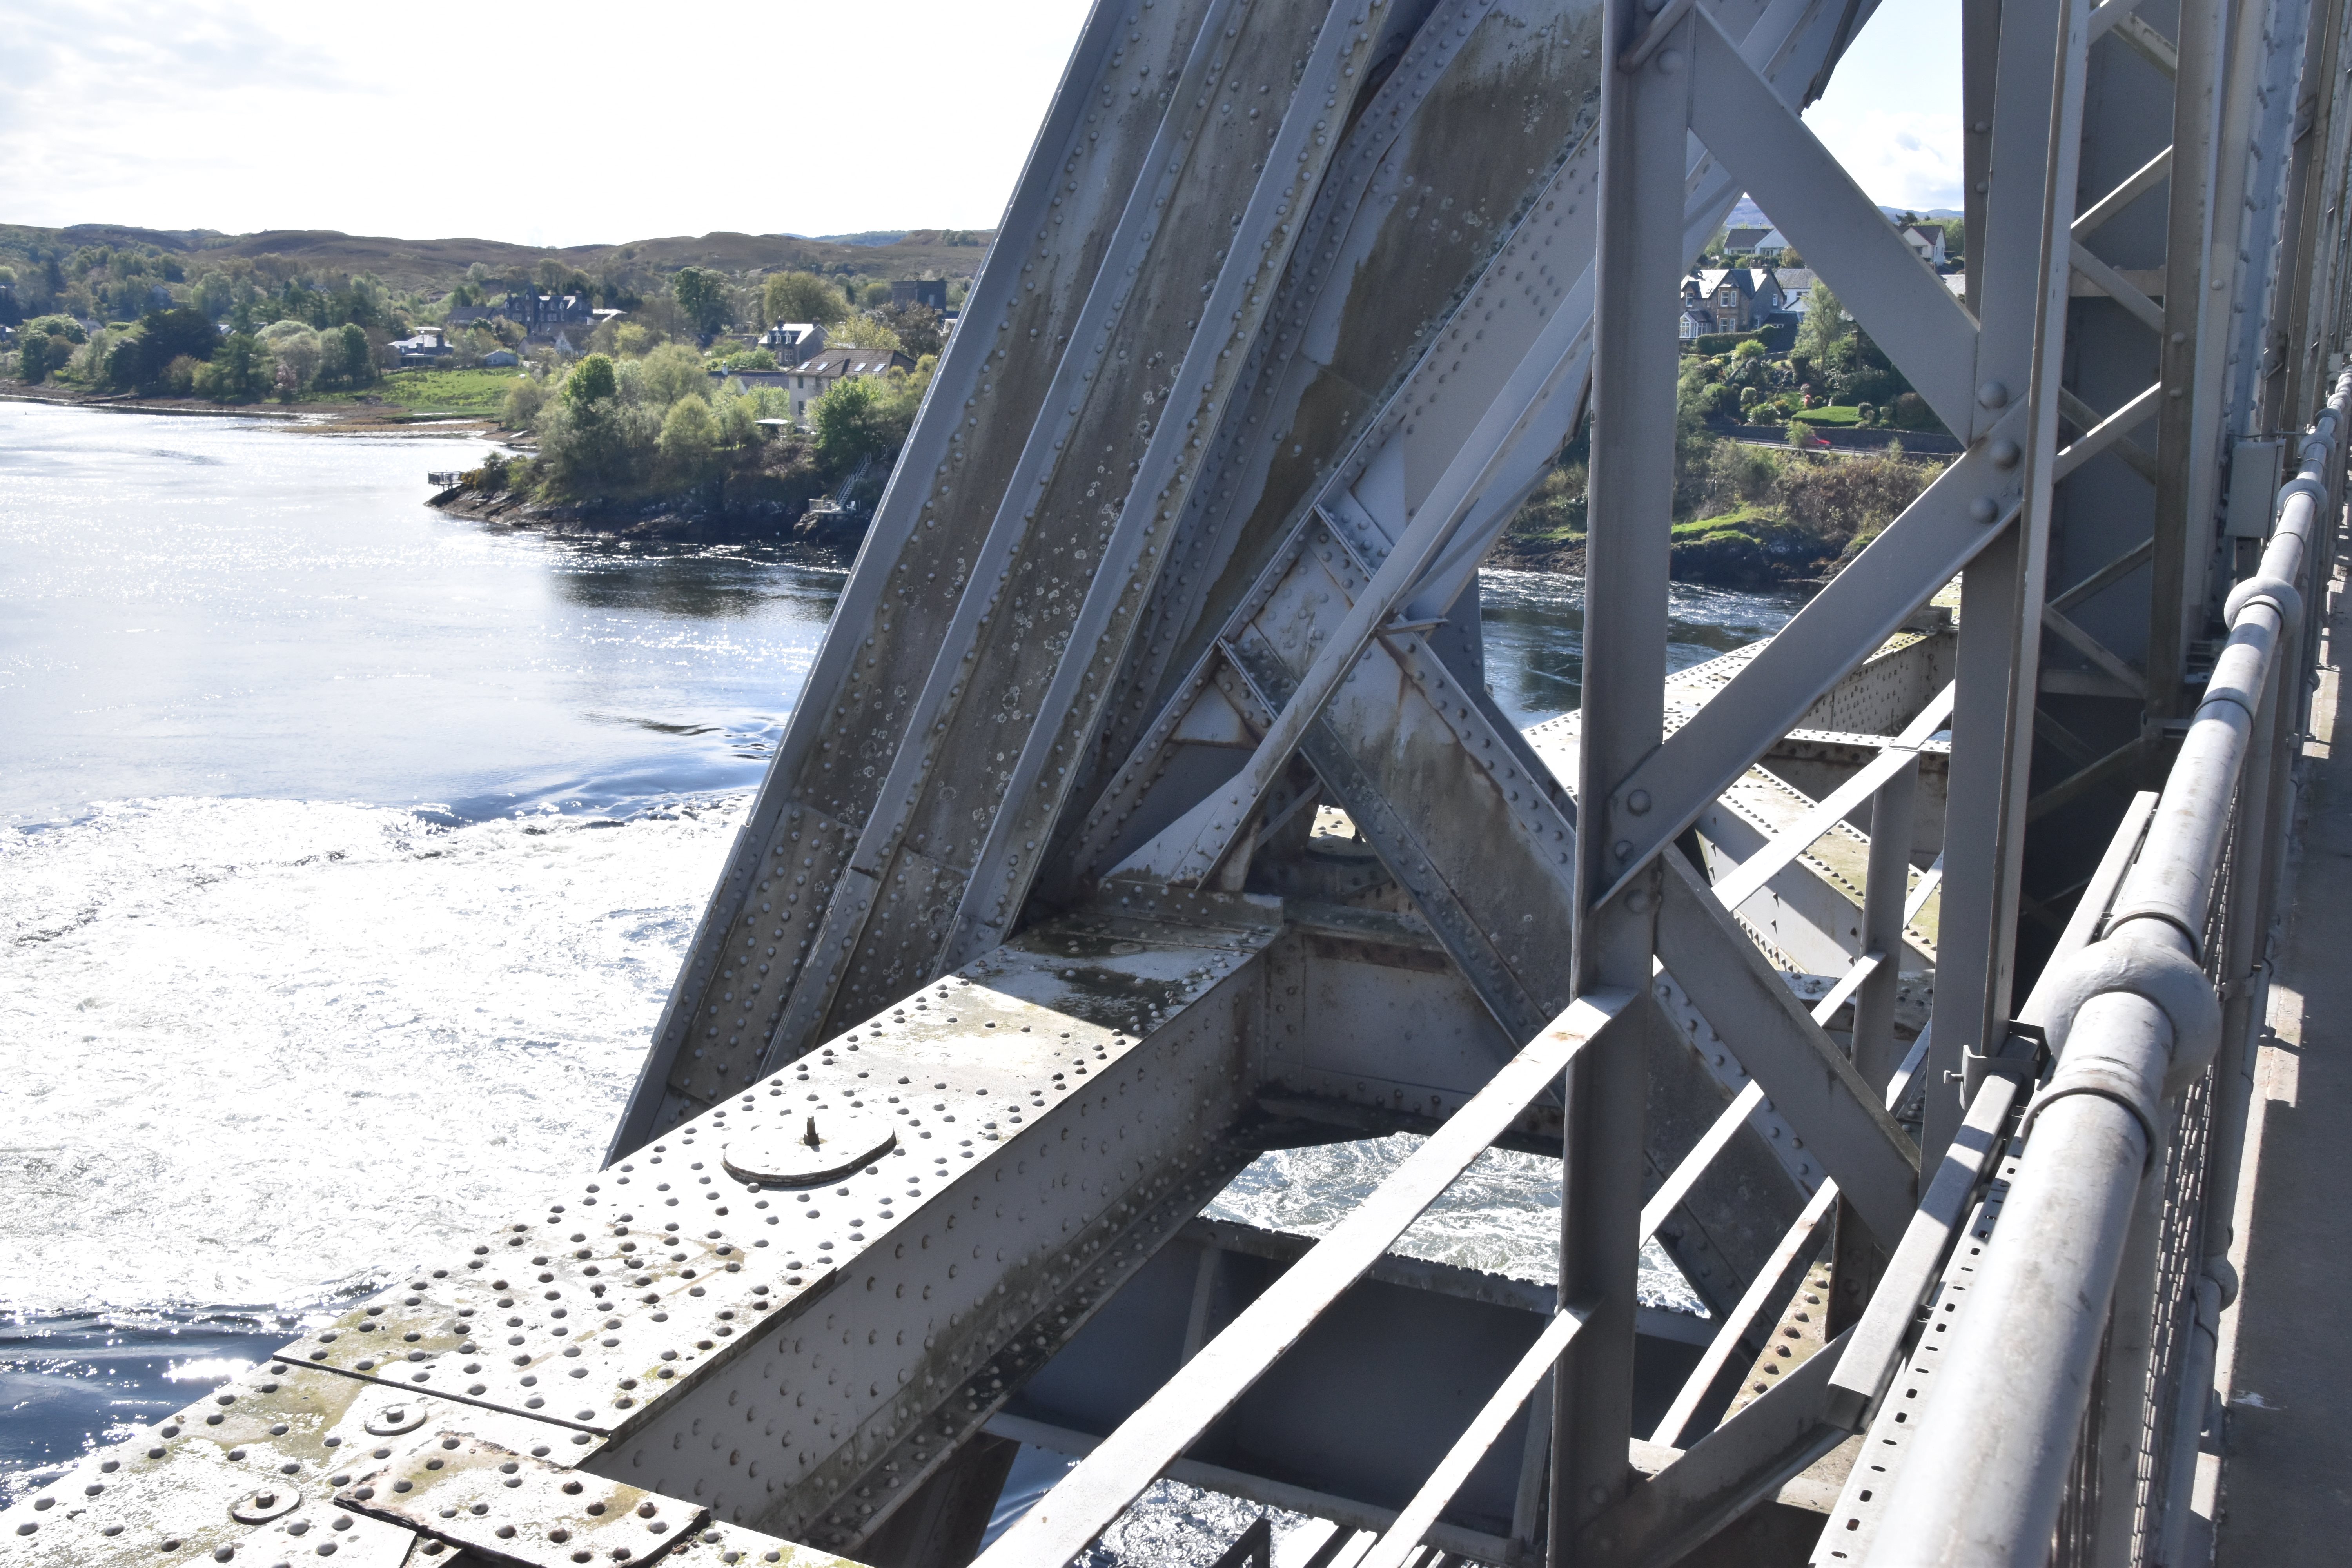
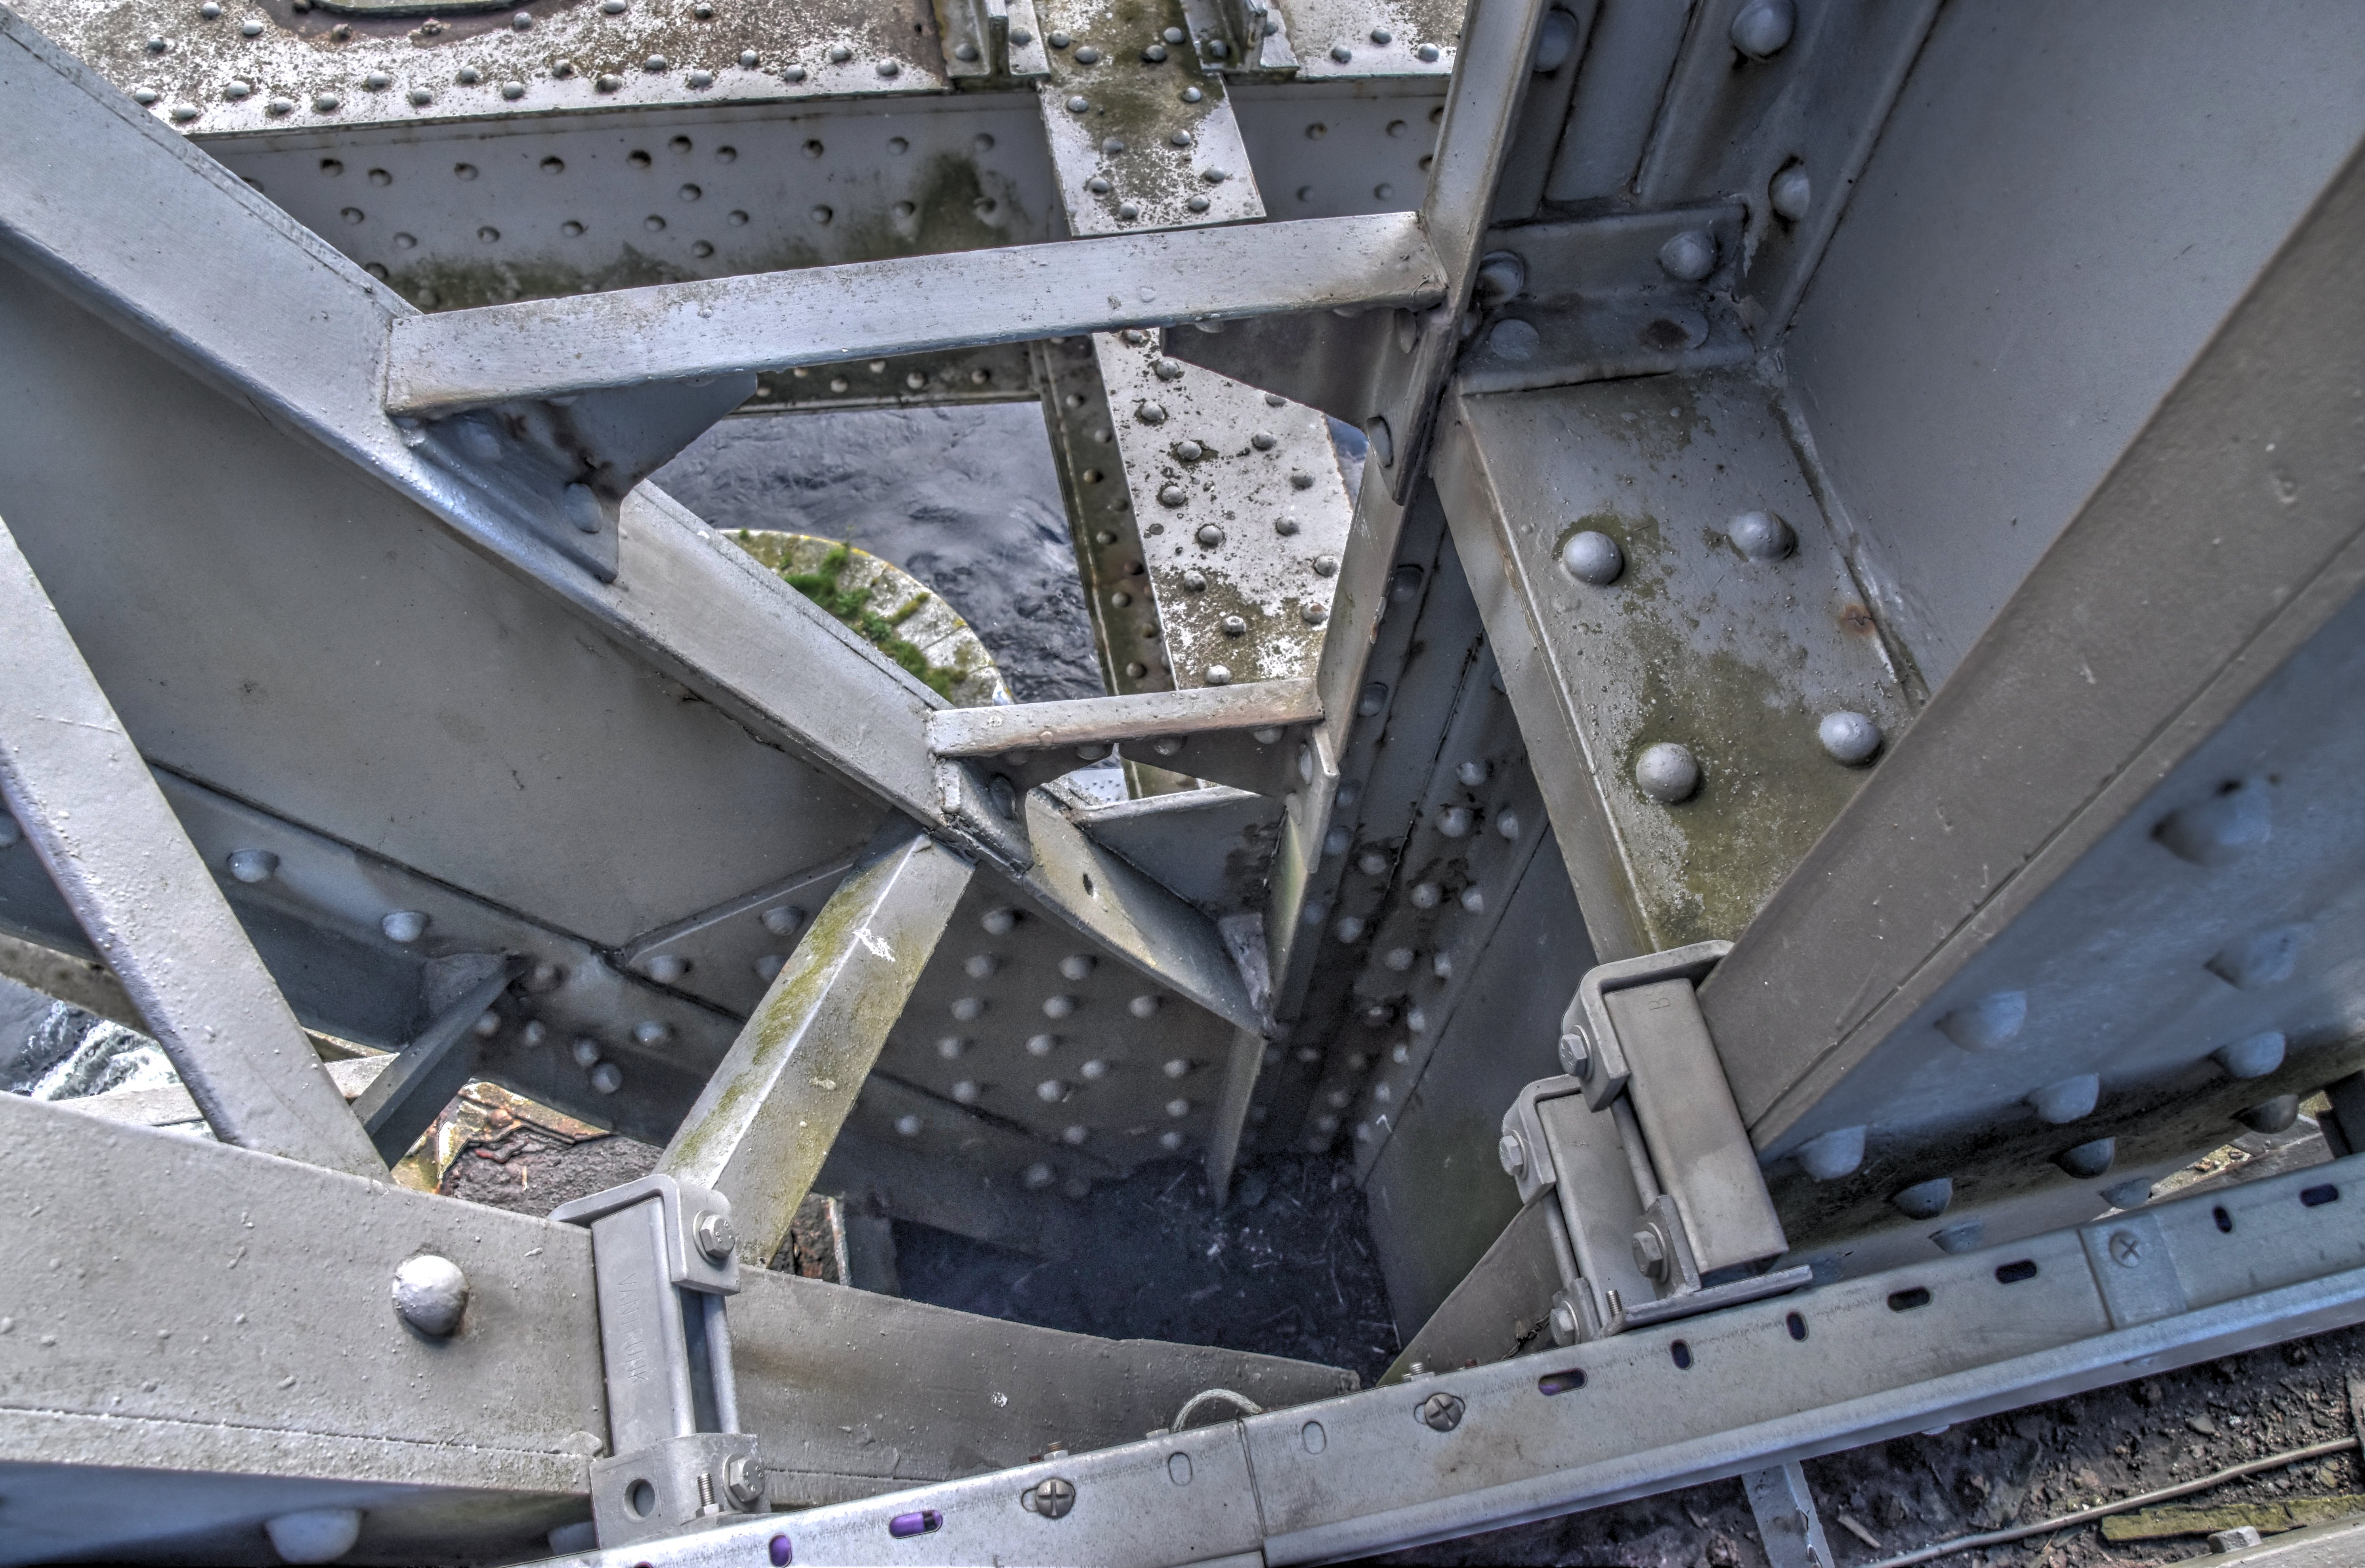
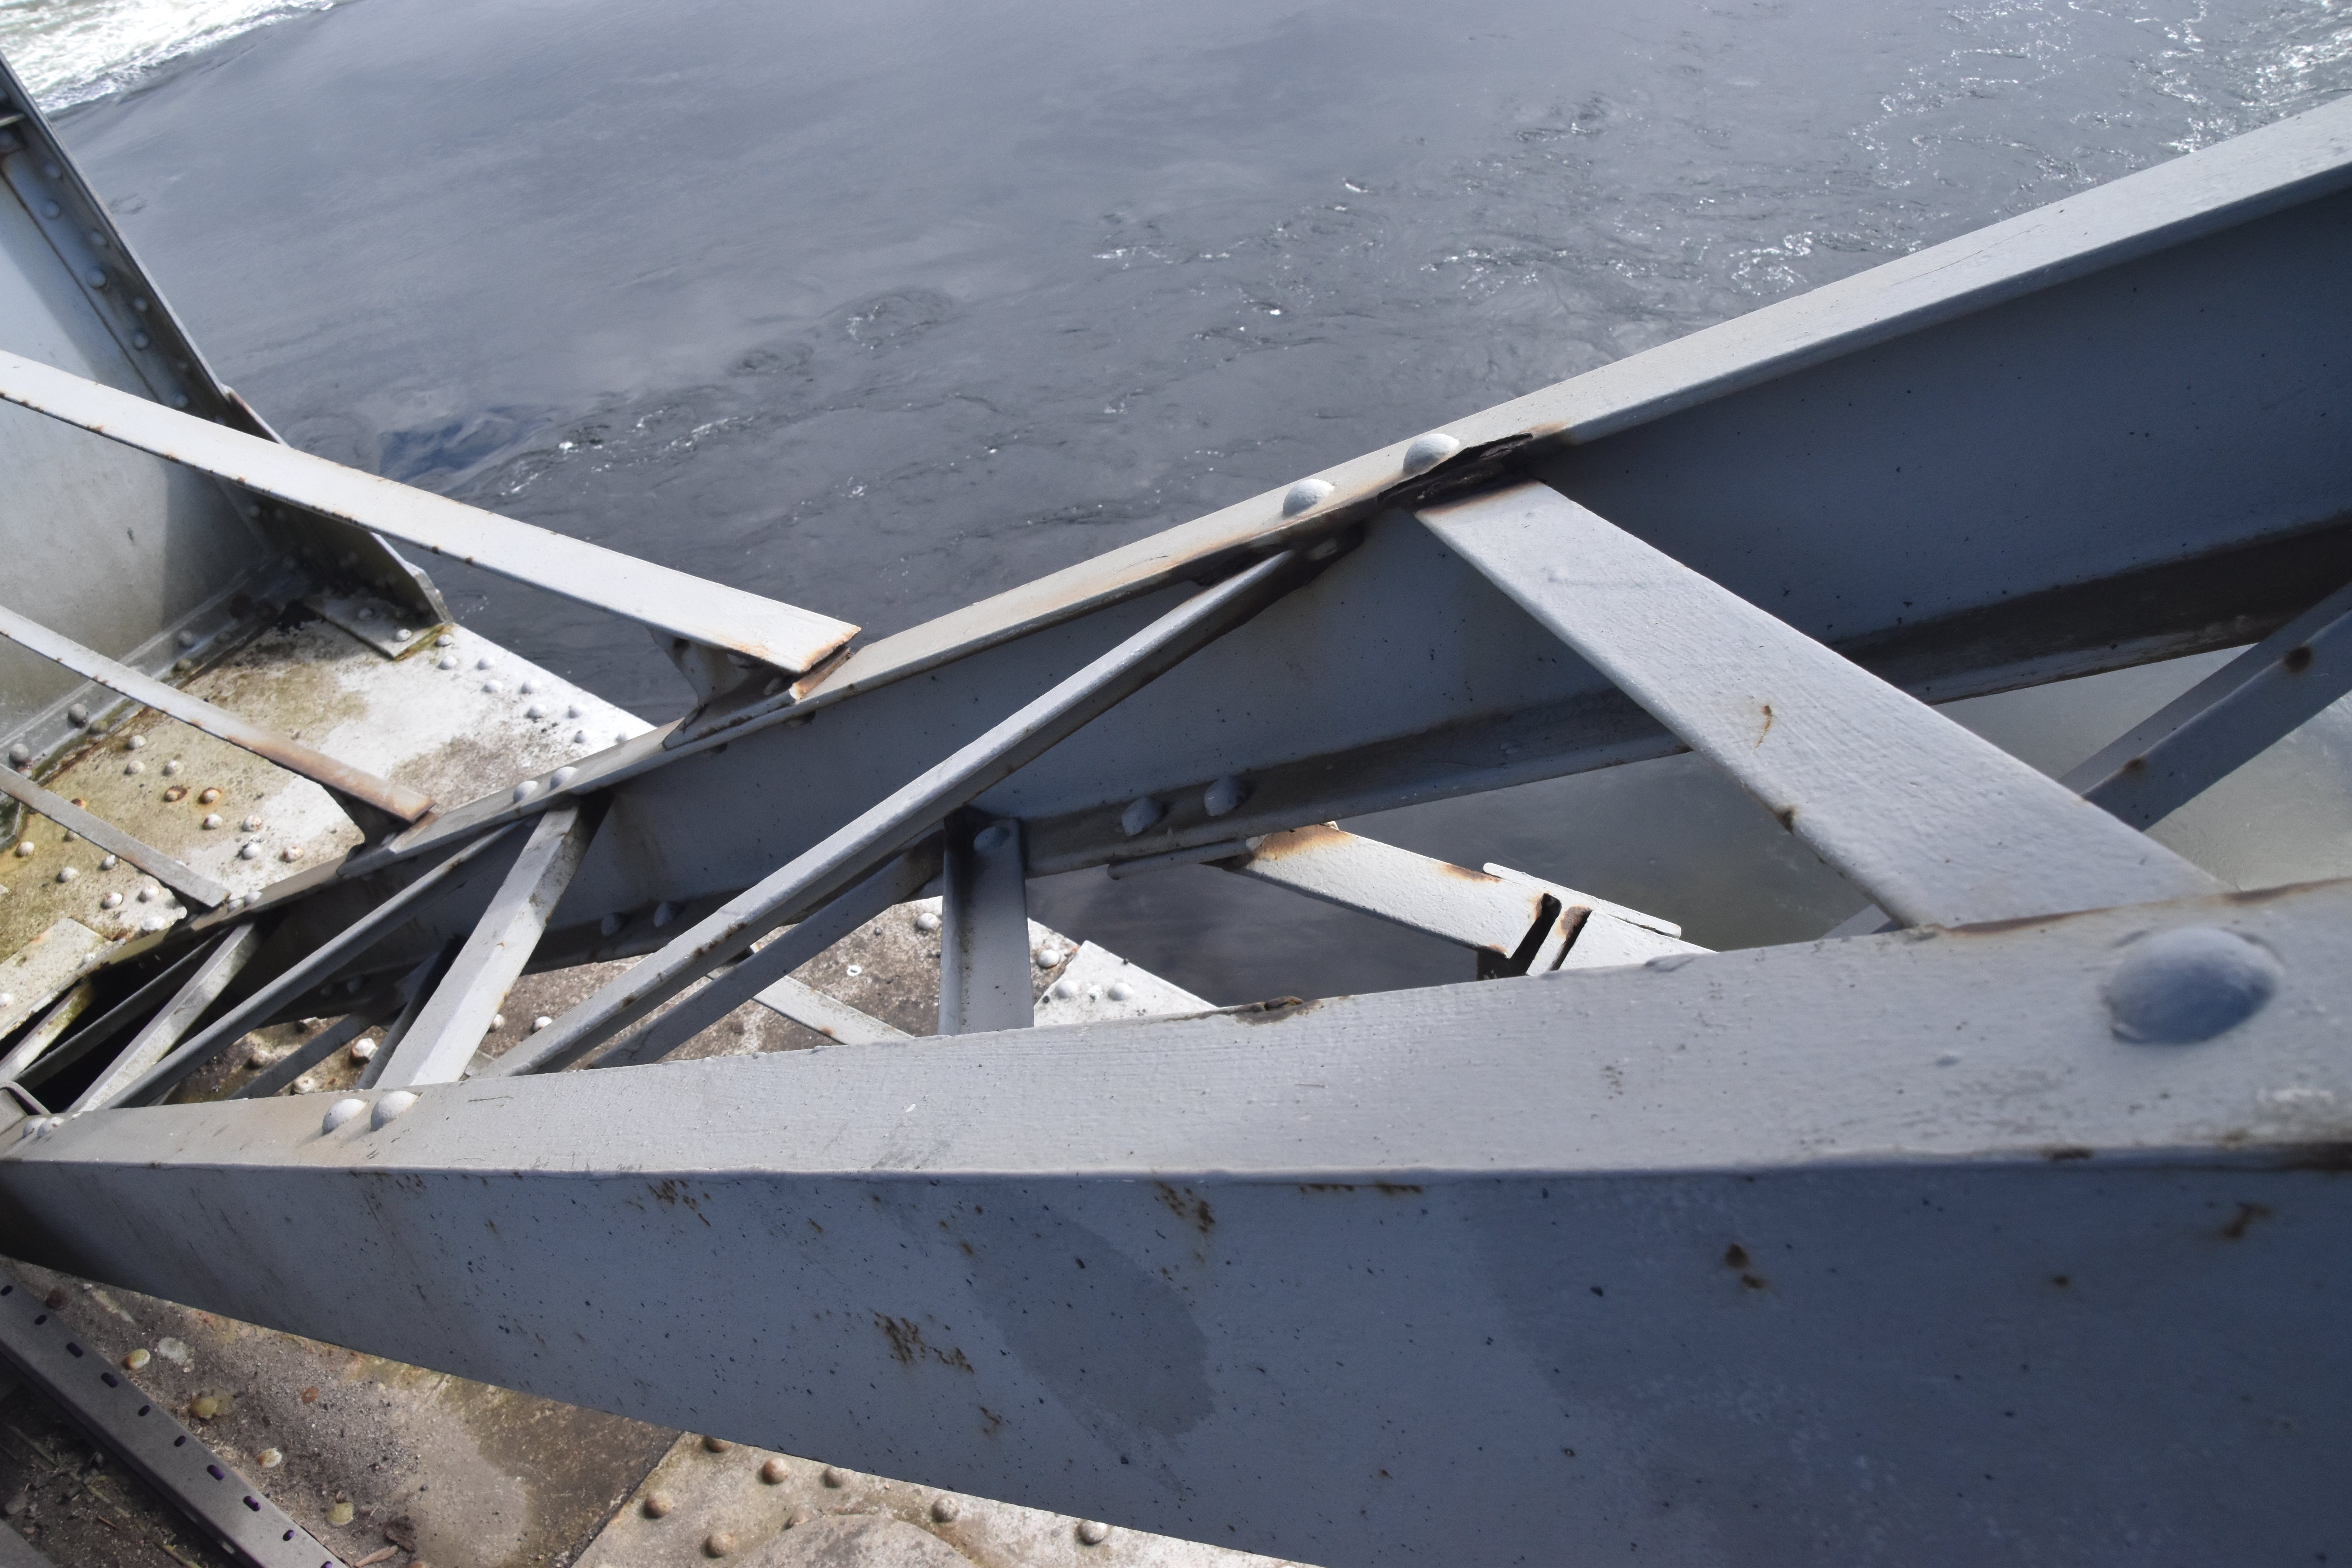
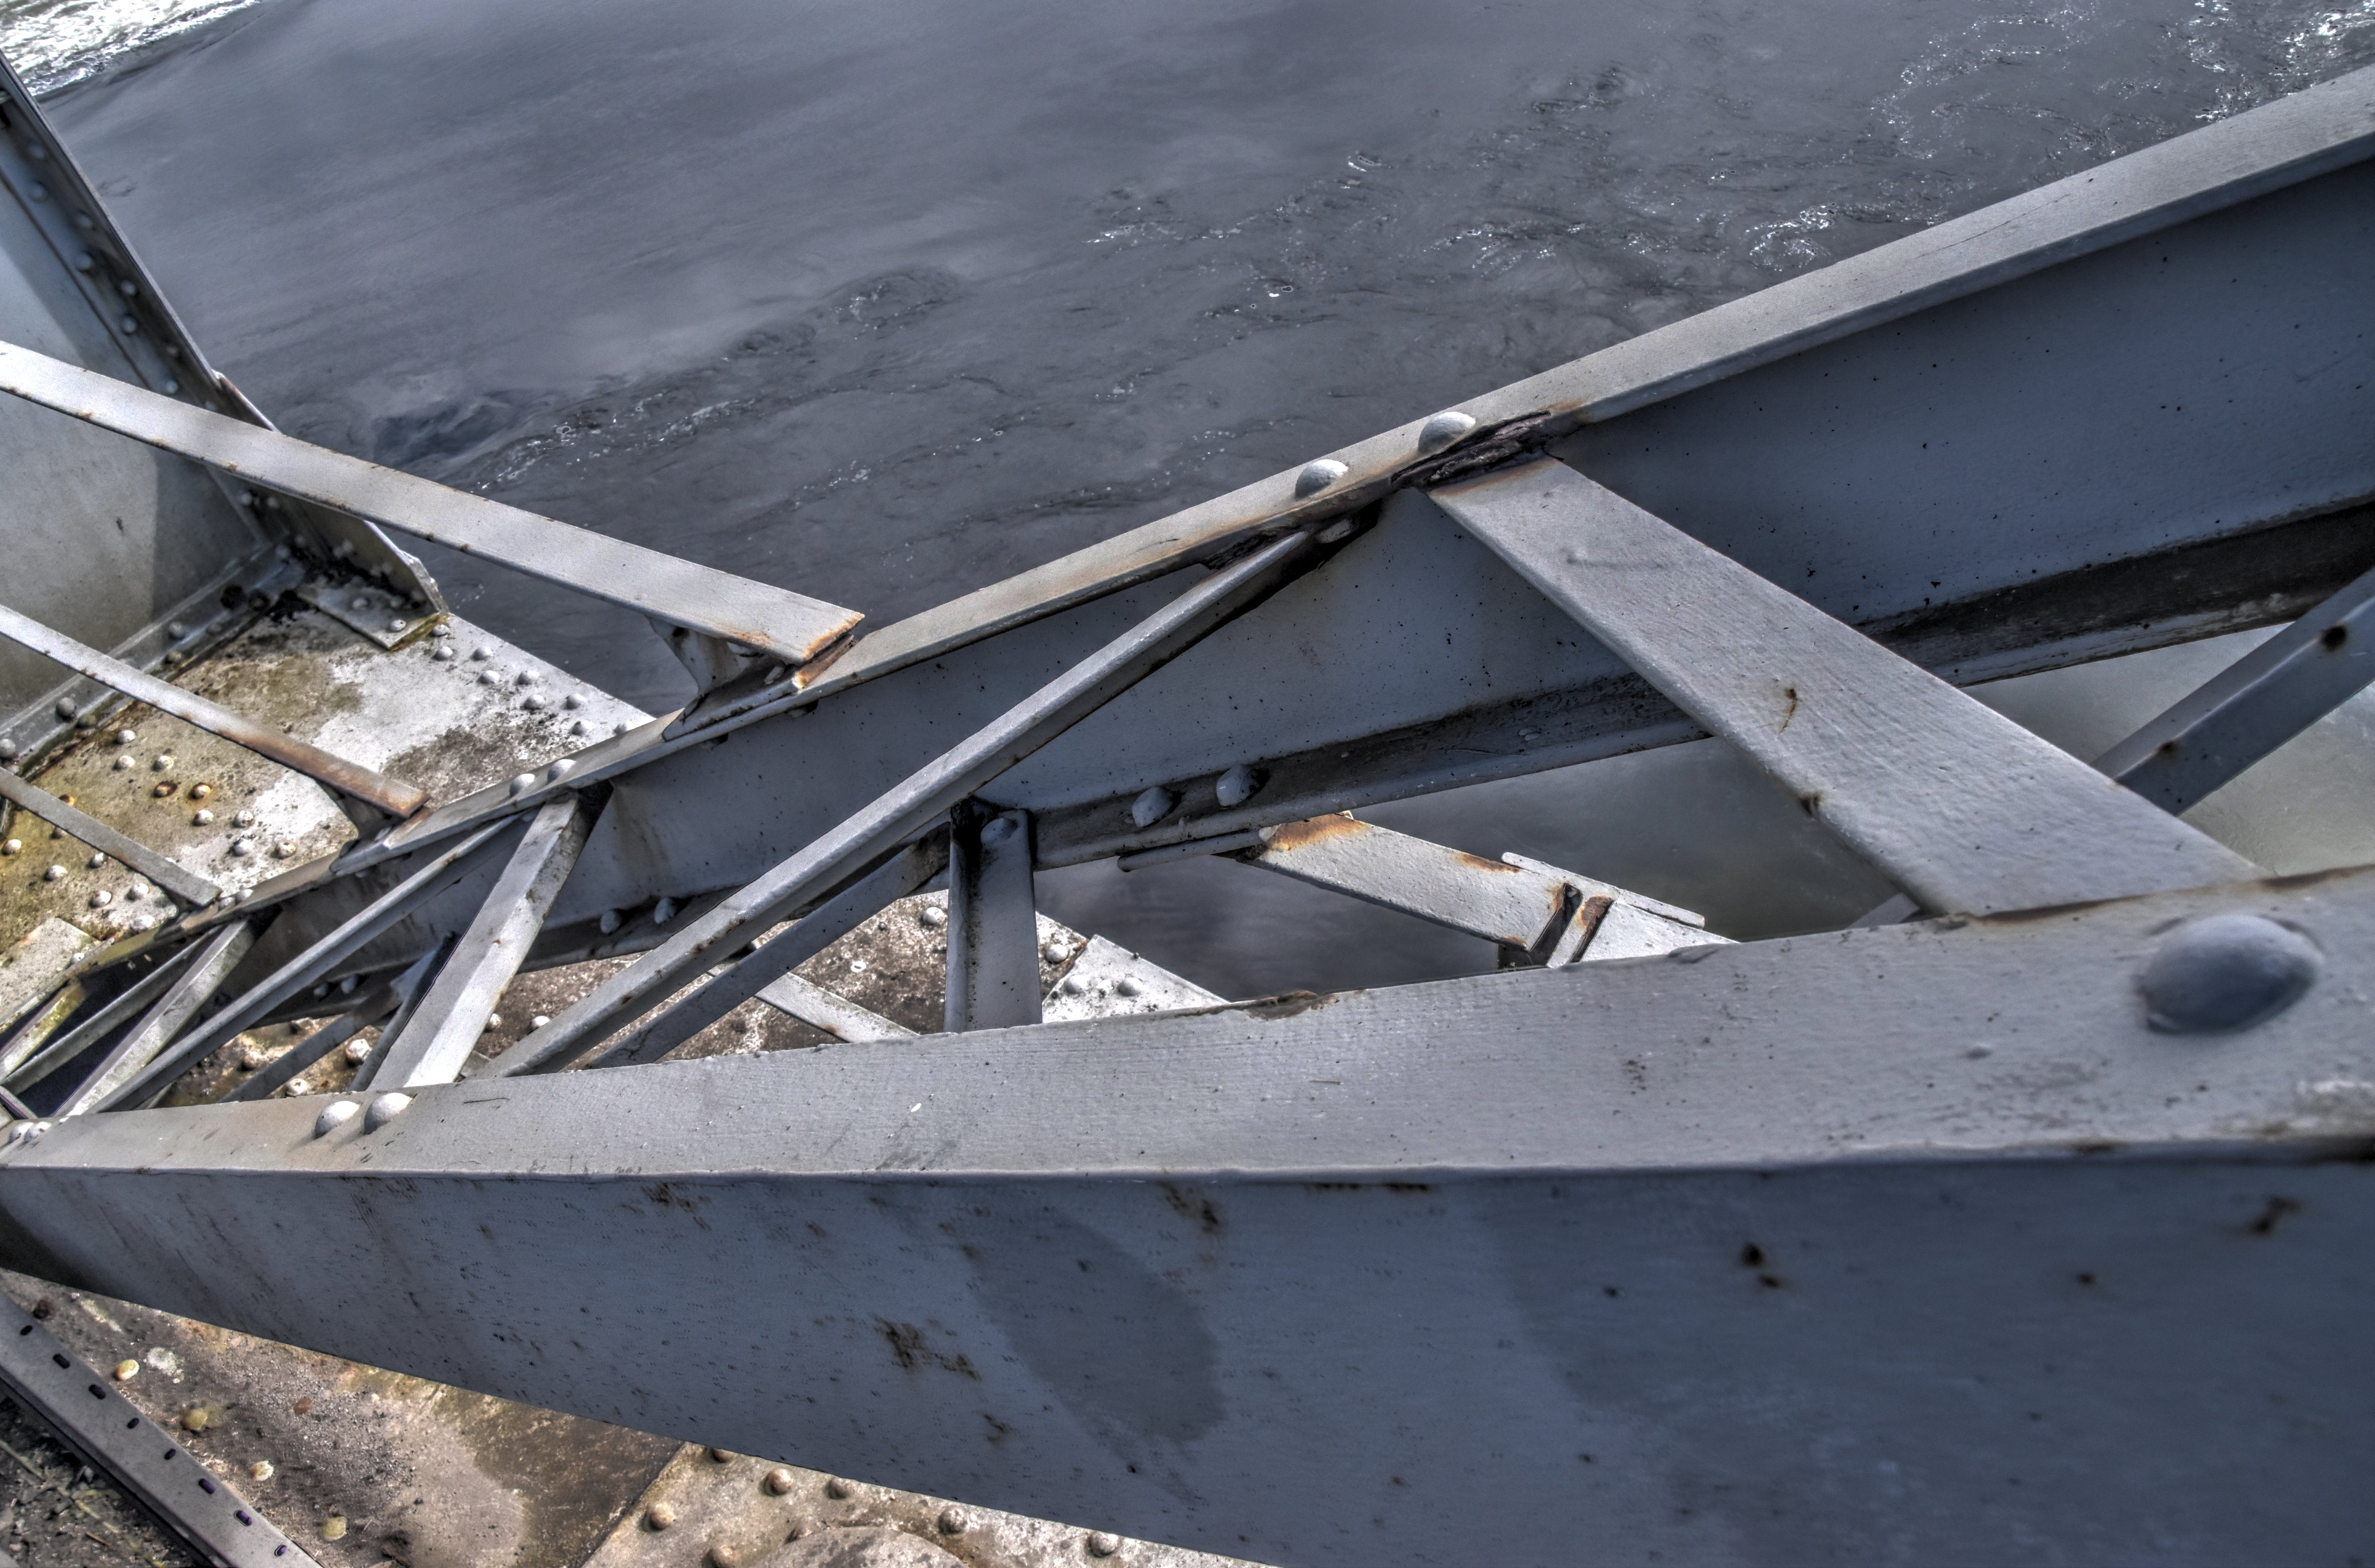
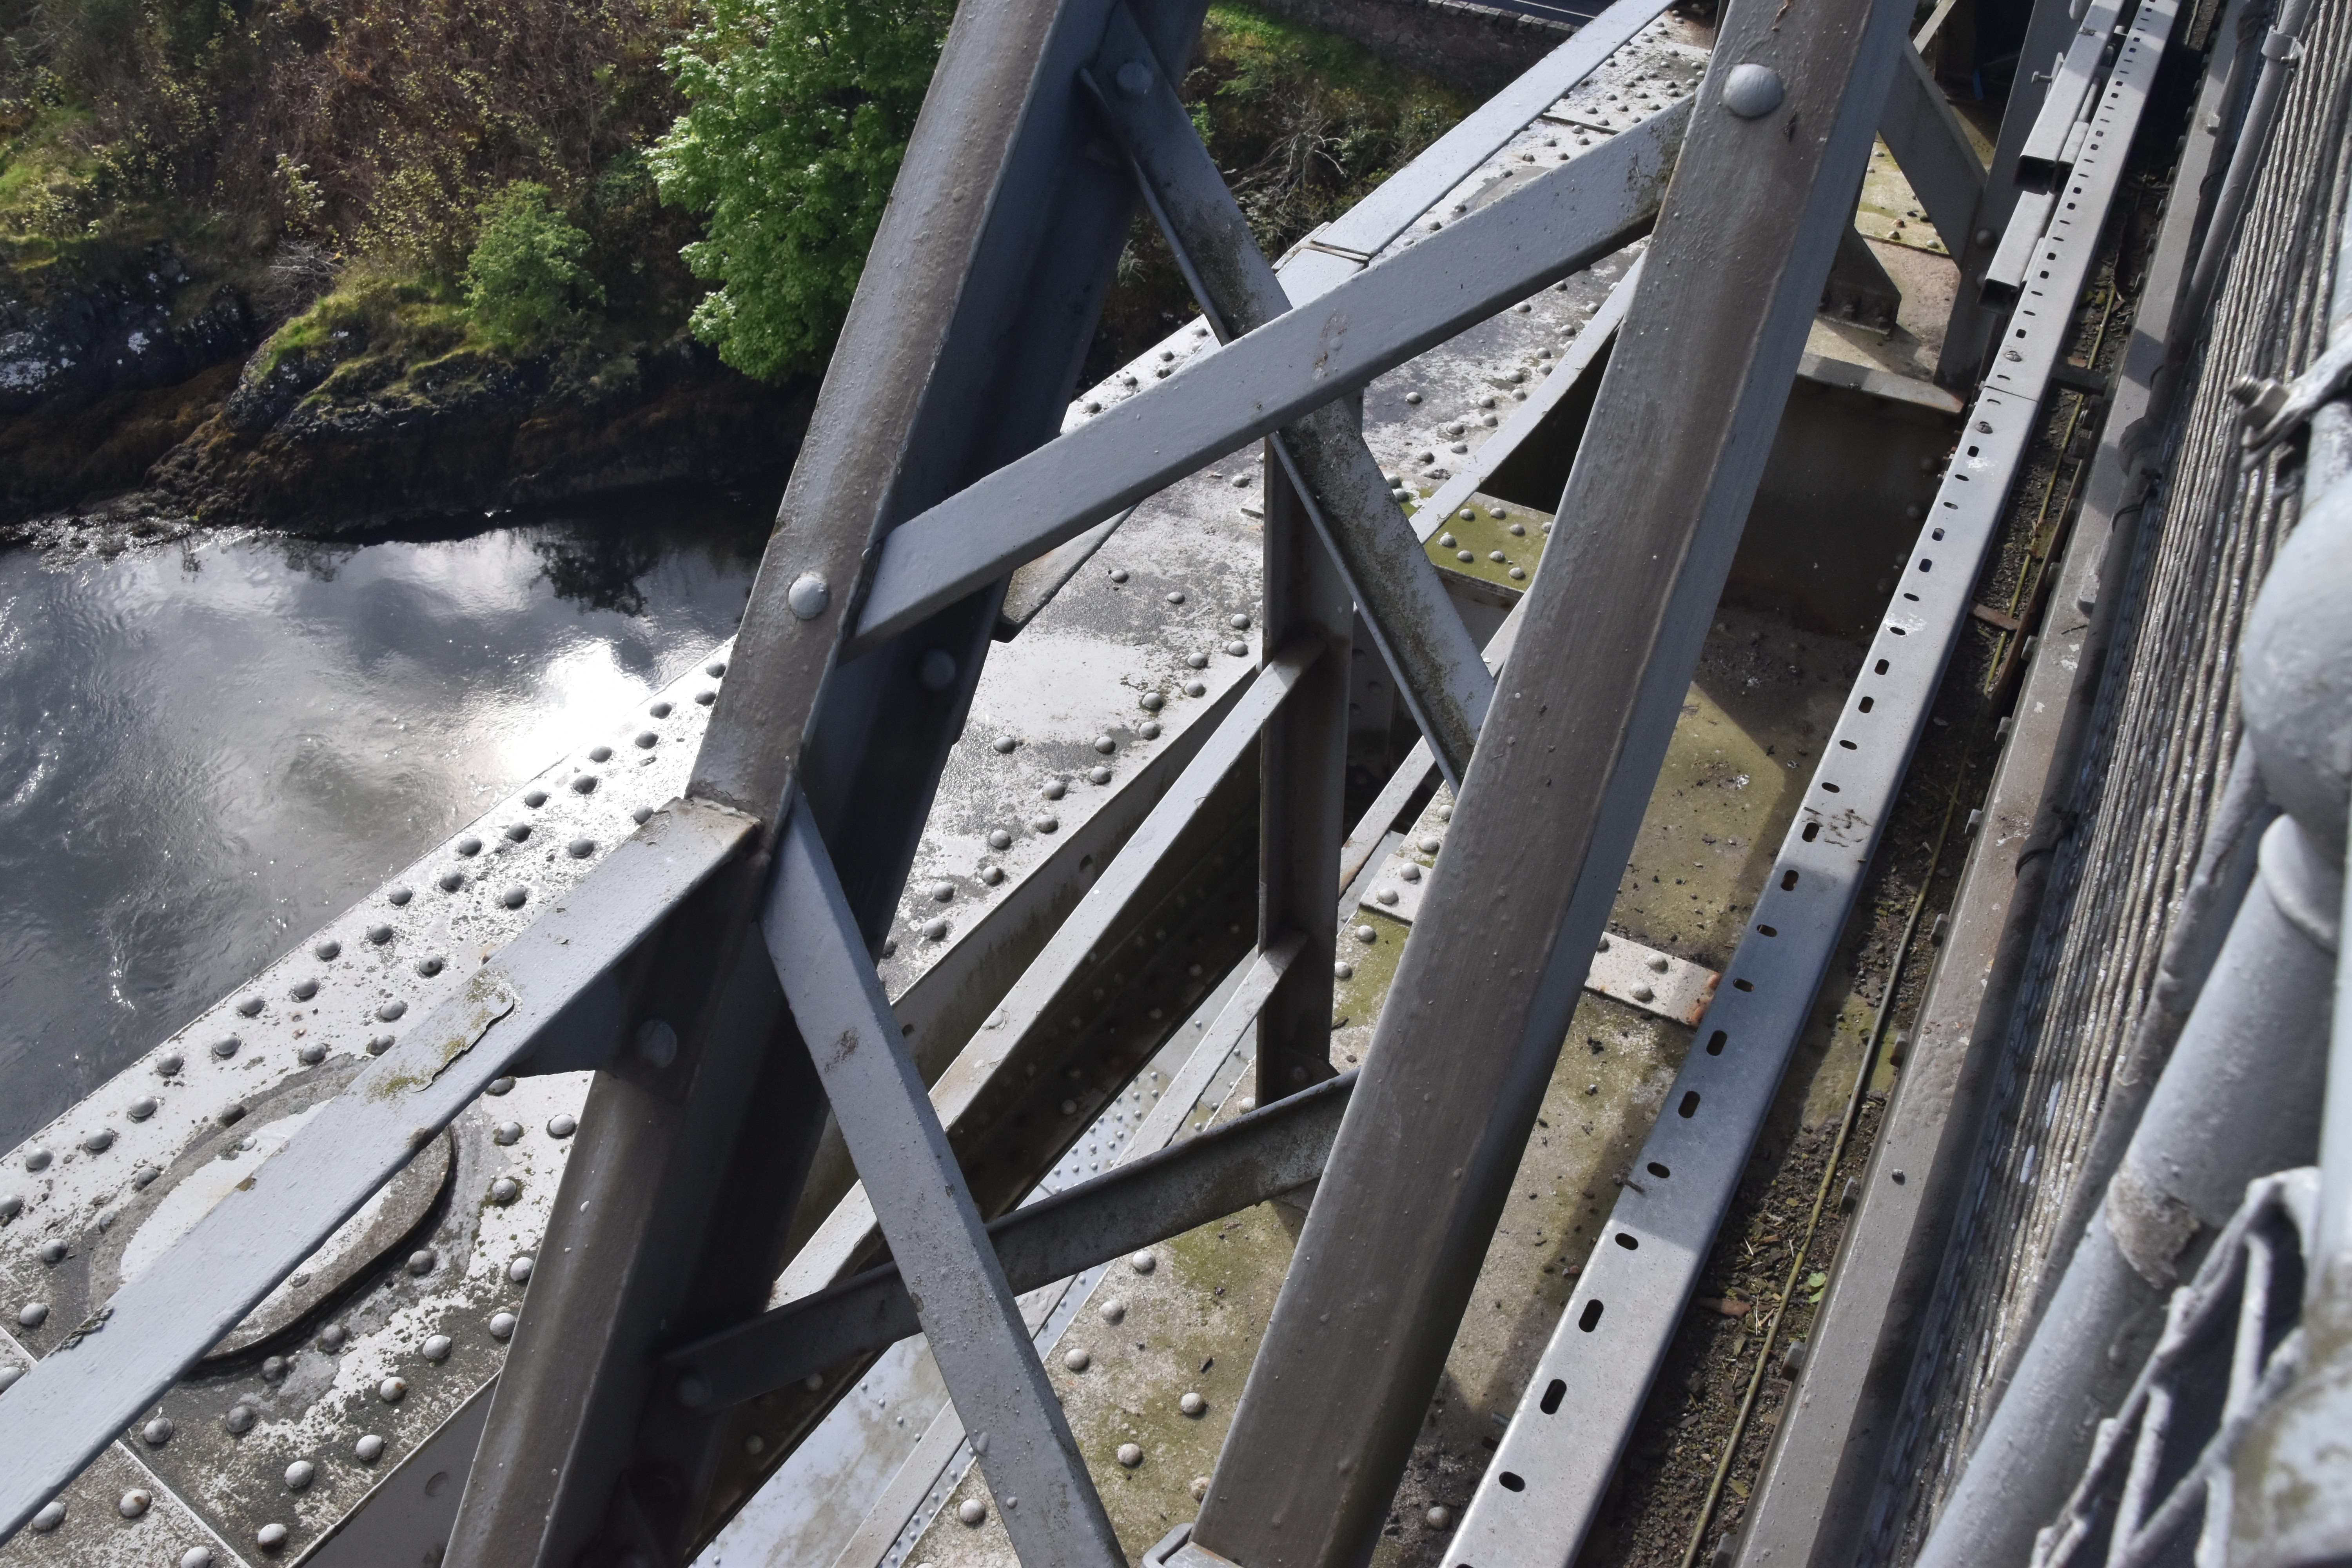
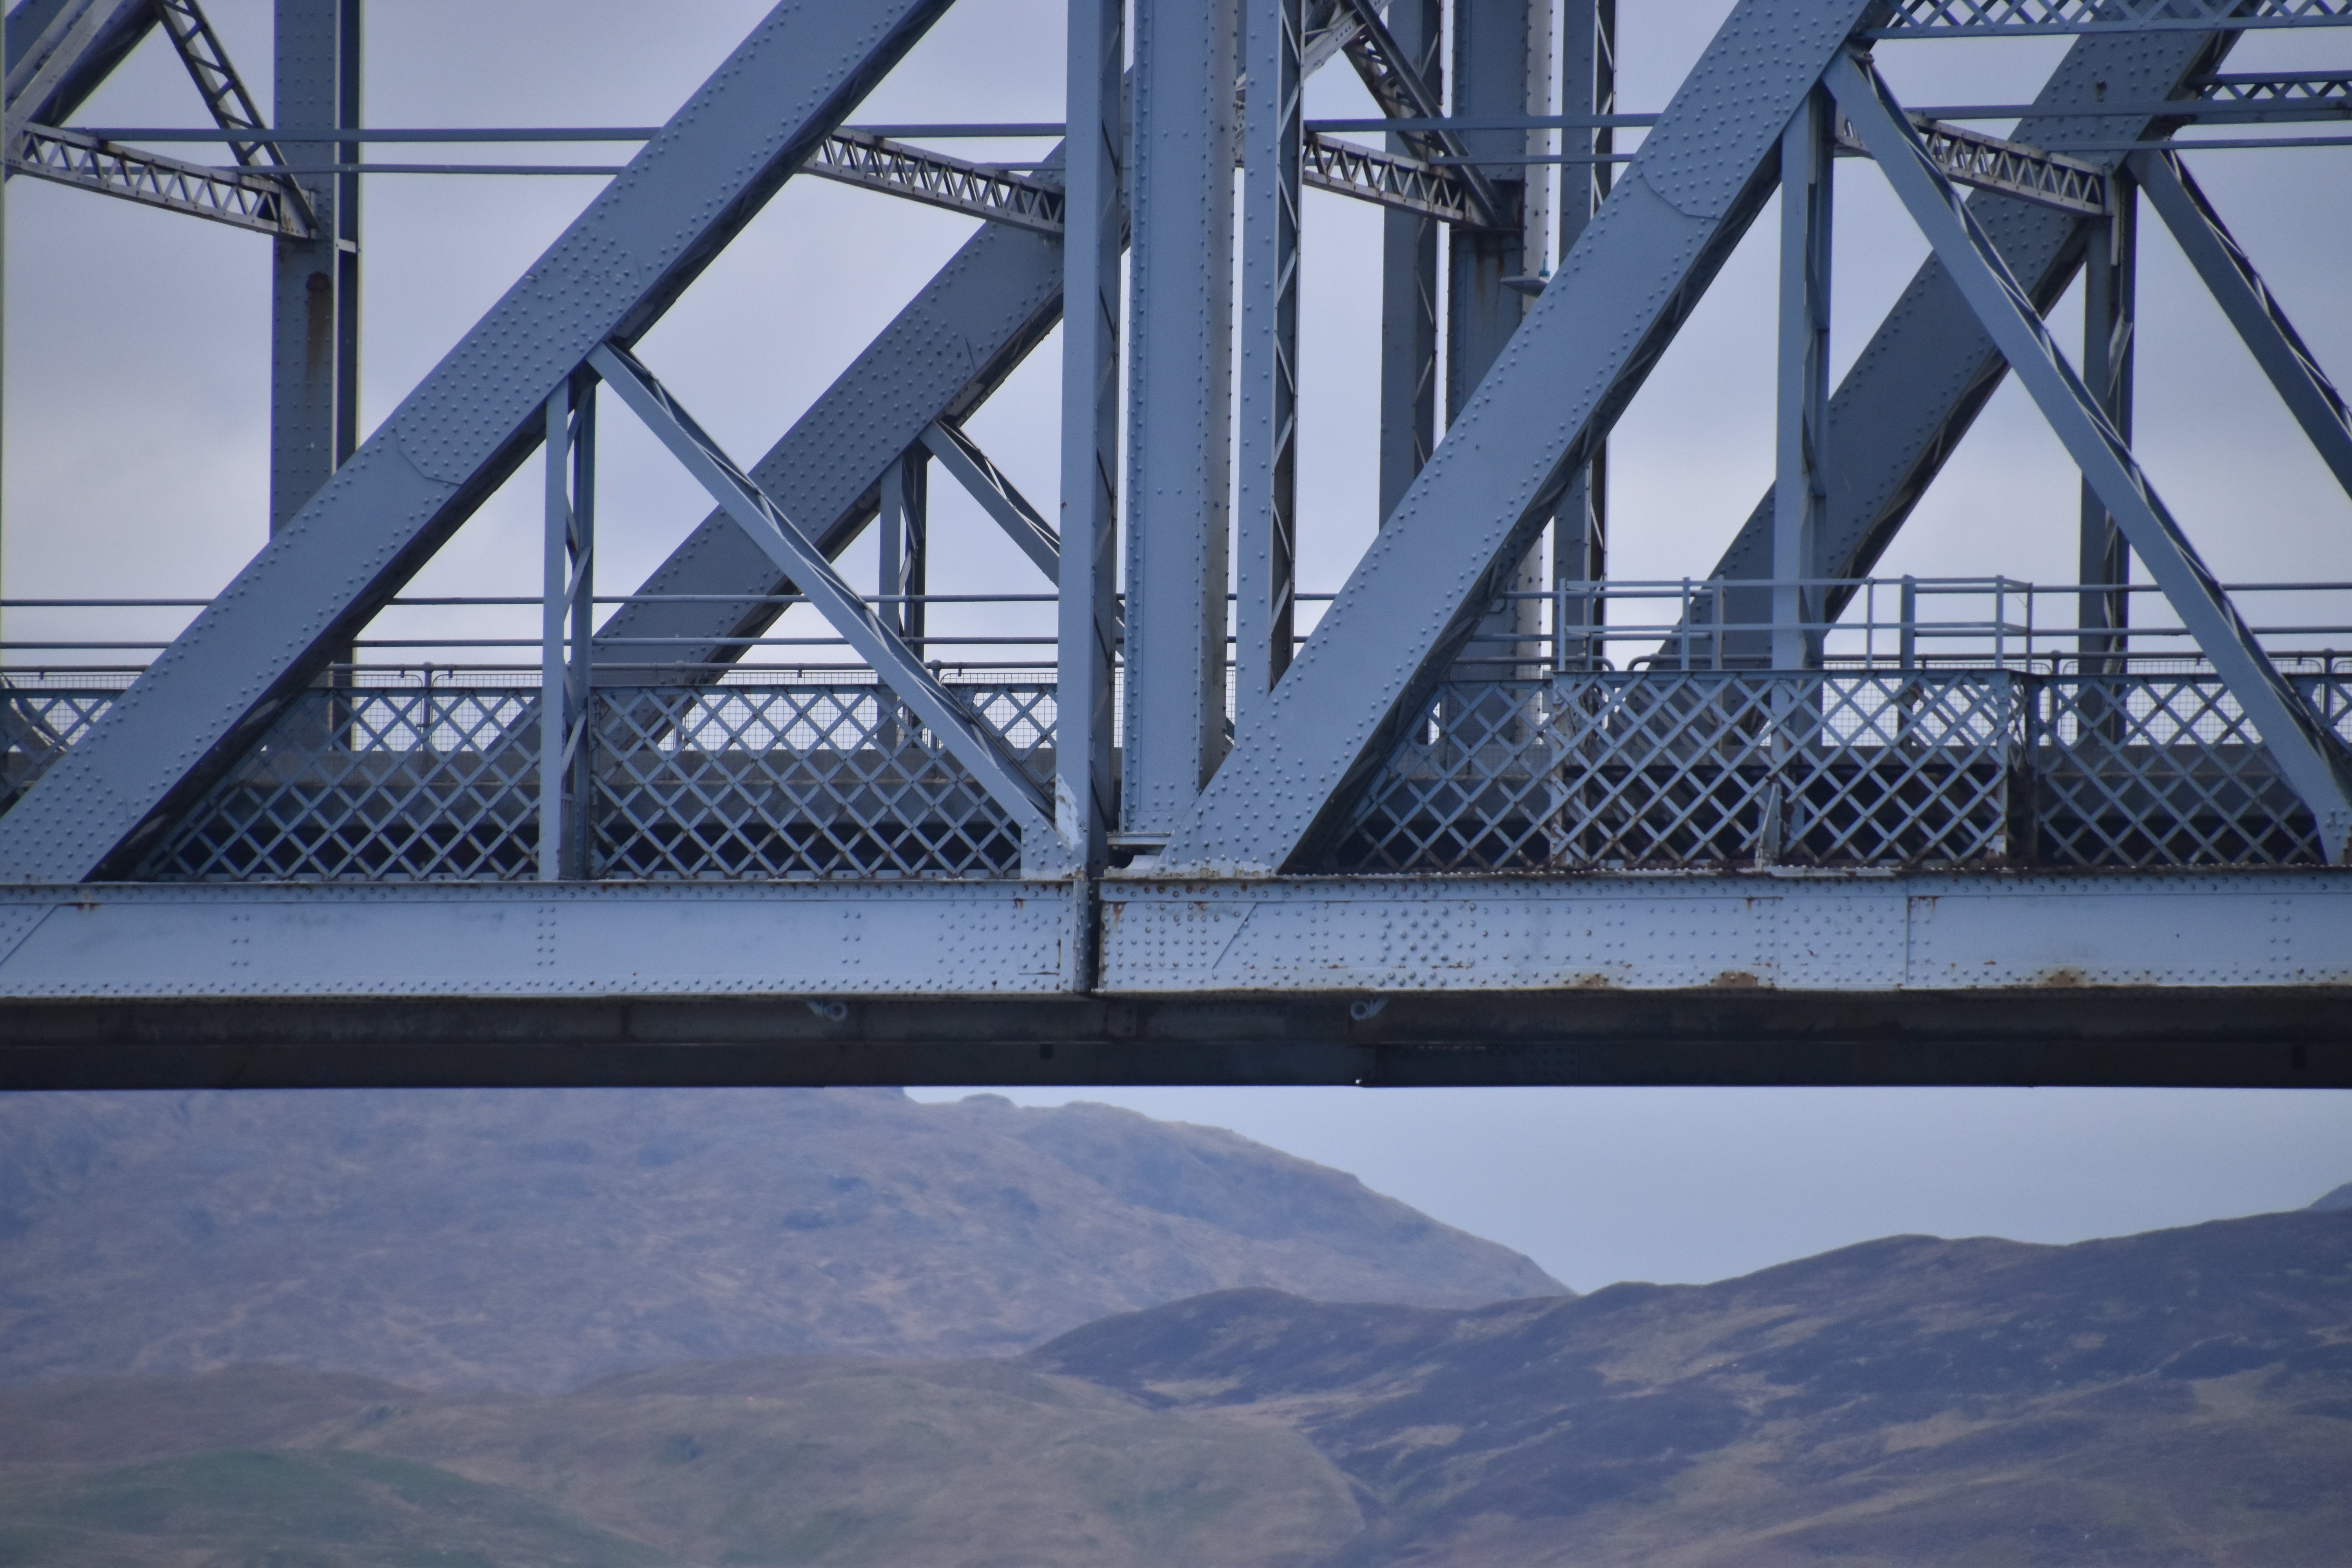
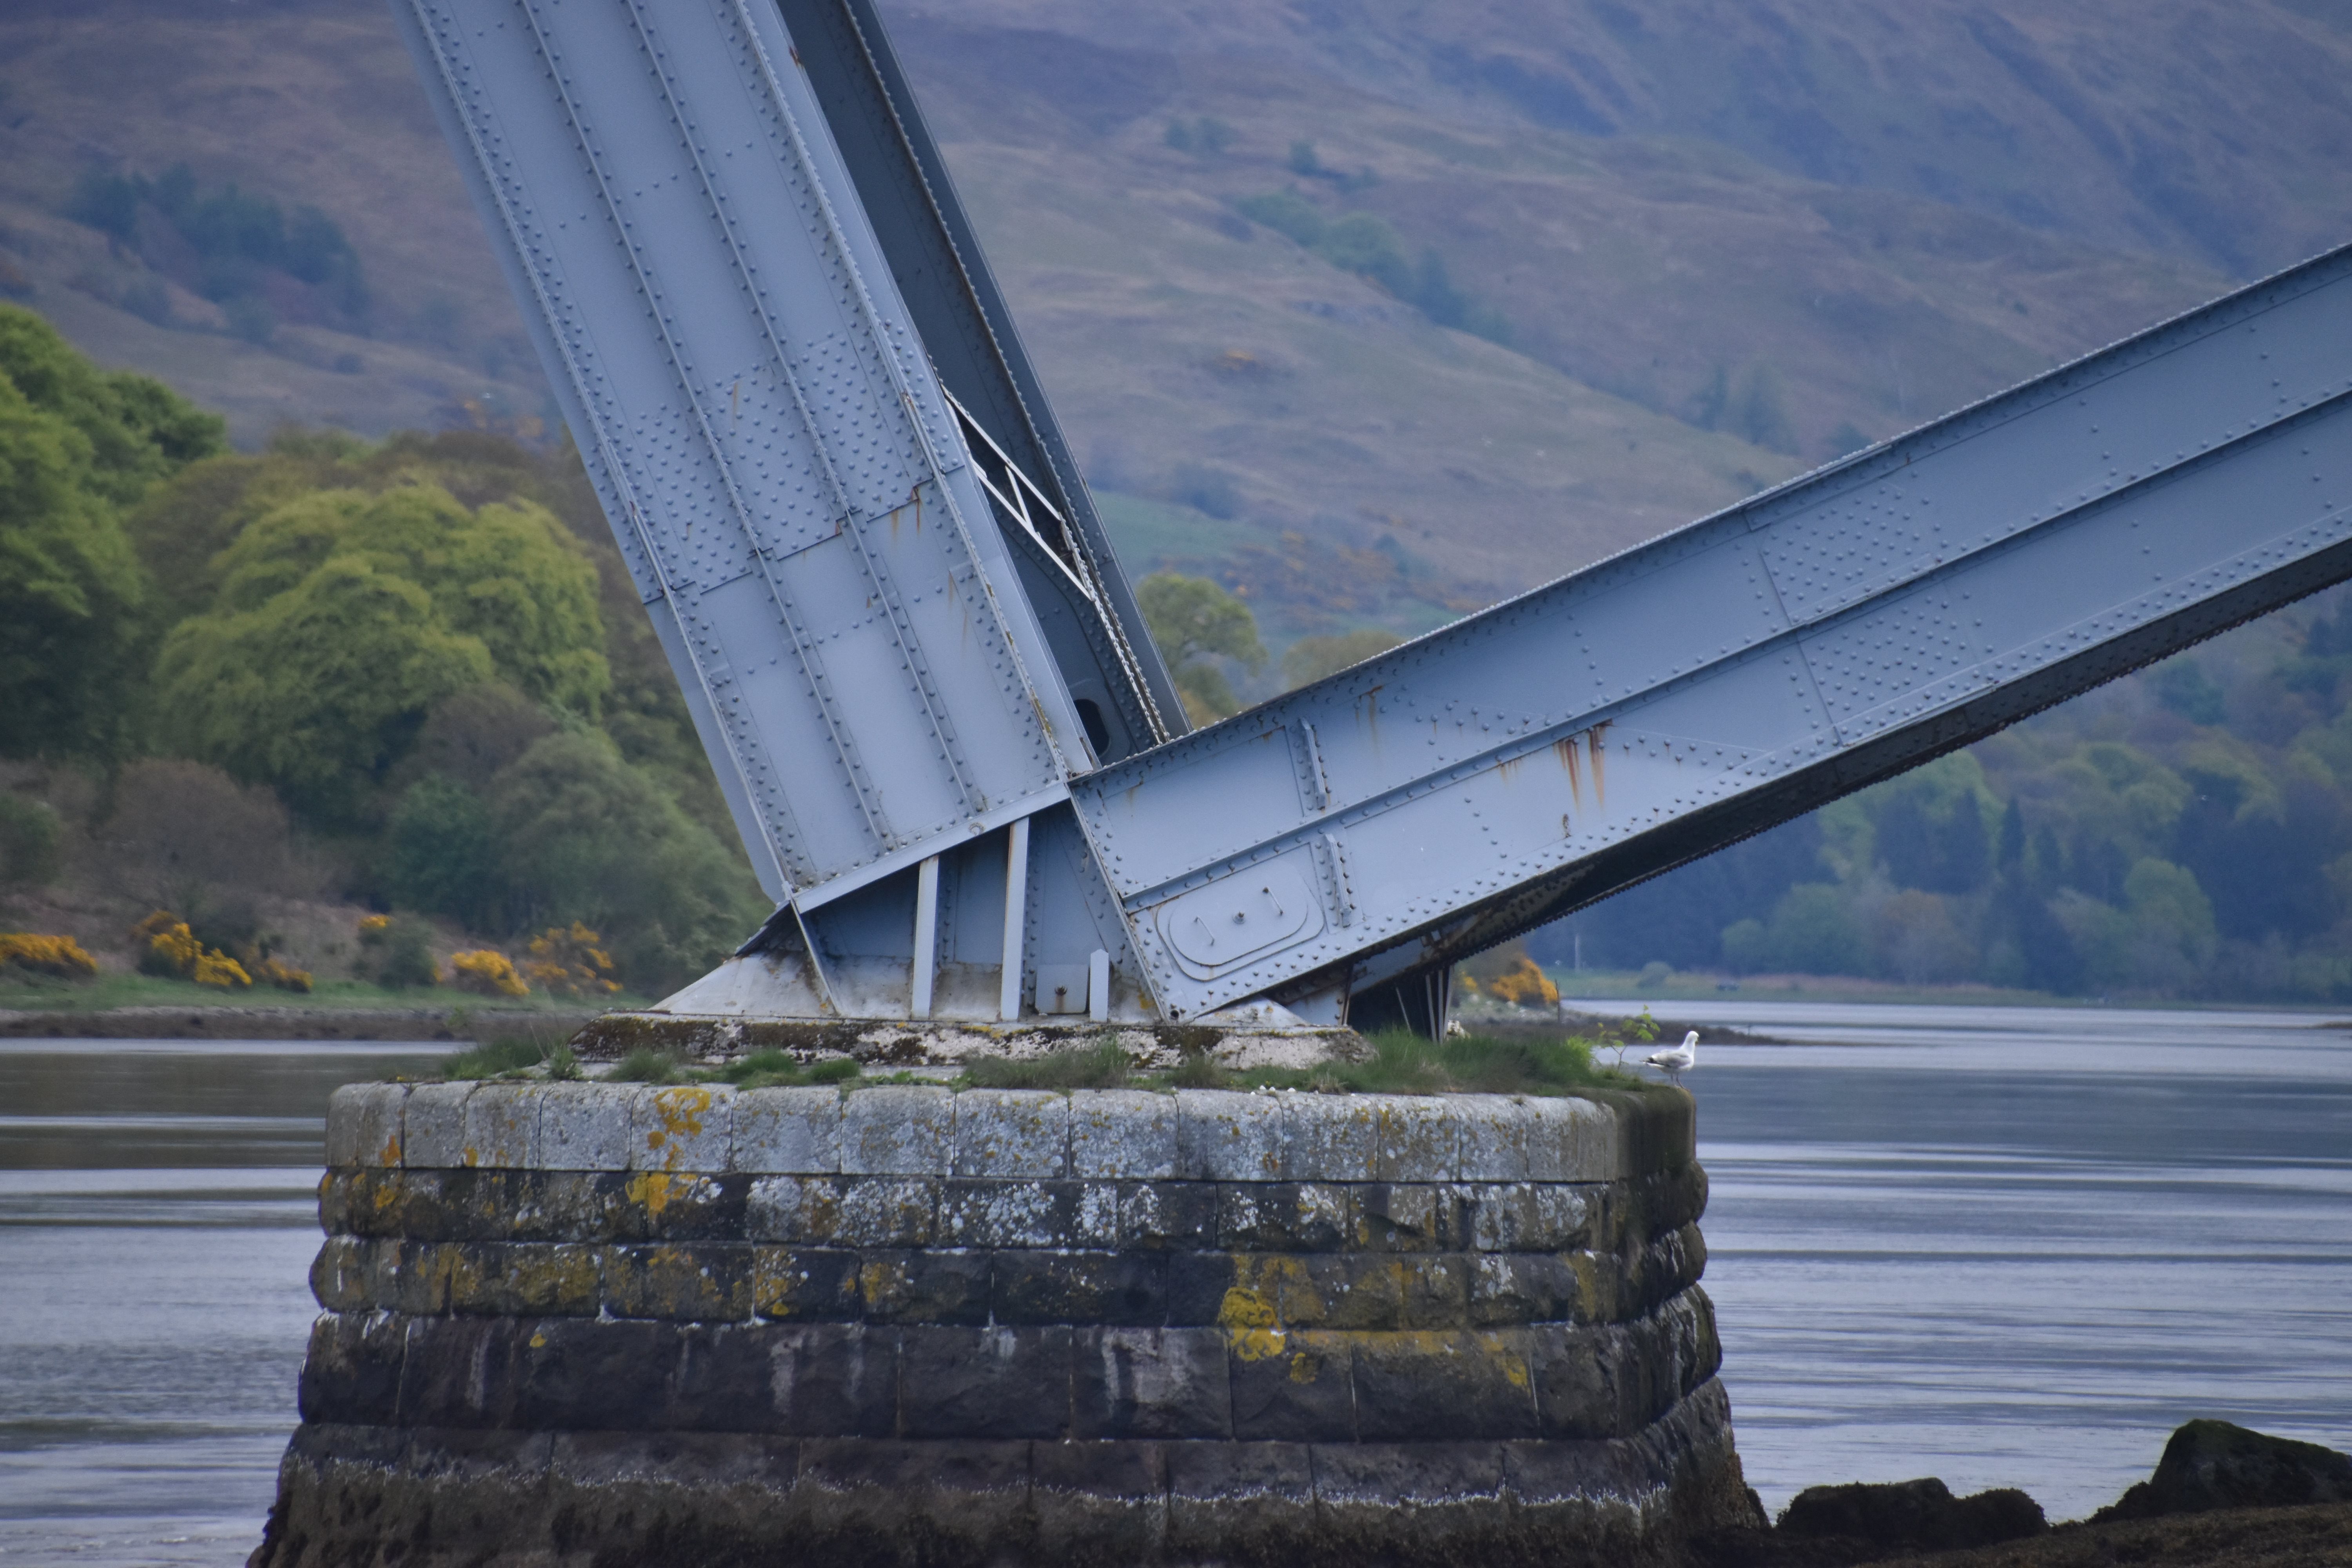
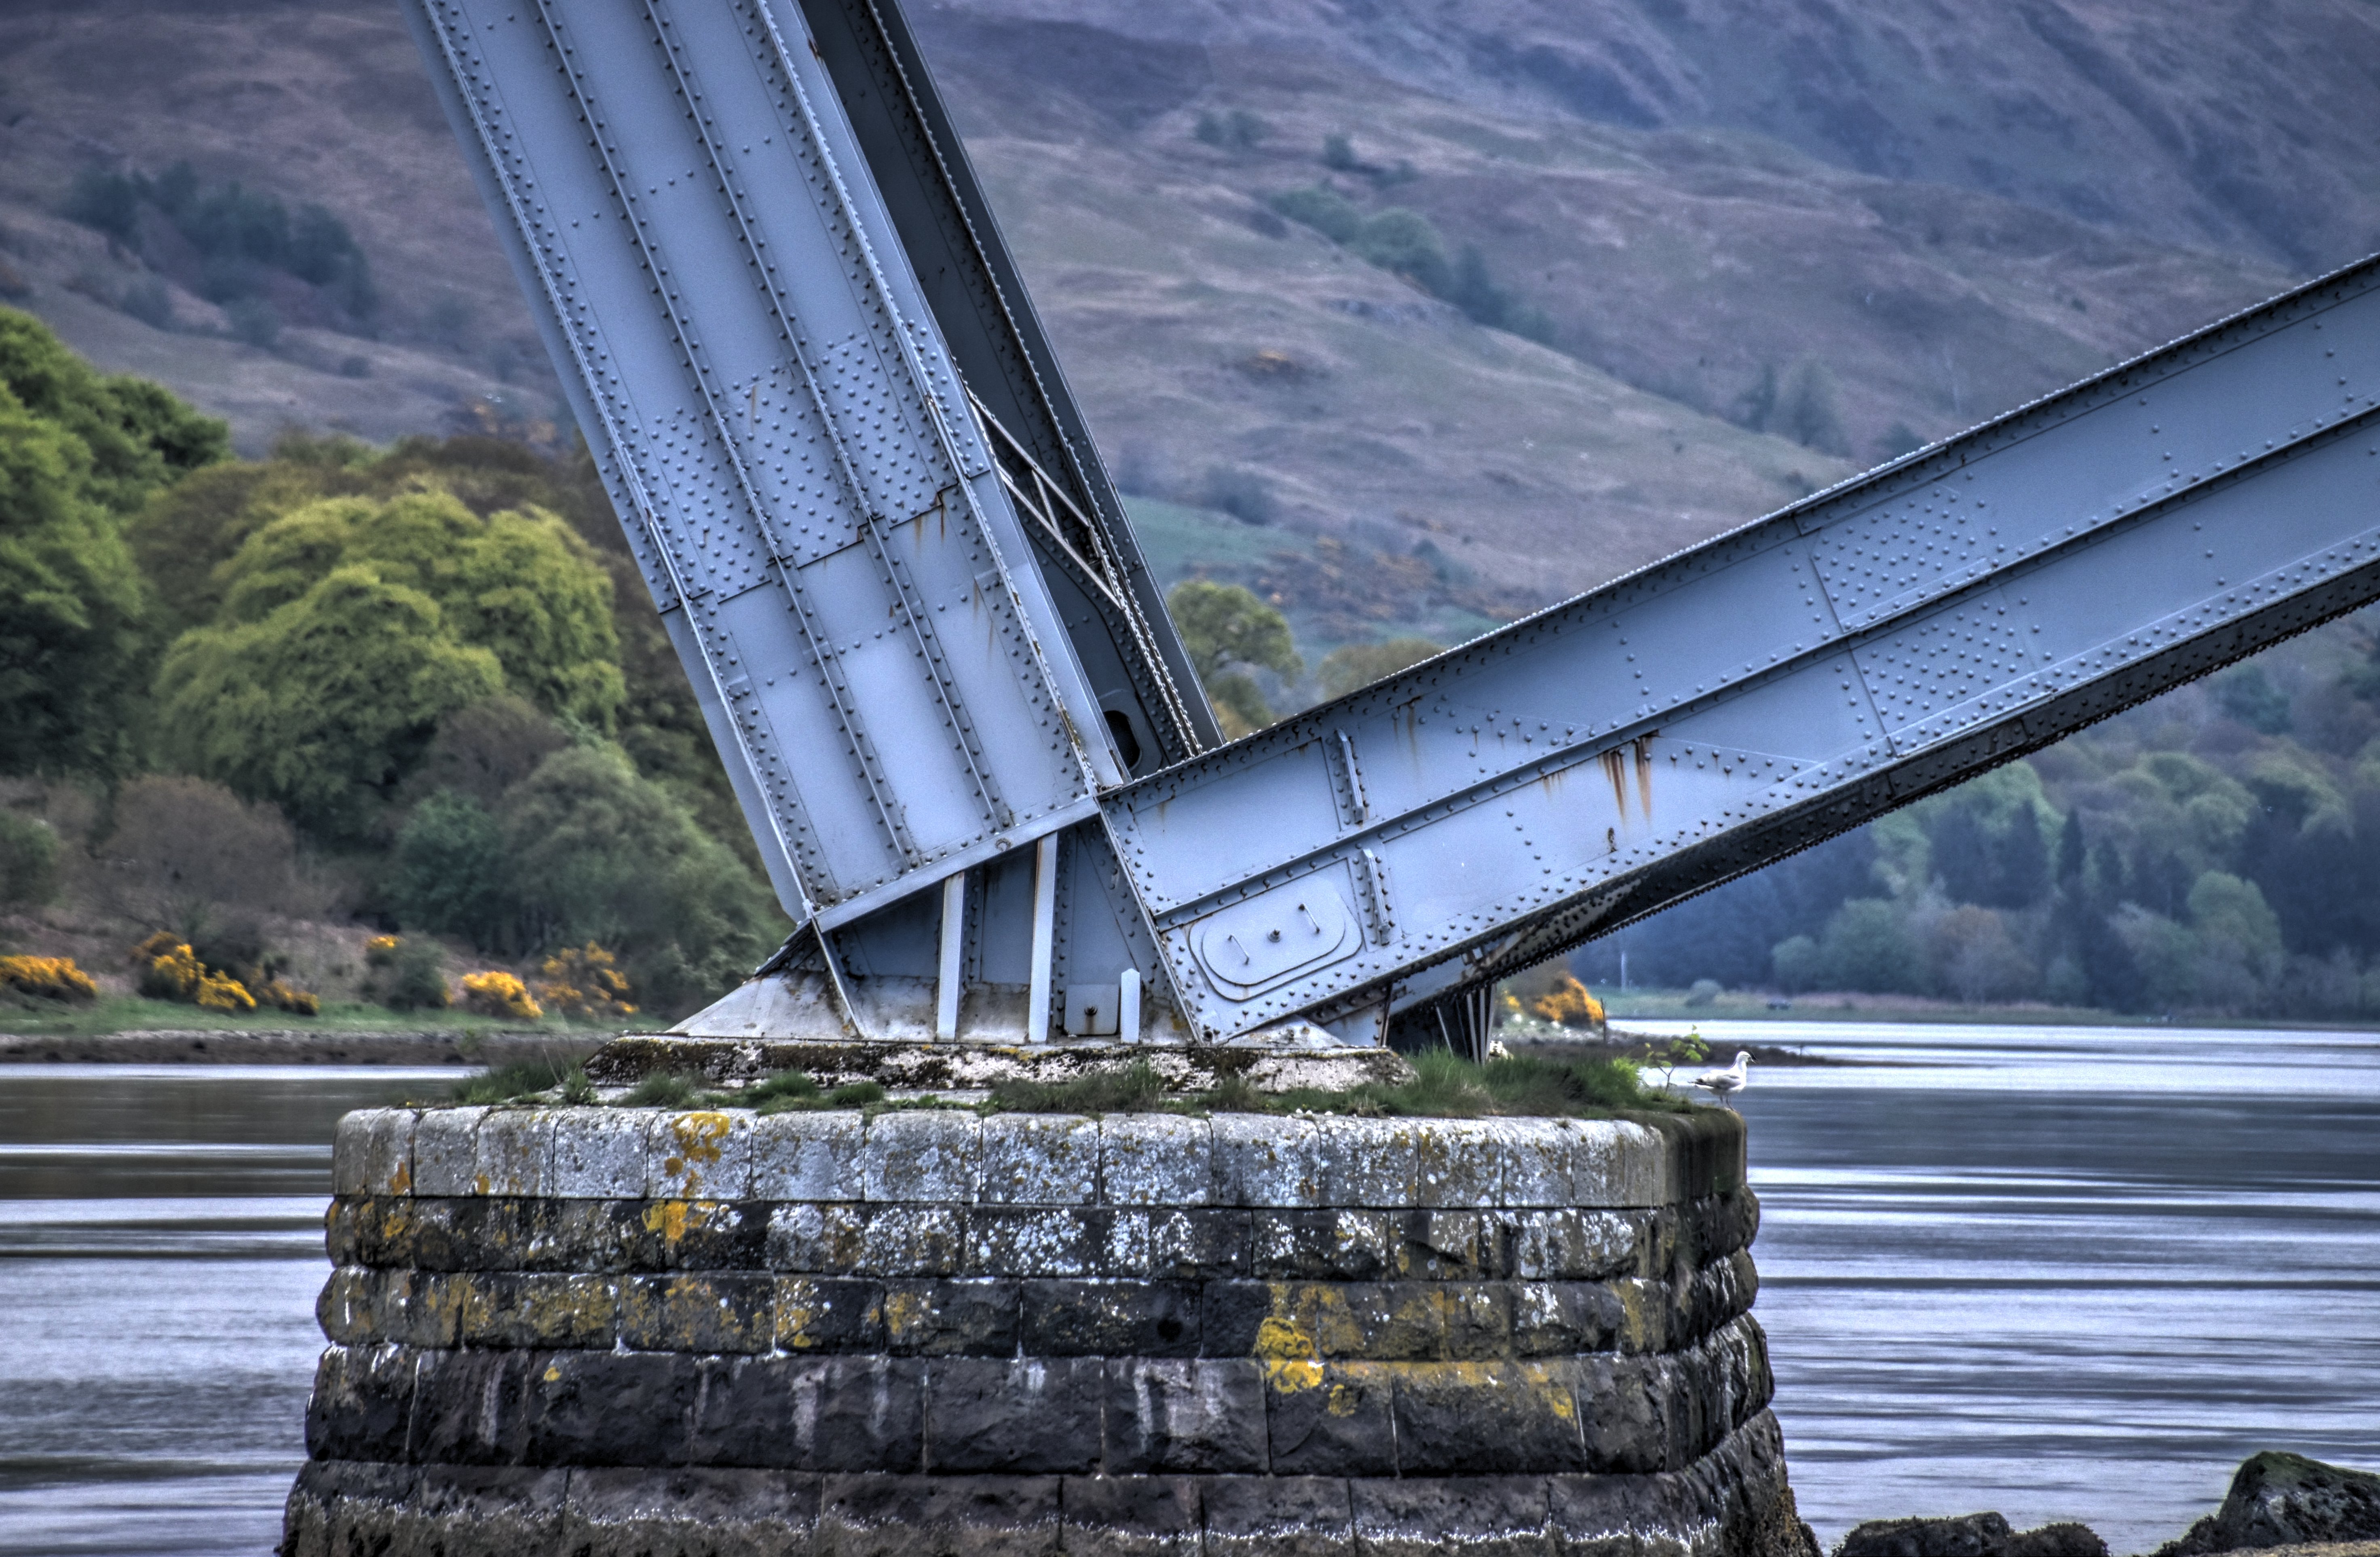
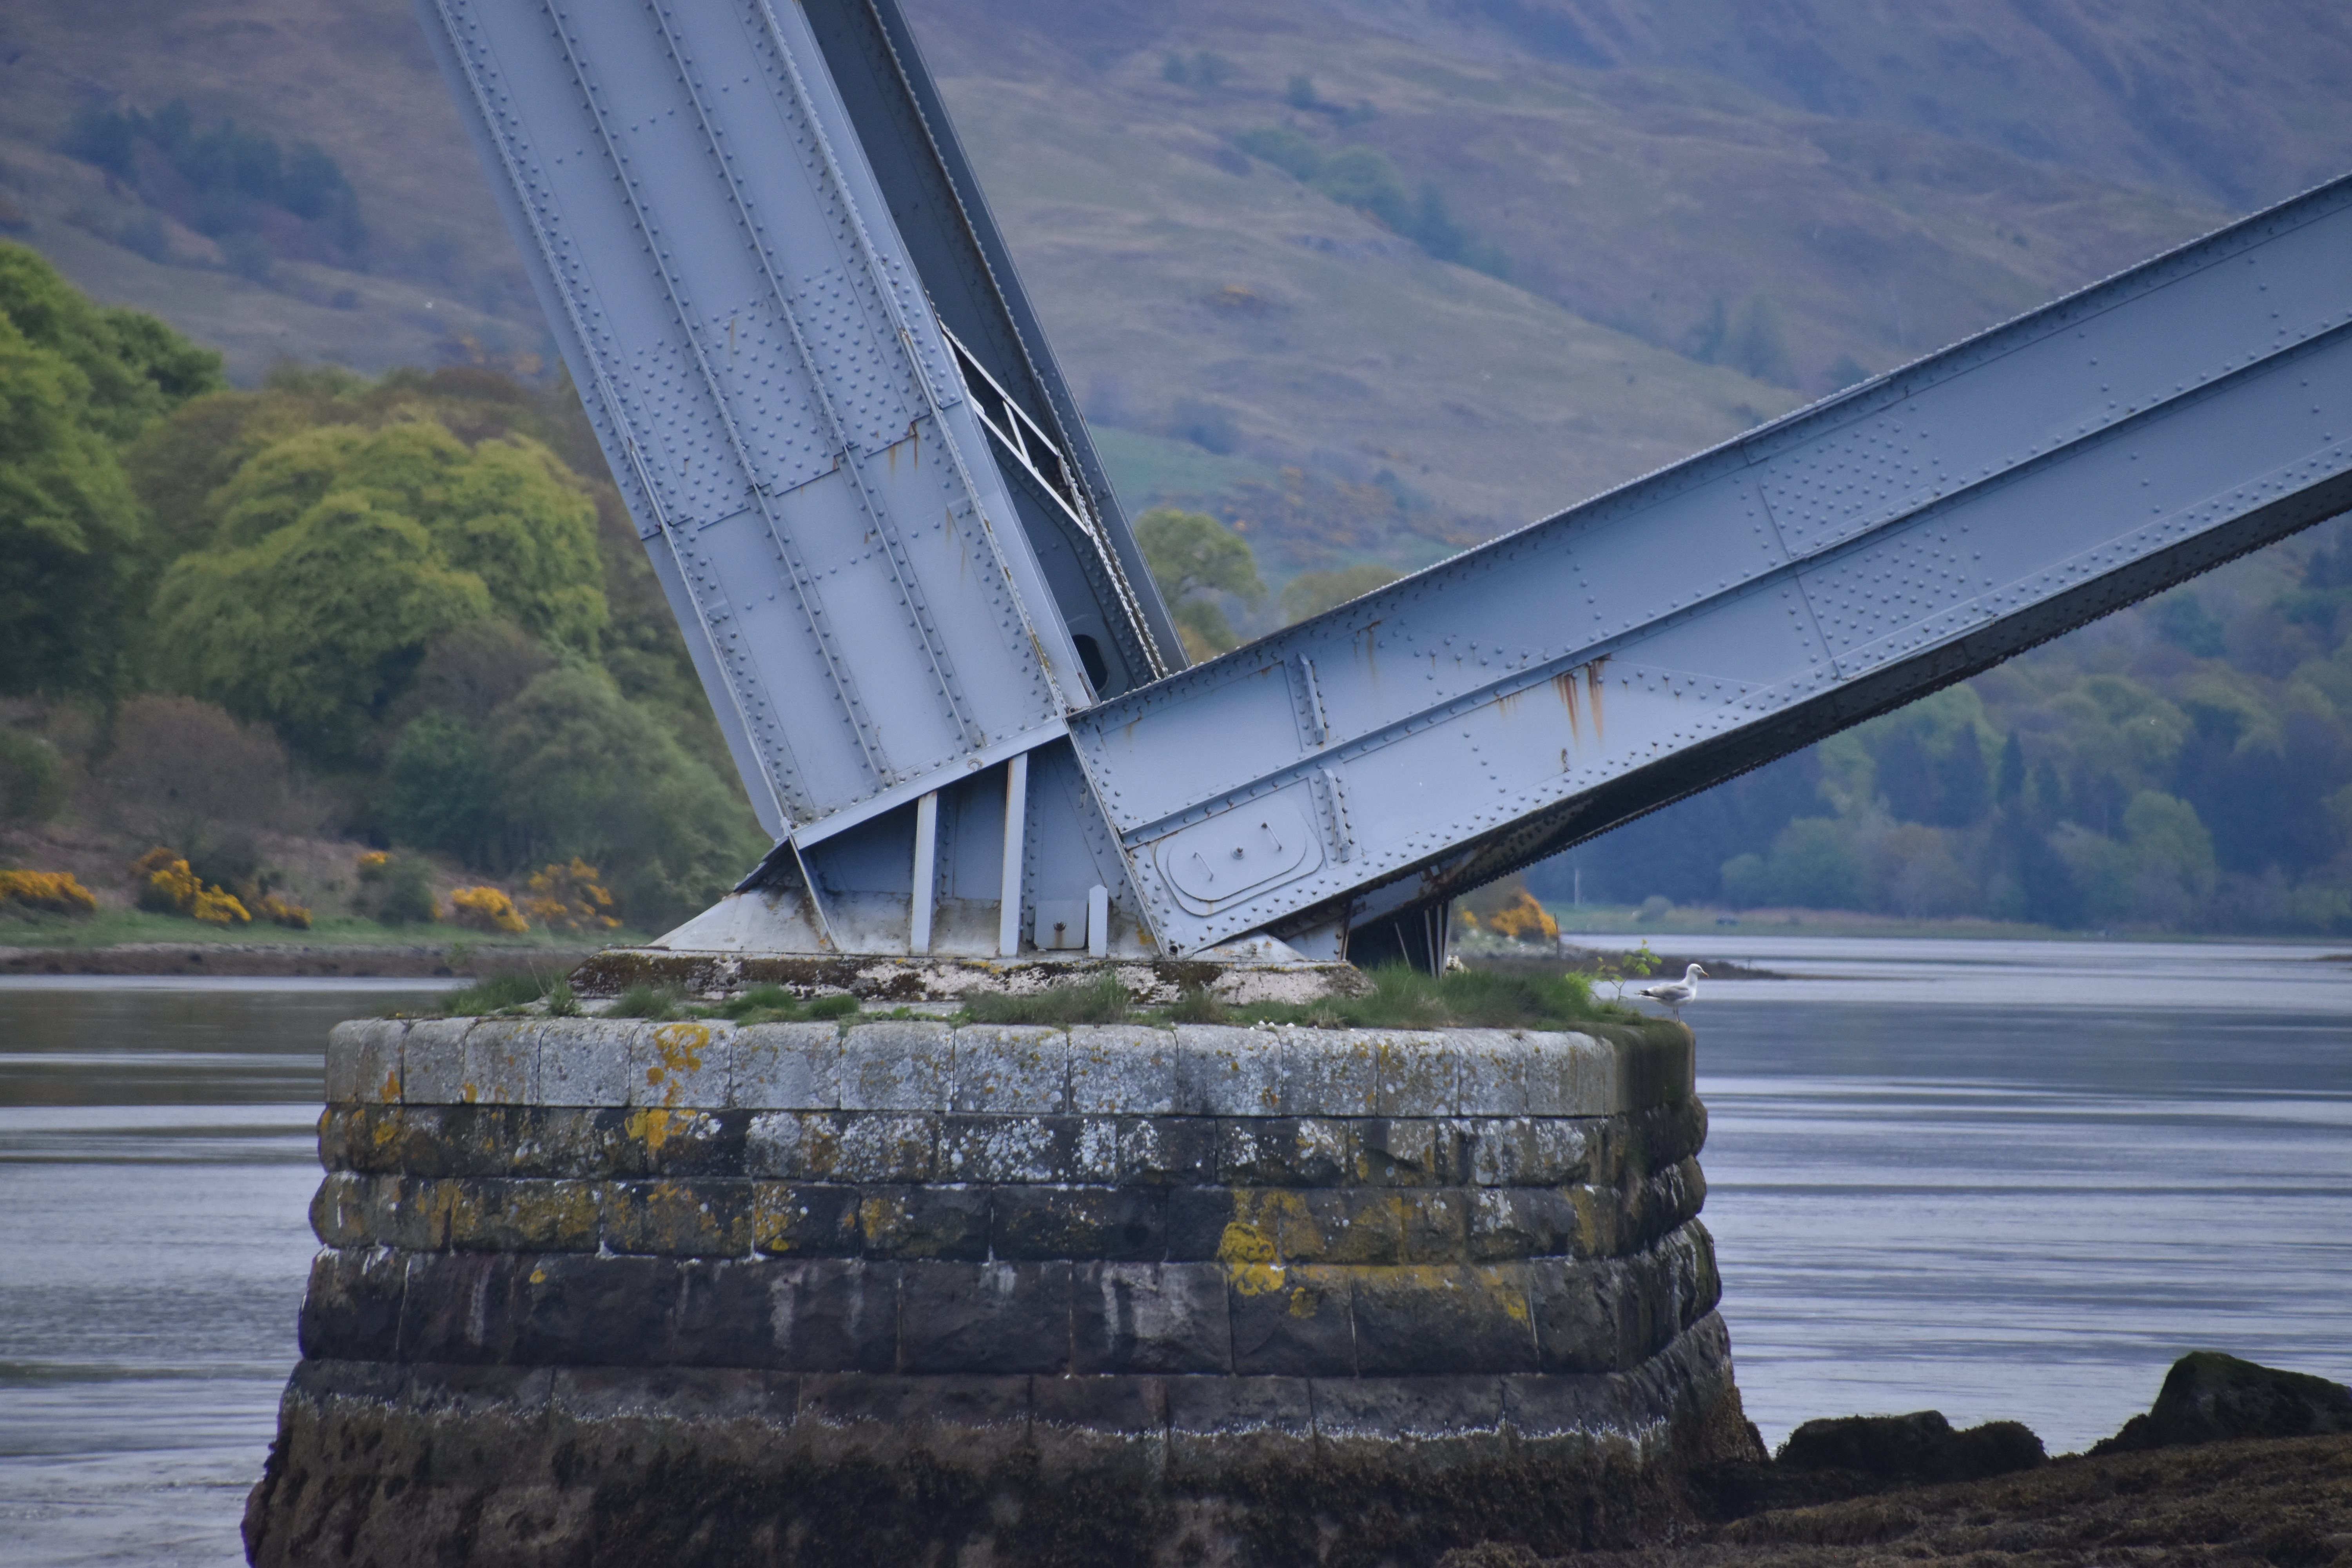
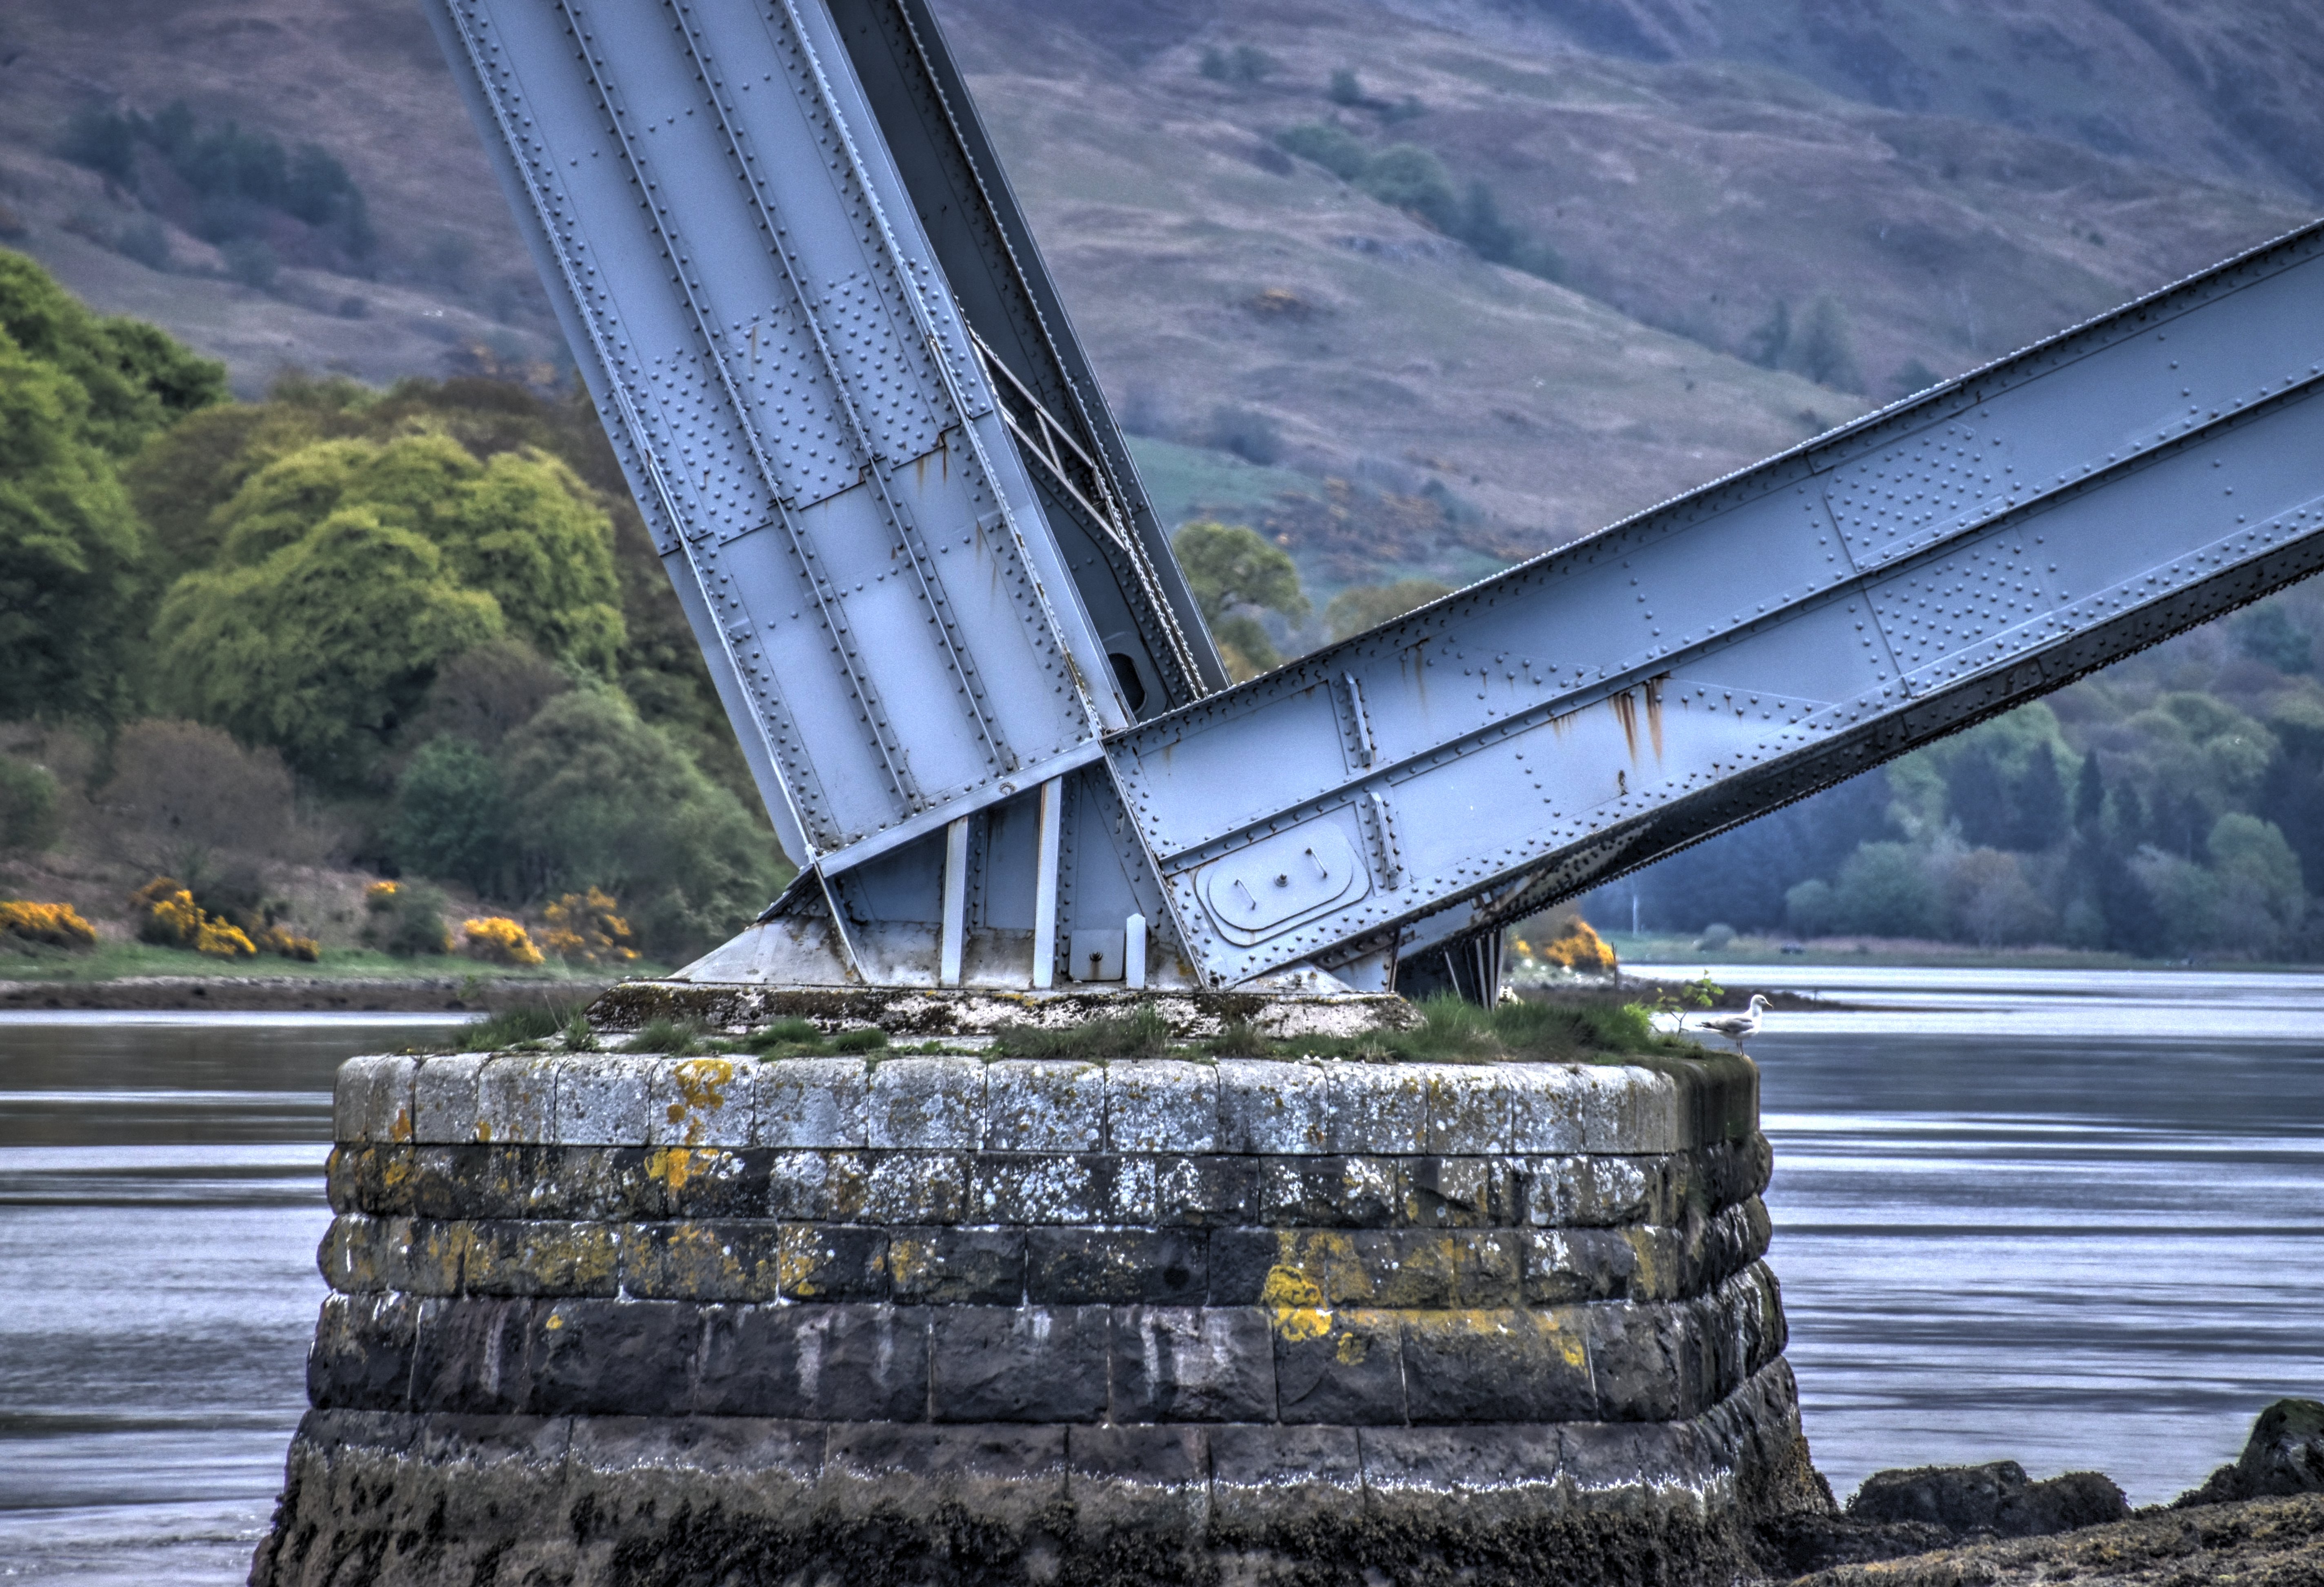
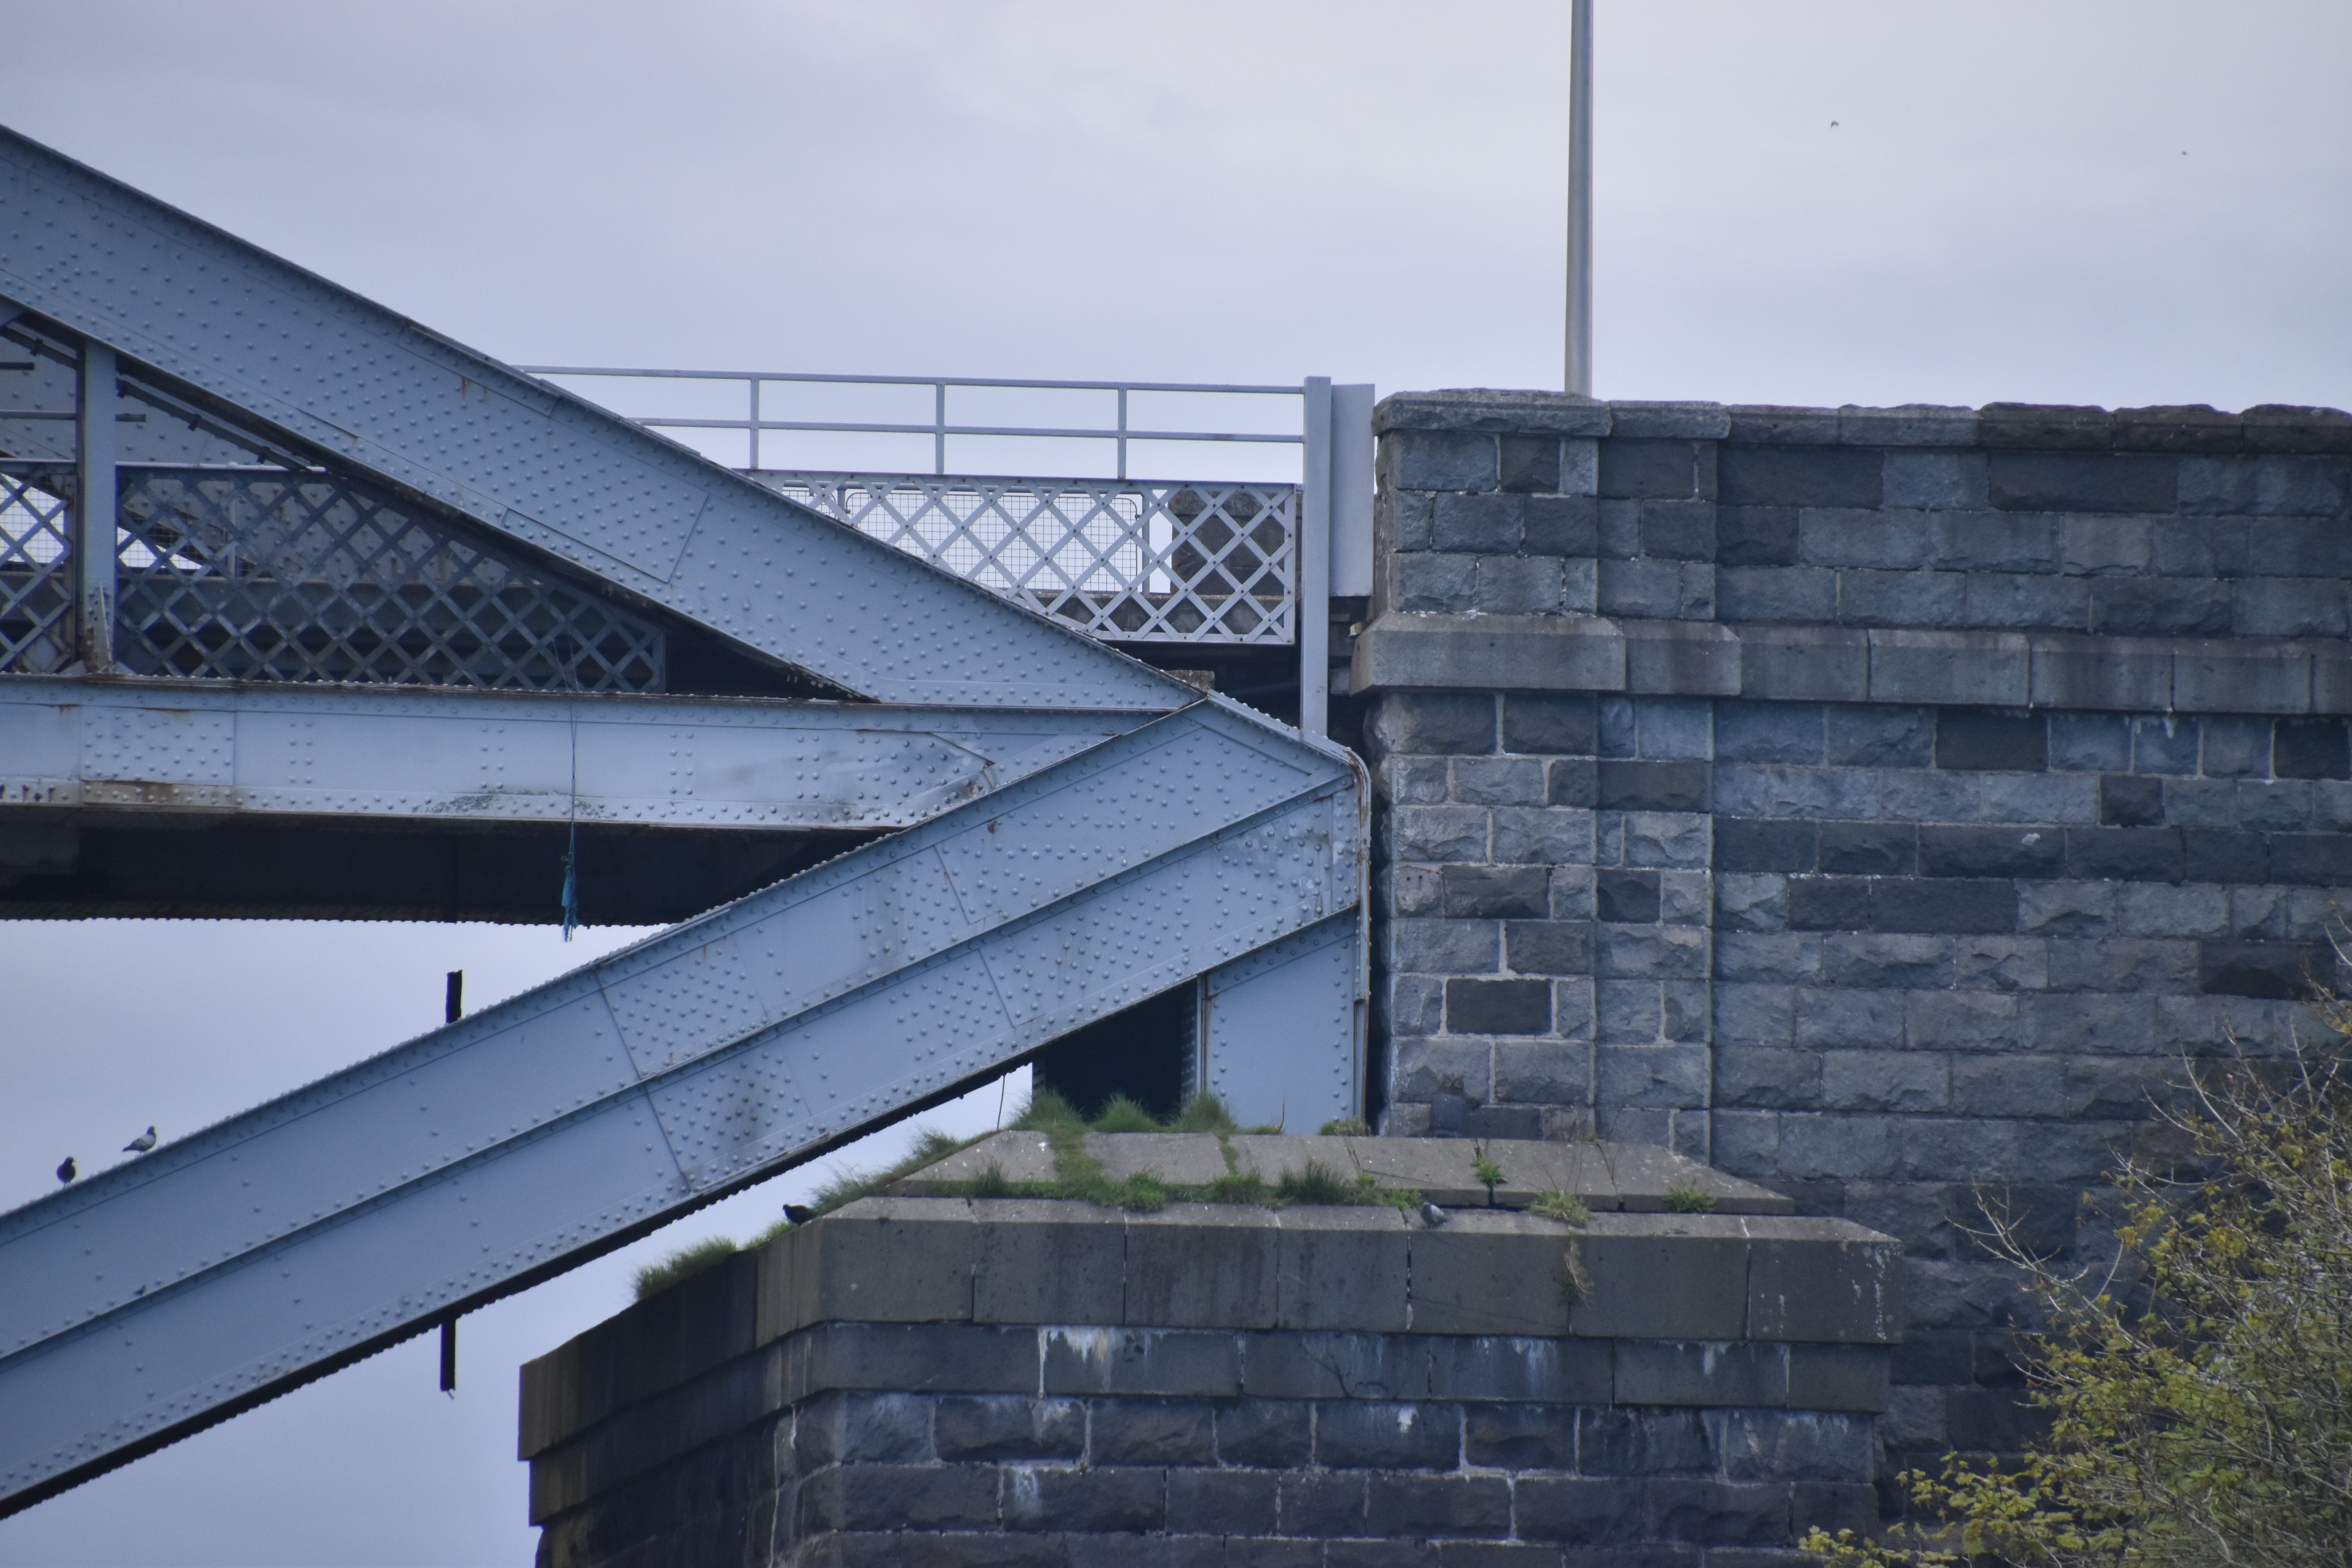
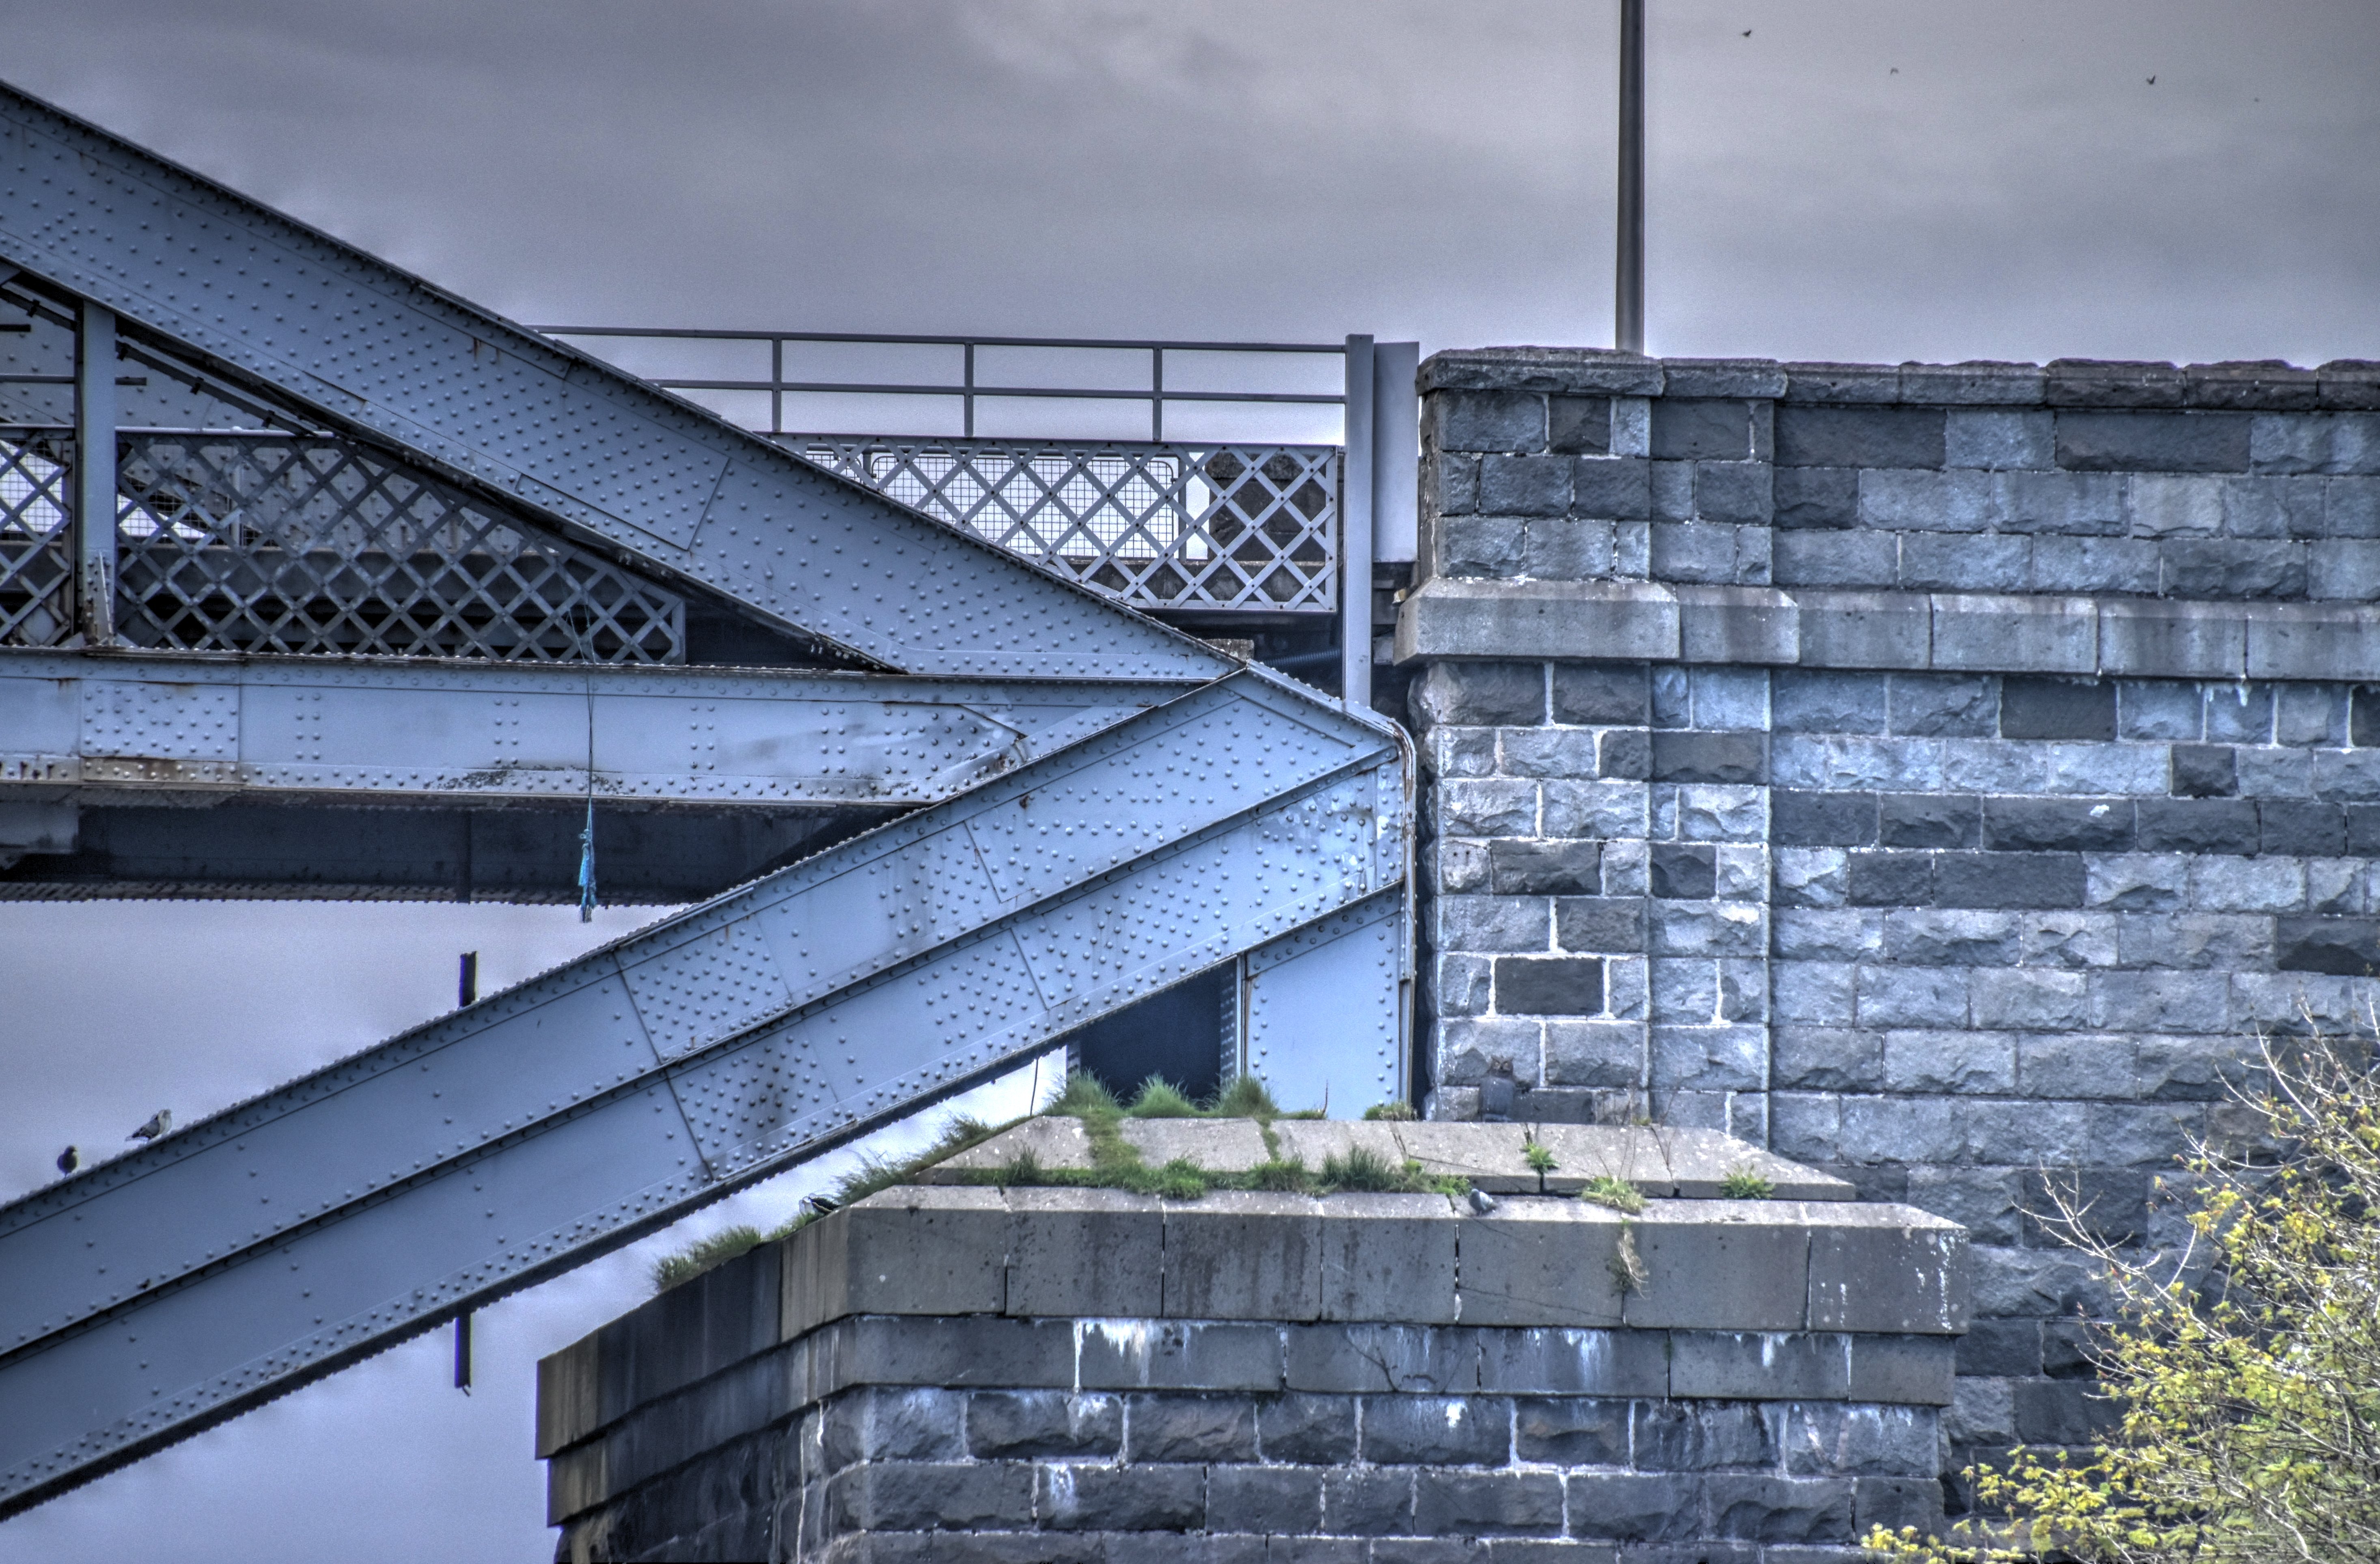
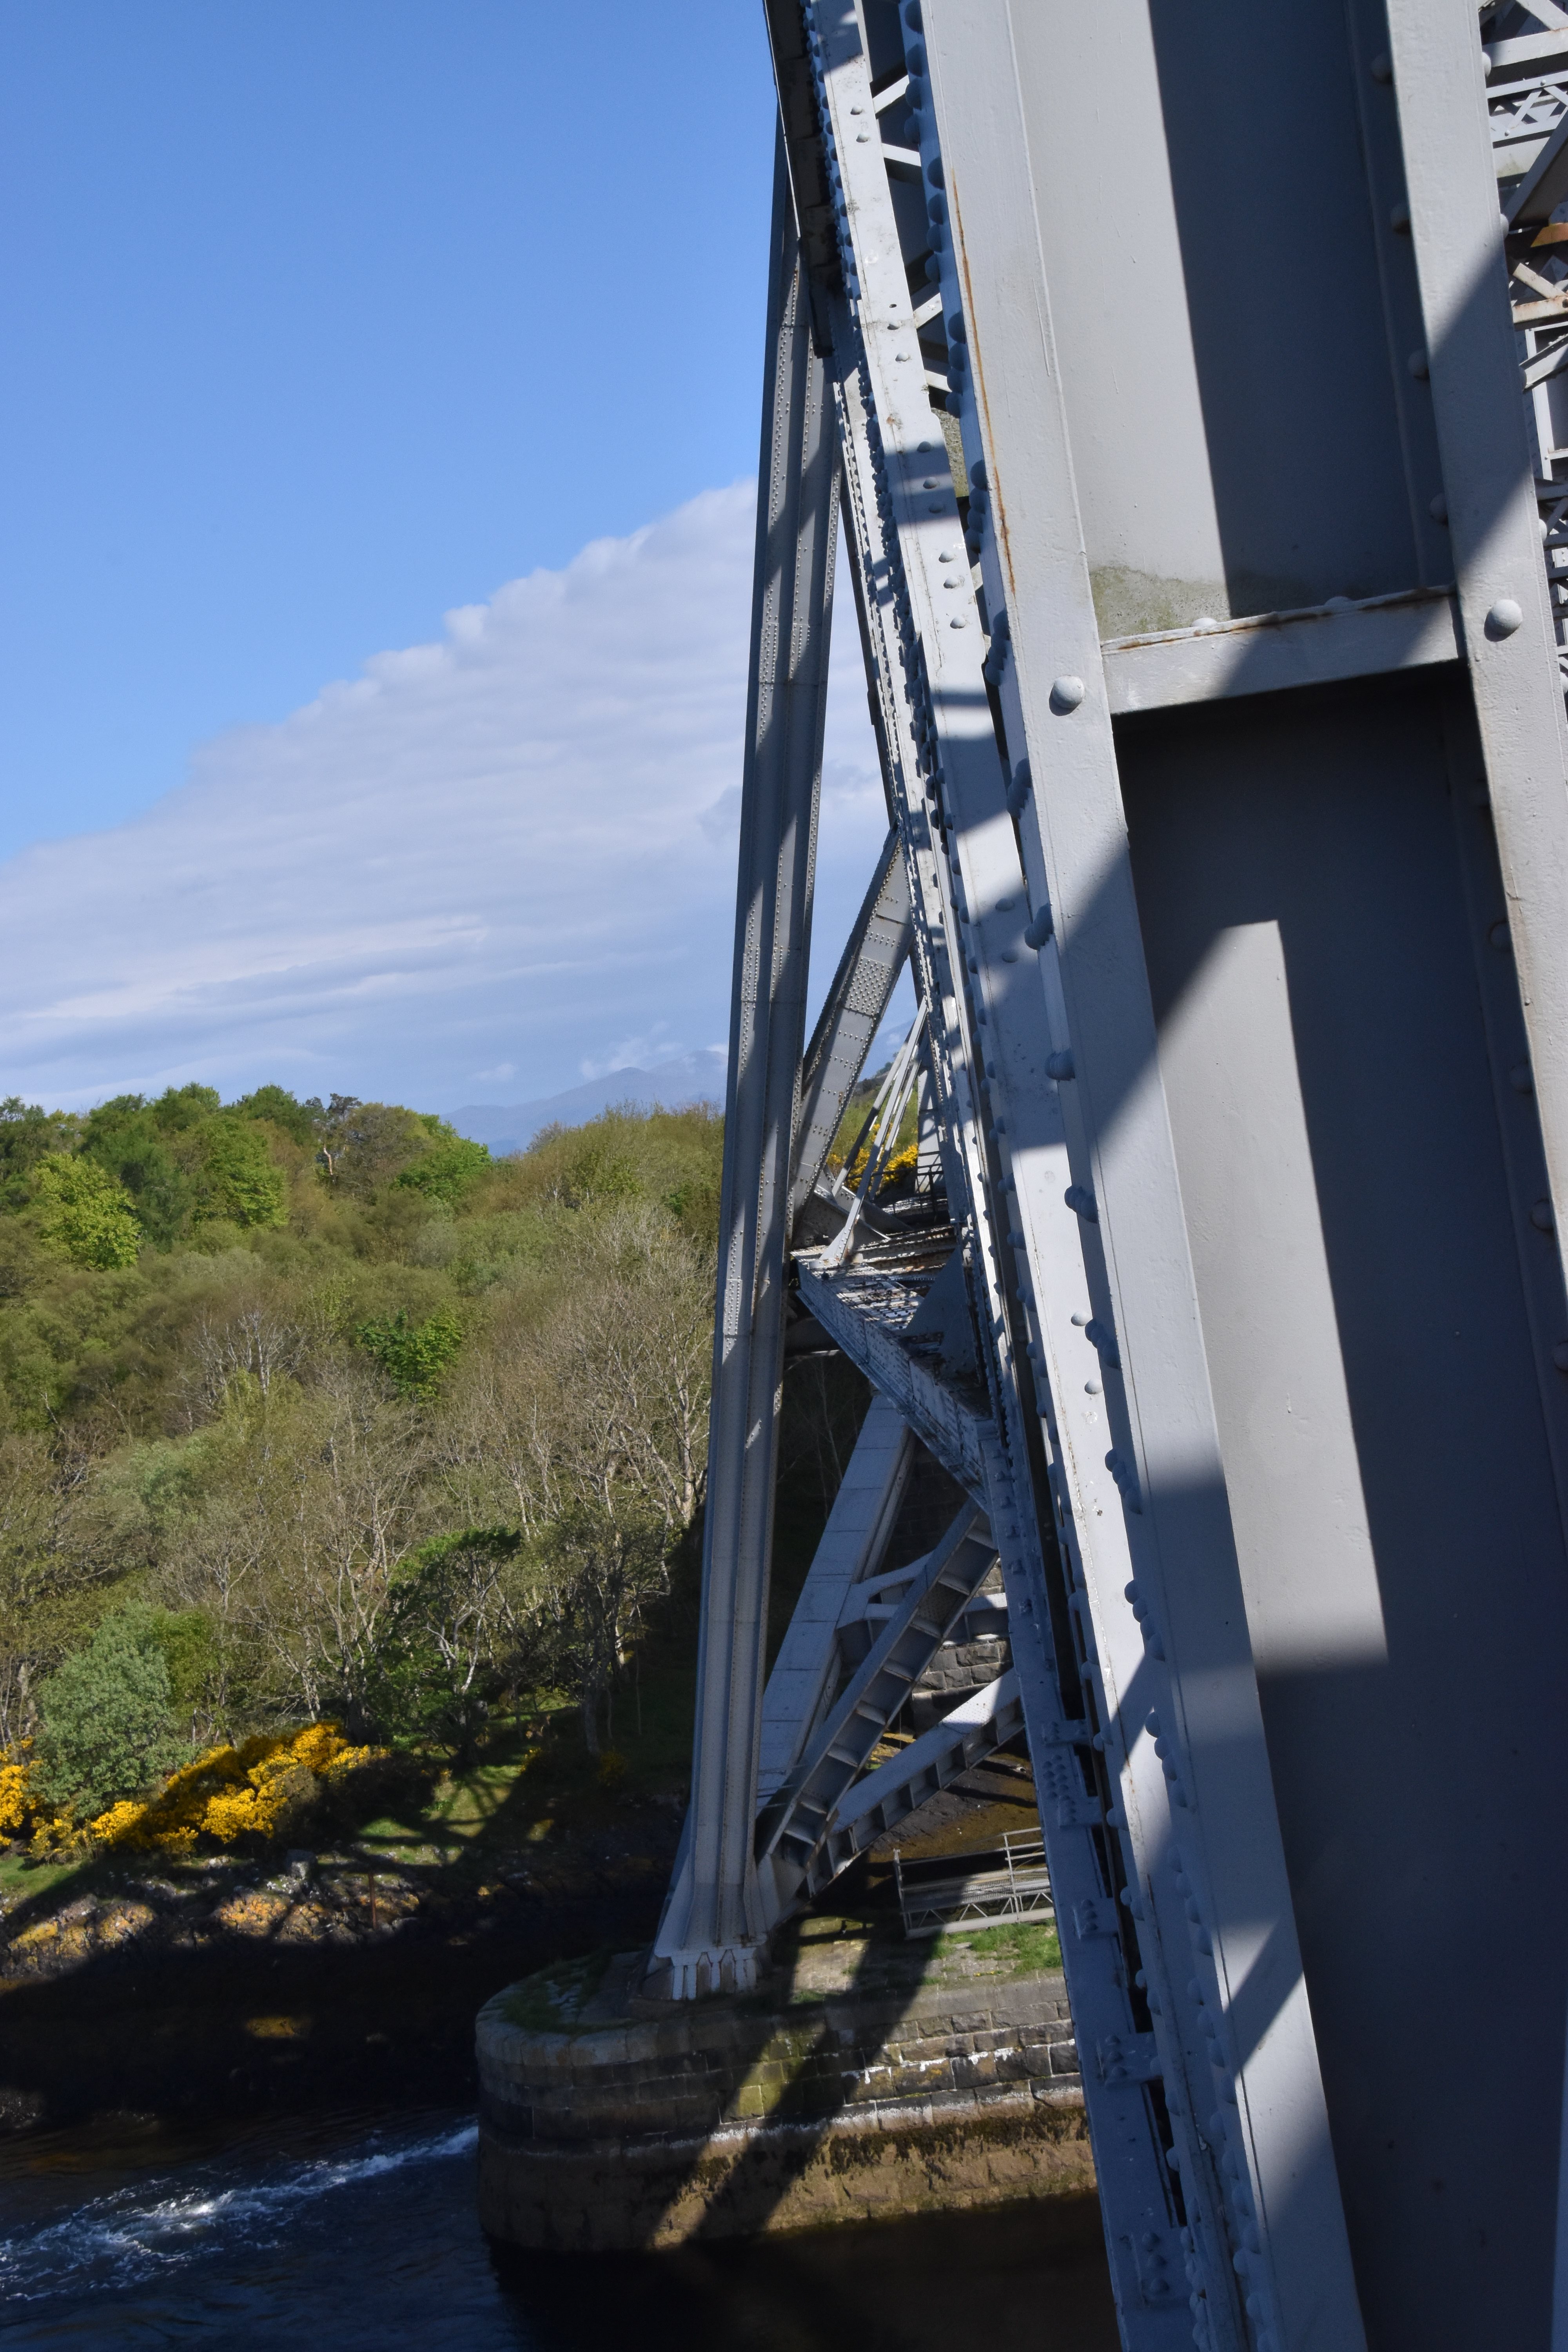
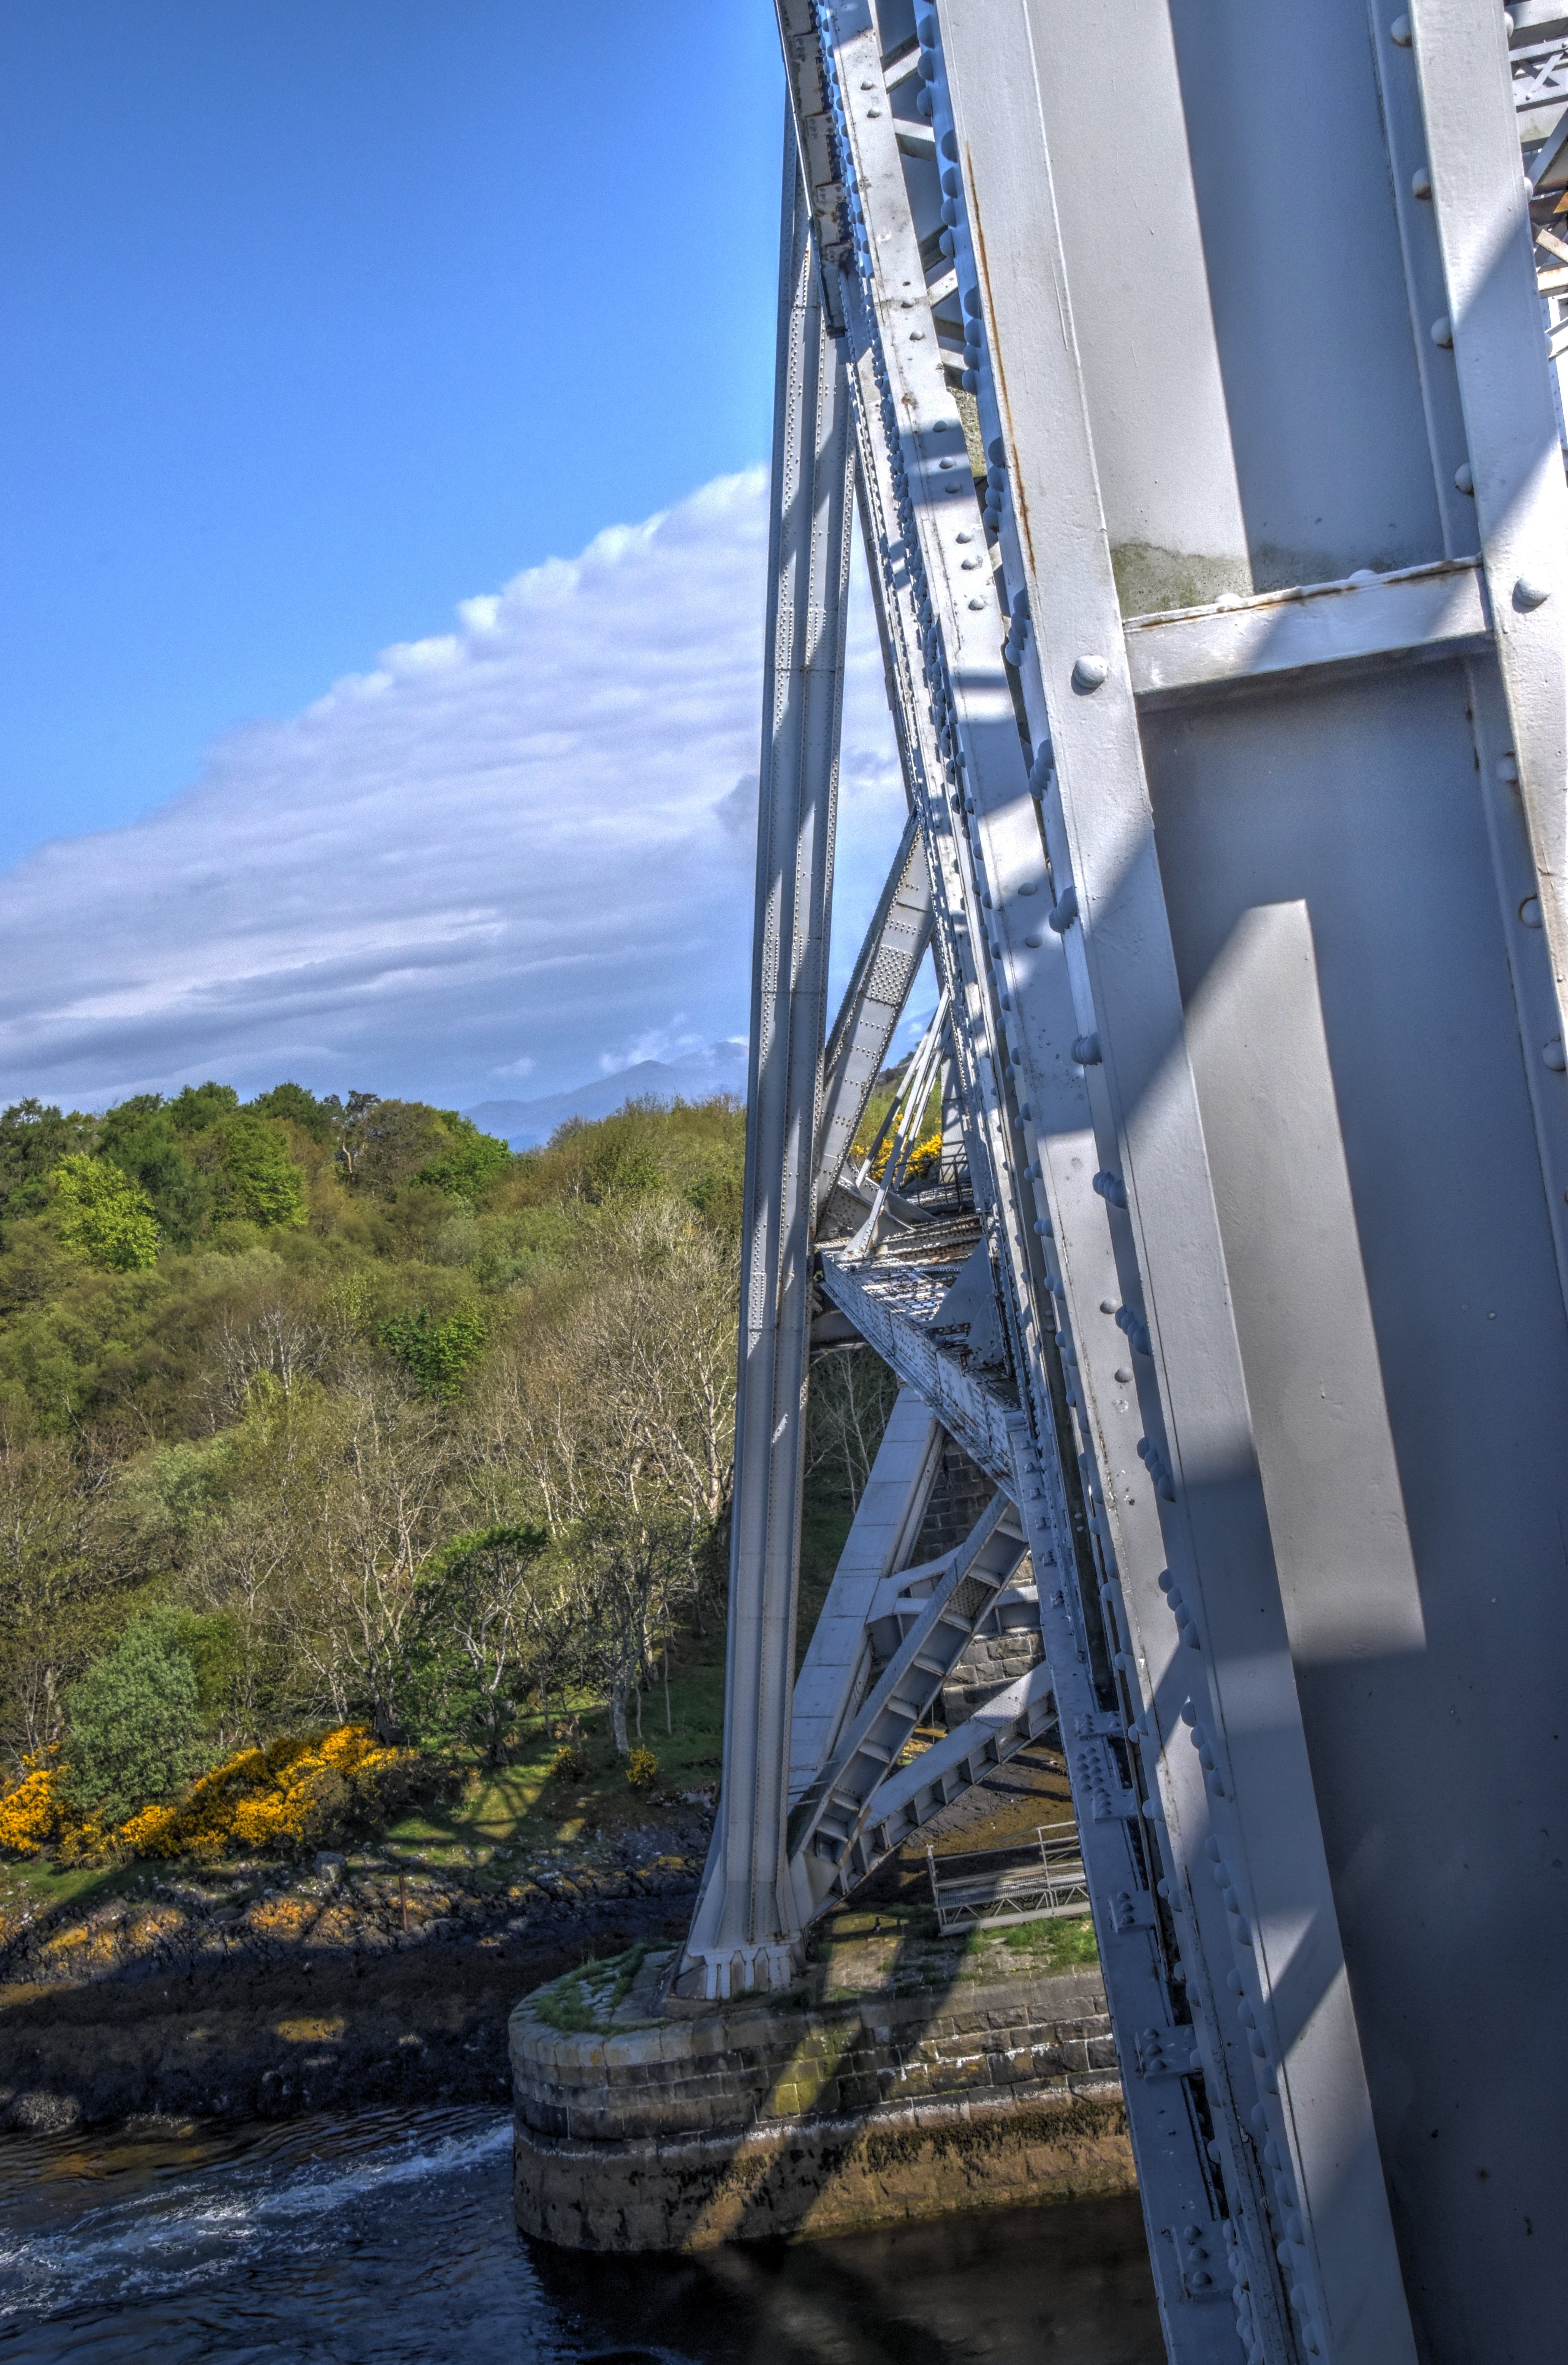
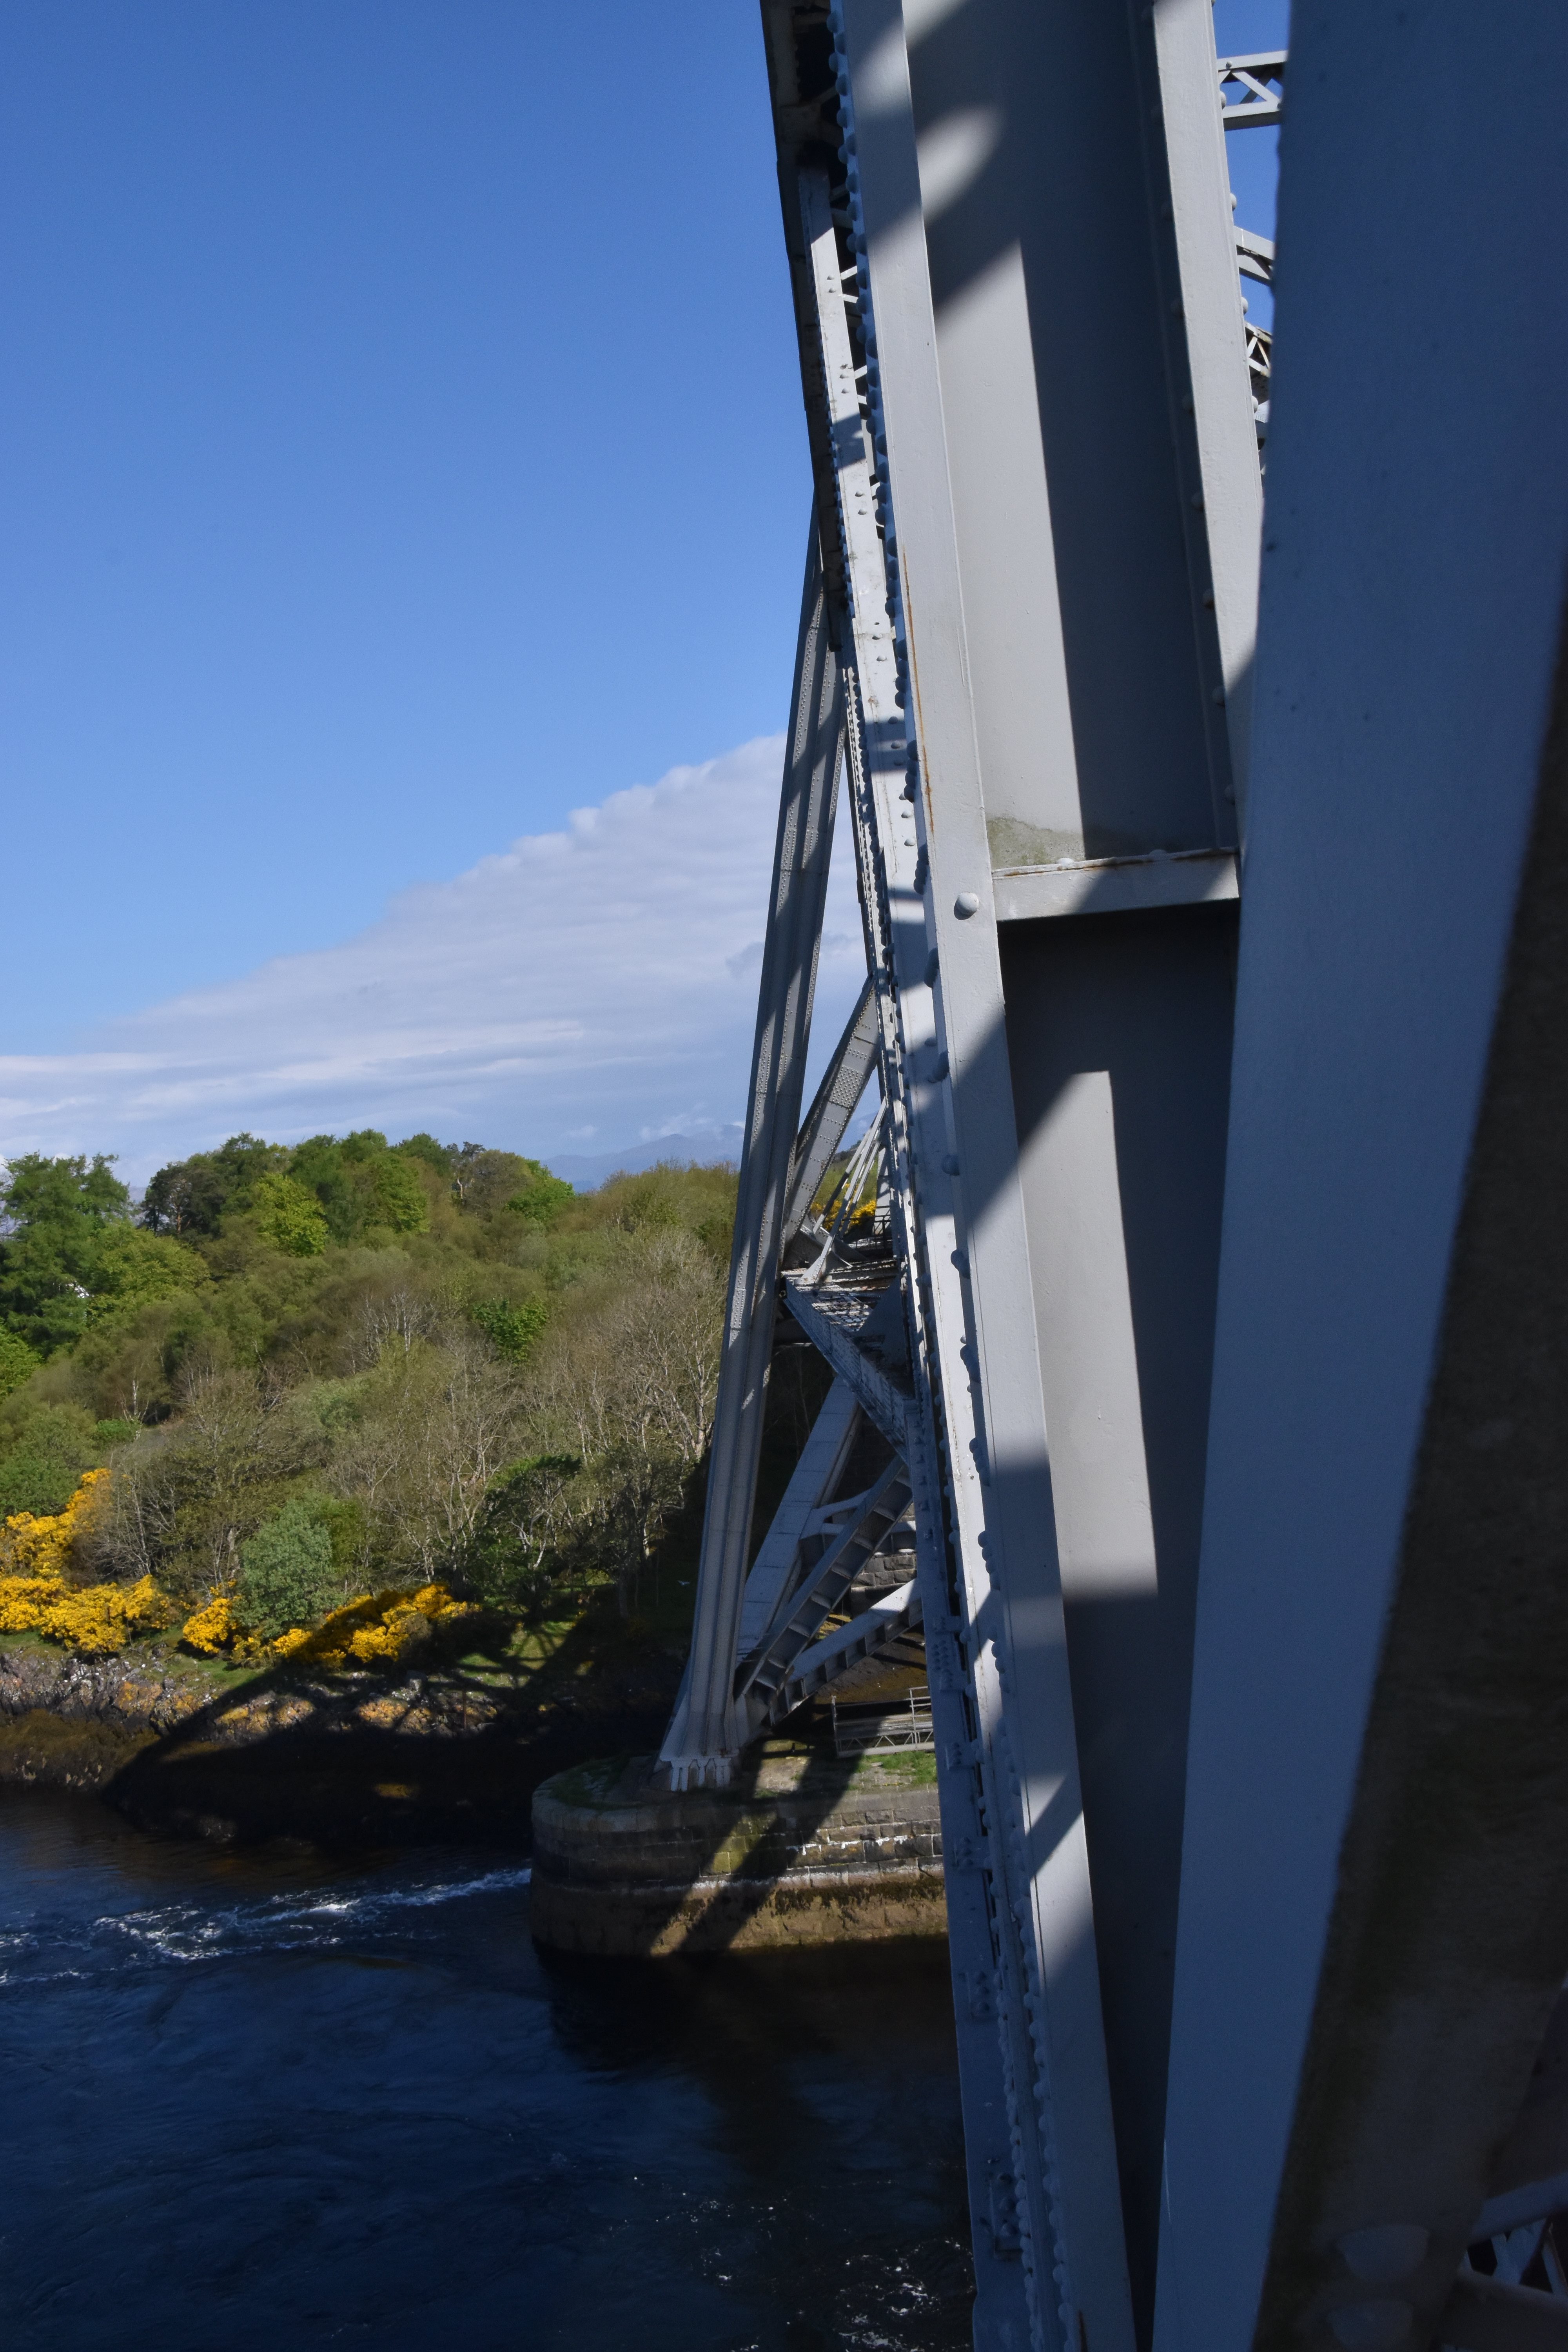
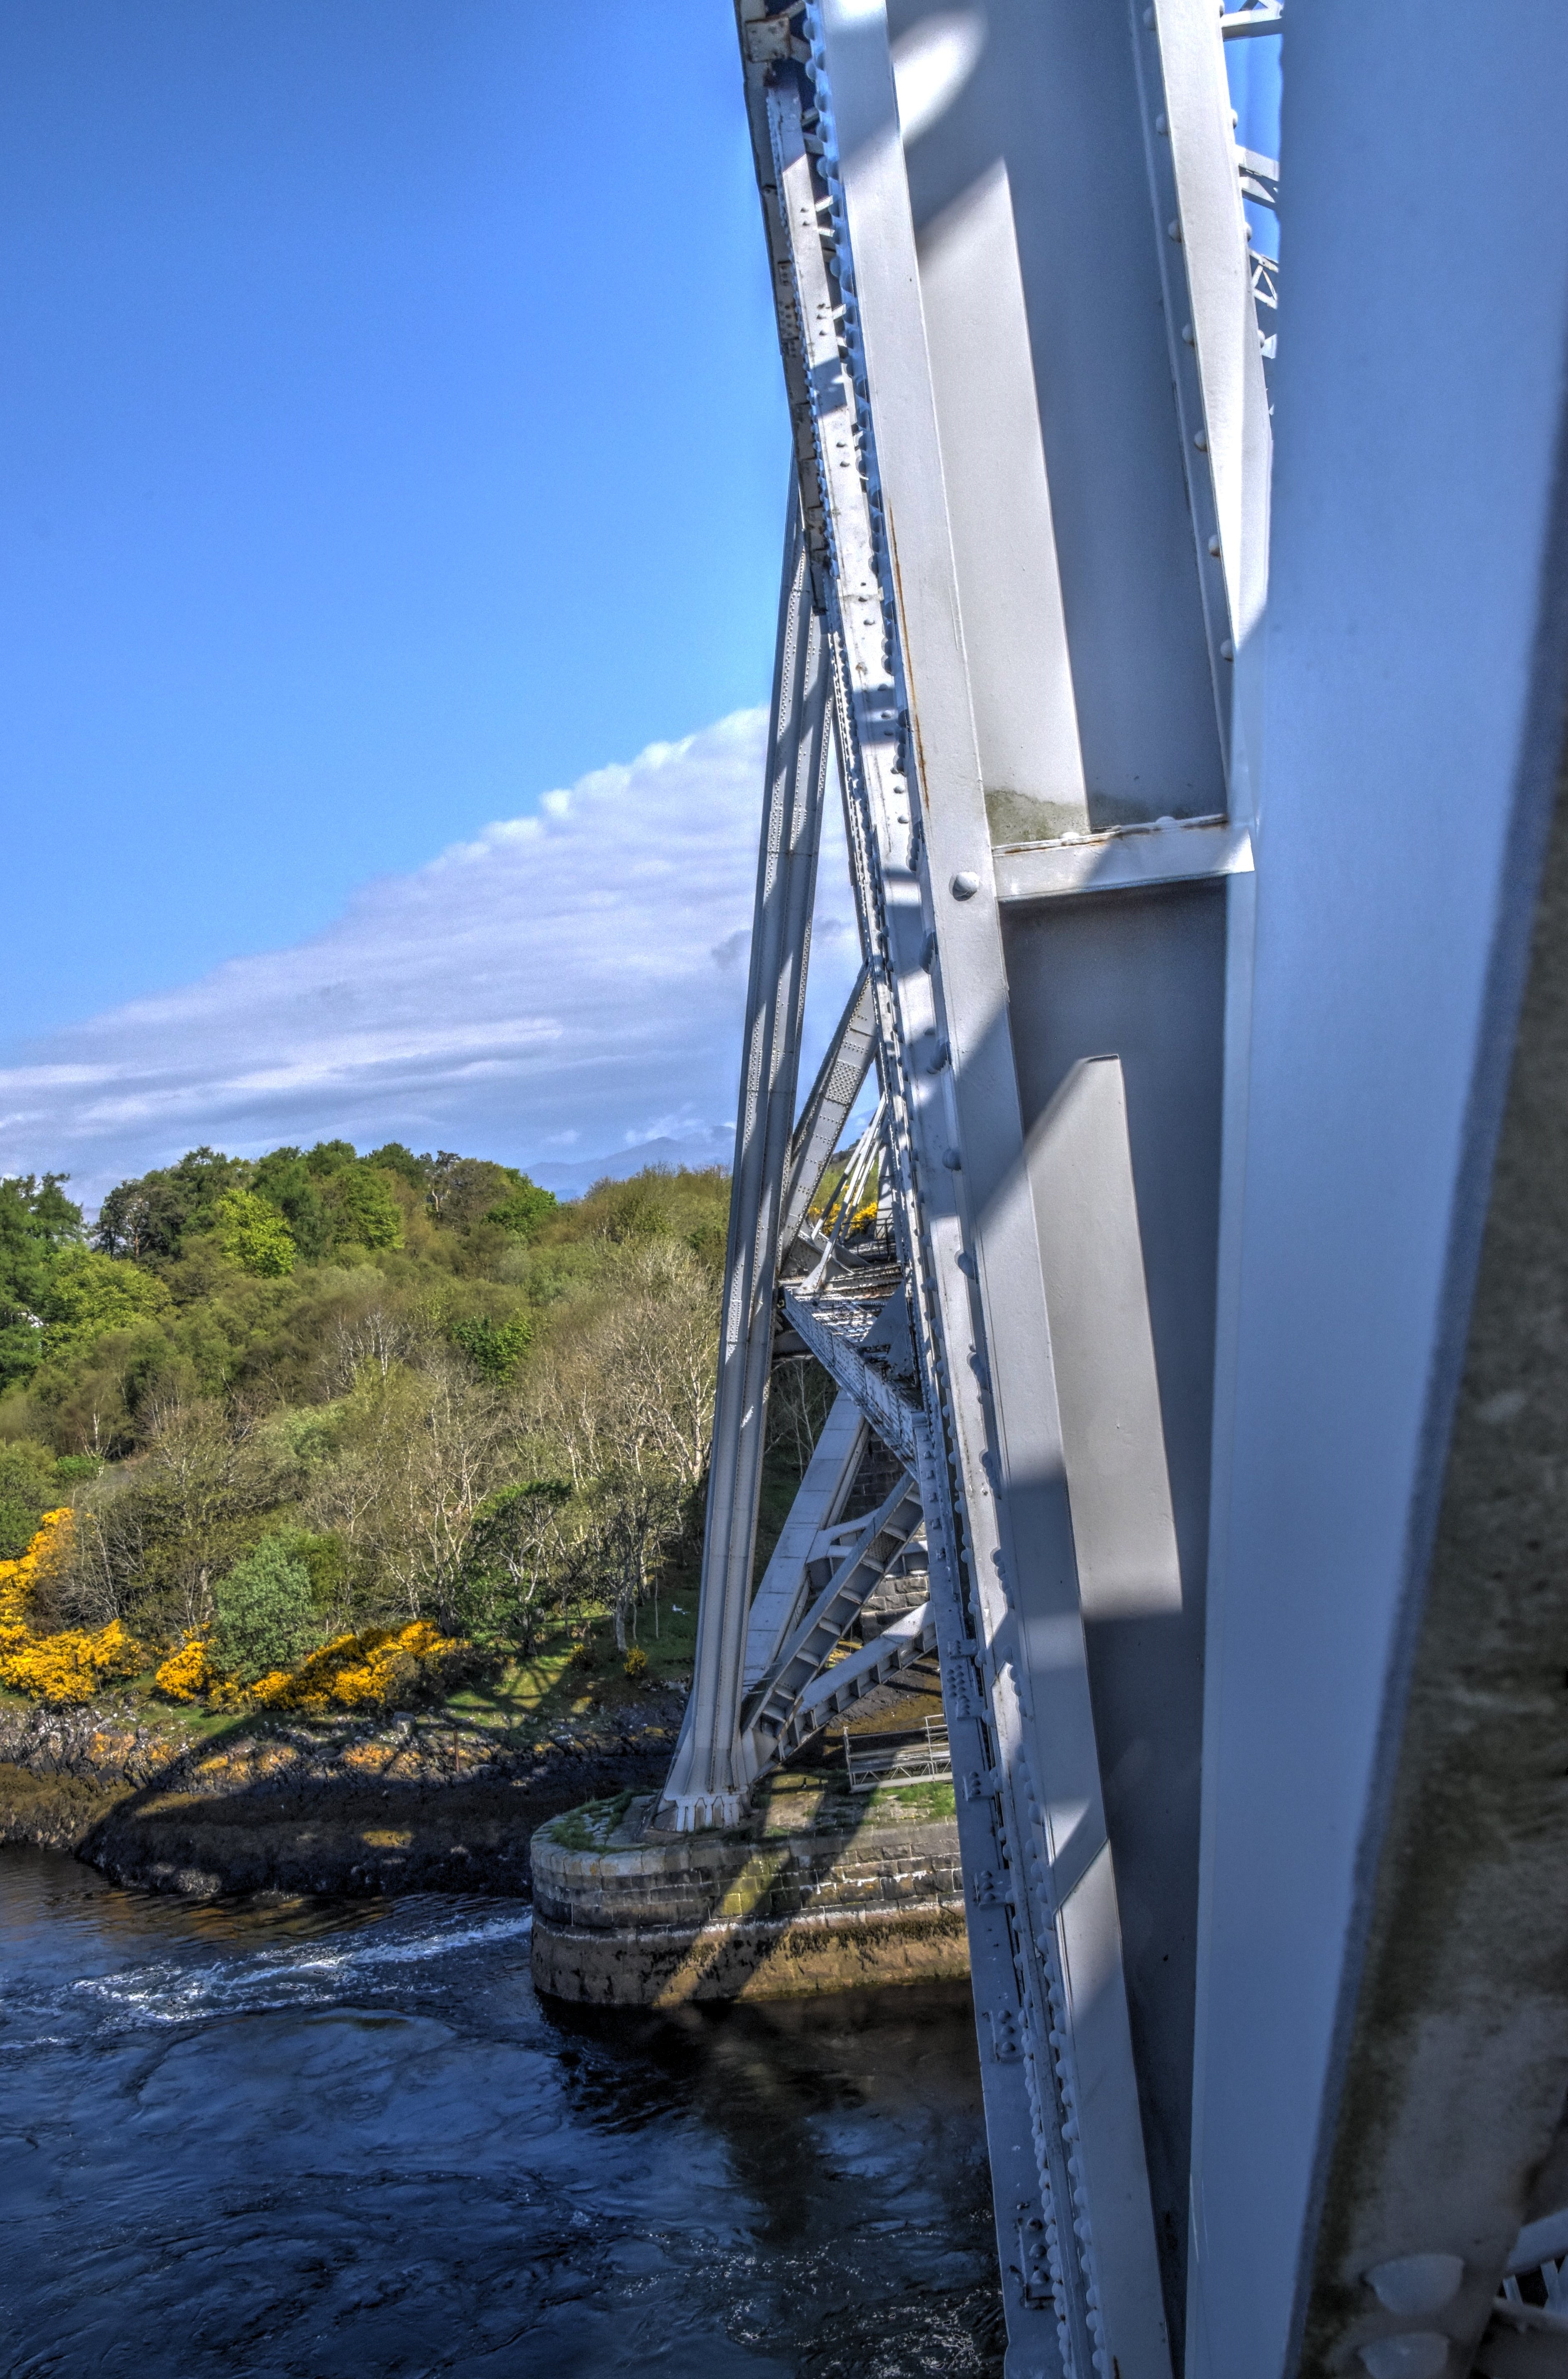
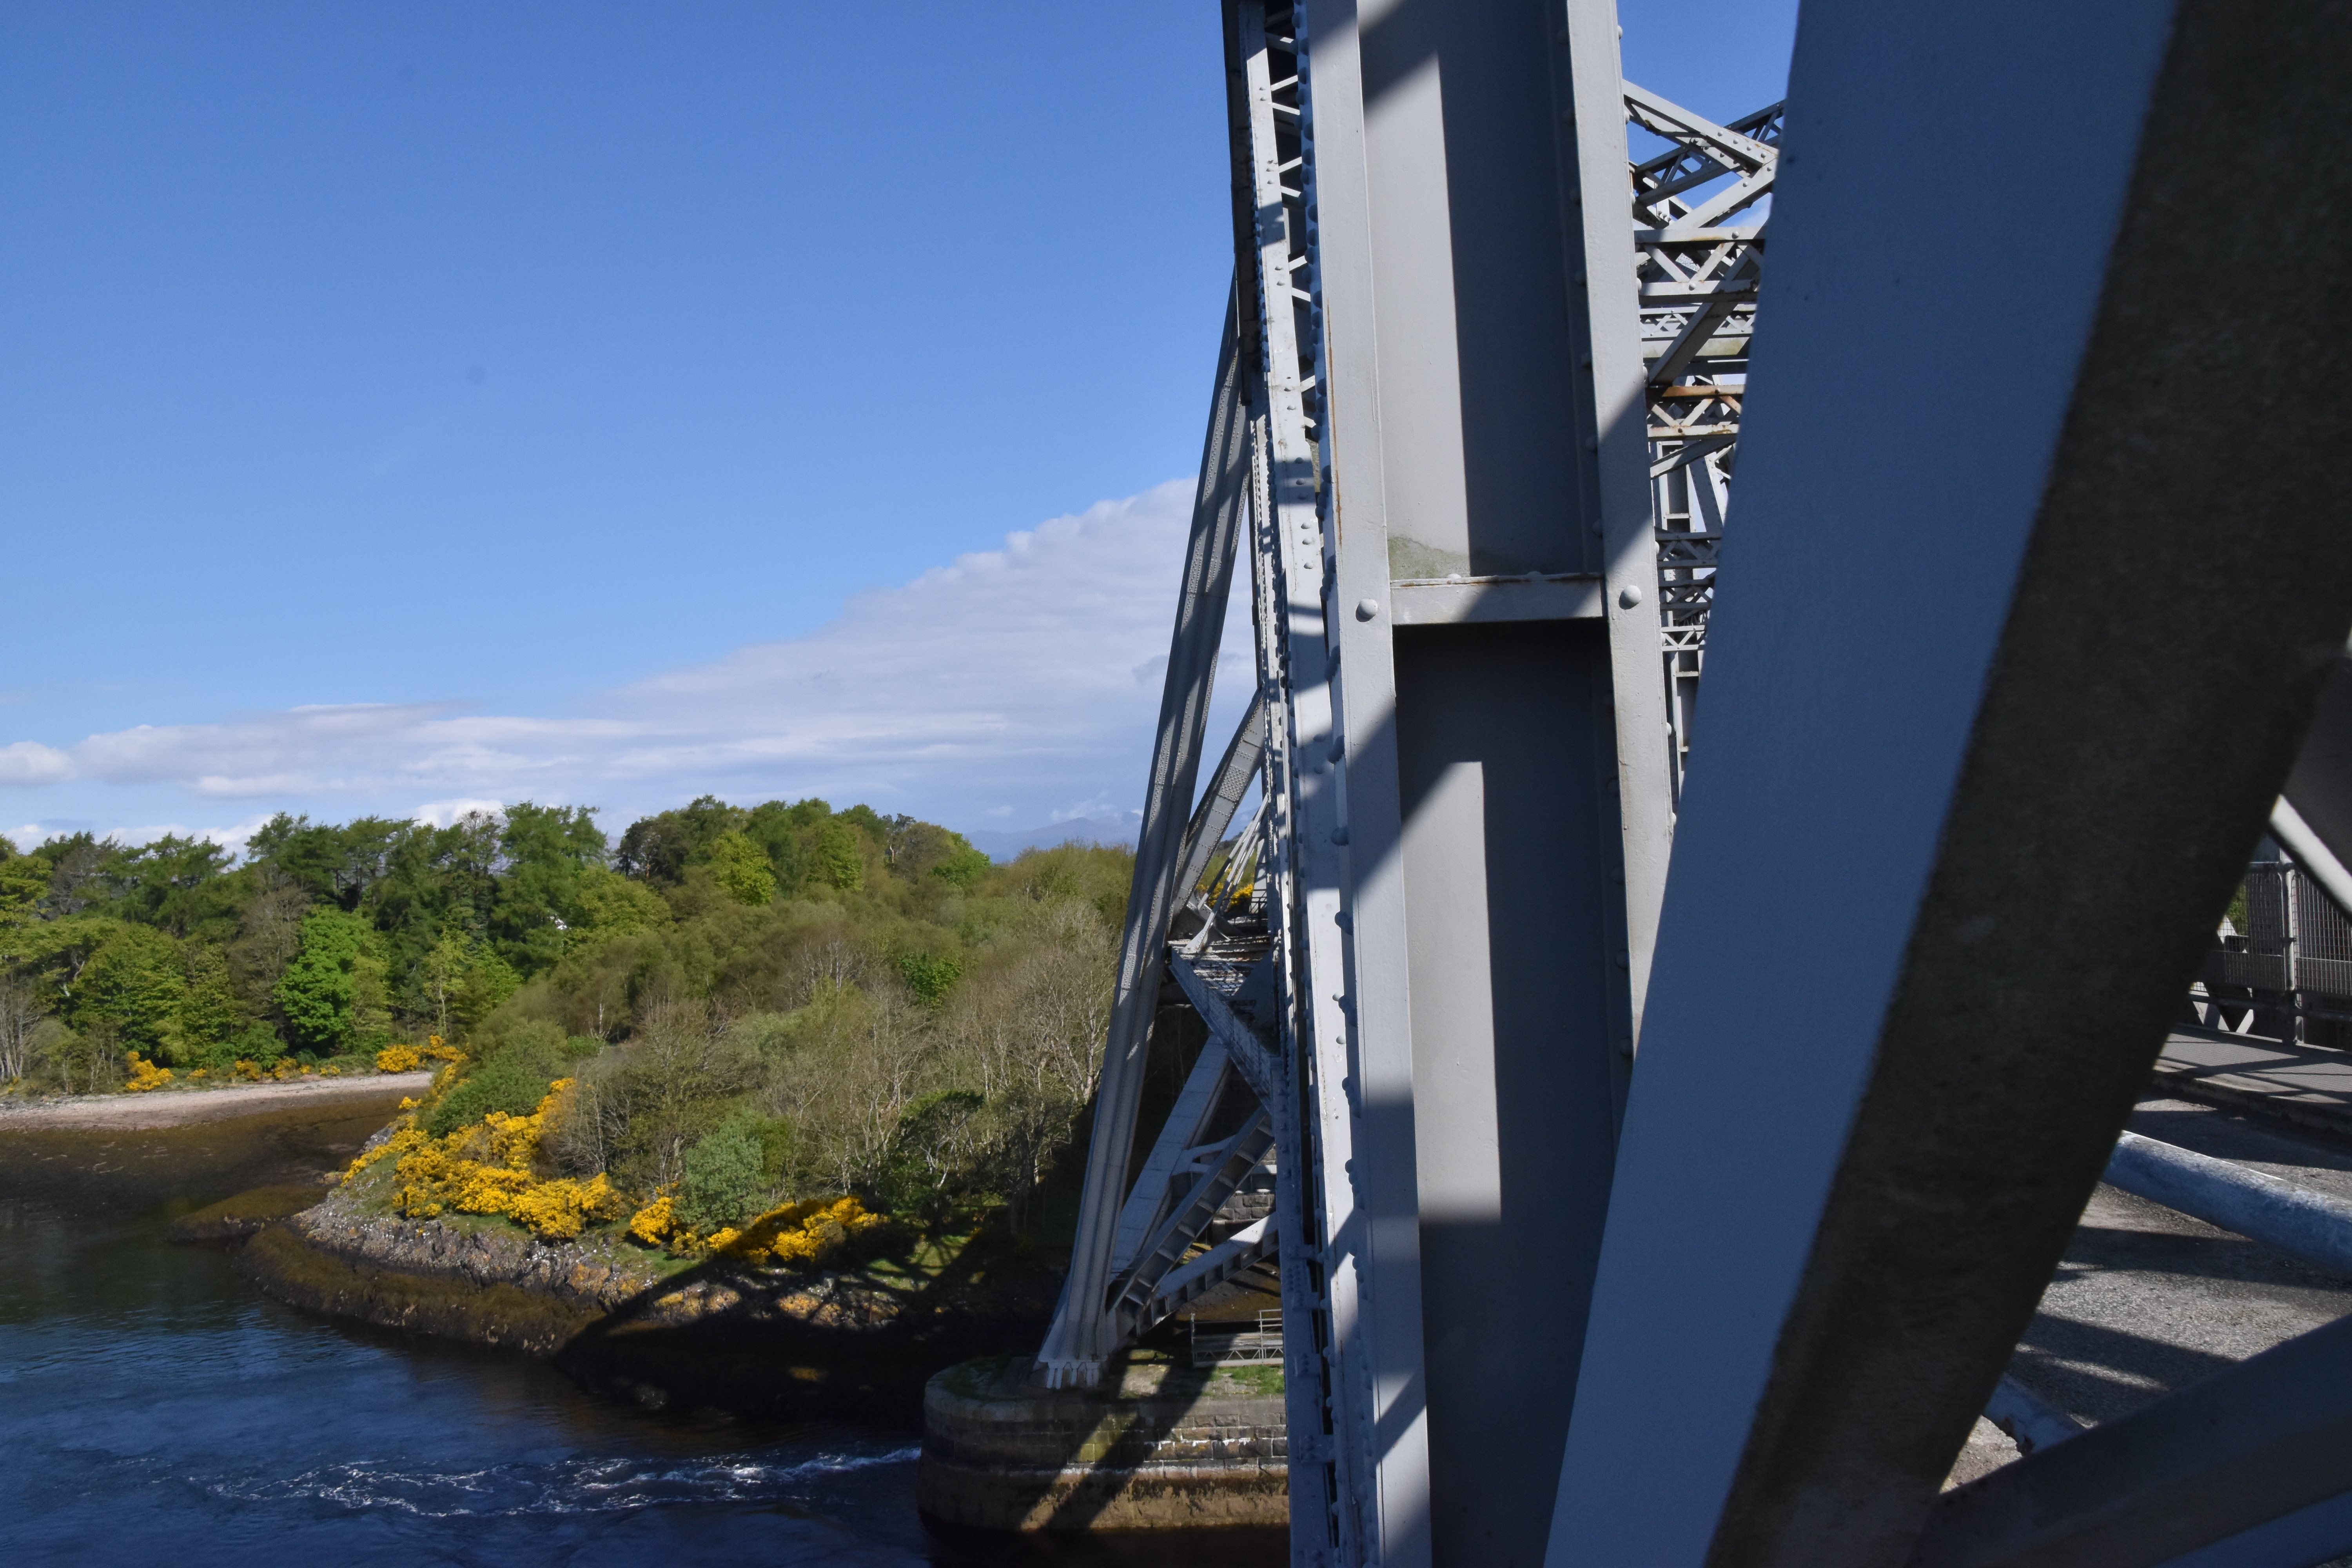
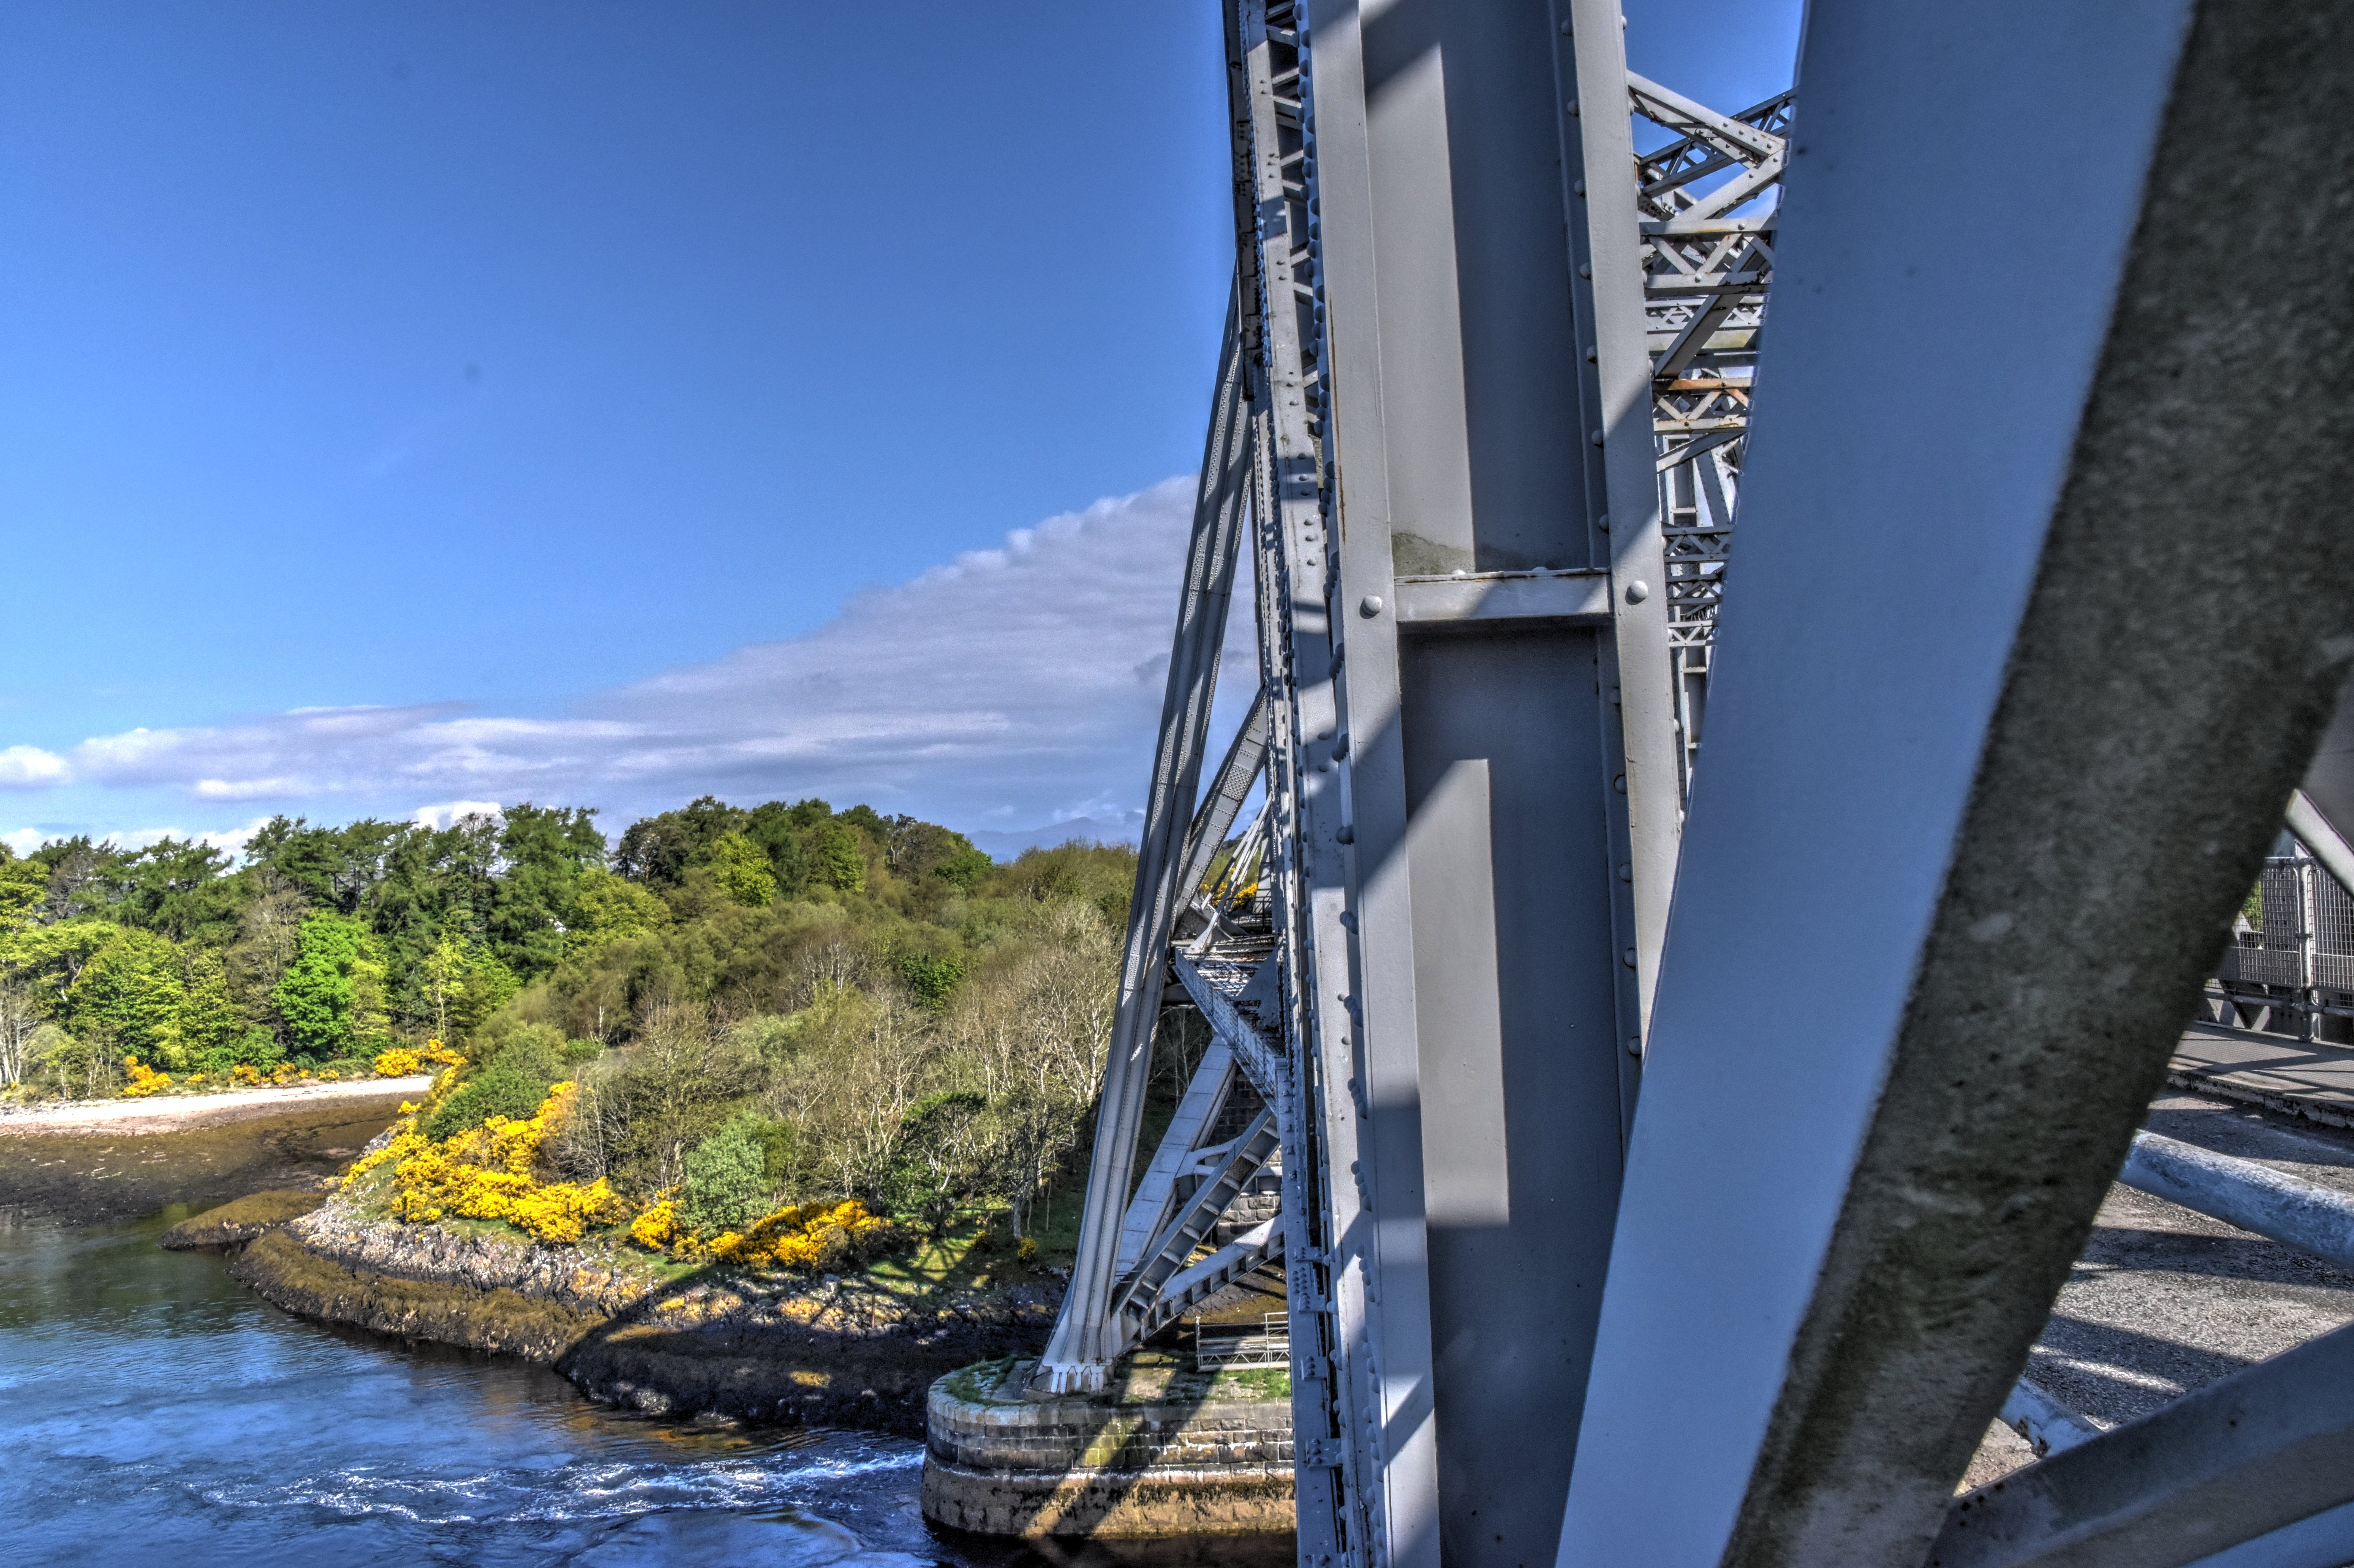
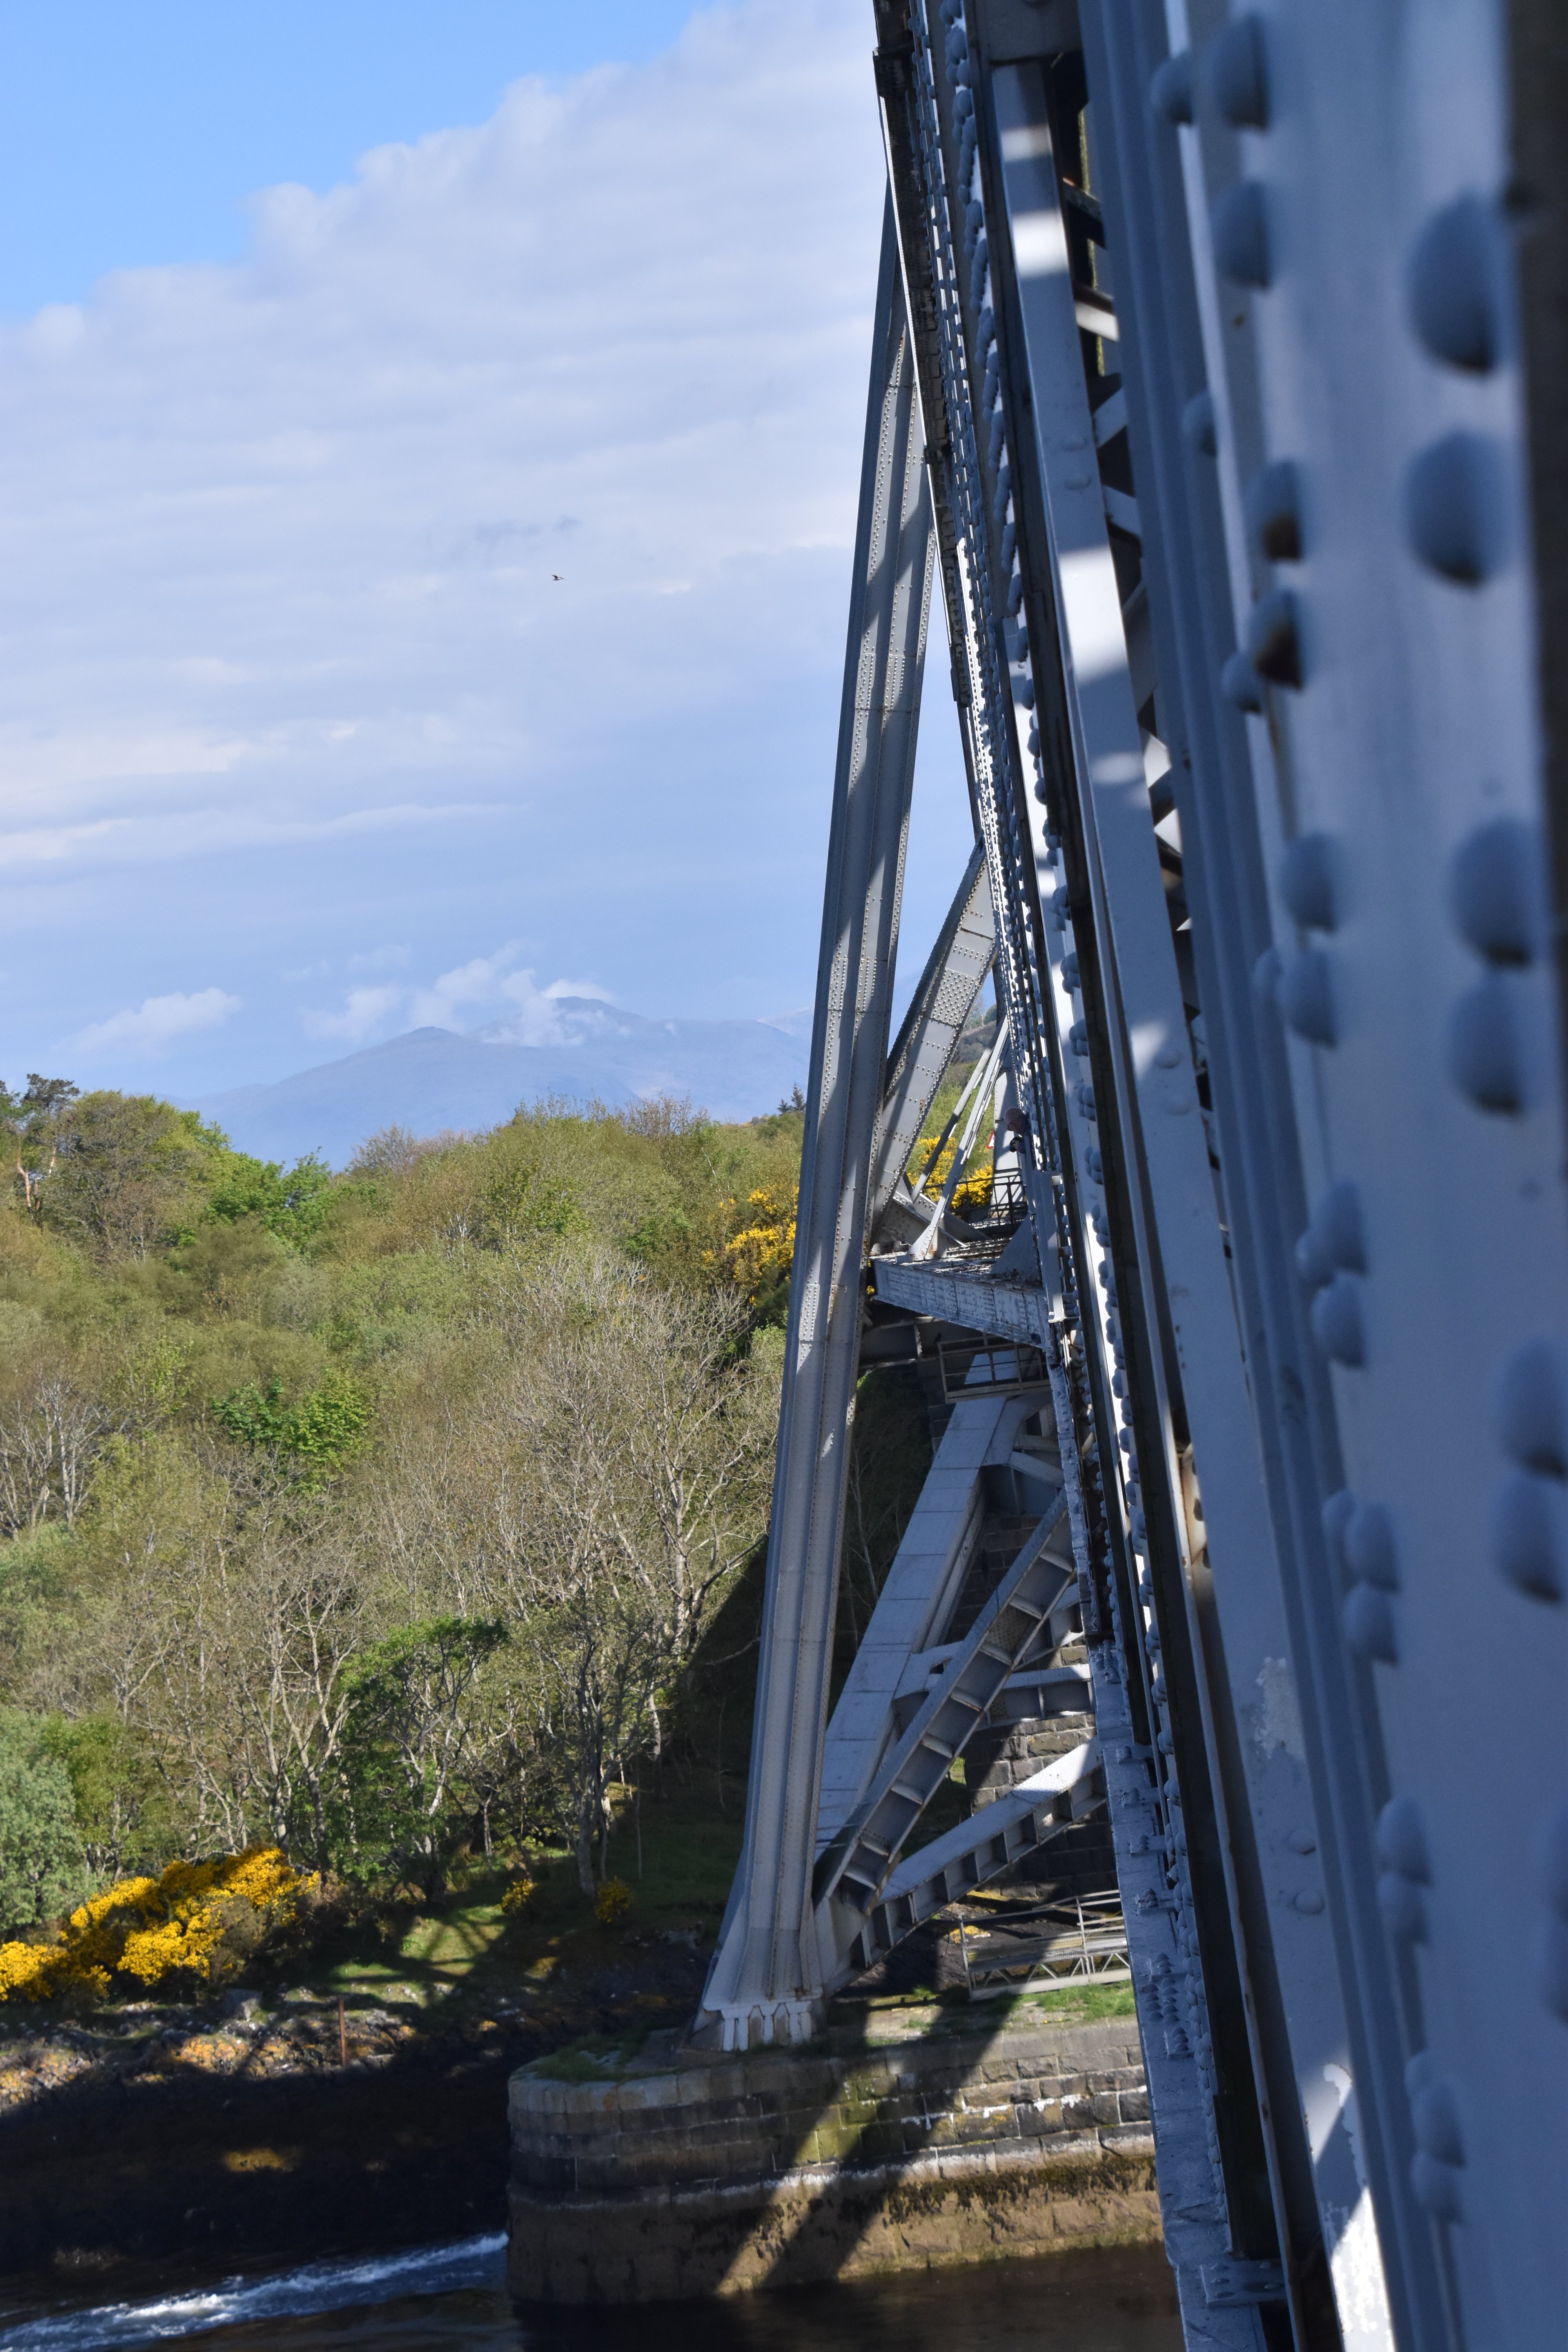
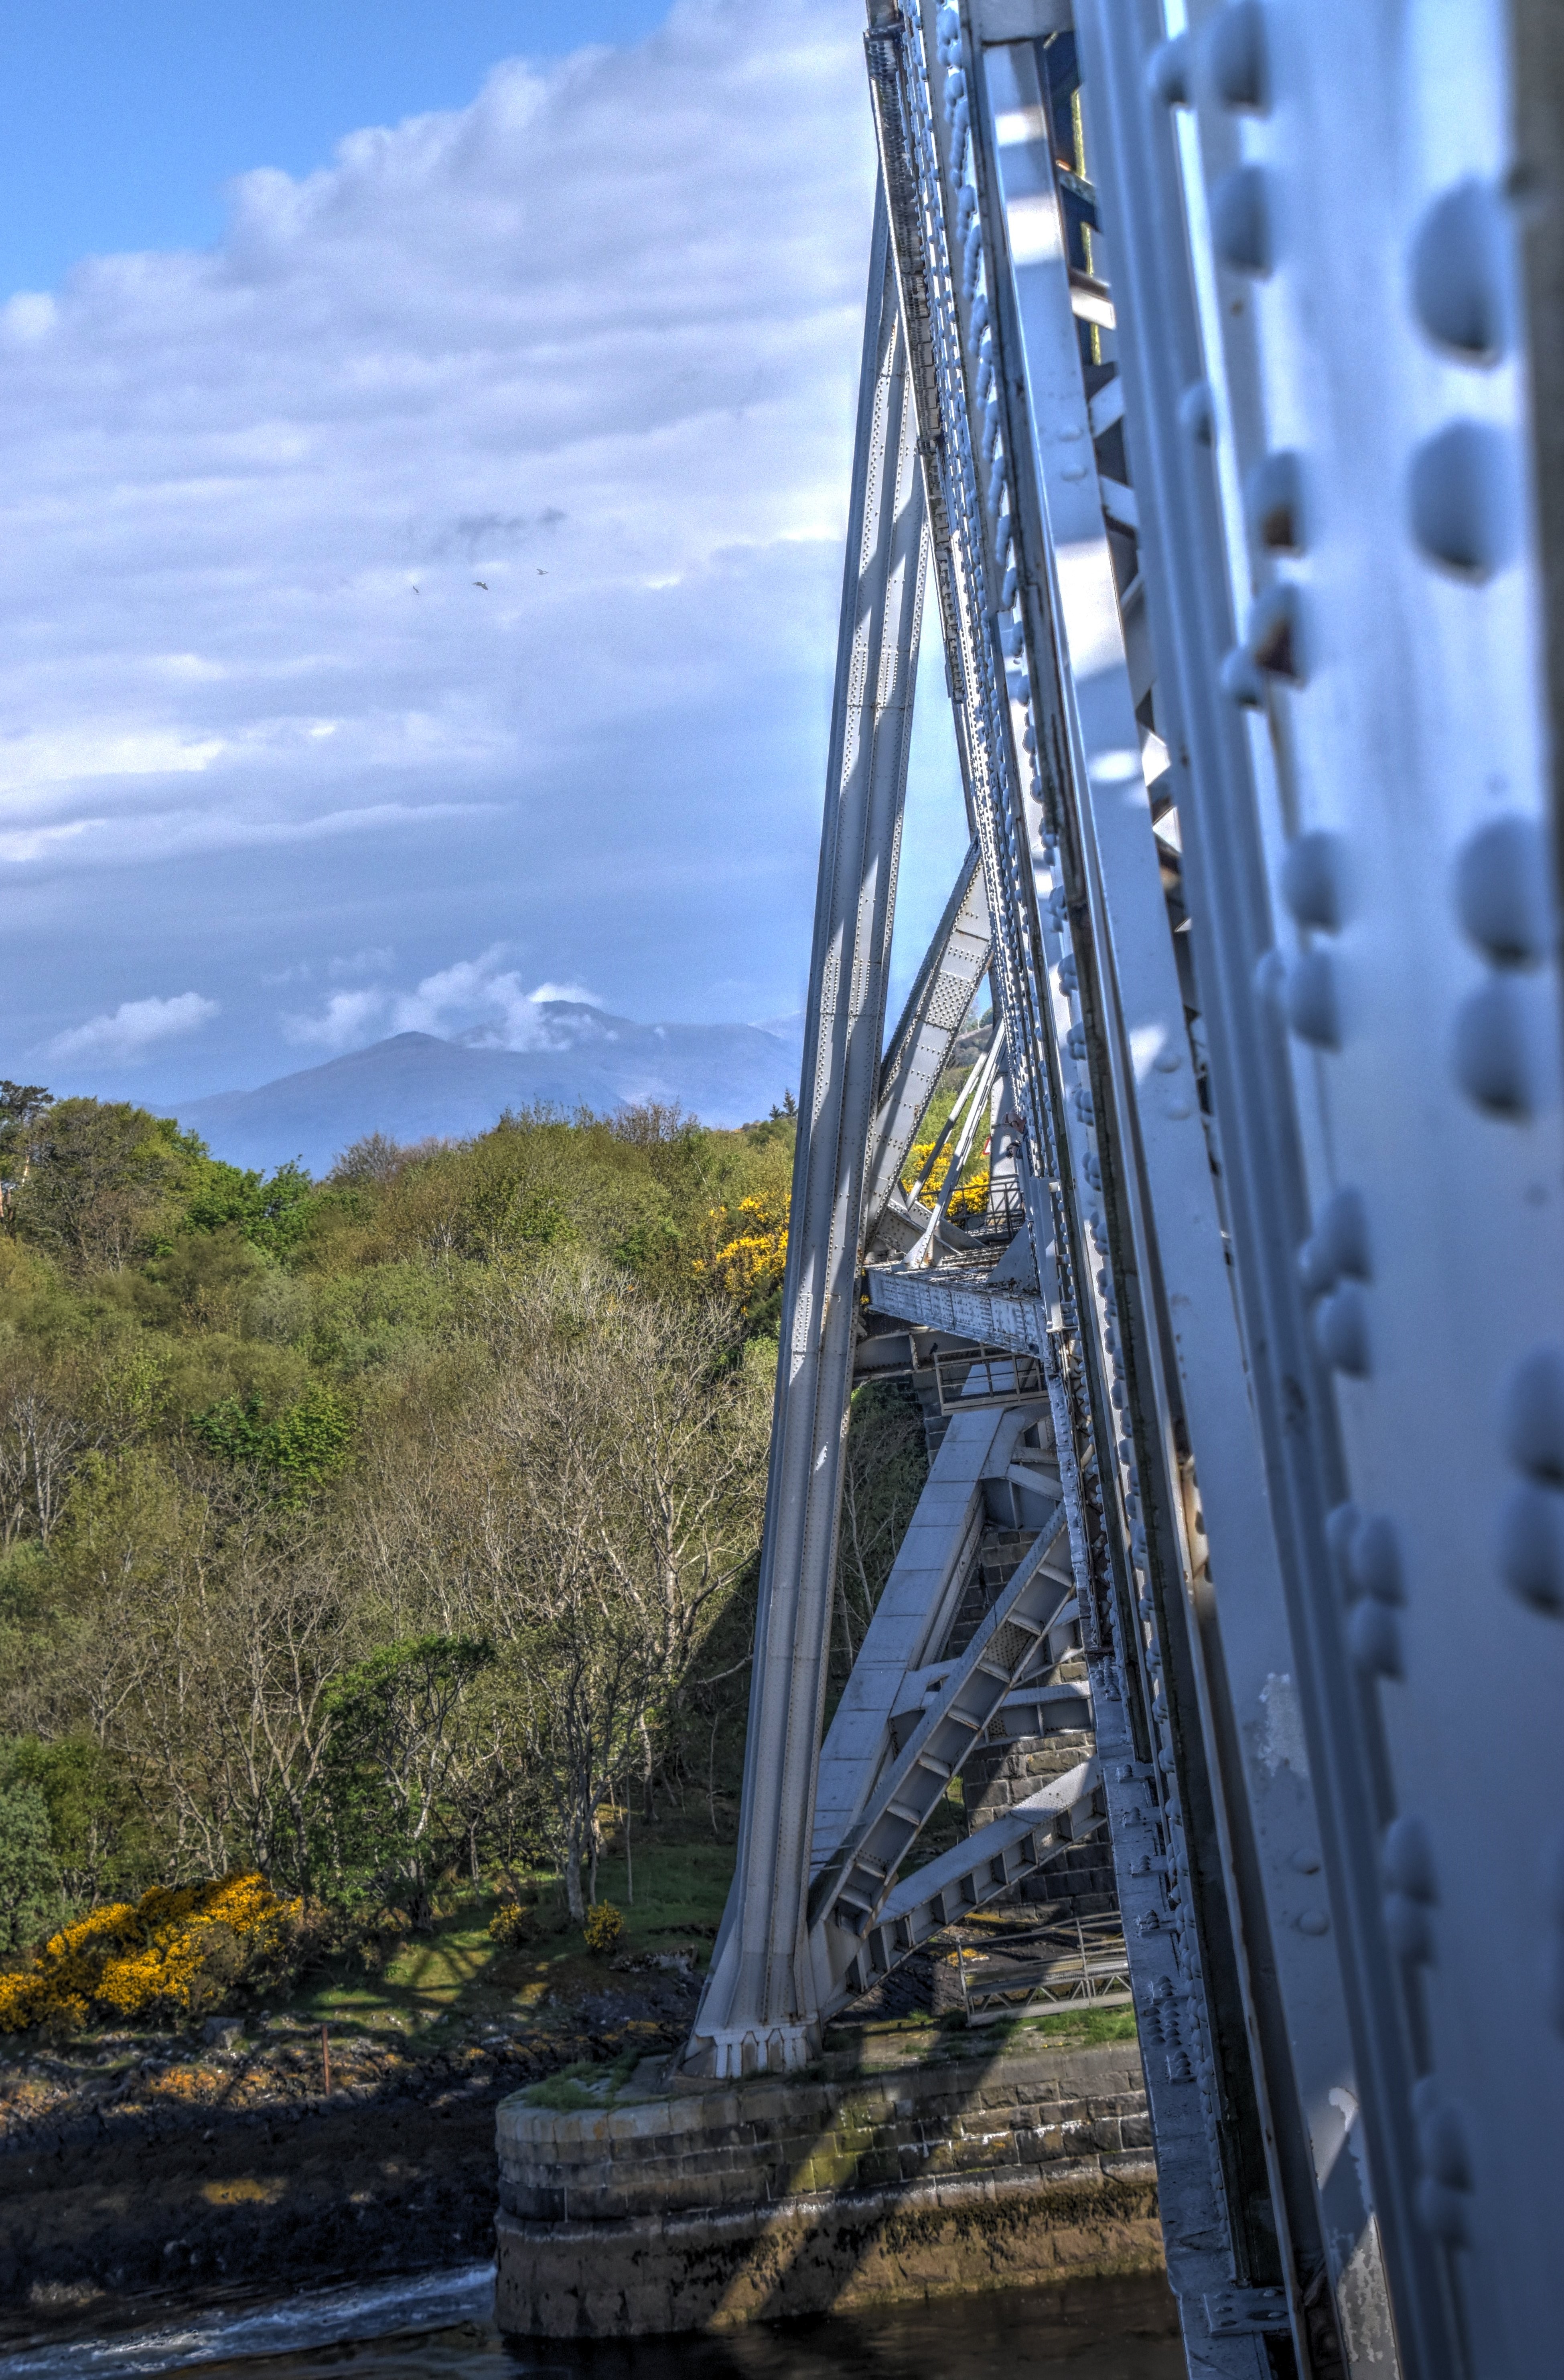
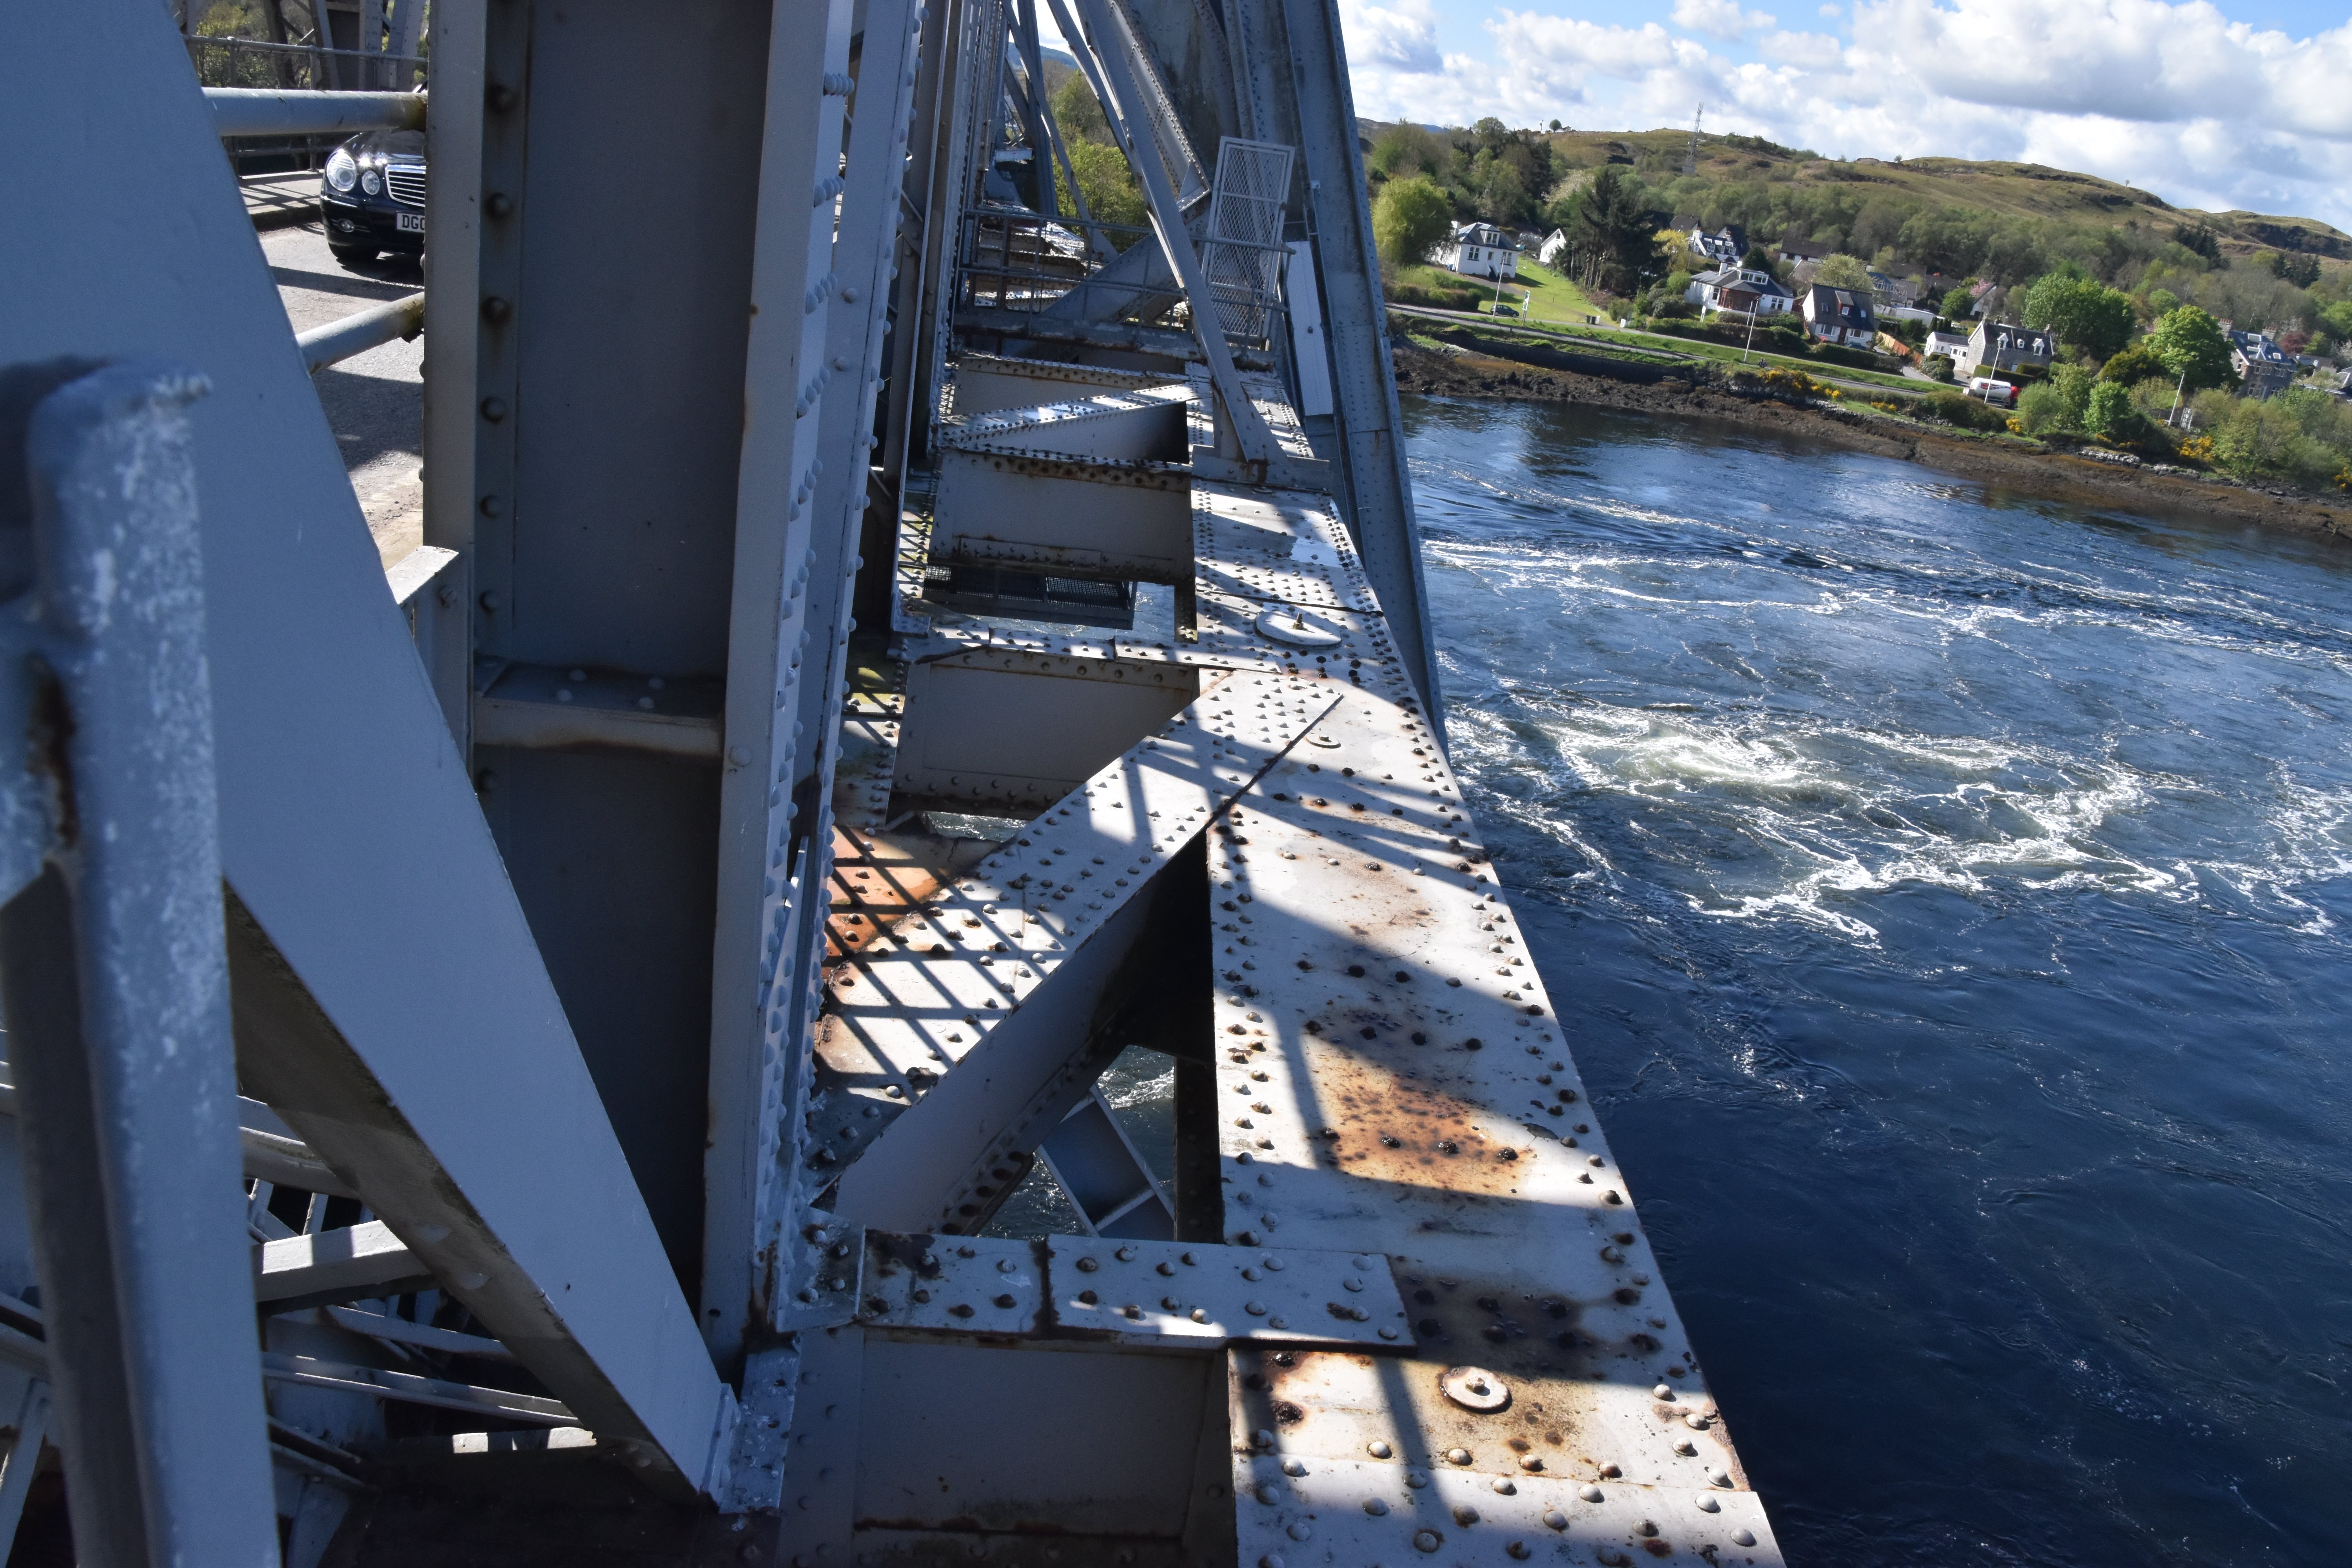
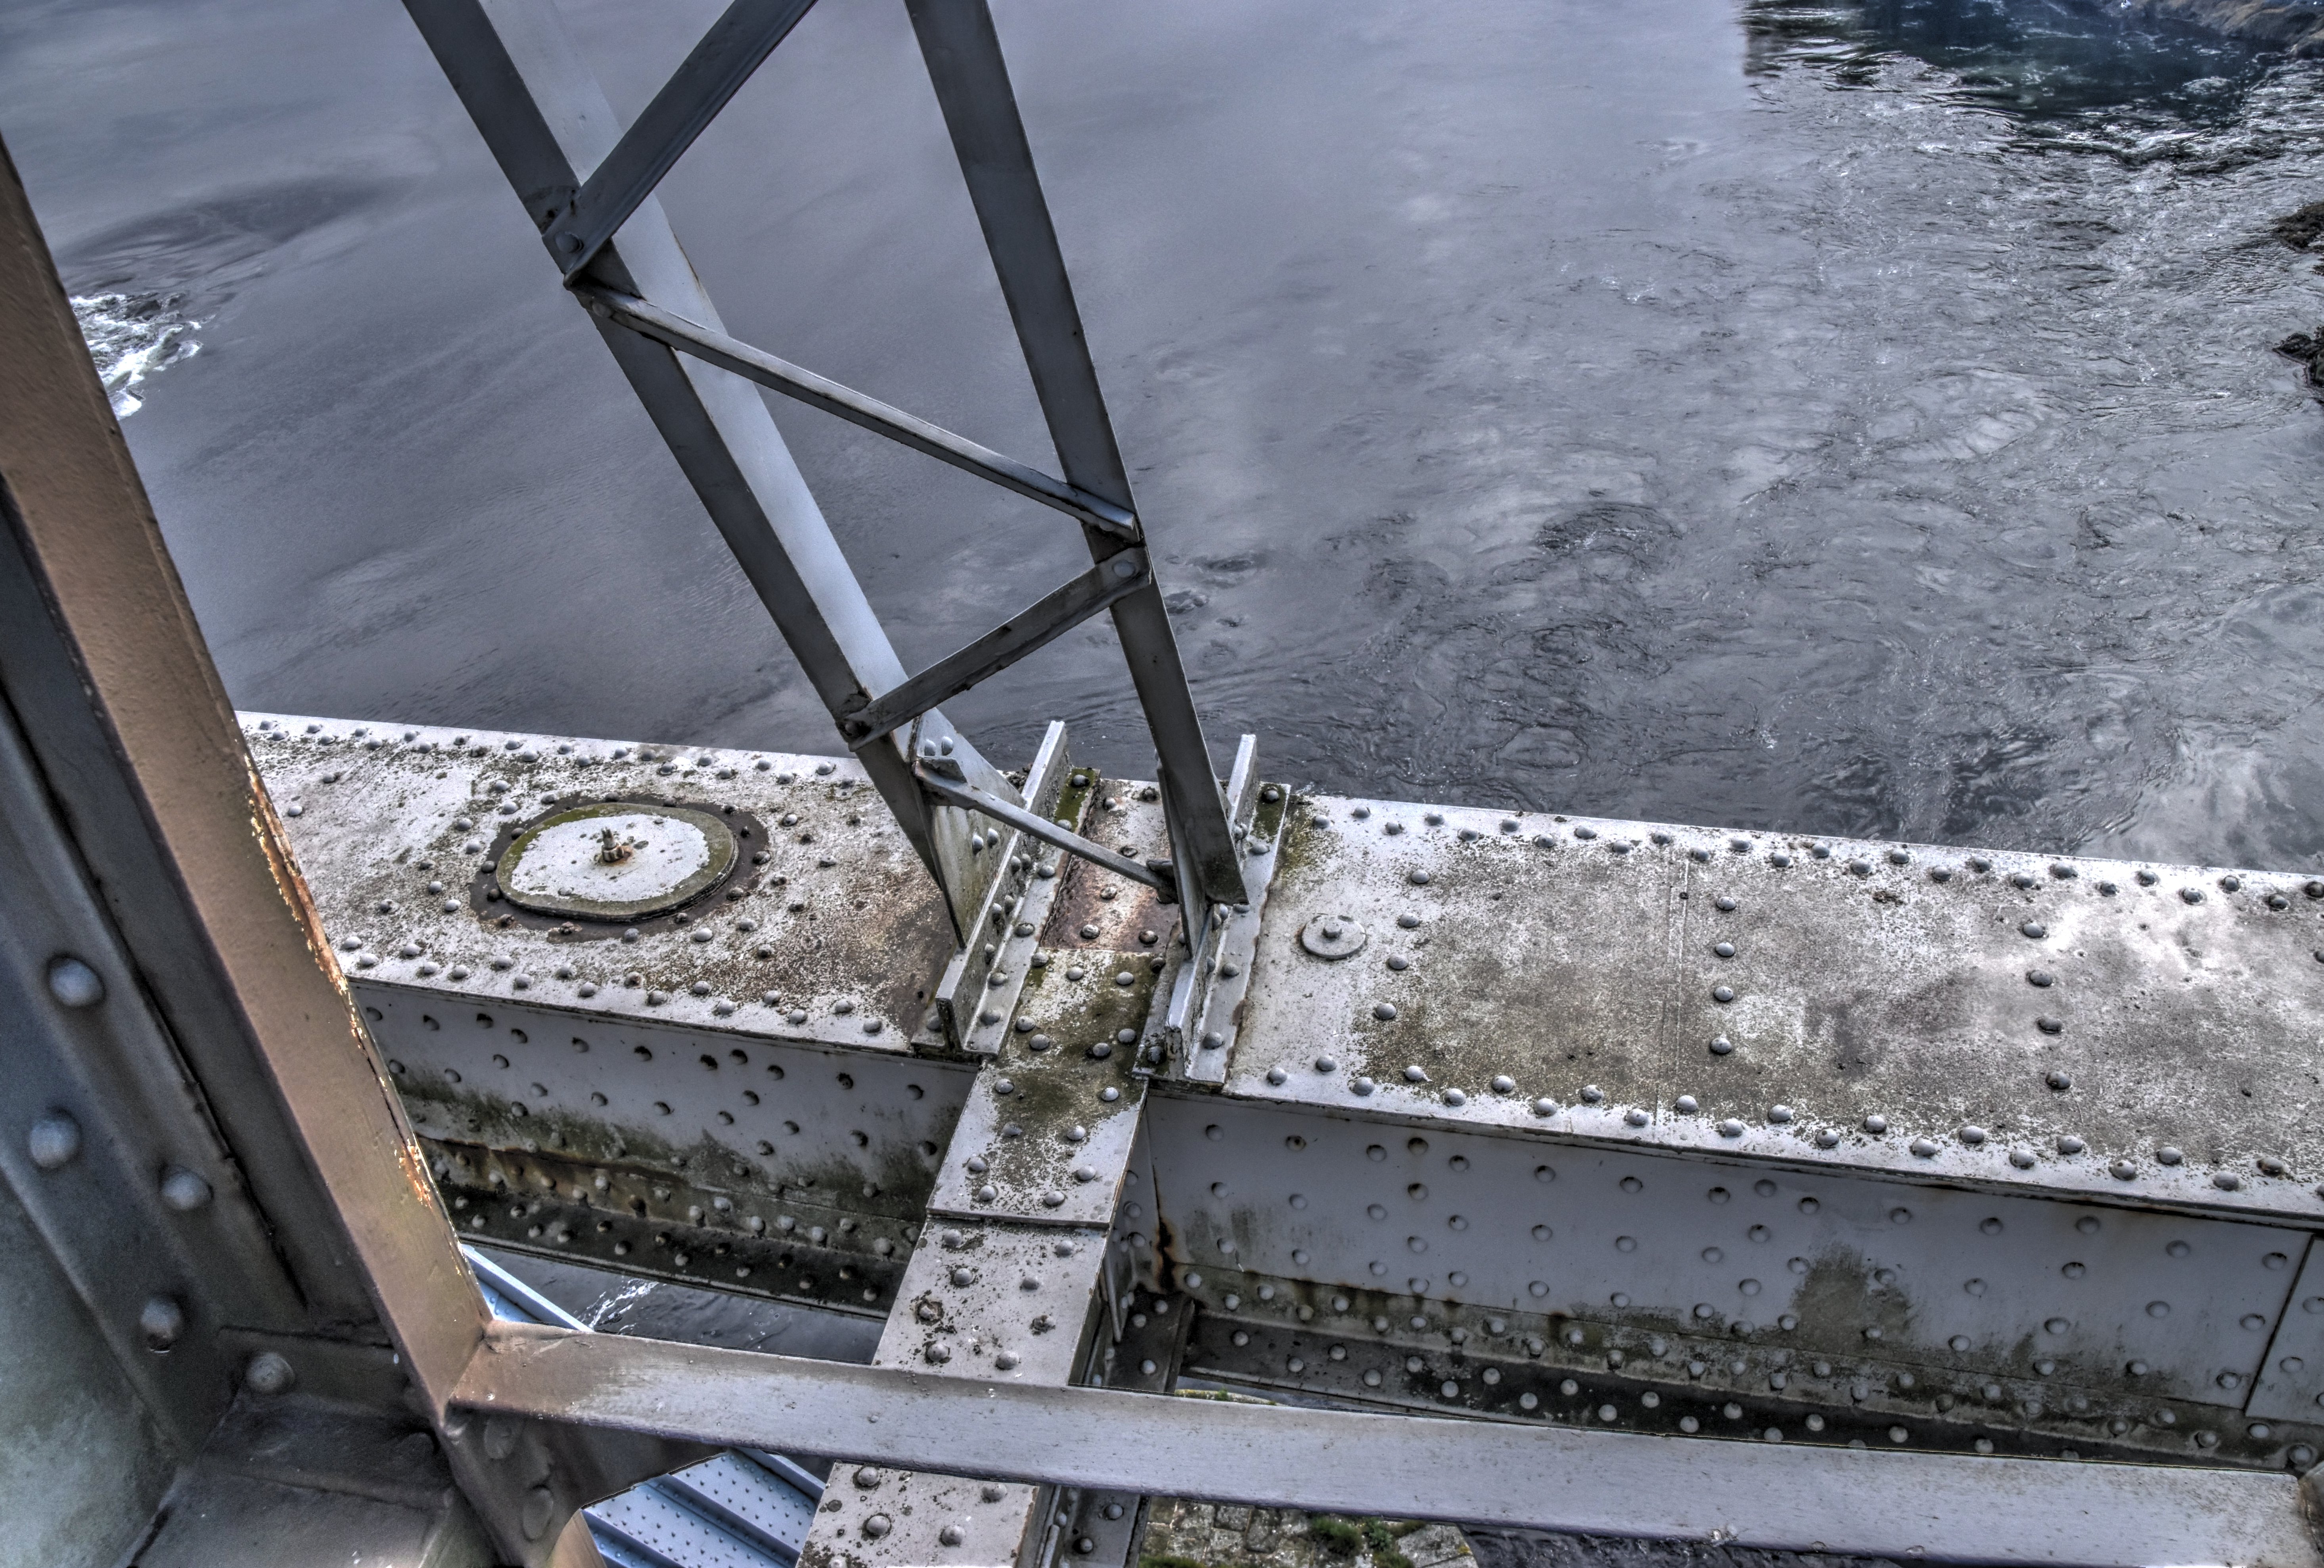
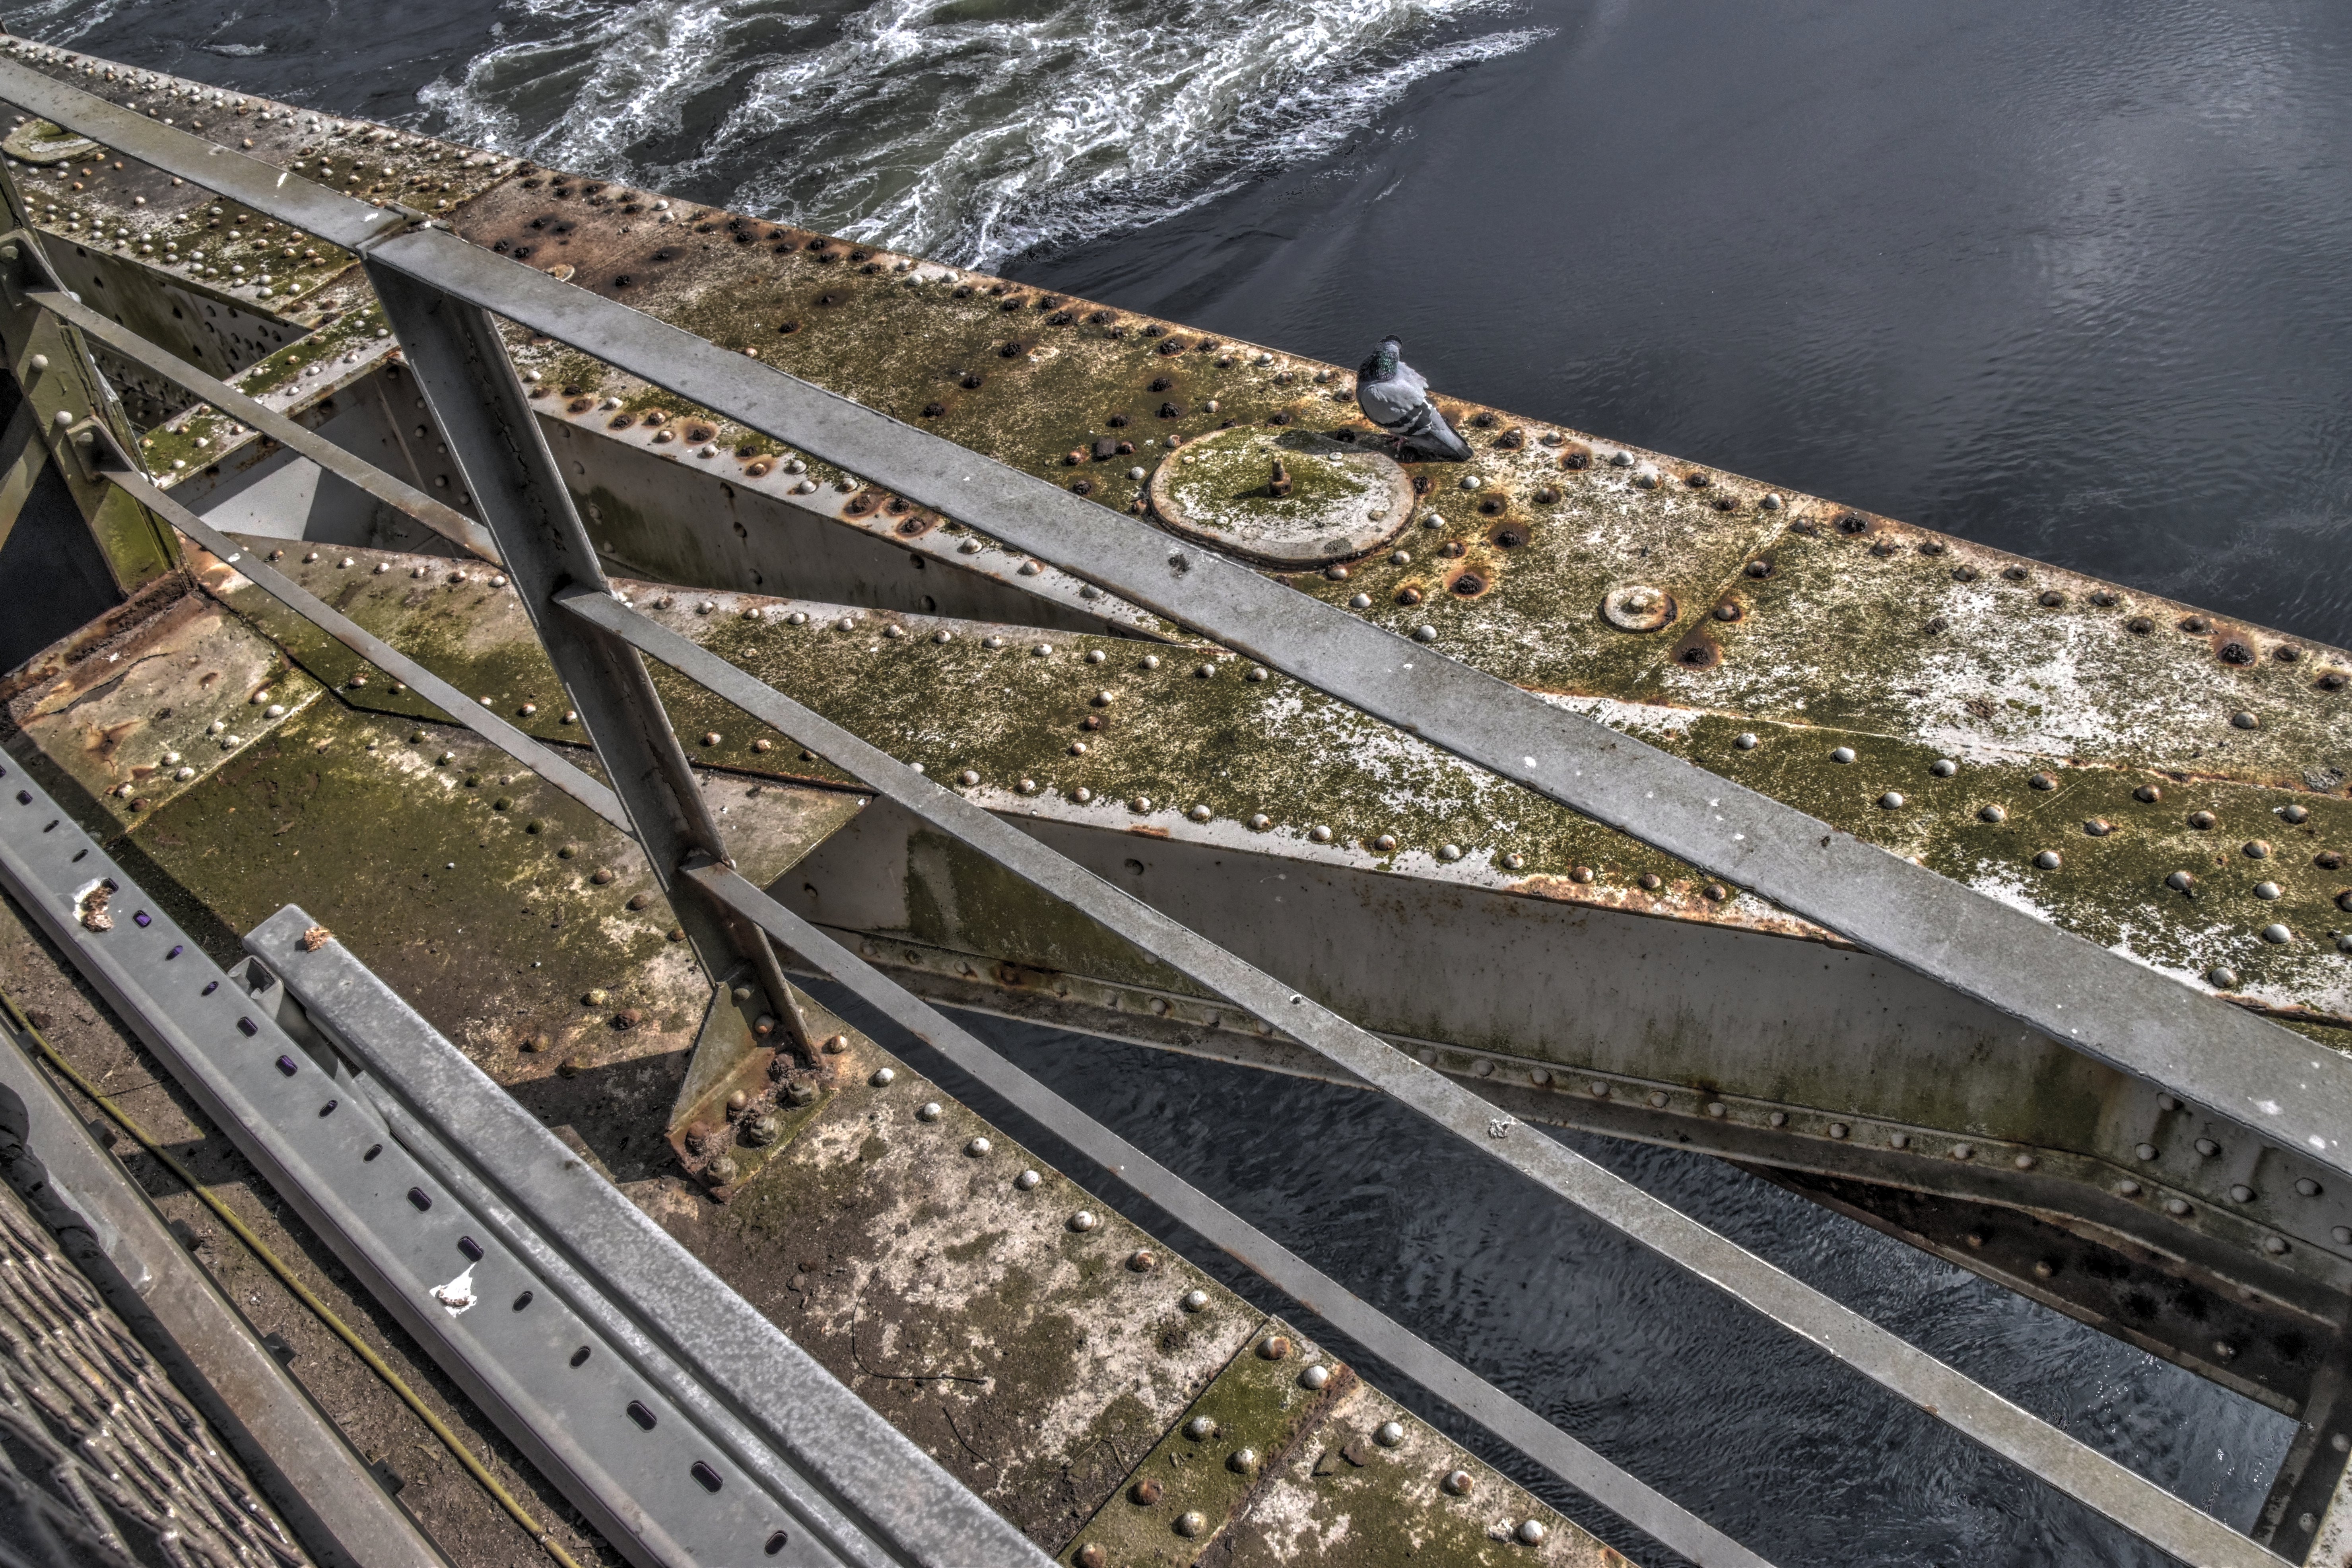
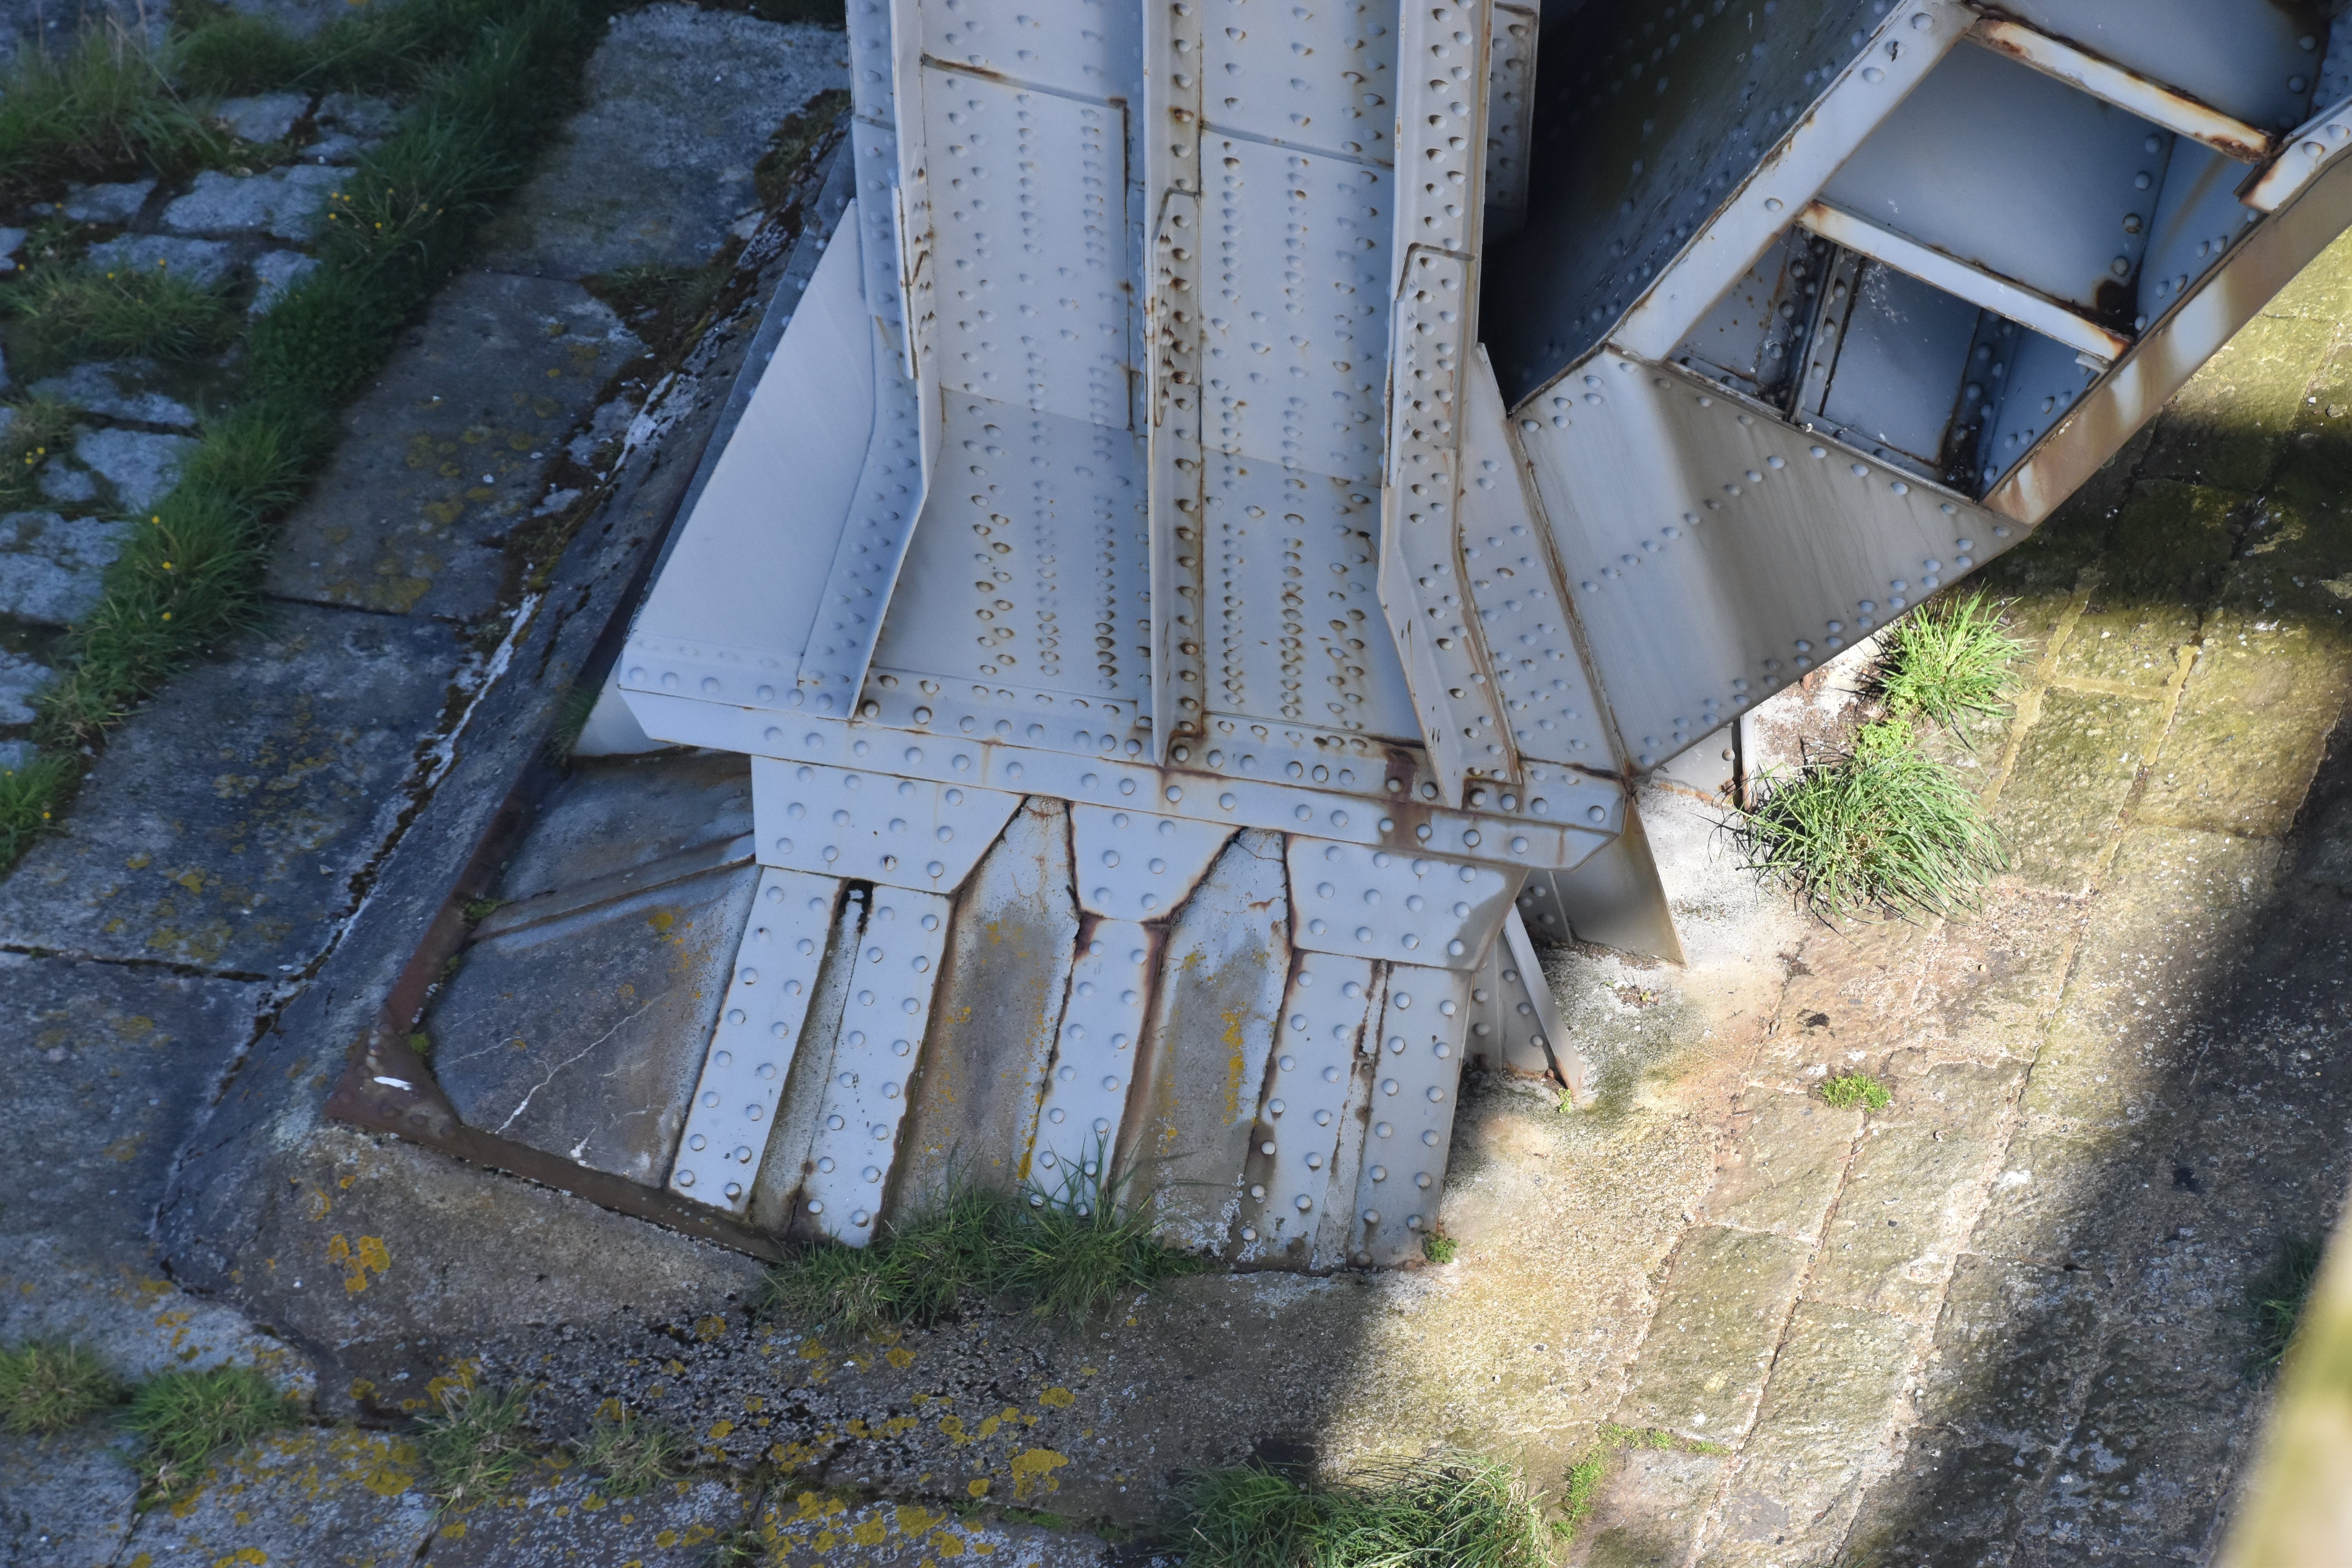
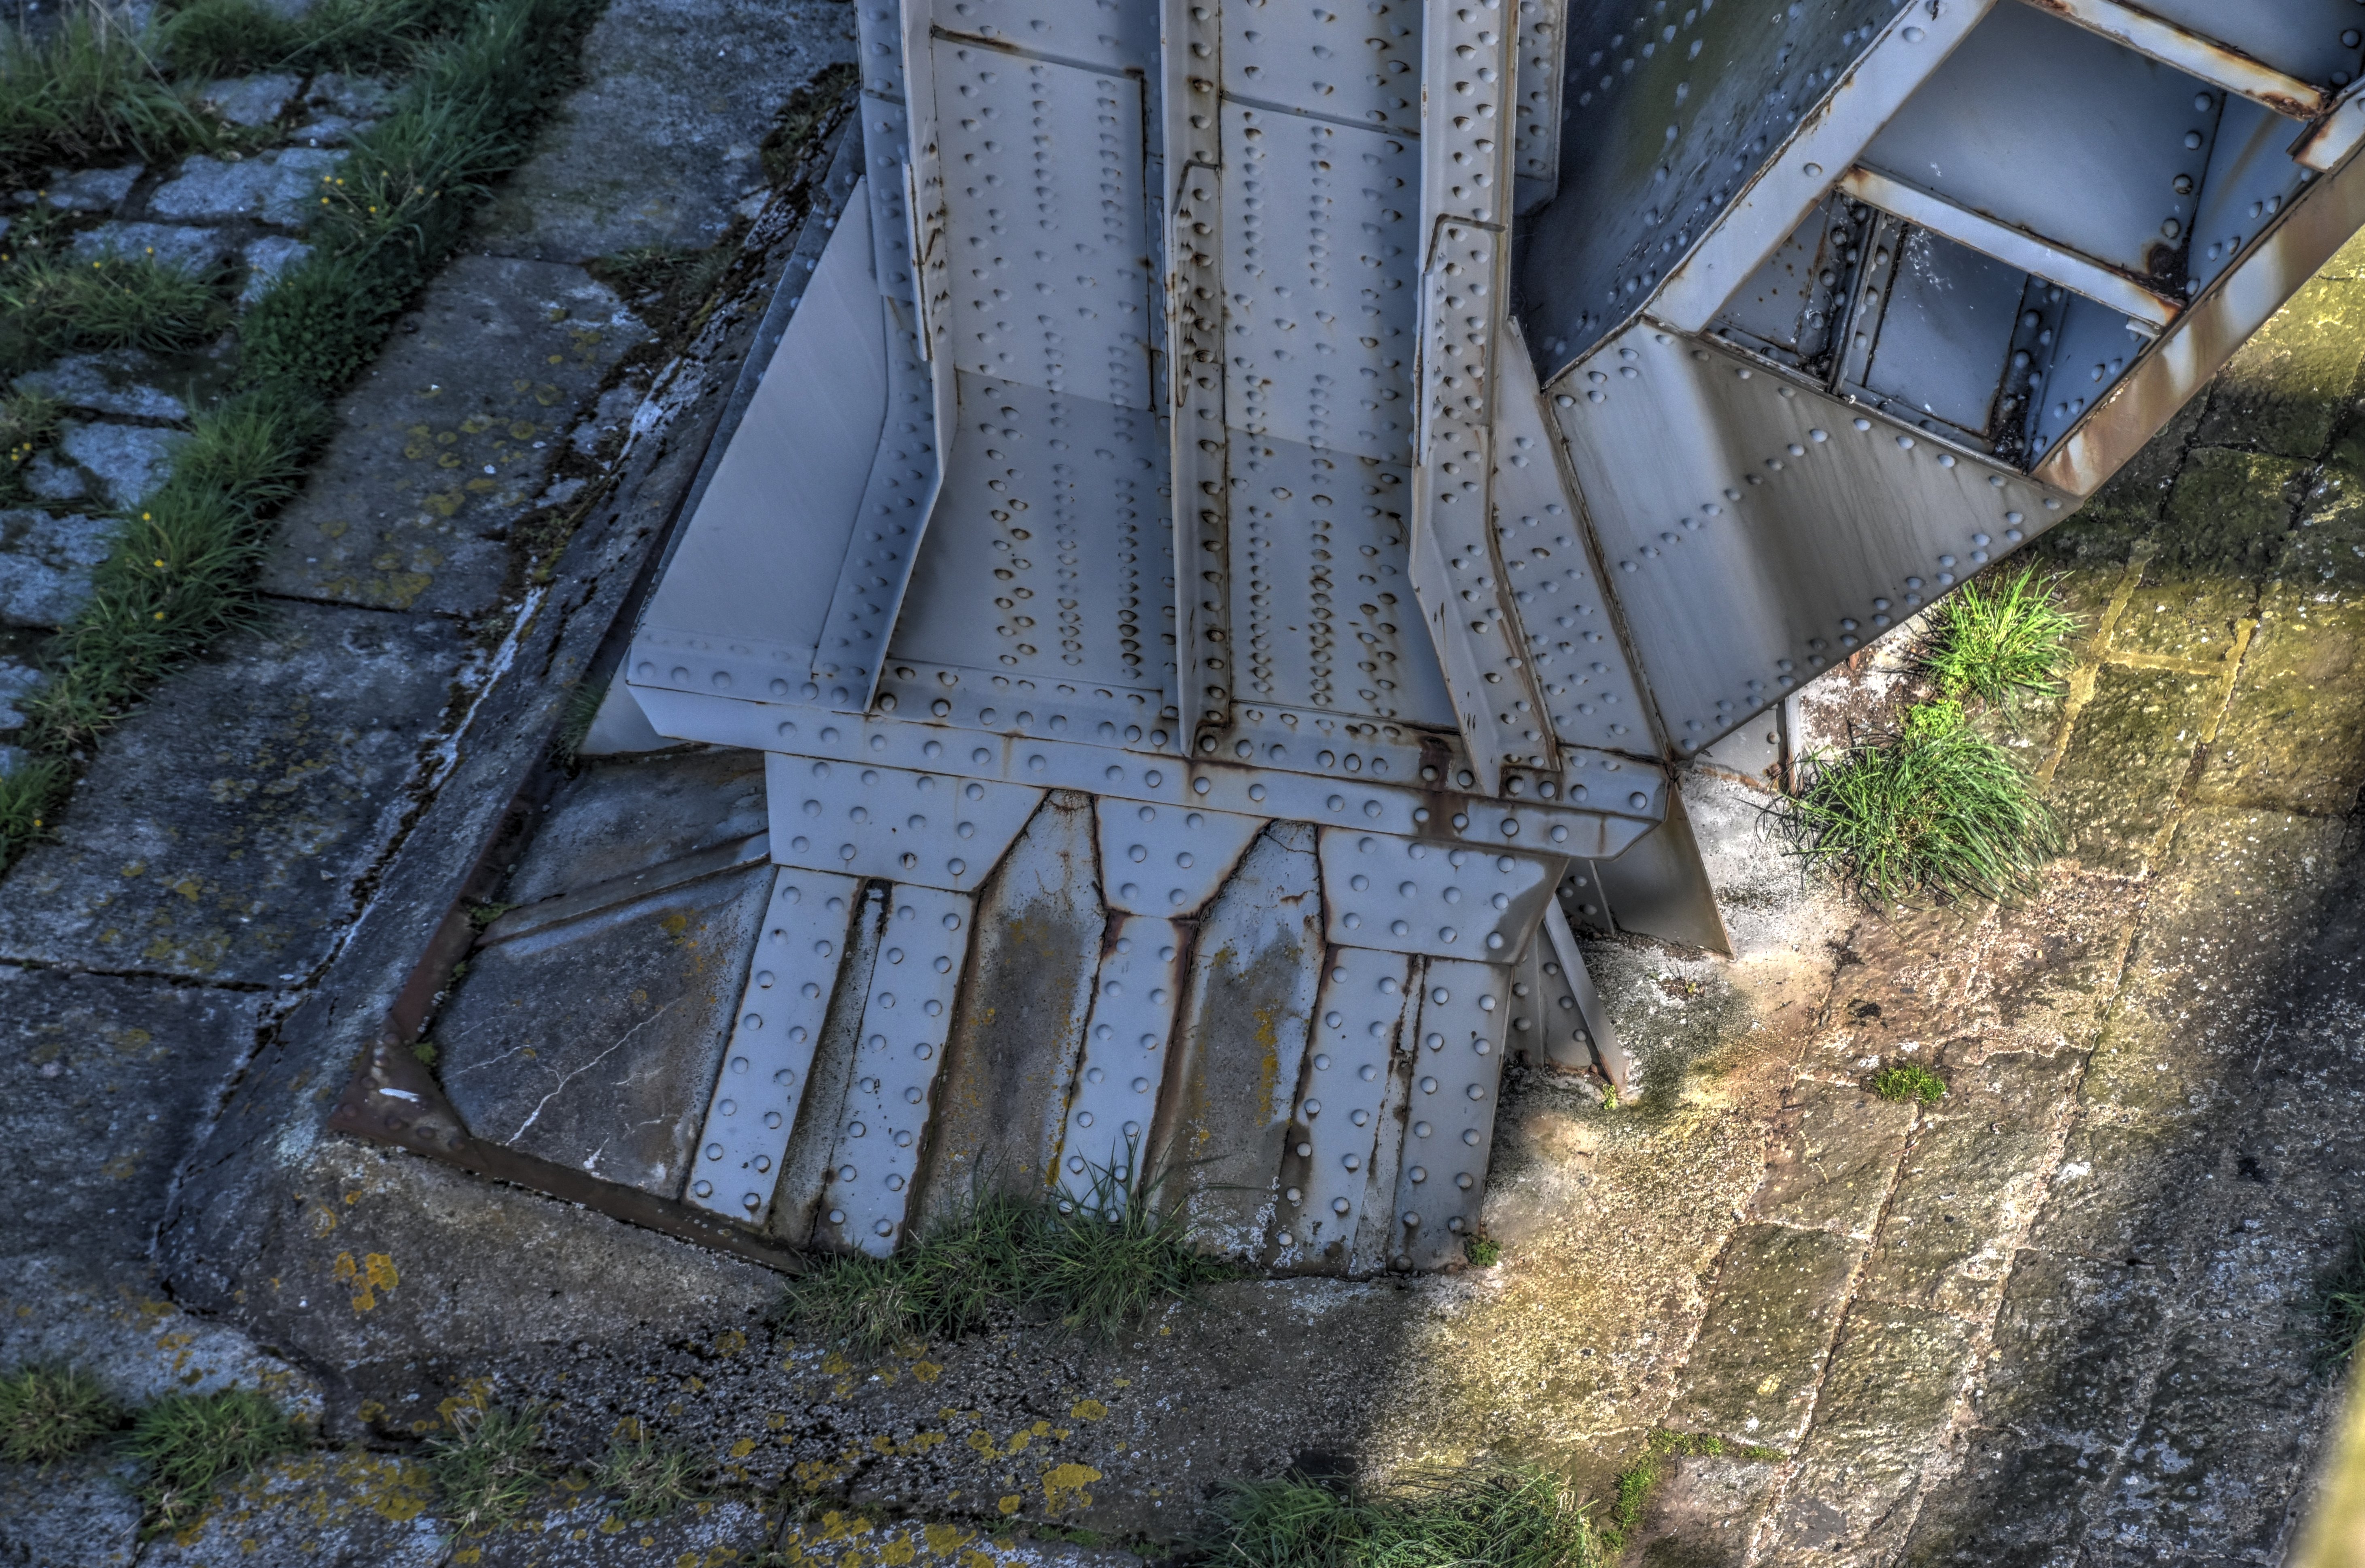
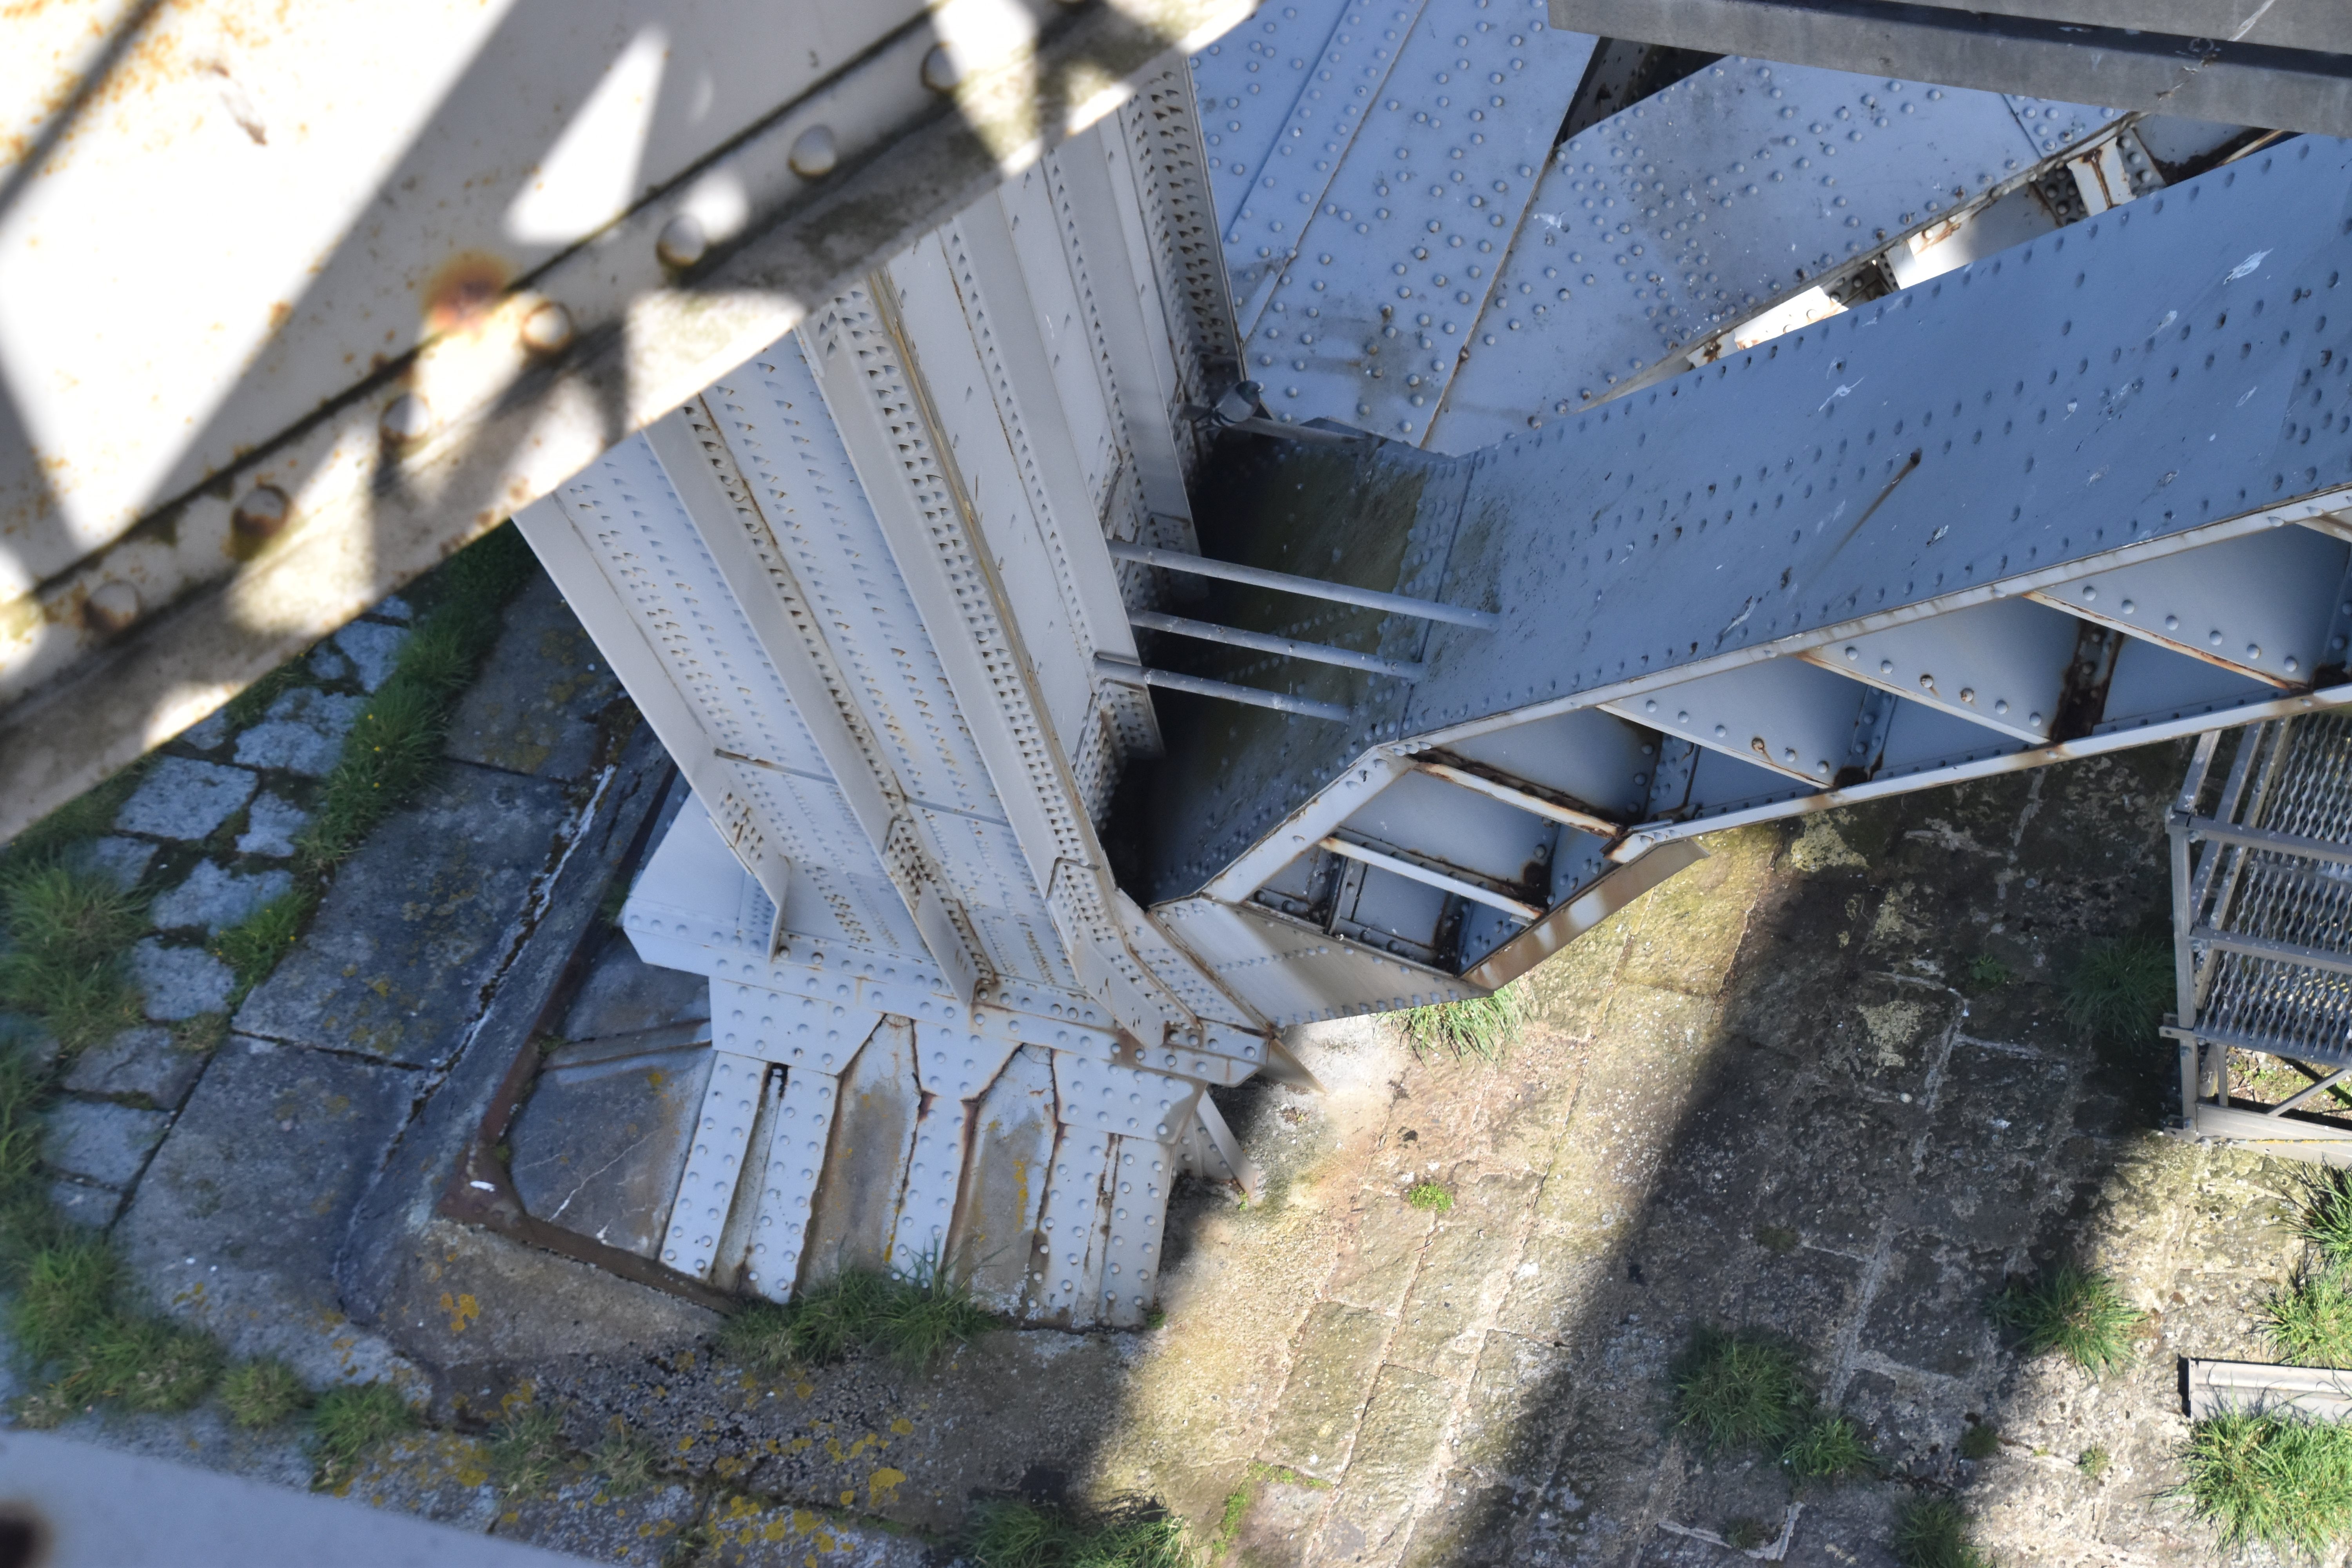
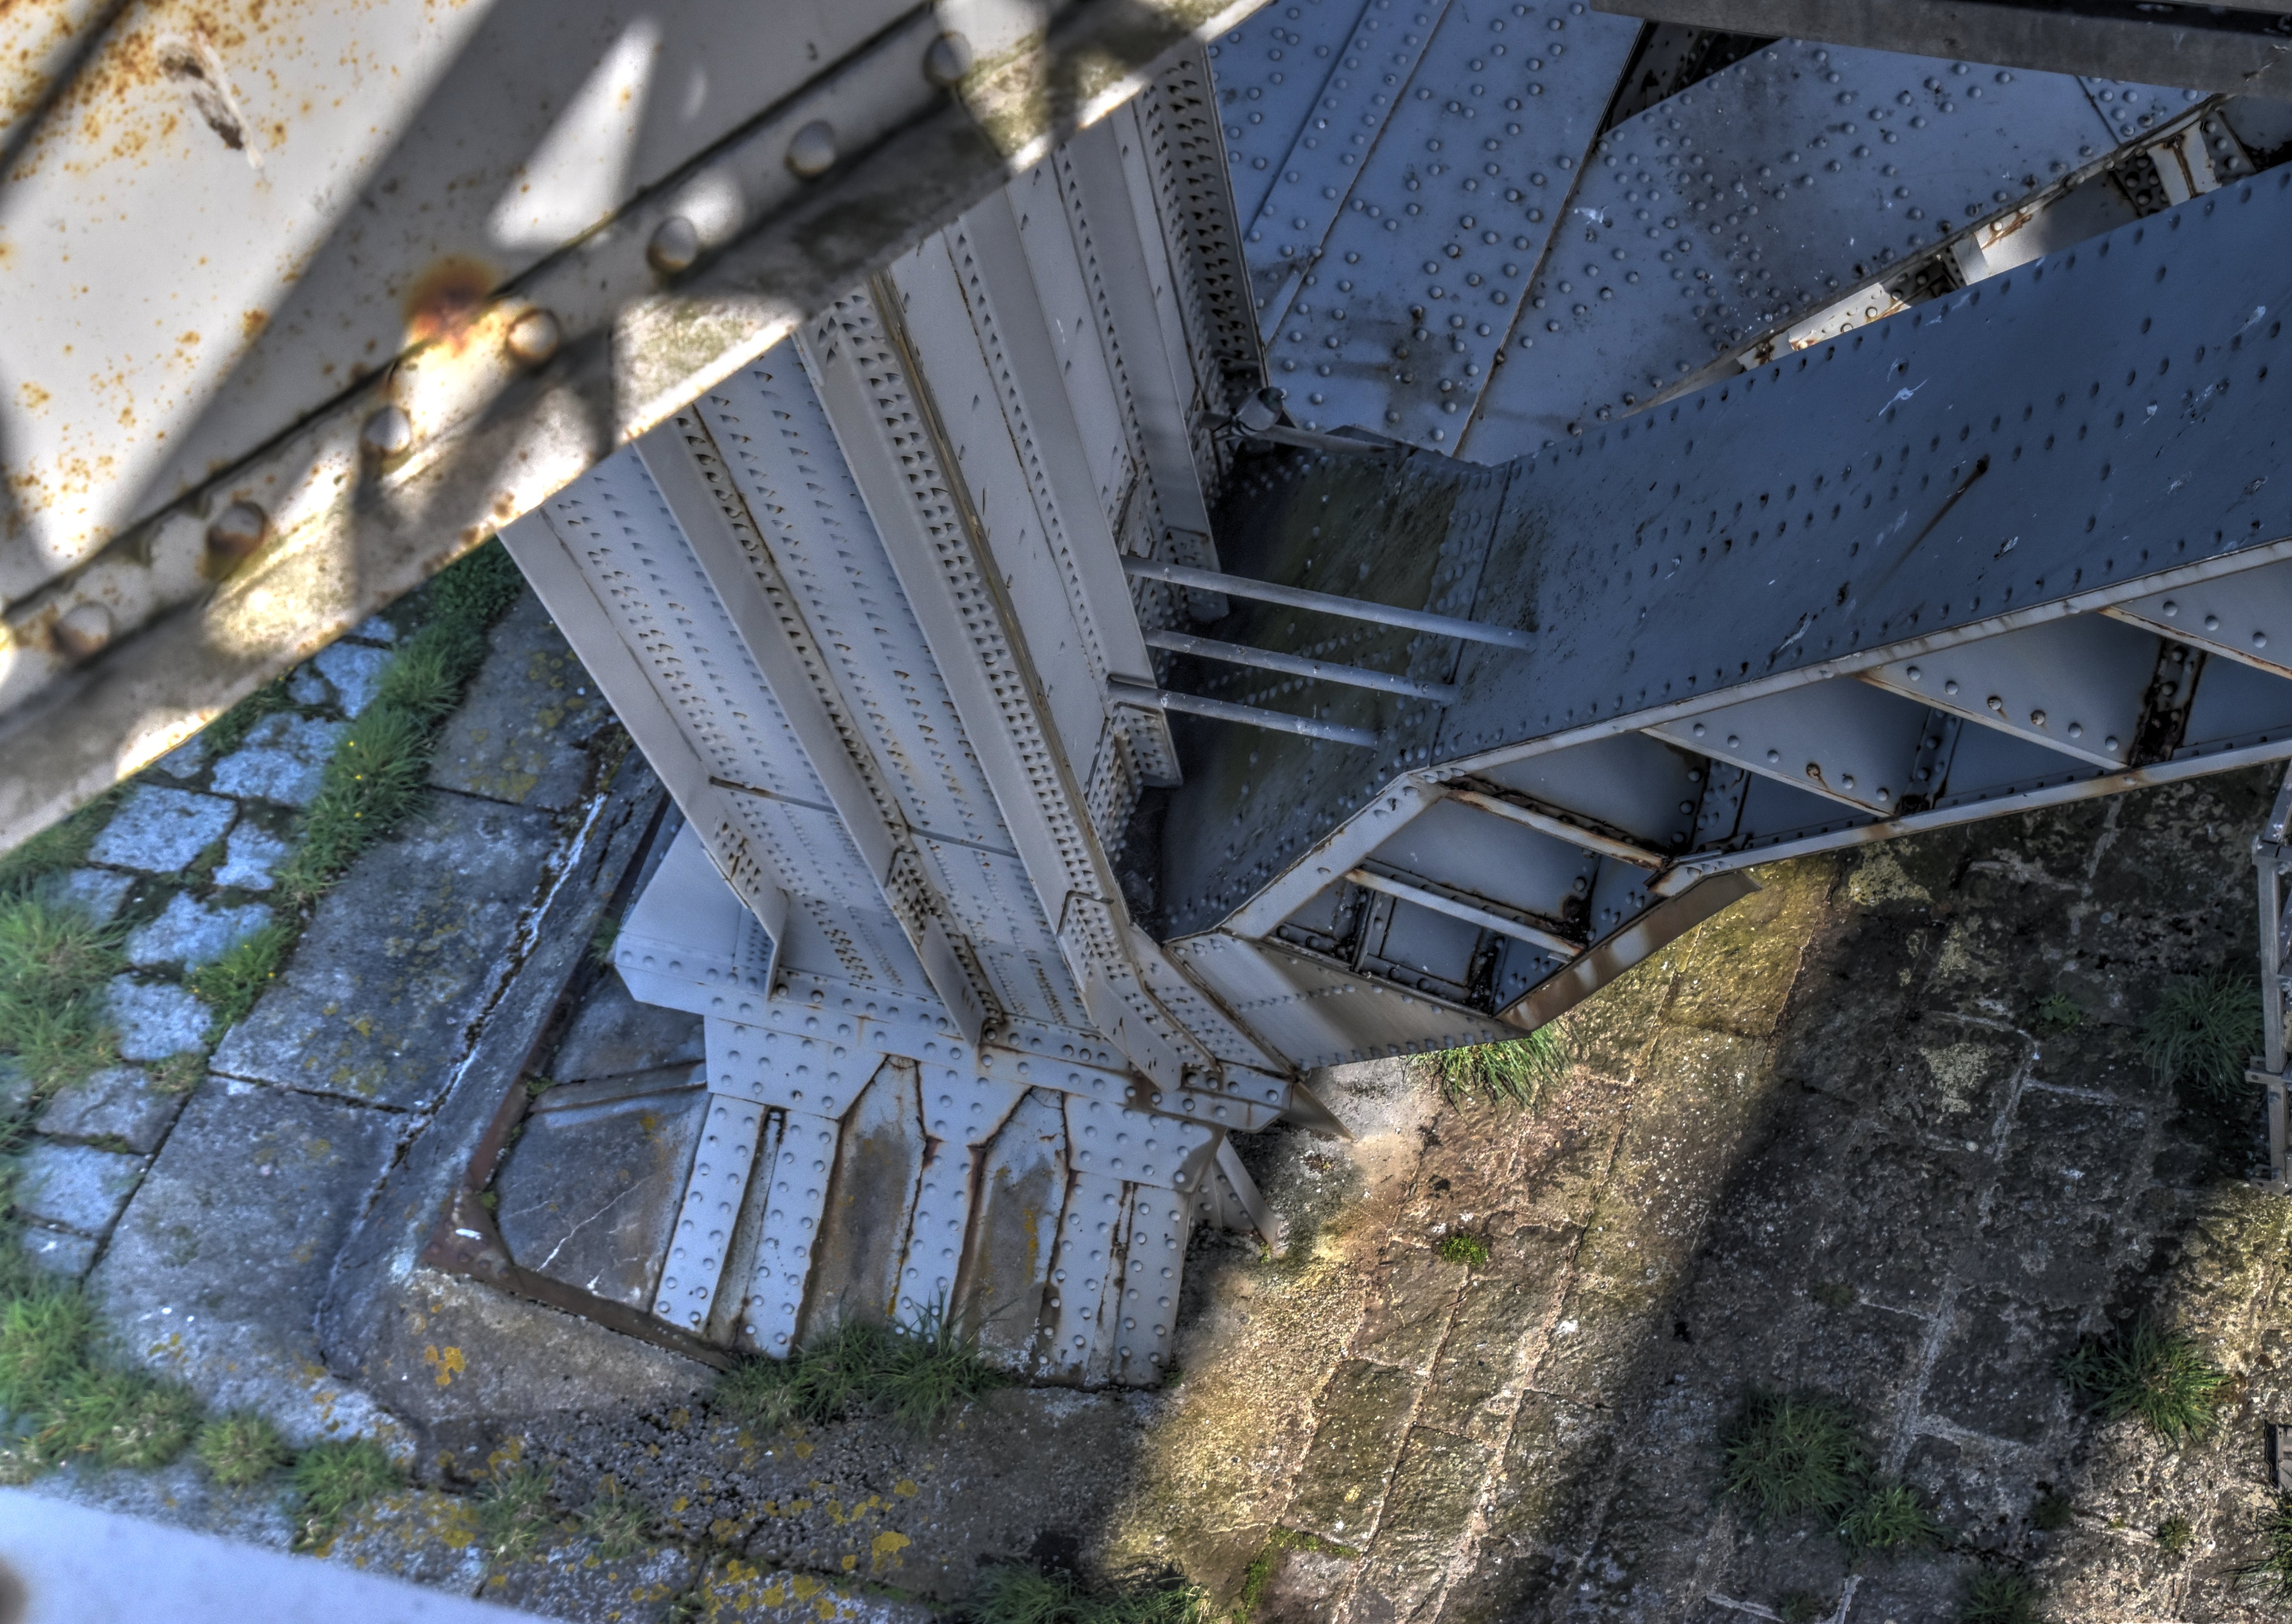
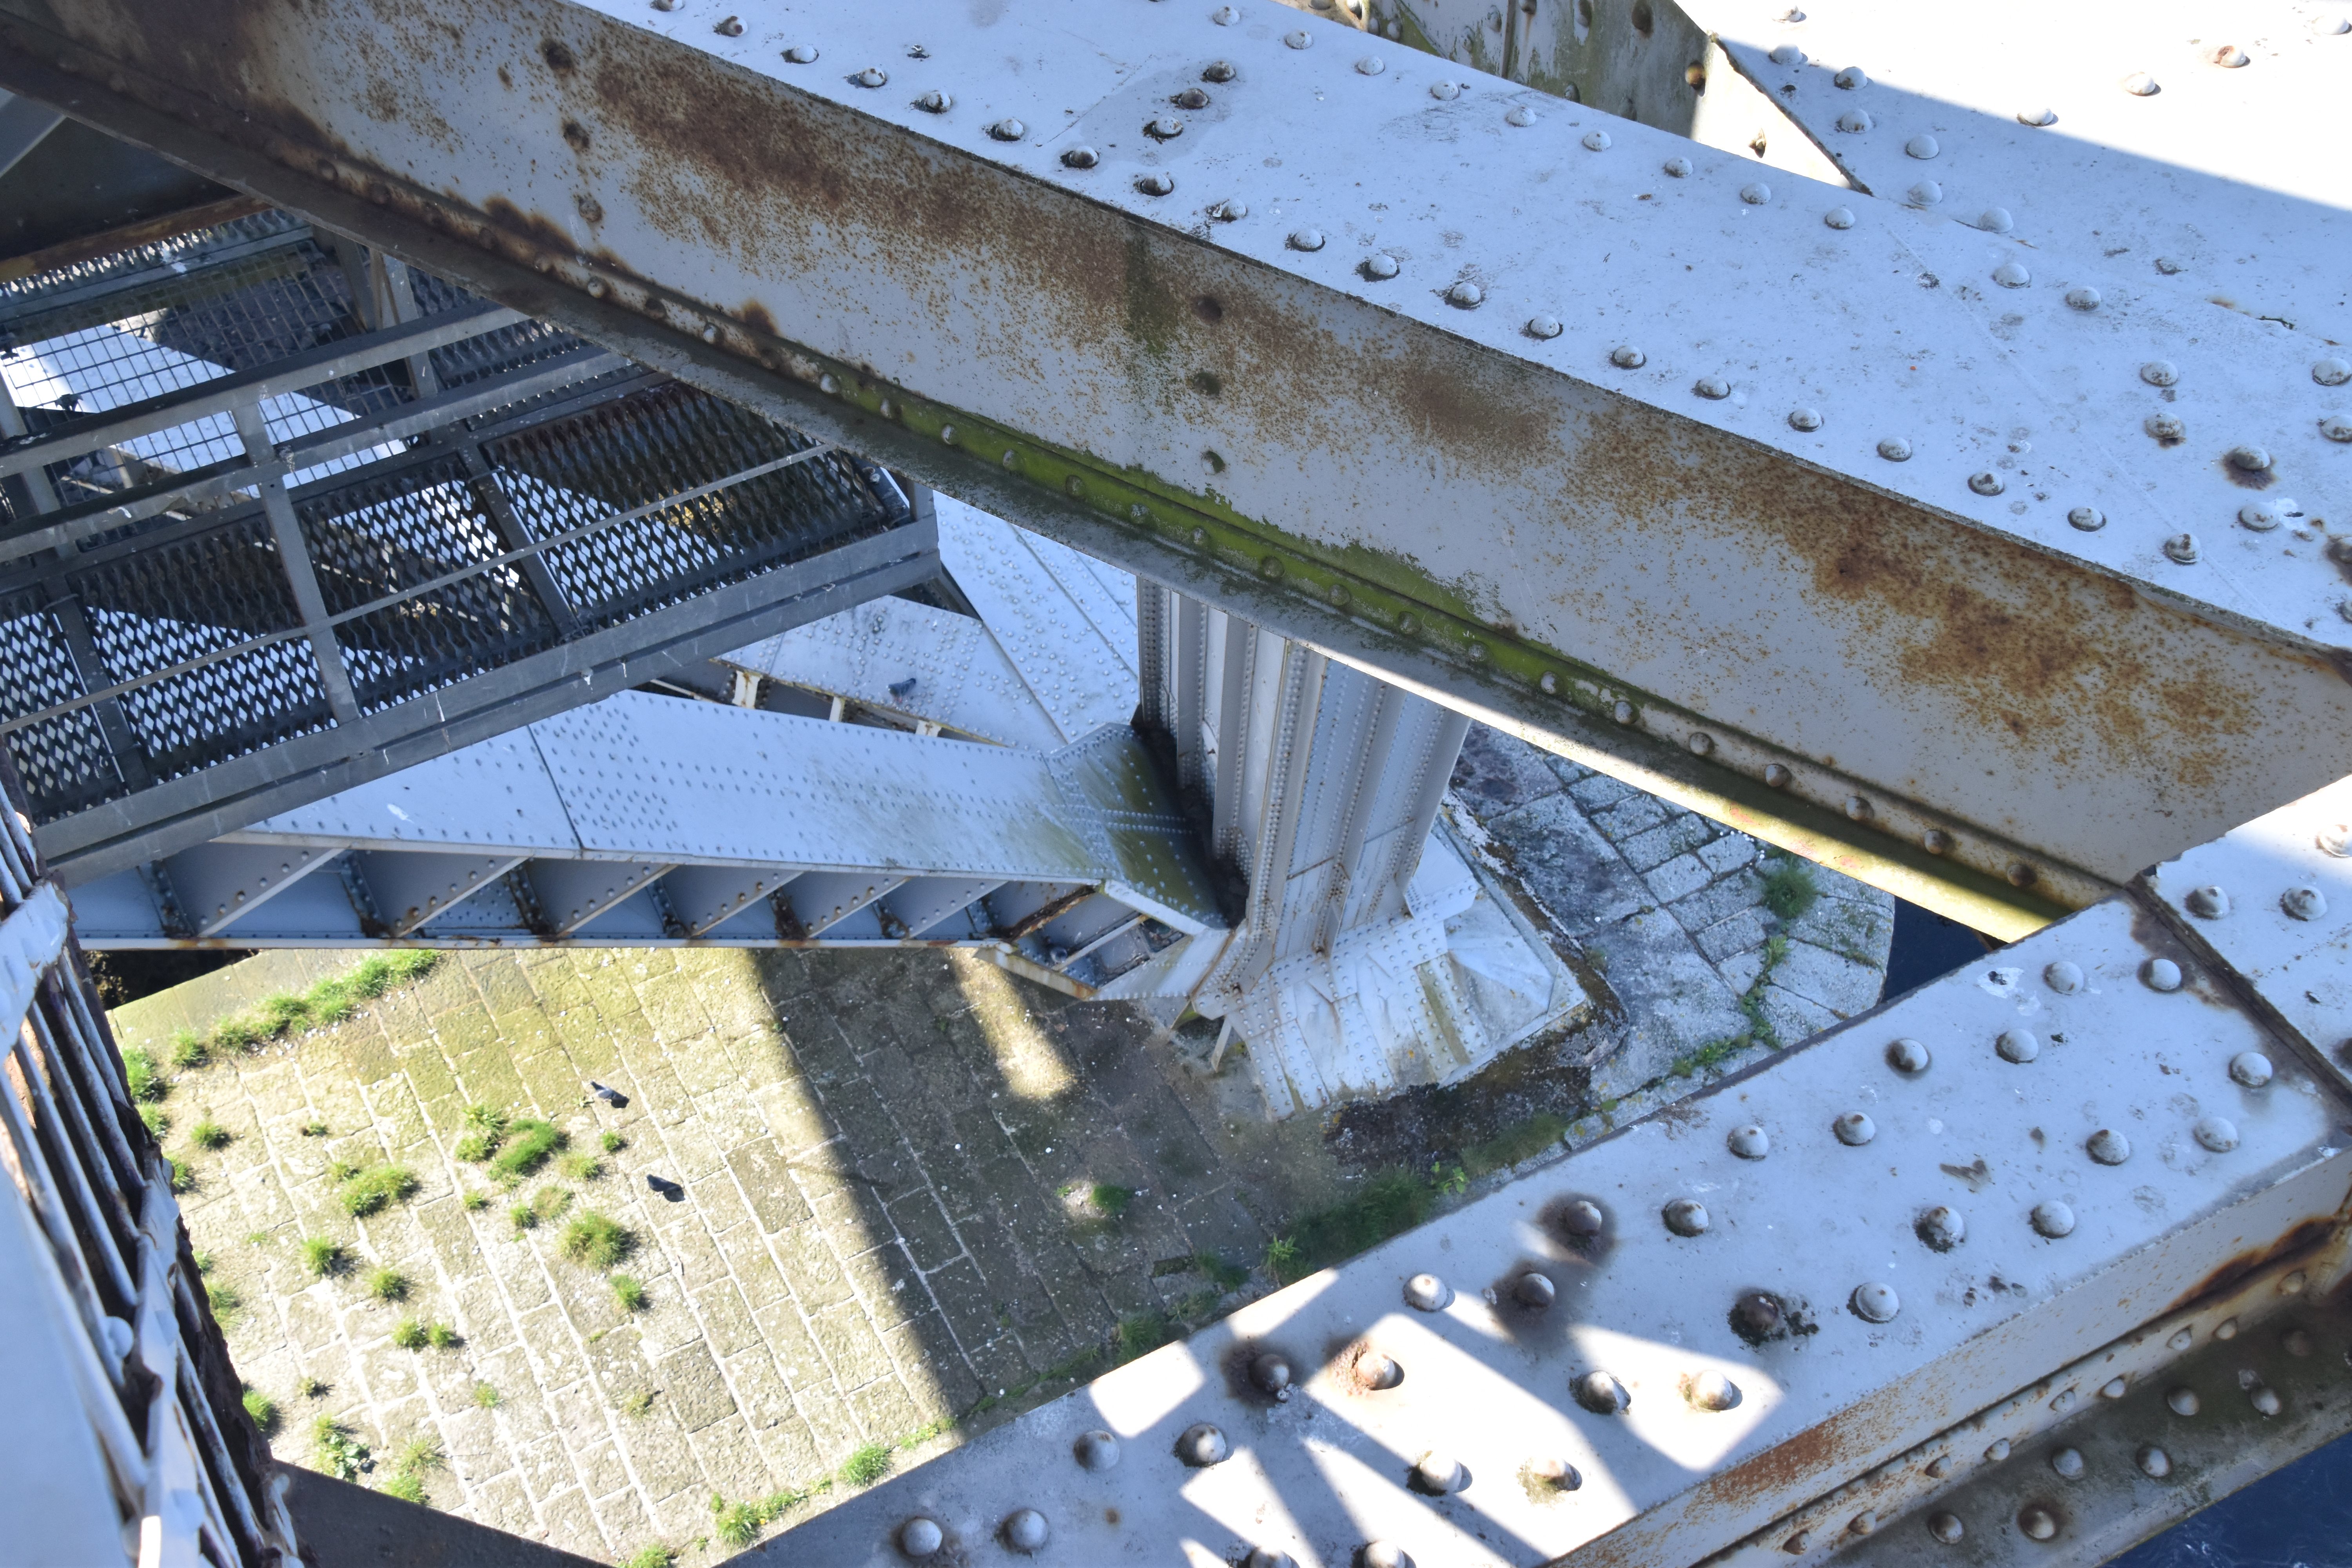
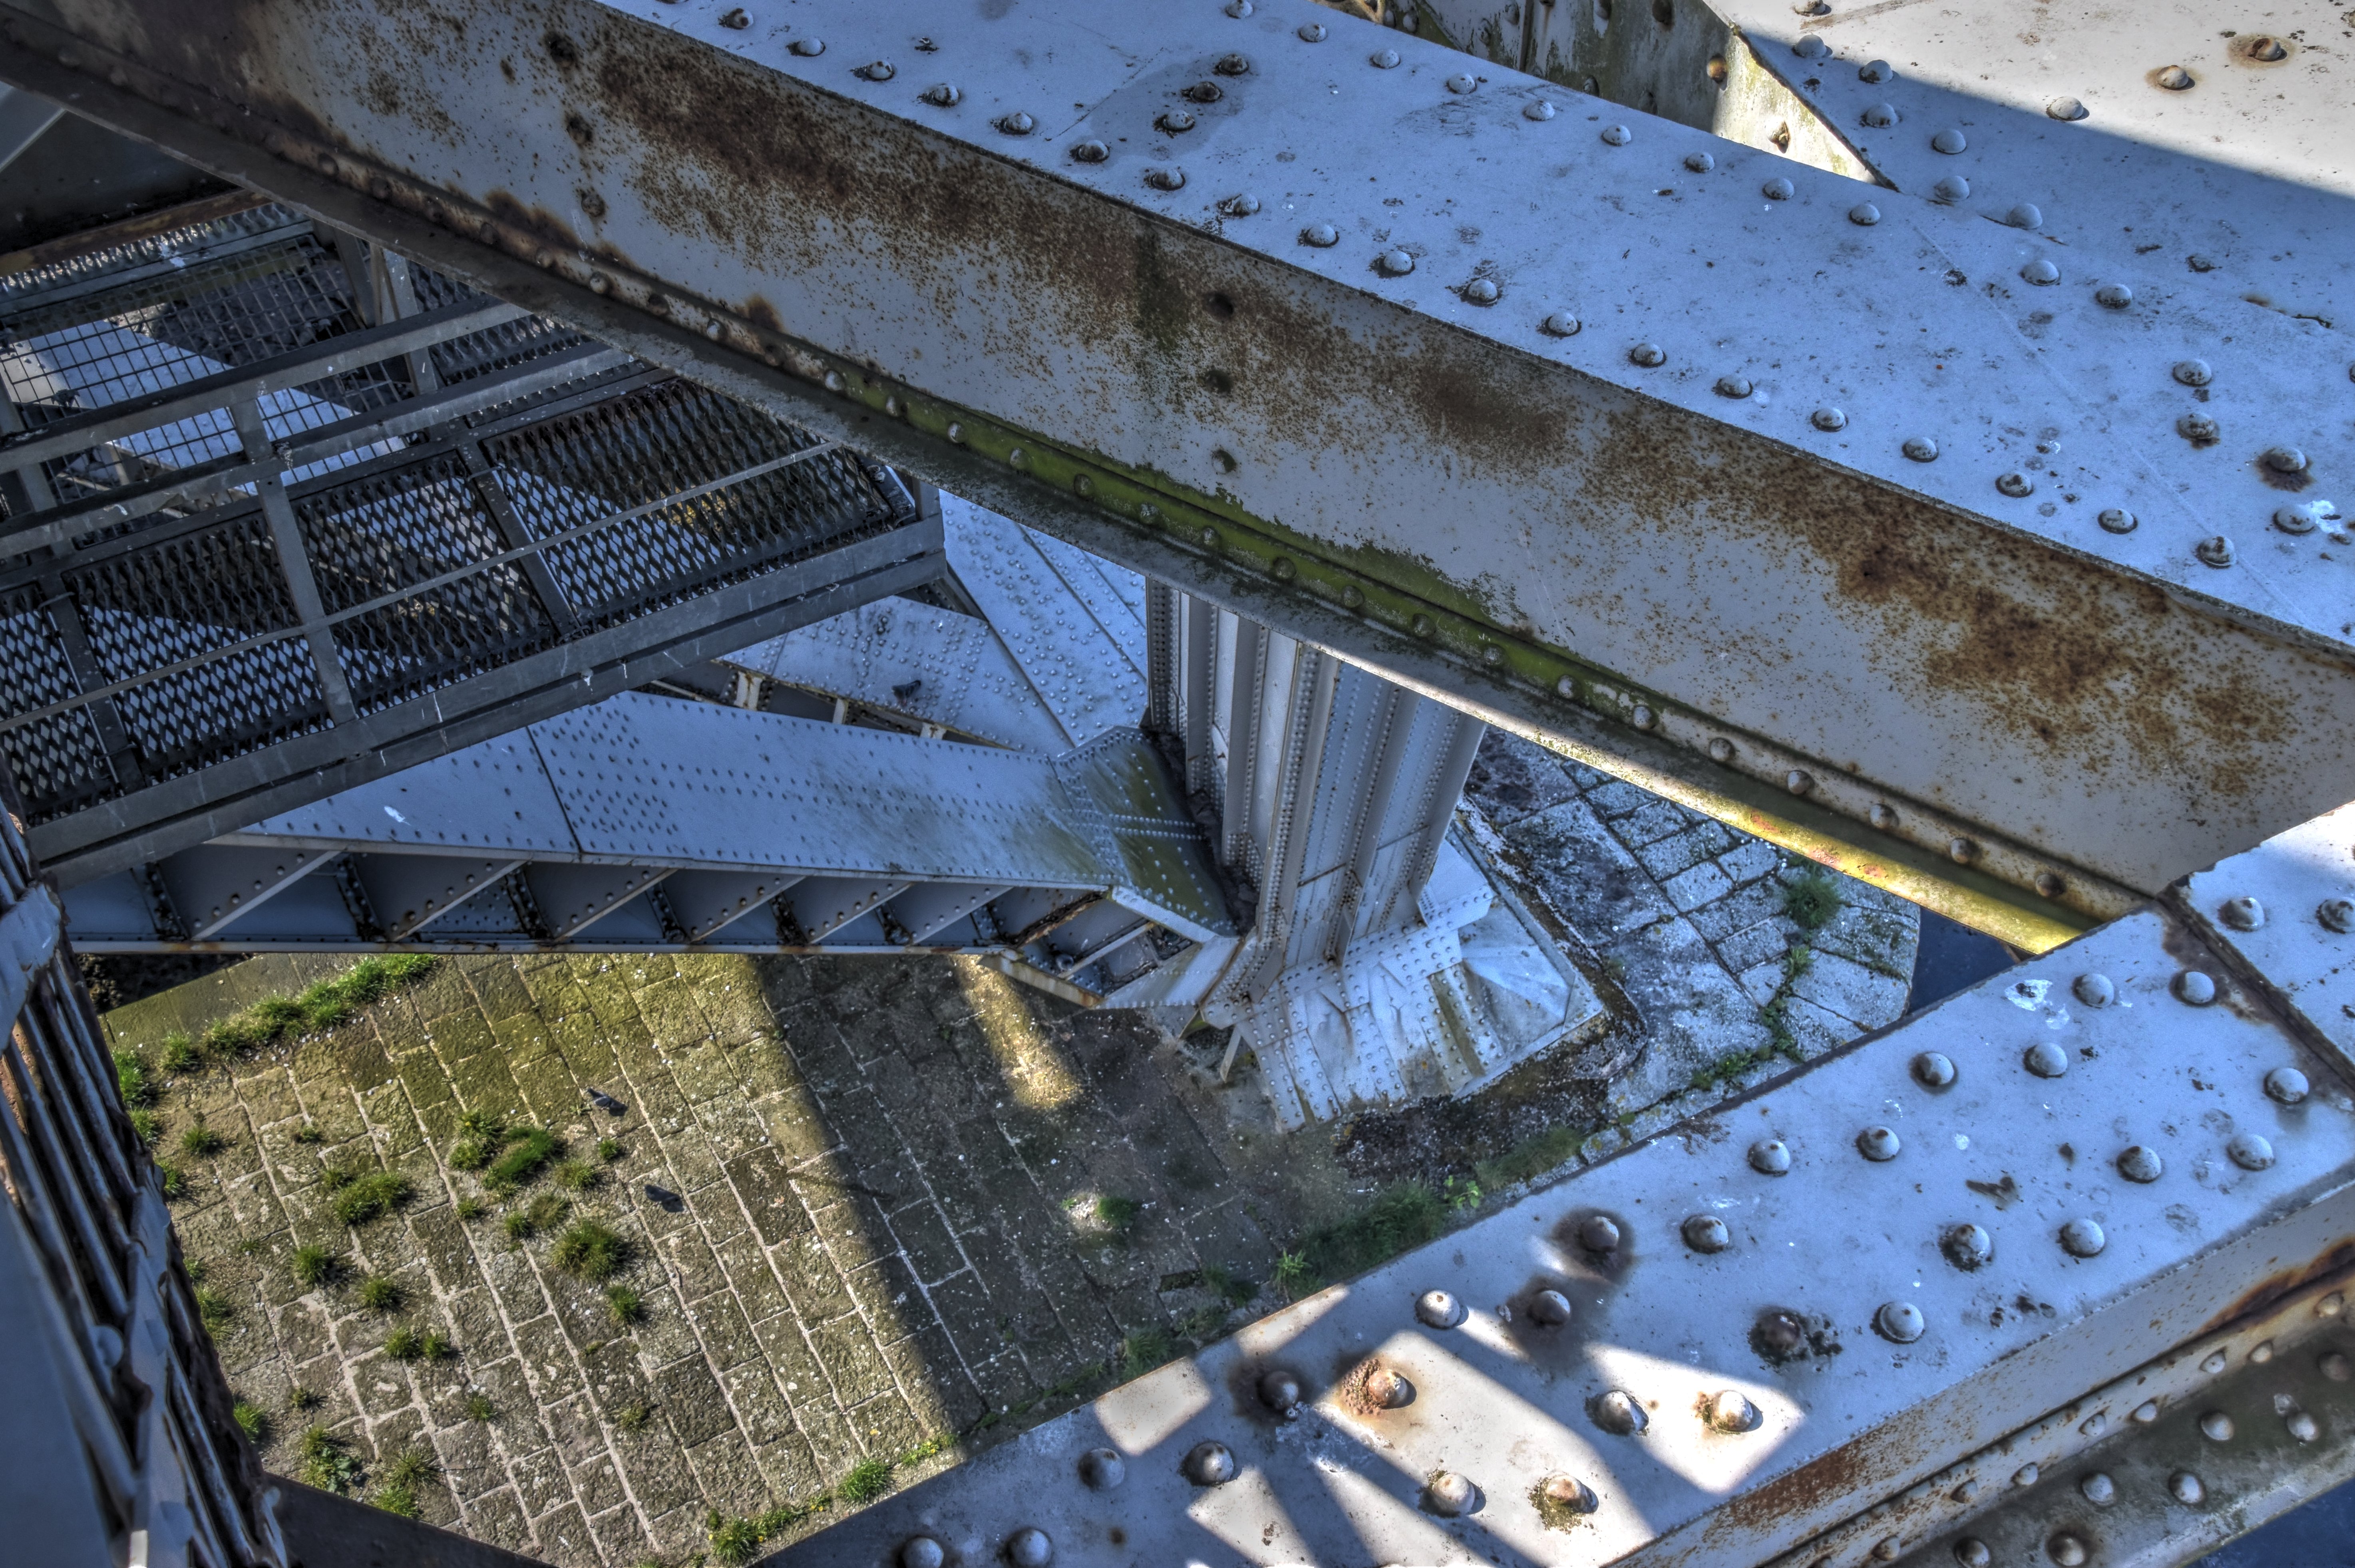
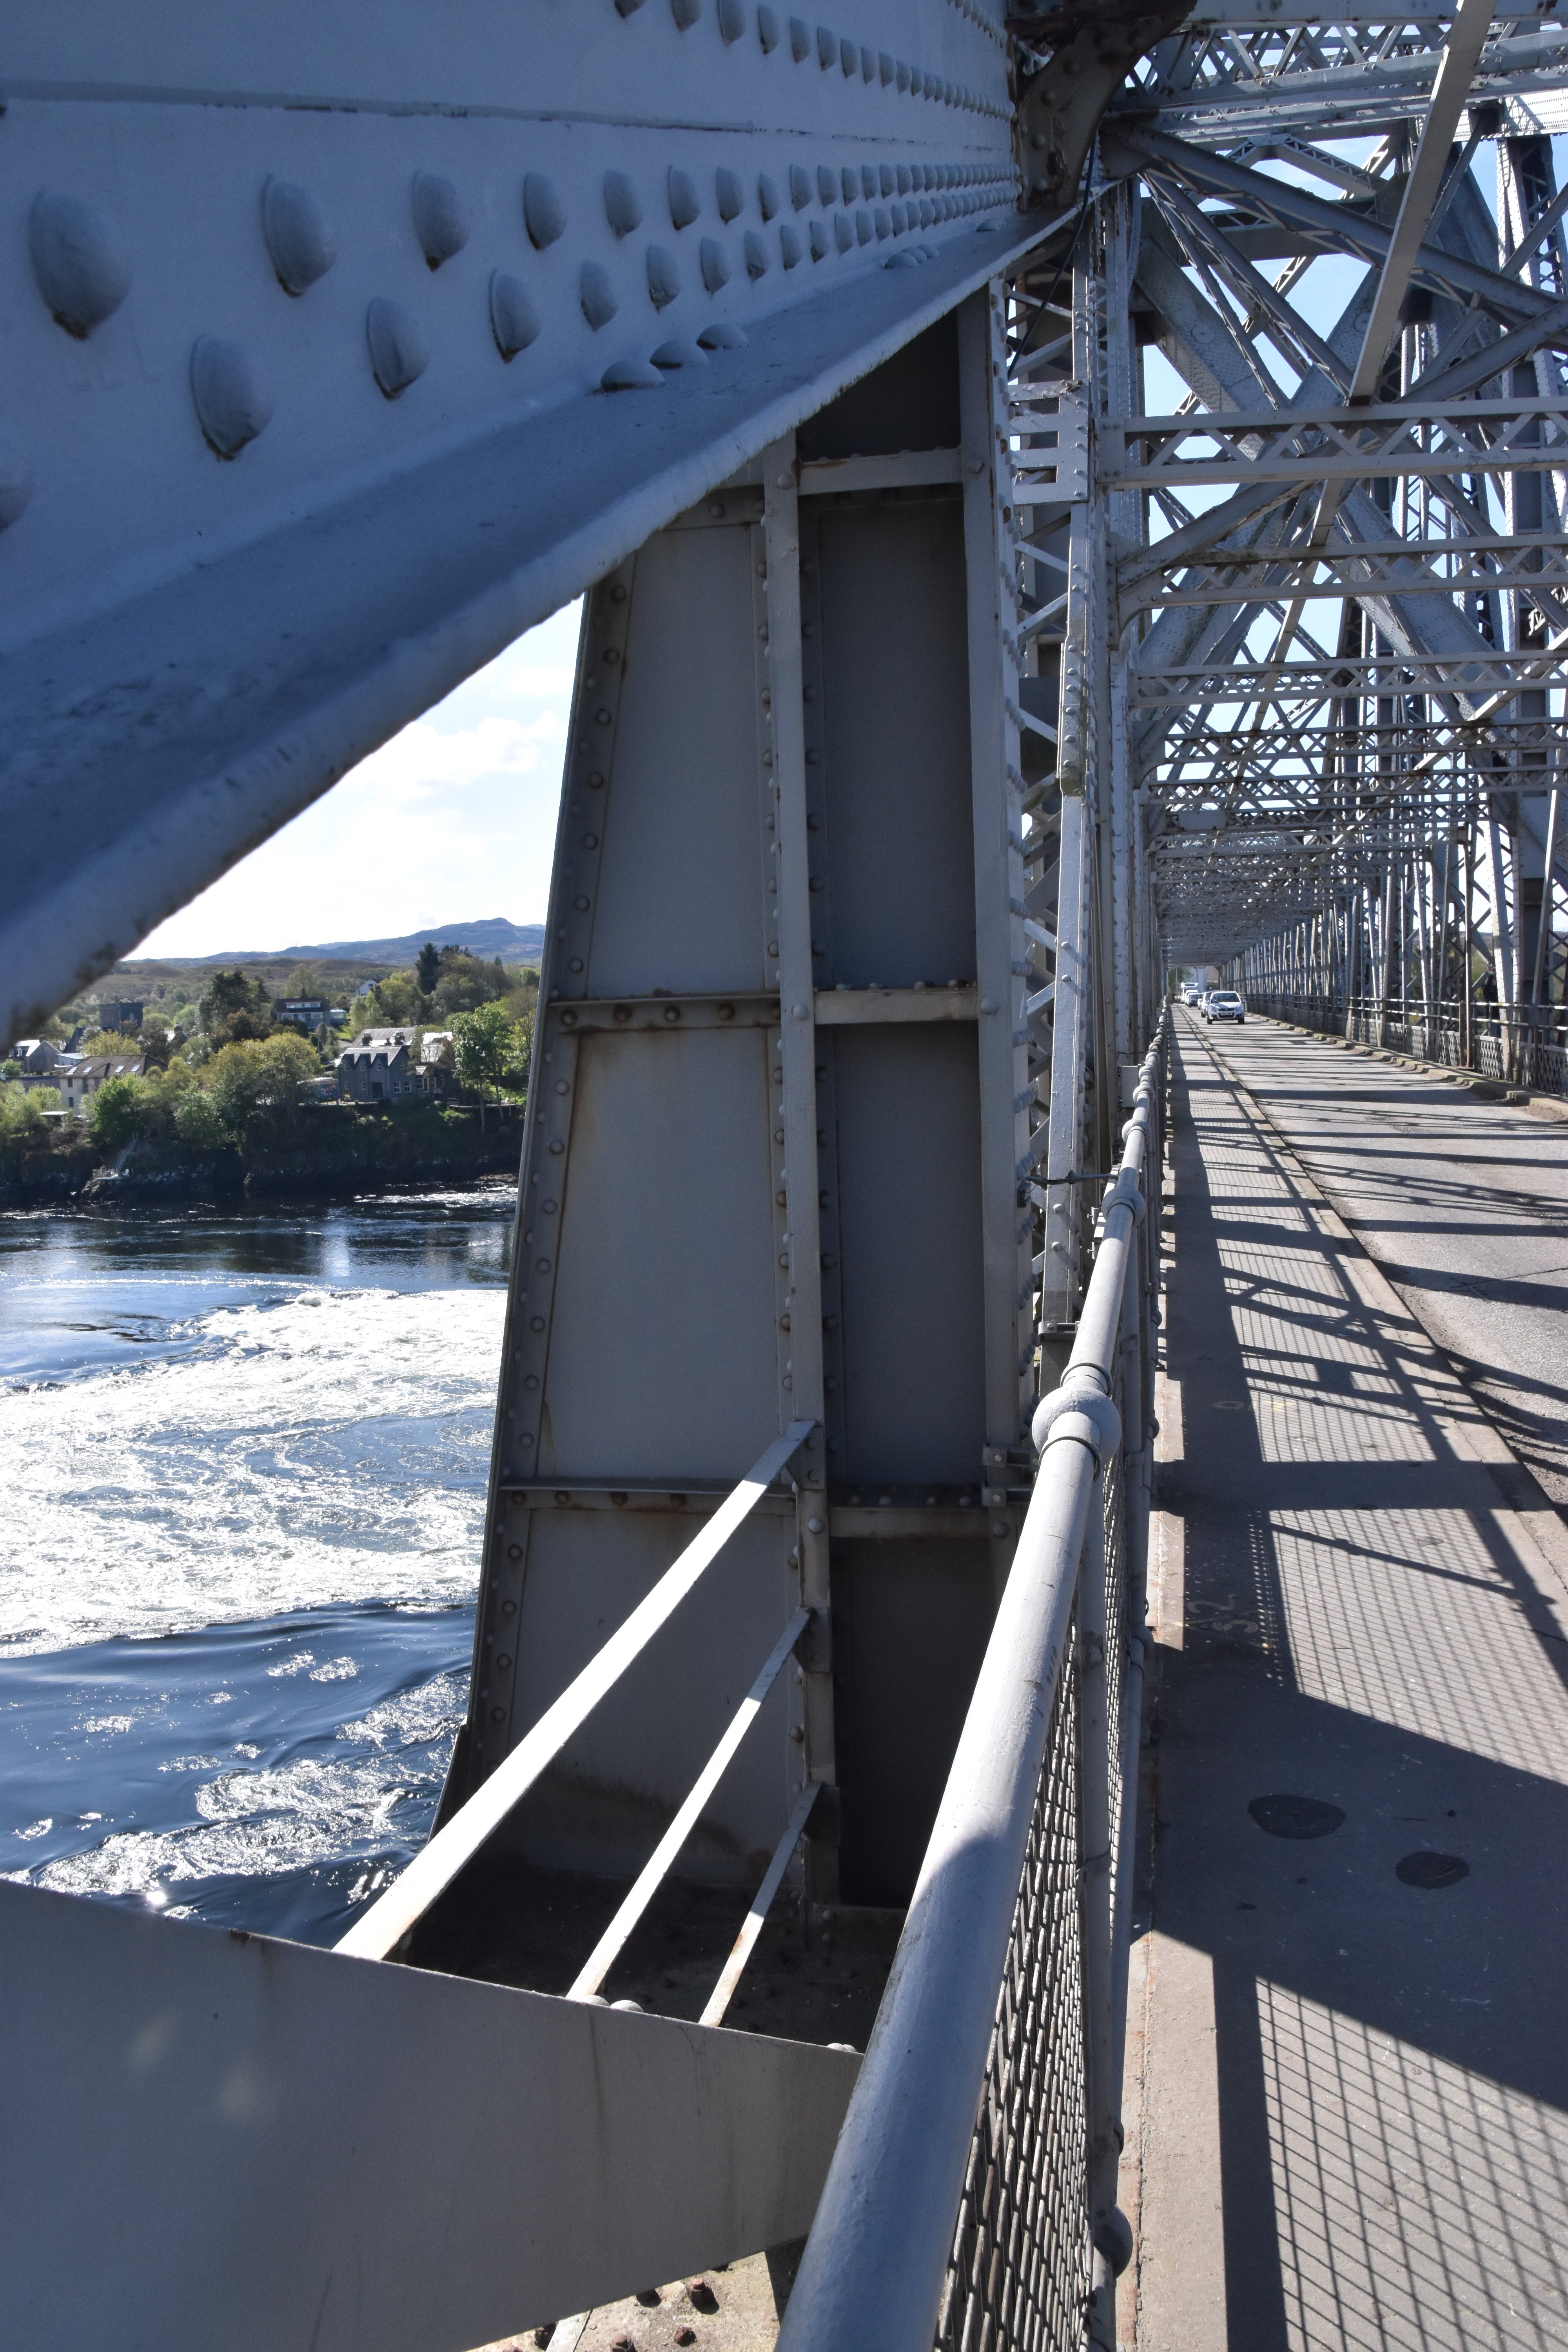
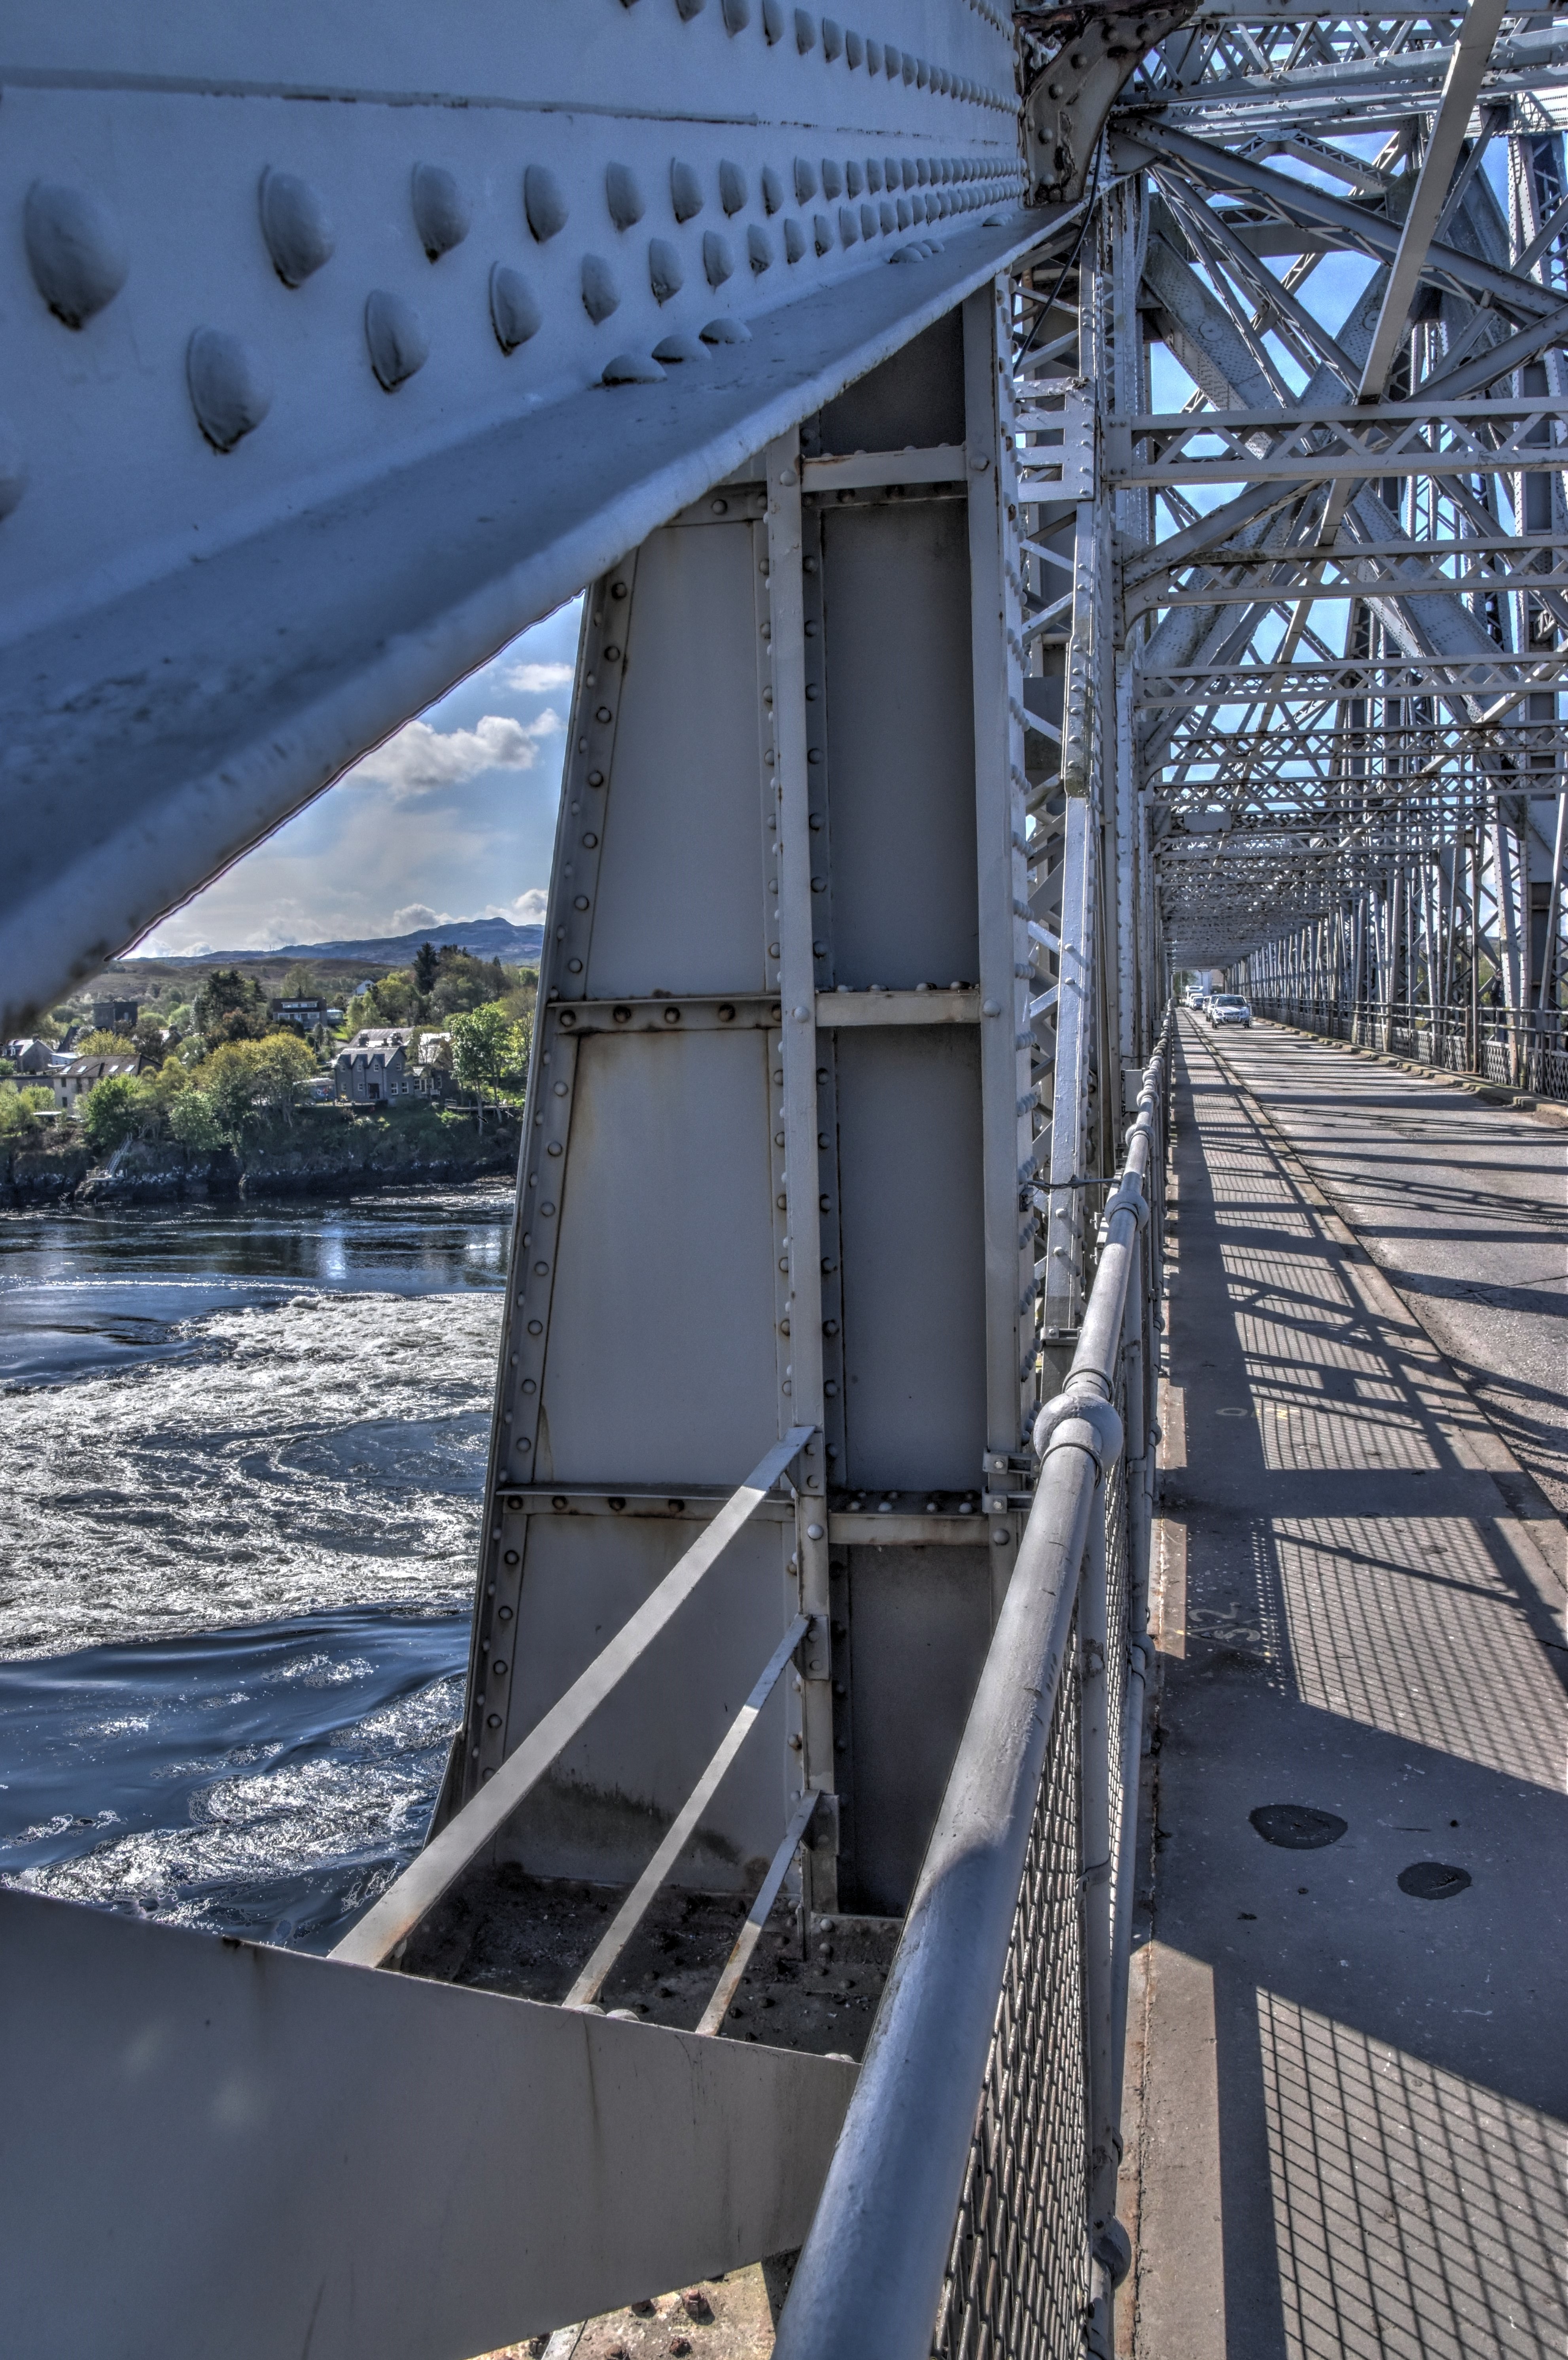
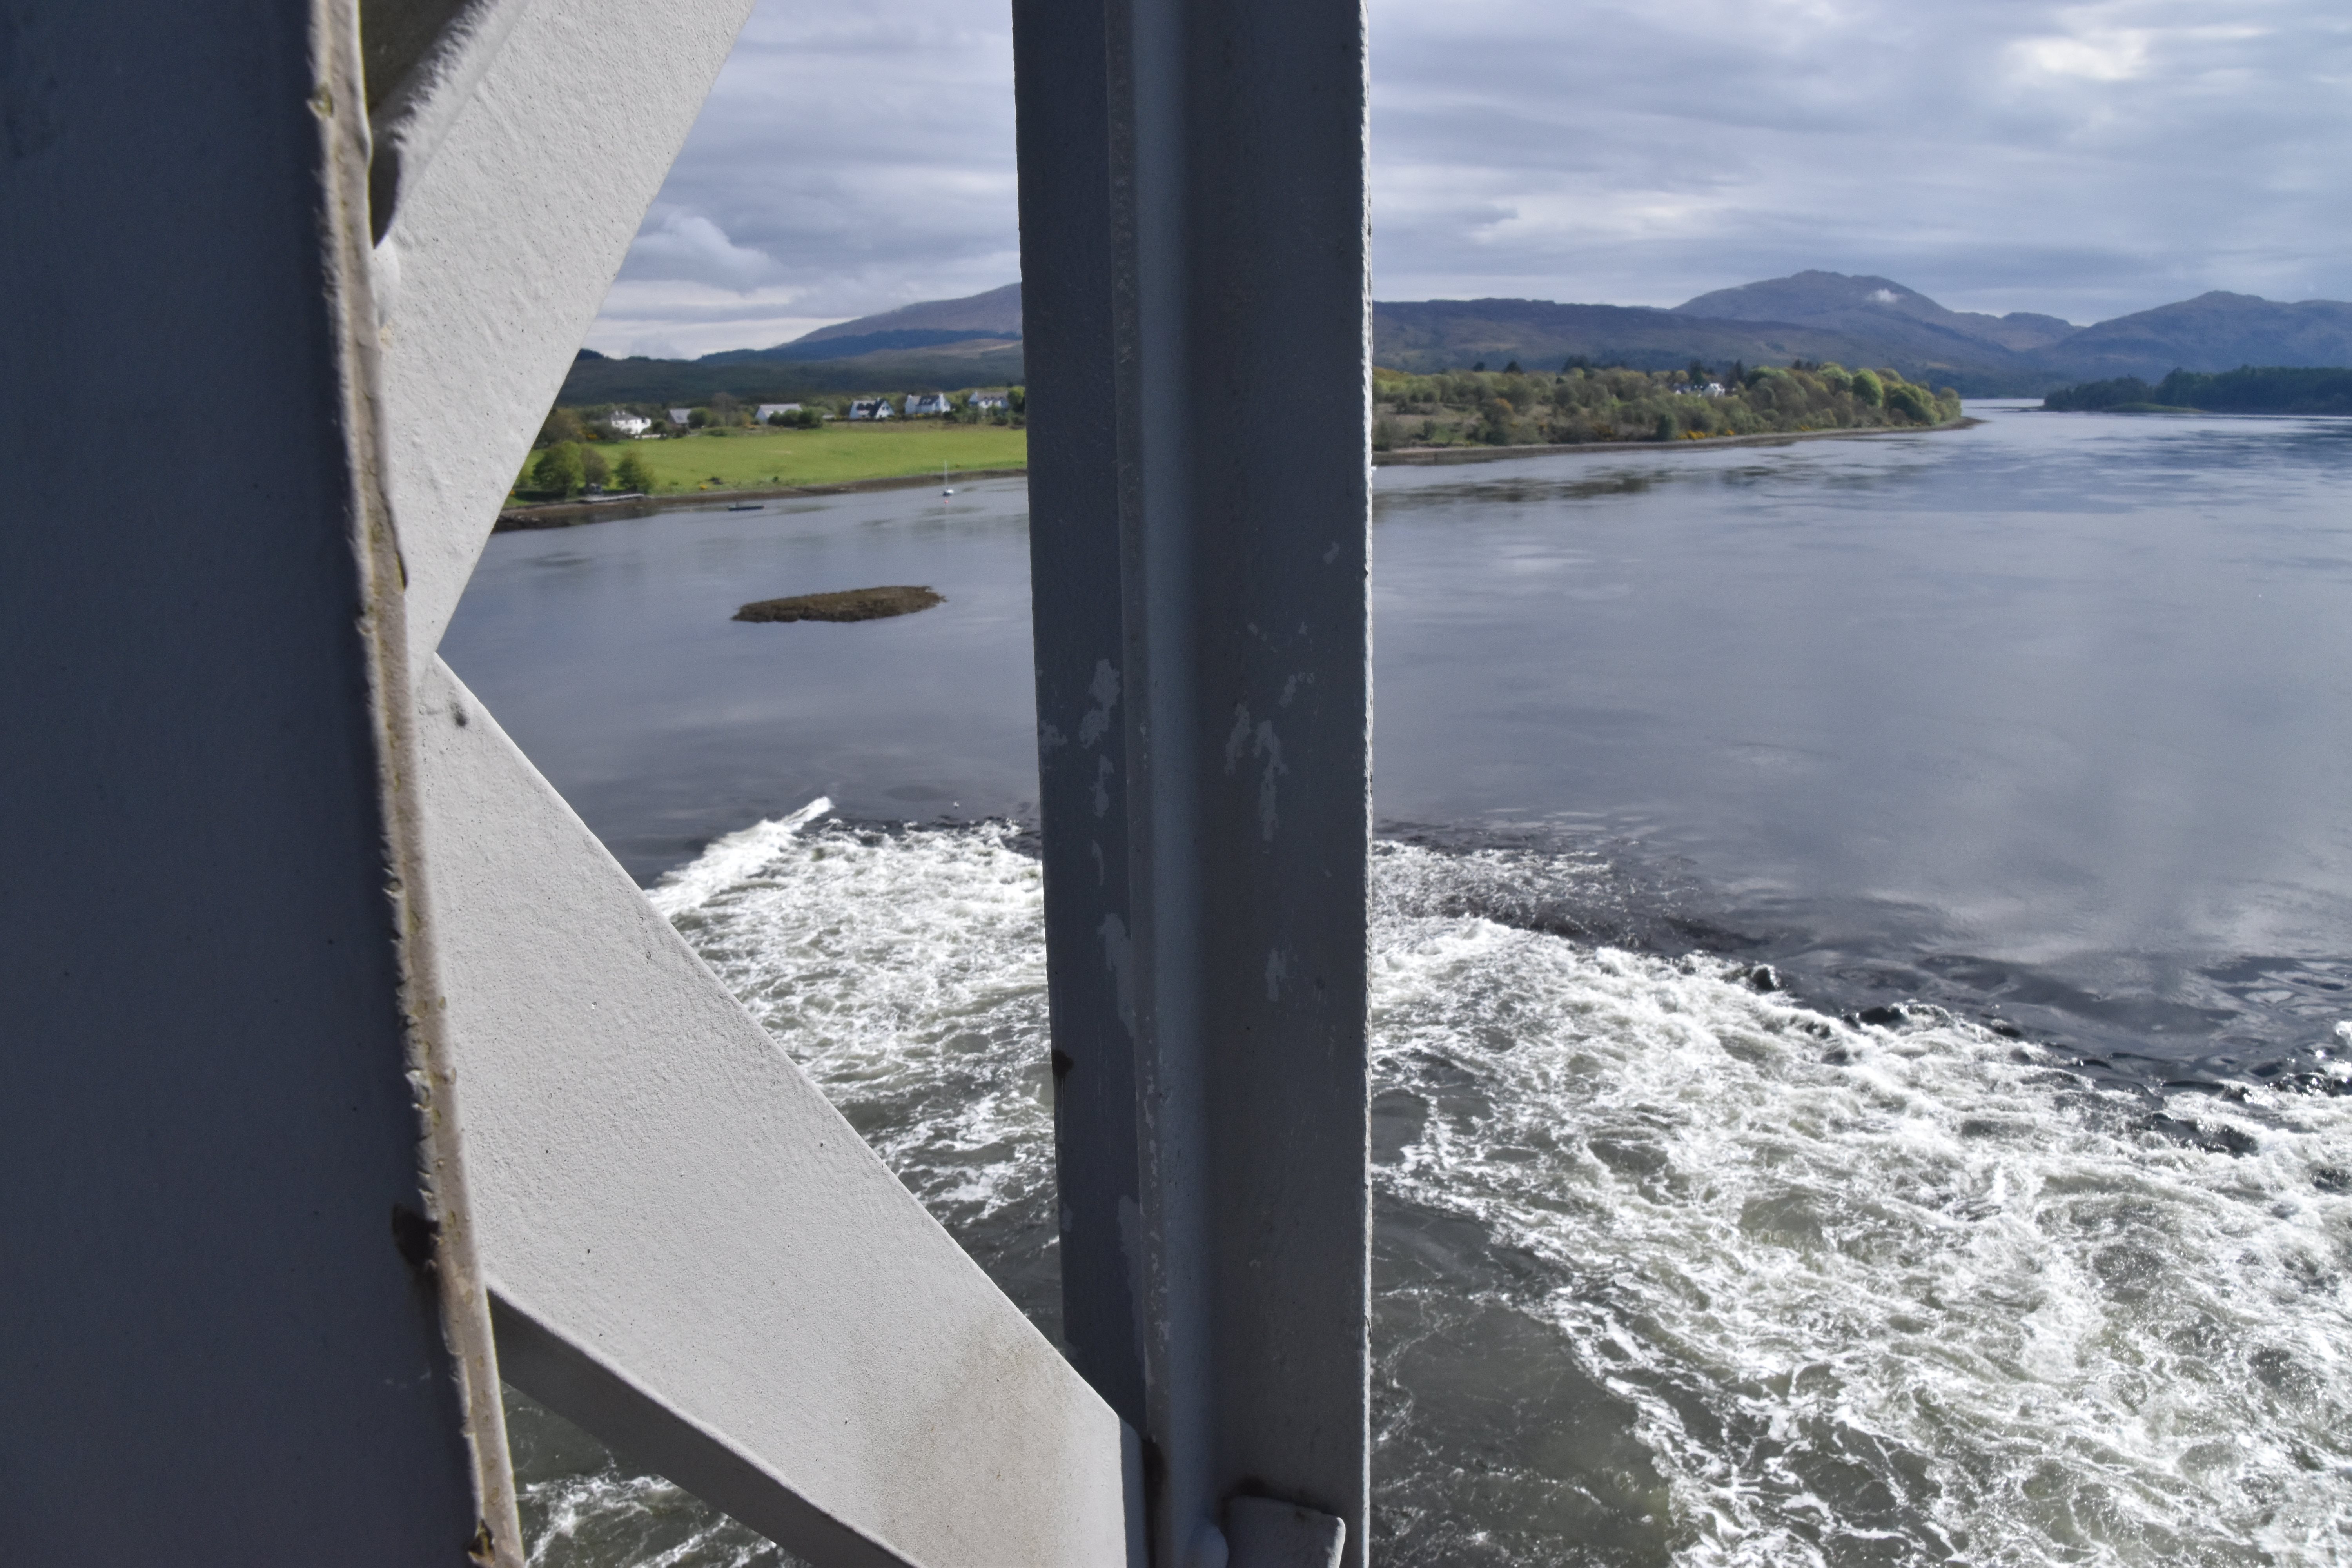
Overview of bearings and piers.
![]()
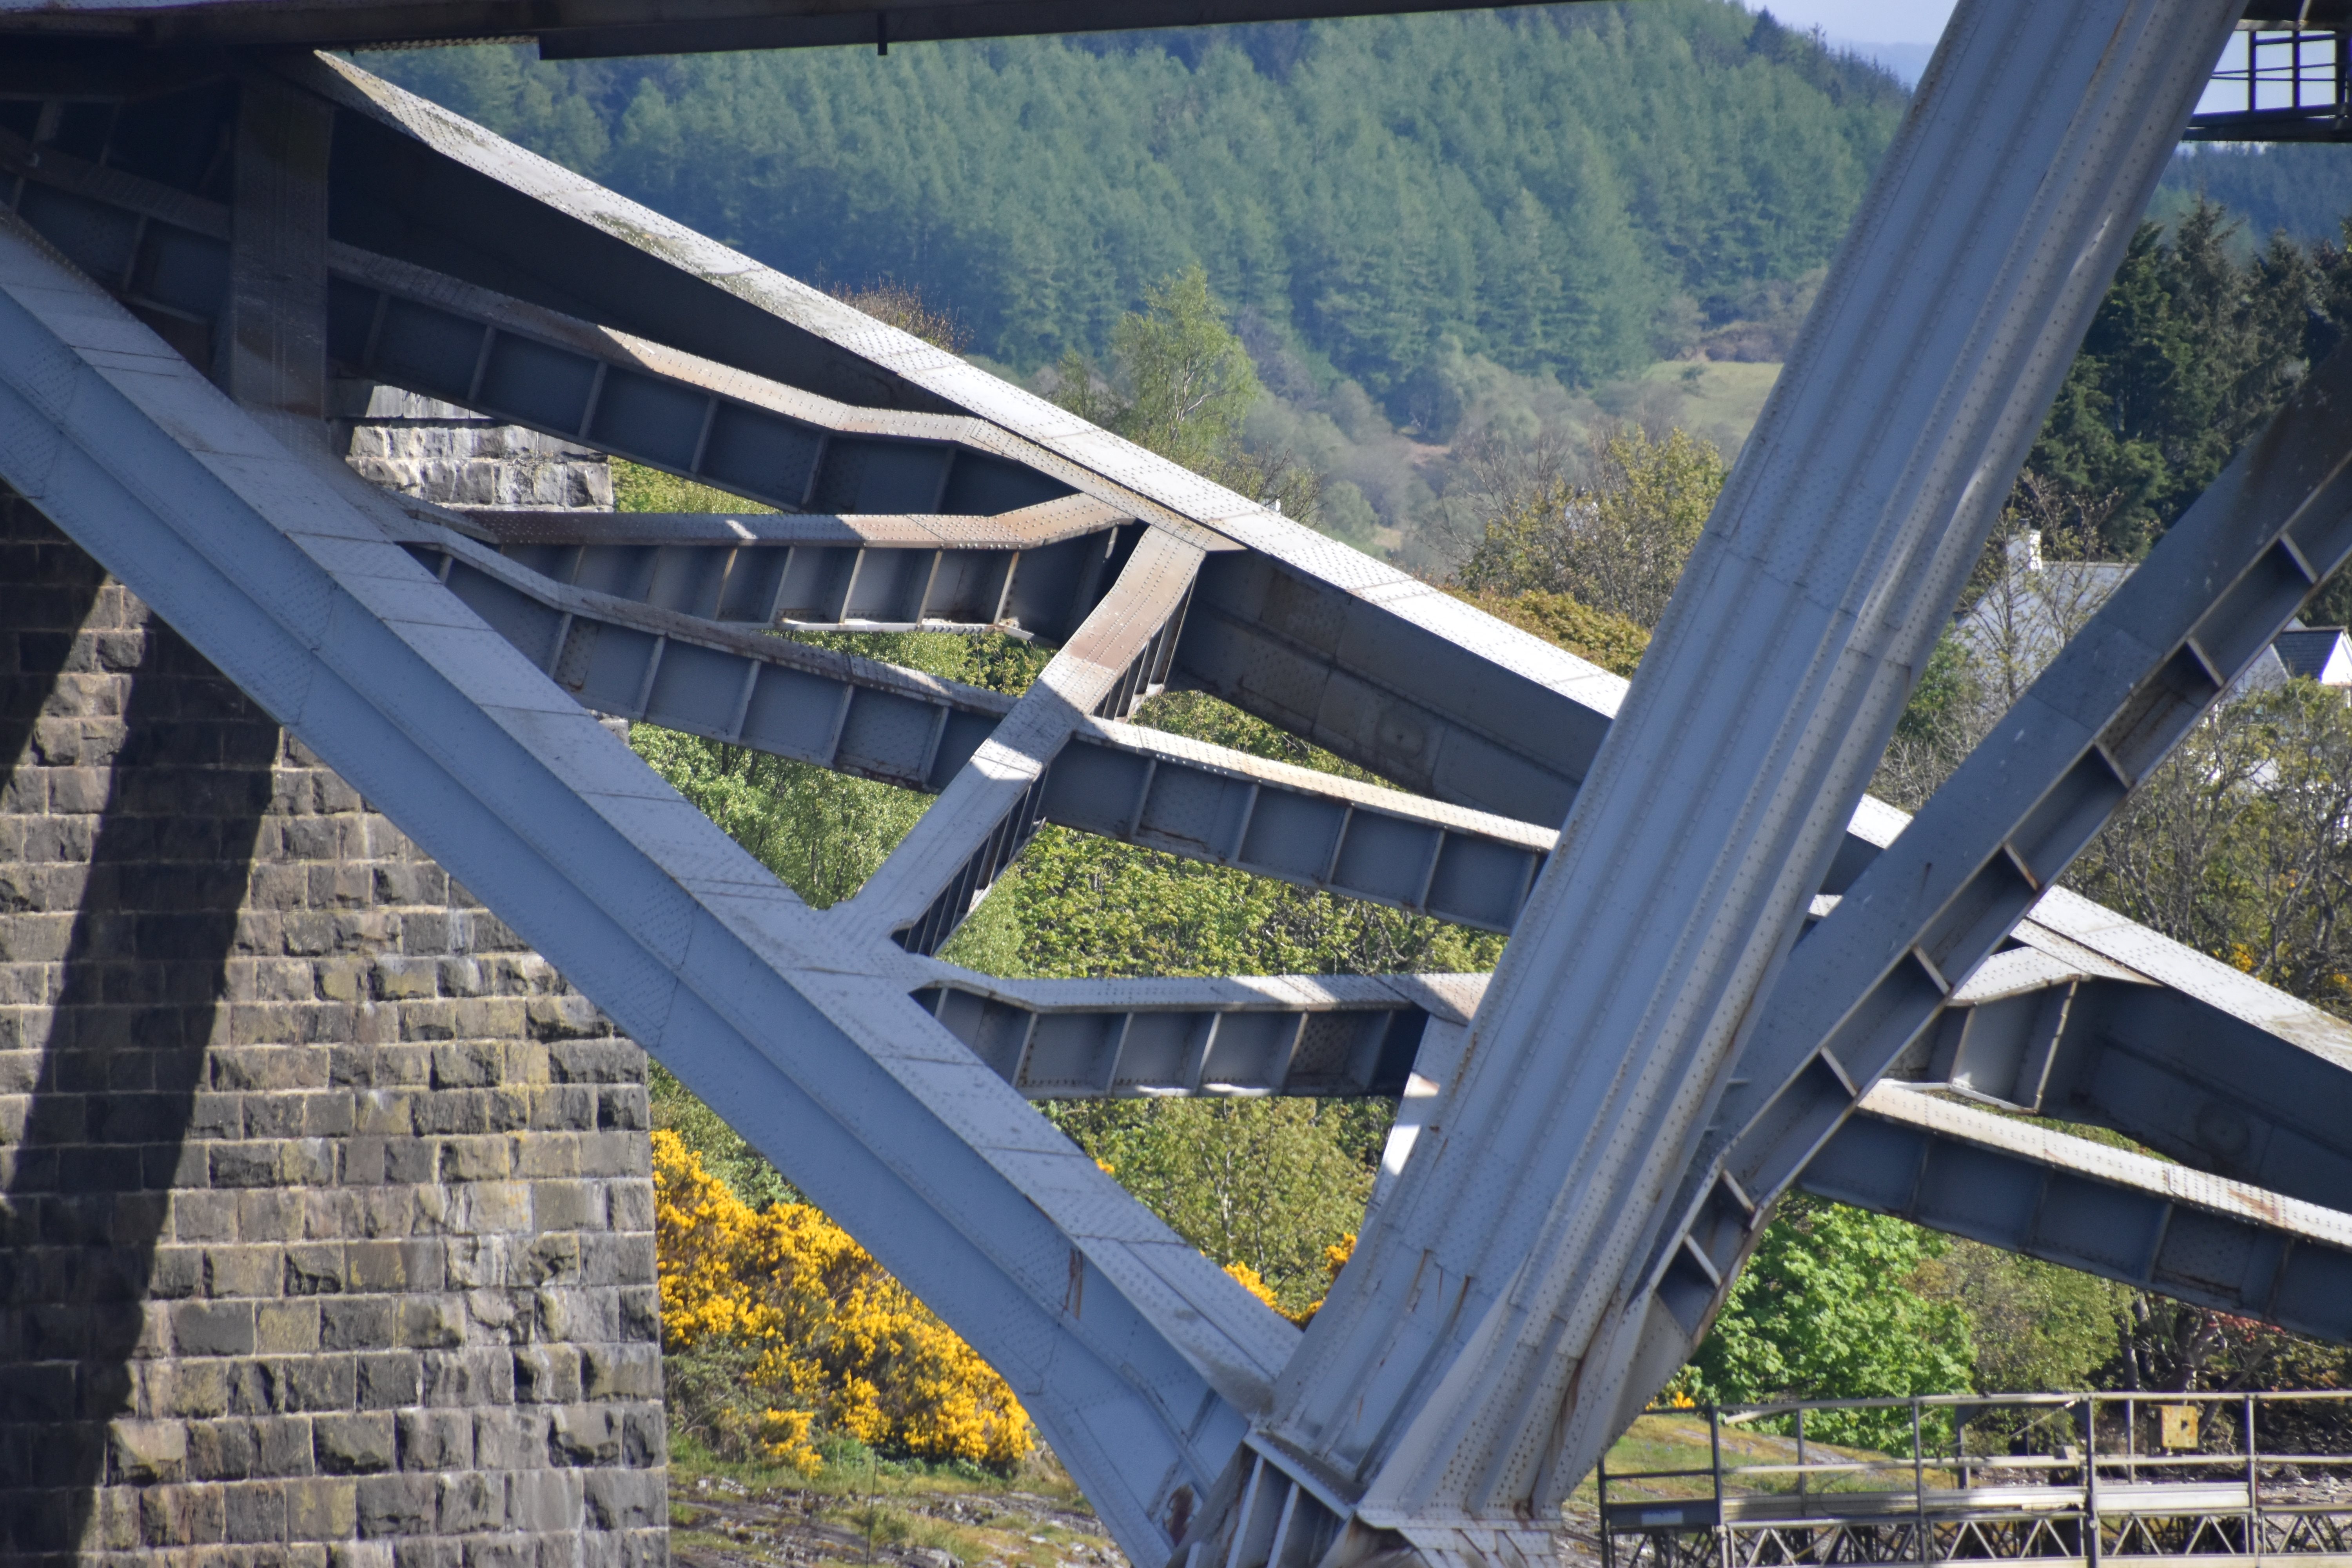
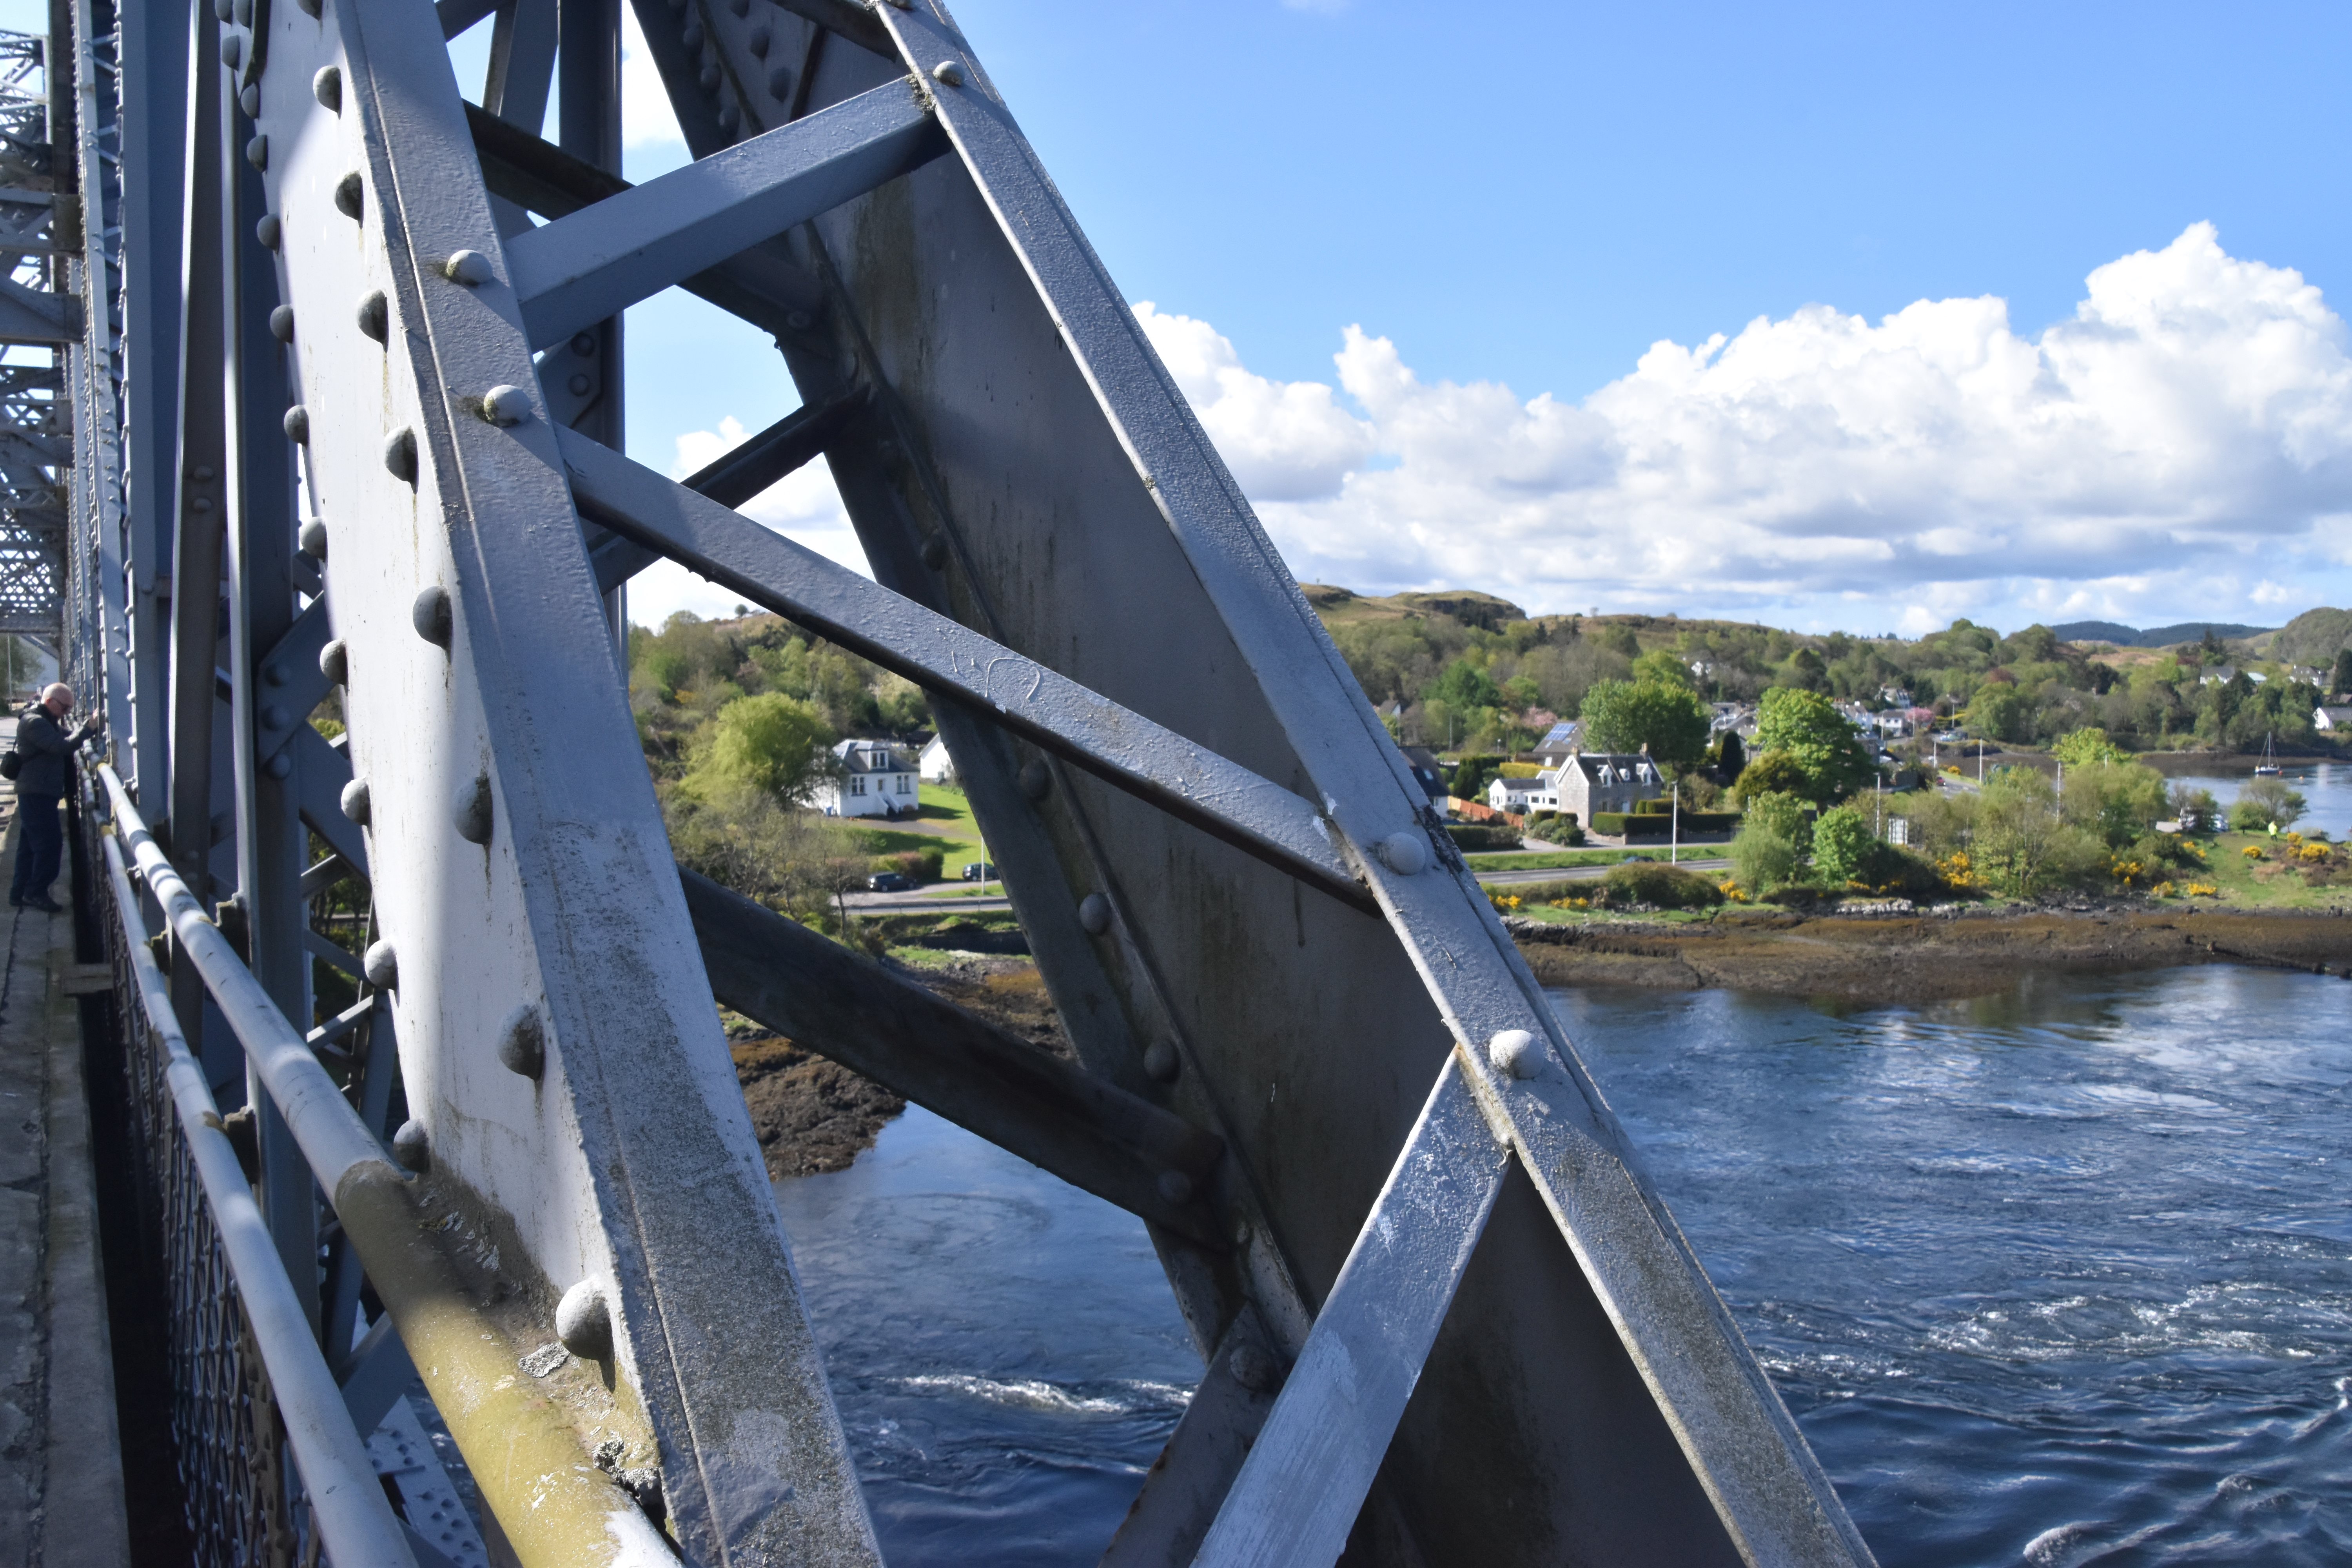
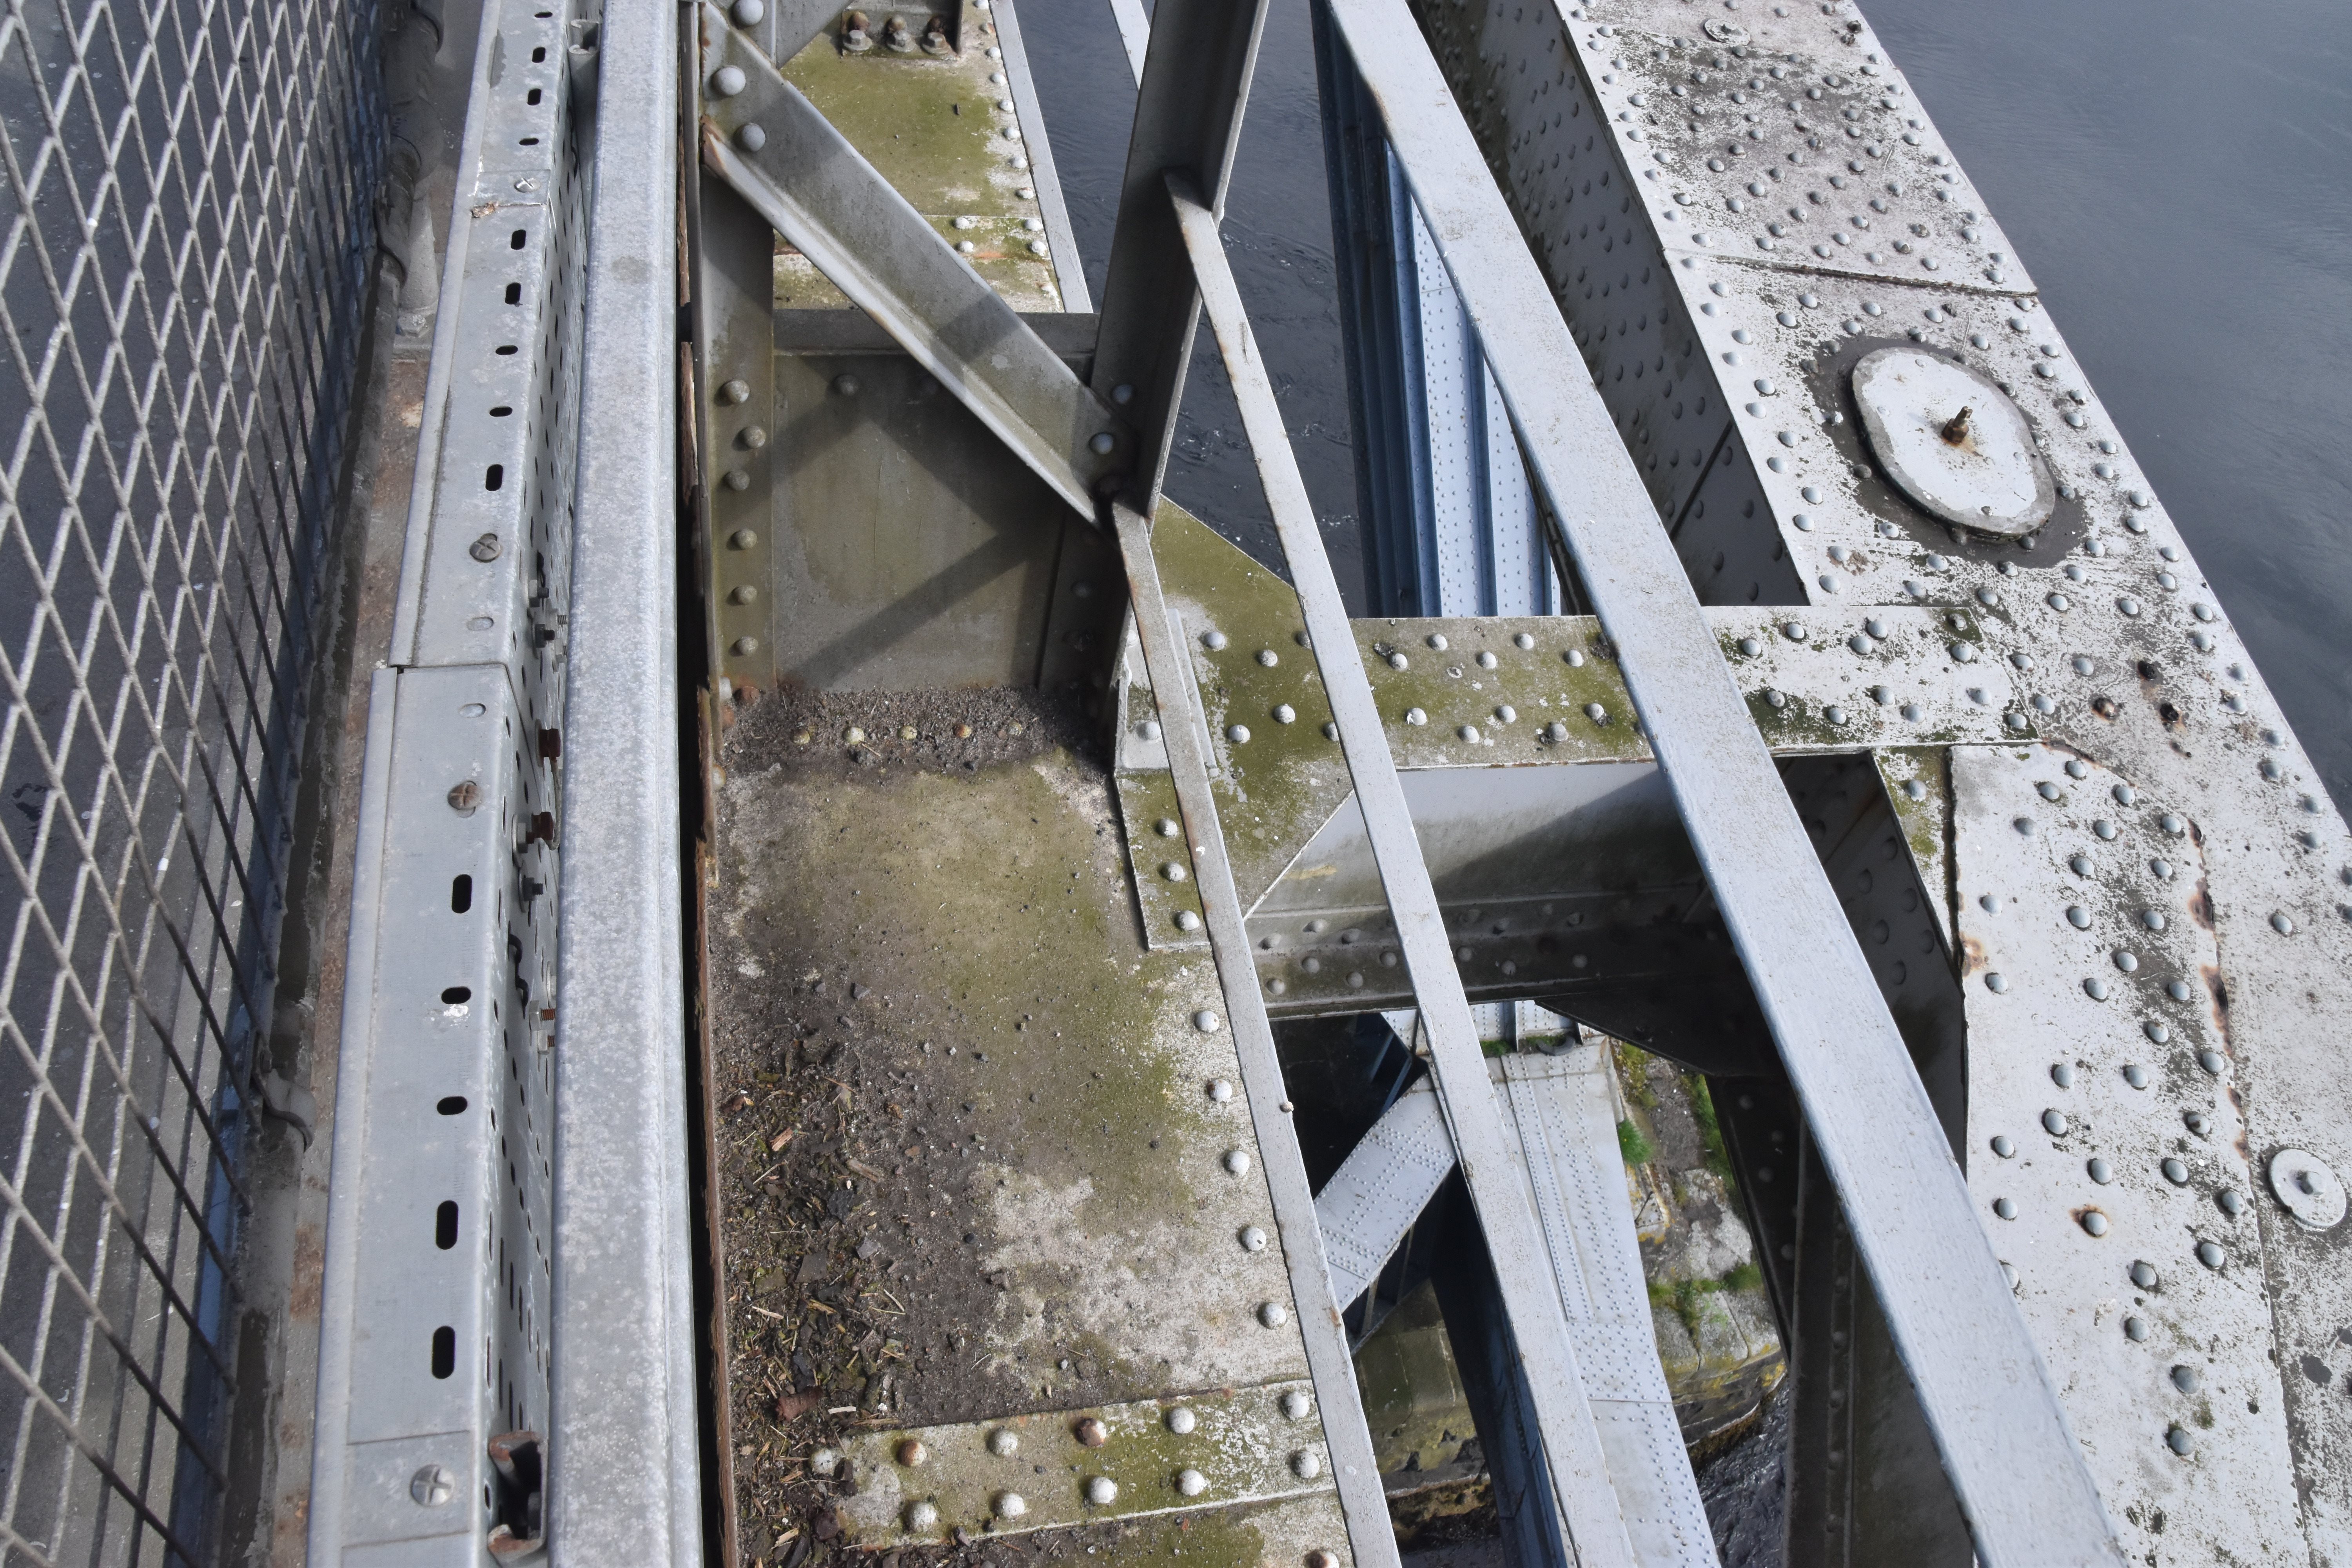
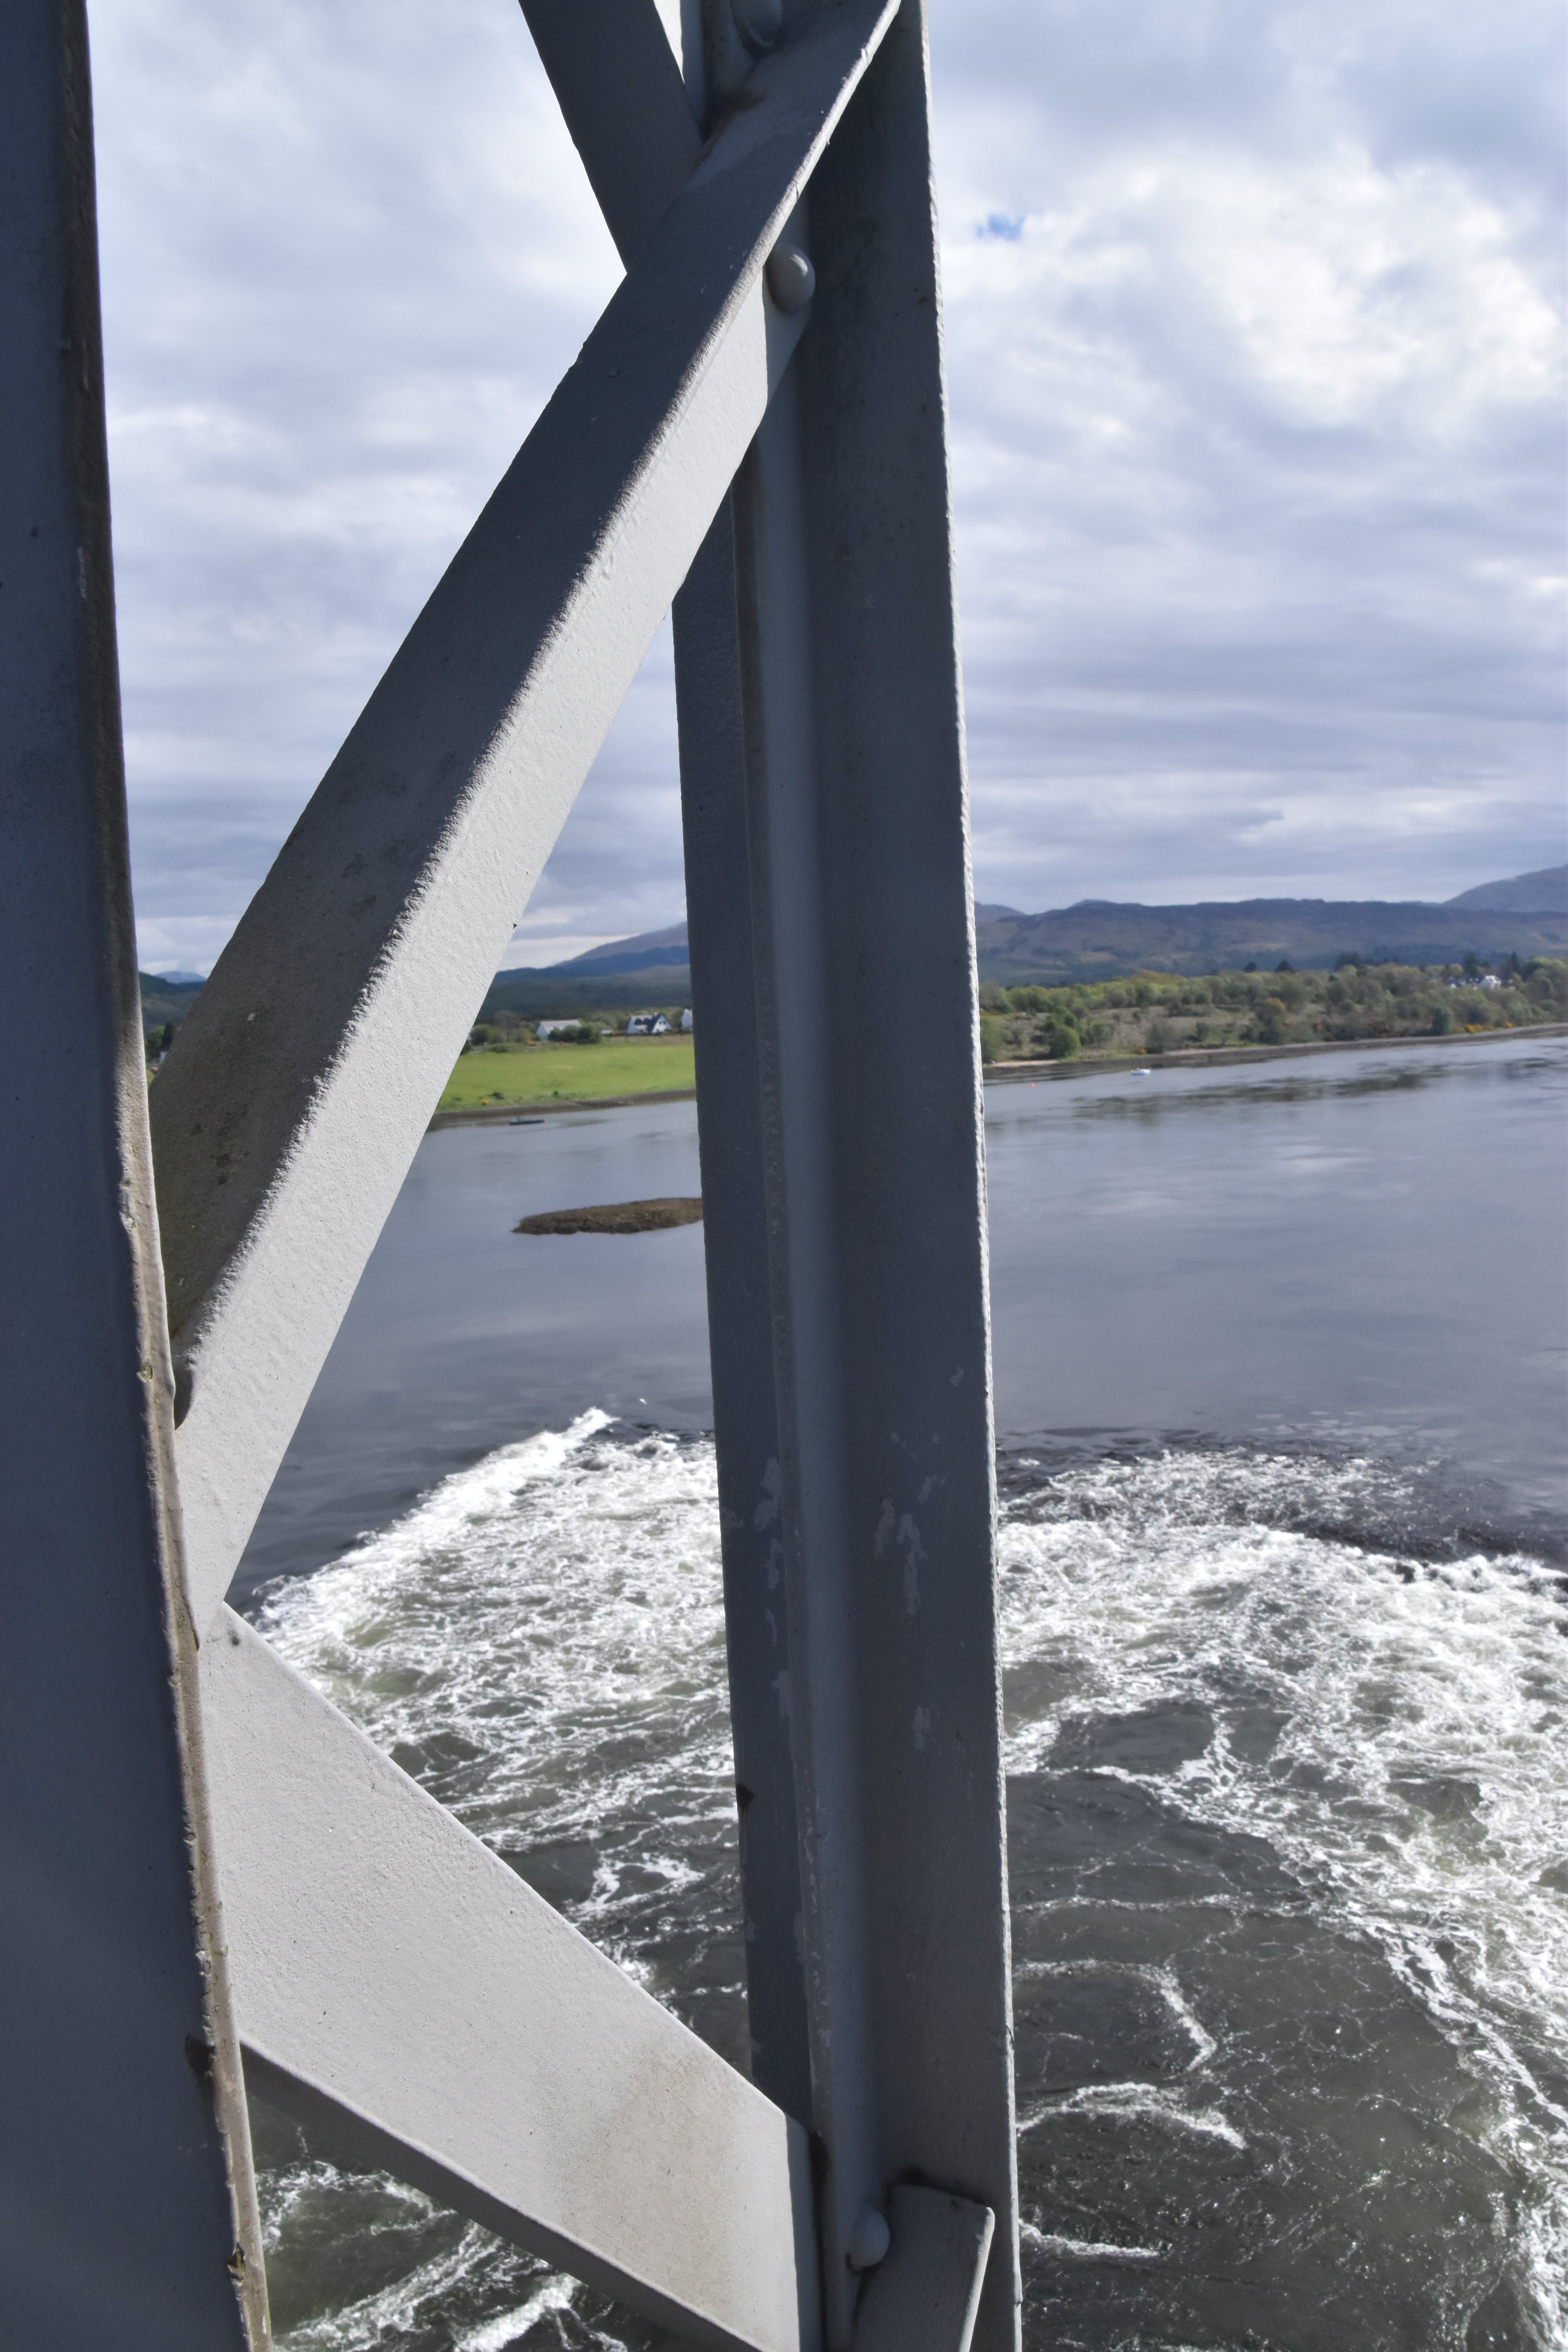
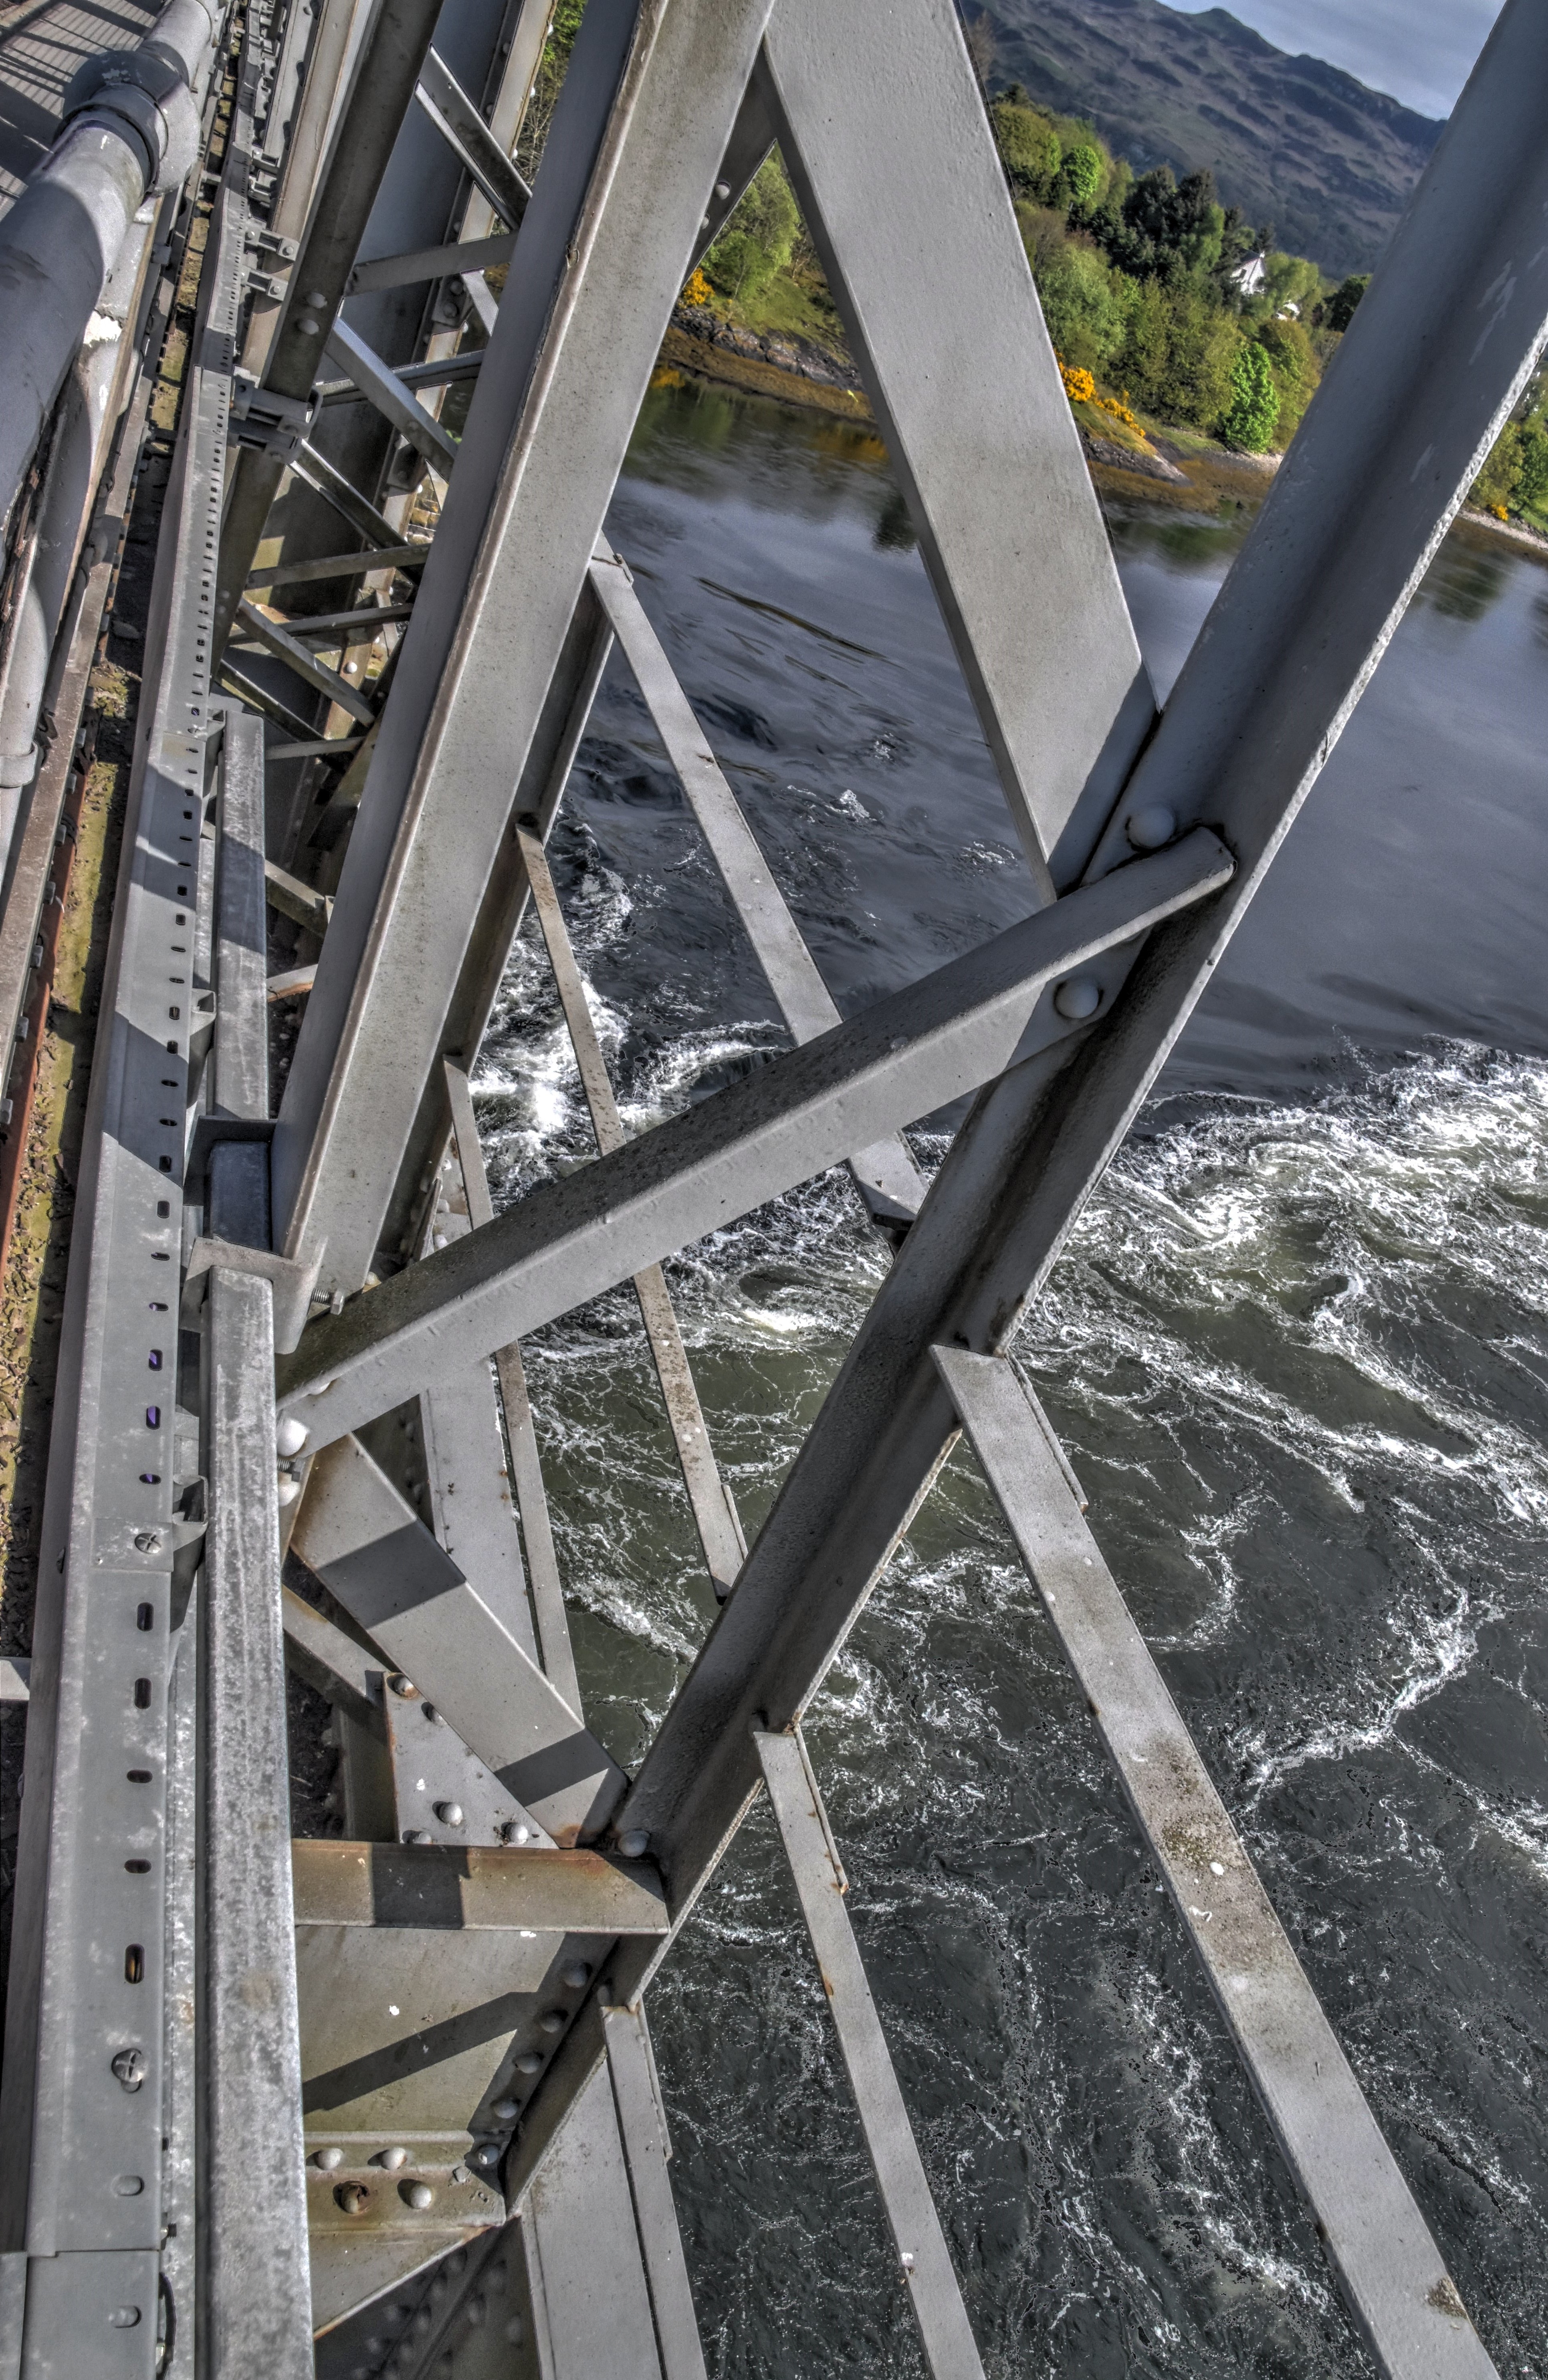
View of back strut.
![]()
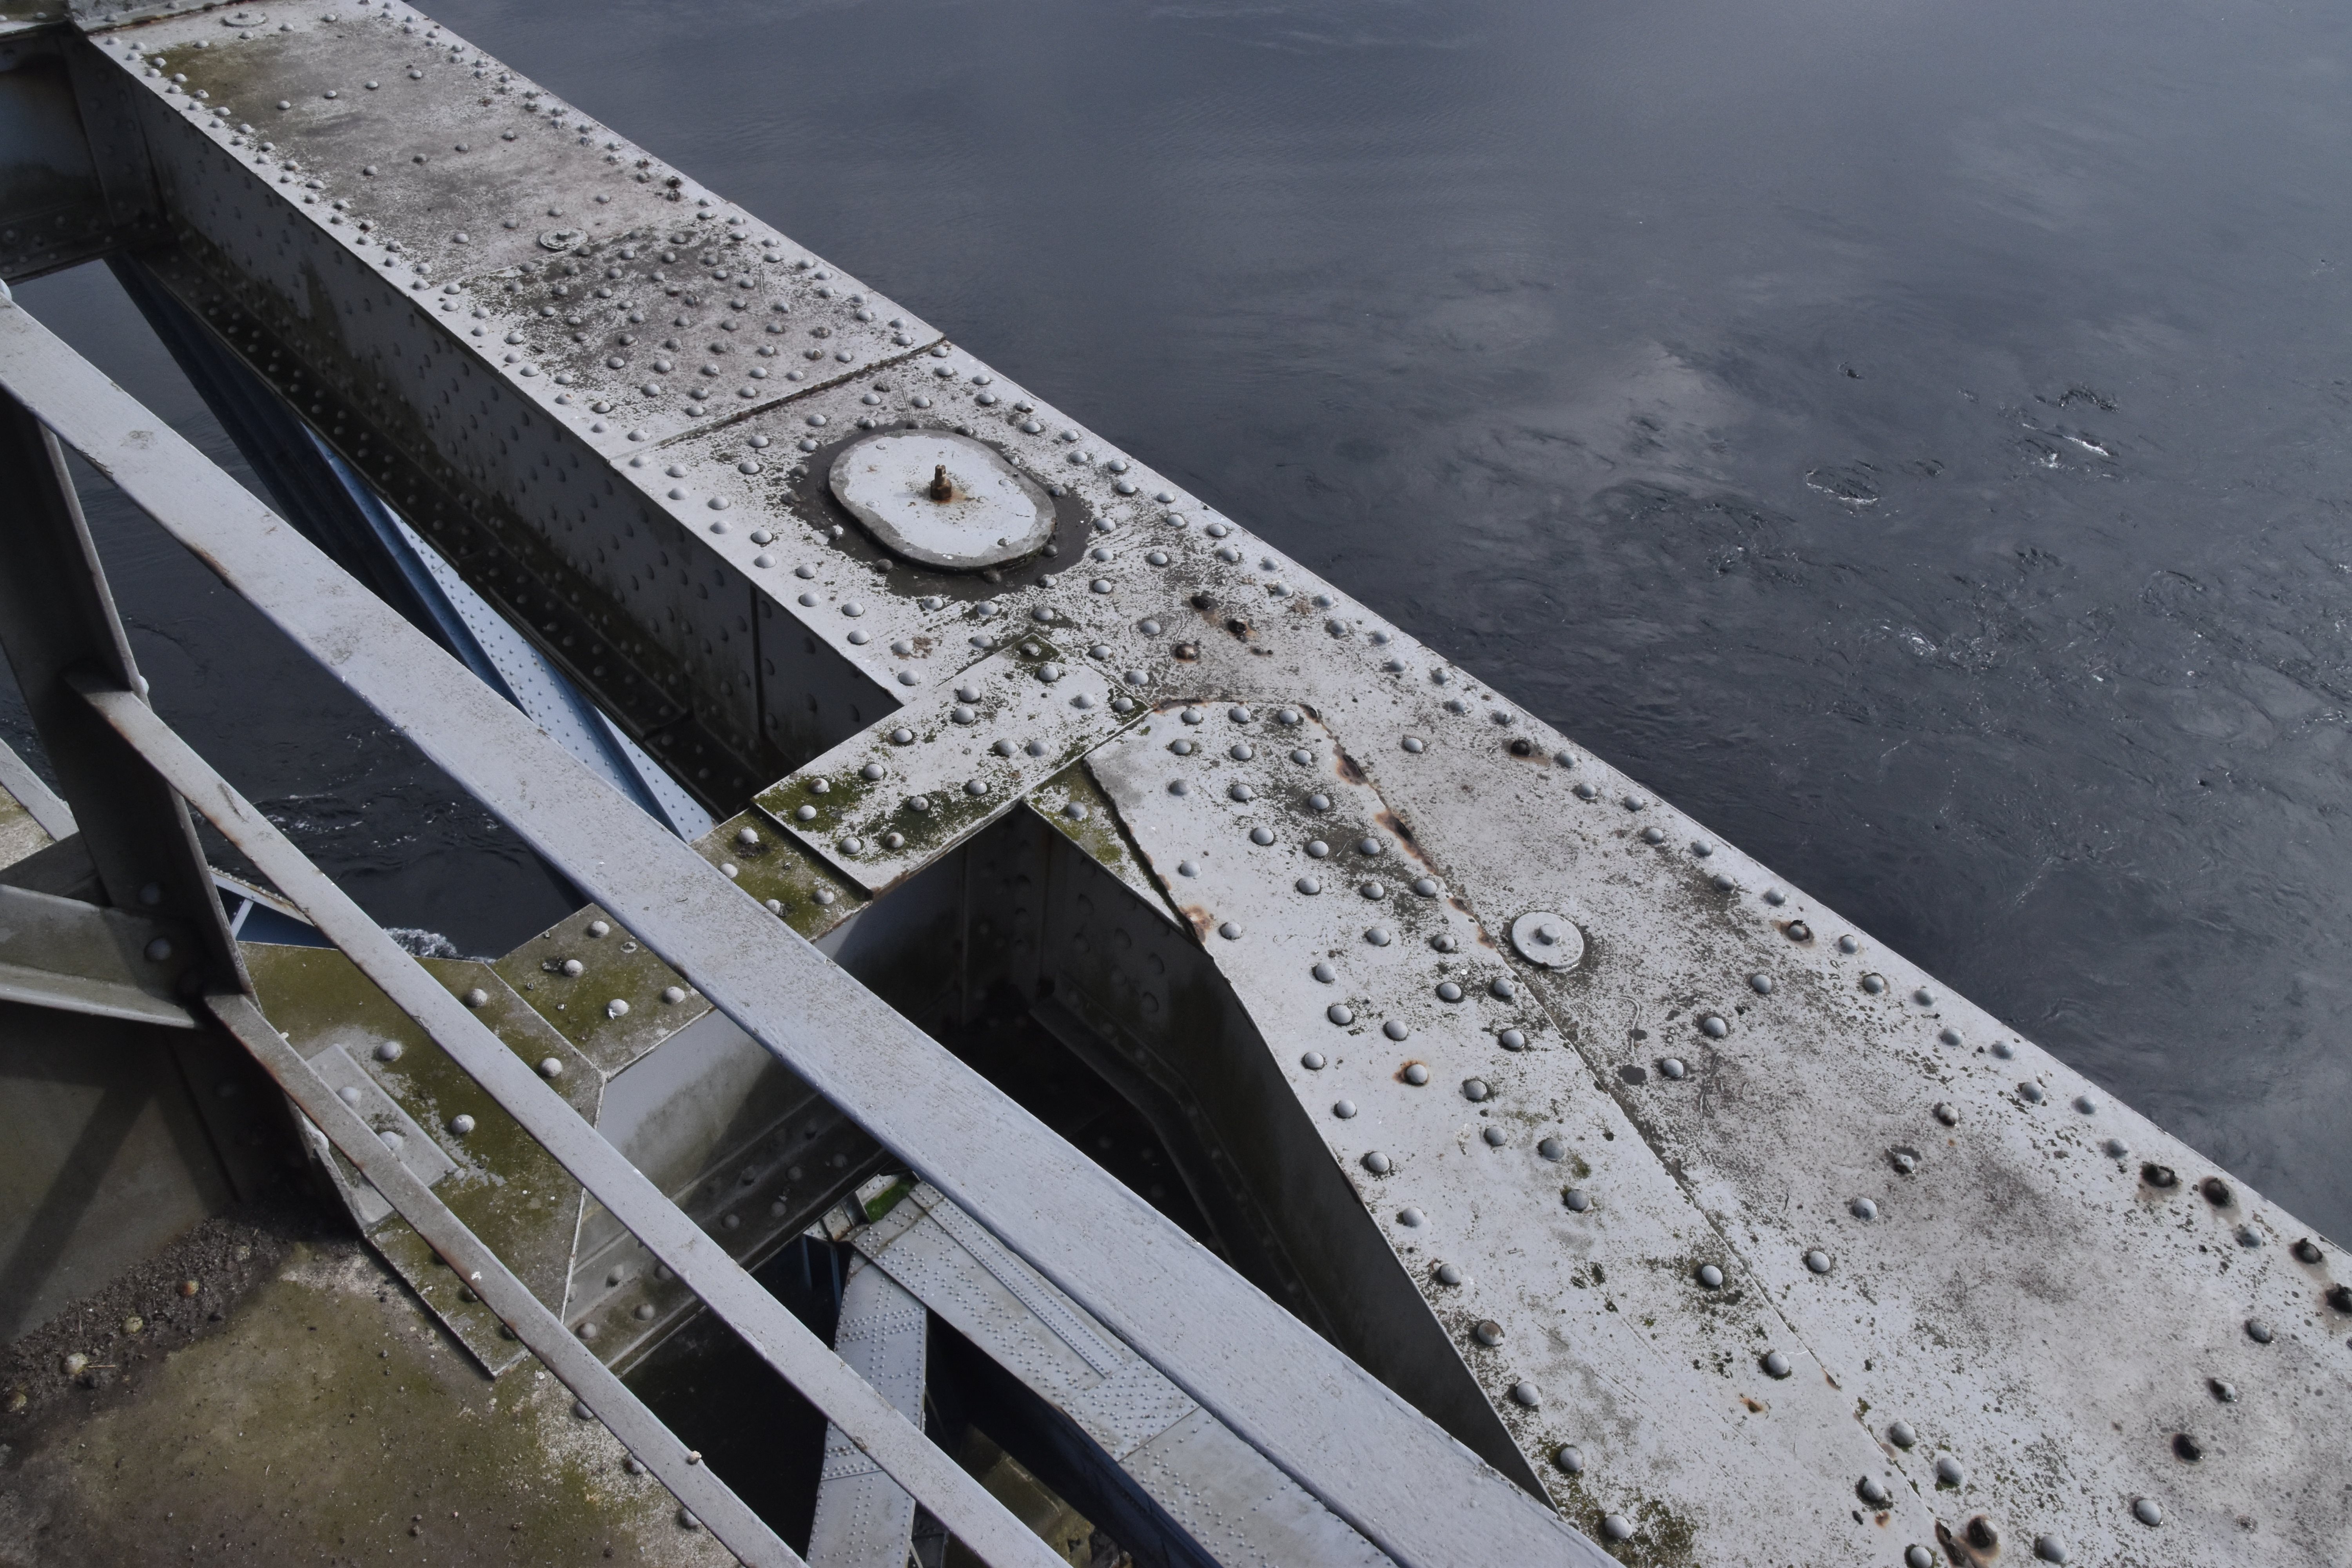
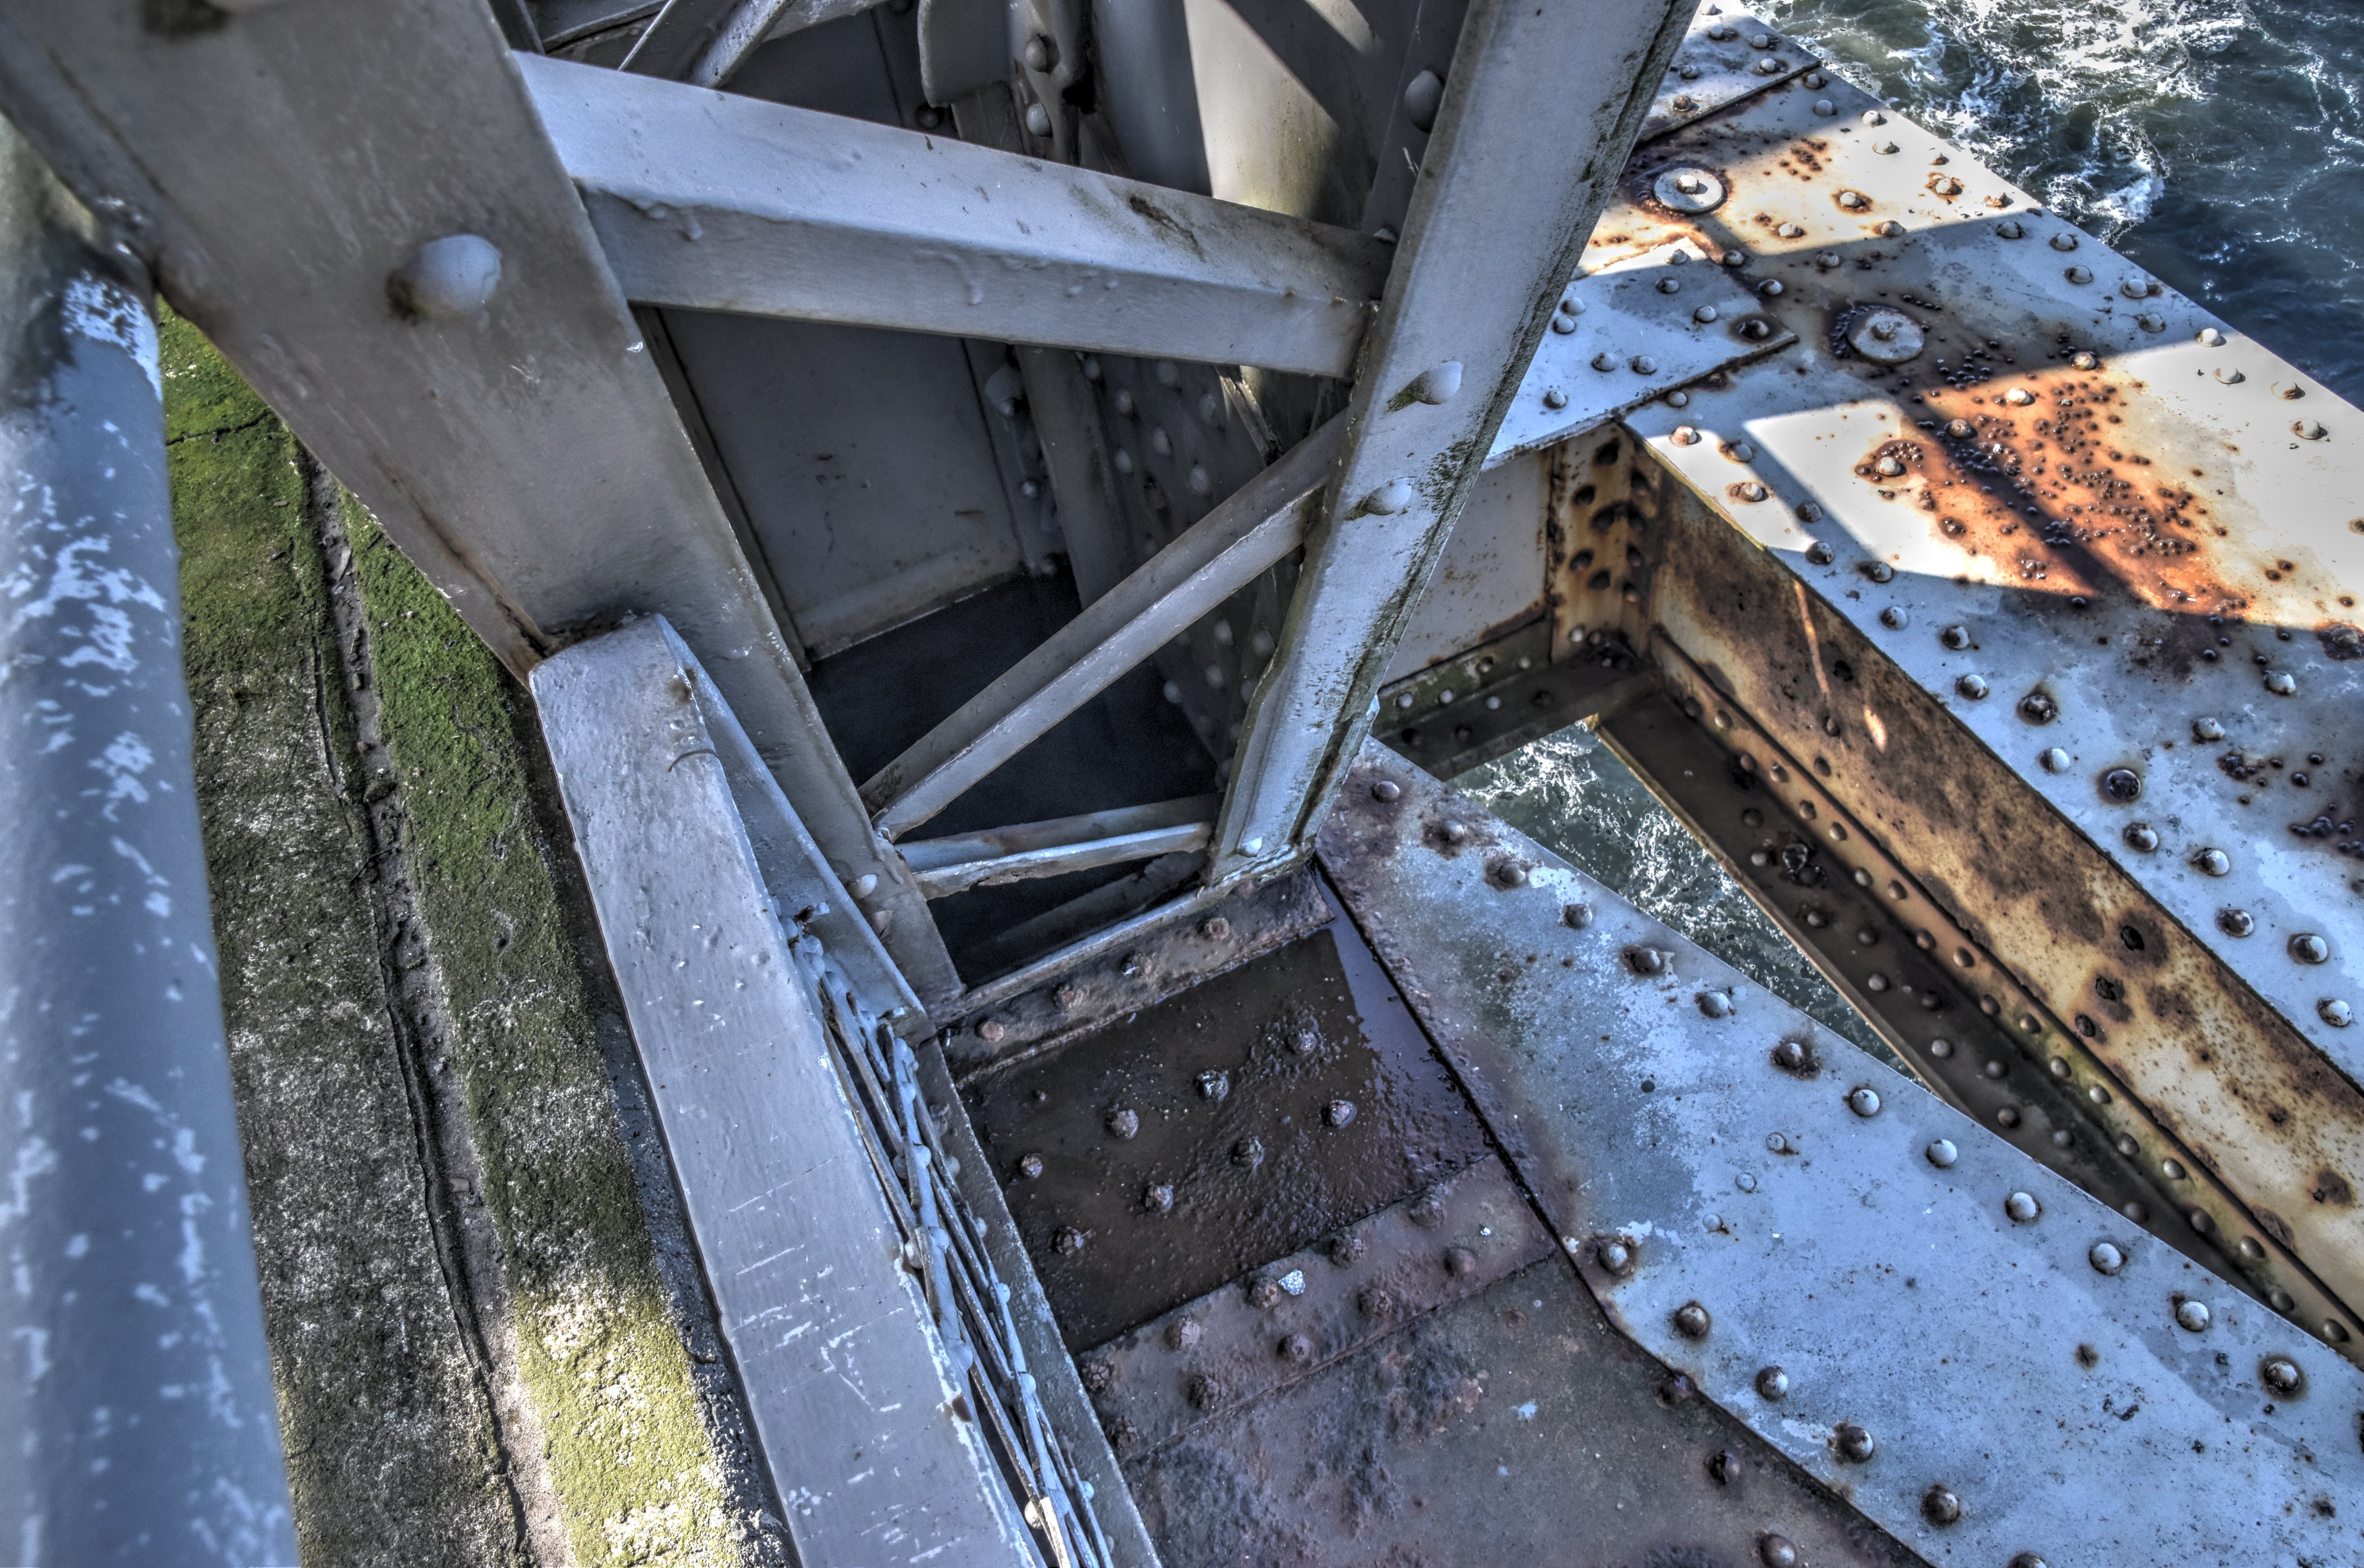
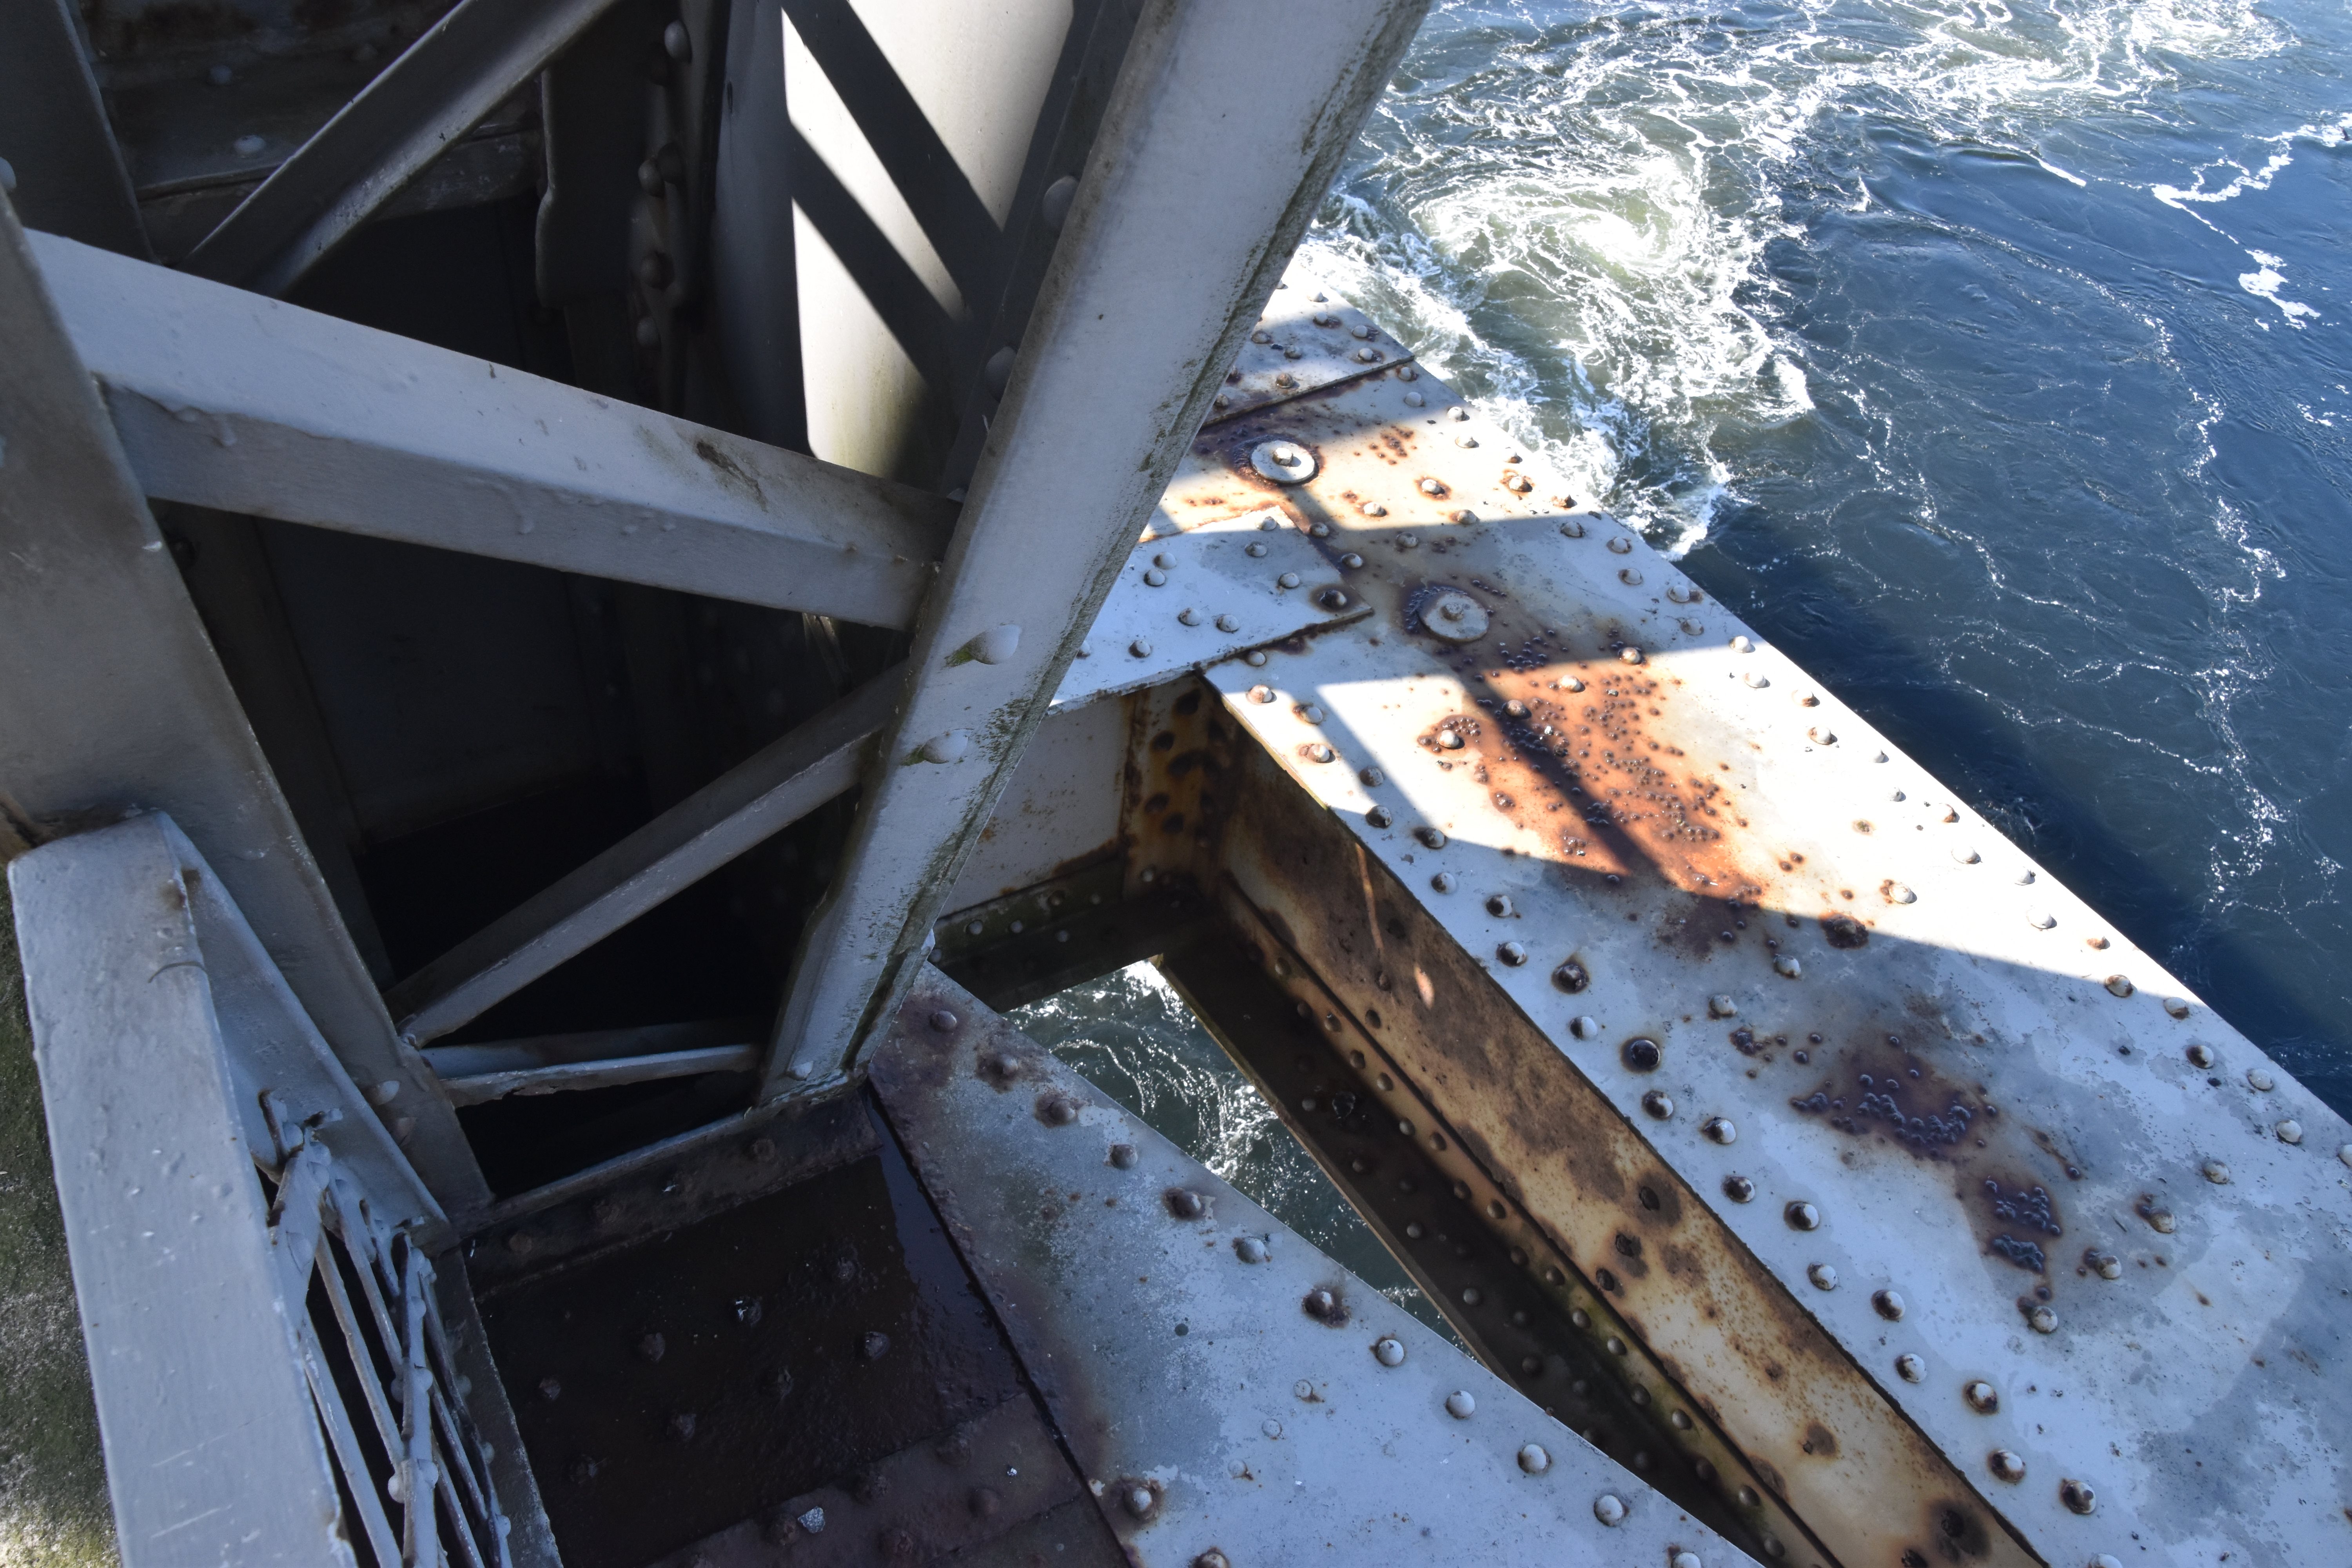
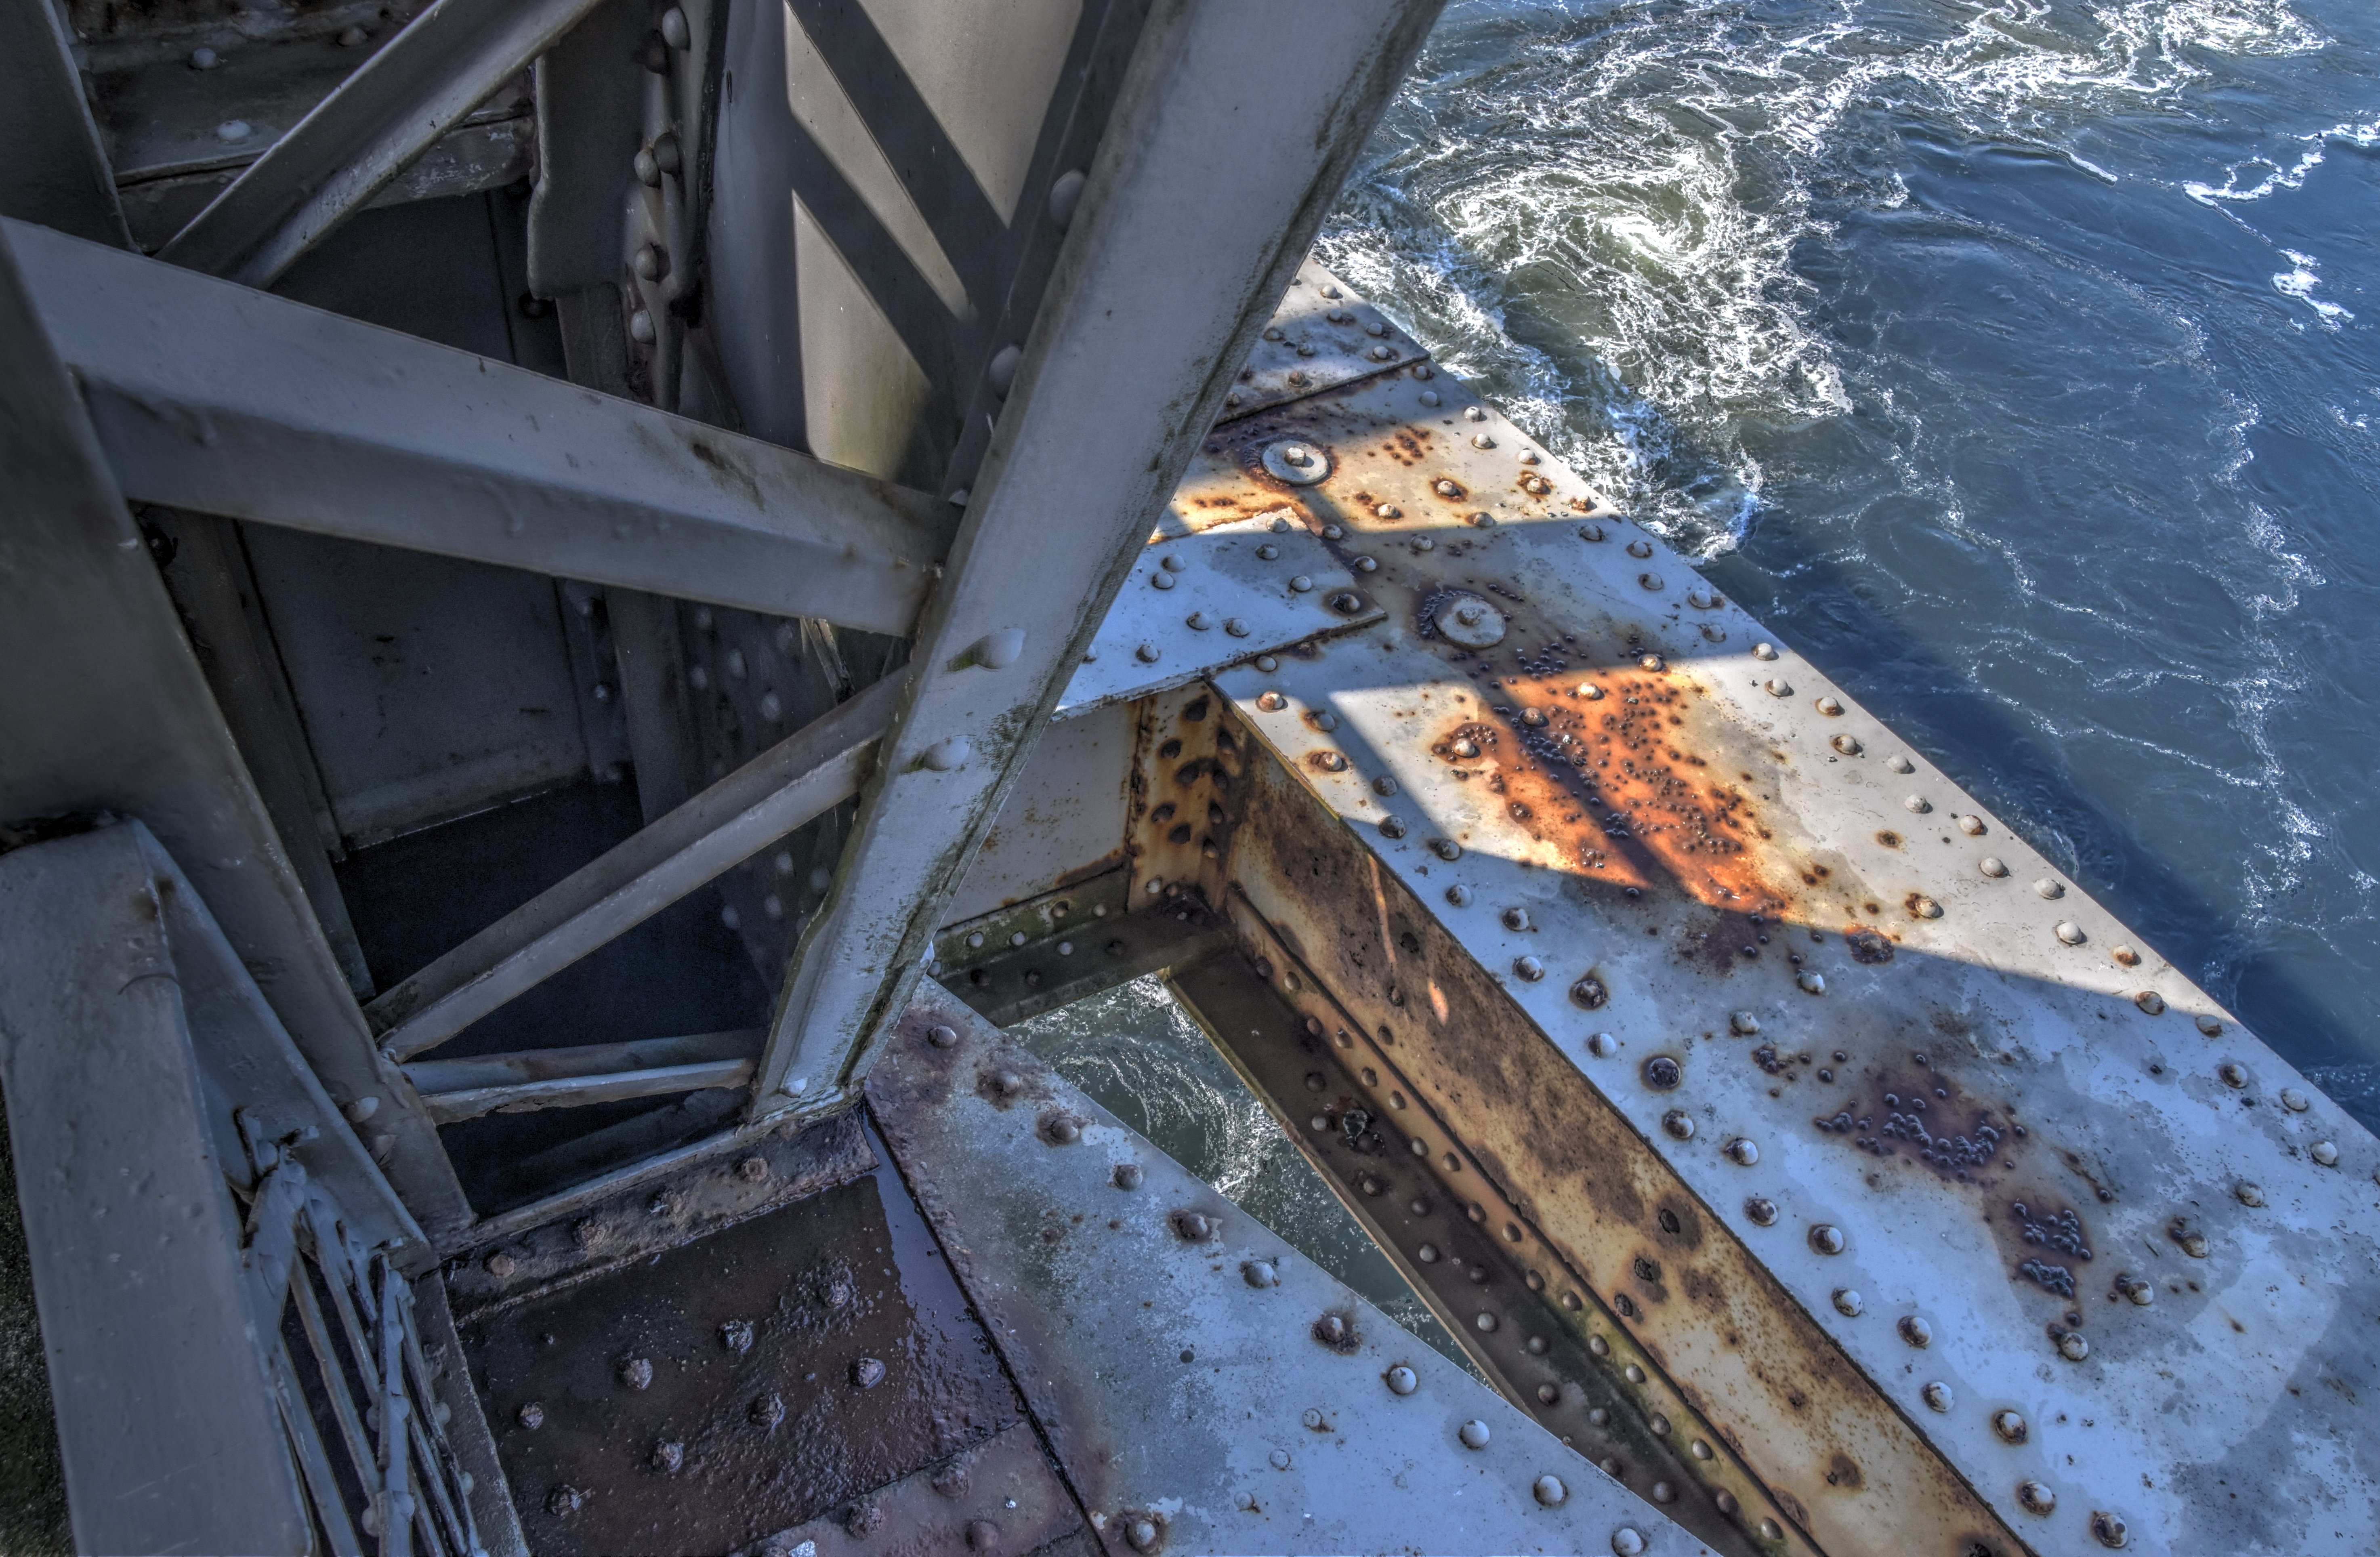
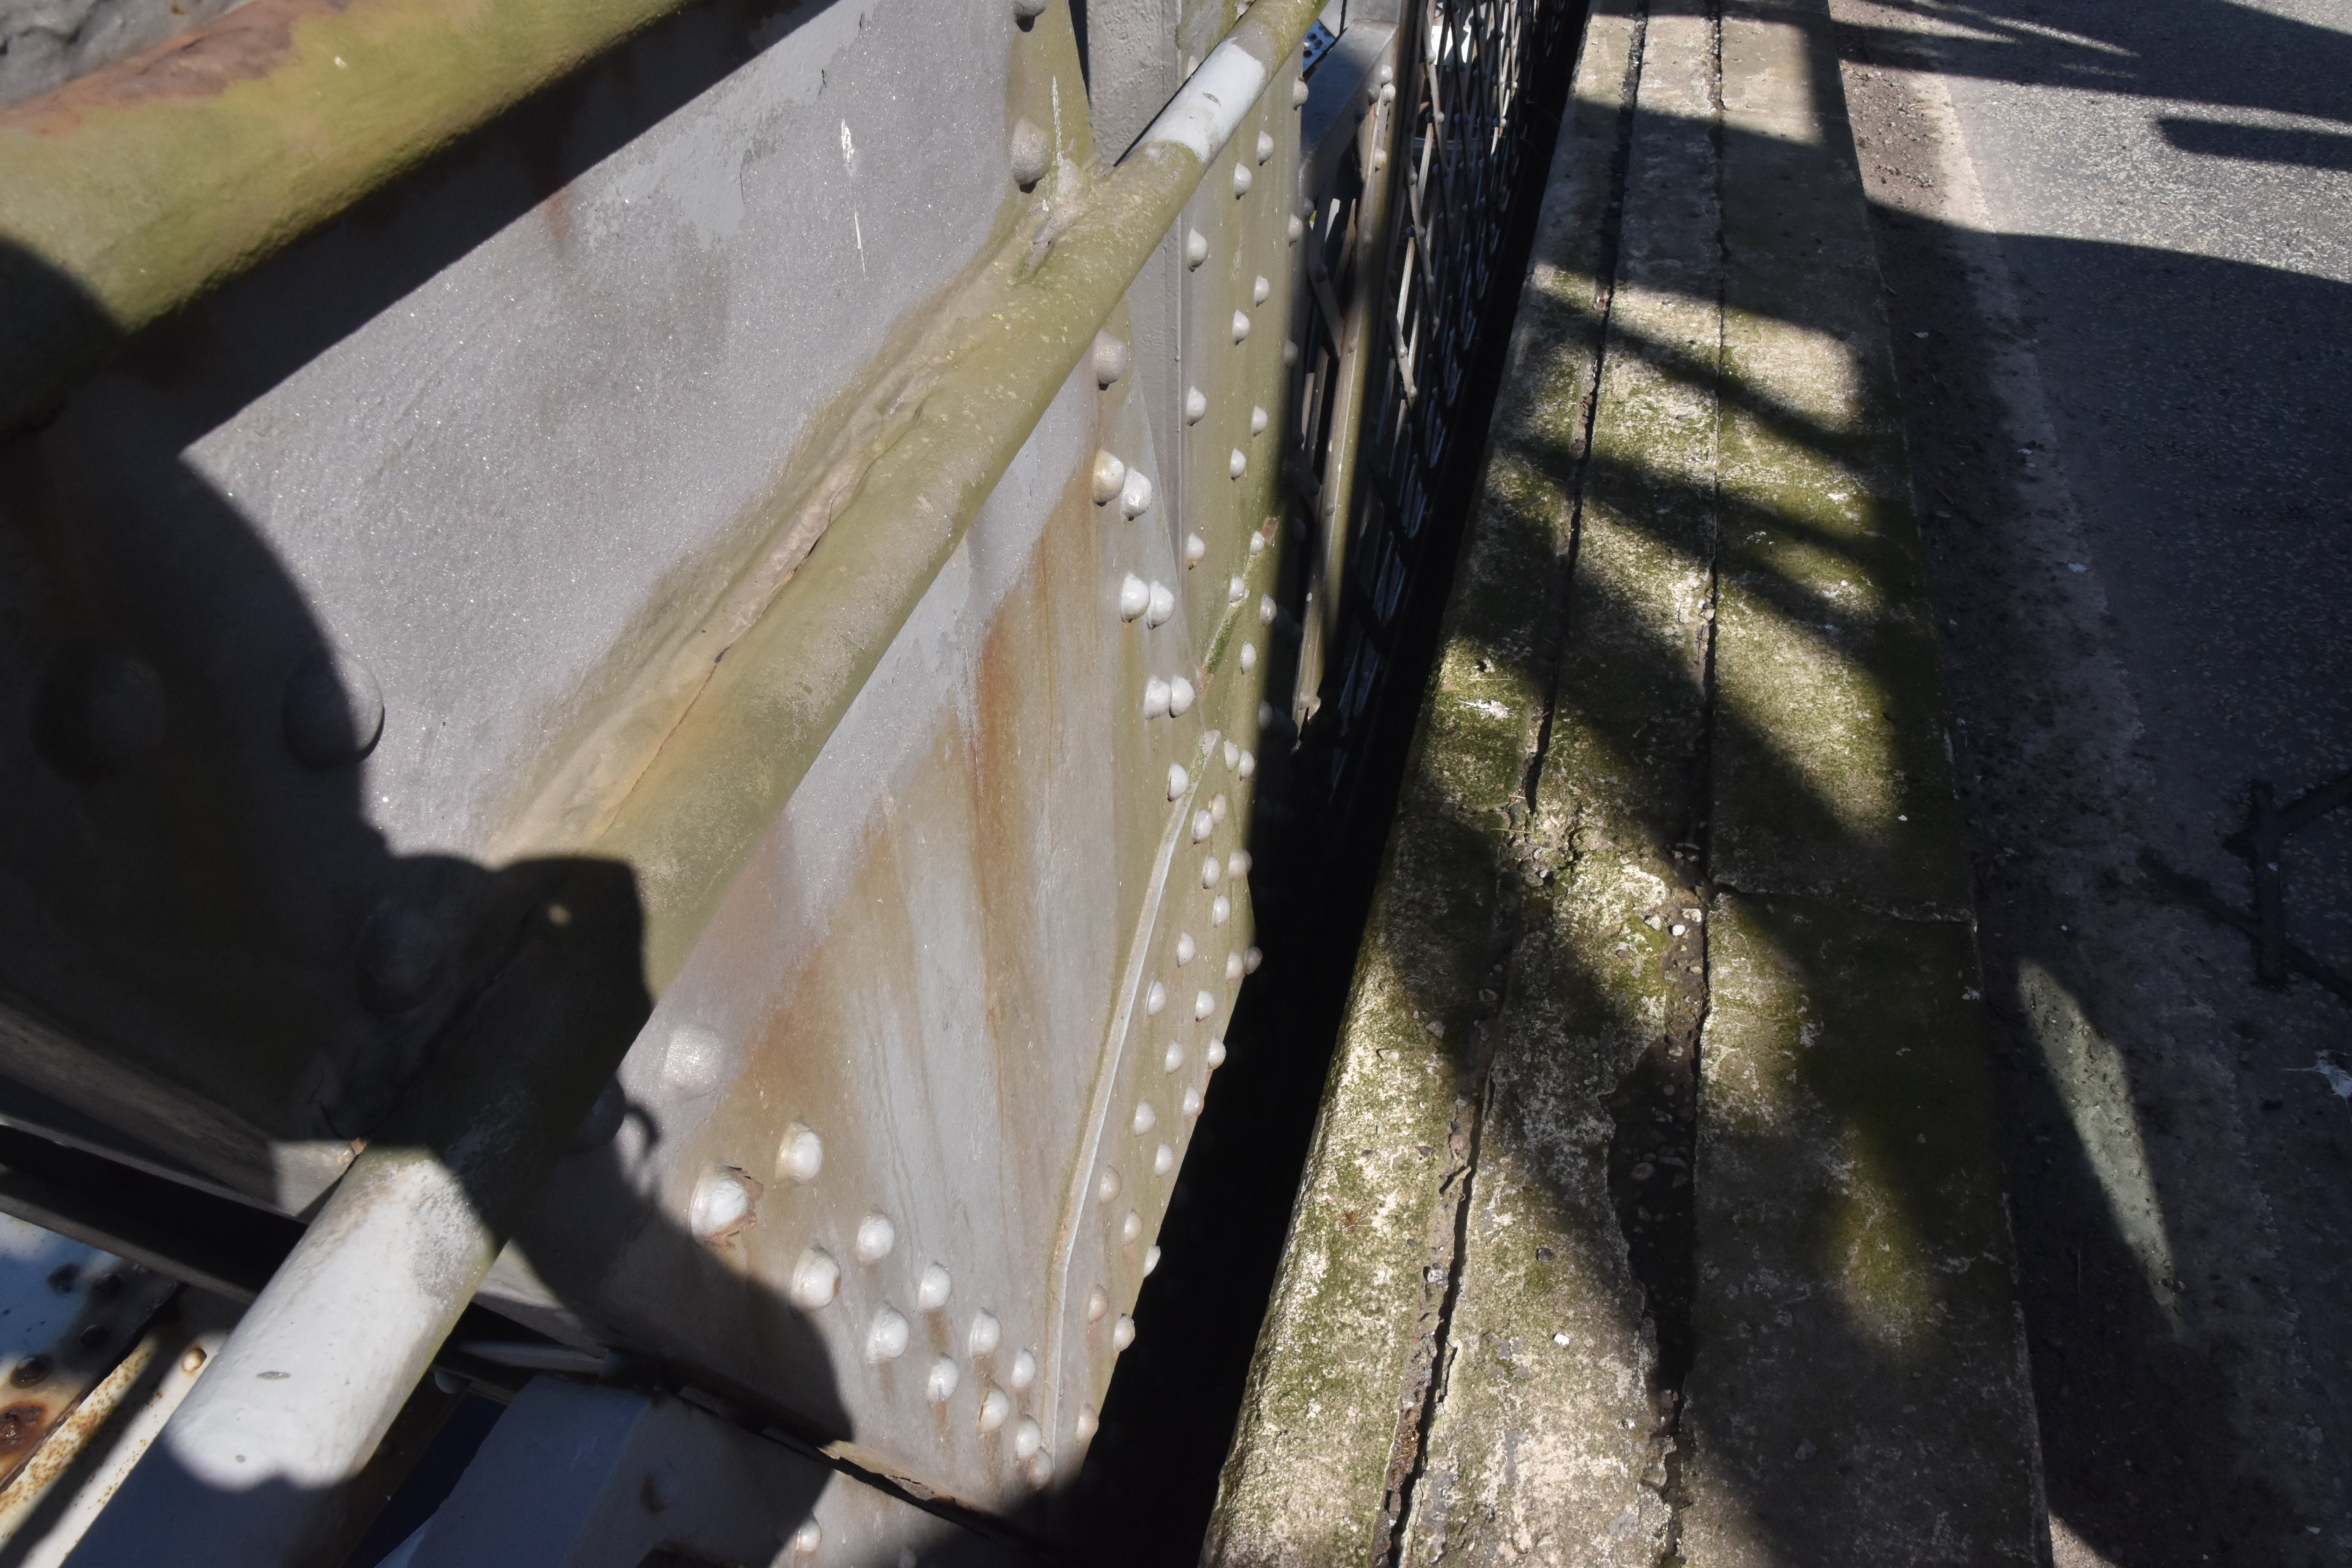
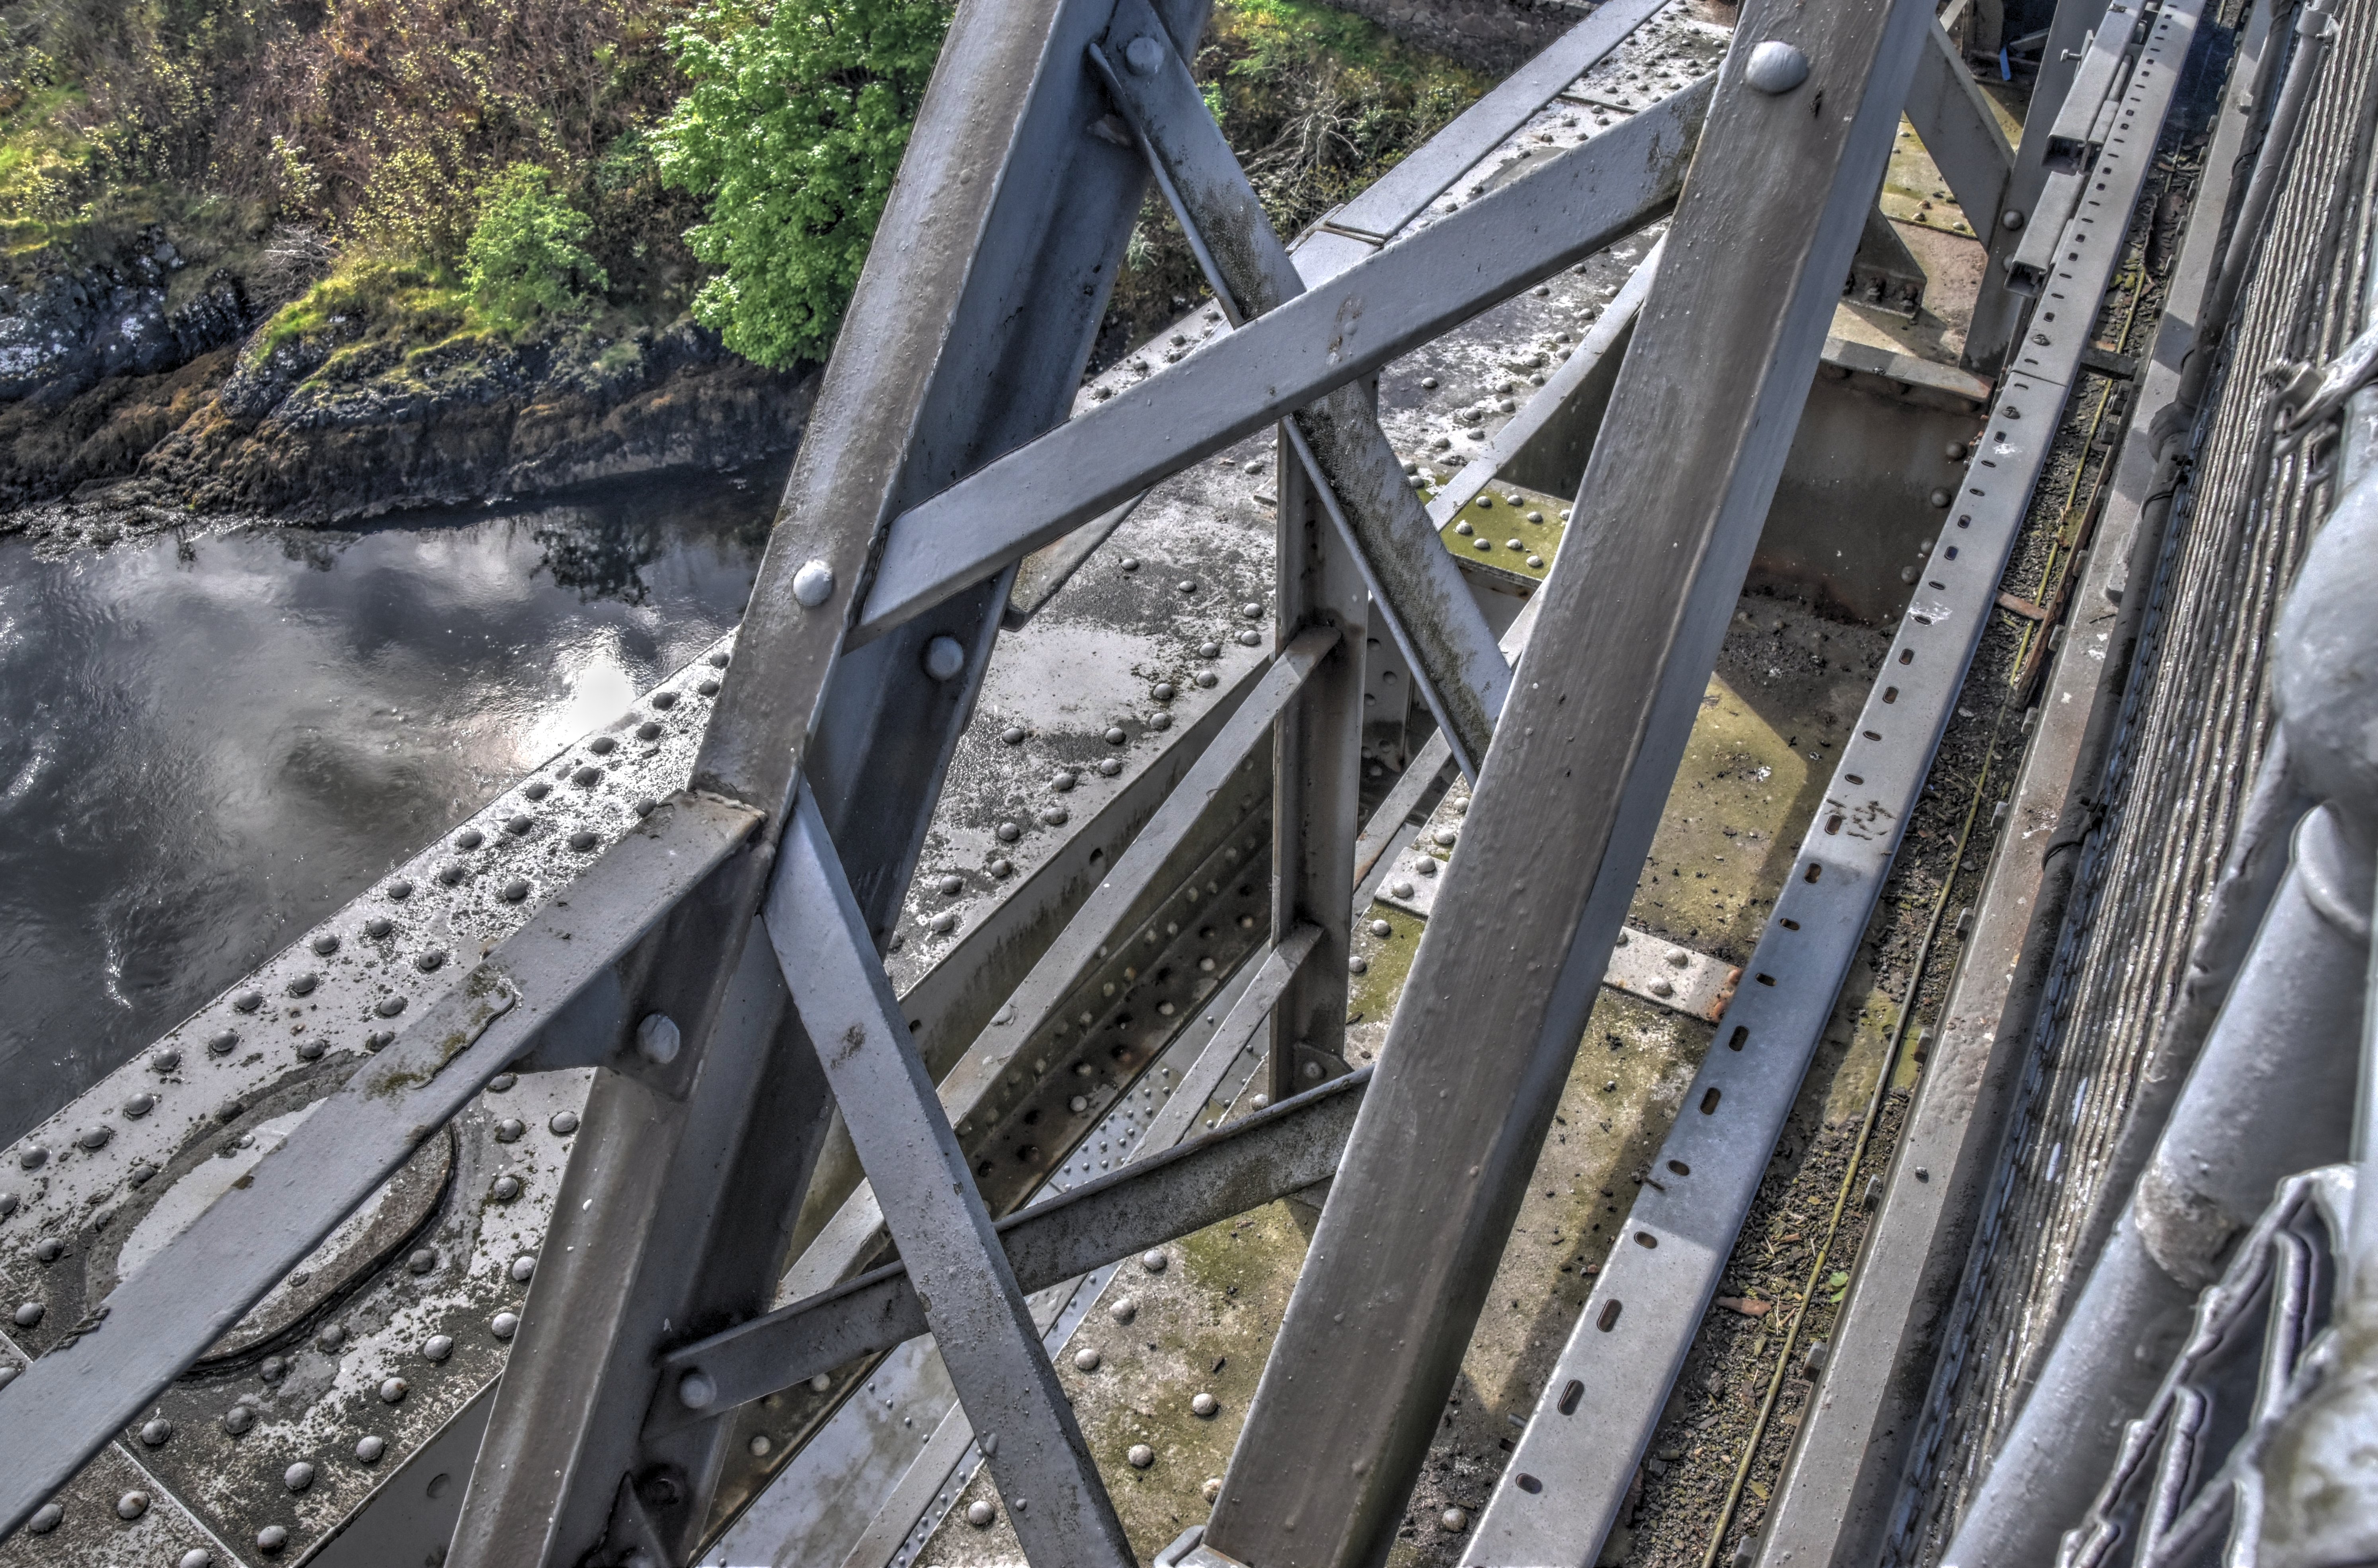
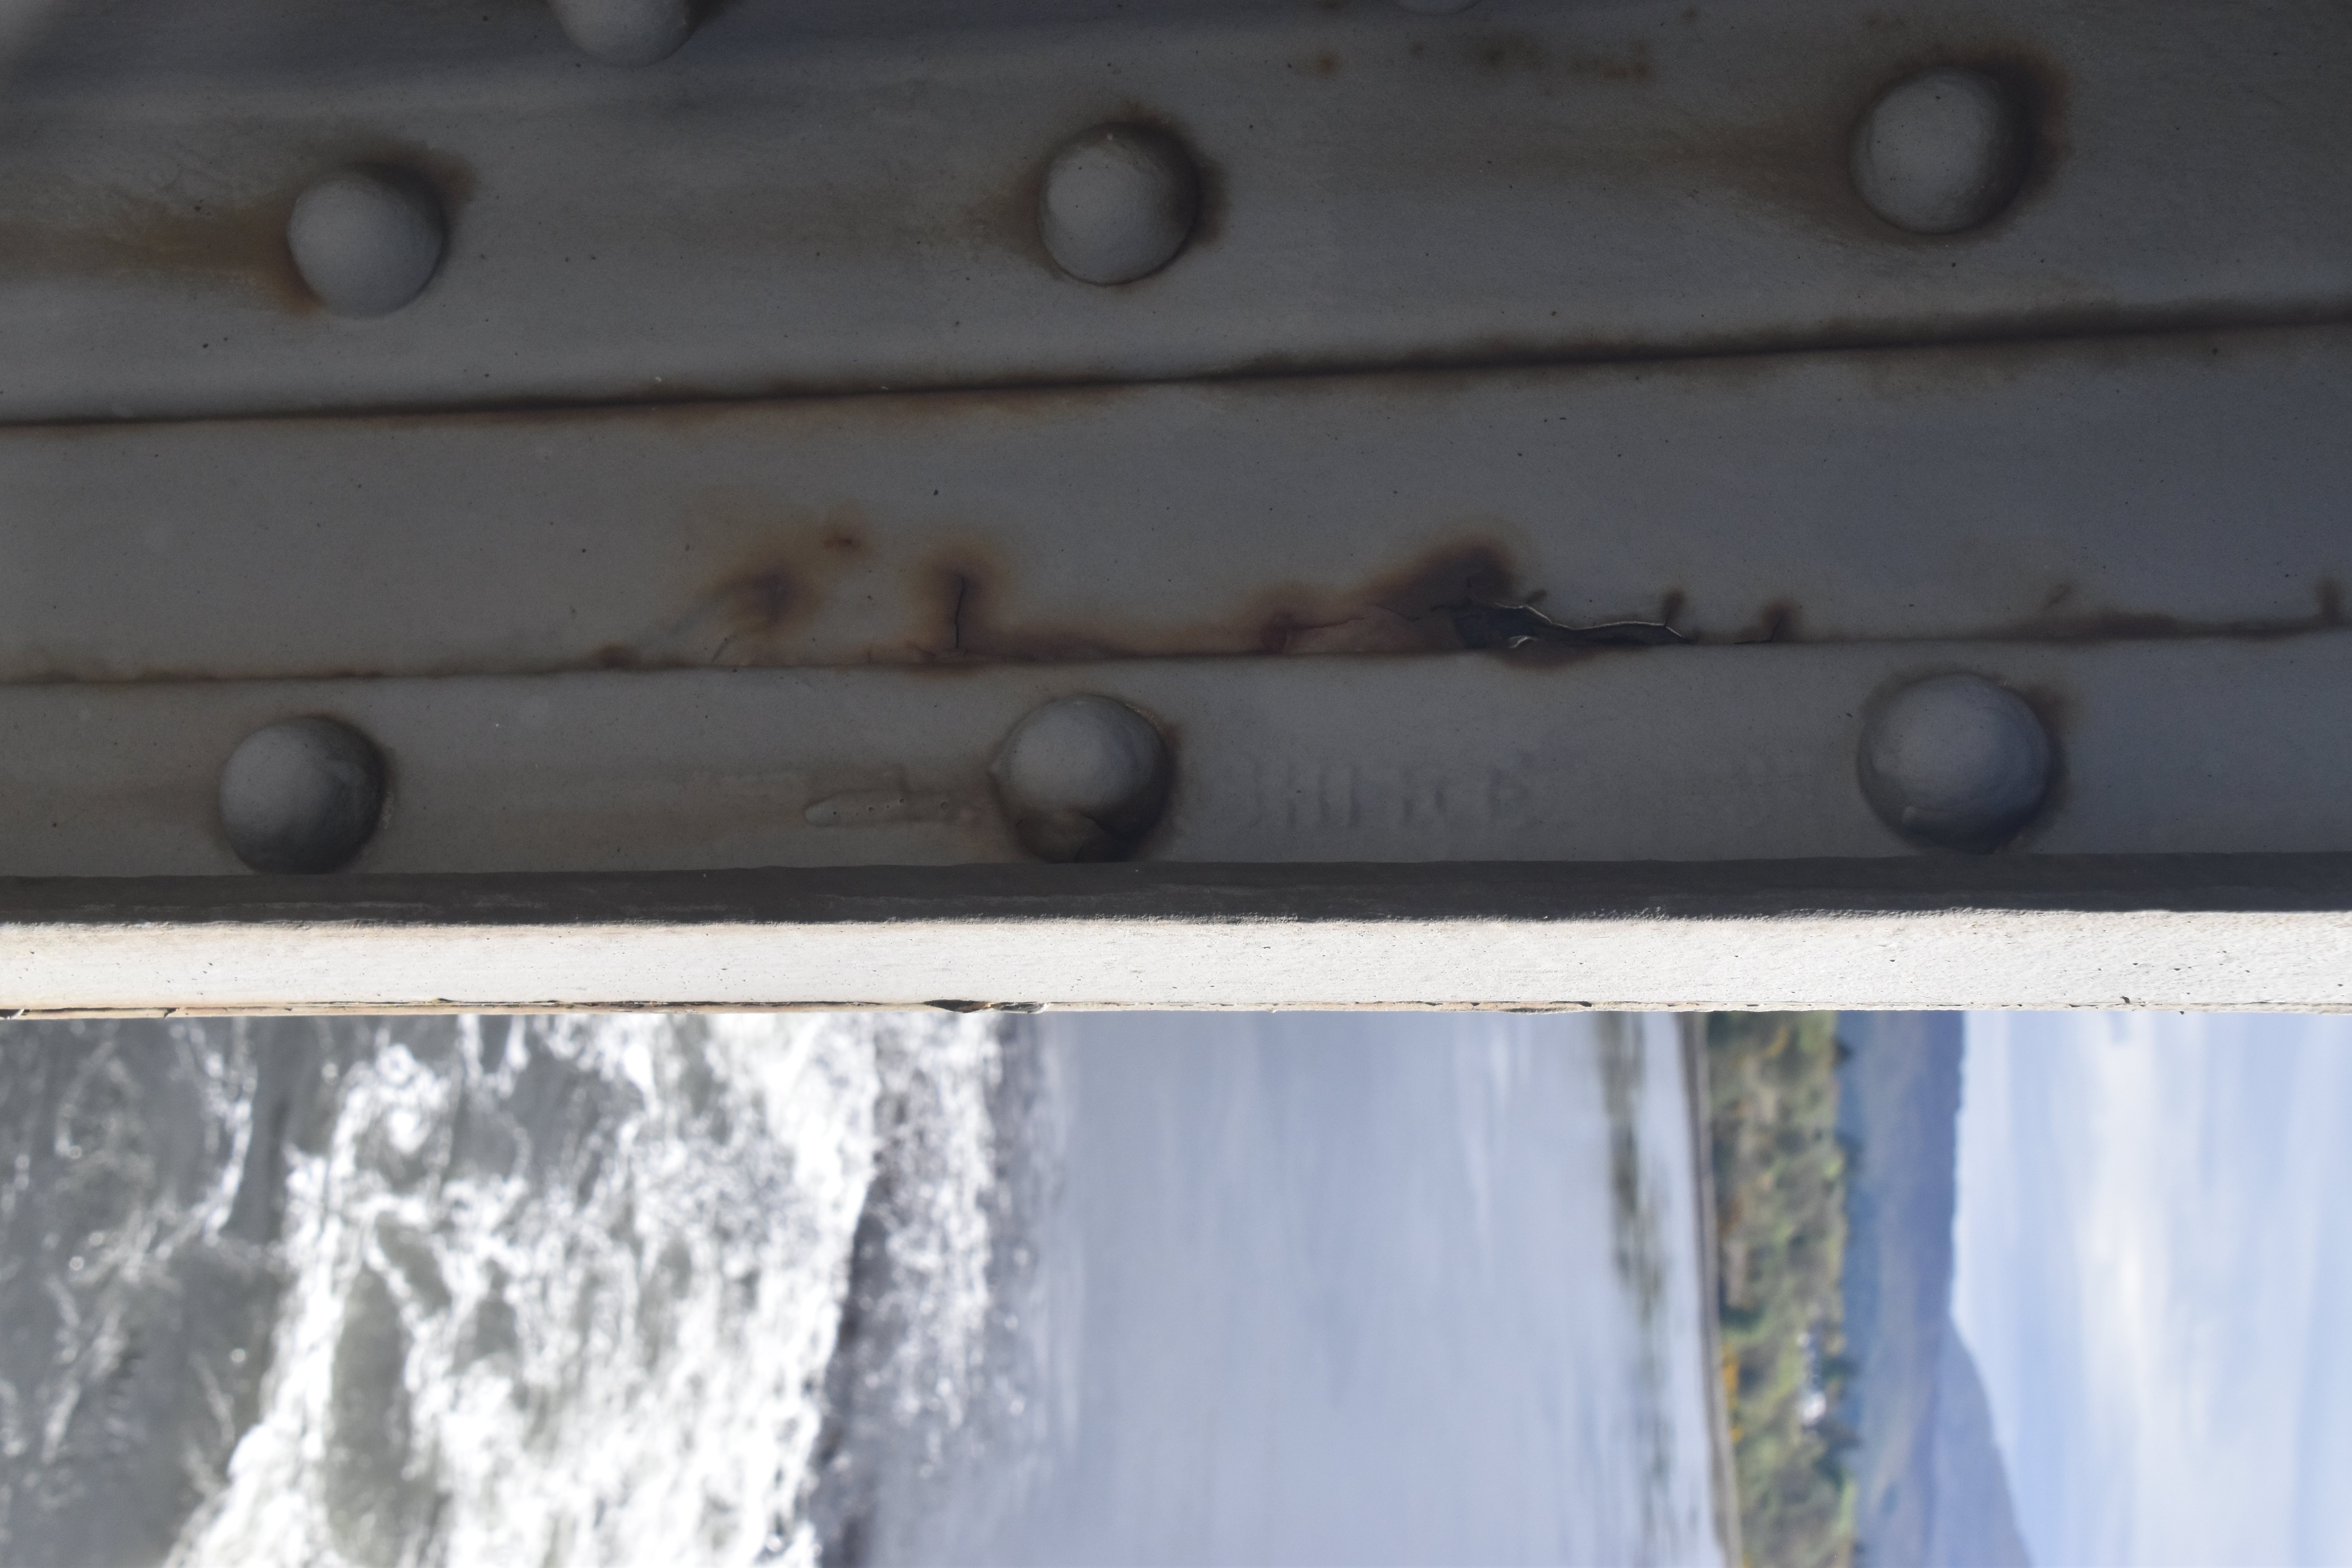
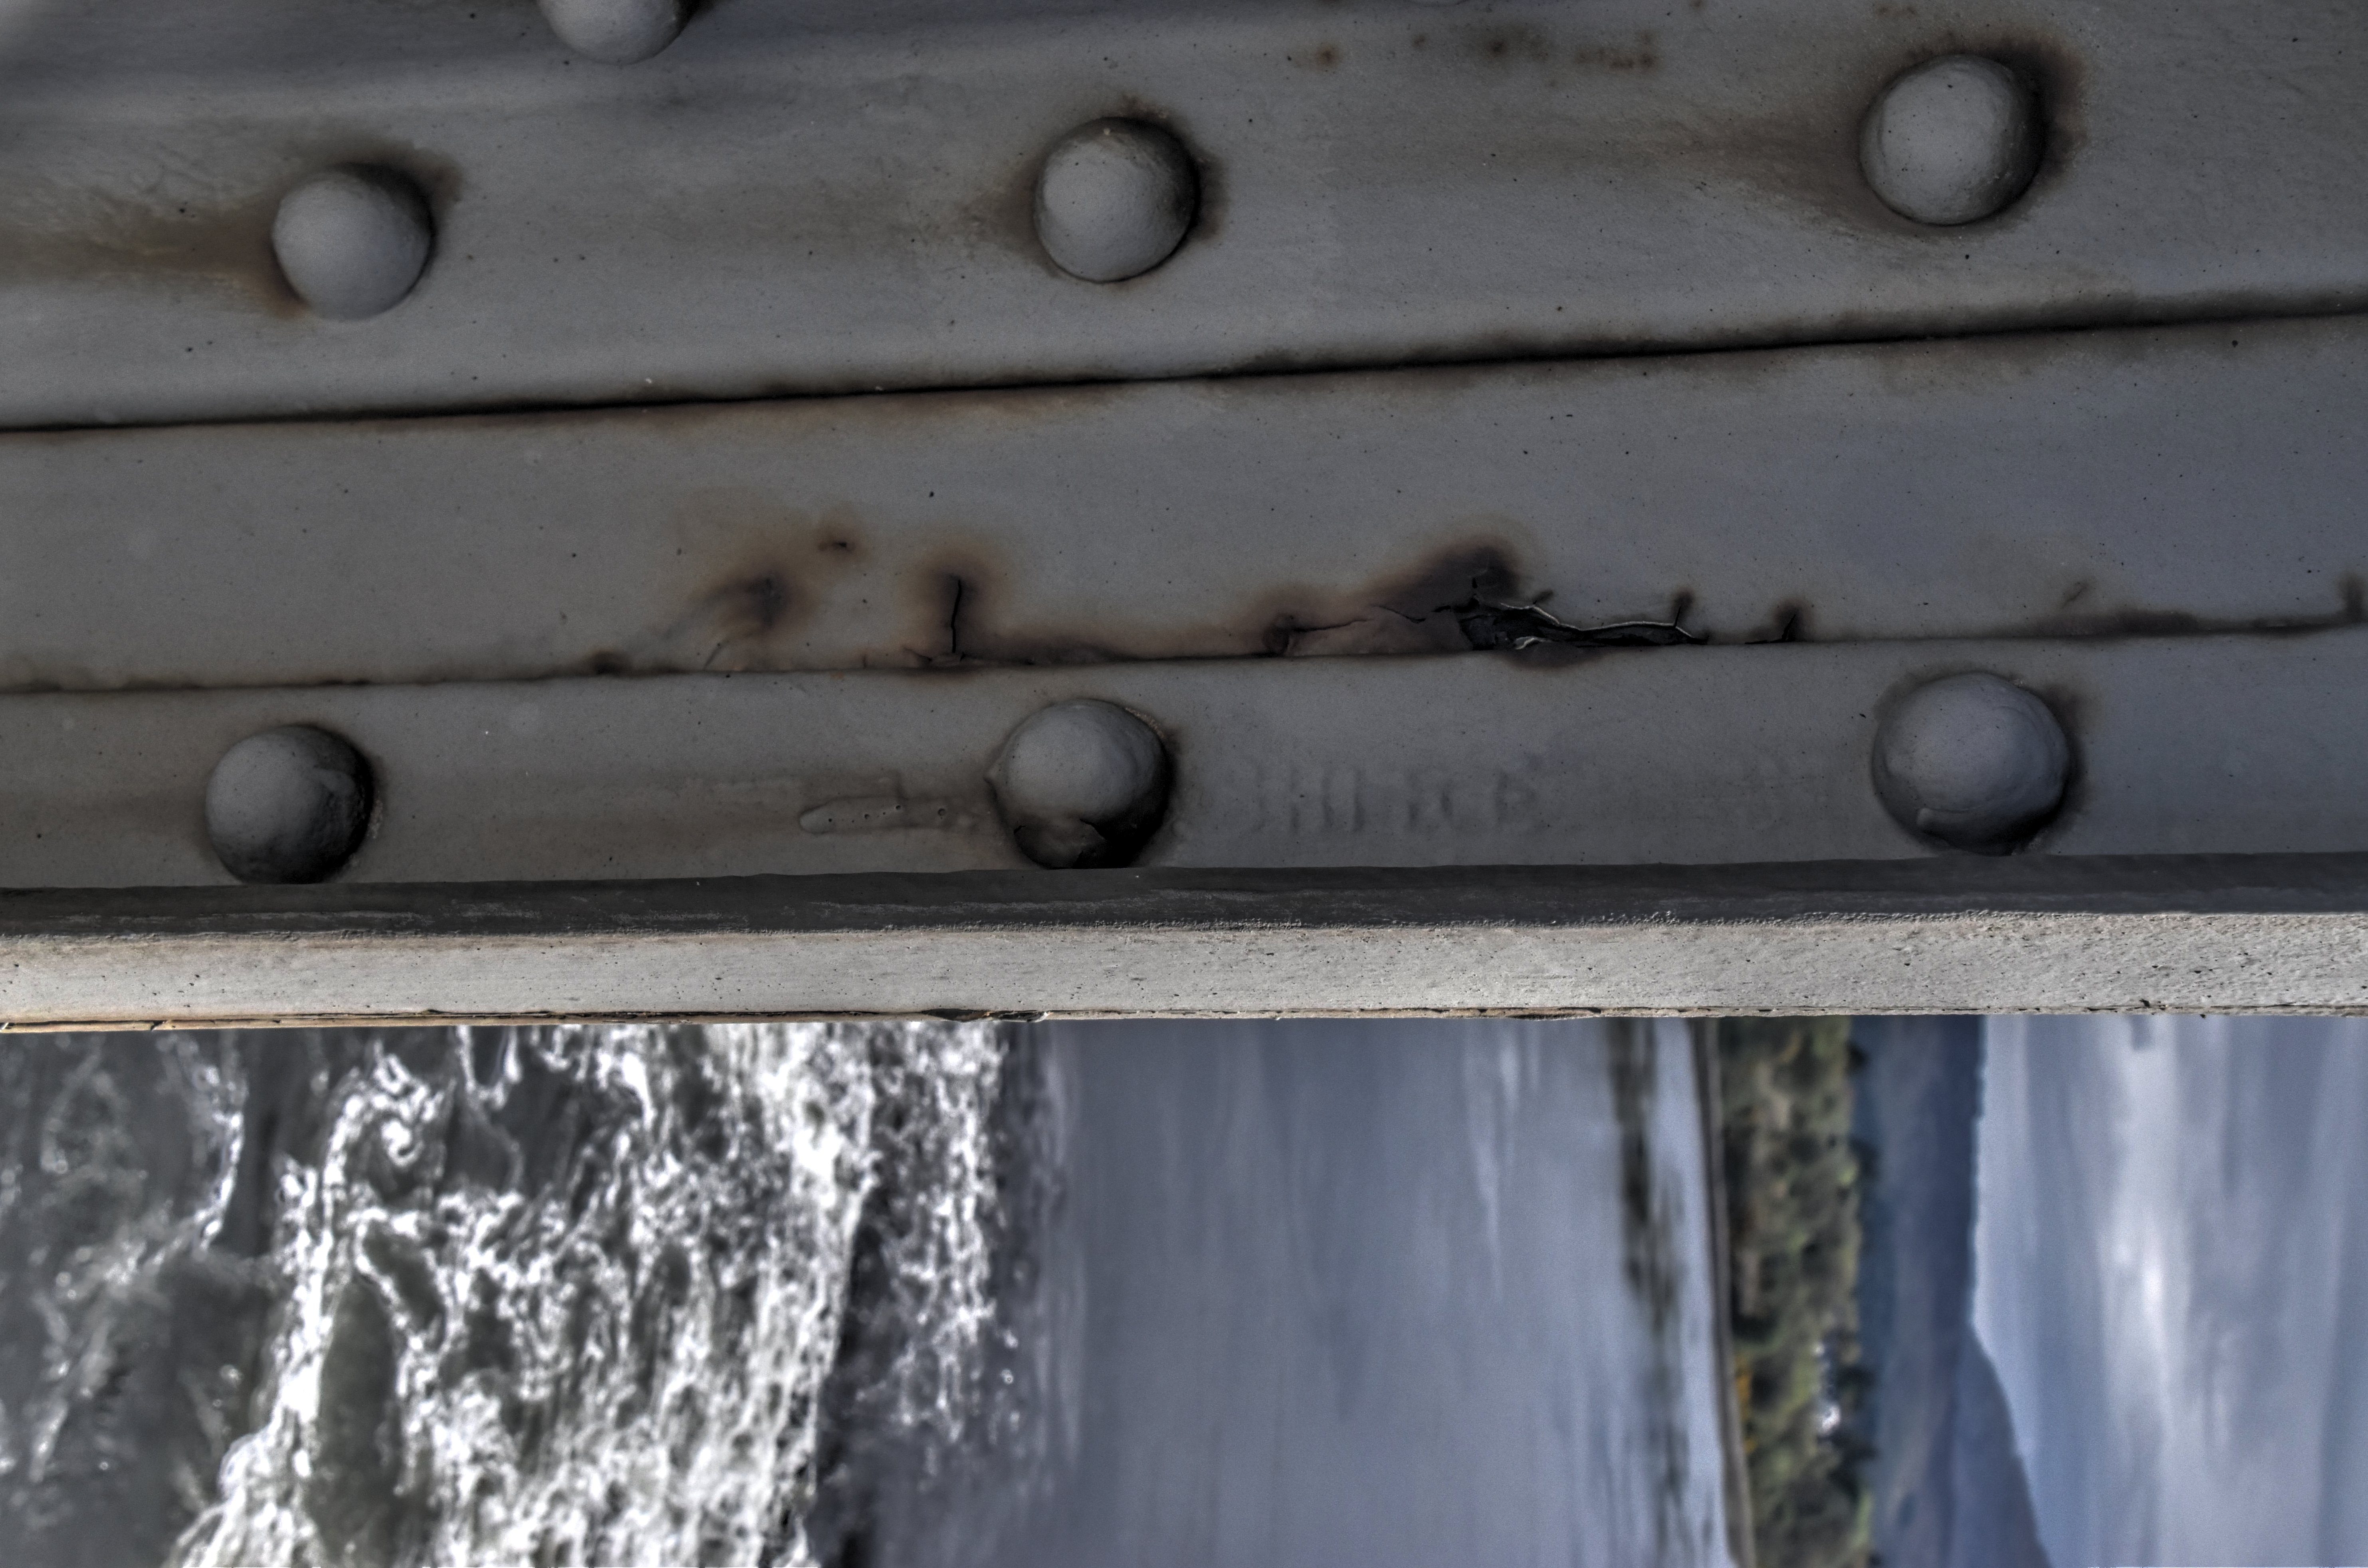
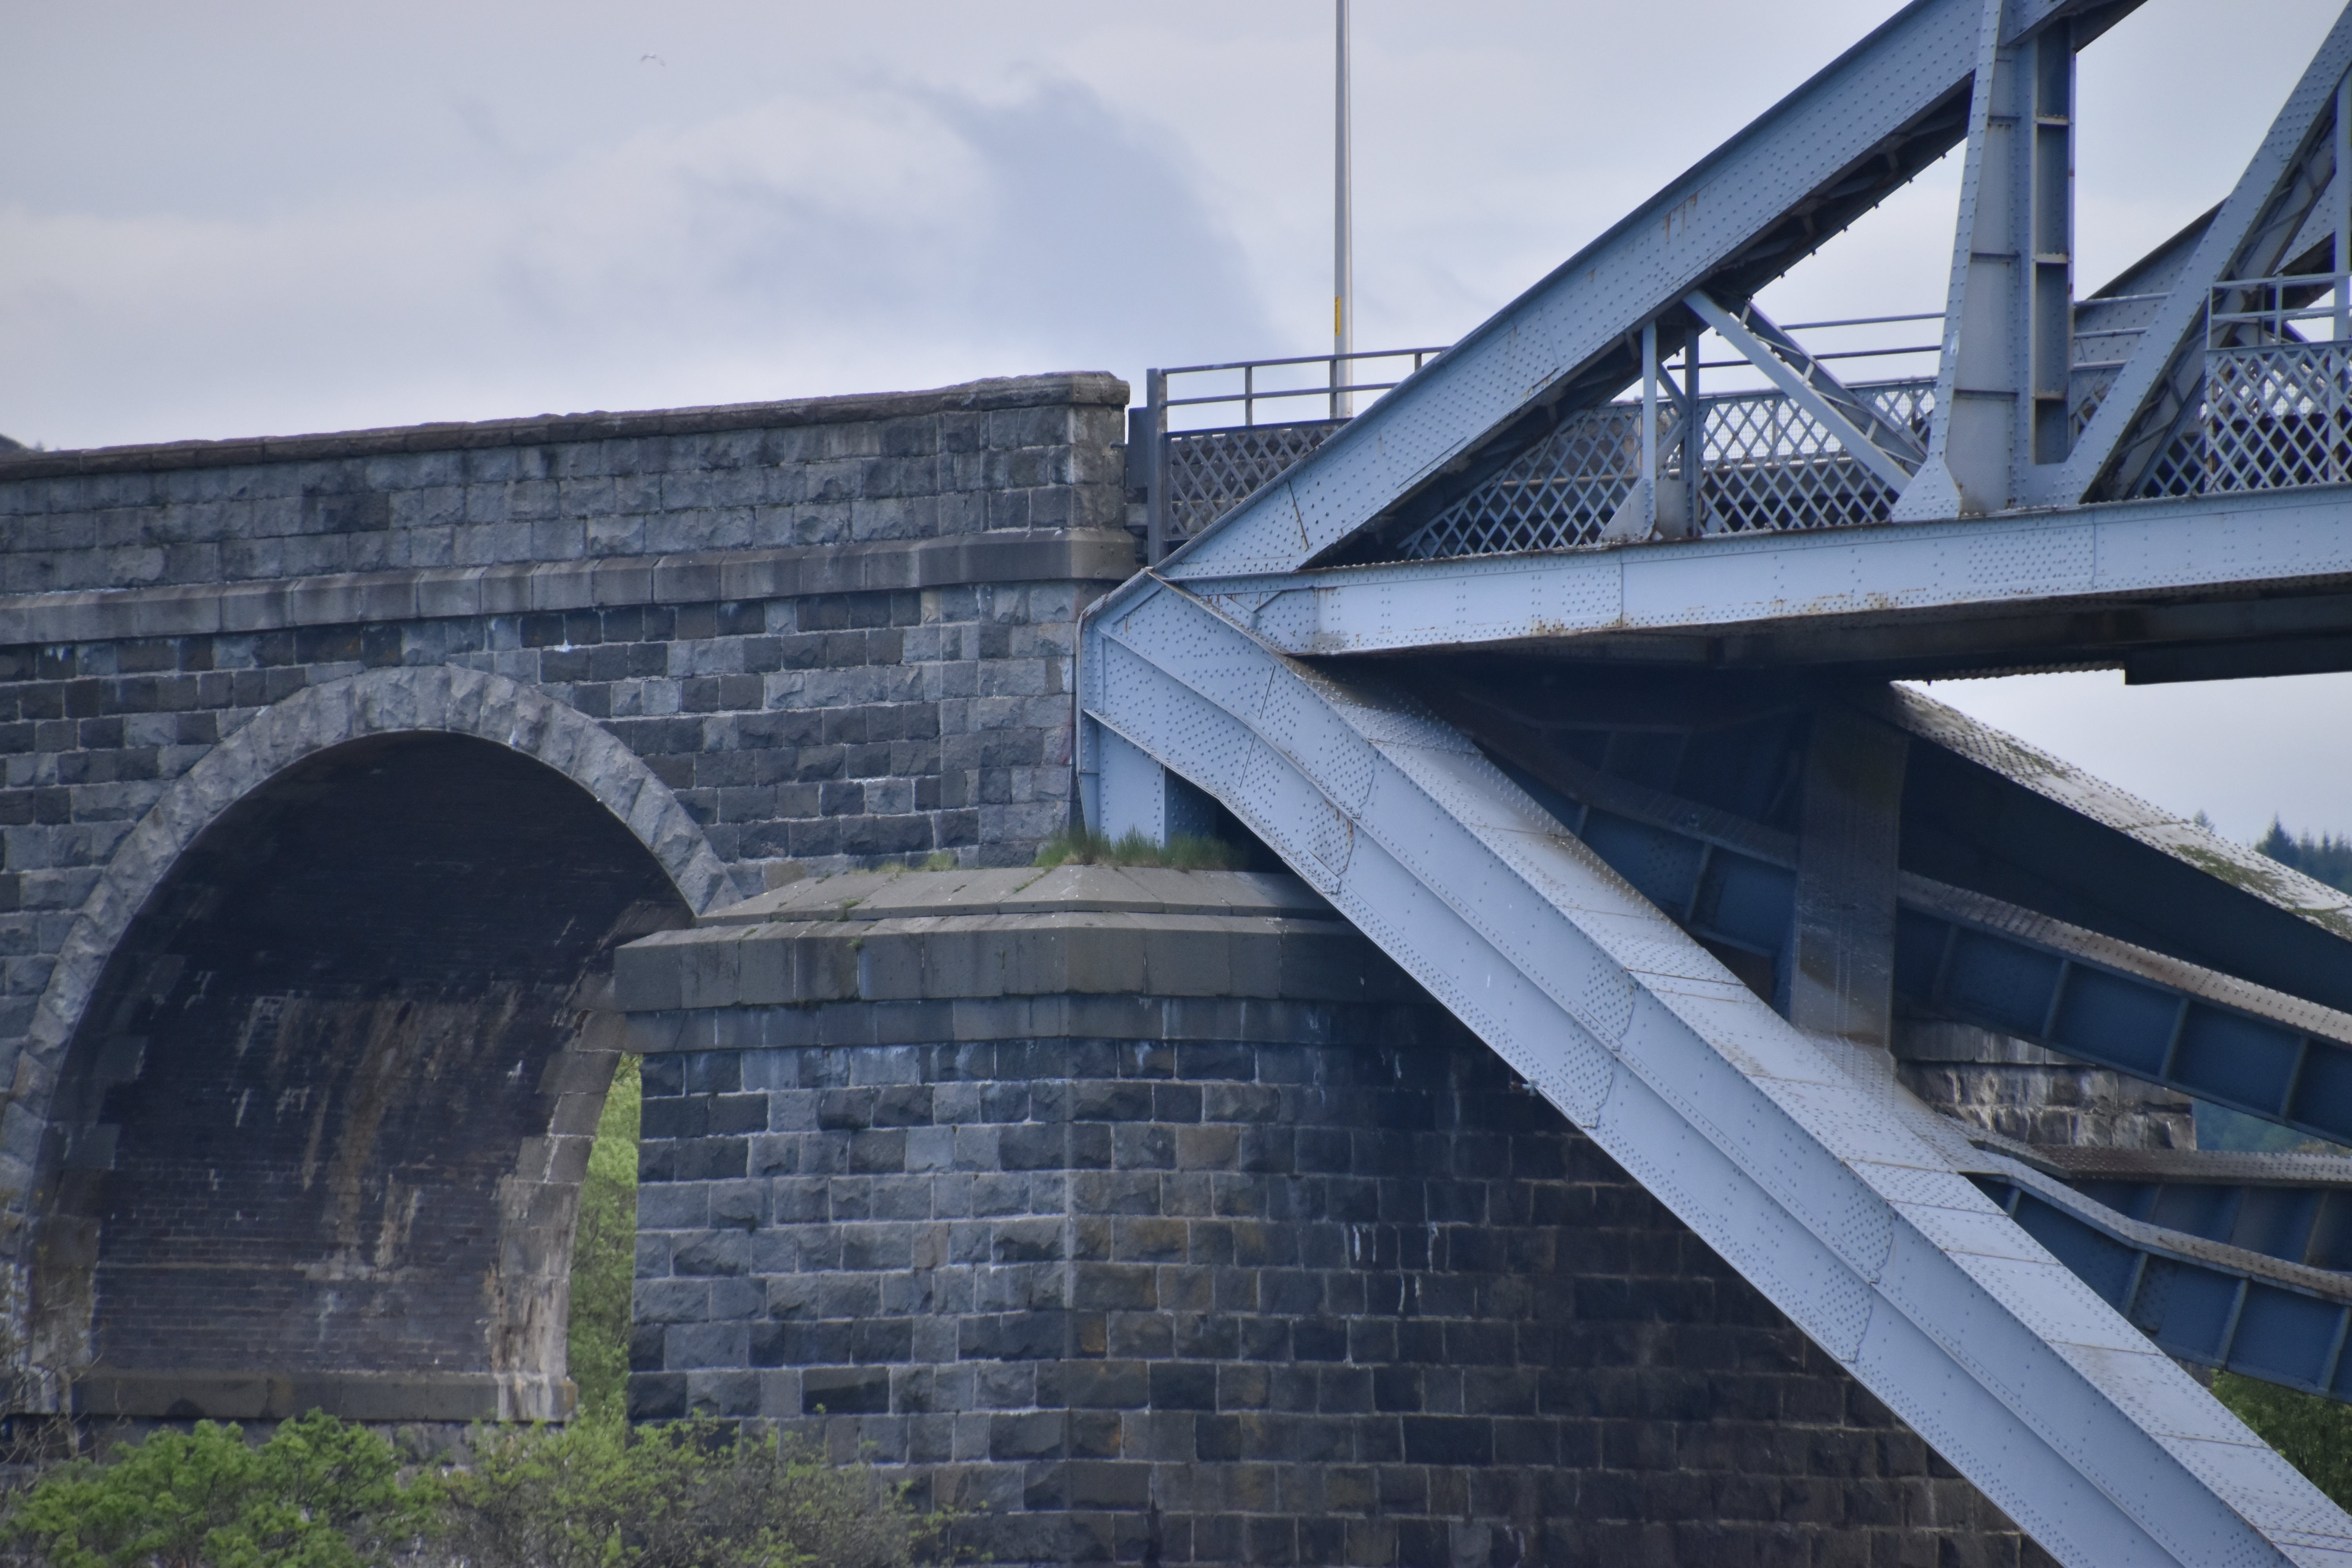
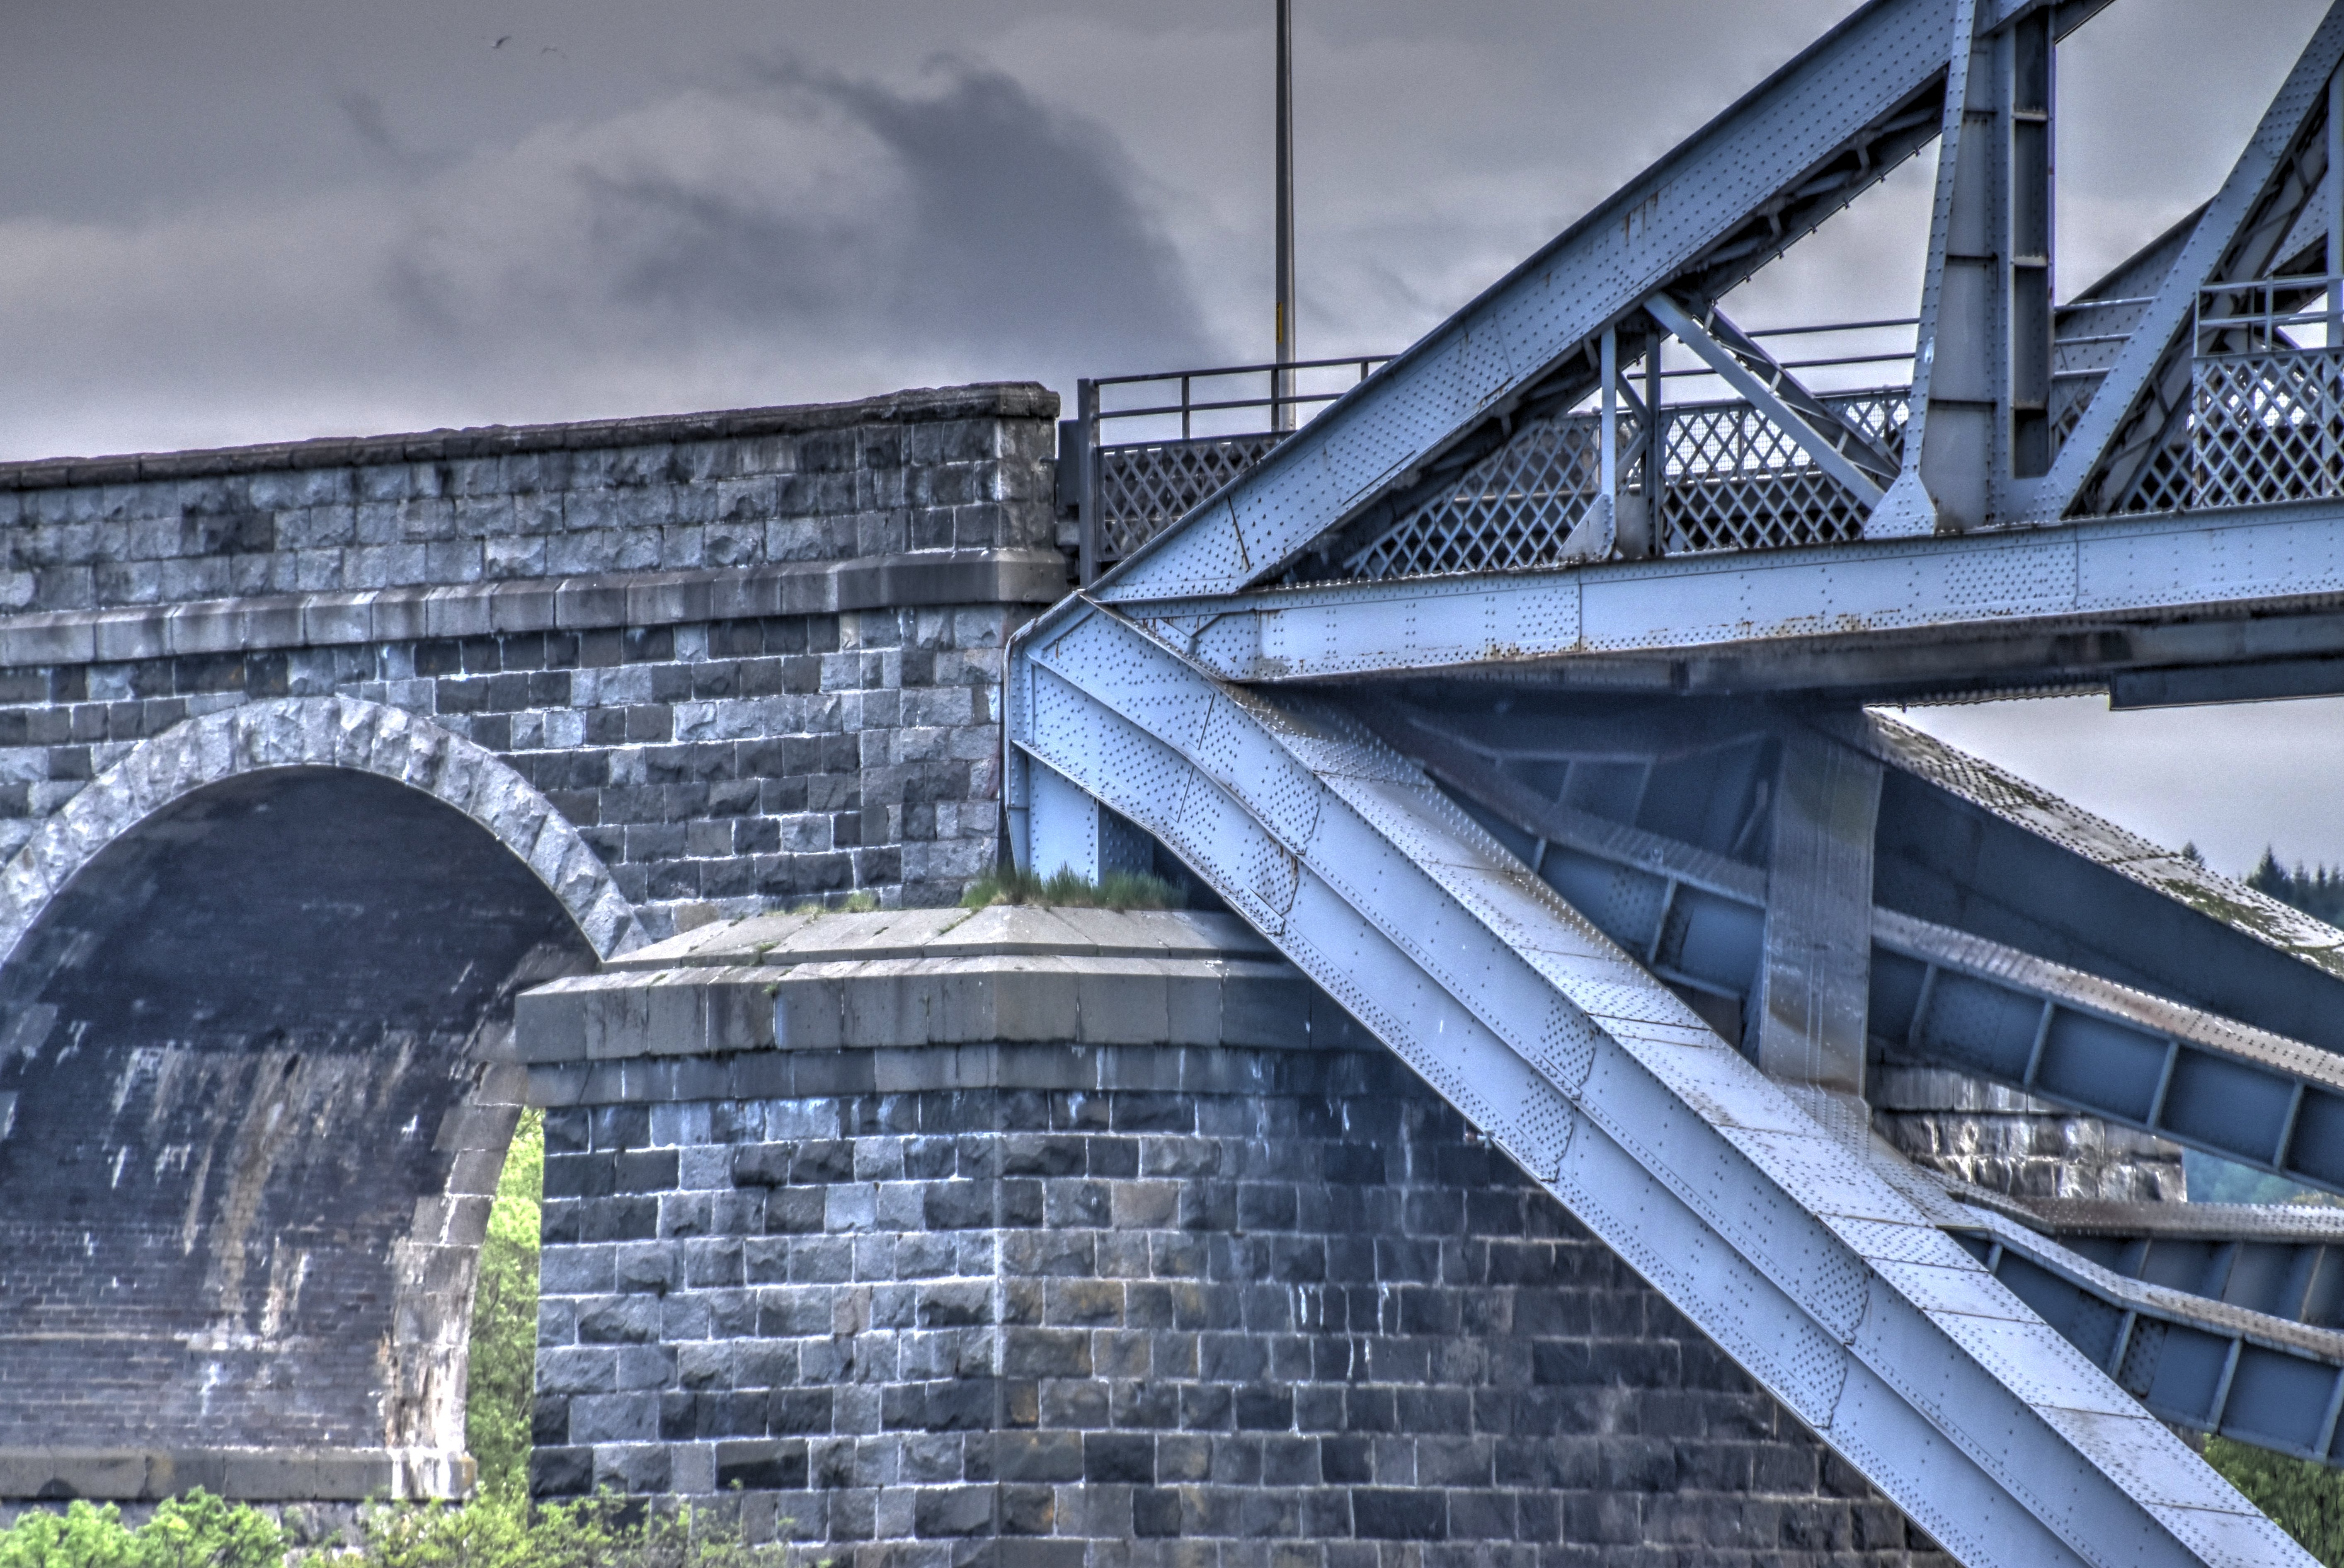
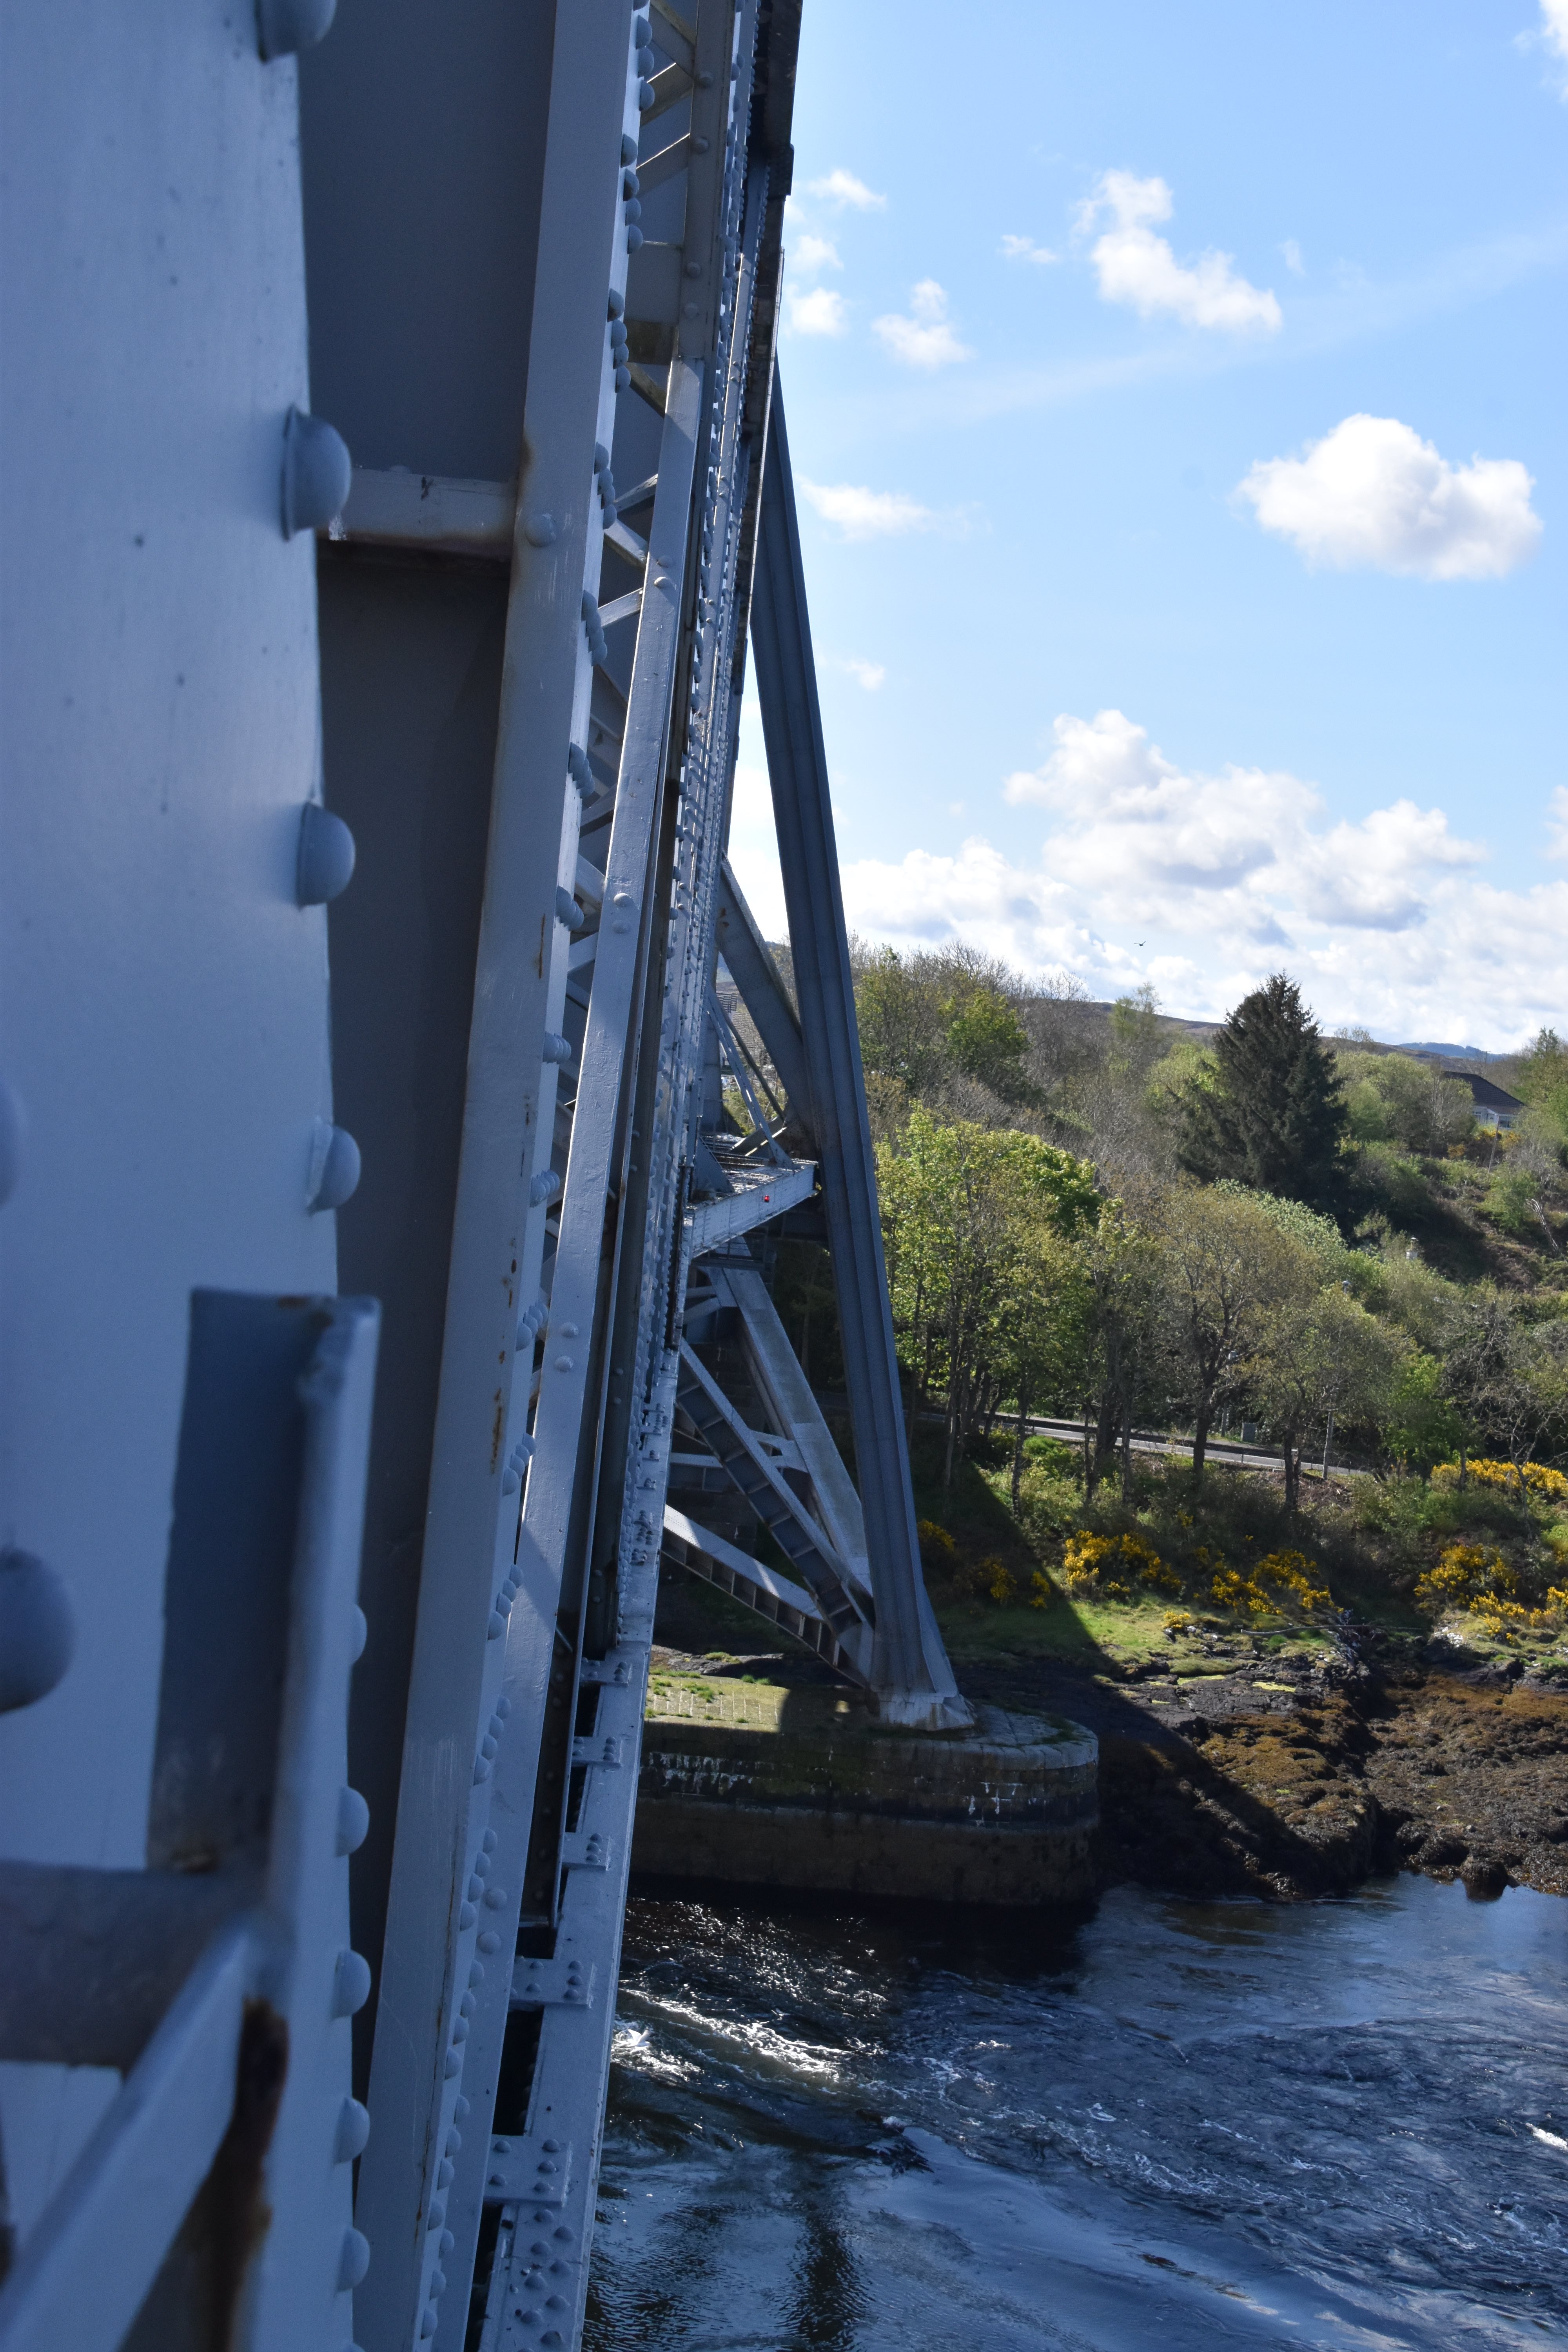
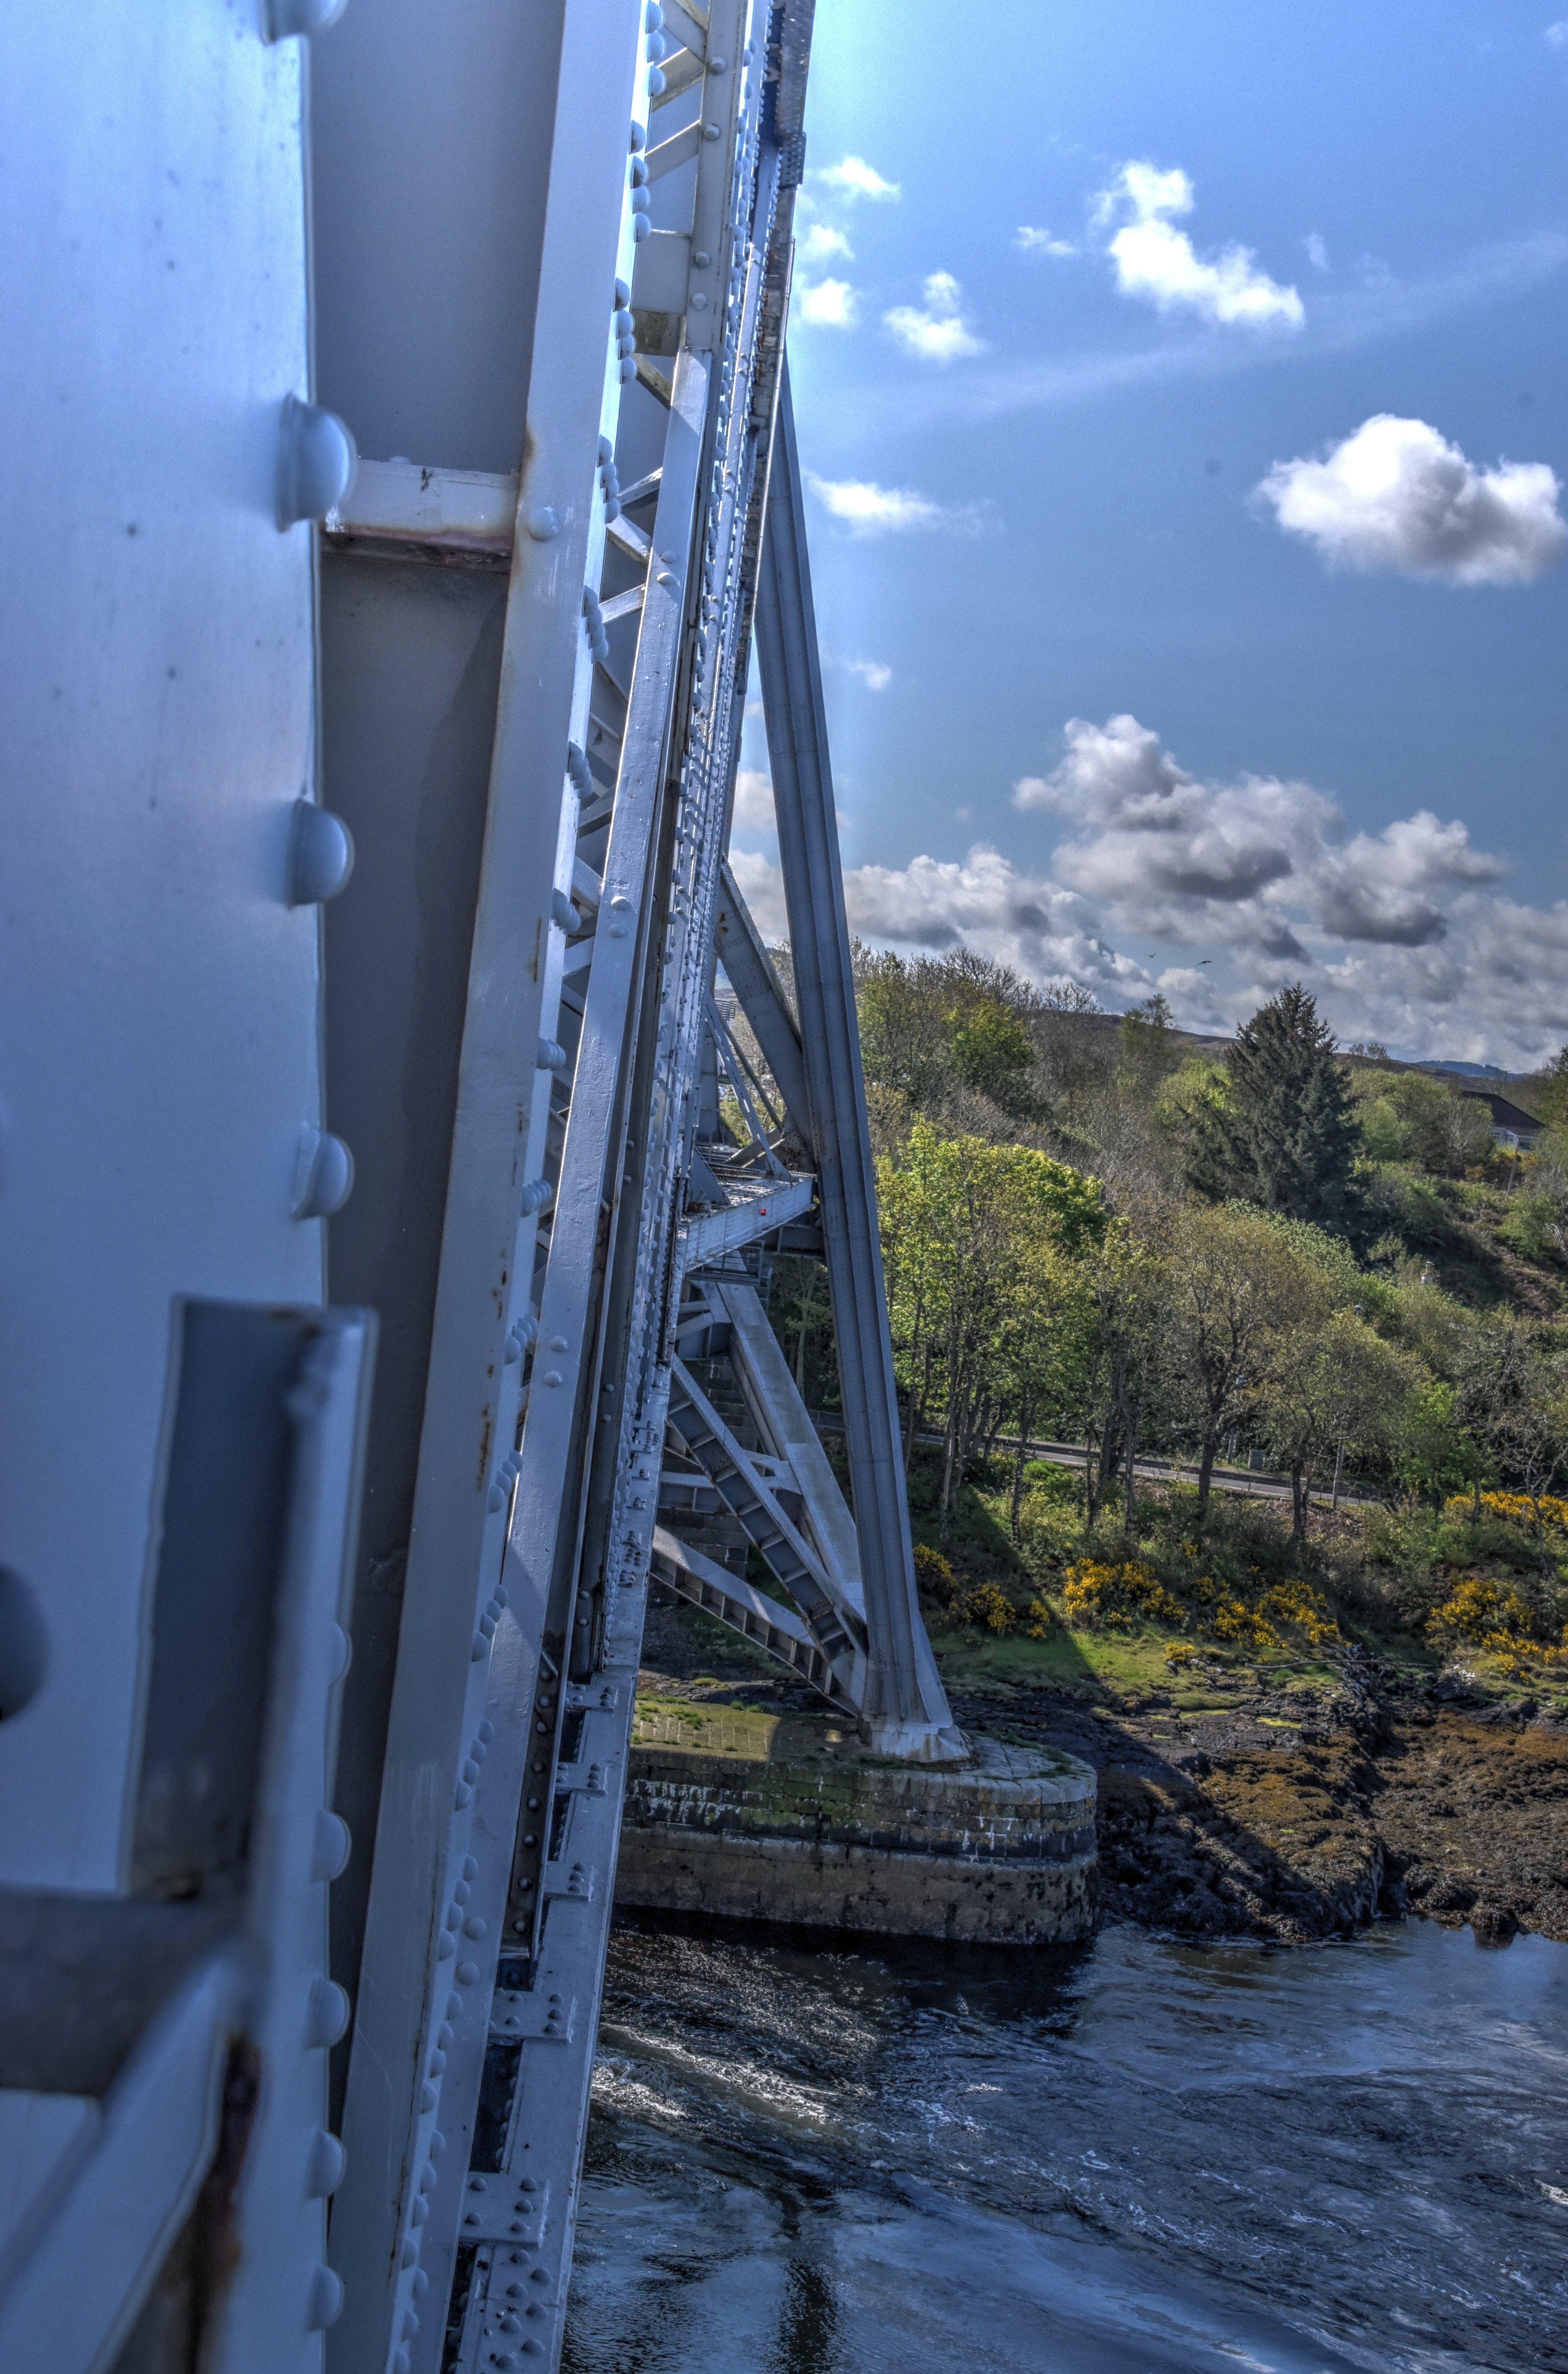
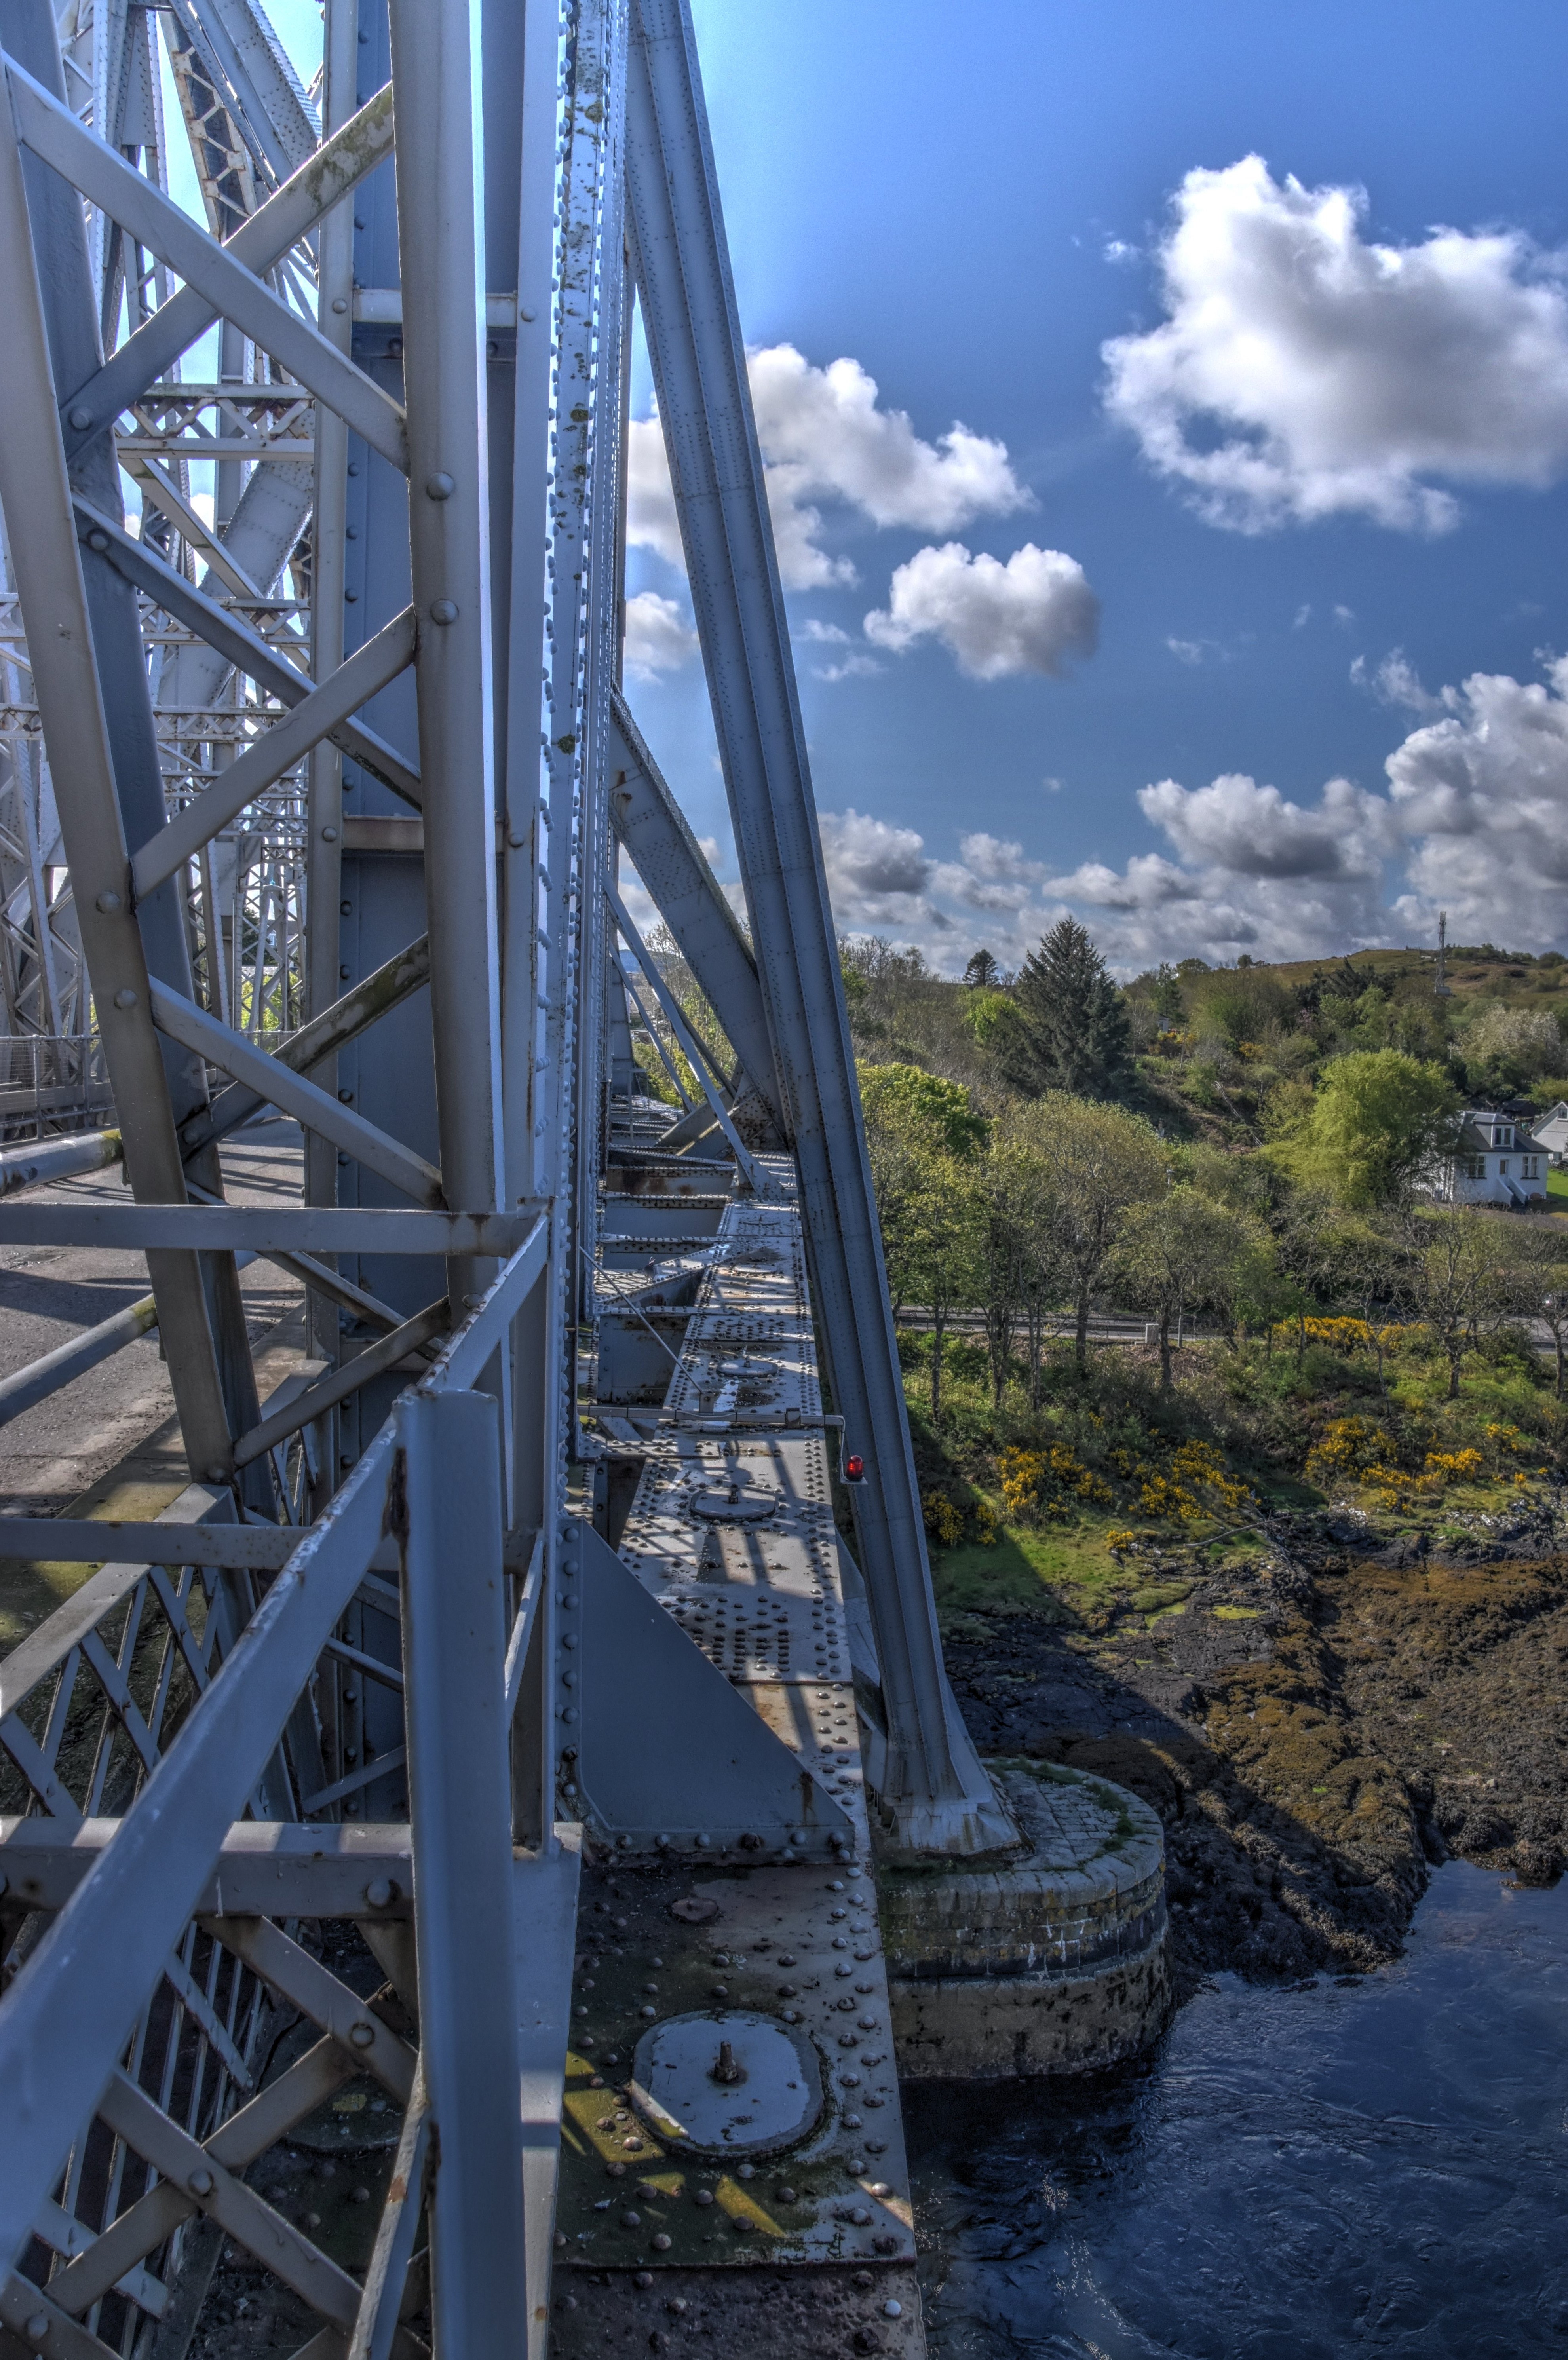
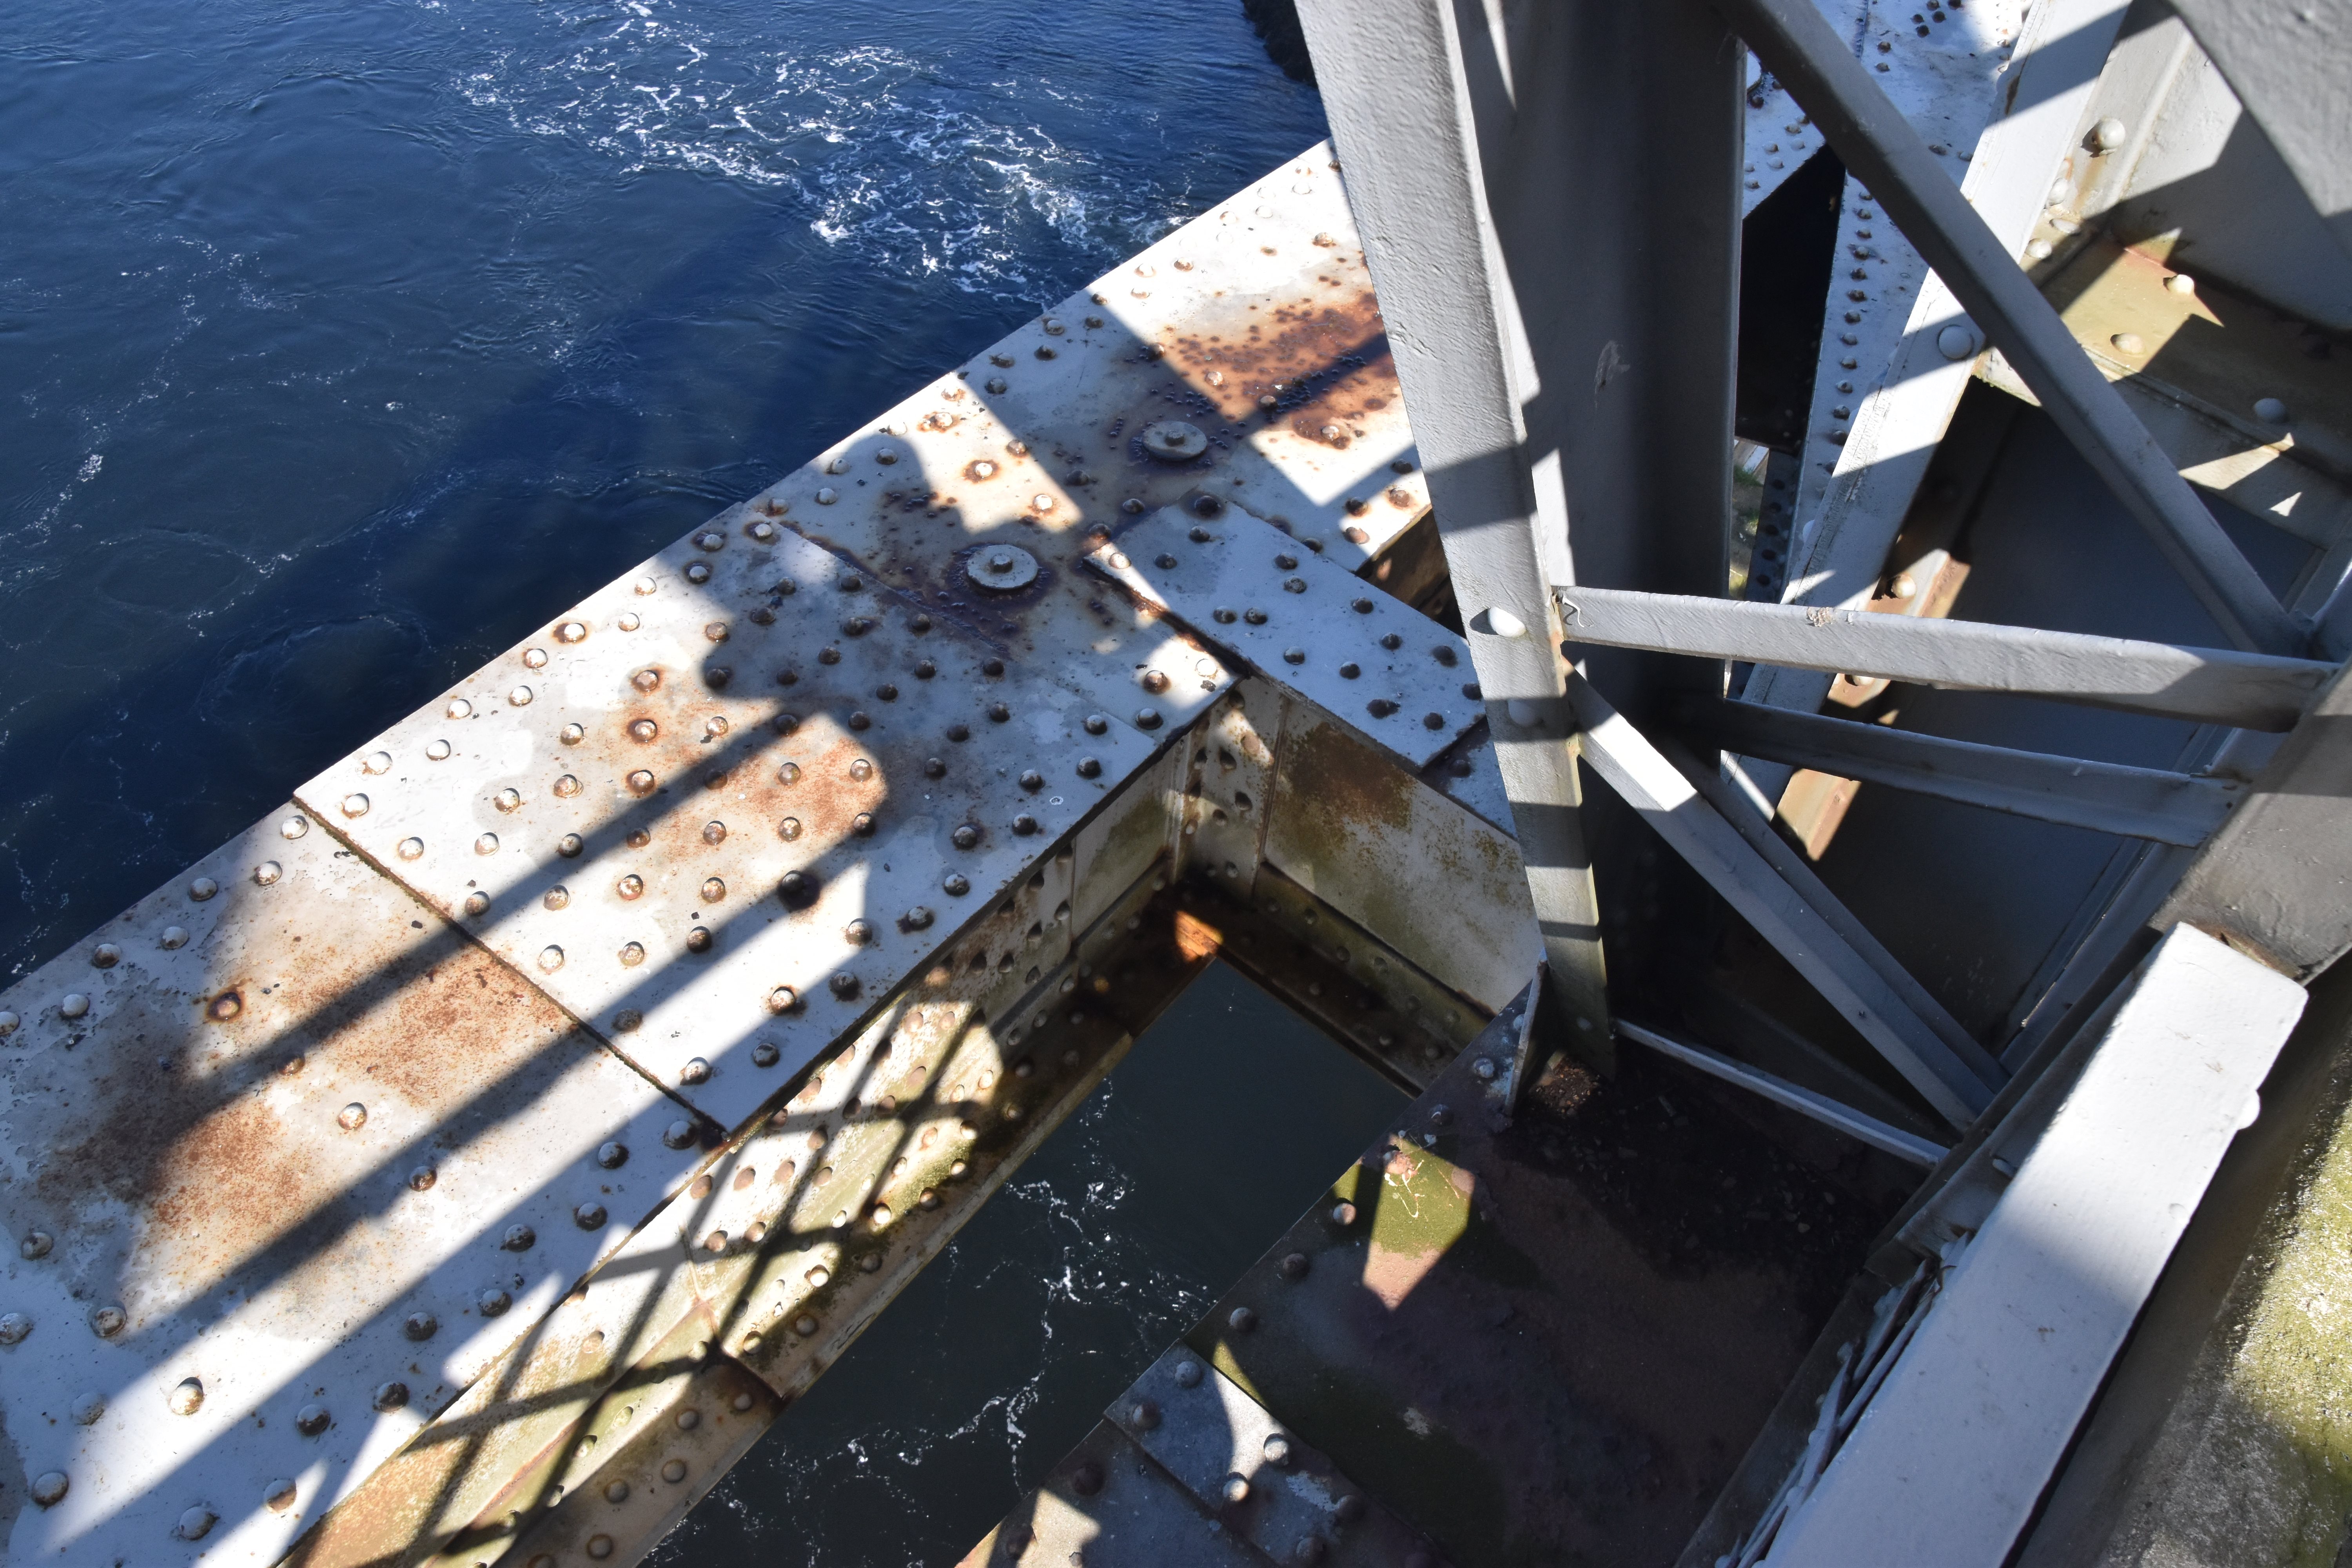
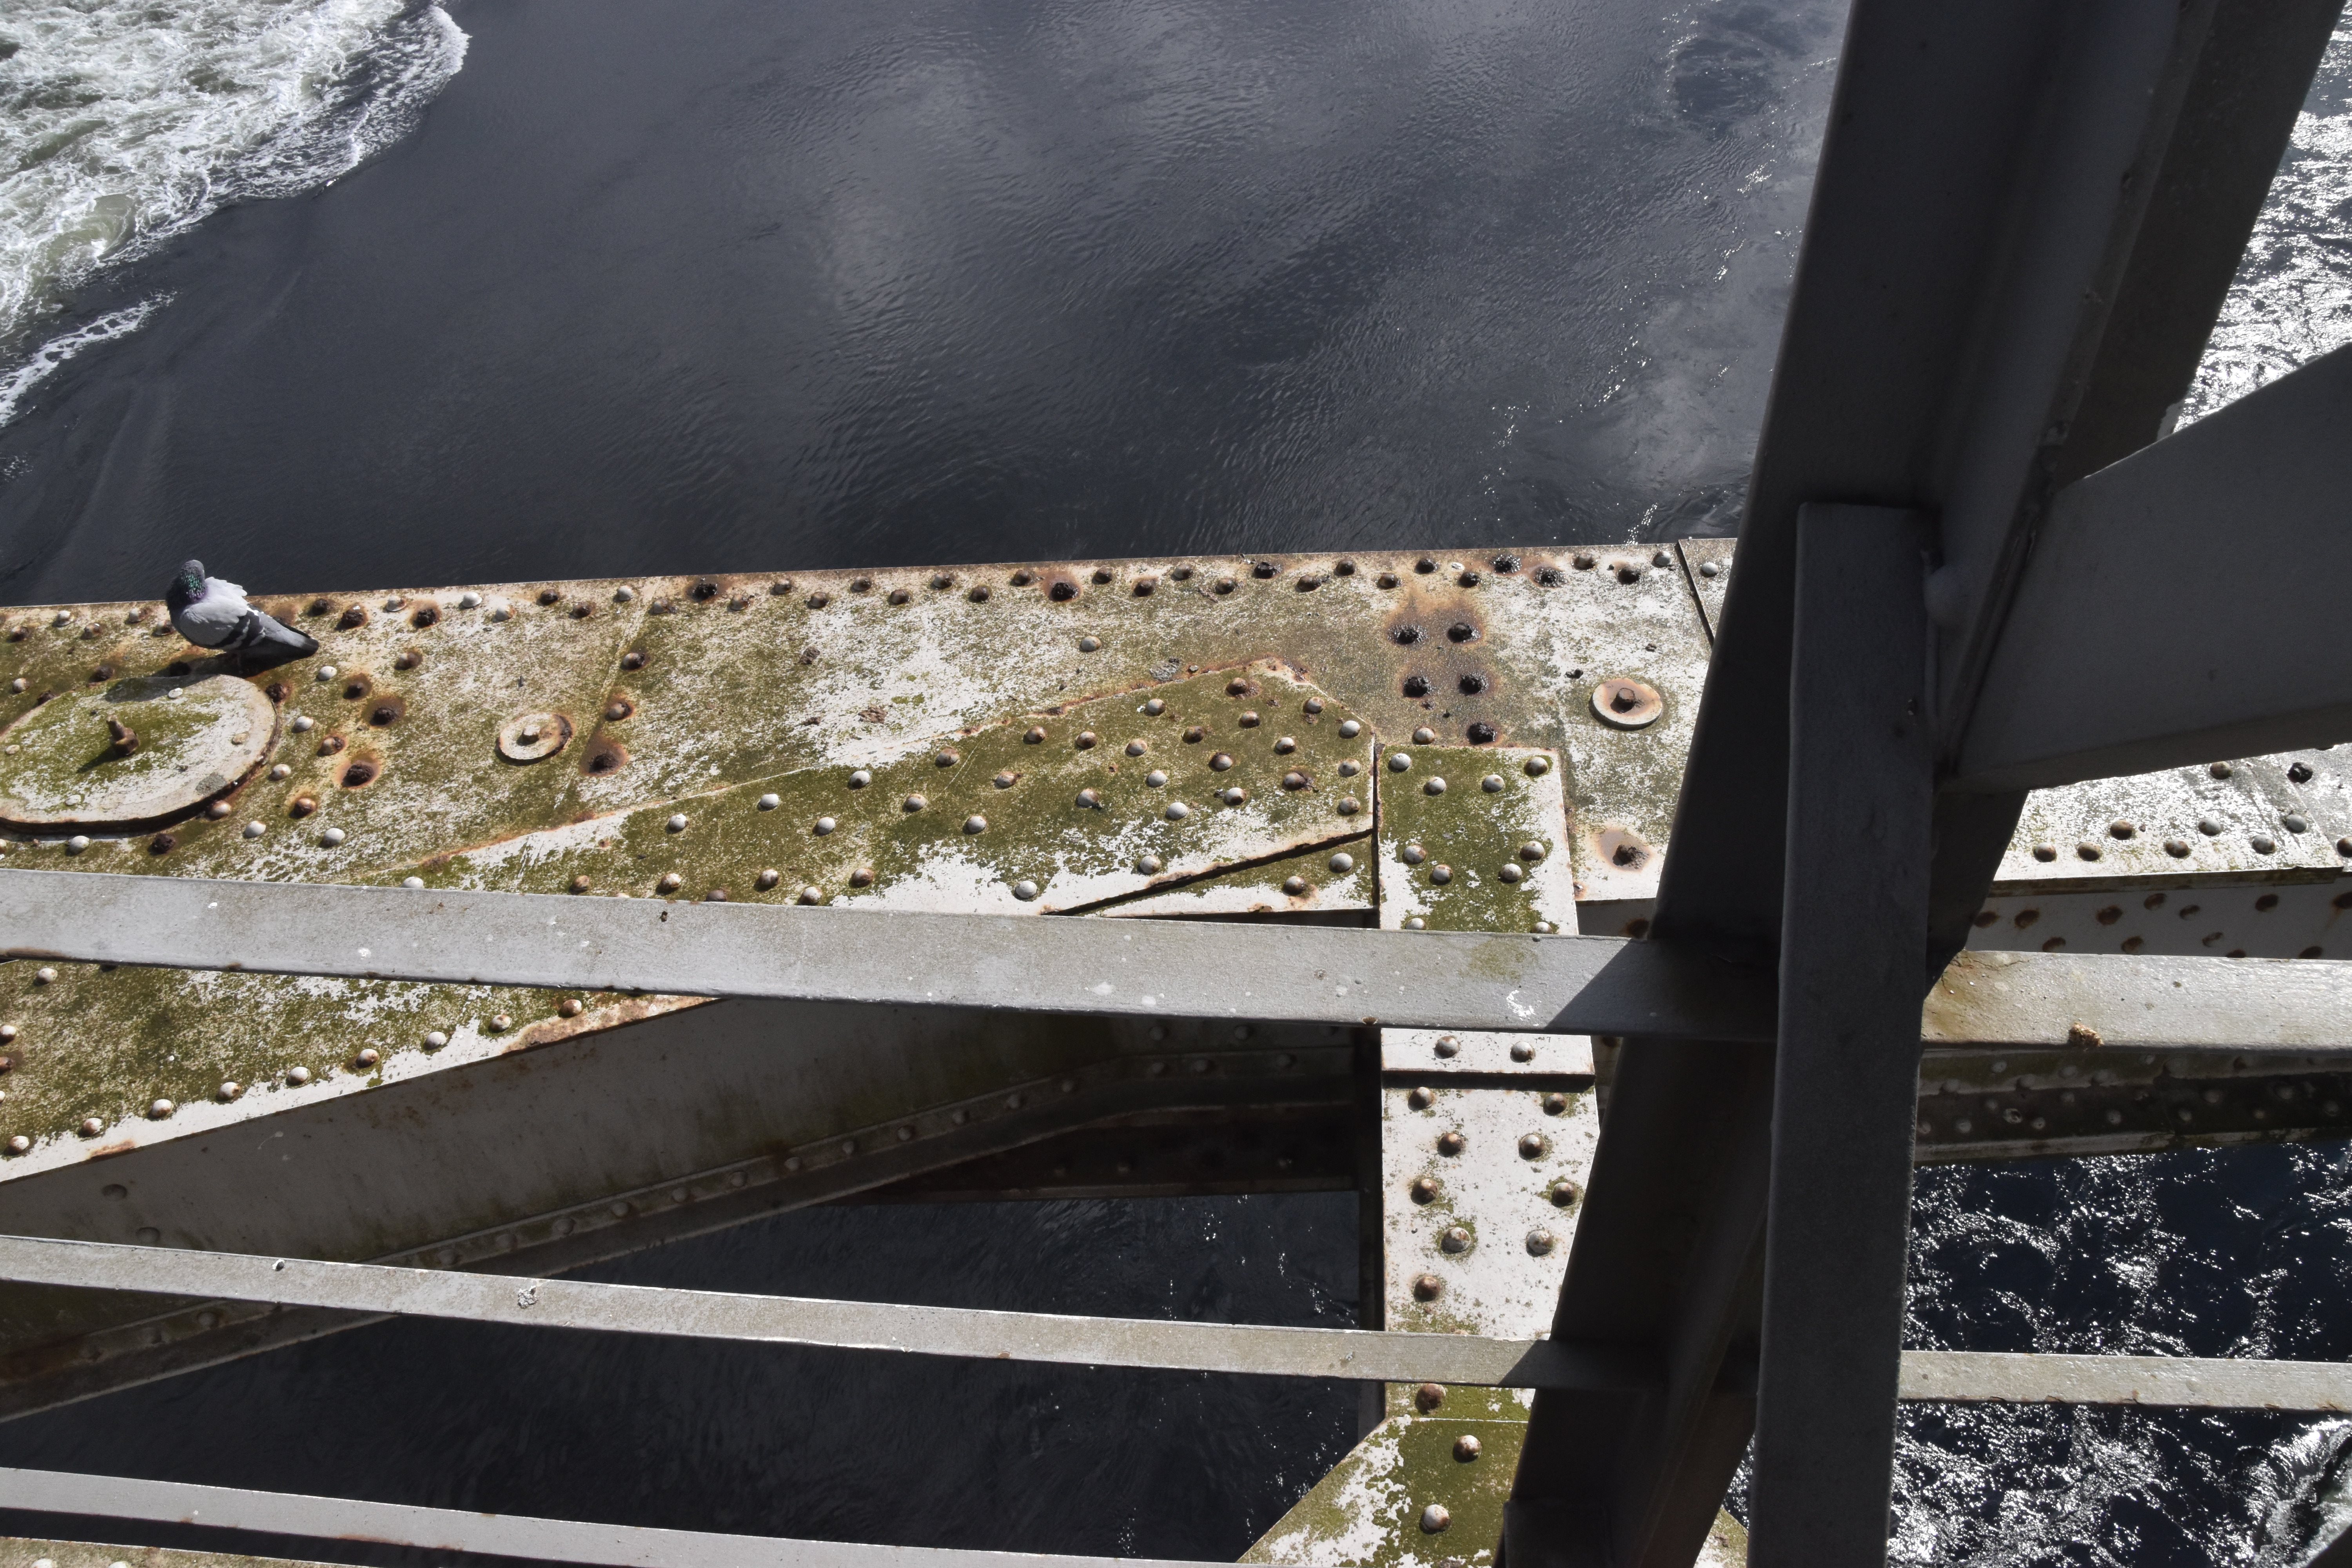
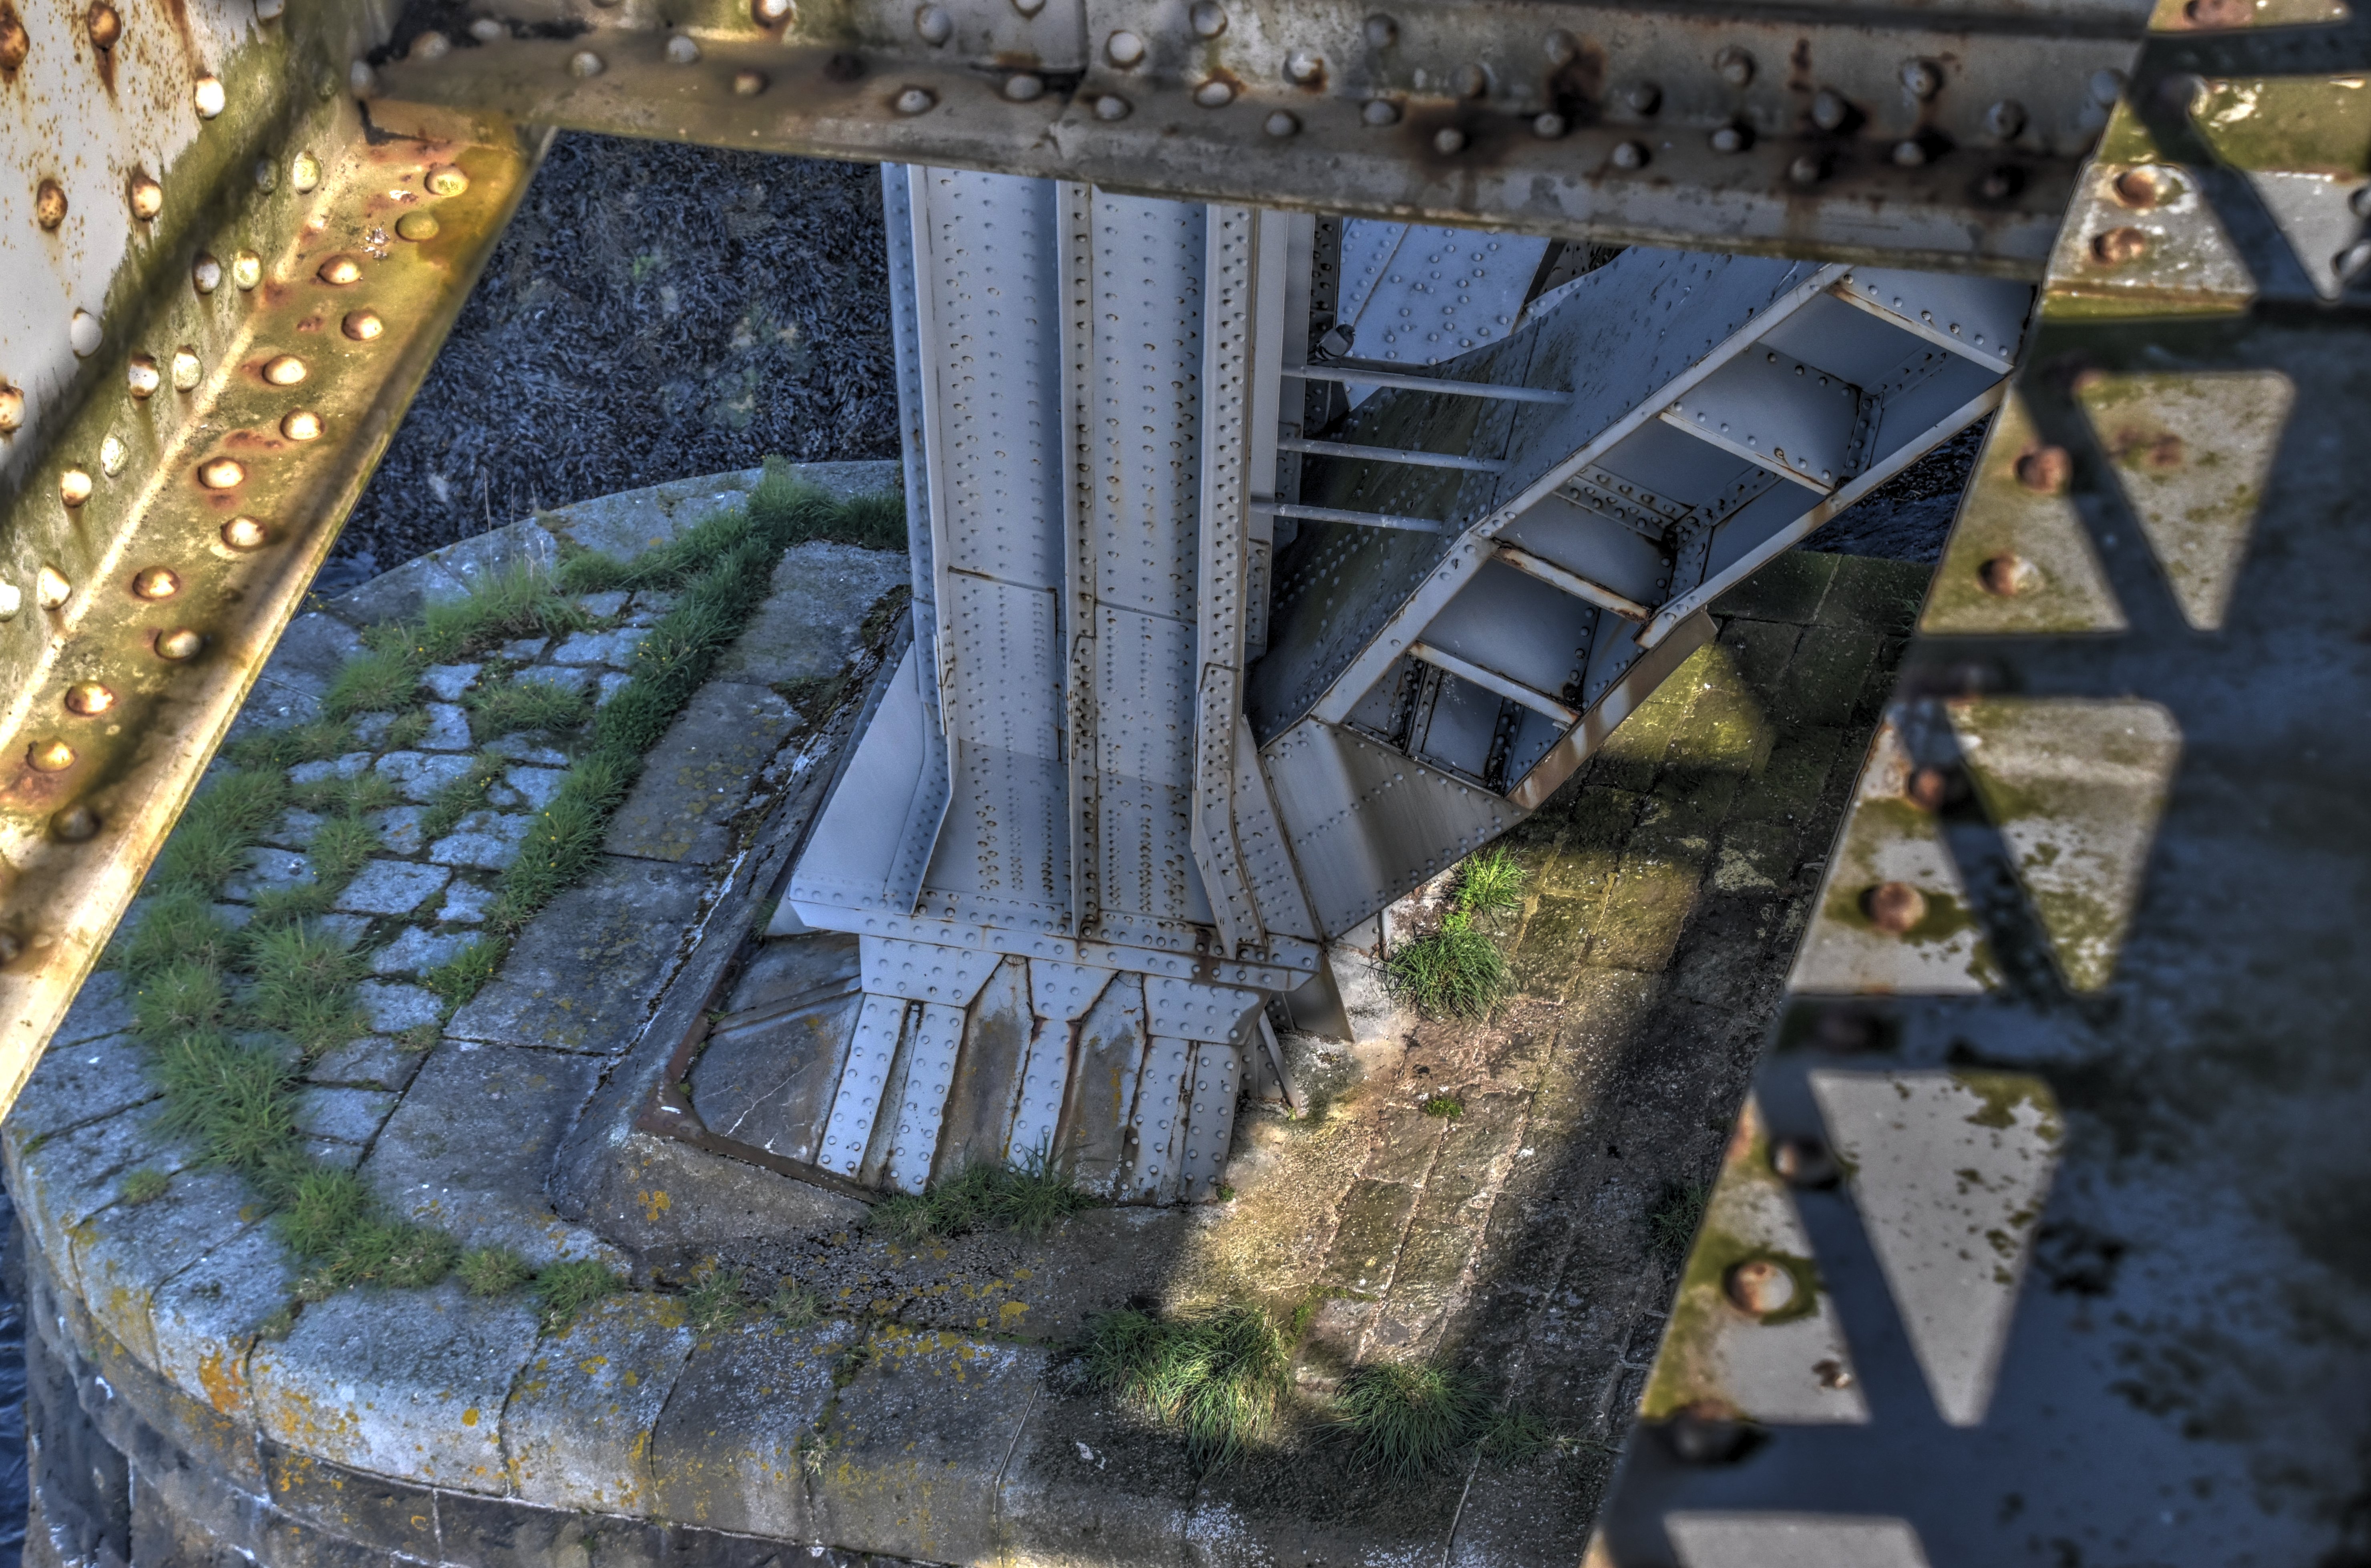
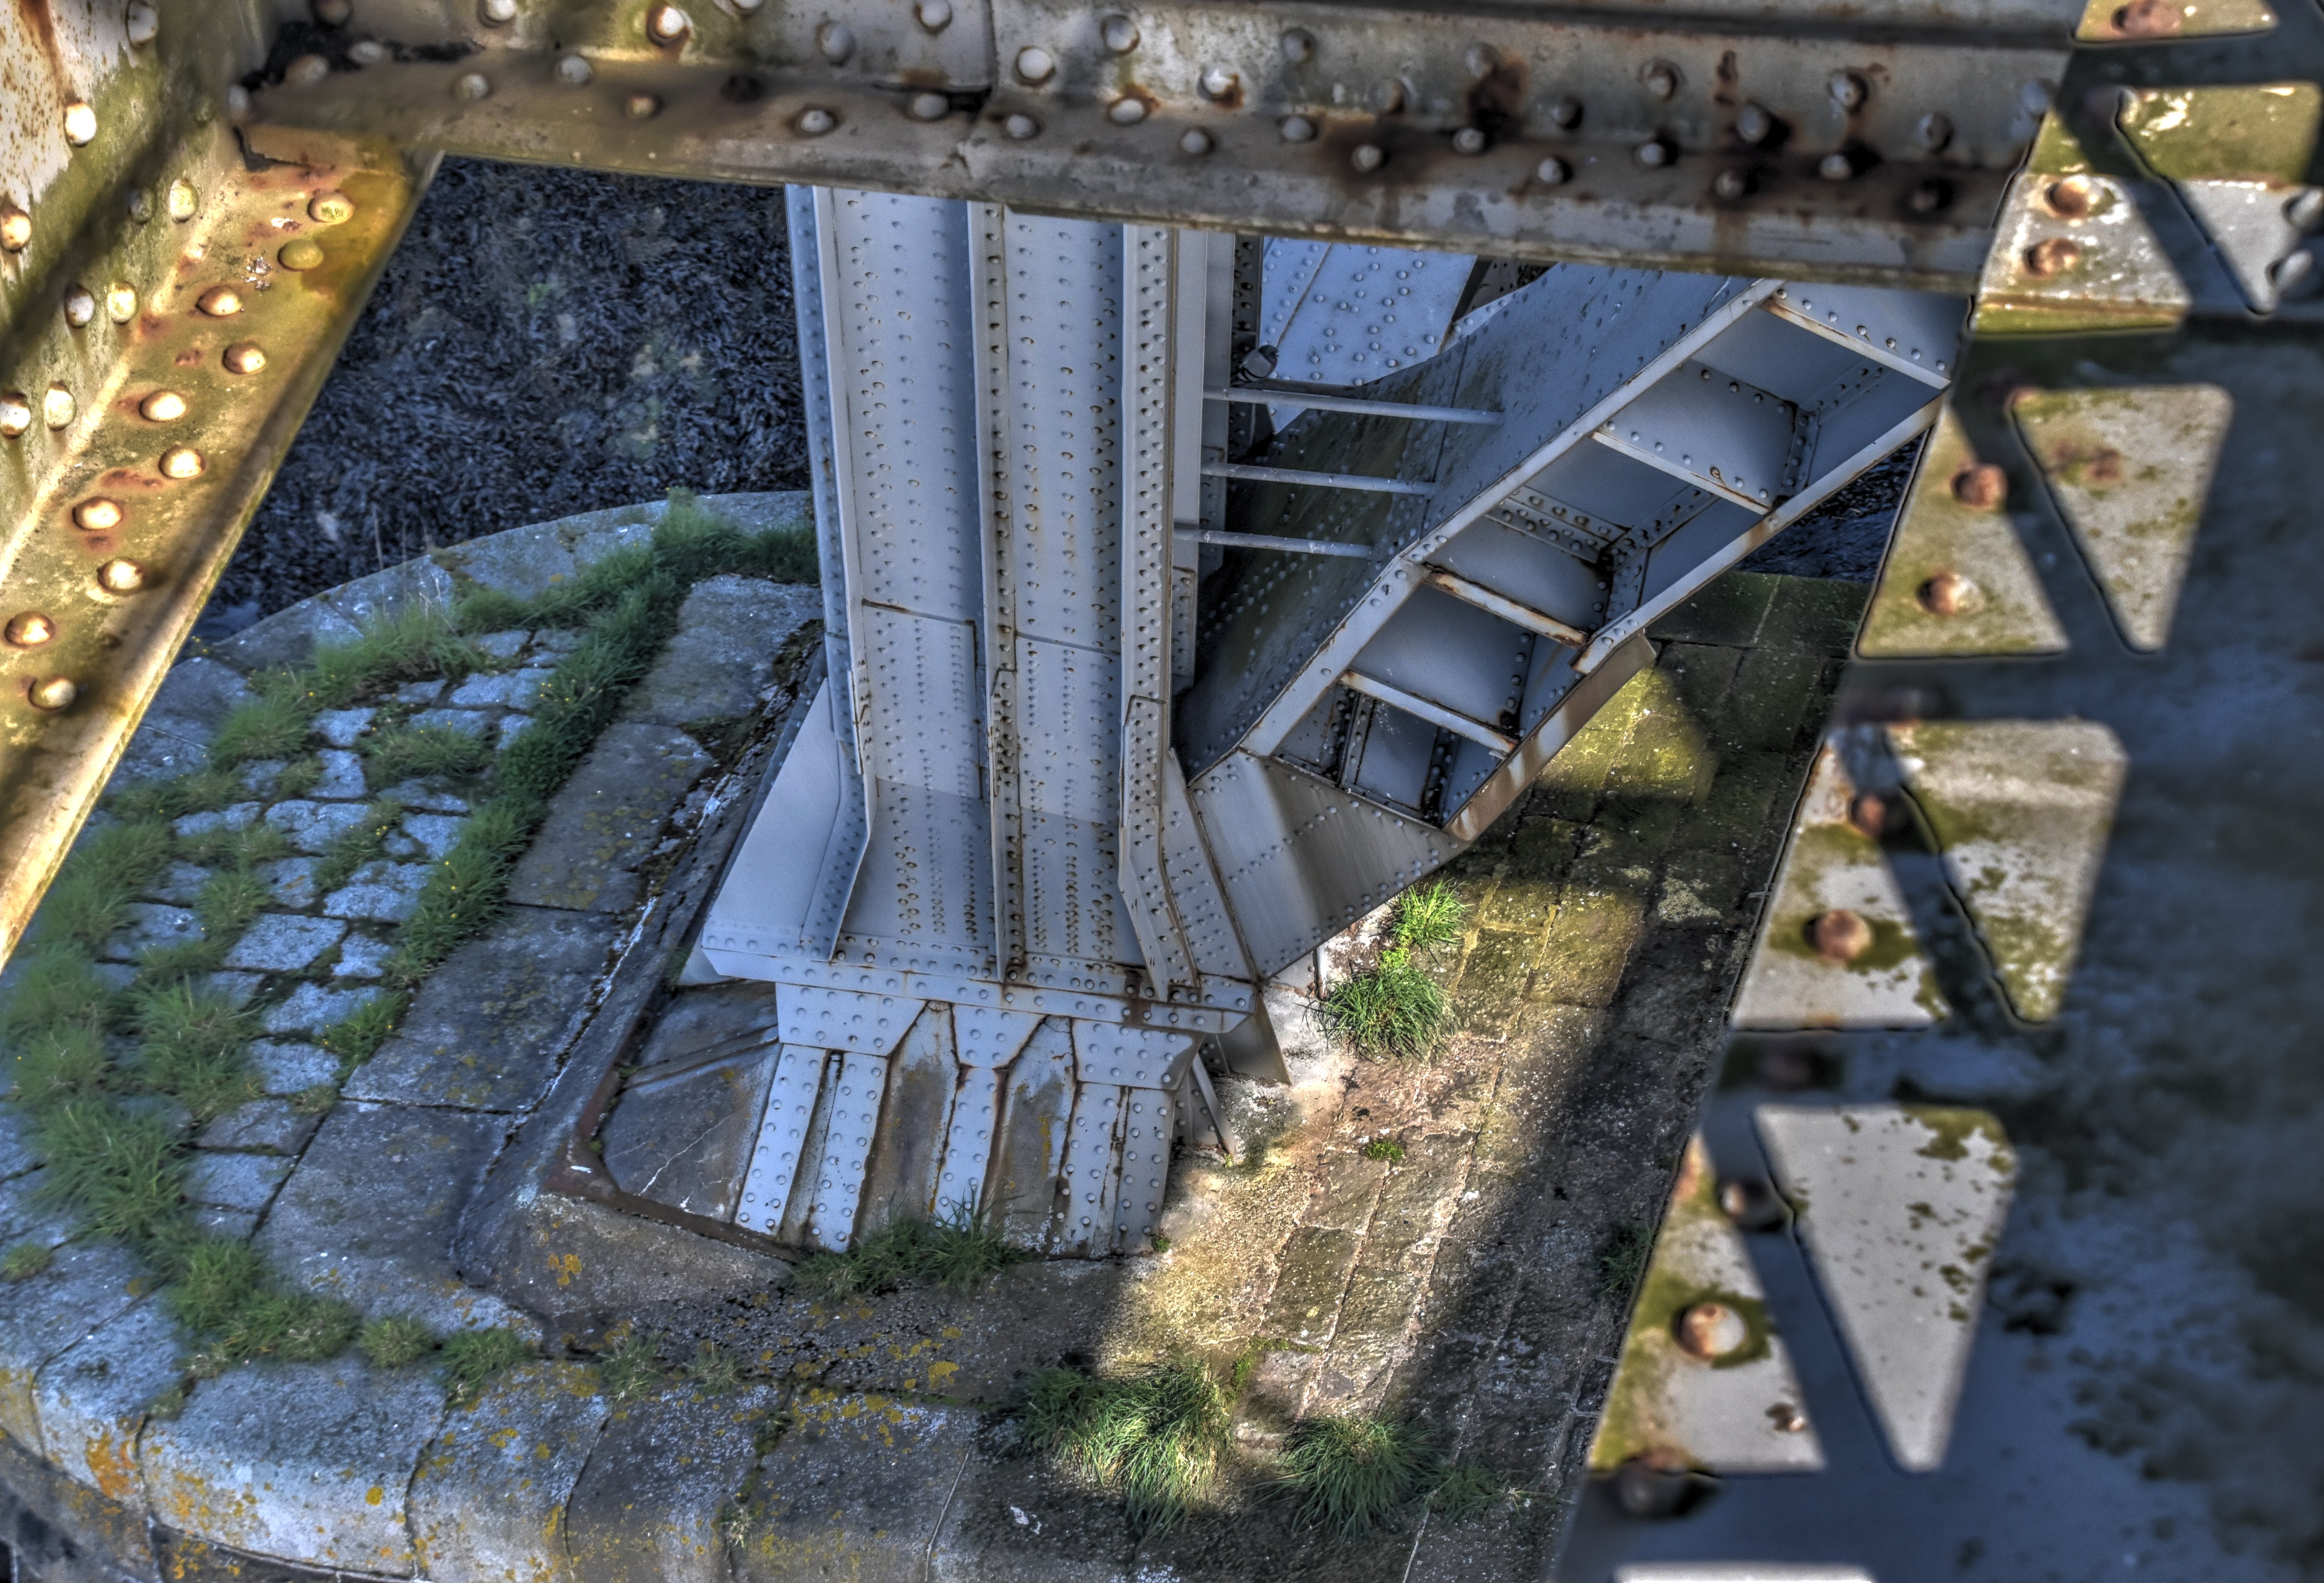
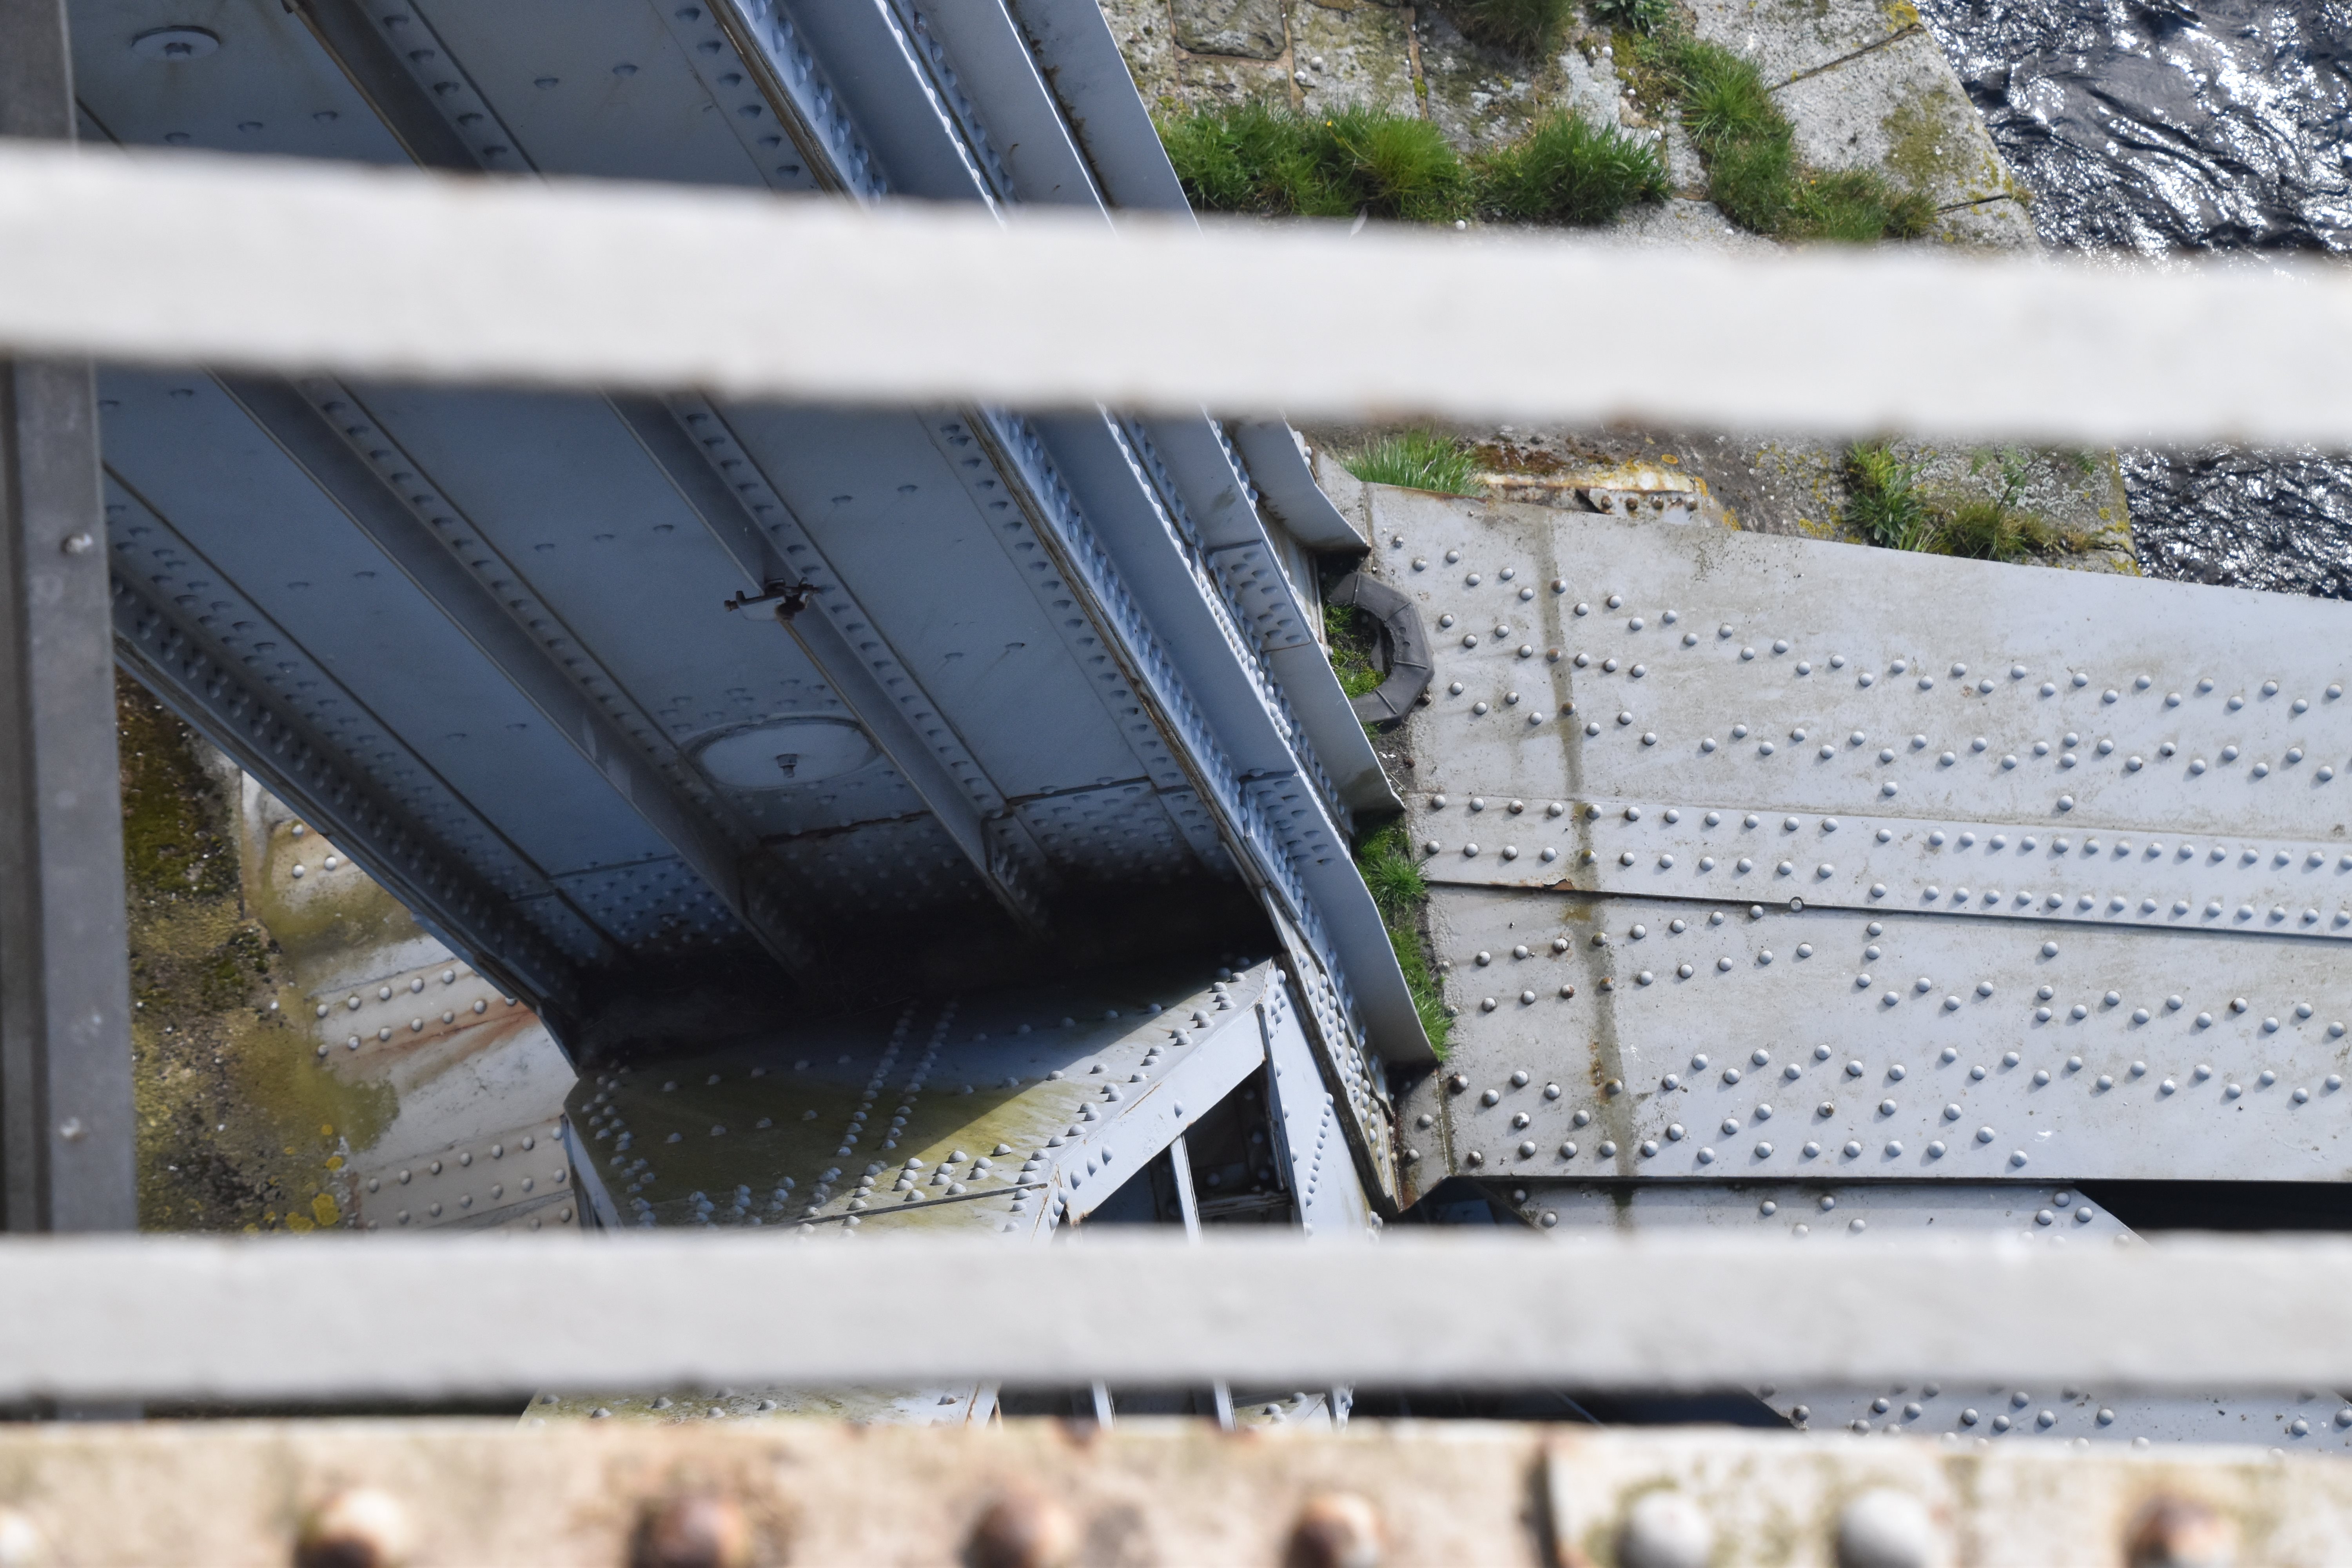
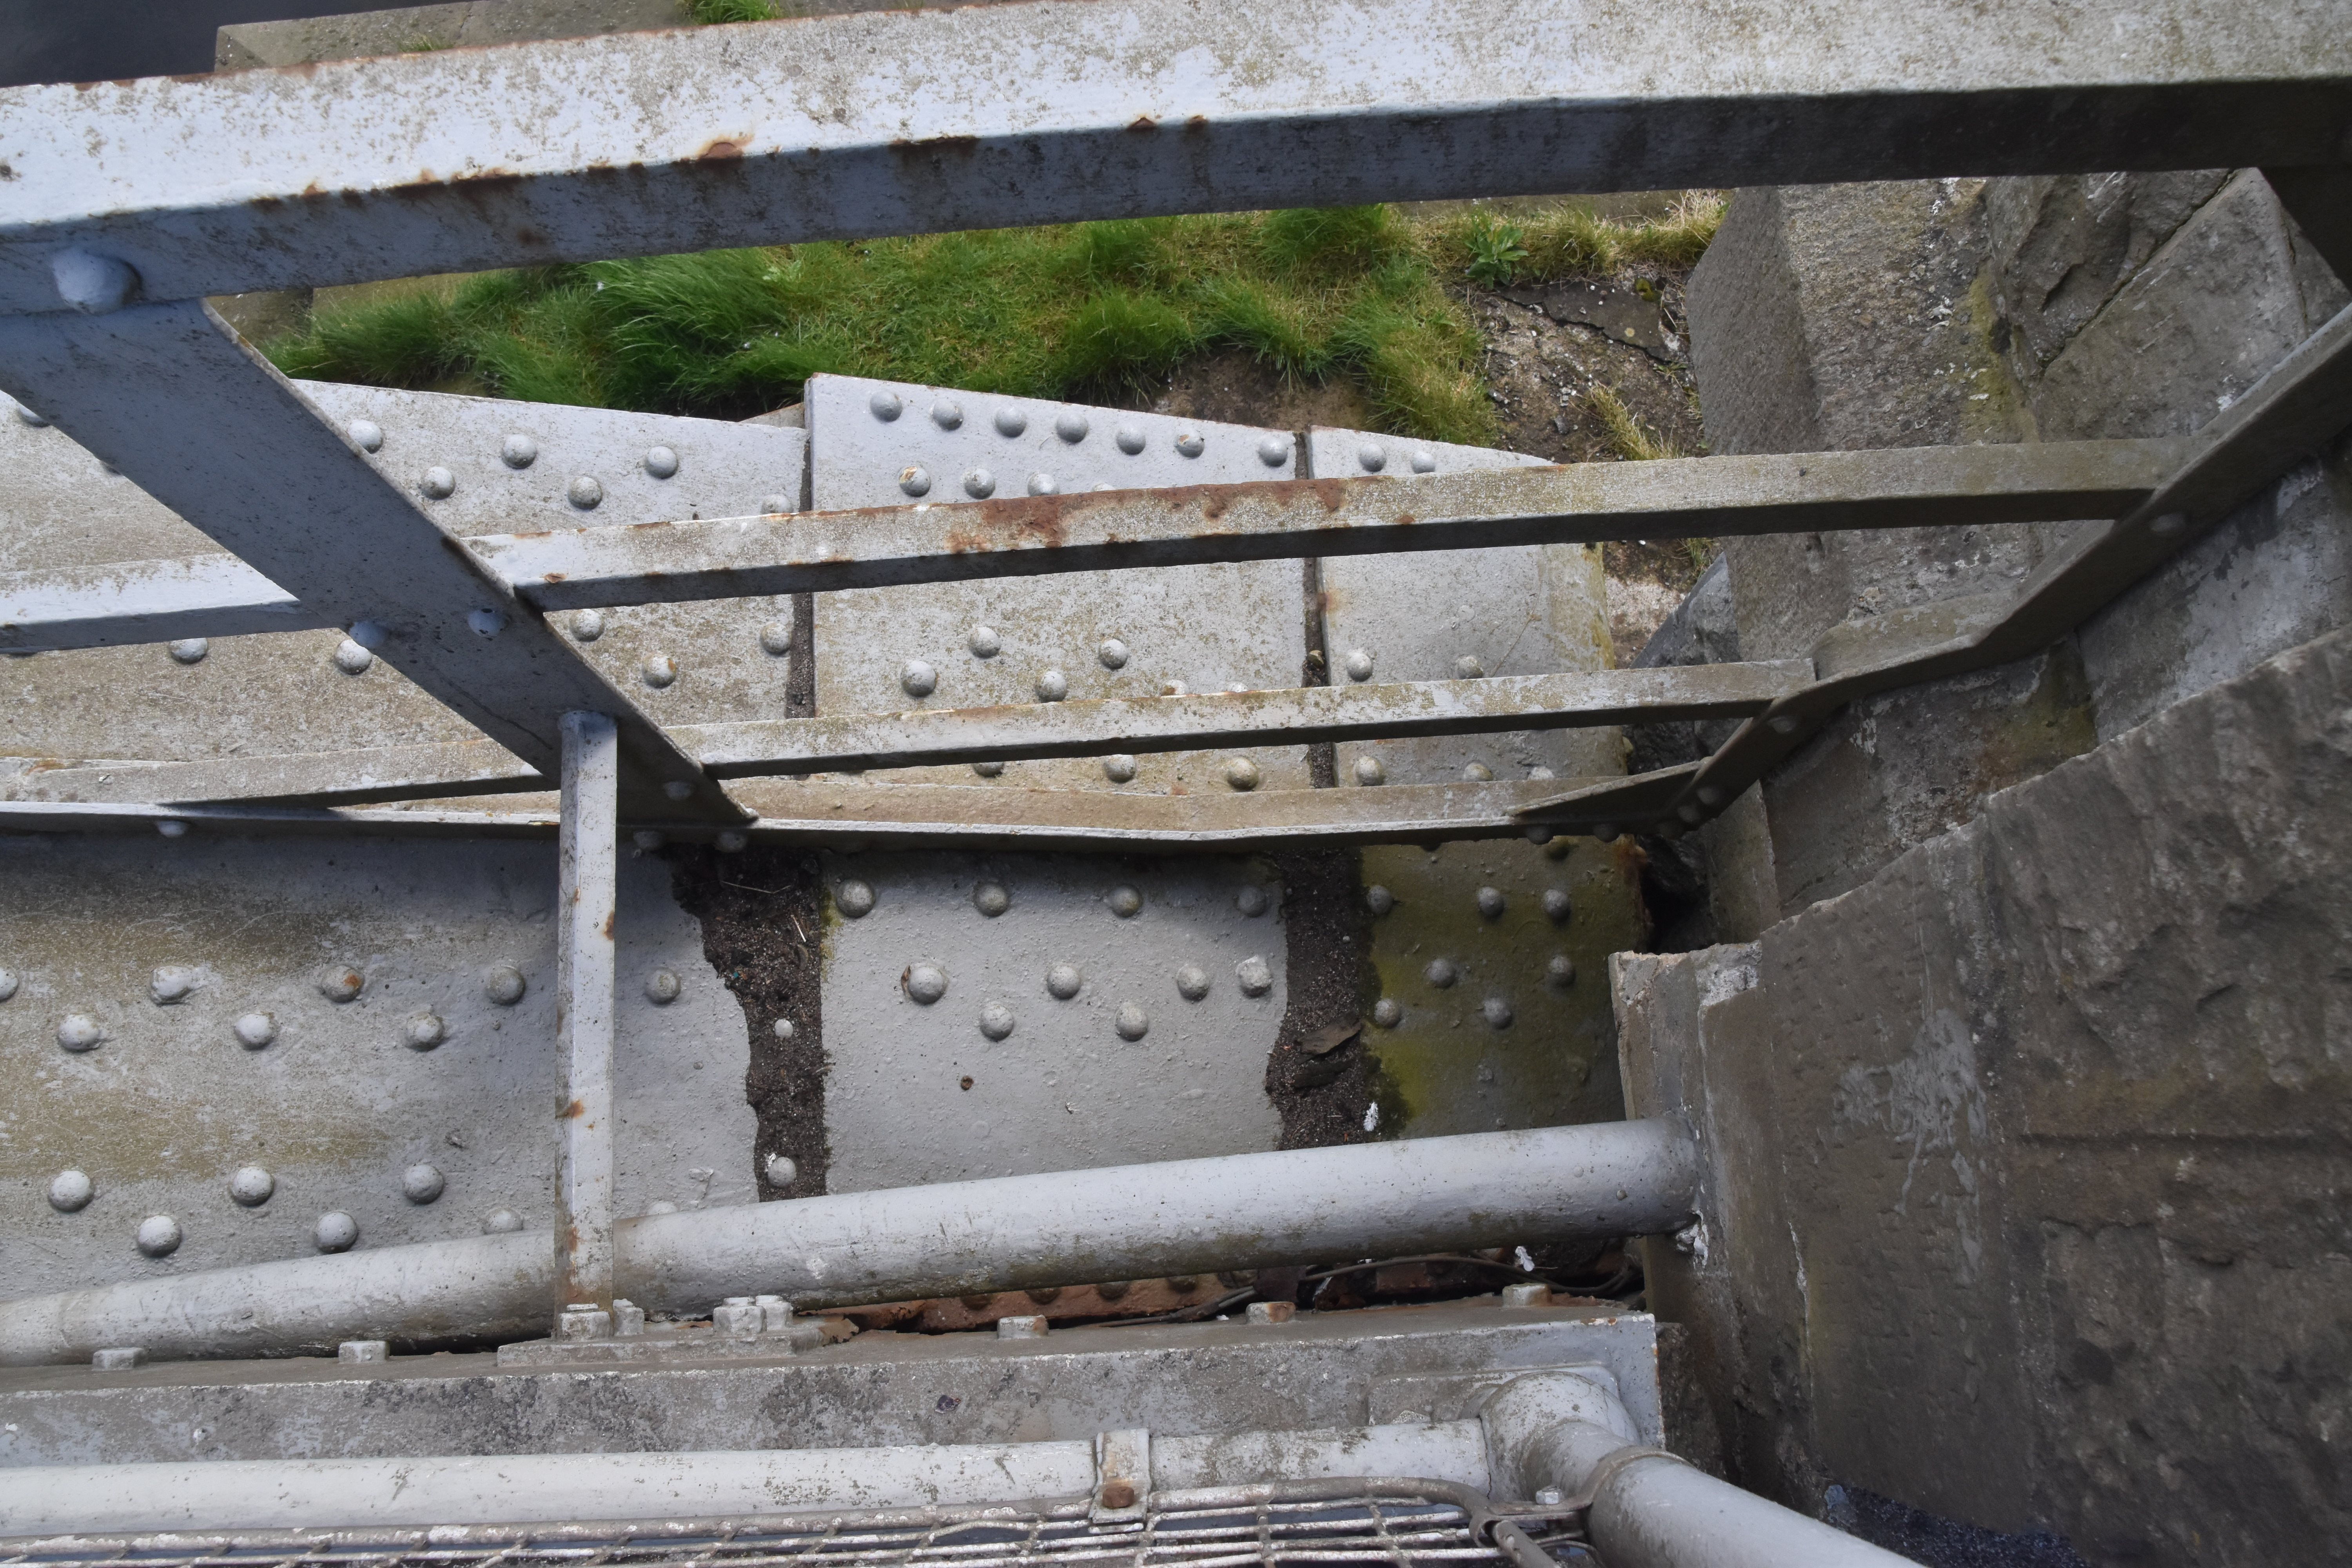
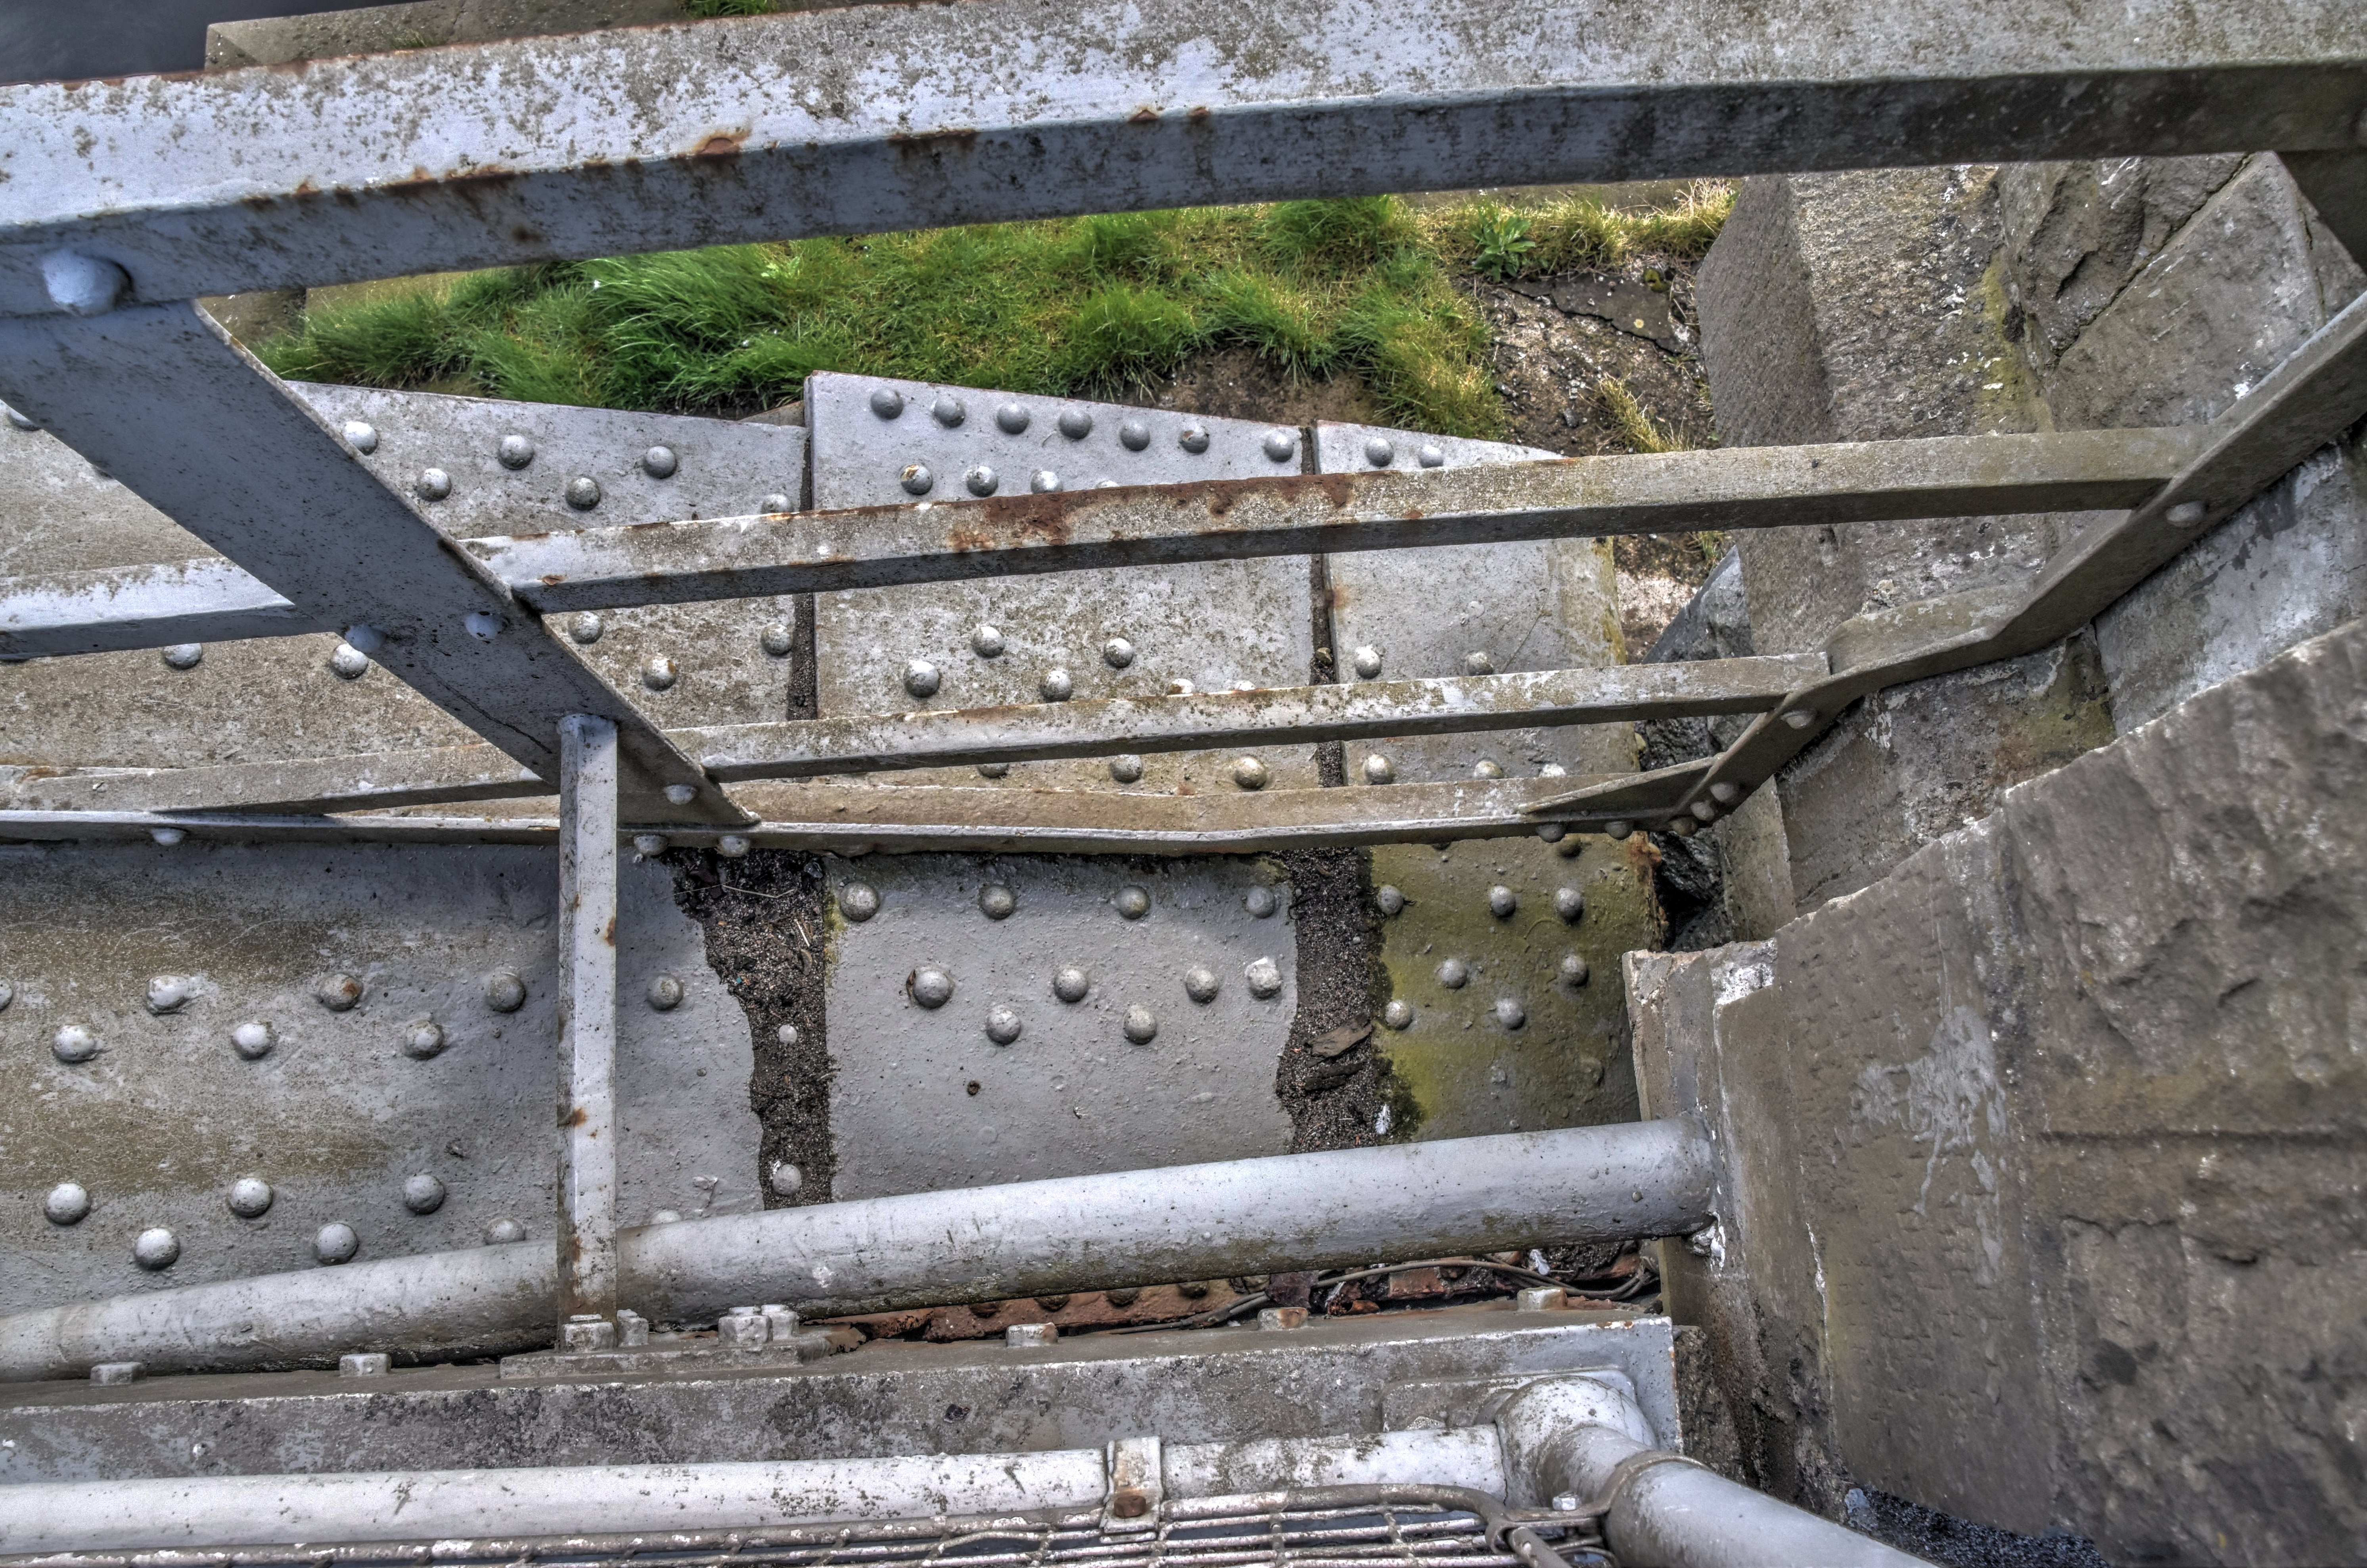
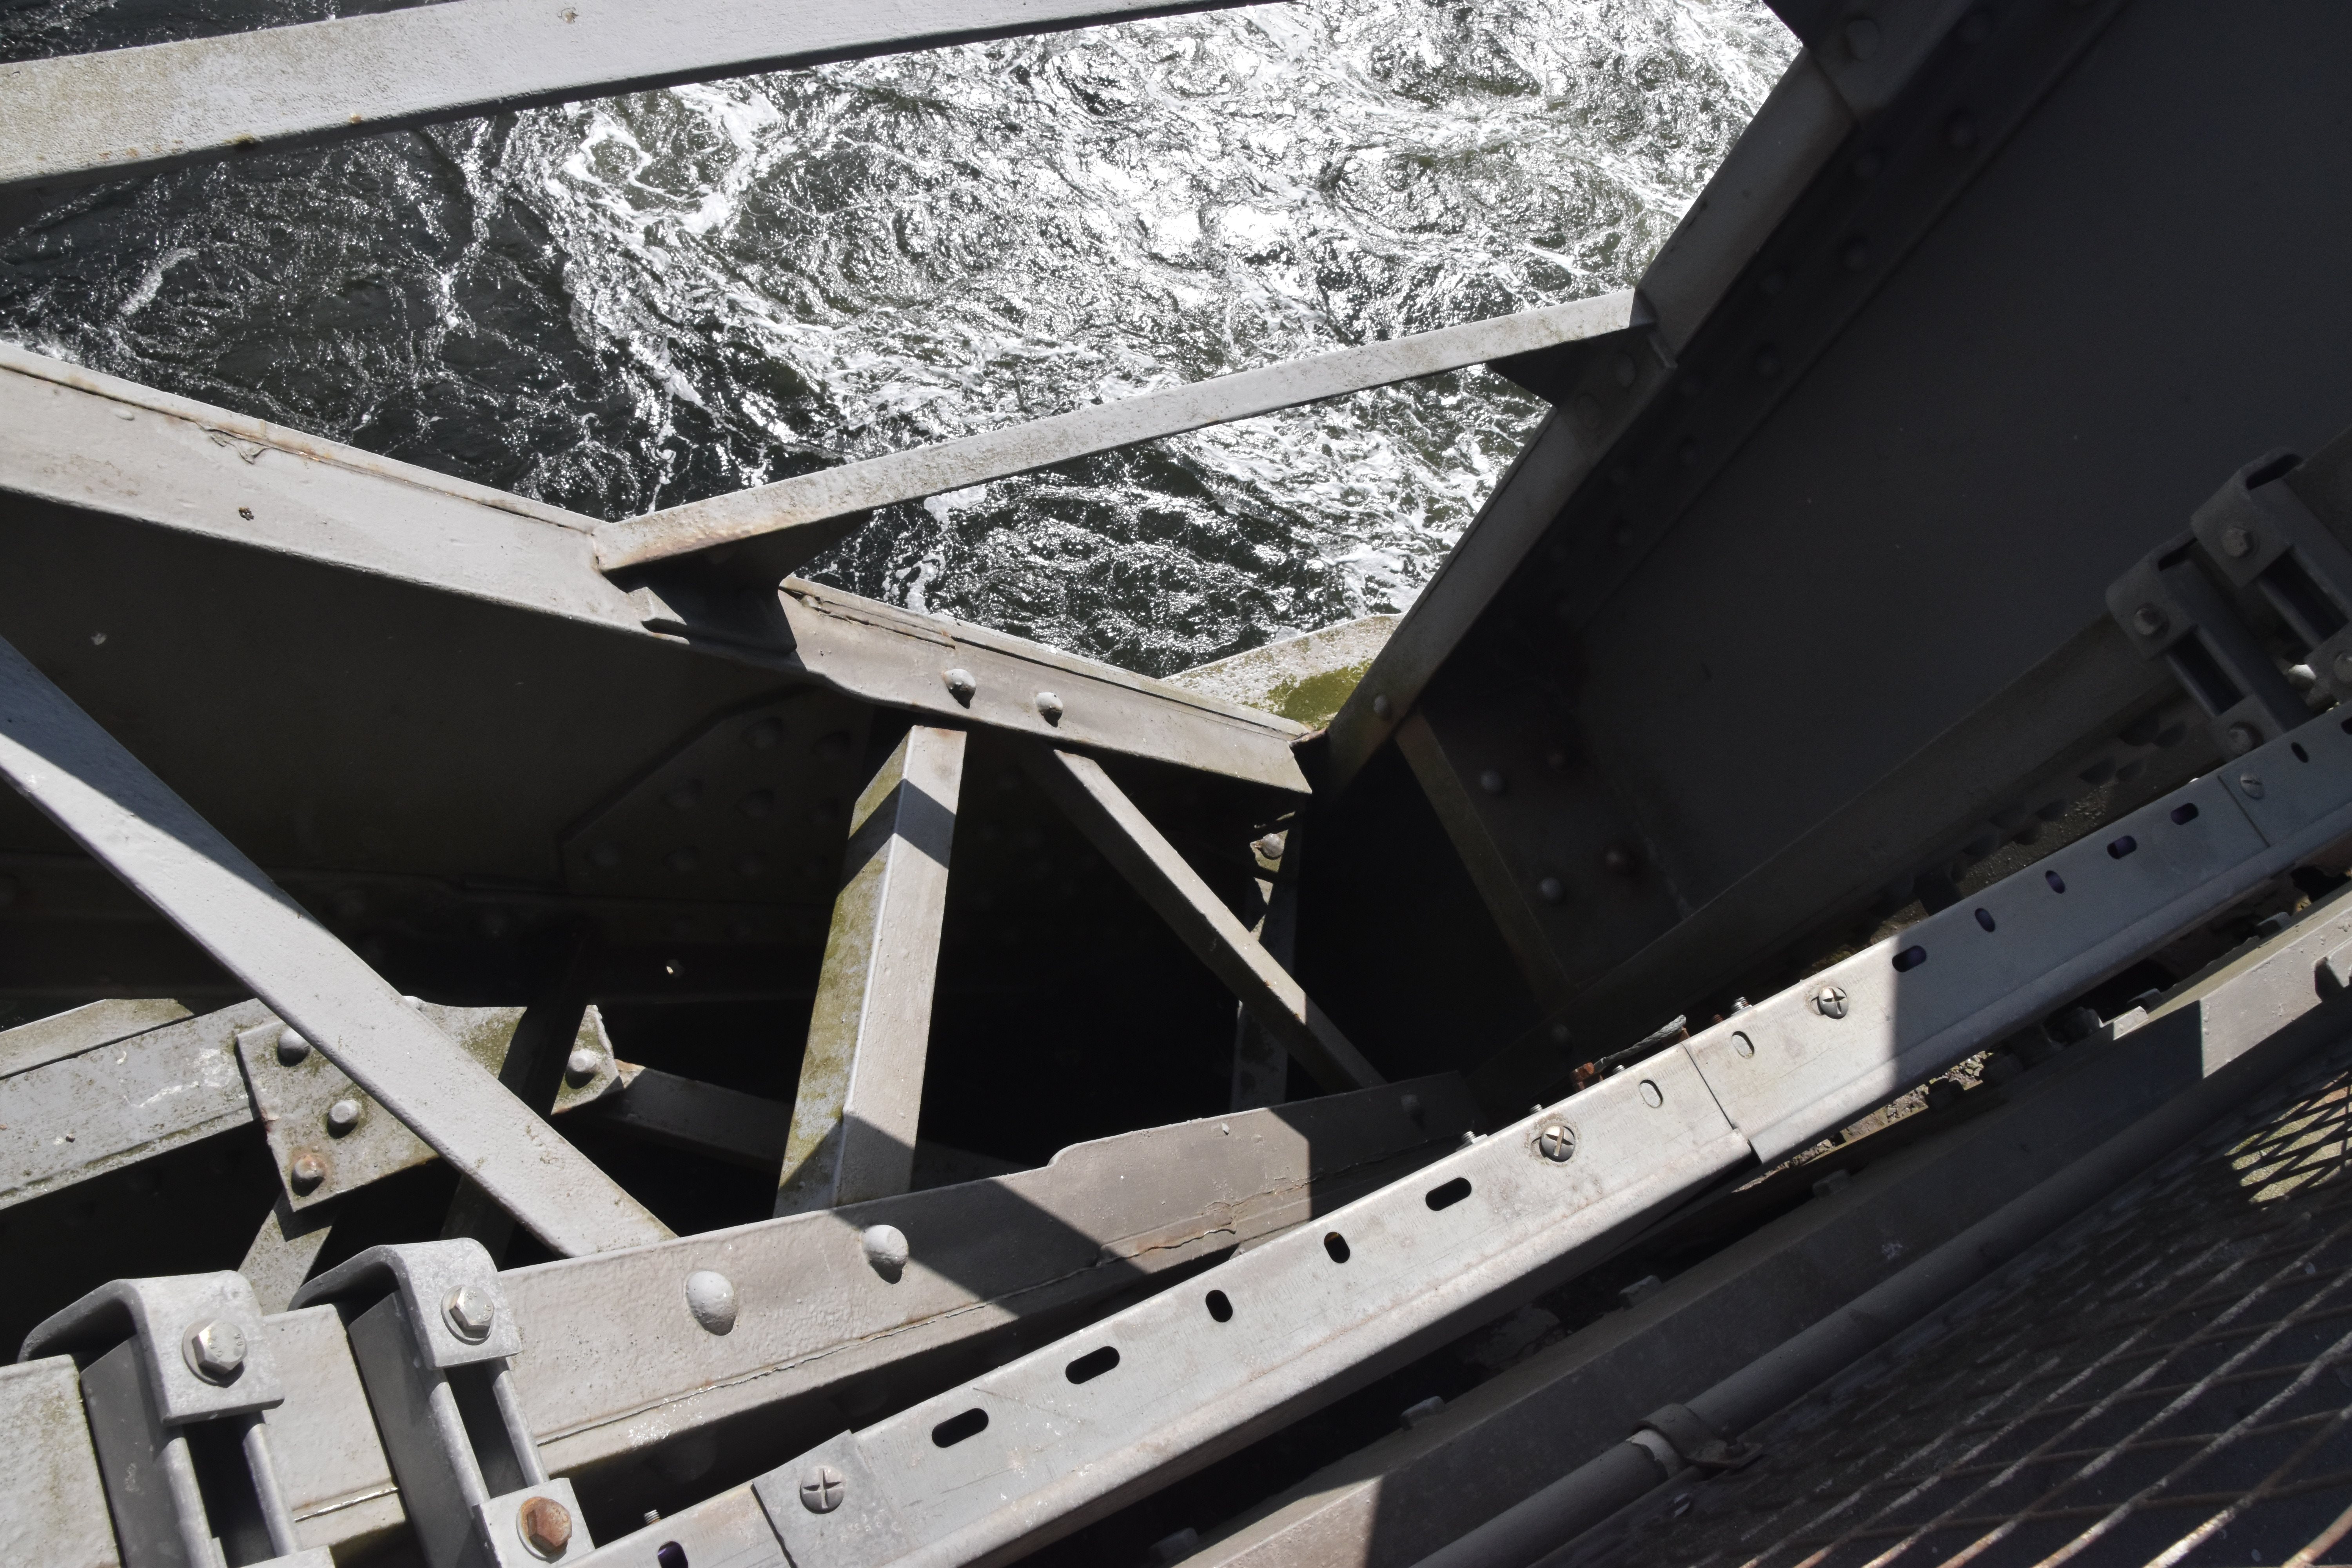
Distant view of pier bearing.
![]()
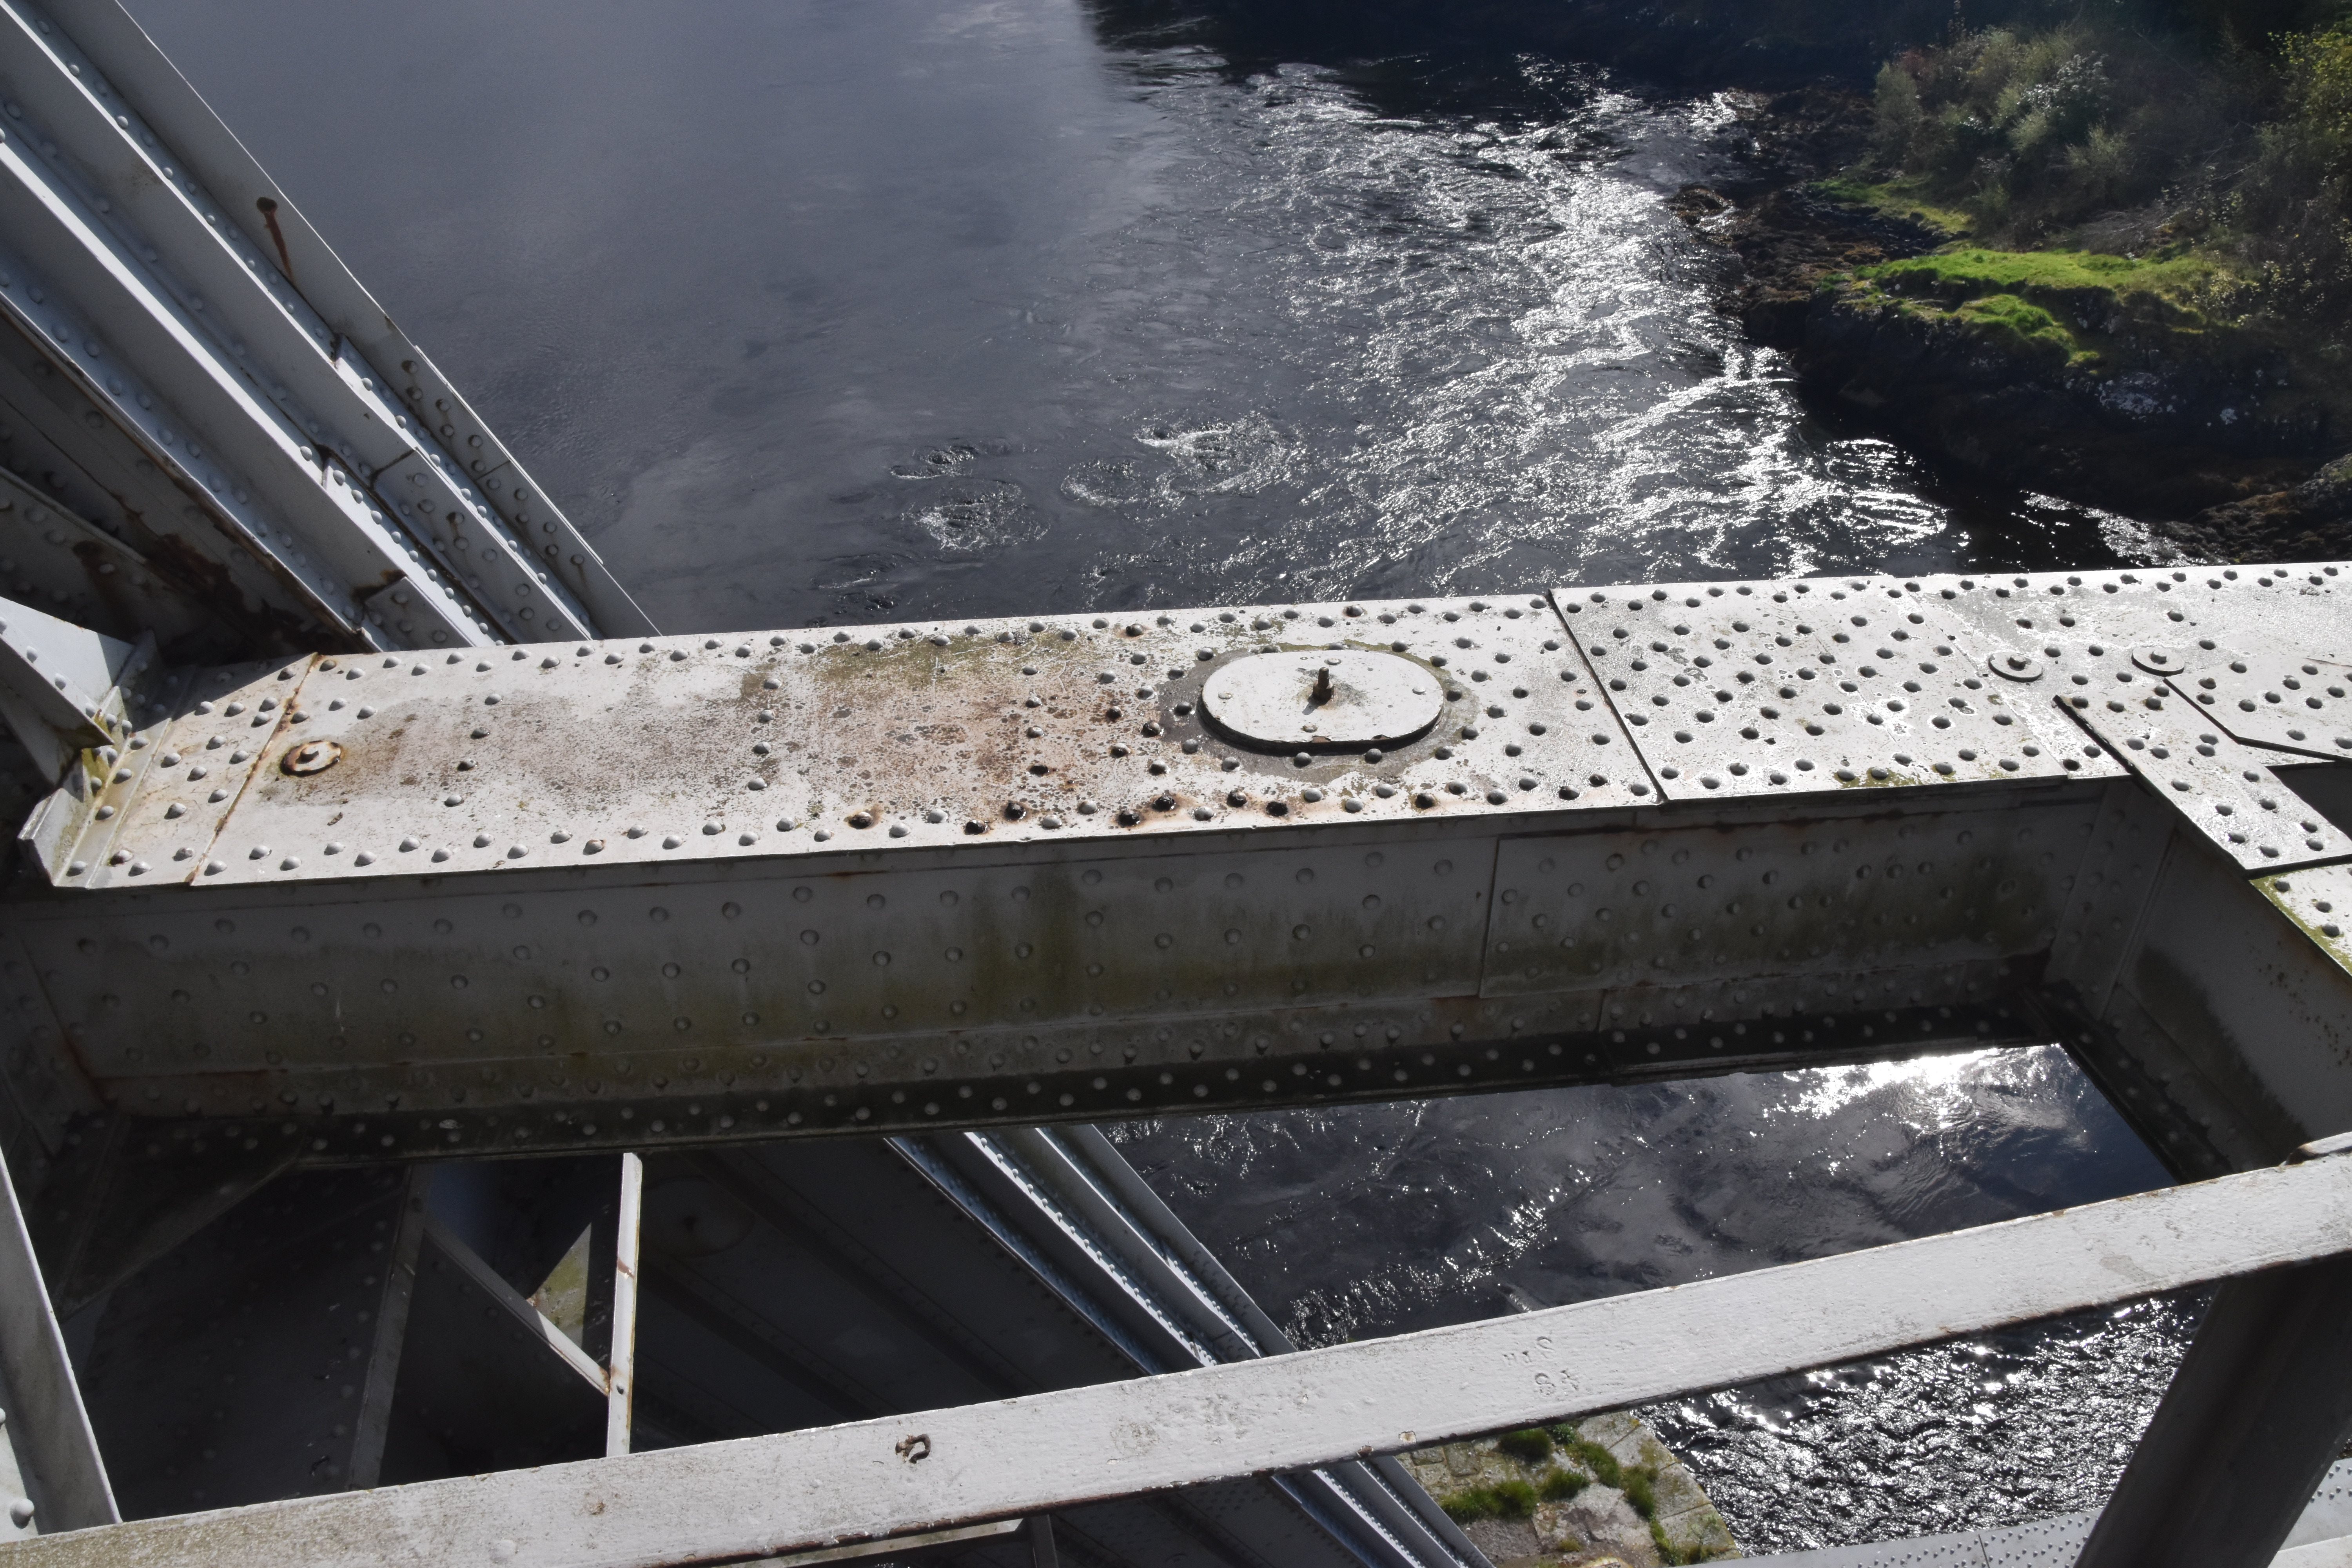
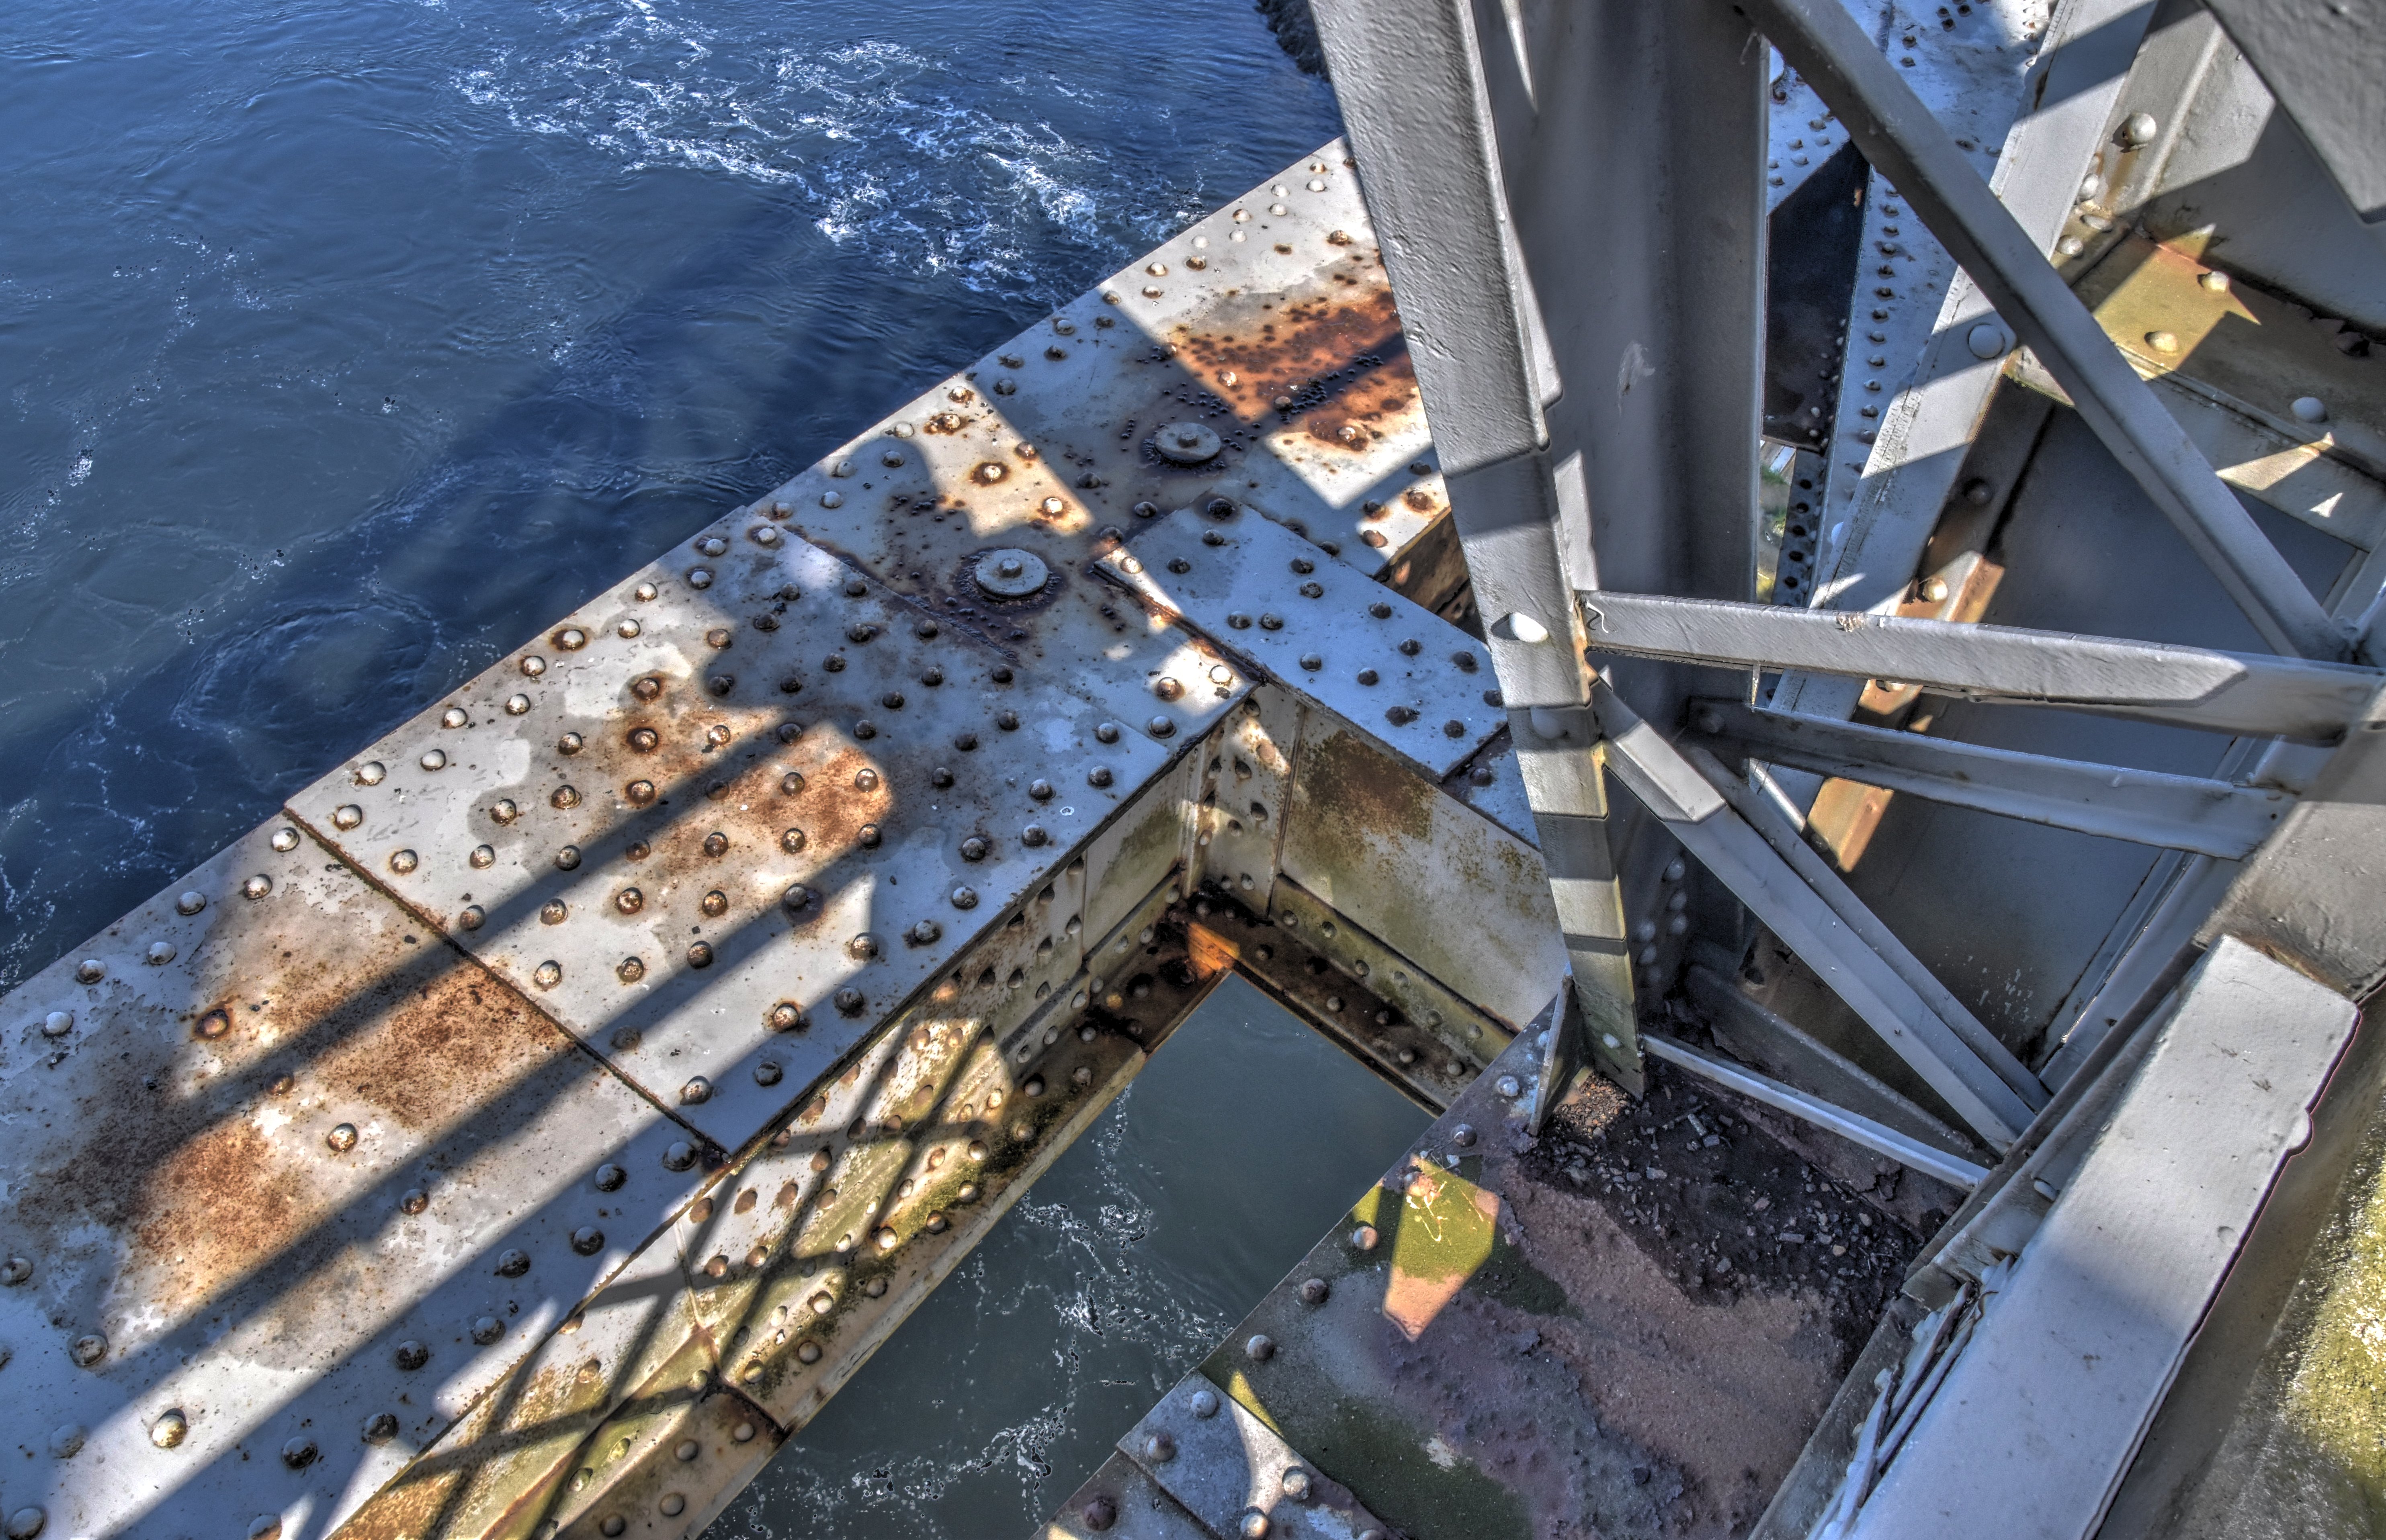
Distant view of anchor bearing.
![]()

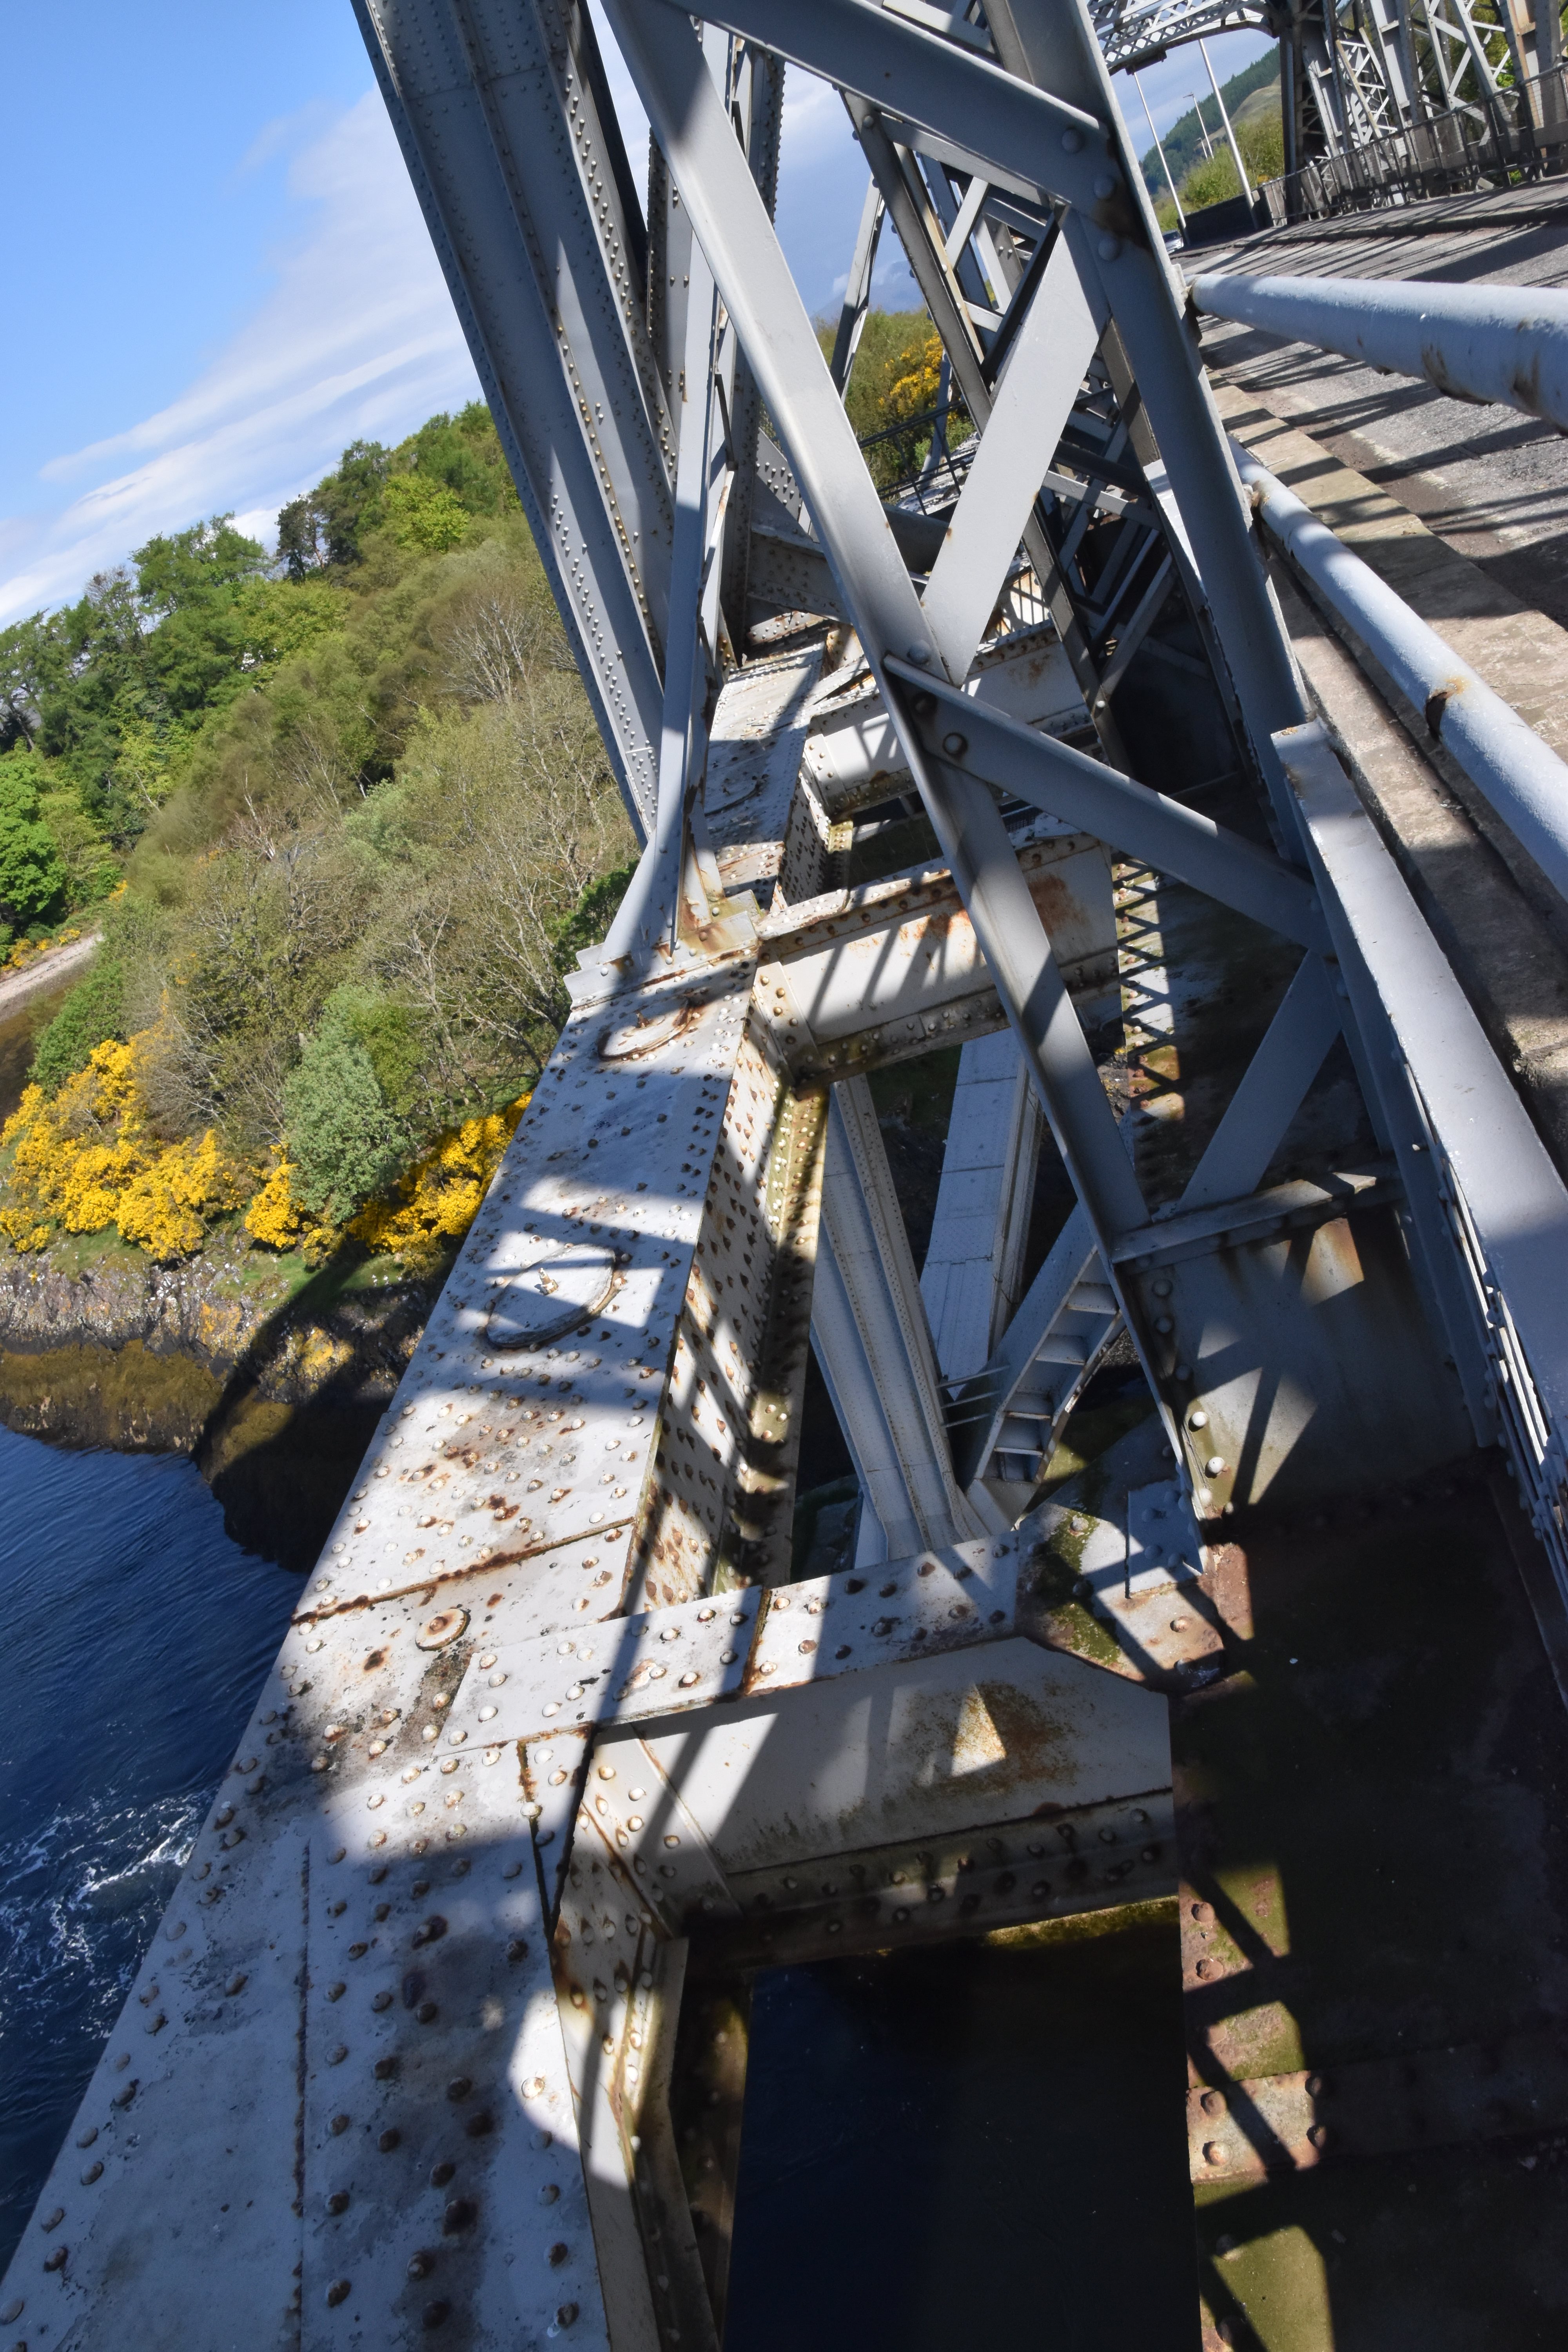
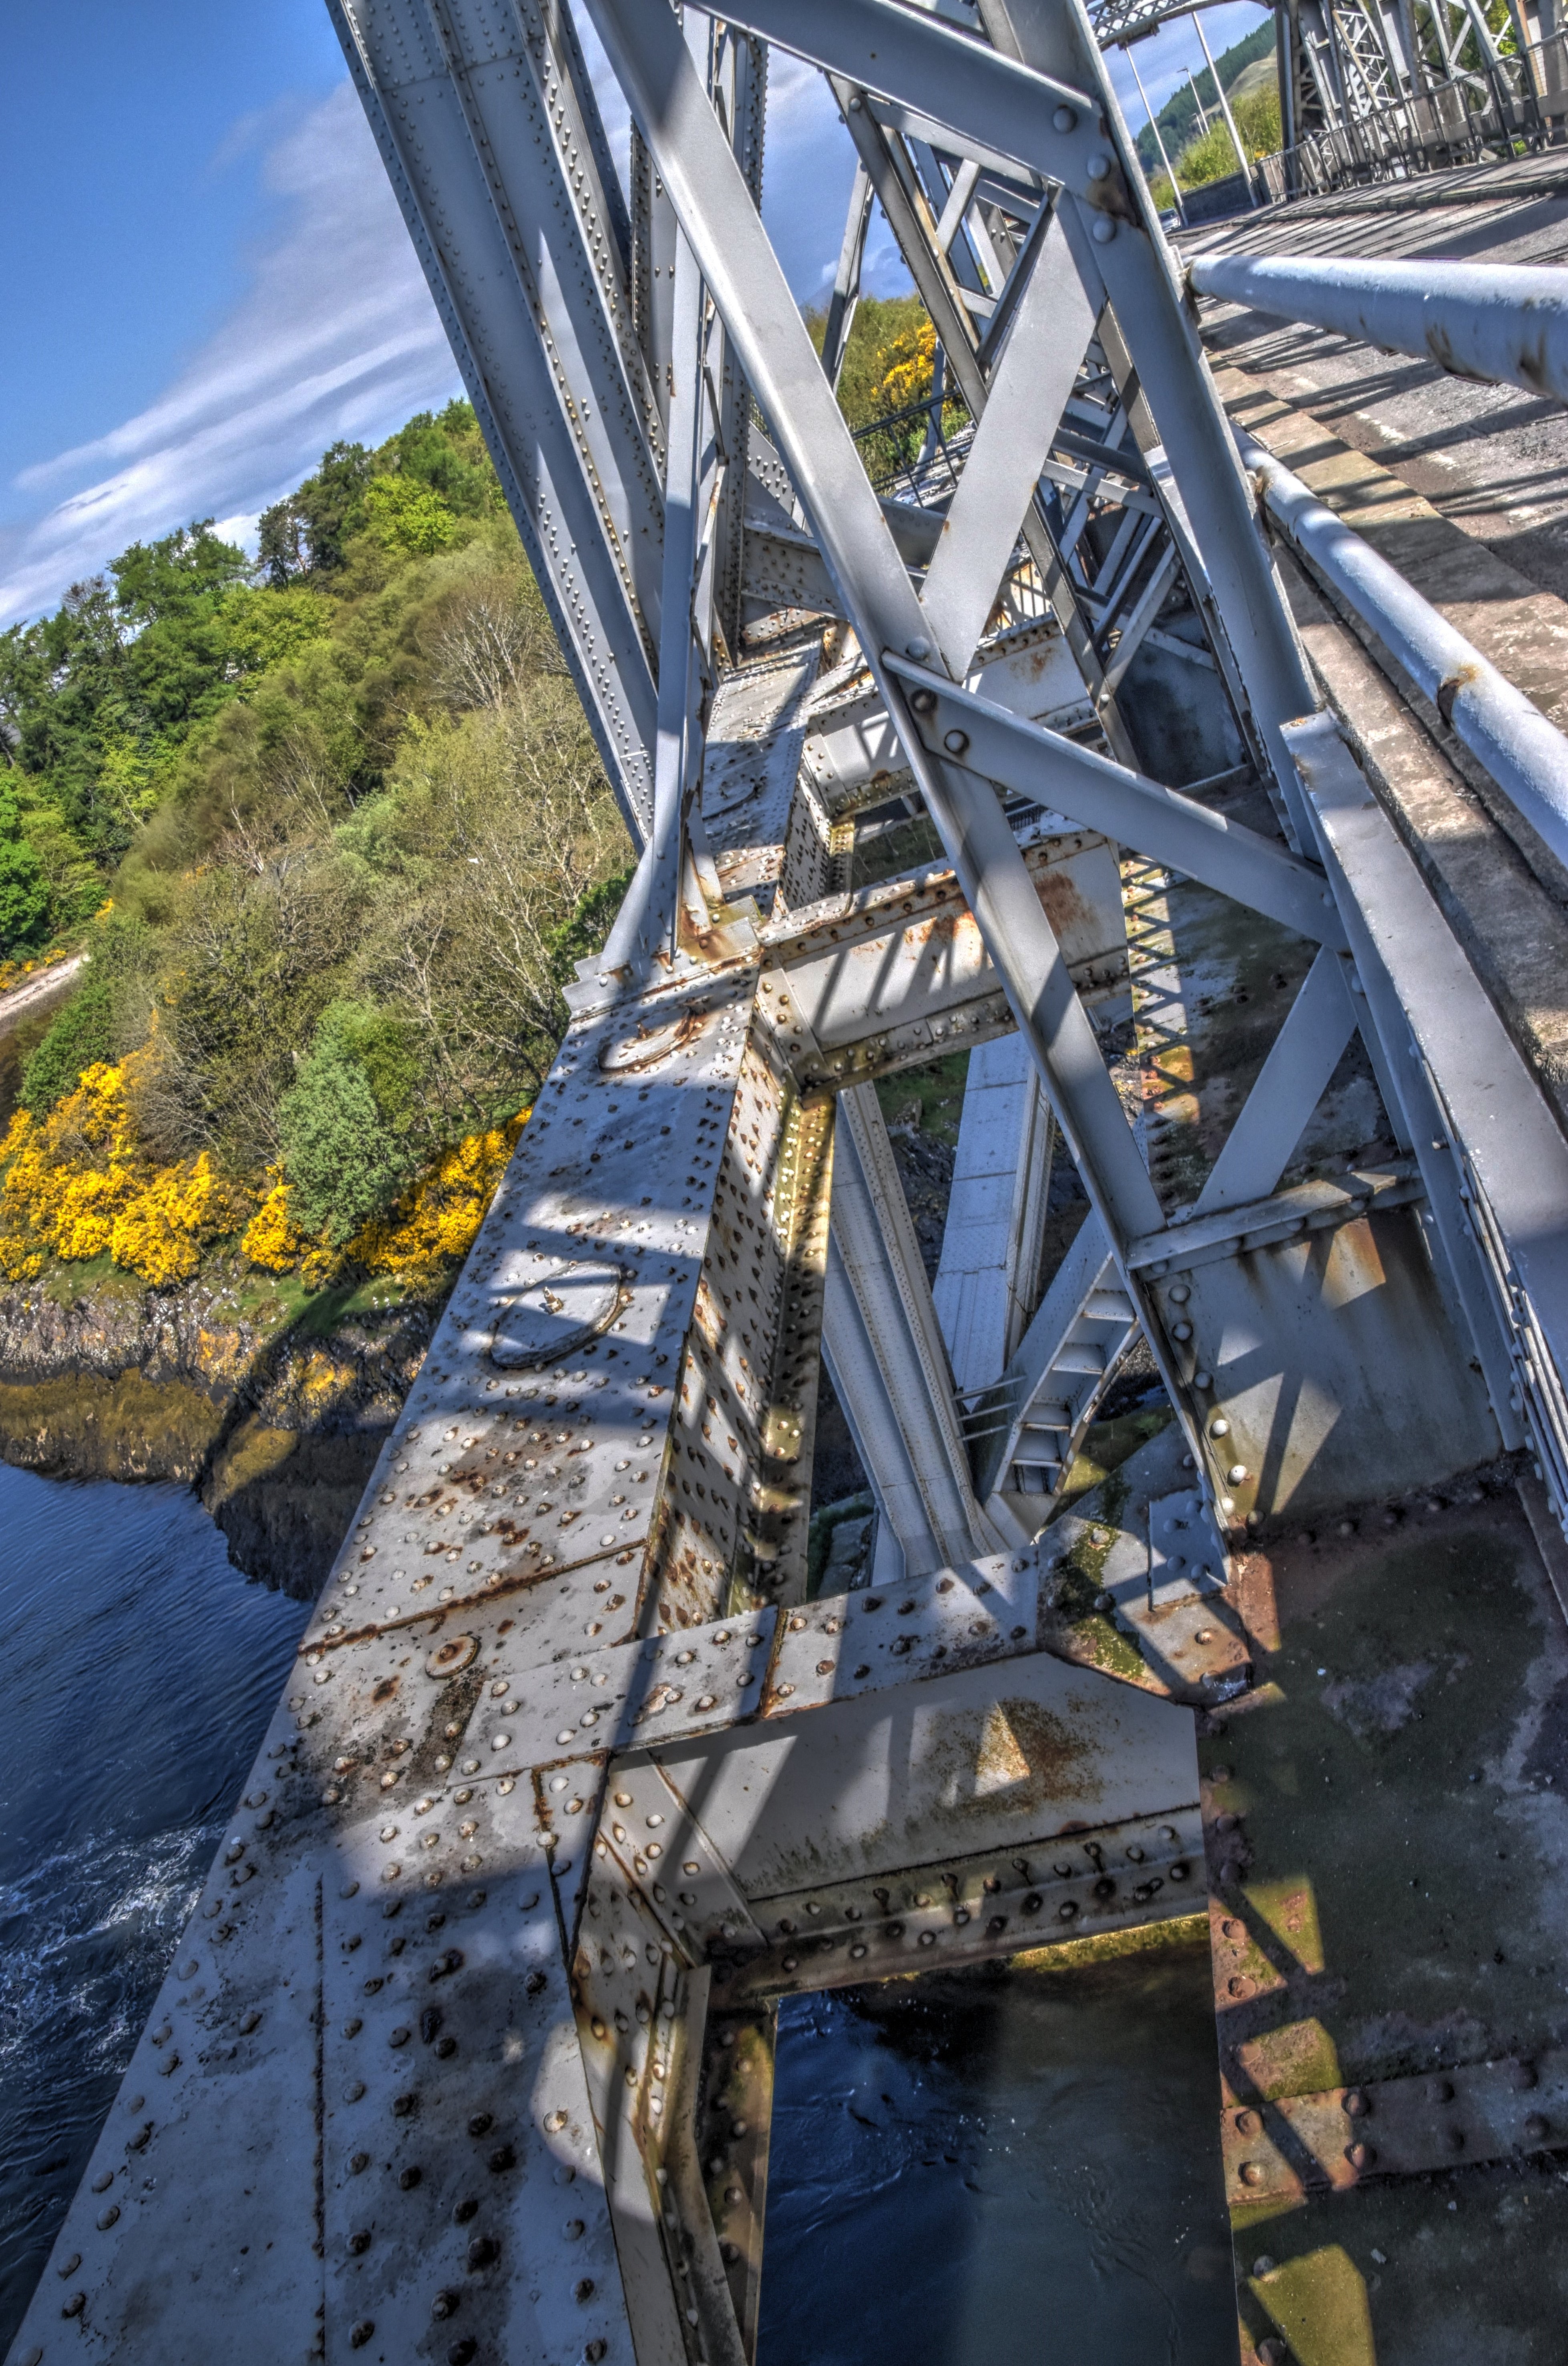
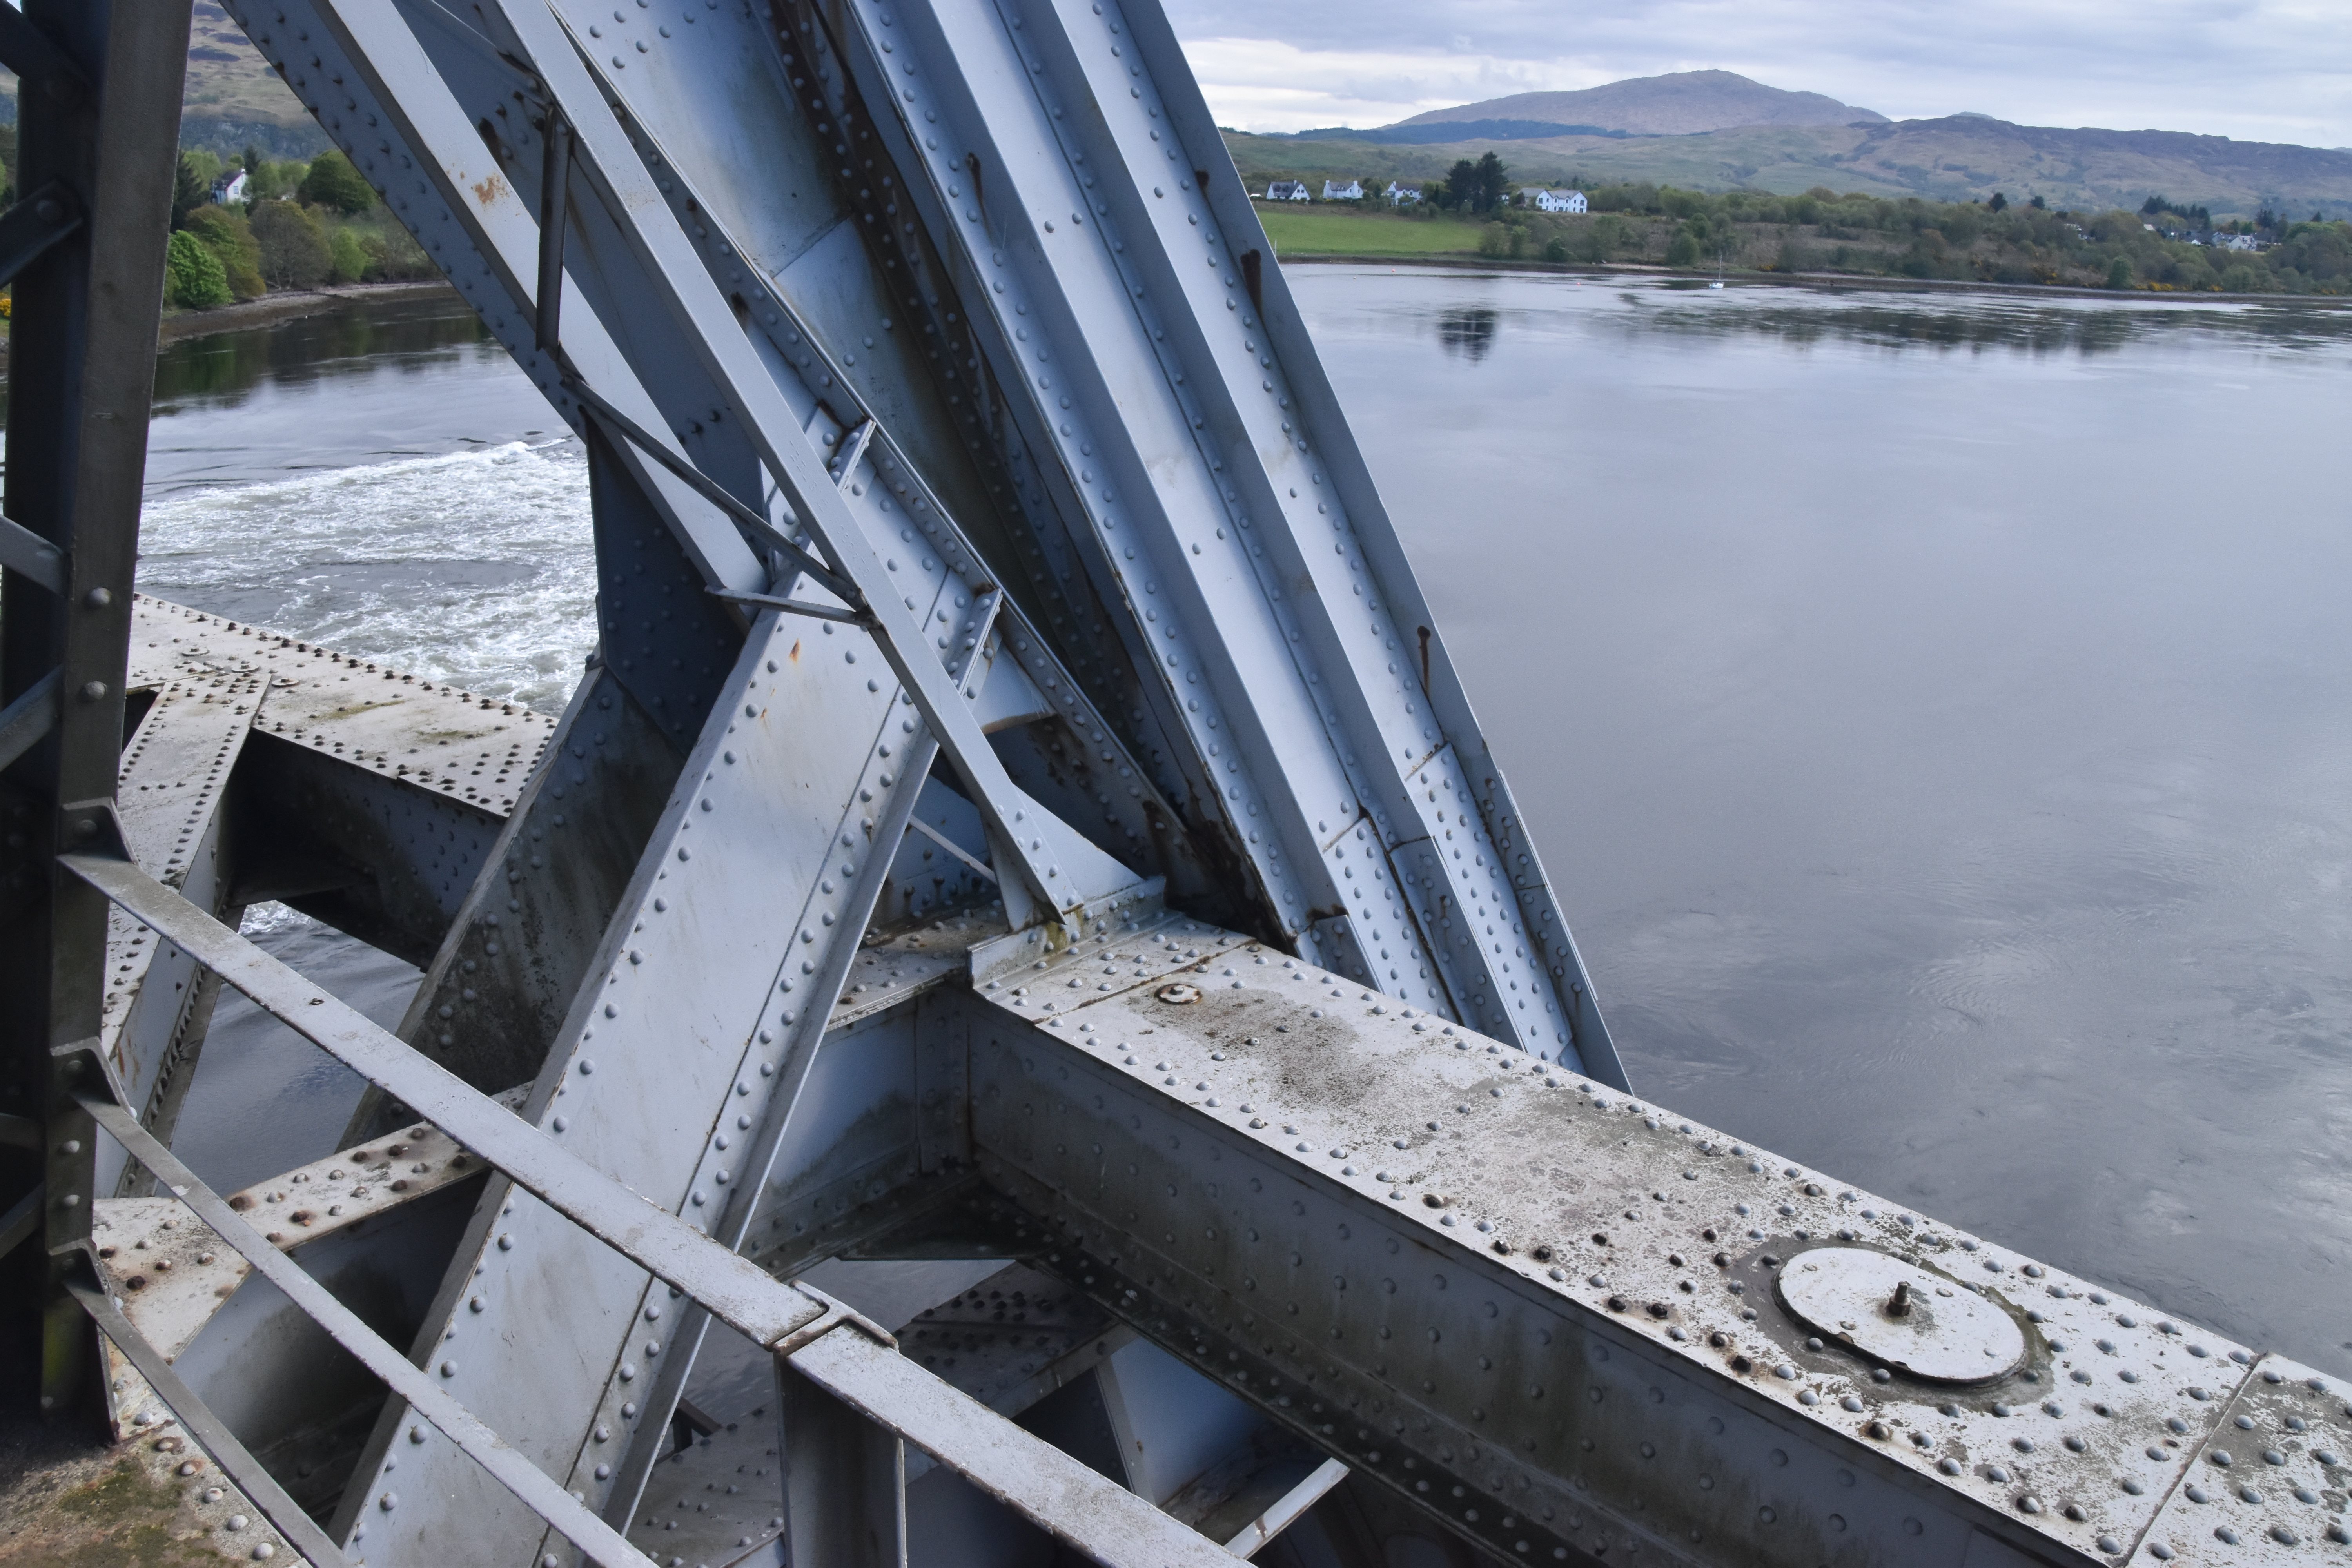
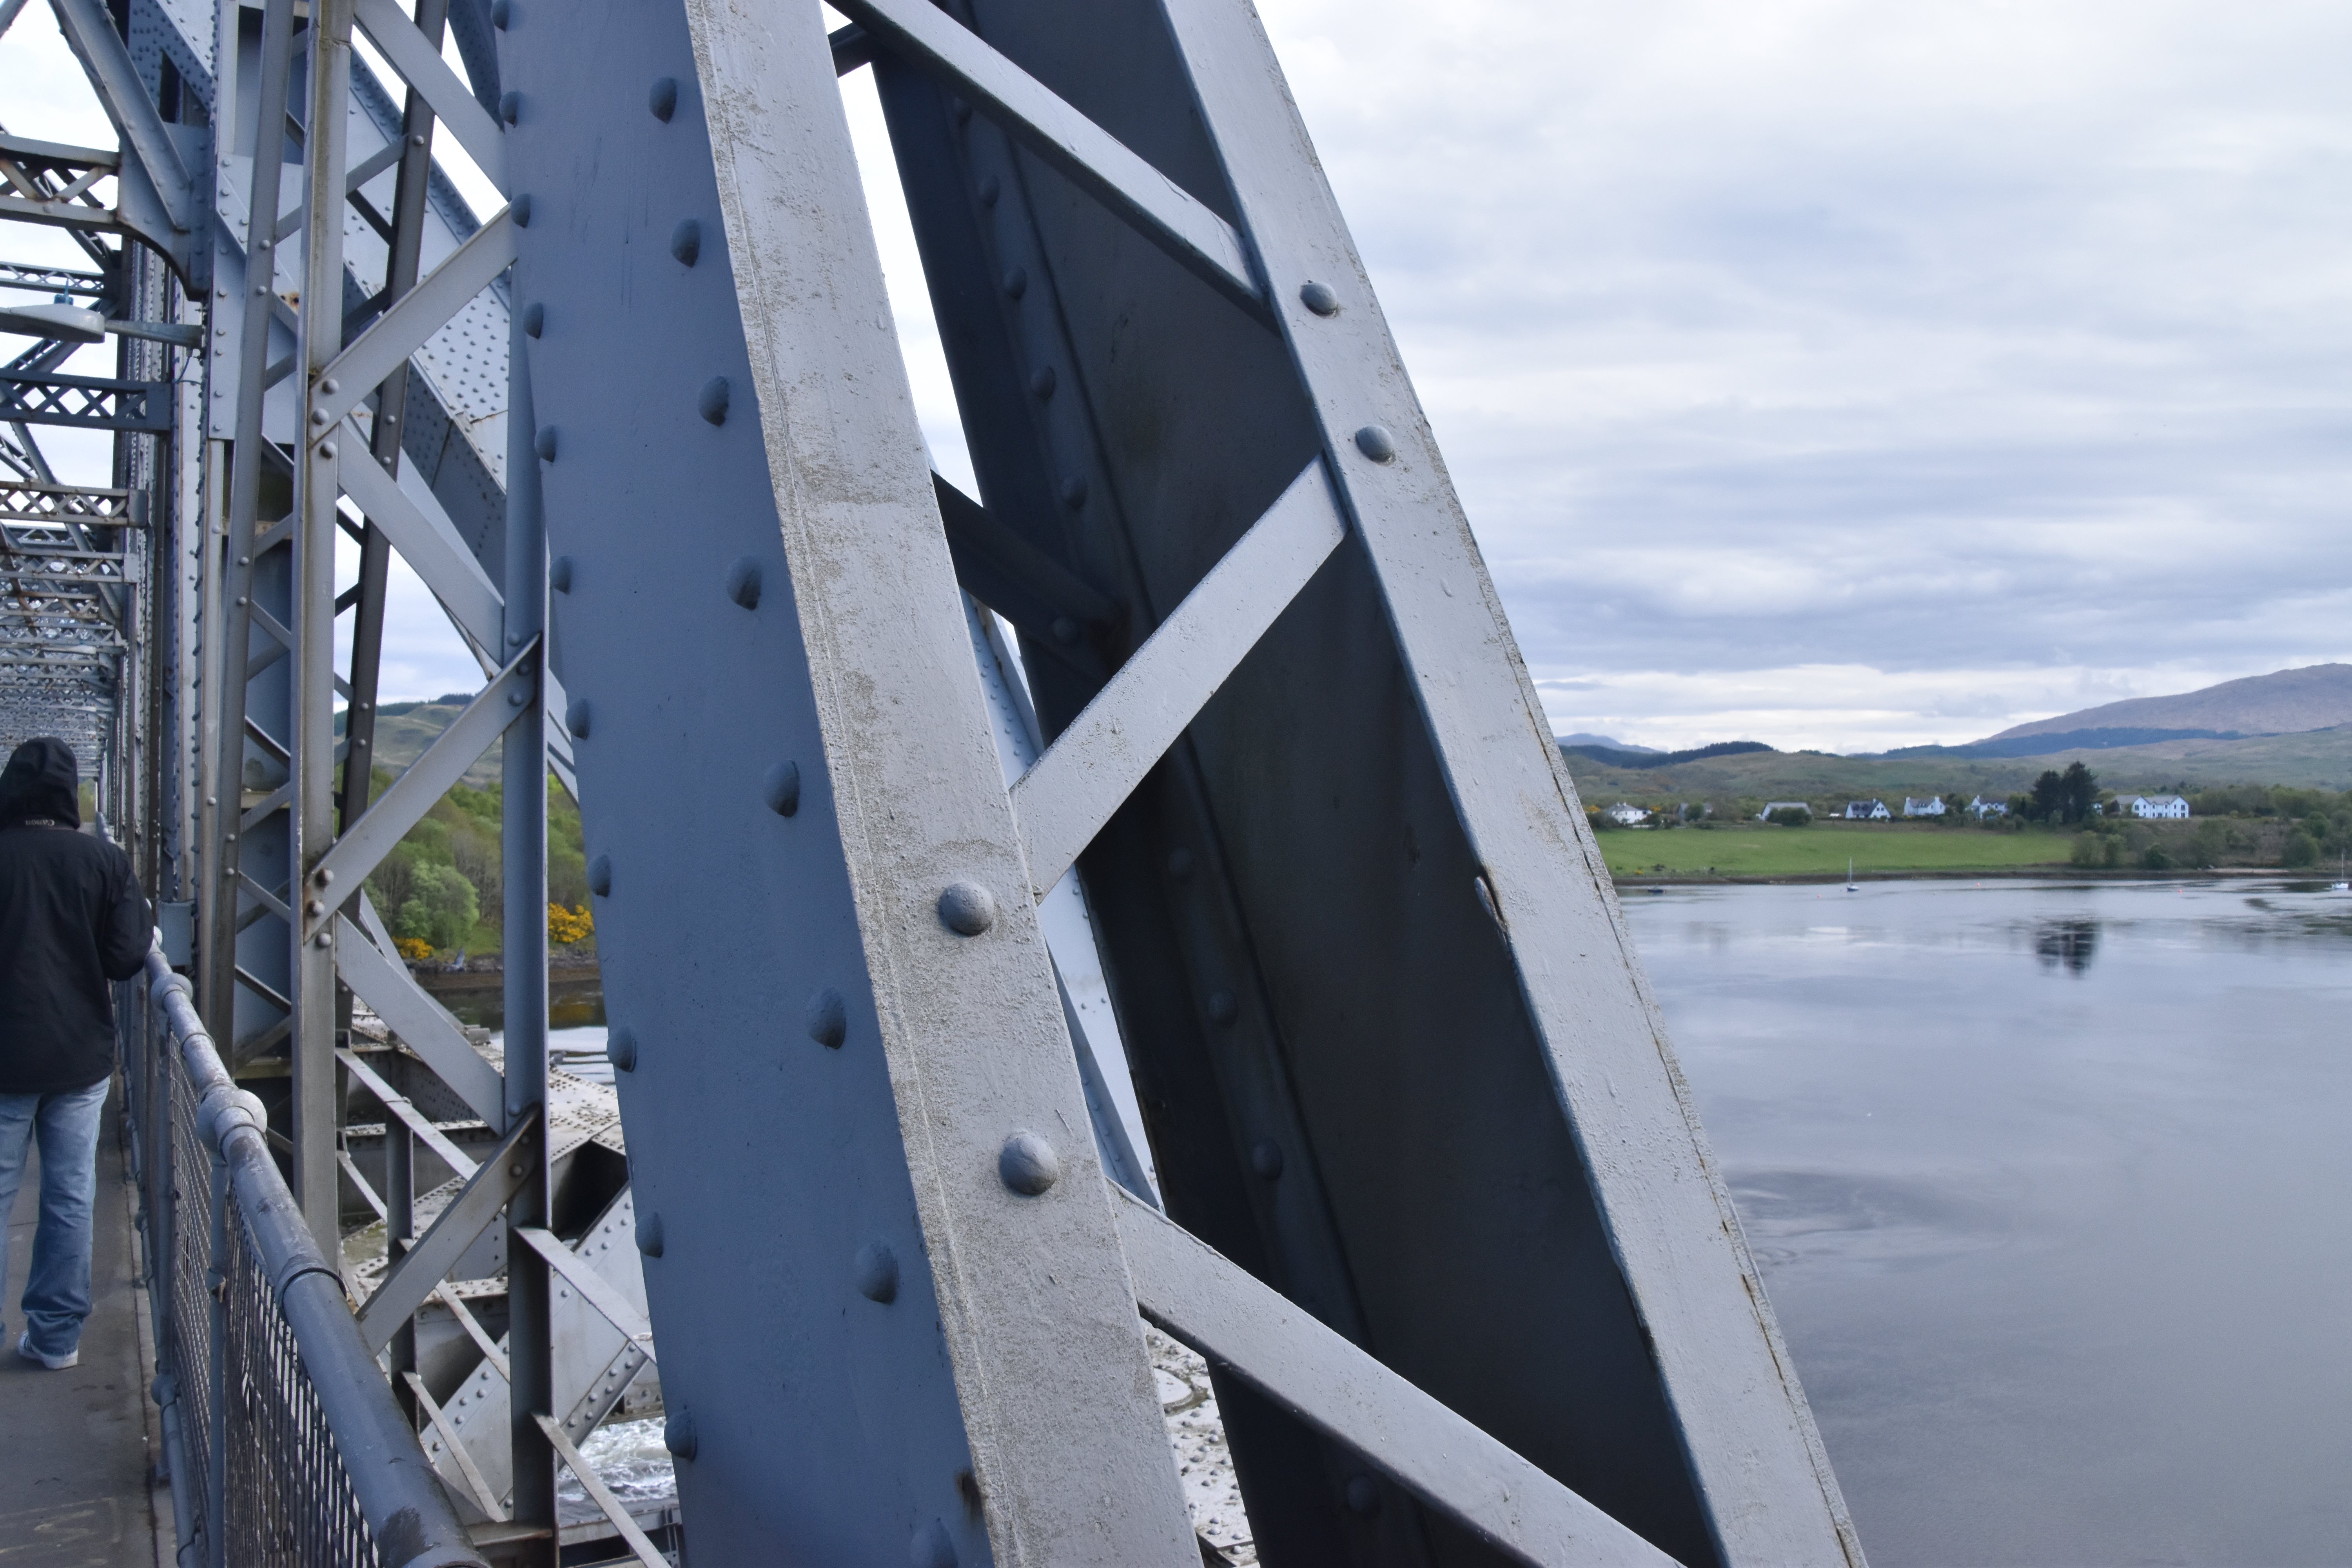
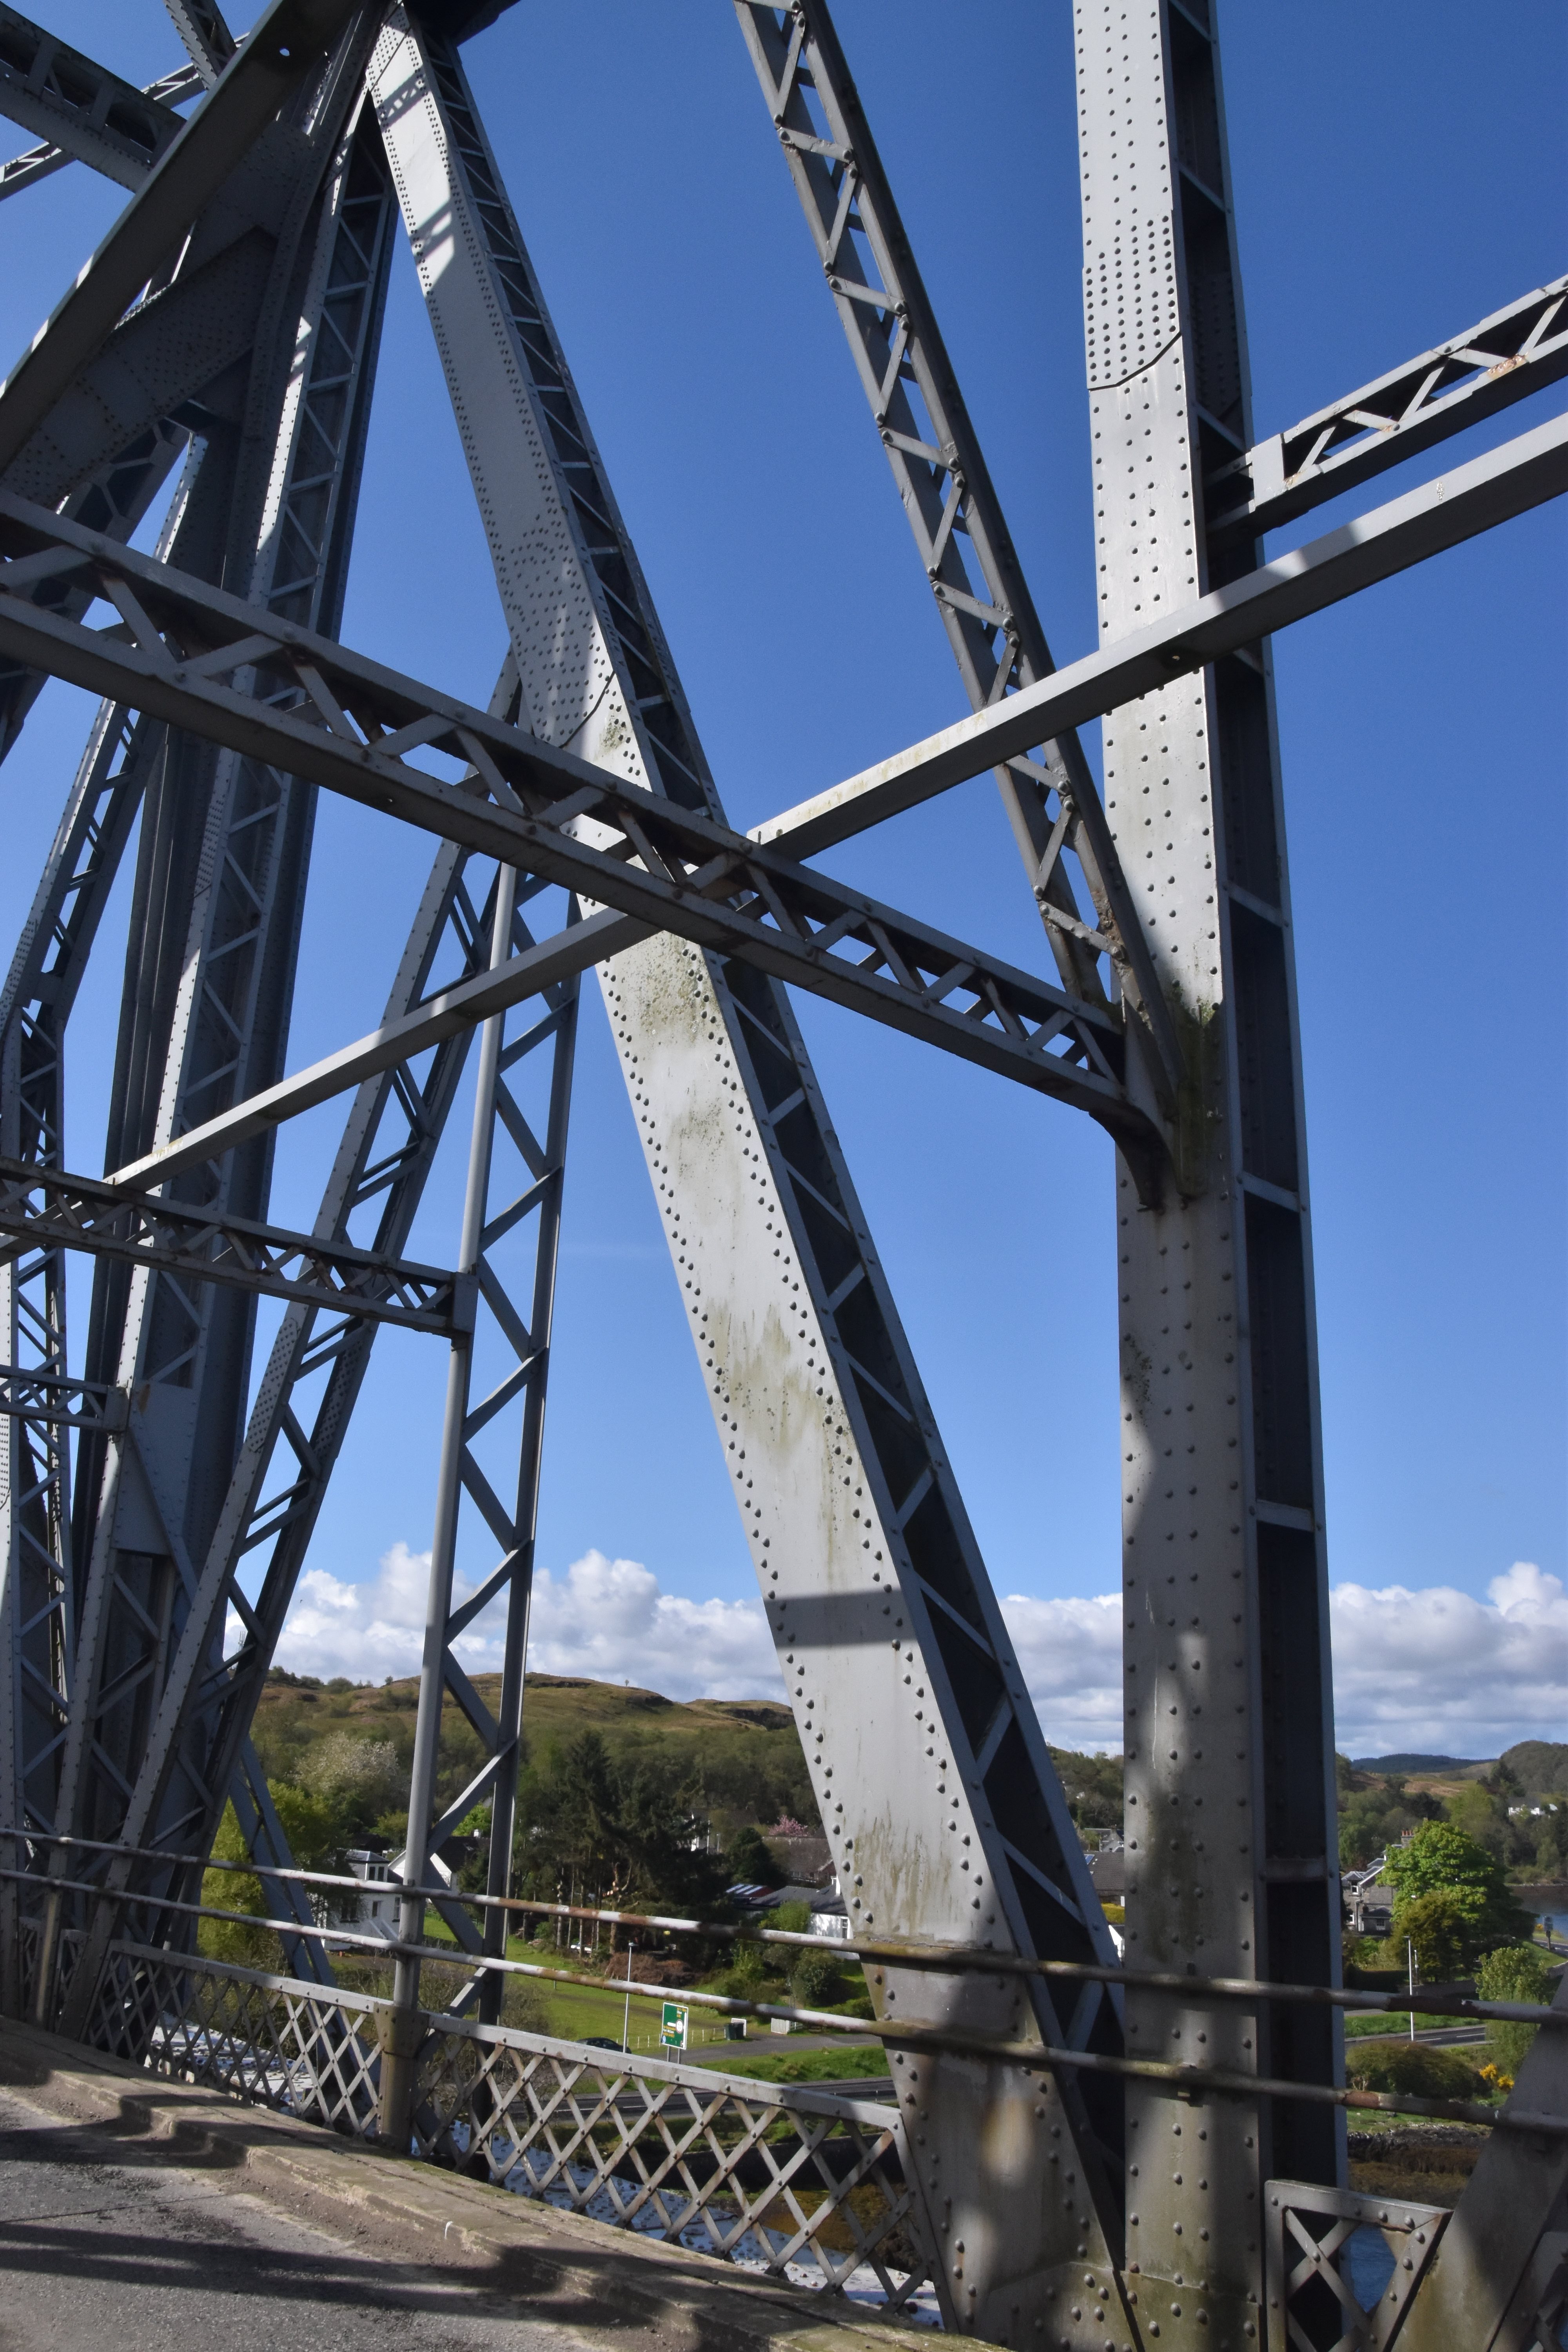
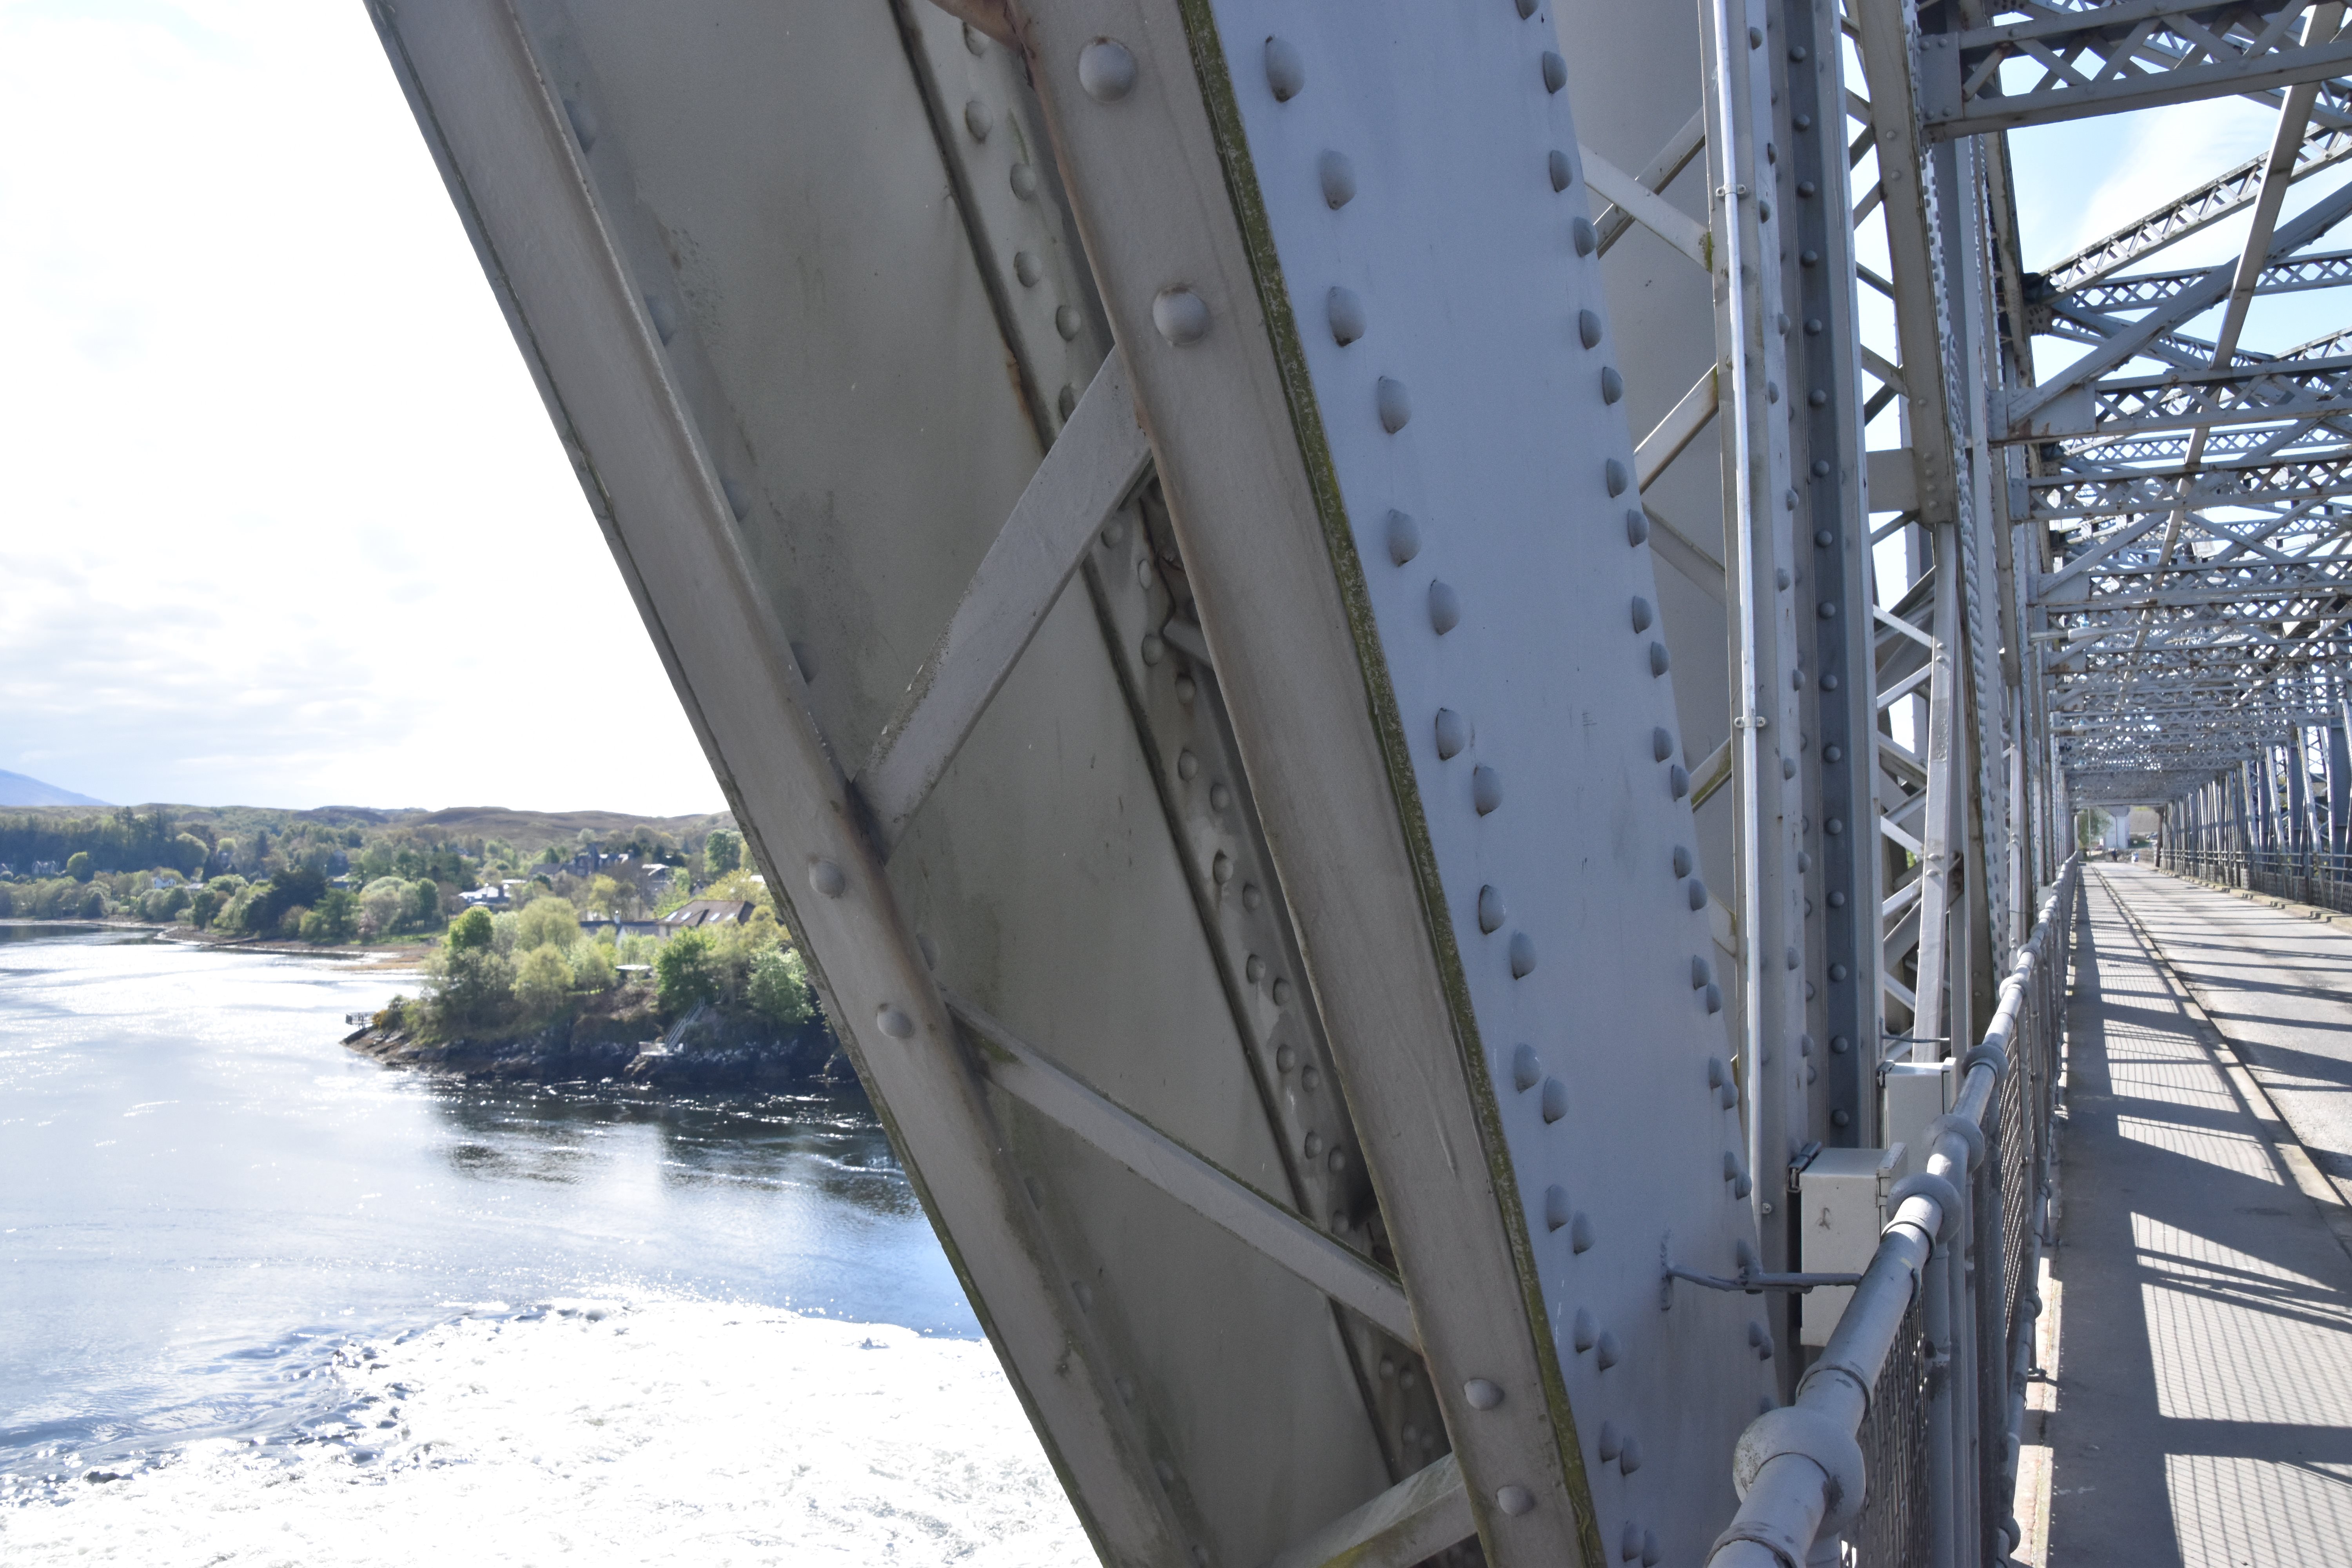
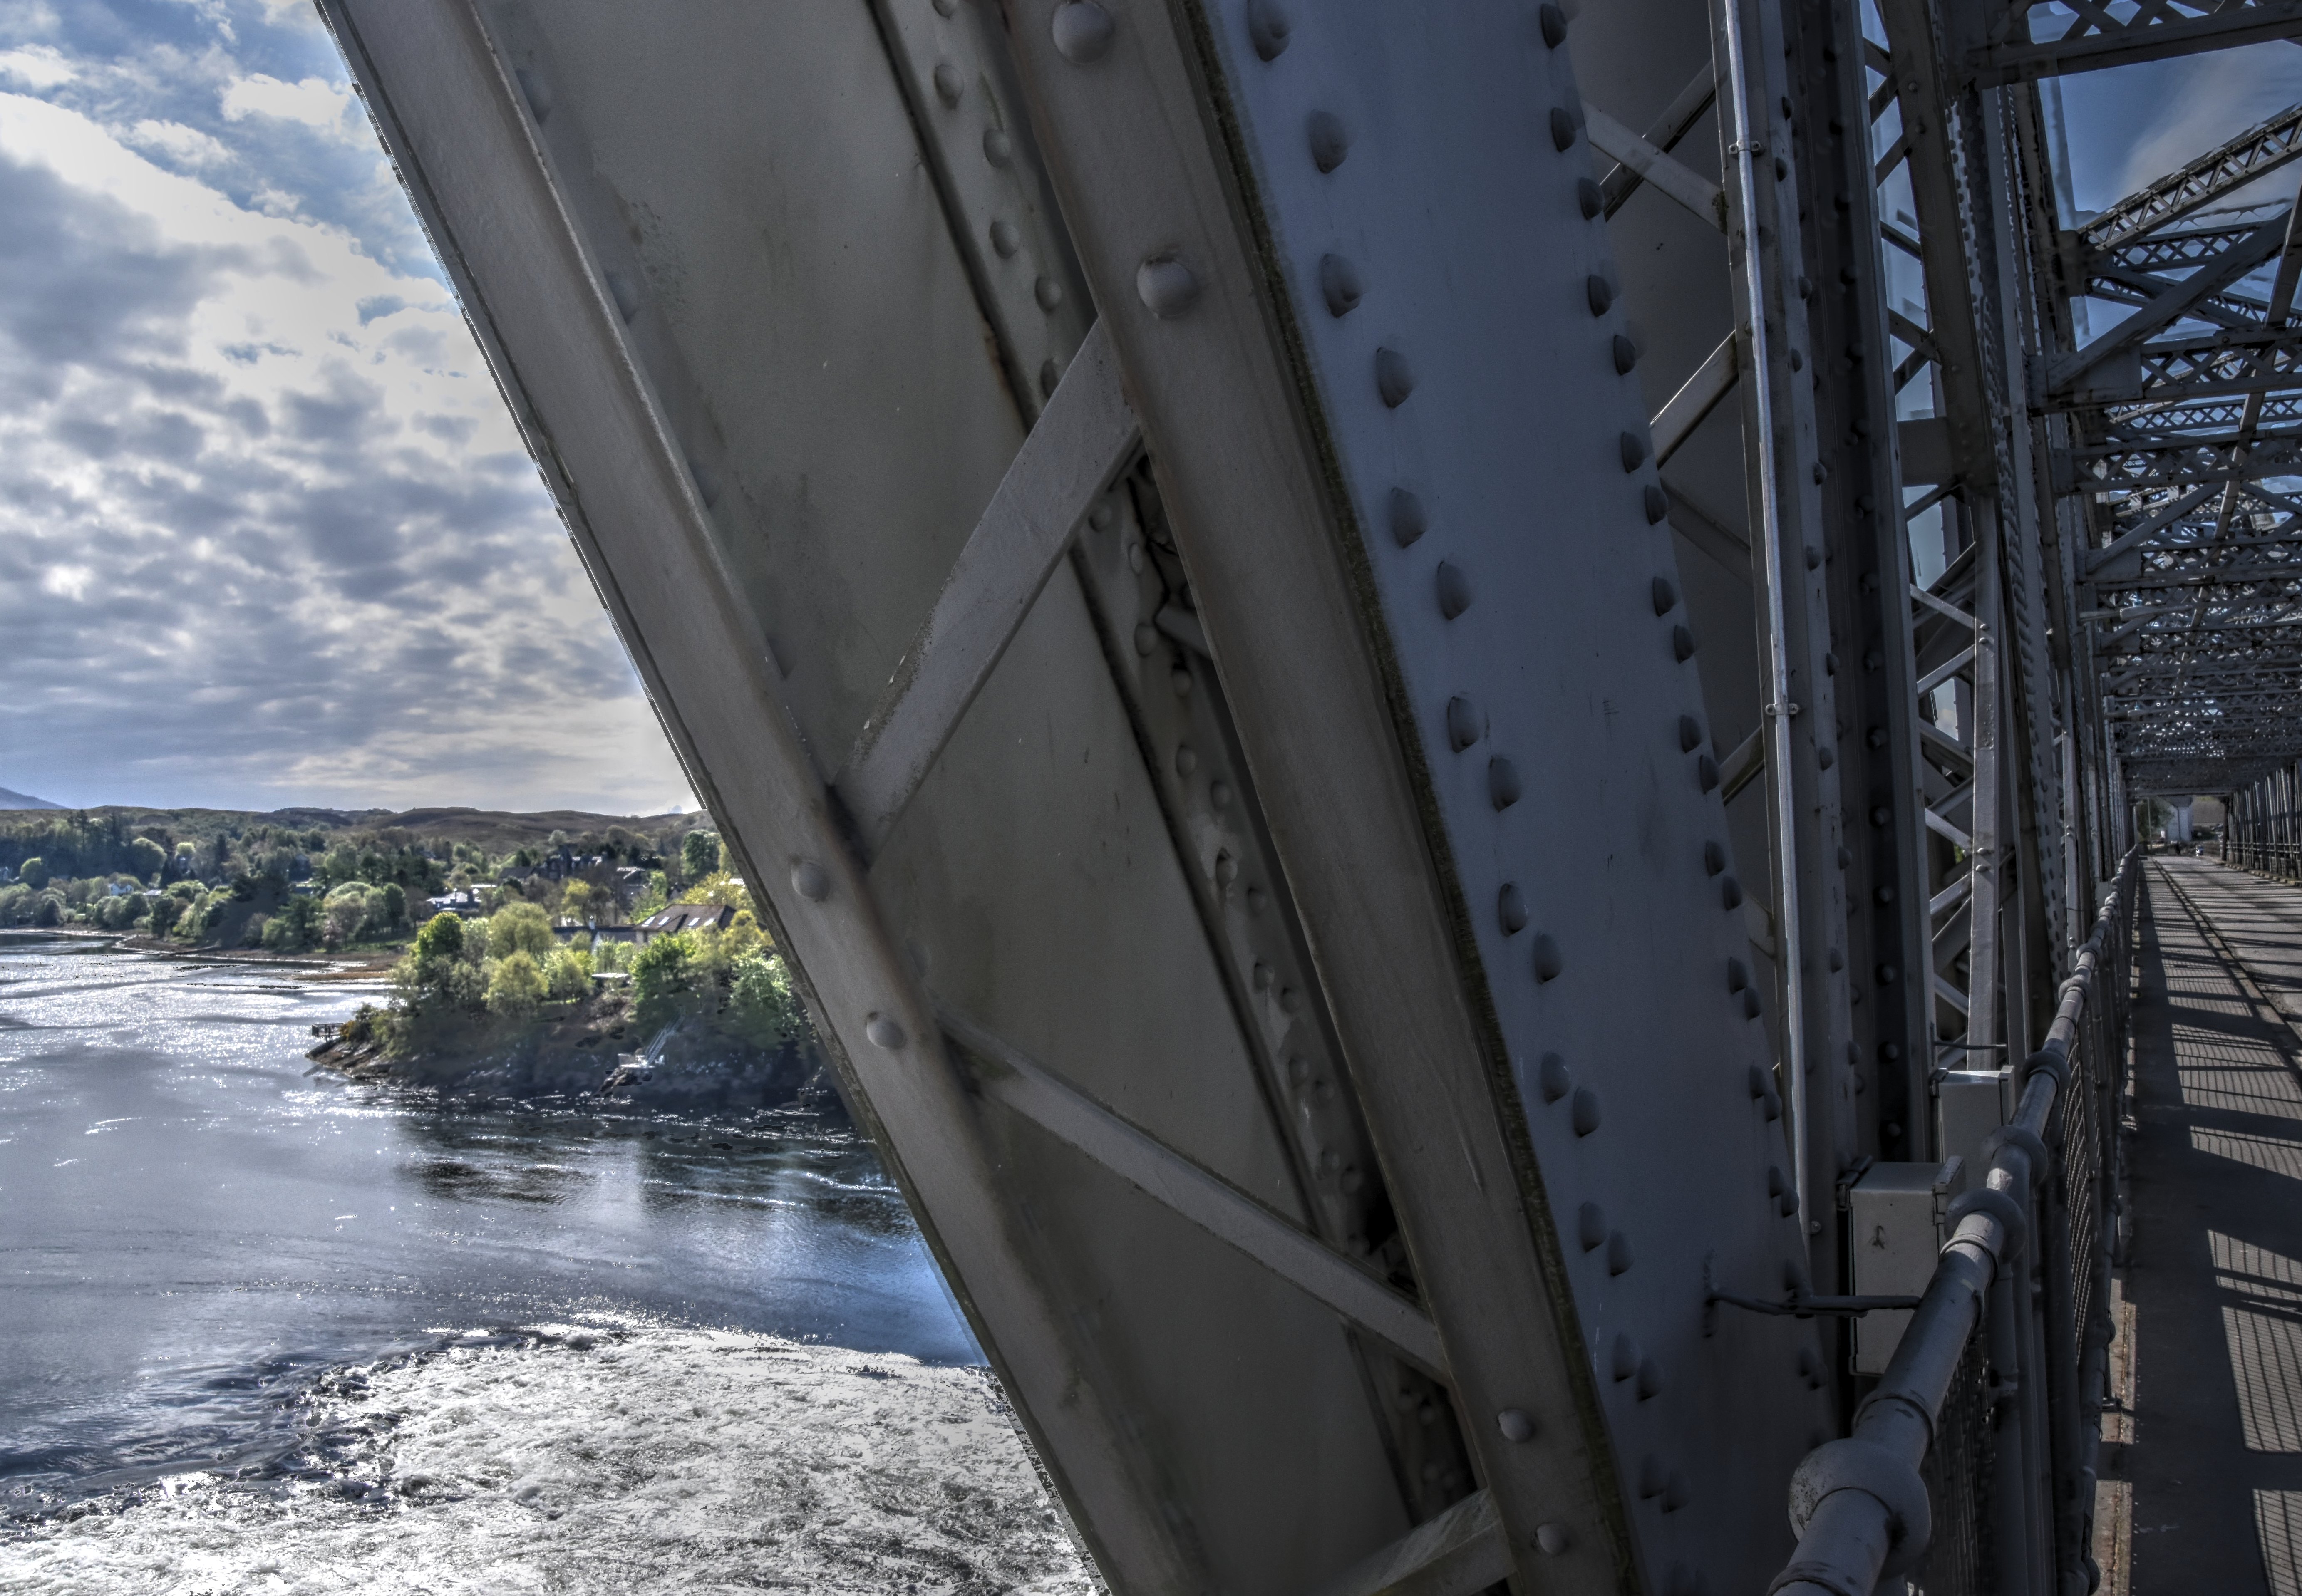
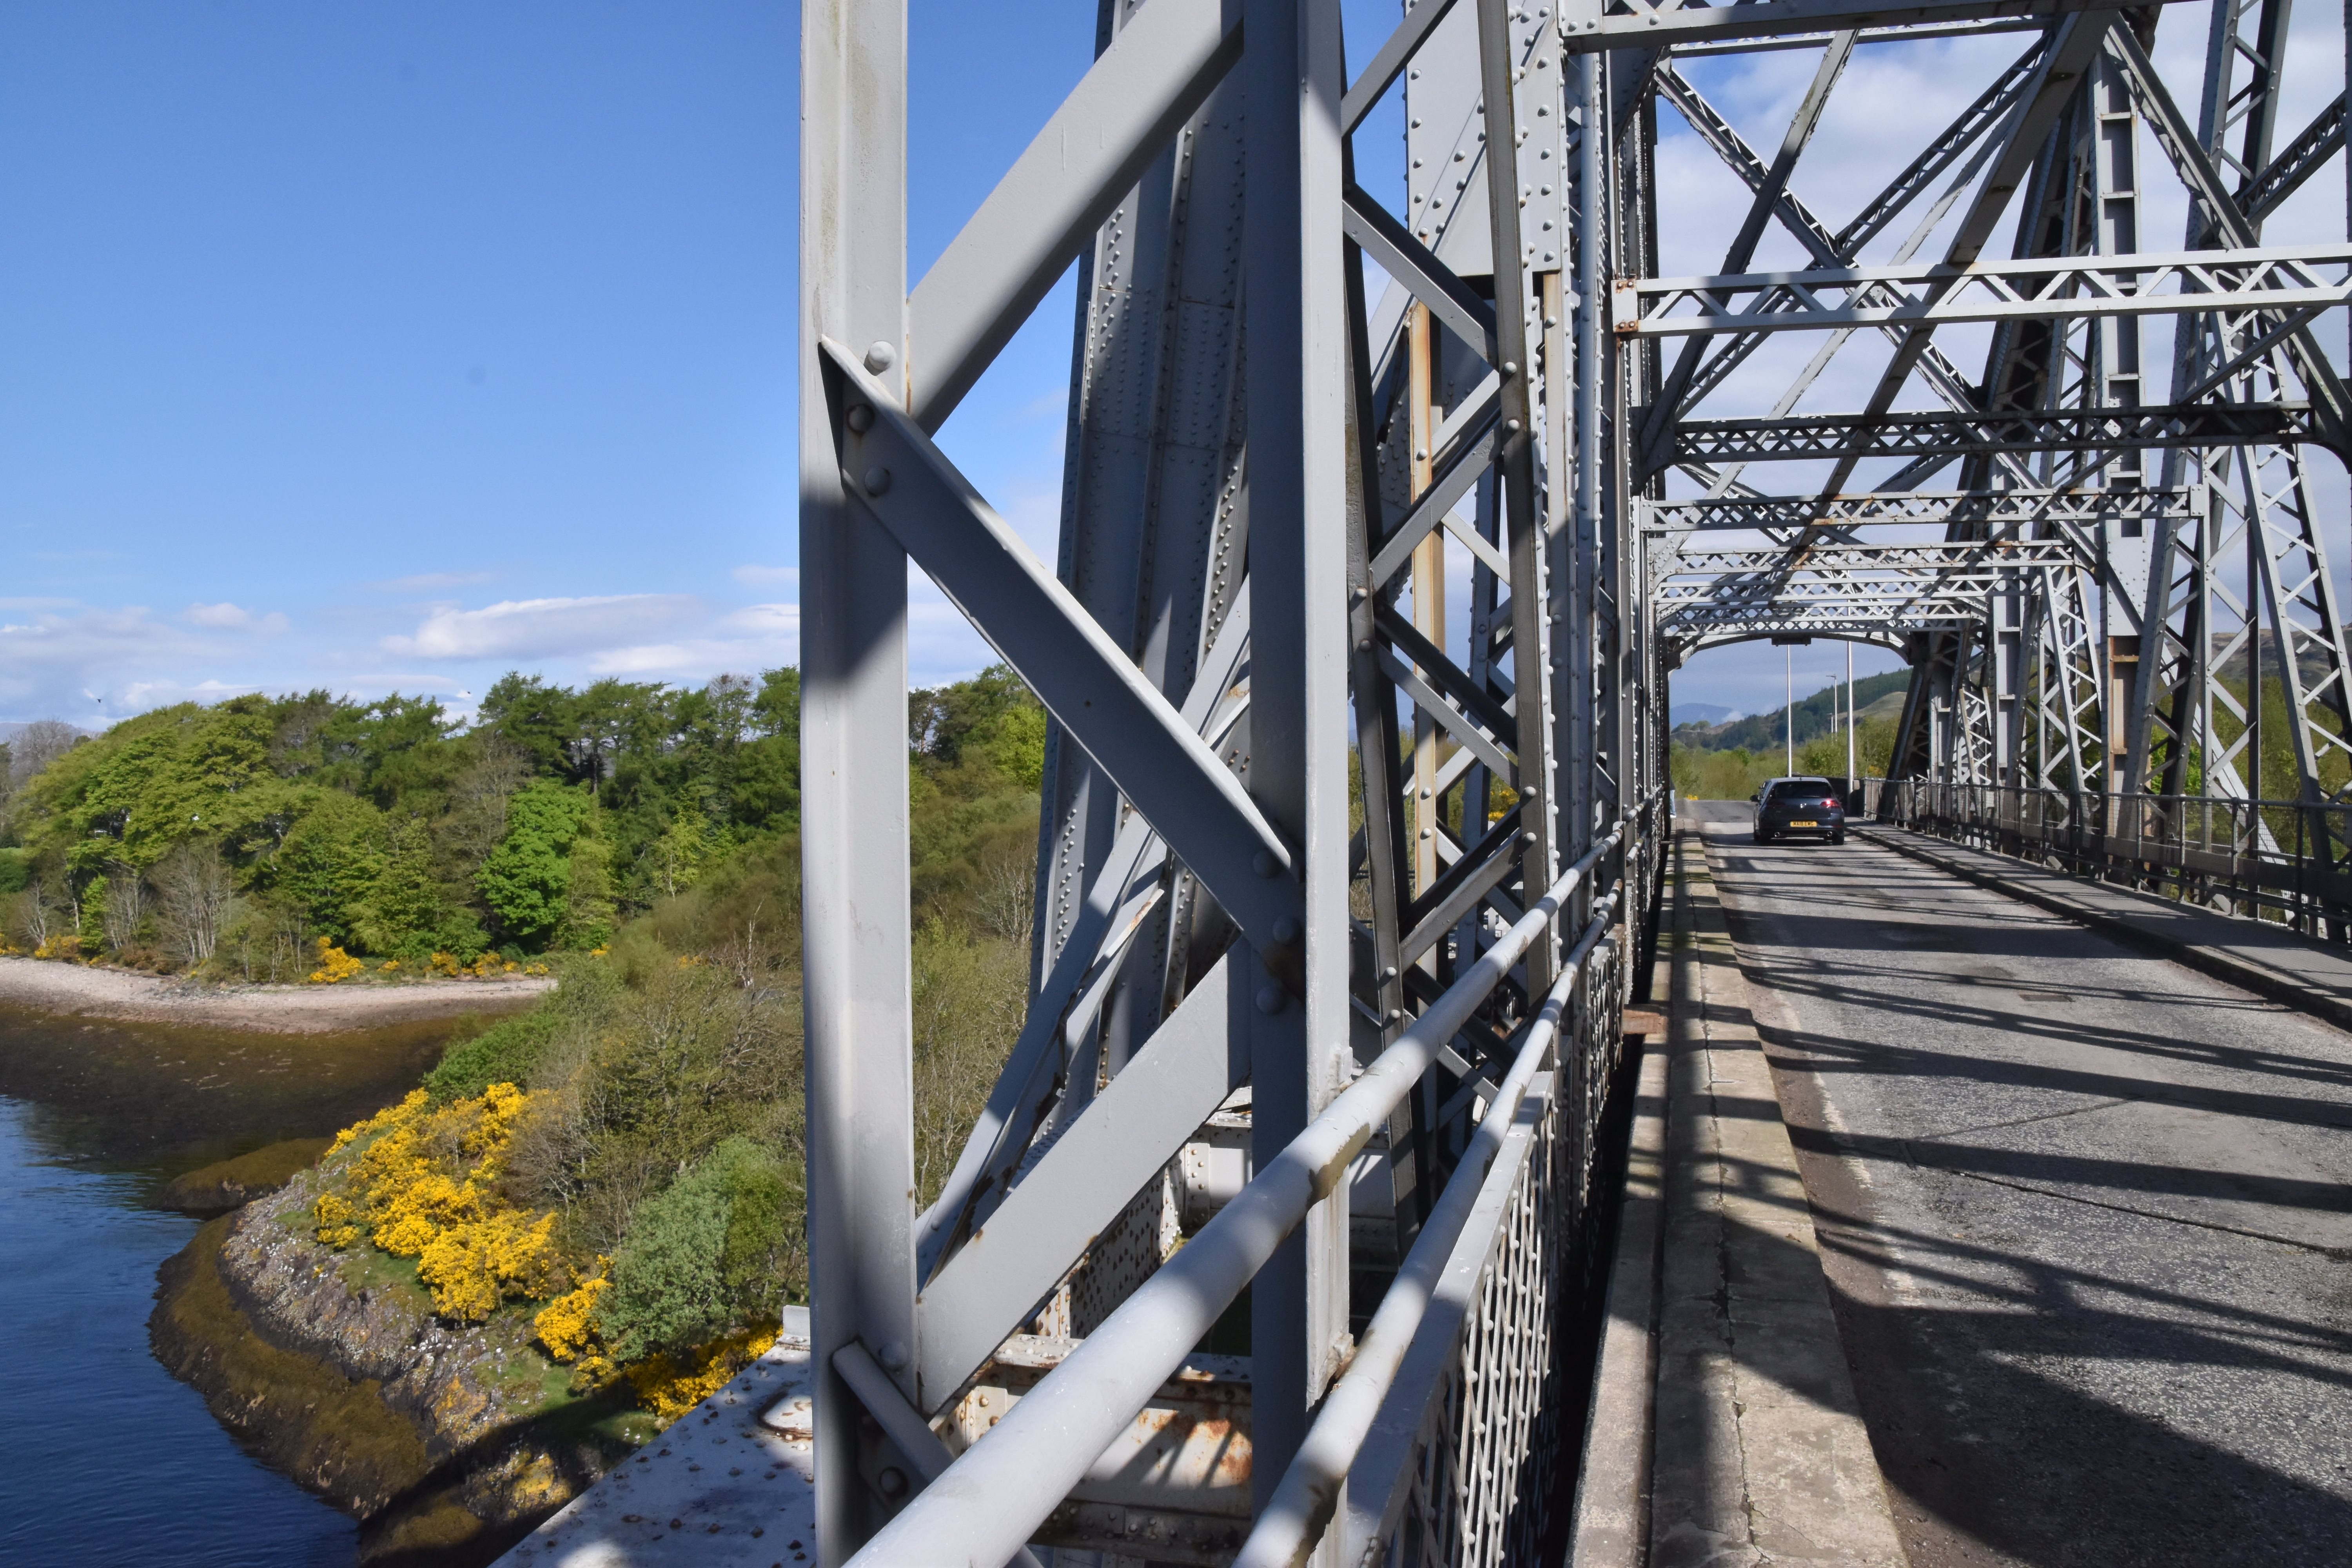
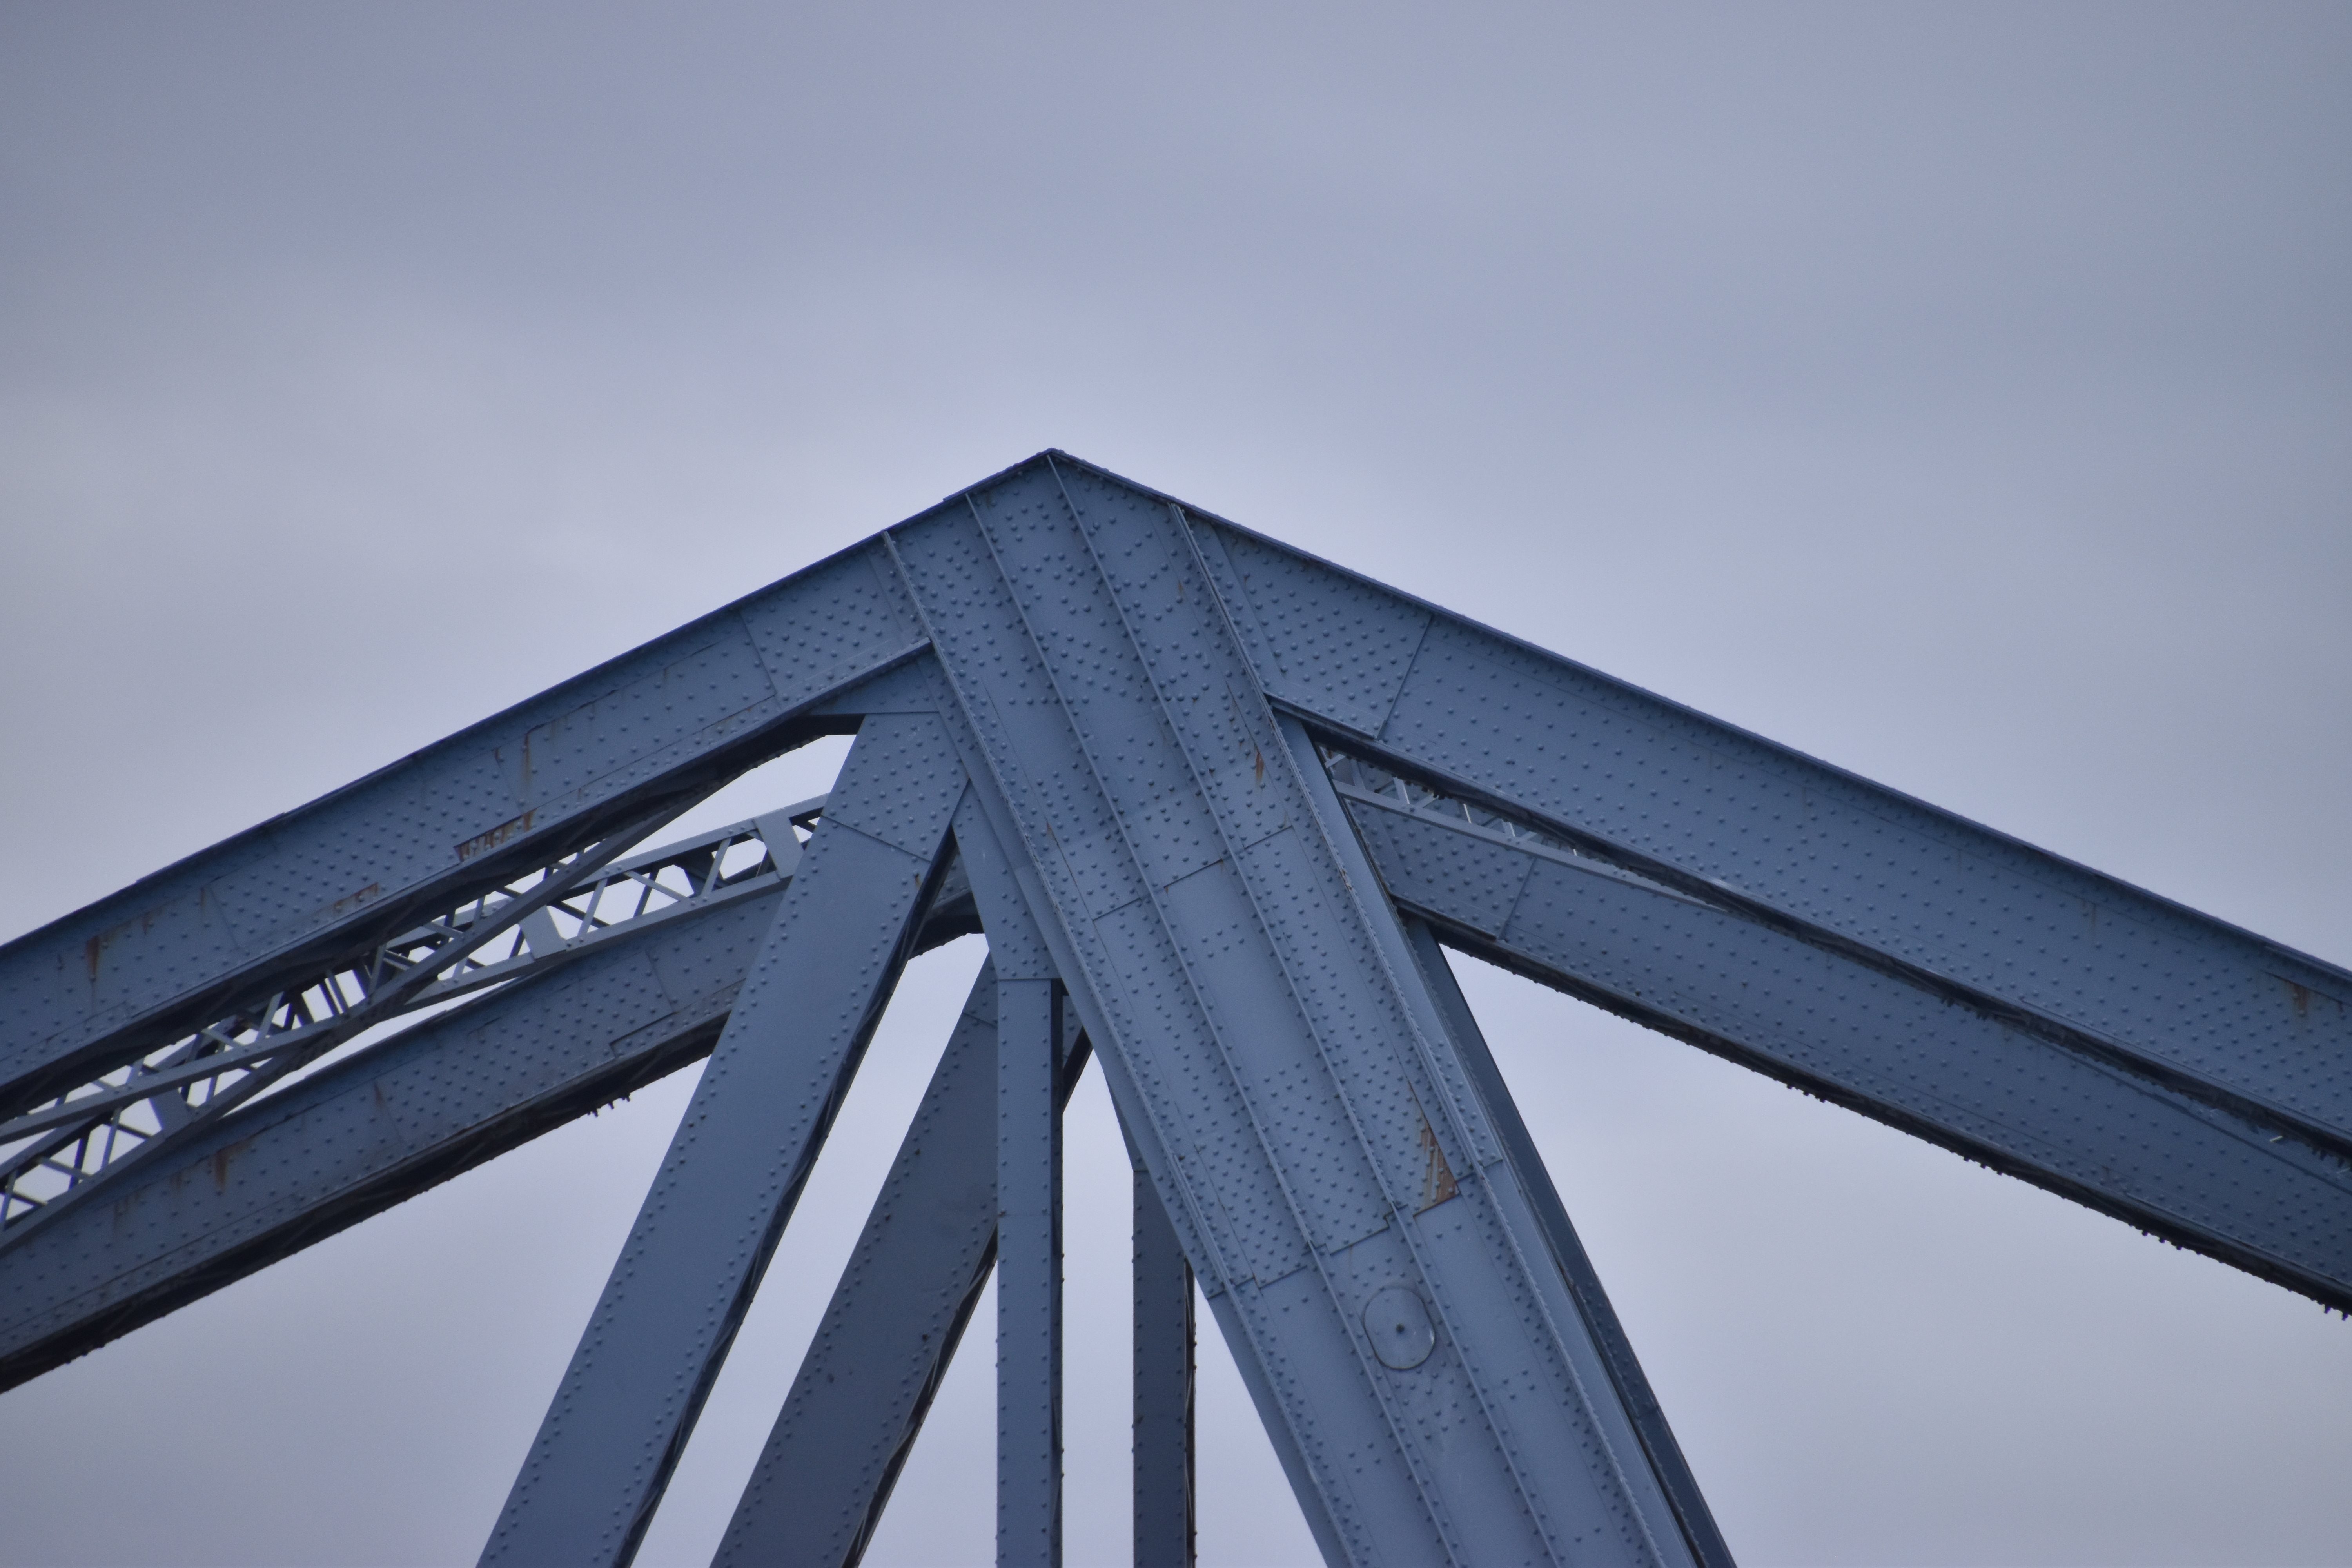
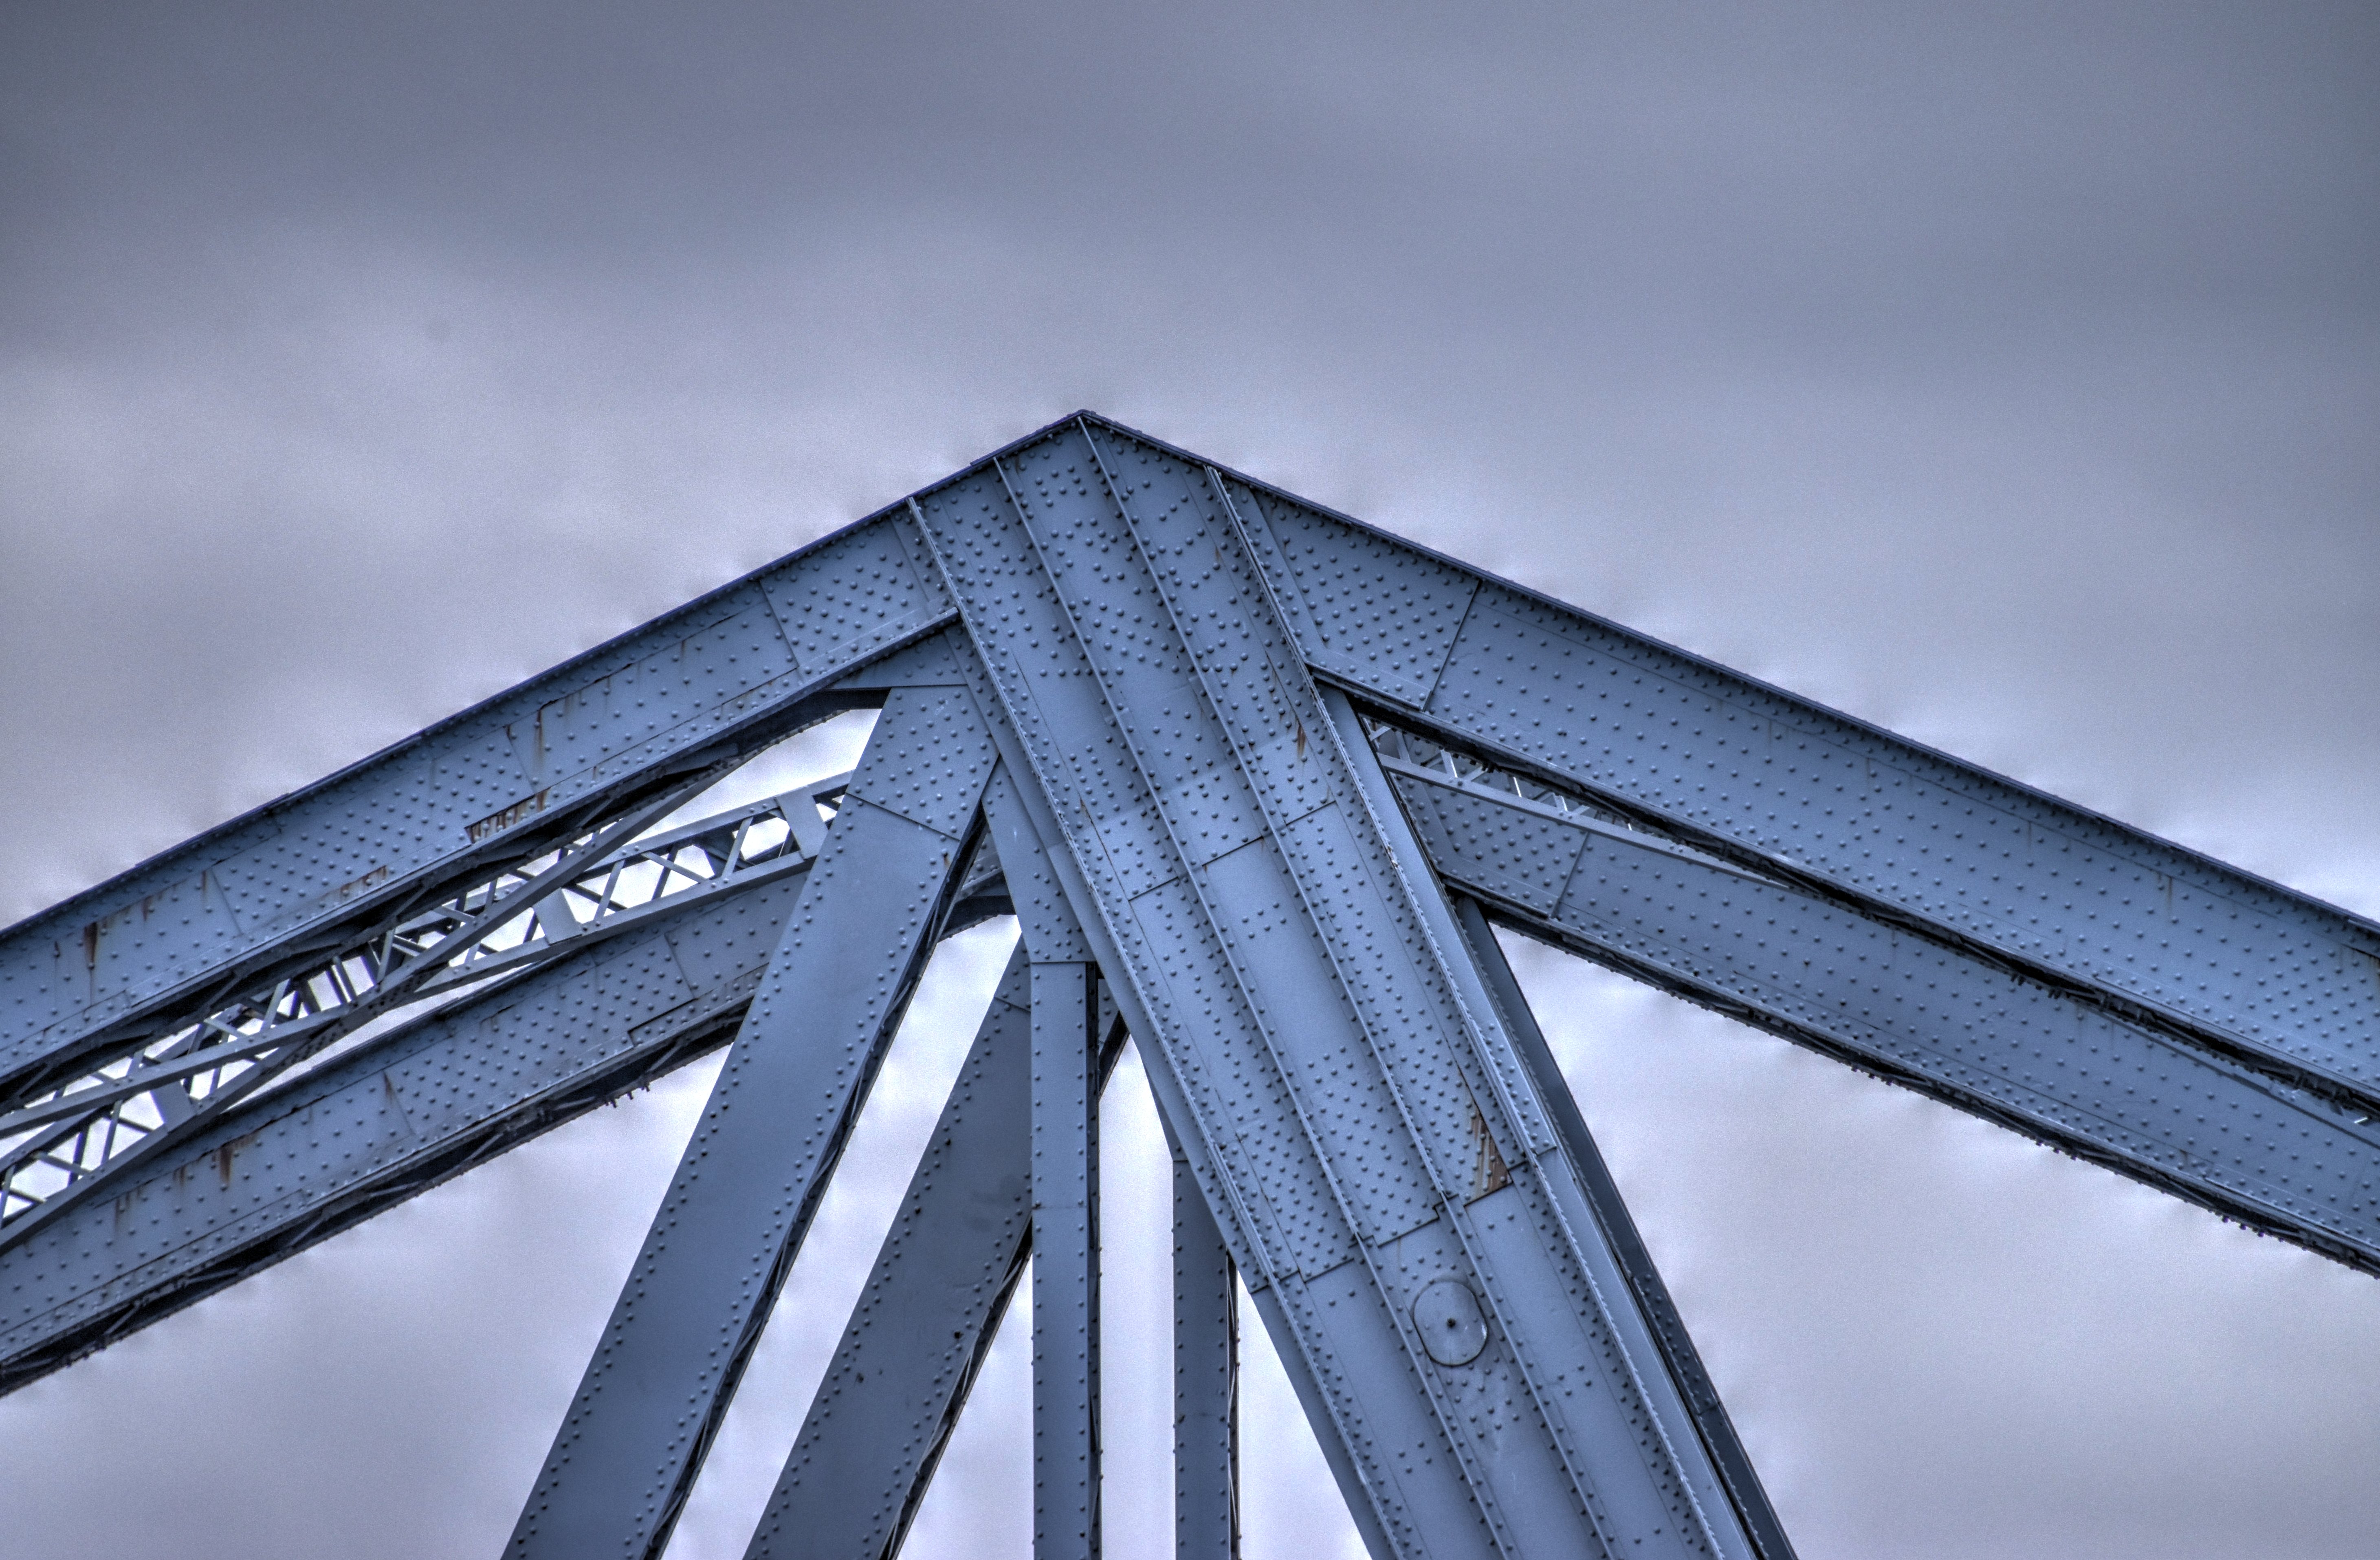
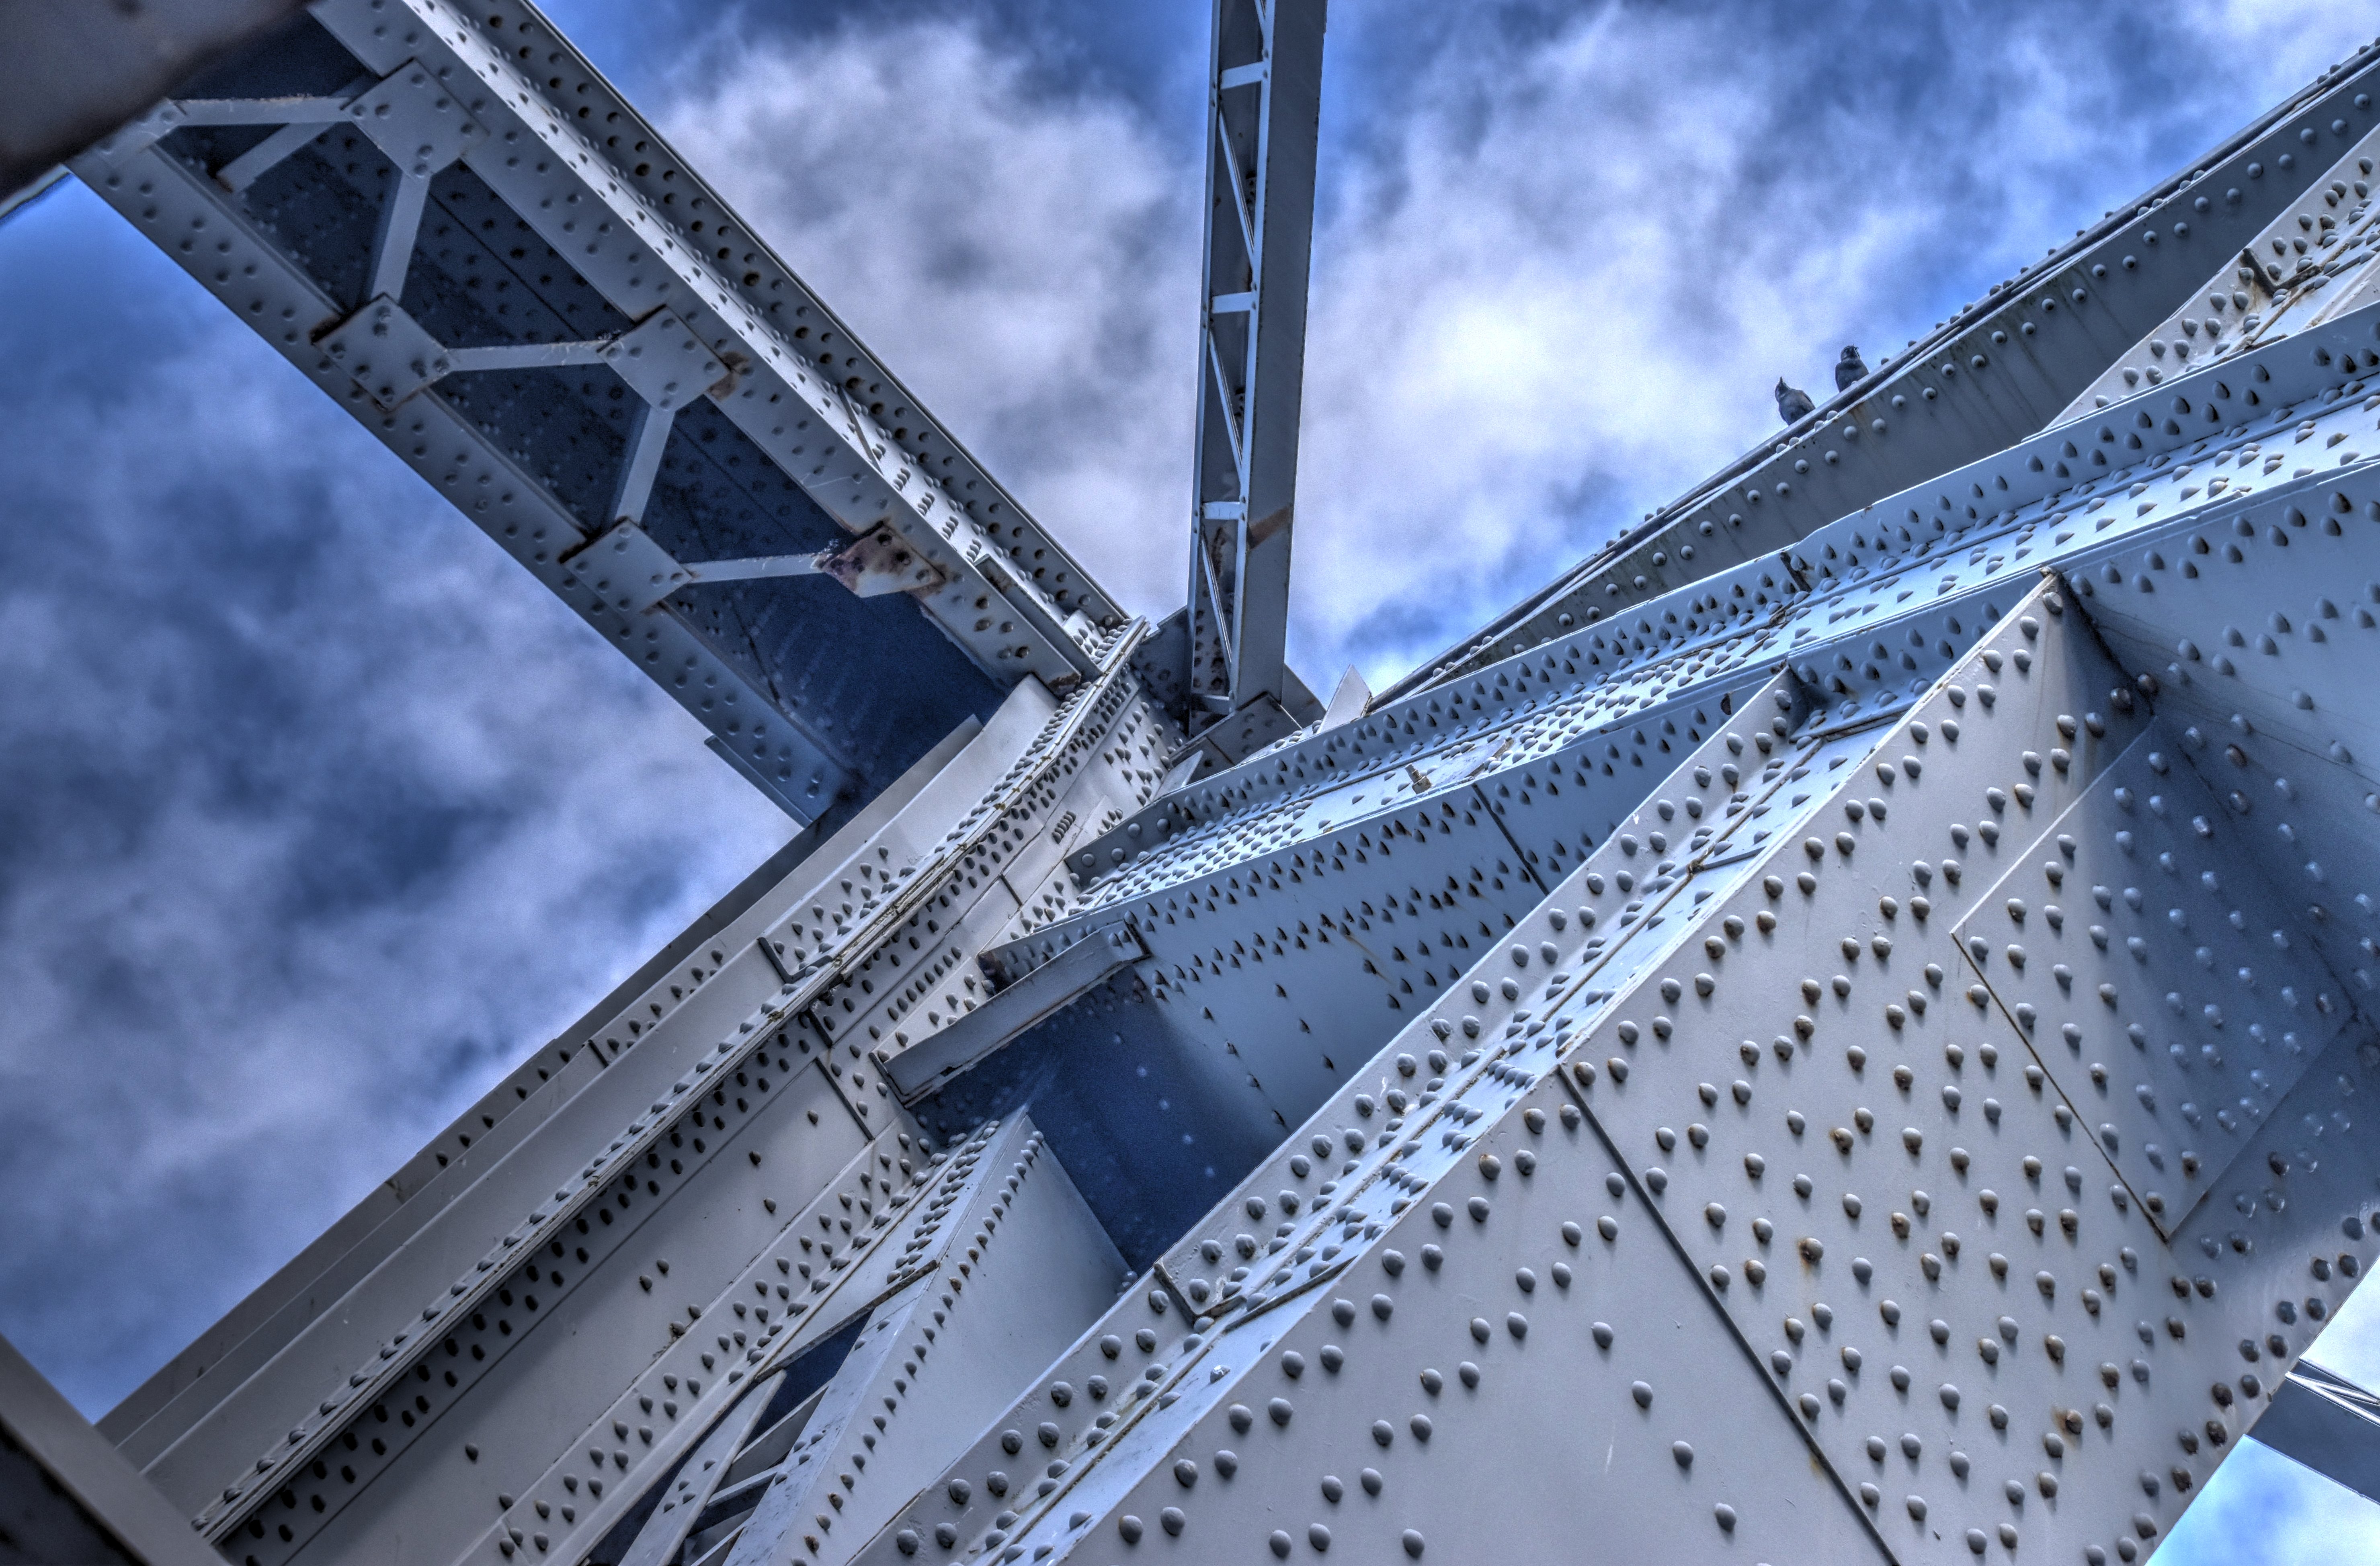
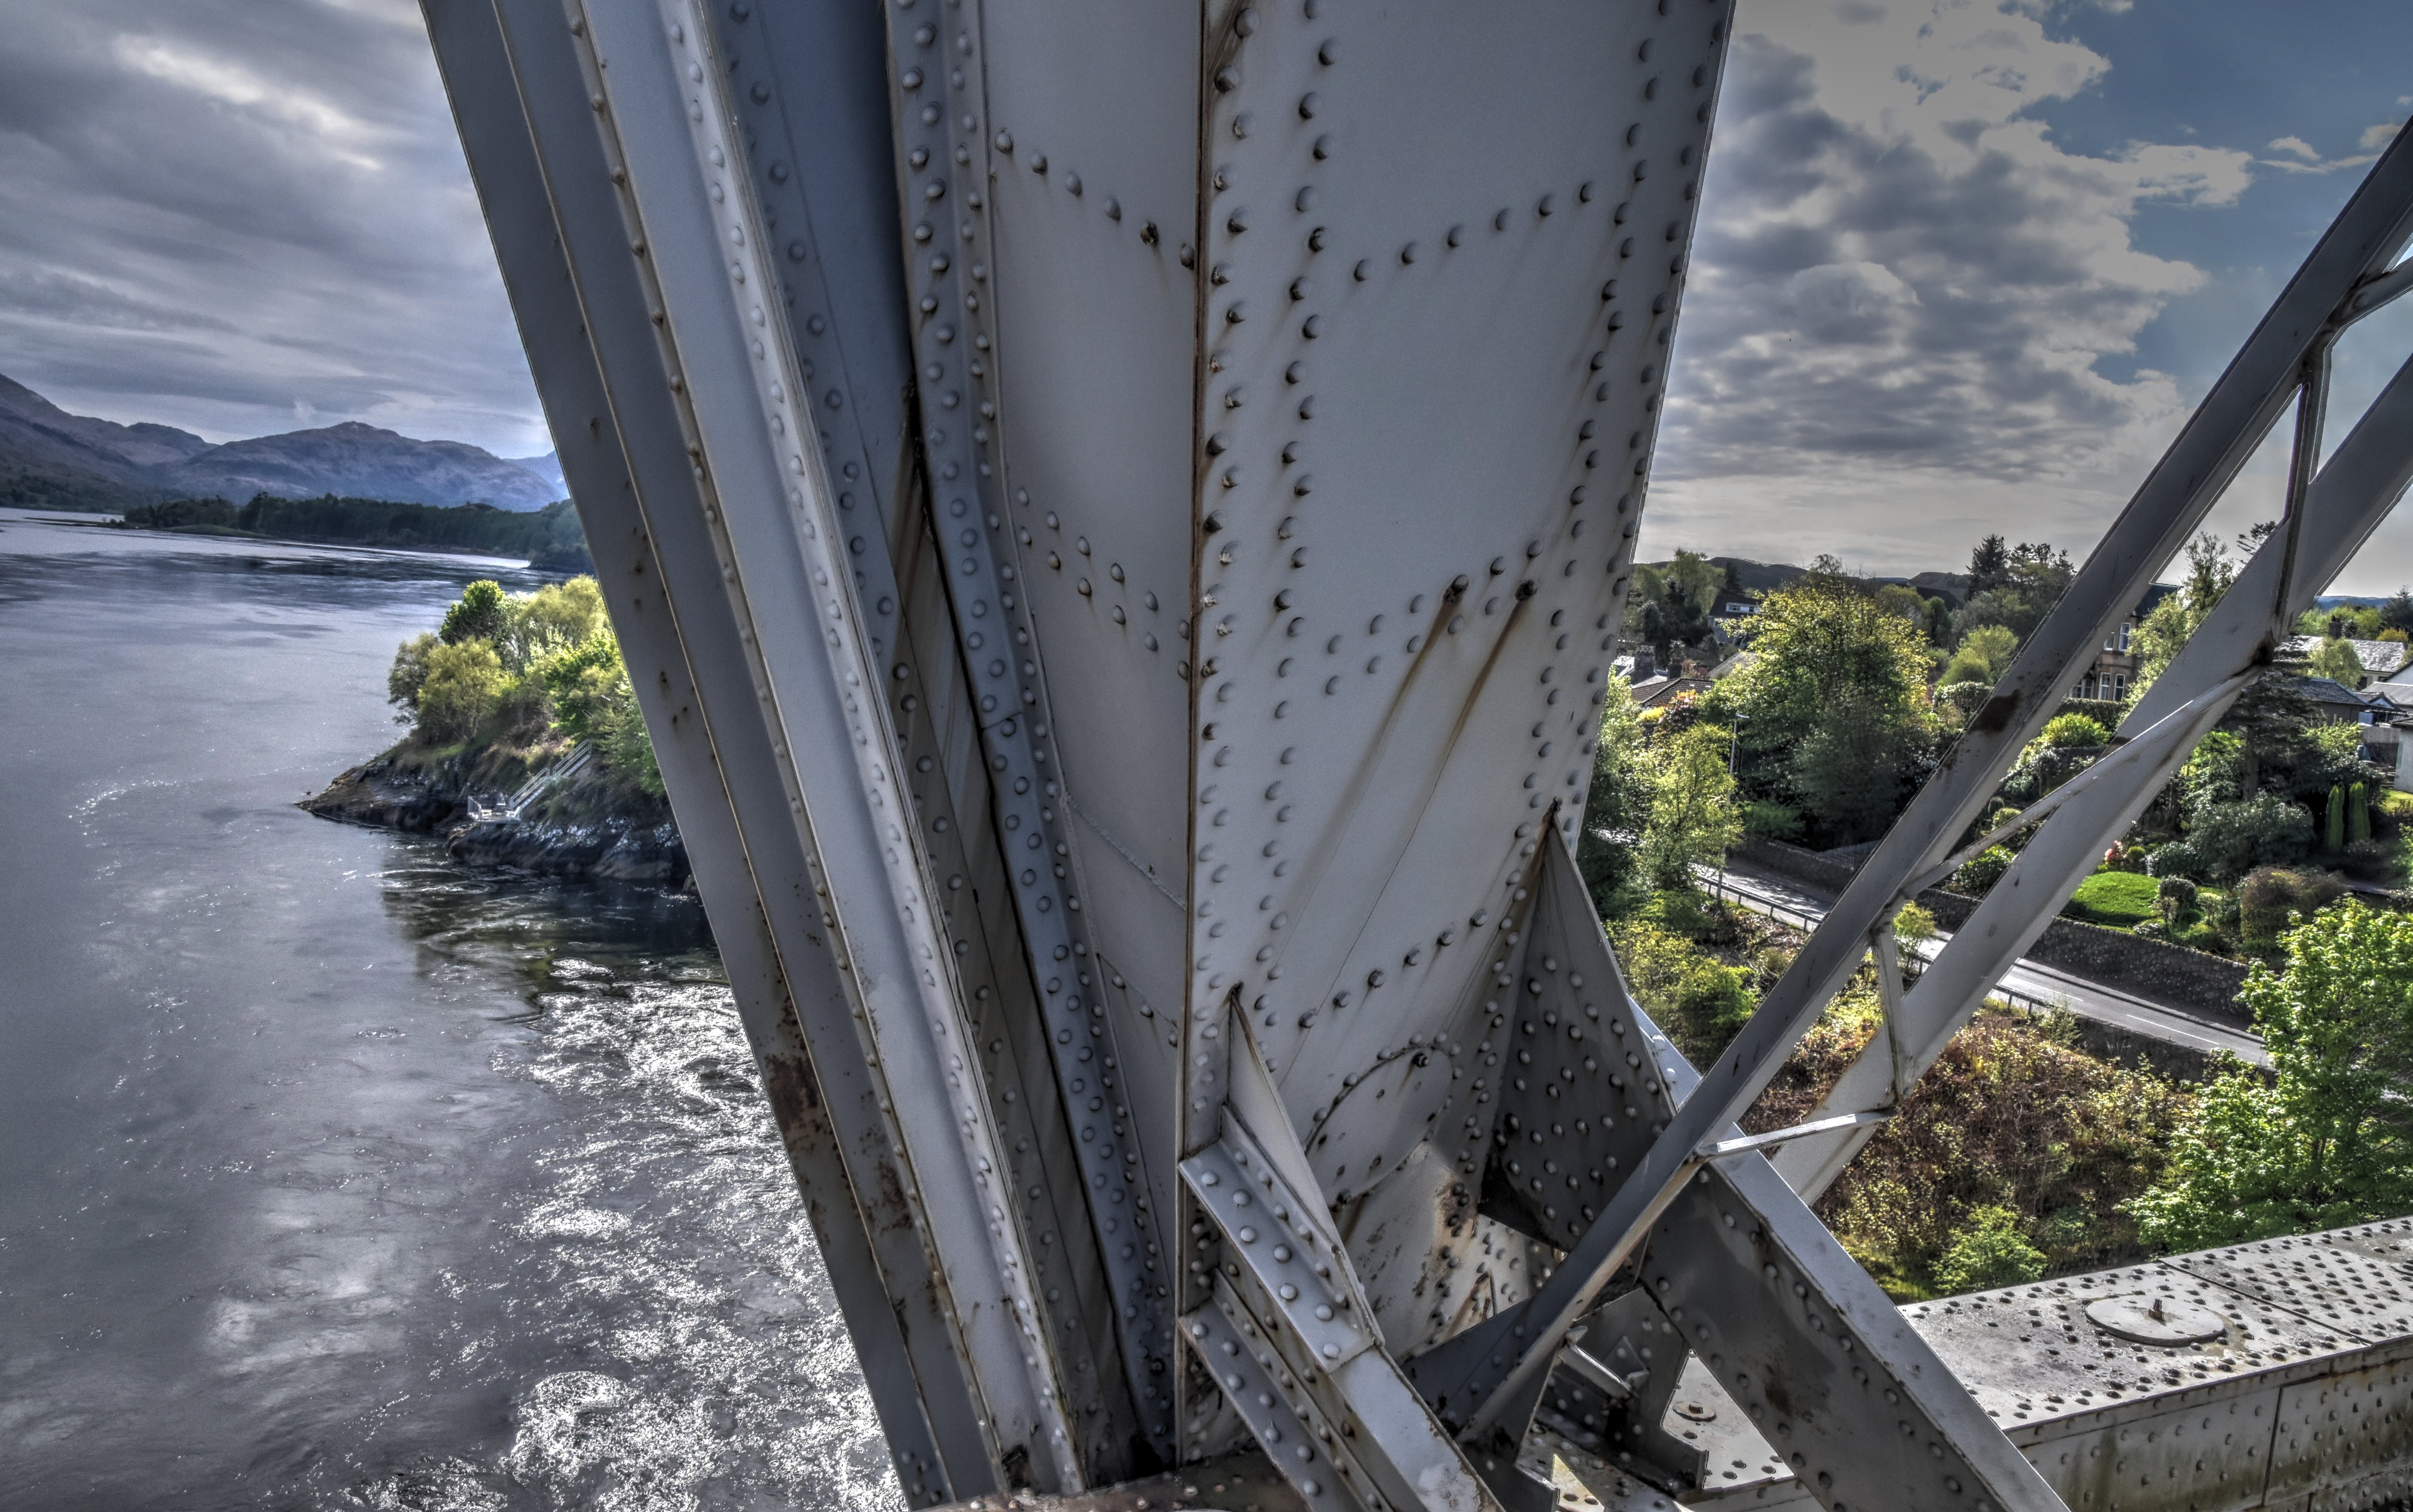
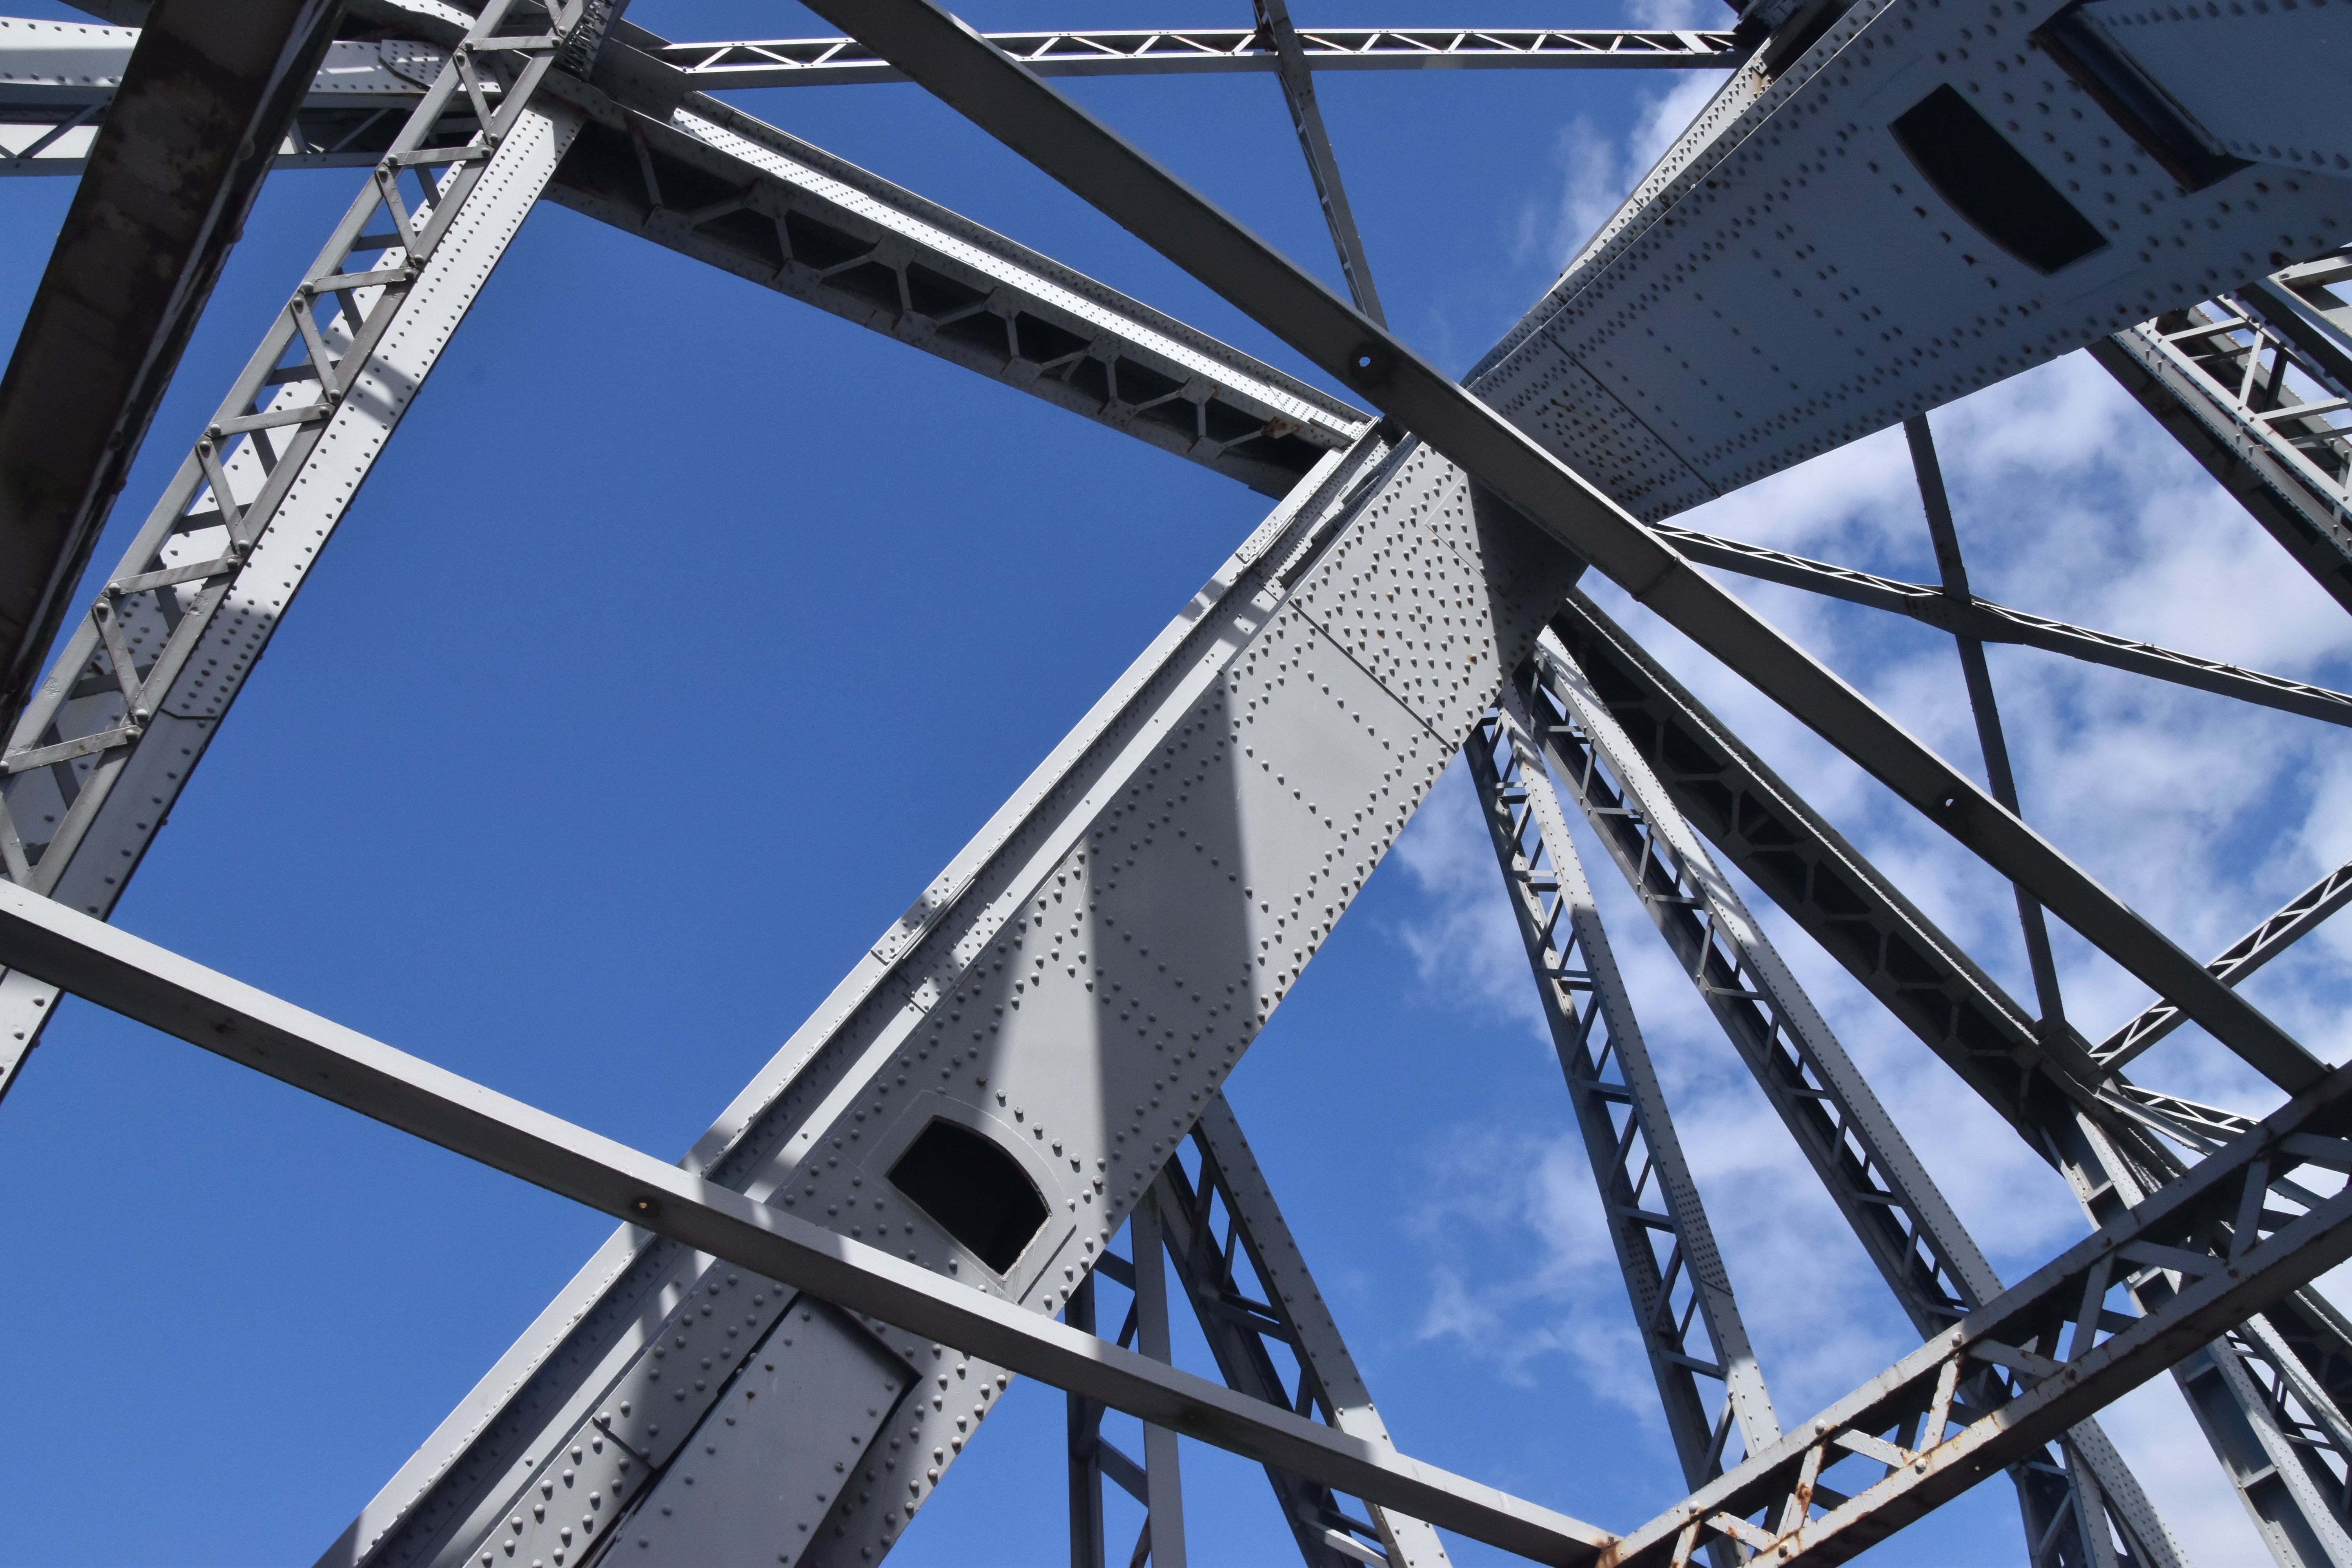
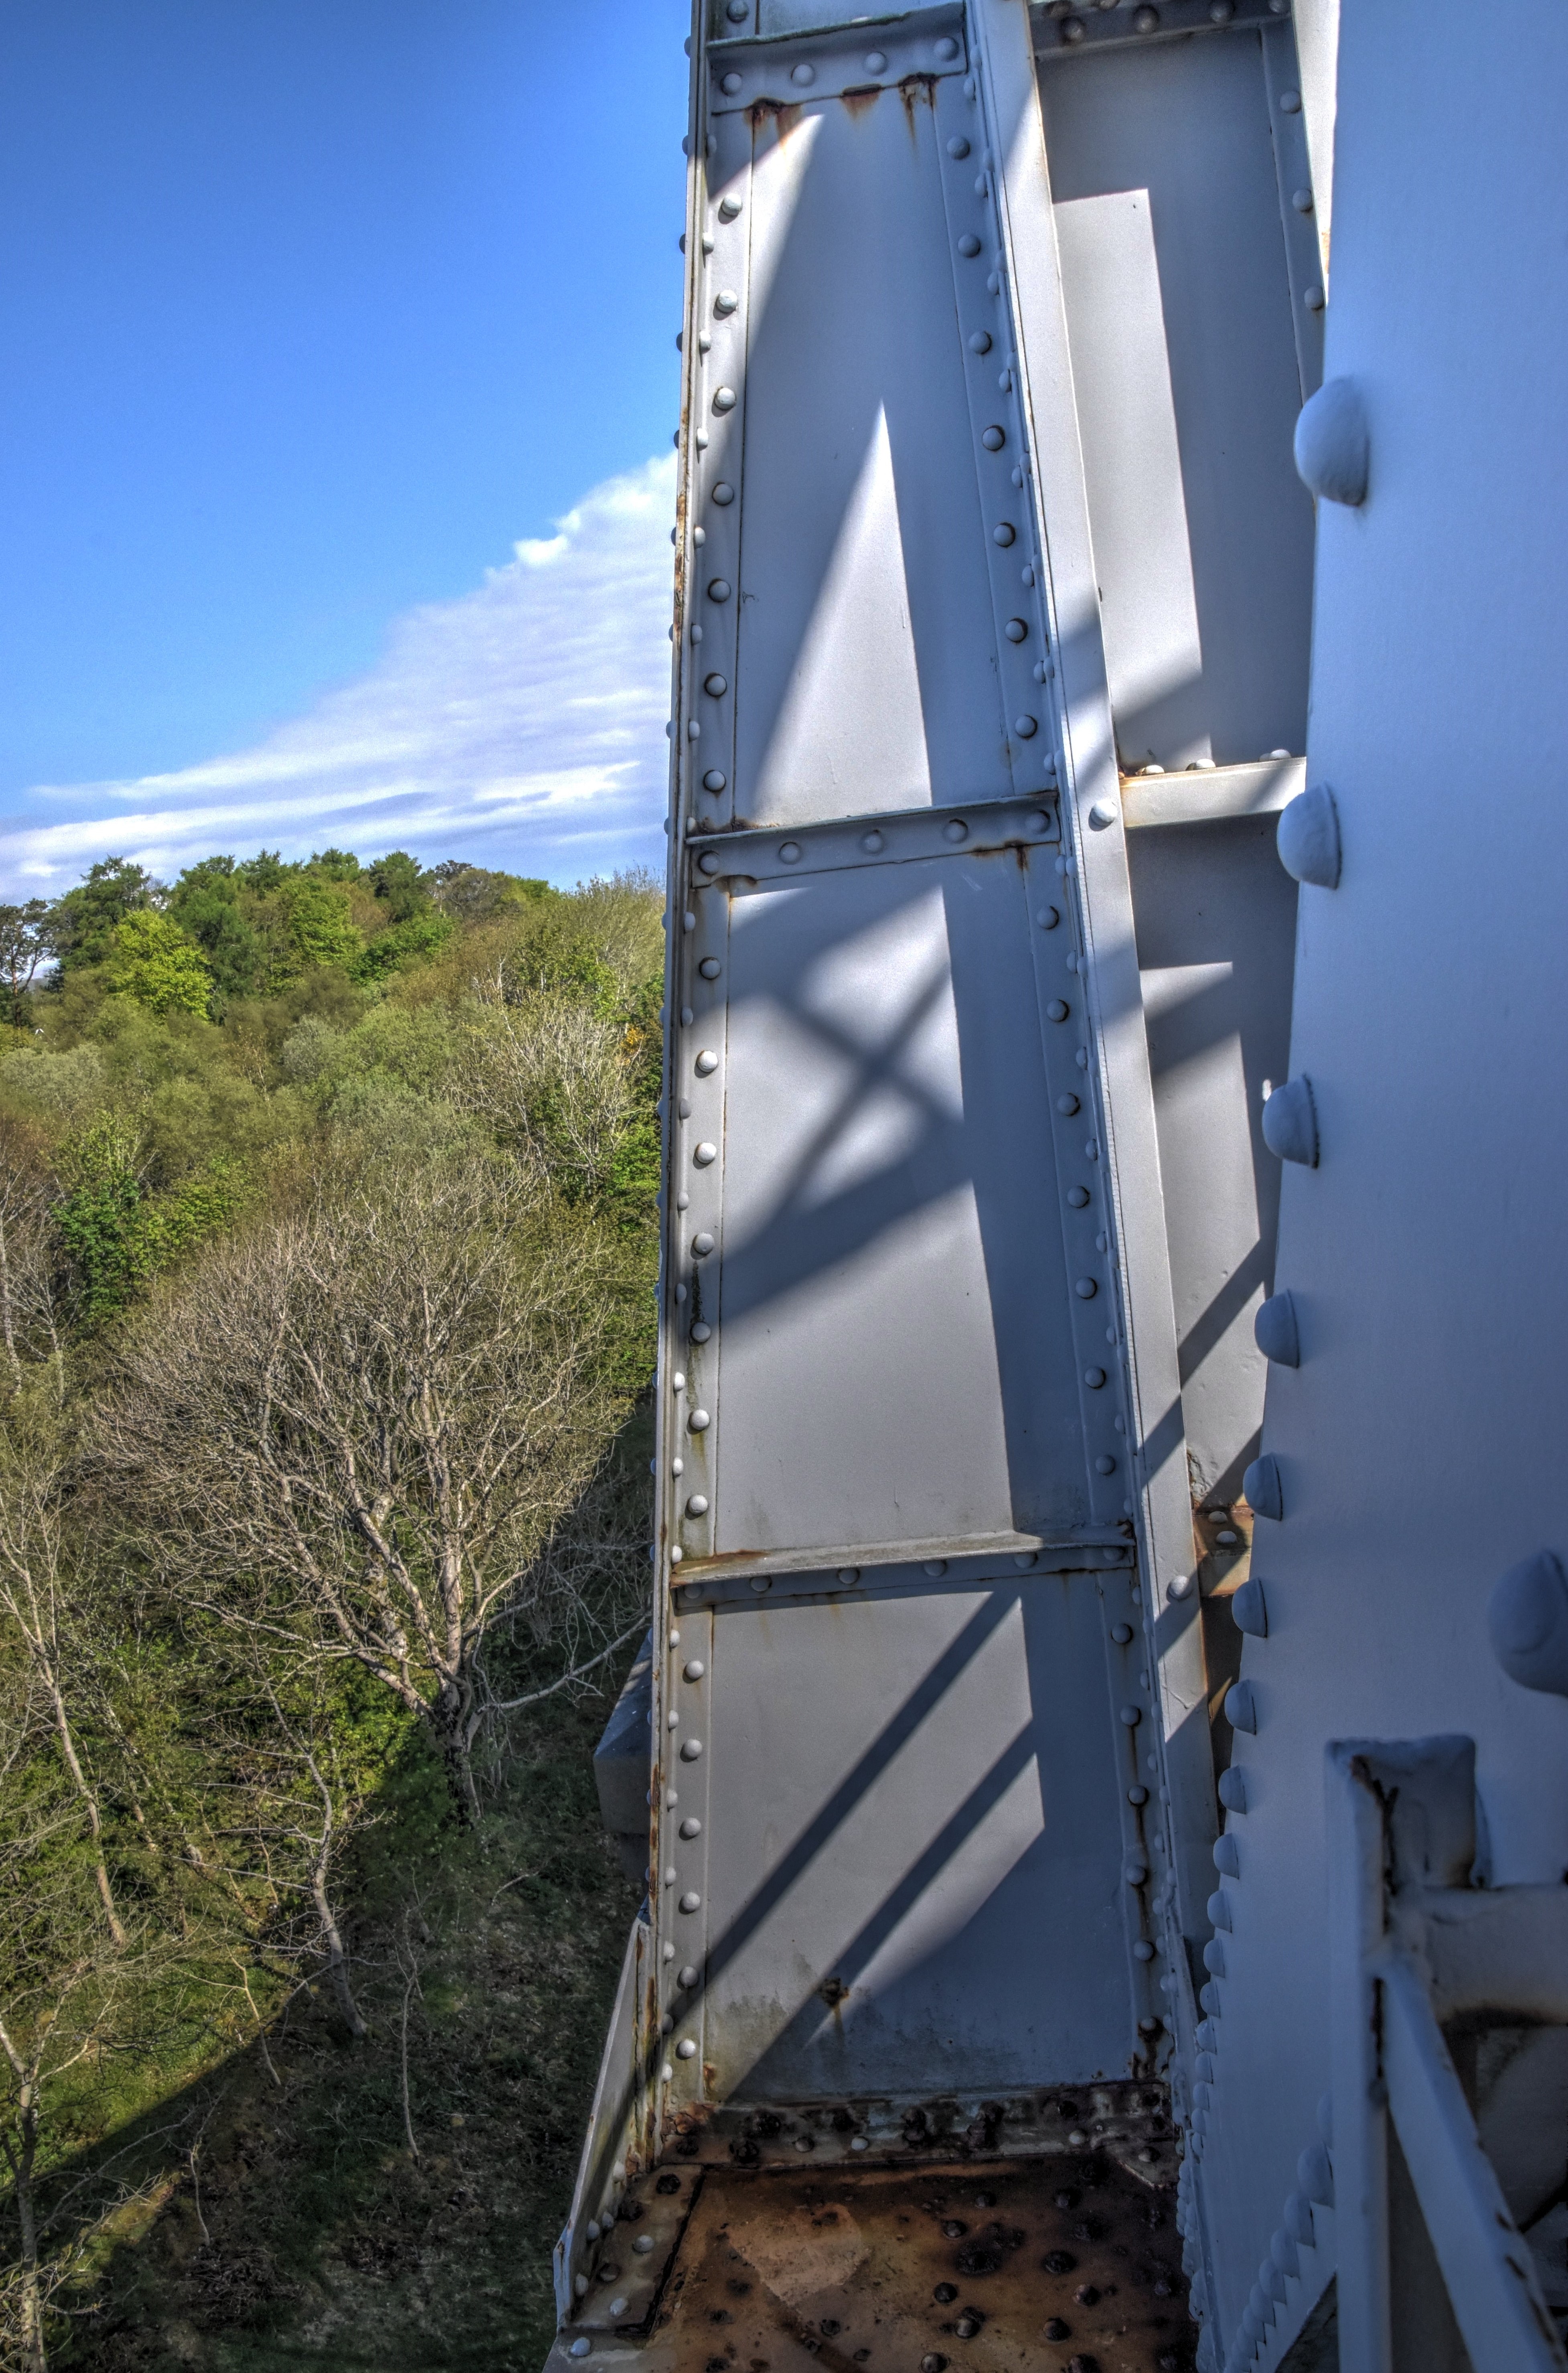
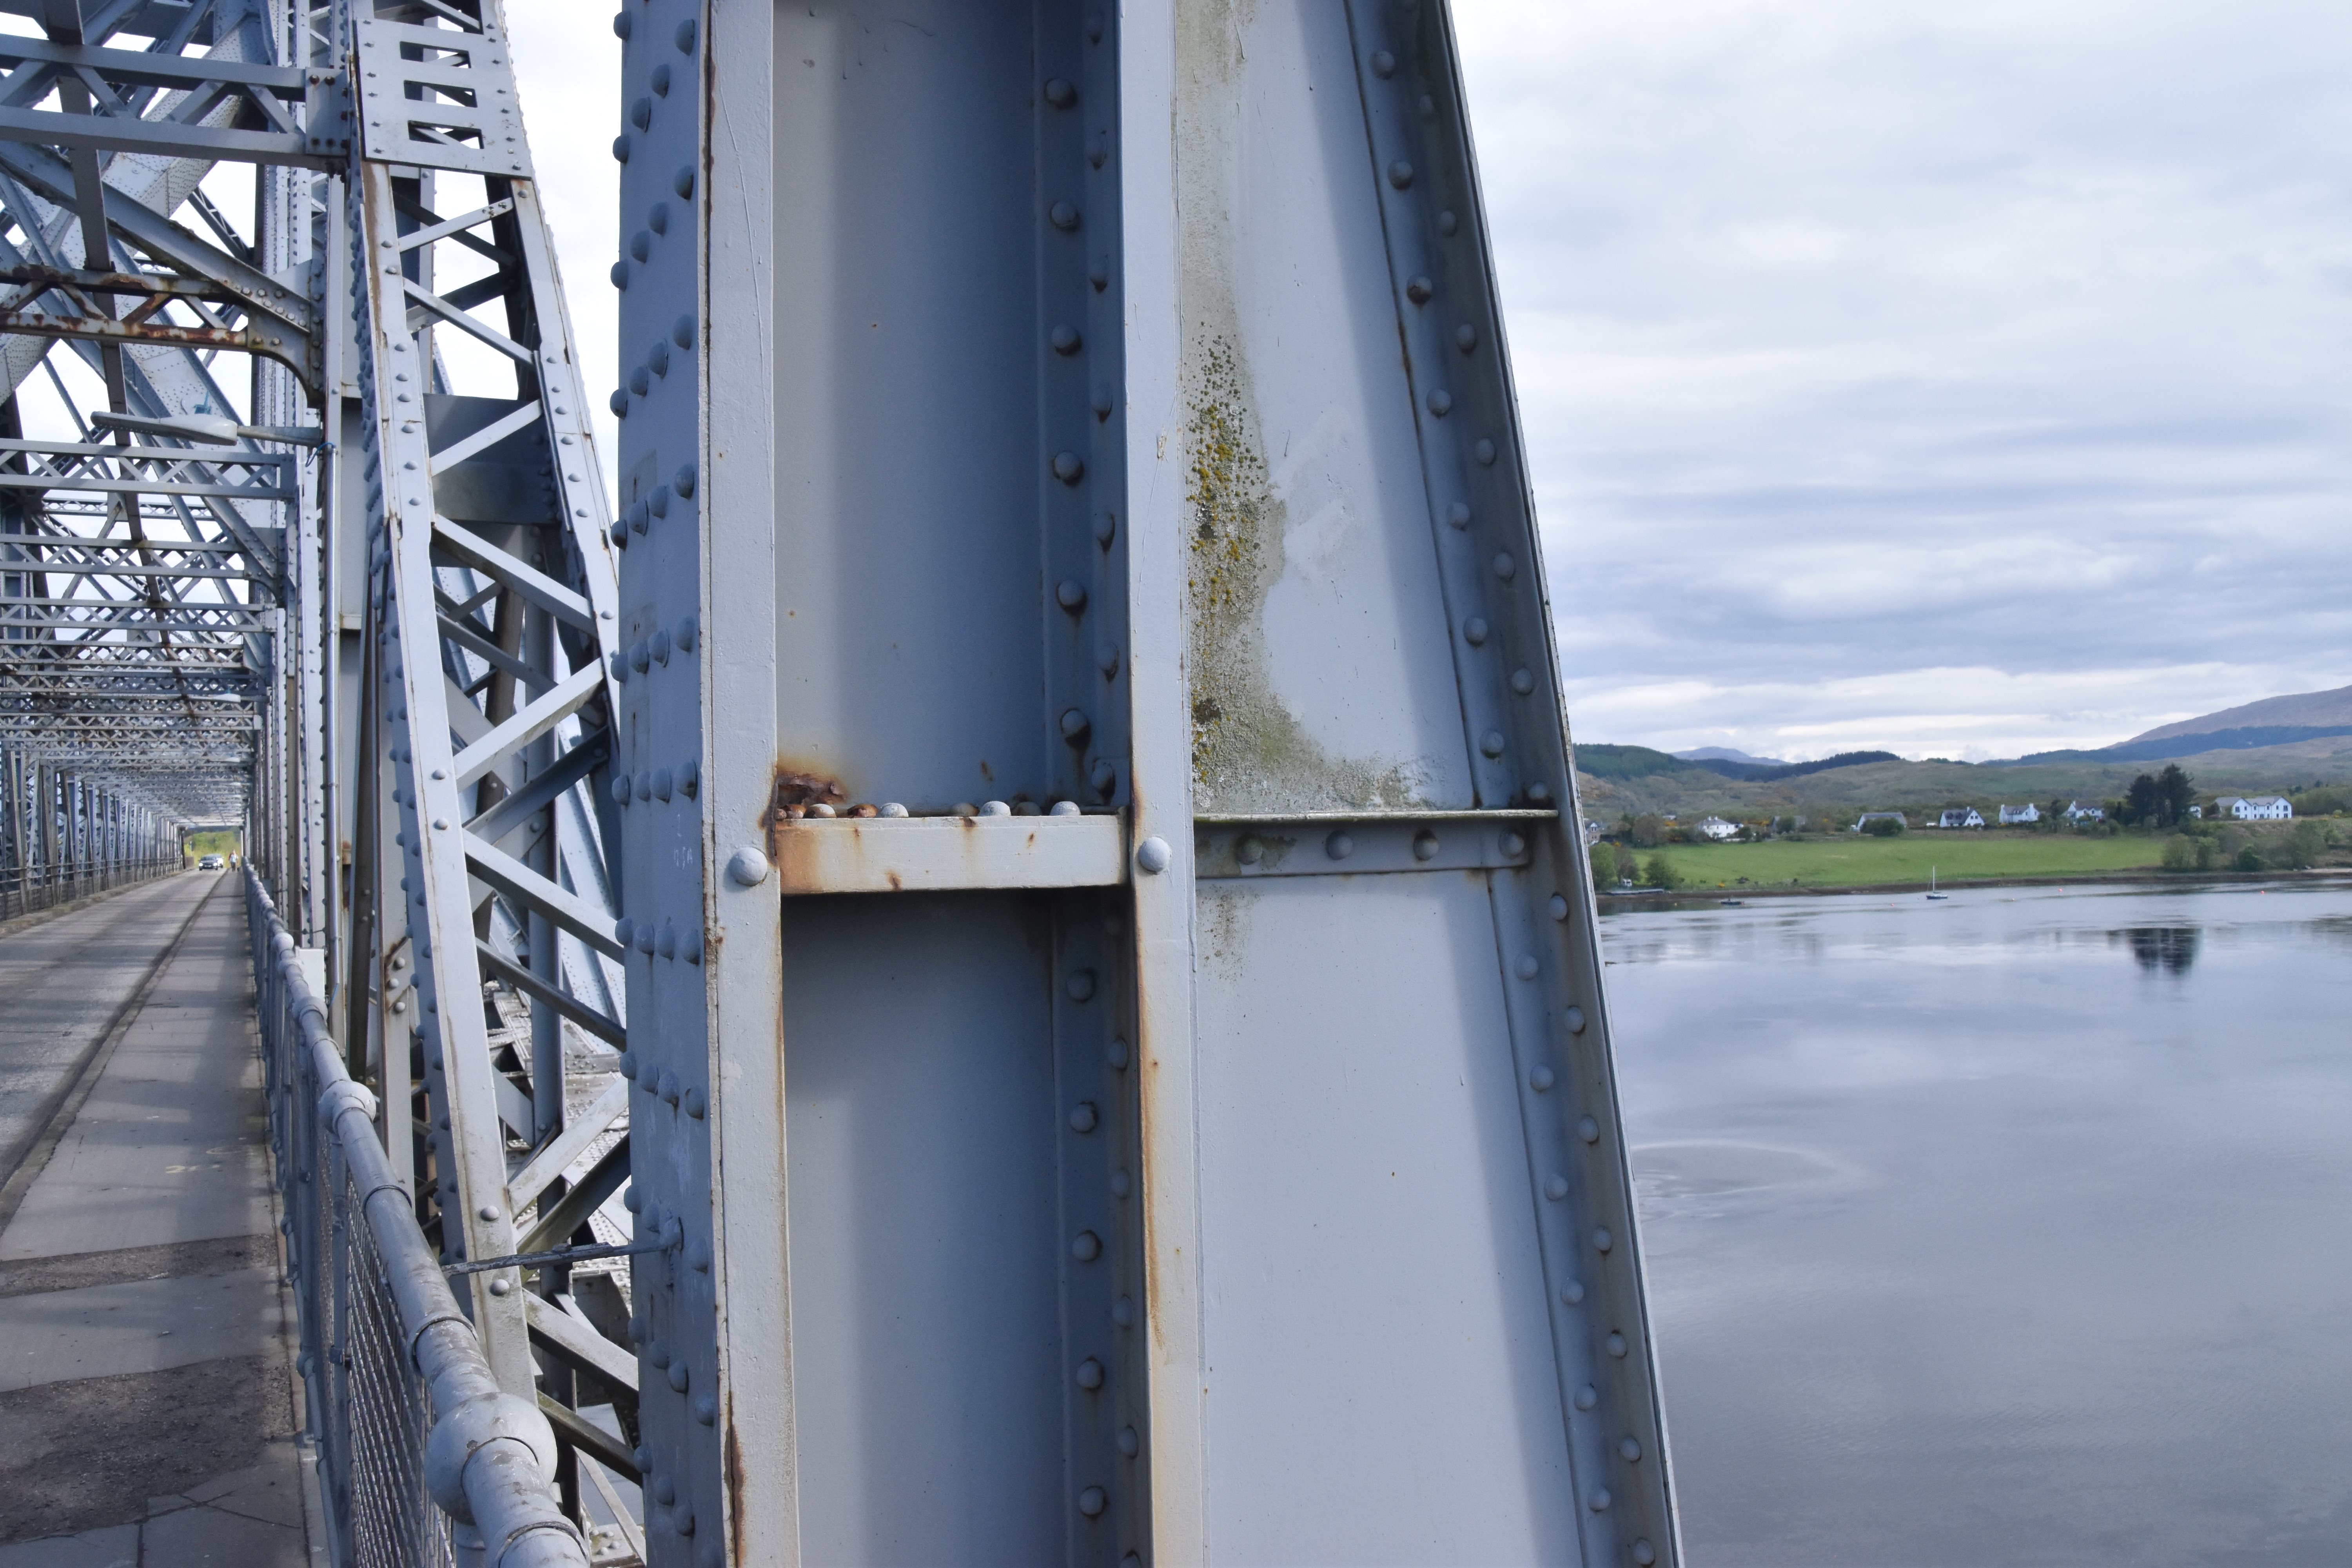
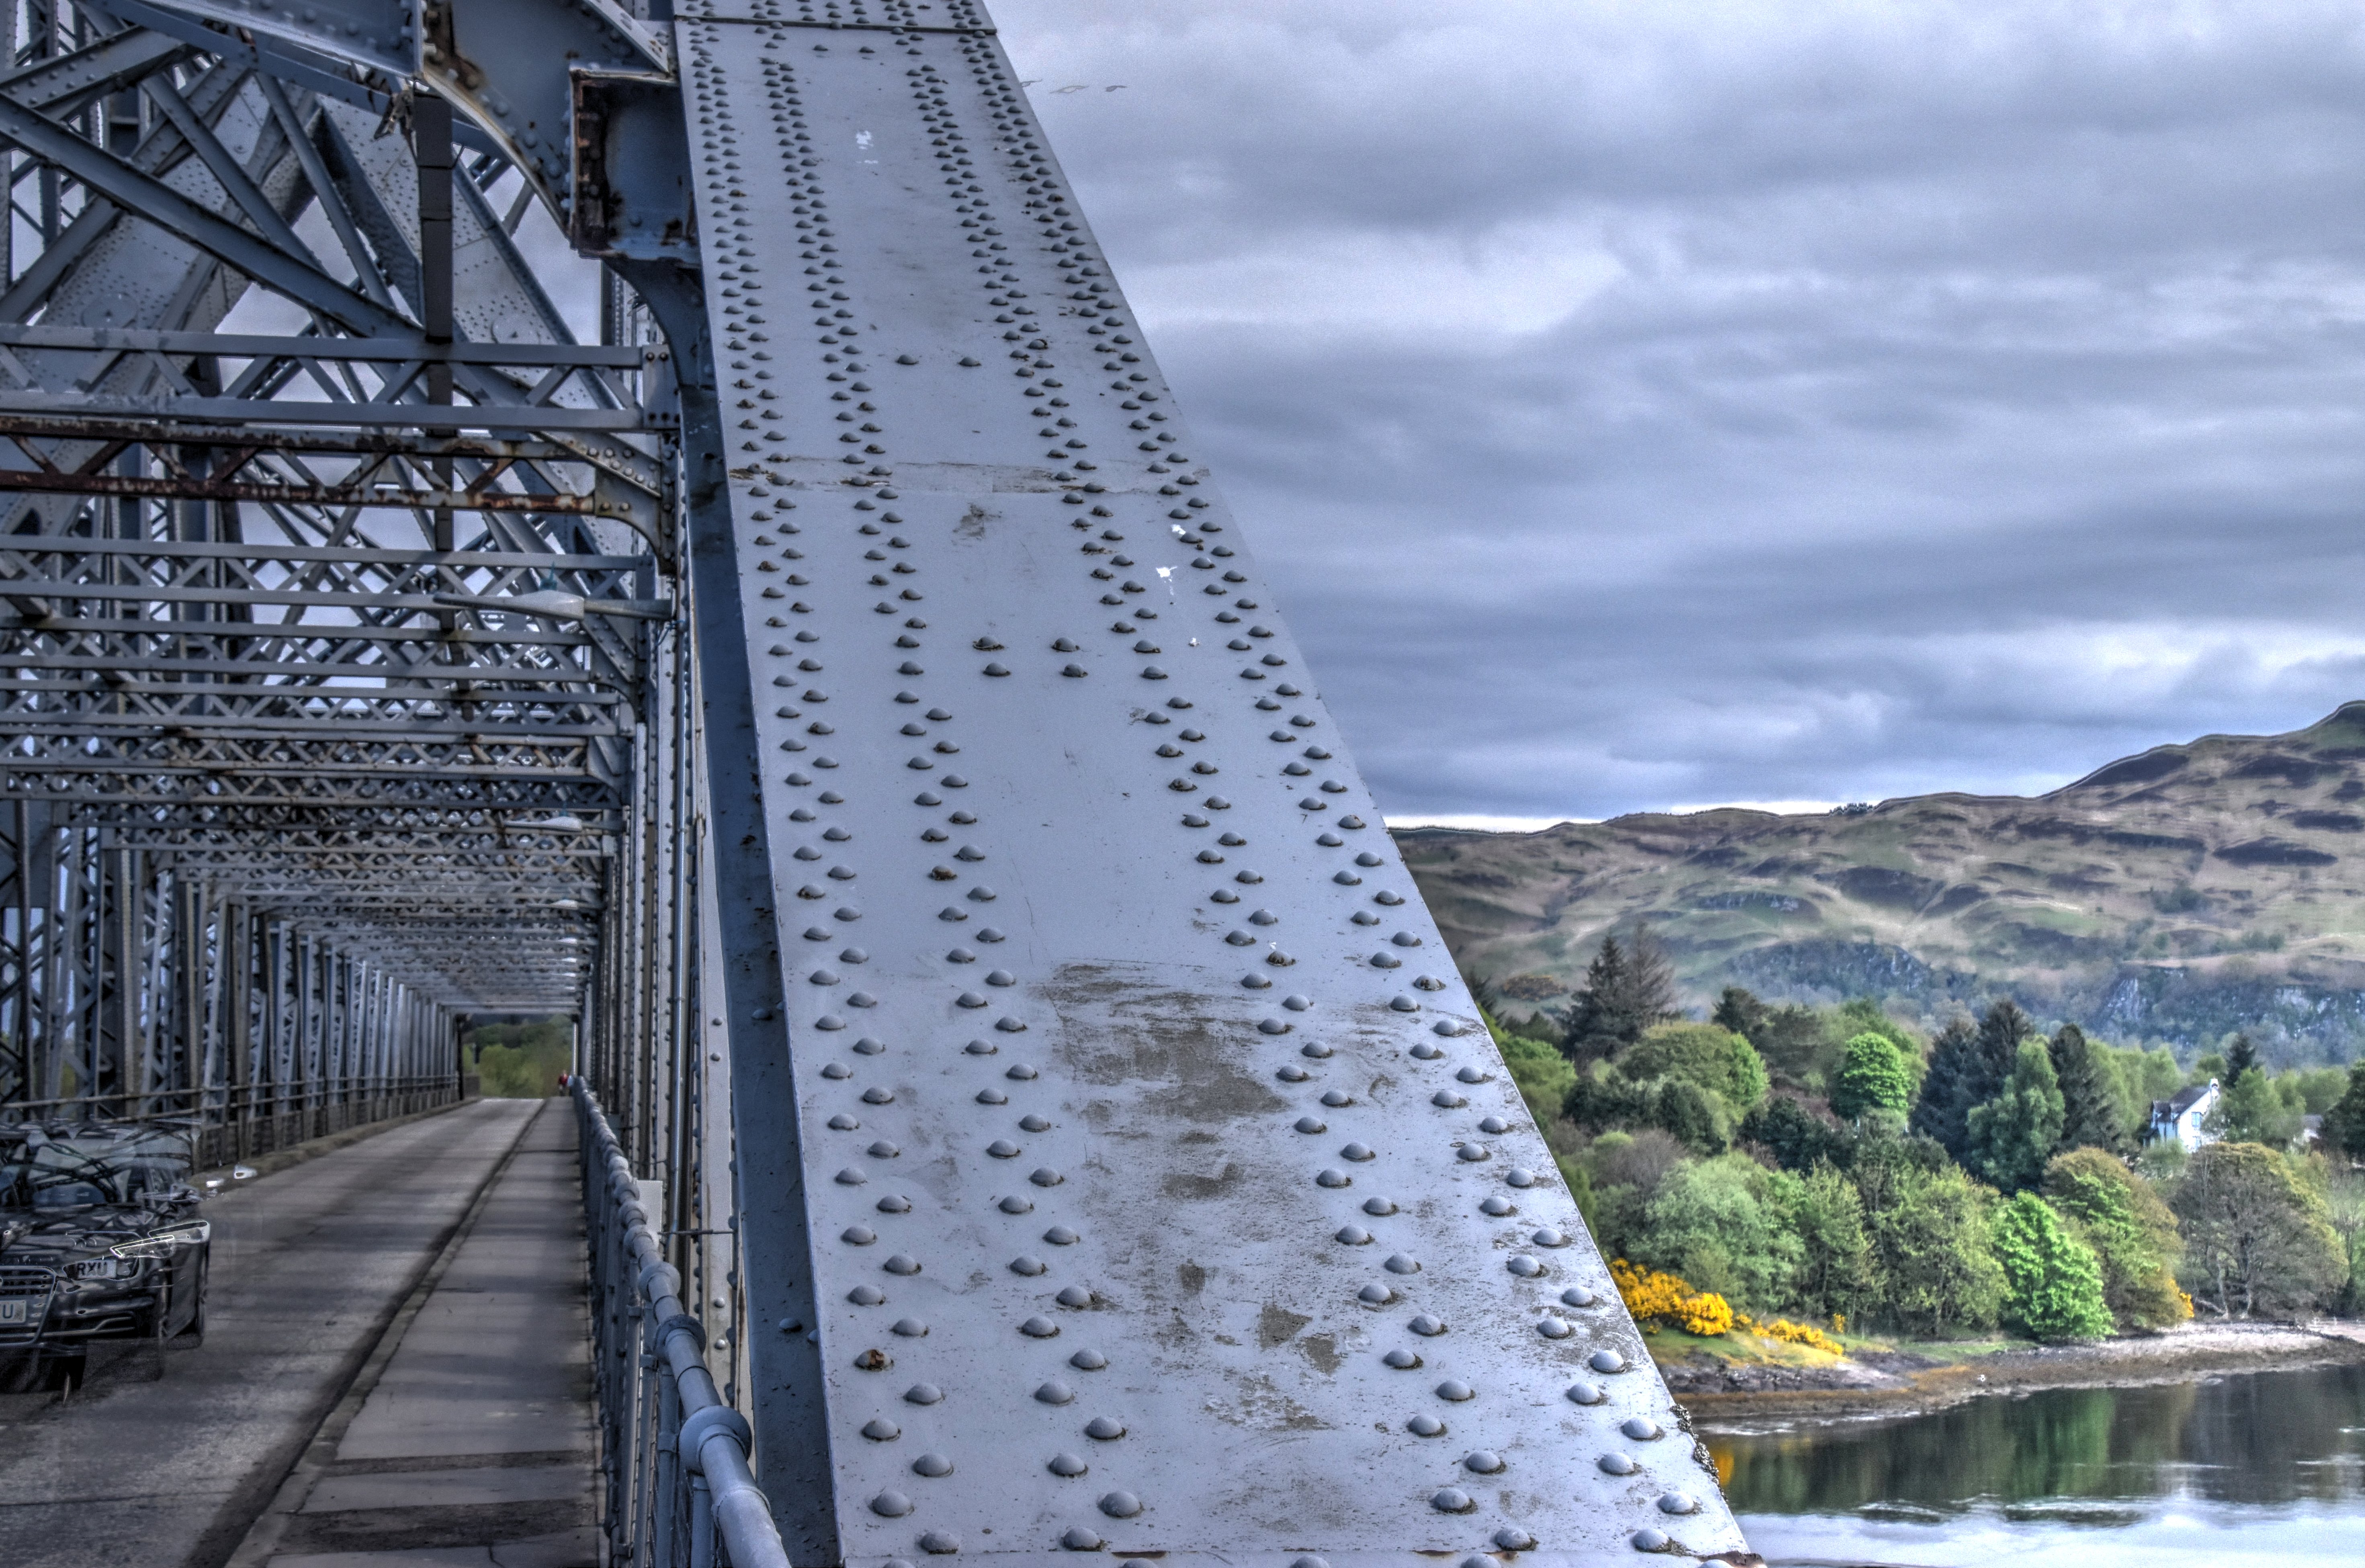
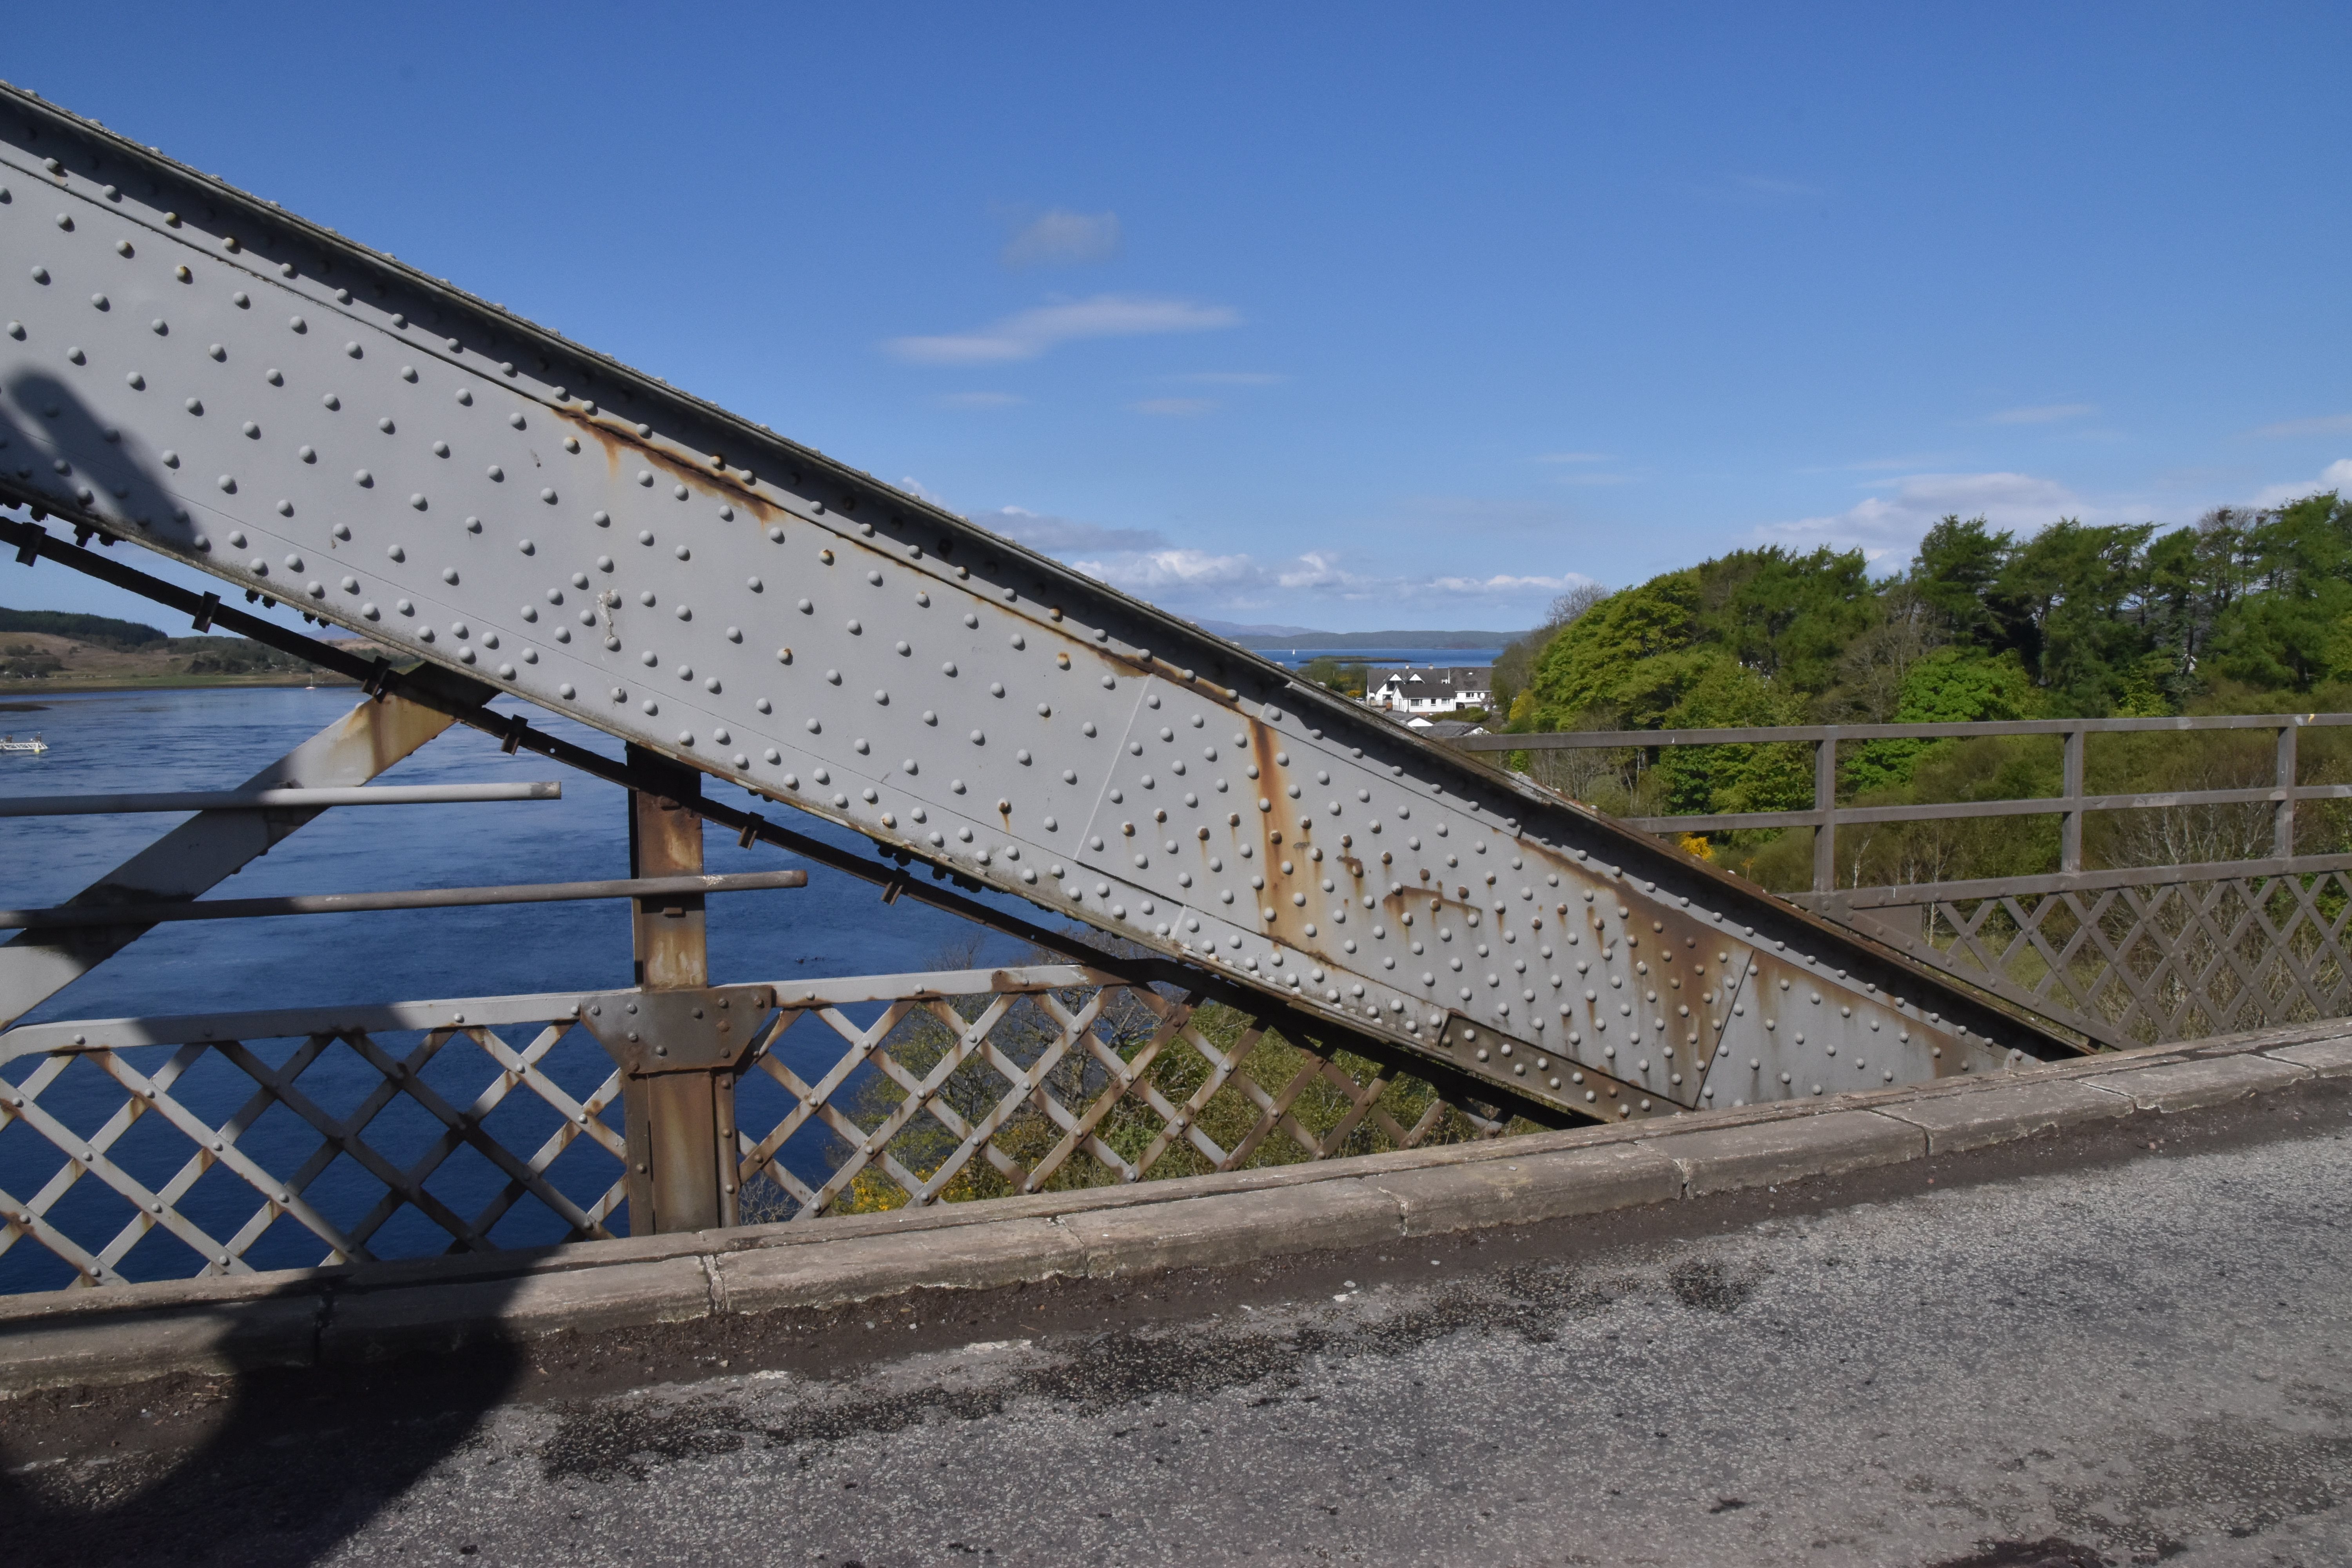
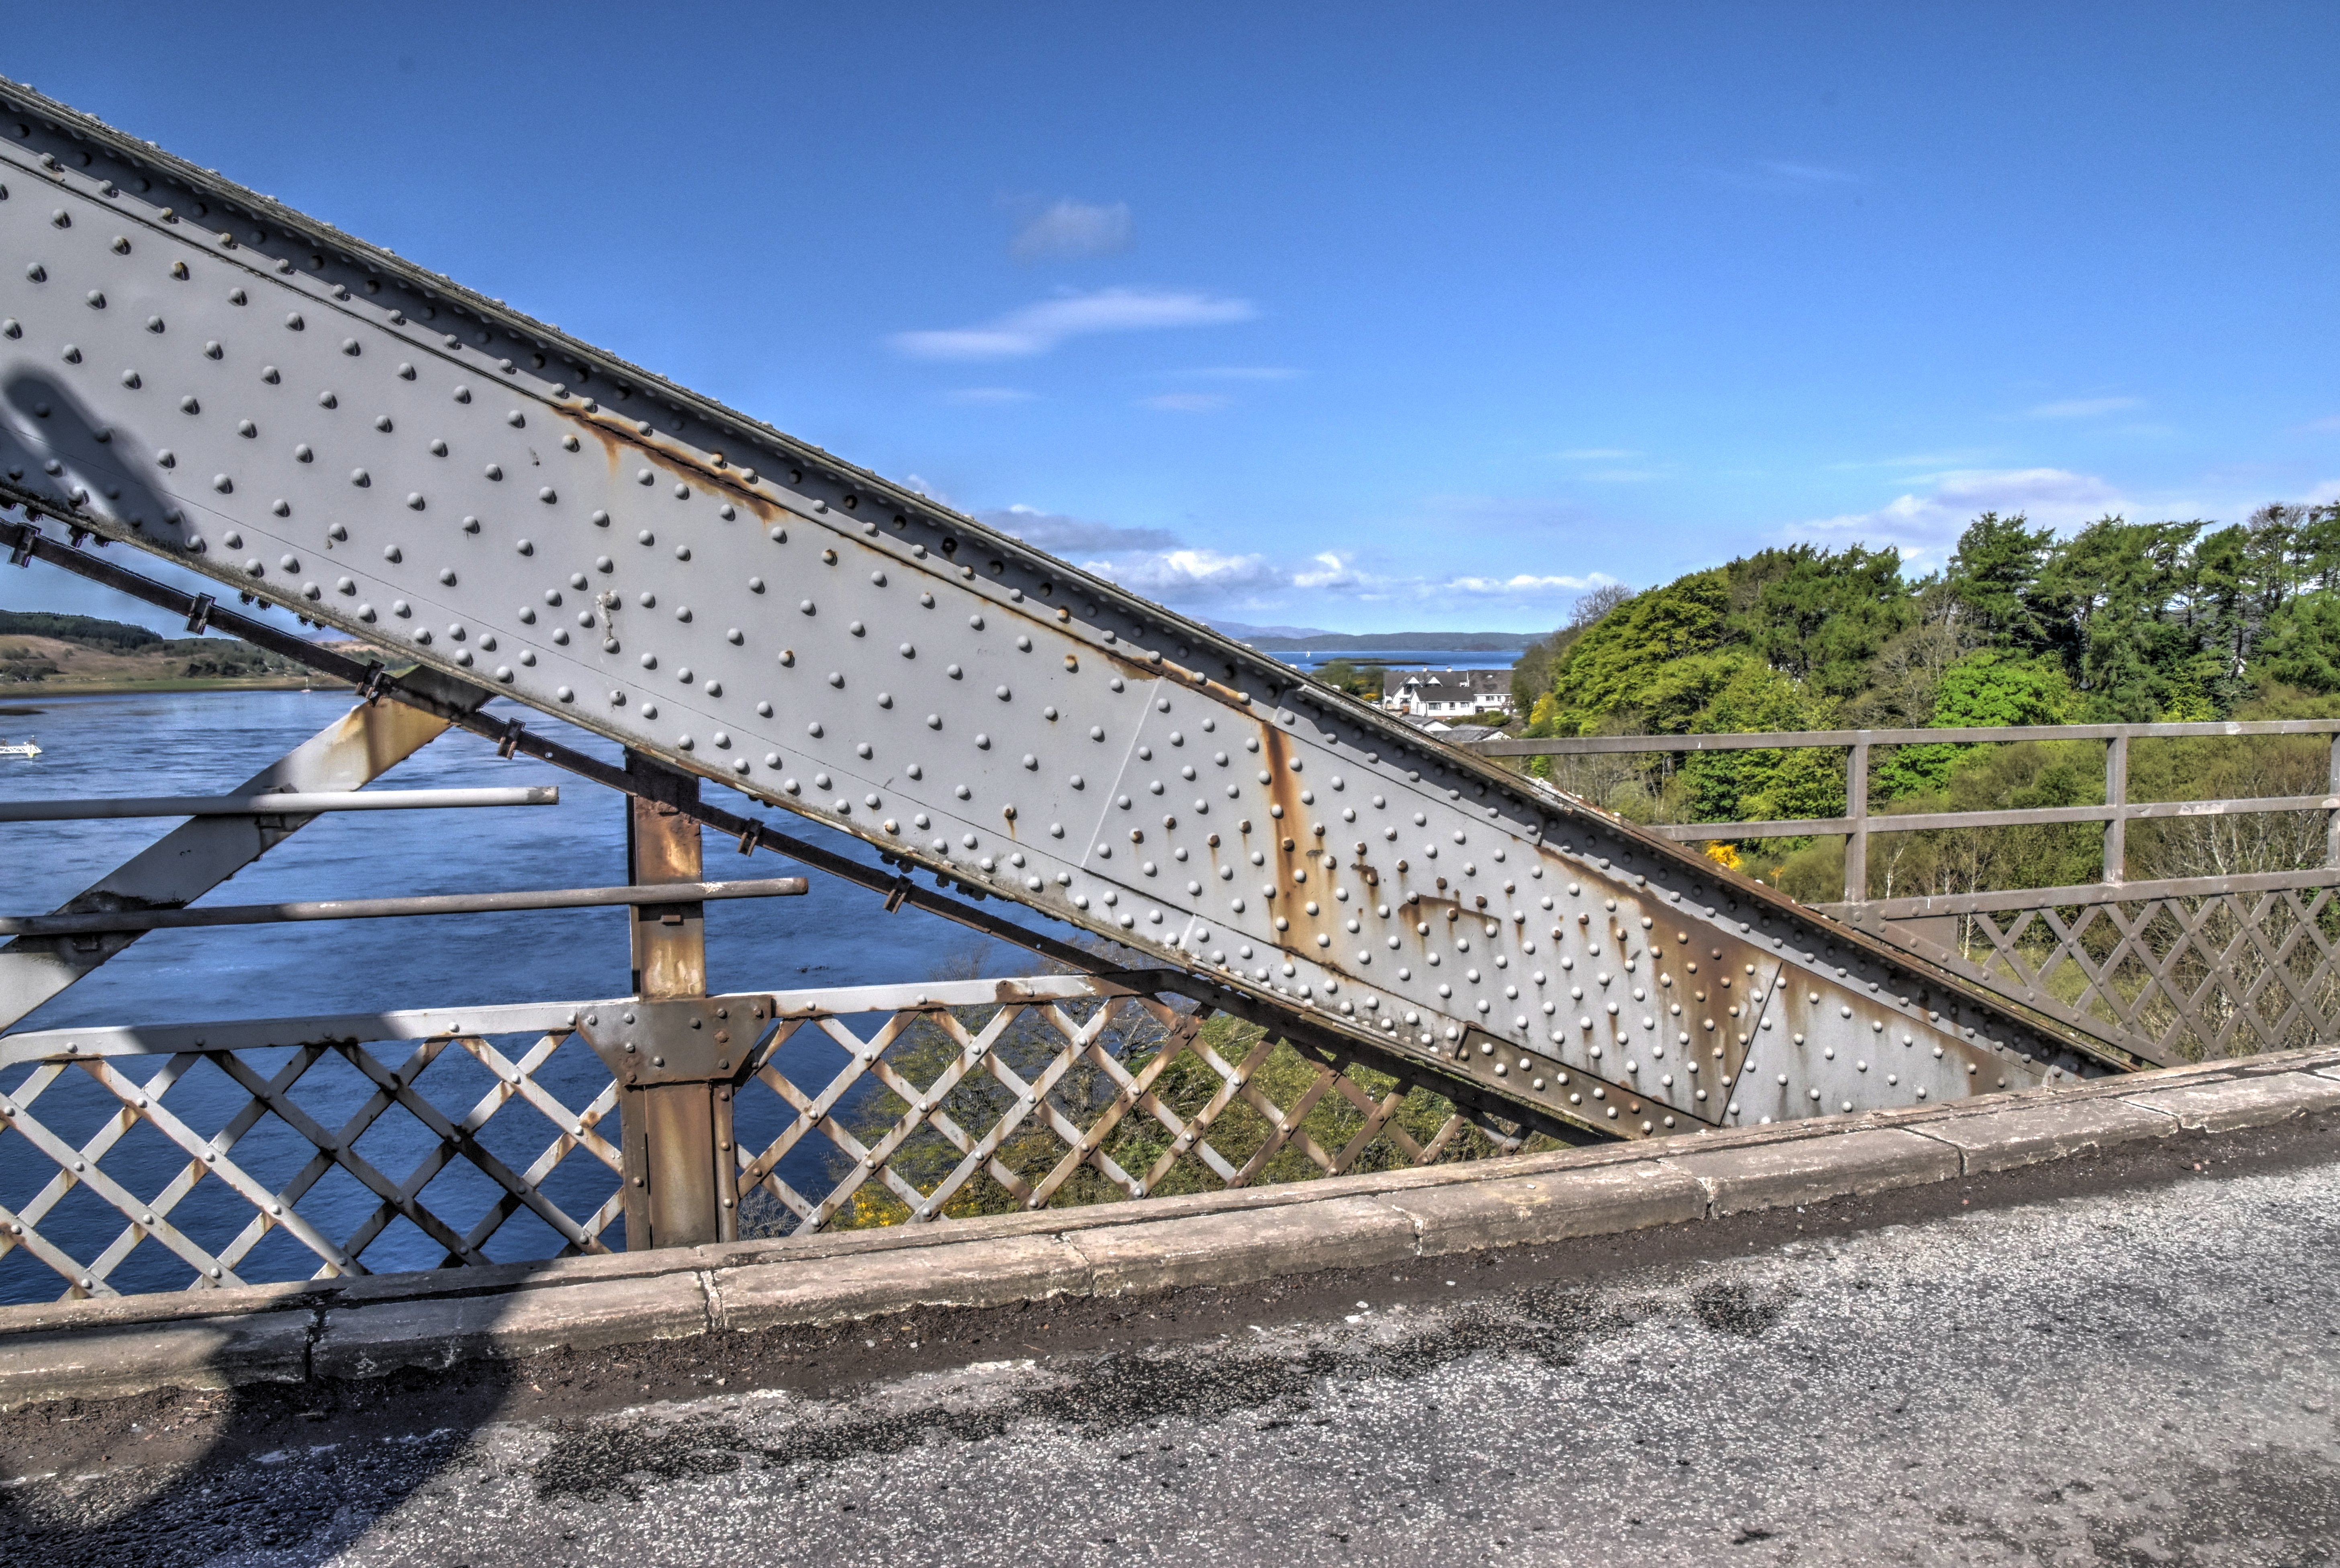
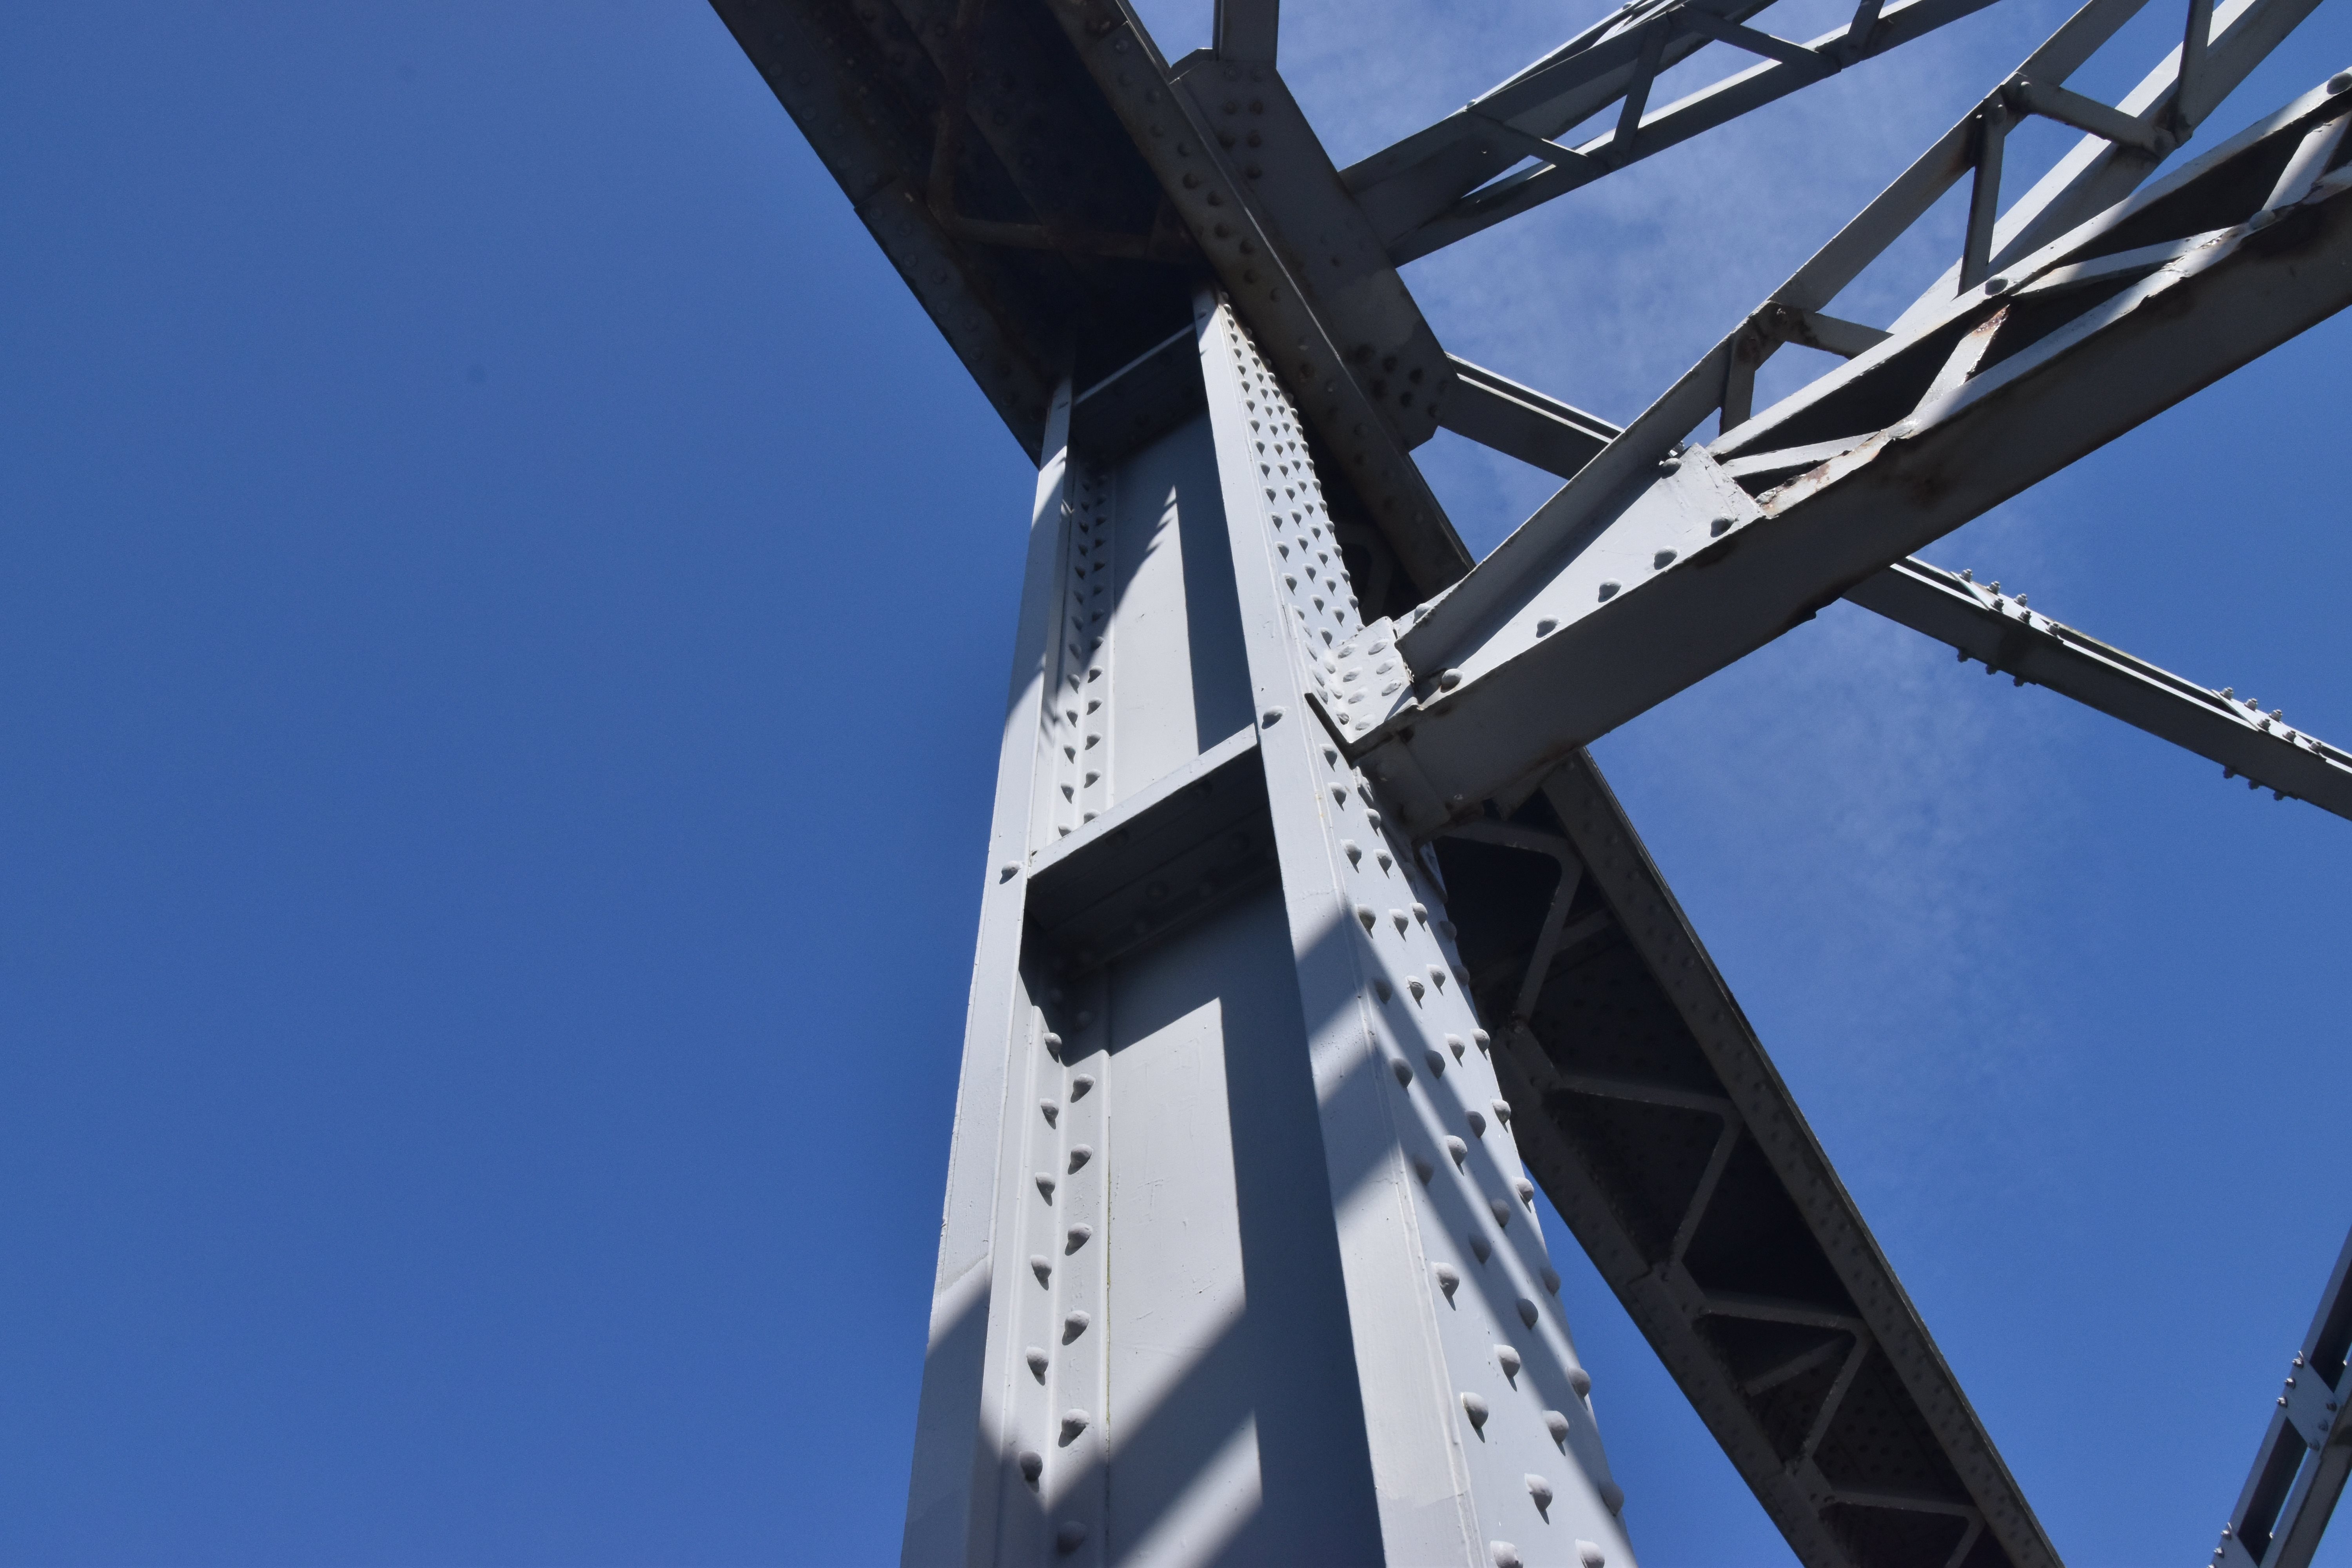
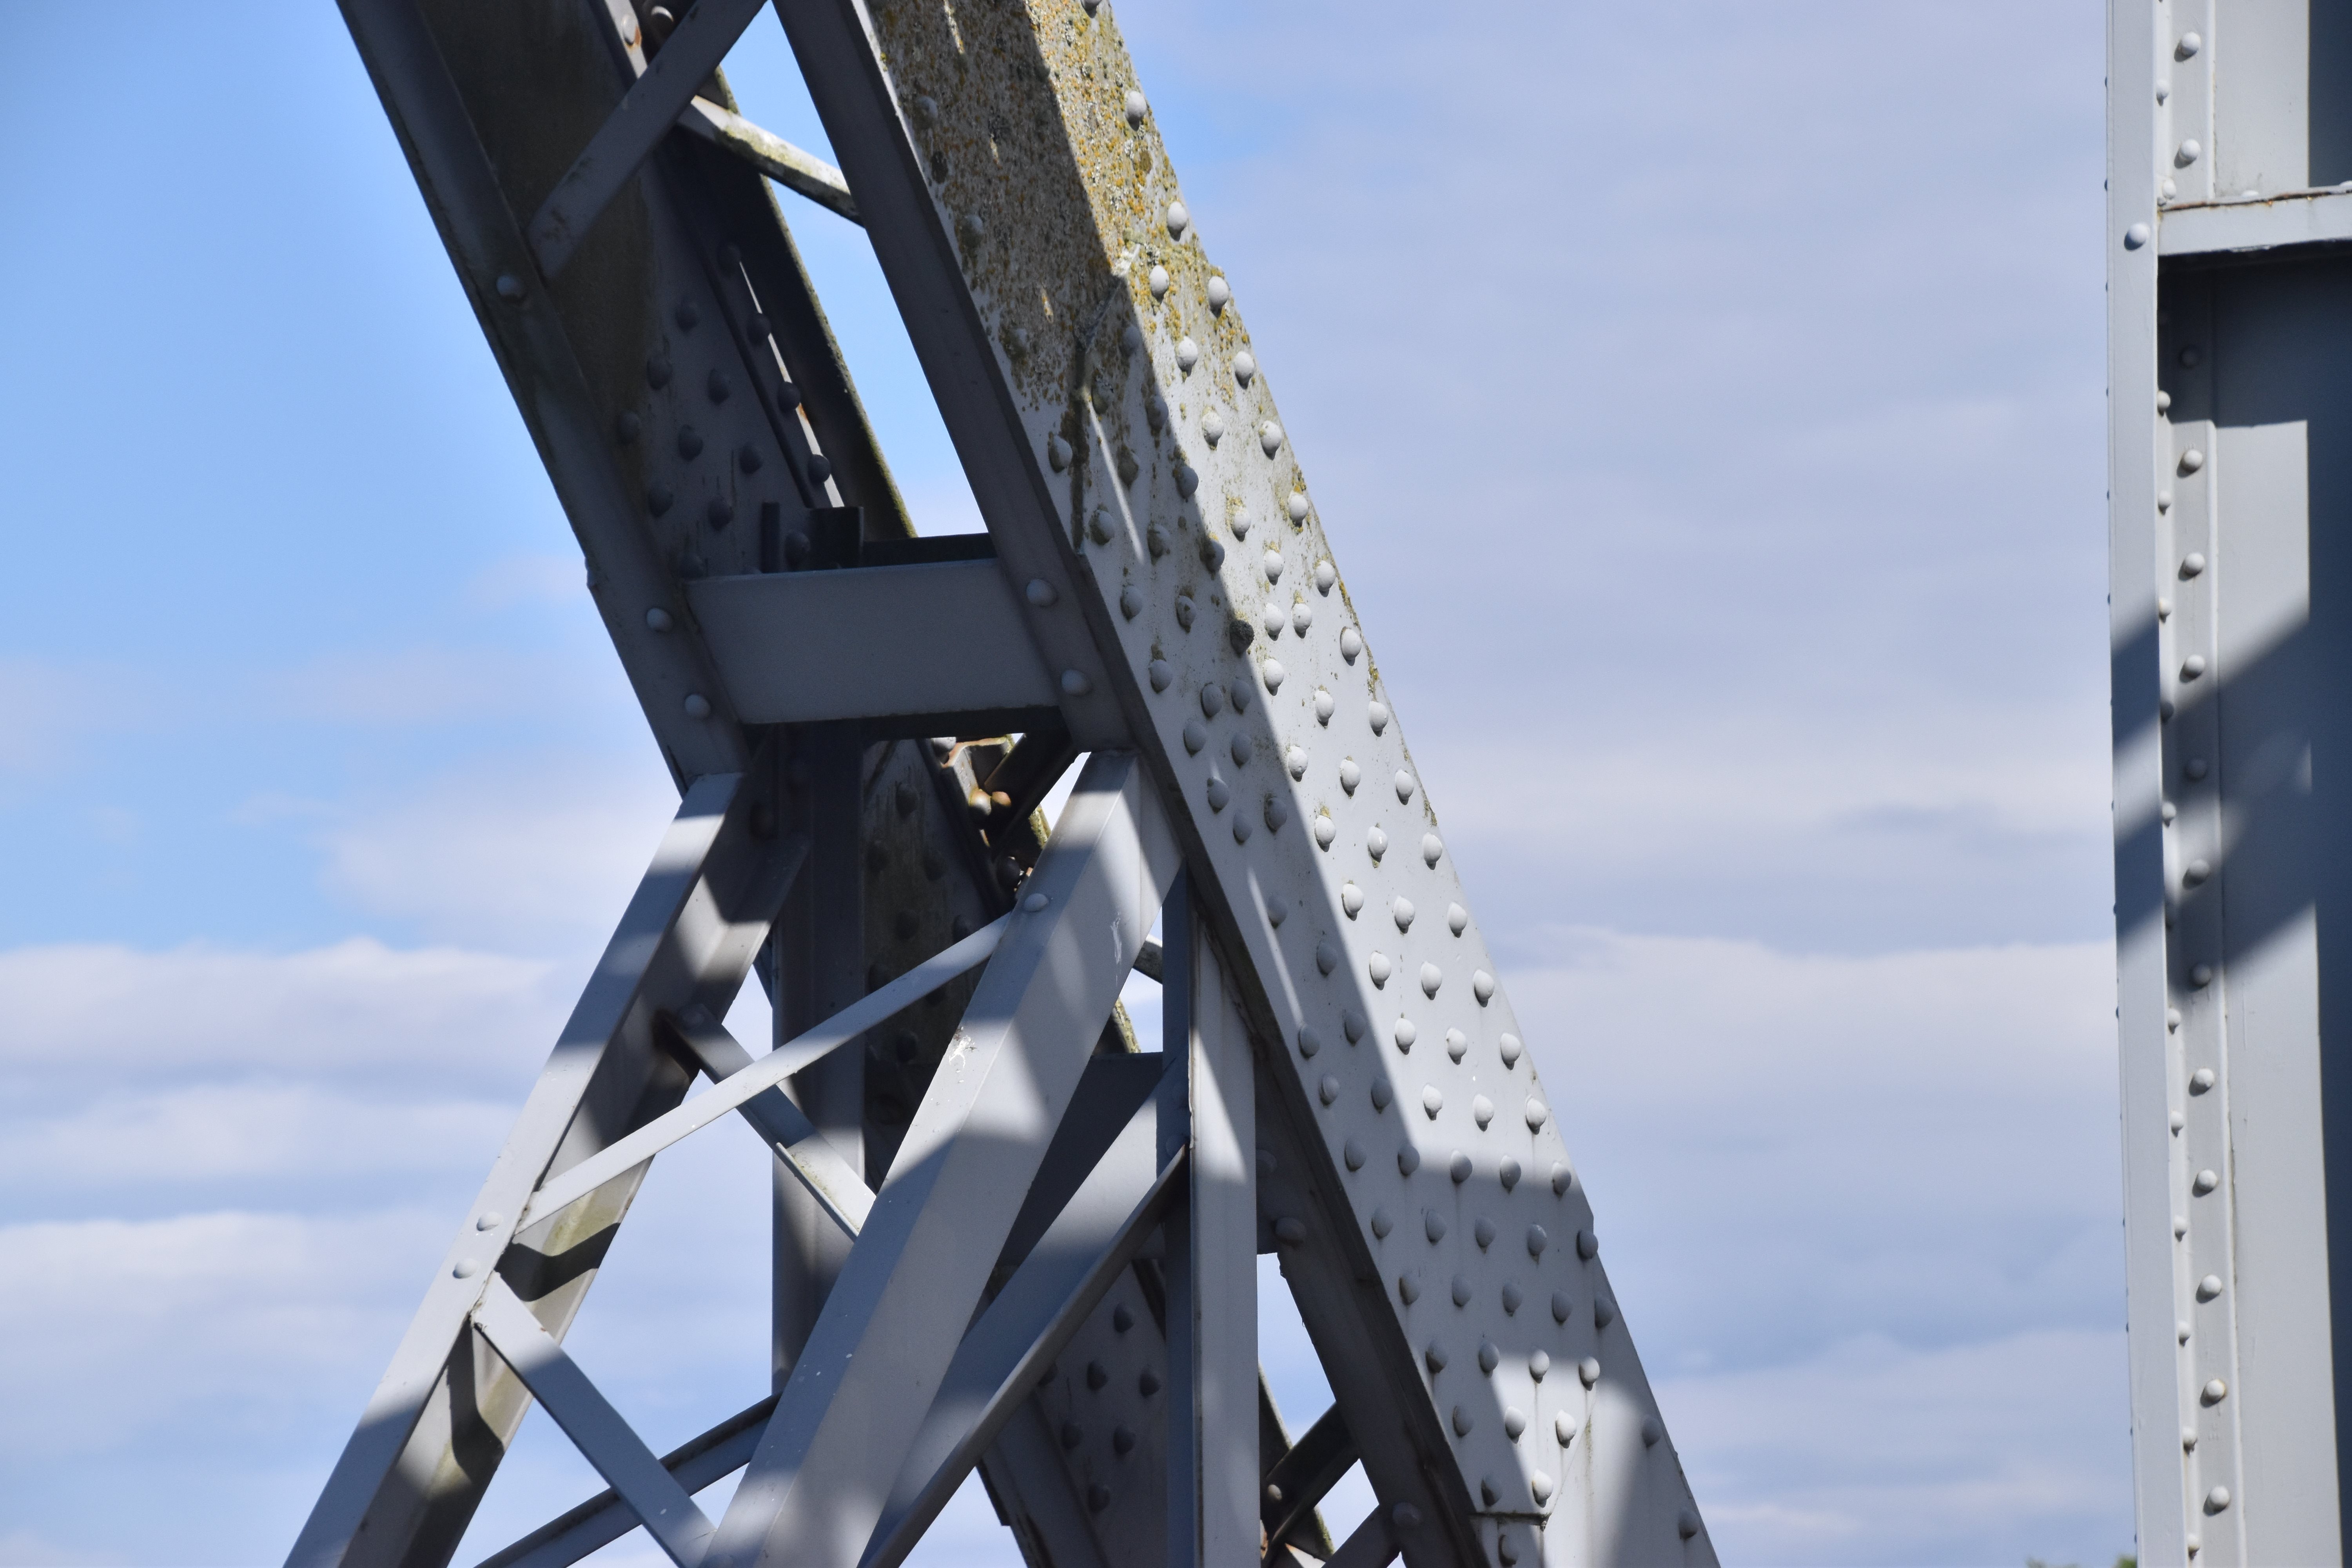
Main post as viewed from beside bridge.
![]()

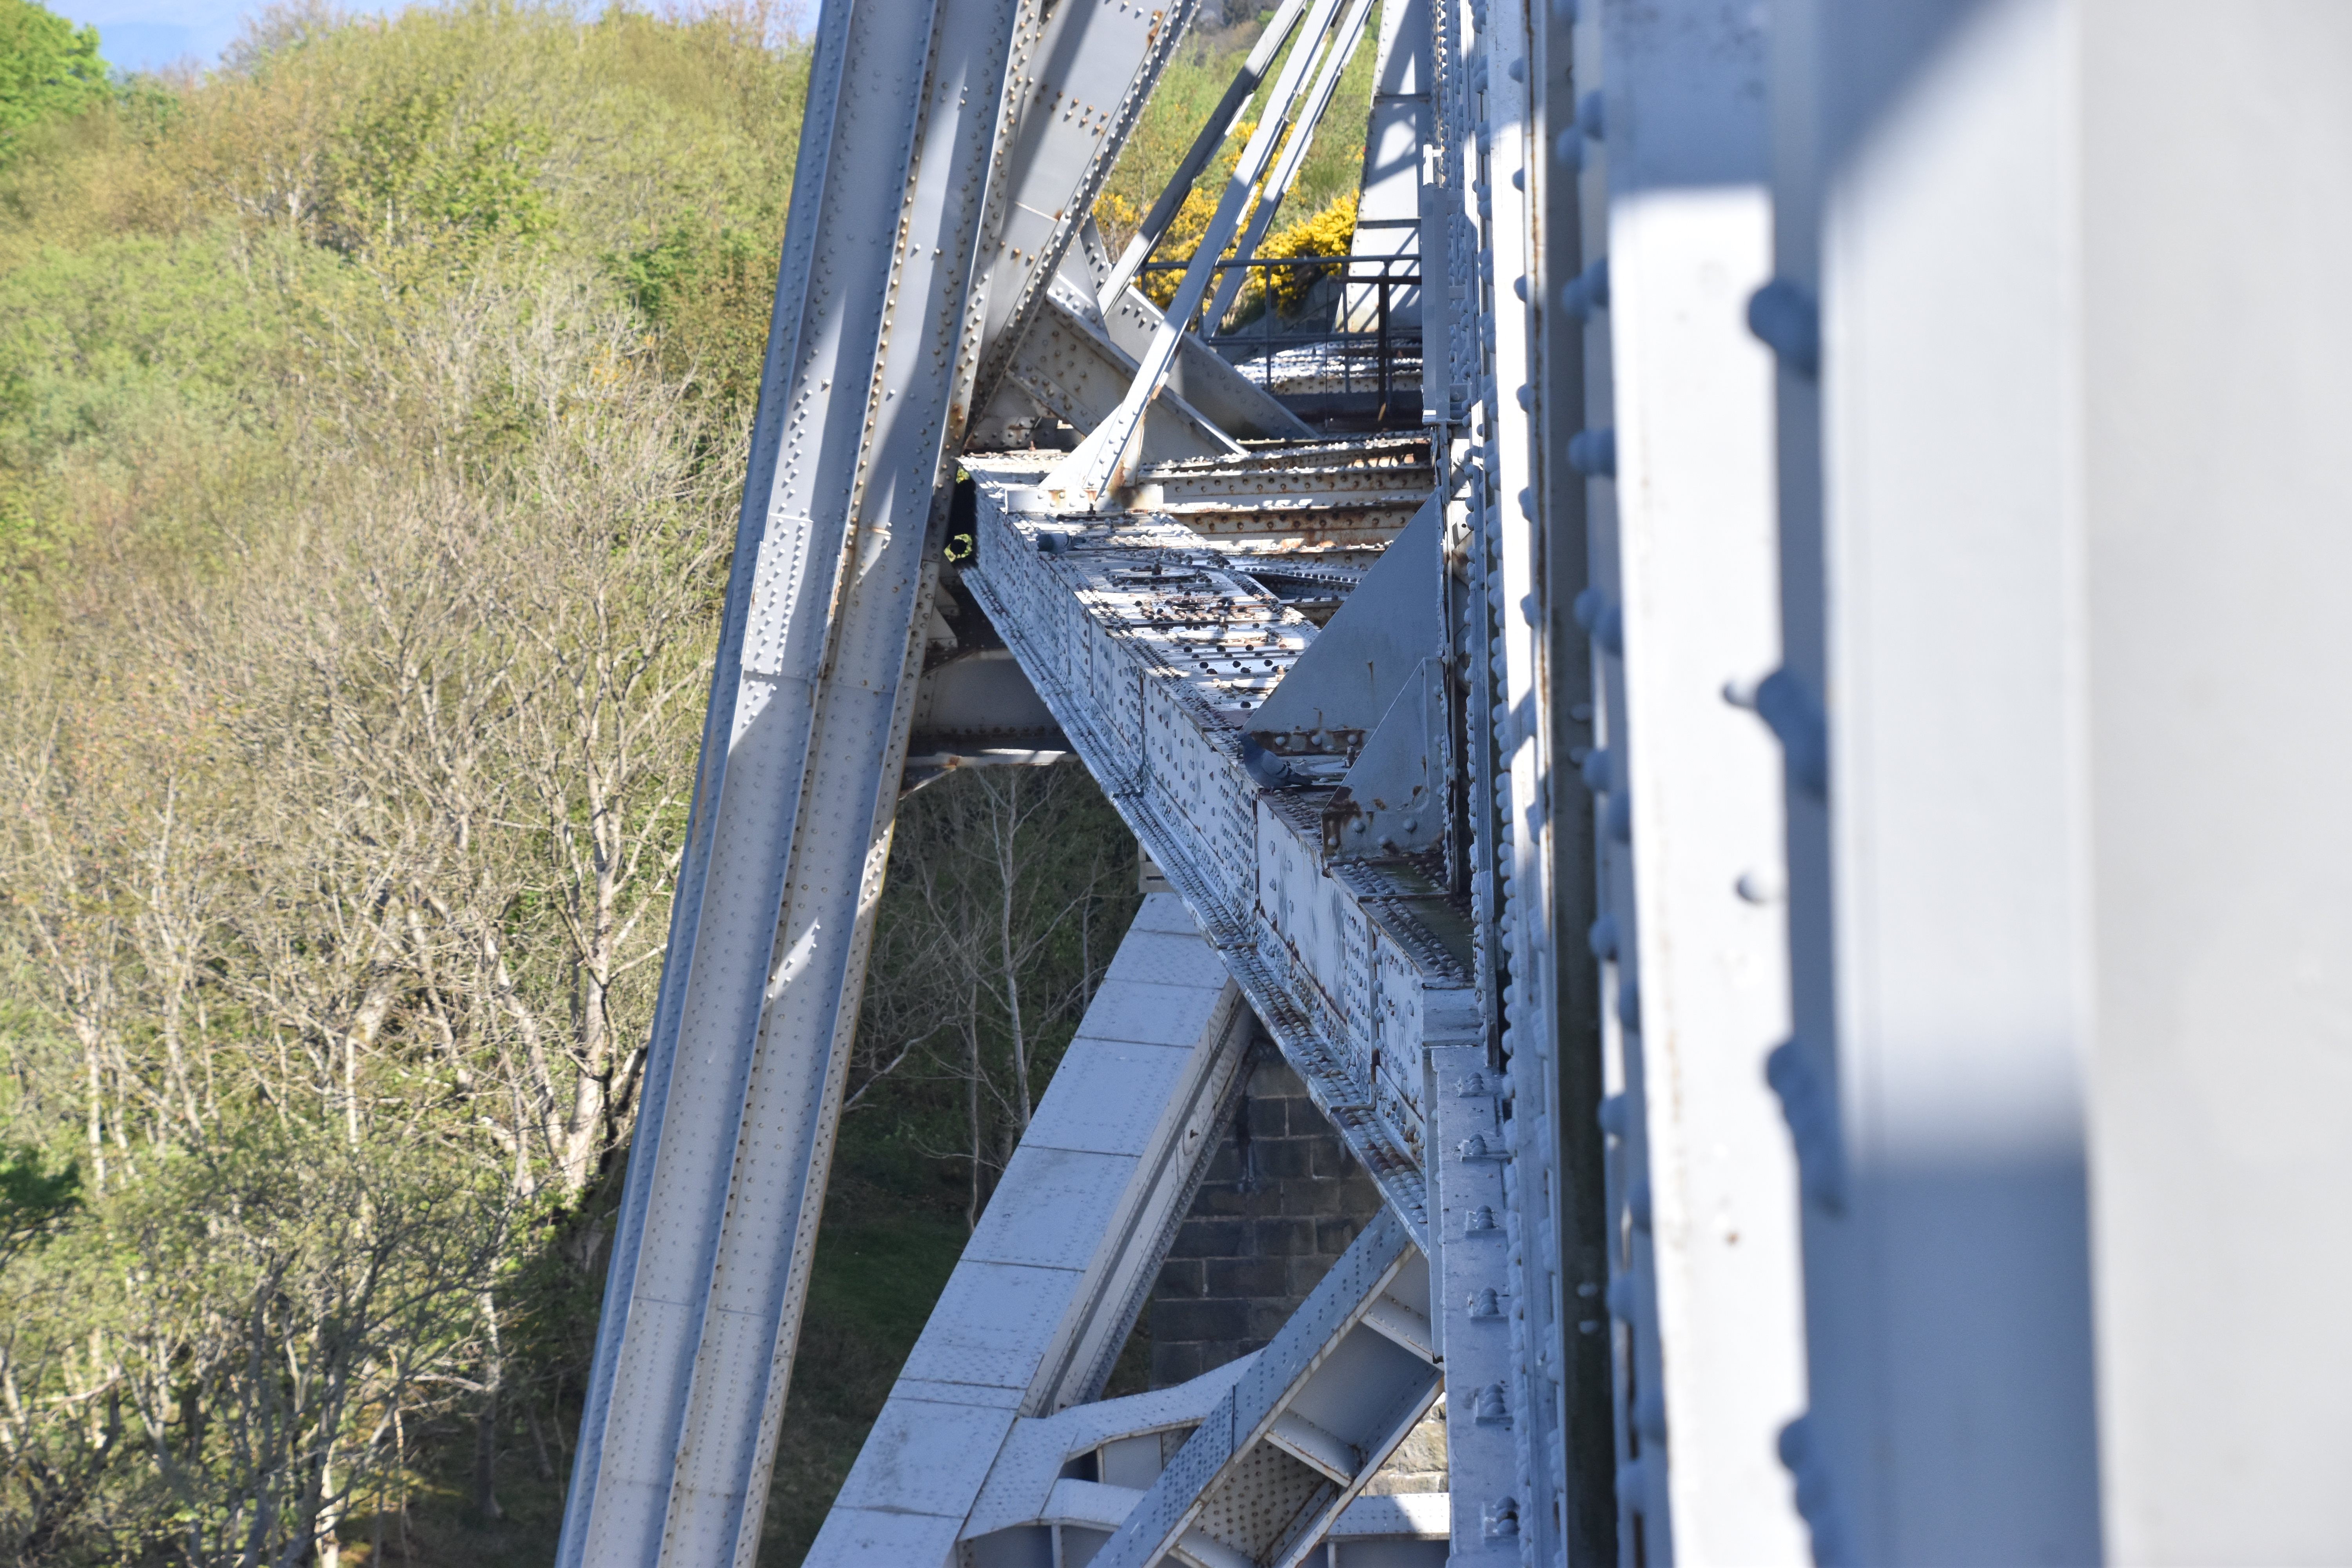
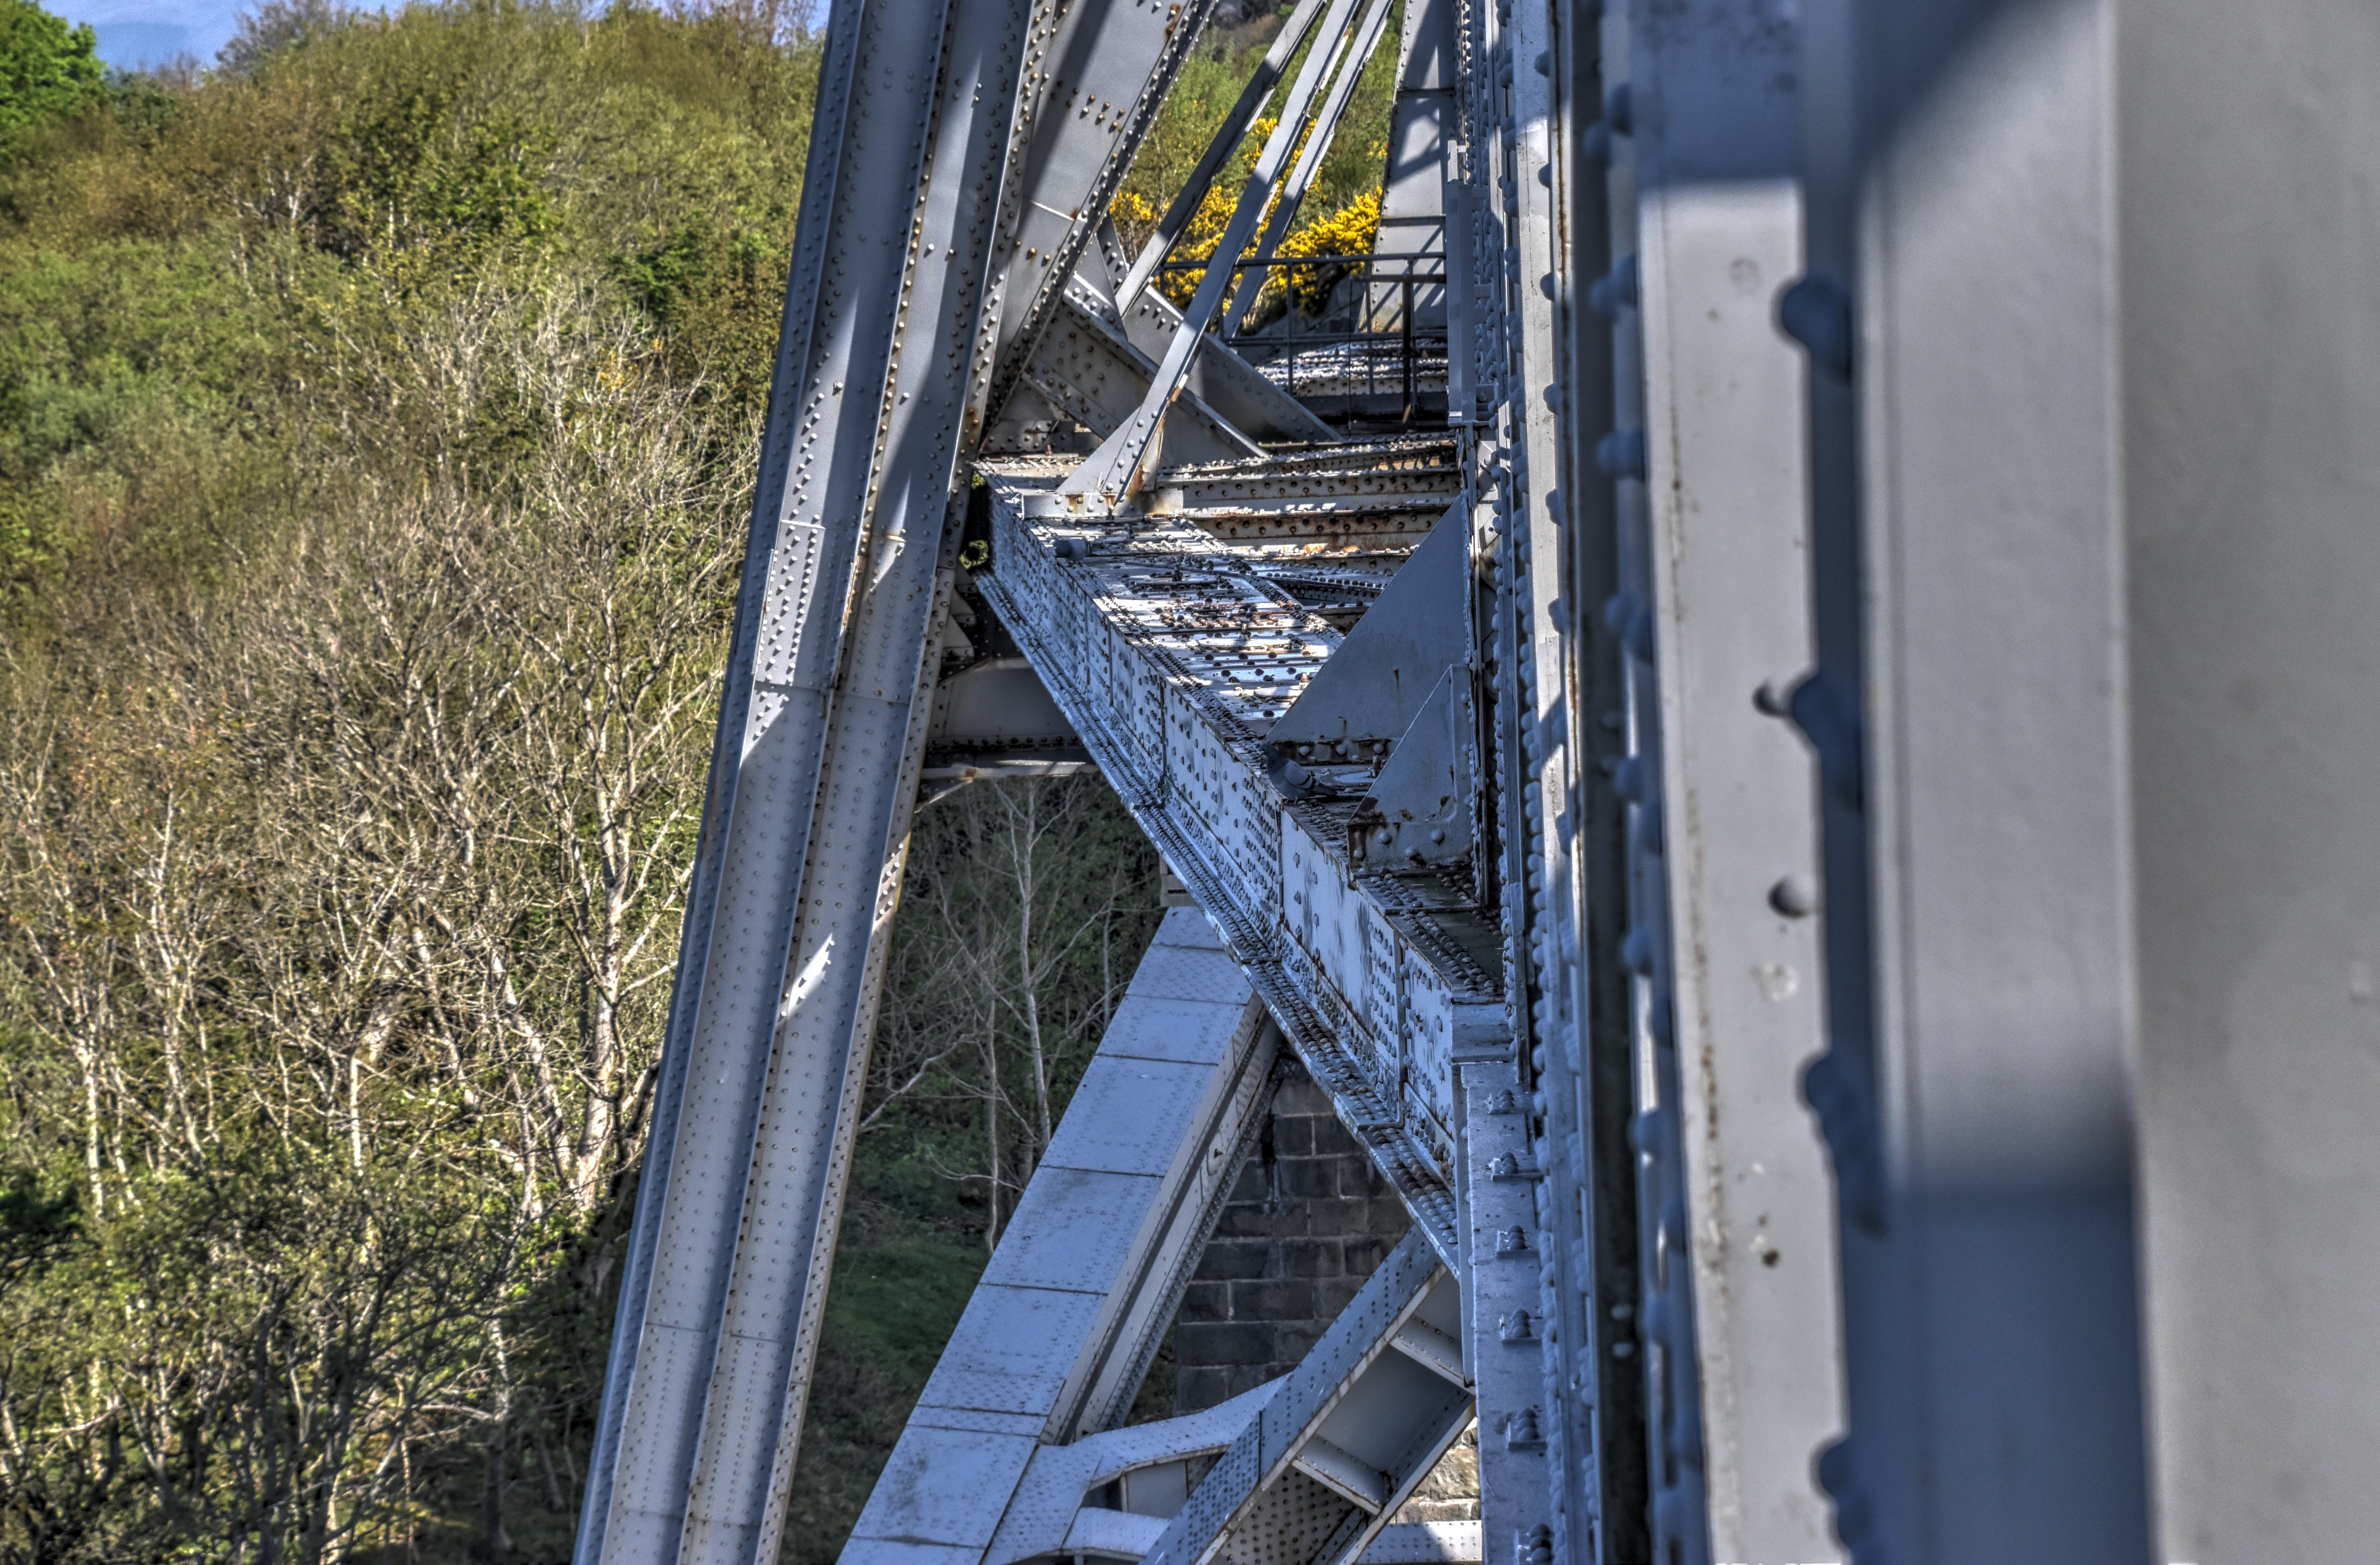


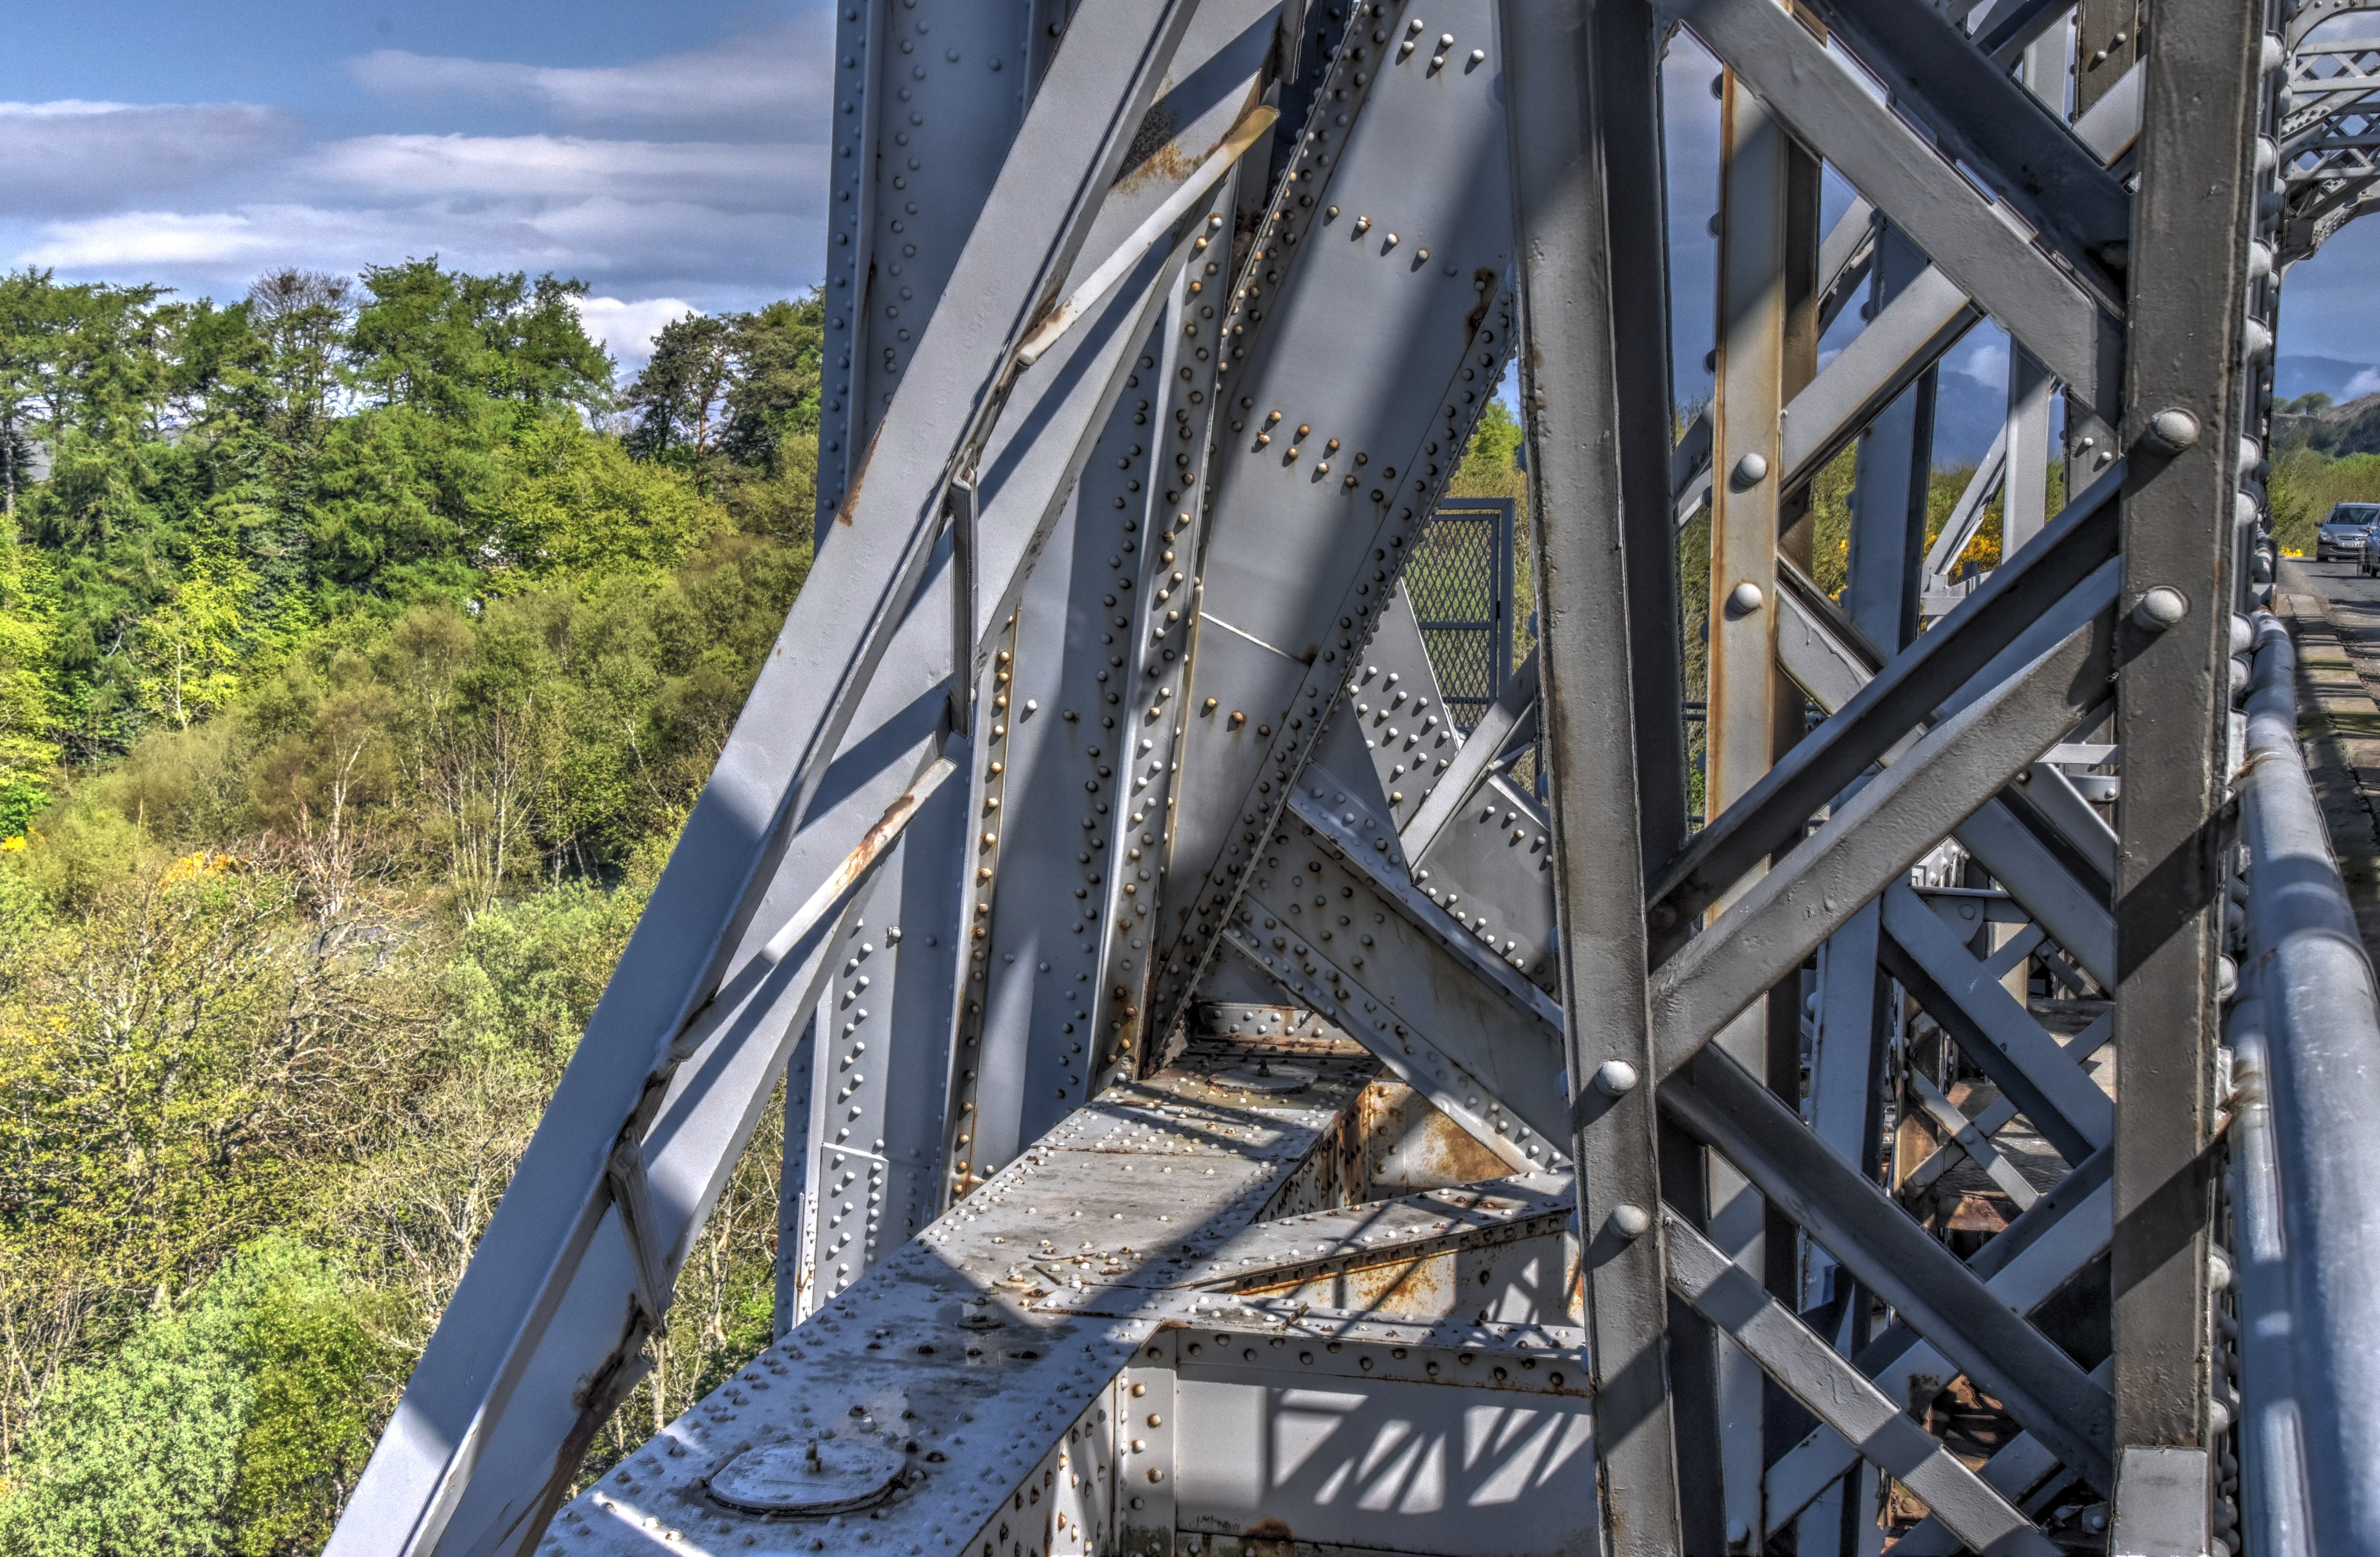
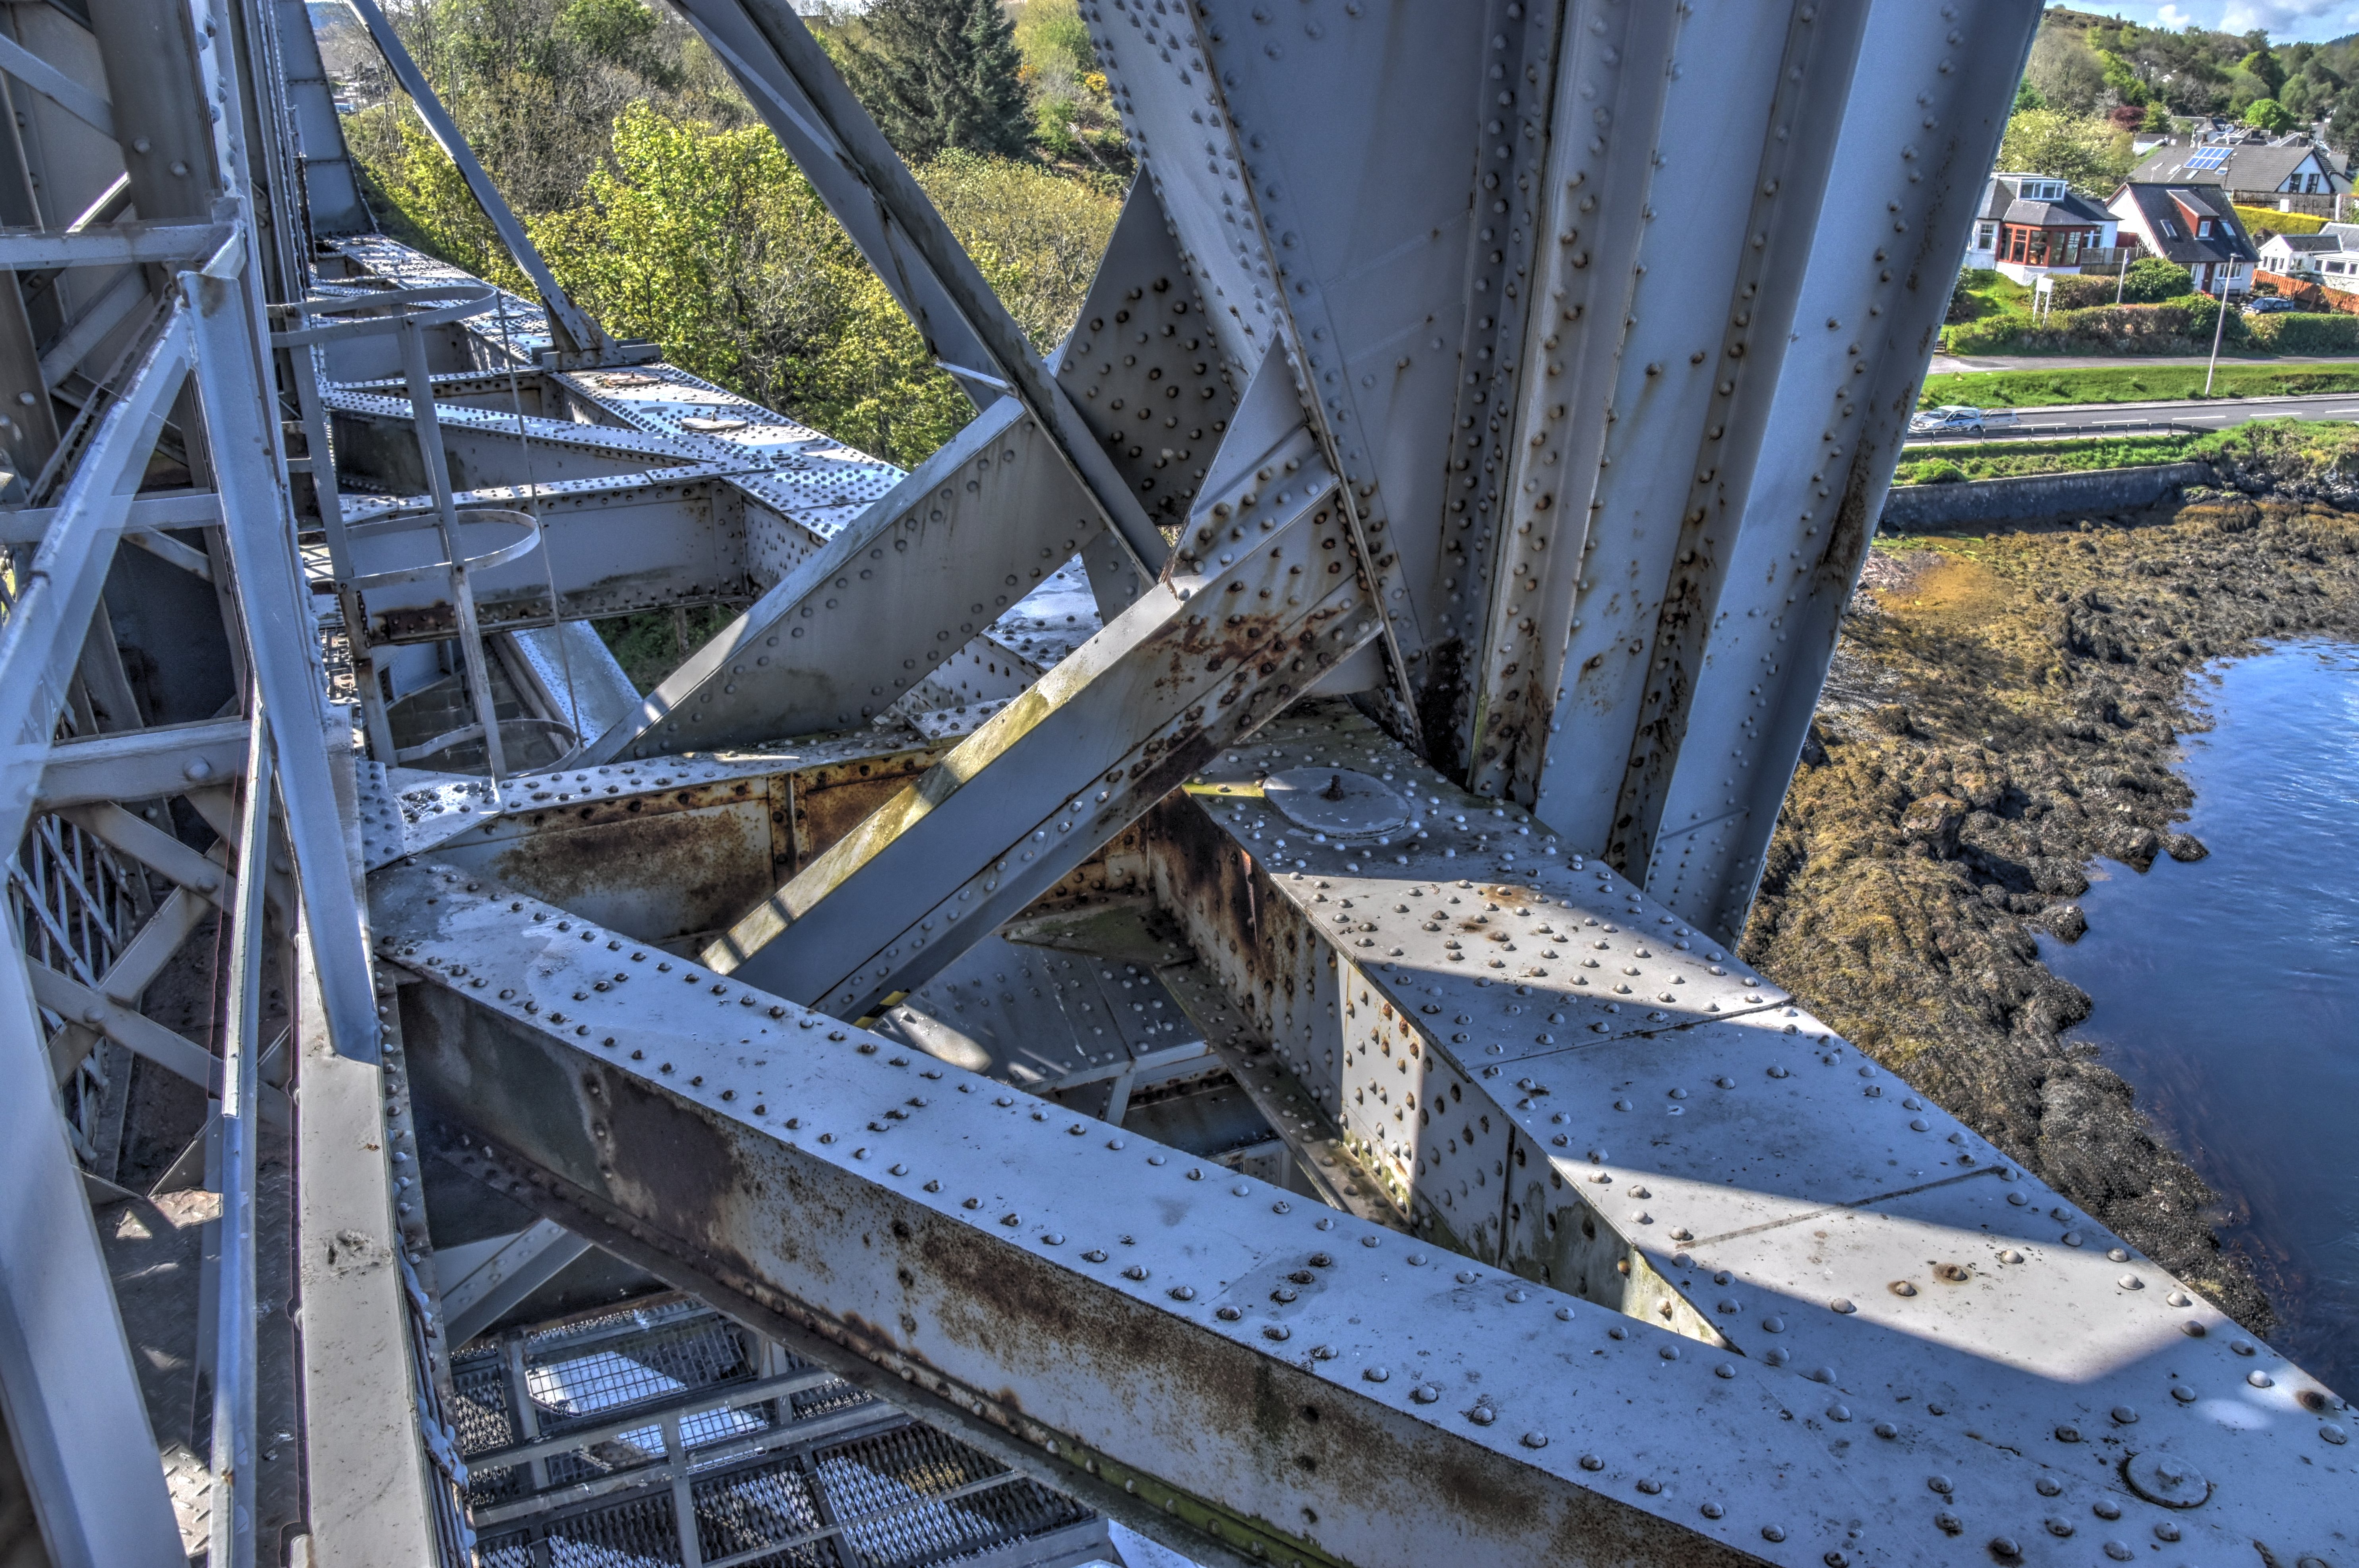
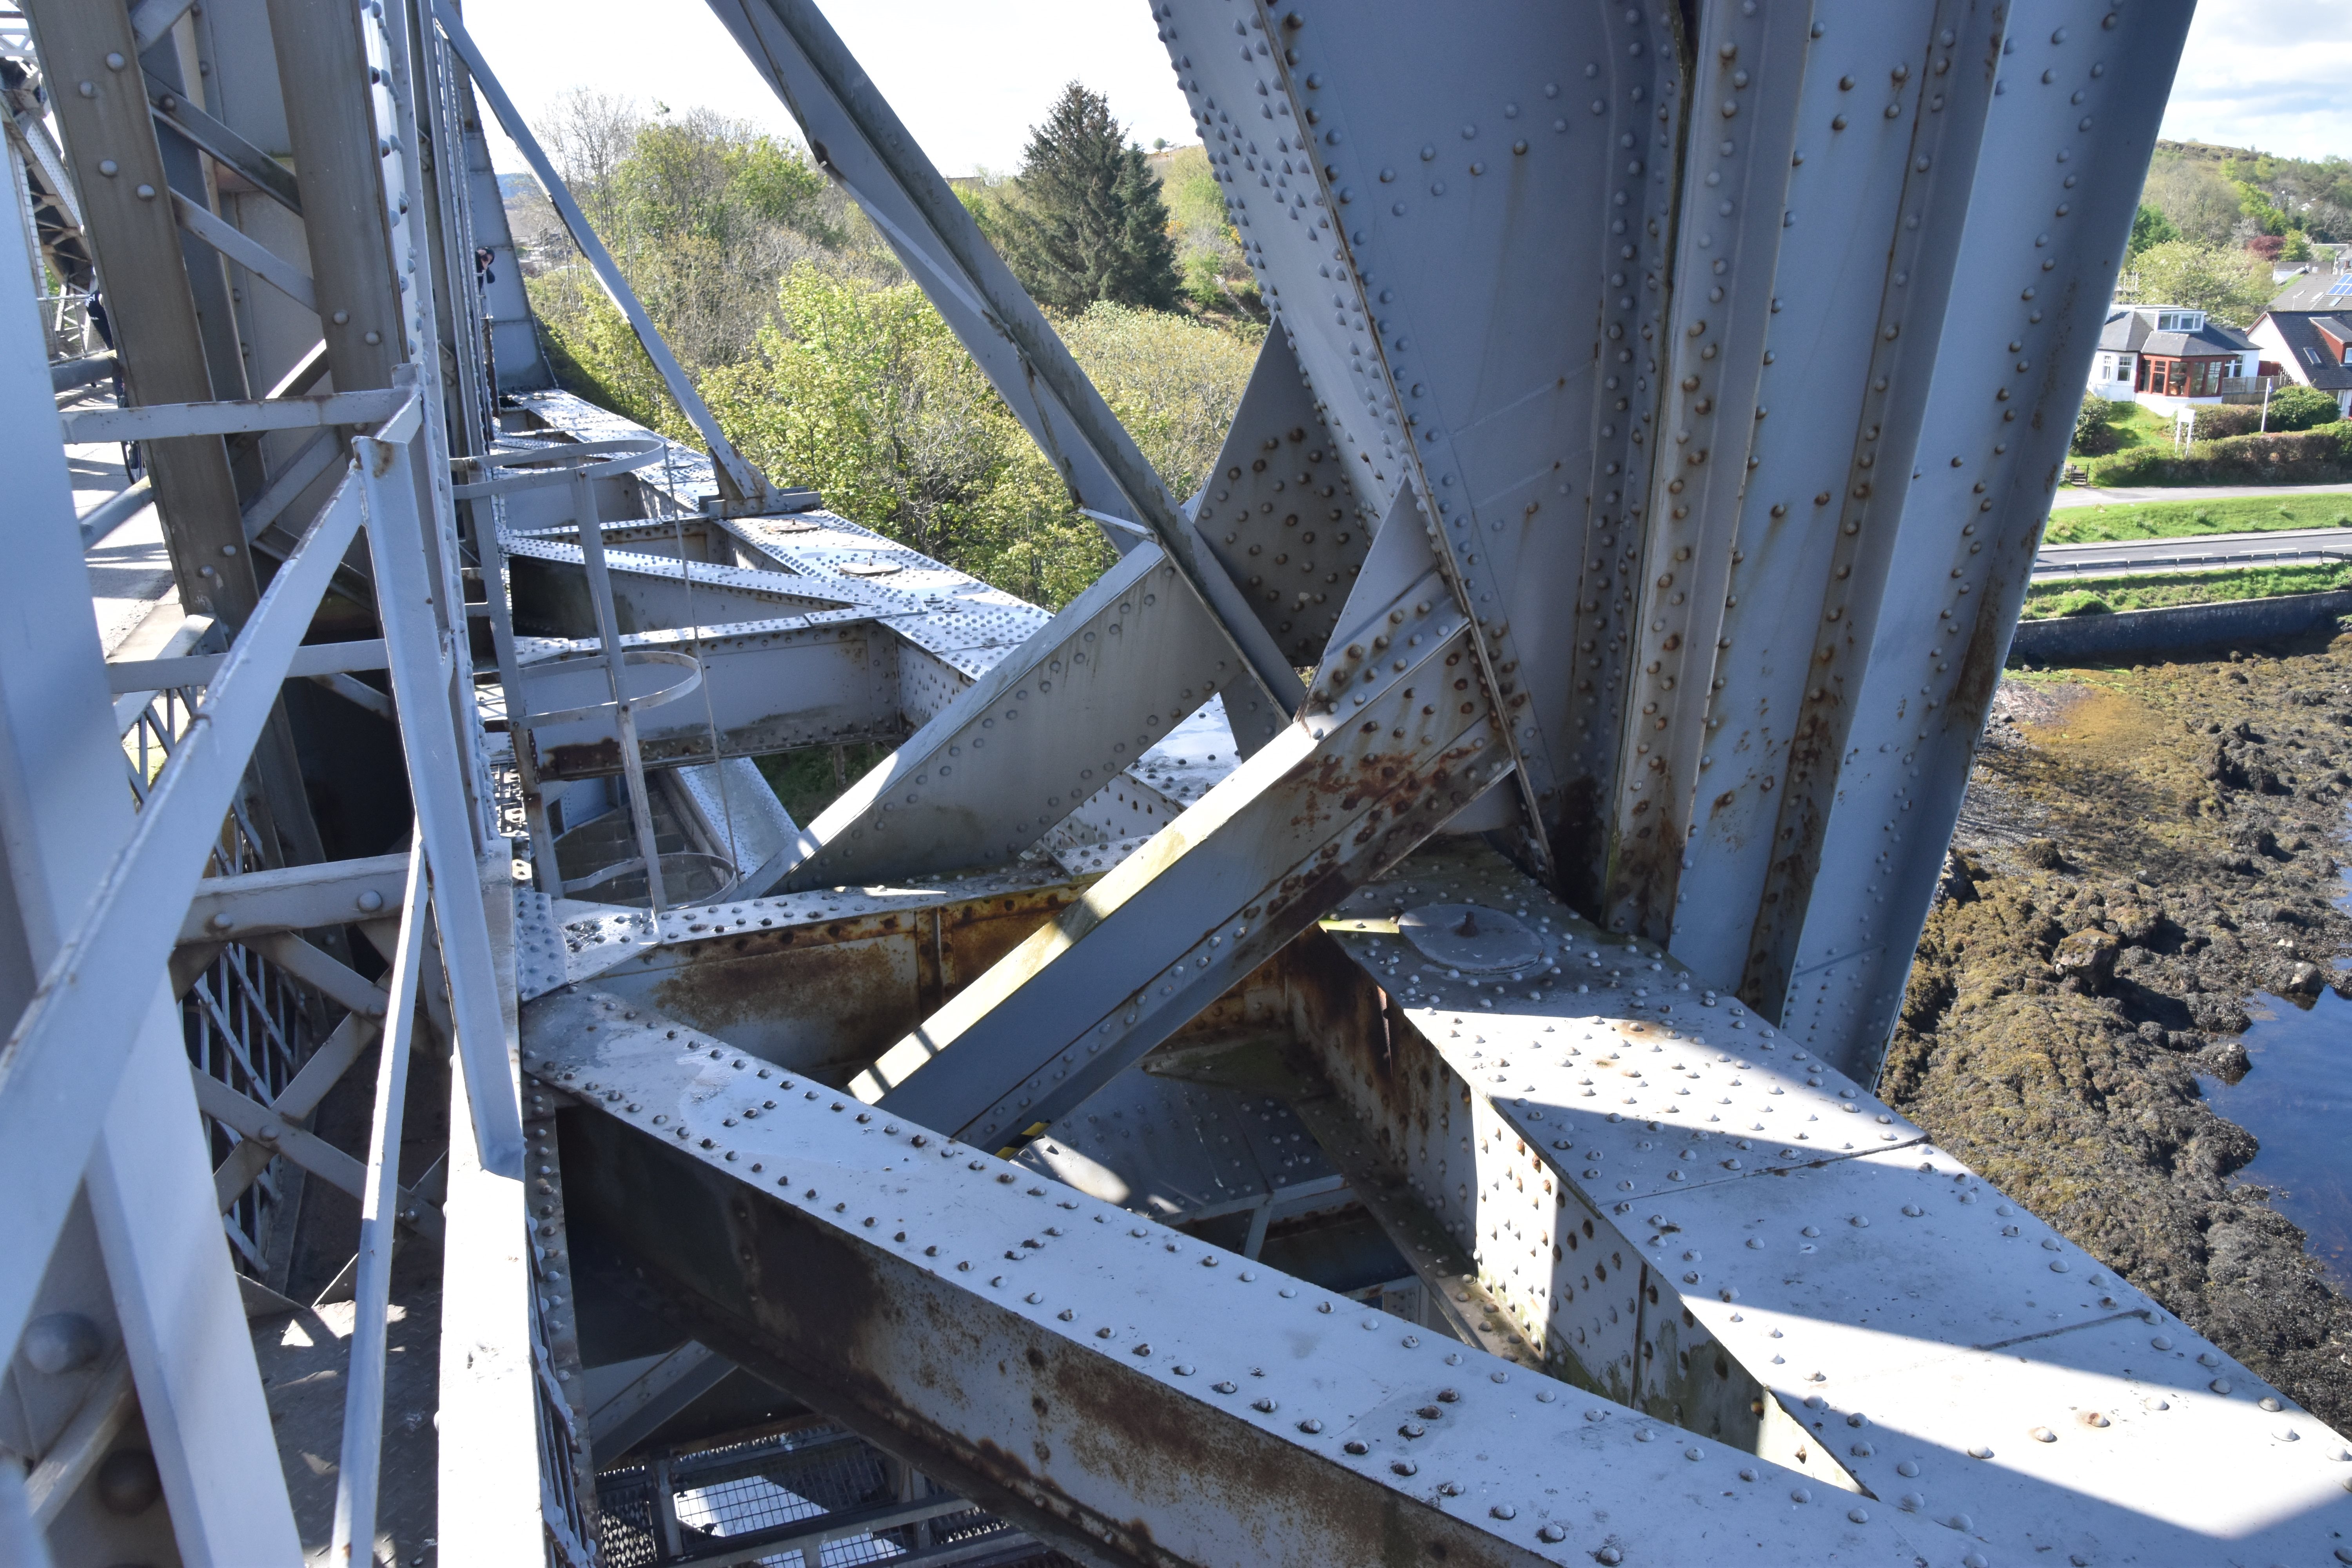
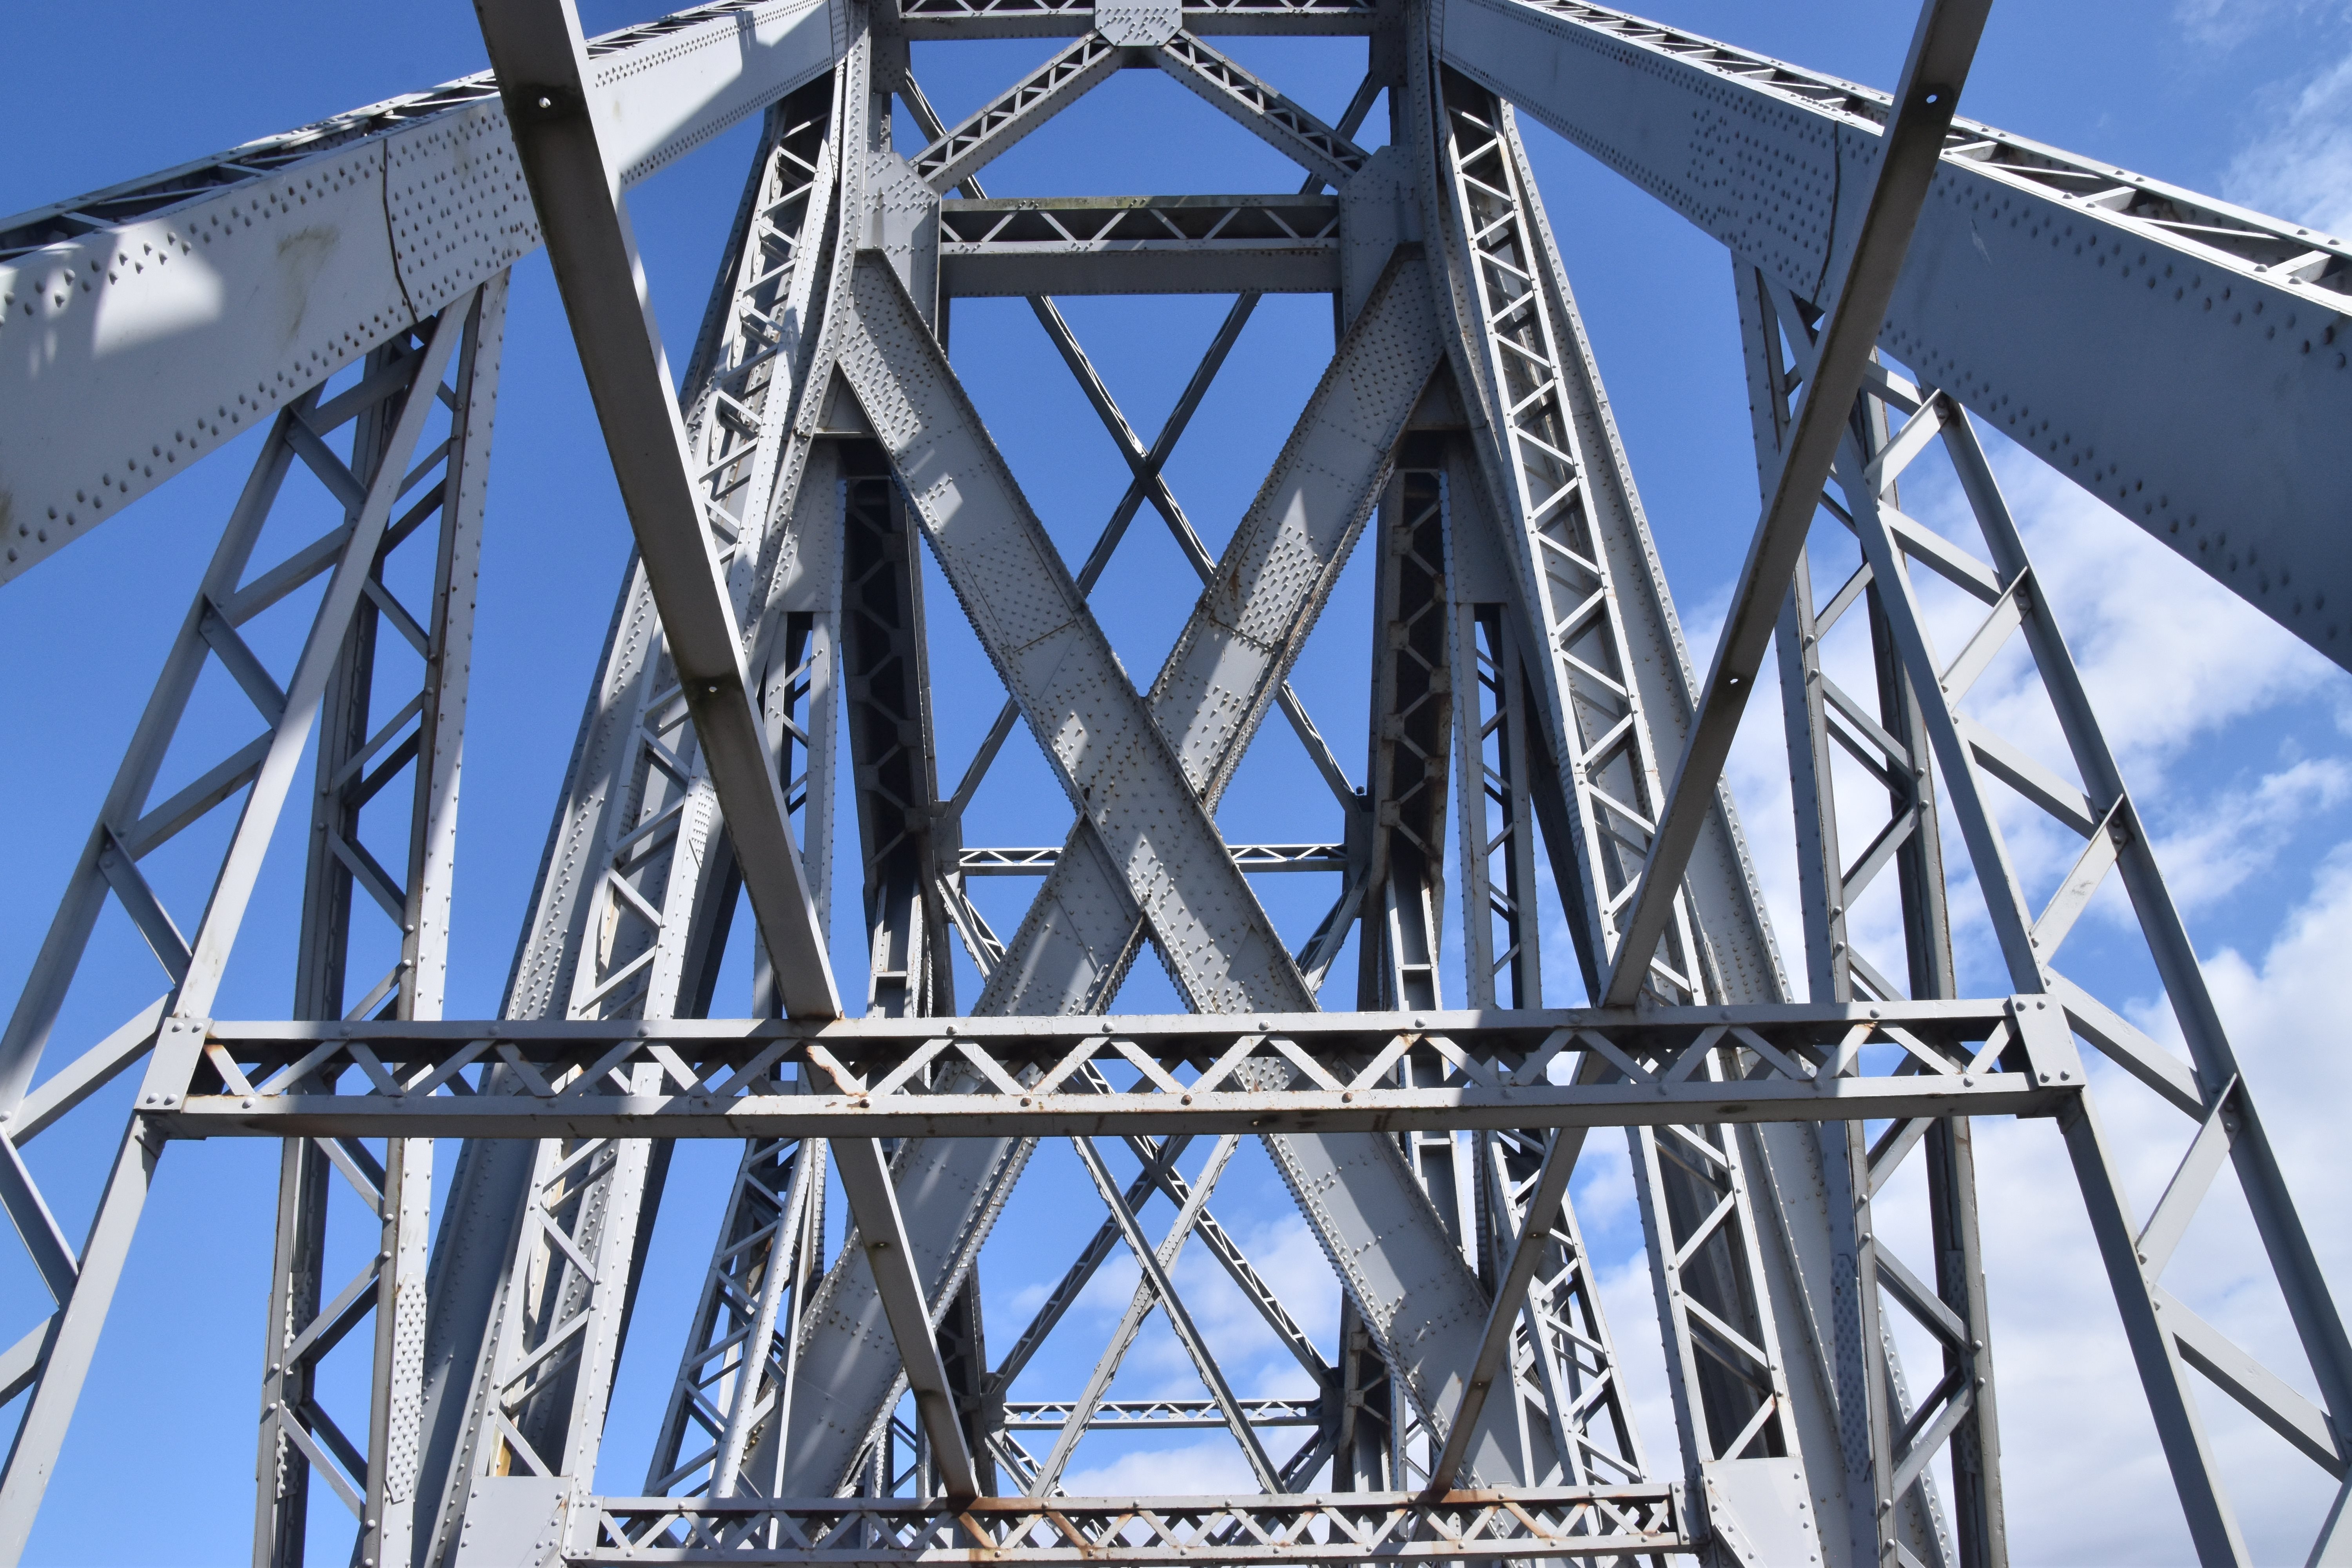
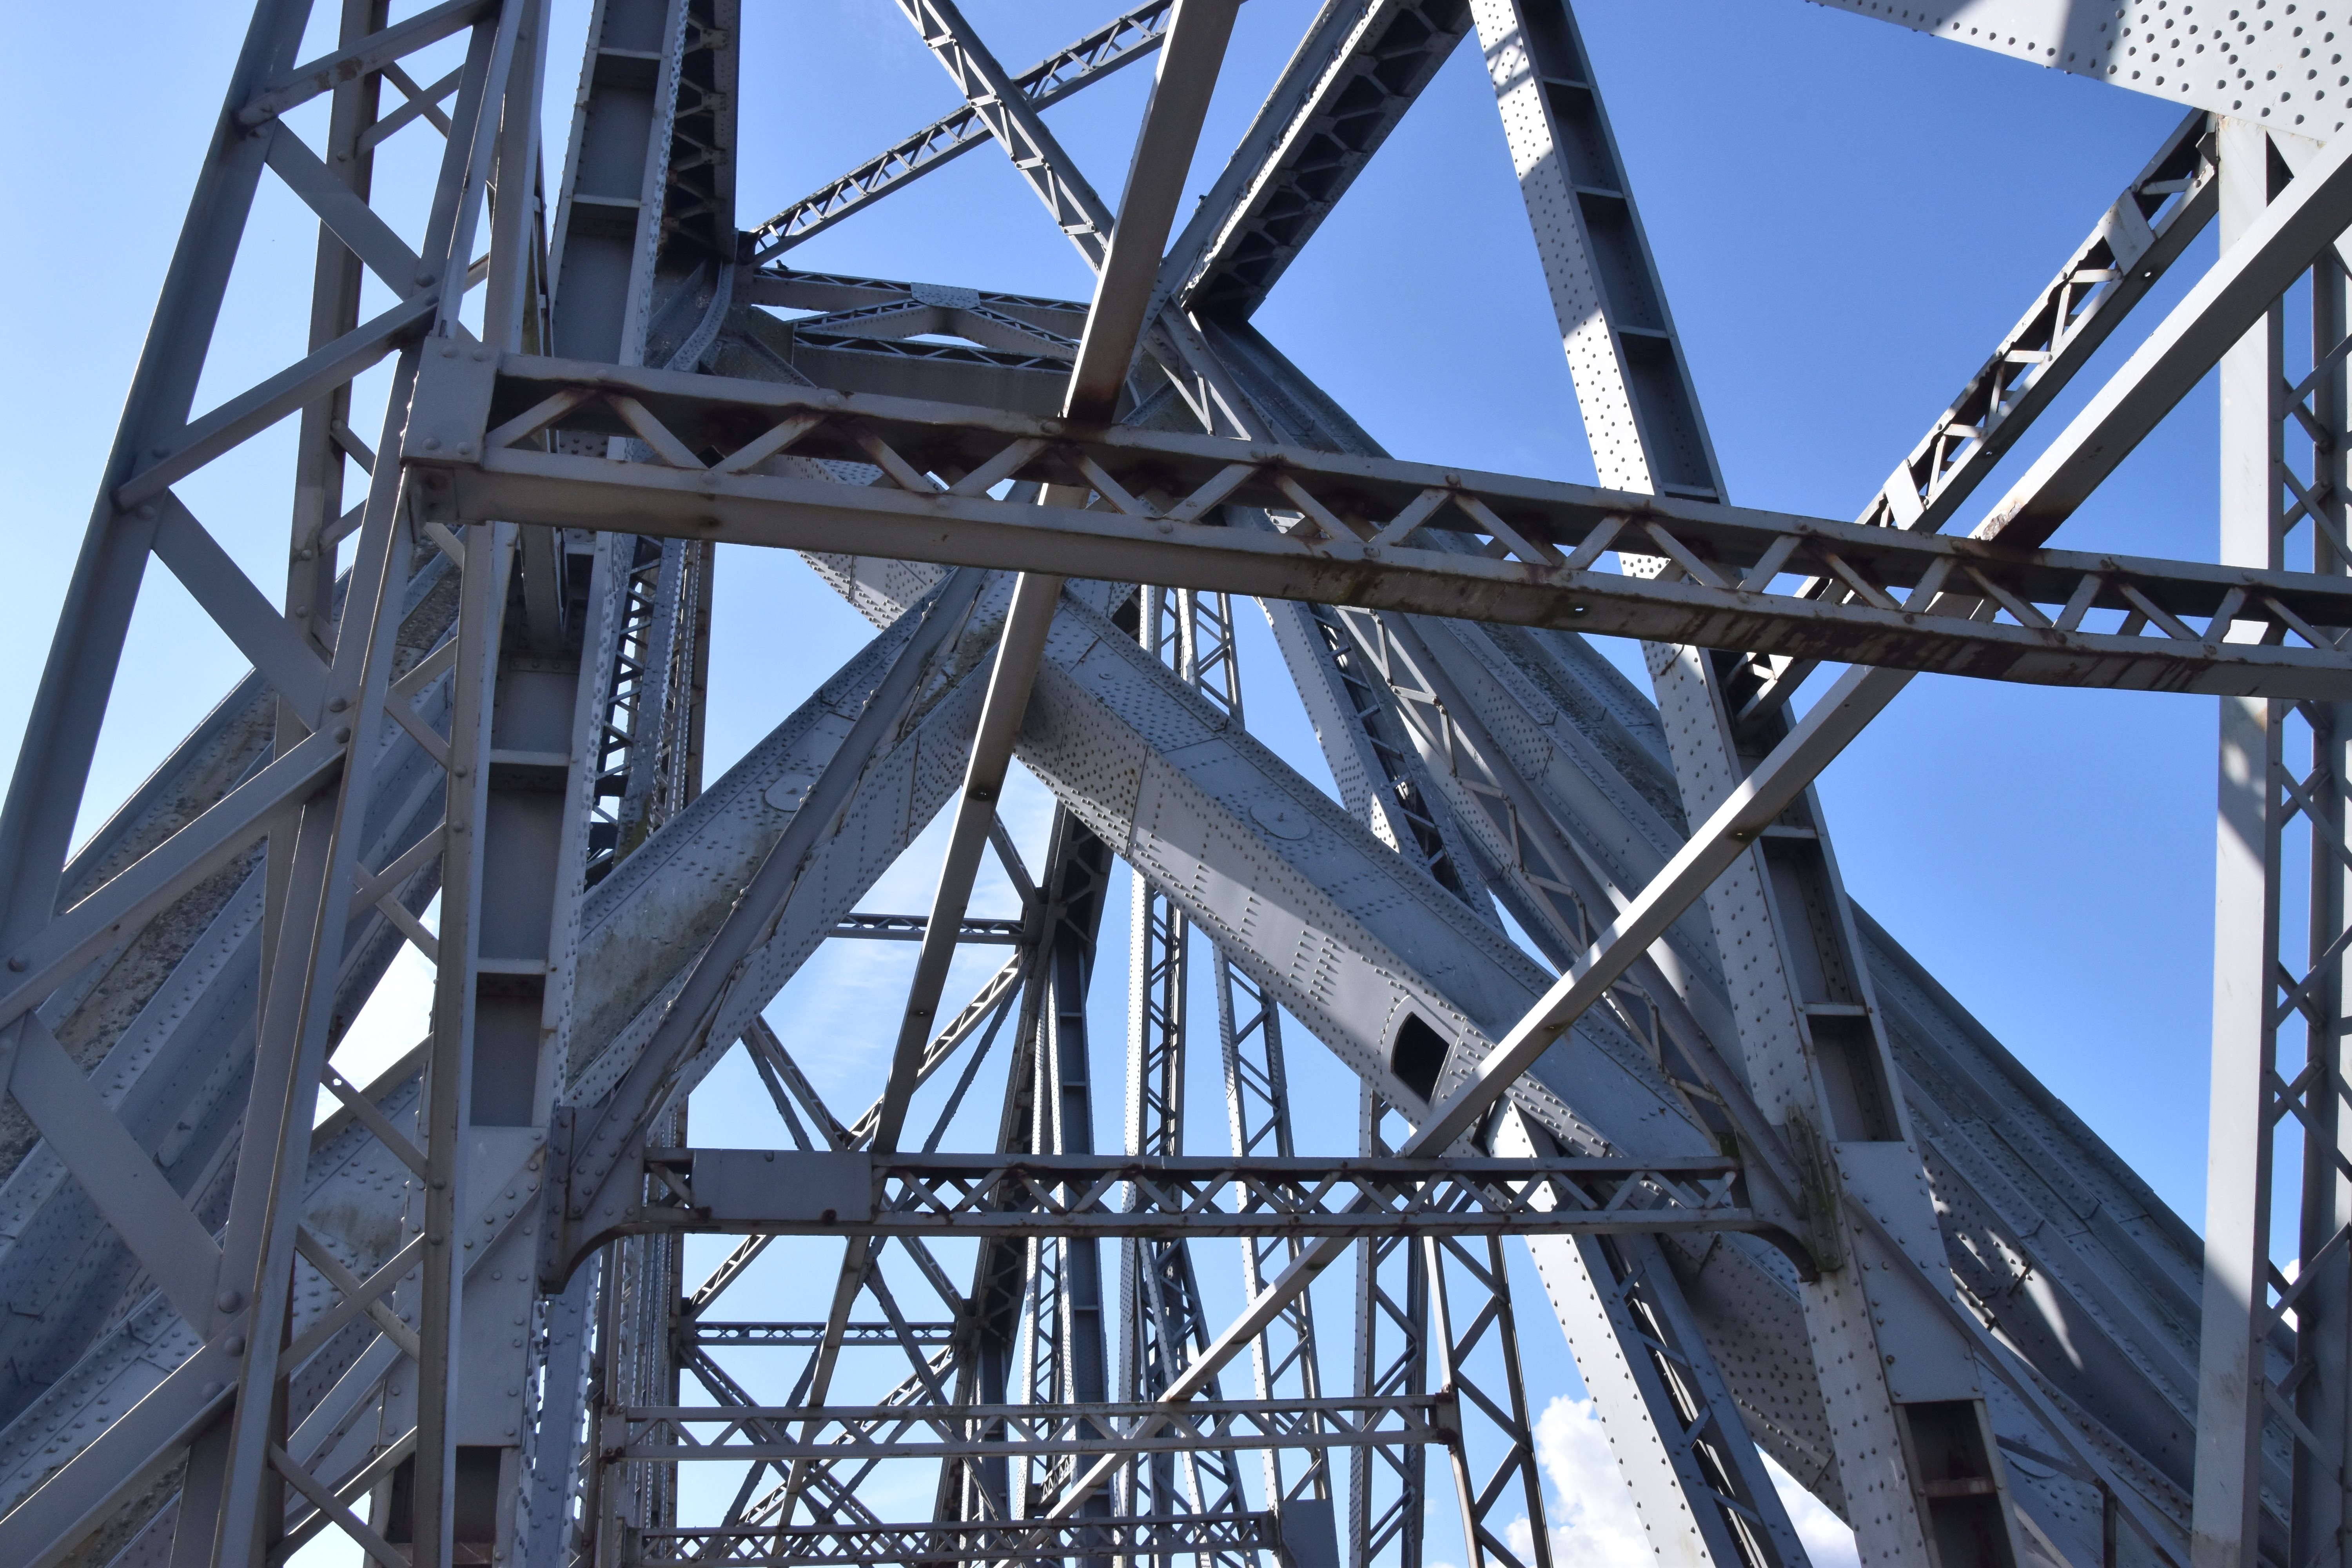
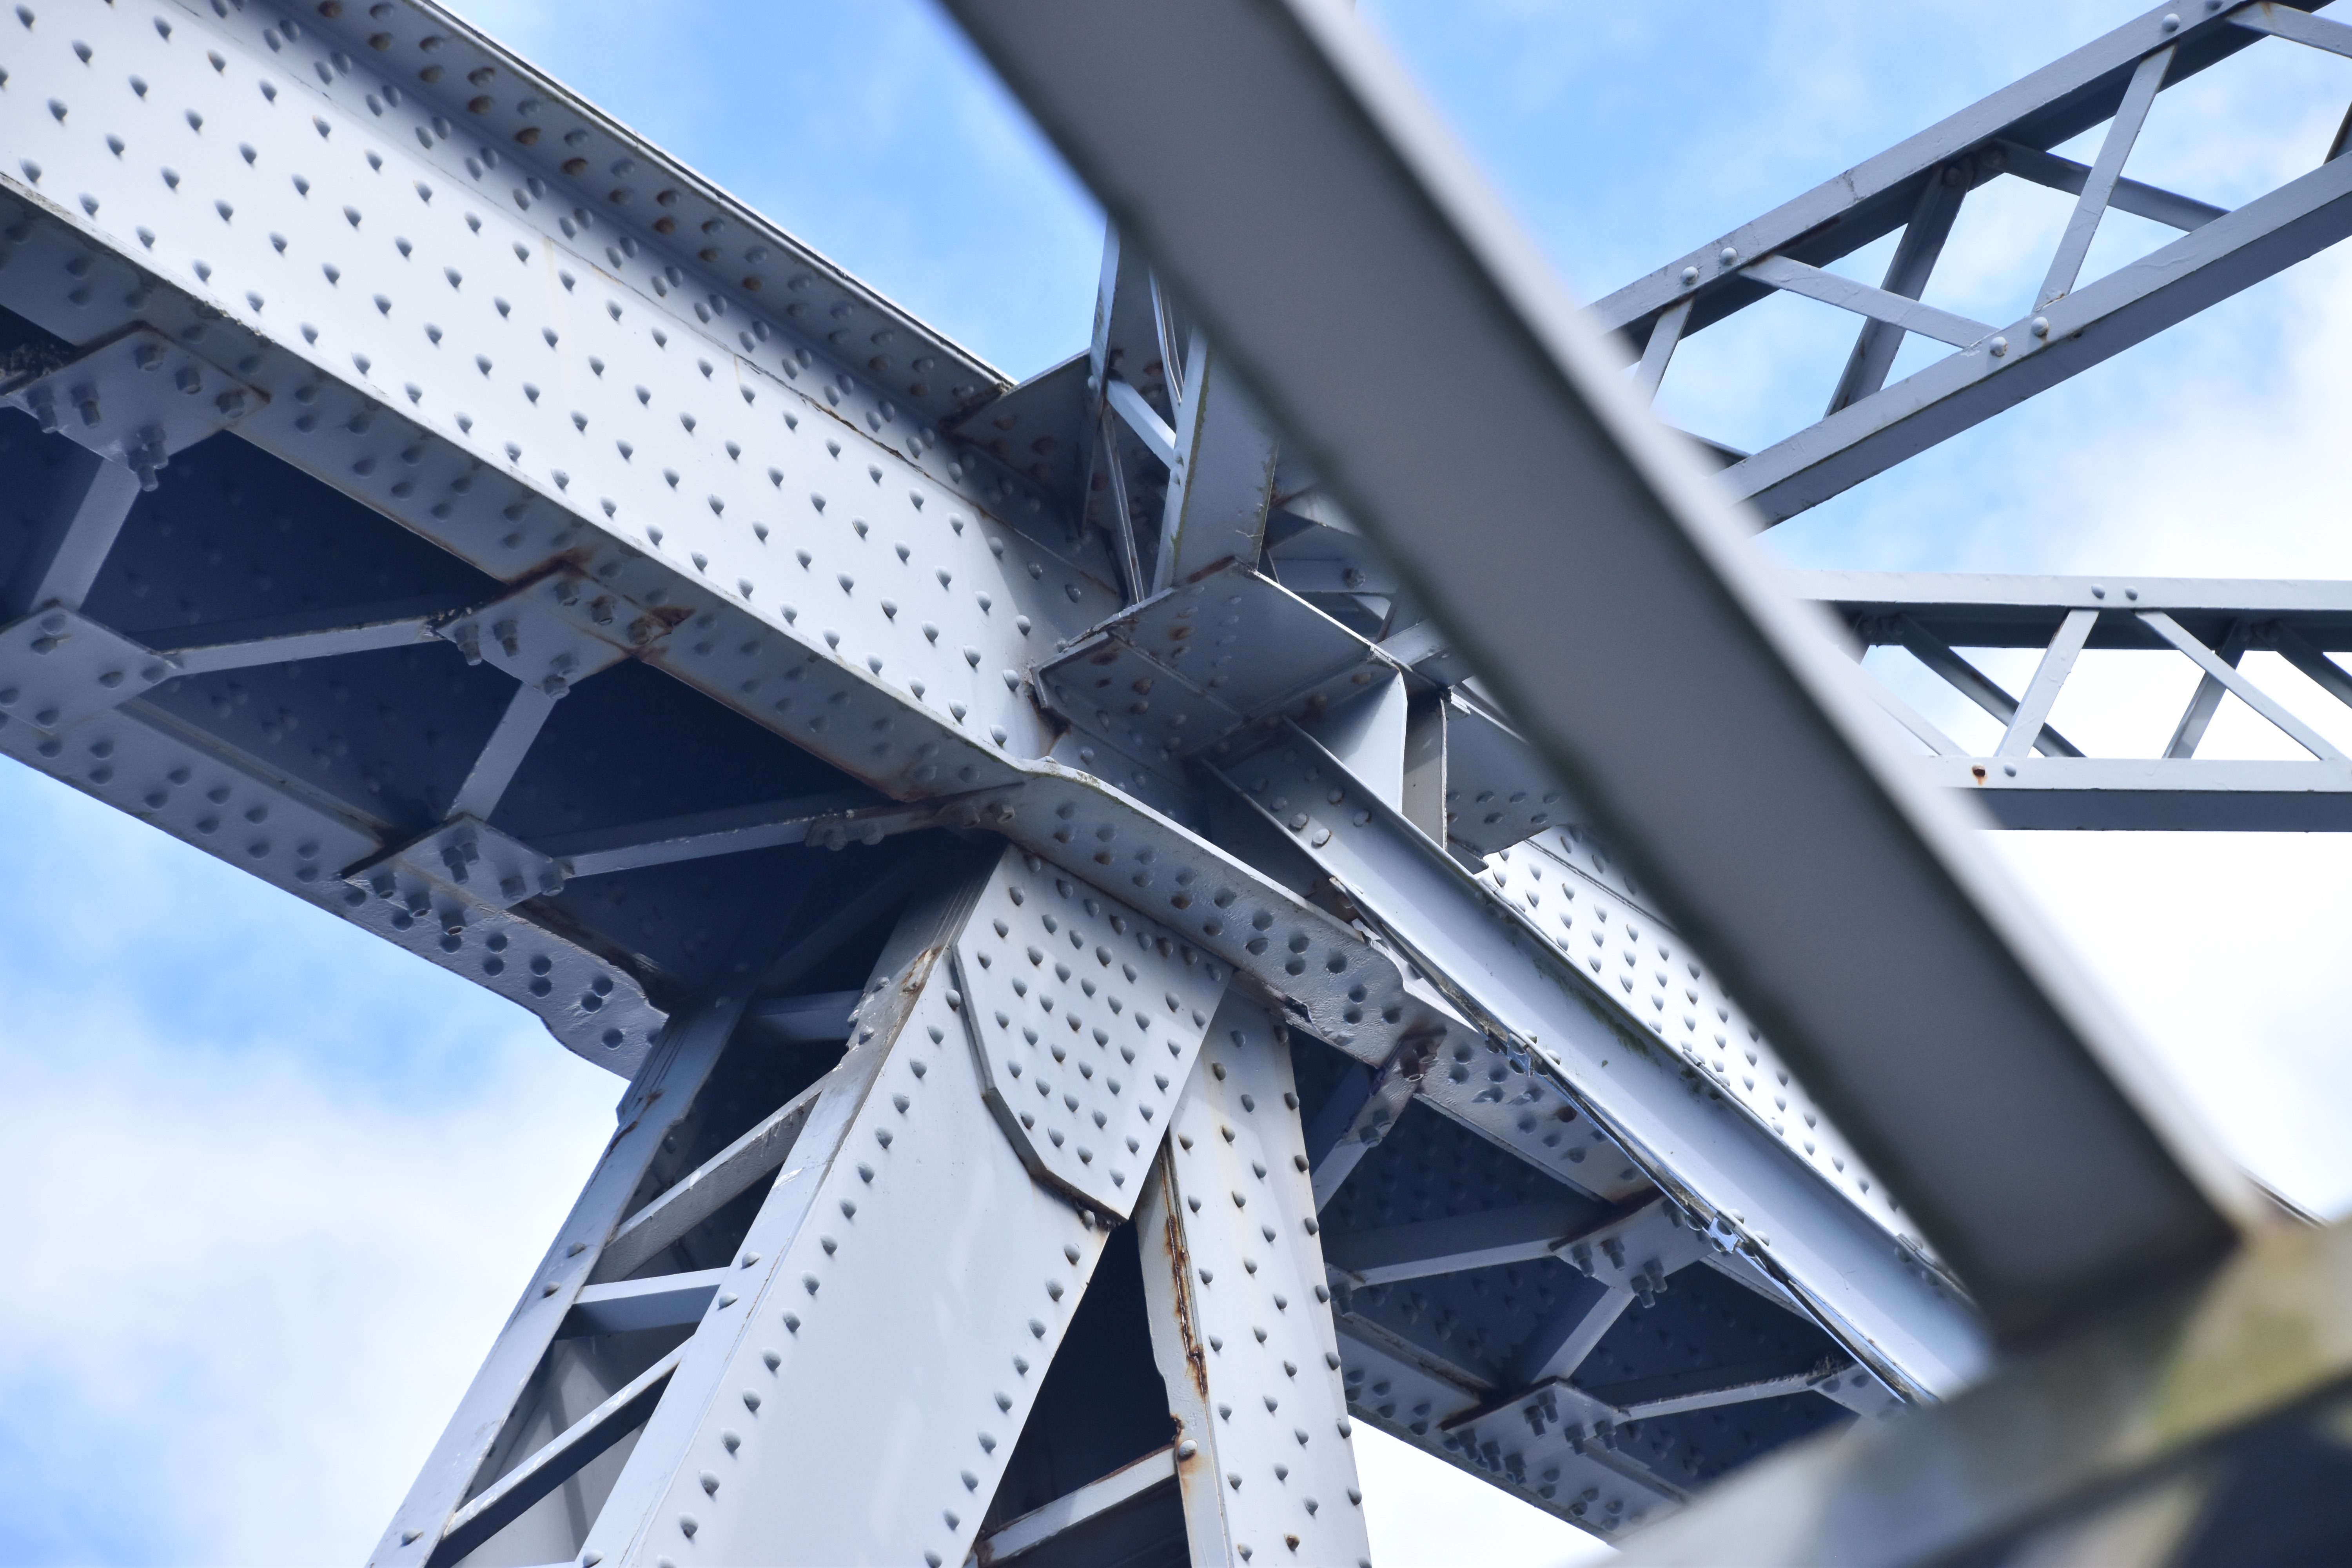
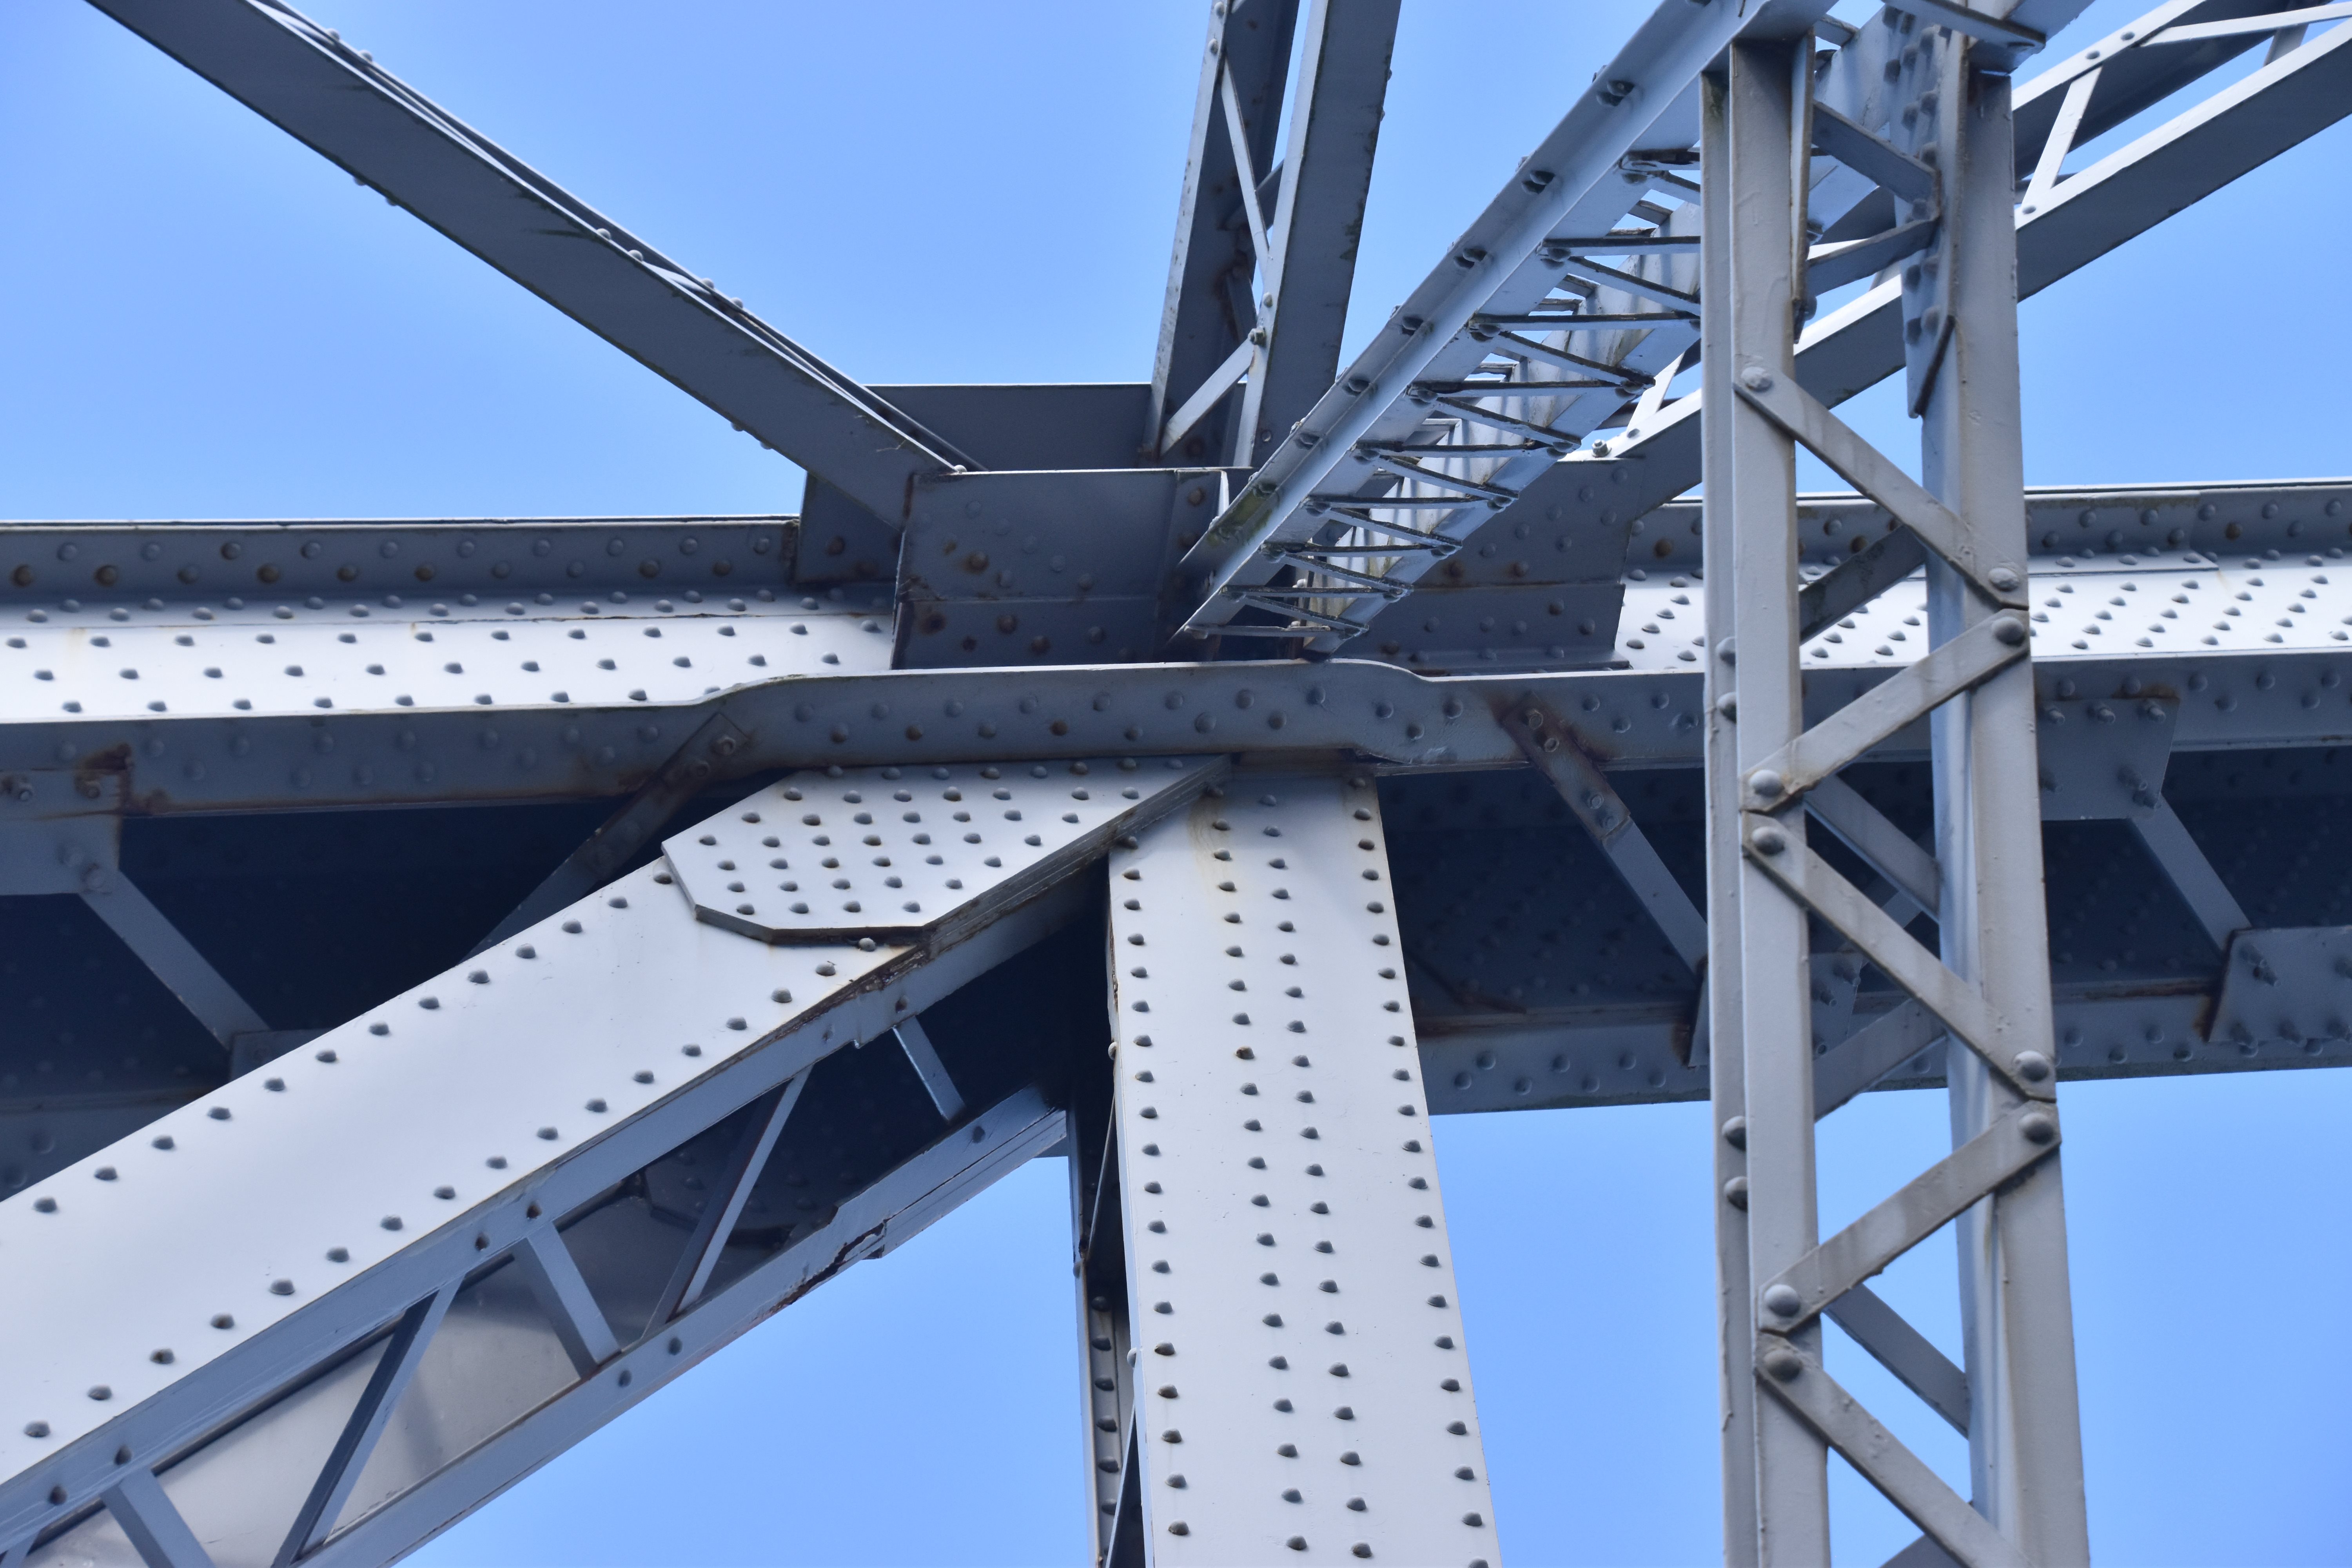
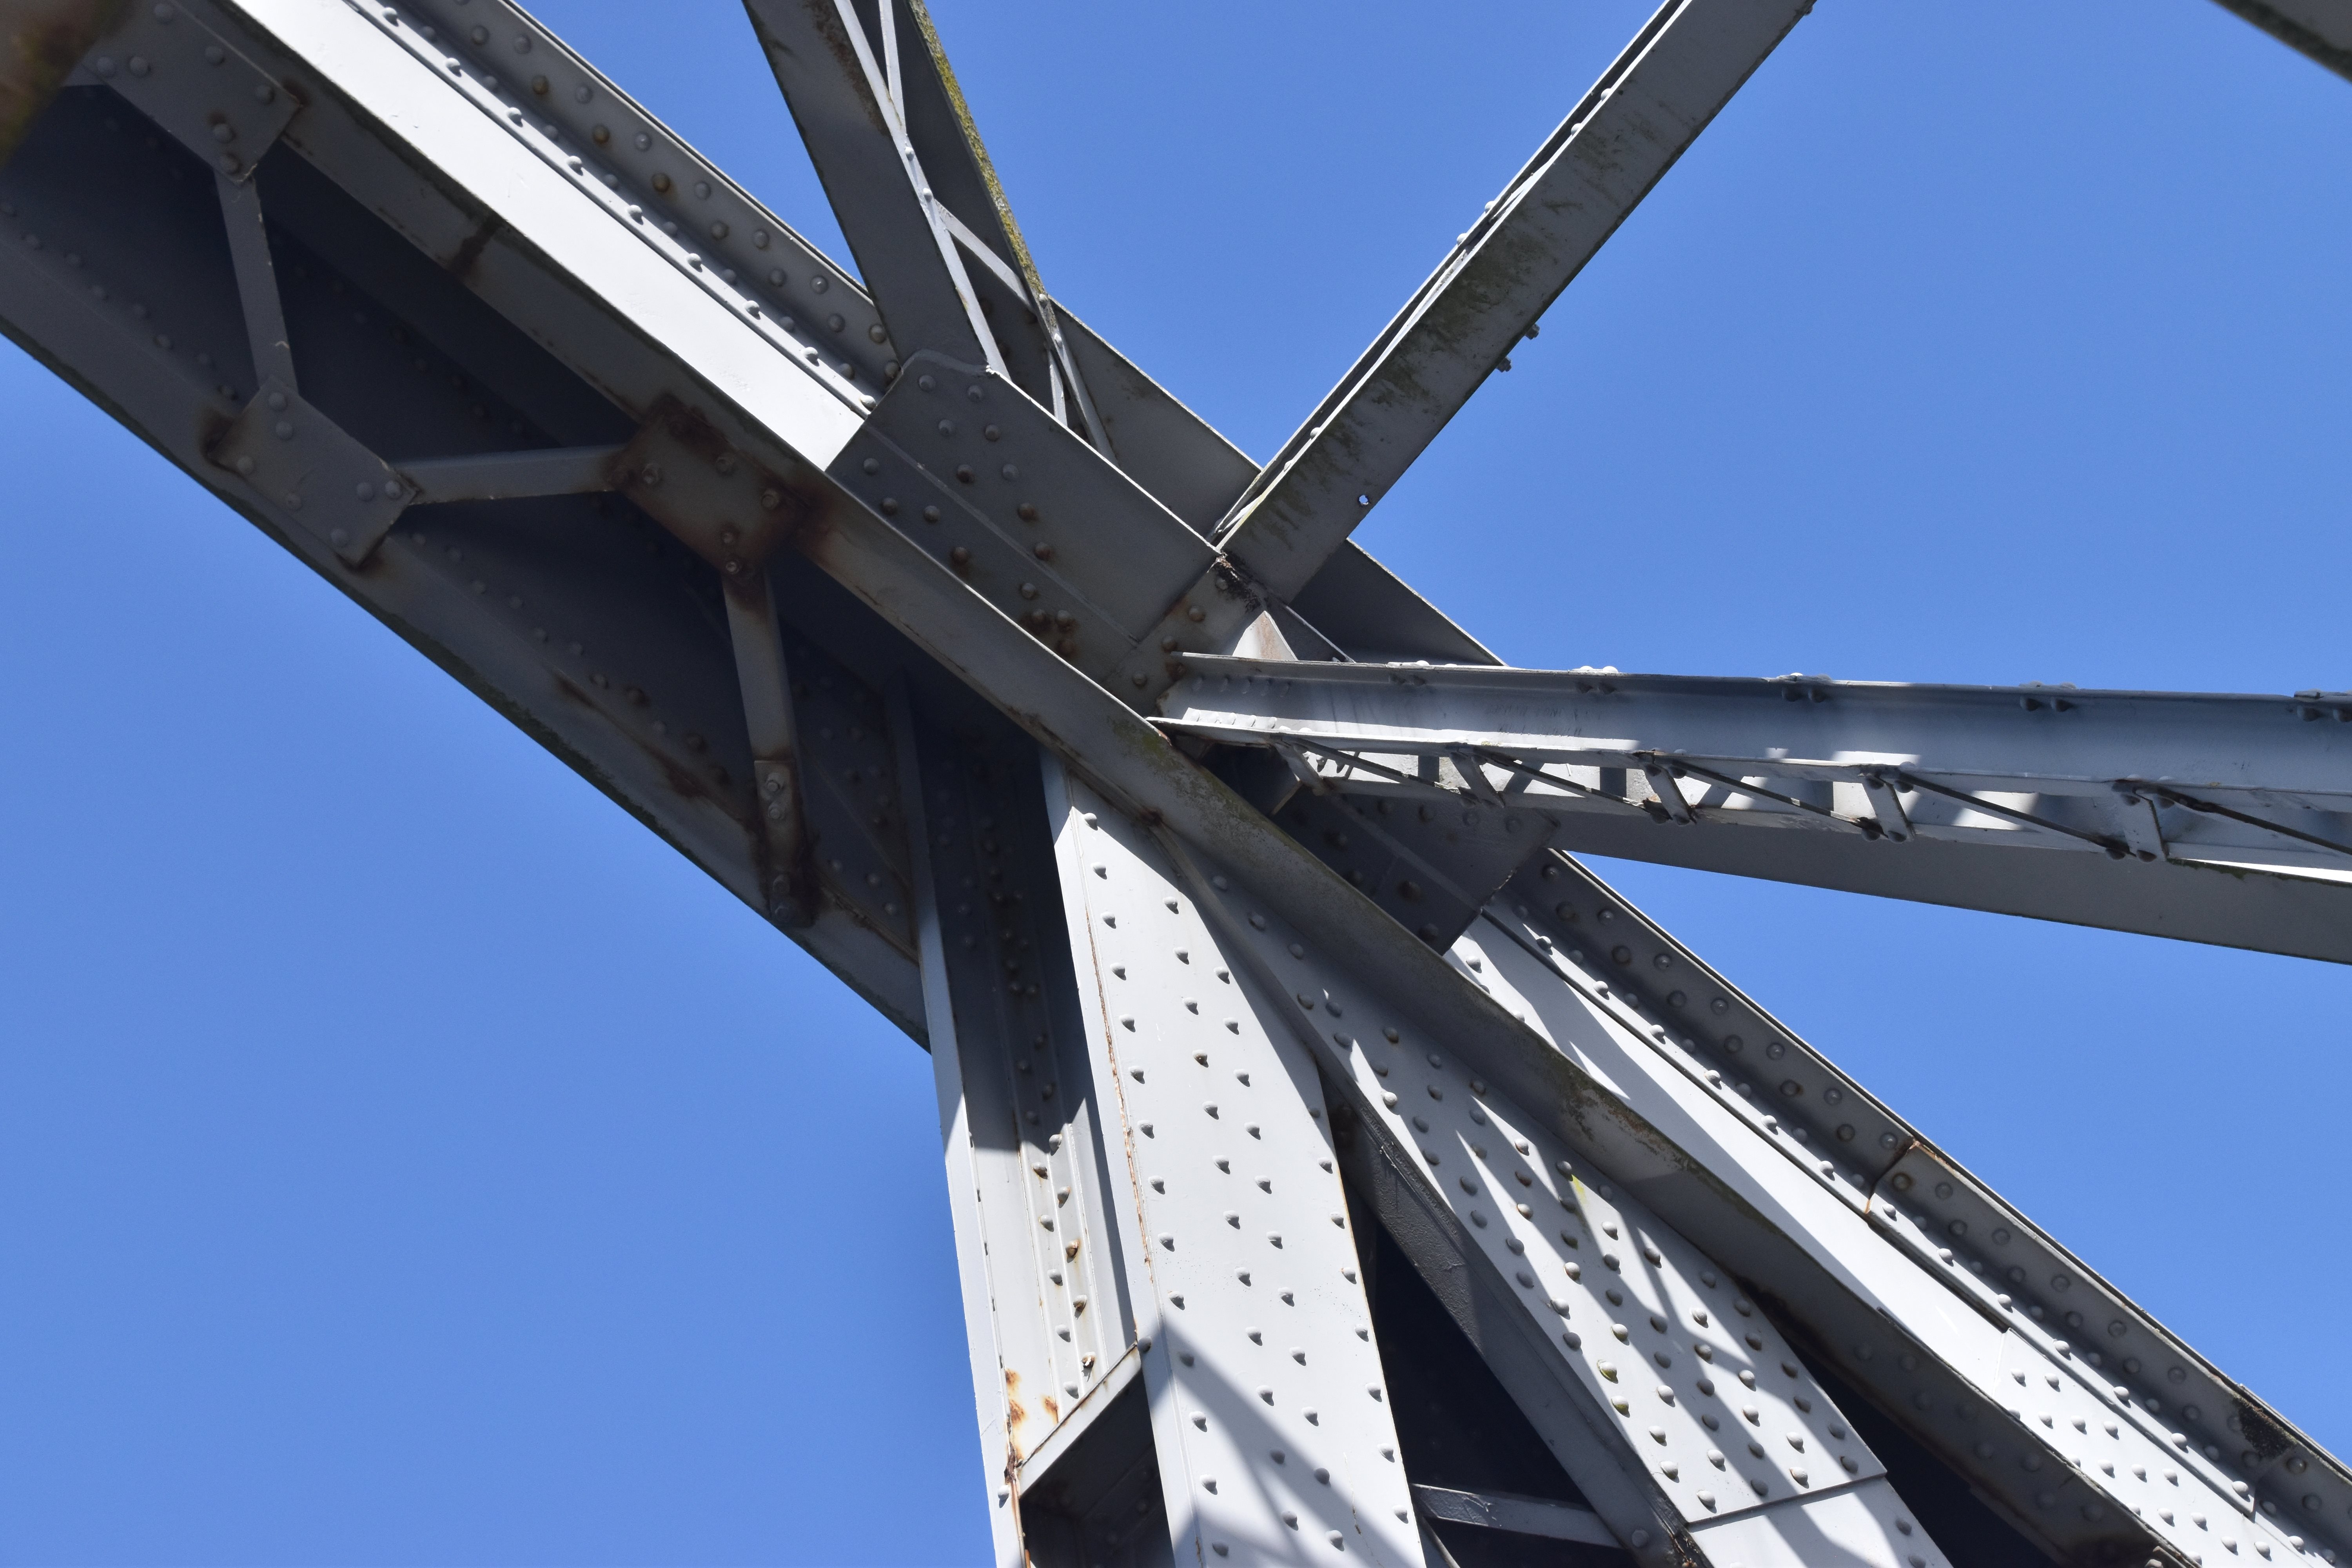
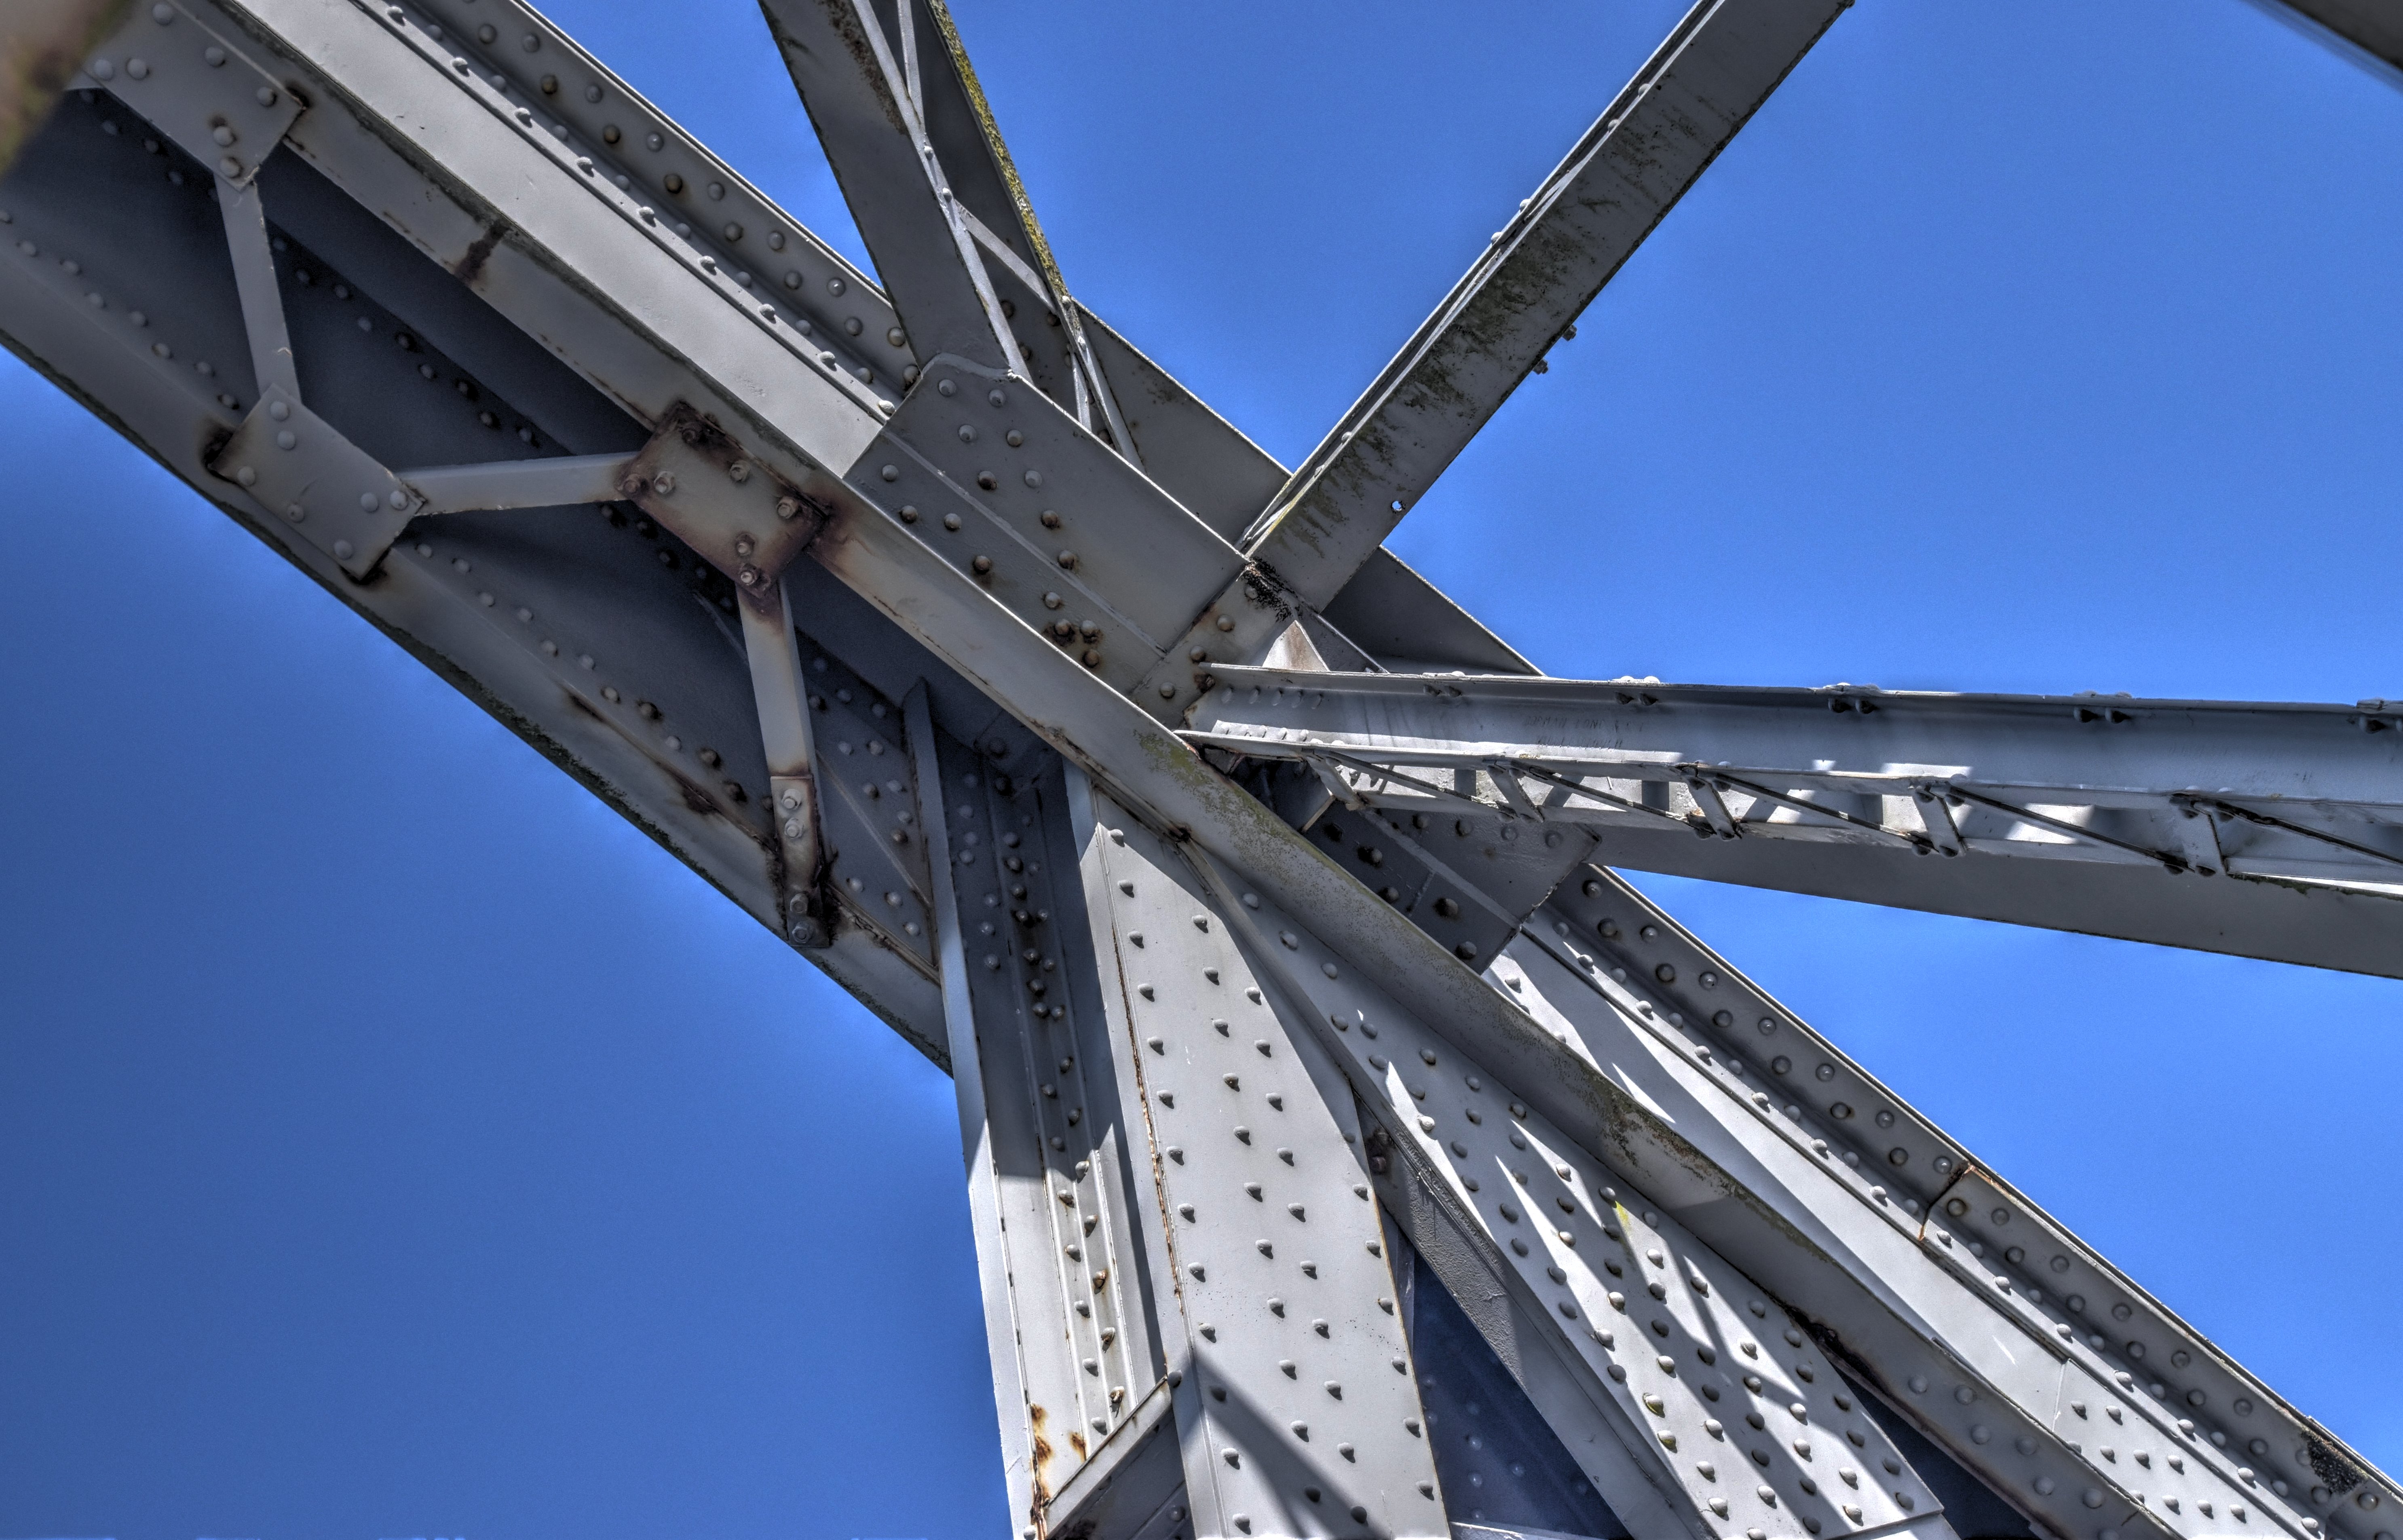
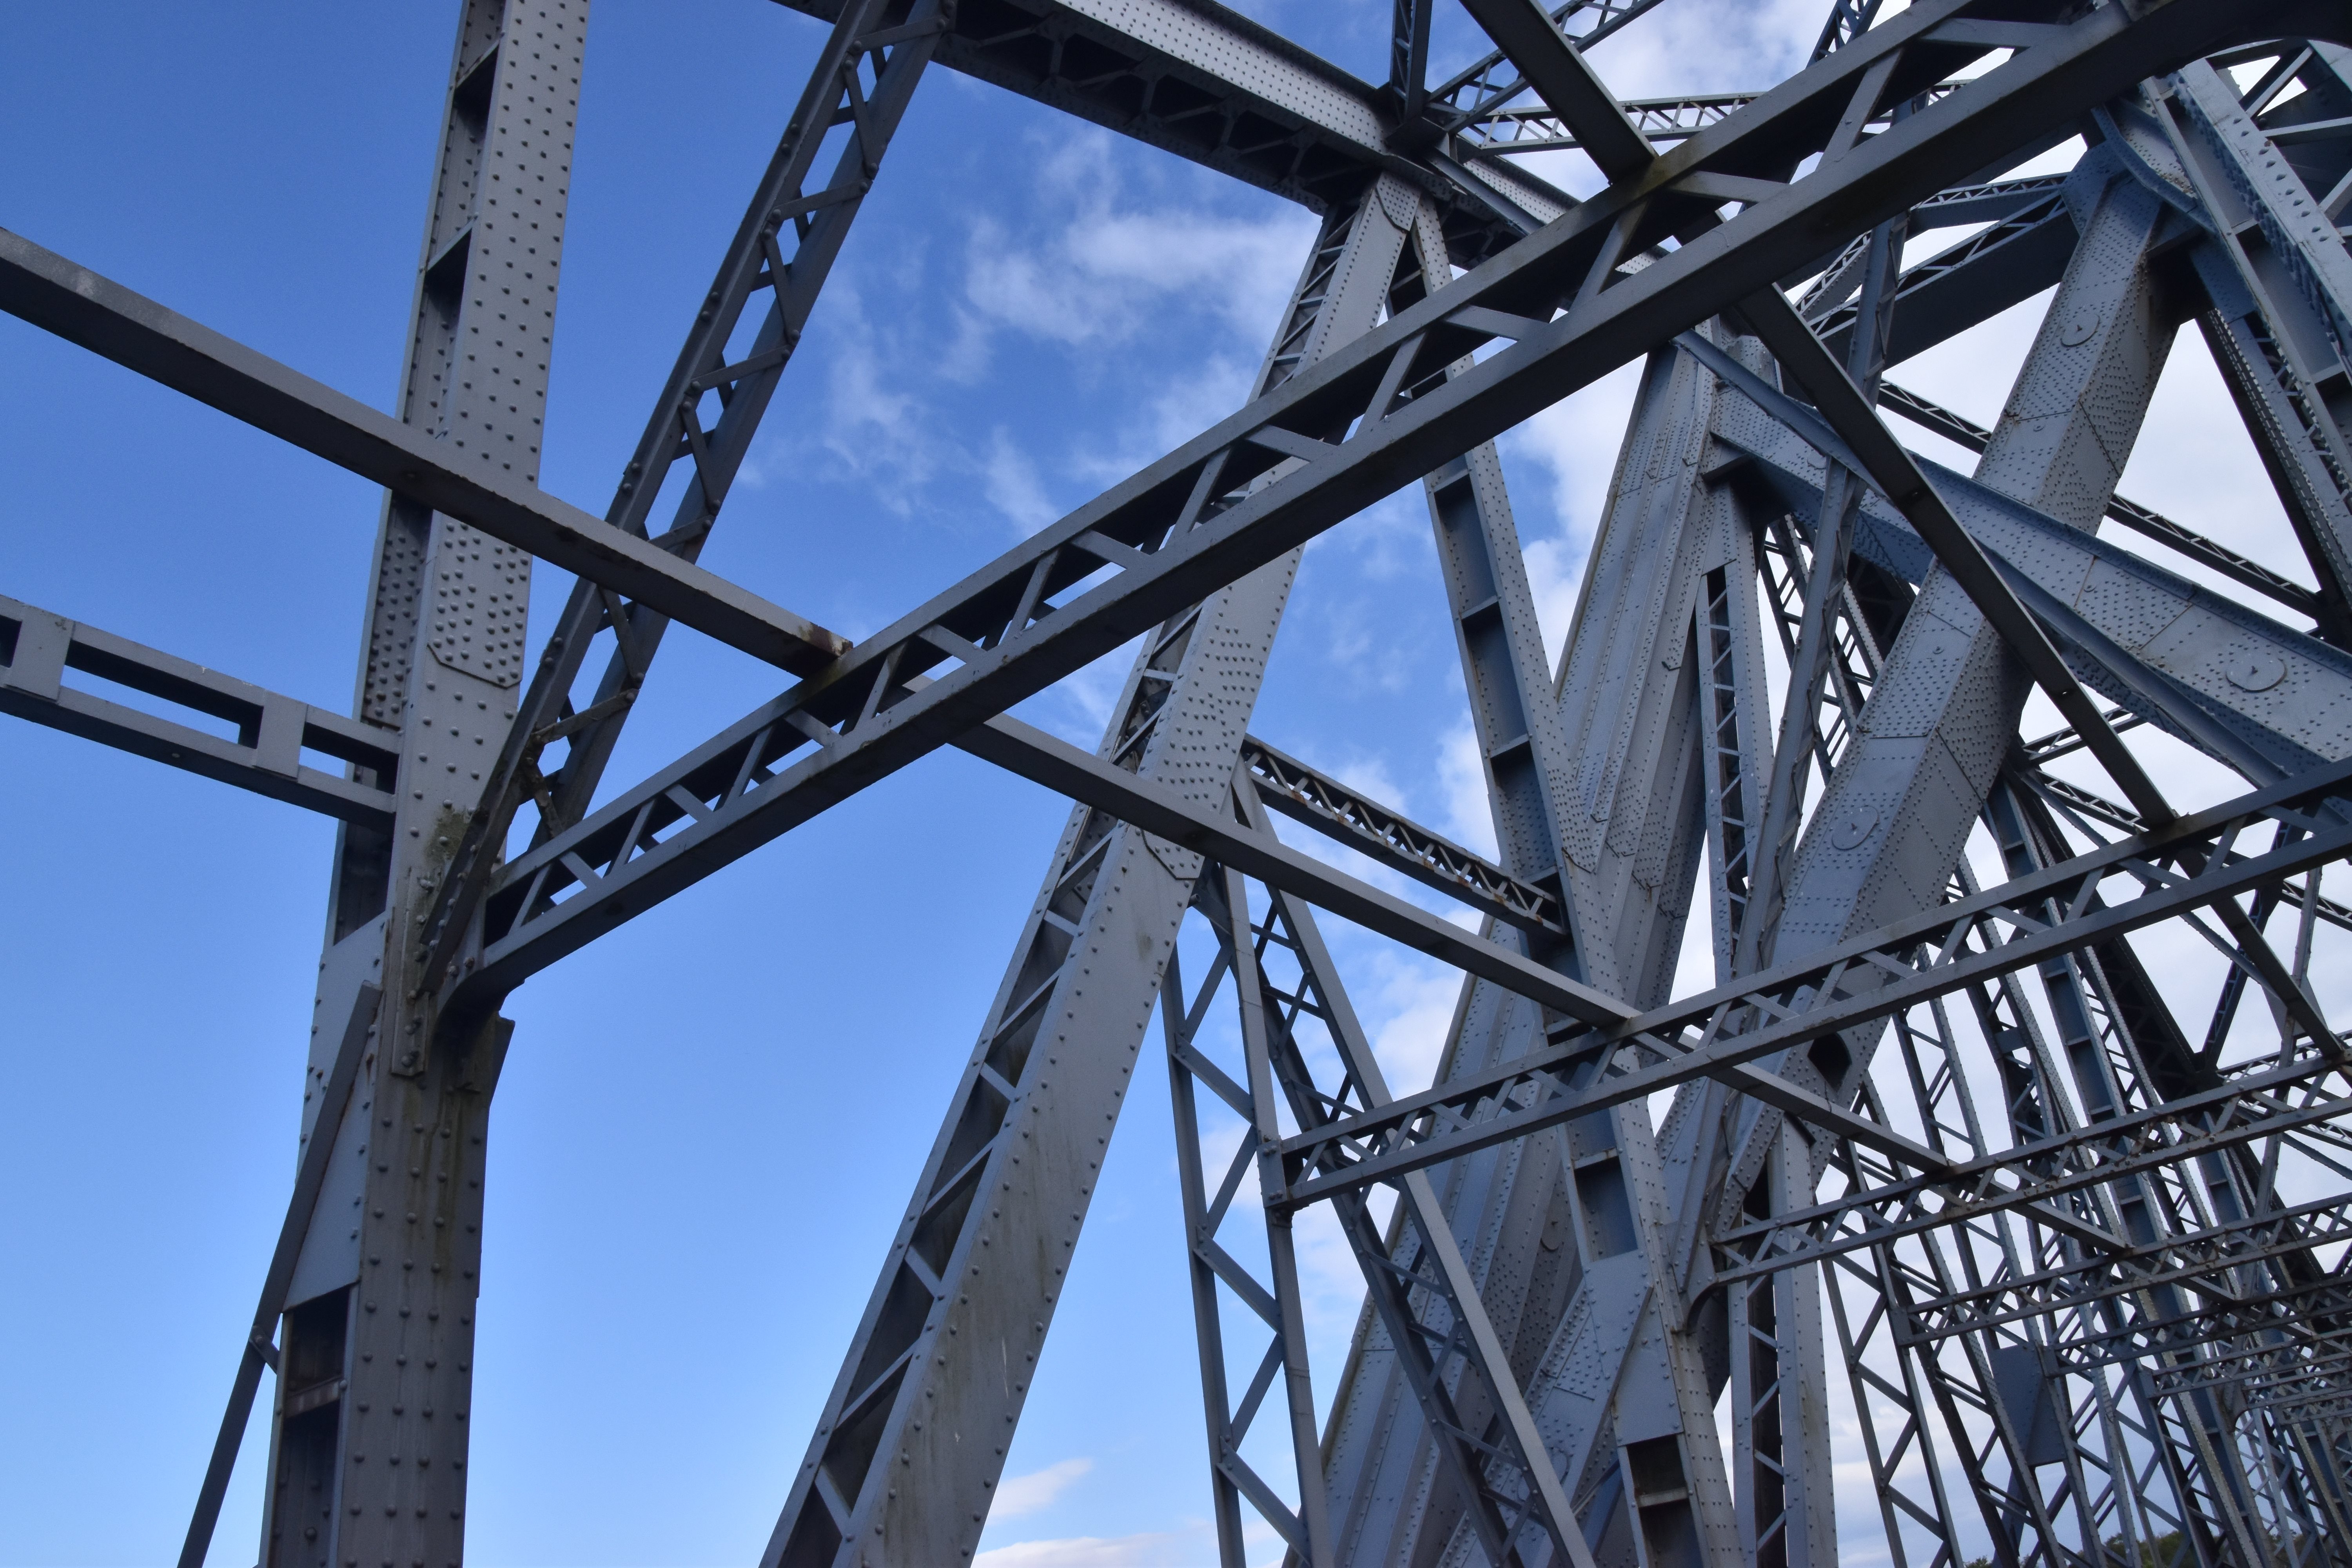
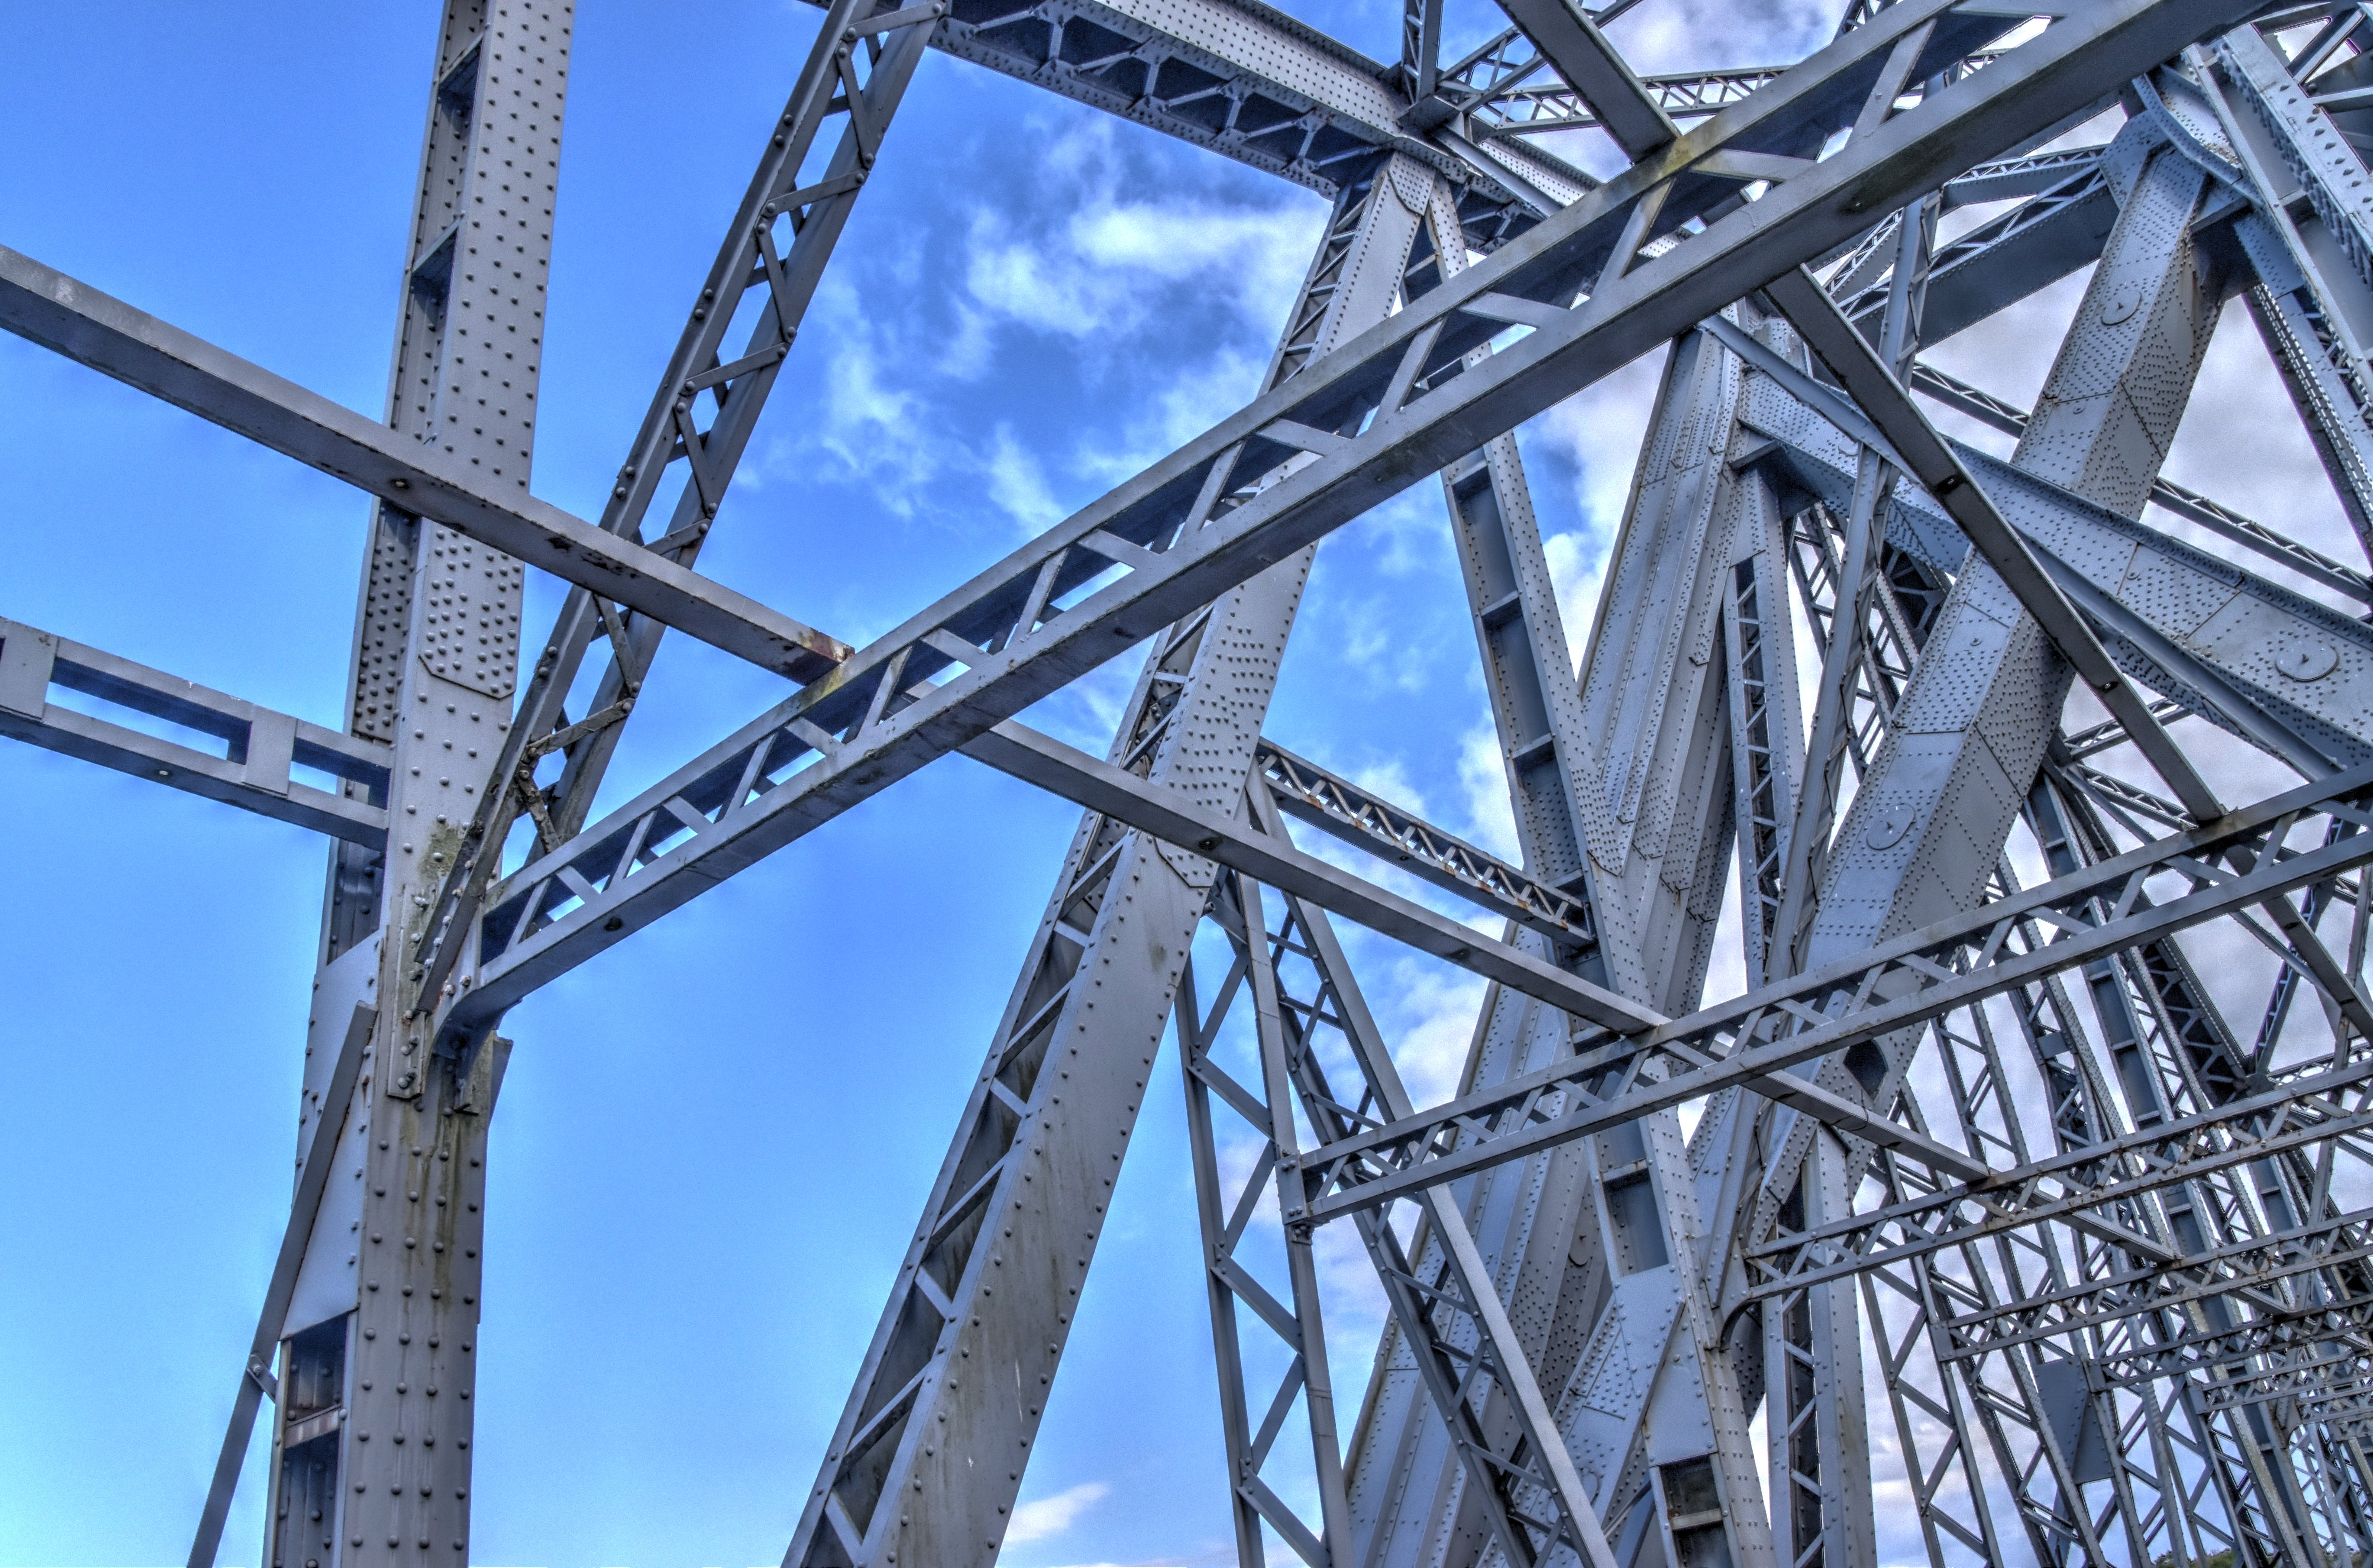
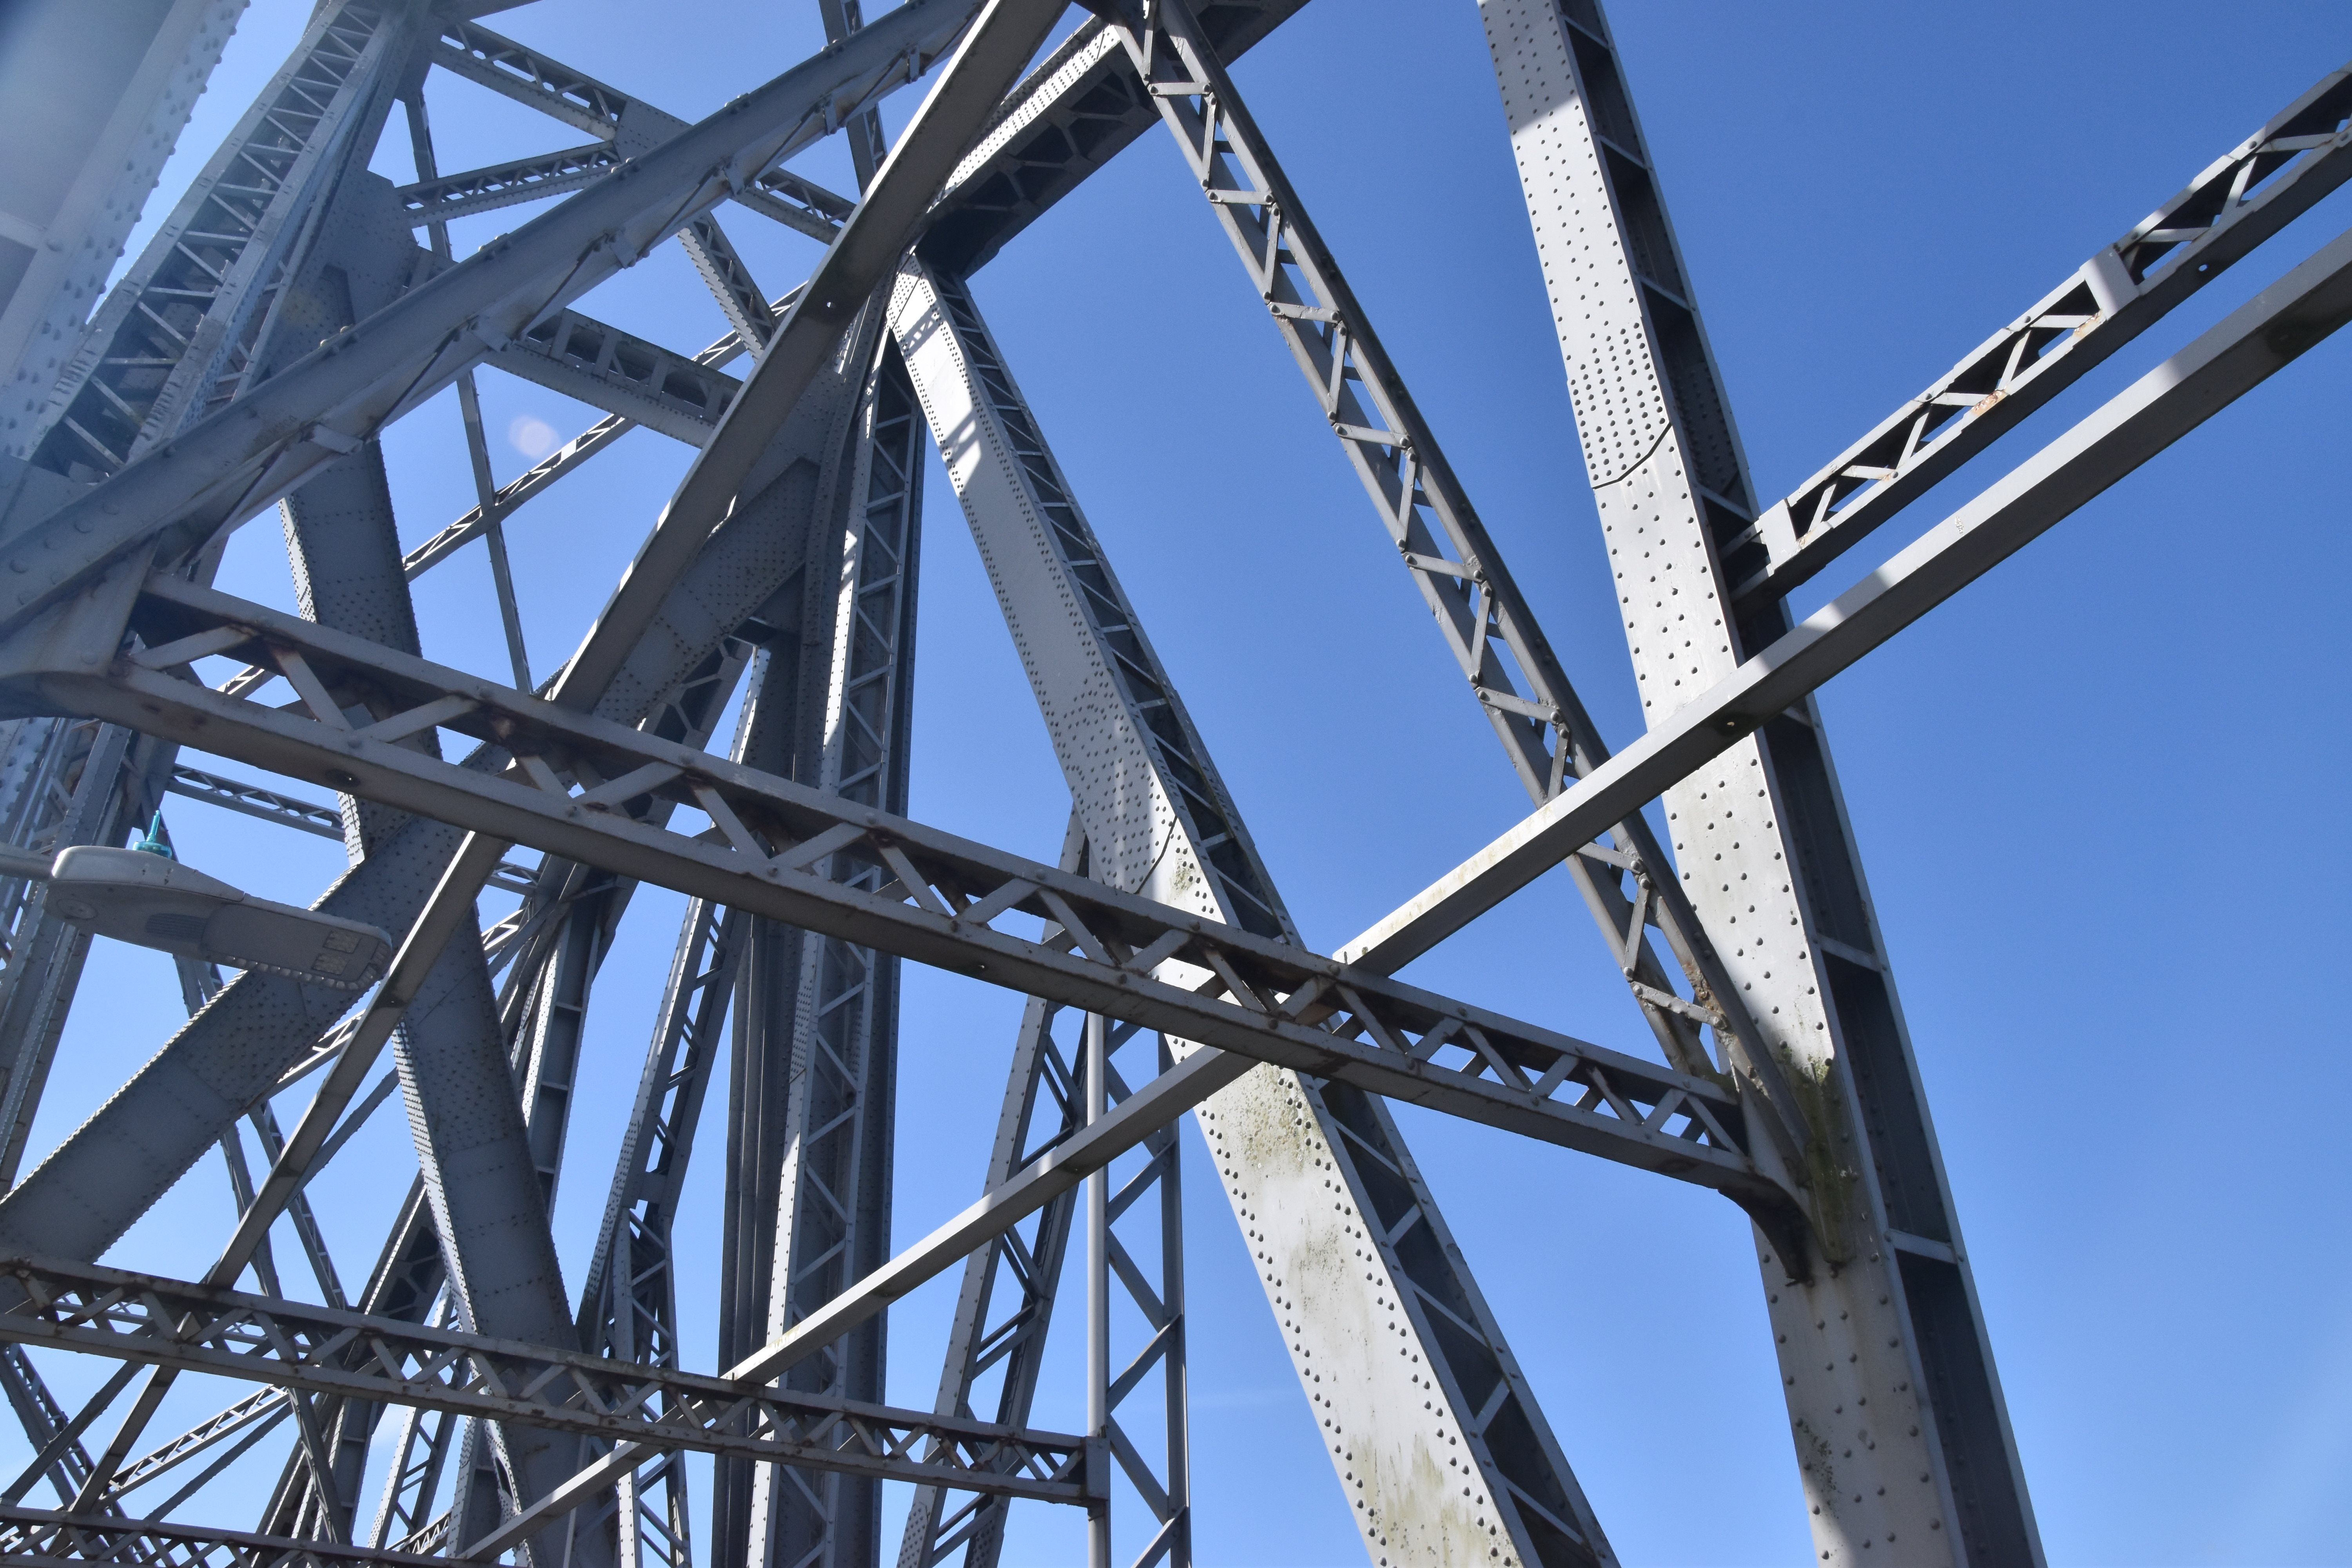
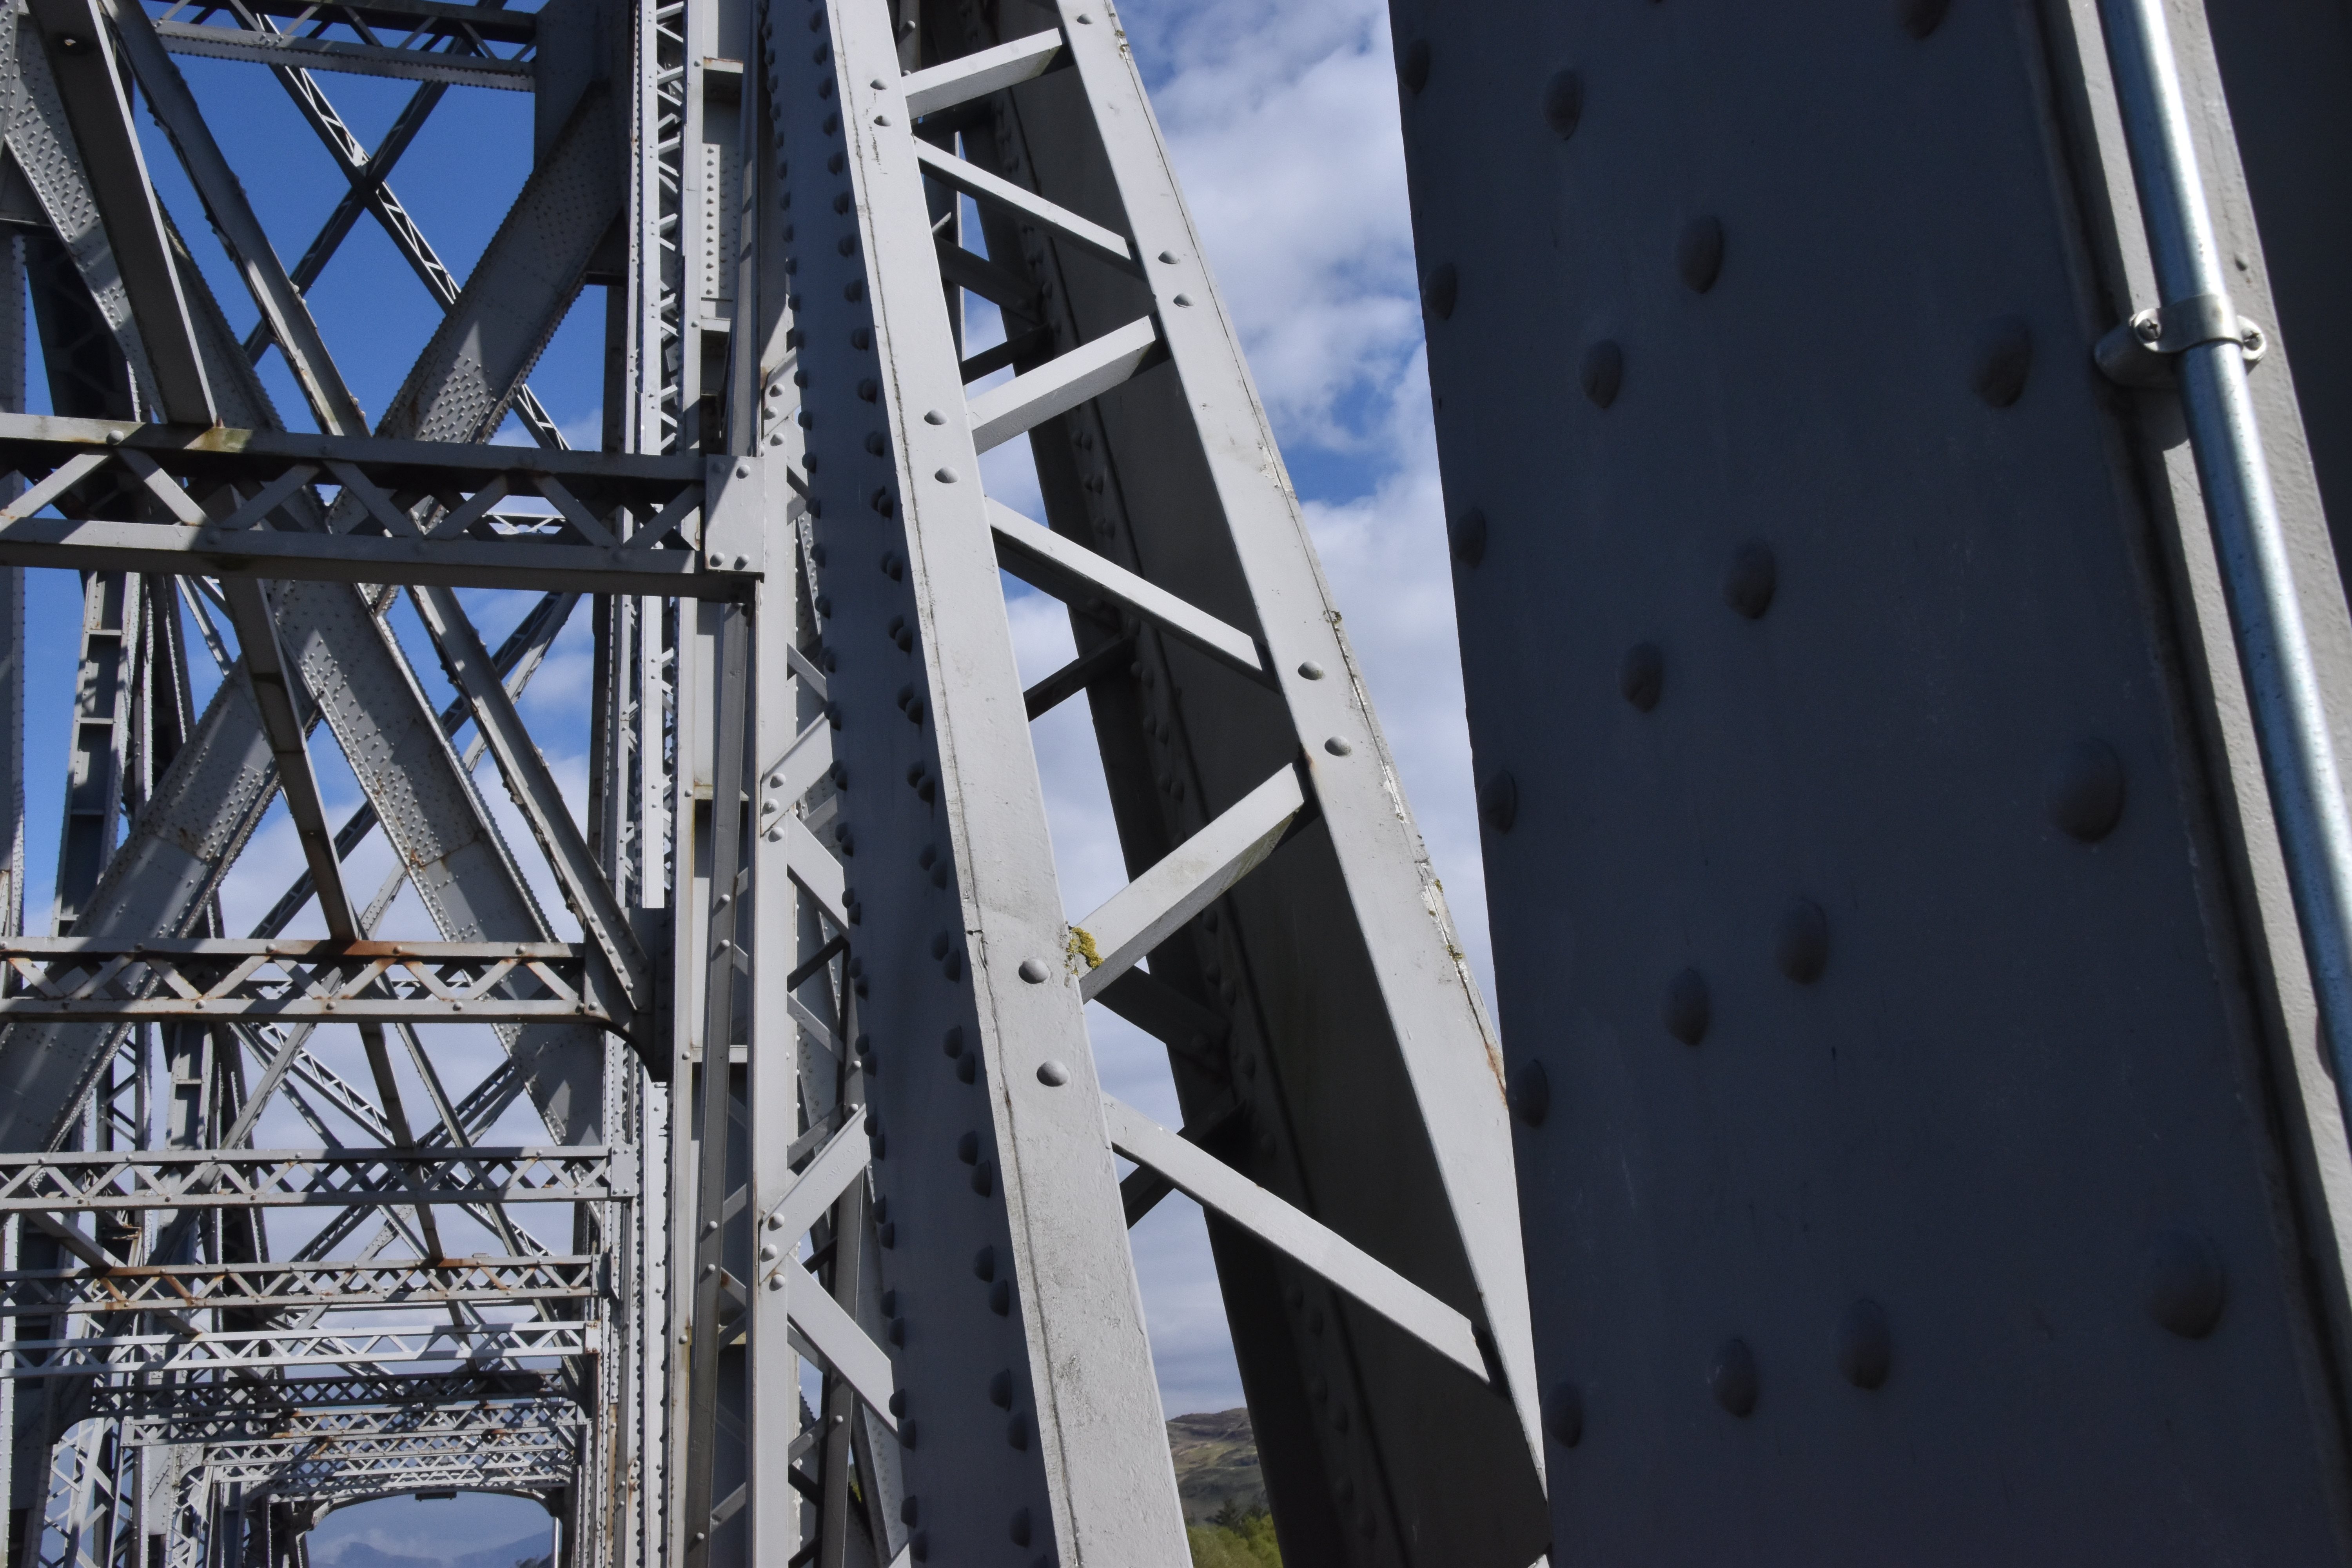
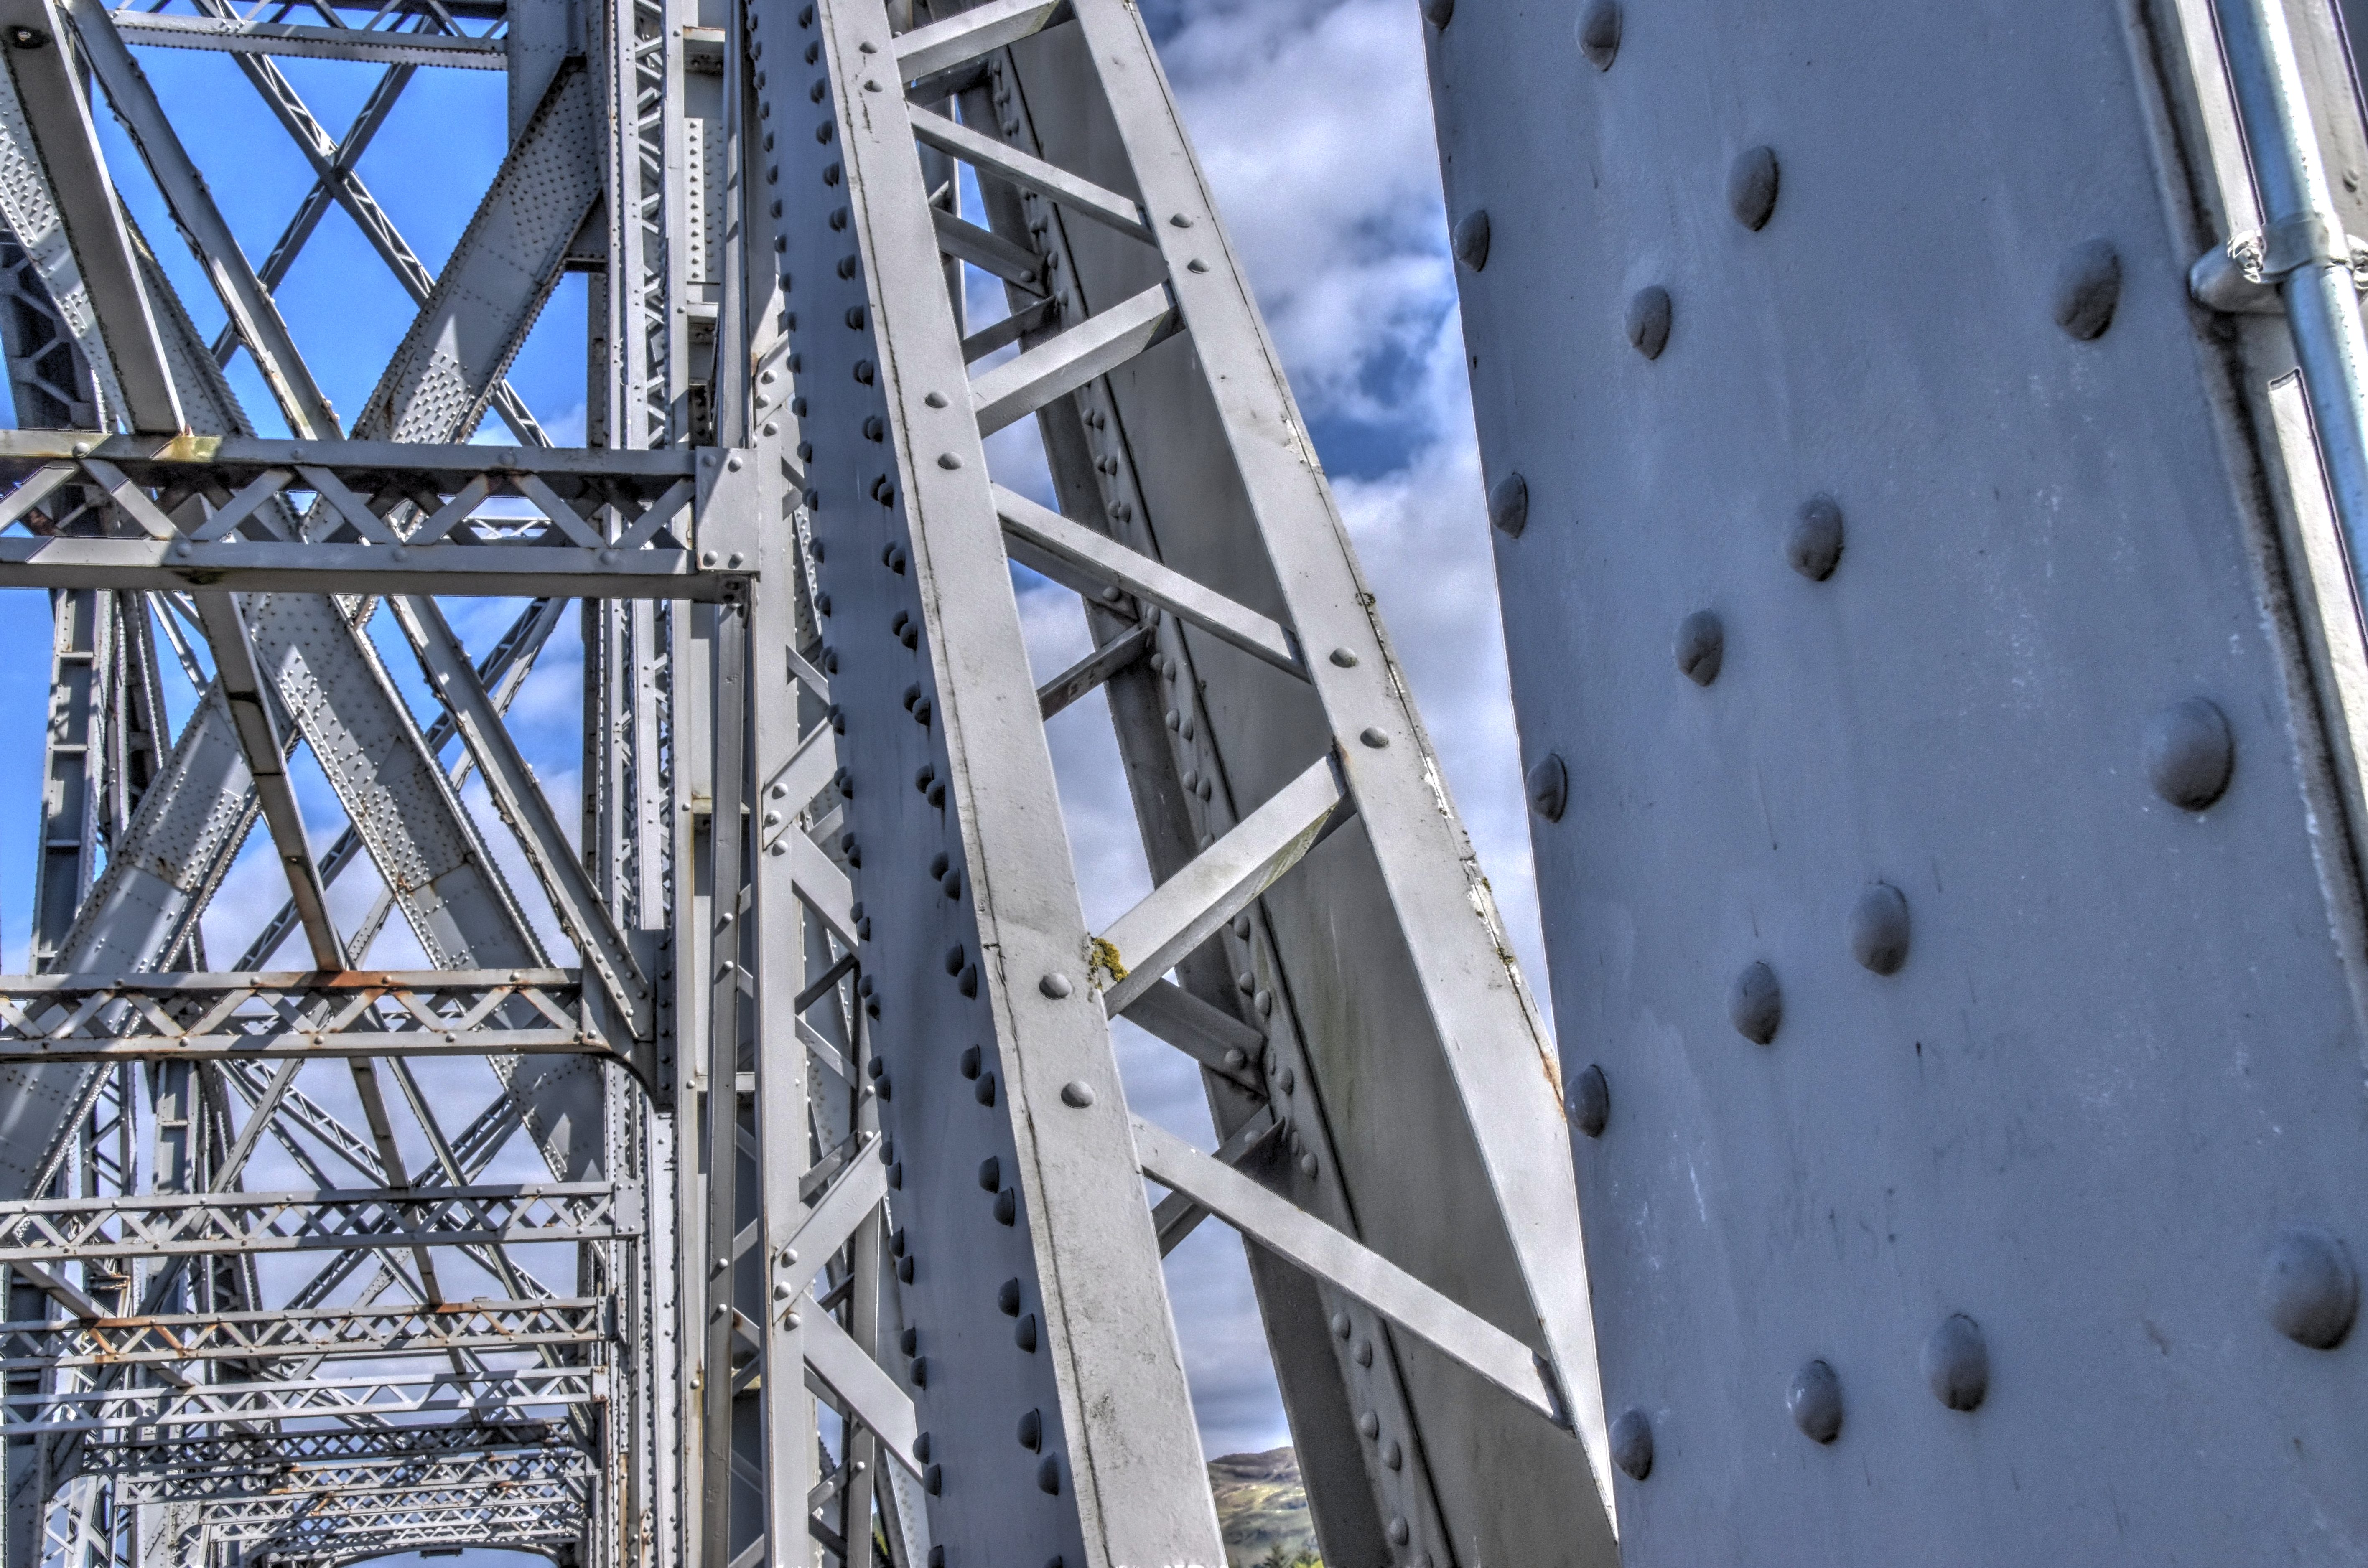
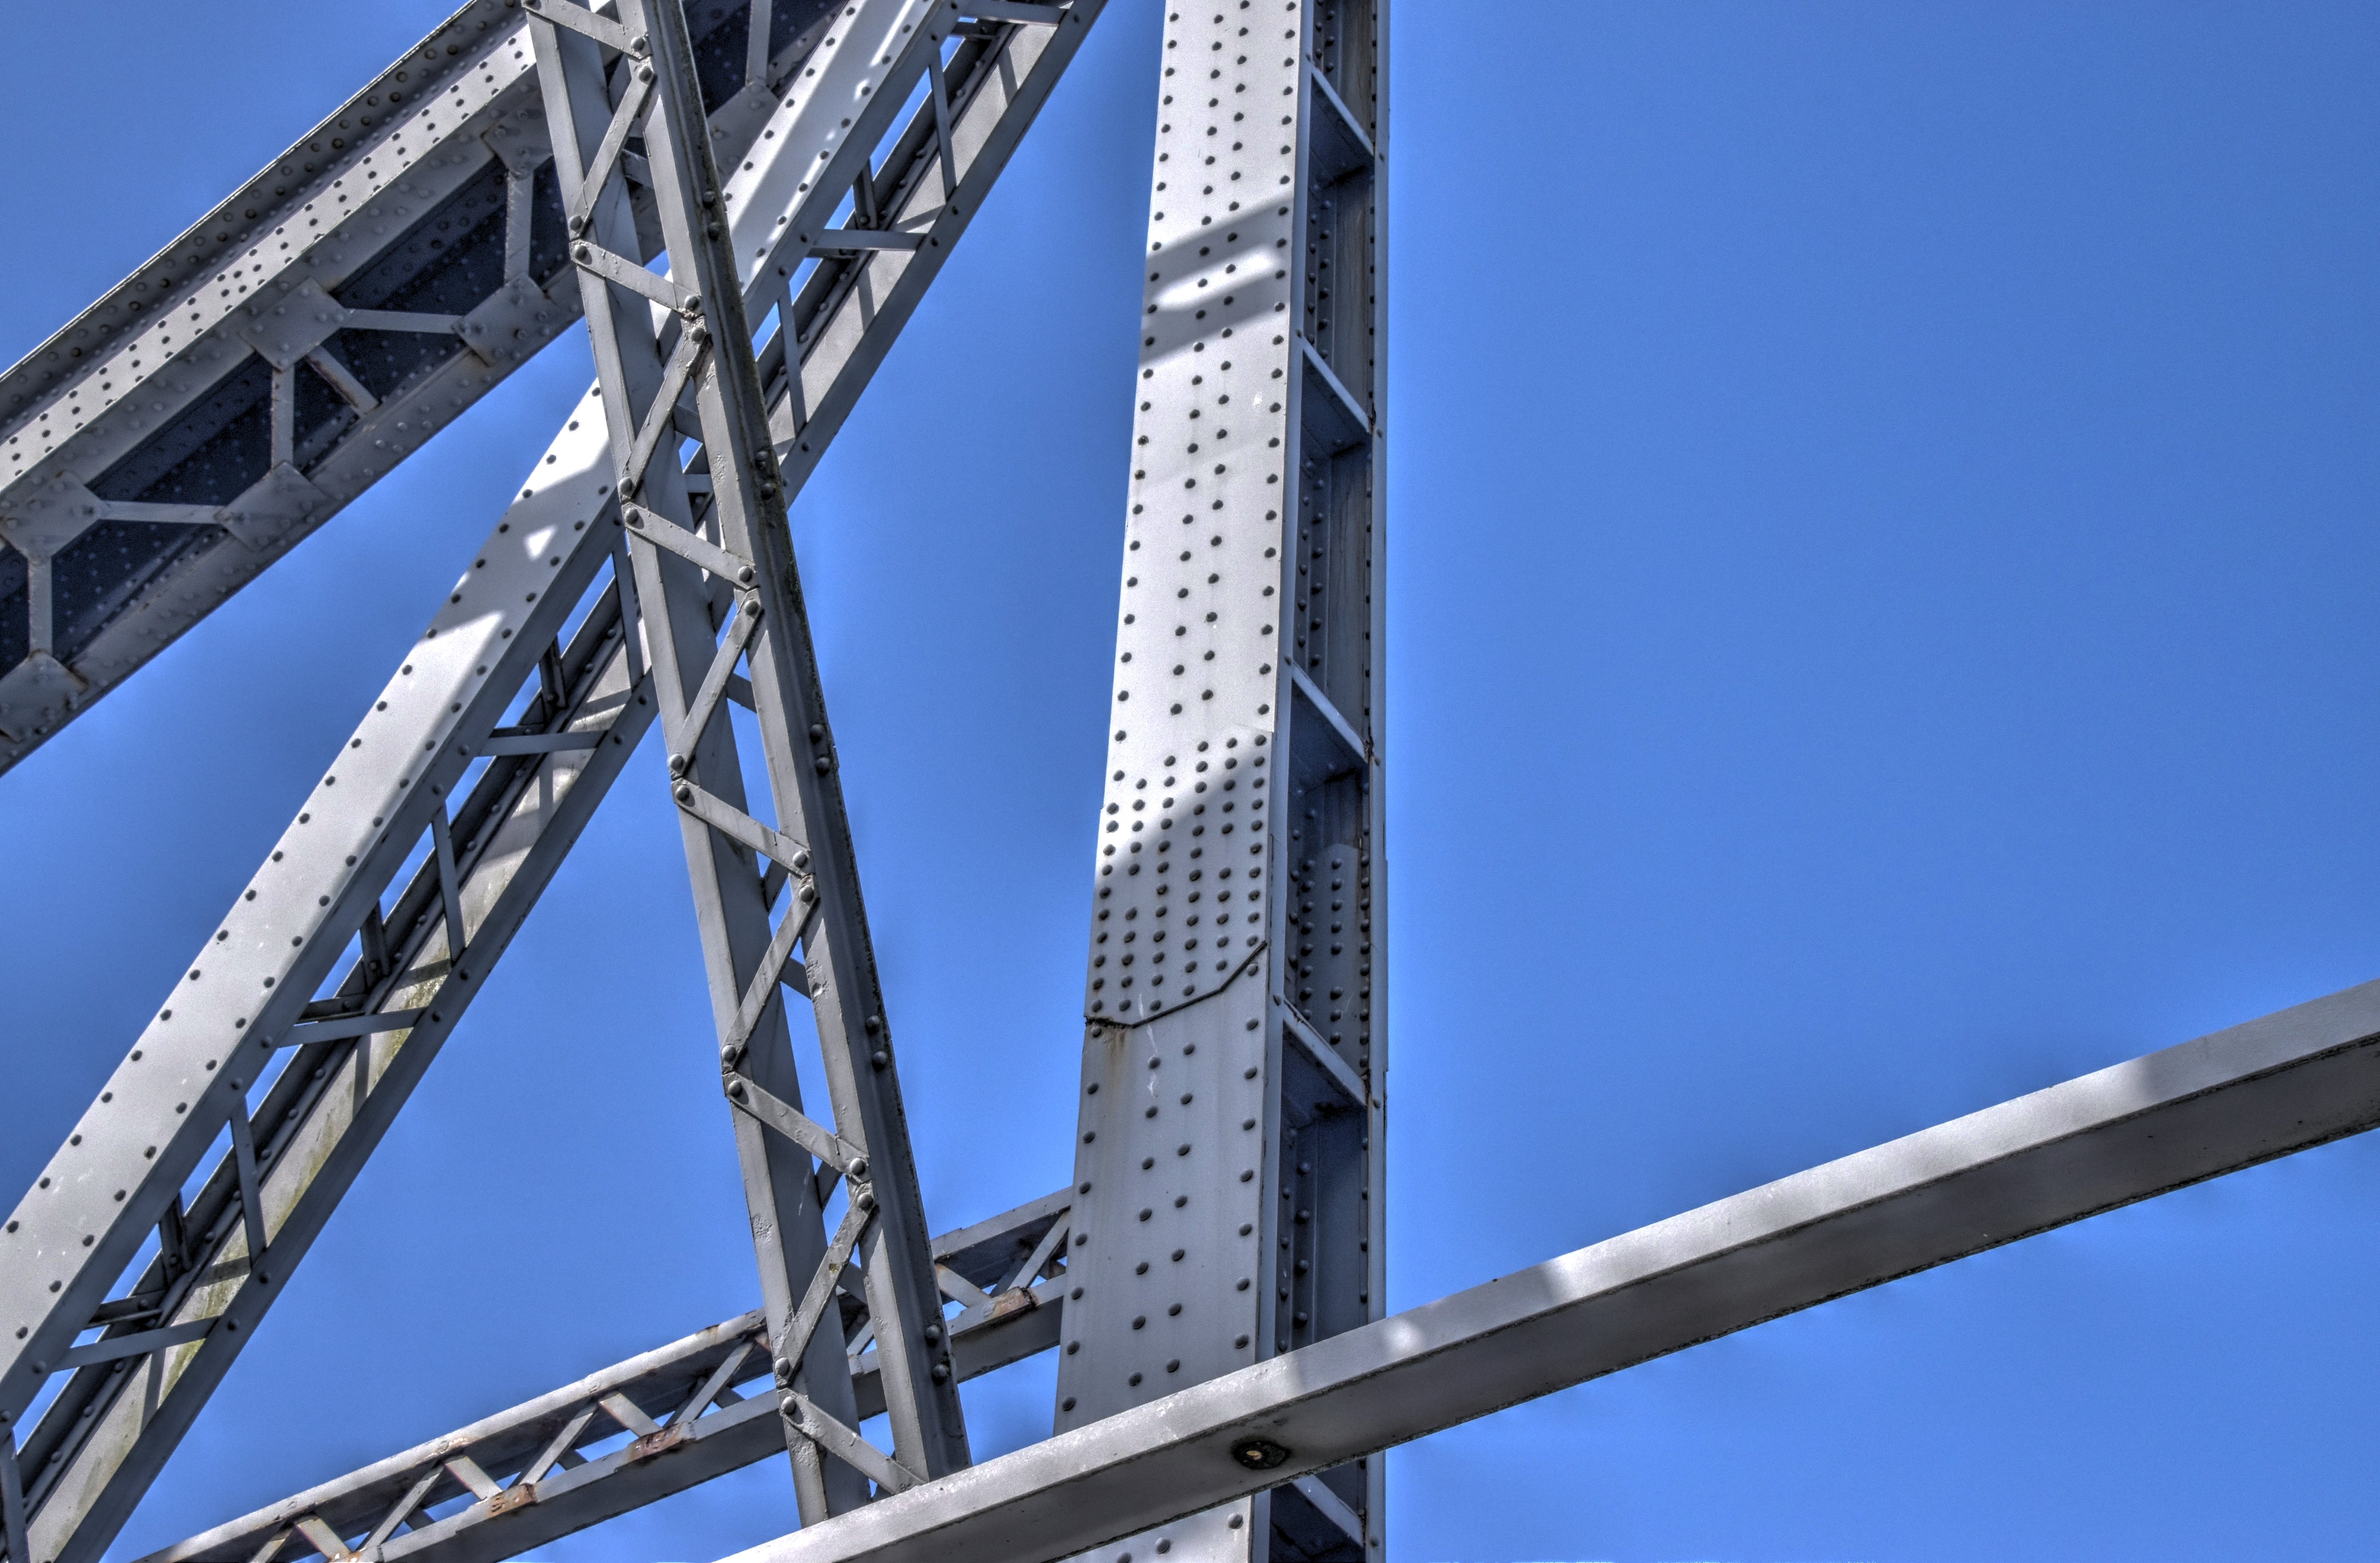
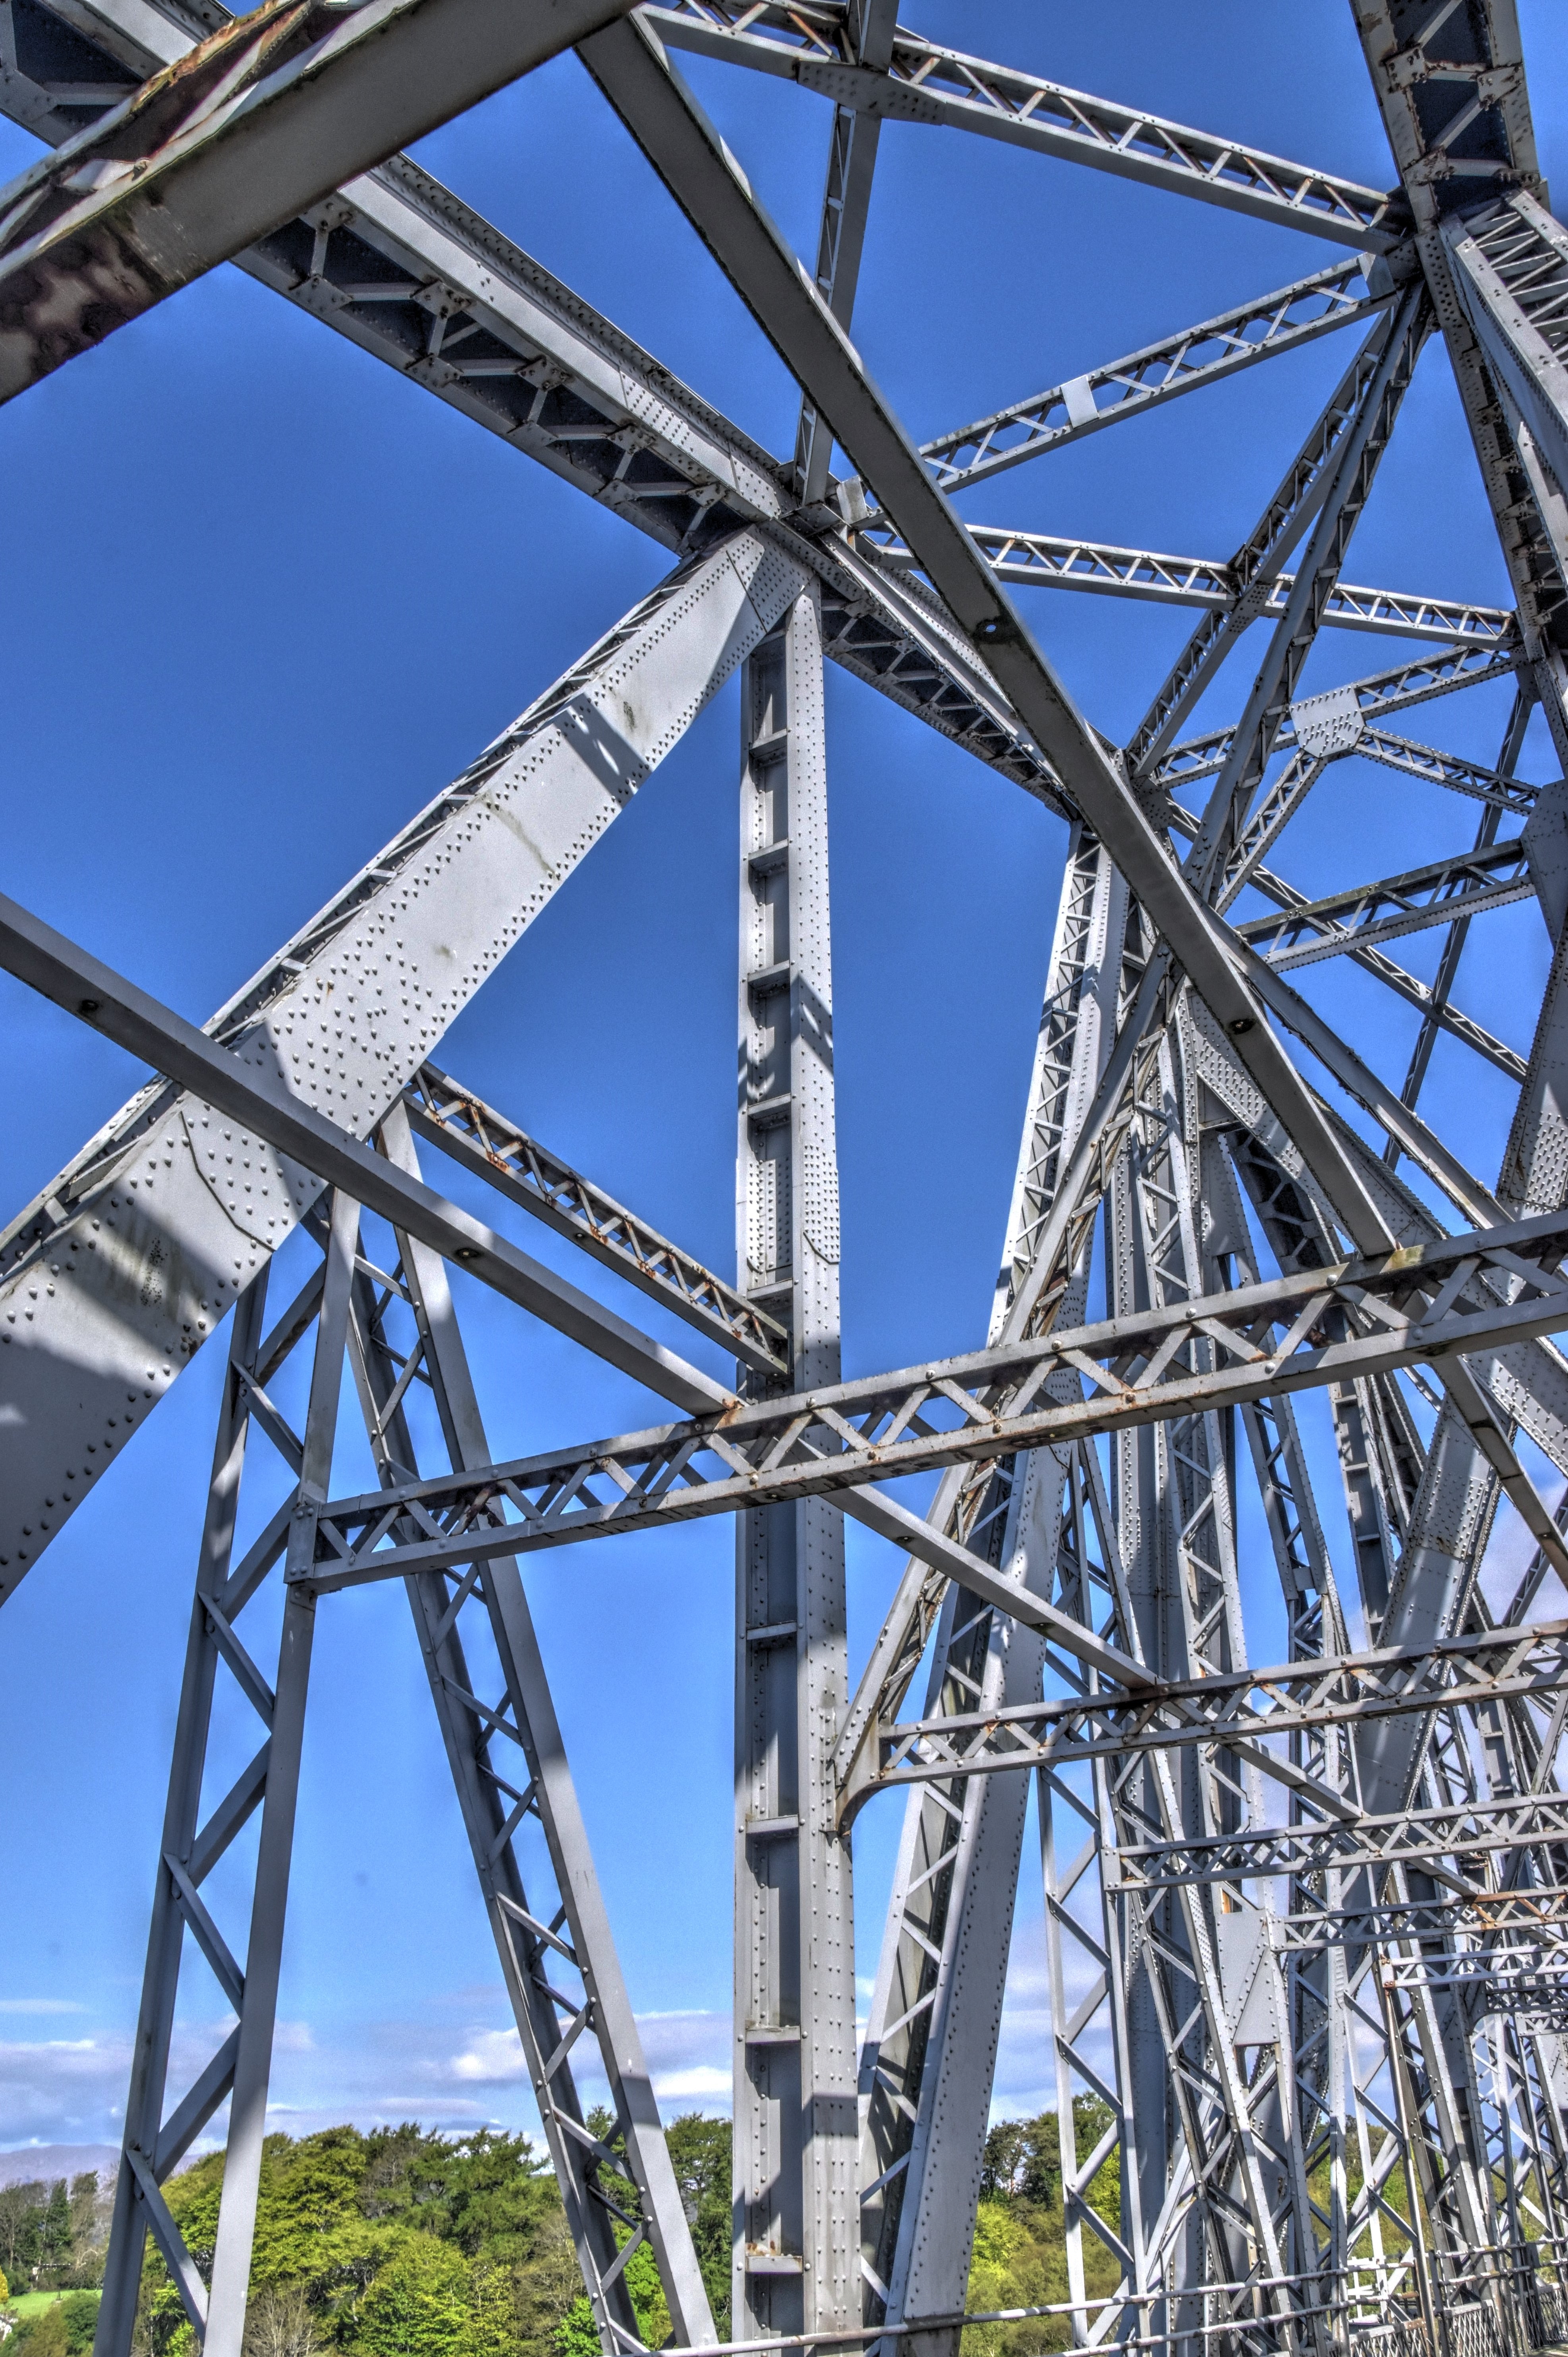
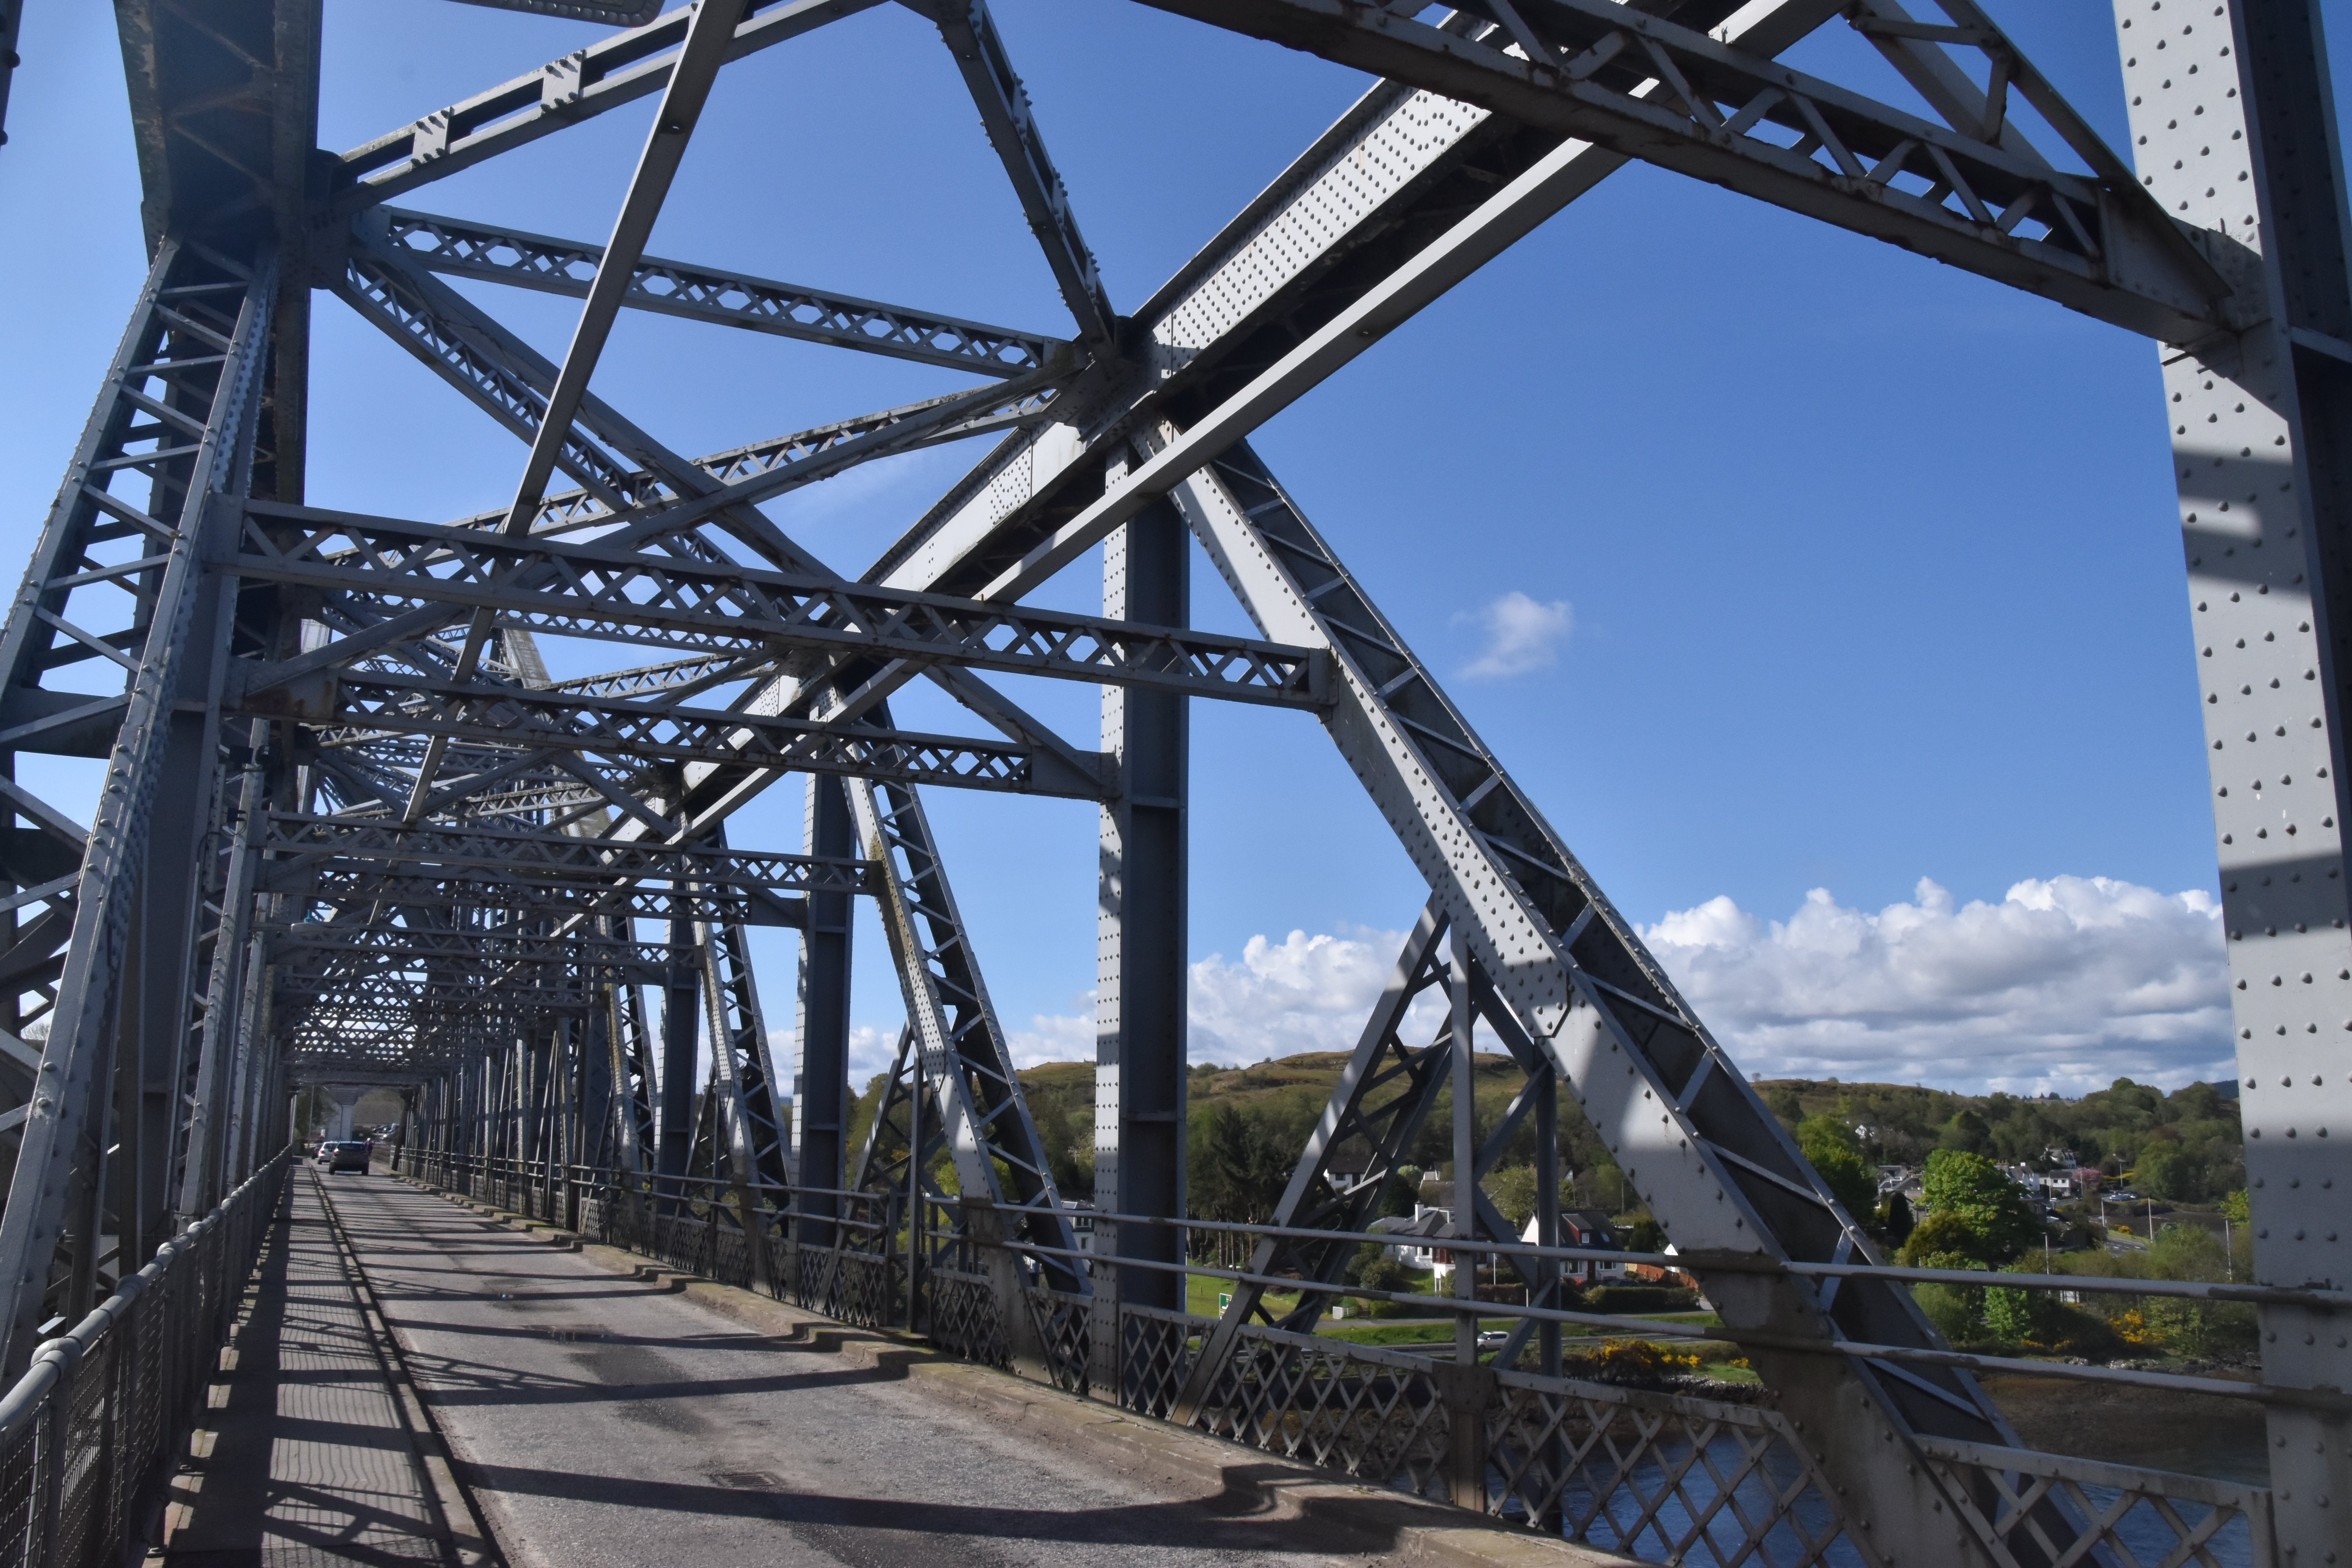
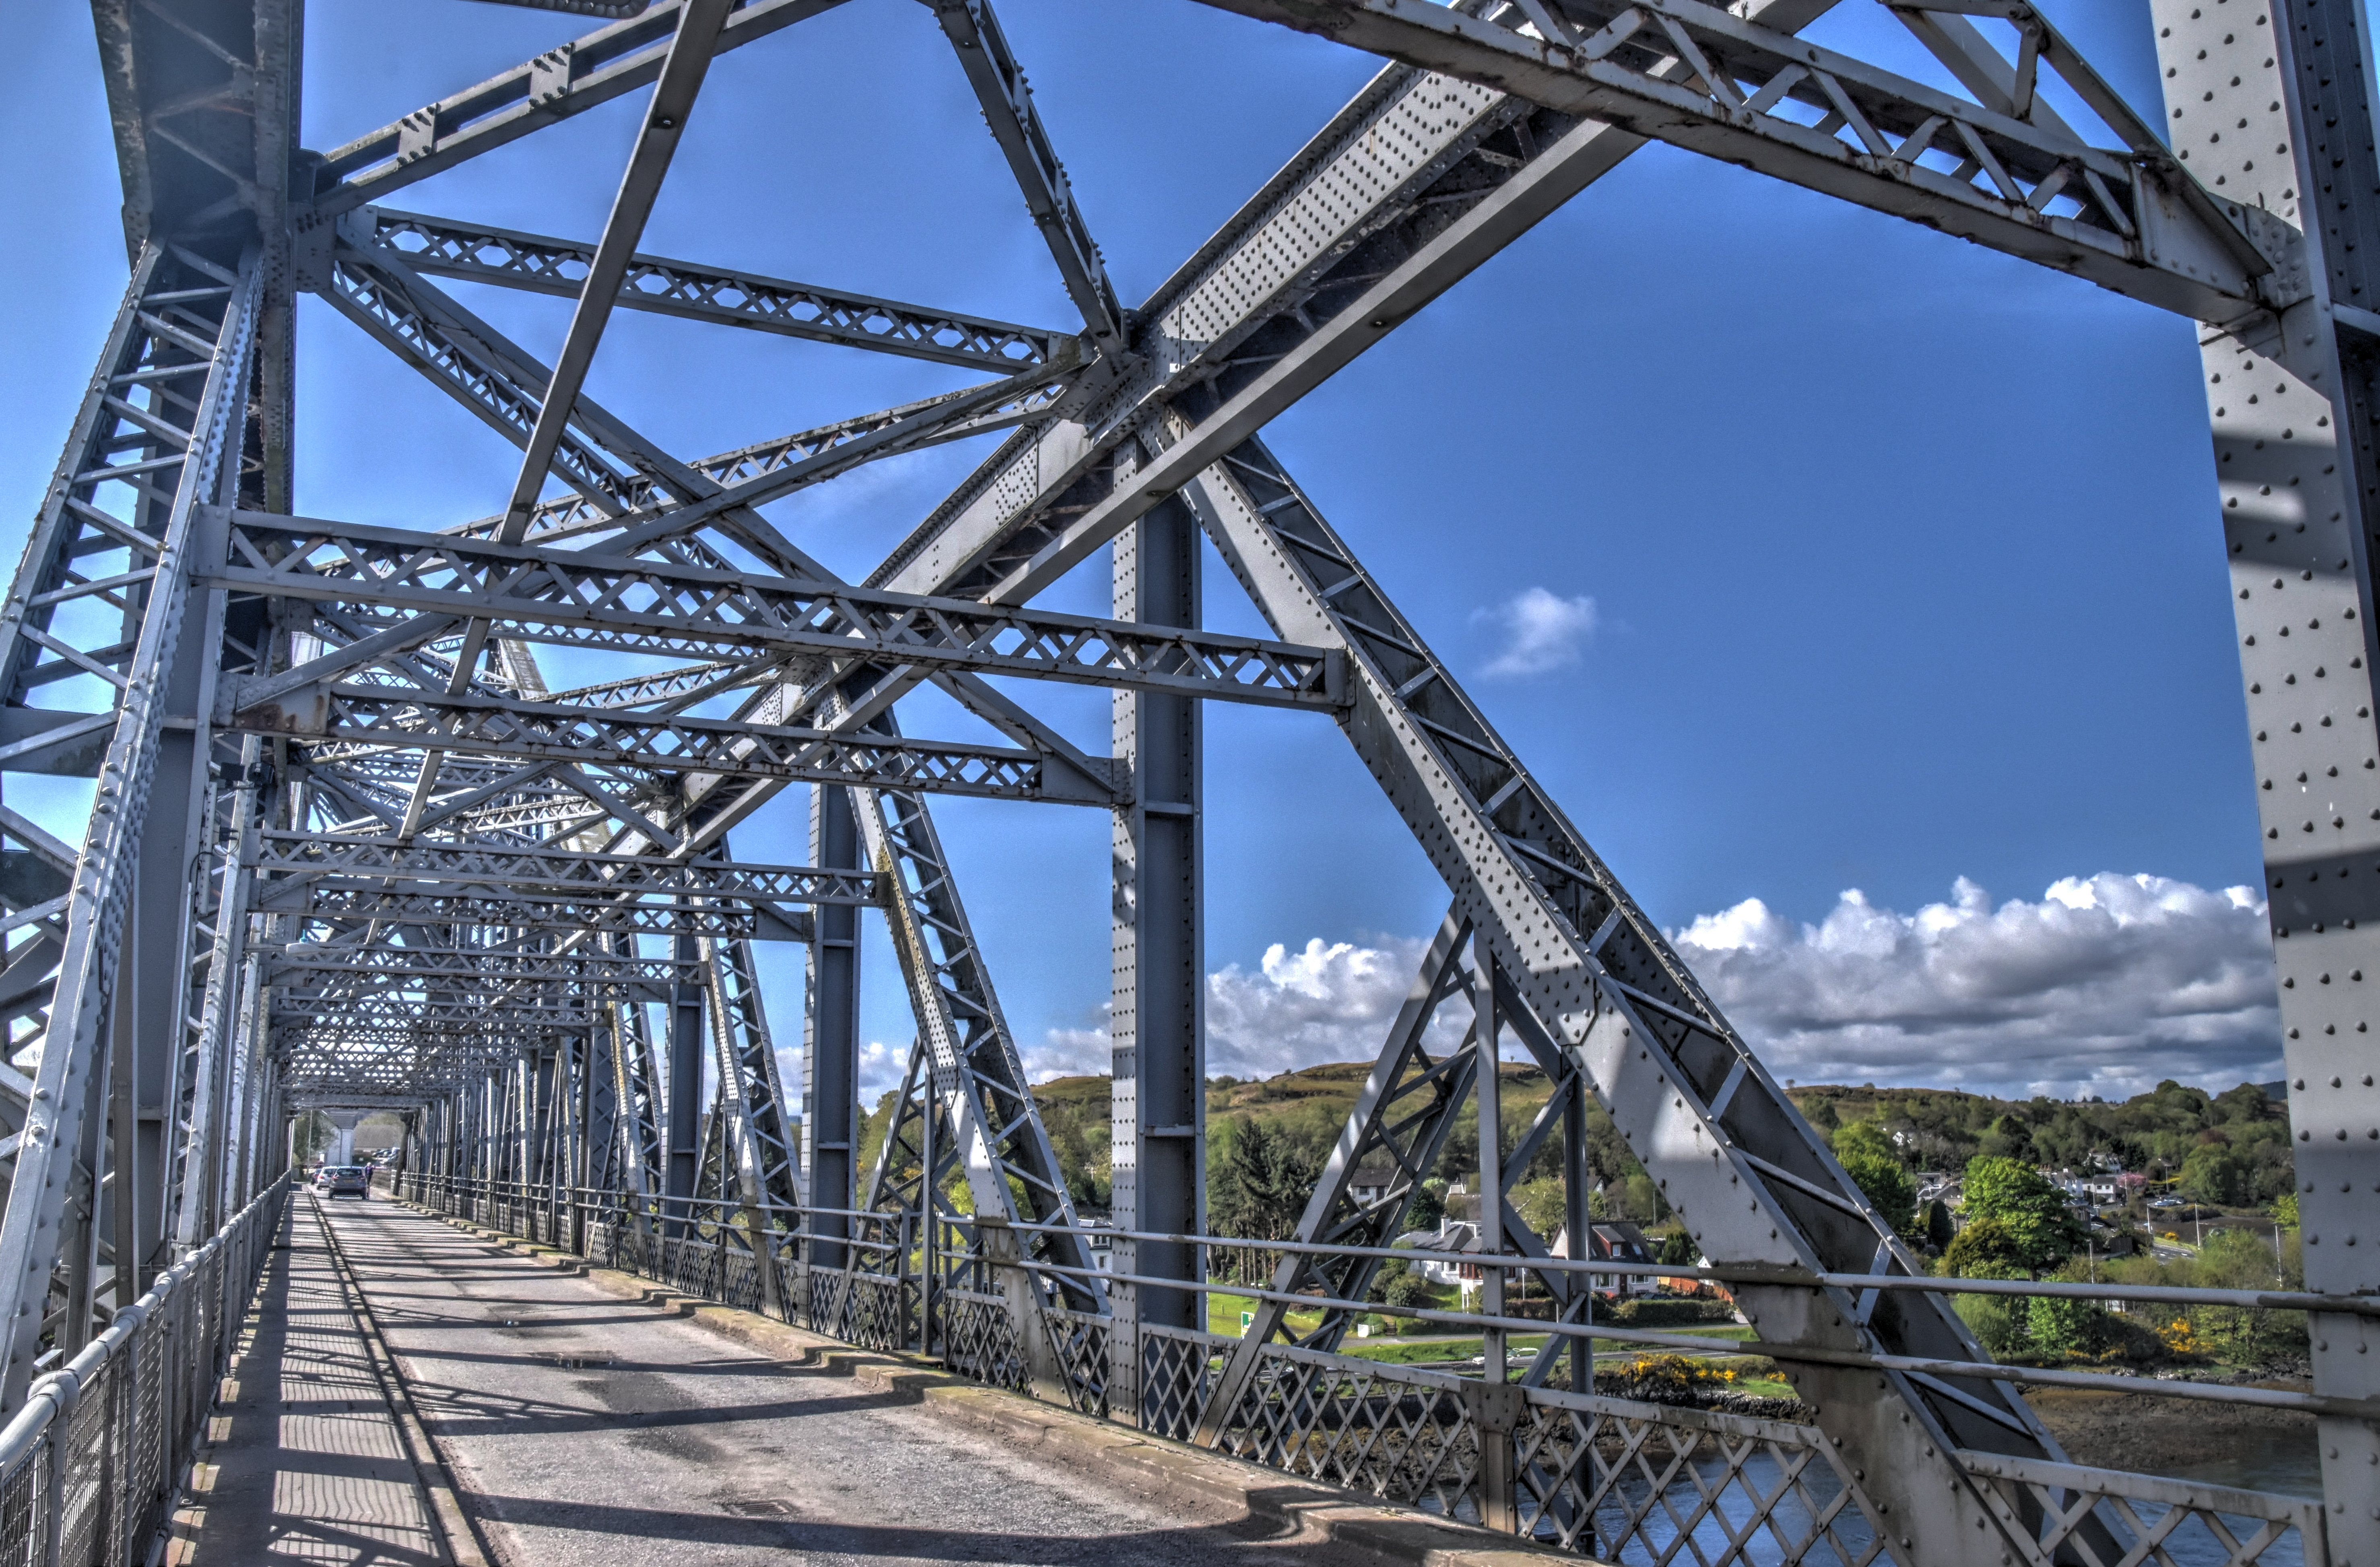
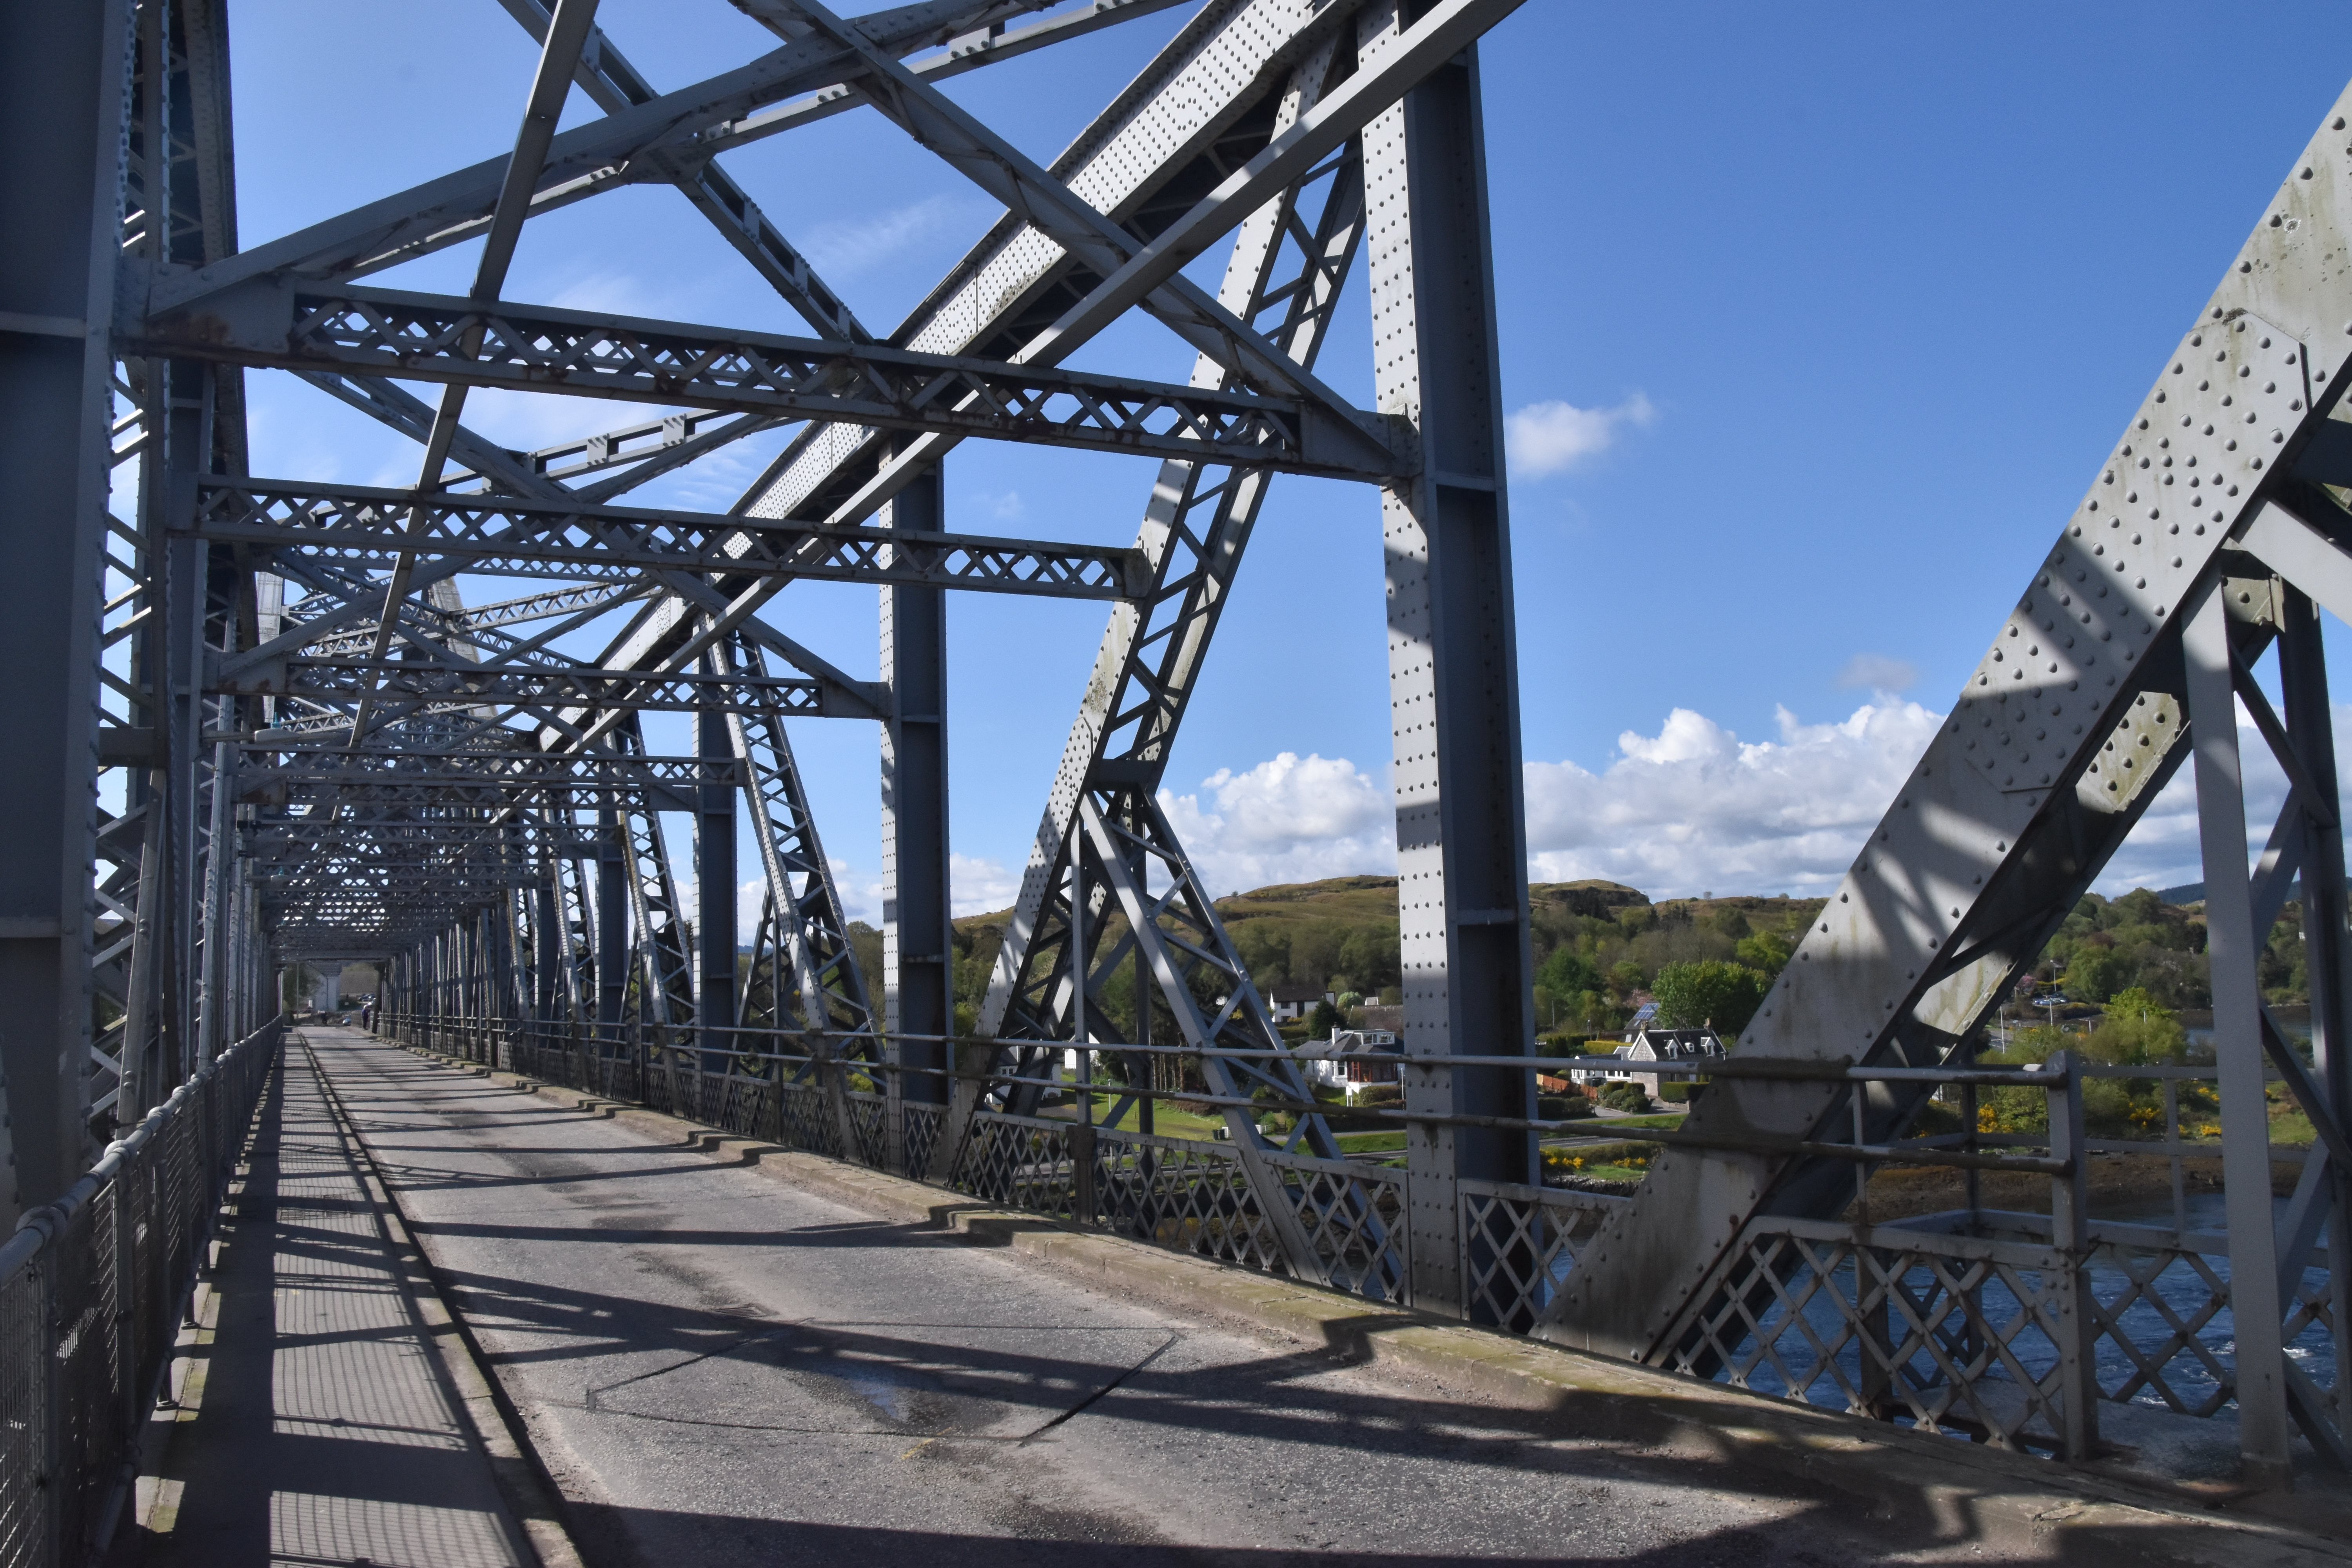
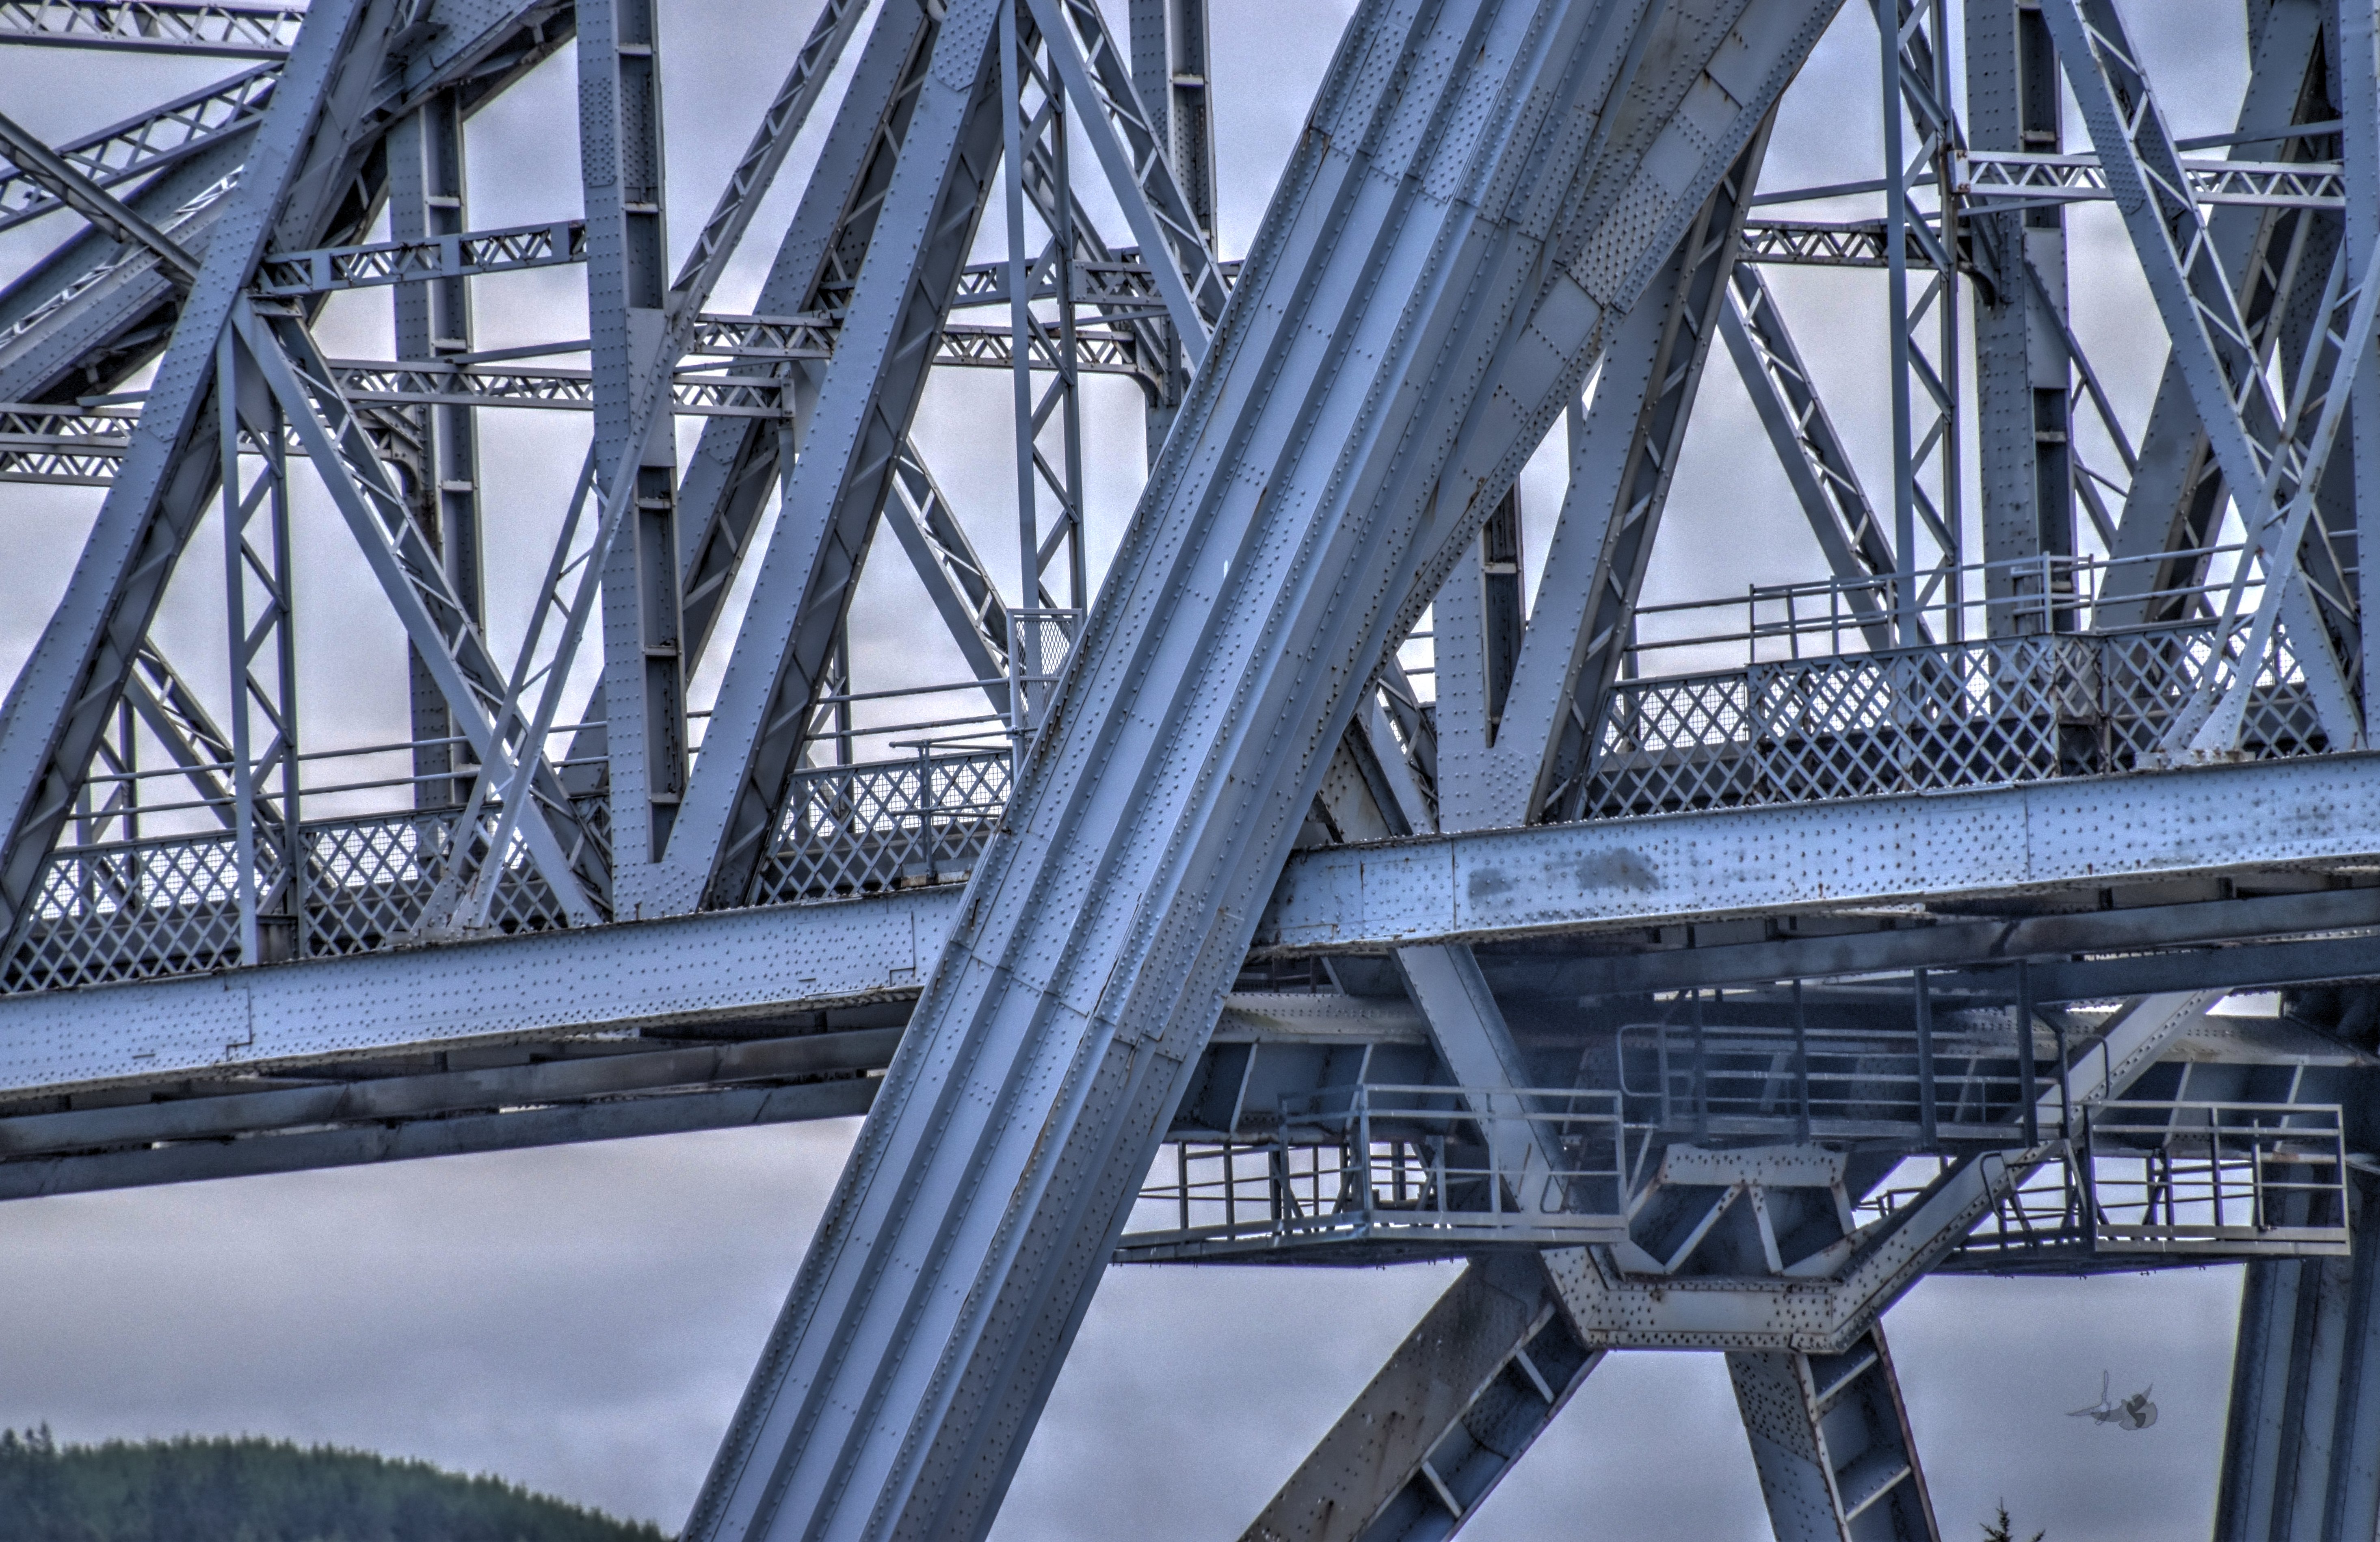
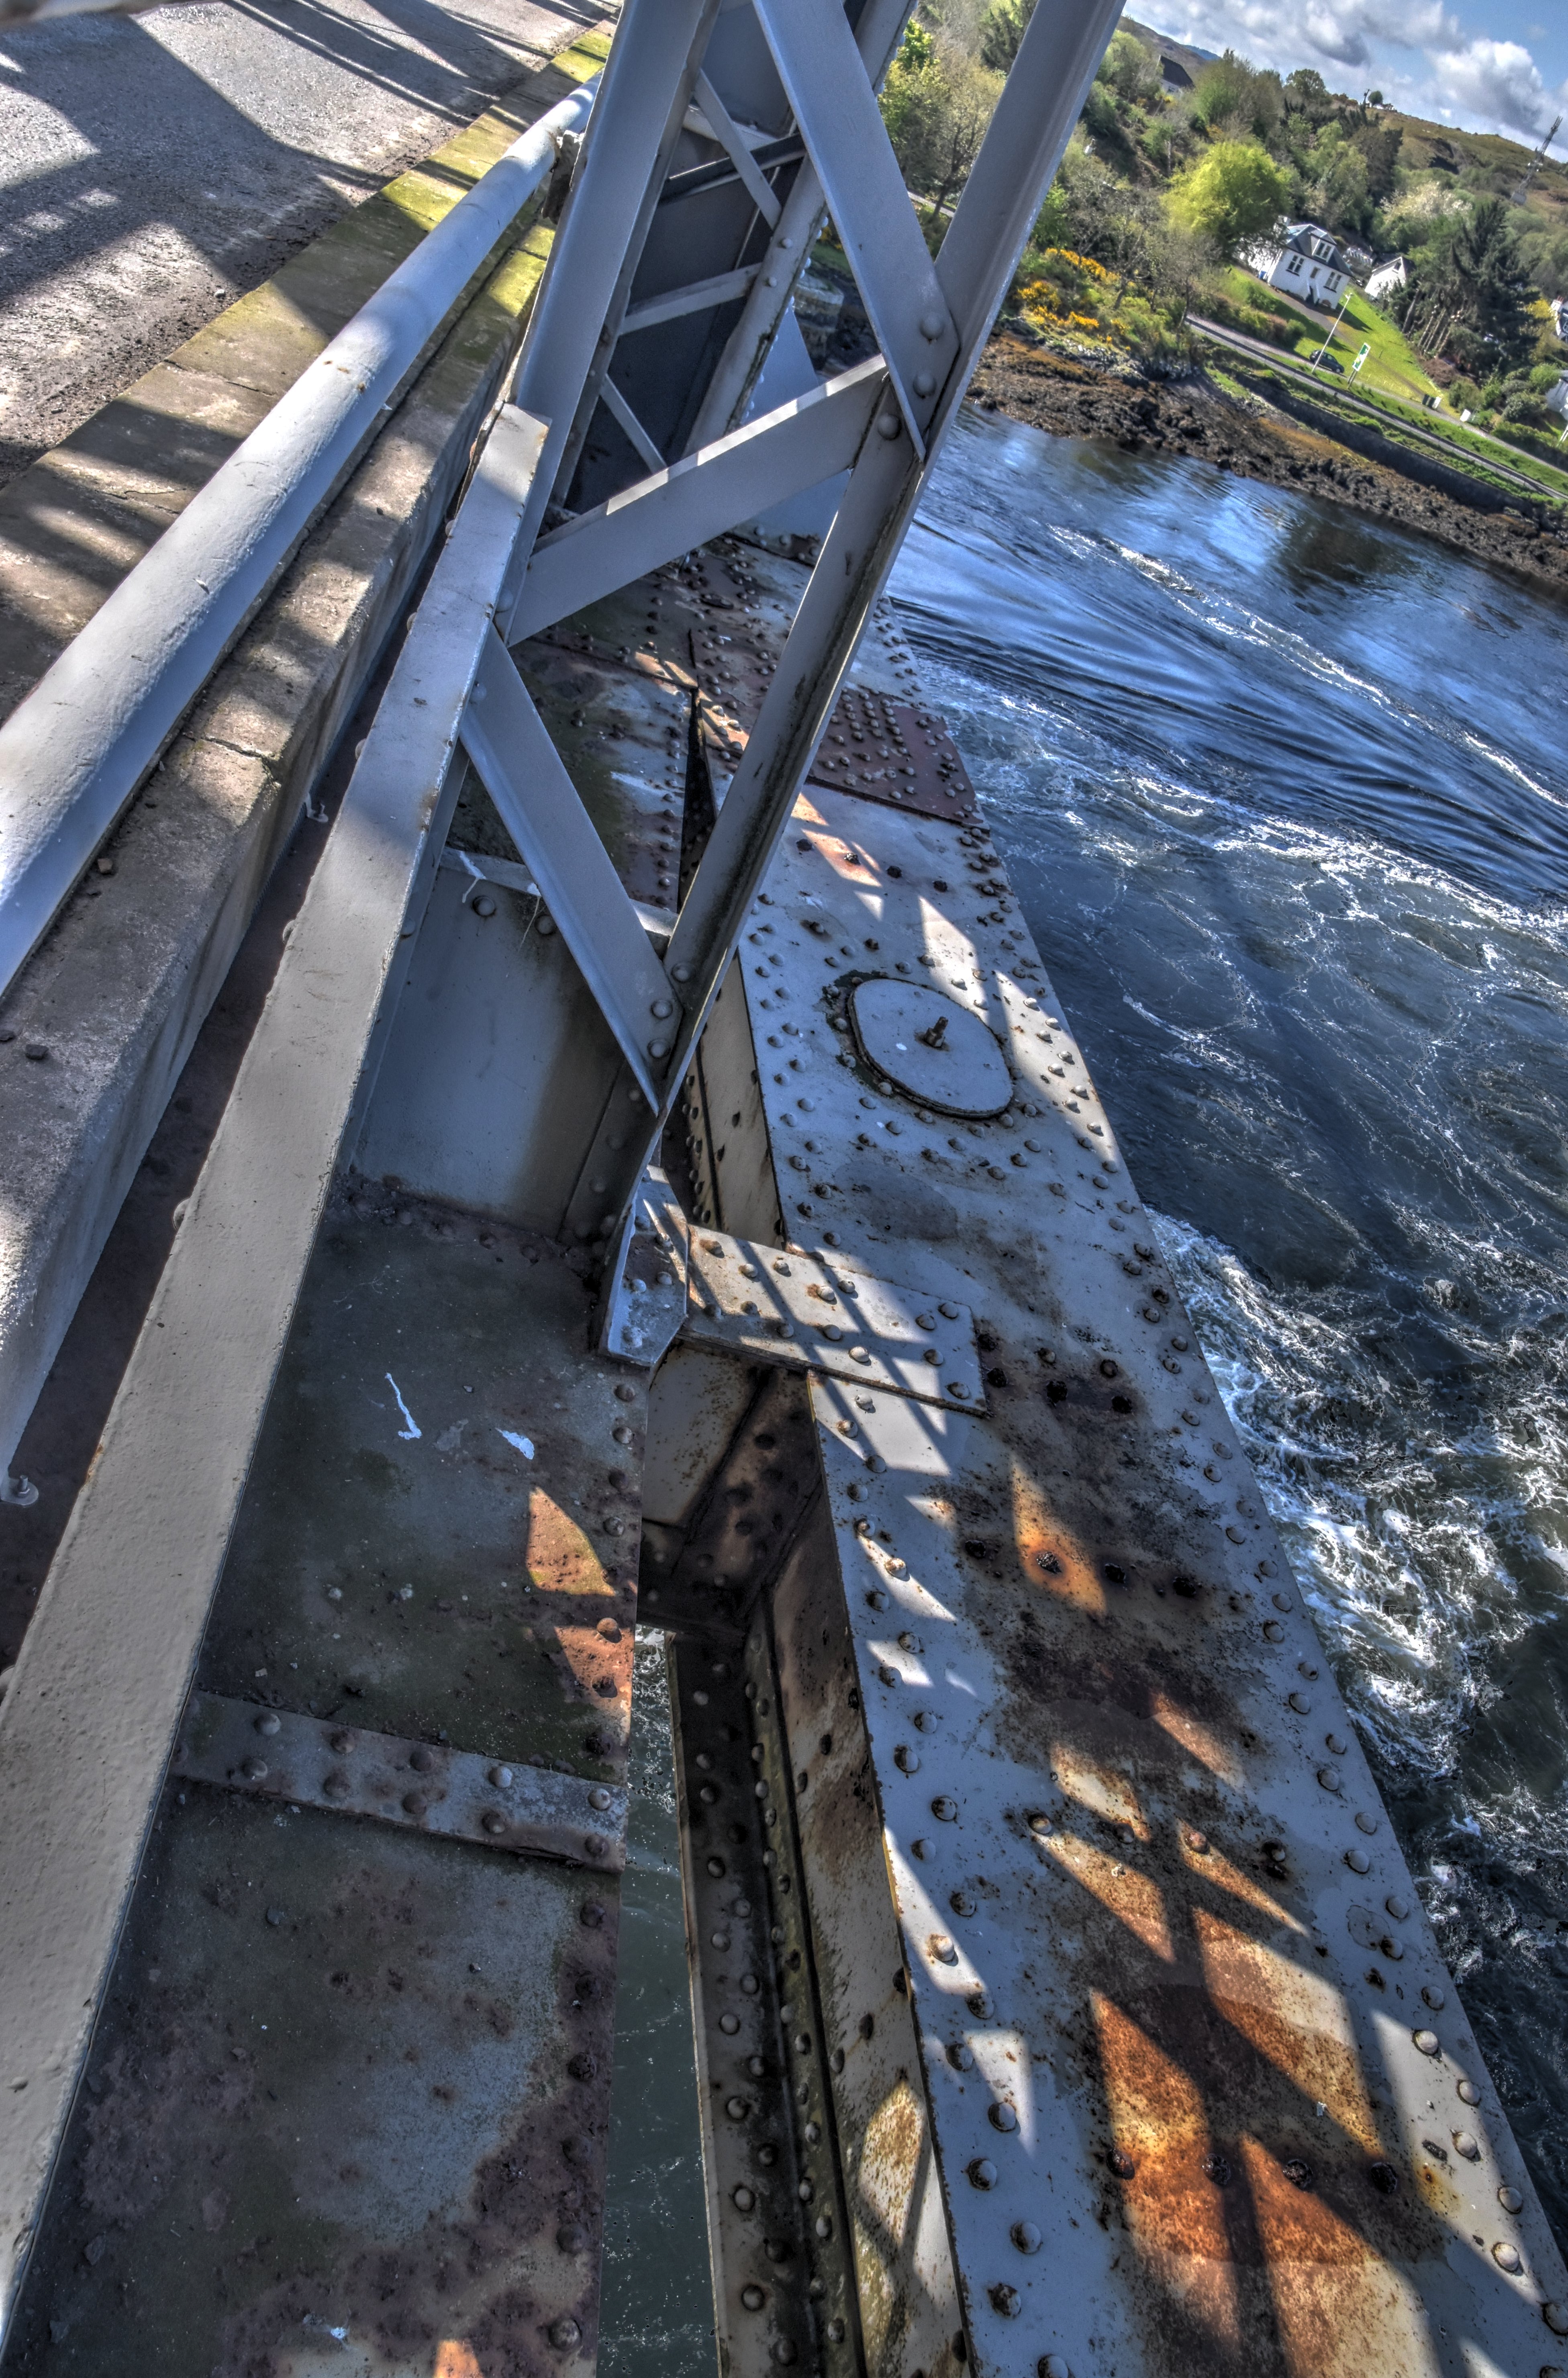
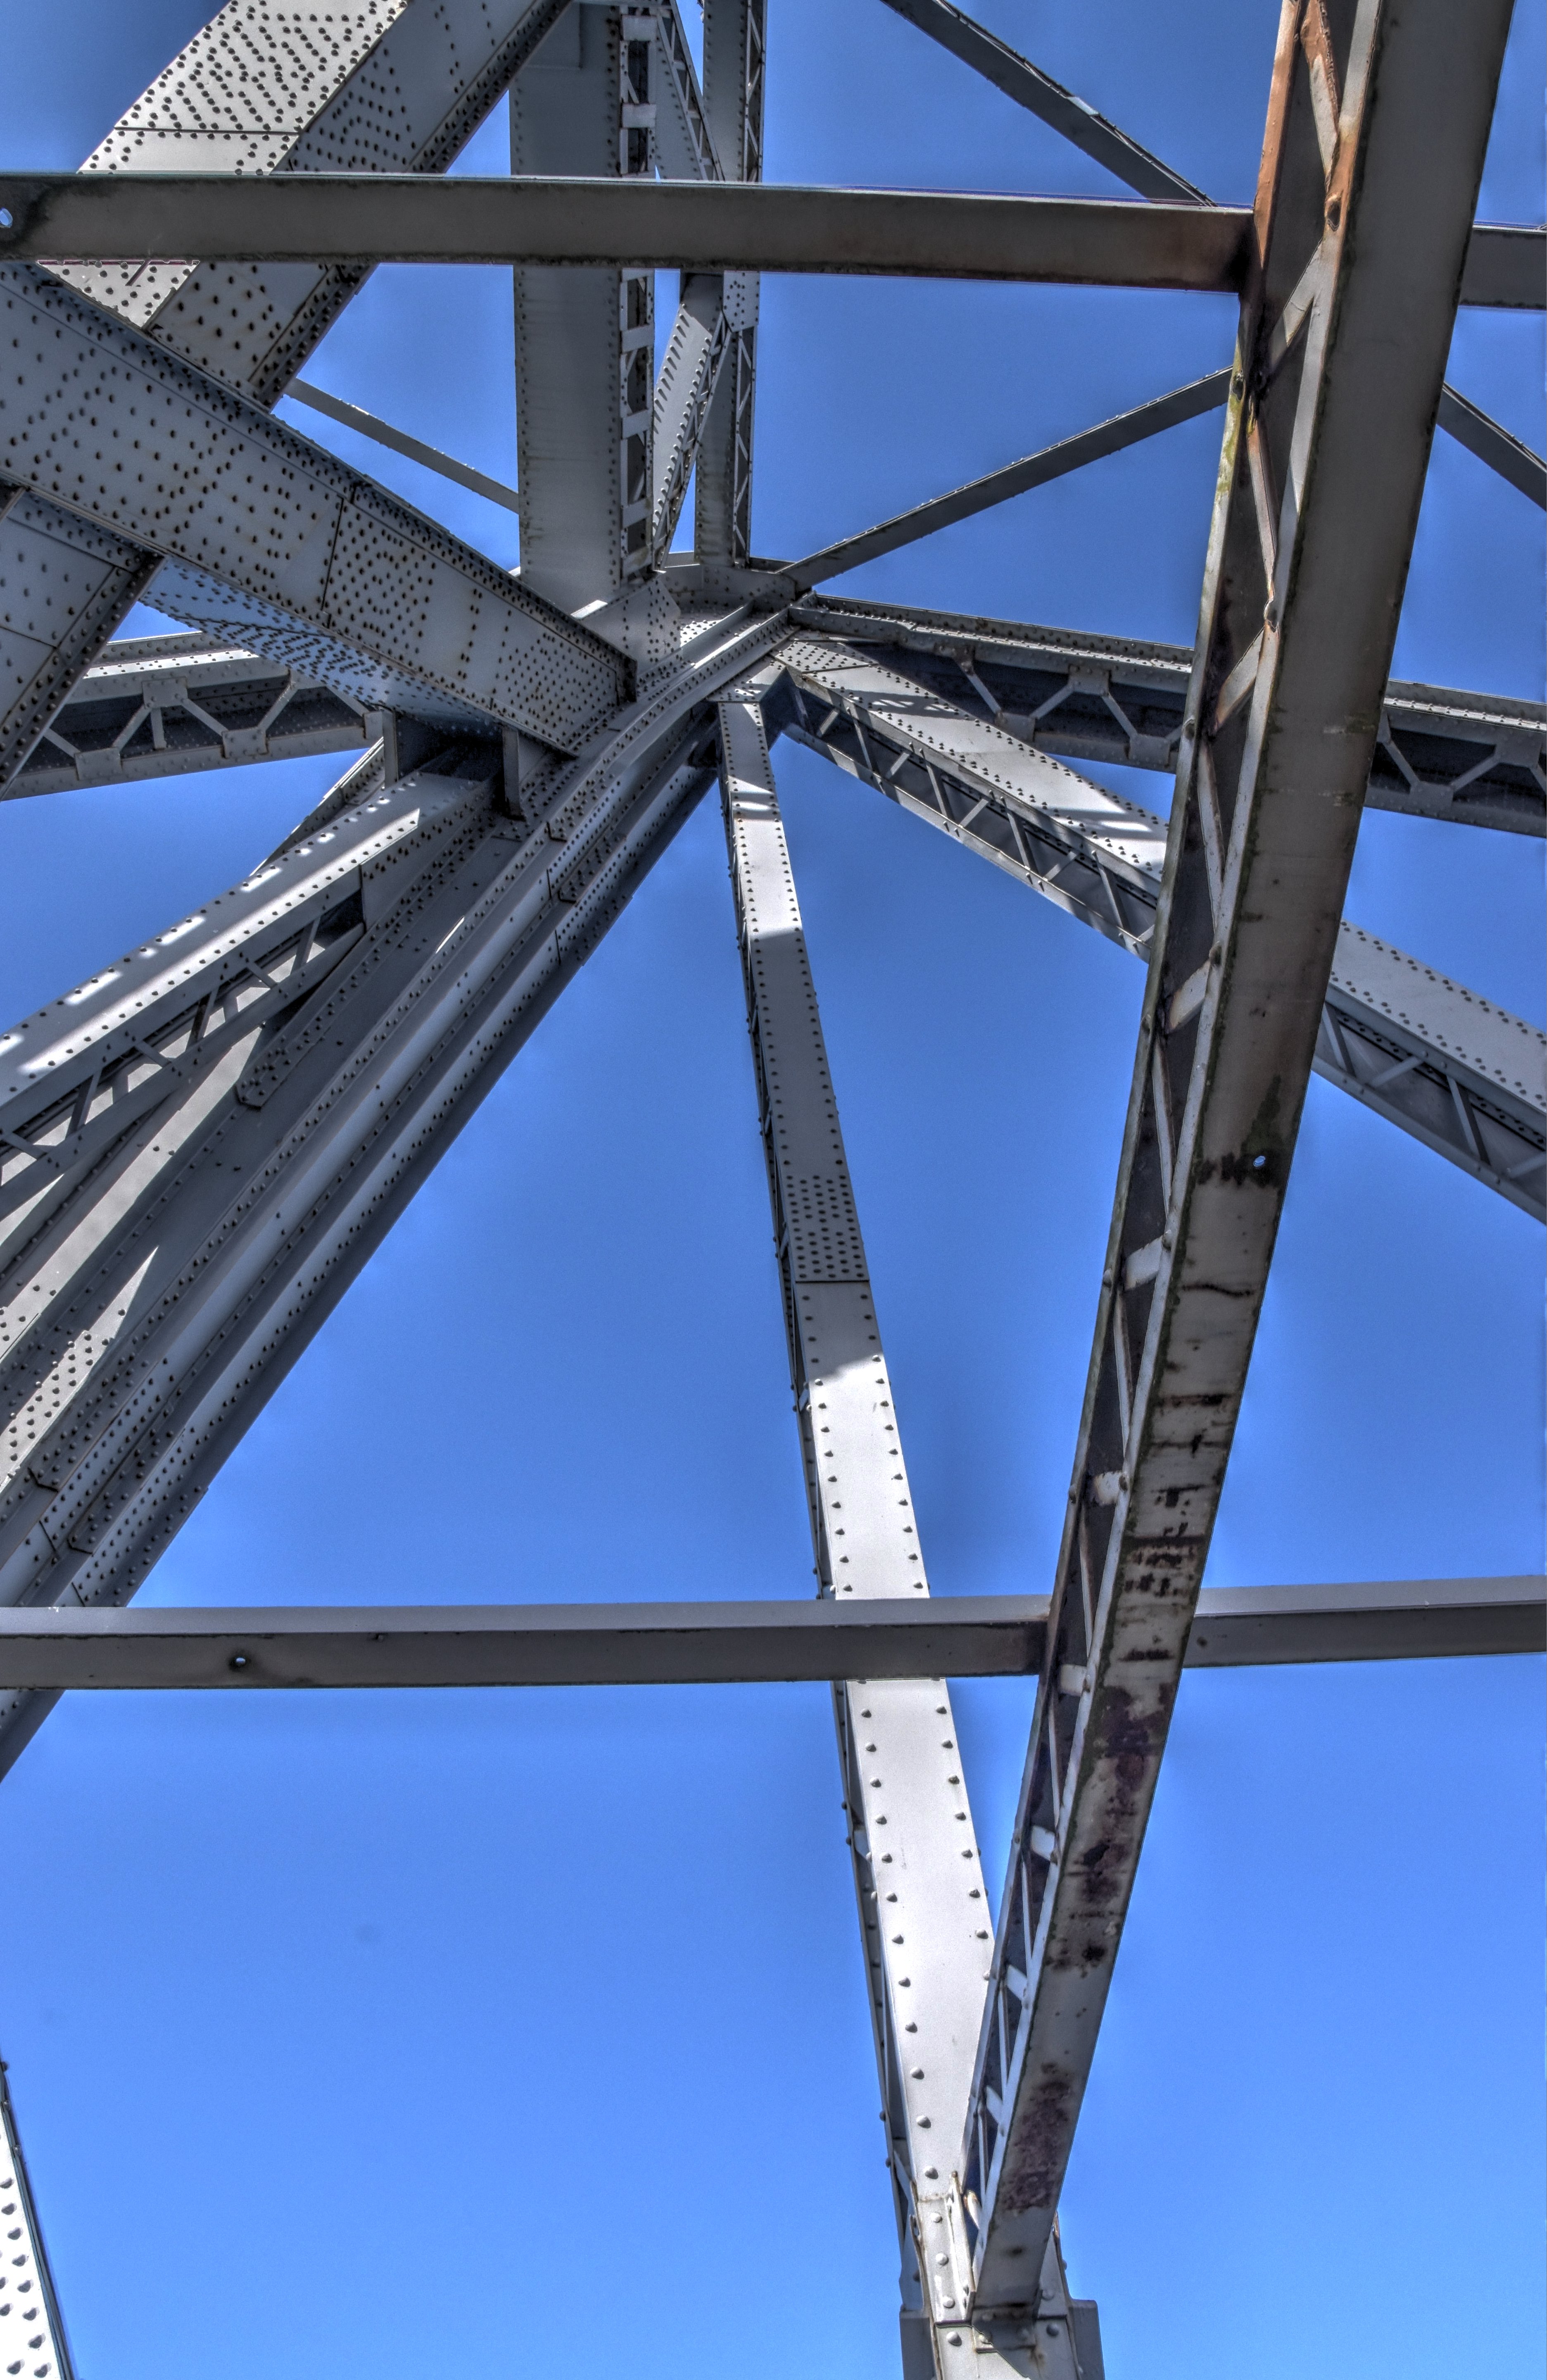
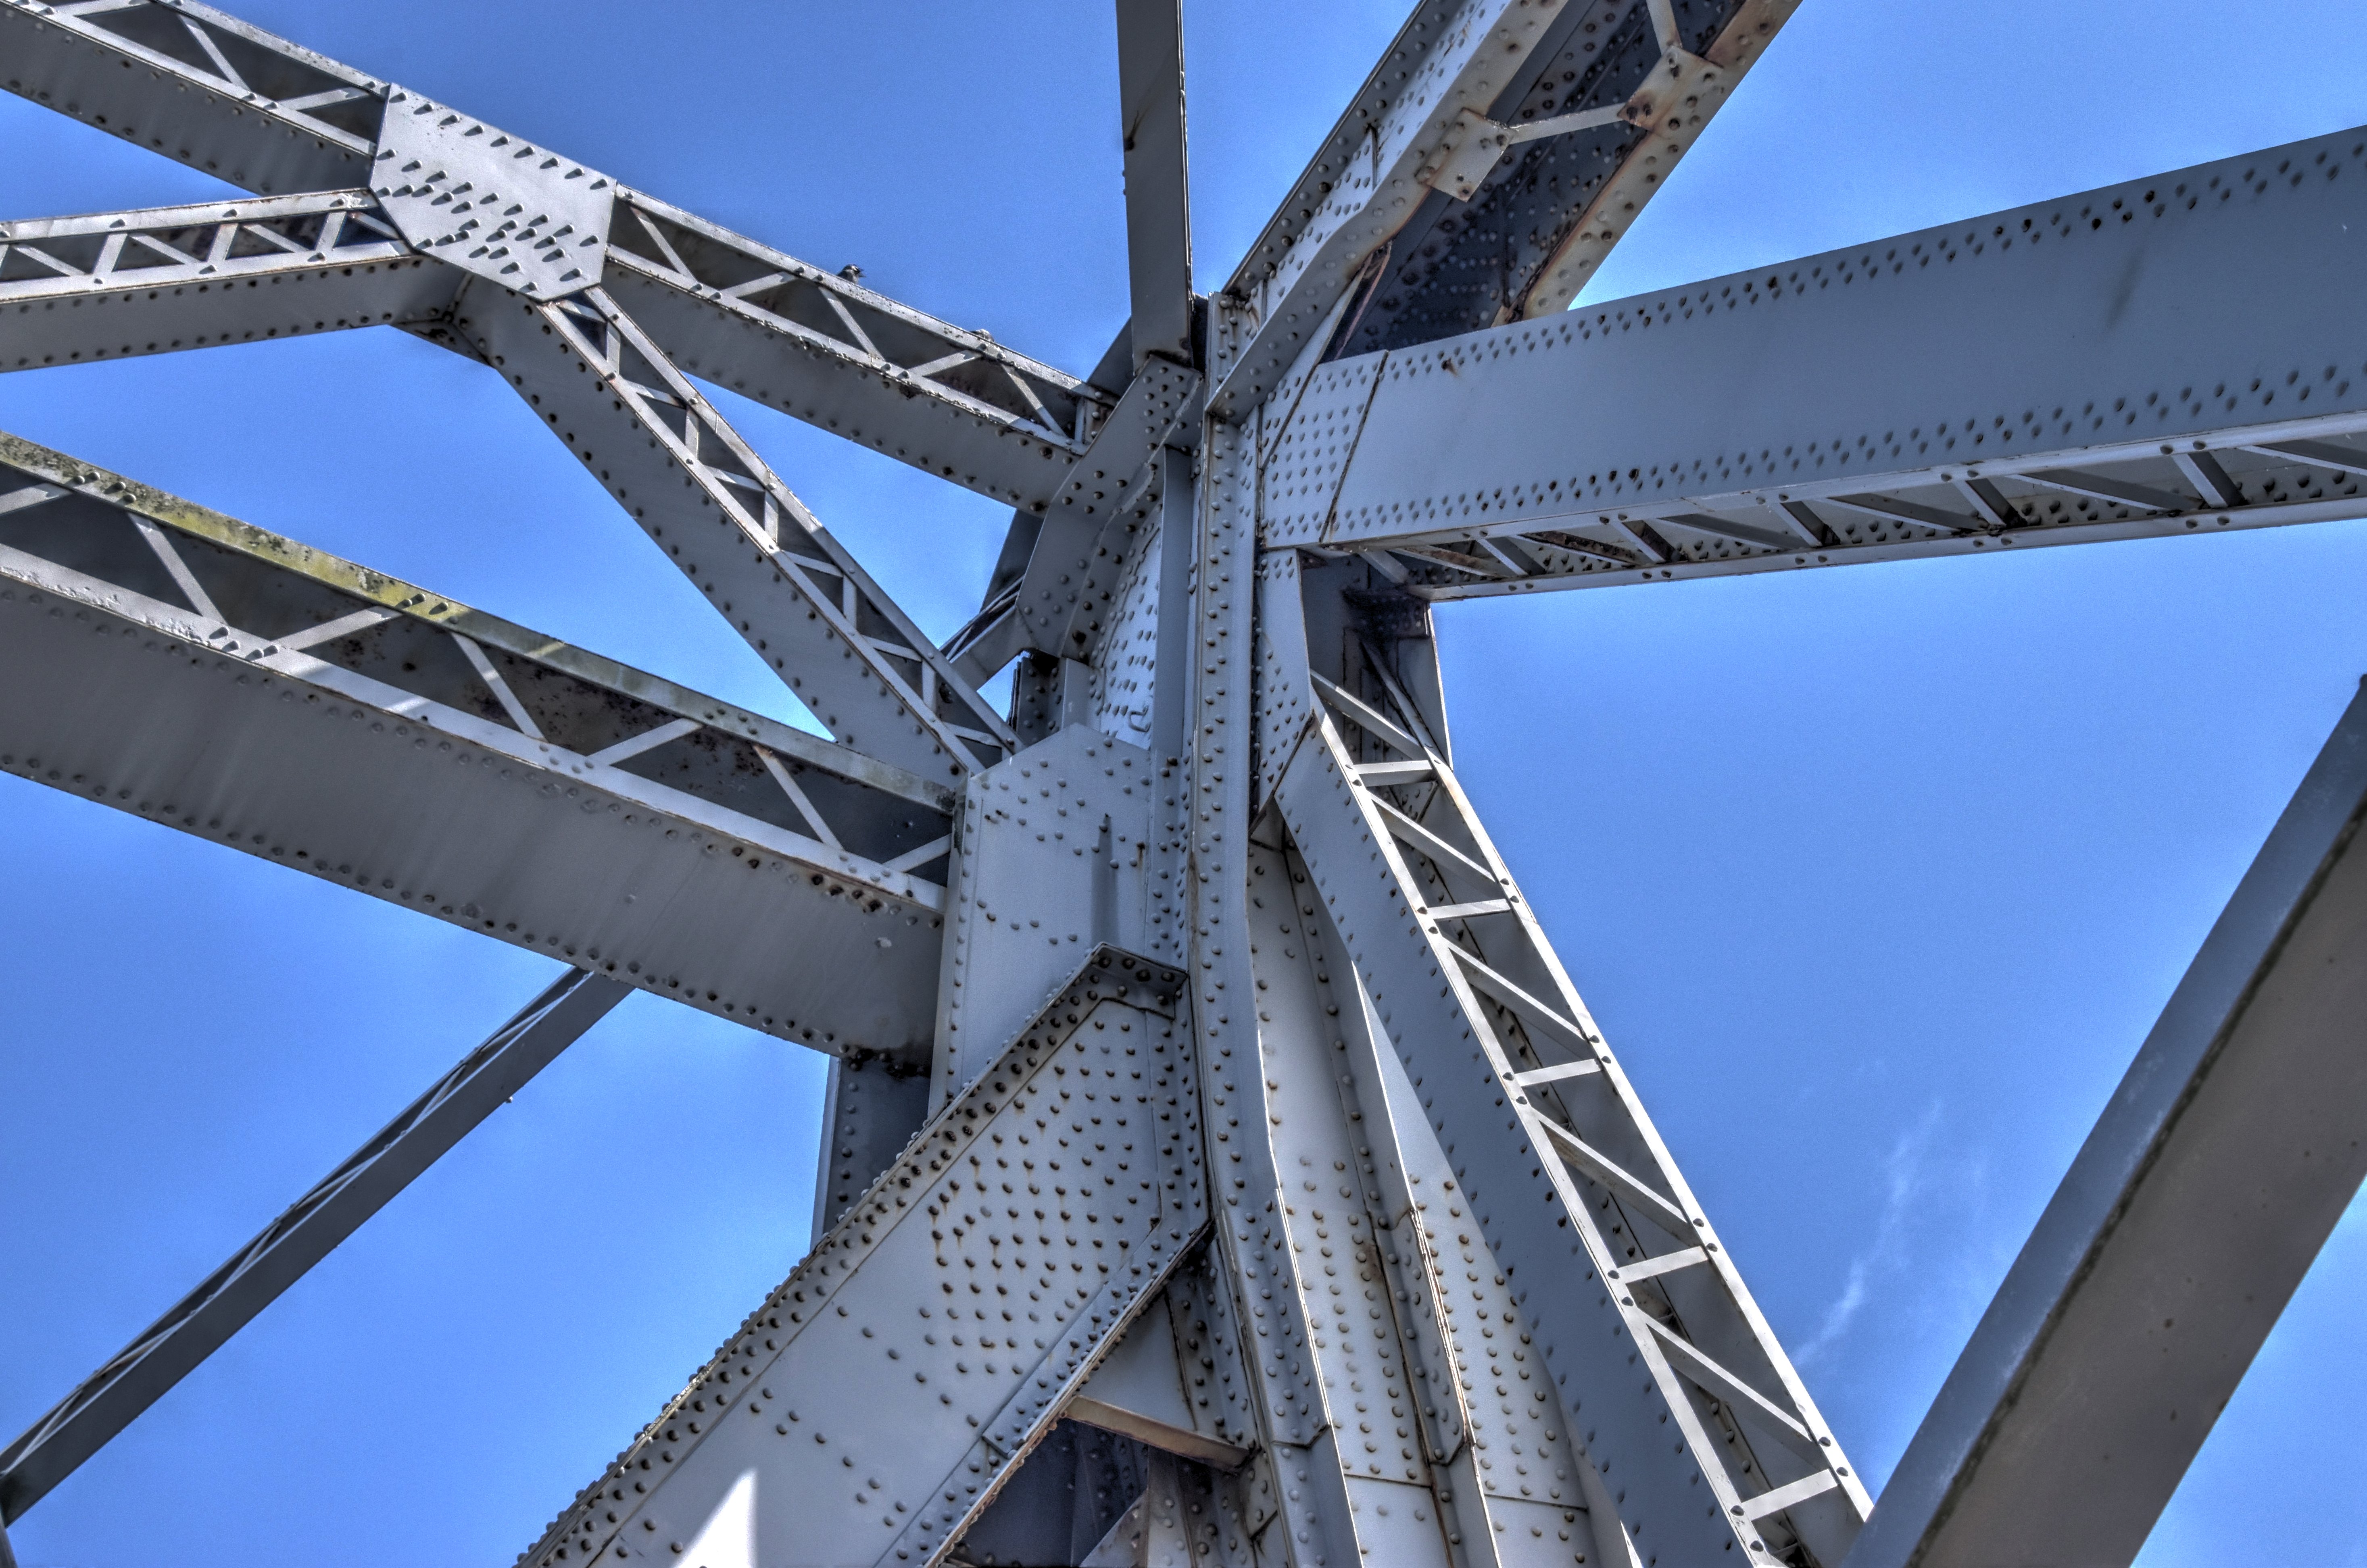
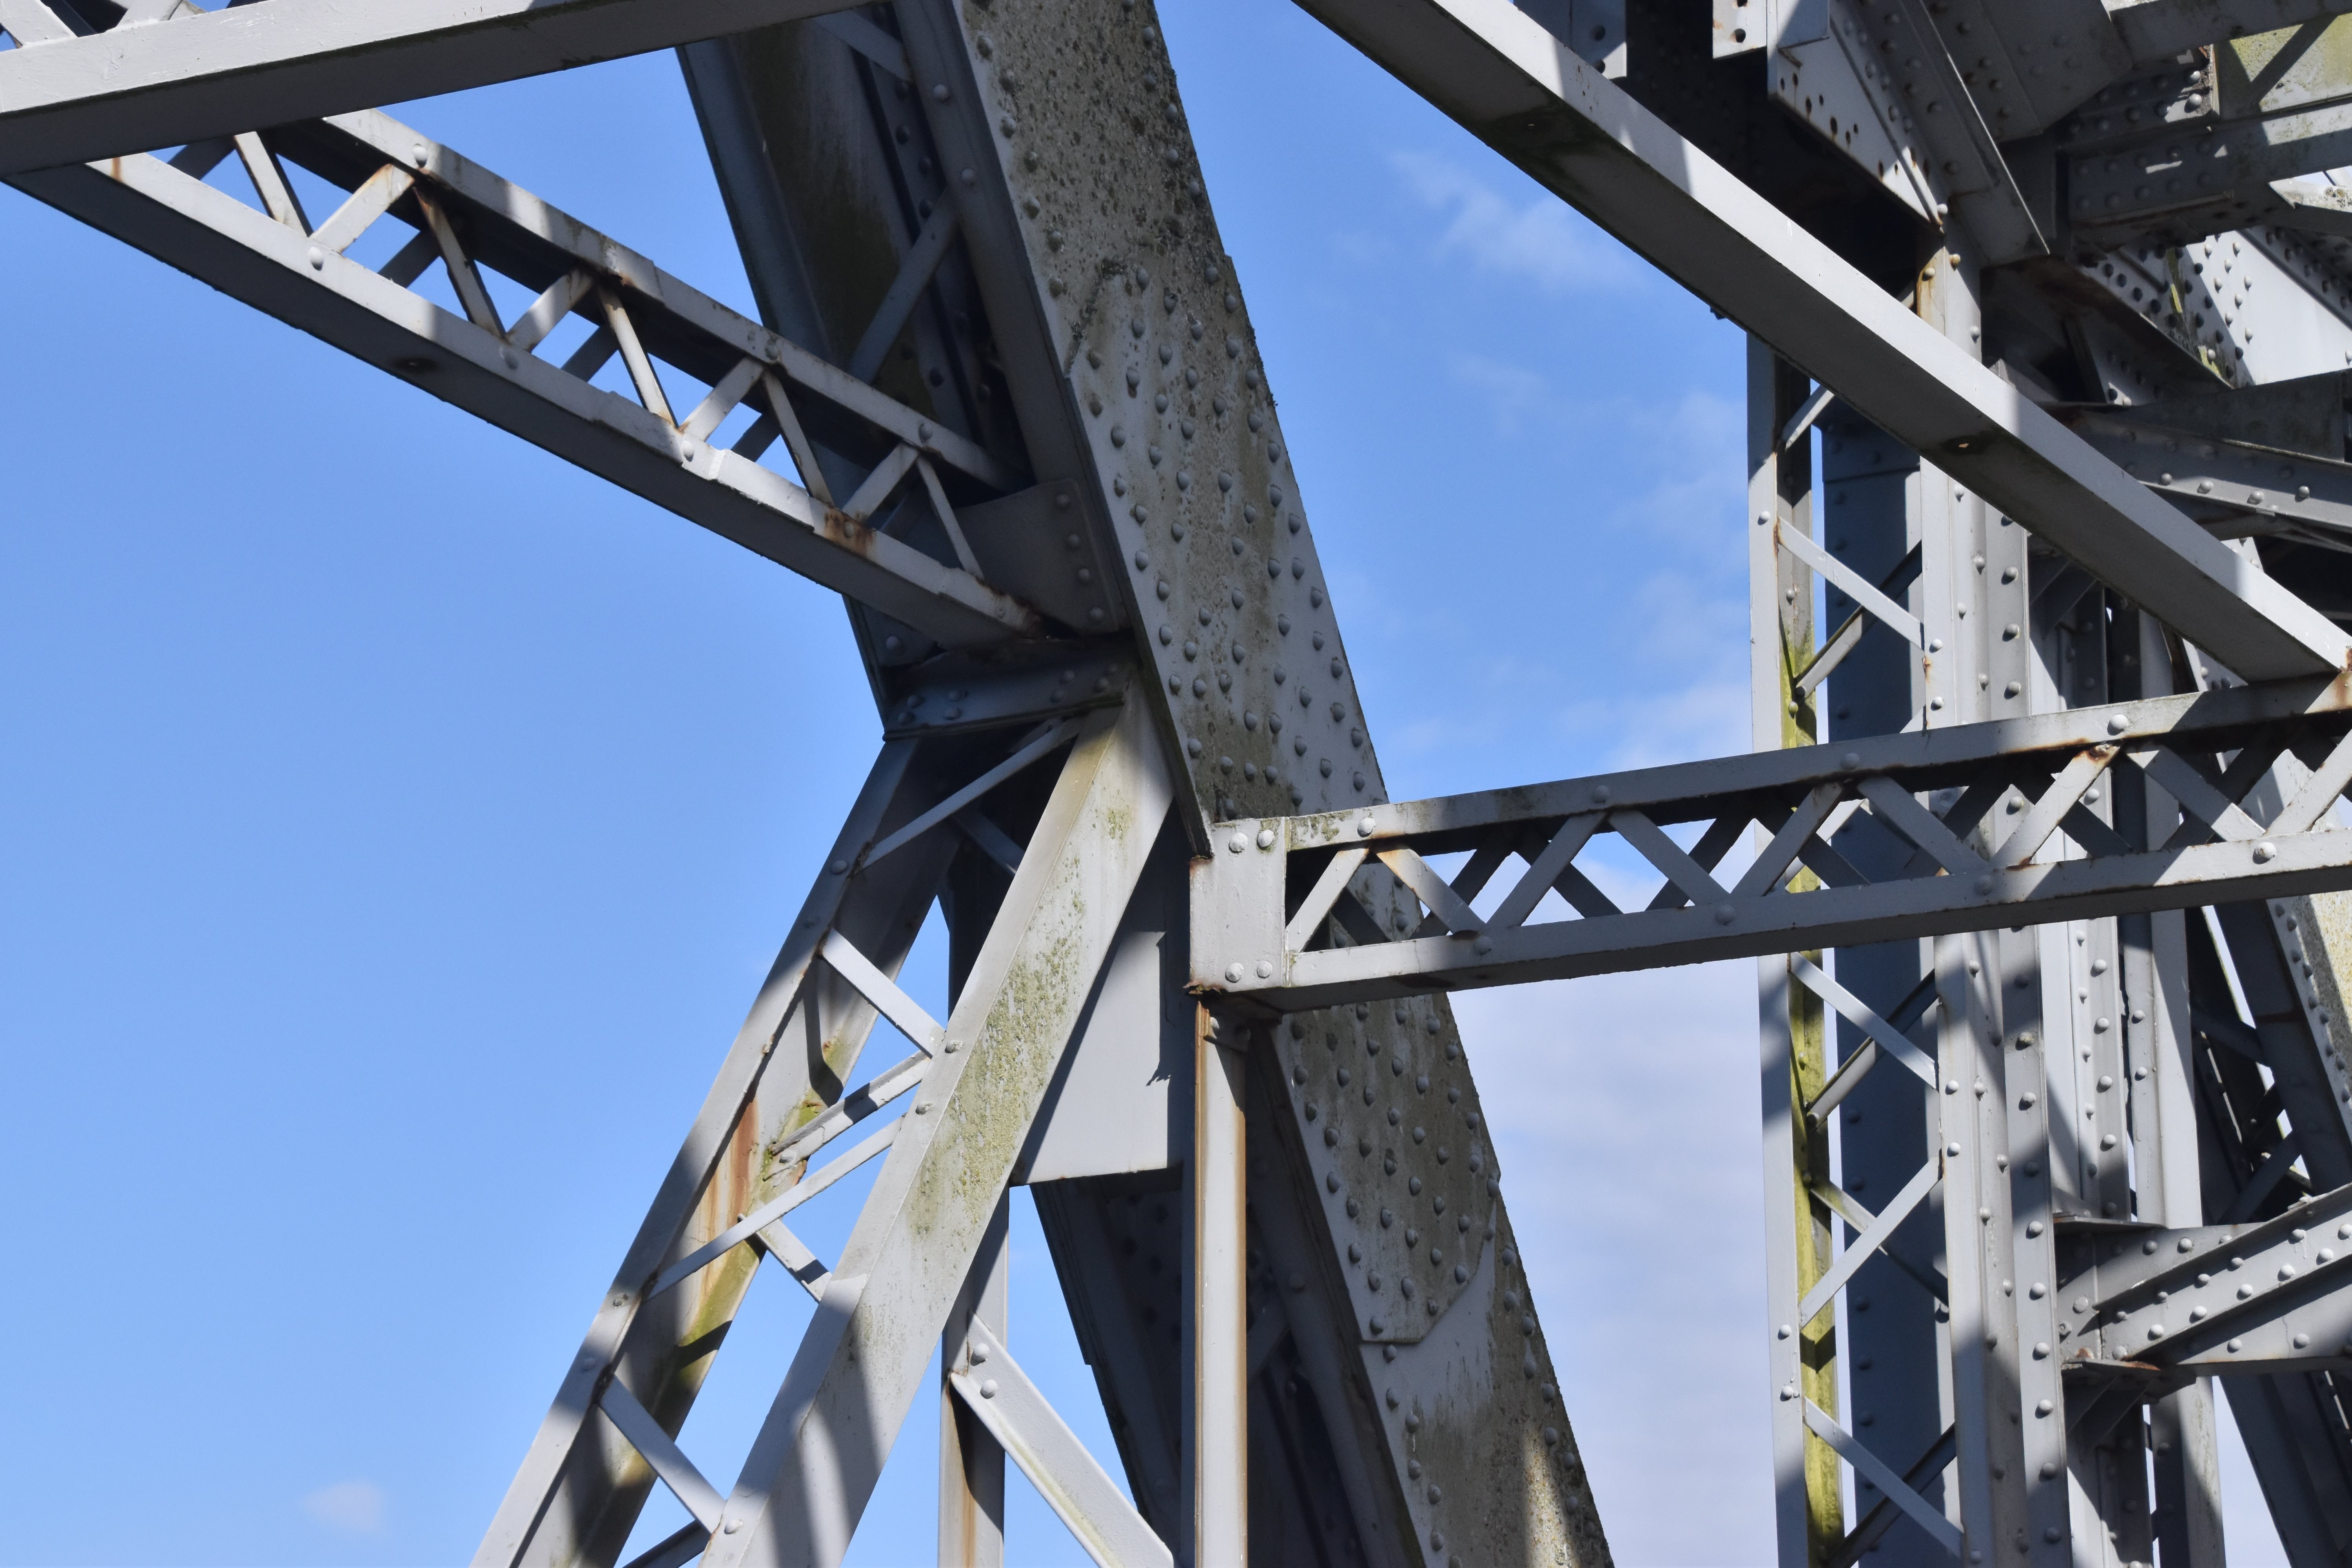
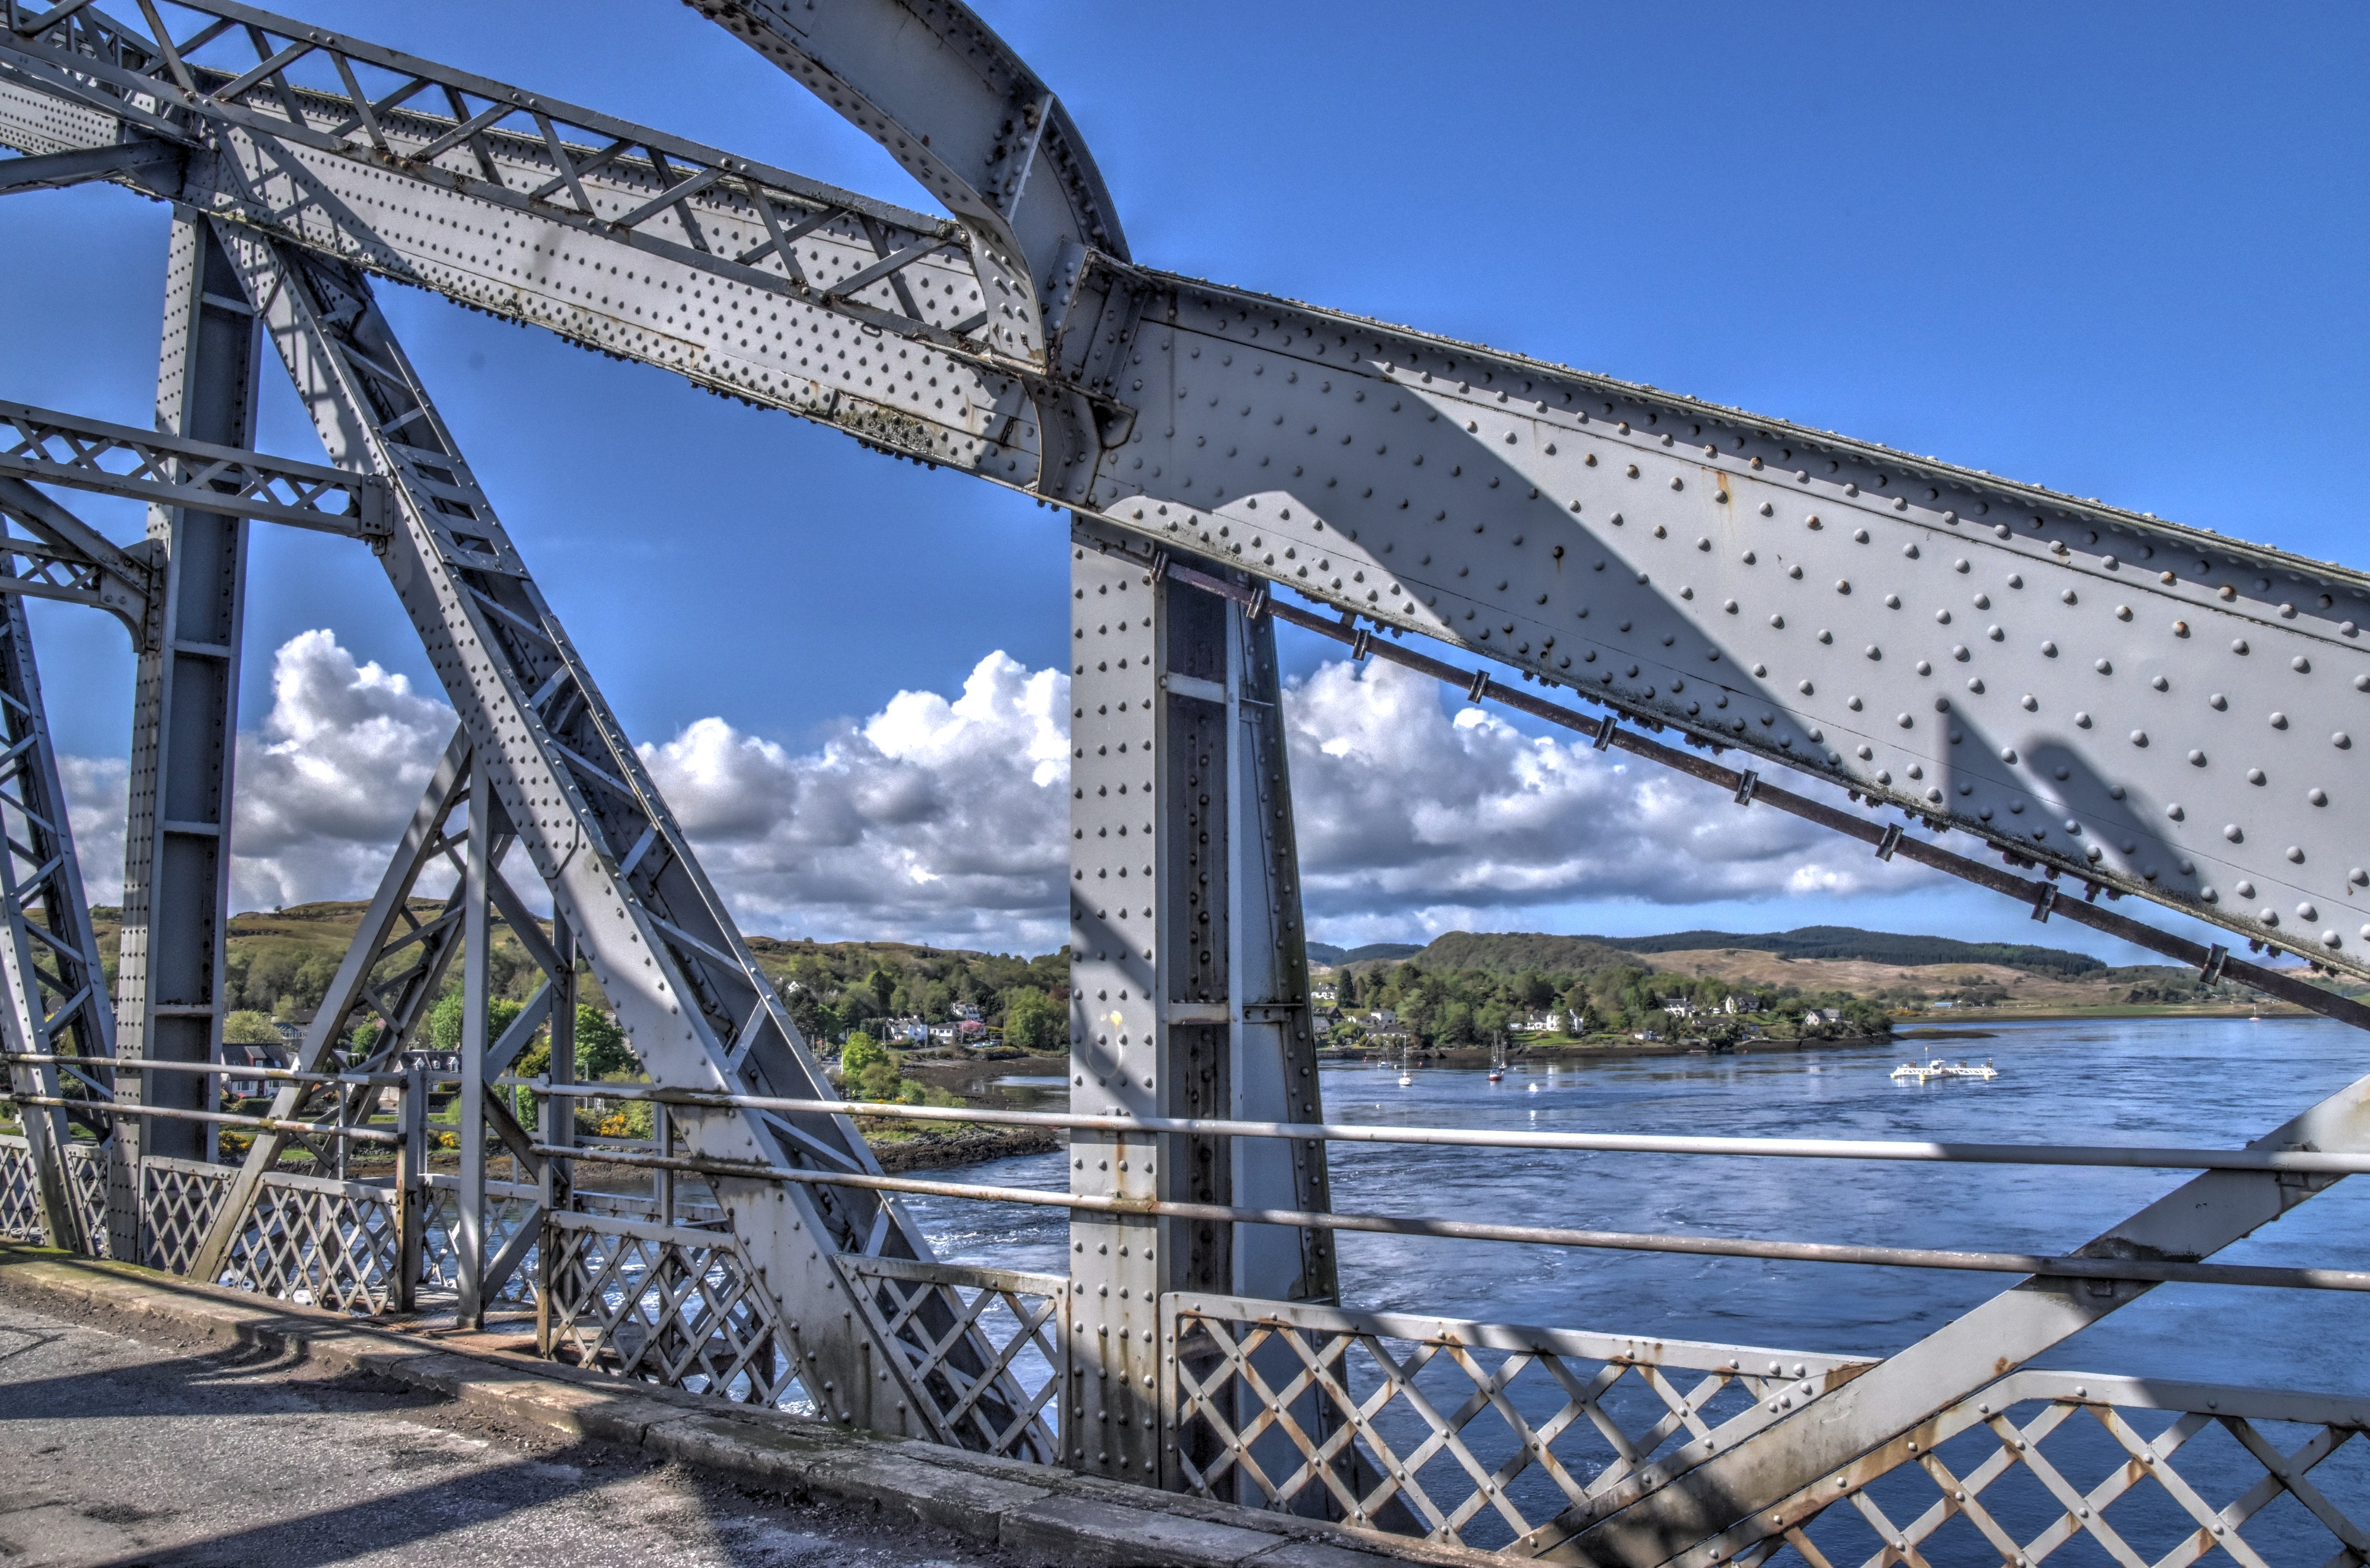
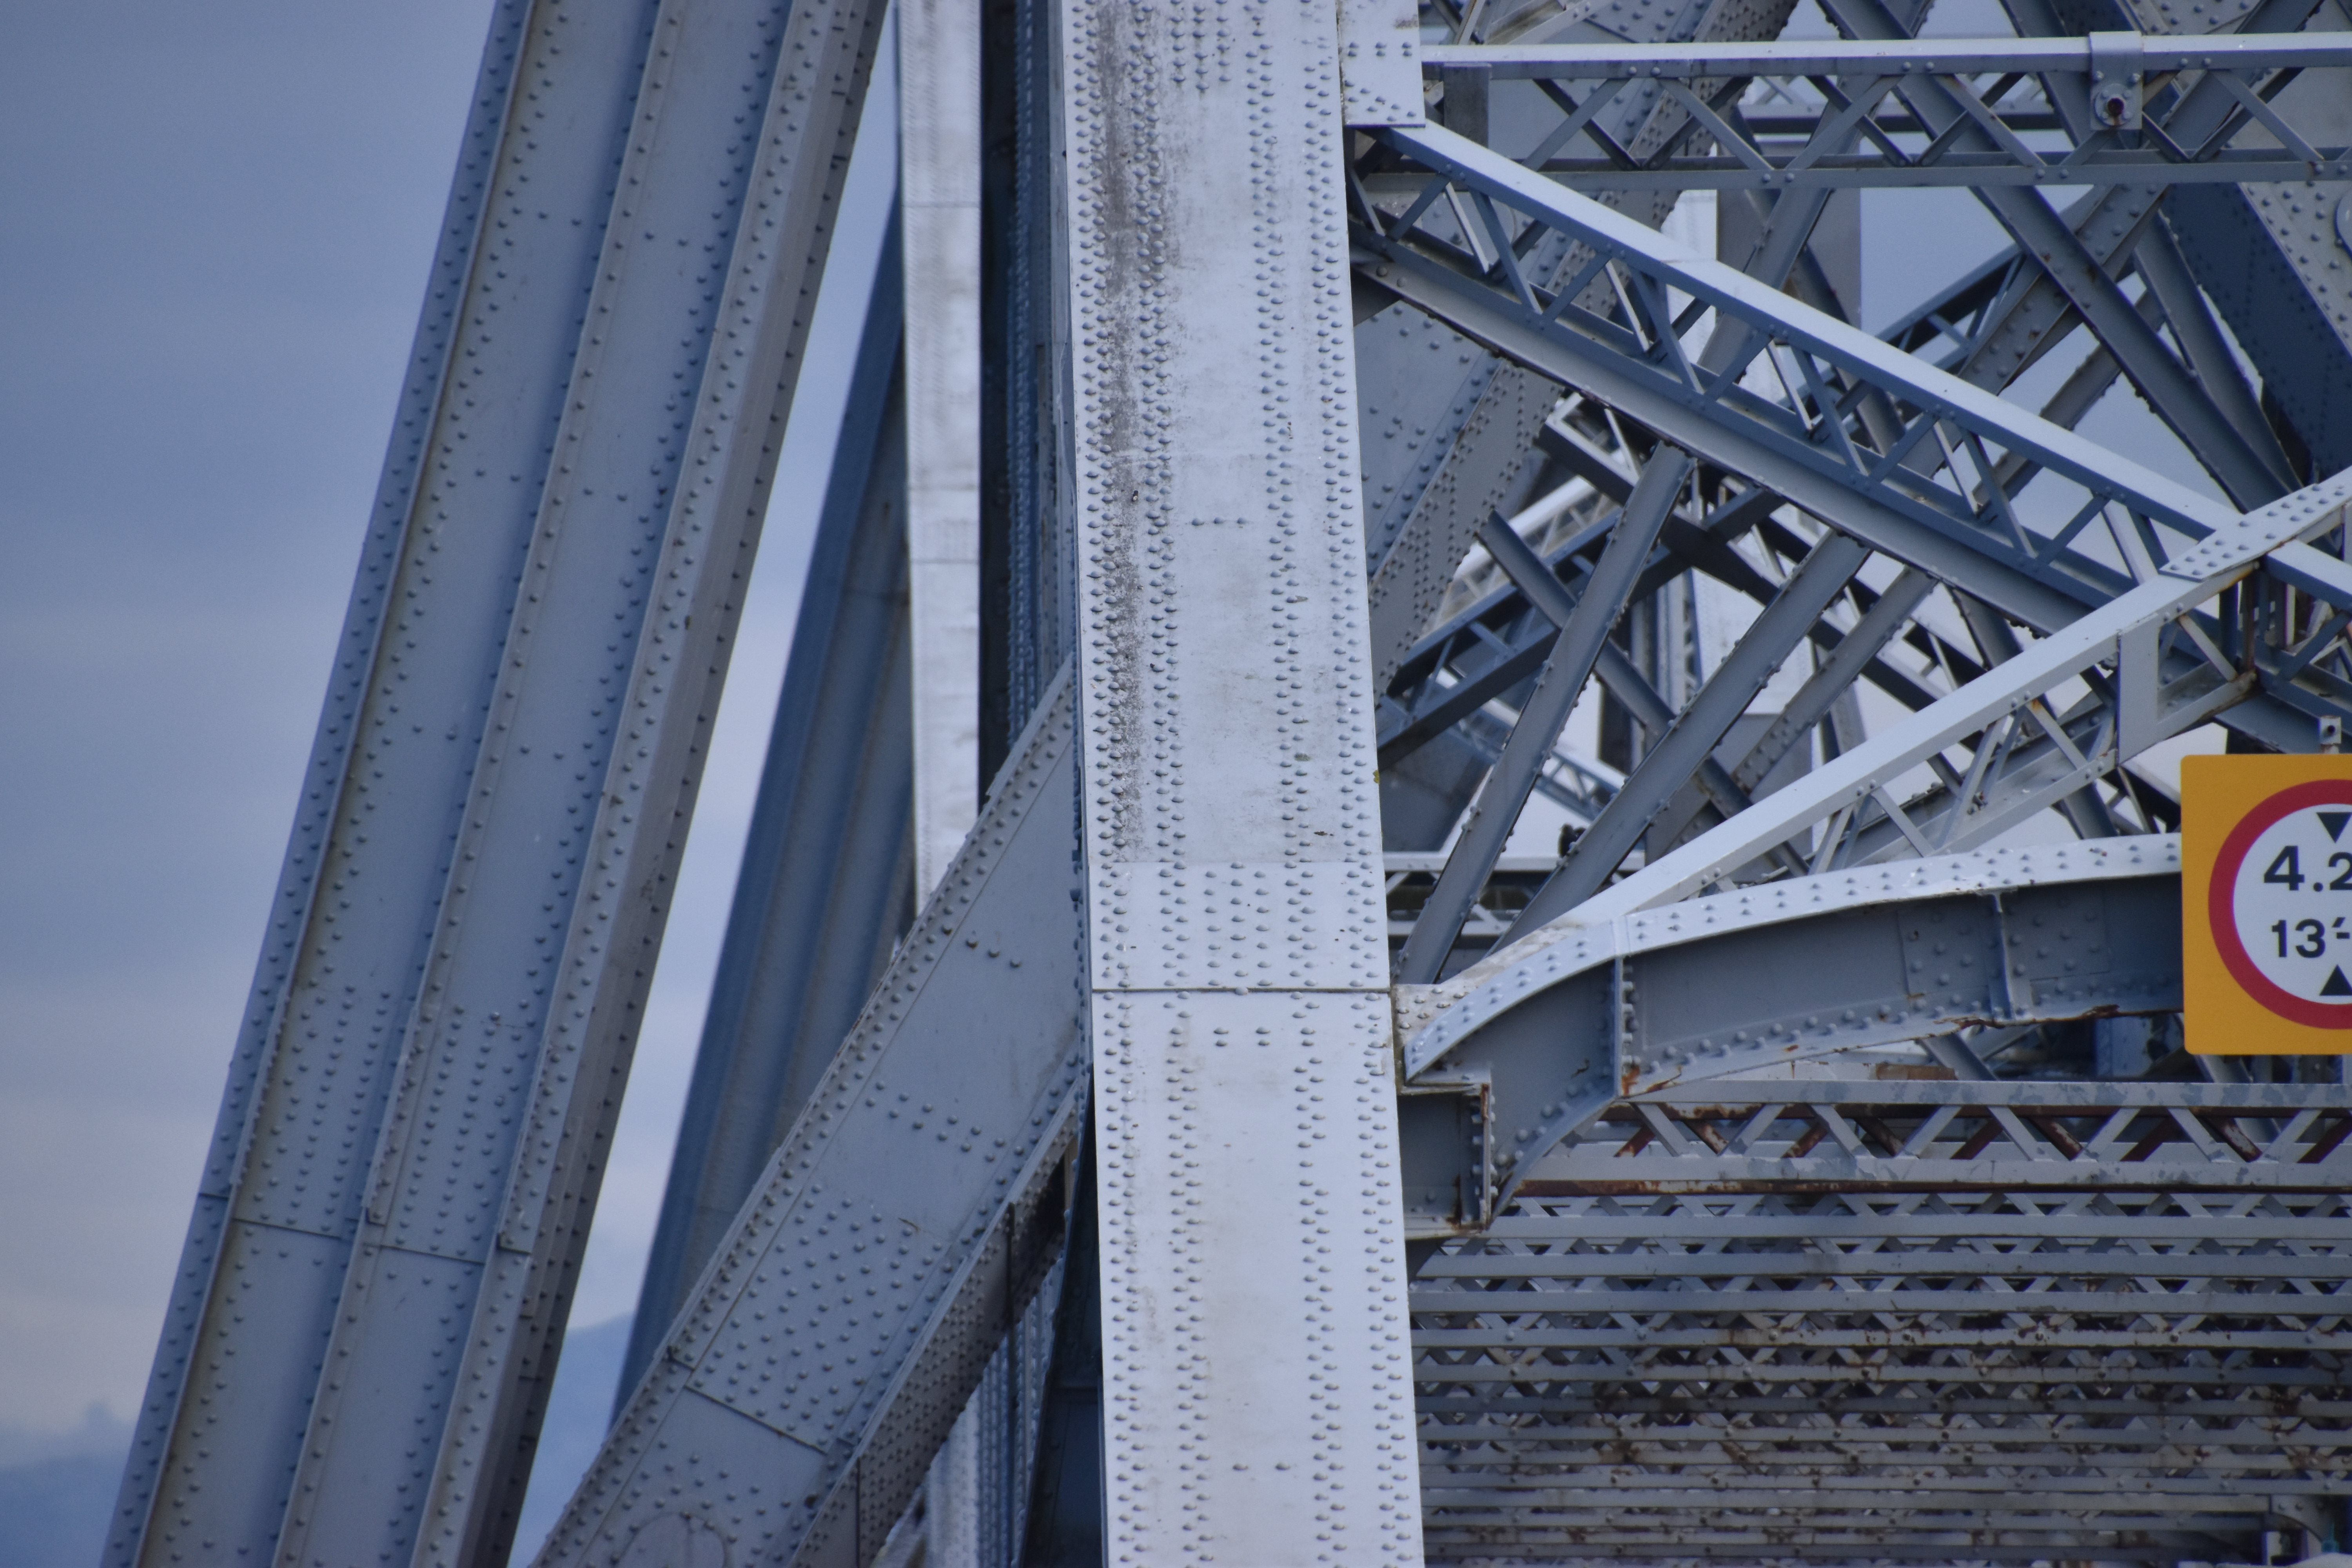
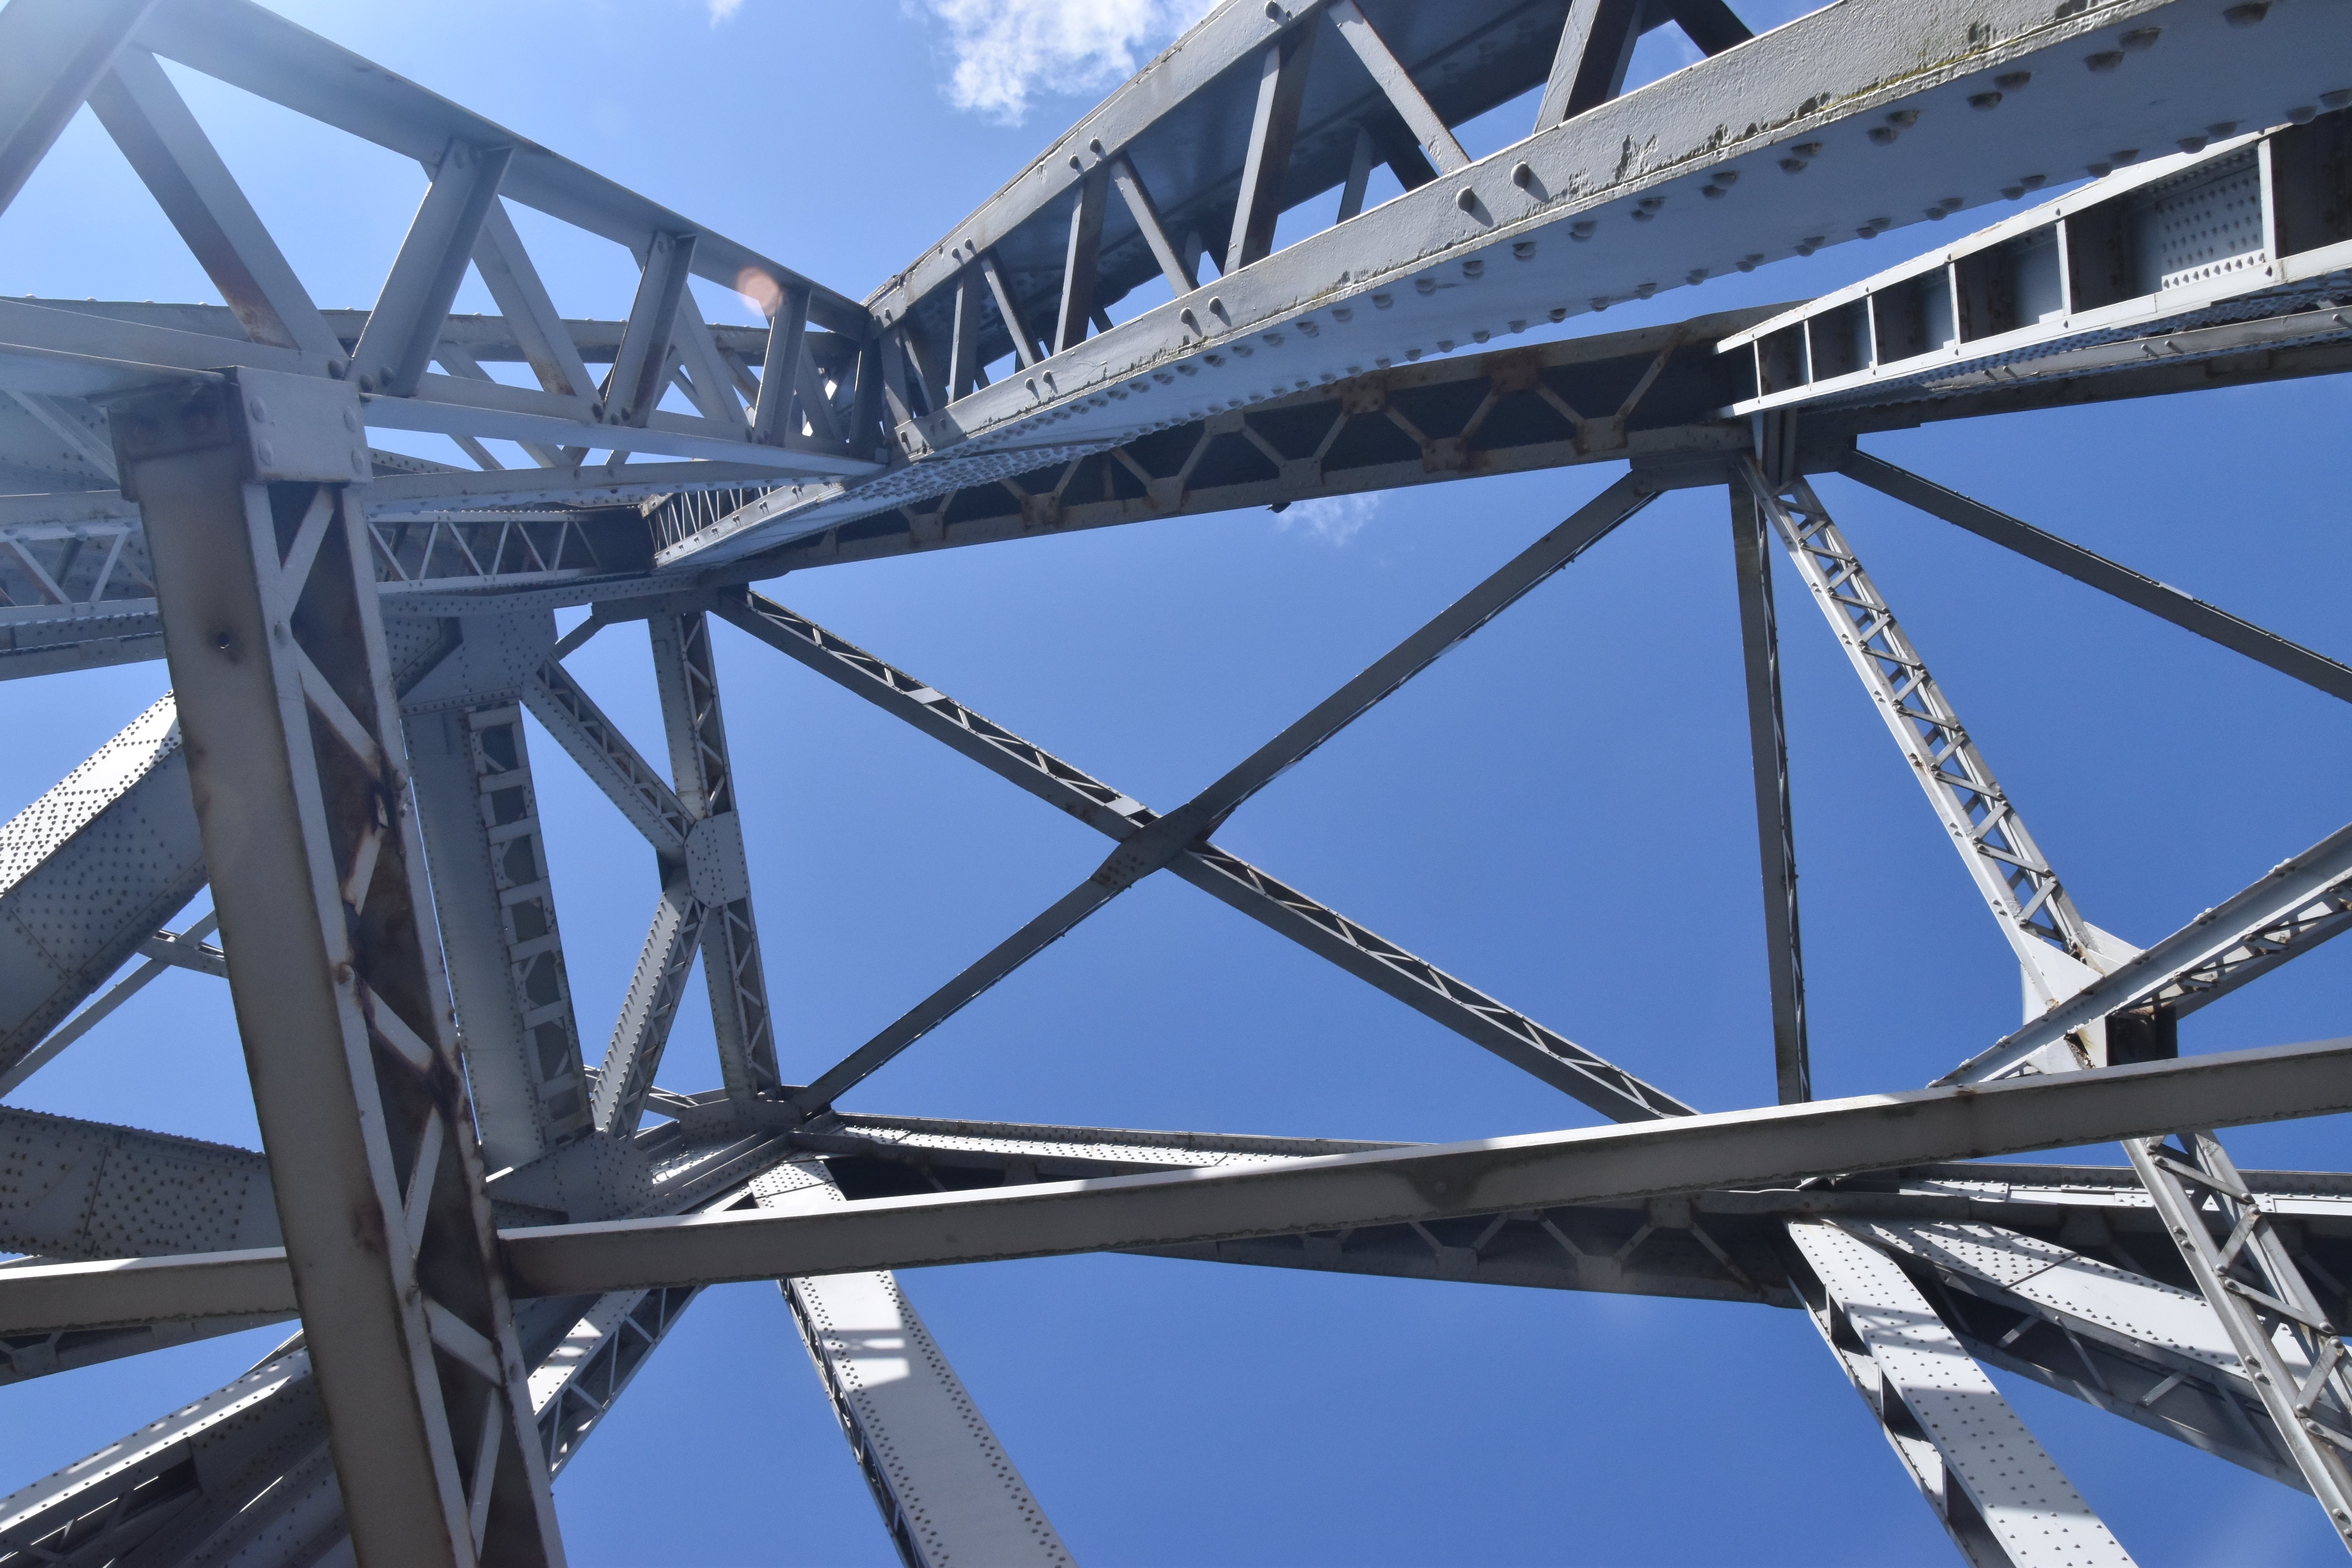
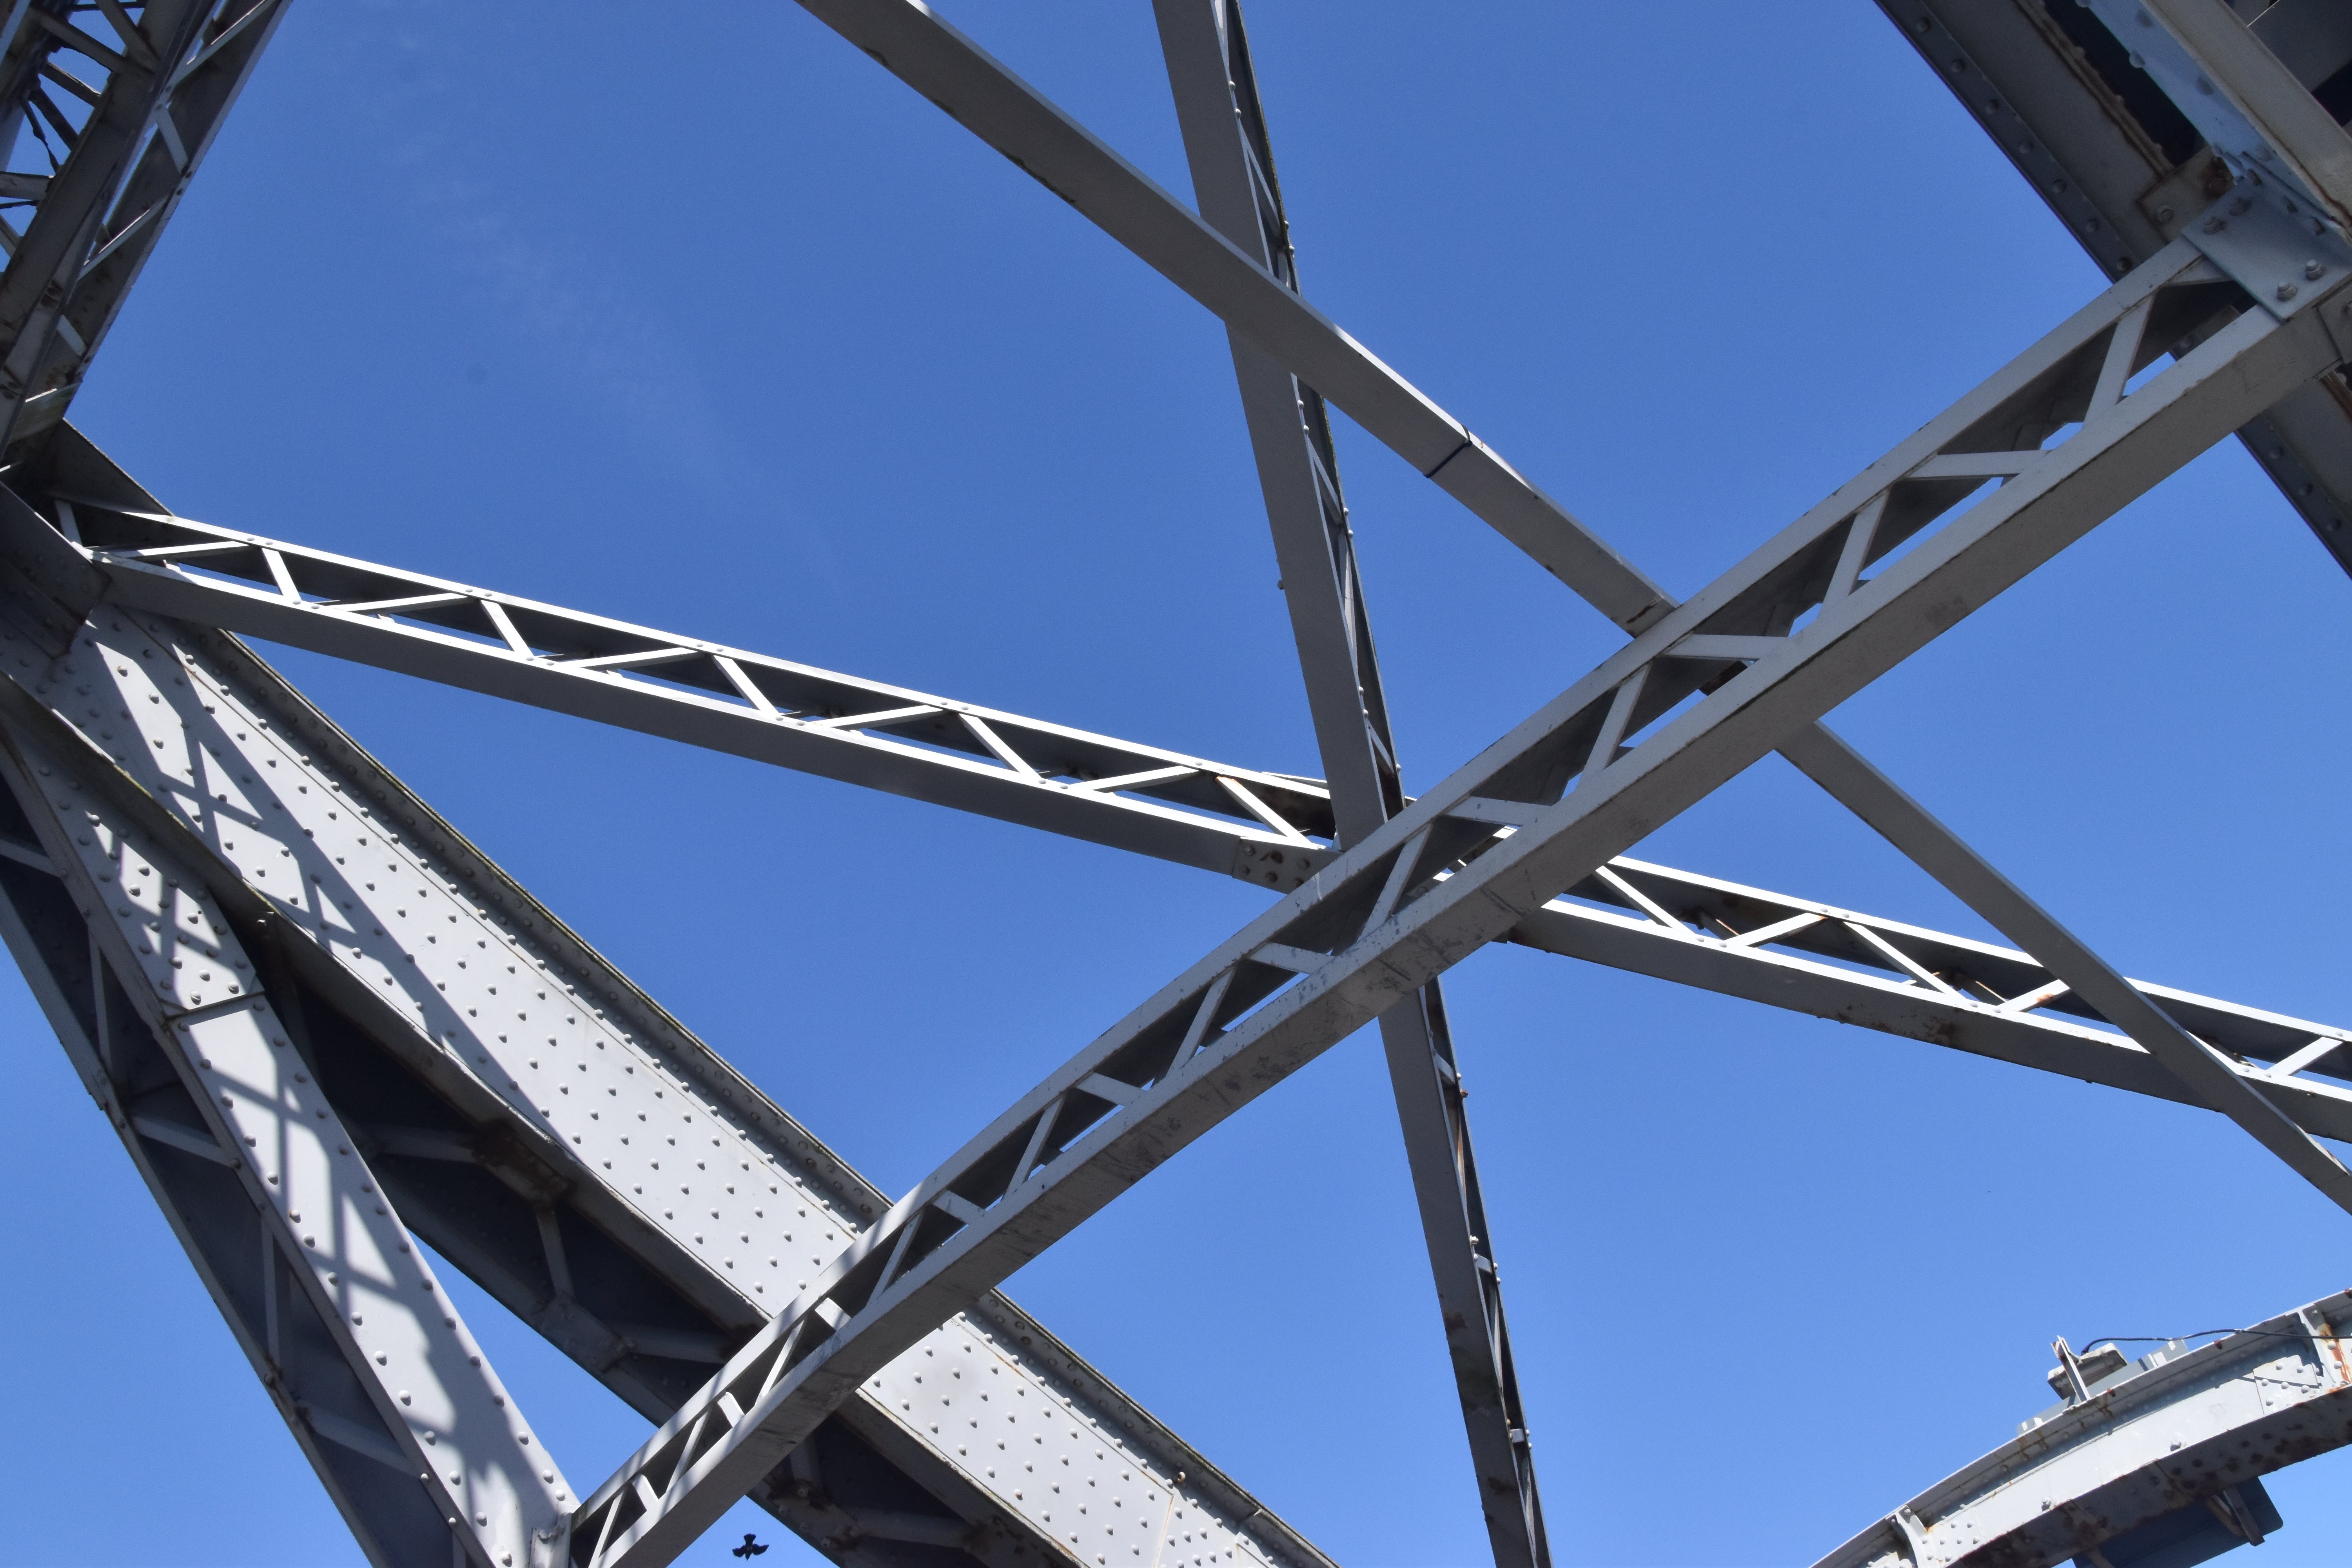
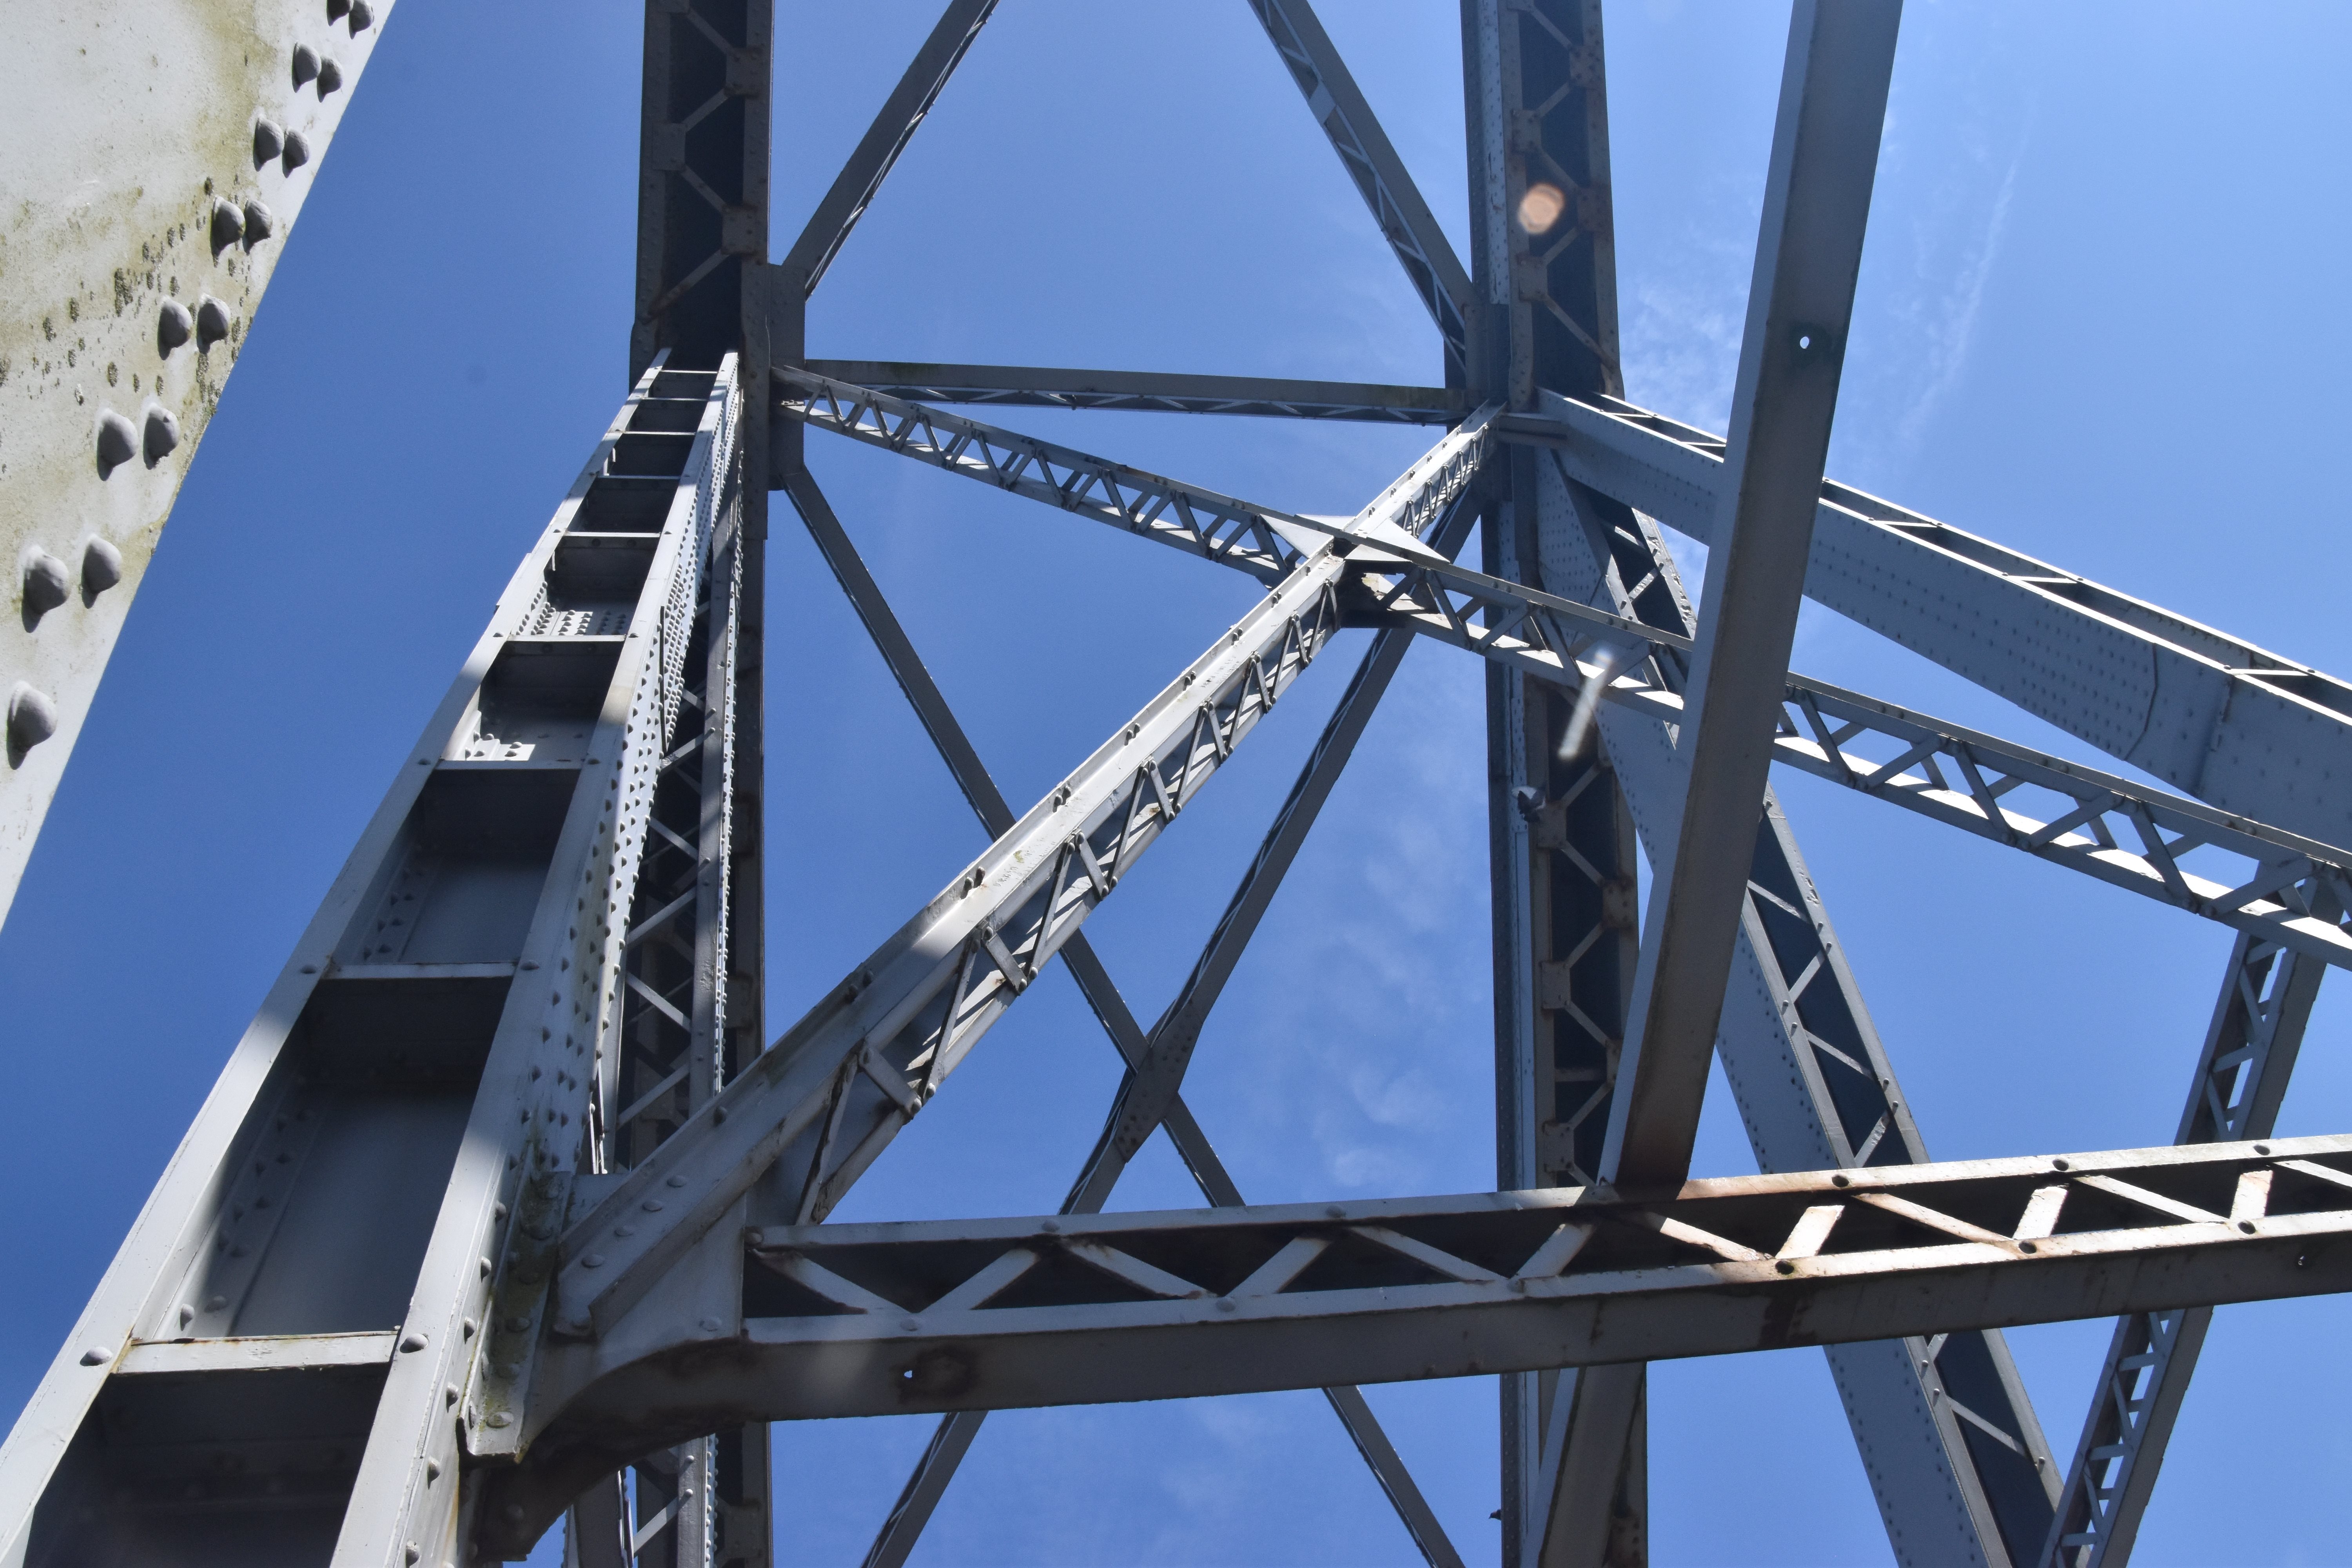
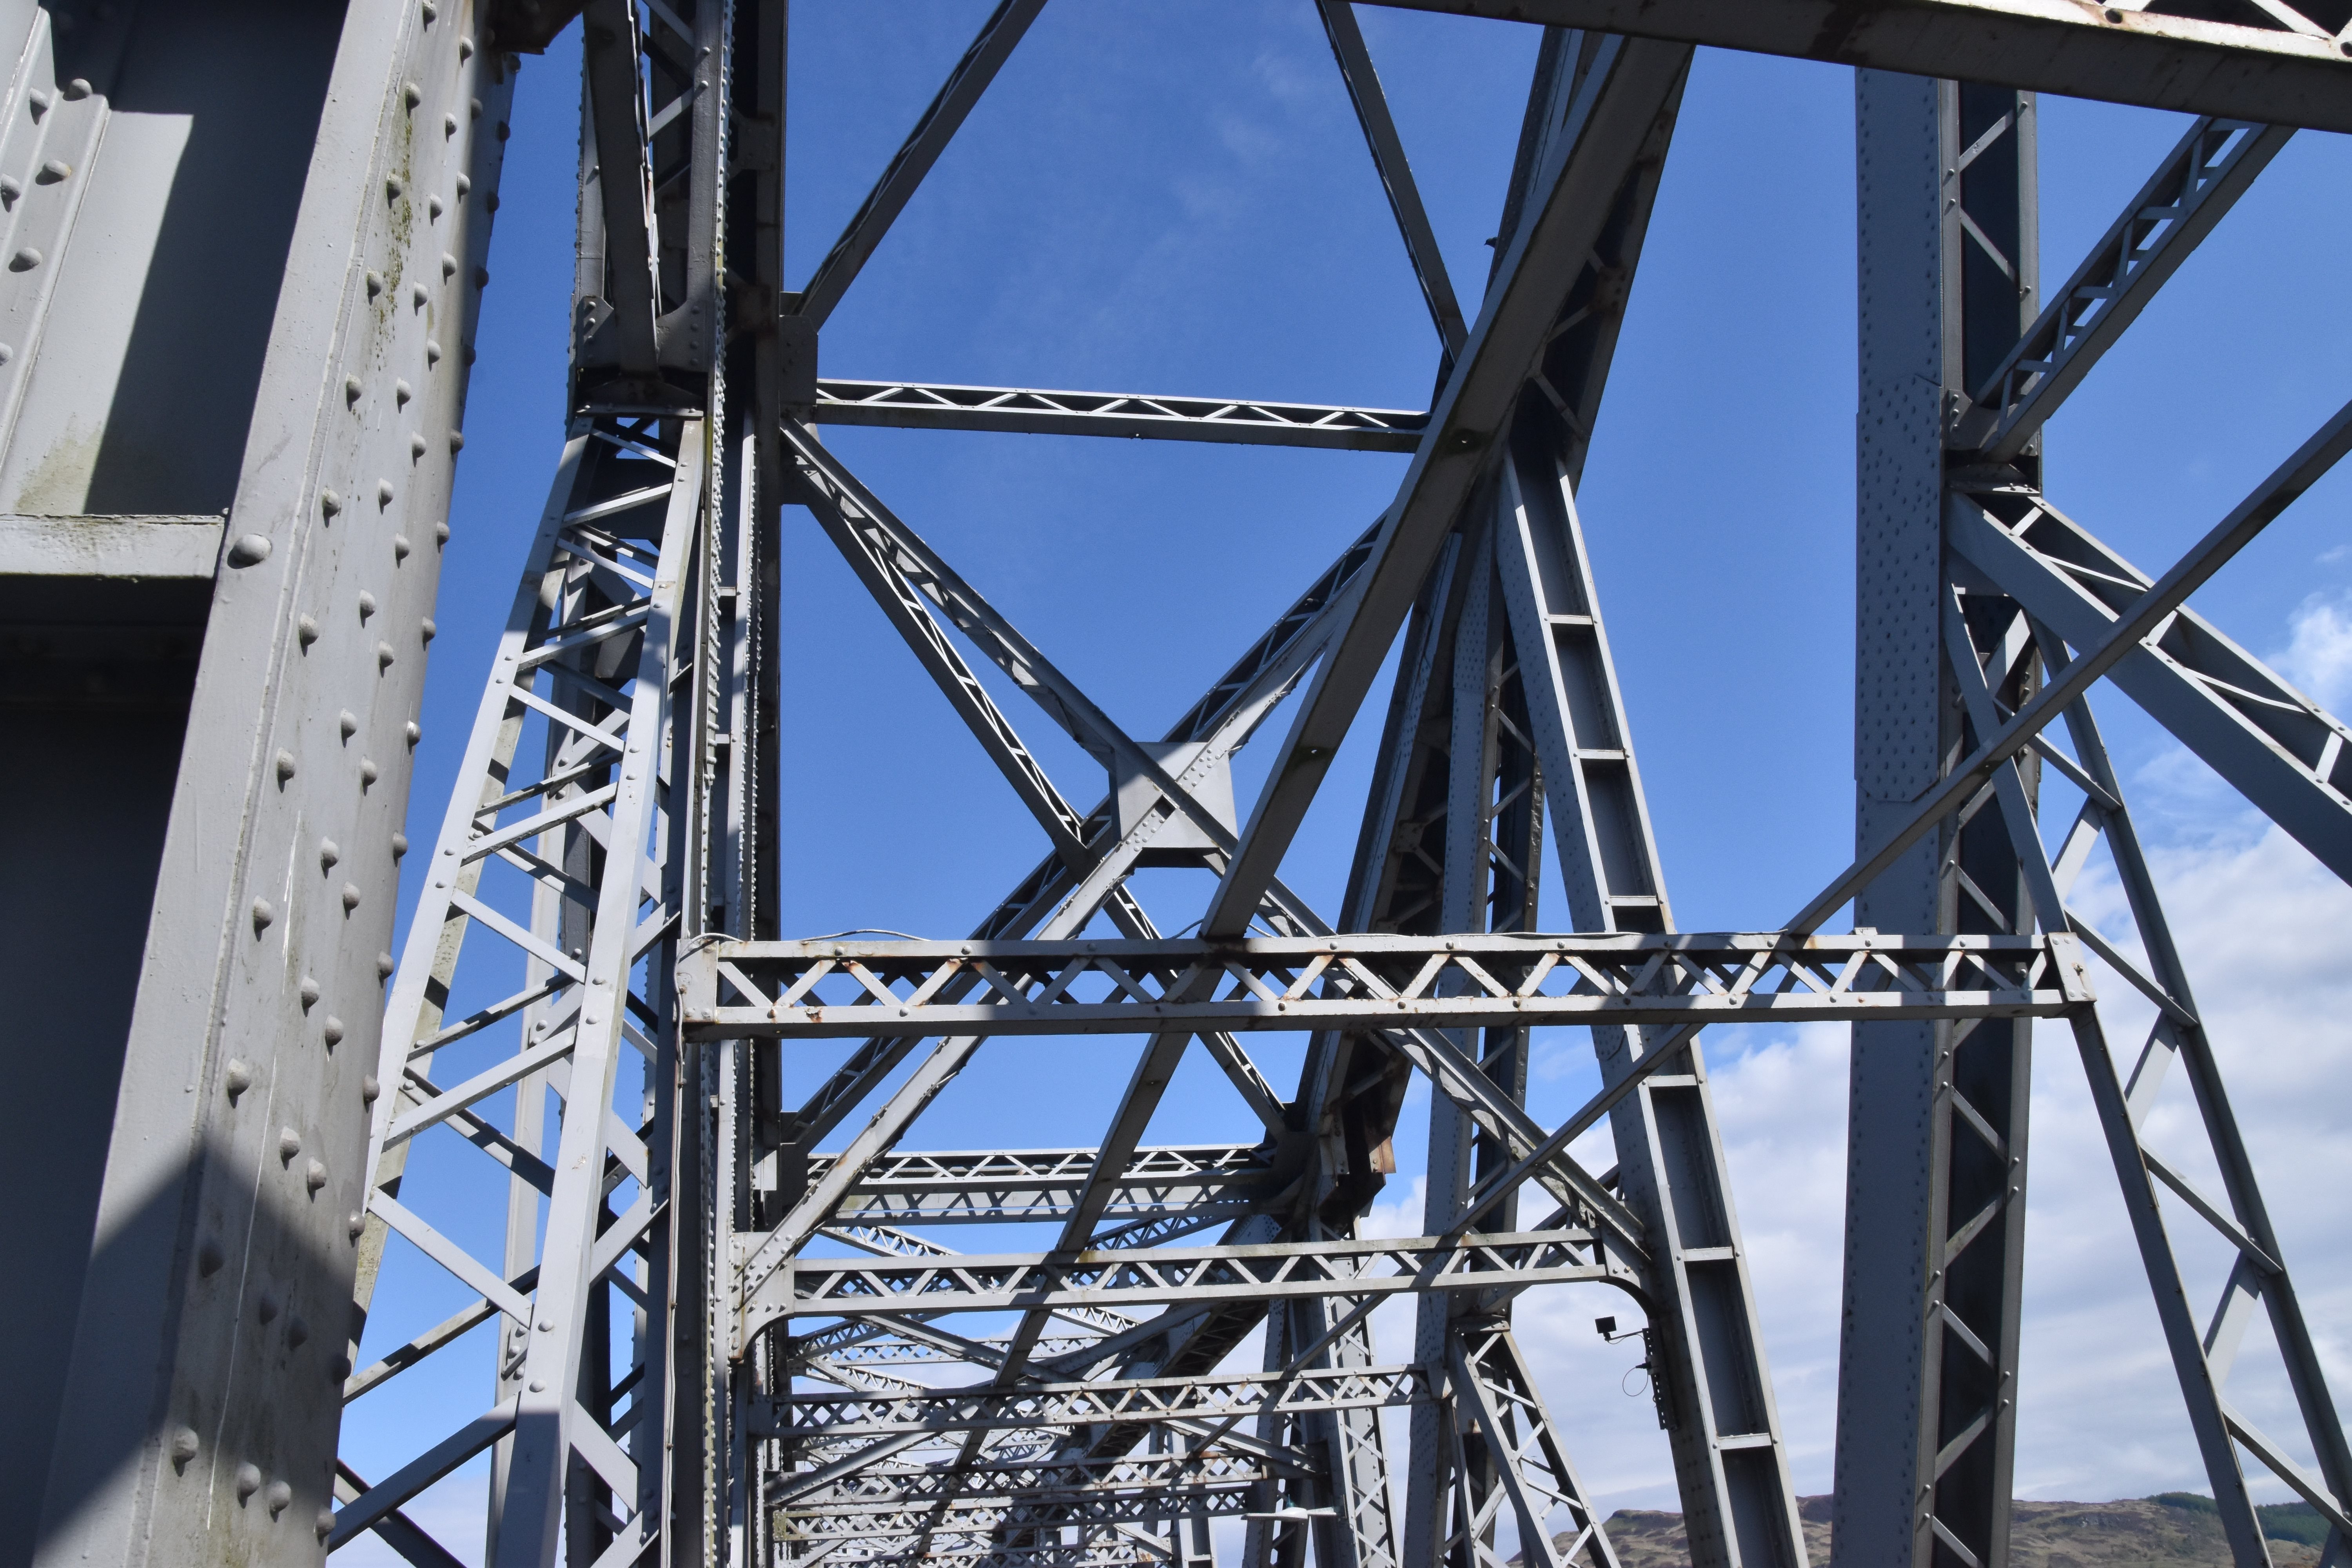
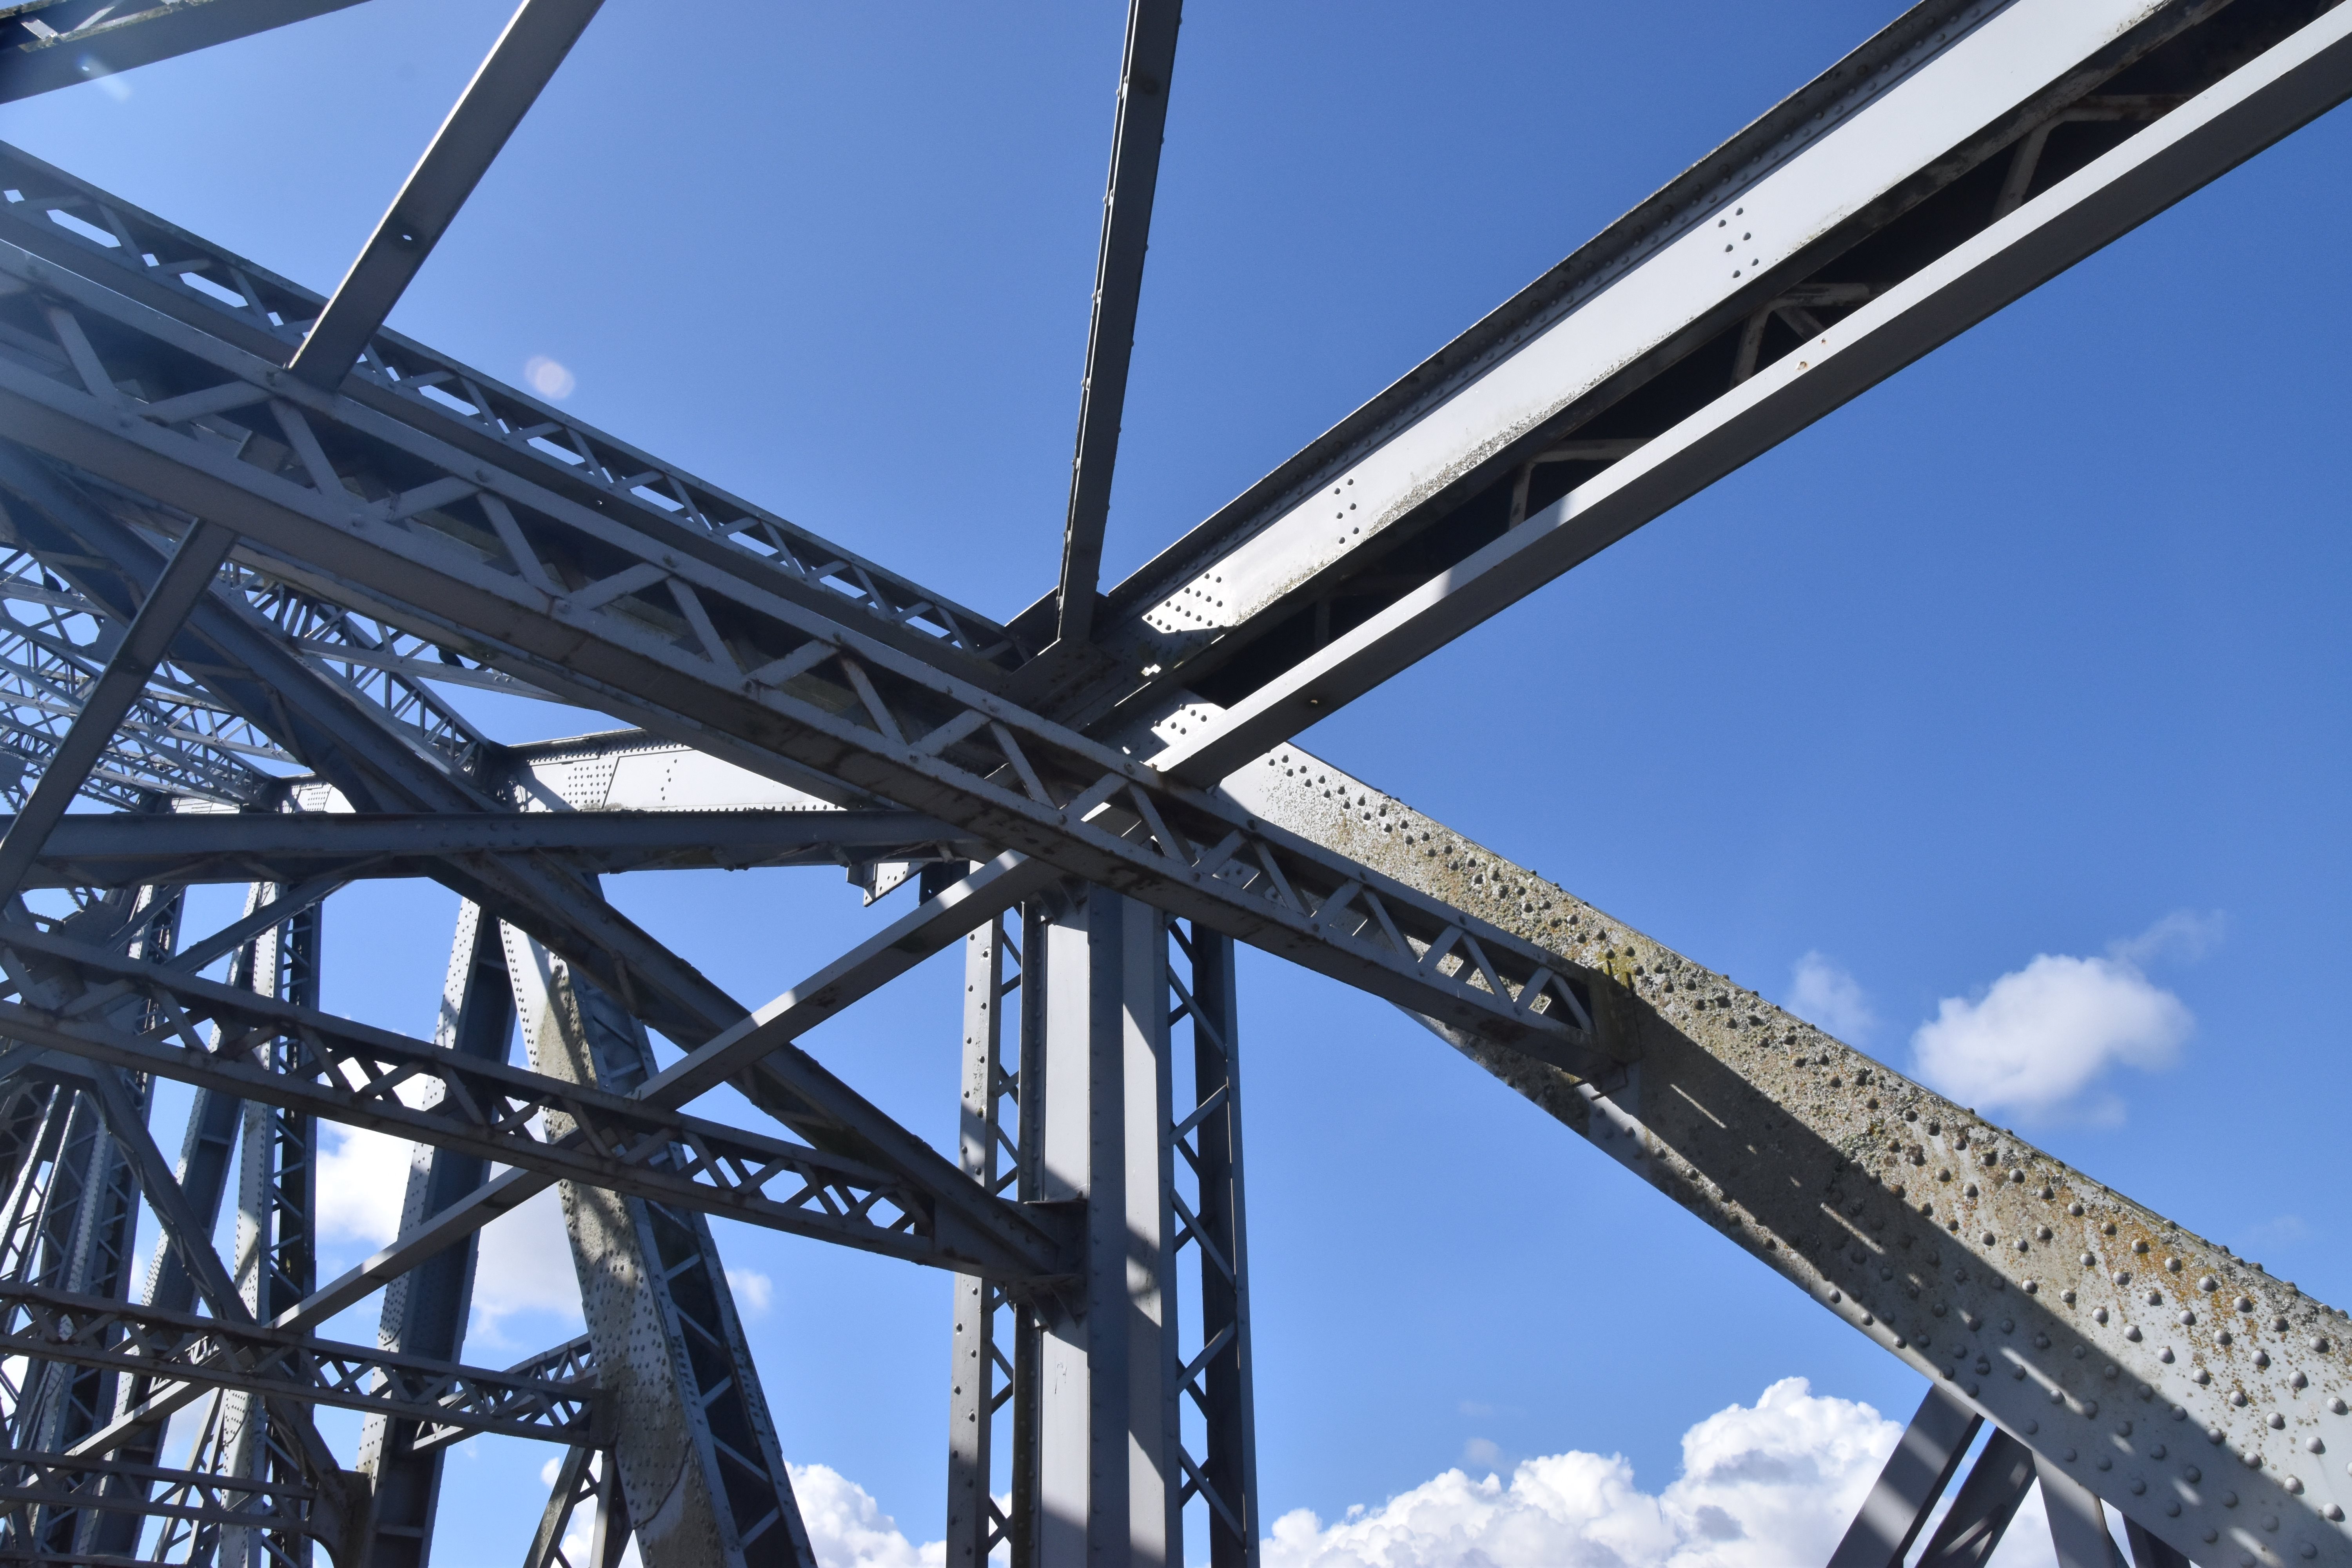
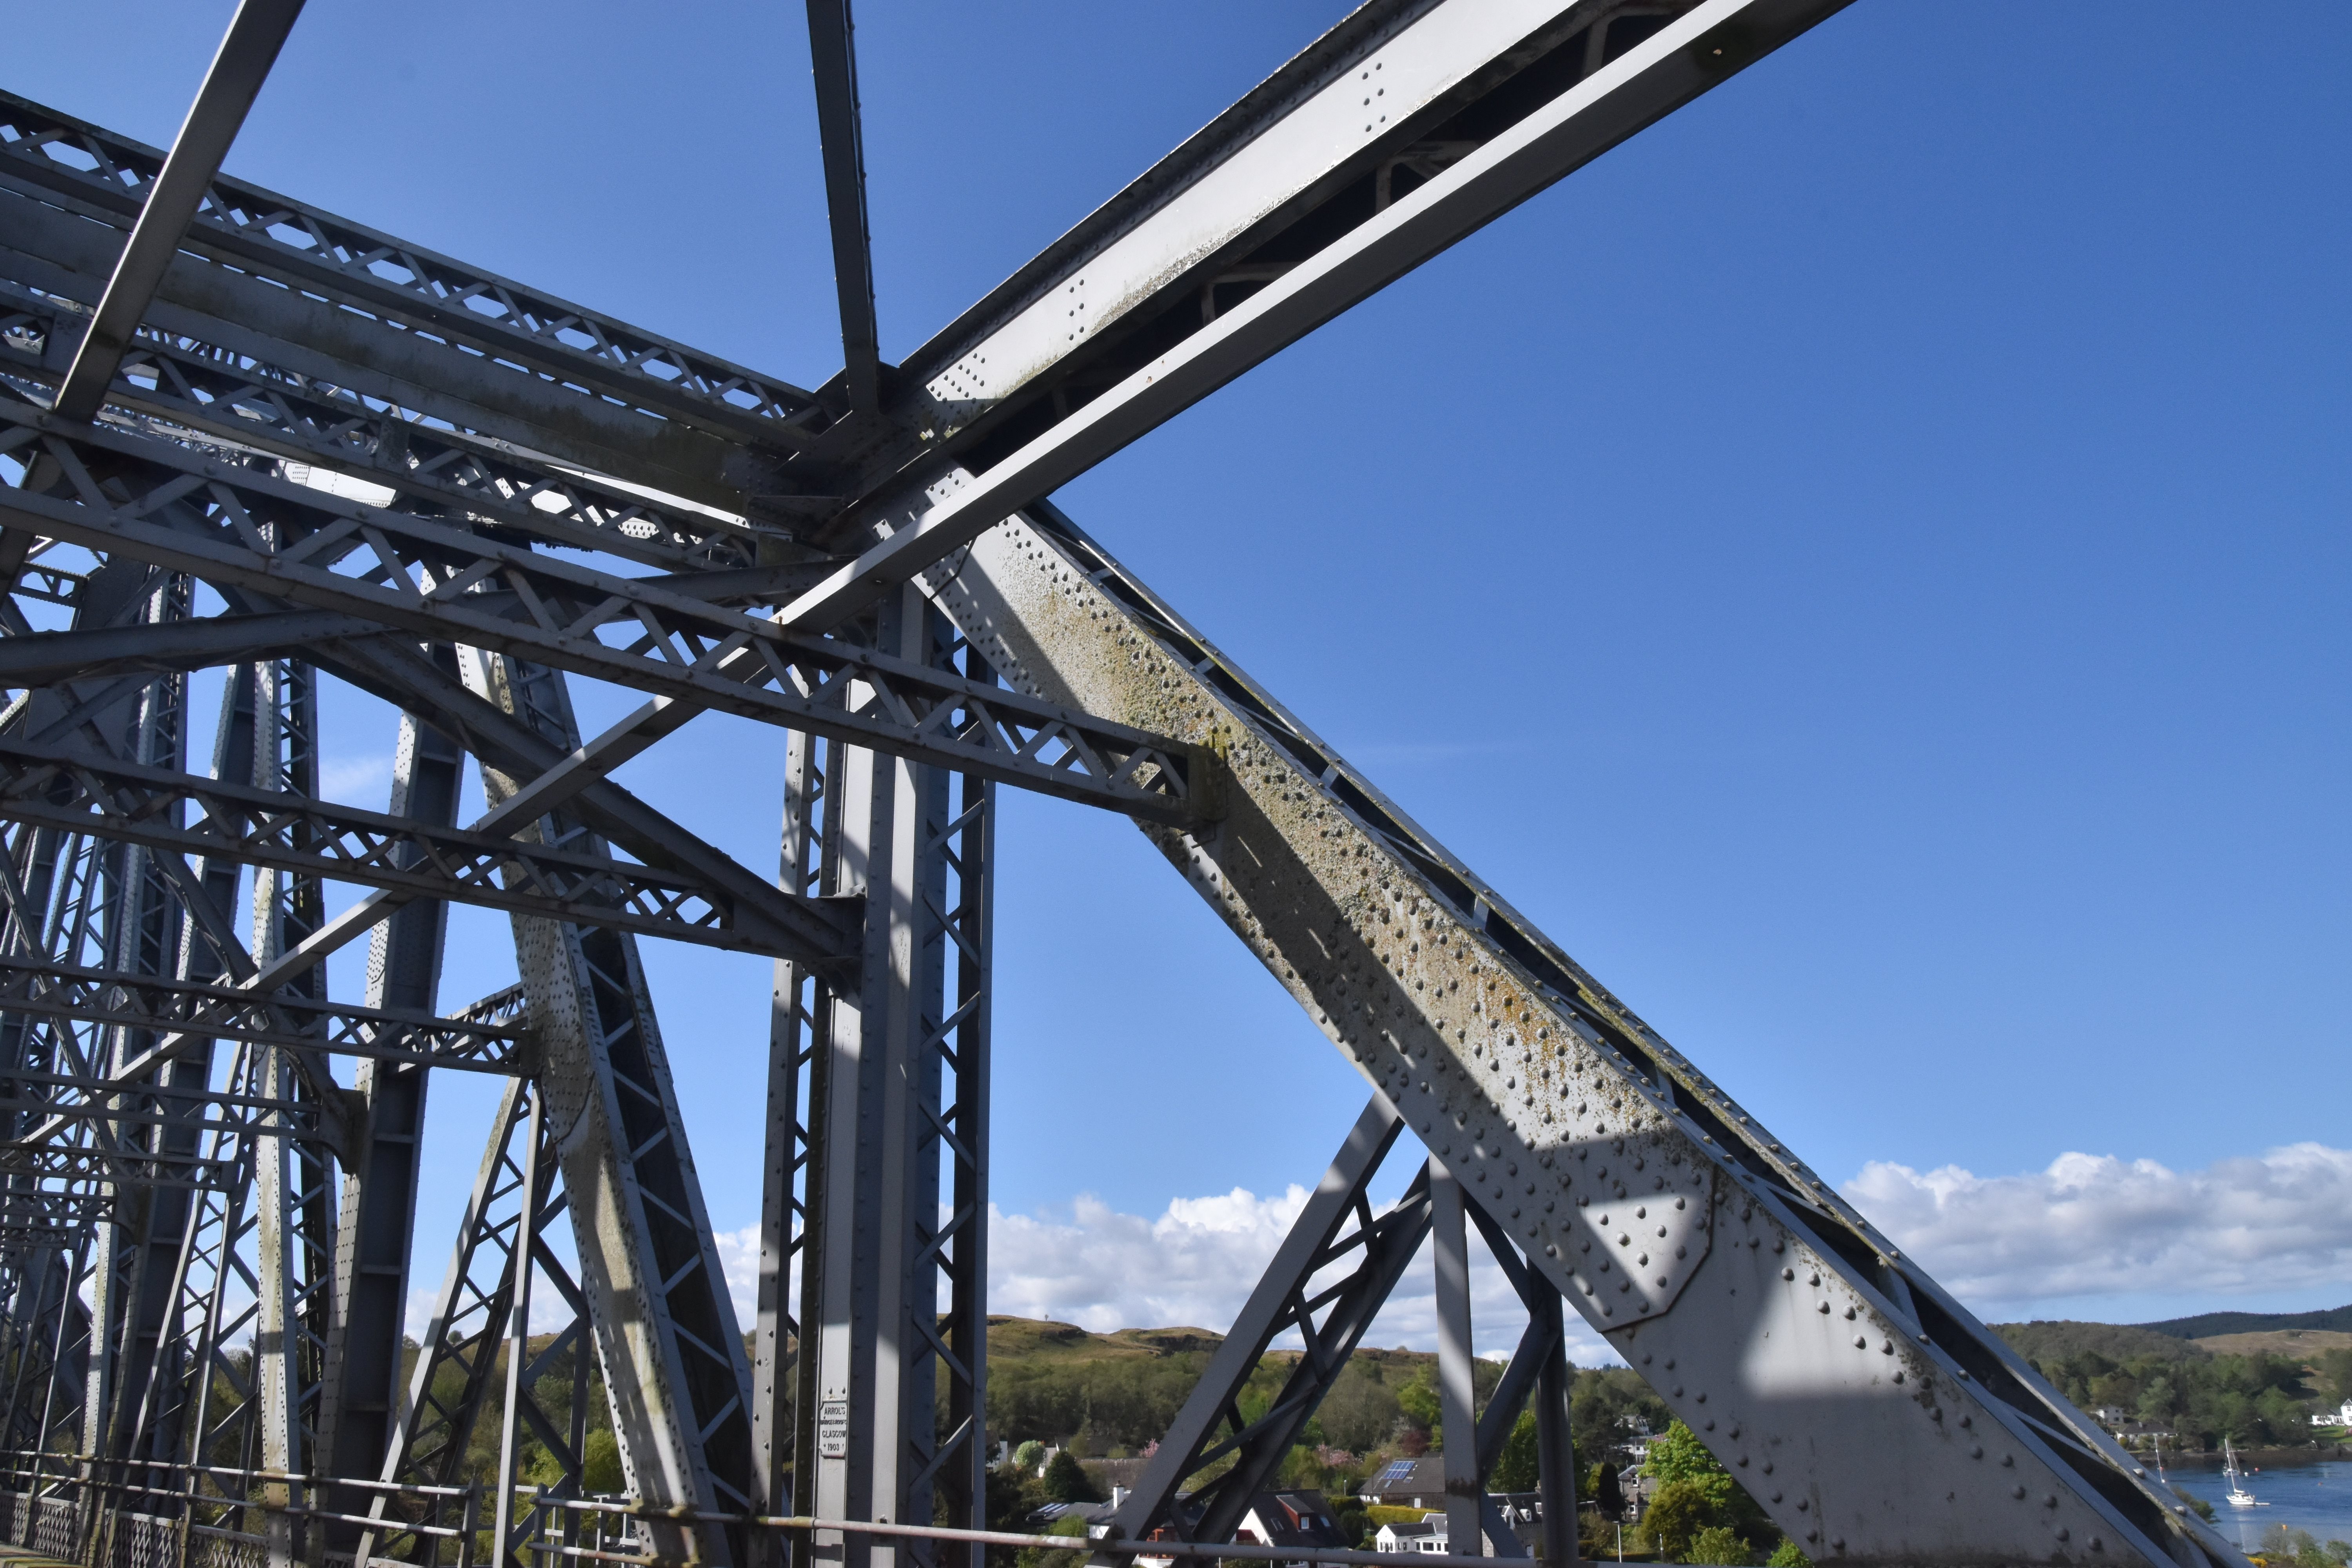
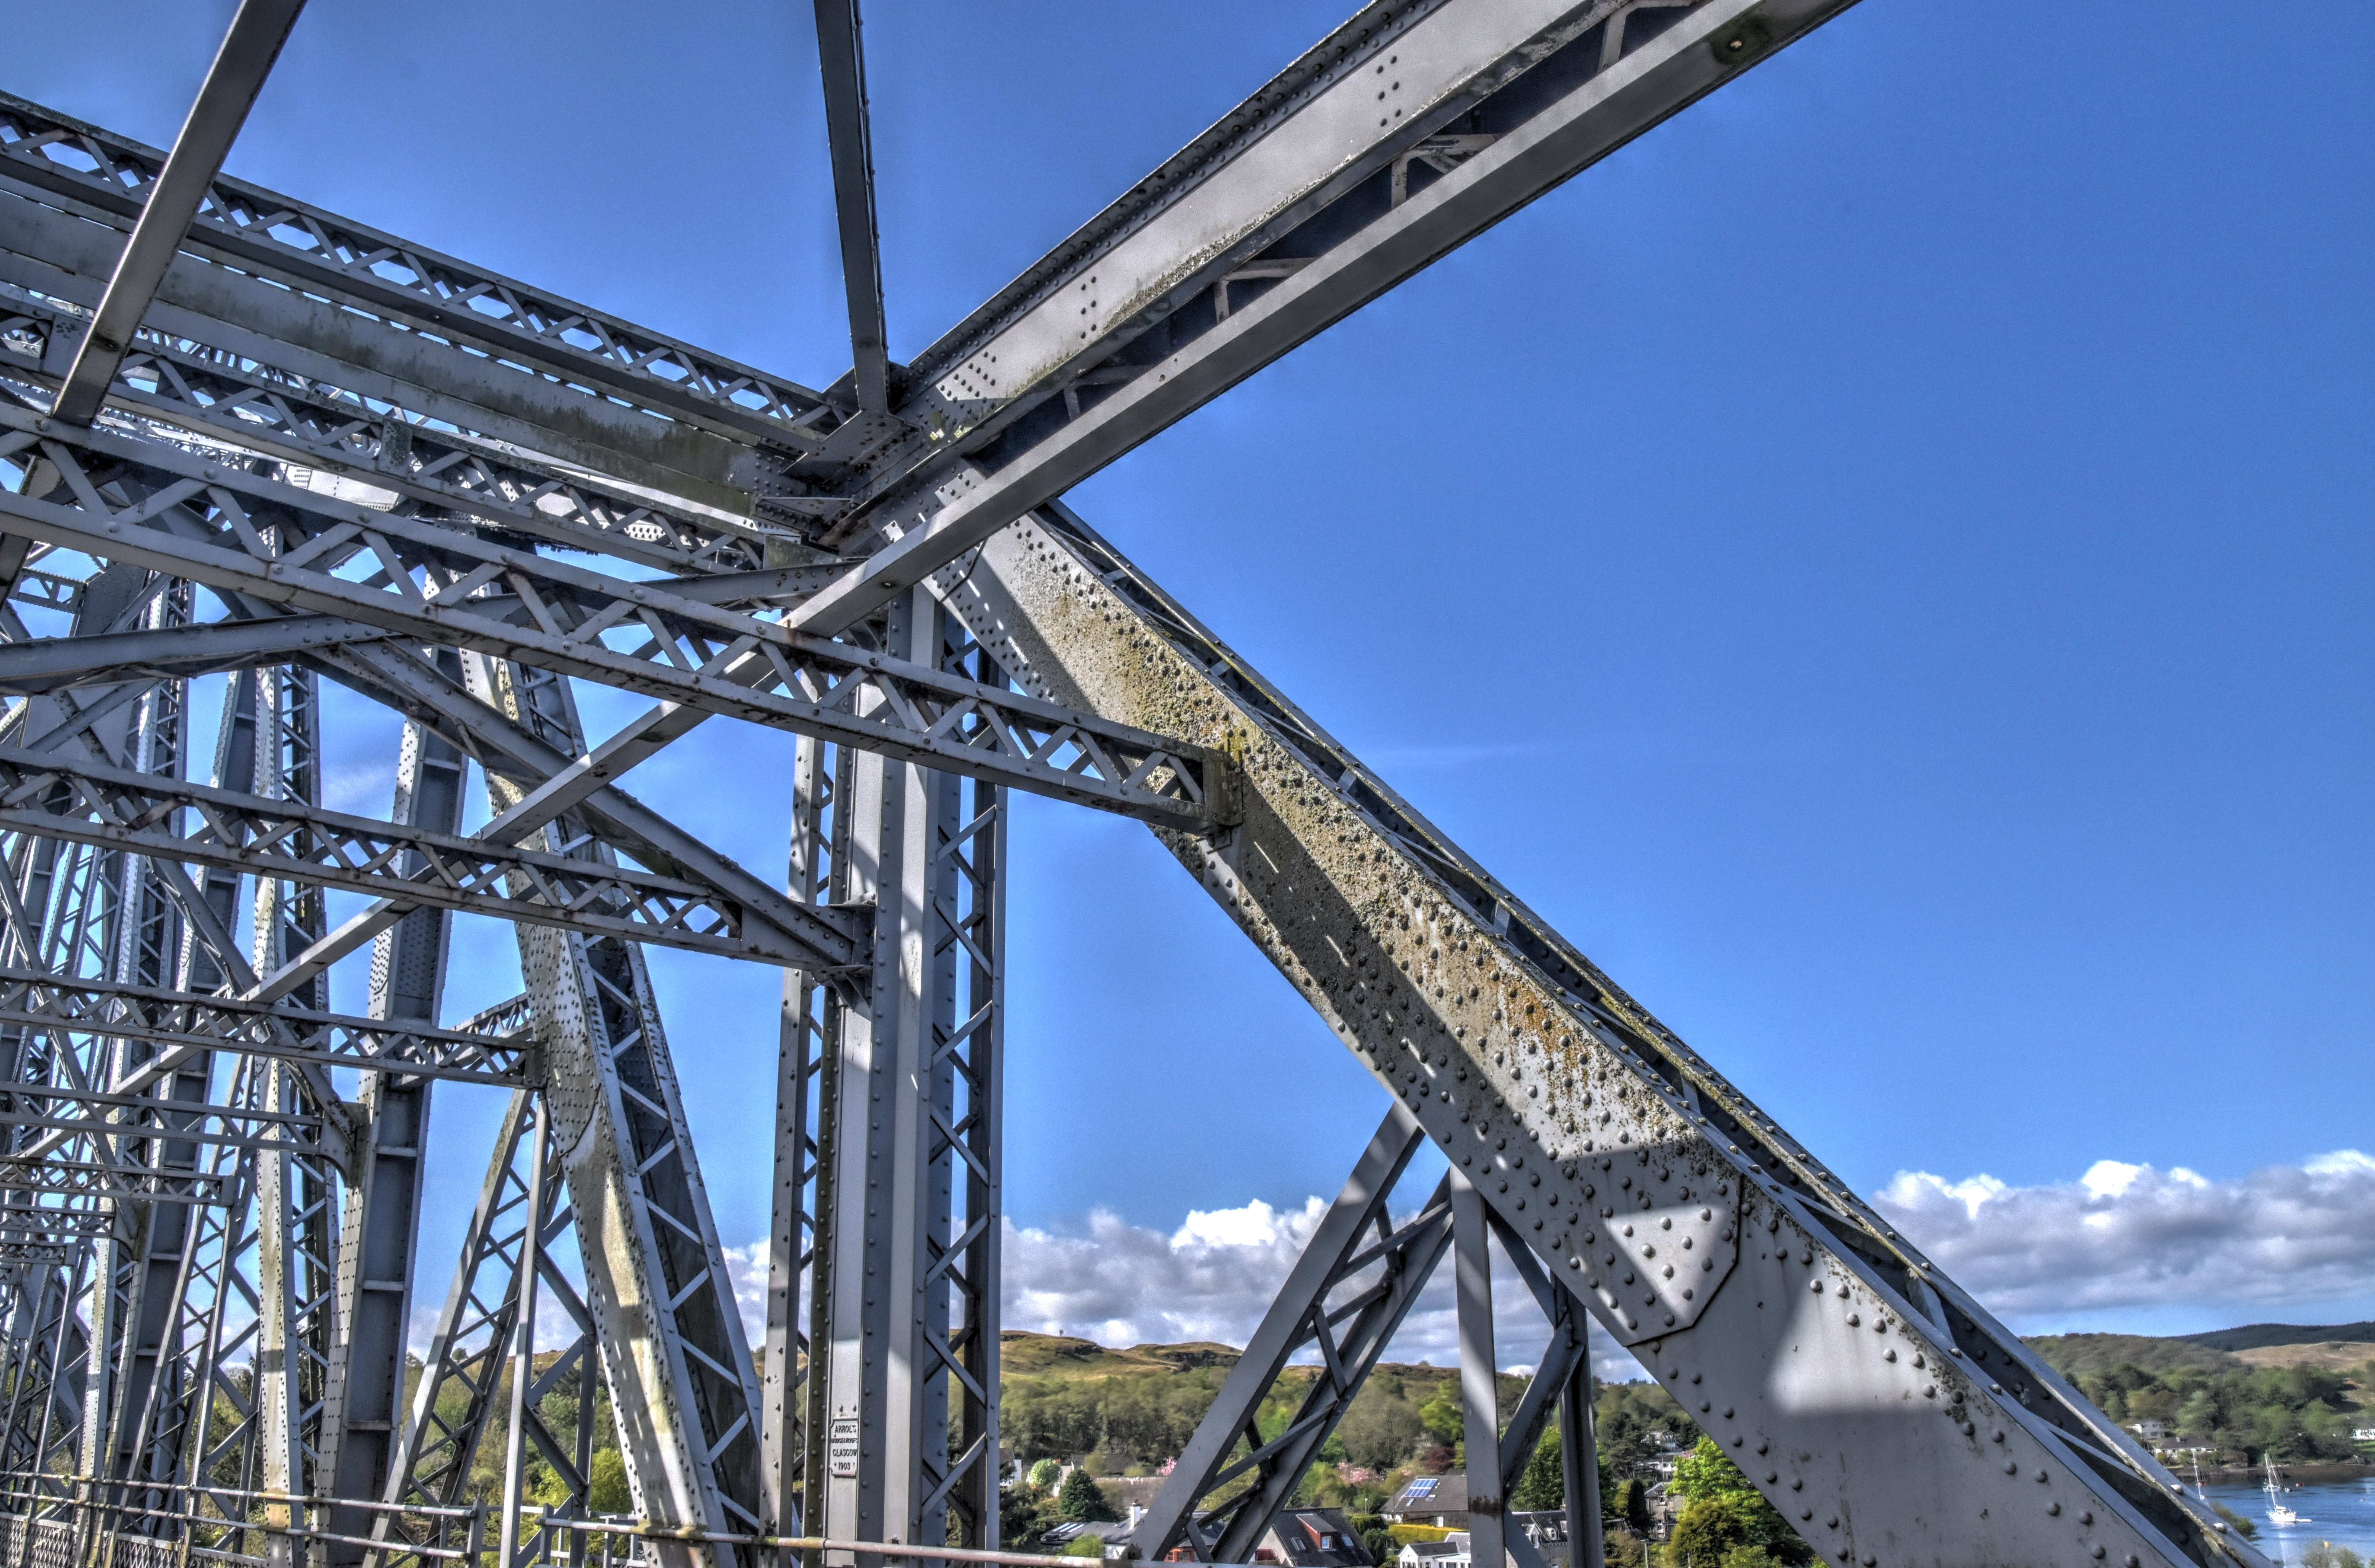
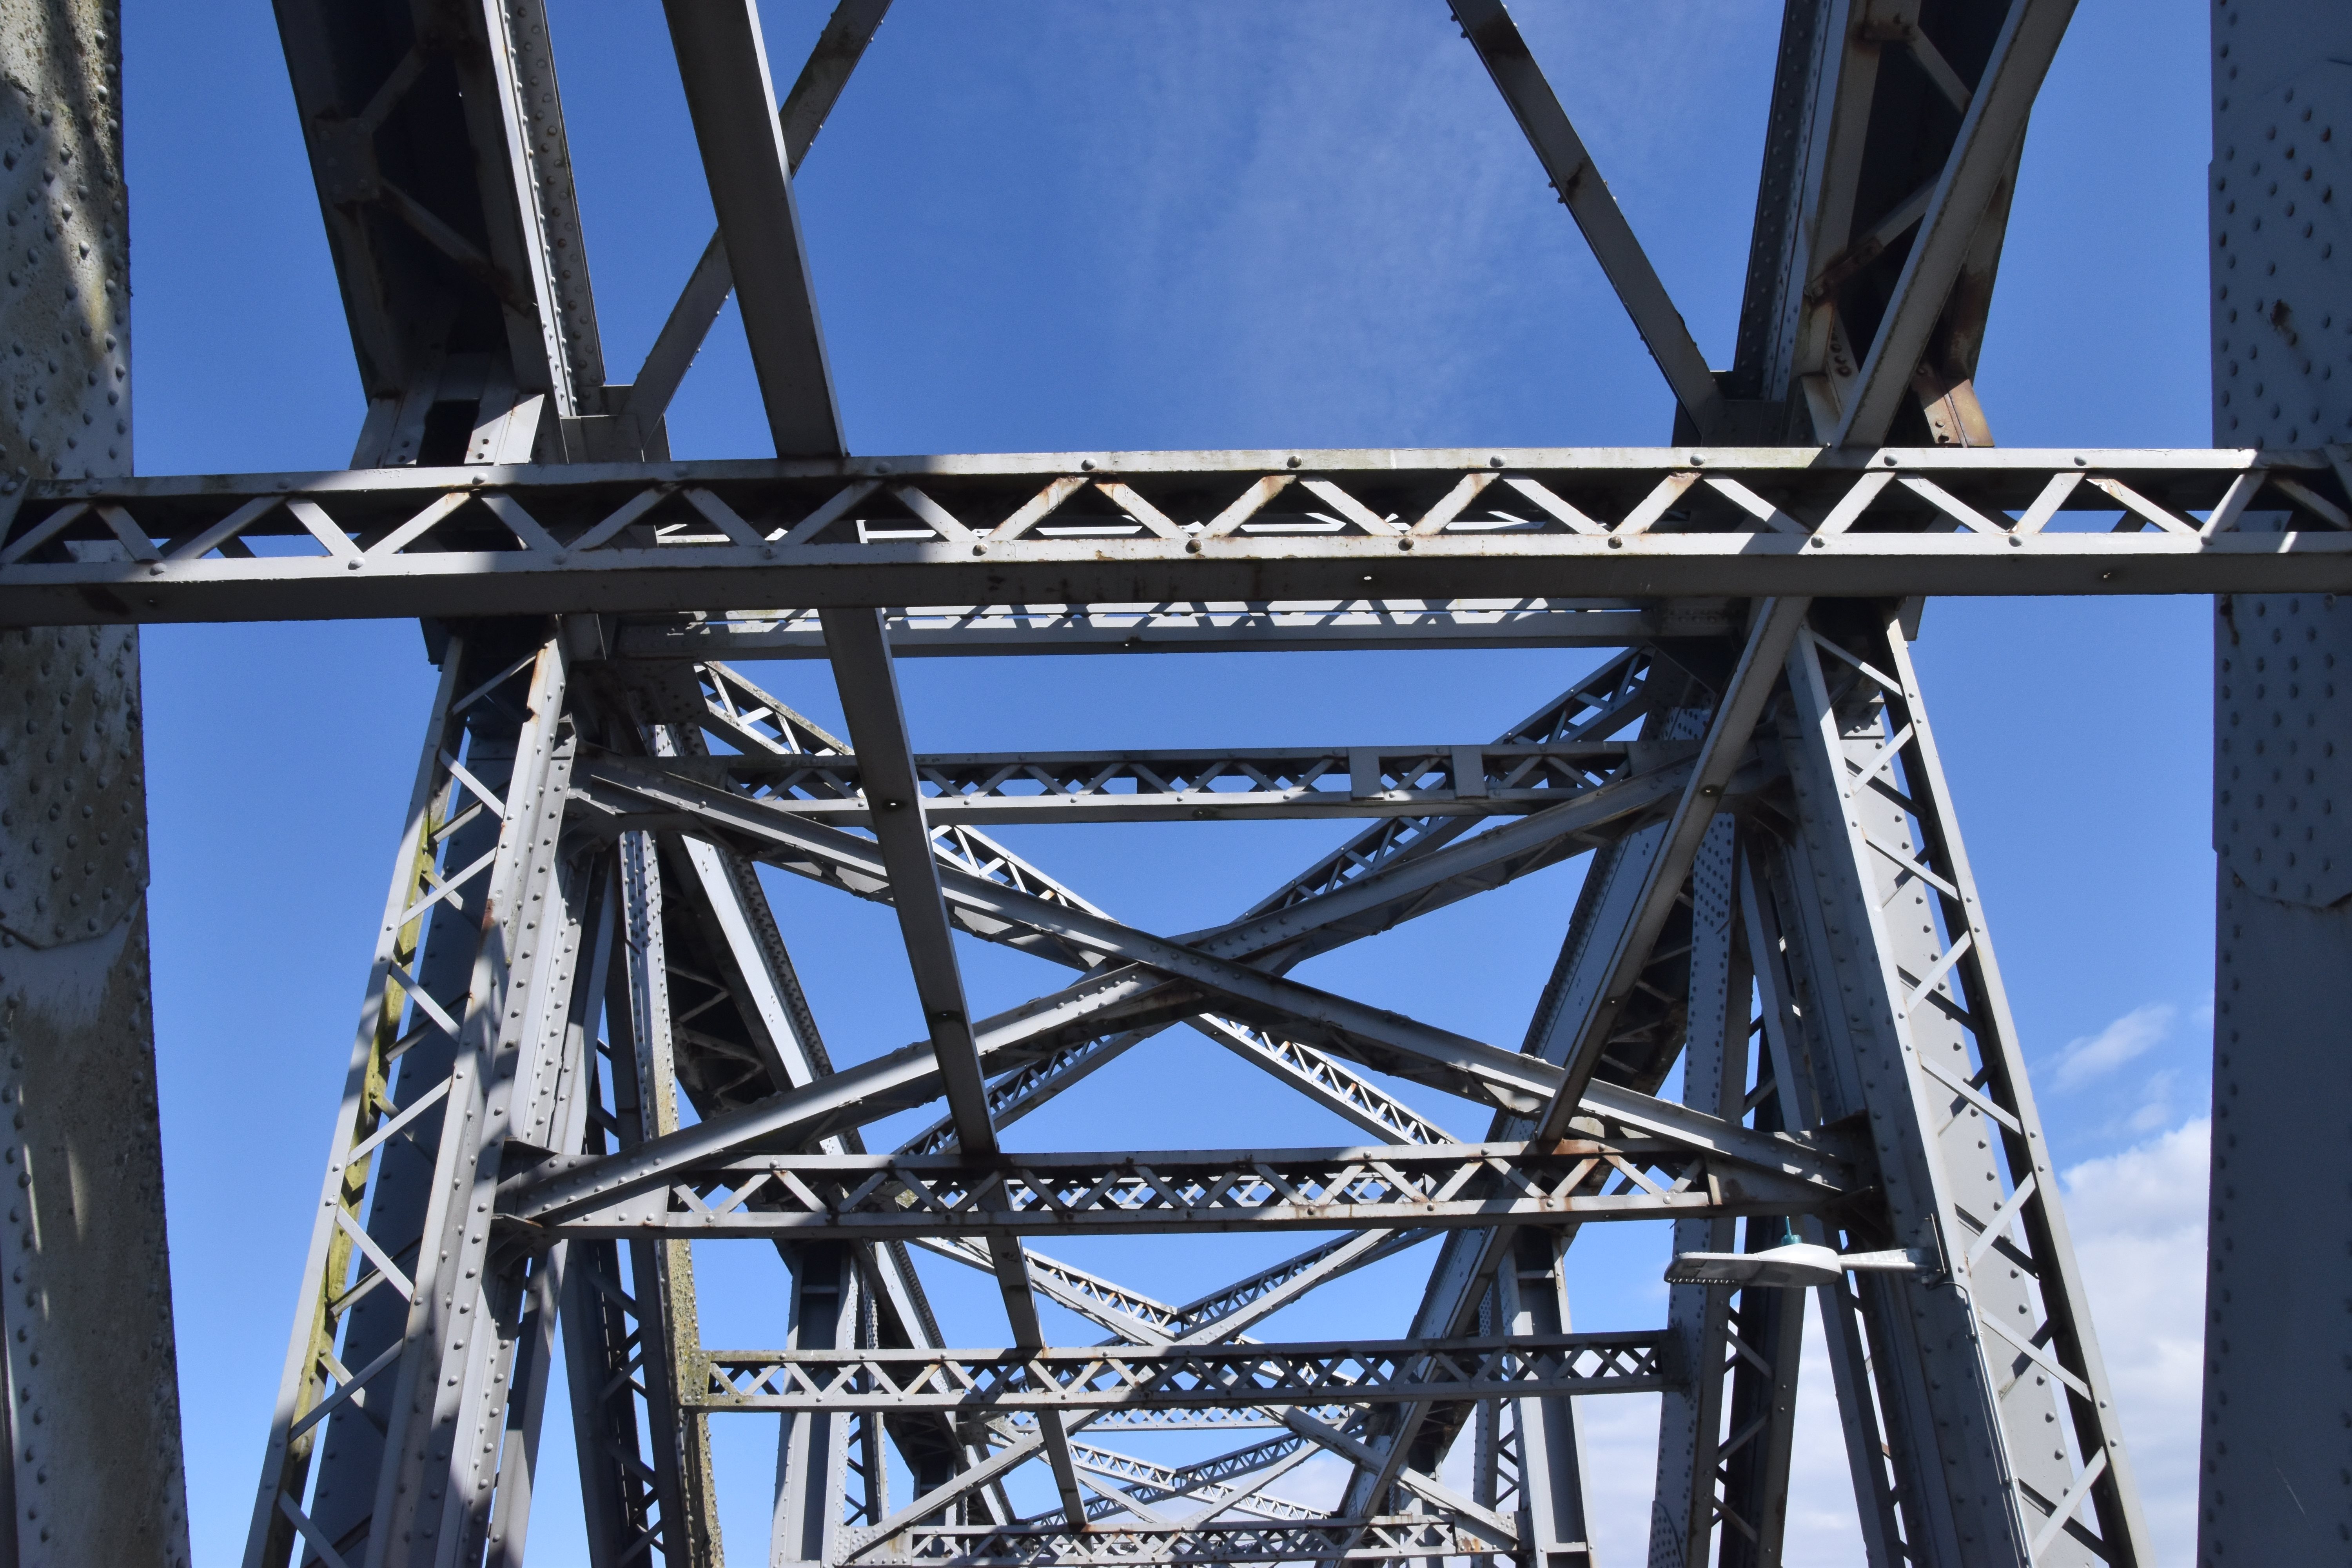
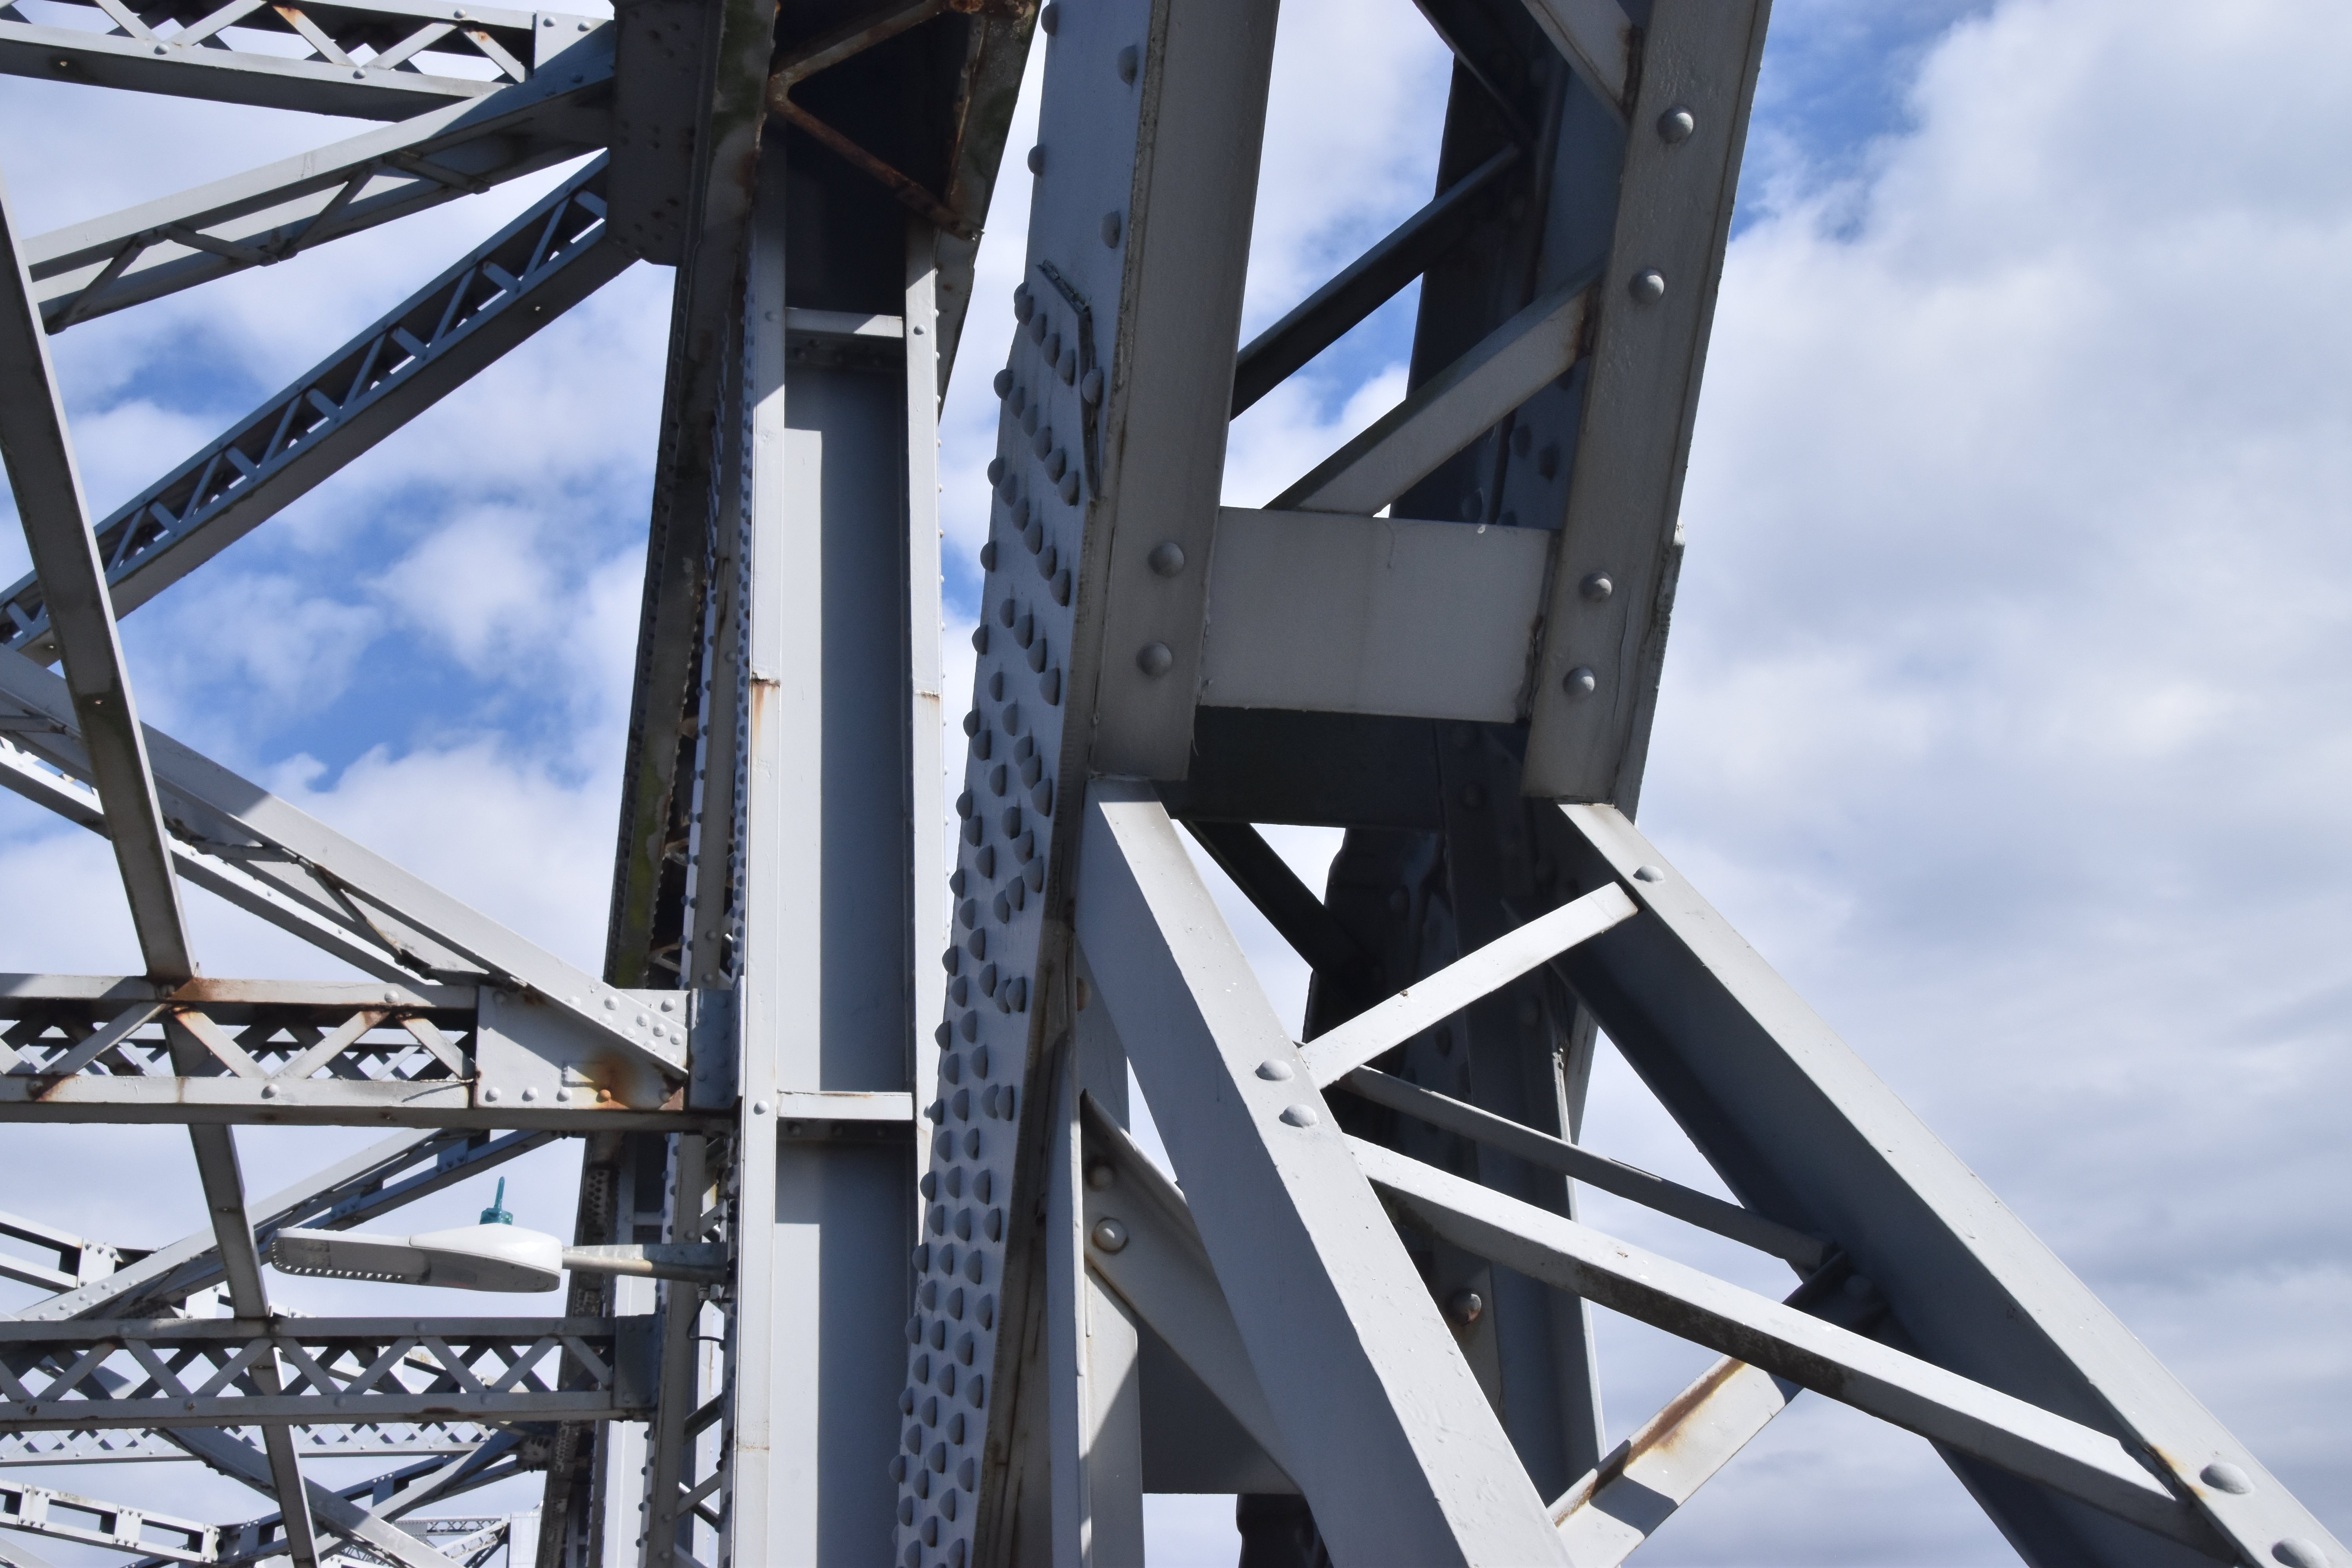
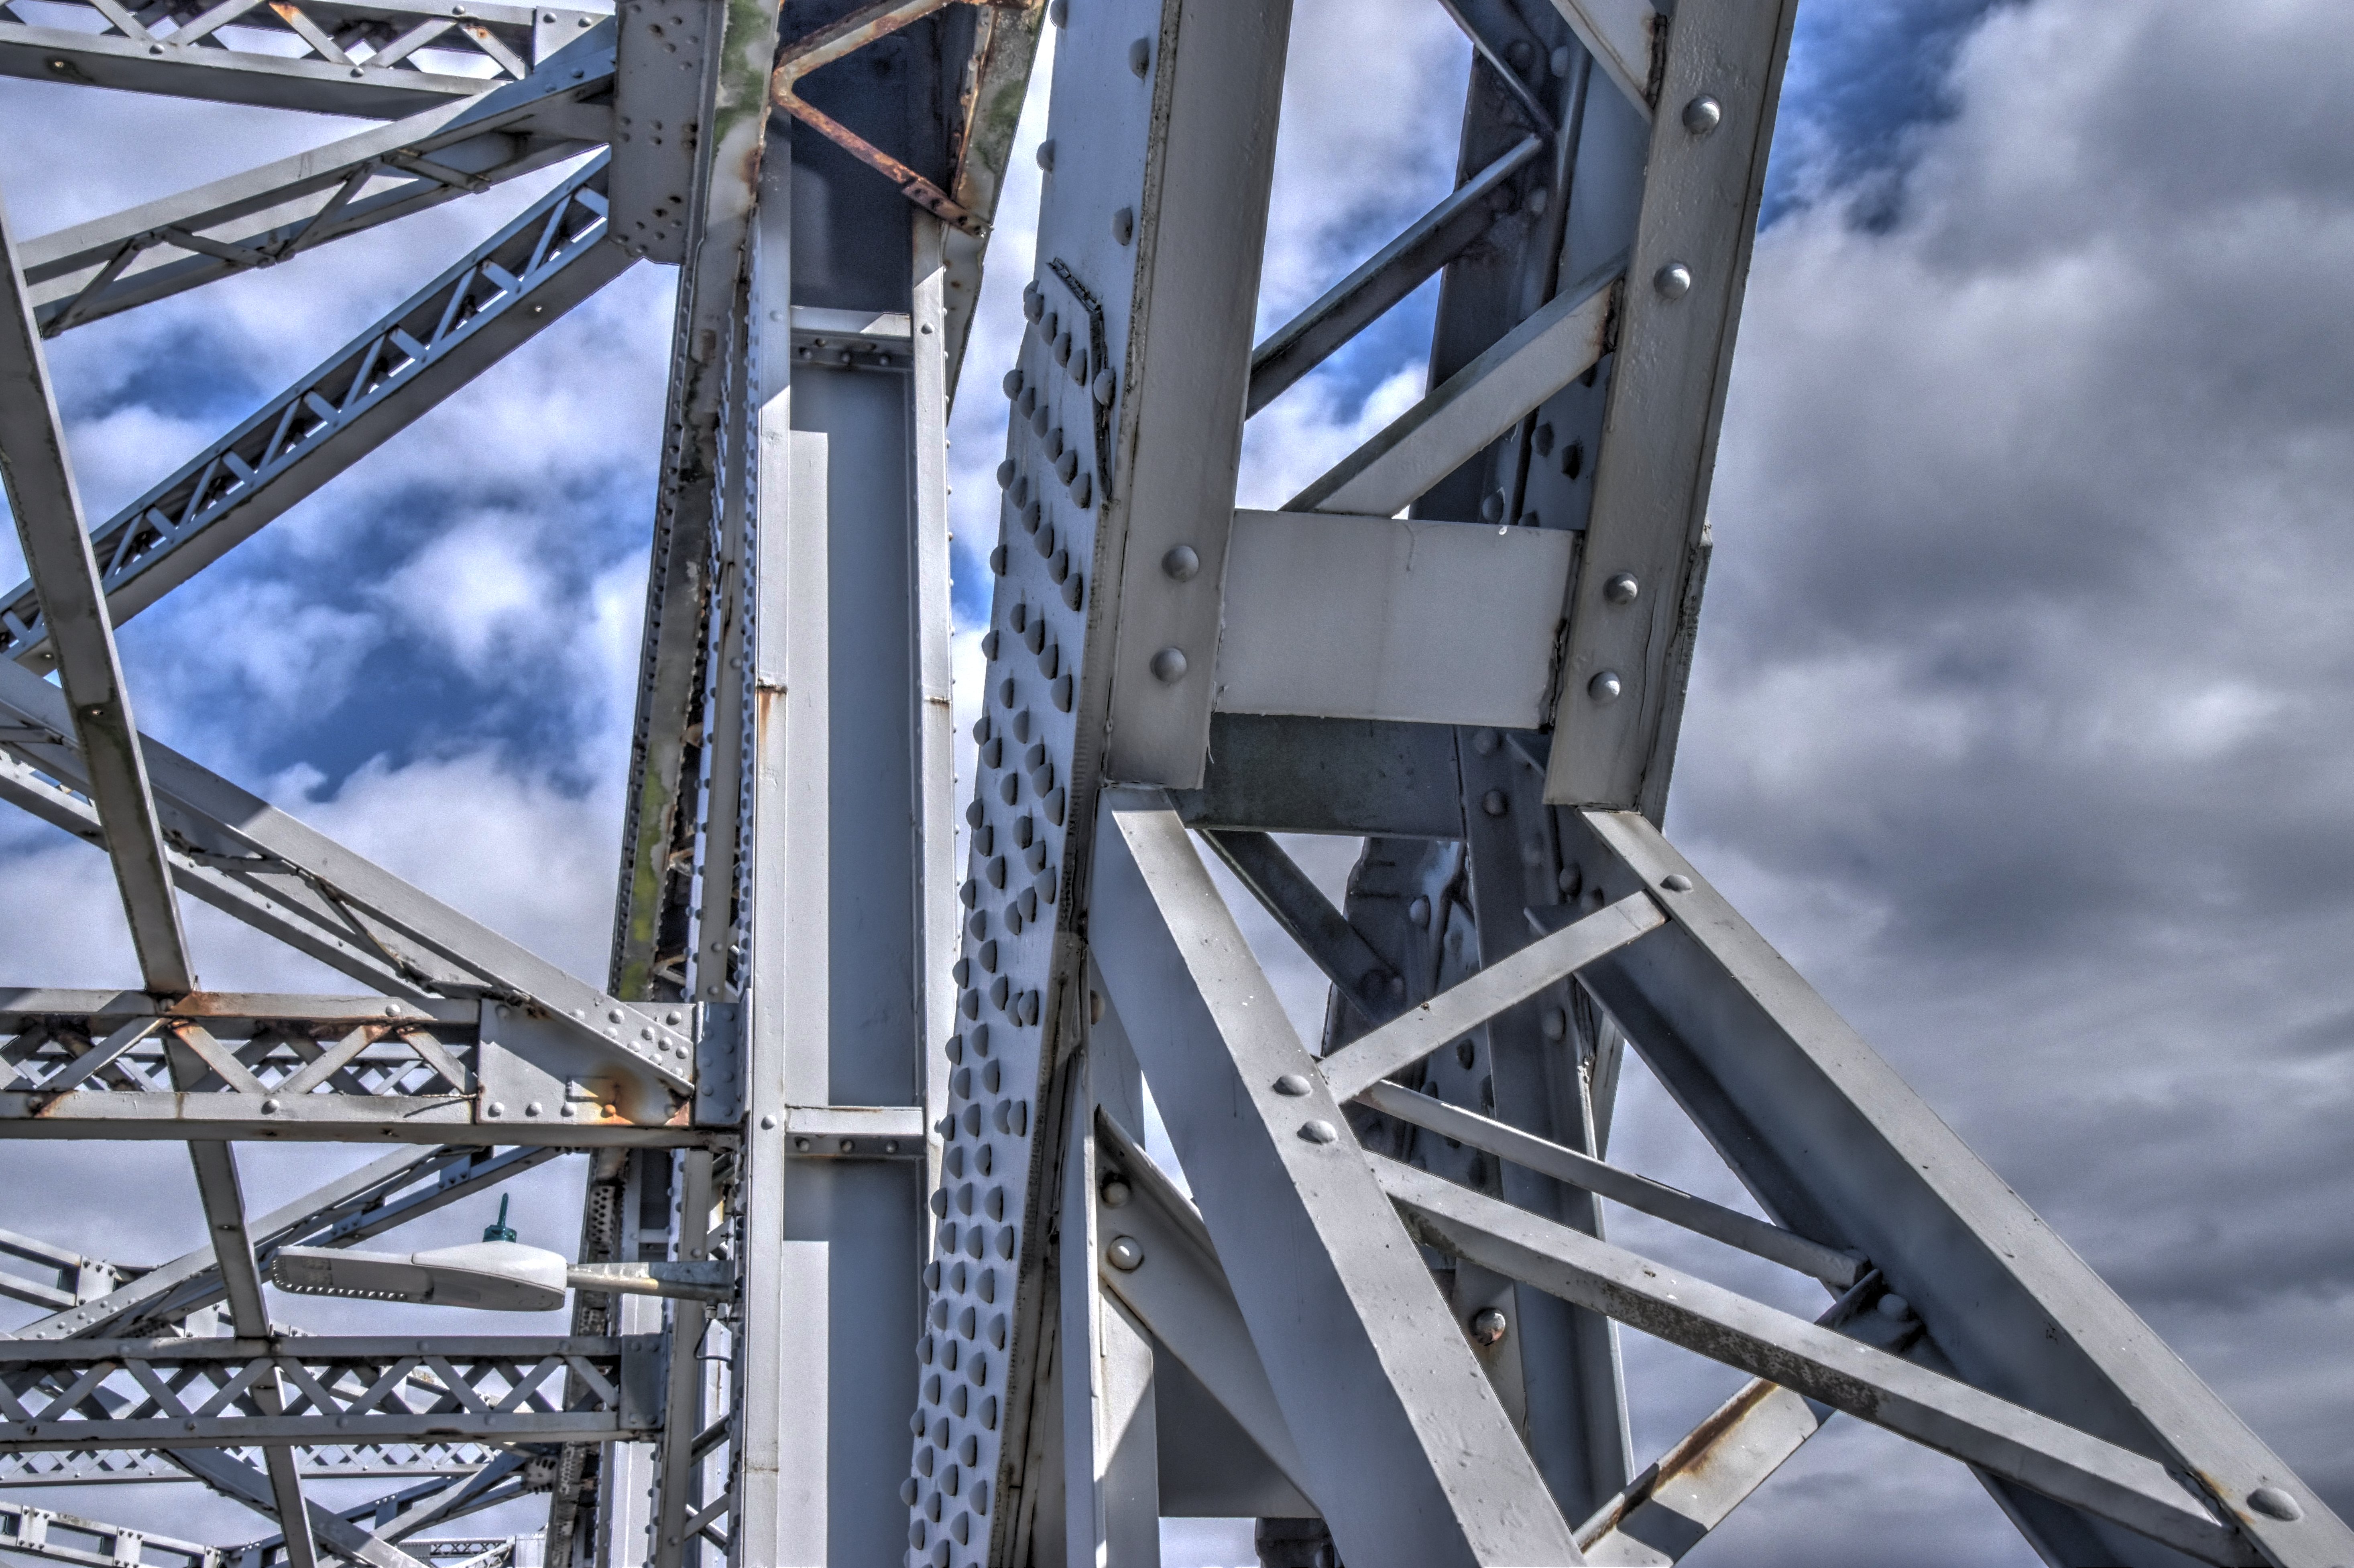
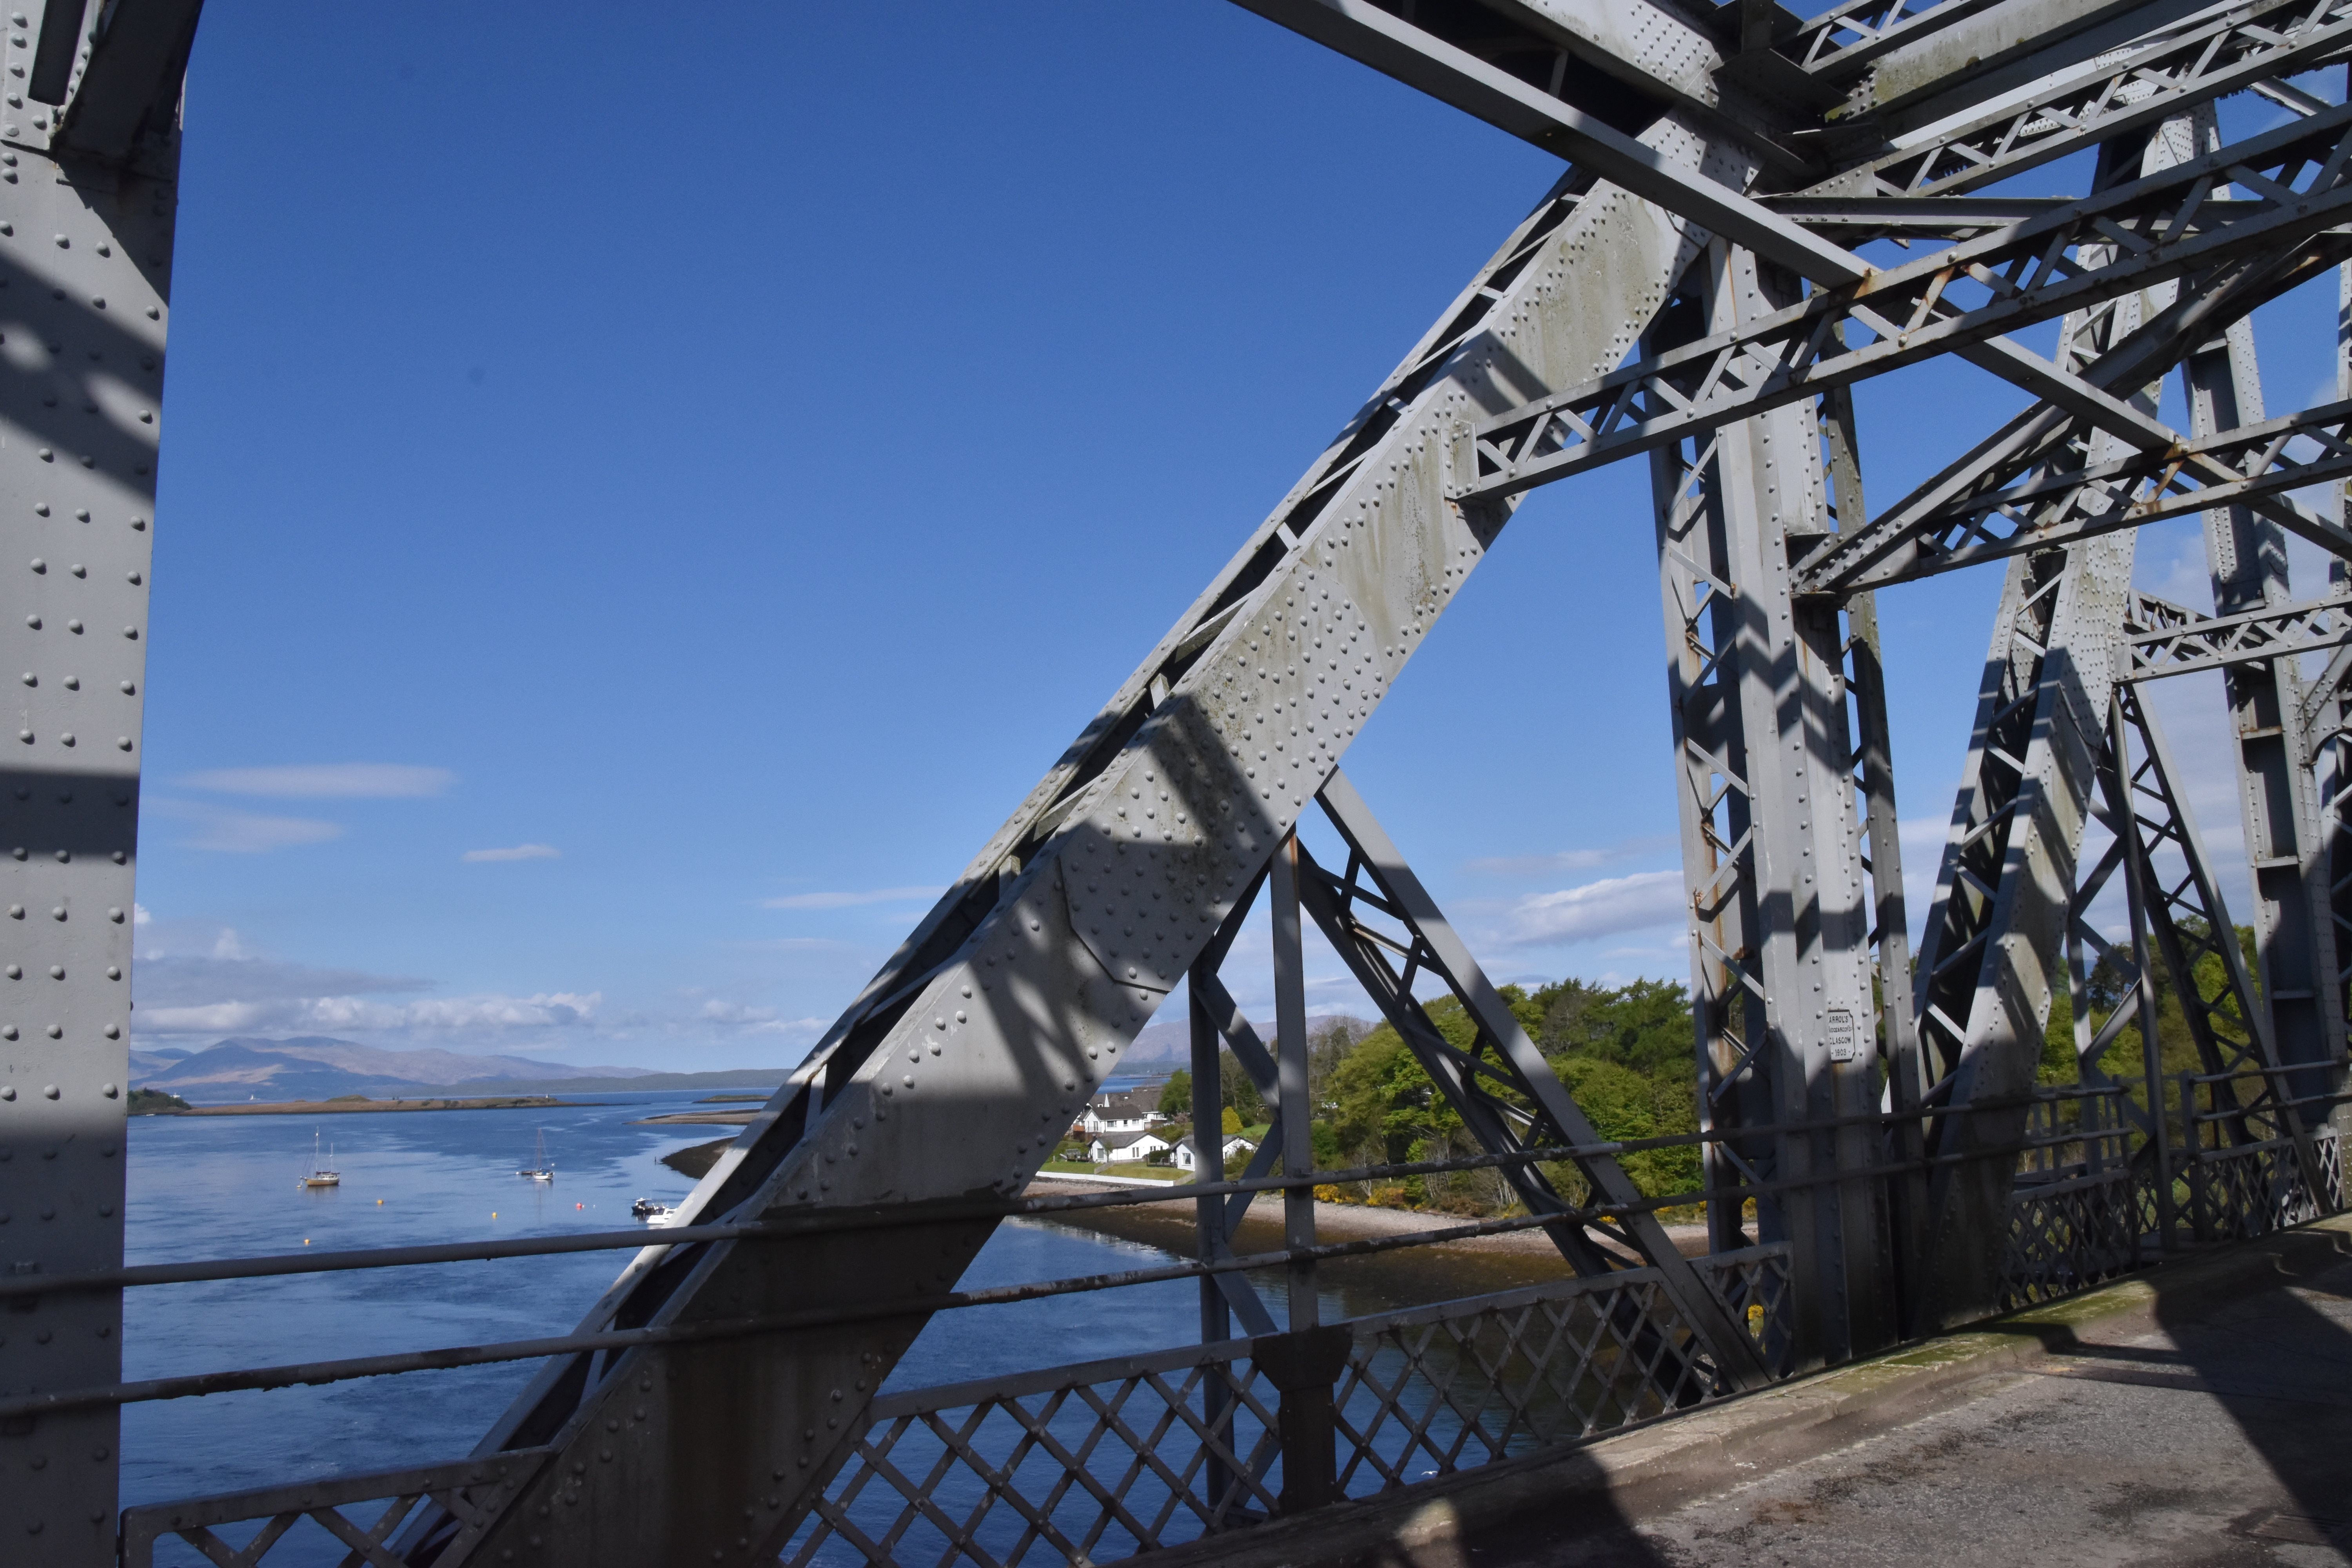
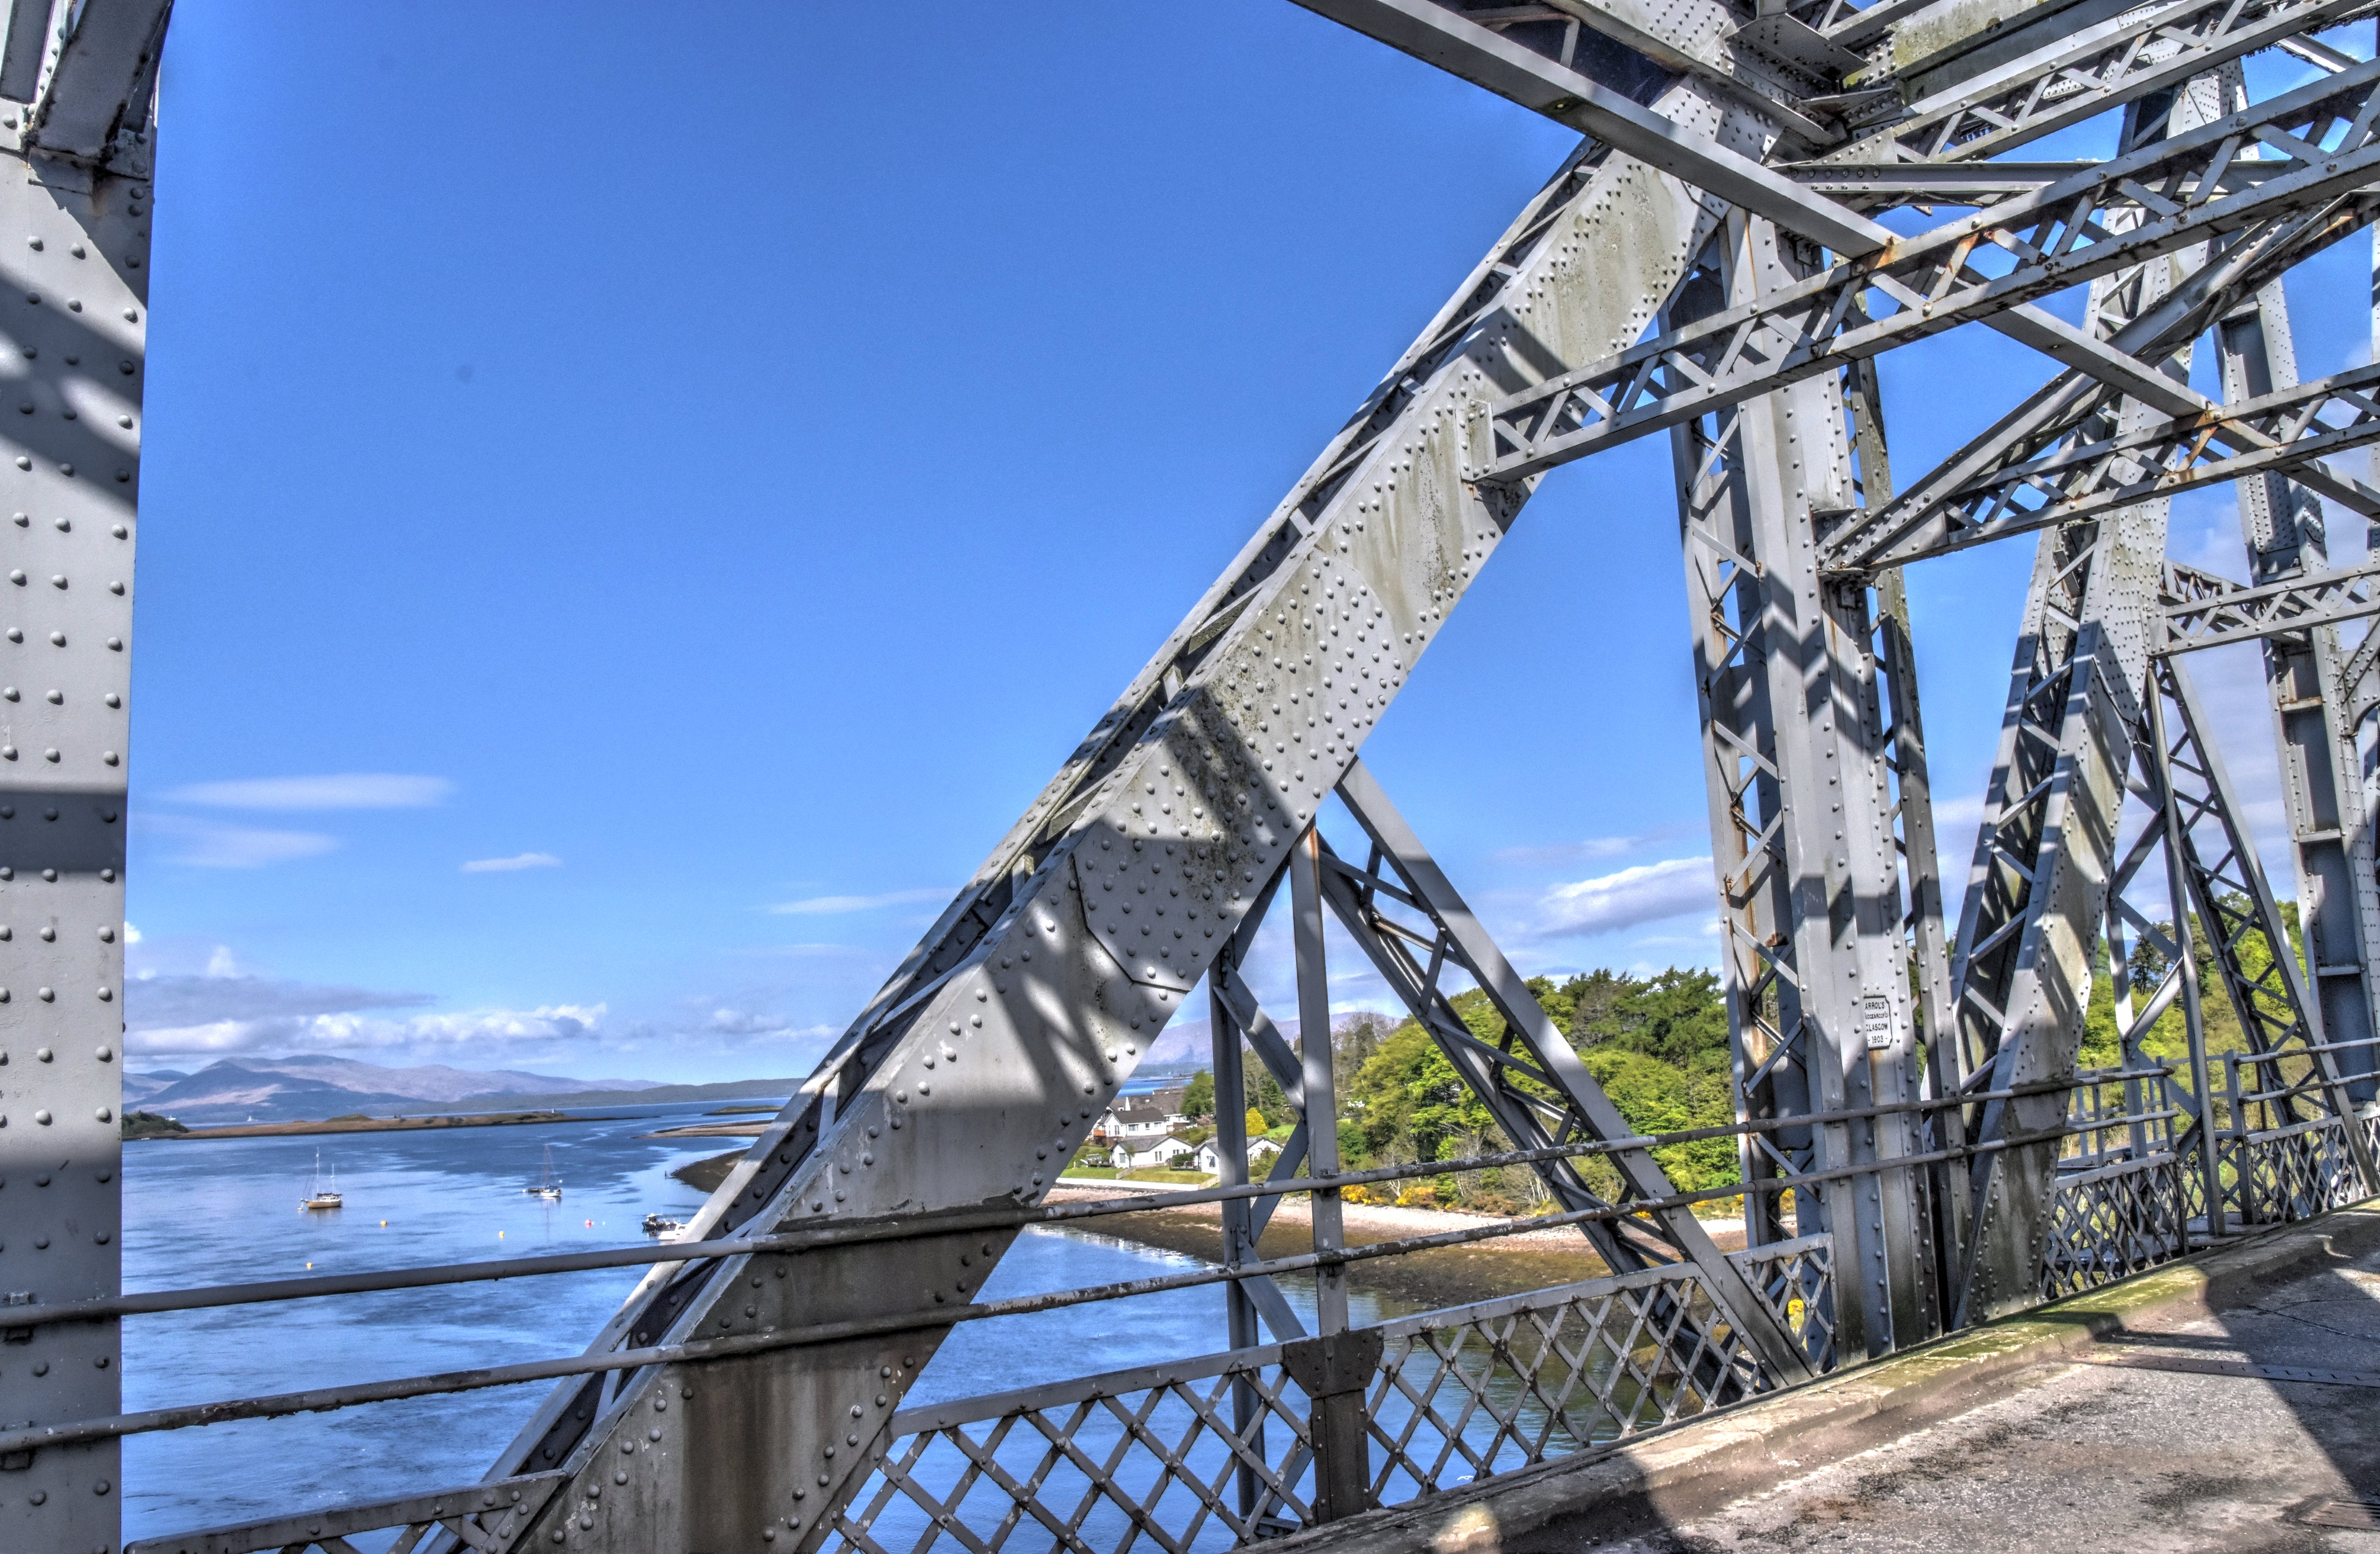
General view from on bridge showing main post intersecting with sway bracing and the outer boom.
![]()

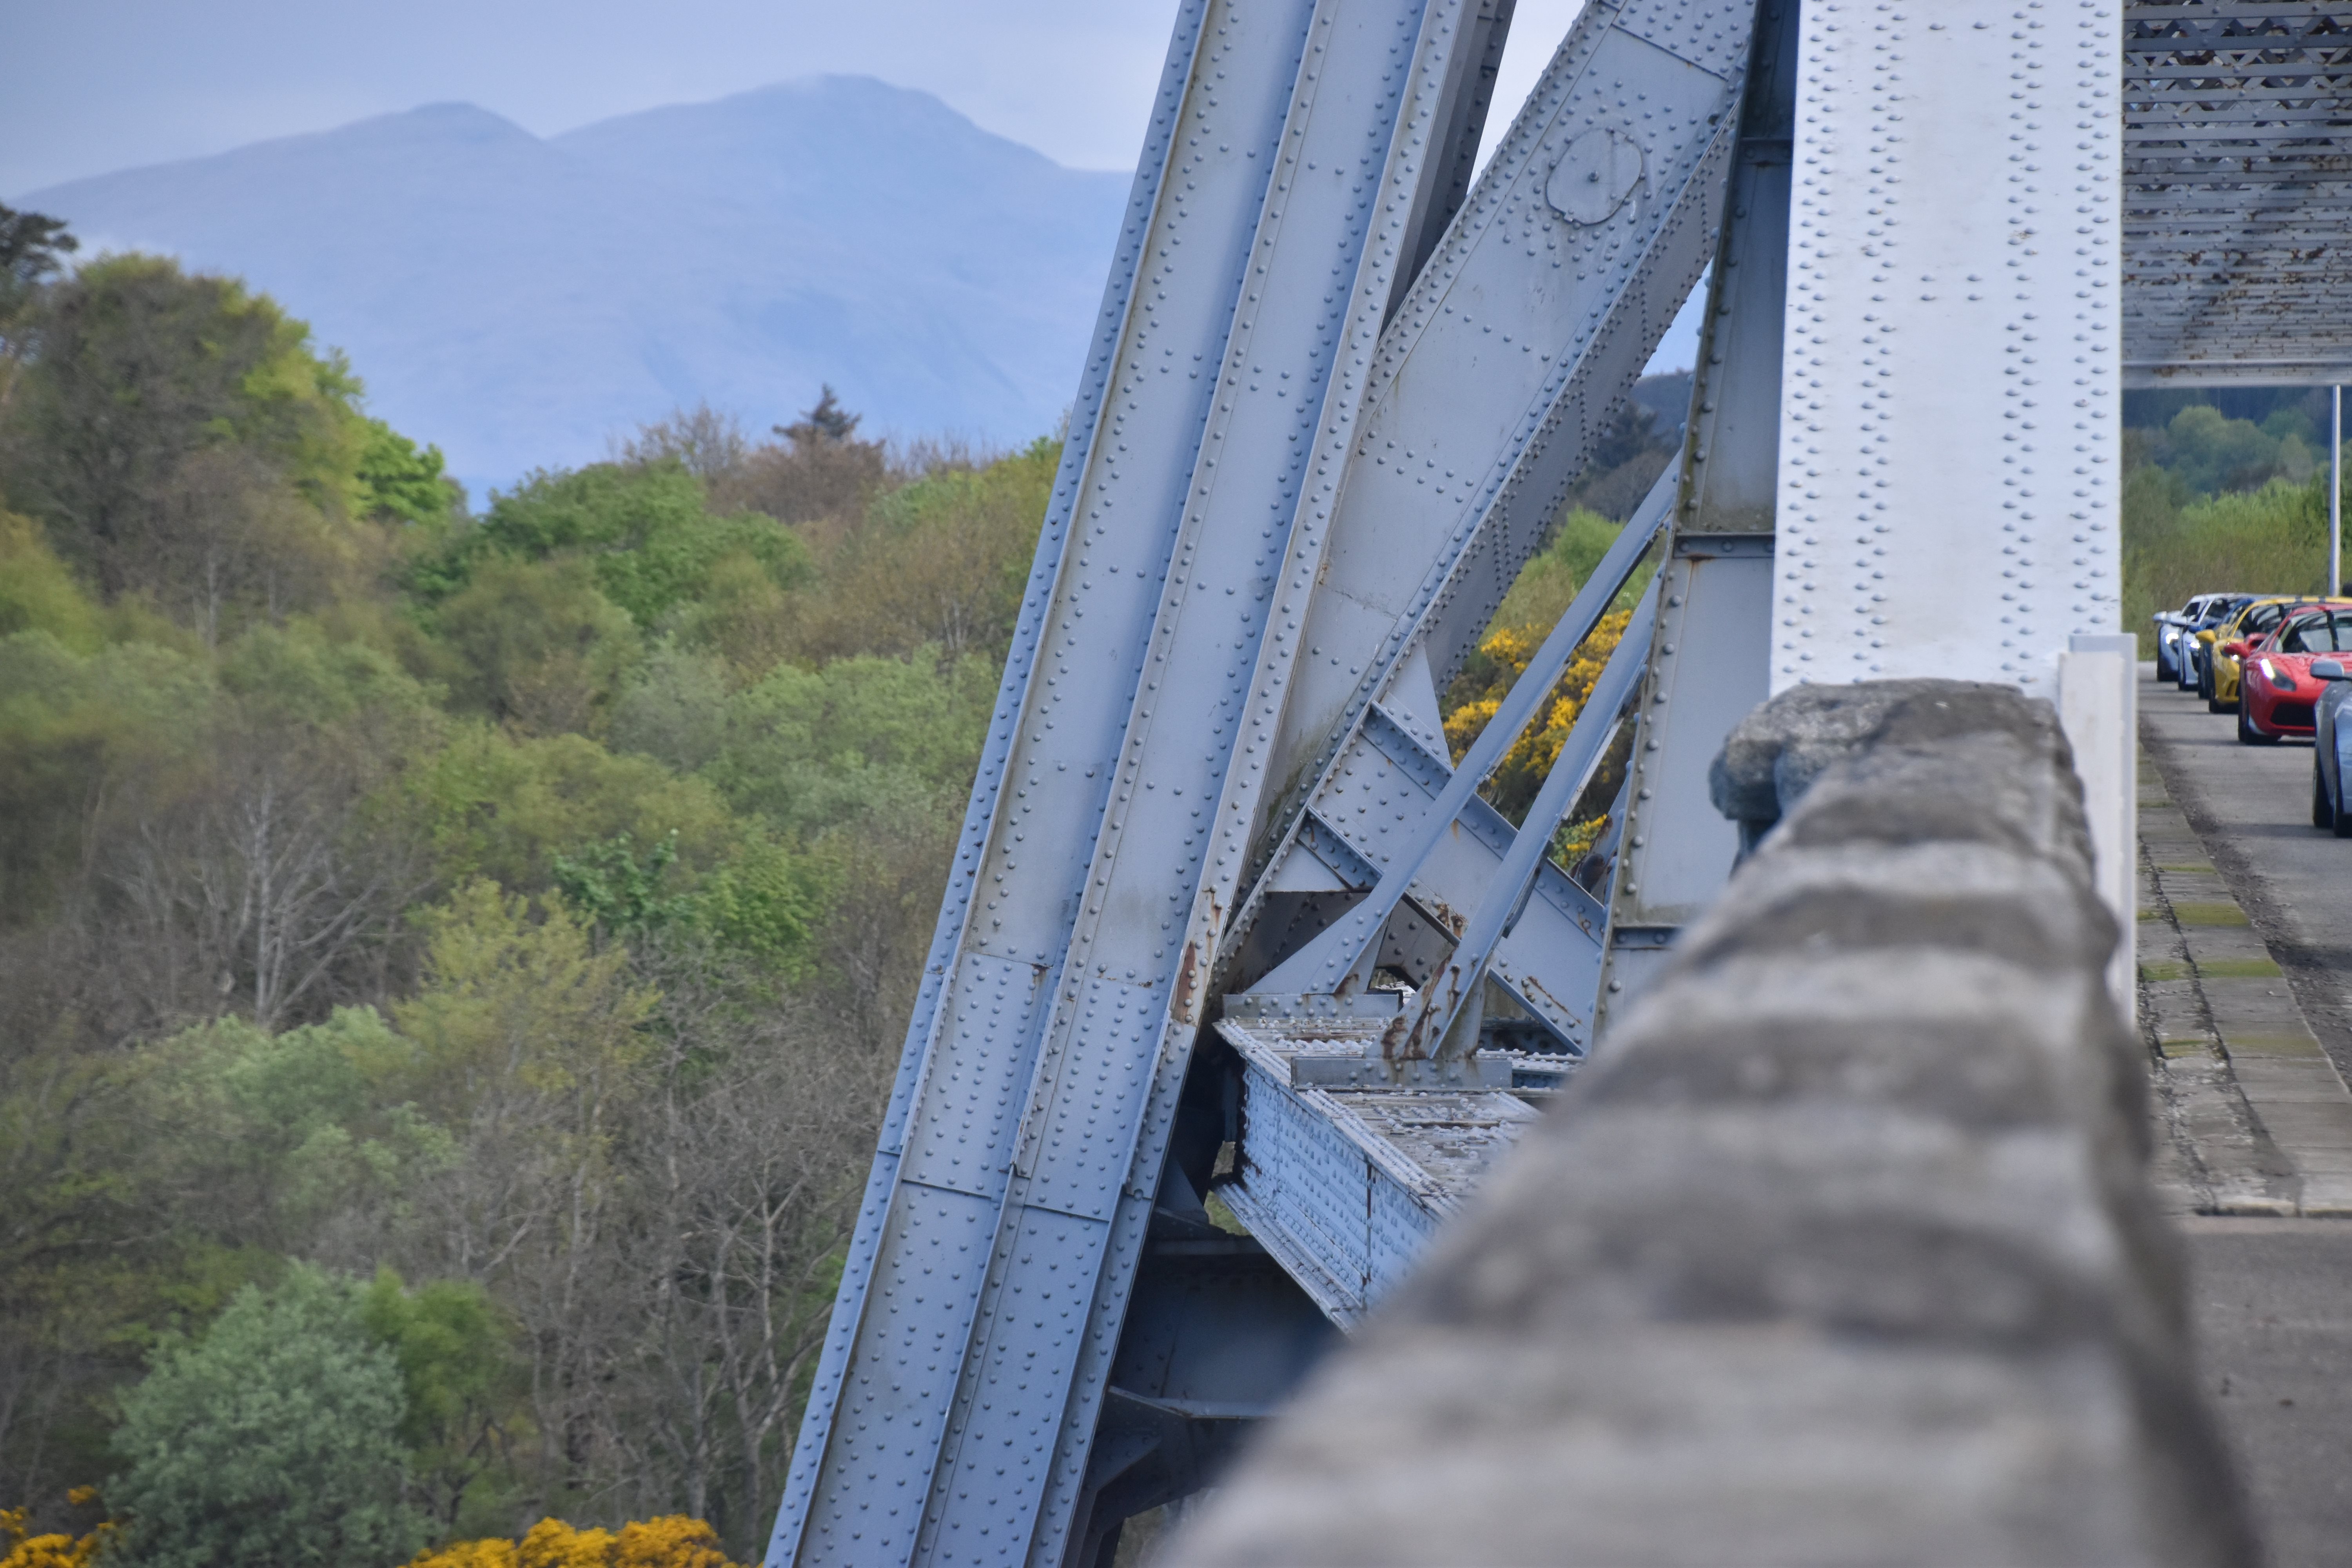
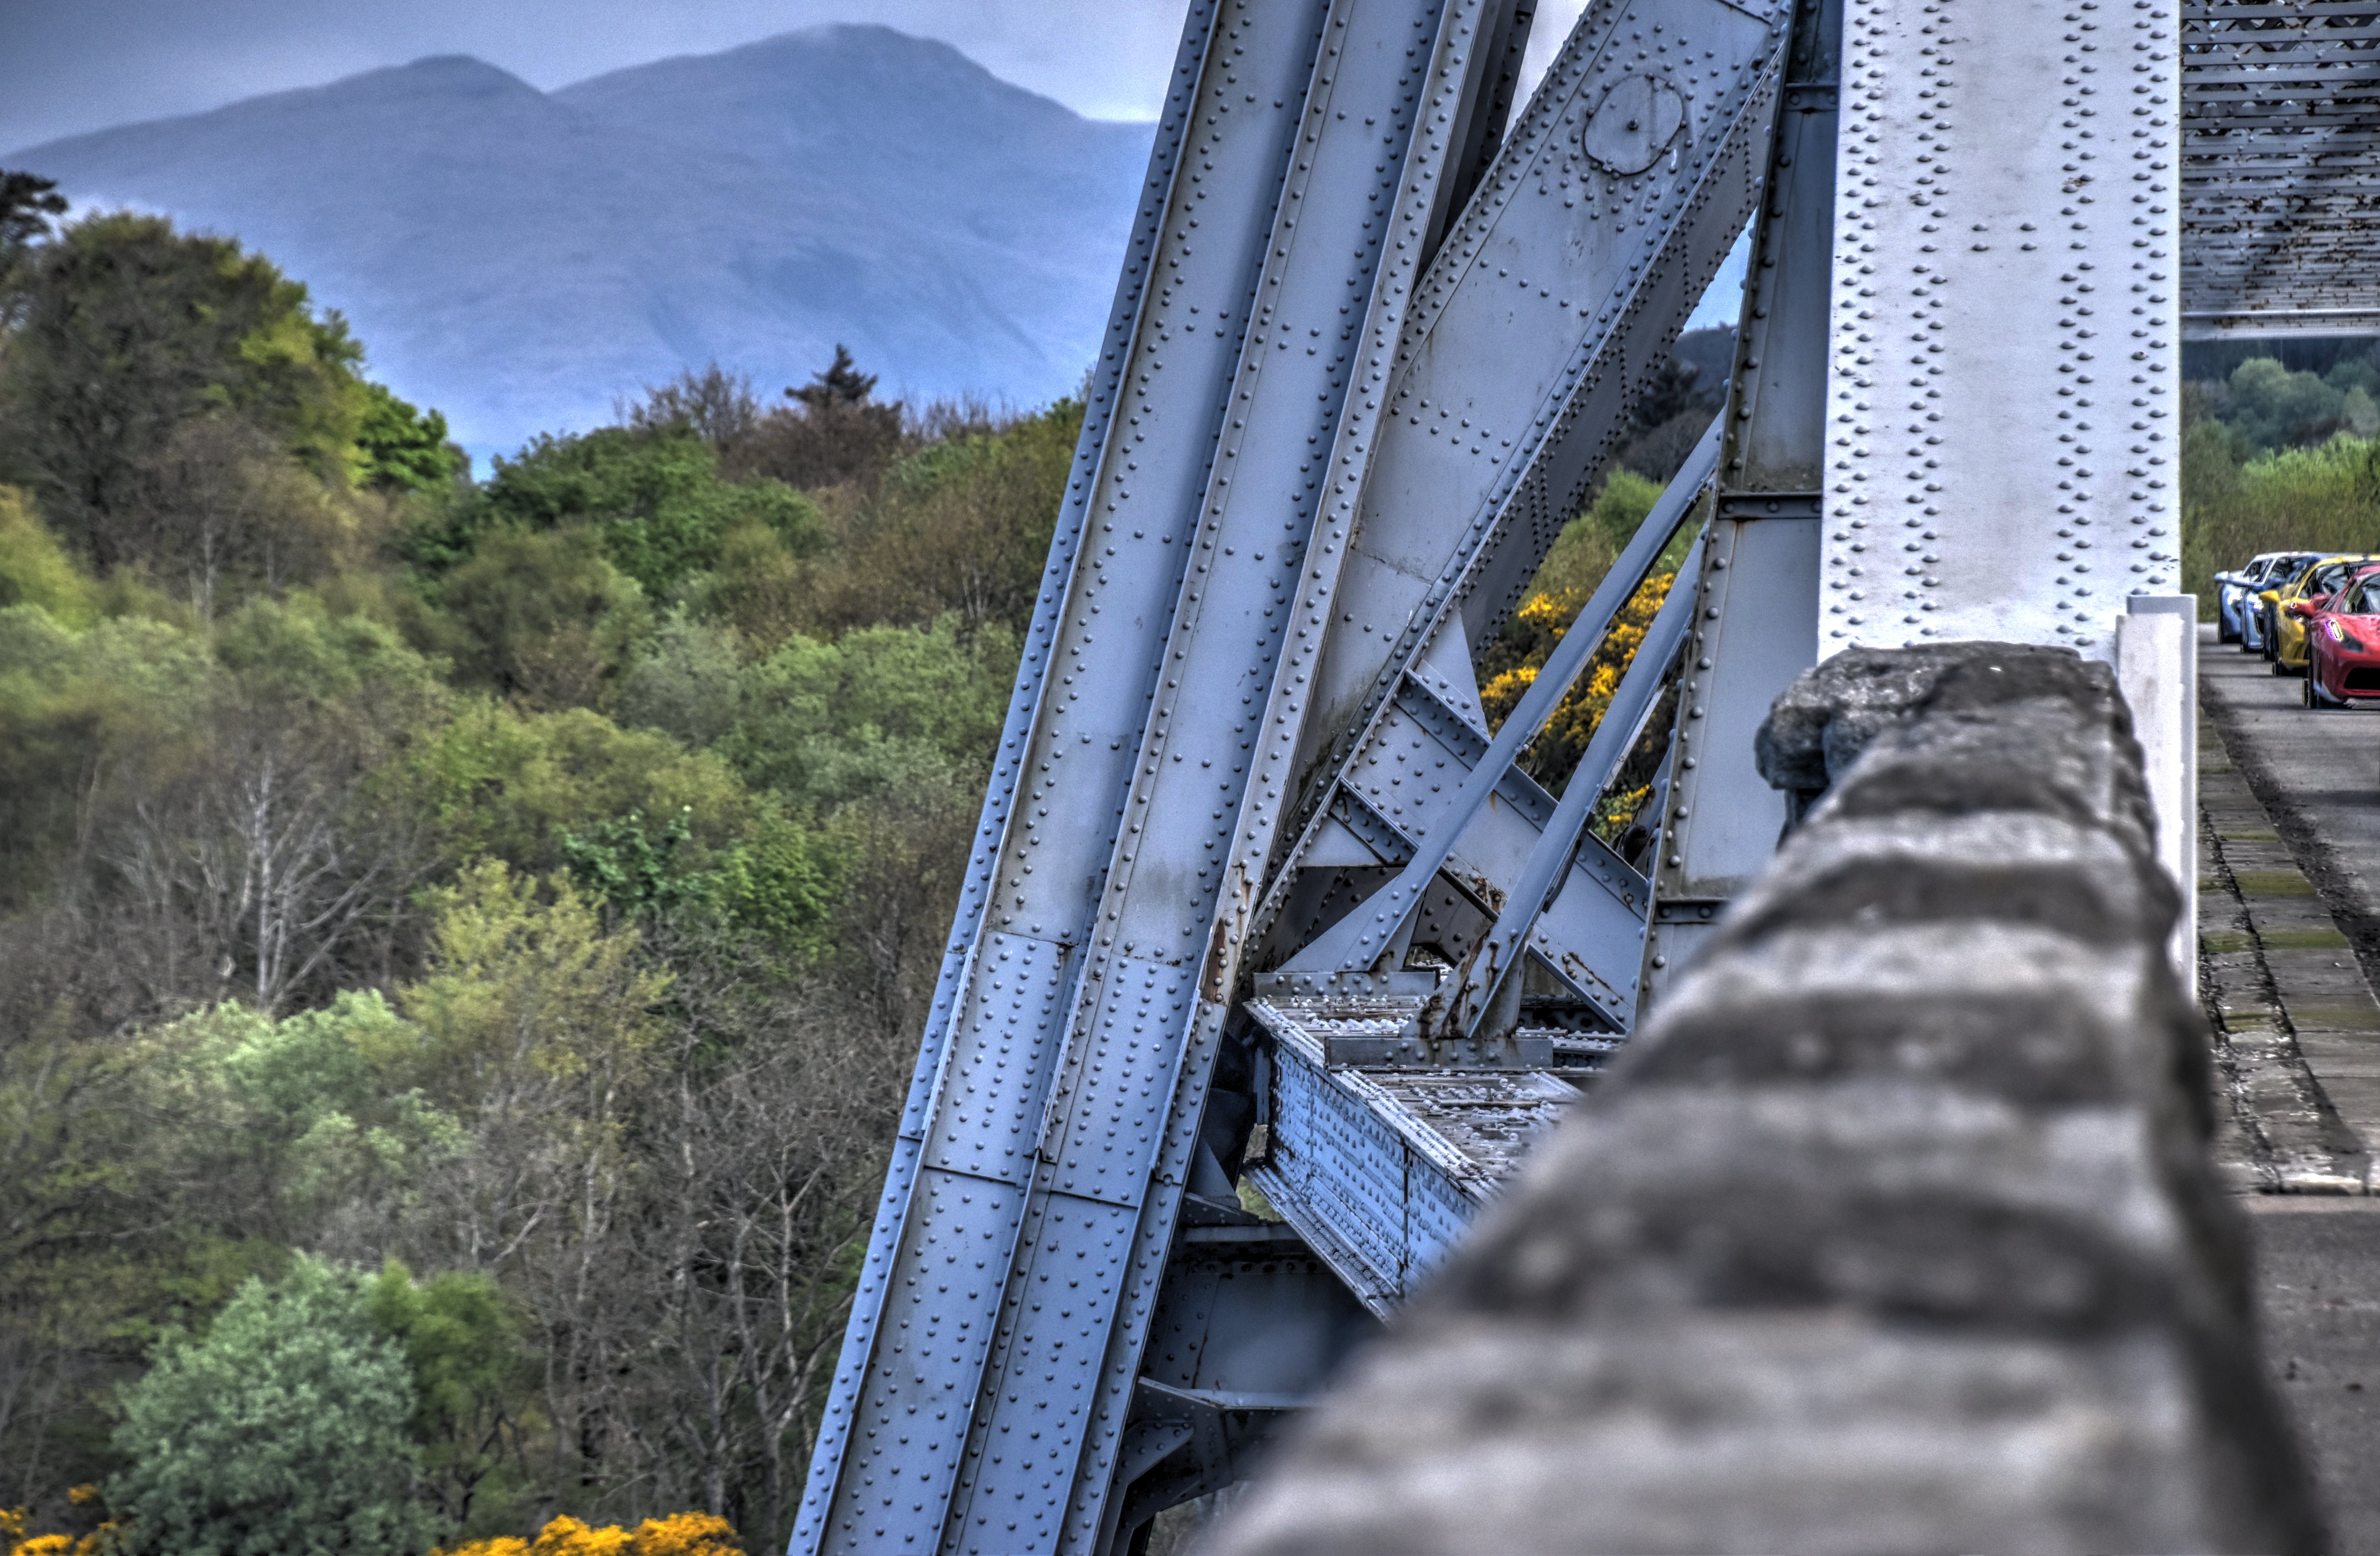
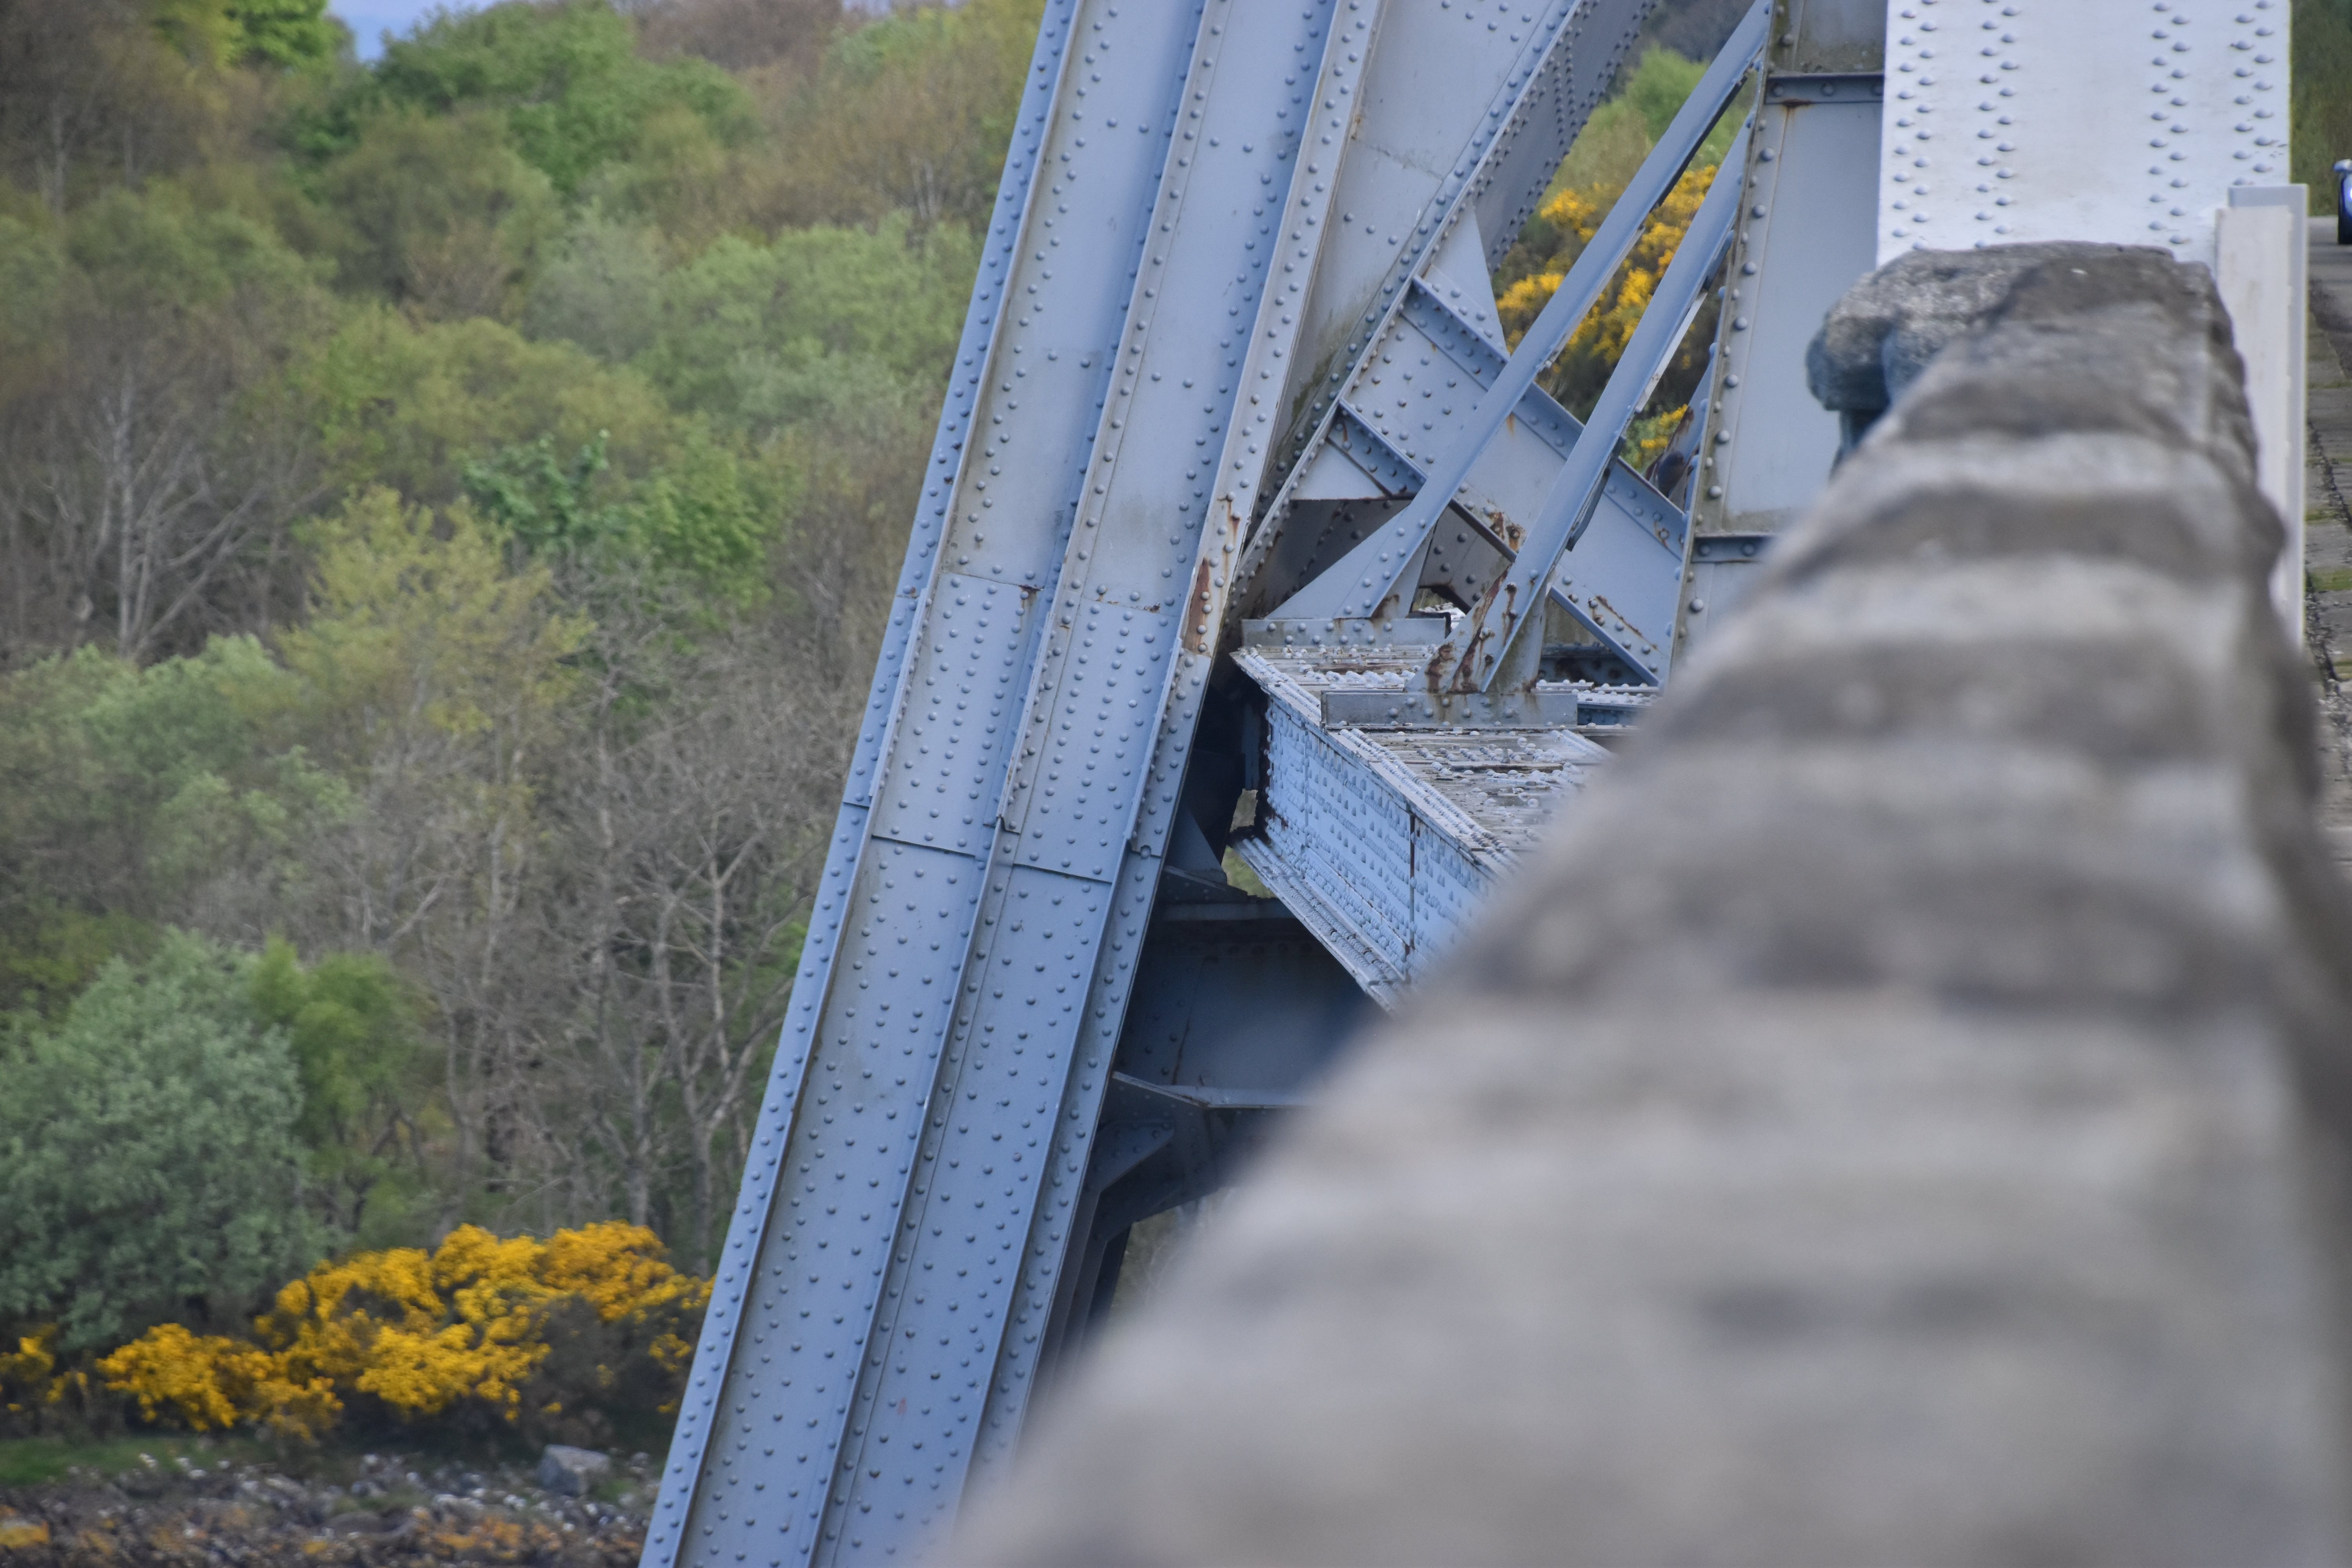


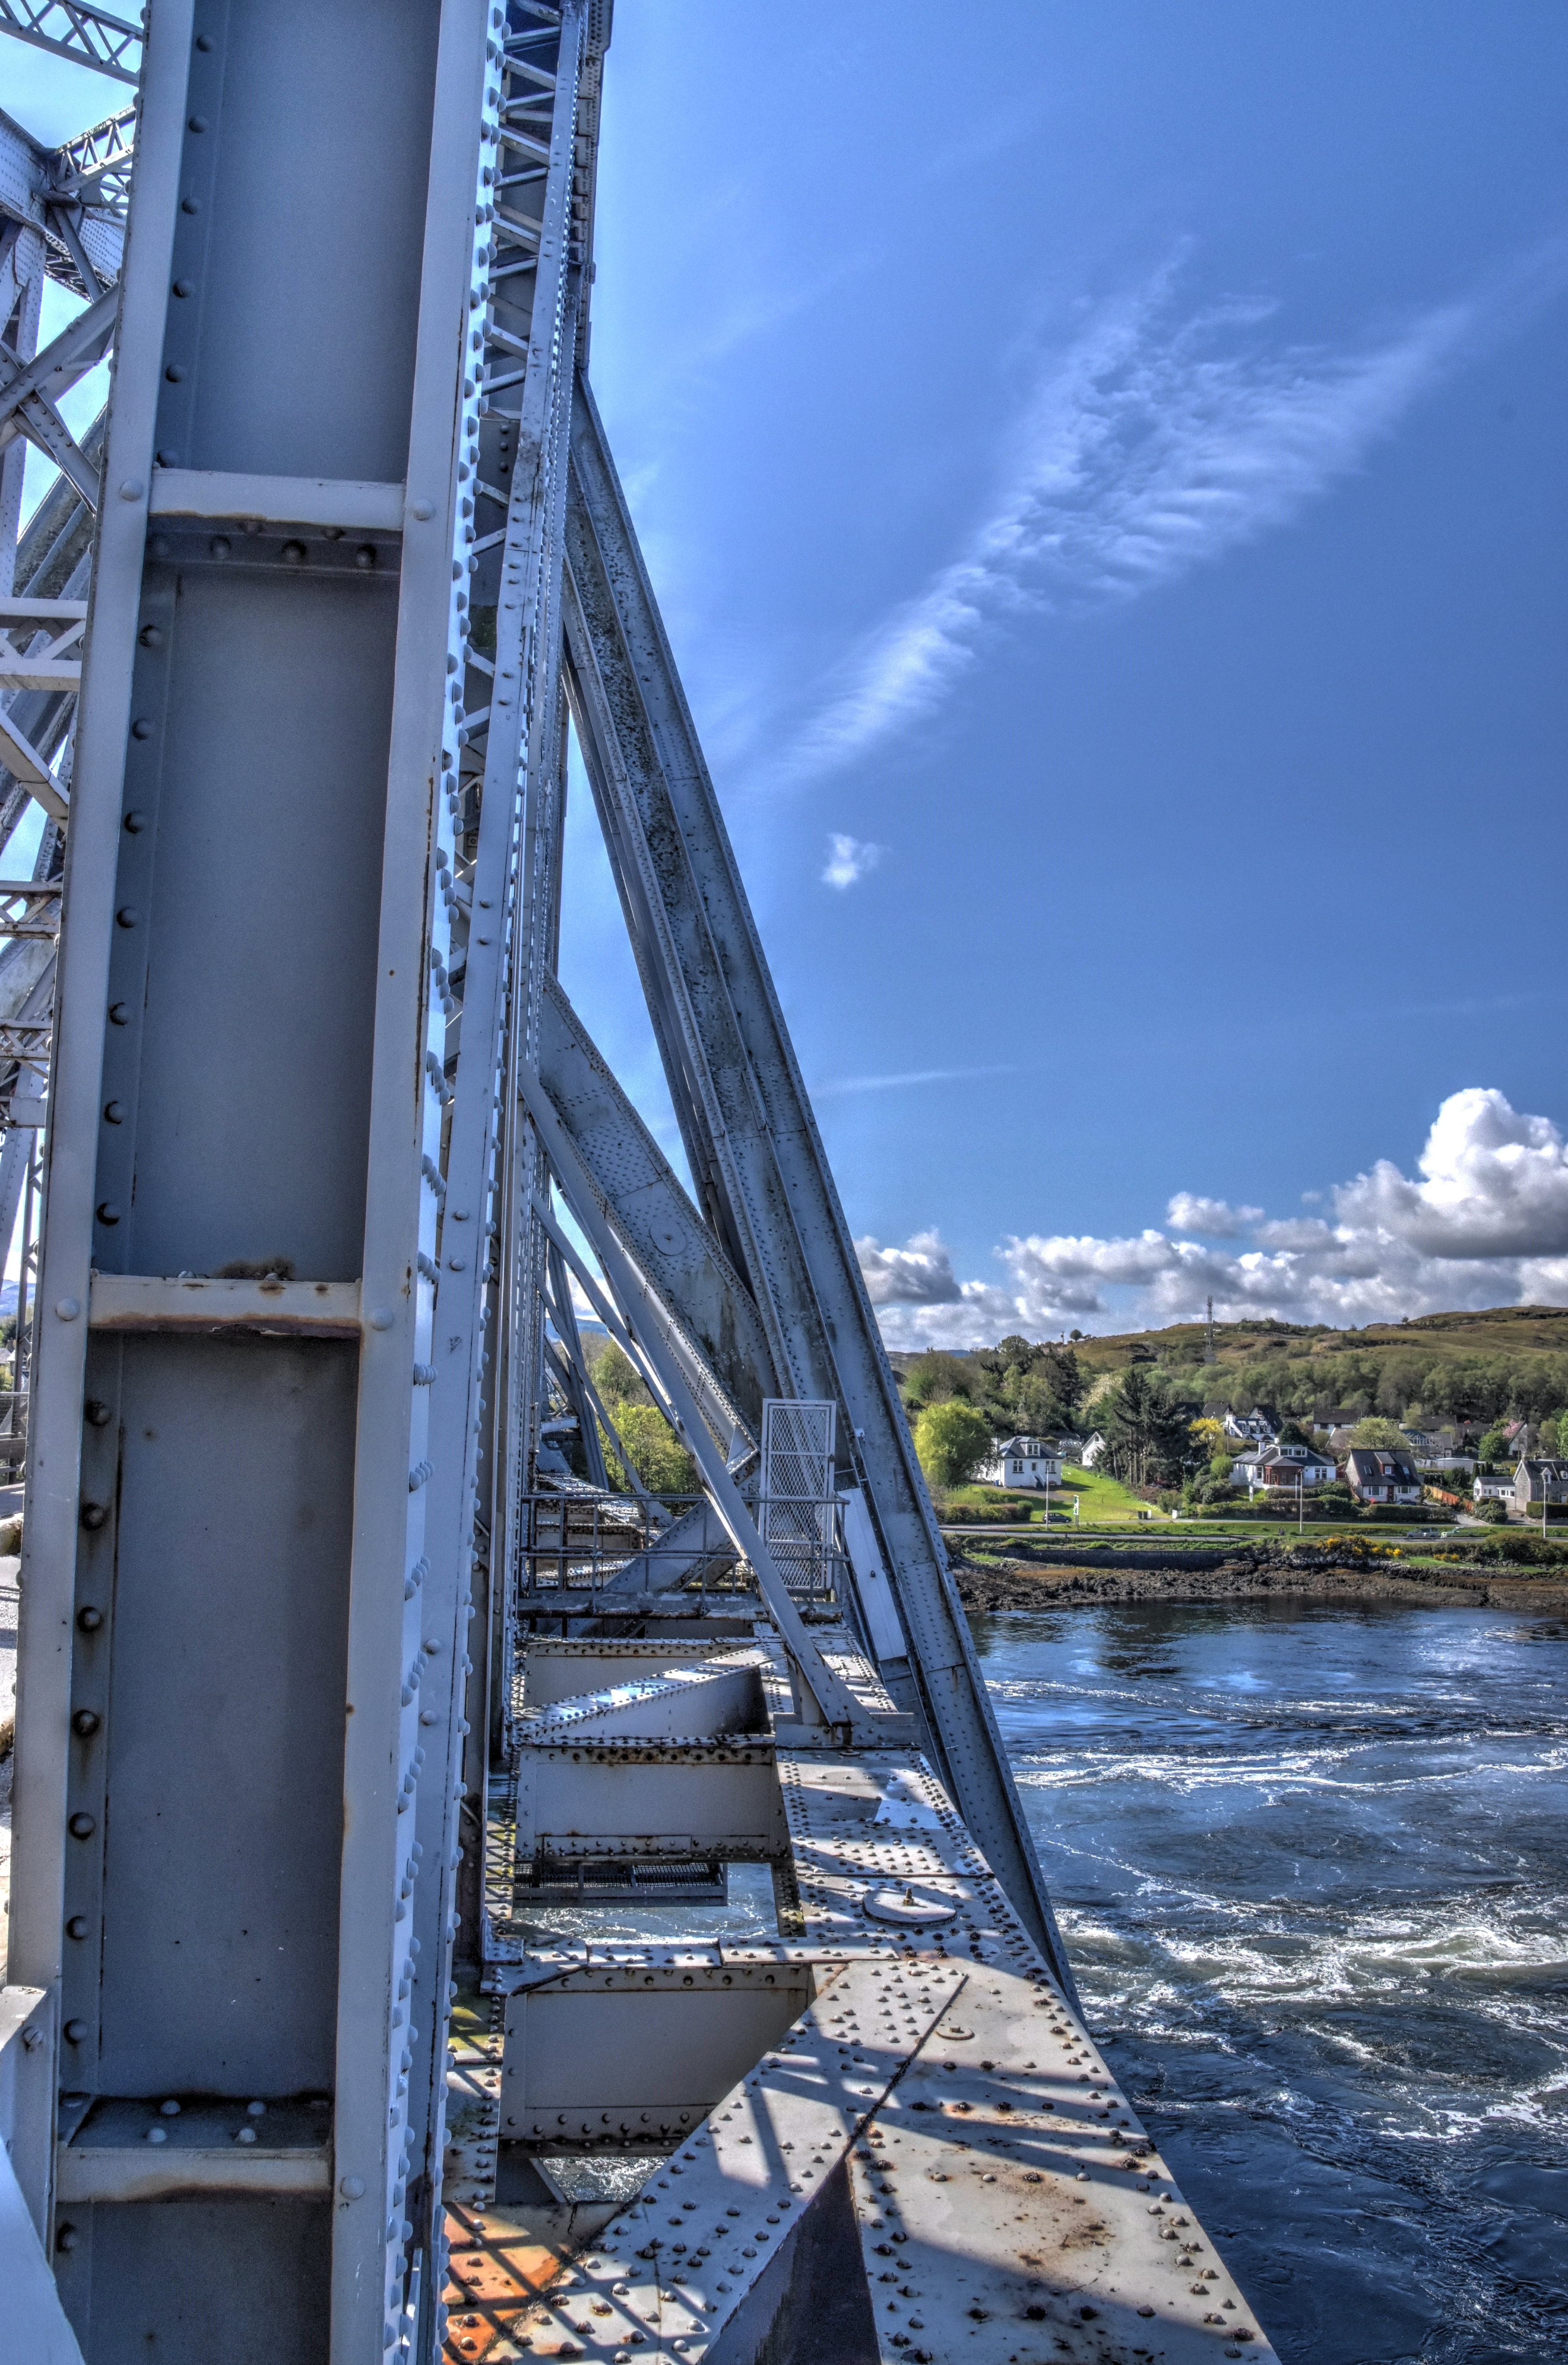
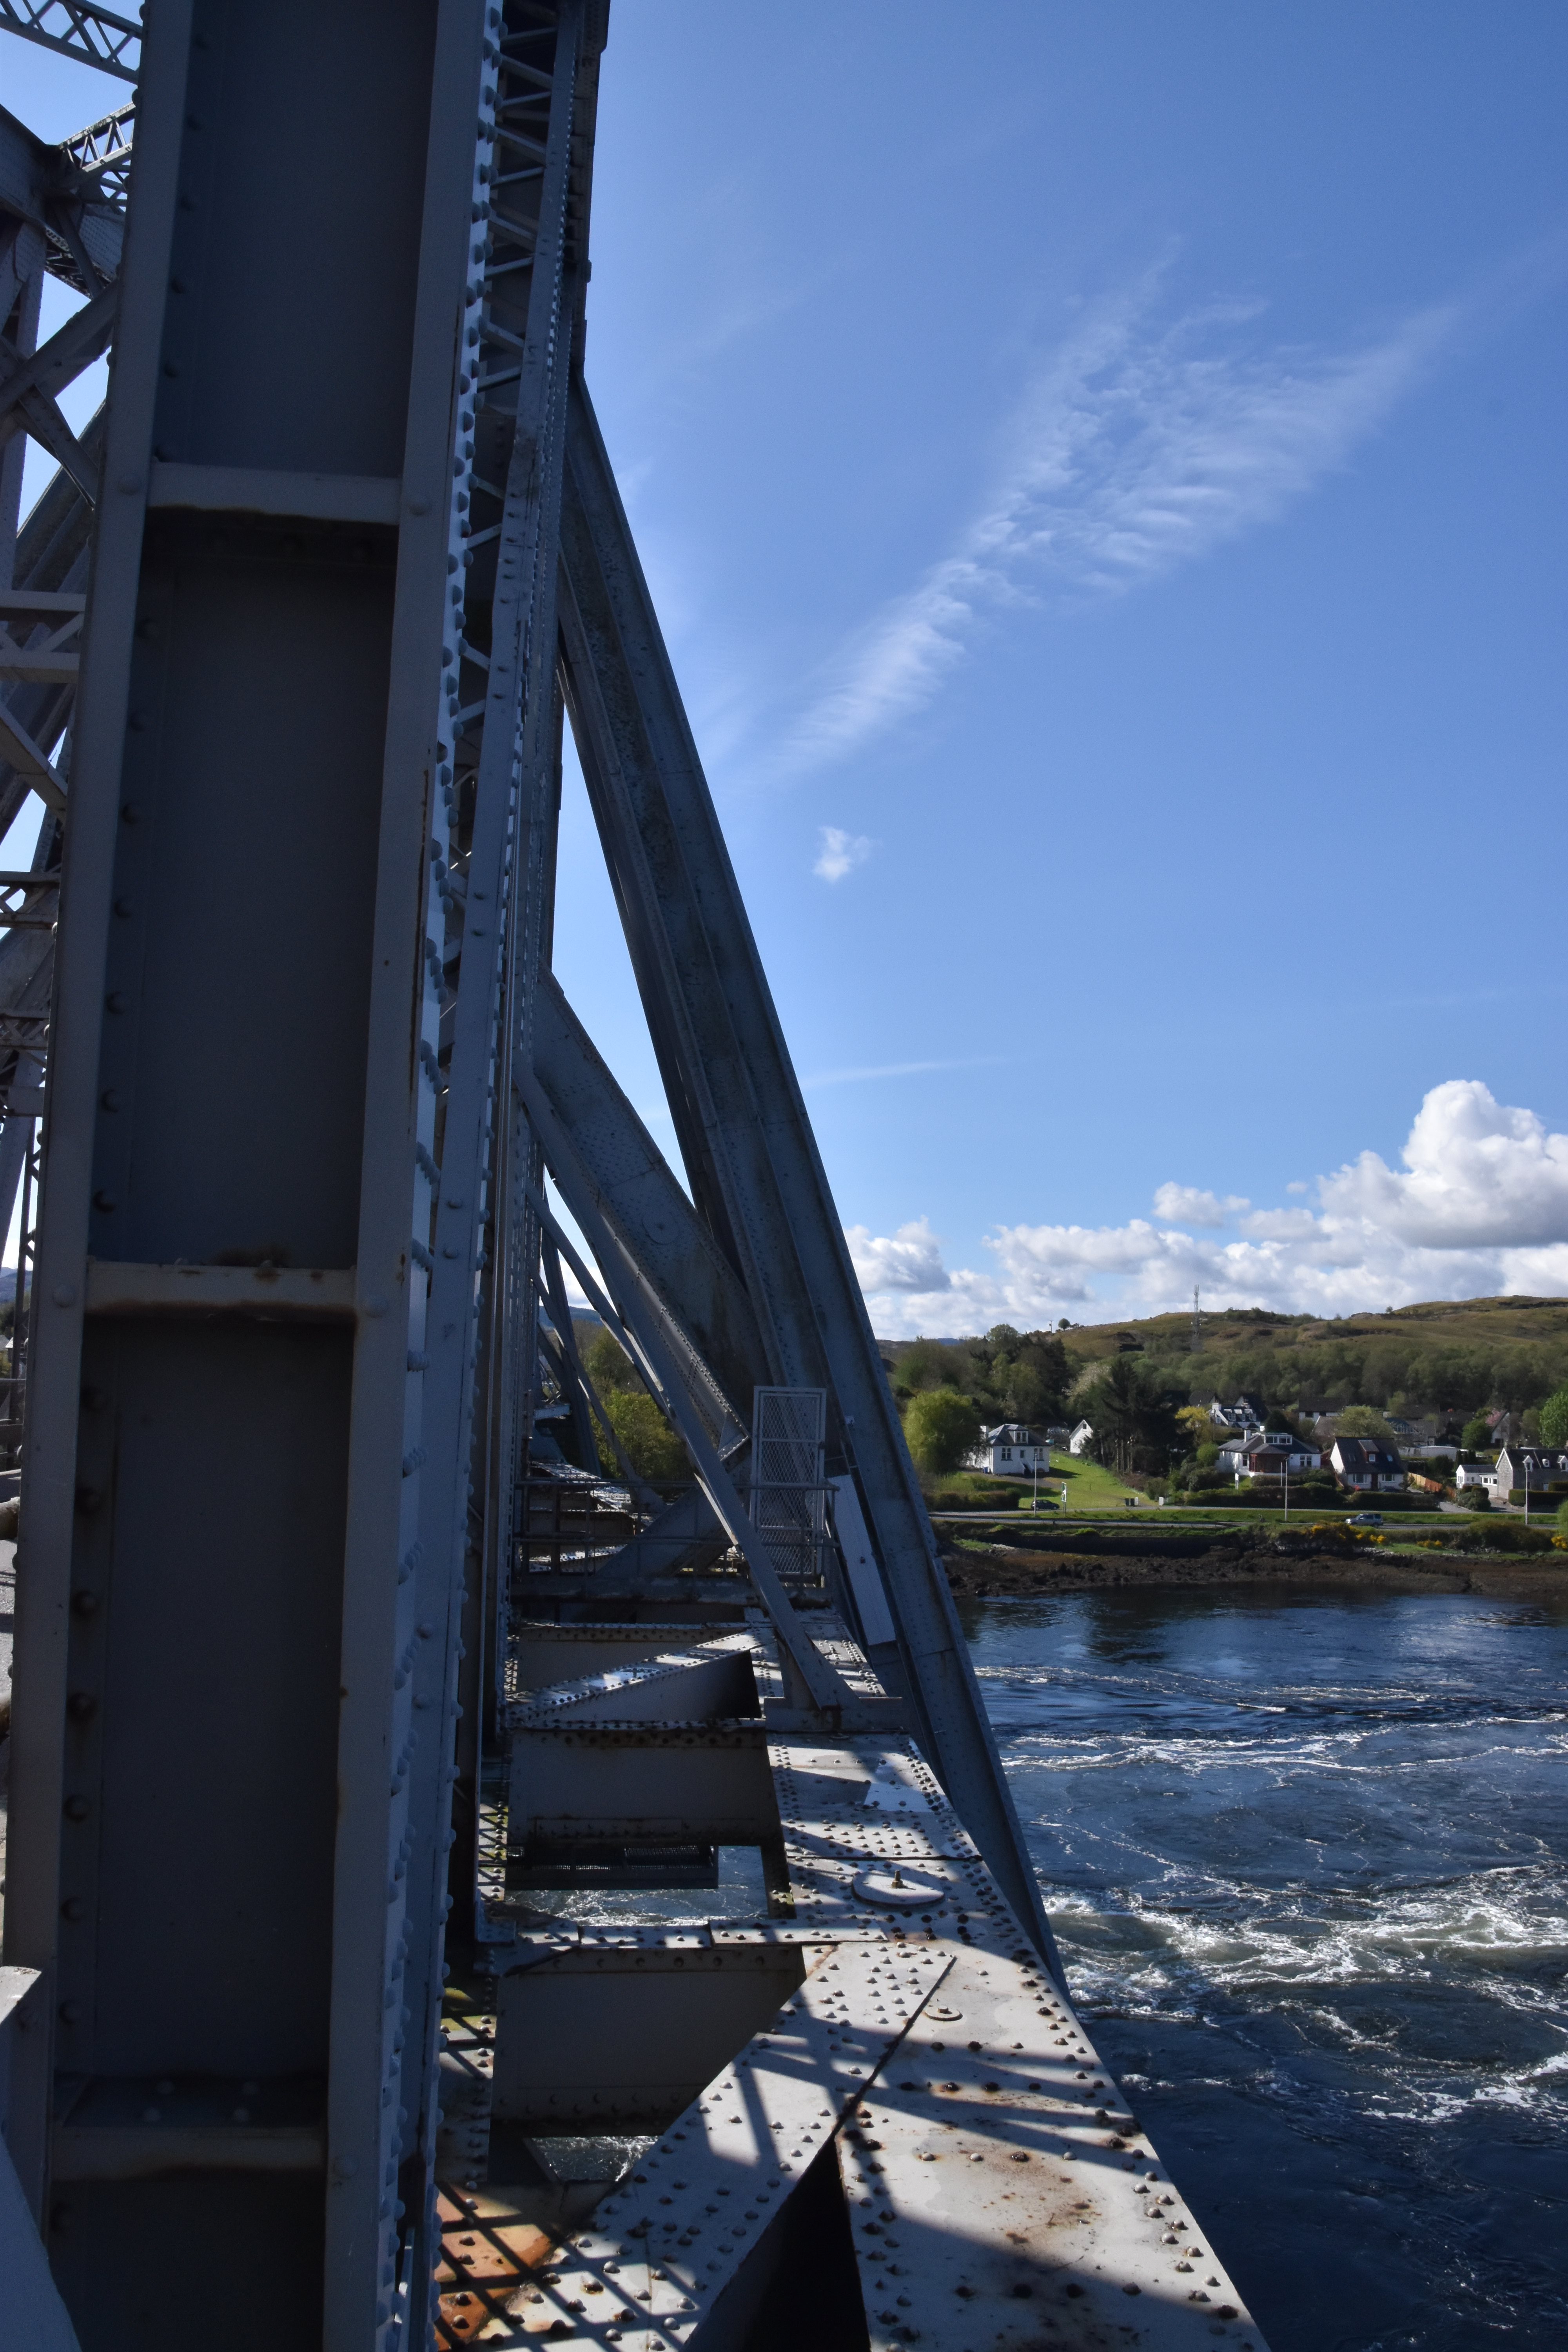

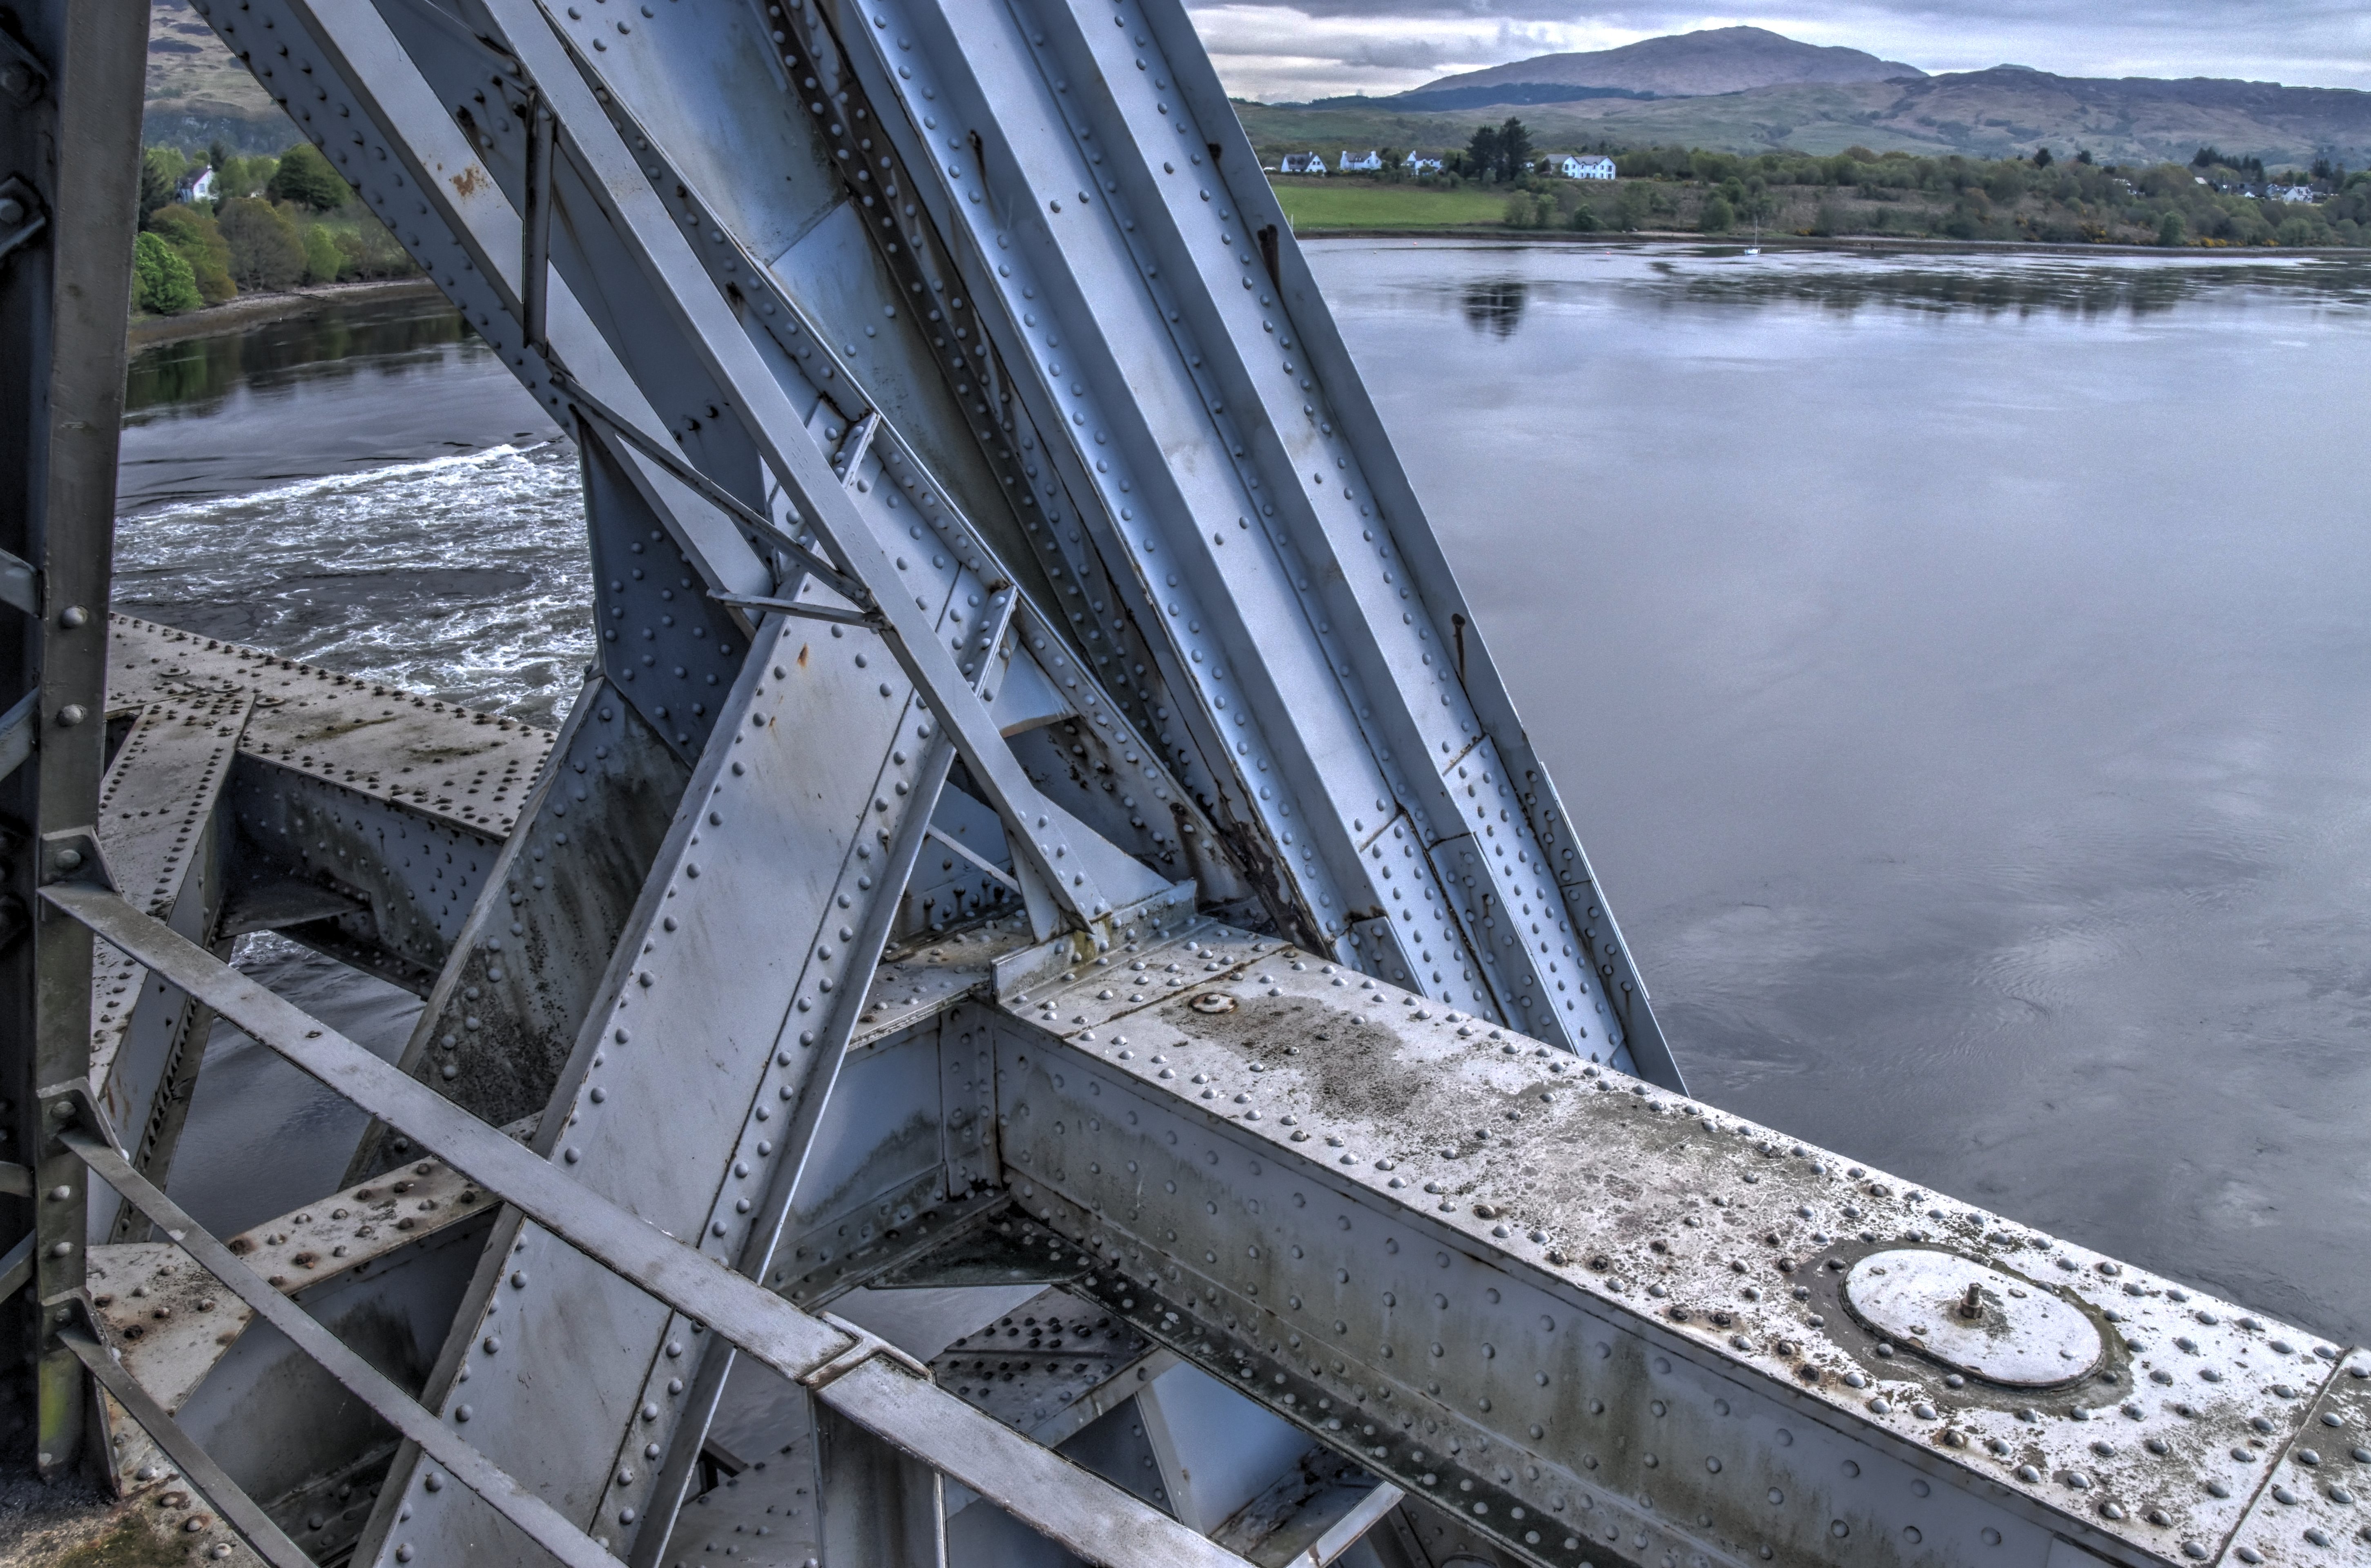
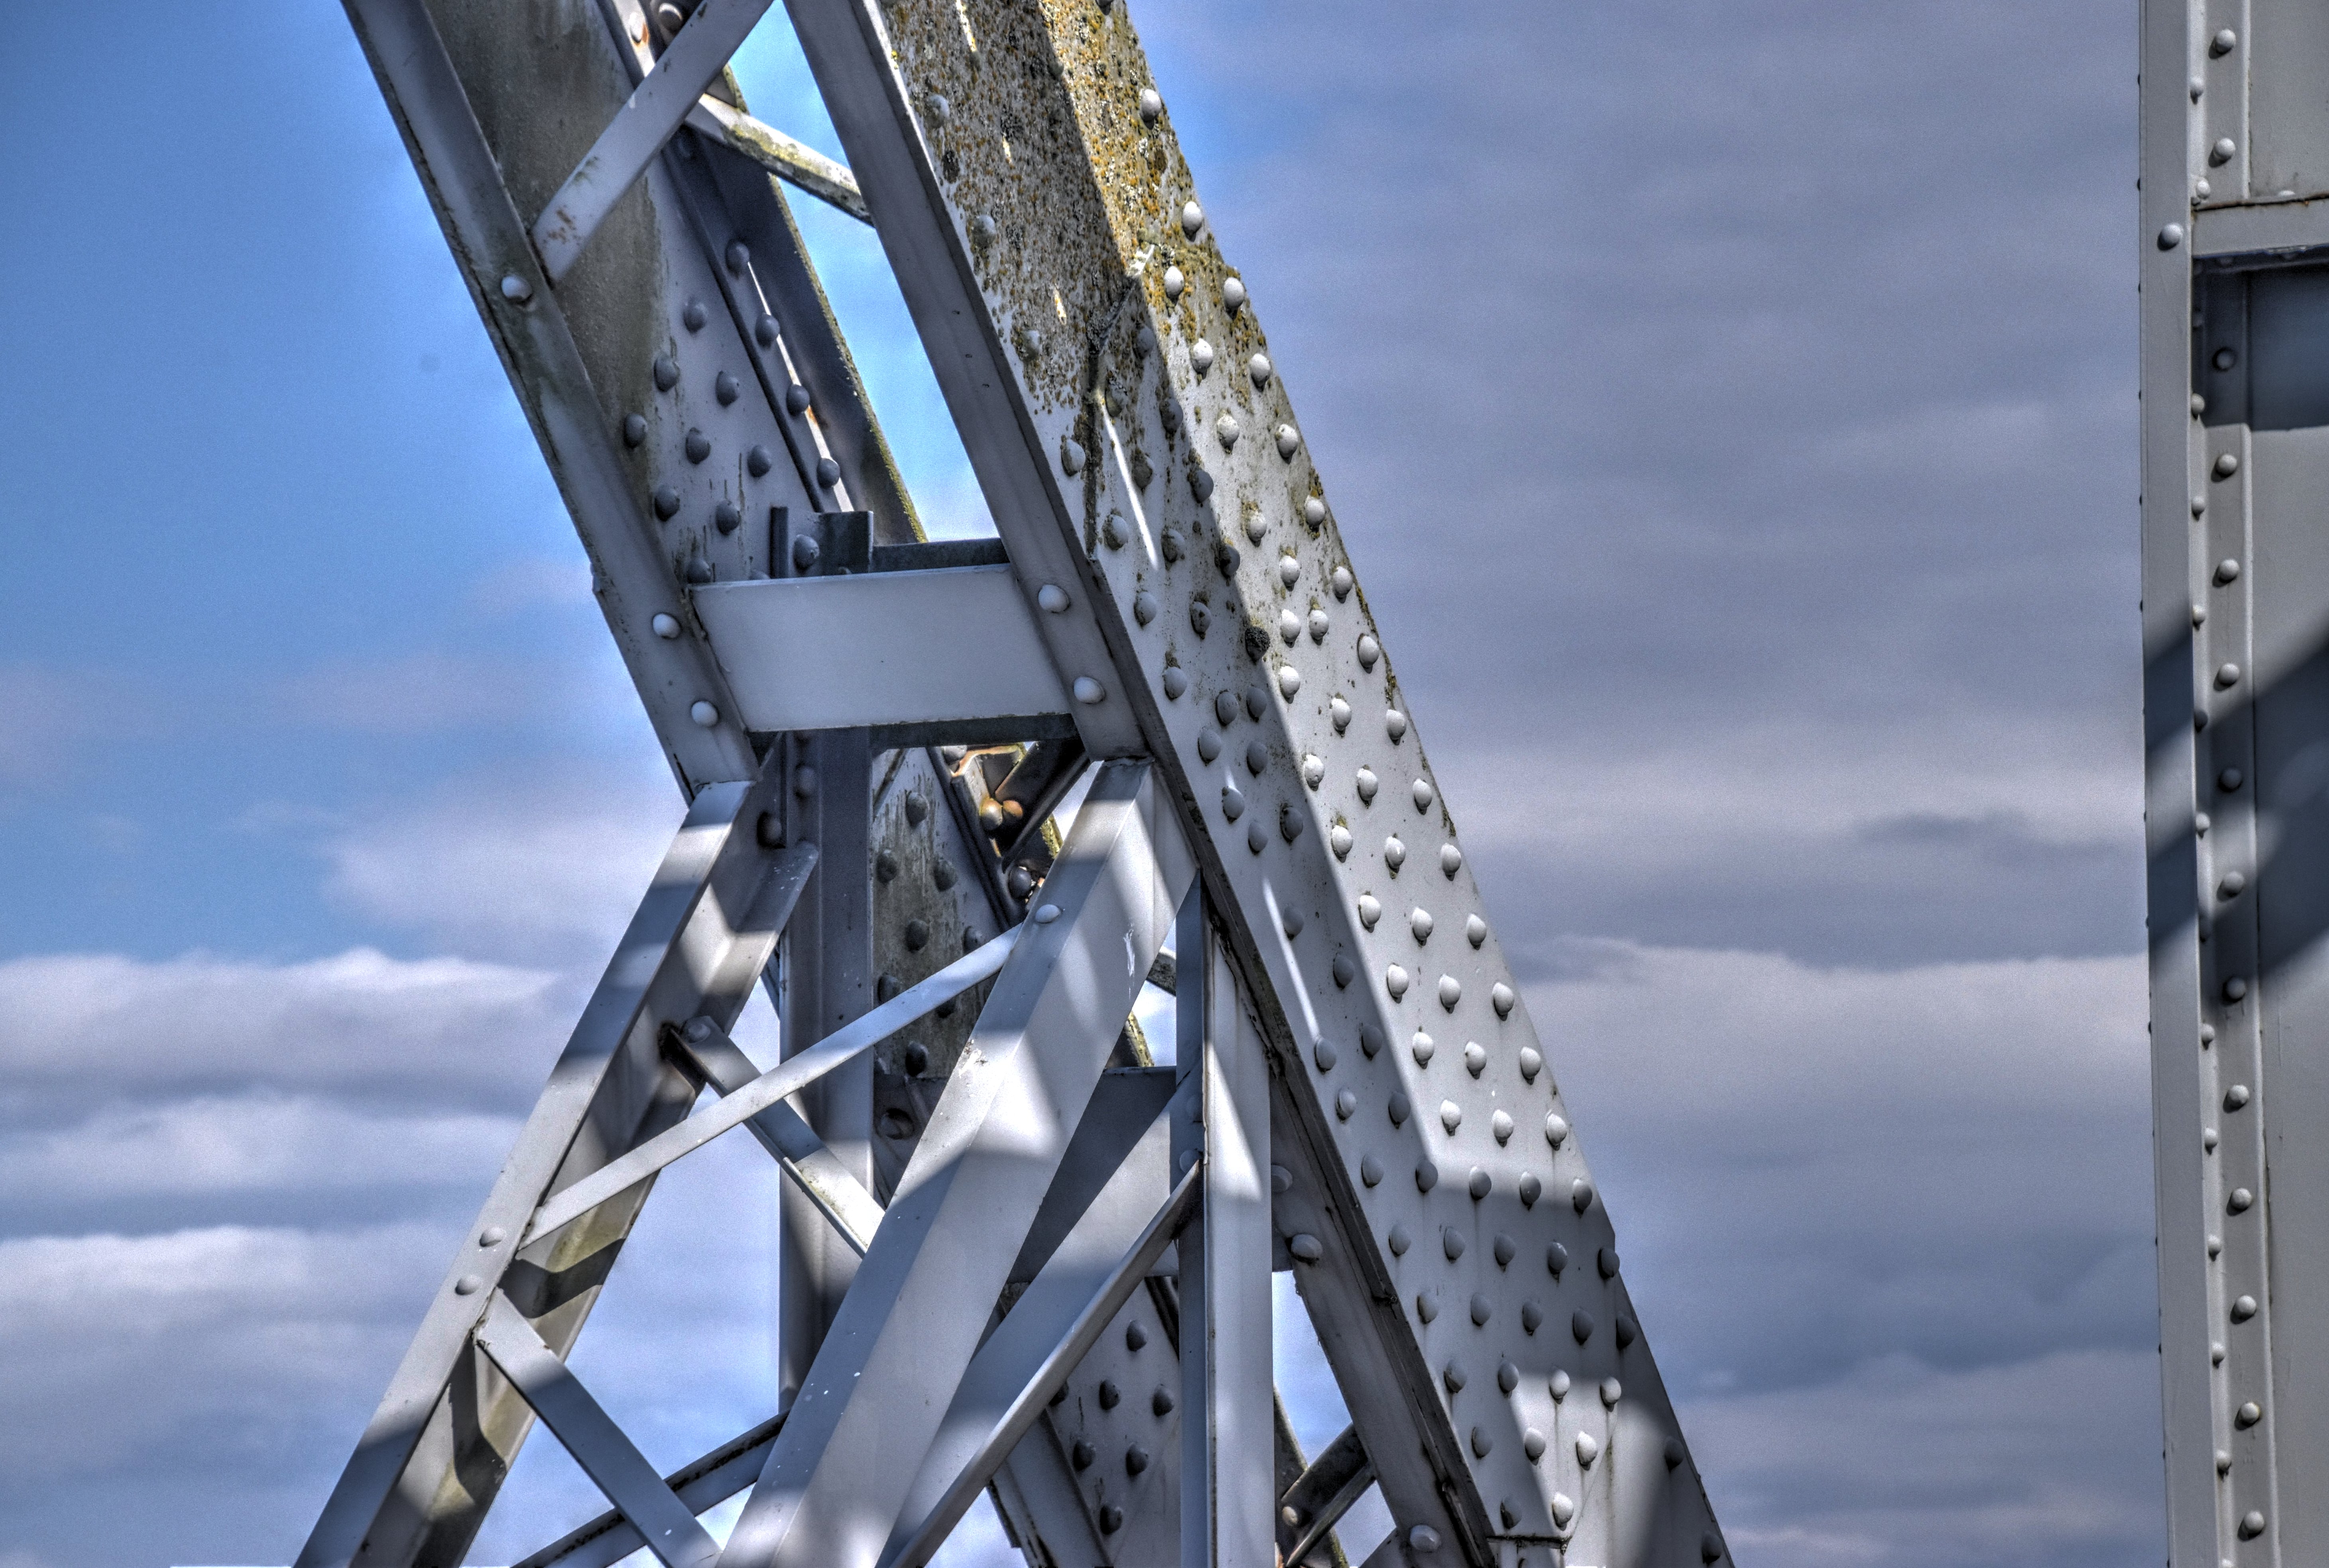
Views from on bridge showing main post intersecting with sway bracing and the outer boom.
![]()
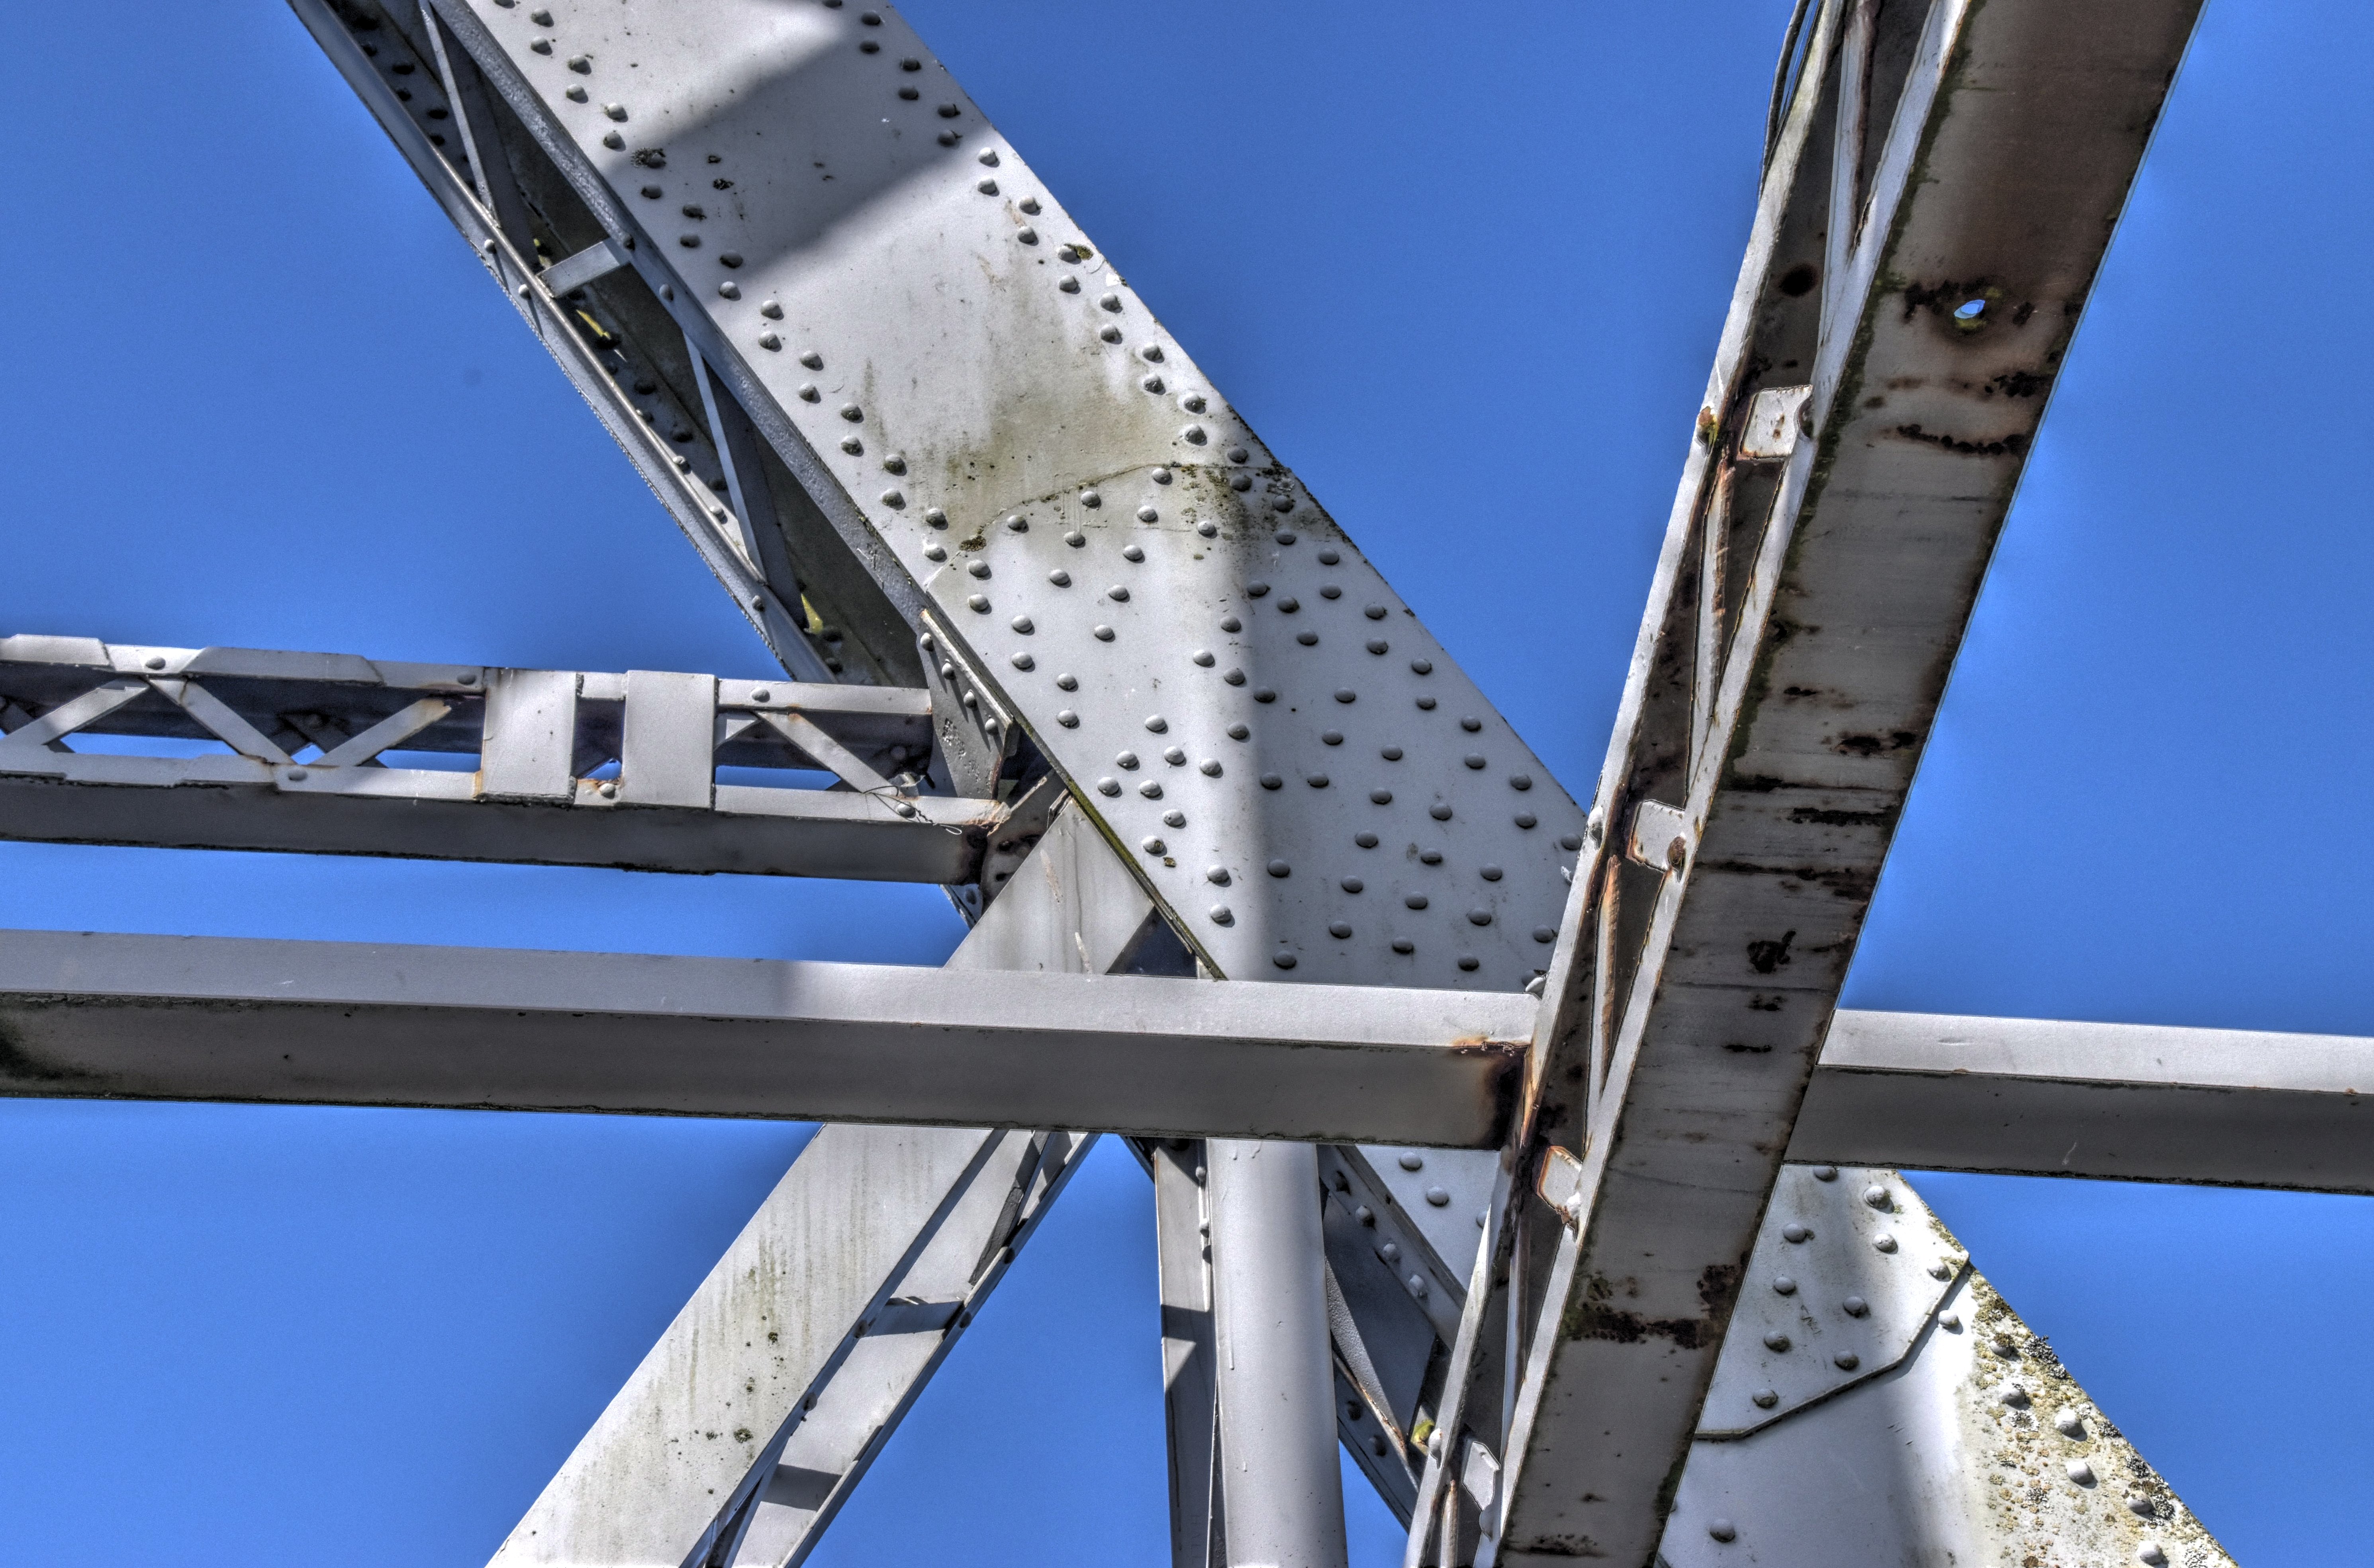
Outer boom as viewed from on bridge.
![]()


Outer boom connection details.
![]()
Outer boom connection to main post.
![]()
View showing bottom chord to left and outer boom to right.
![]()
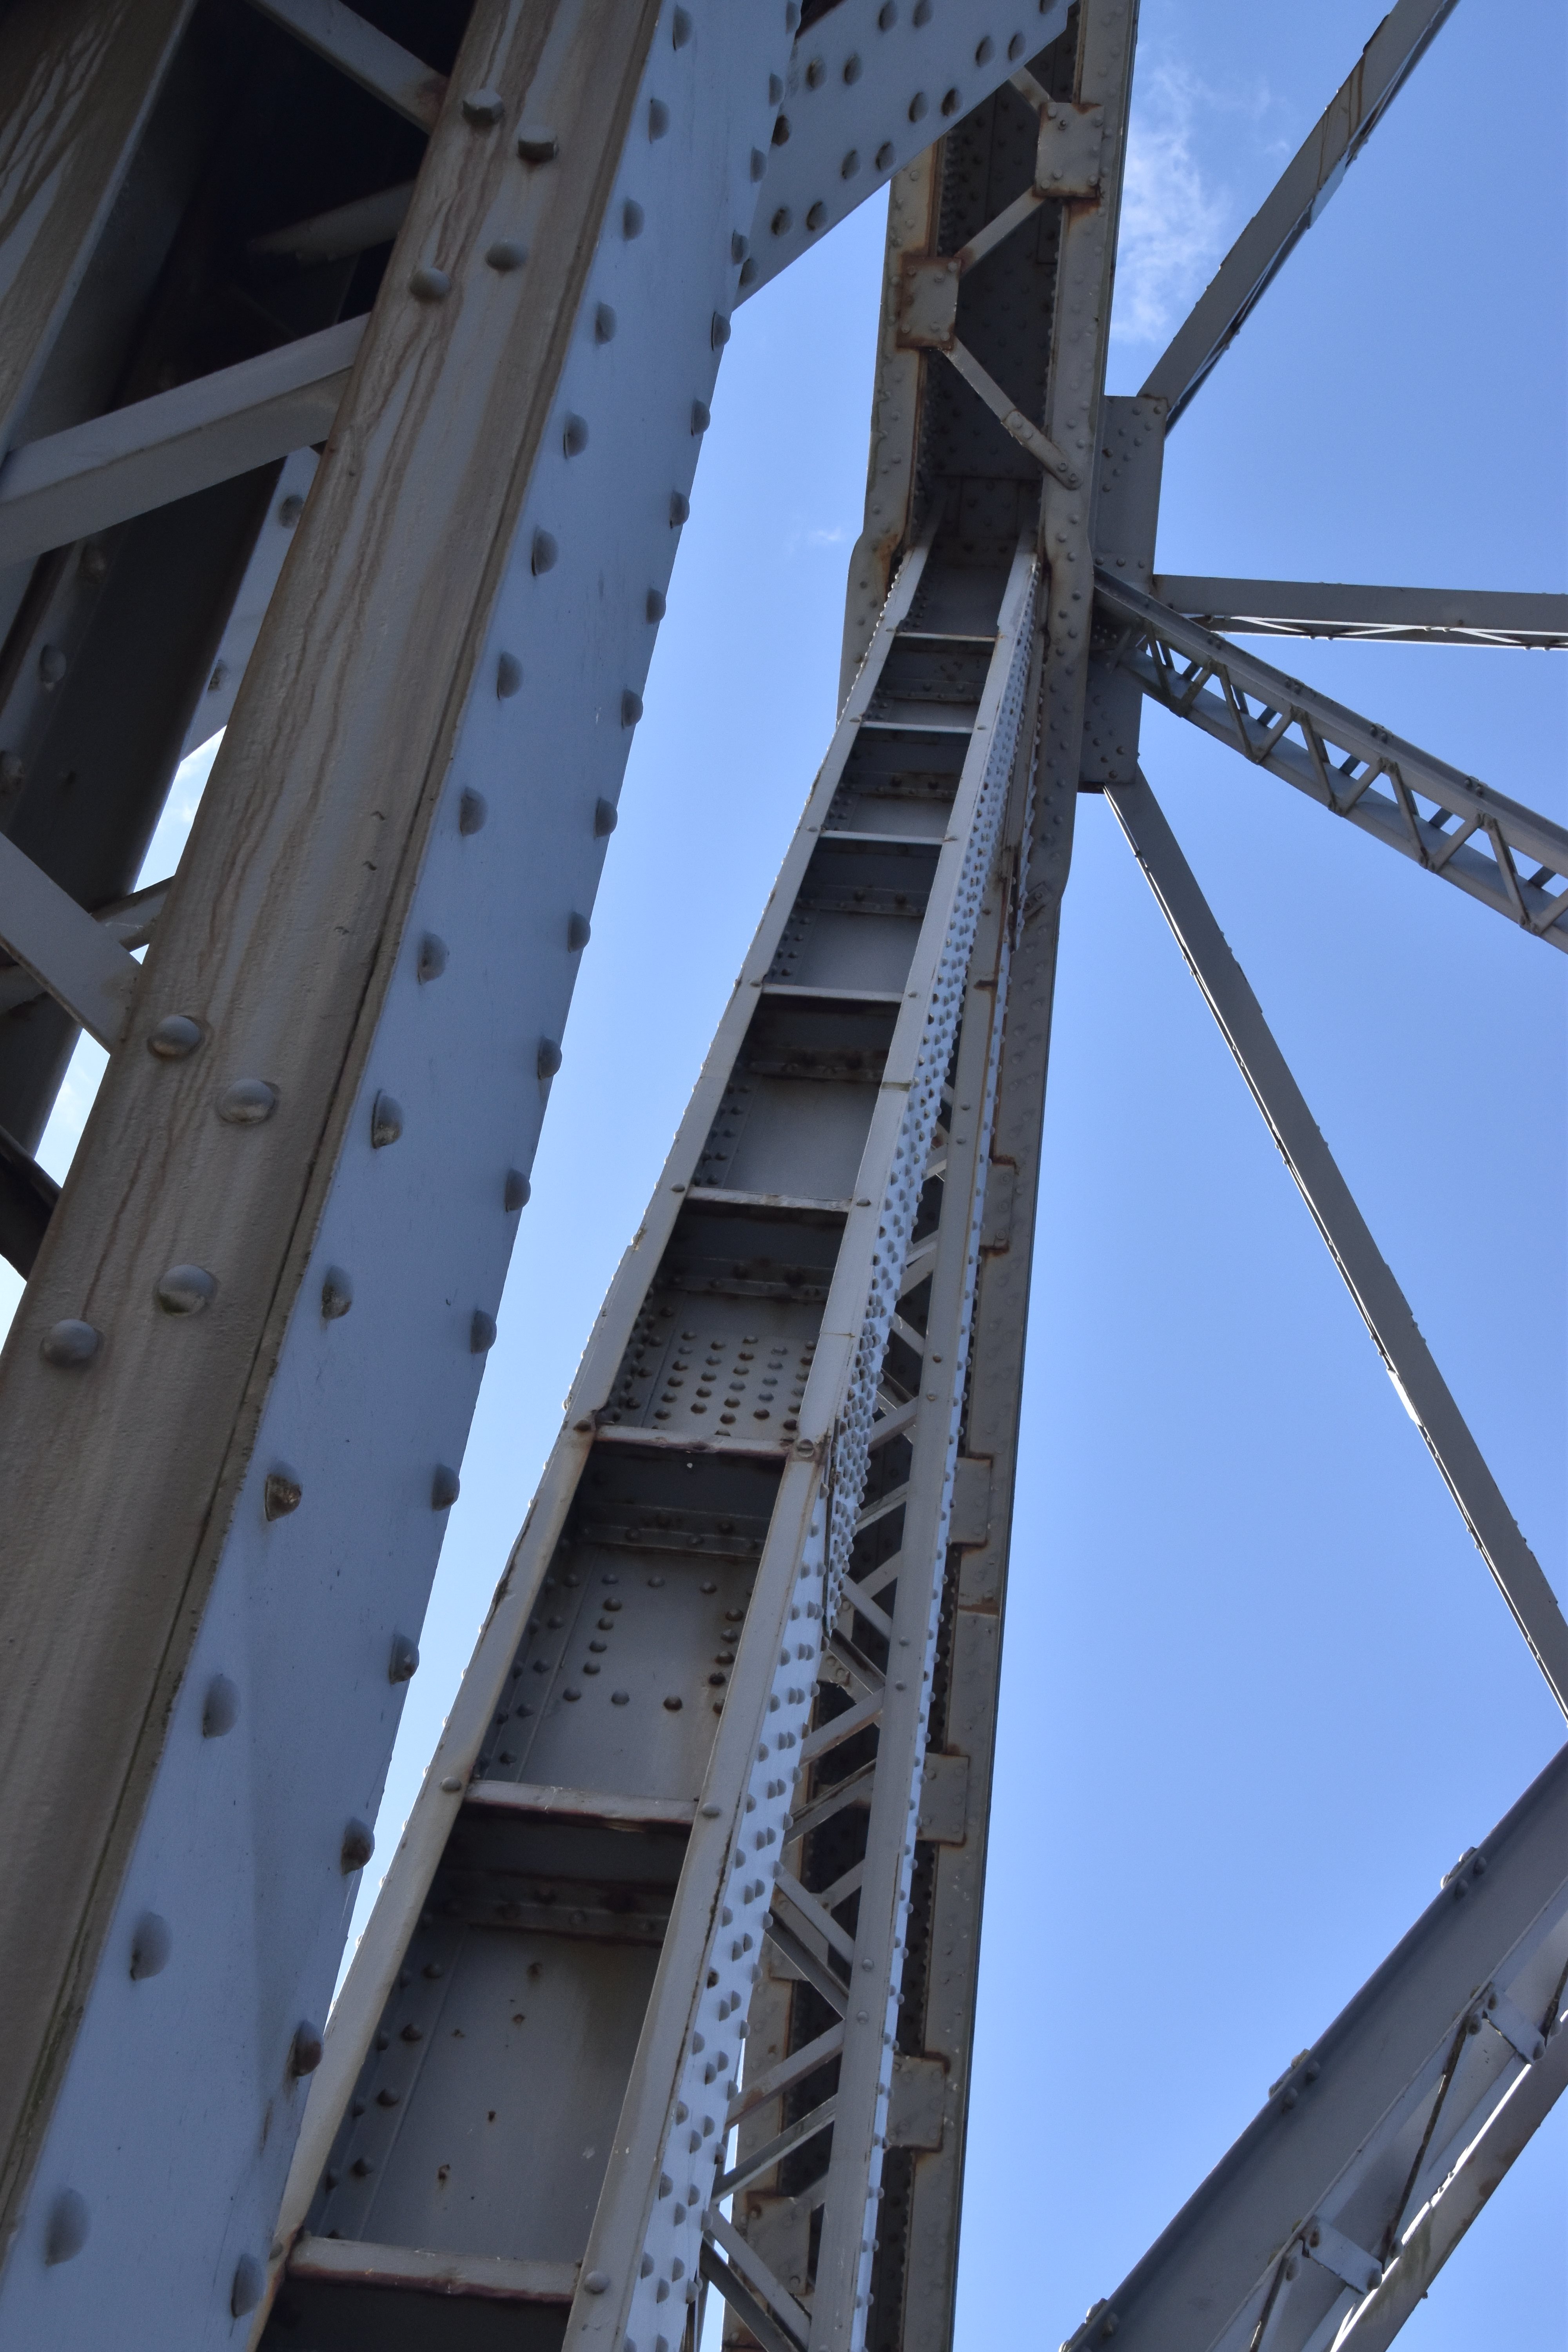
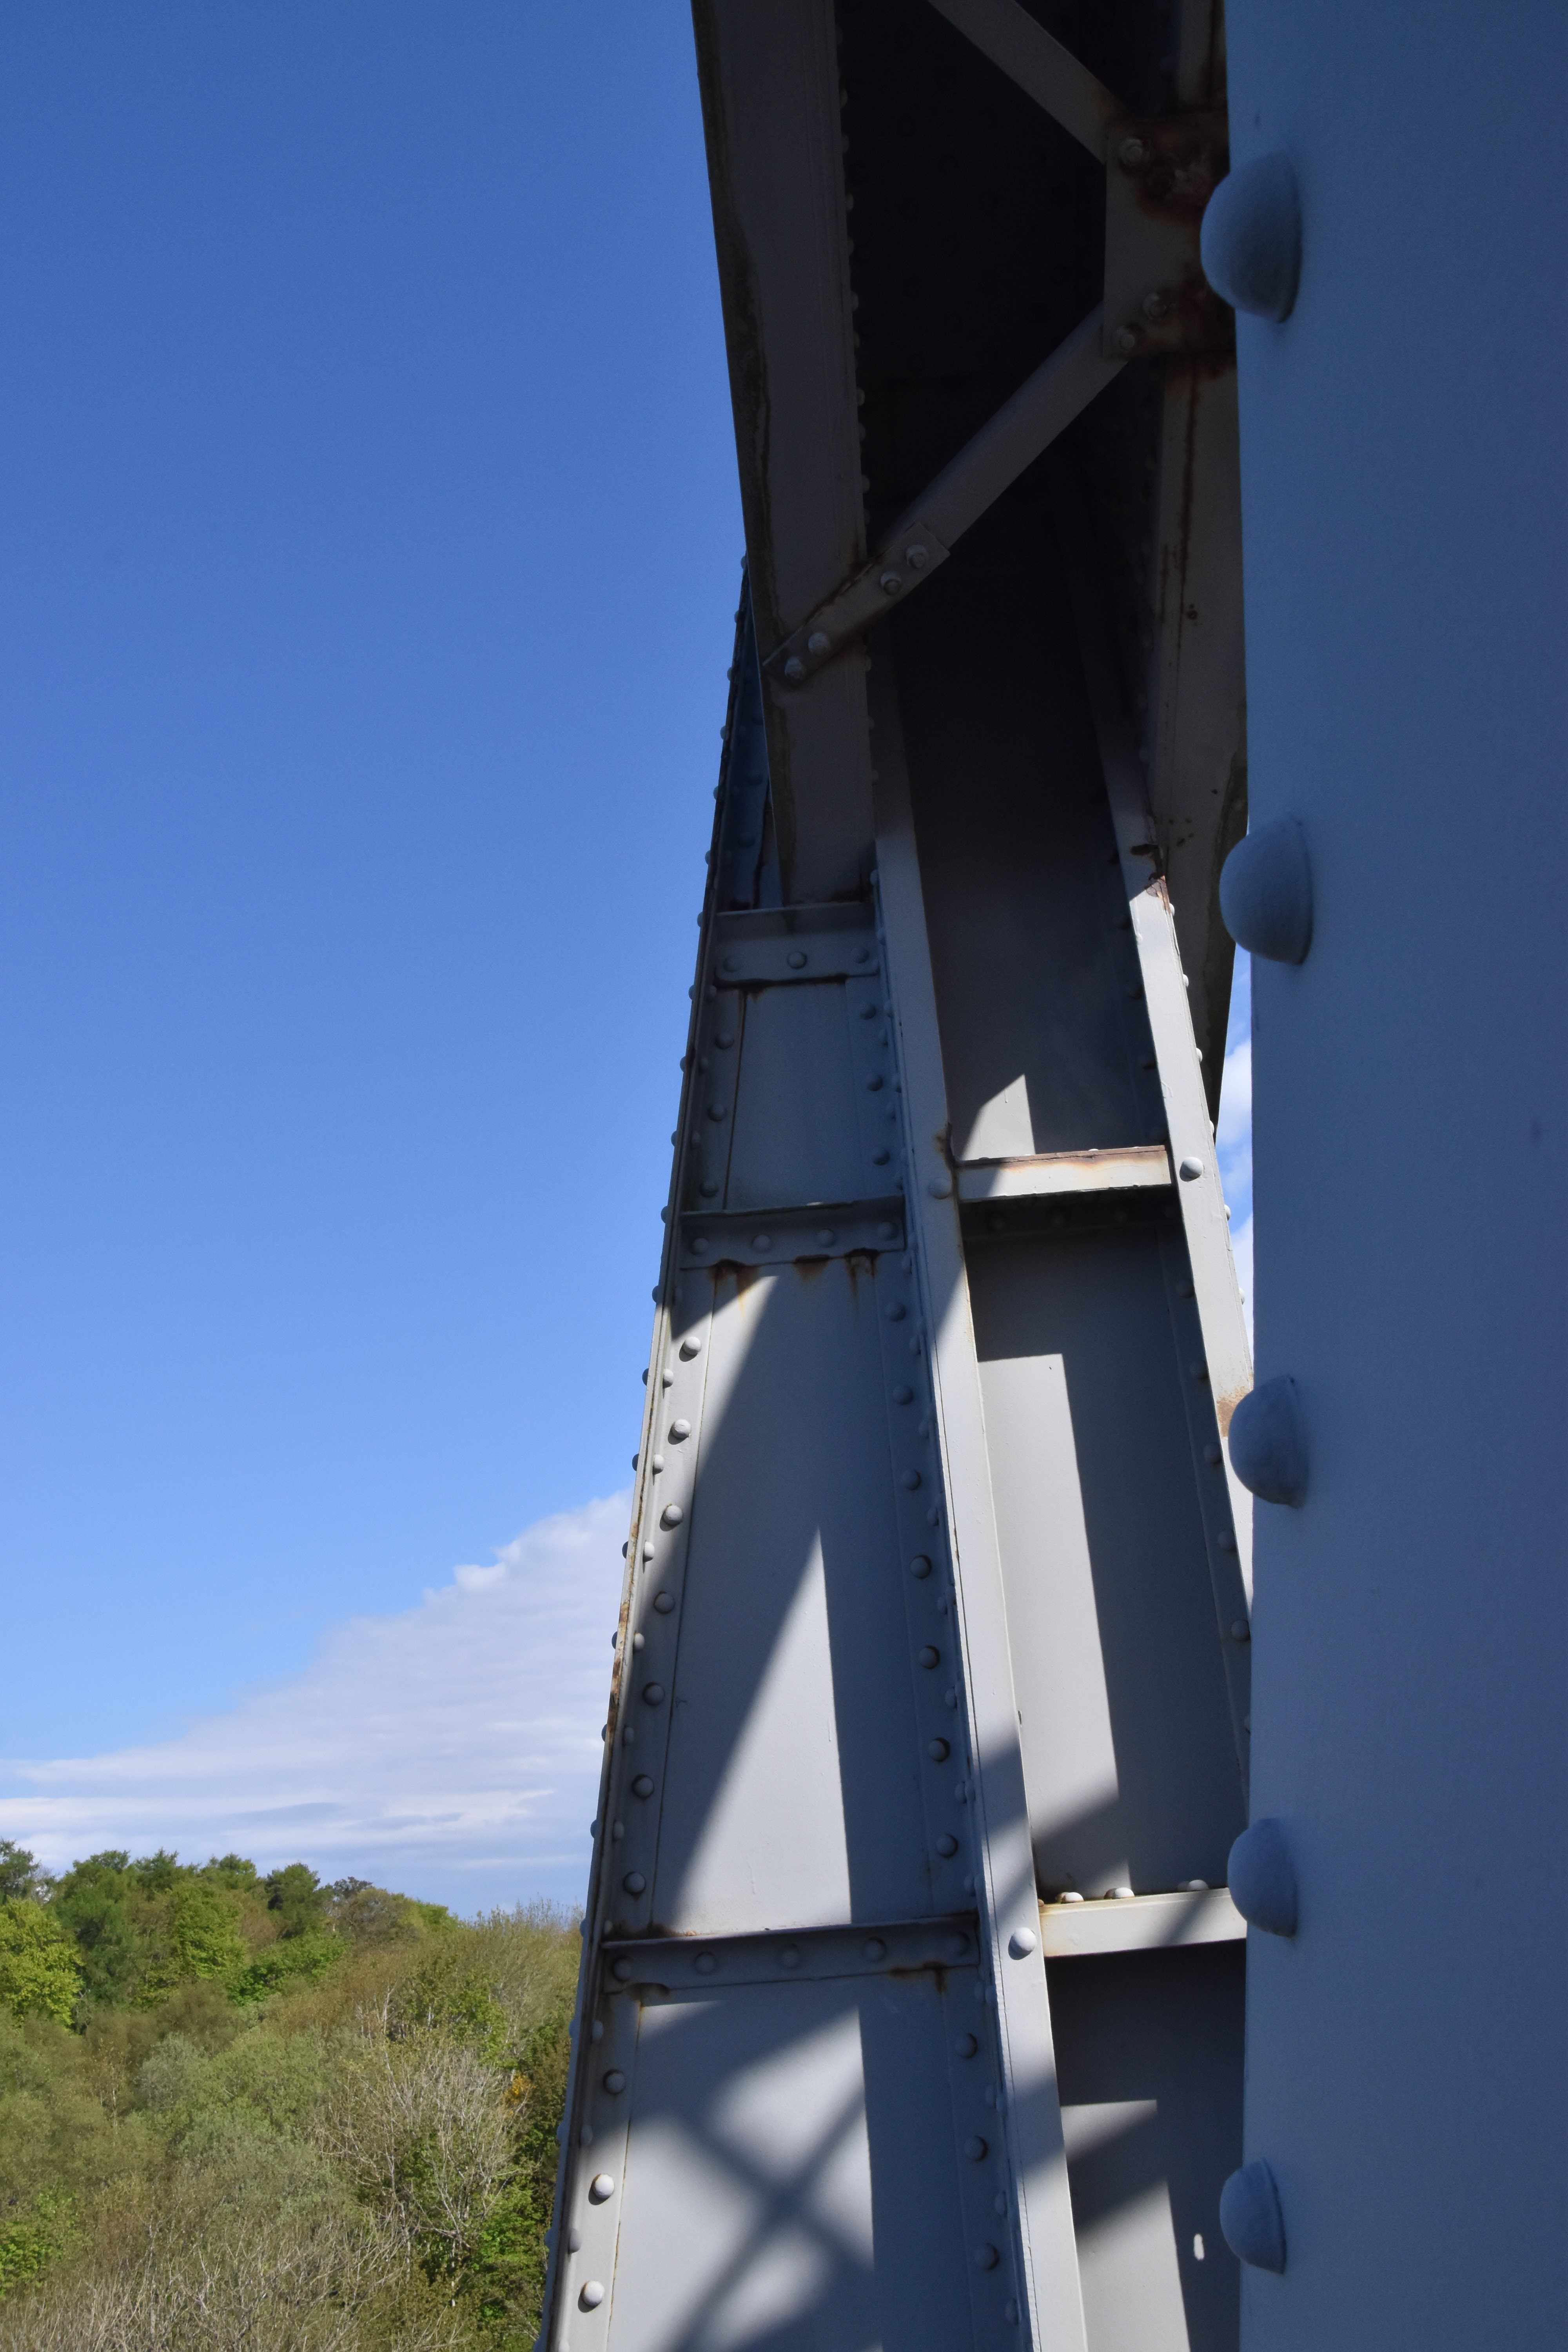
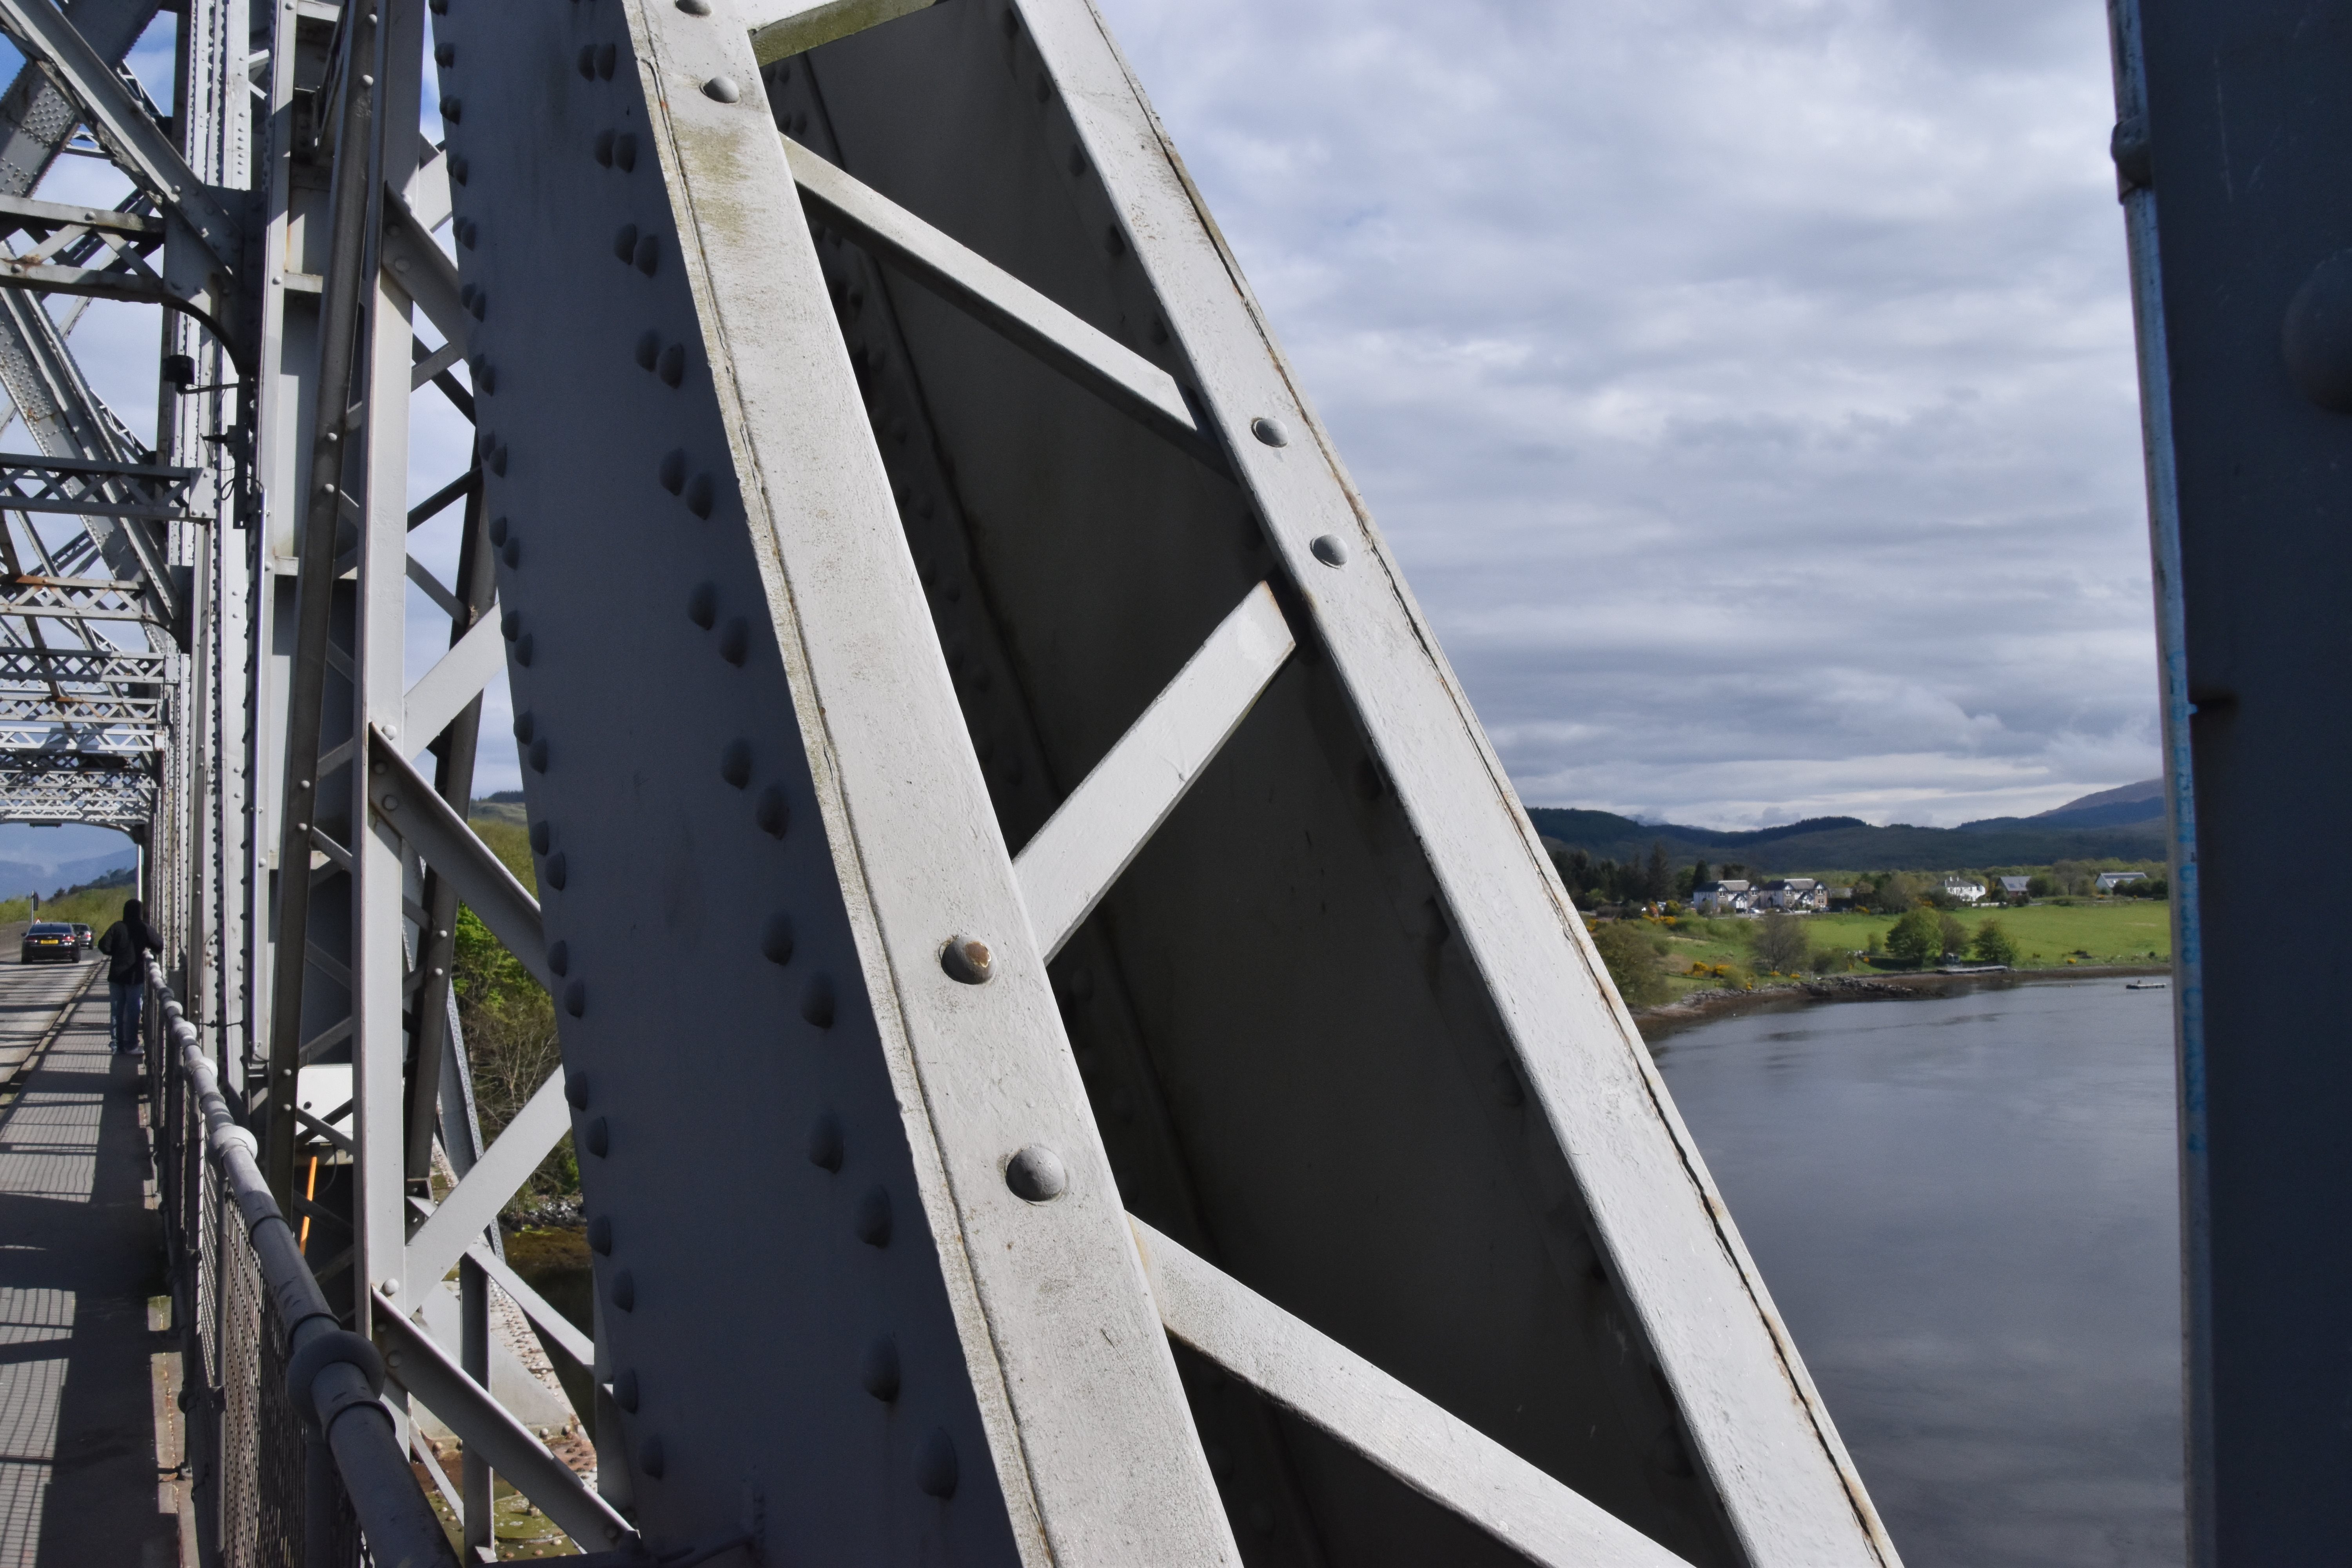
View showing inclined main post to the left, with a smaller vertical member to the right positioned perpendicular to the top of the tower.
![]()
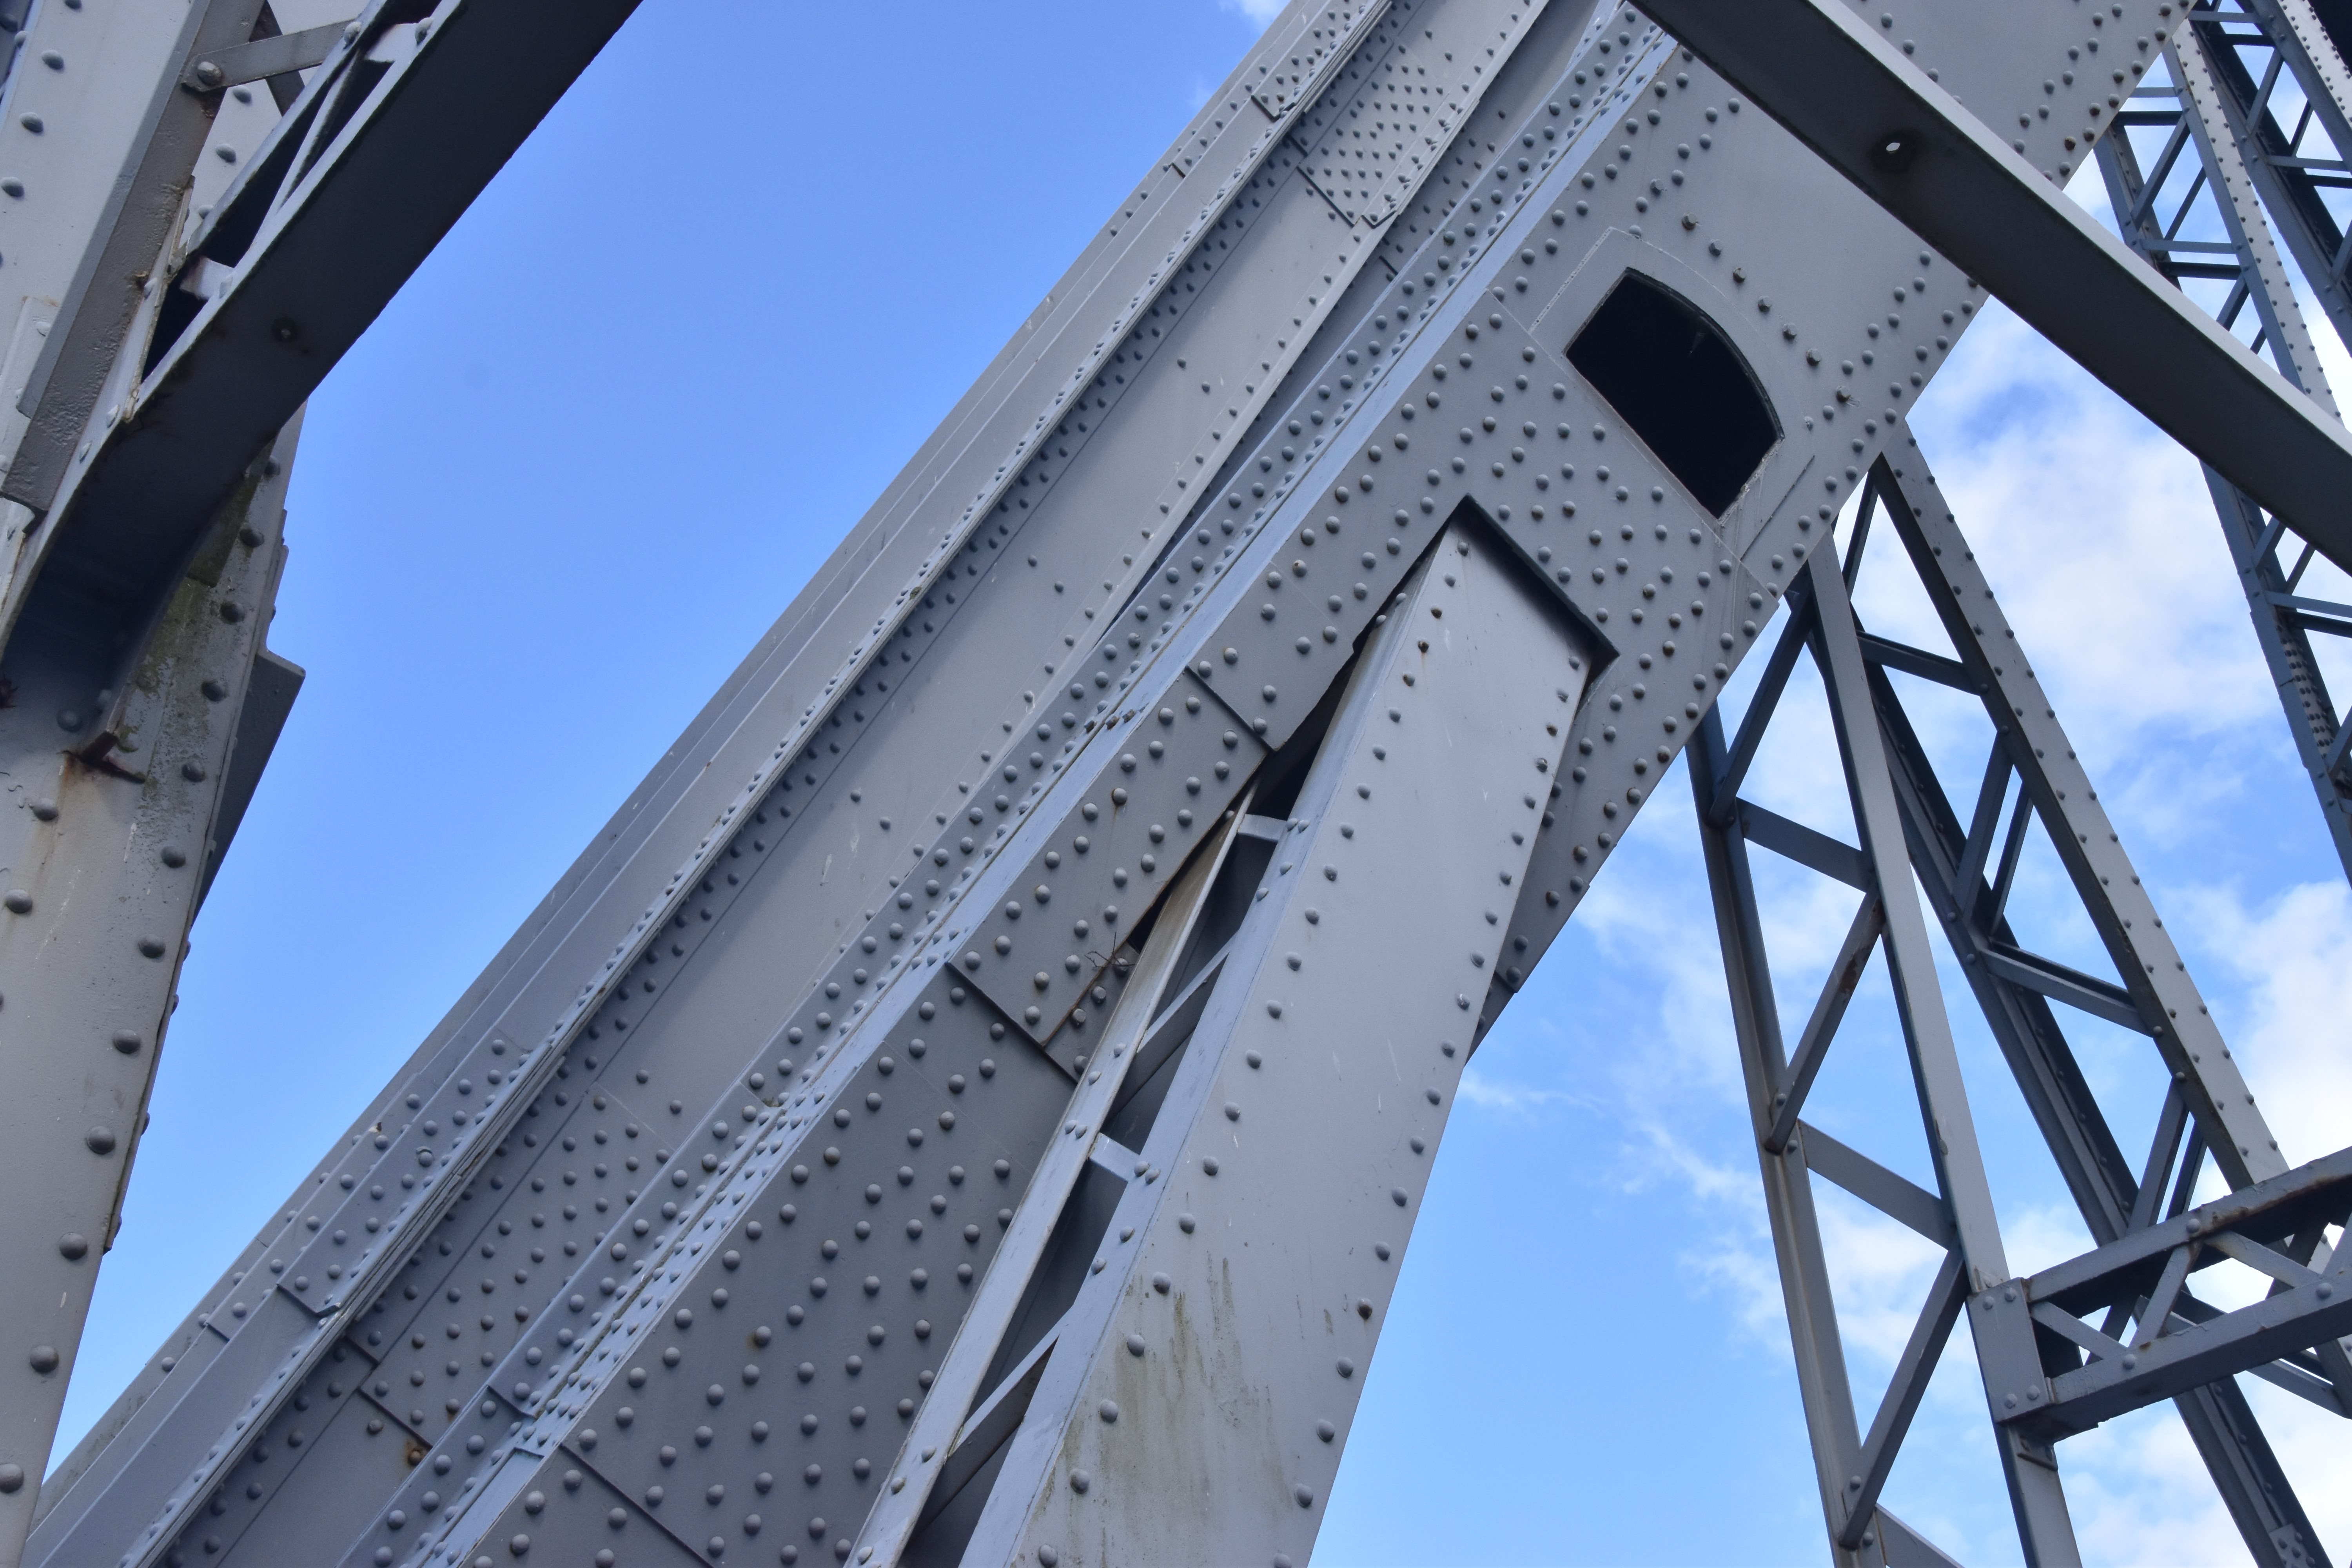
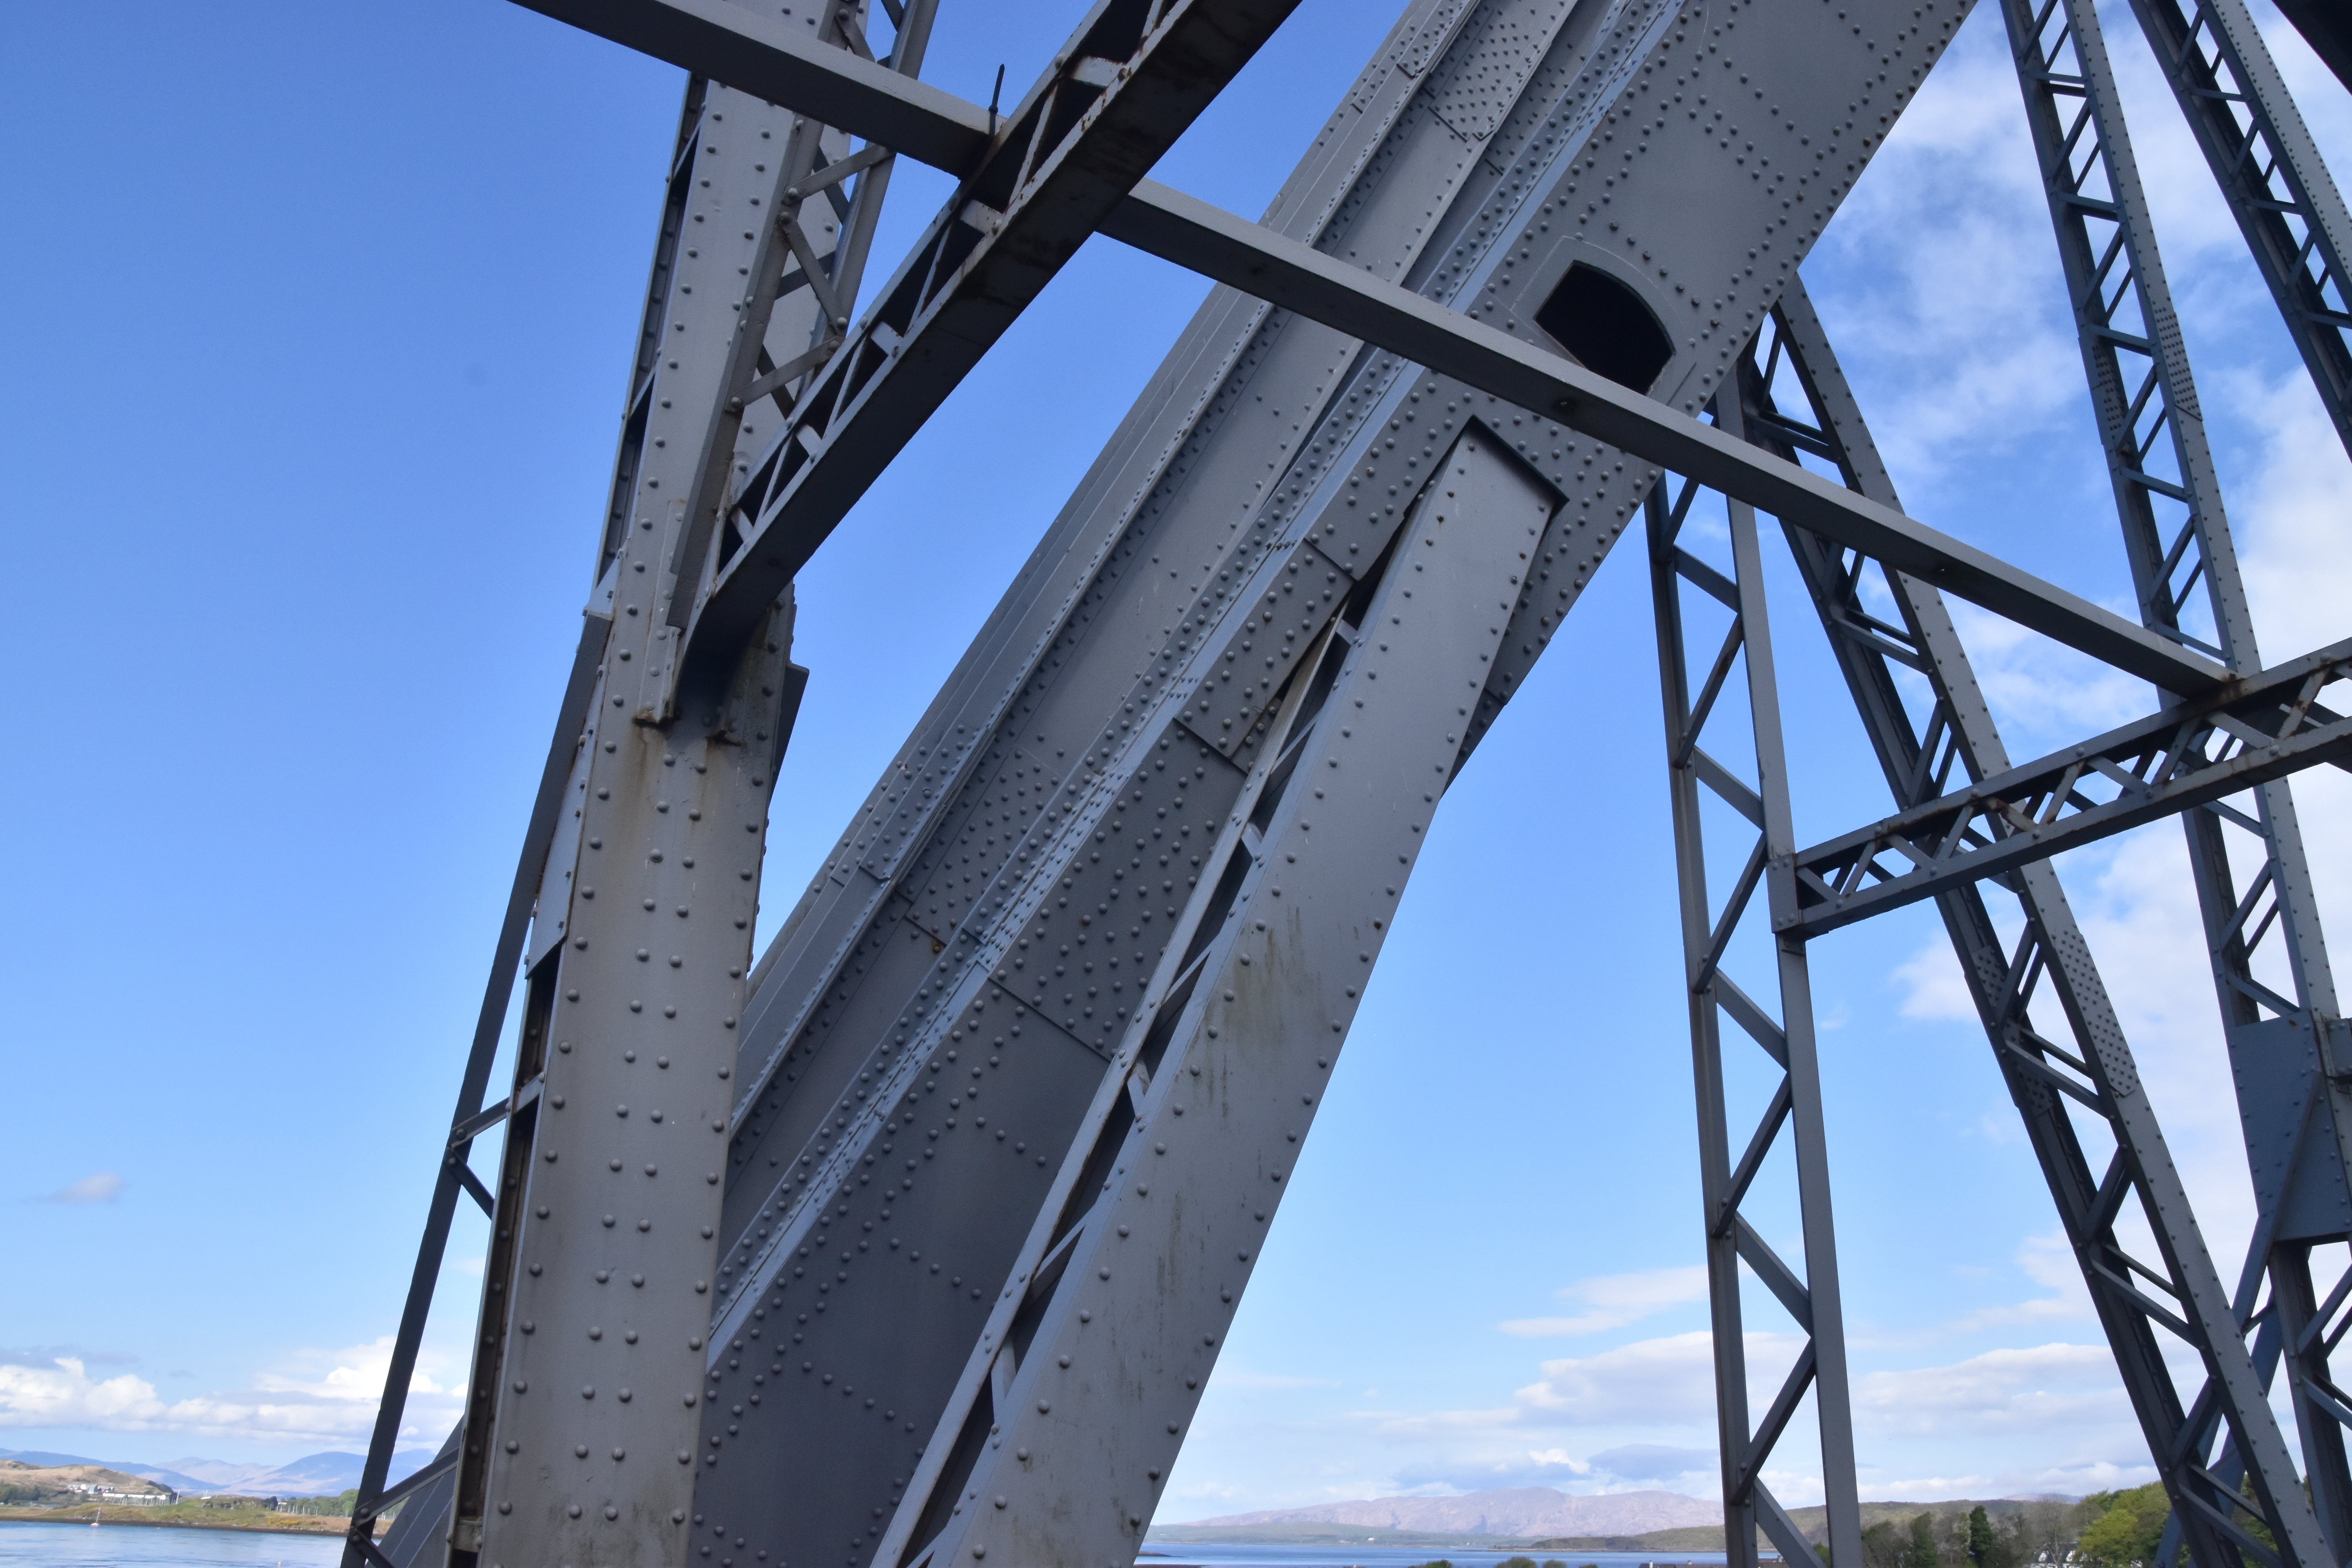

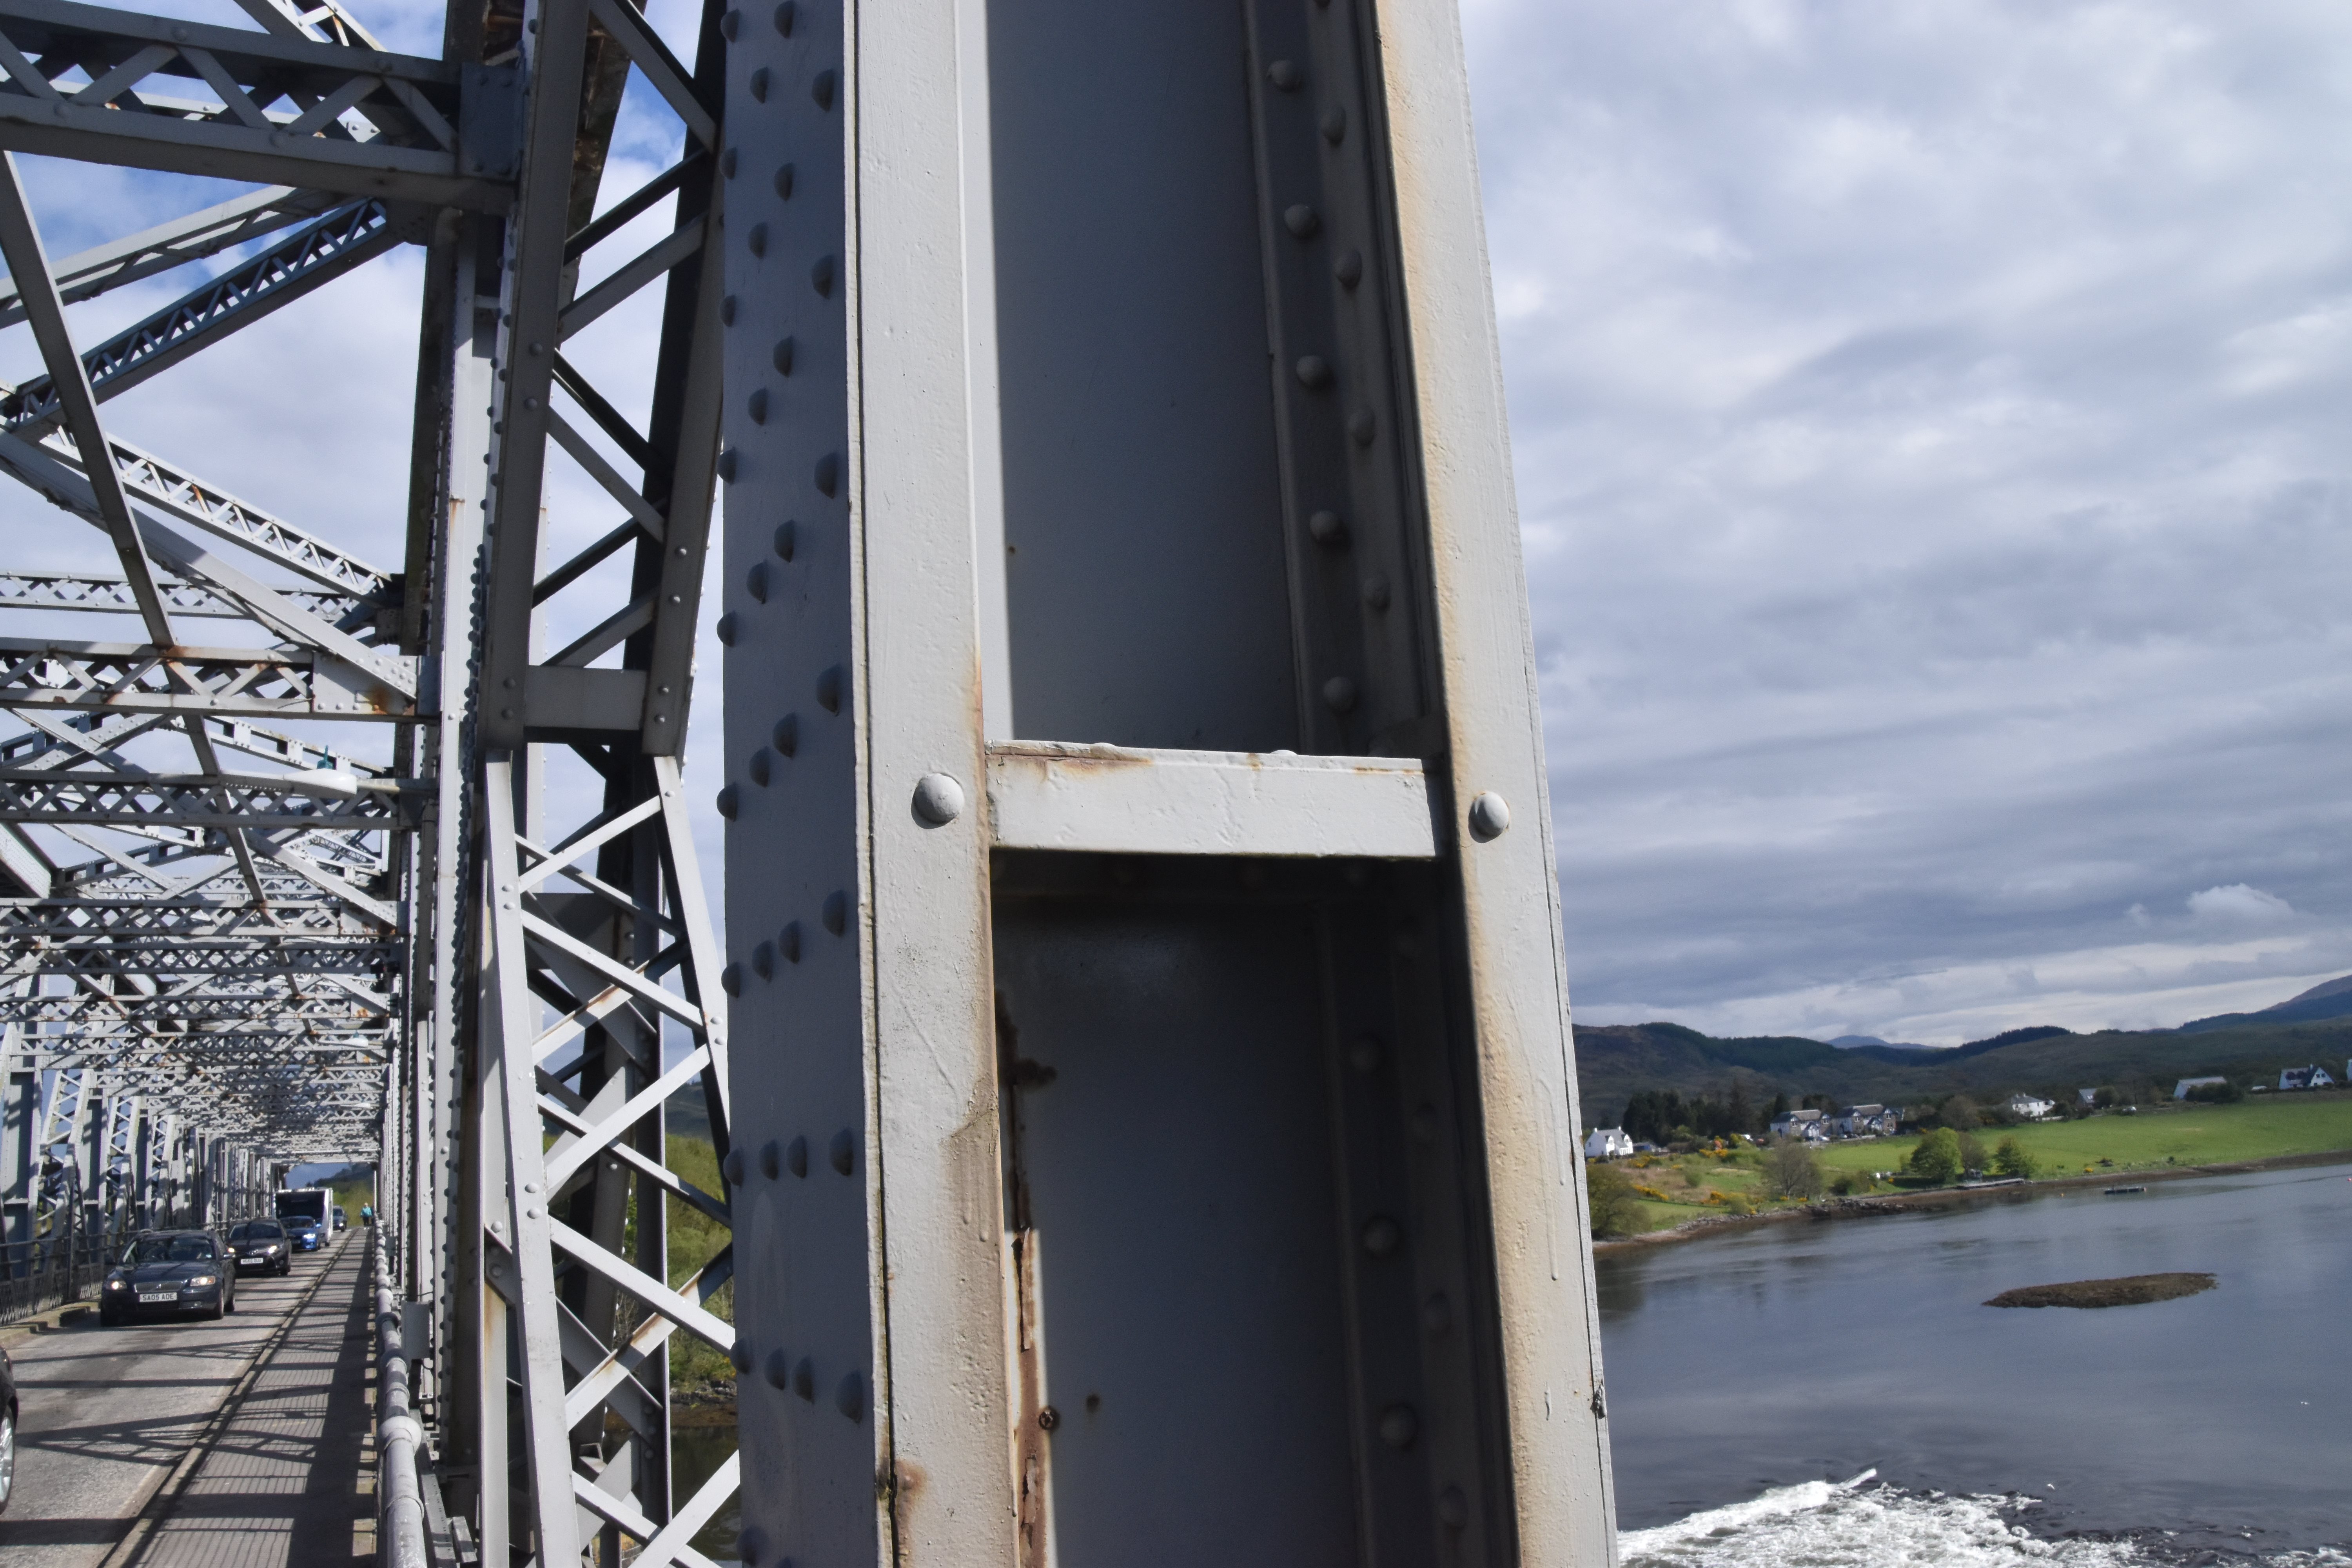
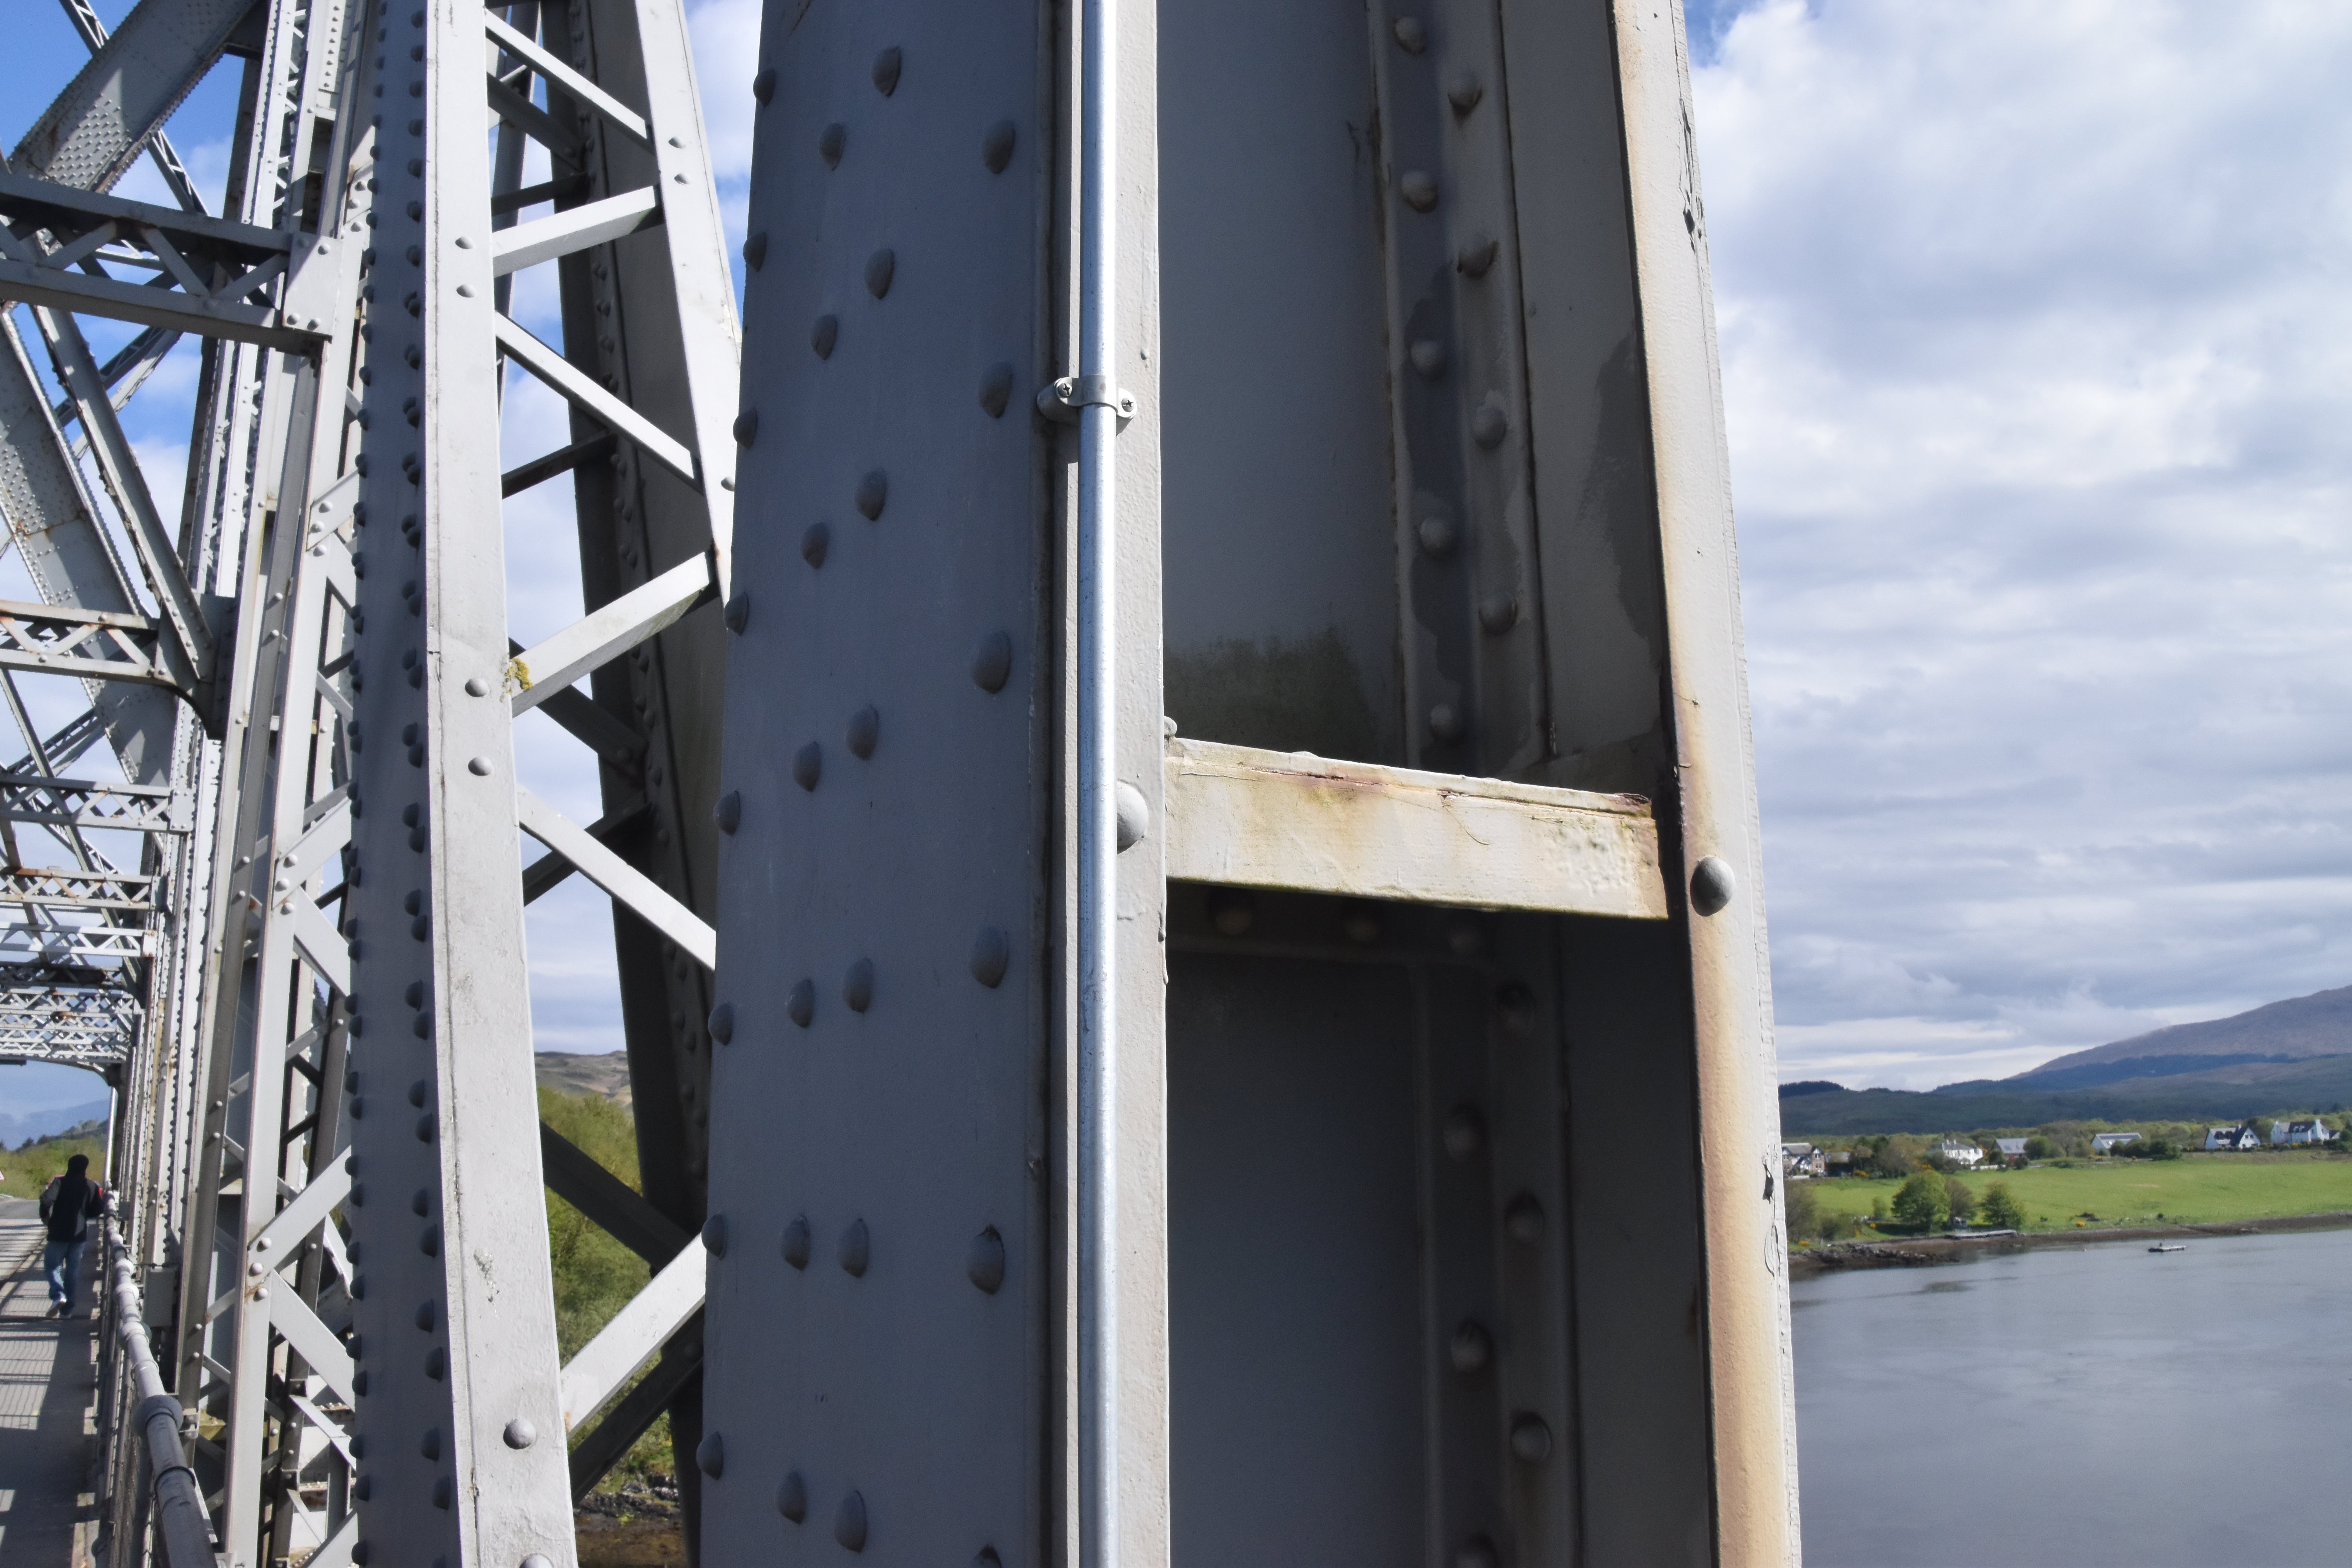
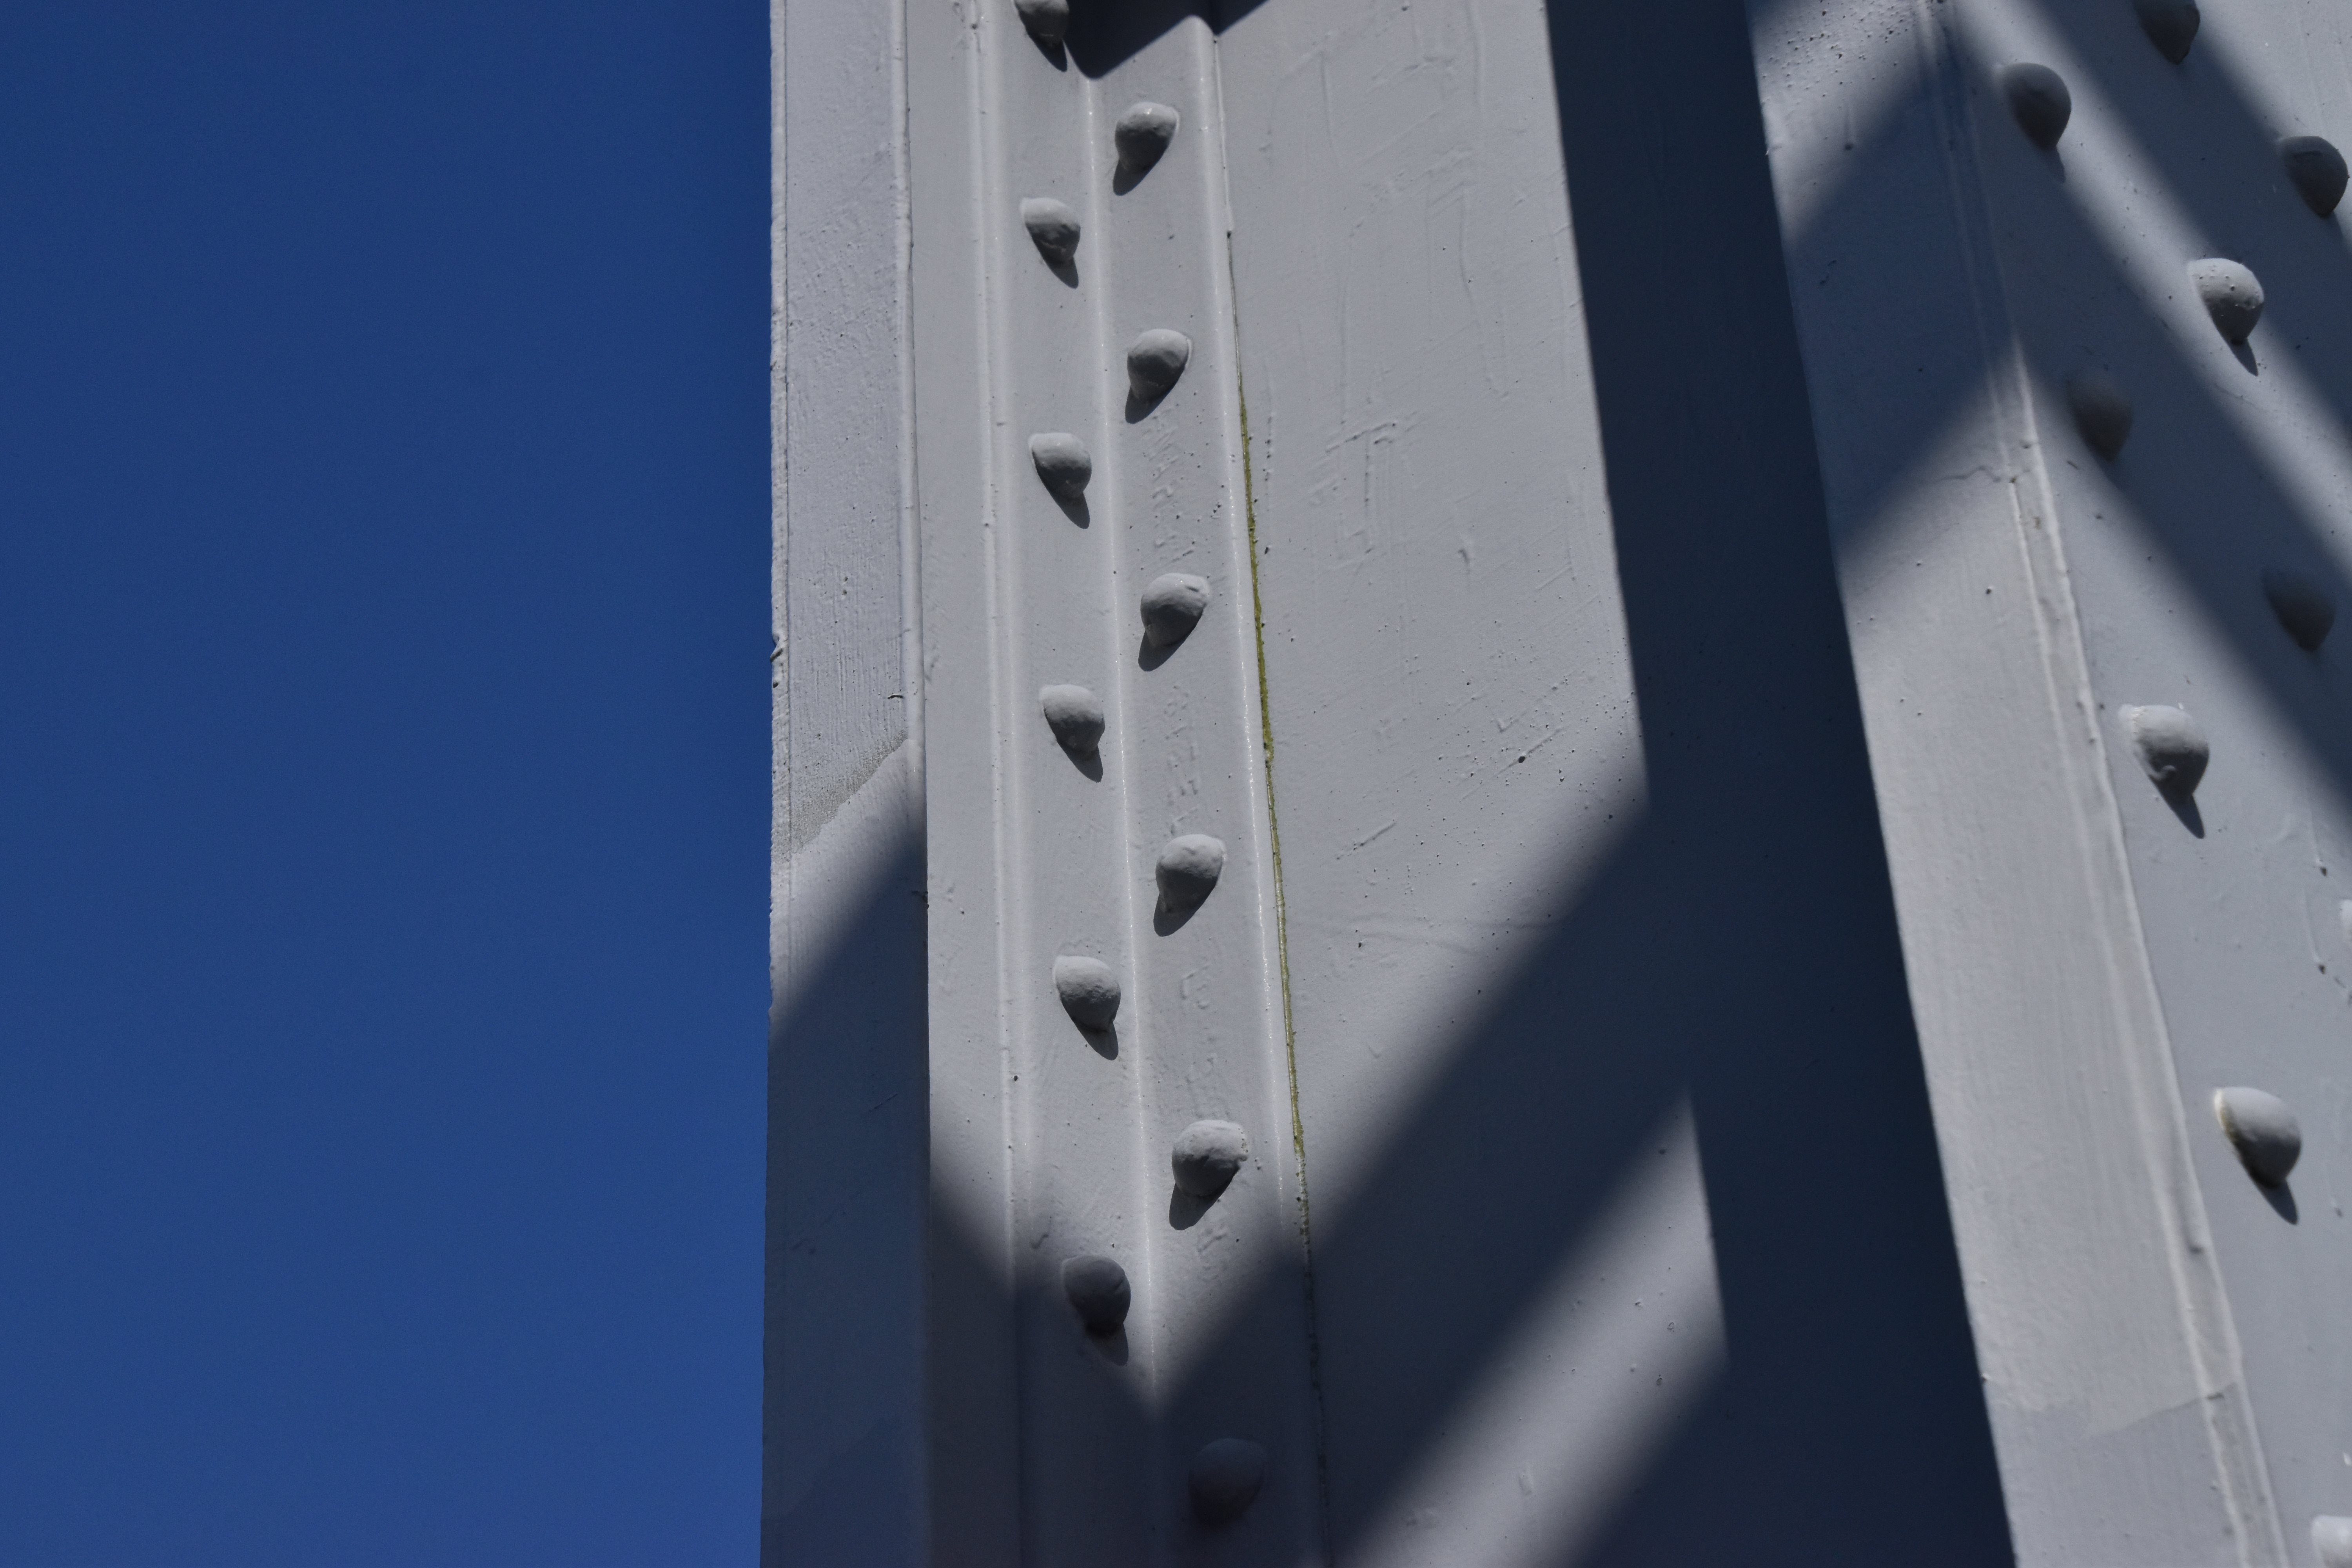
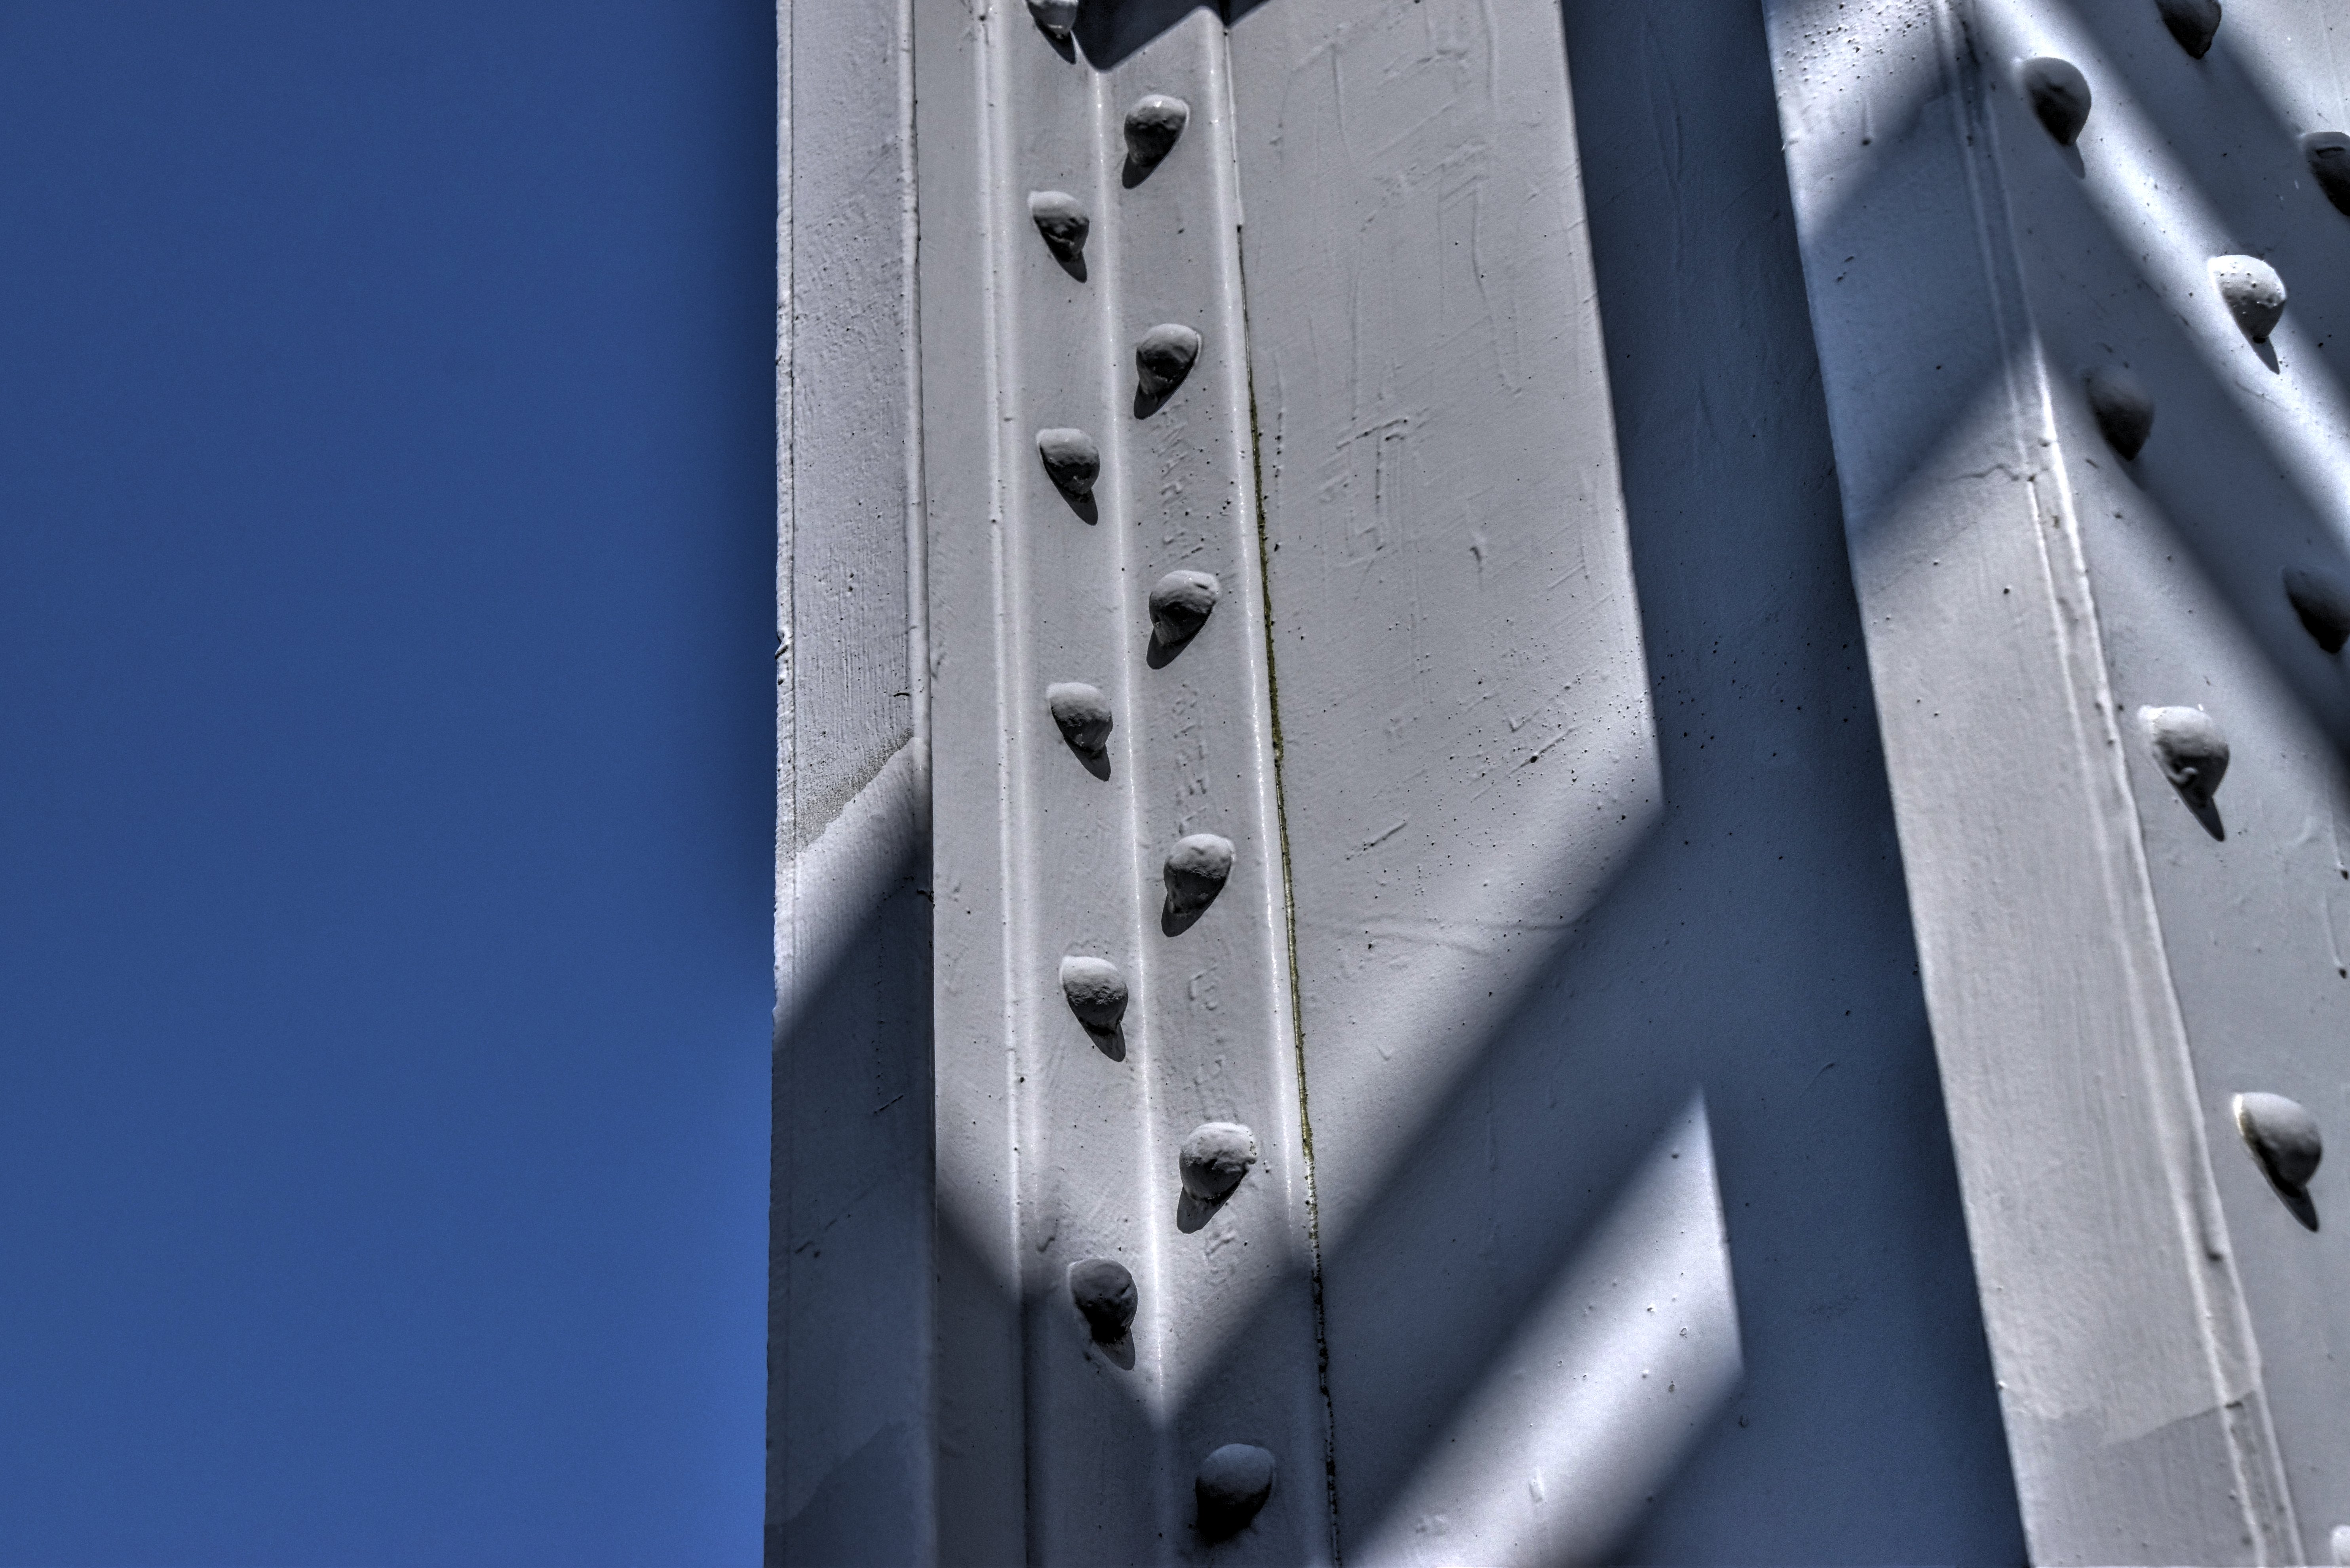
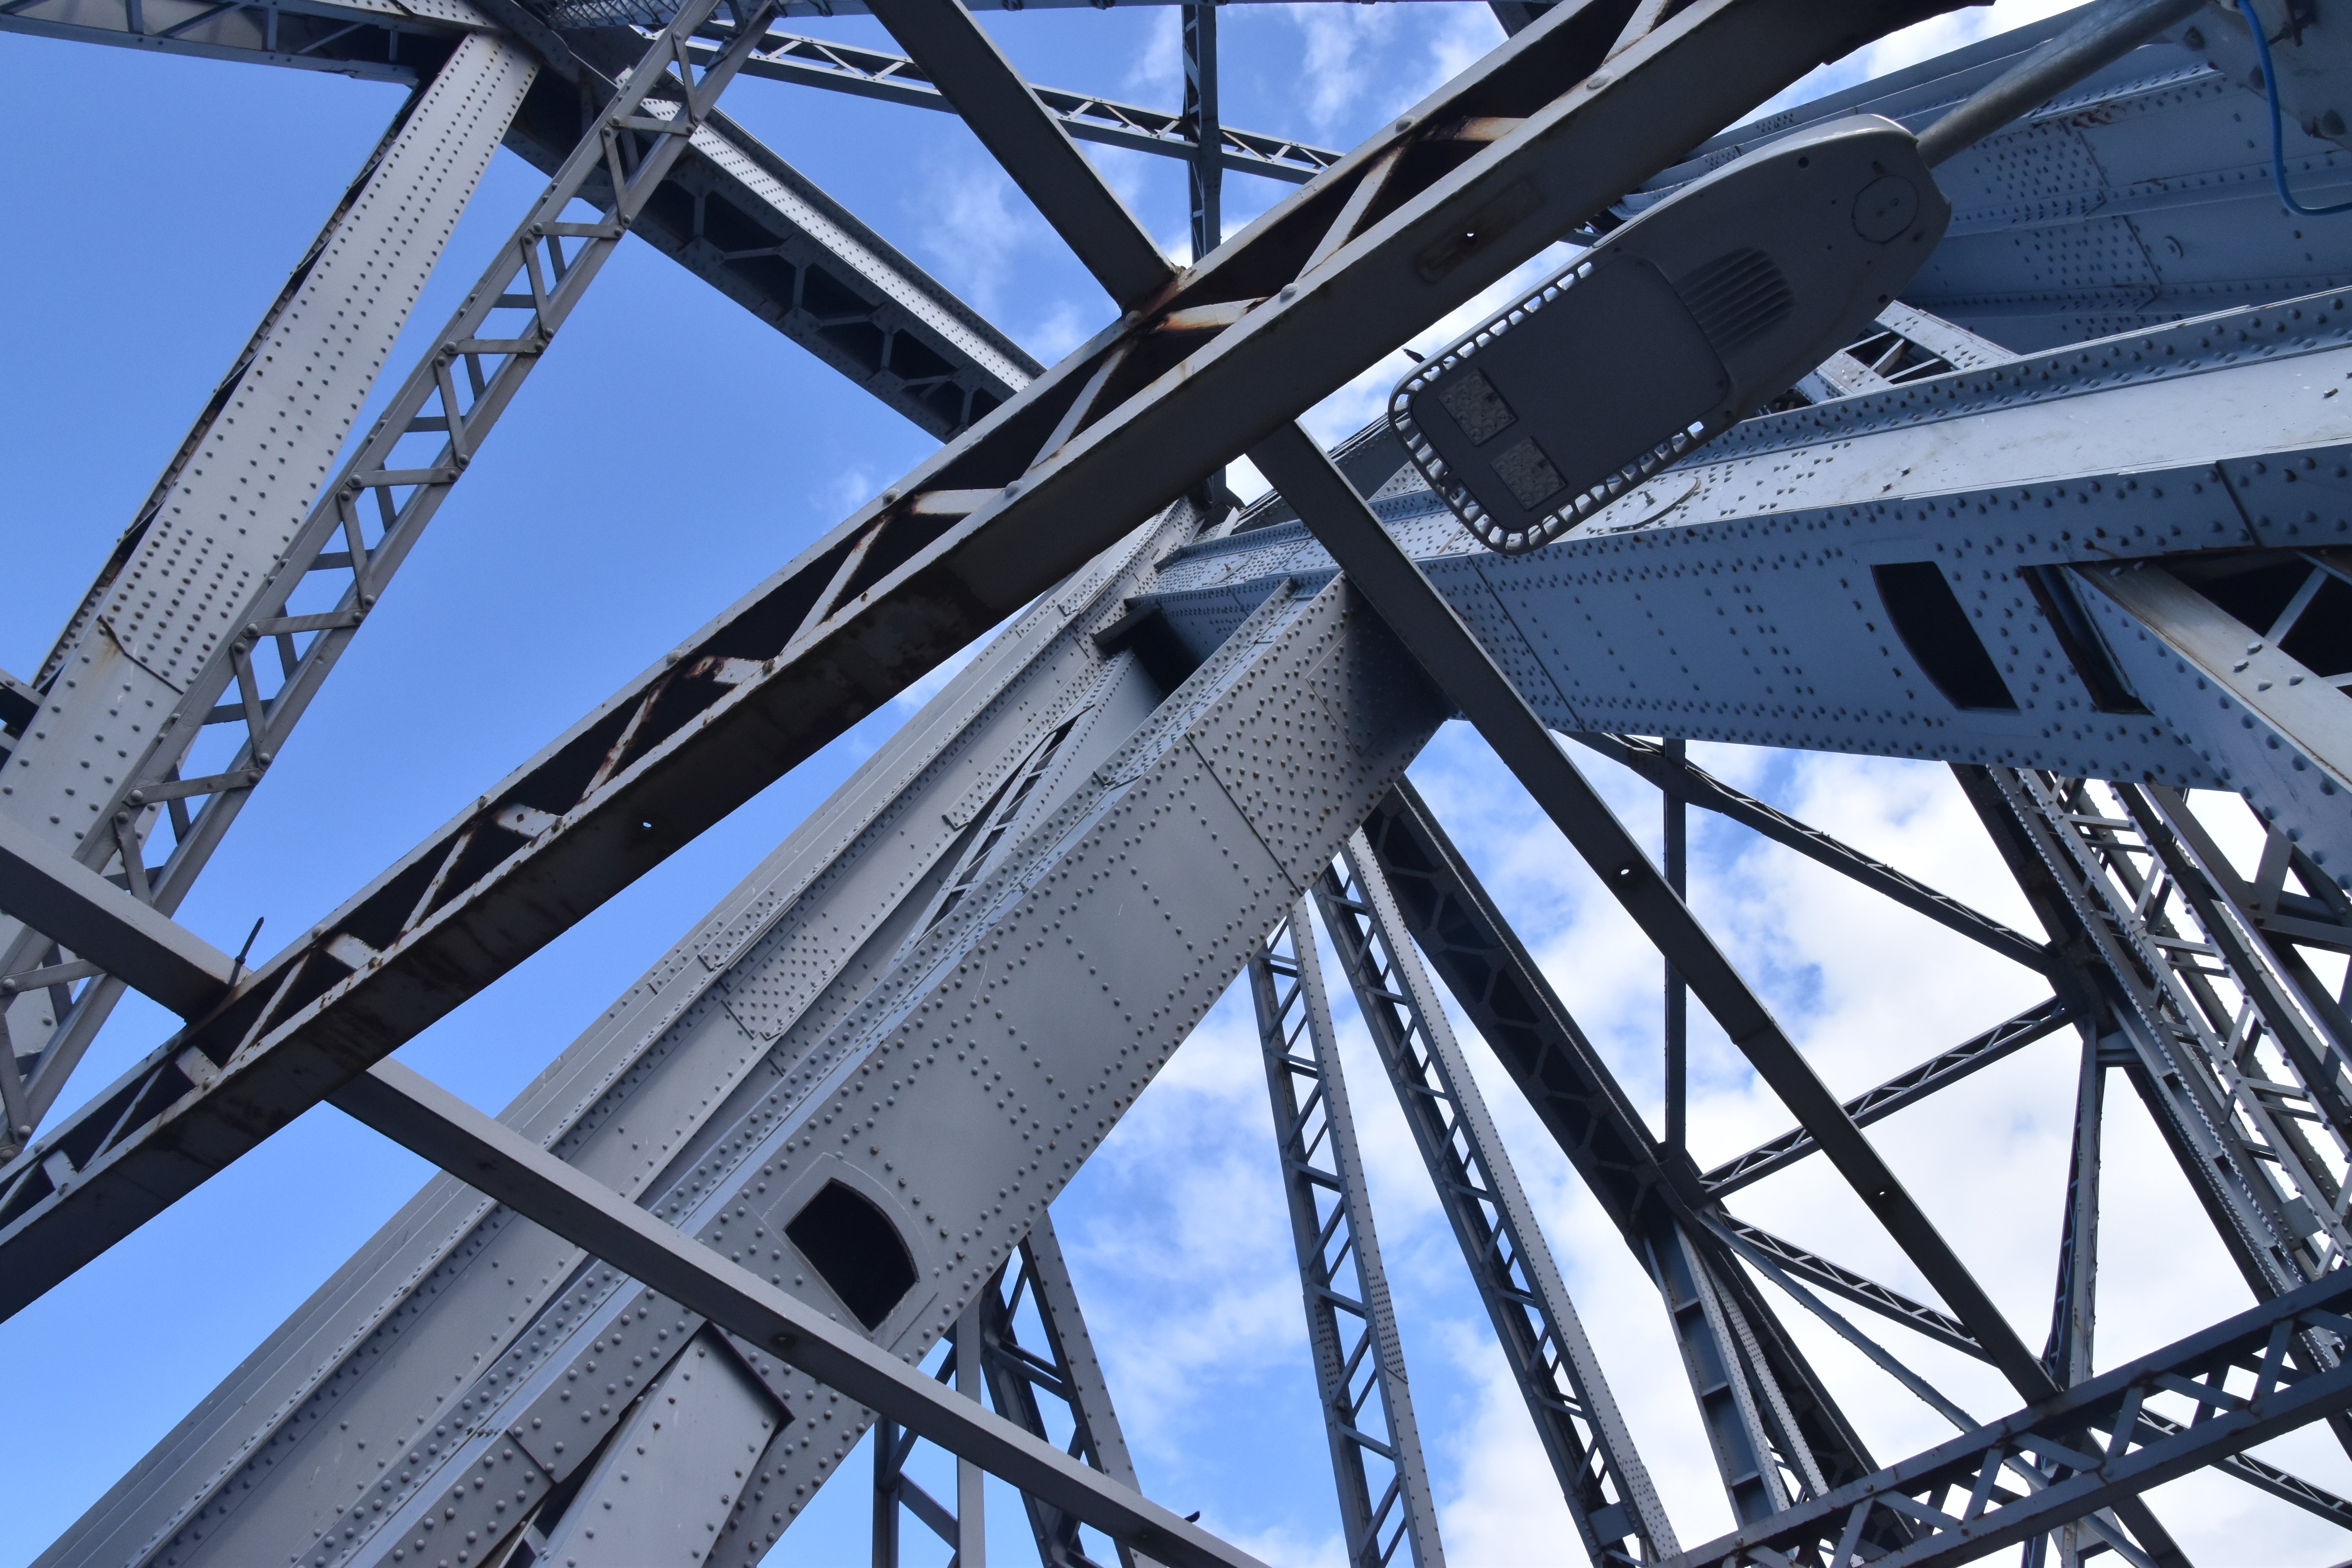
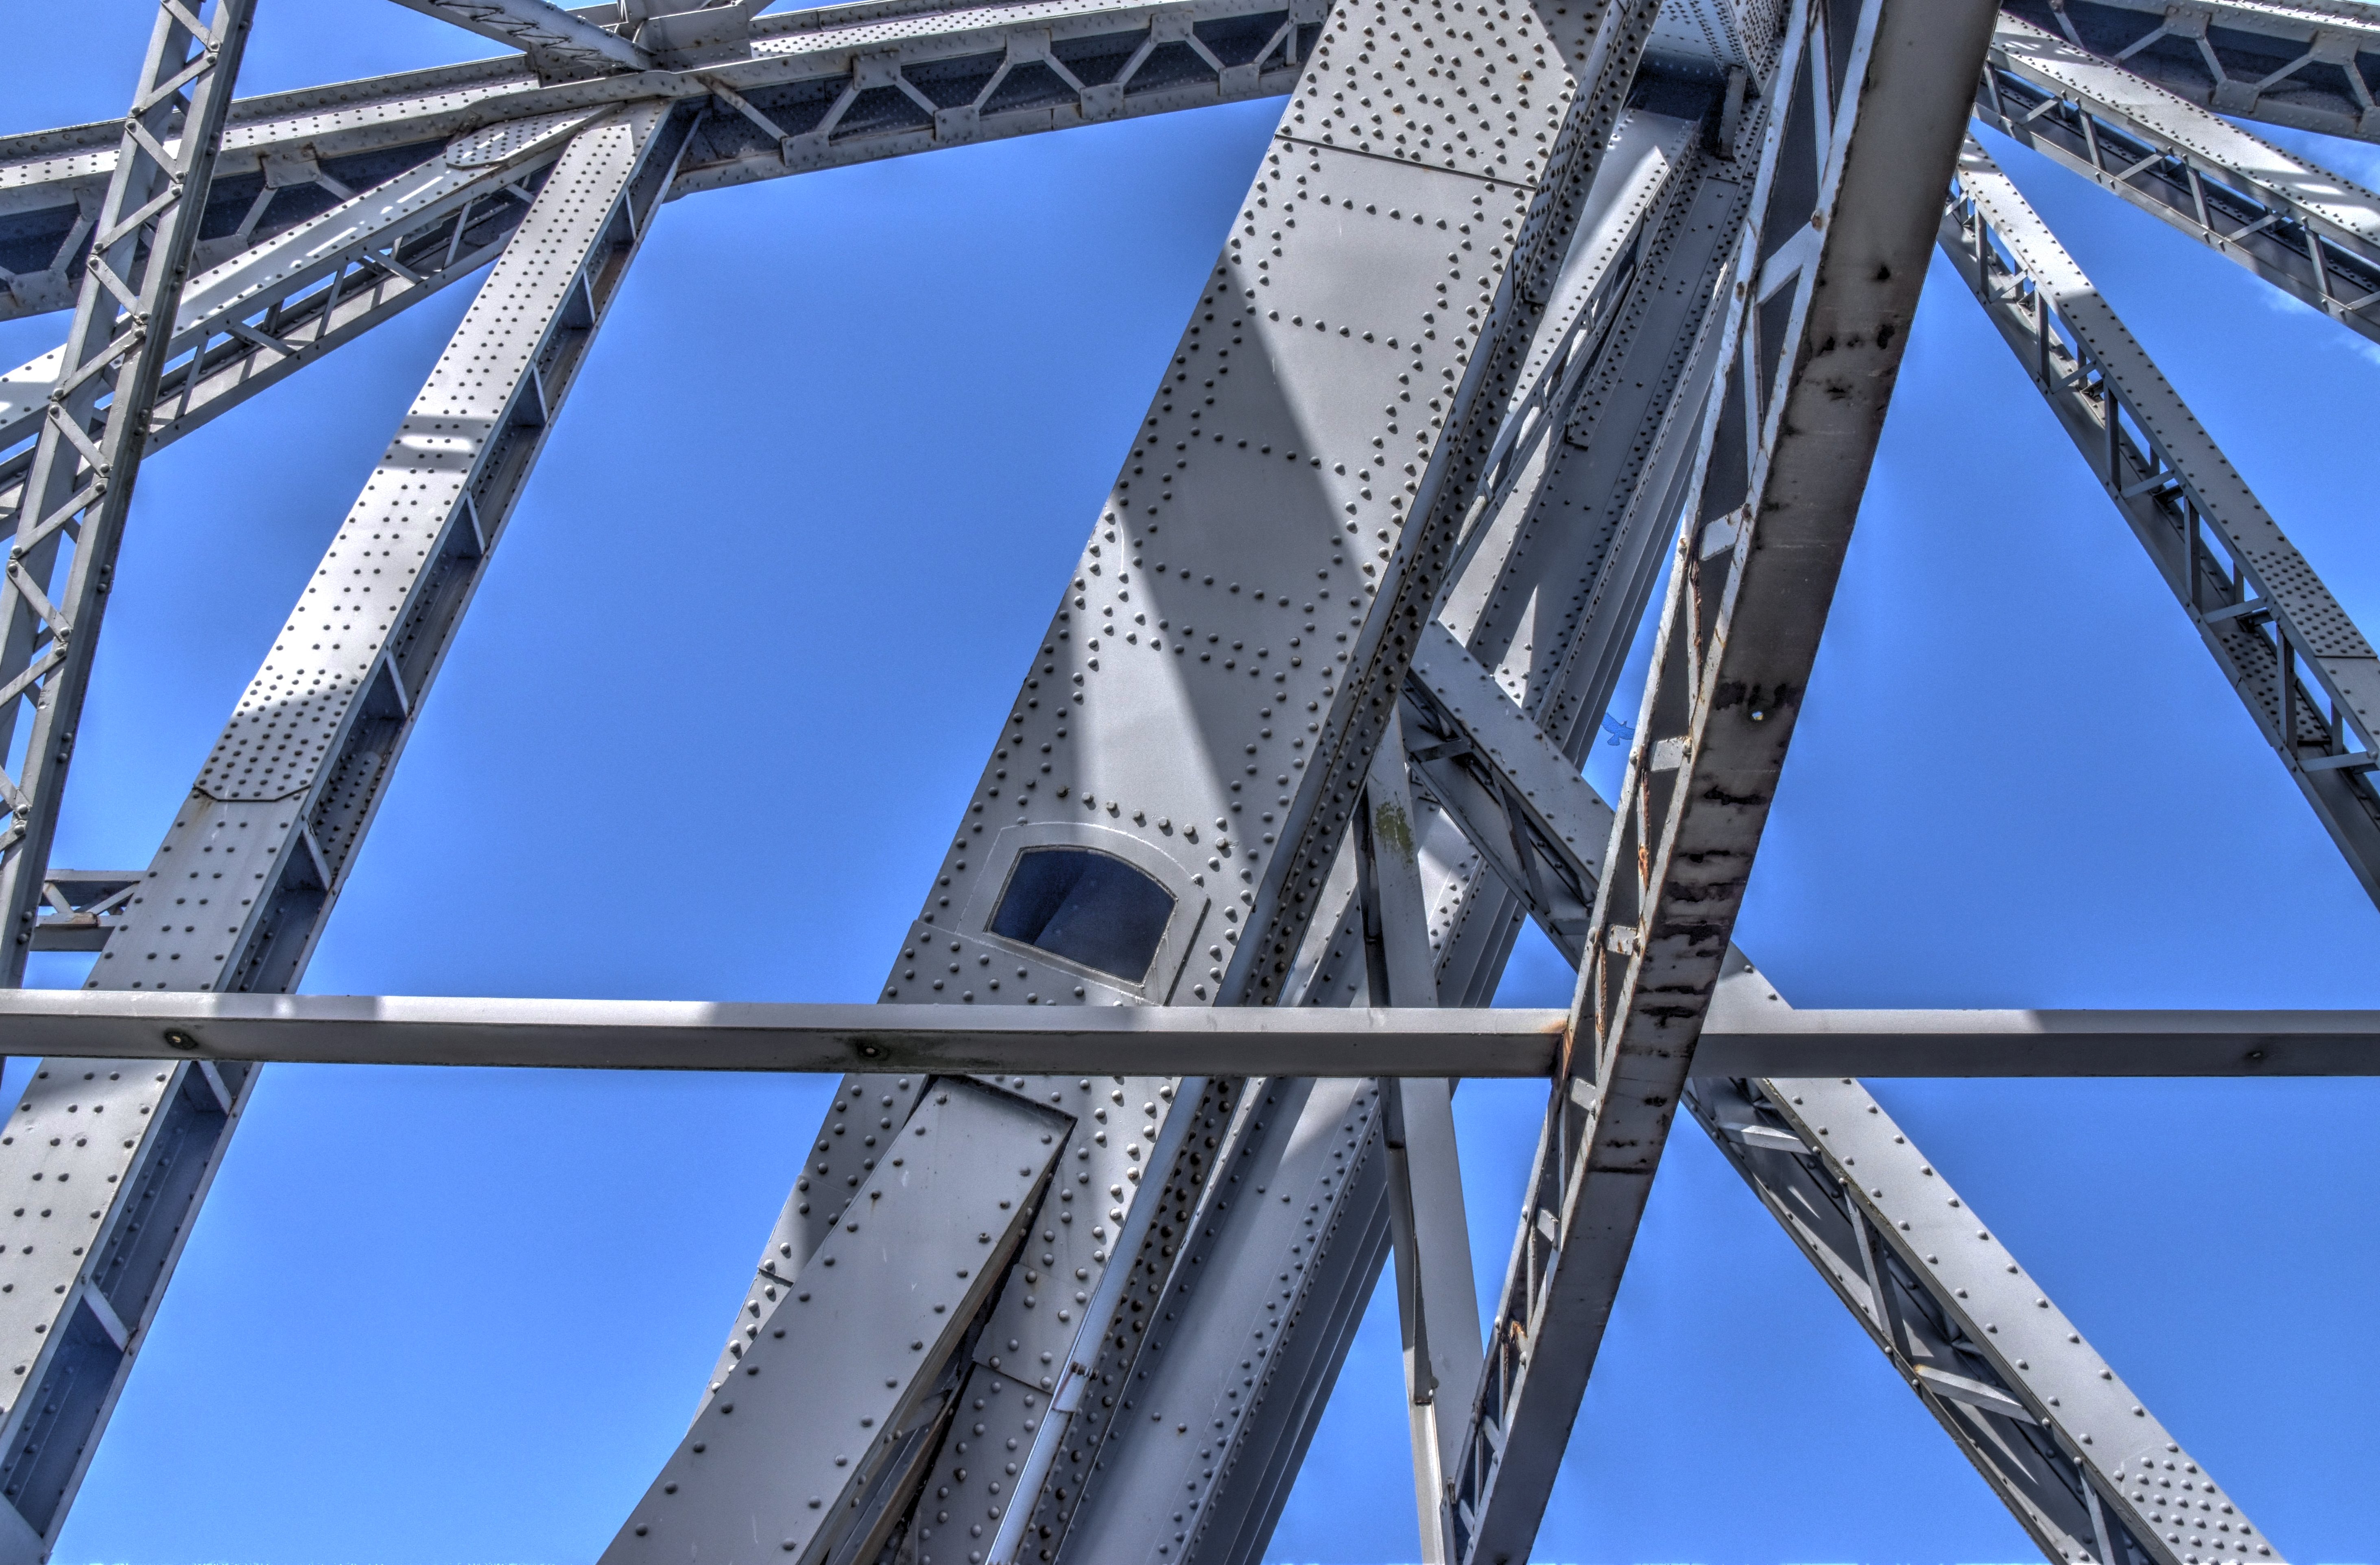
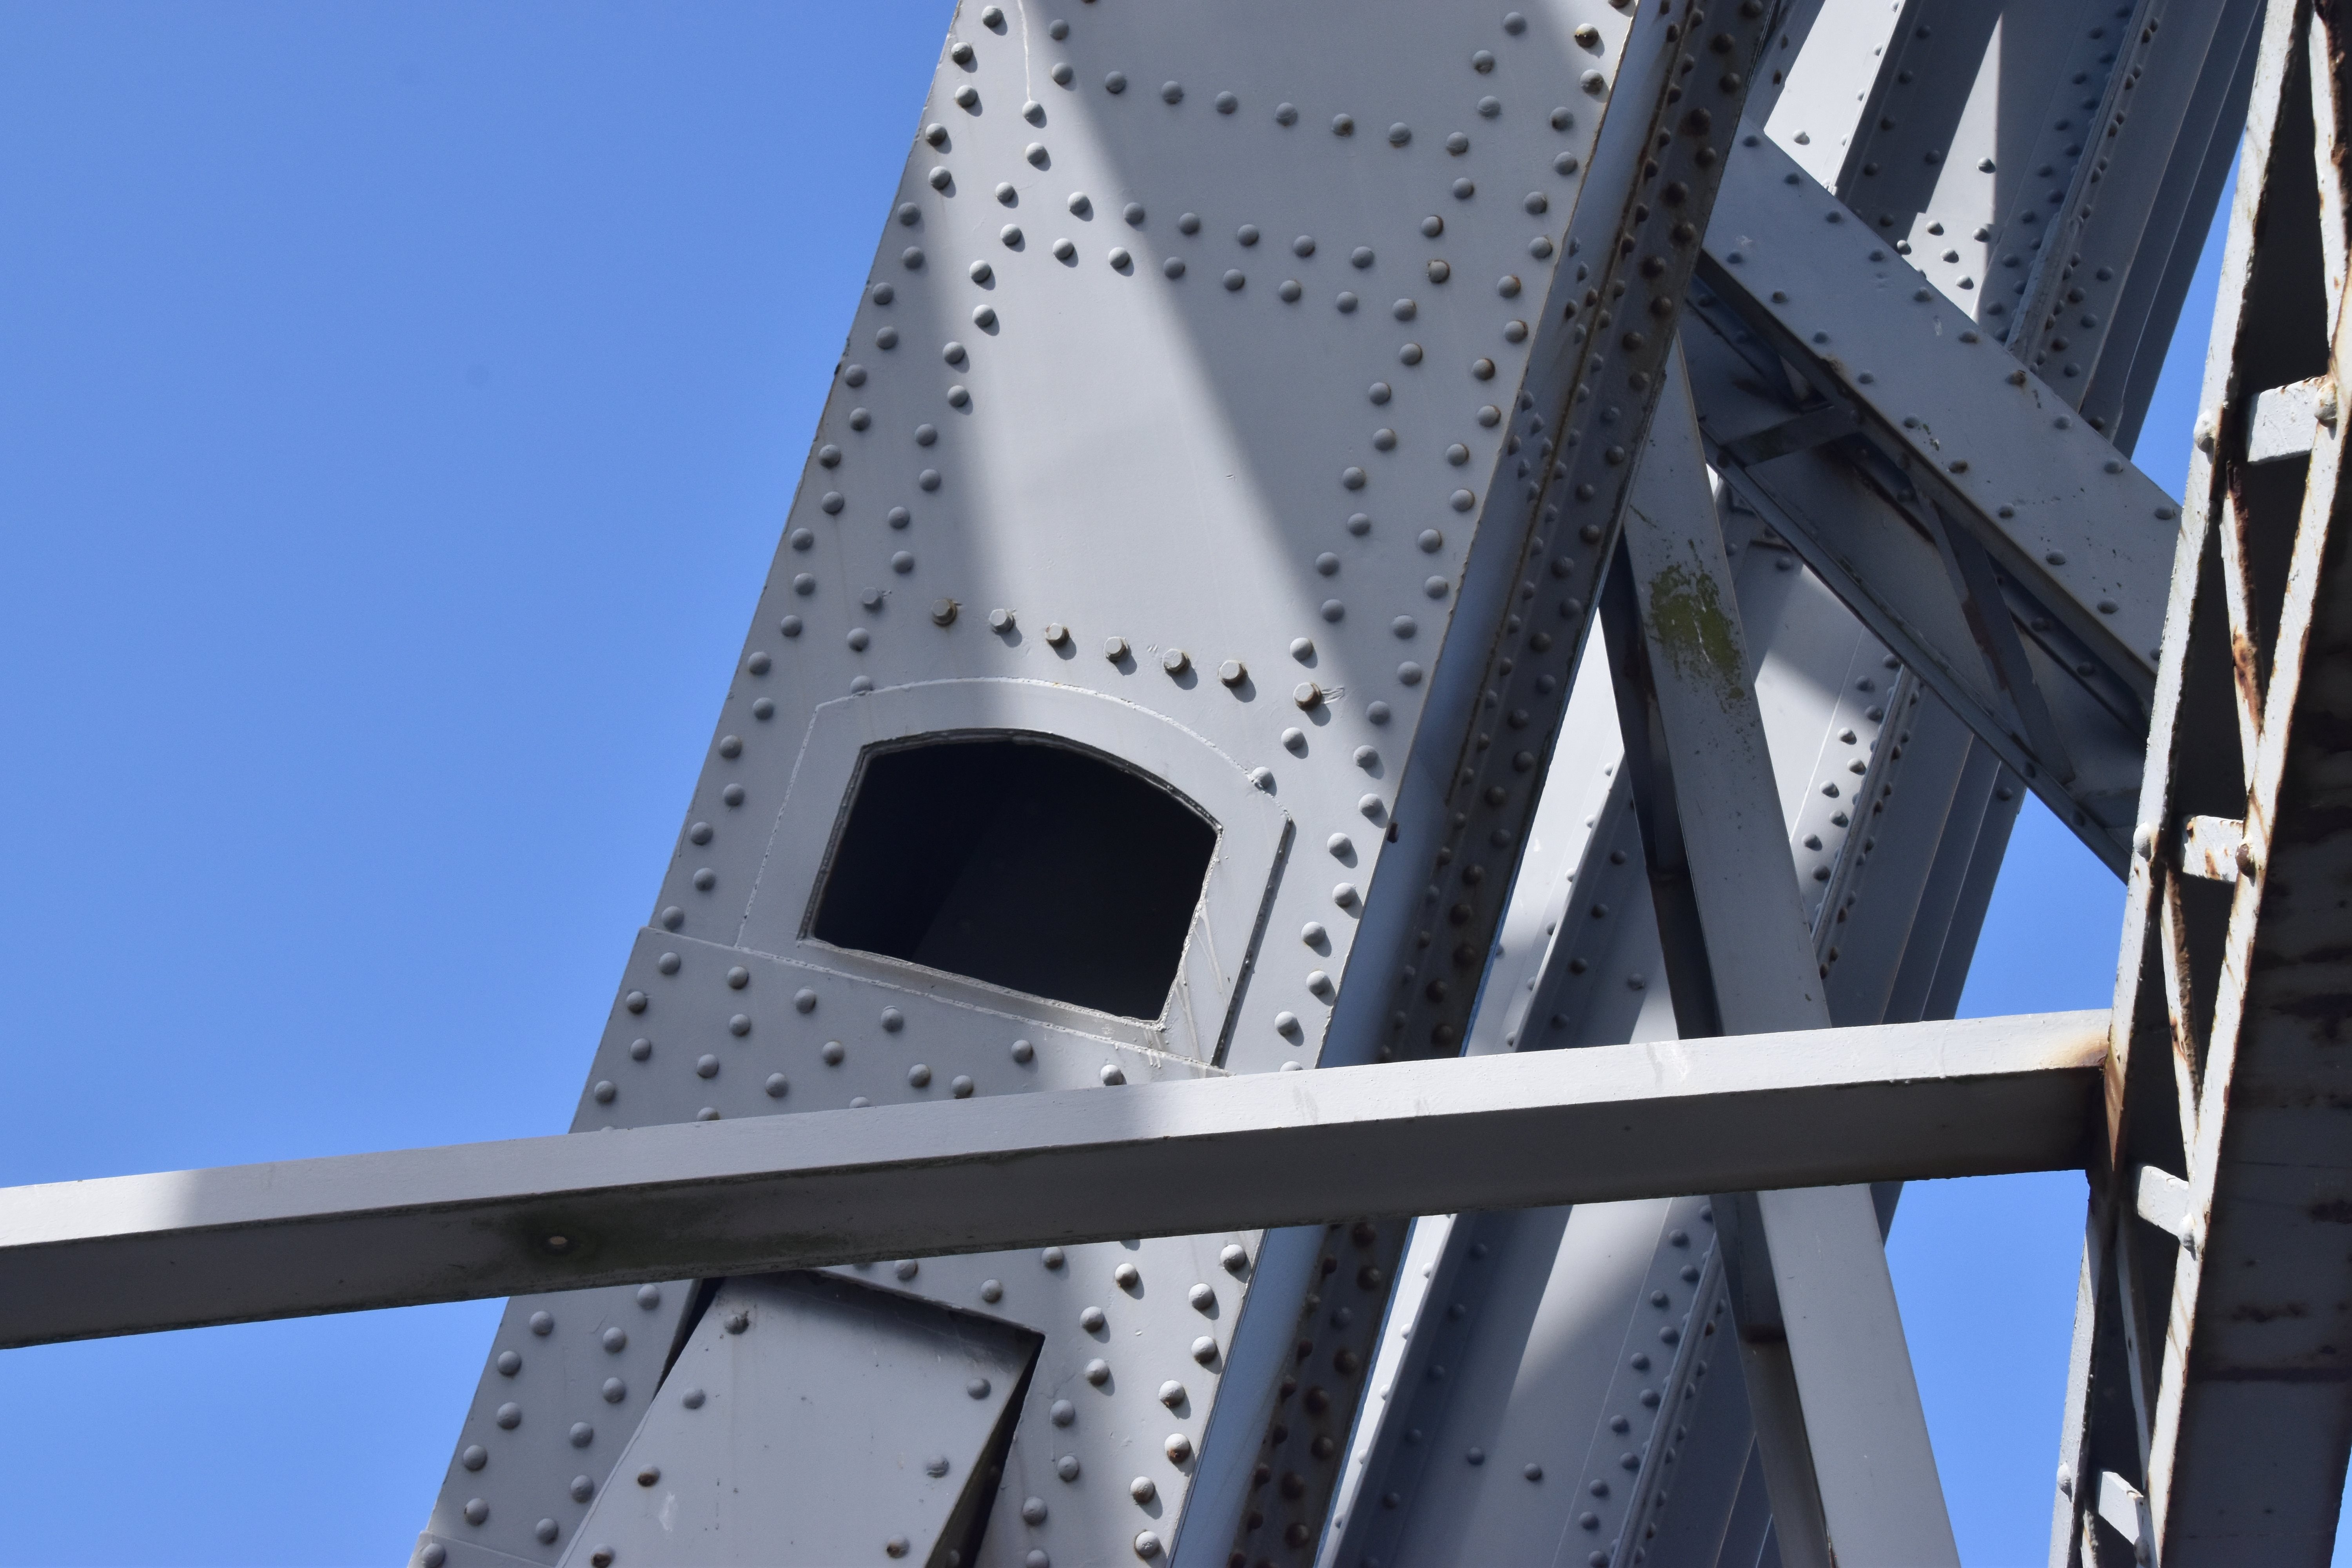
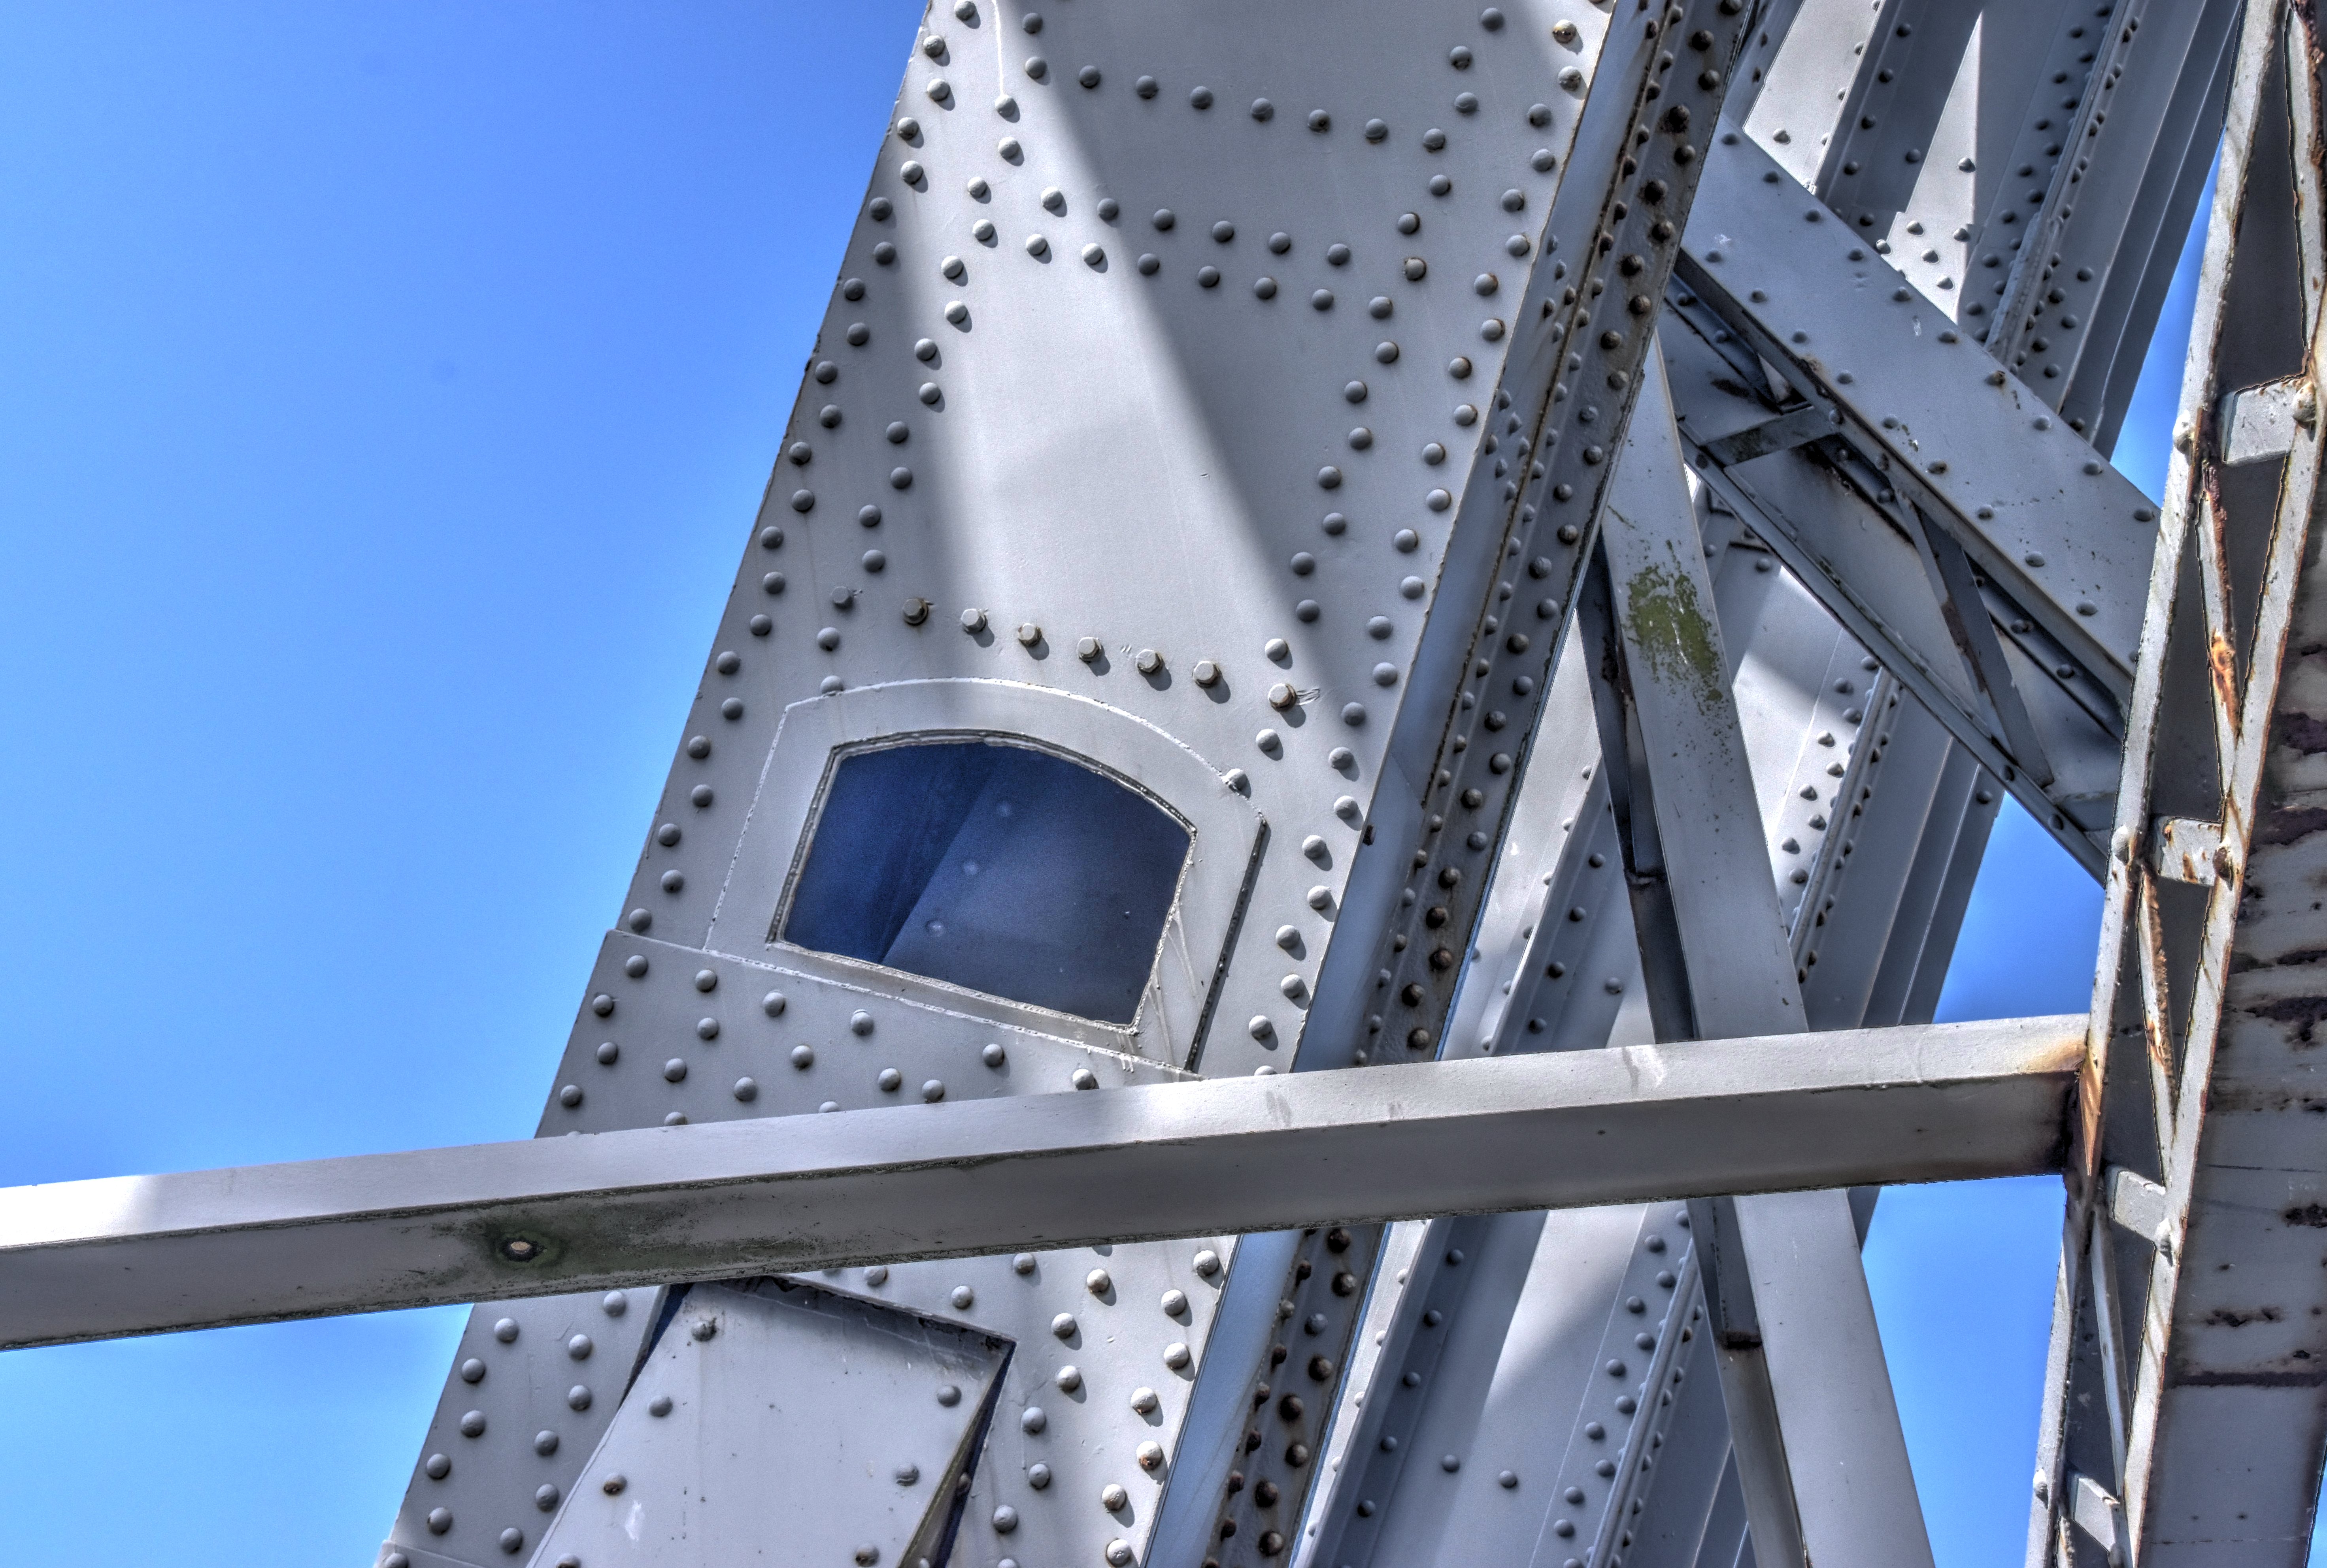
Main post detail above deck.
![]()

Main post detail below deck.
![]()


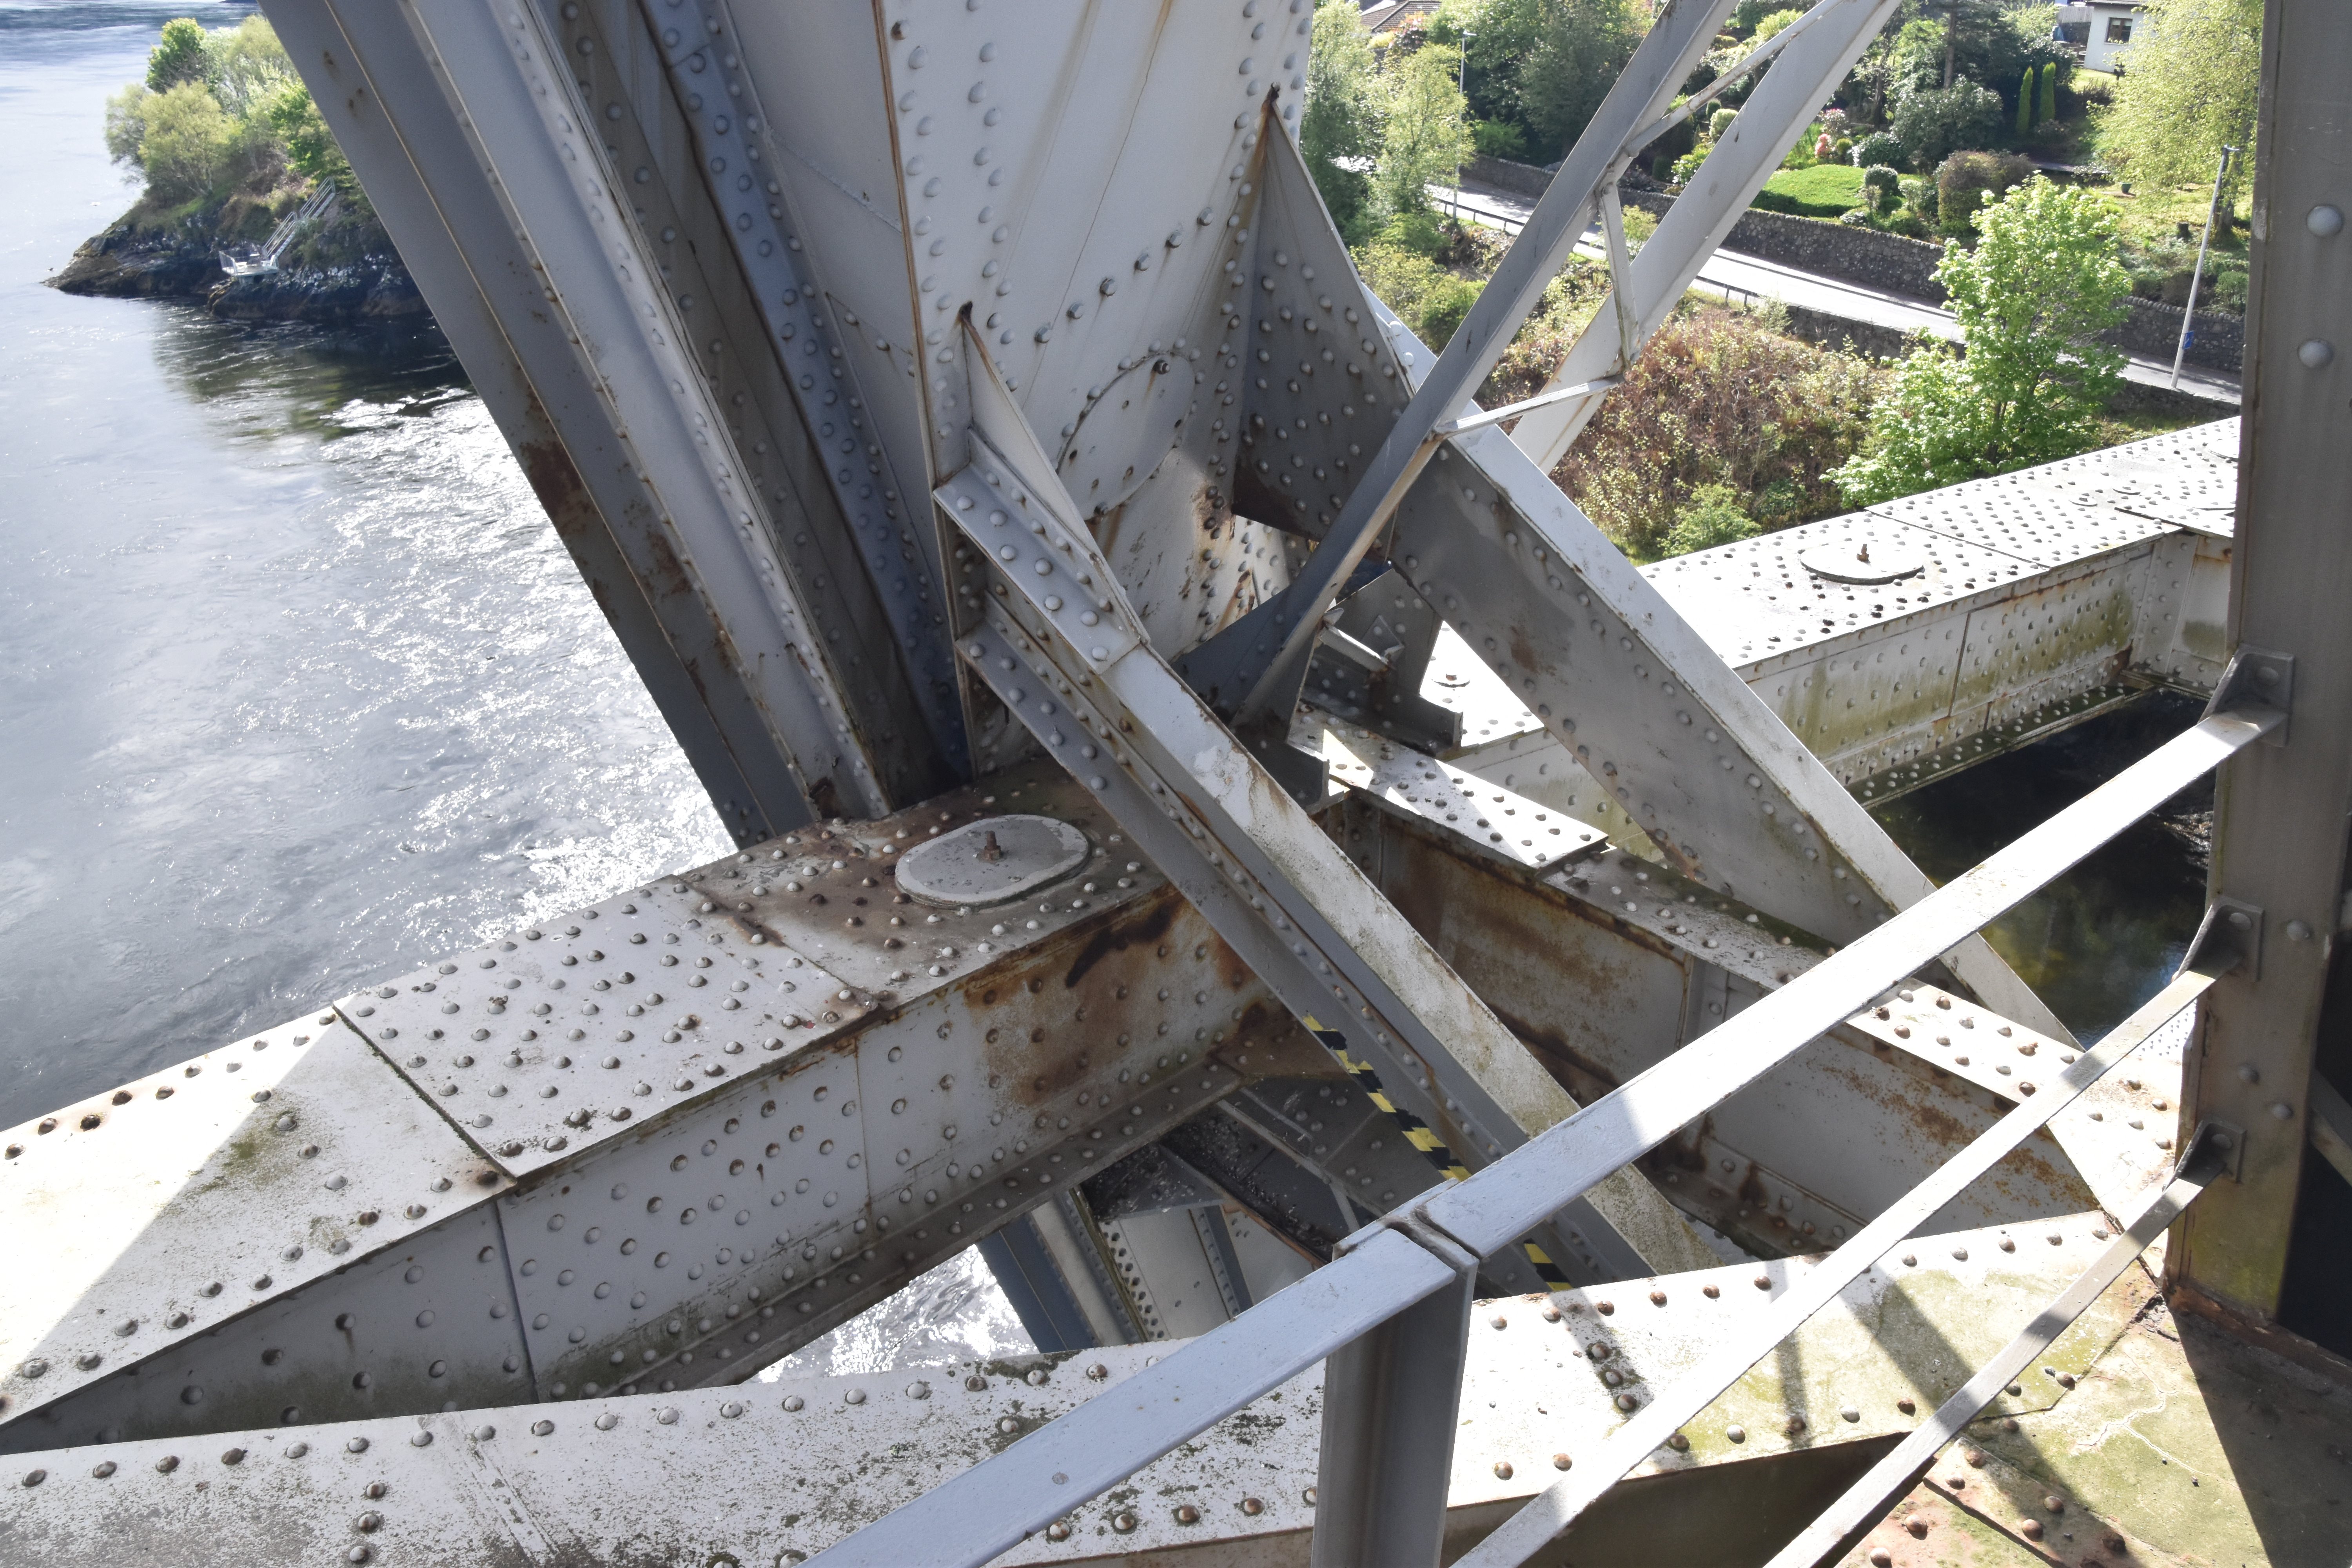
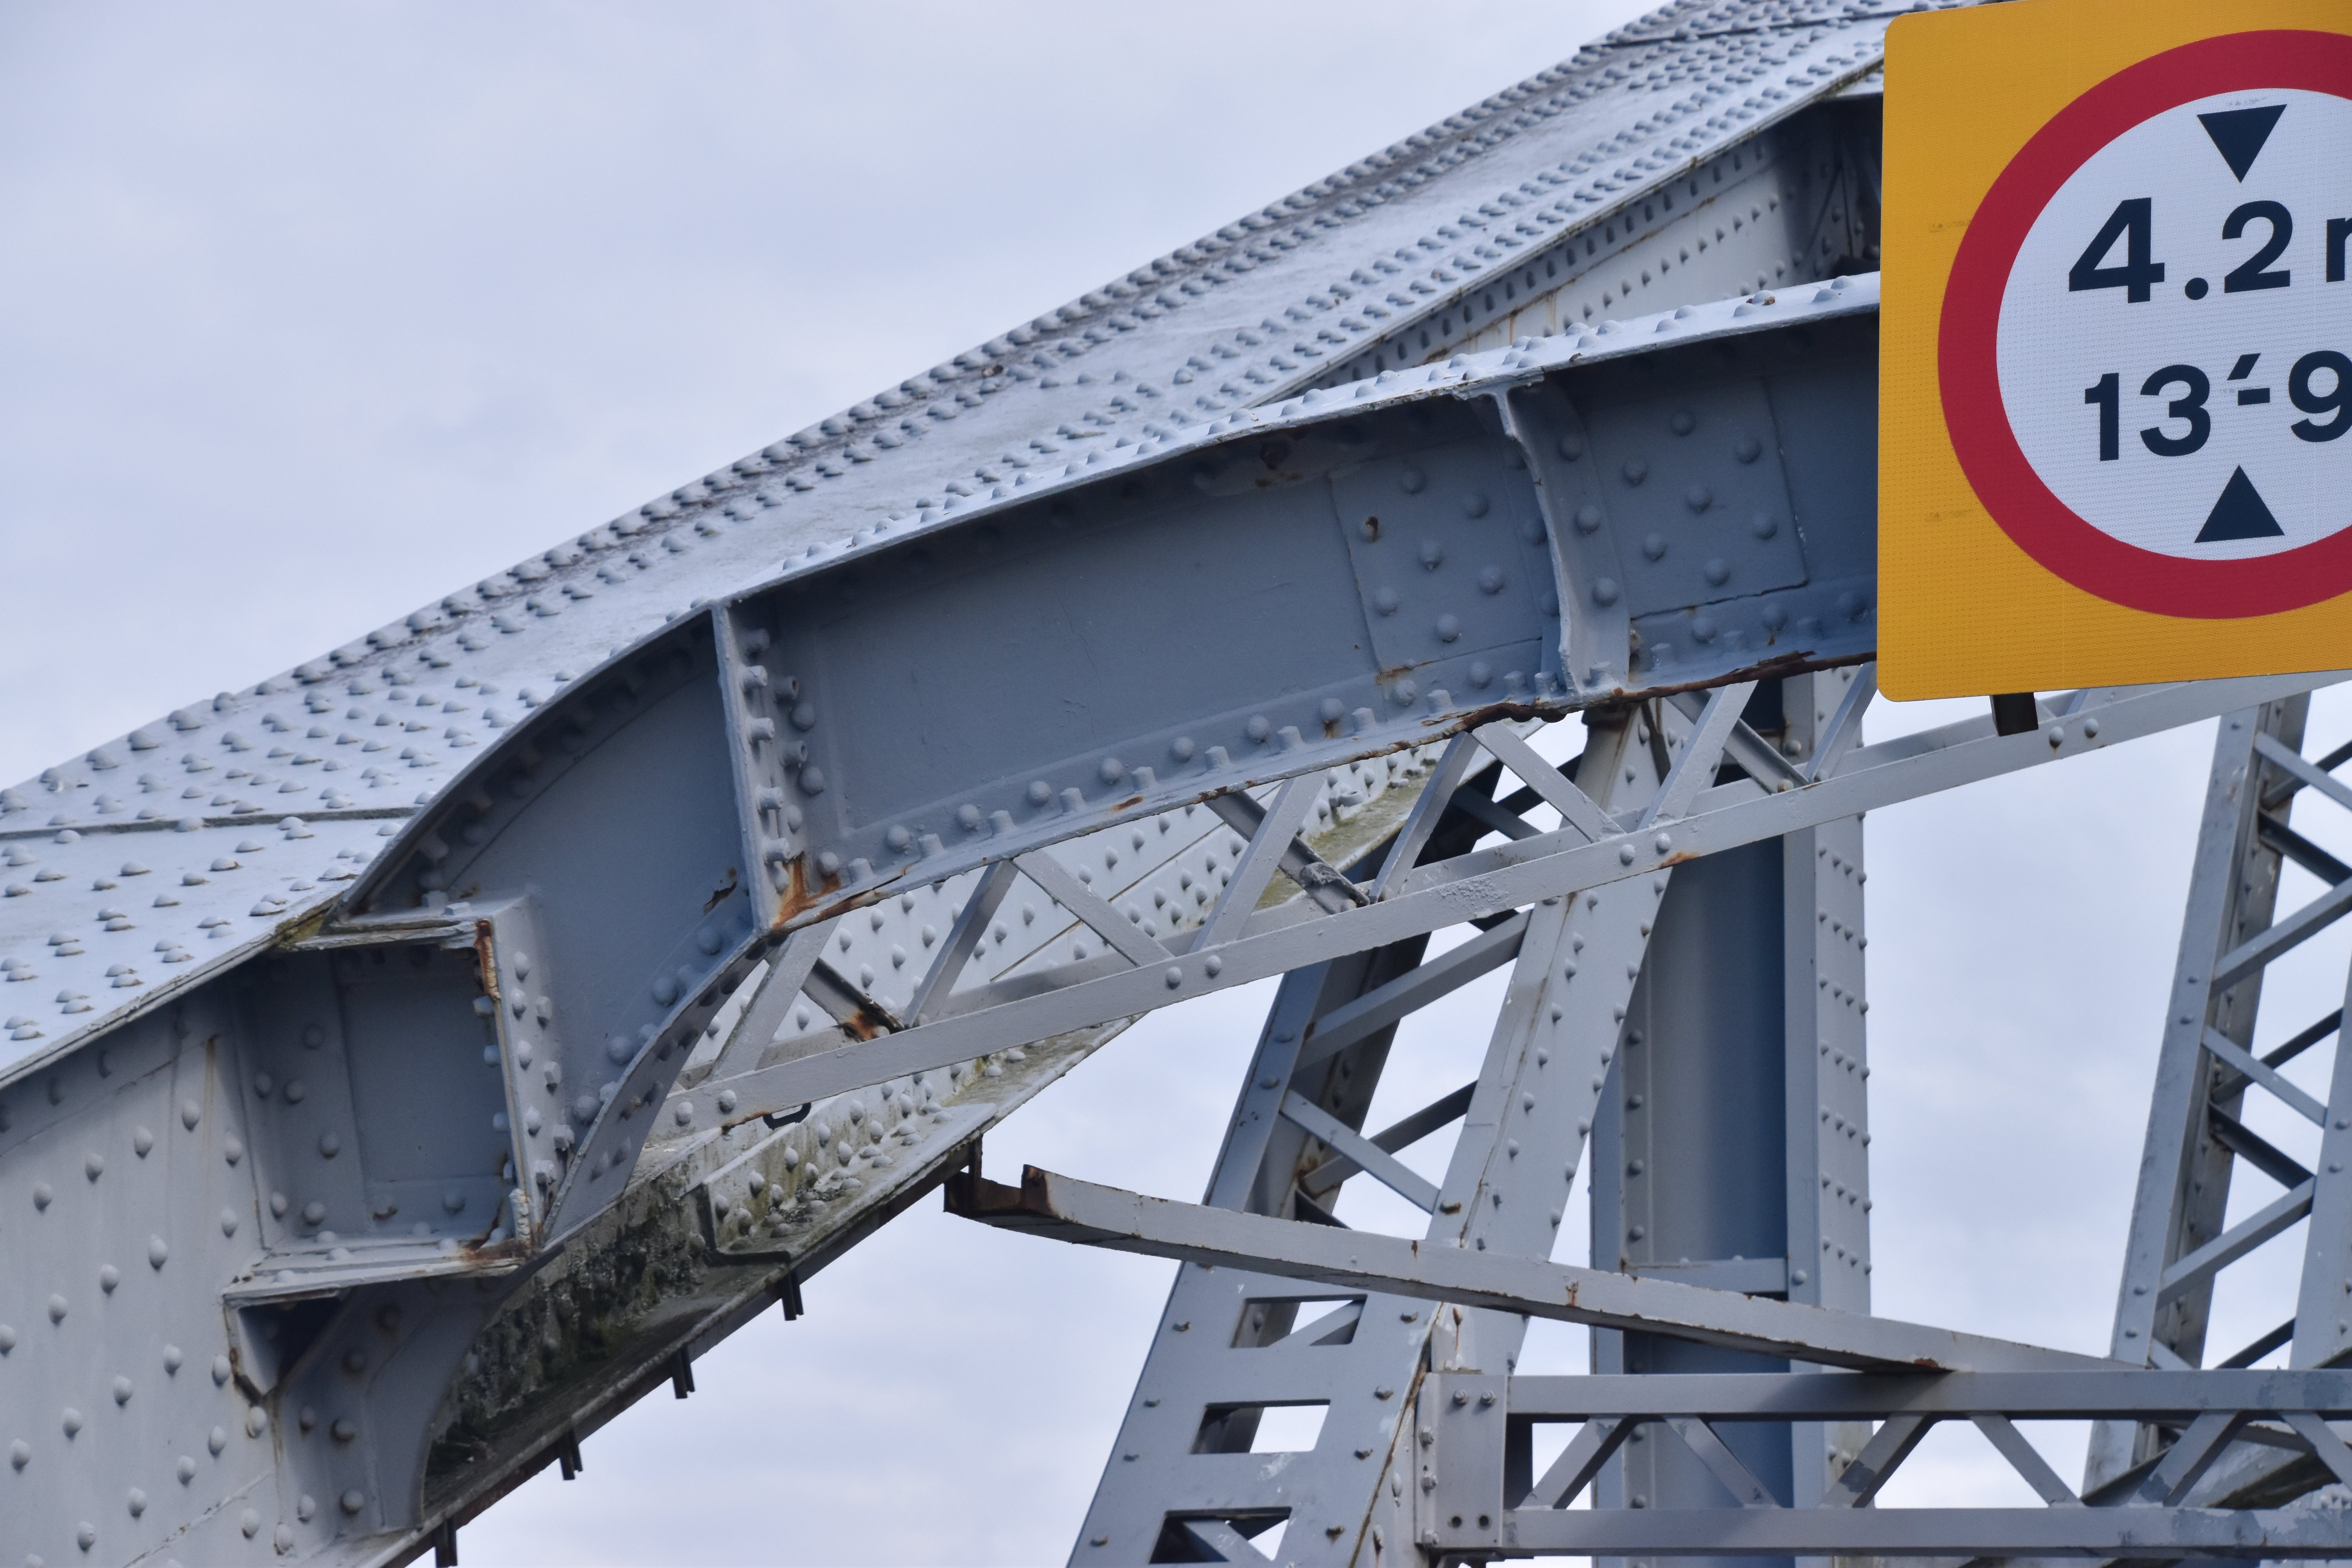
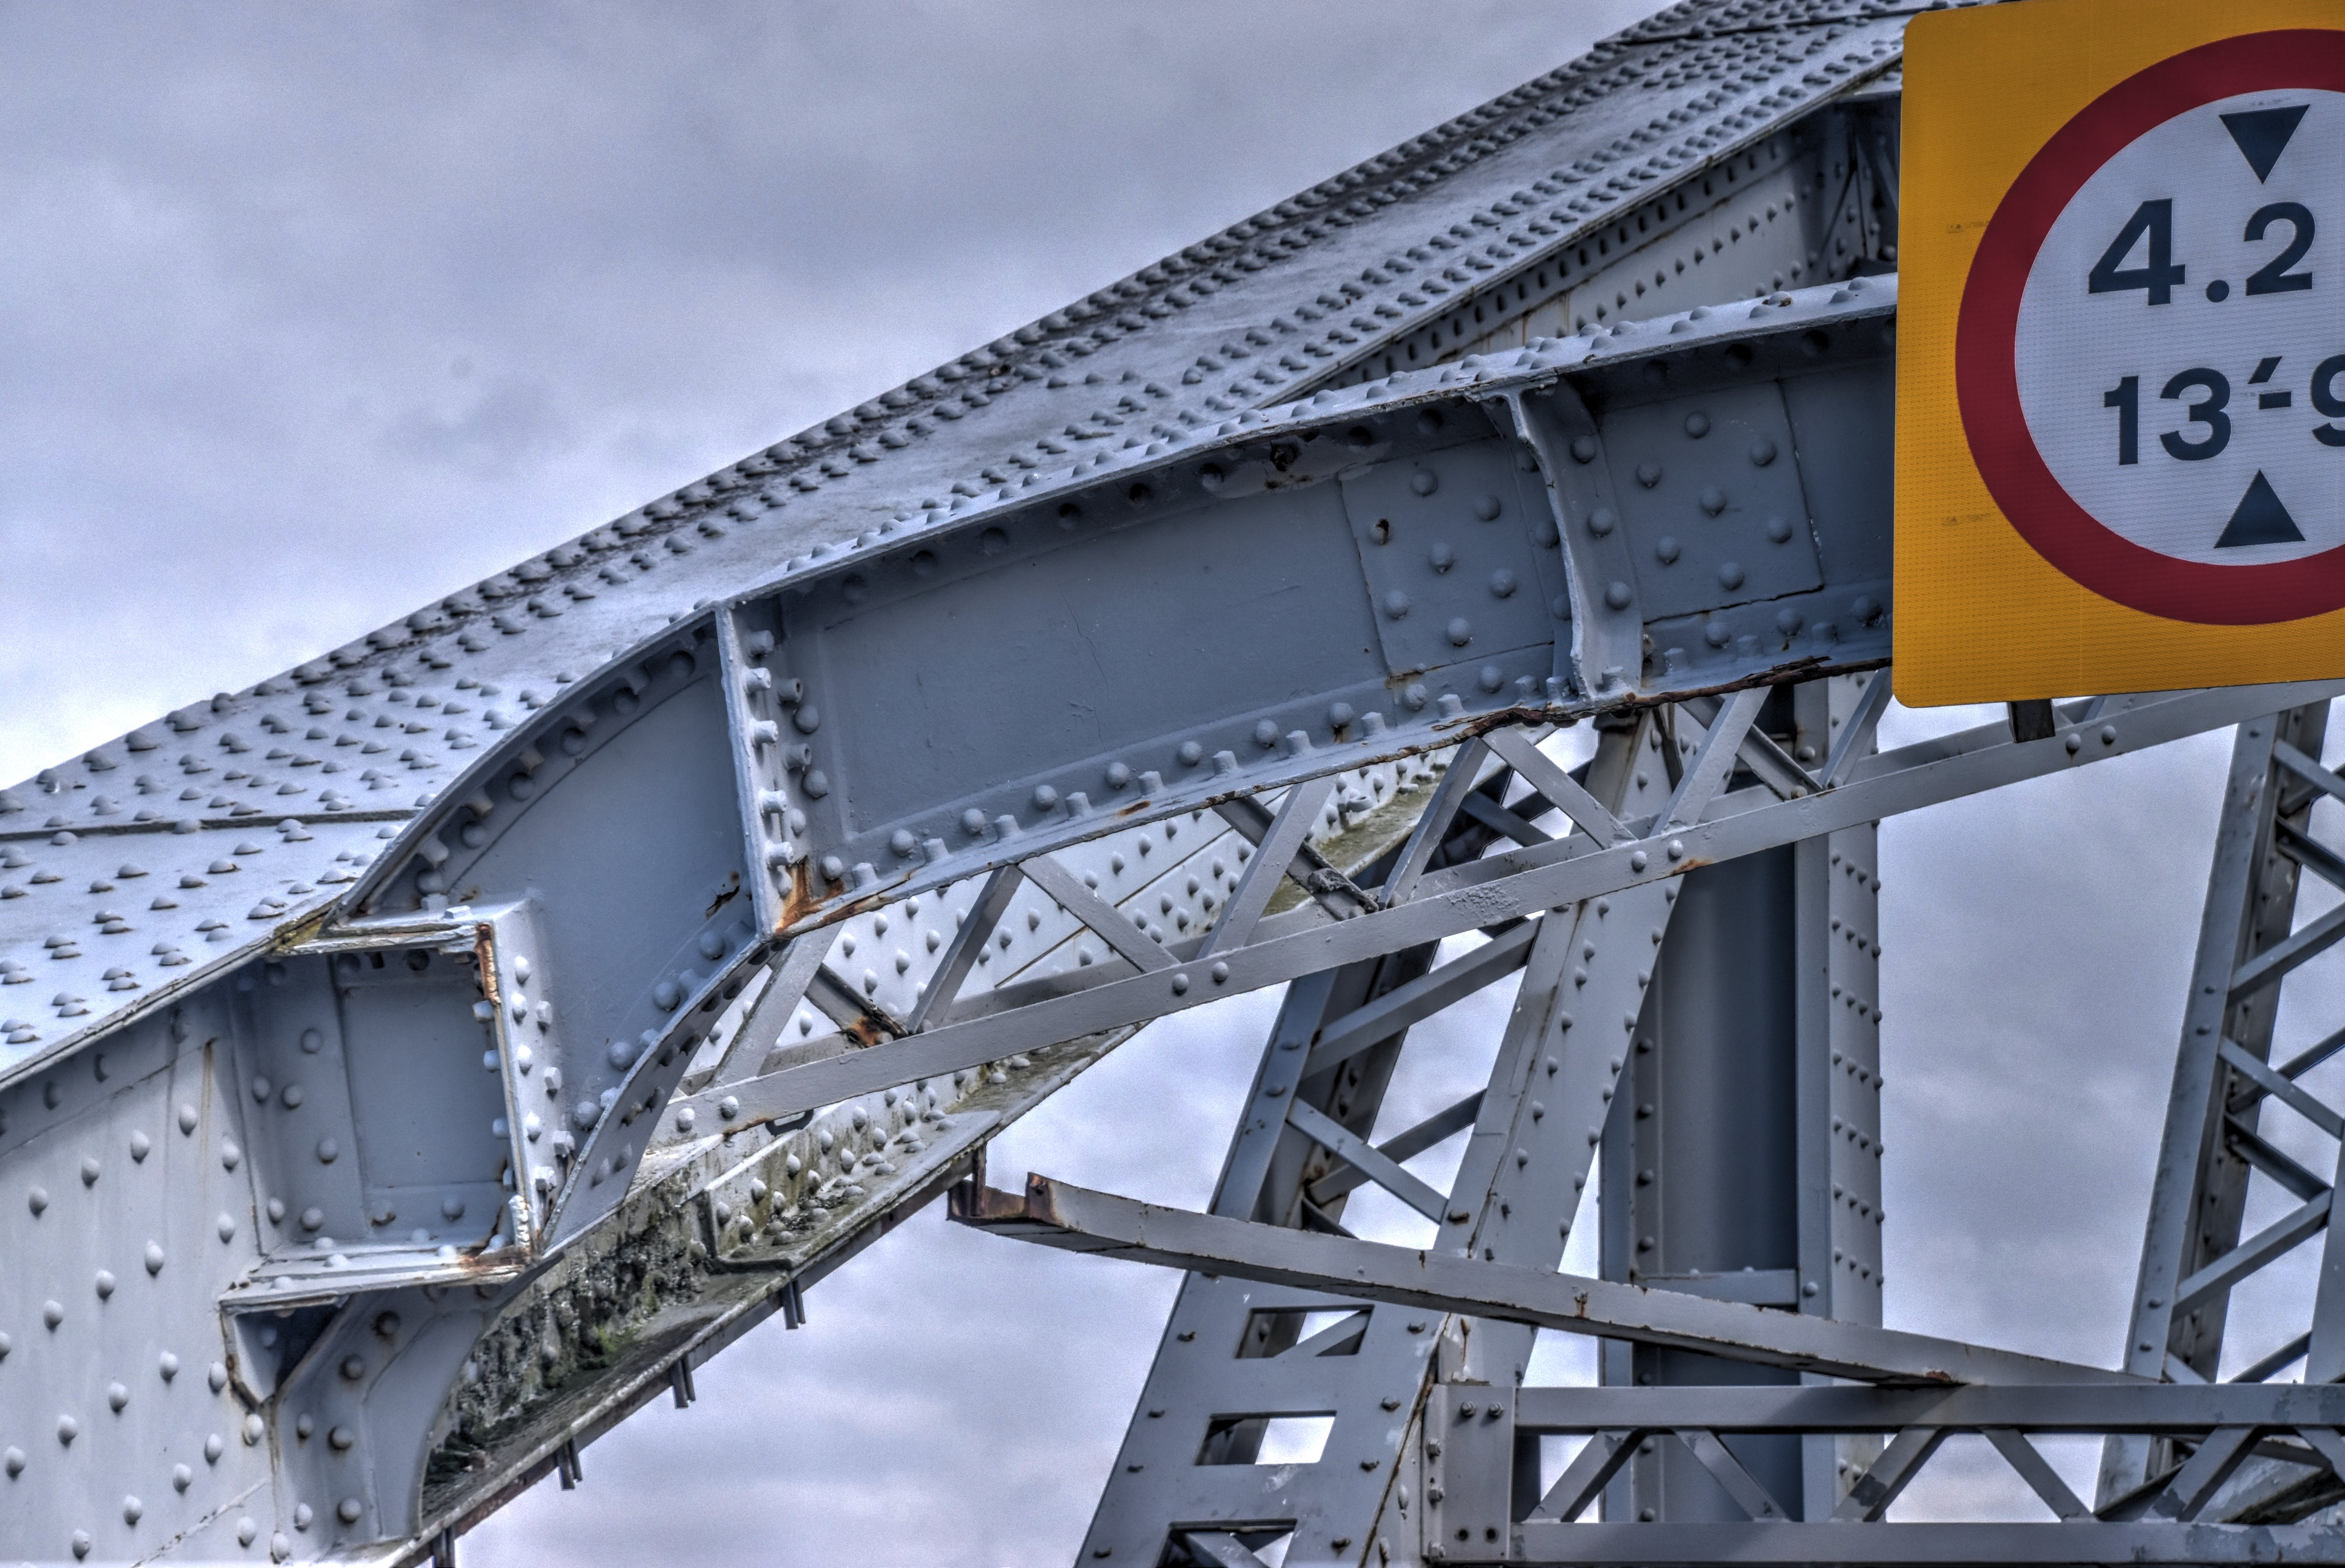
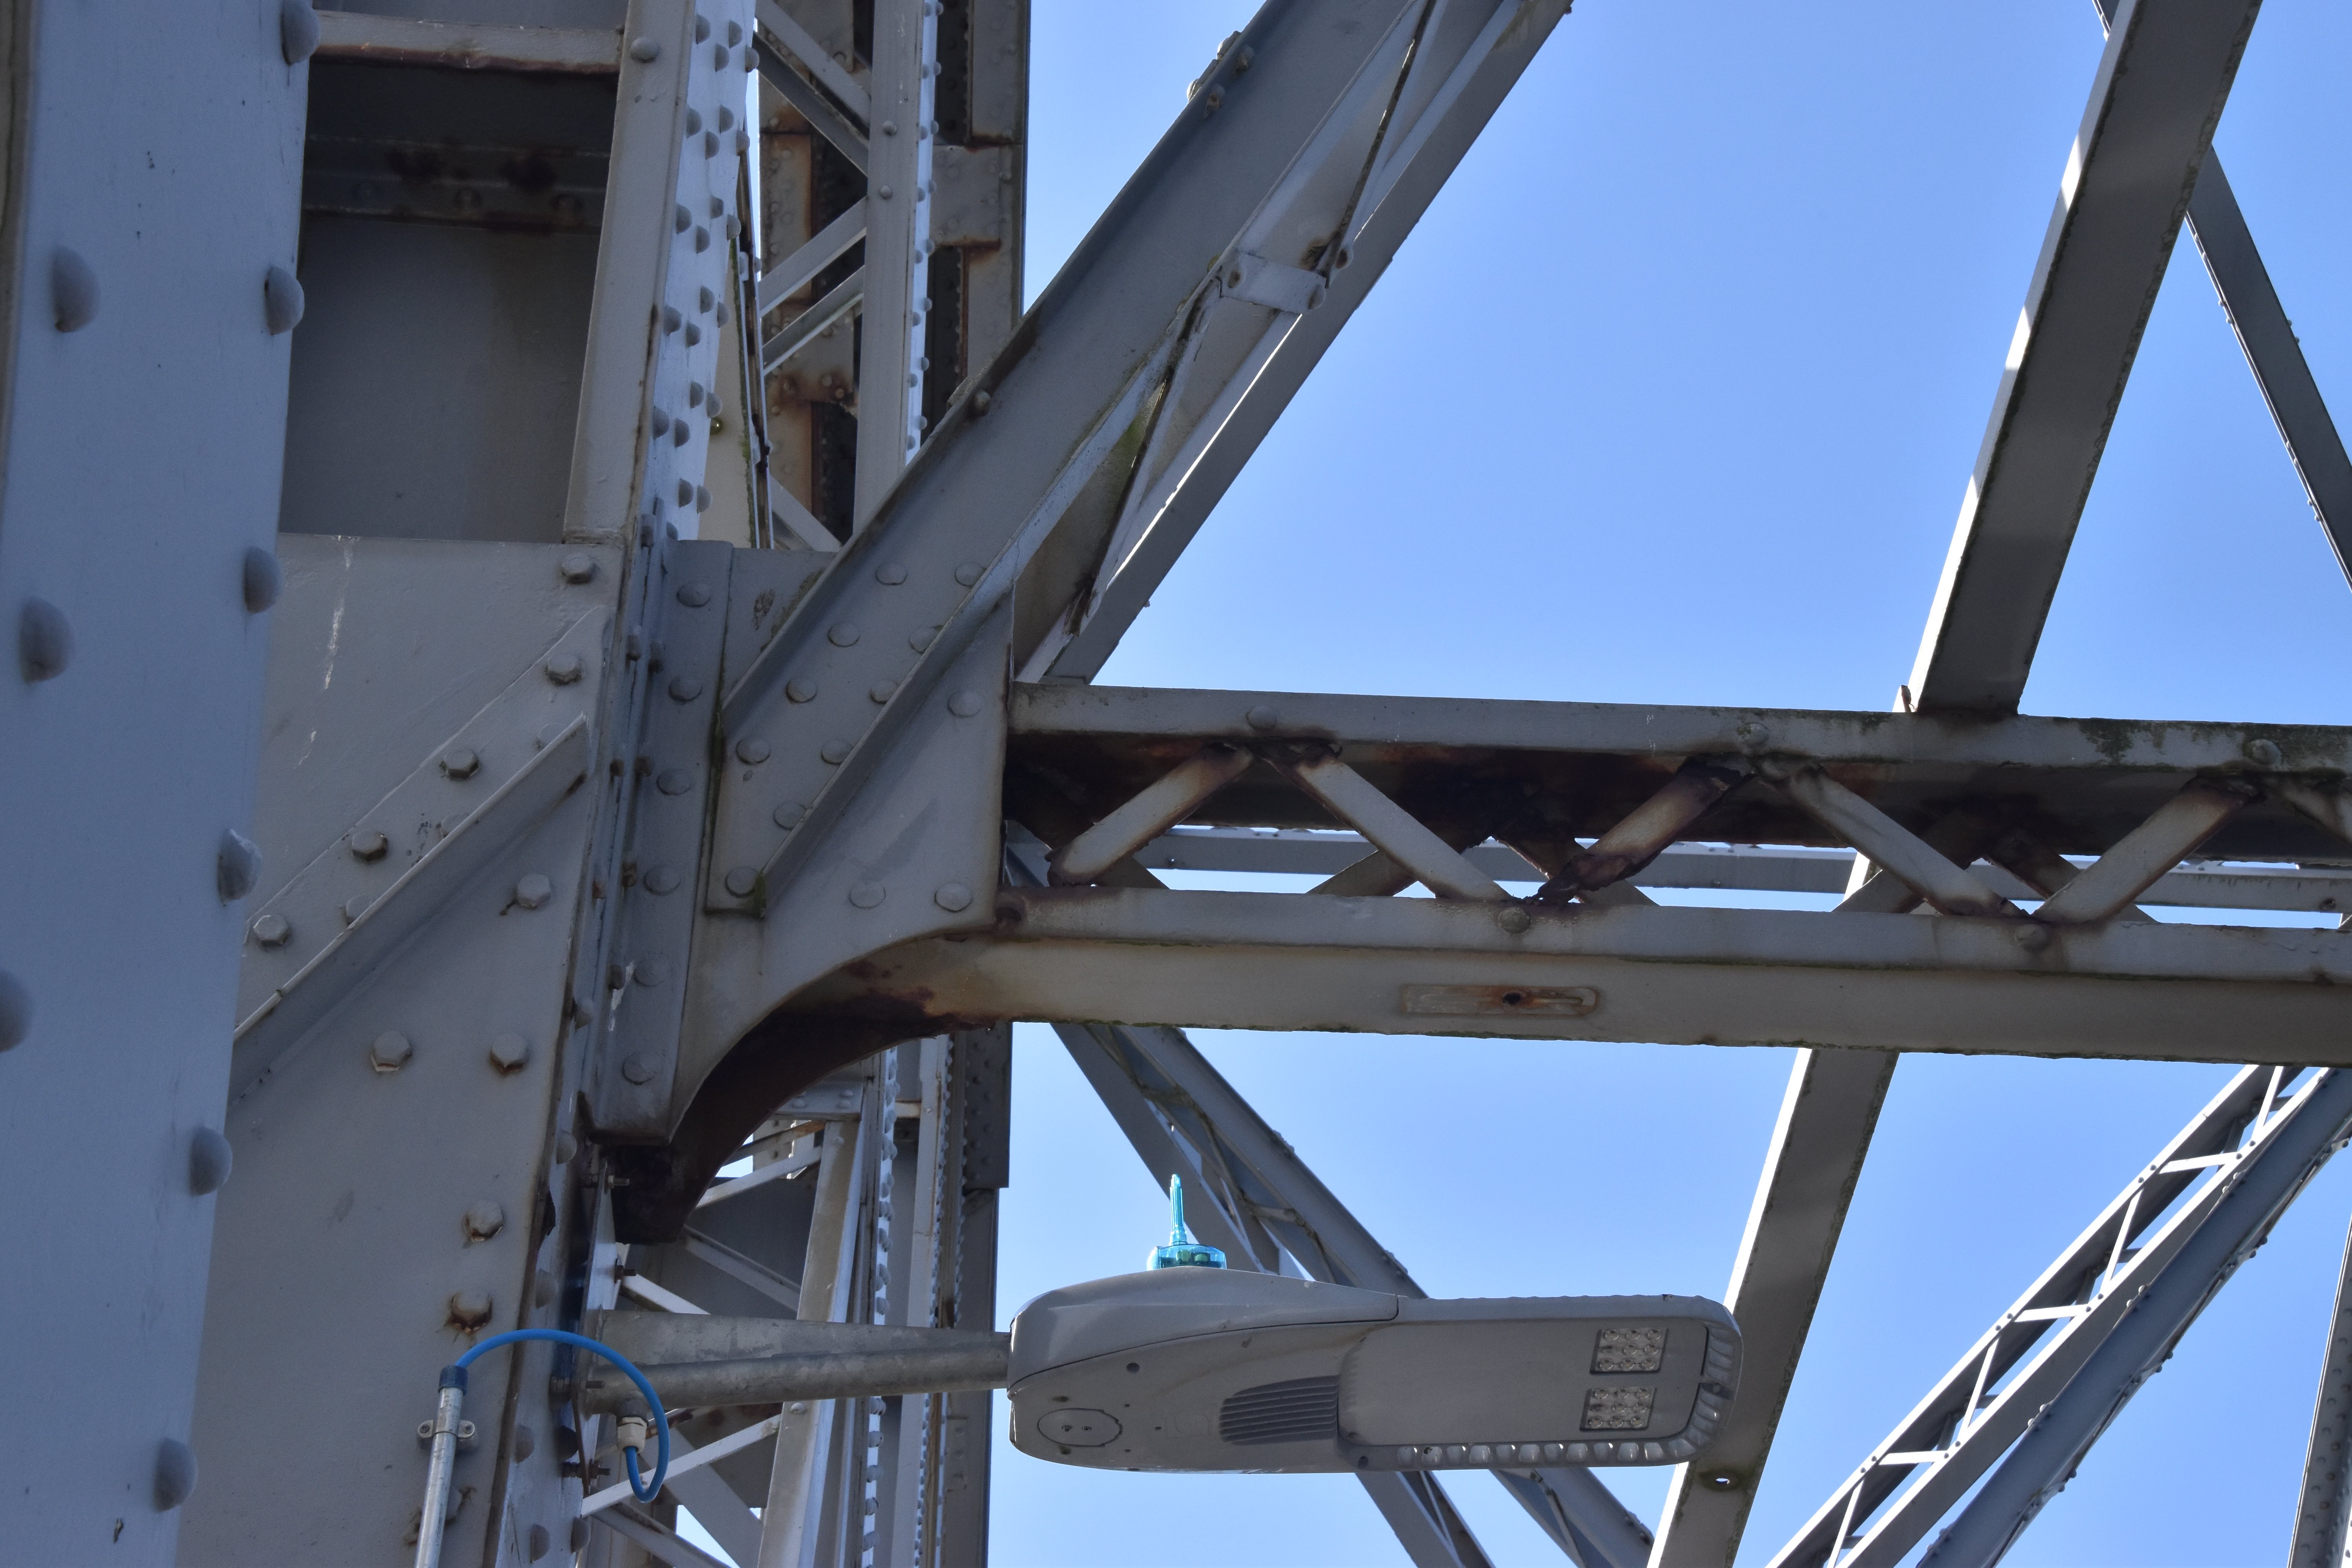
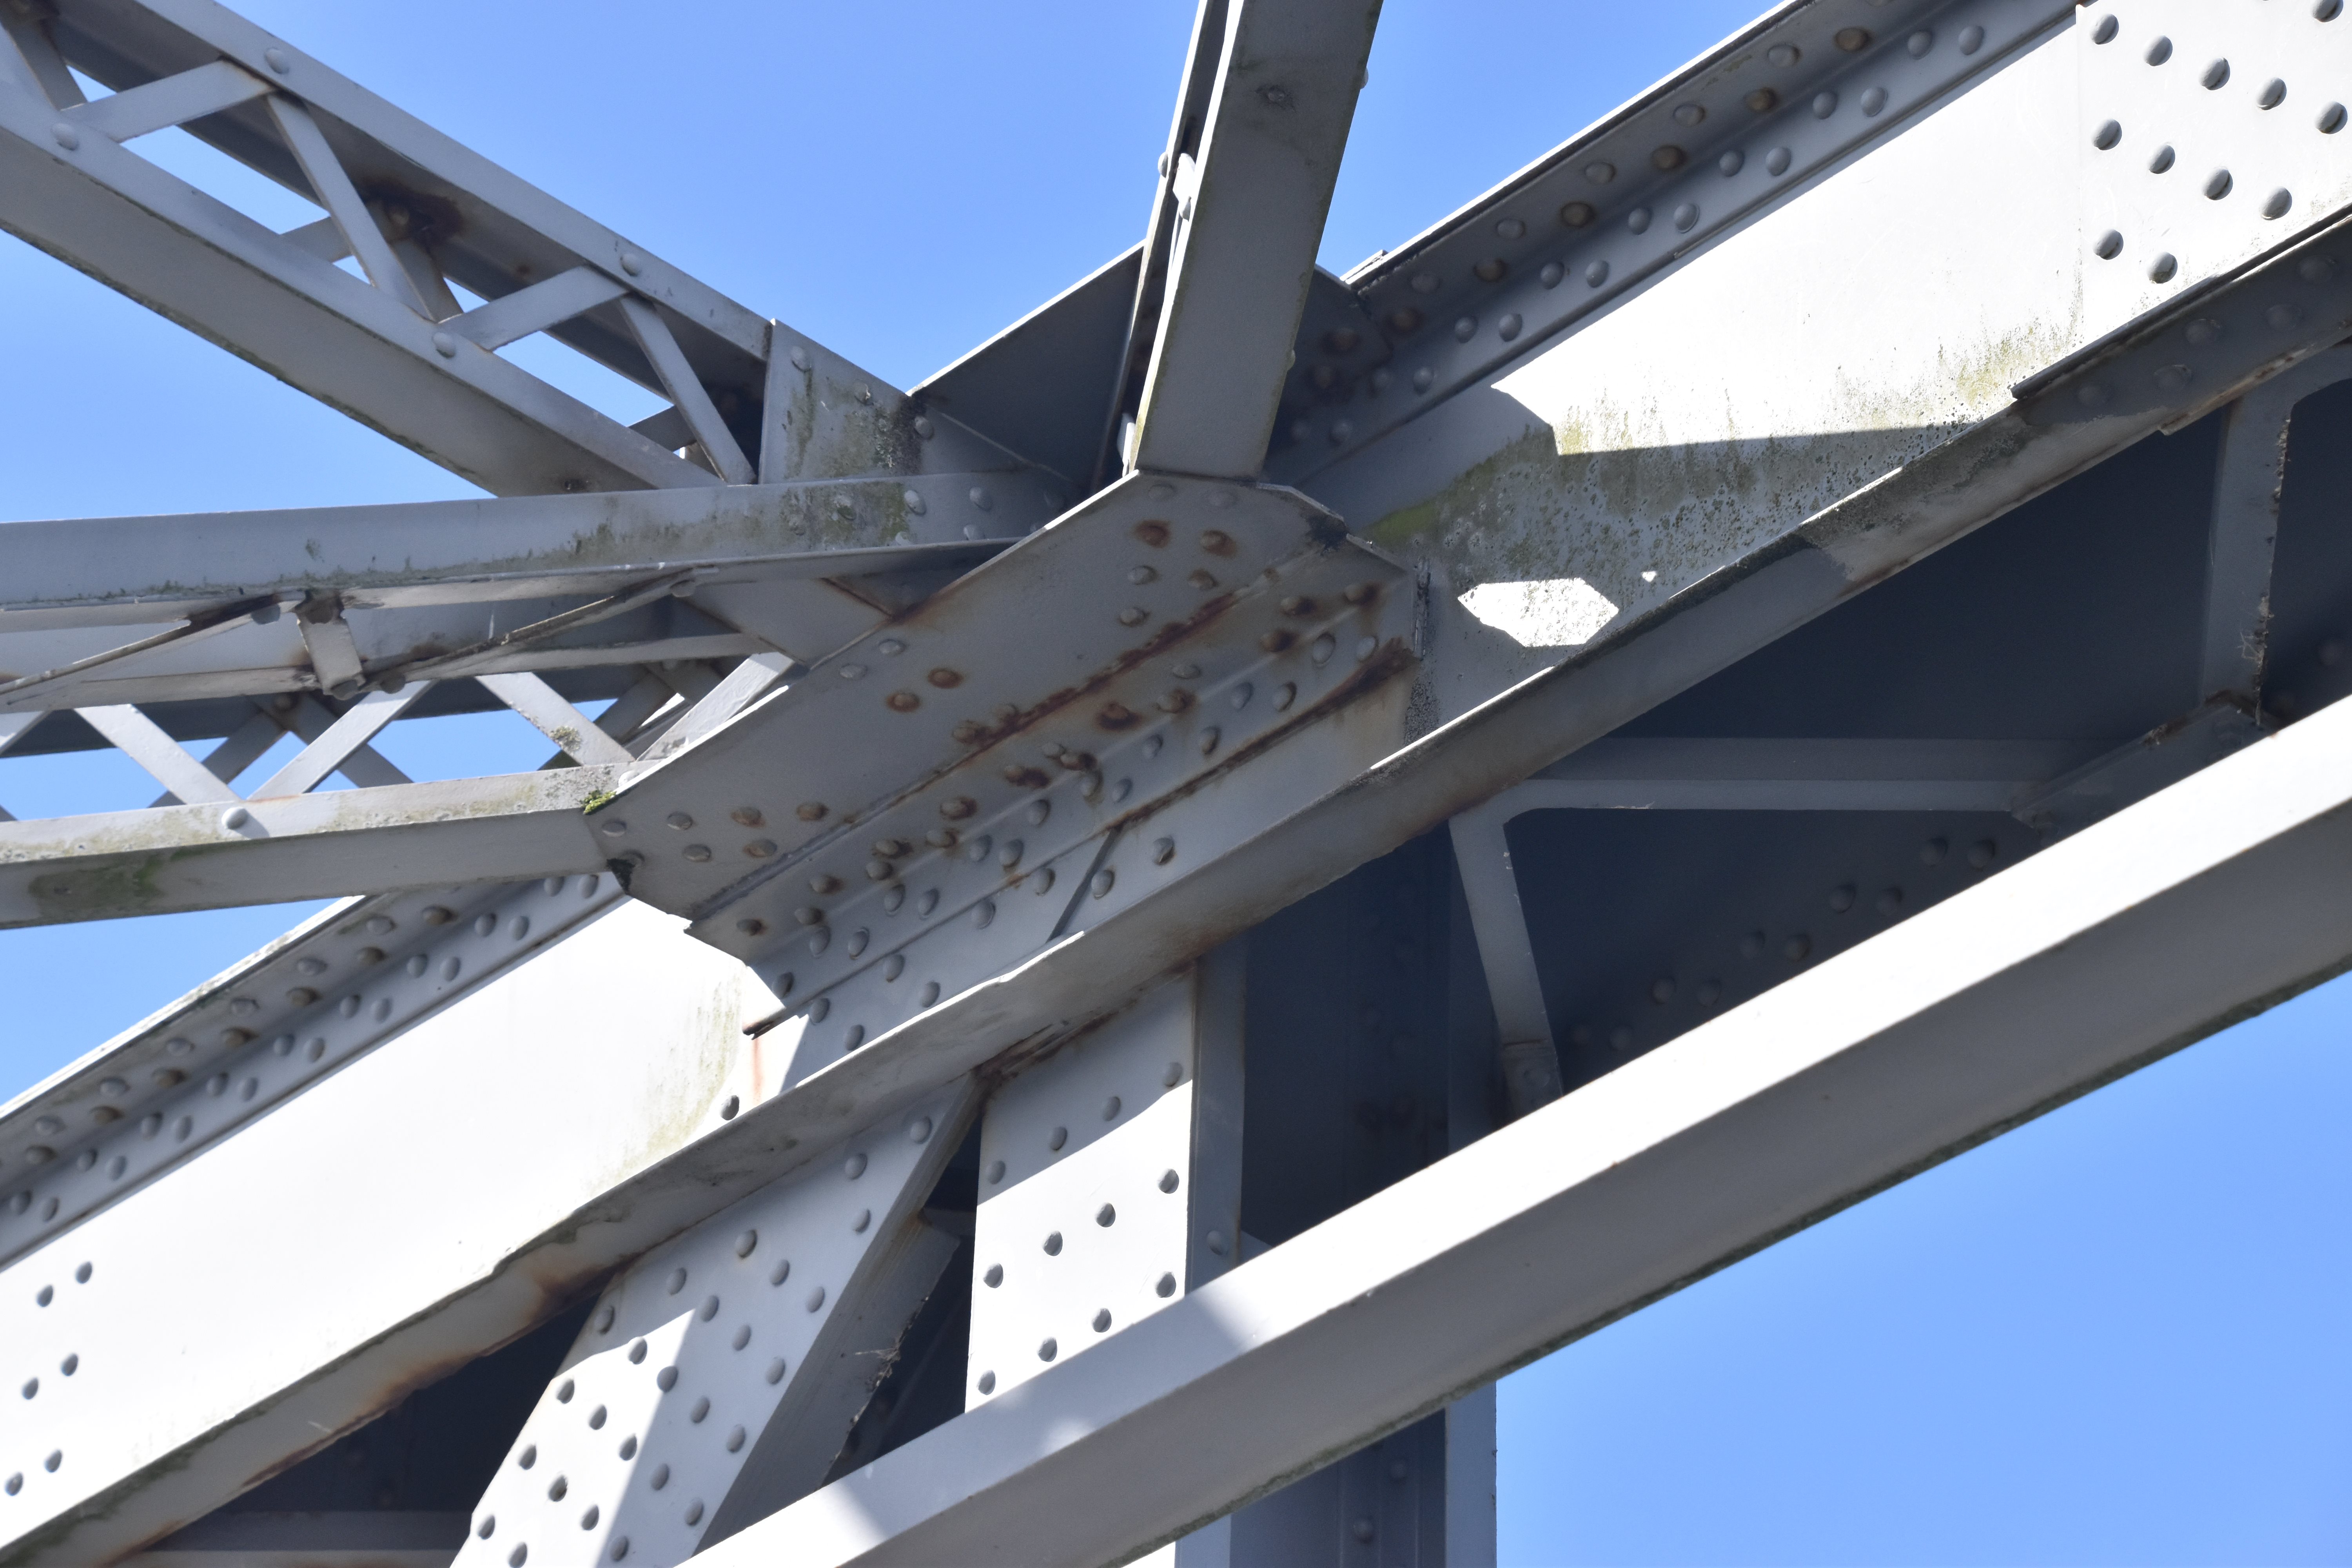
Main post connection to top chord.
![]()


Main post detail as seen from on bridge.
![]()
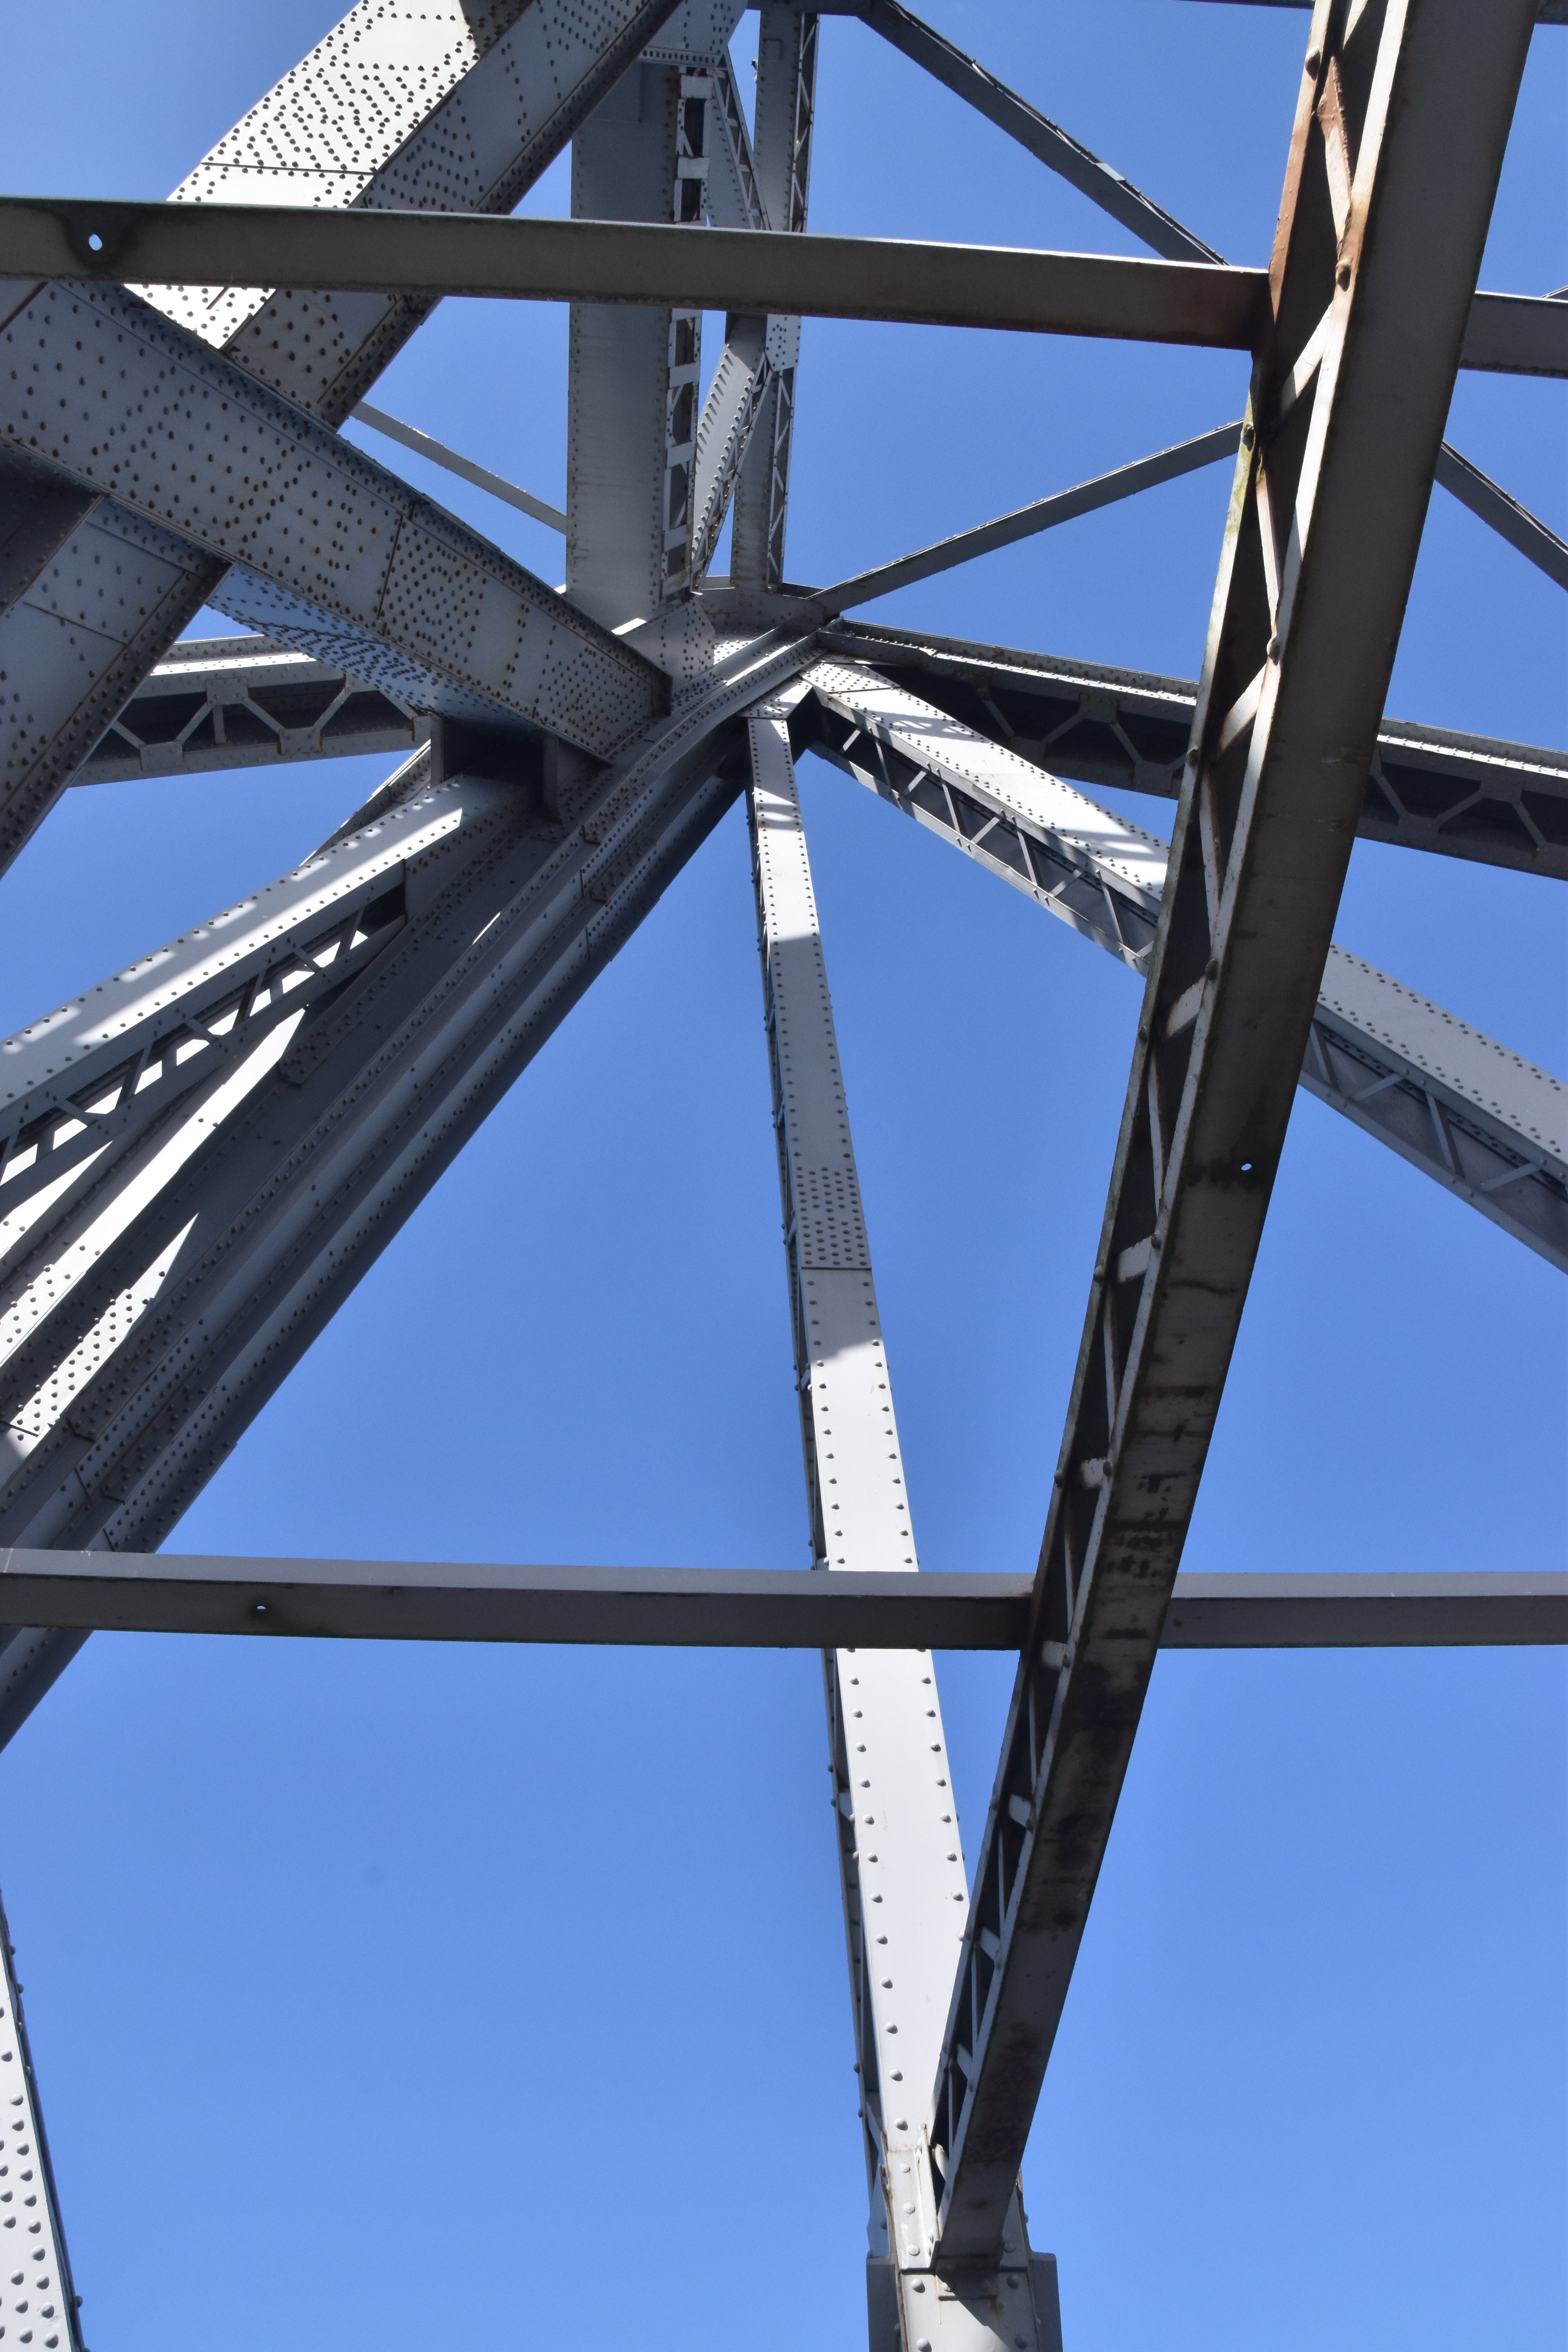
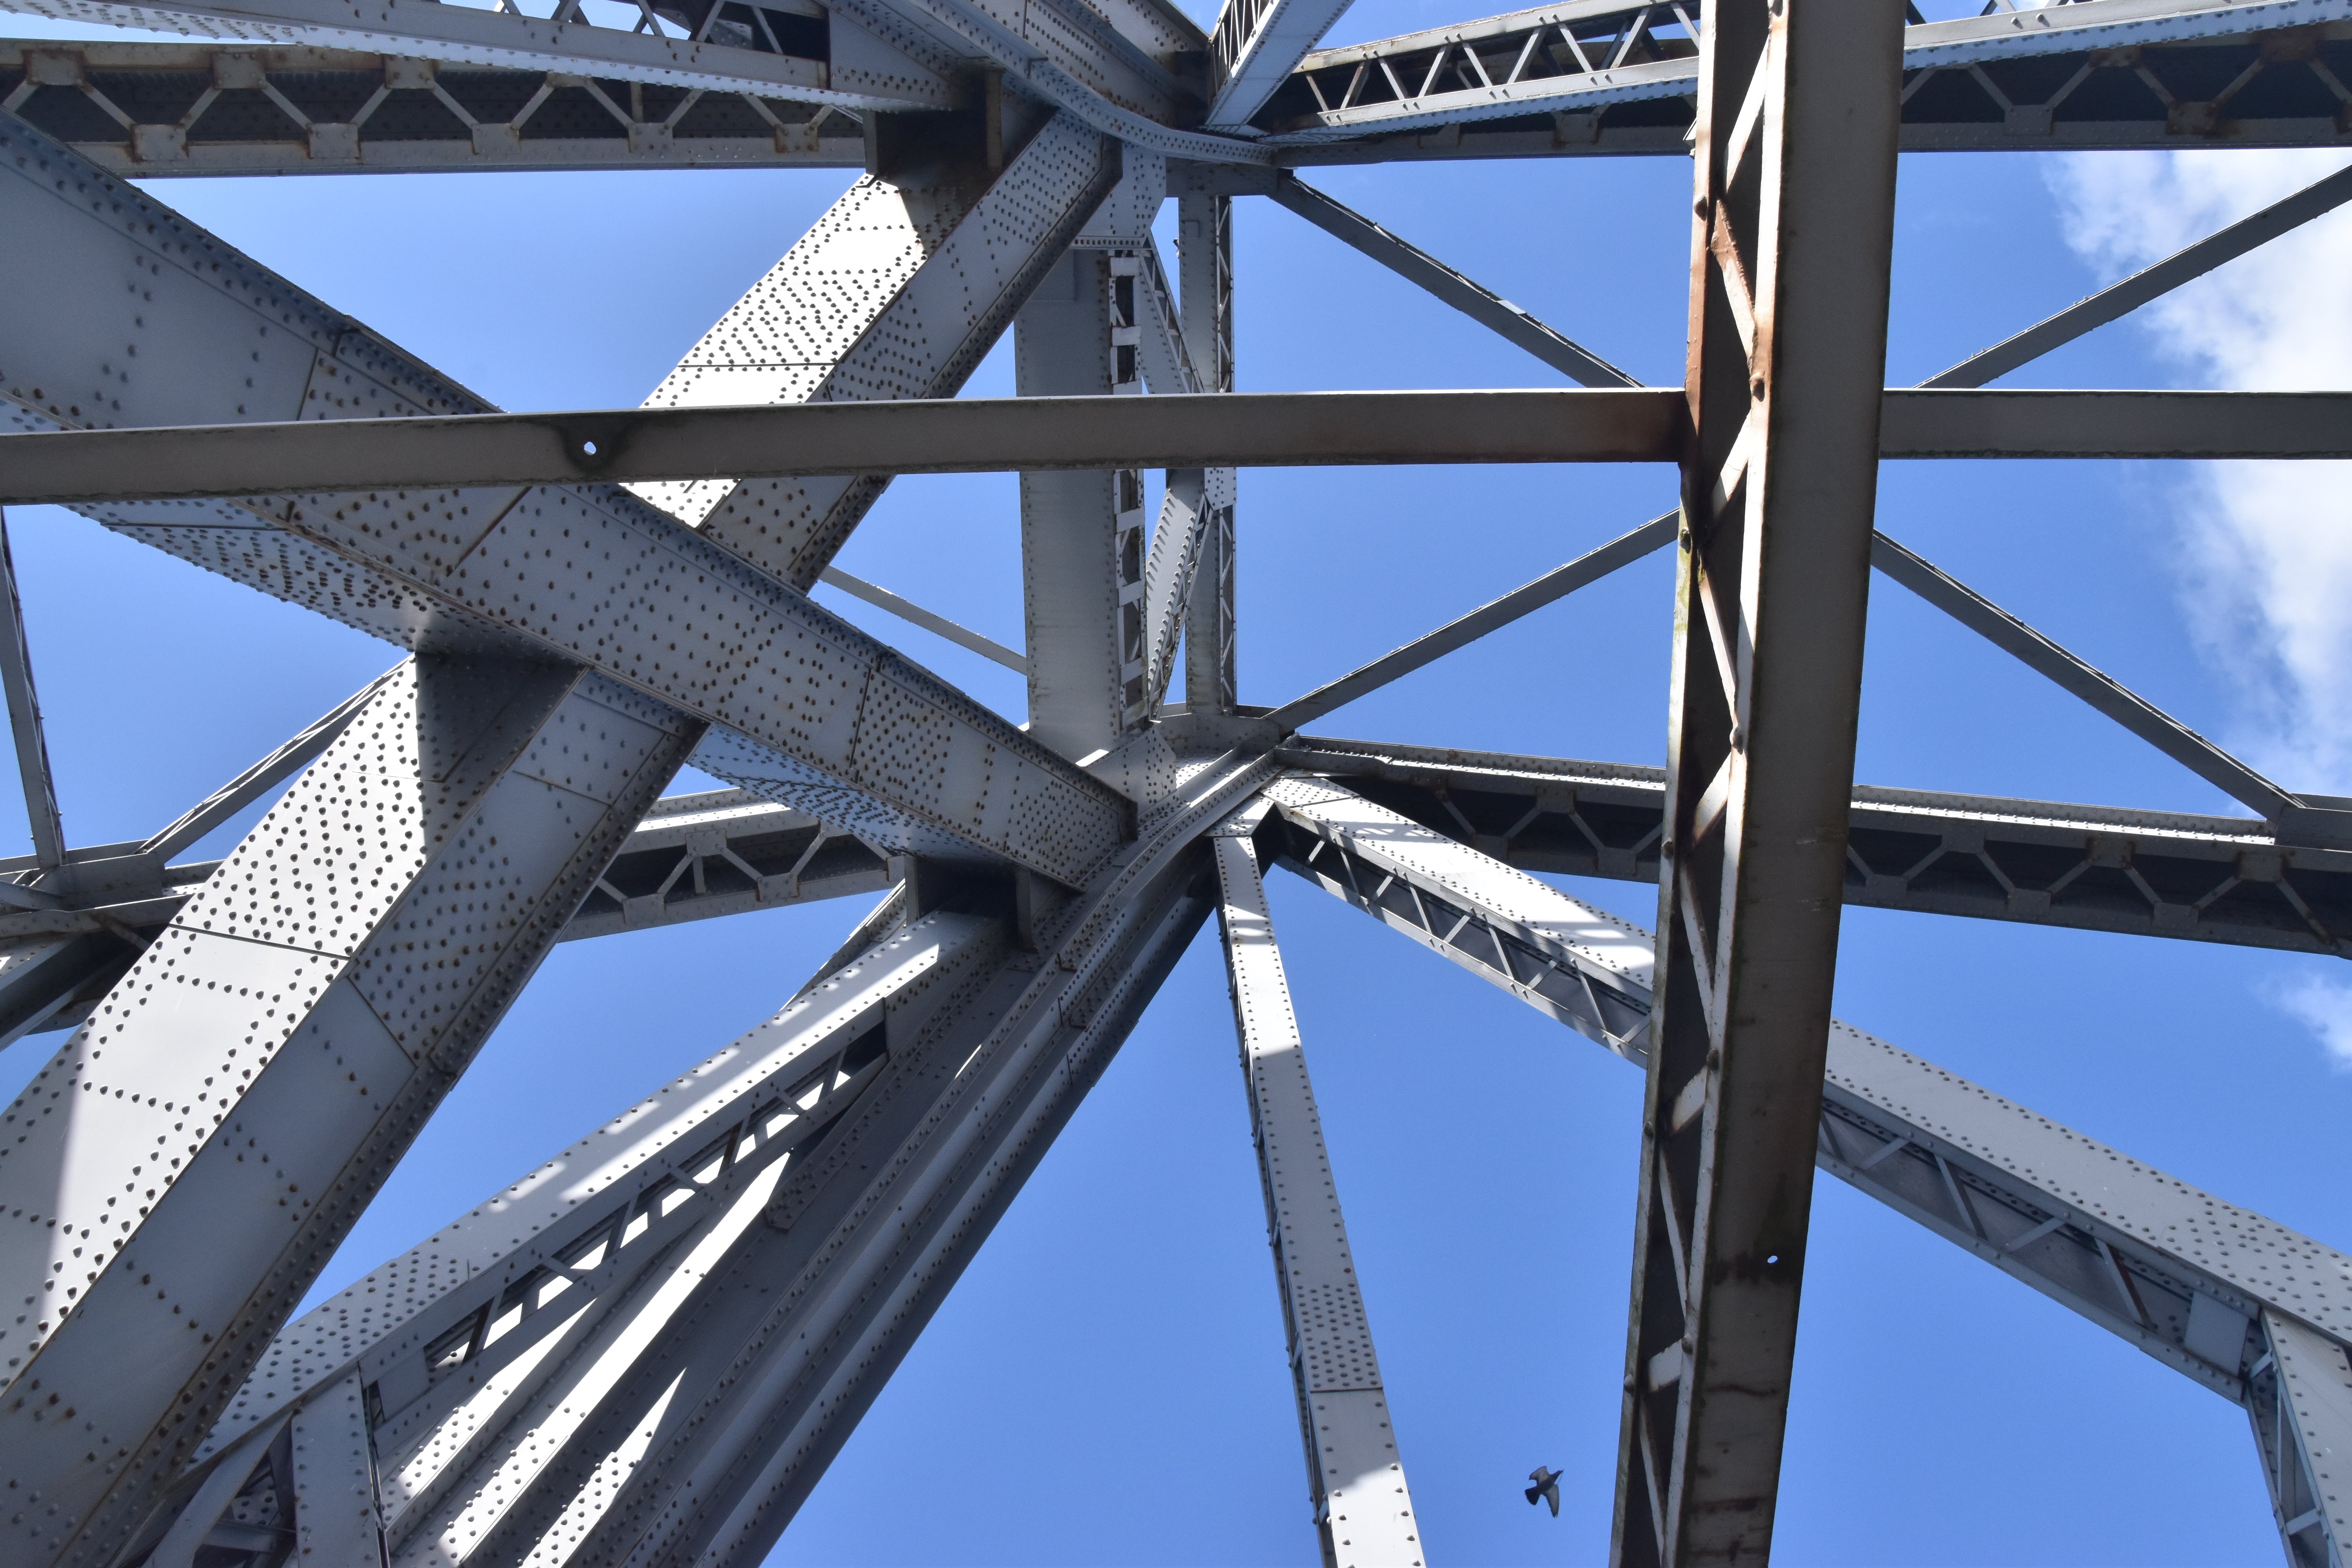
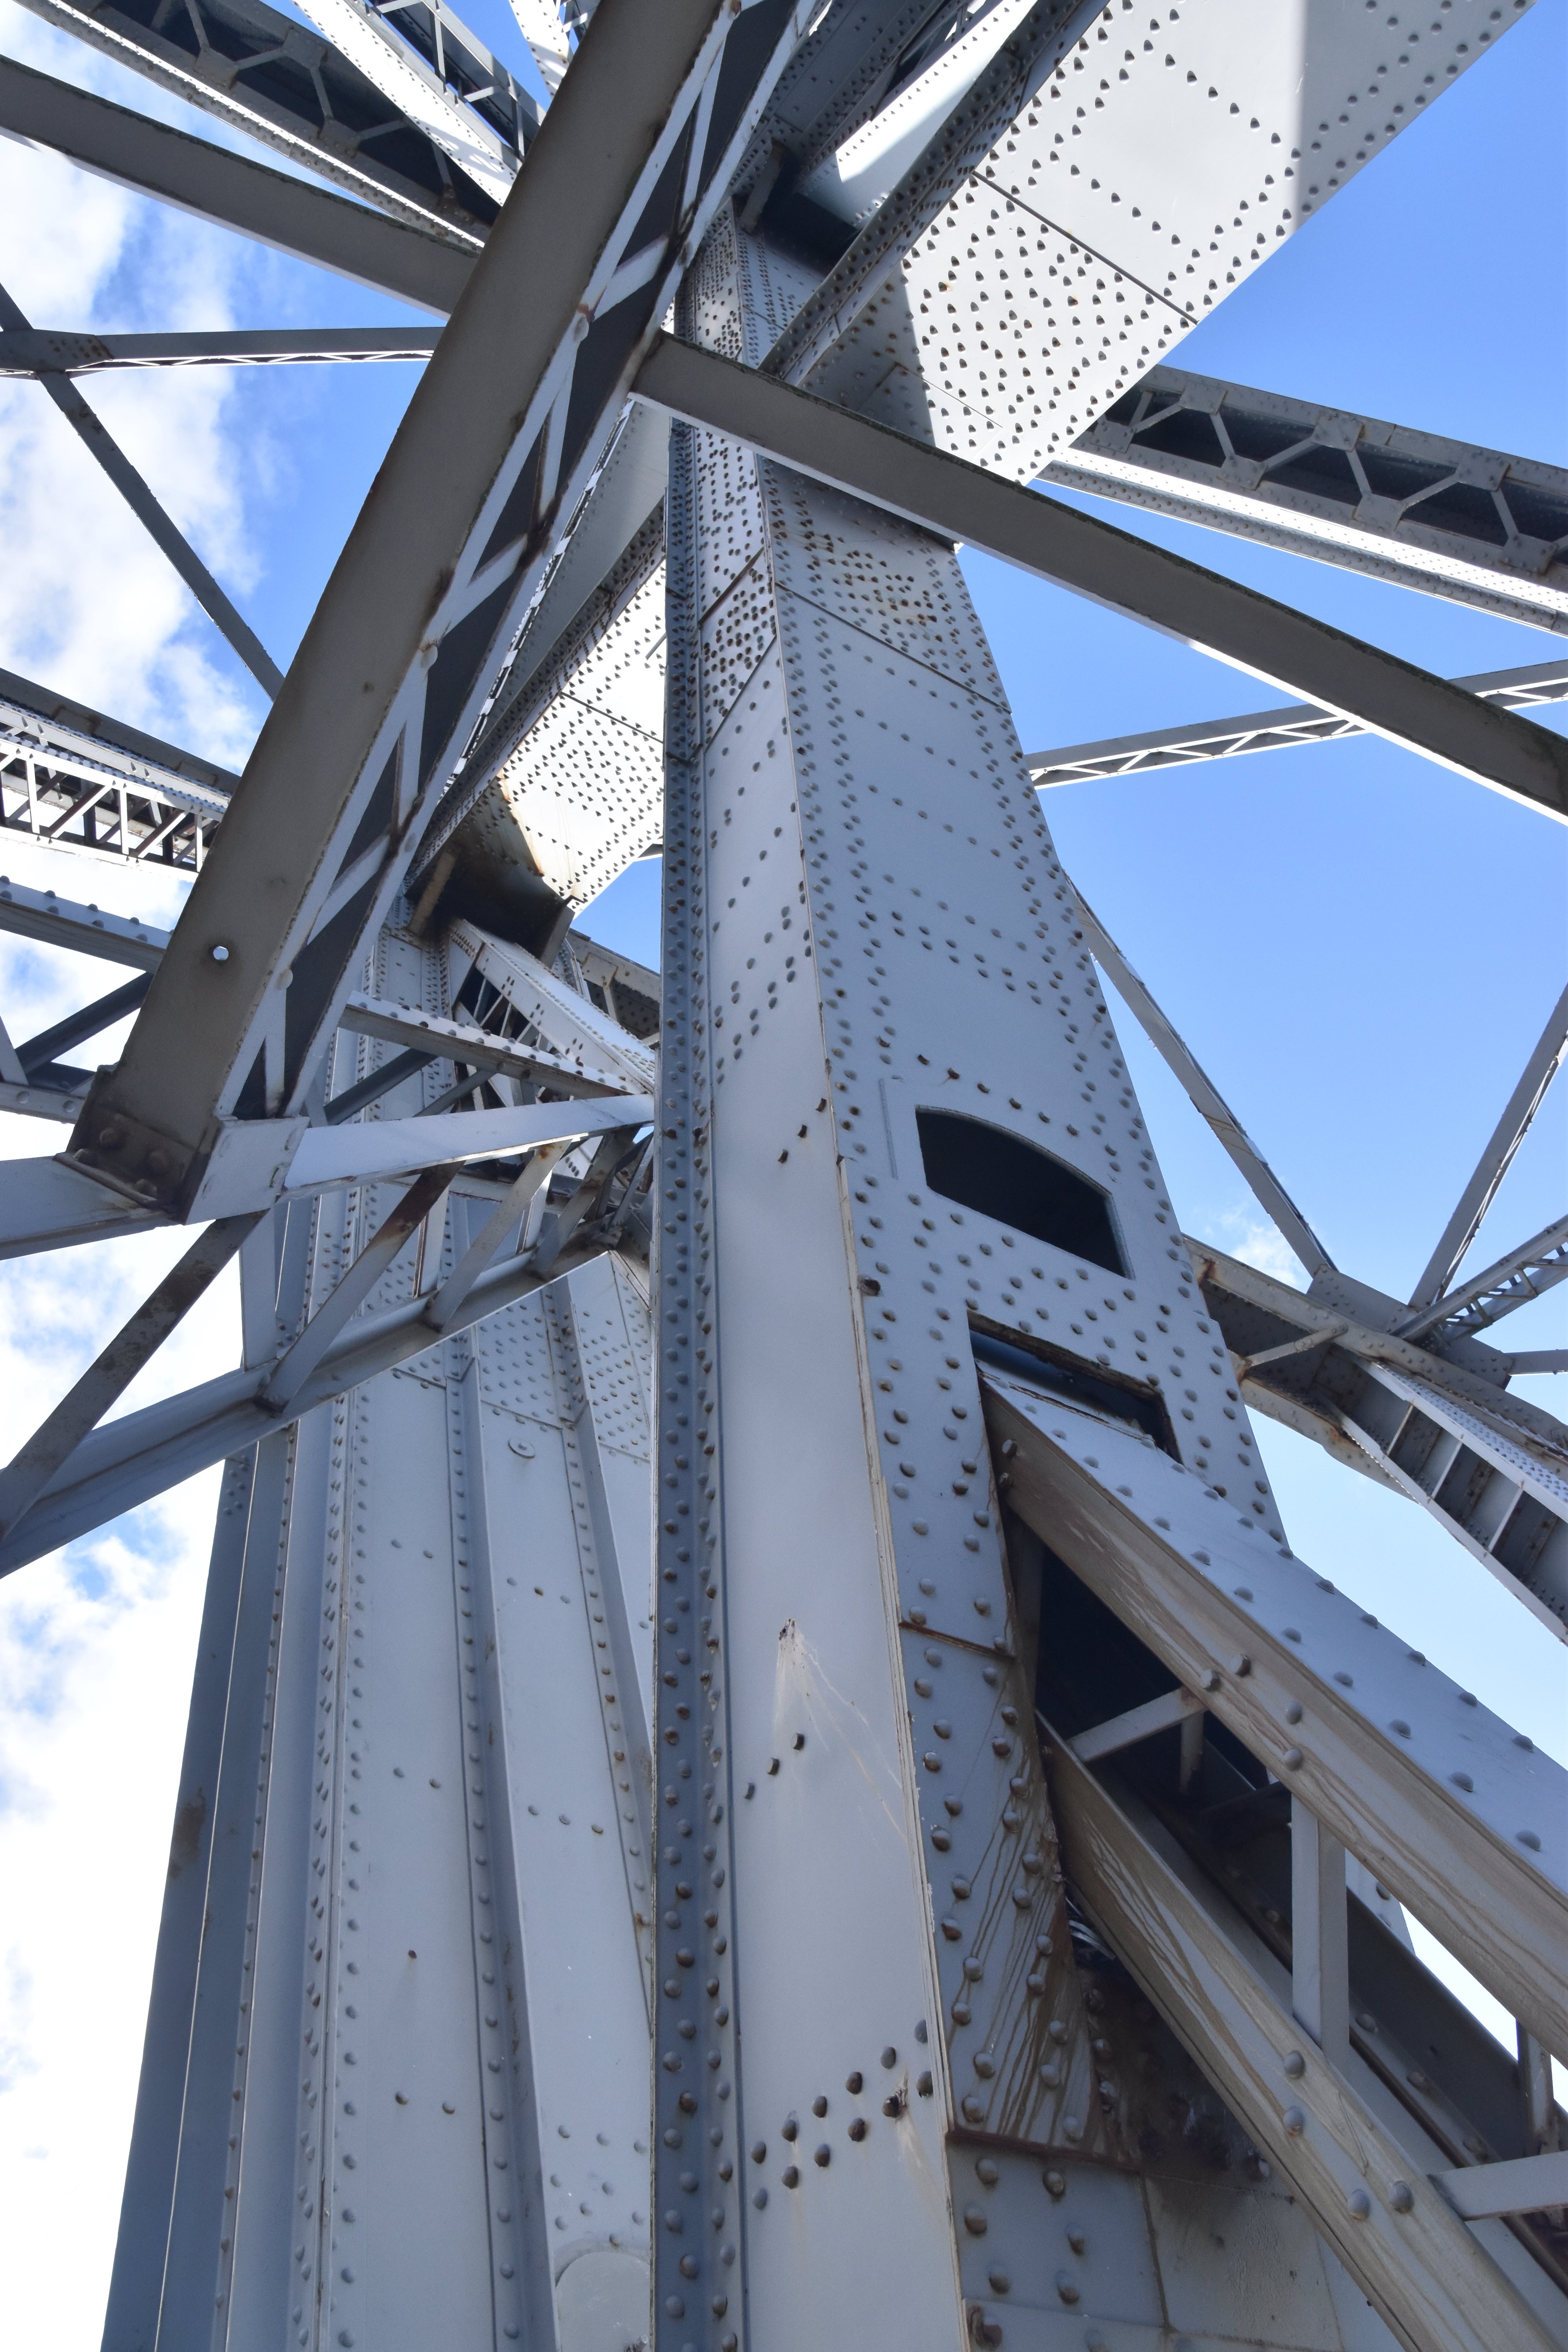
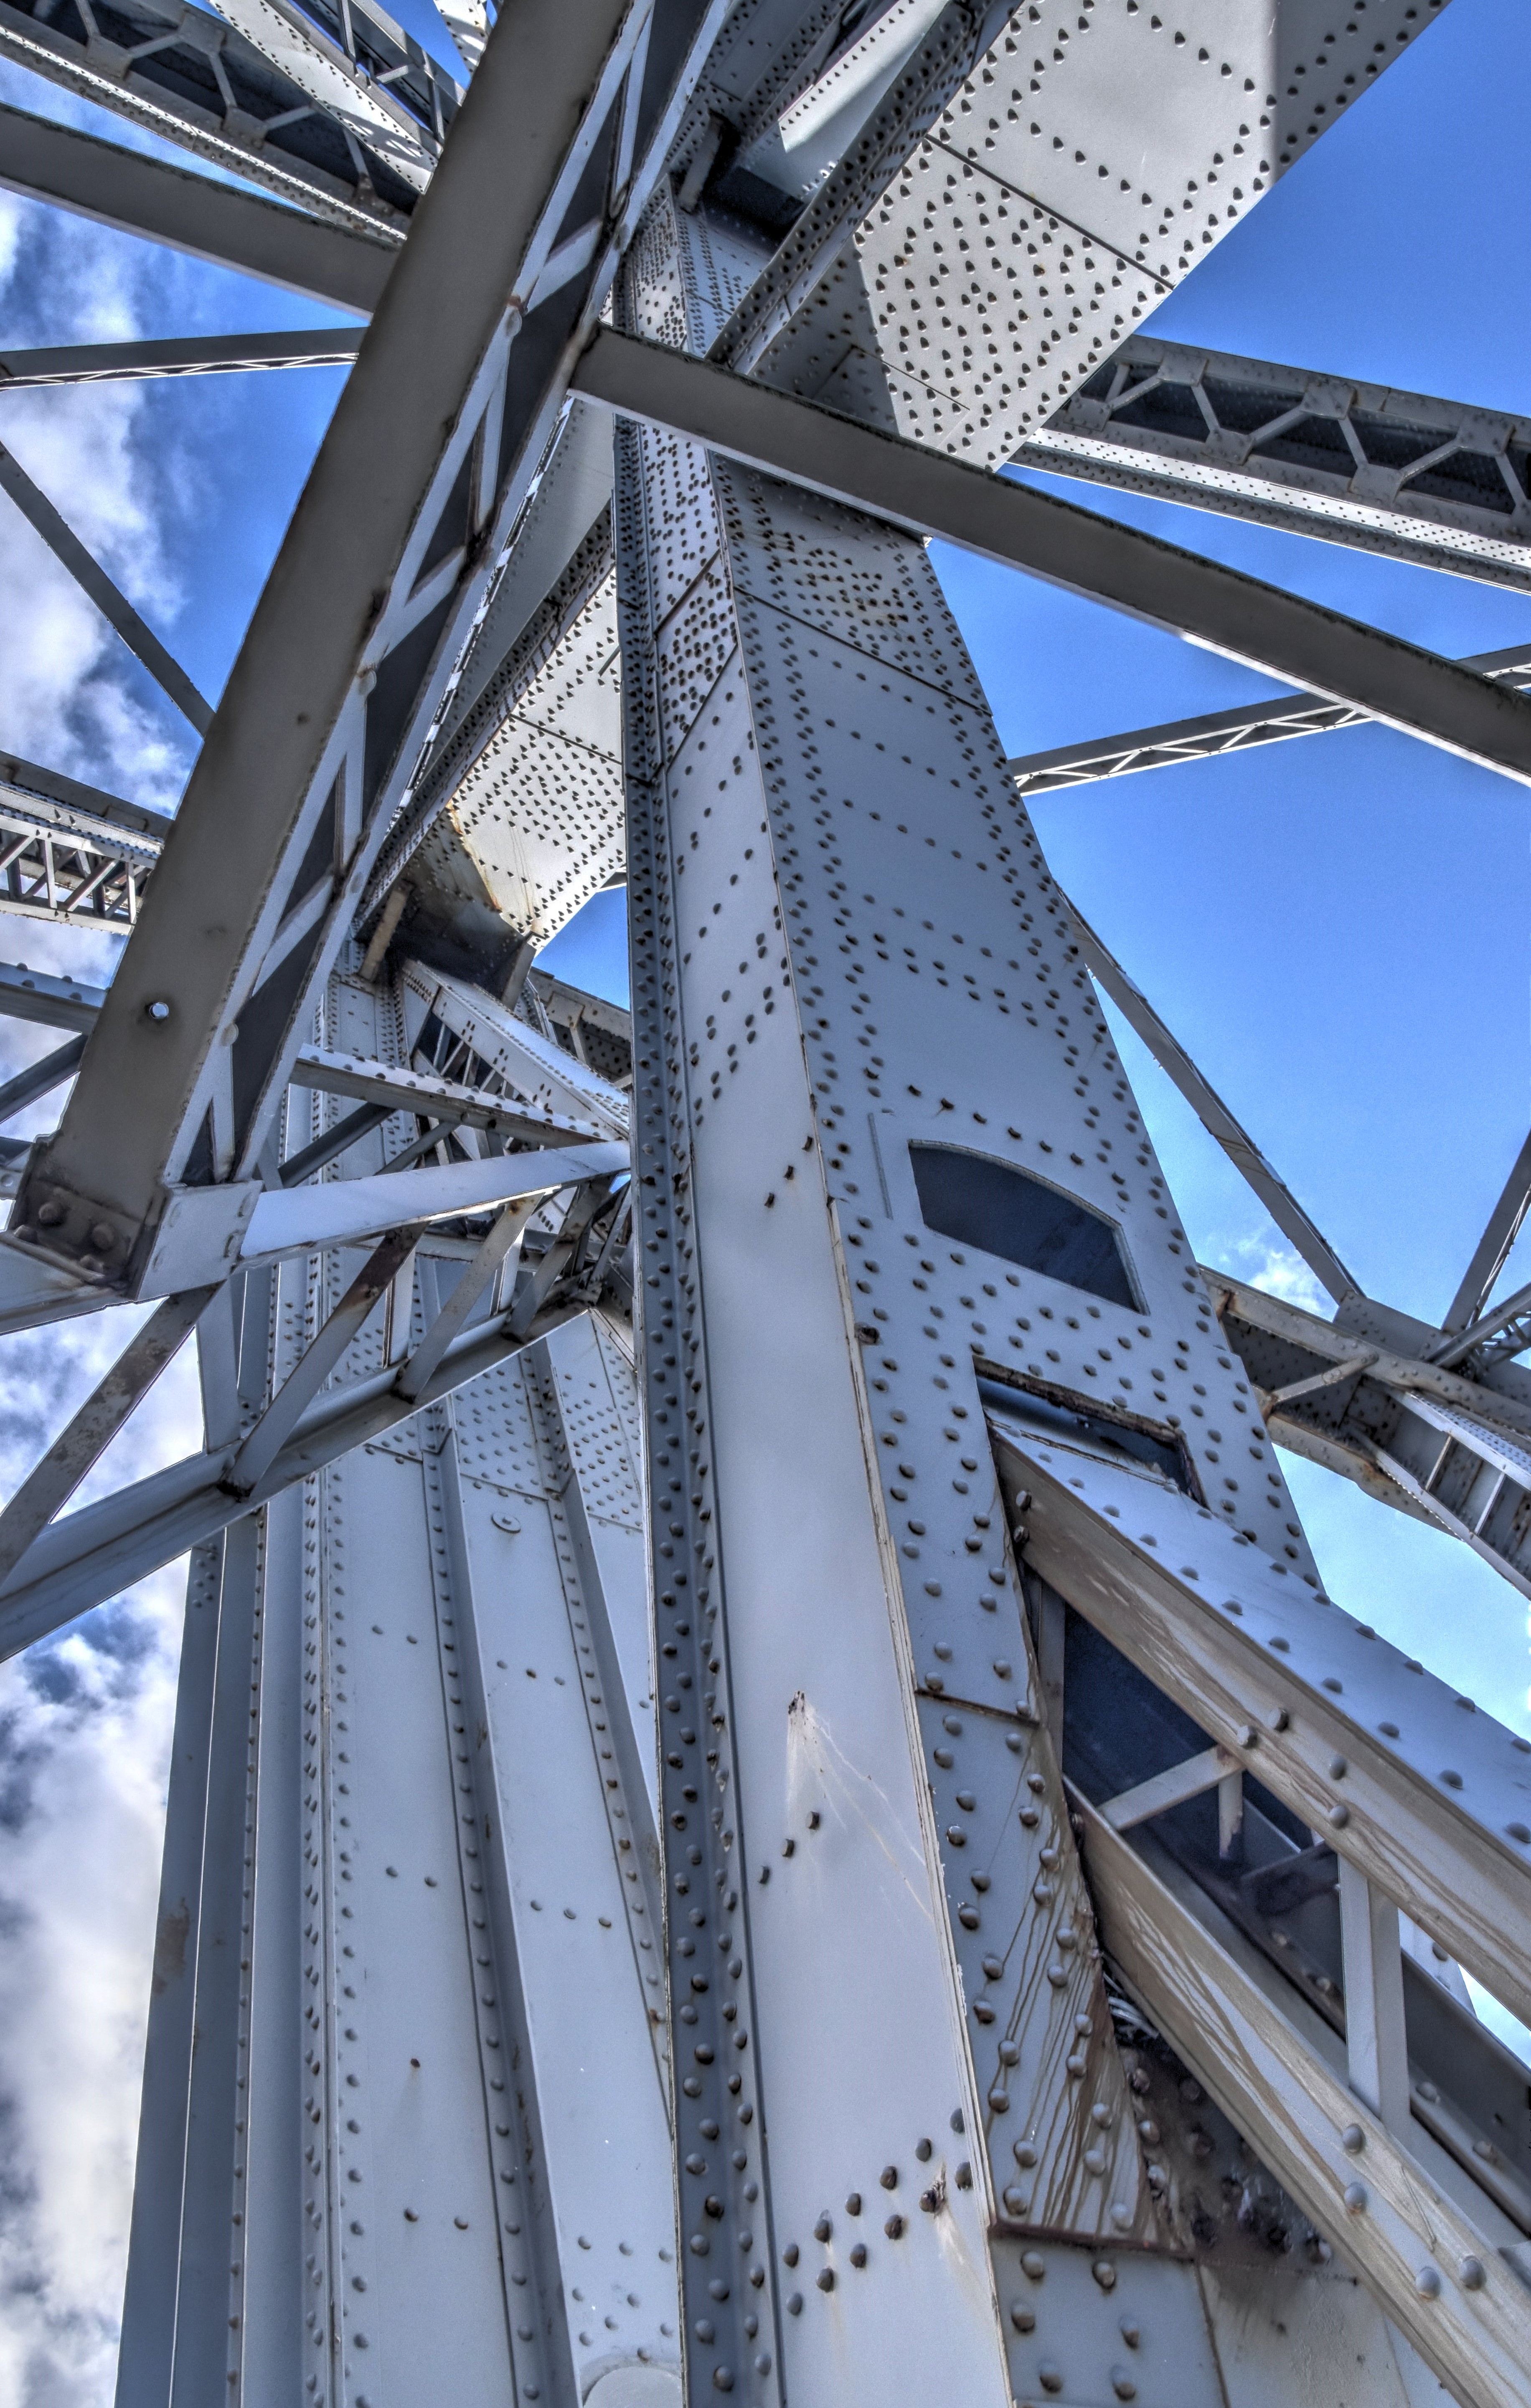
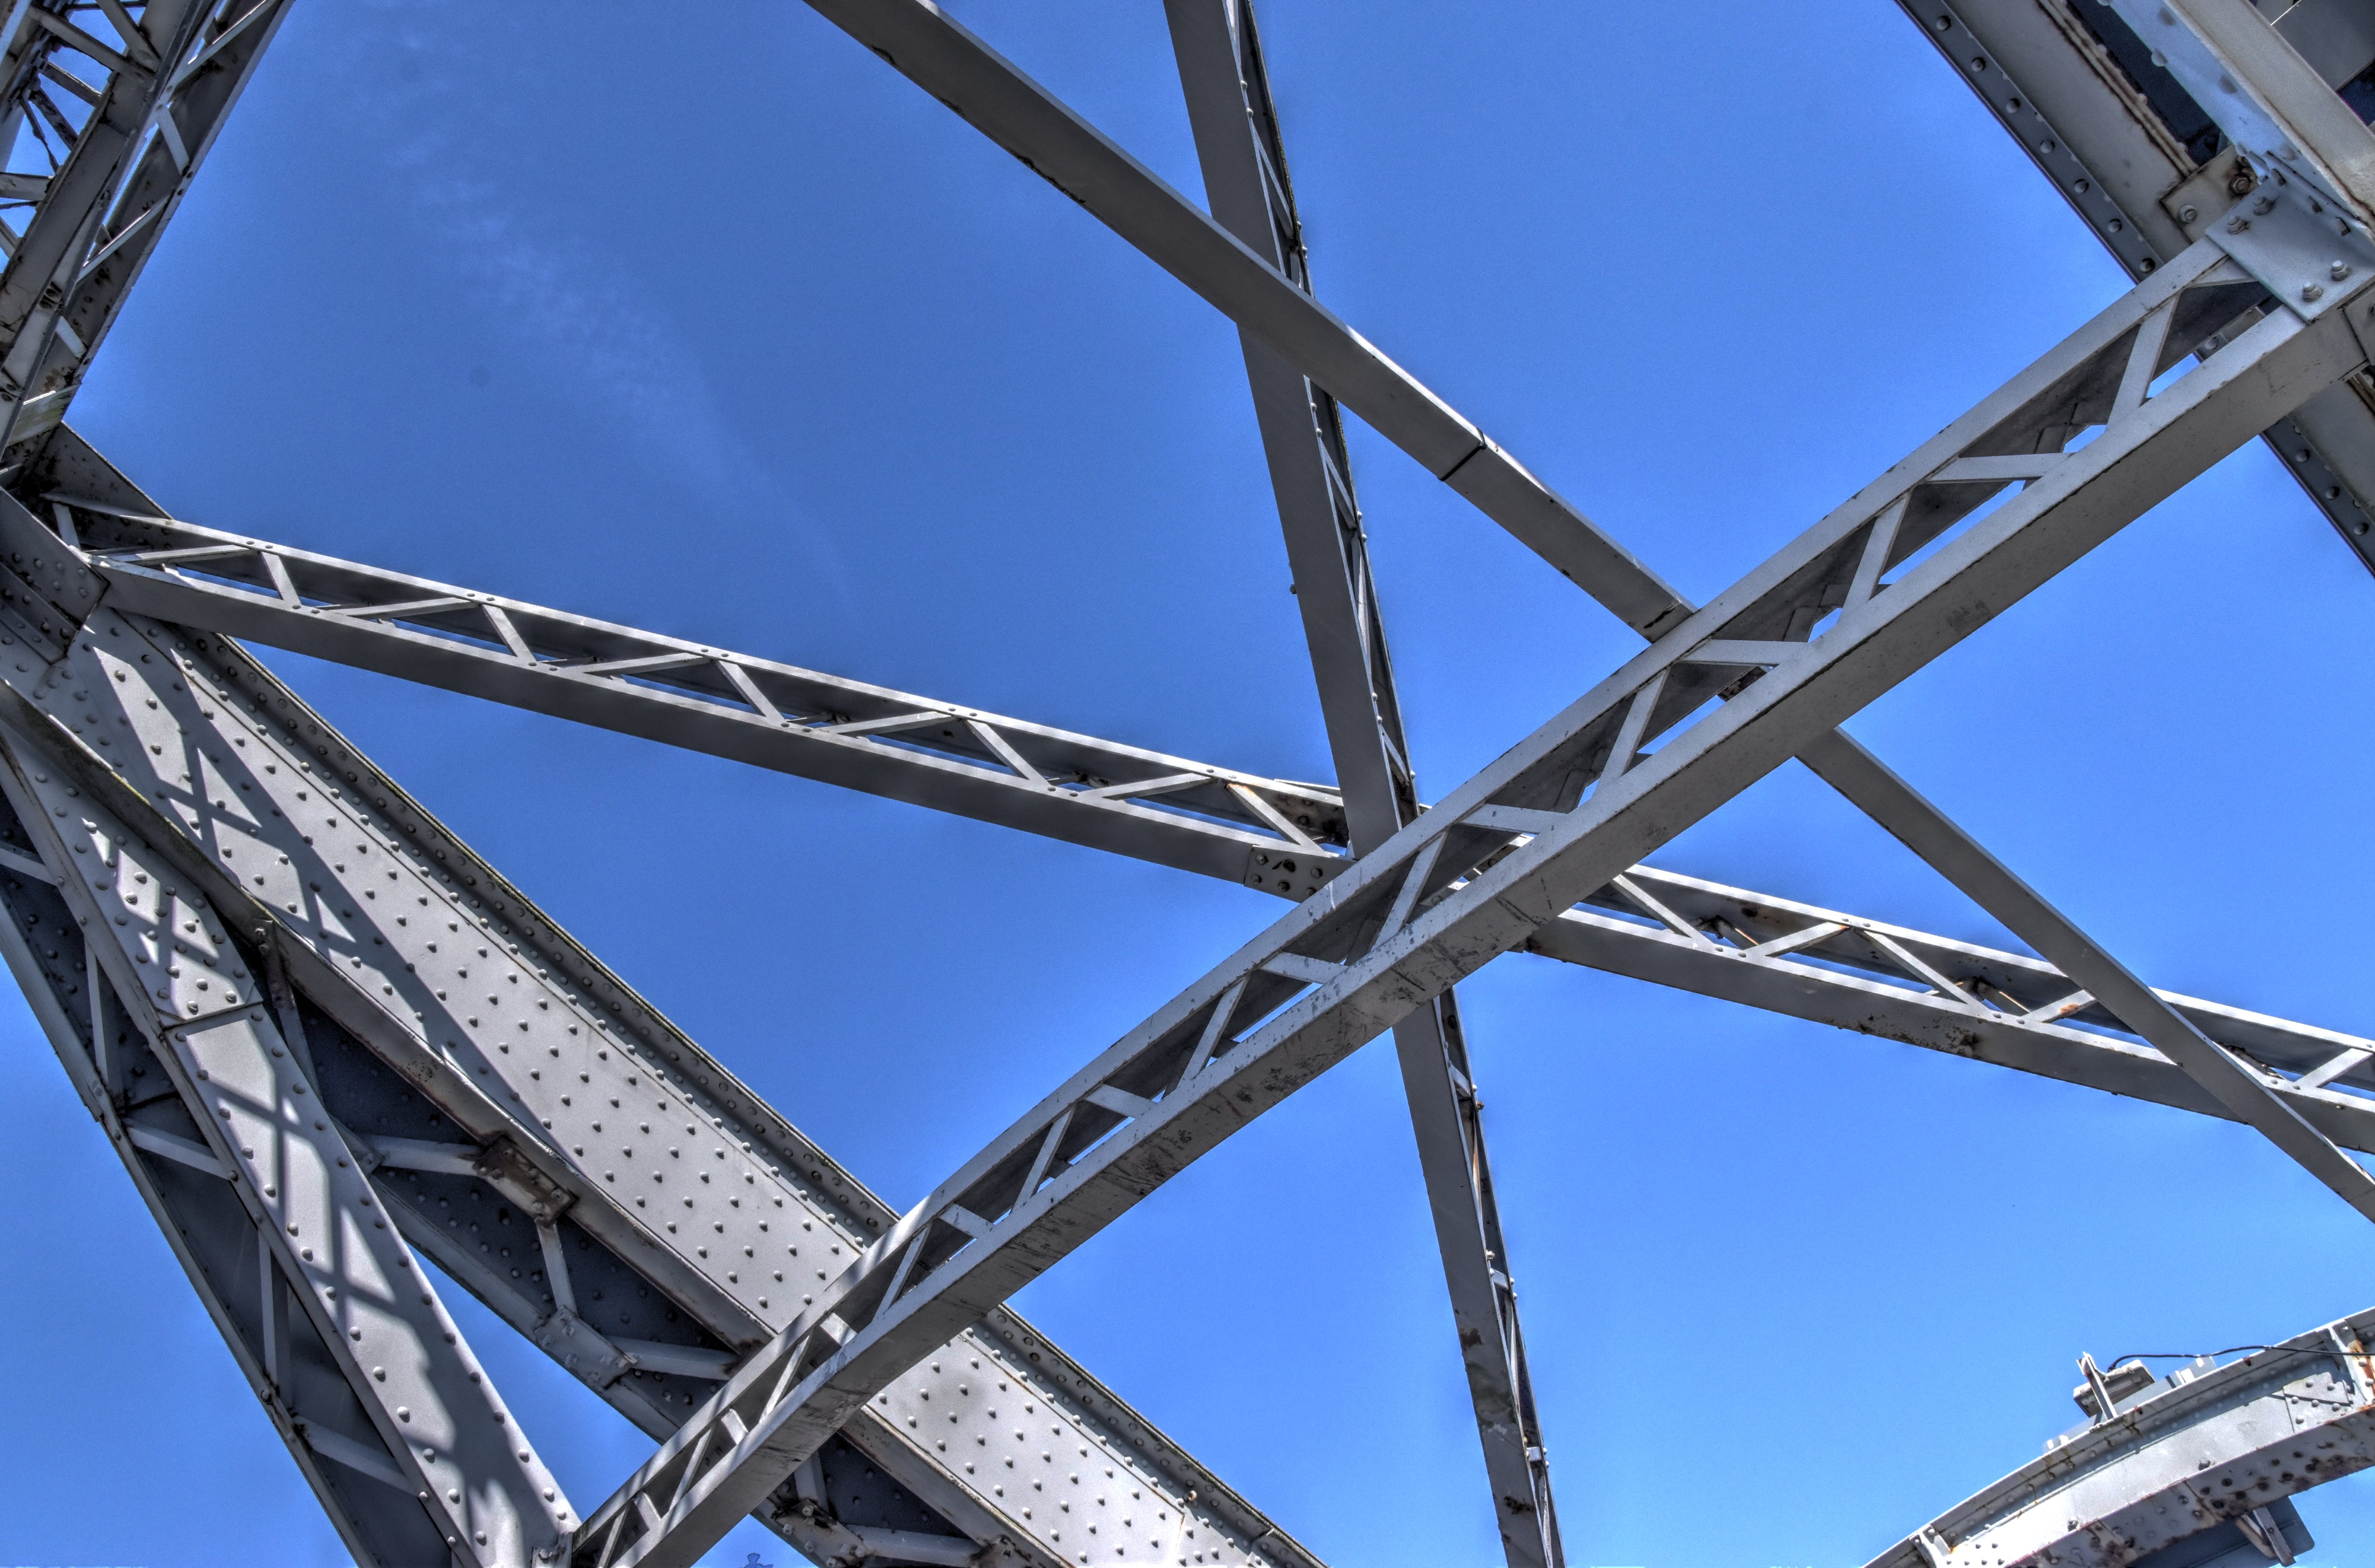
Panoramic view of main post.
![]()
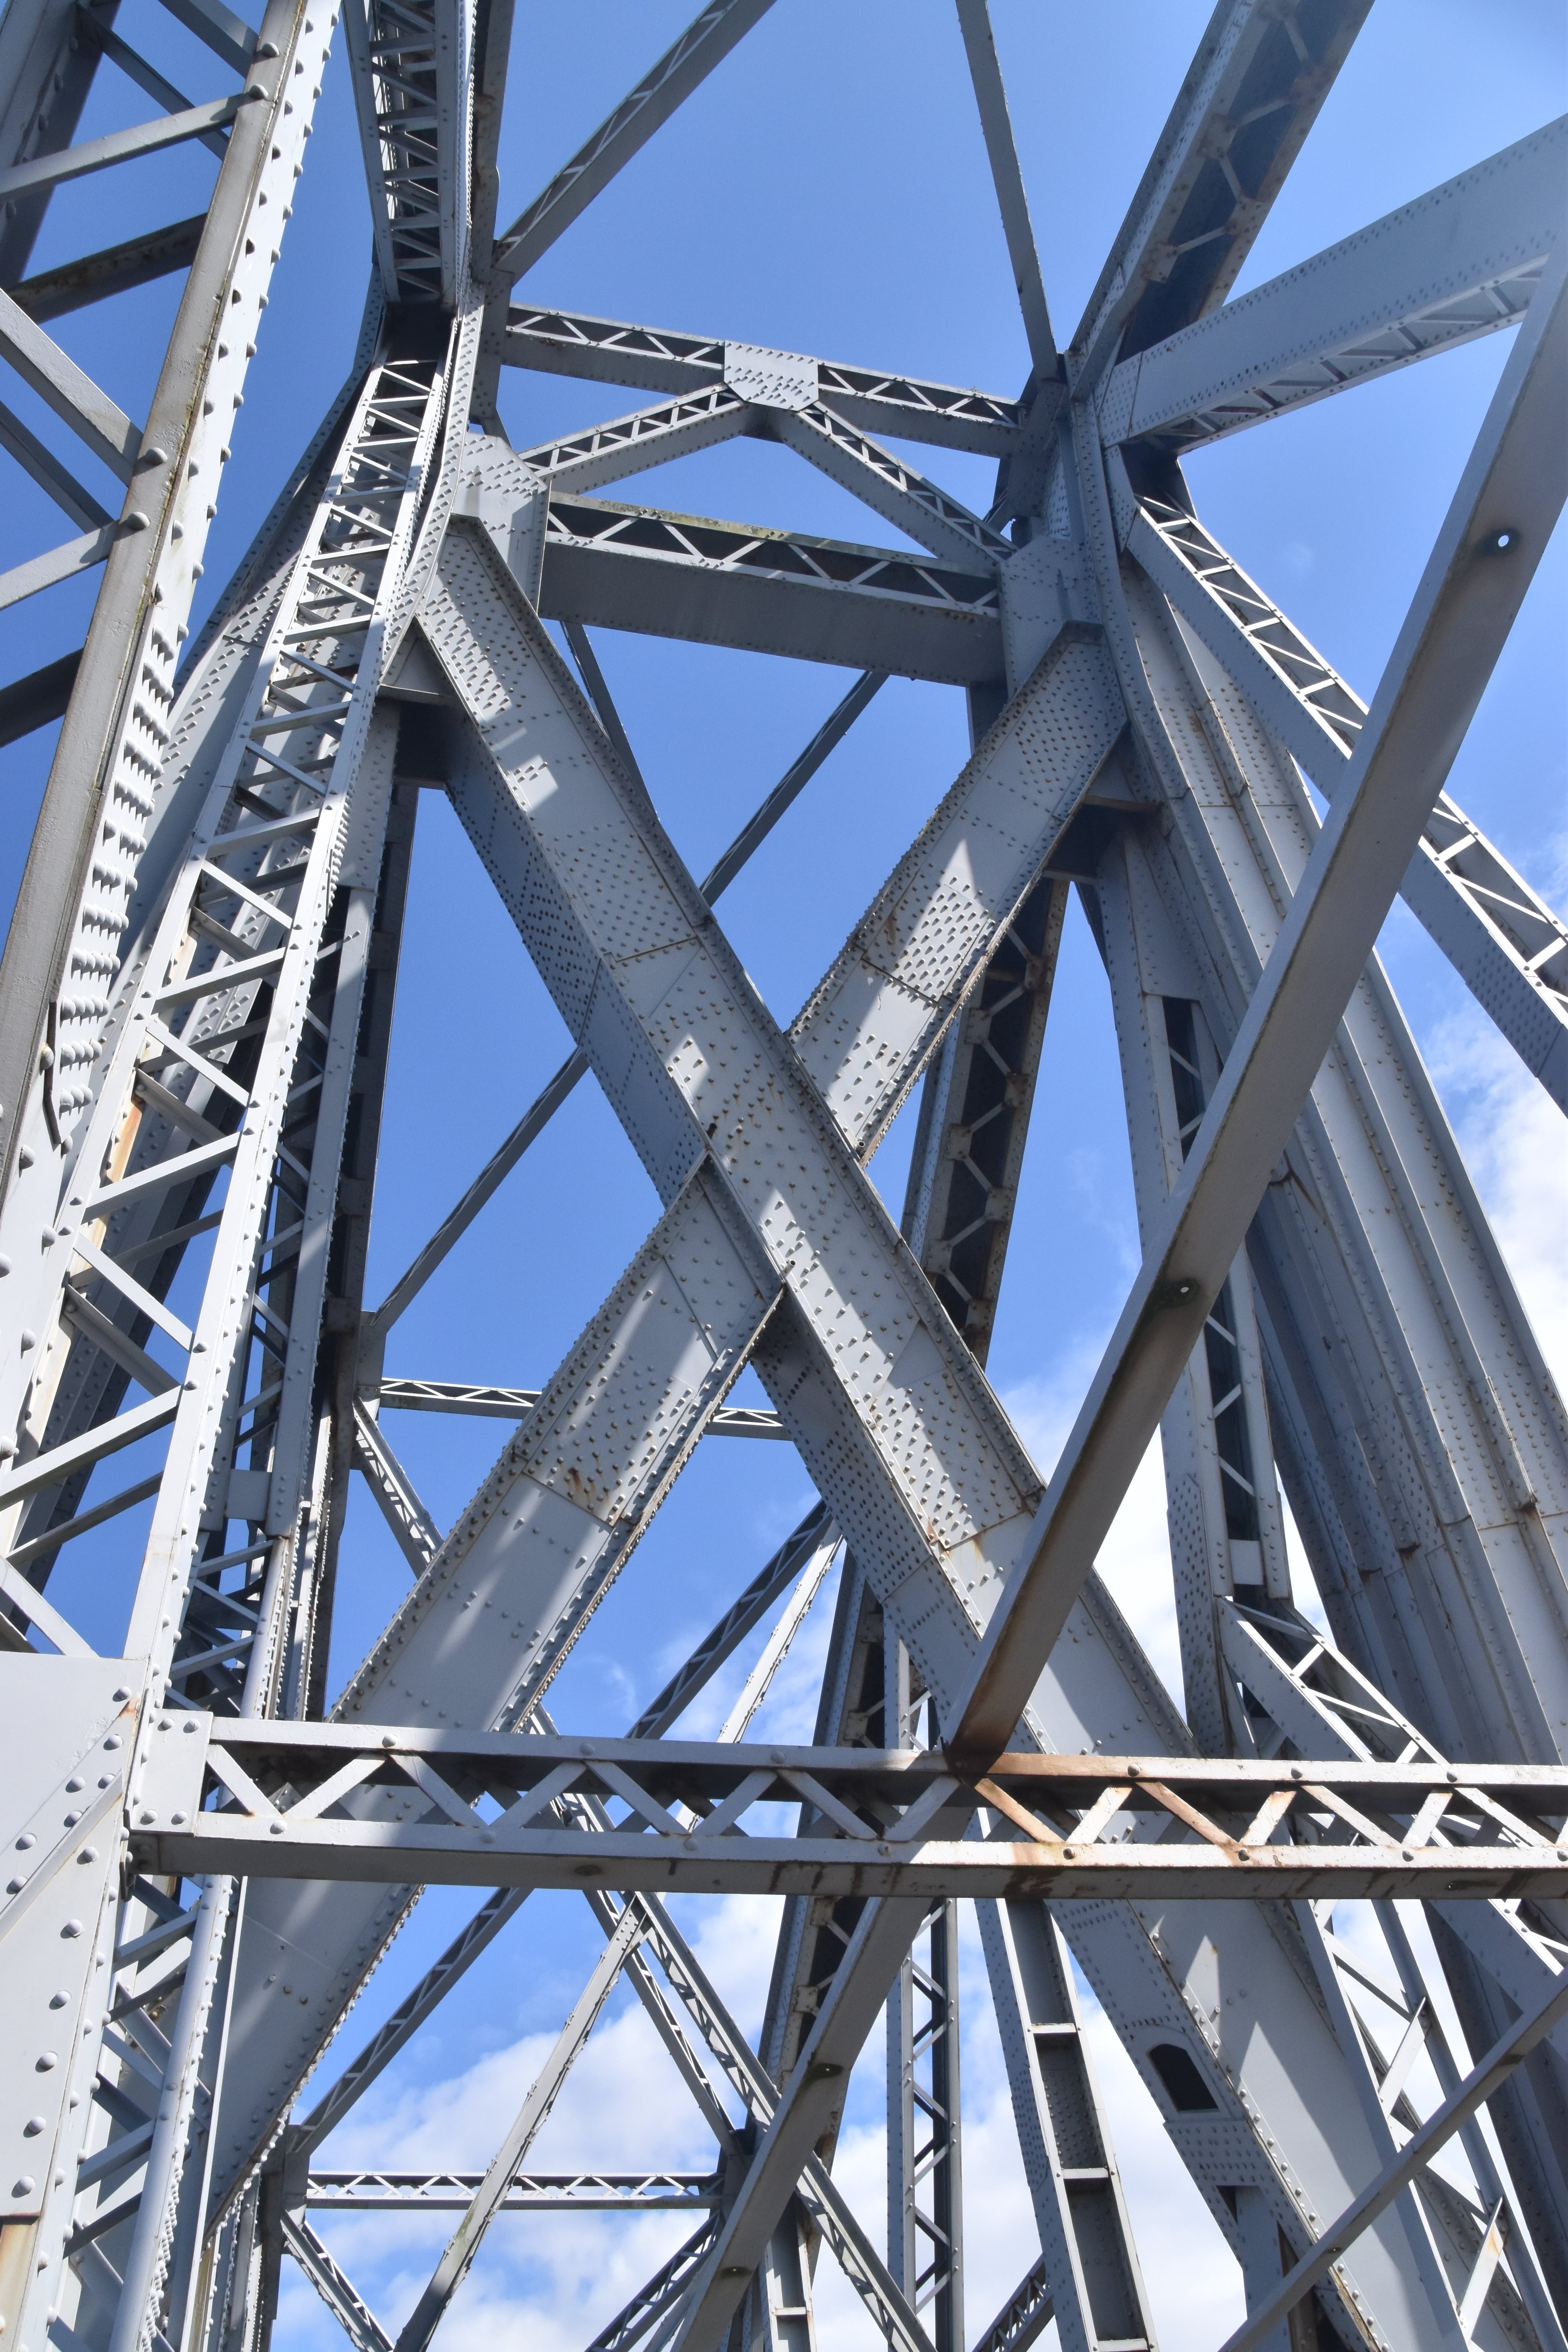
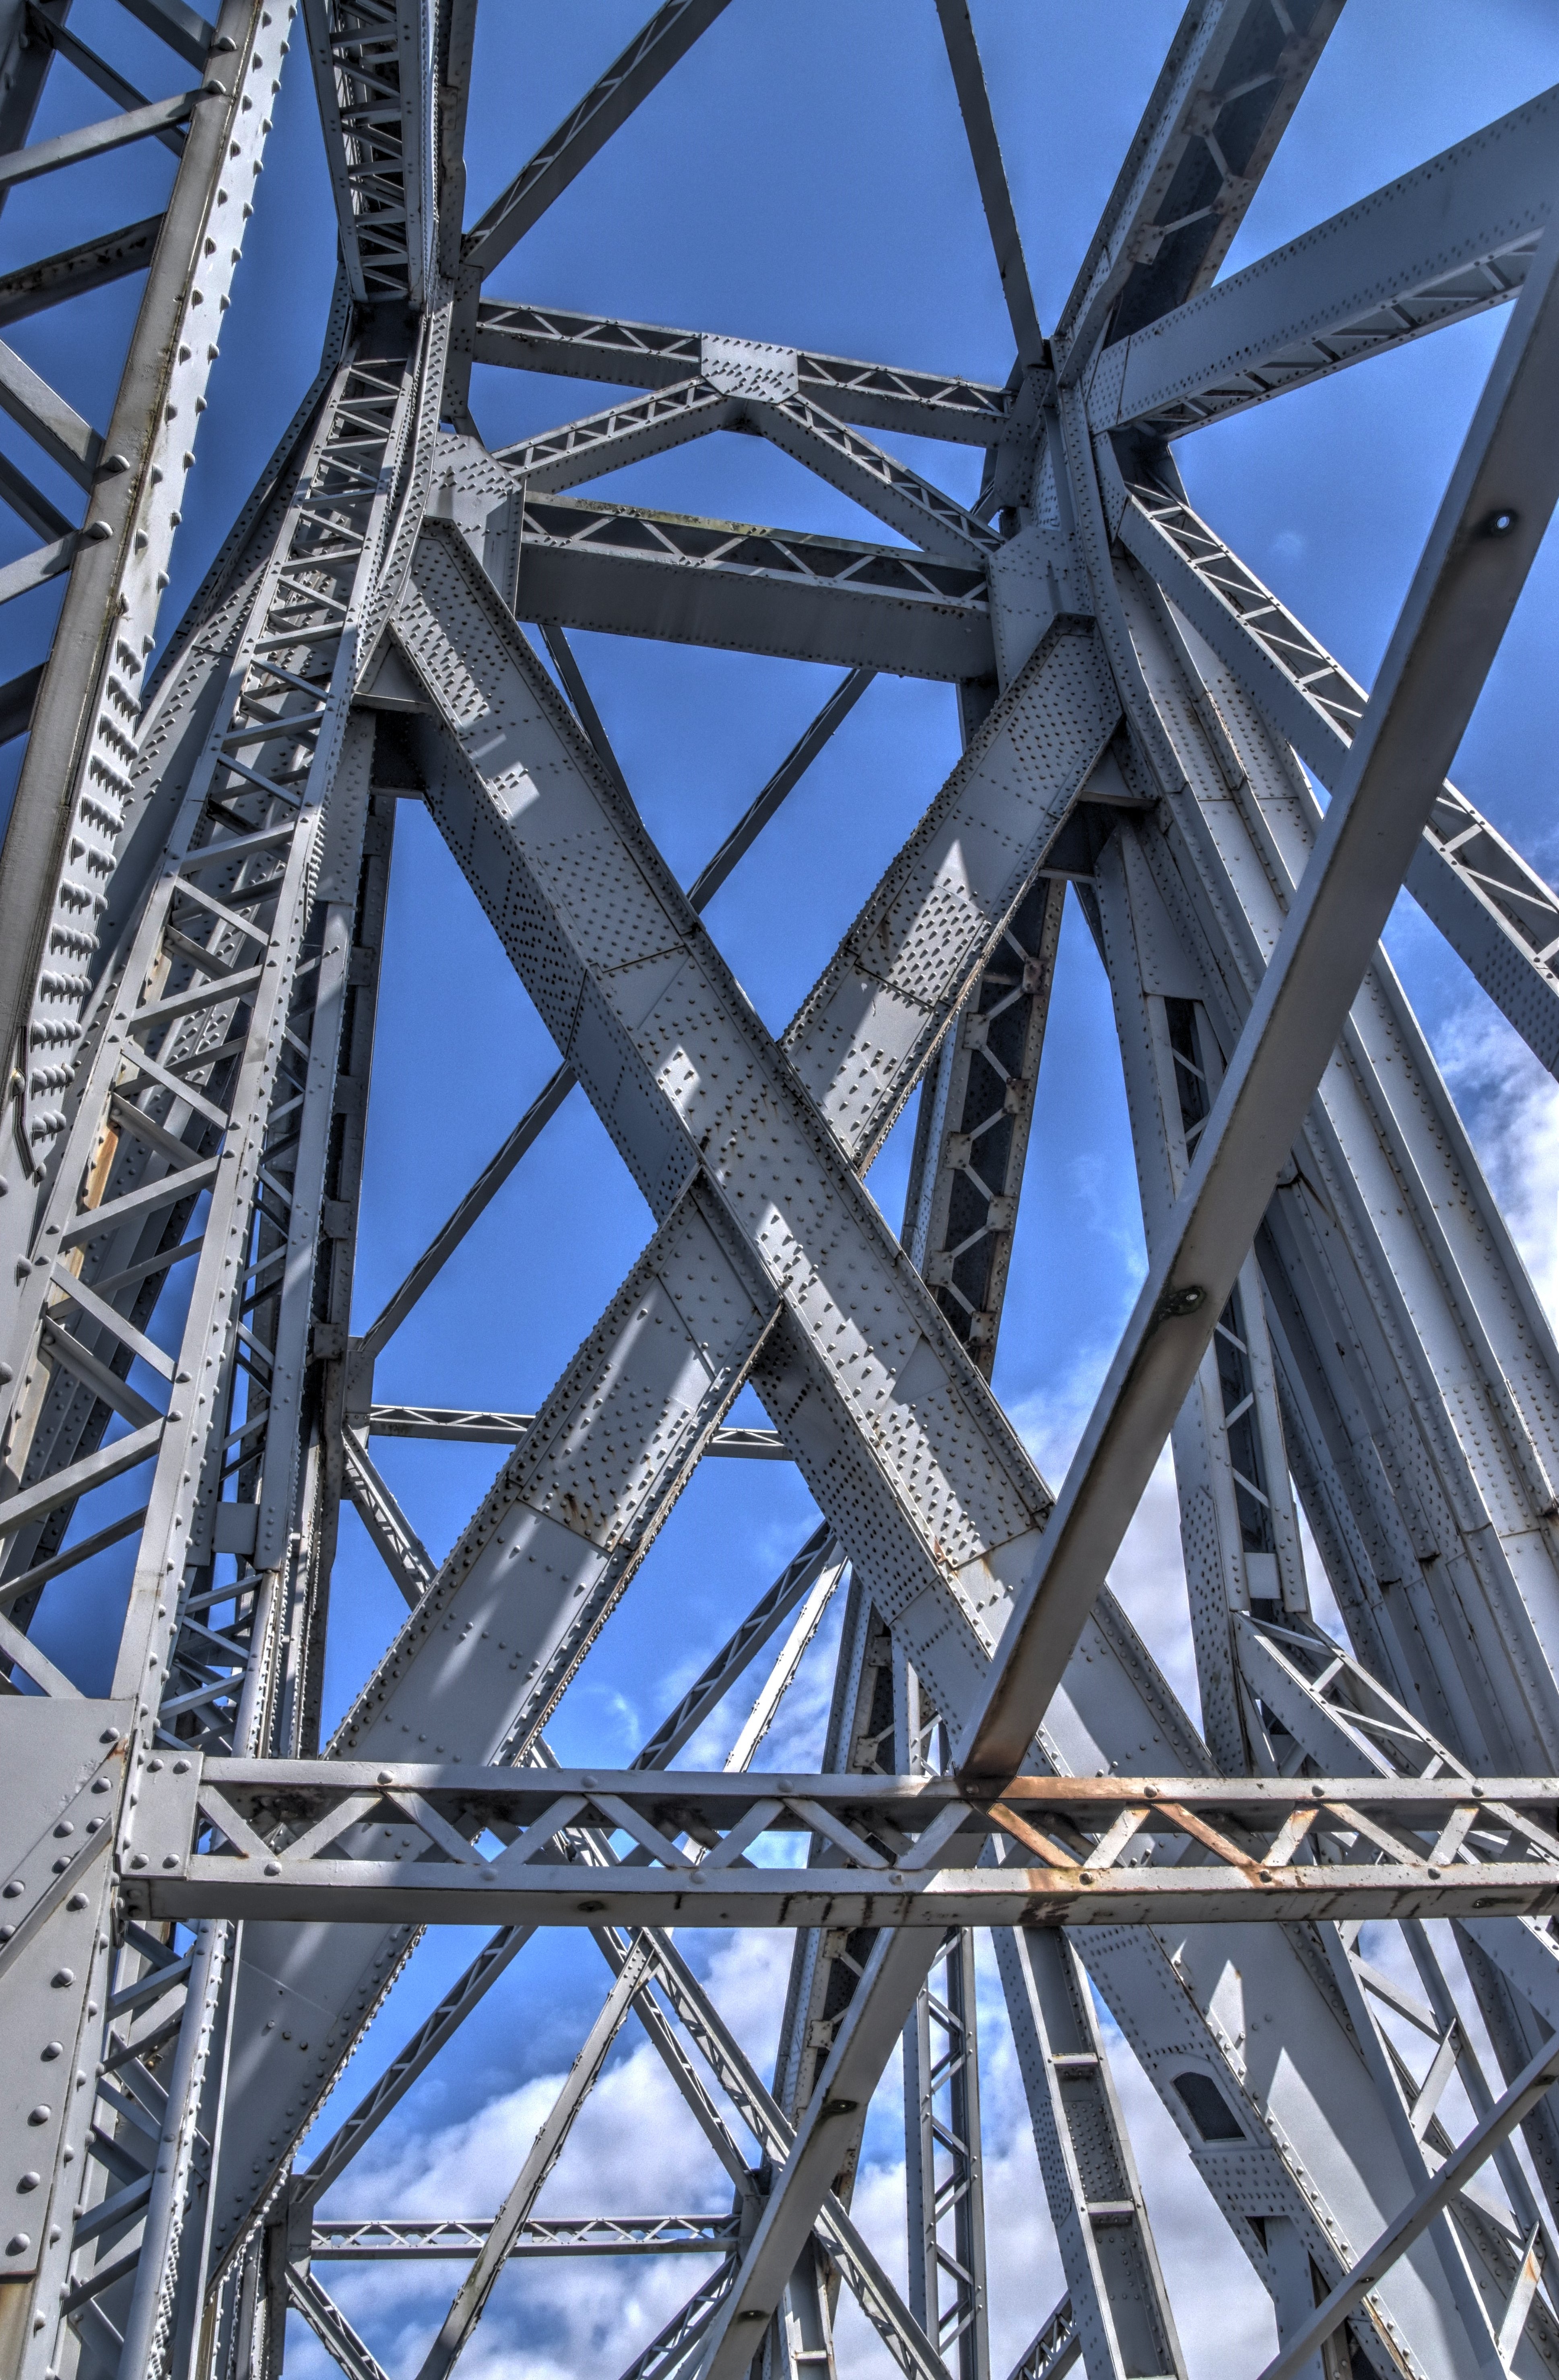
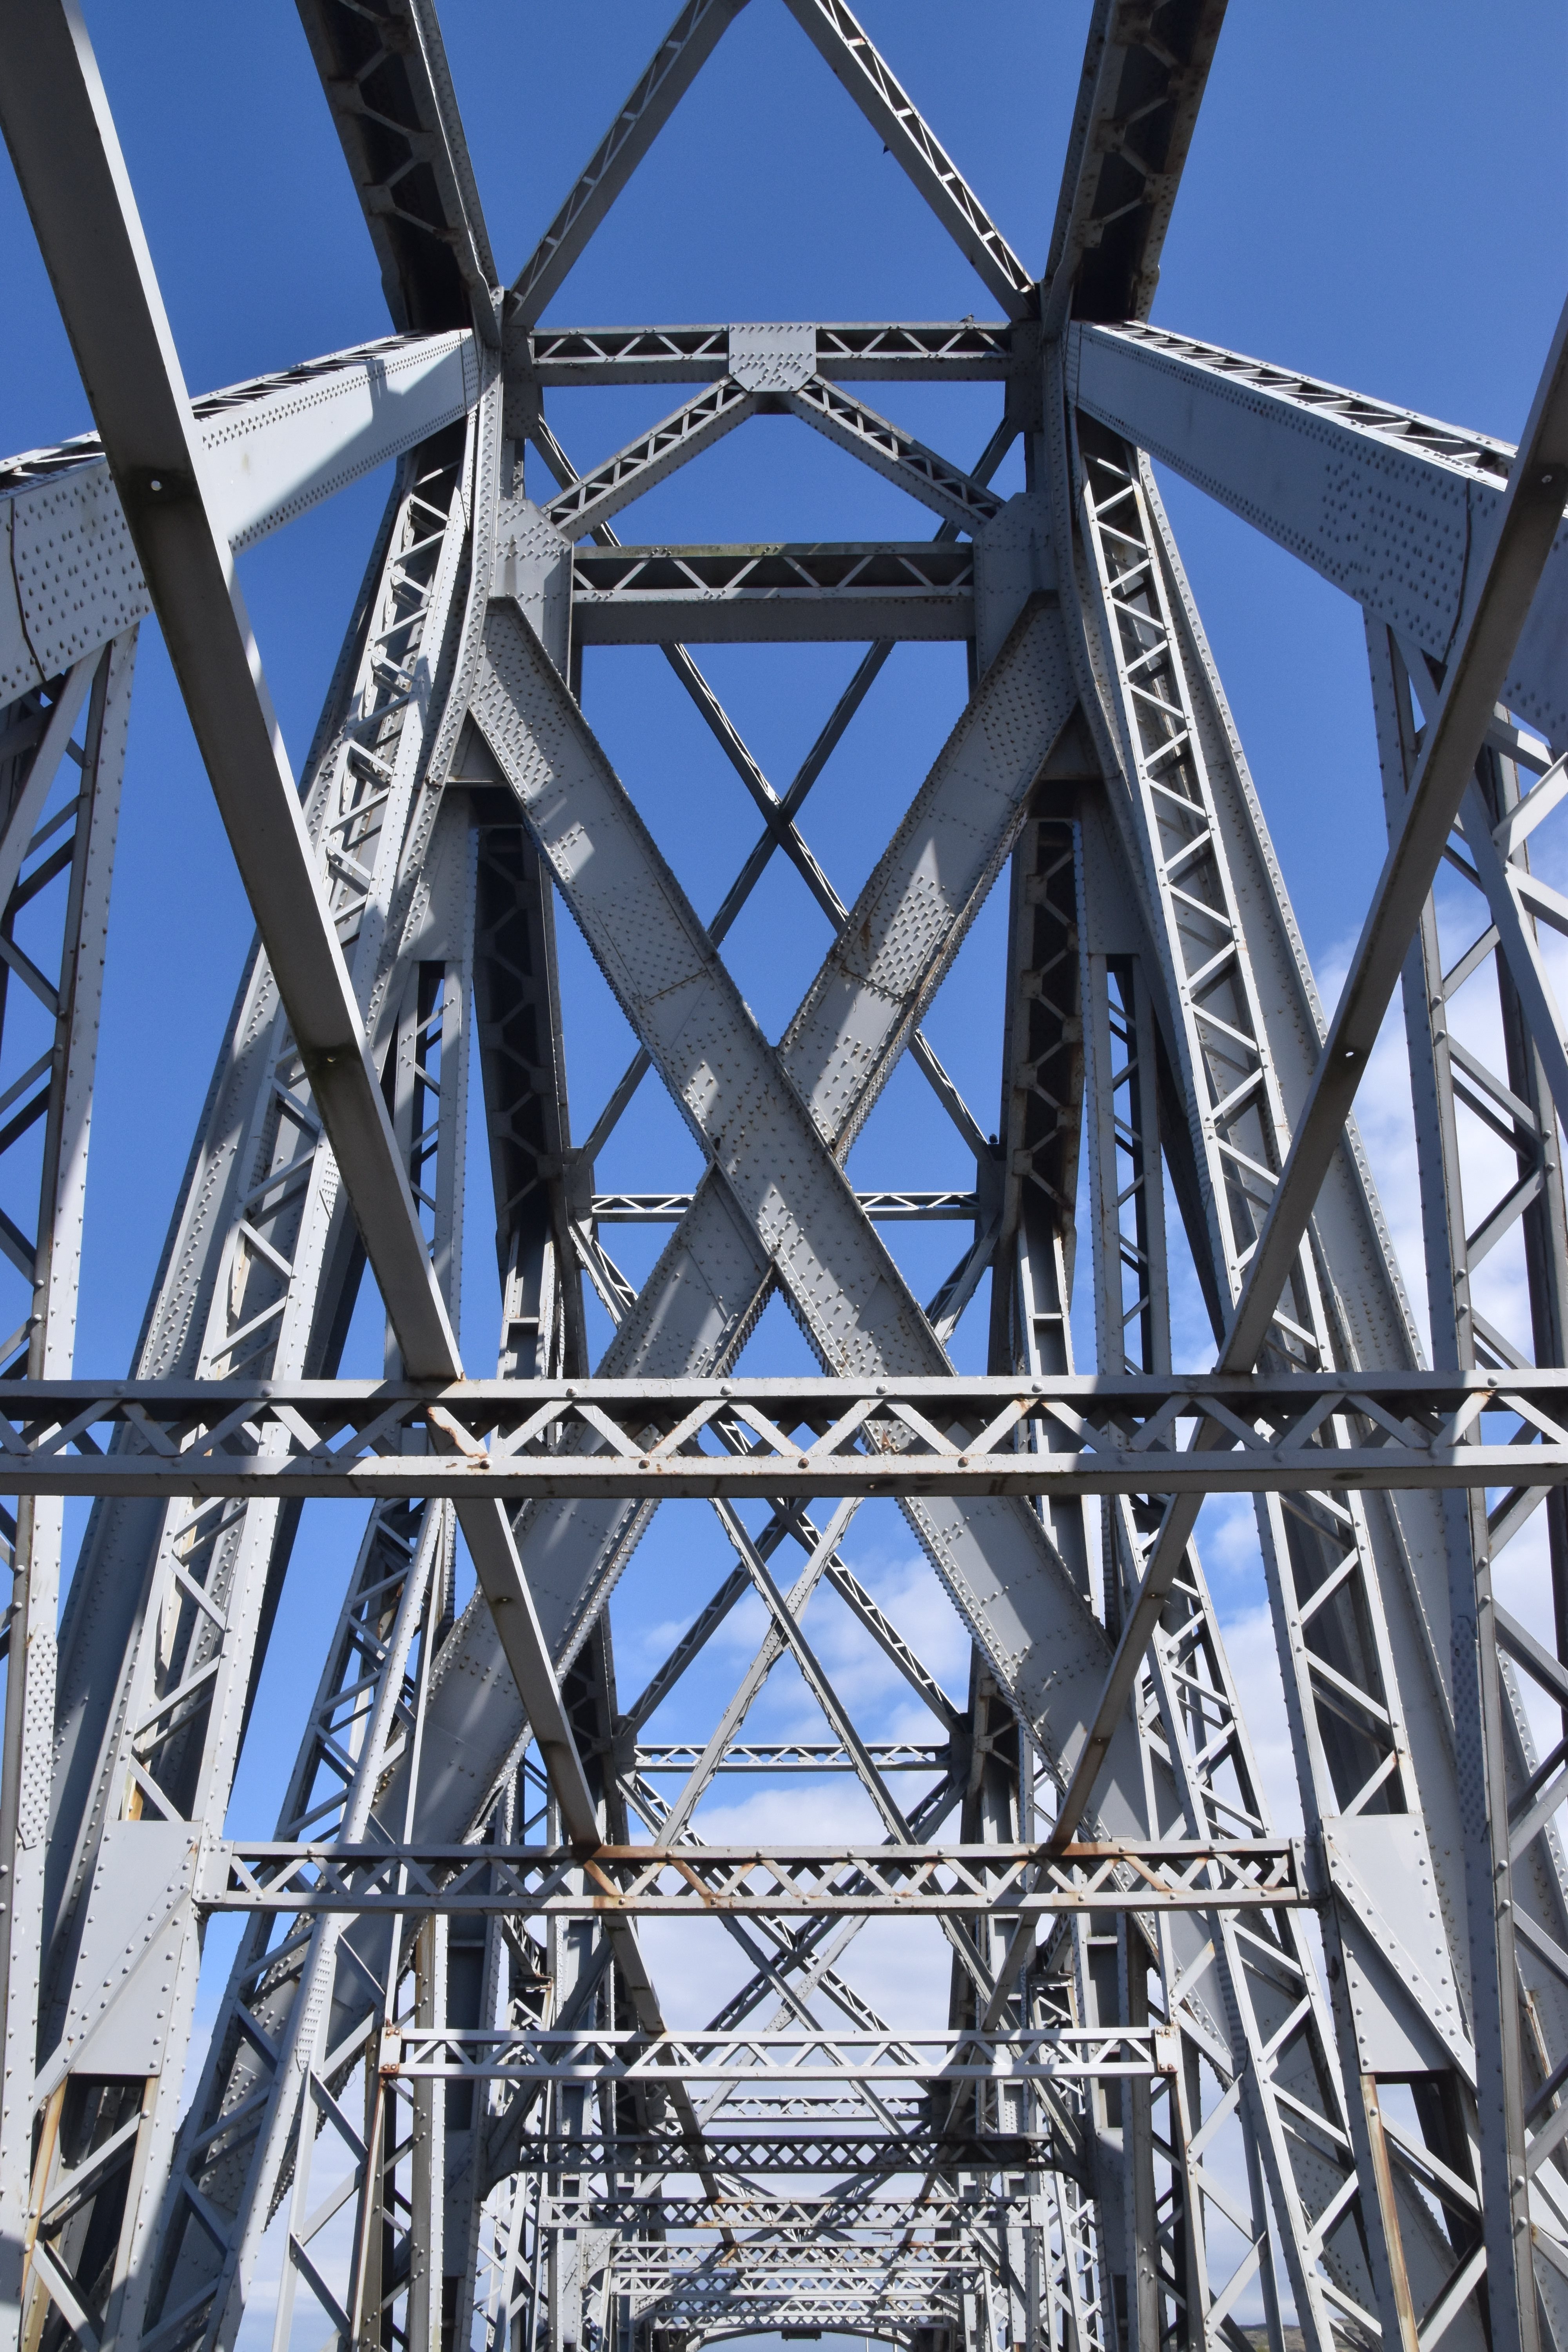
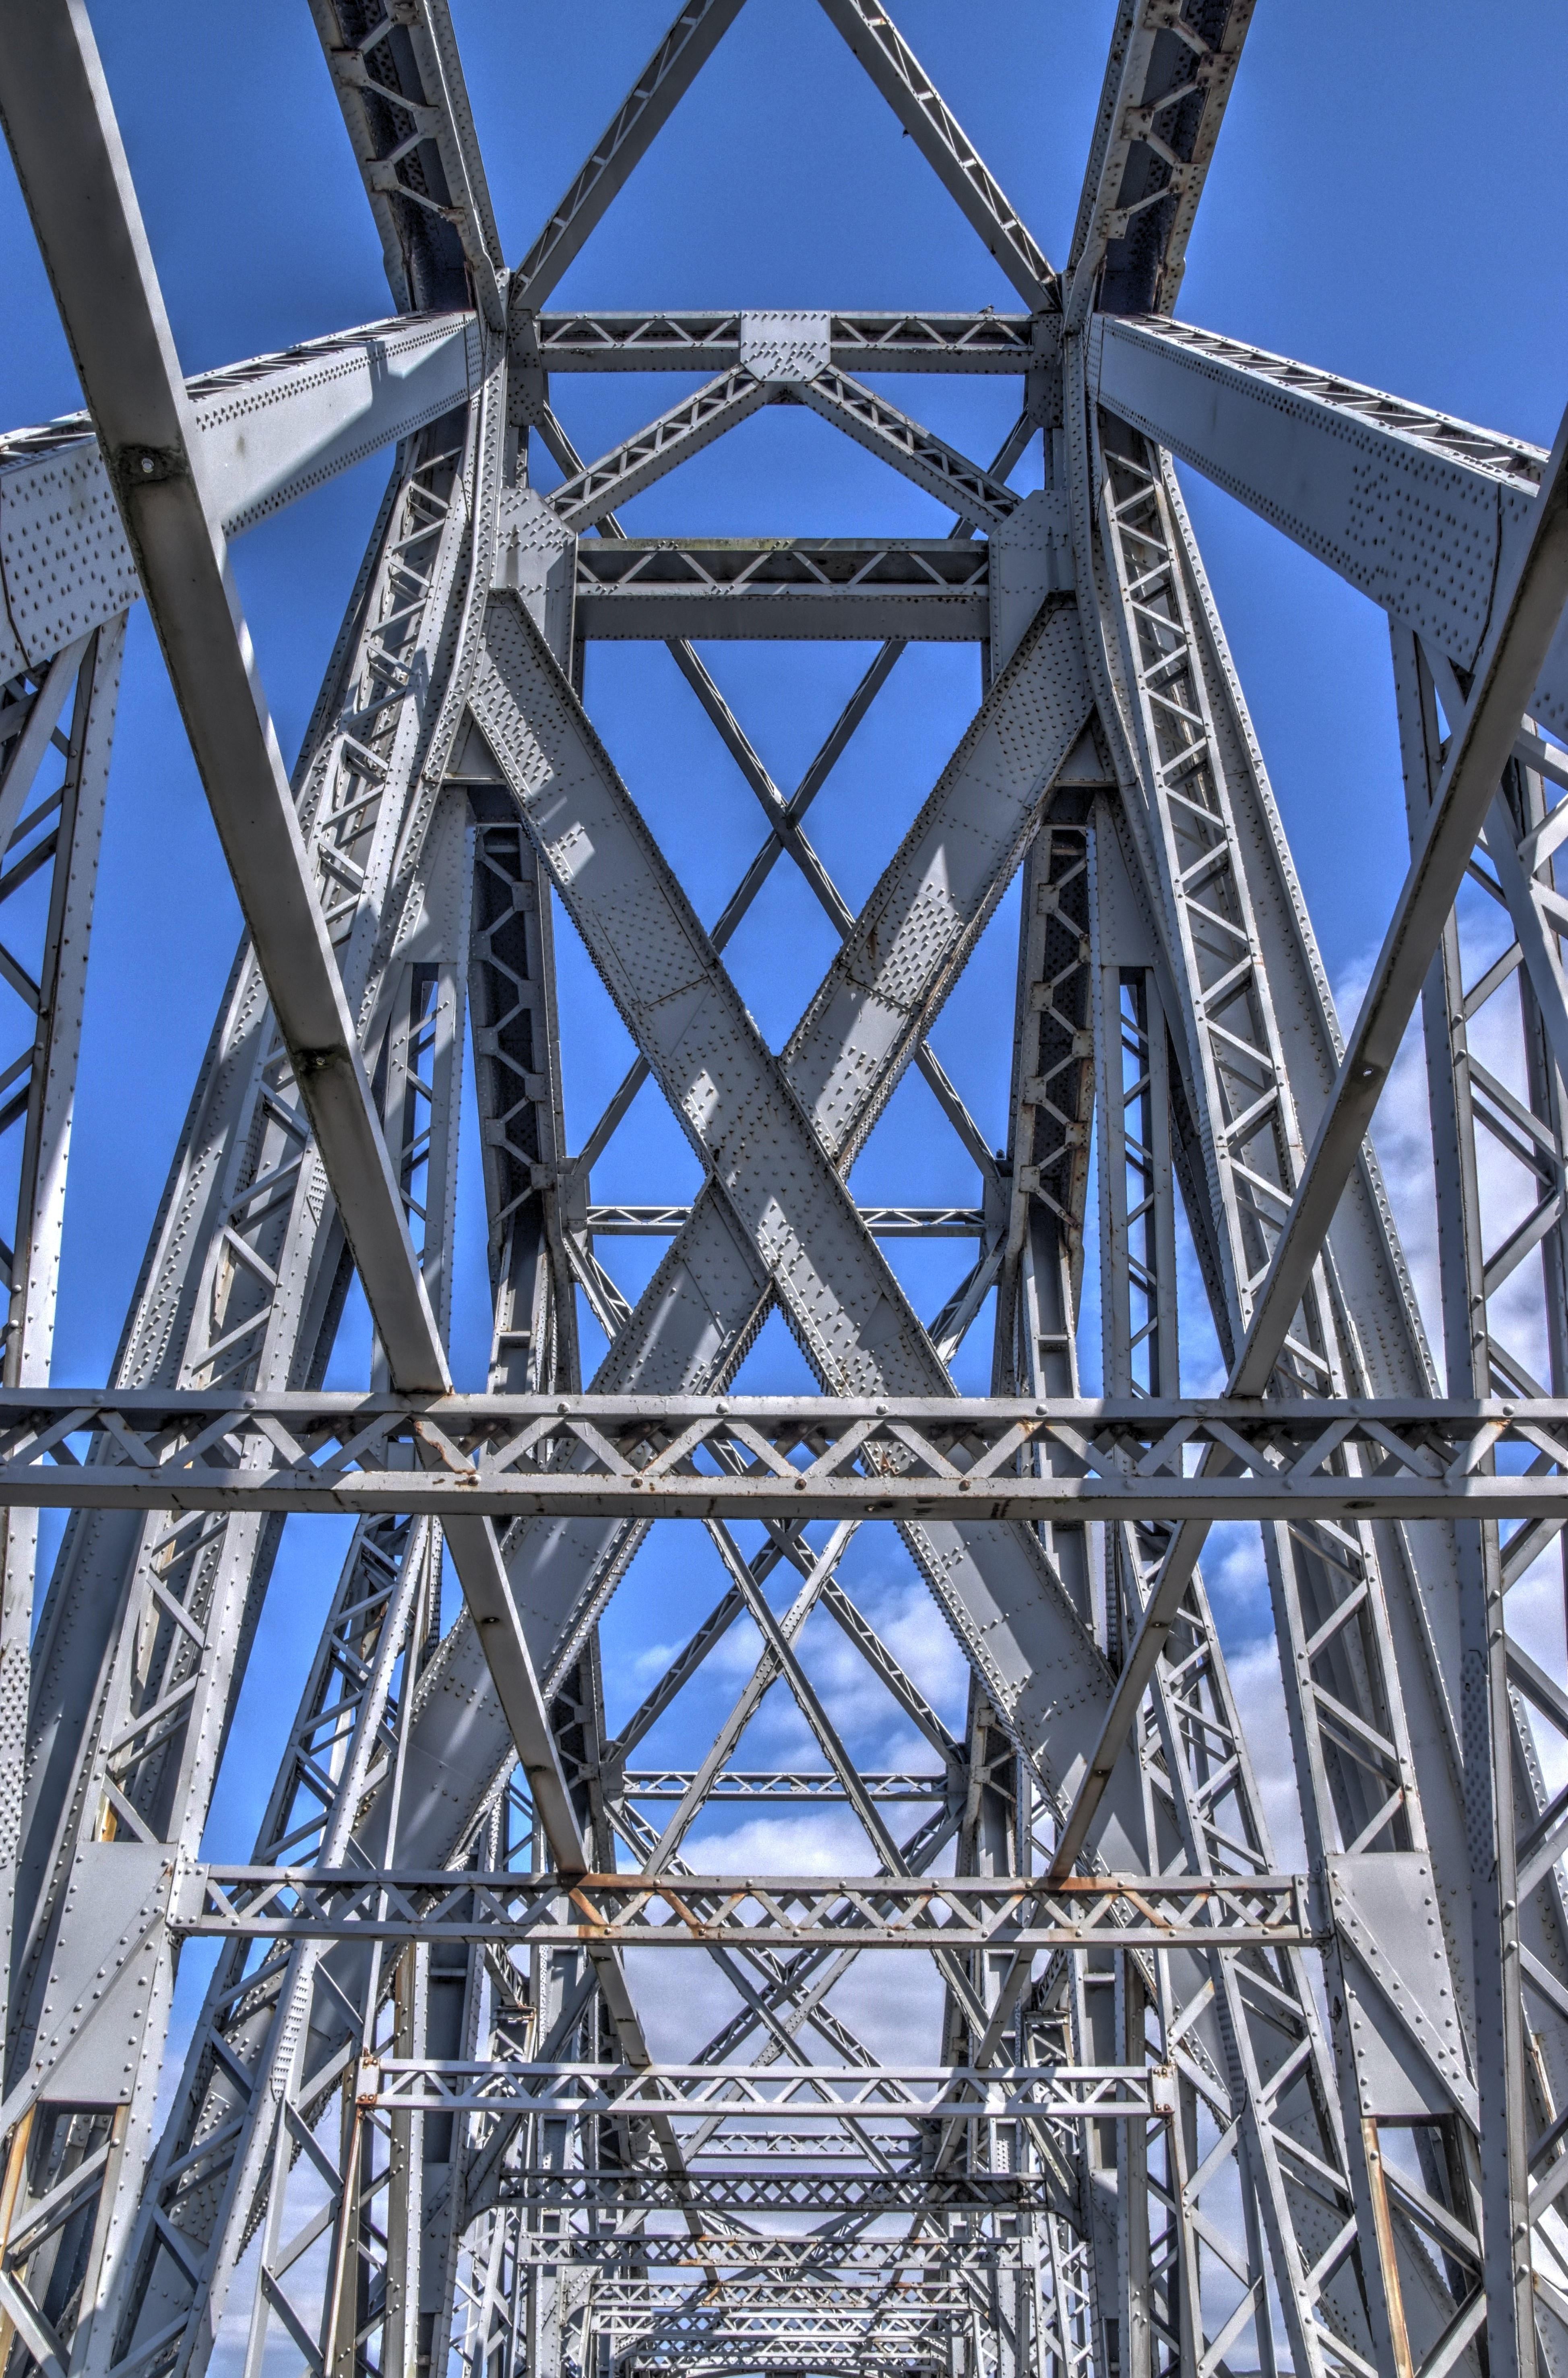
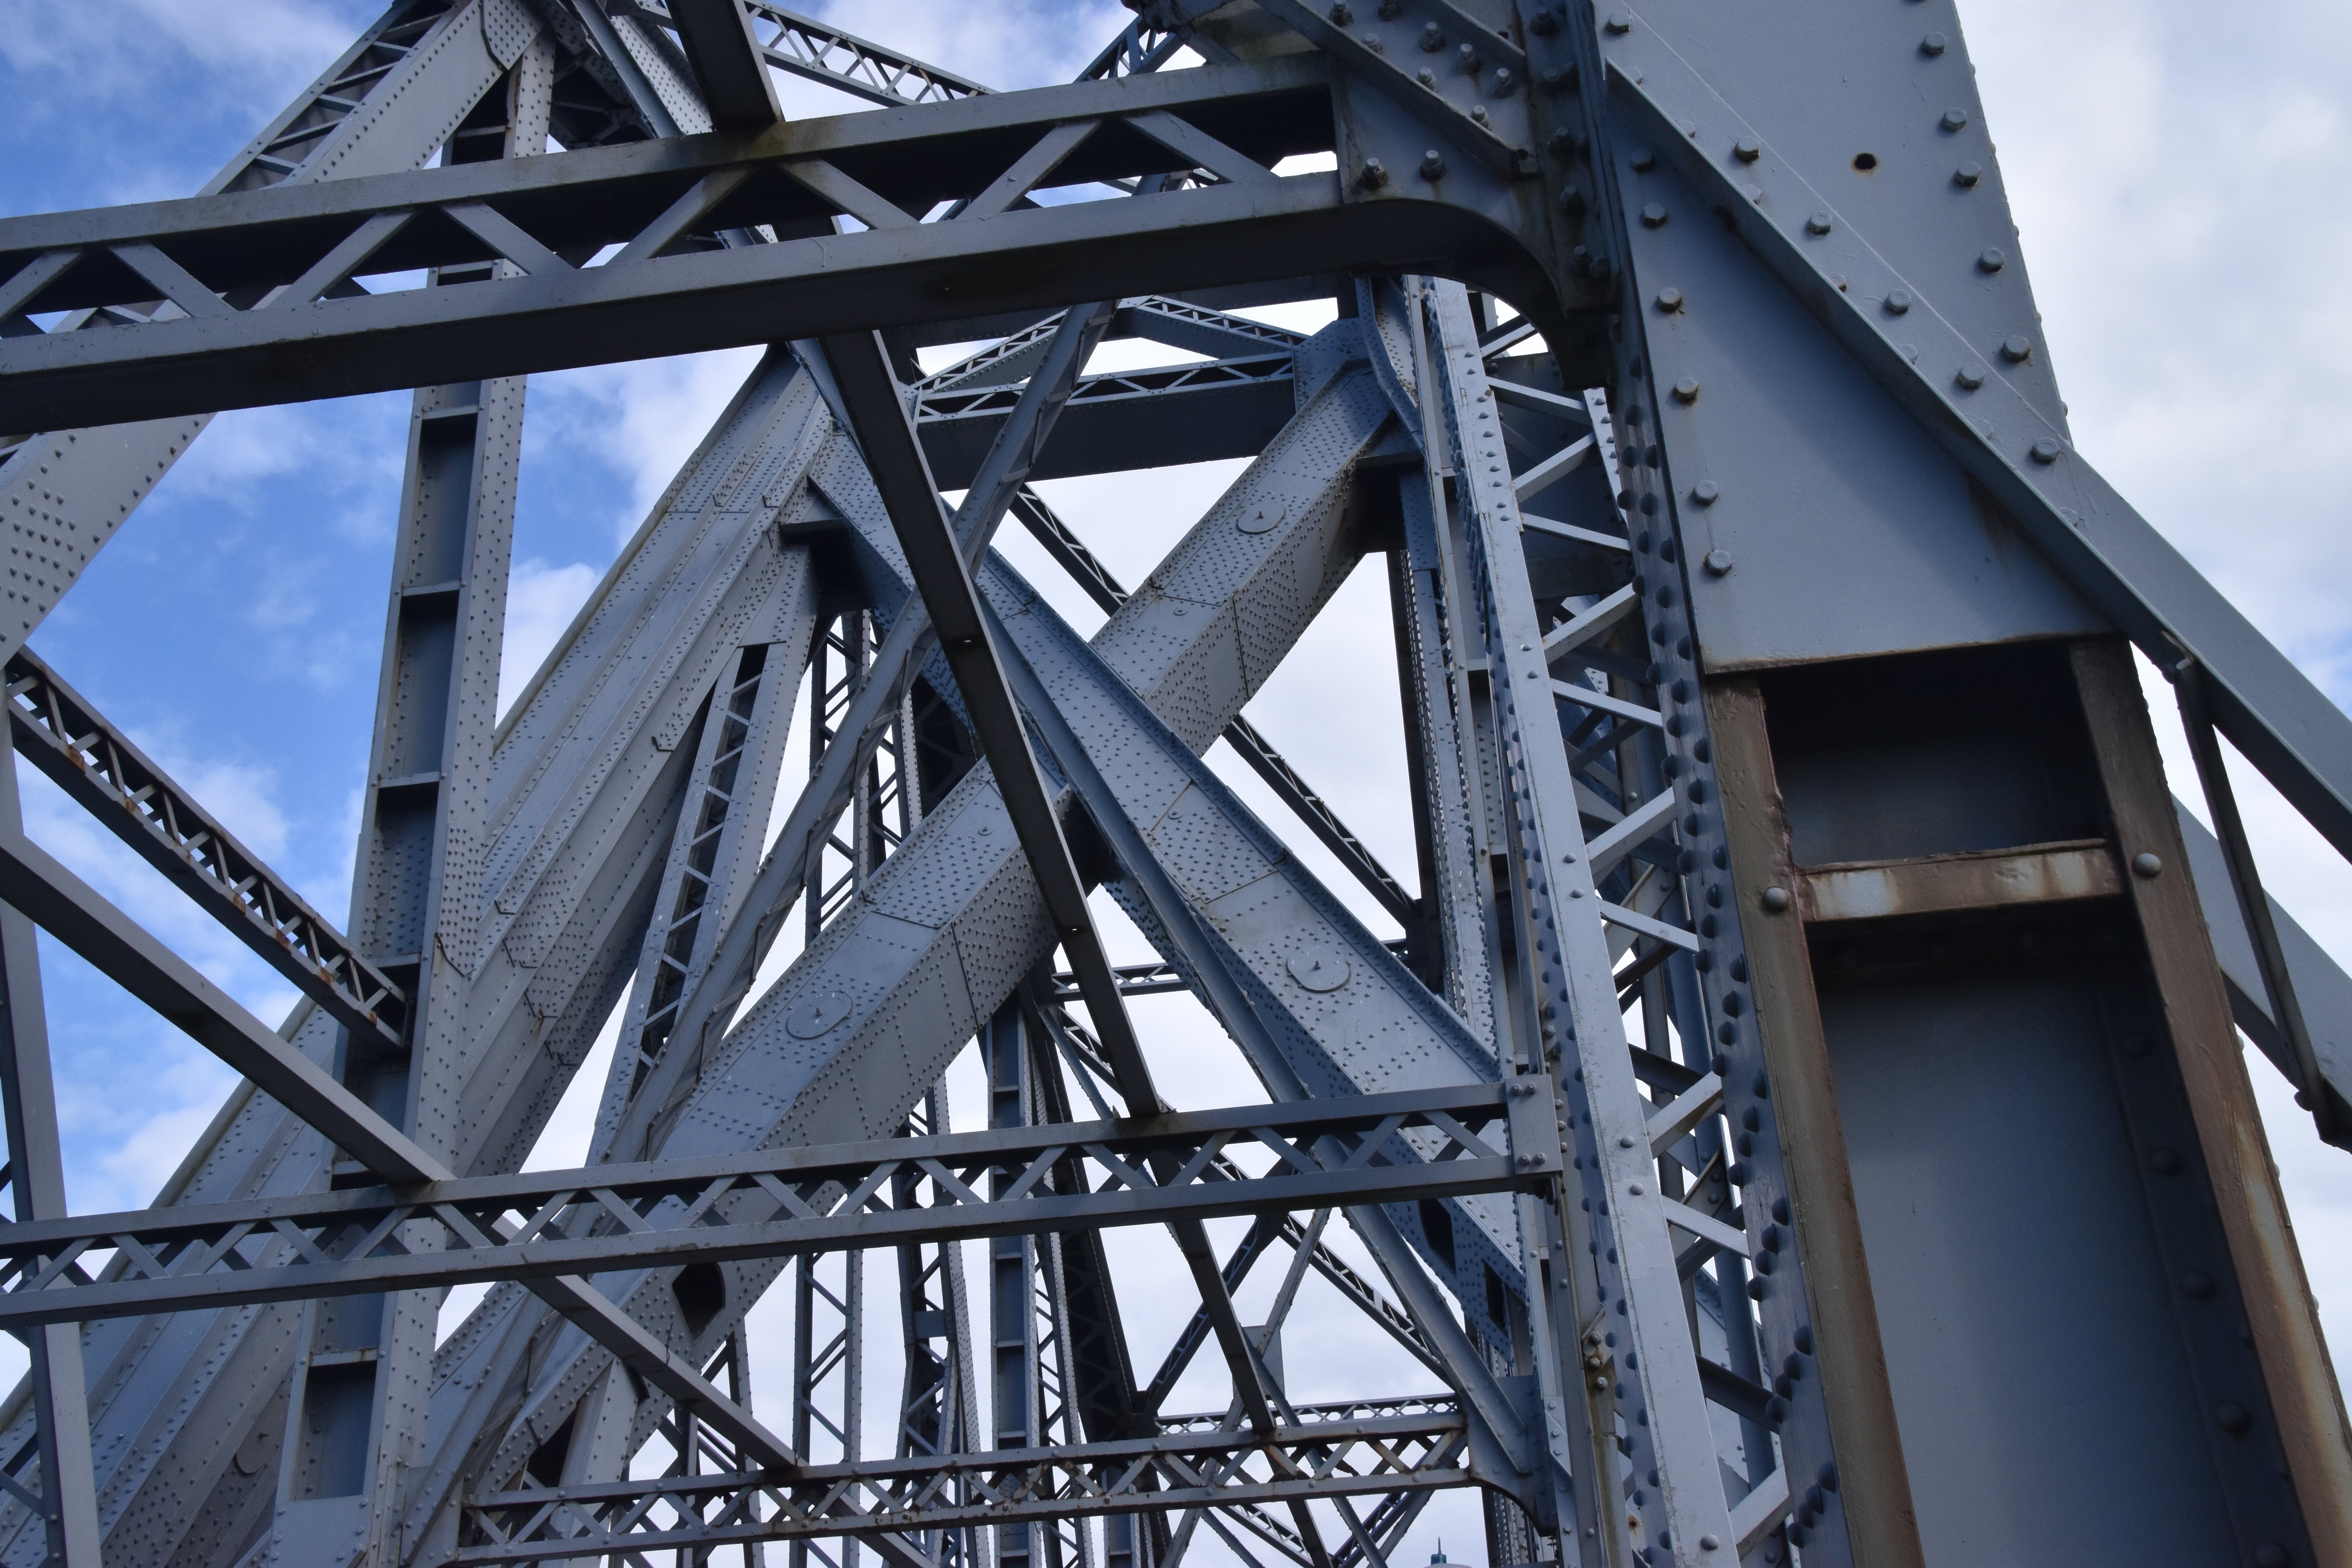
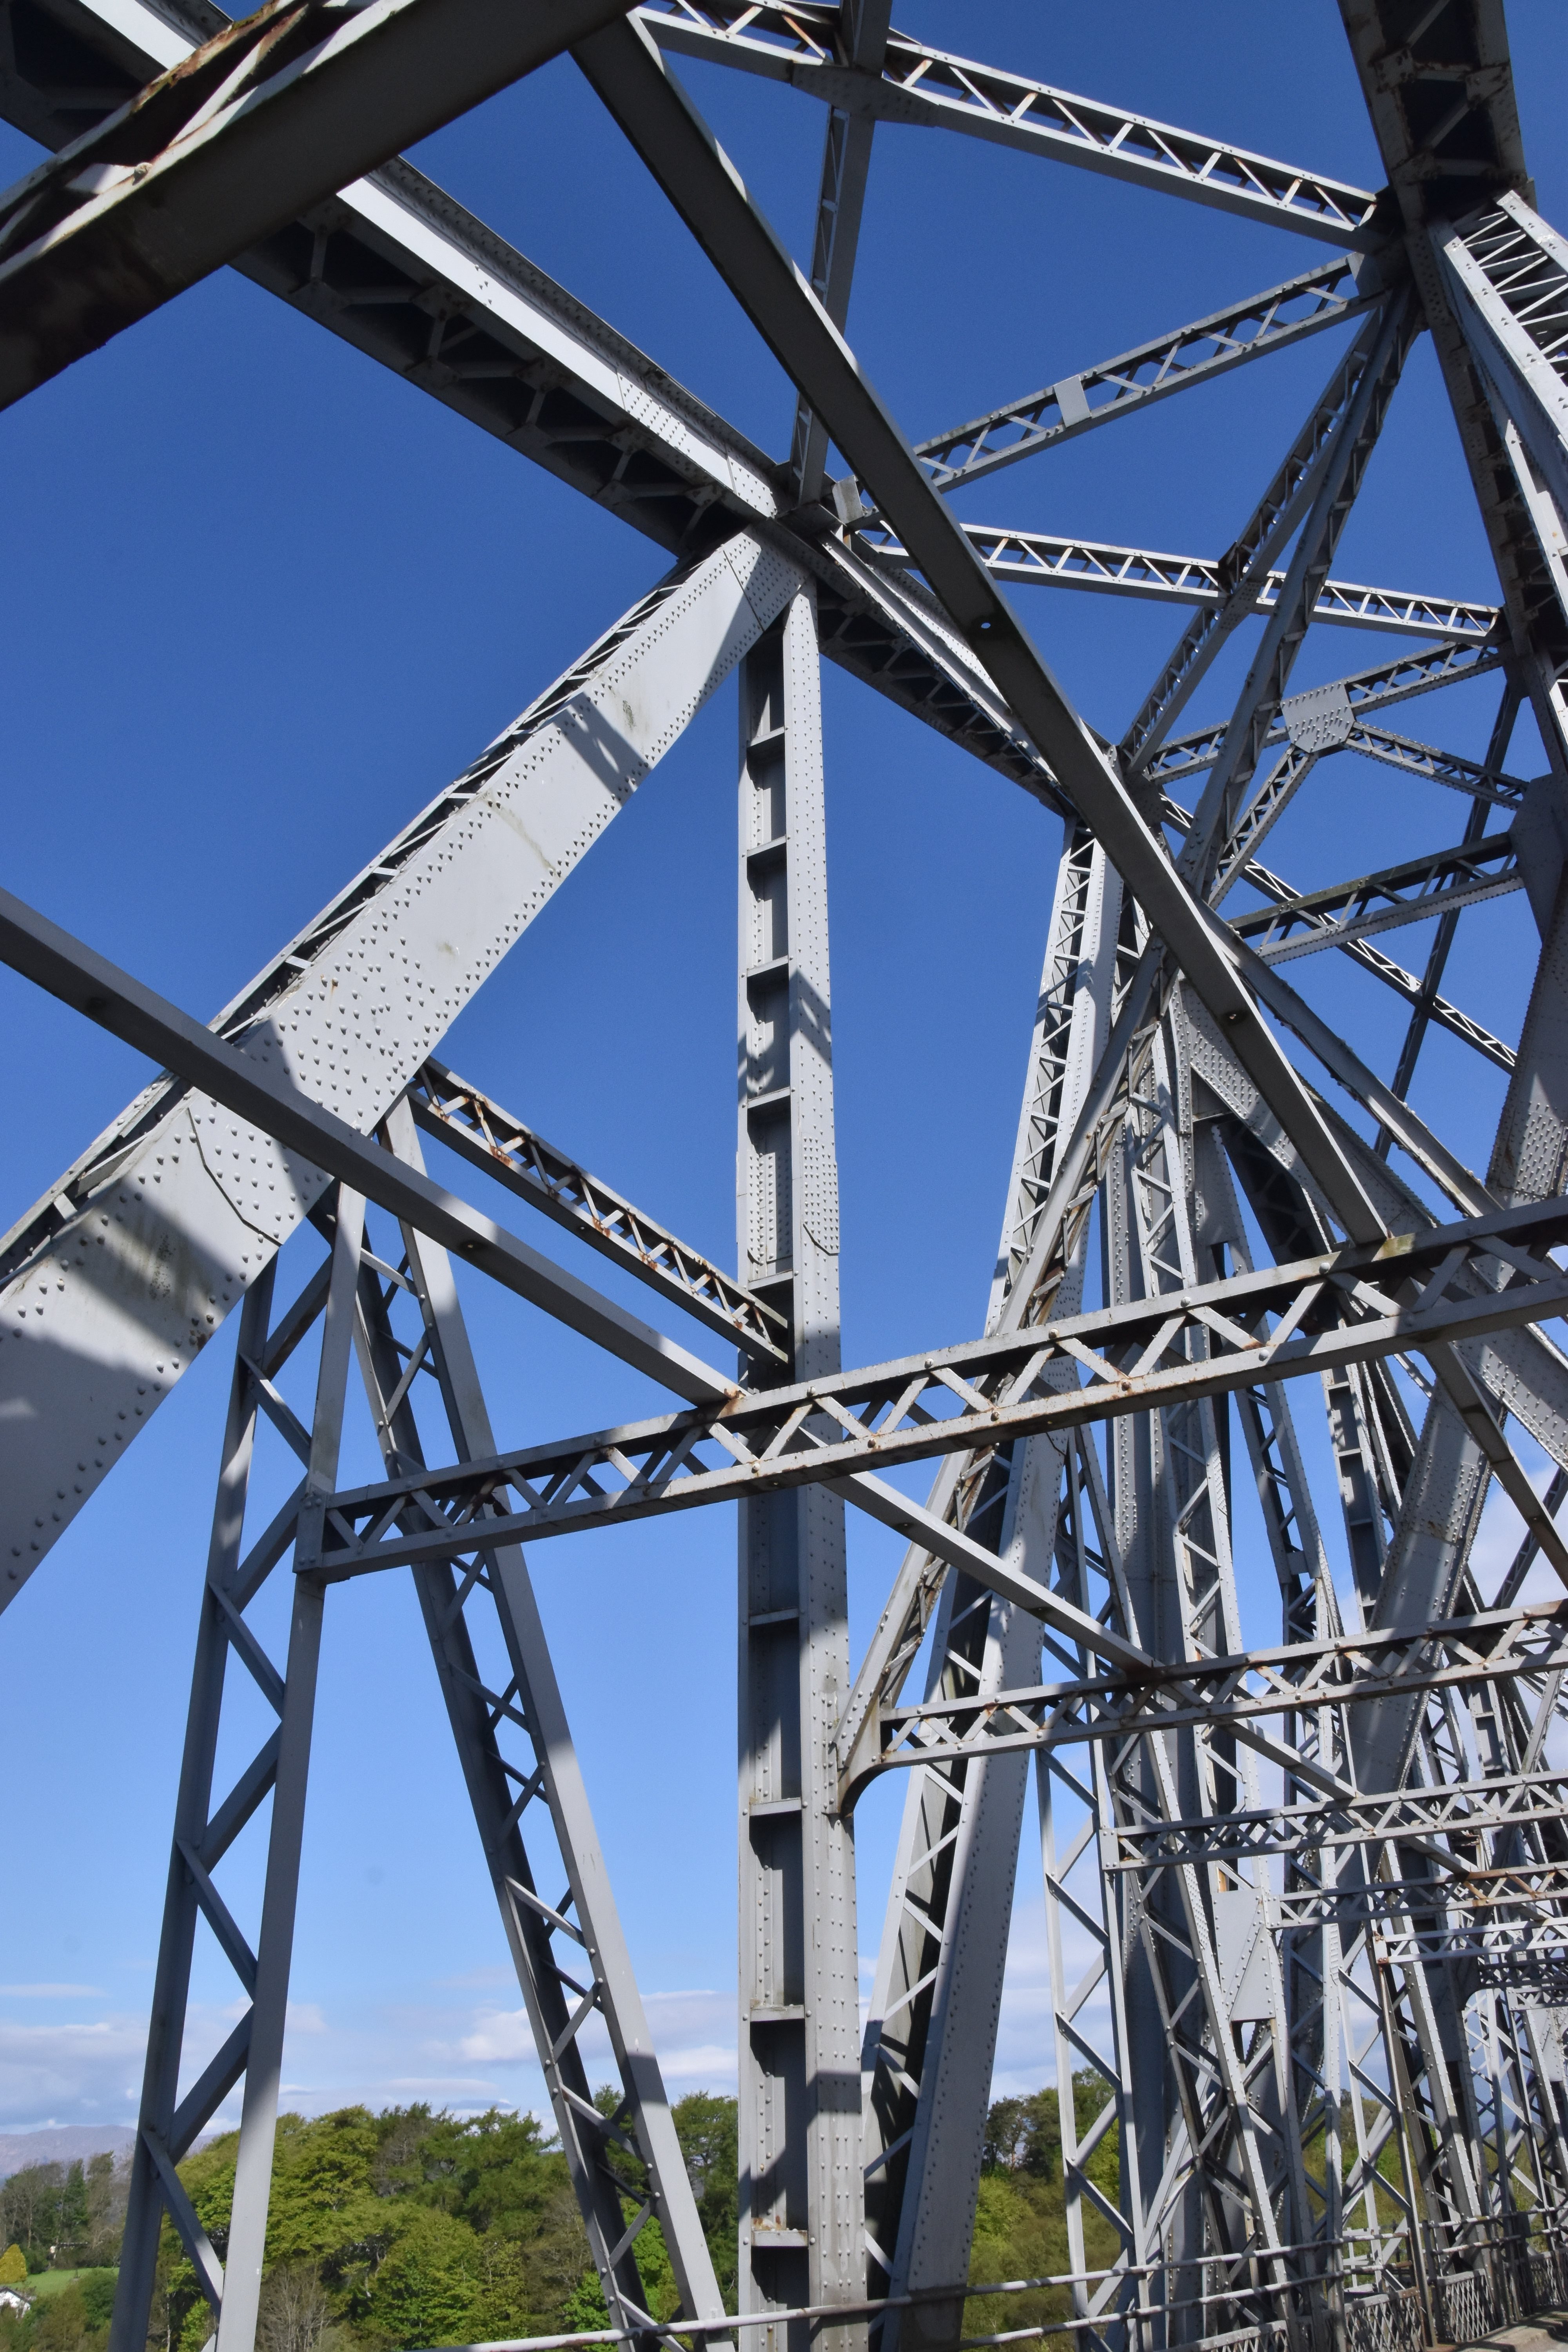
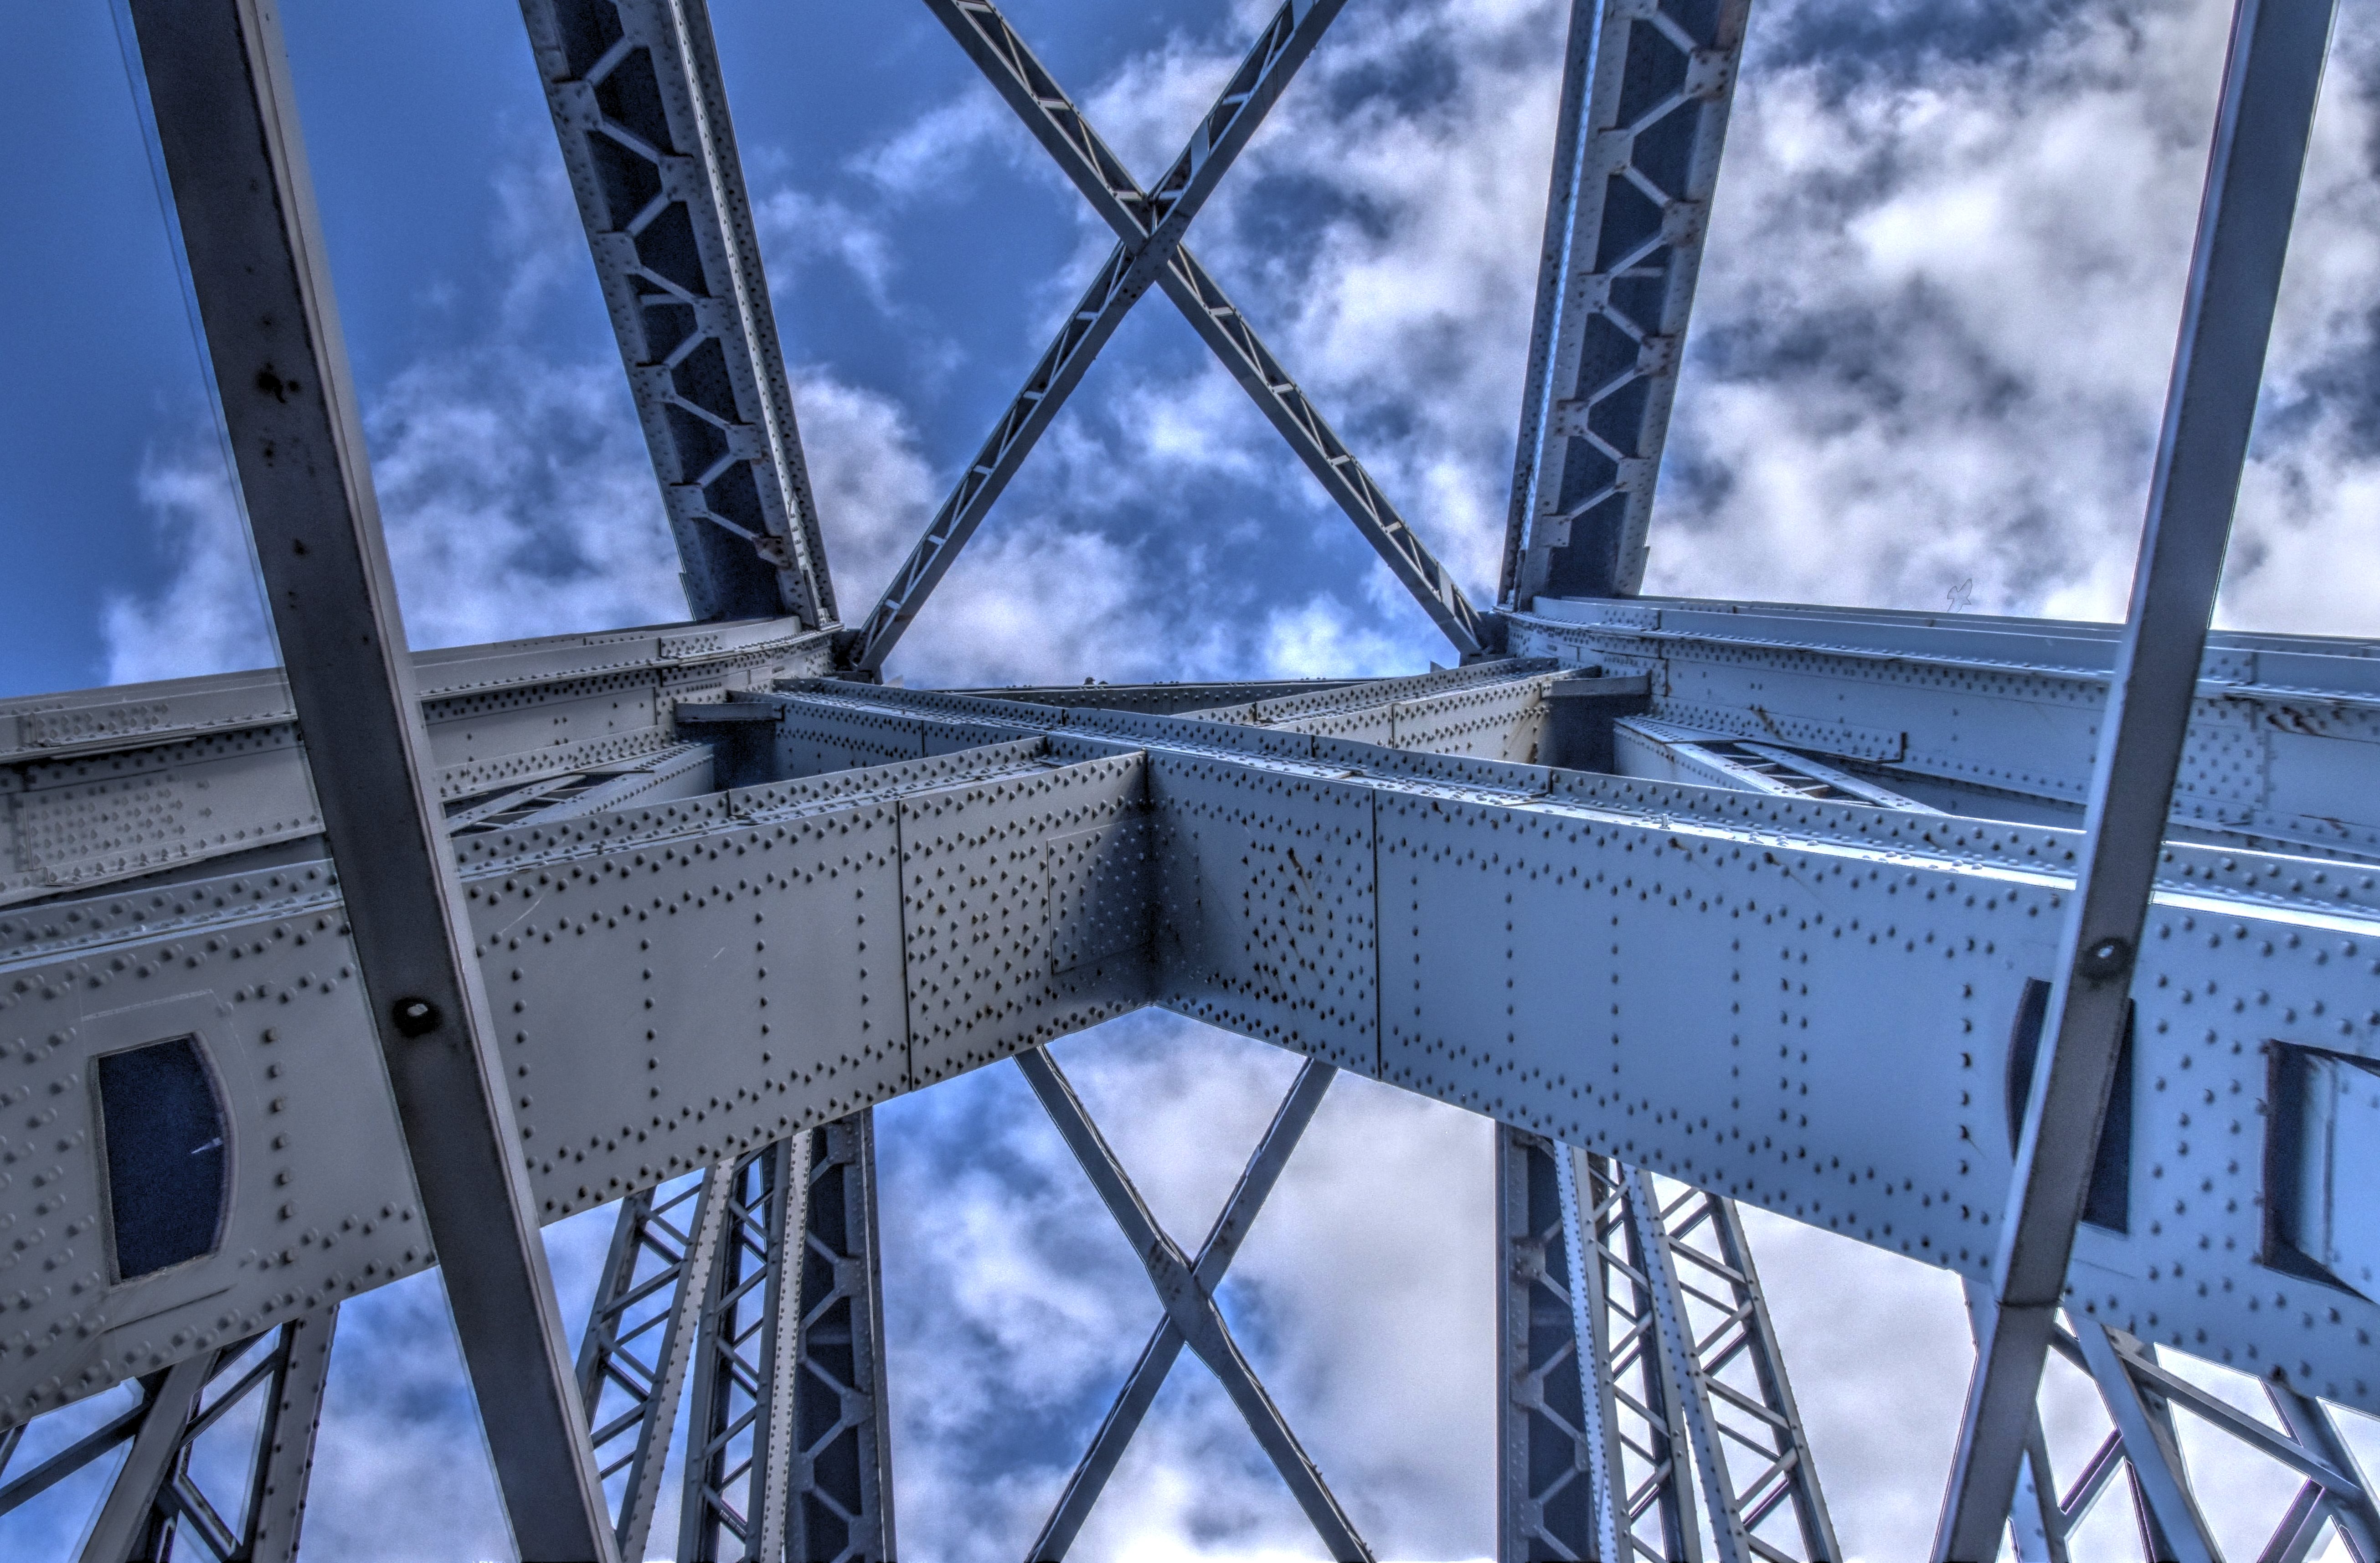
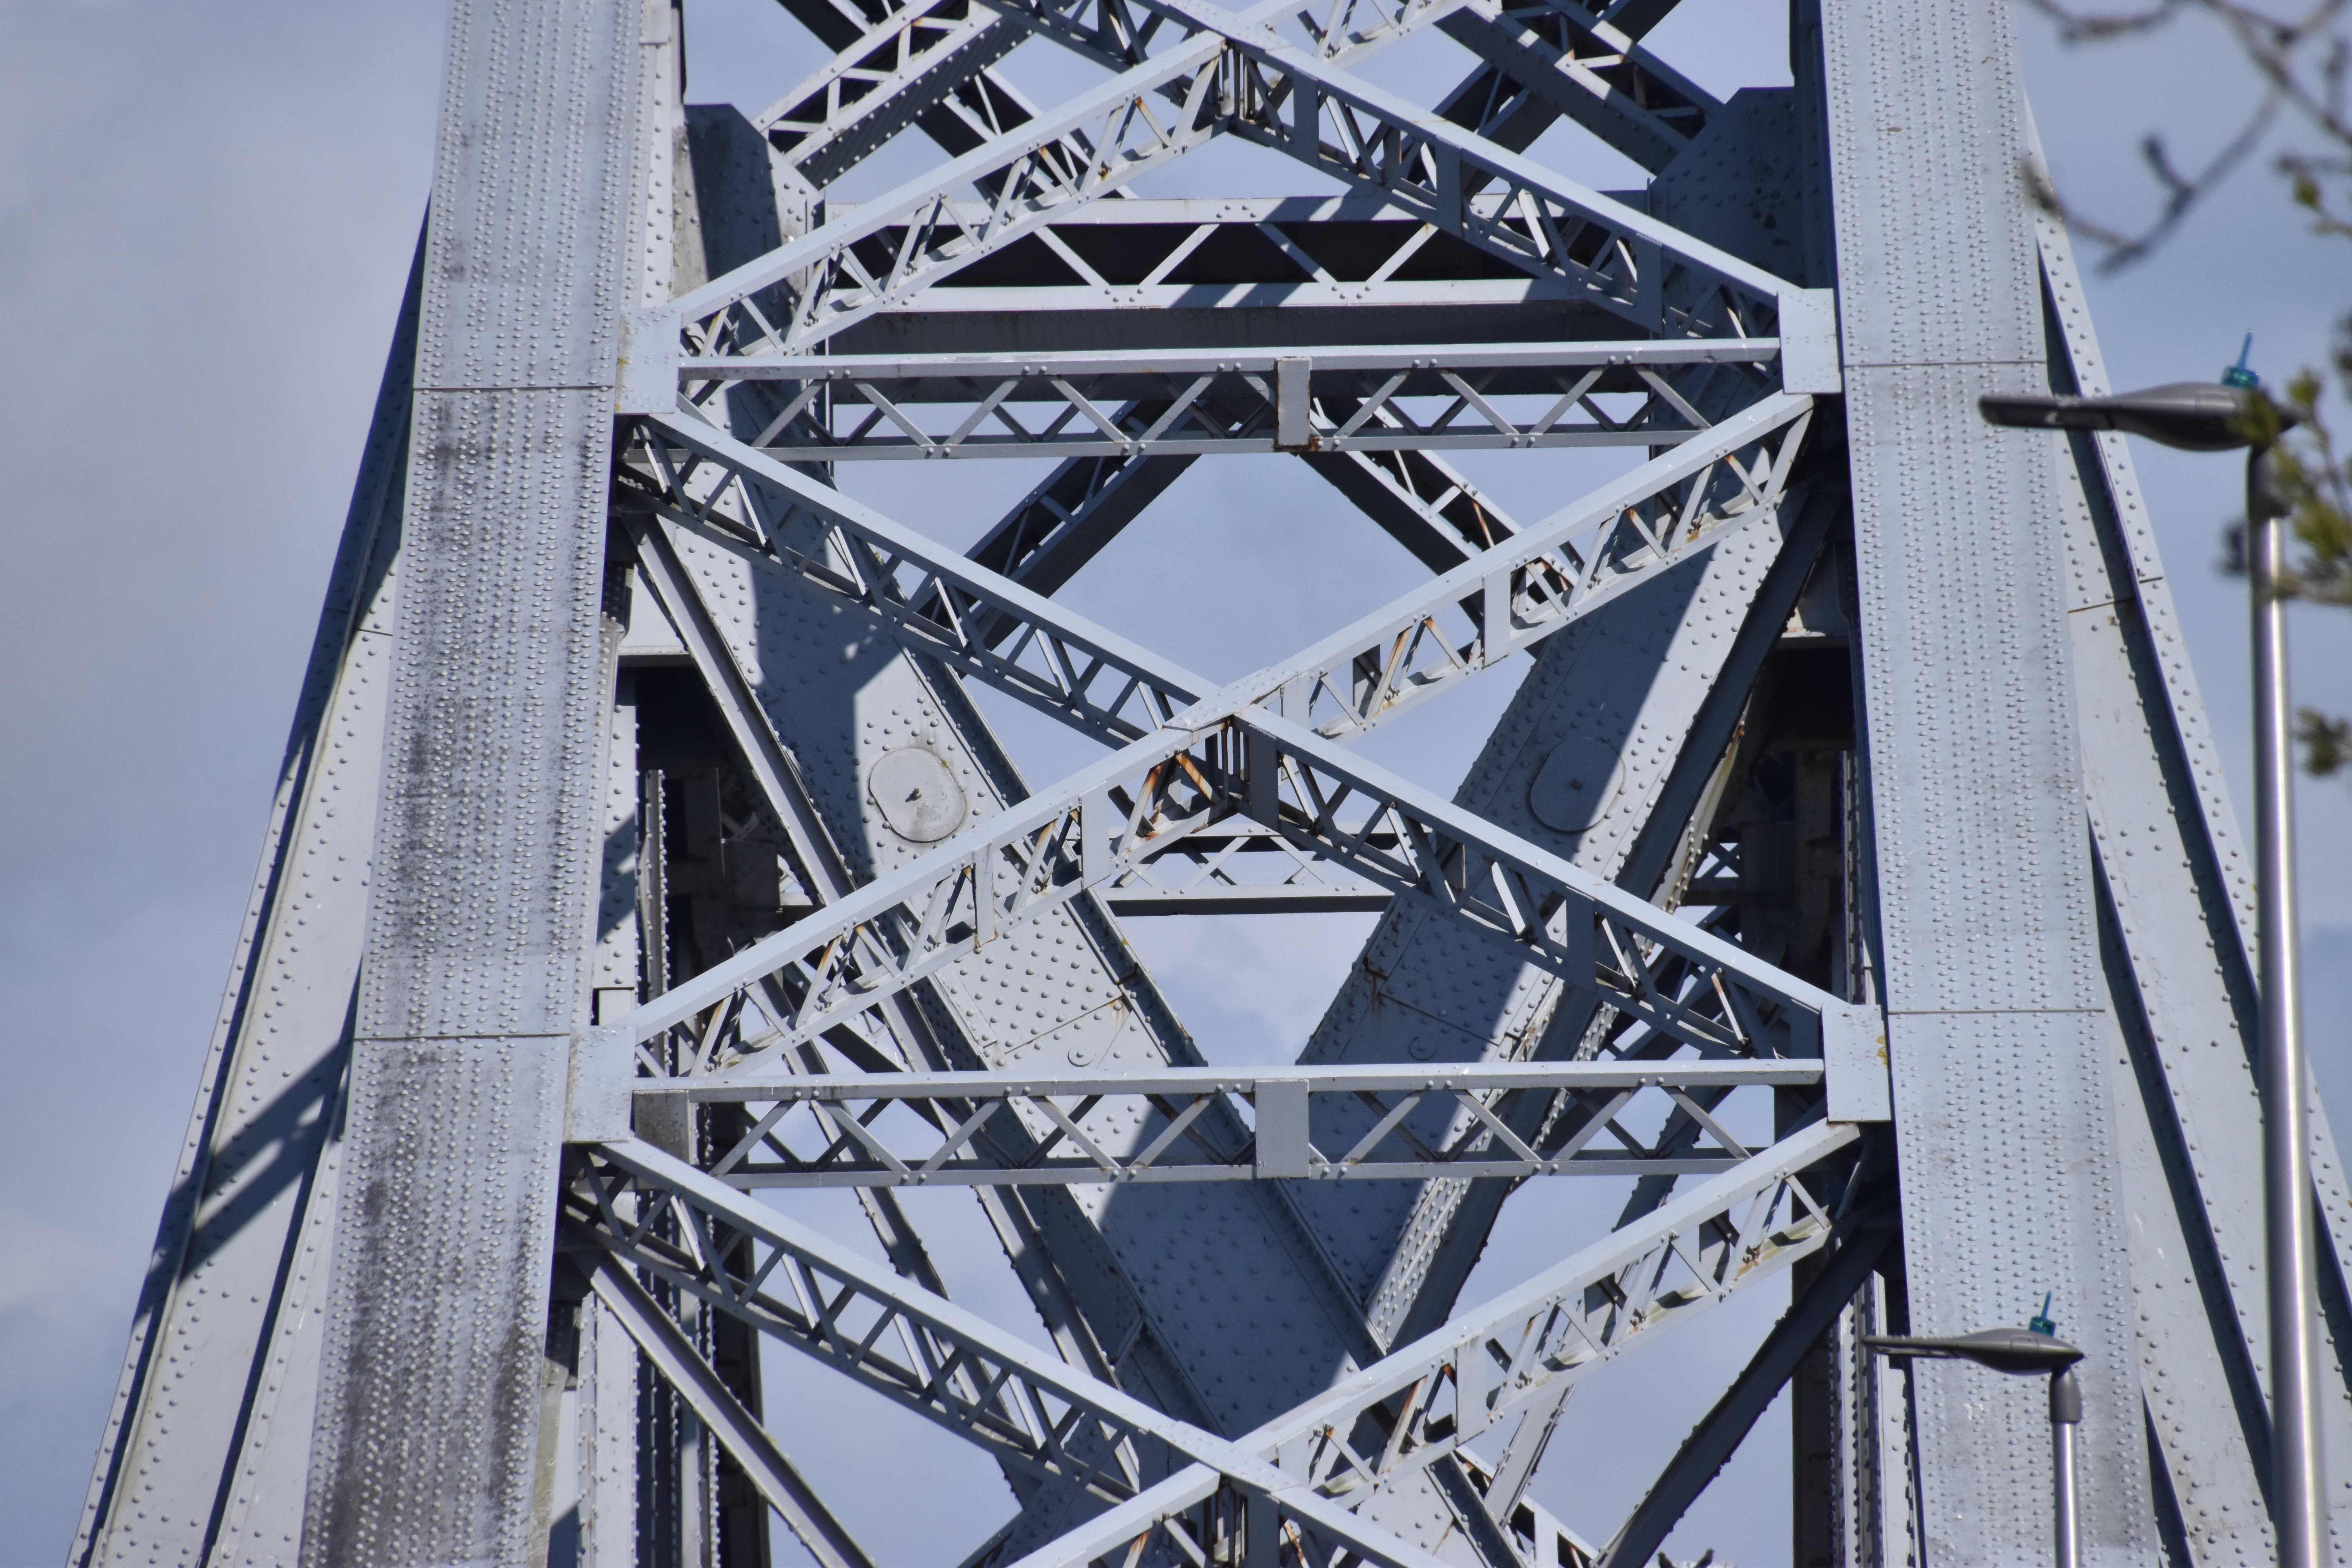
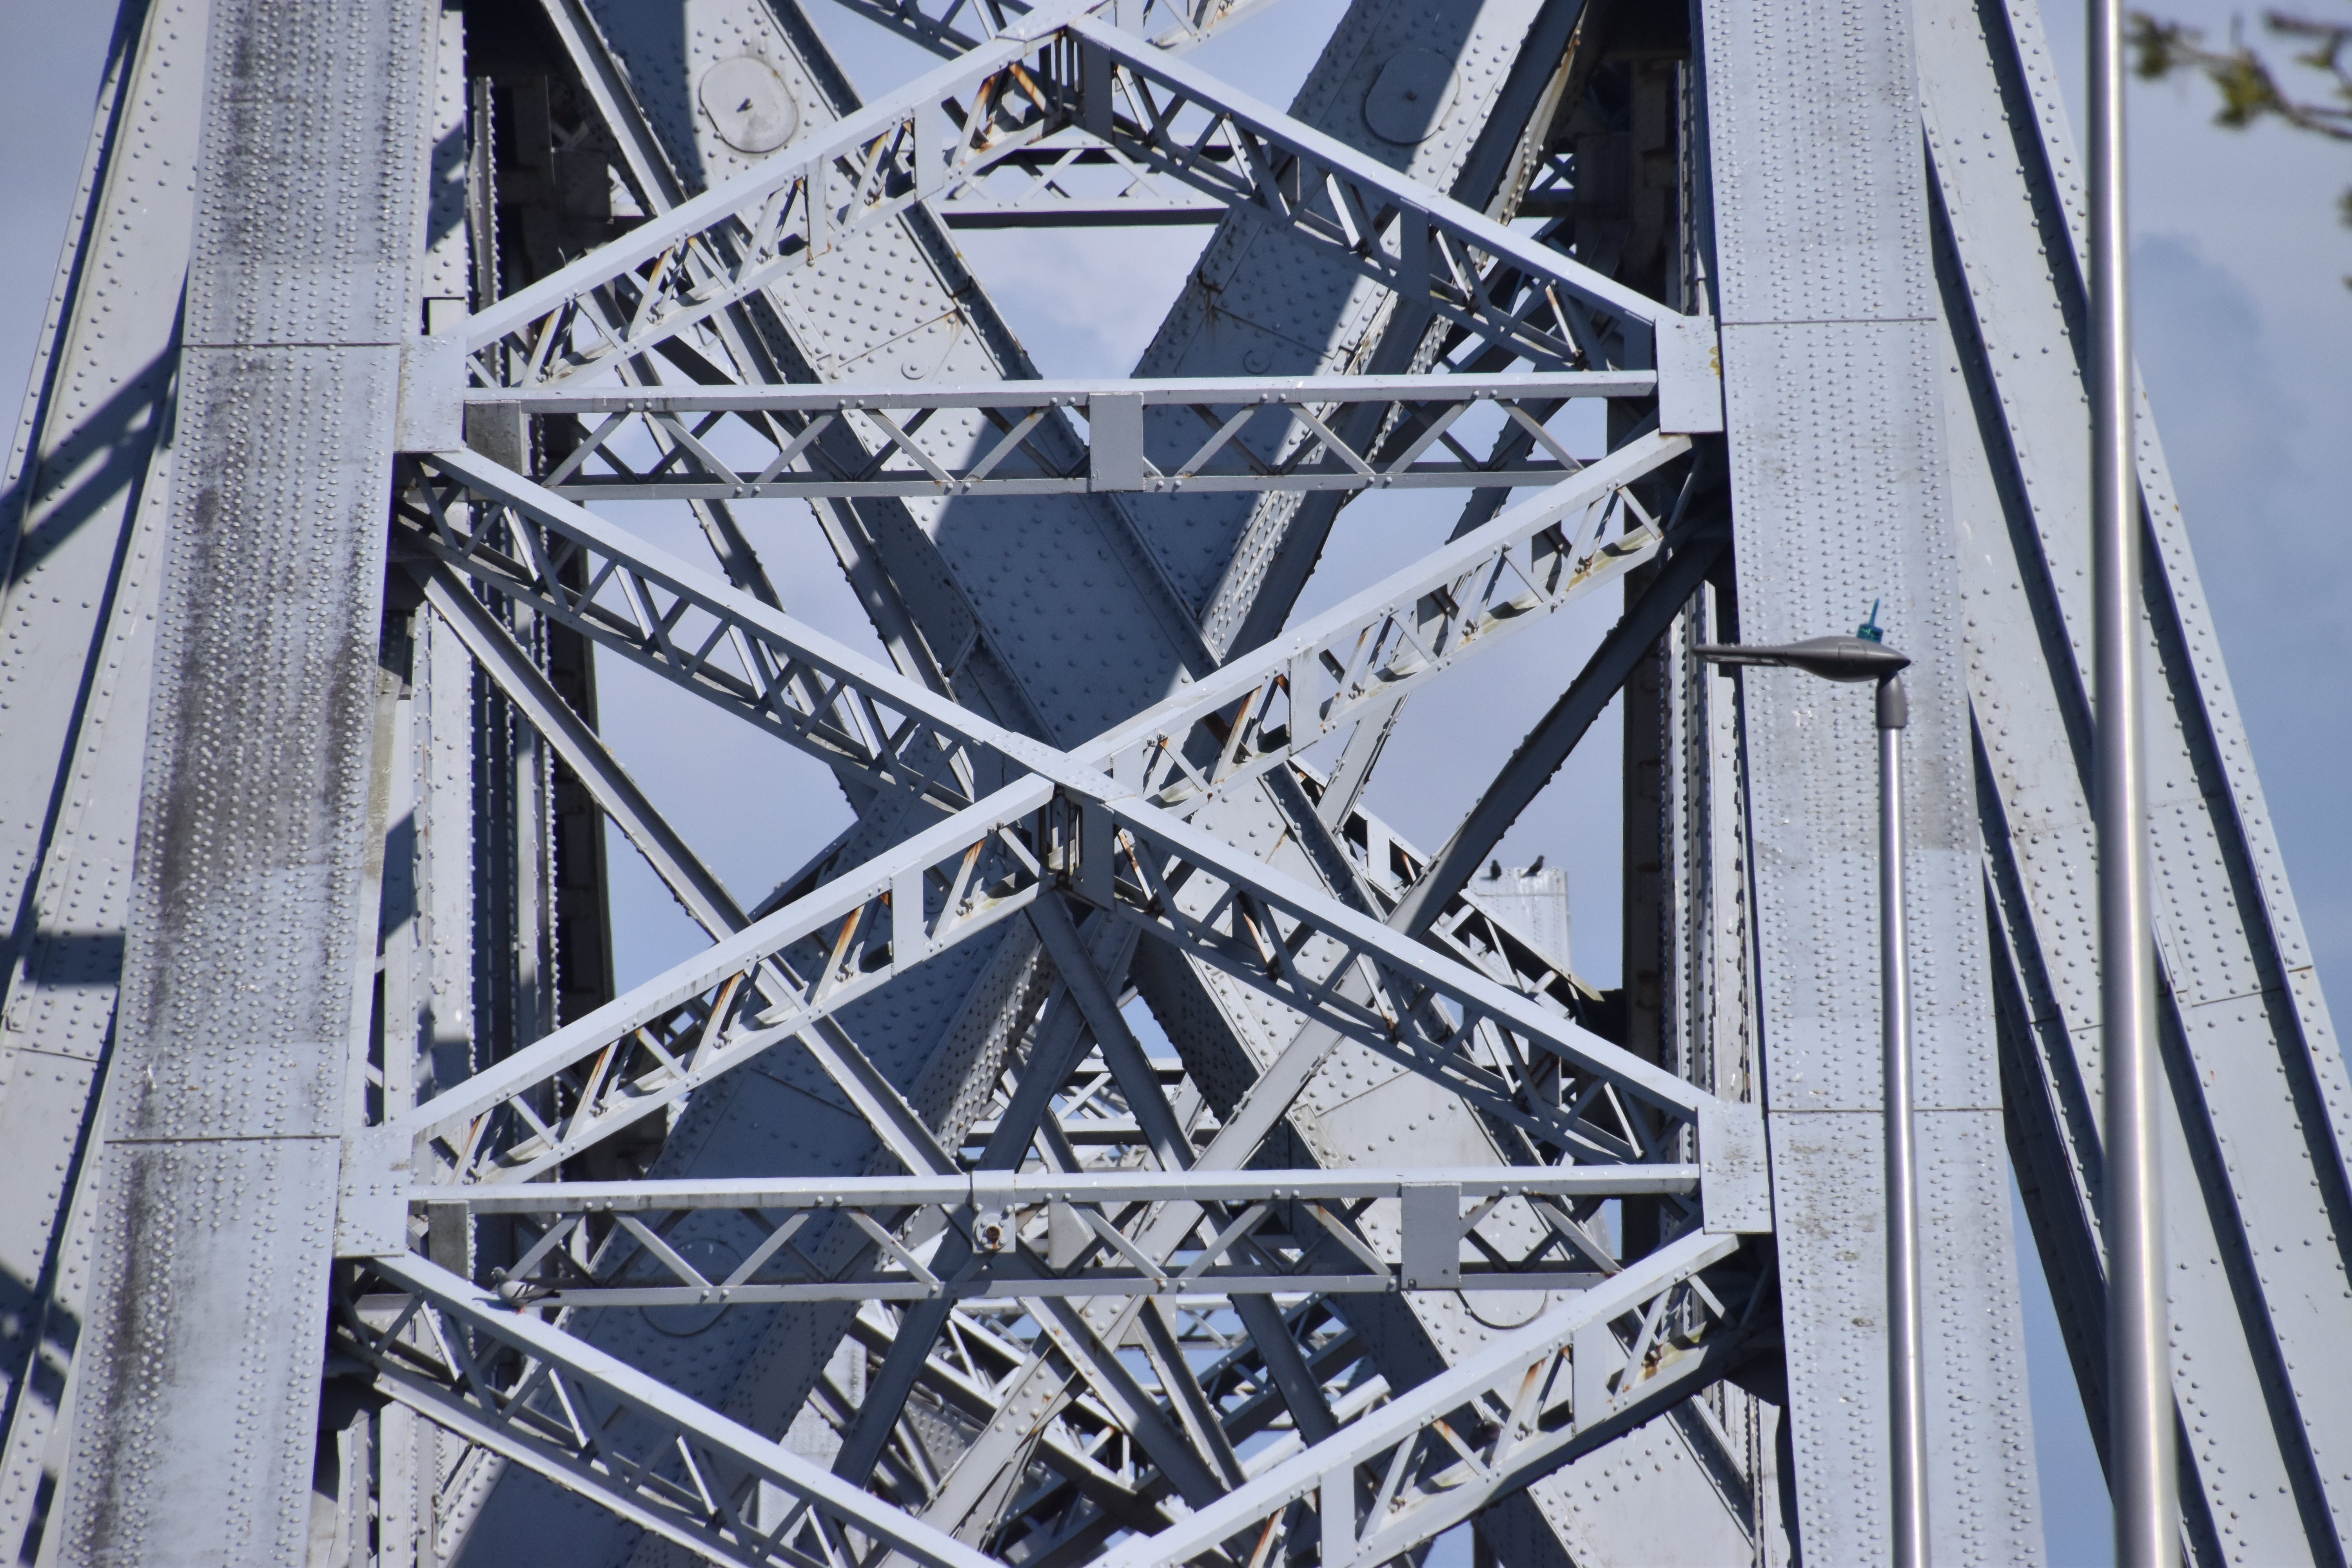
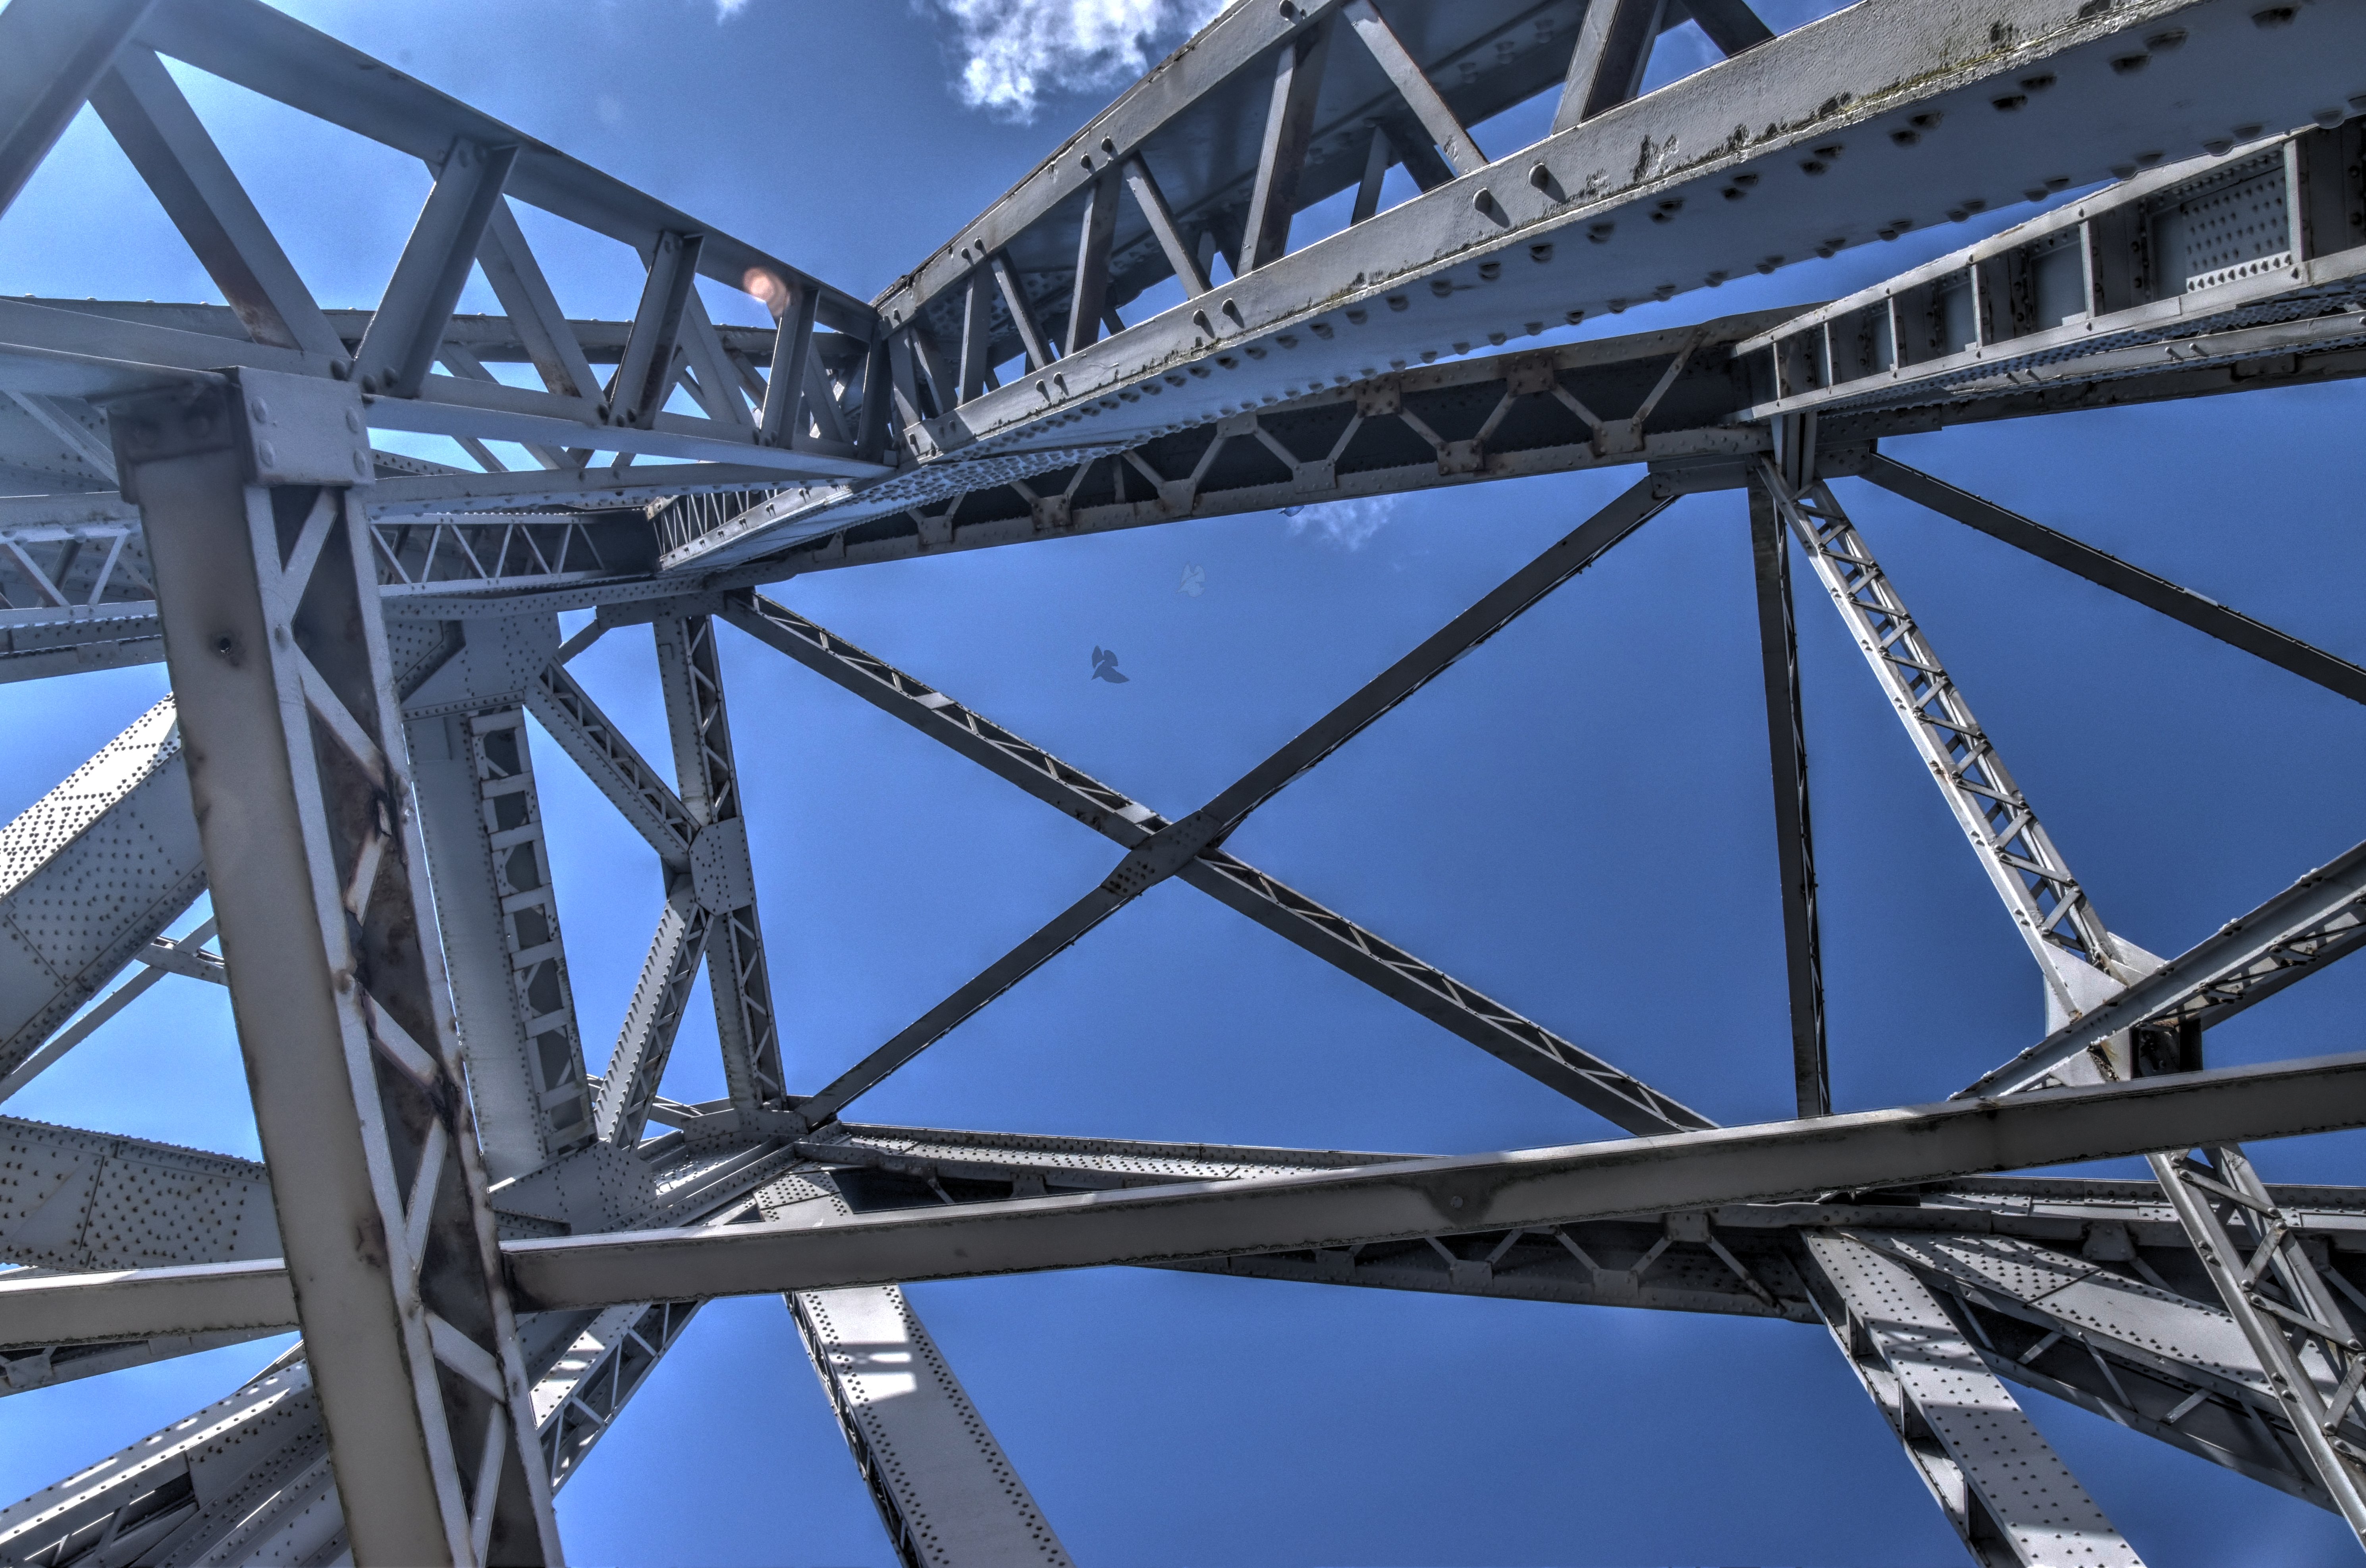
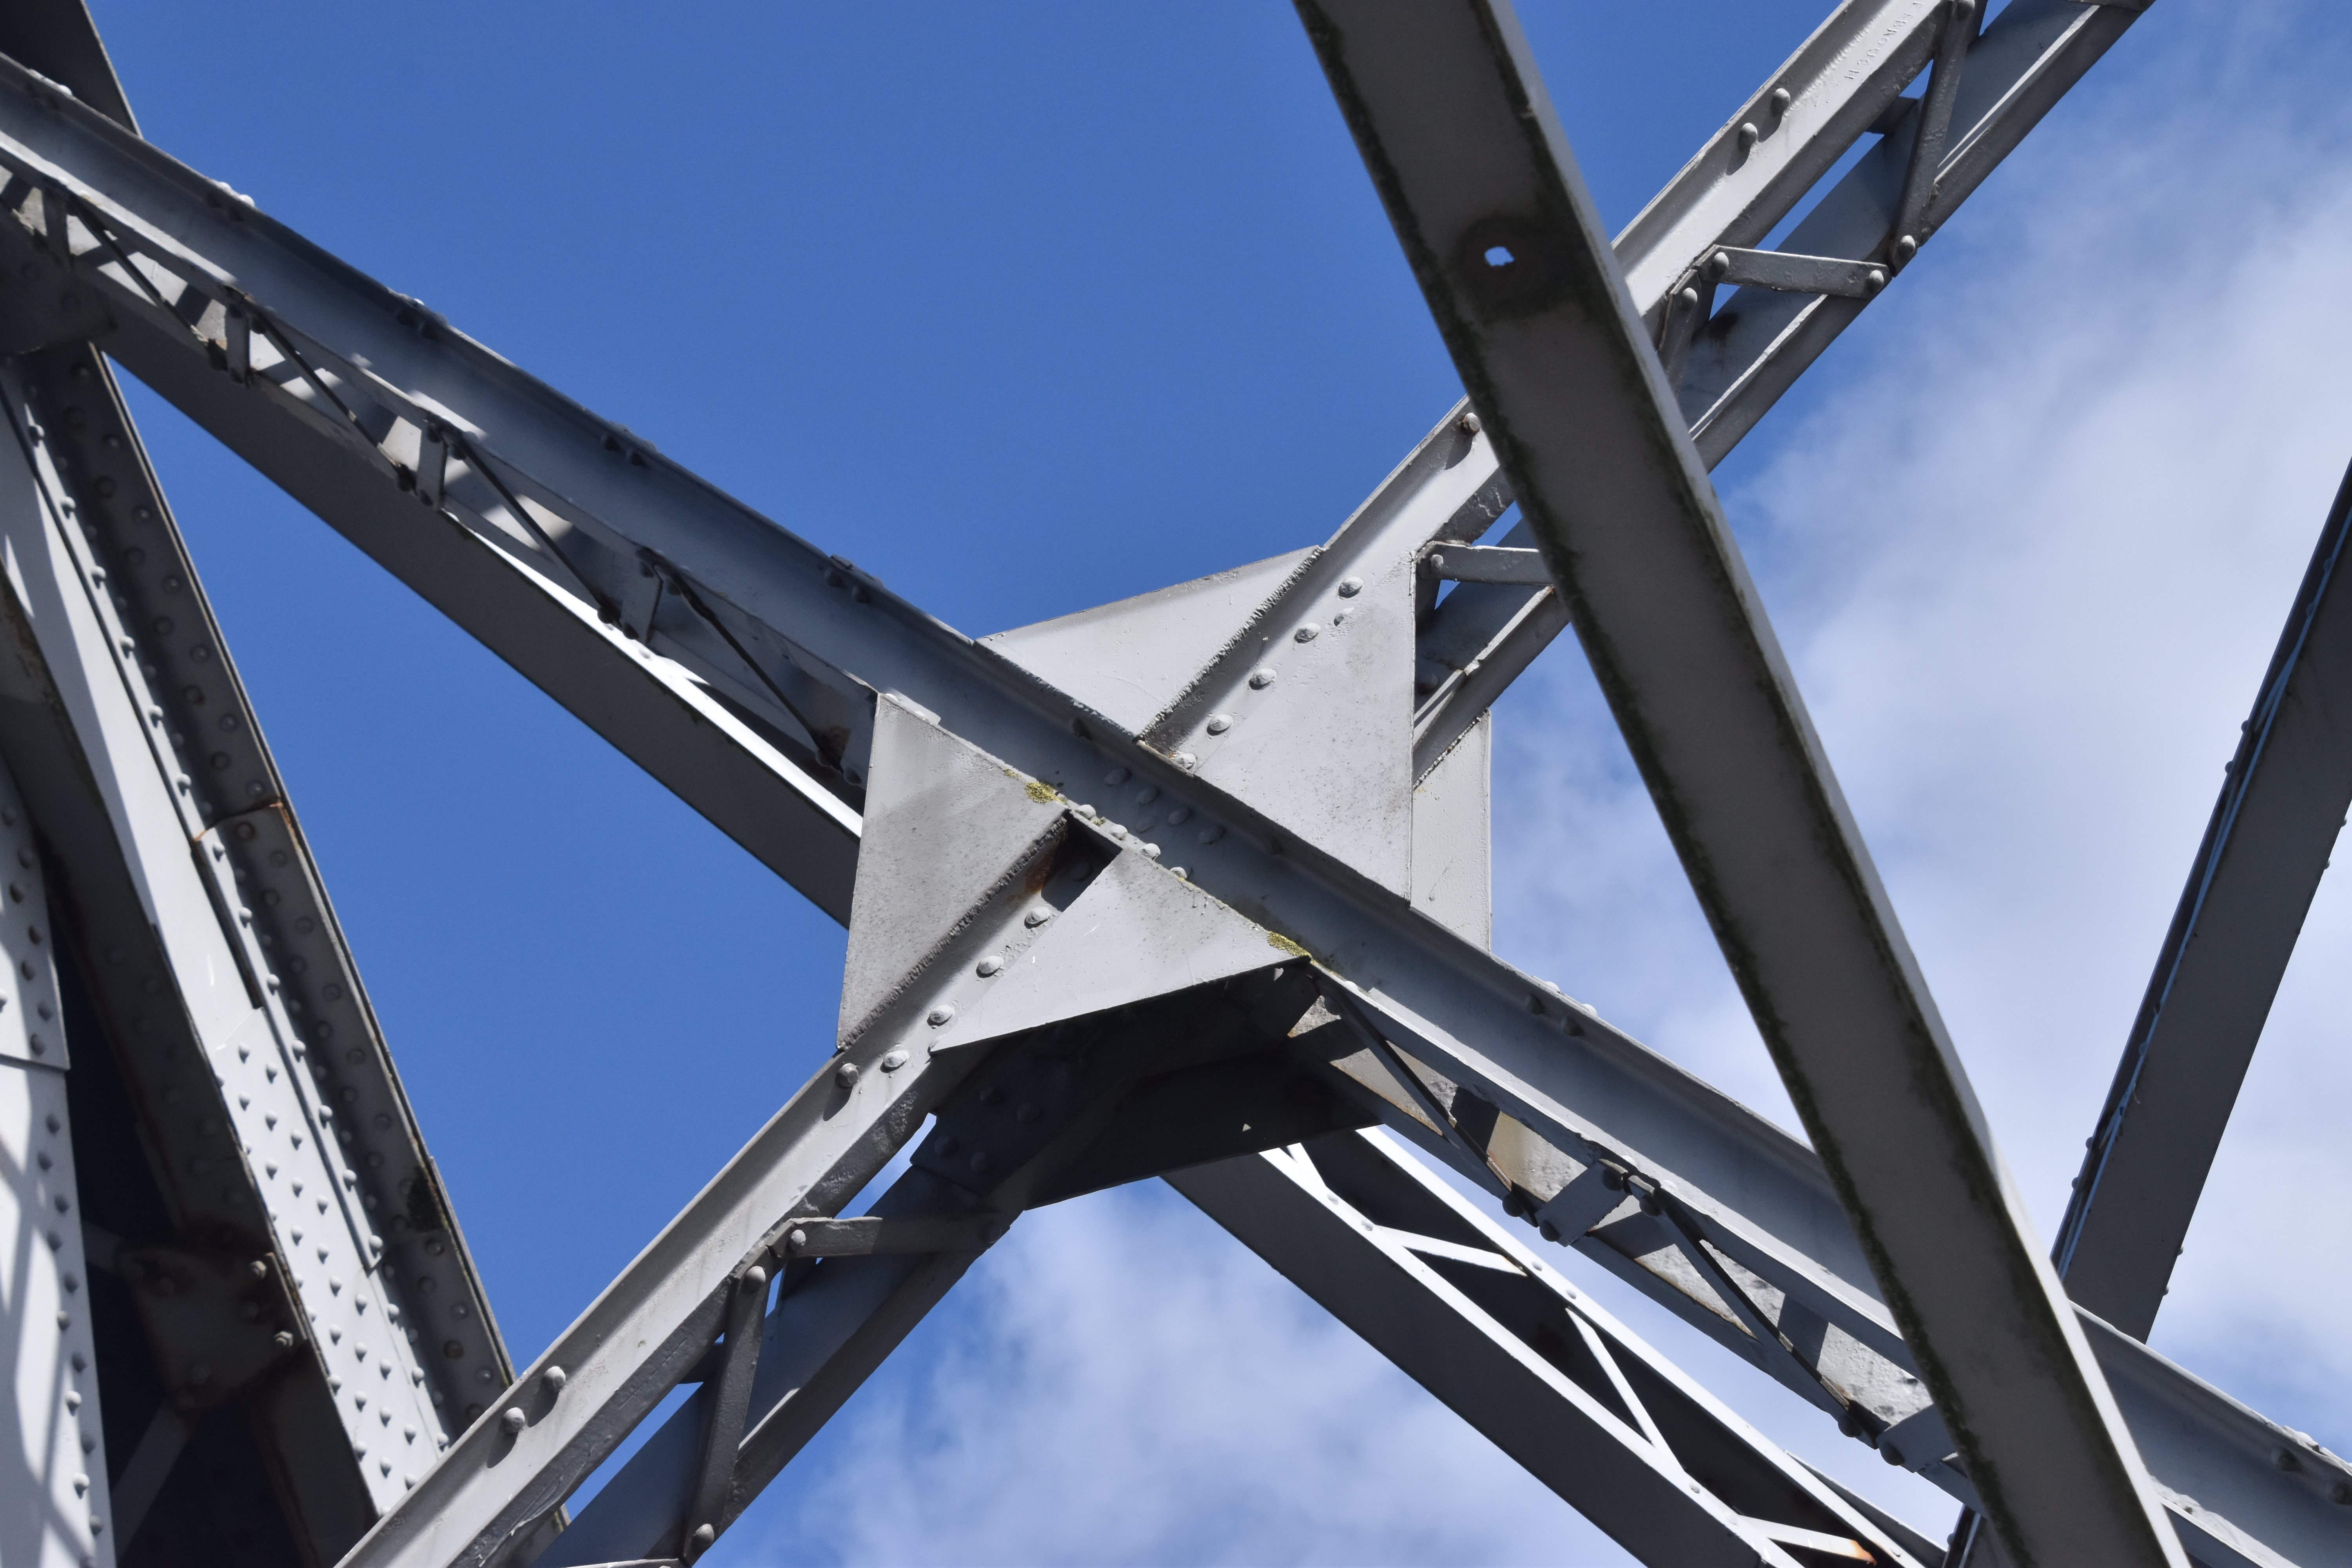
Views showing the large "X" of the main post sway bracing.
![]()
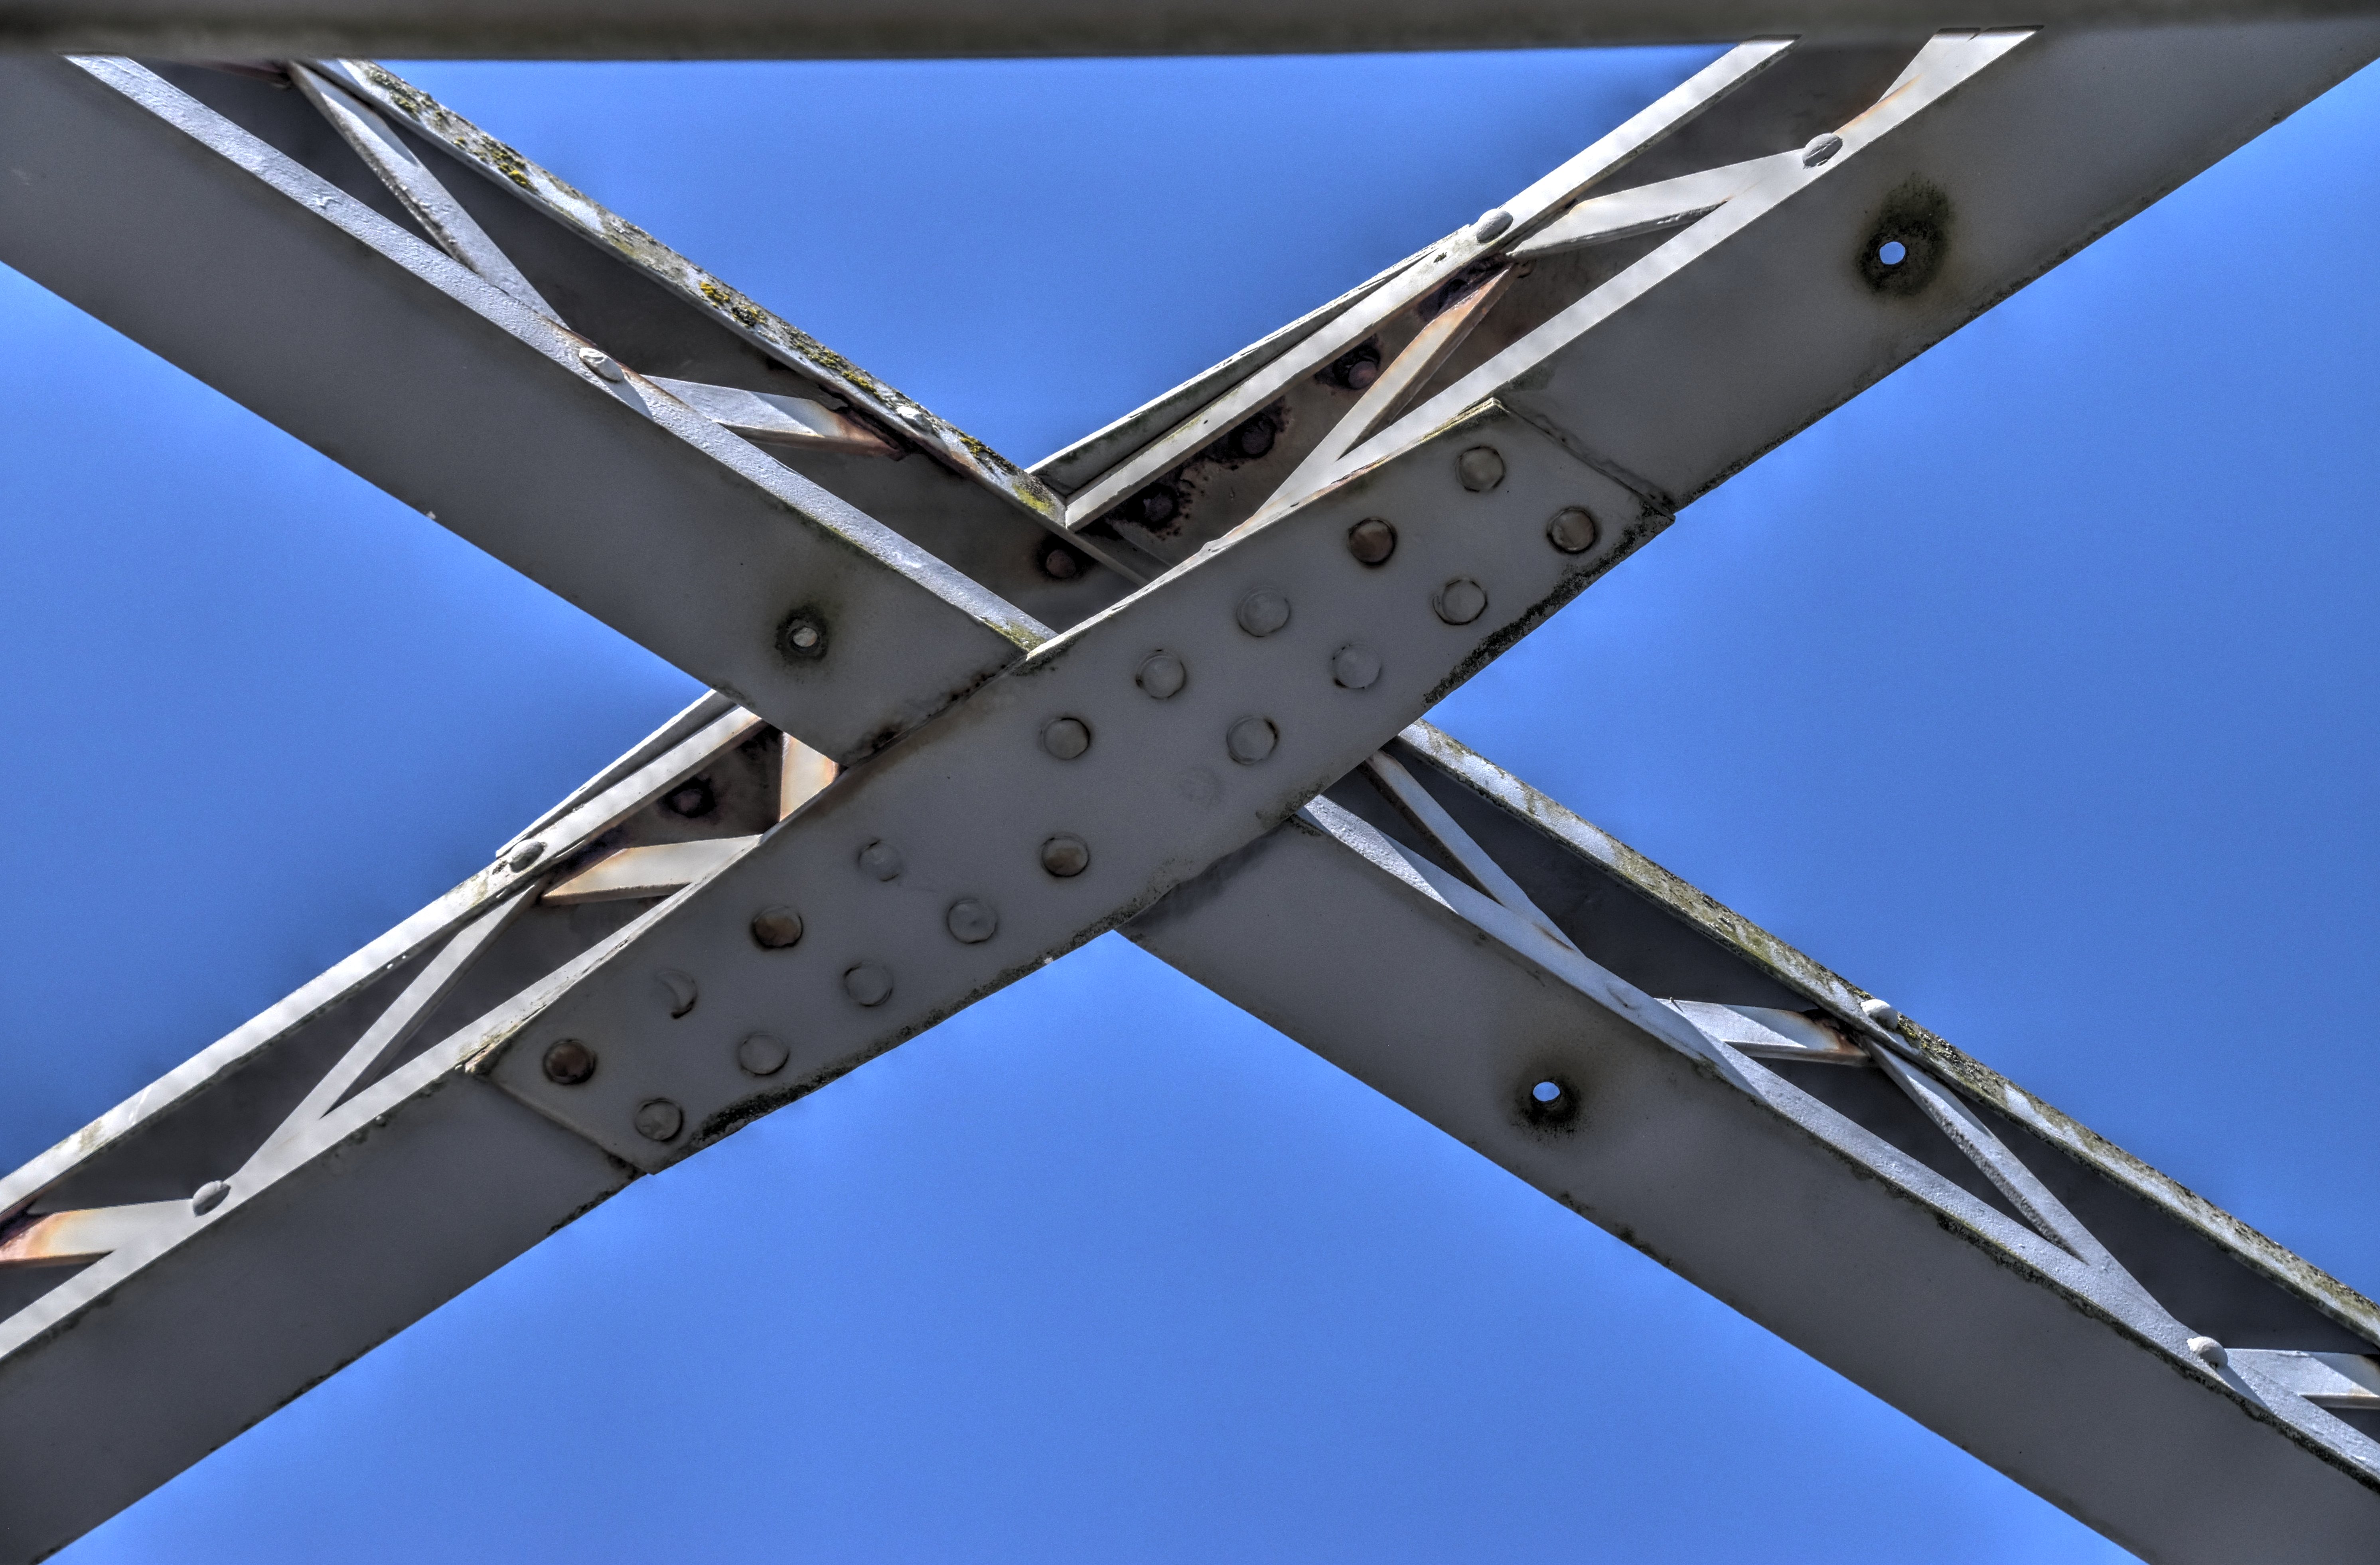
Details of the large "X" of the main post sway bracing.
![]()
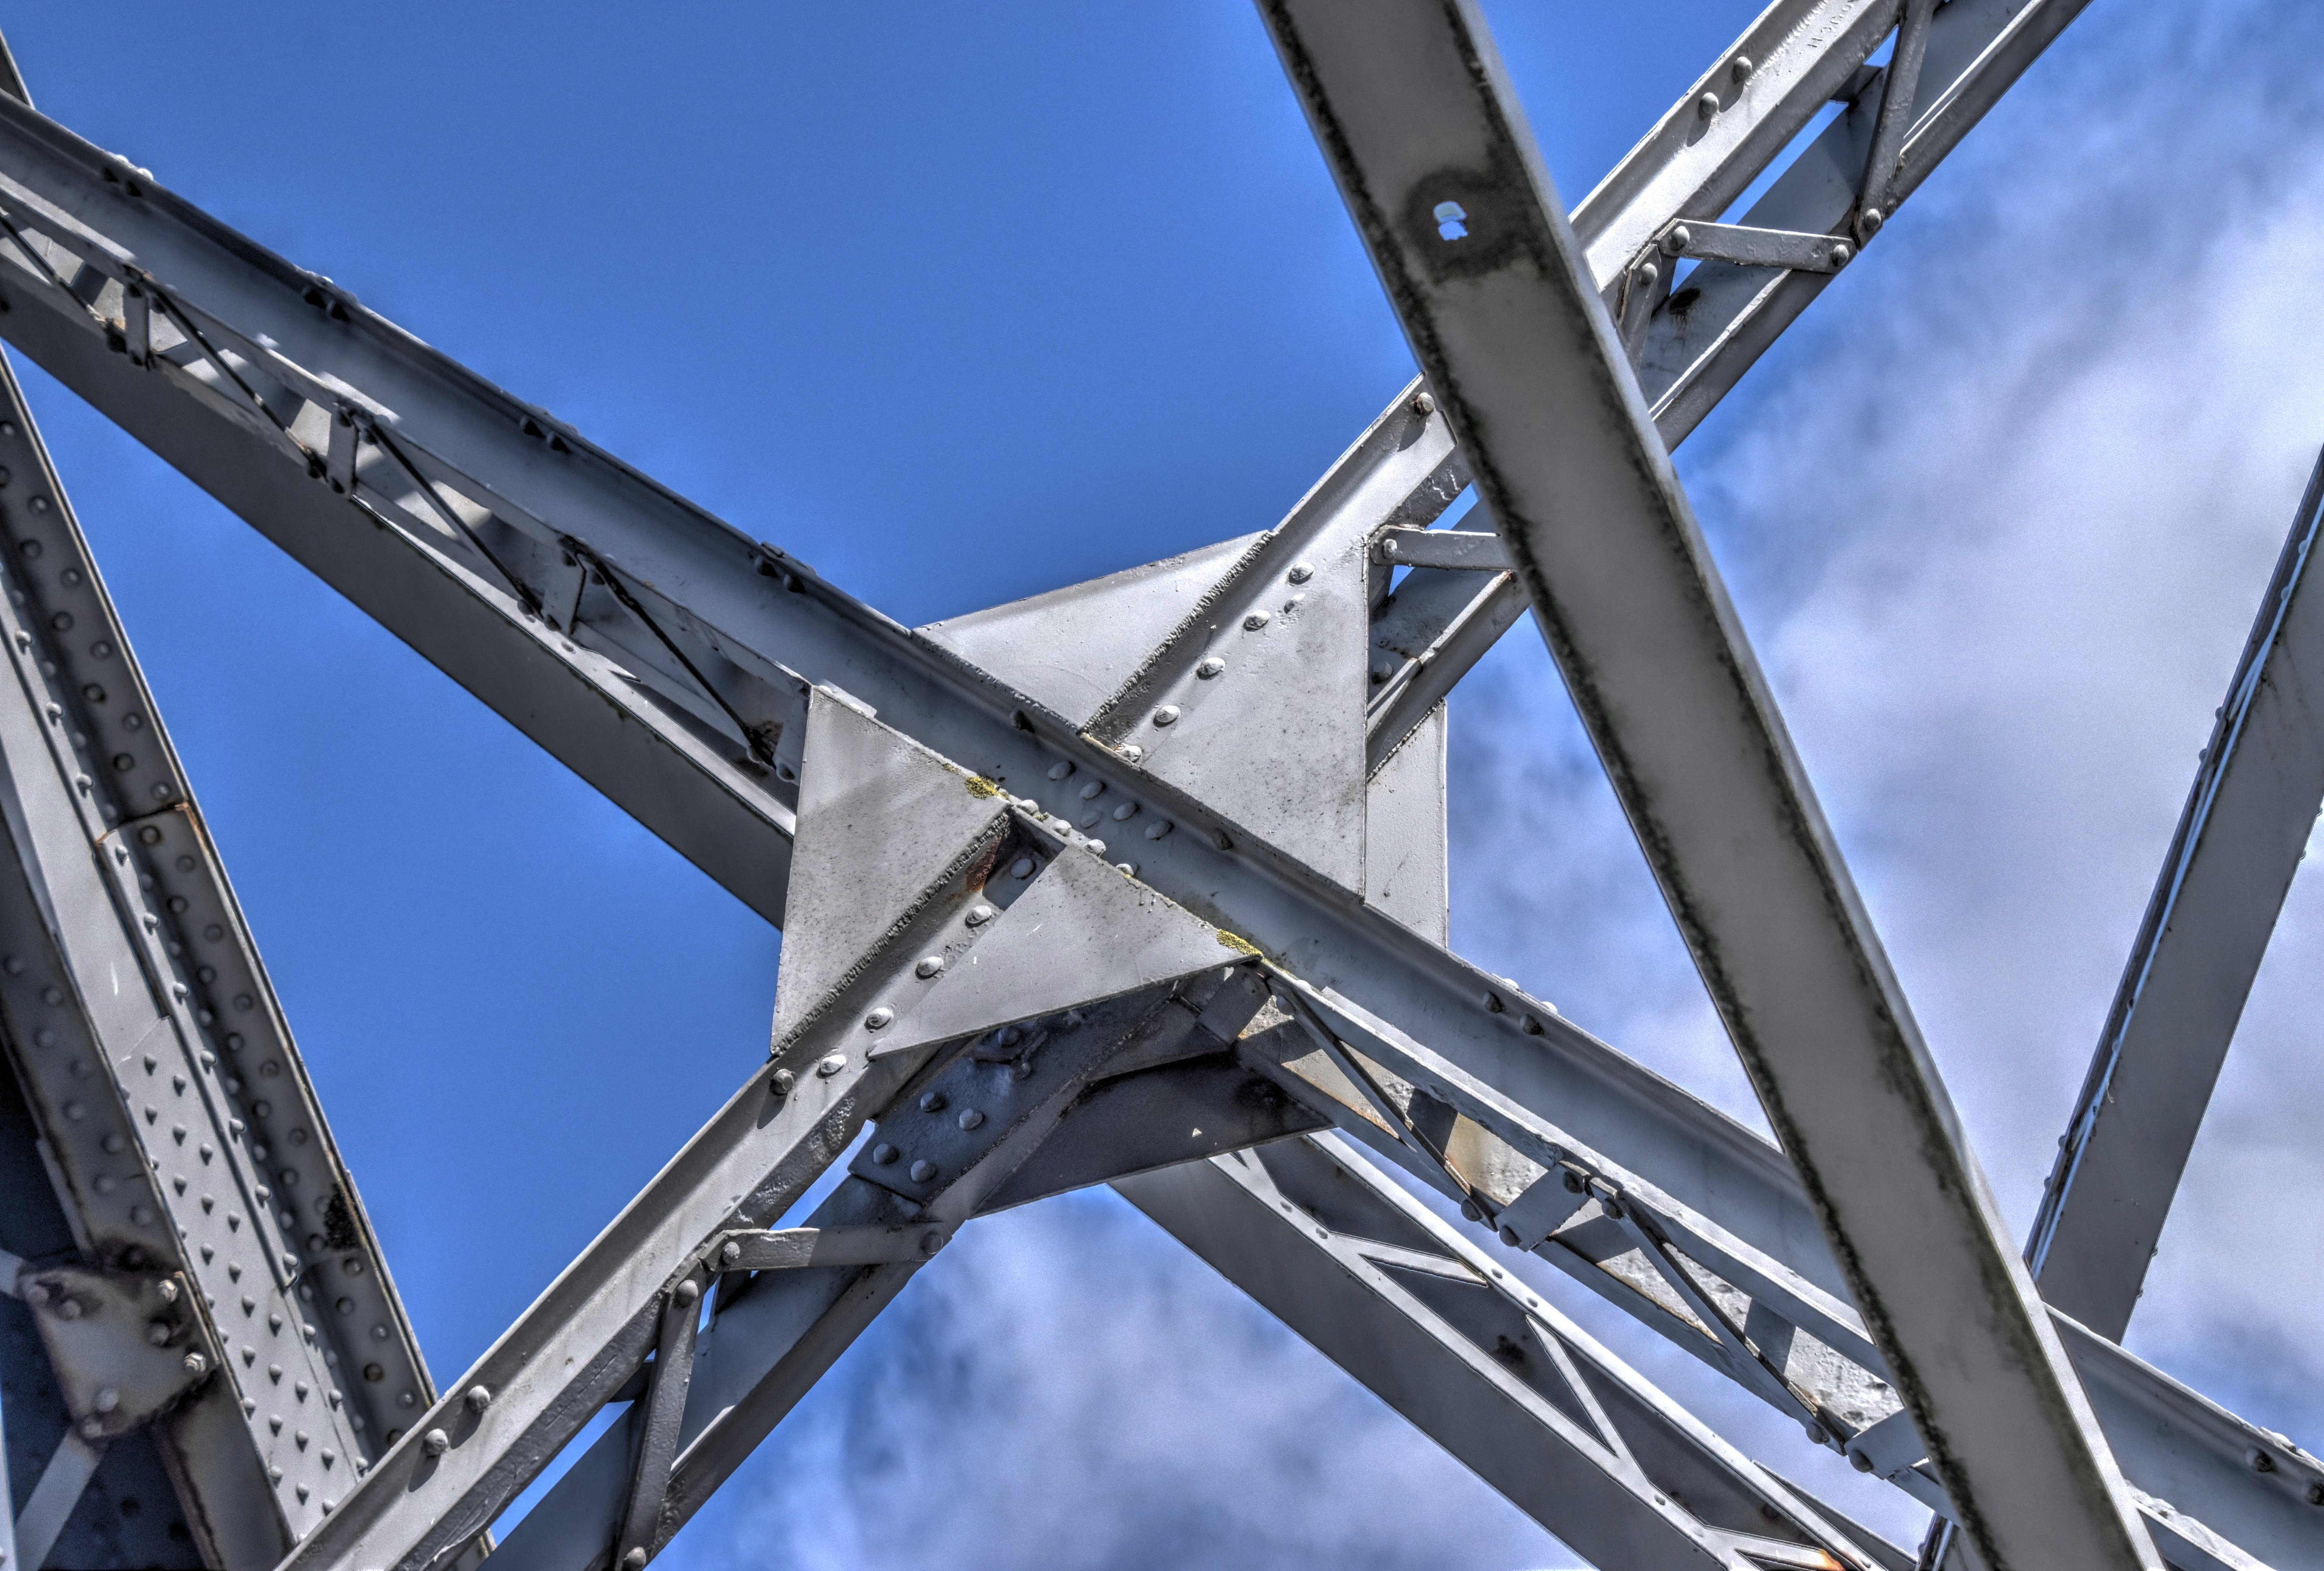
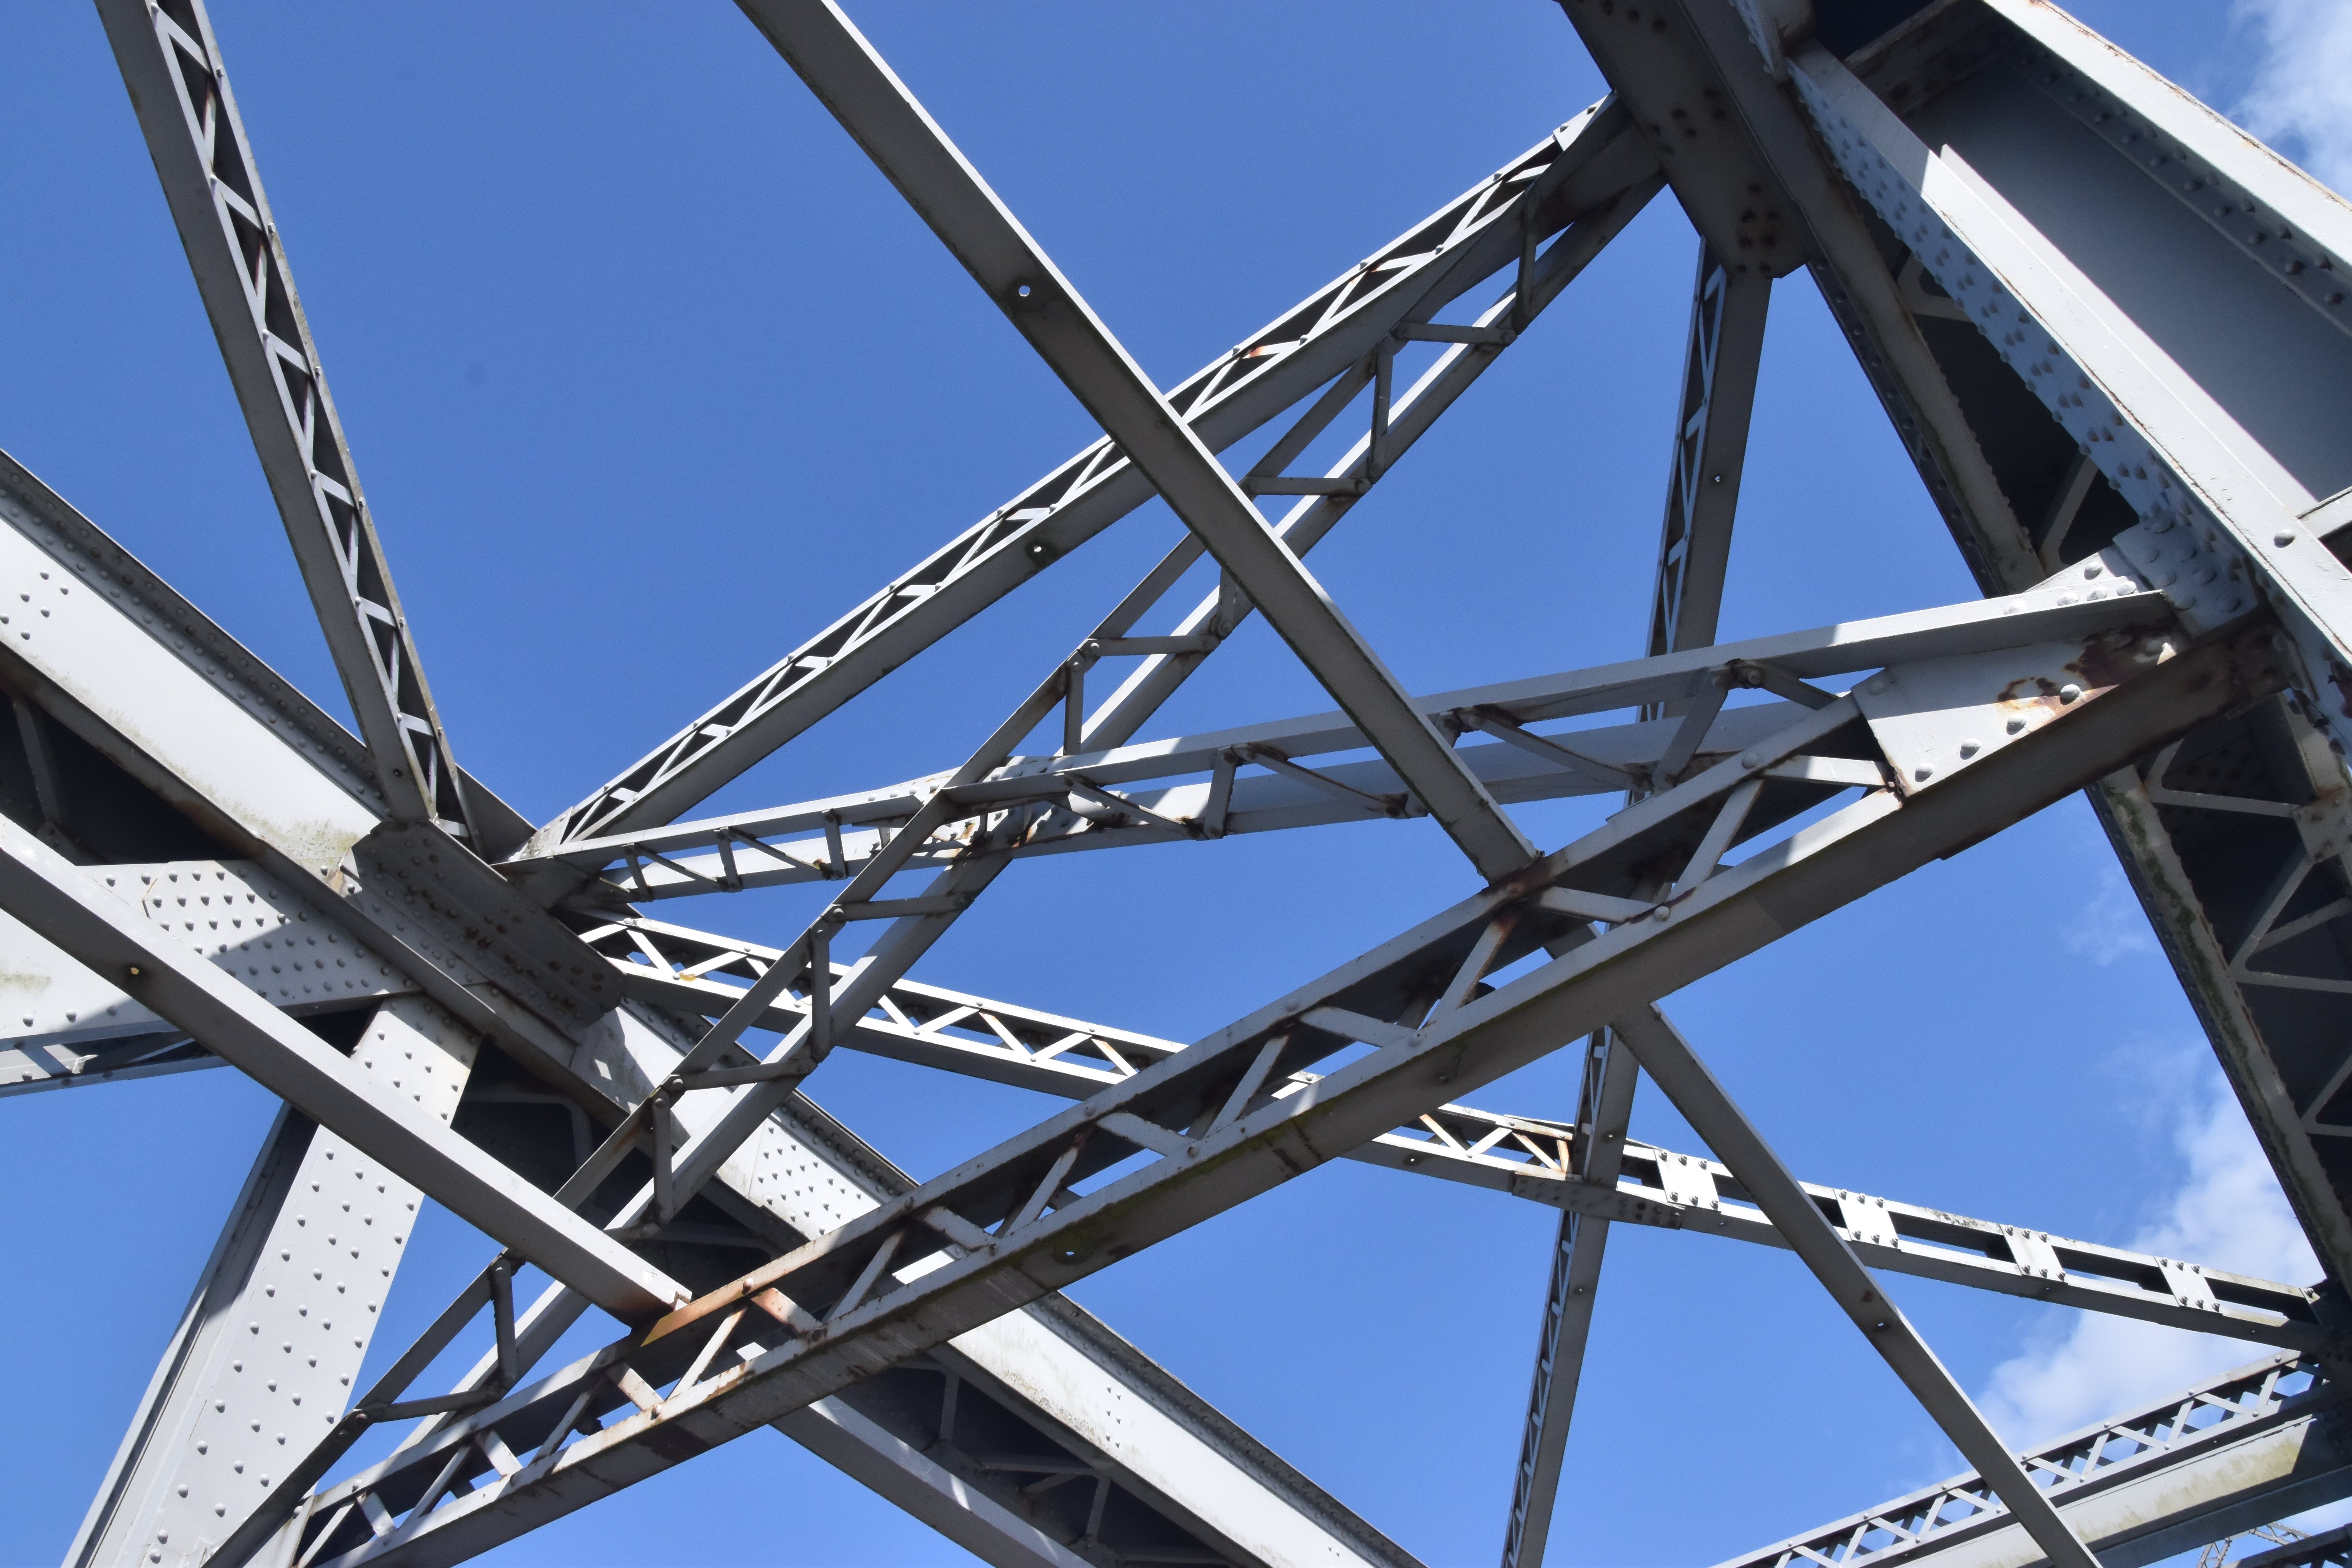
Detail of sway bracing at main post.
![]()

Main post sway bracing upper connection to main post.
![]()

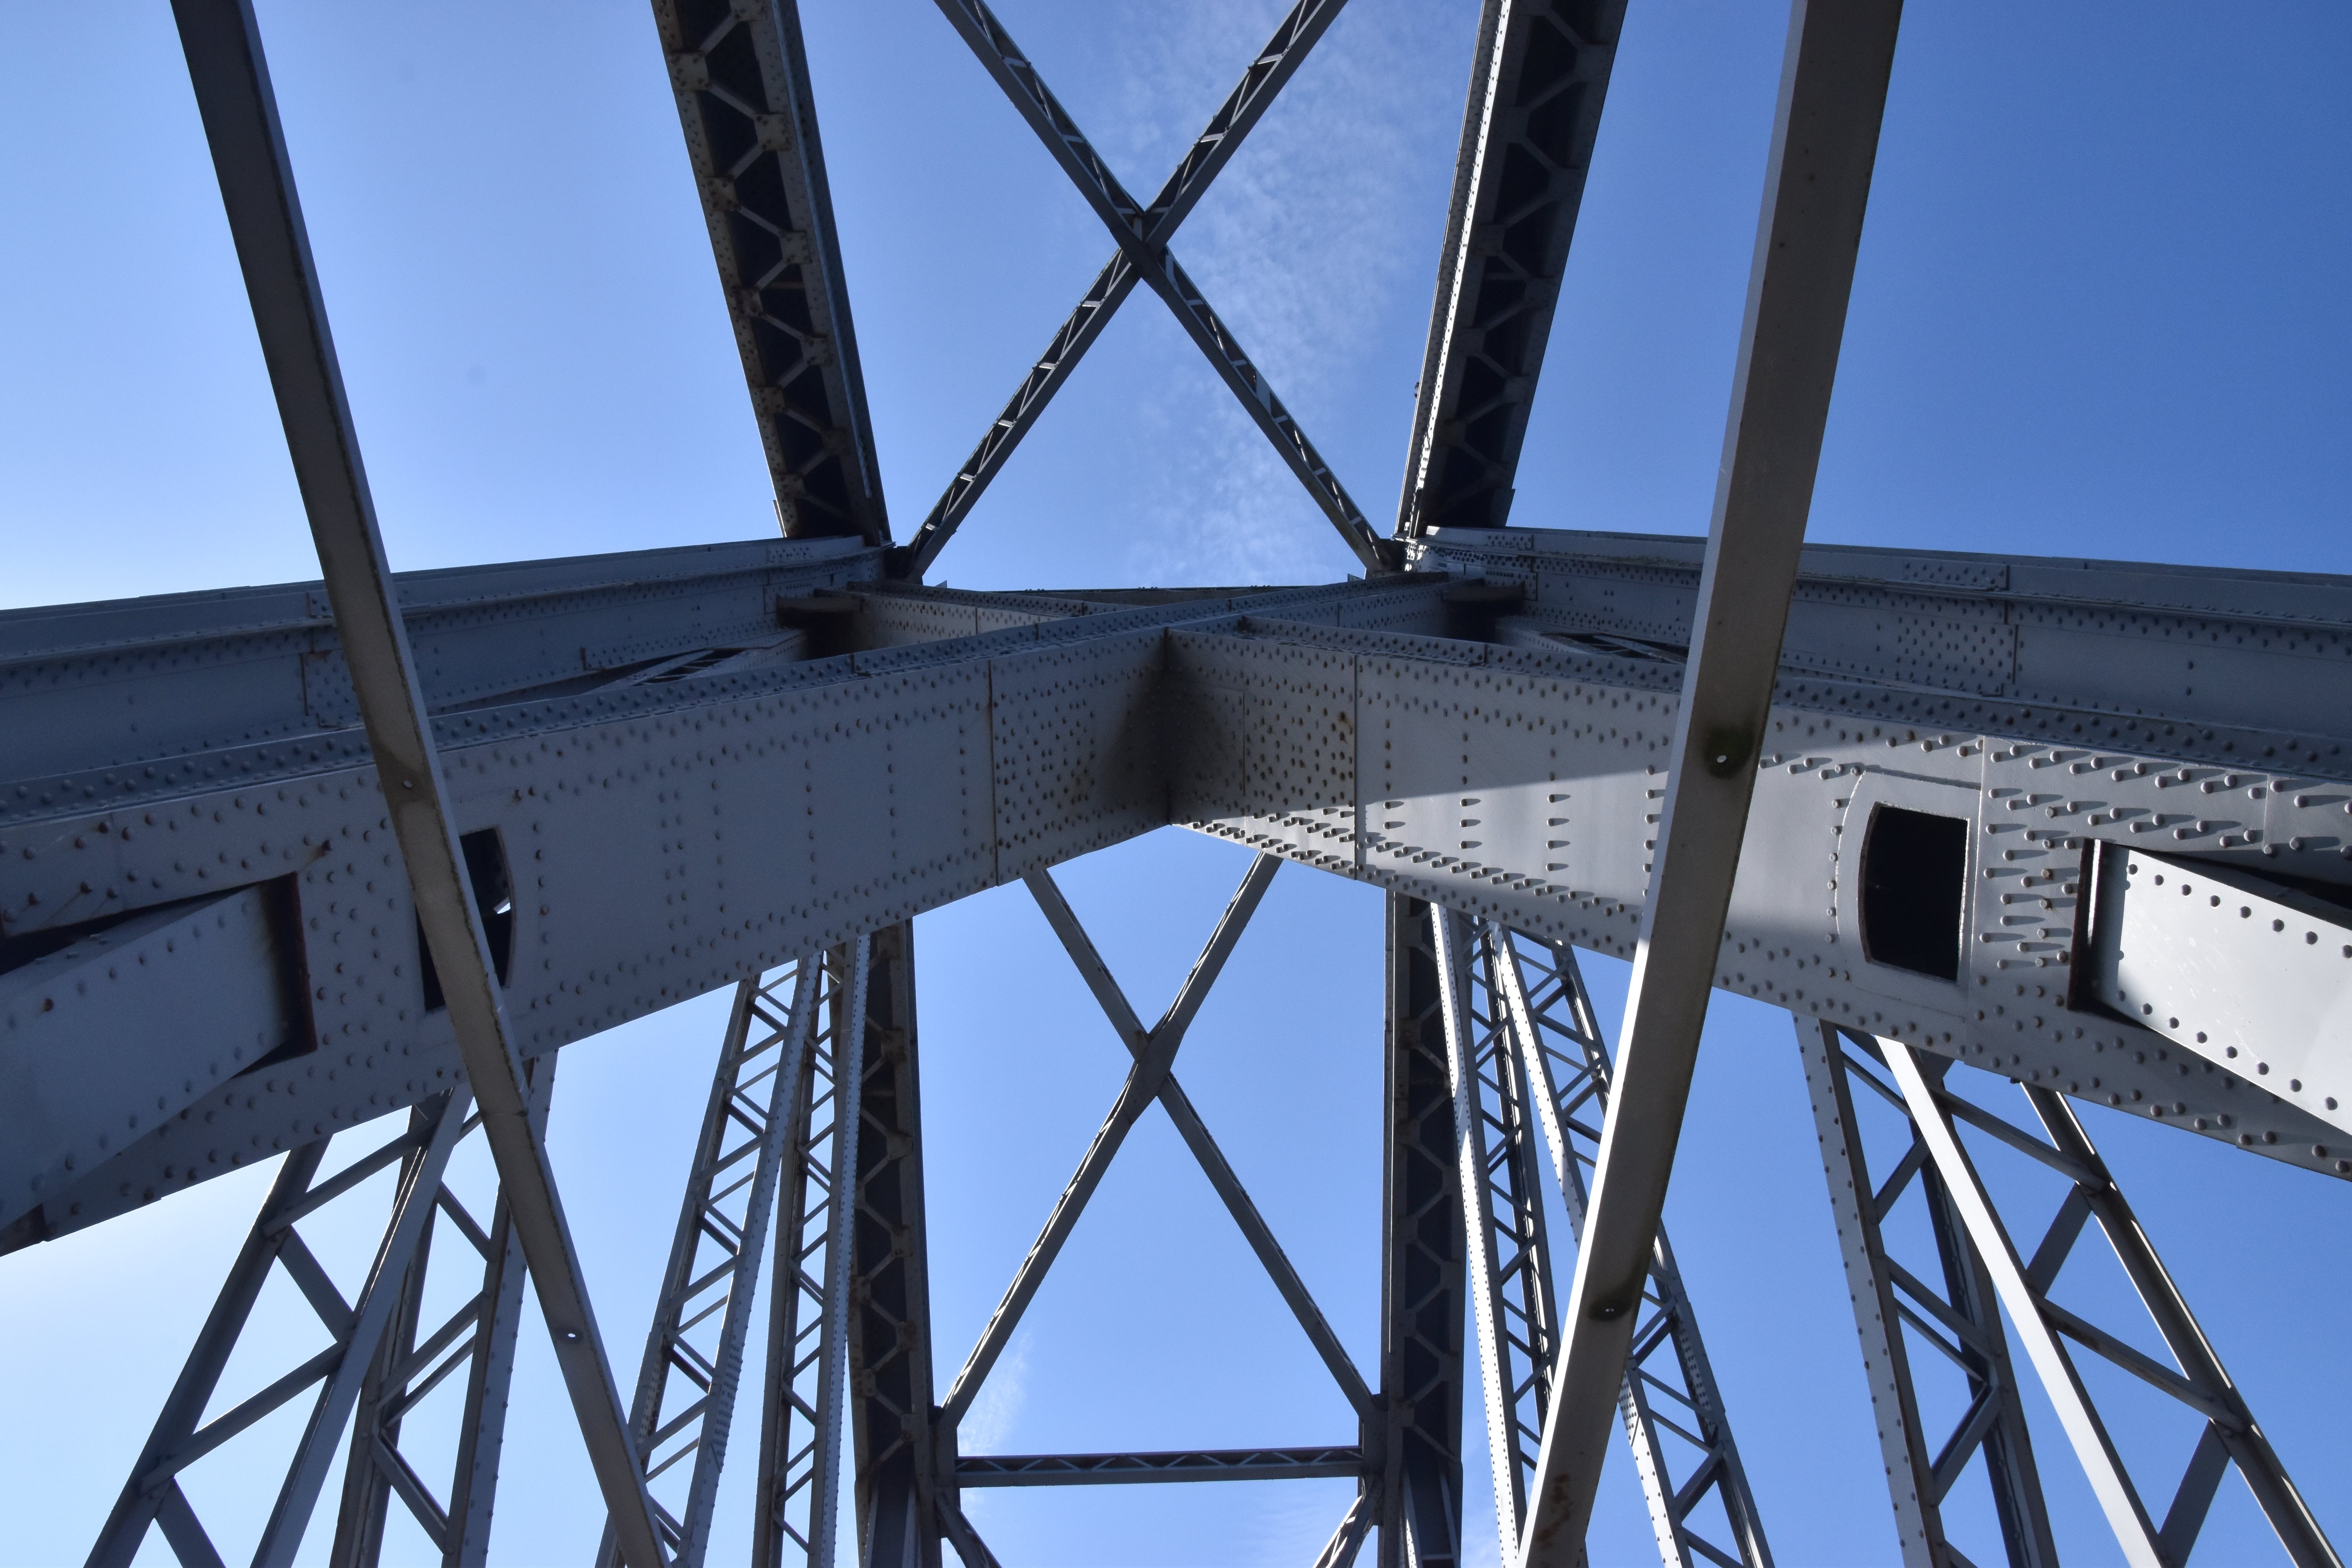
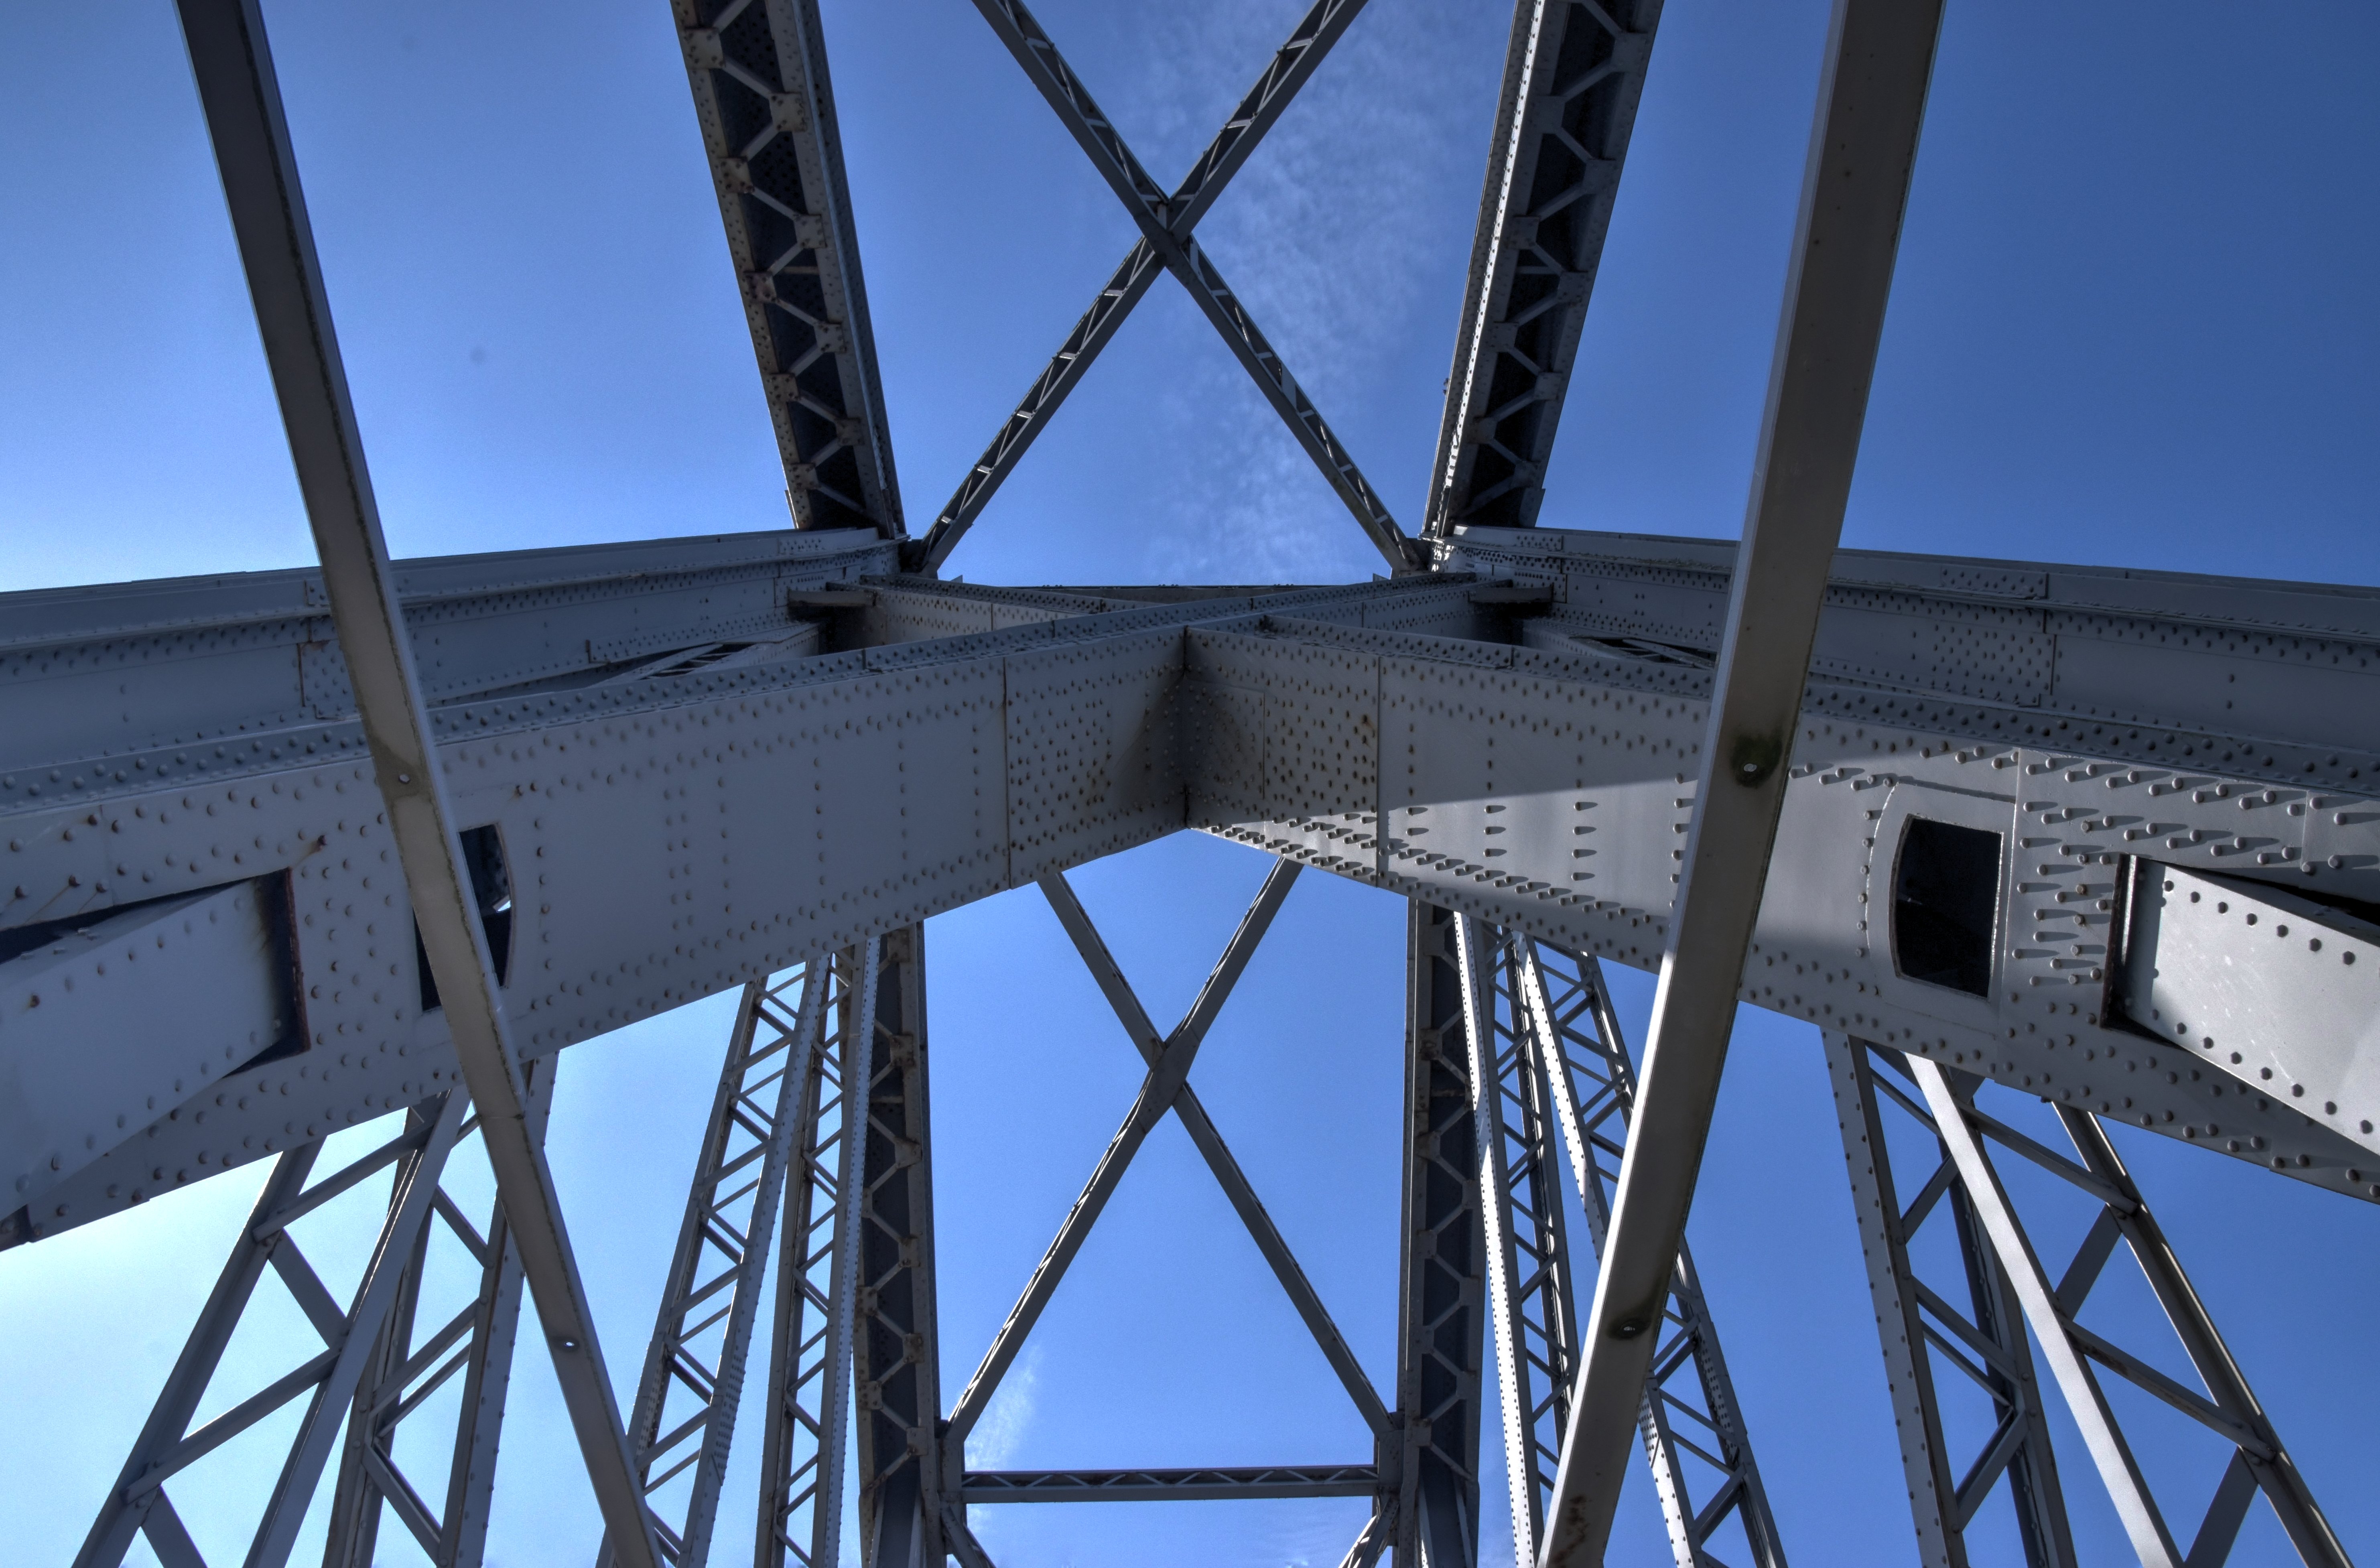
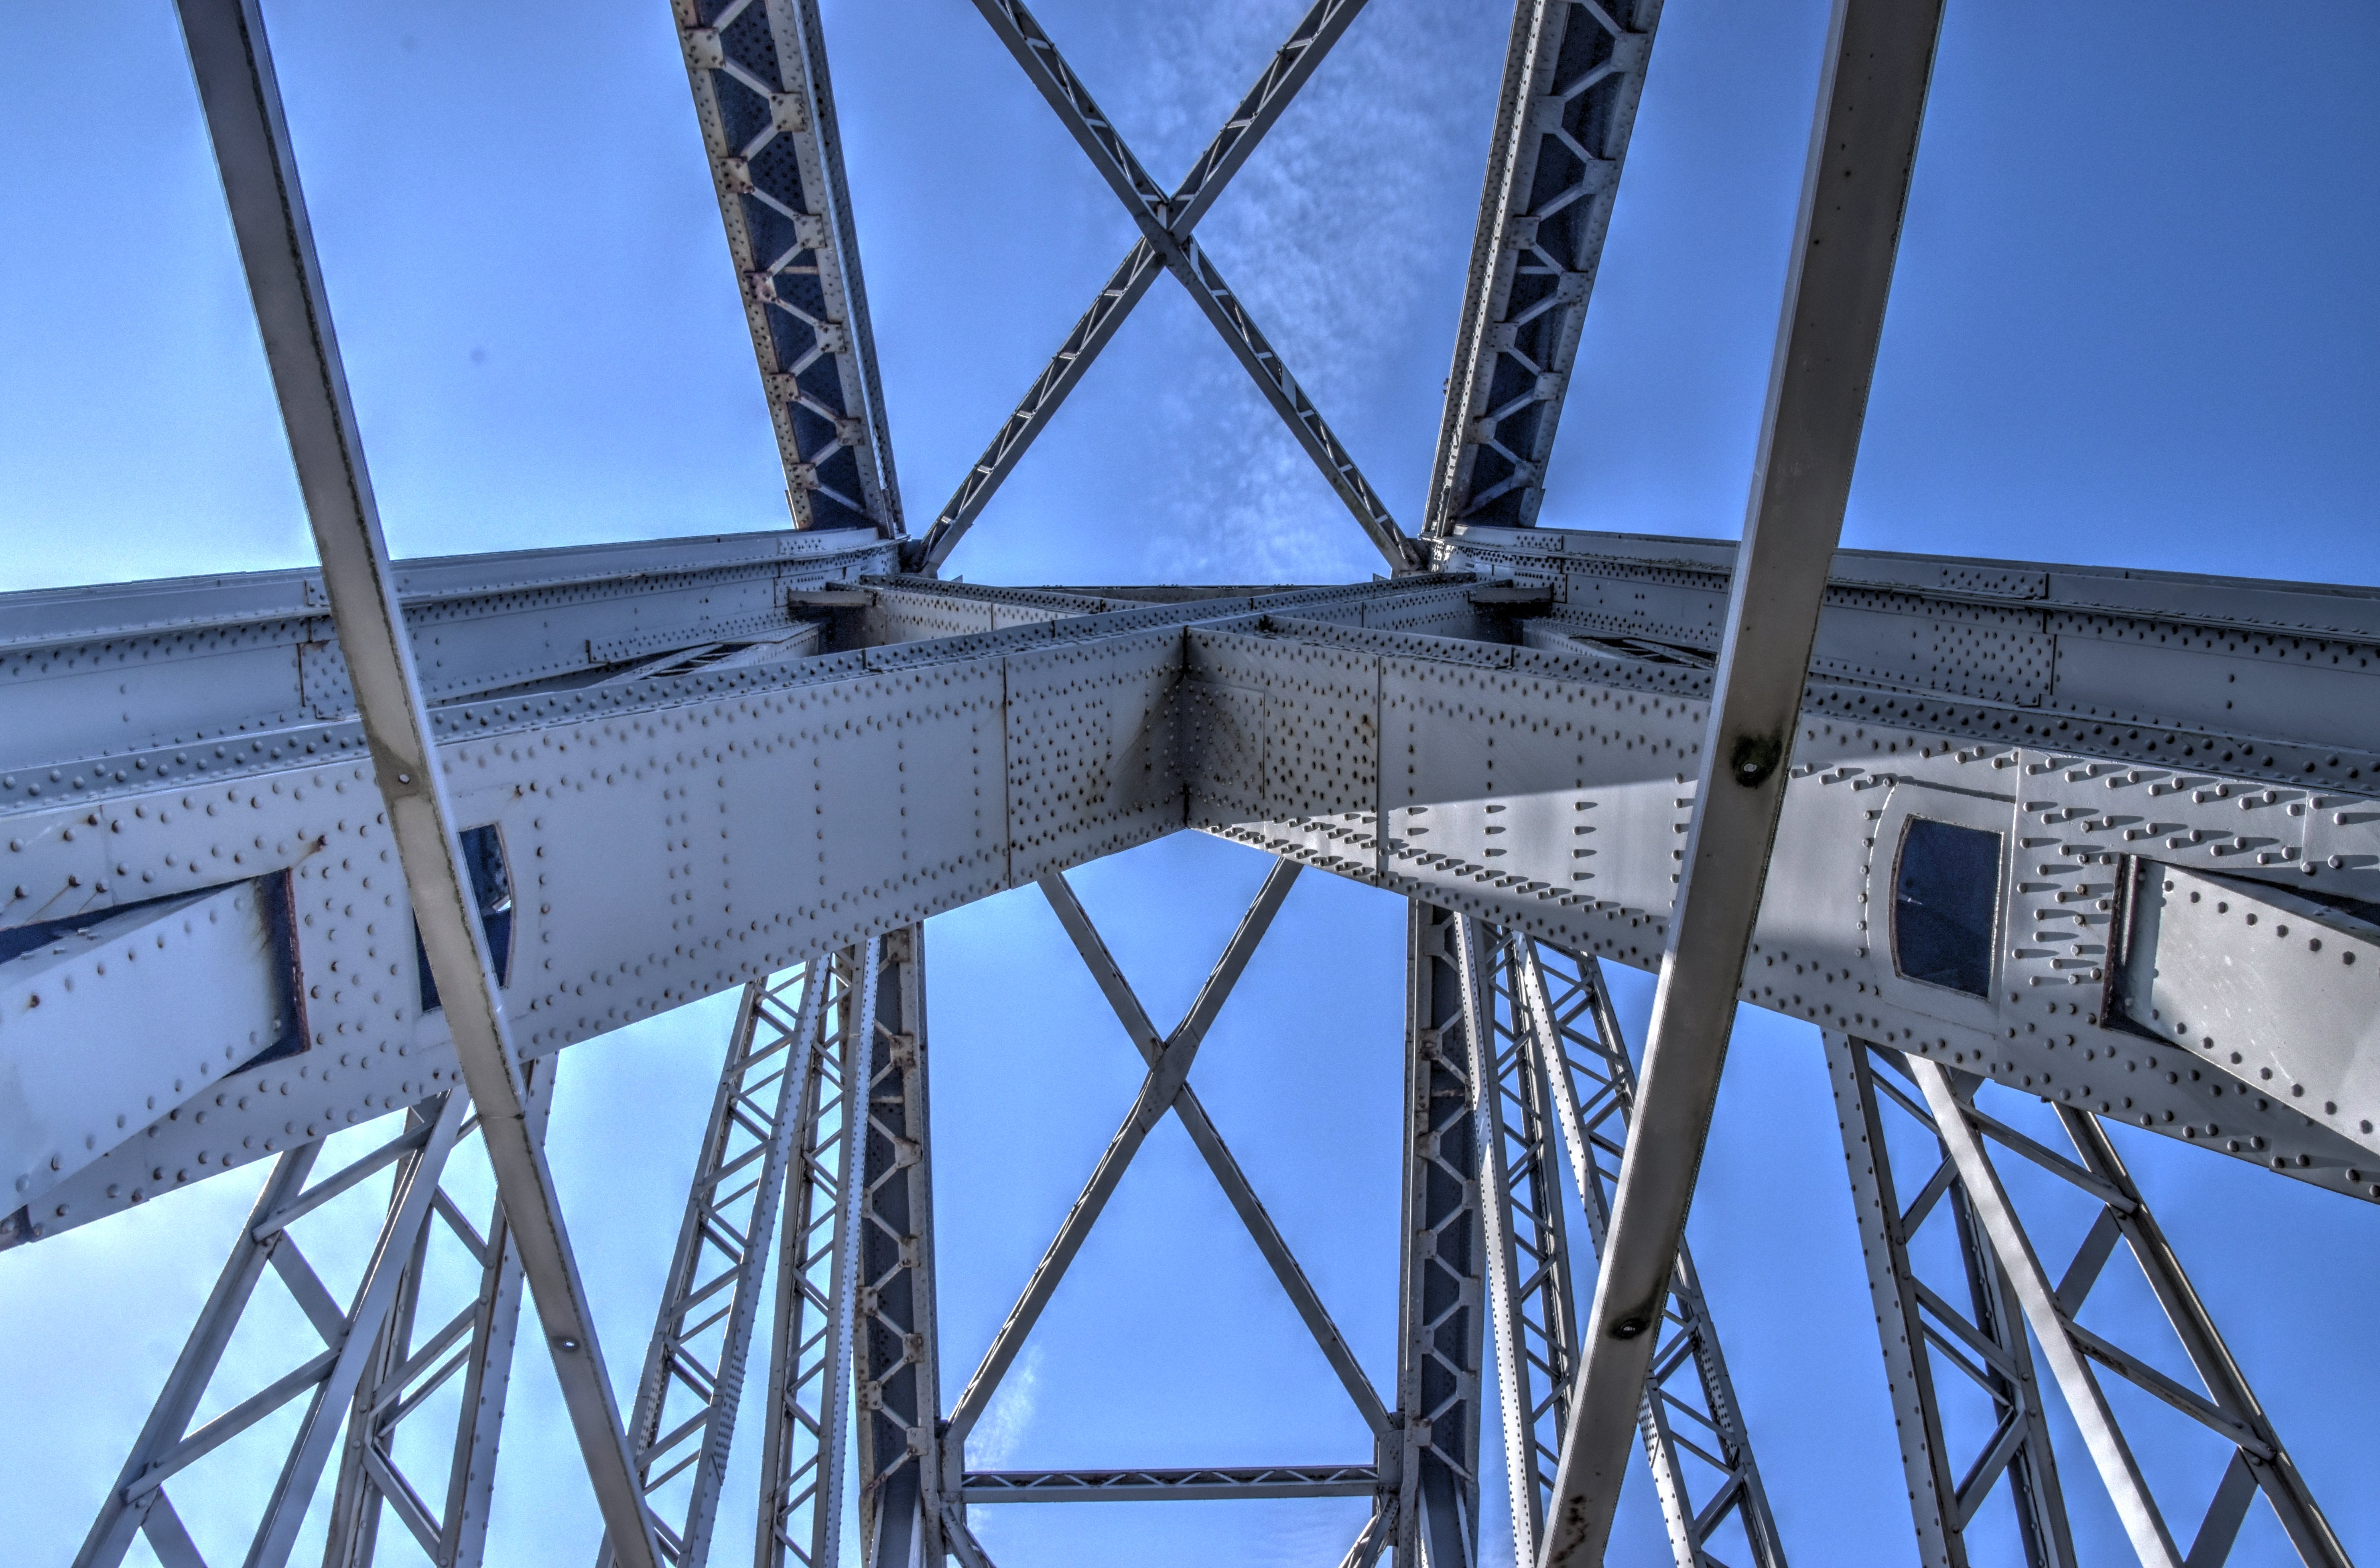
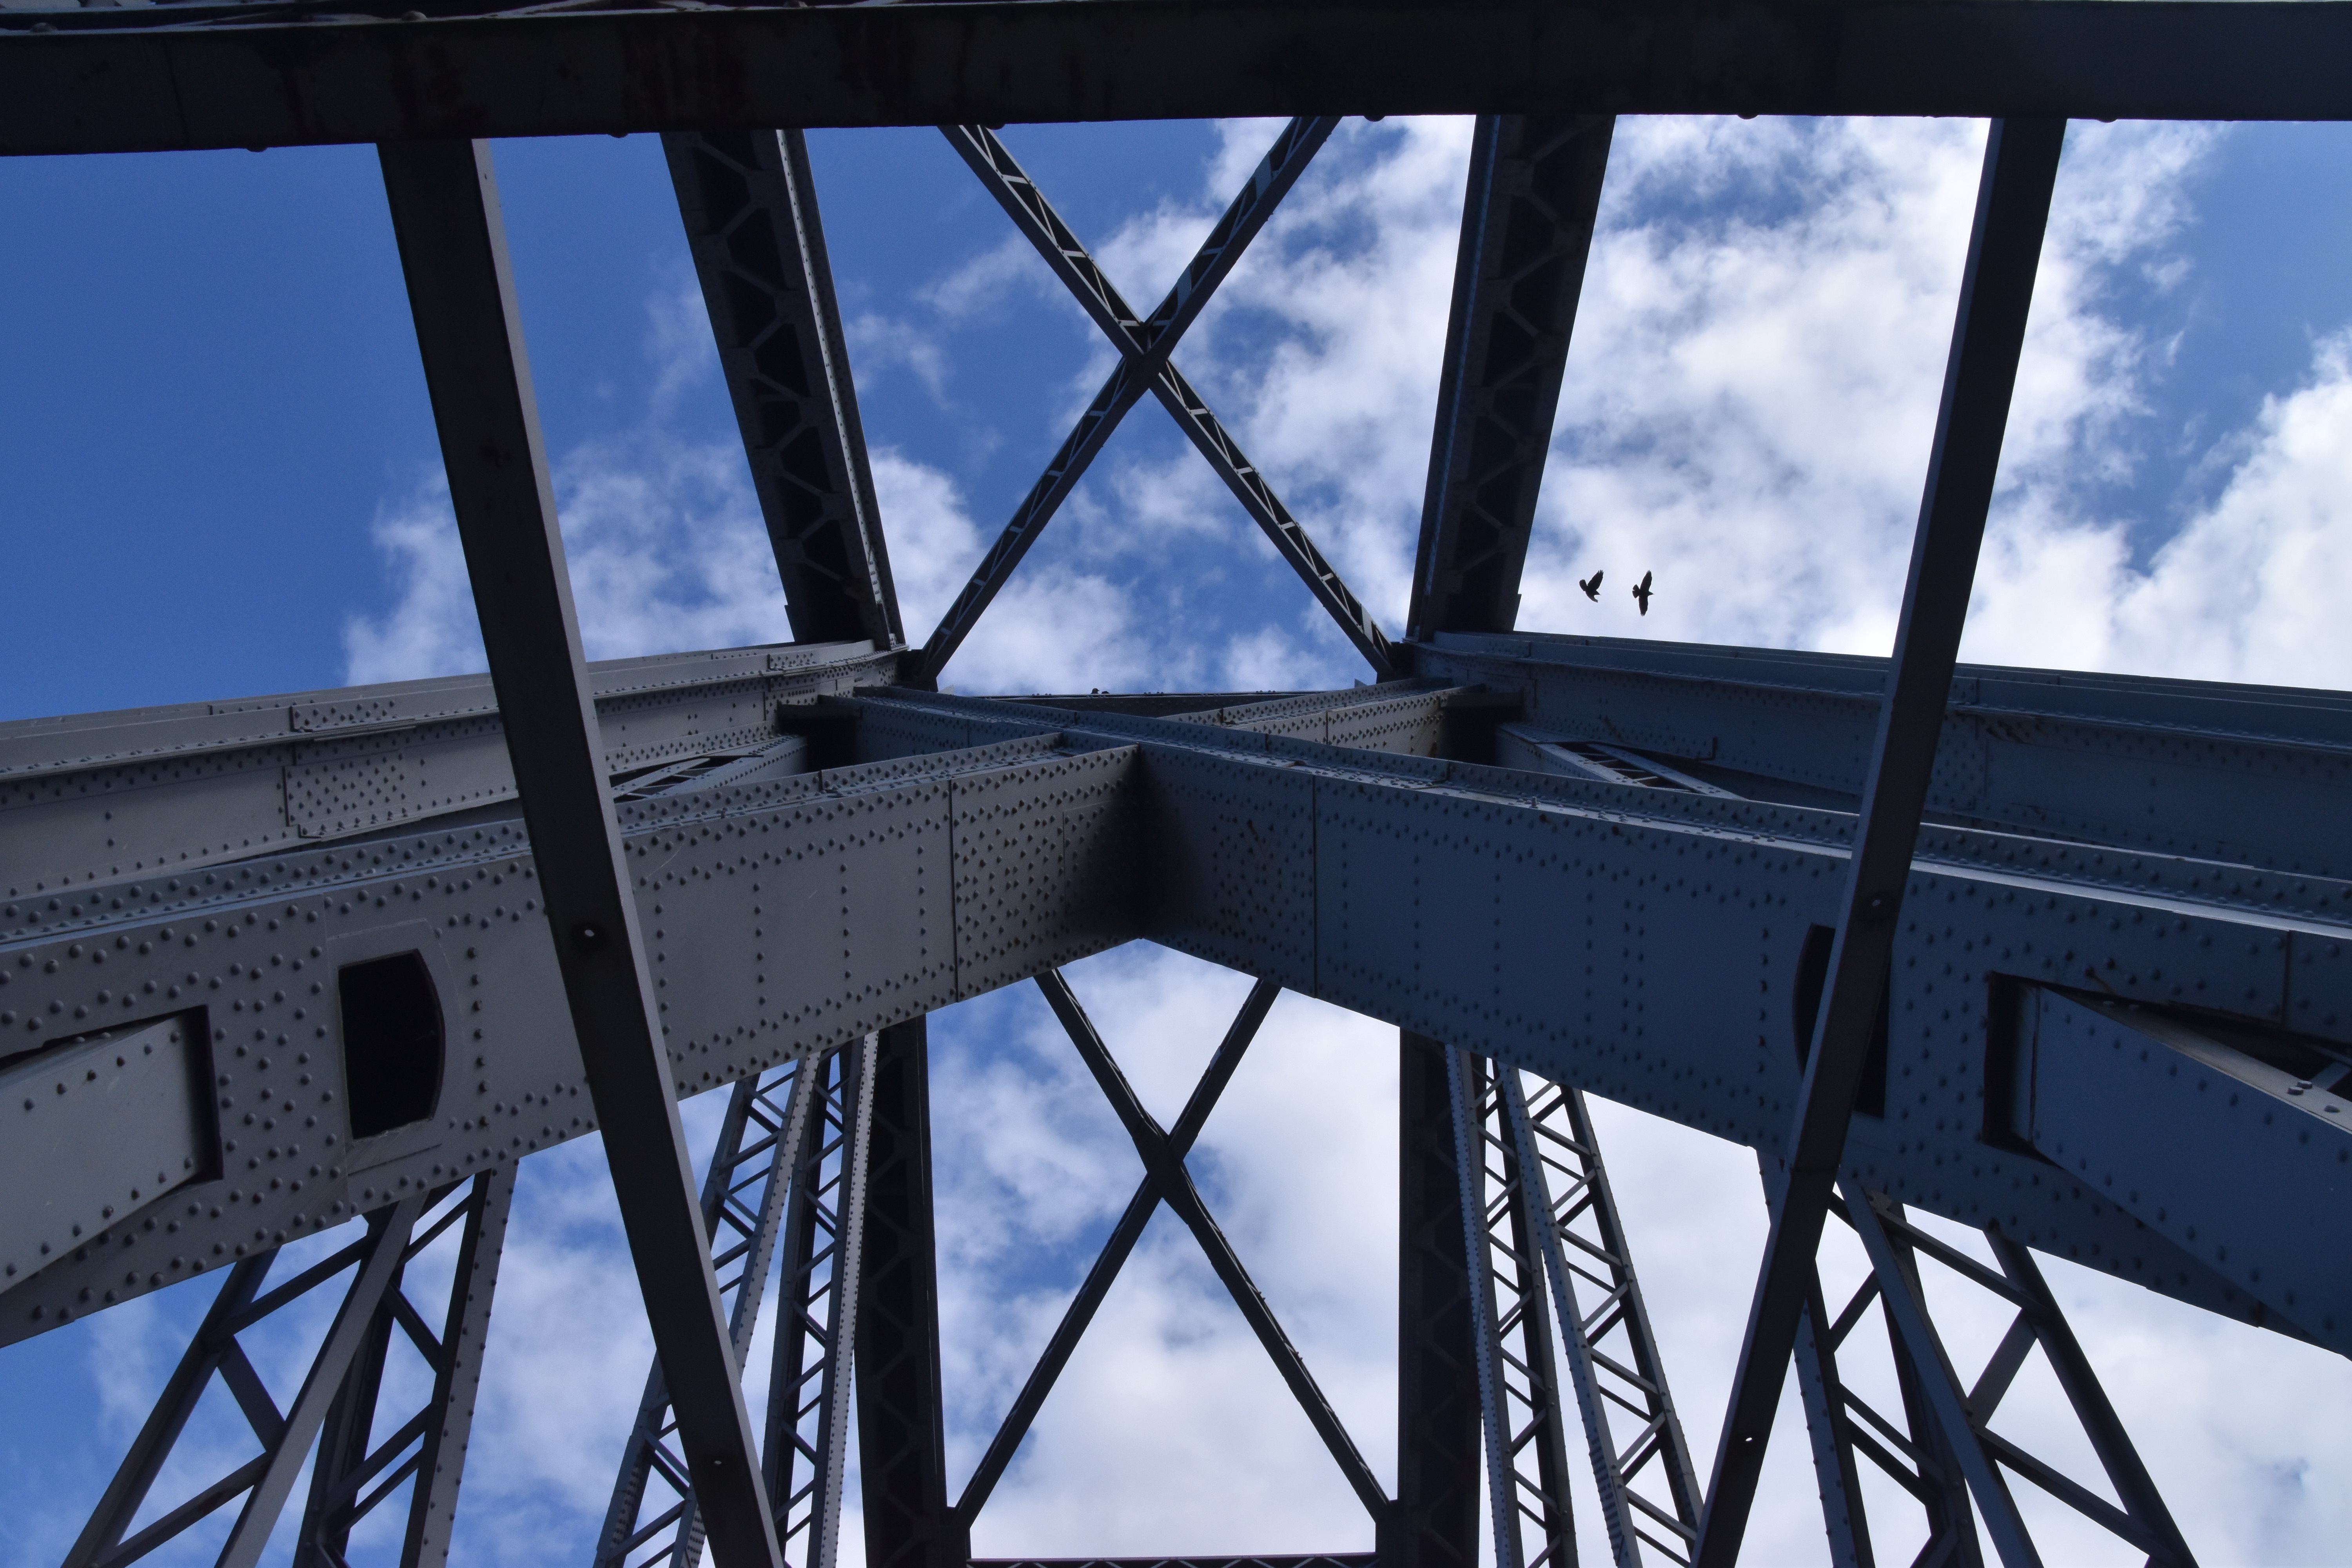
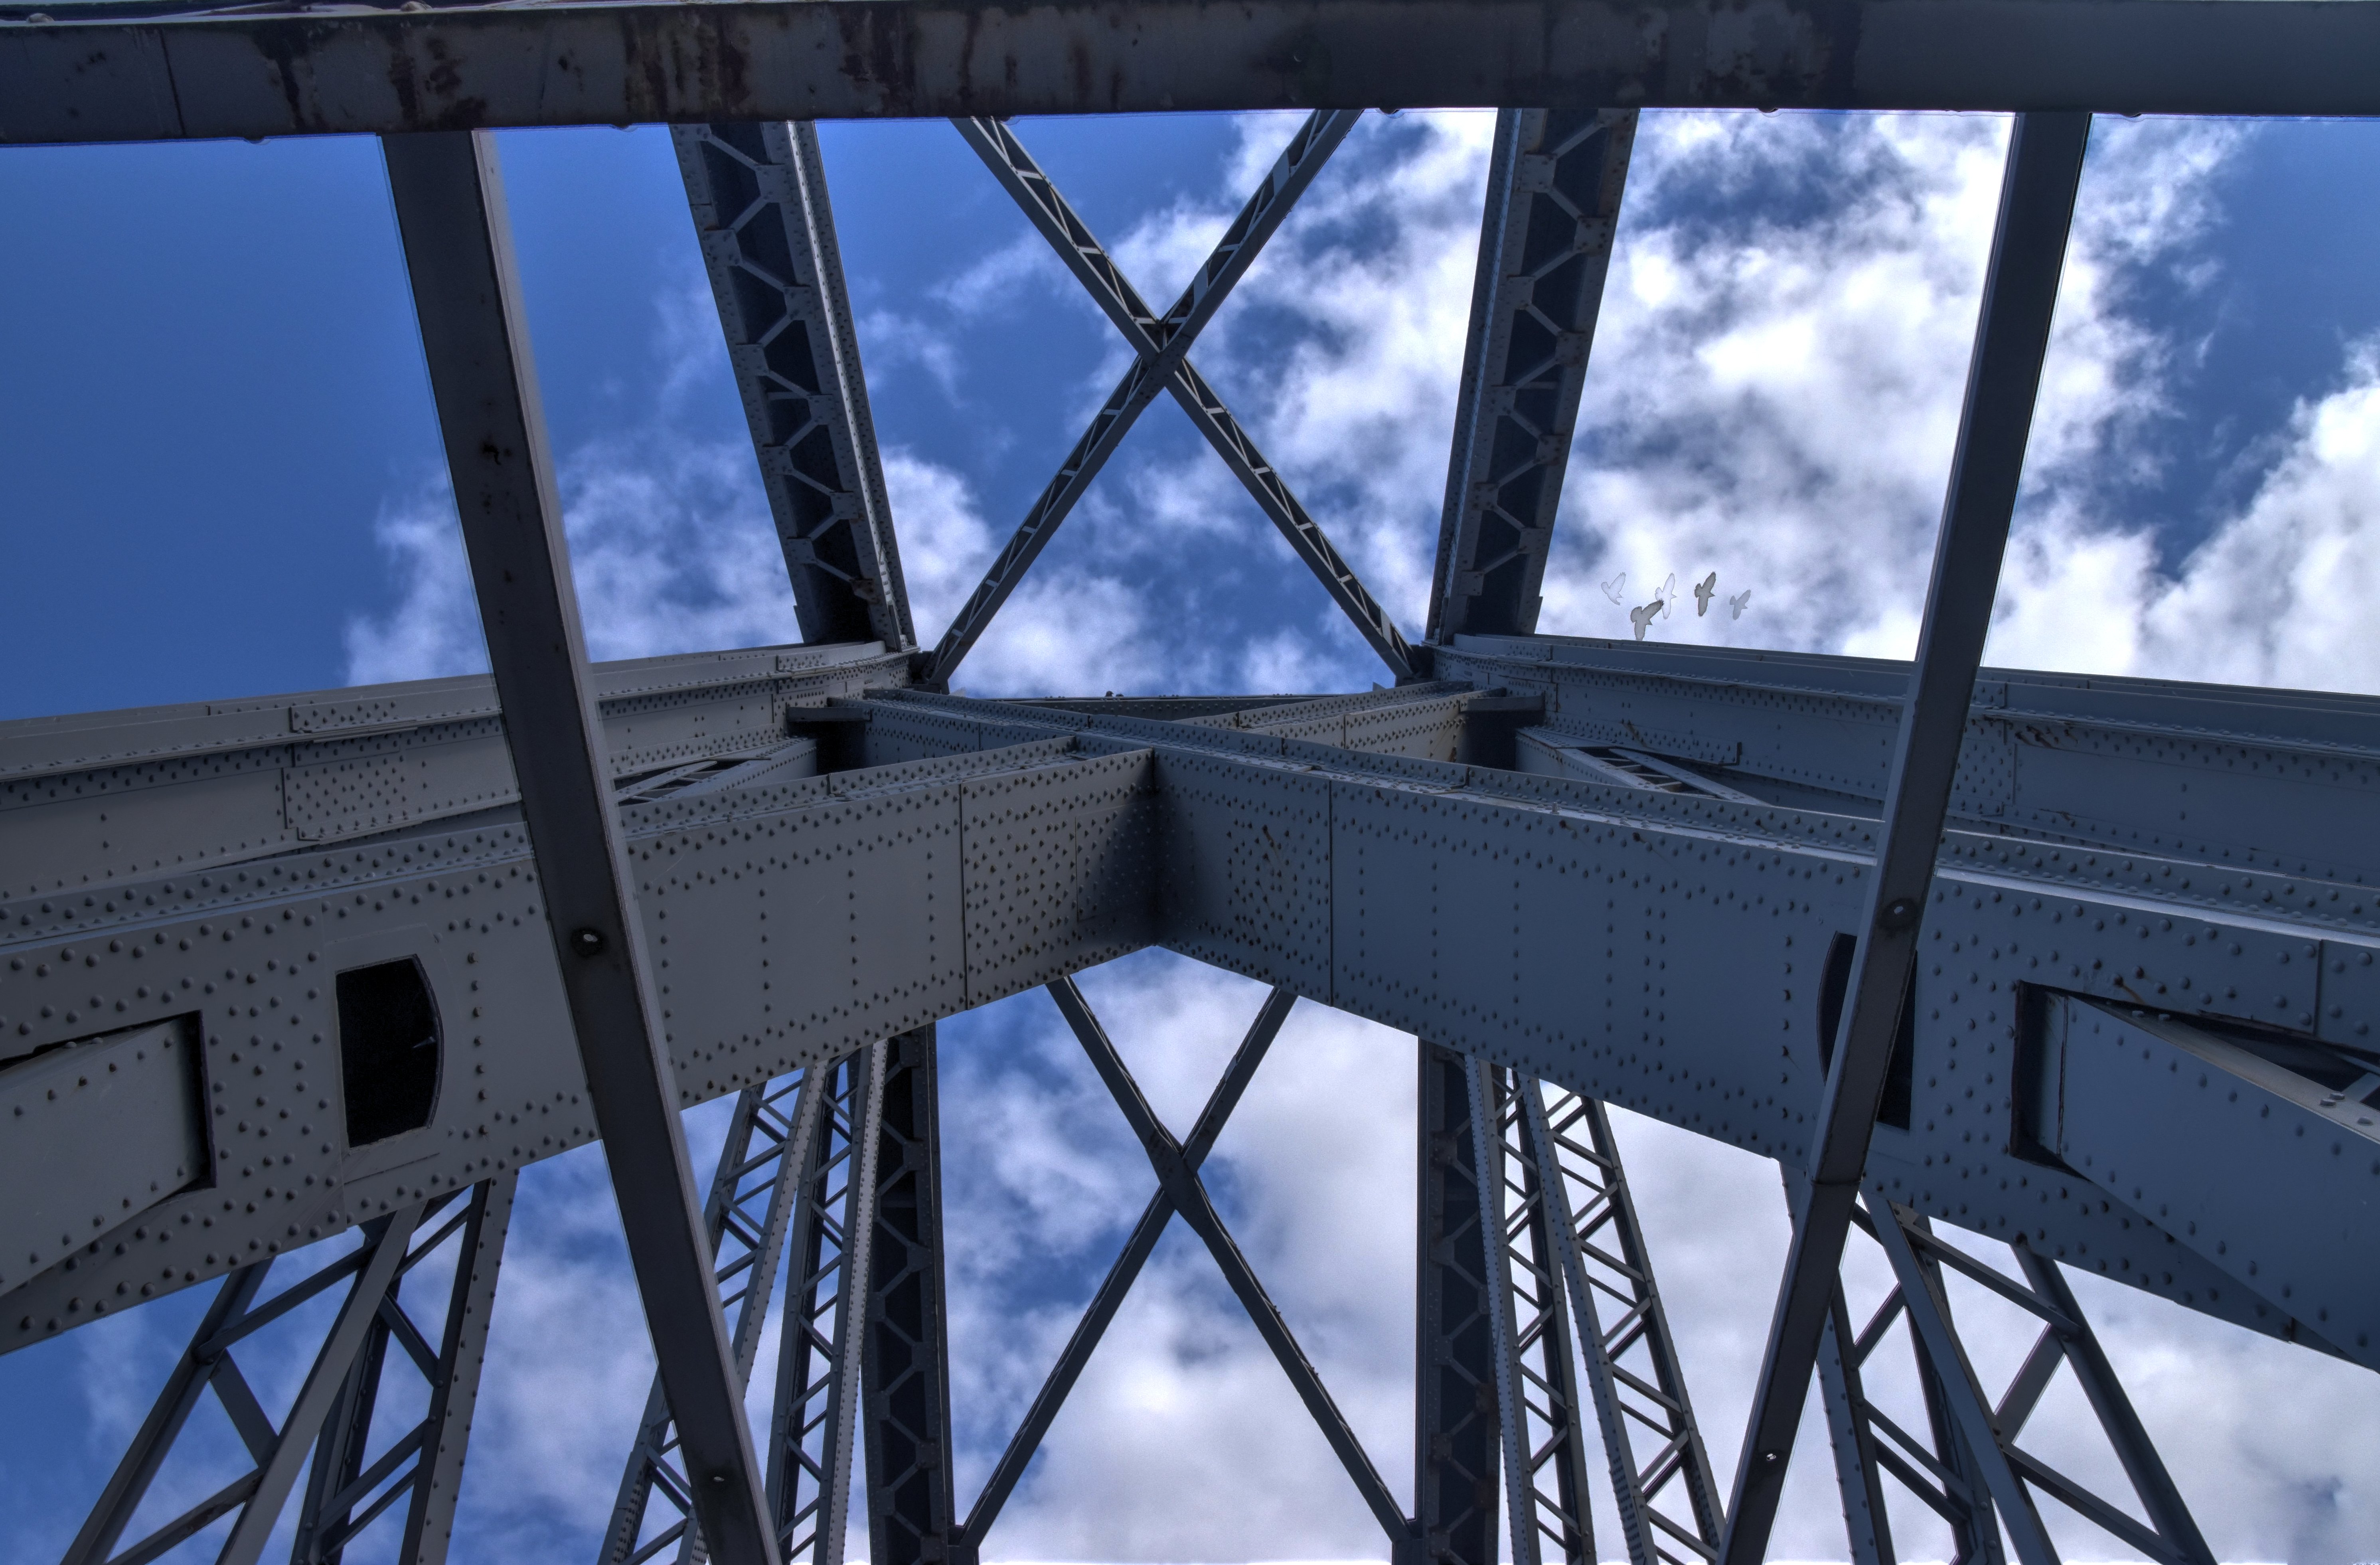
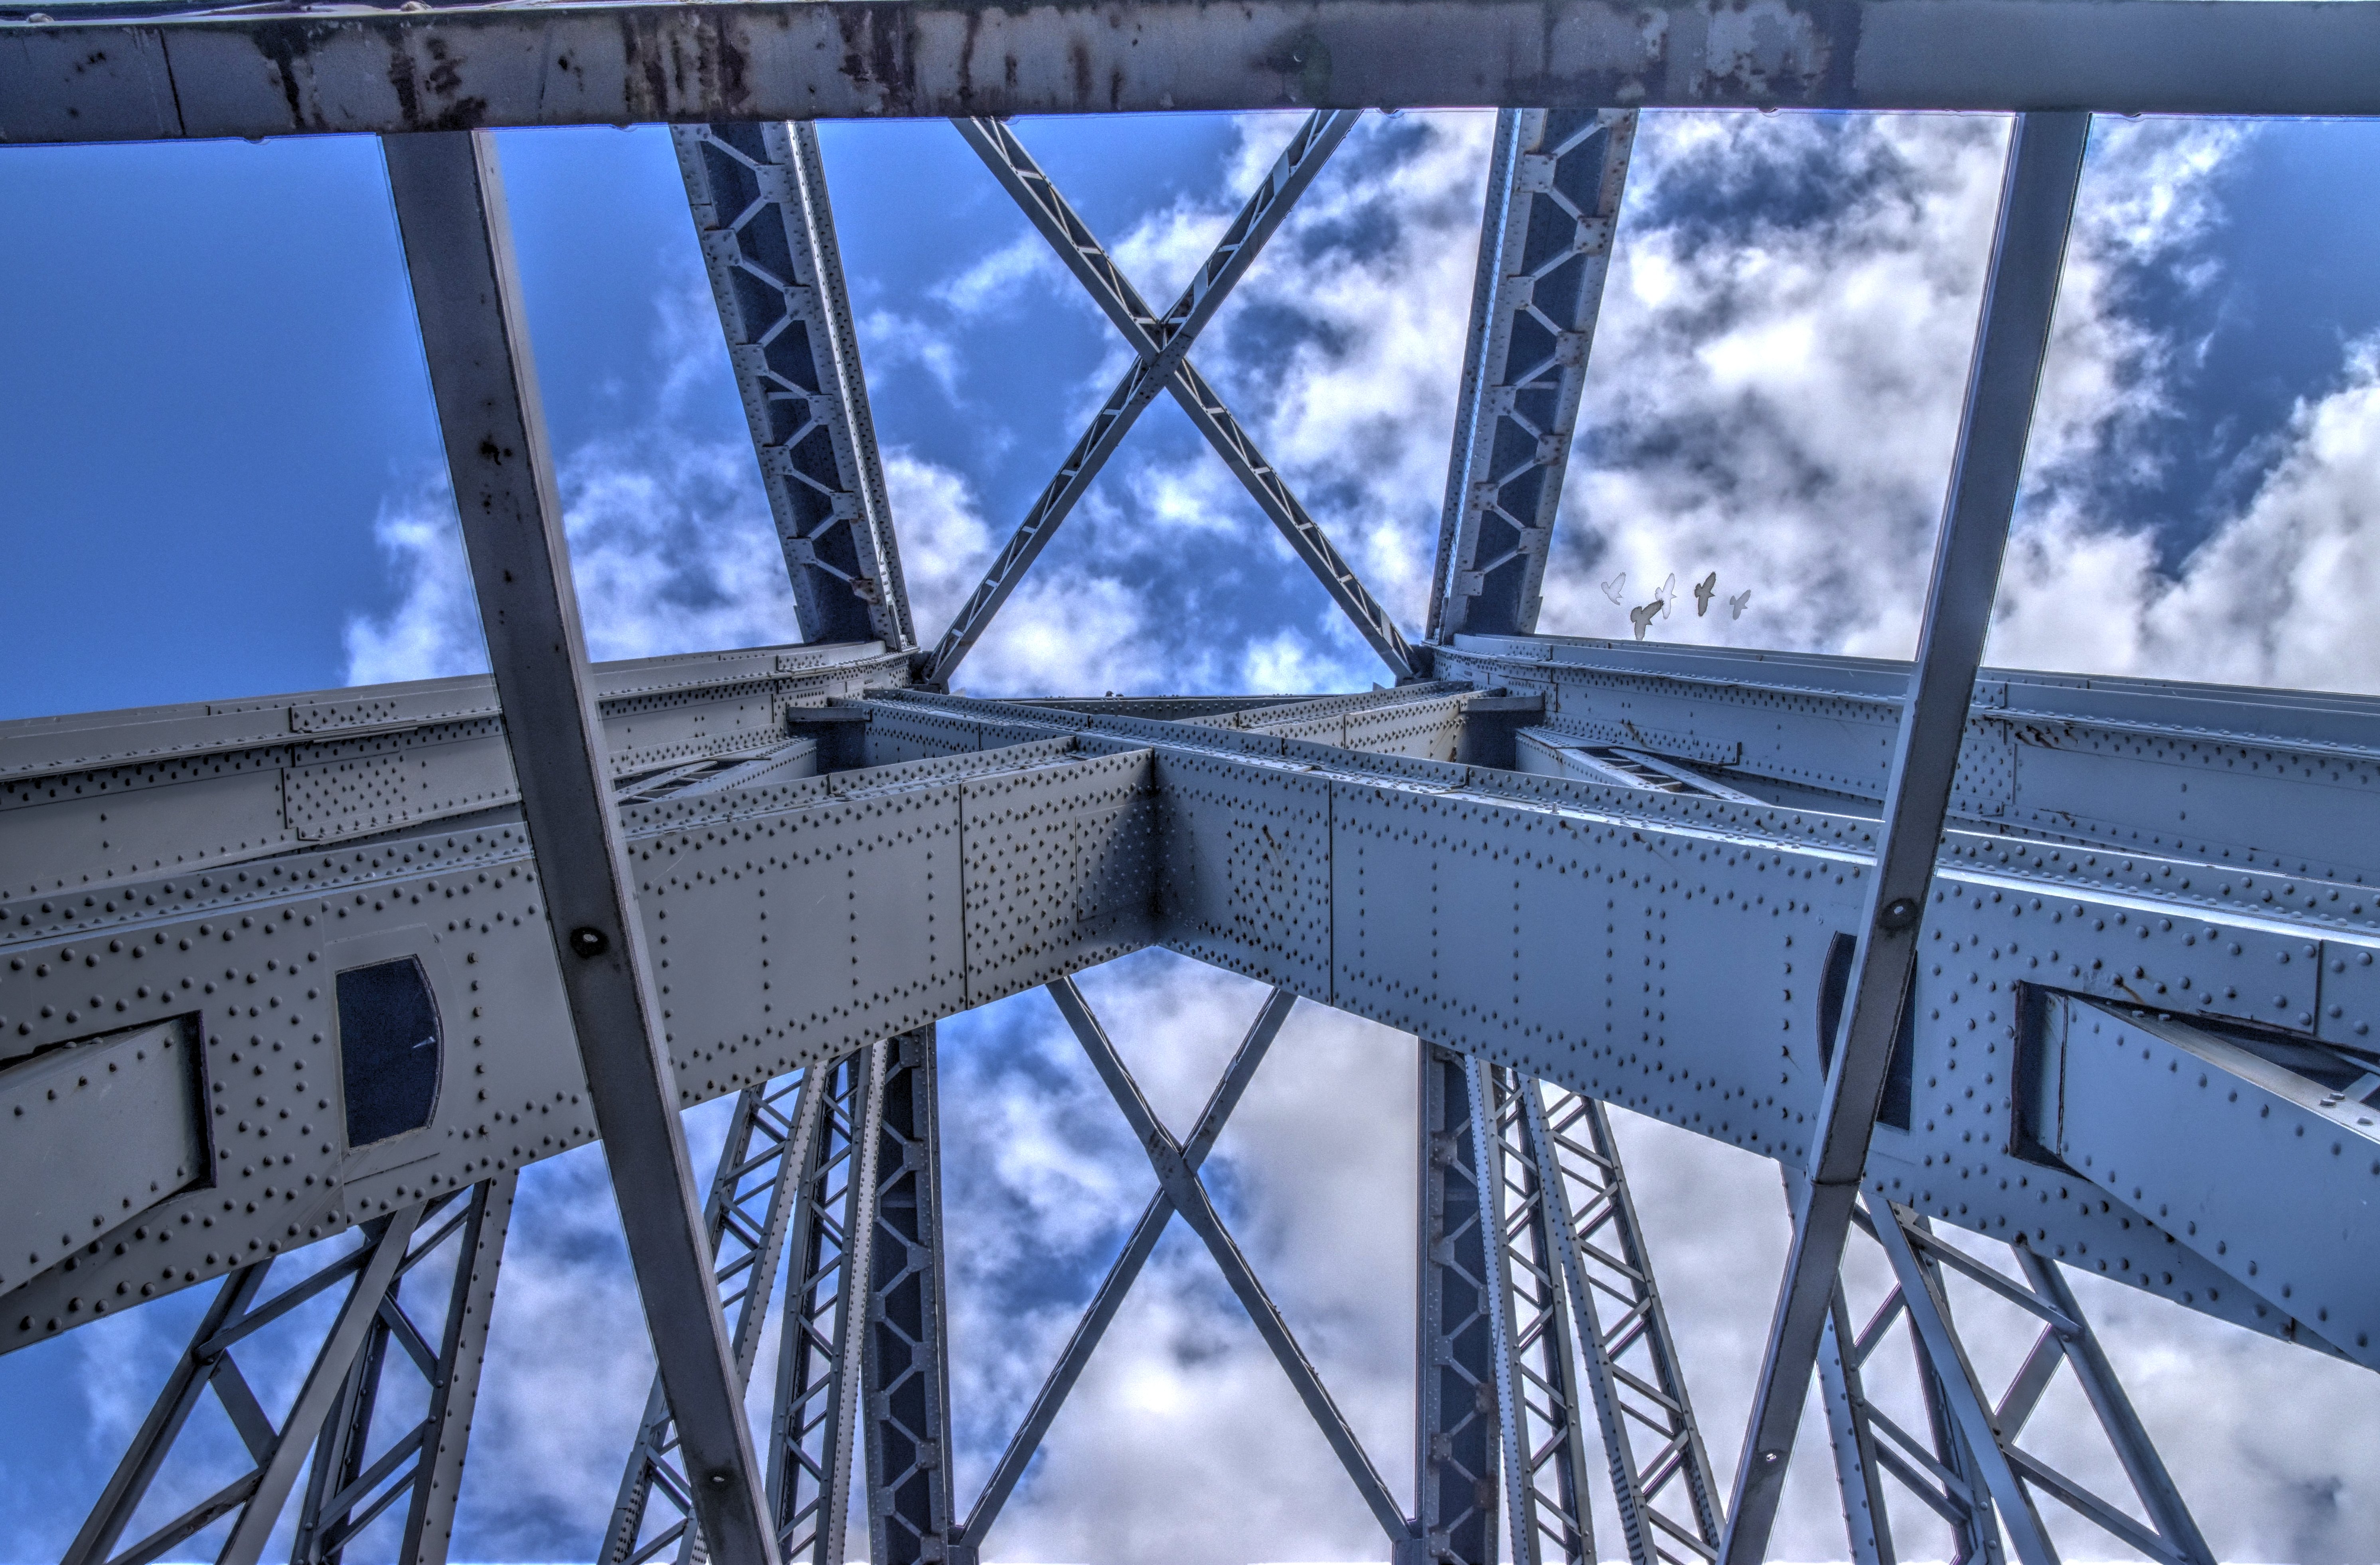
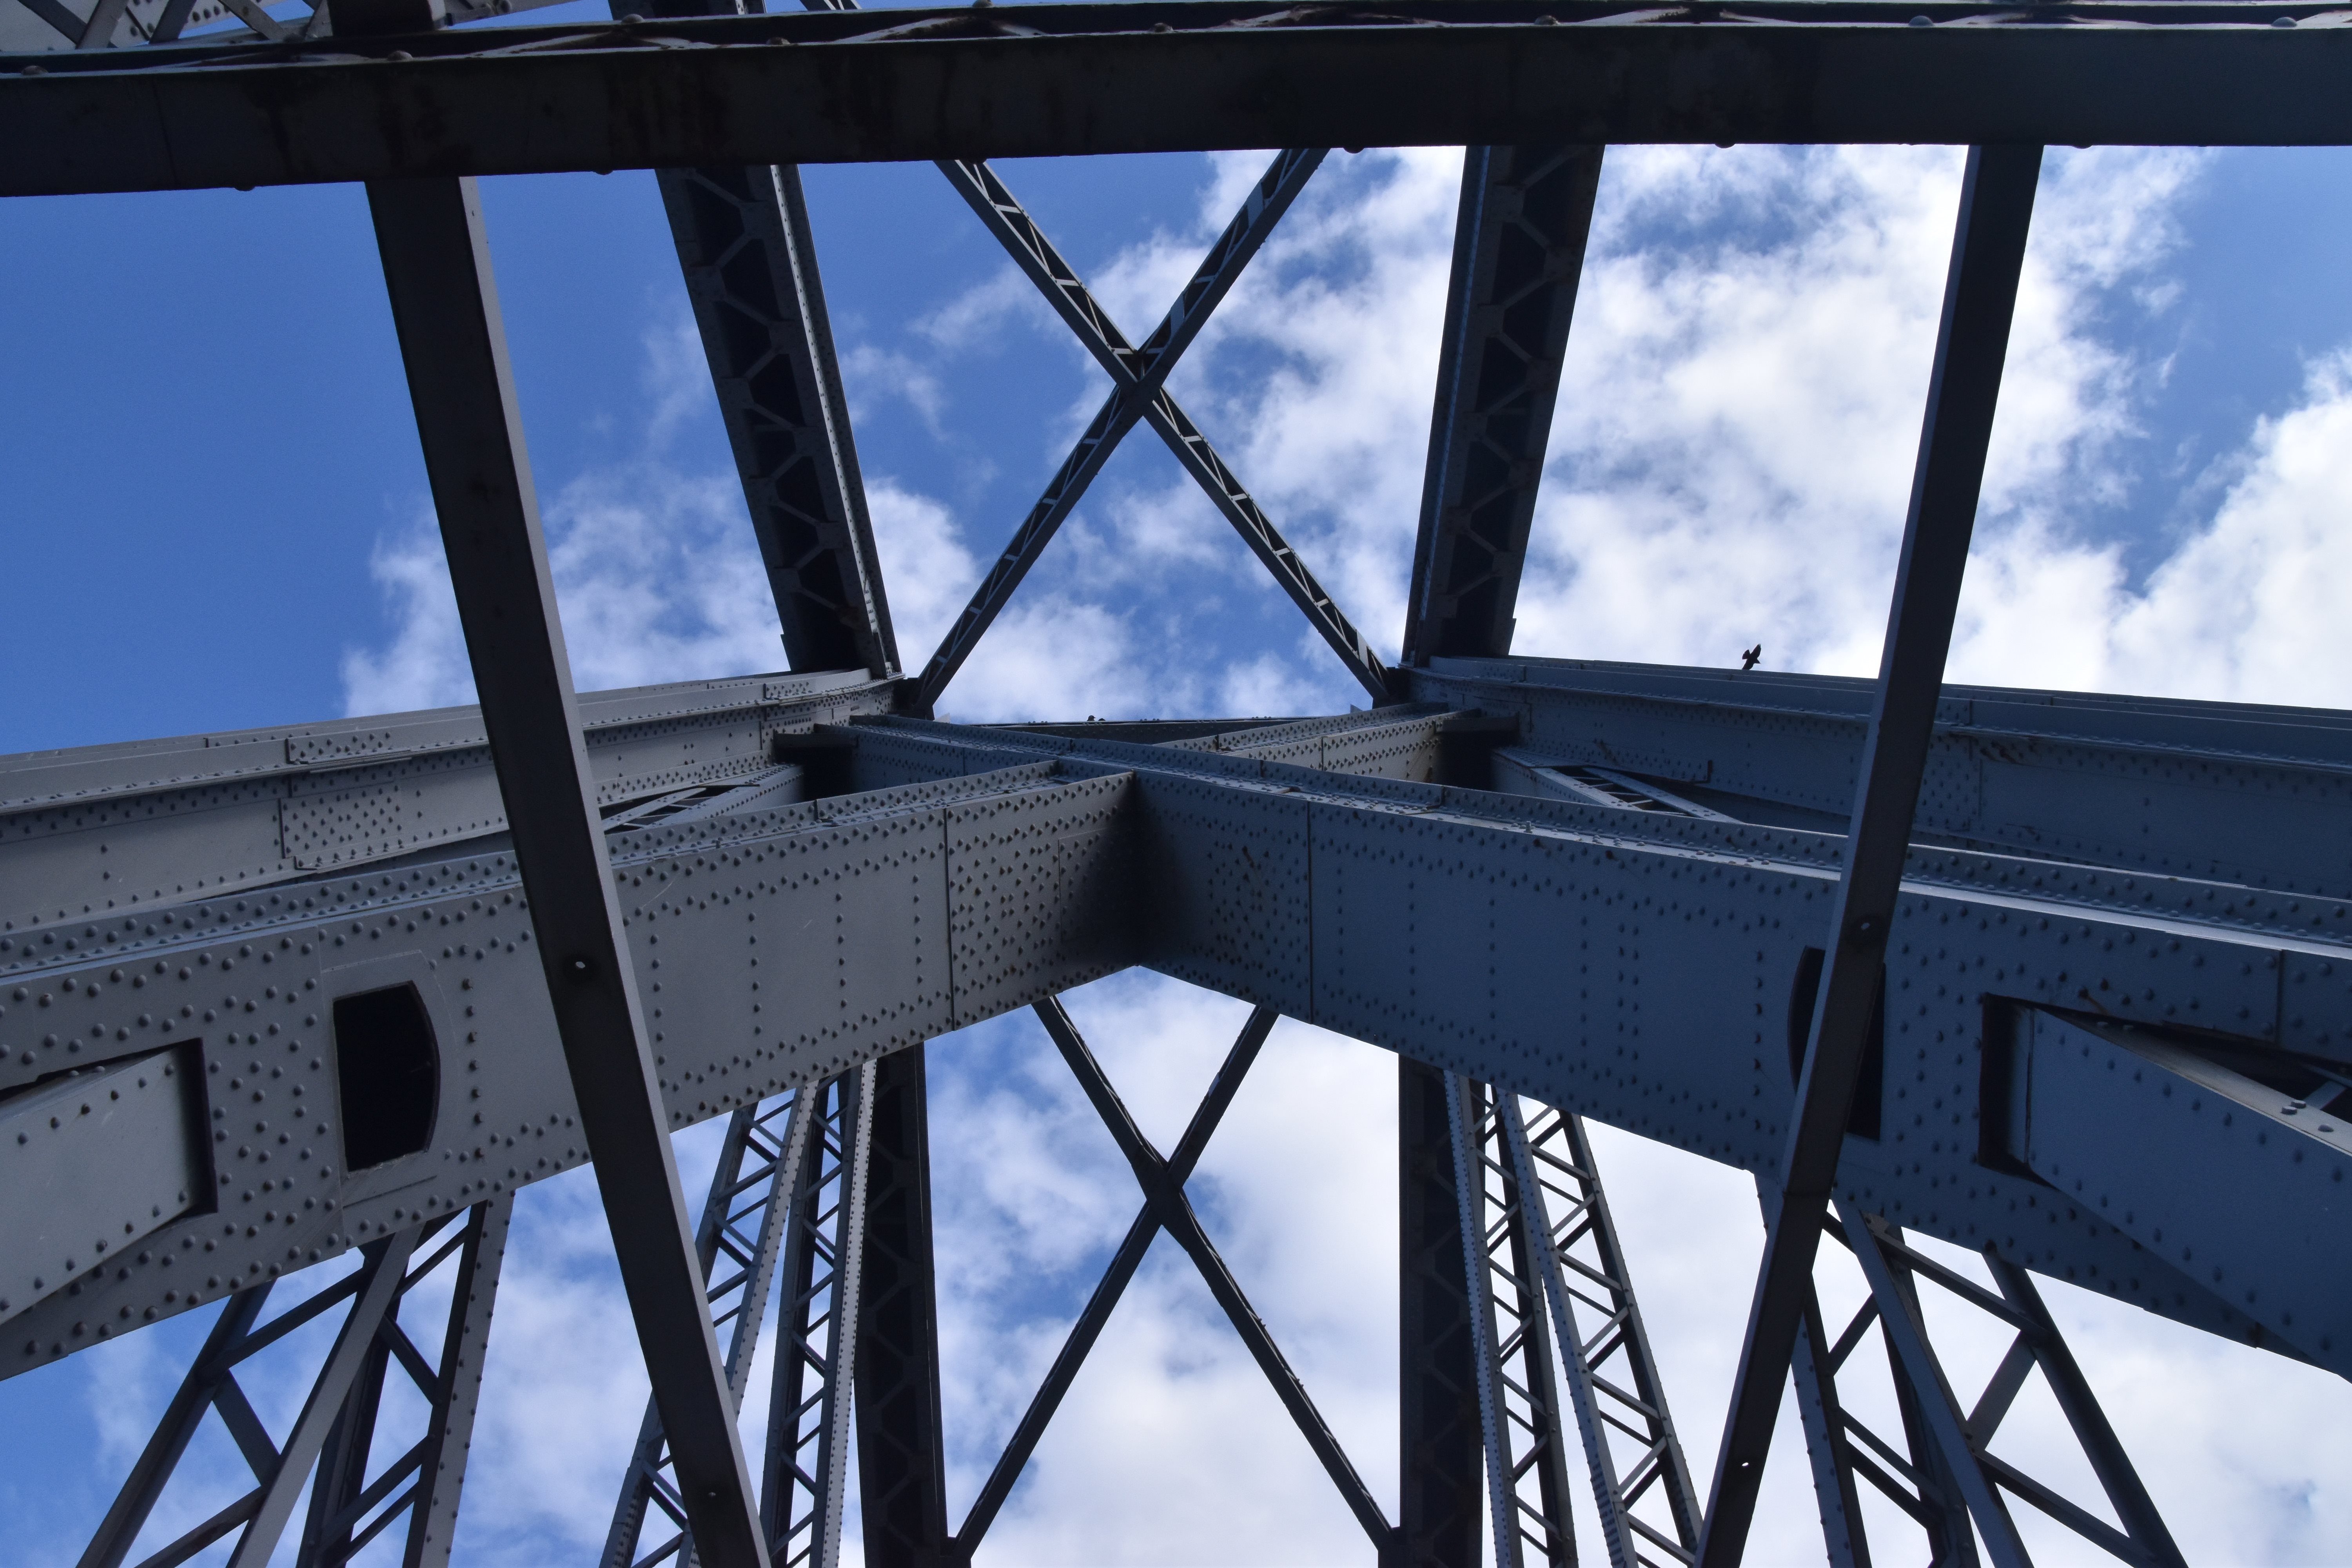
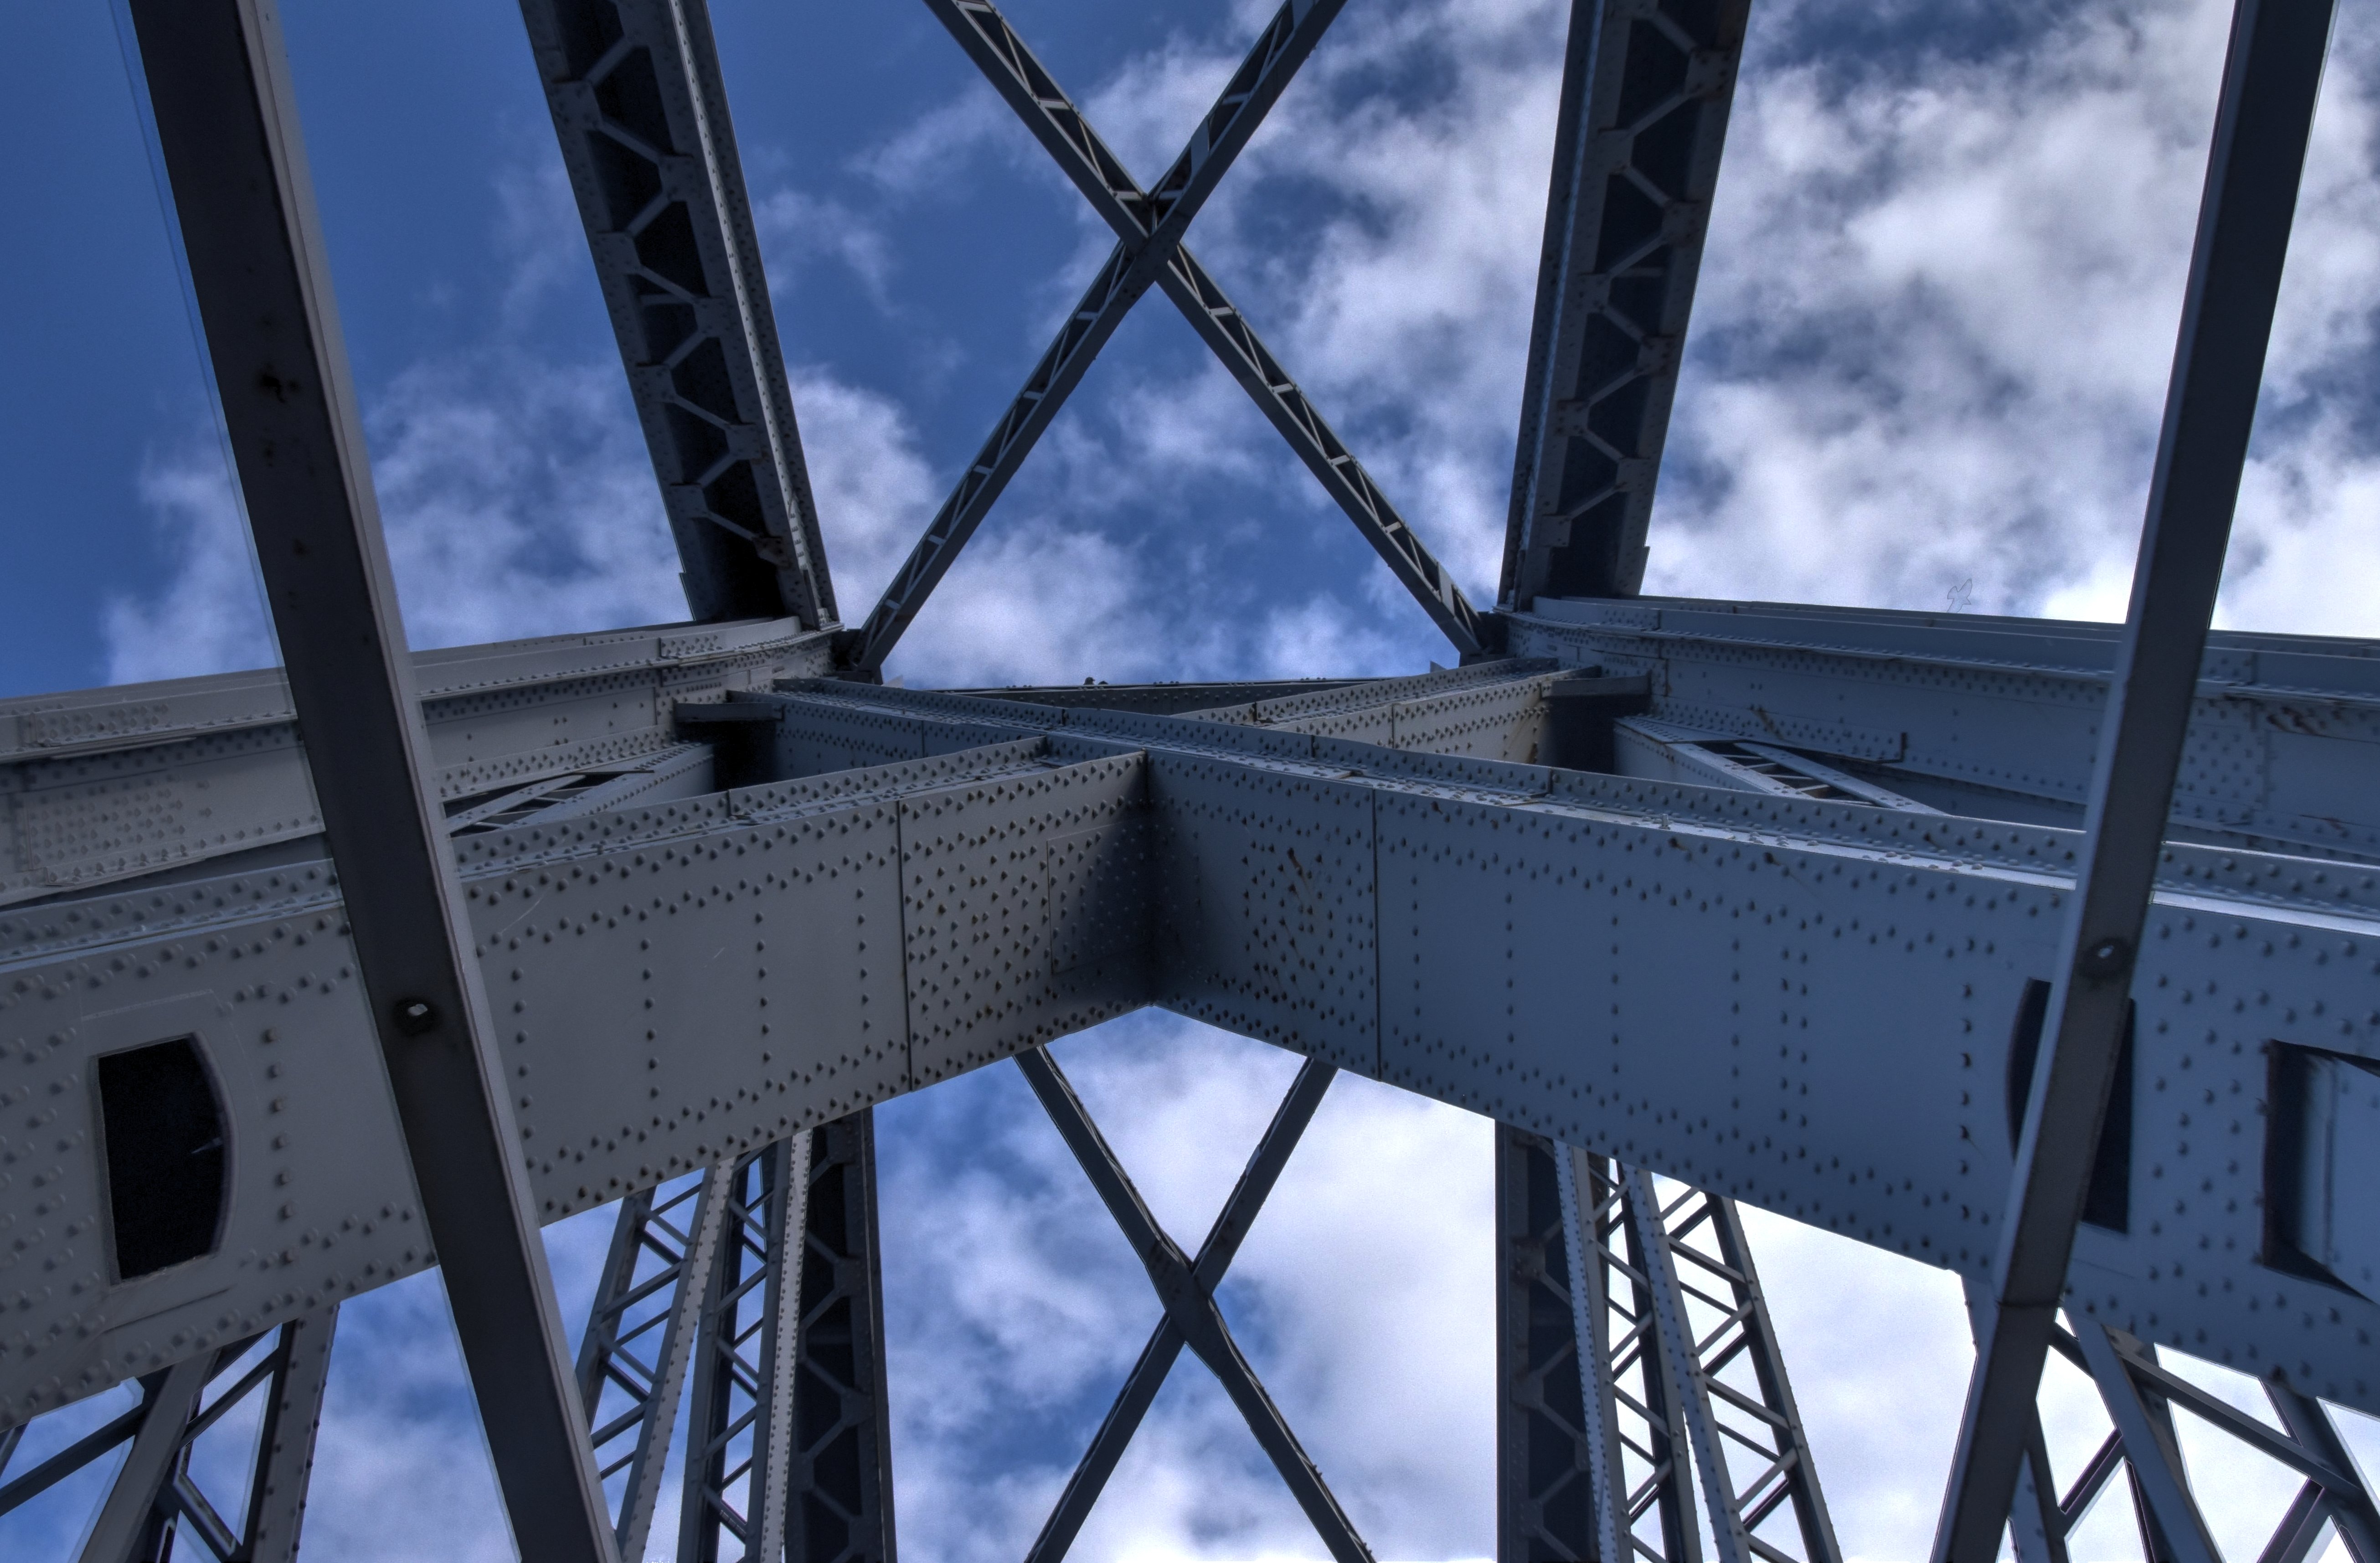
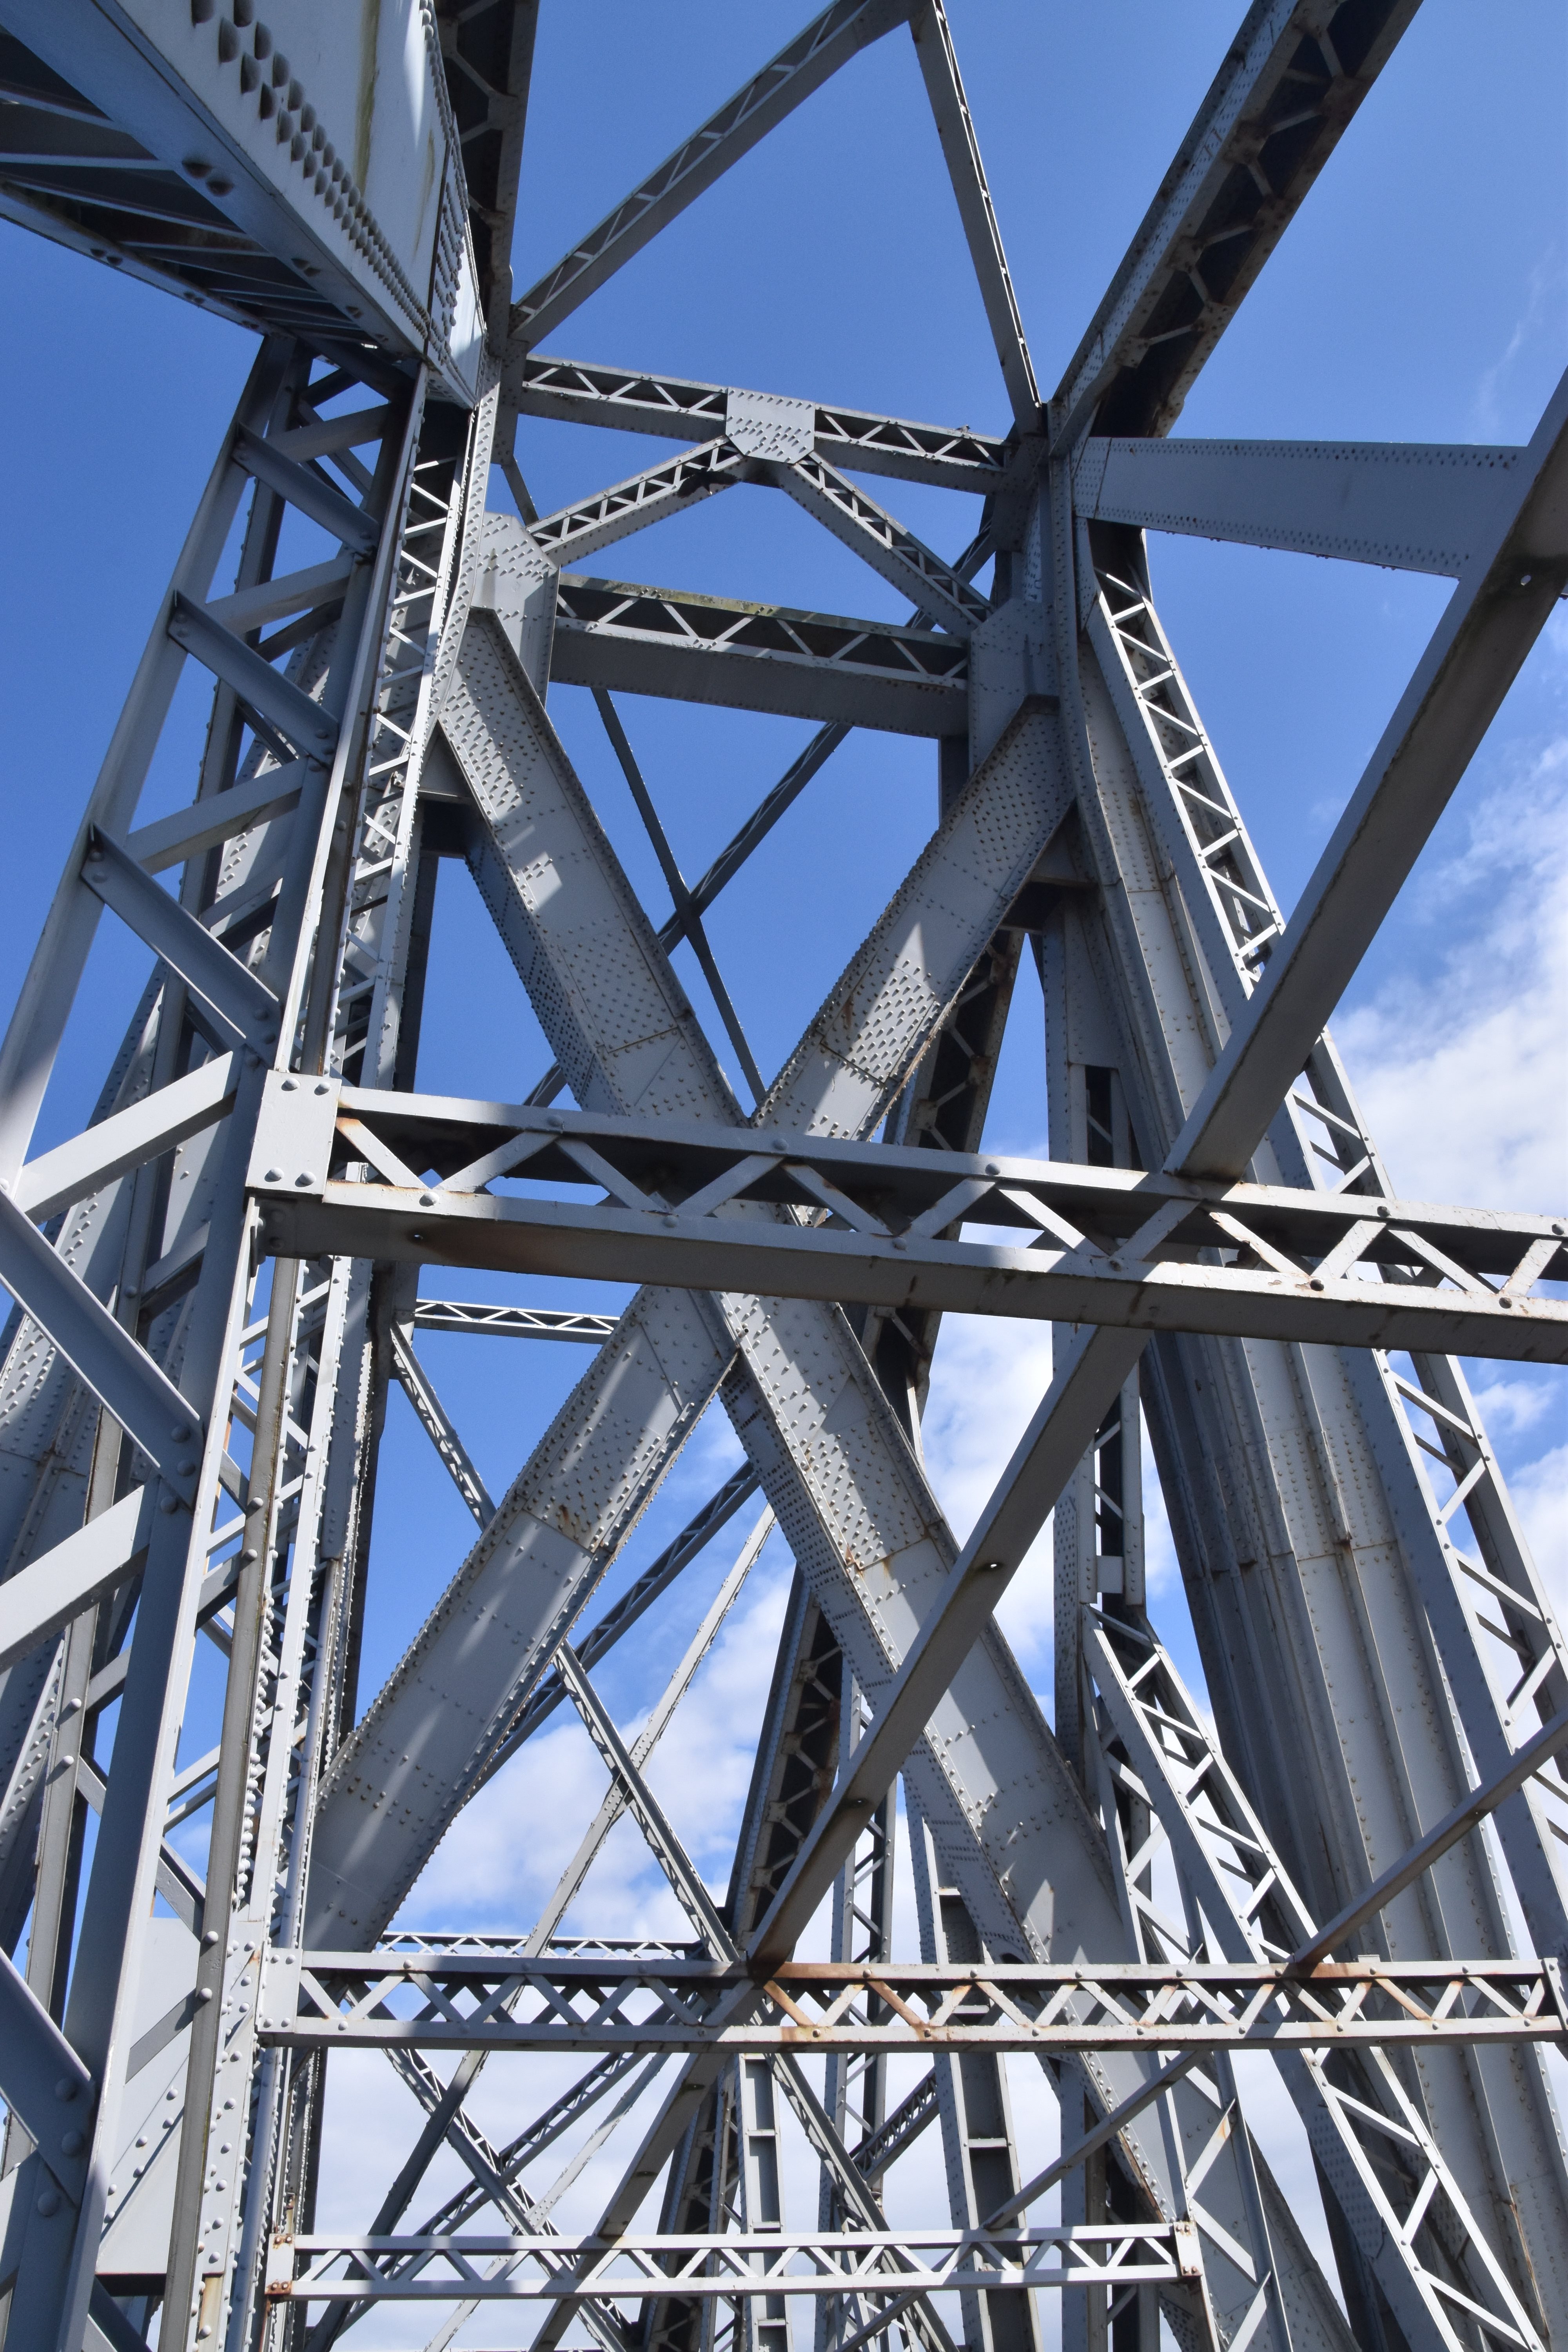
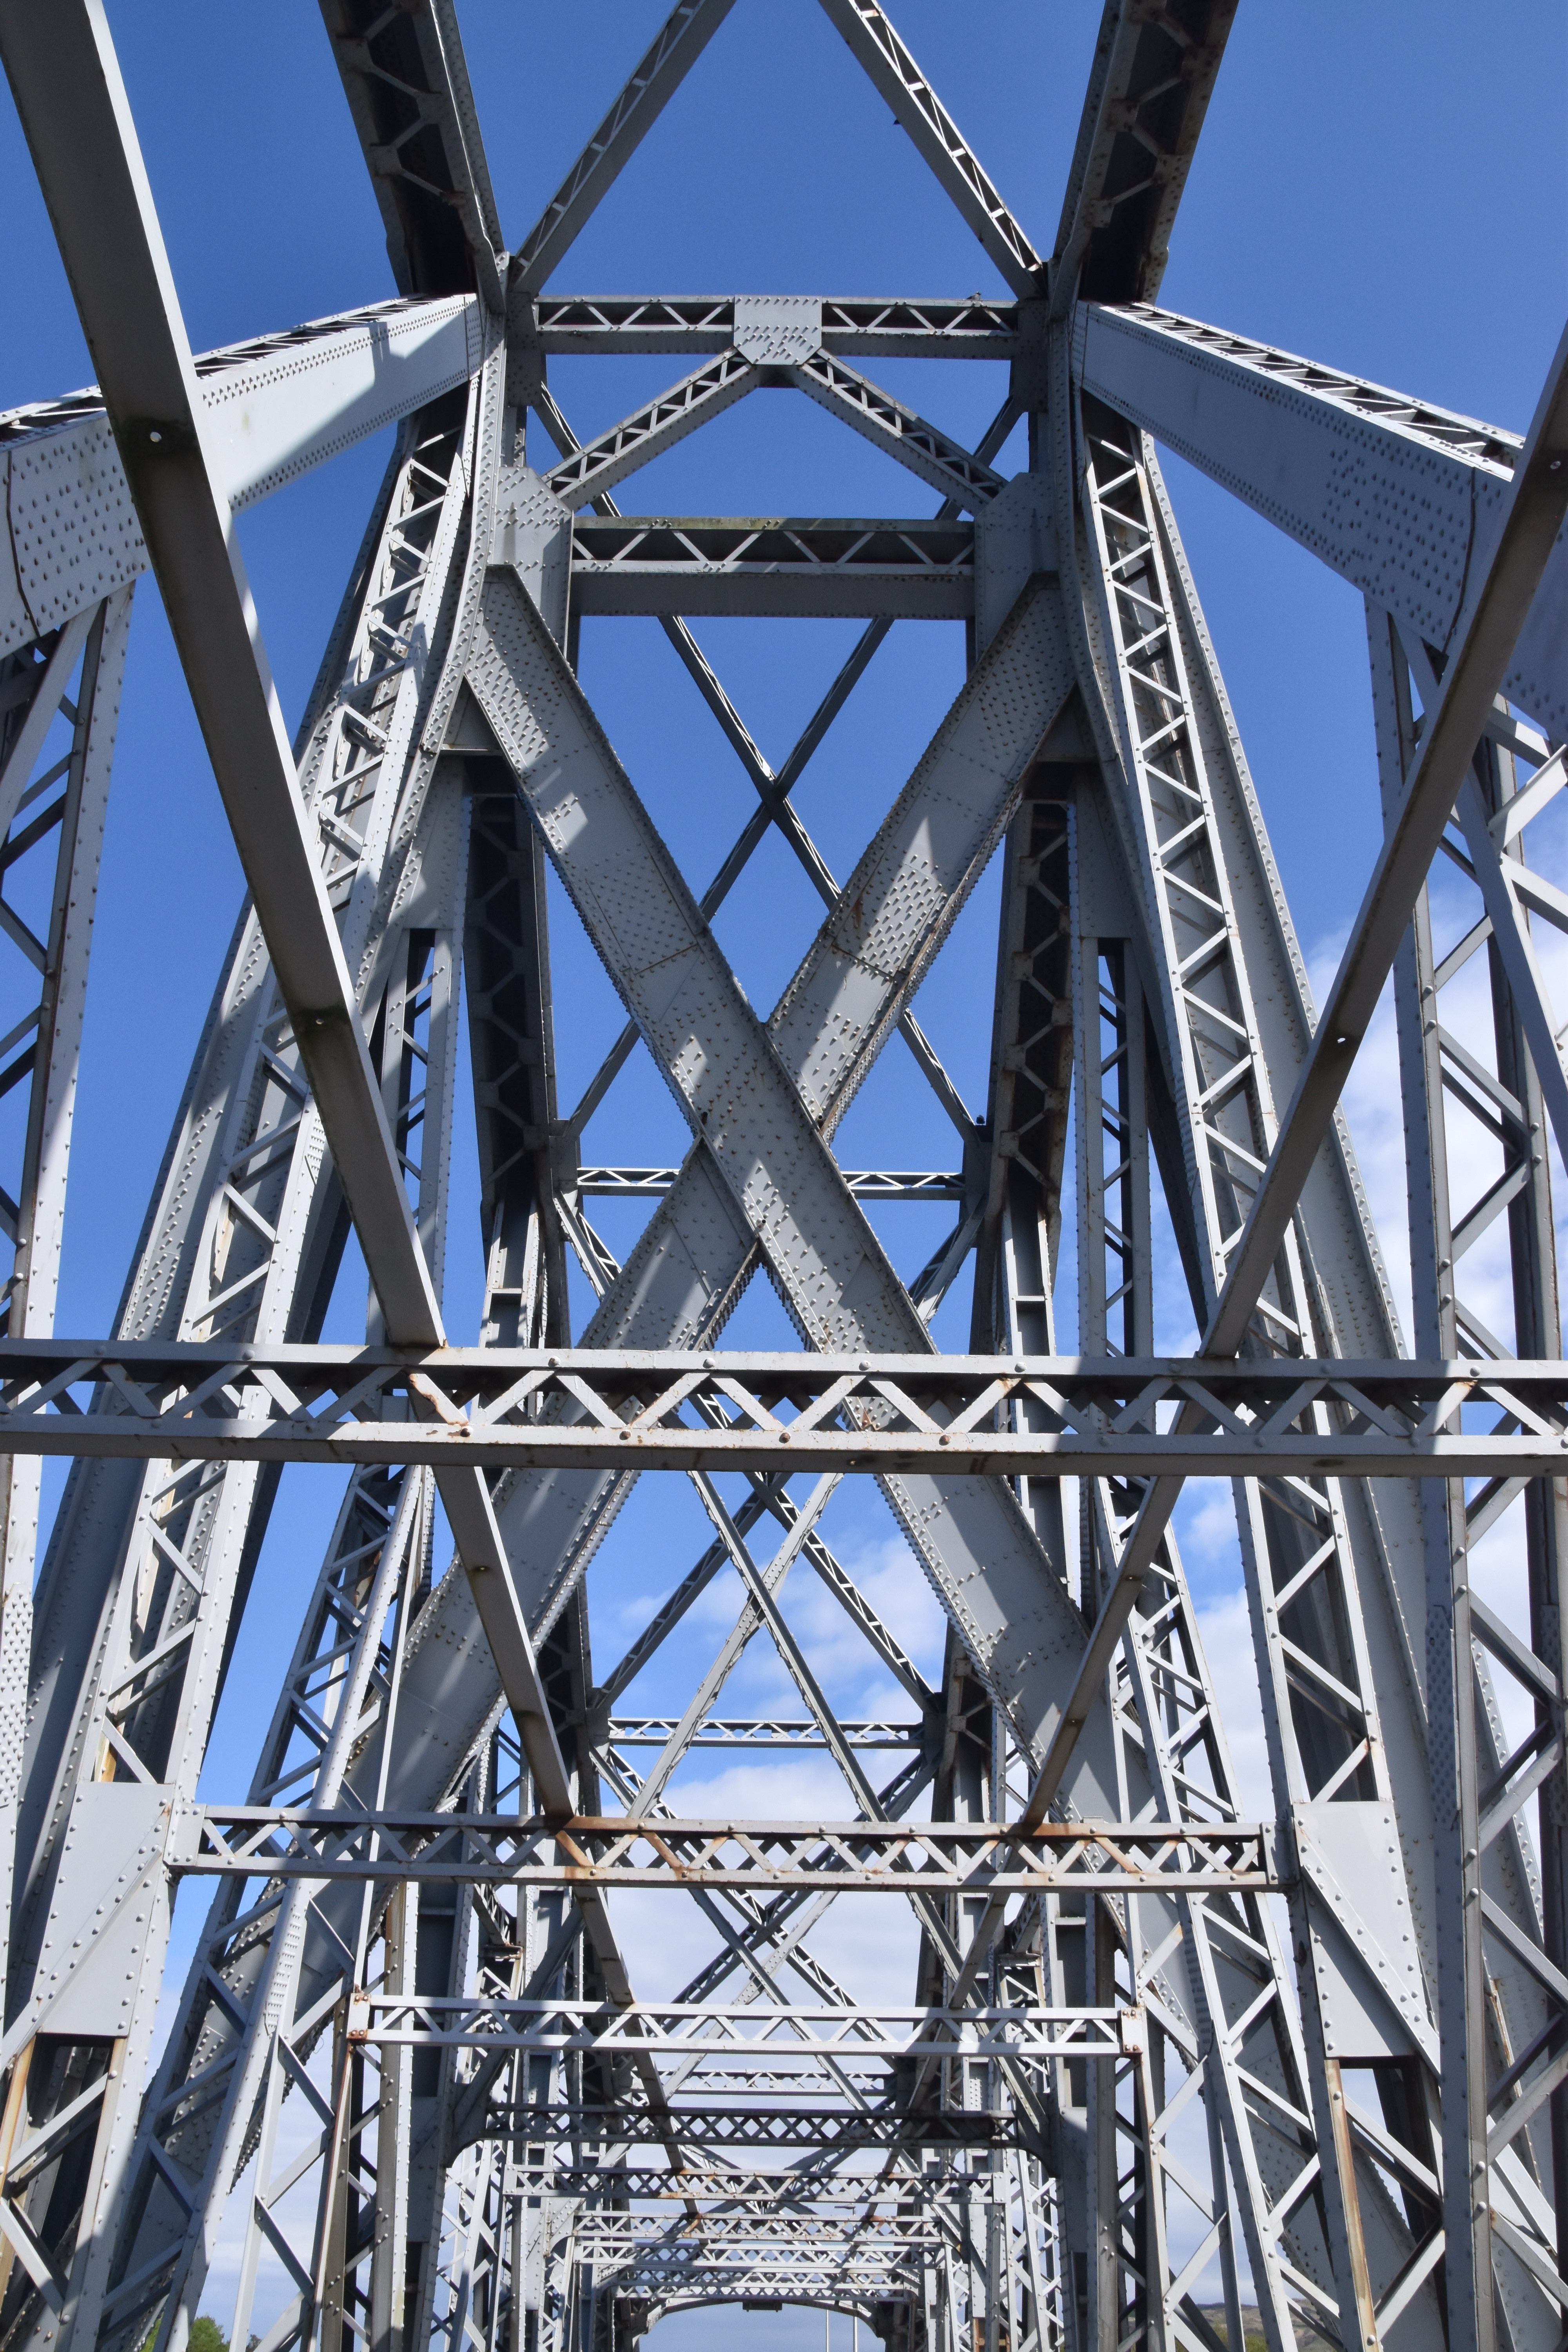
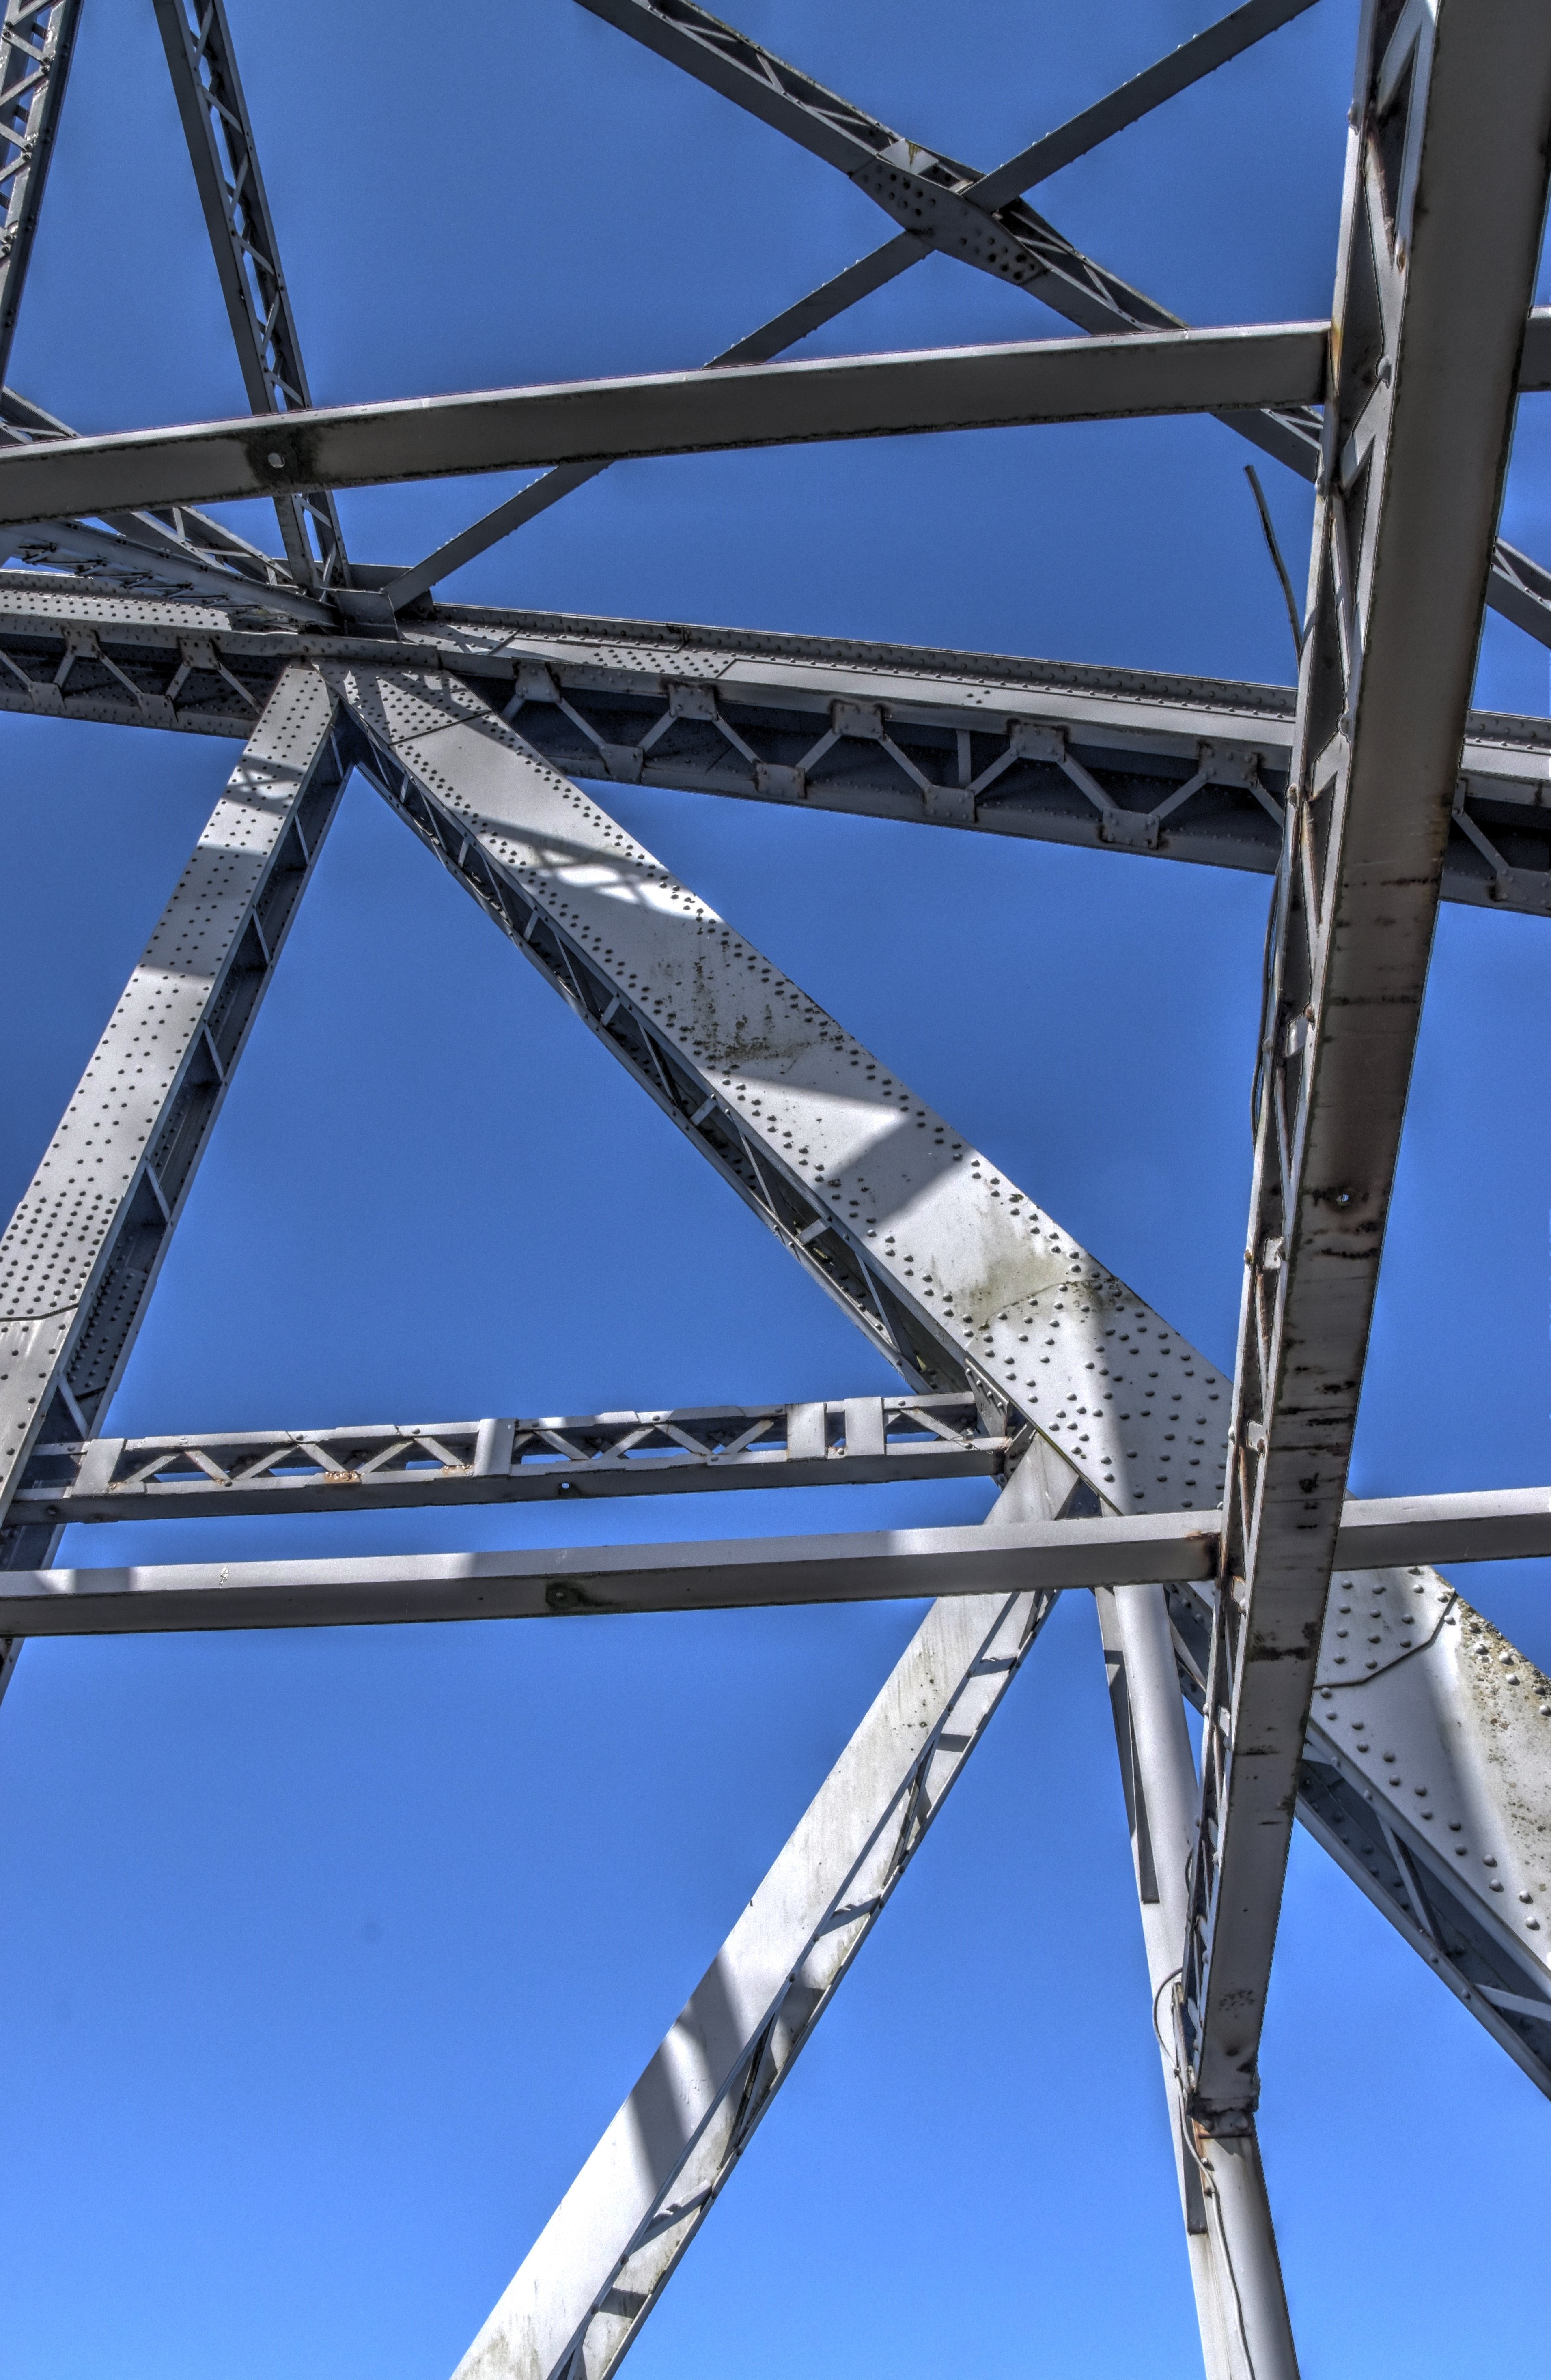
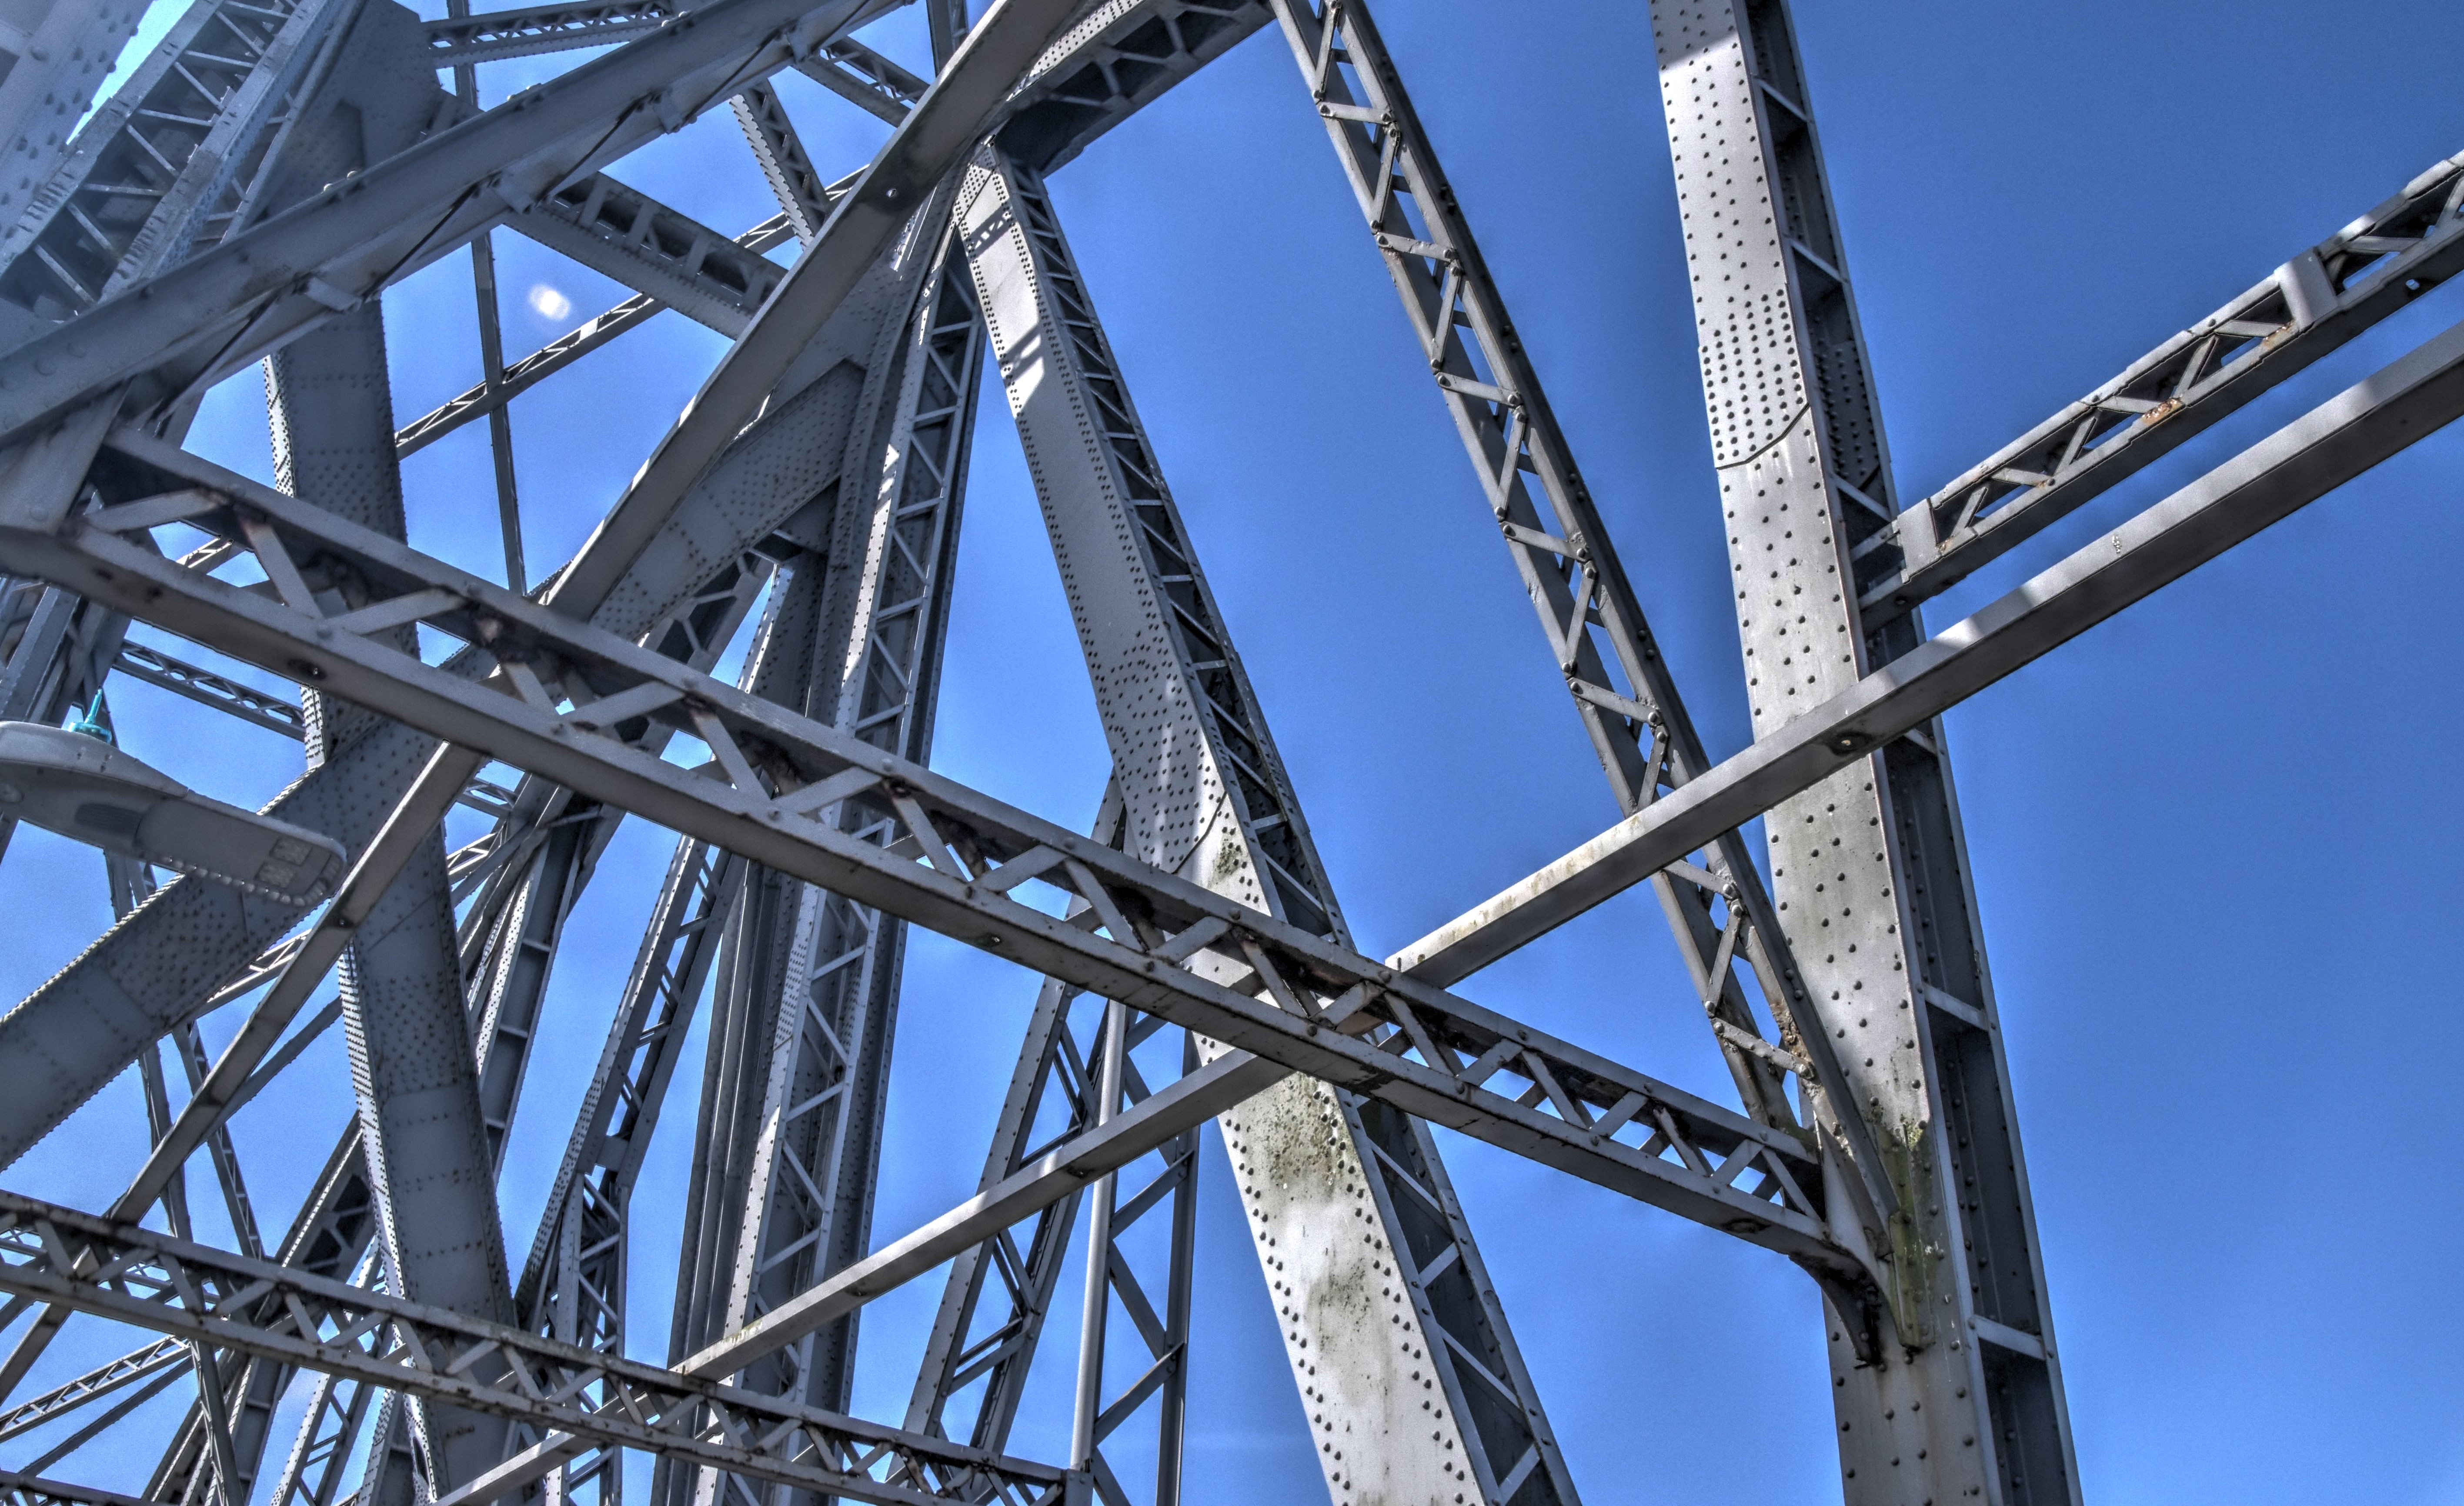
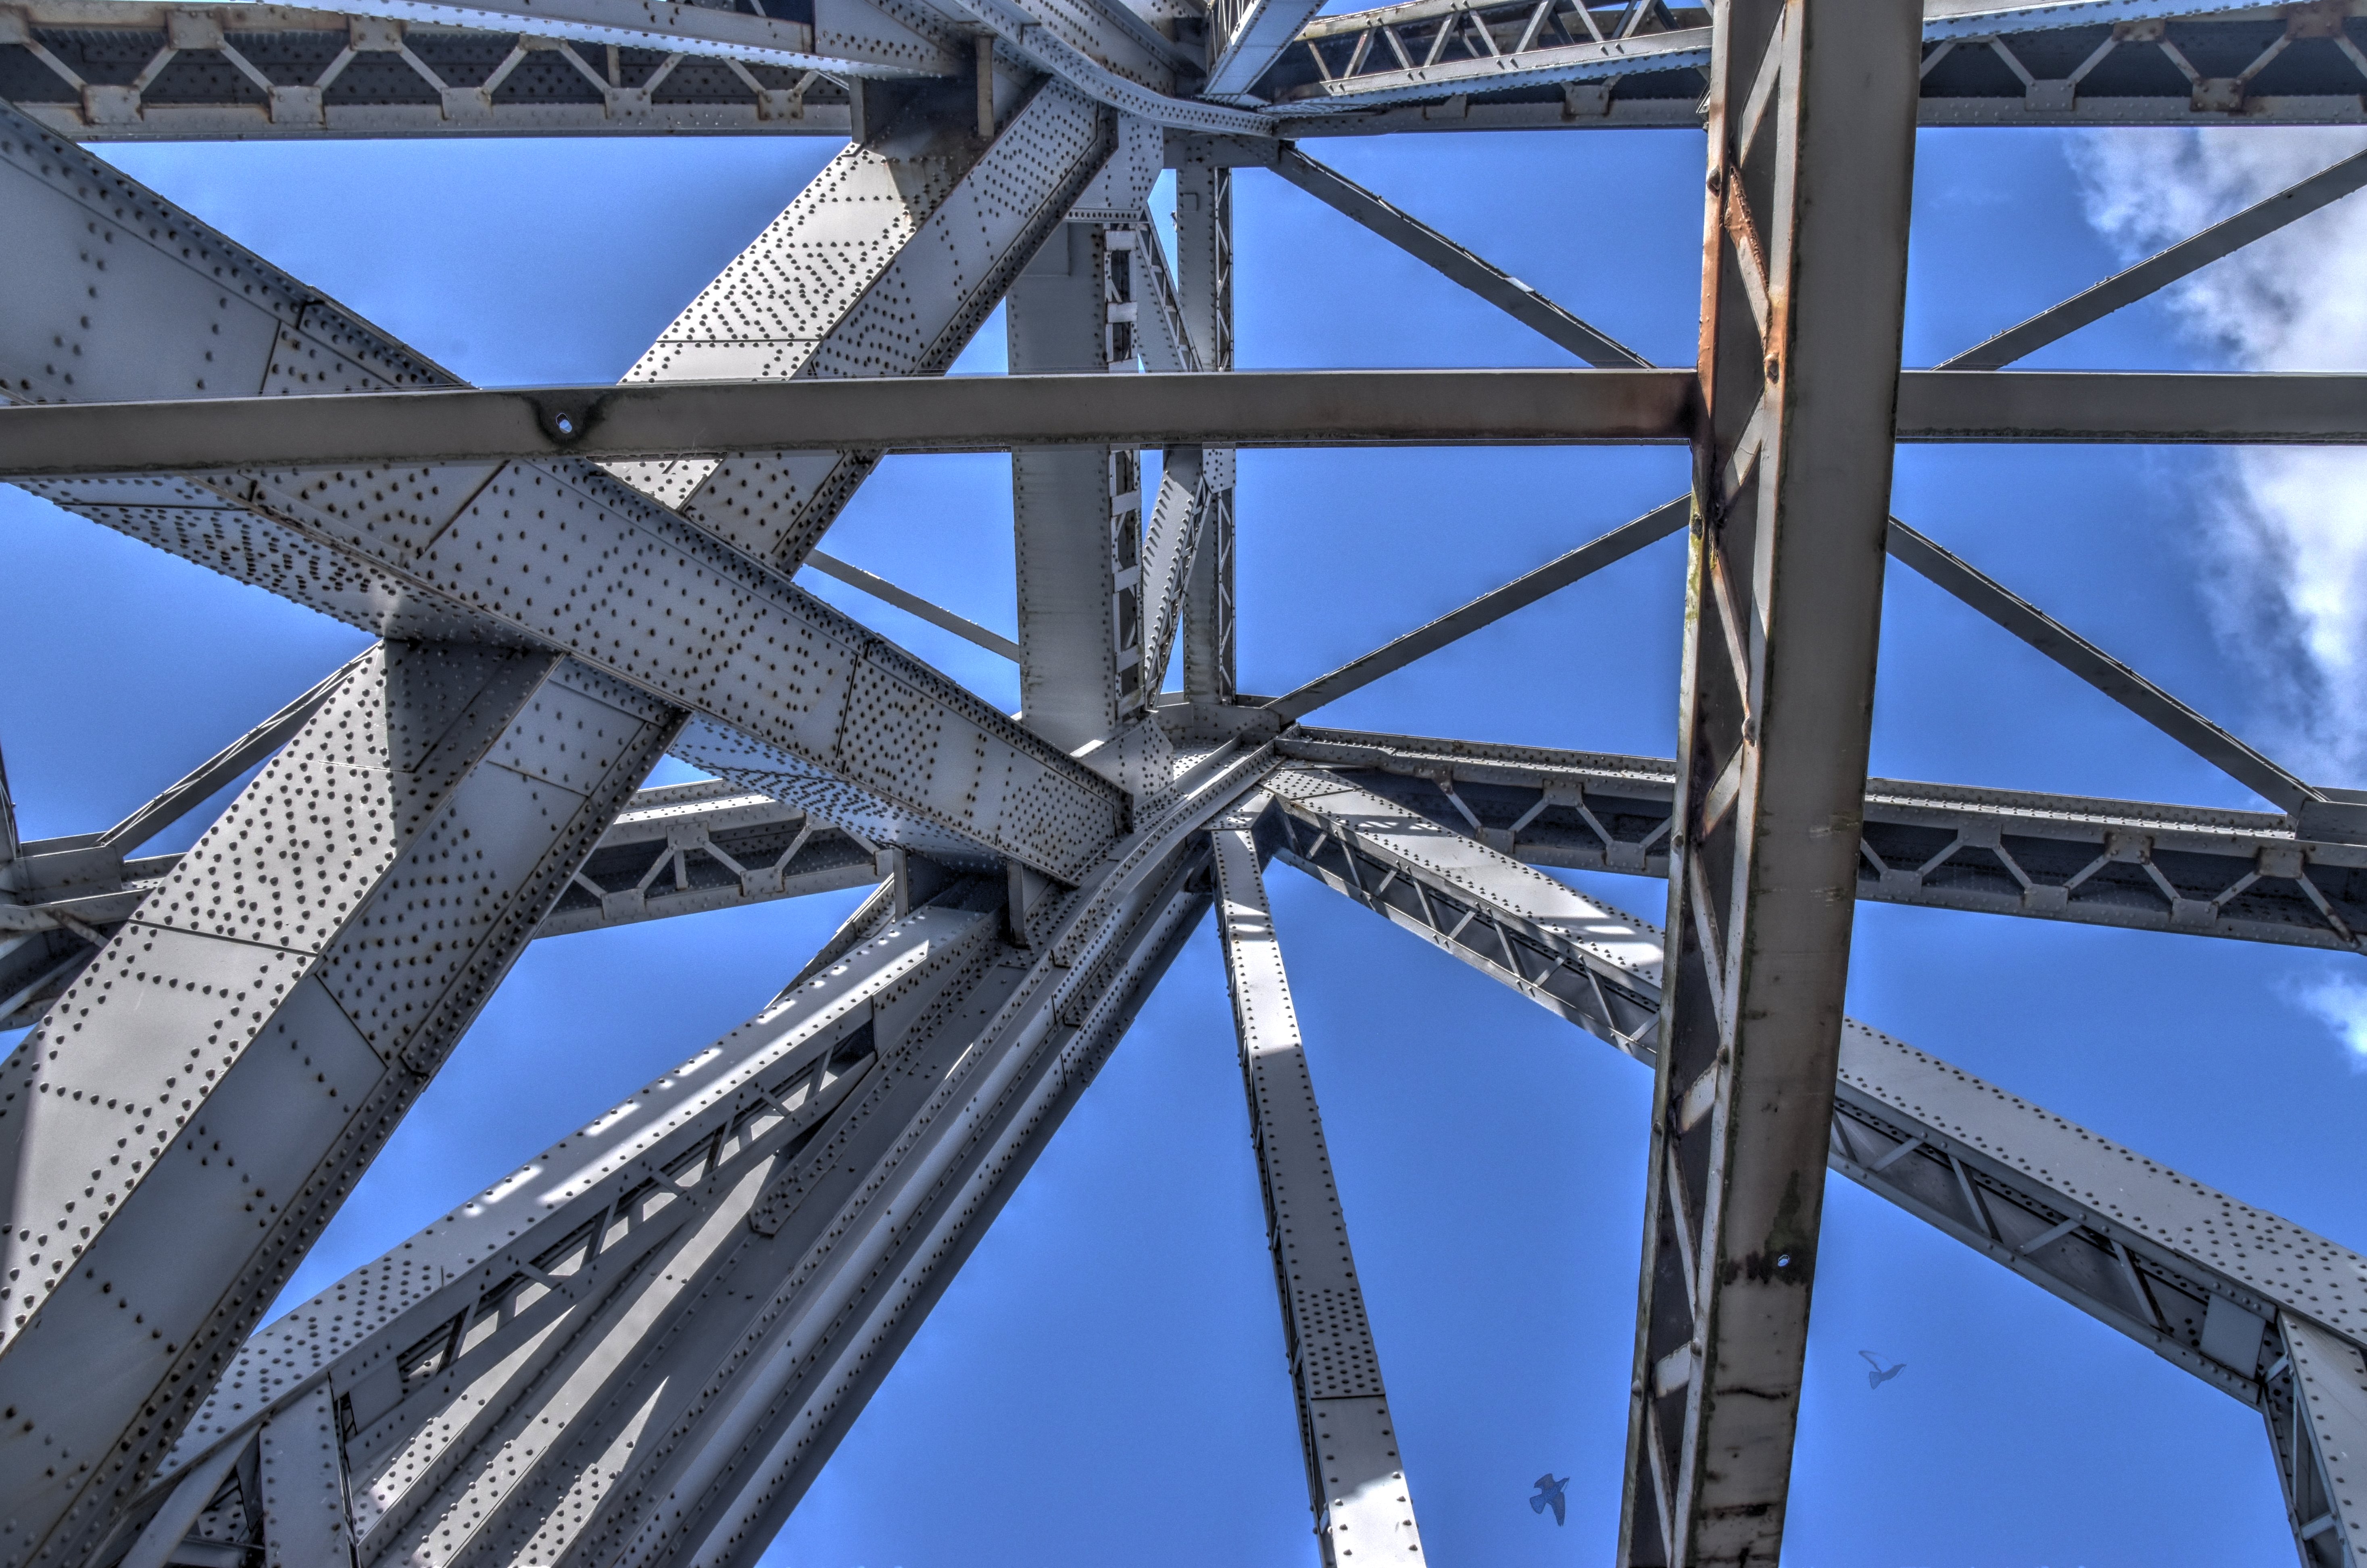
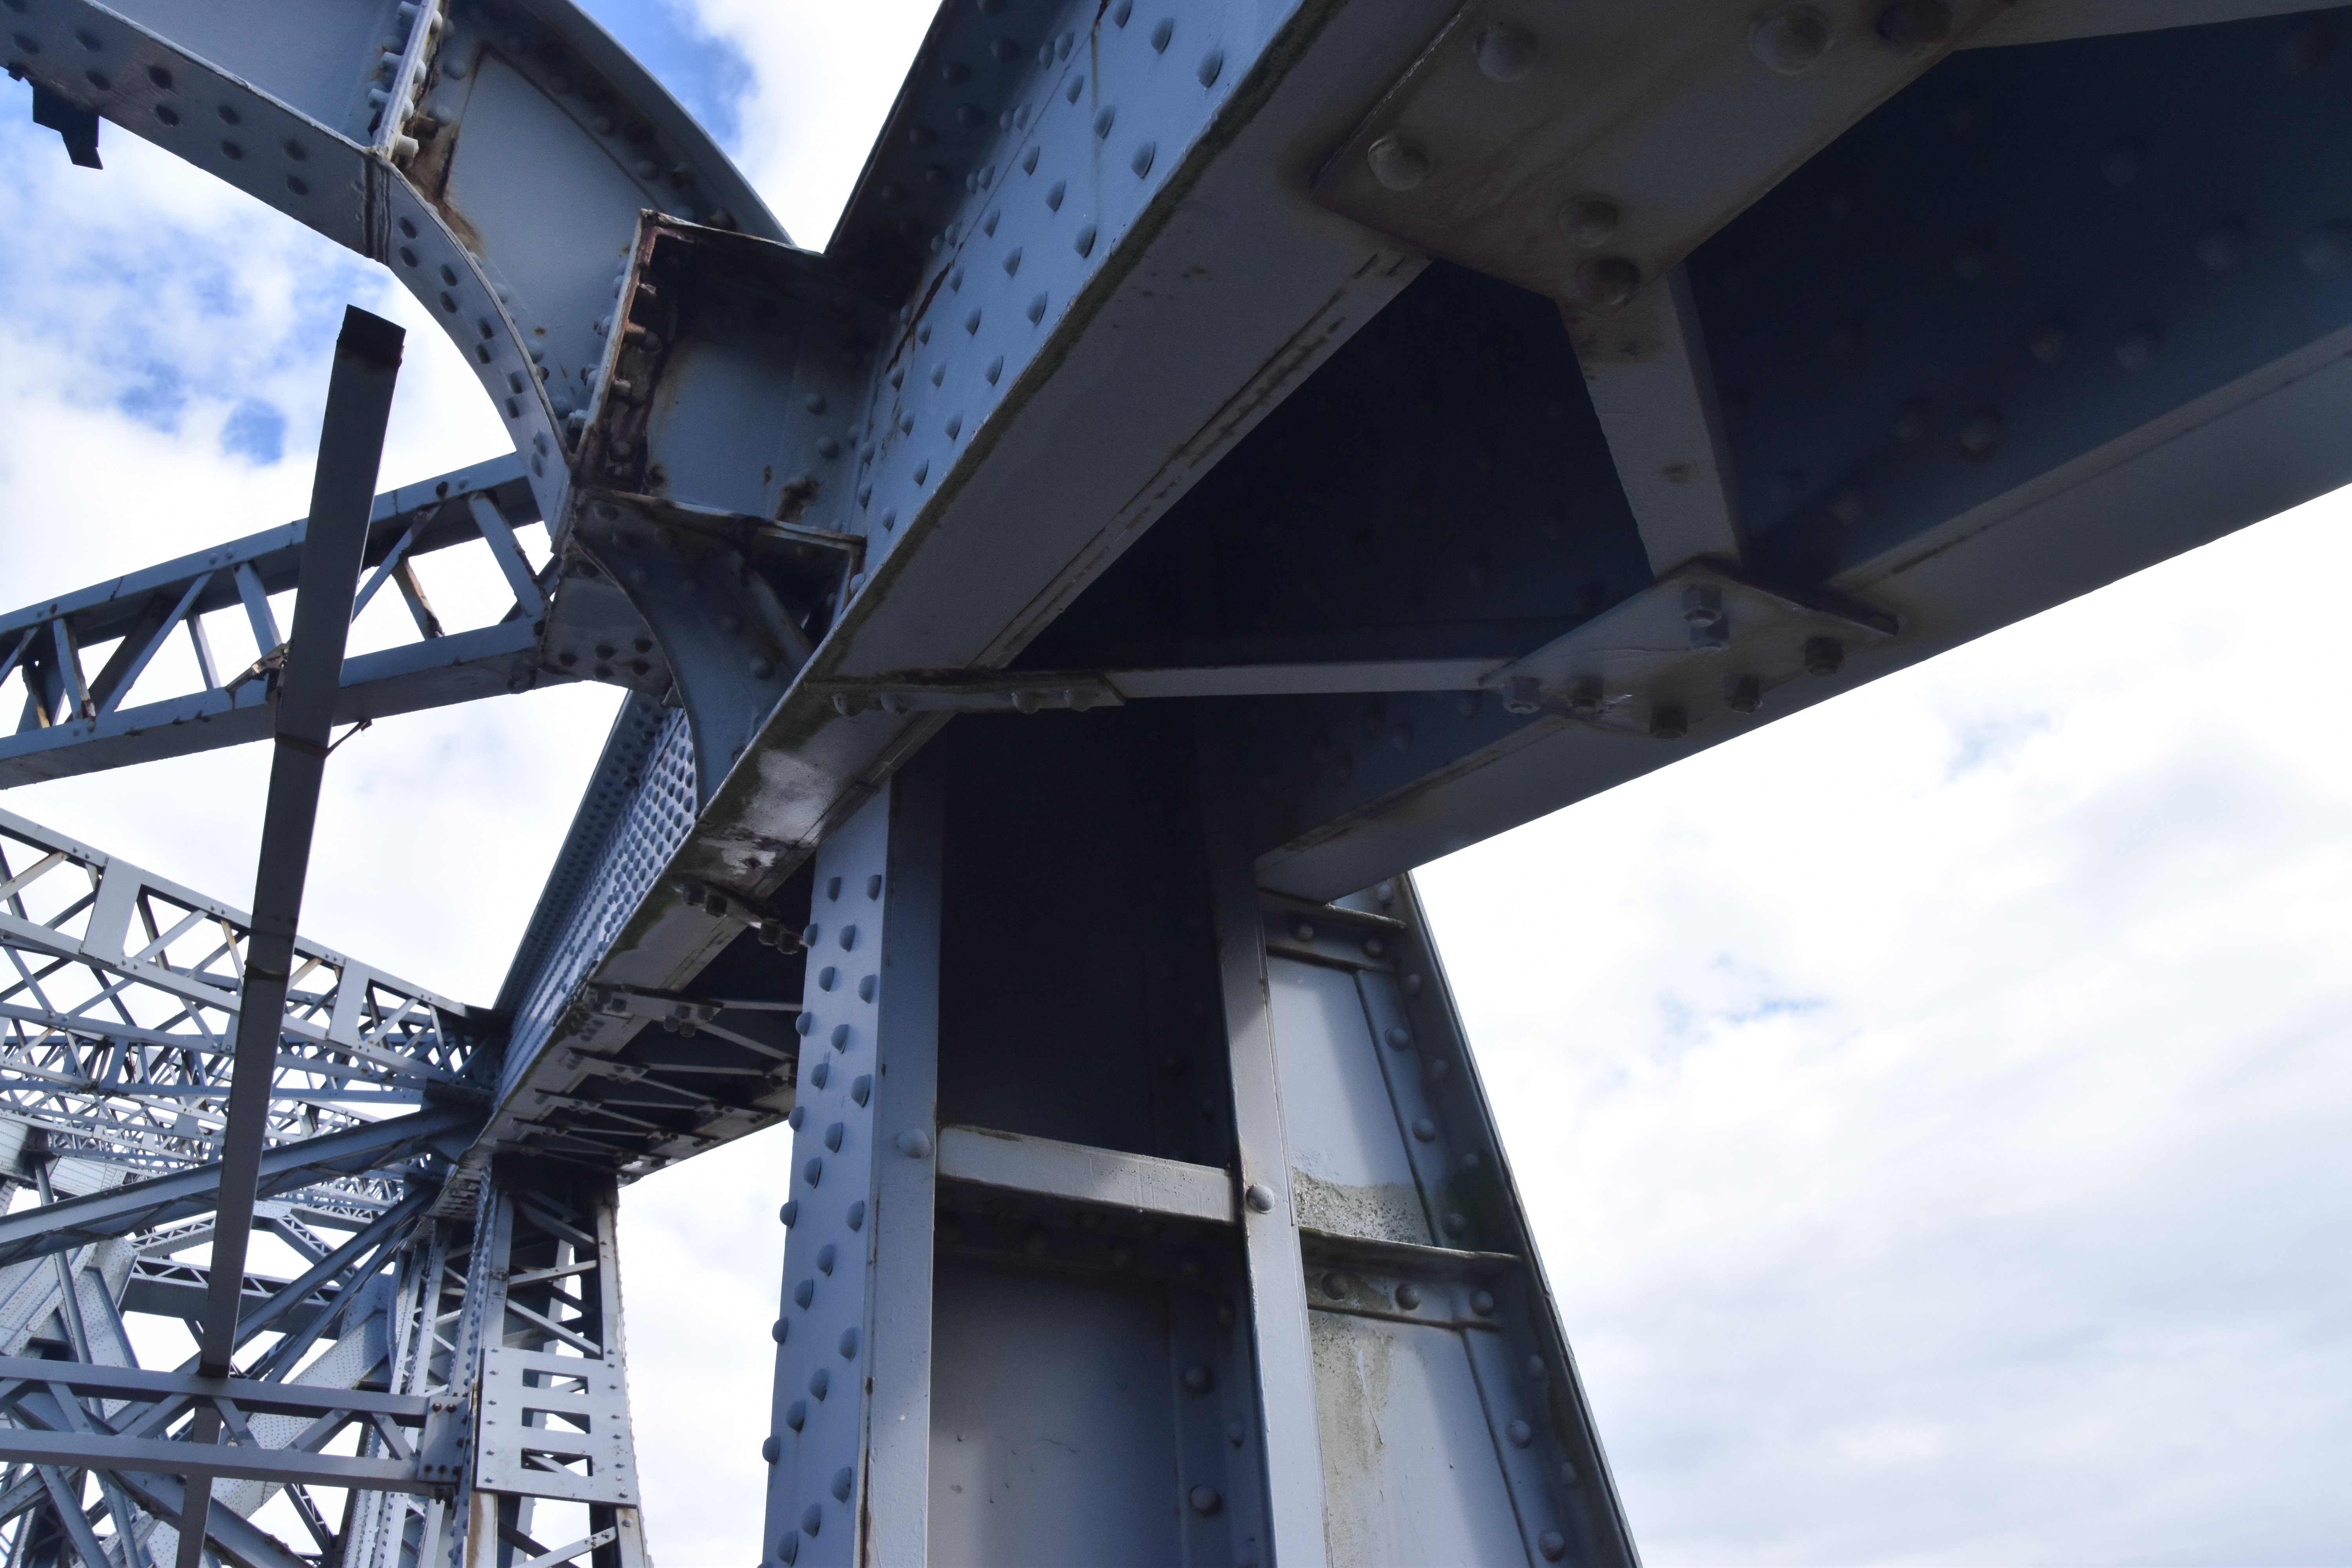
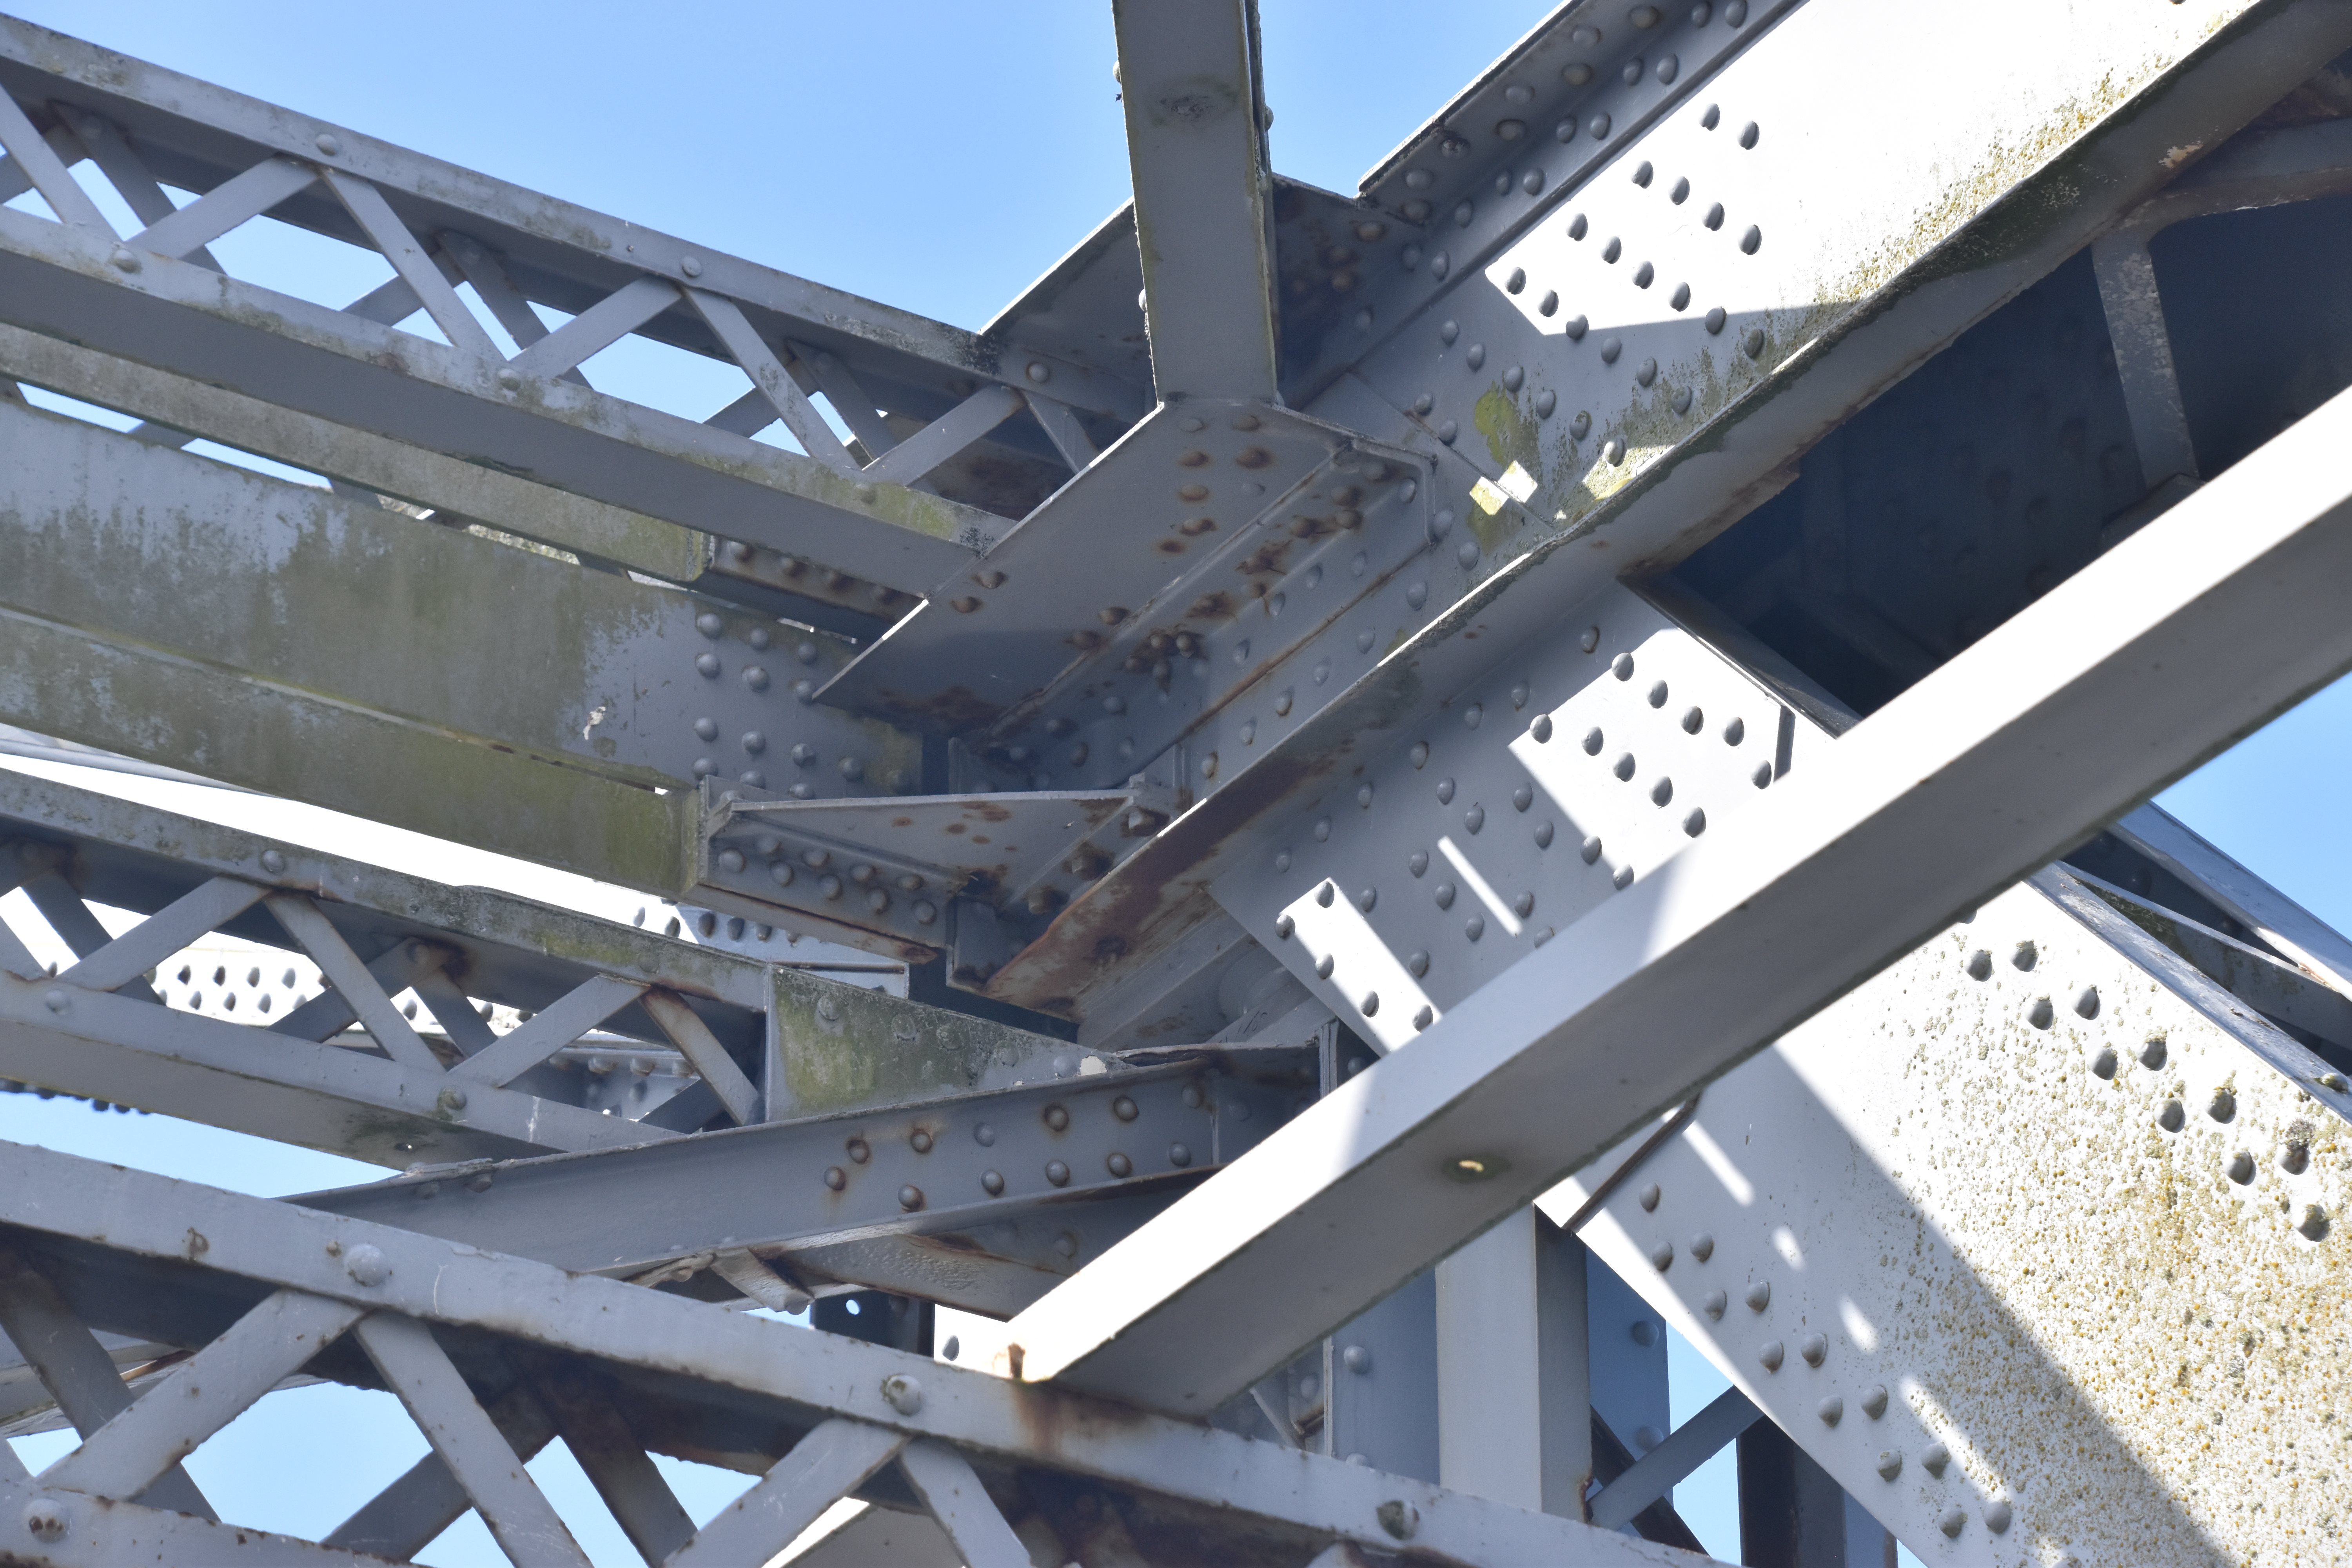
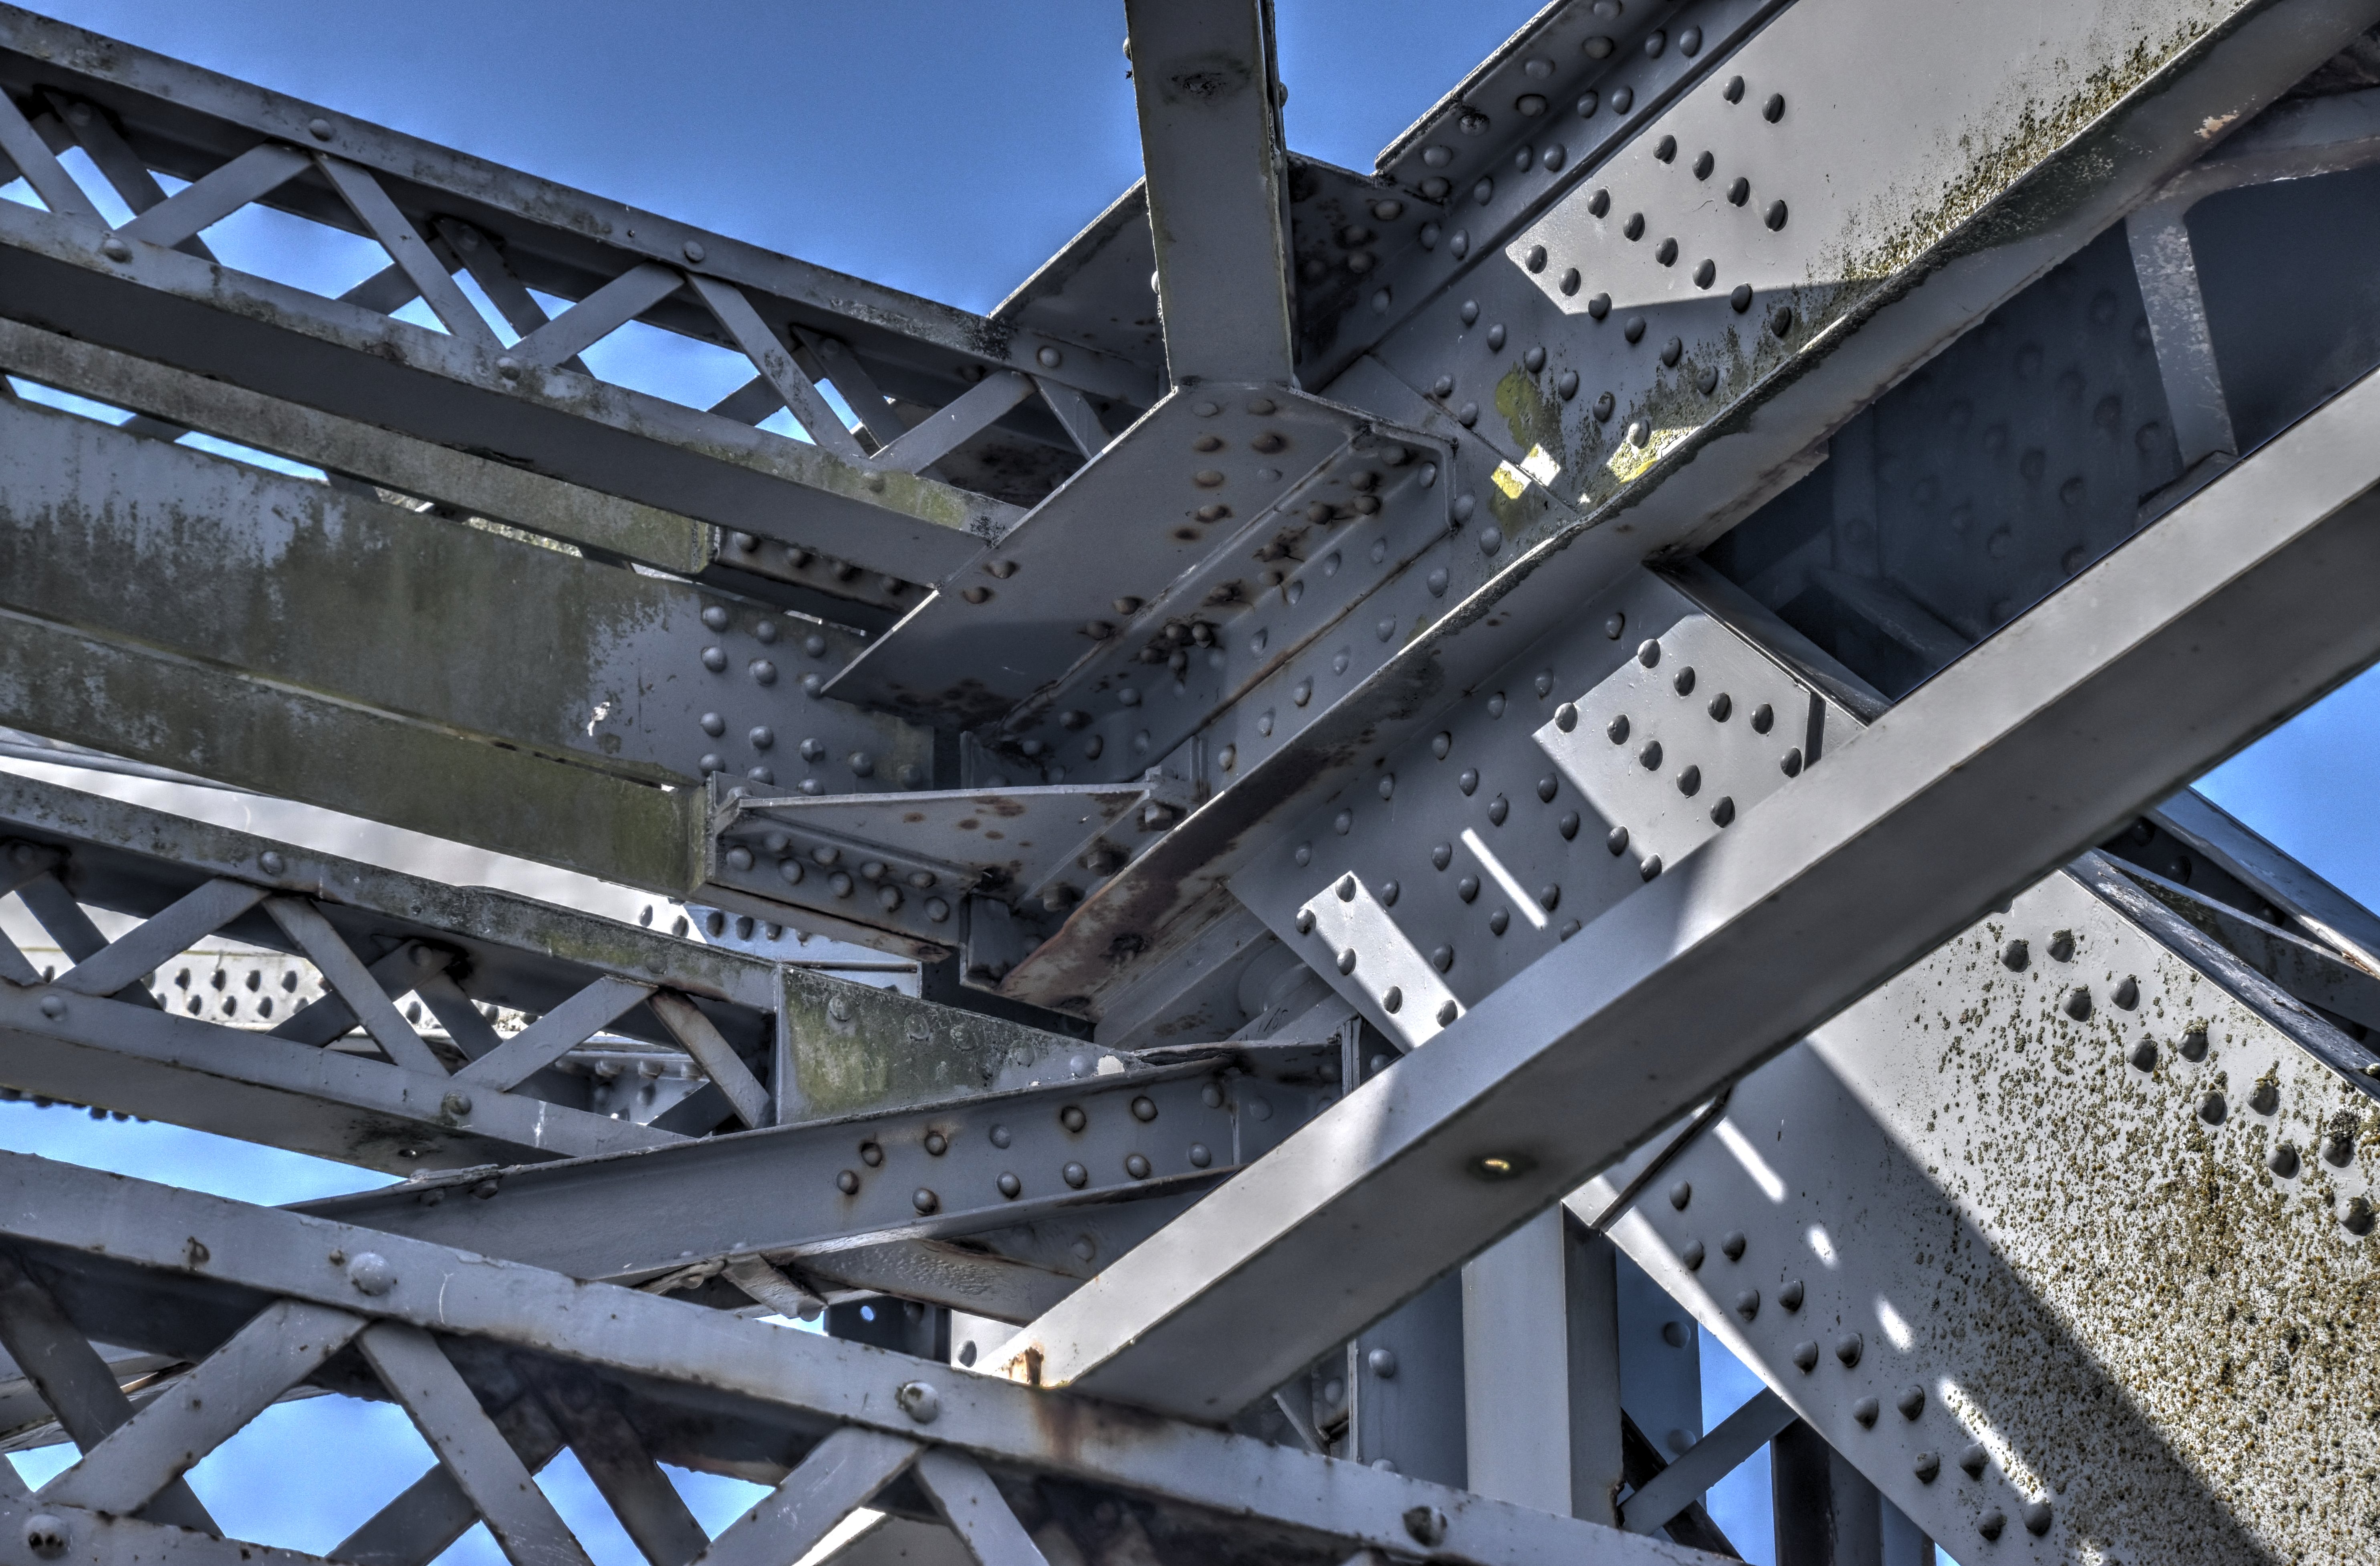
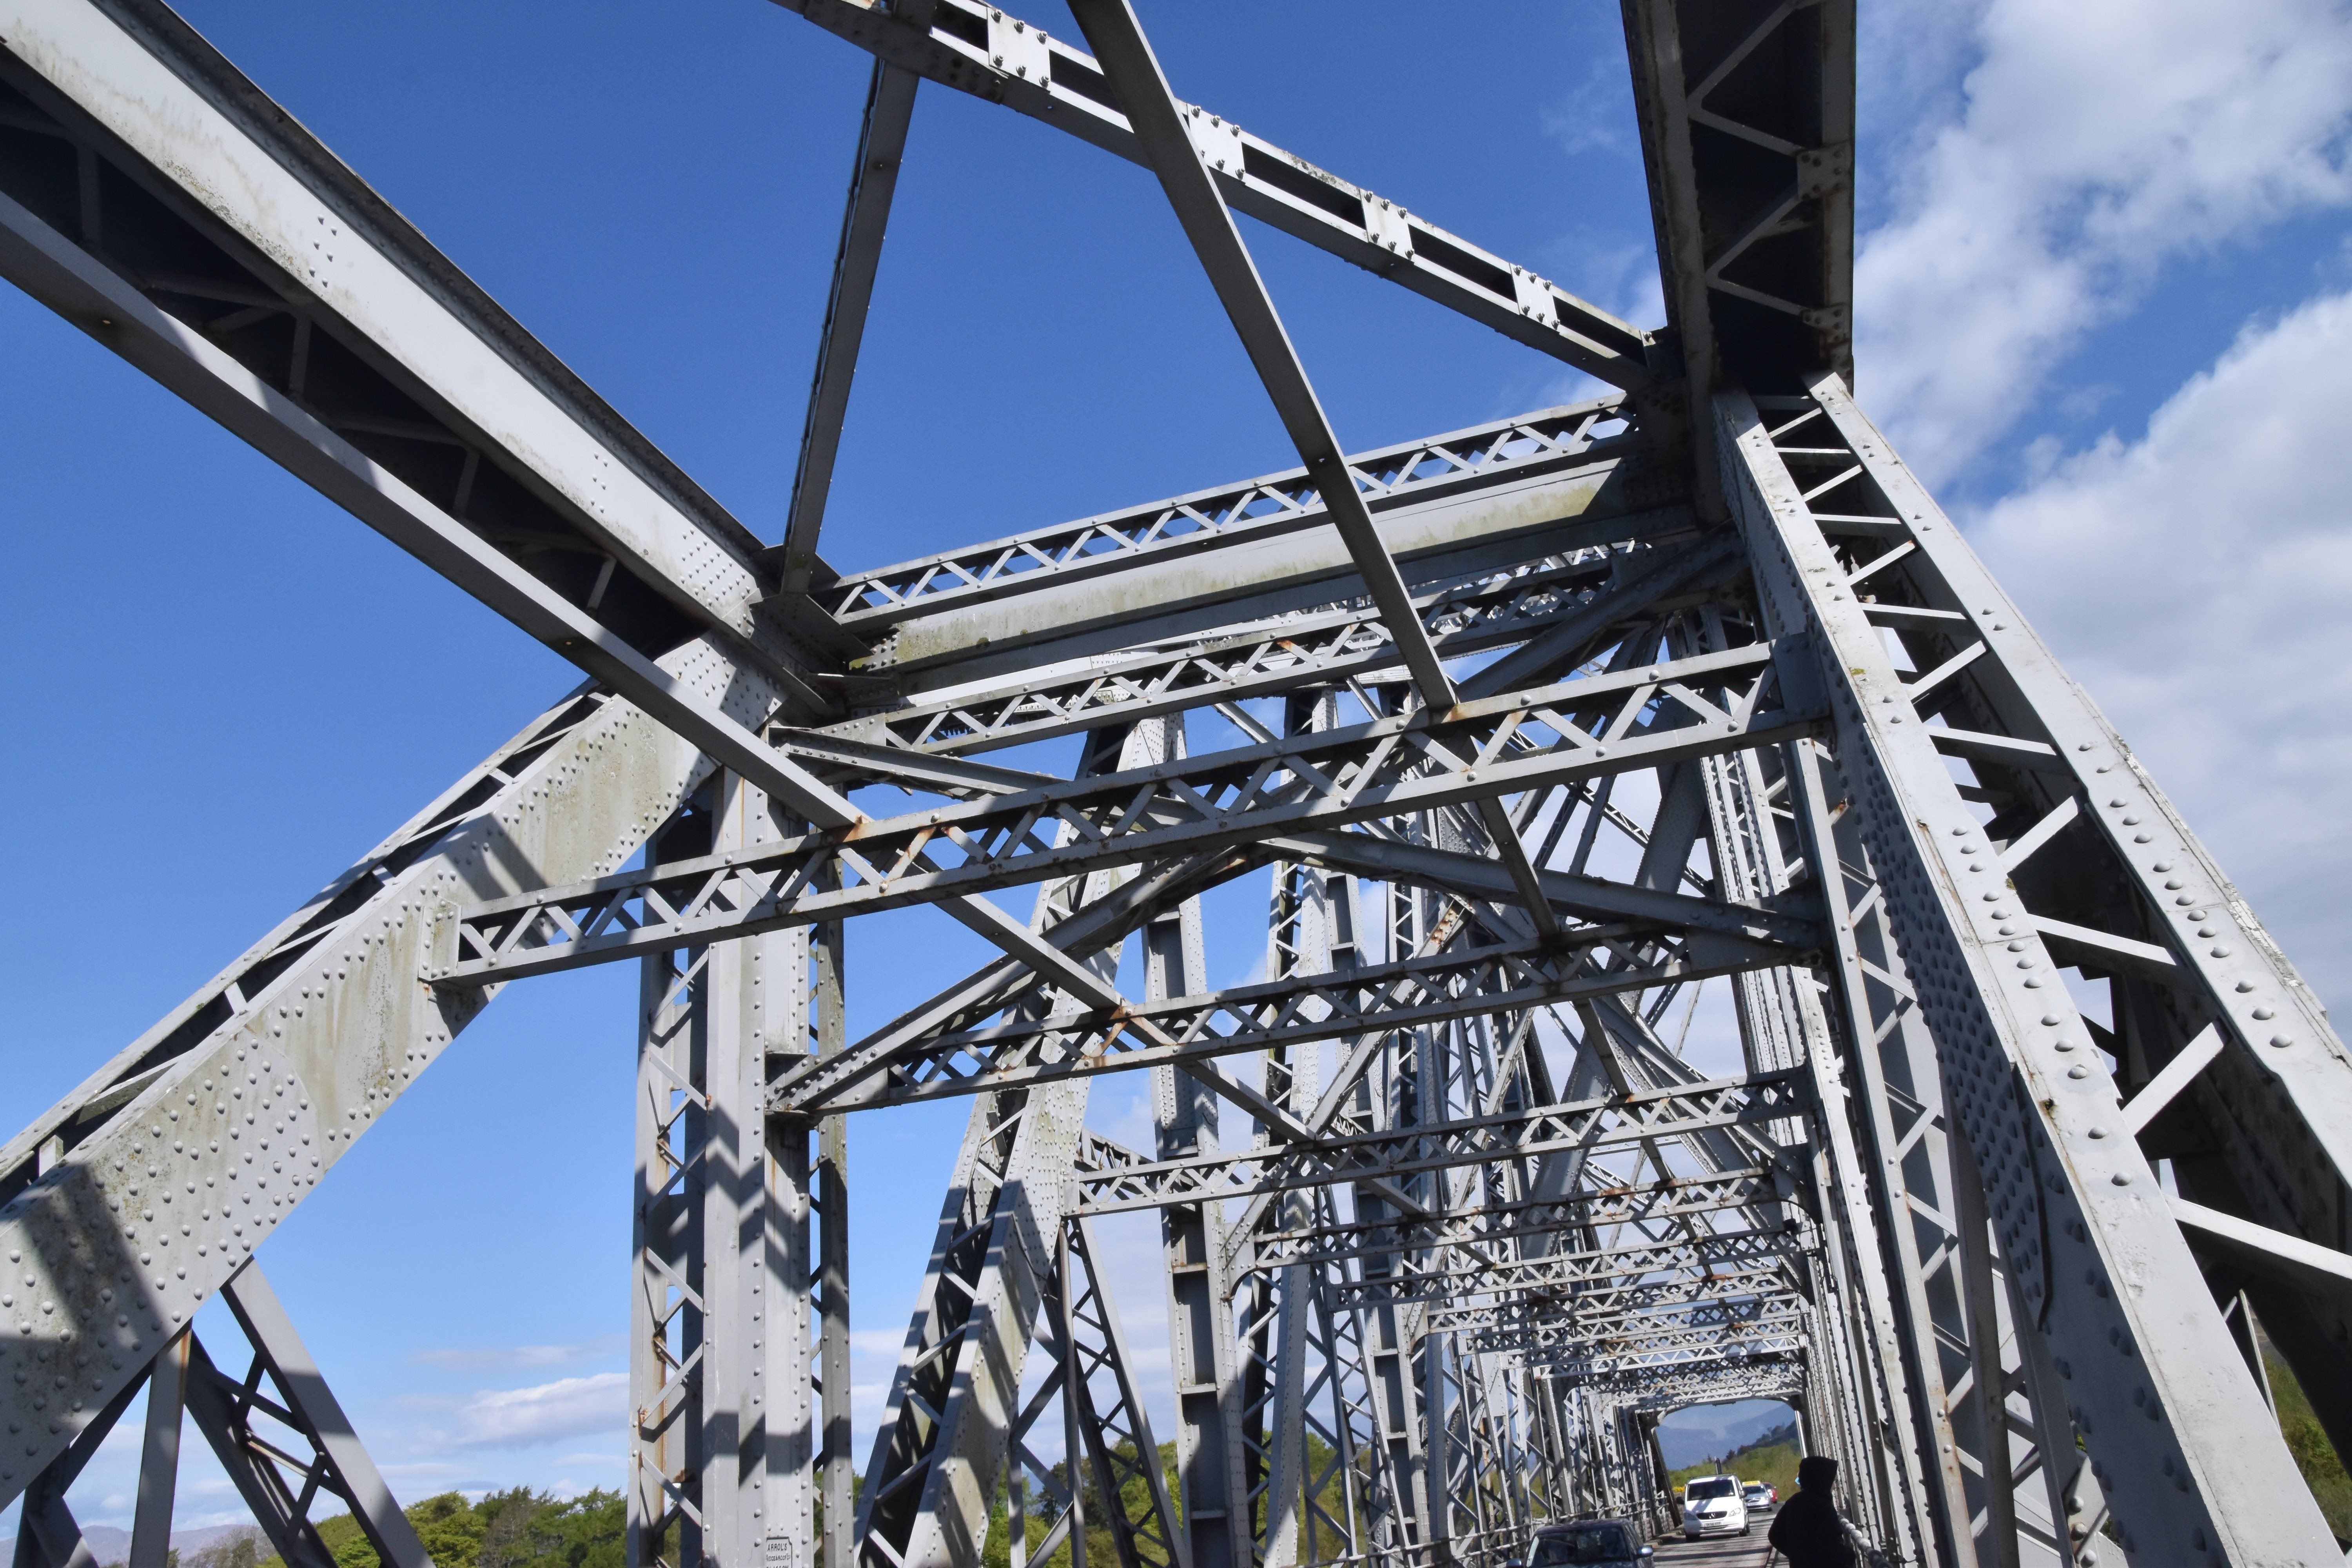
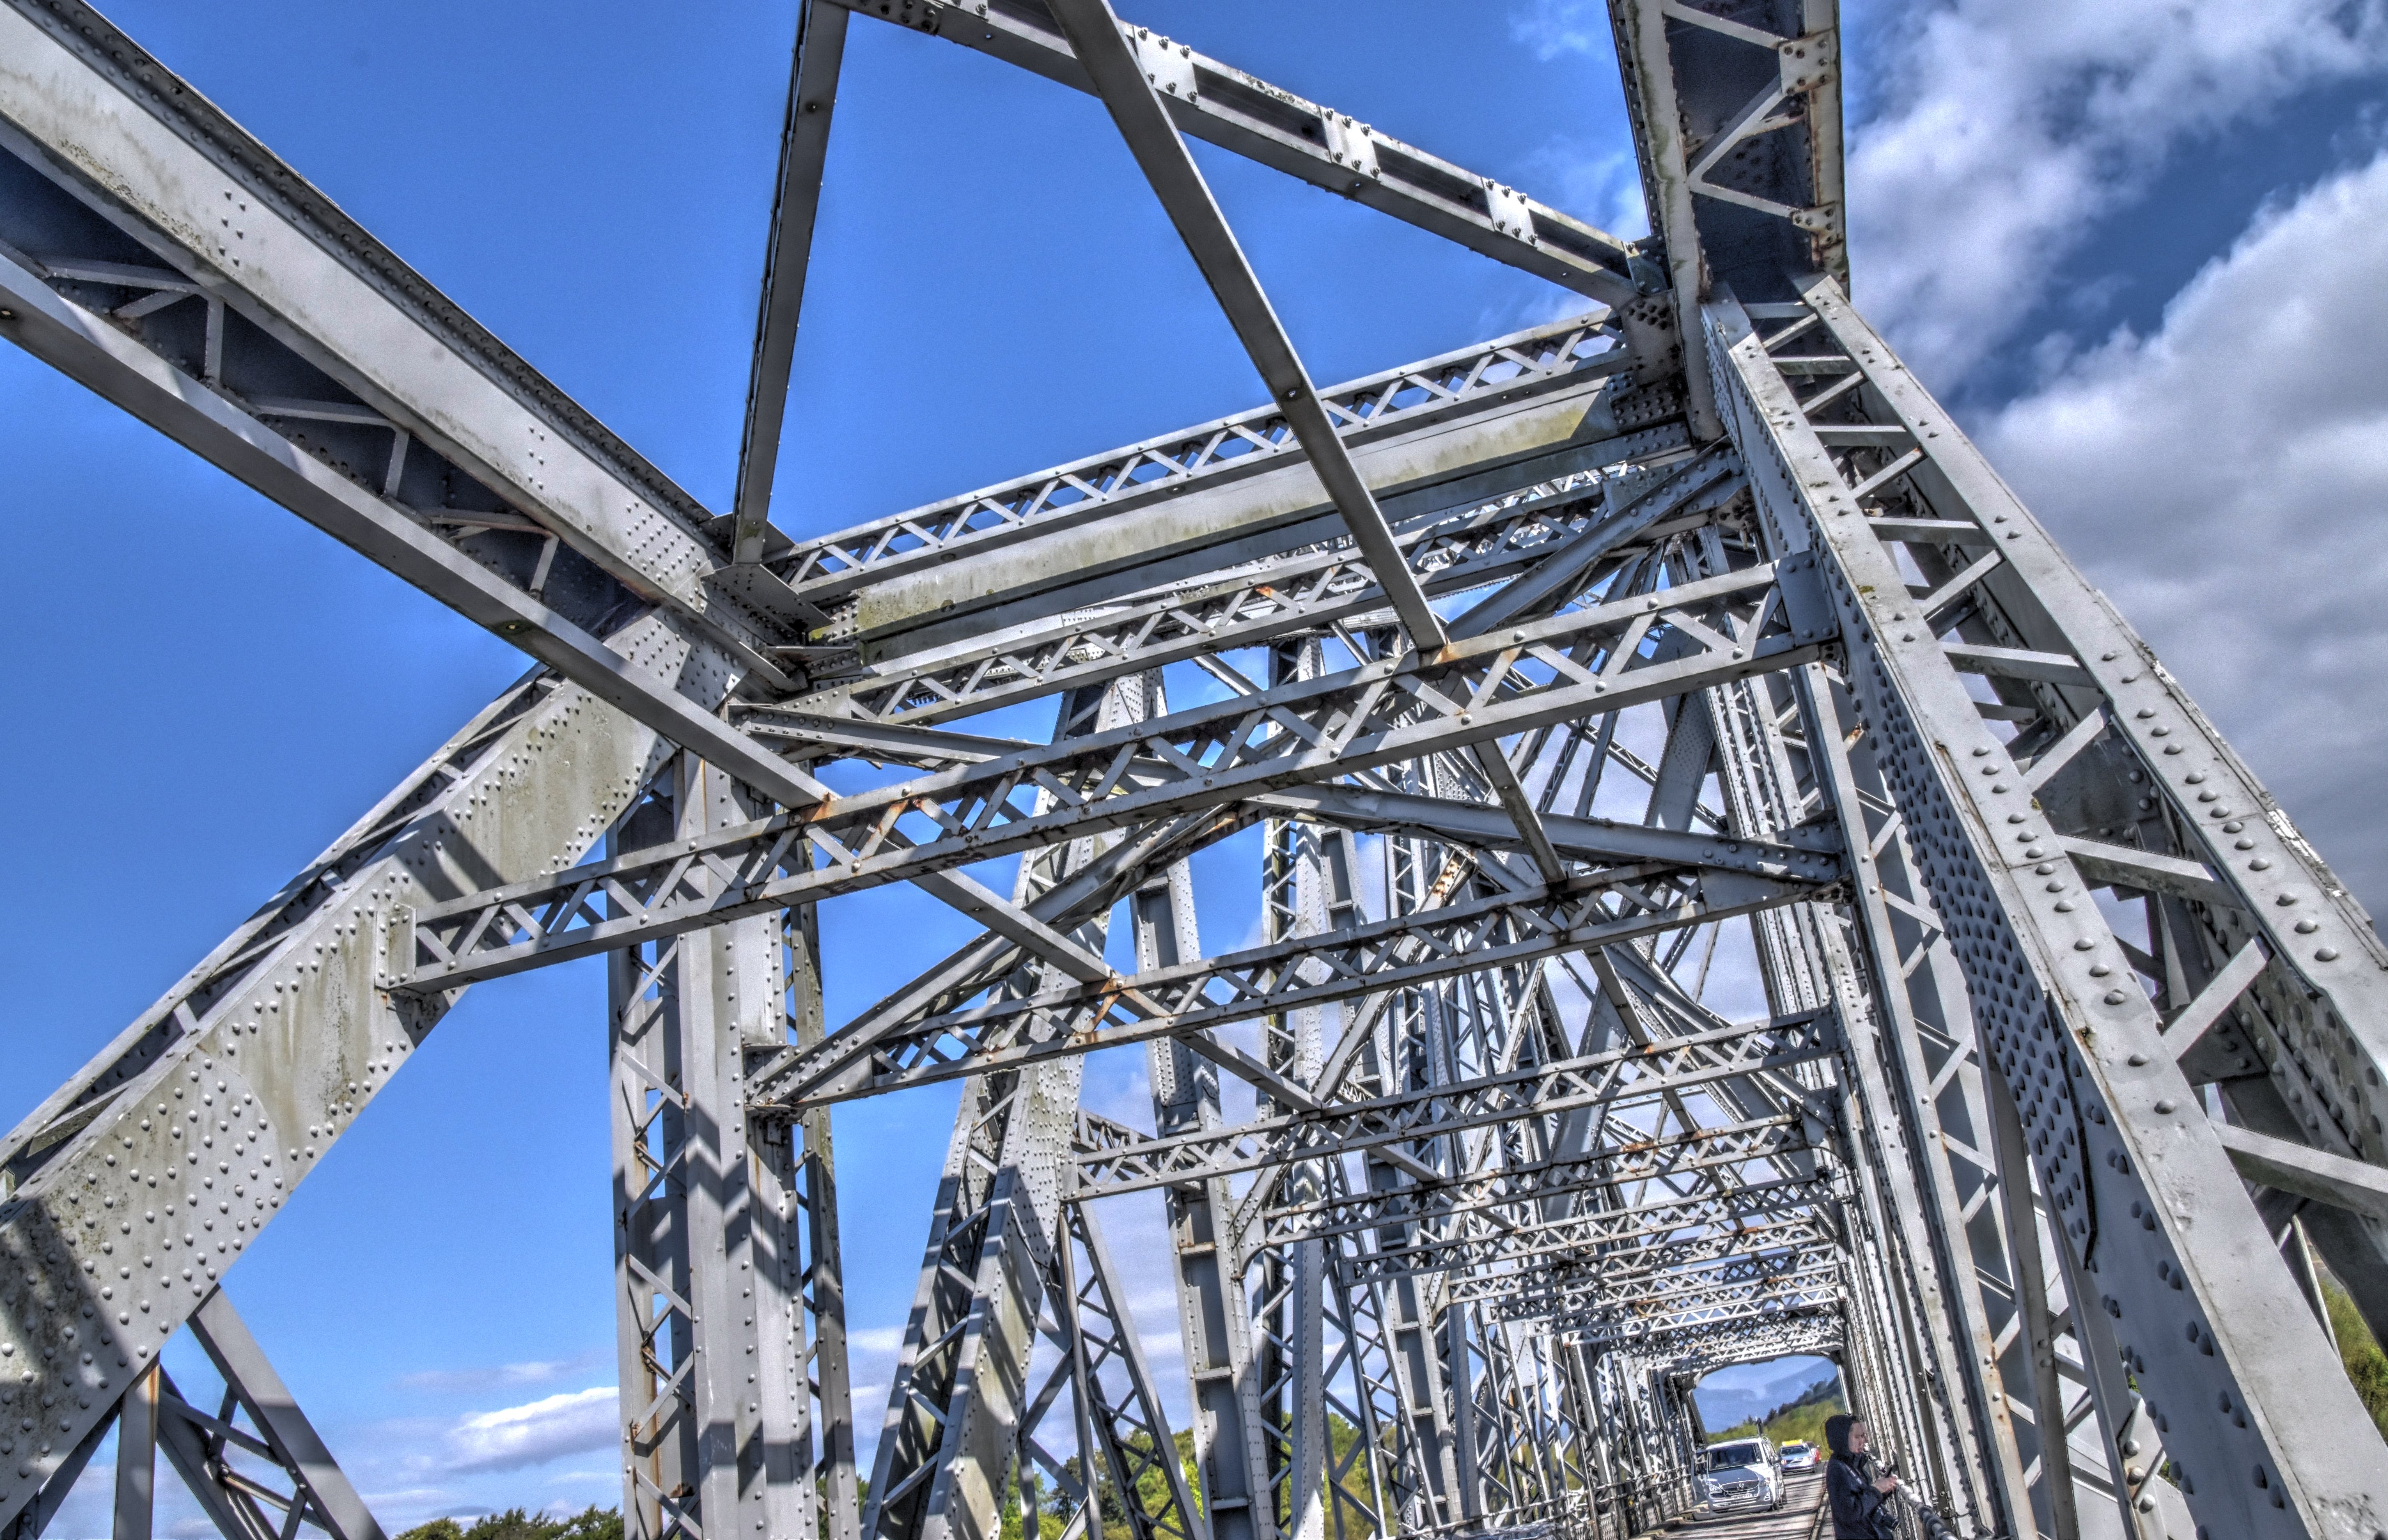
Looking up from under main posts and associated sway bracing from on bridge.
![]()


Detail of main post sway bracing.
![]()


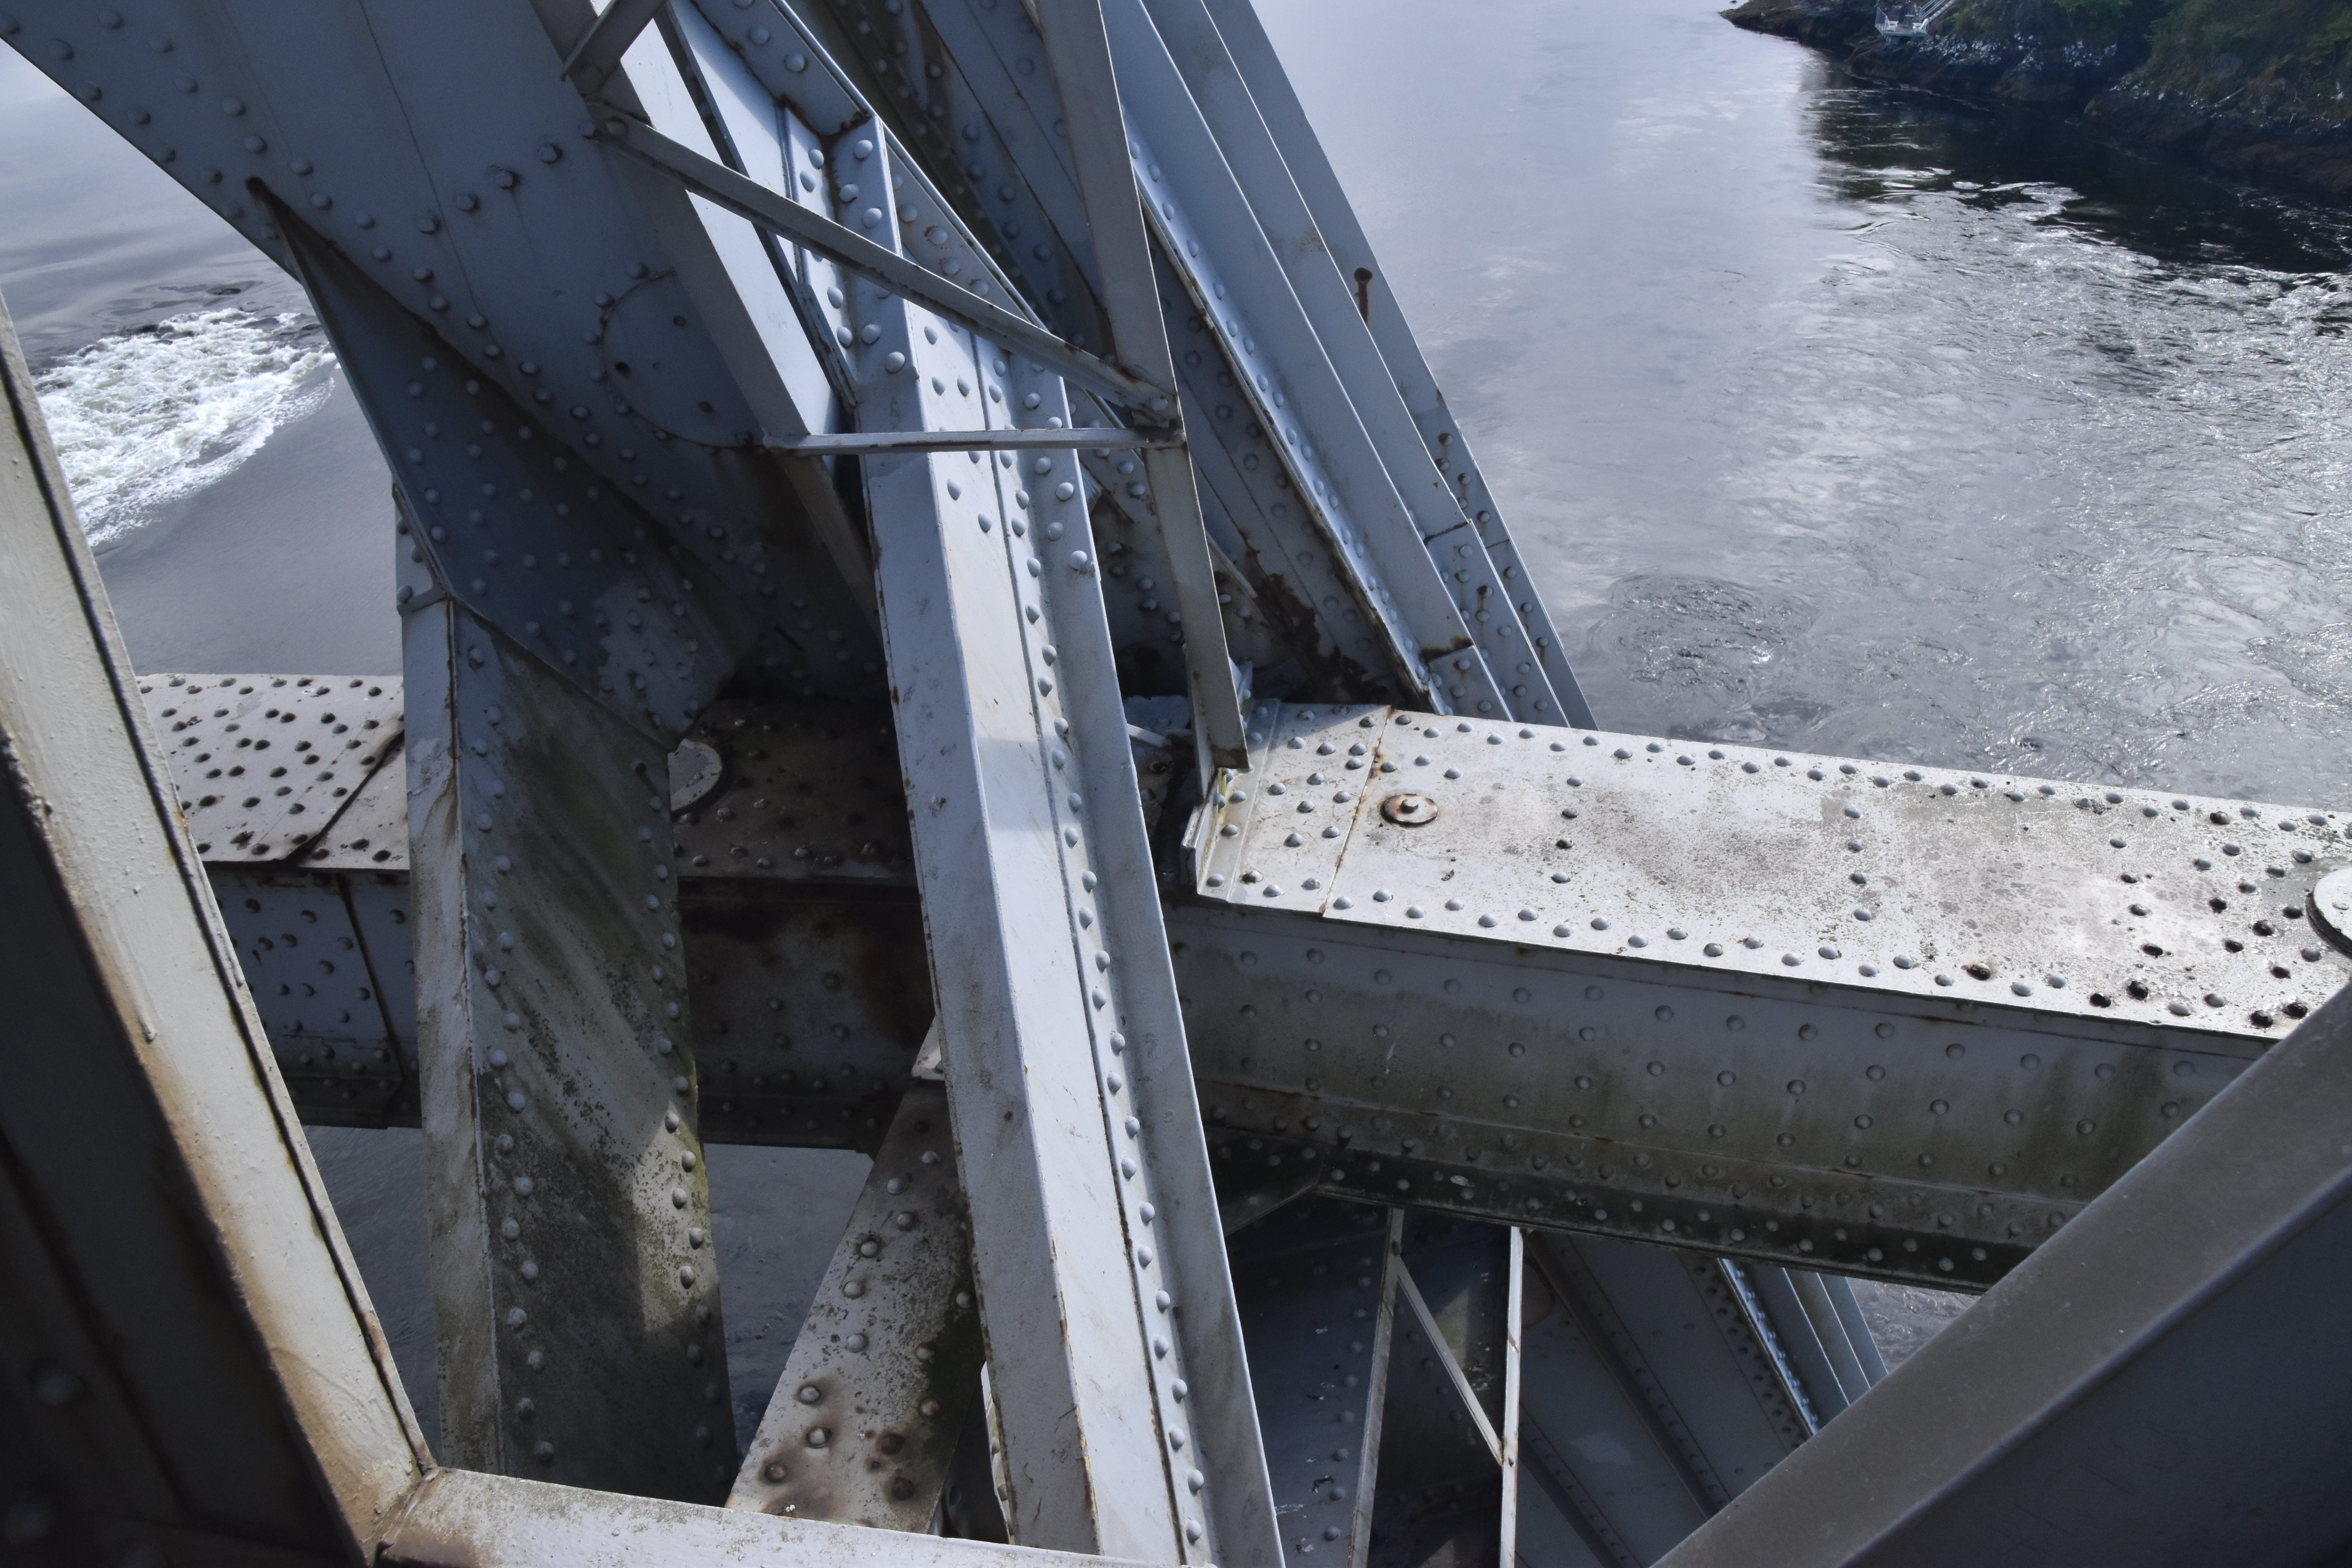
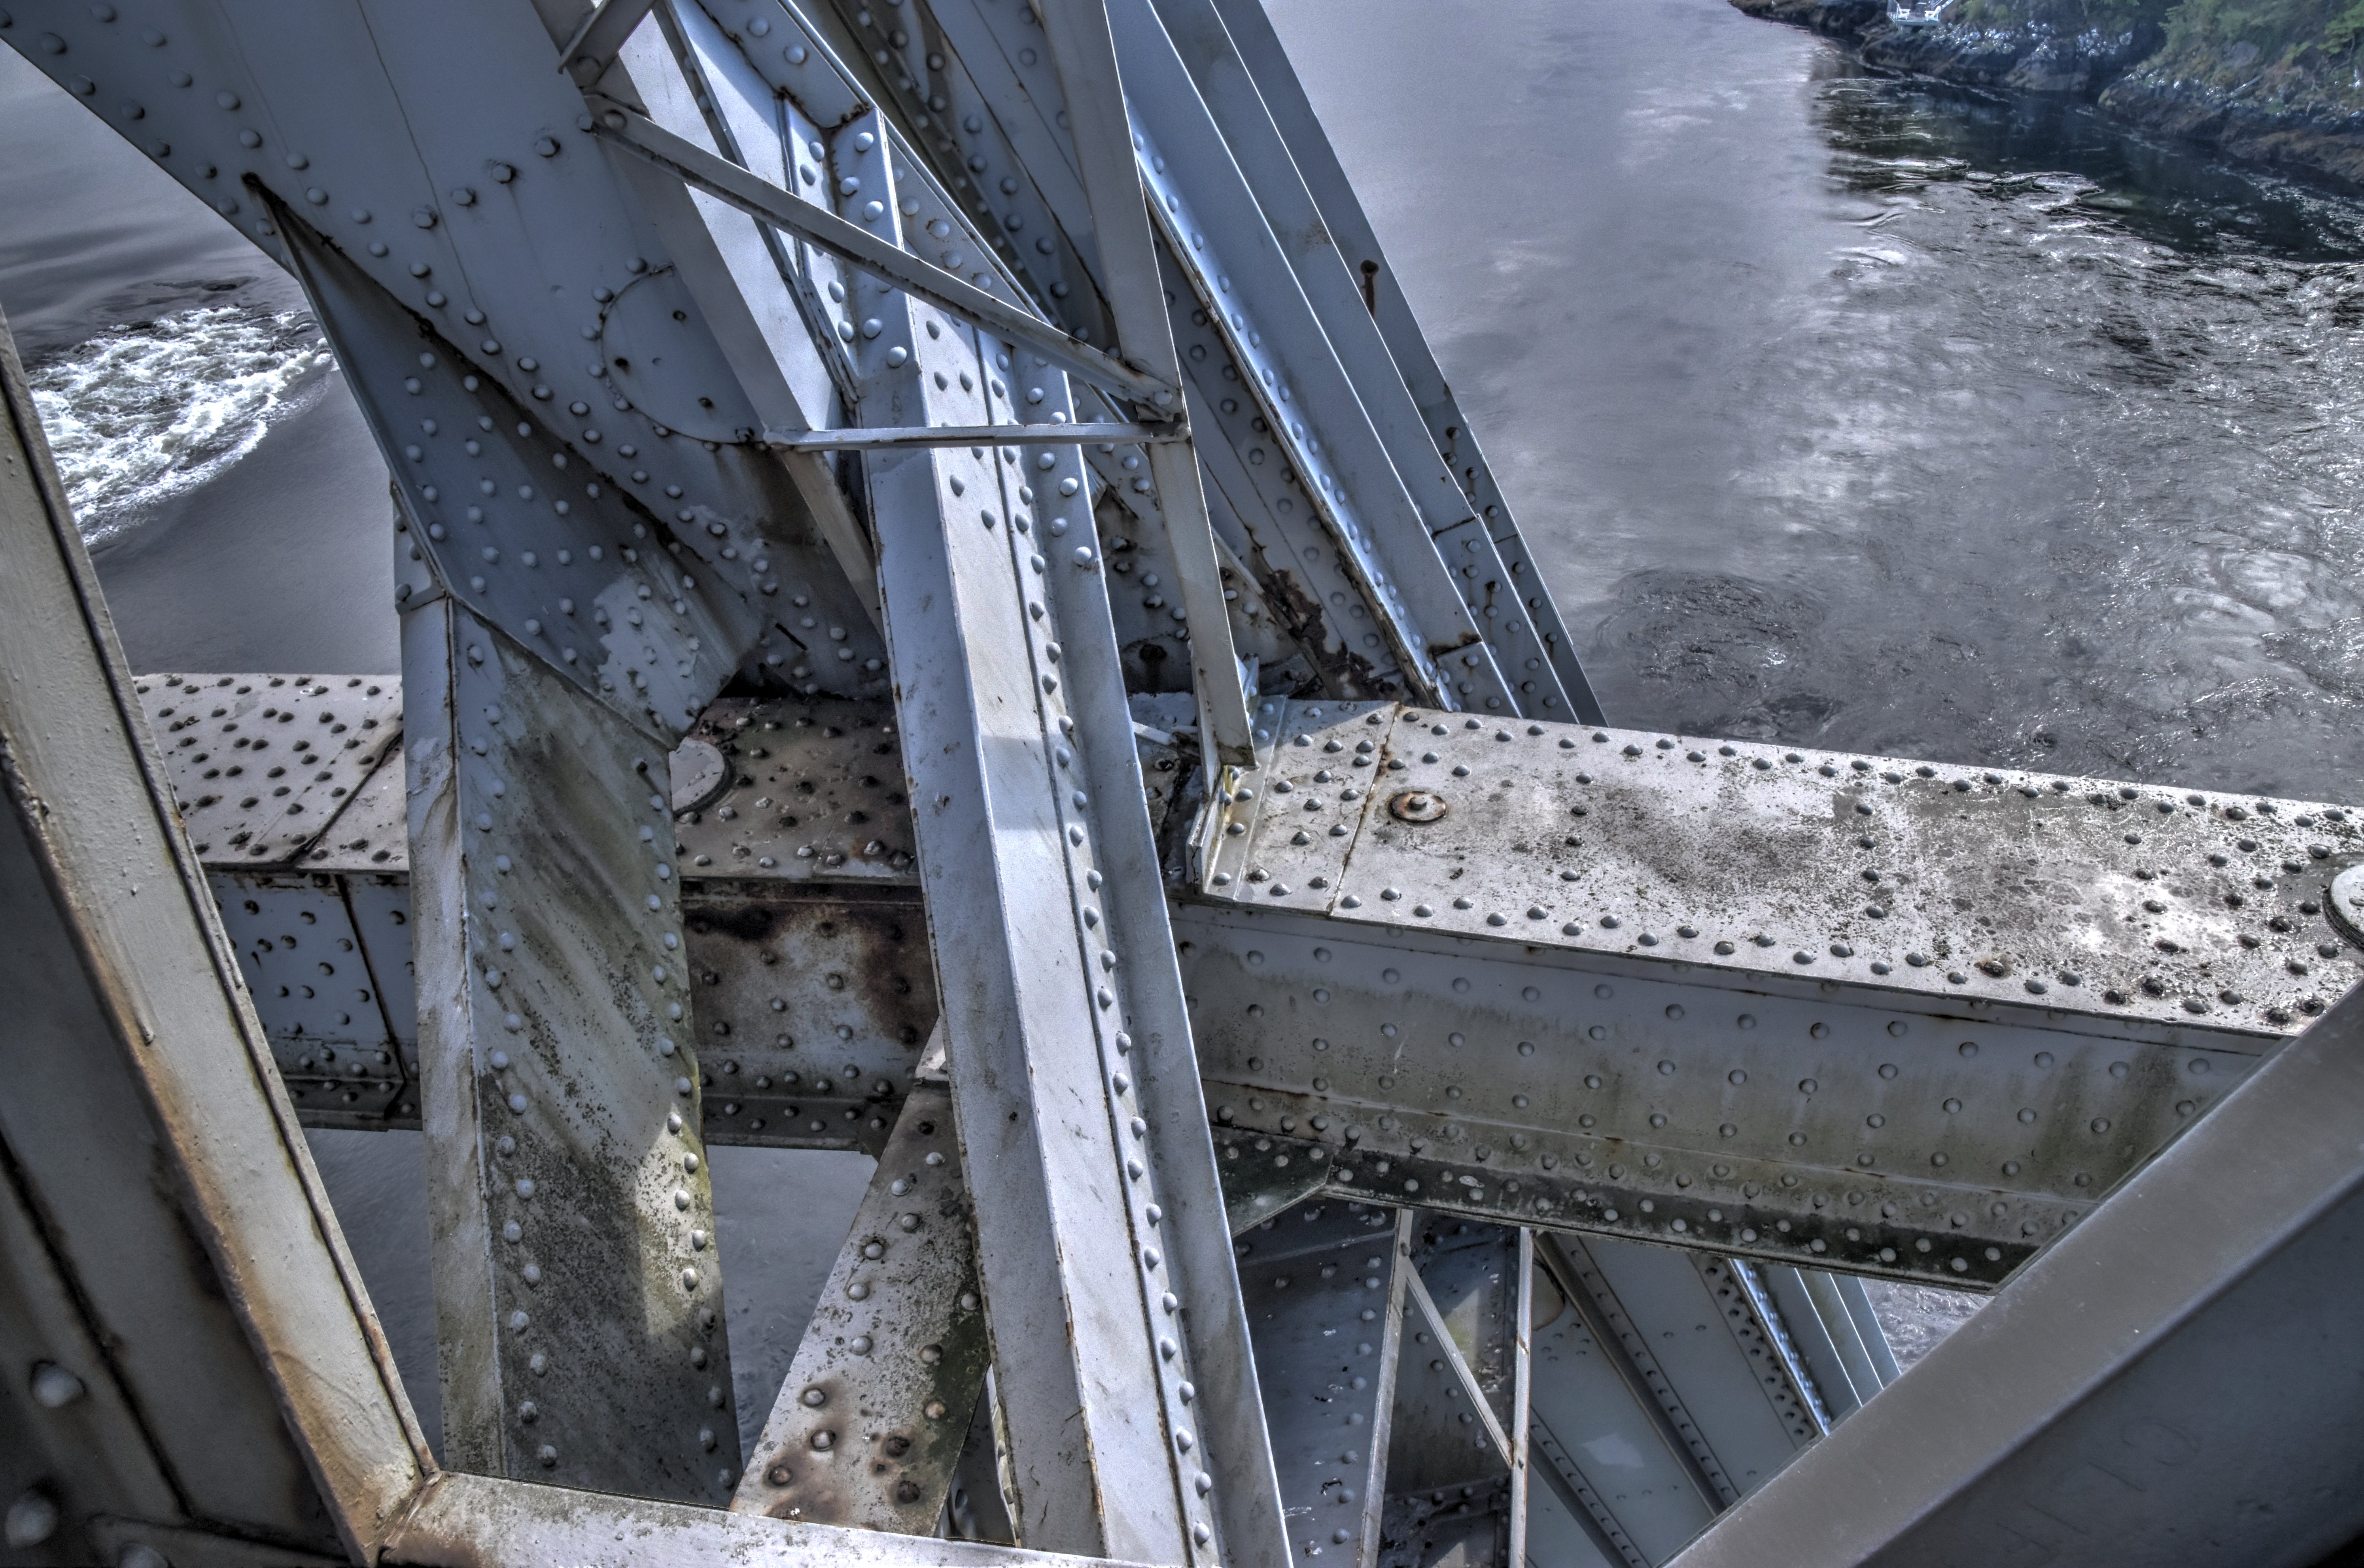
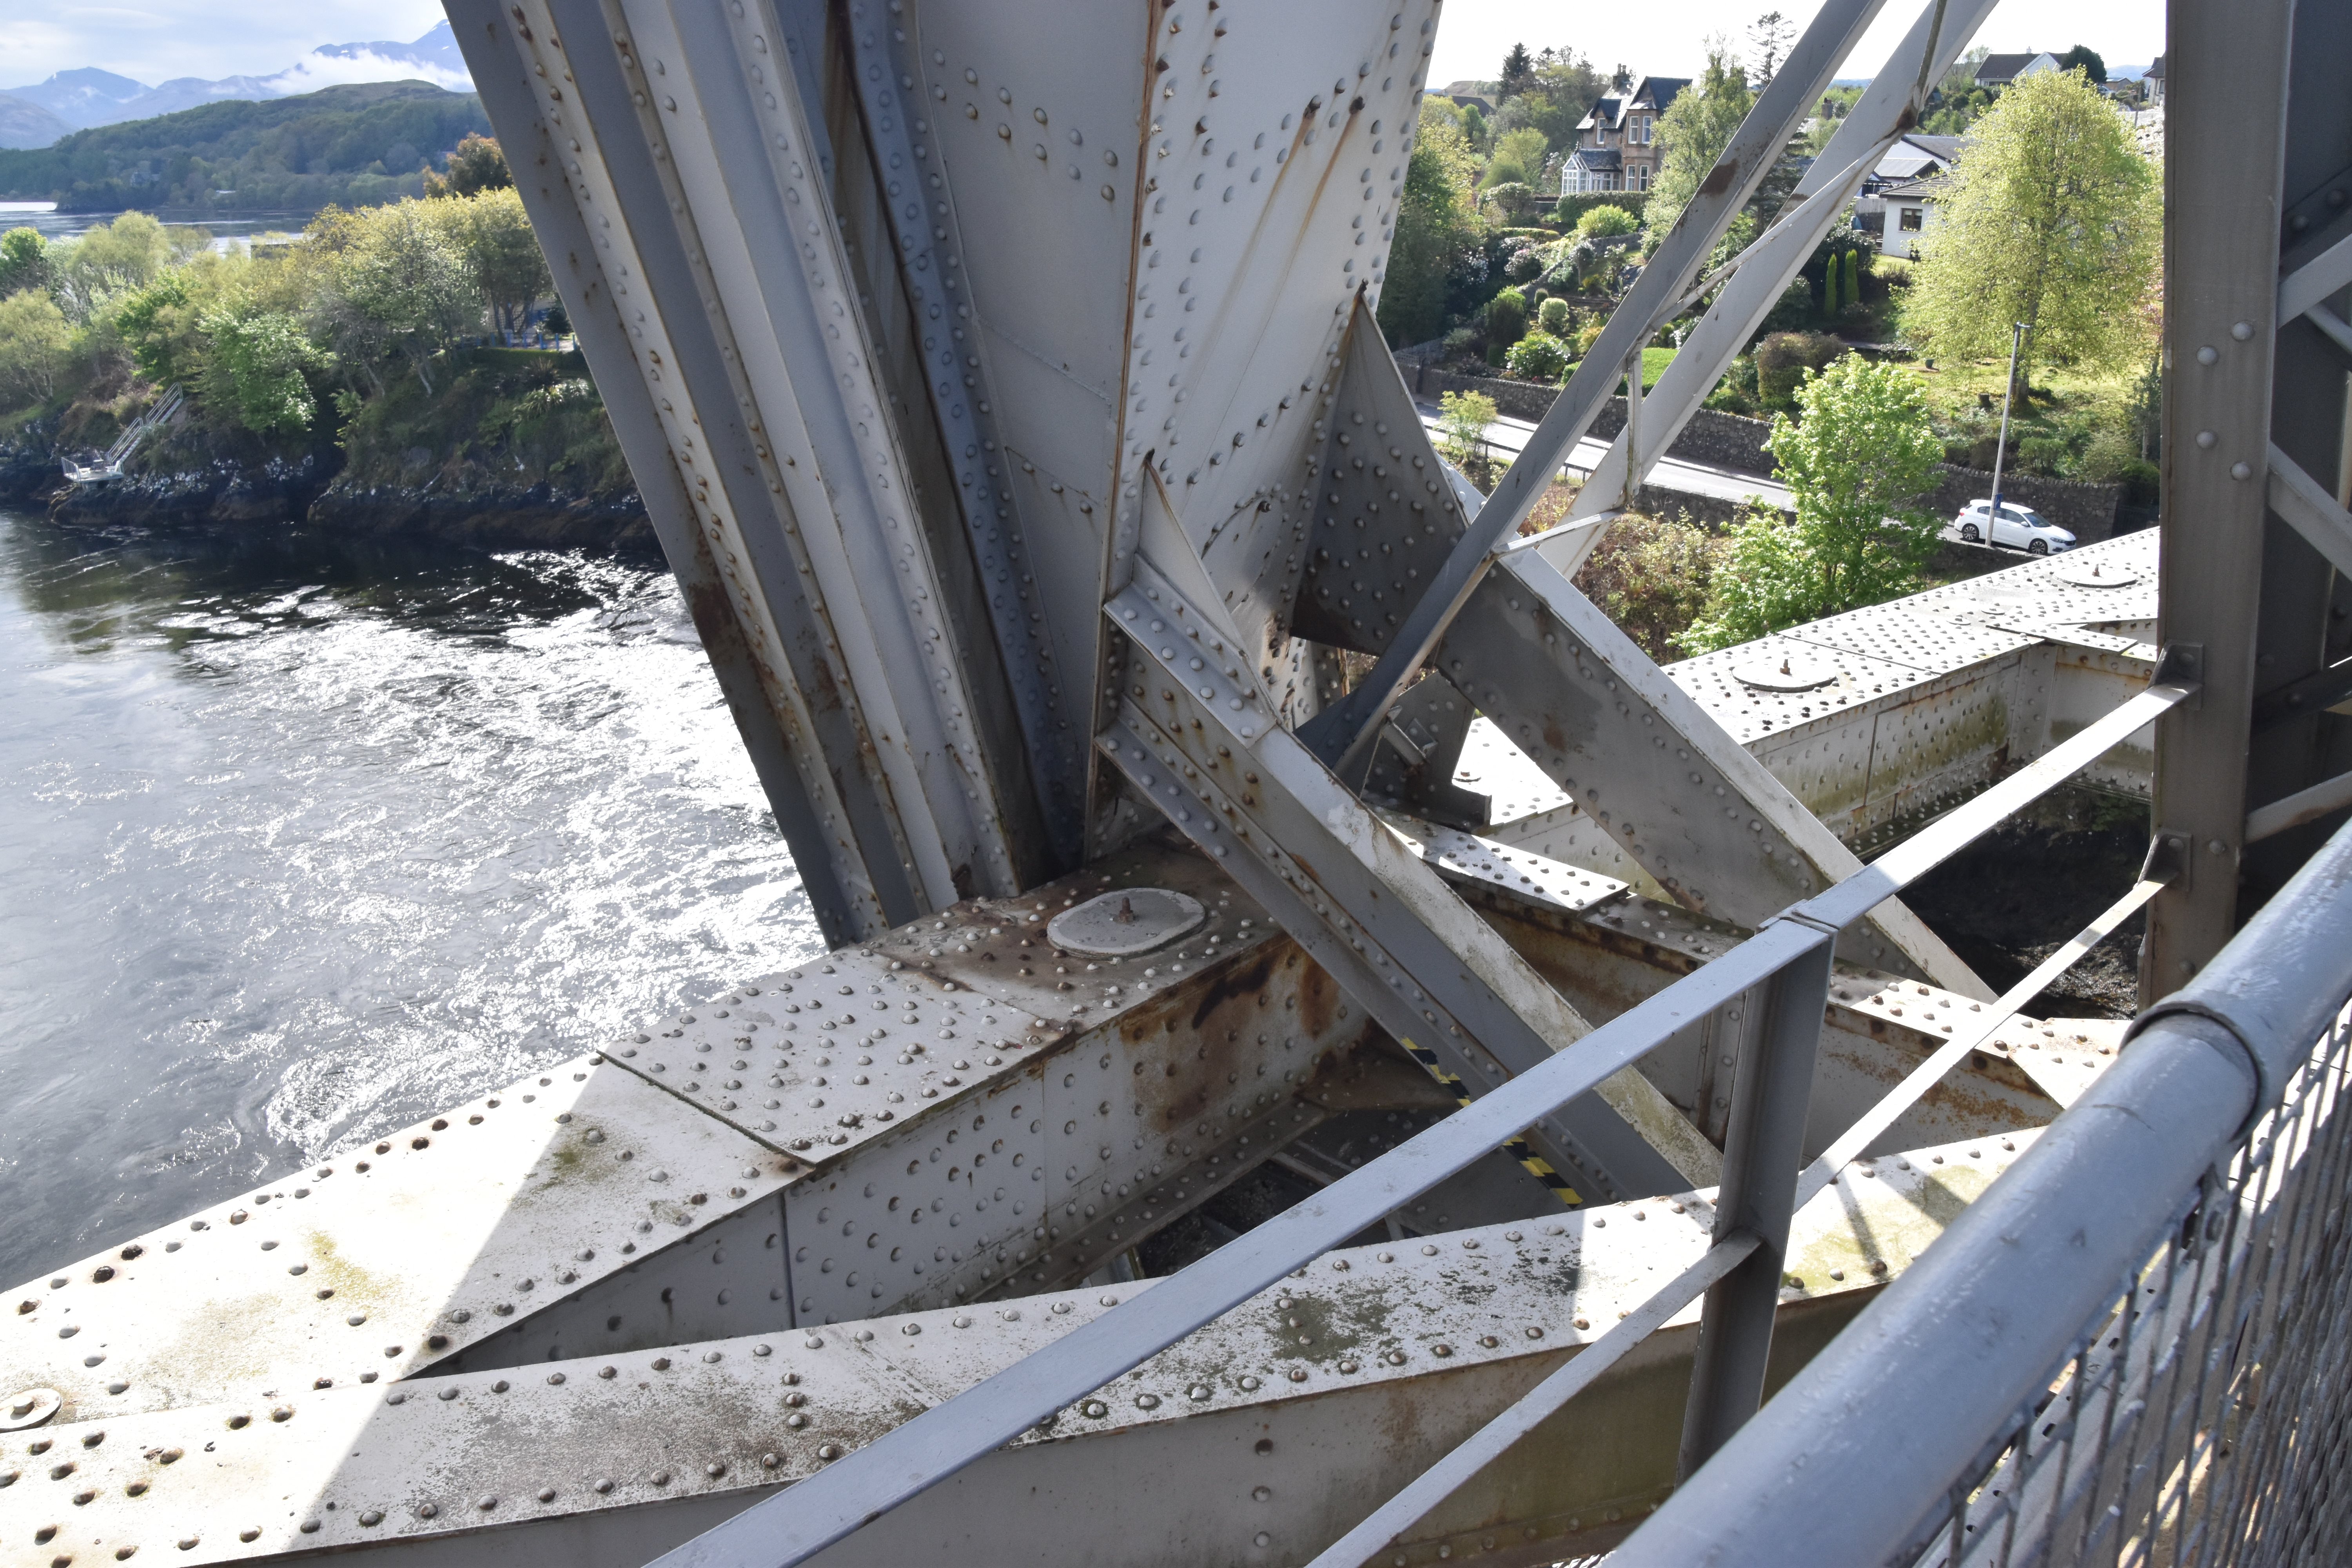
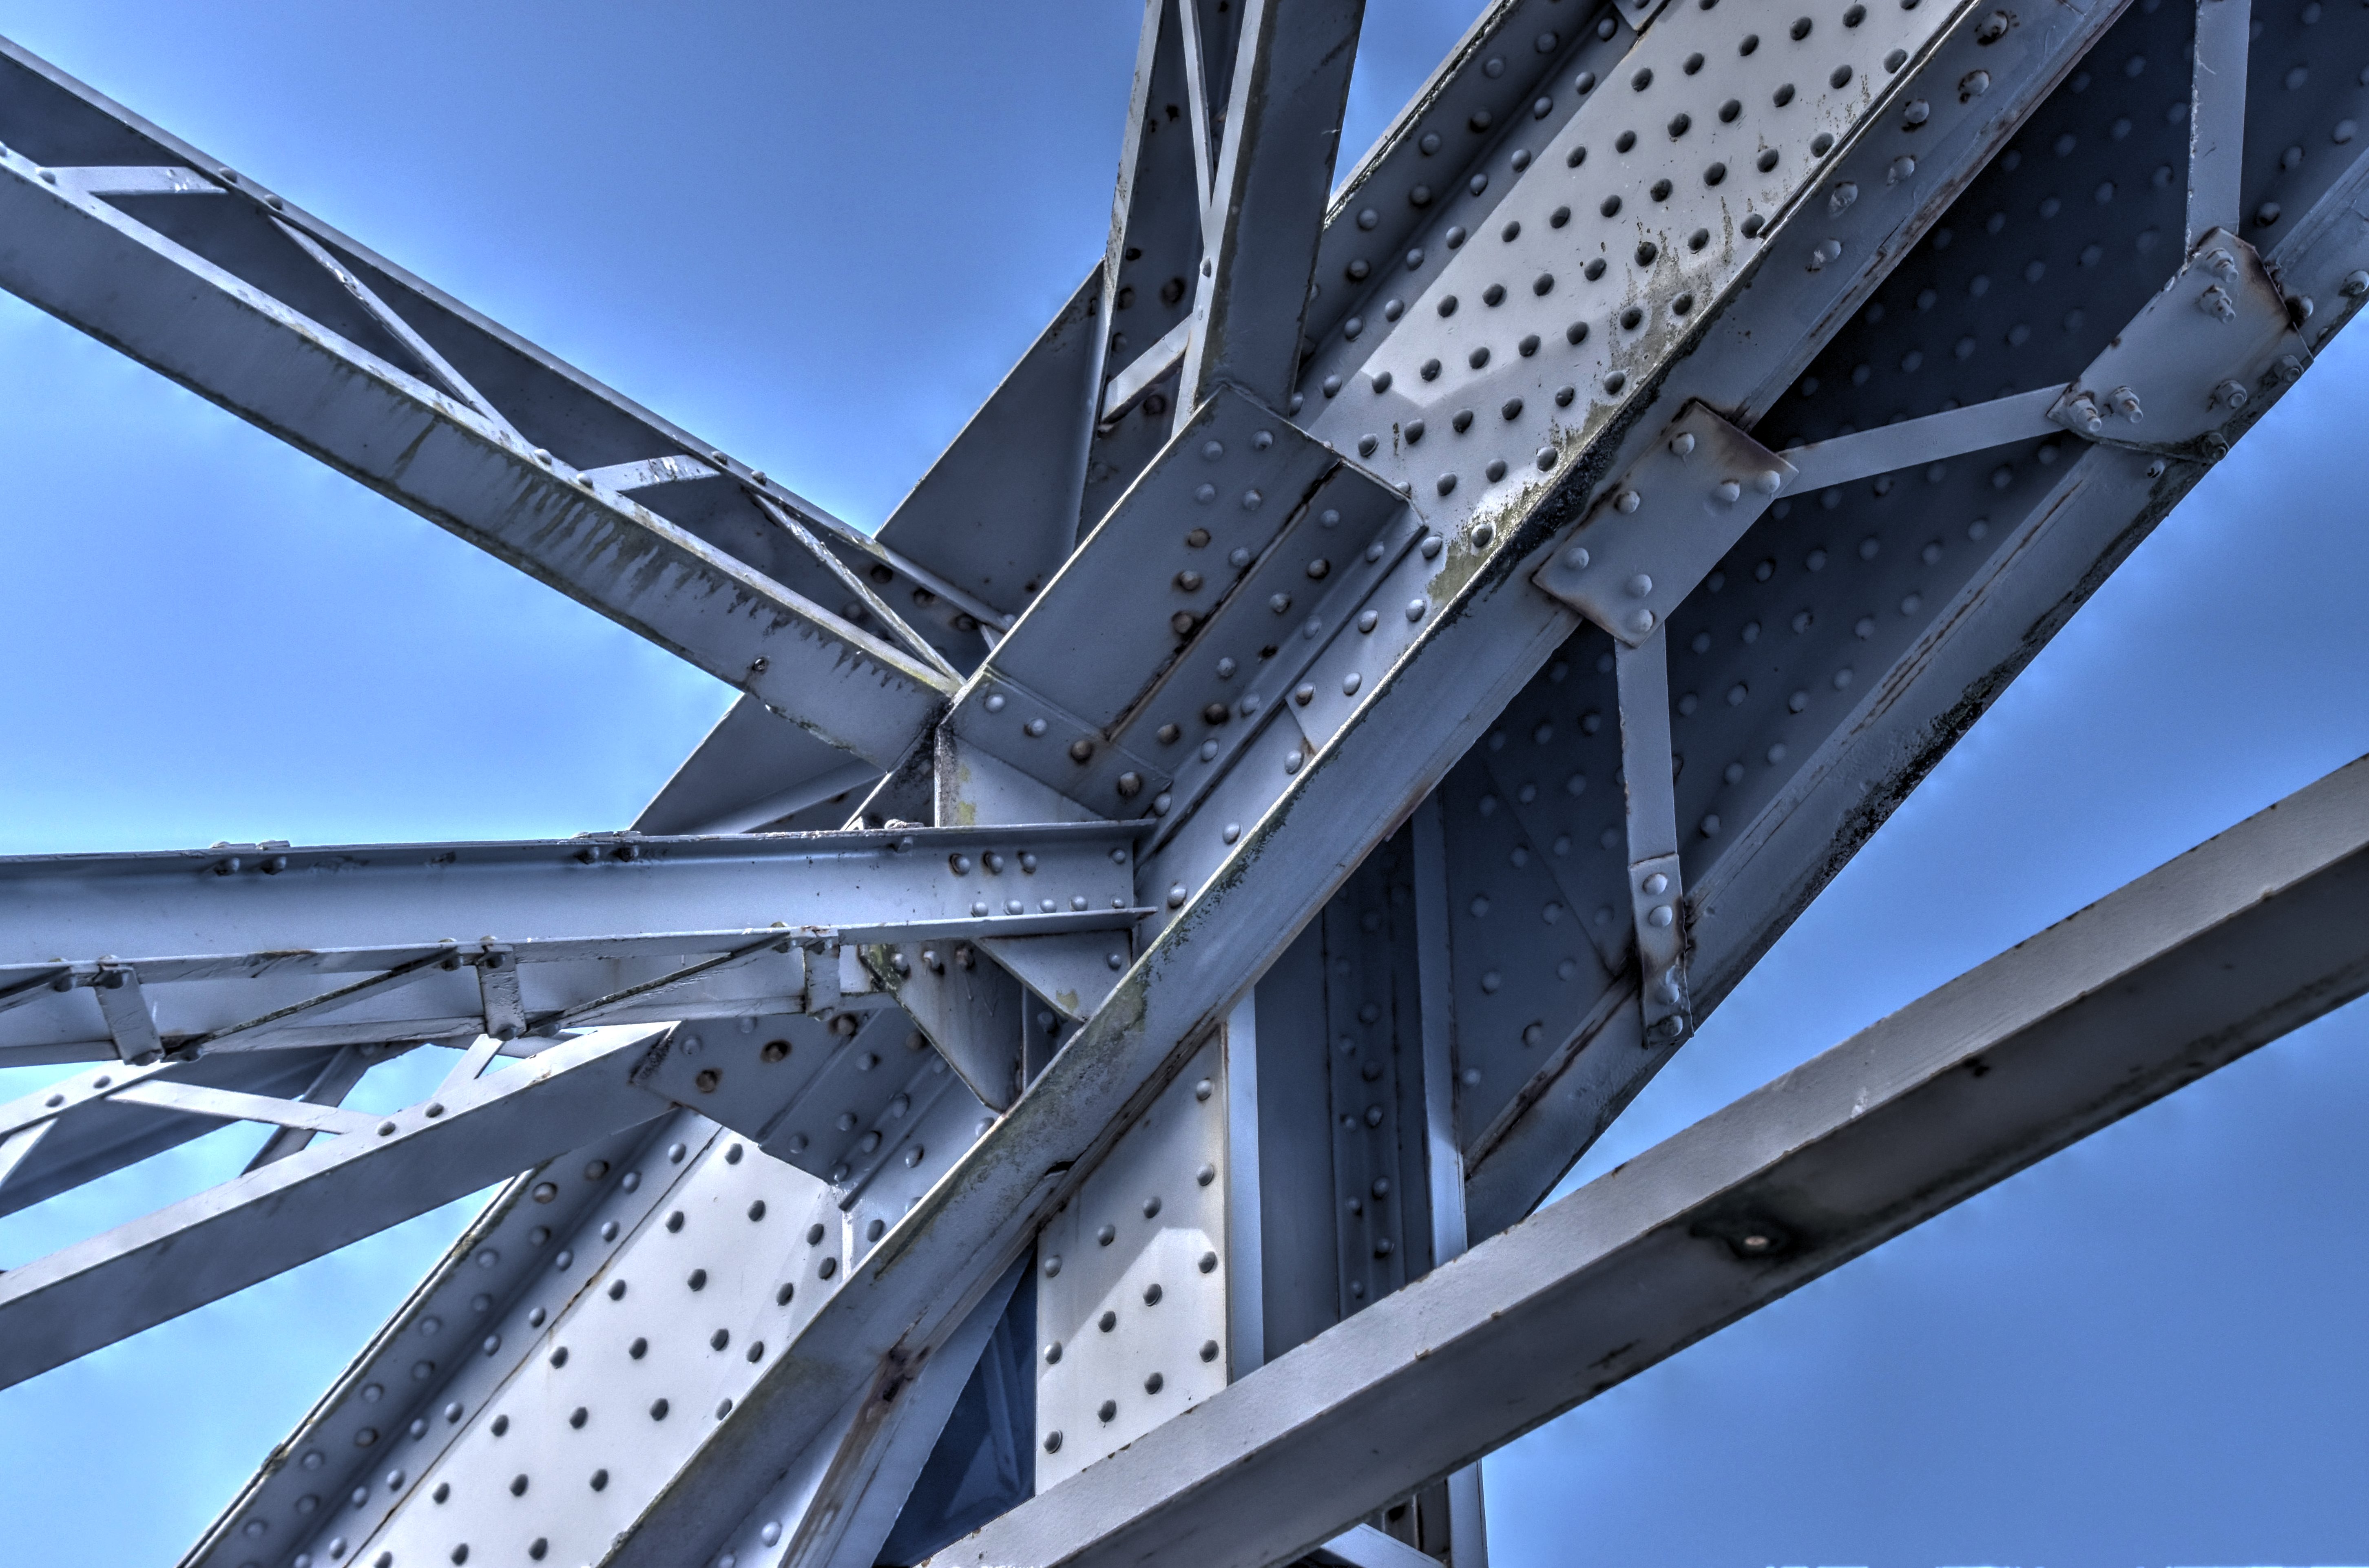
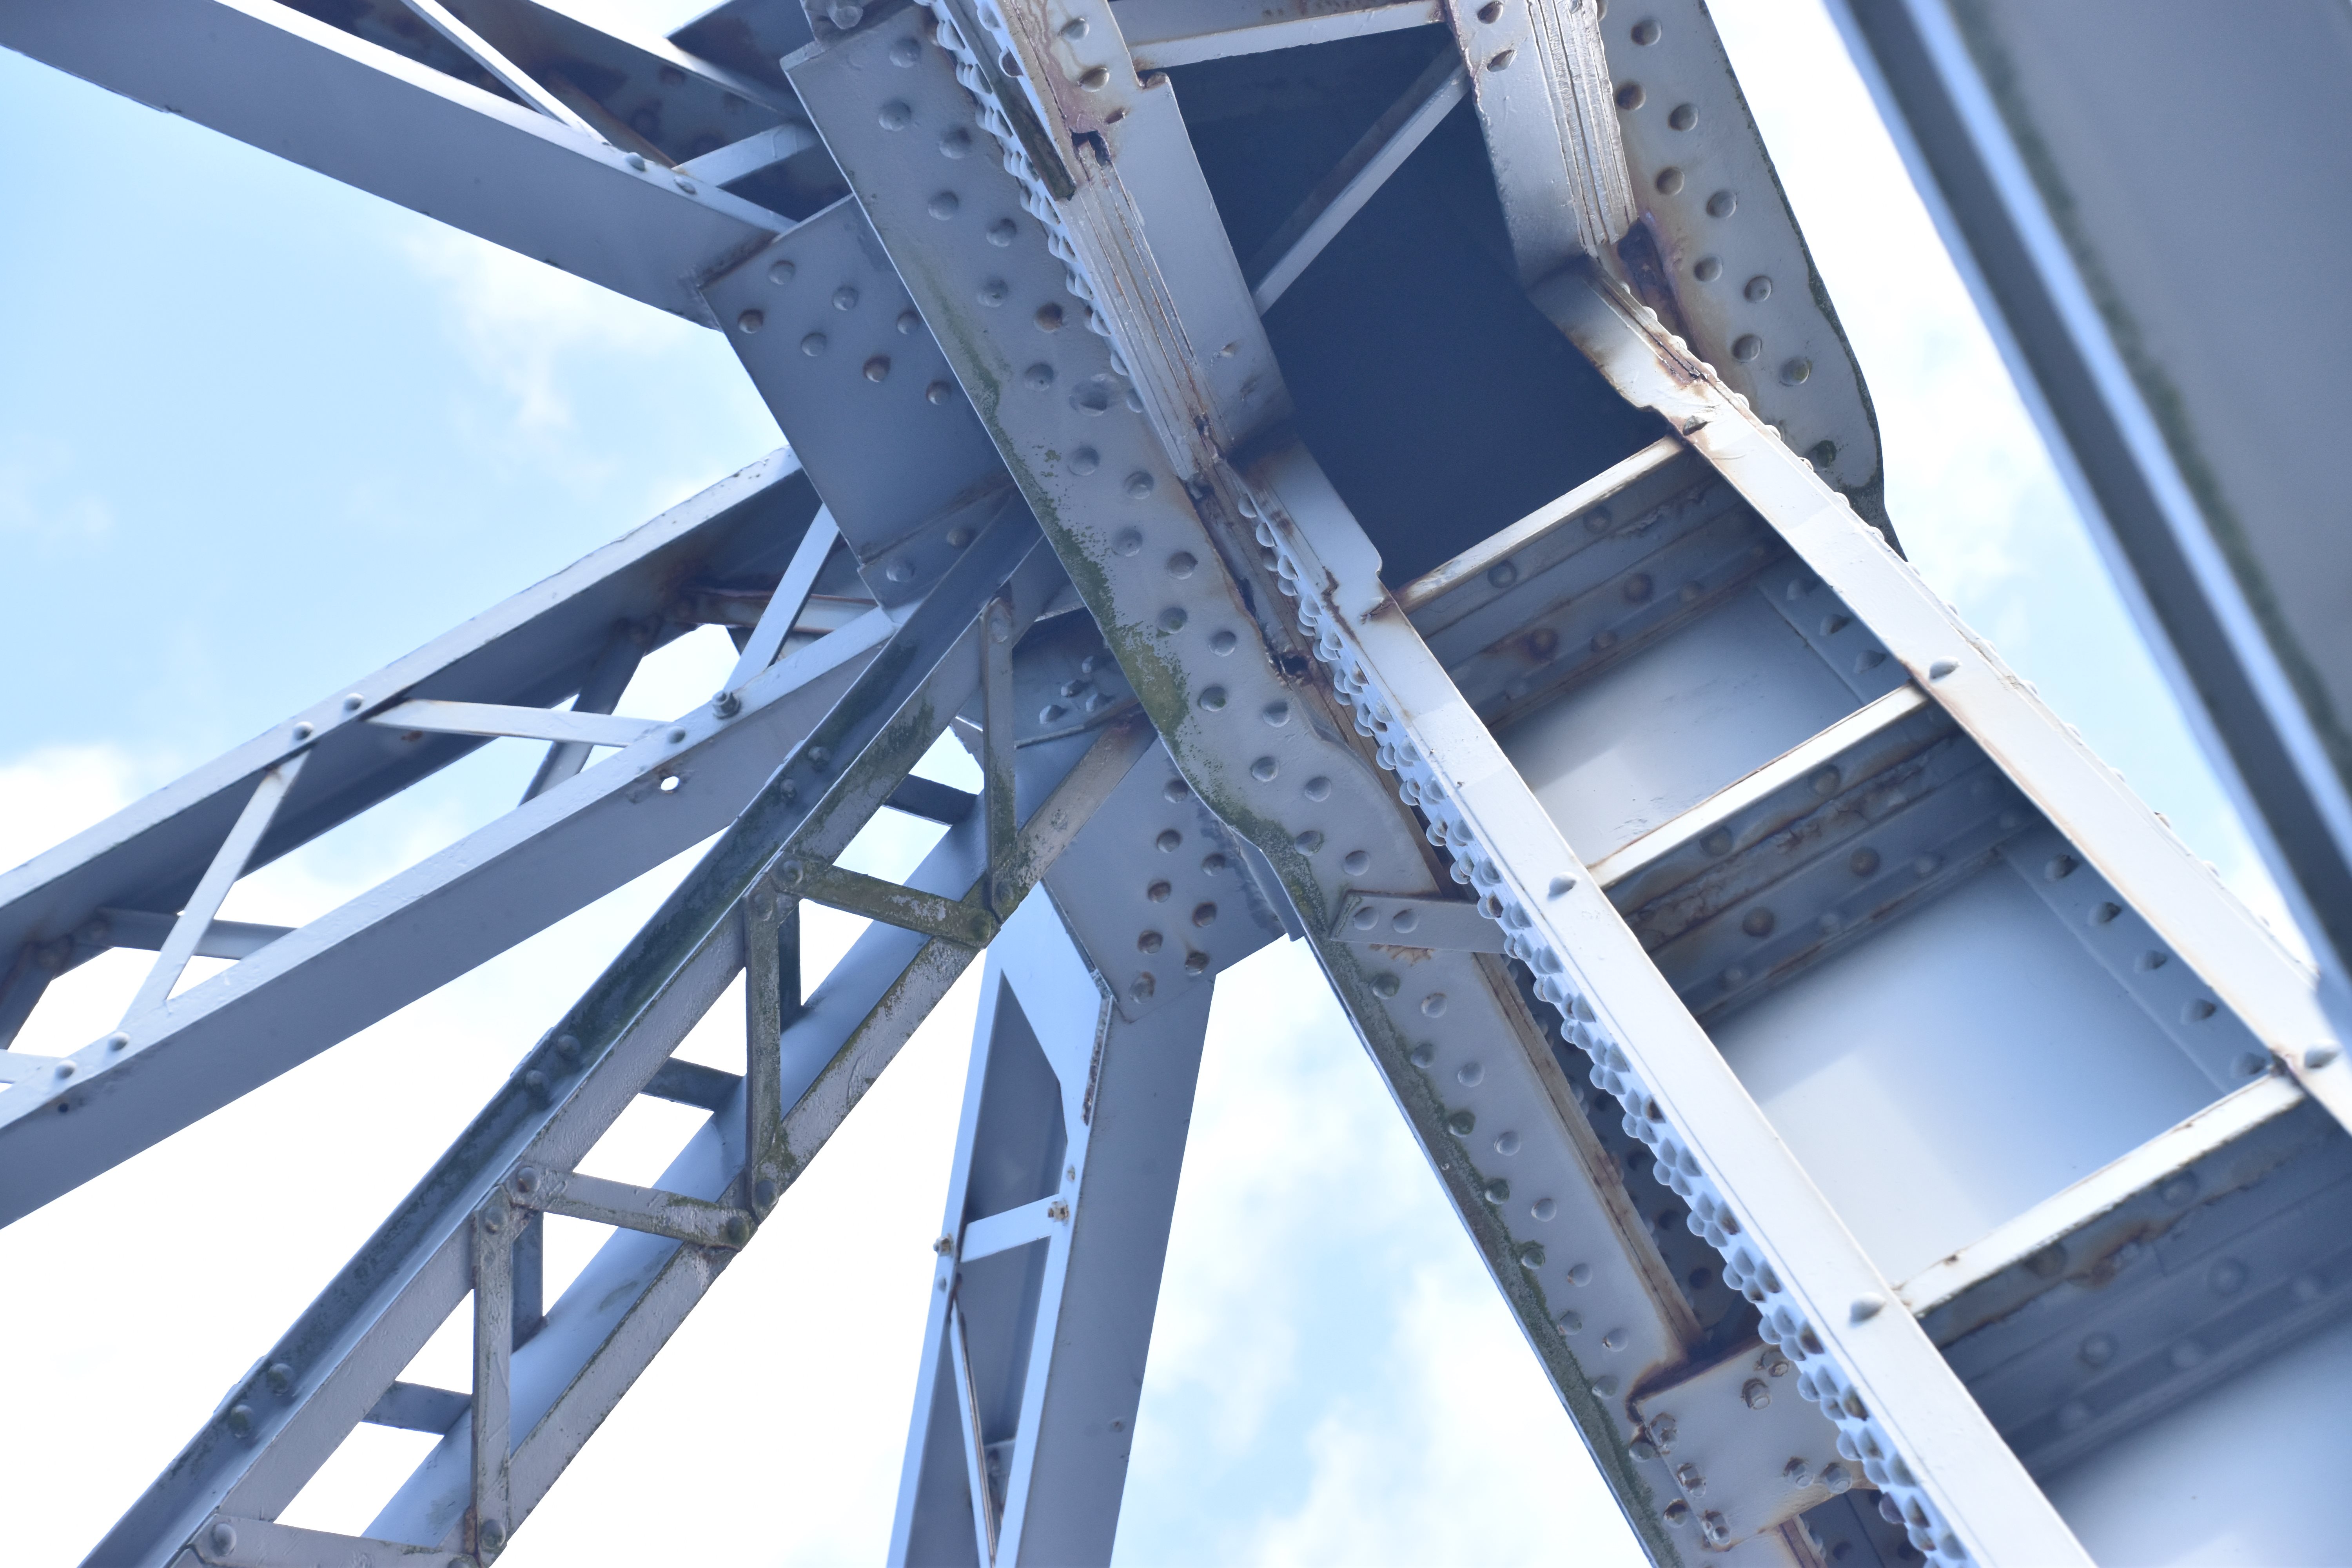
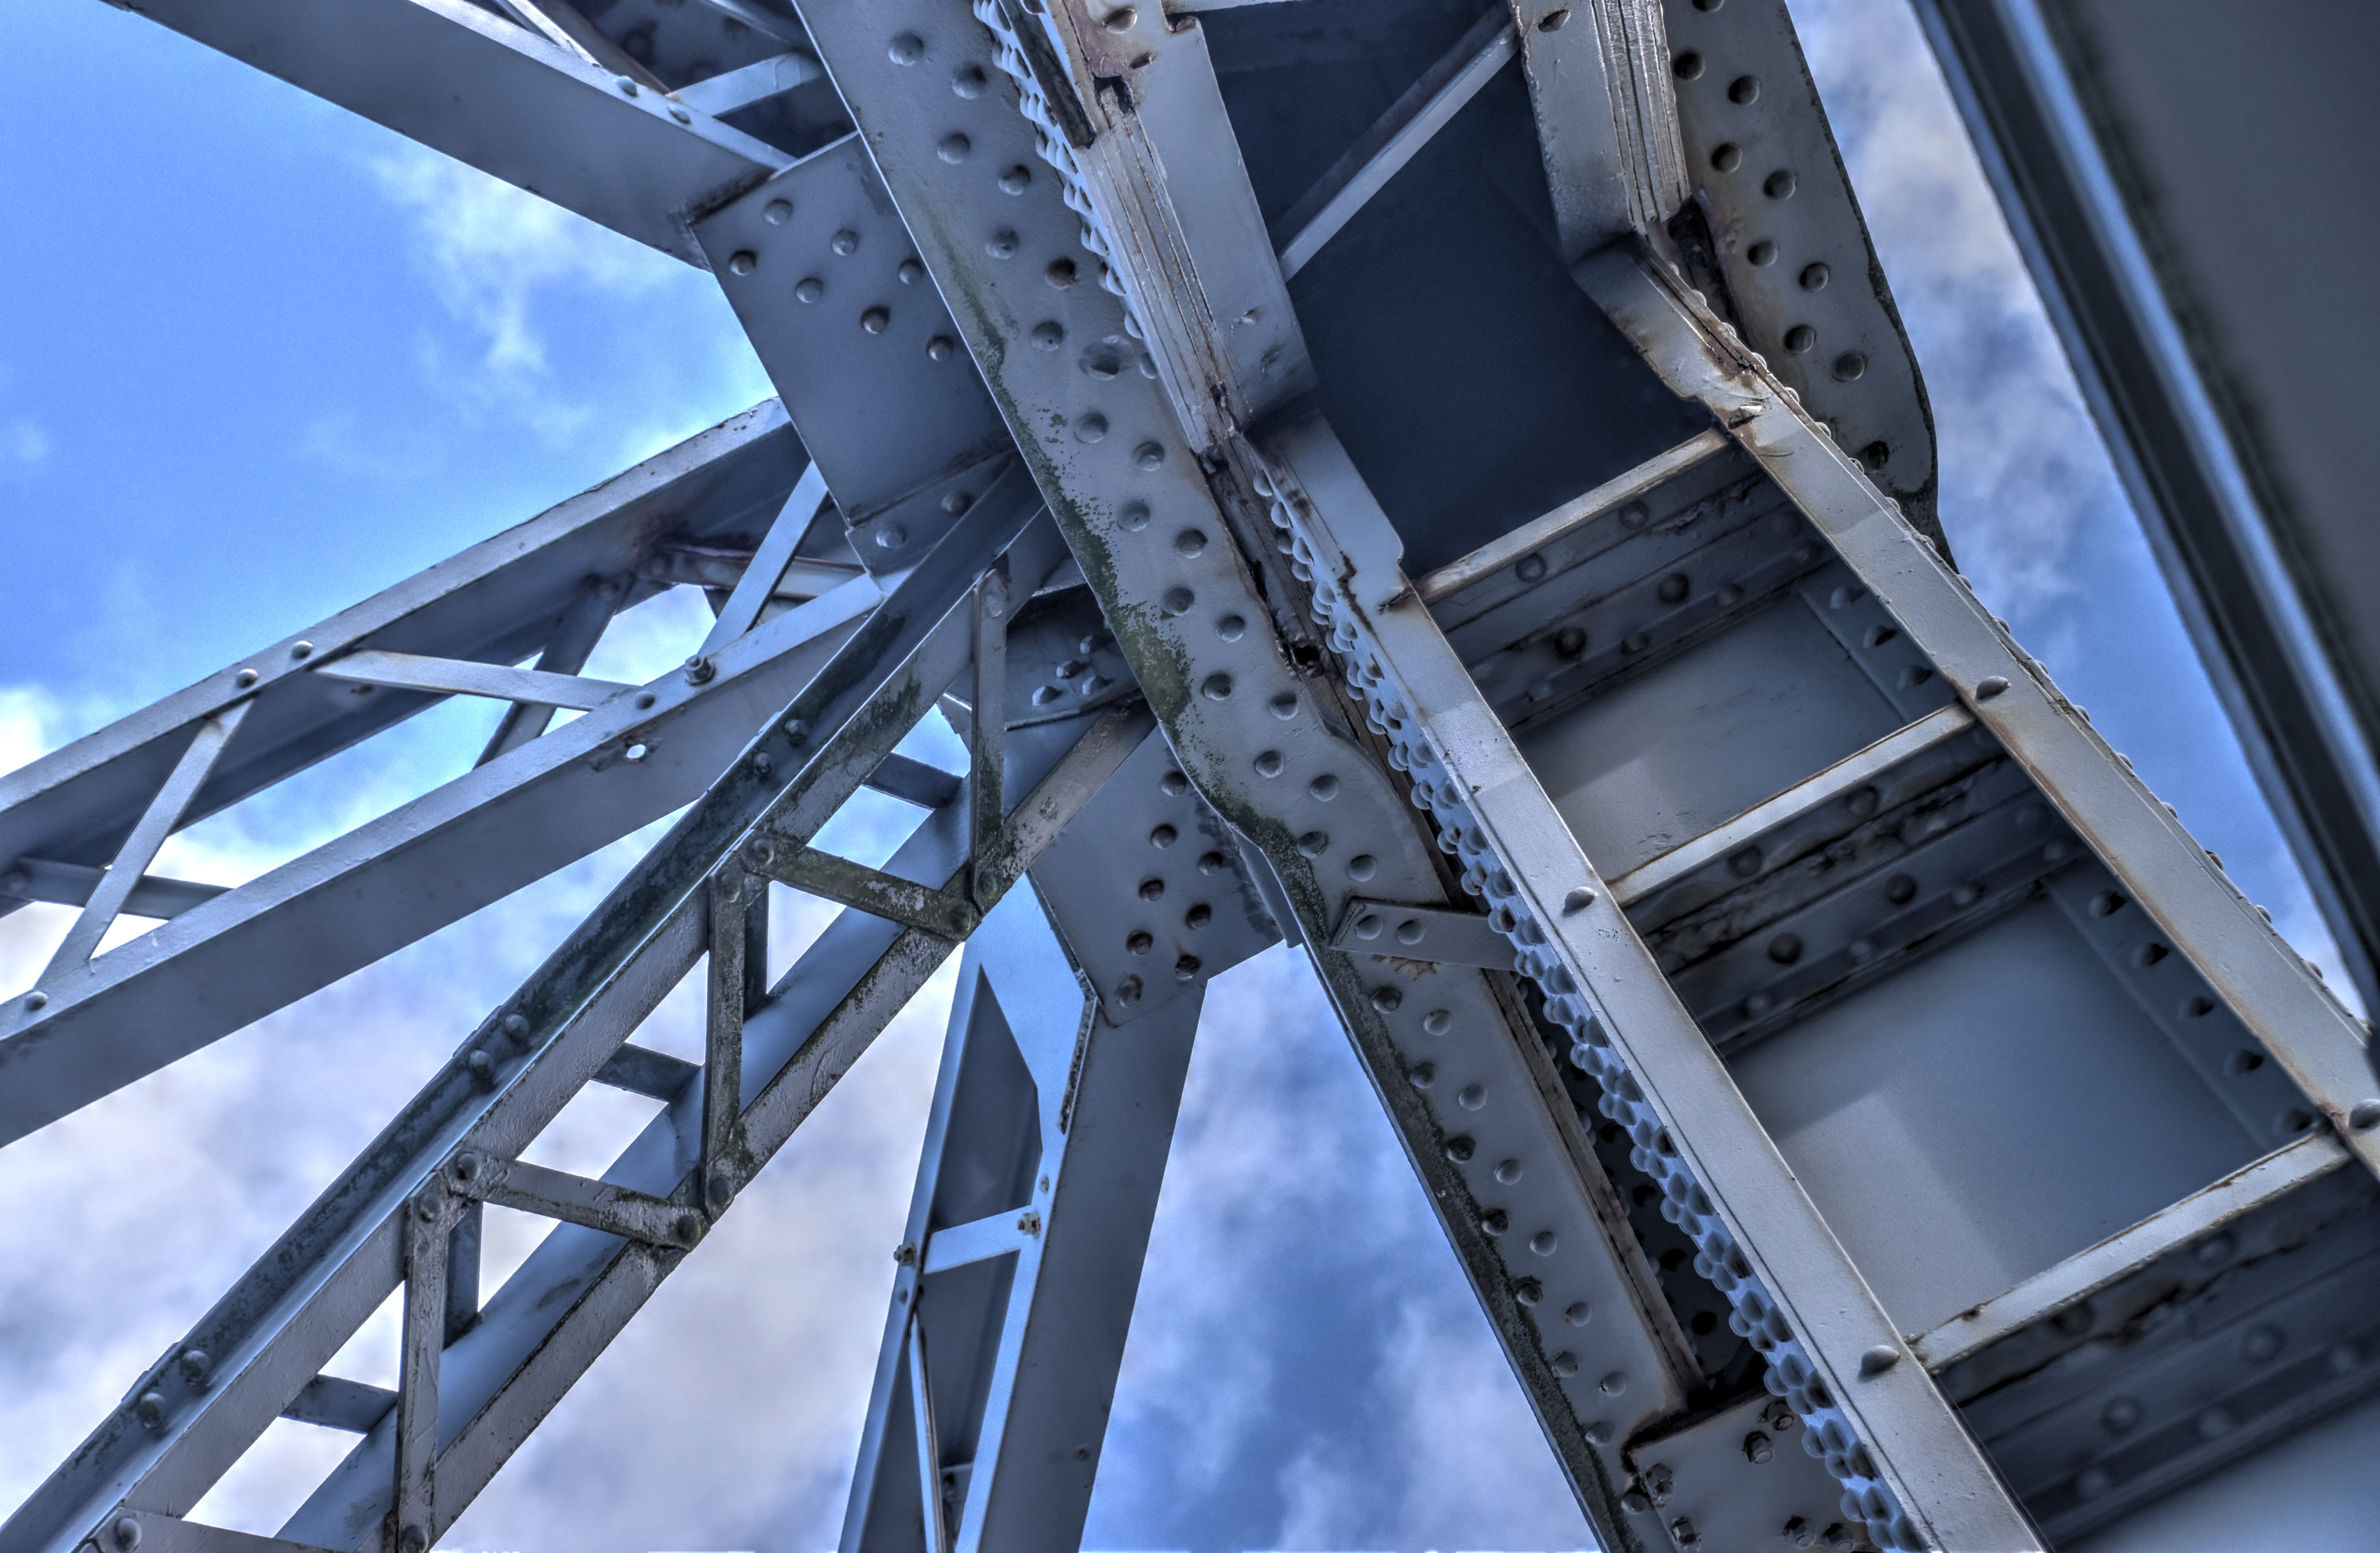
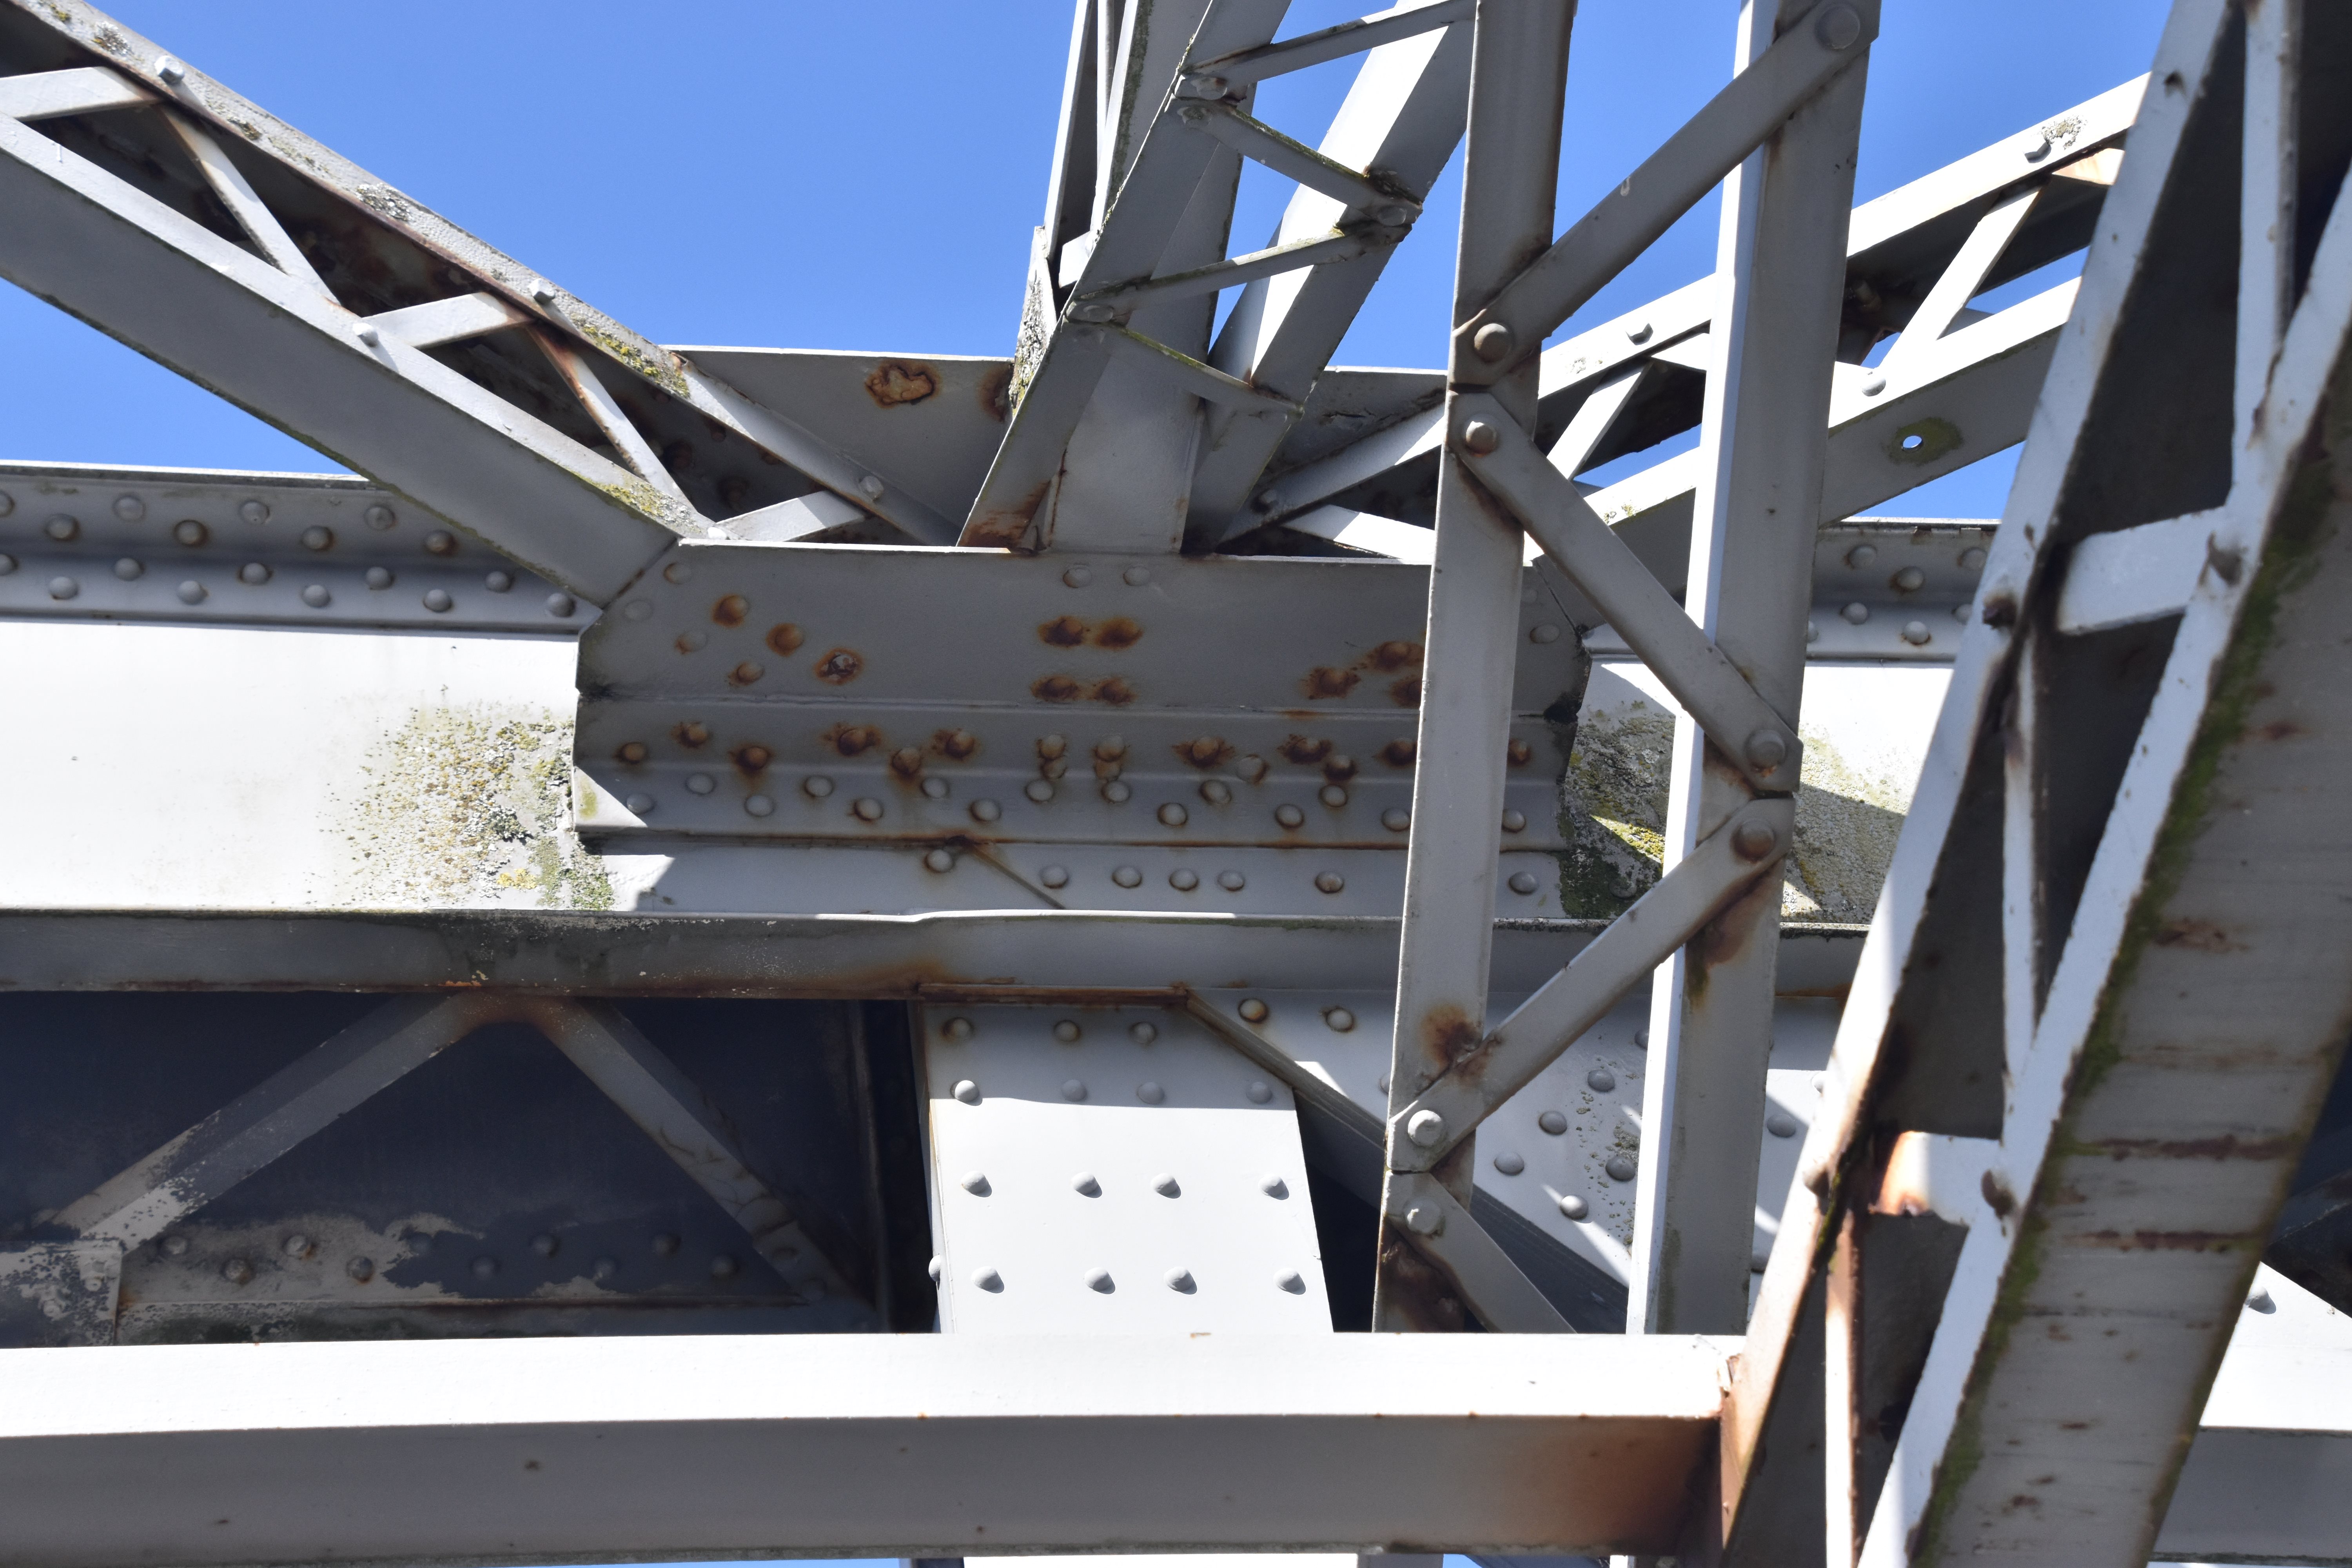
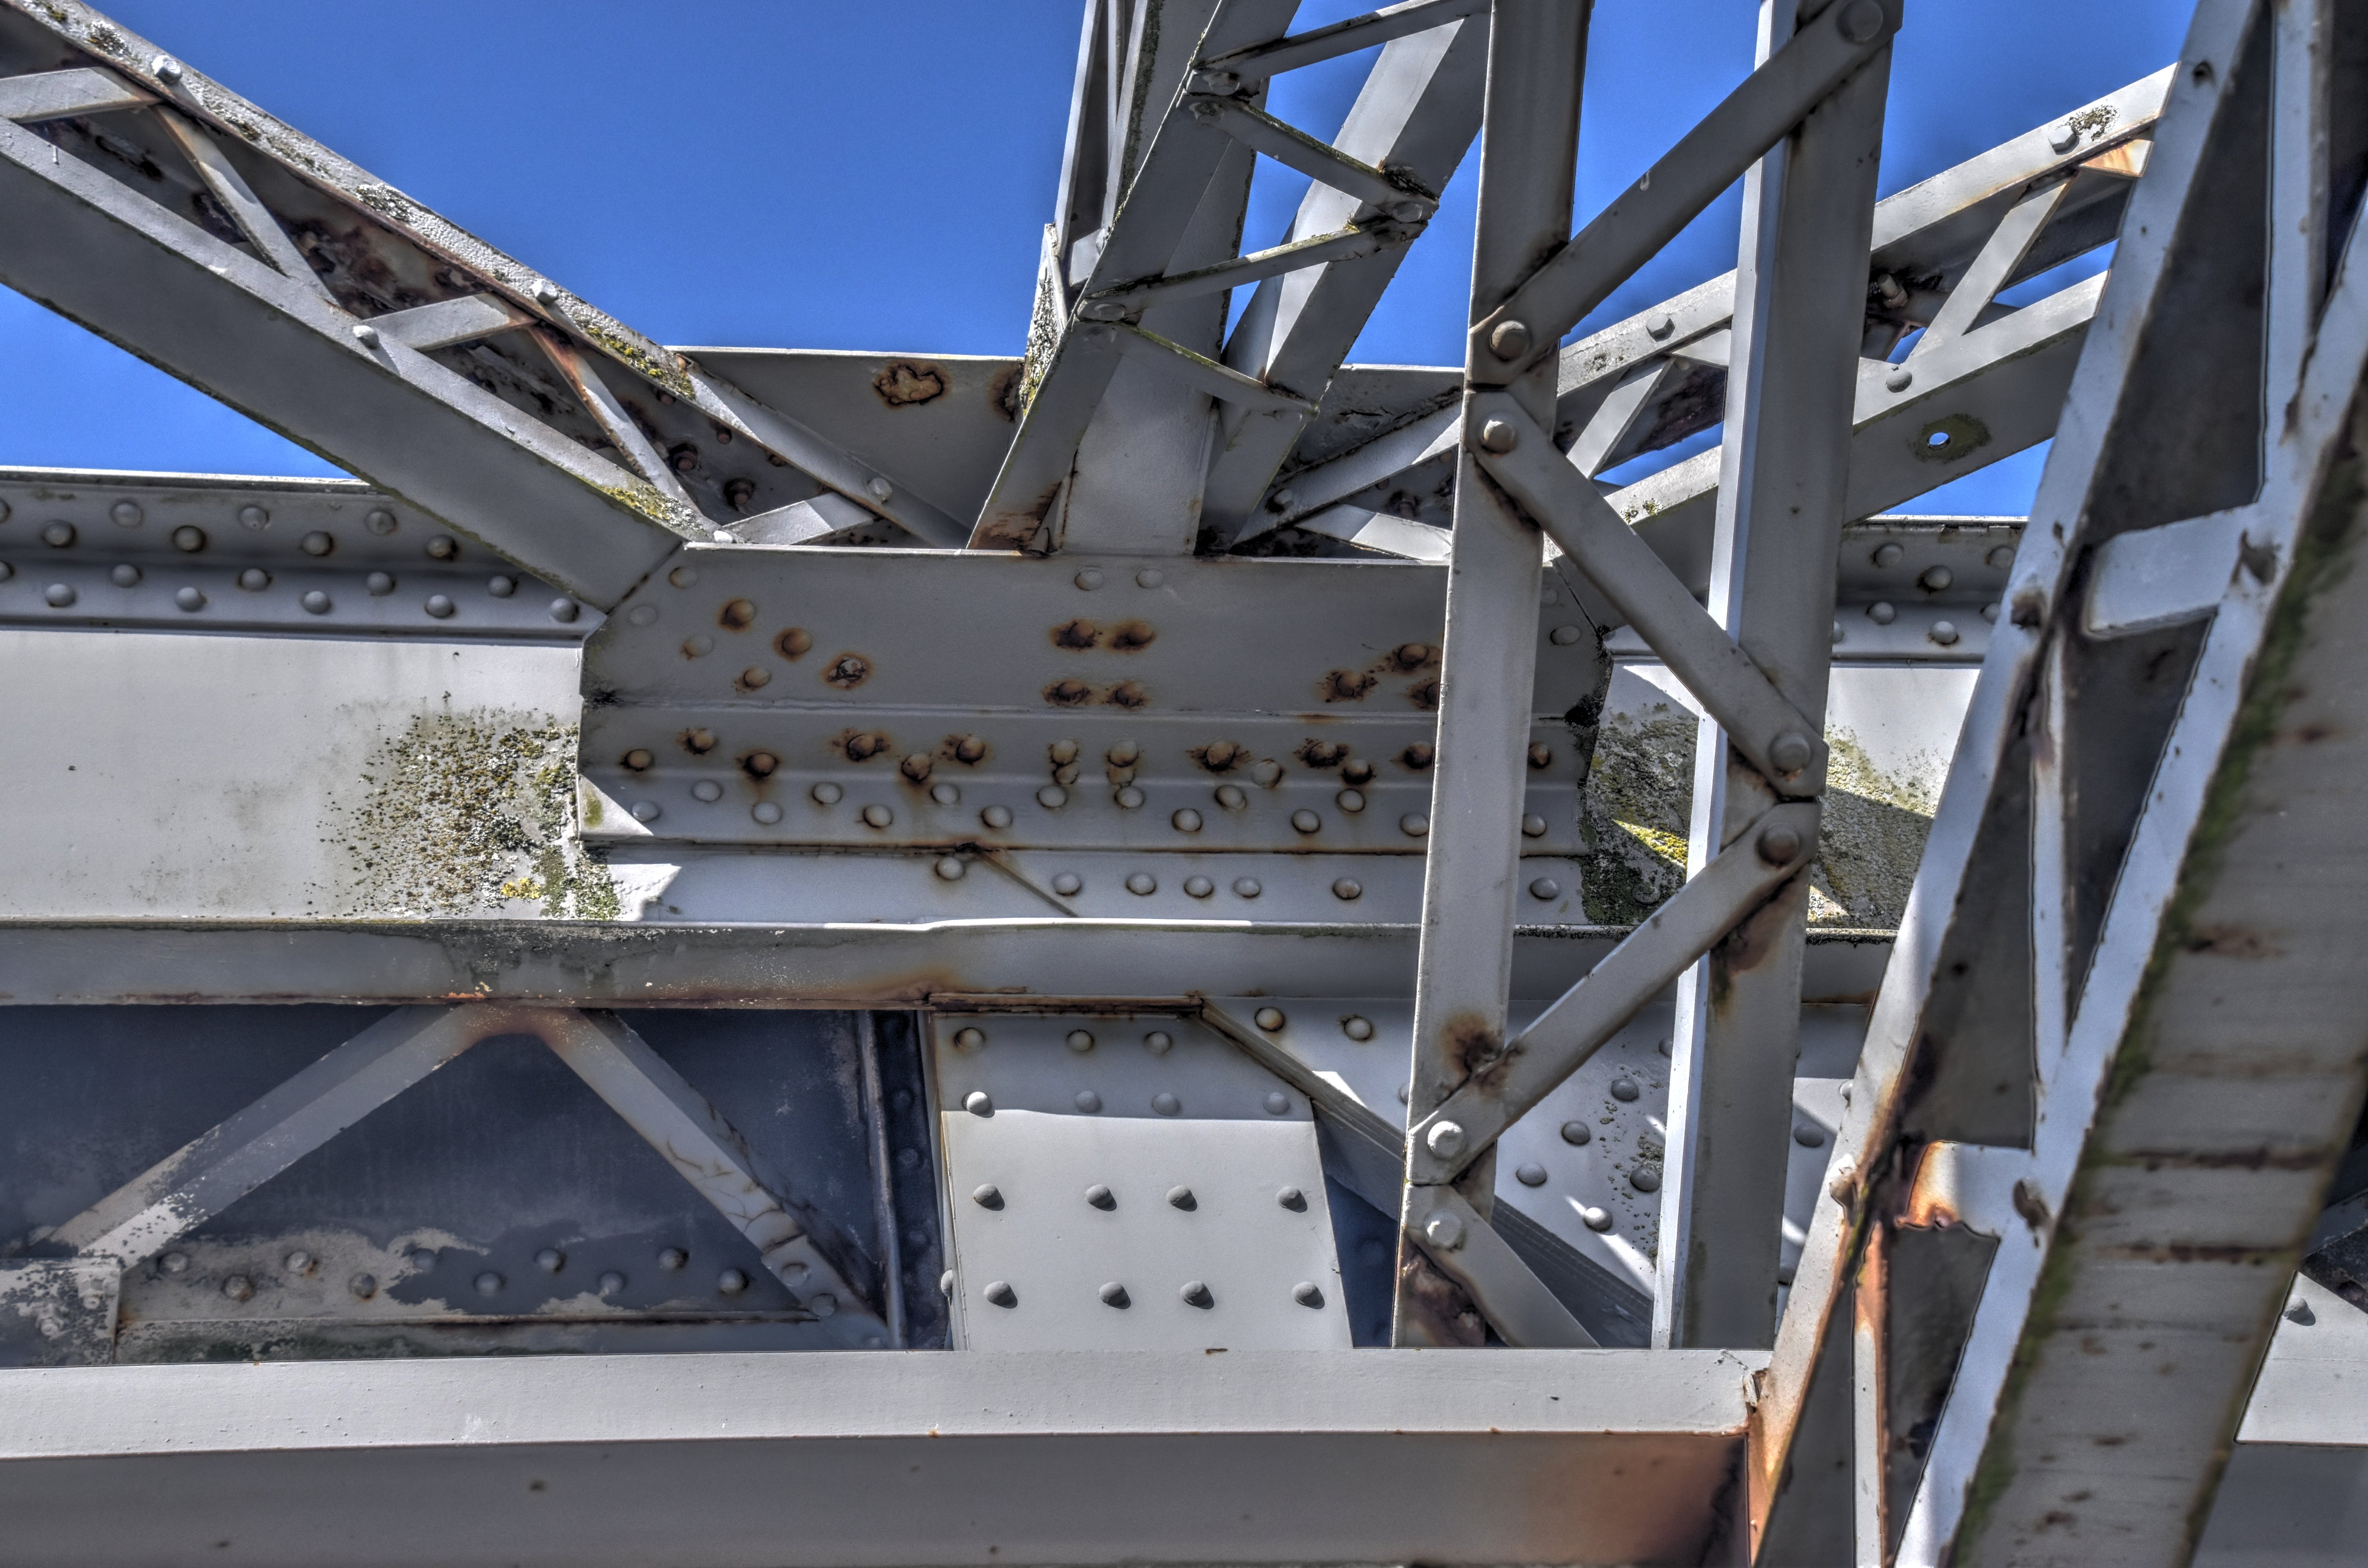
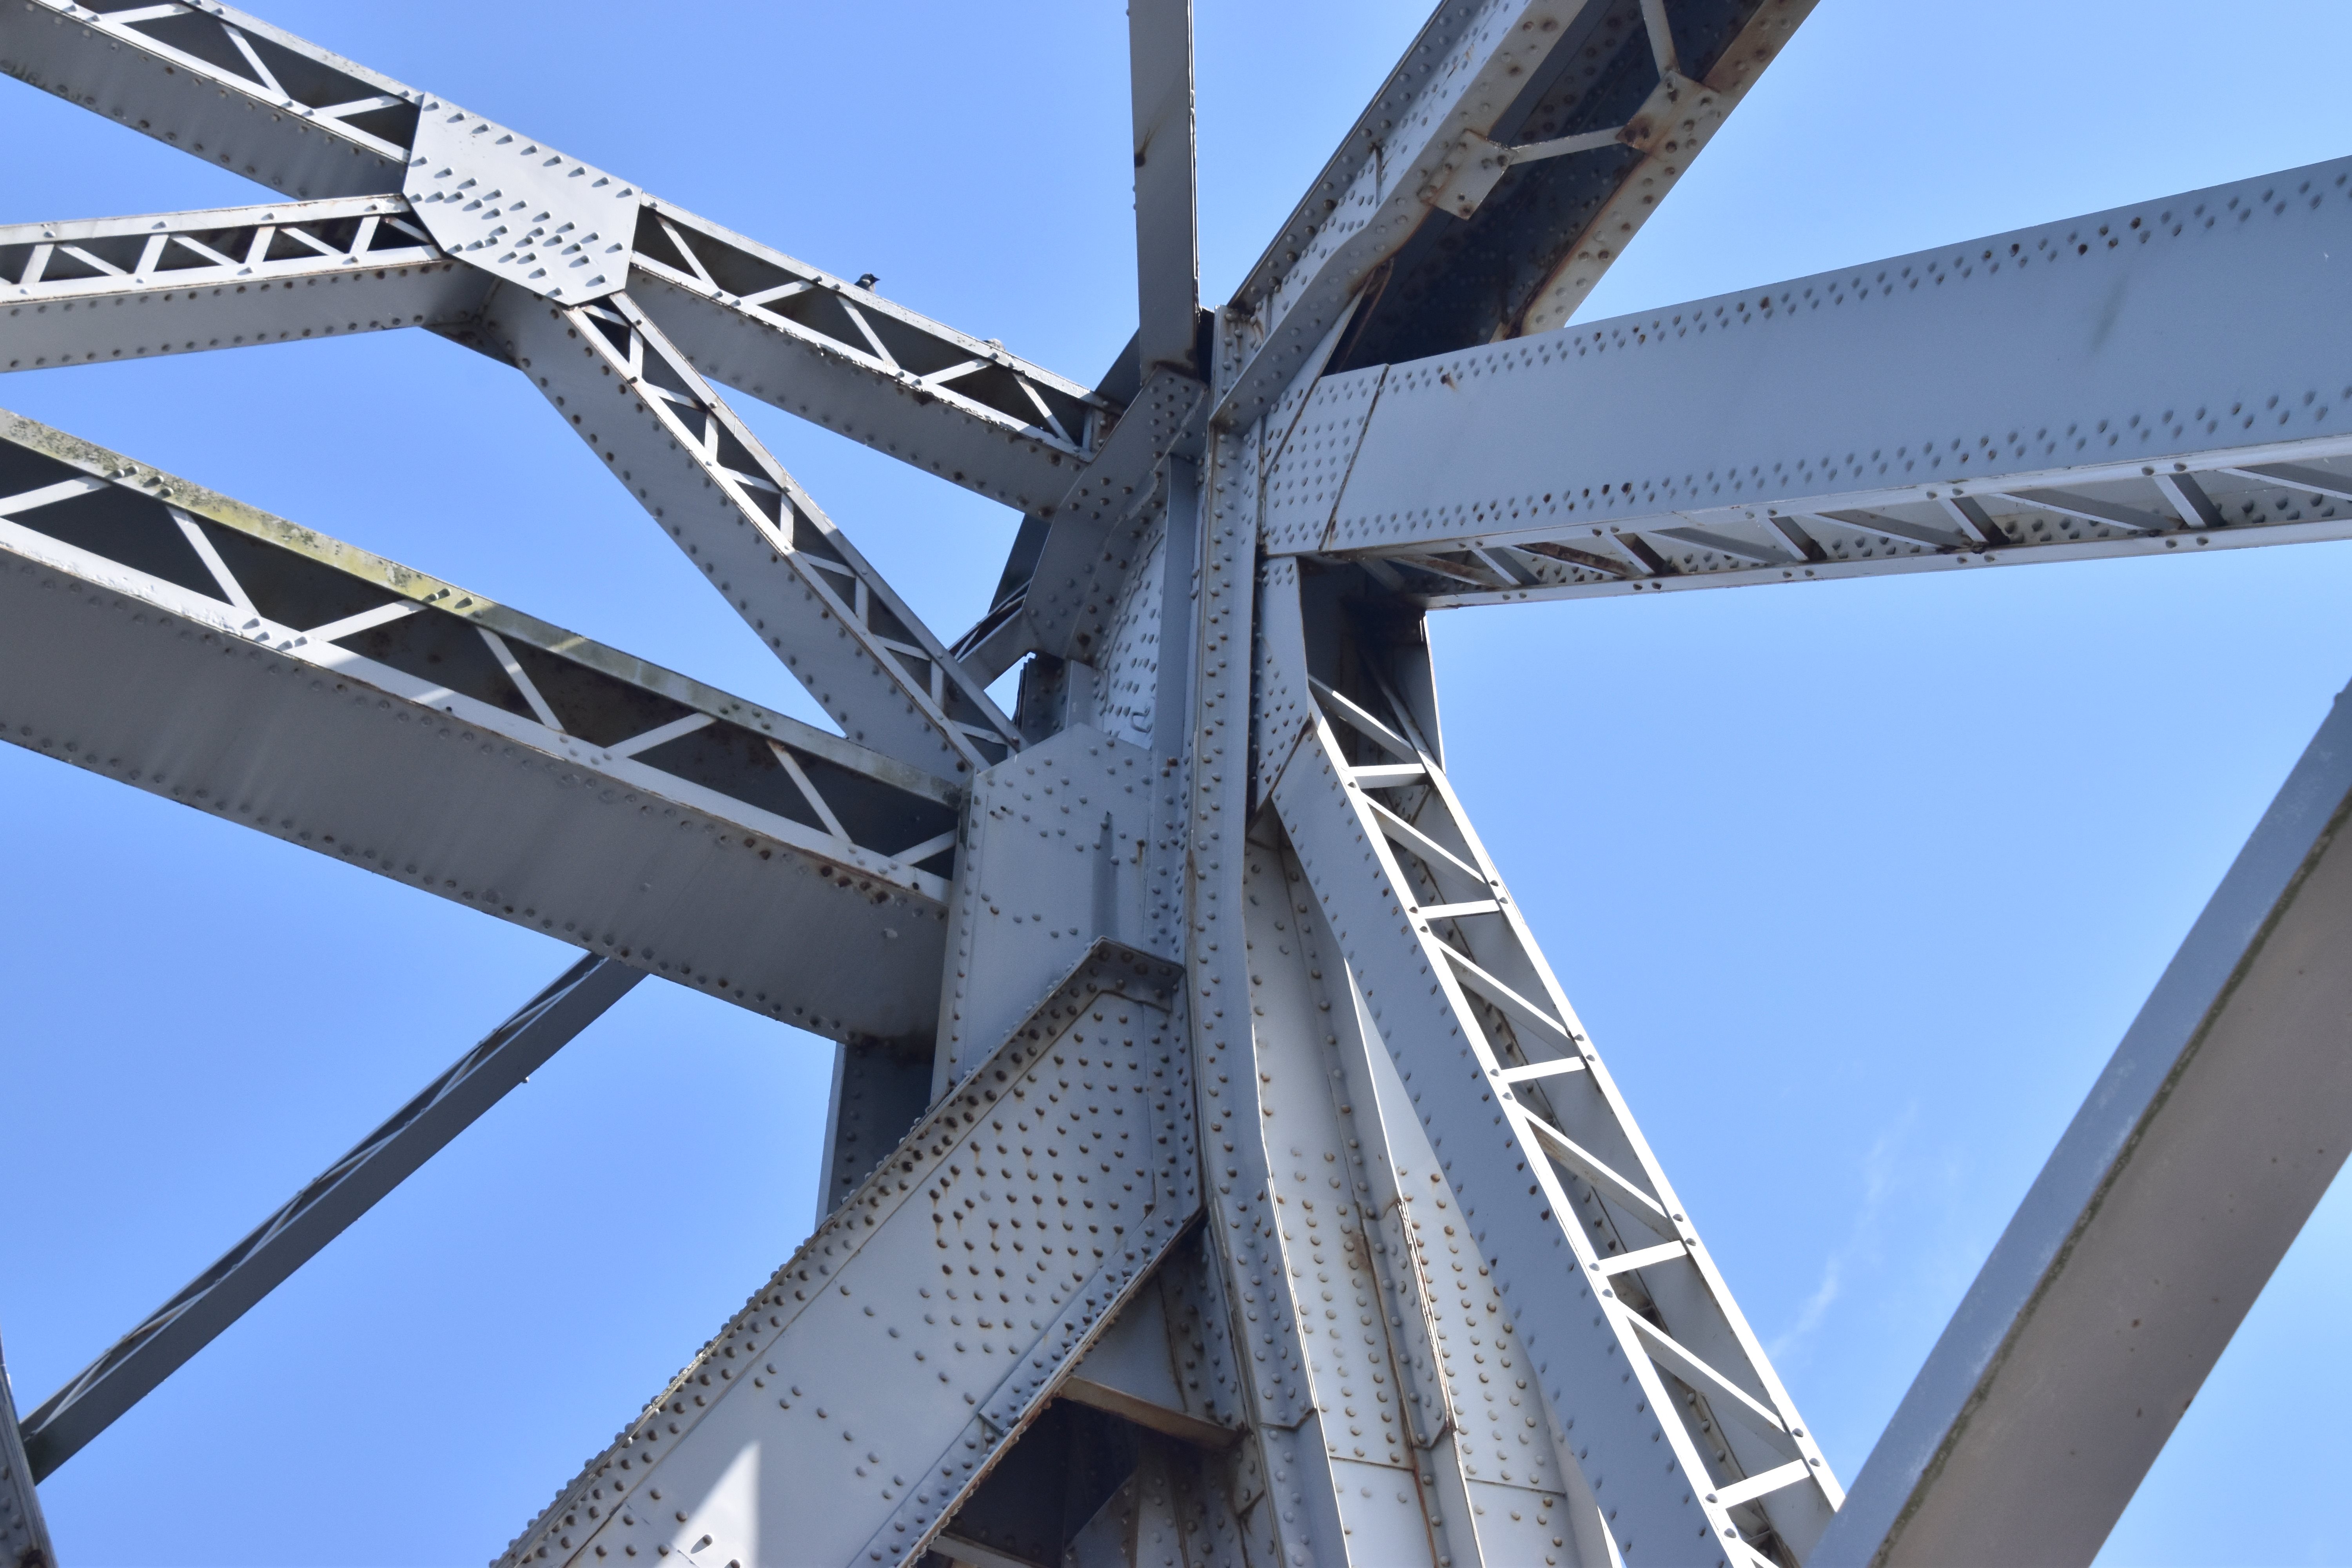
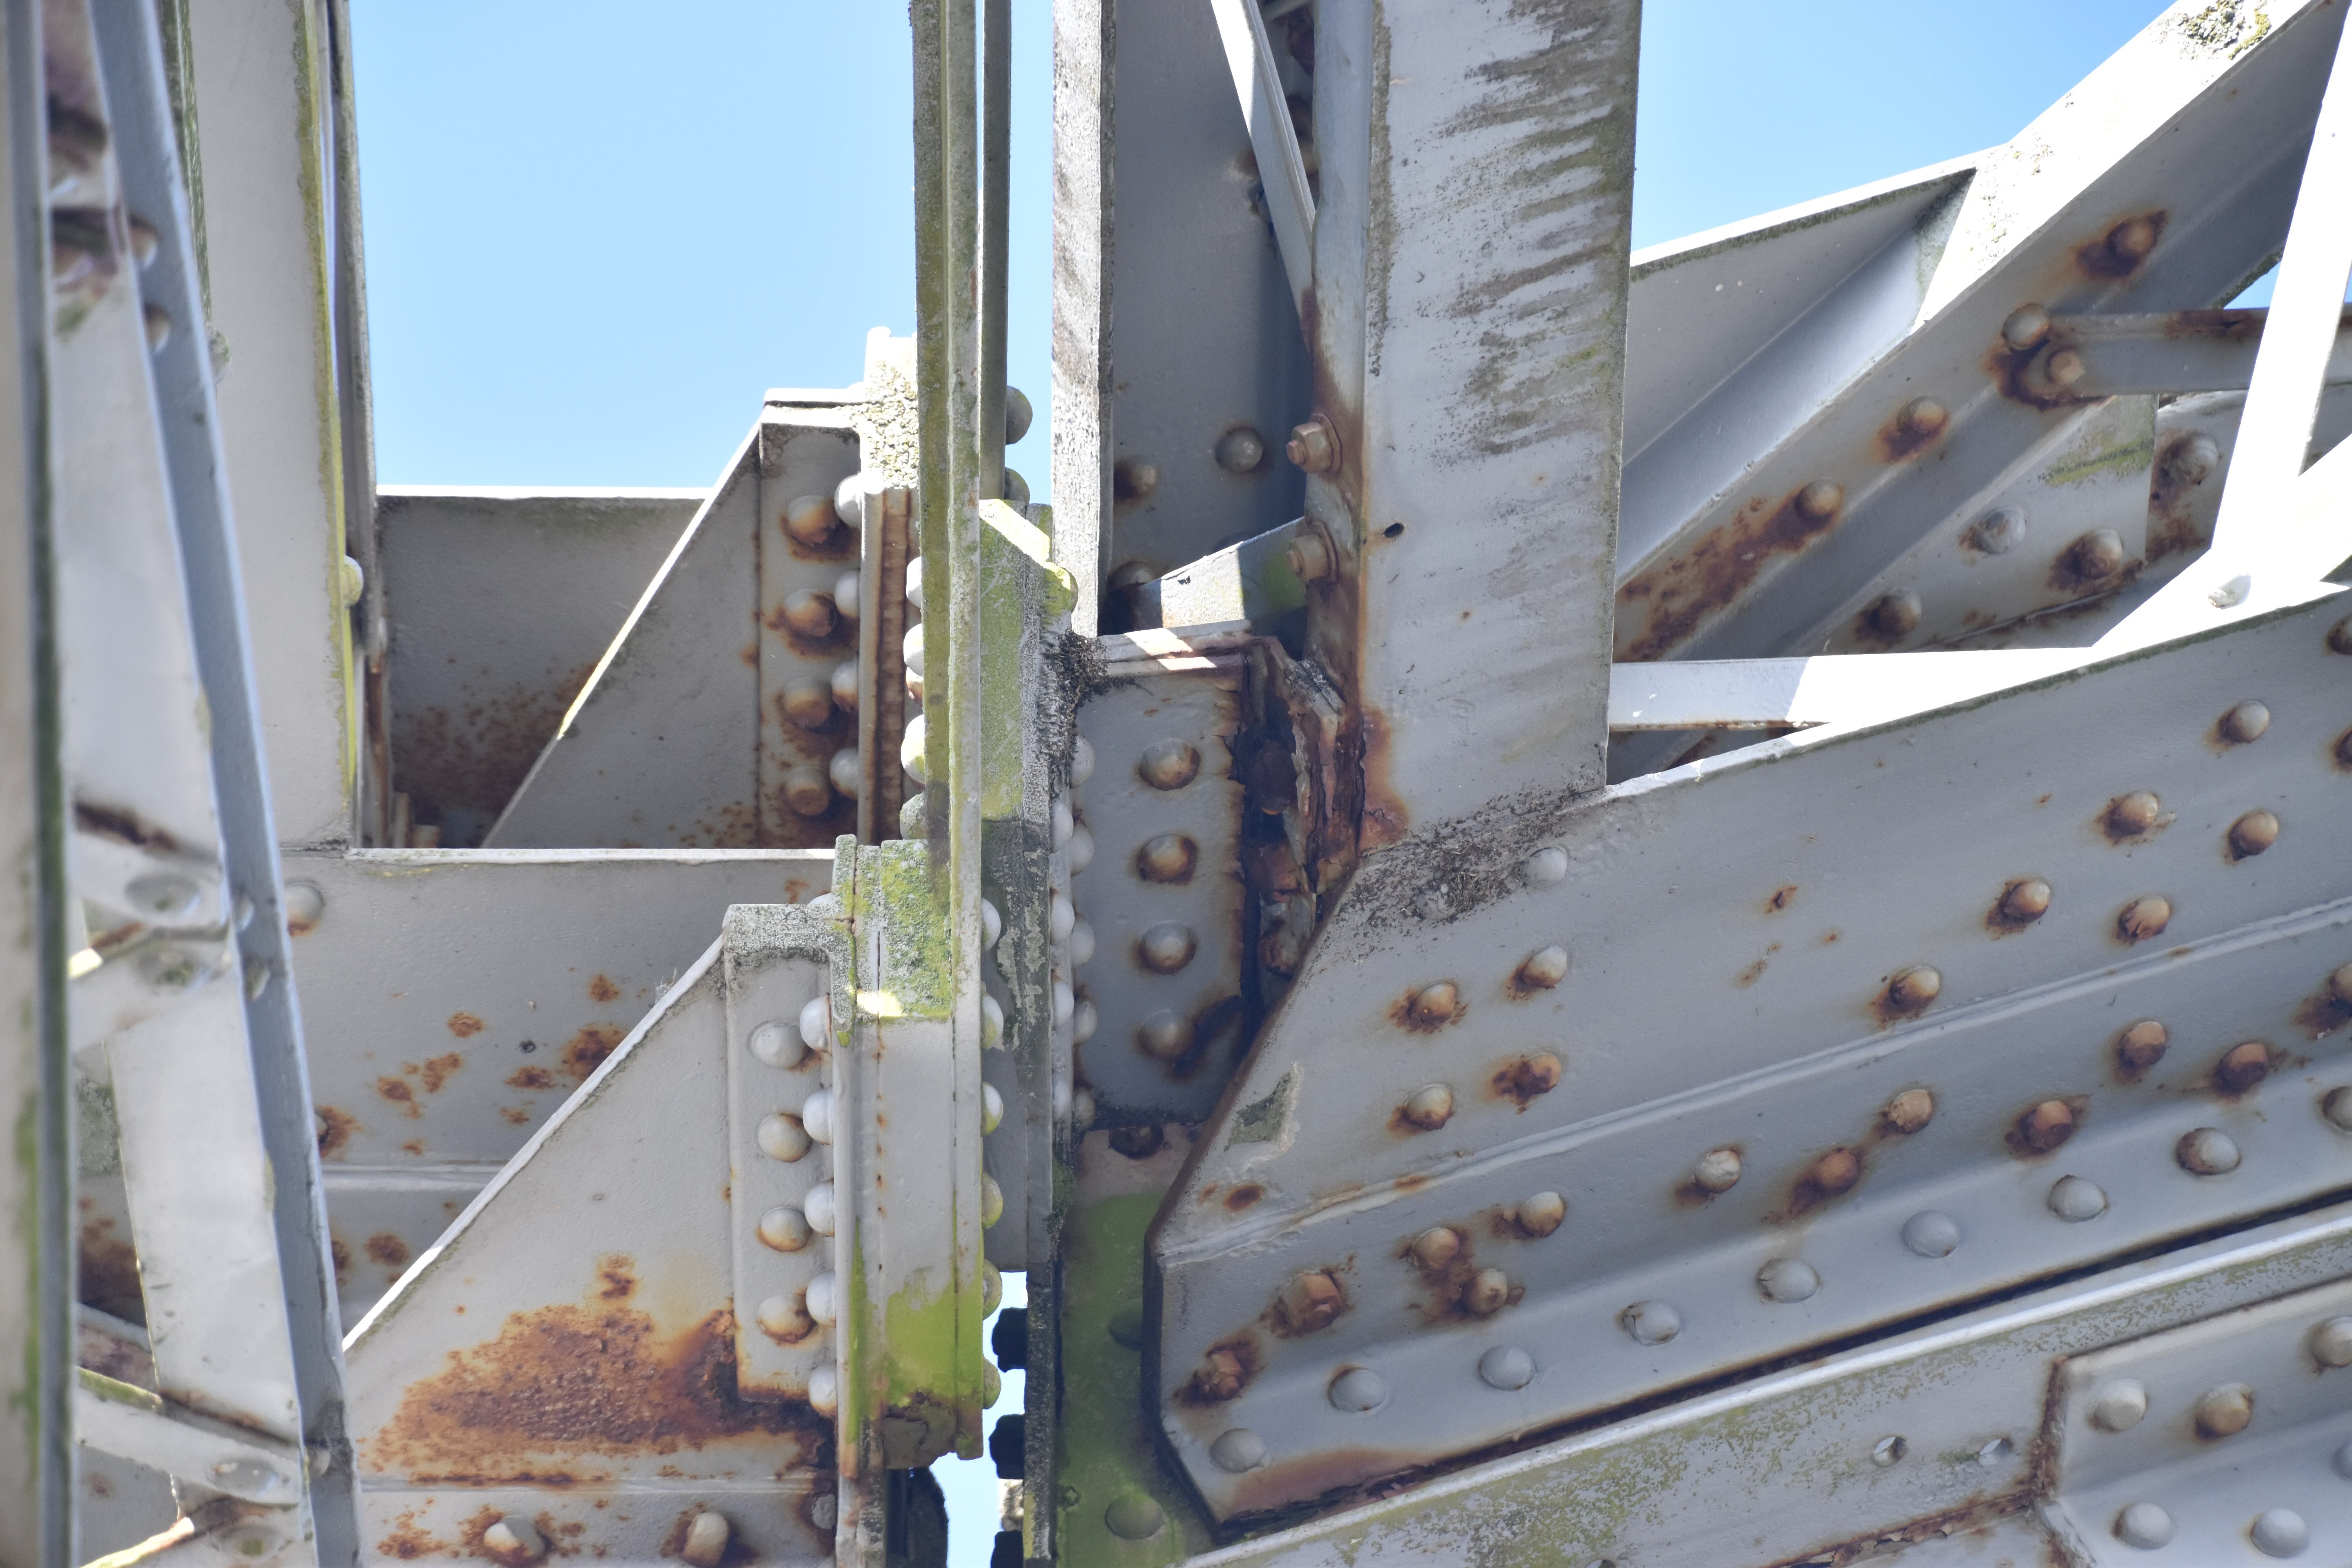
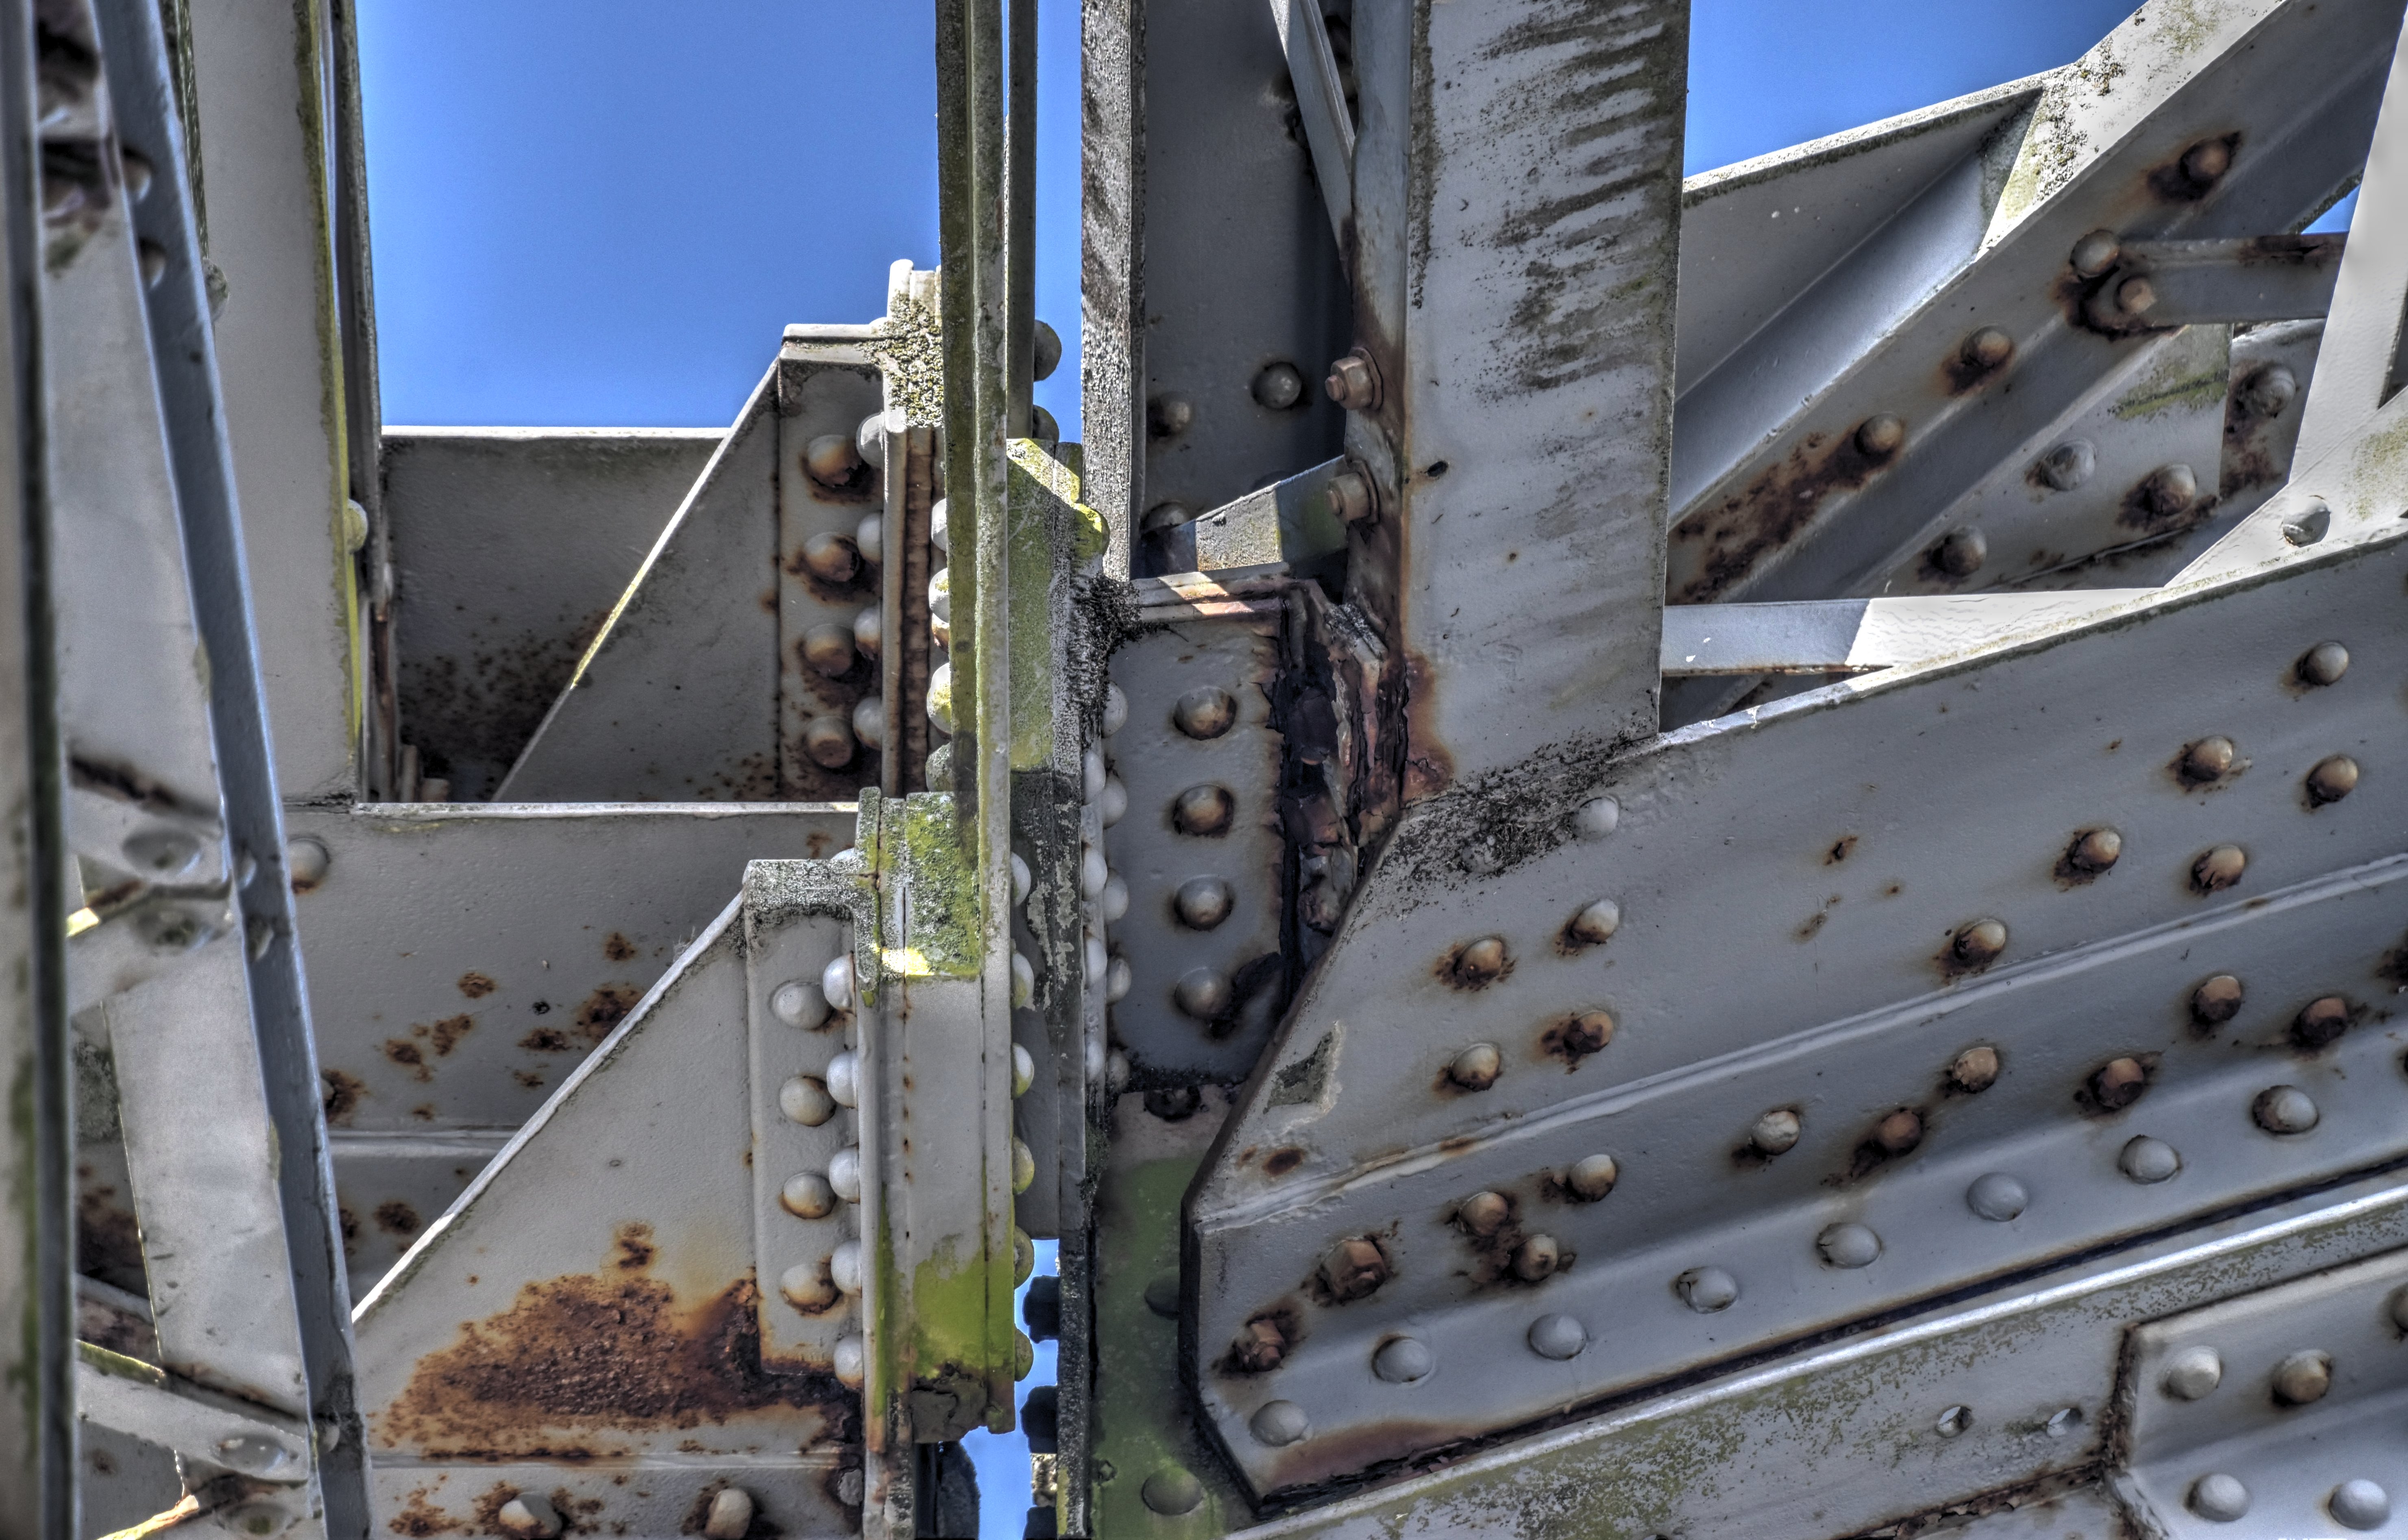
Main post bearing as viewed from on bridge.
![]()
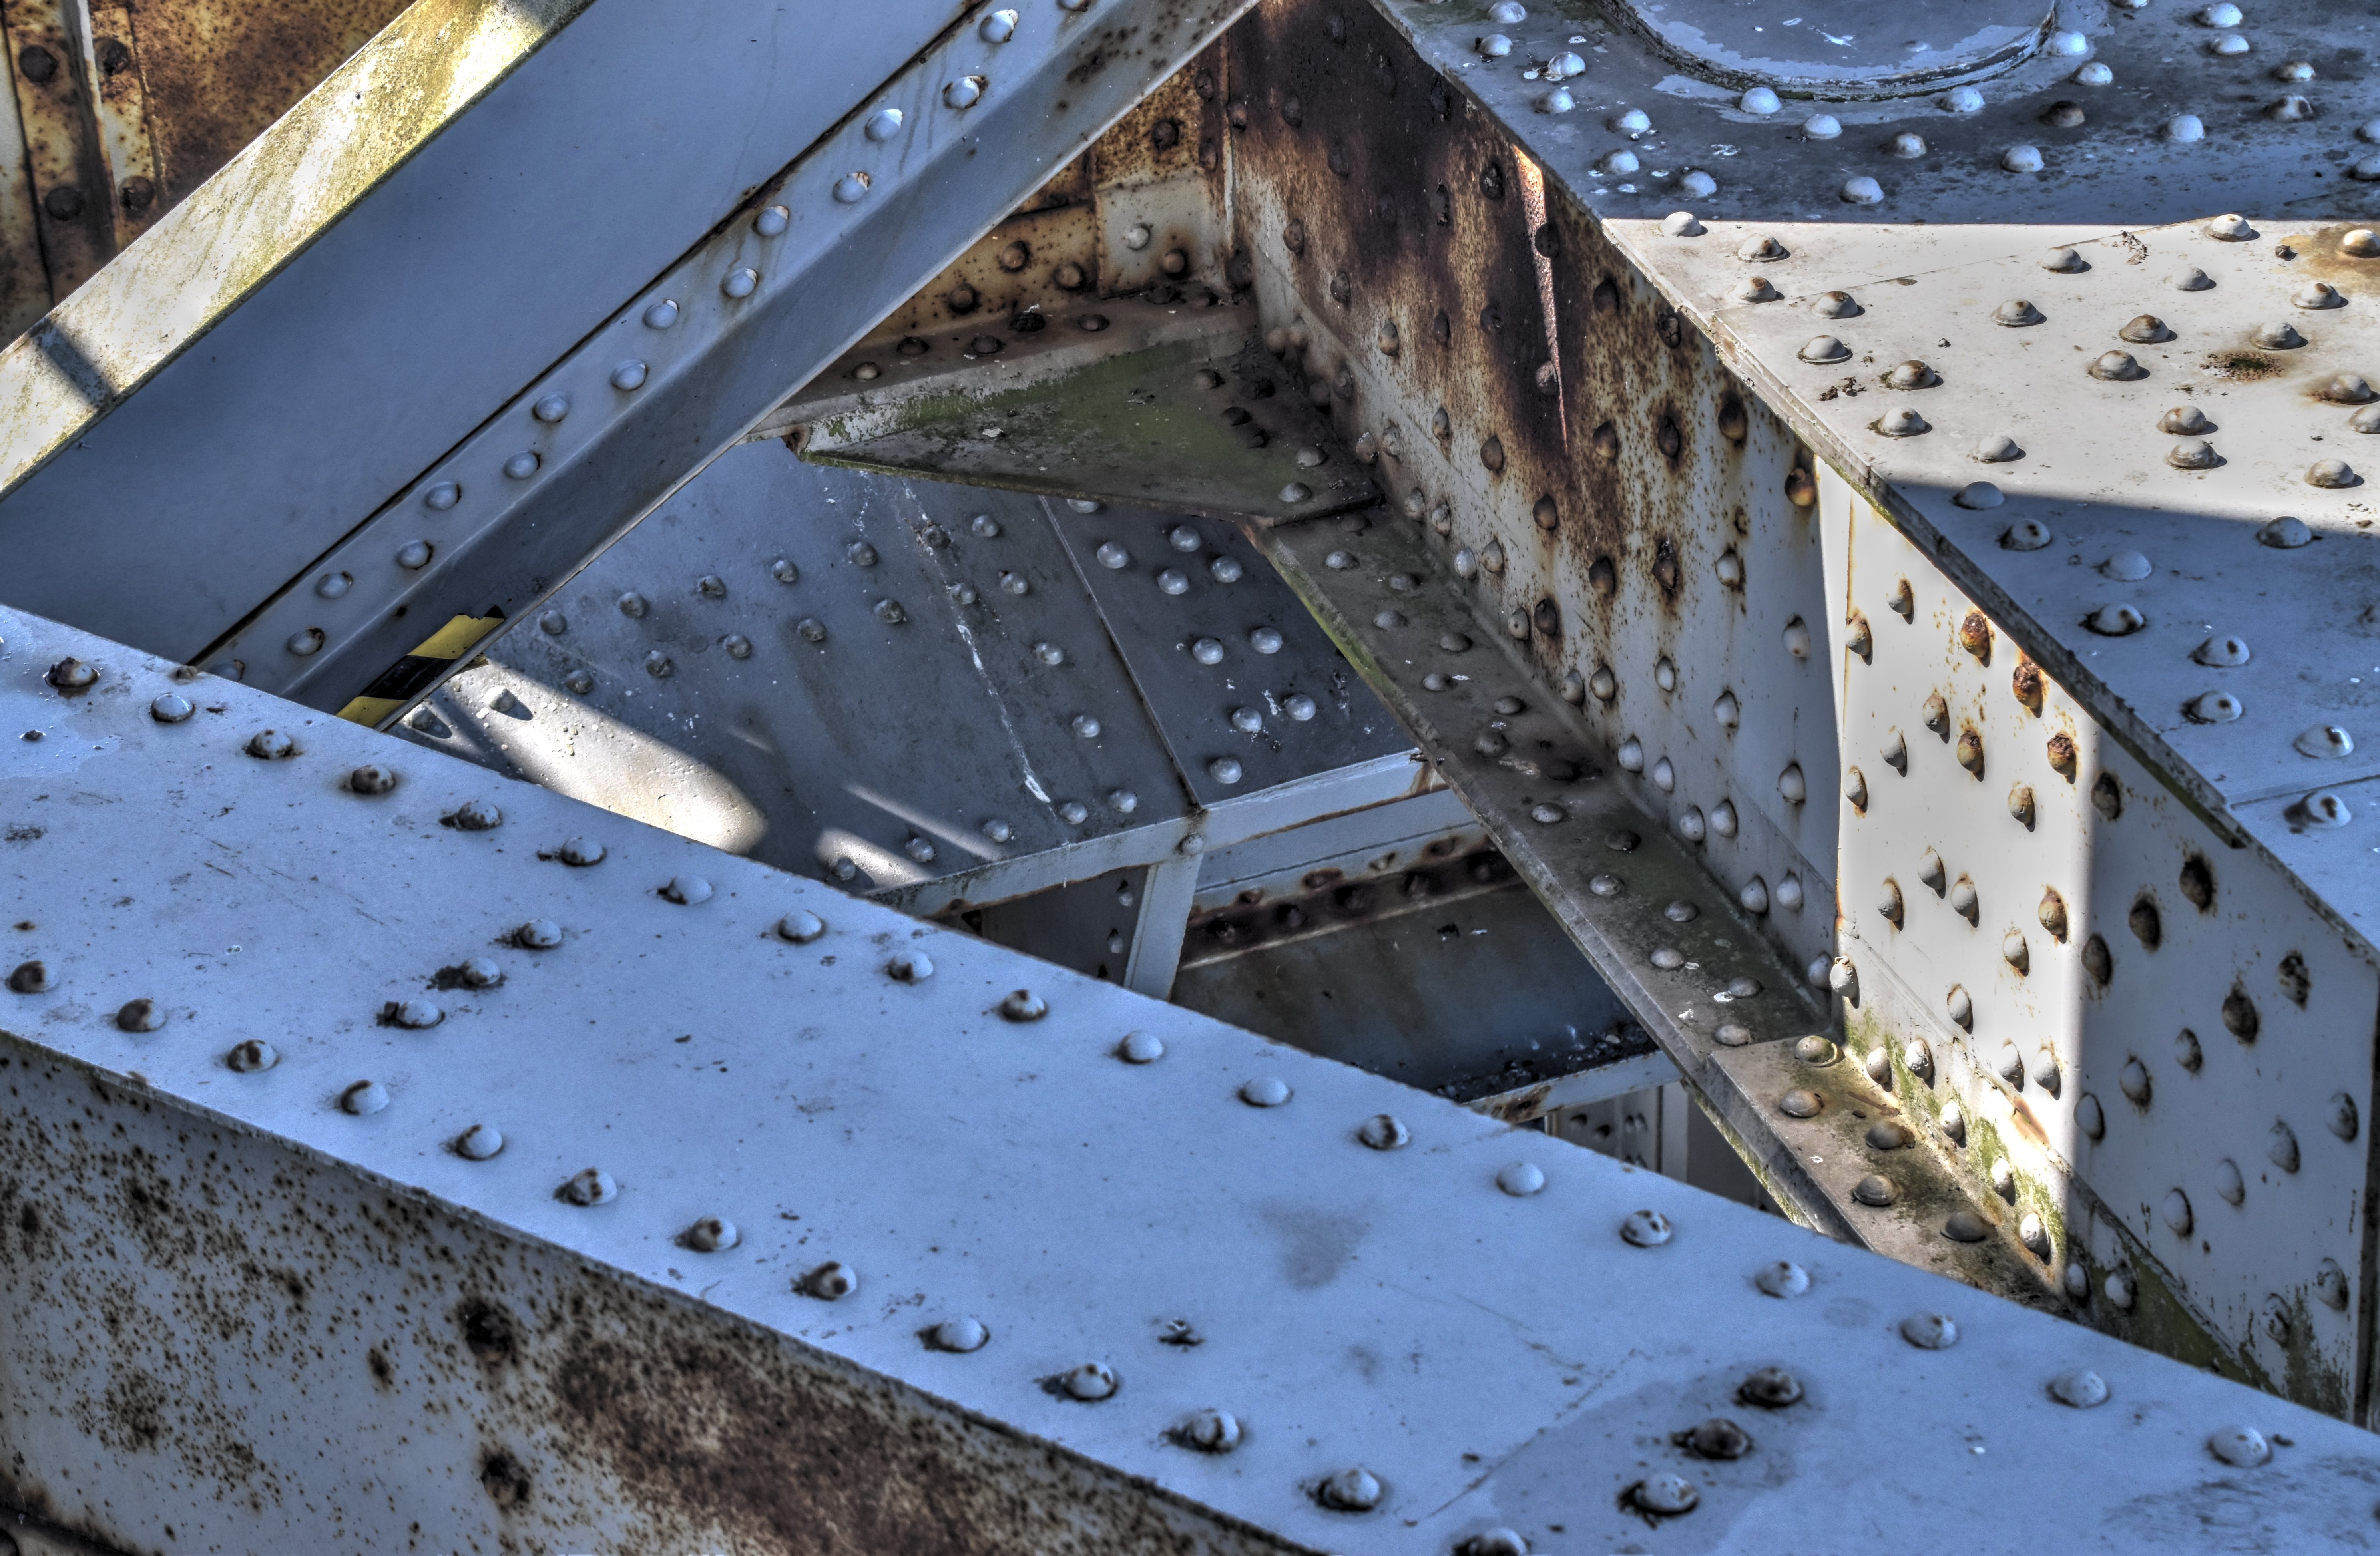
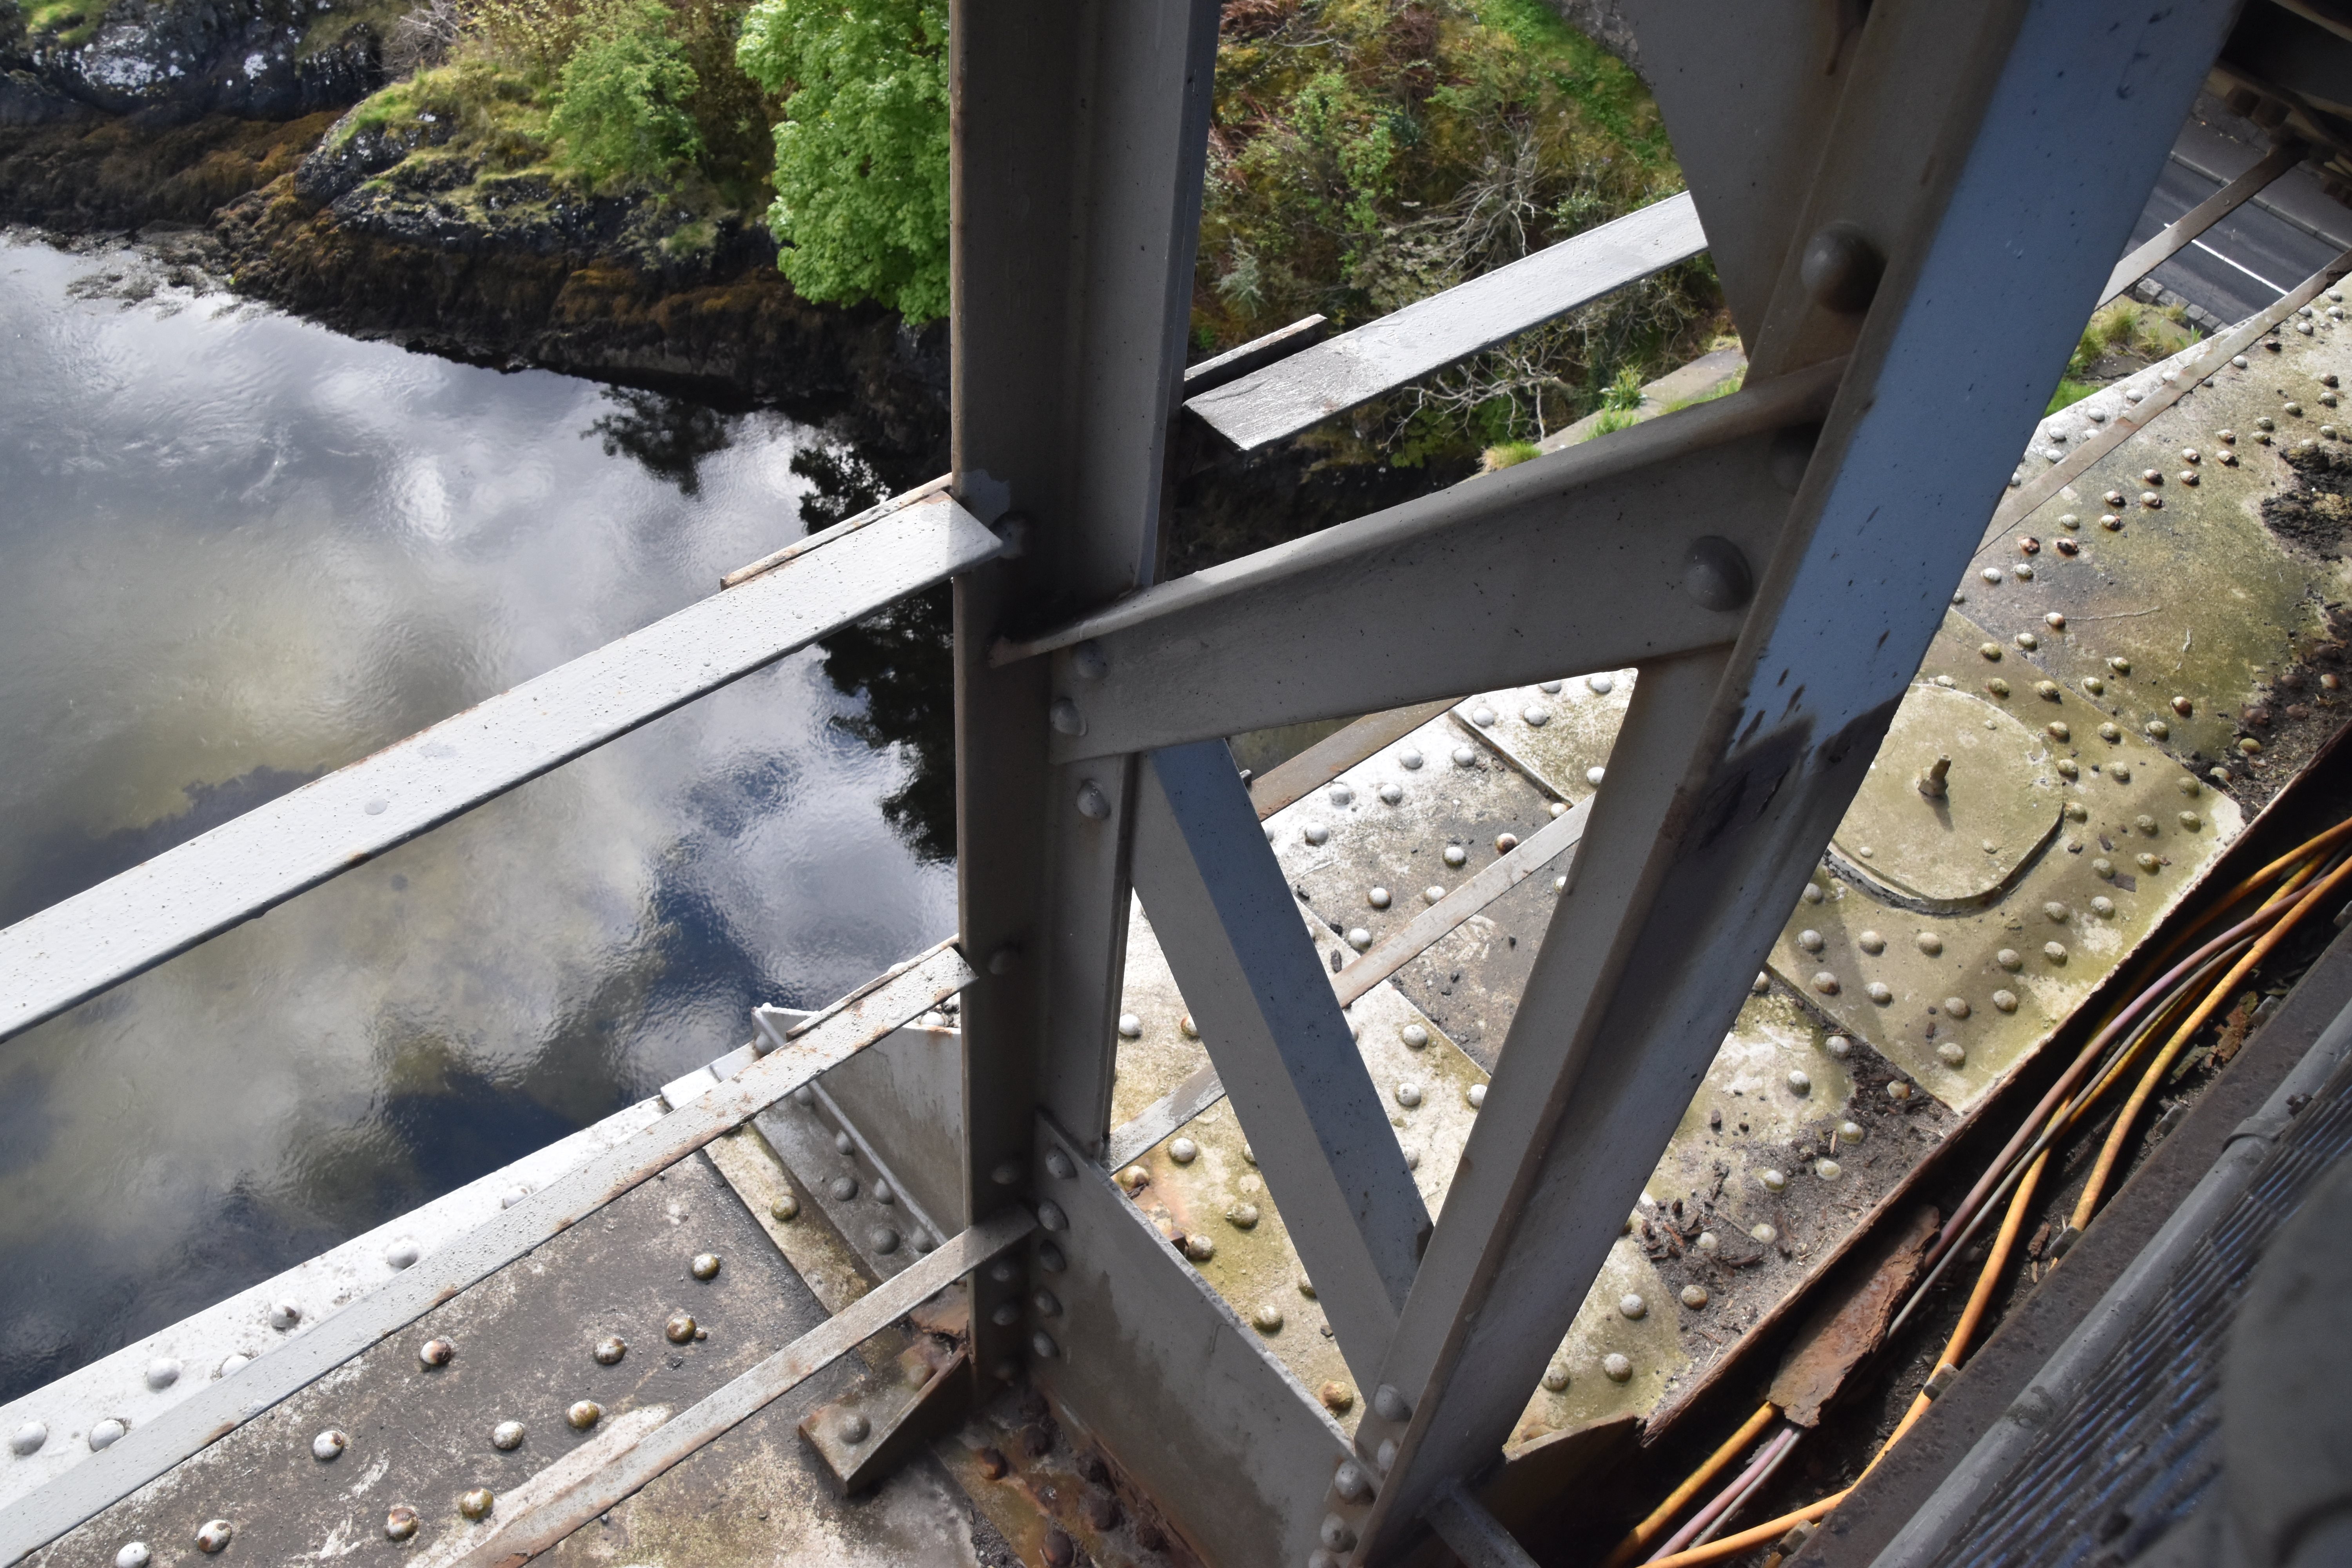
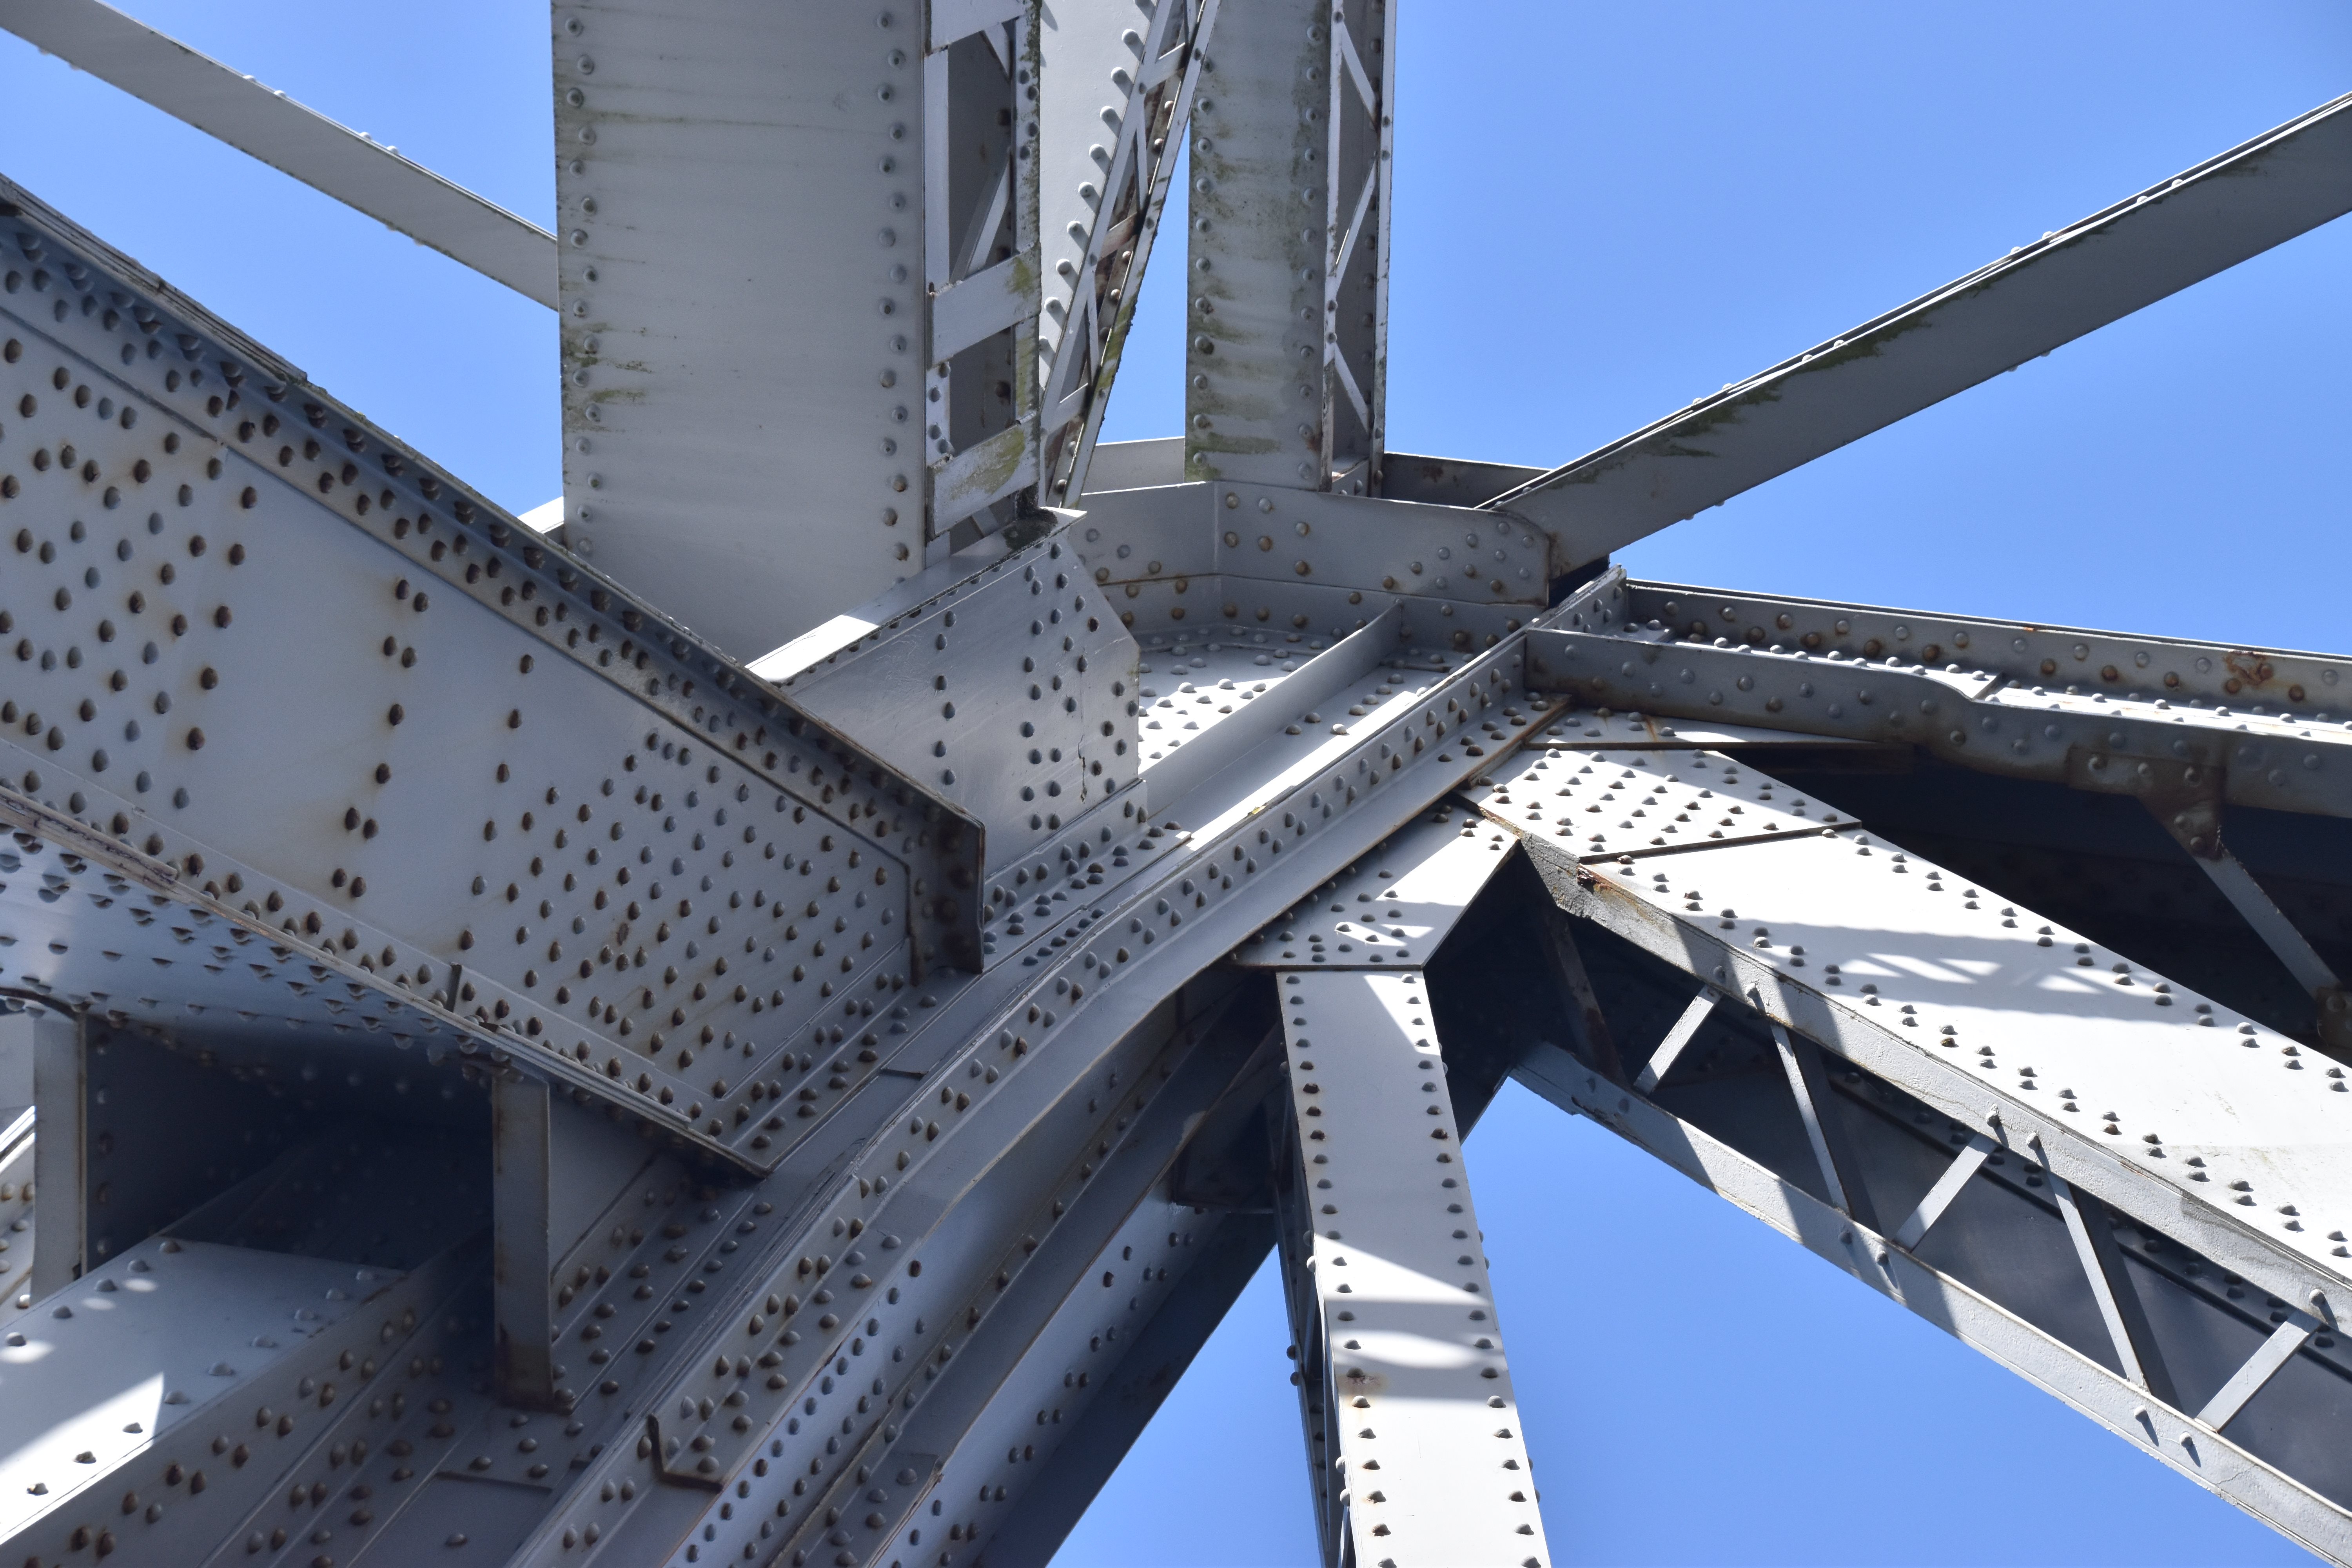
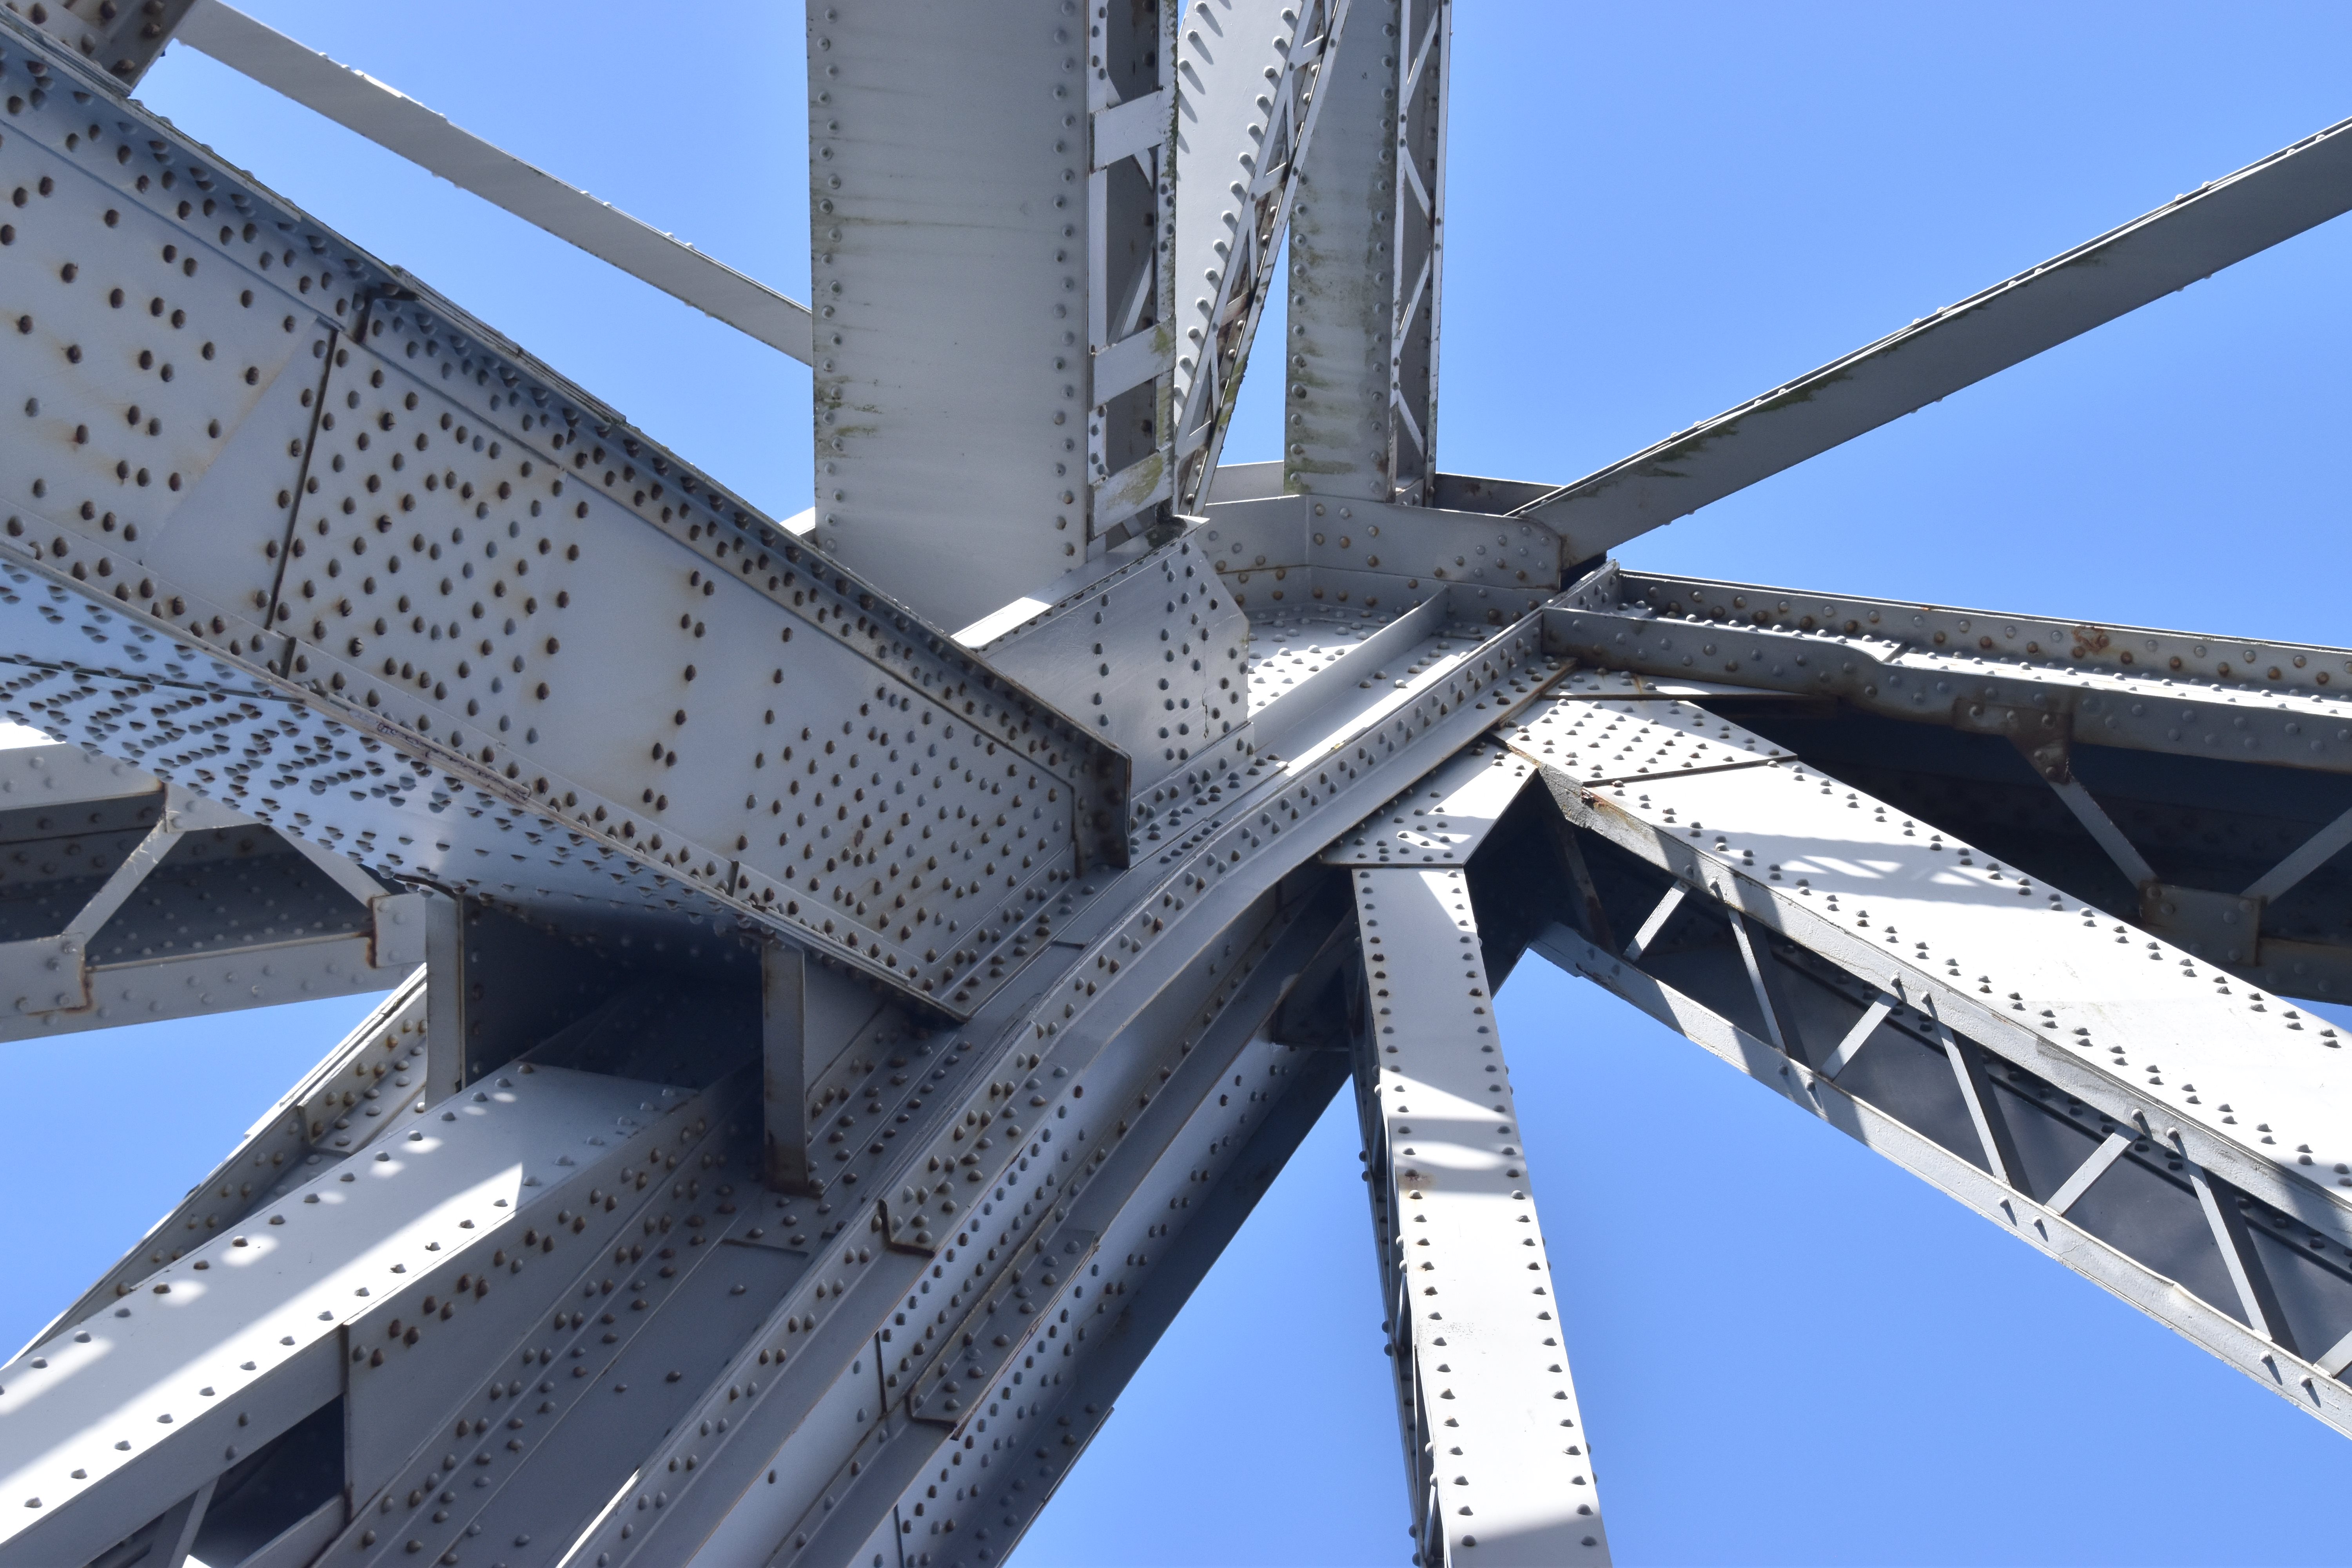
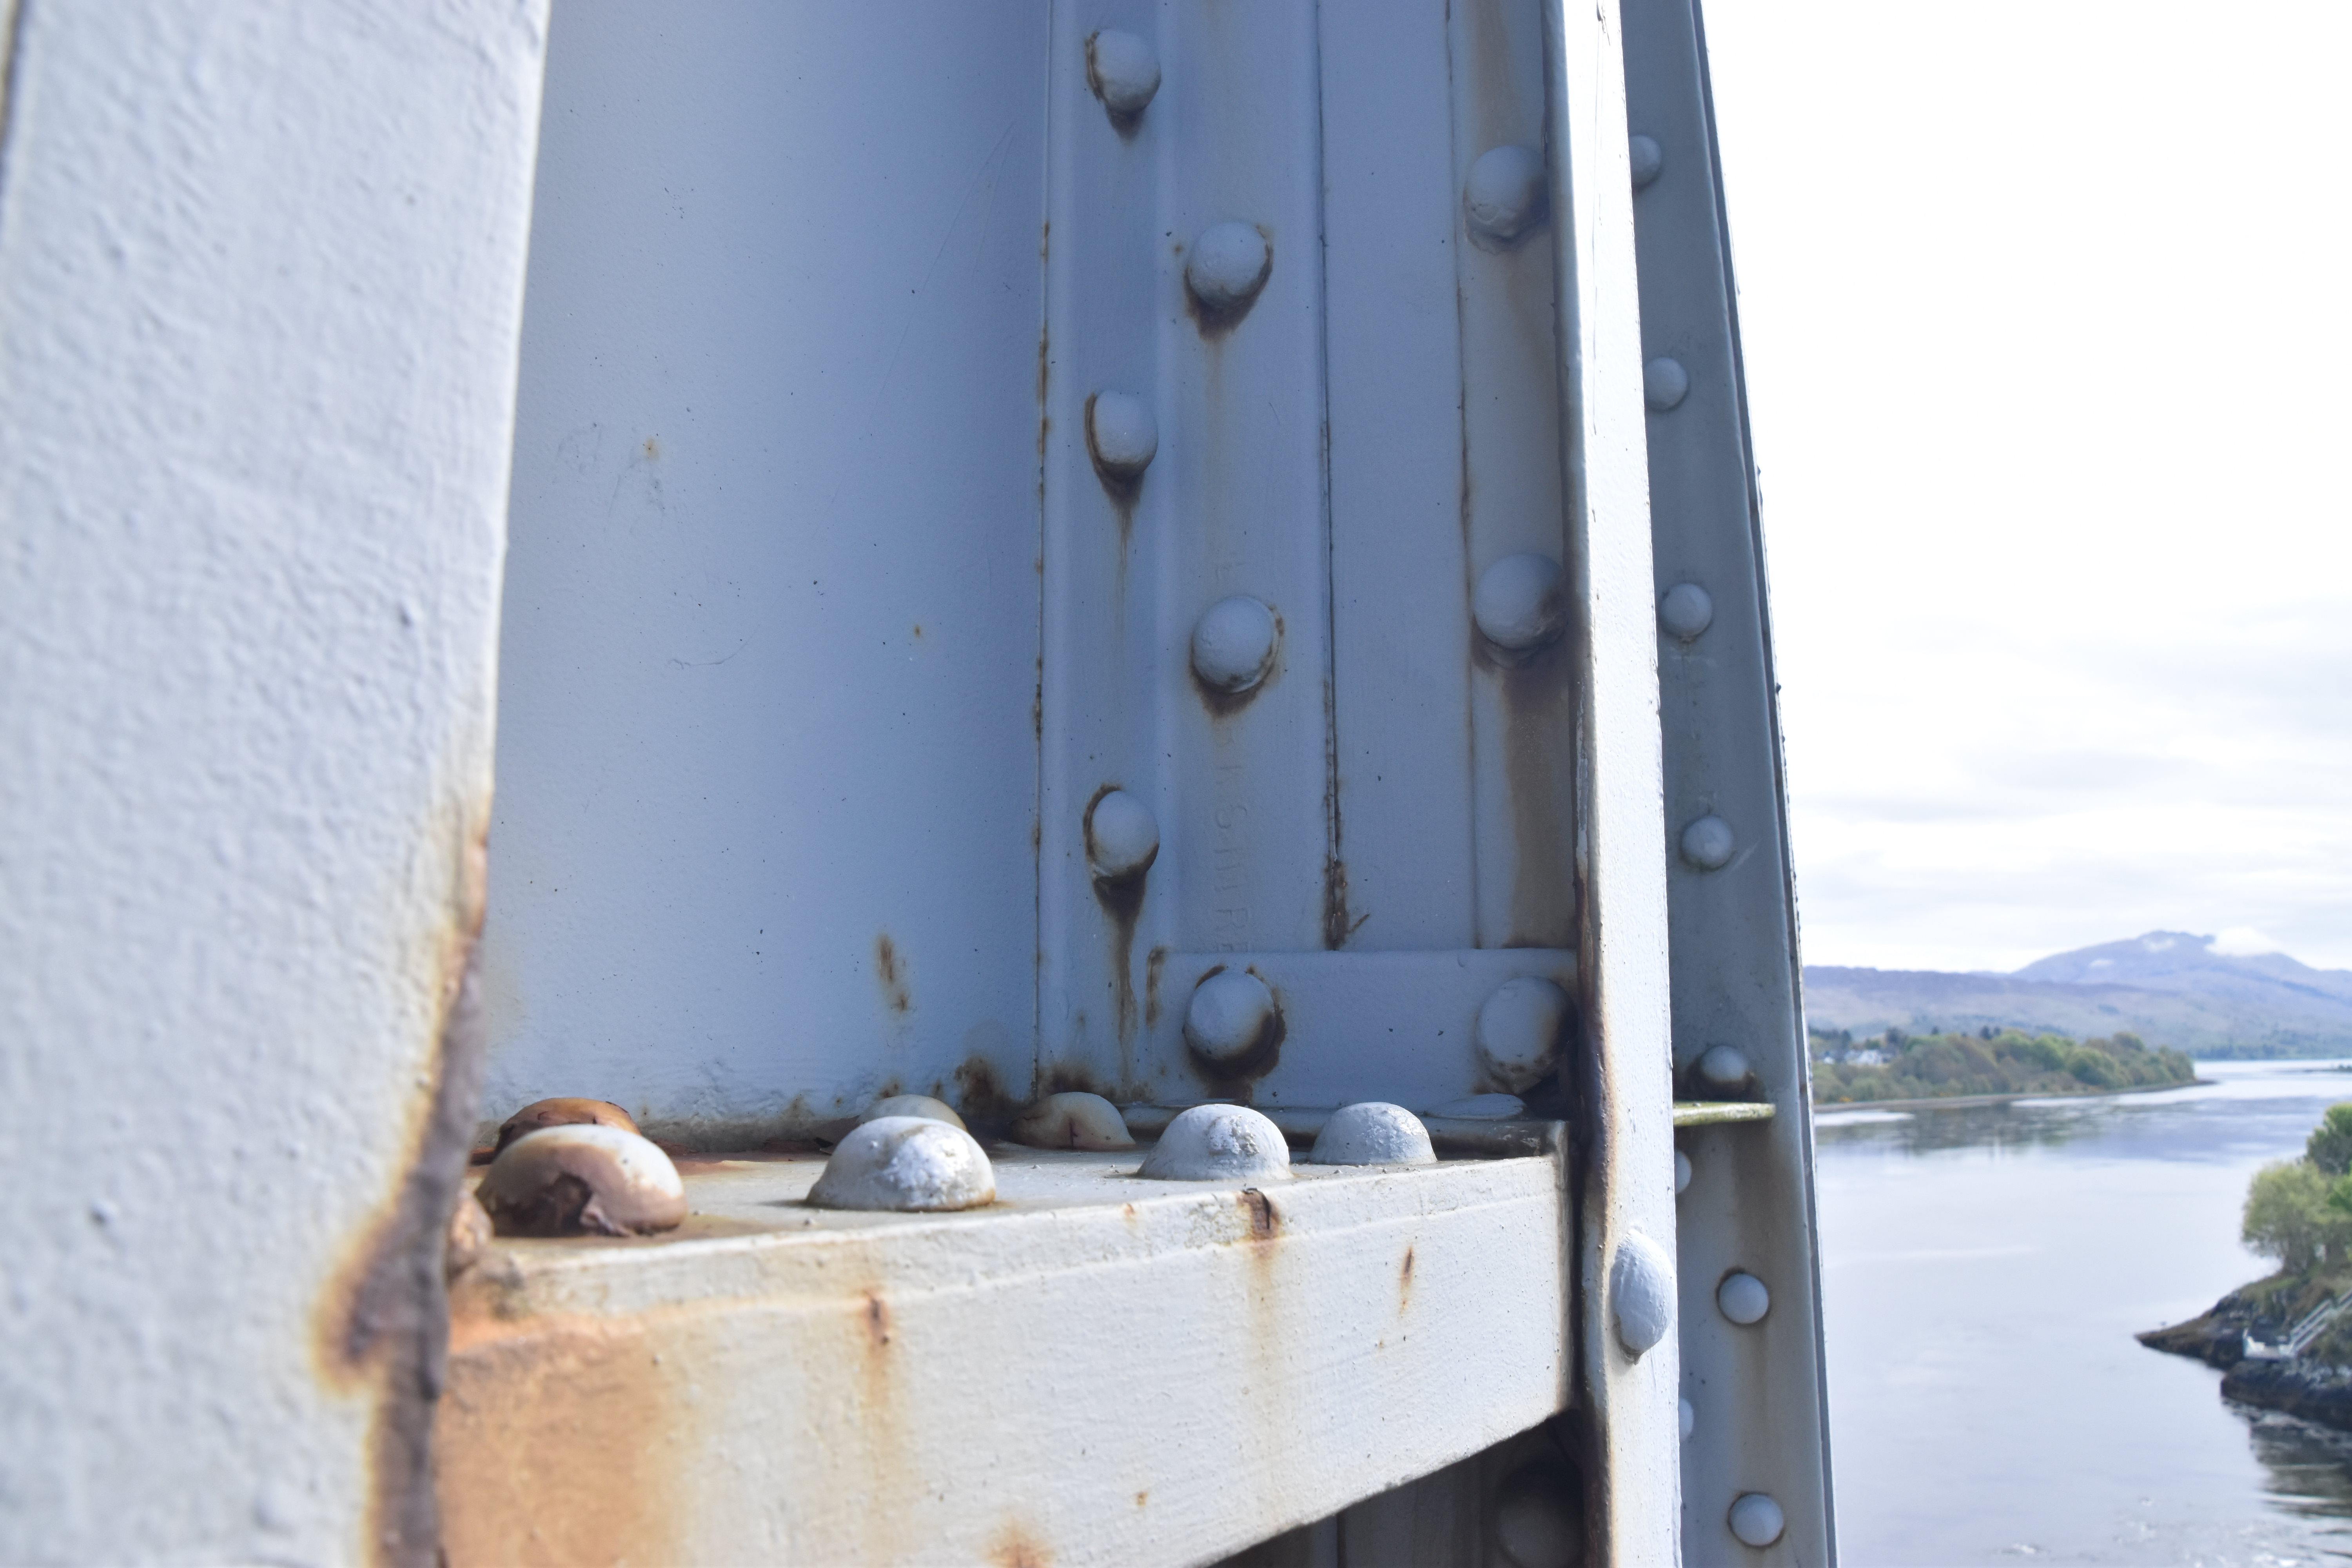
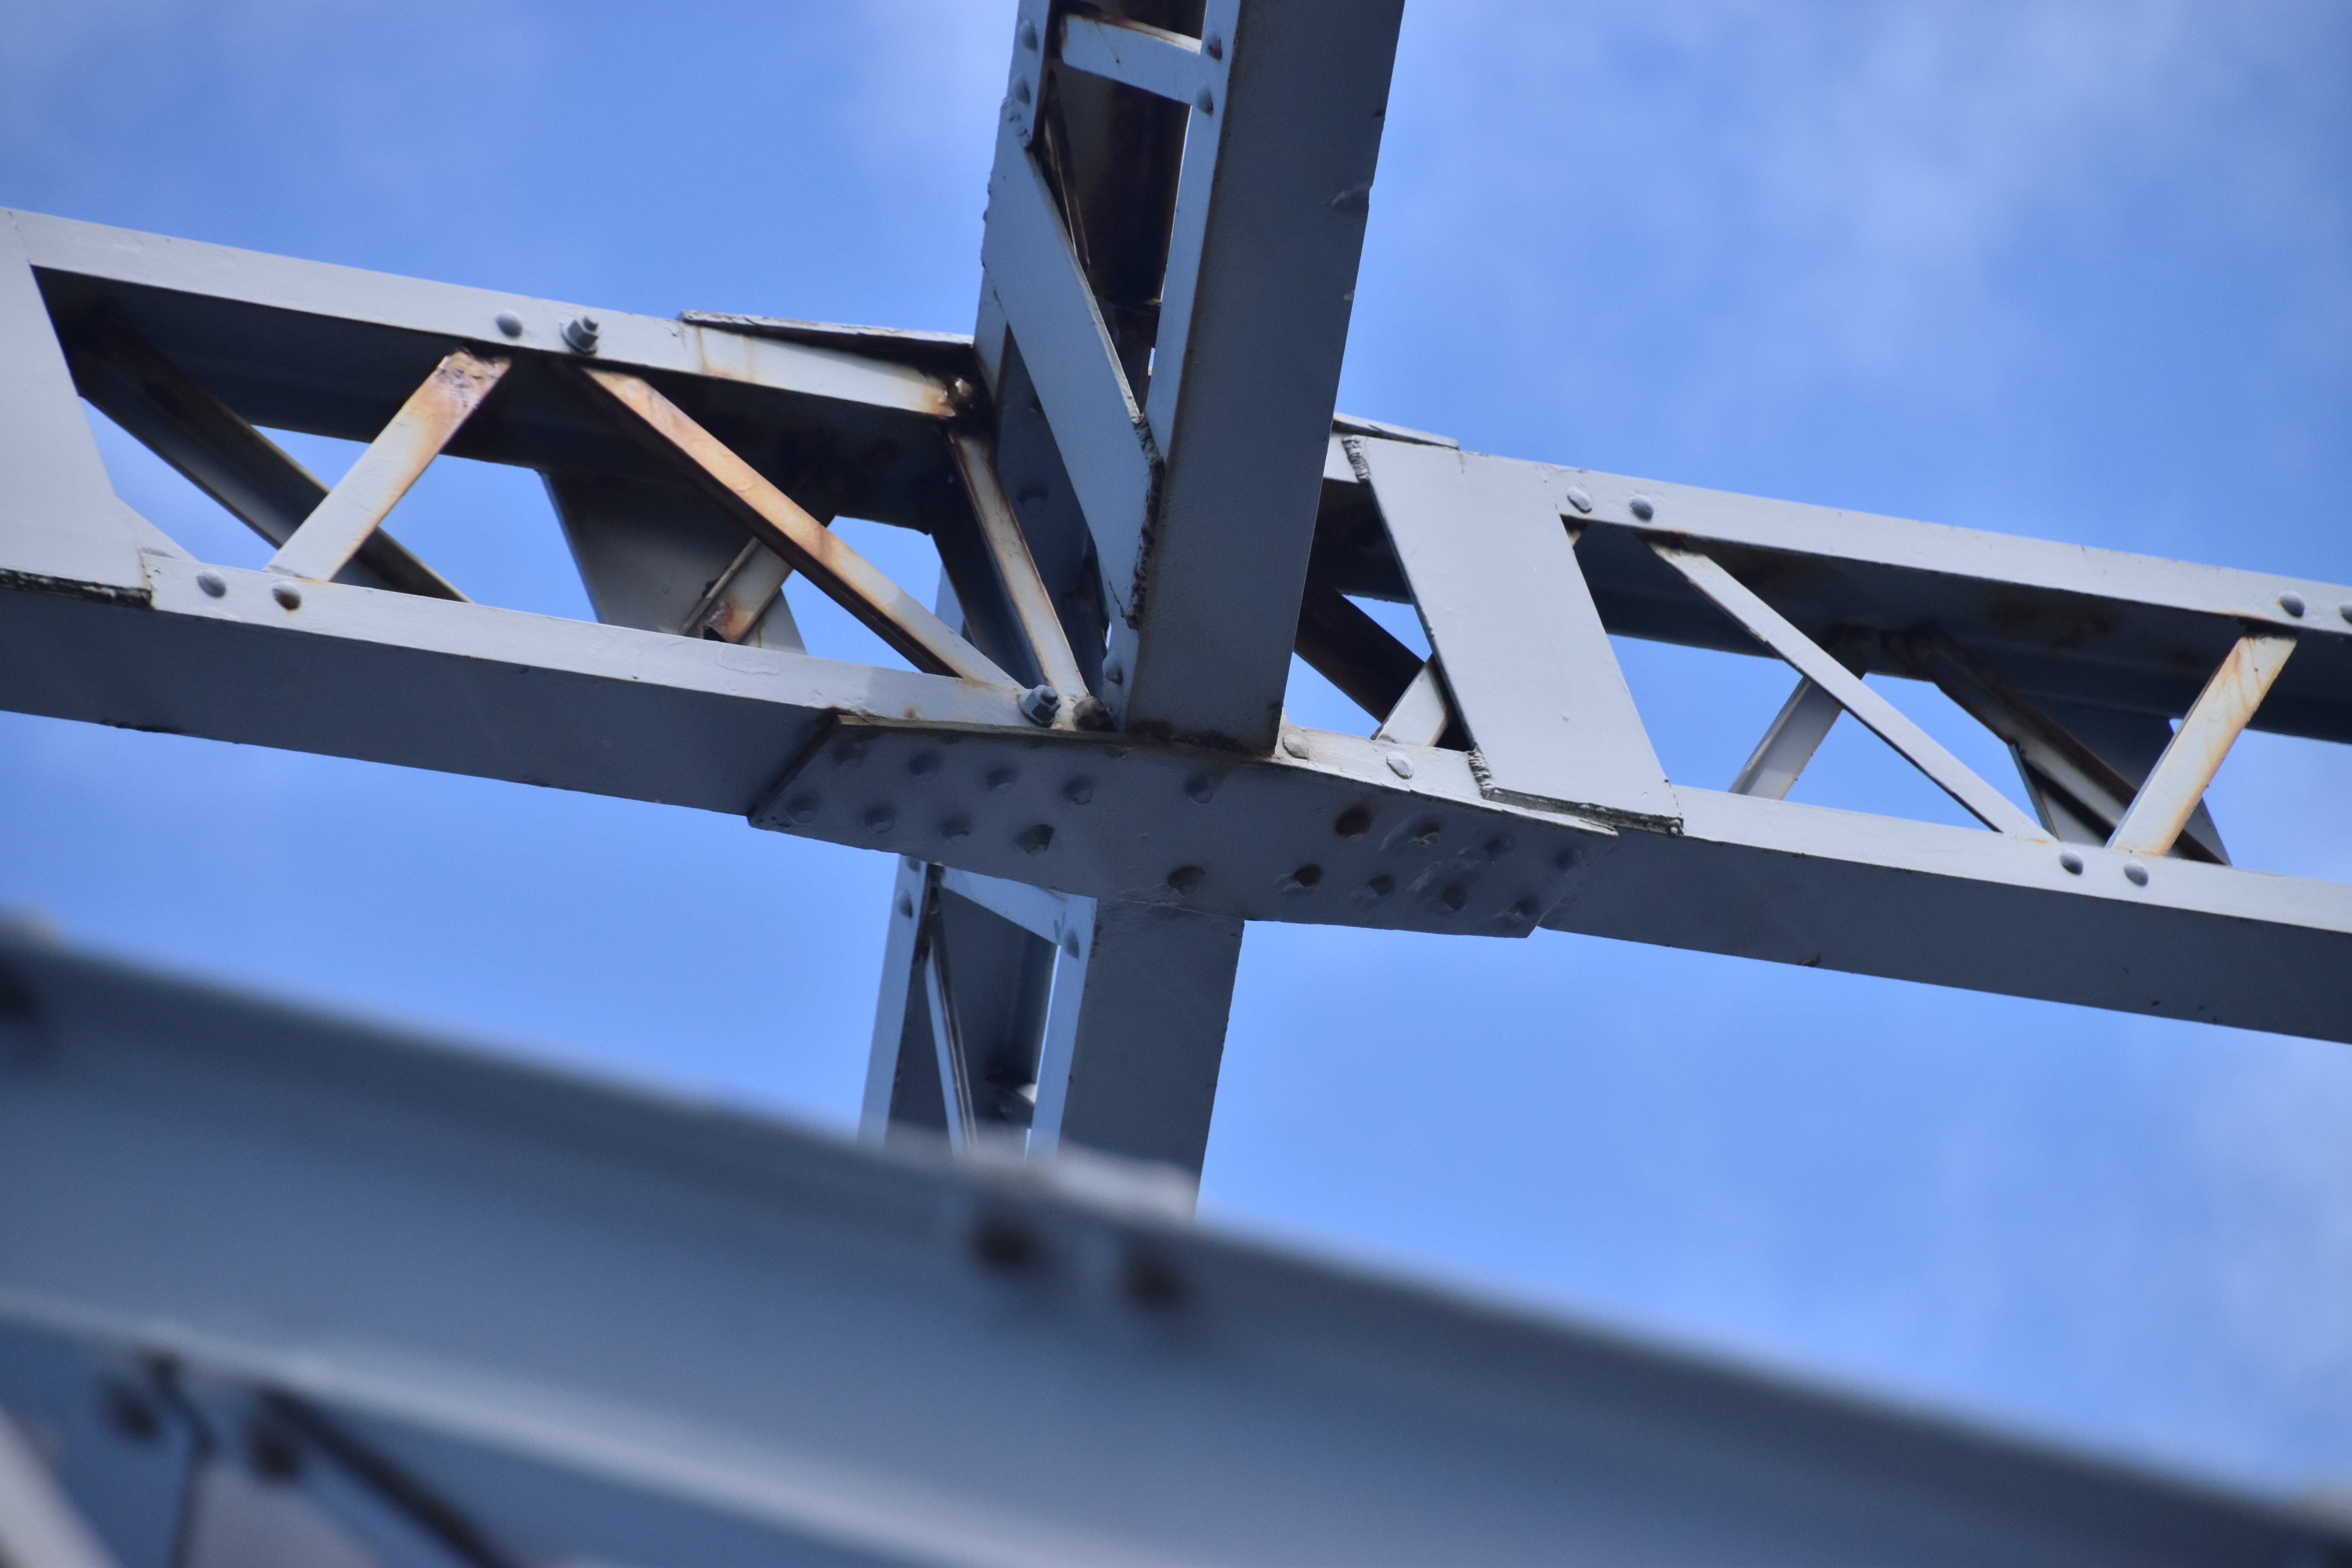
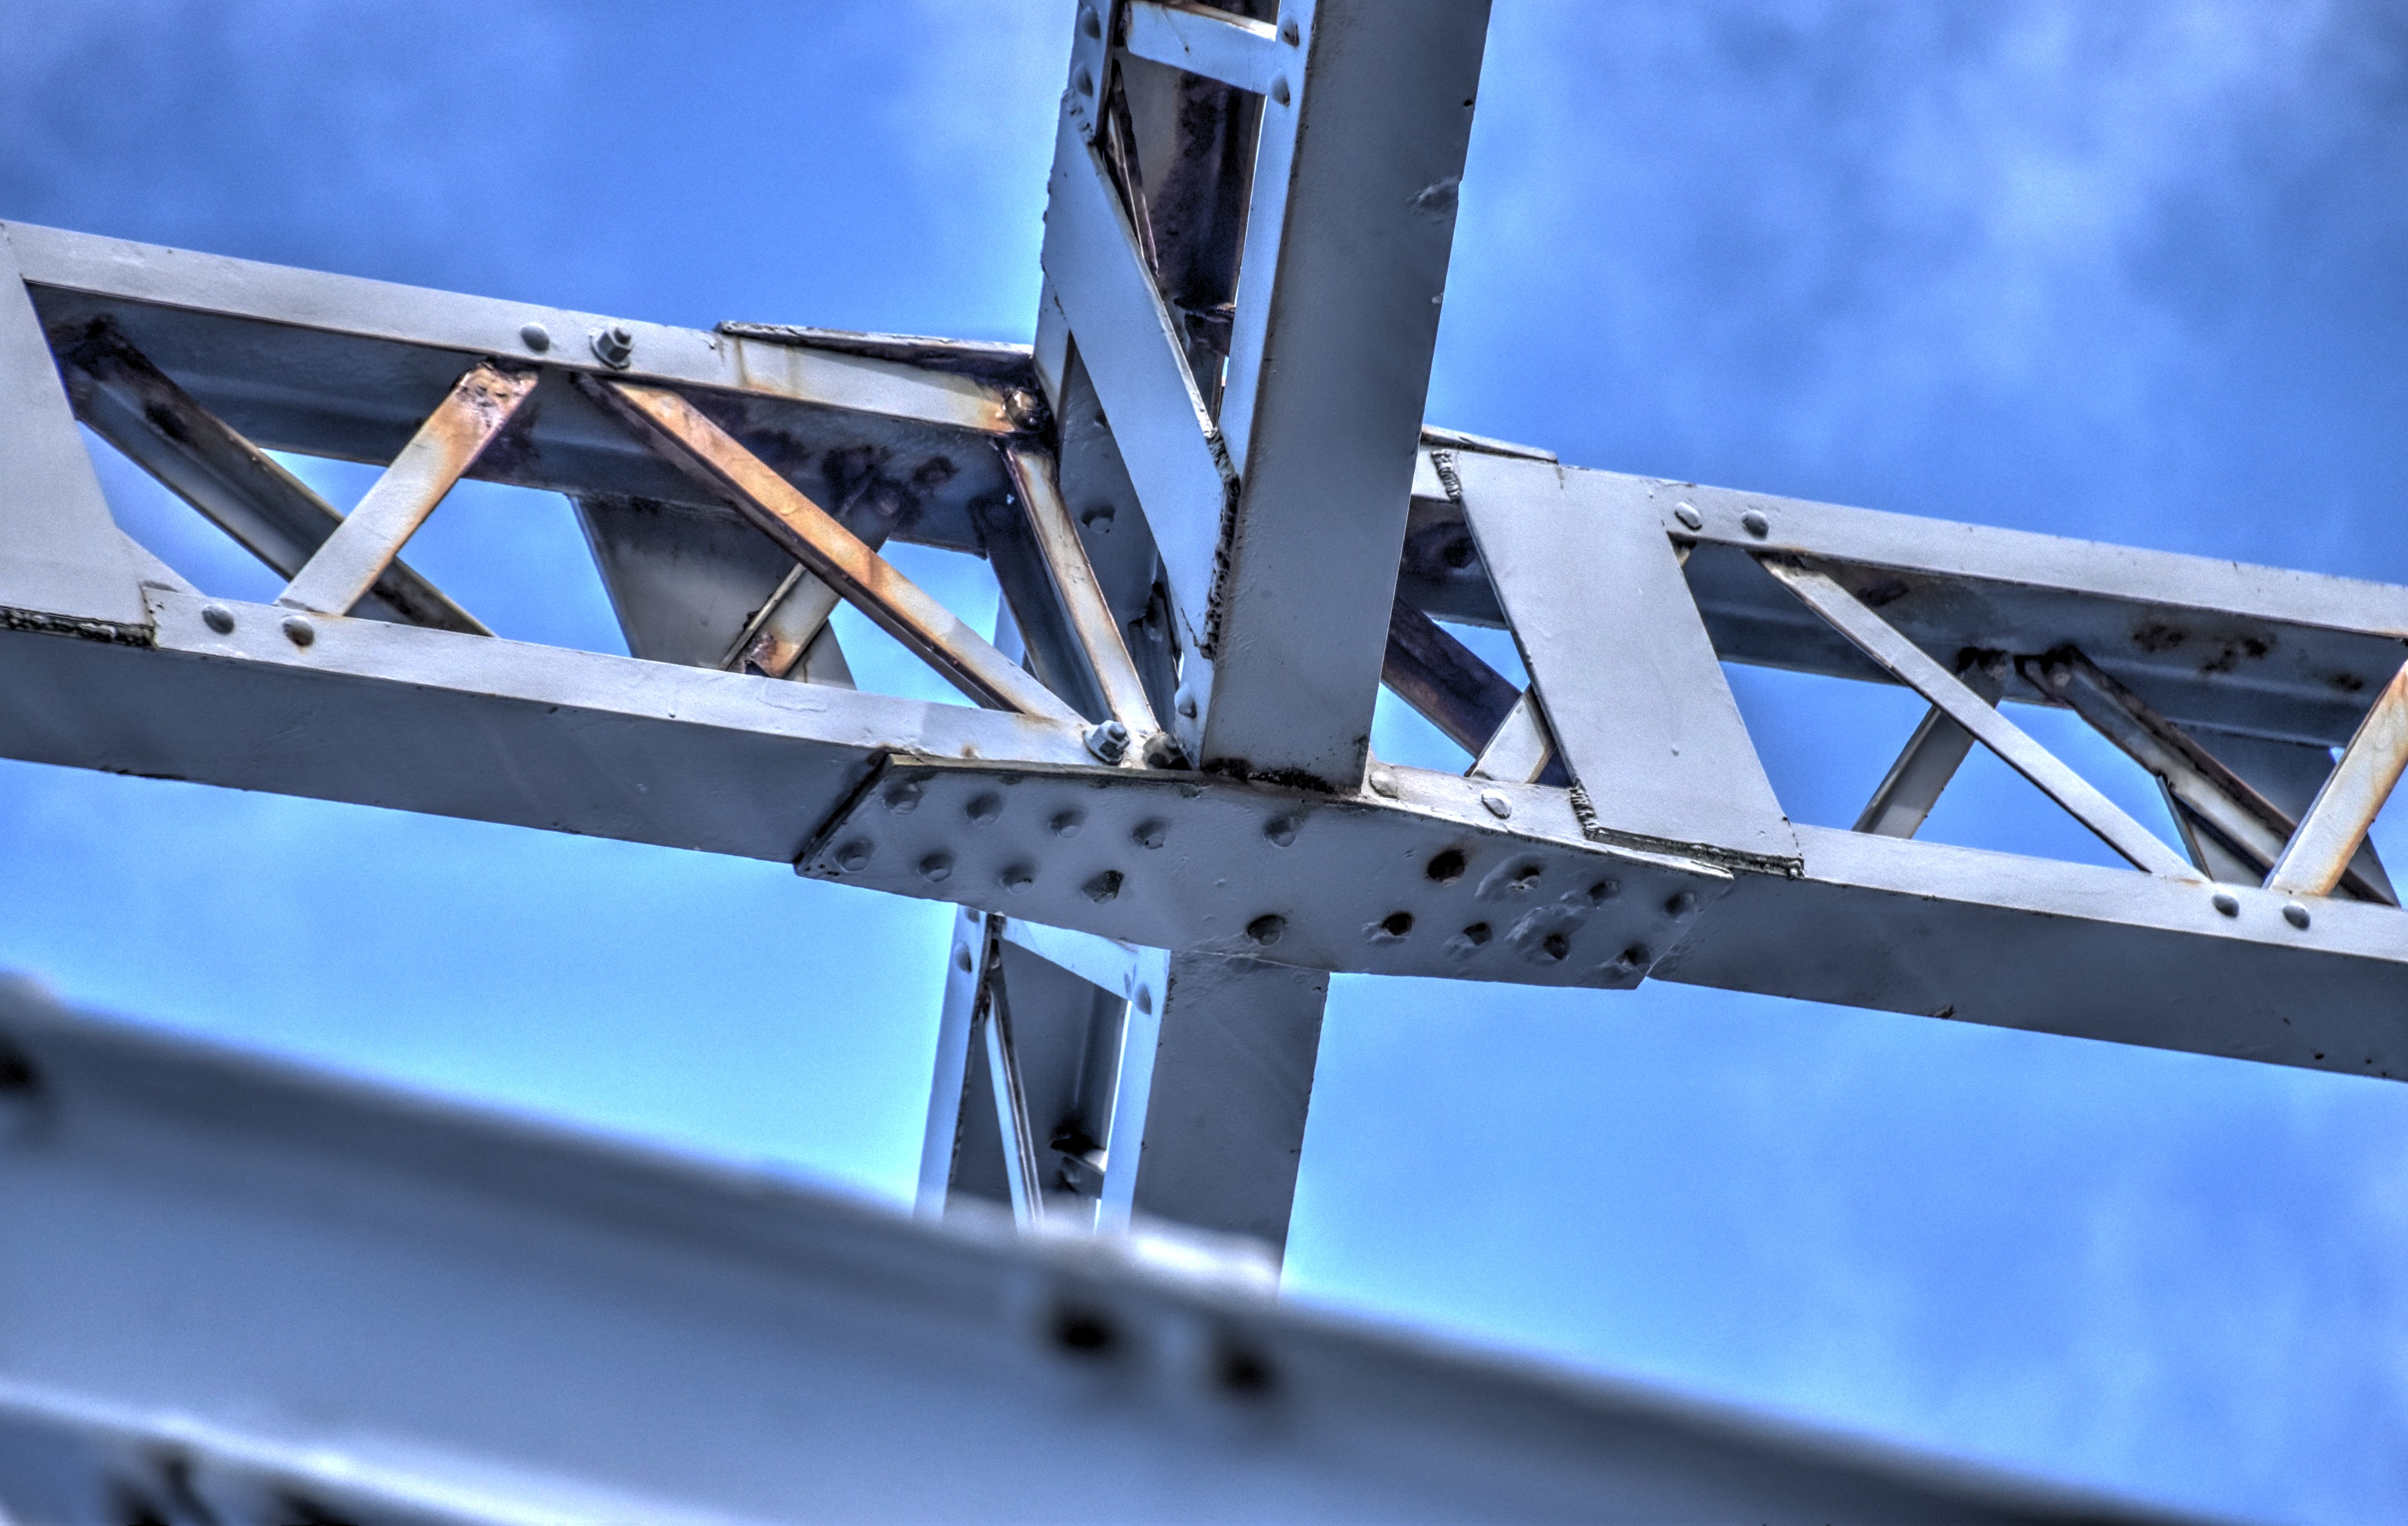
Detail of main post bearing and adjacent connection as seen from above.
![]()
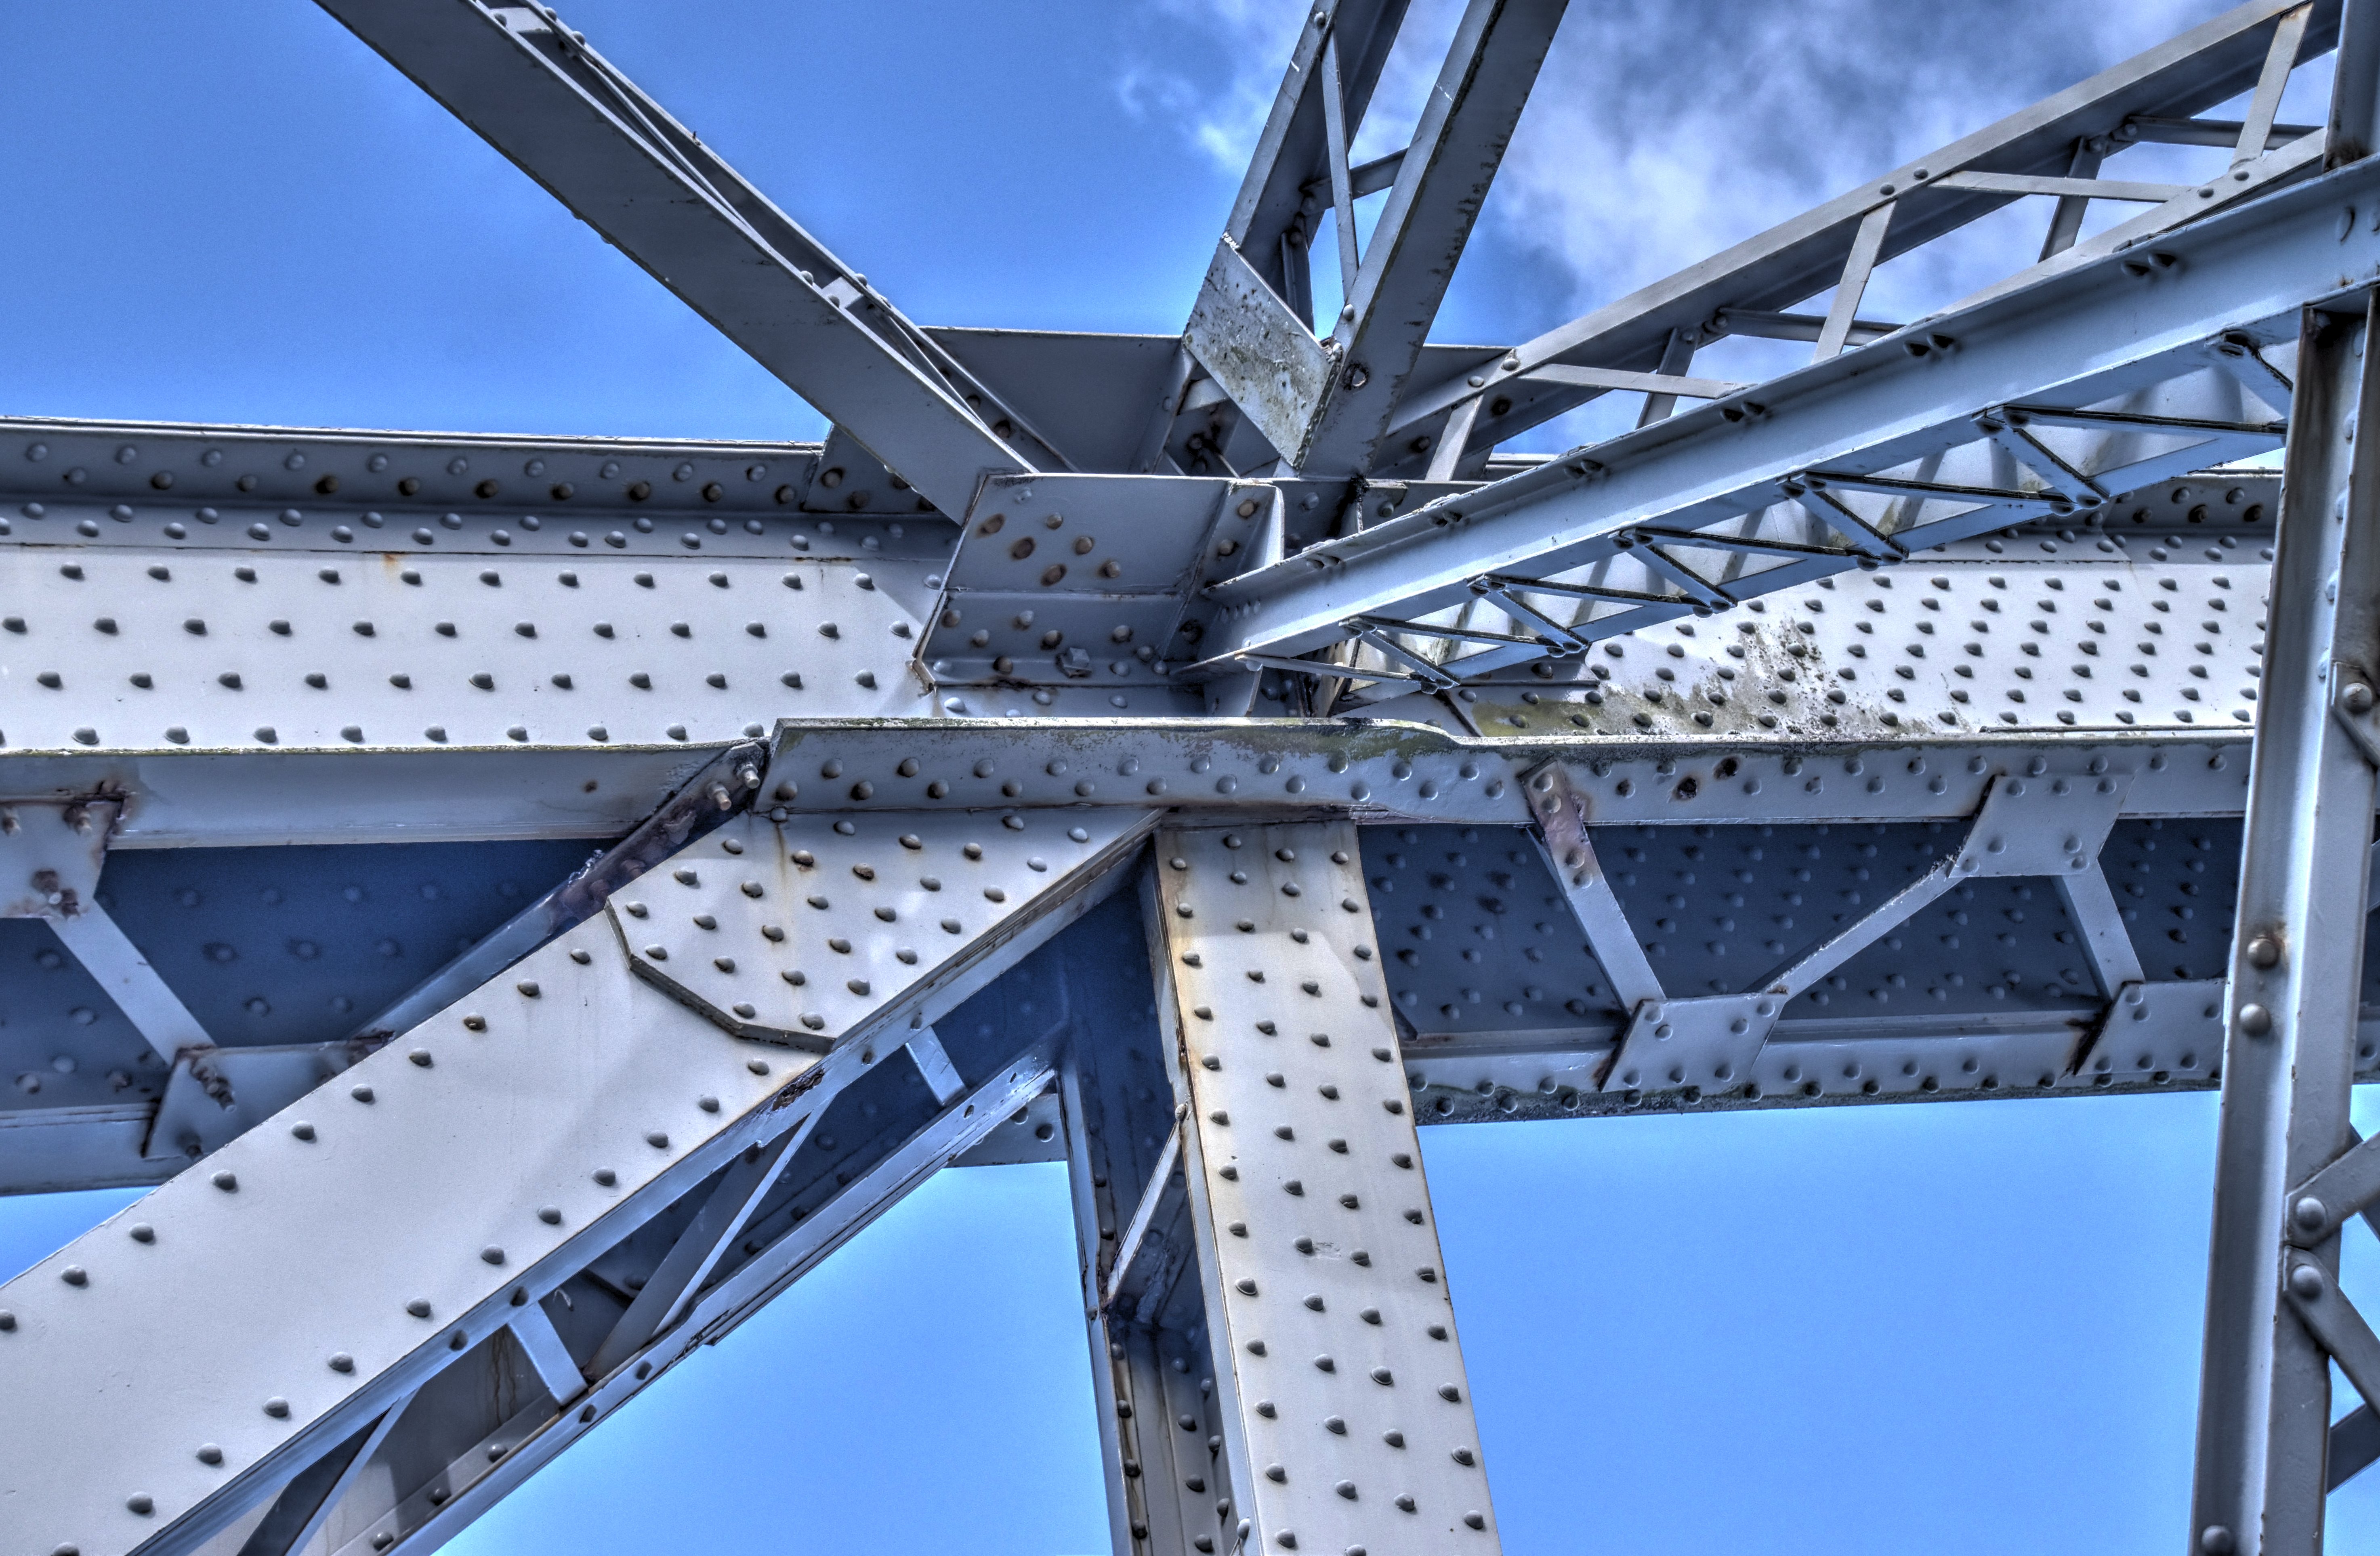
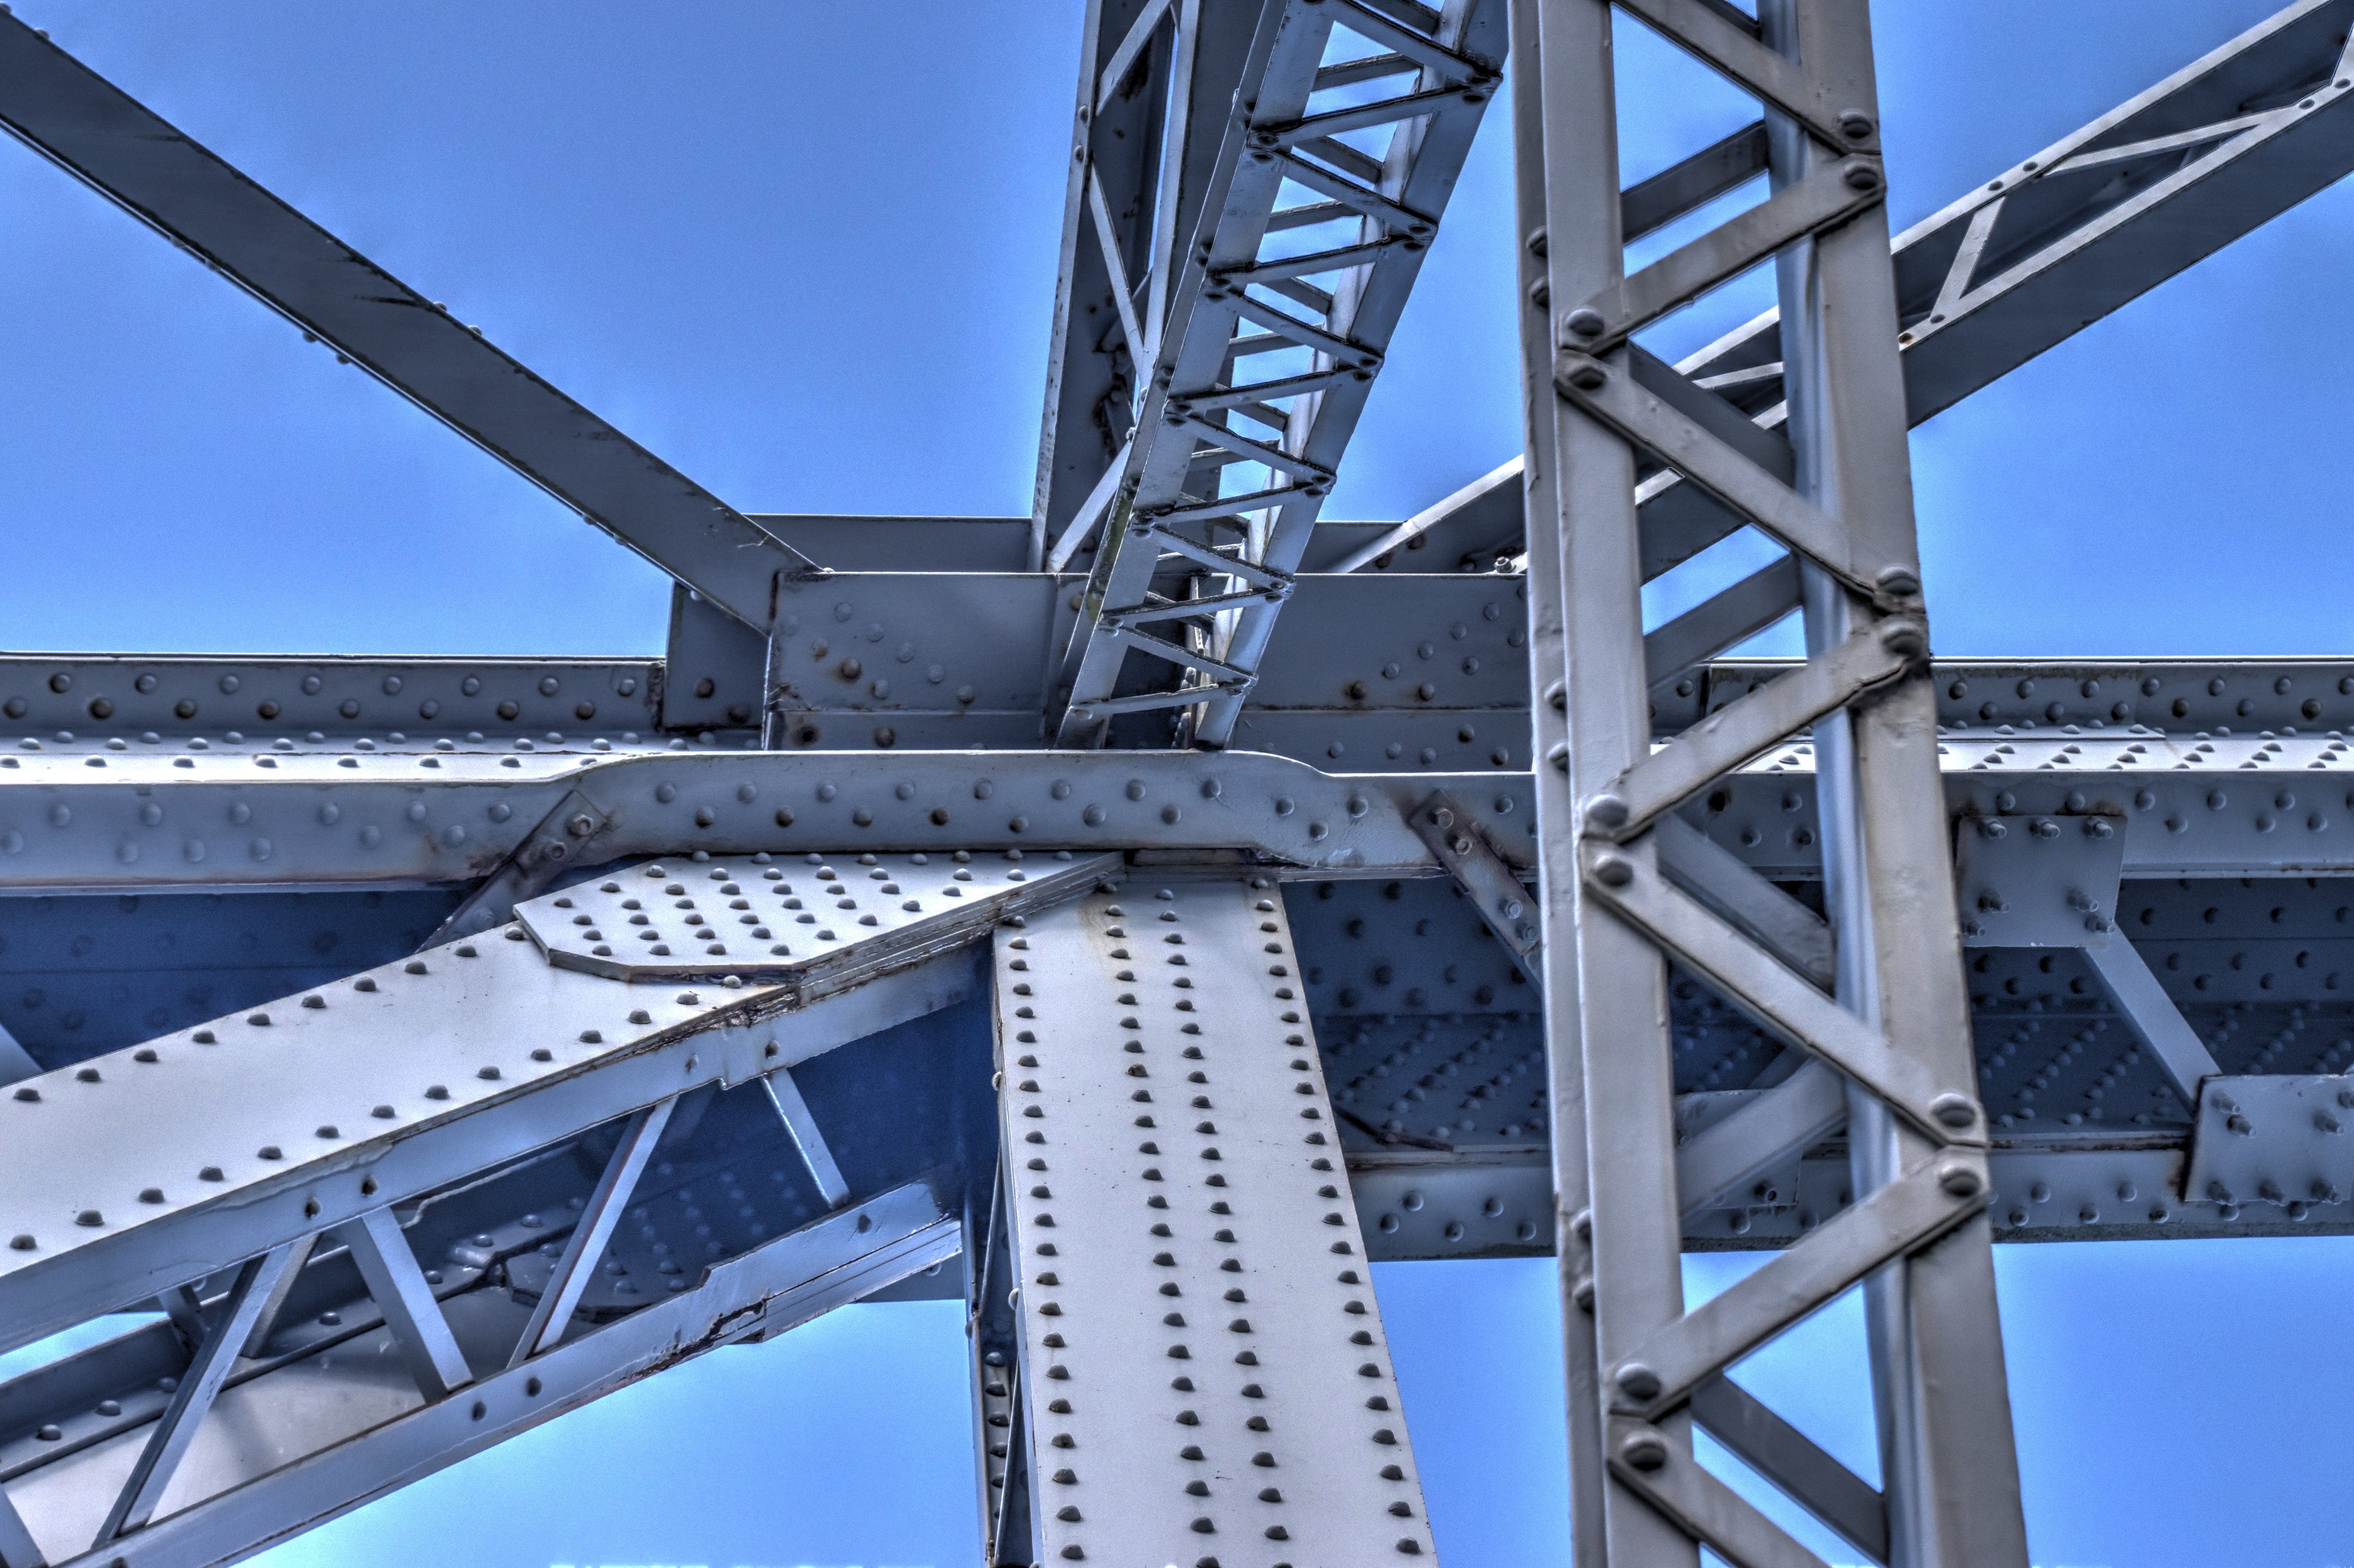
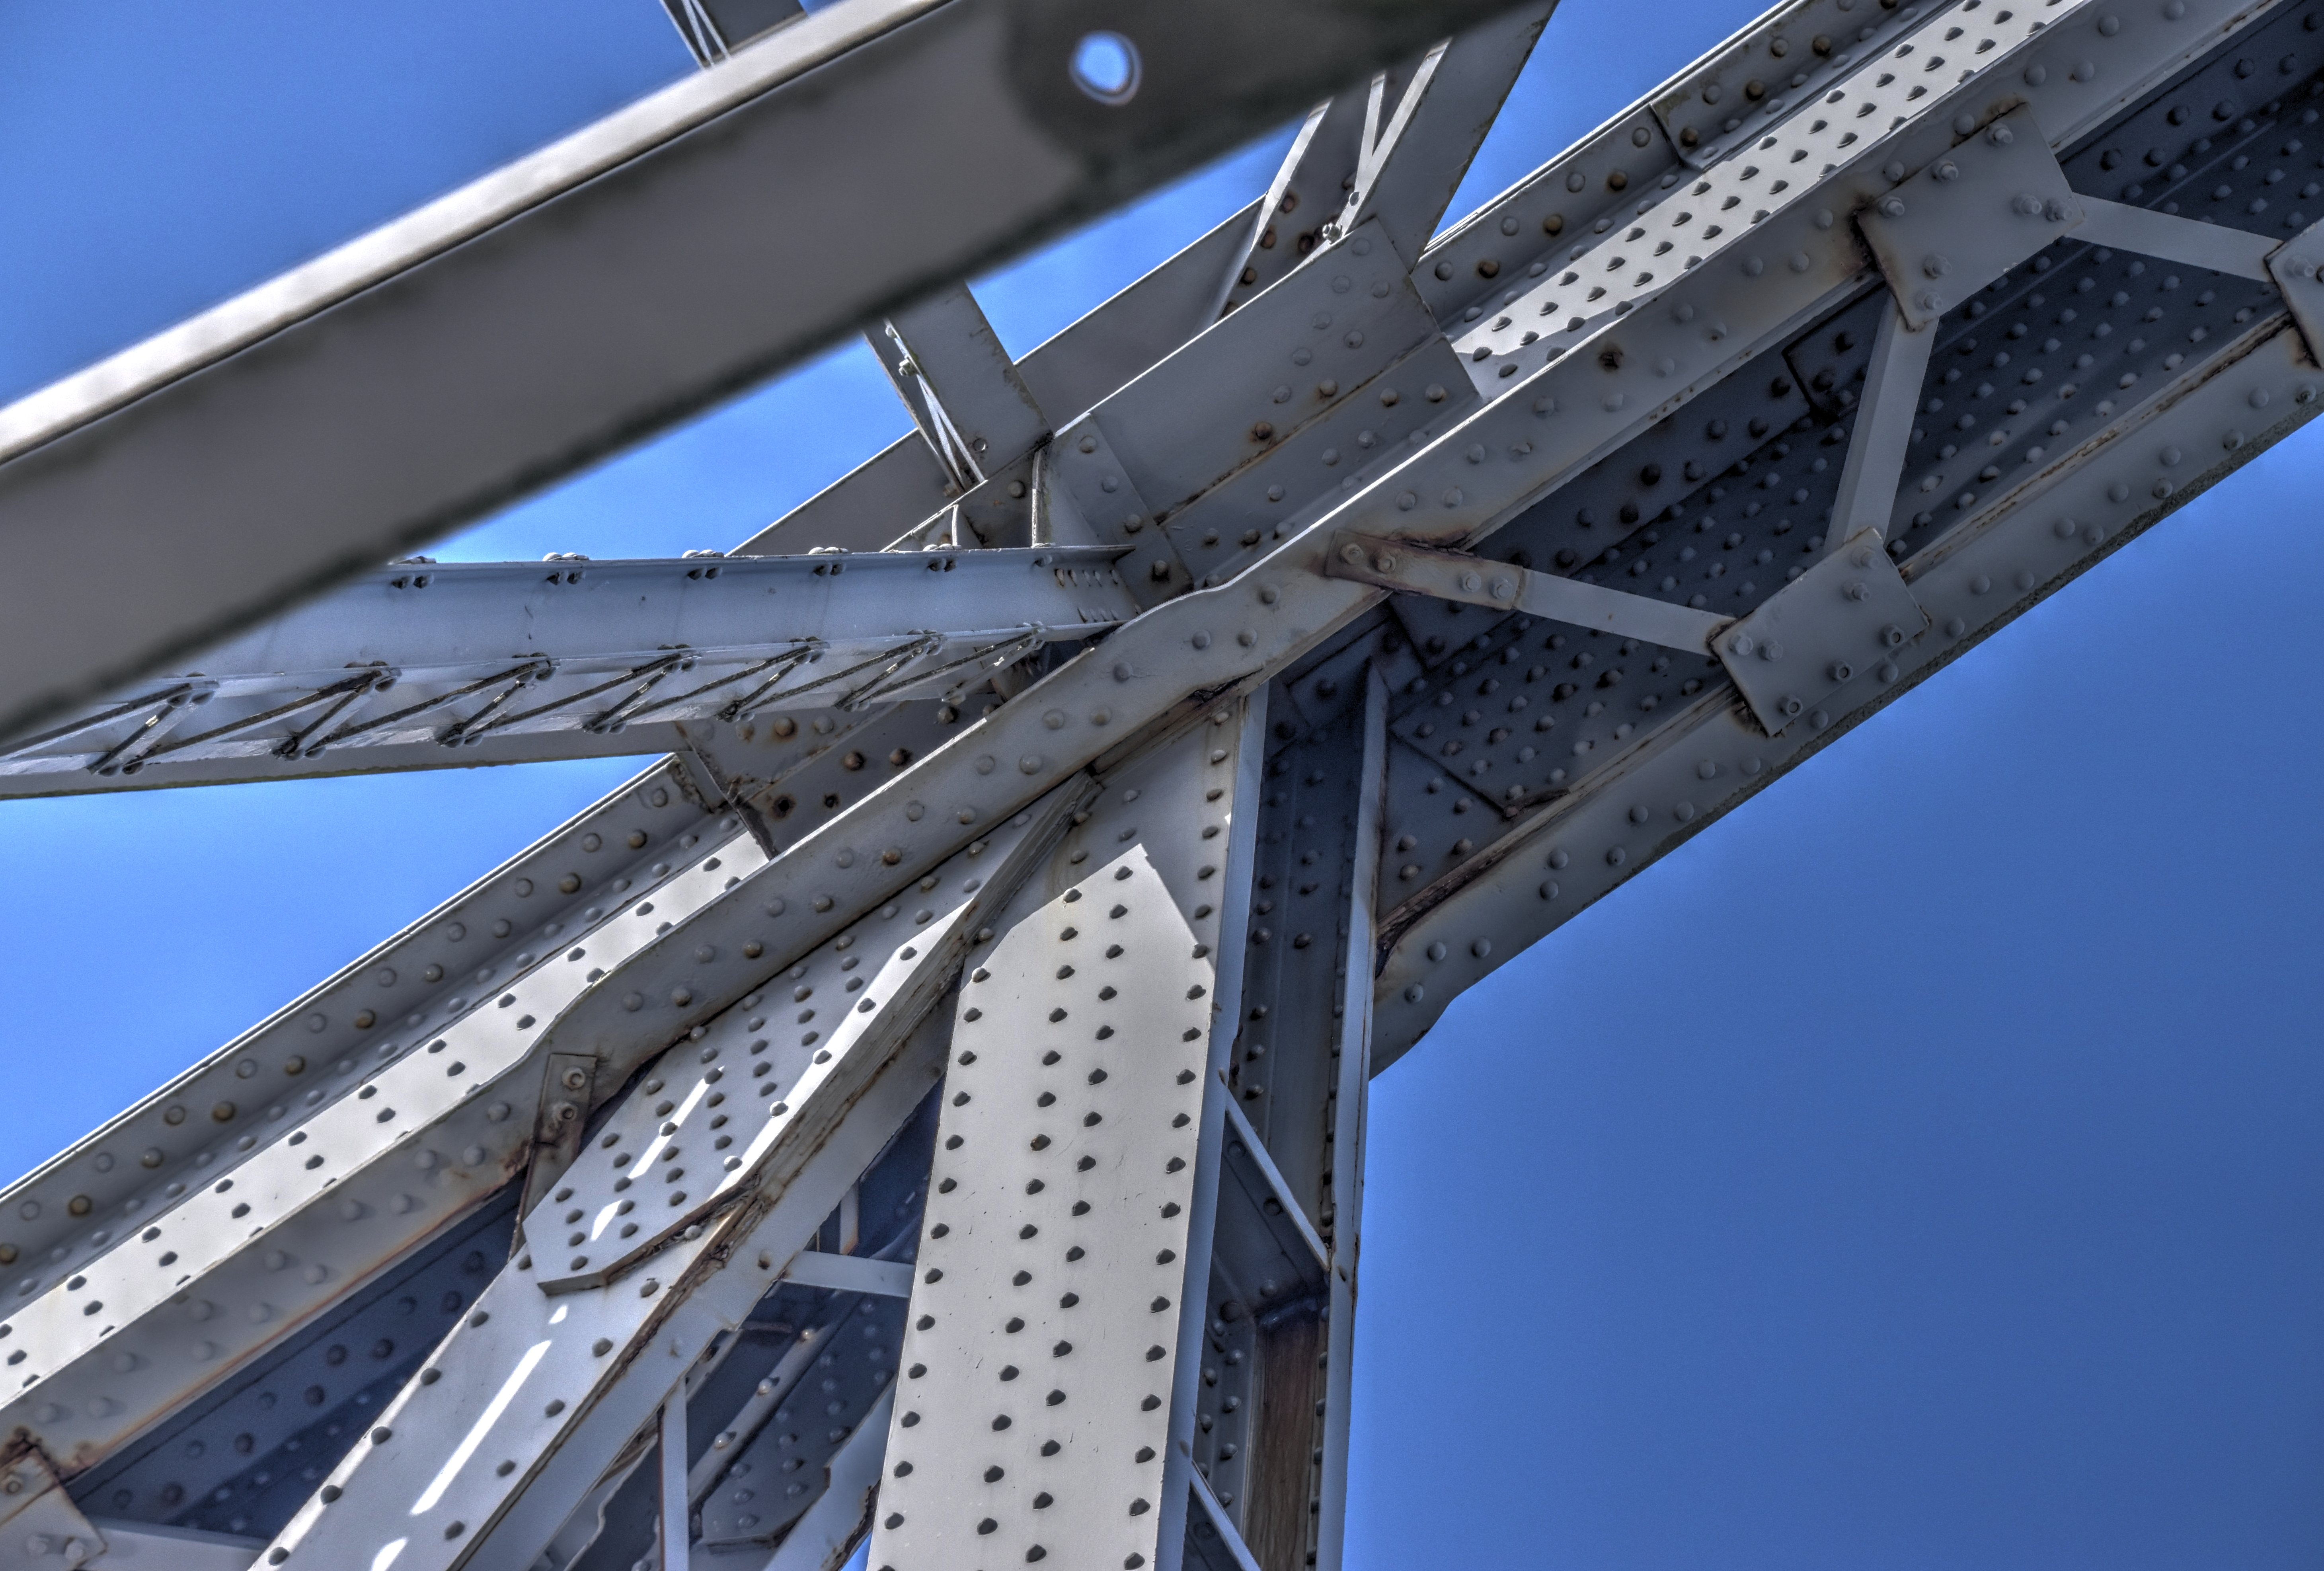
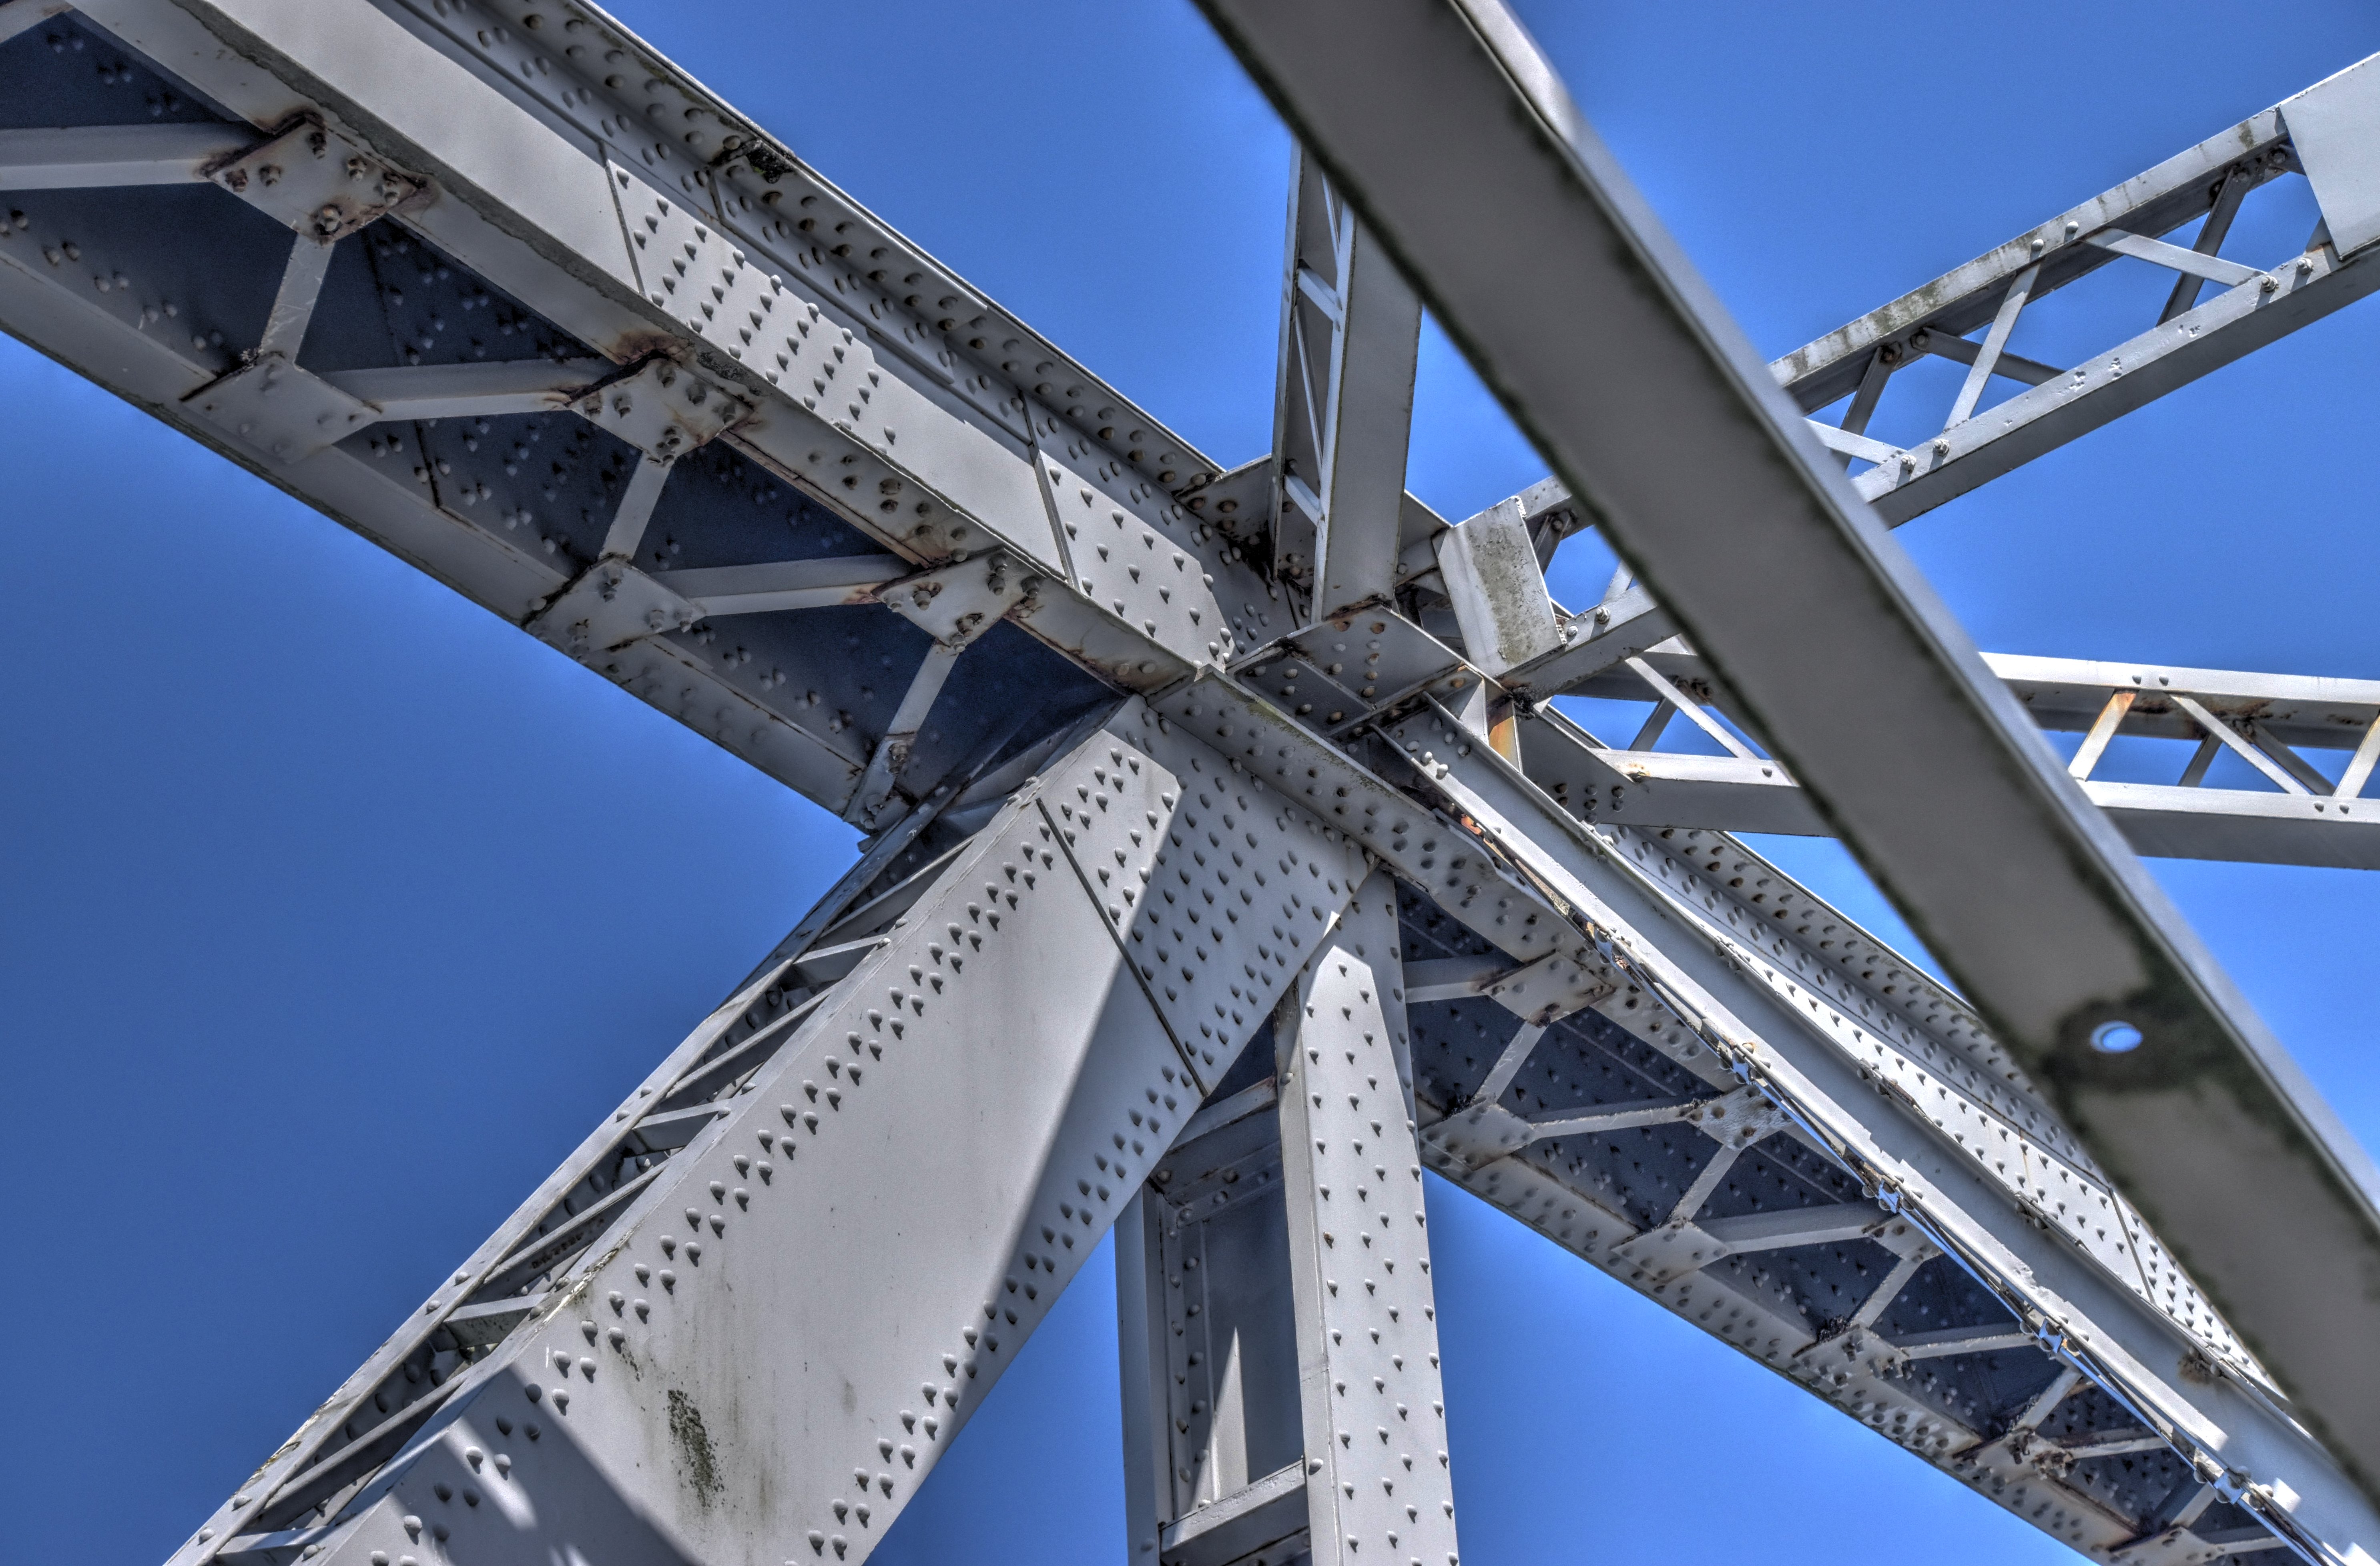
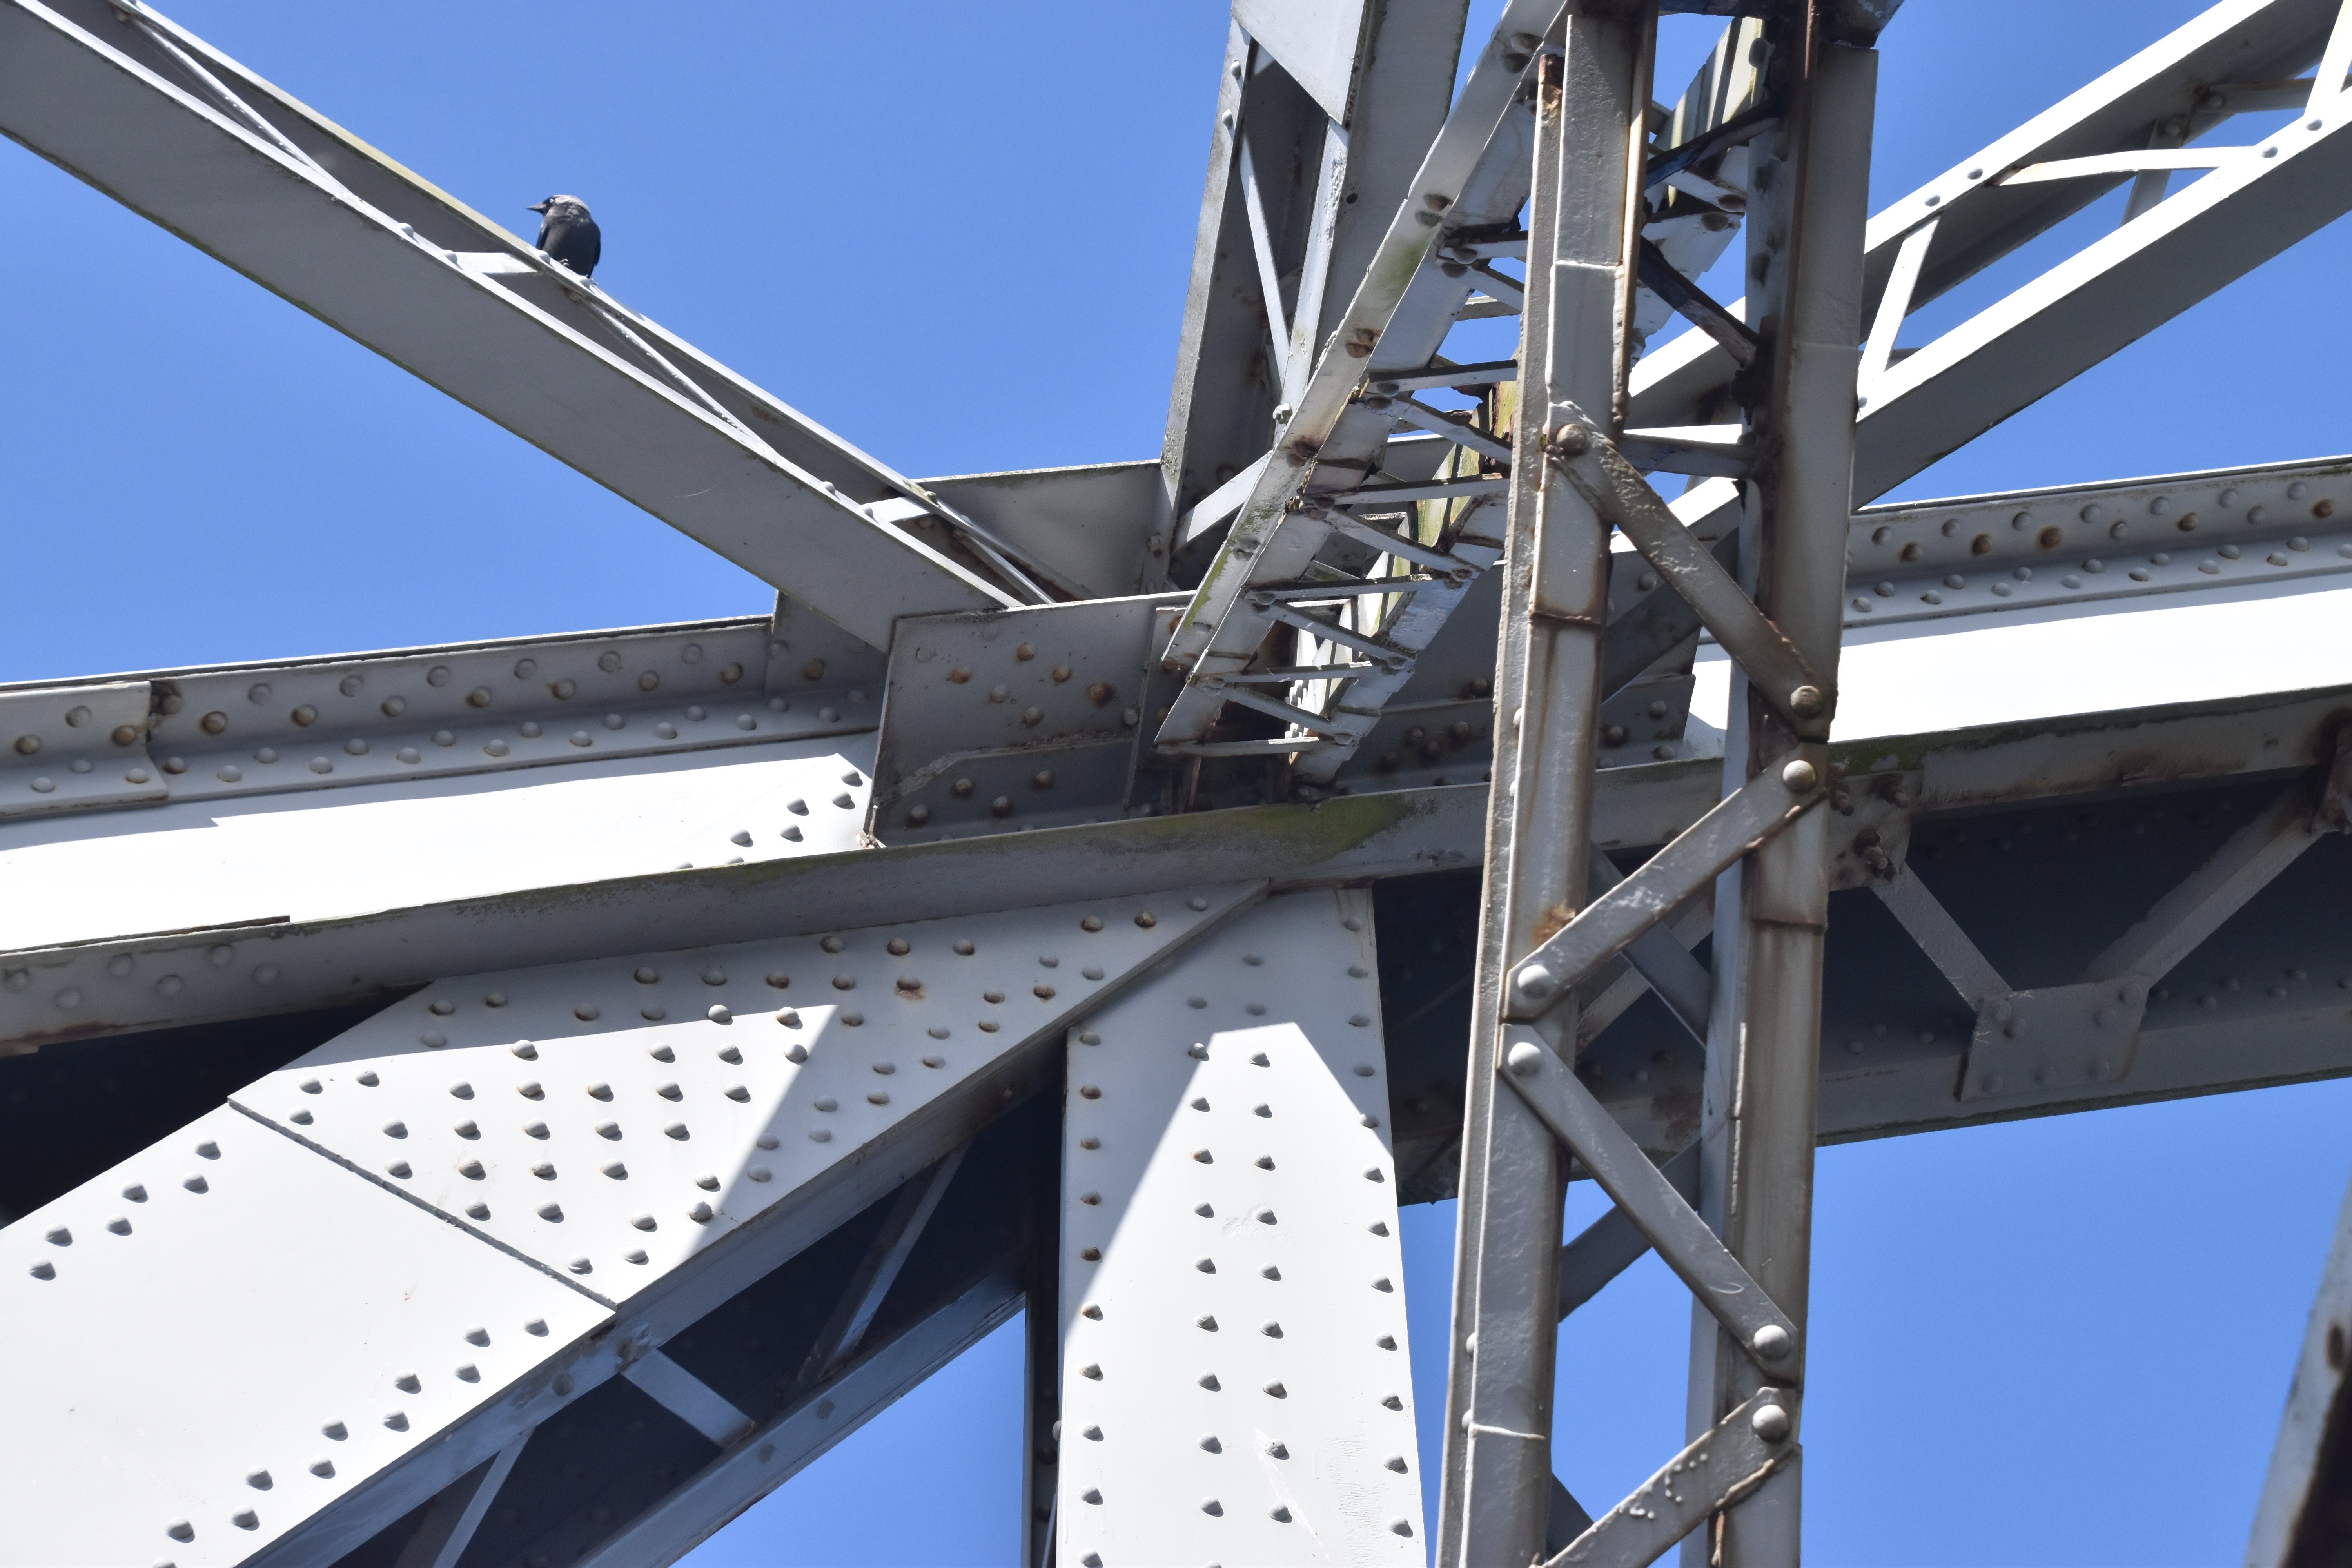
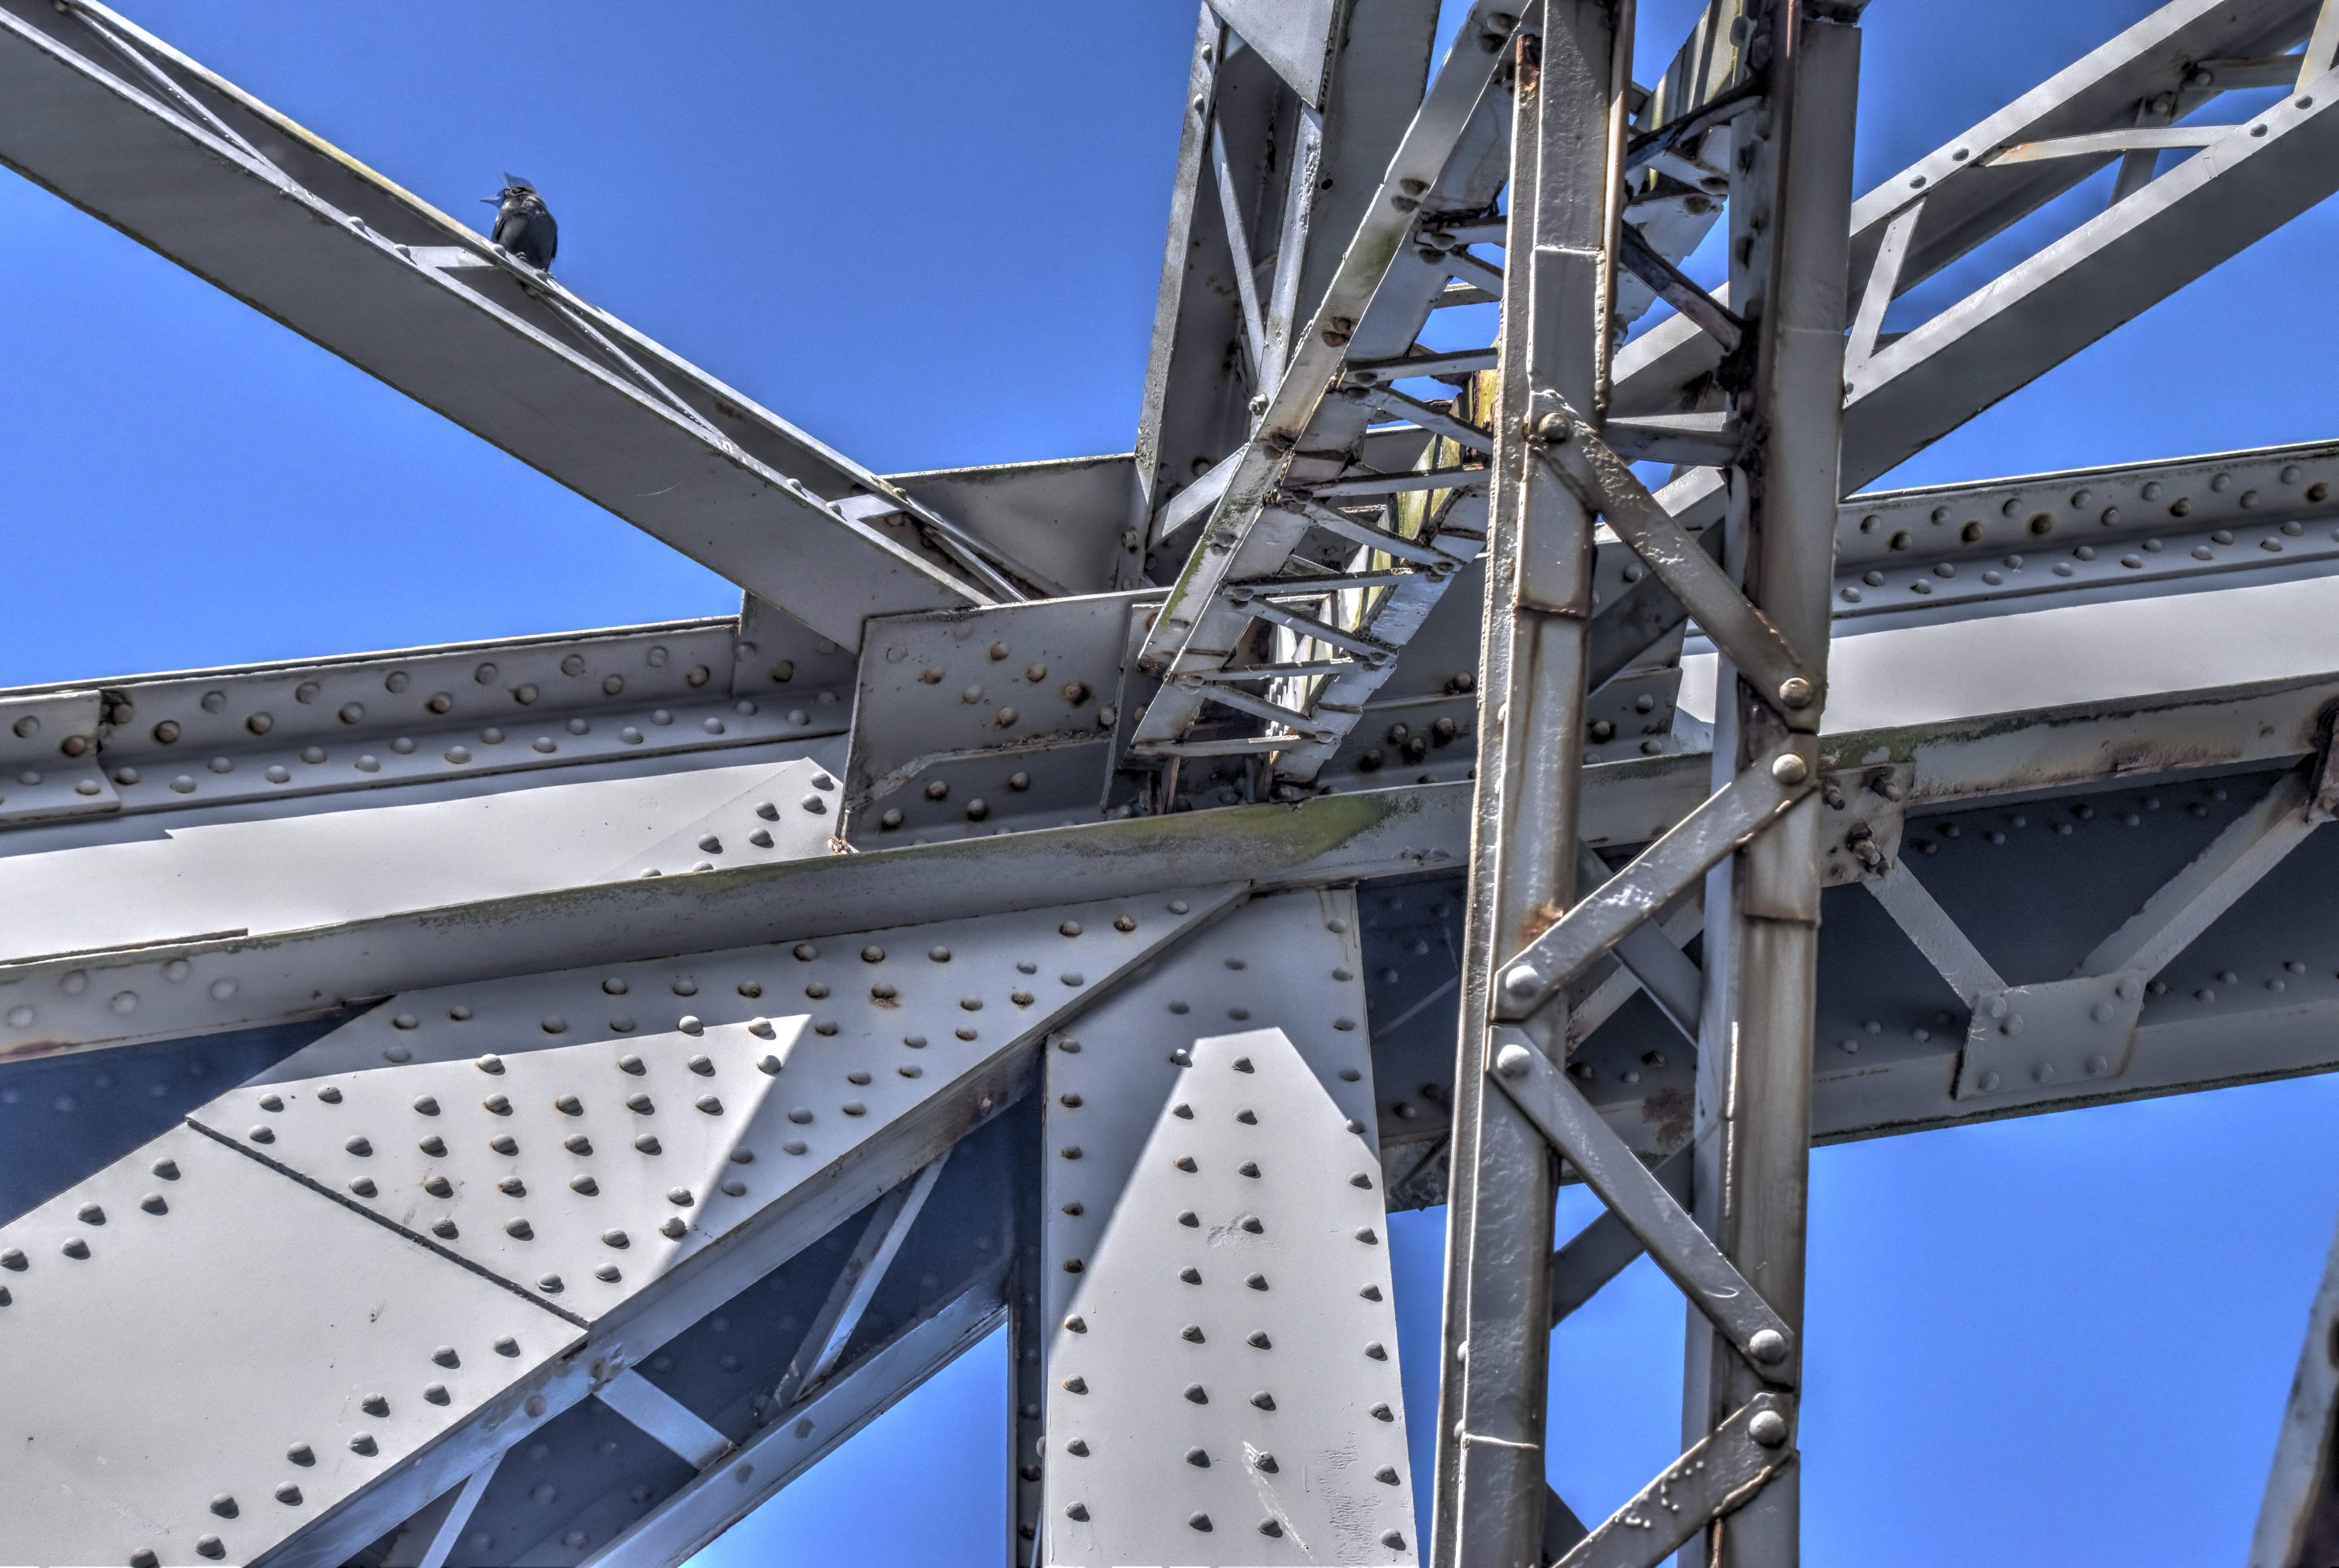
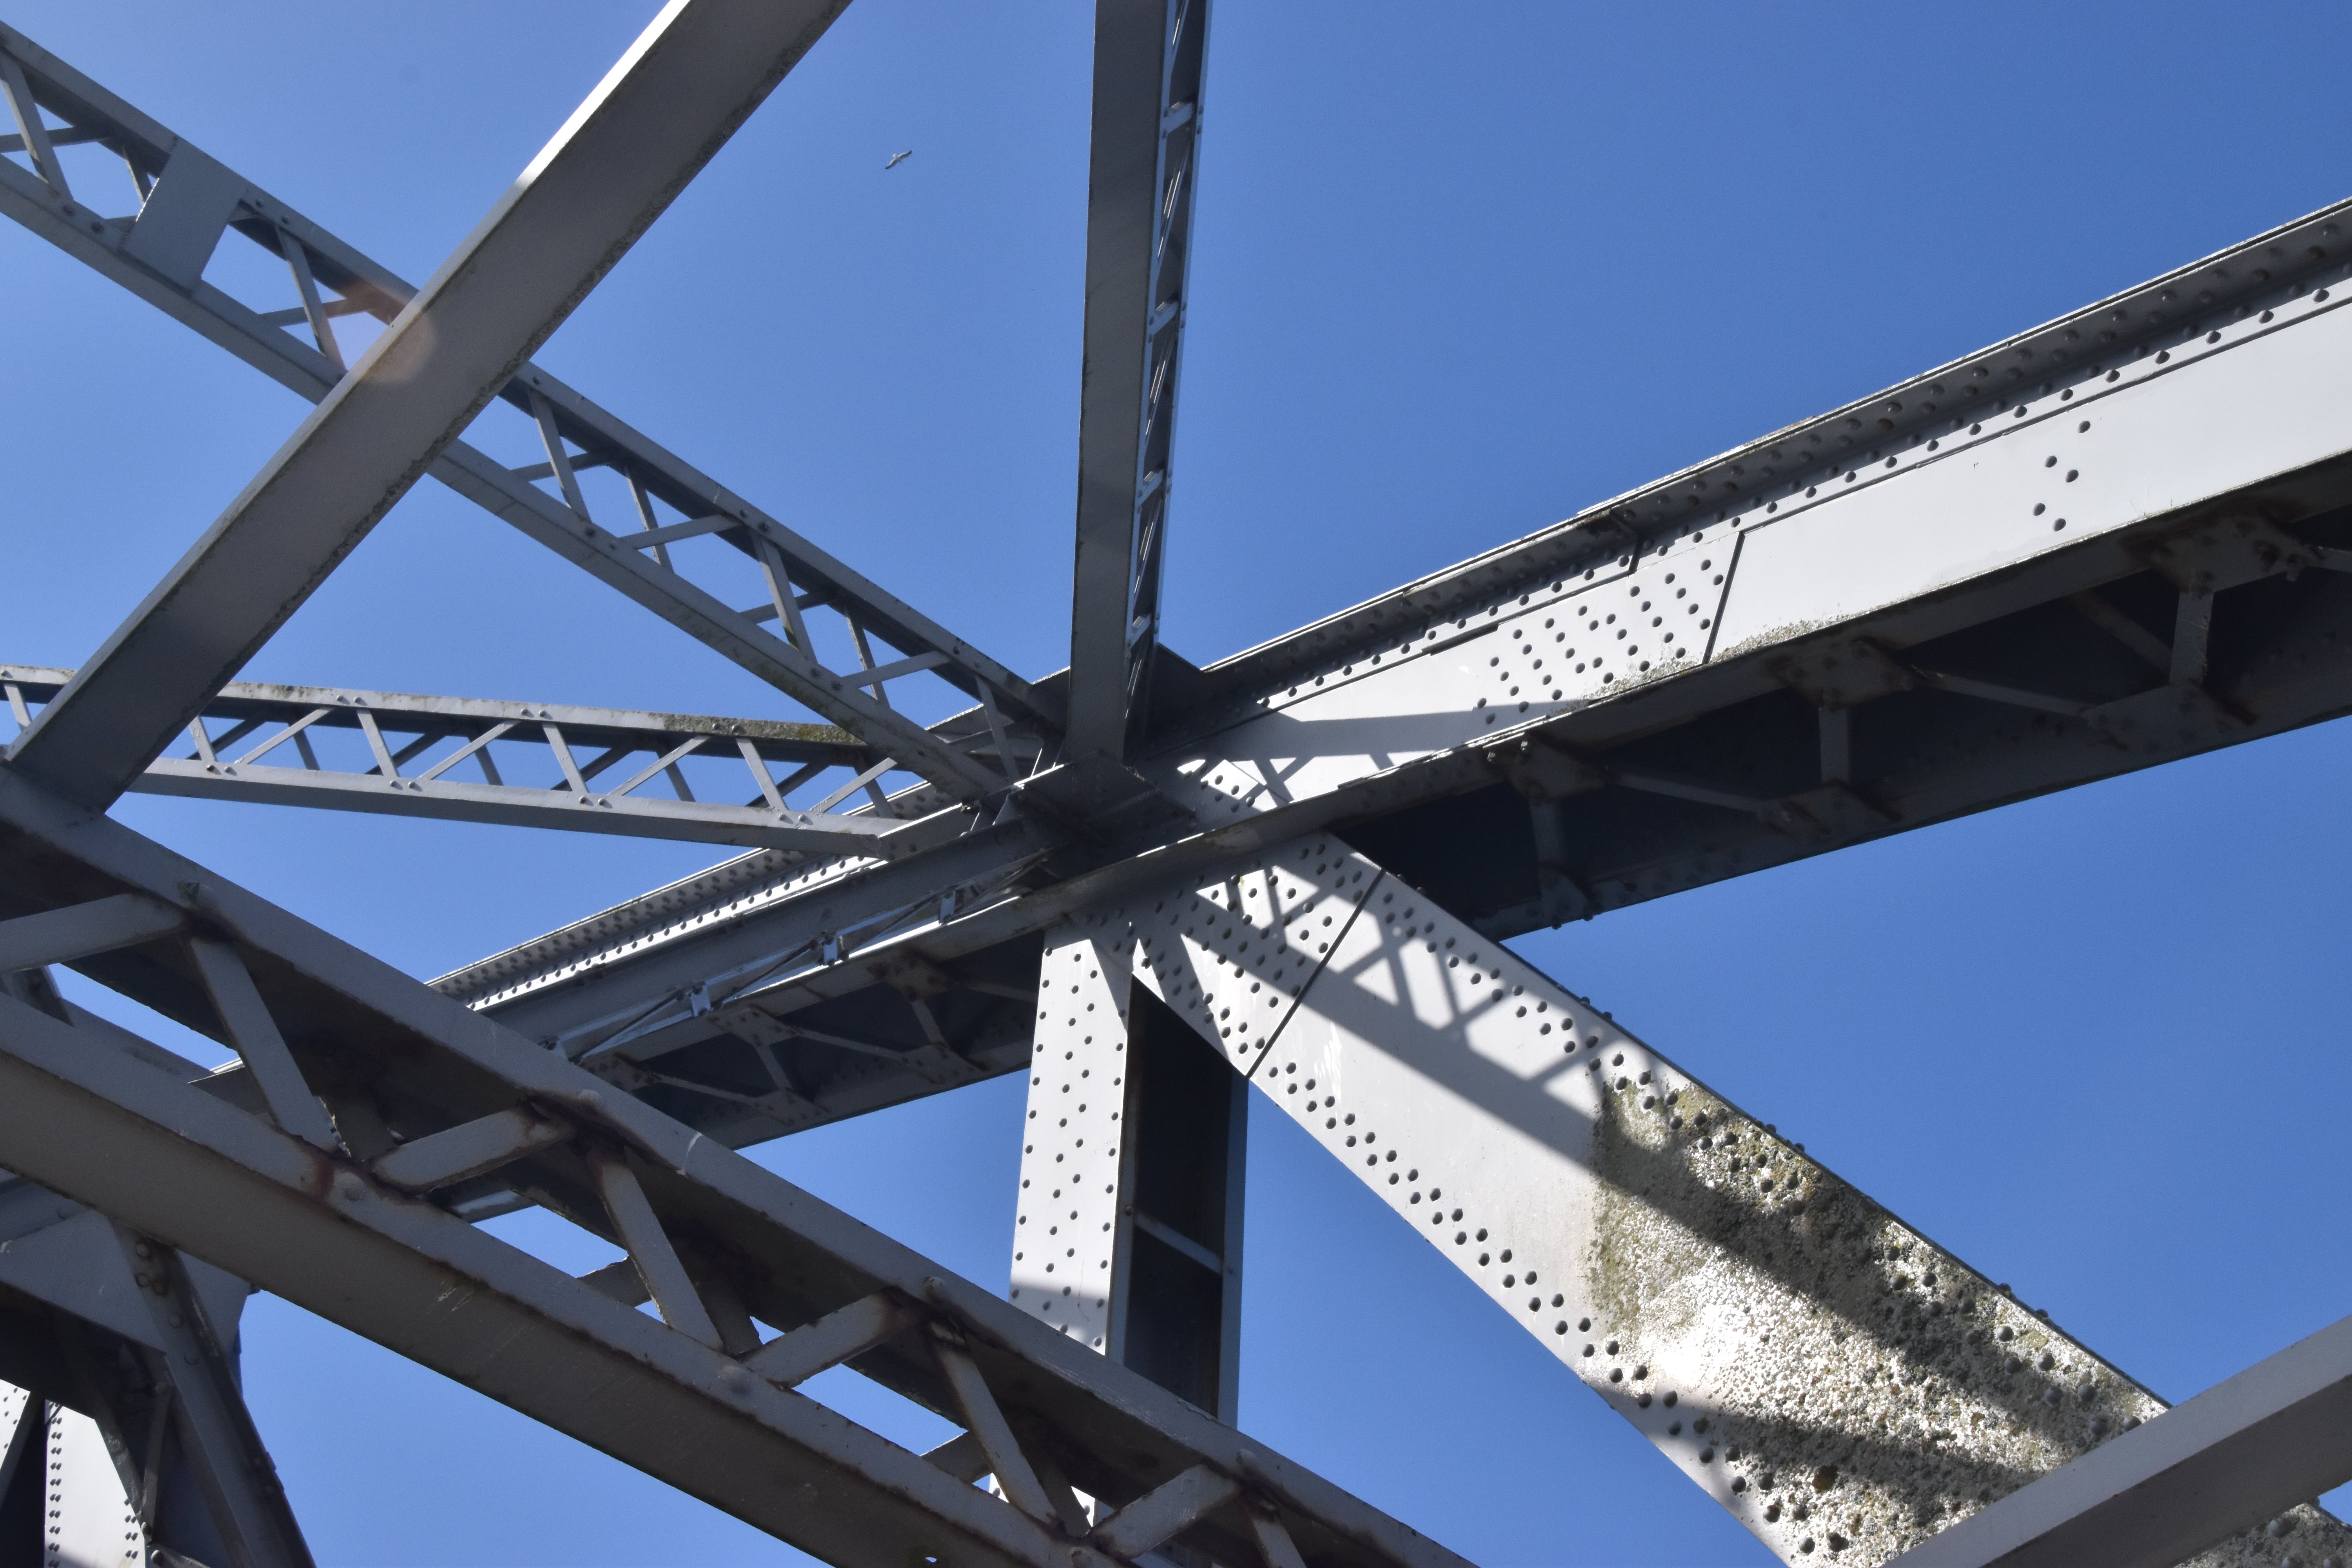
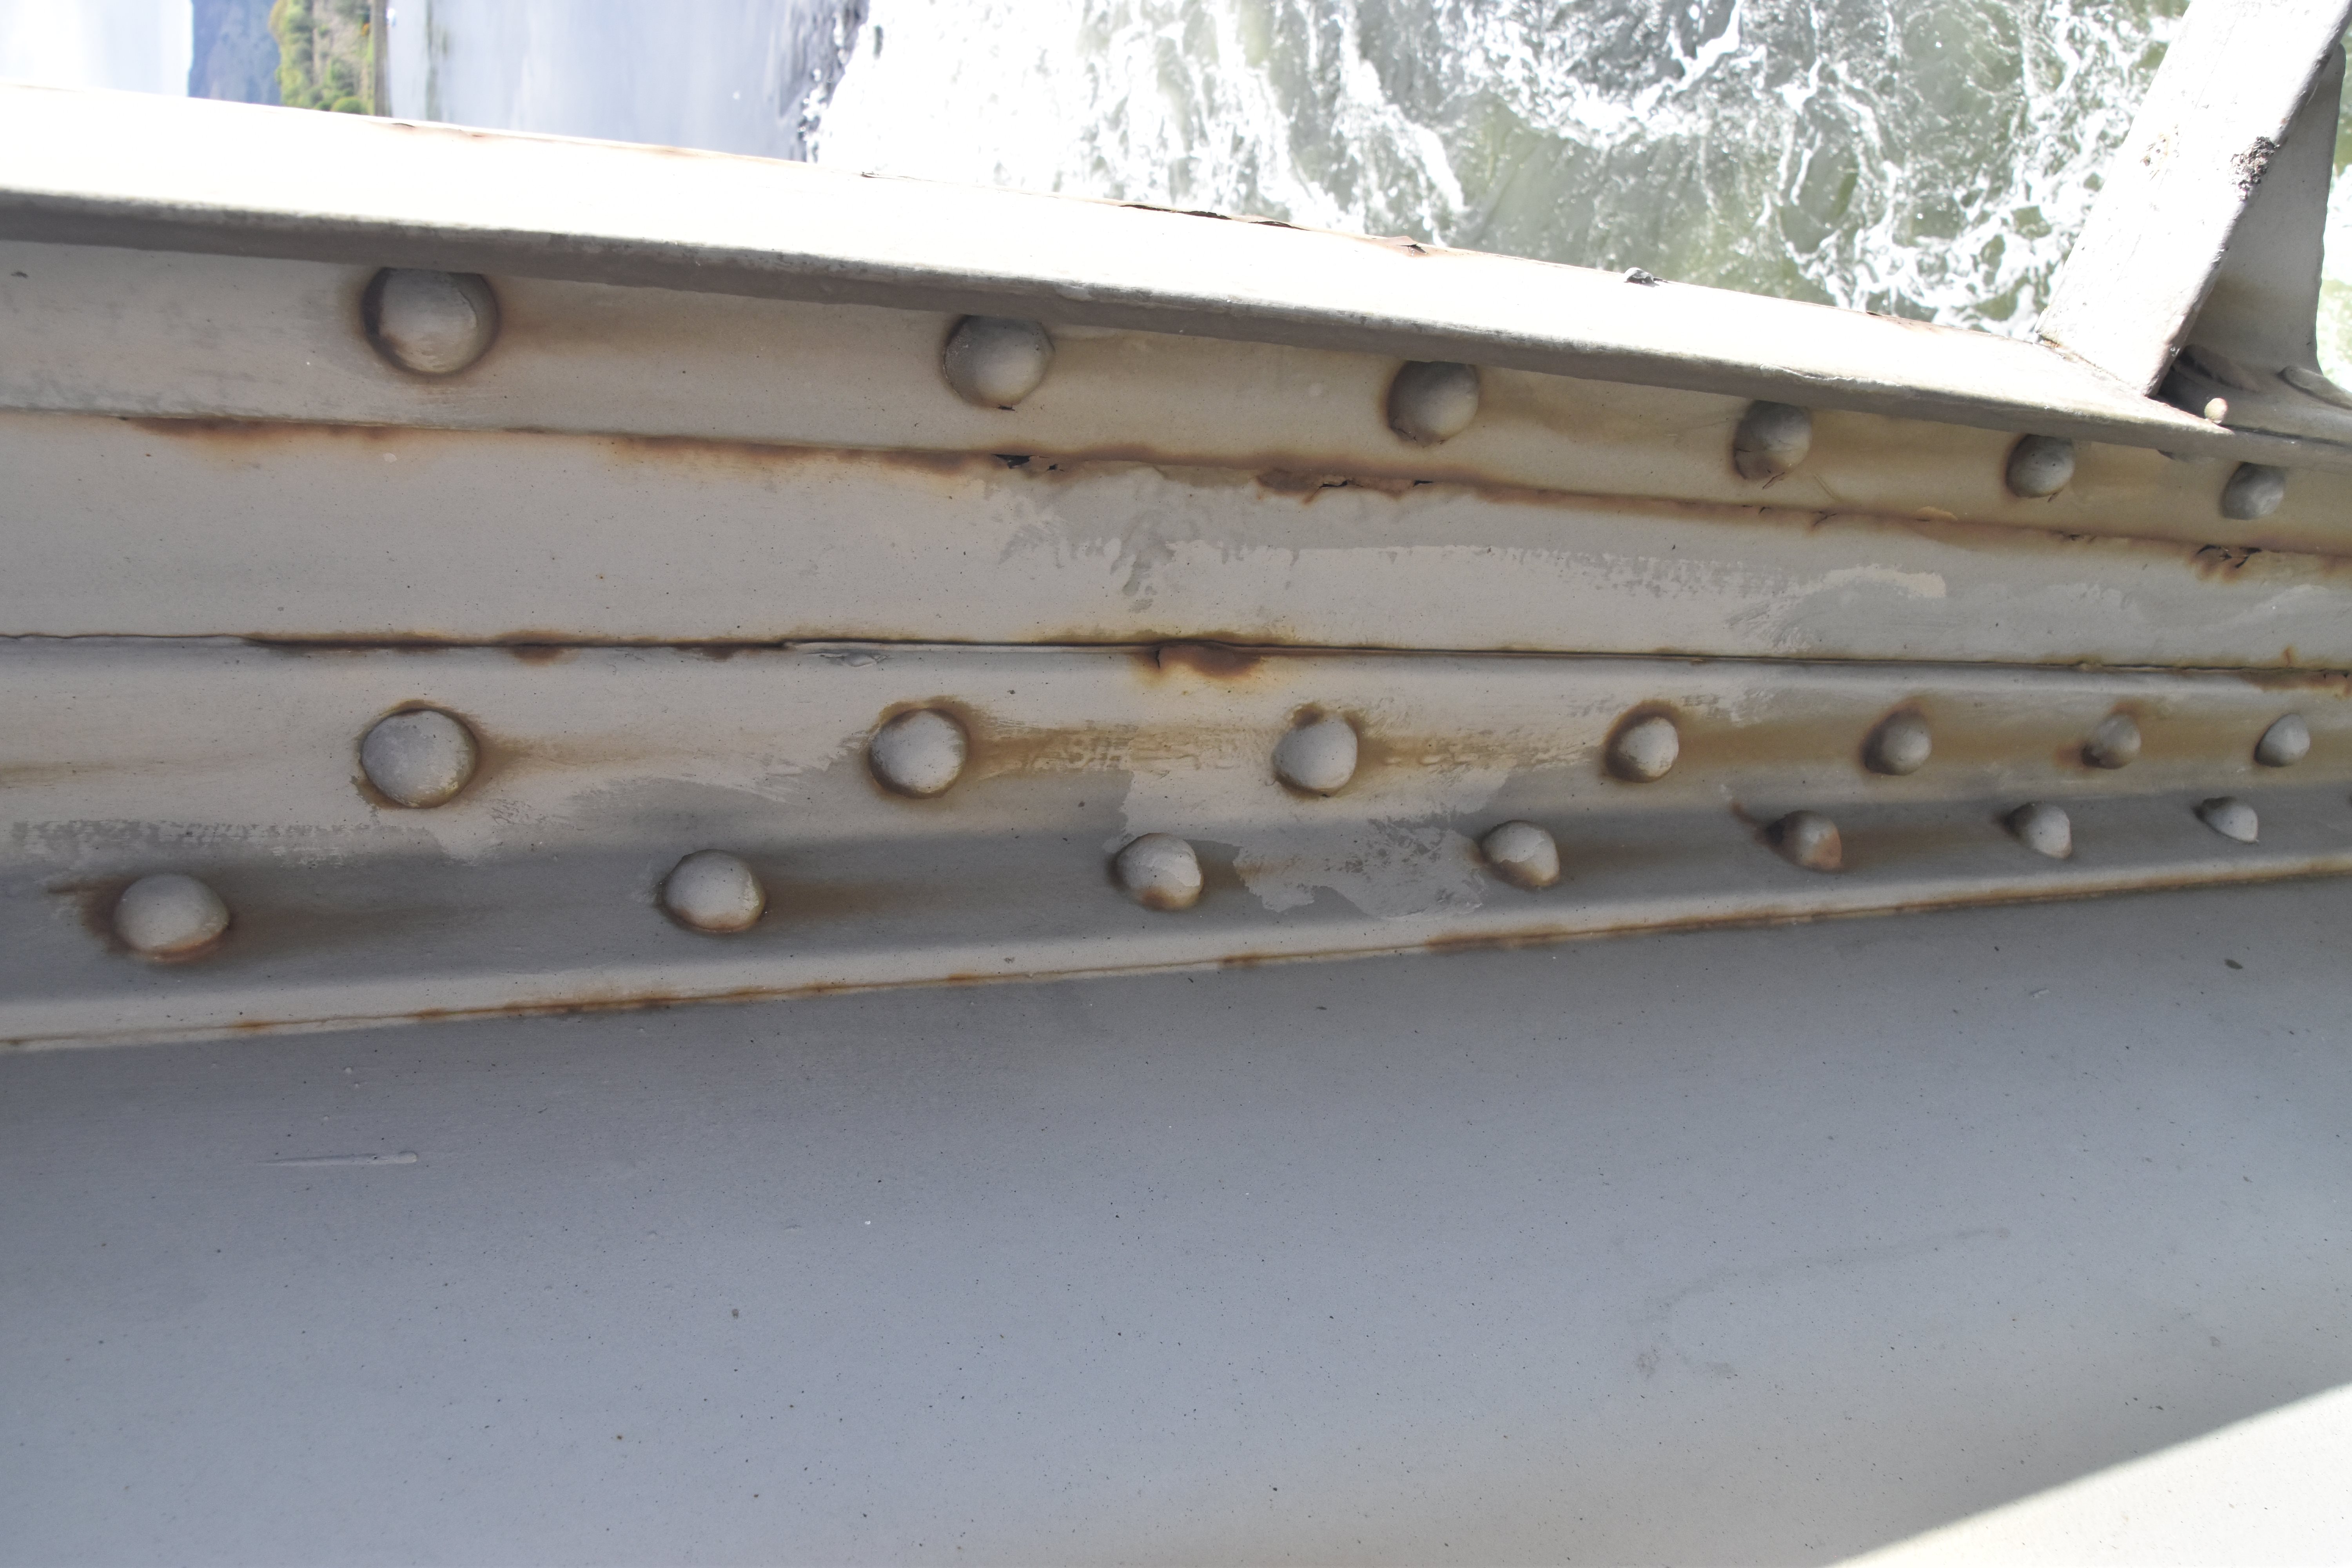
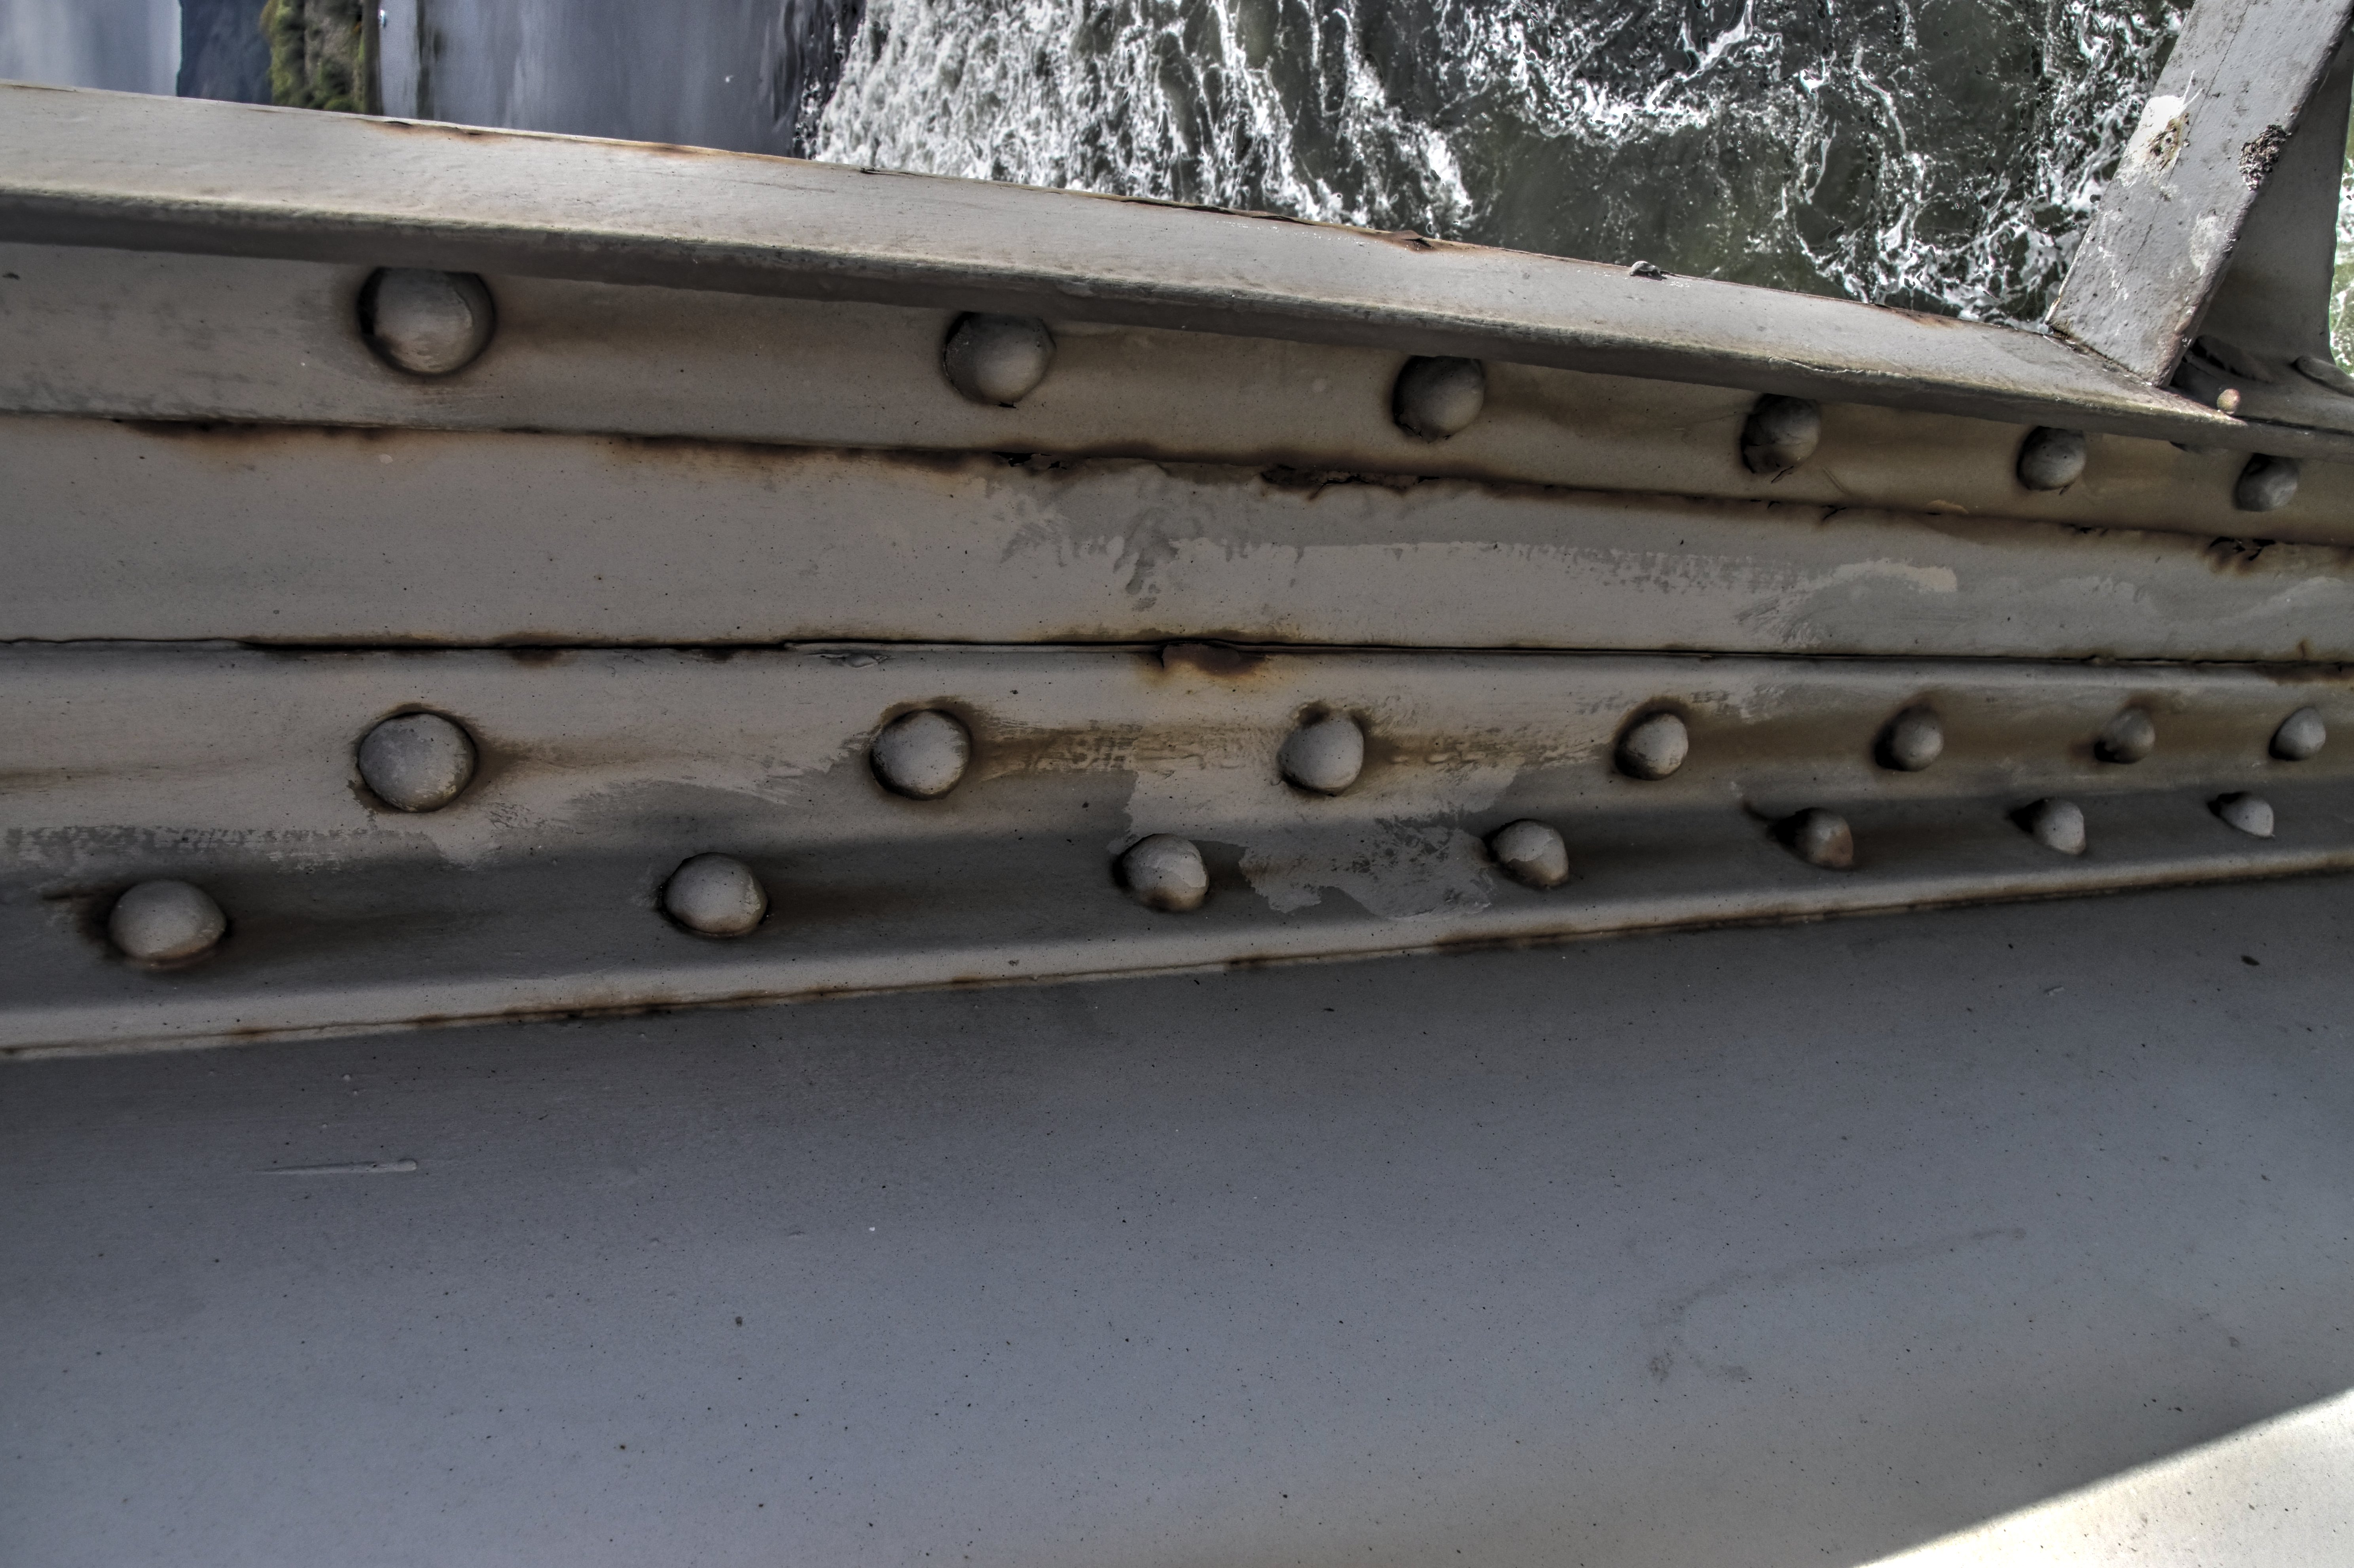
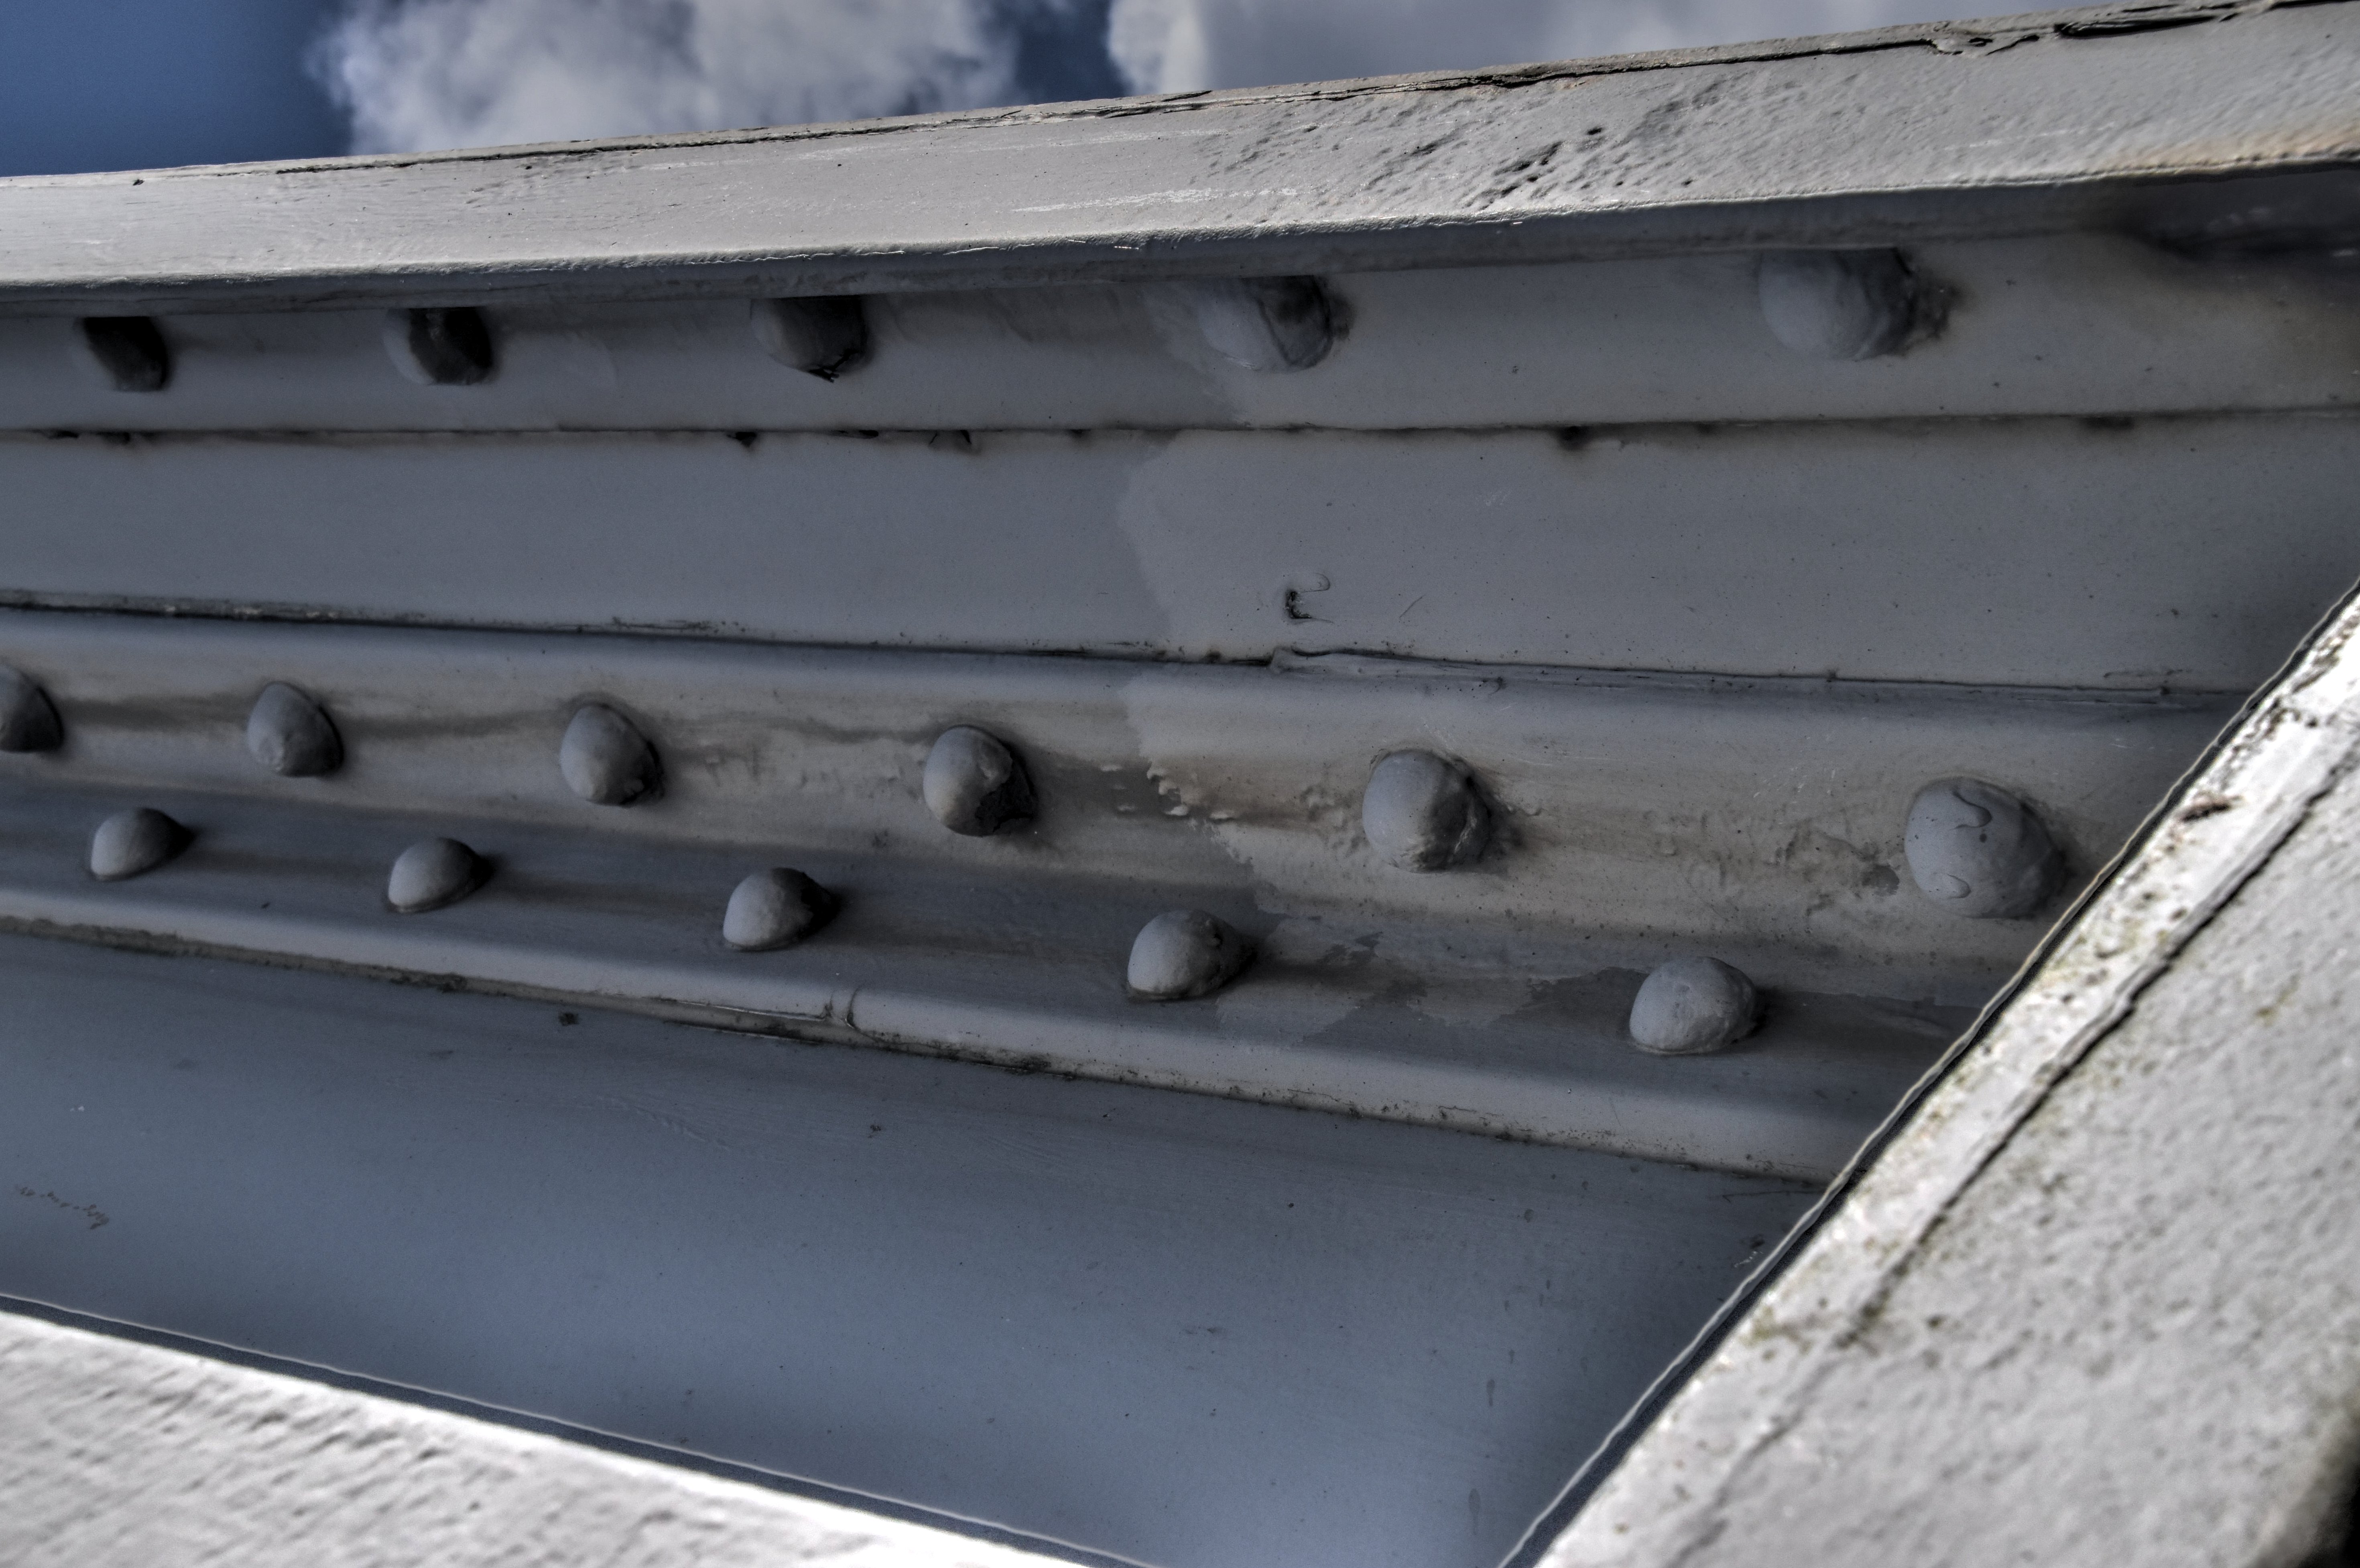
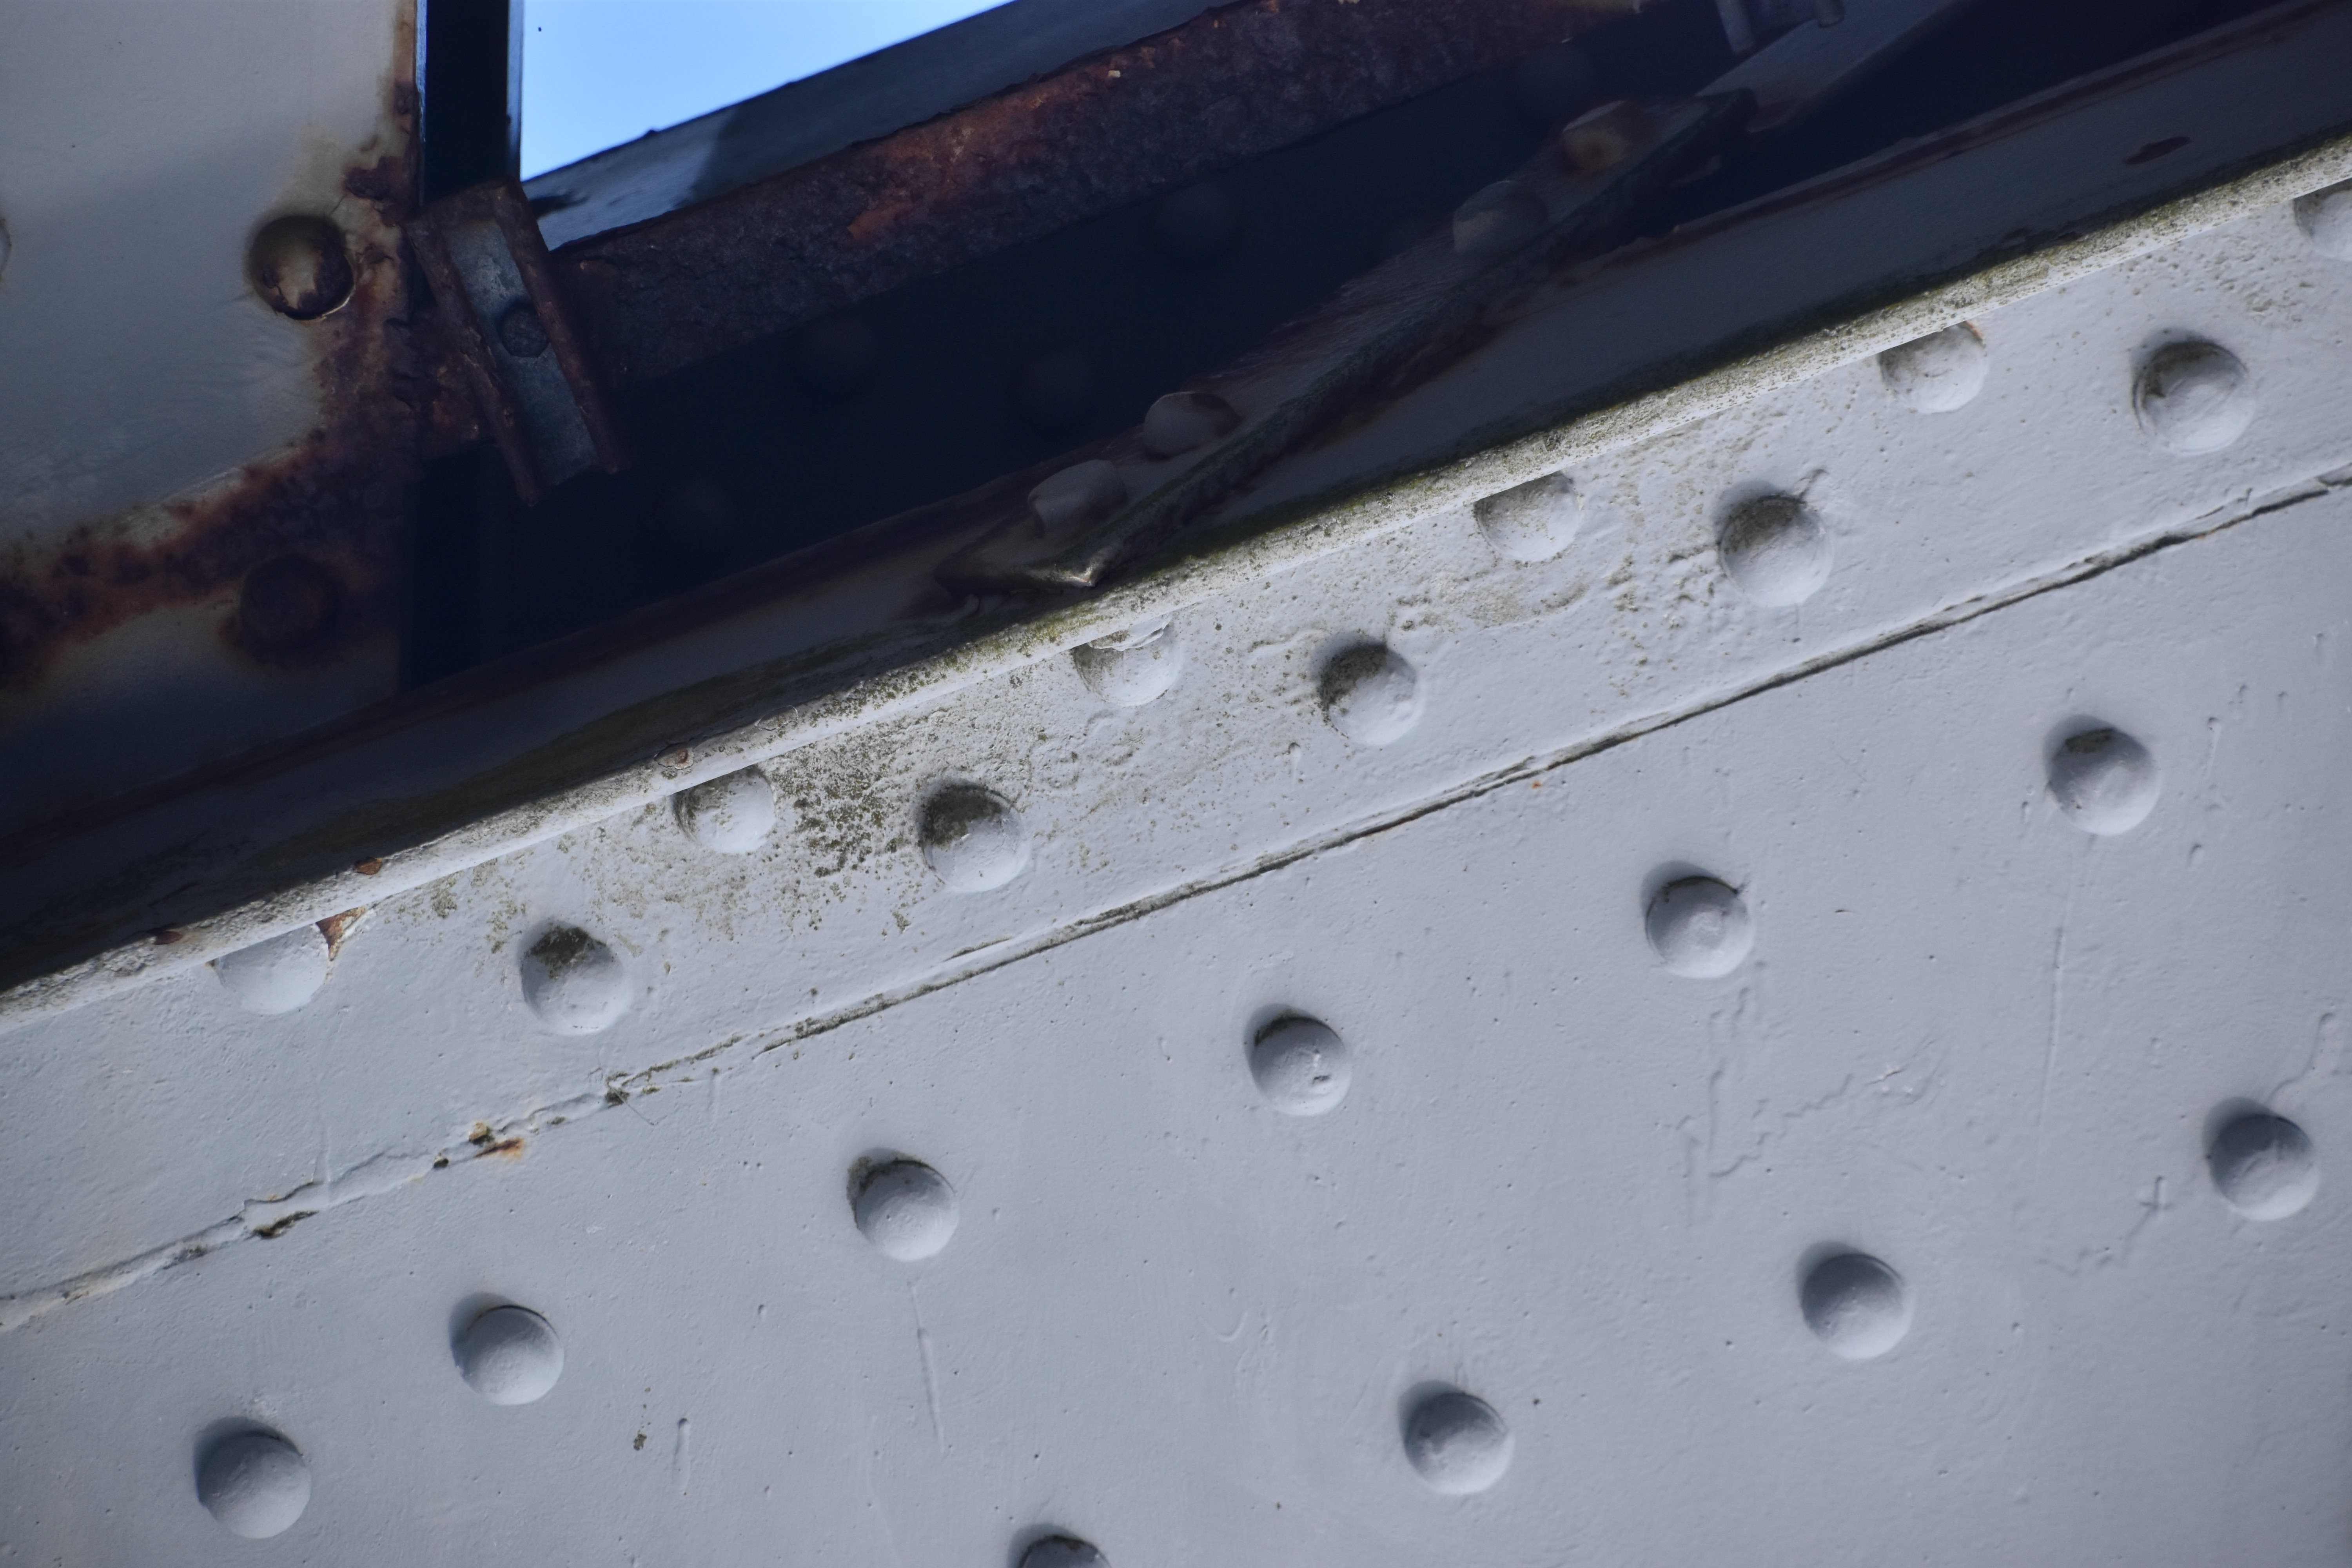
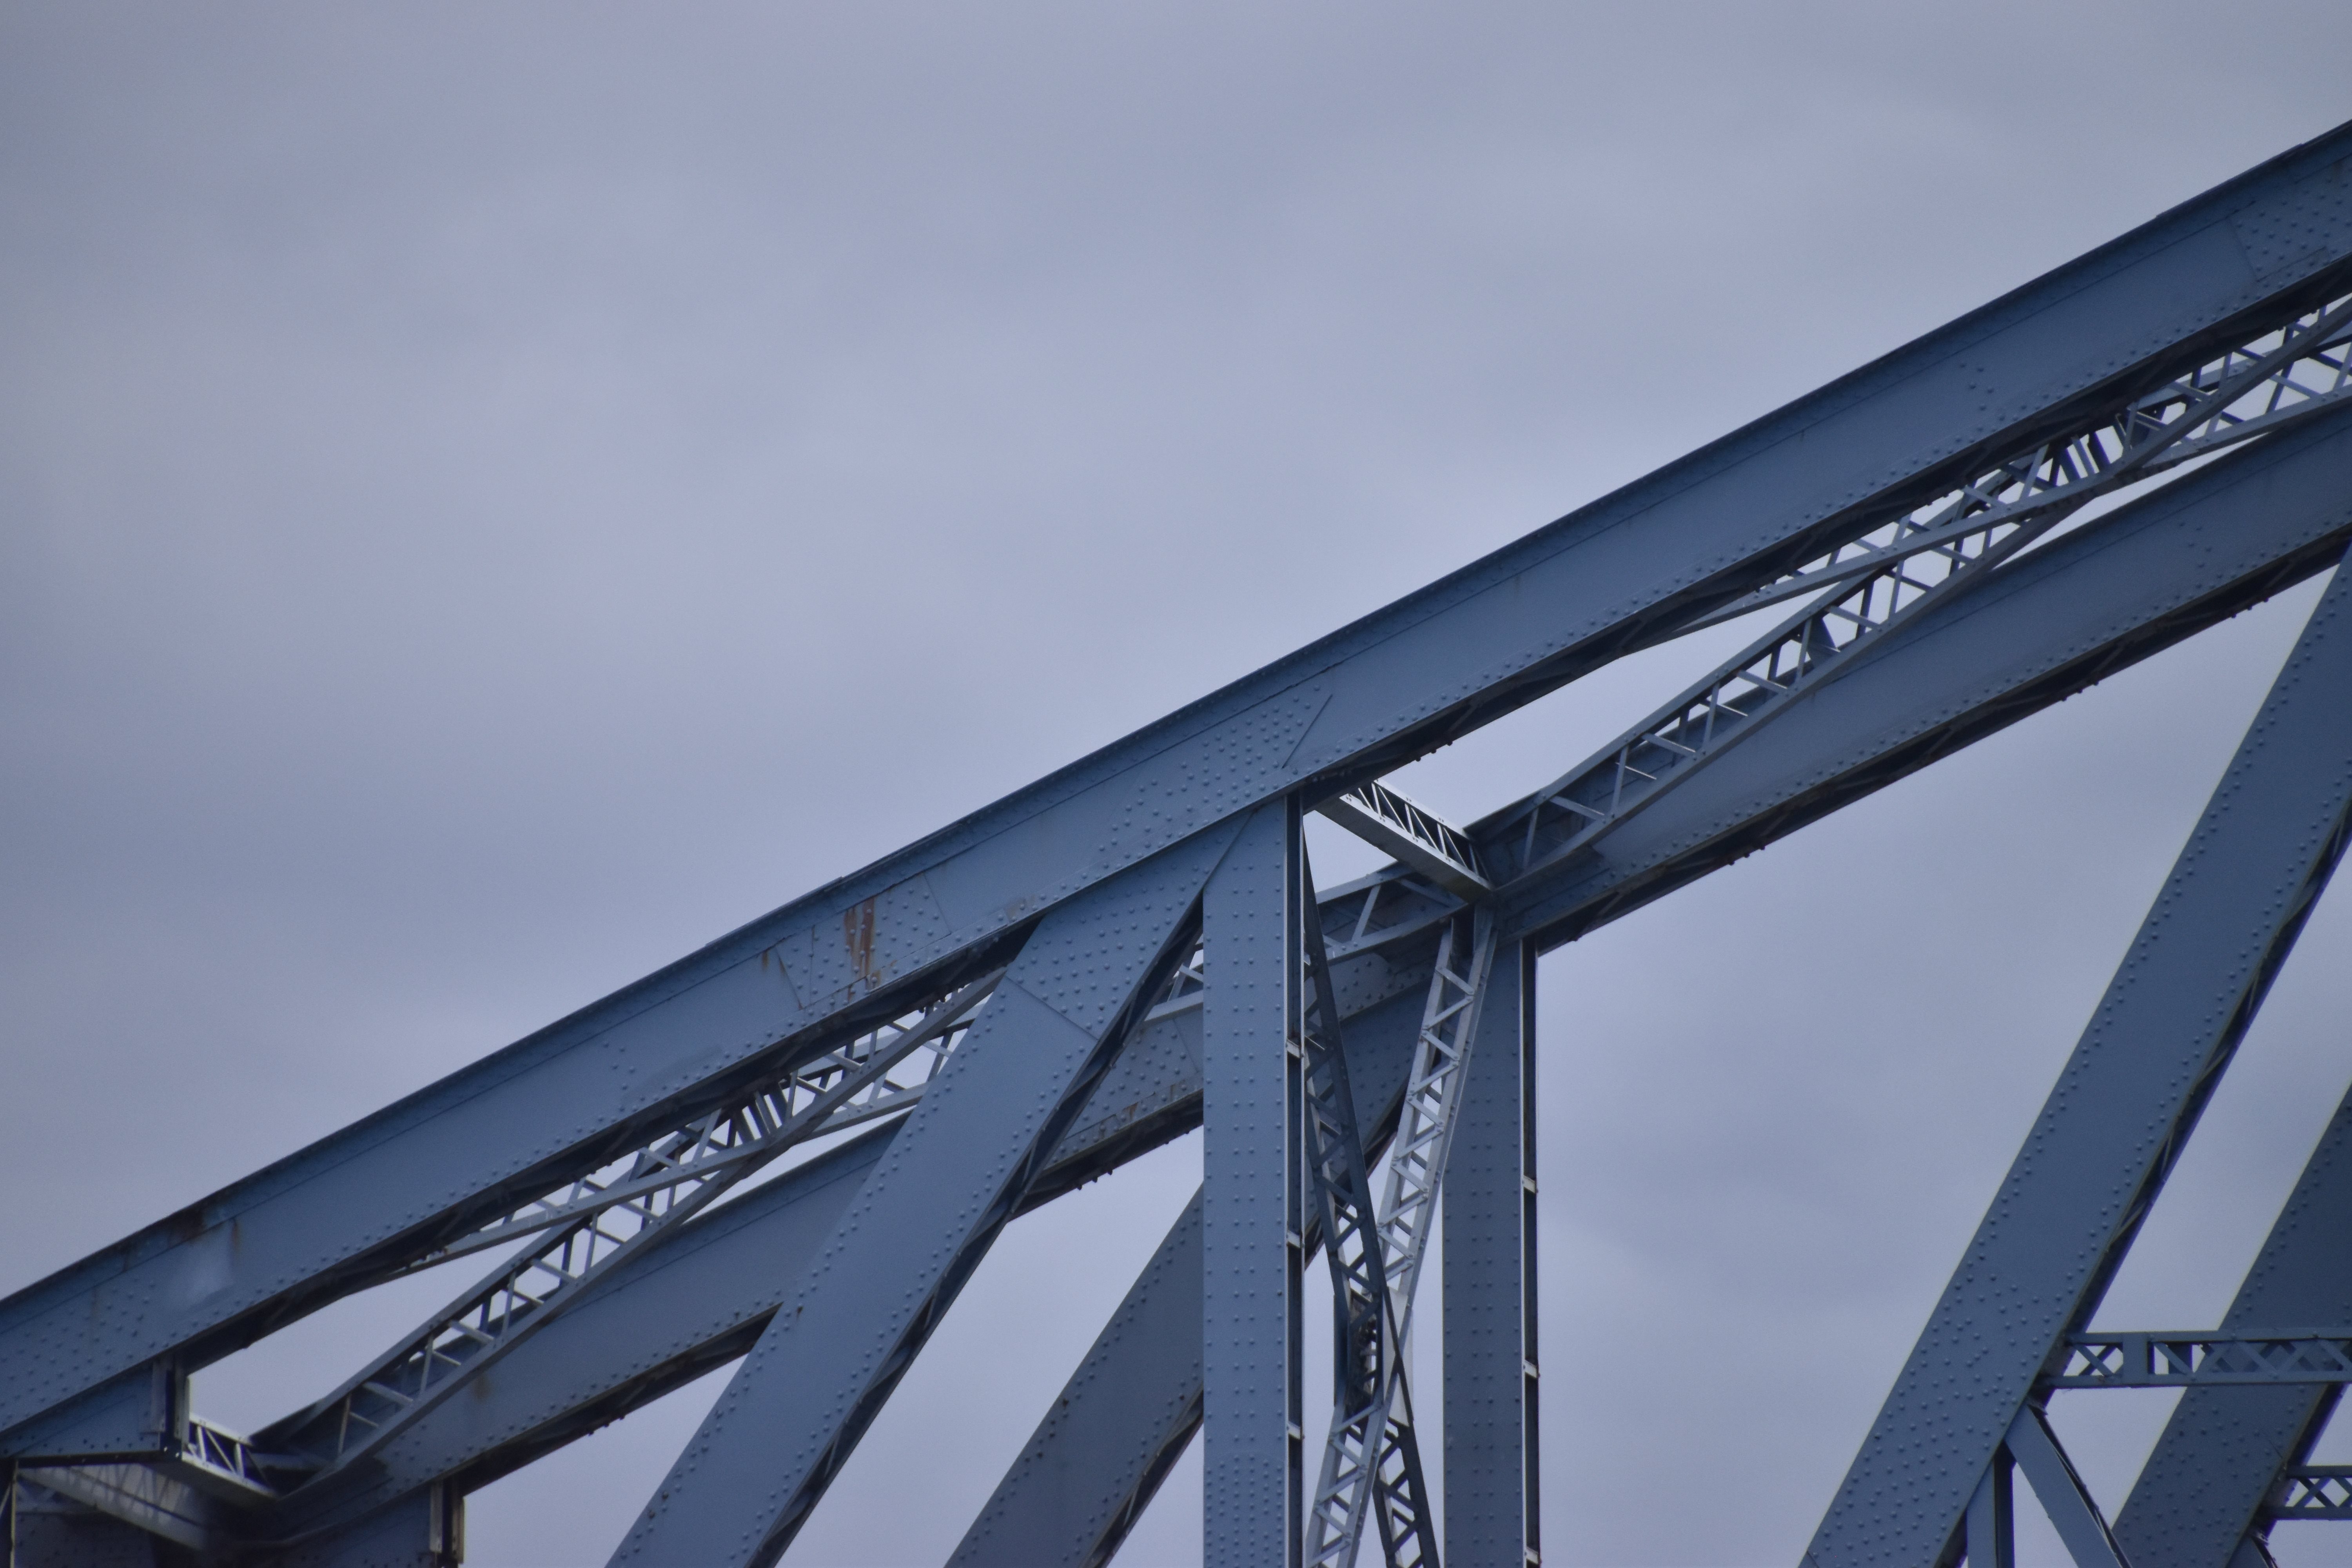
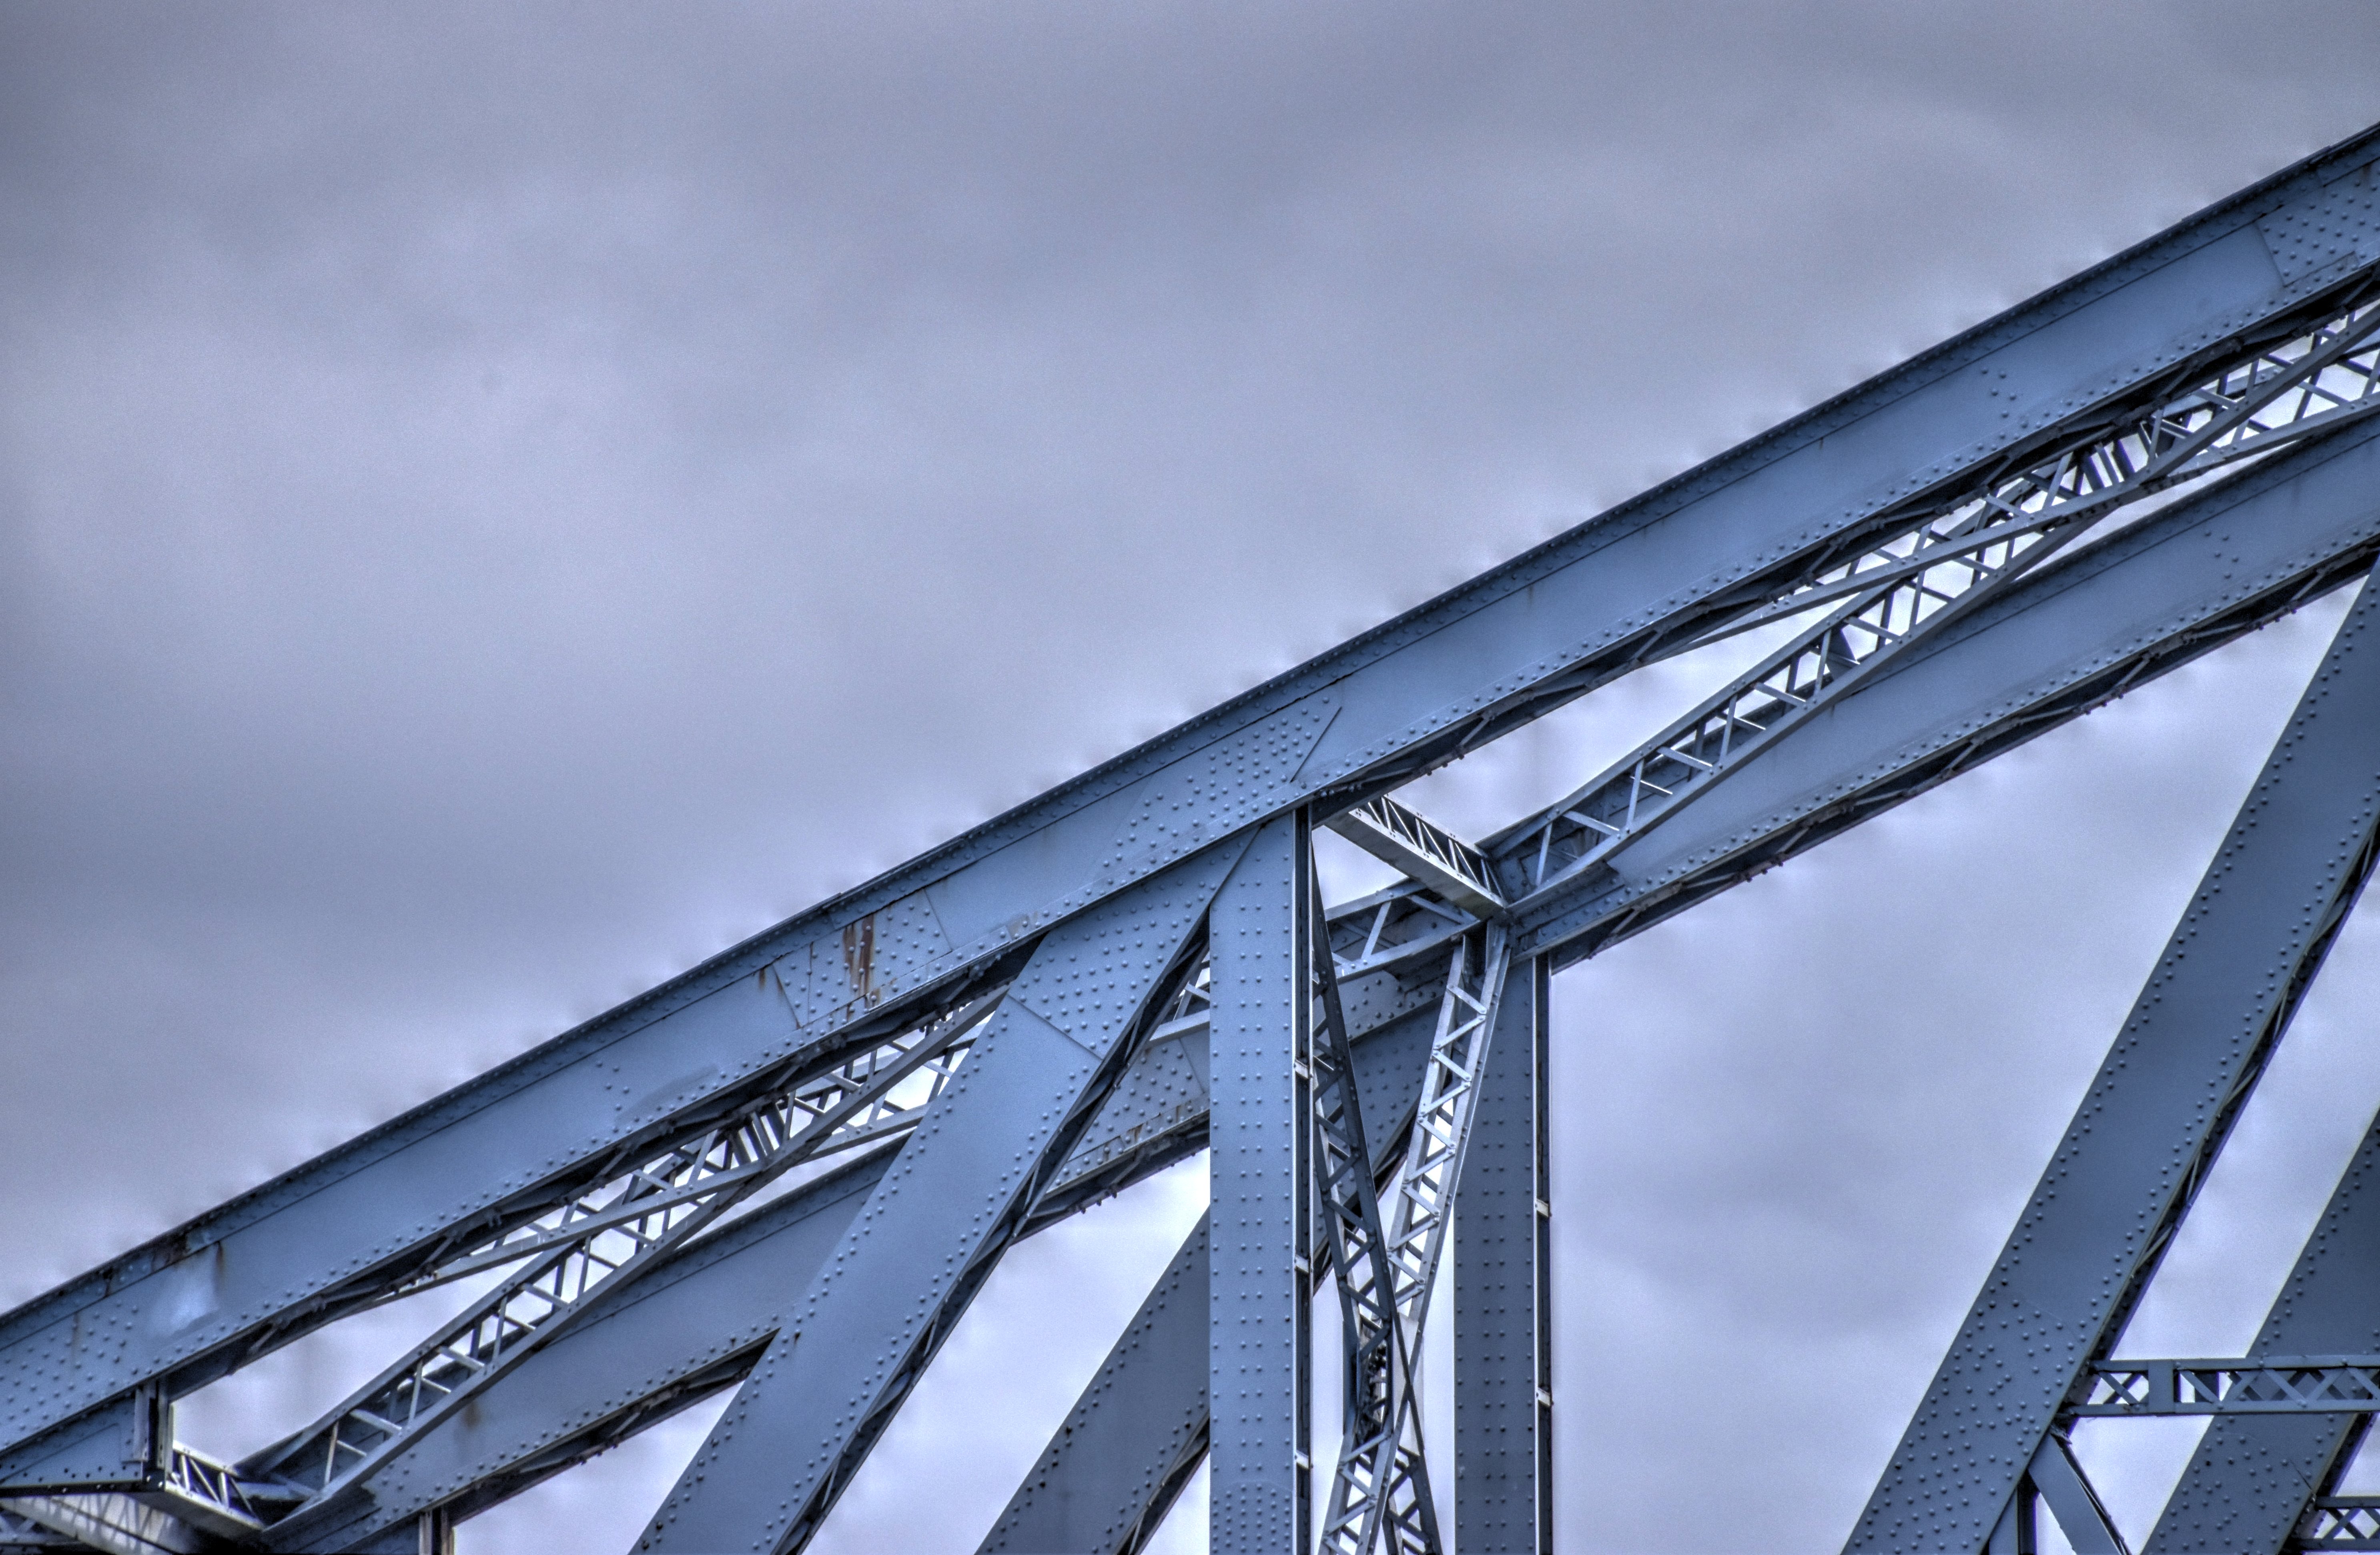
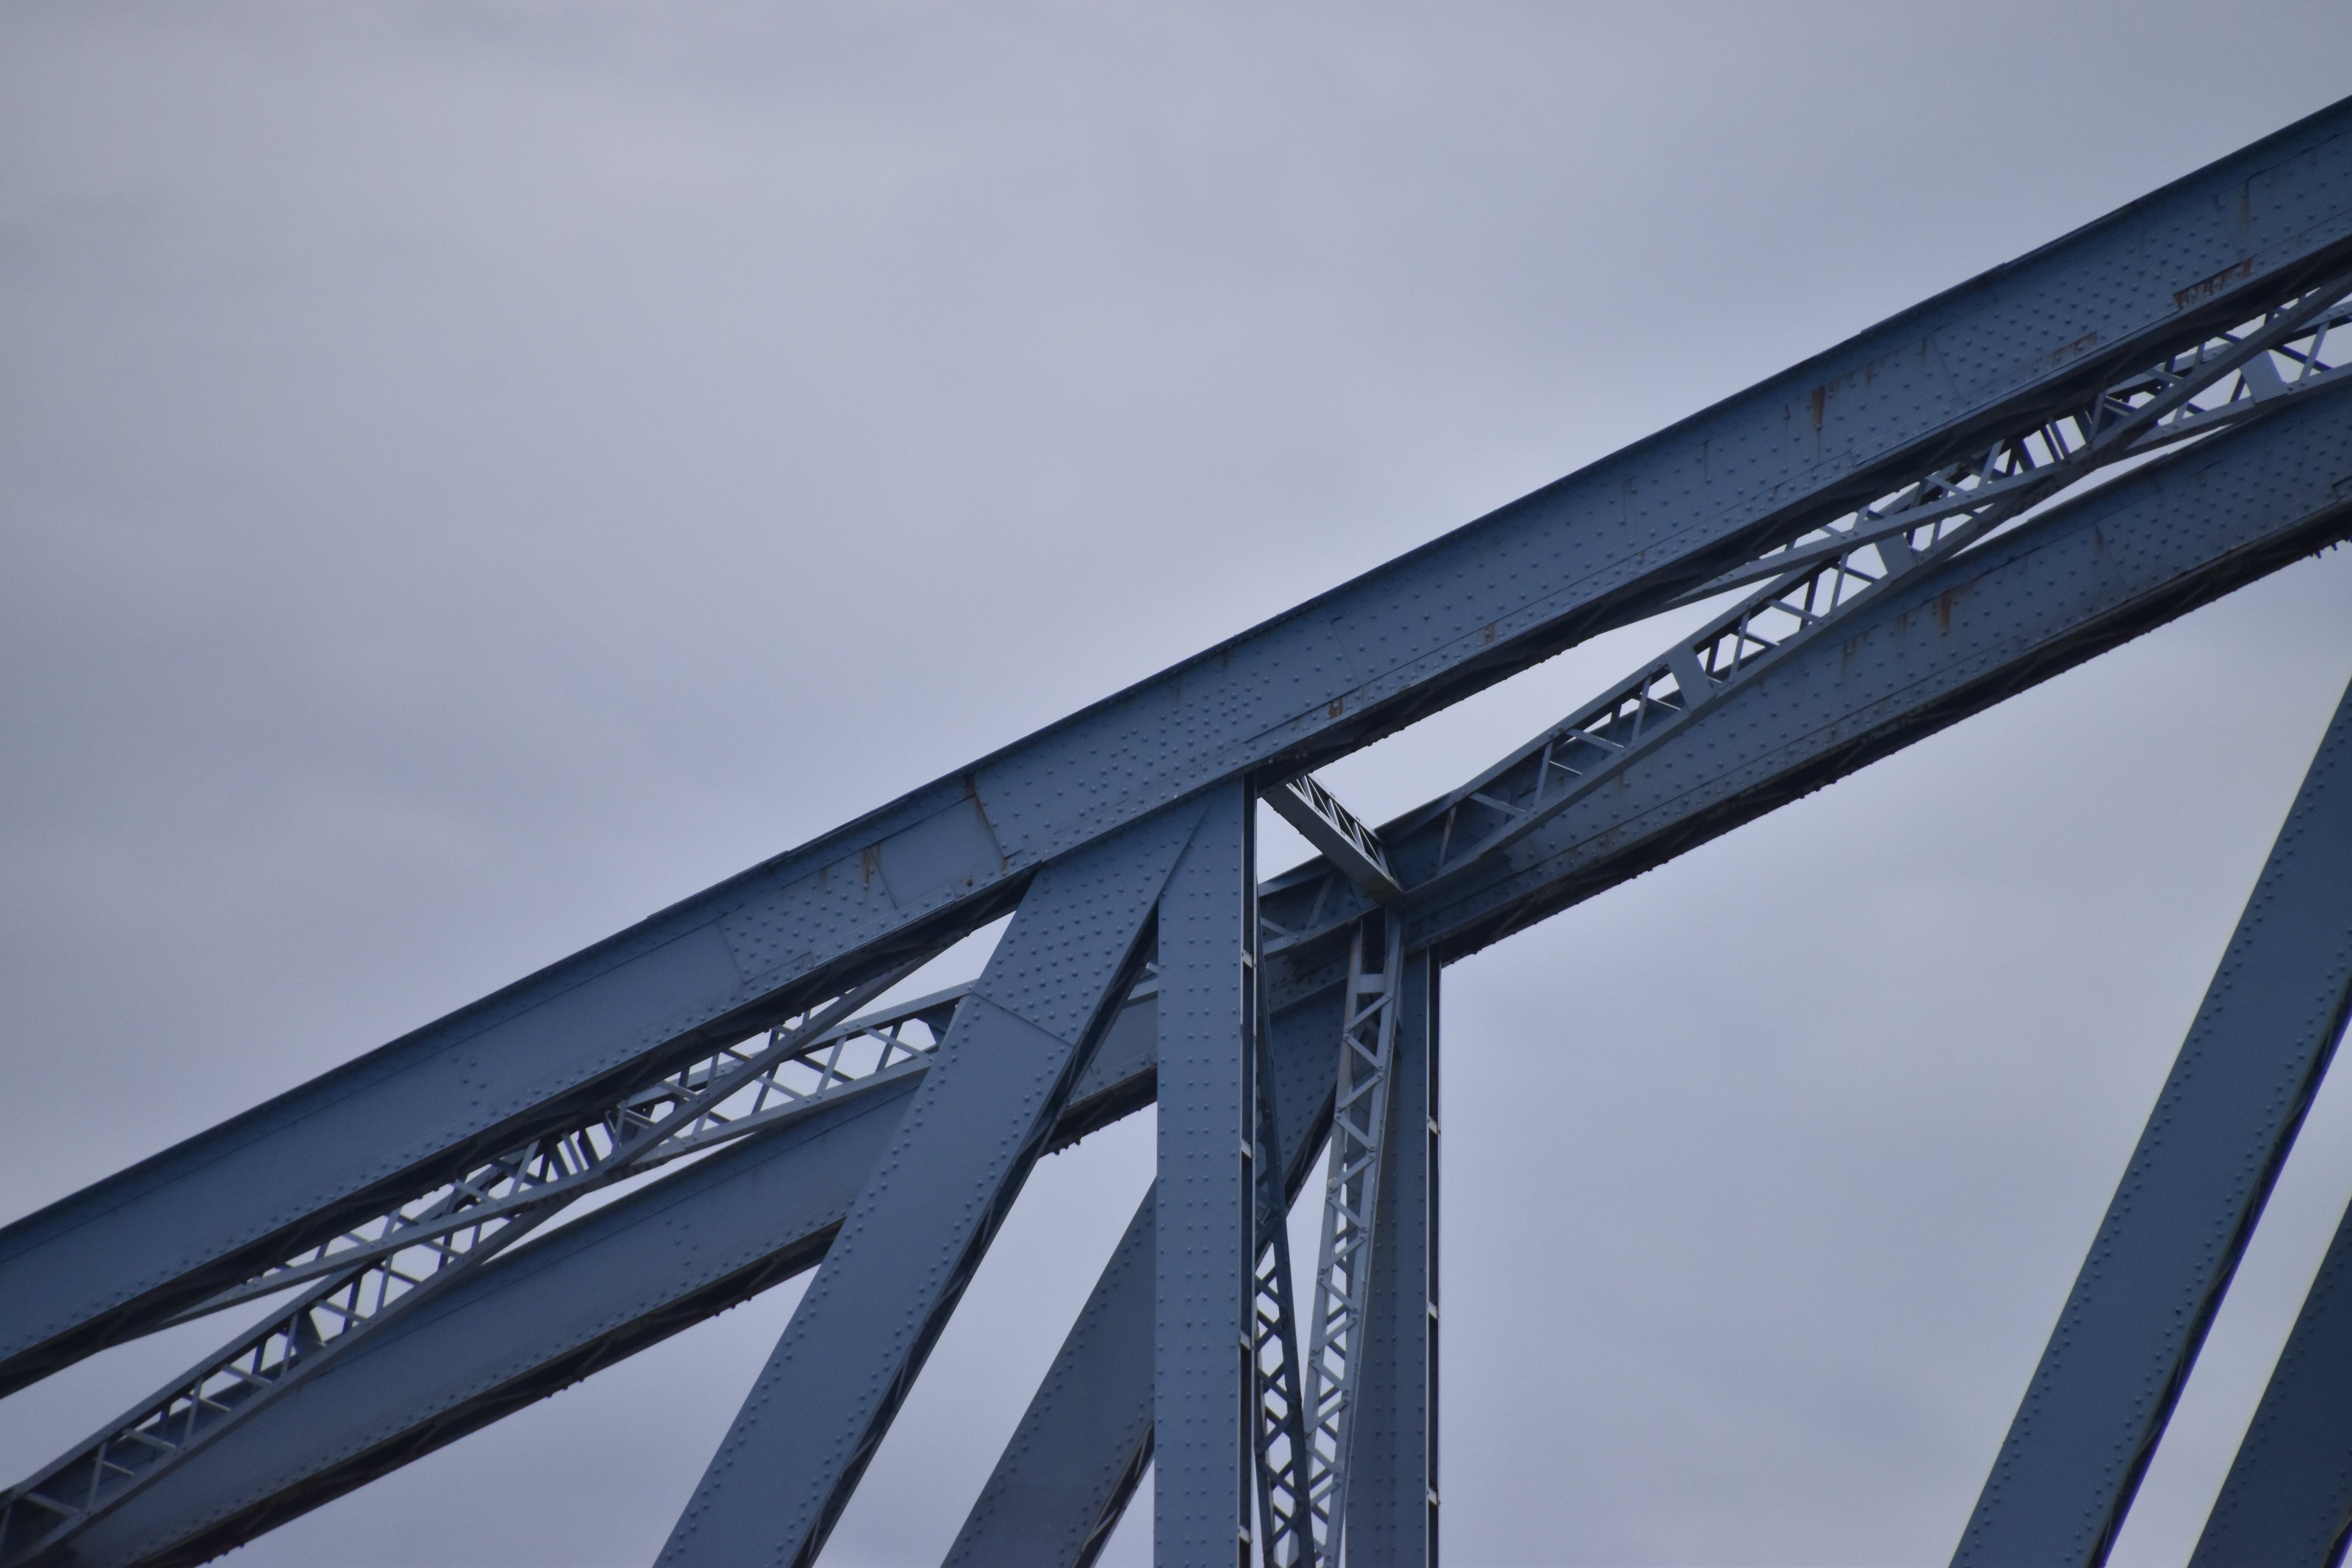
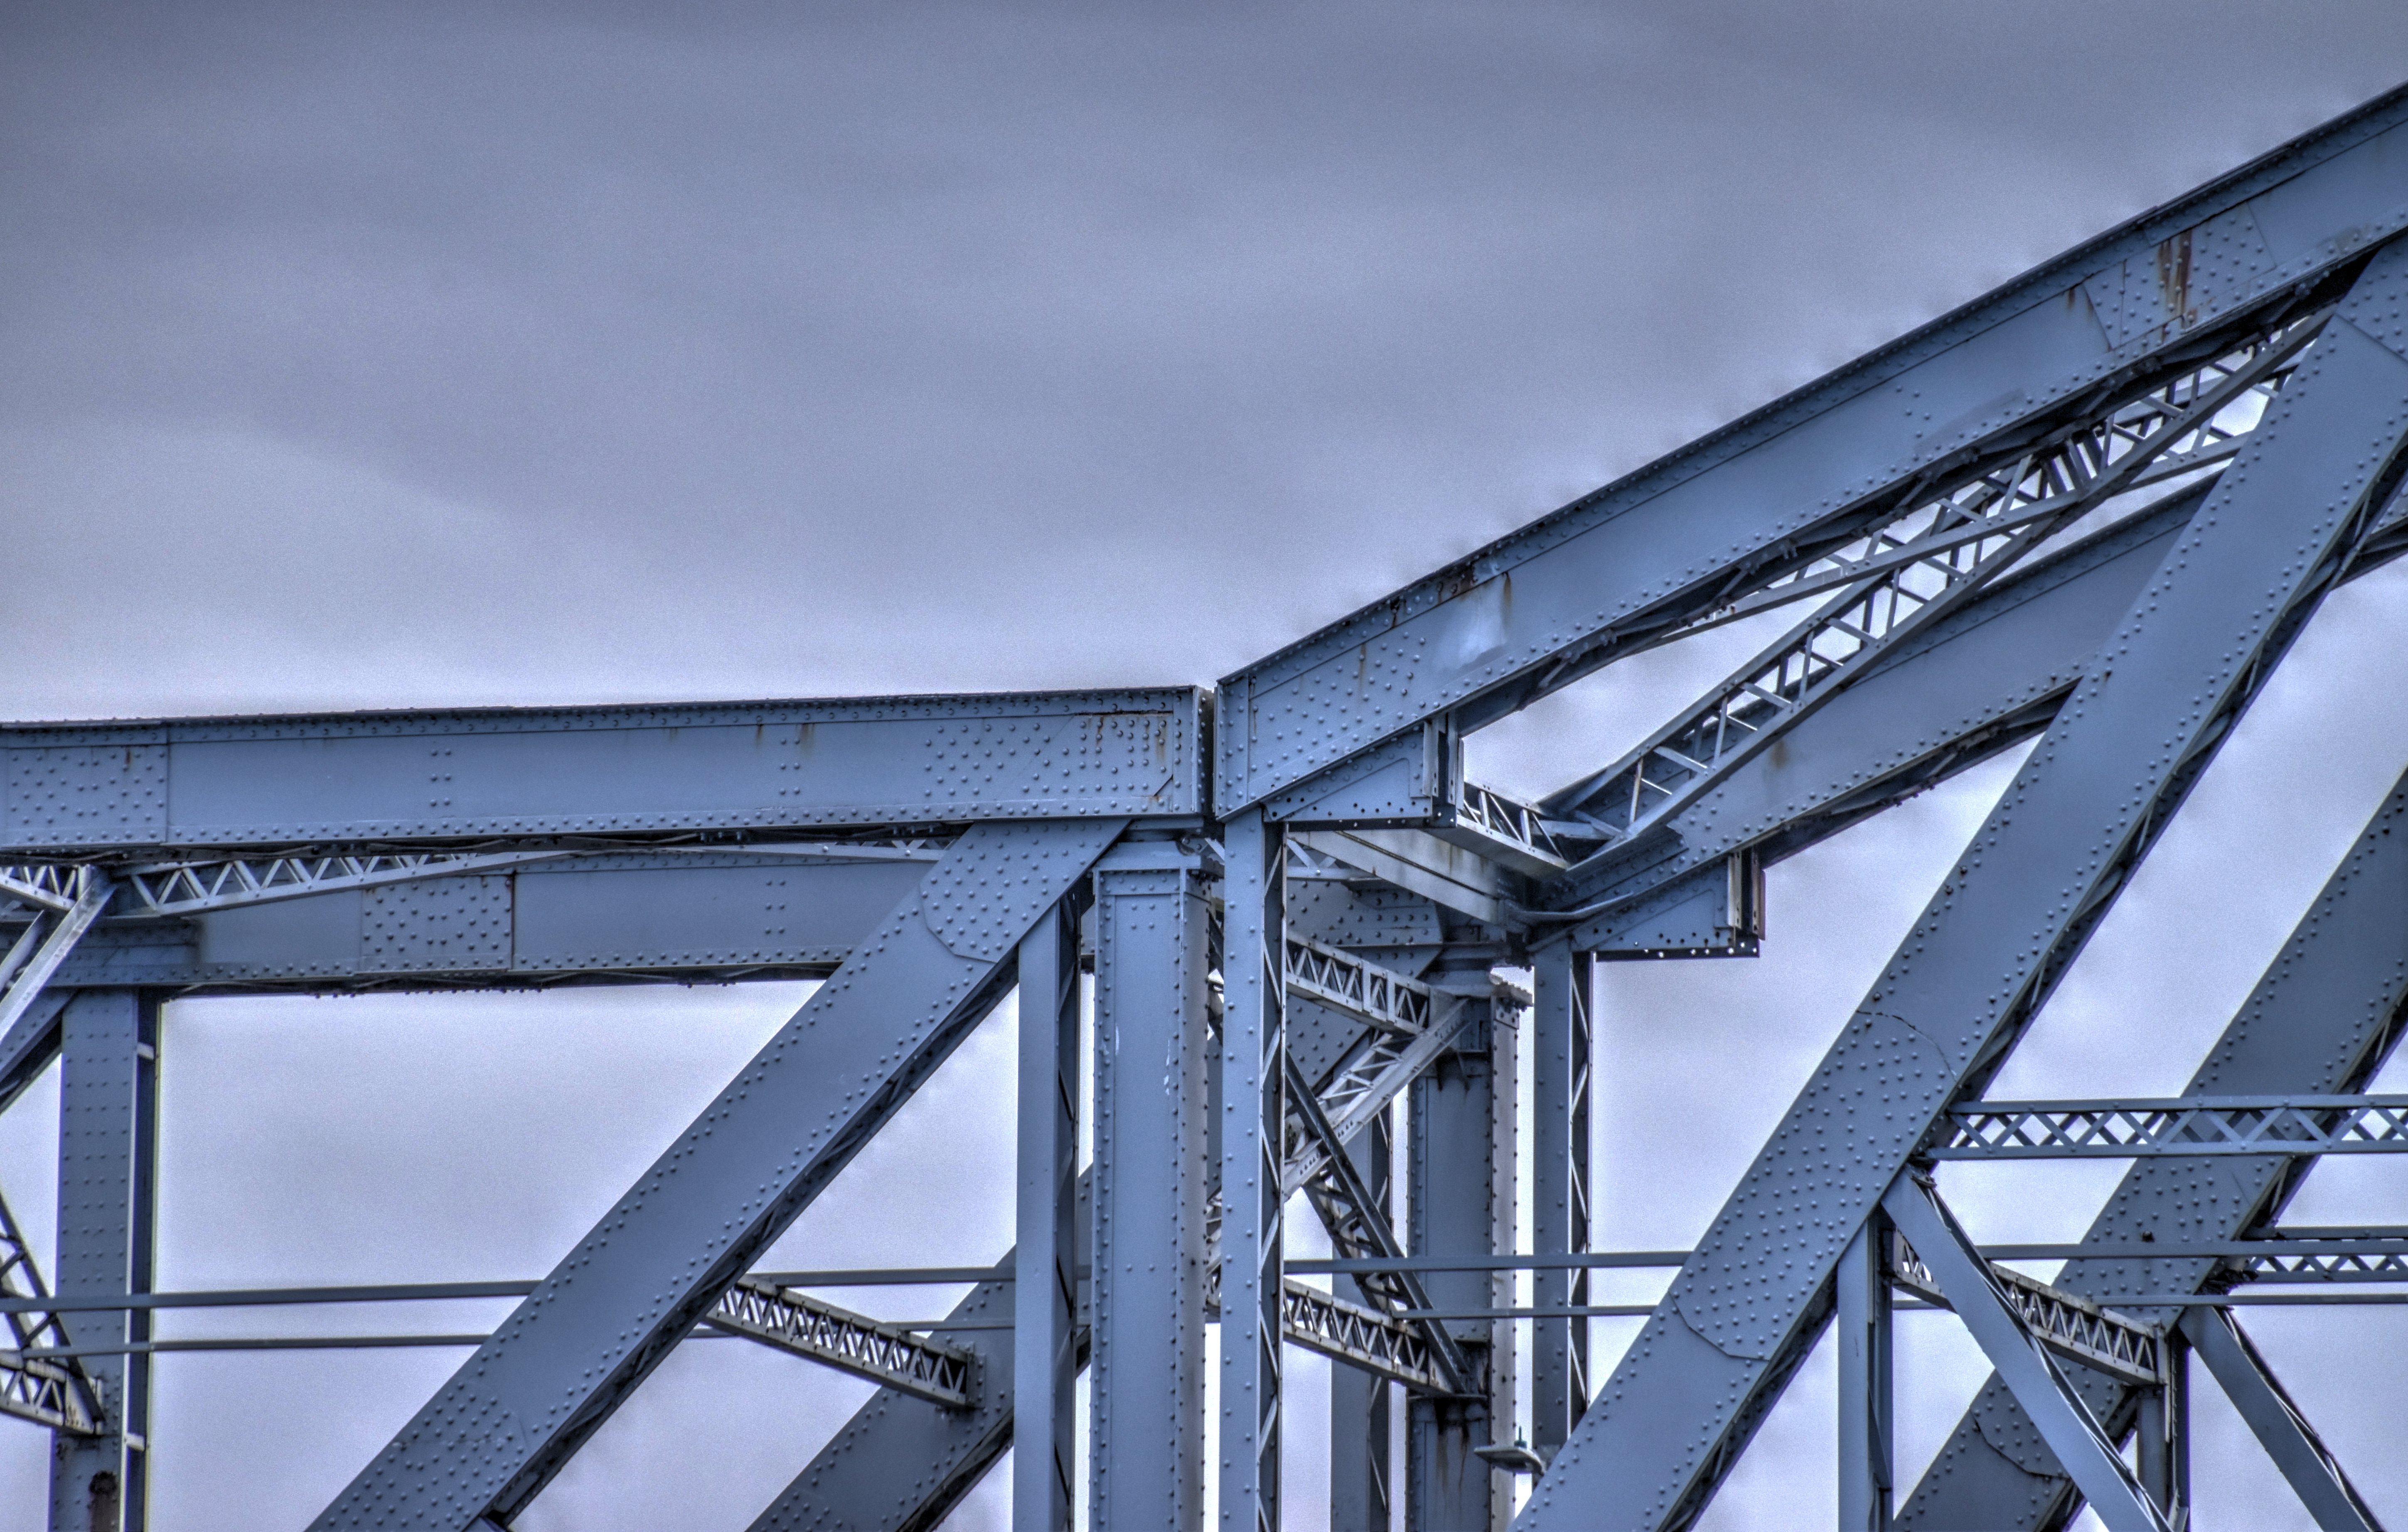
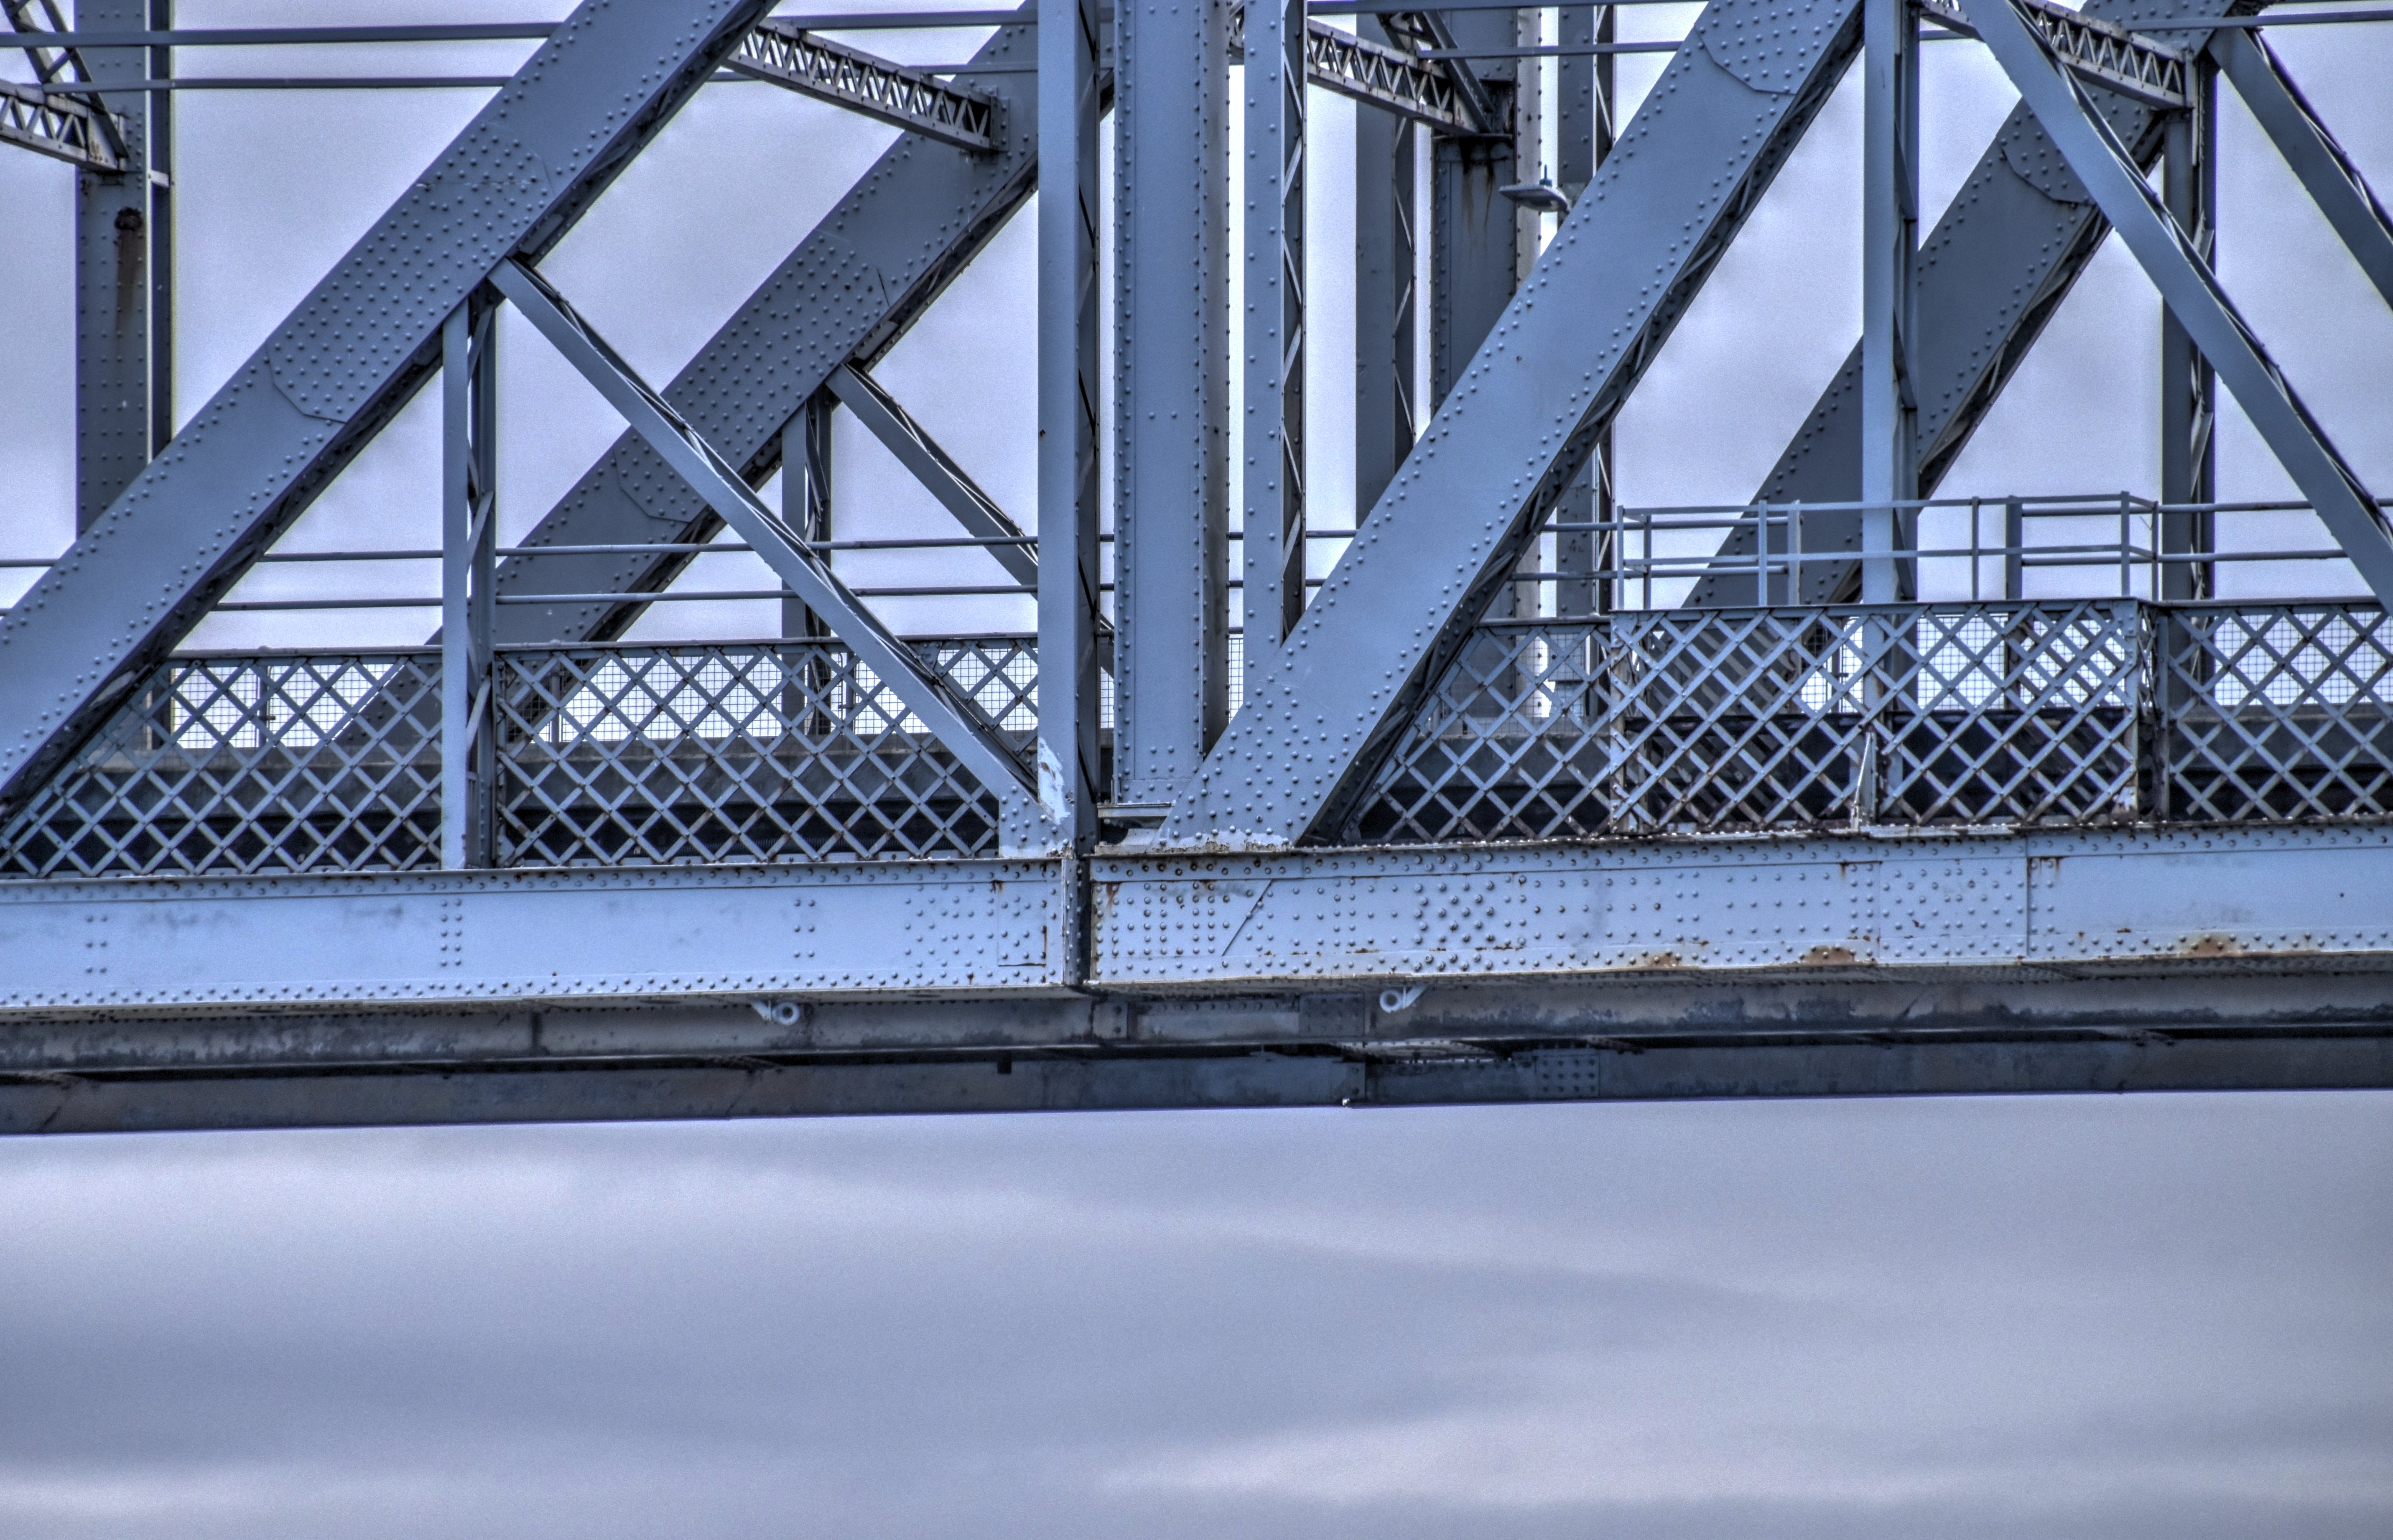
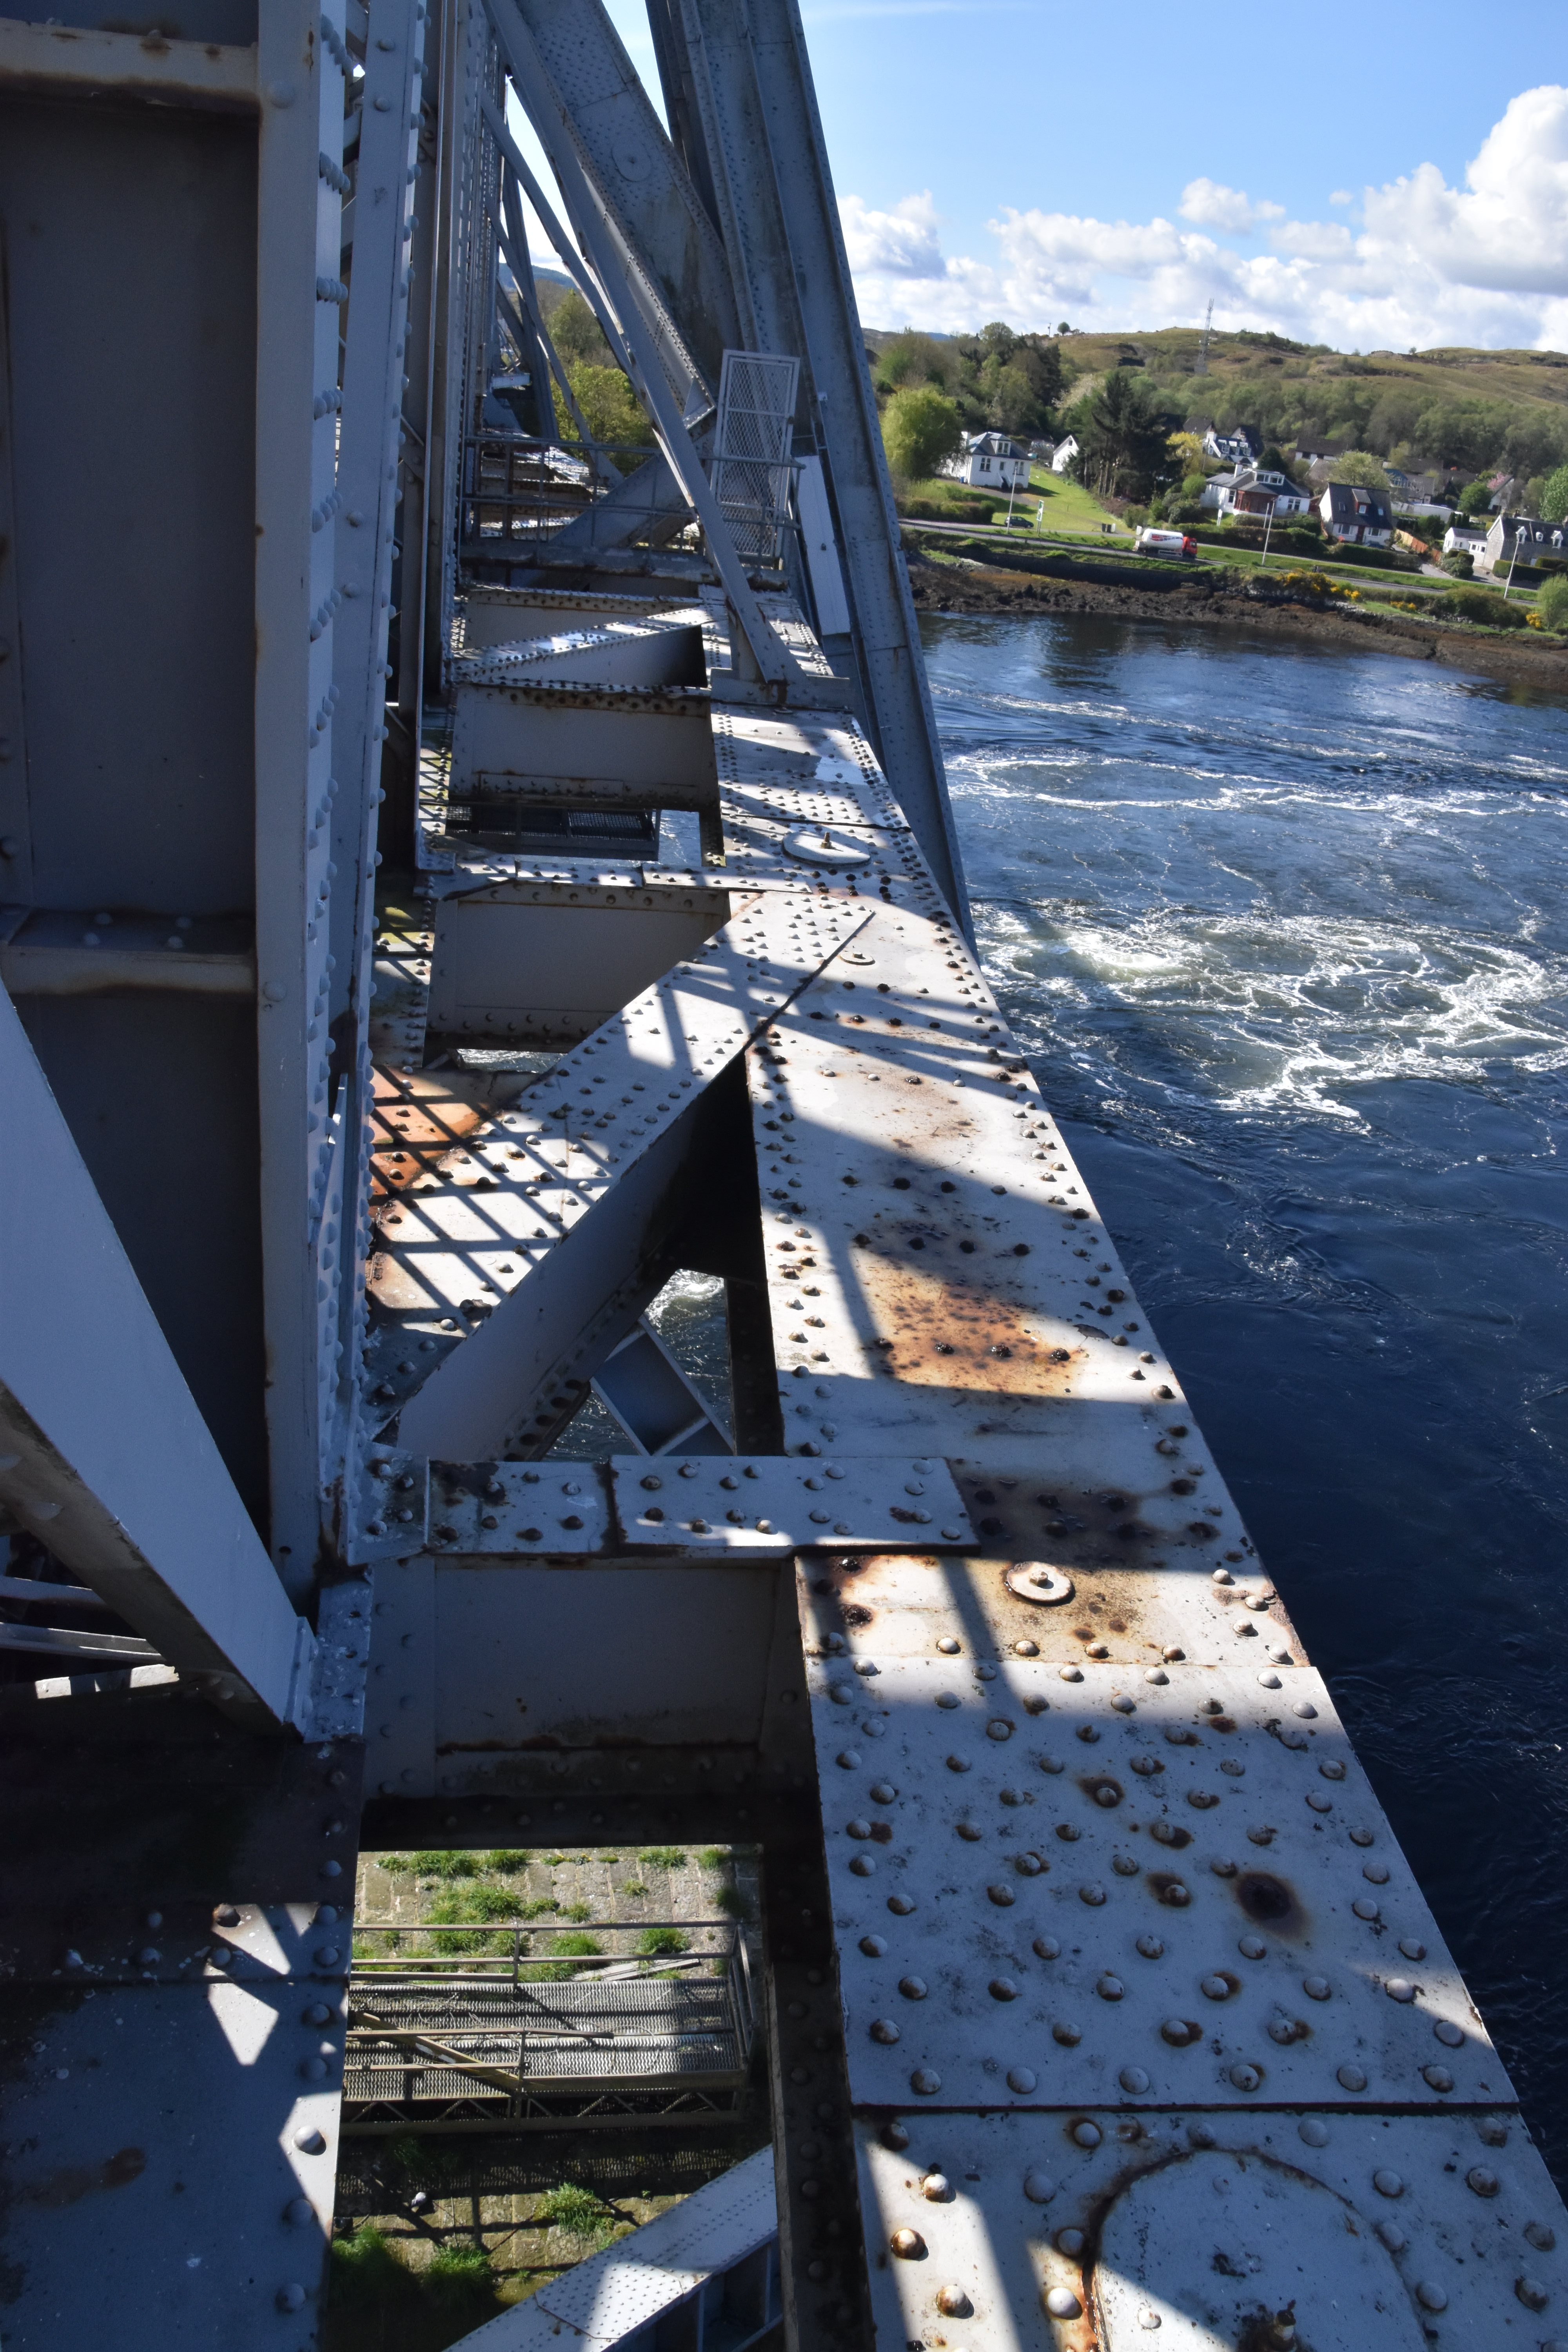
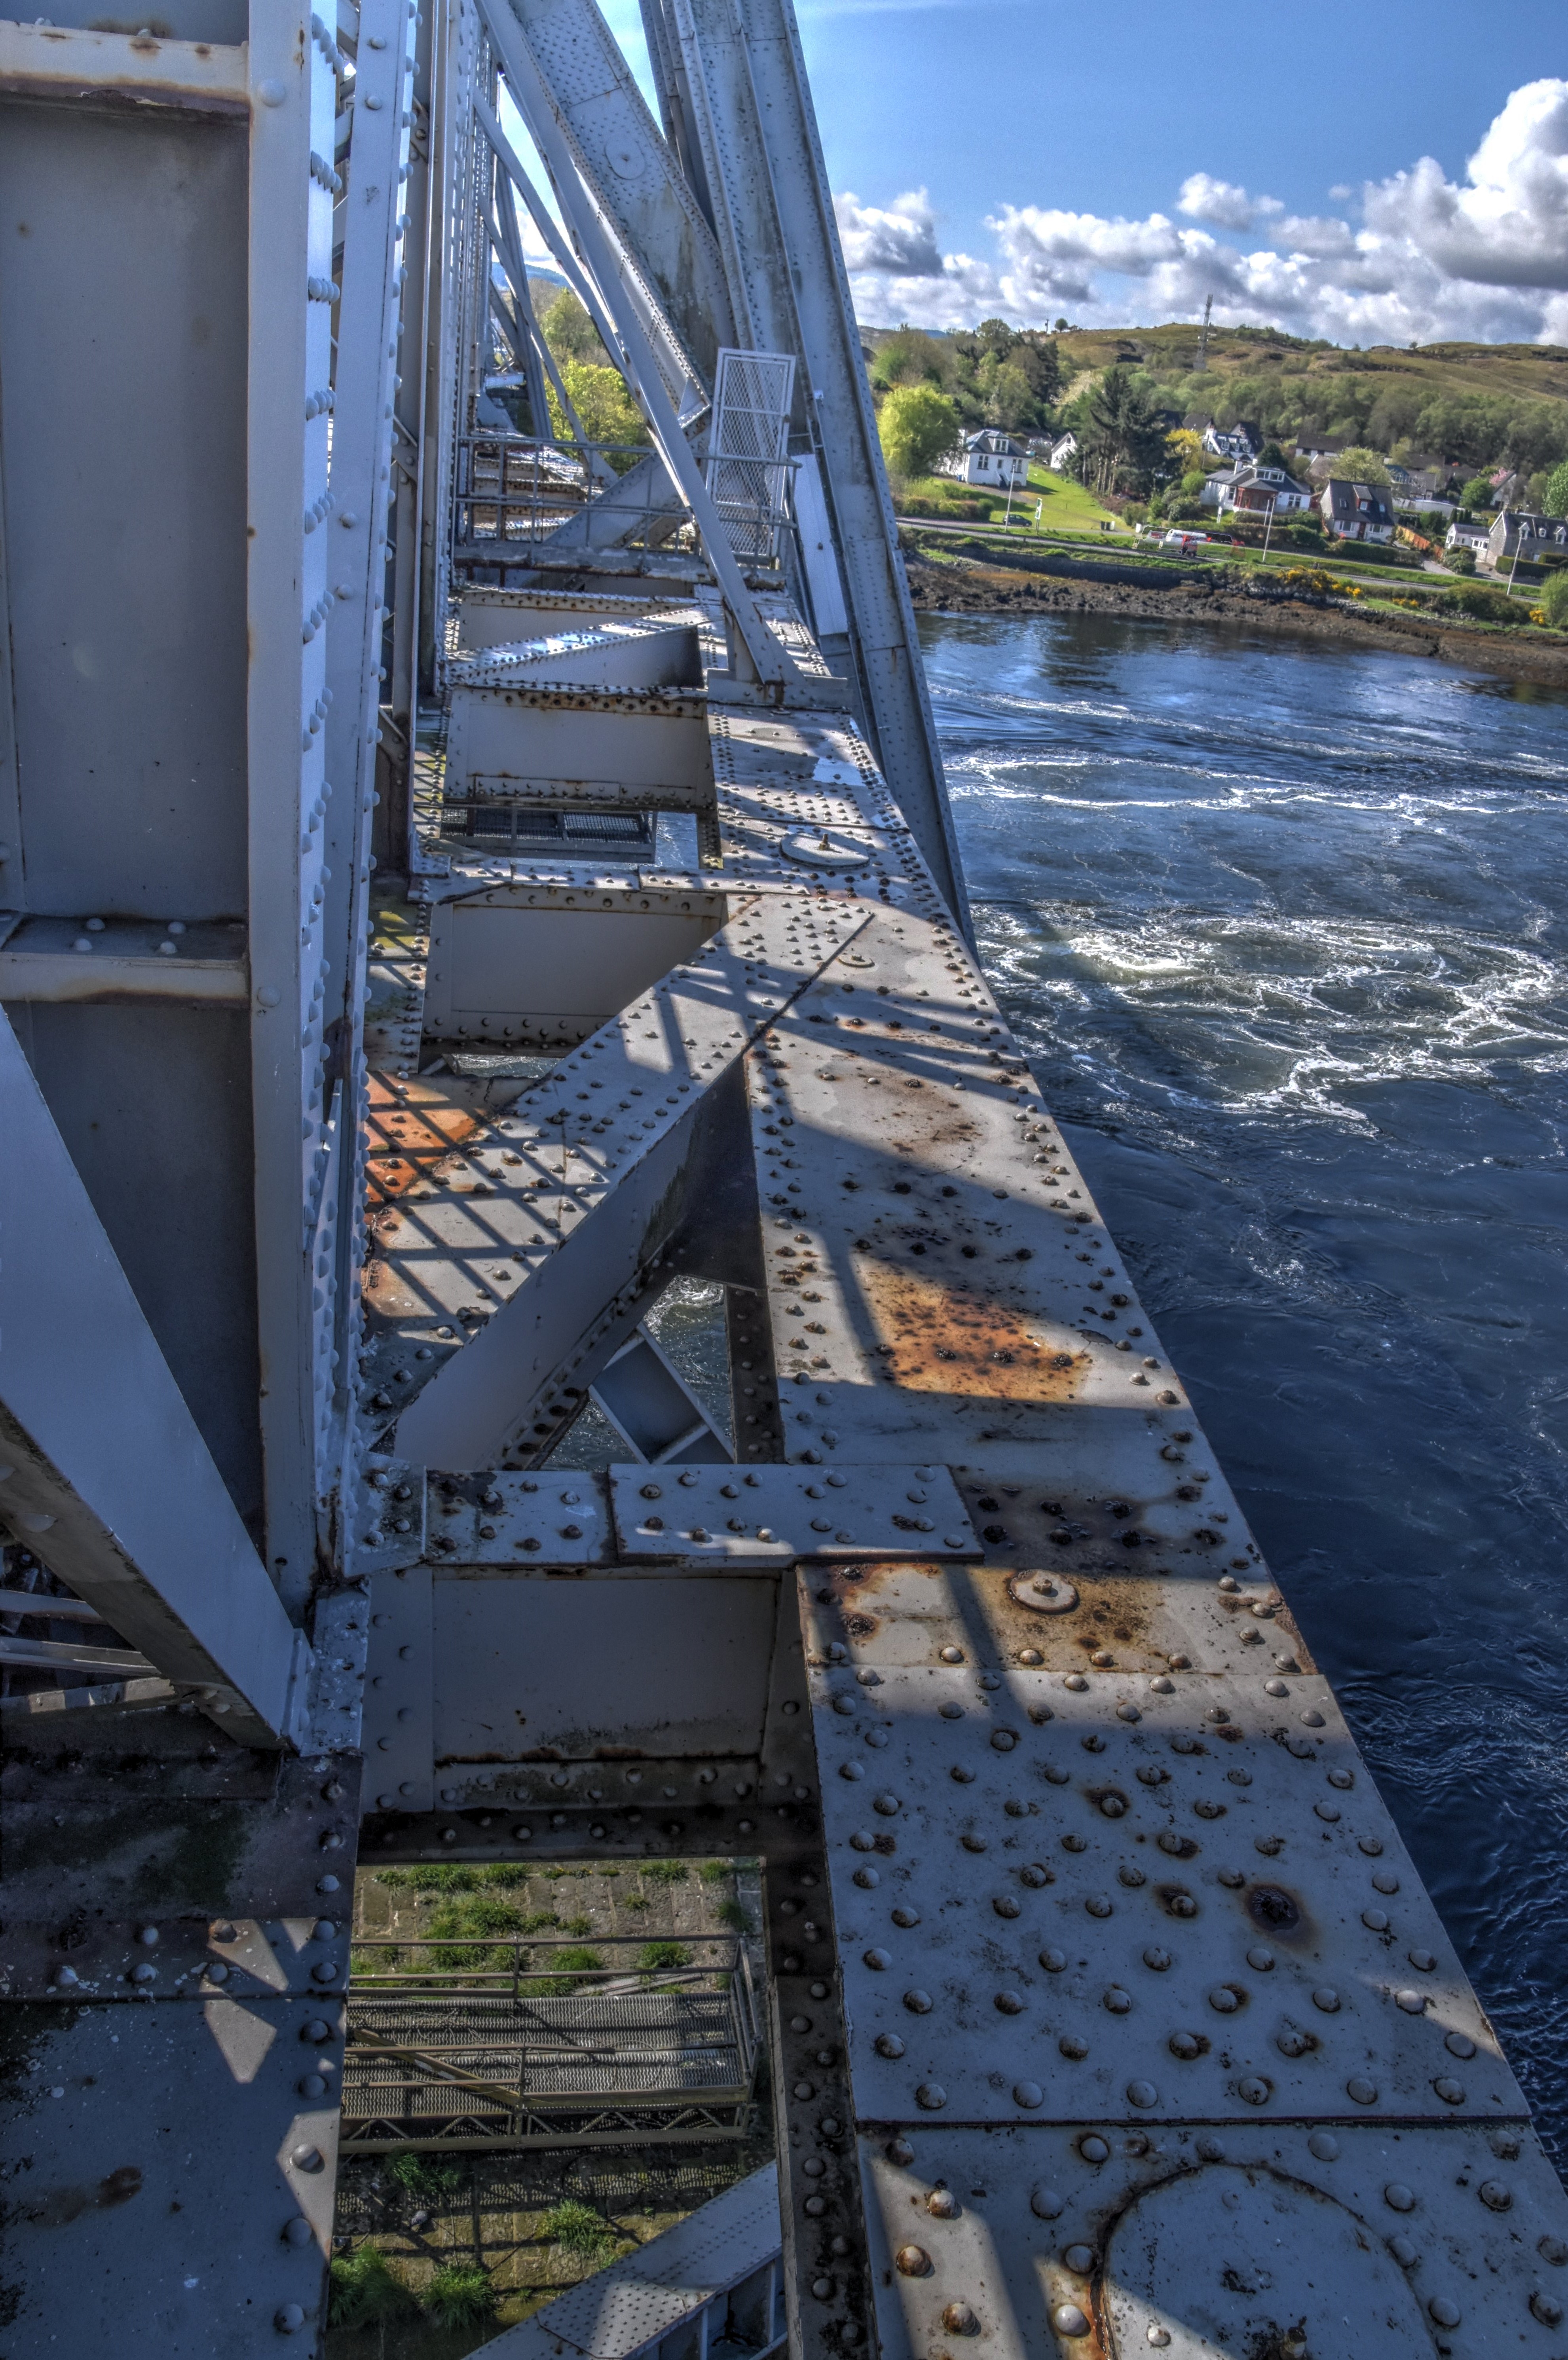
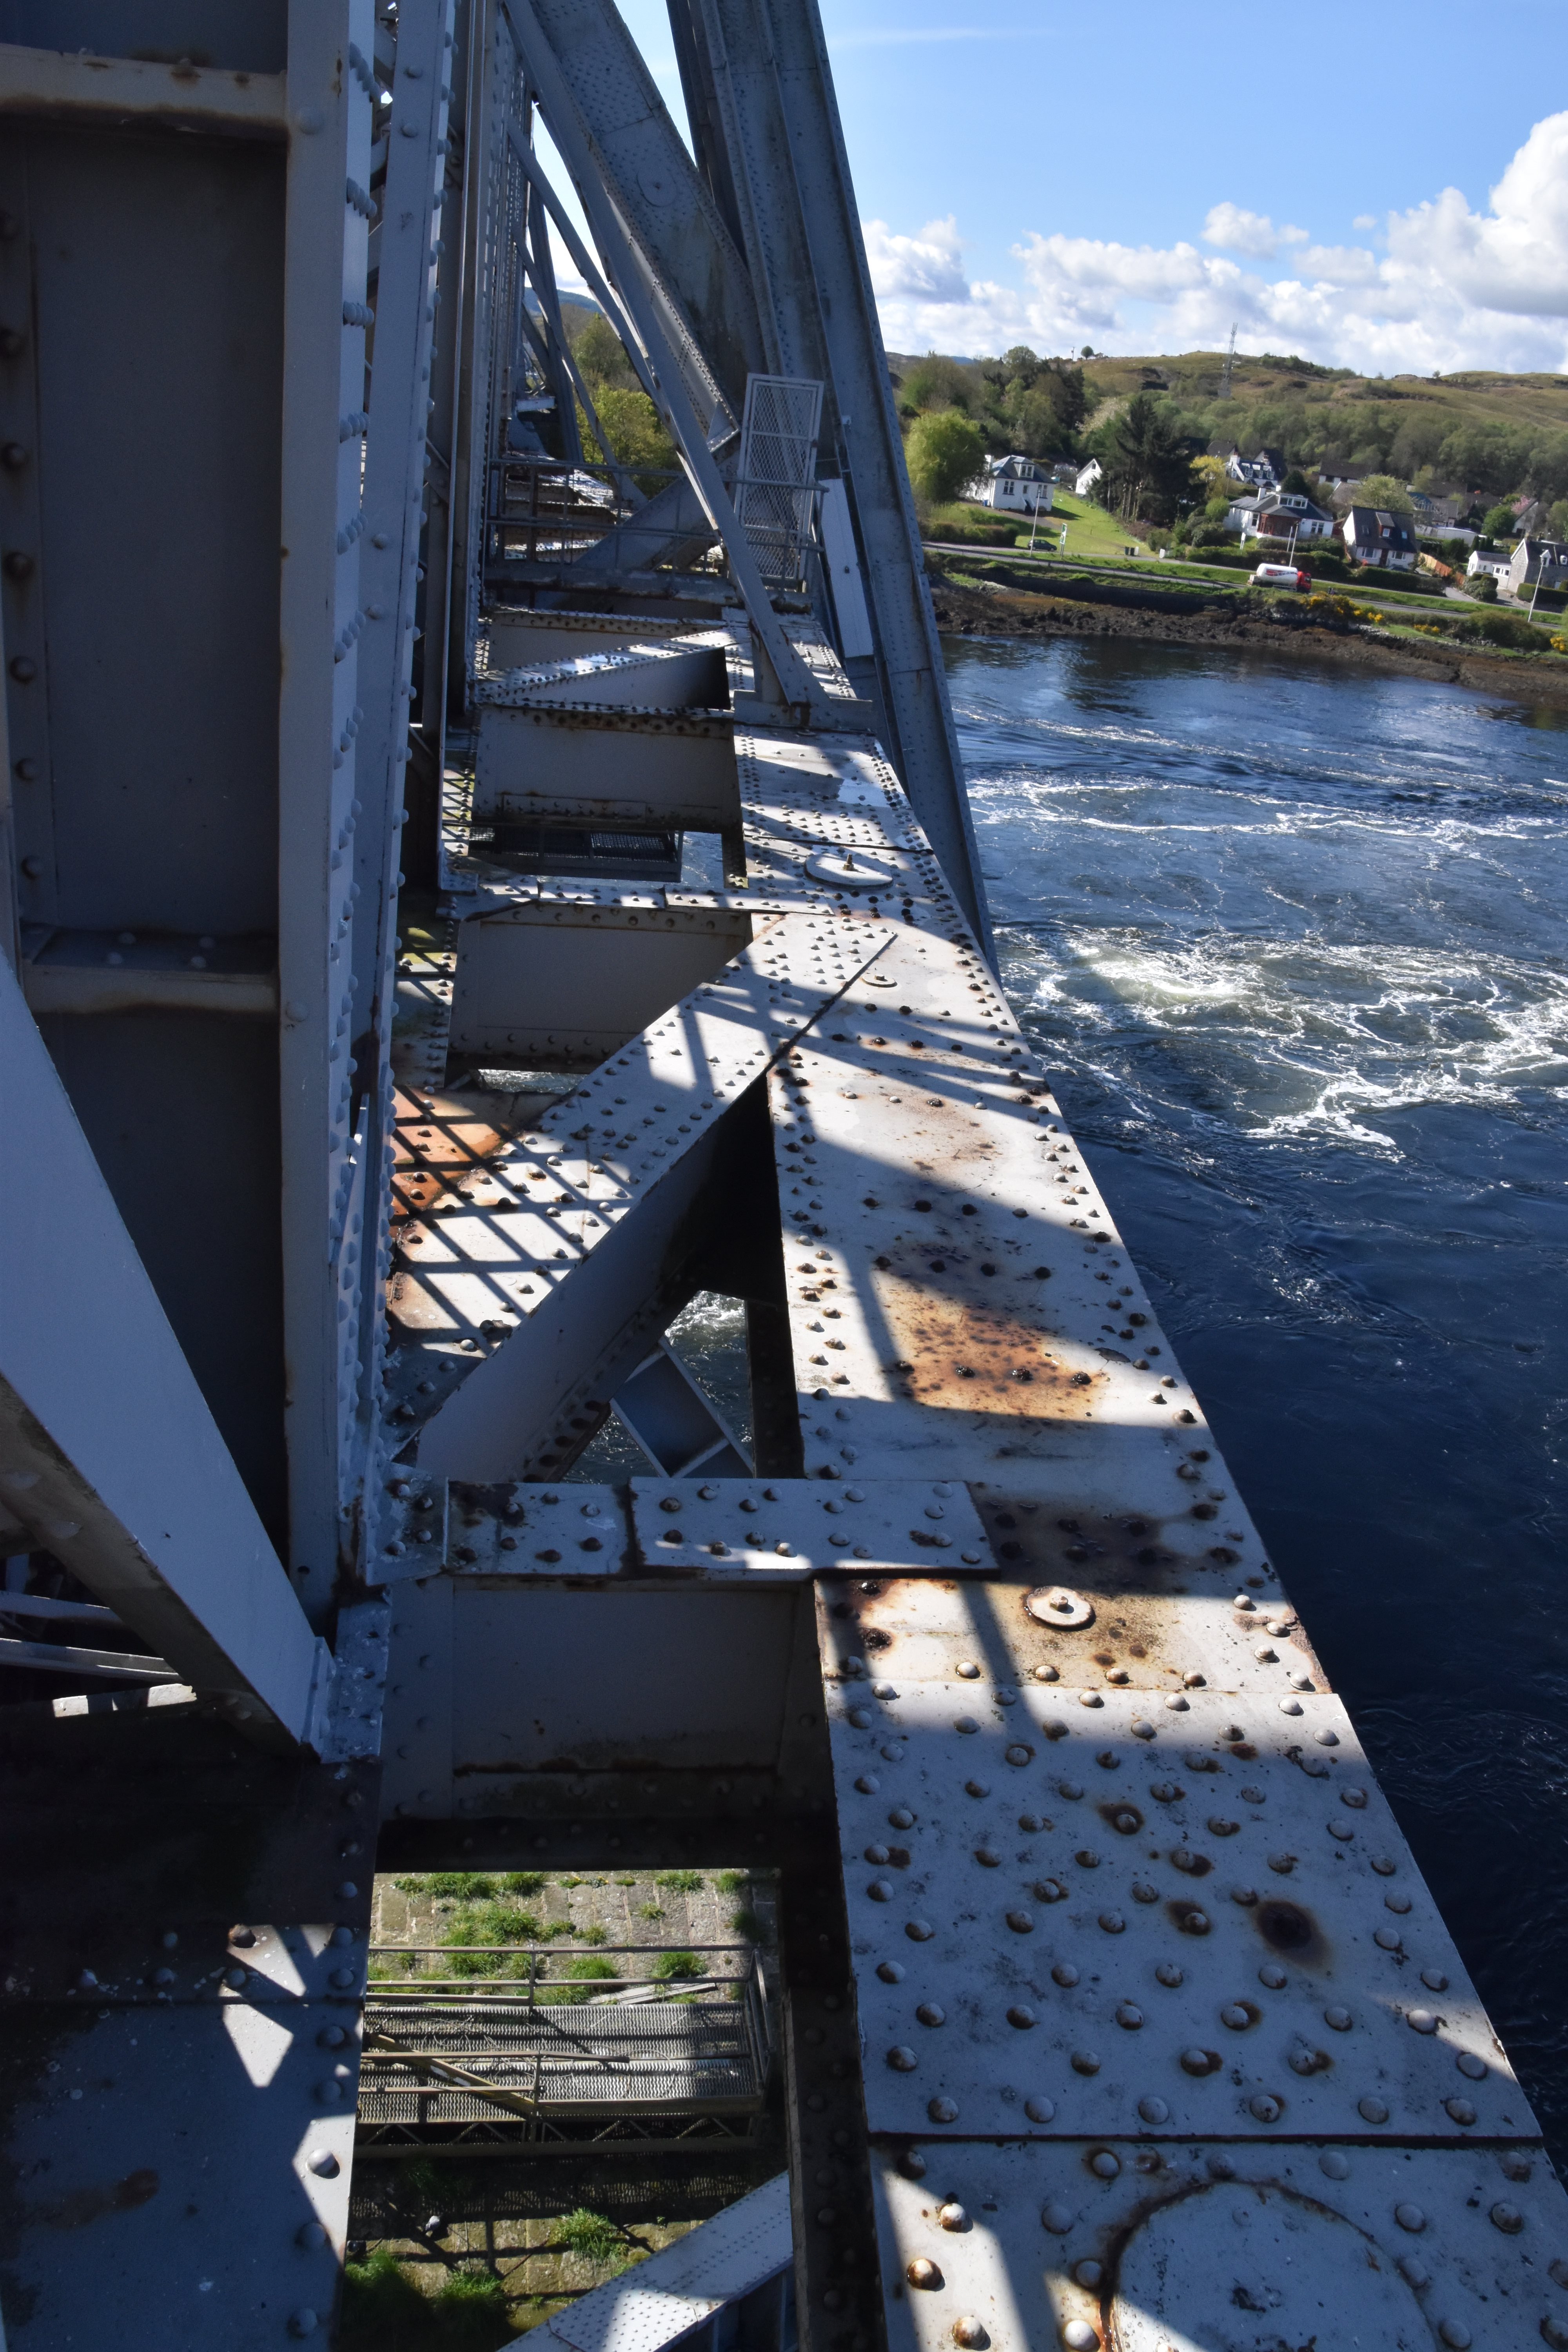
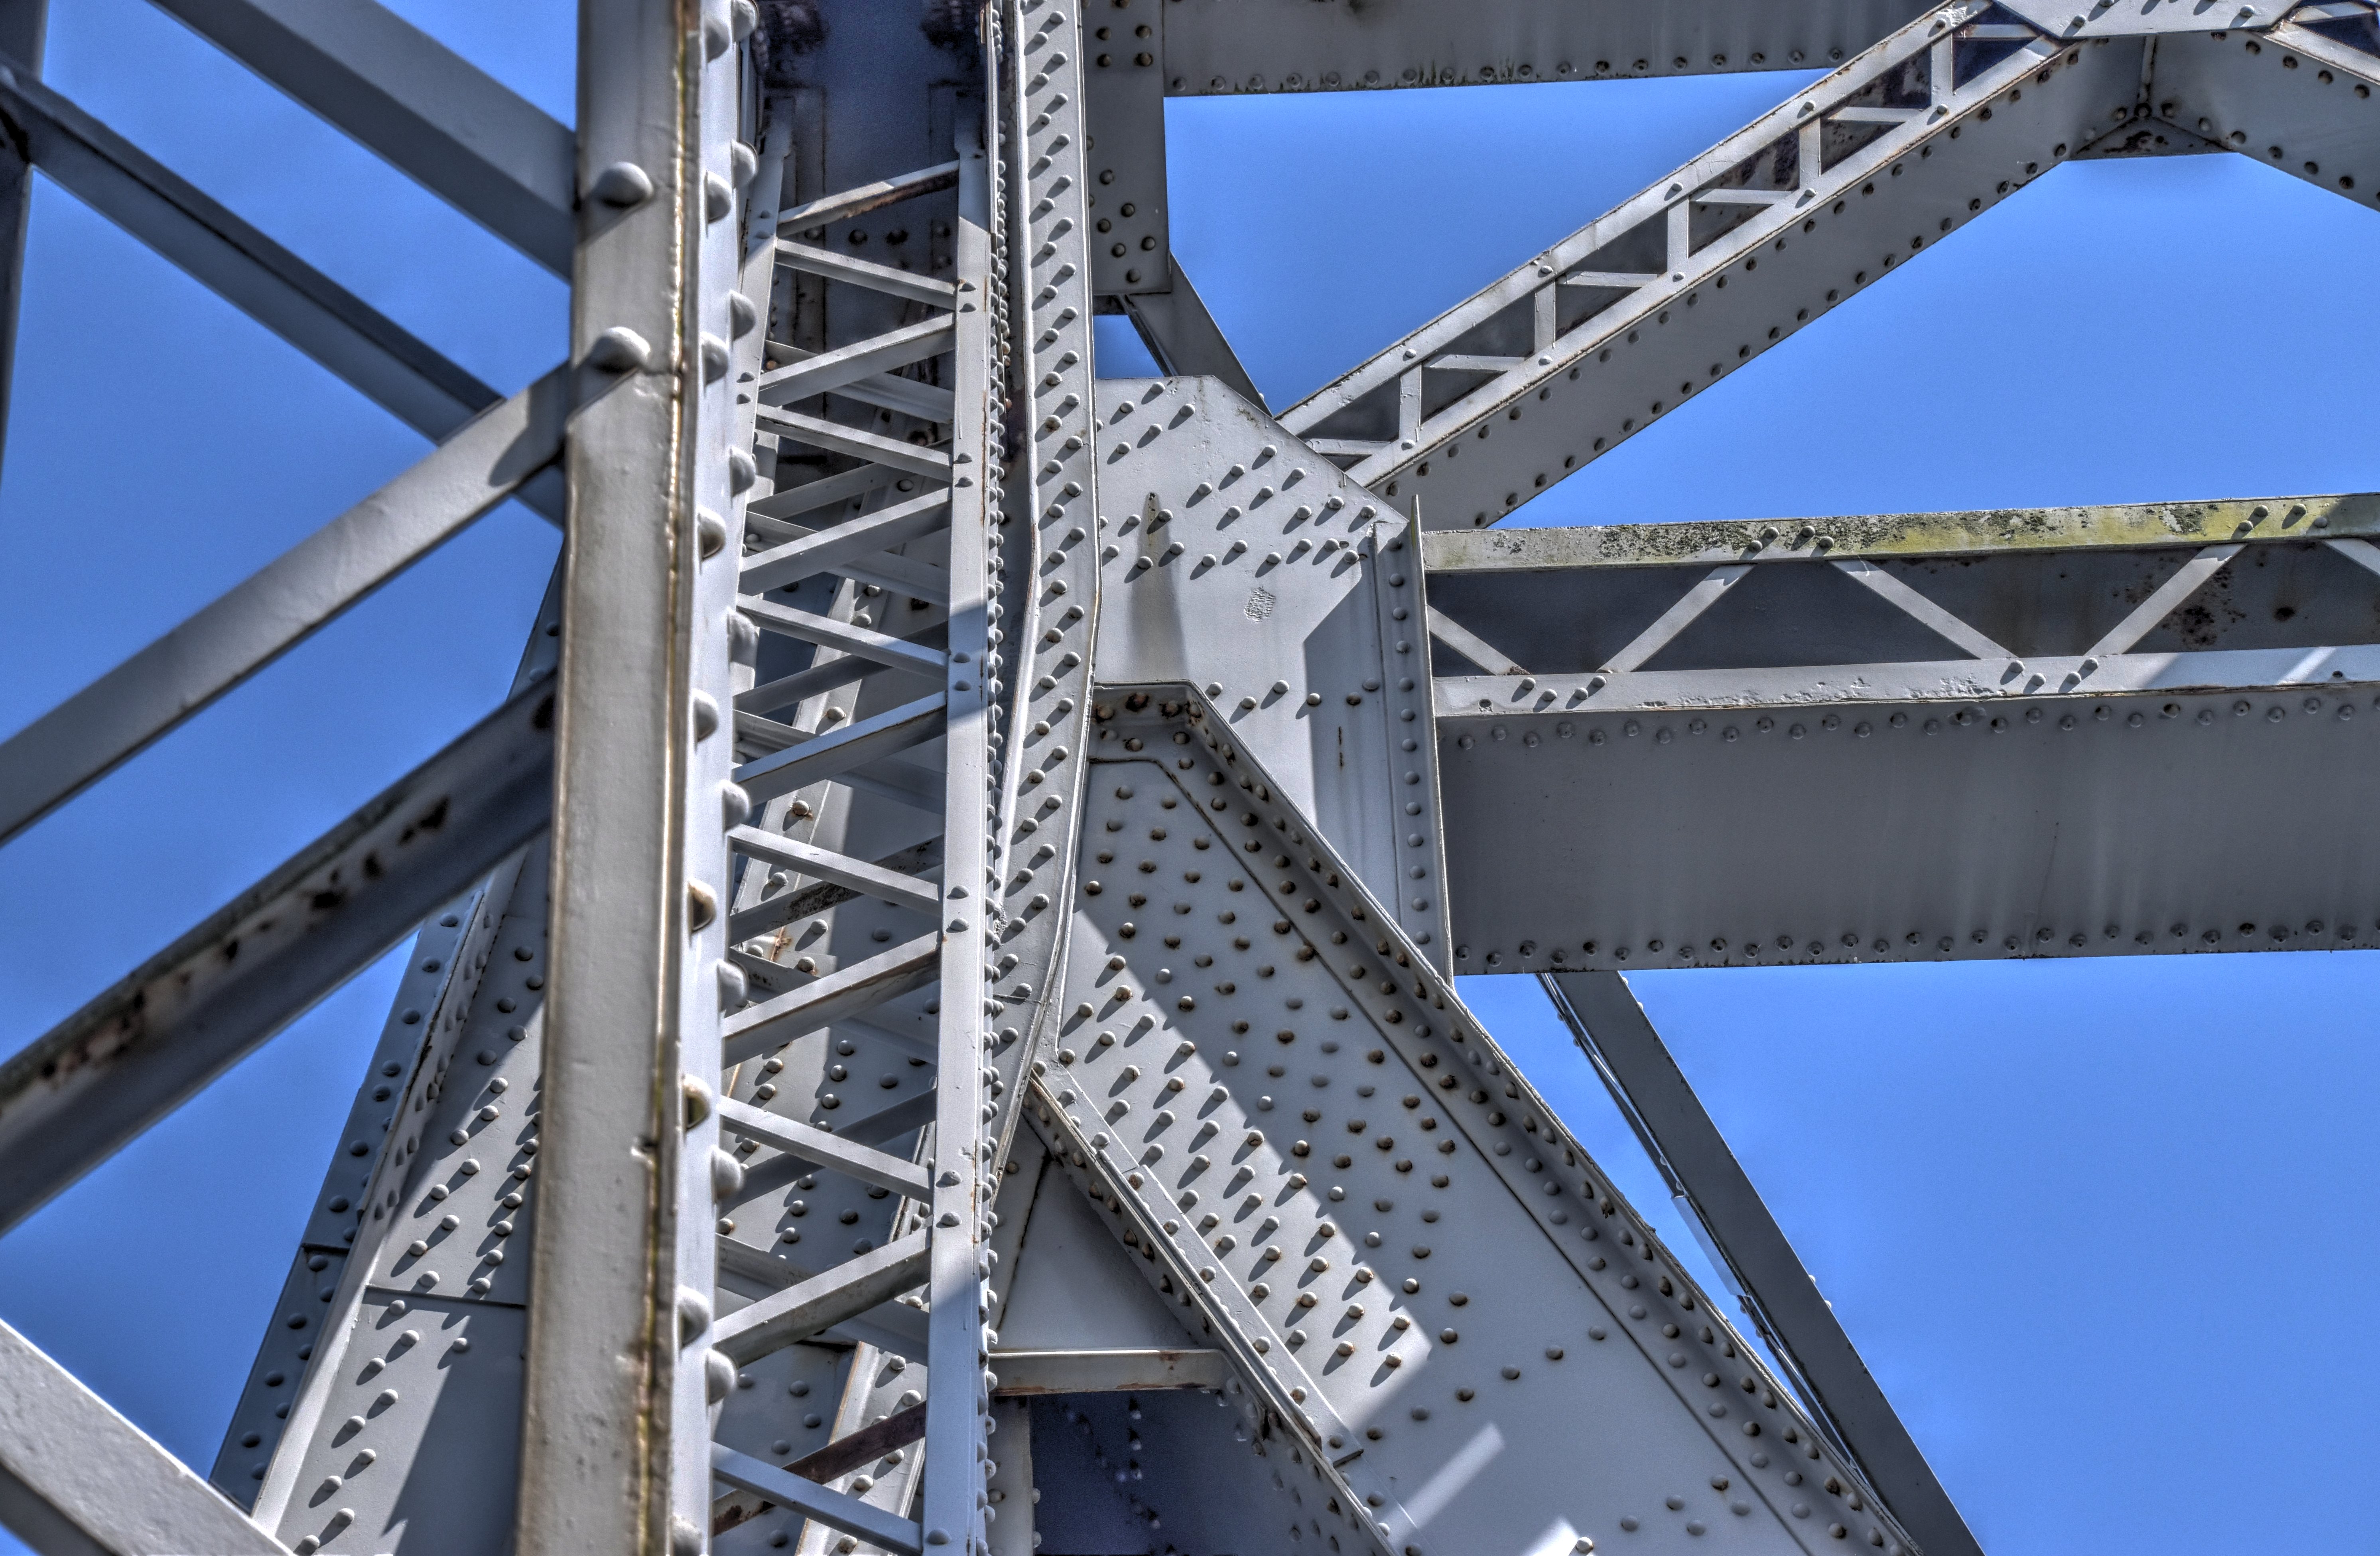
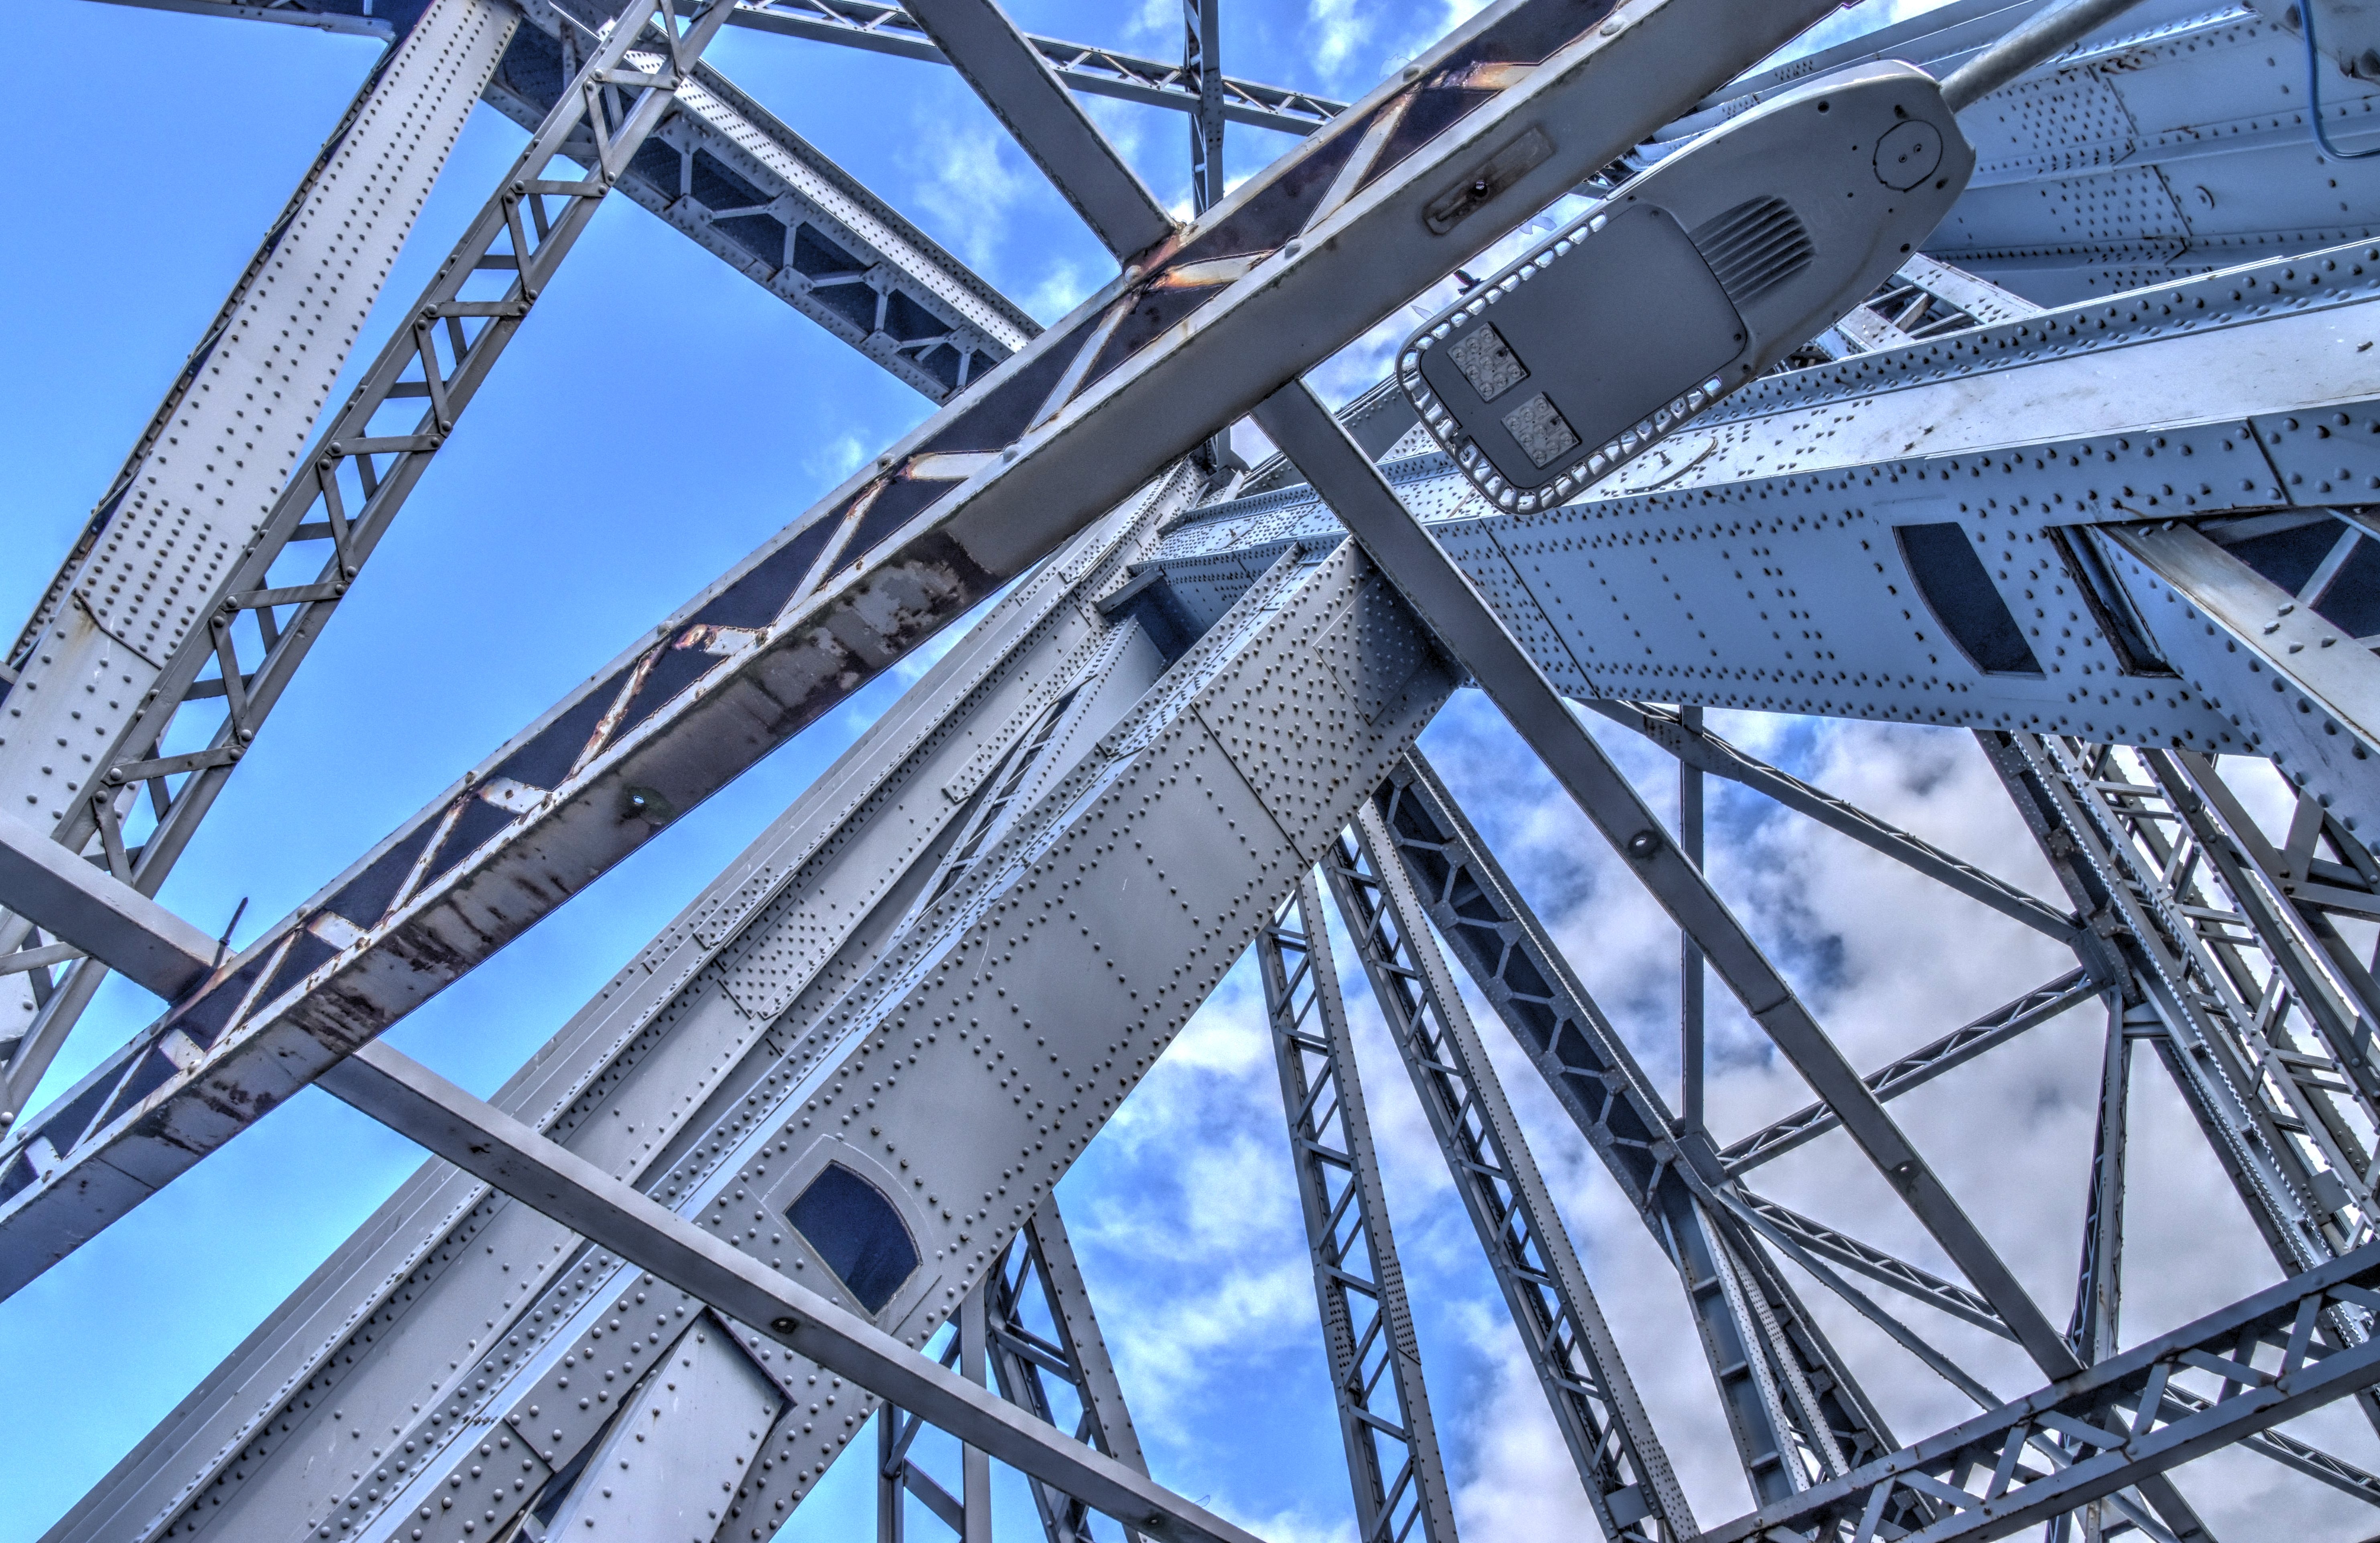
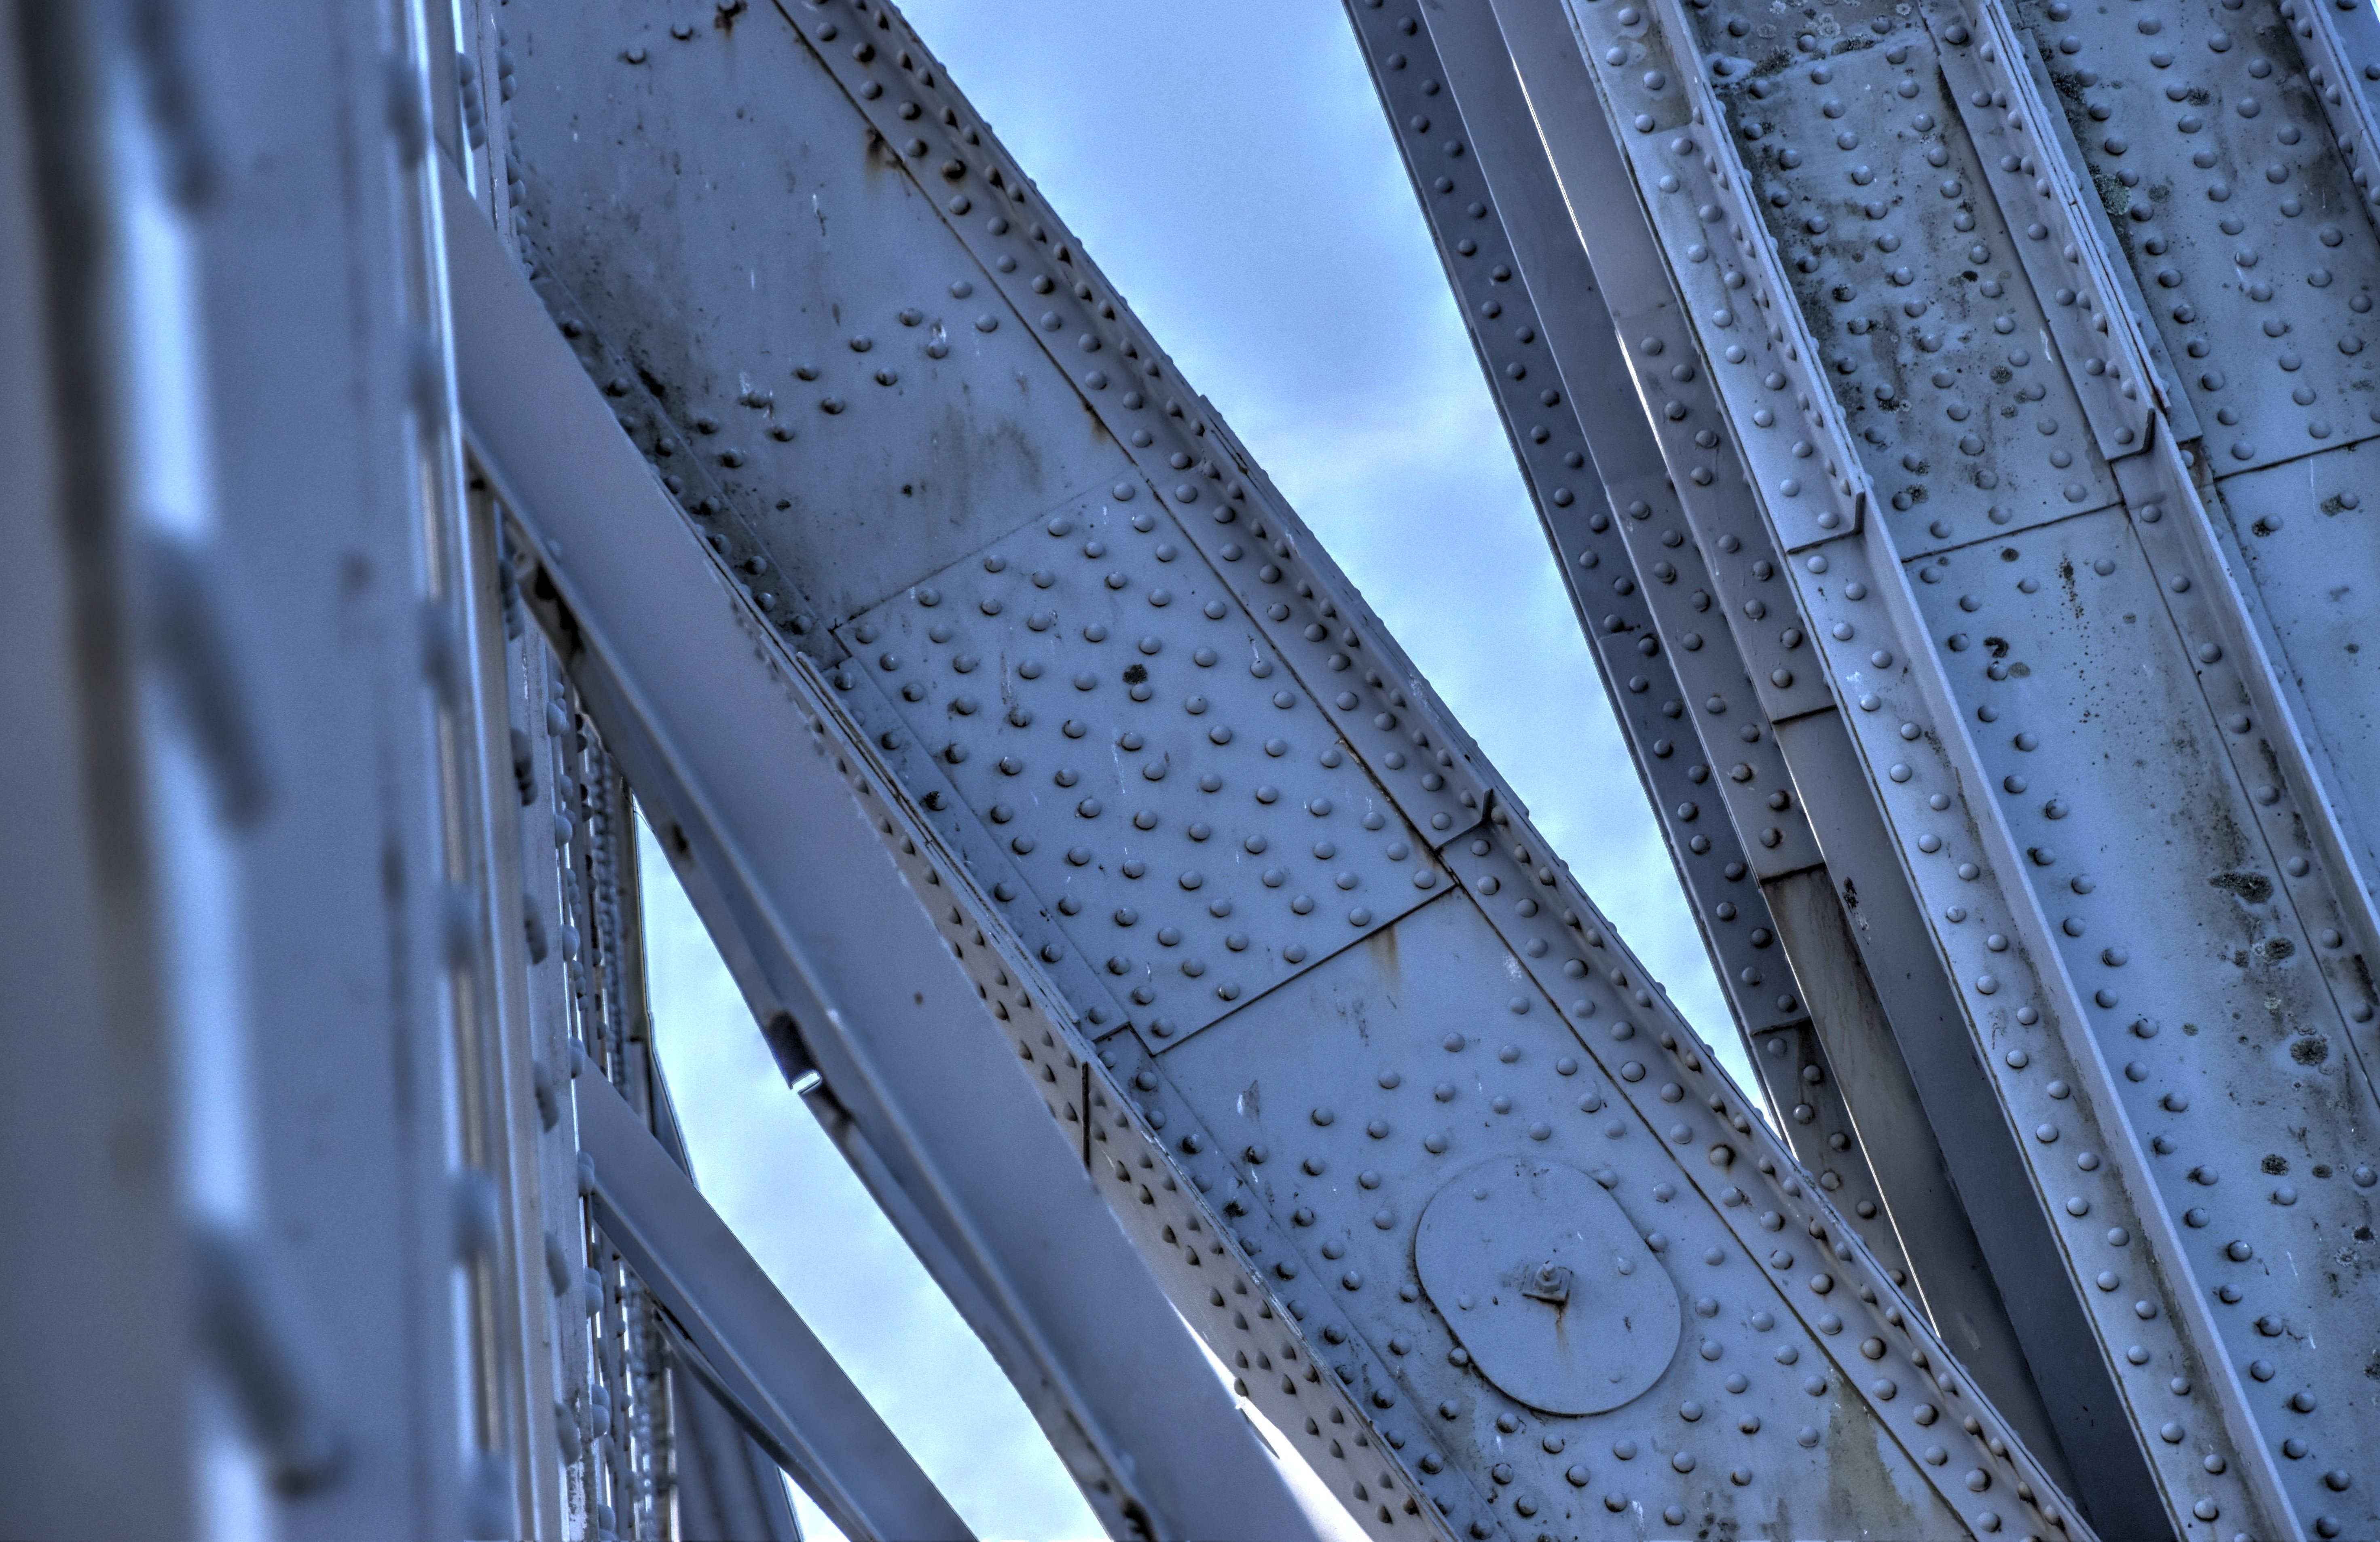
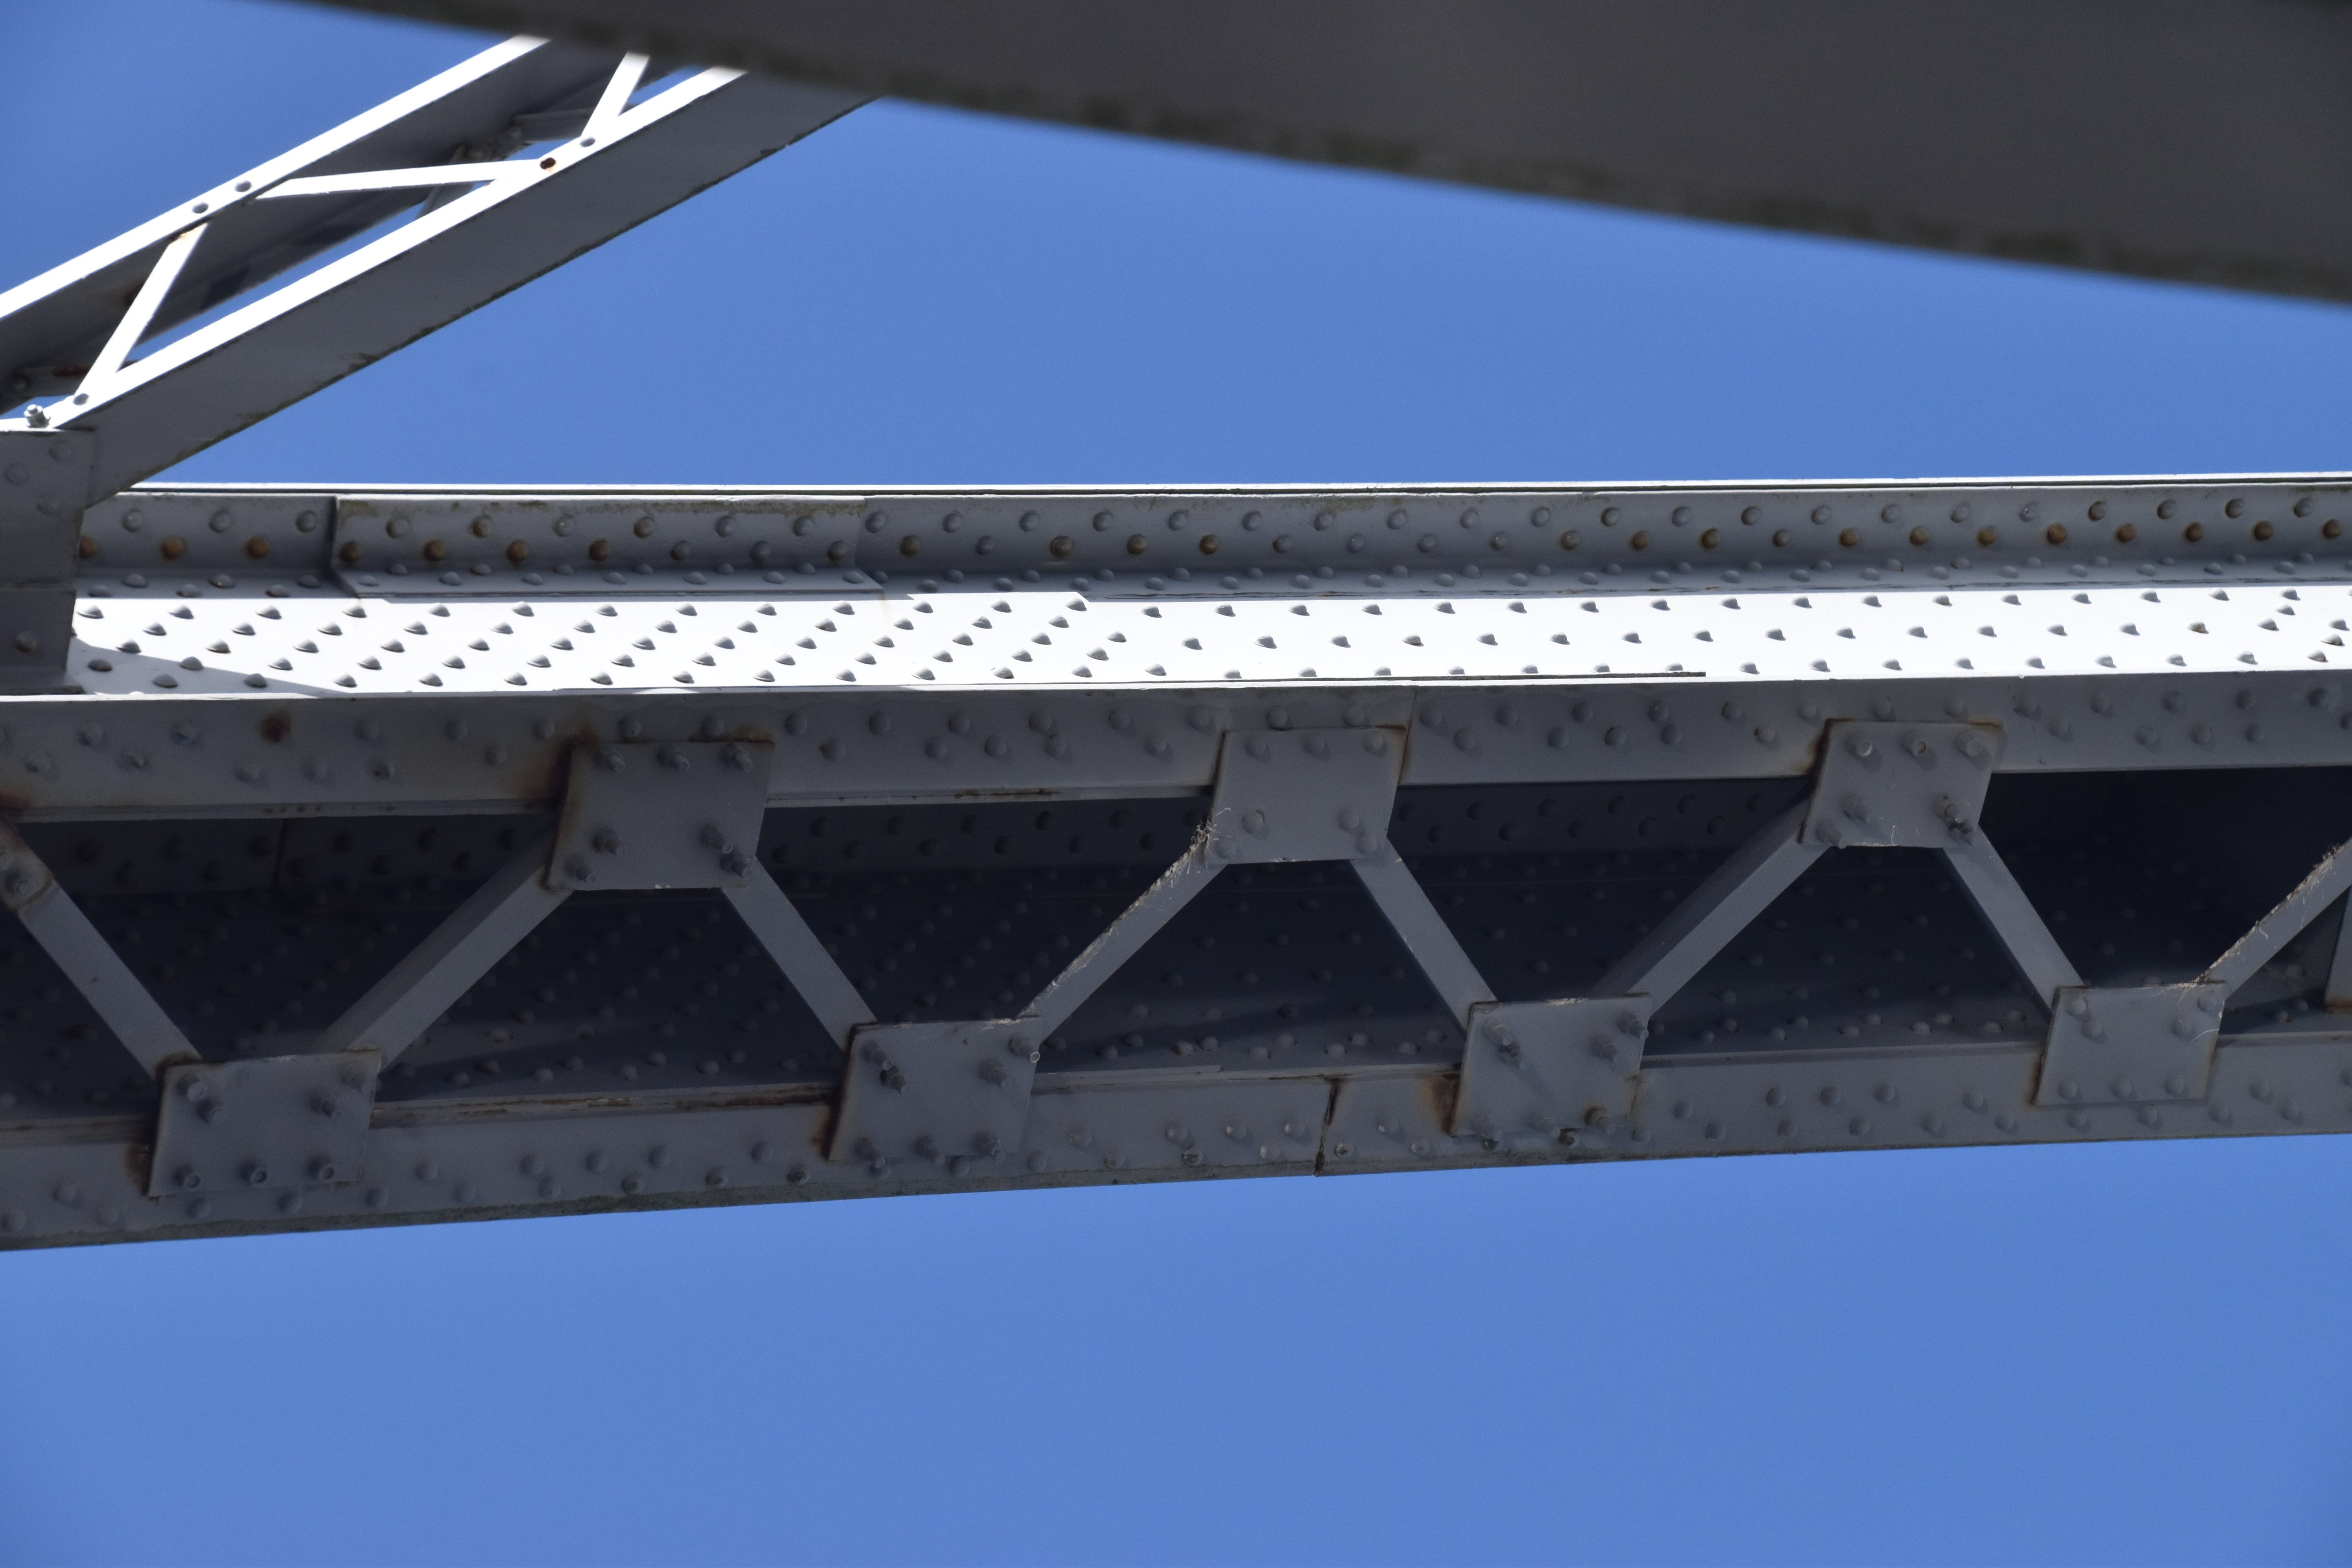
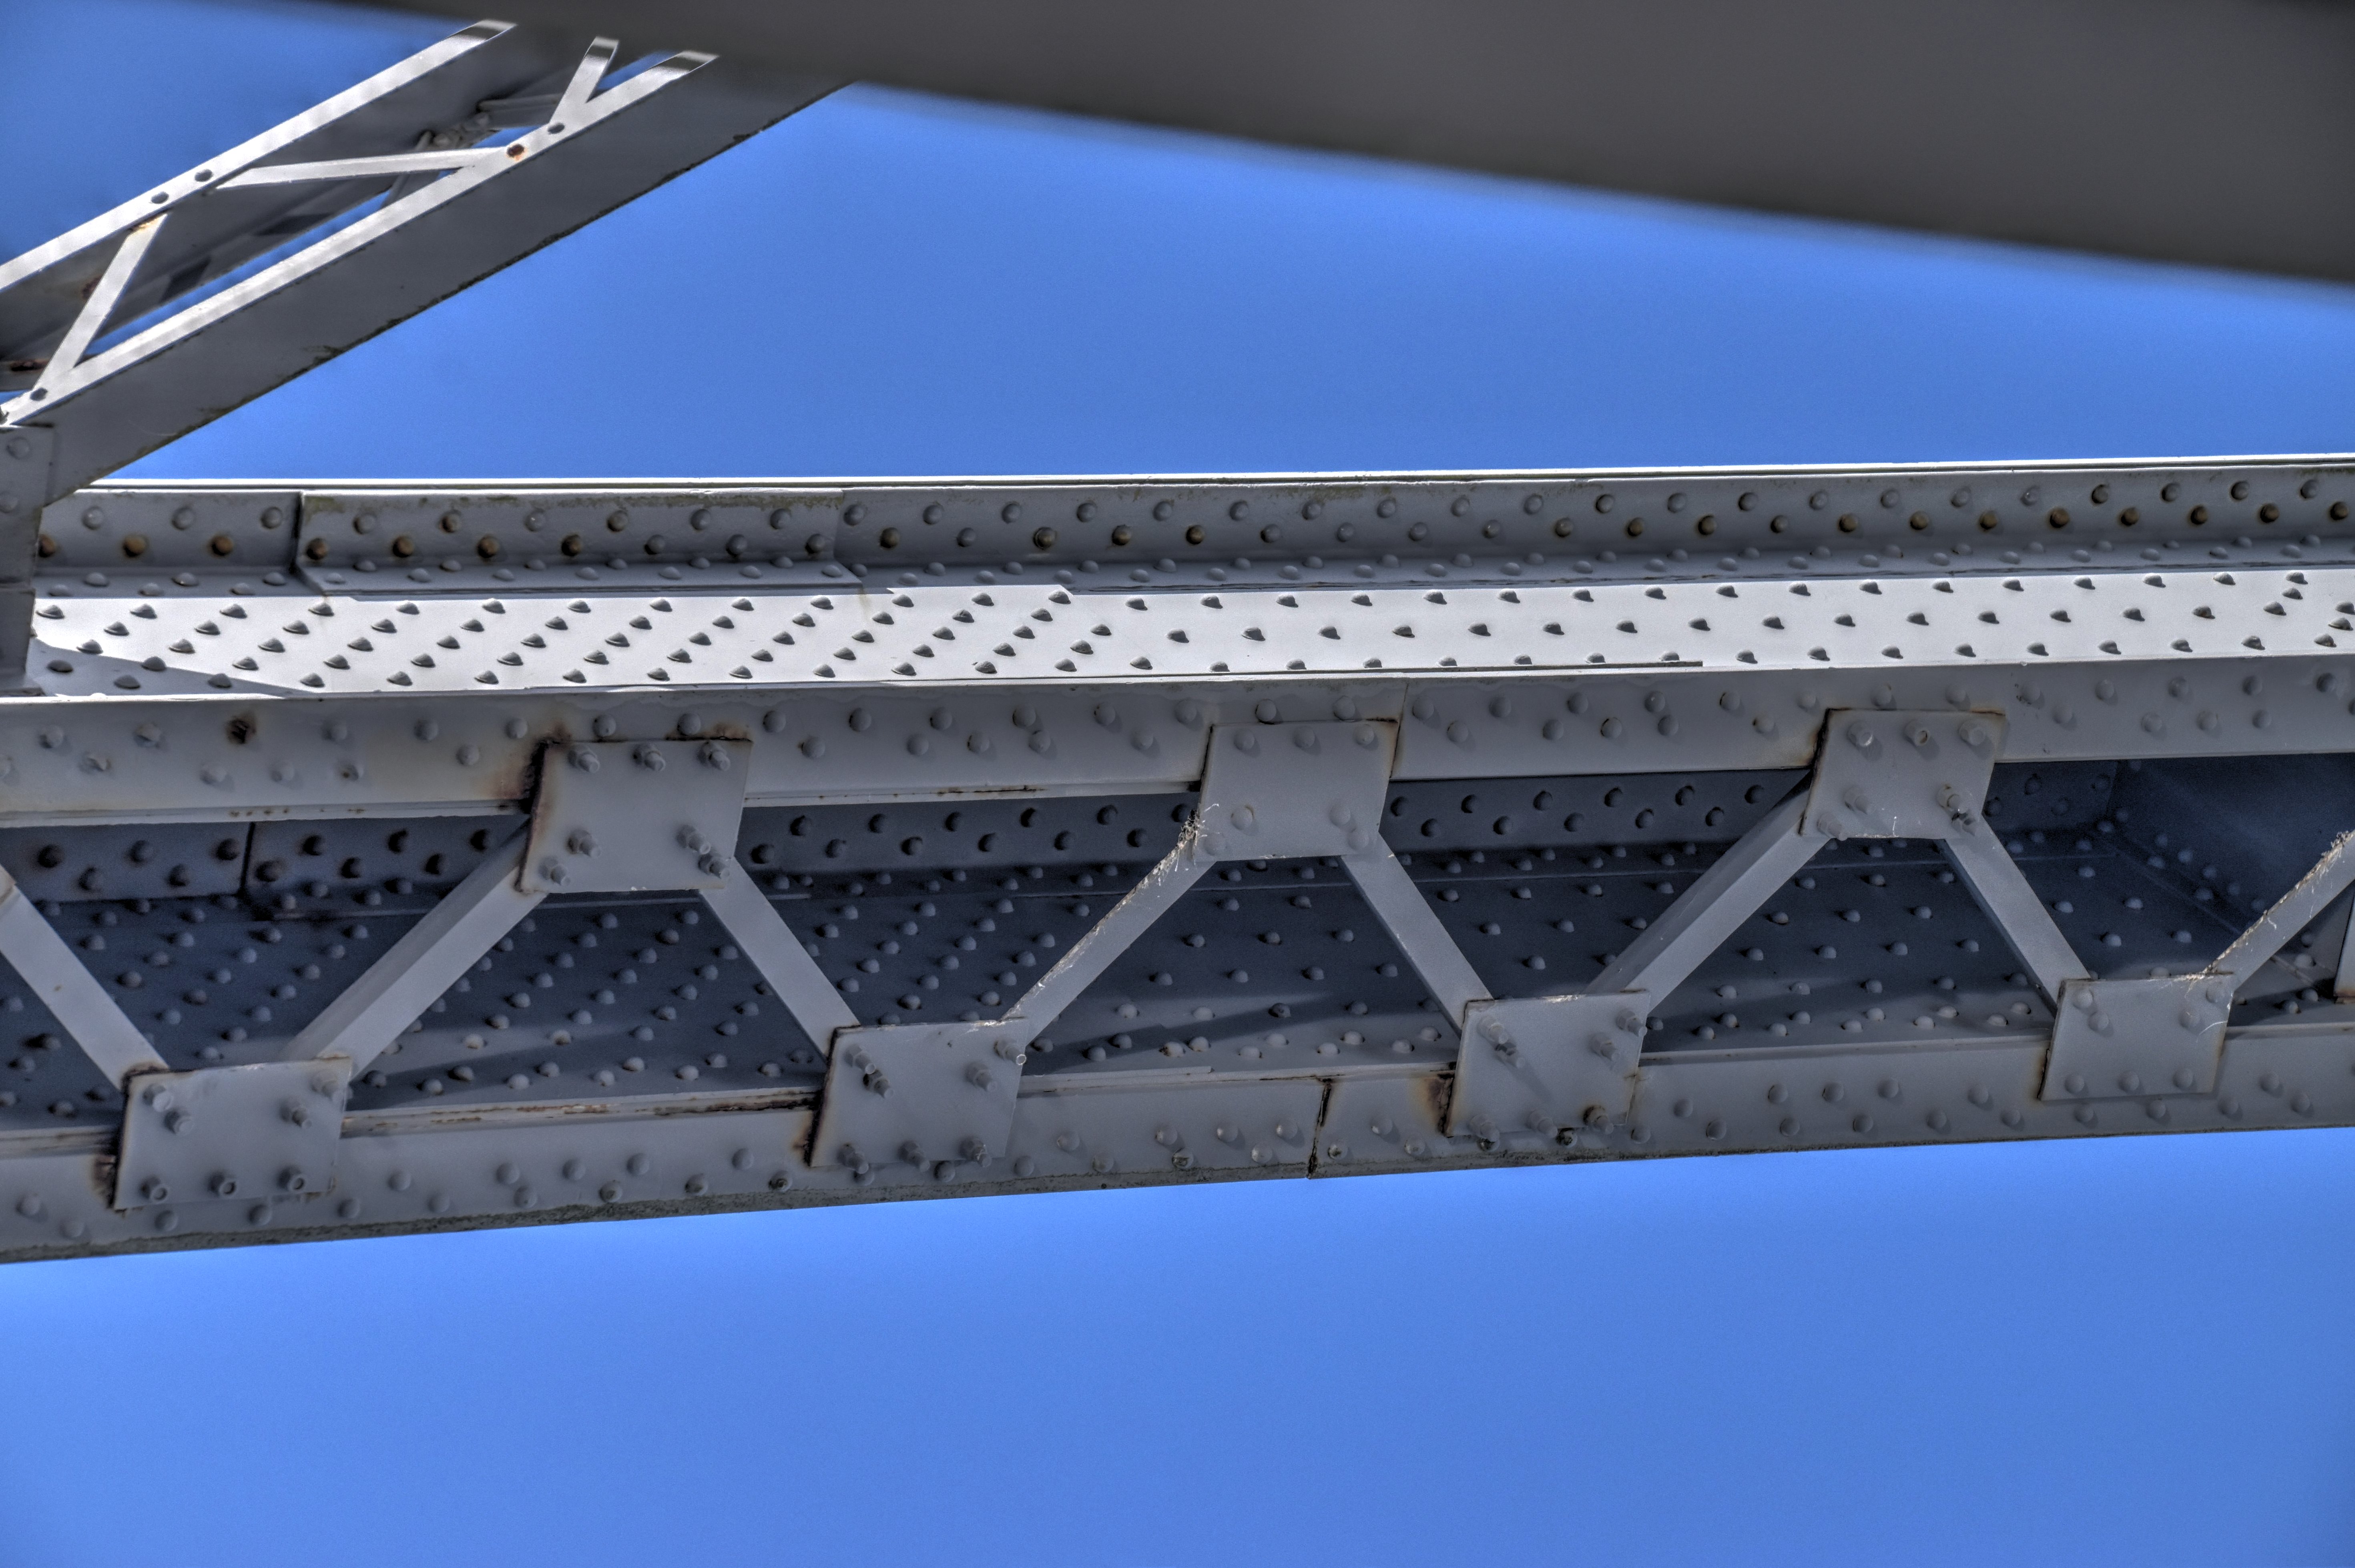
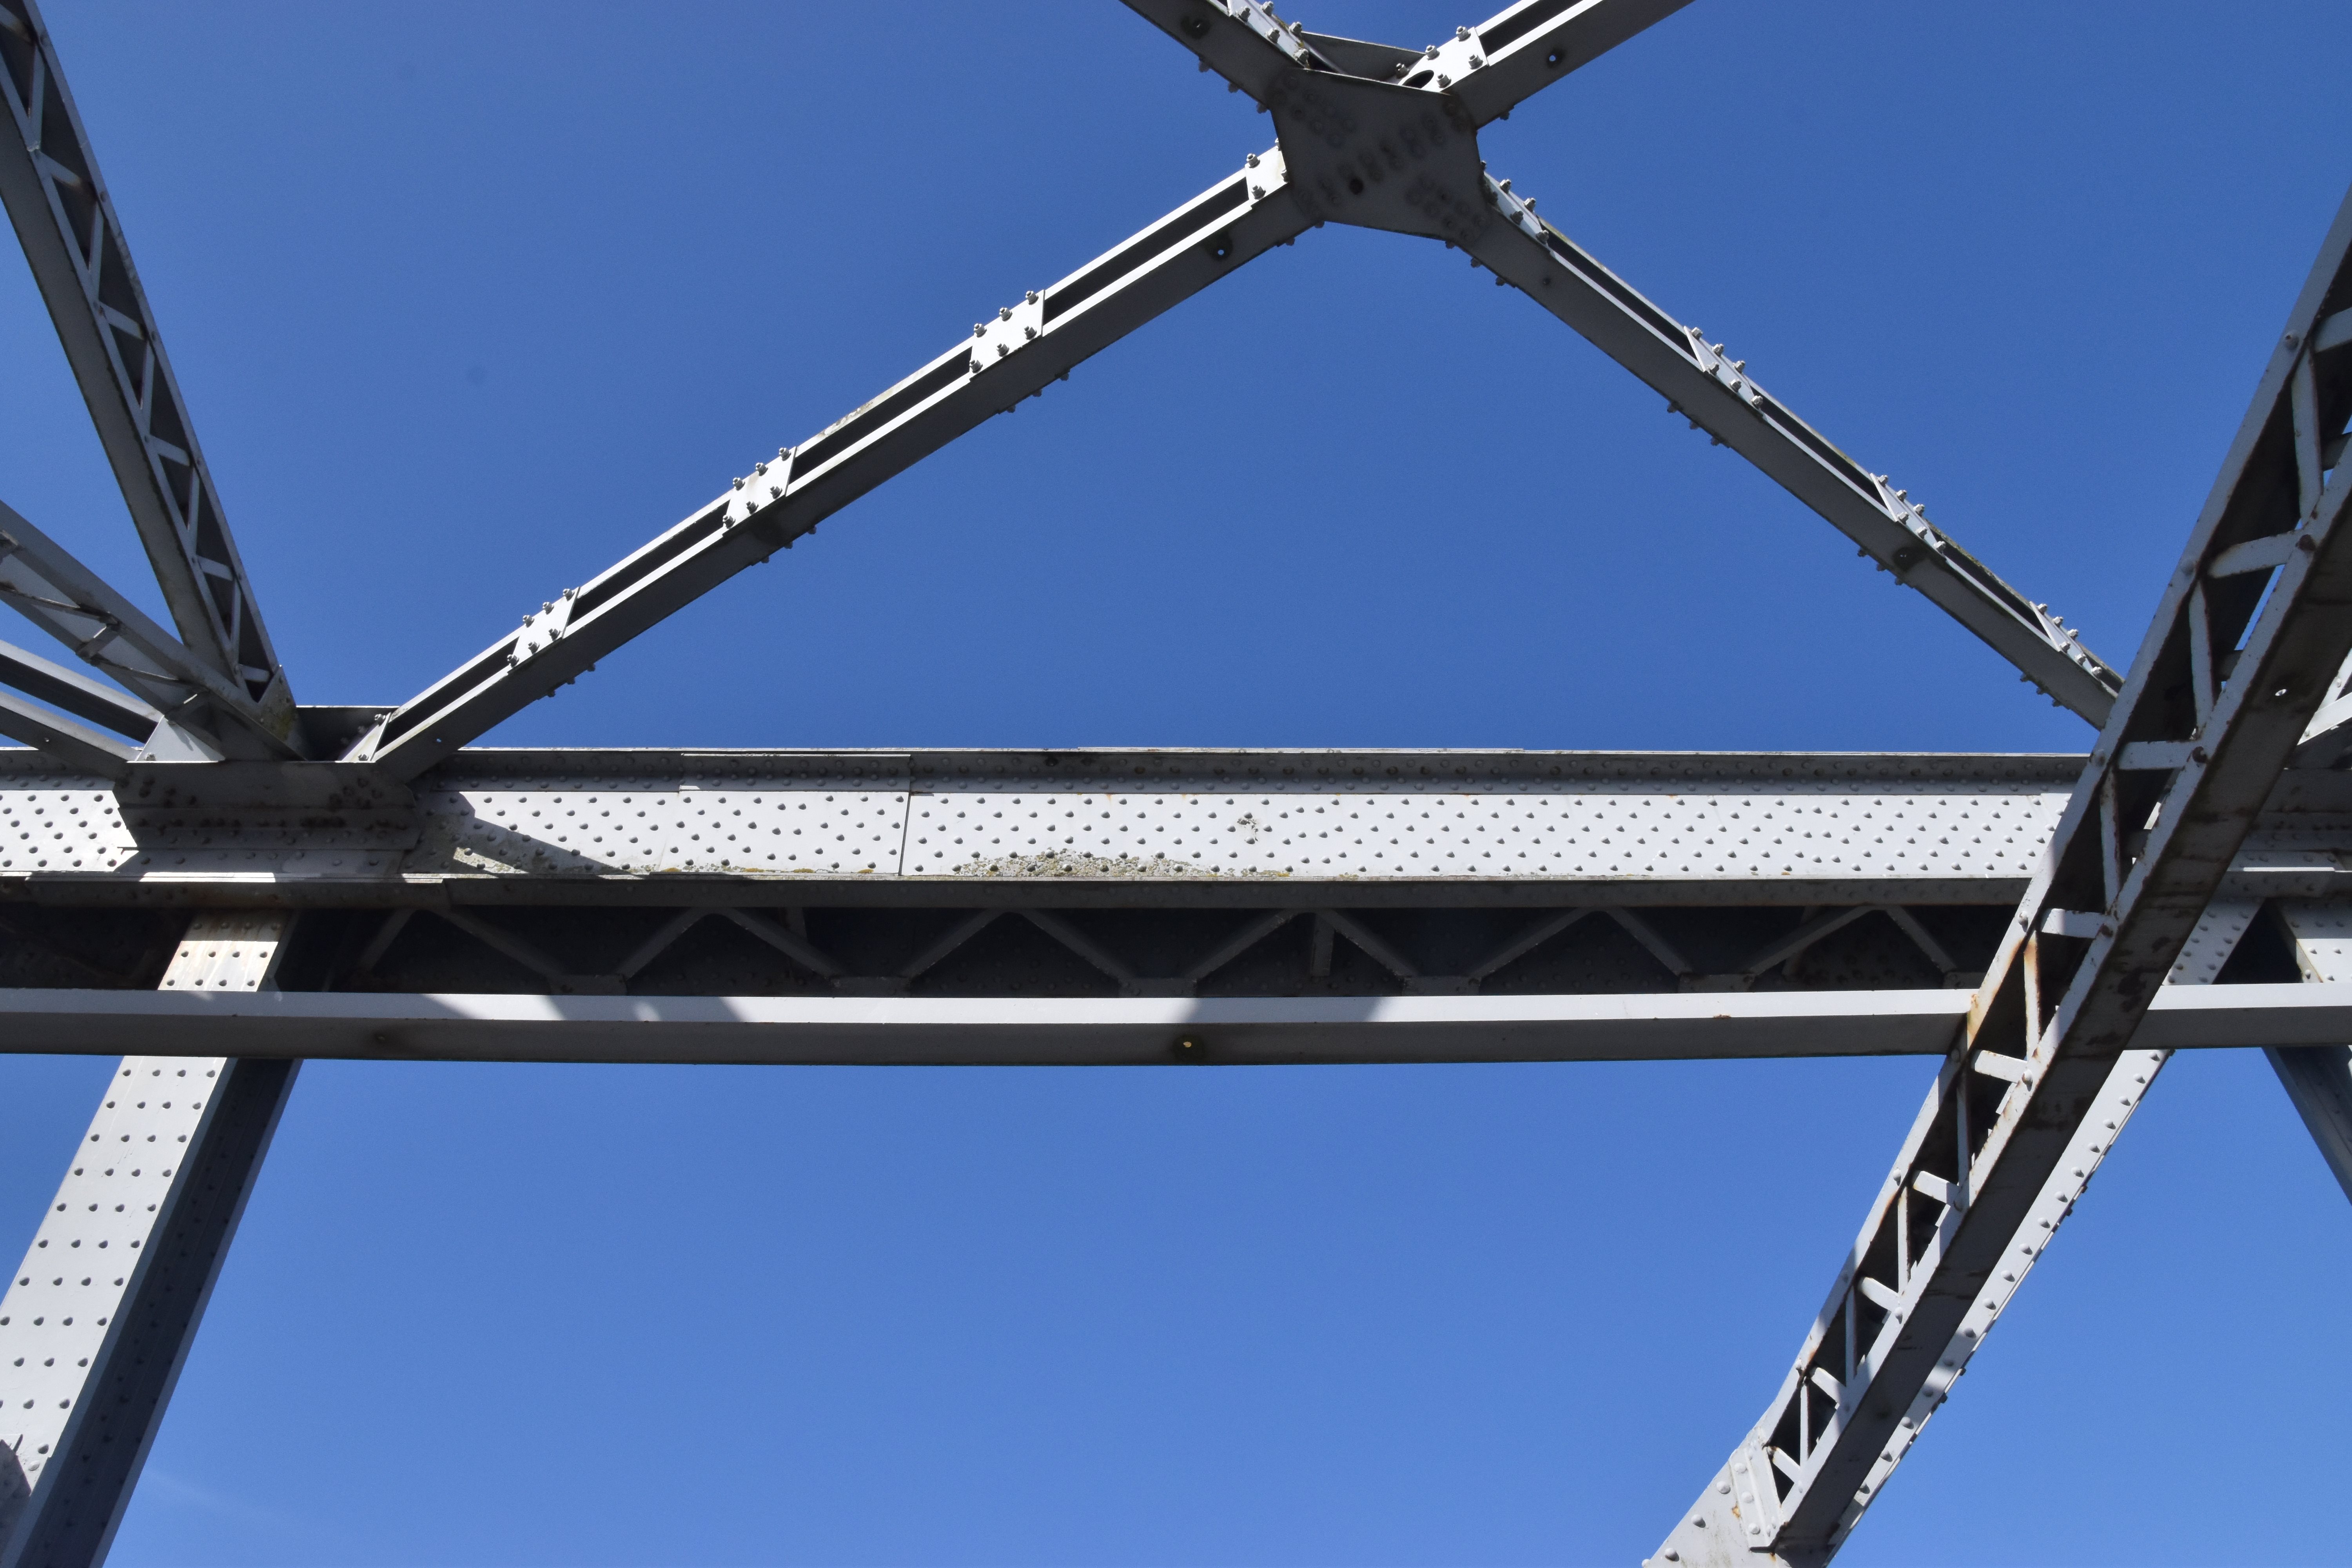
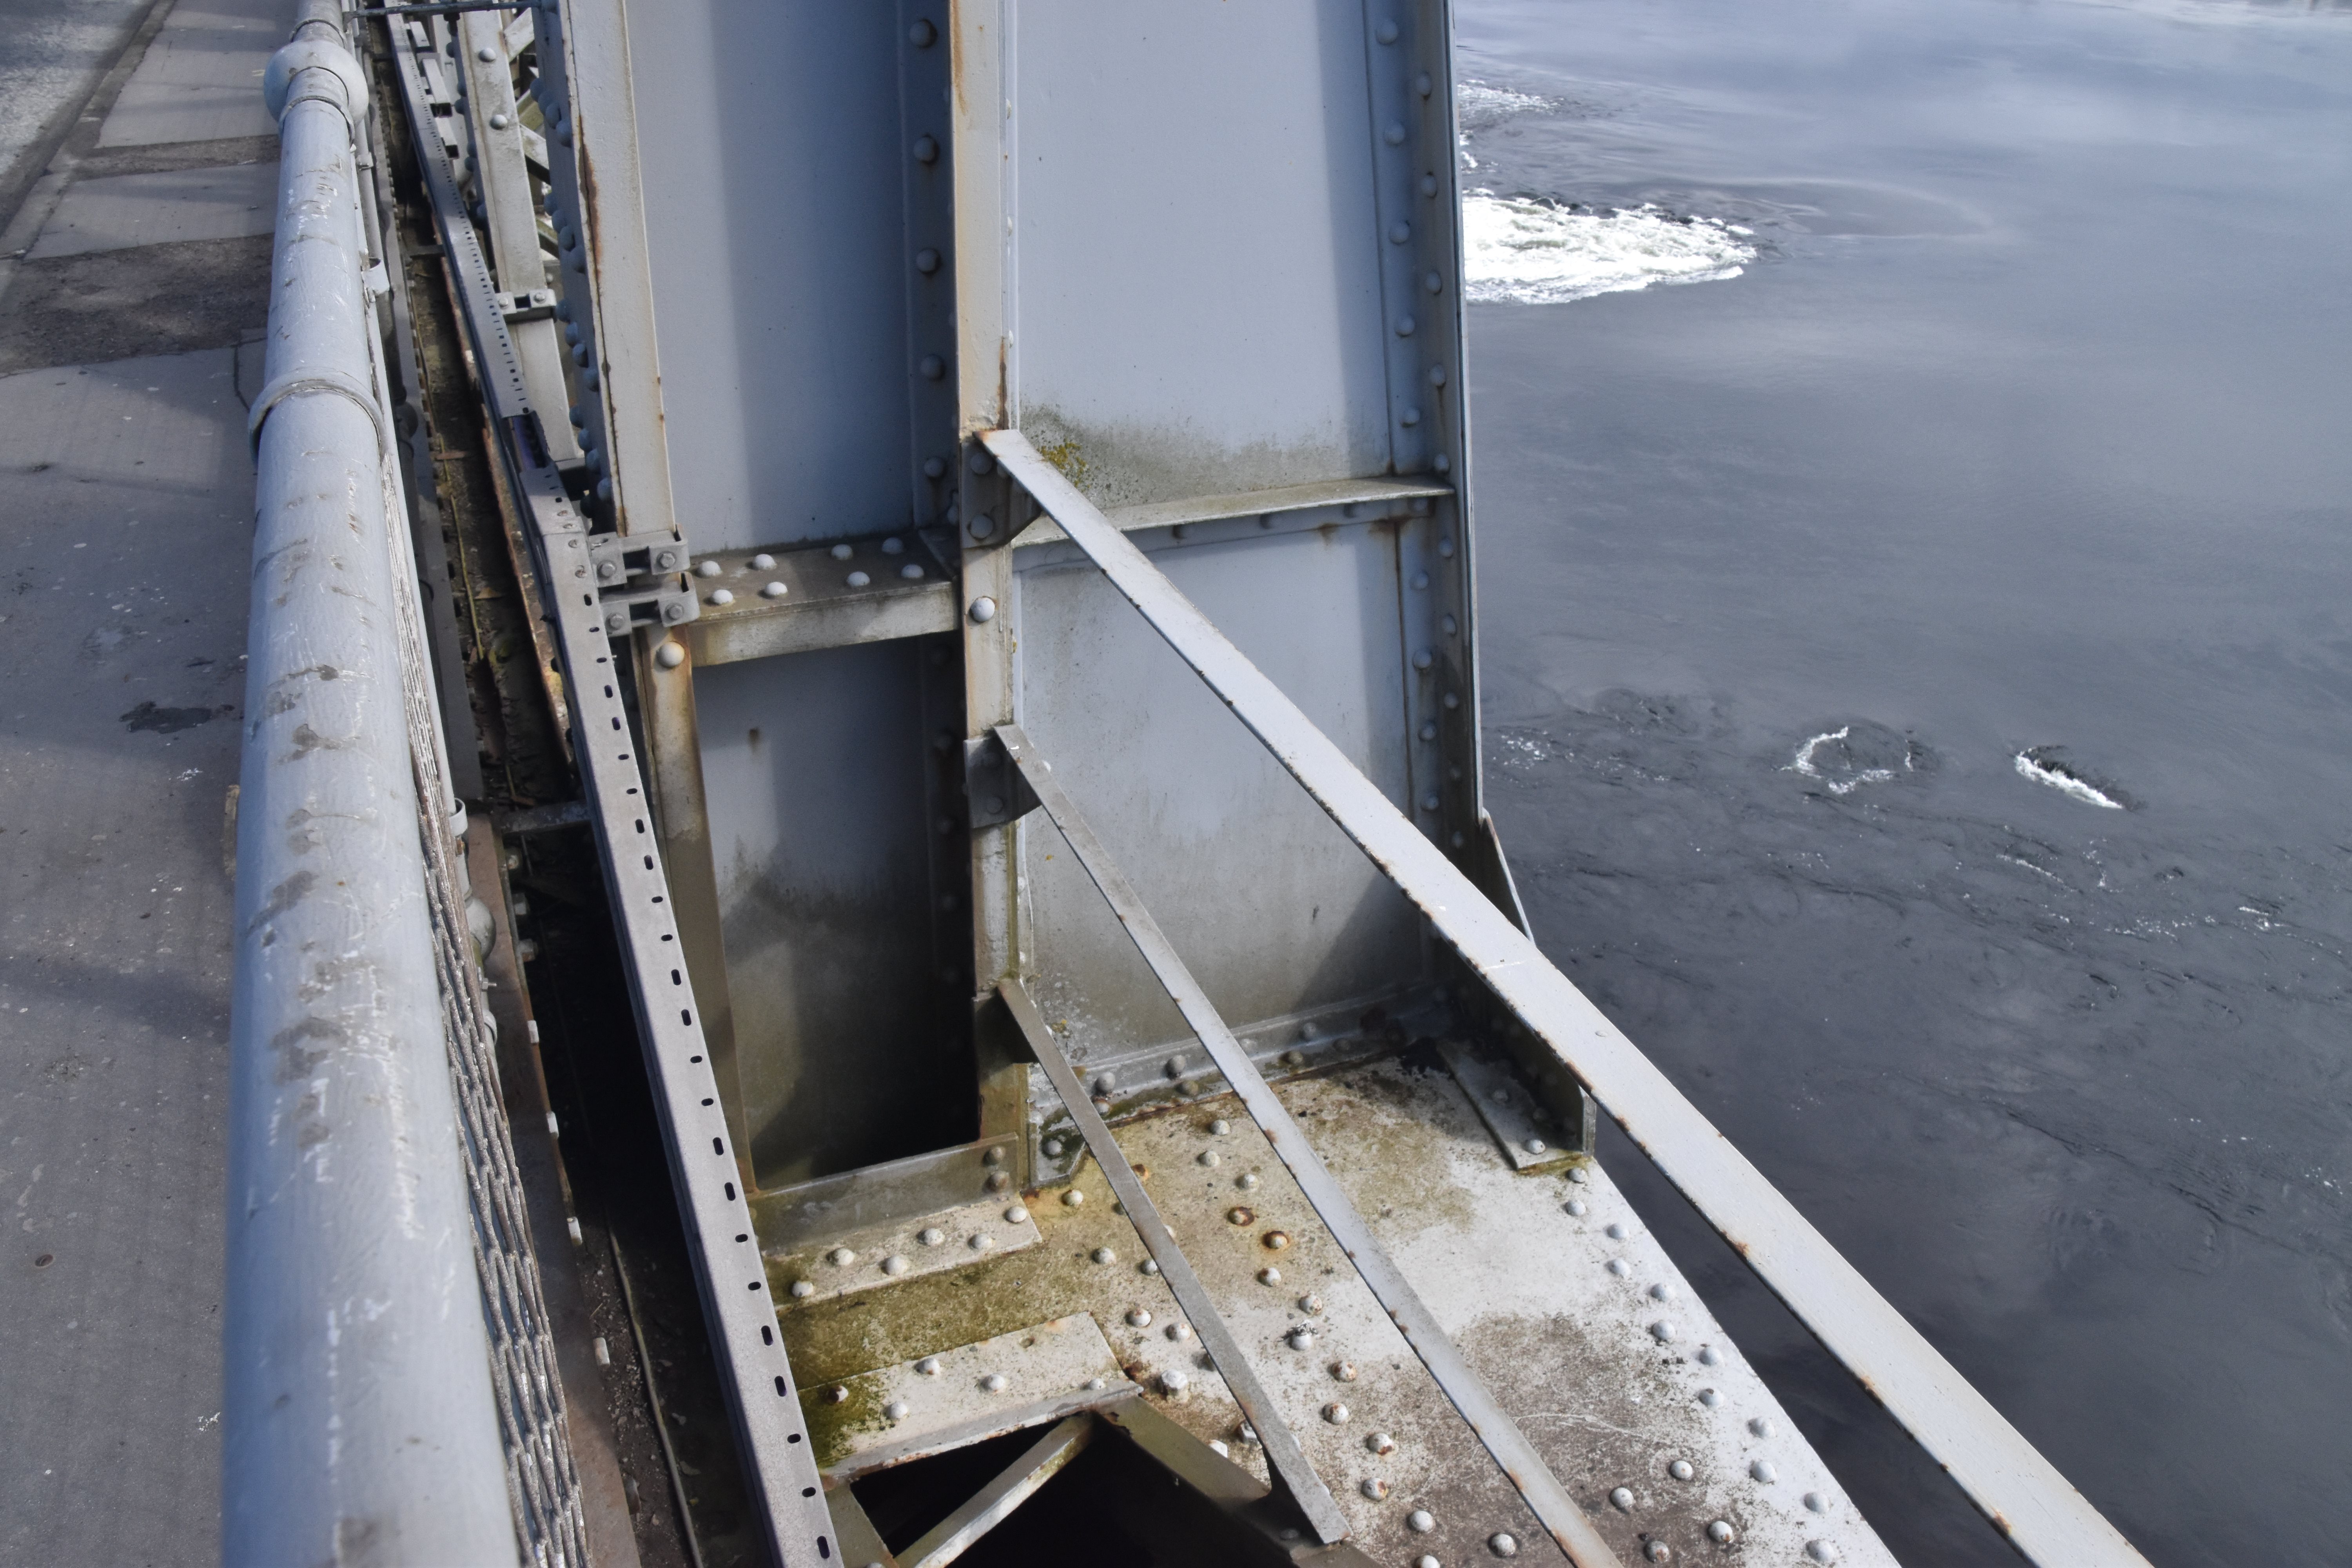
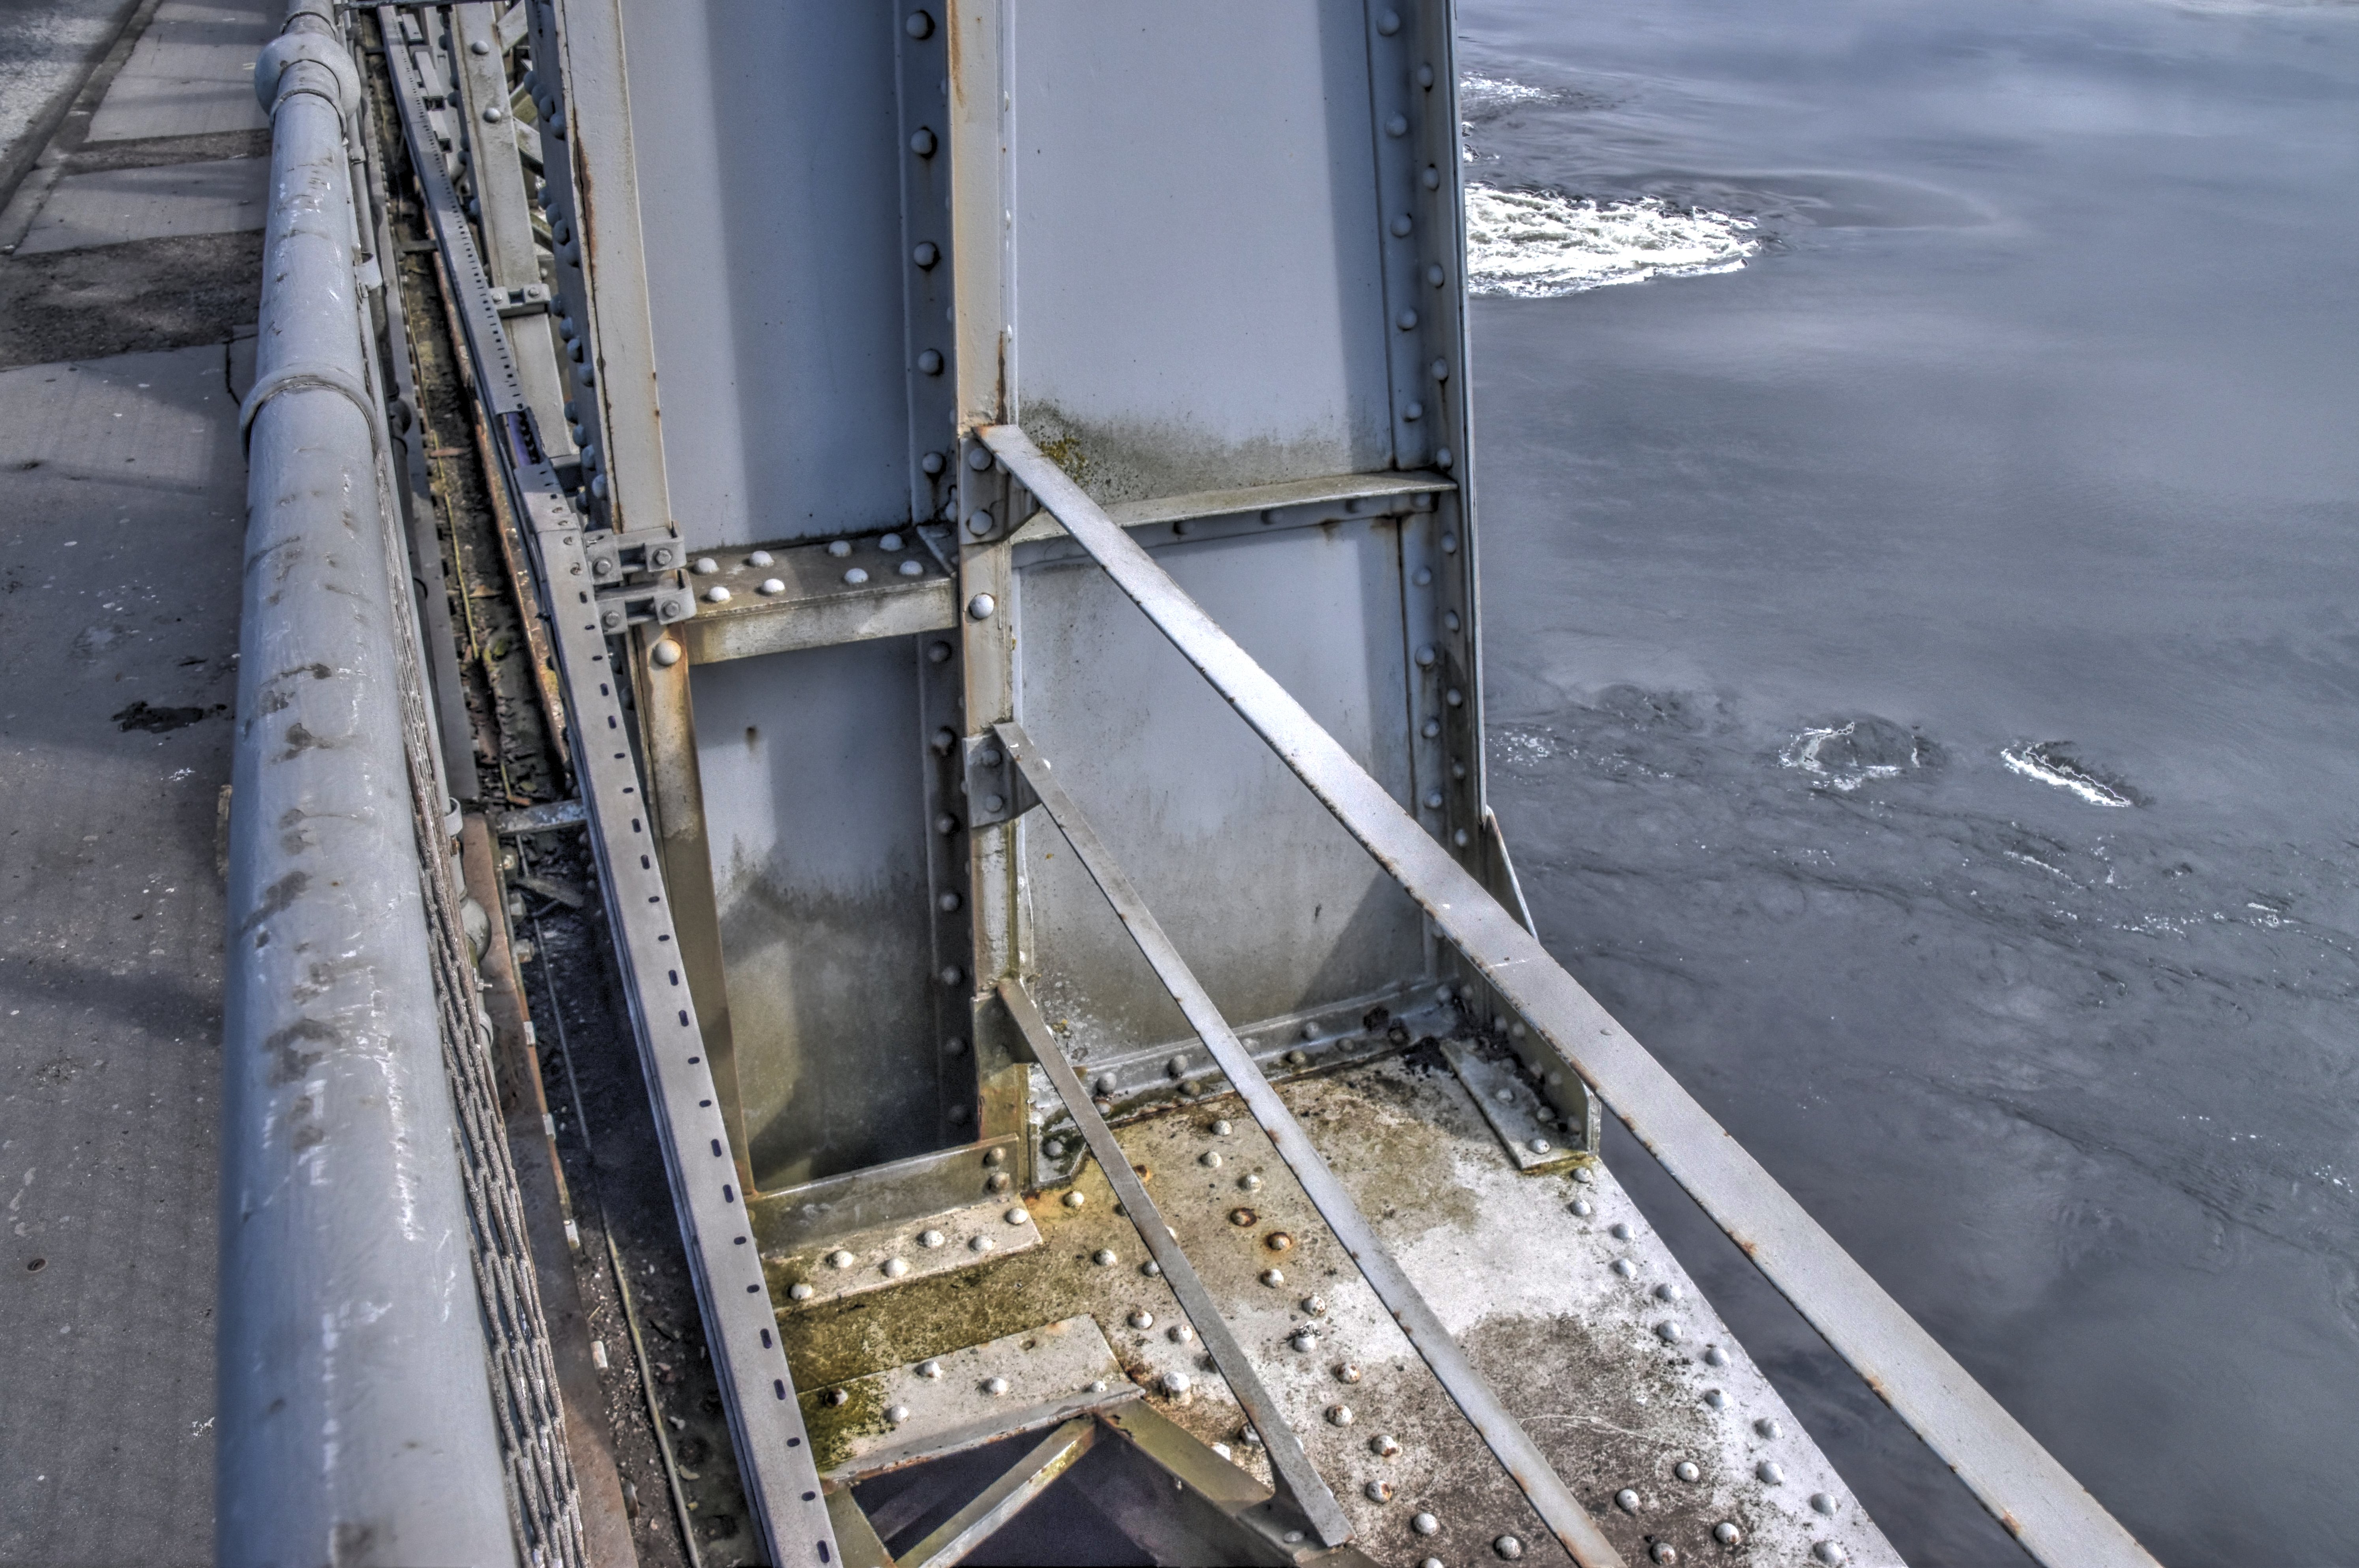
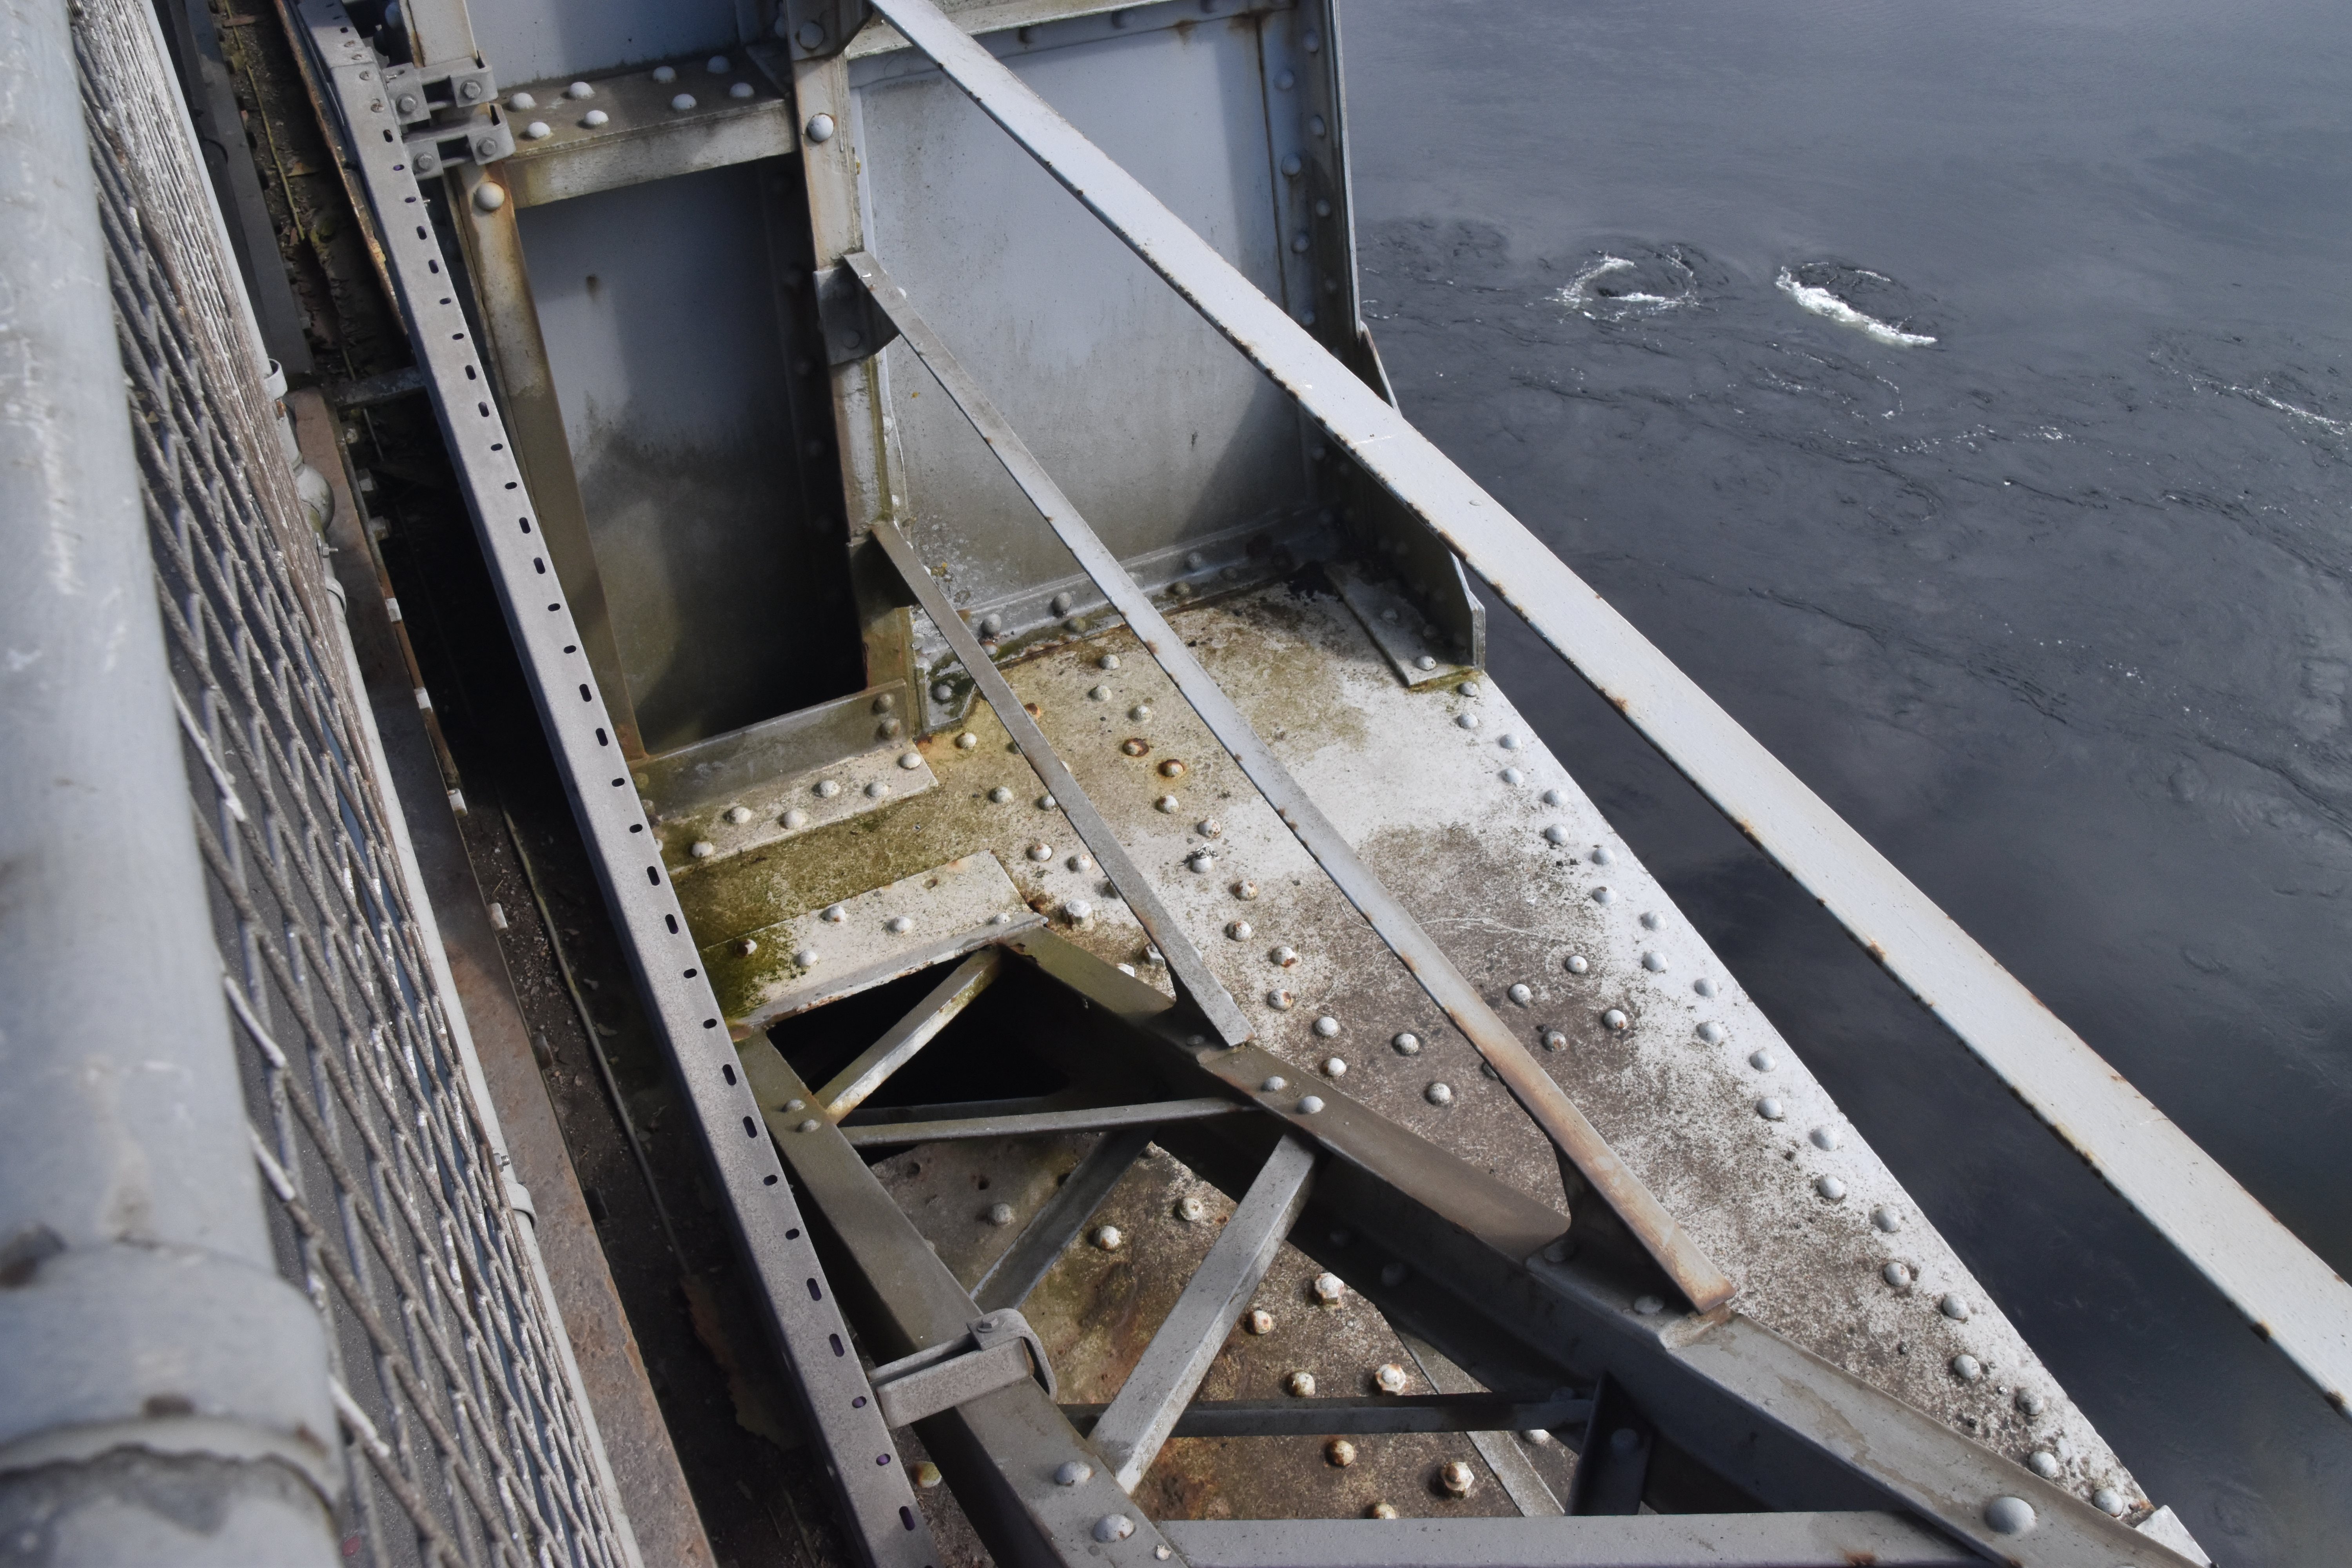
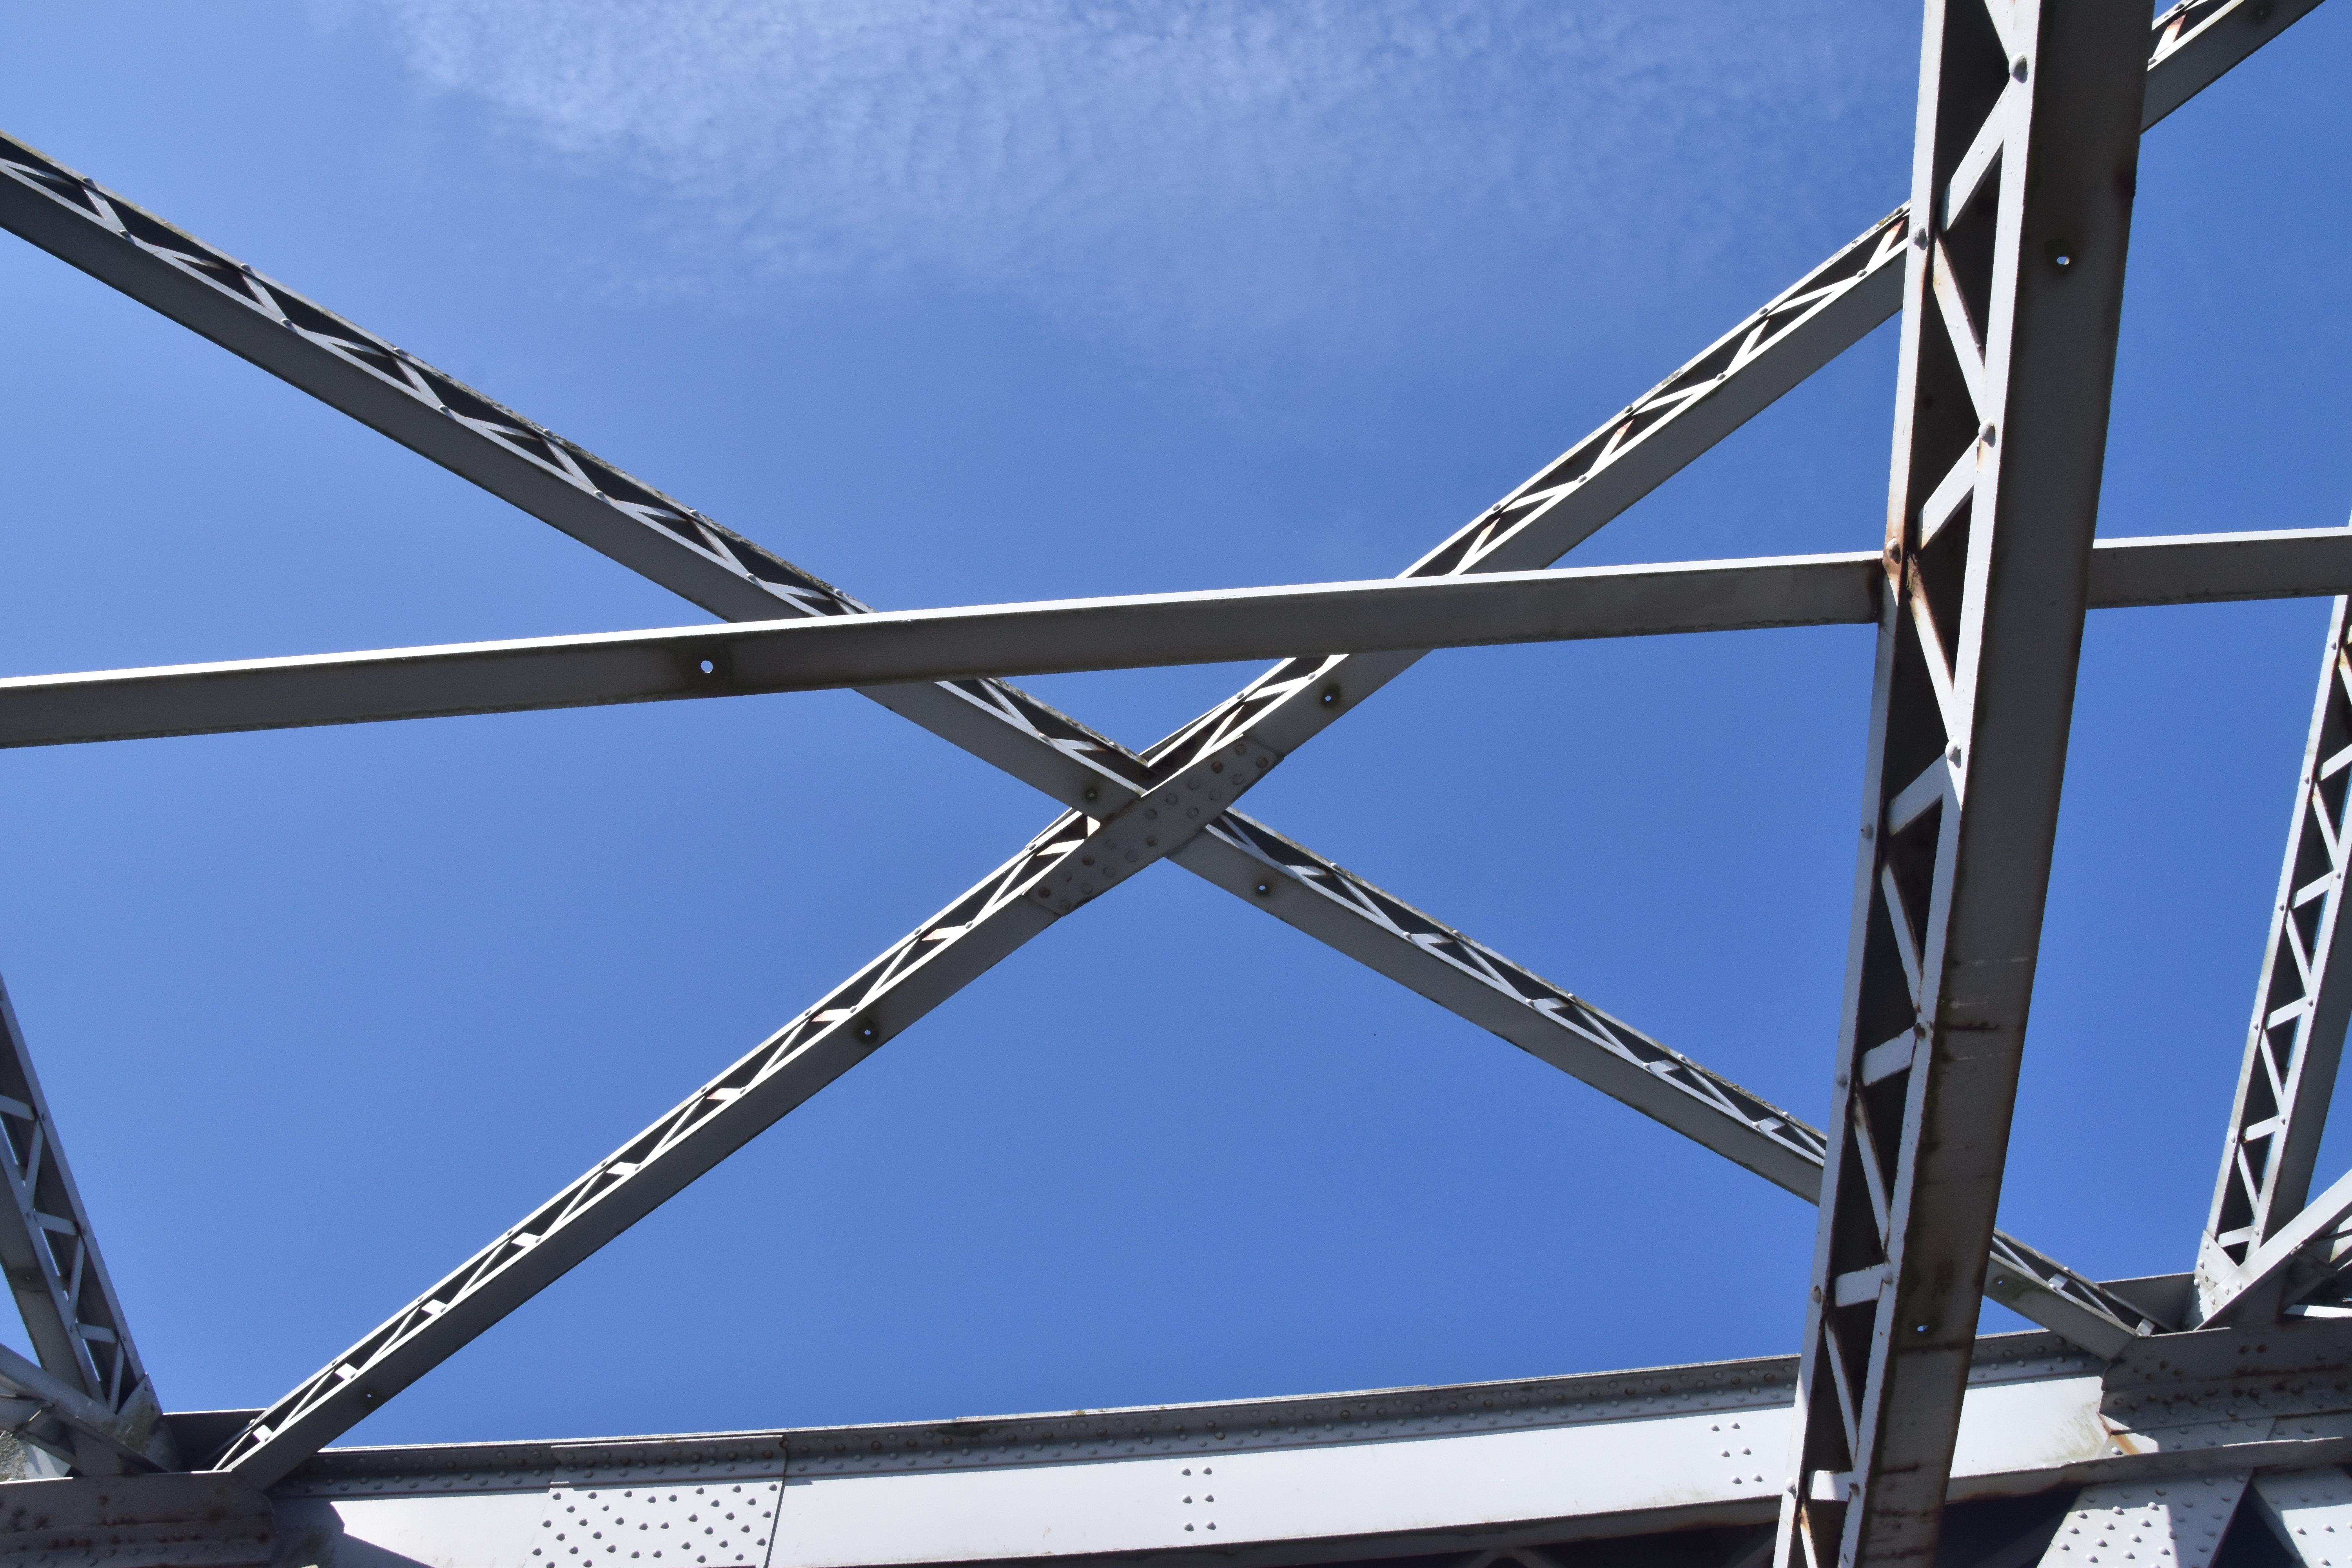
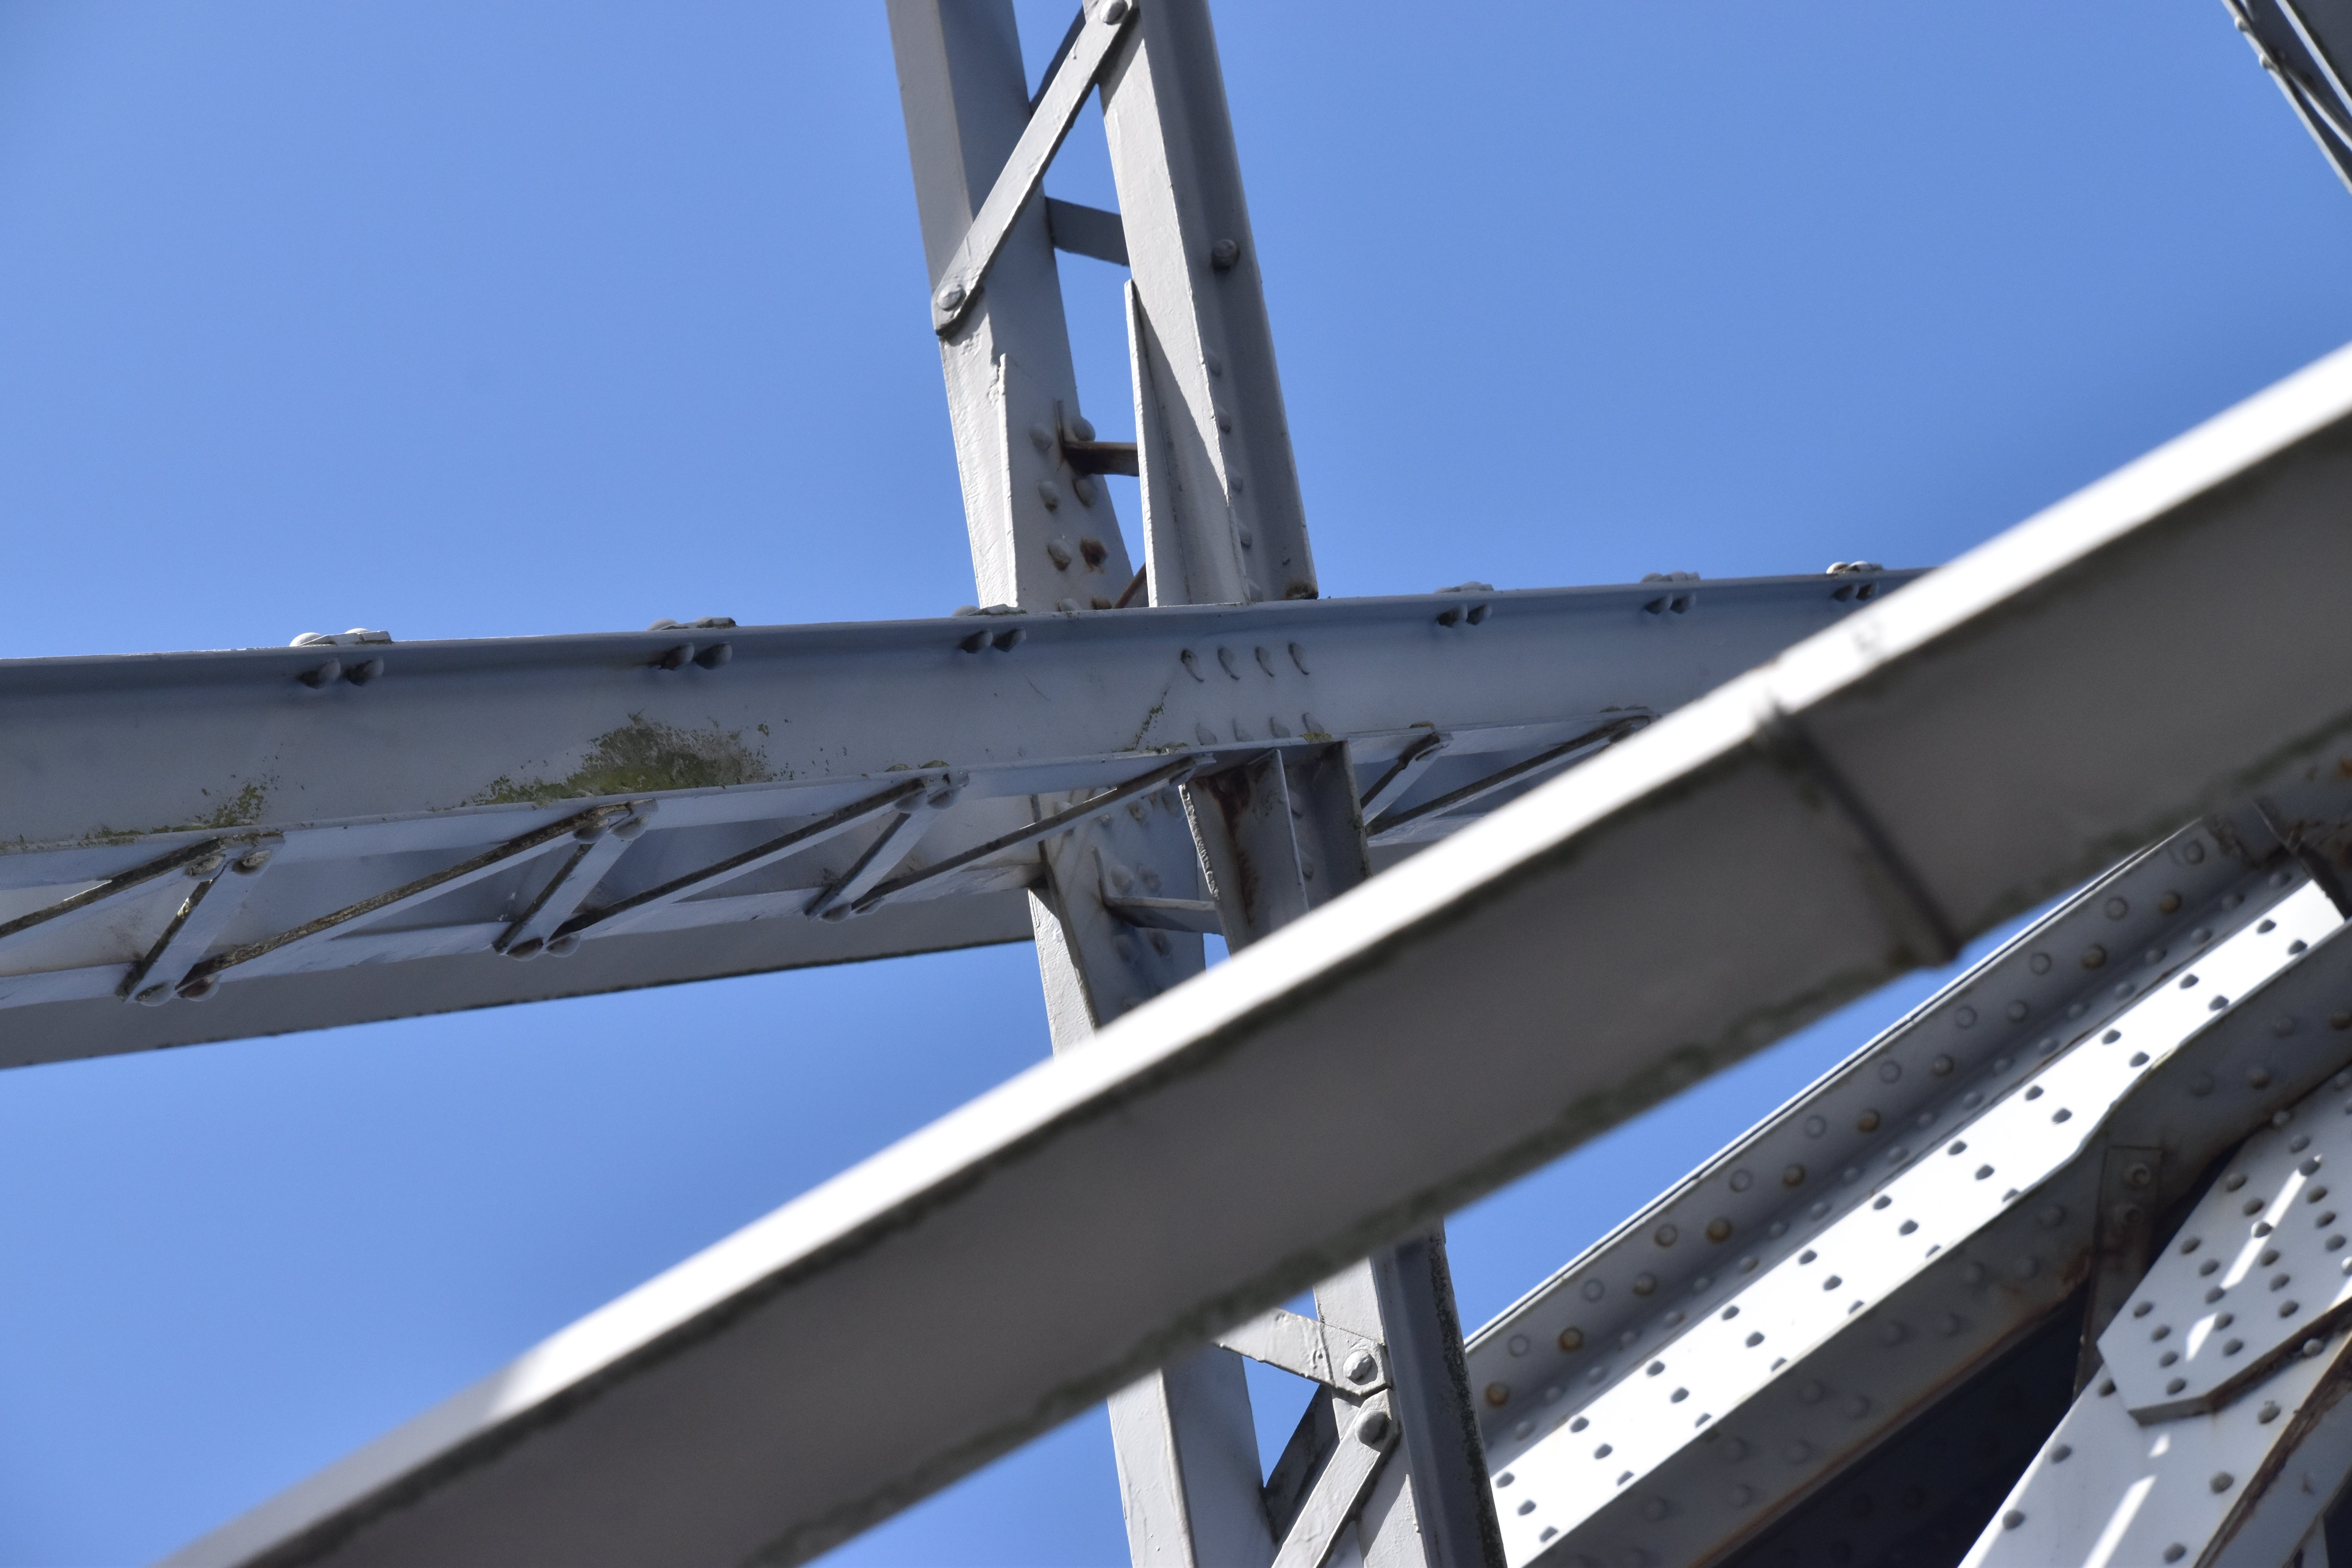
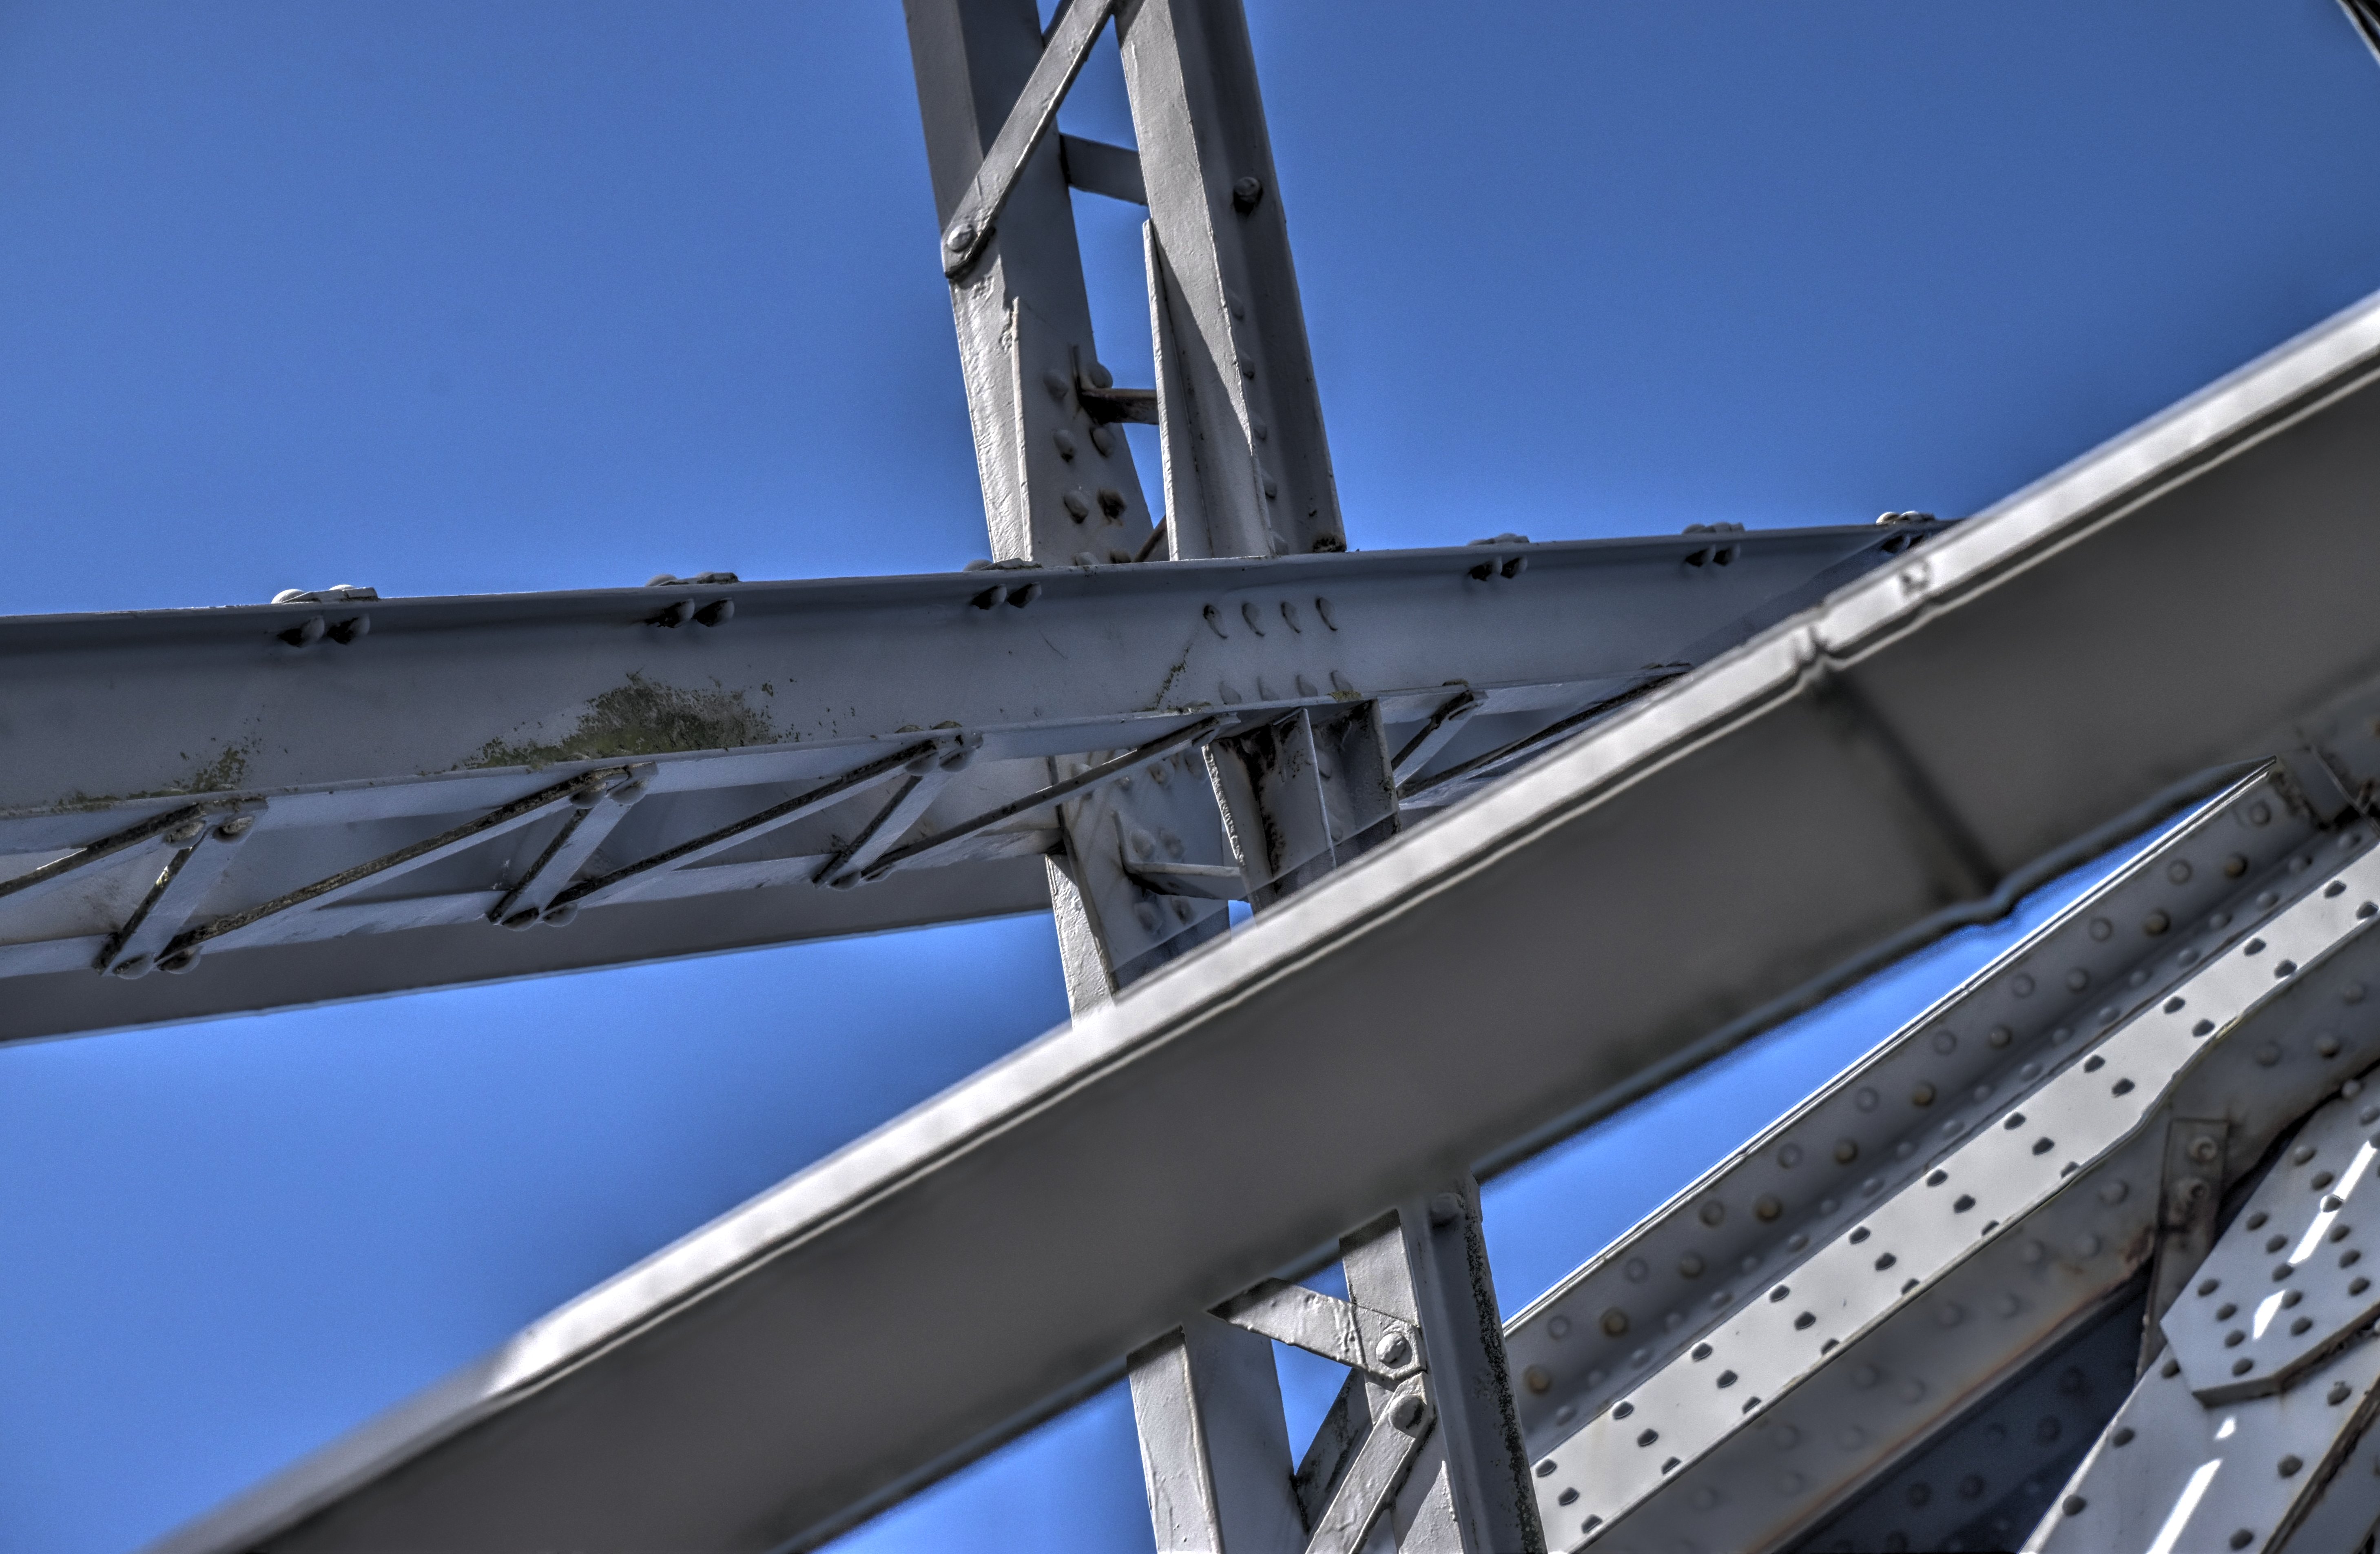
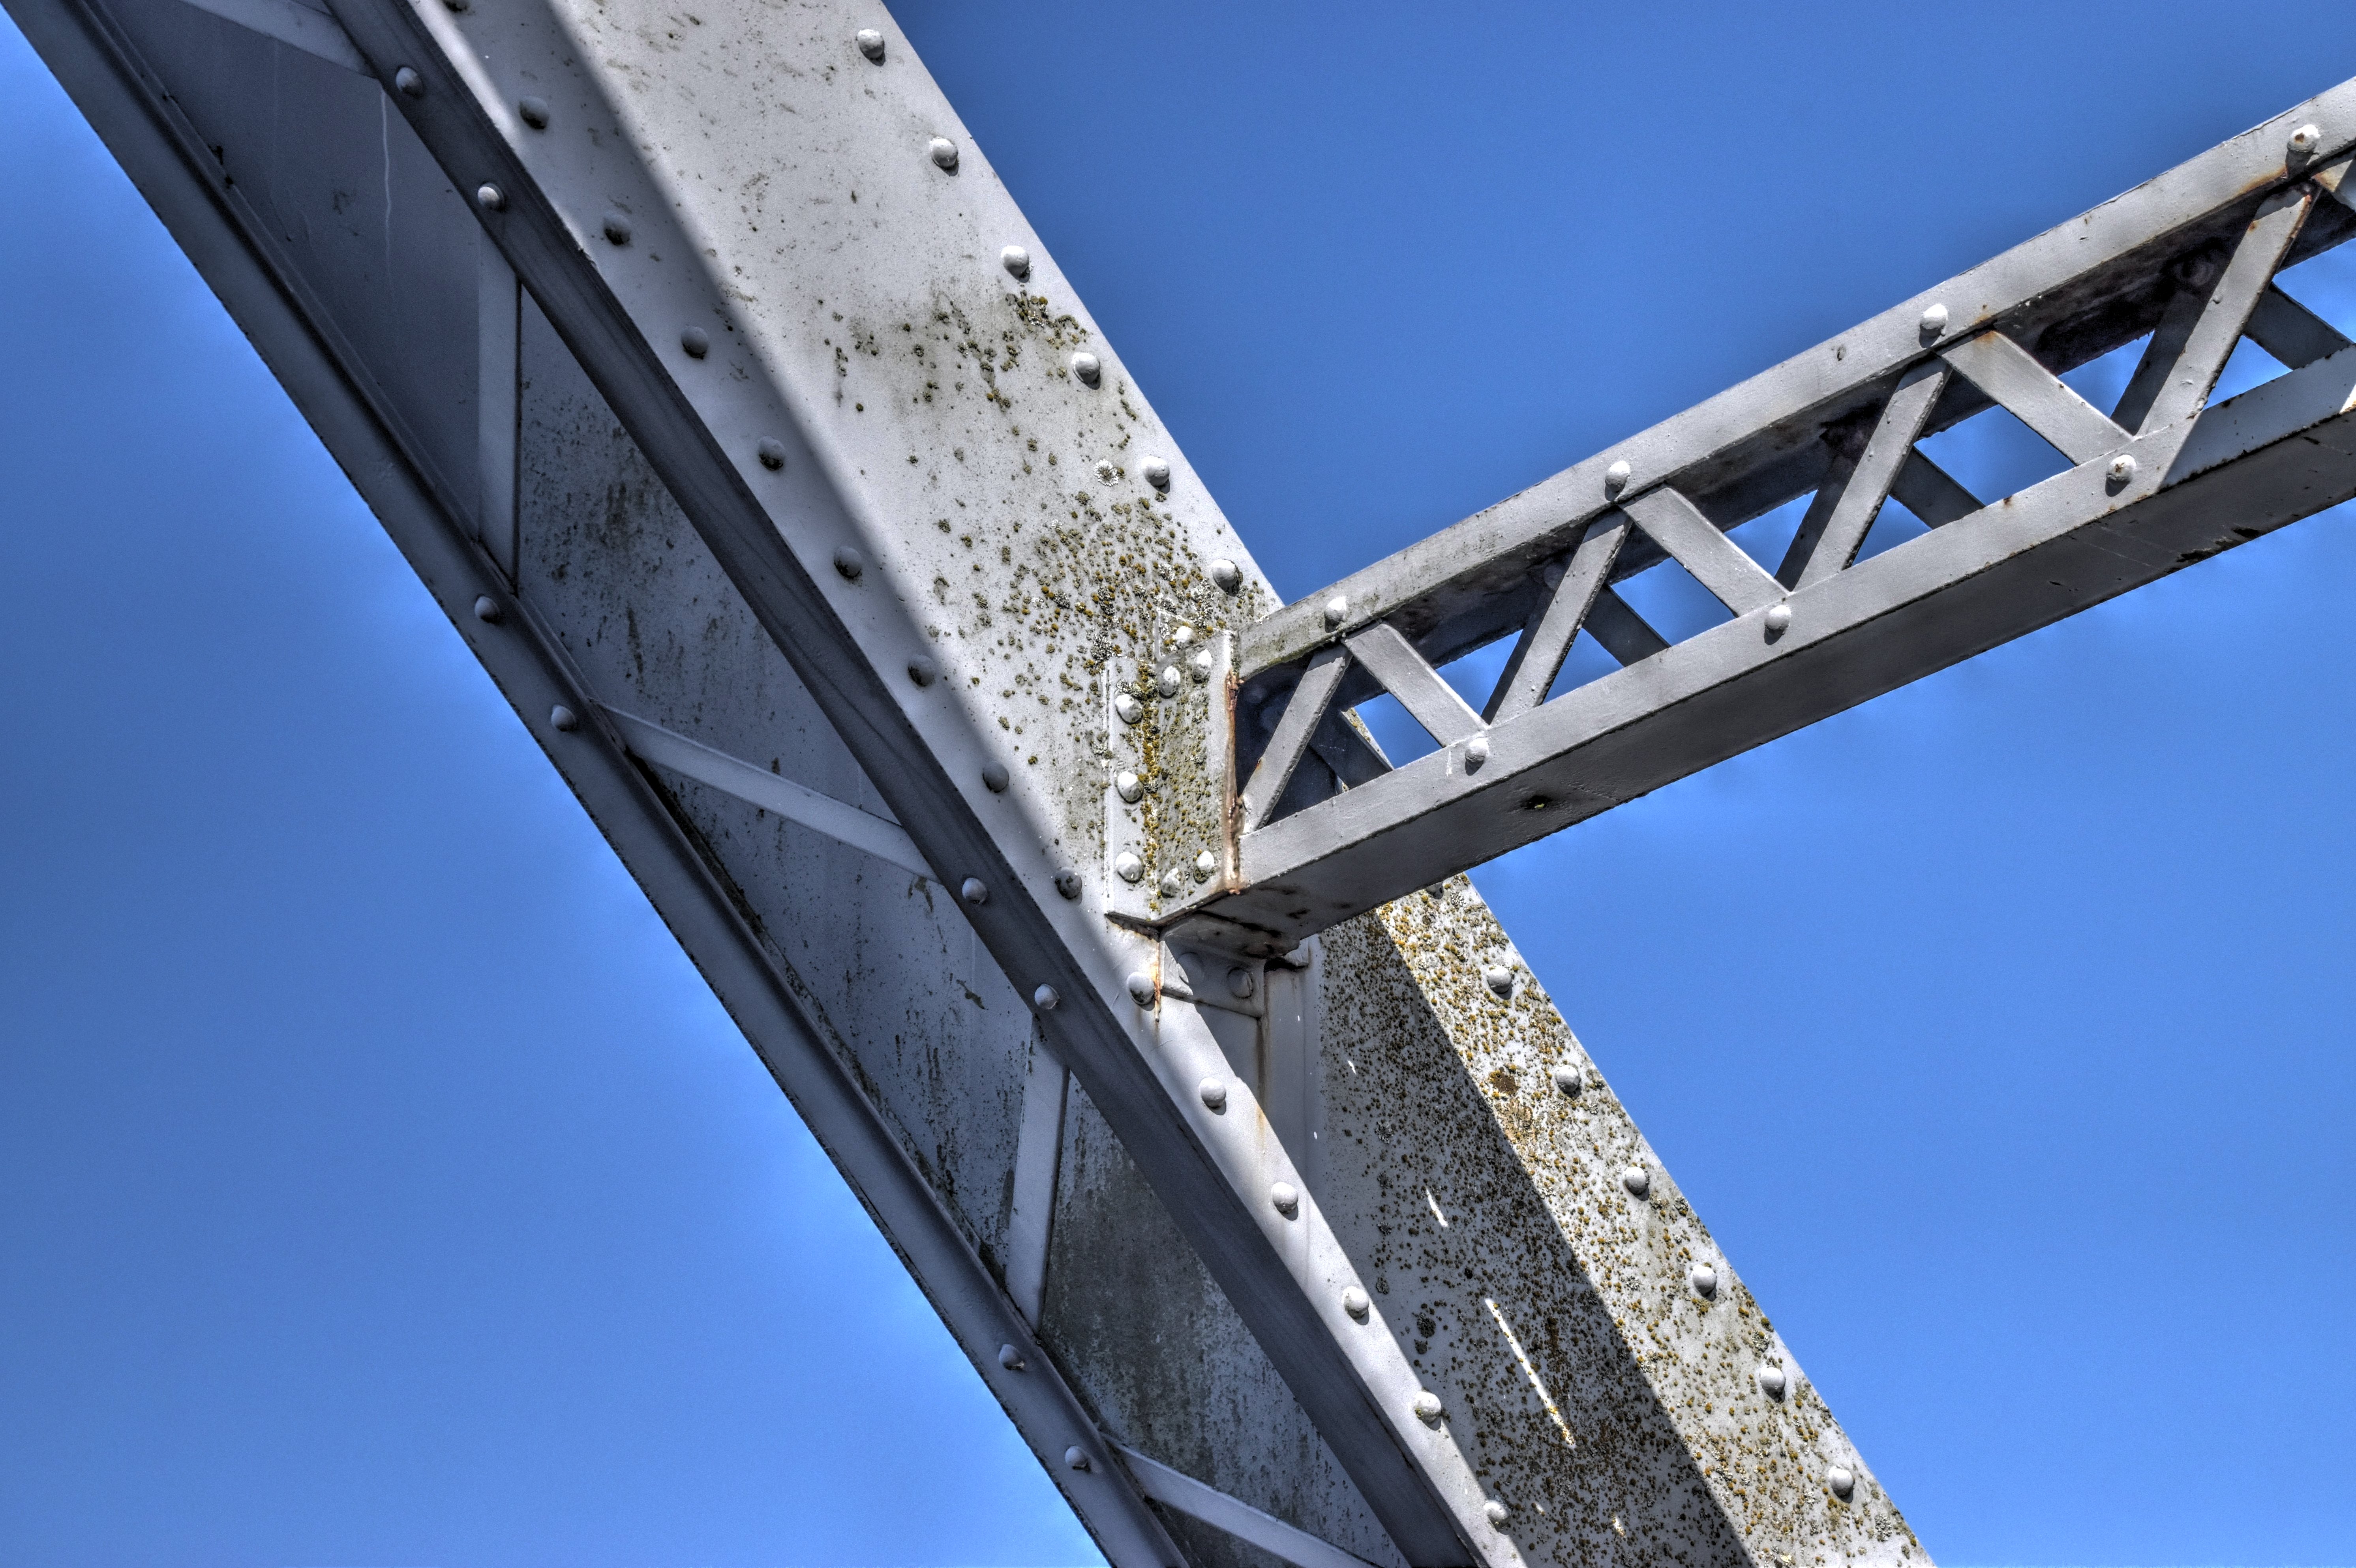
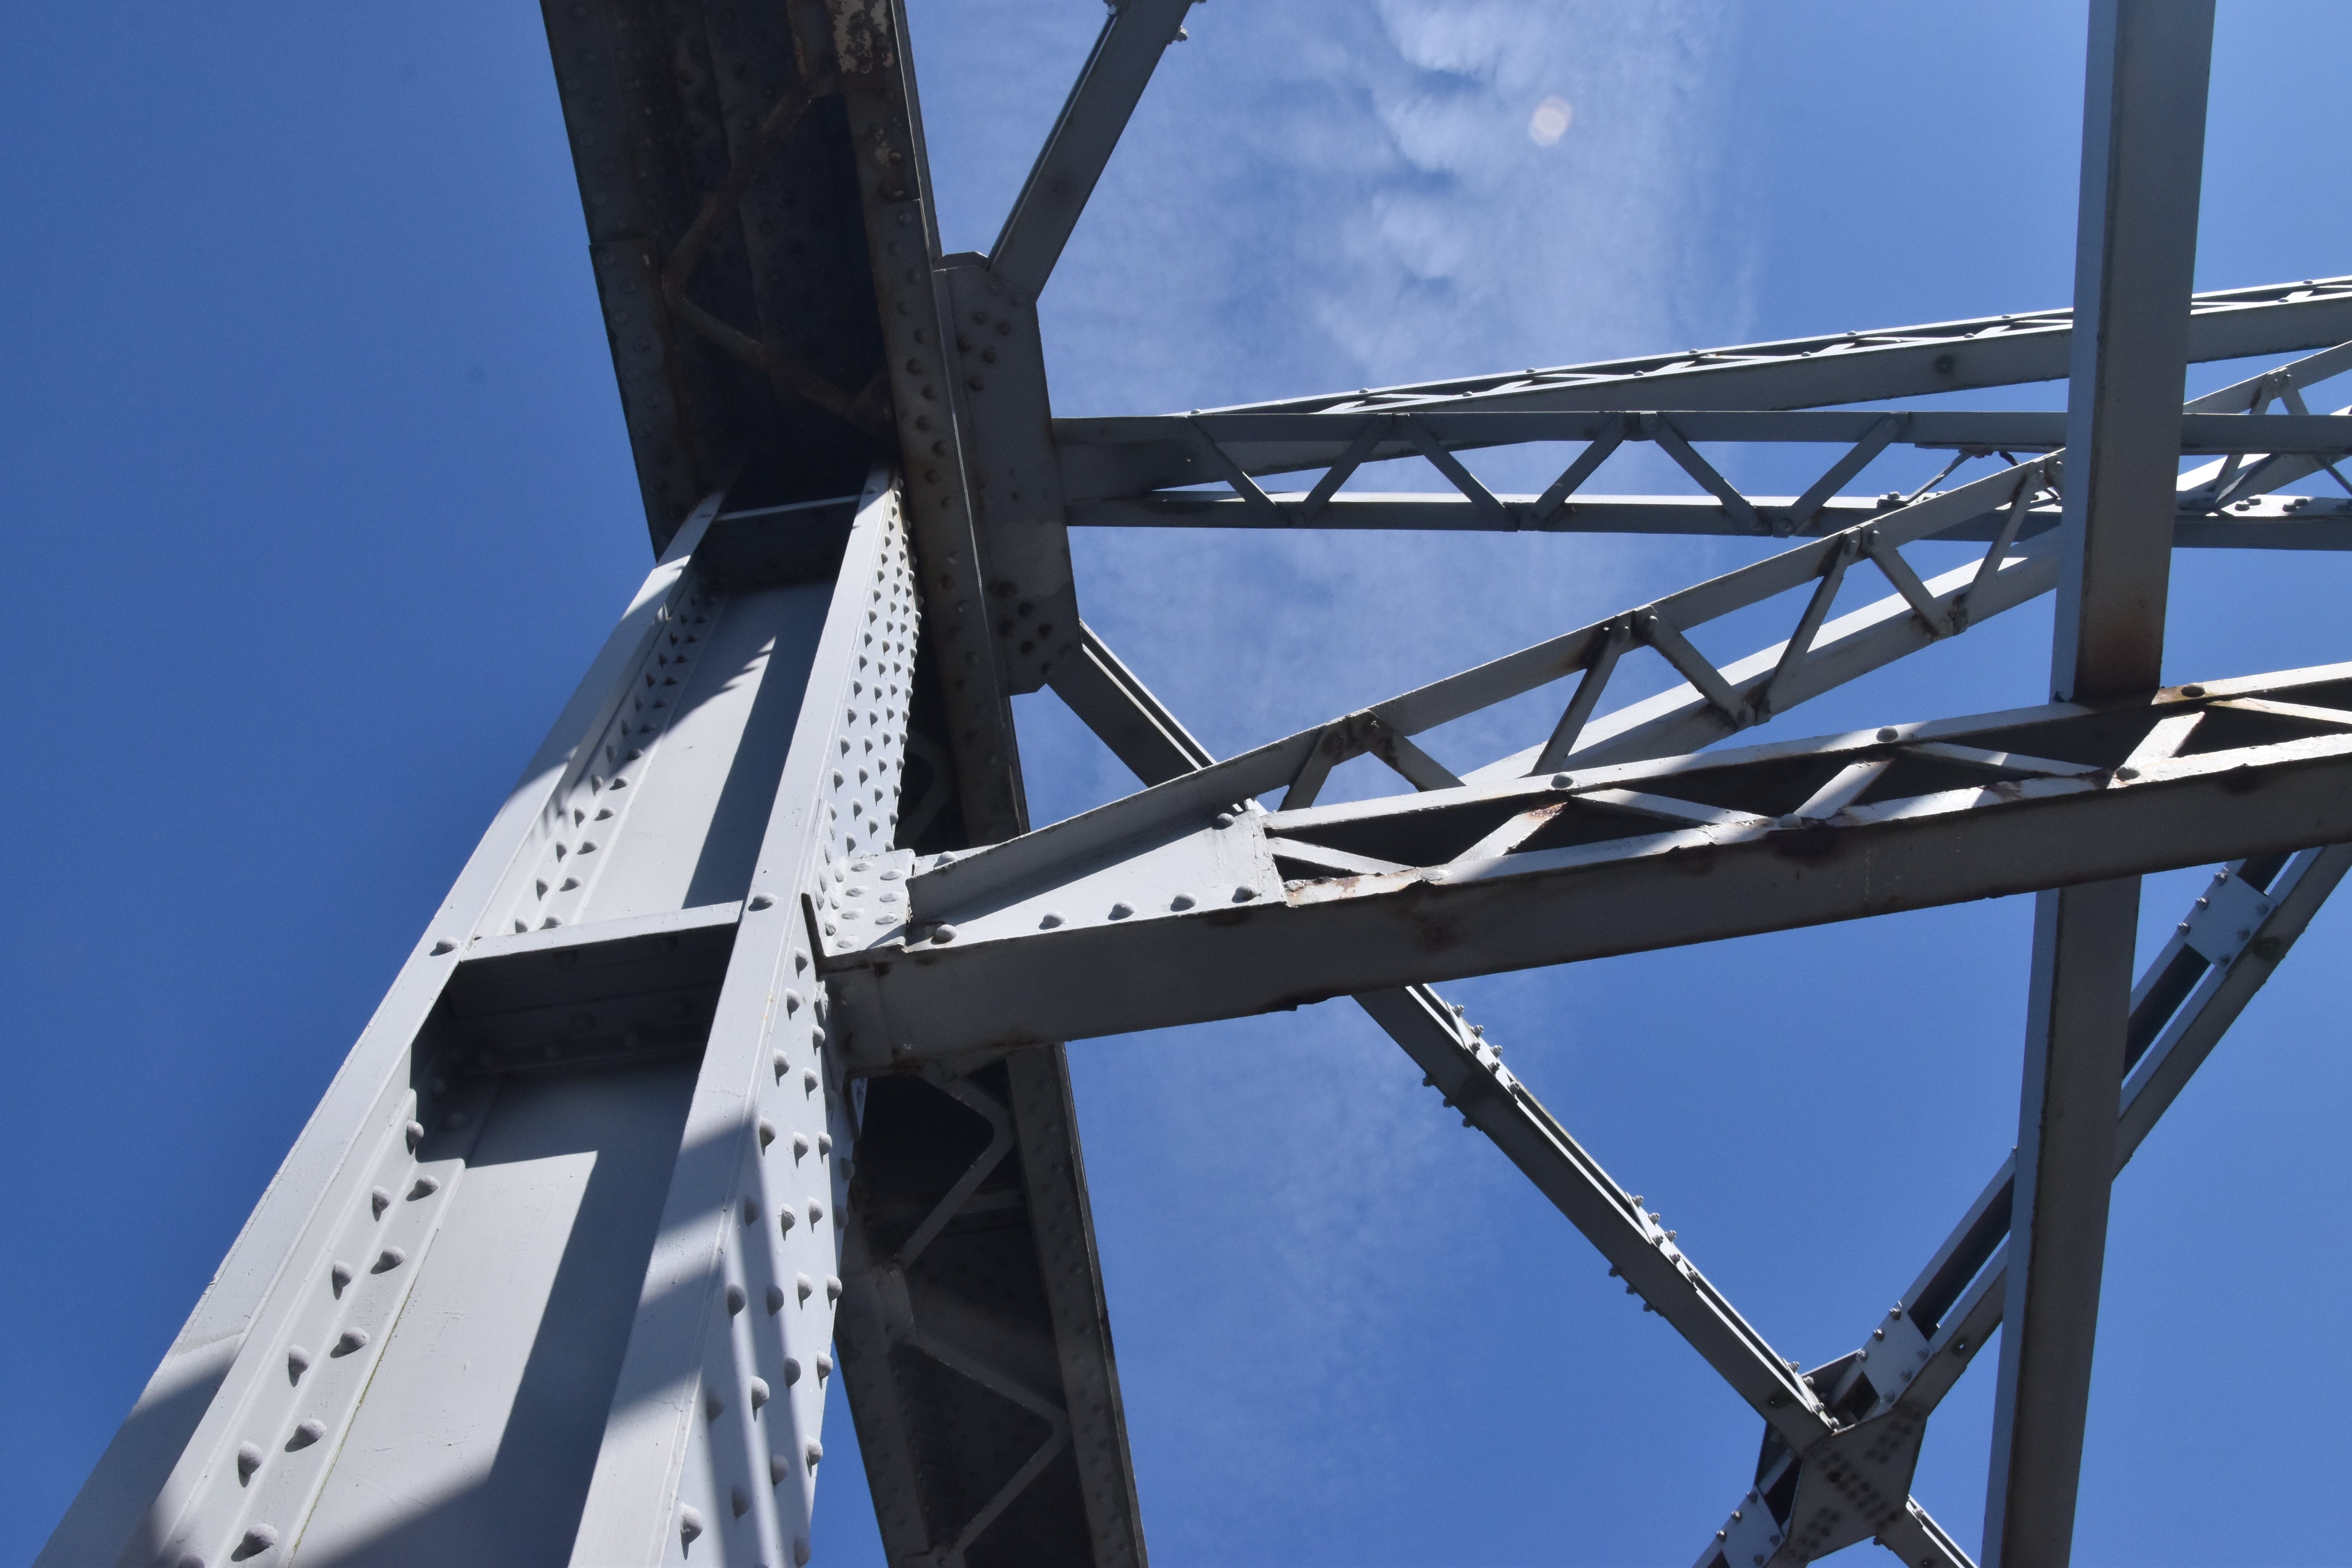
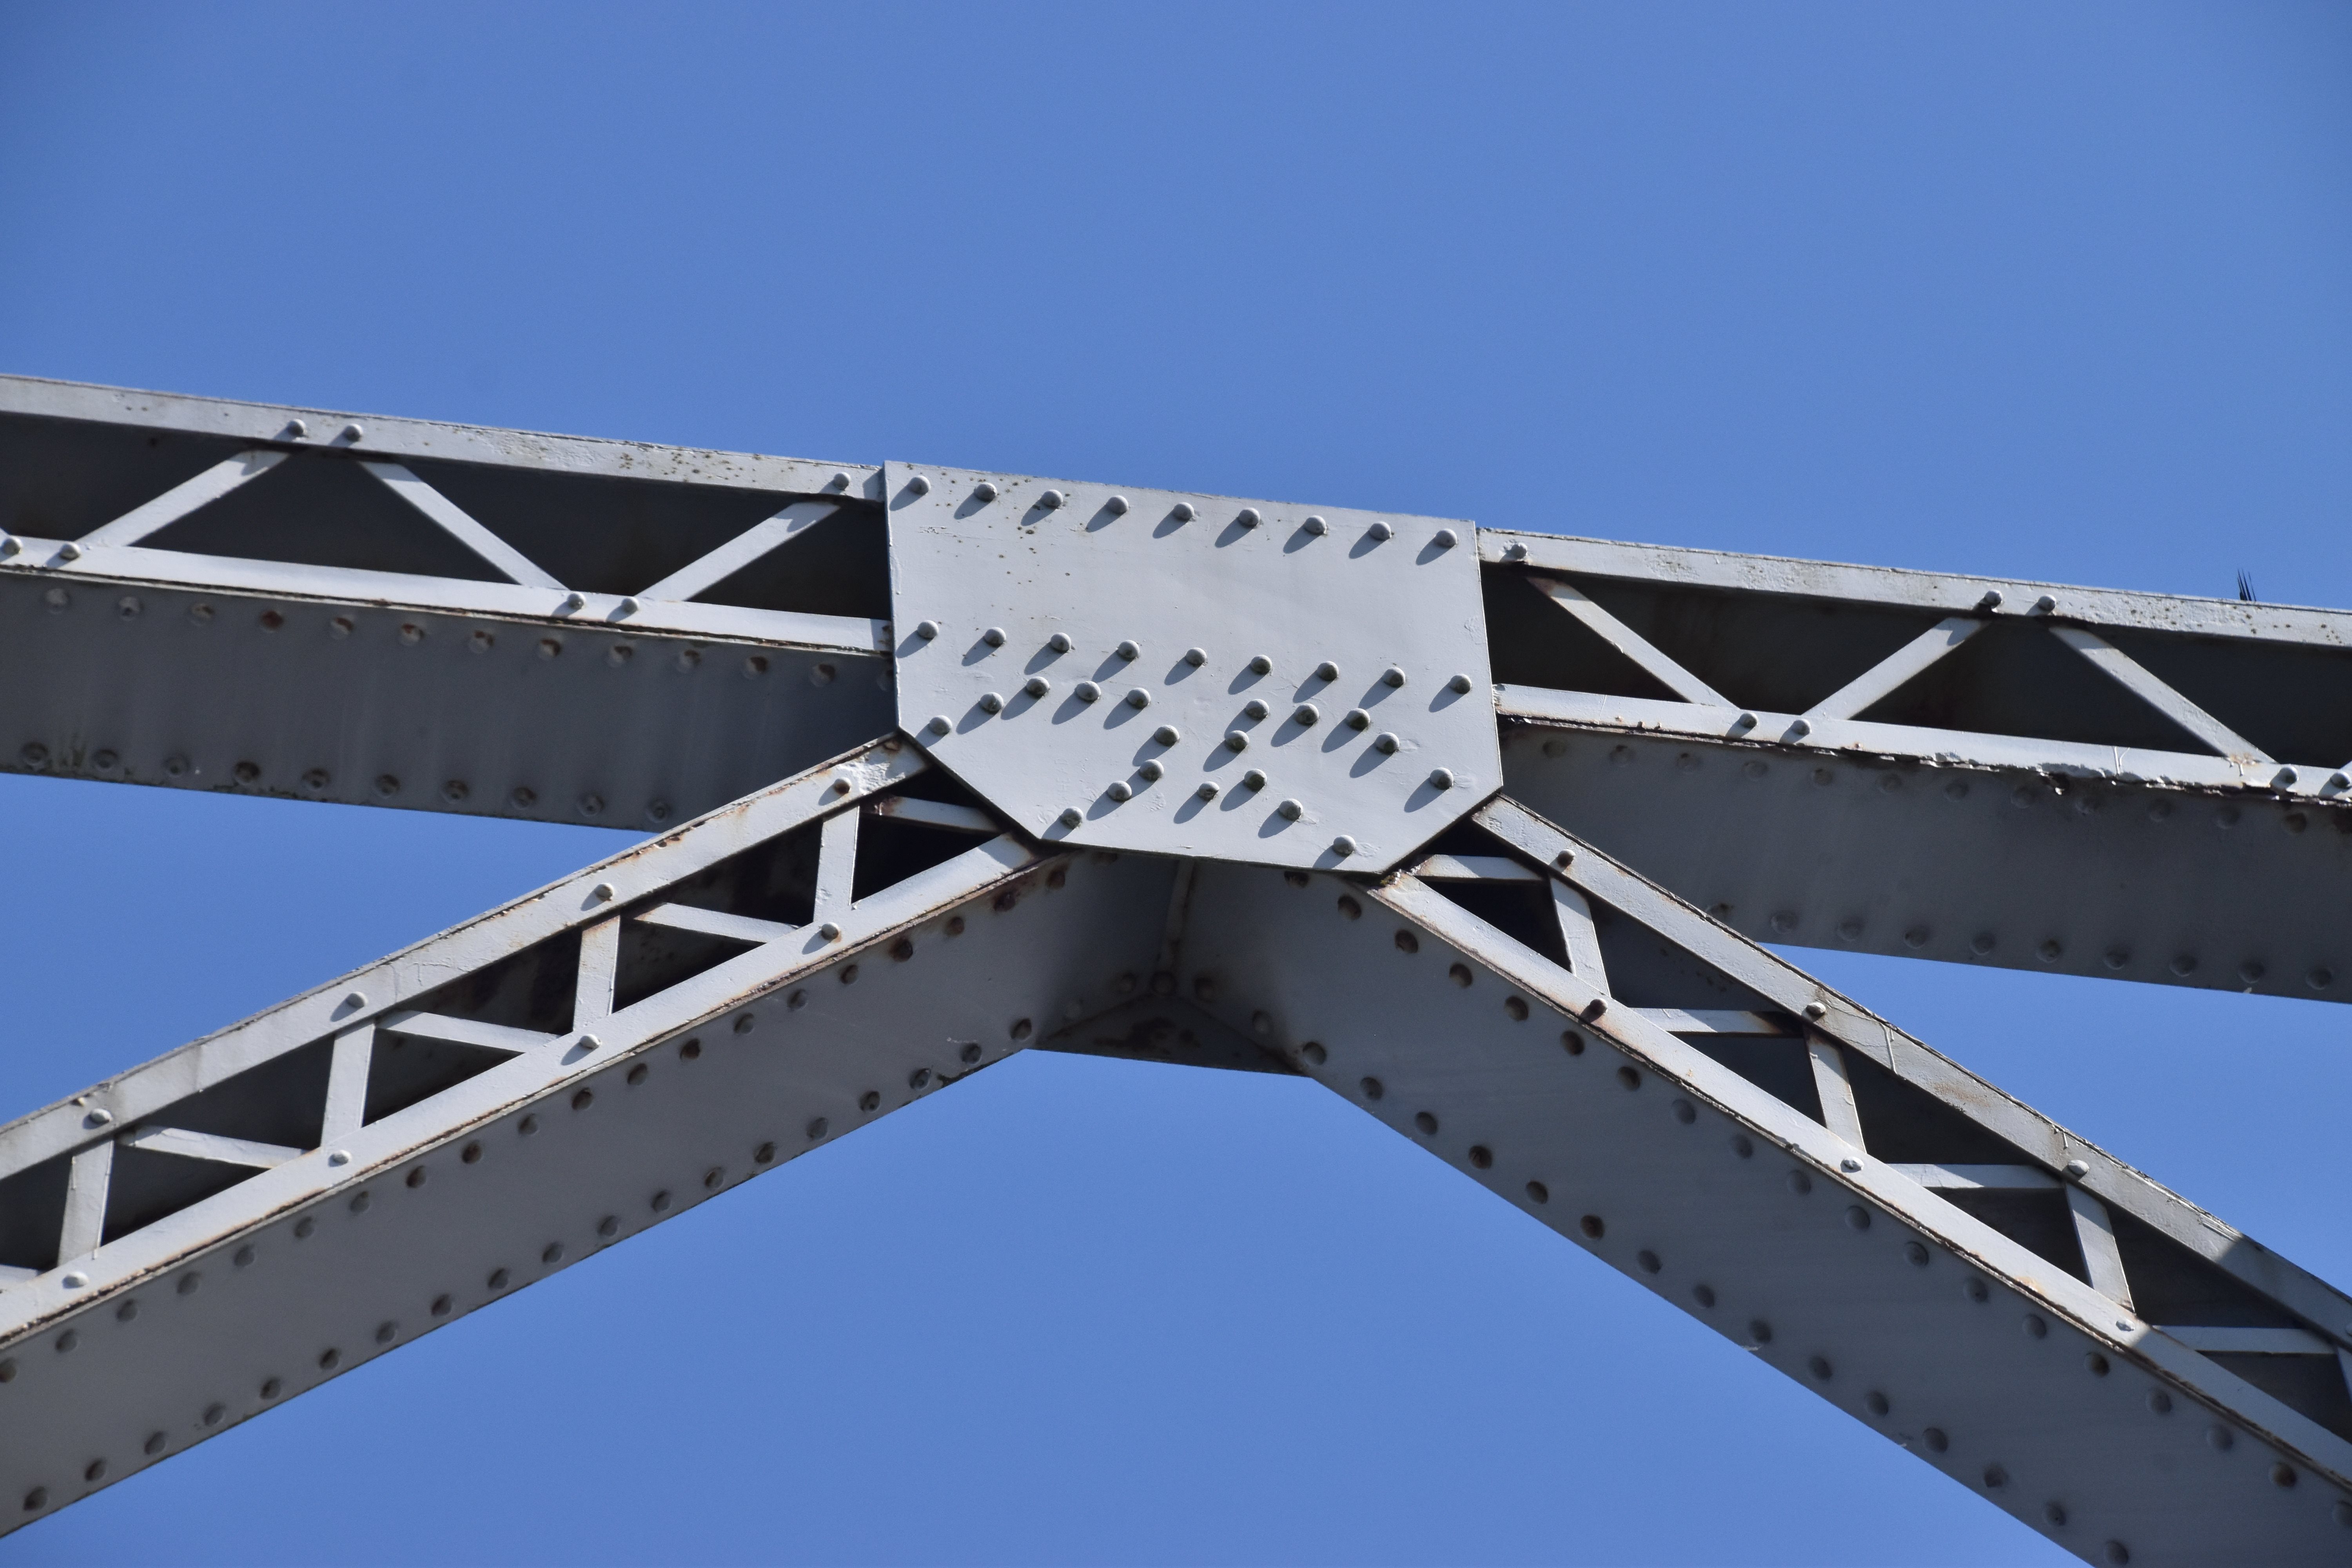
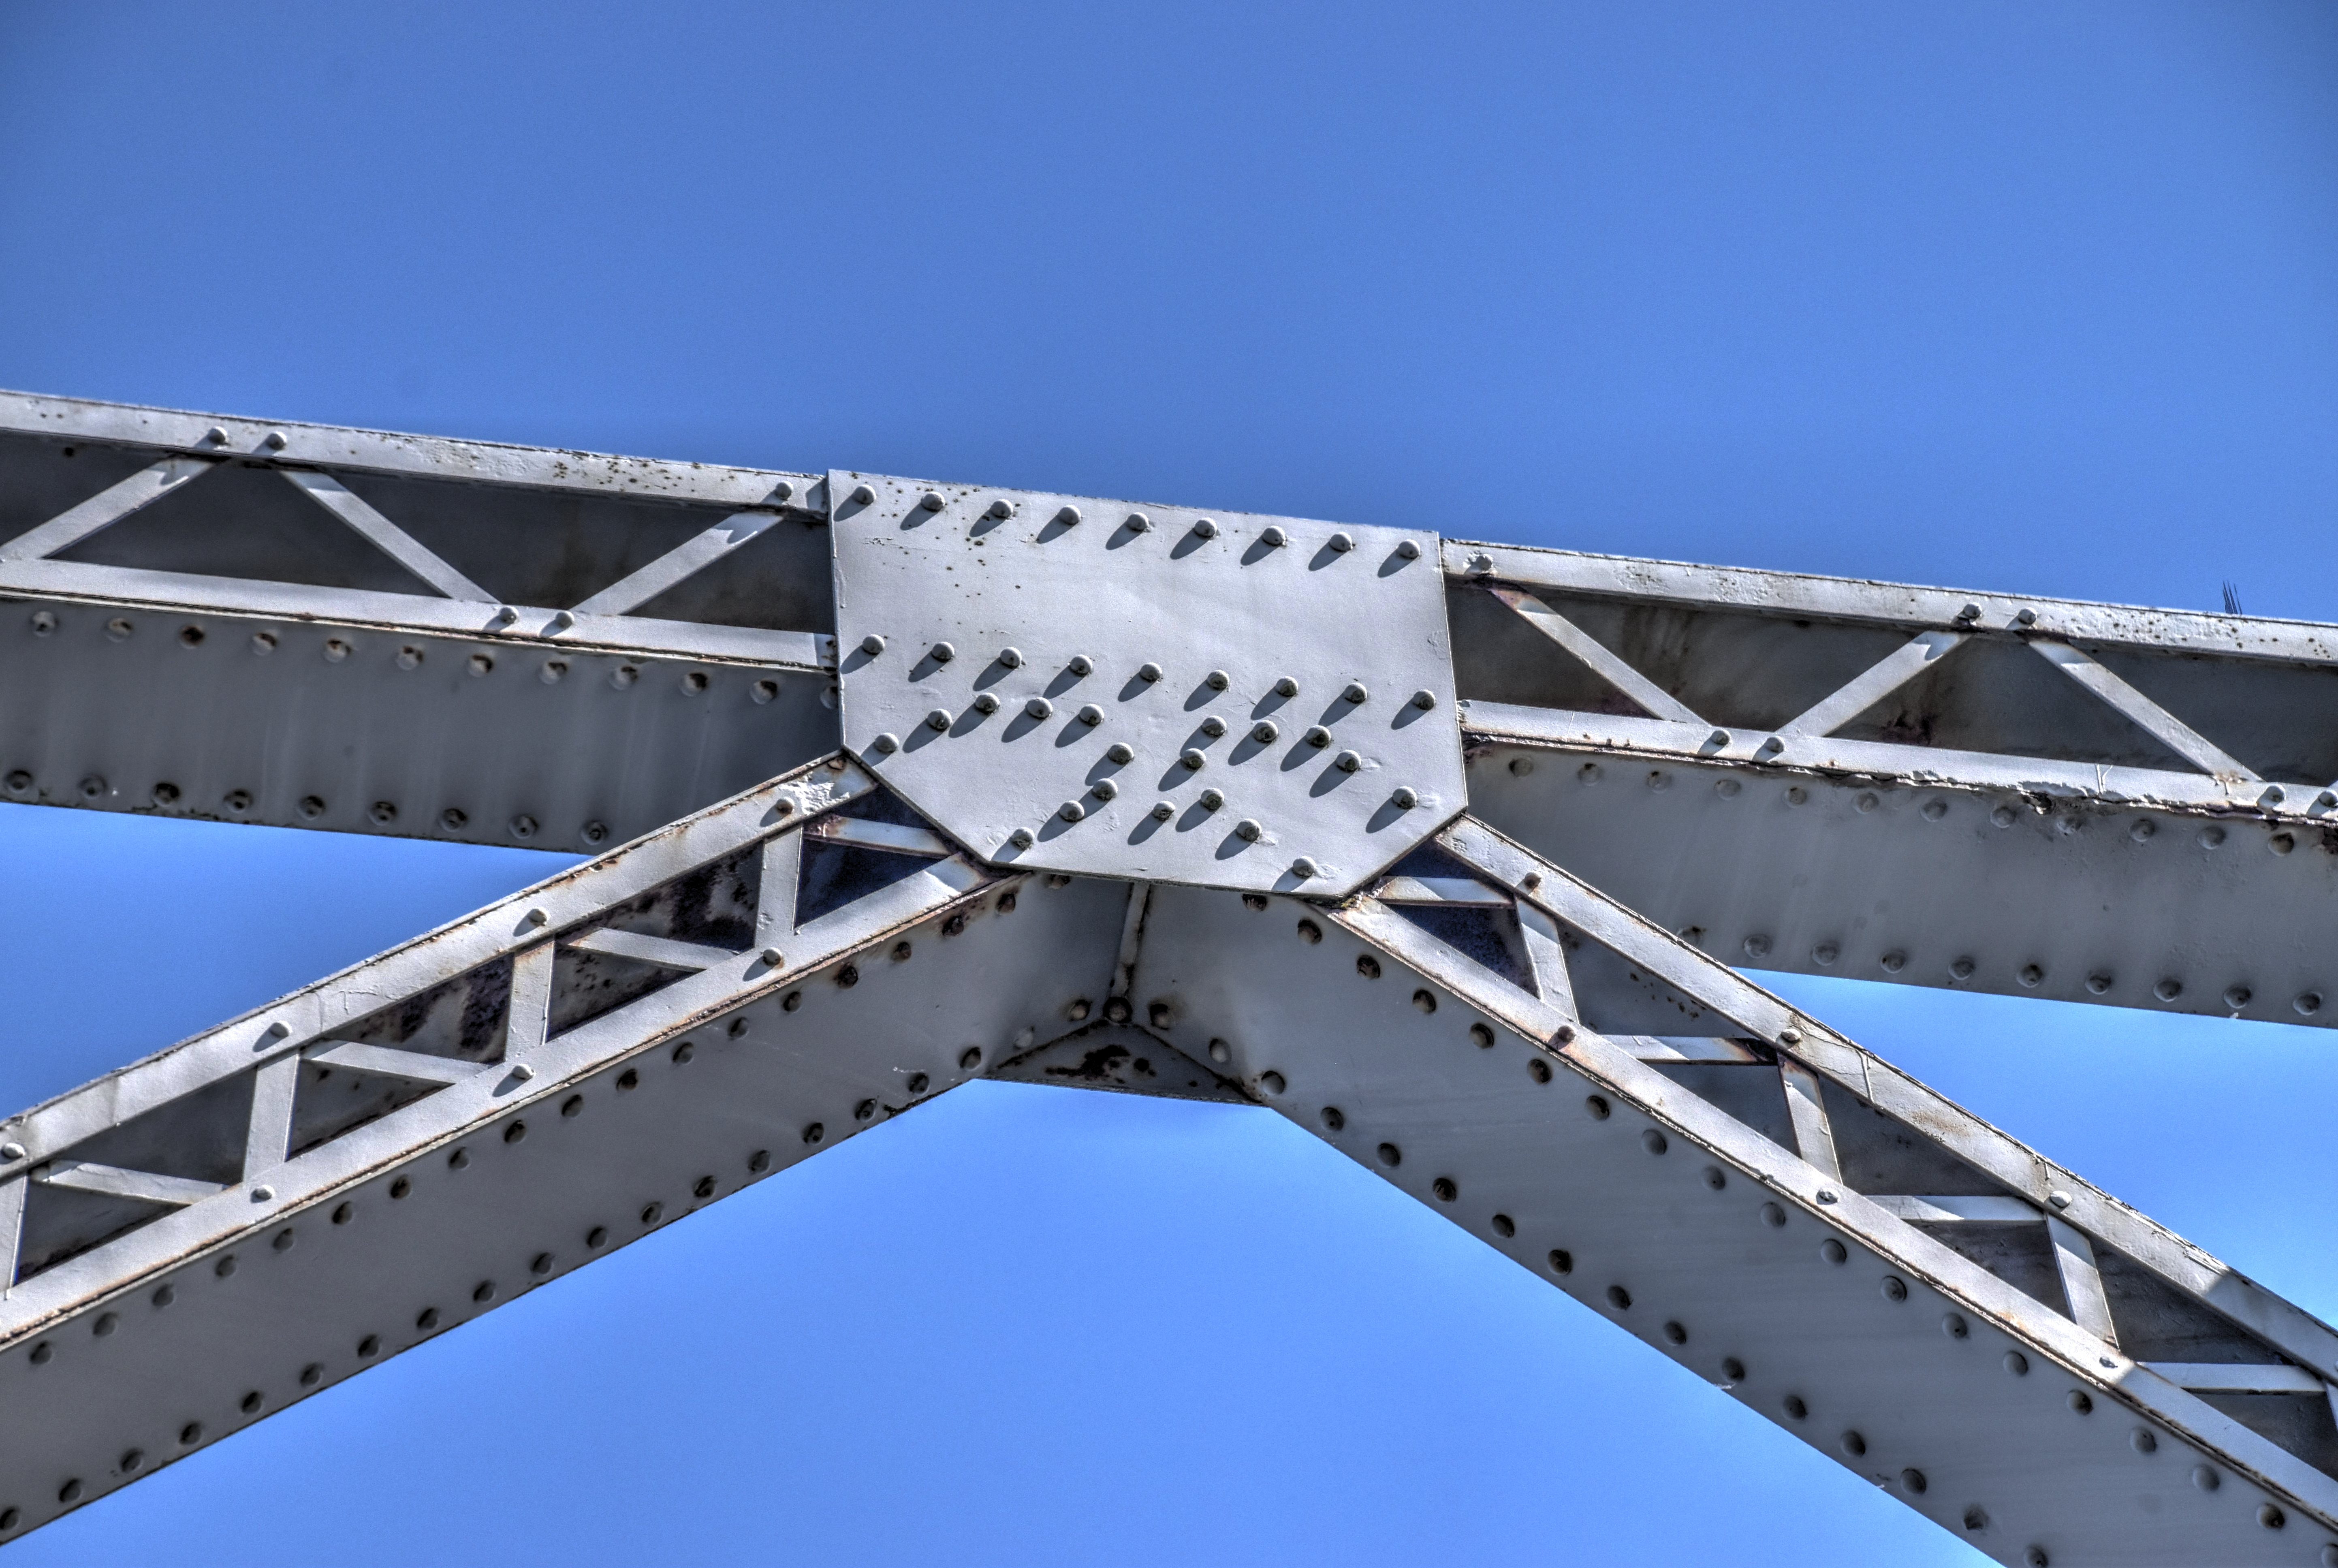
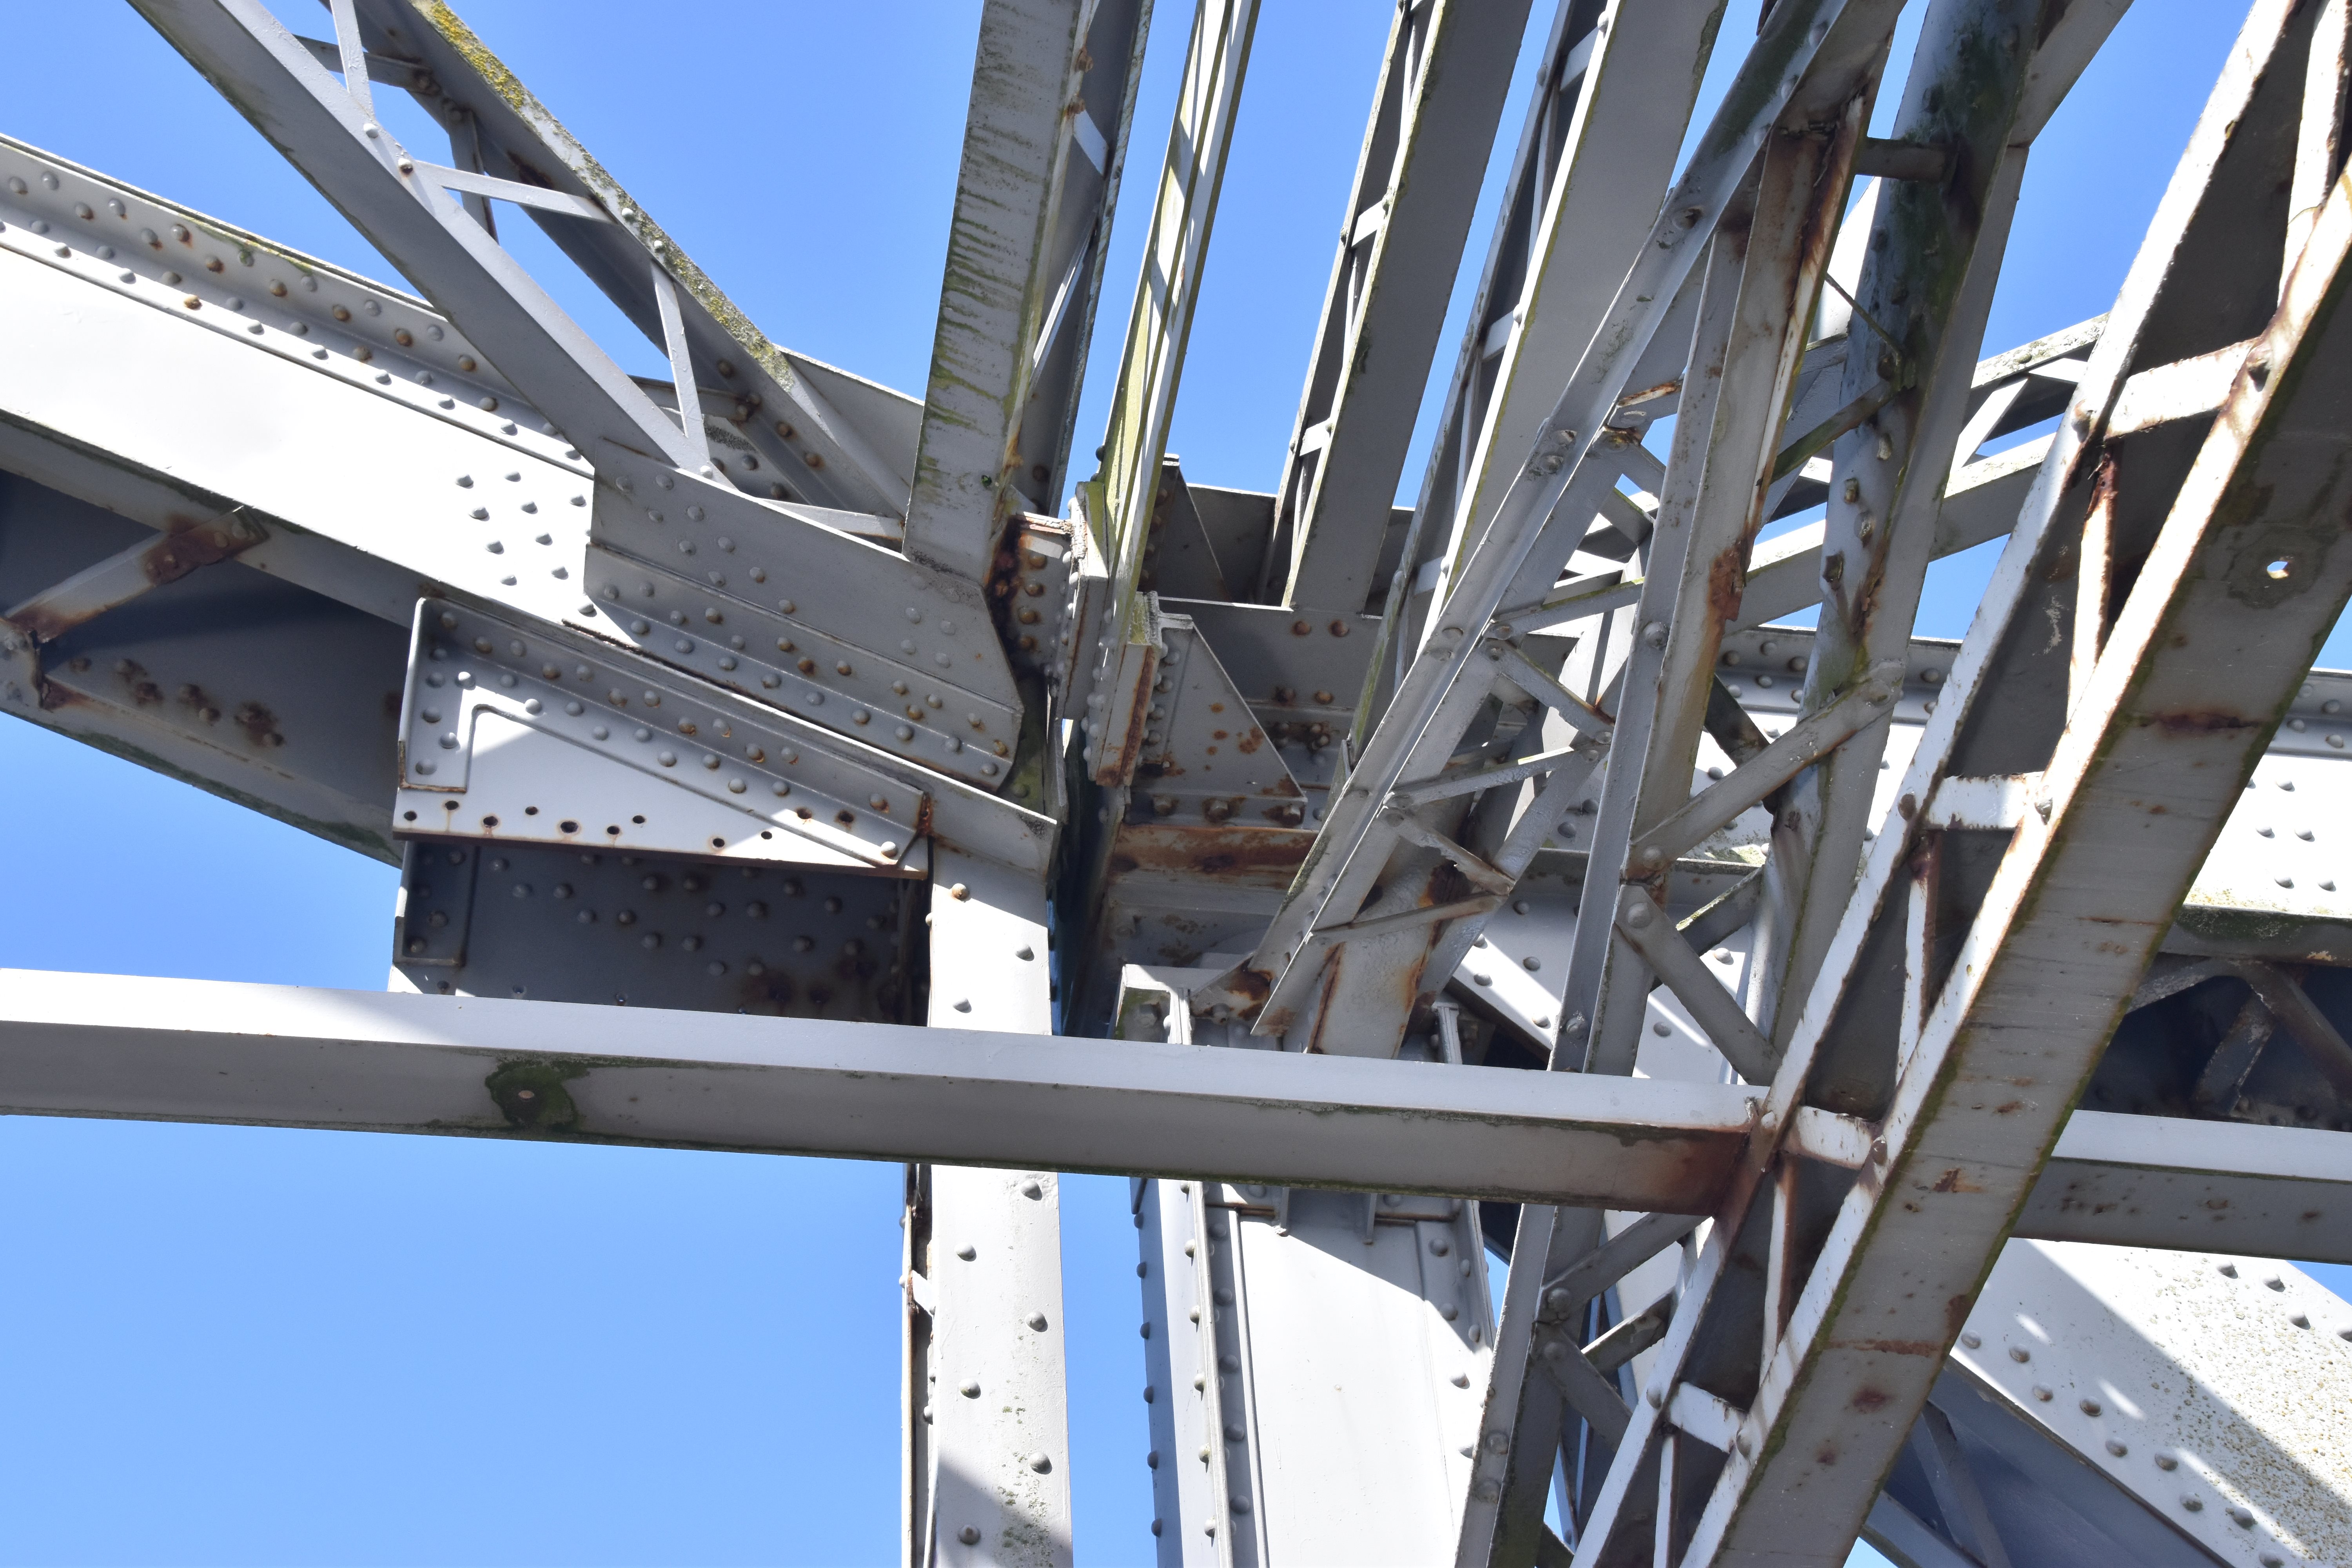
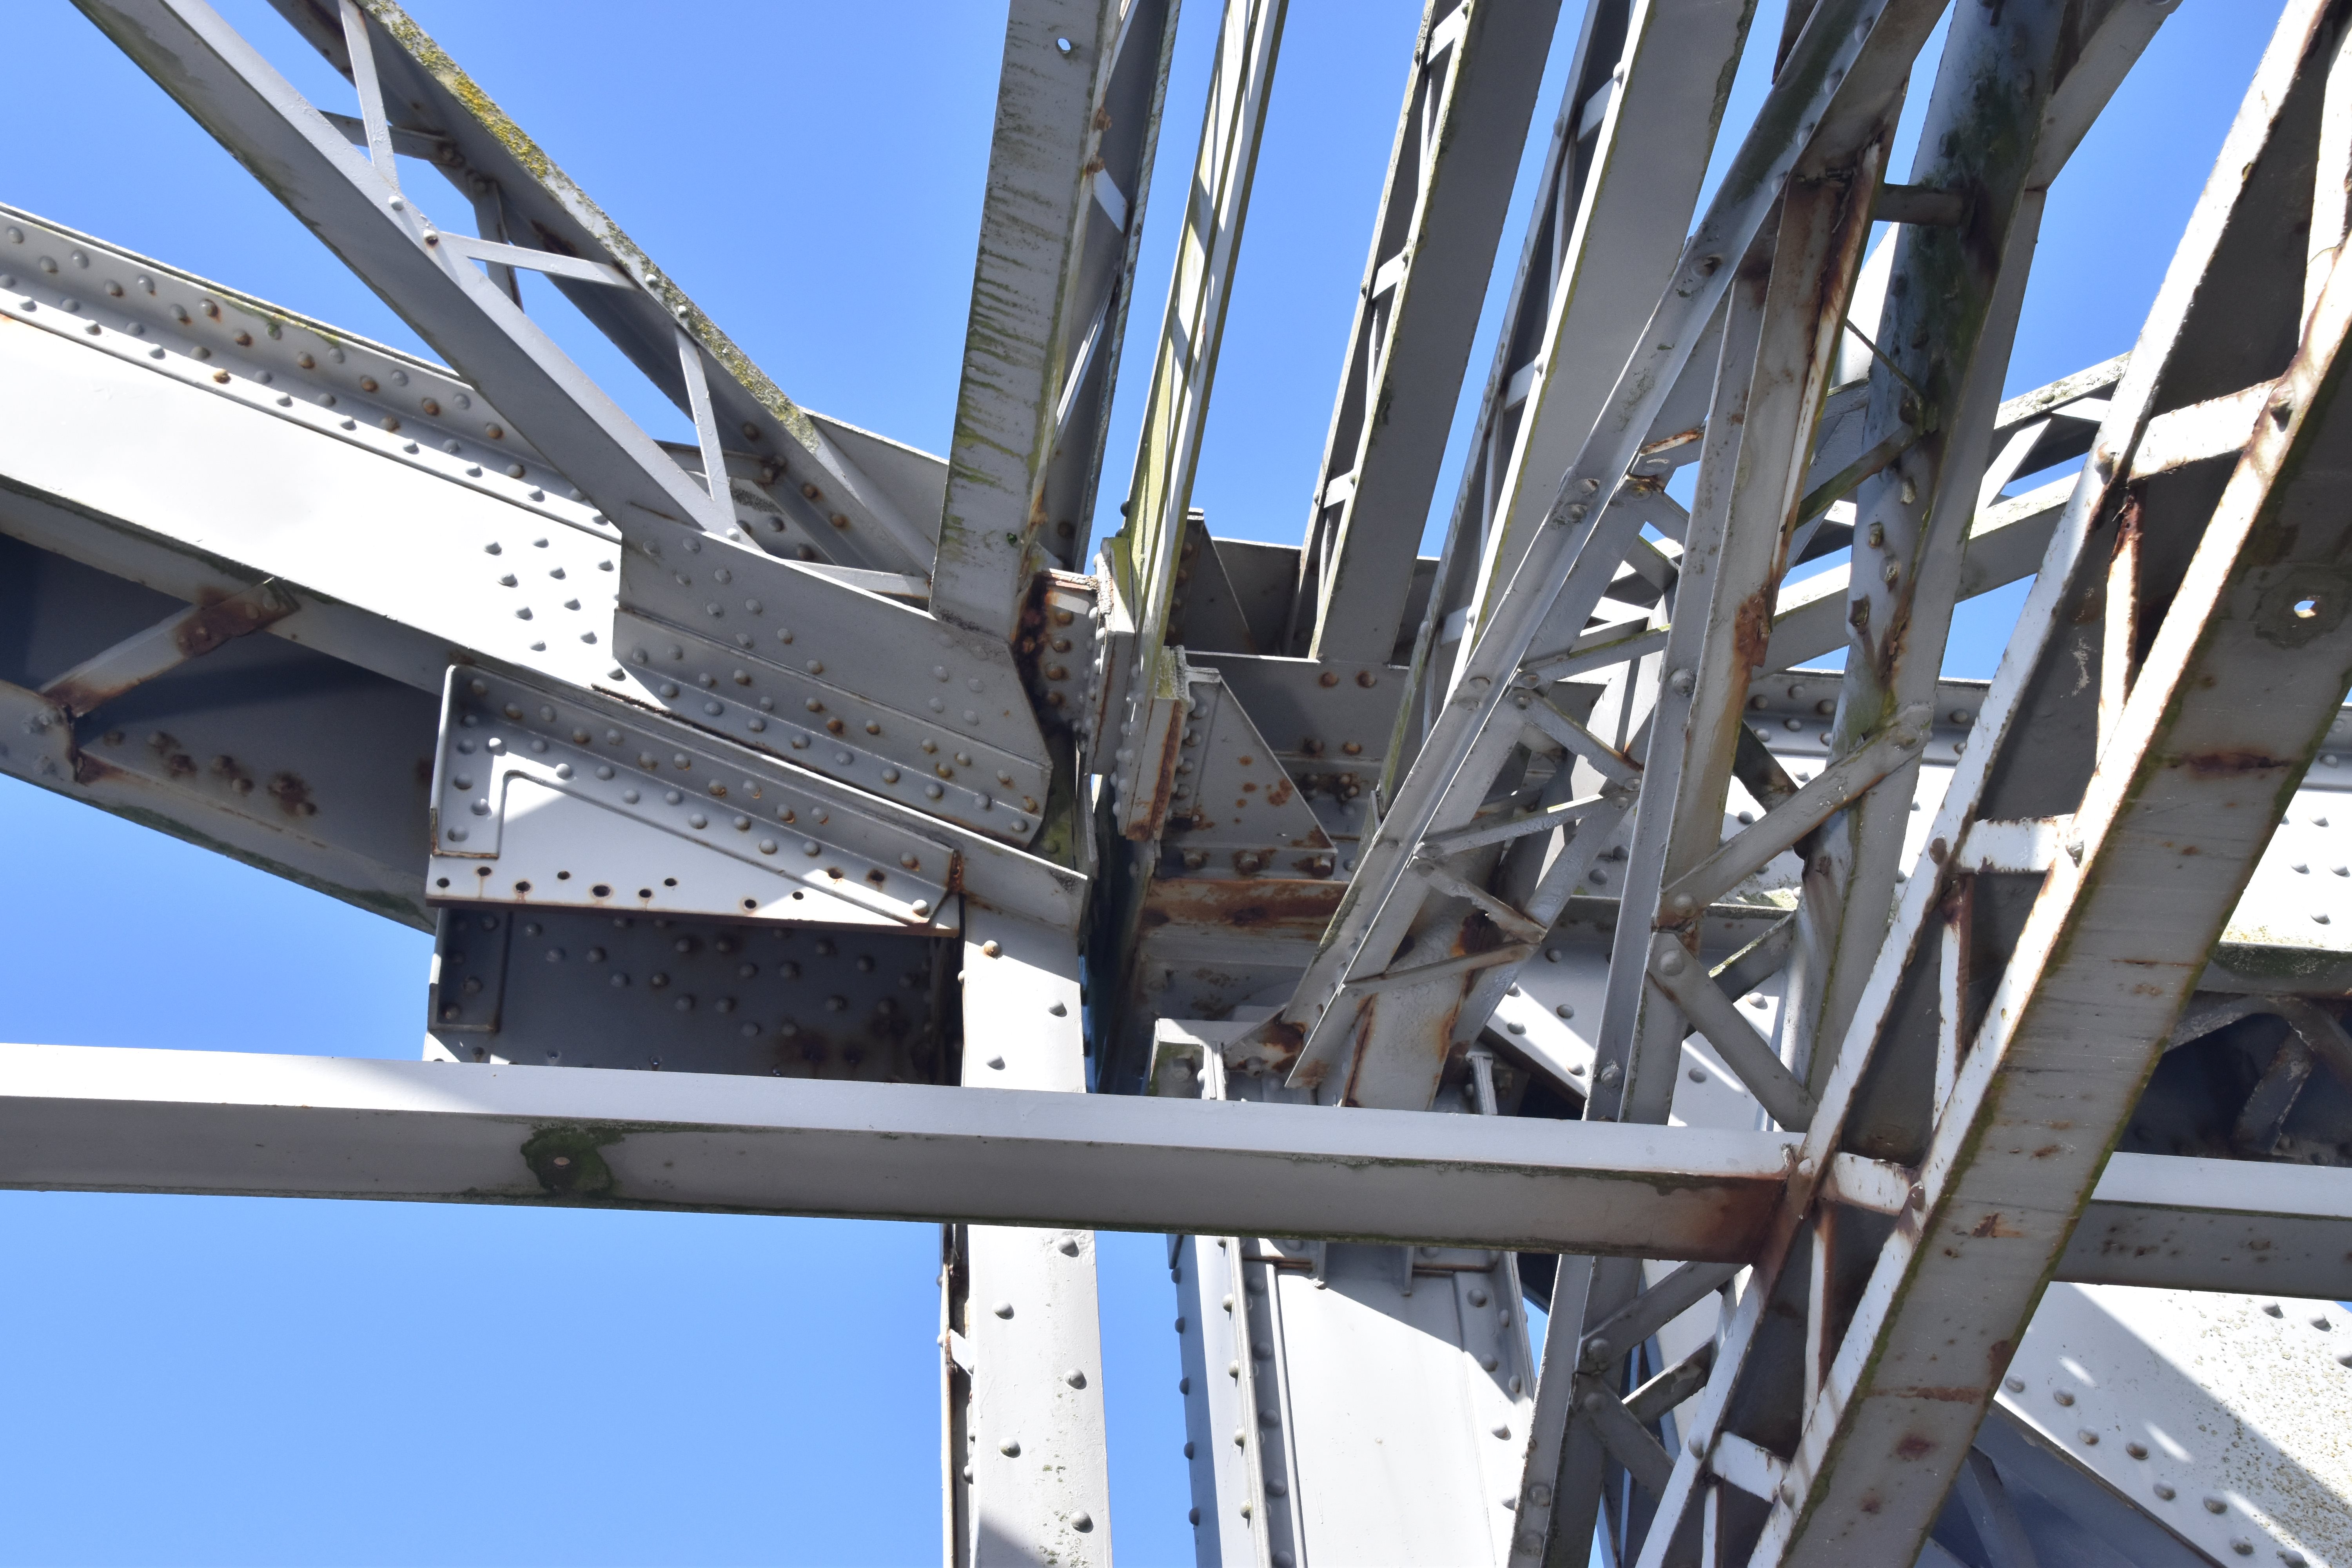
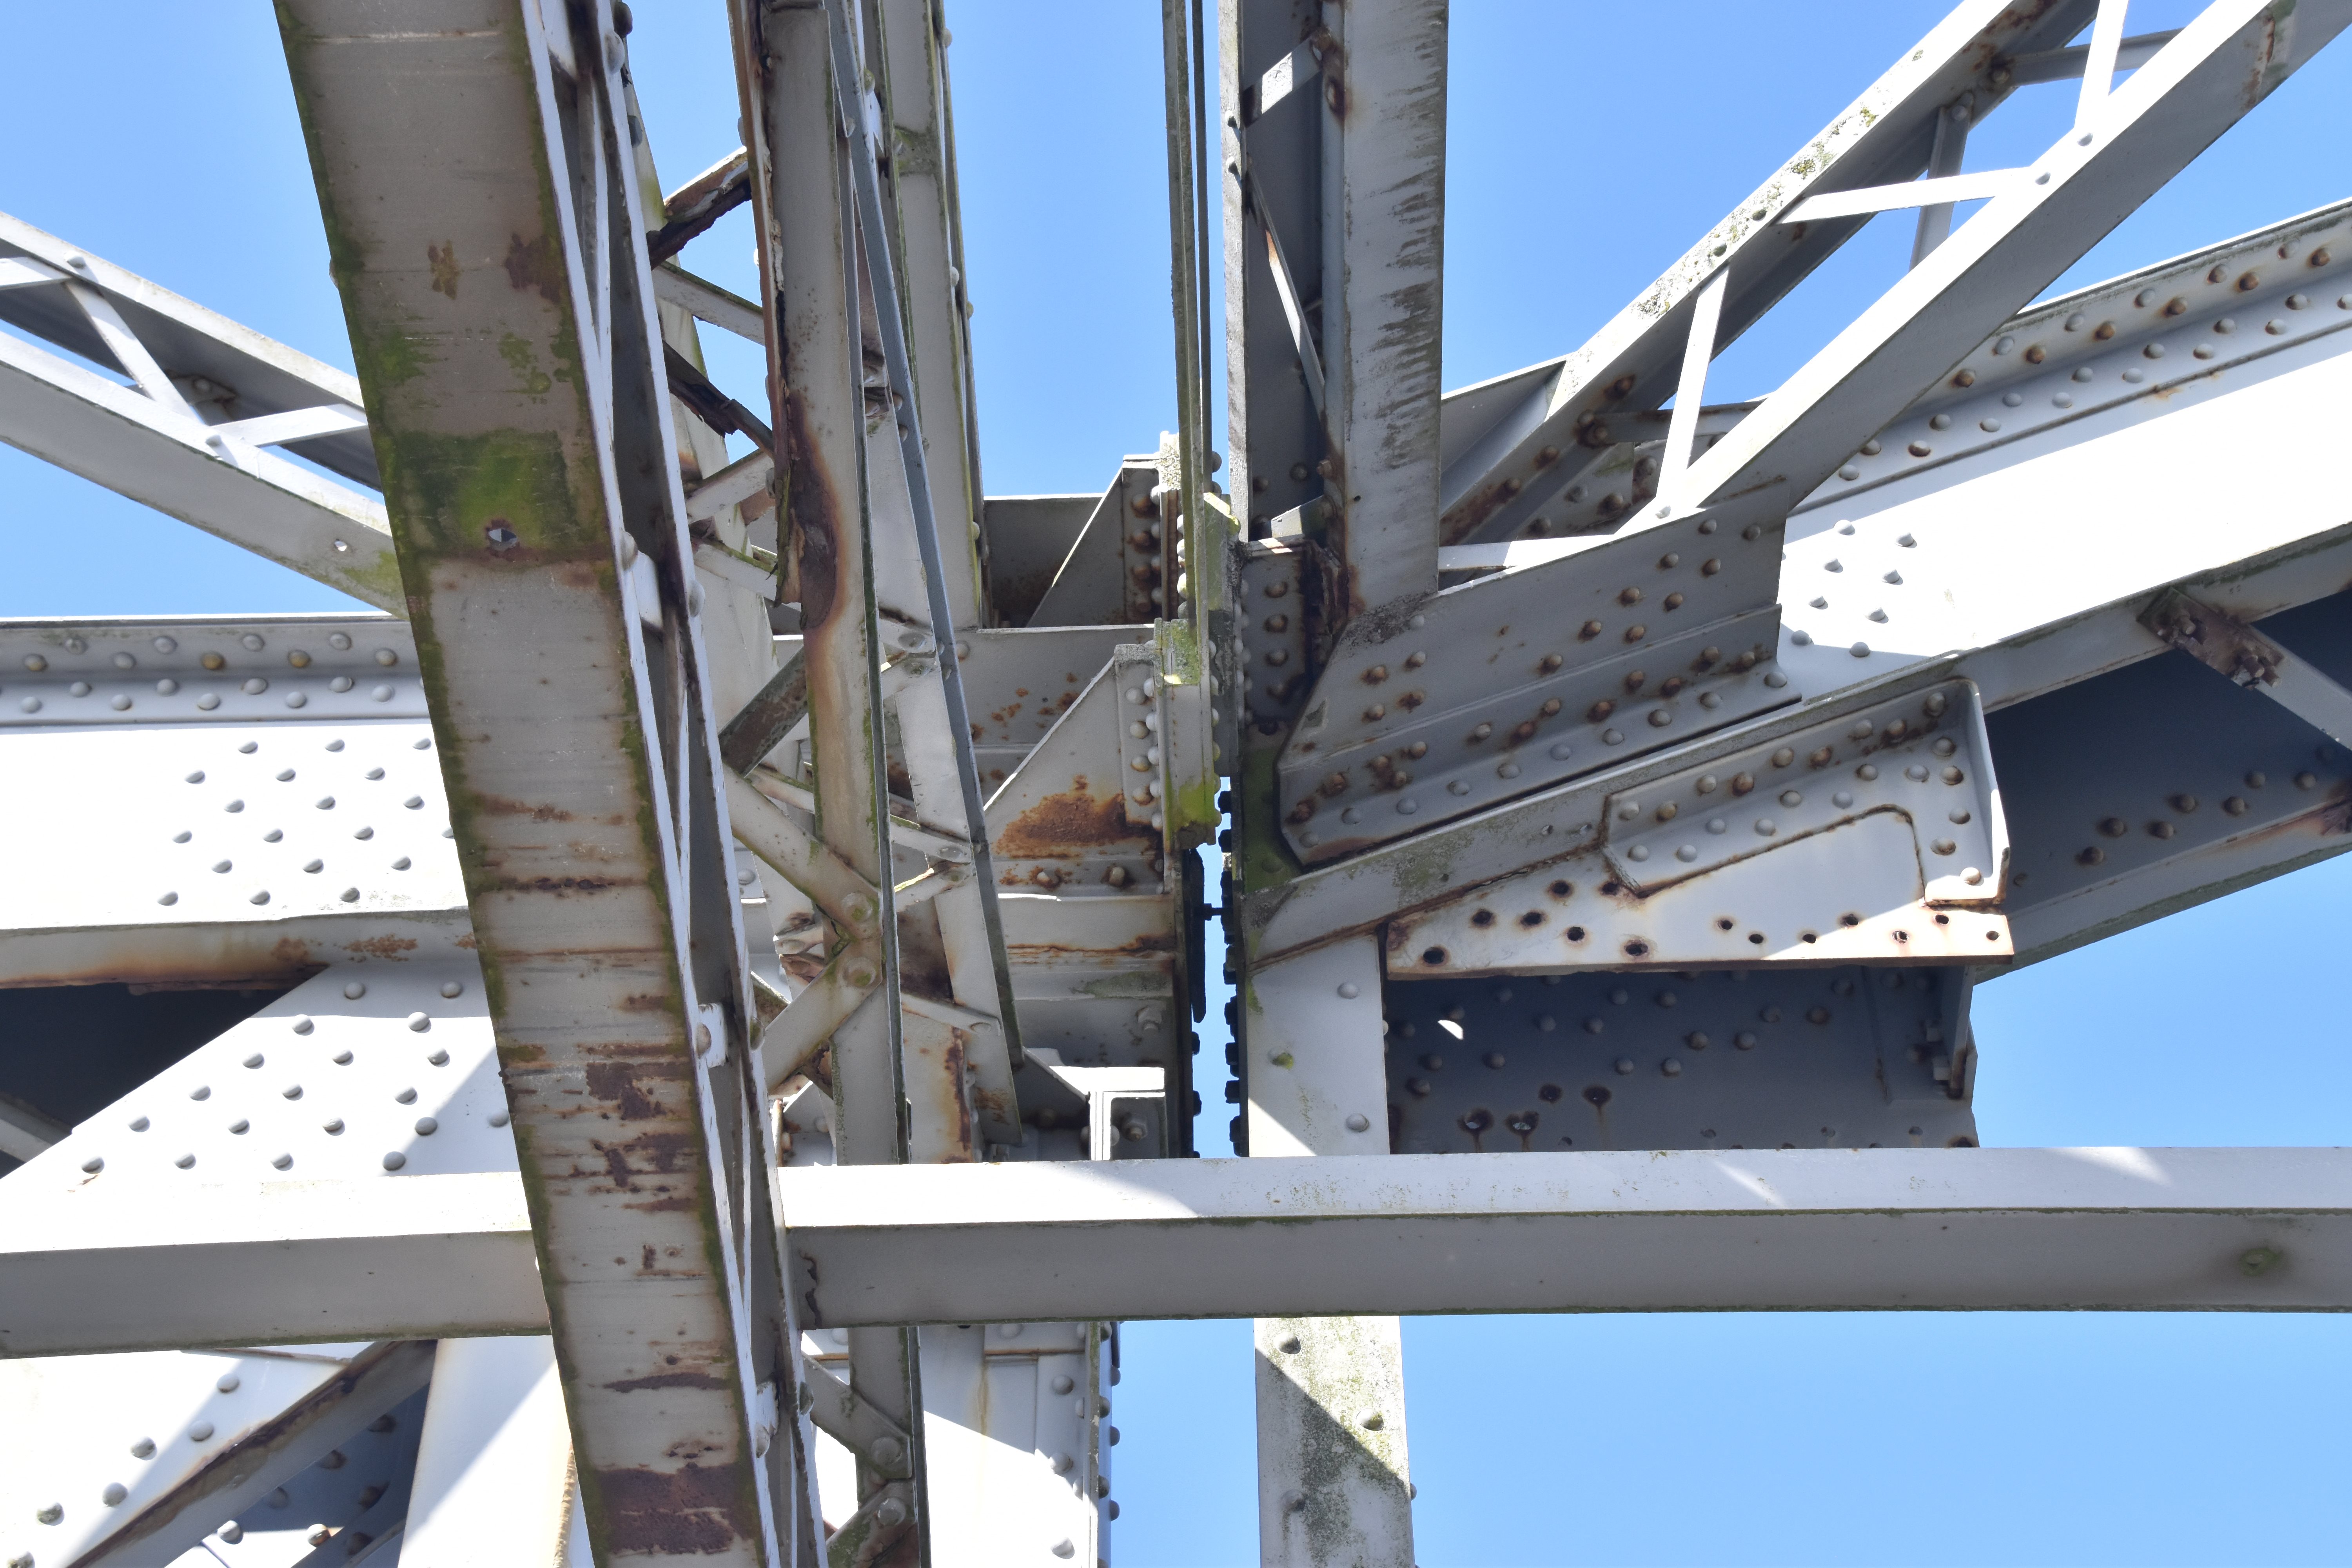
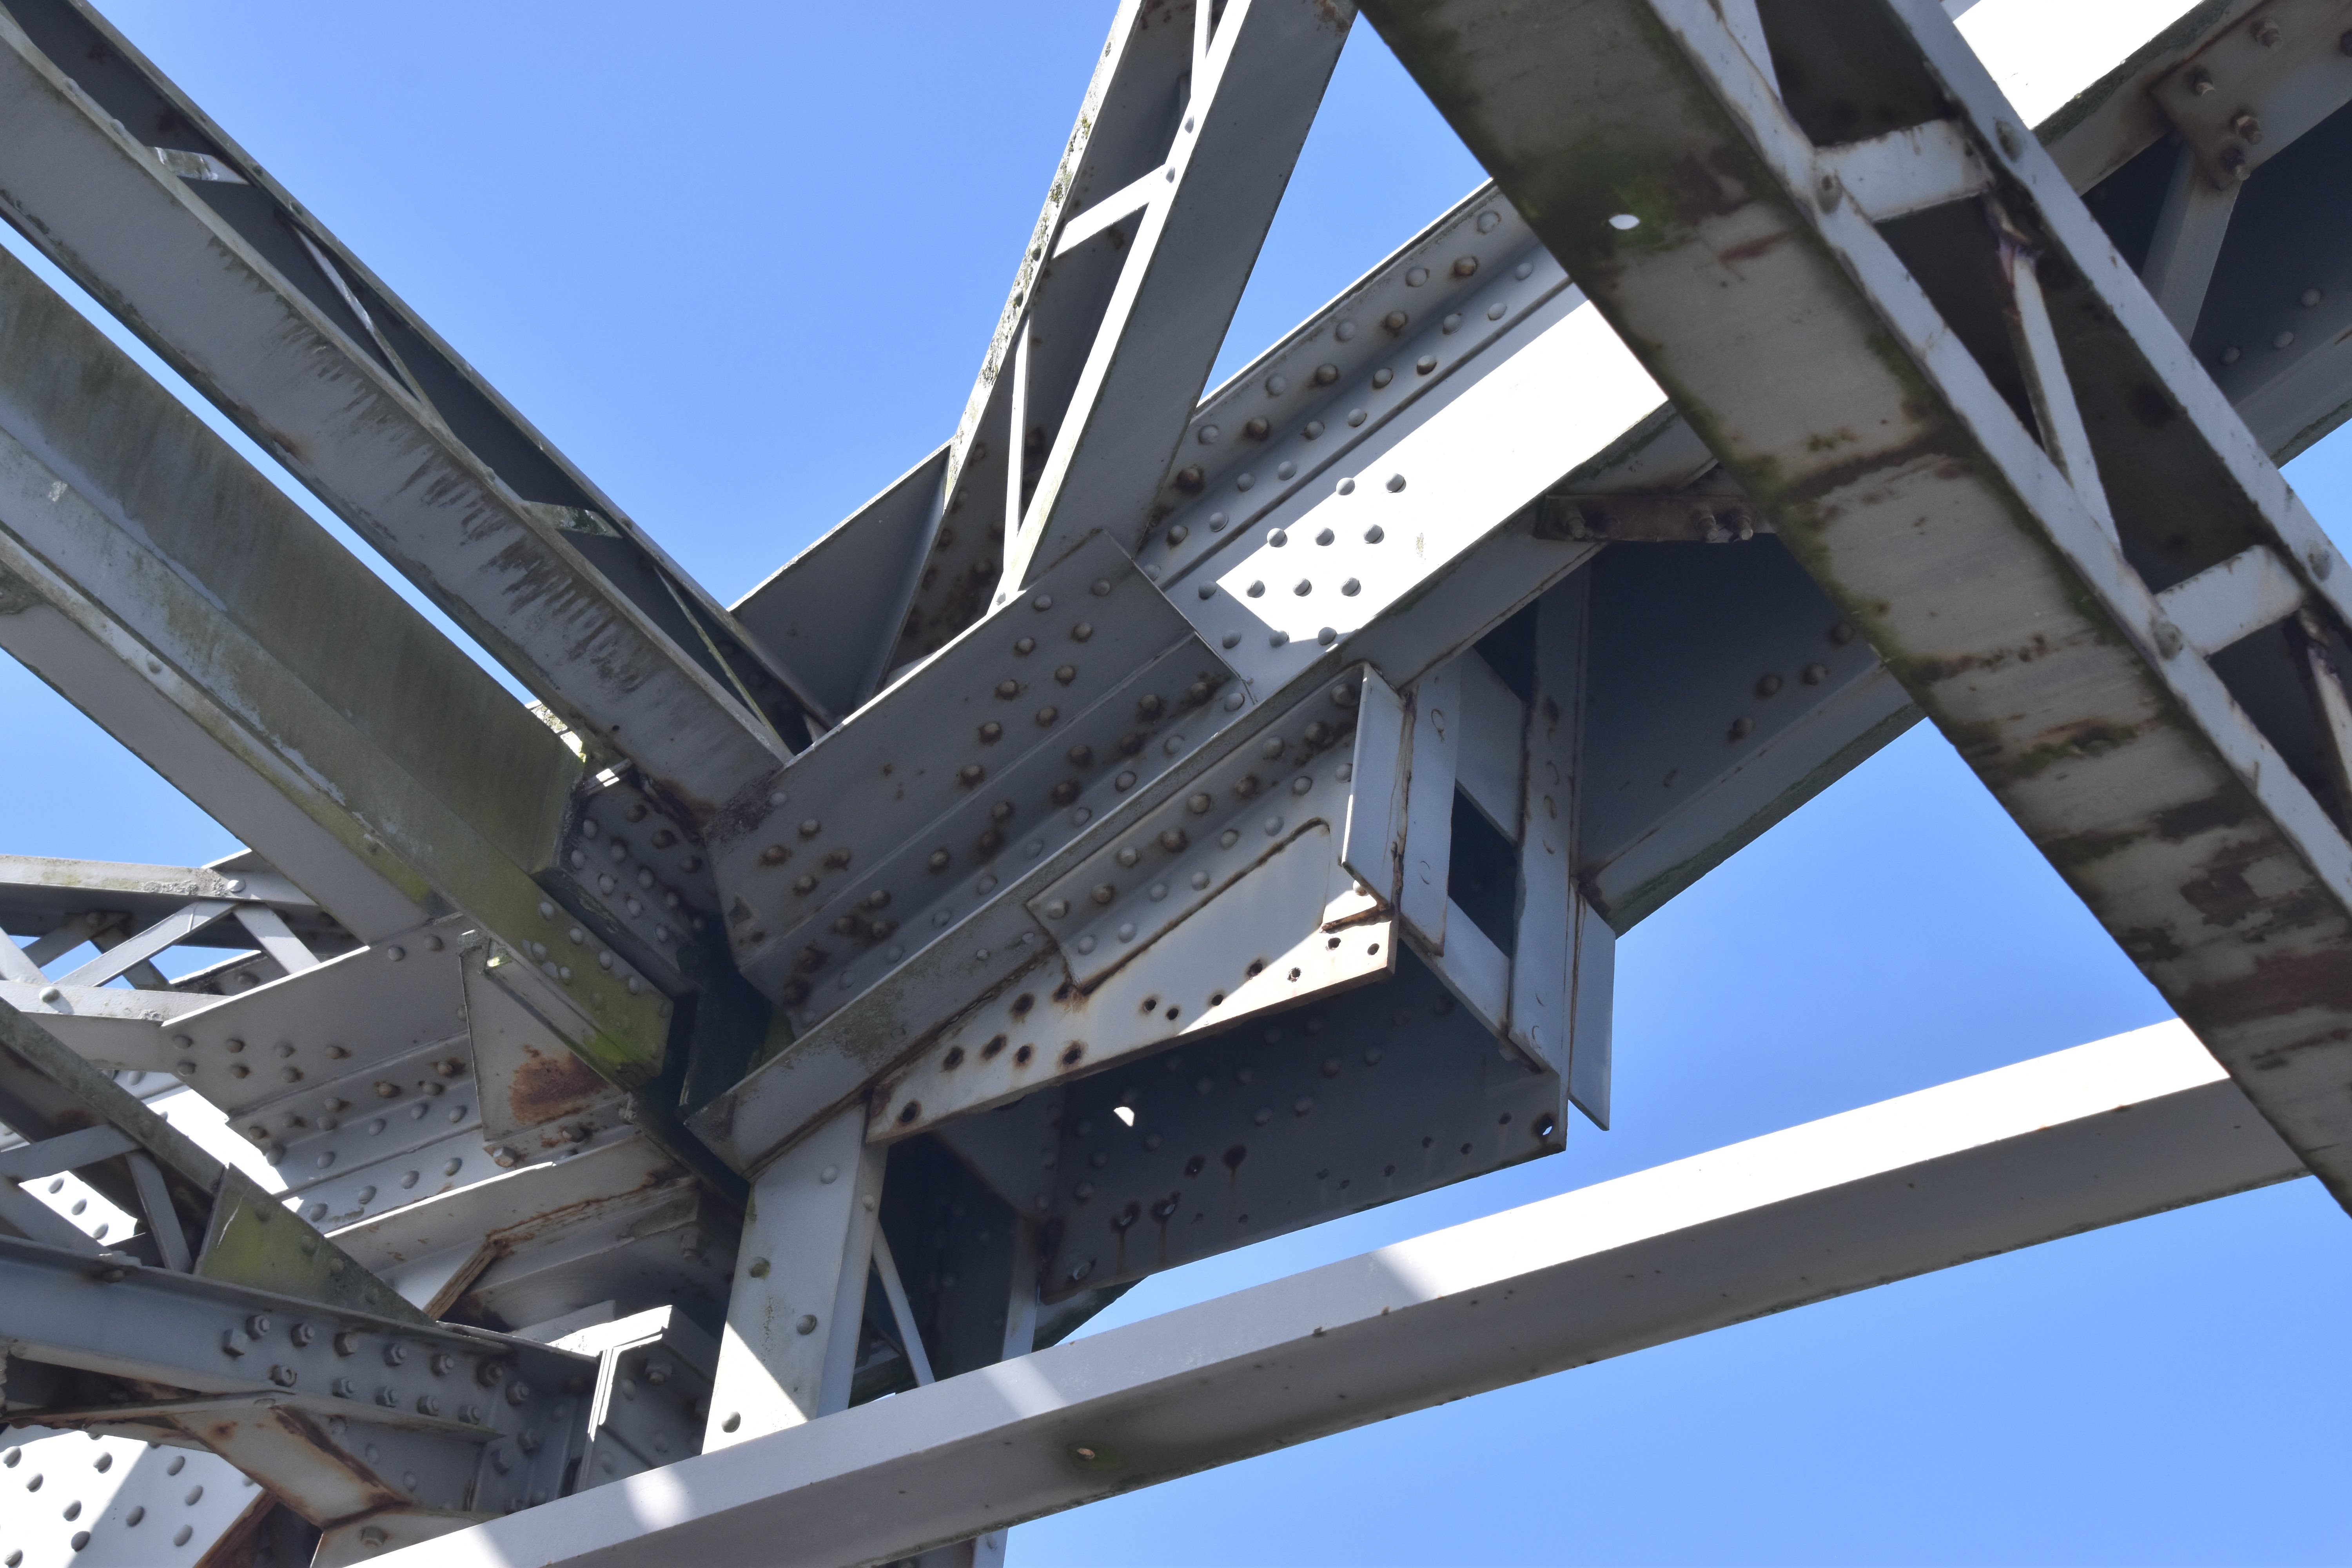
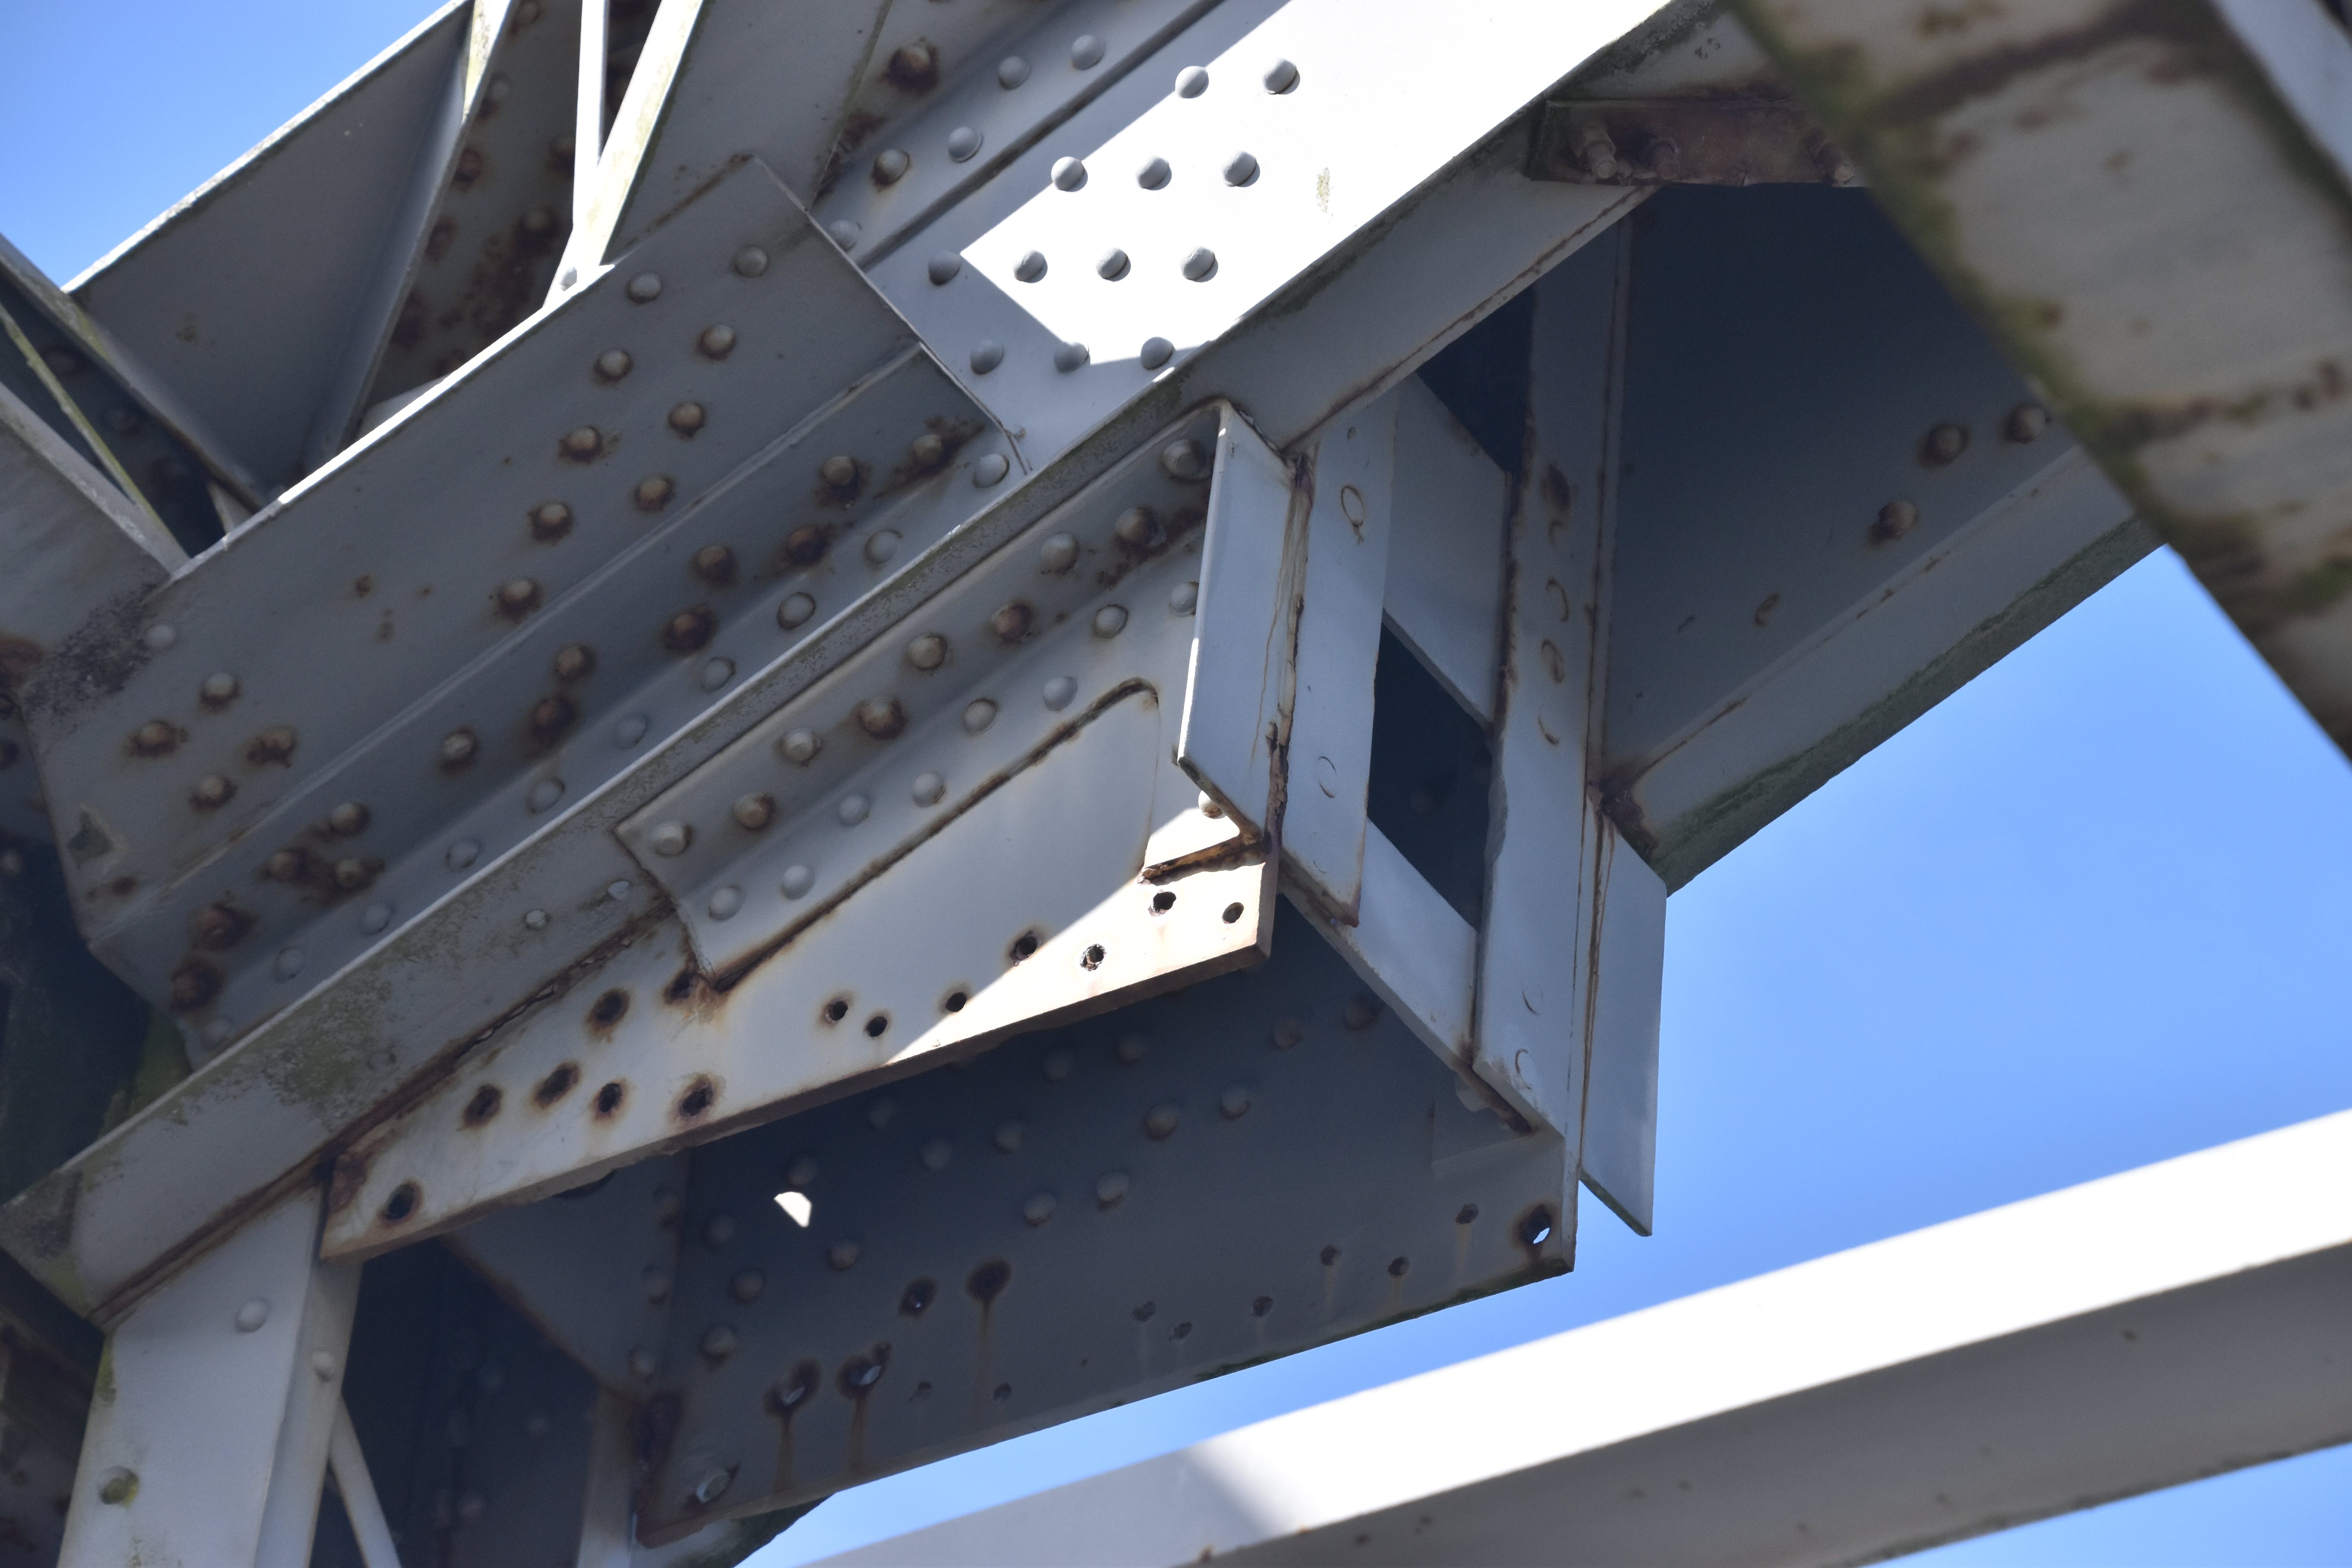
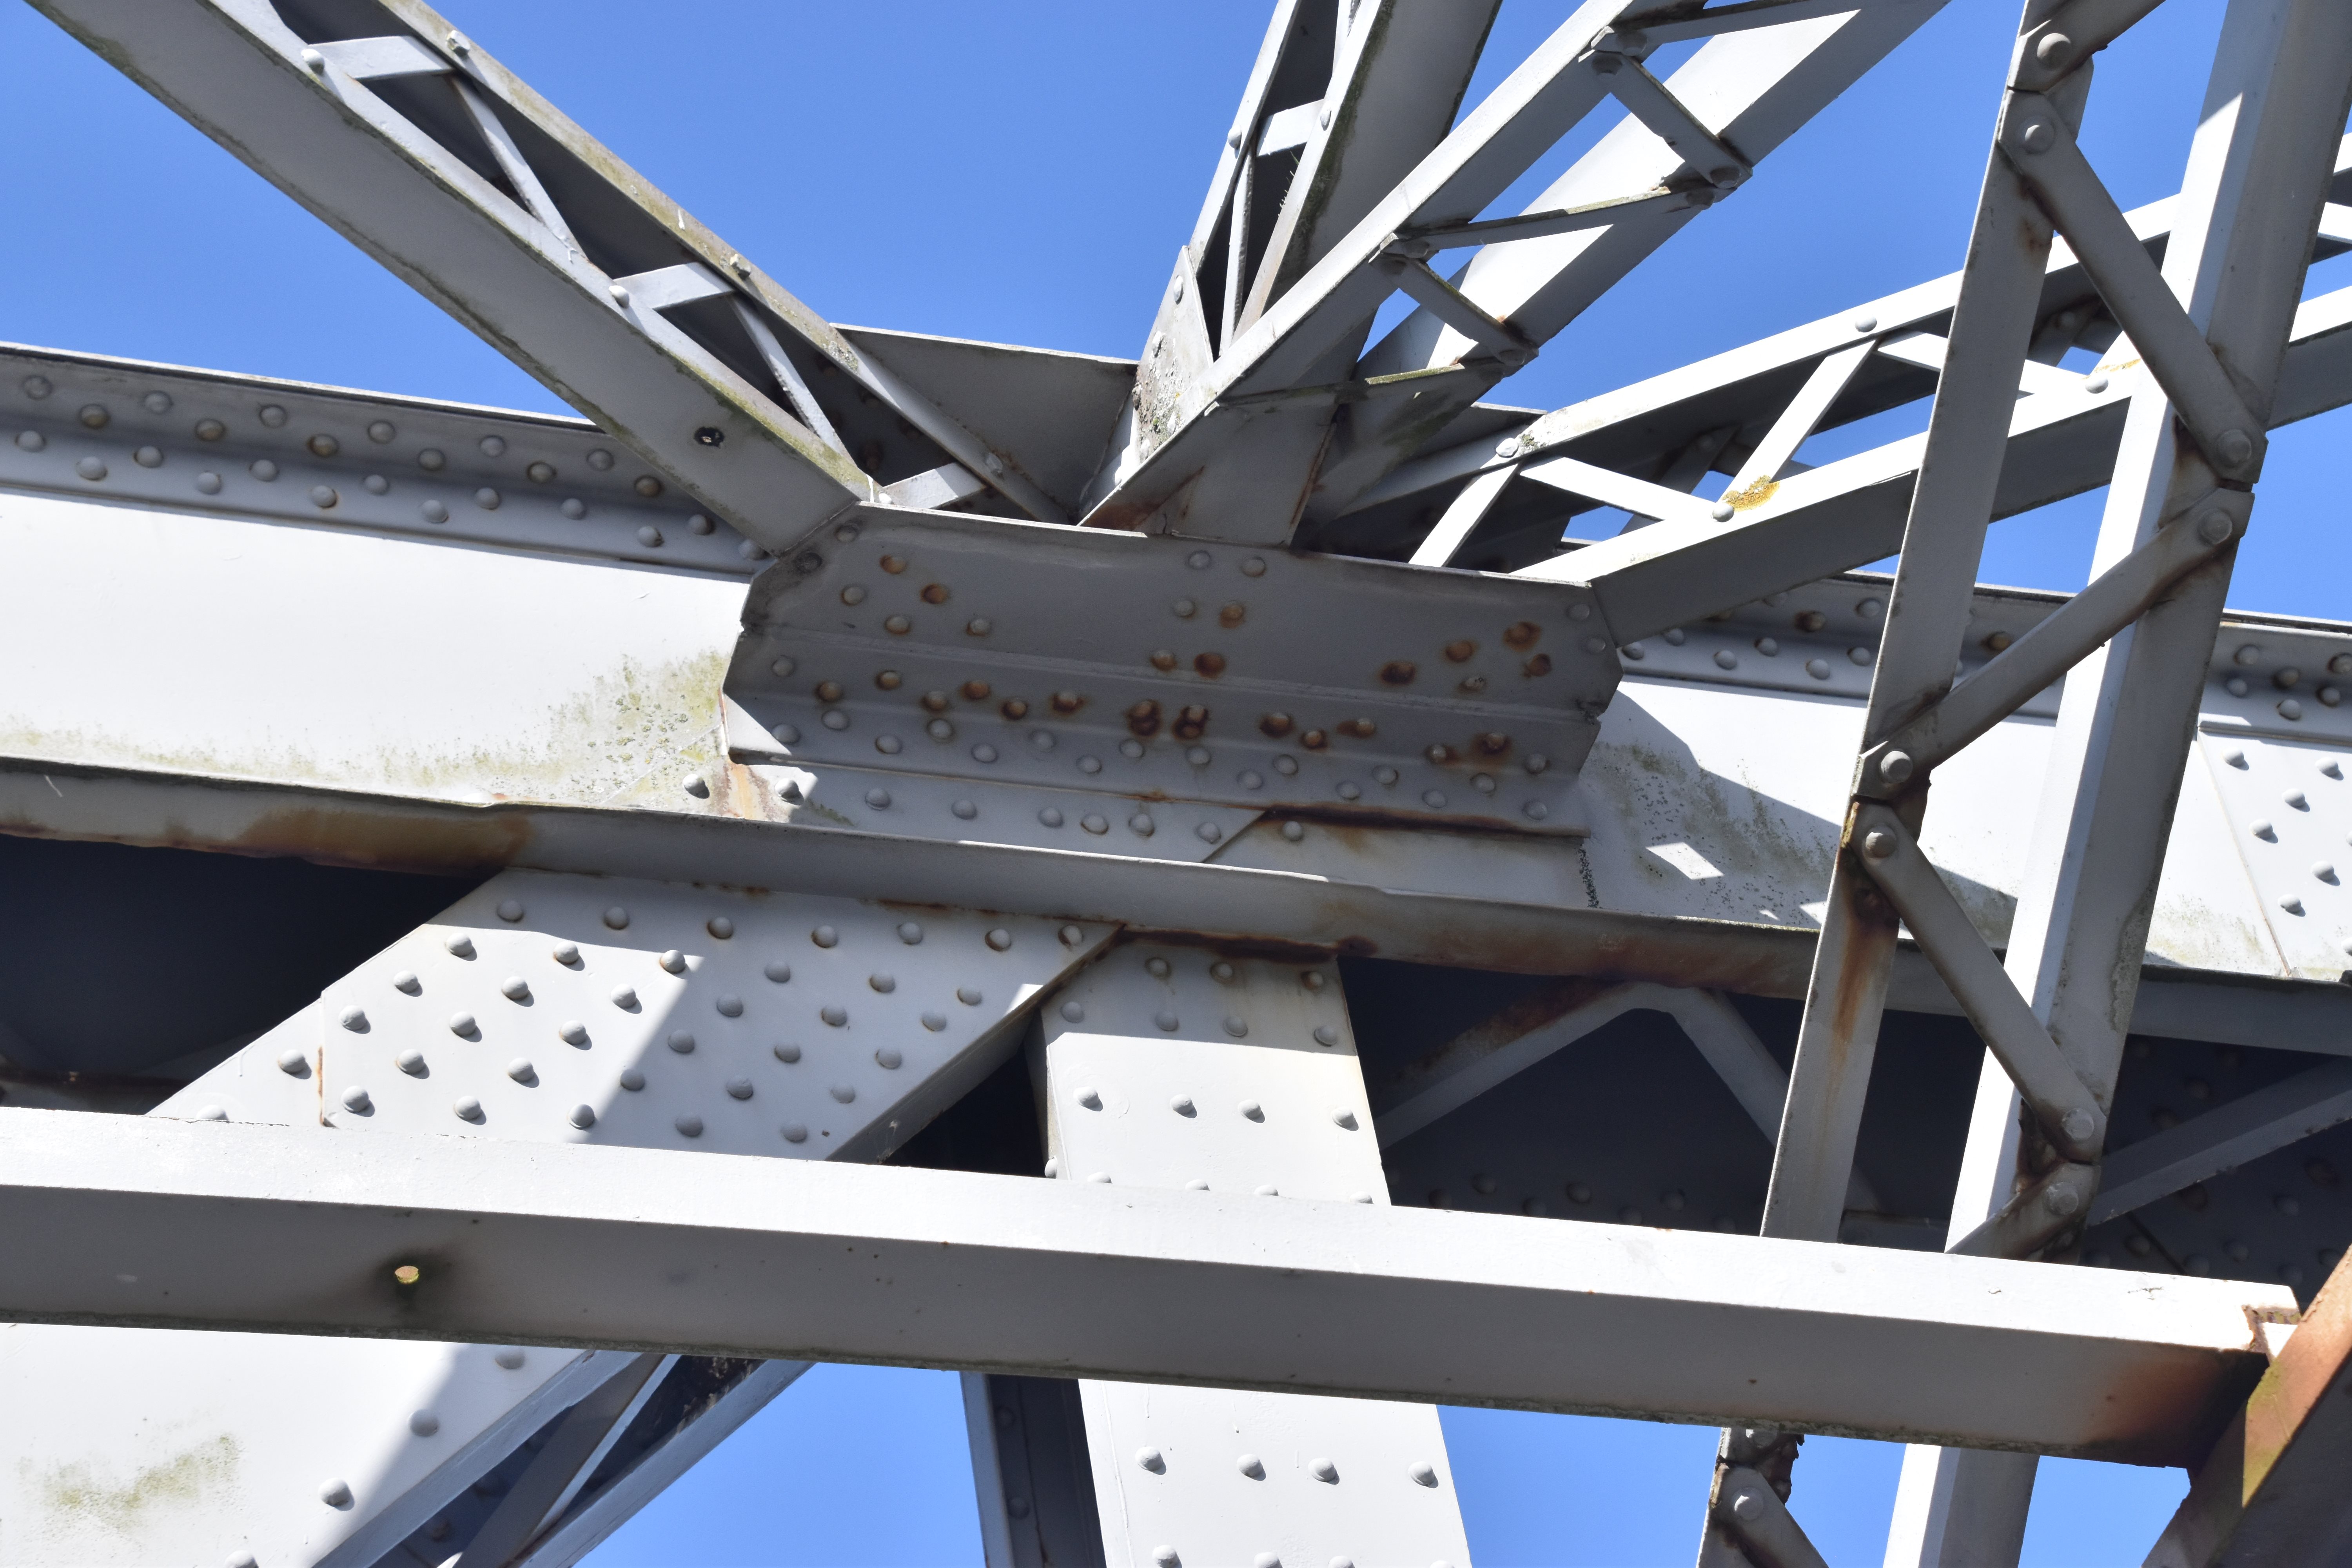
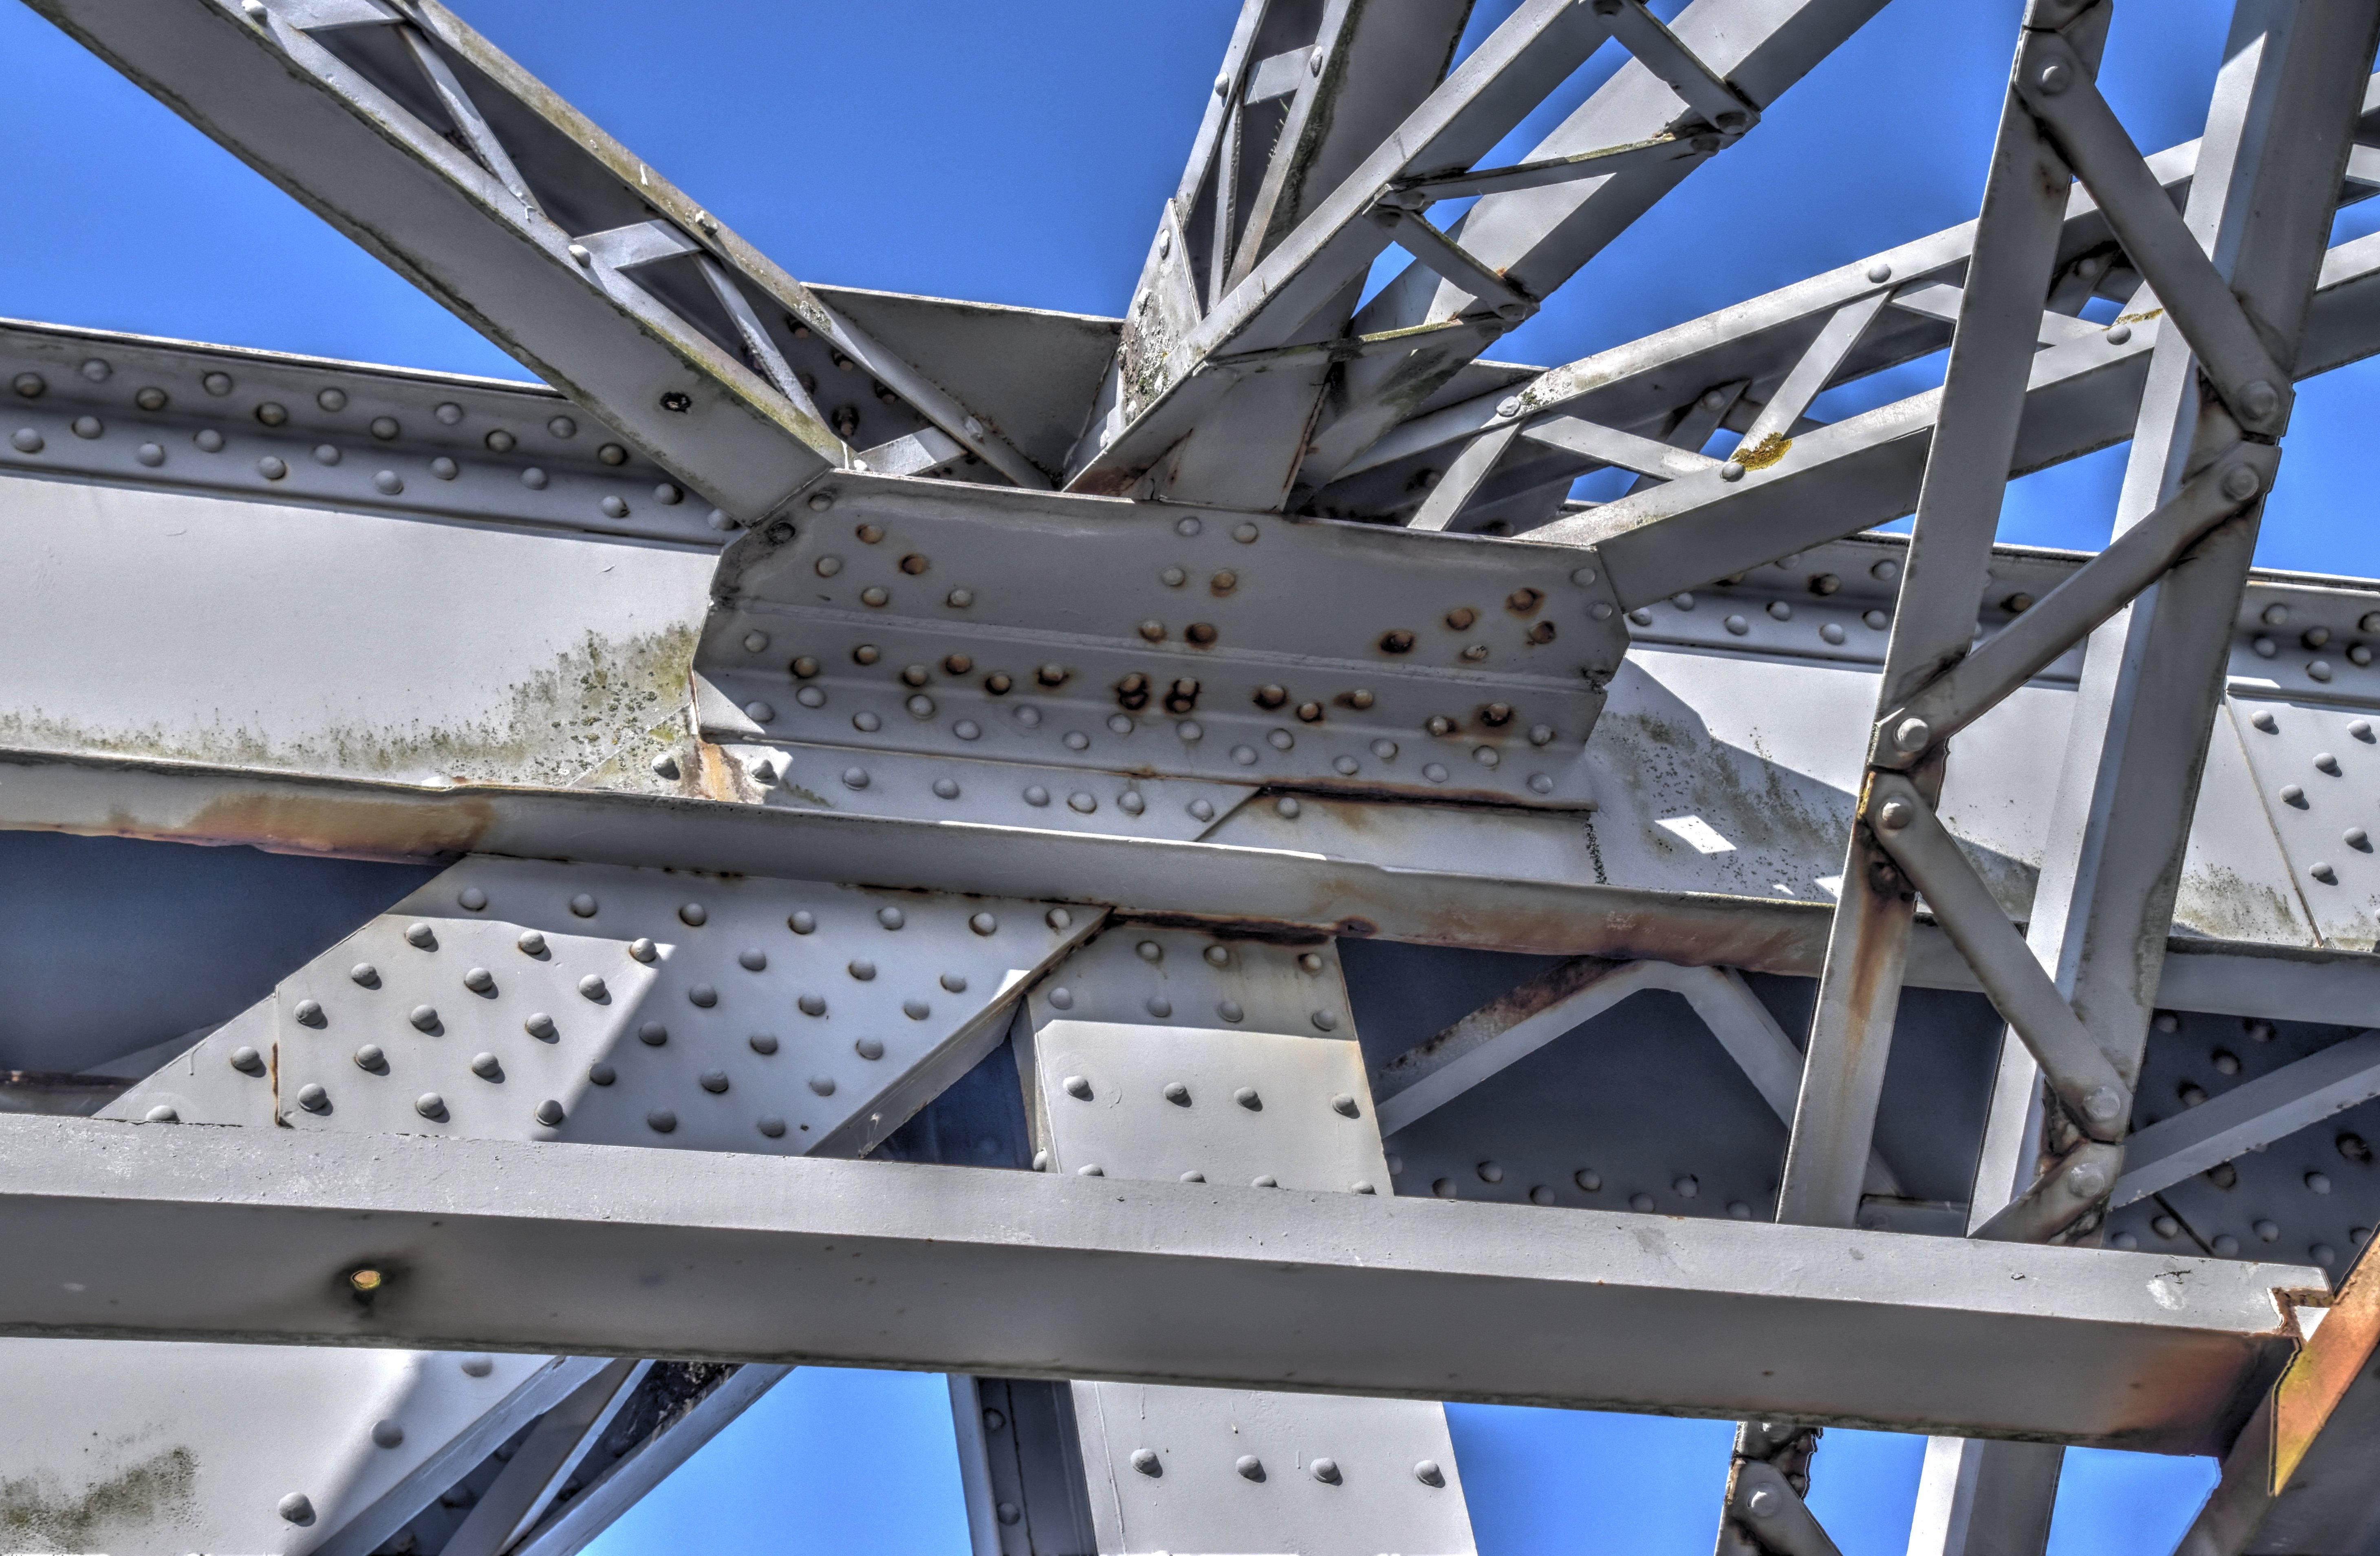
Top chord connections as viewed from on bridge.
![]()
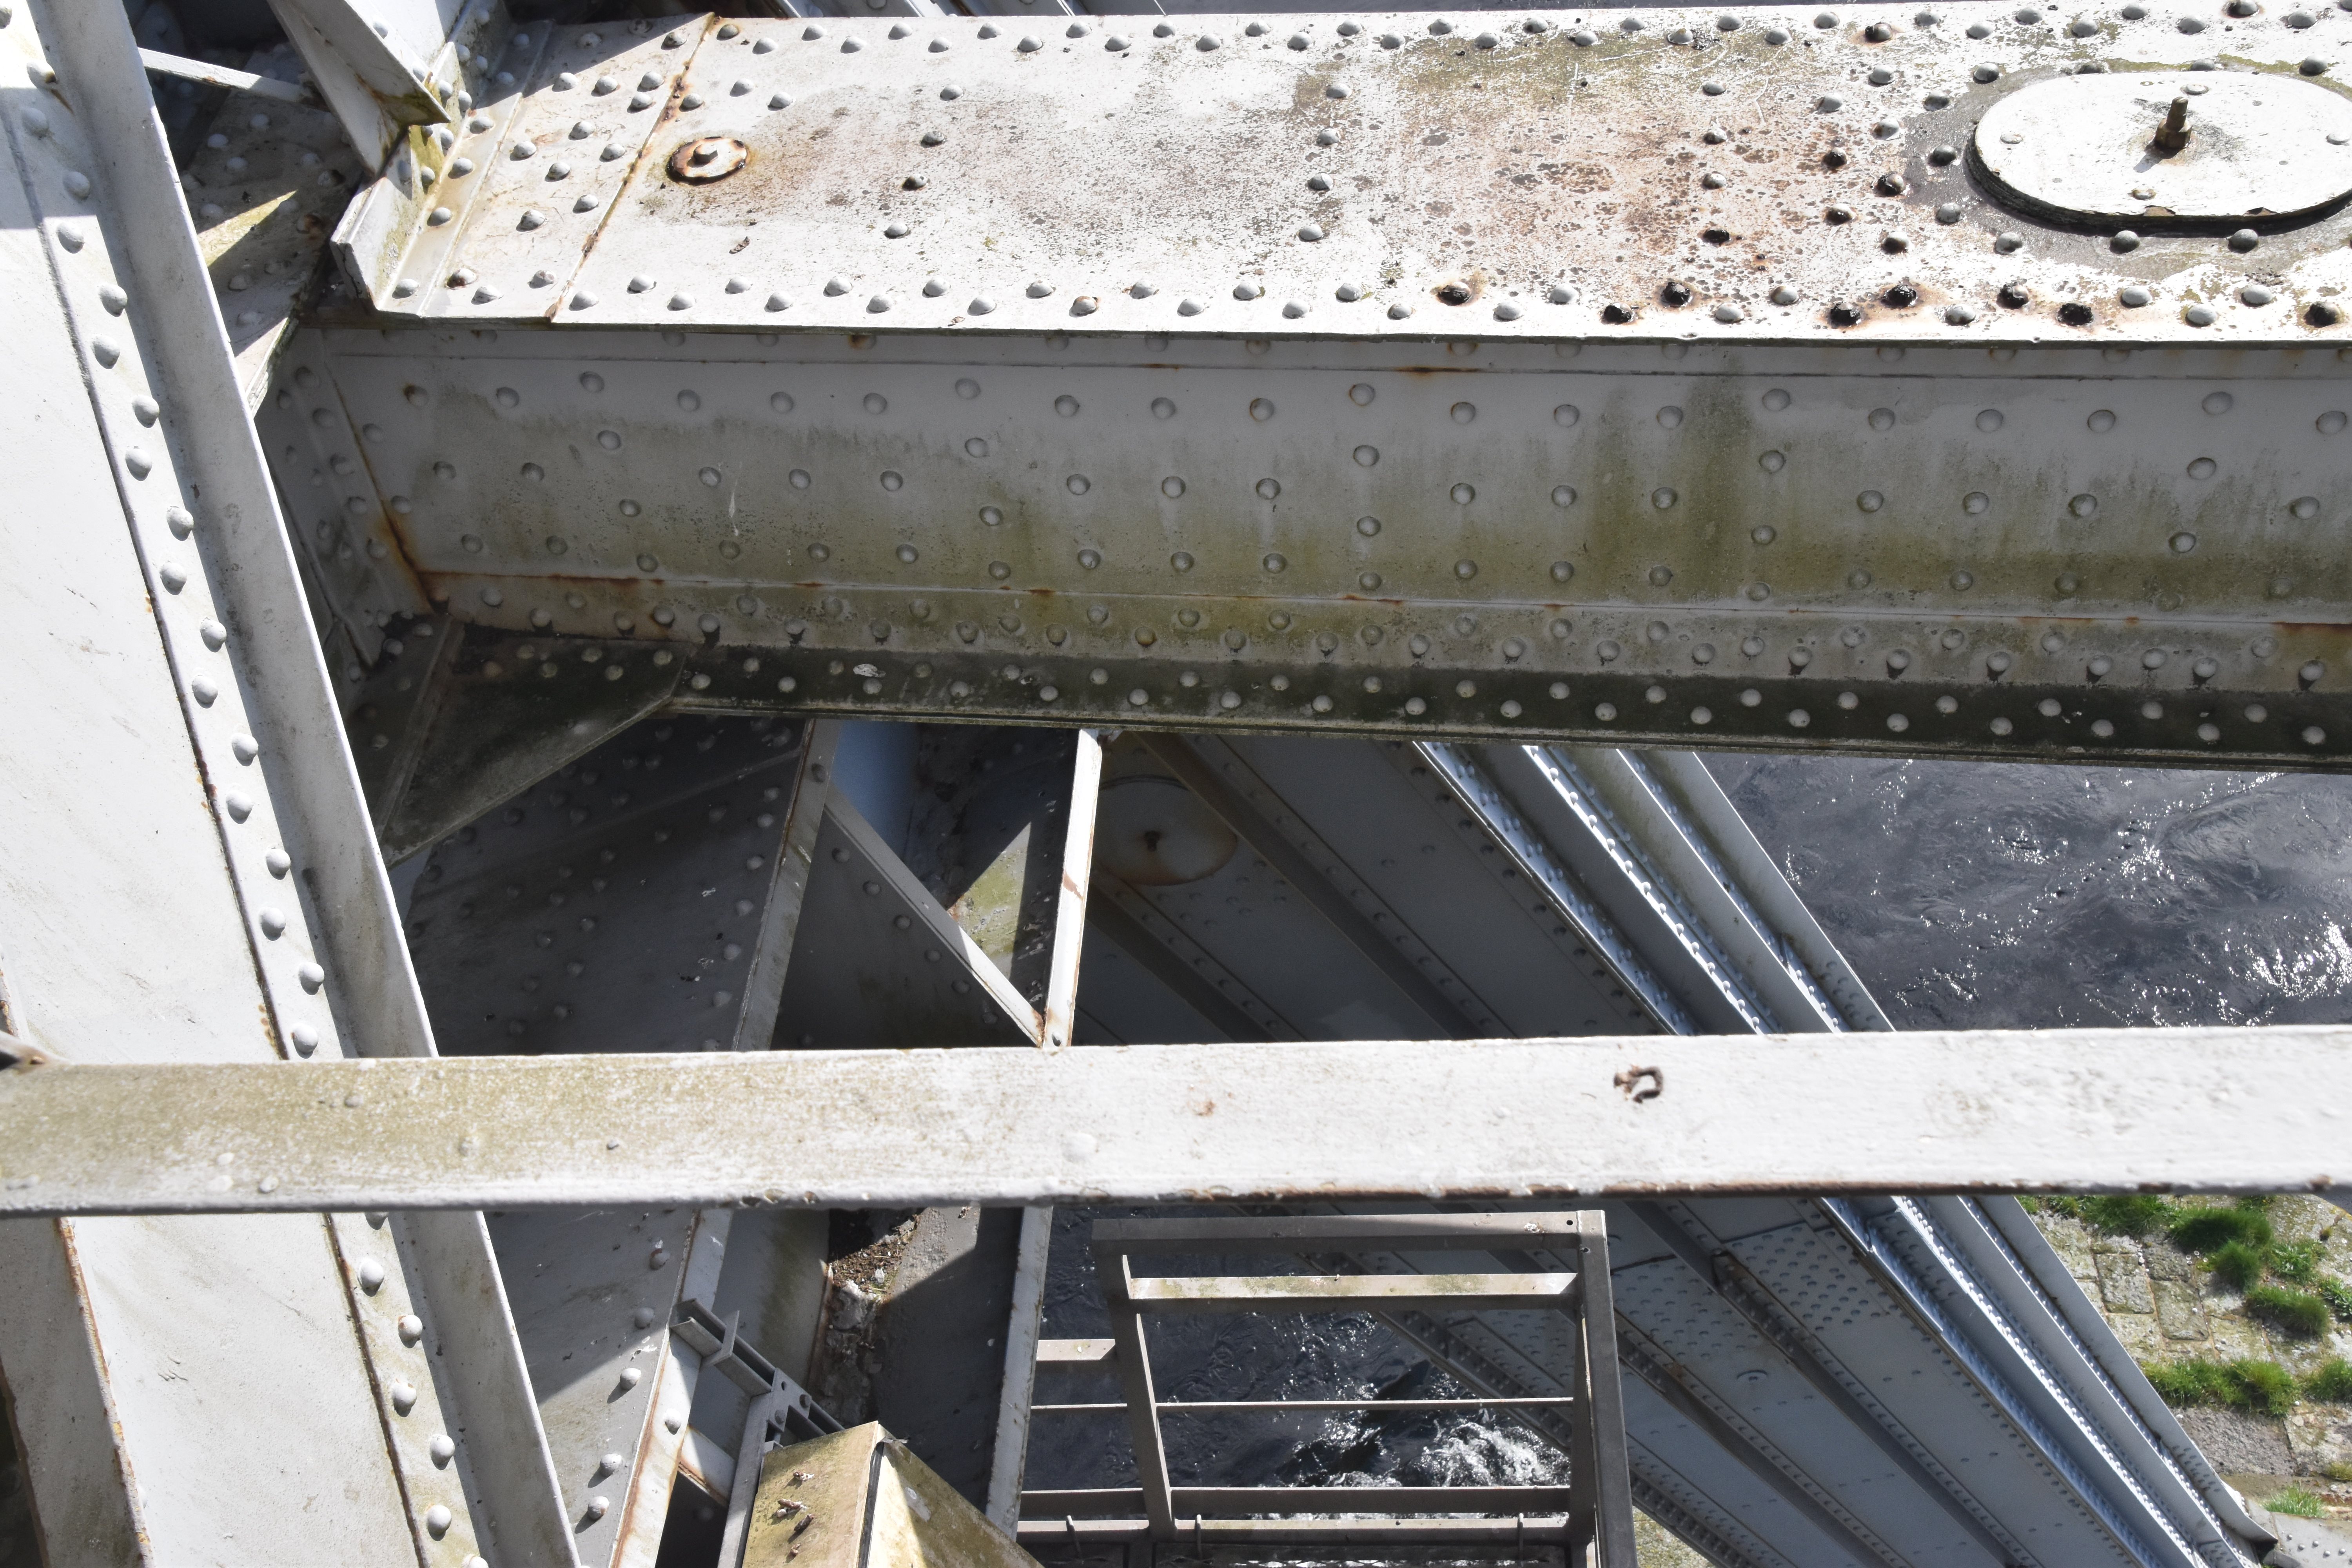
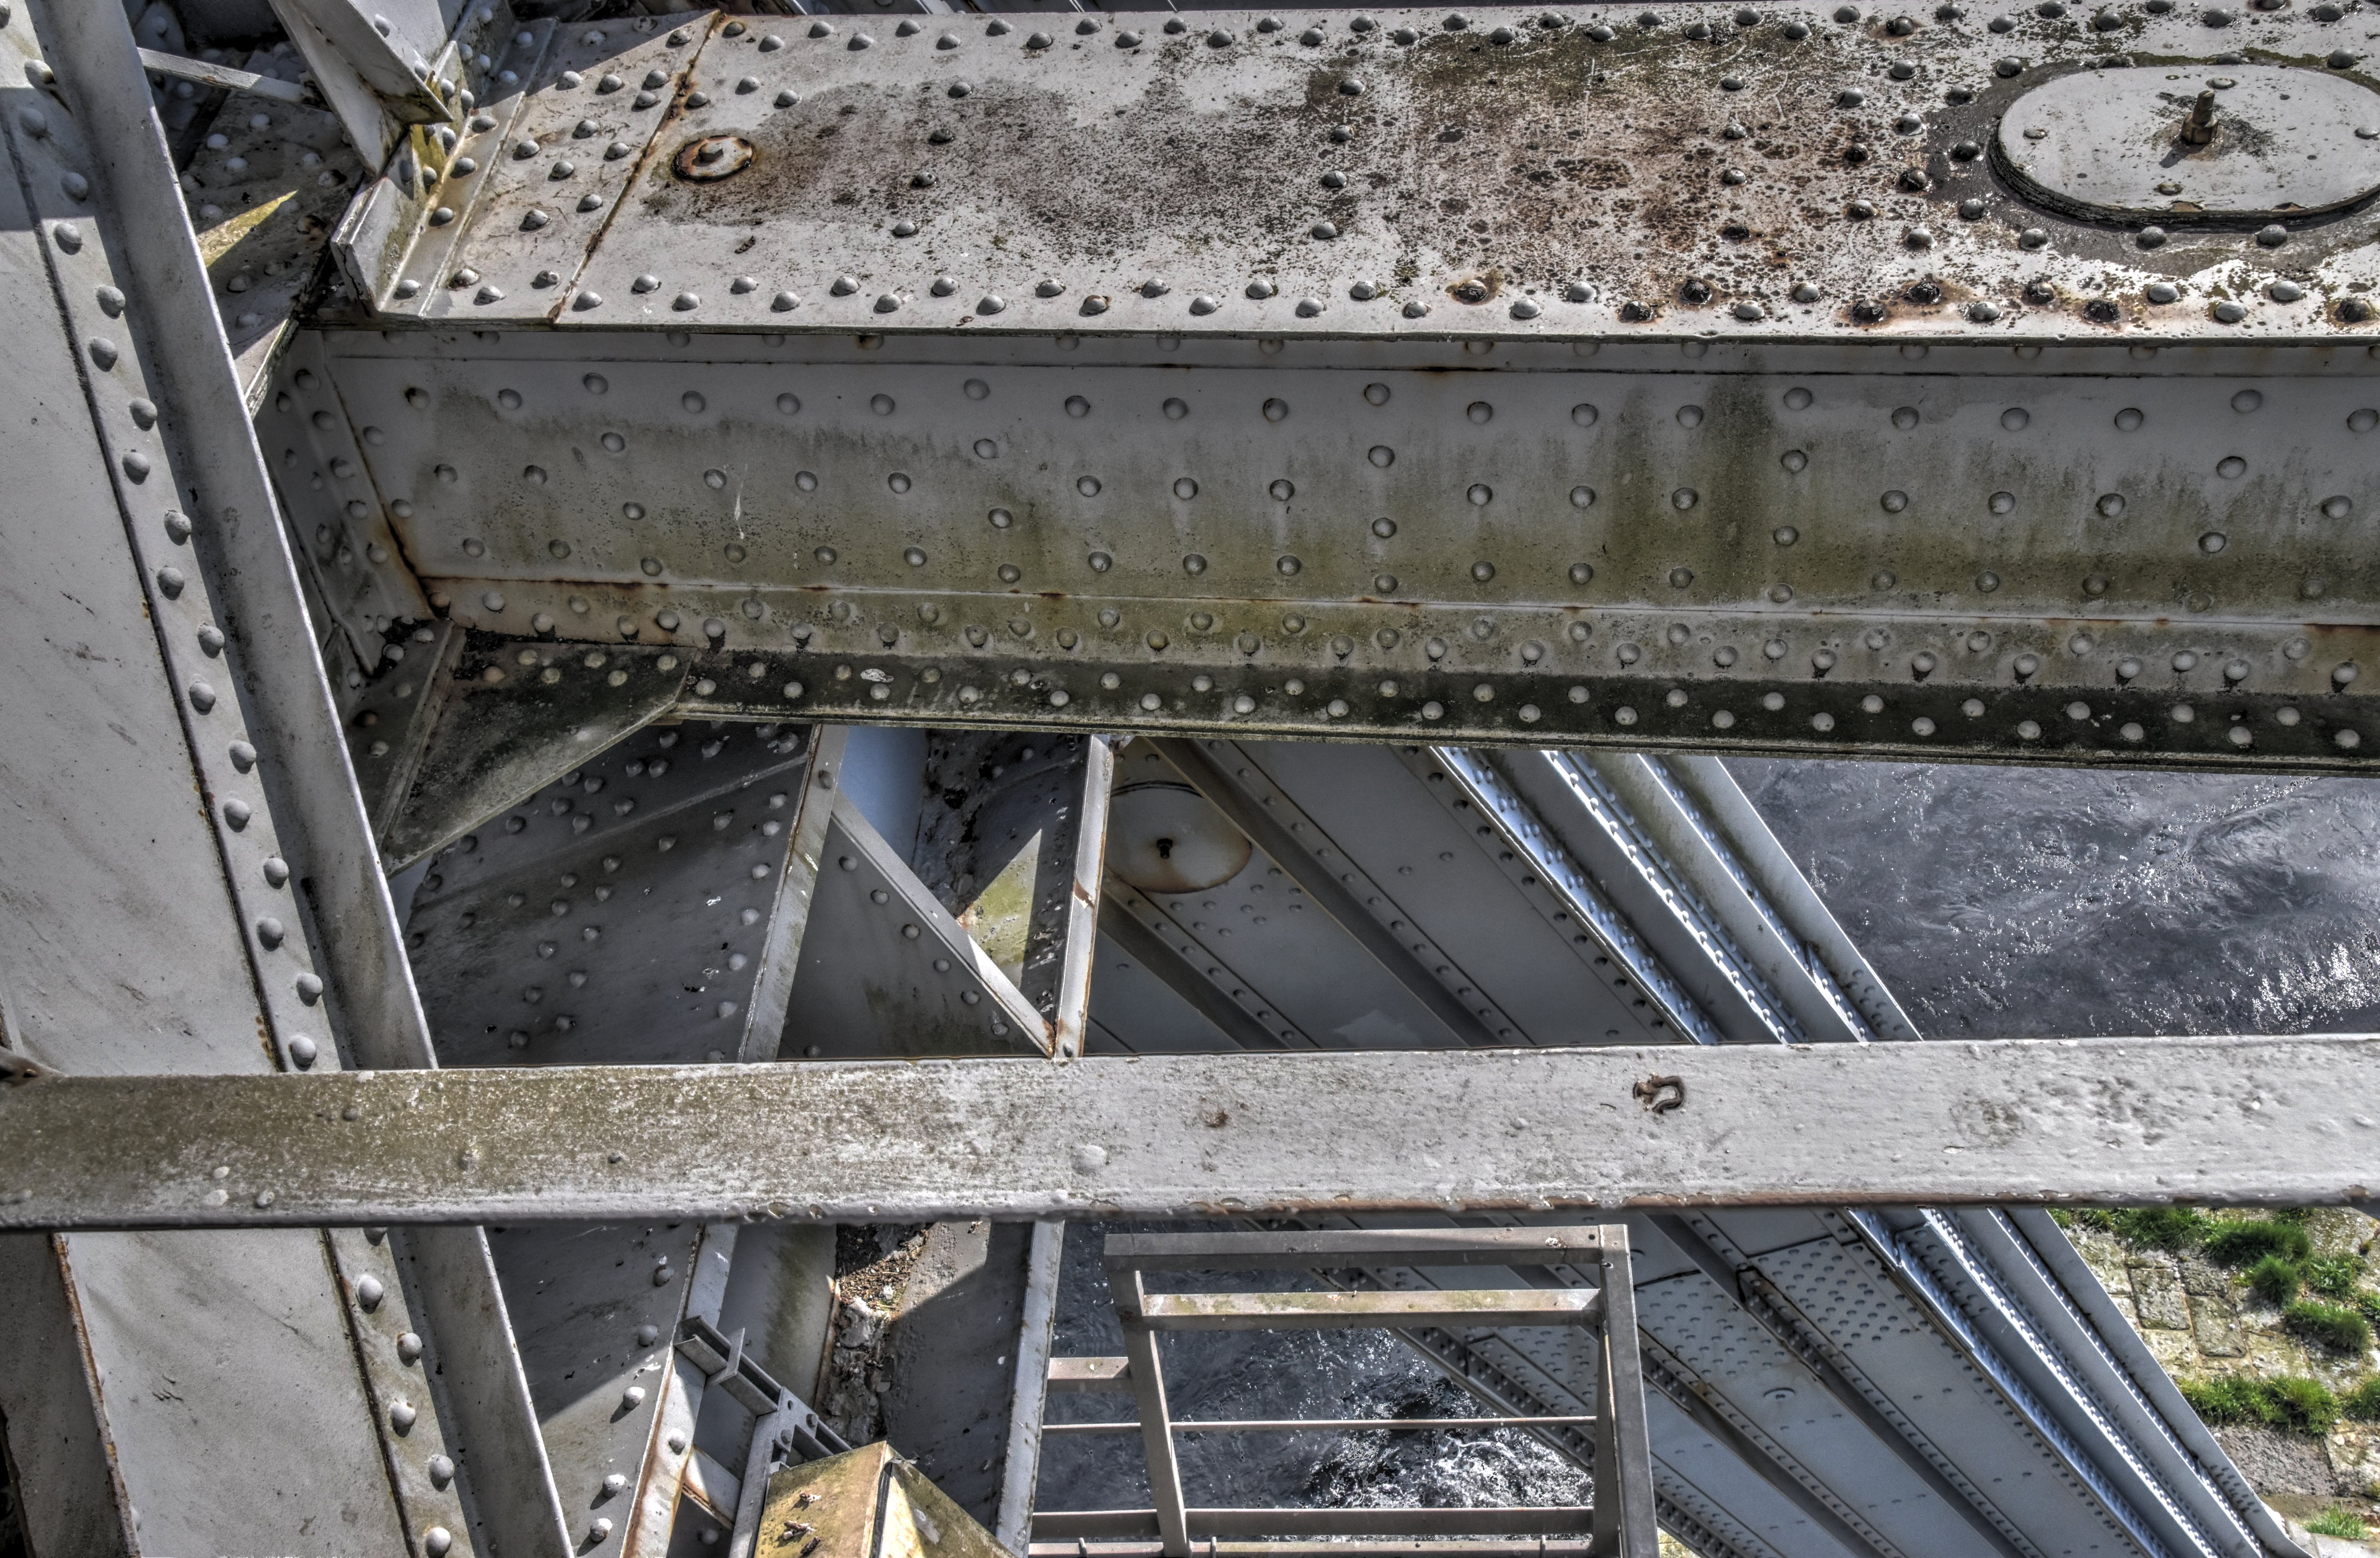
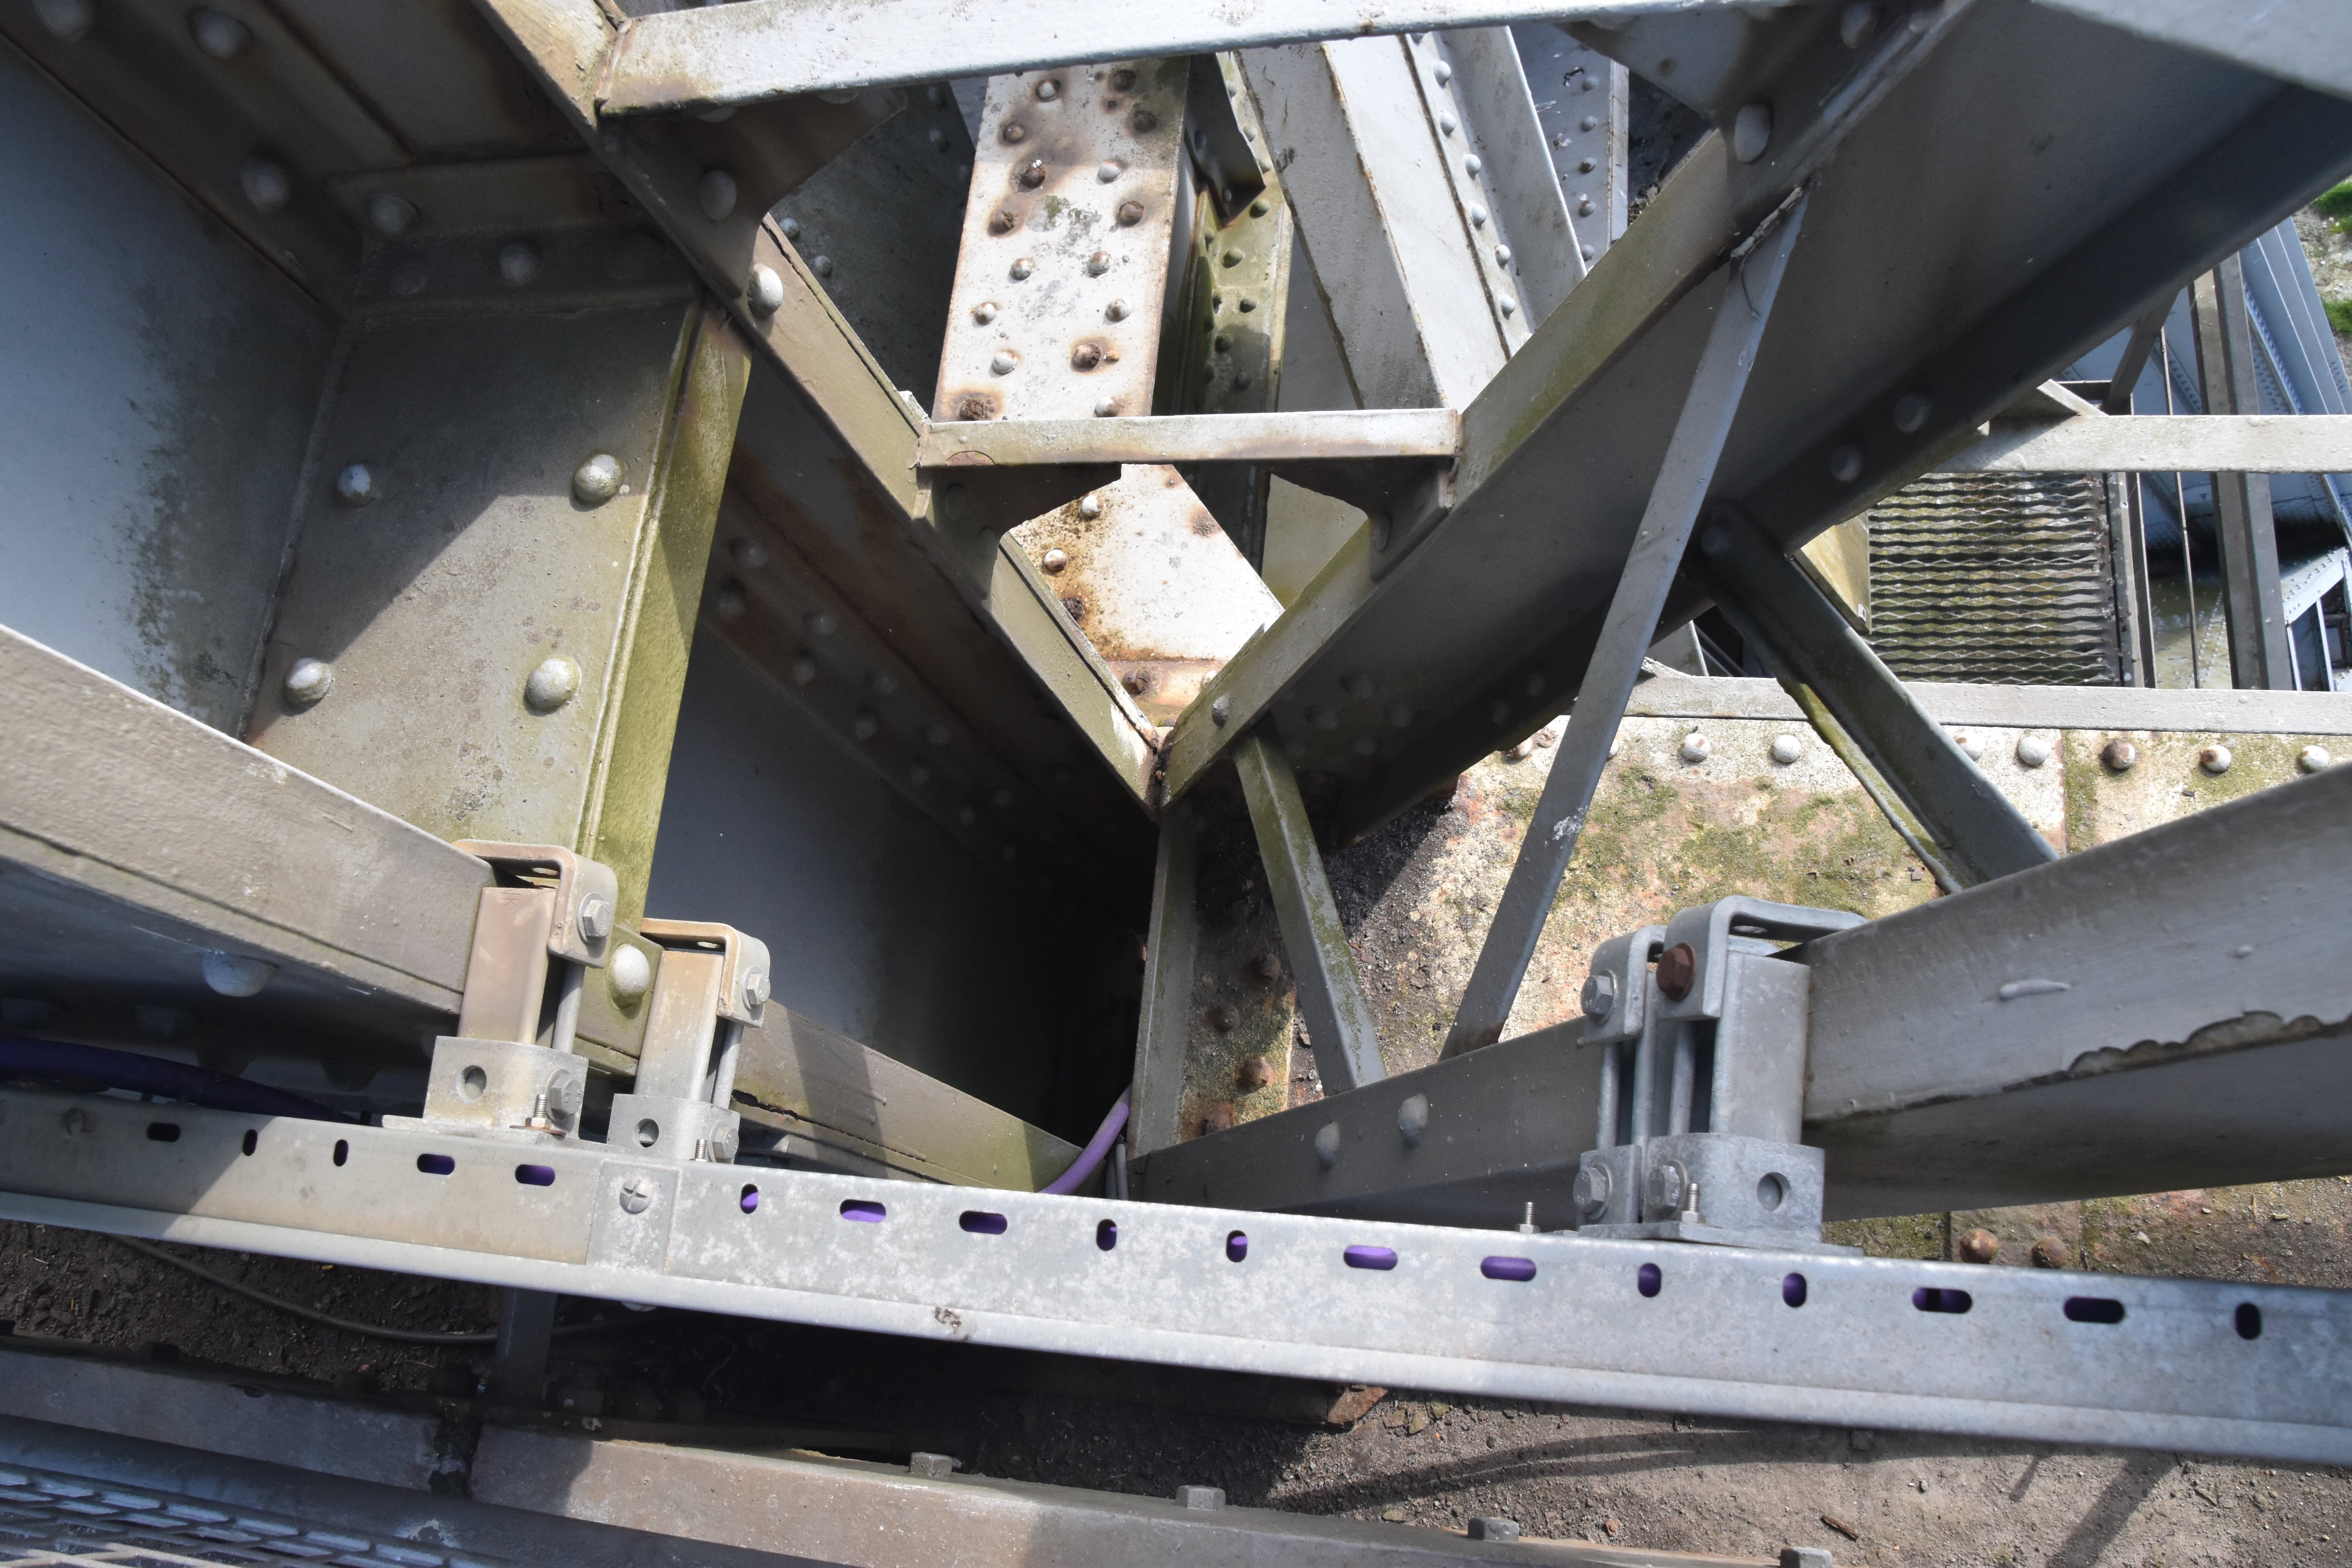
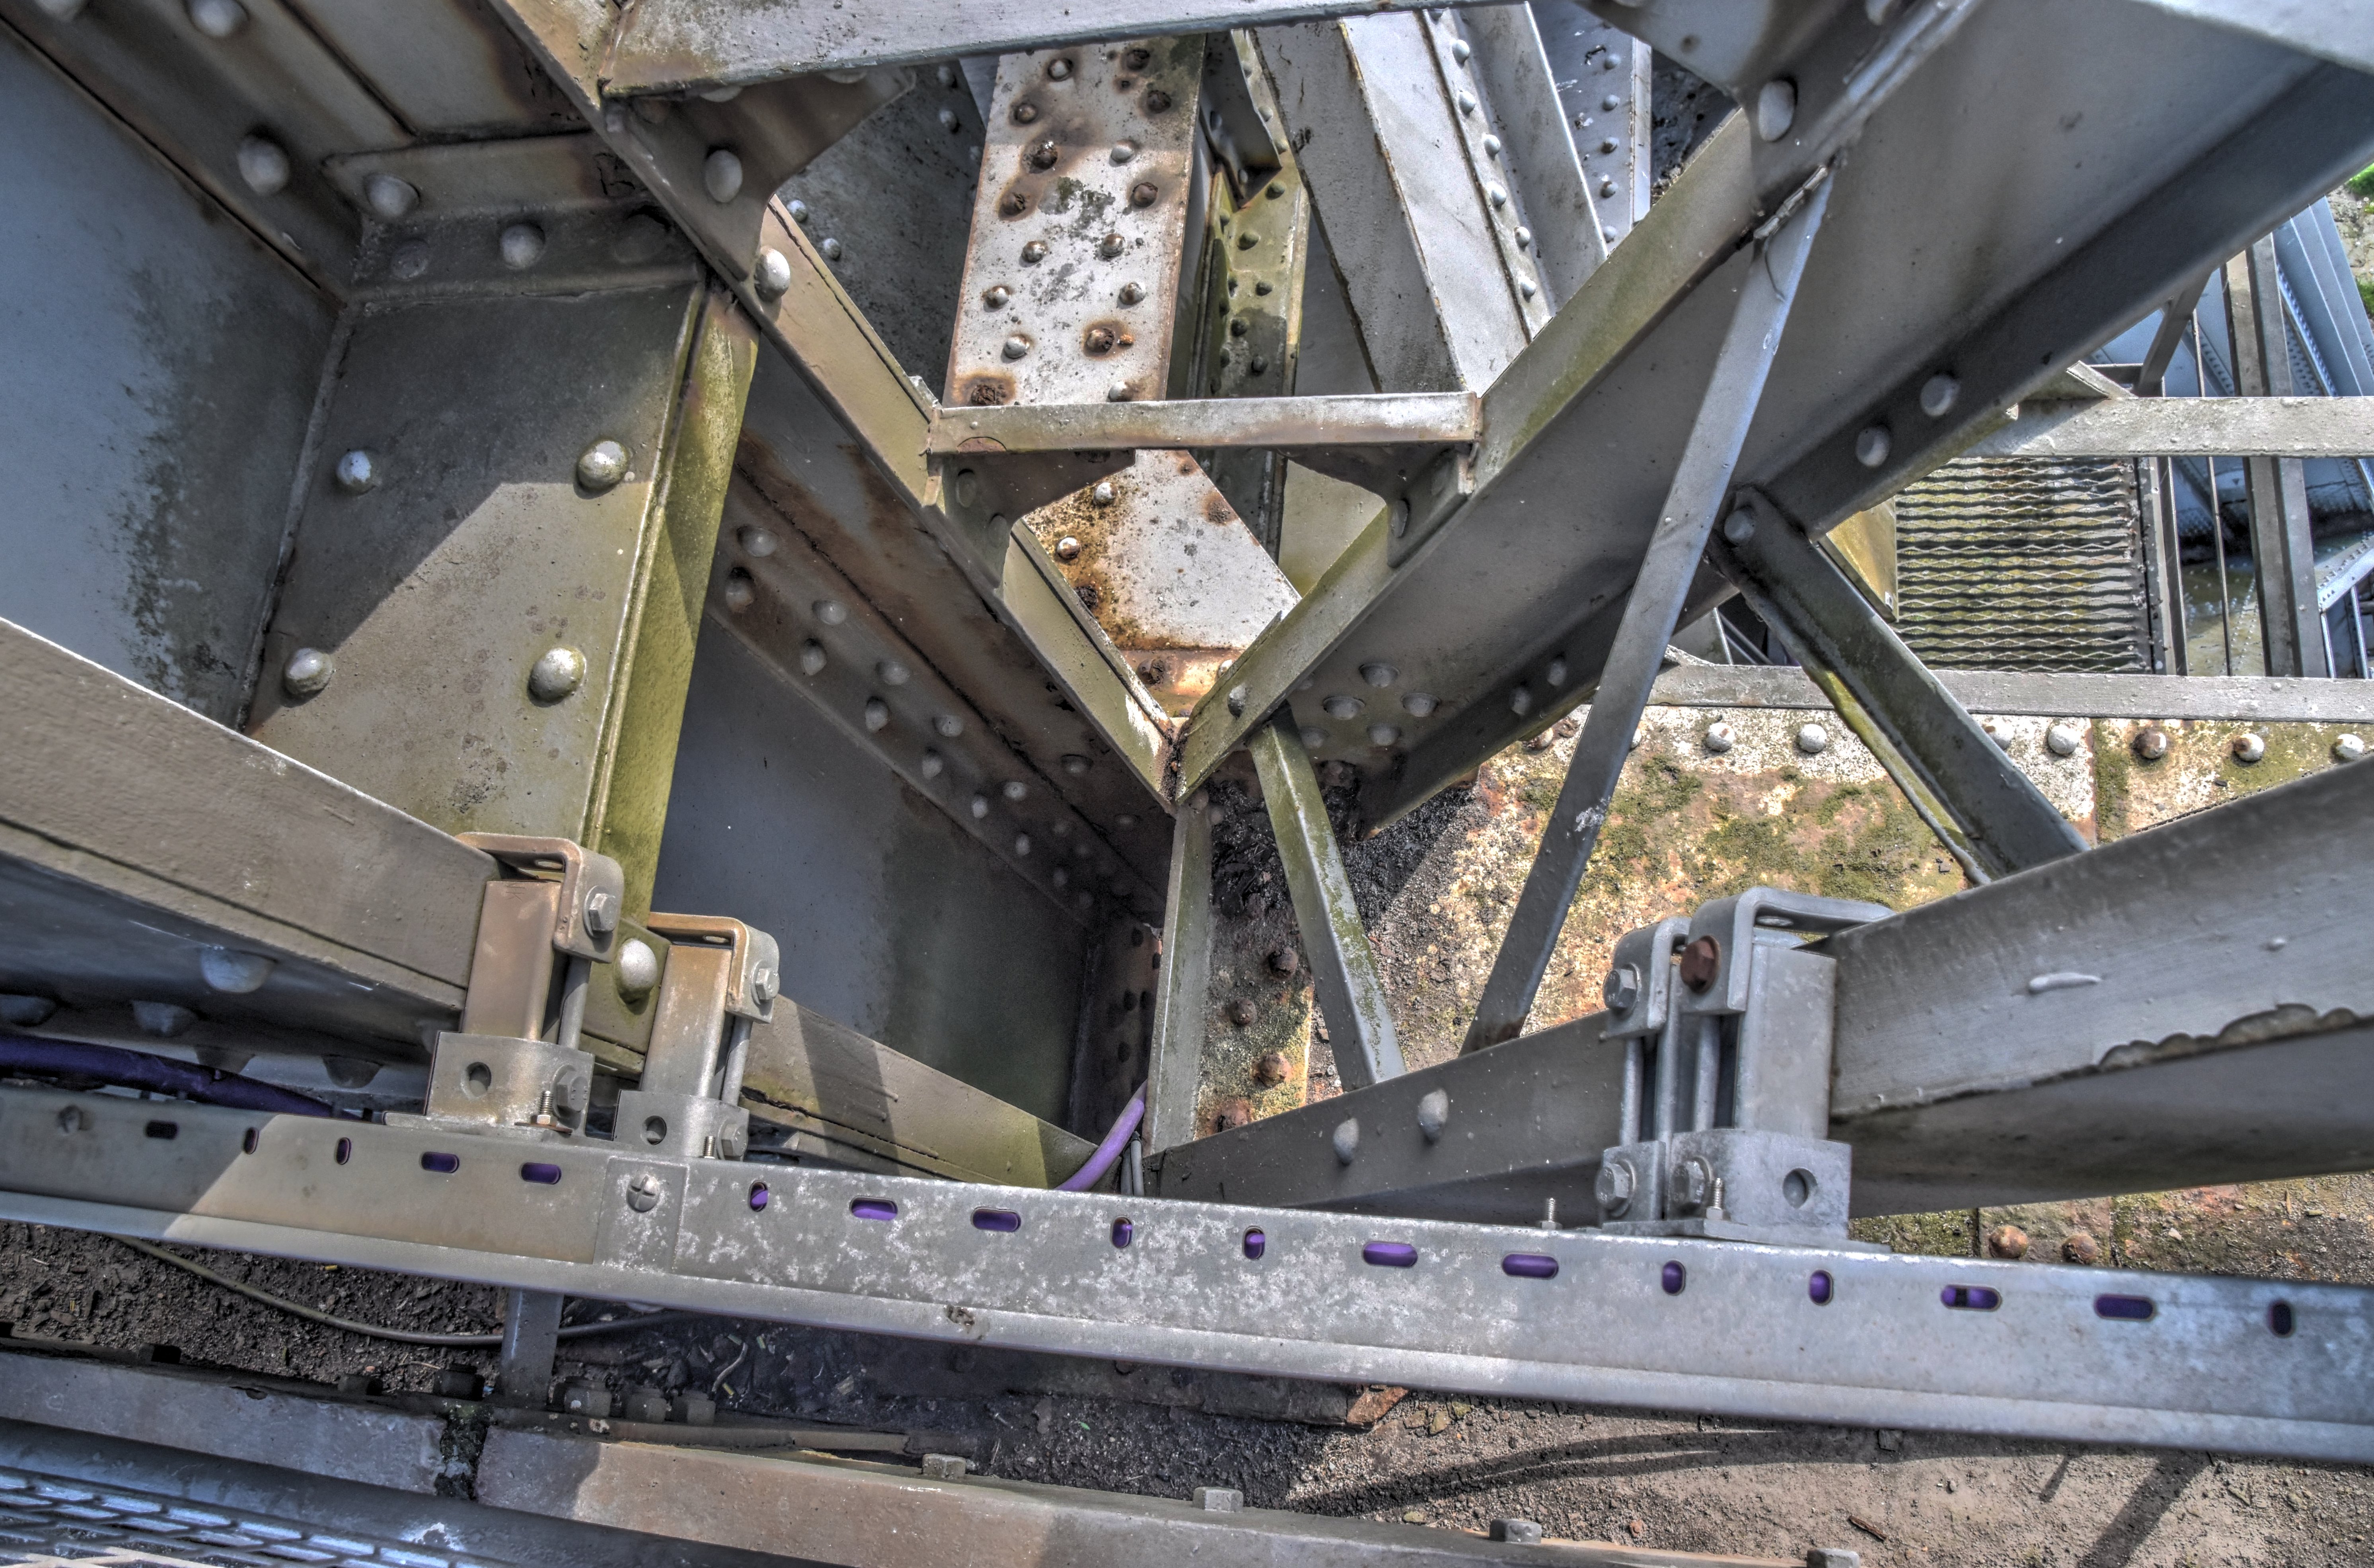
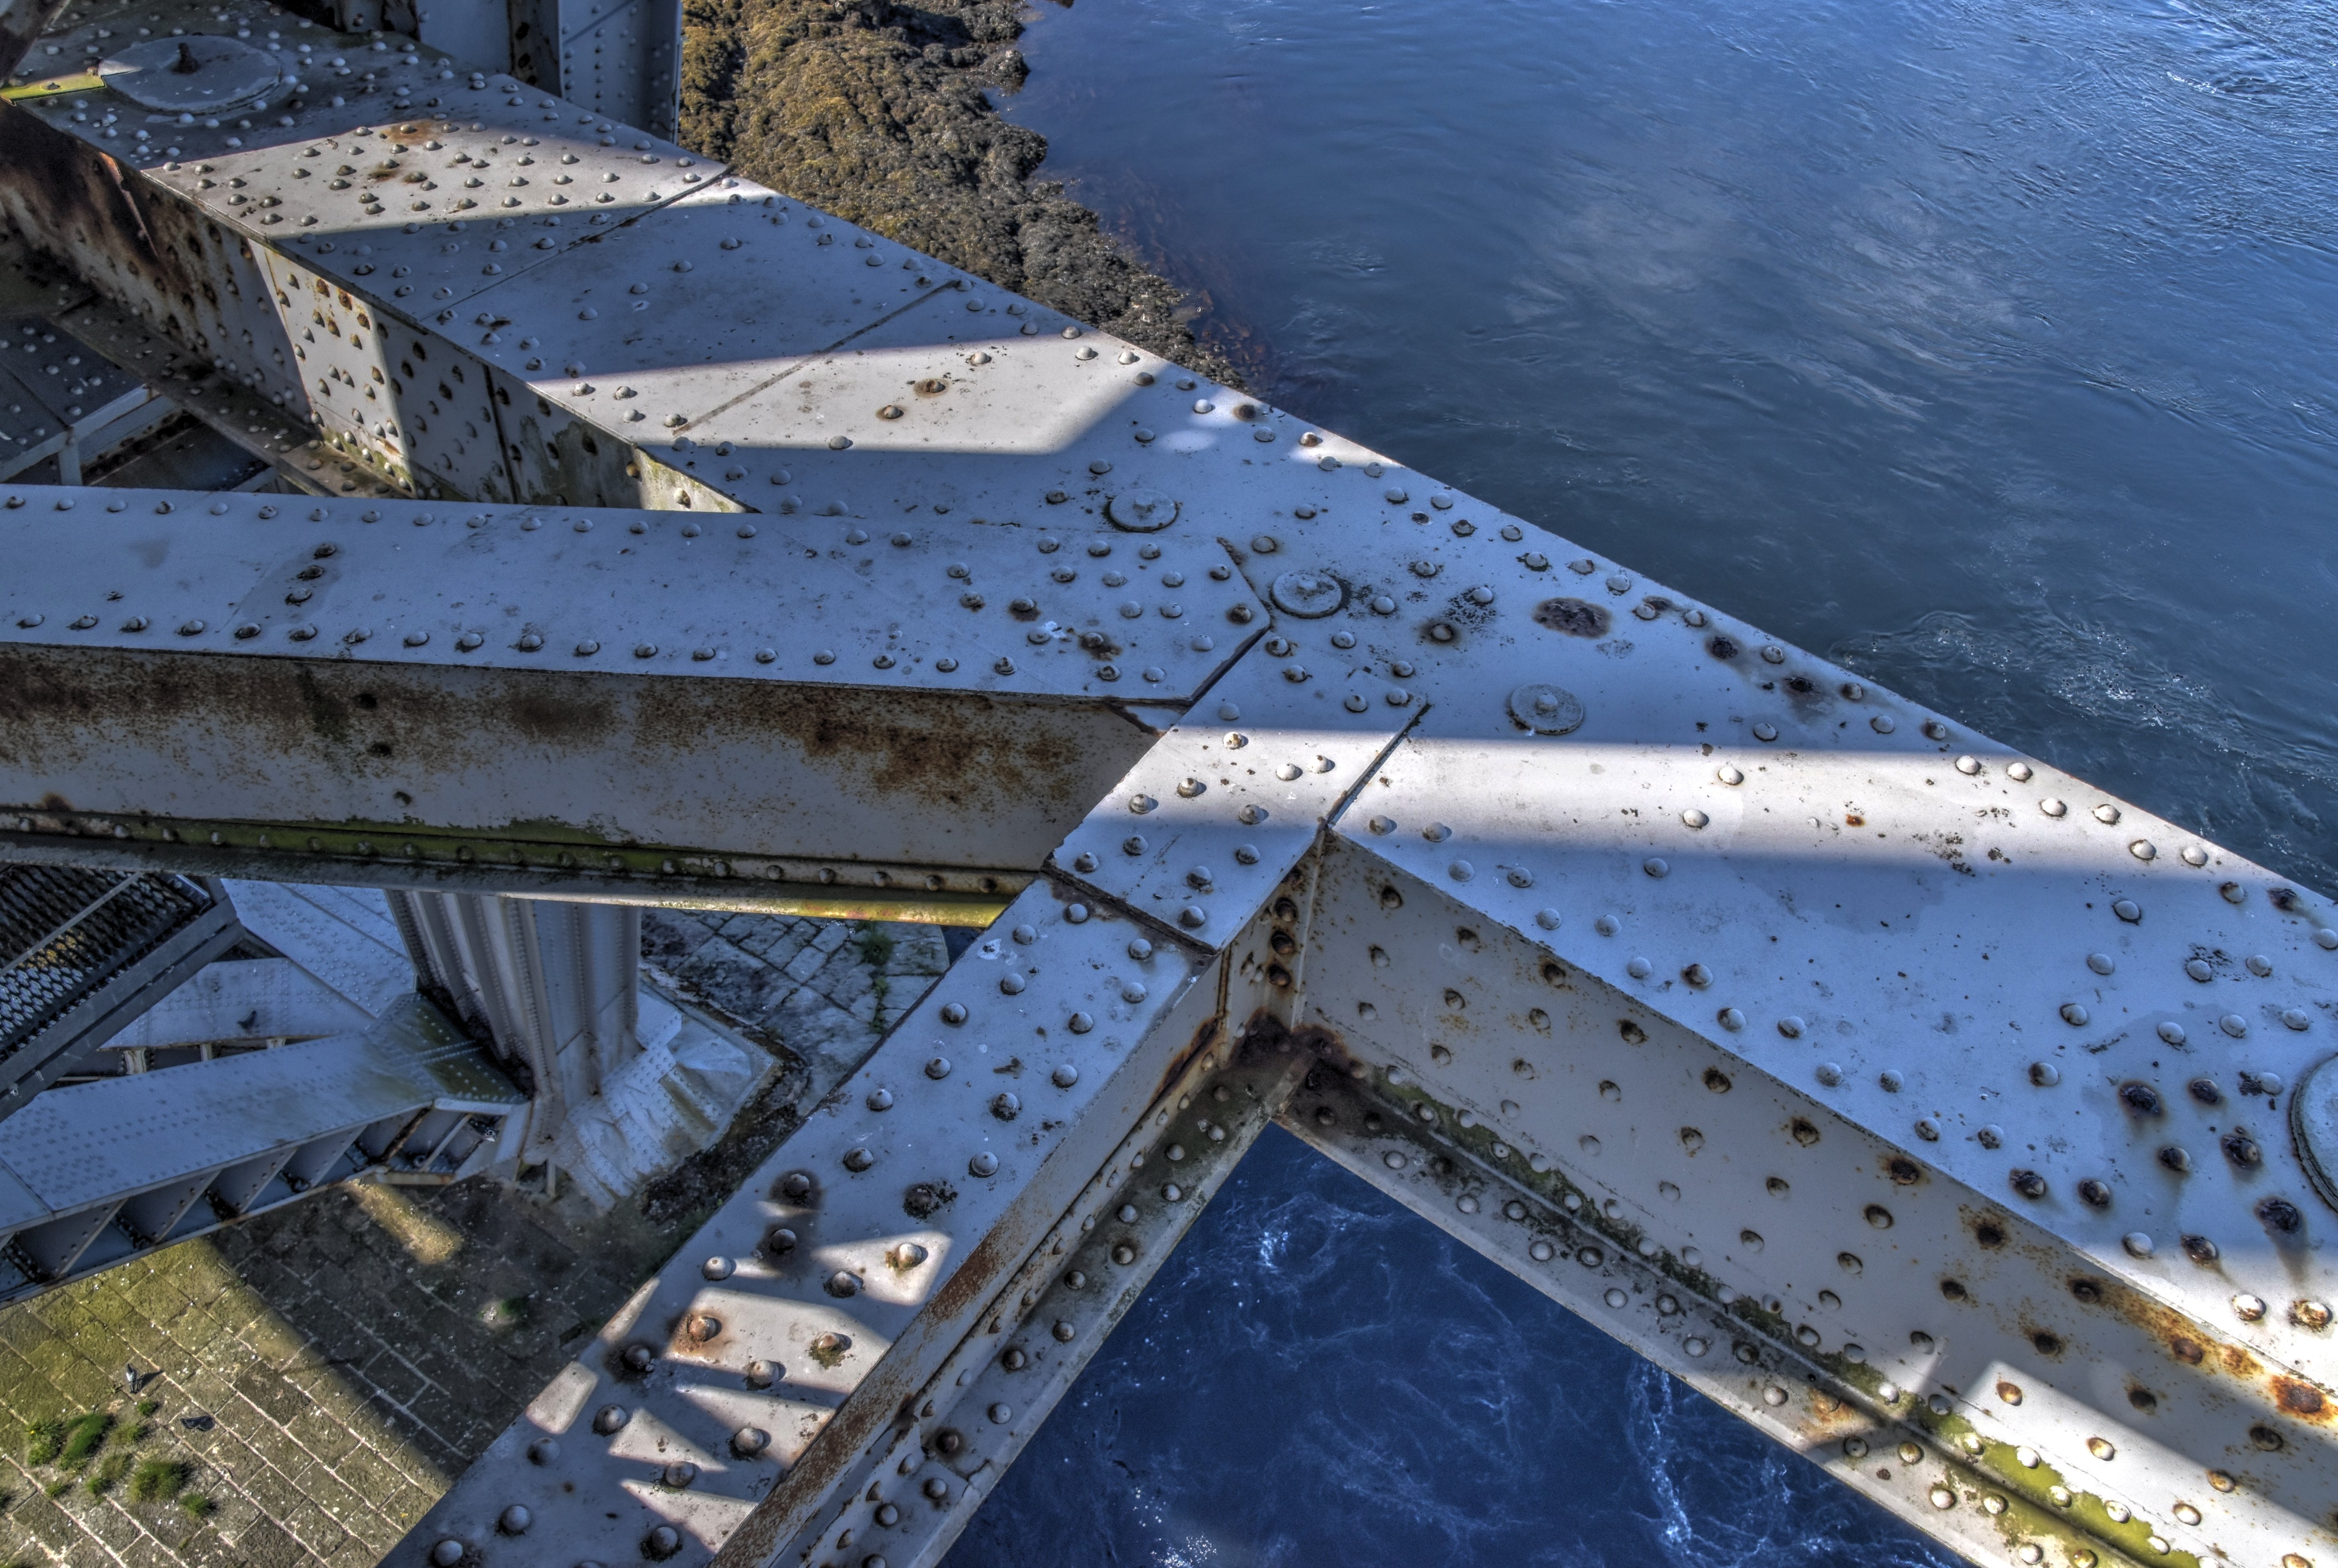
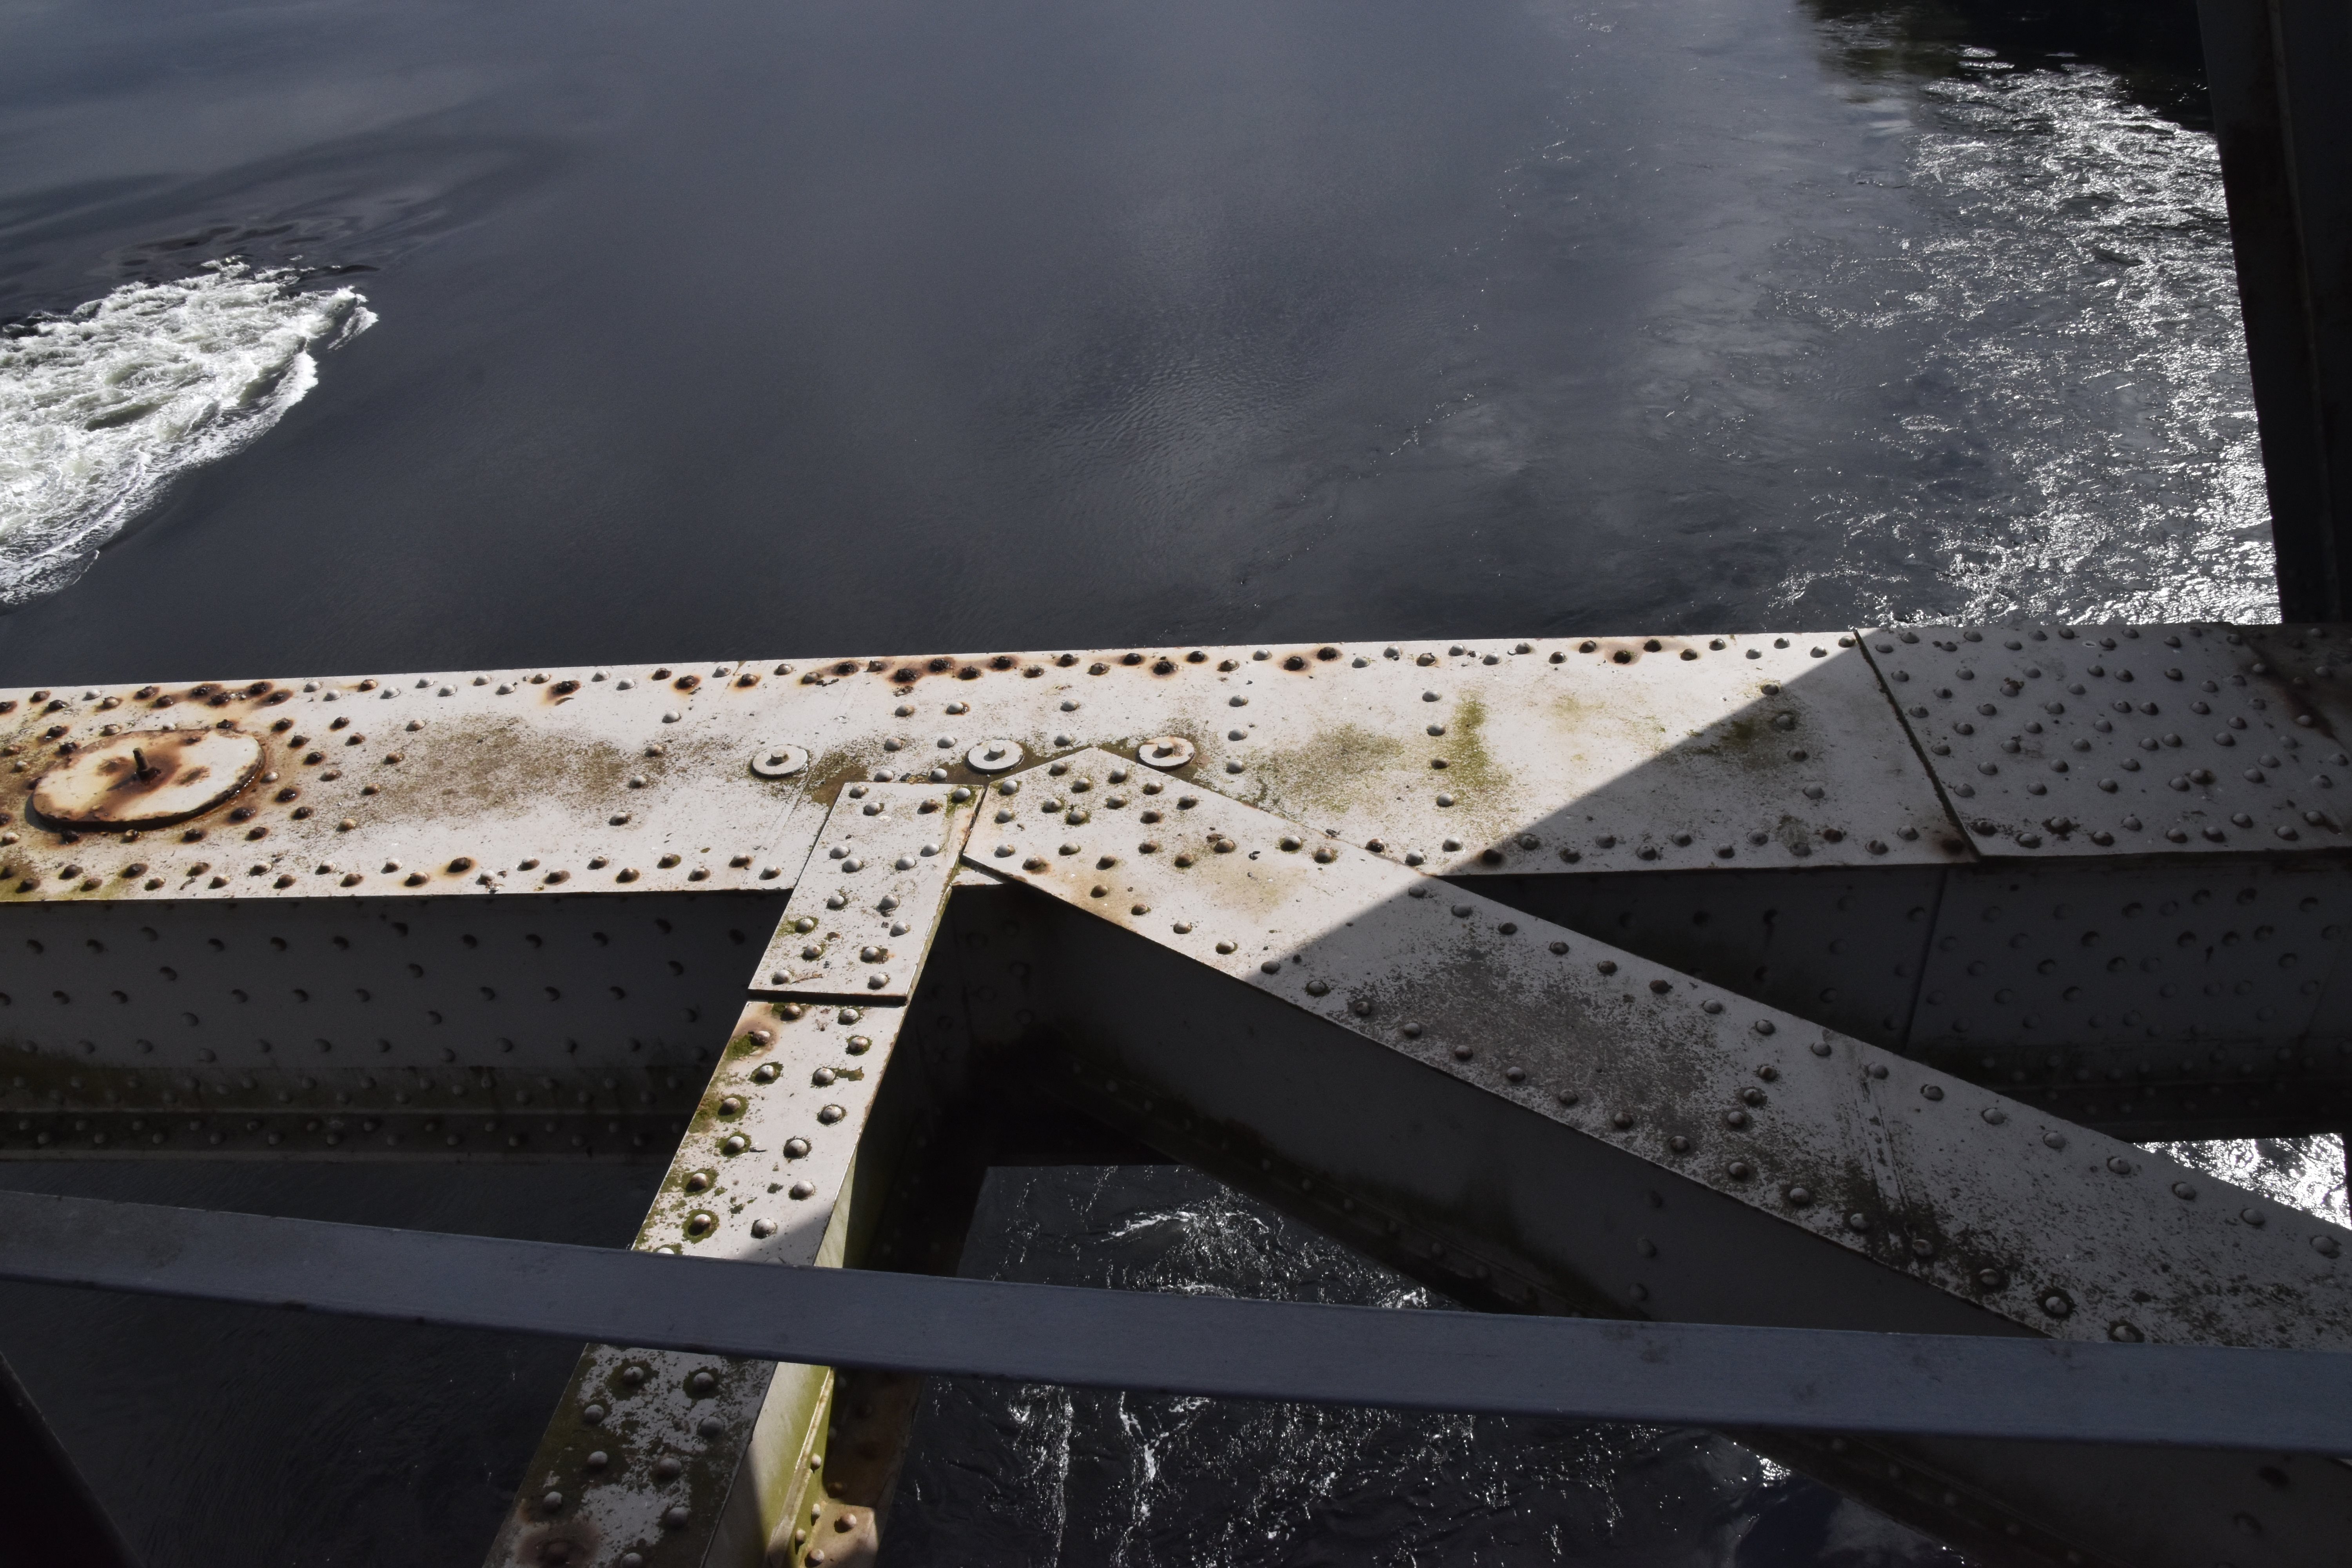
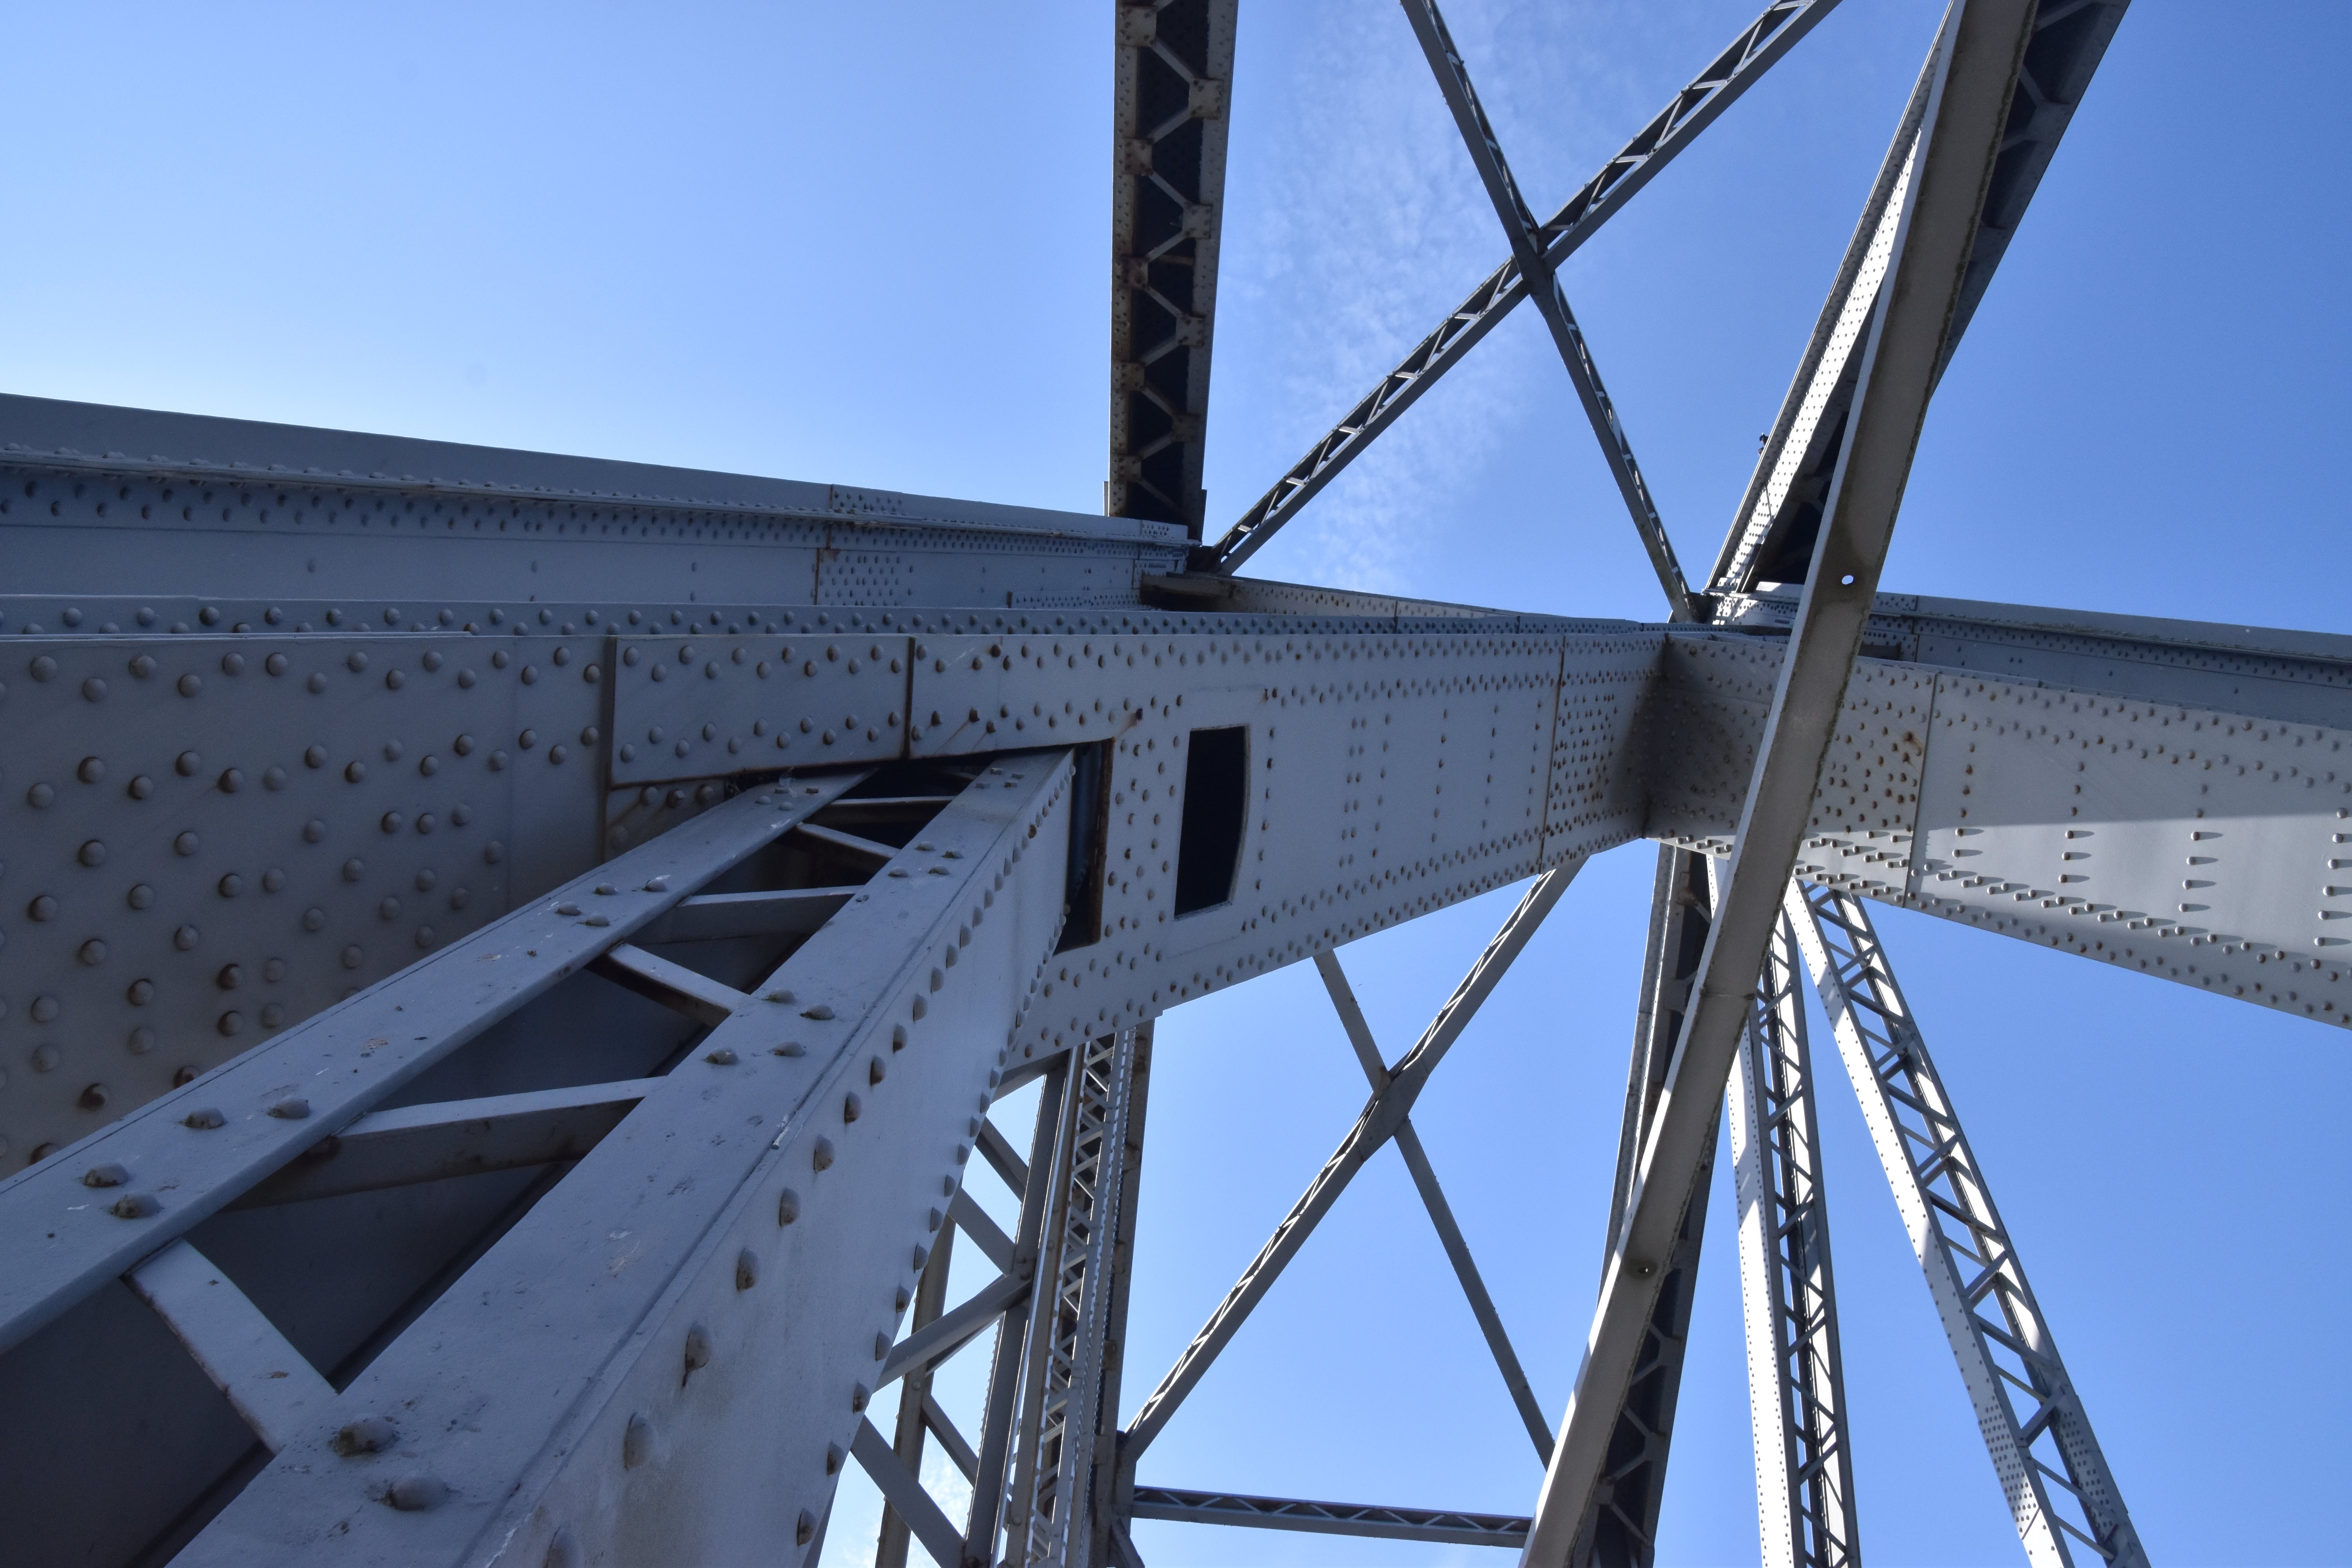
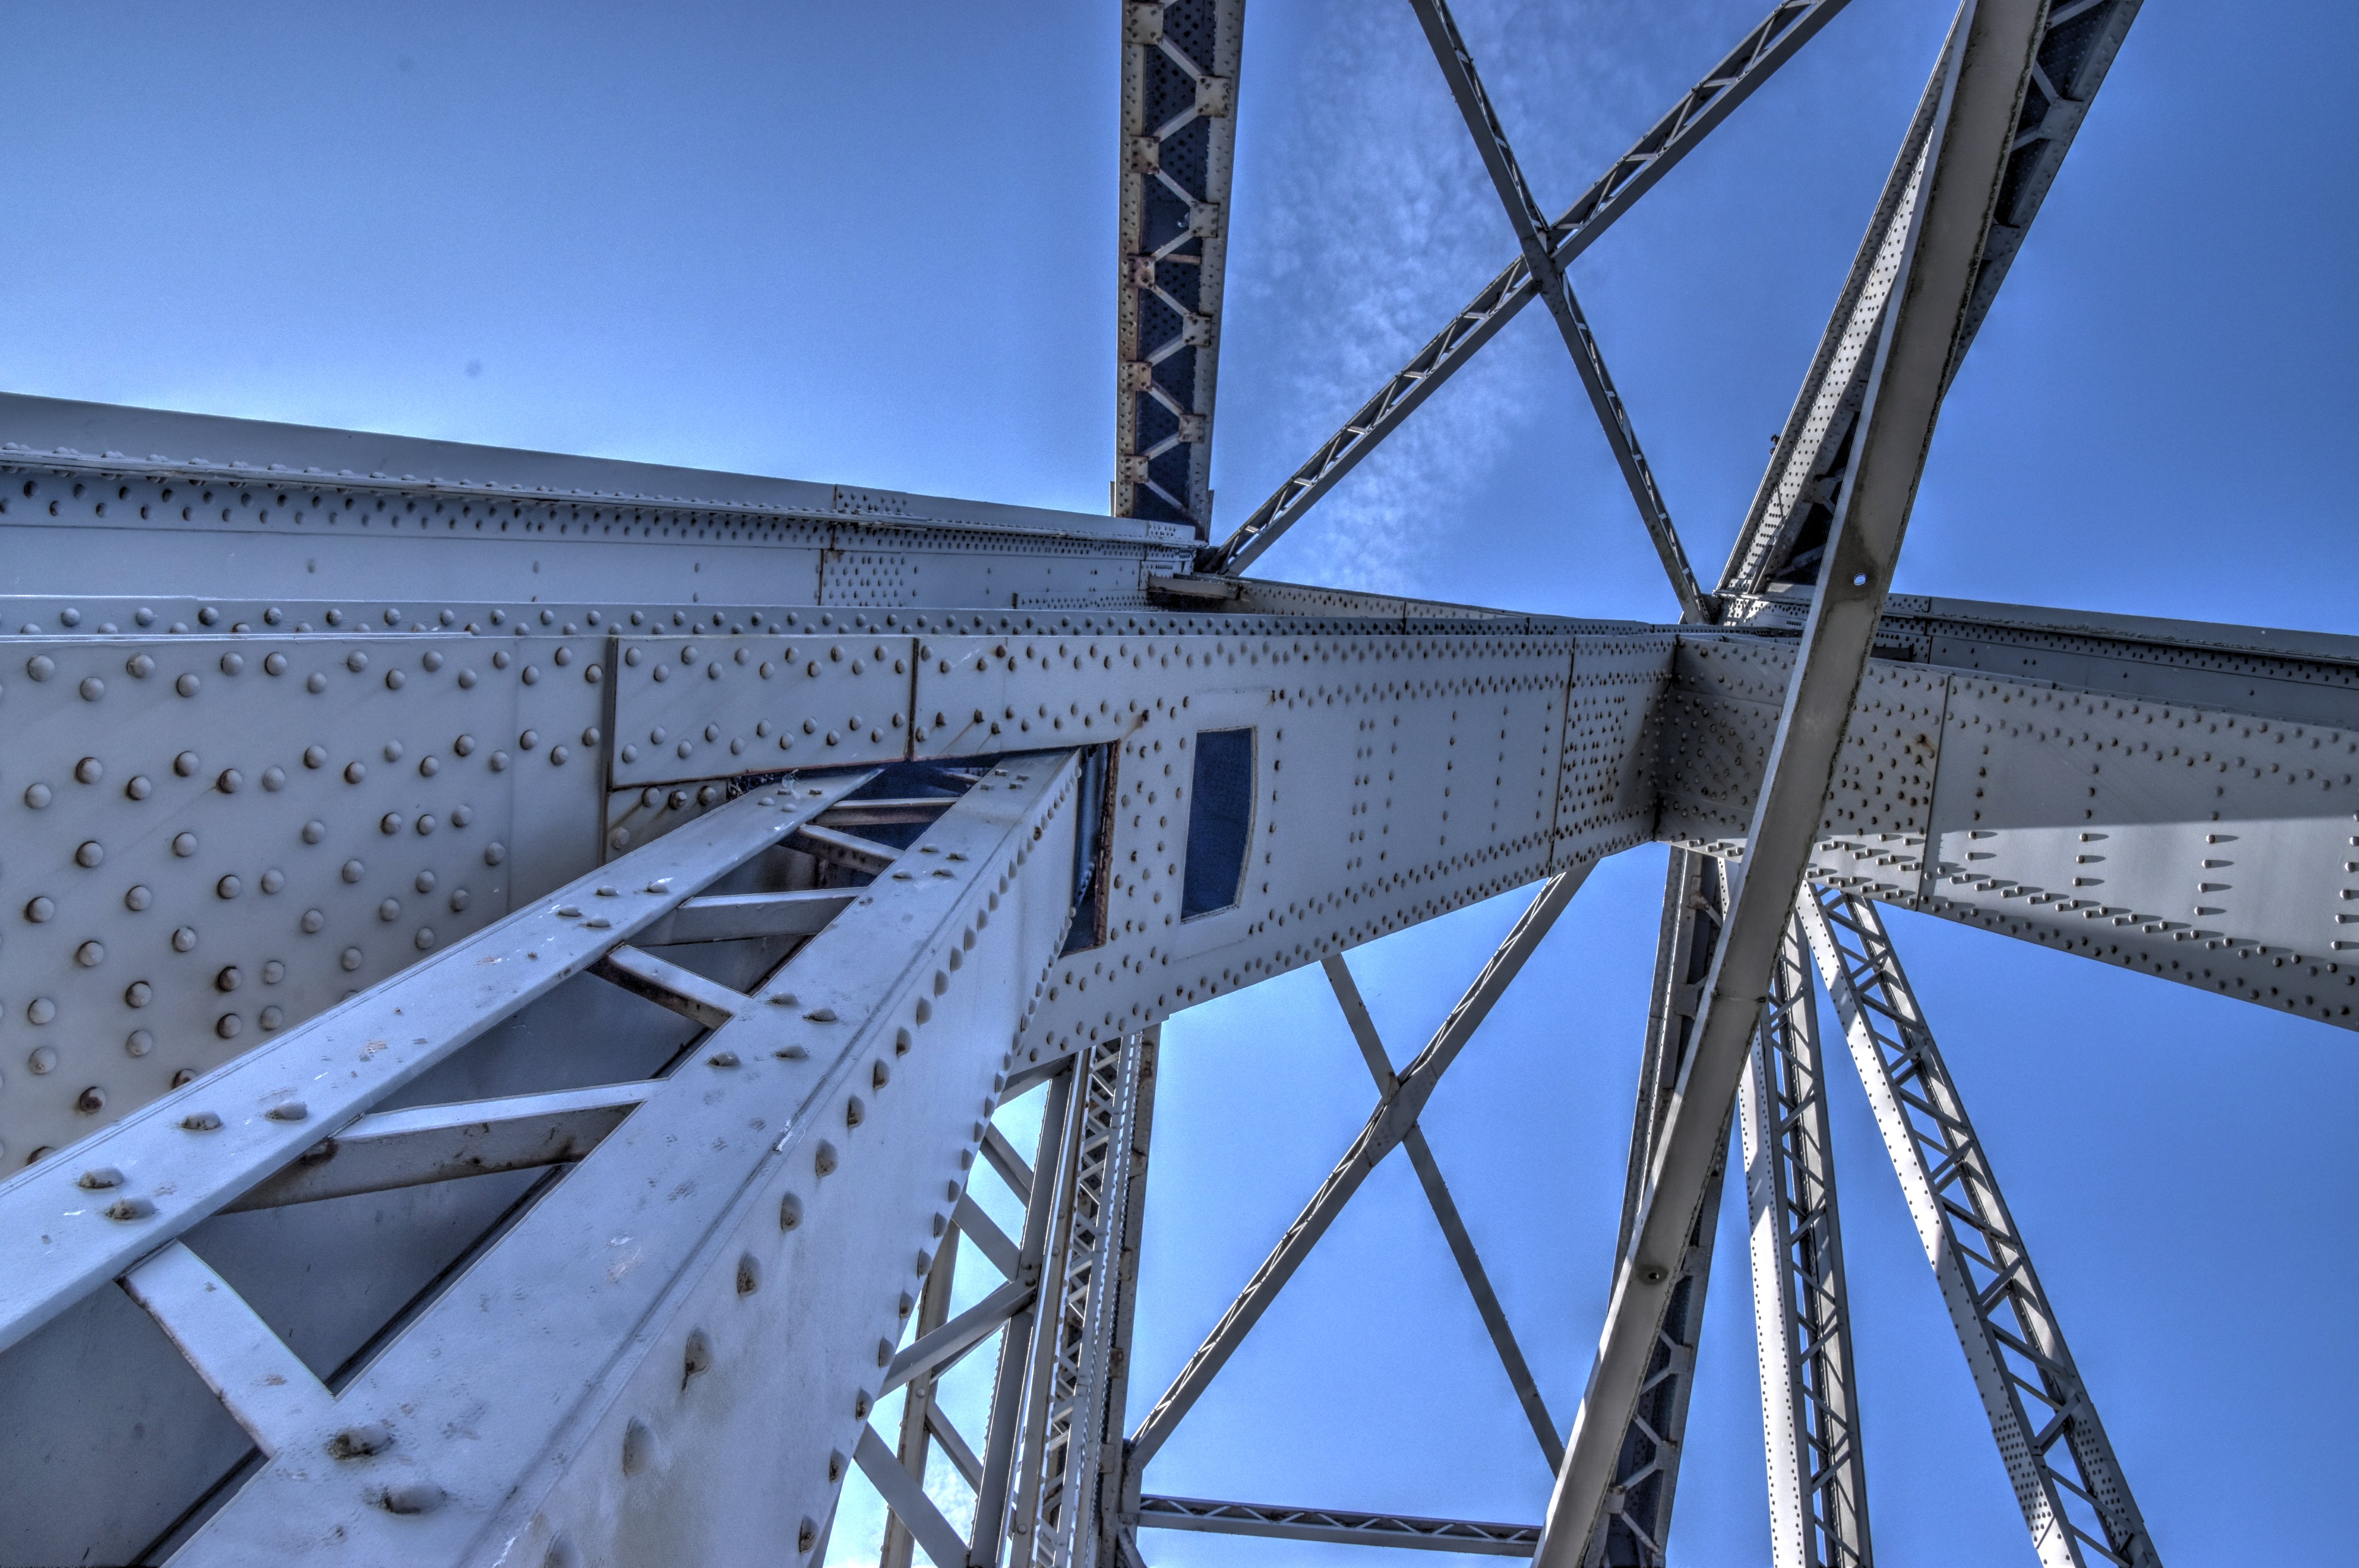
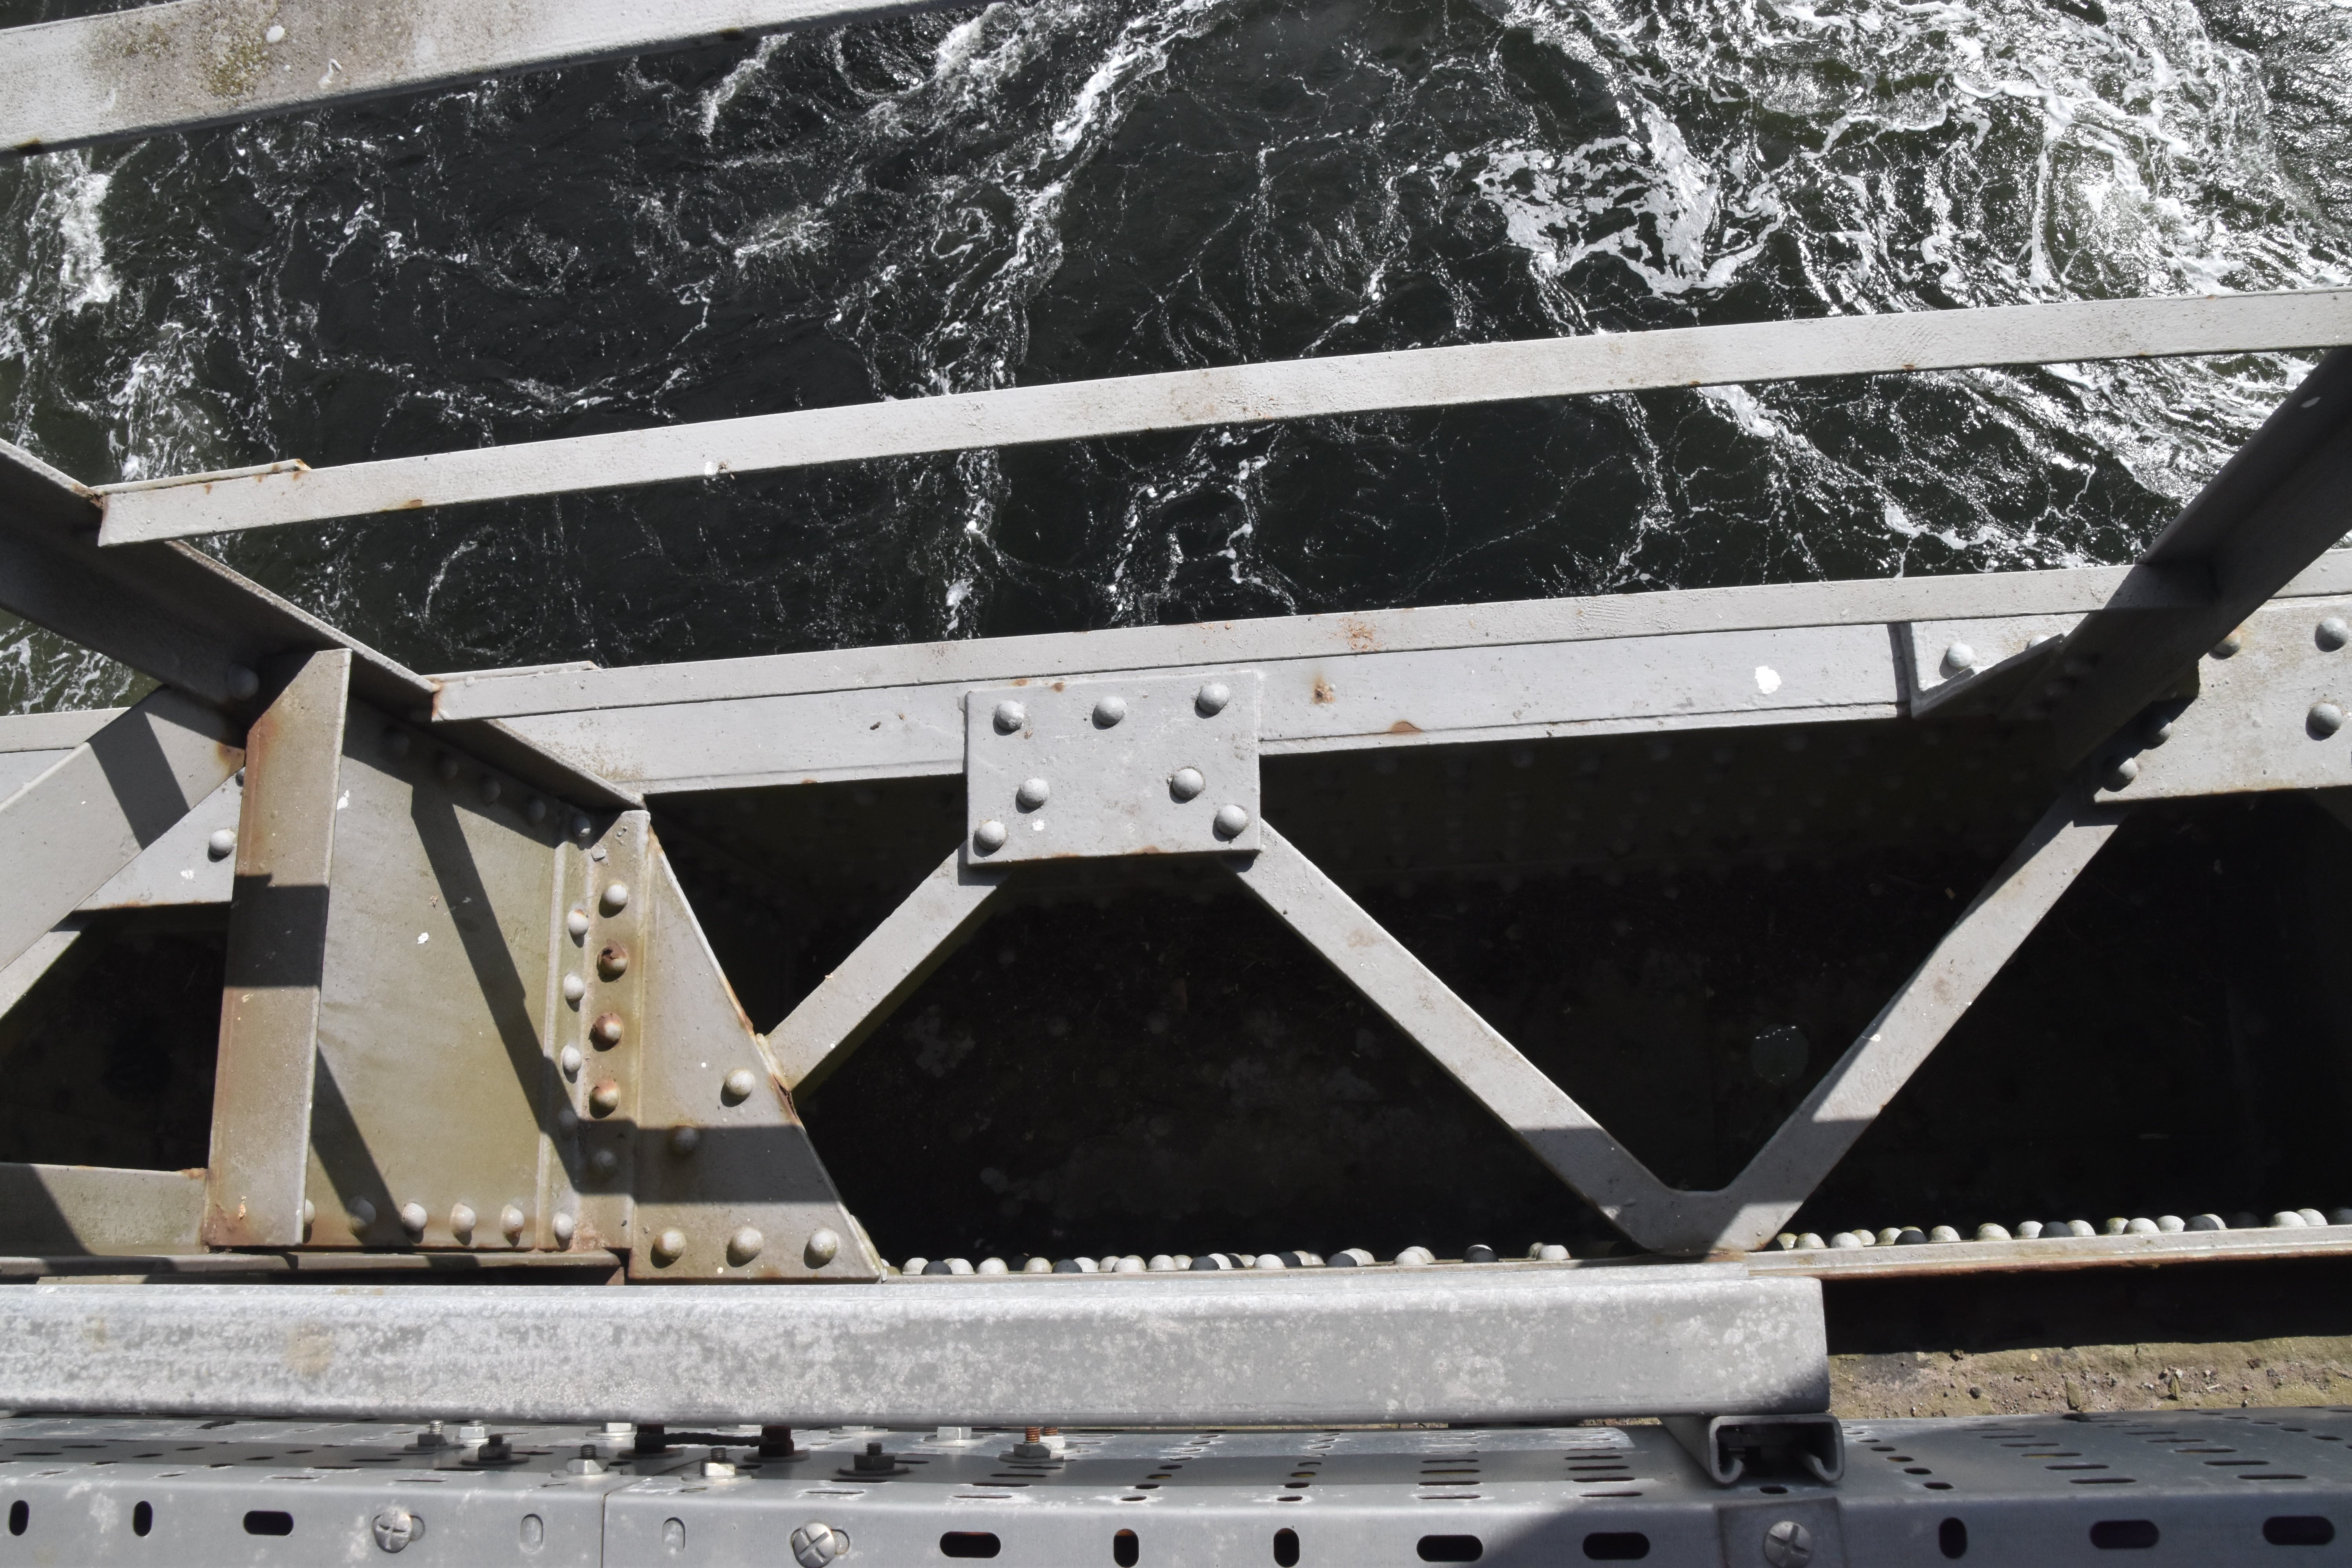
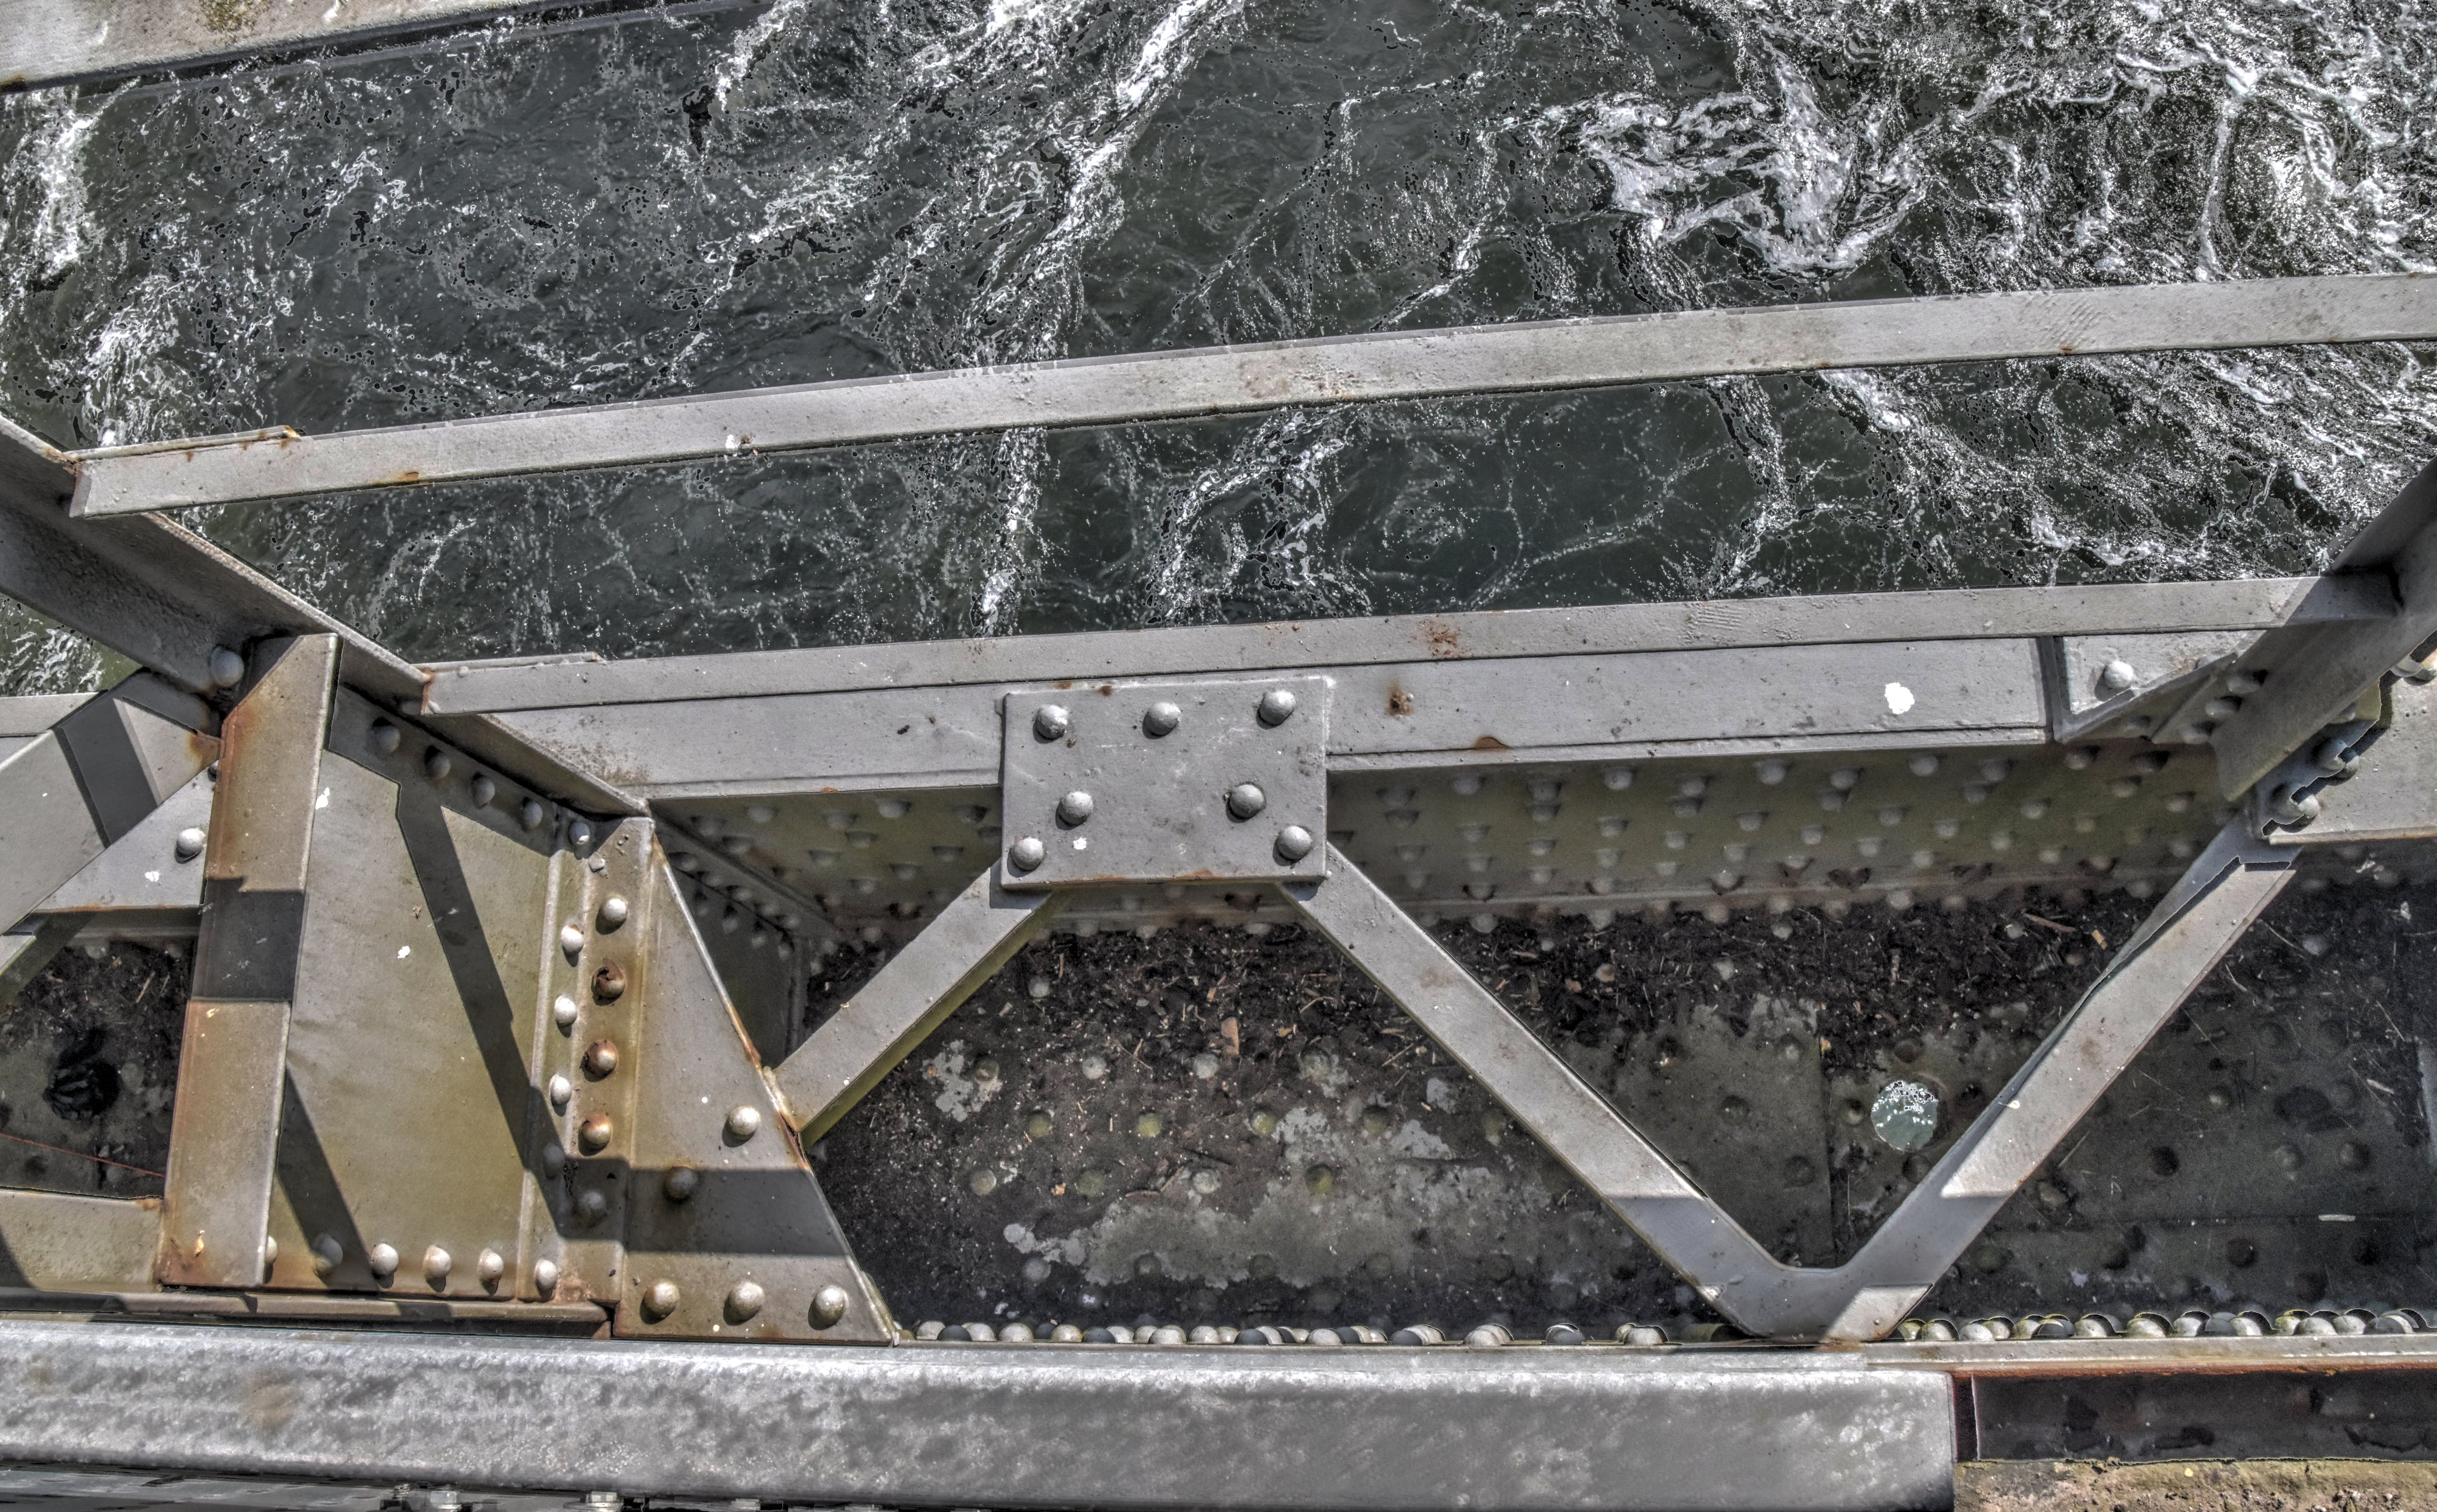
Bottom chord connections as viewed from on bridge.
![]()


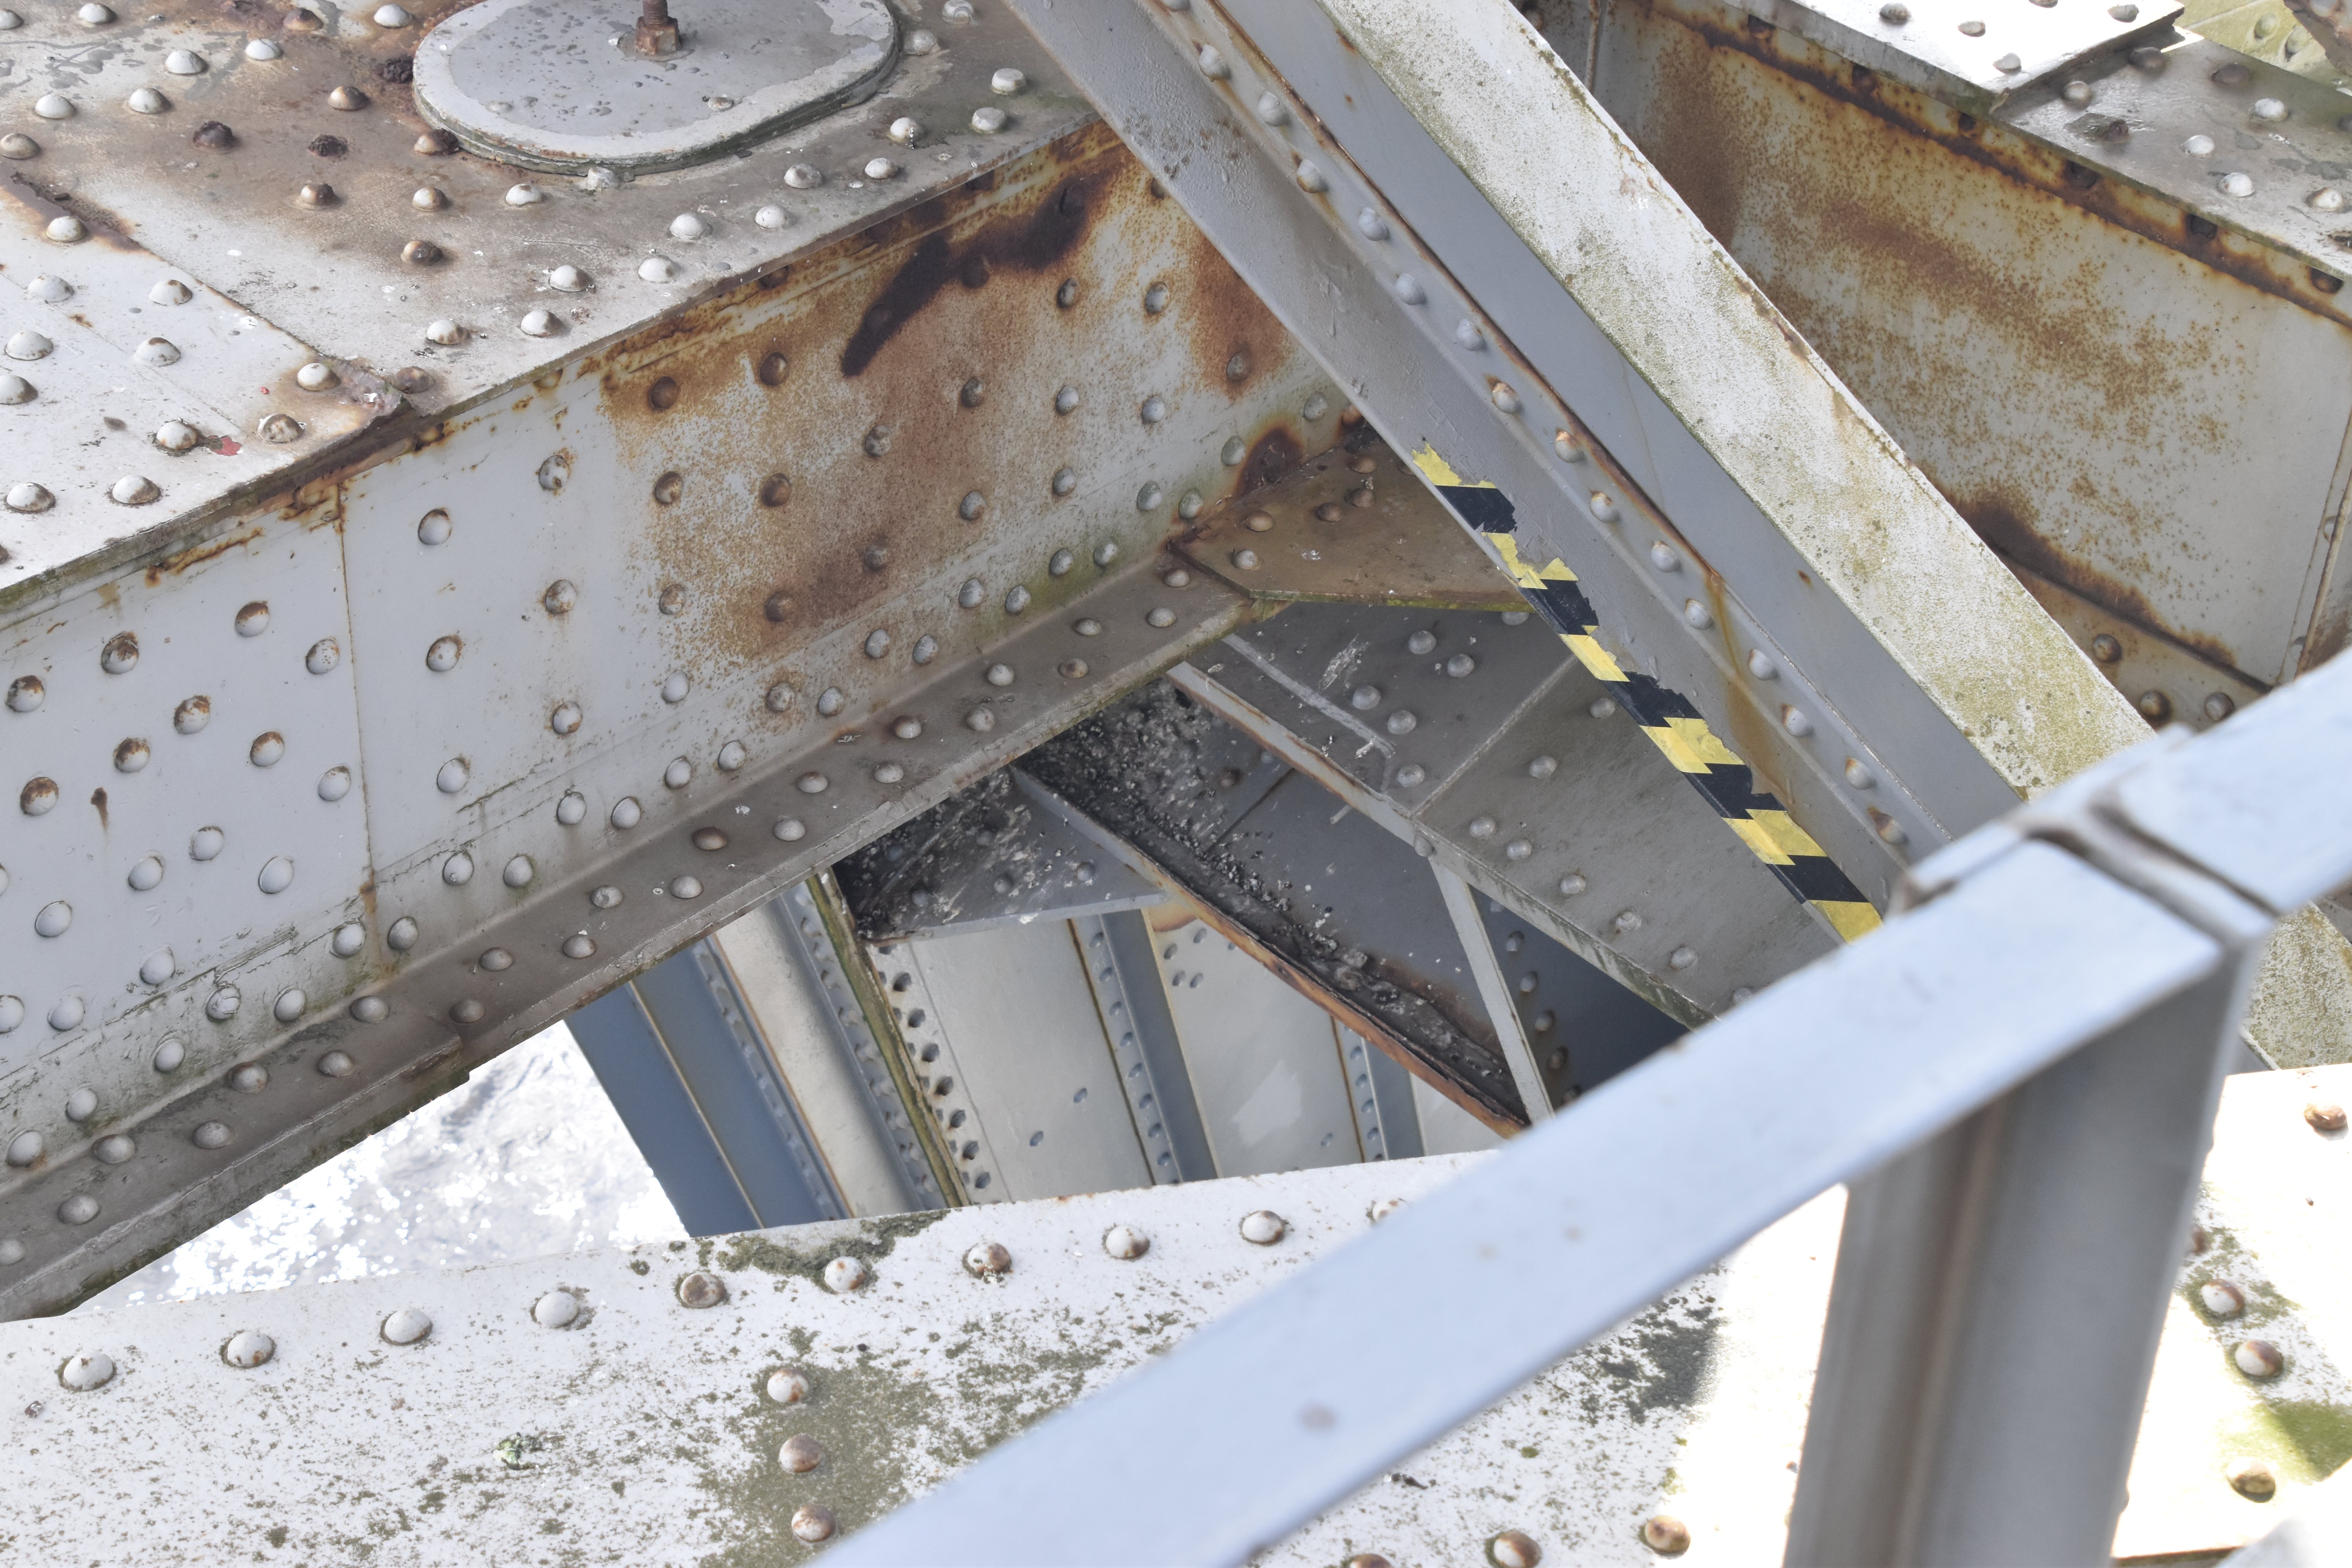
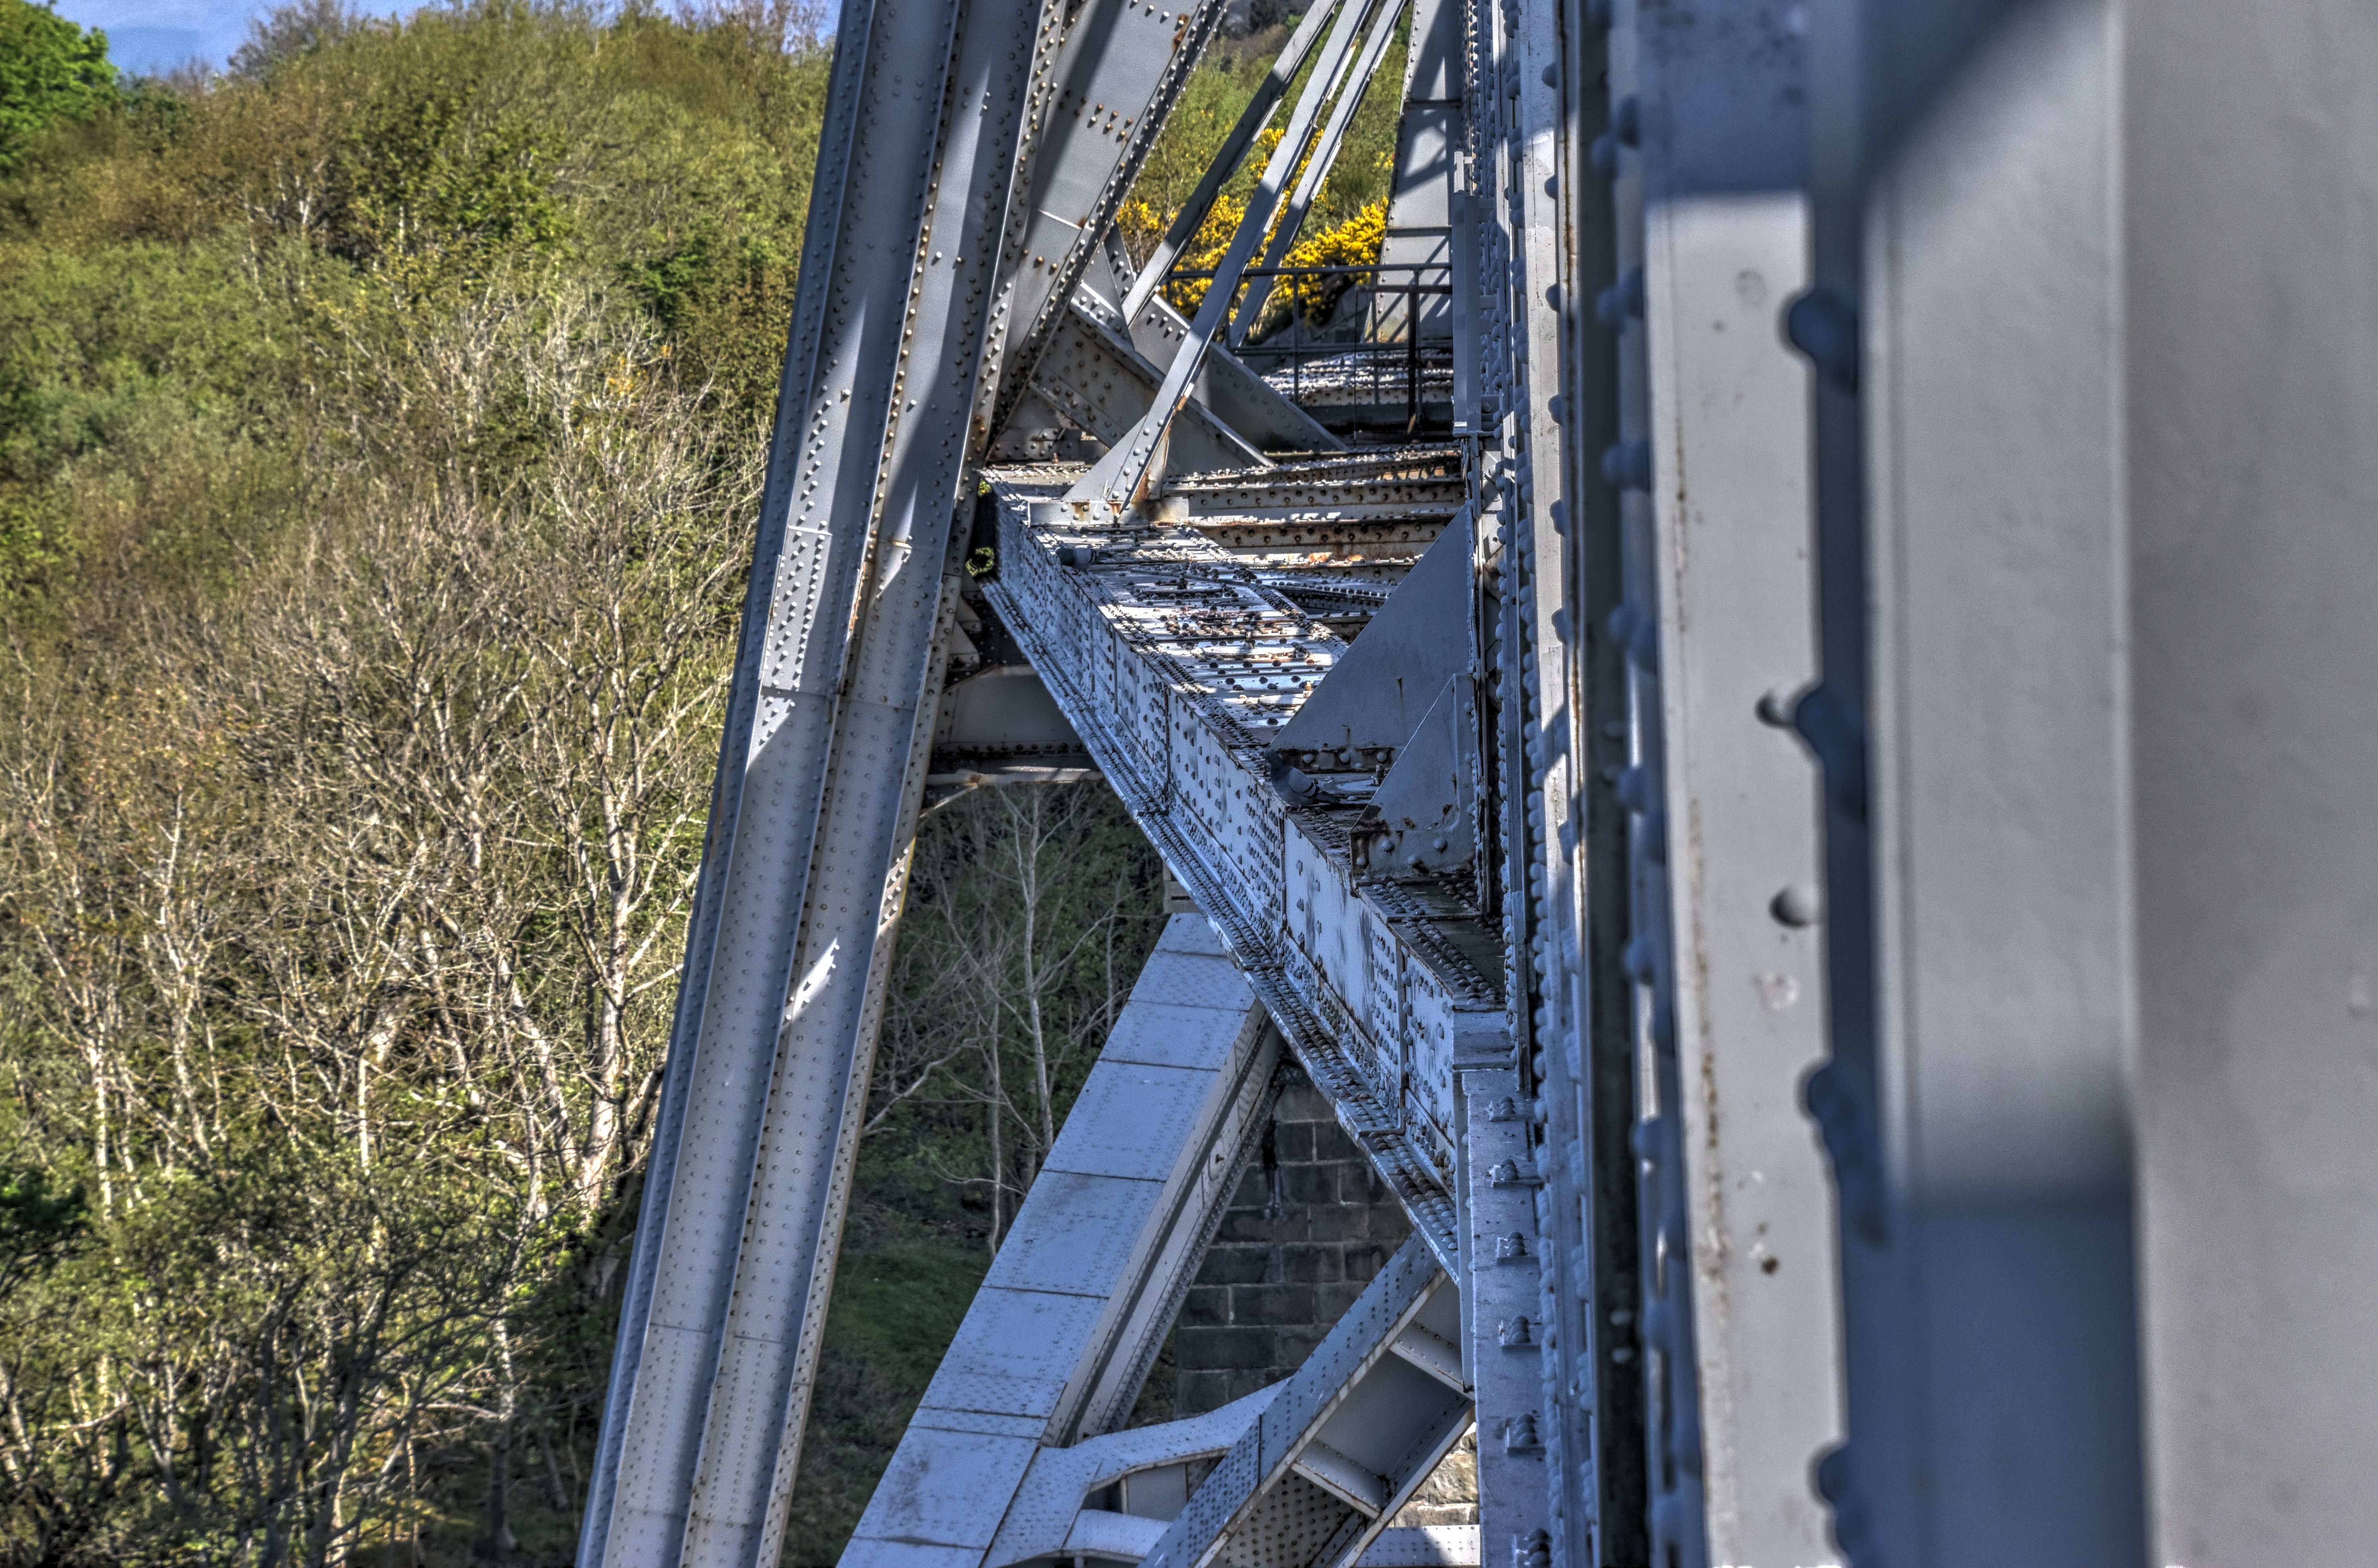
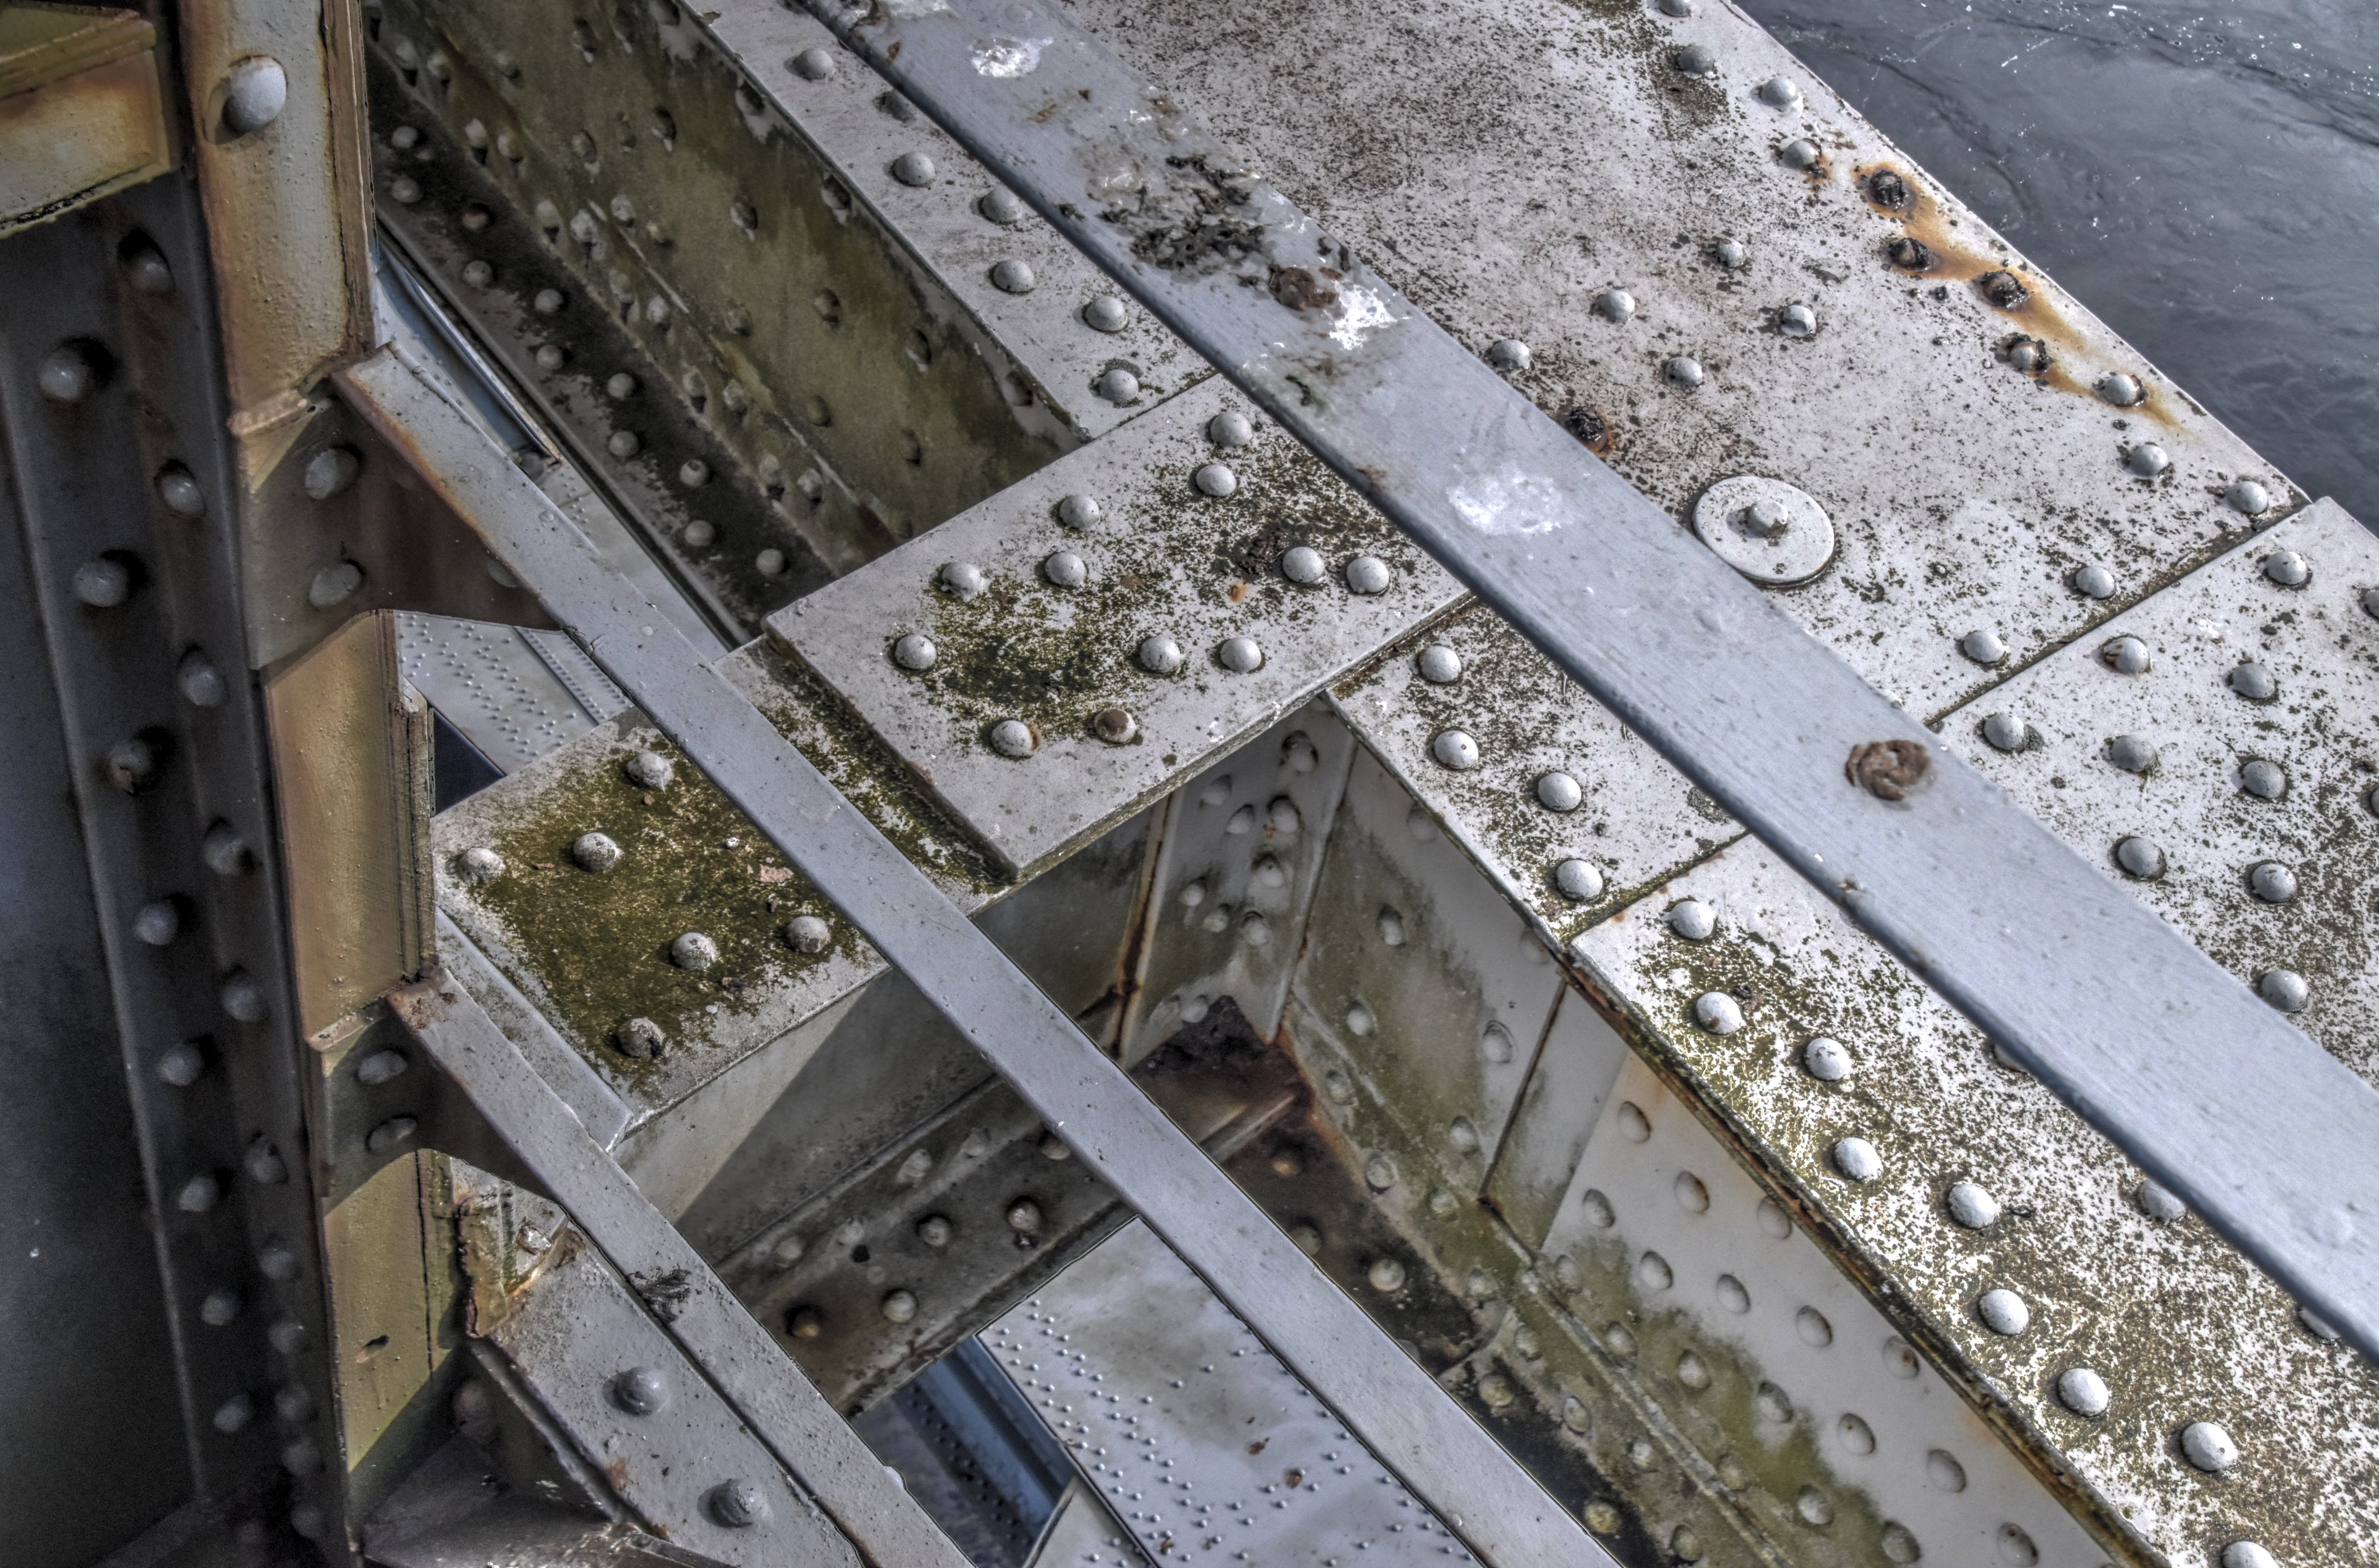
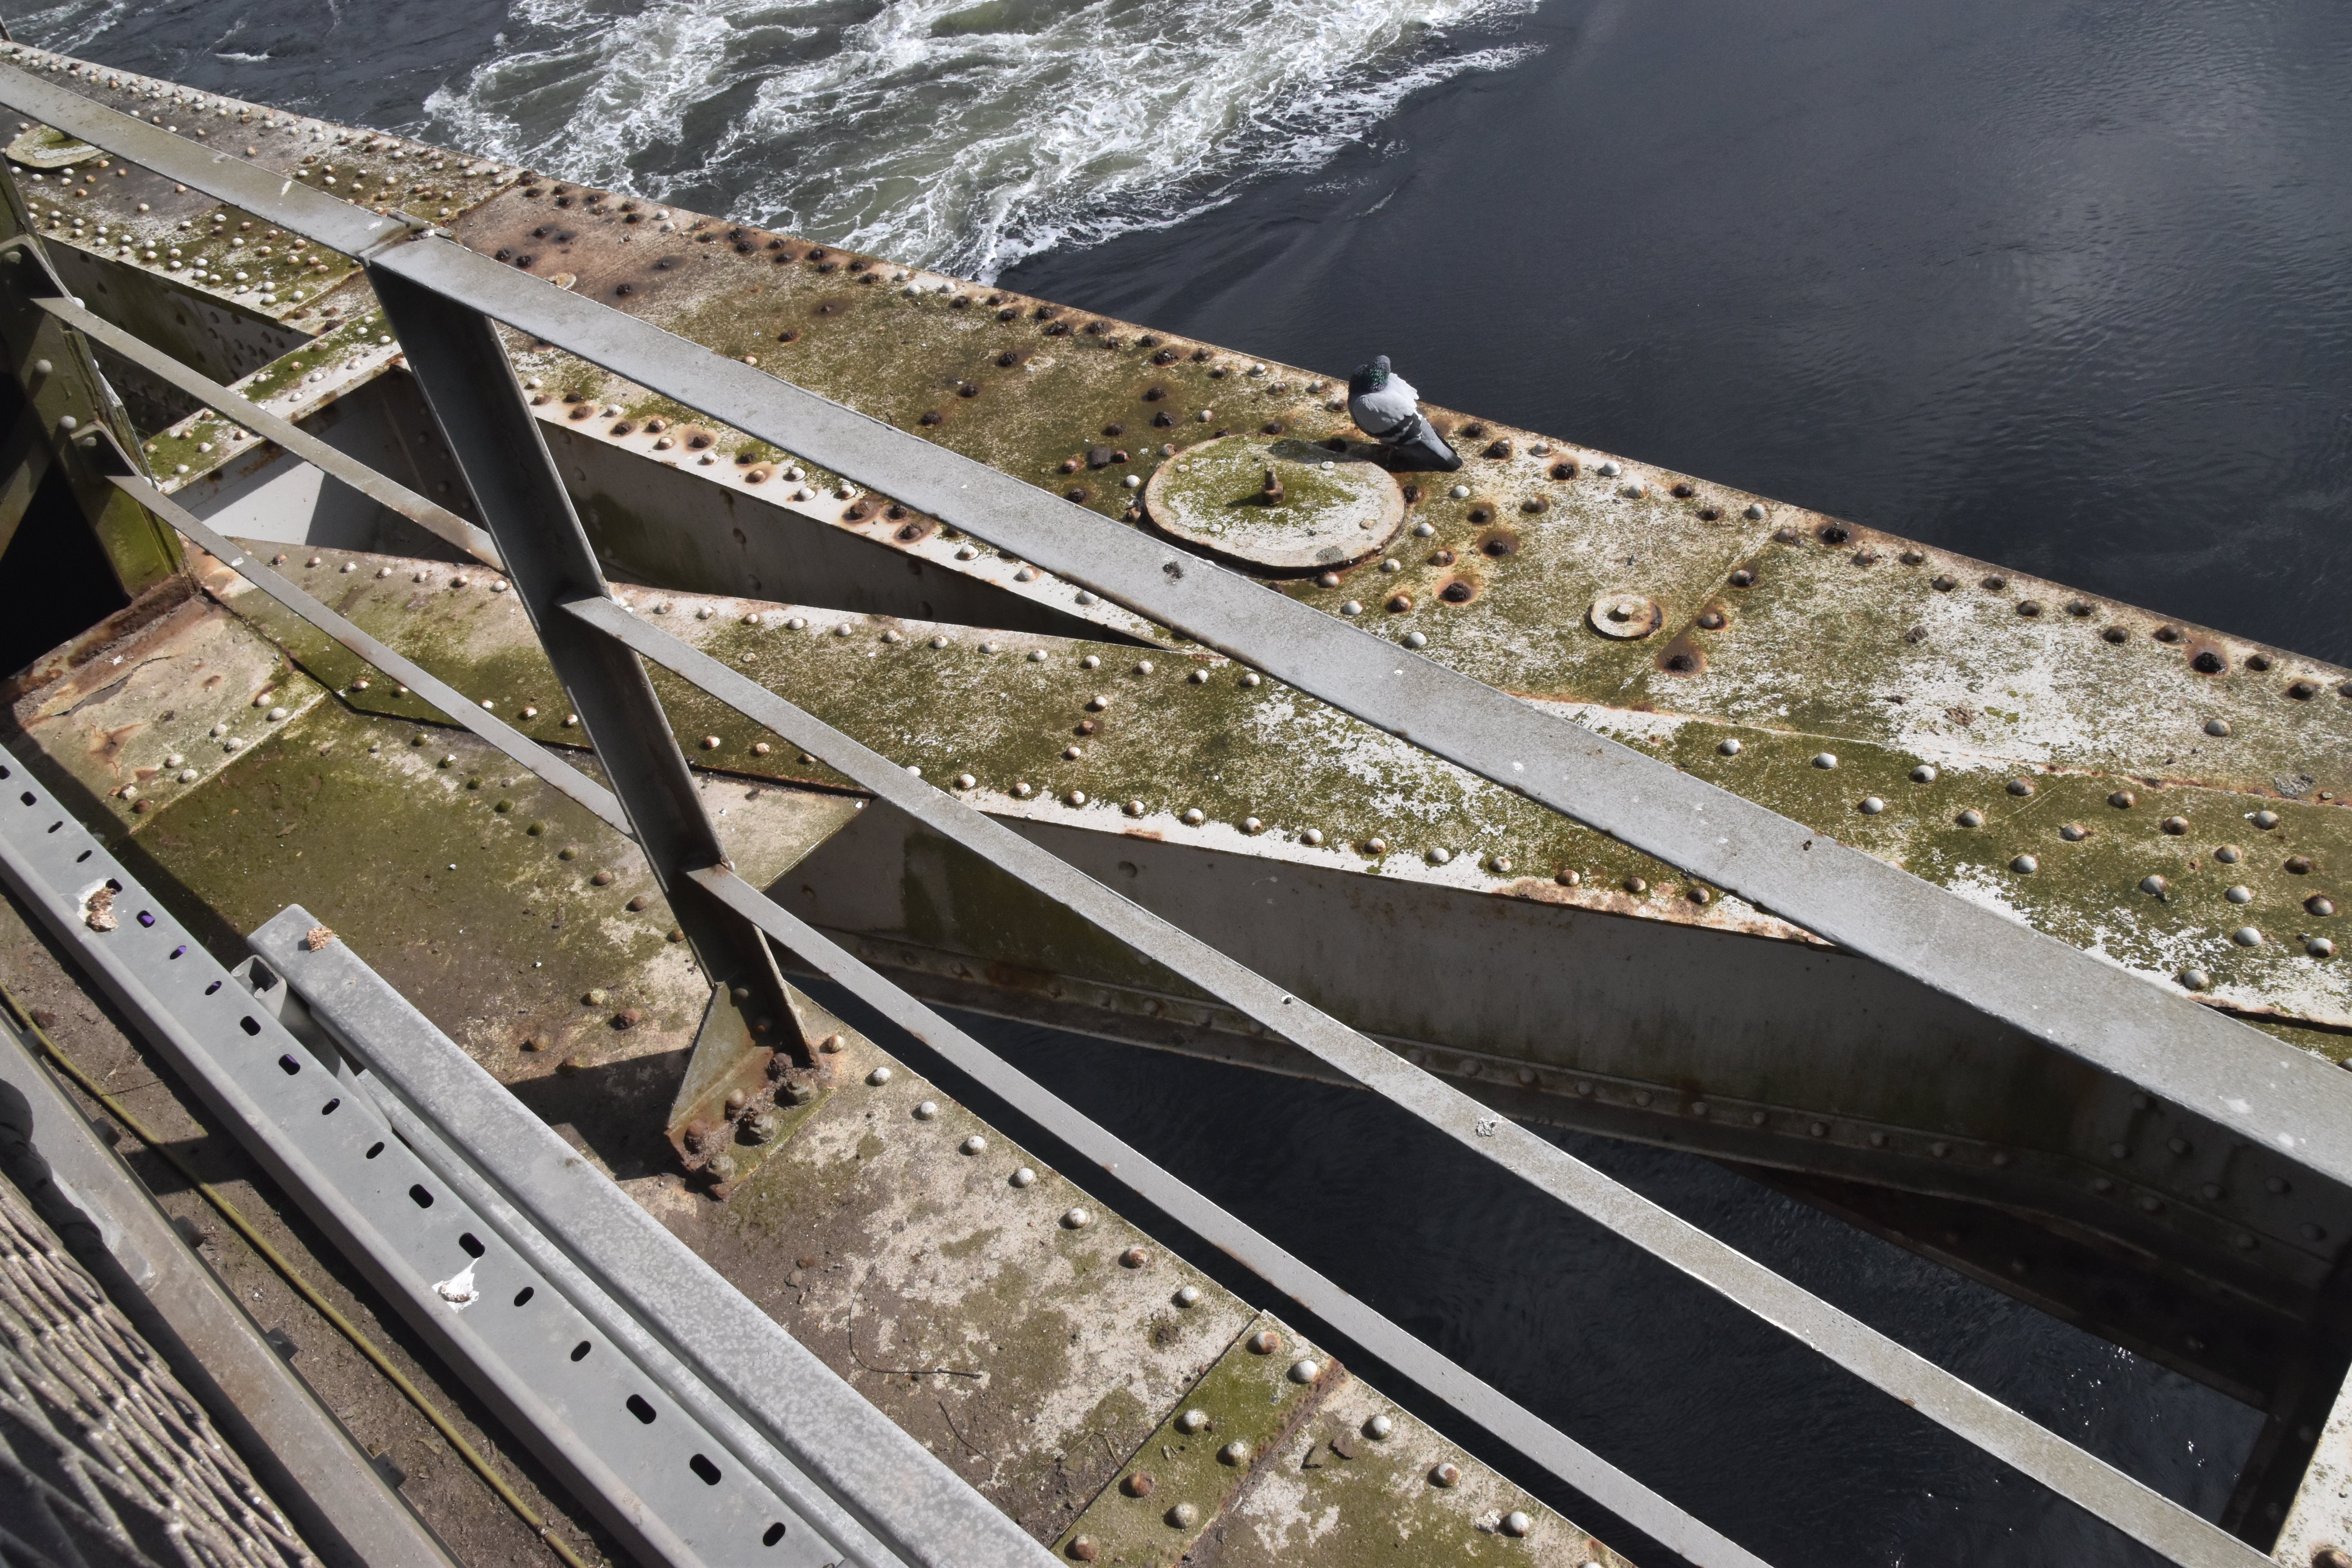
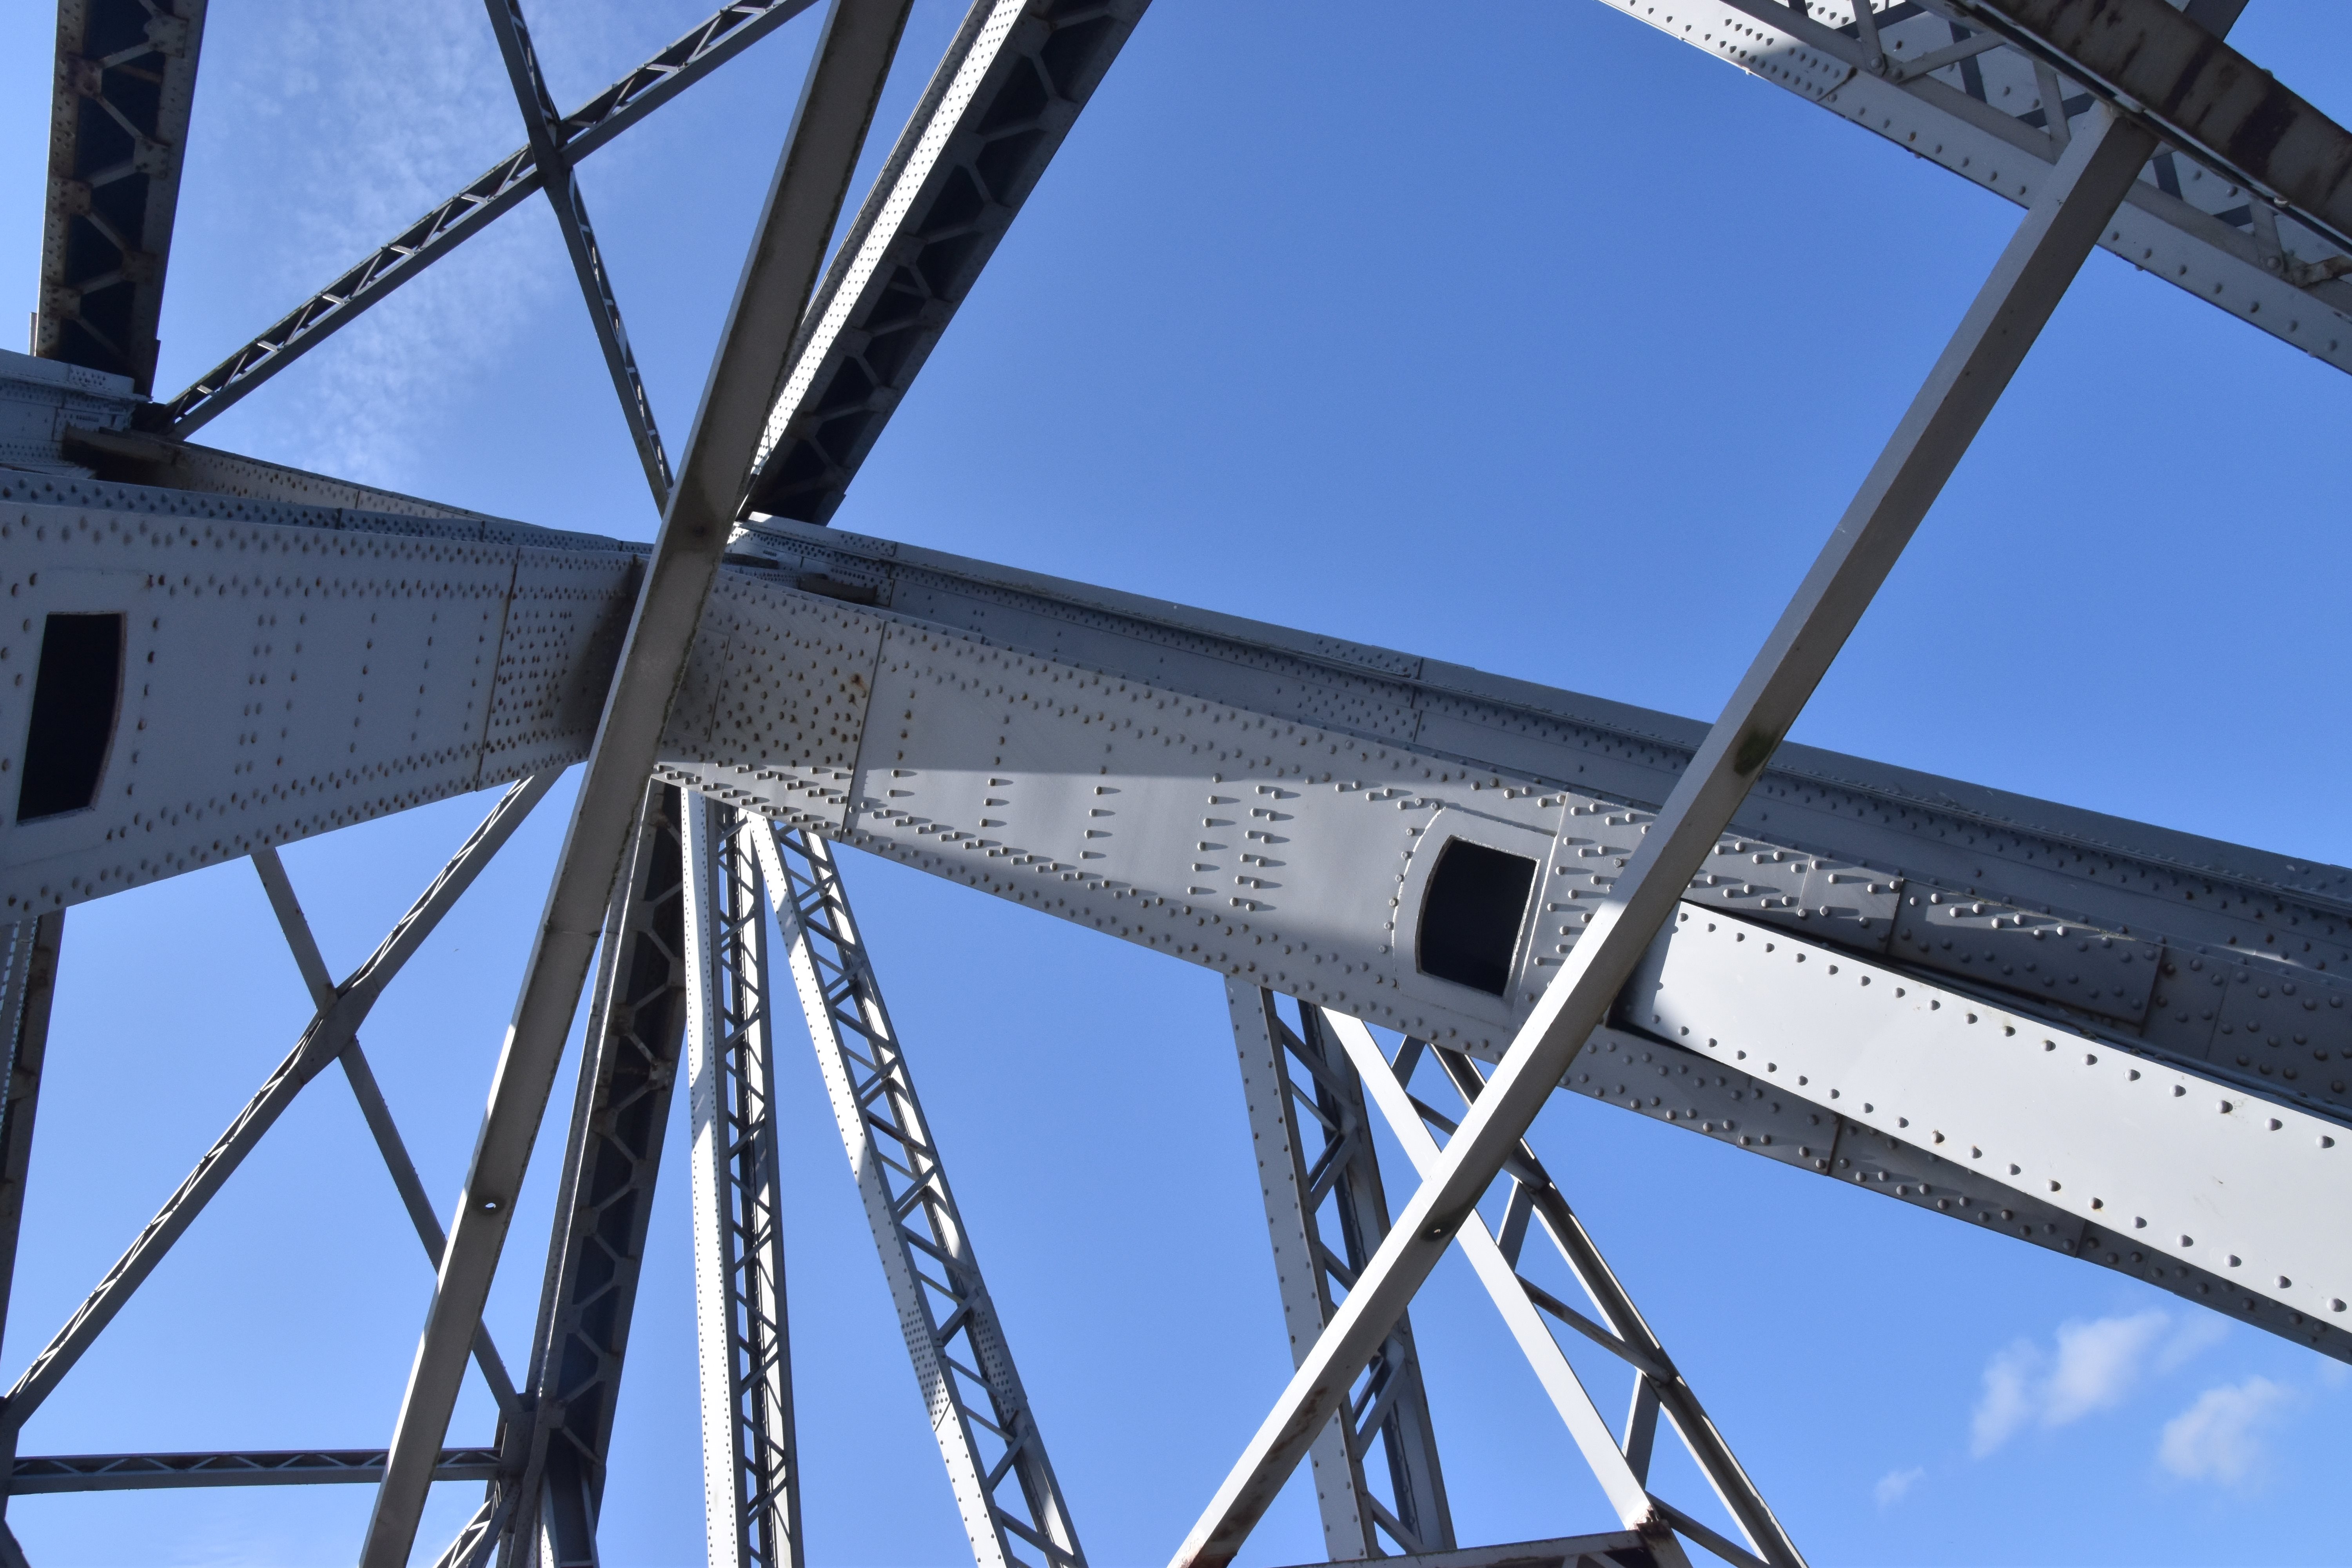
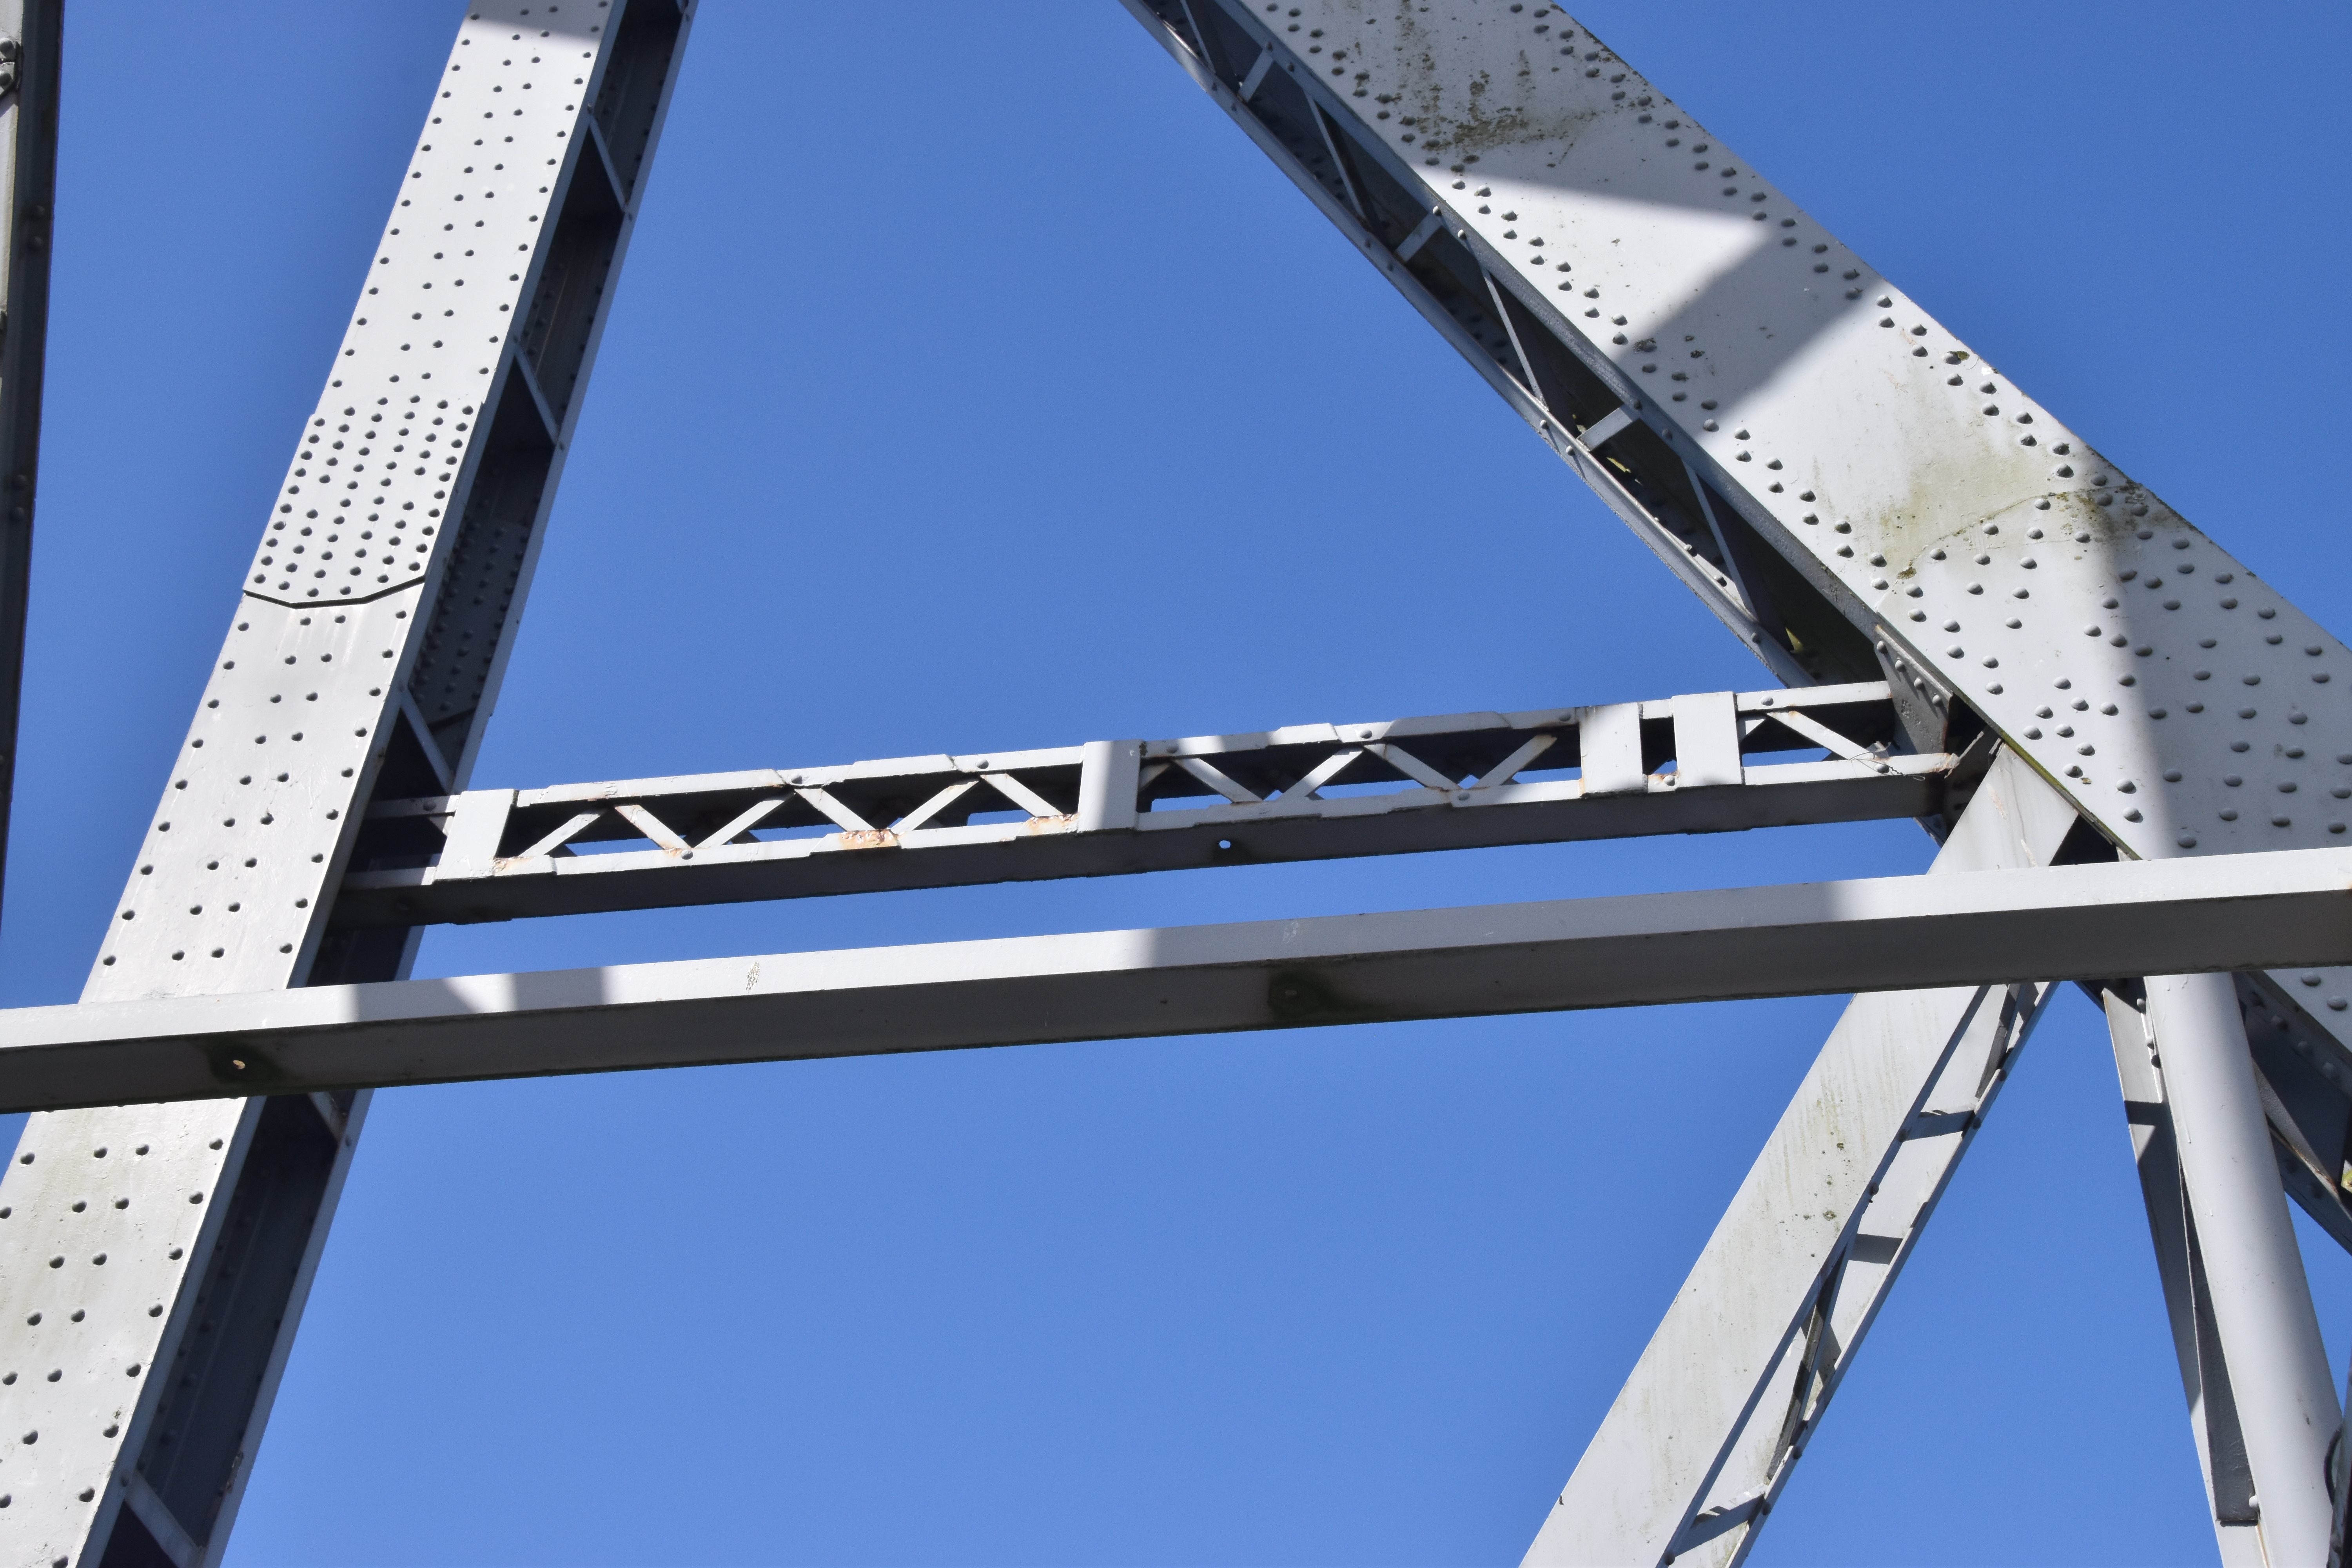
Intermediate connections as viewed from on bridge.
![]()
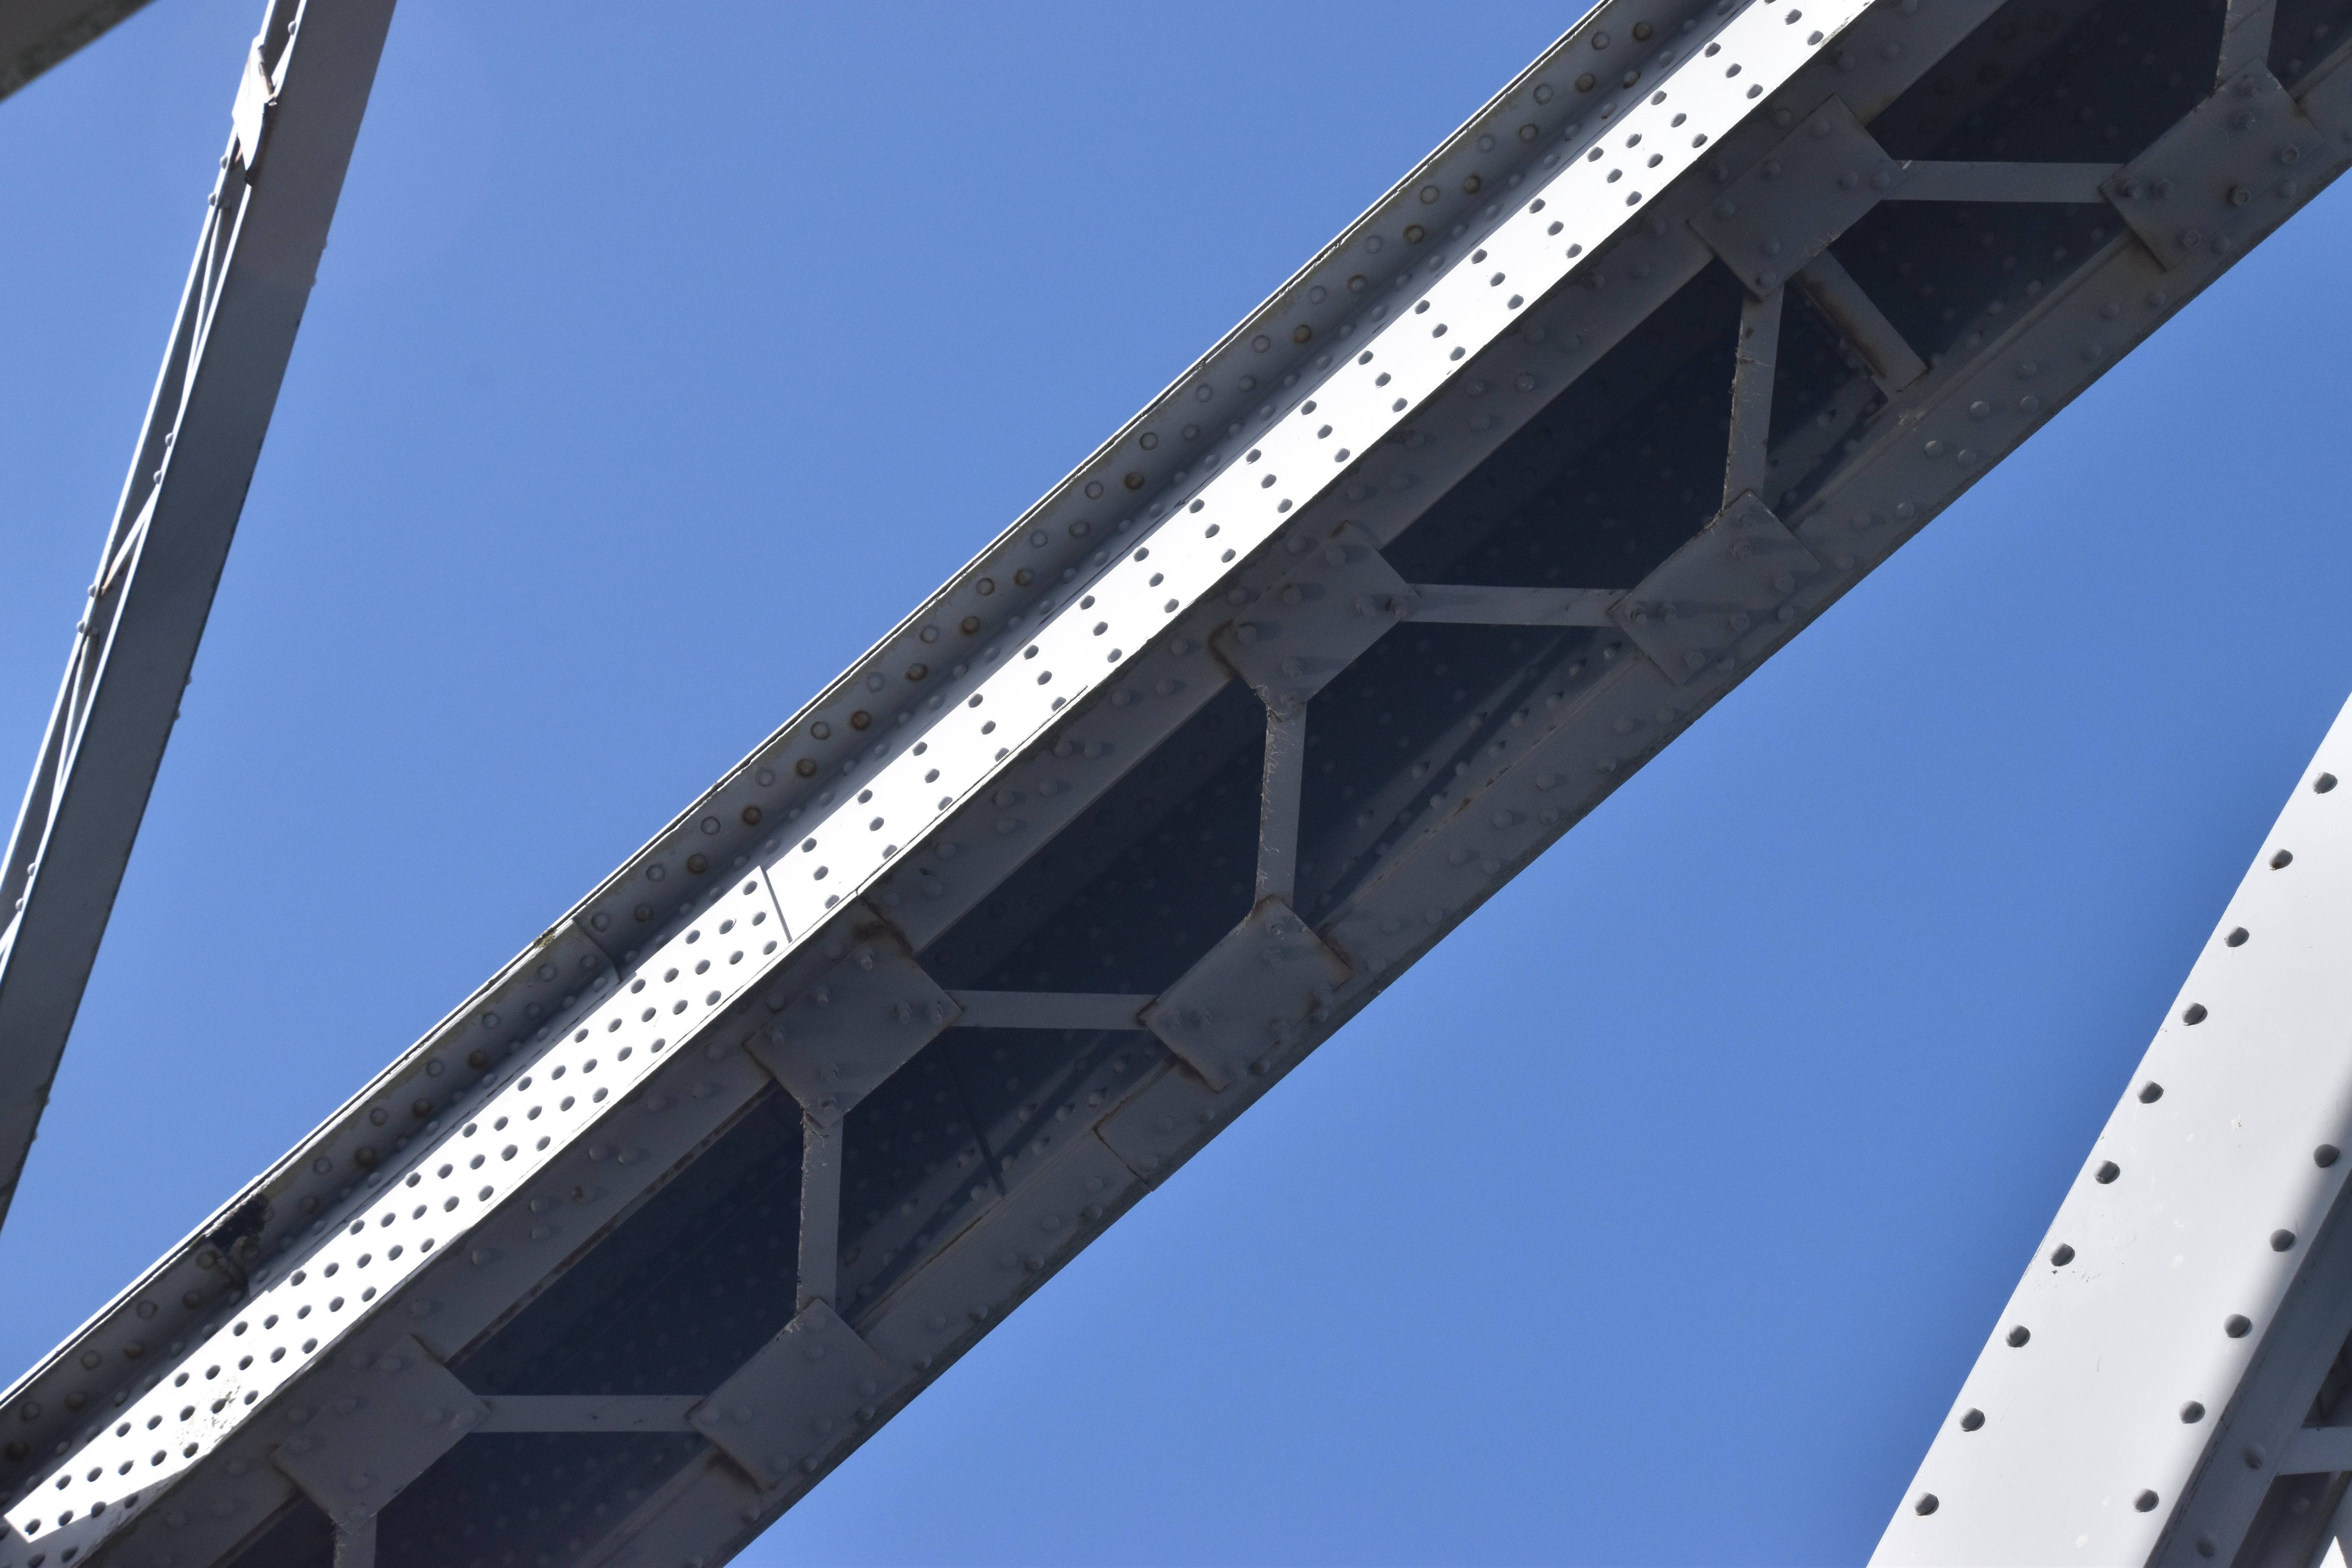
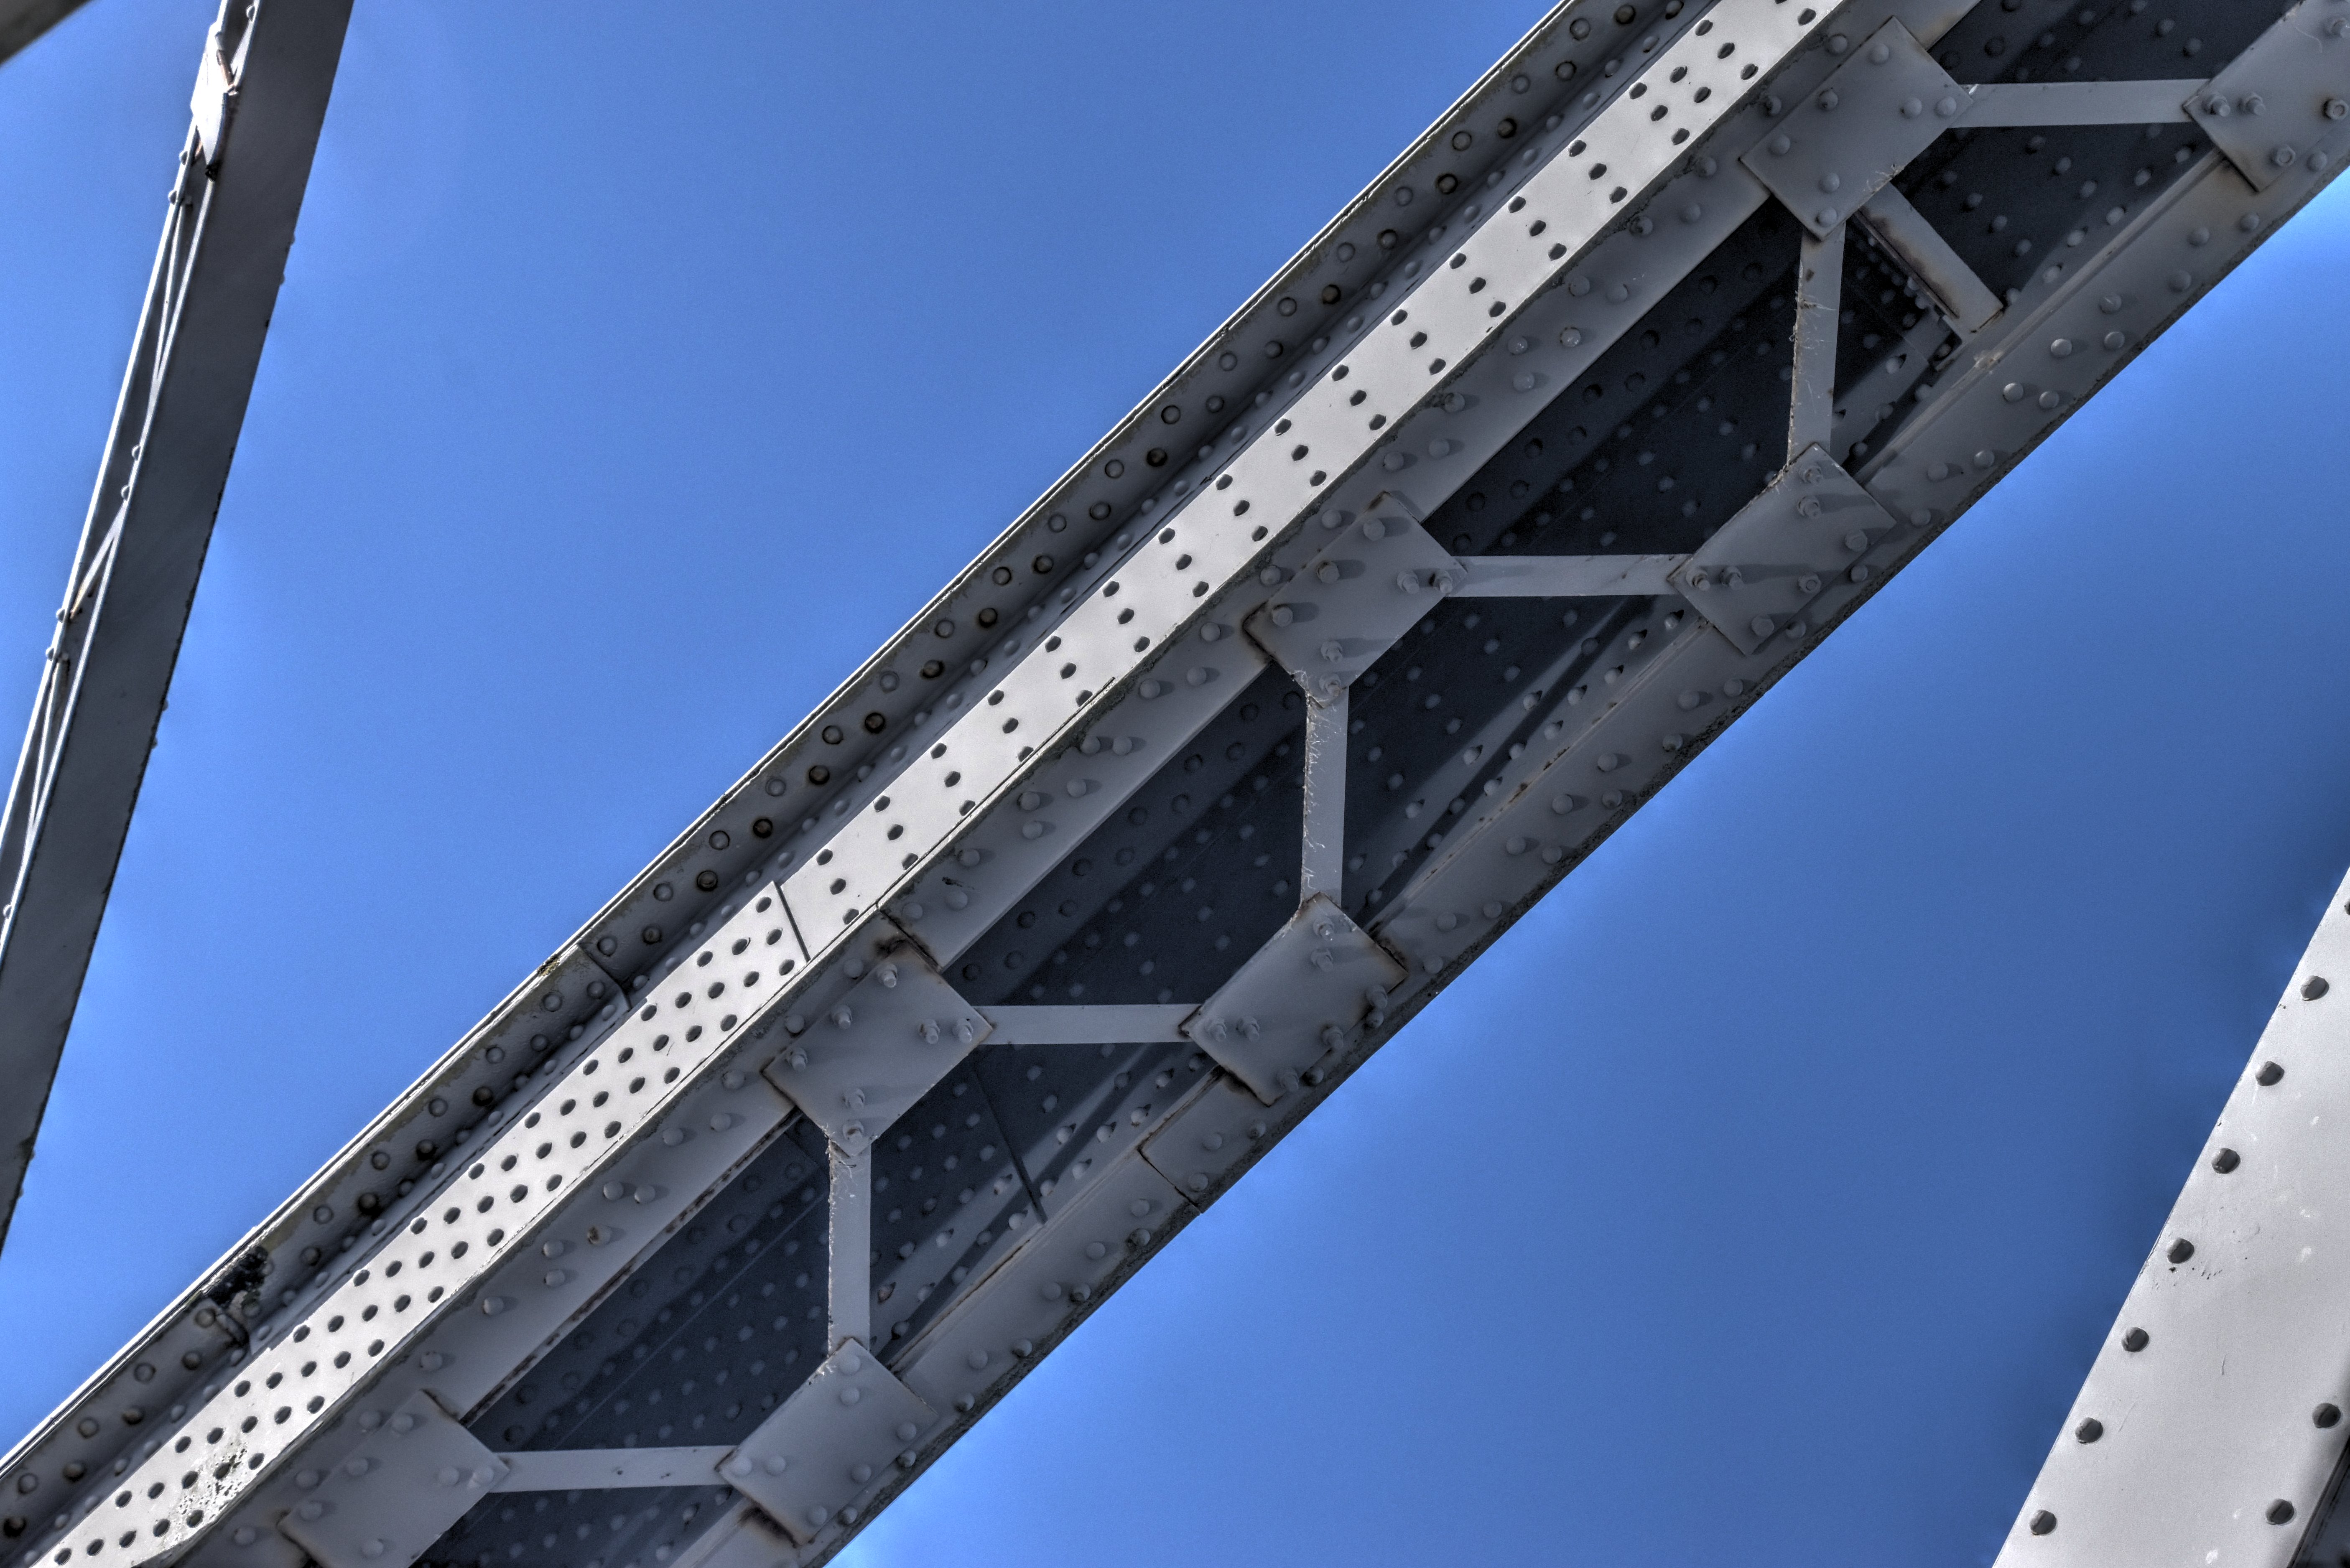
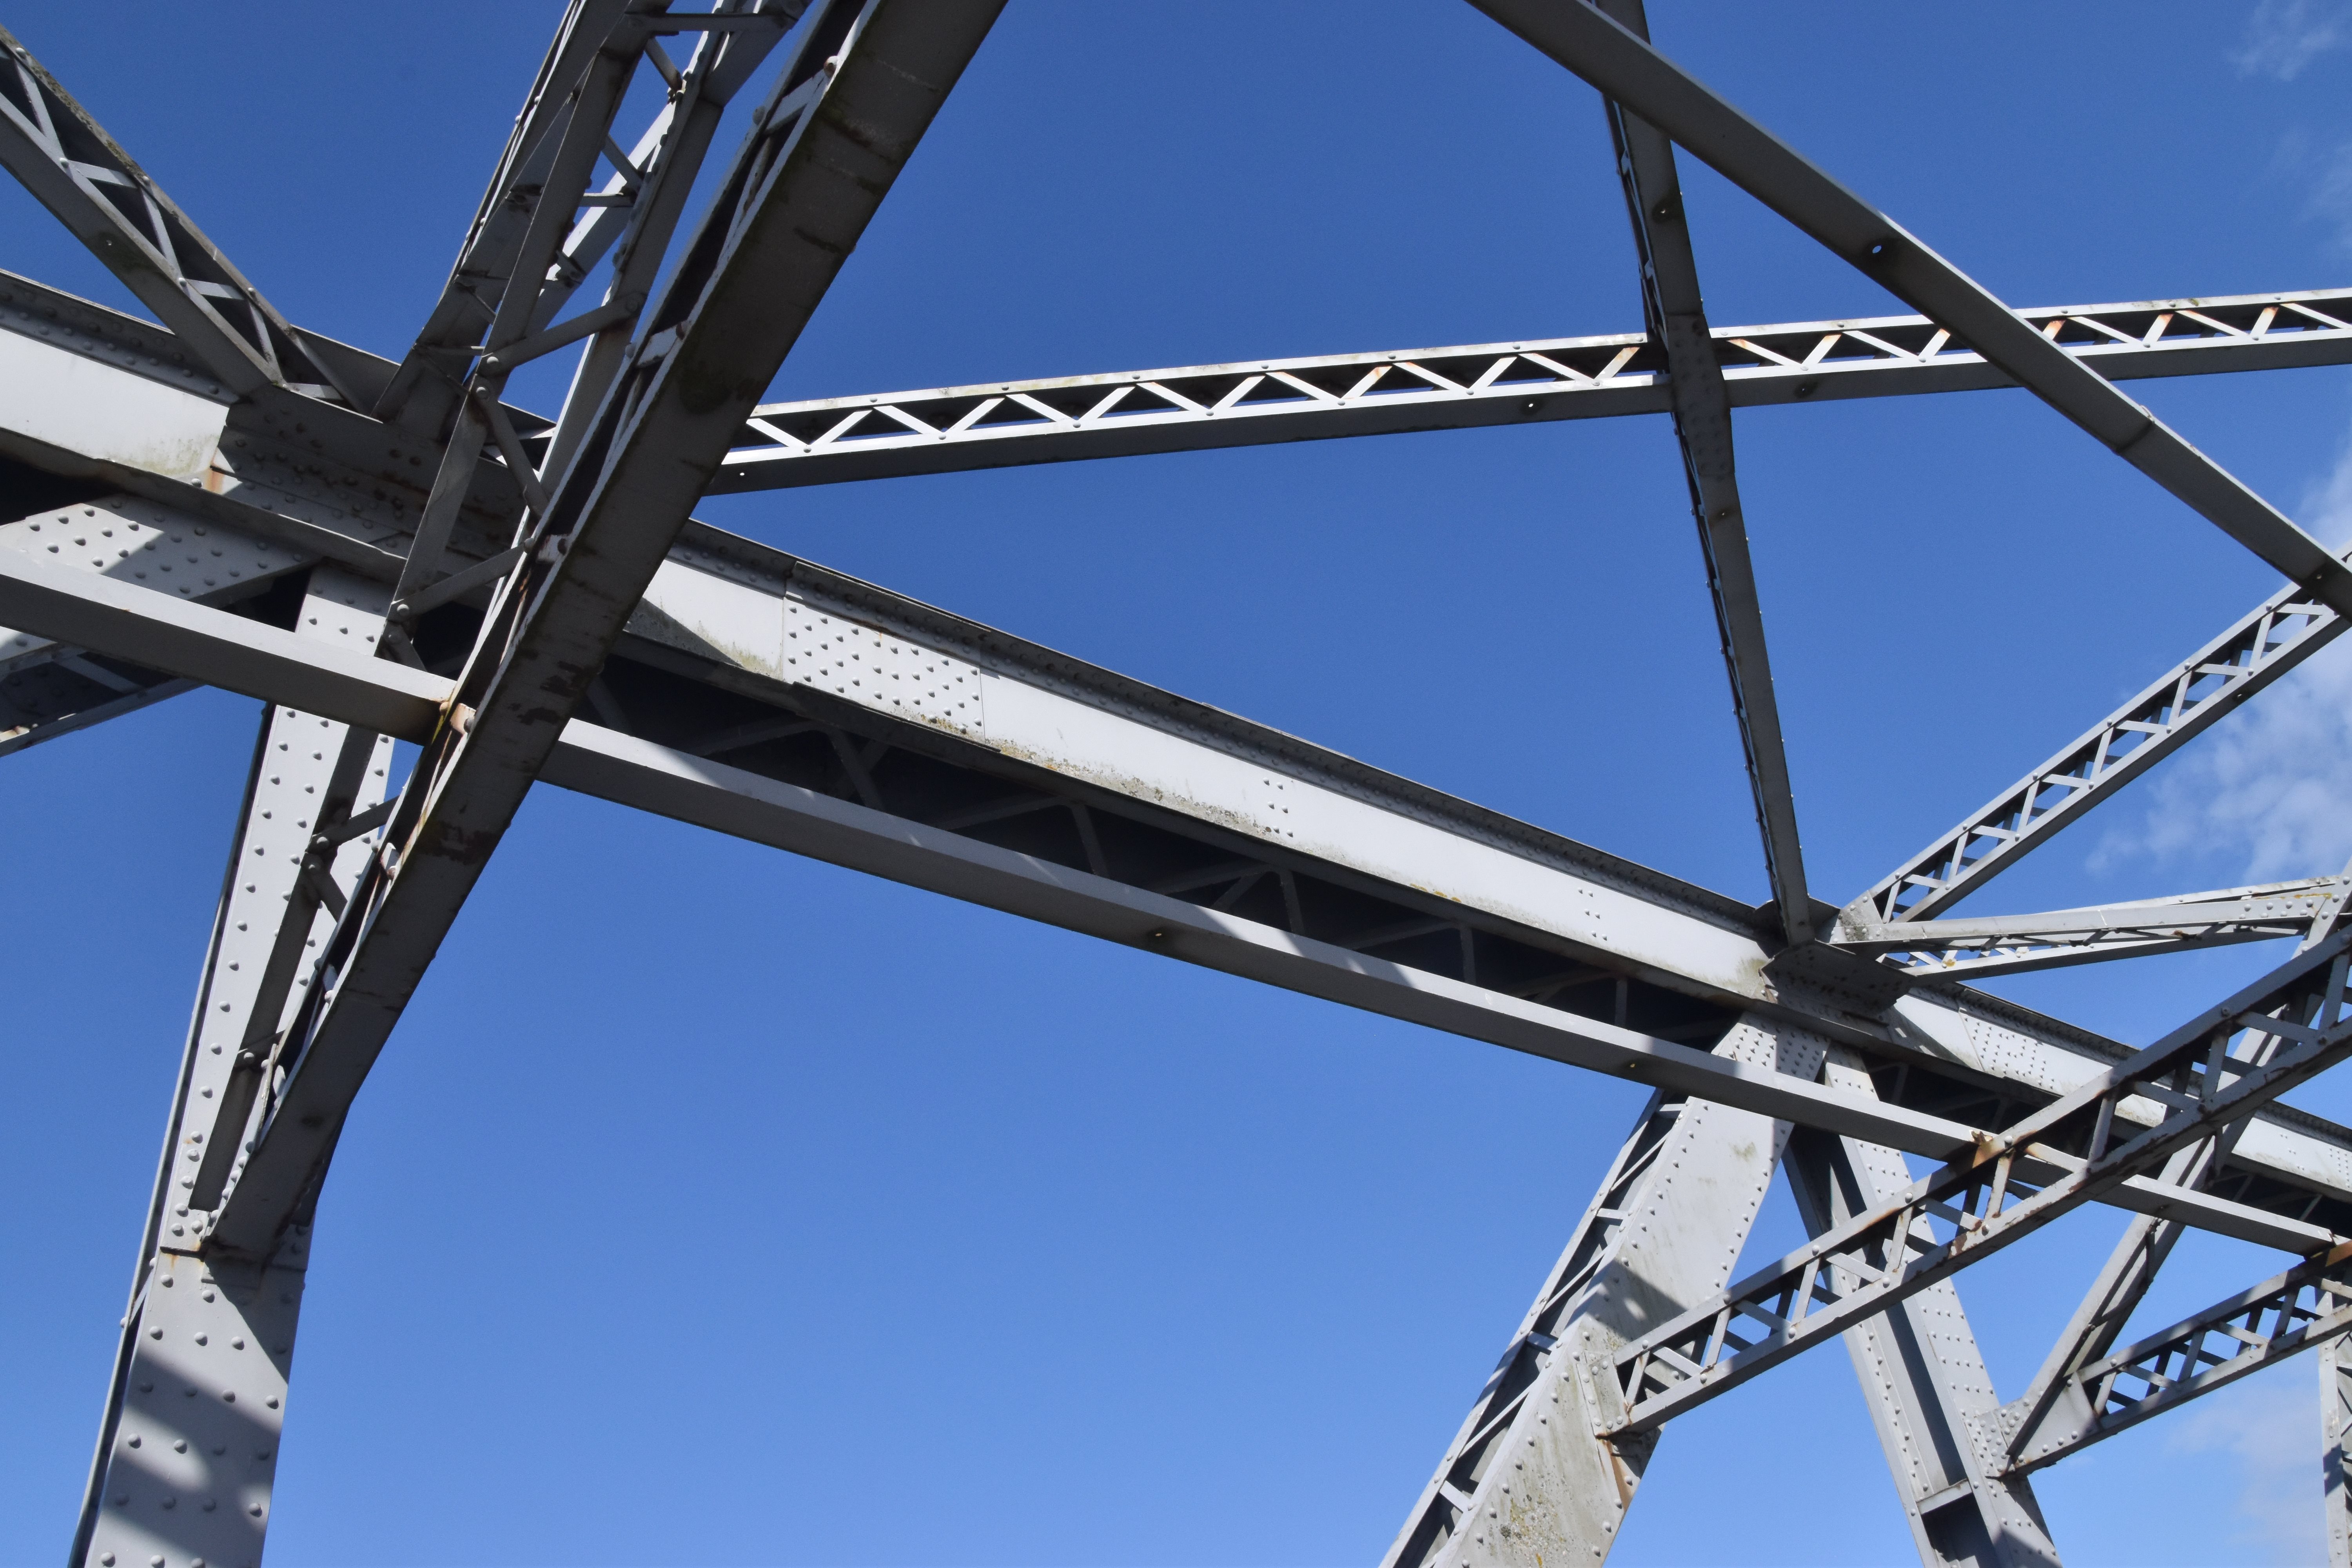
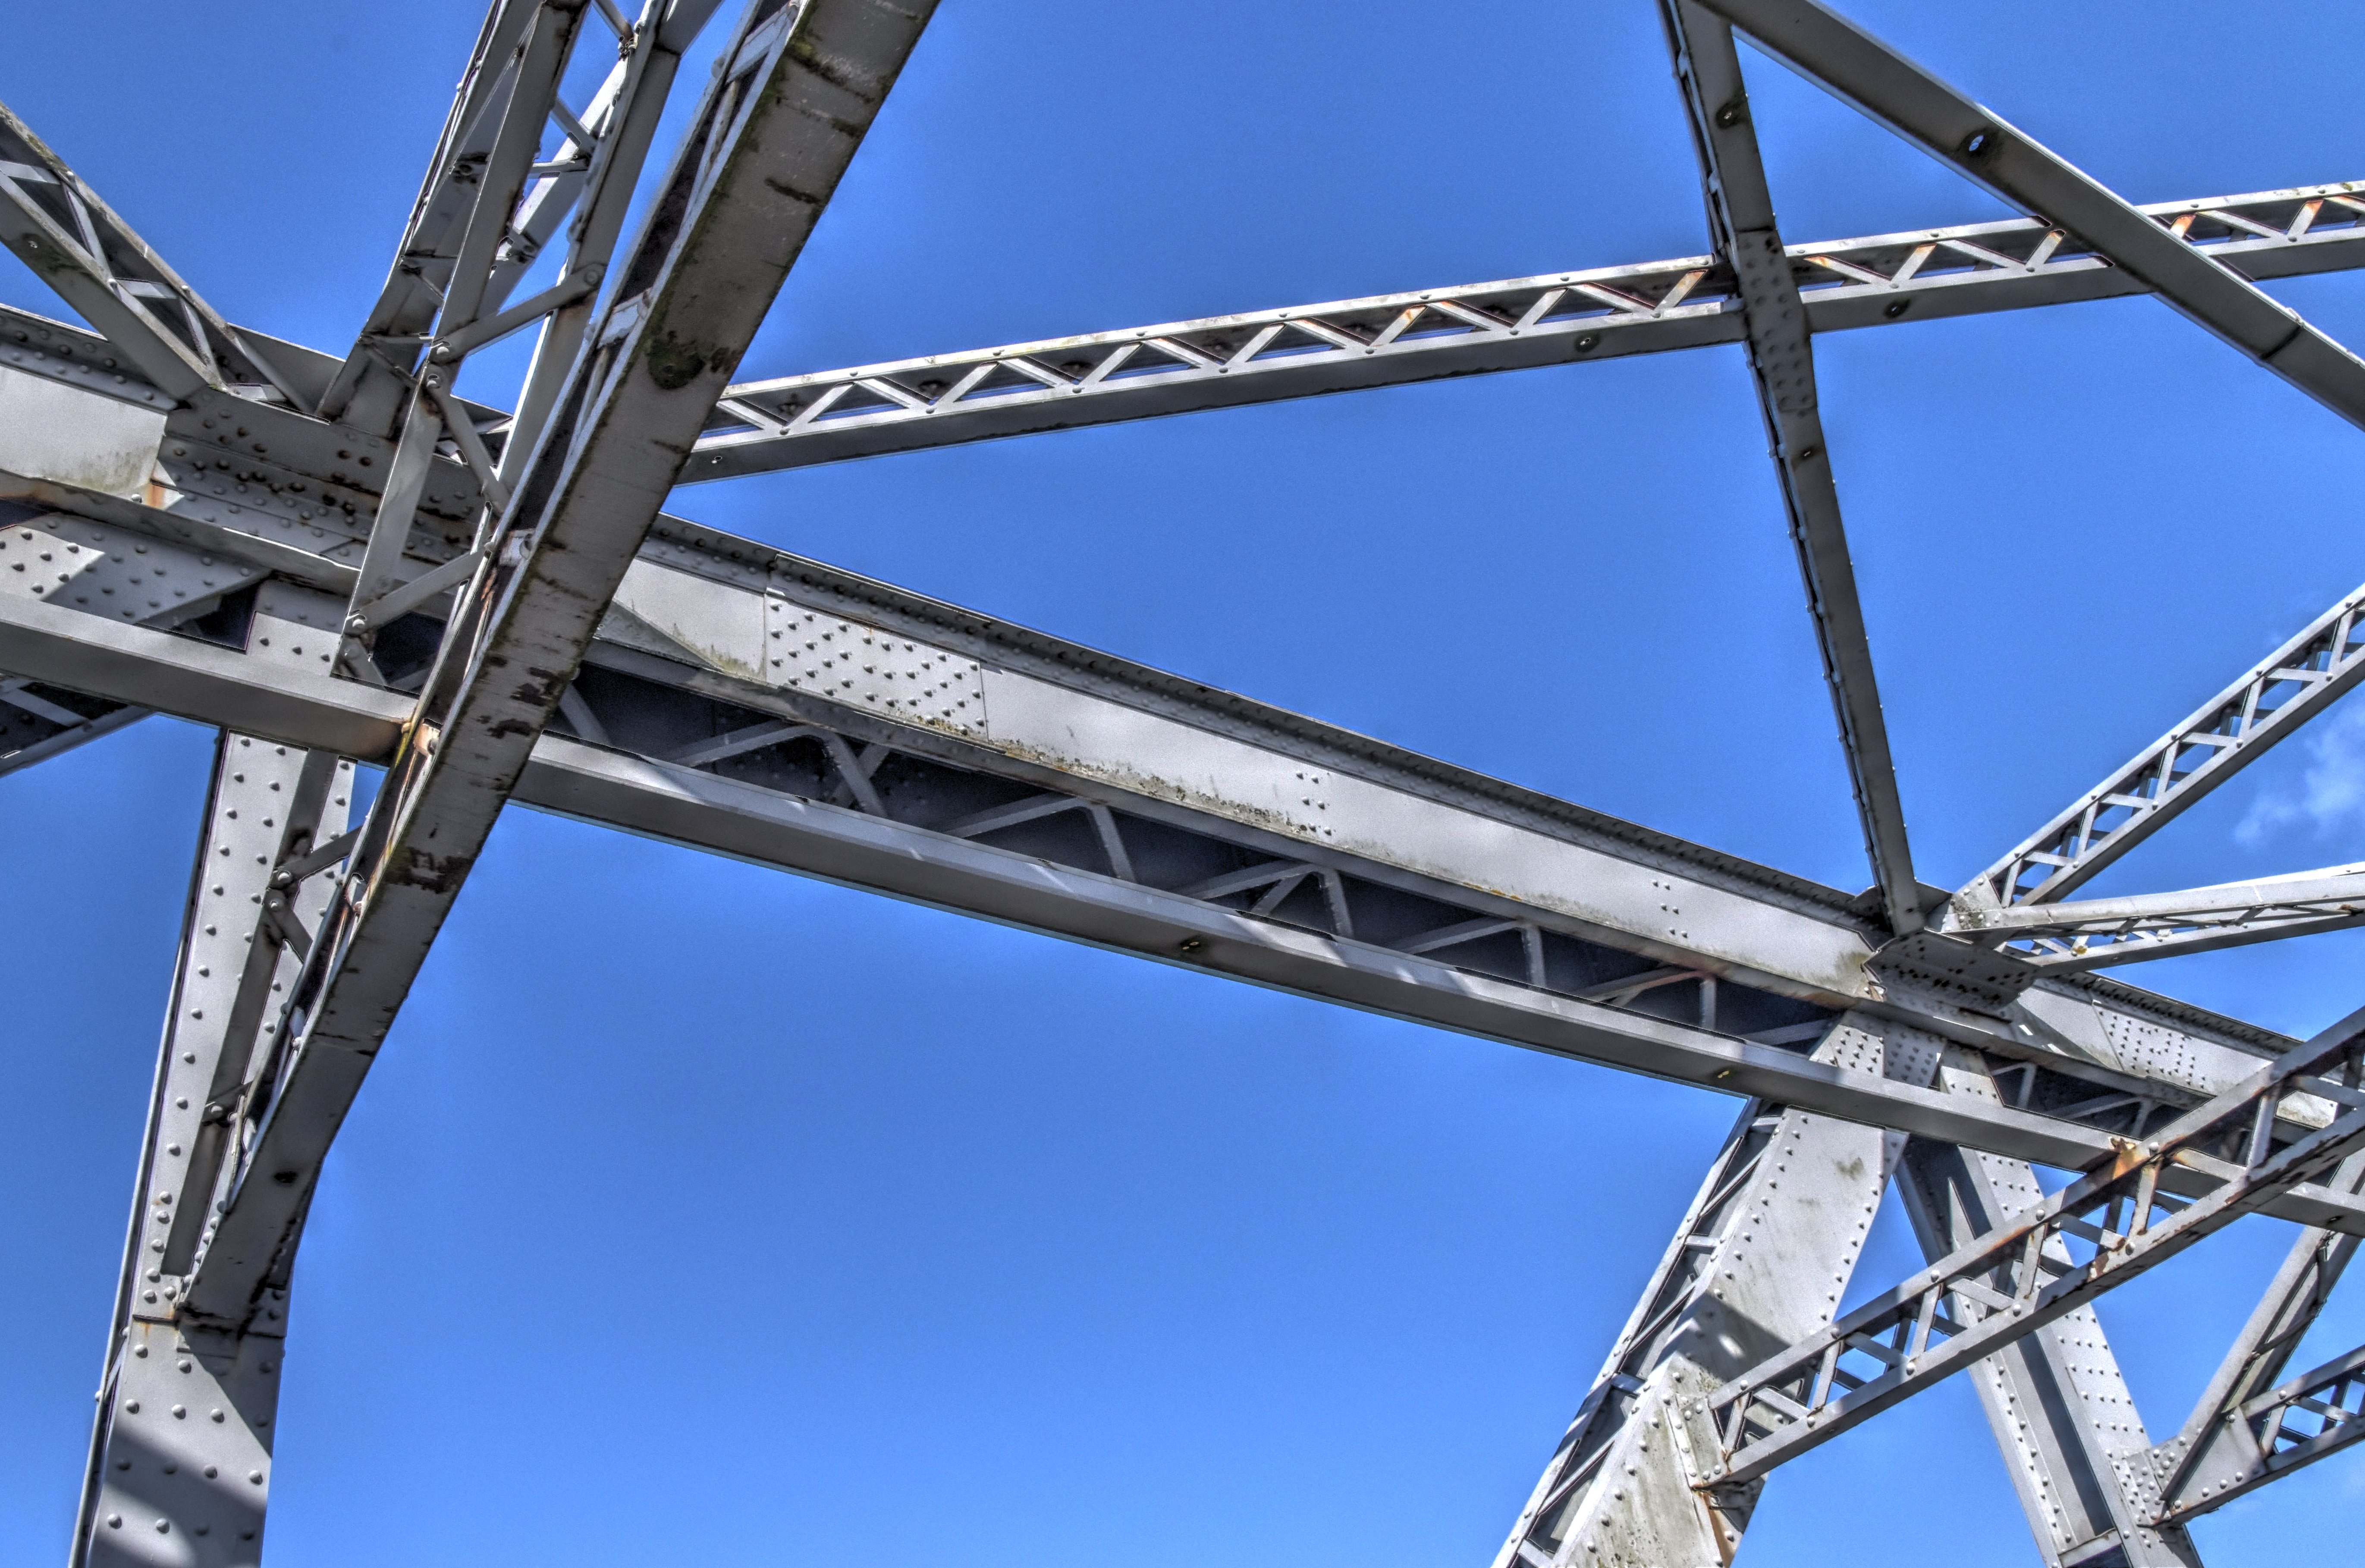
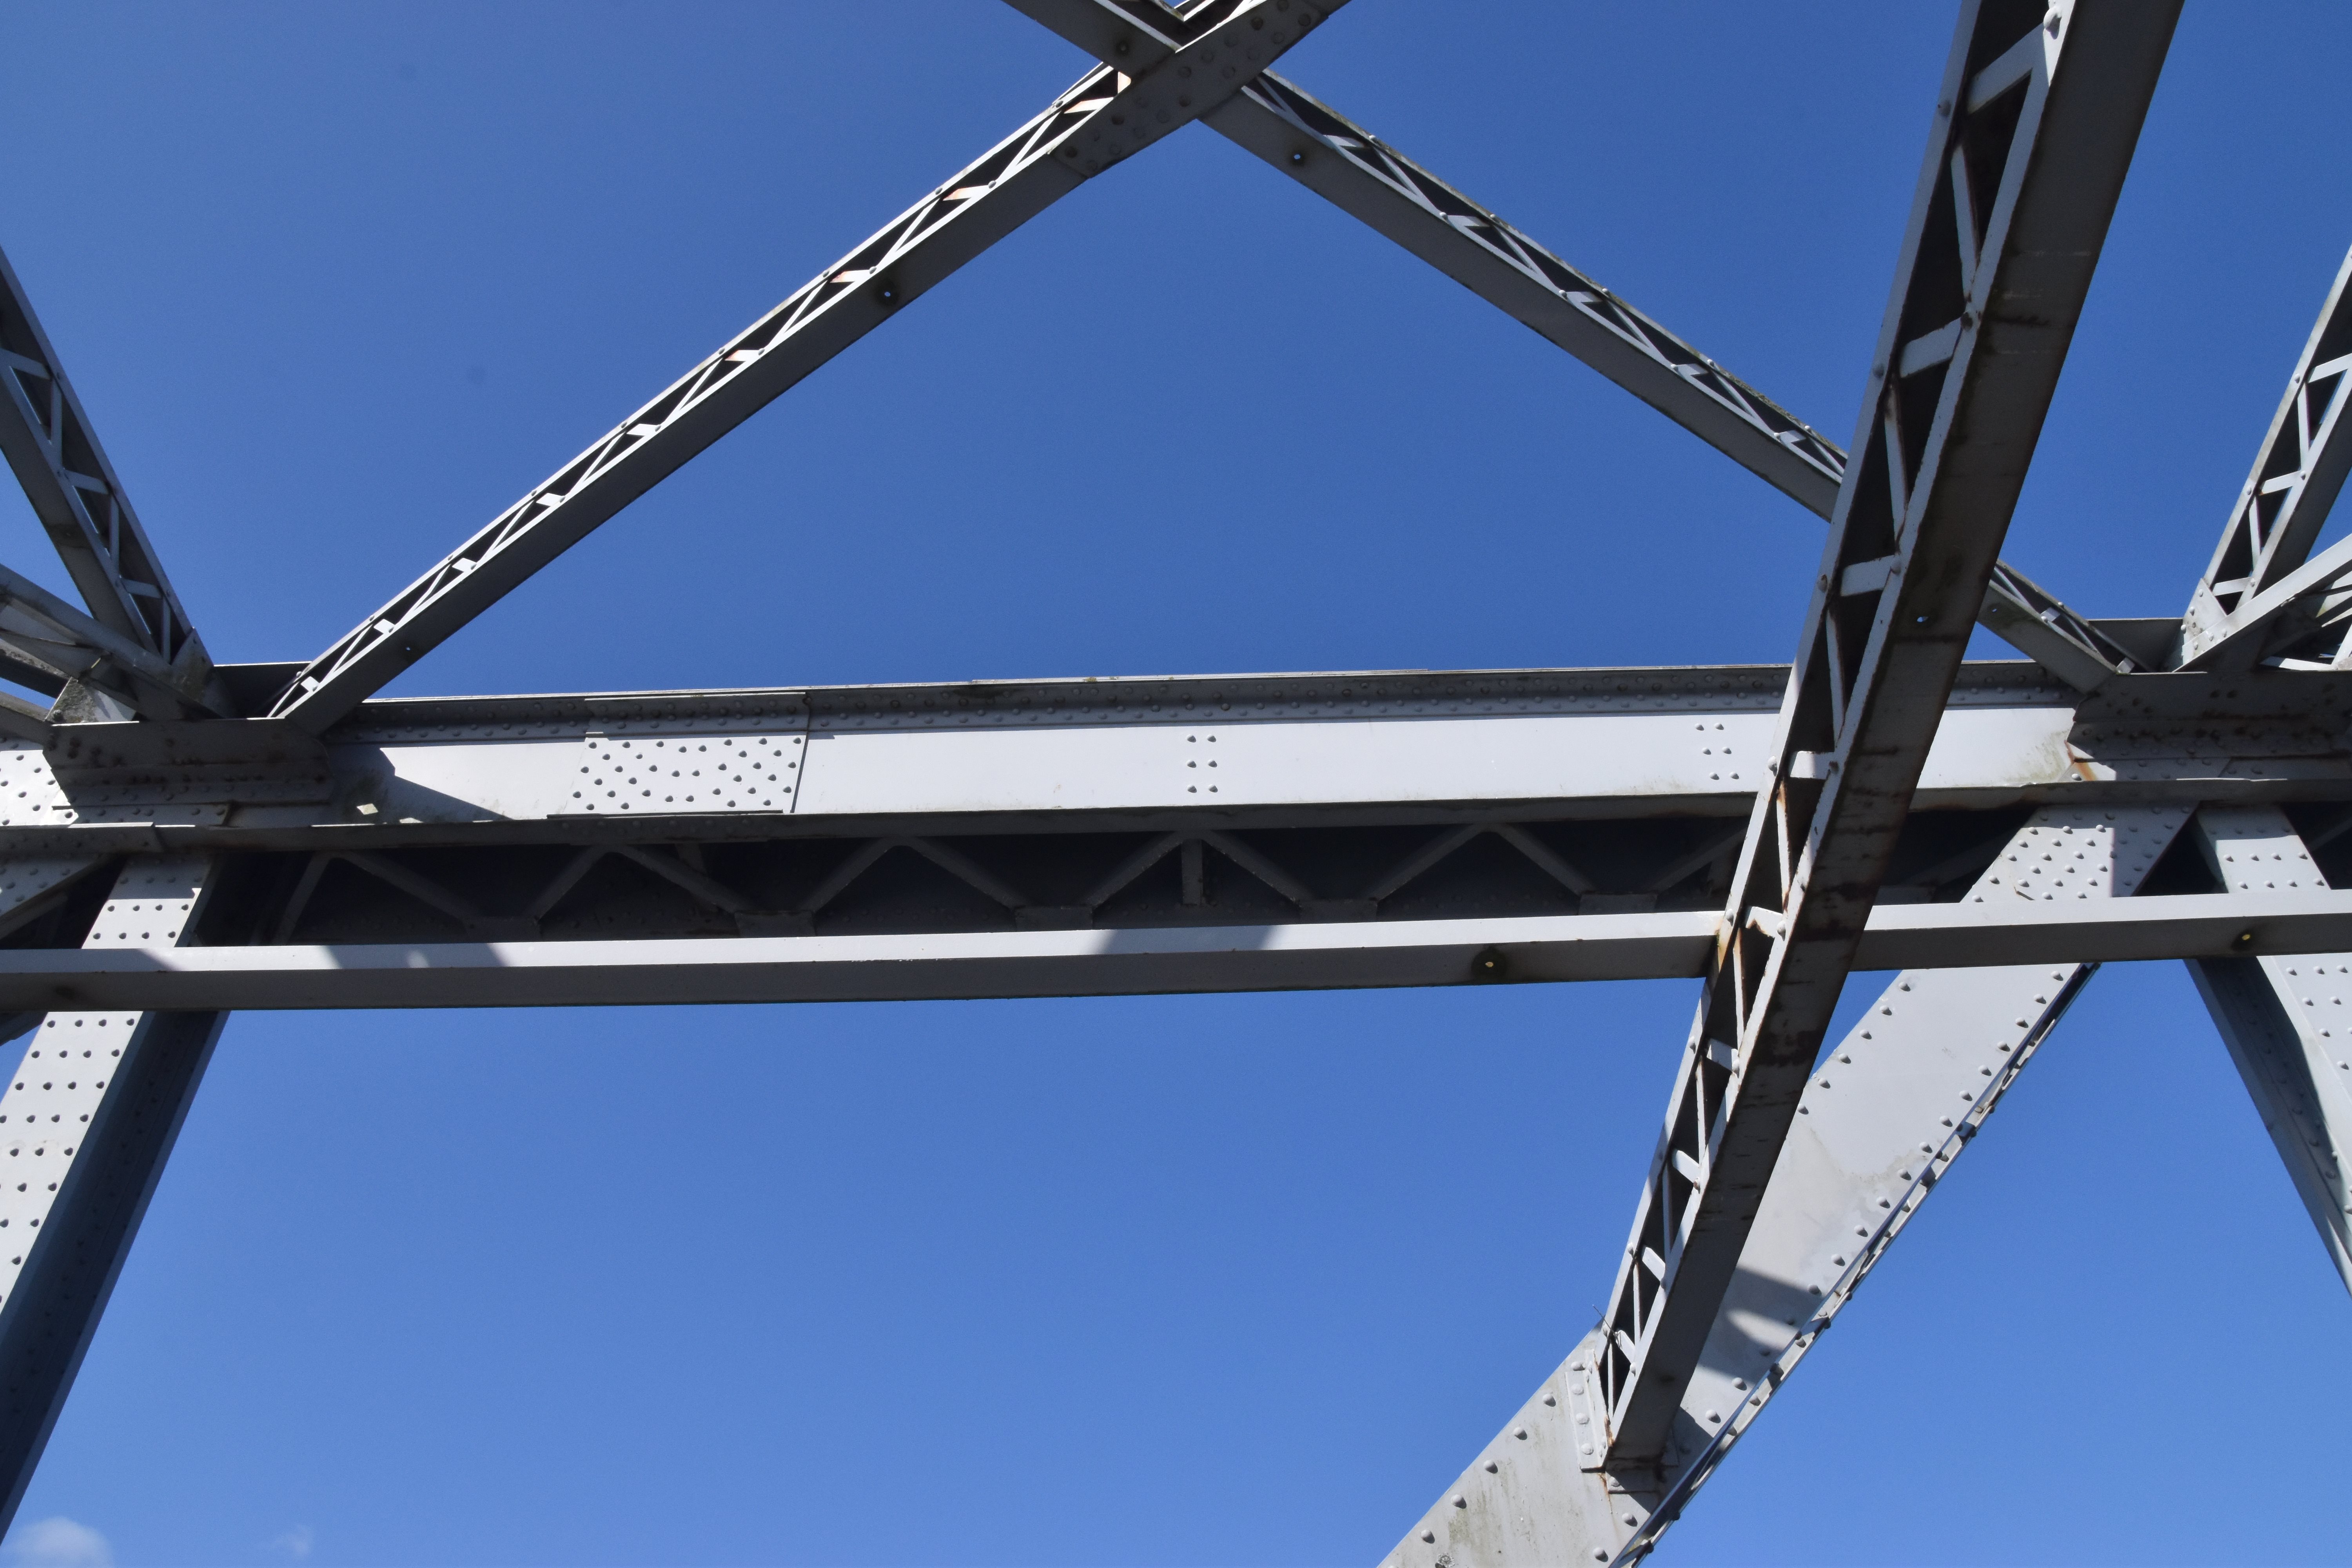

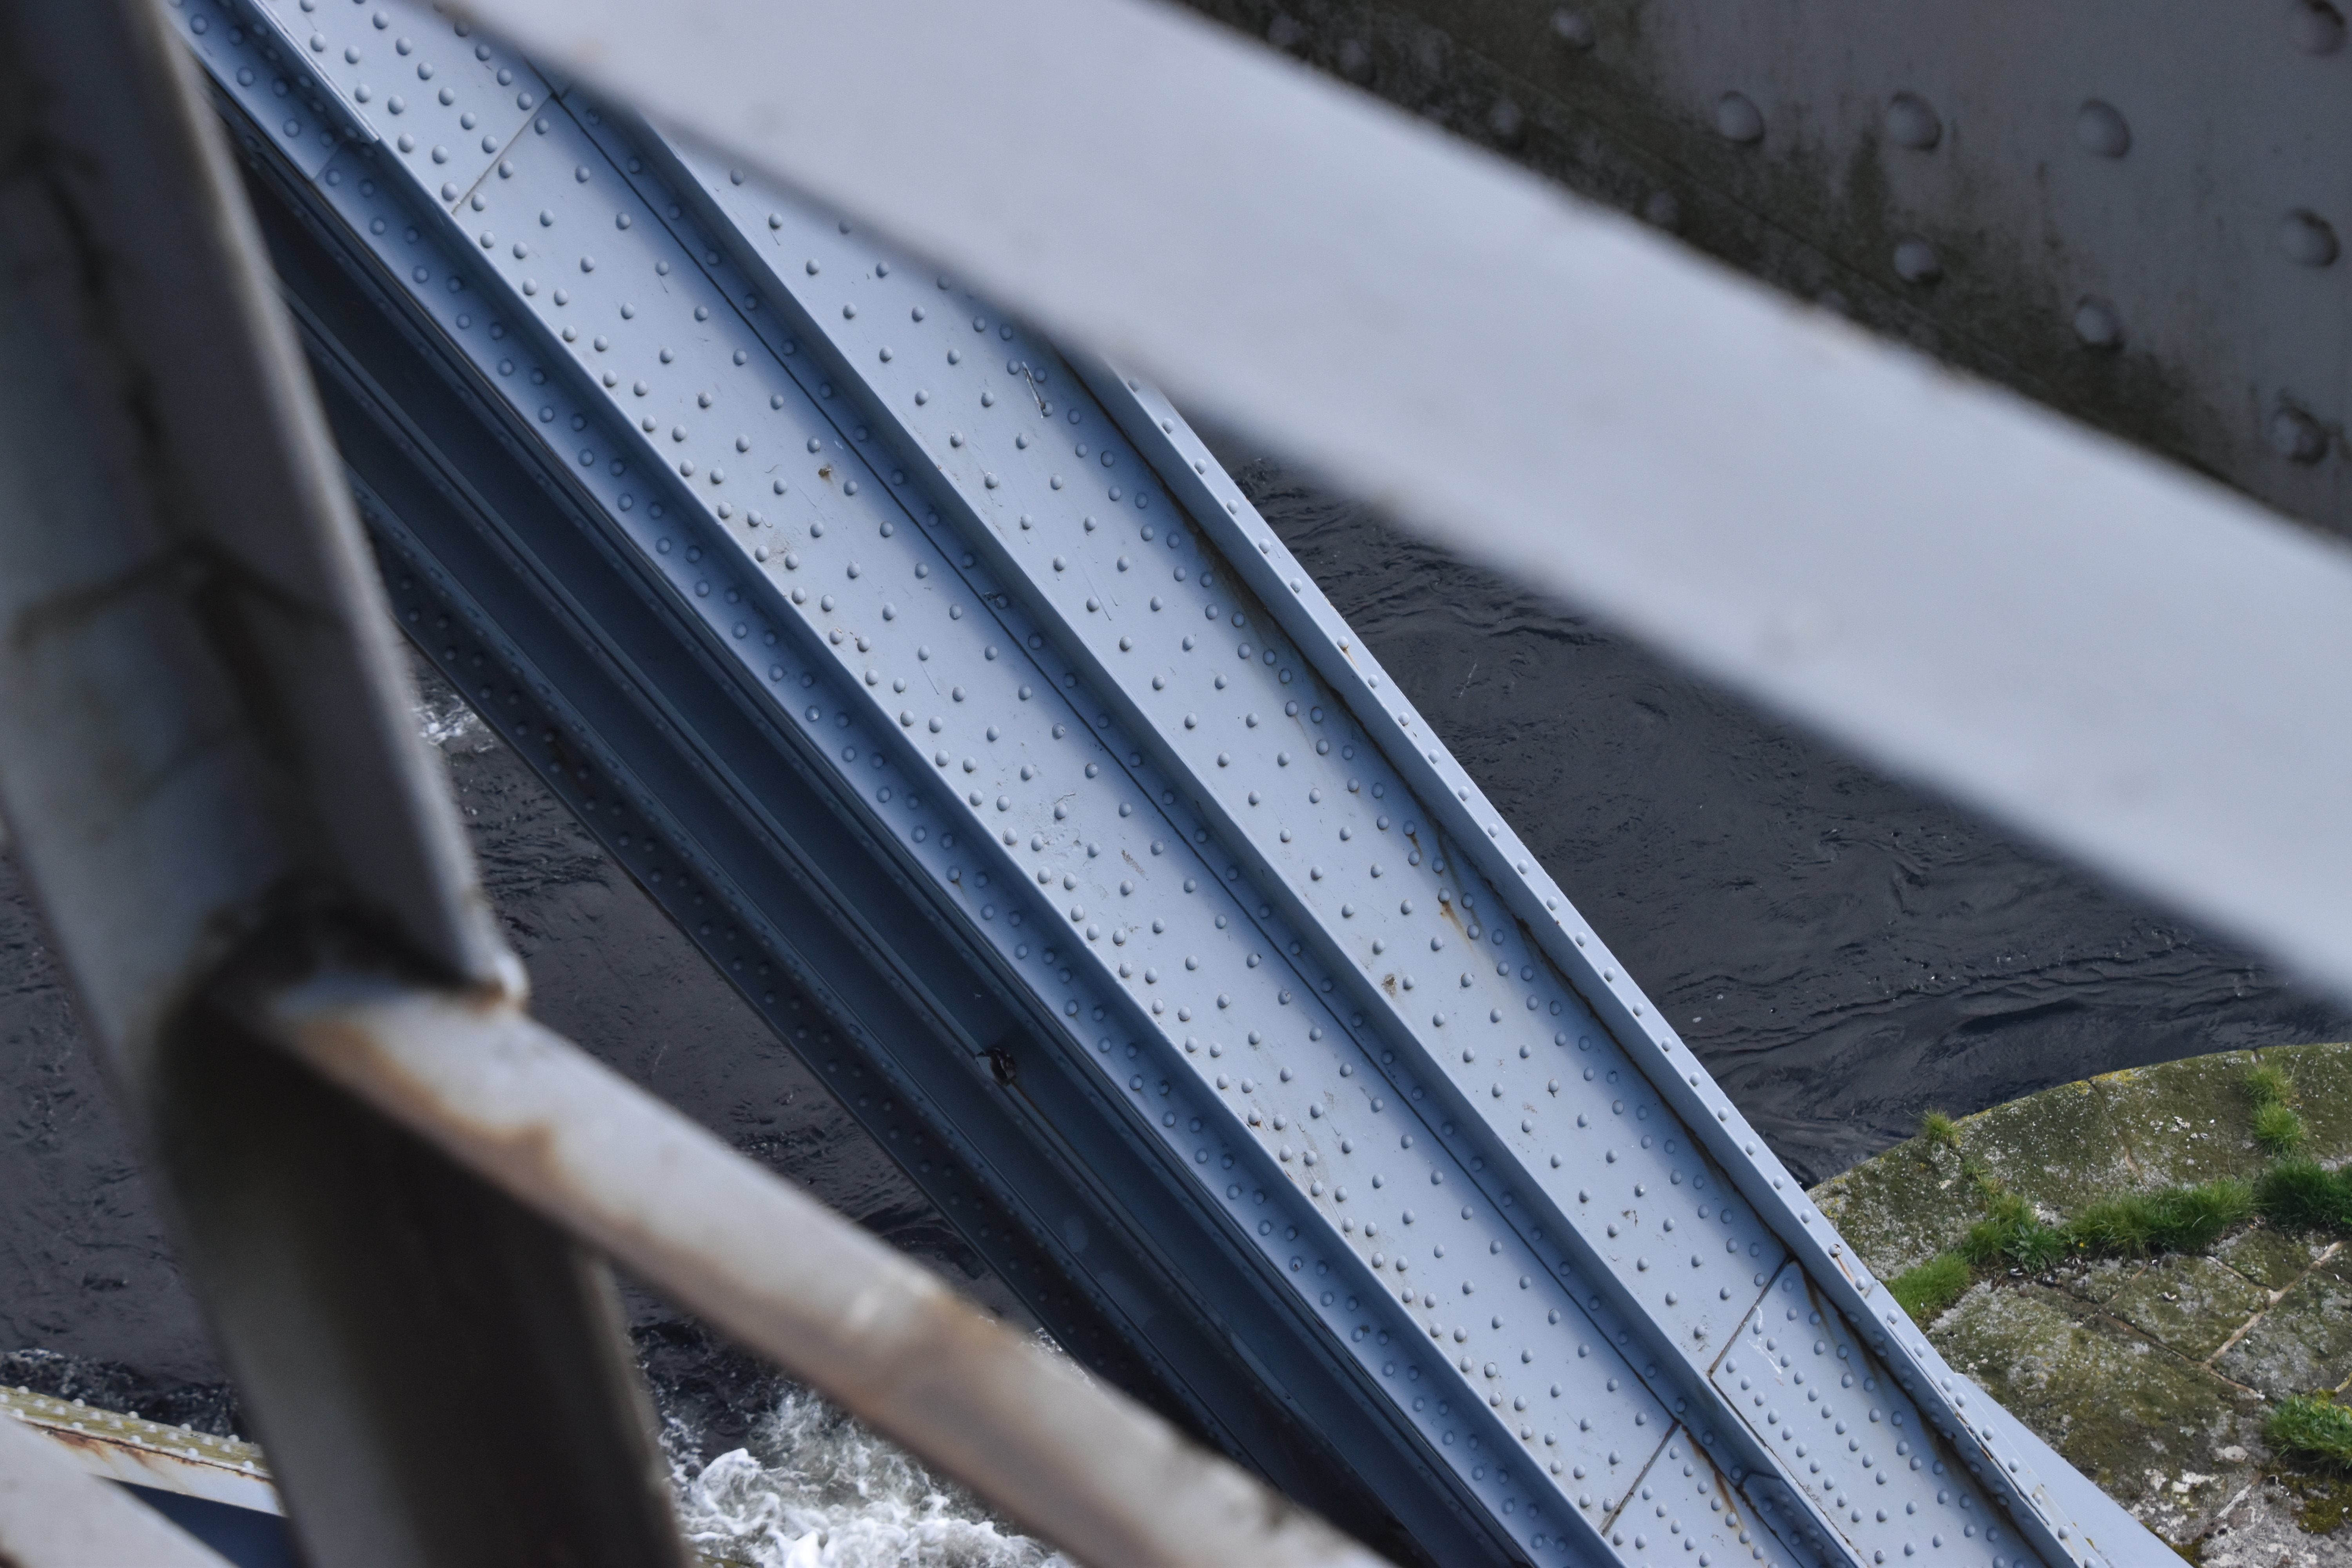
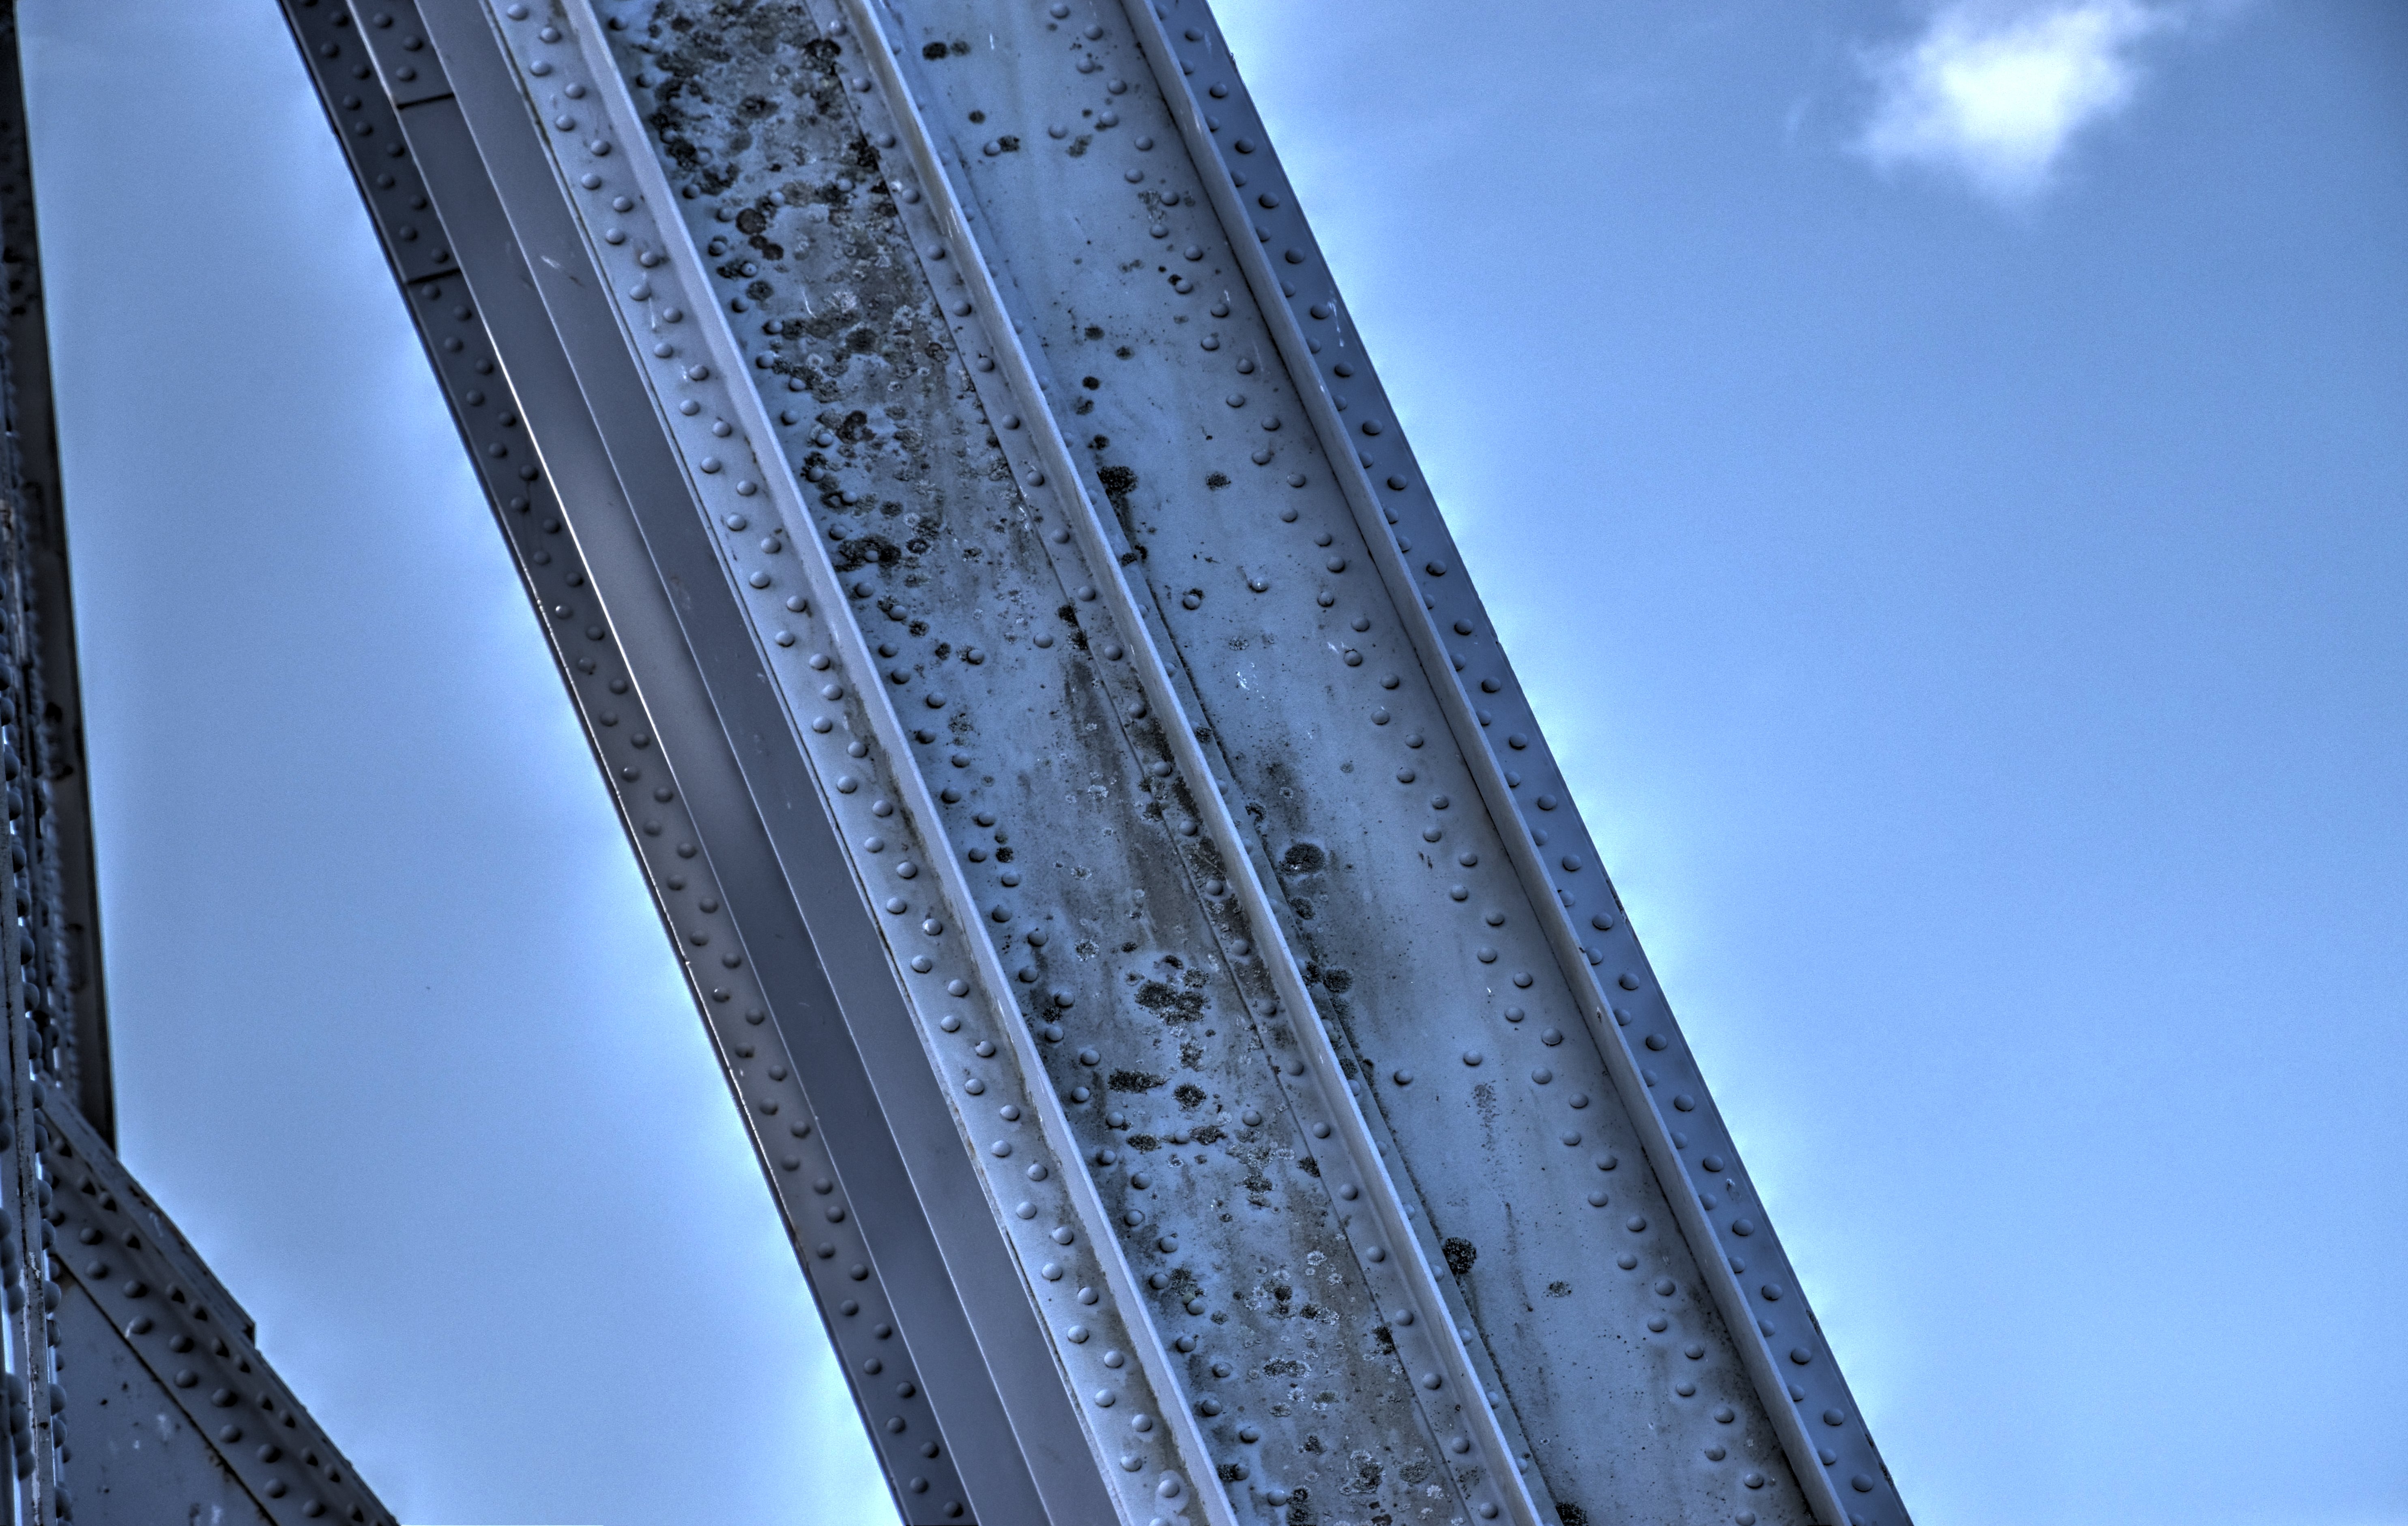
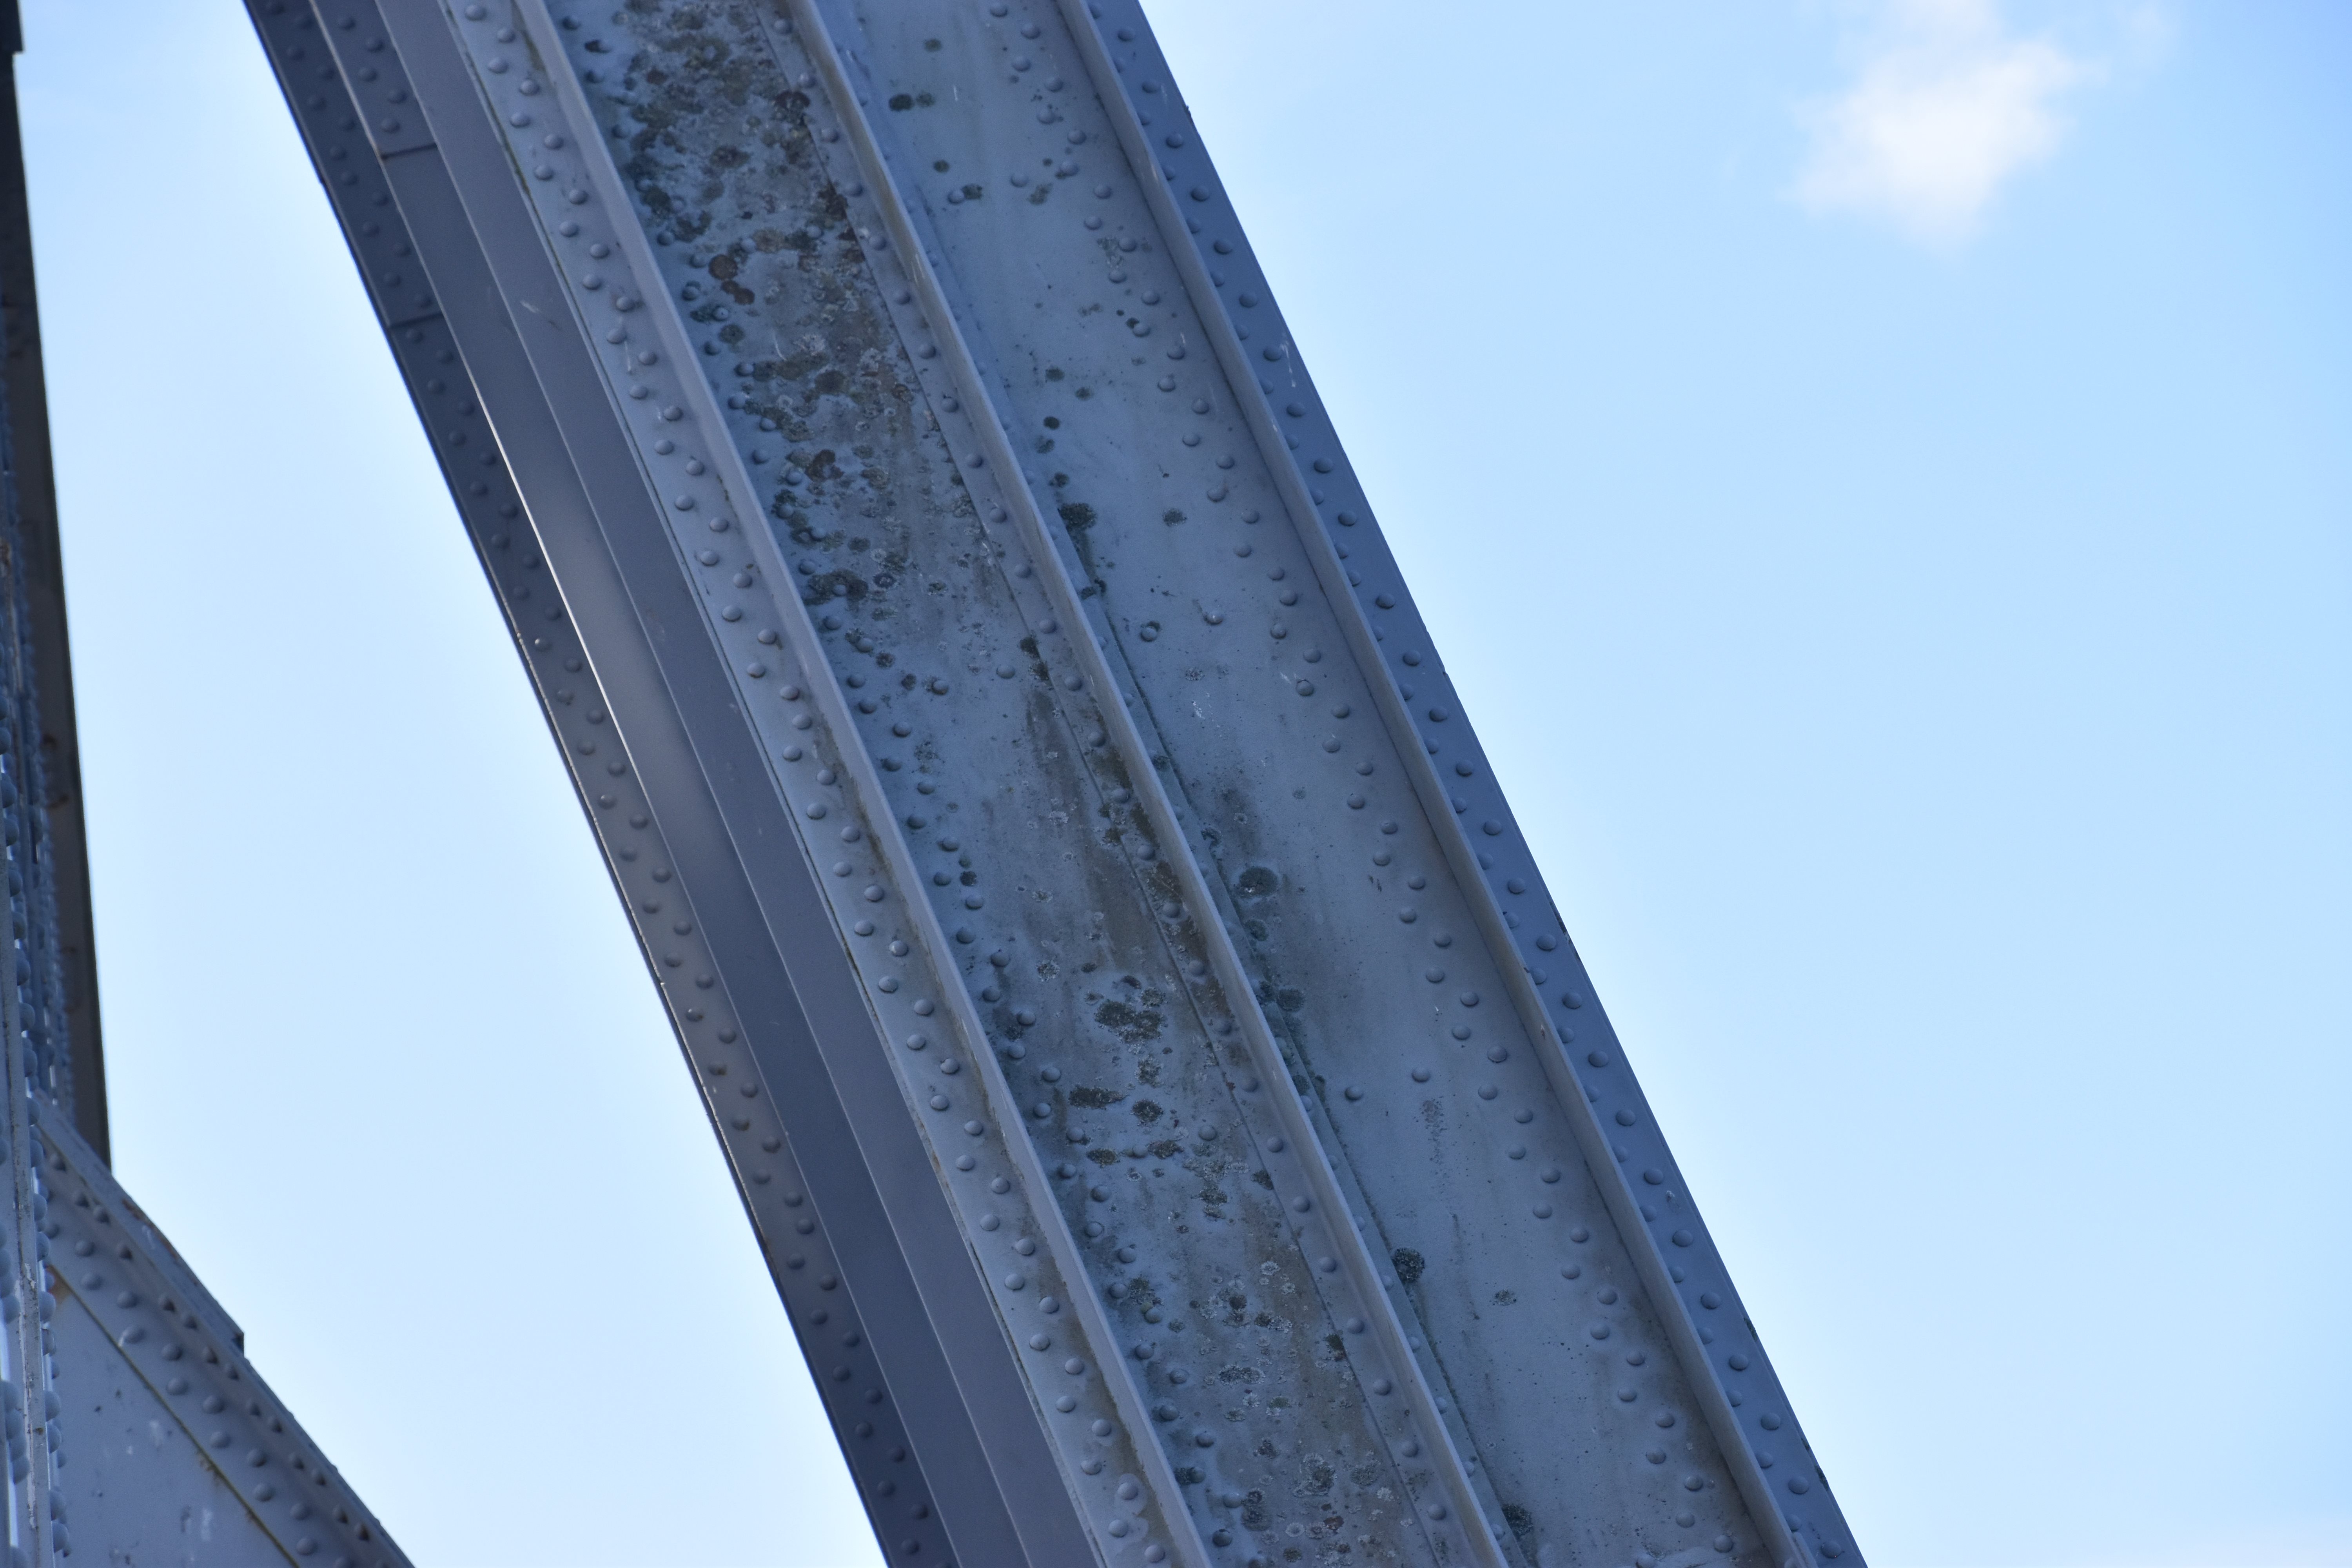
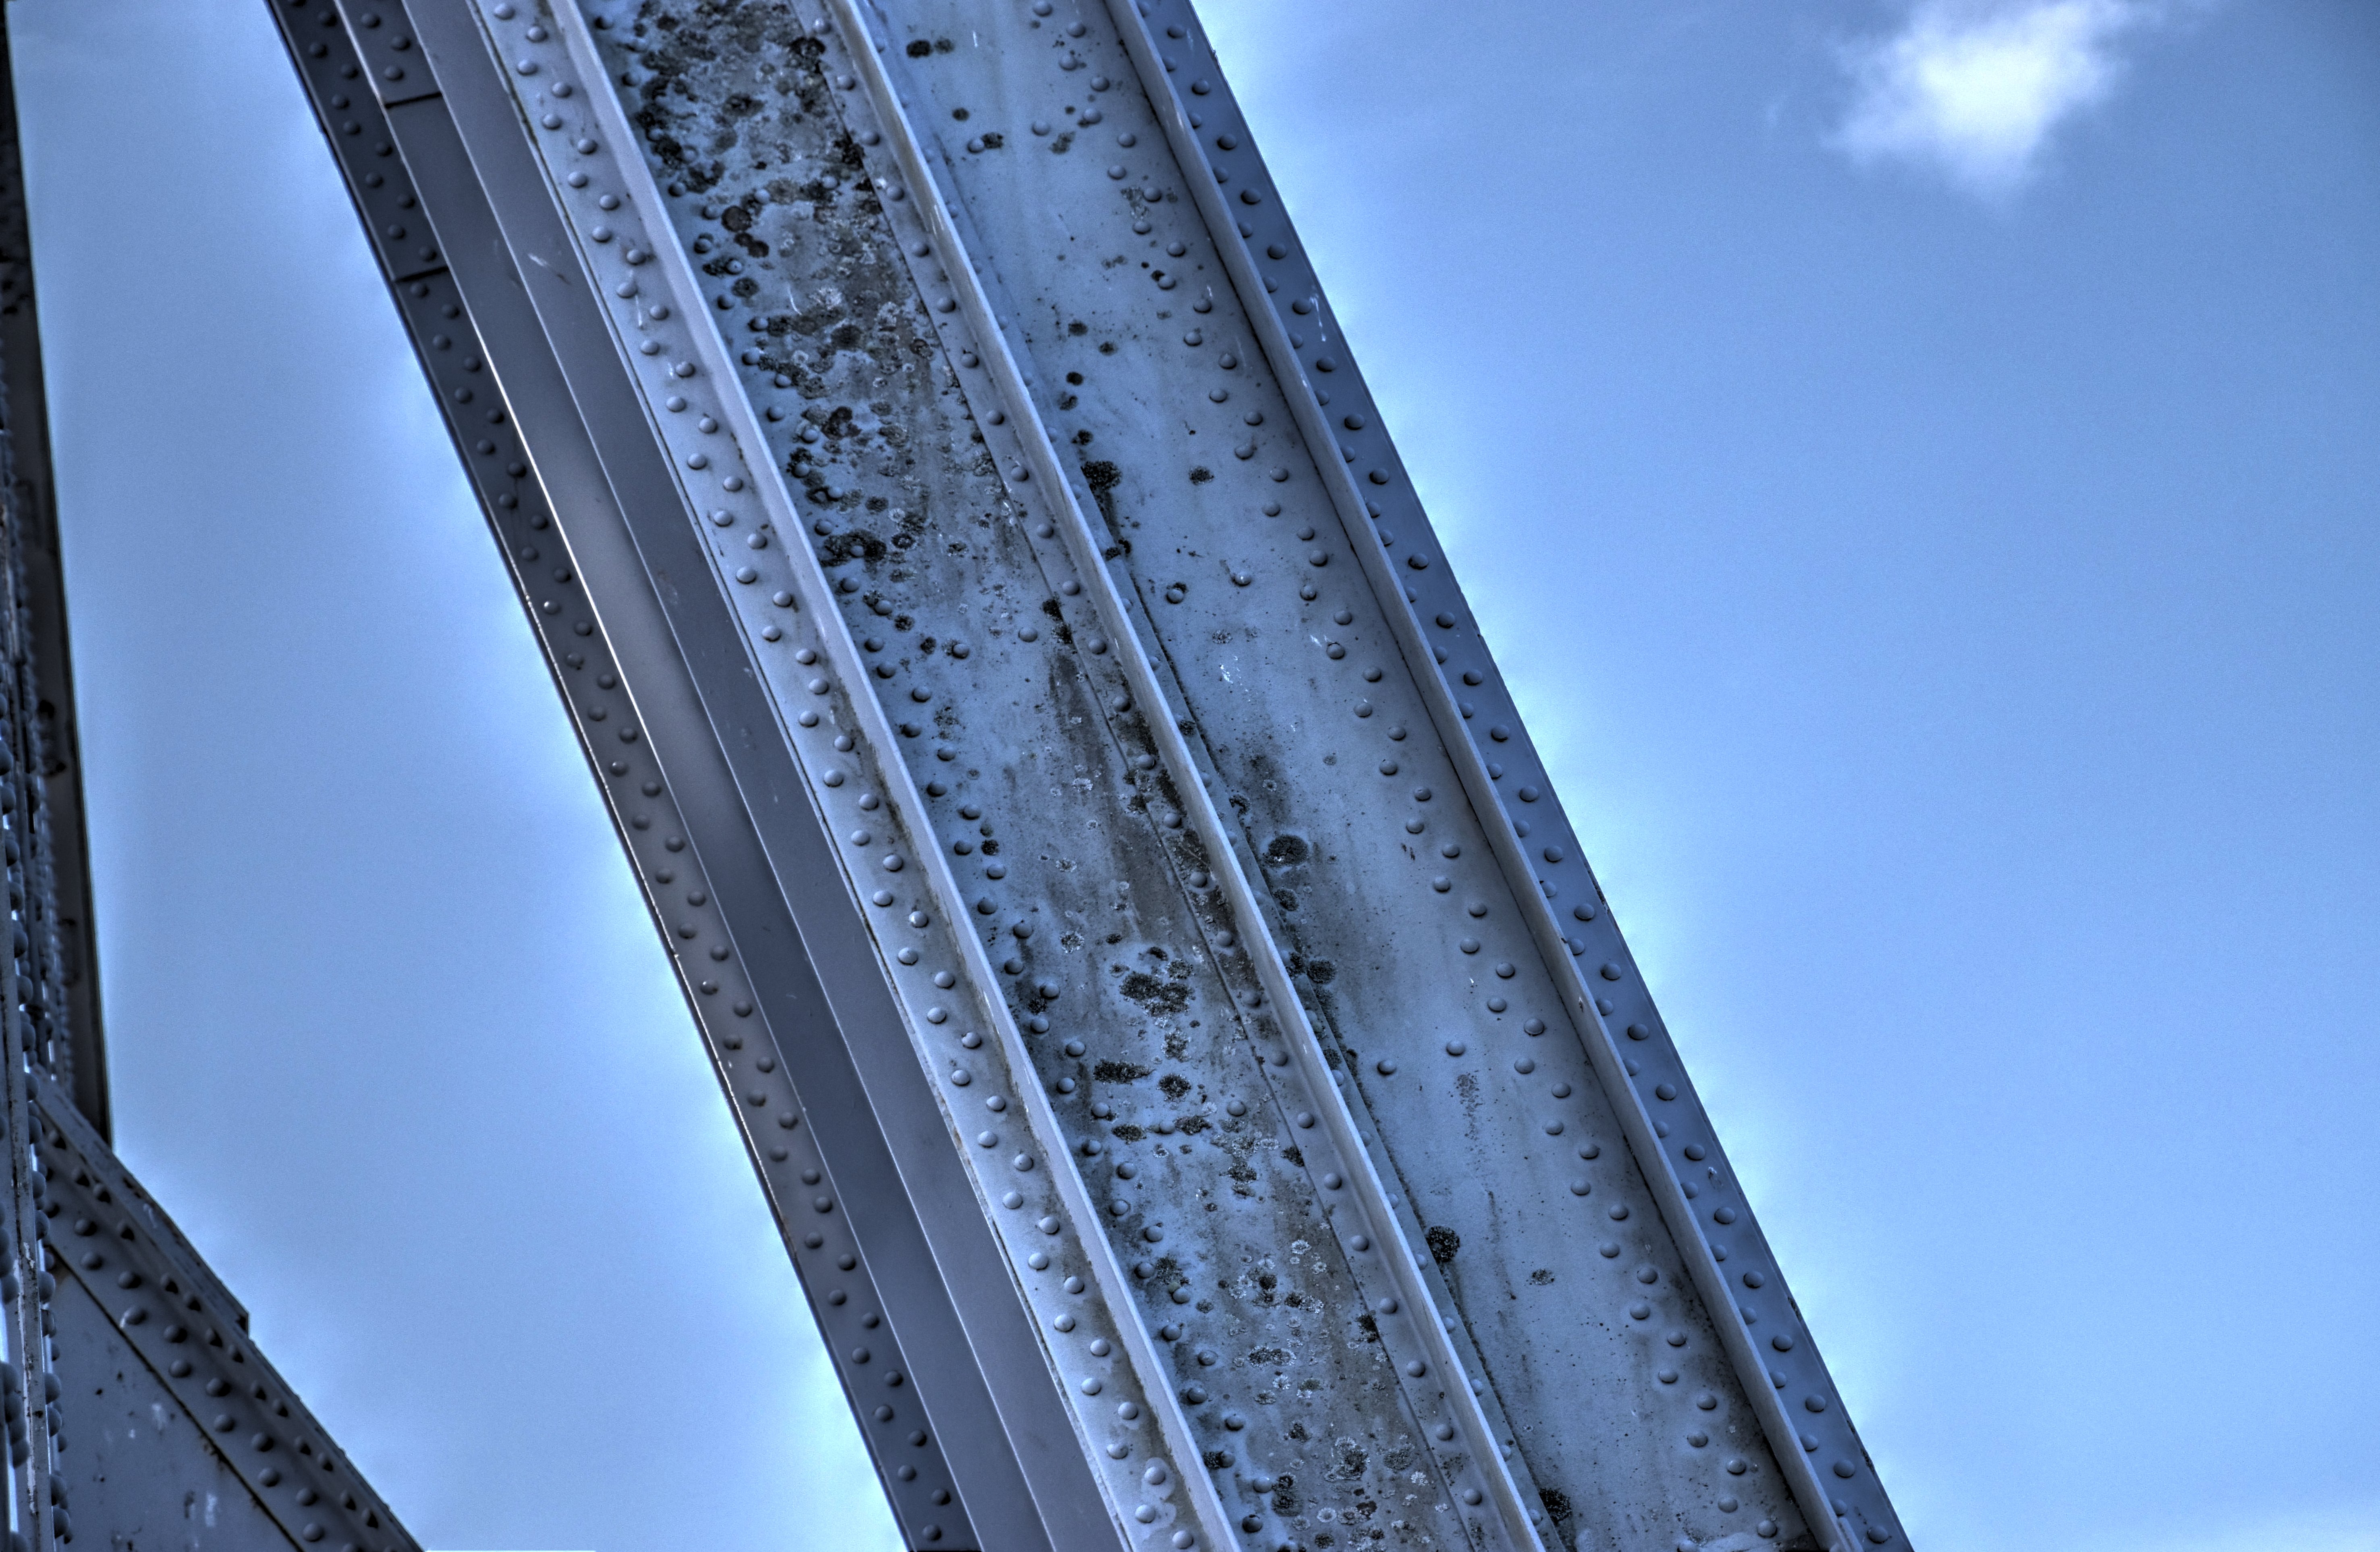
Top chord.
![]()


Top chord splice.
![]()
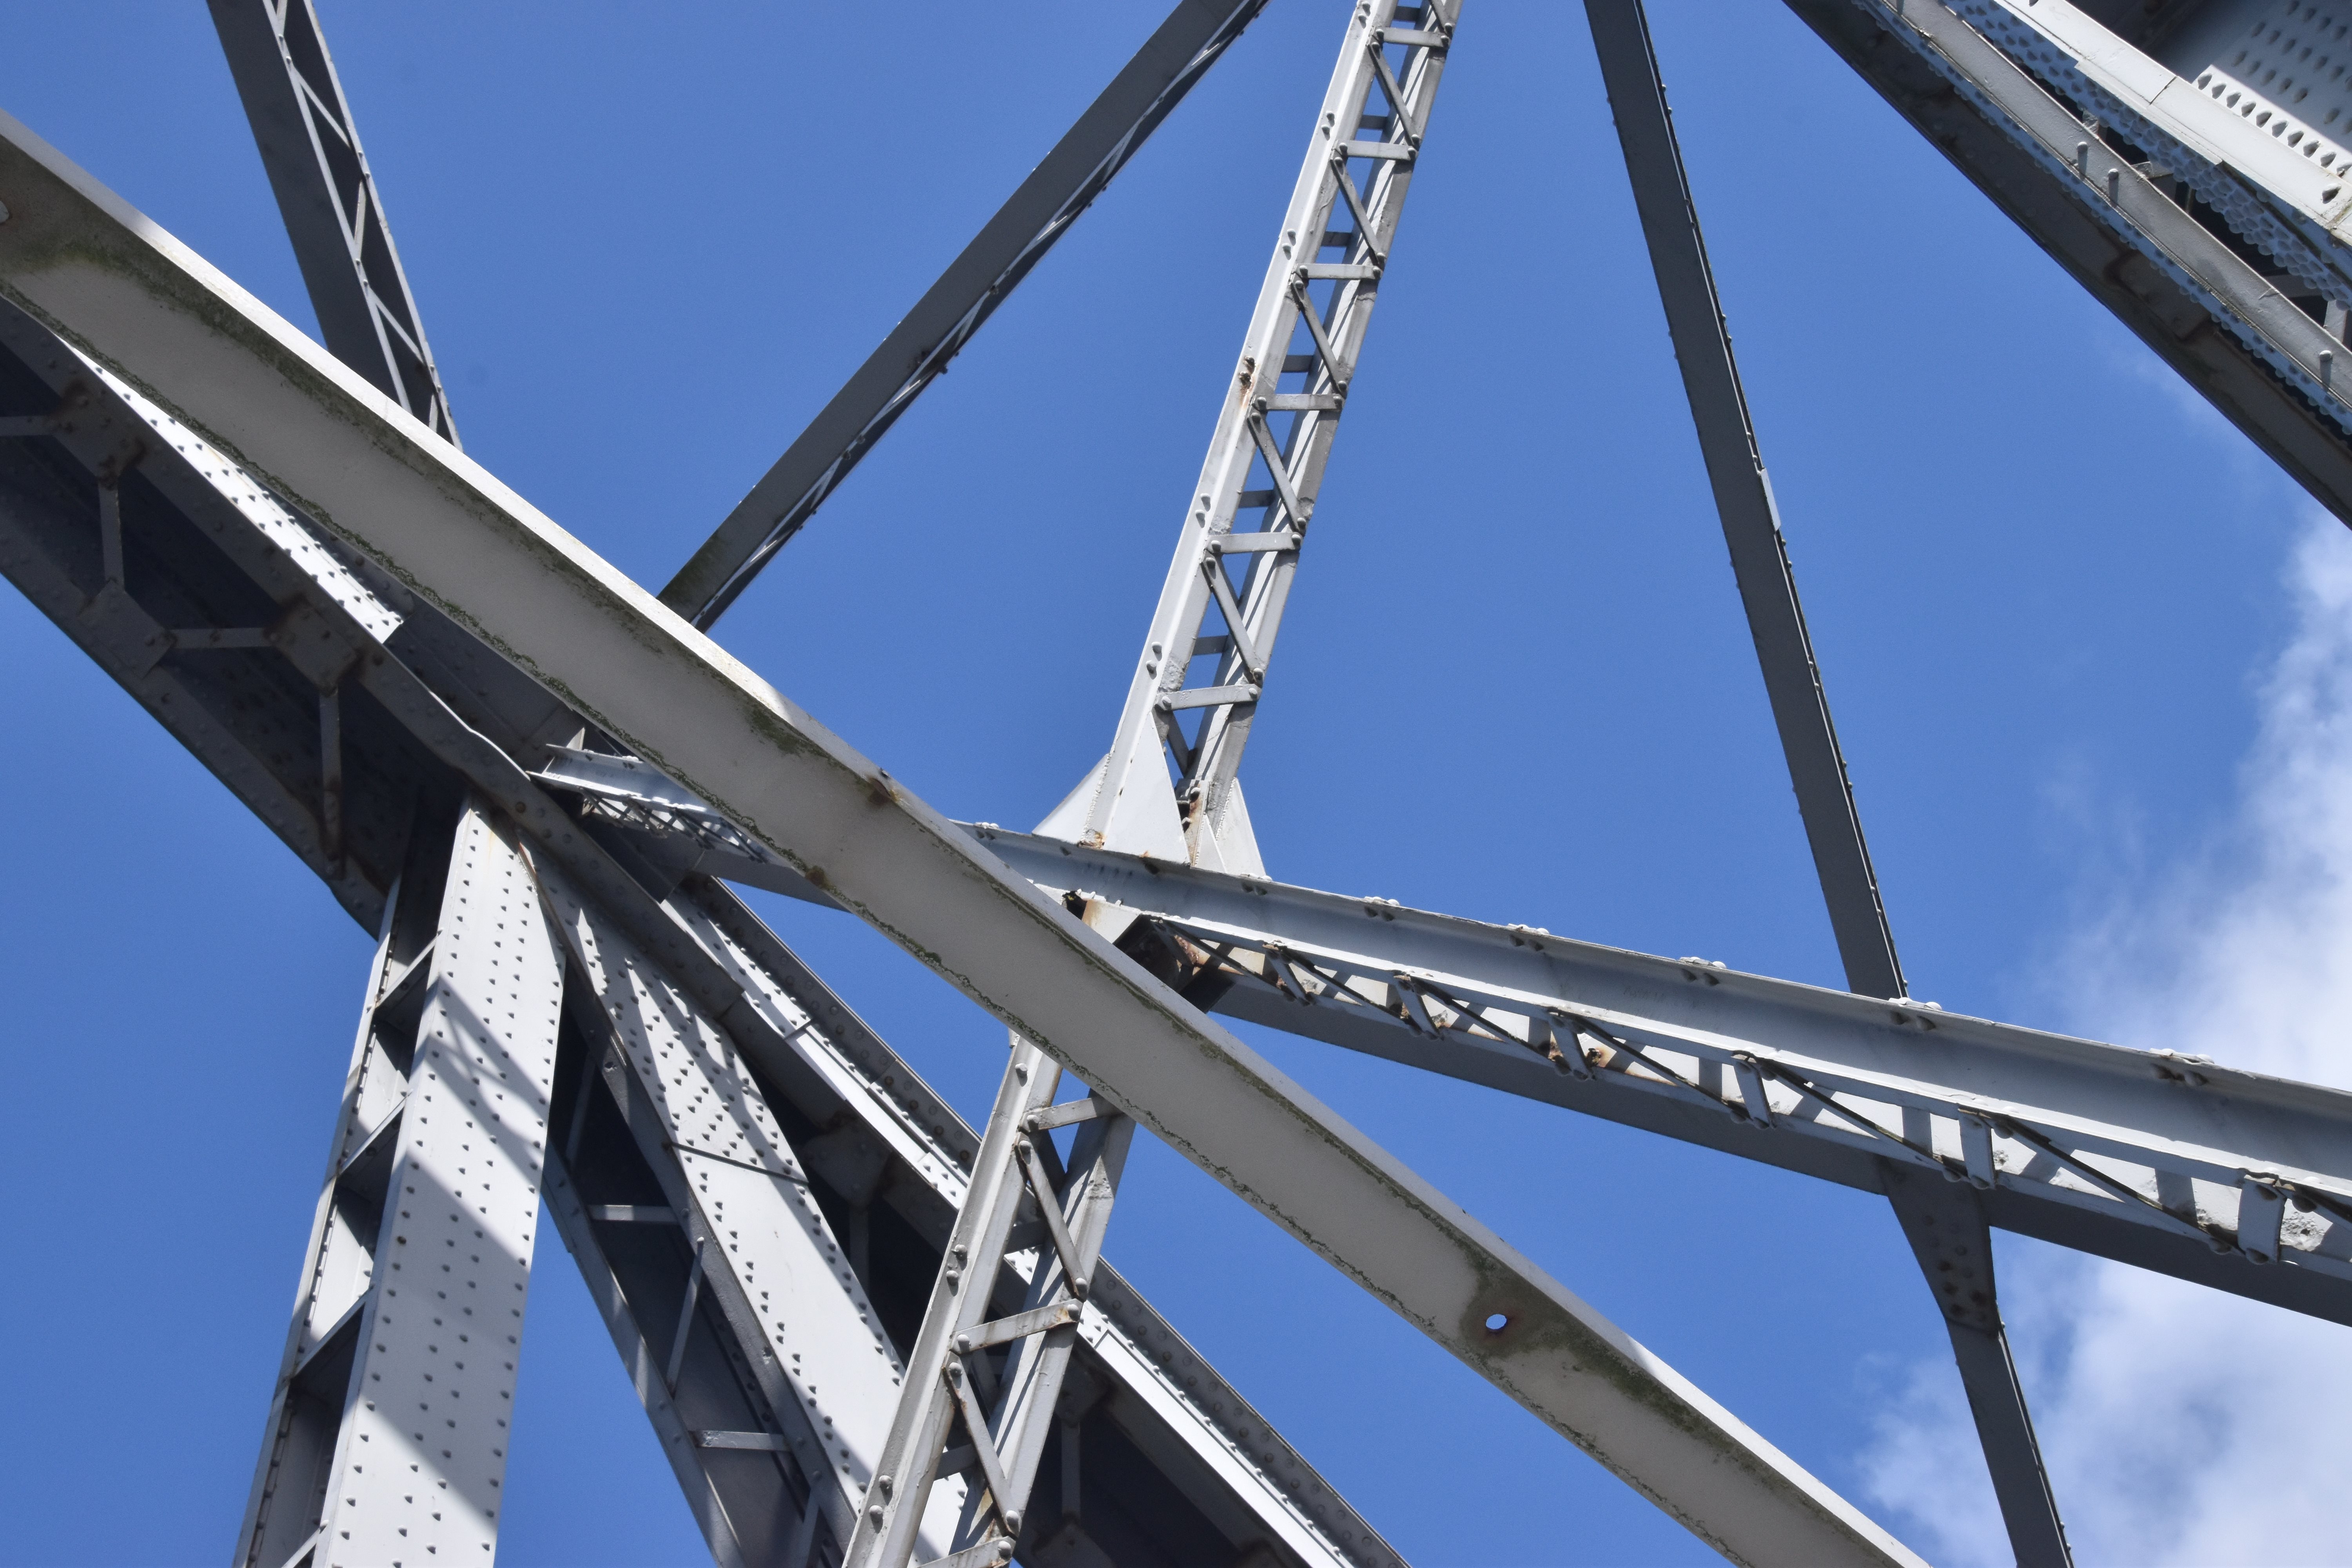
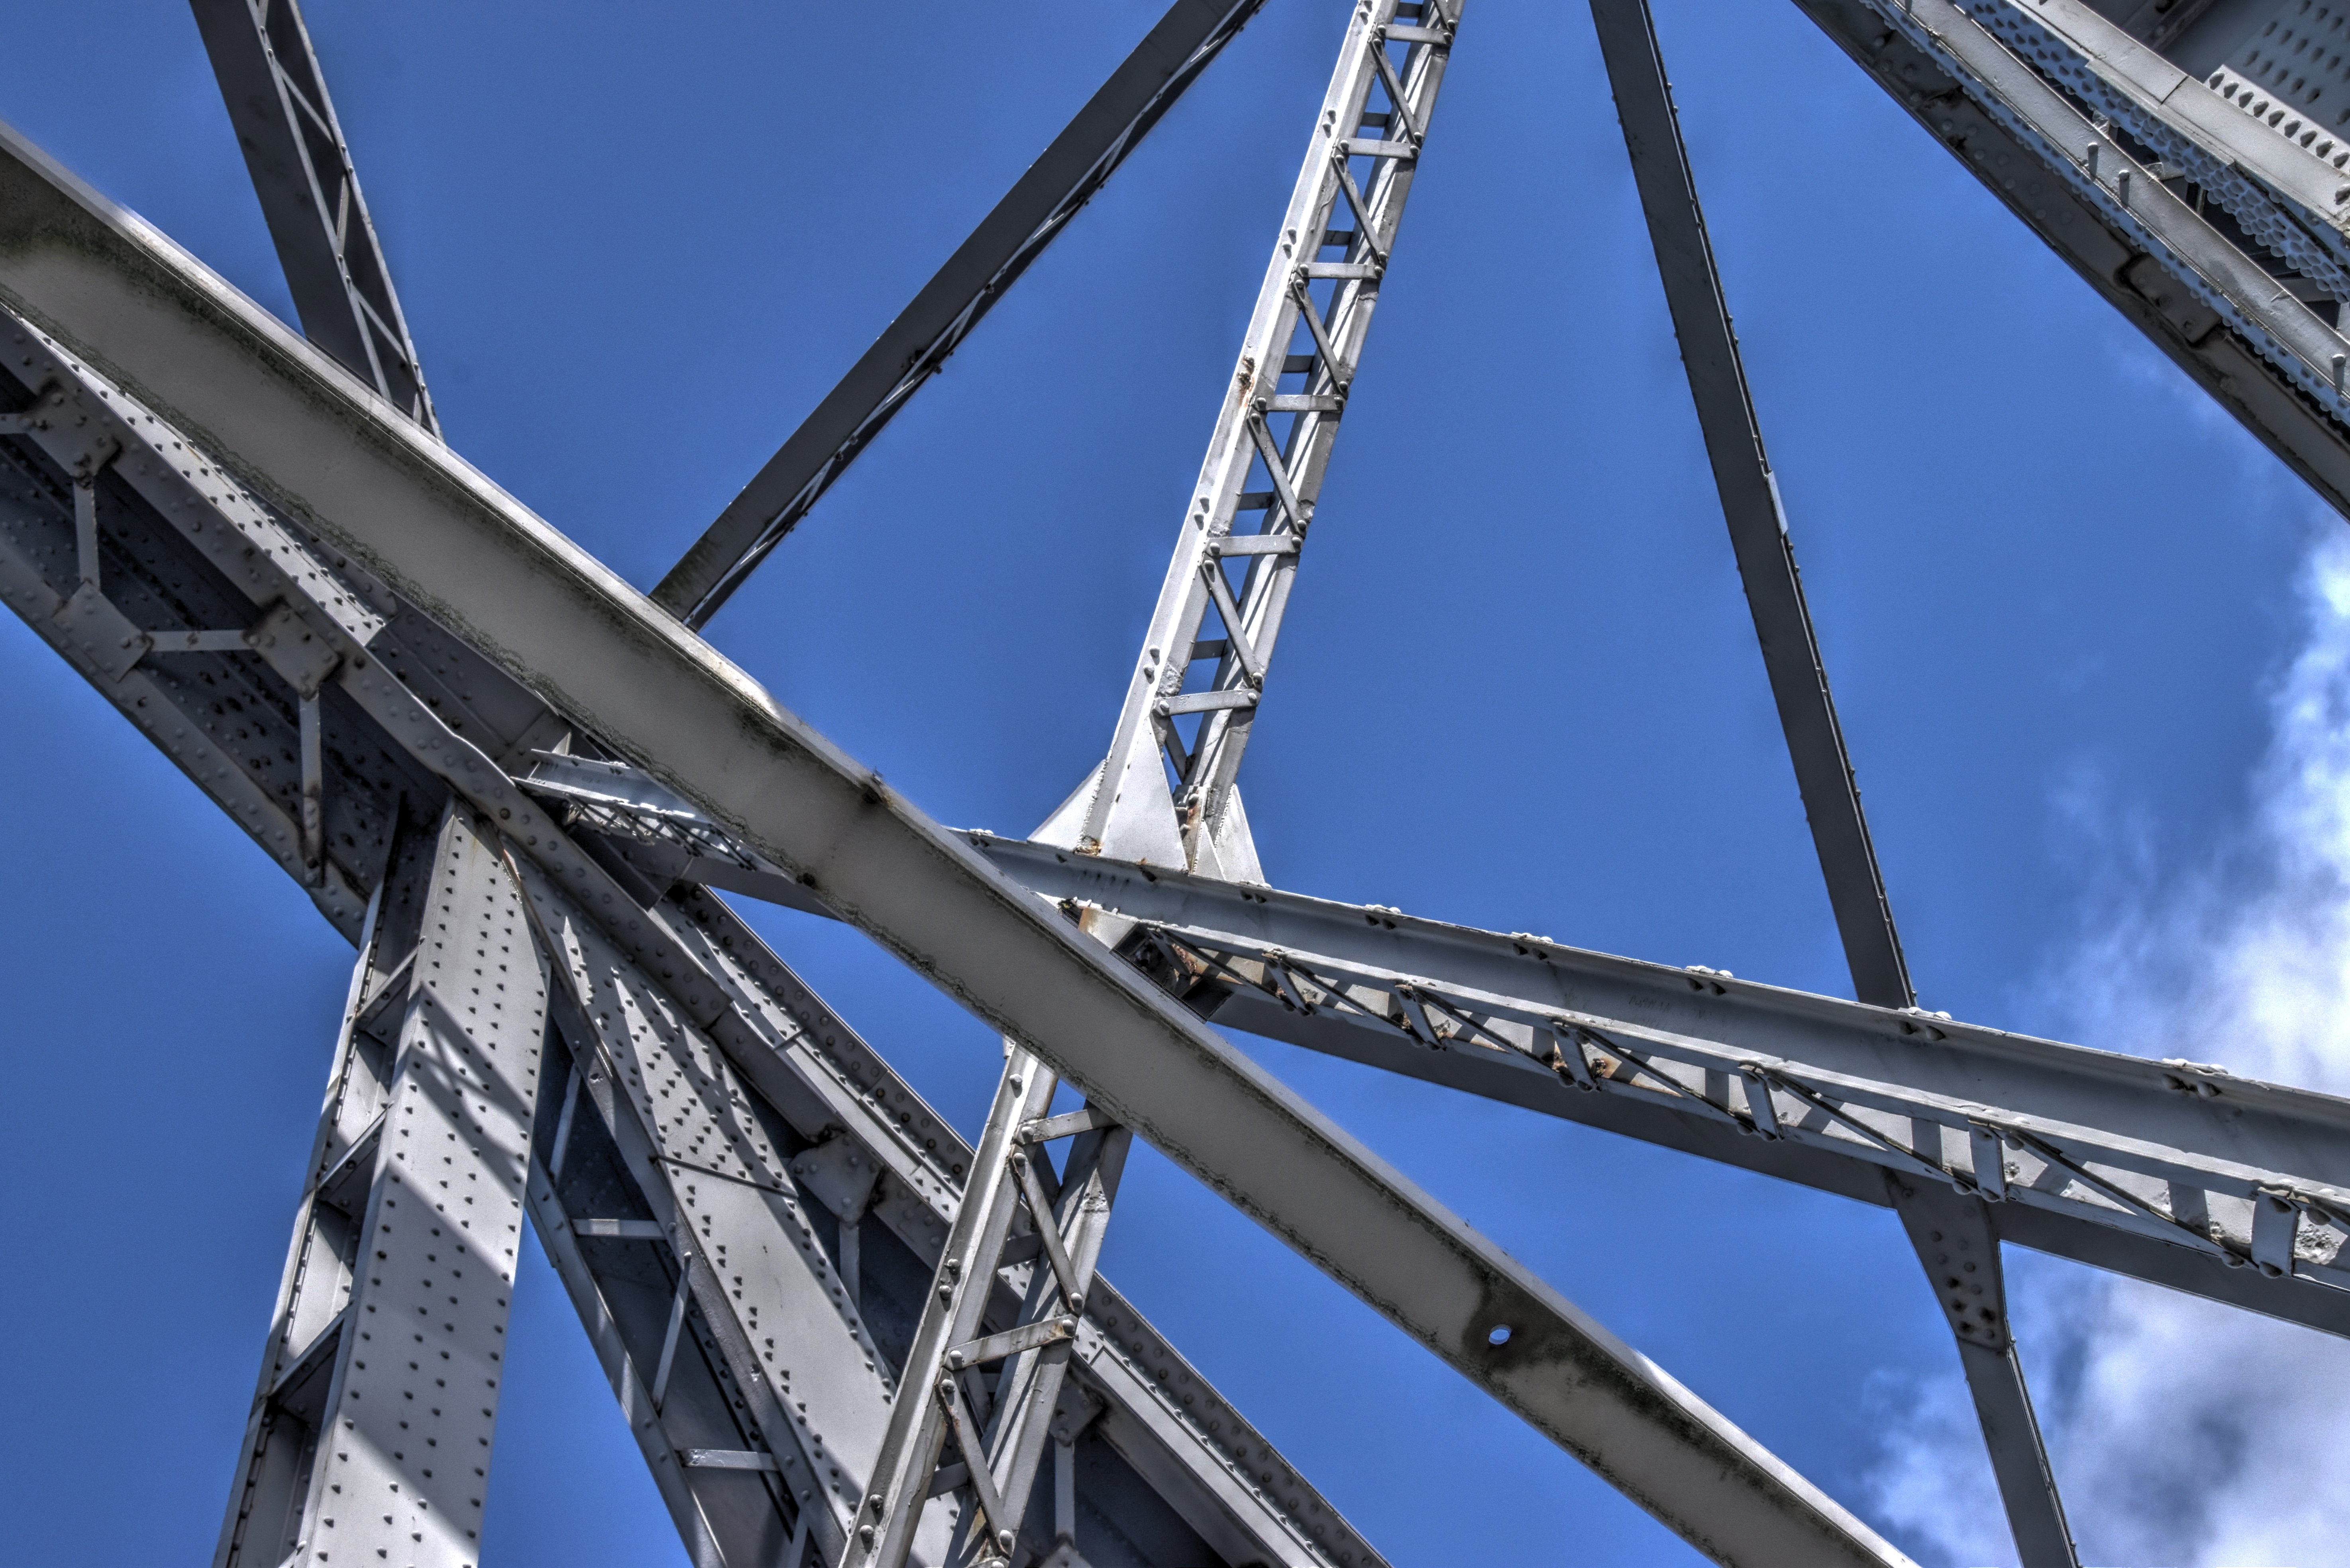
Diagonal members.
![]()
Vertical members.
![]()
Horizontal member.
![]()

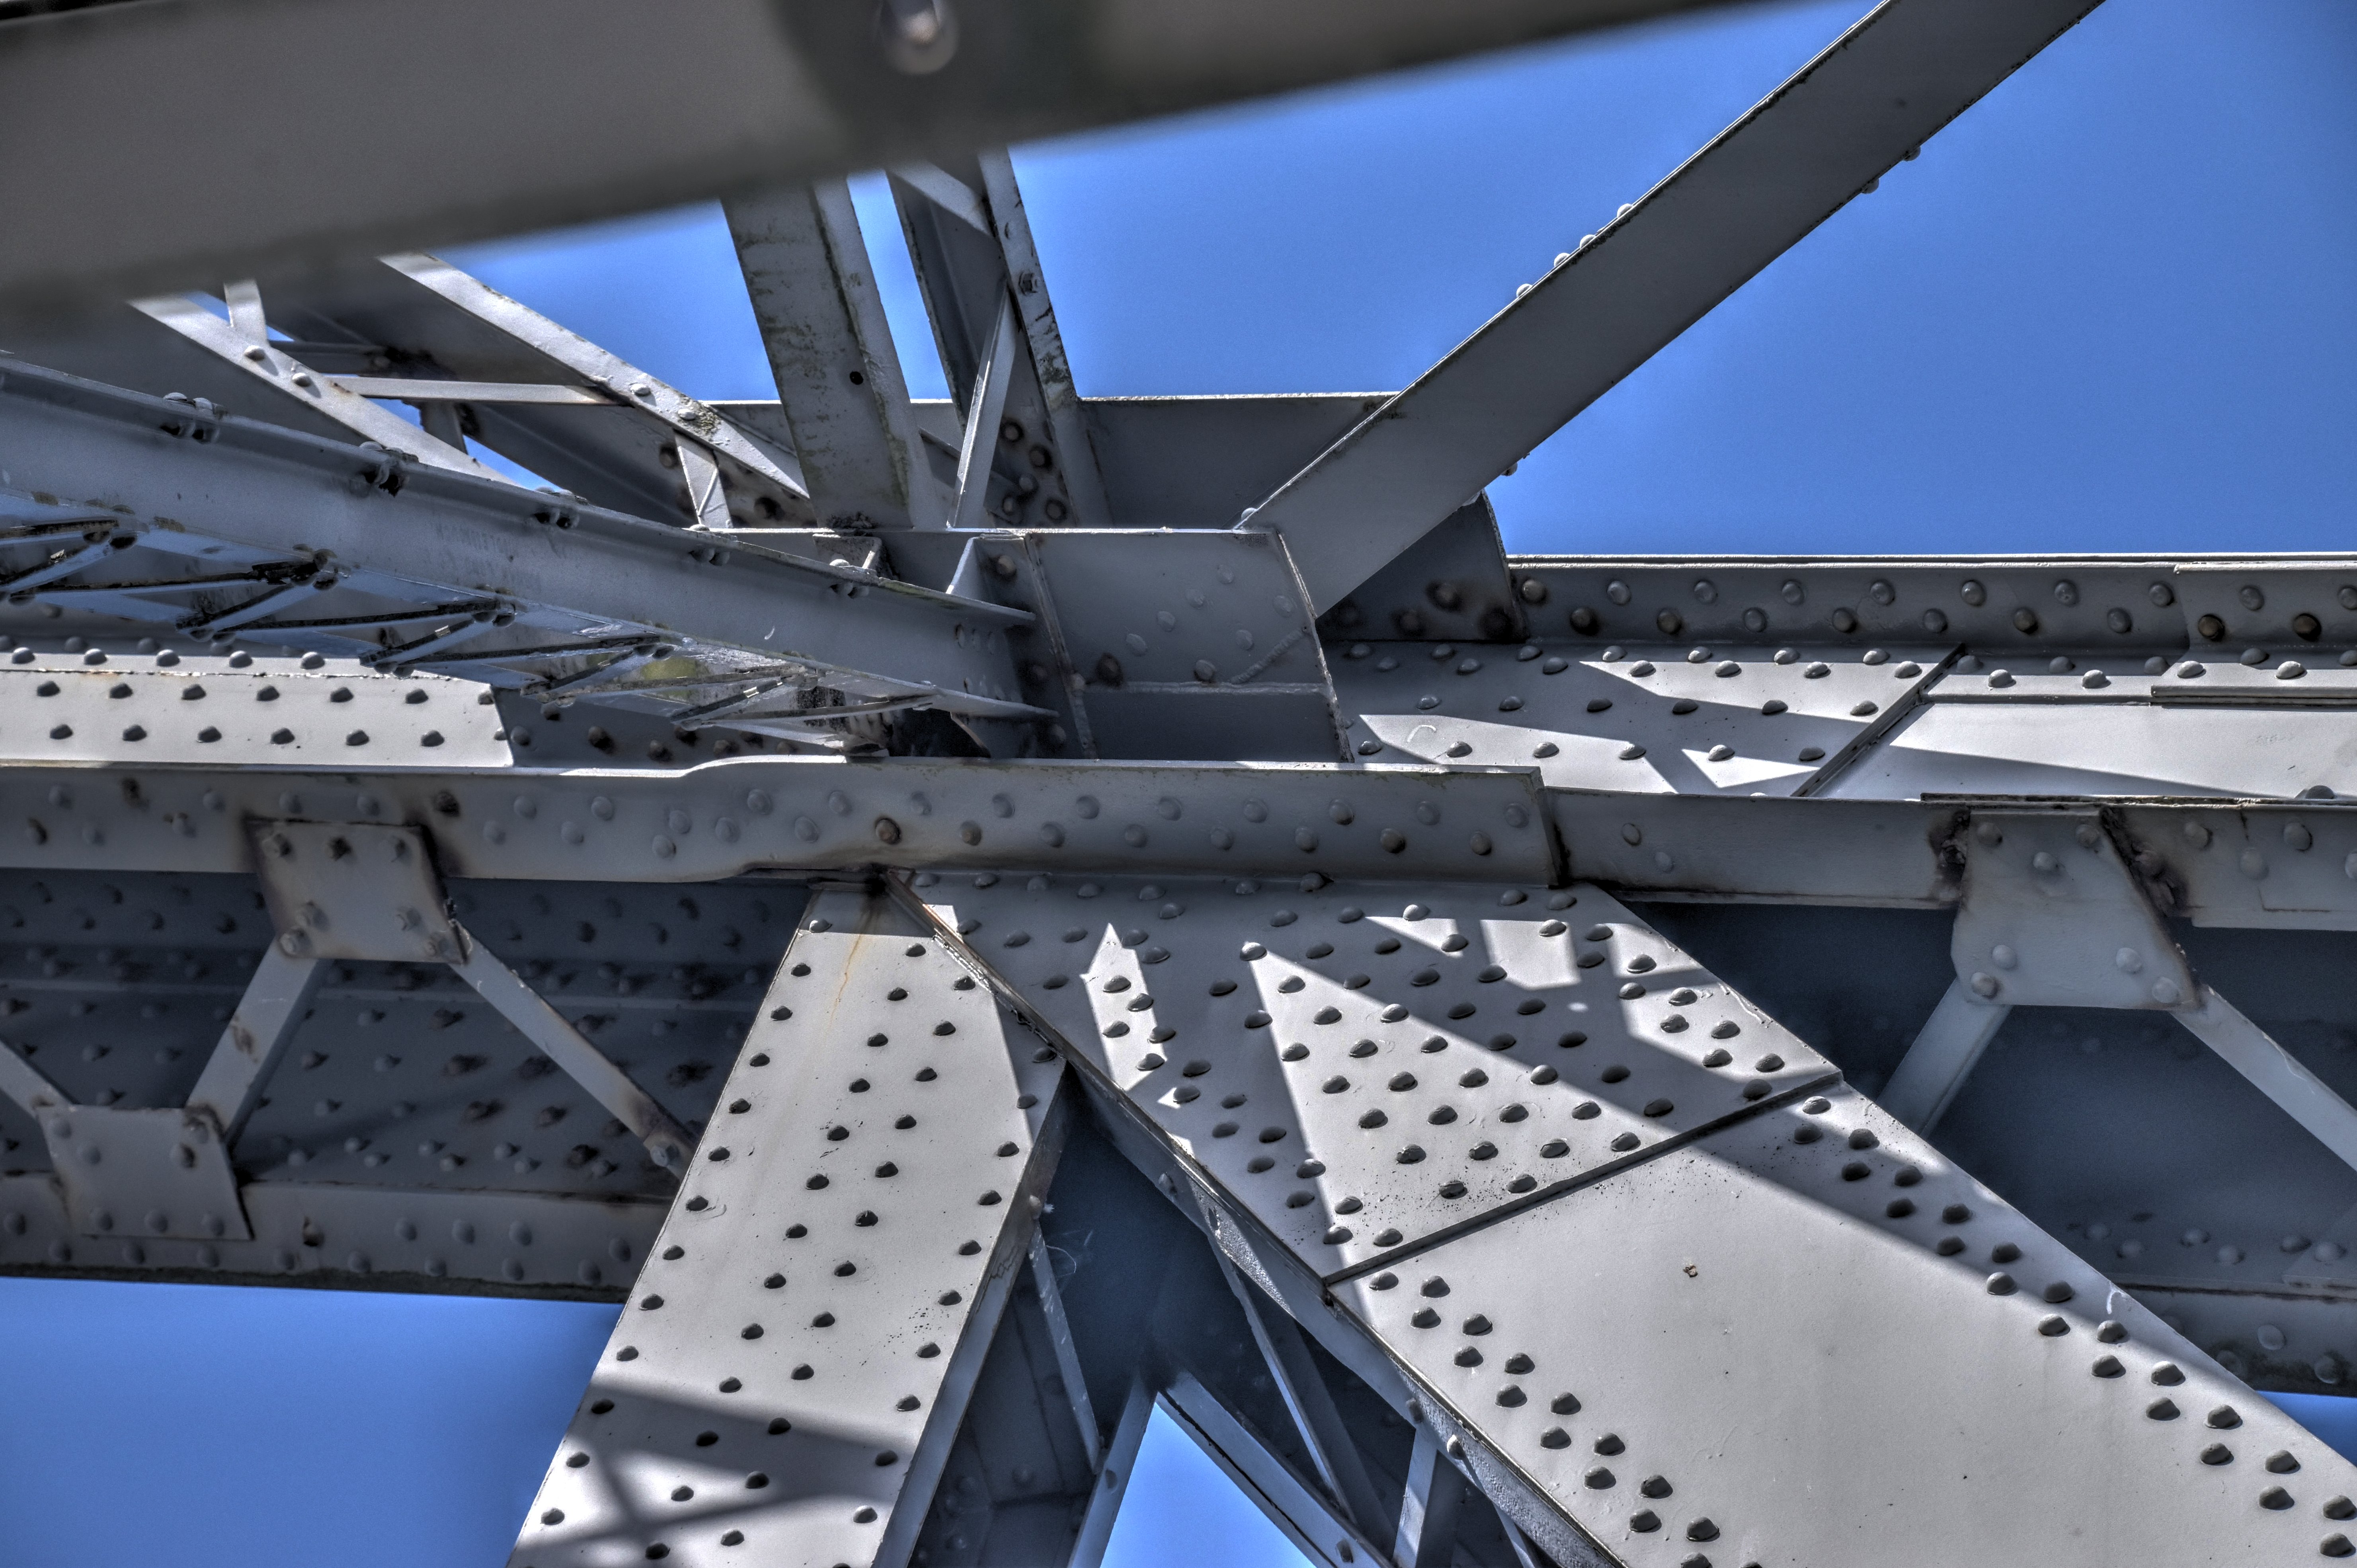
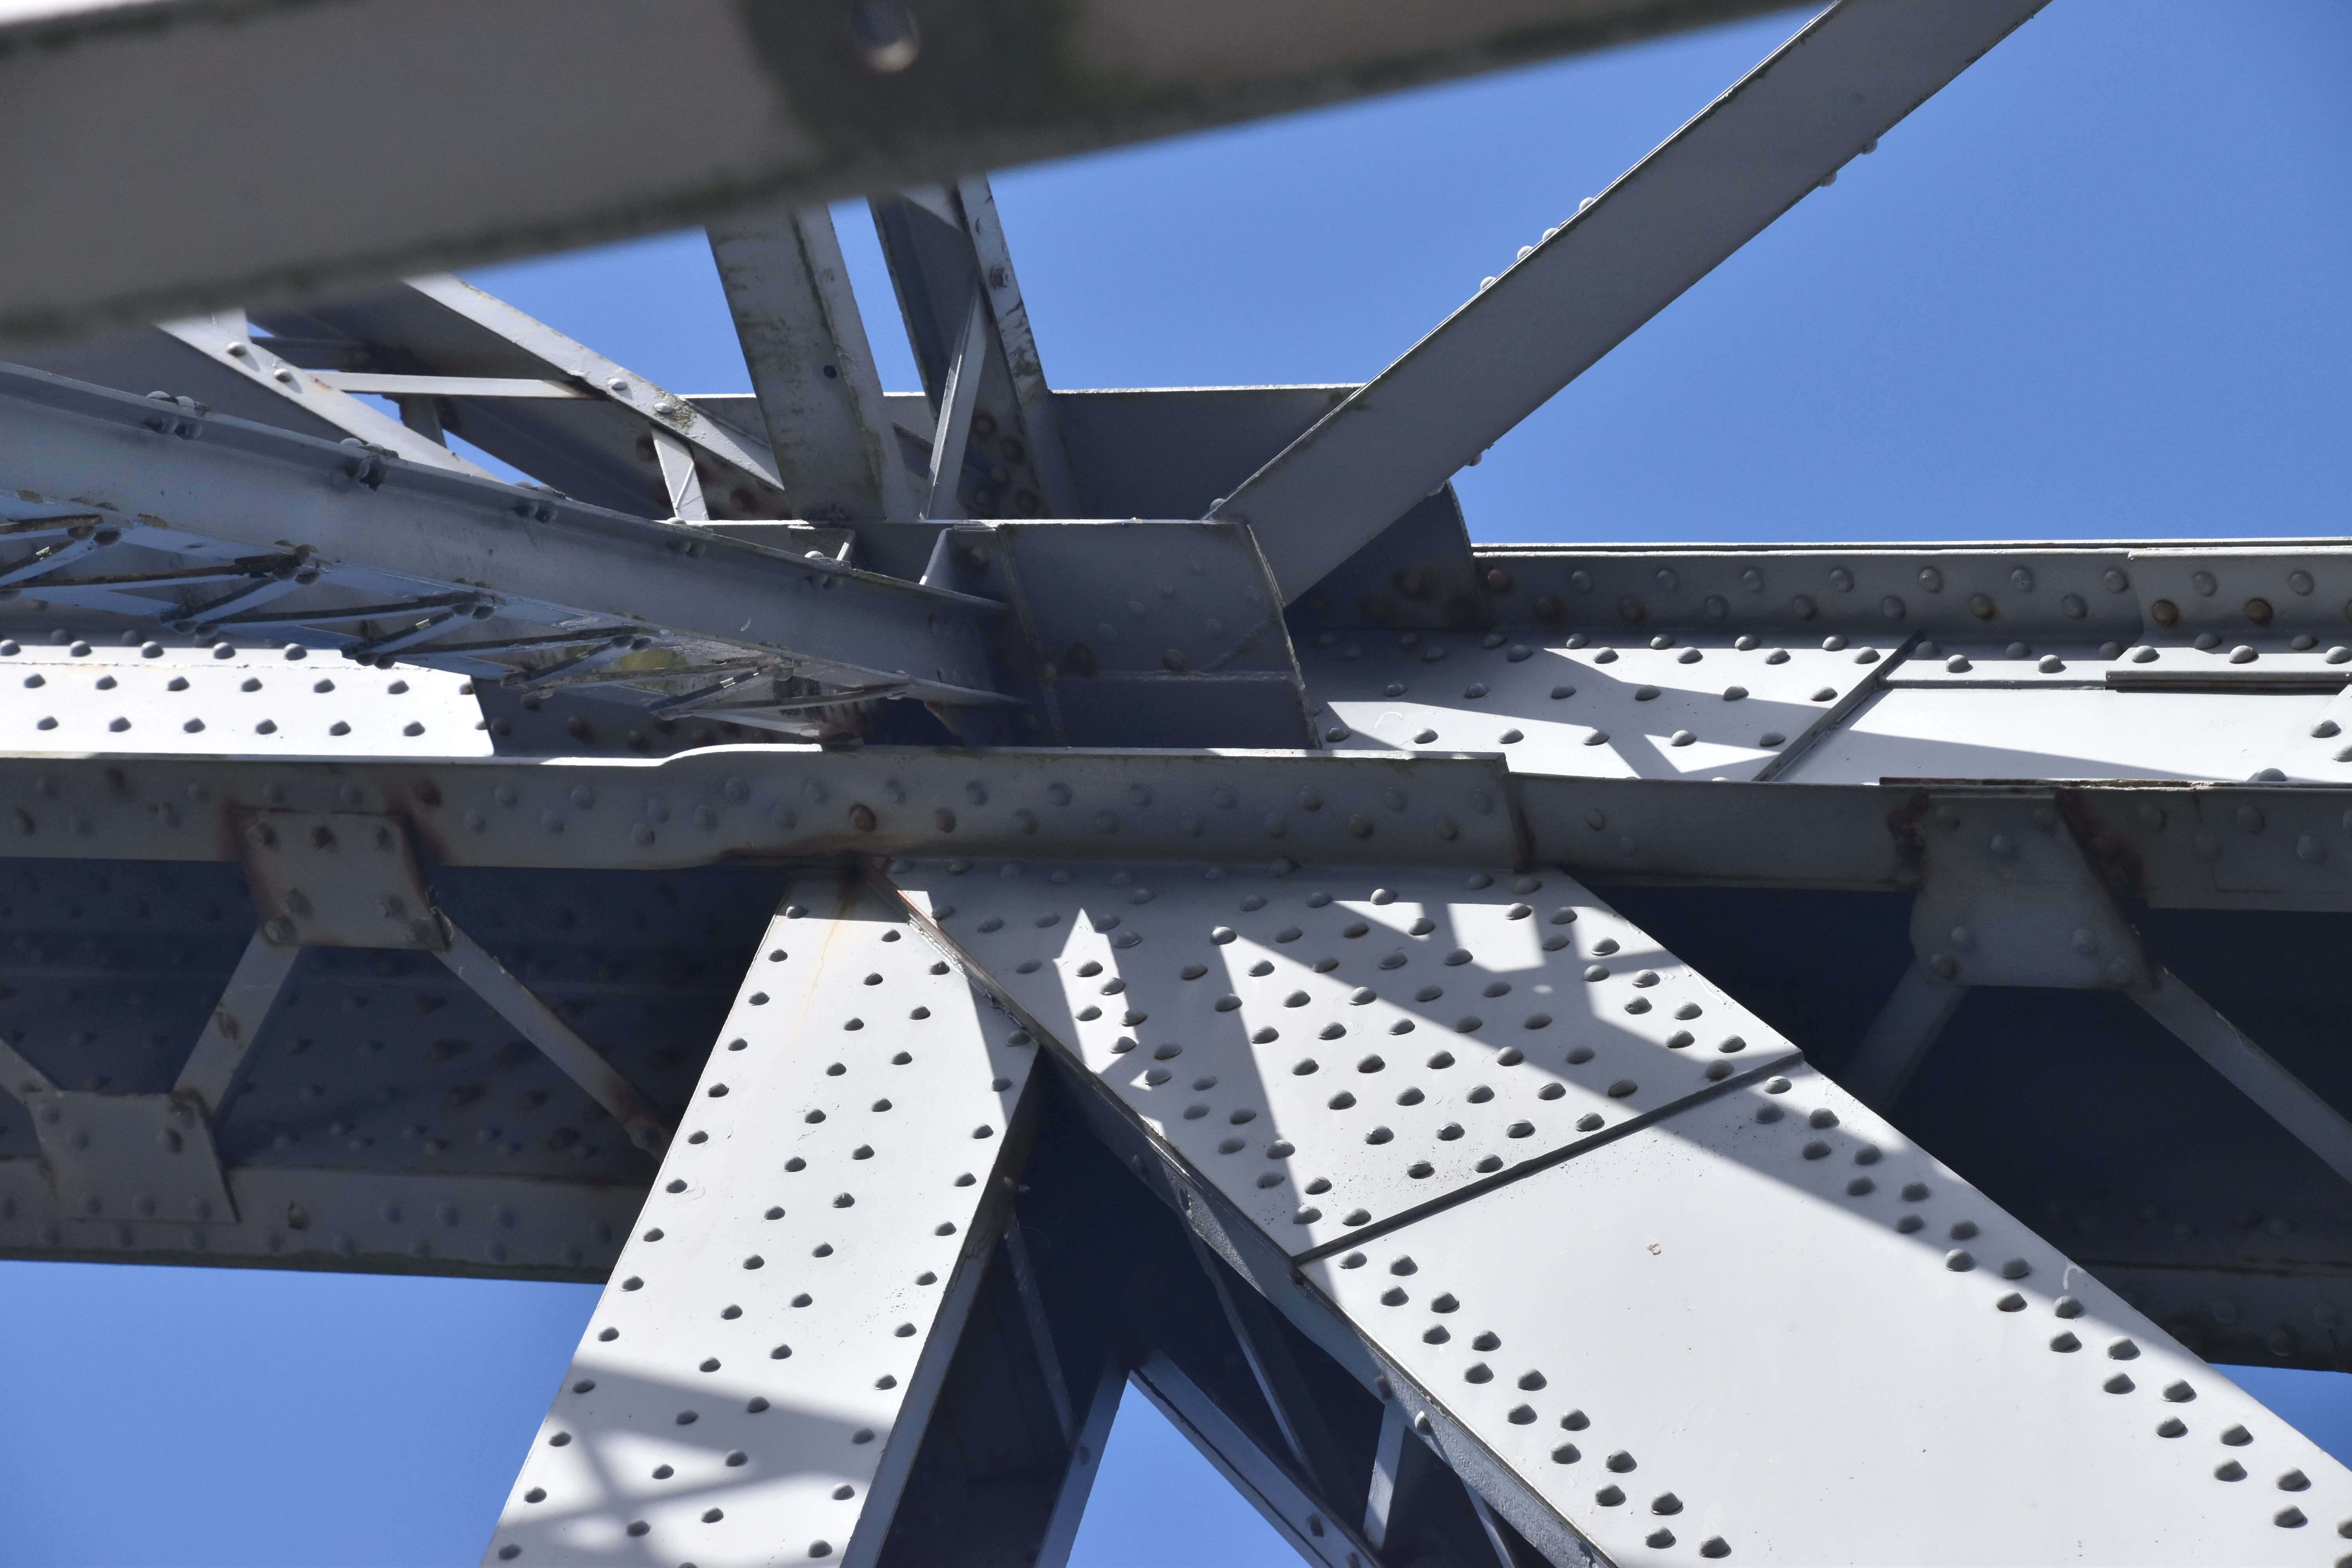
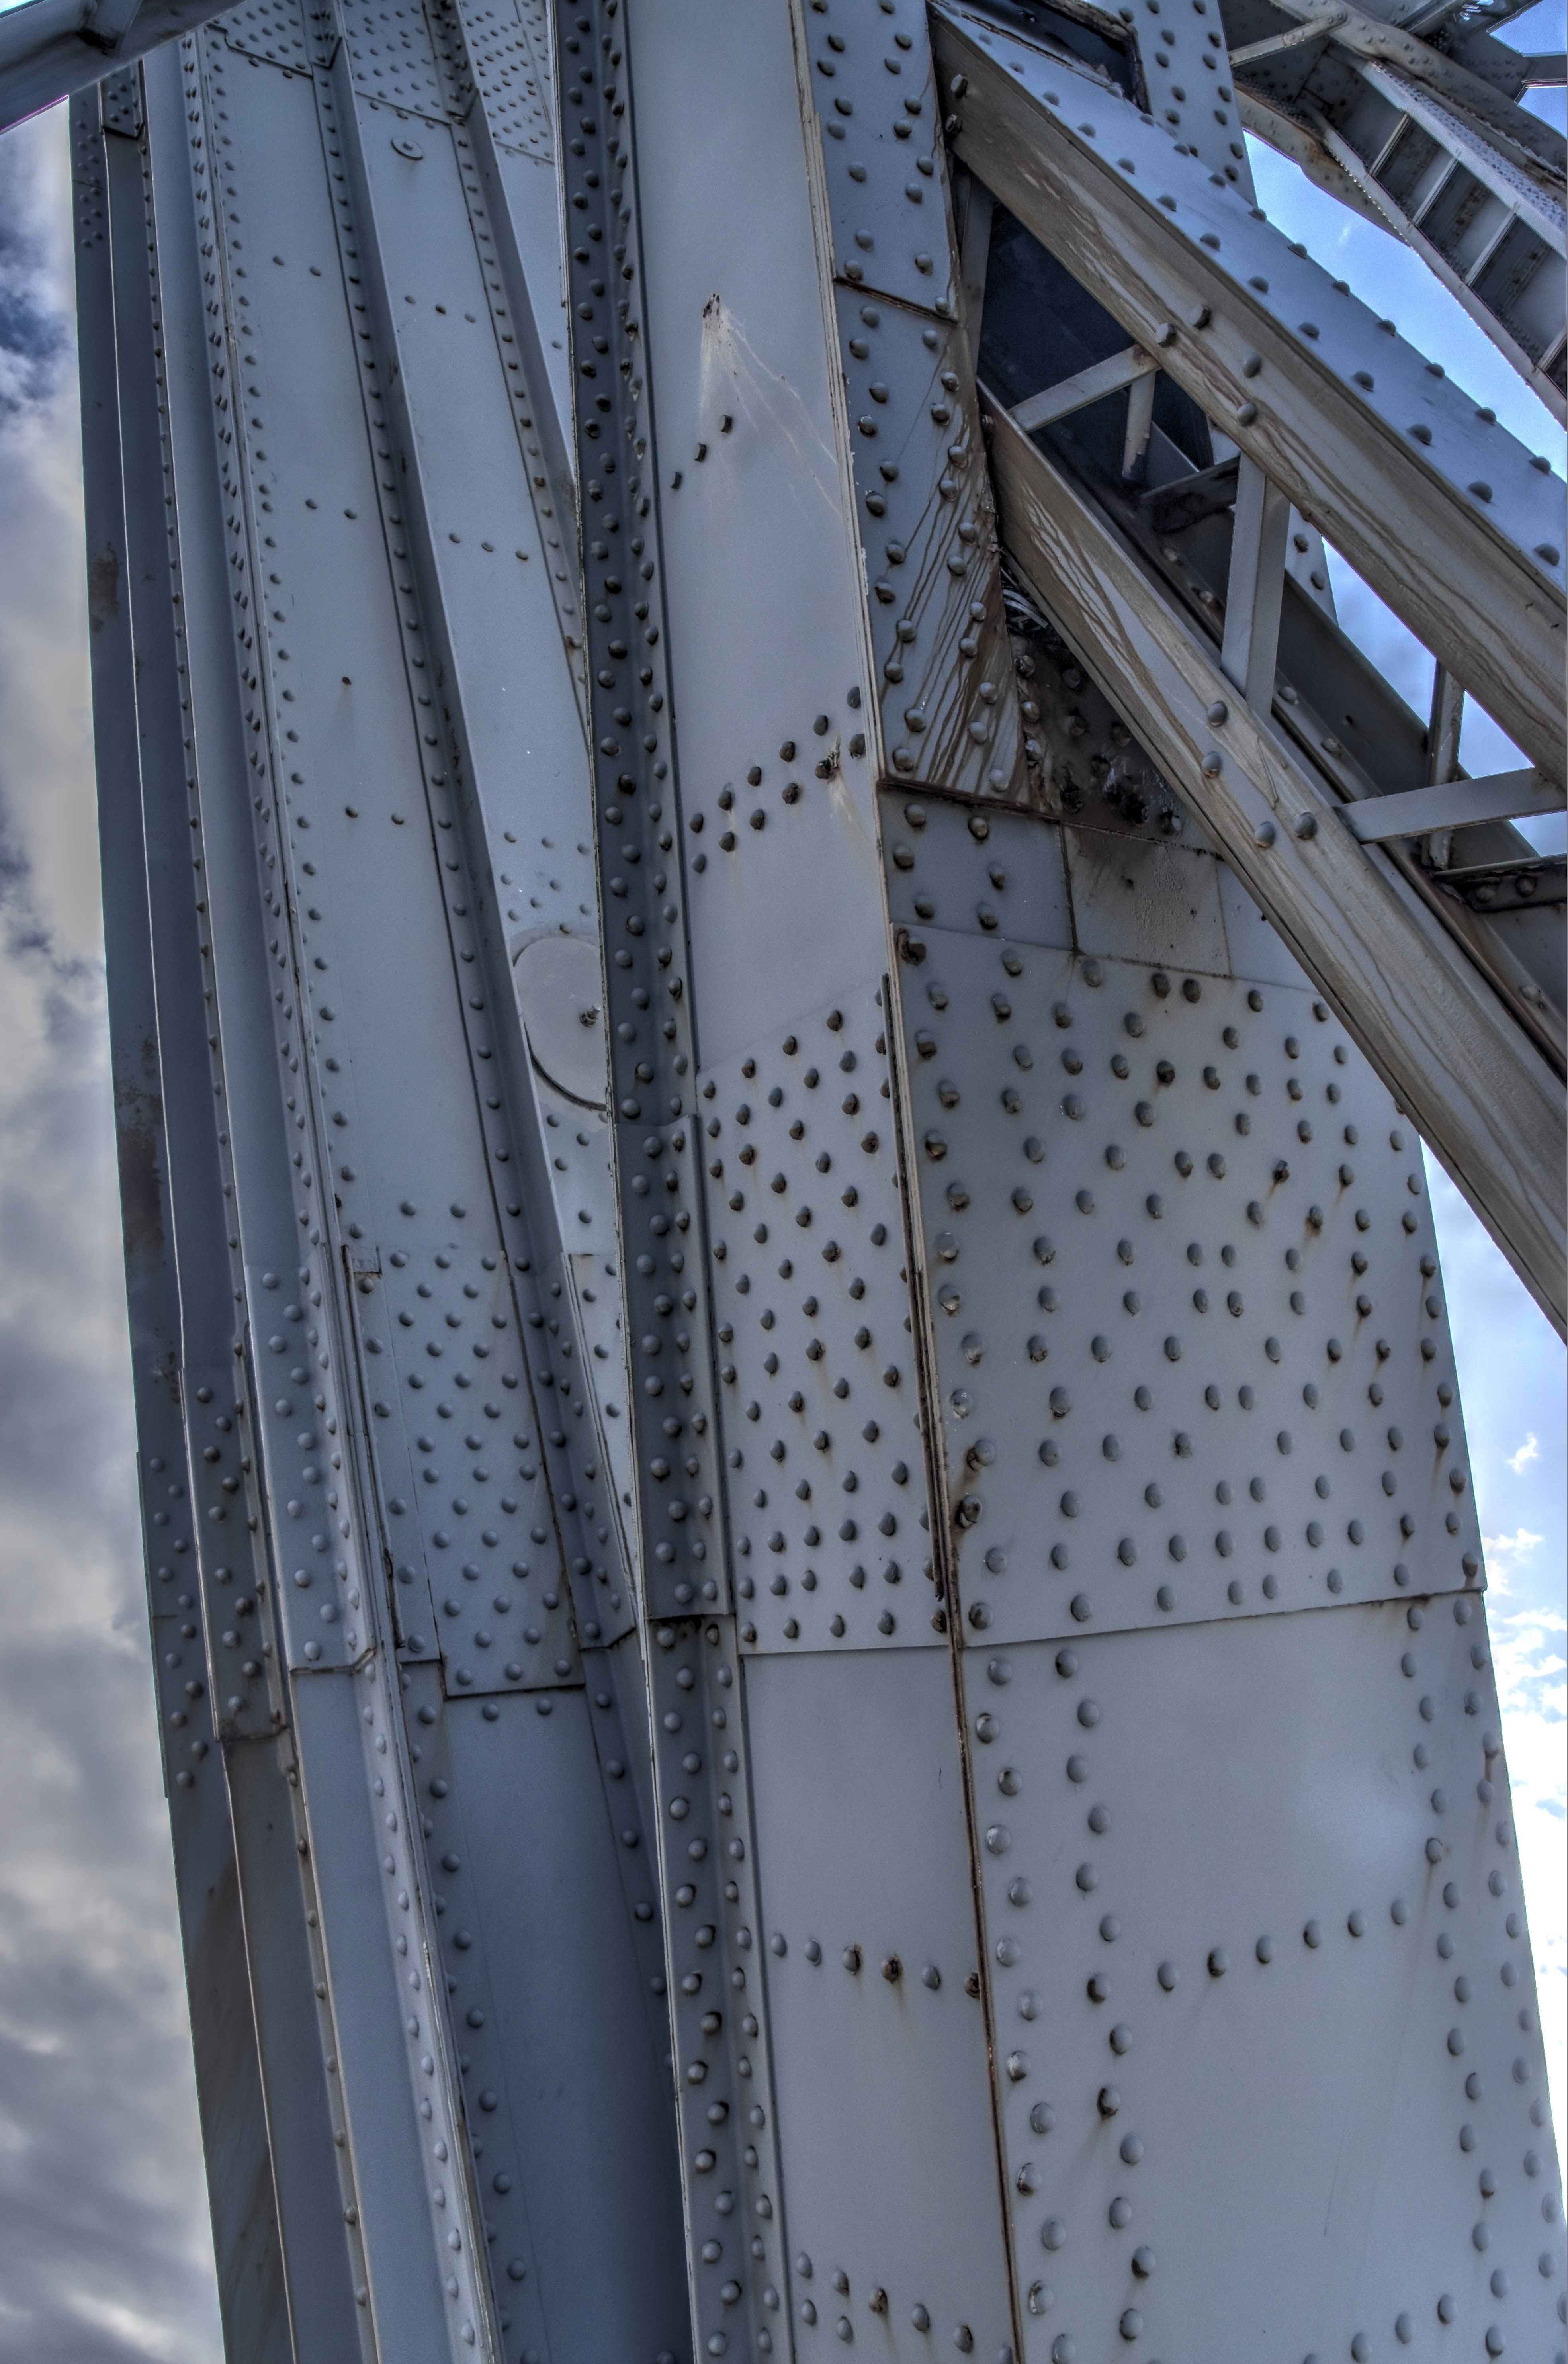
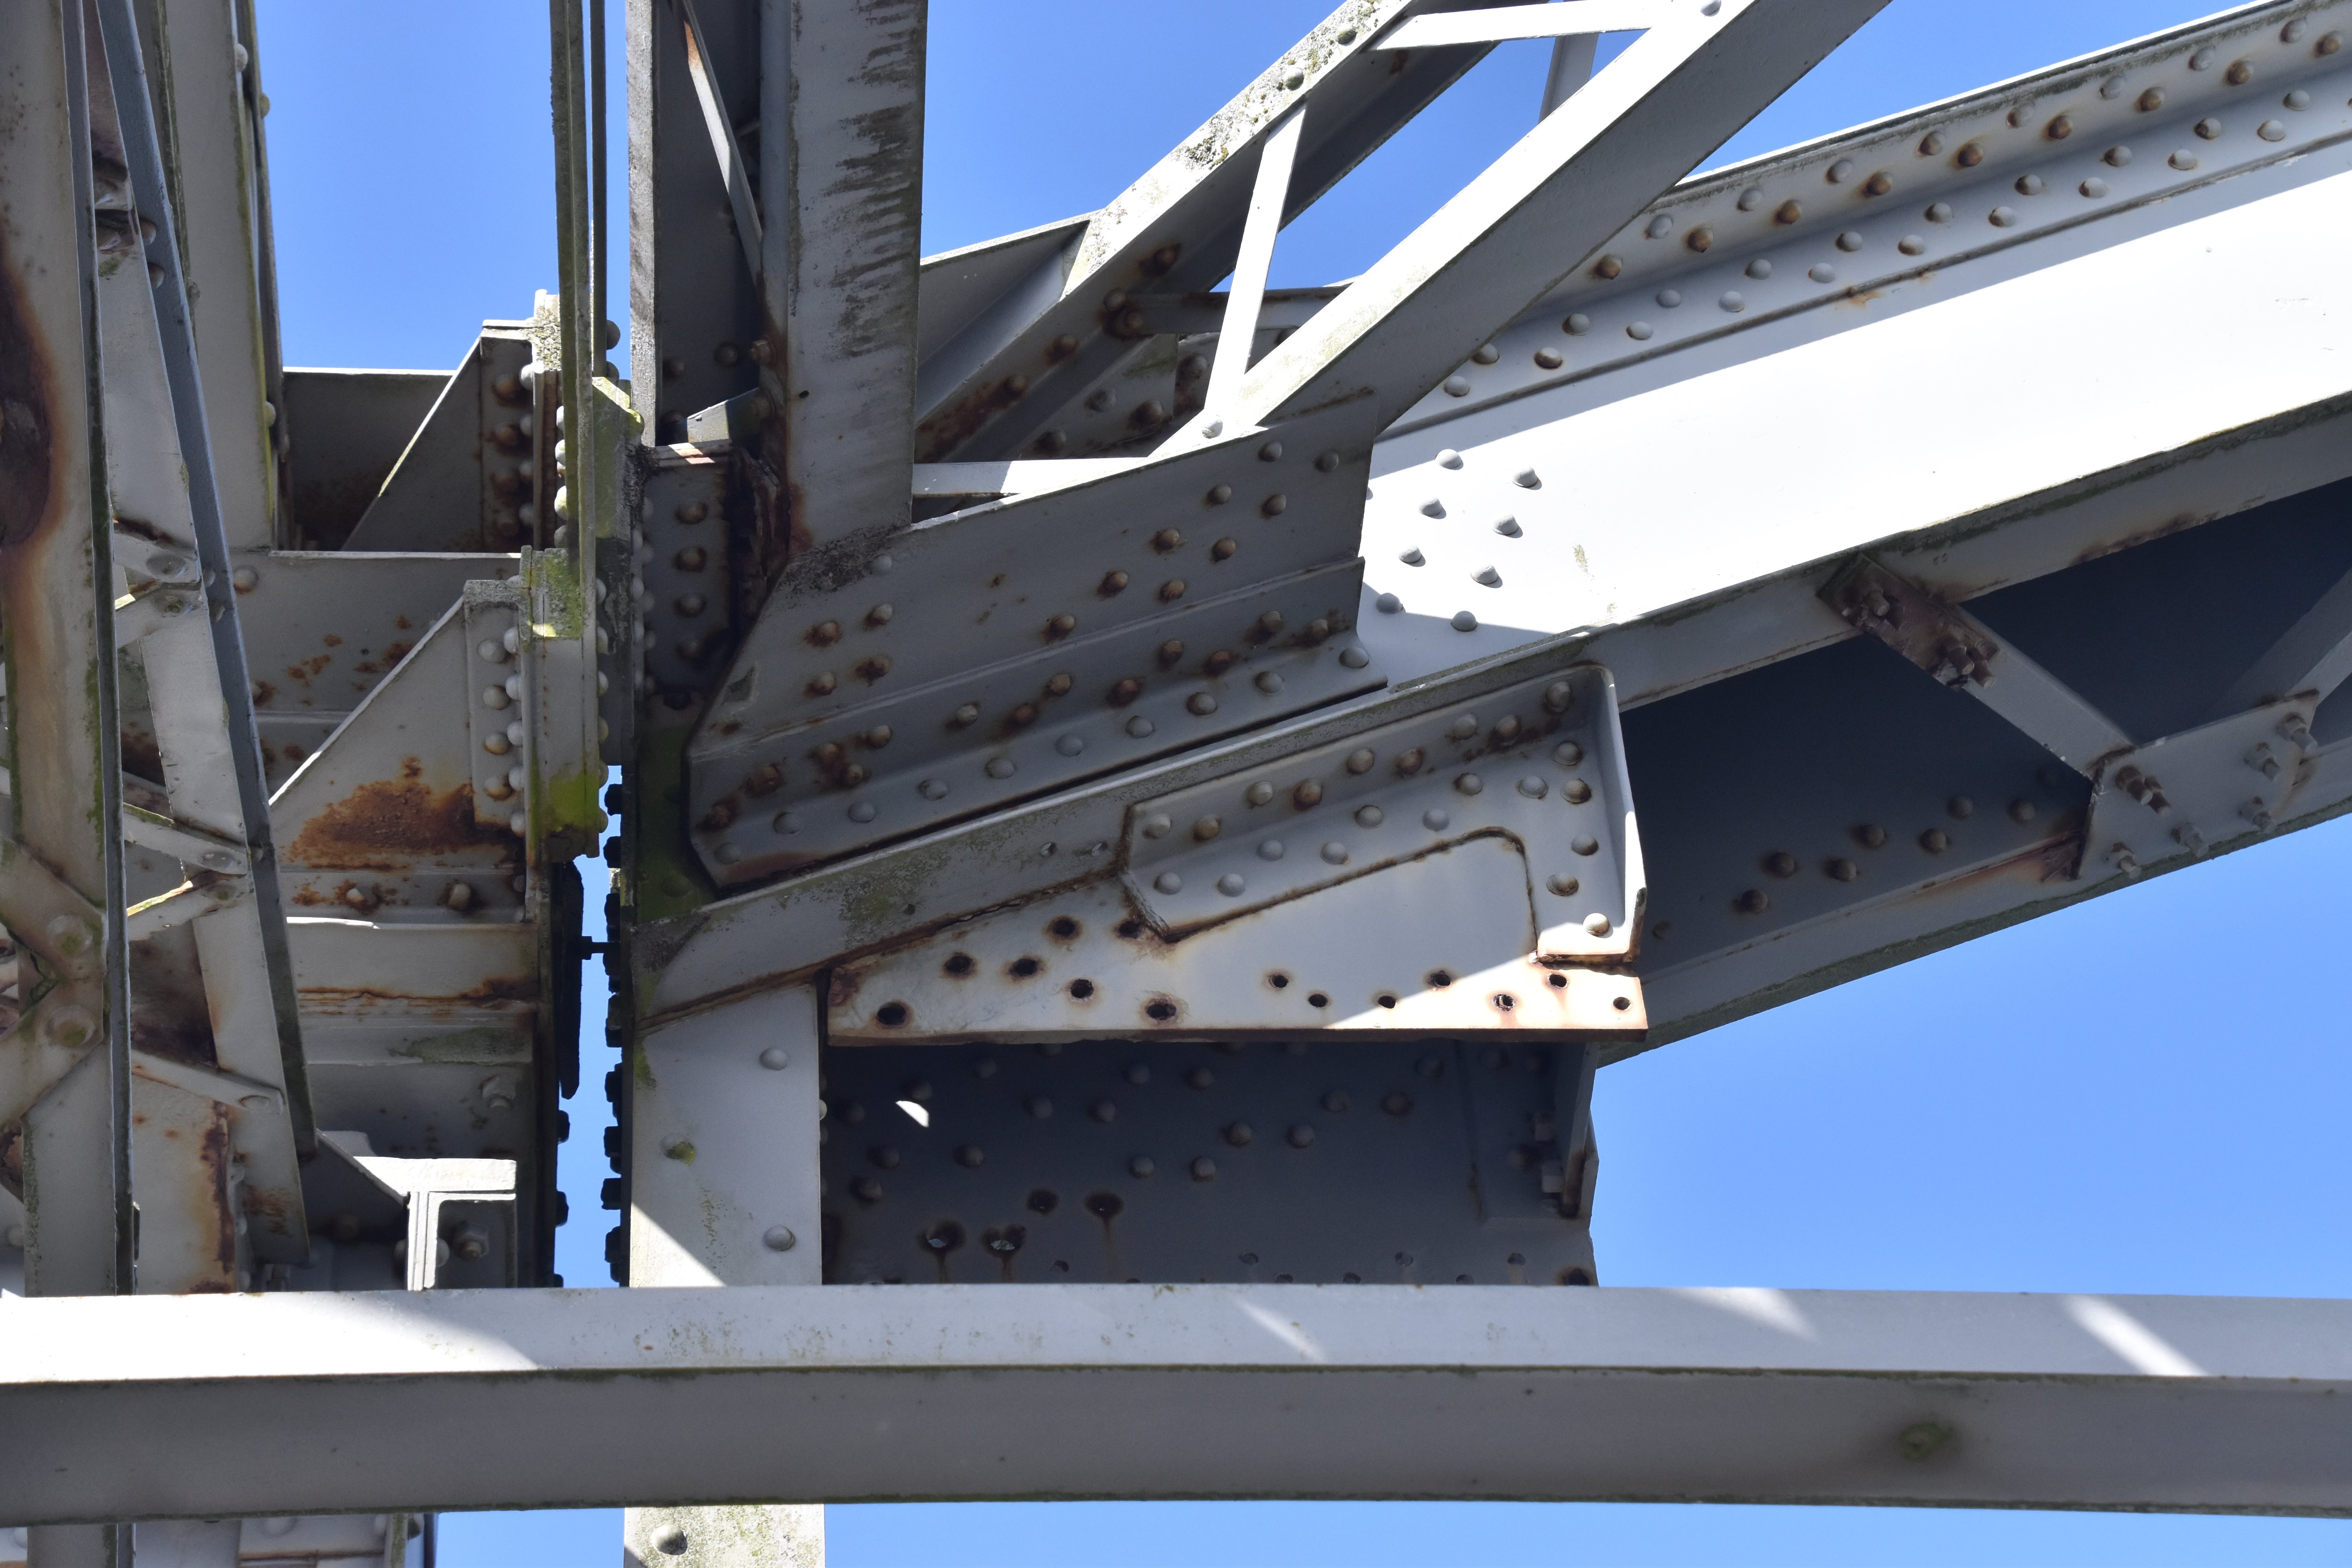
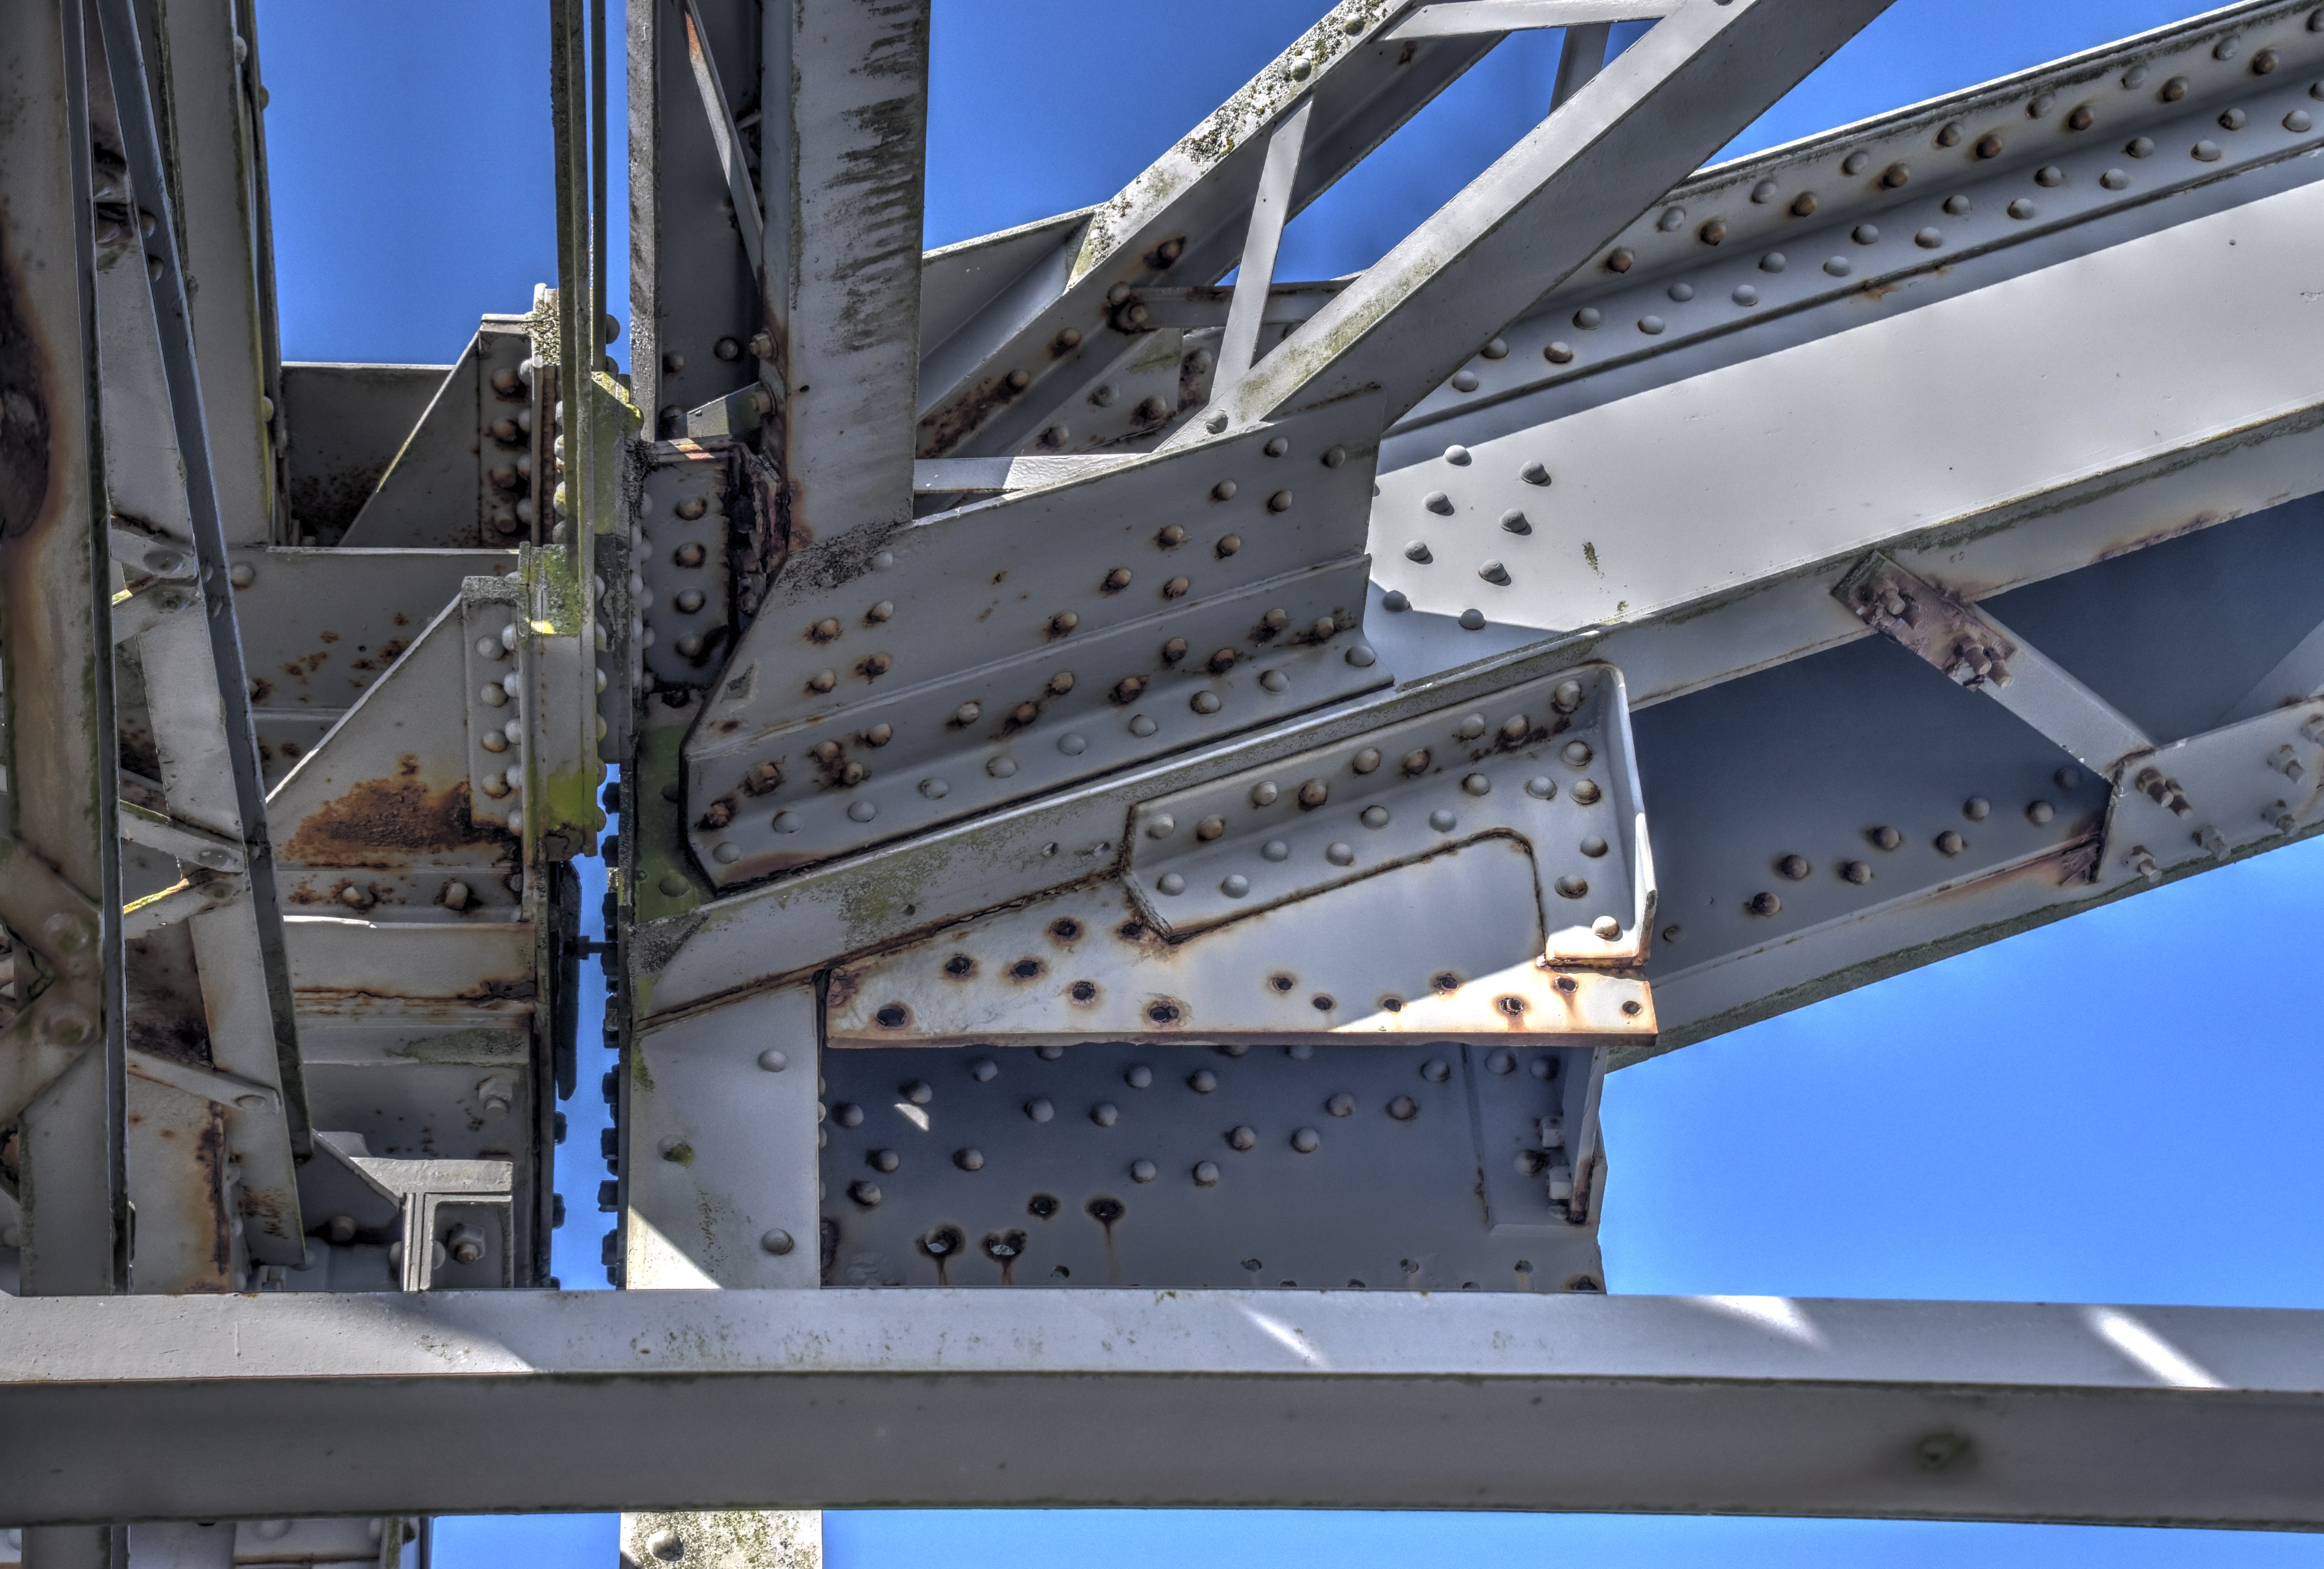
Overview of unusual vertical member and its connections, located at portal bracing.
![]()
Detail of unusual vertical member and its connections, located at portal bracing.
![]()
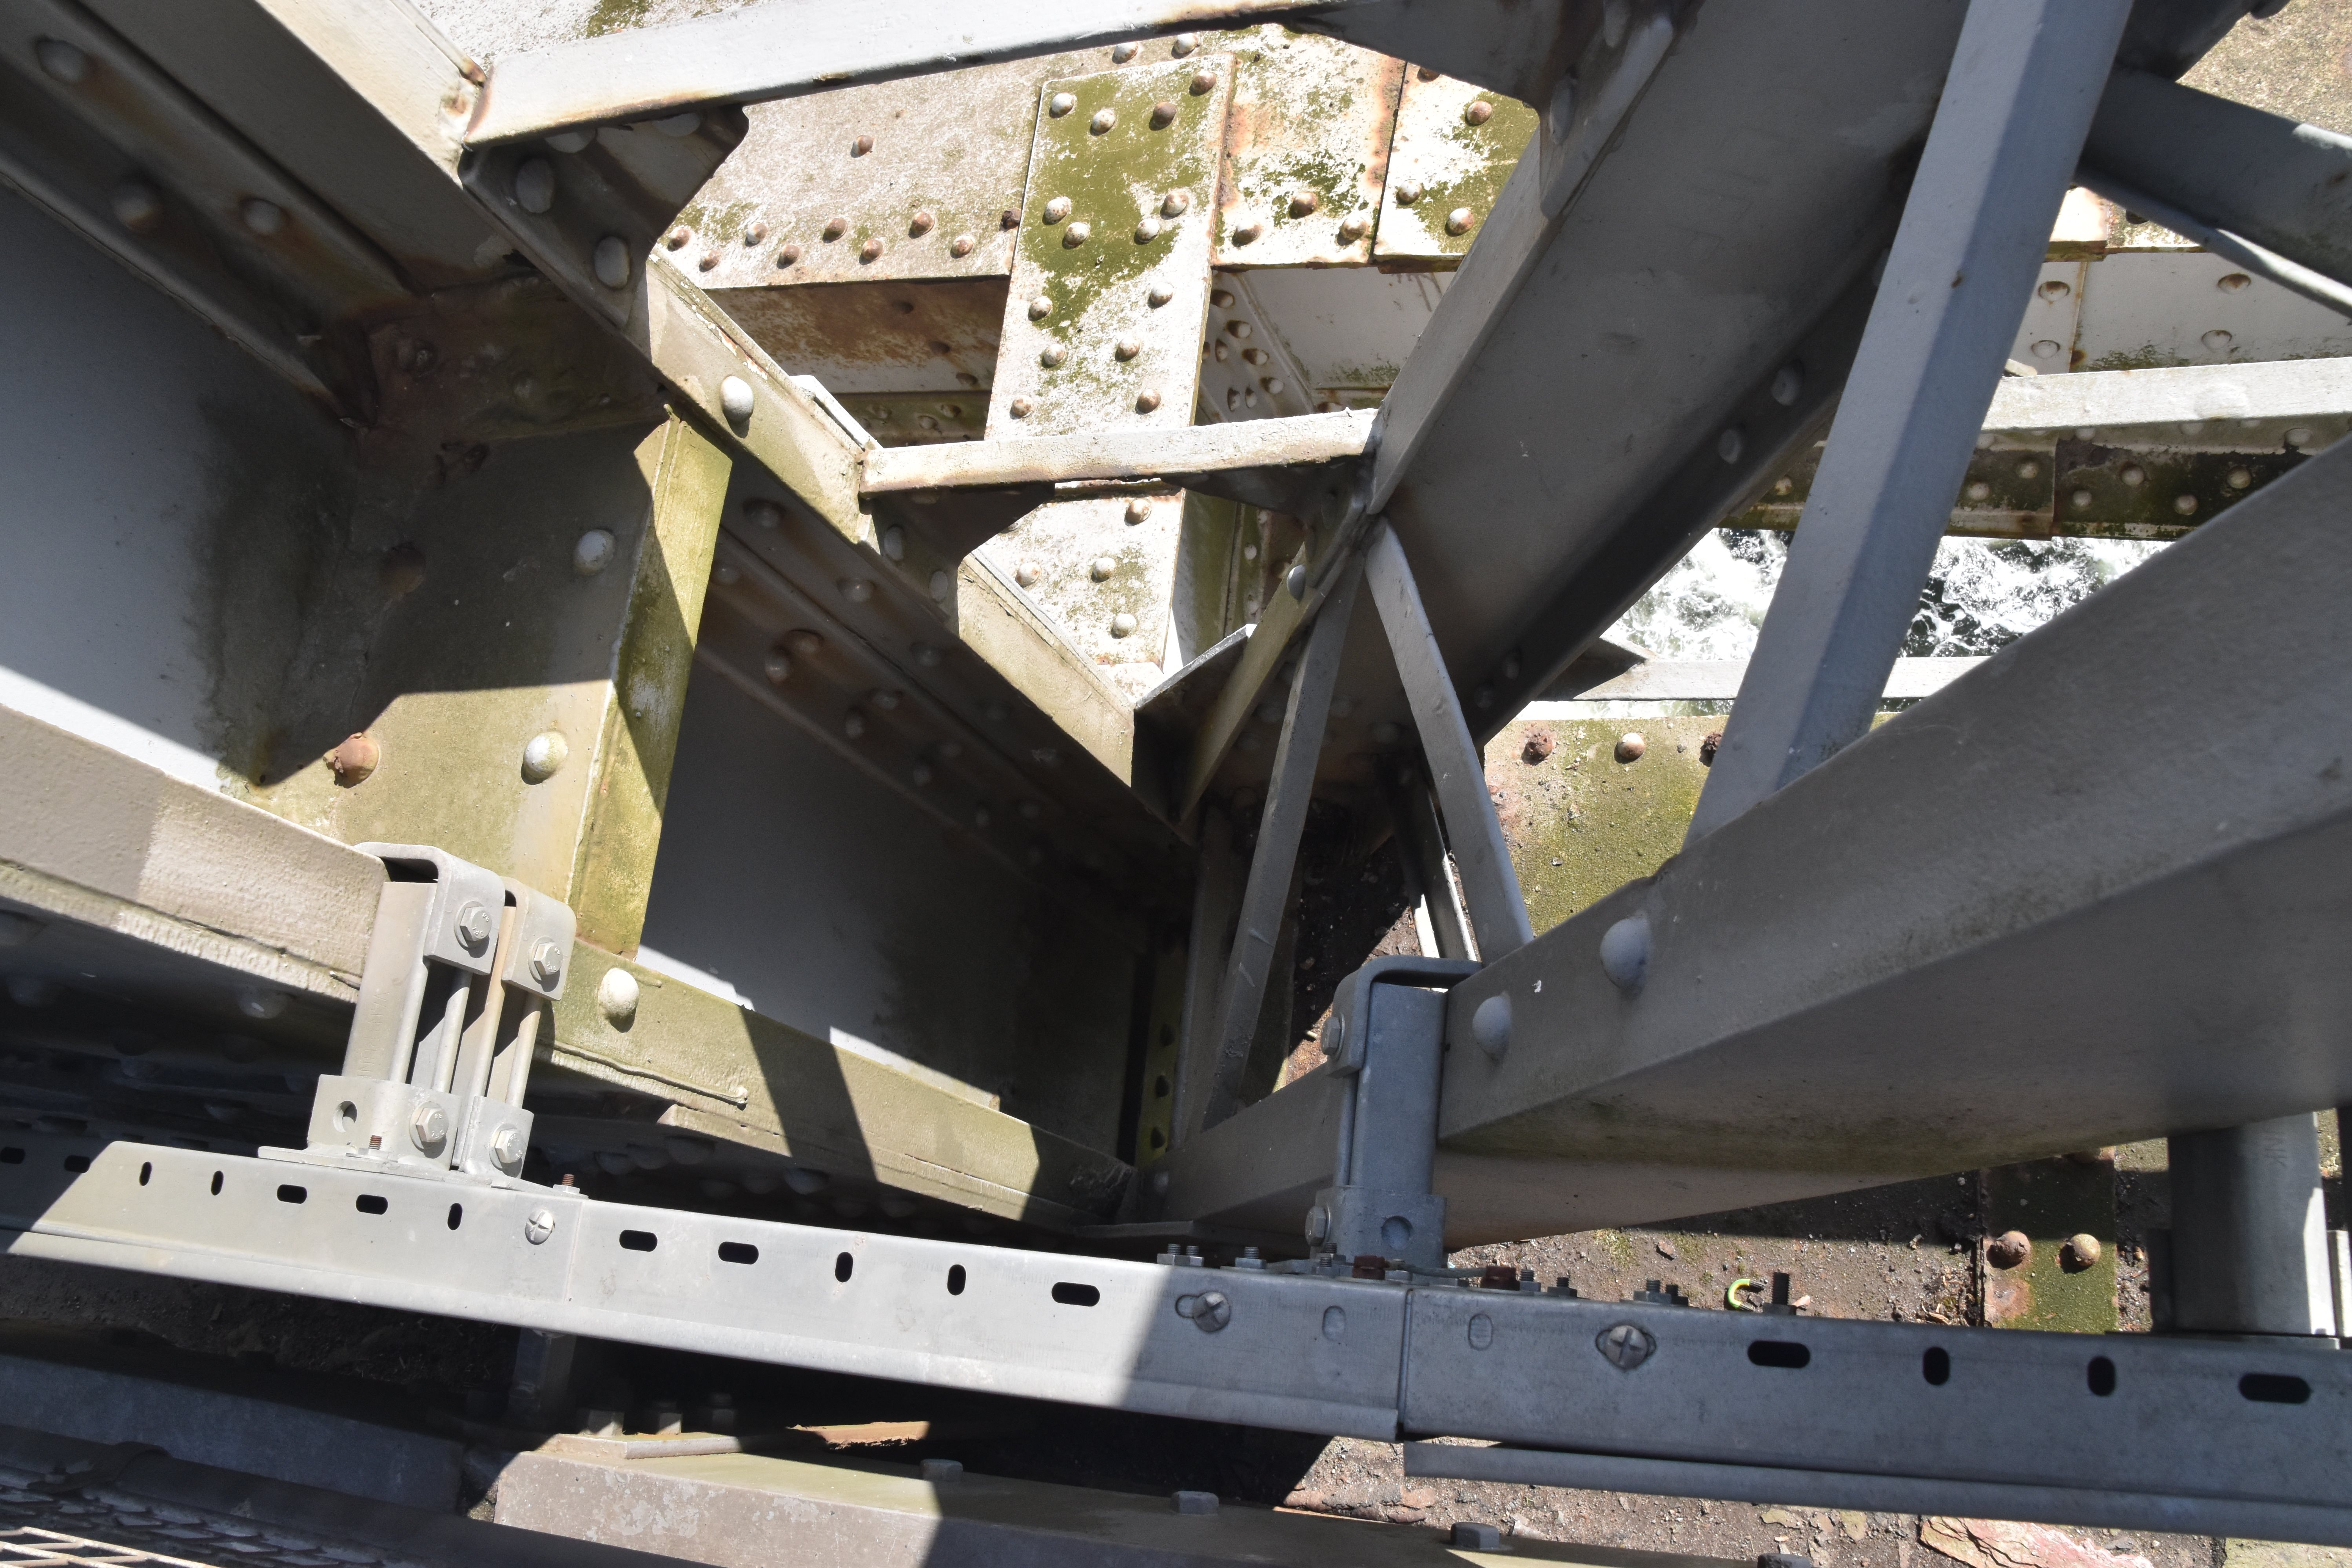
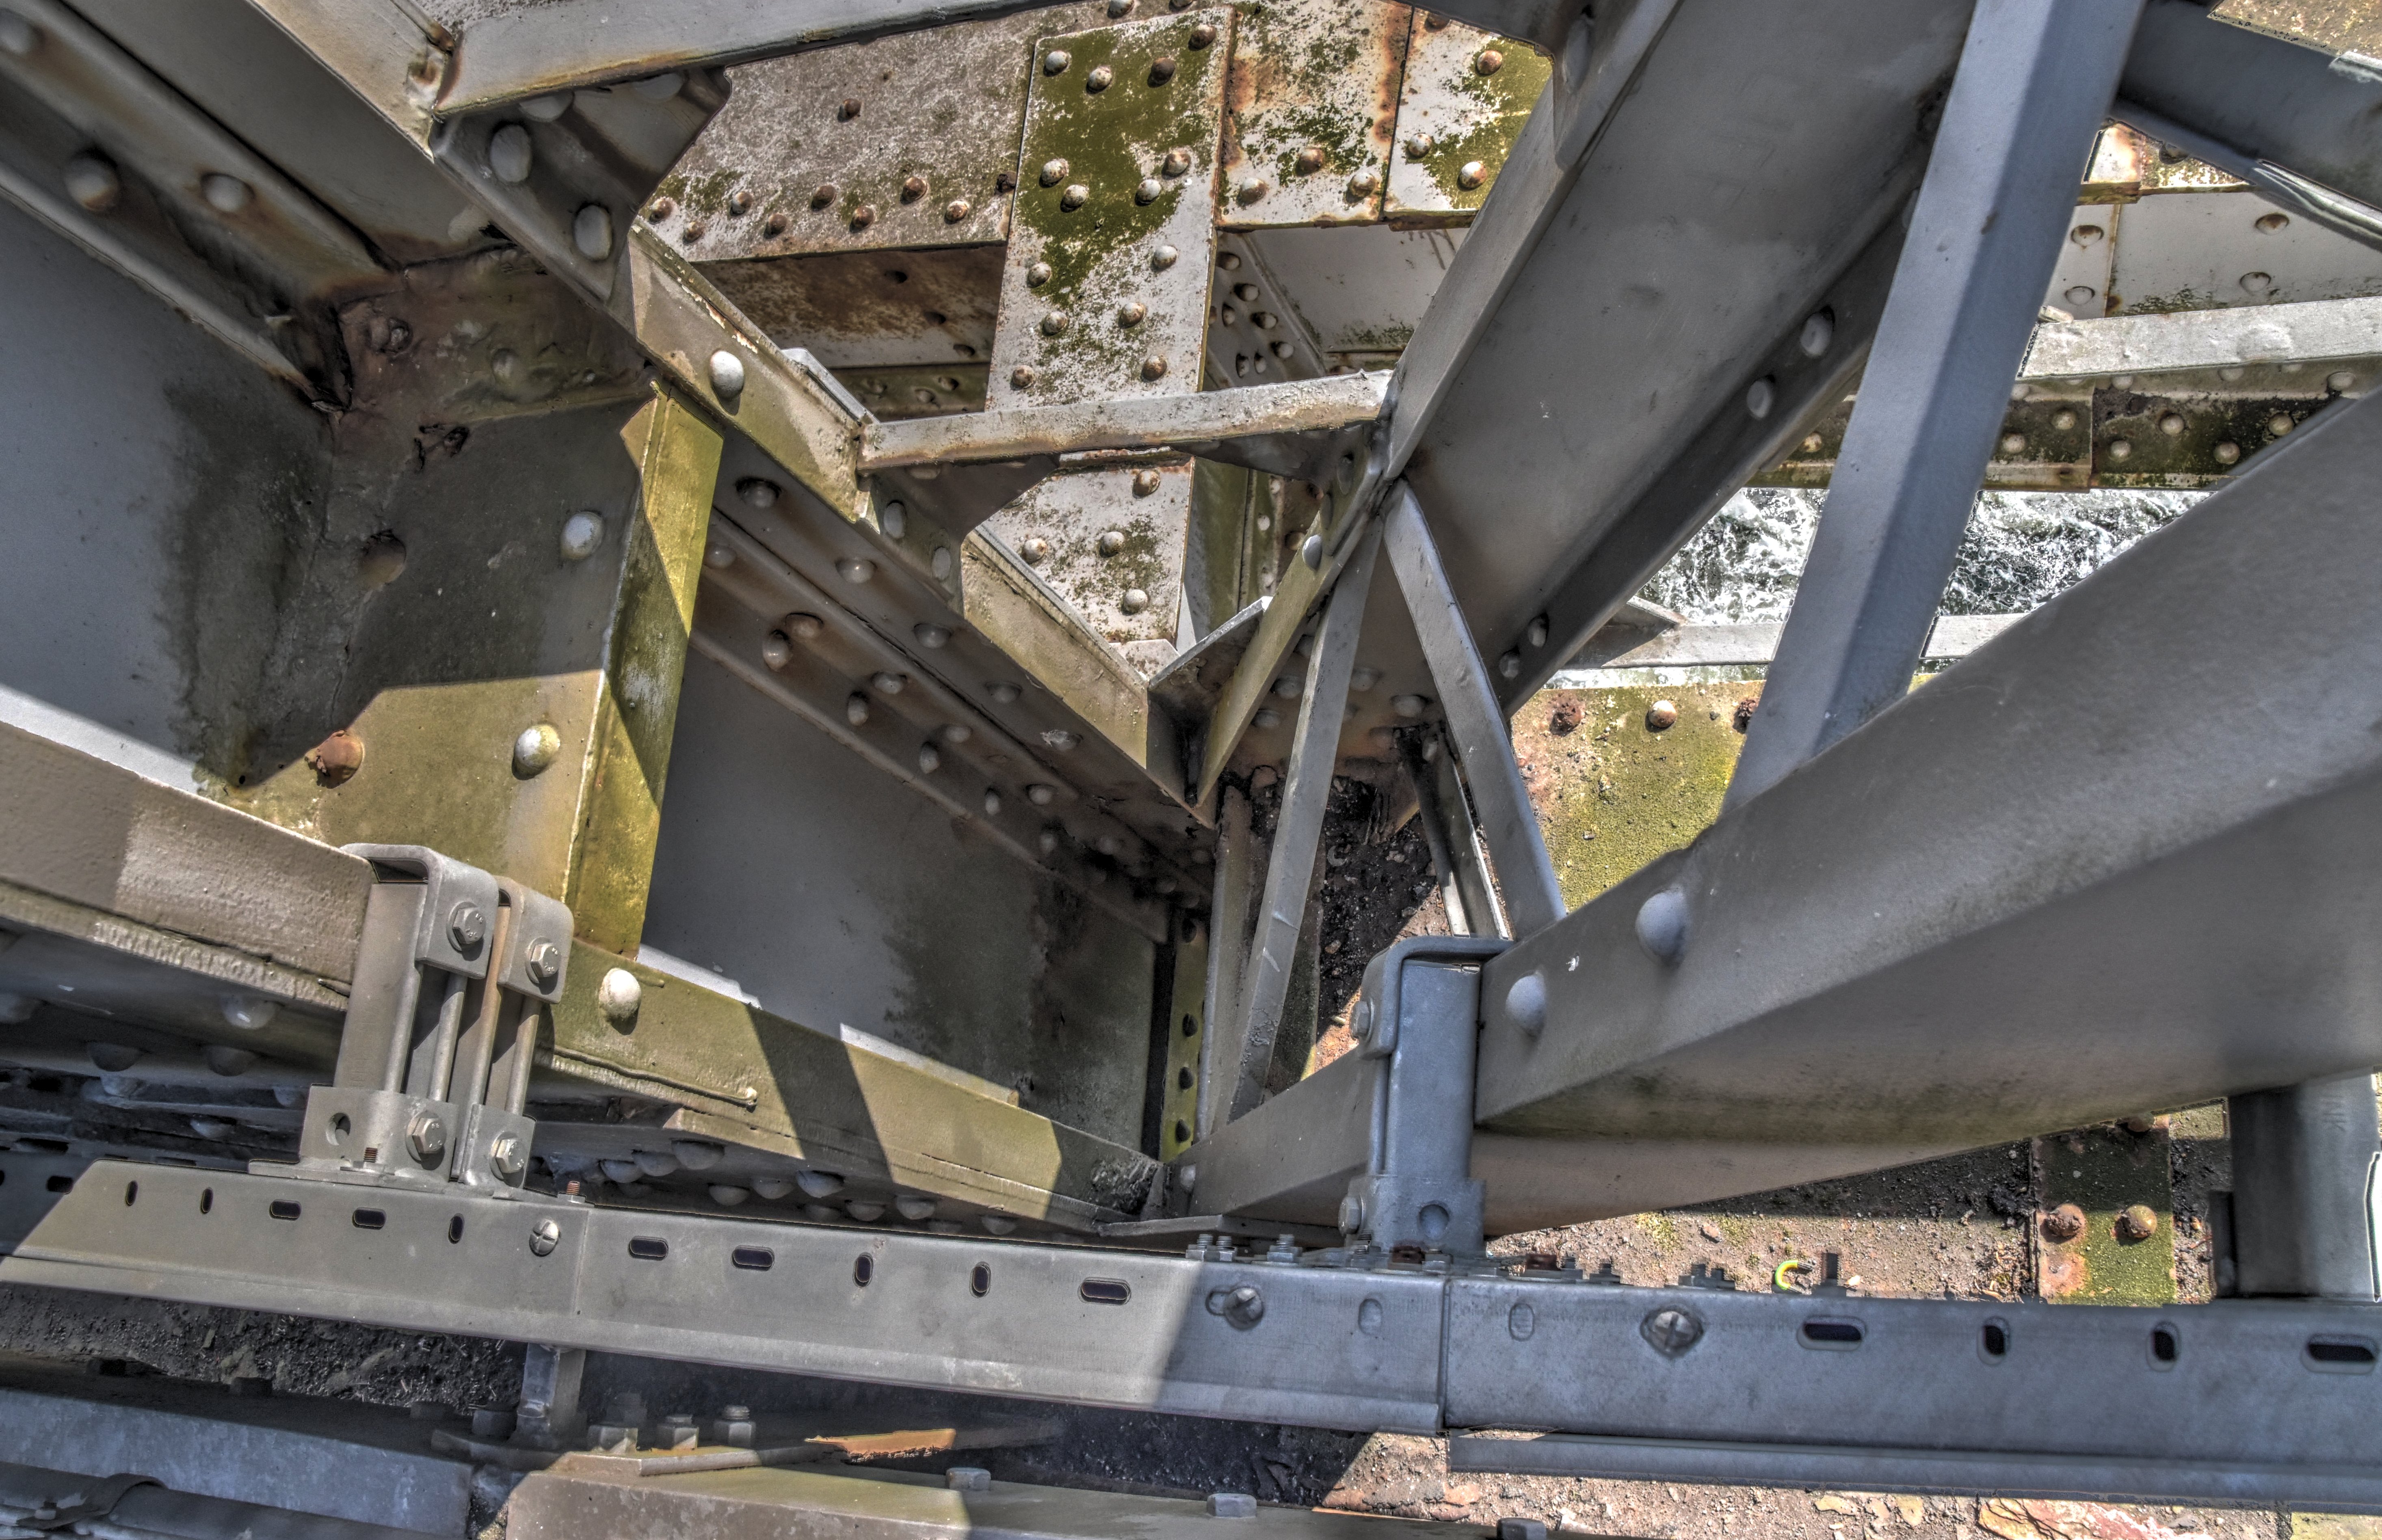
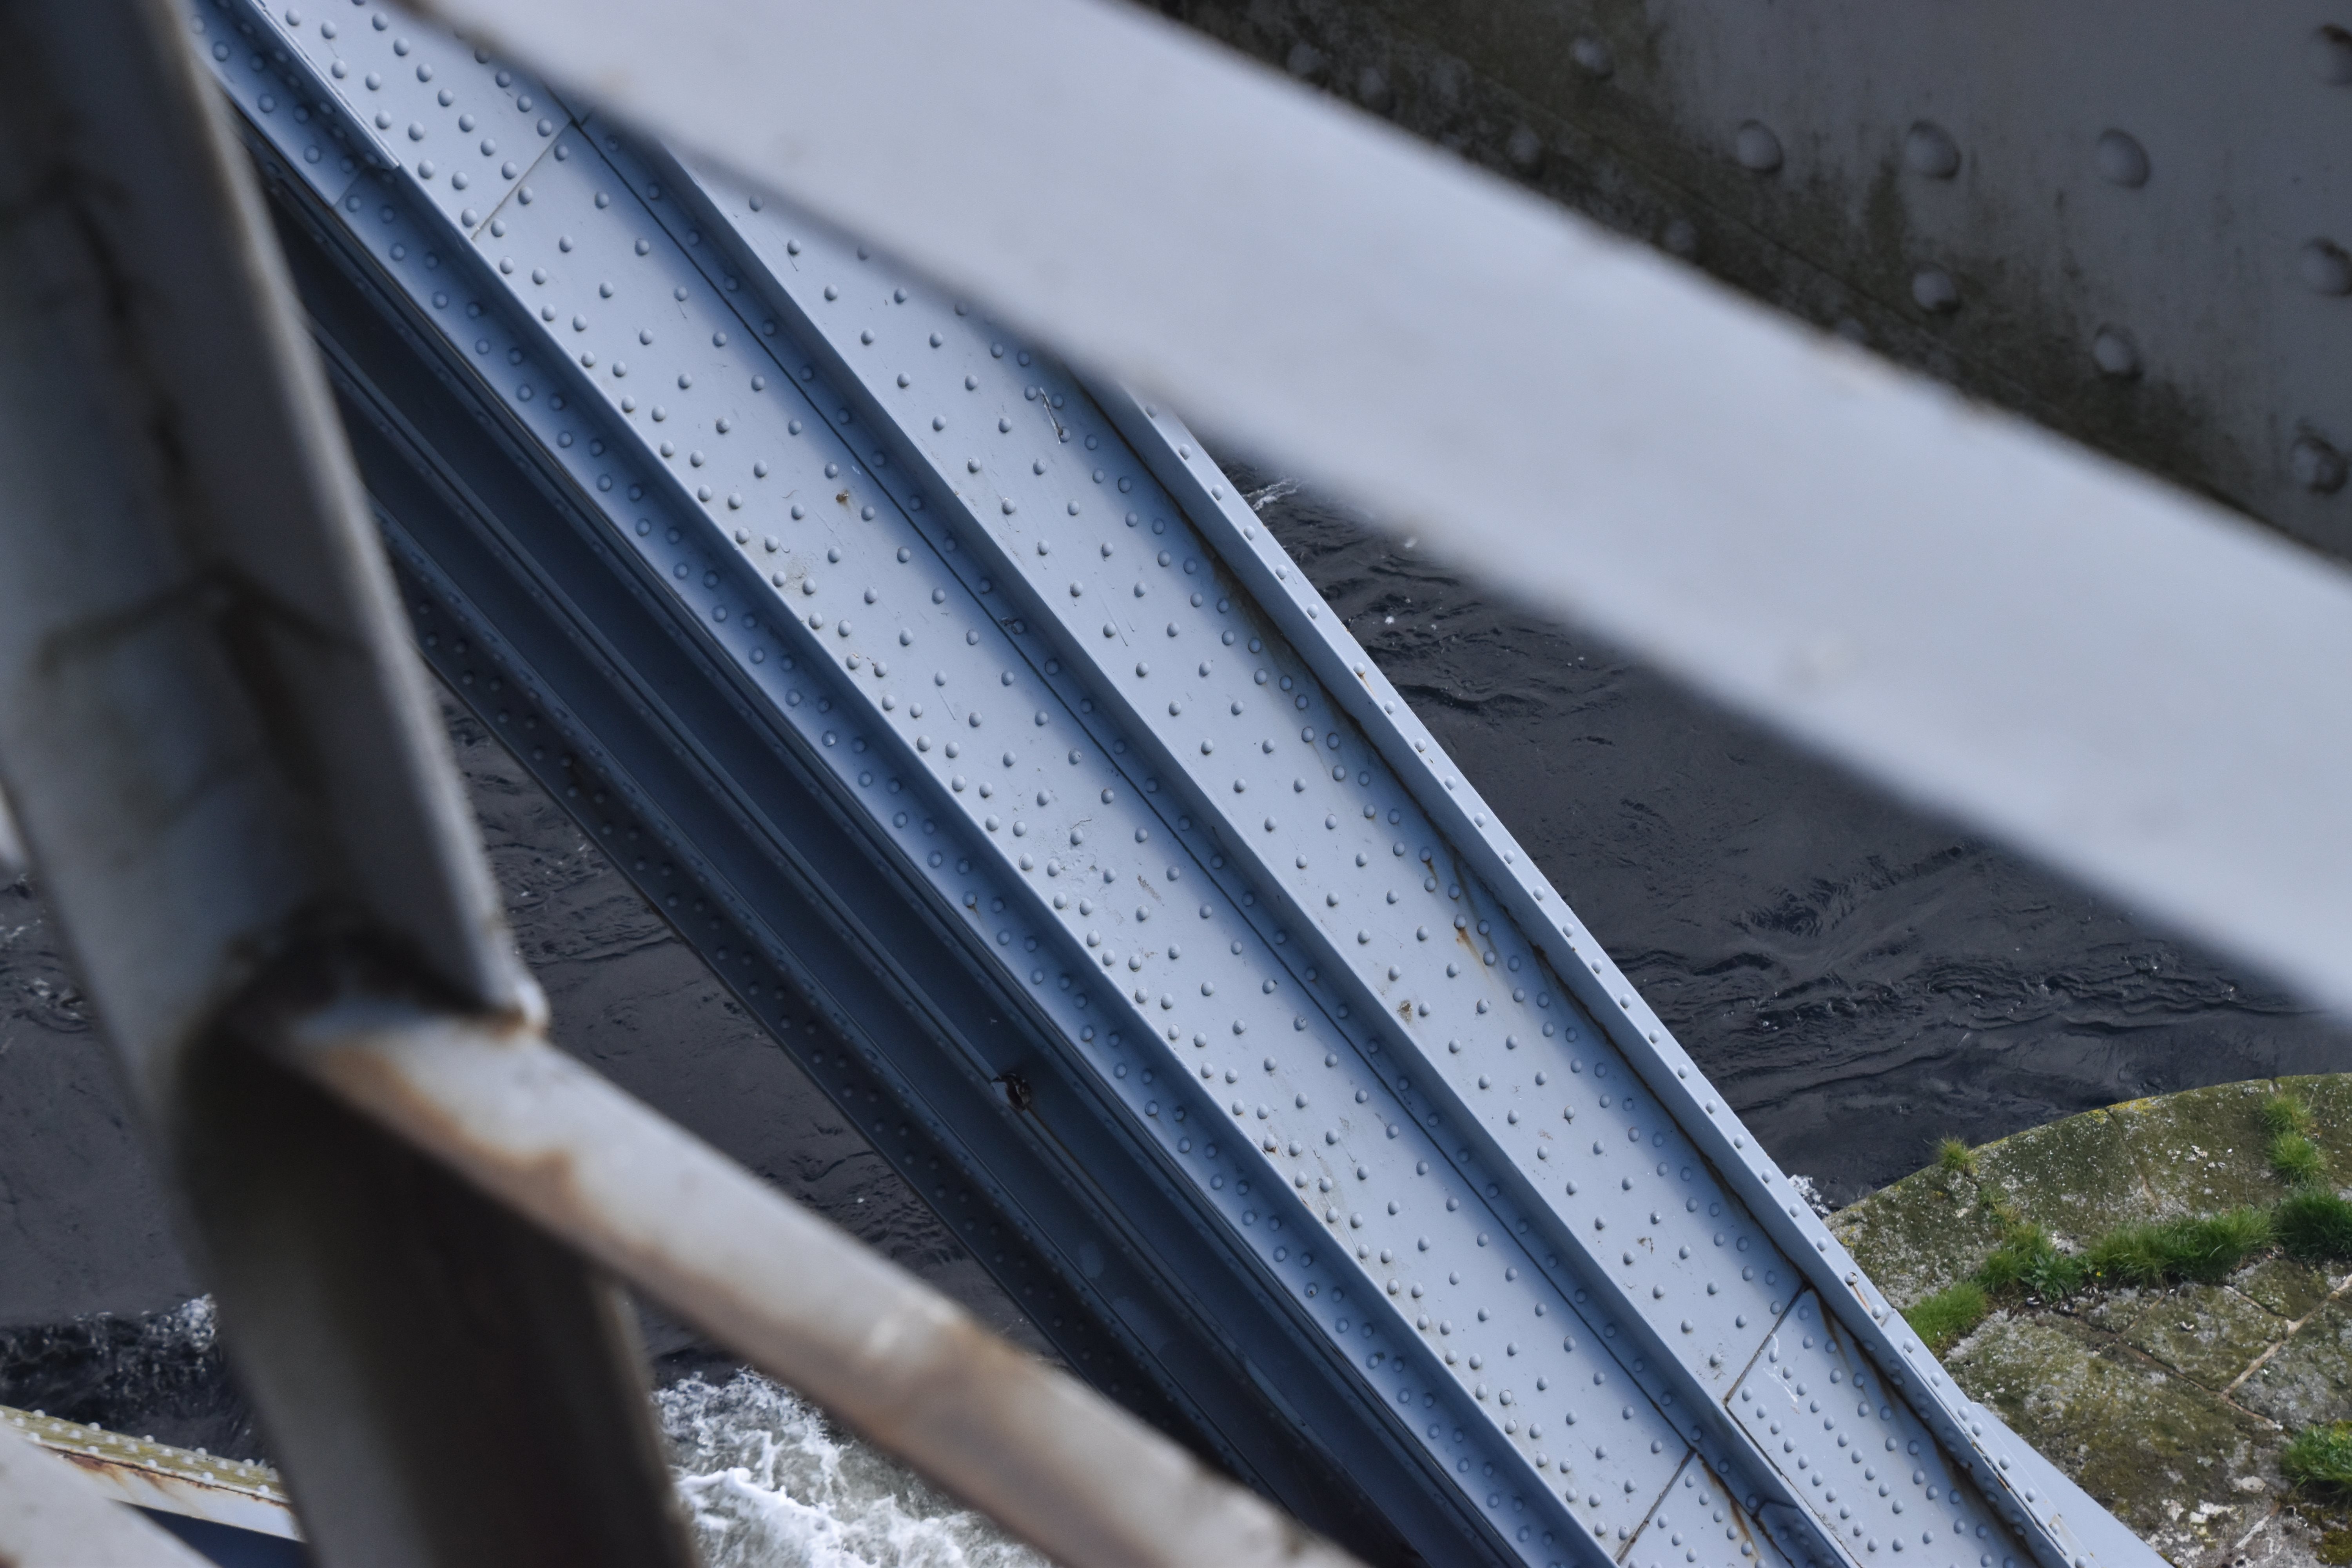
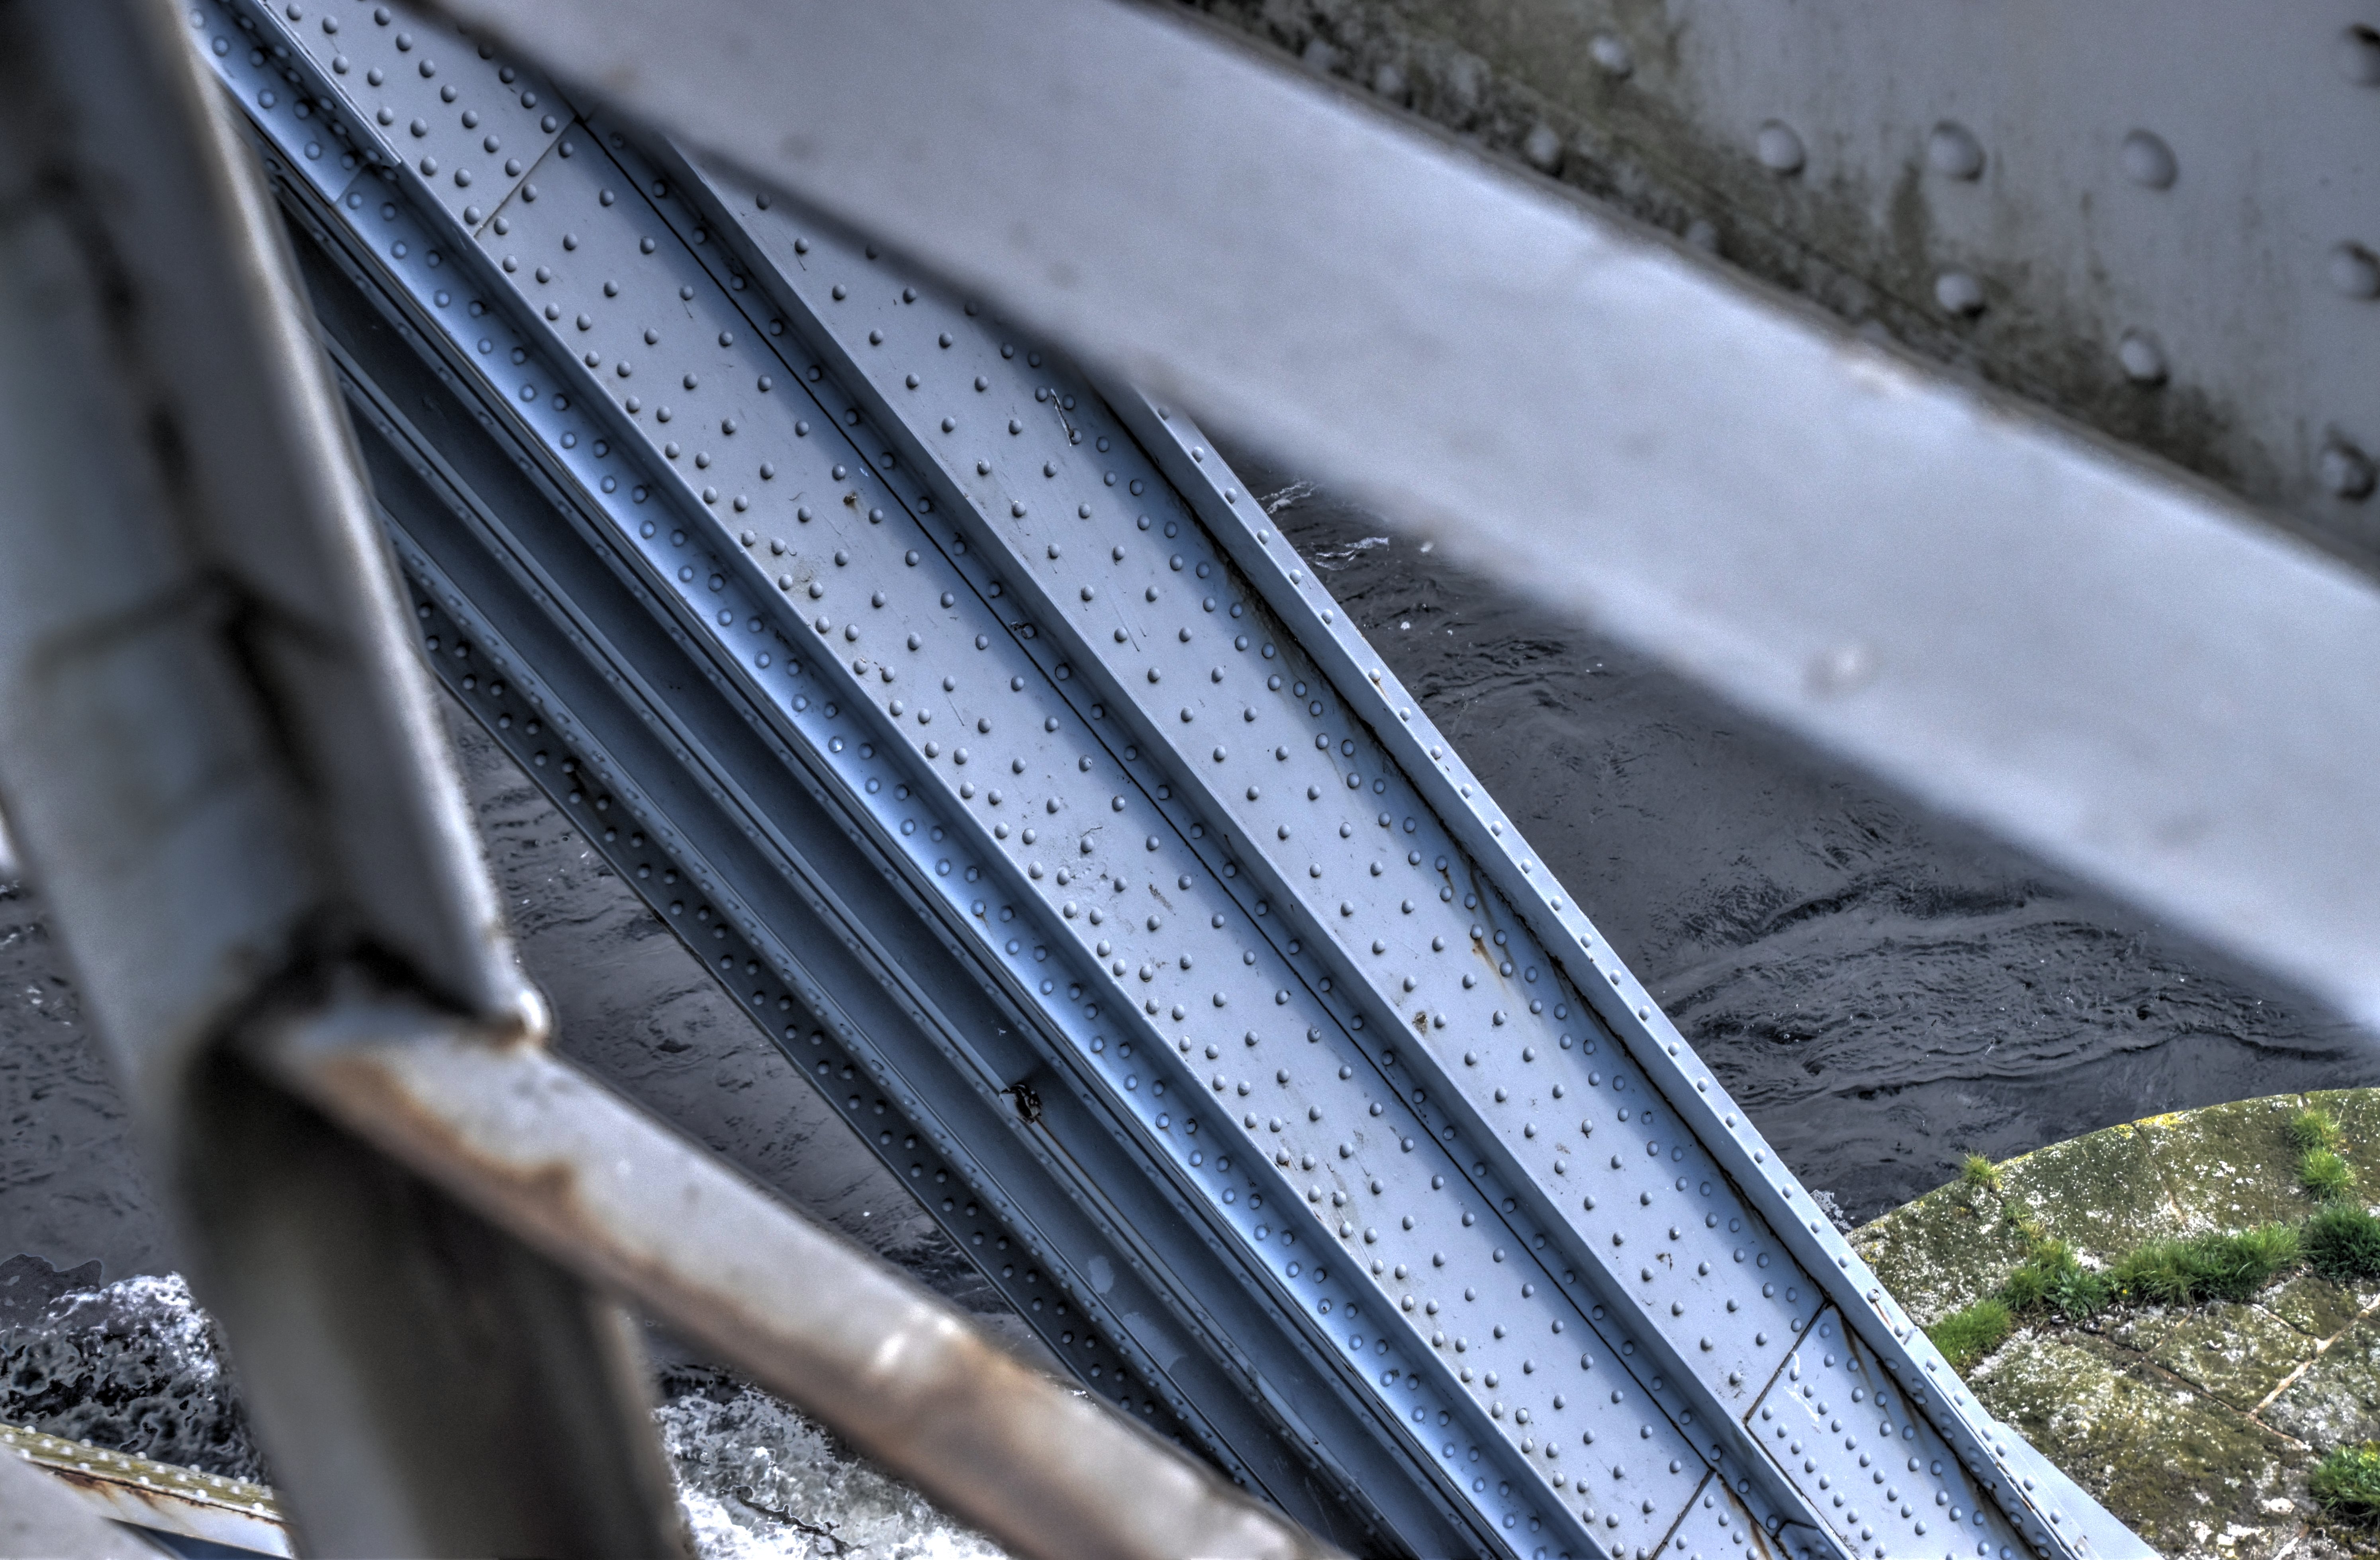
Bottom chord.
![]()


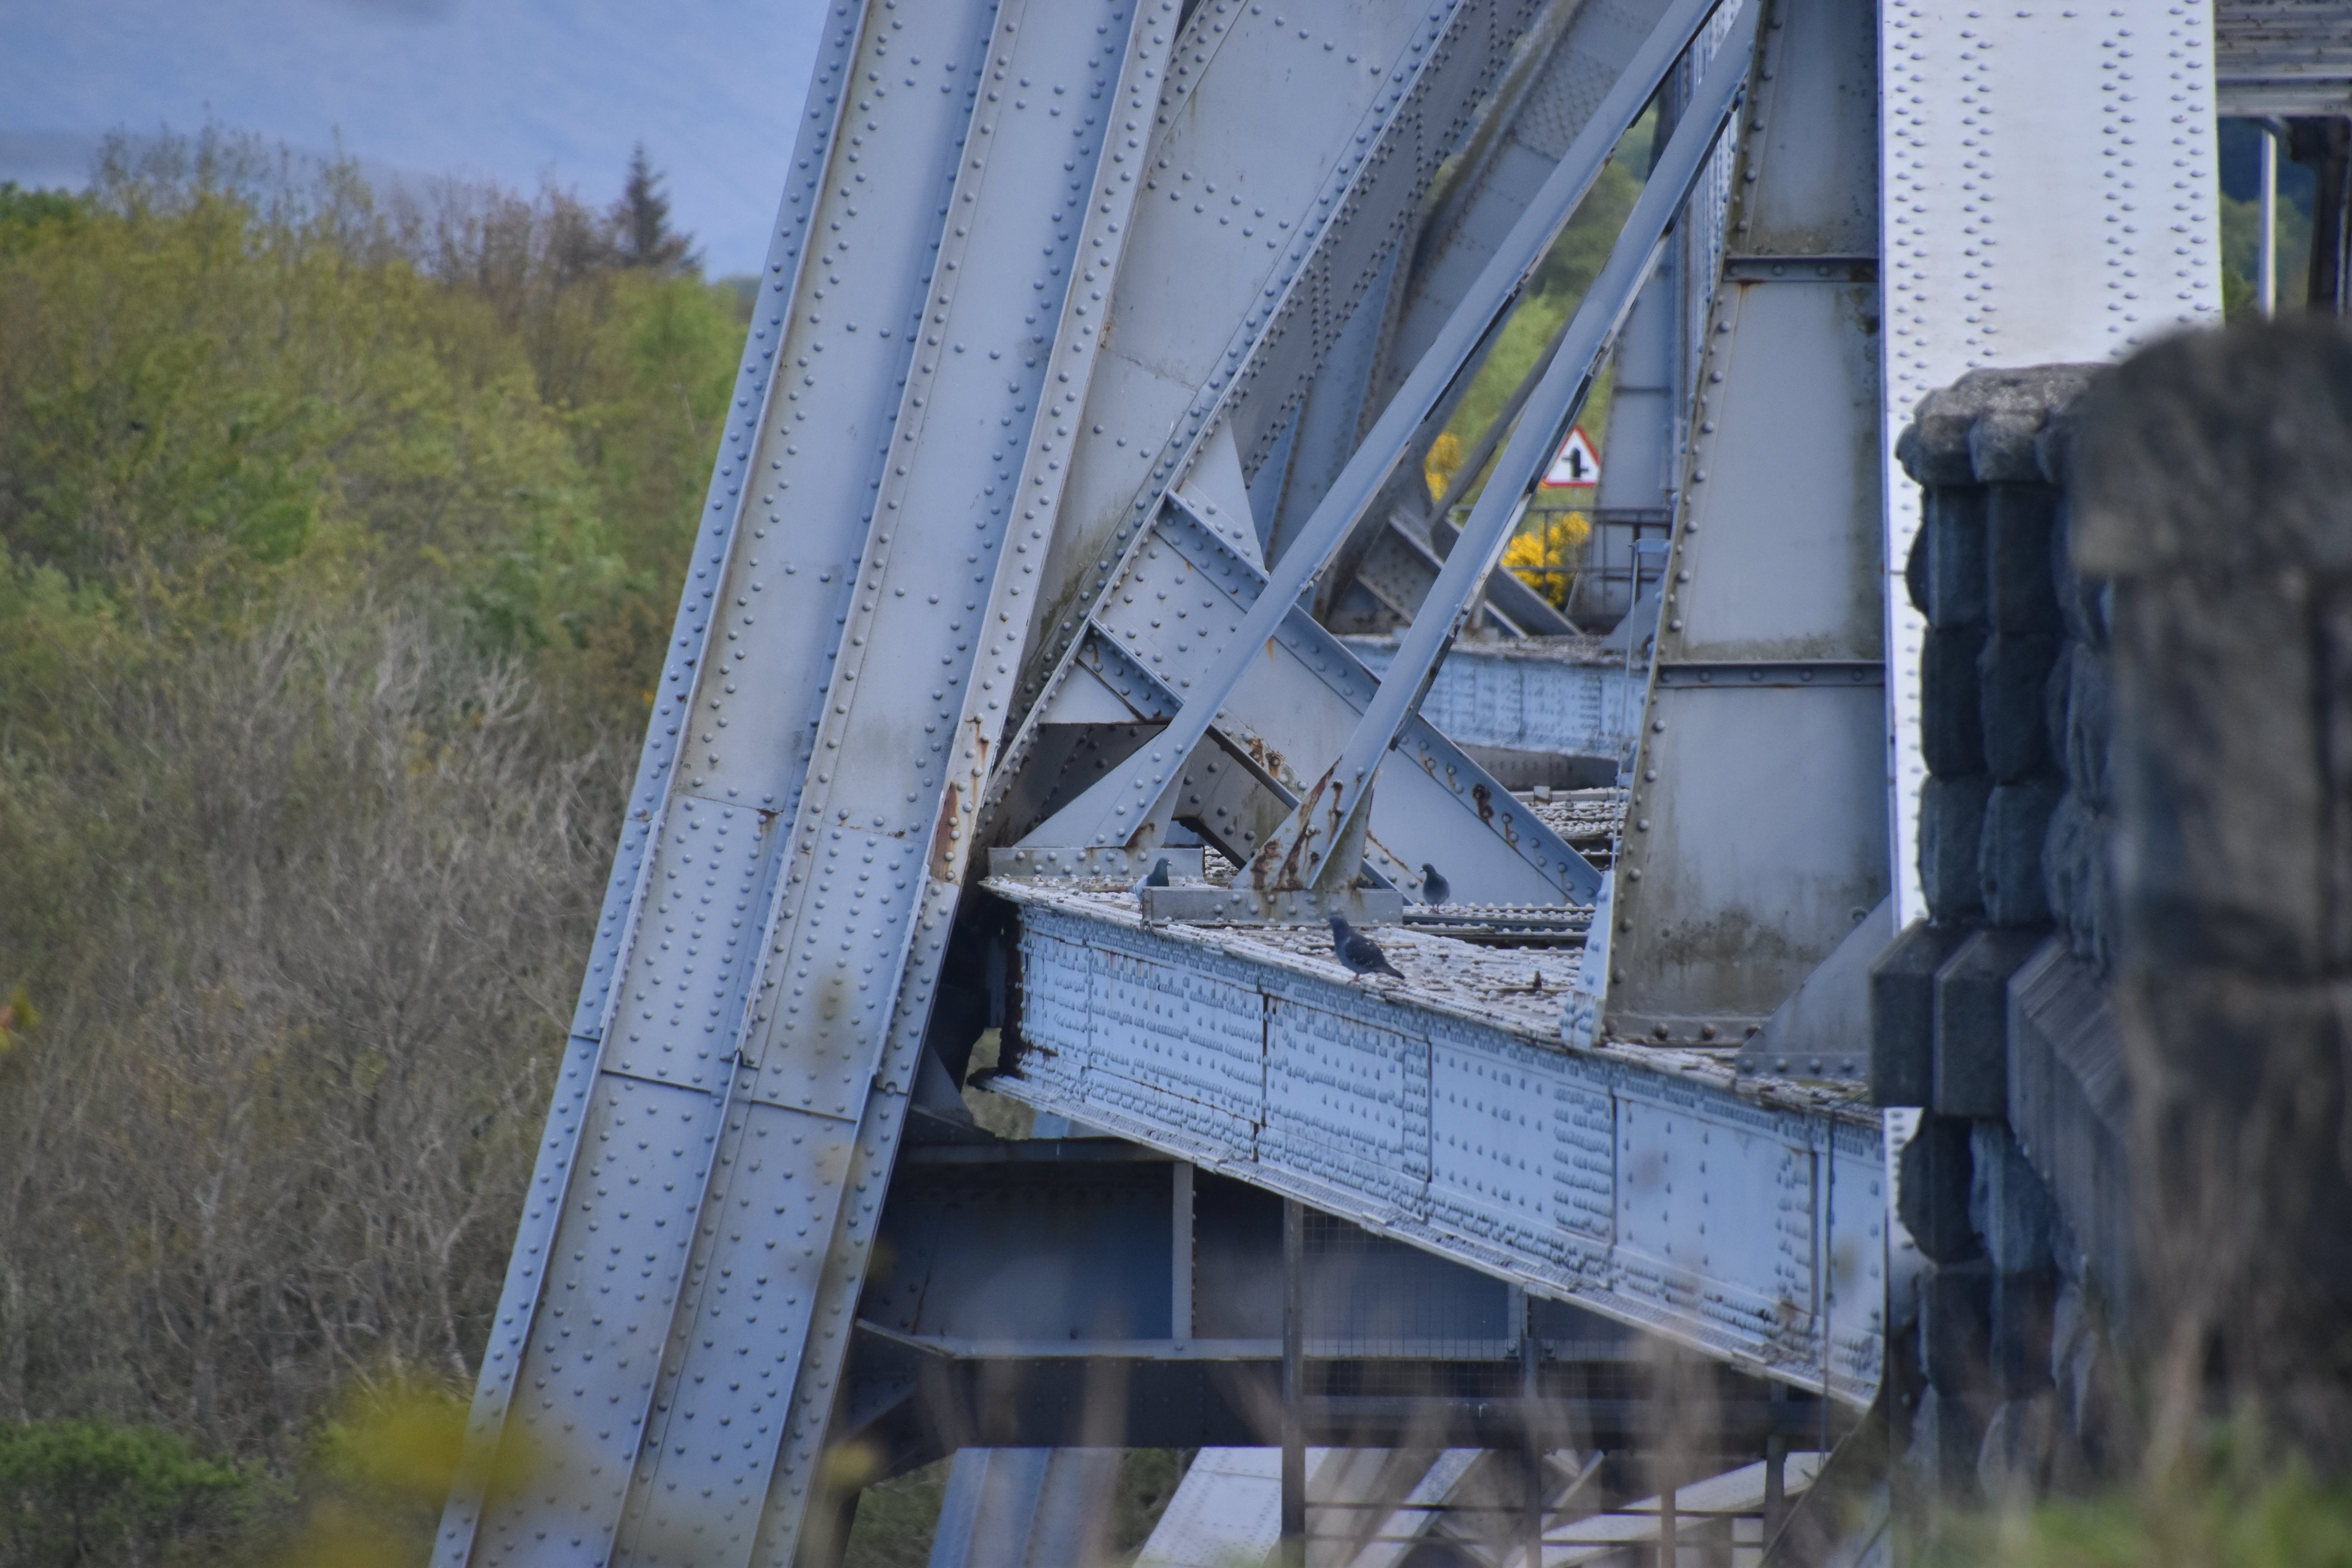
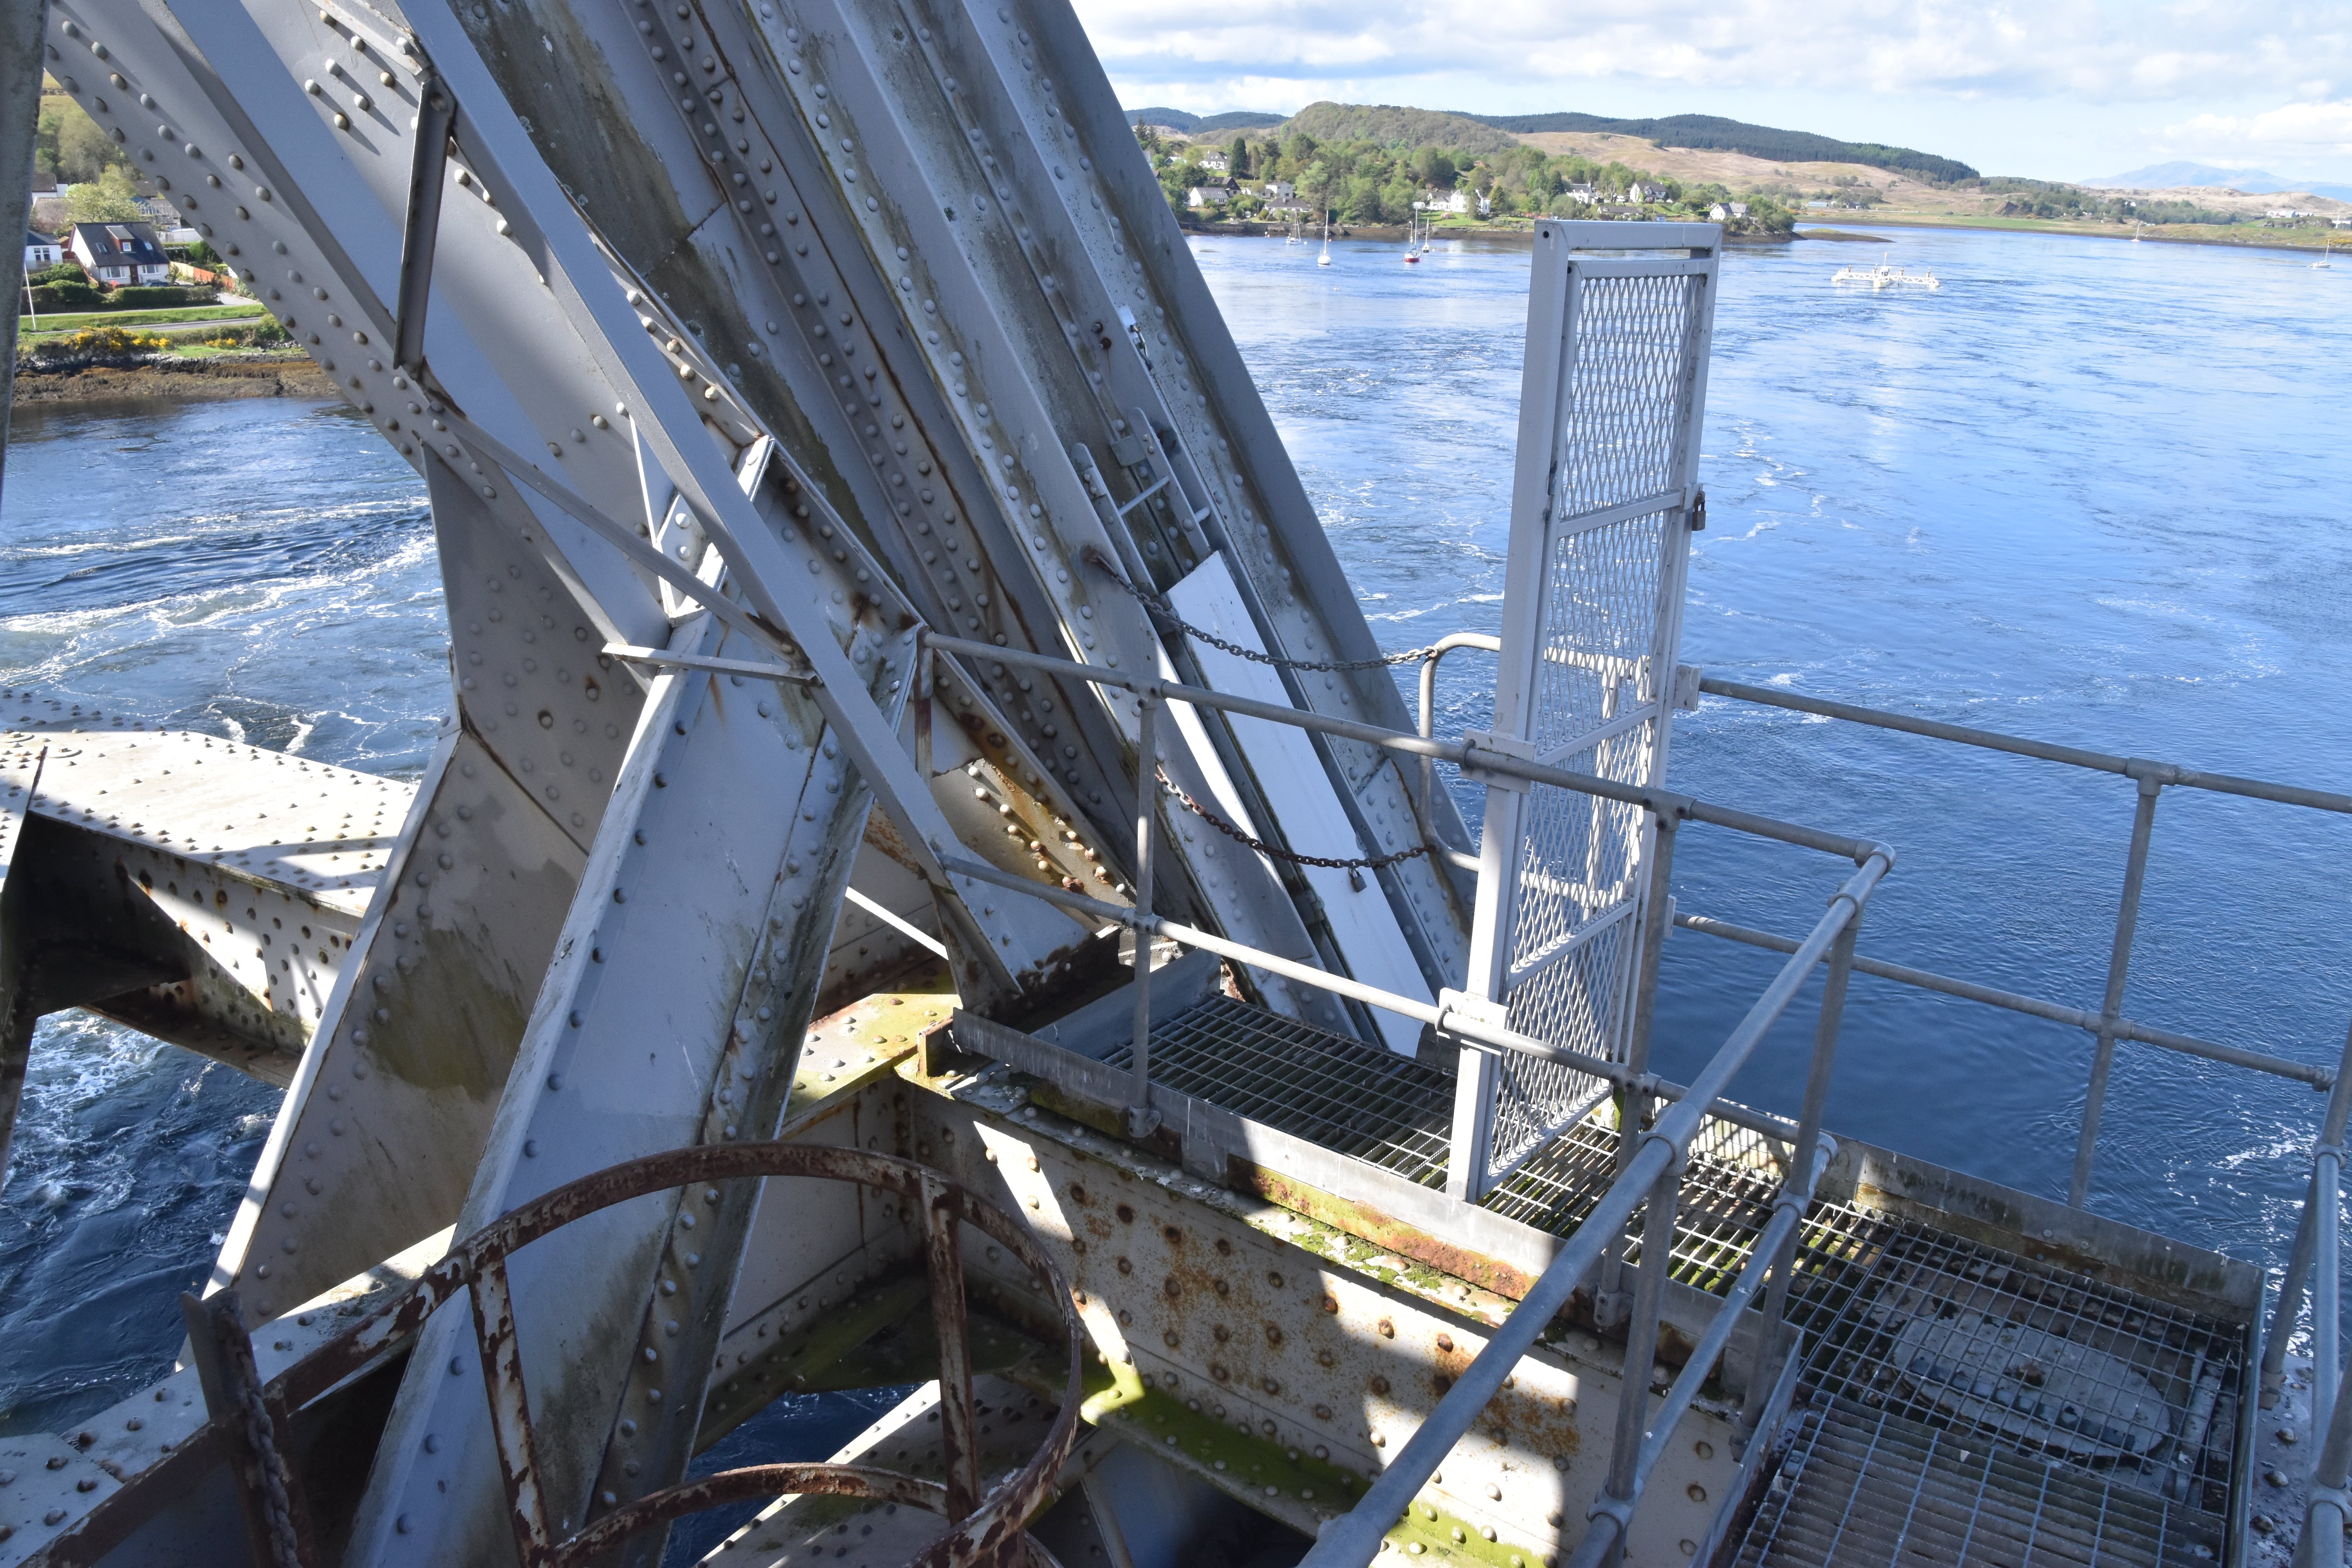
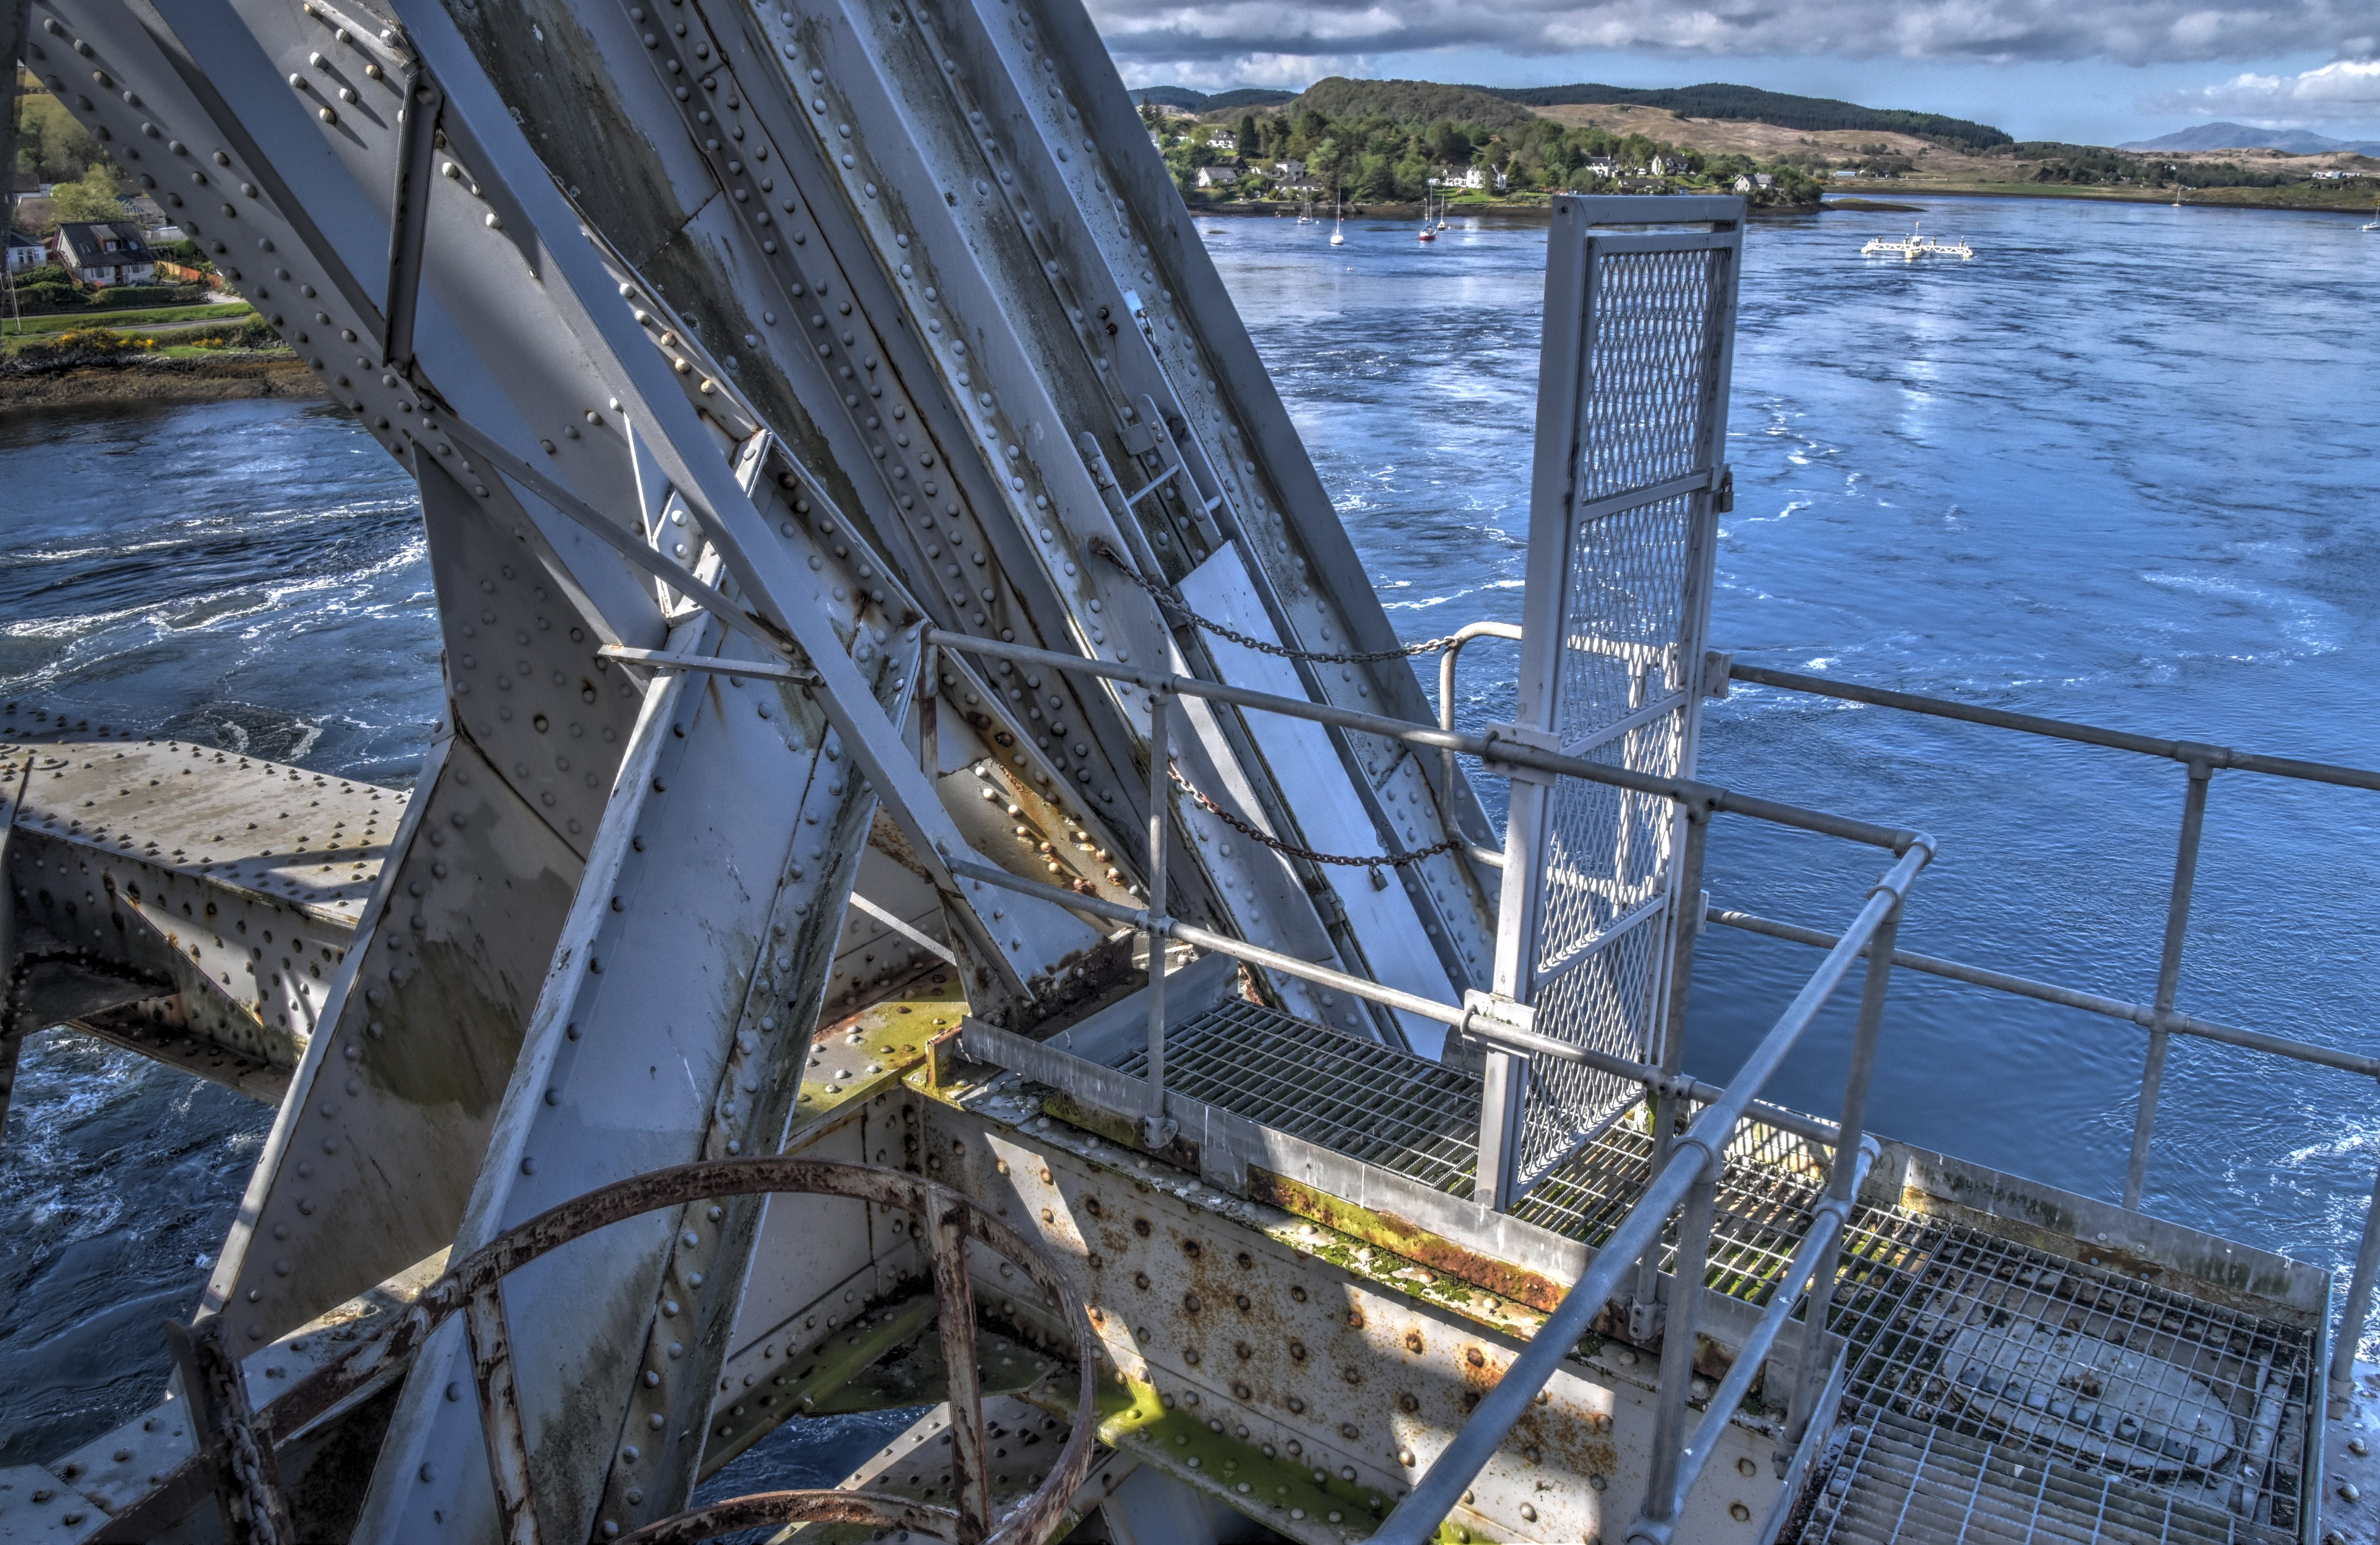
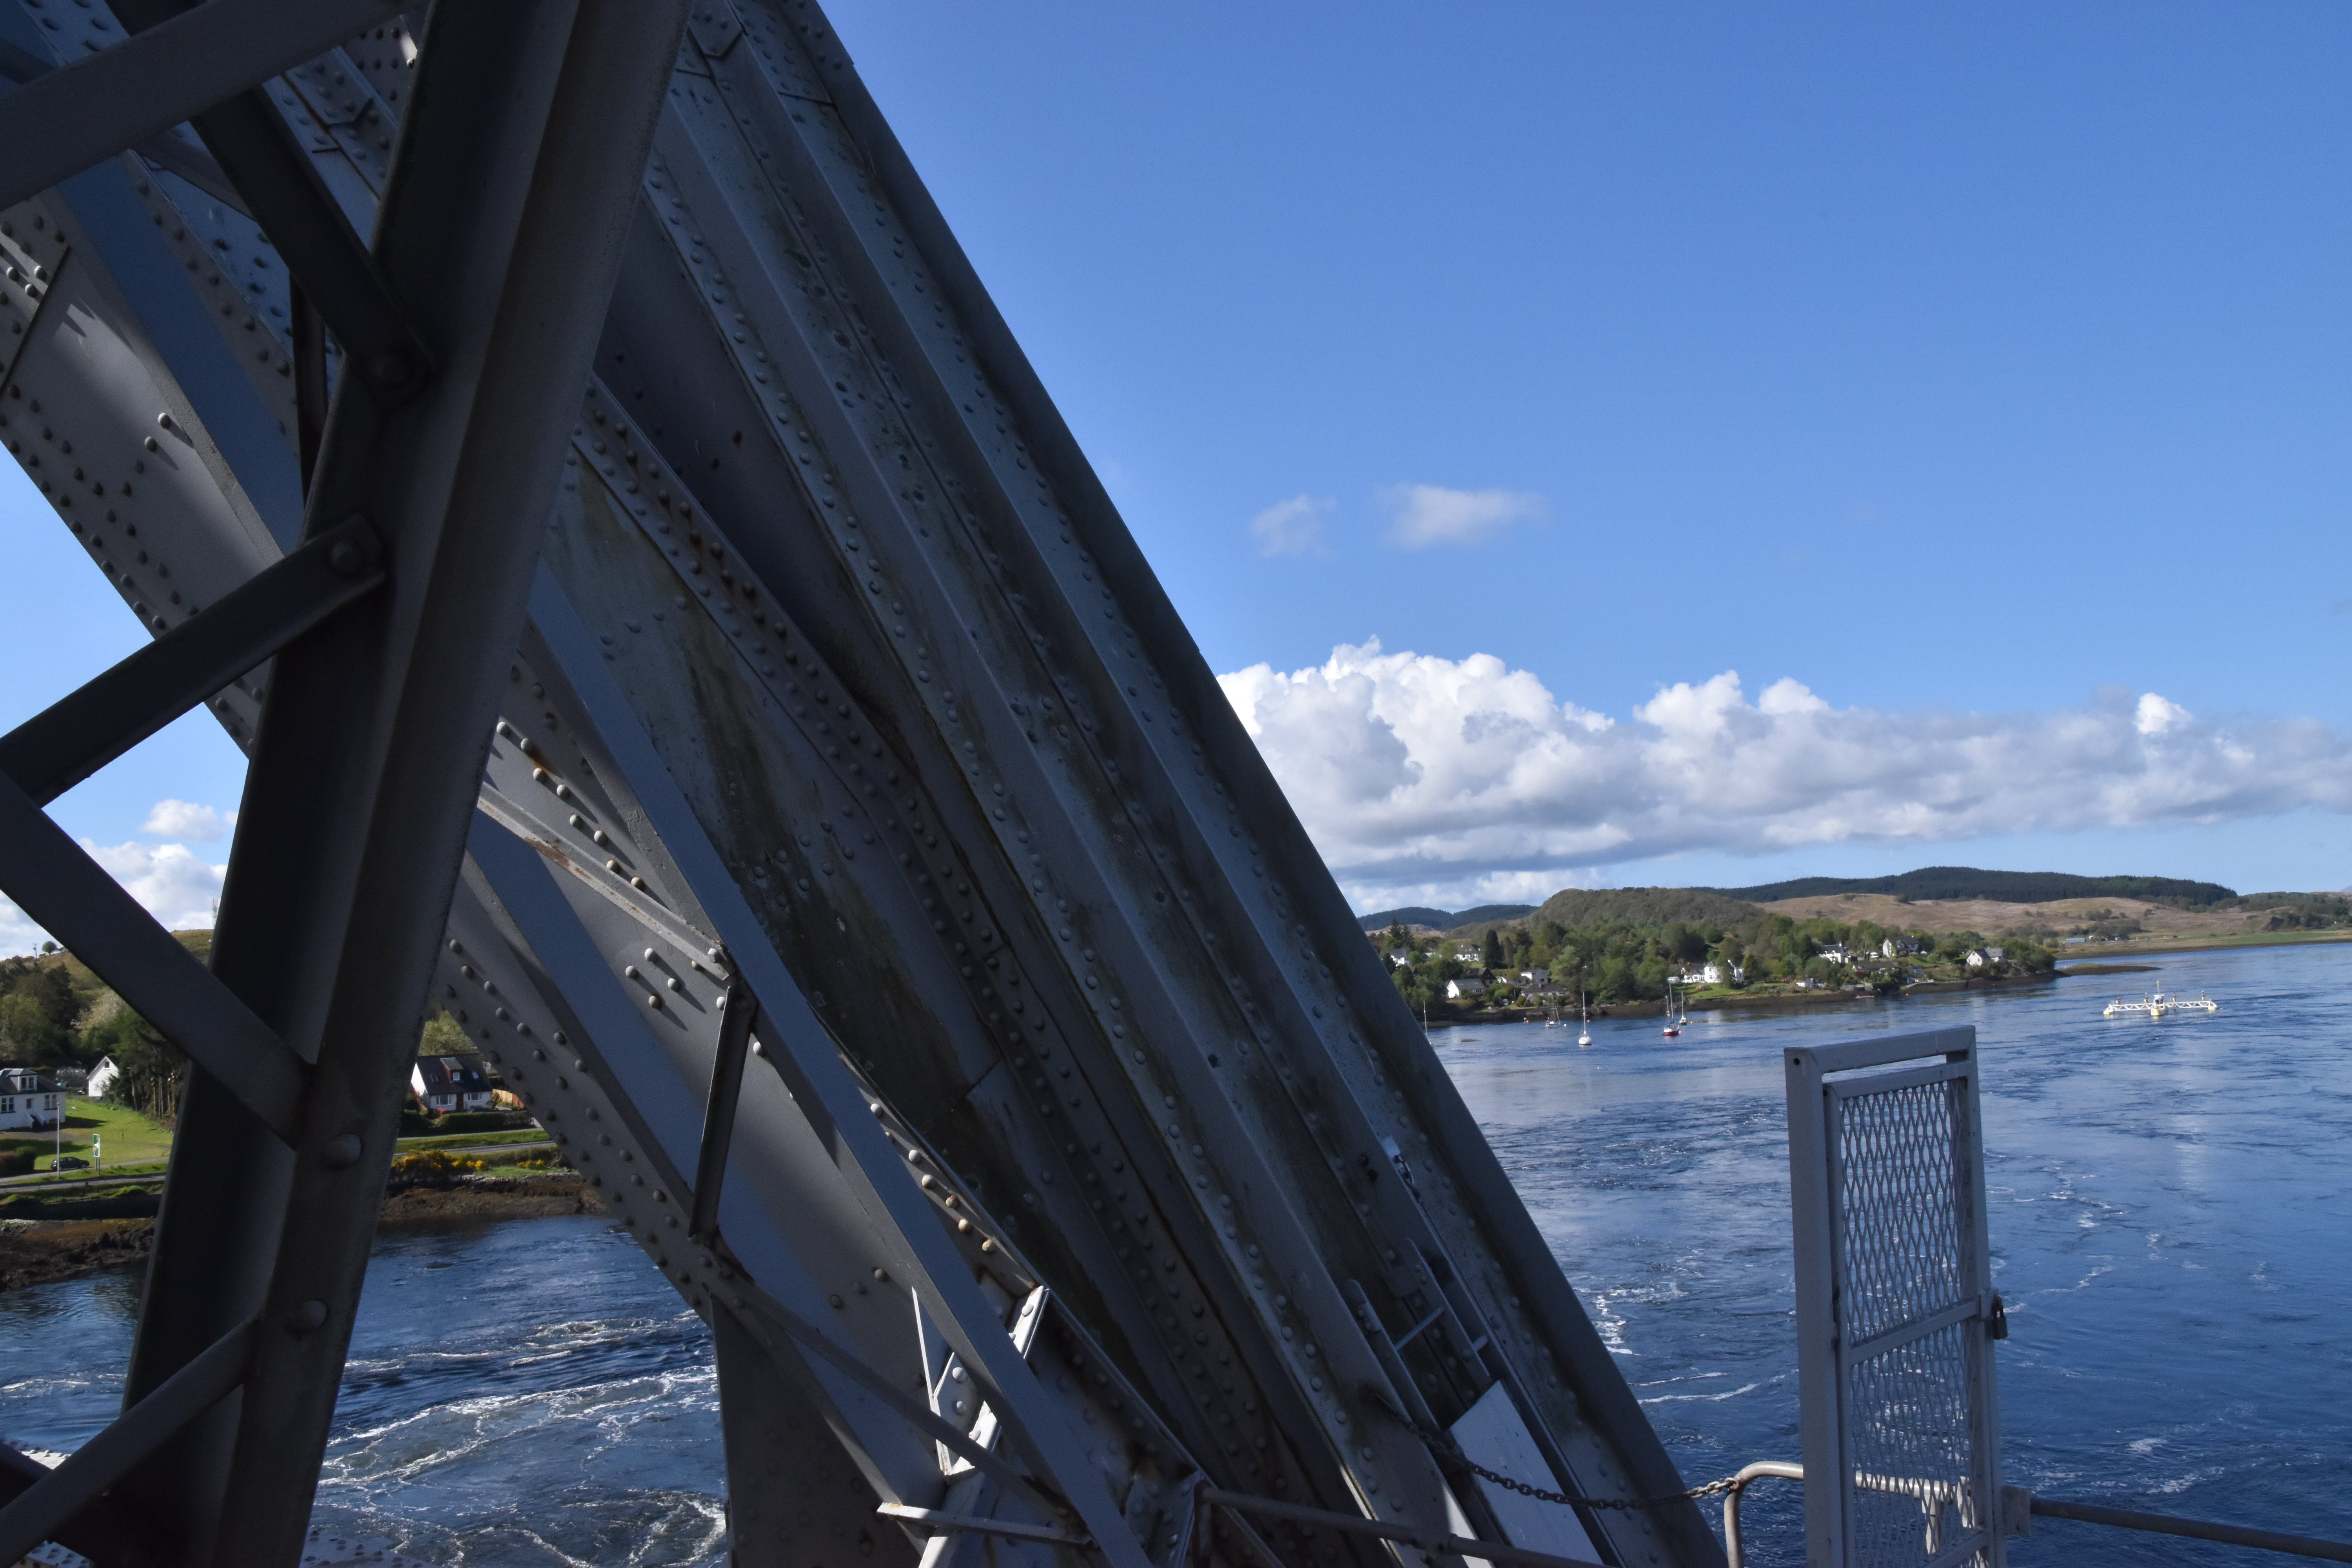
End post and portal bracing.
![]()


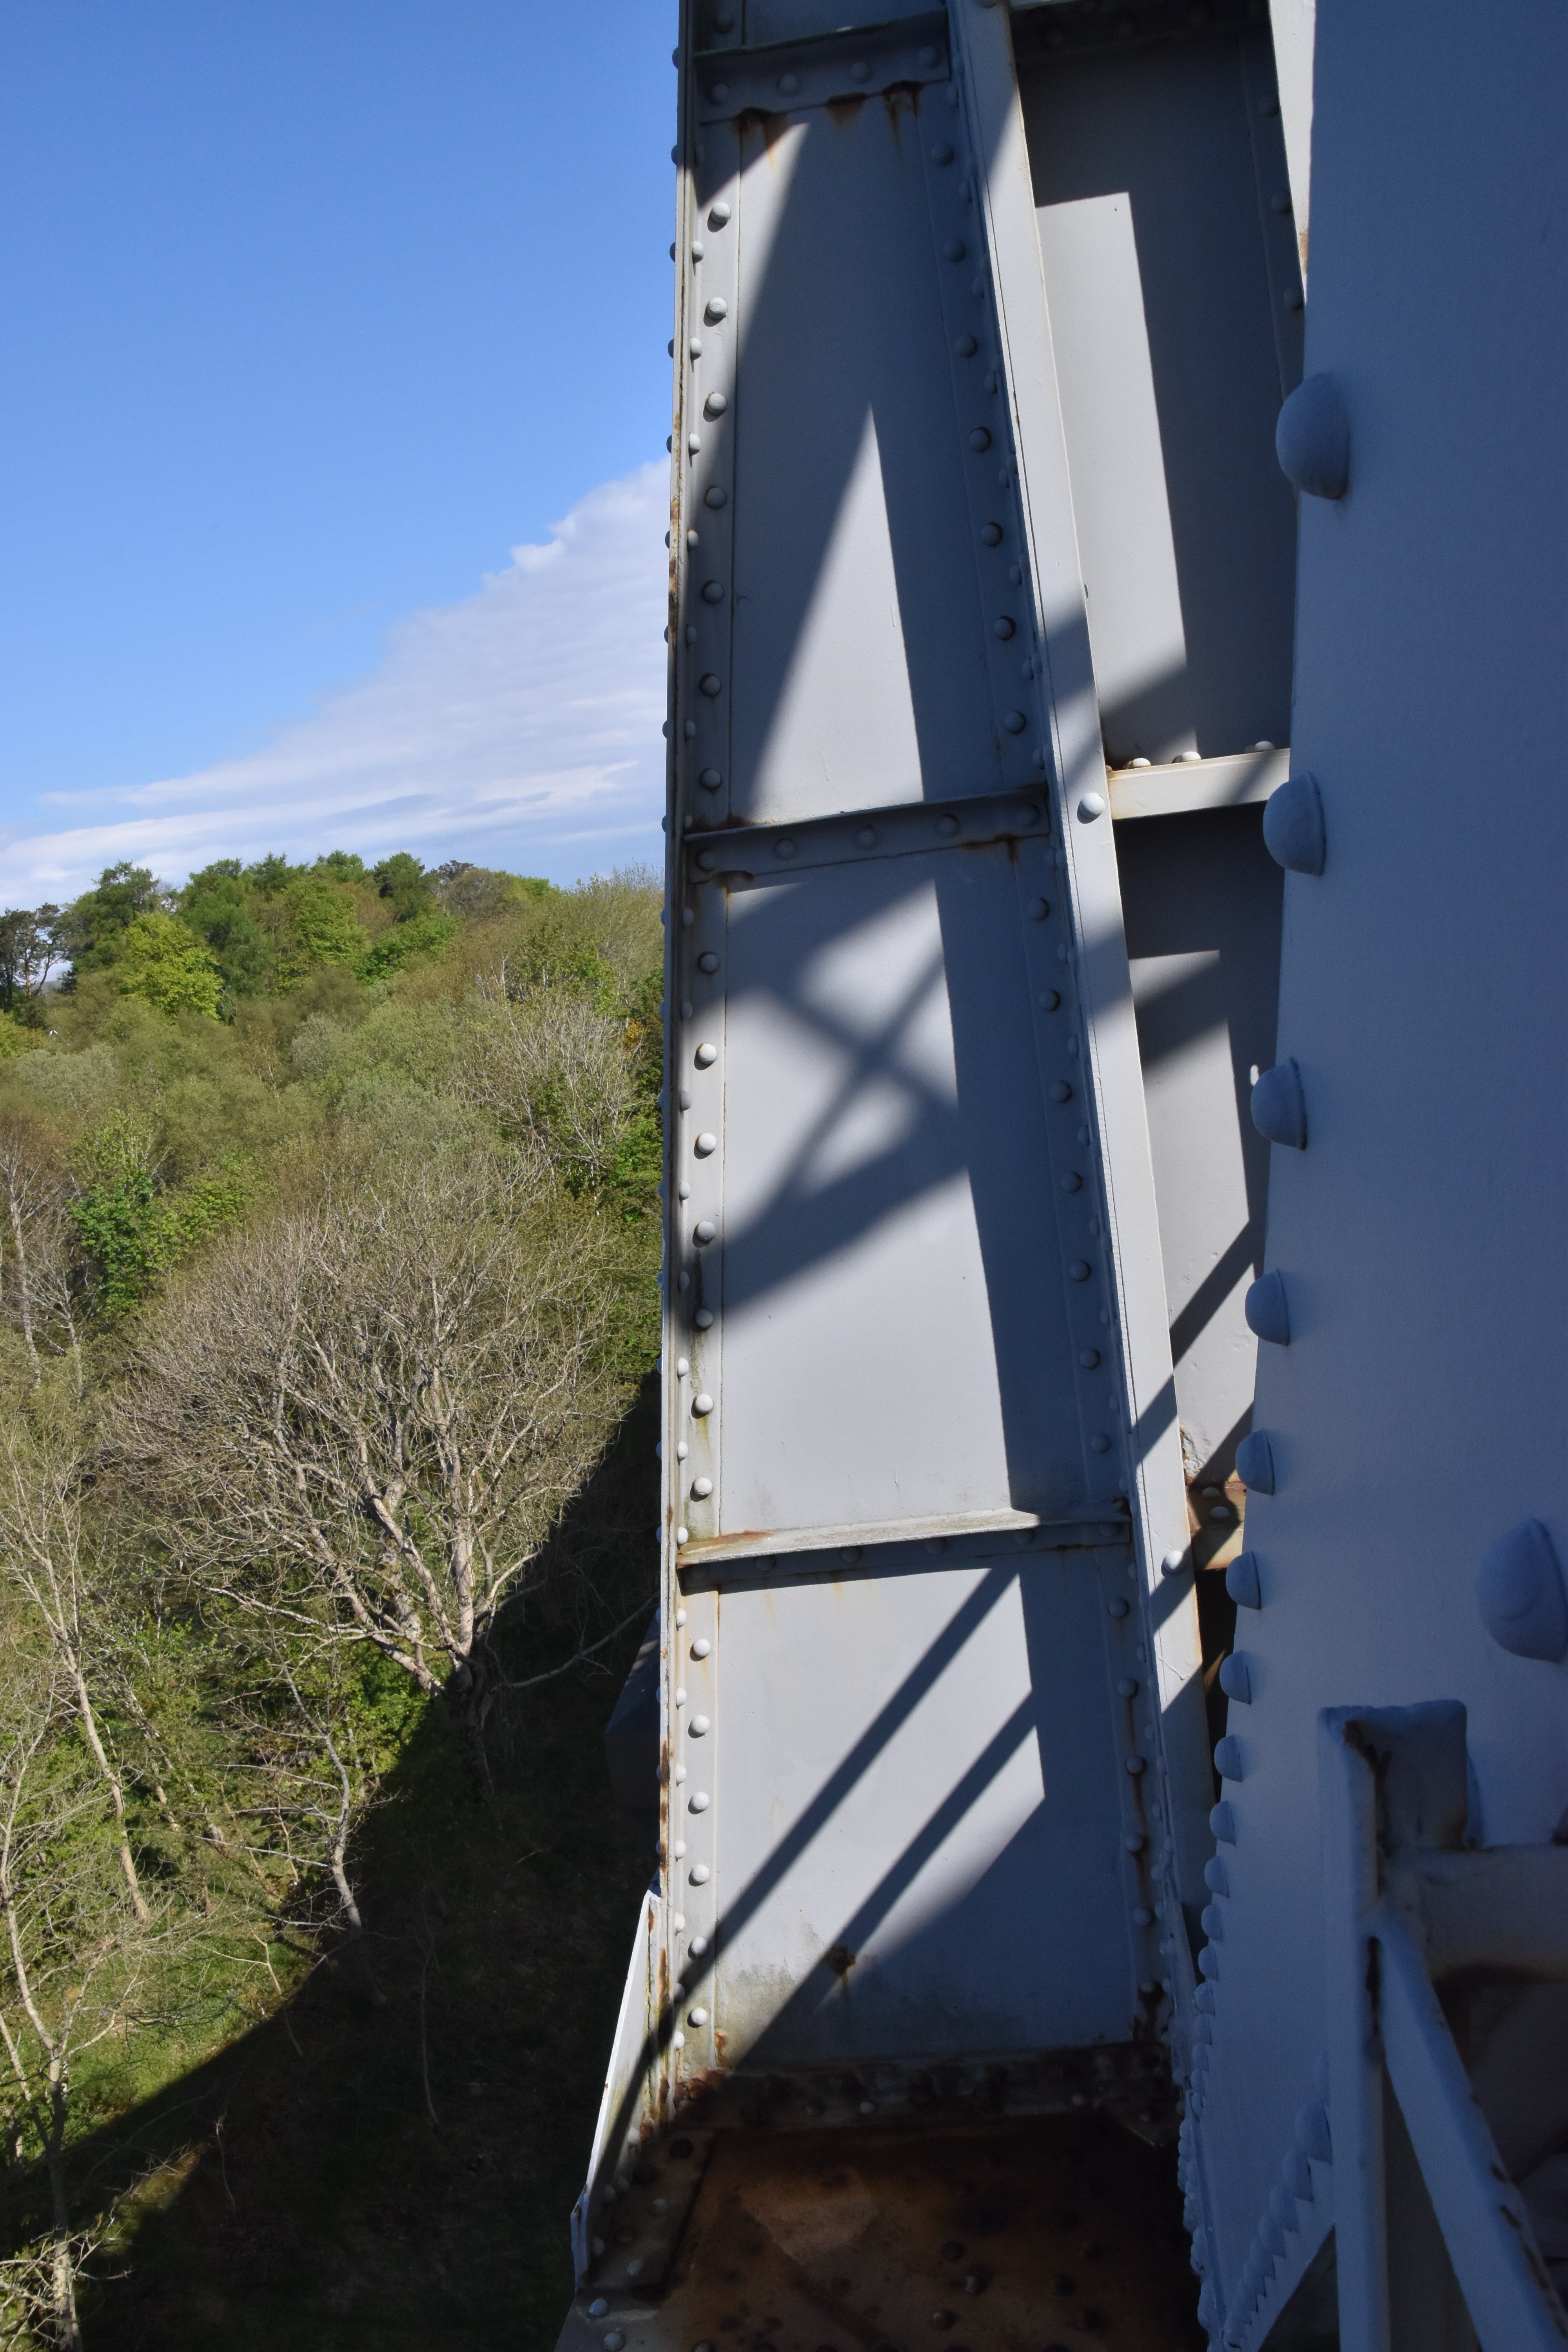
End post detail.
![]()


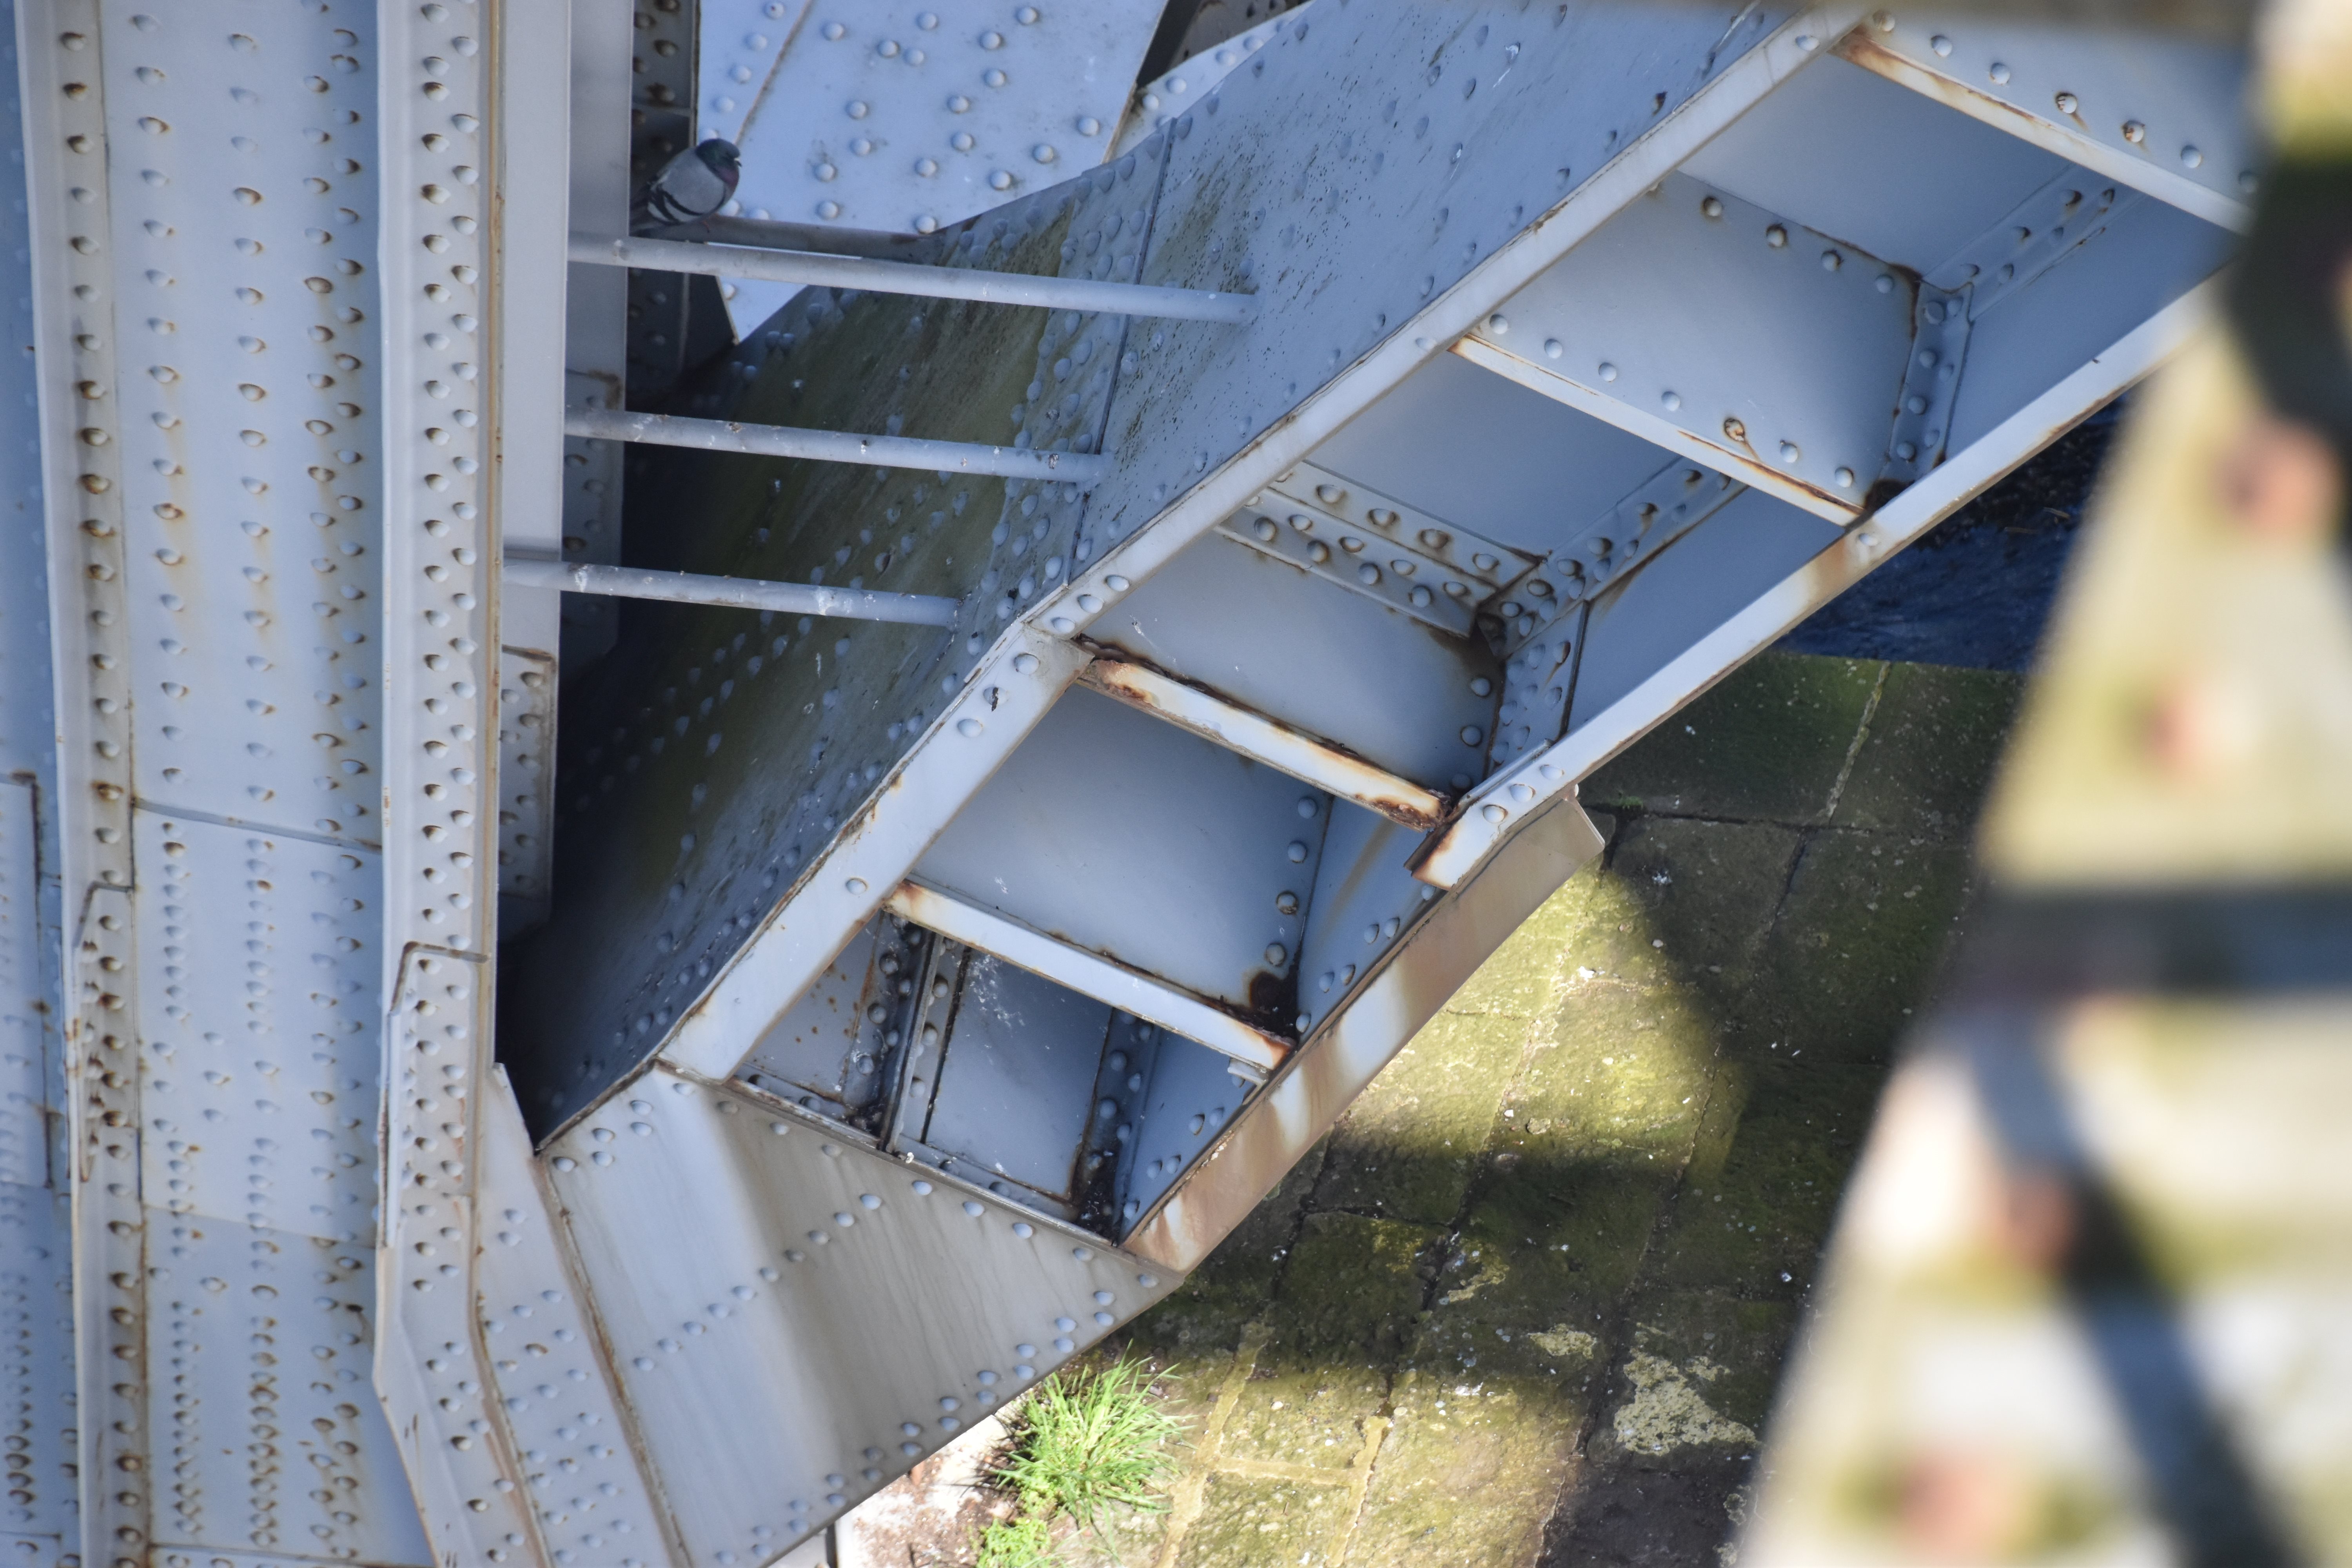
Portal bracing detail.
![]()
Upper lateral bracing overview.
![]()


Upper lateral bracing details.
![]()


Sway bracing.
![]()


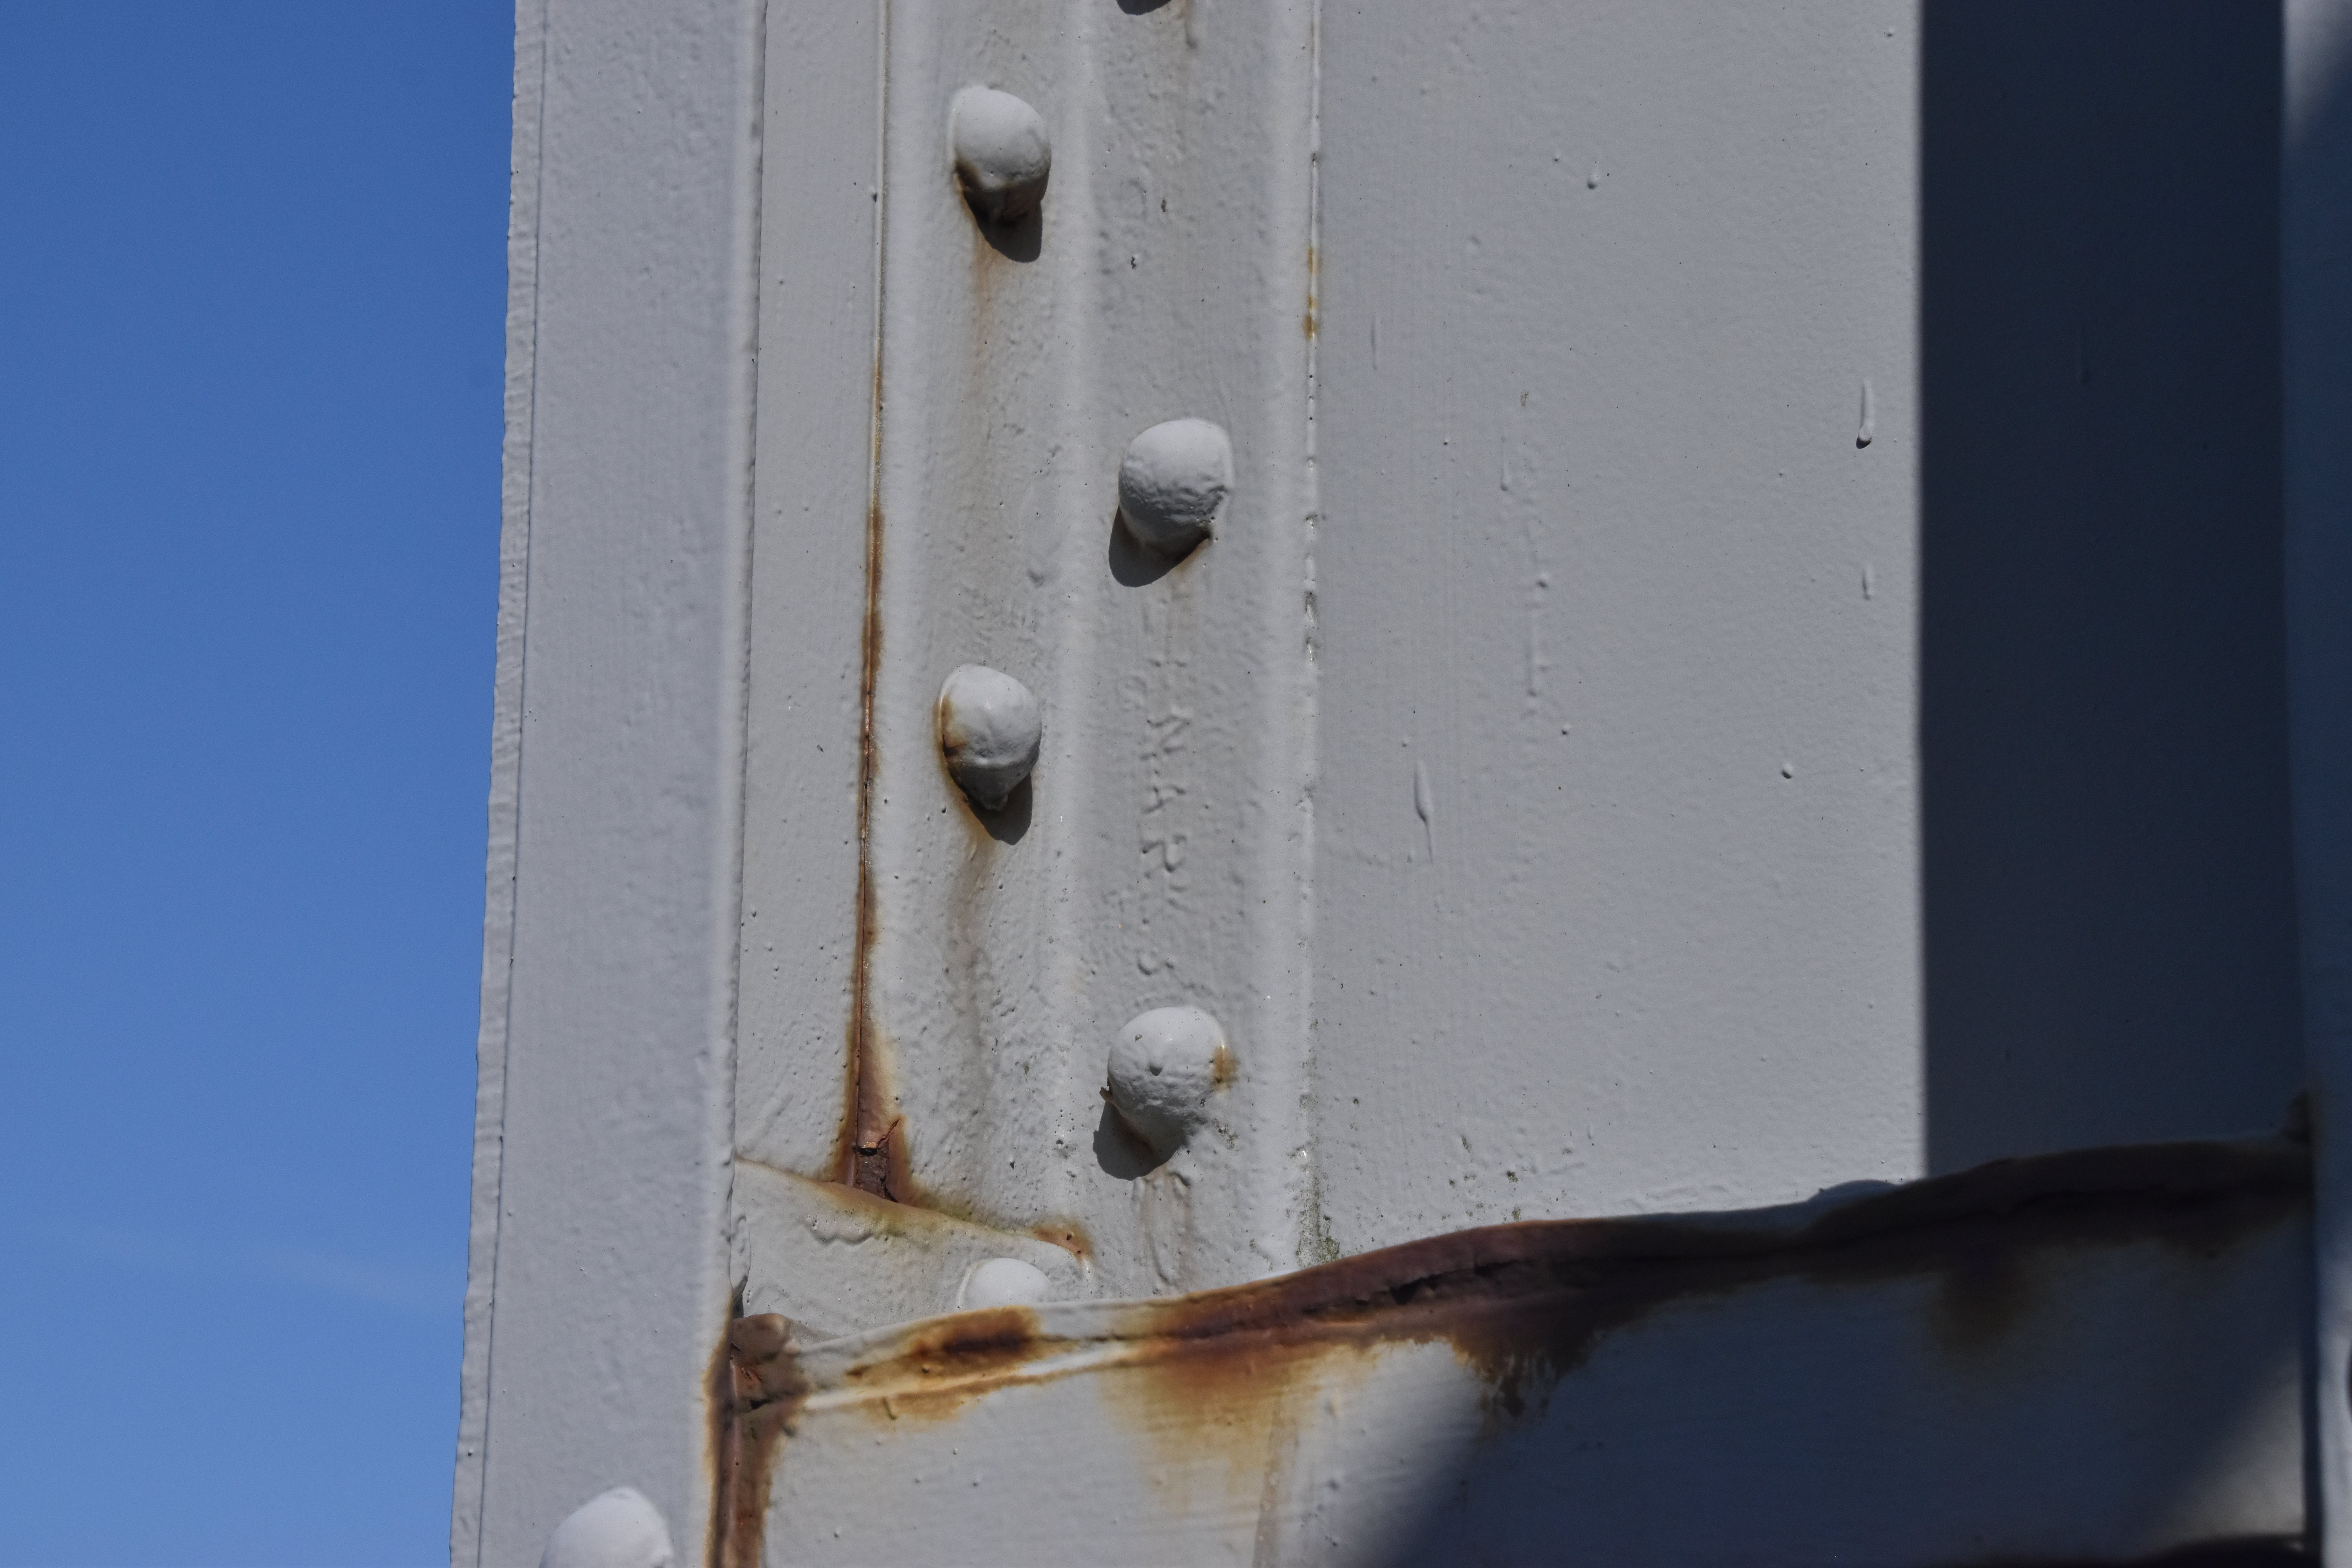
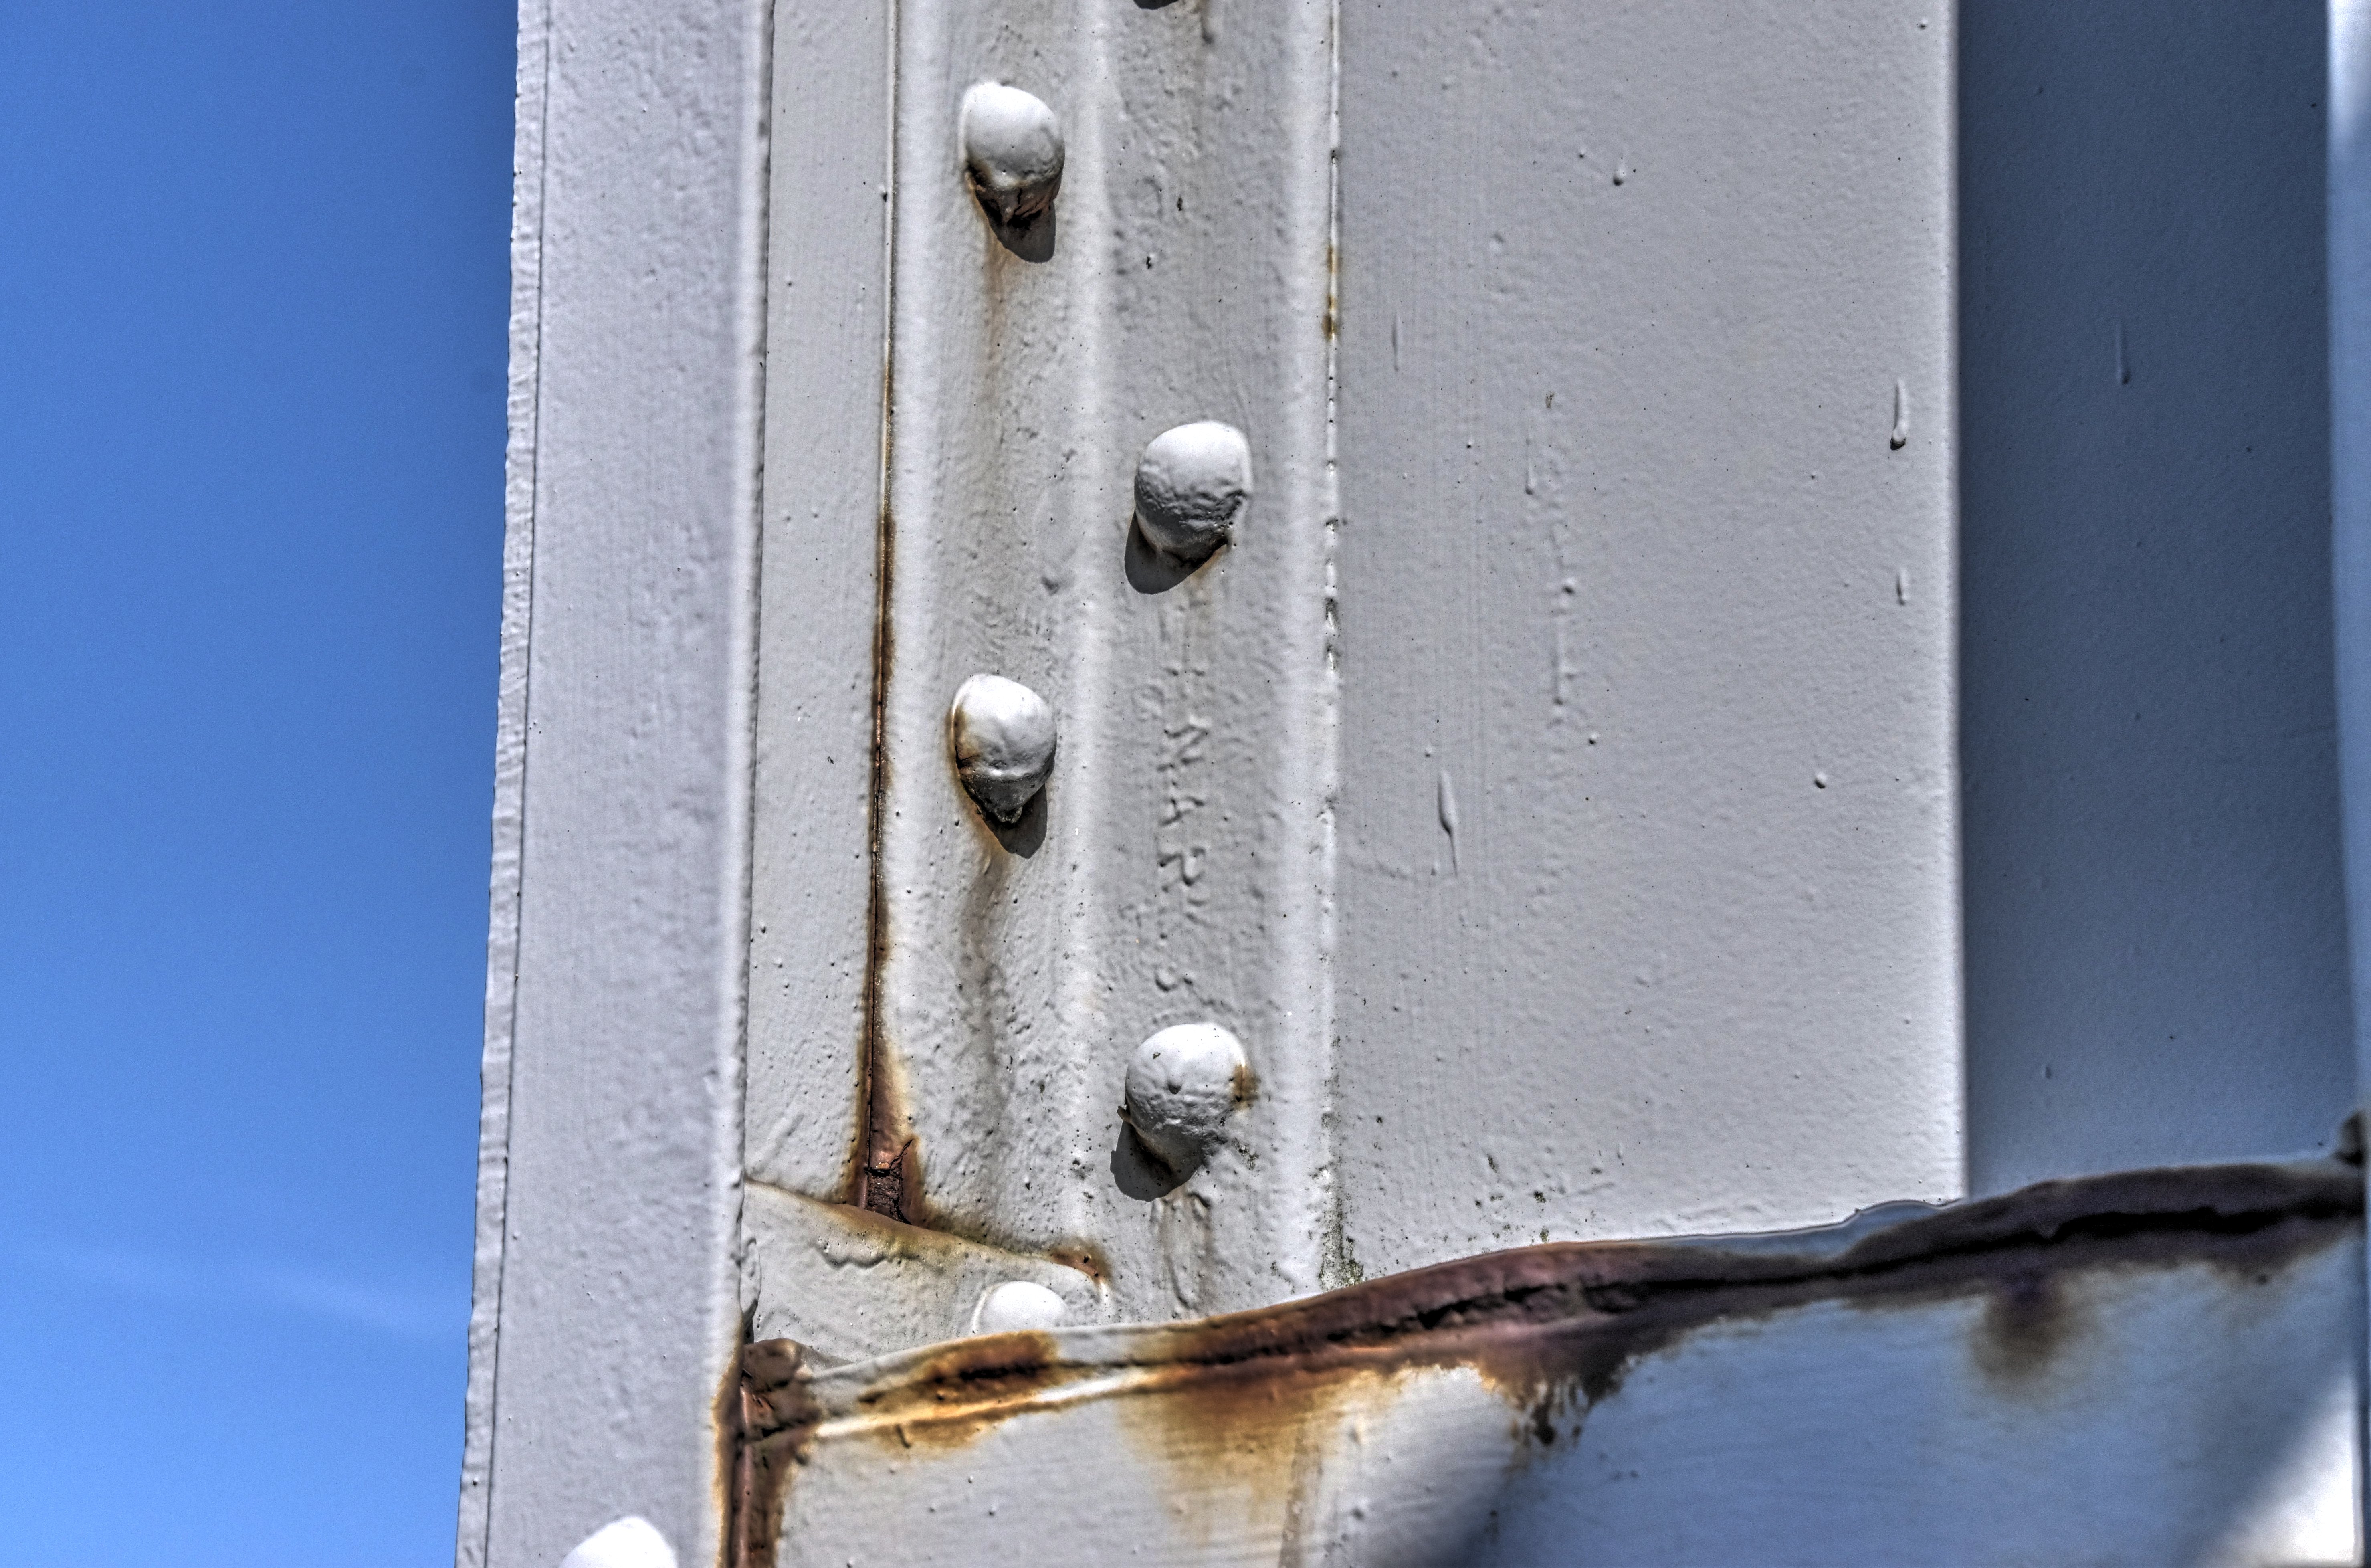
Bracing connections.
![]()
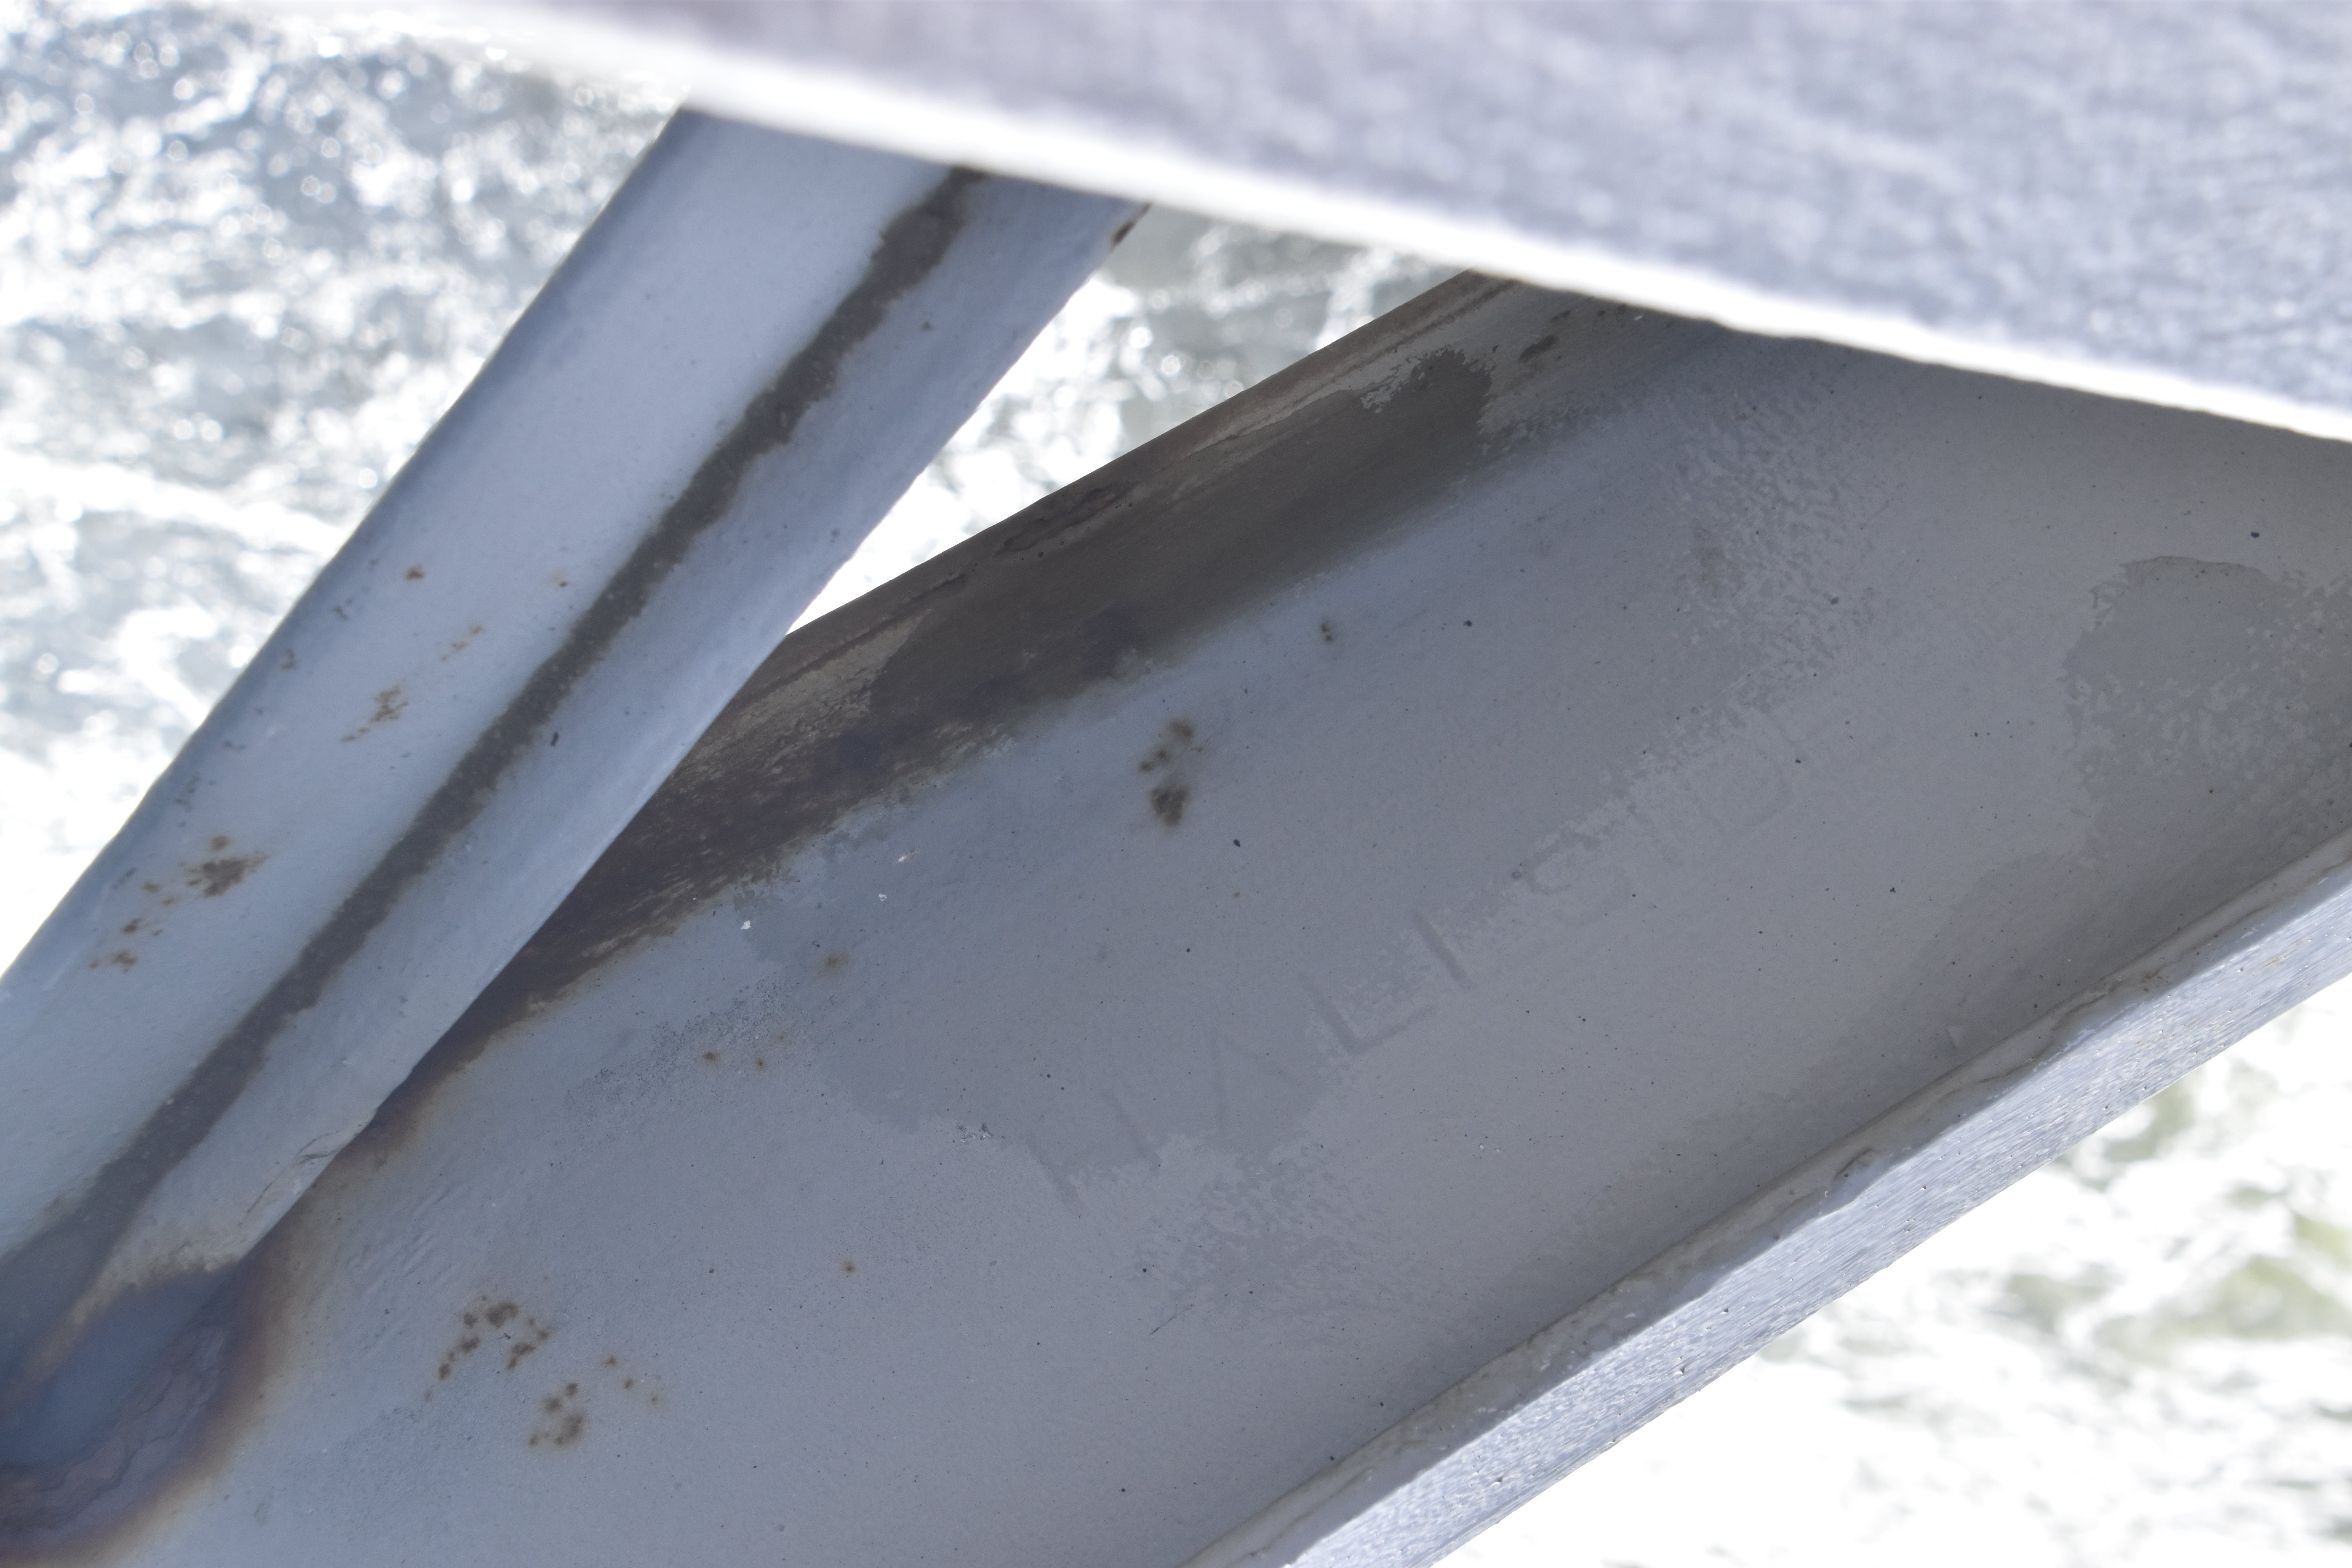
Detail of built-up beam showing rolled tee.
![]()
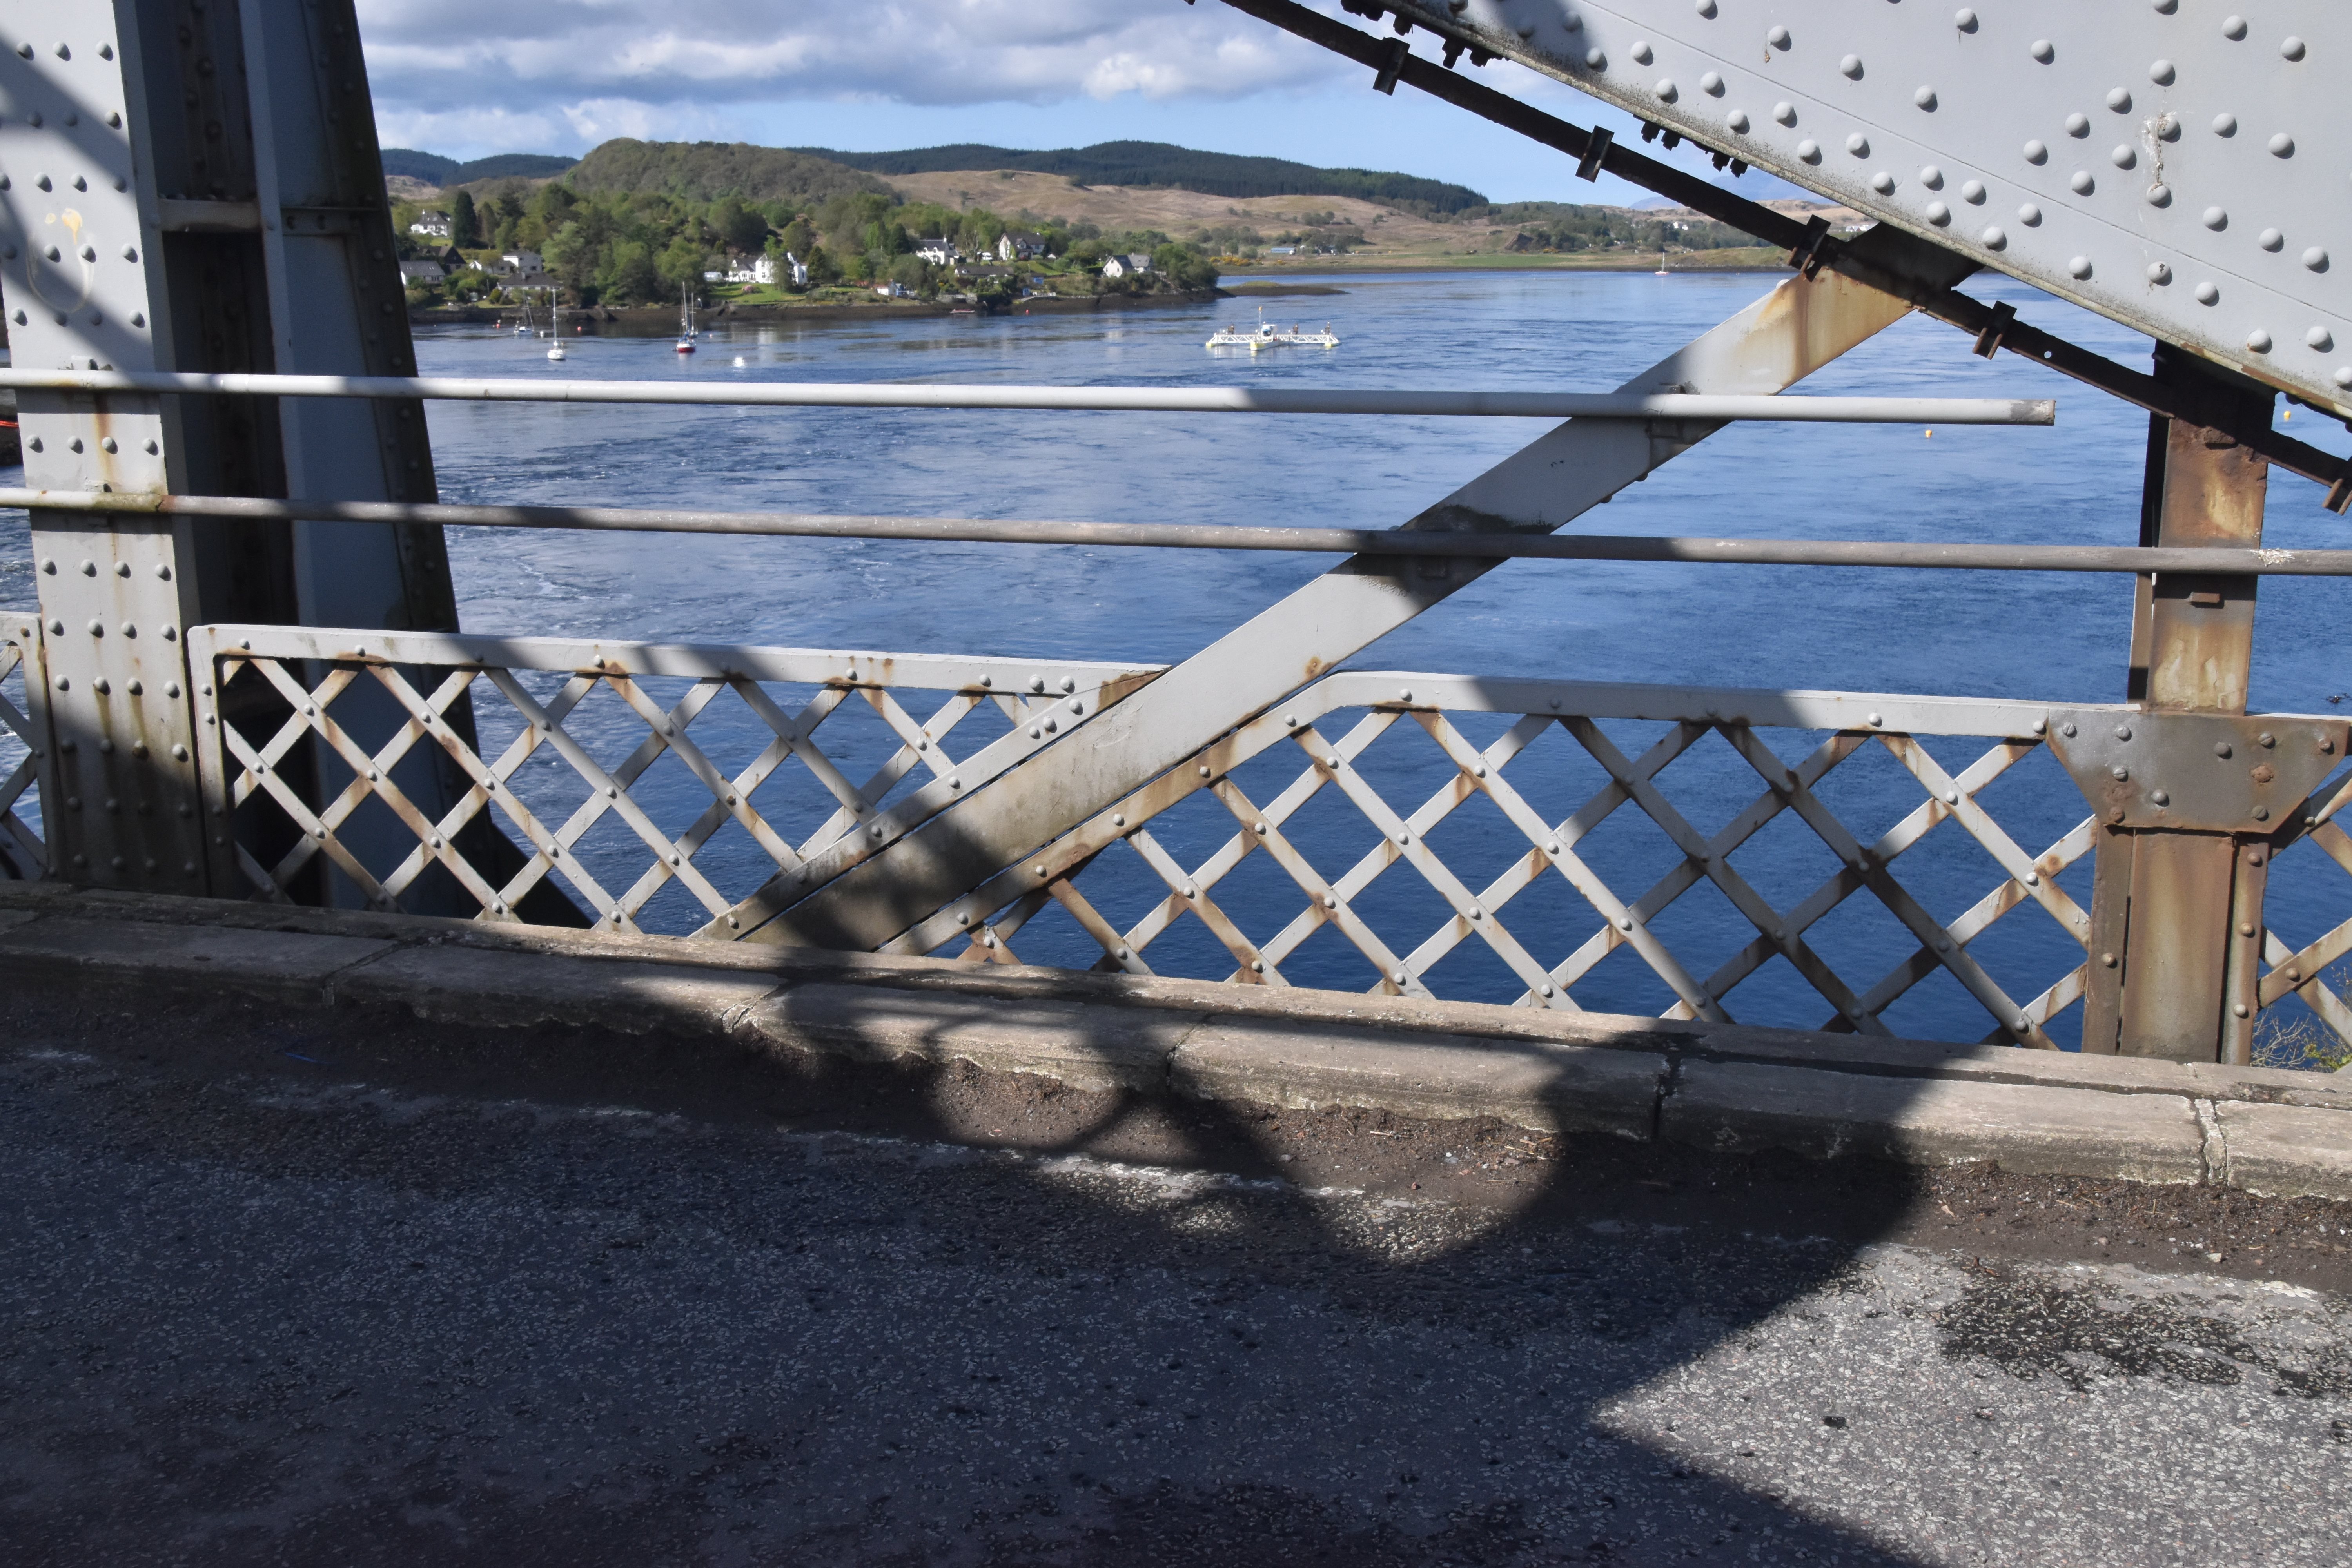
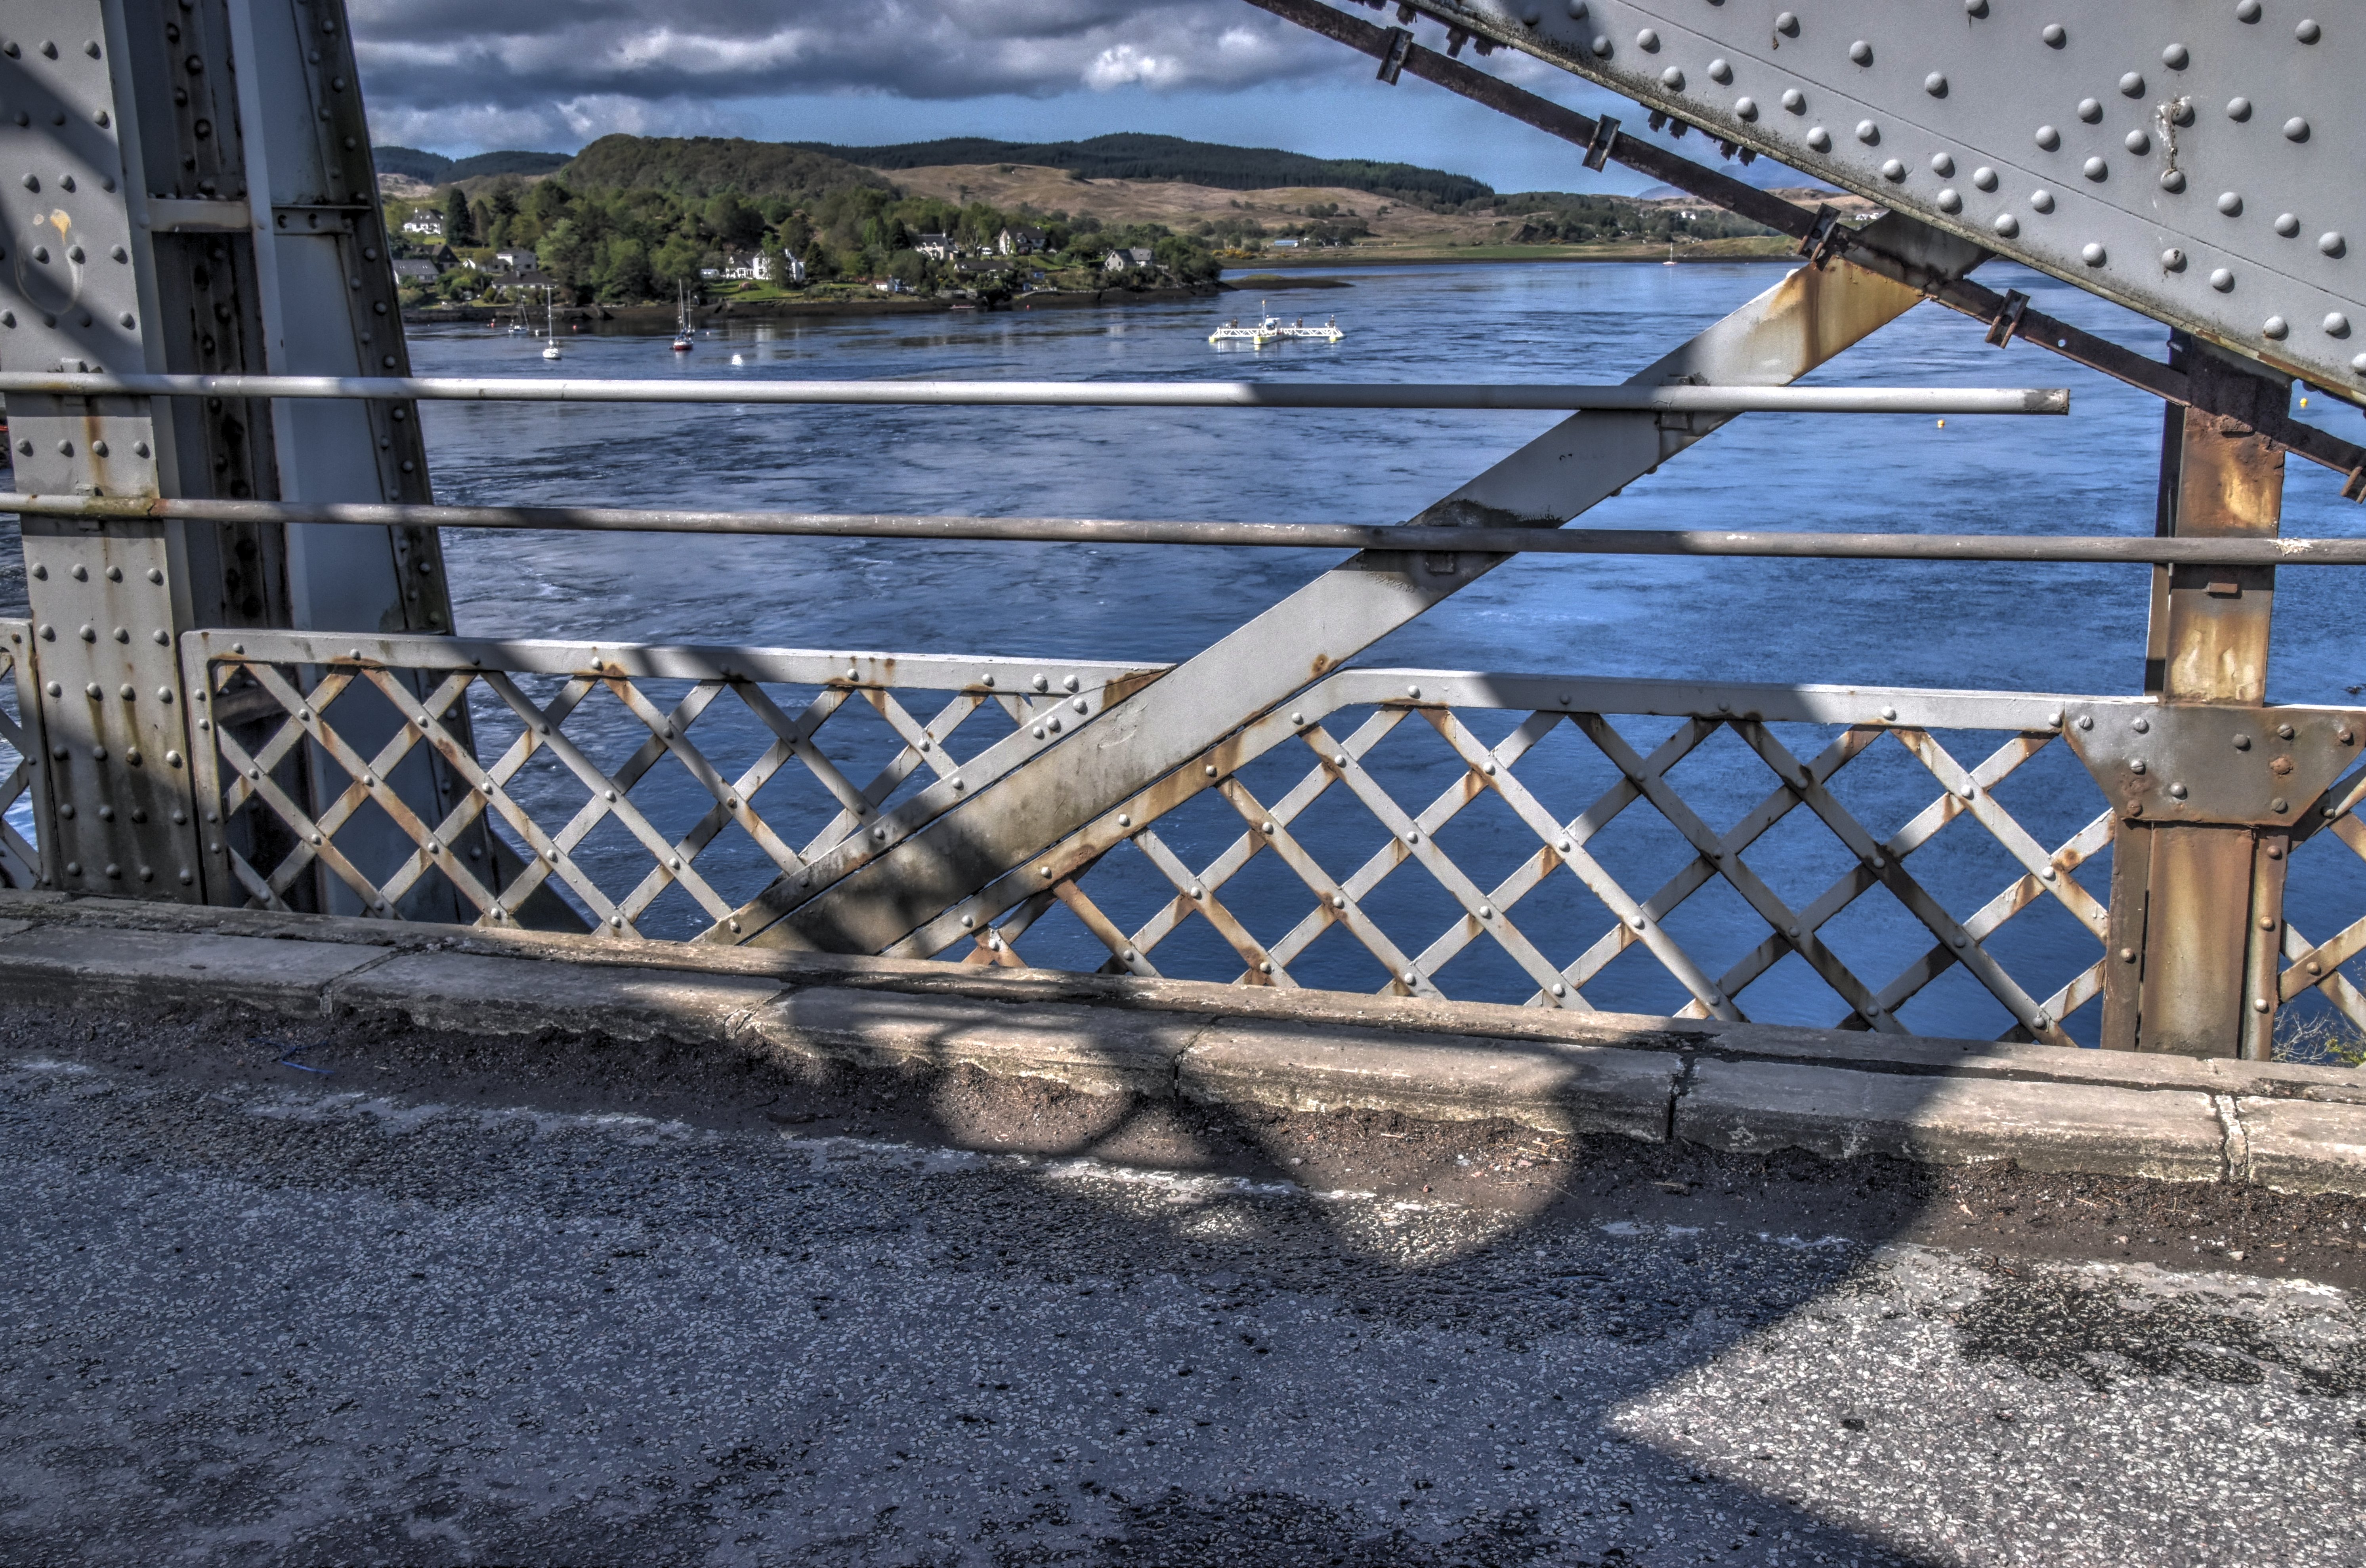
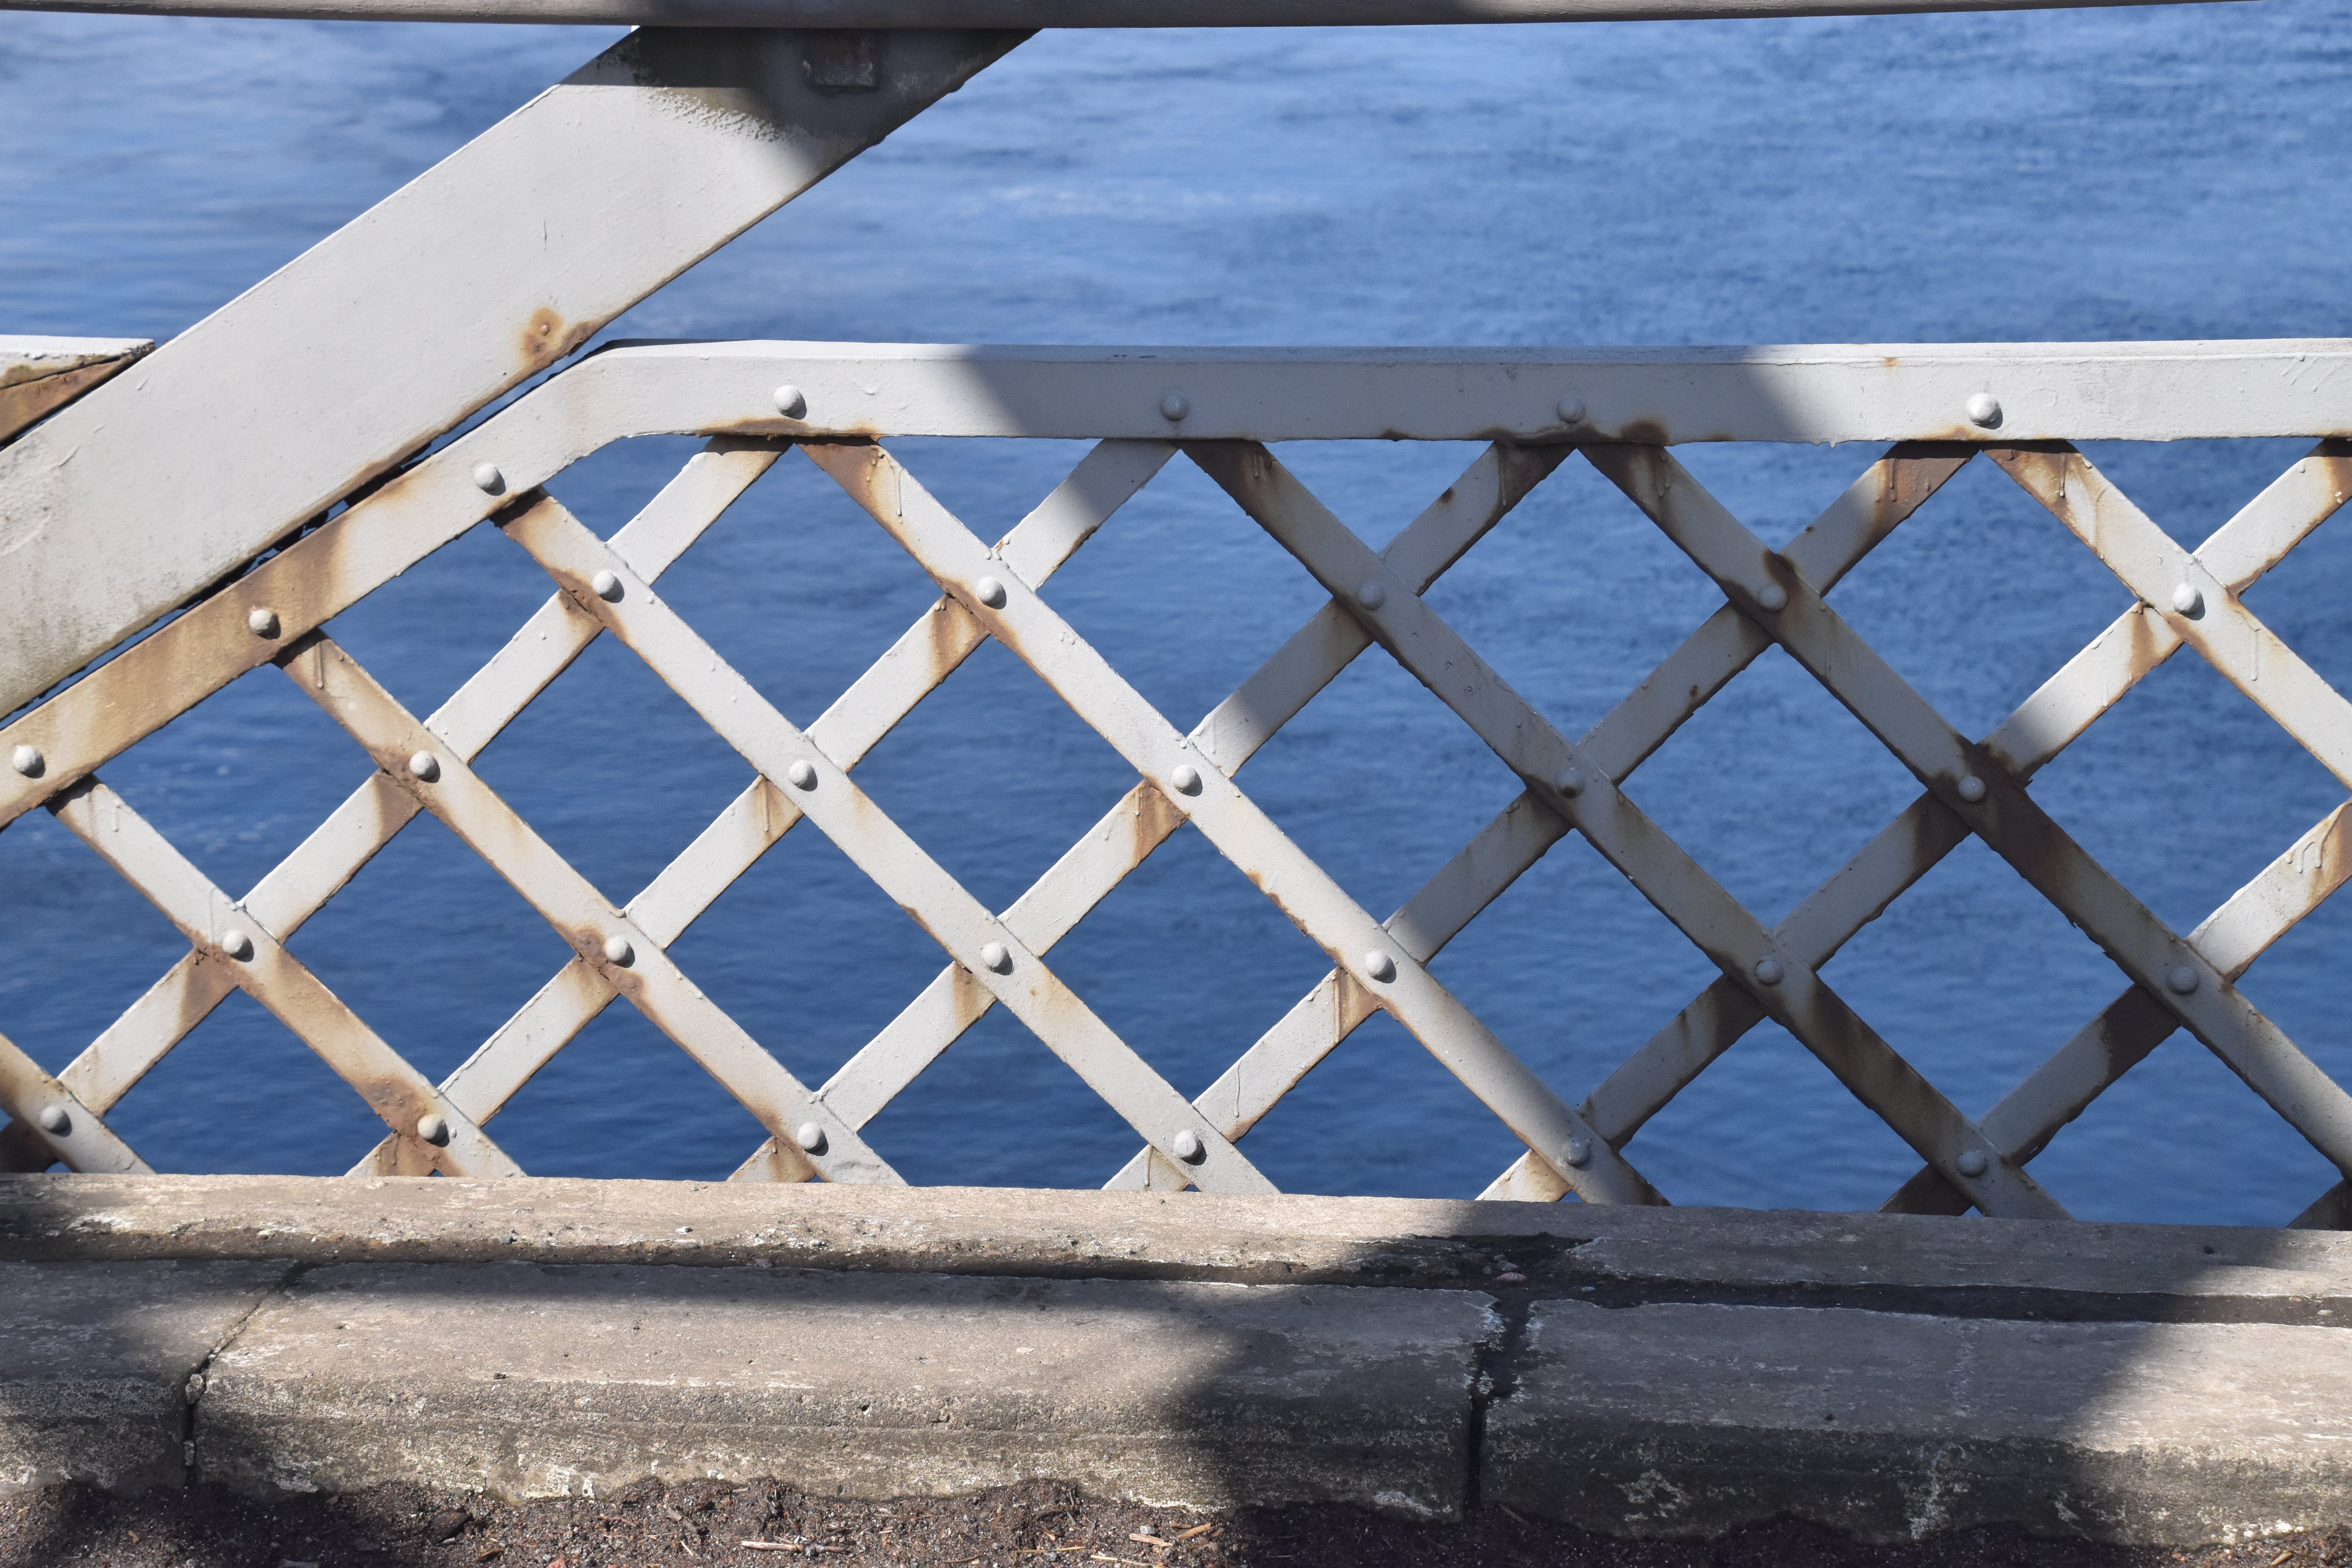
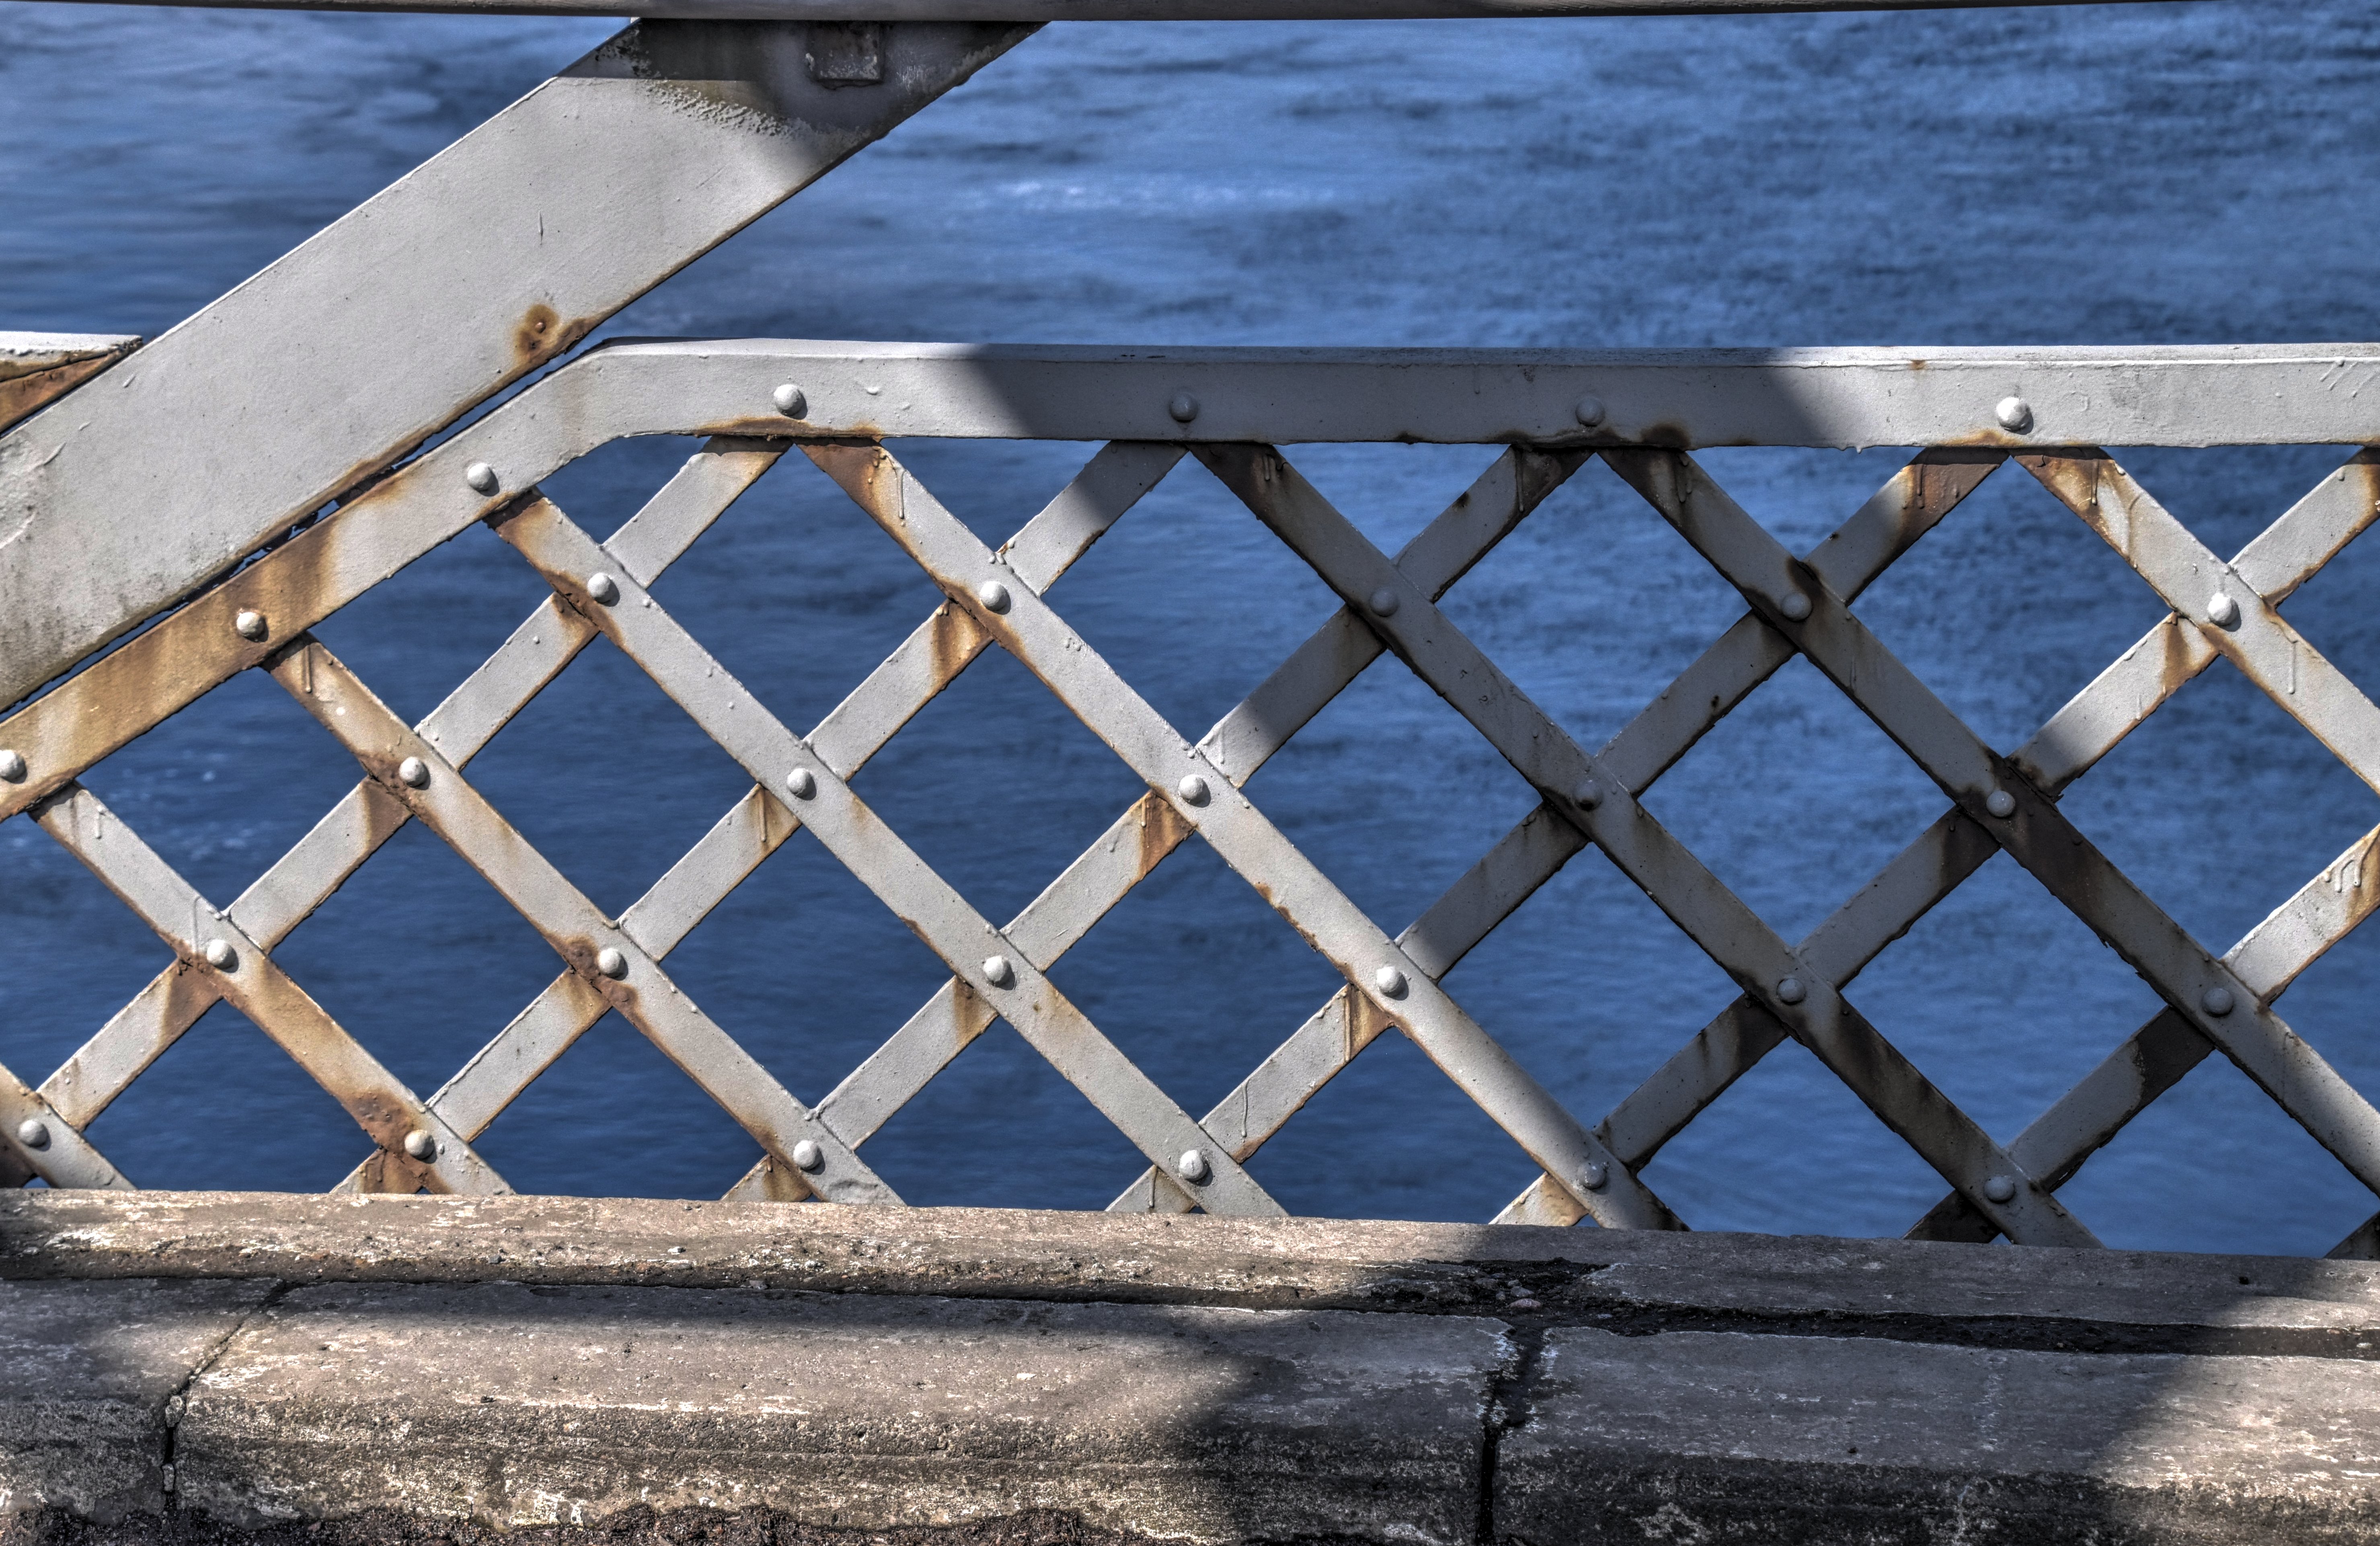
Railing.
![]()
Details of Suspended Span
![]()
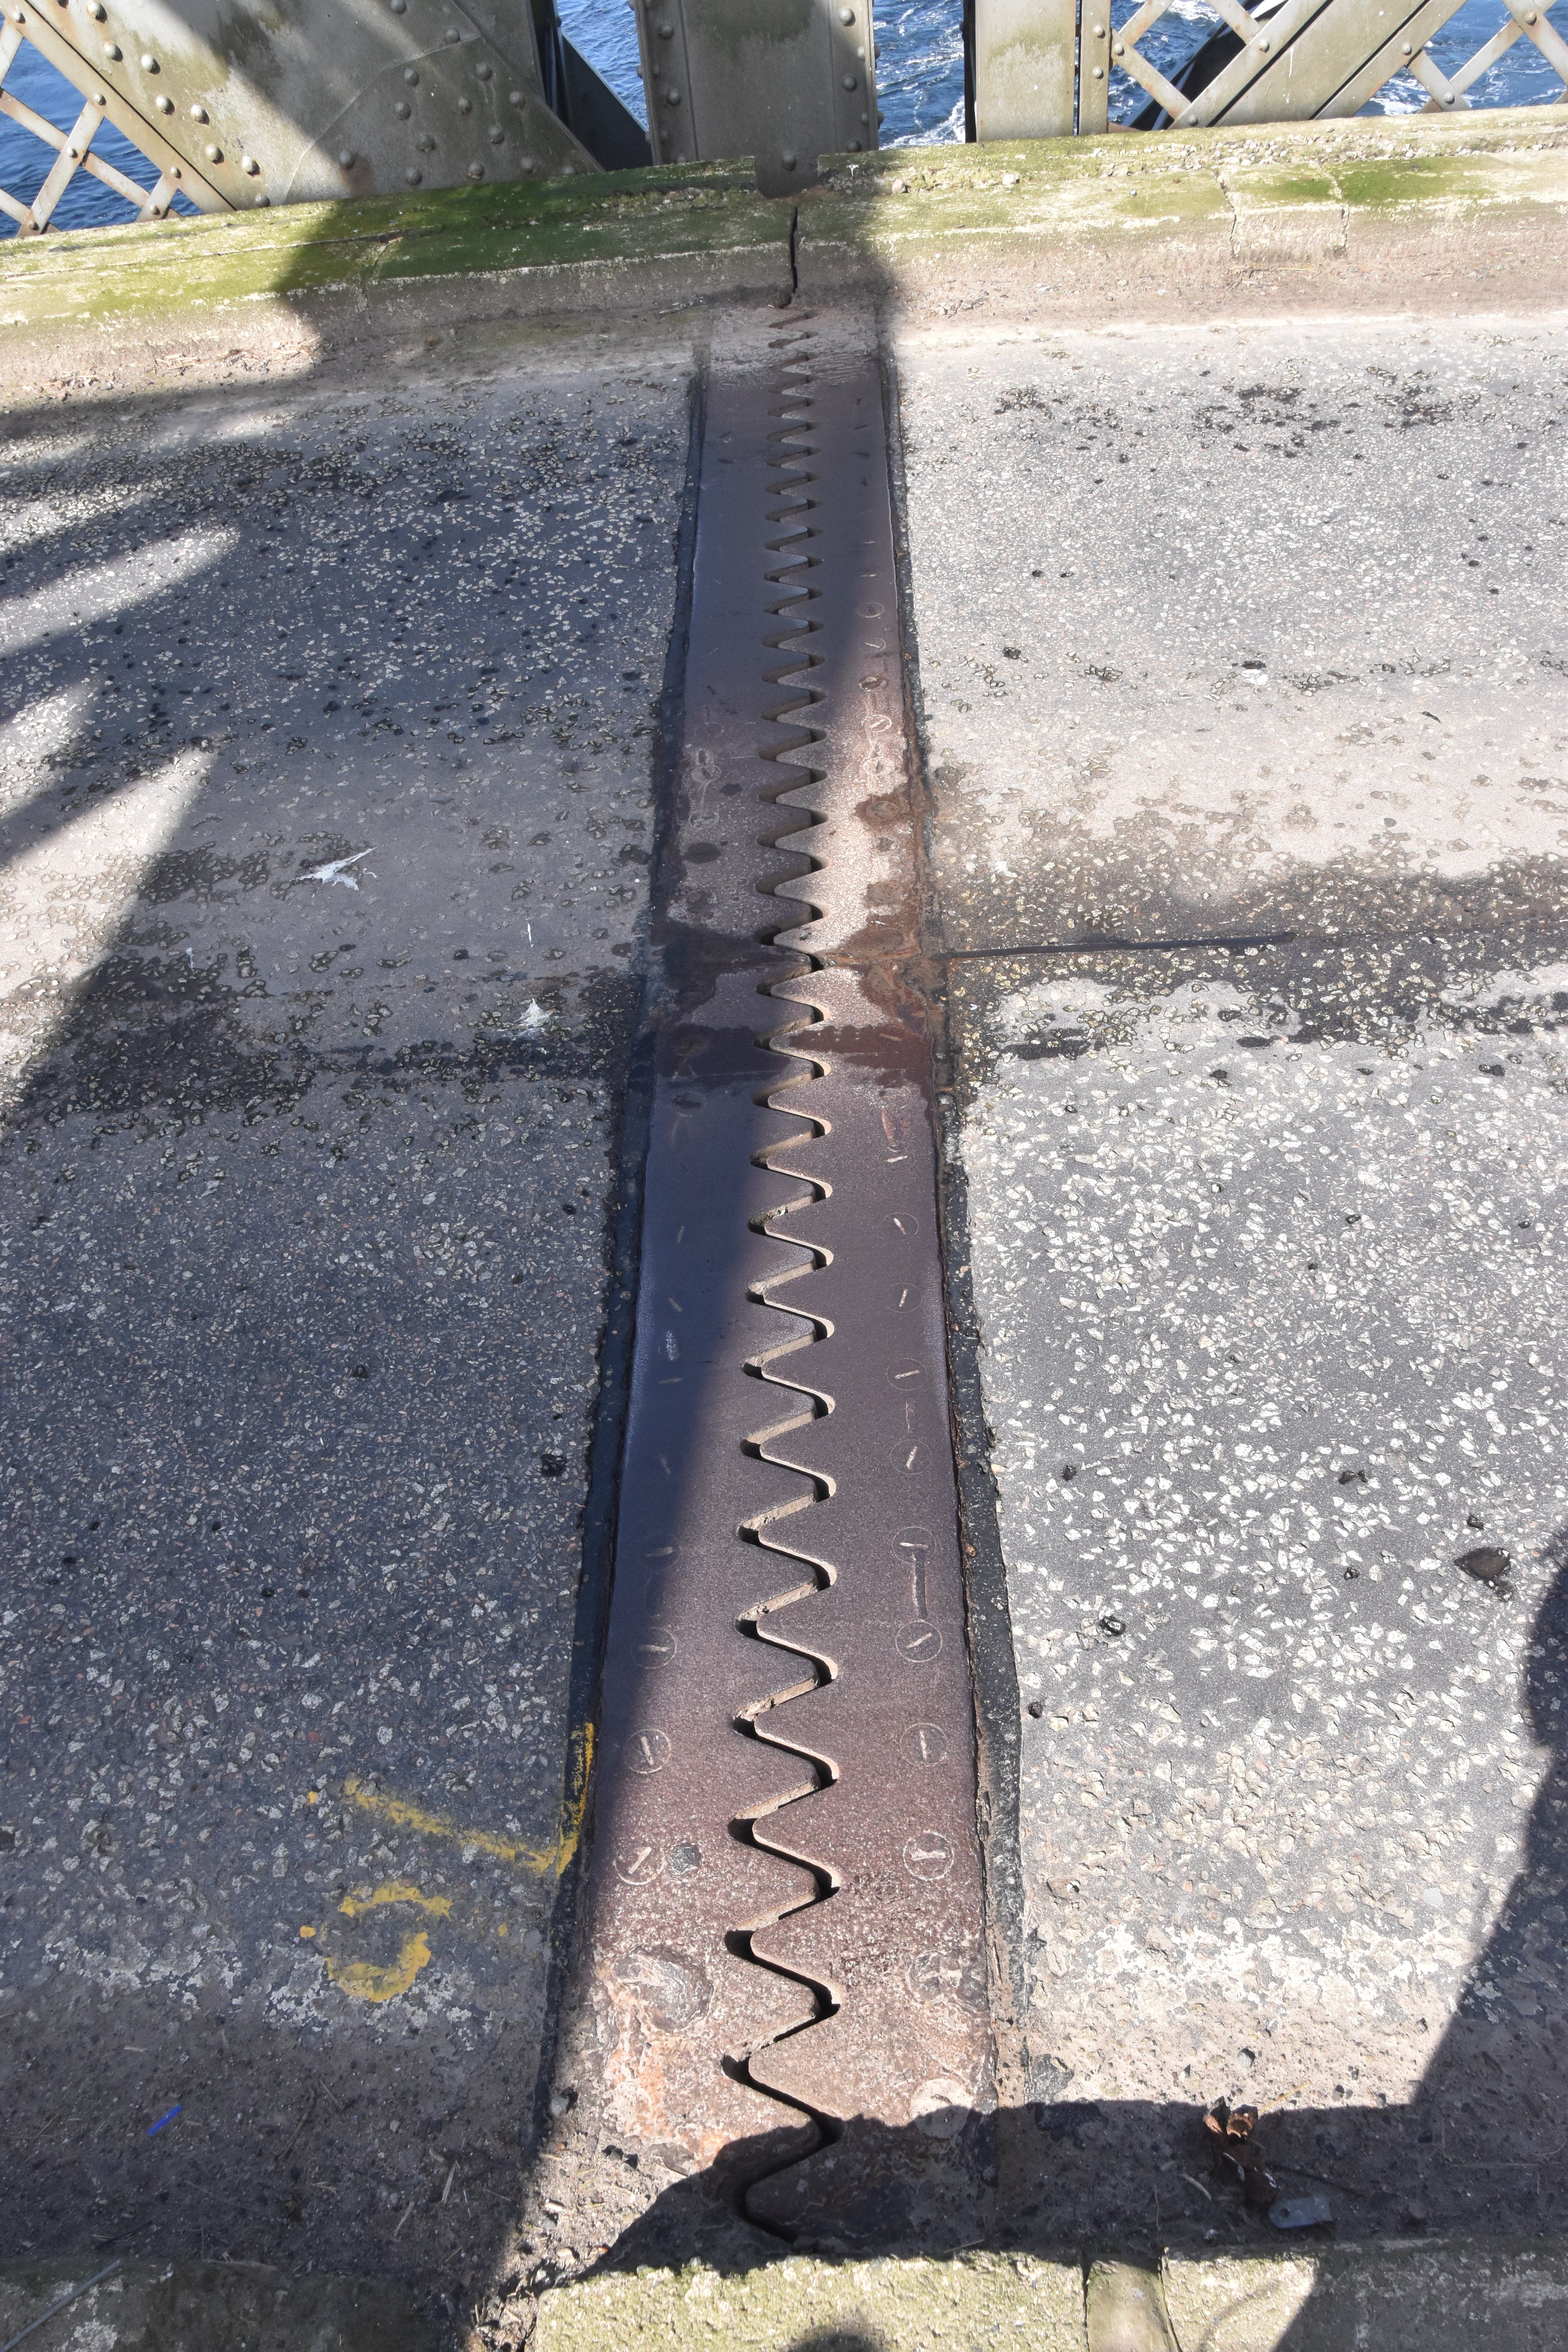
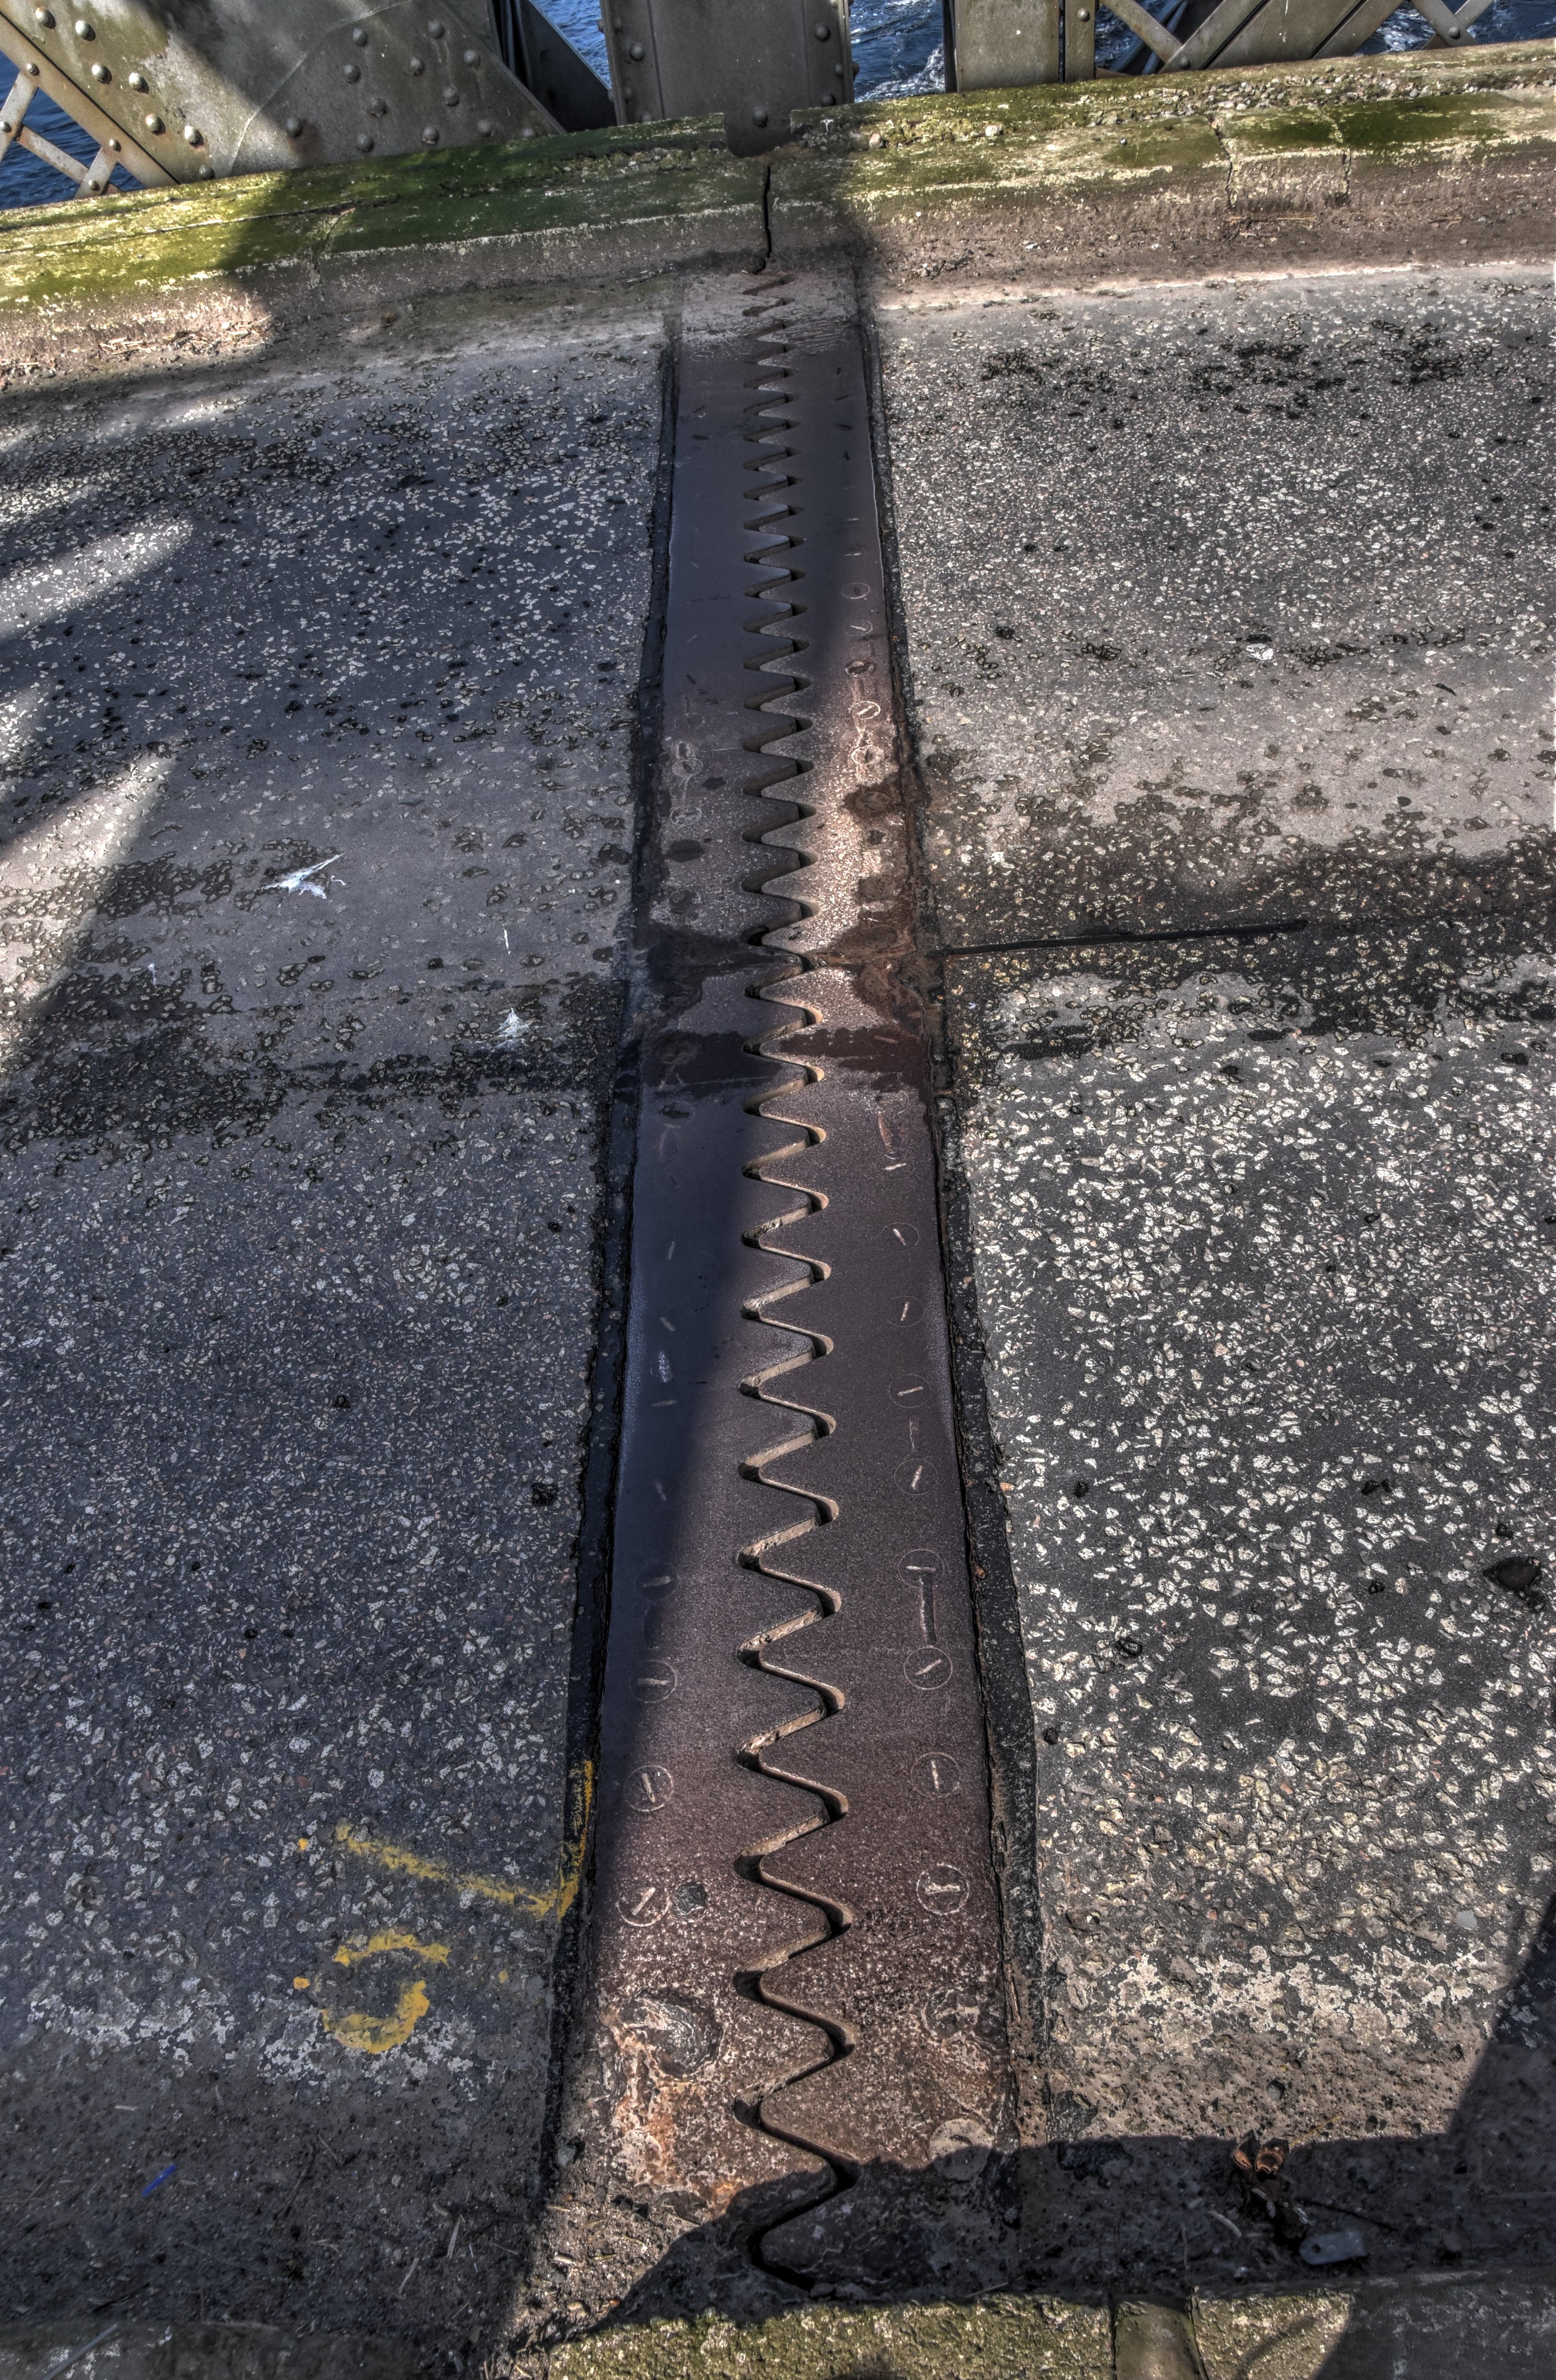
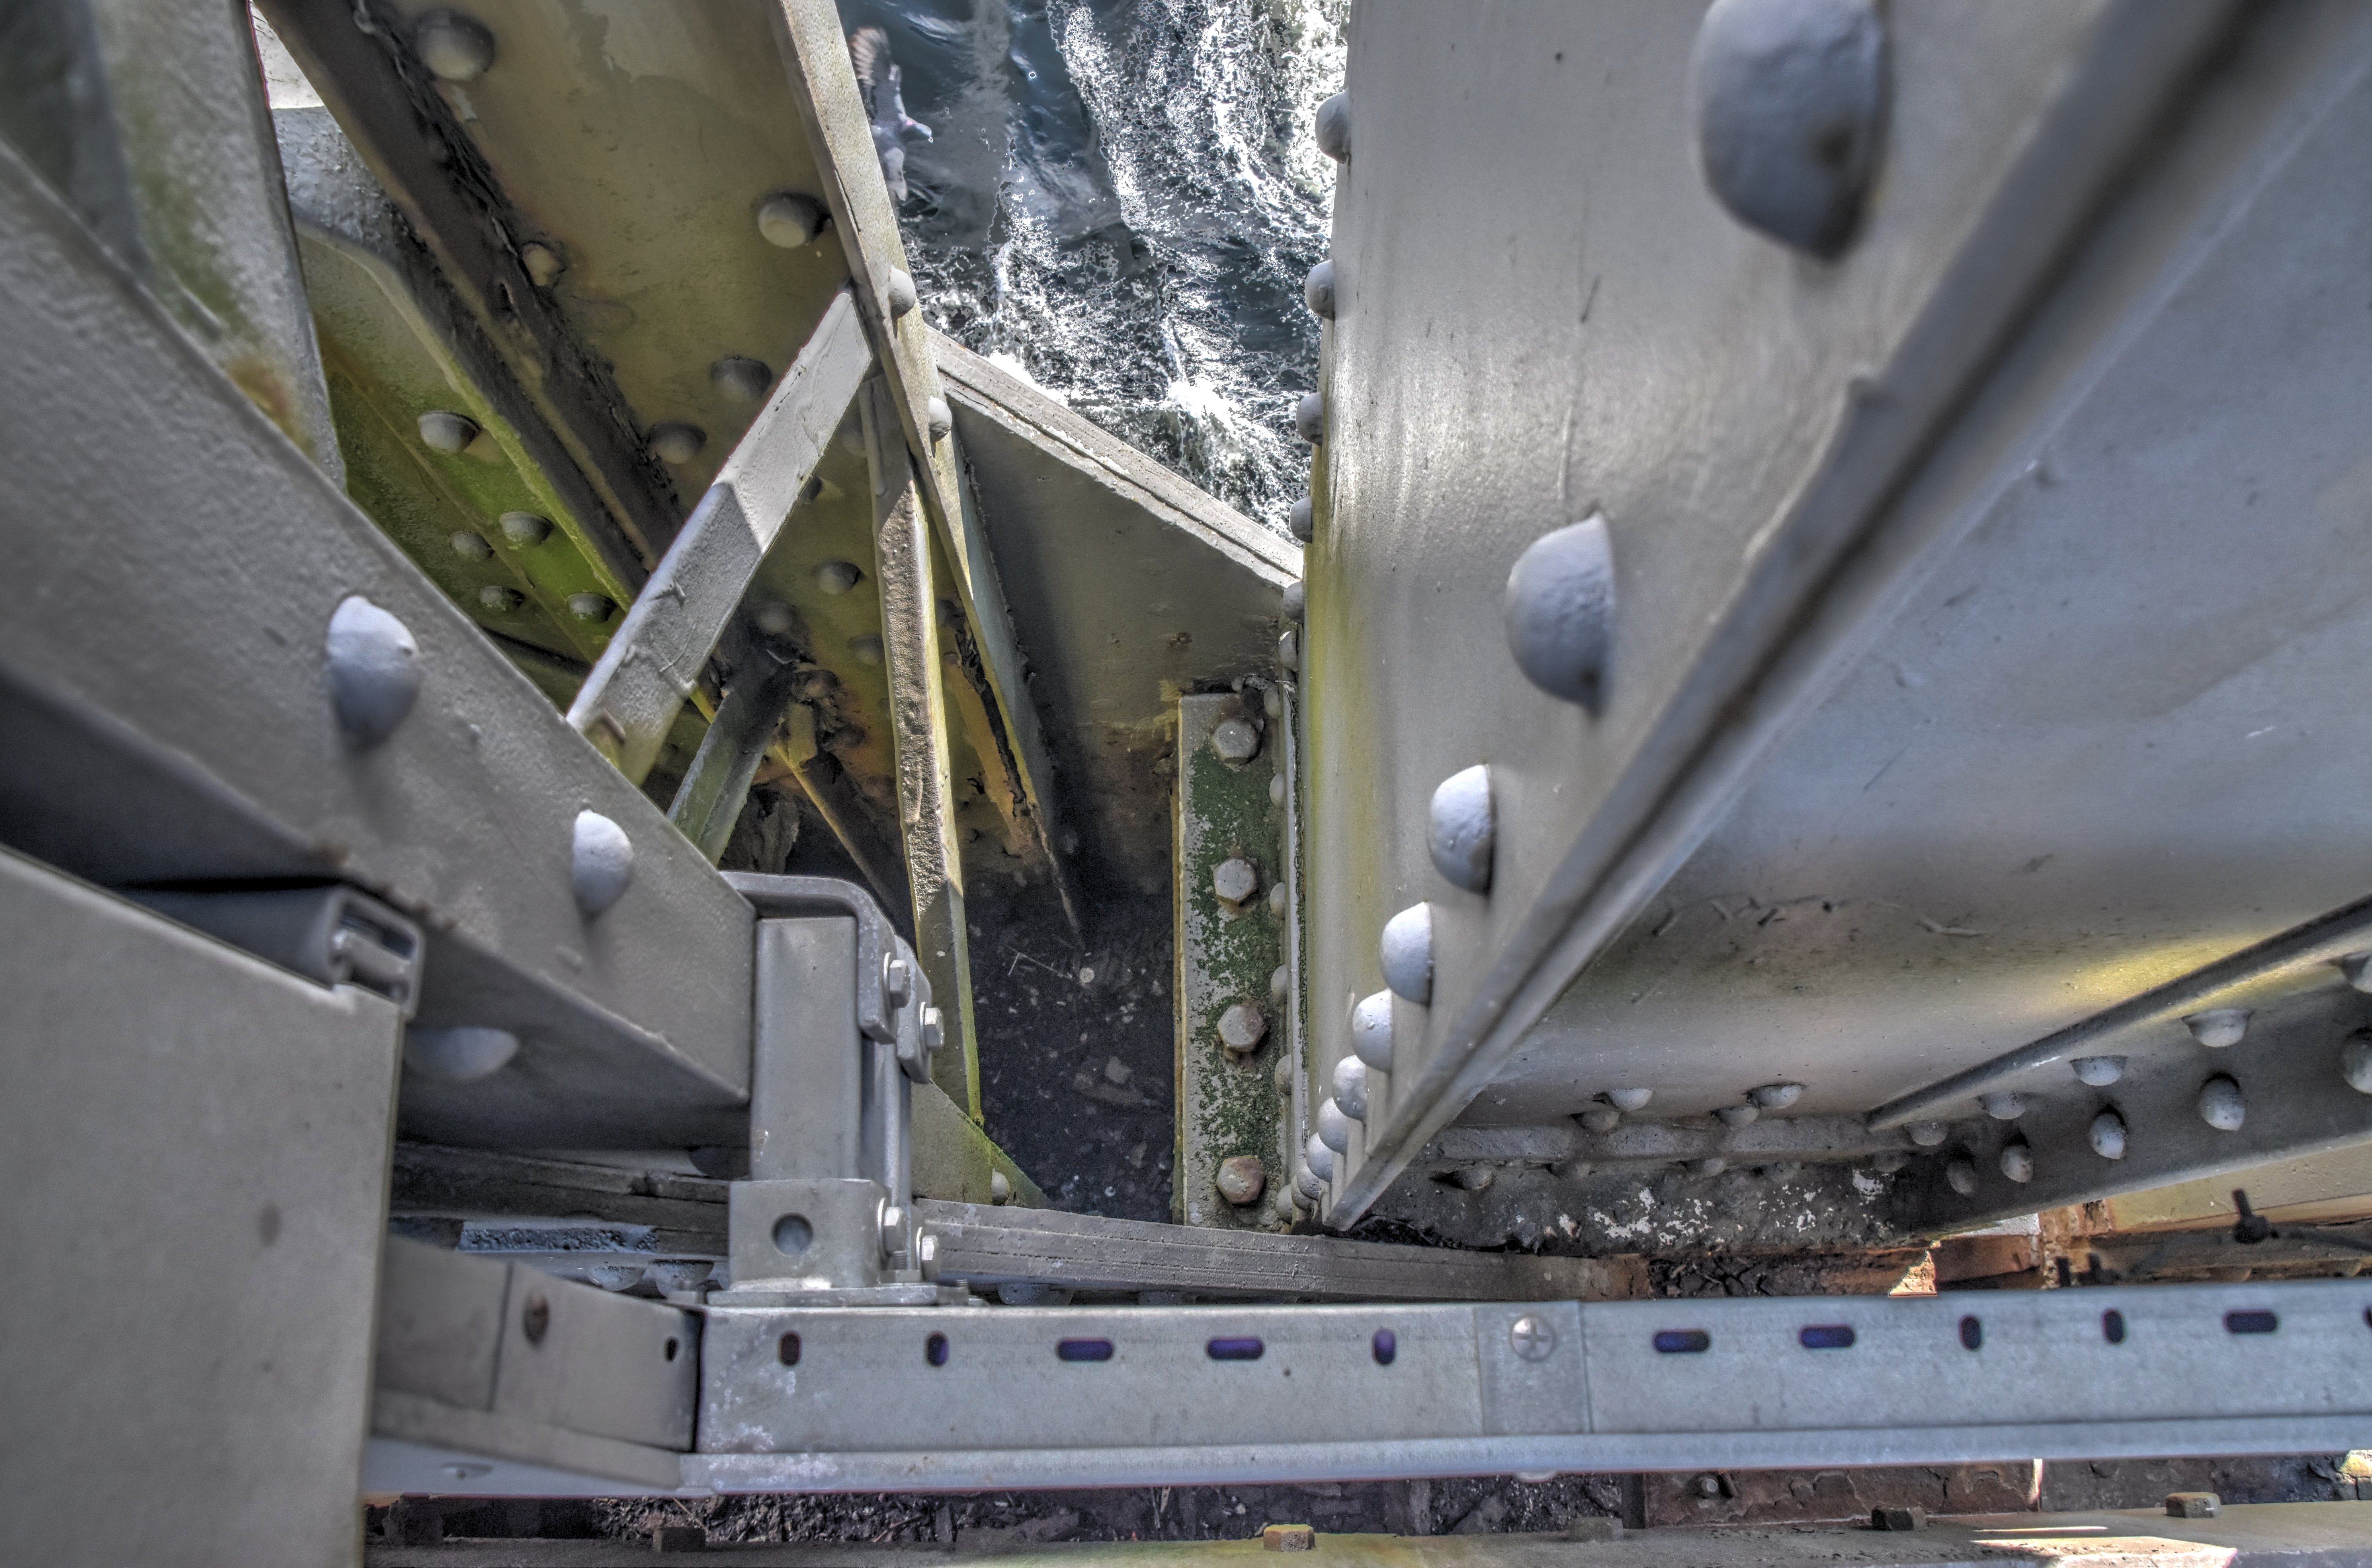
Finger/tooth expansion joint at suspended span.
![]()
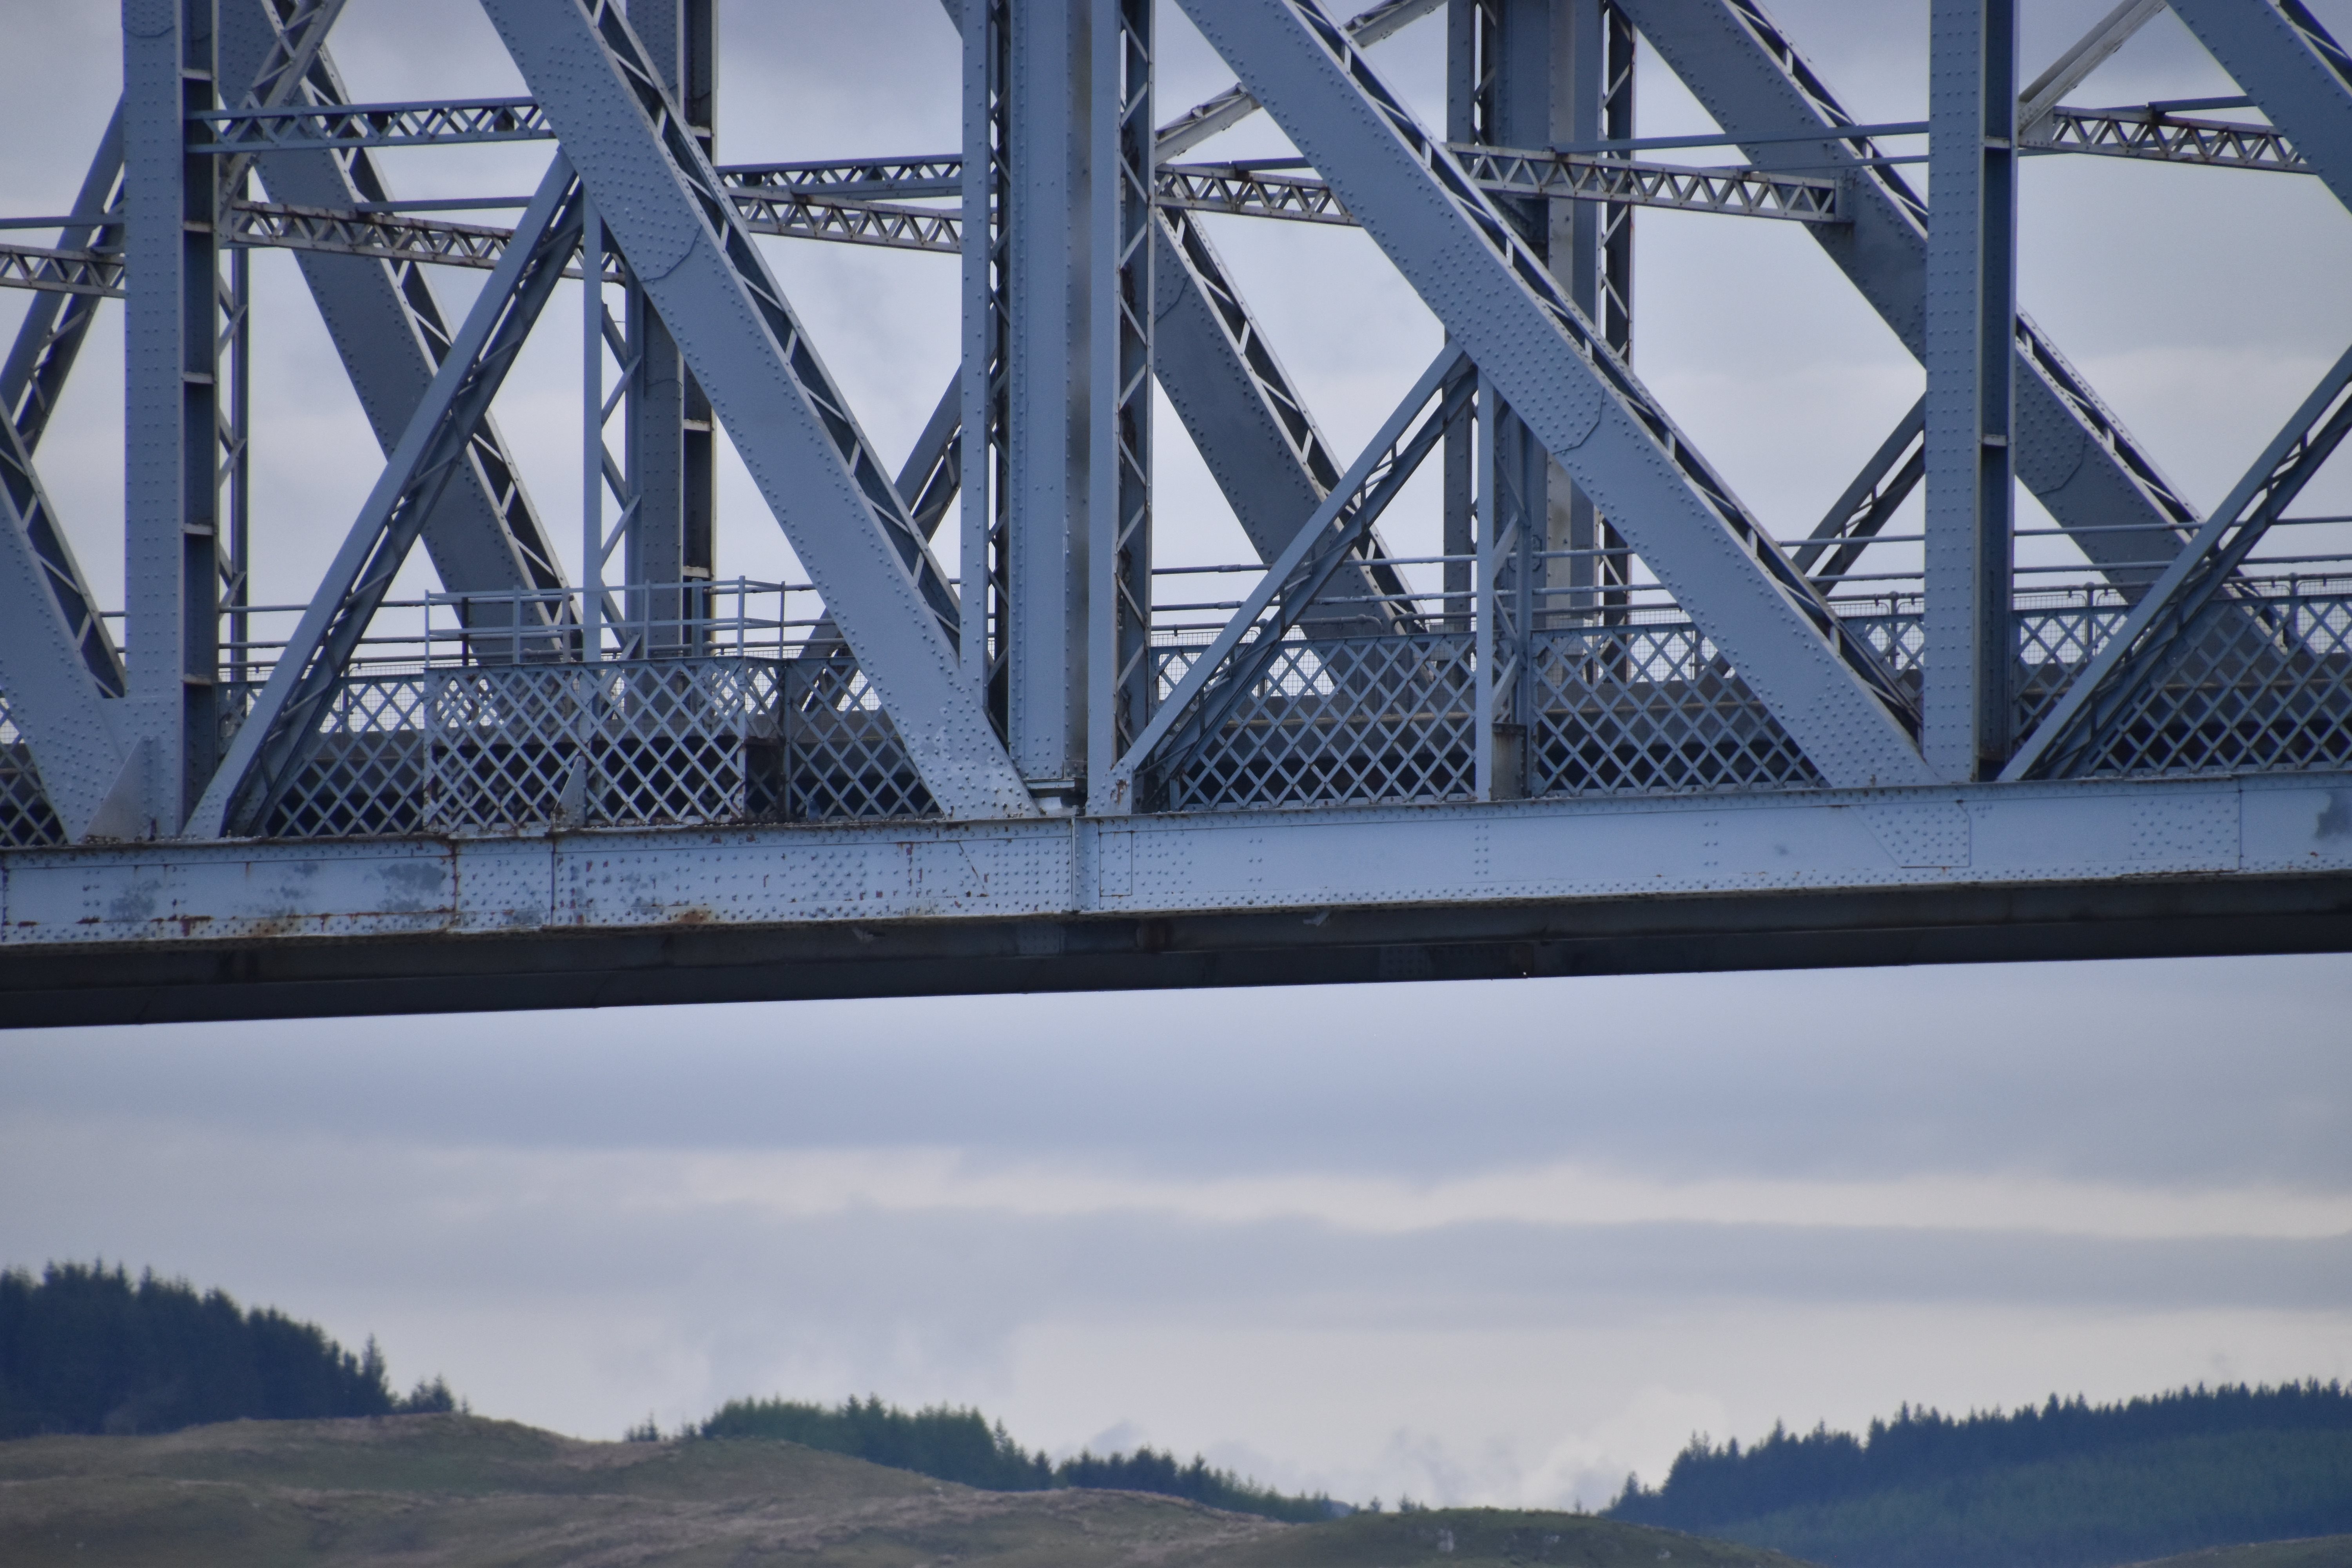
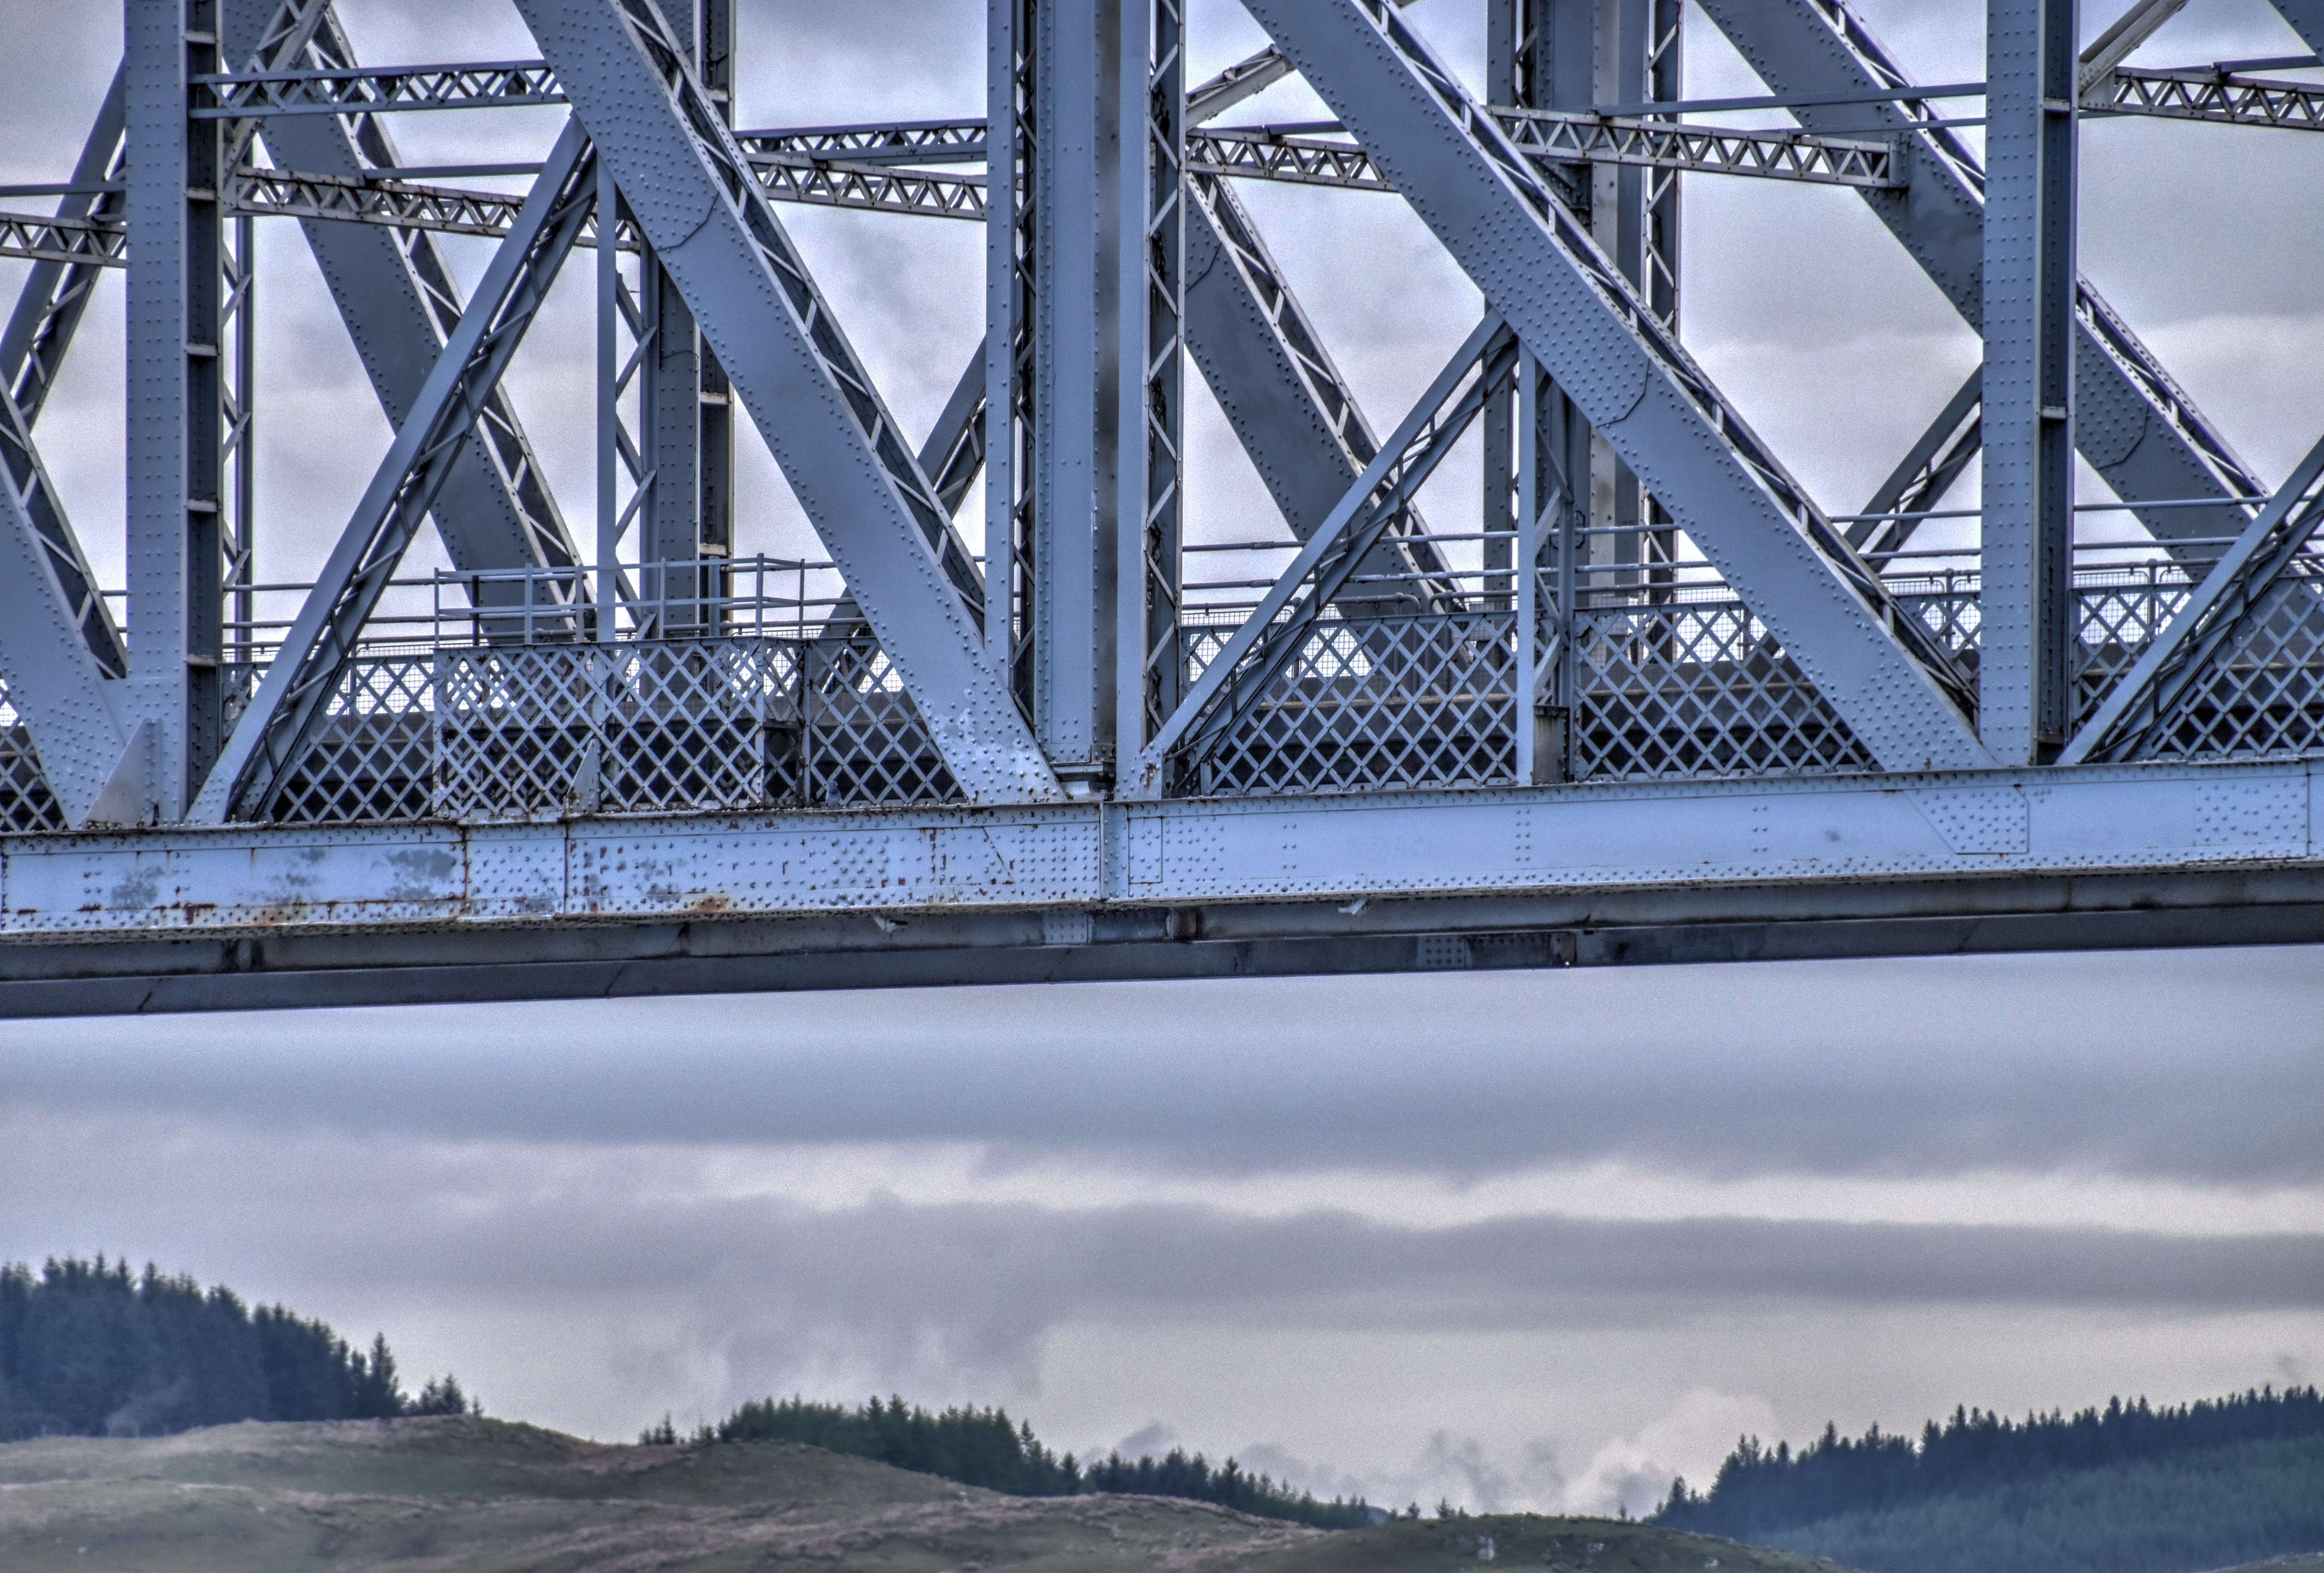
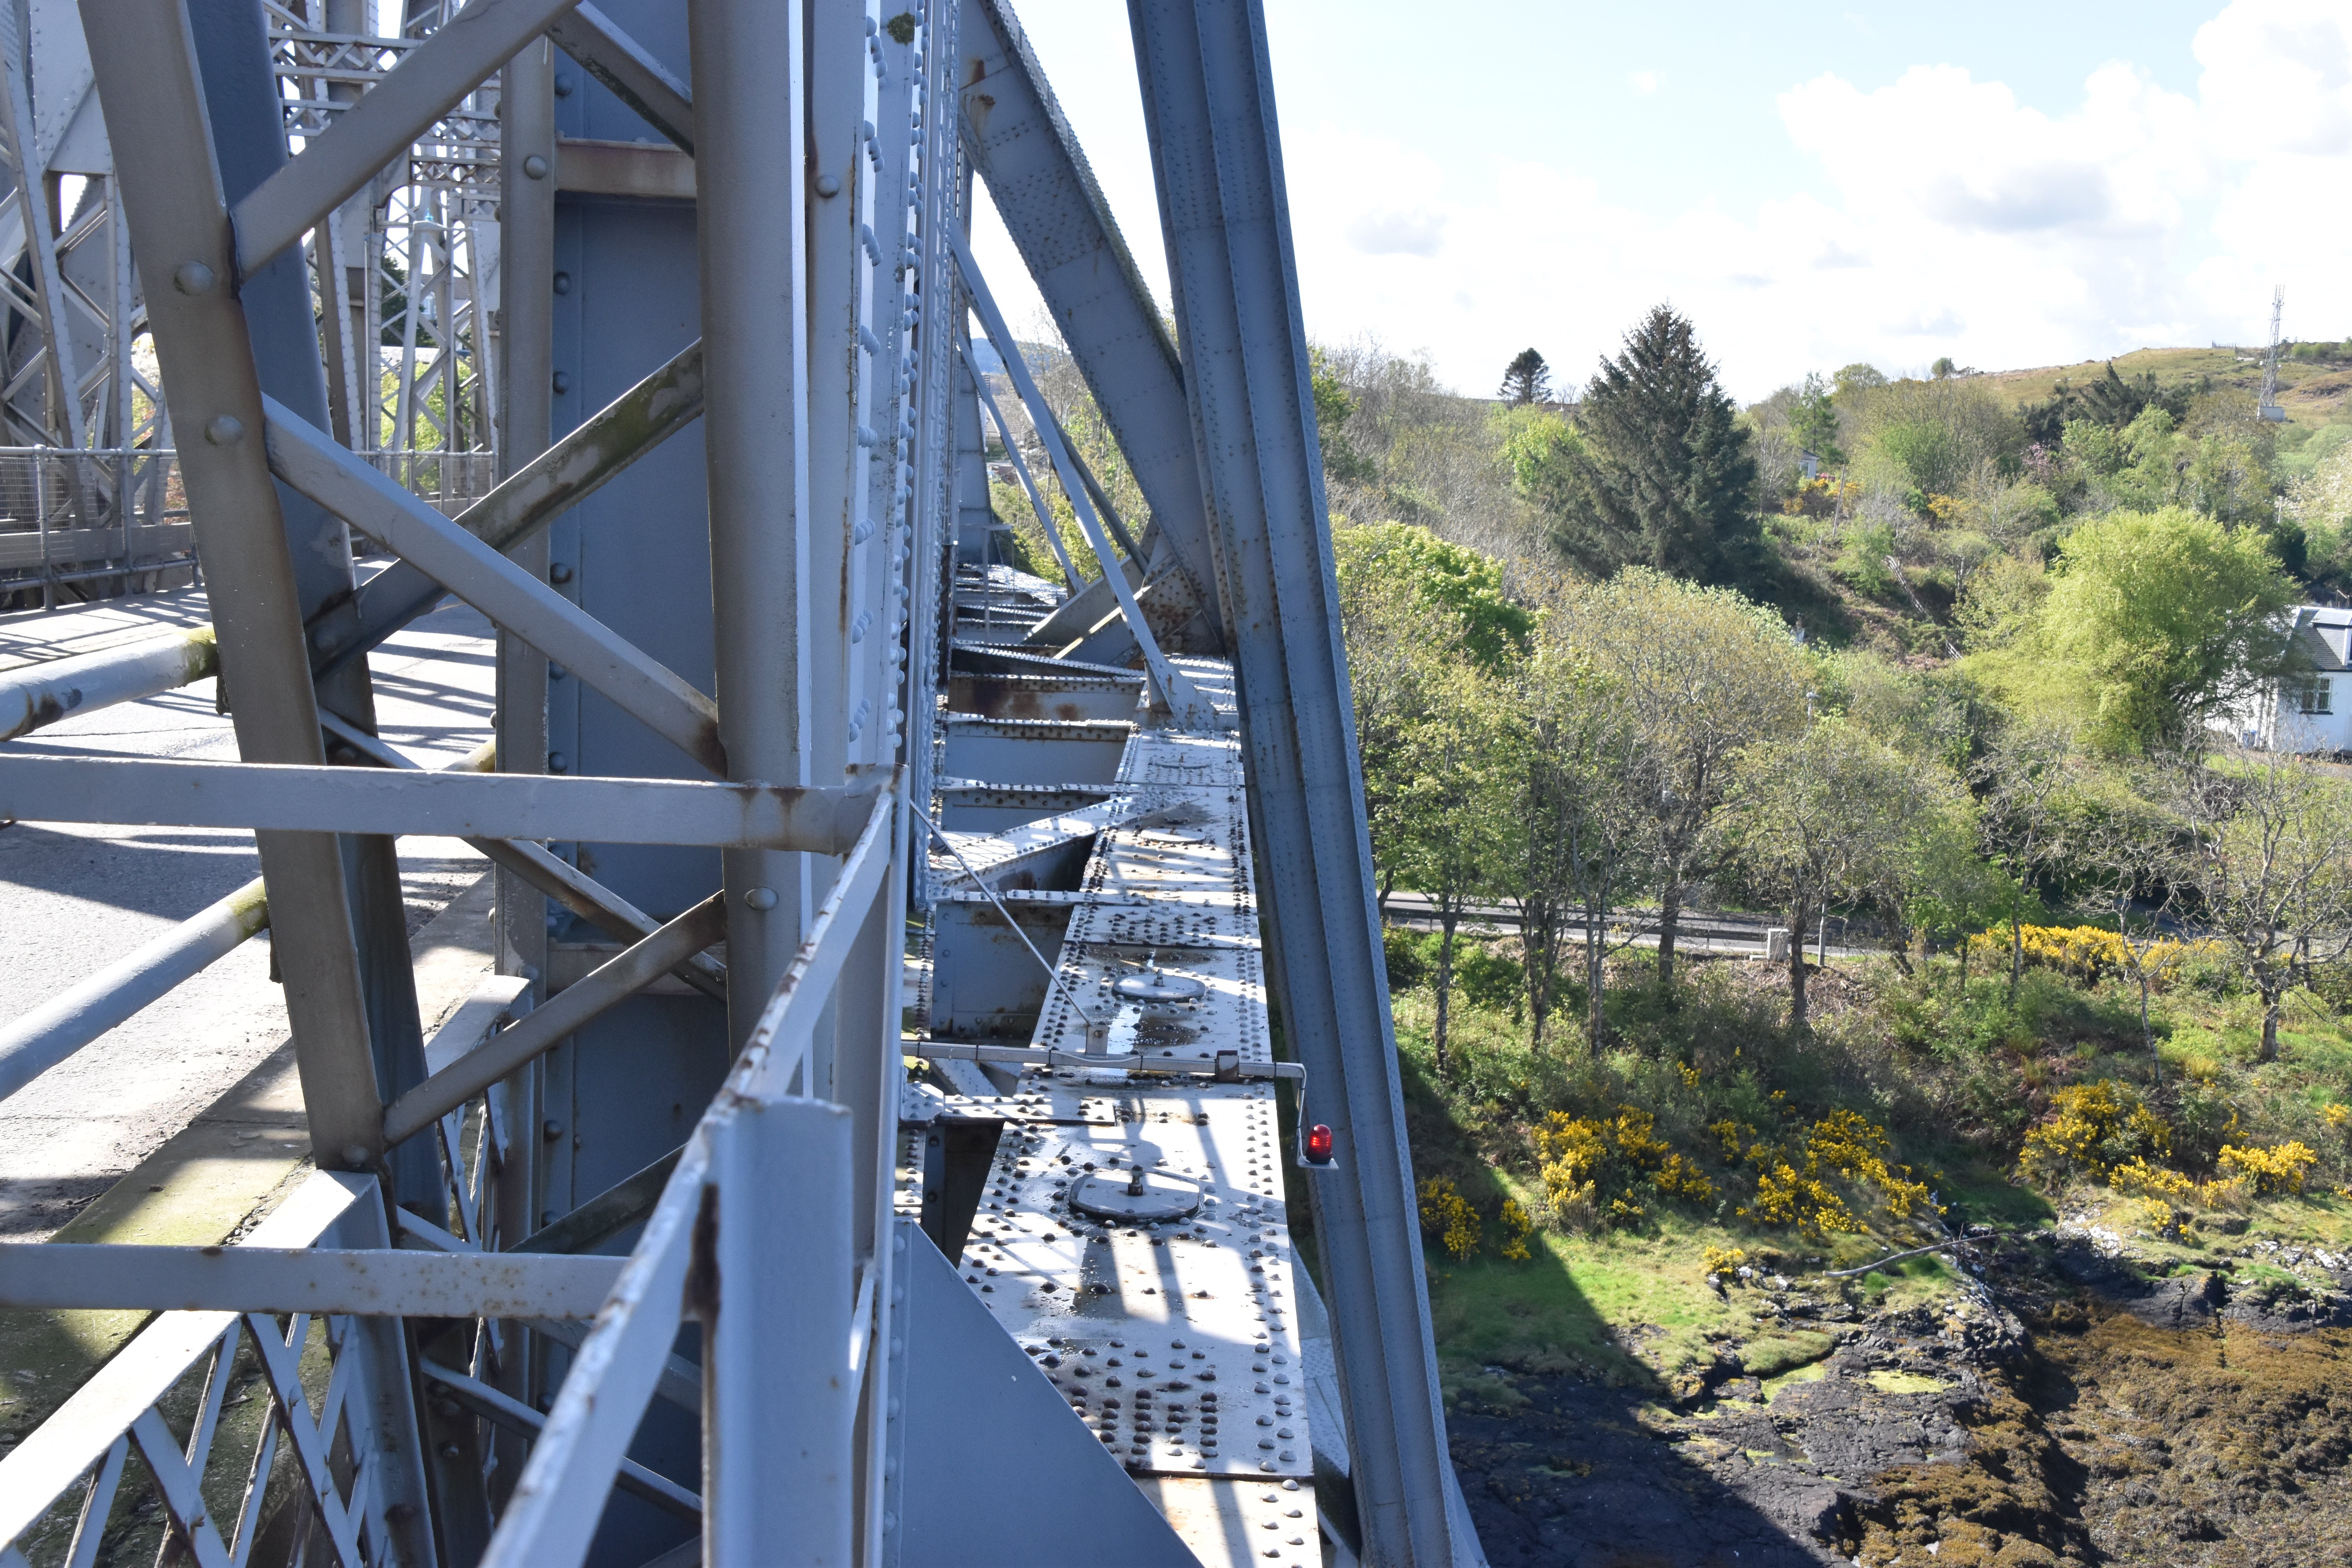
Suspended span truss web.
![]()

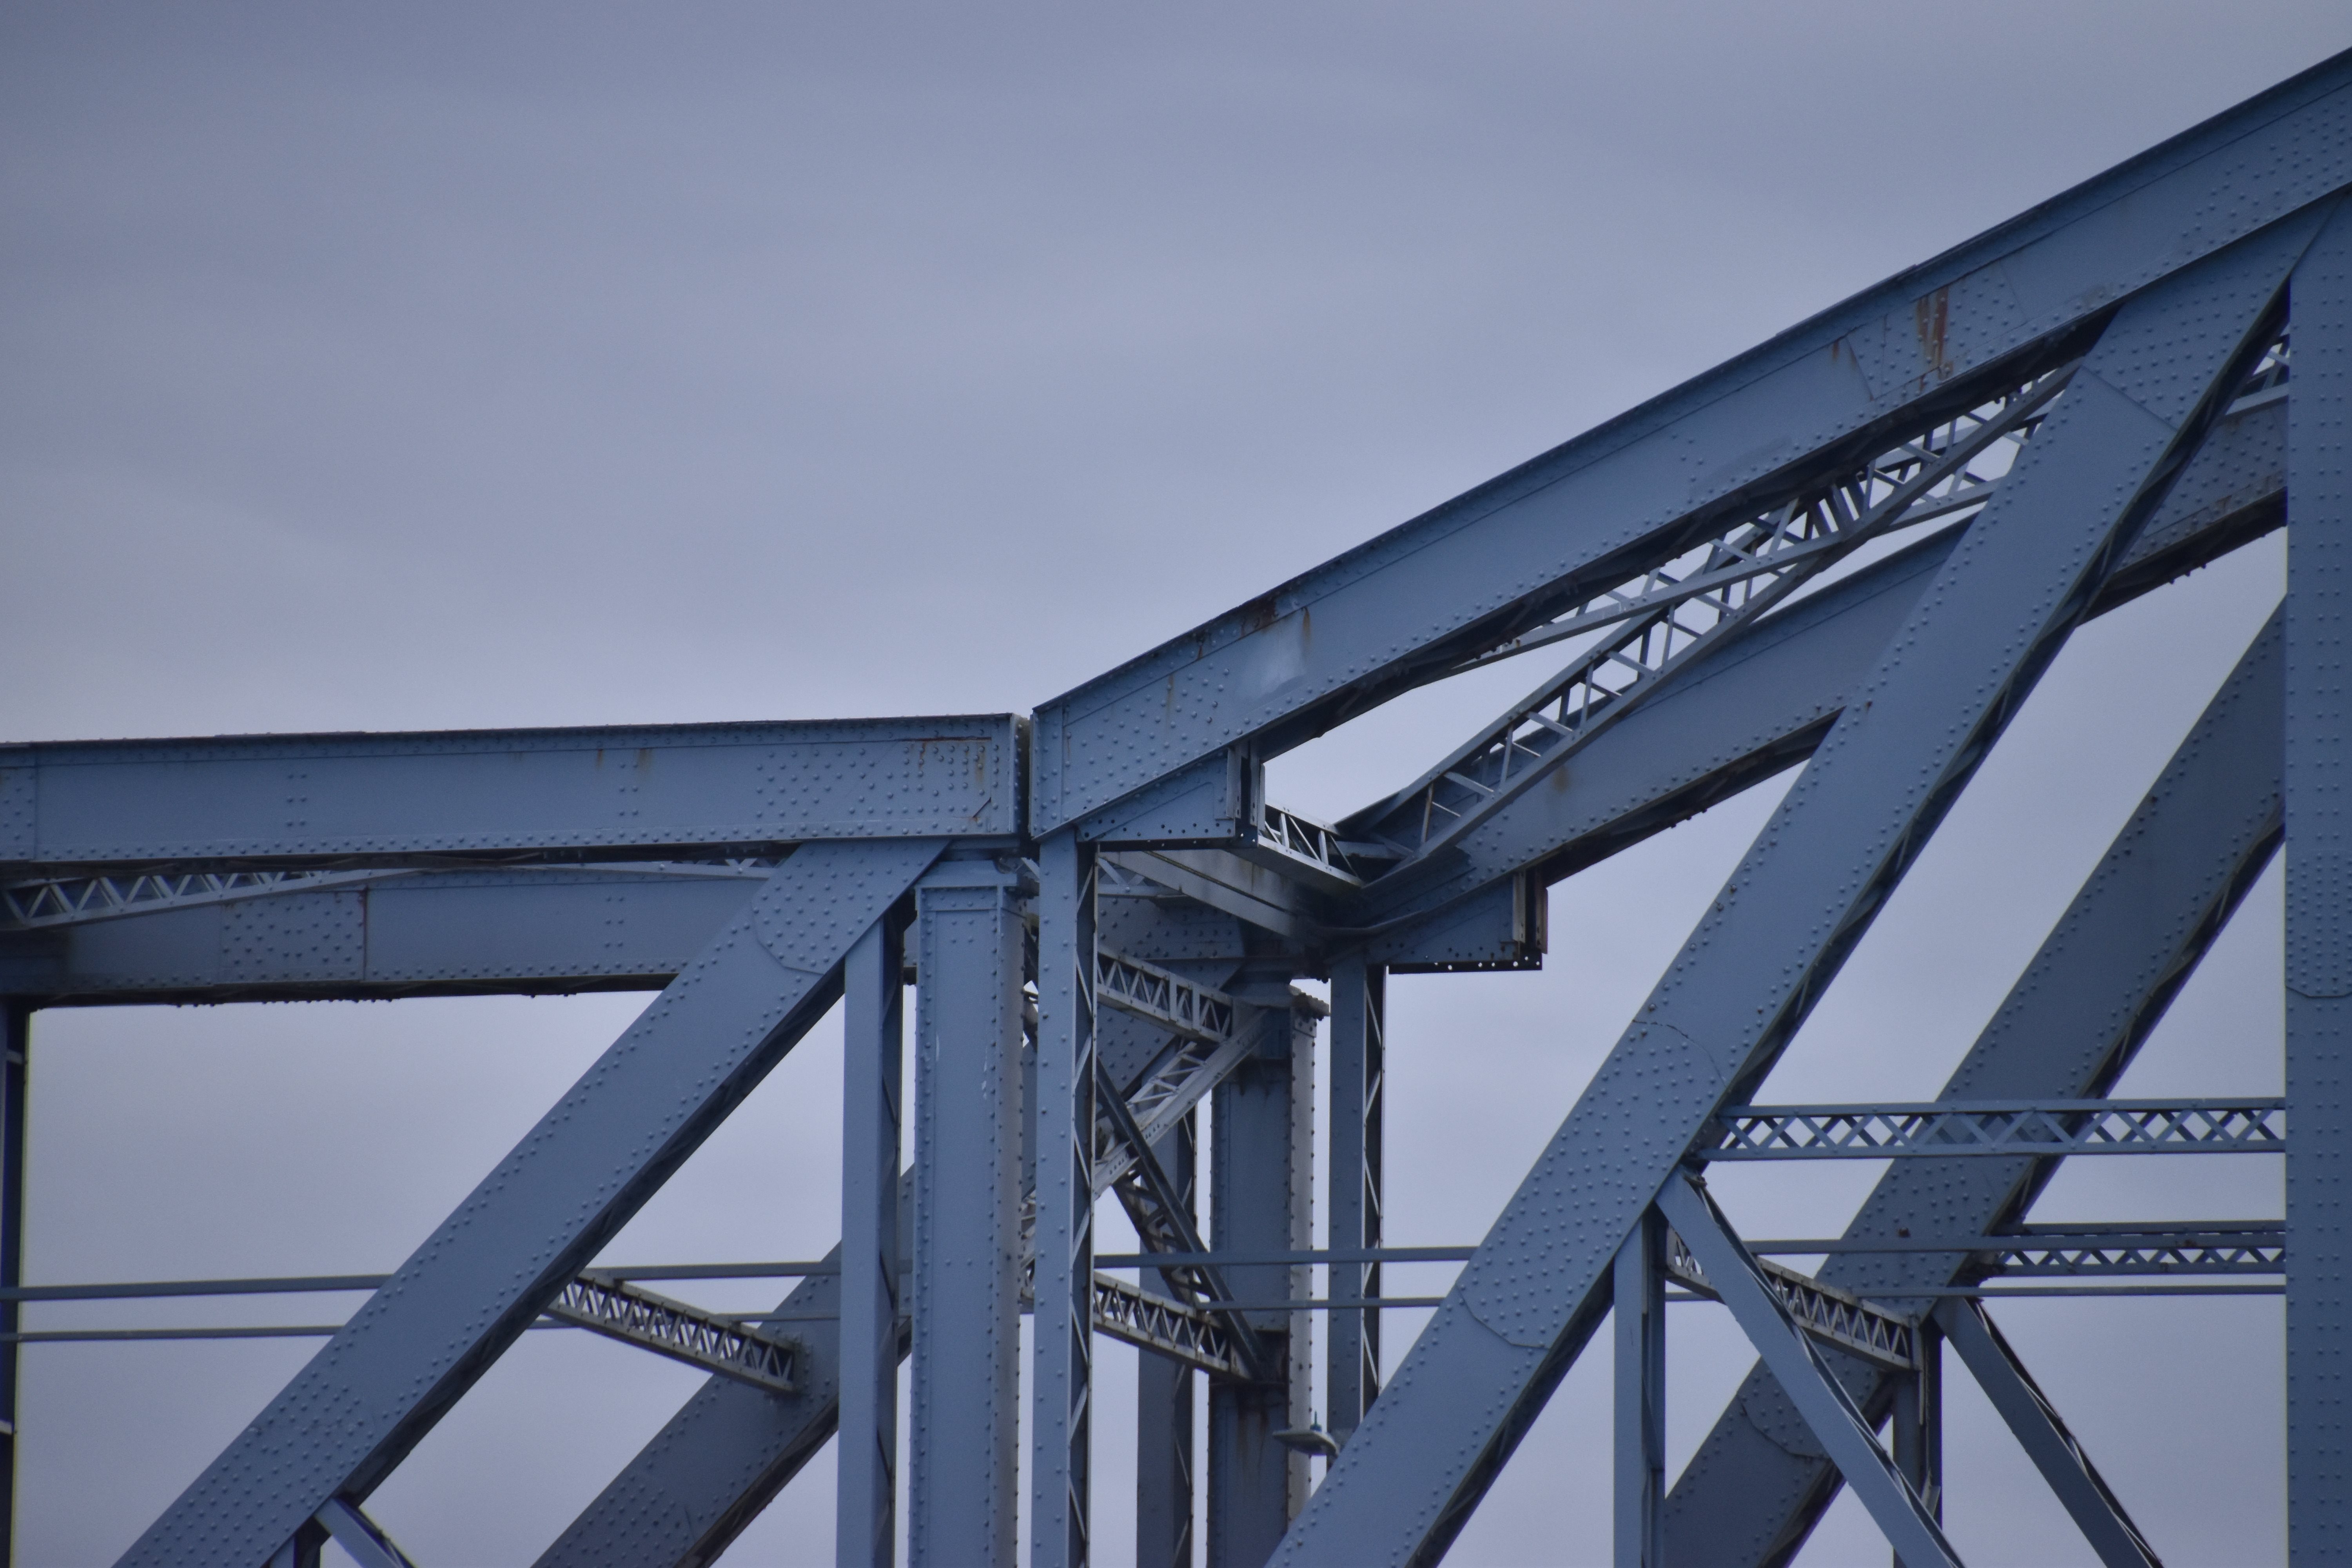
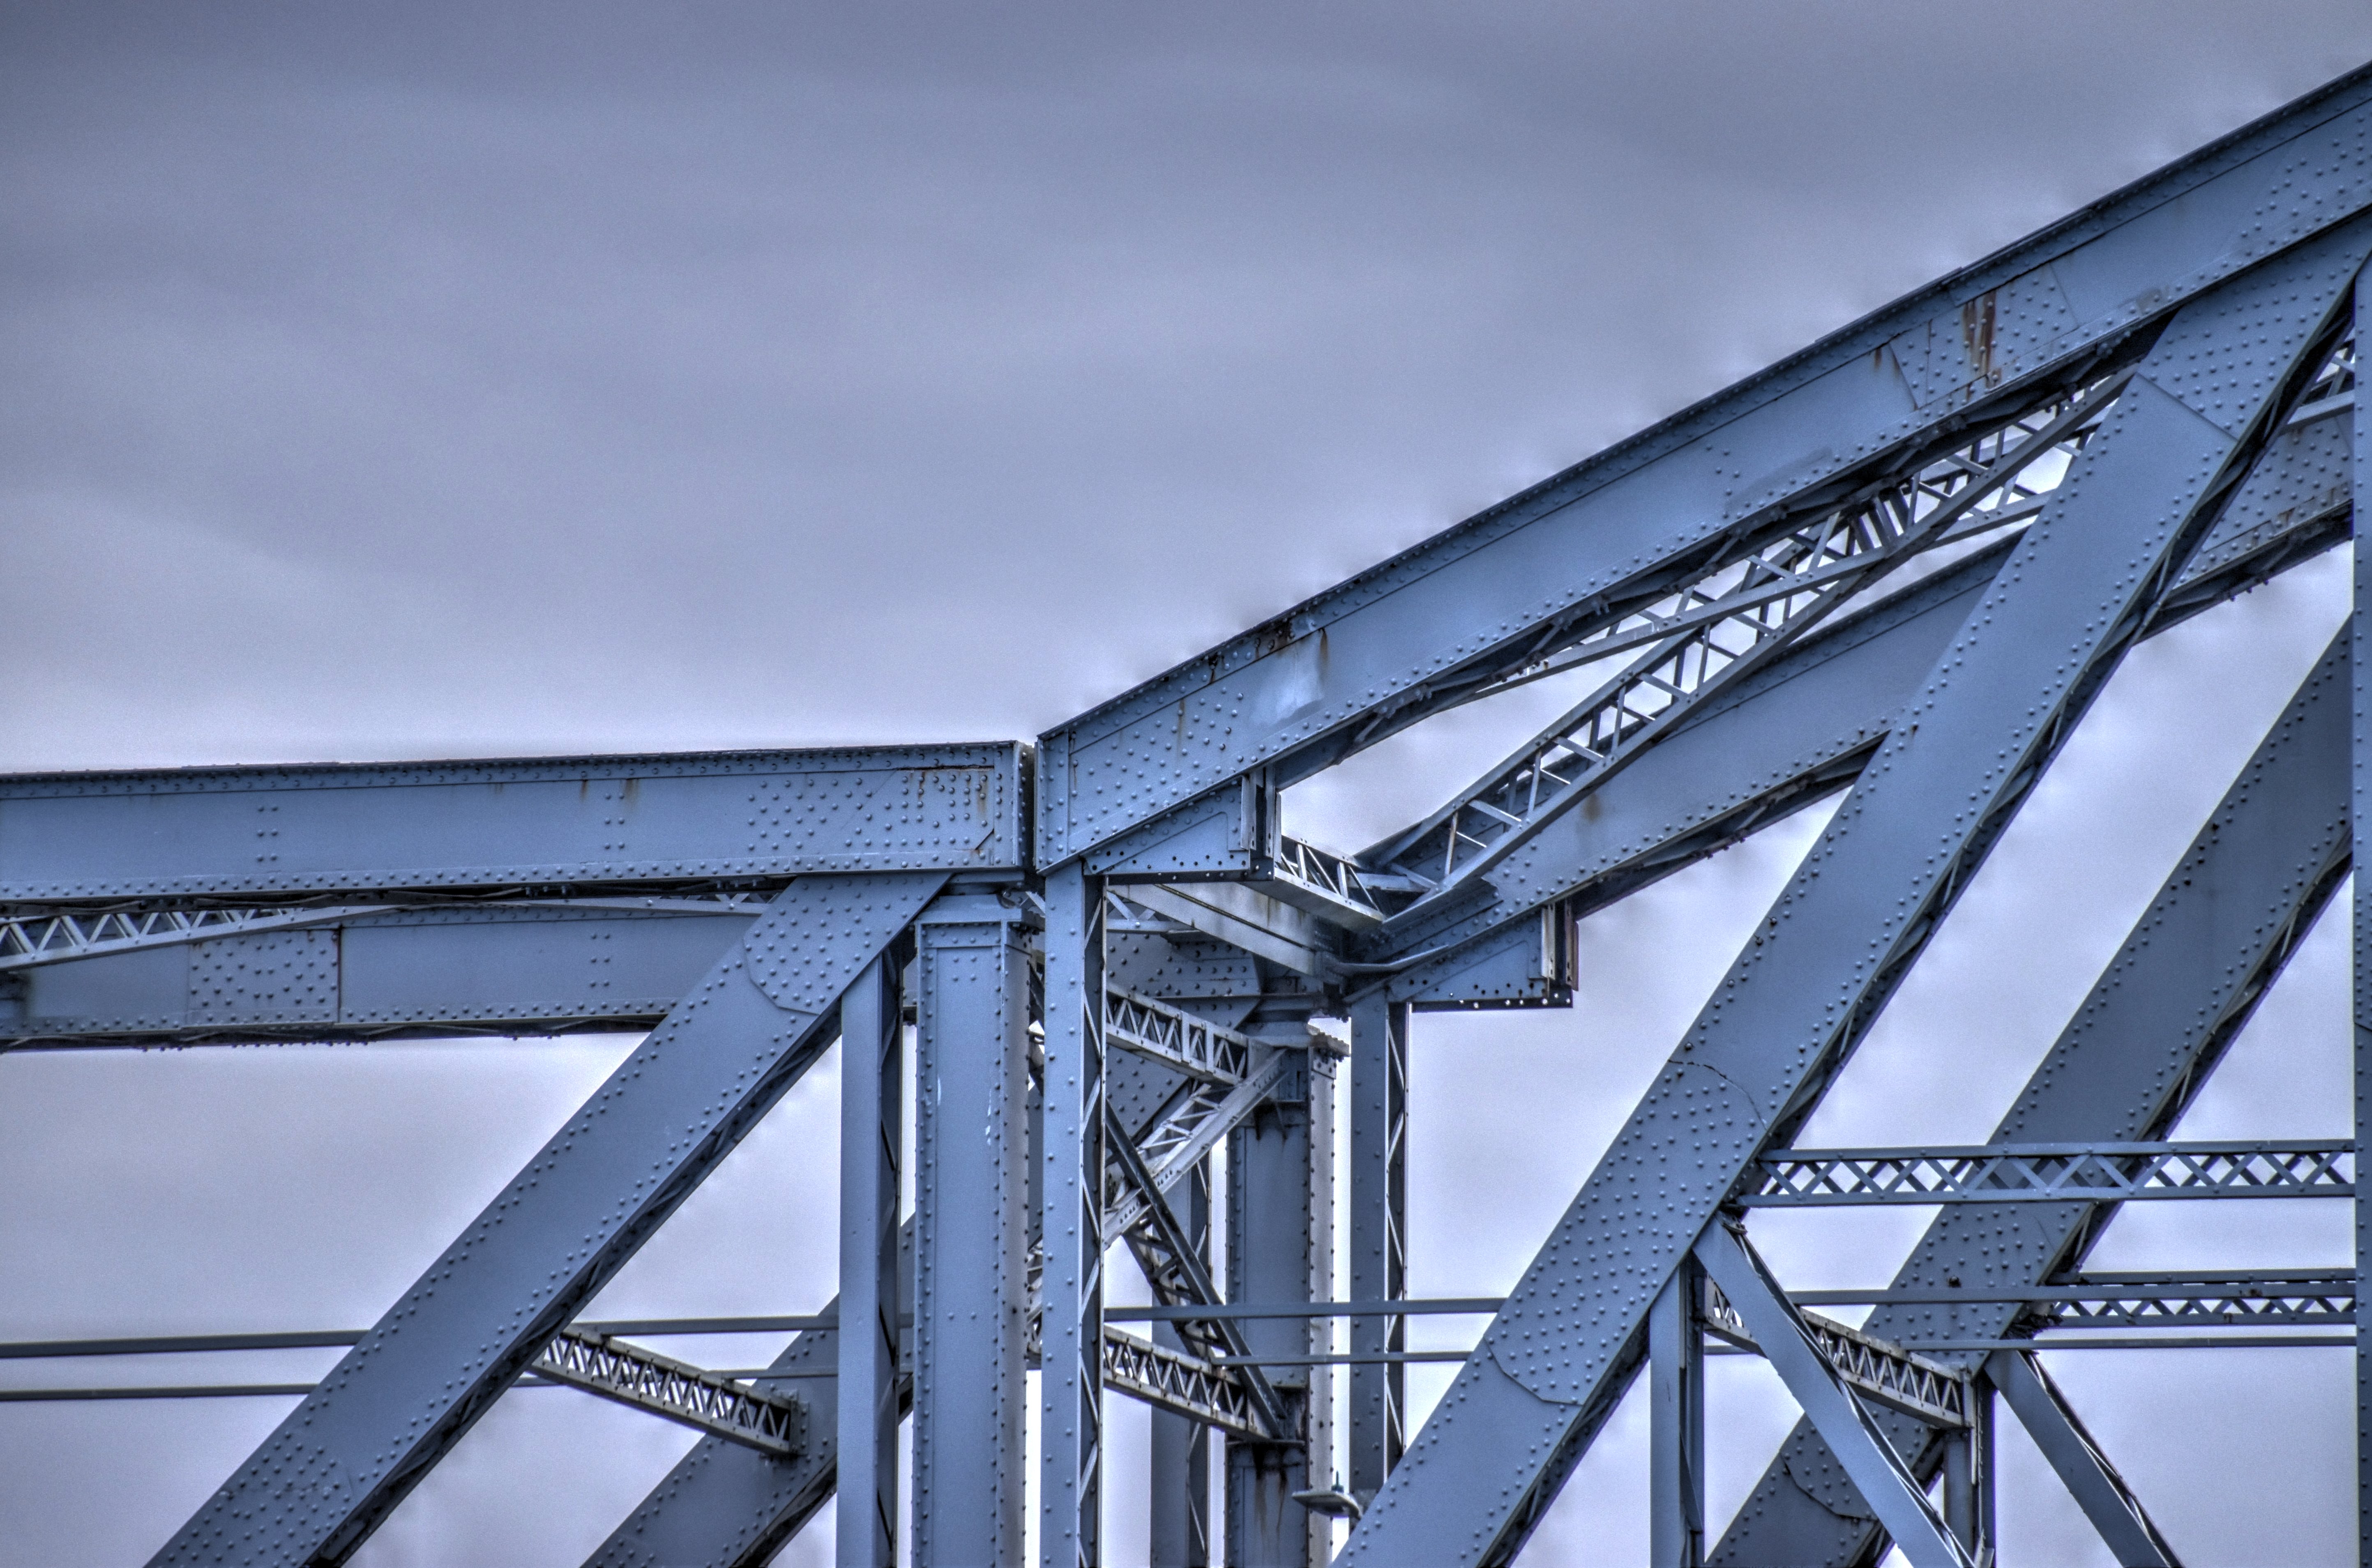
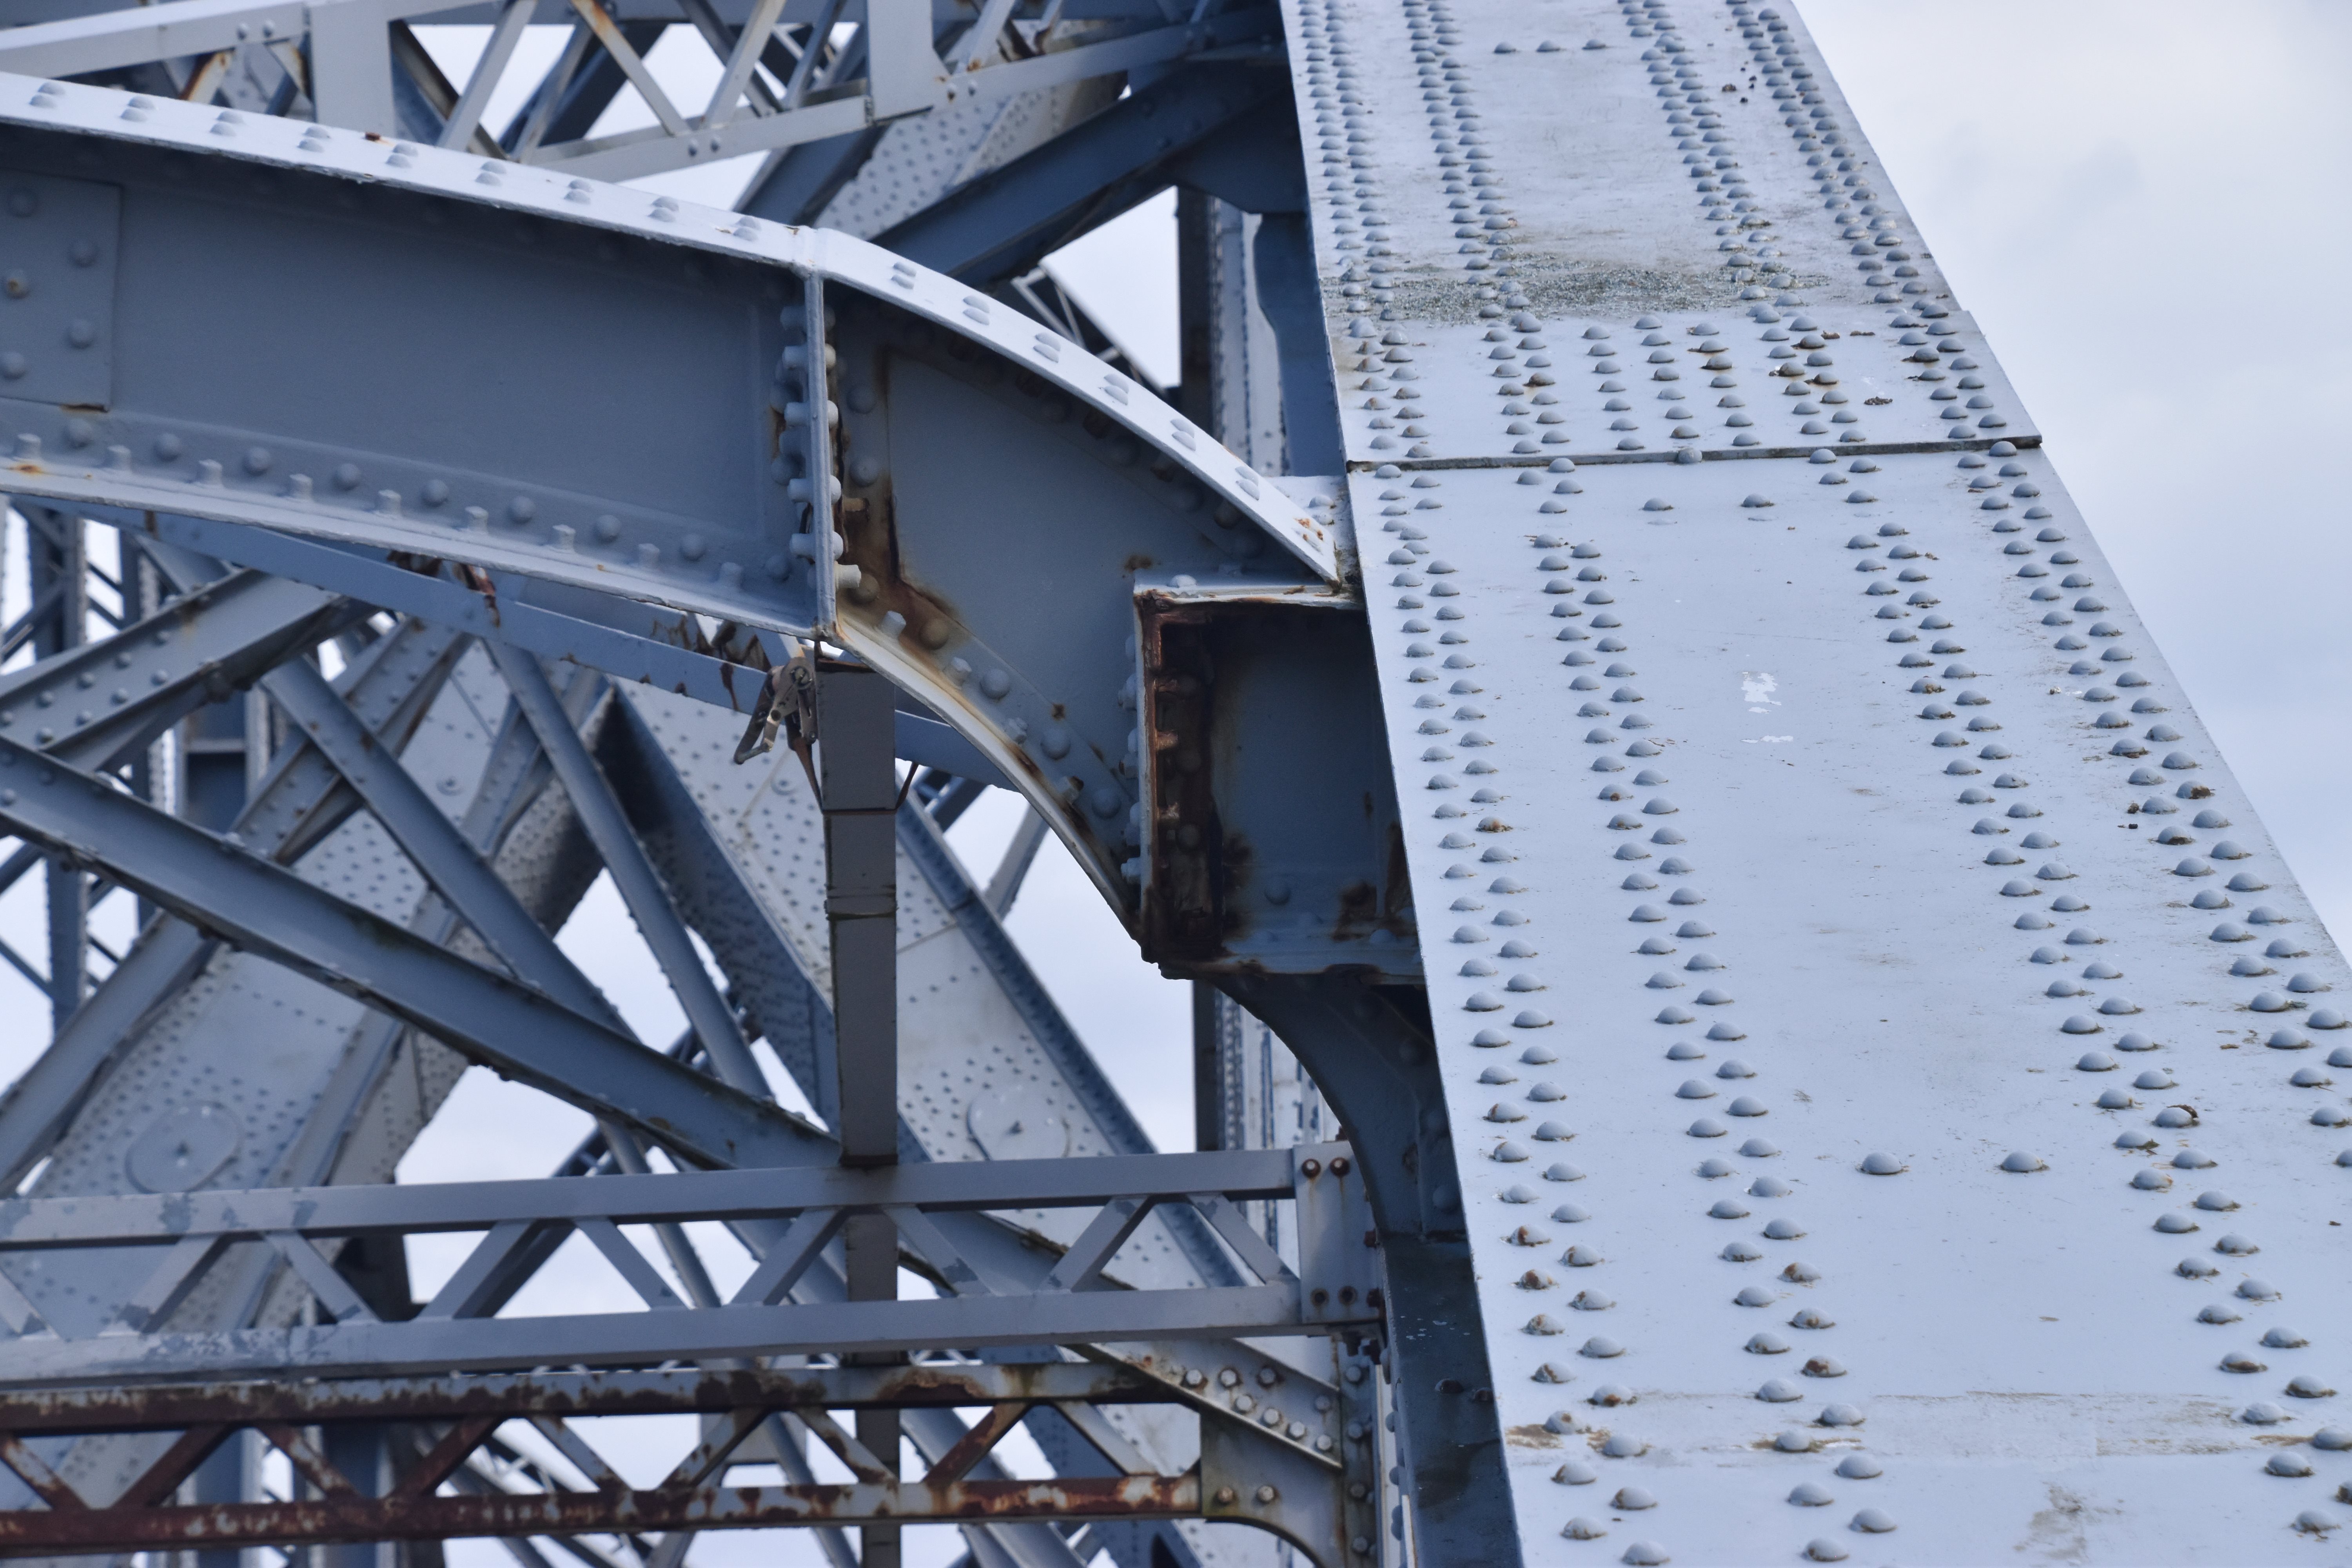
Overview of top chord connection at transition from cantilever arm to suspended span as viewed from on bridge.
![]()
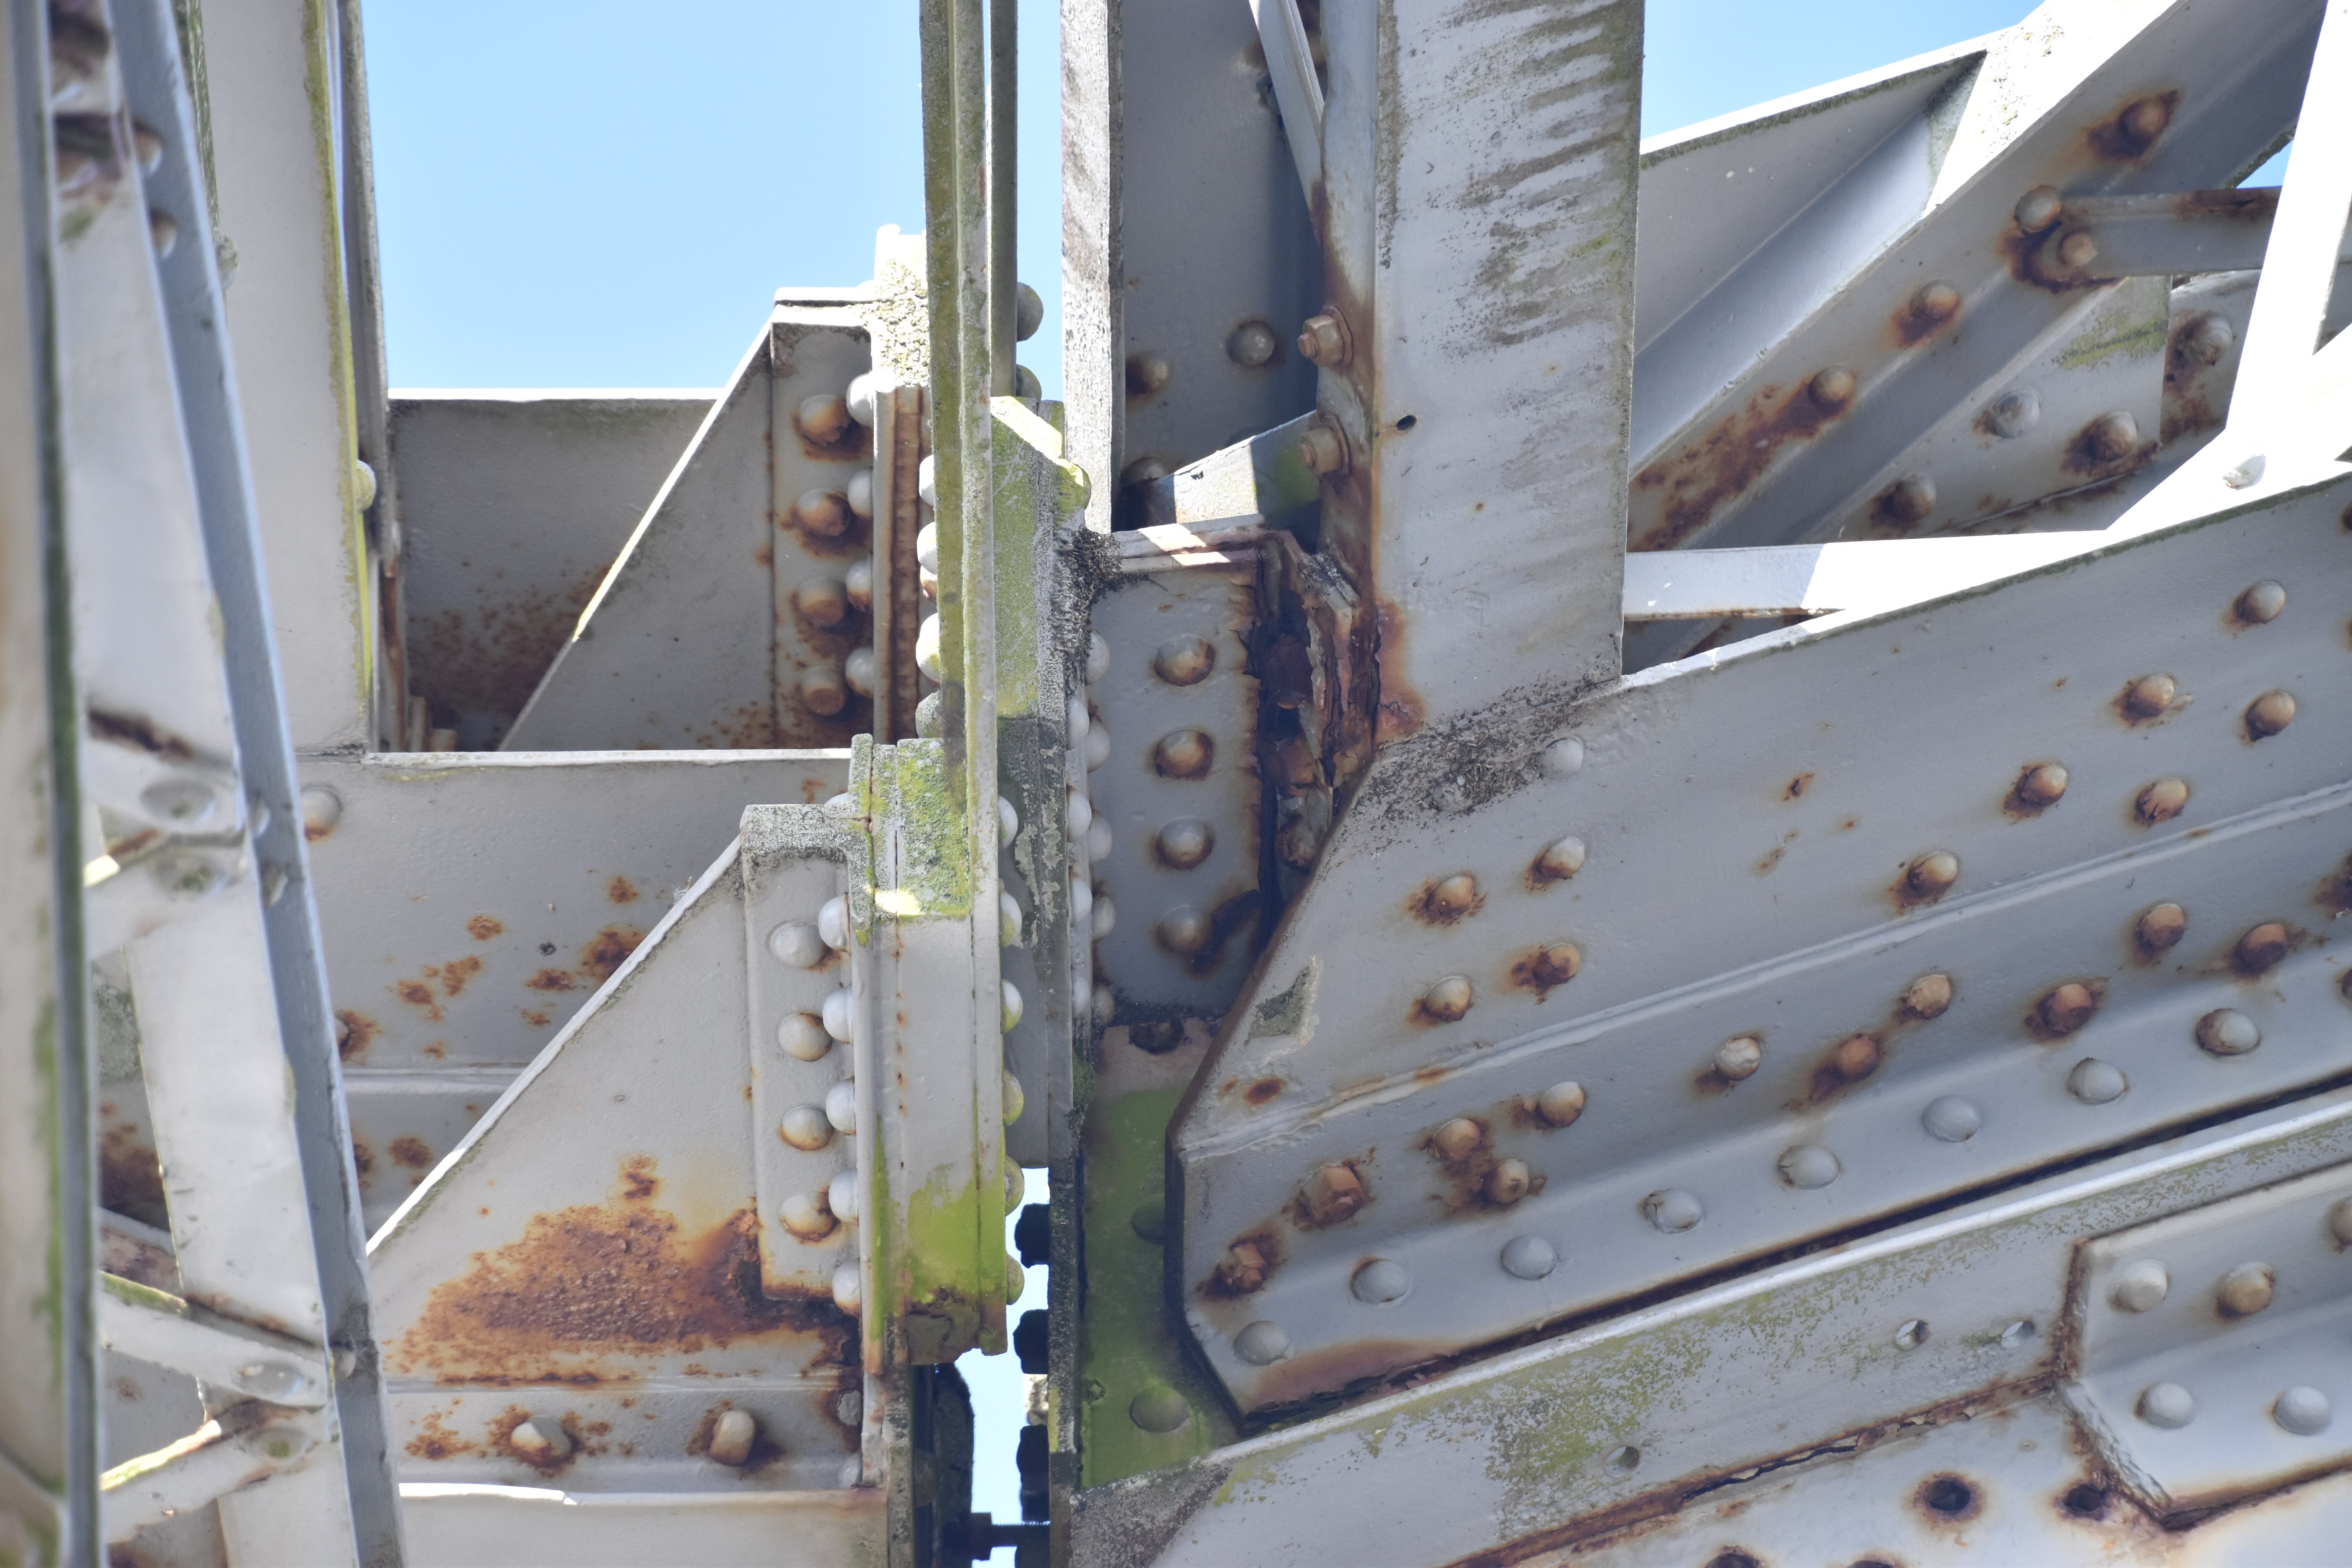


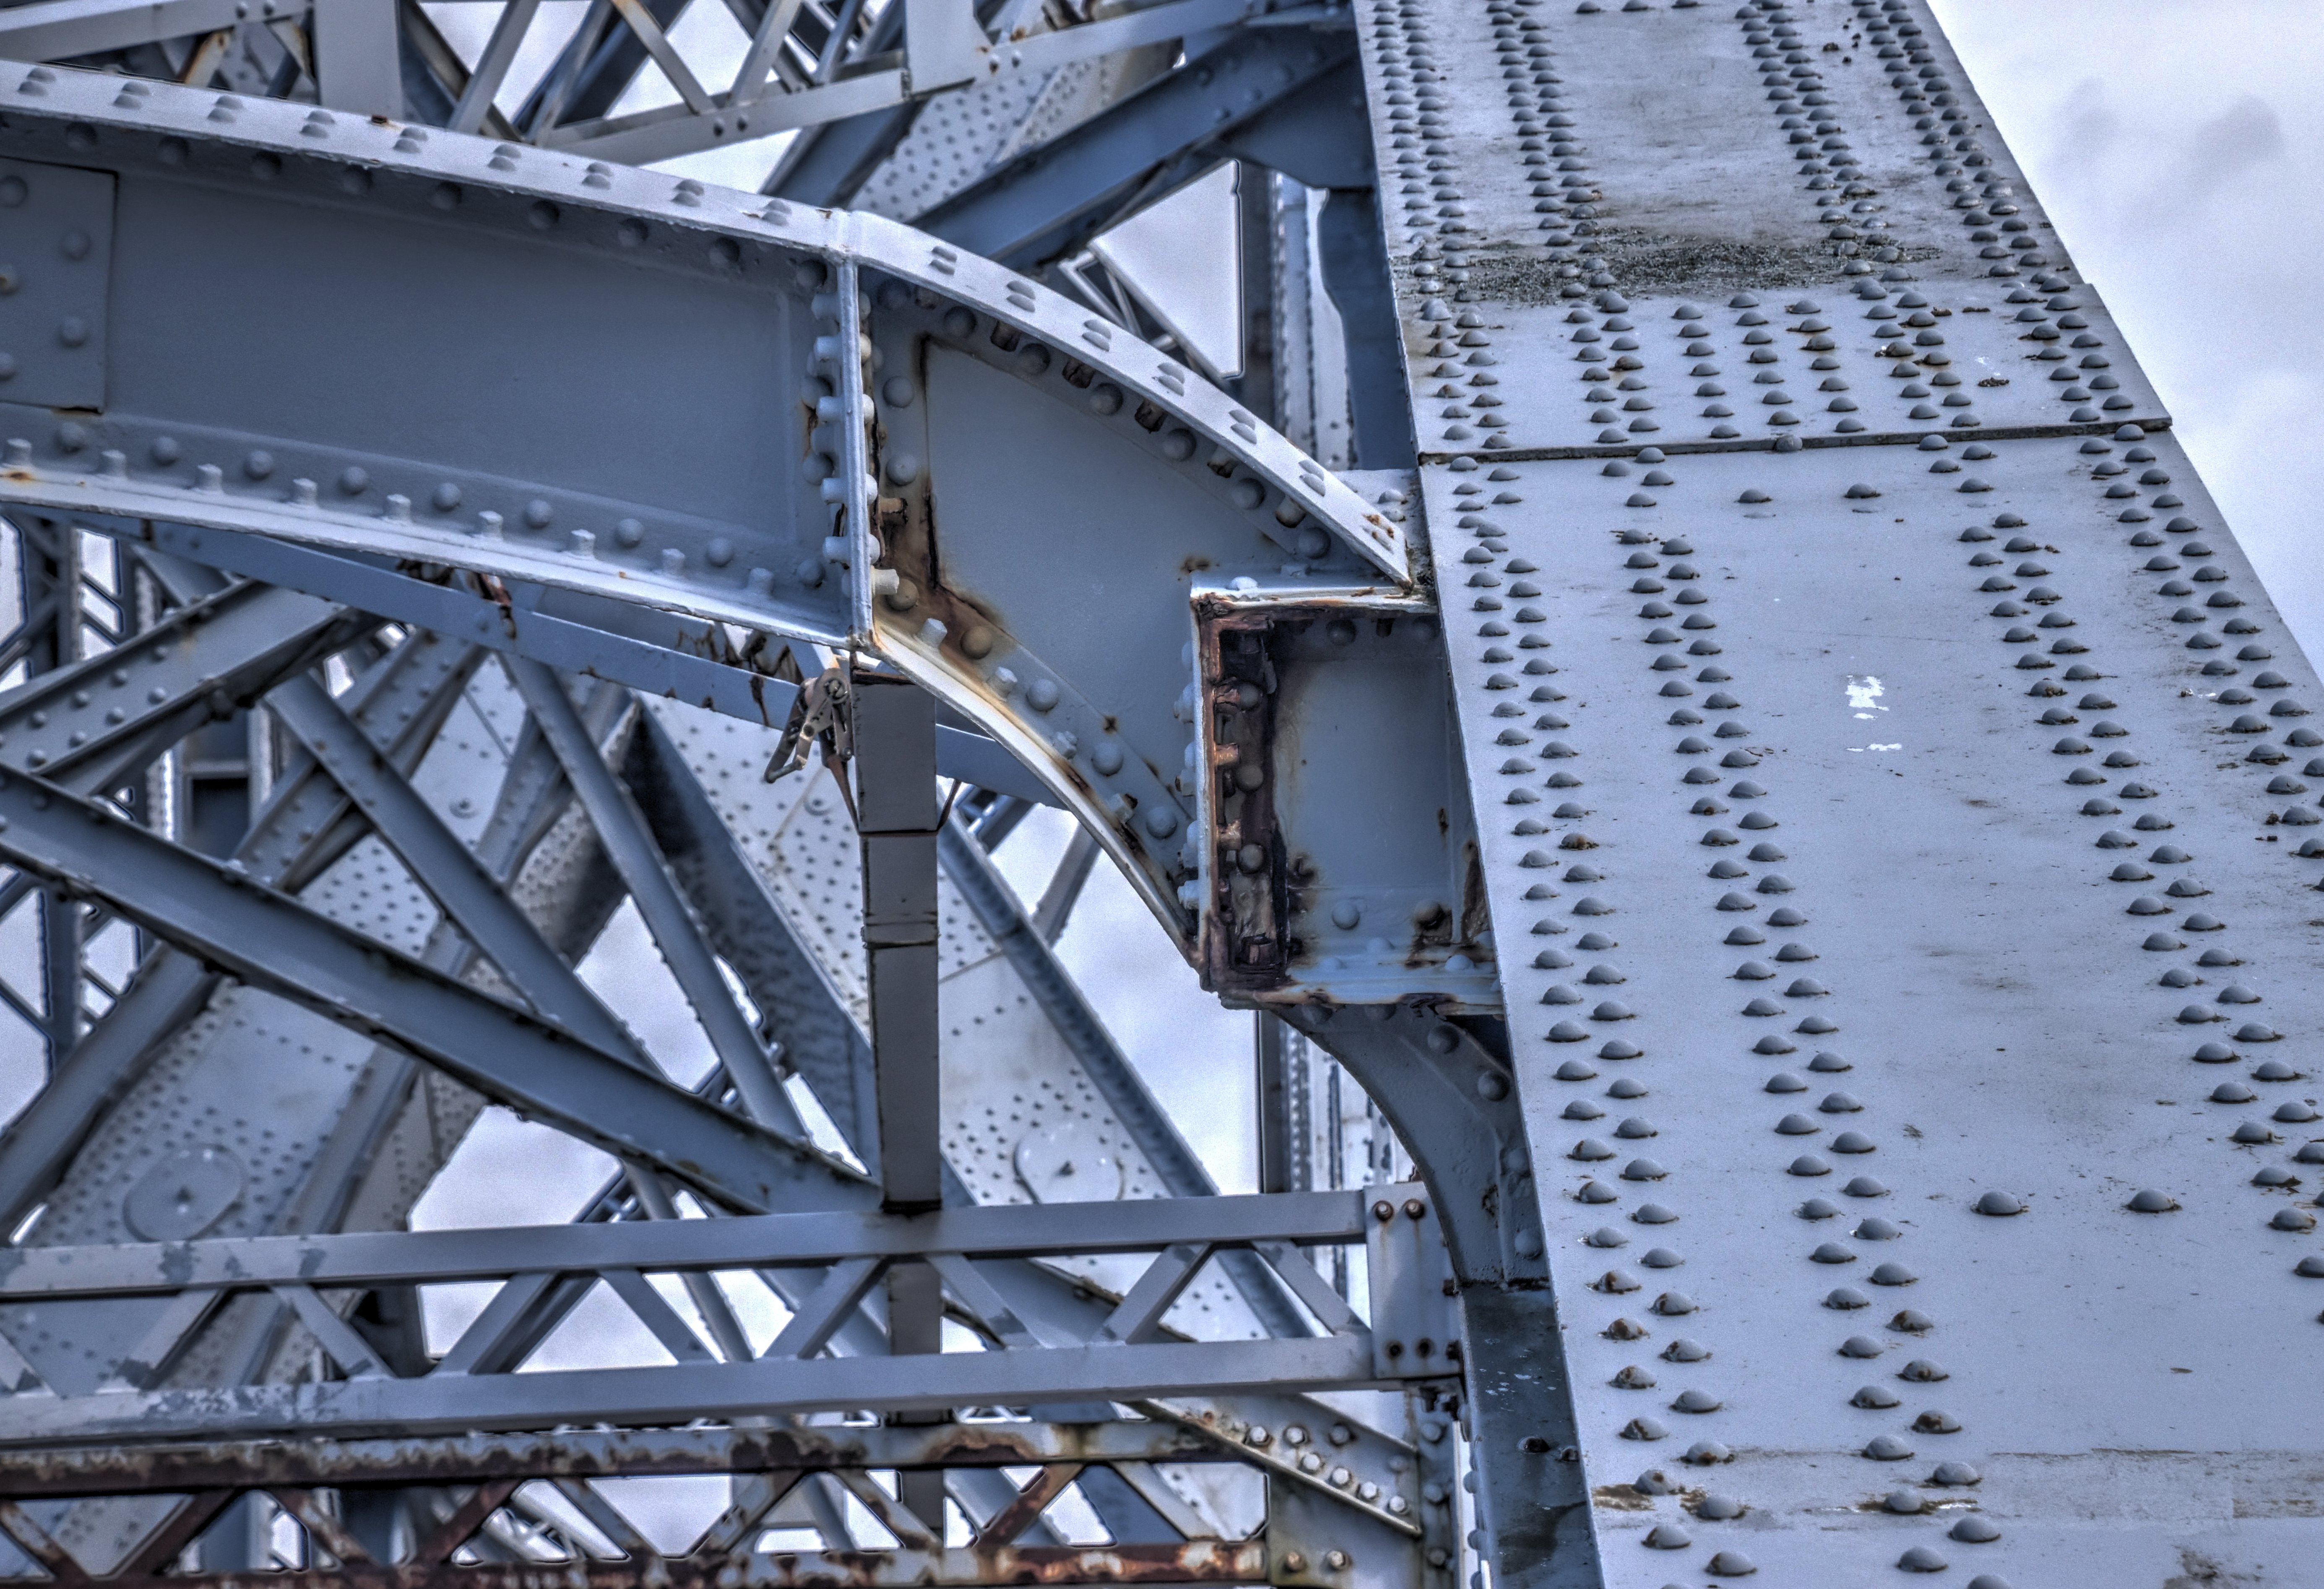
Detail of top chord connection at transition from cantilever arm to suspended span as viewed from on bridge.
![]()

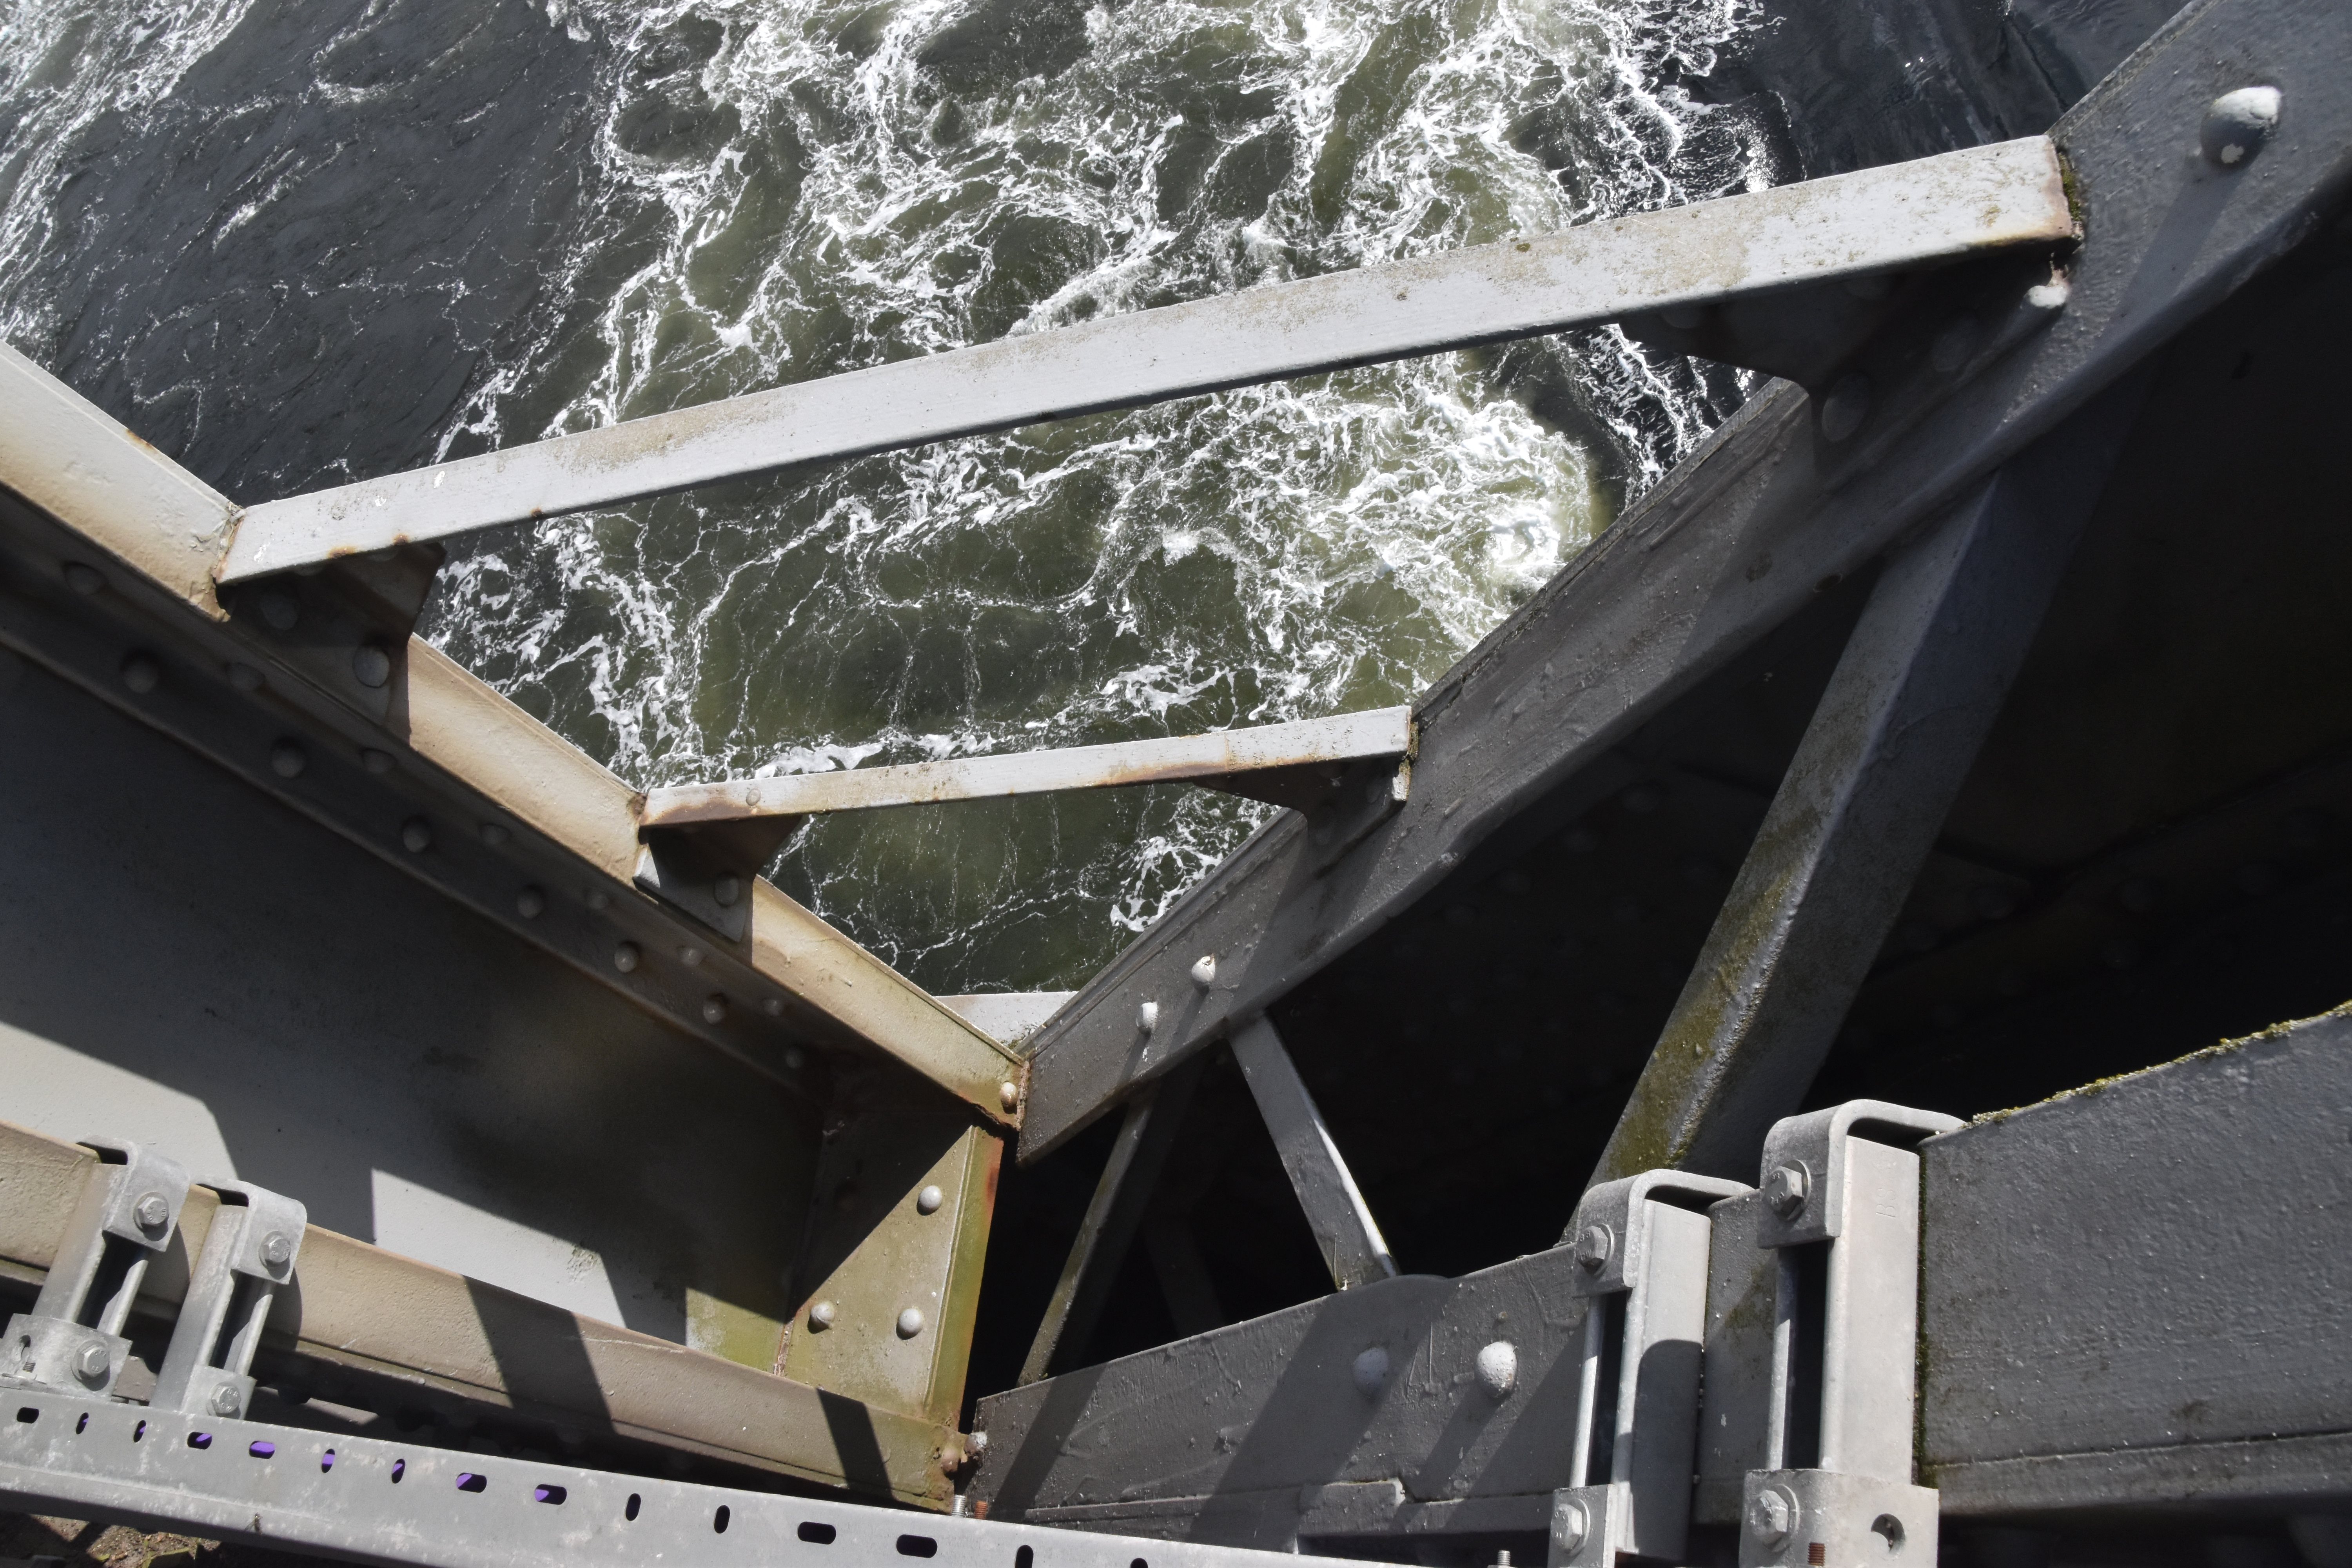
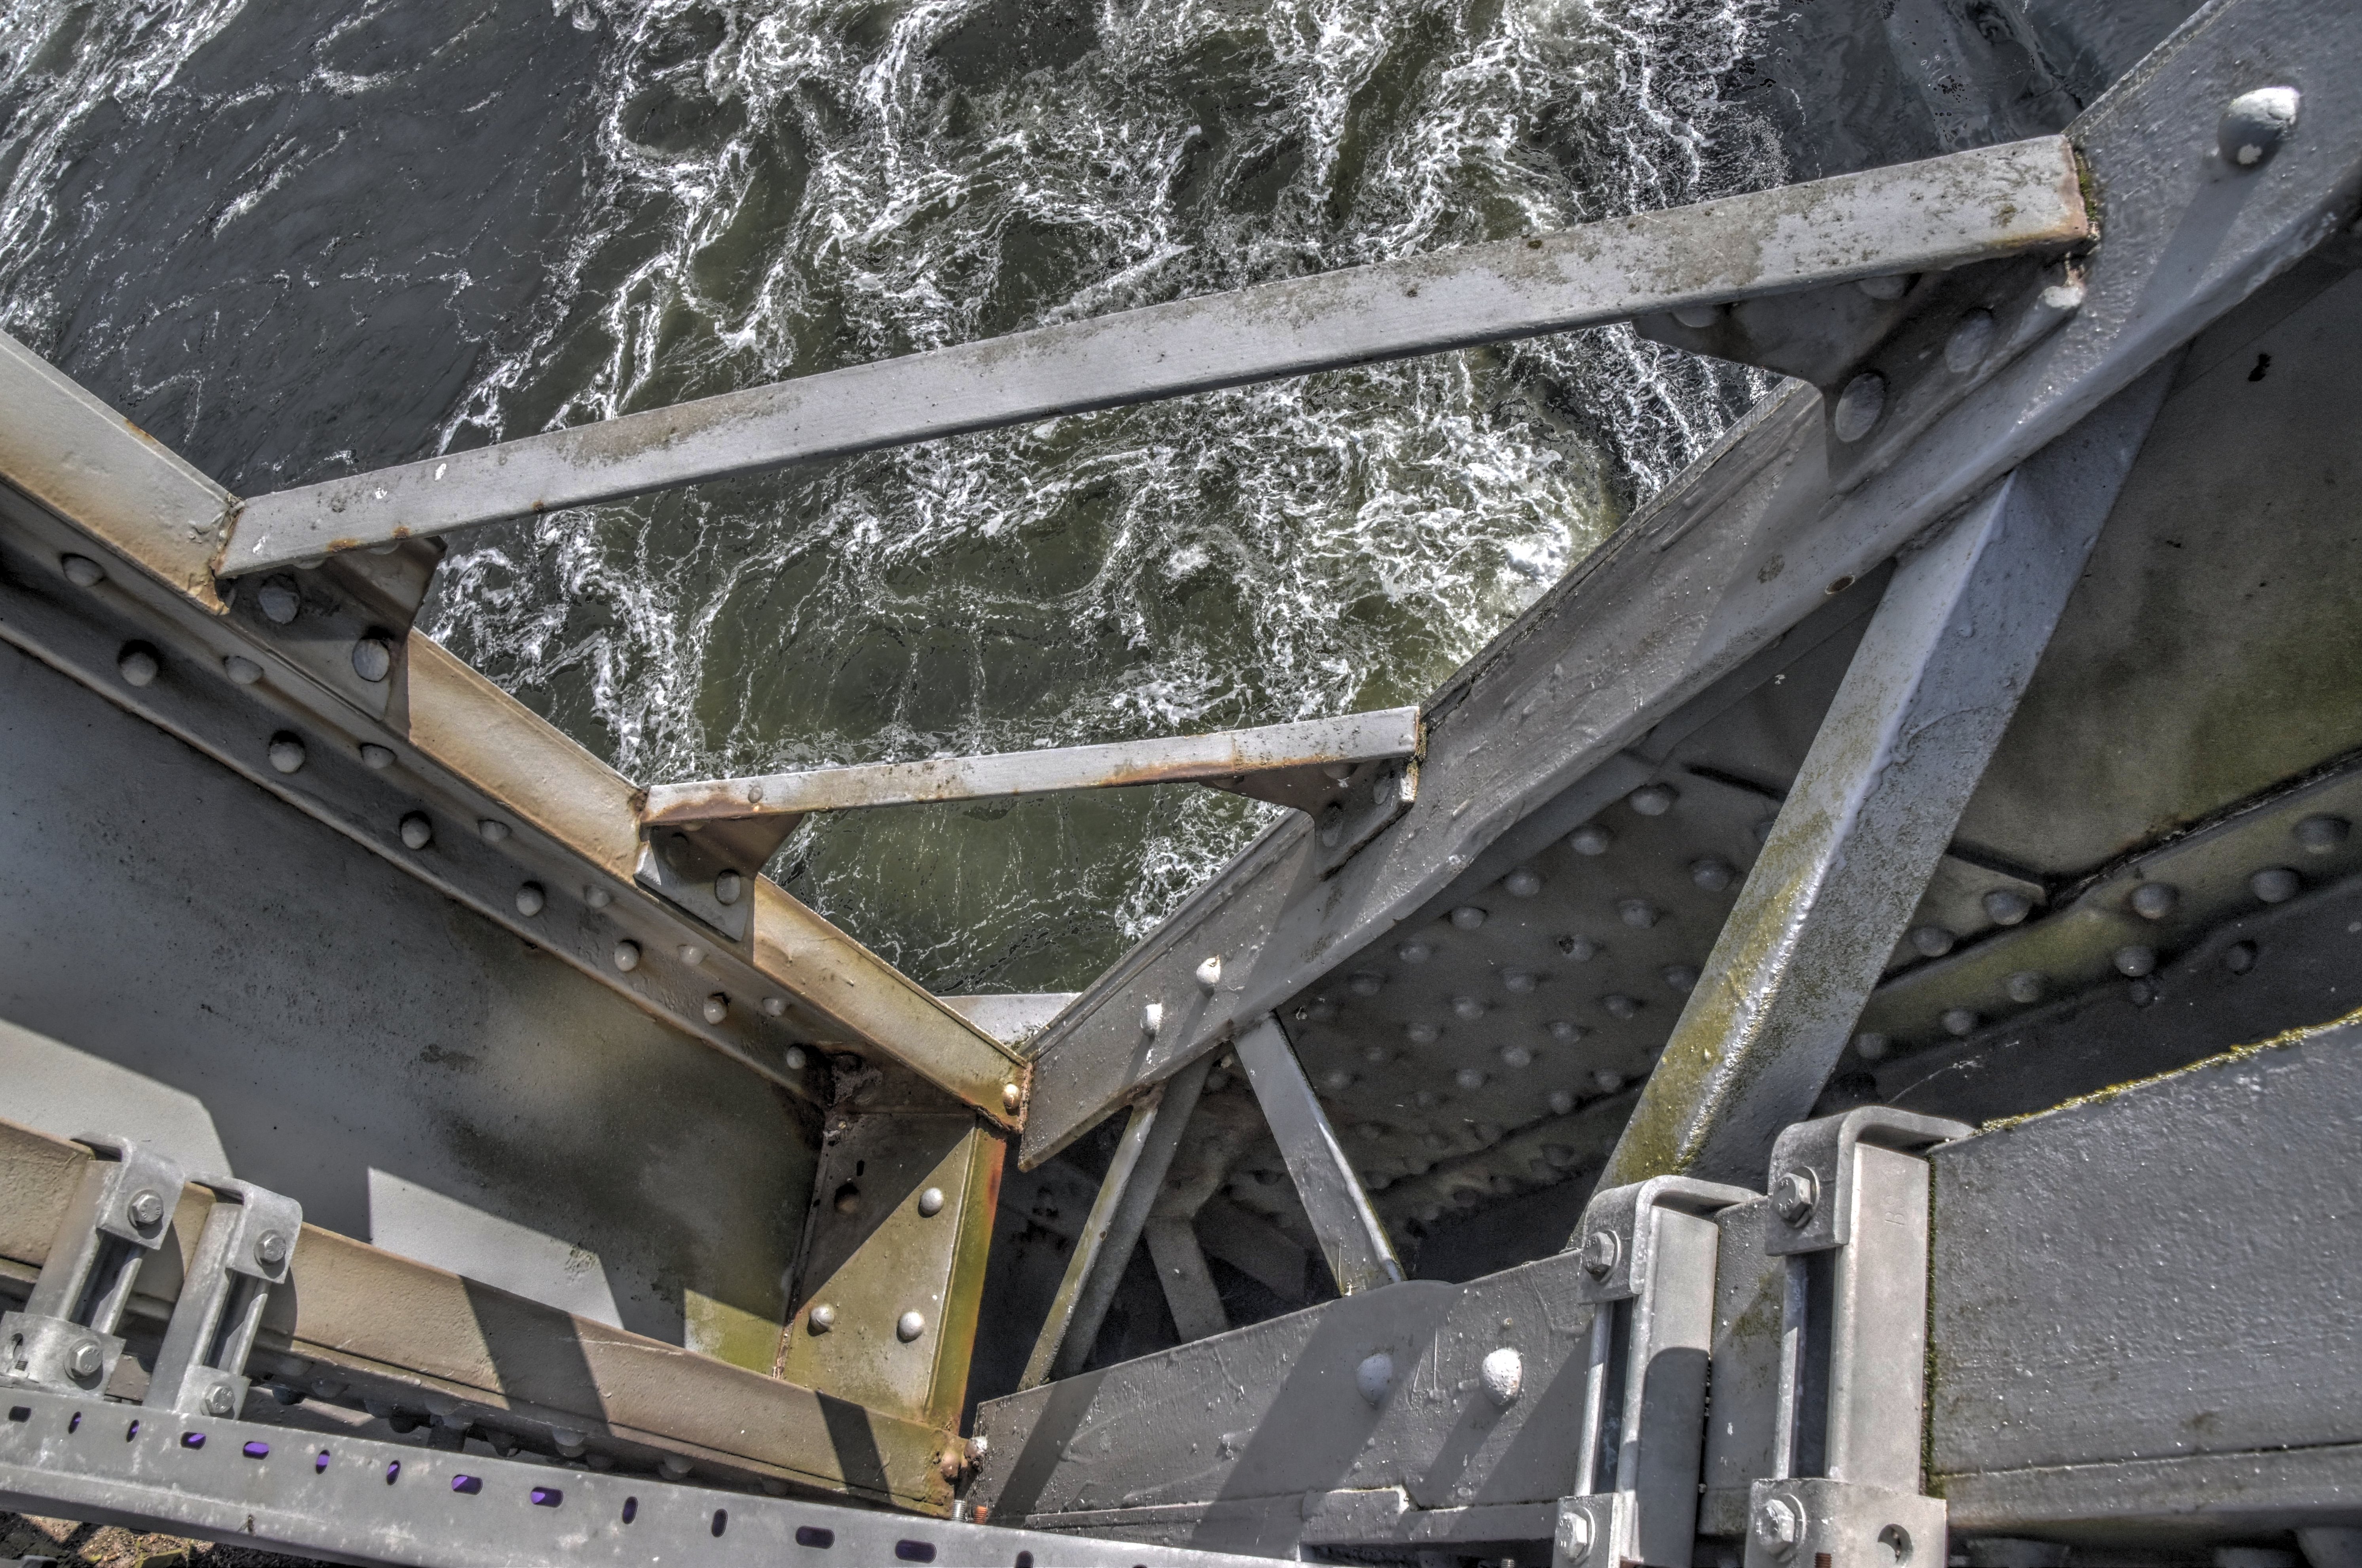
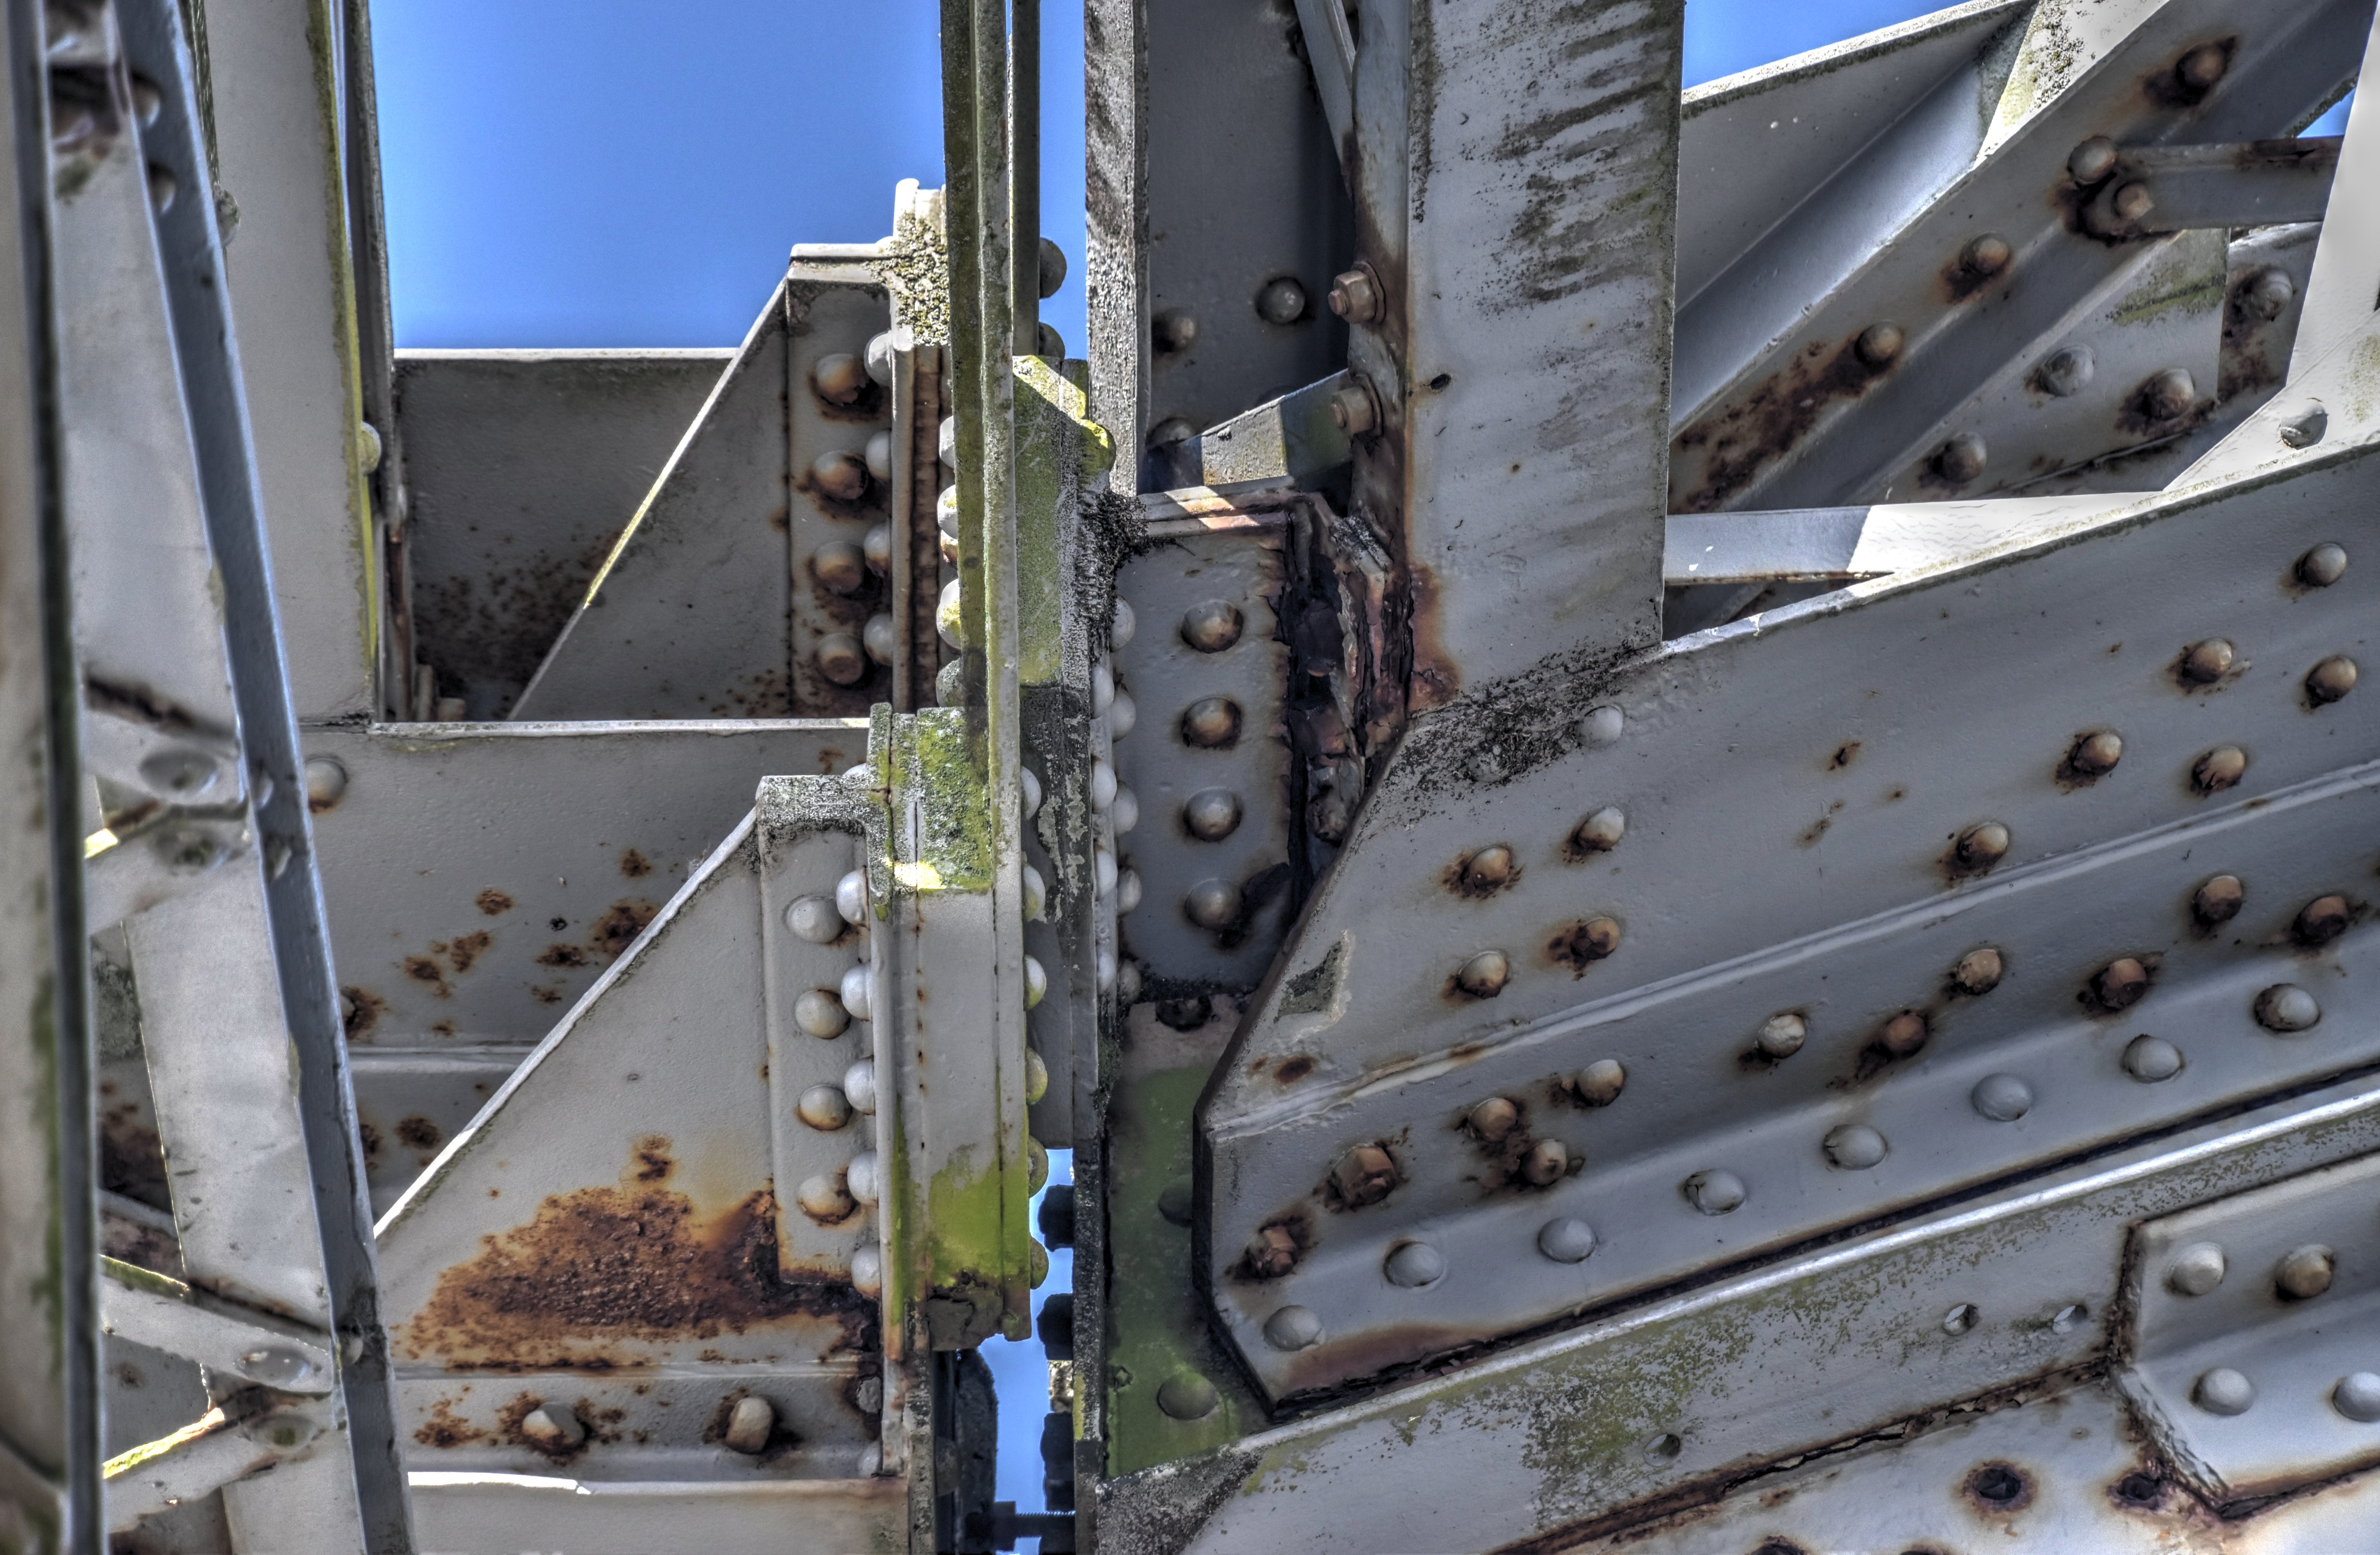
Detail of bottom chord connection at transition from cantilever arm to suspended span as viewed from on bridge.
![]()
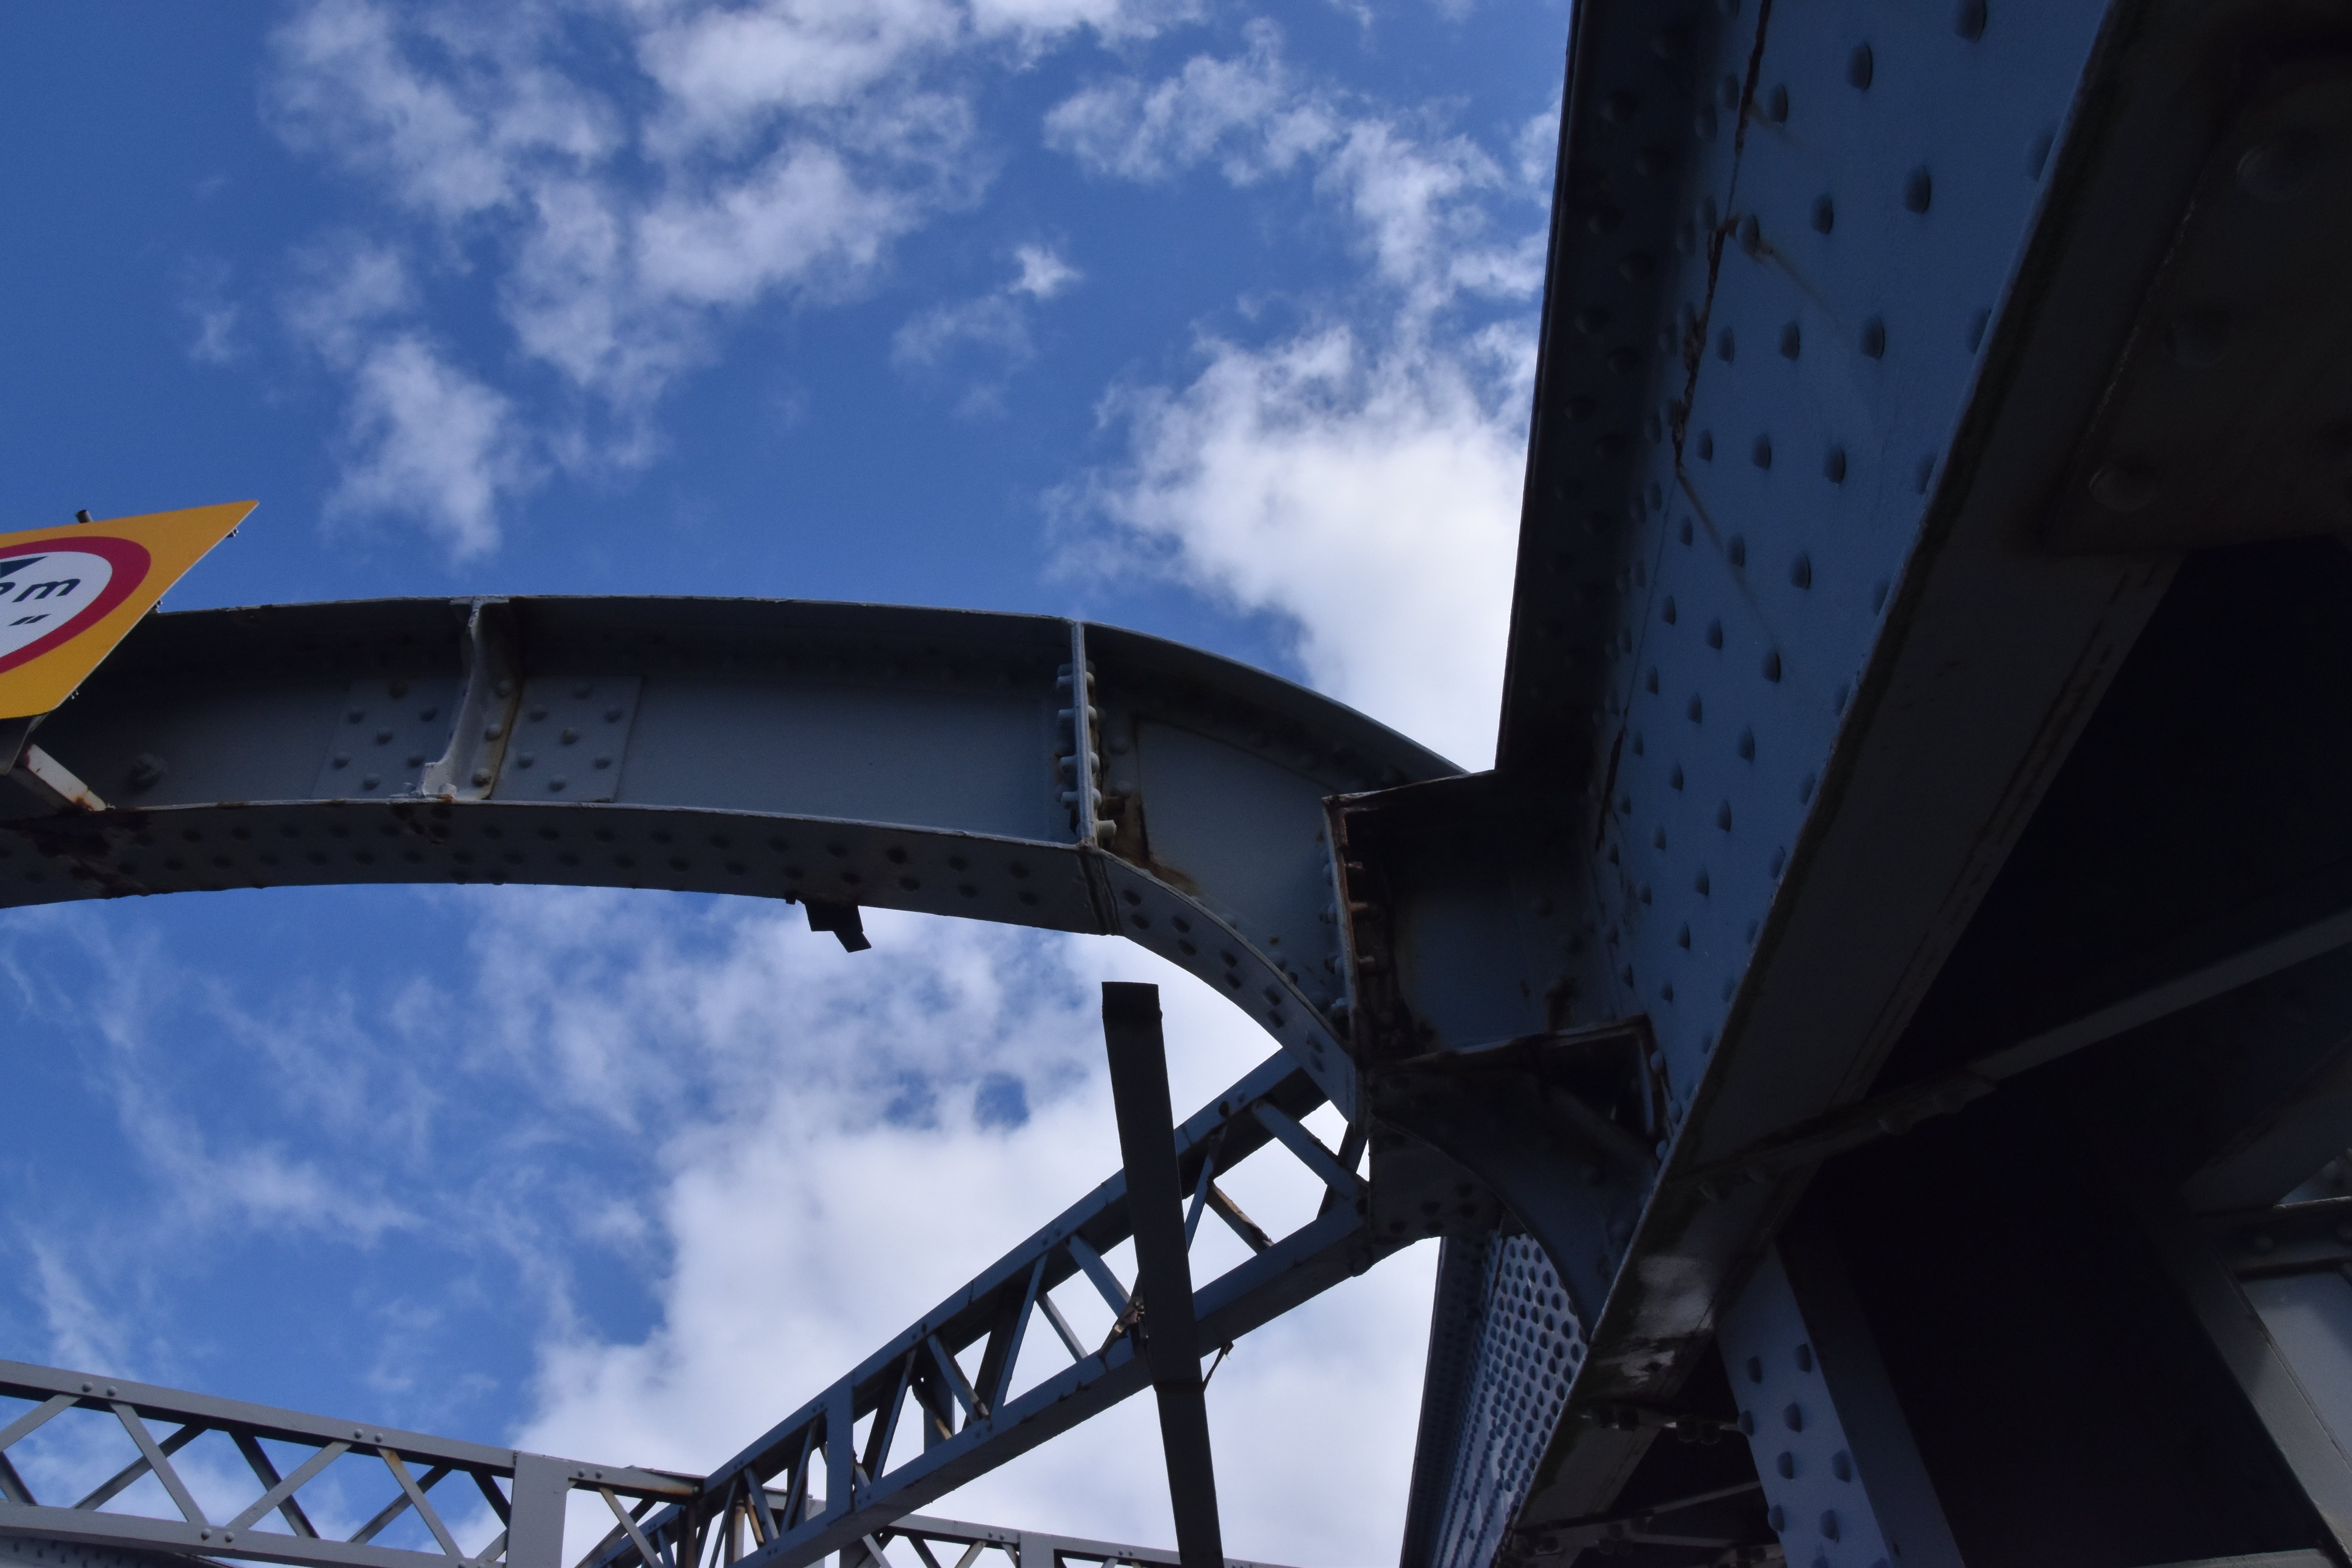
Suspended span end post.
![]()

Suspended span "portal" sway bracing.
![]()
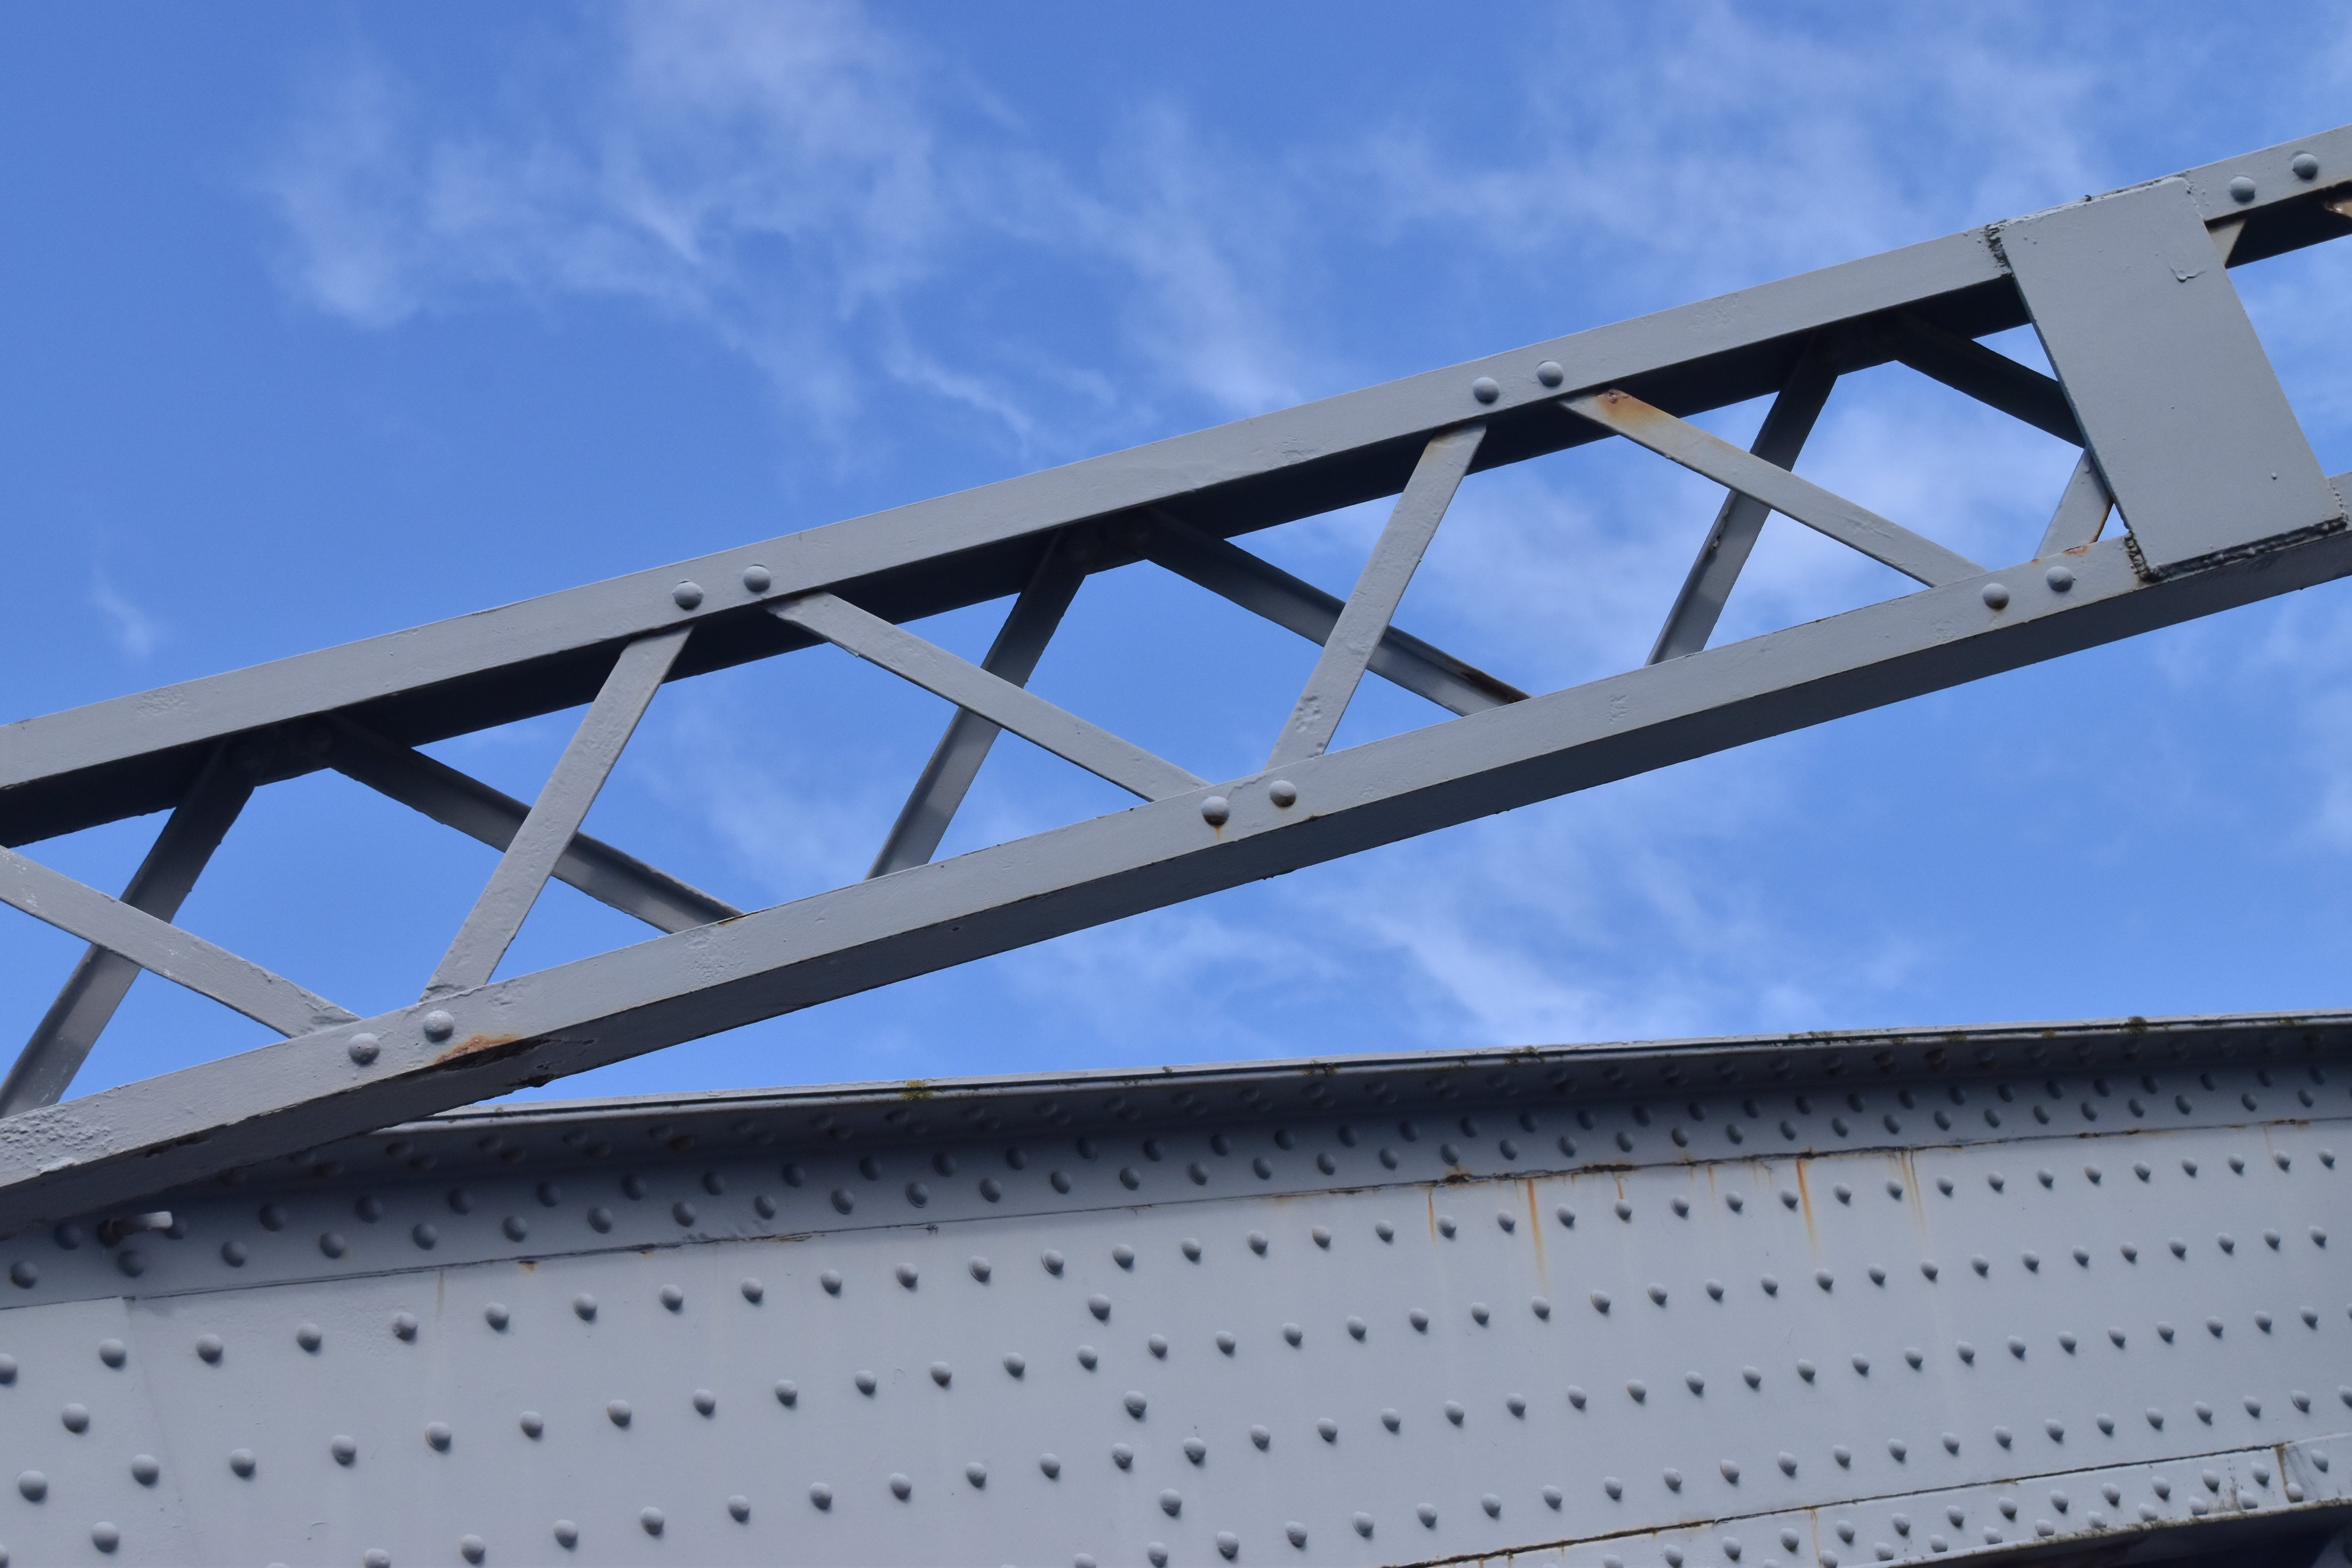
Suspended span sway bracing.
![]()
Suspended span top chord connections.
![]()

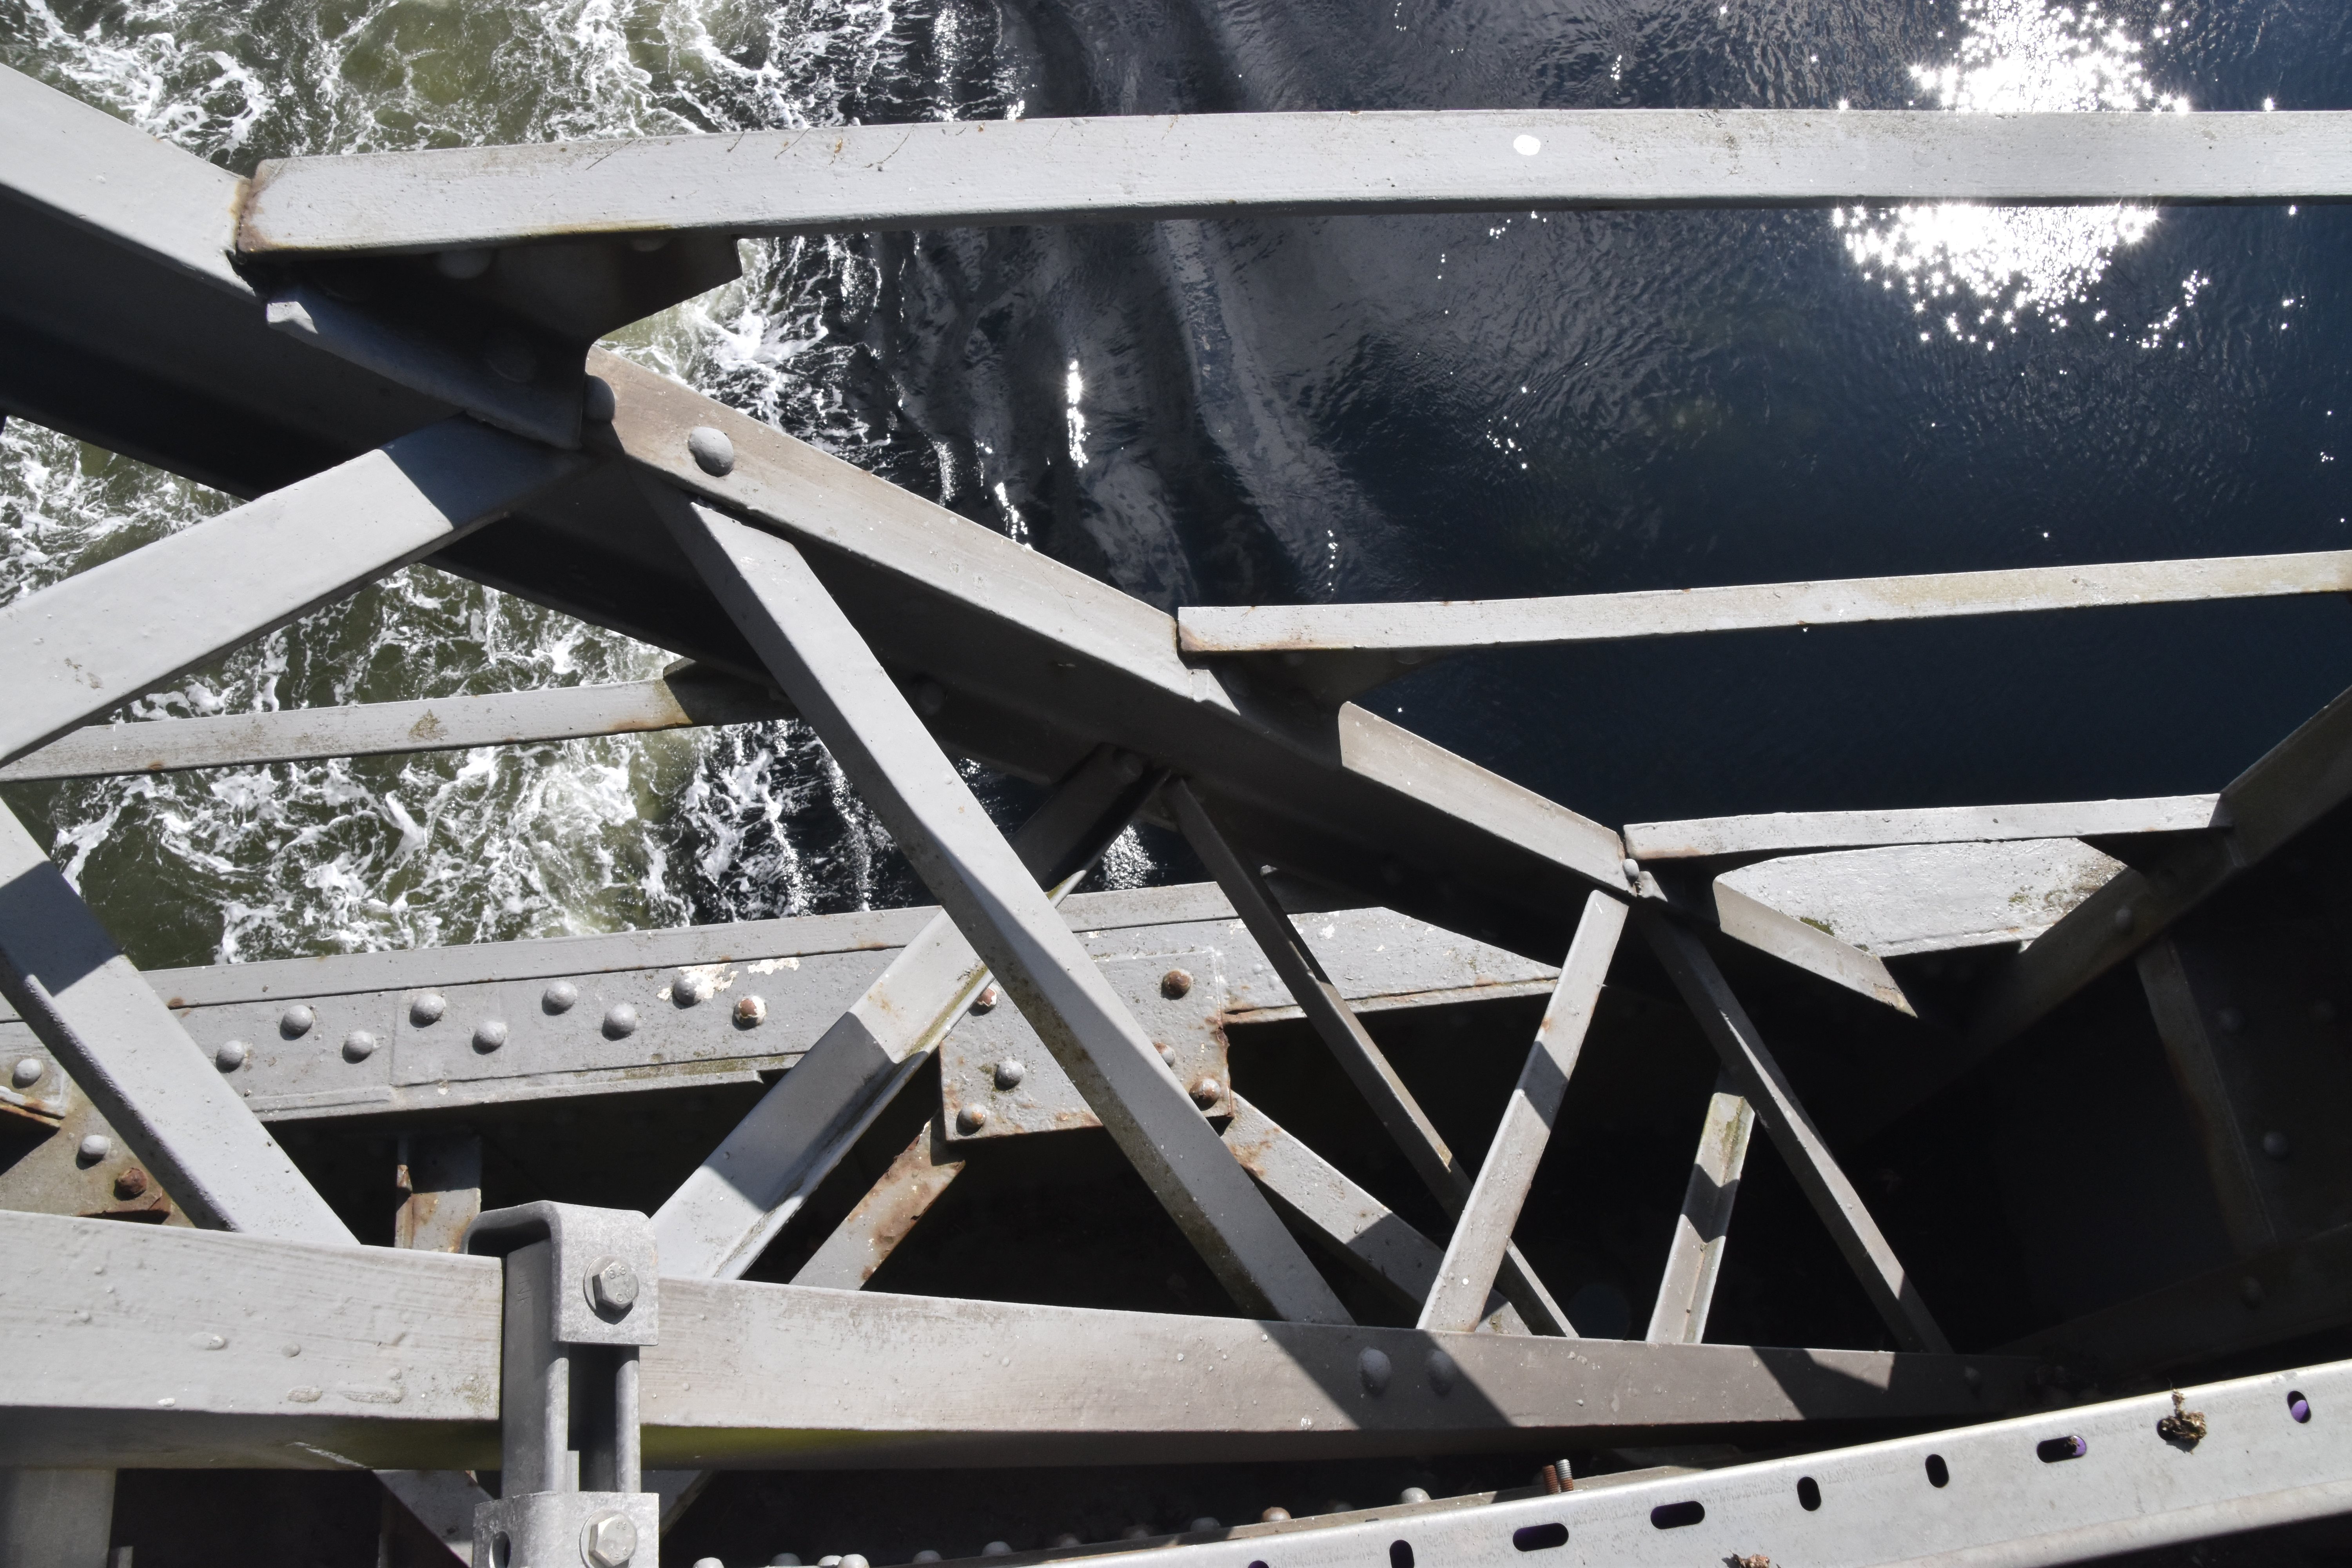
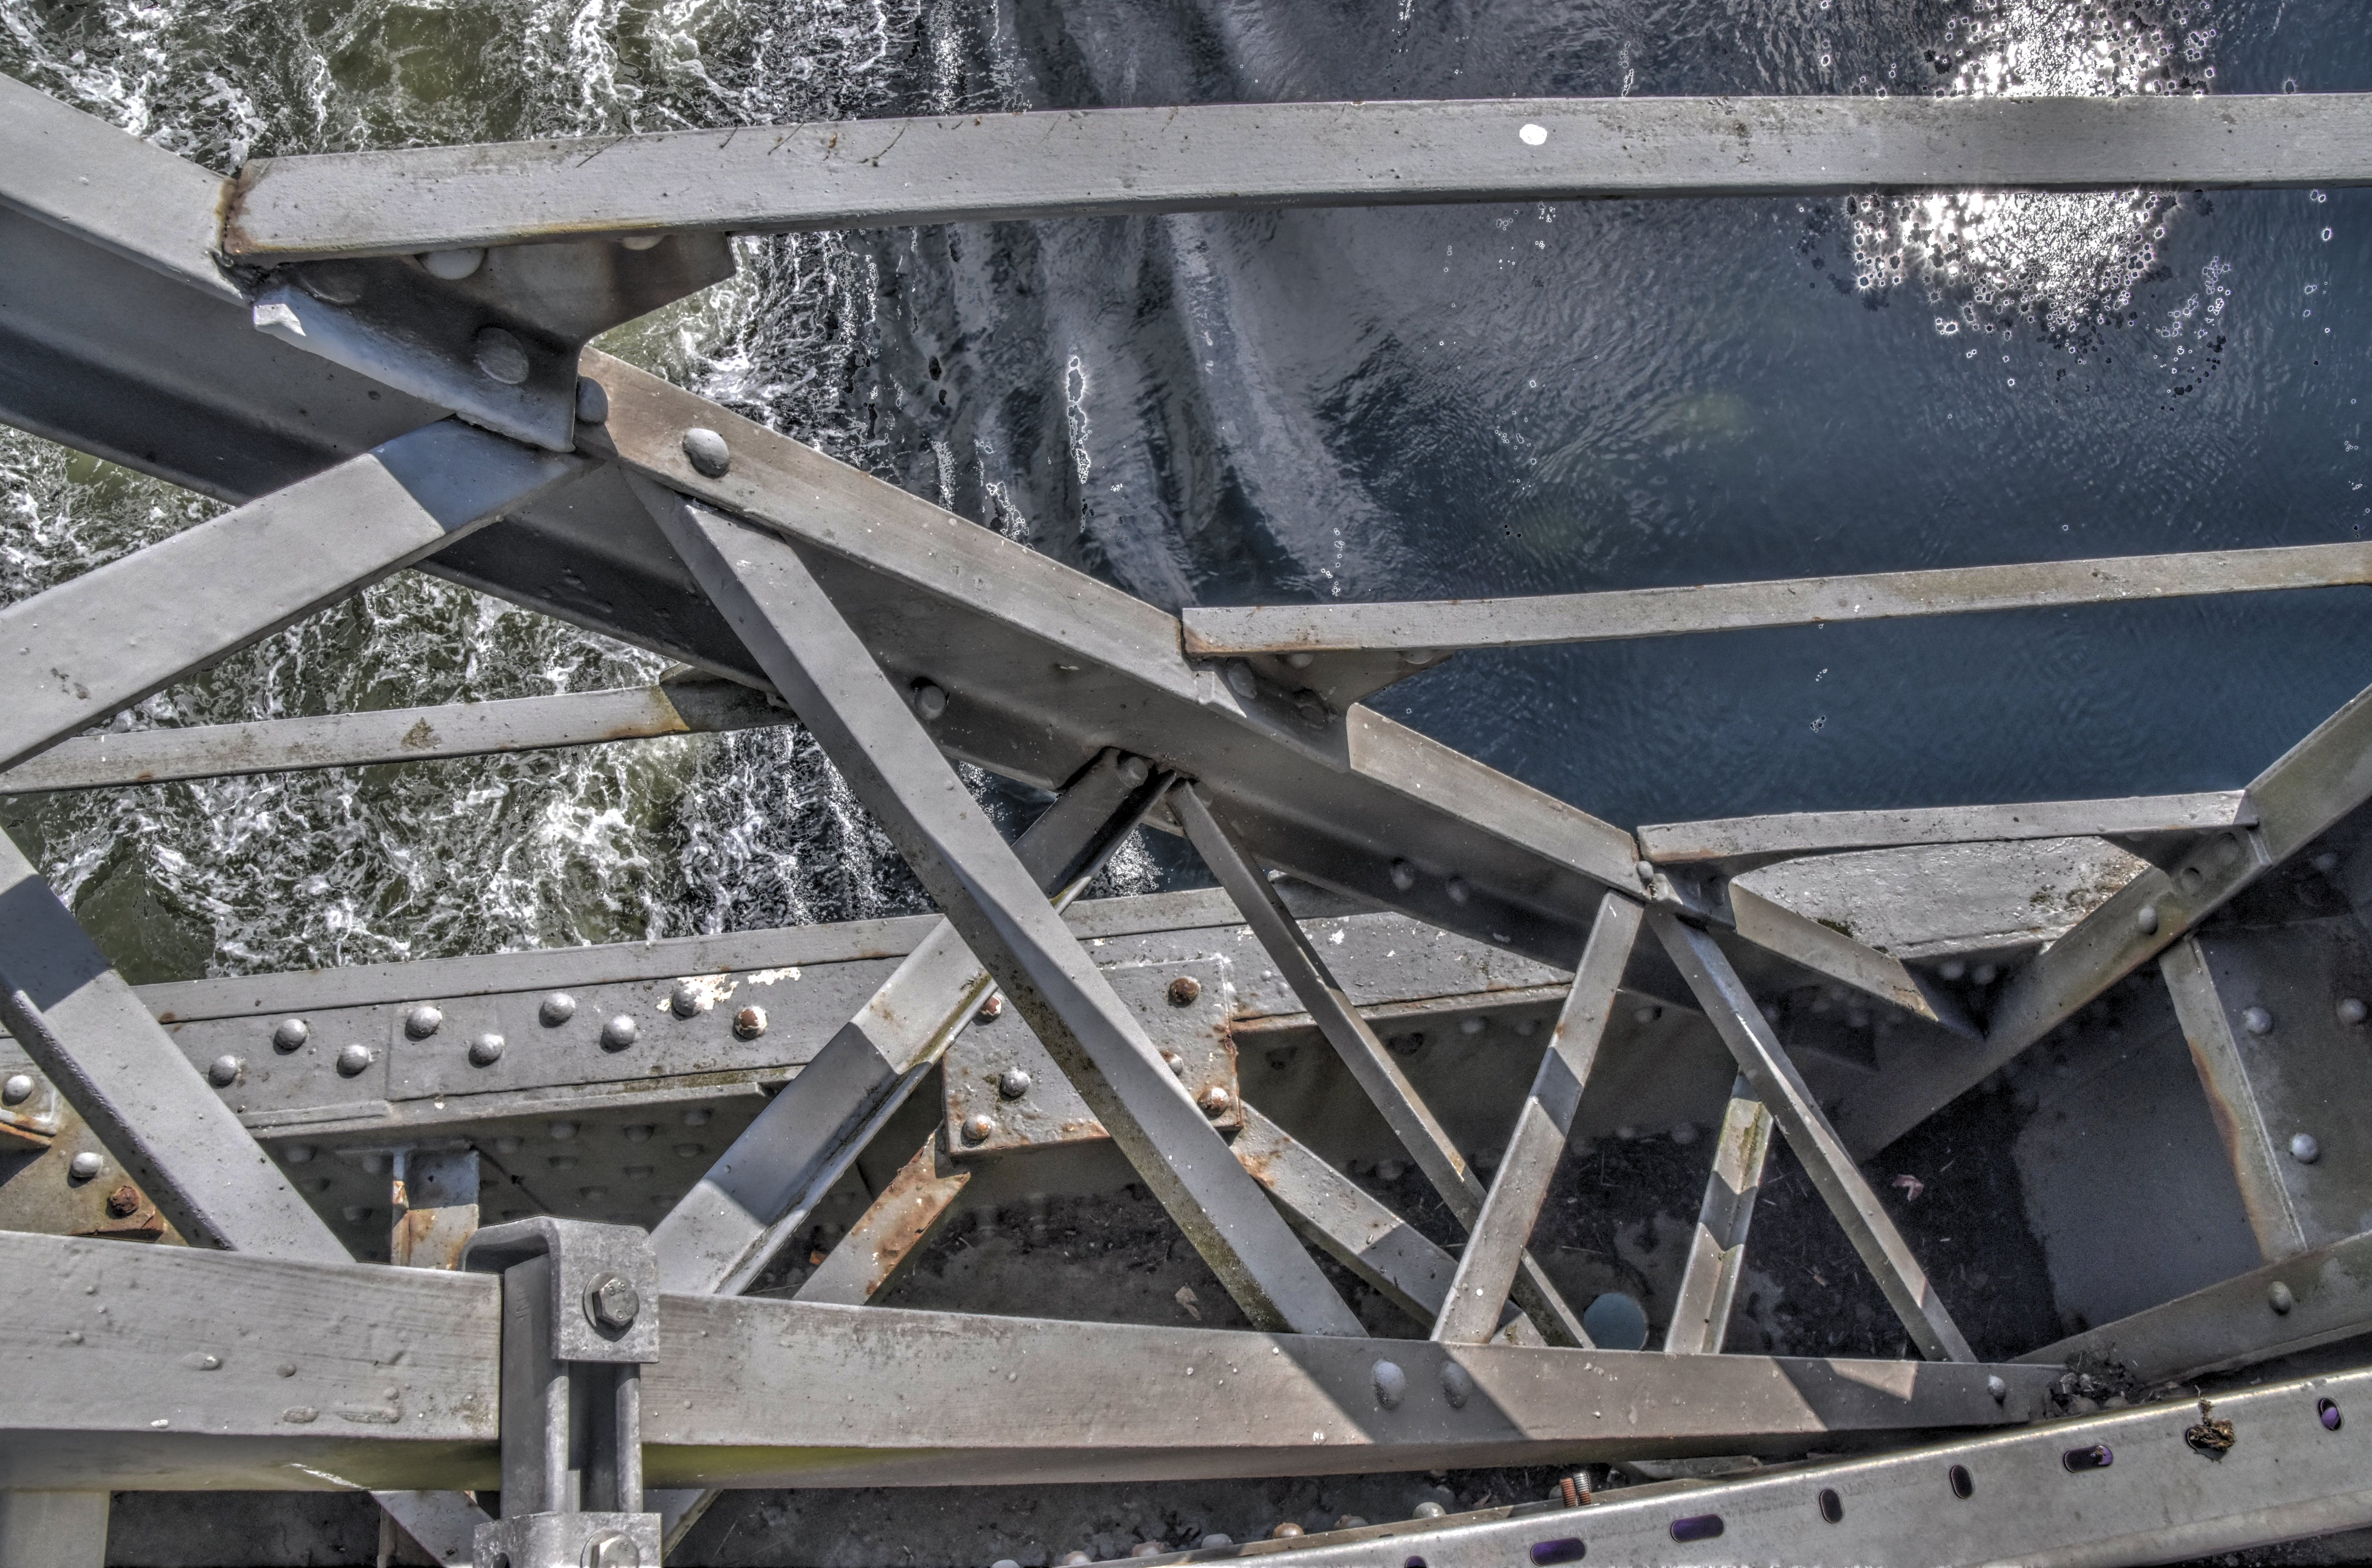
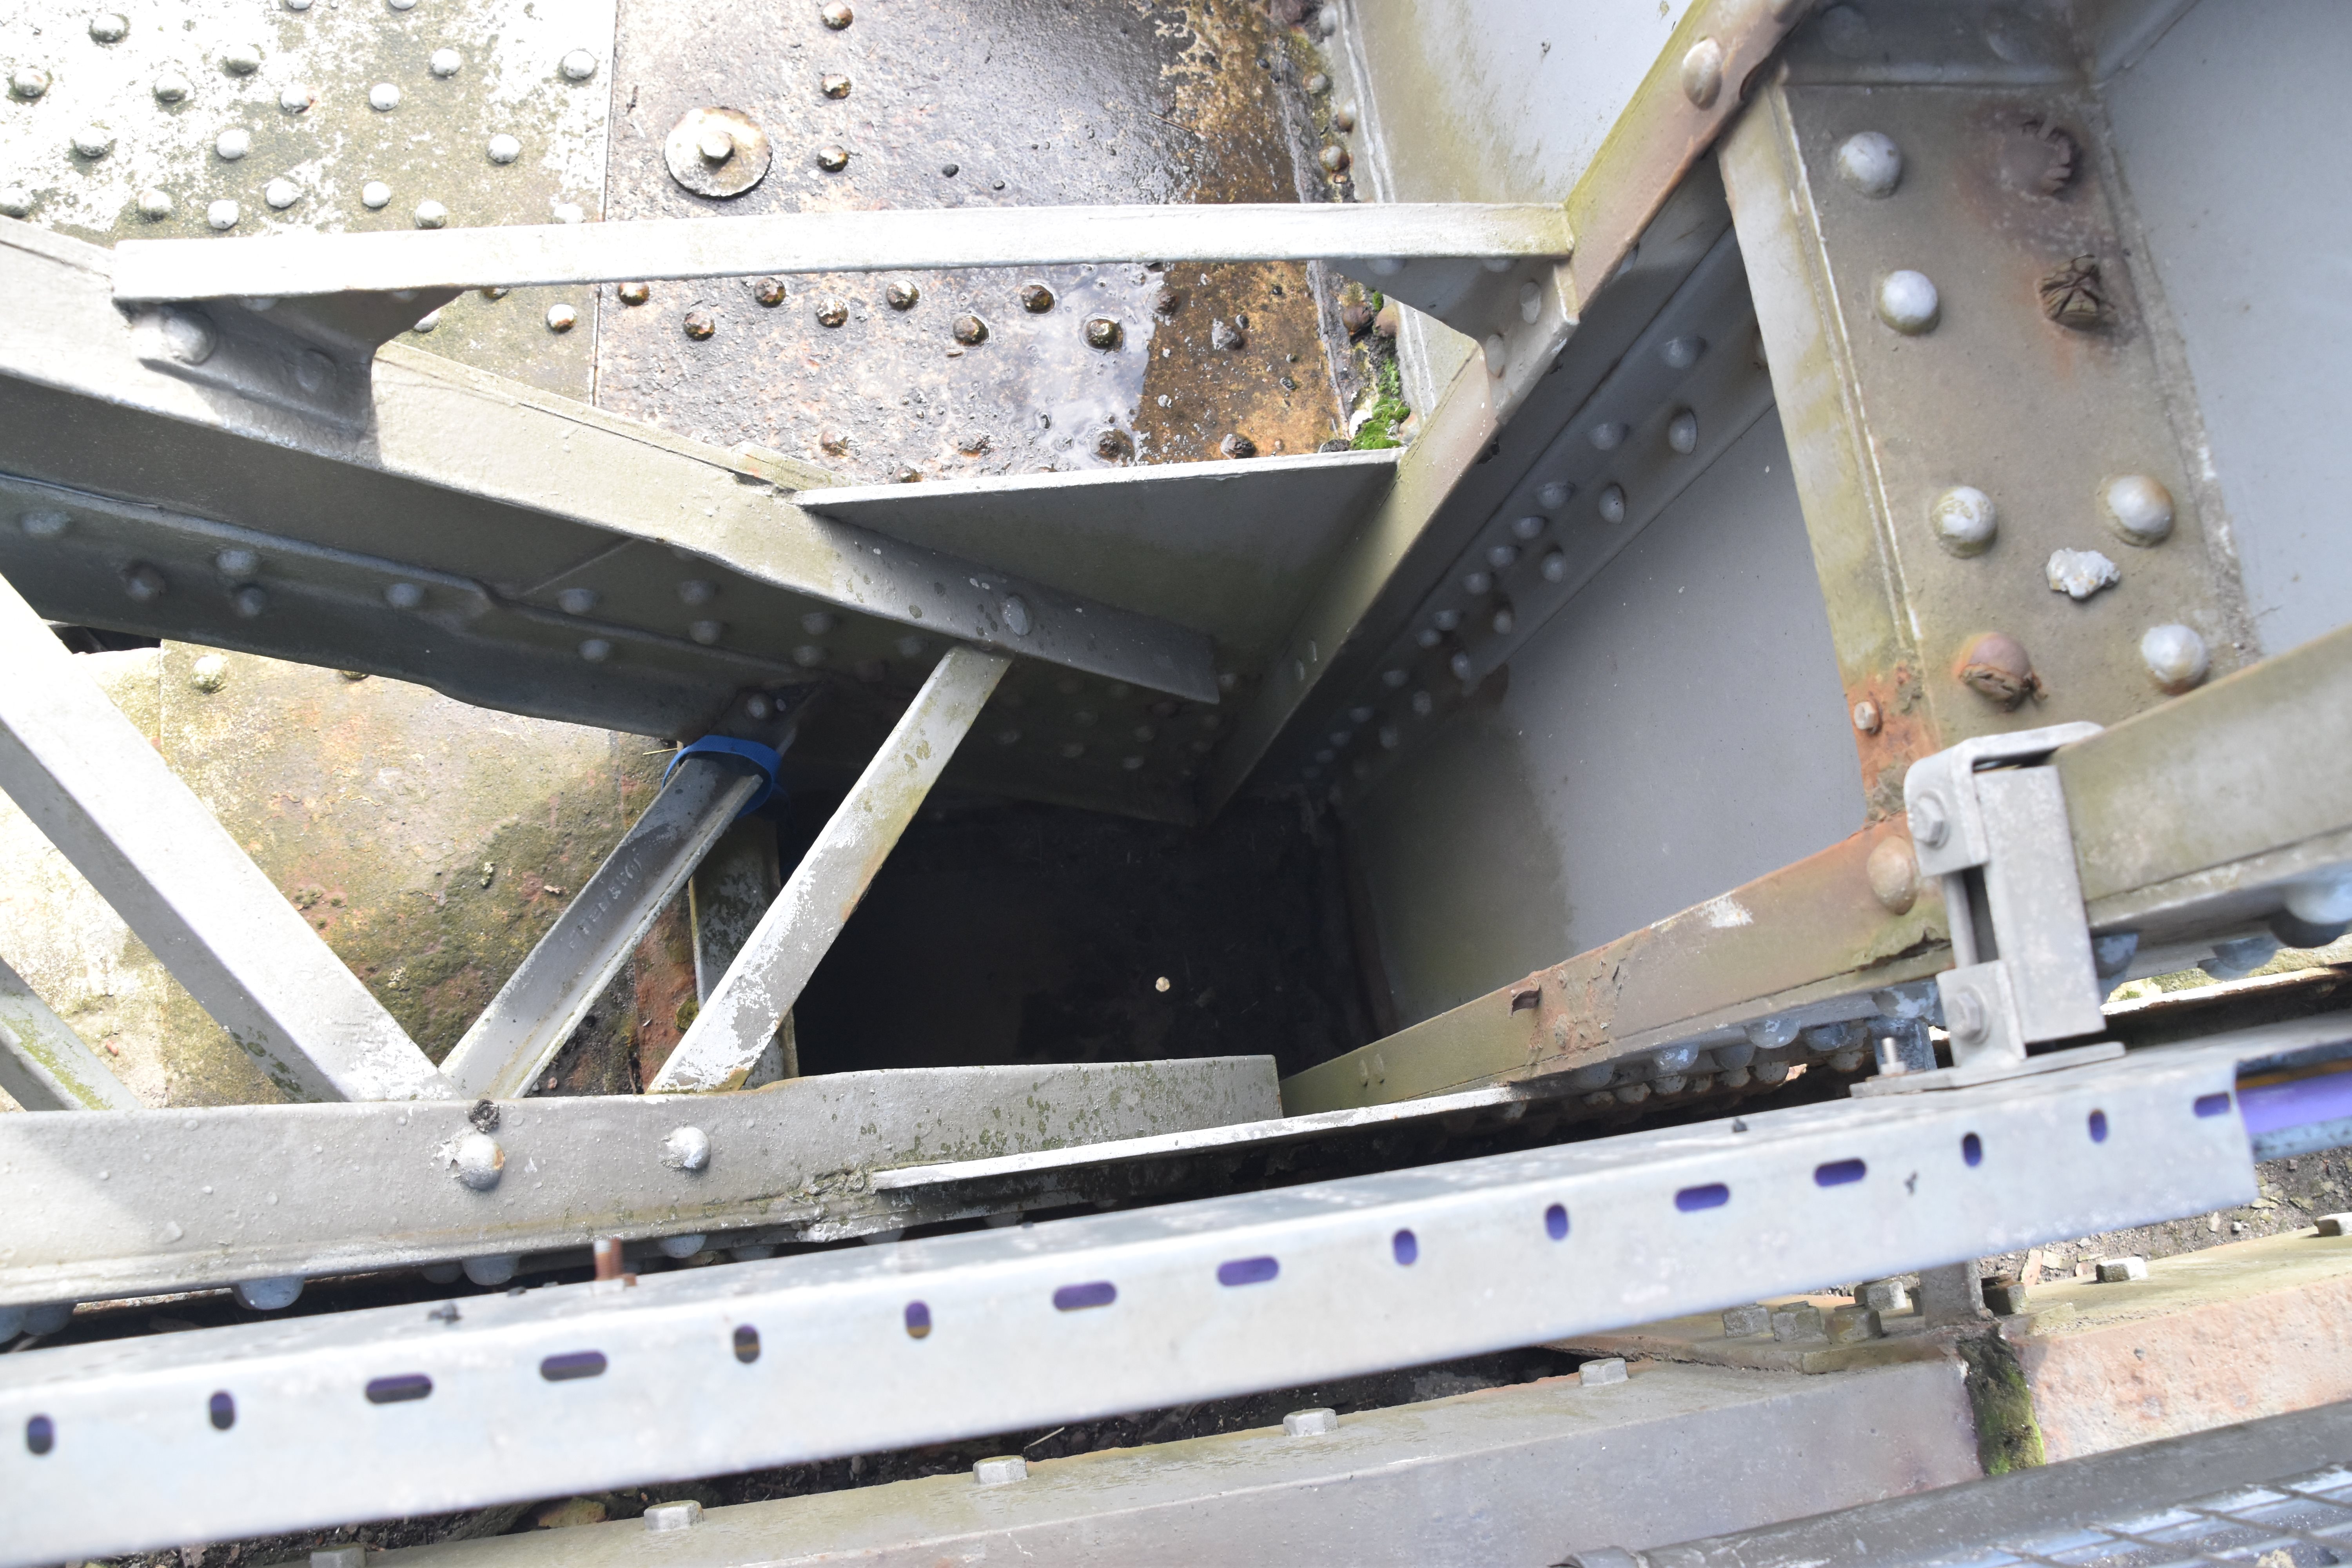
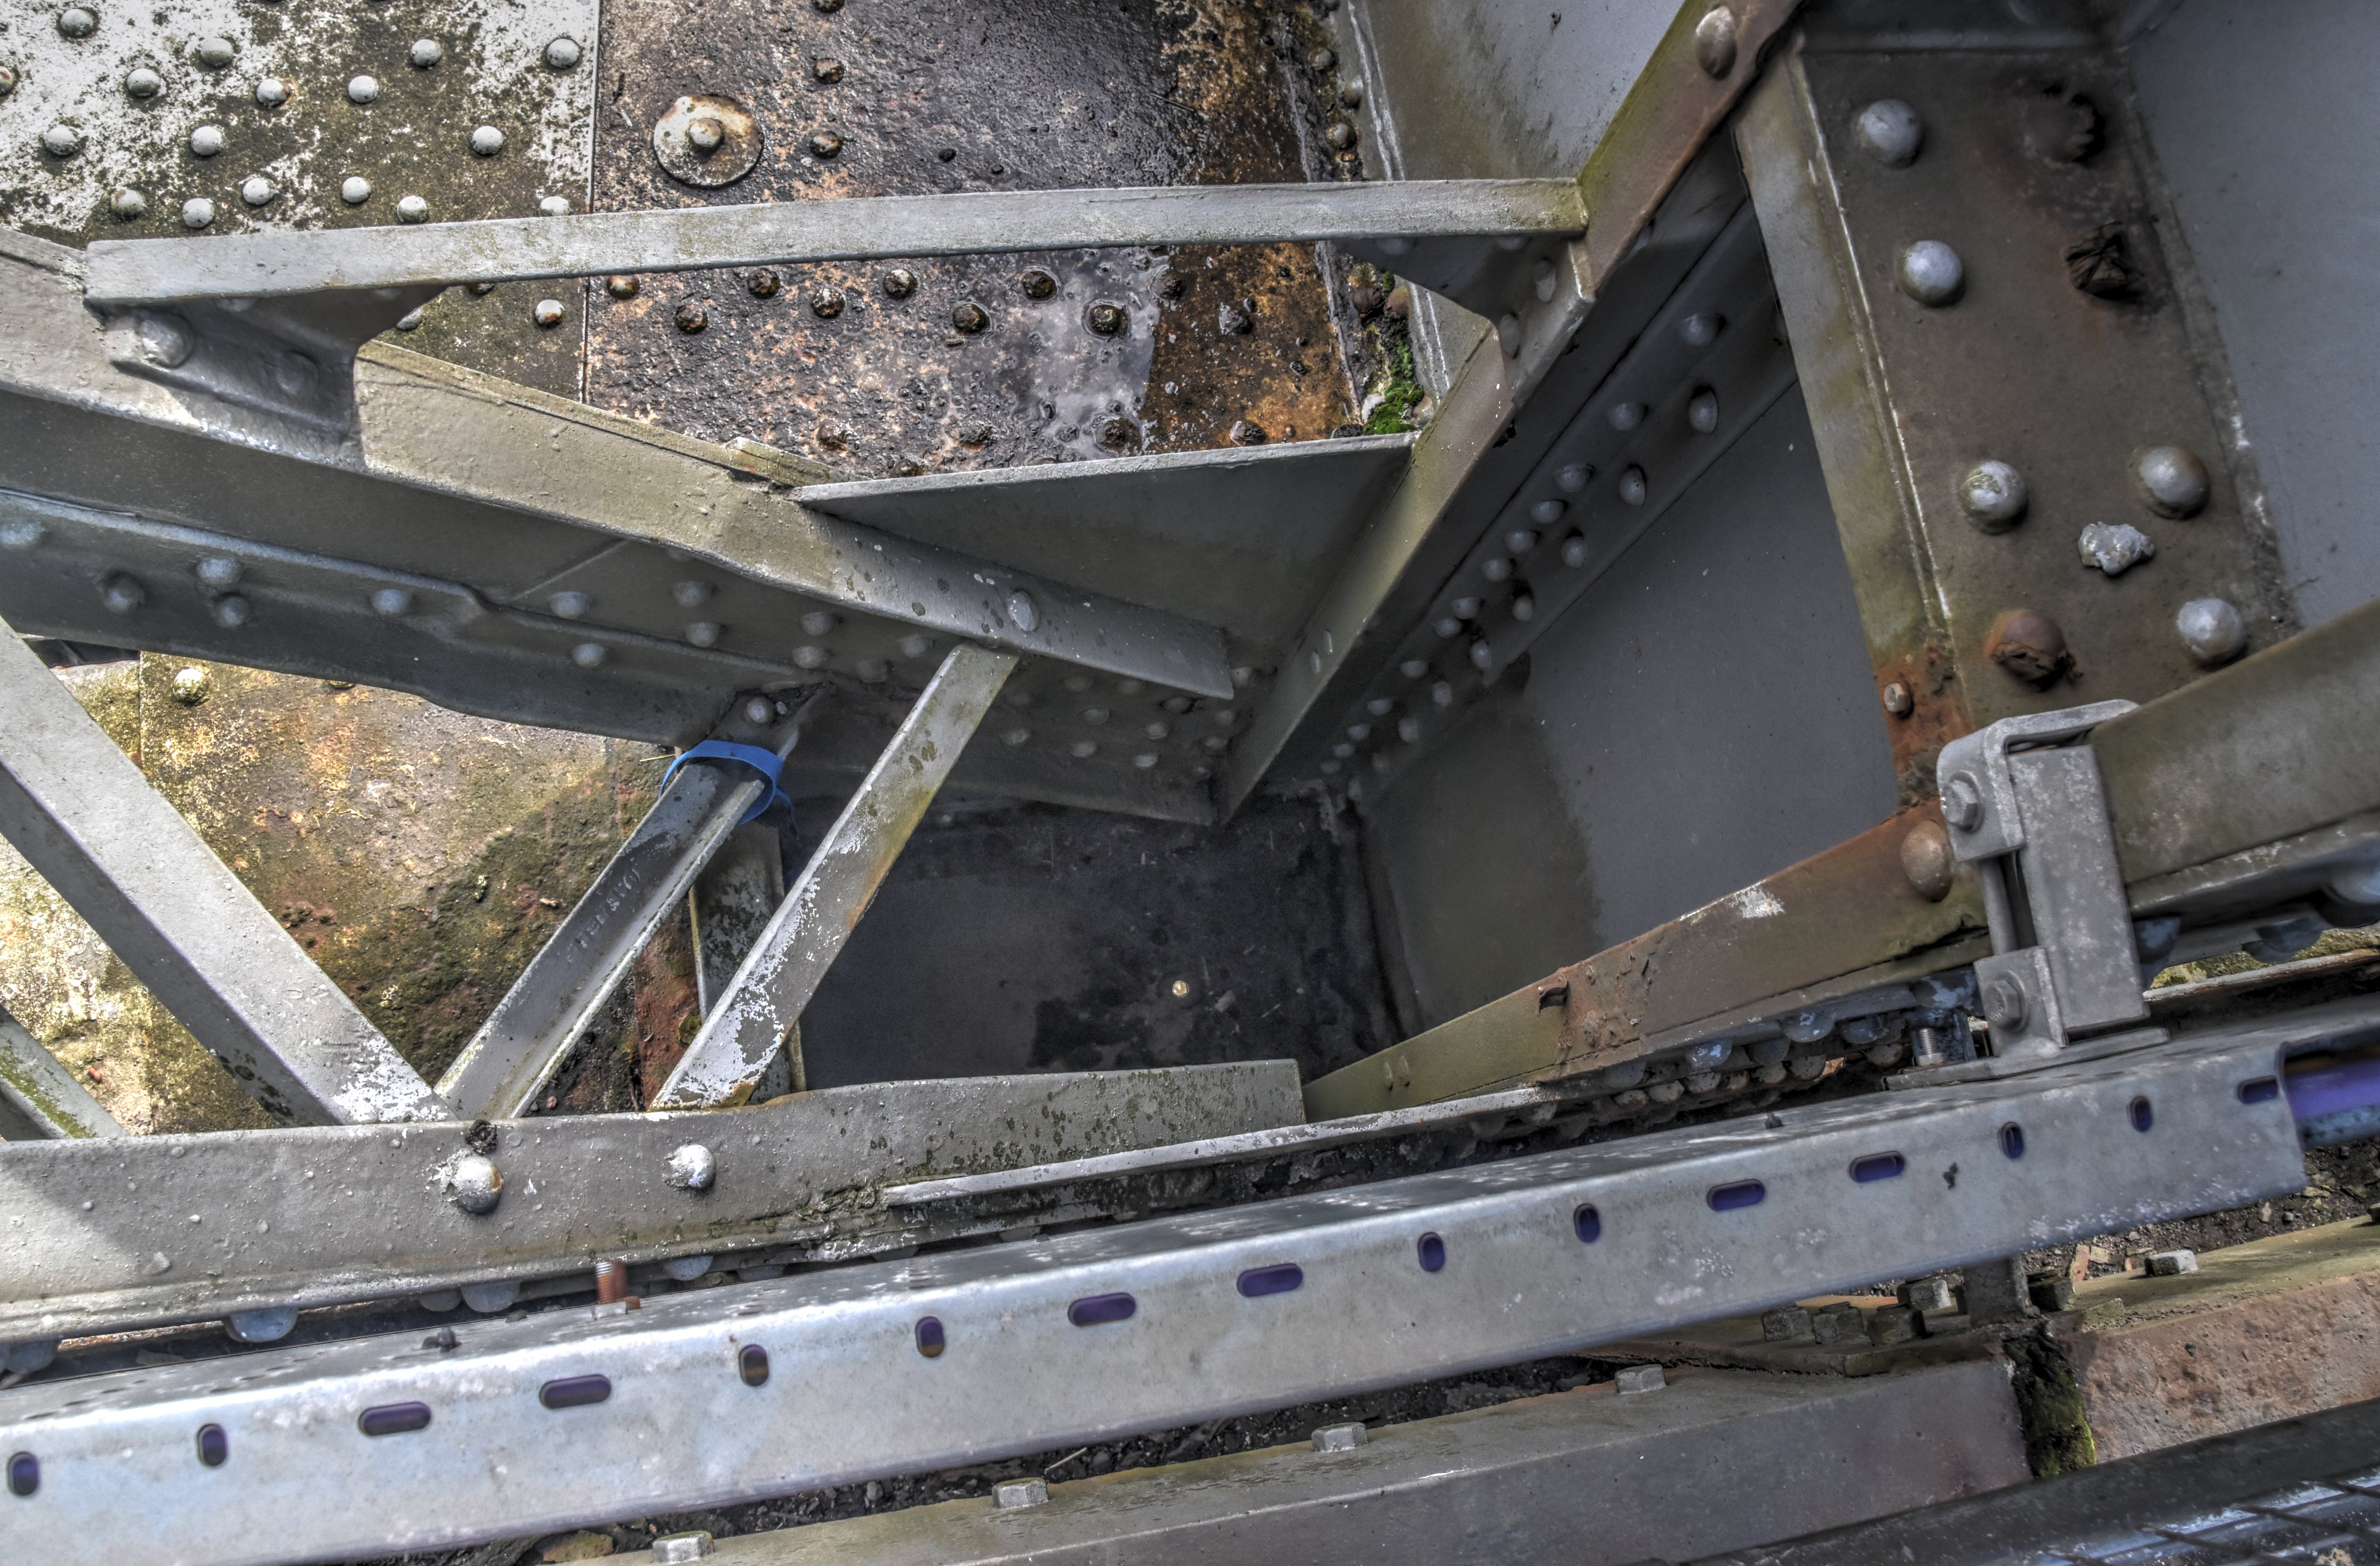
Suspended span bottom chord connections.
![]()
Suspended span intermediate connections.
![]()
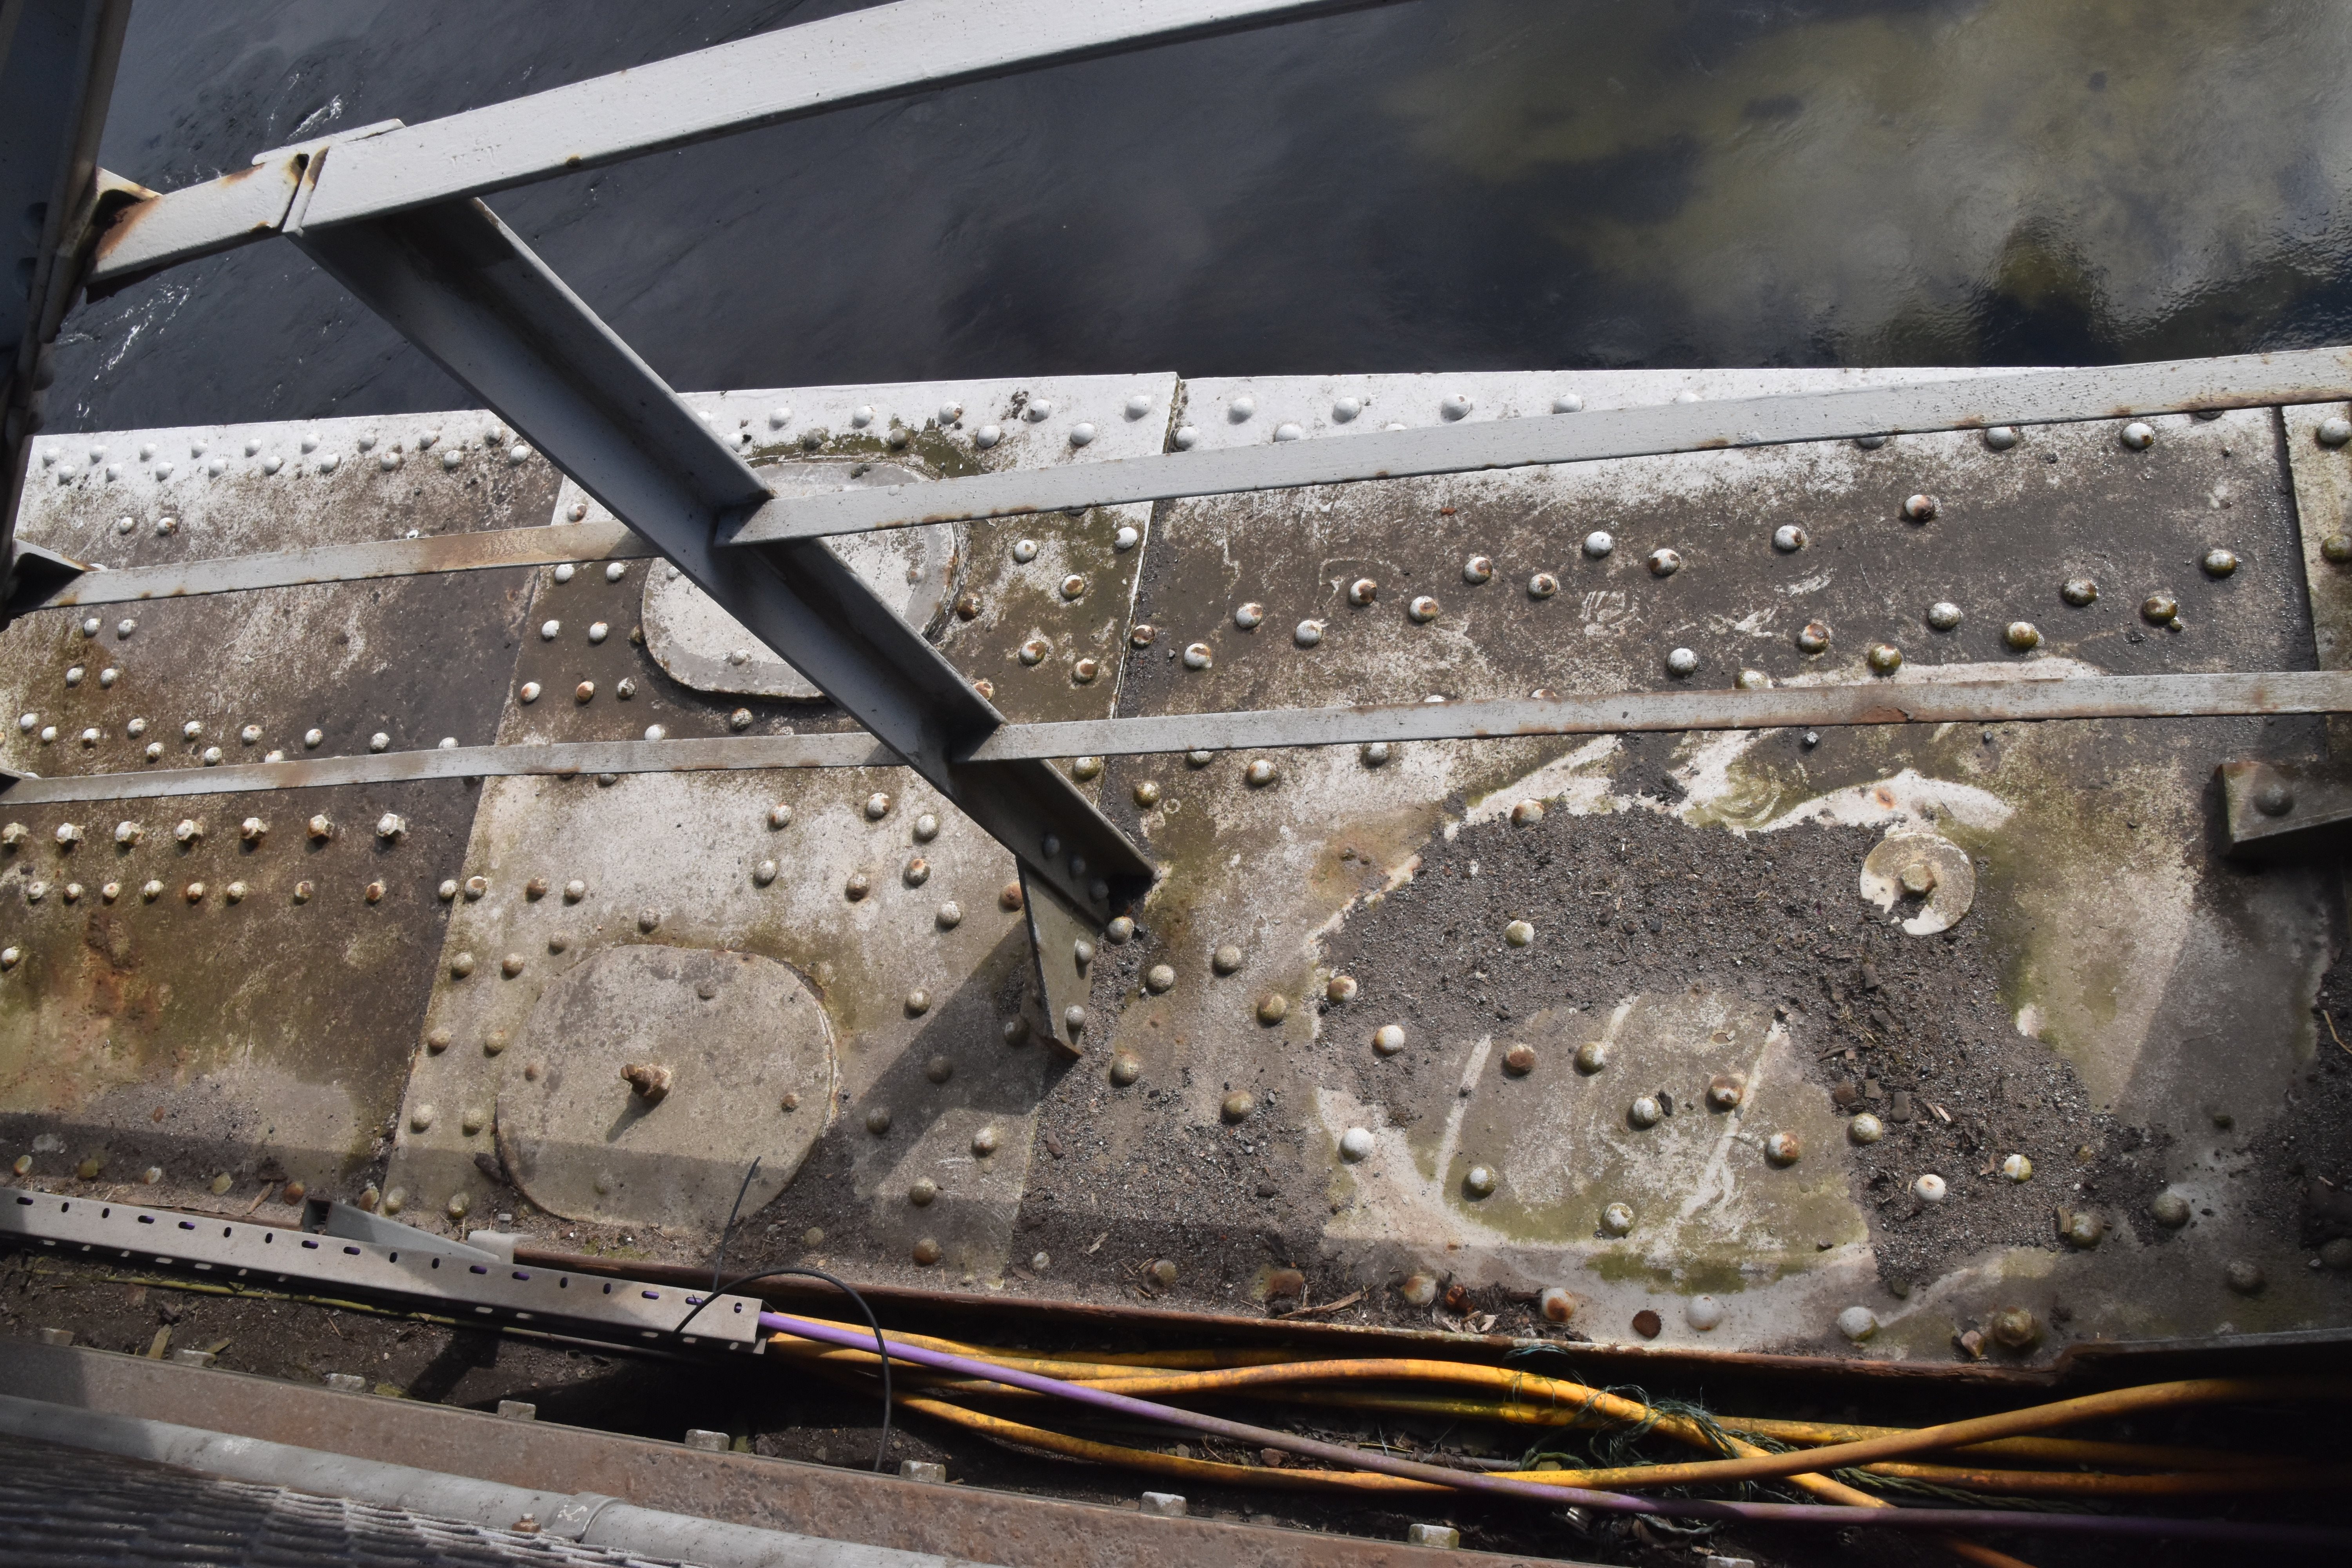
Suspended span bottom chord.
![]()


Suspended span diagonal members.
![]()

Suspended span vertical members.
![]()
![]()

![]()