
Uncredited photos on this page taken by: Nathan Holth. Unless stated in a caption, all photos are Copyright with All Rights Reserved. Learn about reuse of our photos.
![]()
 |
 |
 |
 |
 |
| Photo Credit: | Photo Credit: | Photo Credit: | Photo Credit: | Photo Credit: |
 |
 |
| Photo Credit: | Photo Credit: |
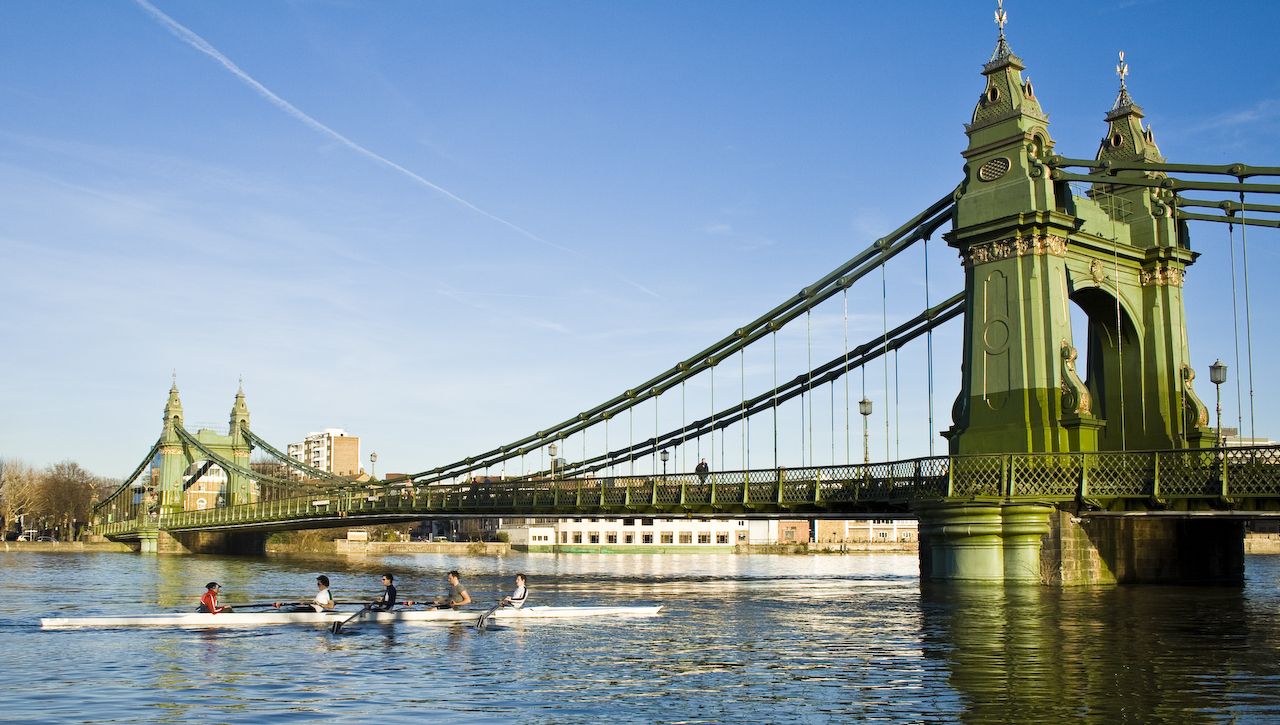
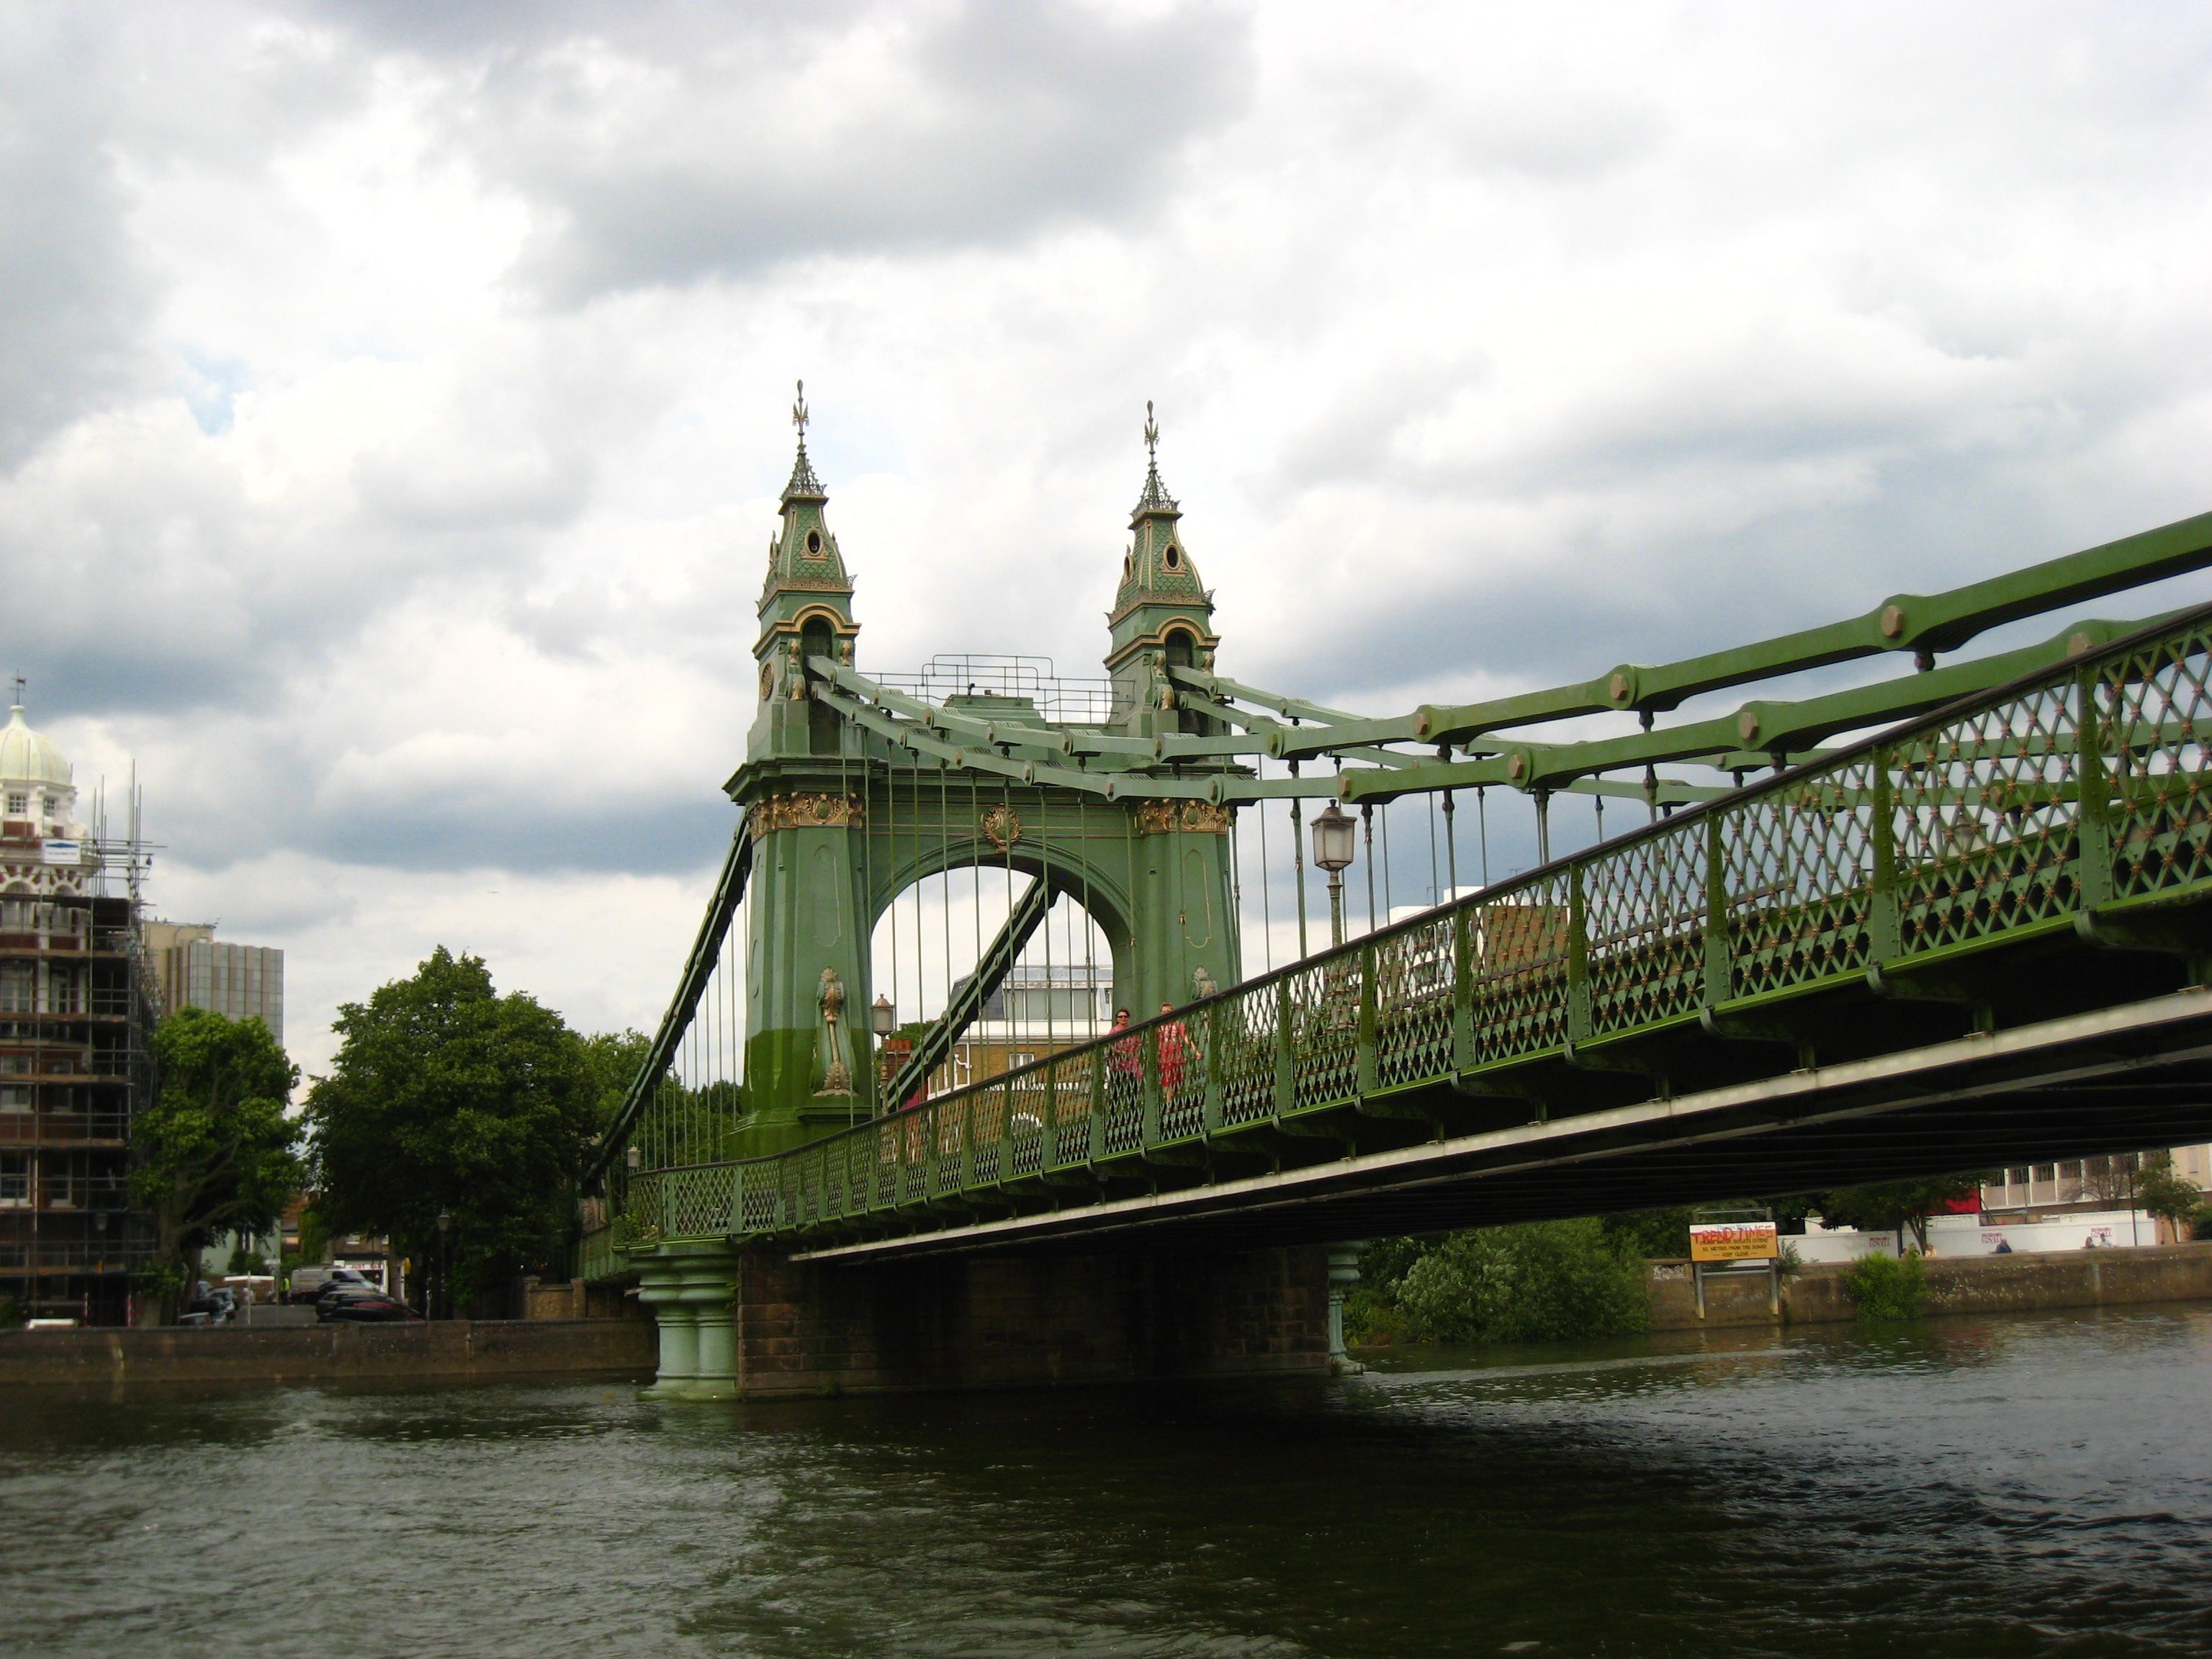
Elevation.
![]()
 |
 |
 |
 |
 |
| Photo Credit: | Photo Credit: | Photo Credit: | Photo Credit: | Photo Credit: |
 |
 |
 |
 |
| Photo Credit: | Photo Credit: | Photo Credit: | Photo Credit: |
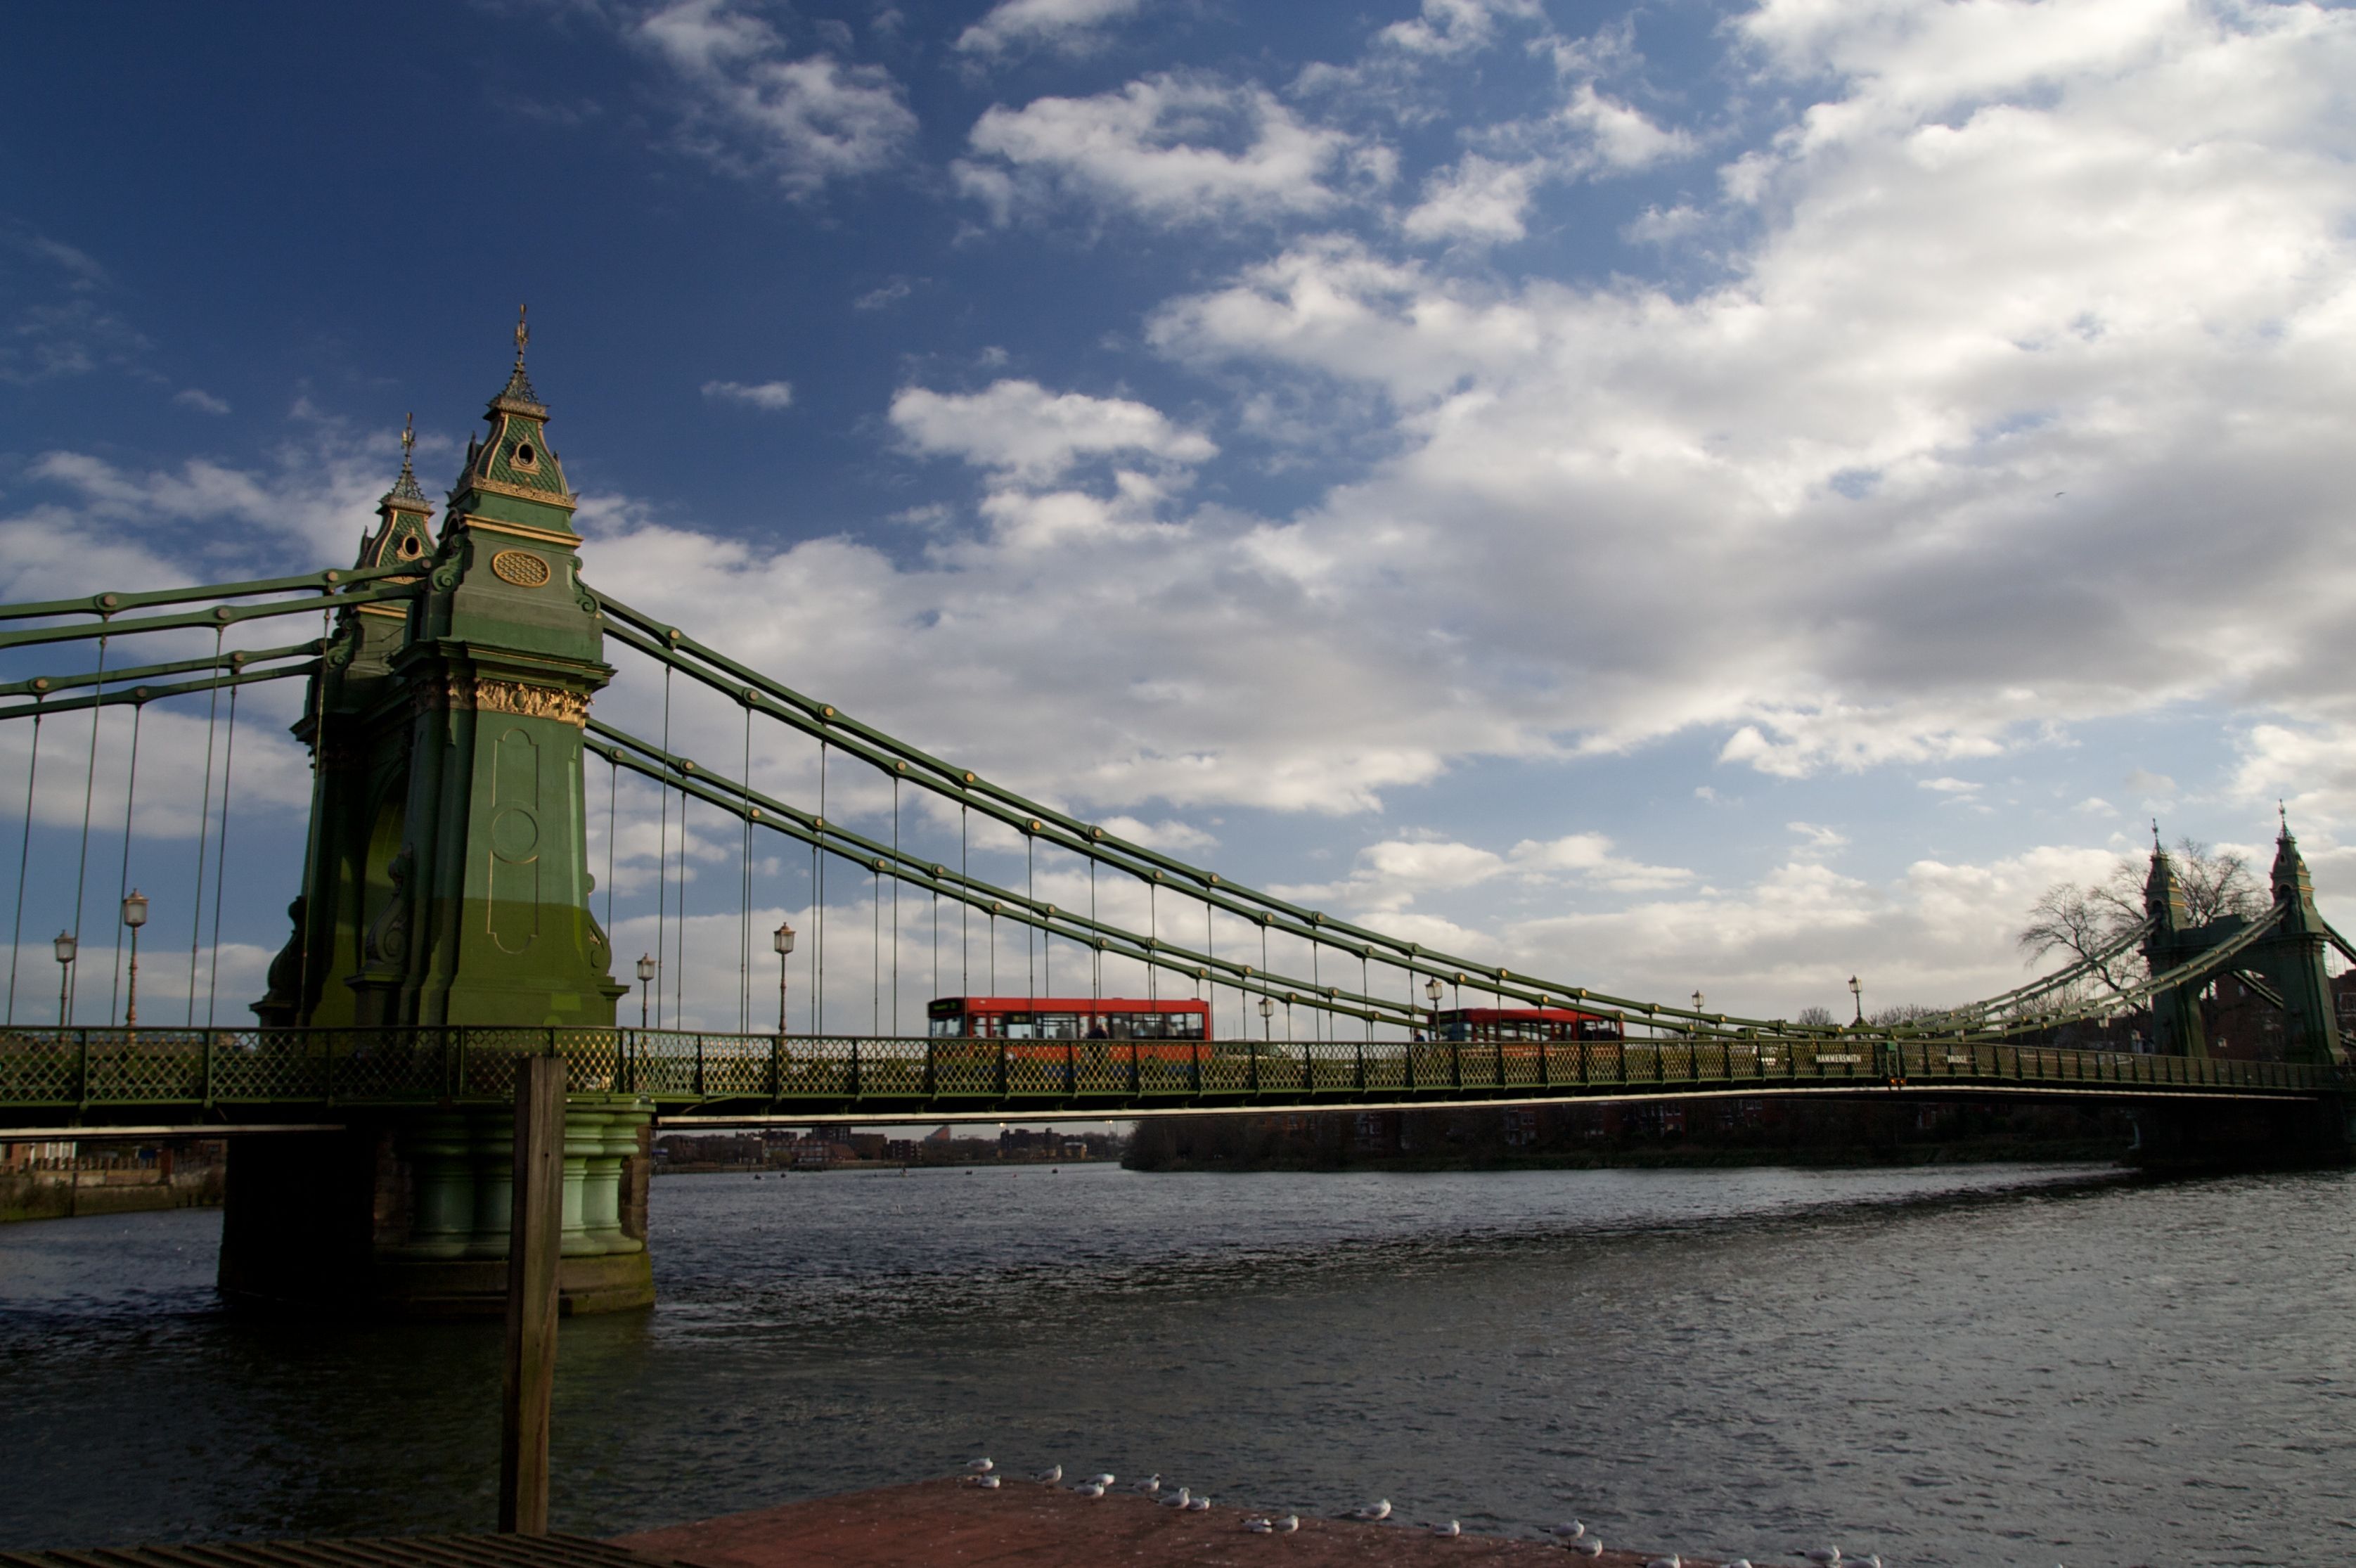
Views beside bridge.
![]()
 |
 |
| Photo Credit: | Photo Credit: |
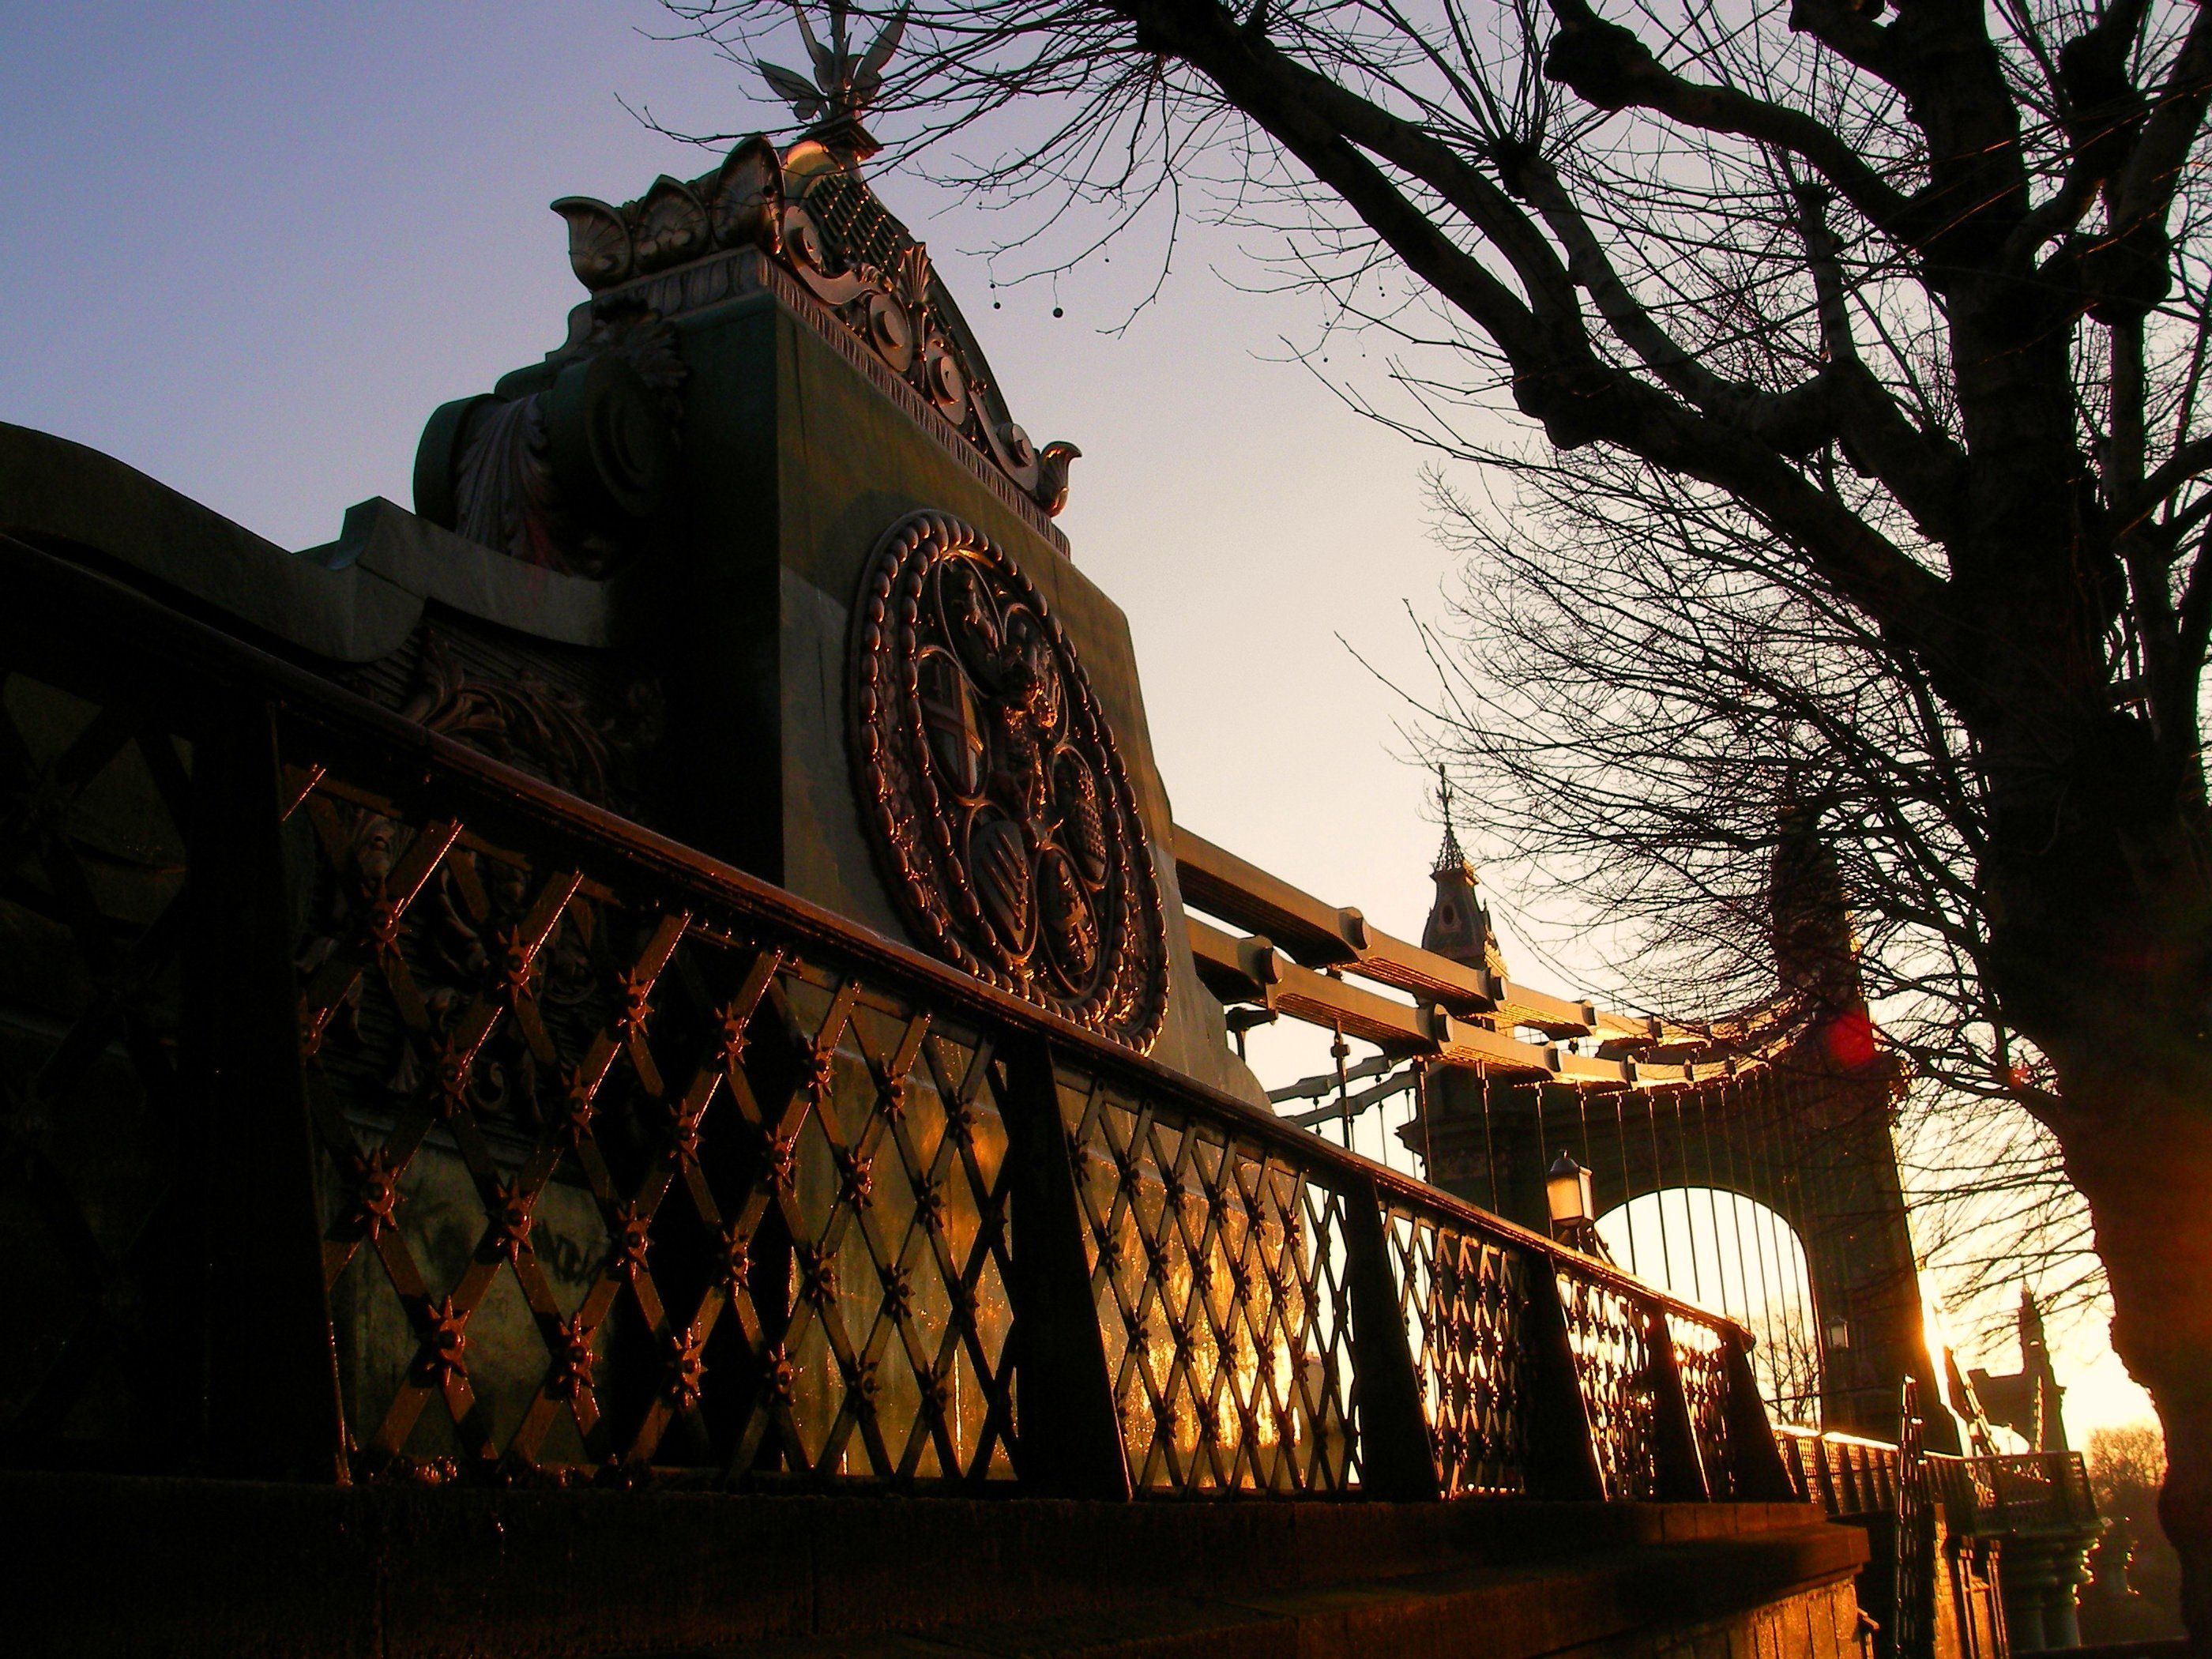
Various portal views.
![]()
 |
 |
 |
 |
 |
| Photo Credit: | Photo Credit: | Photo Credit: | Photo Credit: | Photo Credit: |
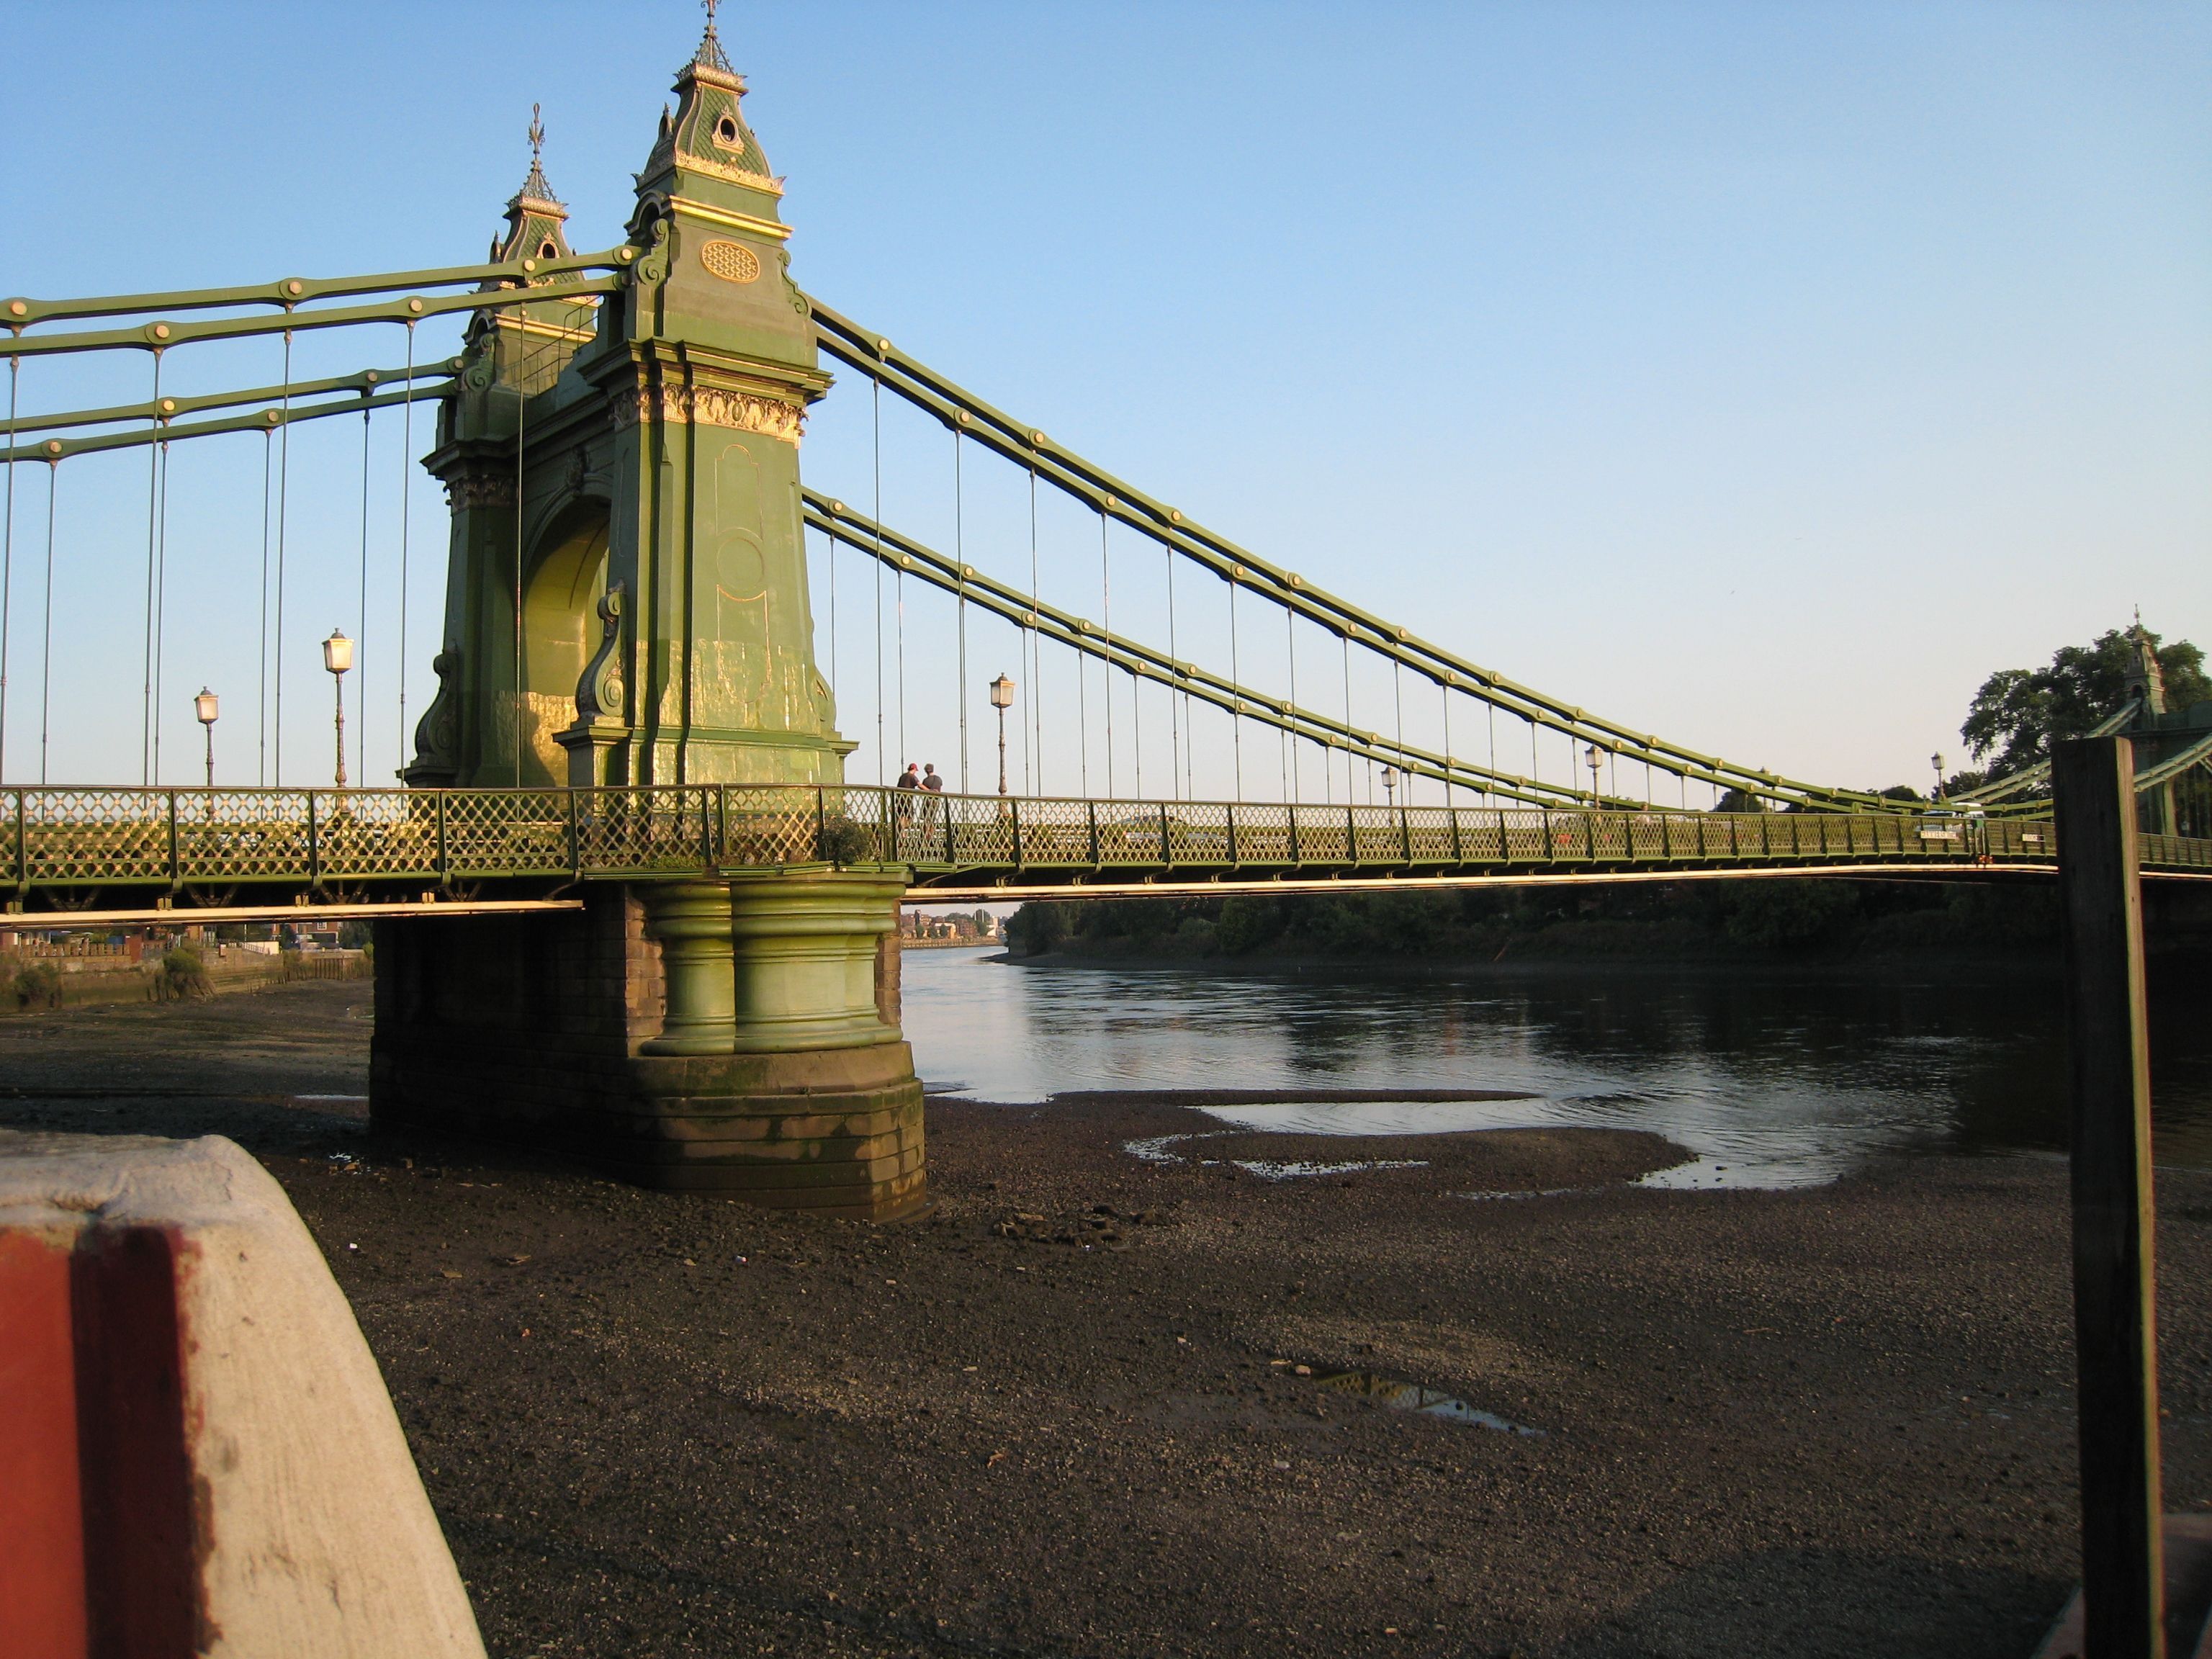
Tower overview.
![]()
 |
 |
 |
| Photo Credit: | Photo Credit: | Photo Credit: |
Tower details.
![]()
 |
 |
 |
 |
| Photo Credit: | Photo Credit: | Photo Credit: | Photo Credit: |
Eyebar centenary overview.
![]()
 |
 |
| Photo Credit: | Photo Credit: |
Eyebar centenary details.
![]()
 |
 |
| Photo Credit: | Photo Credit: |
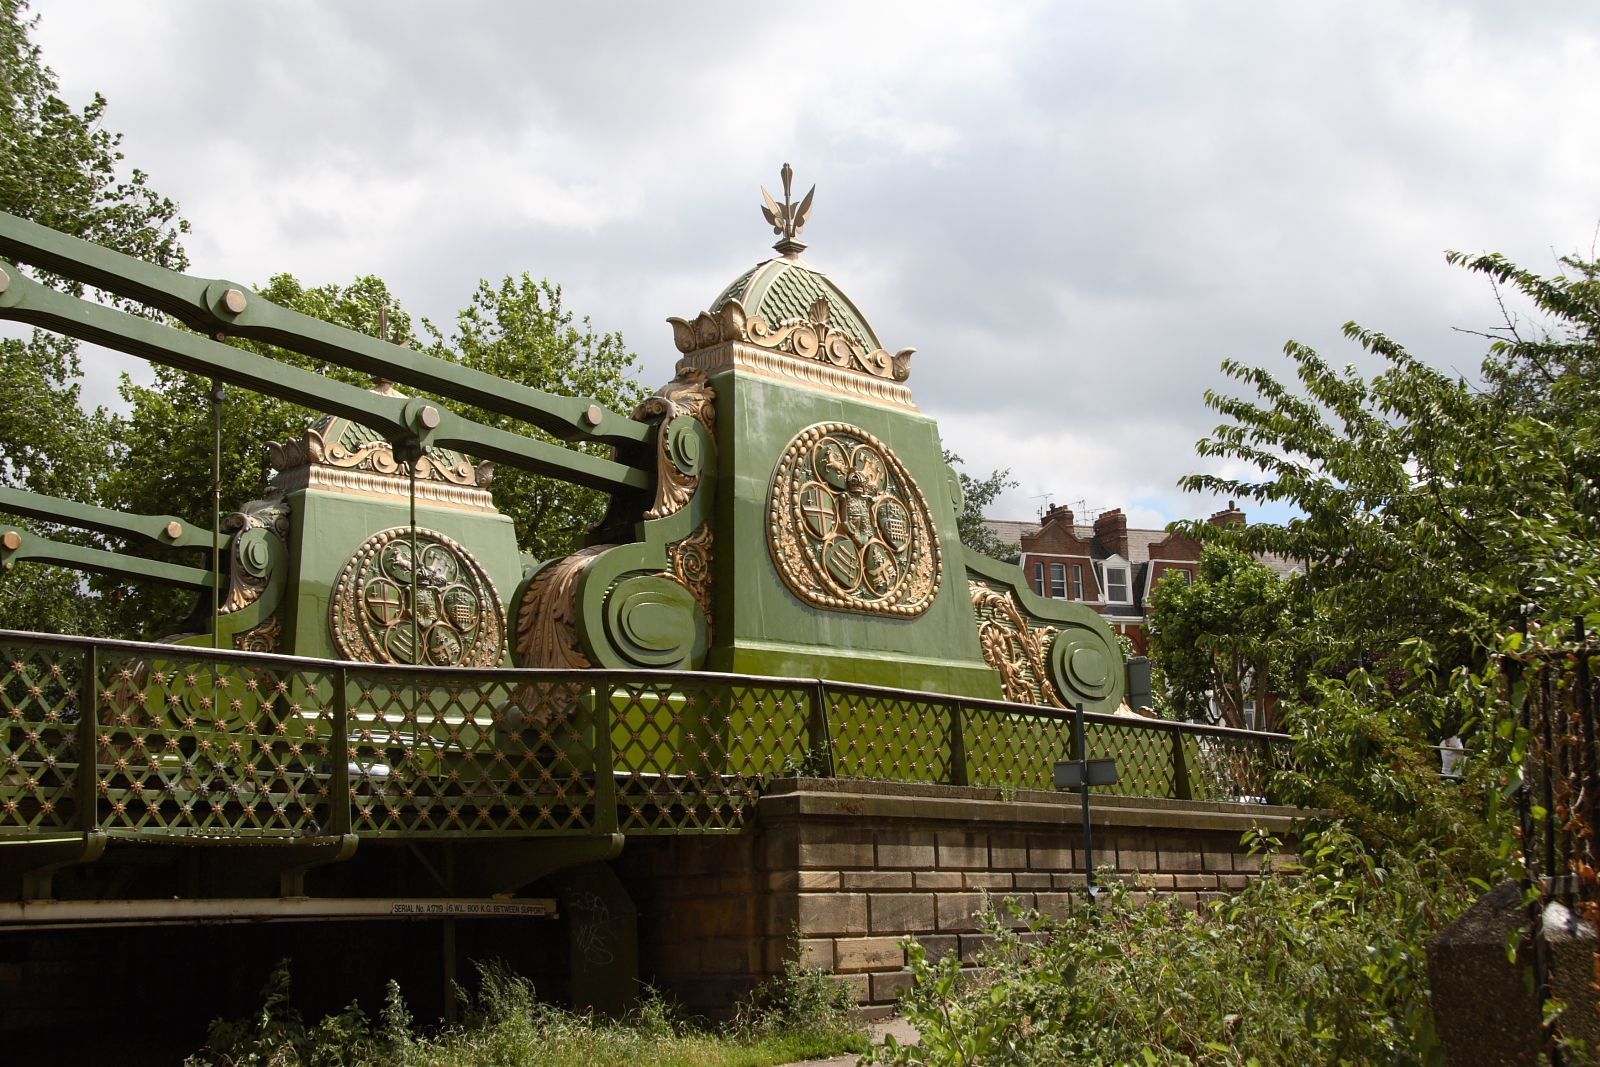
Anchorage.
![]()
 |
 |
 |
| Photo Credit: | Photo Credit: | Photo Credit: |
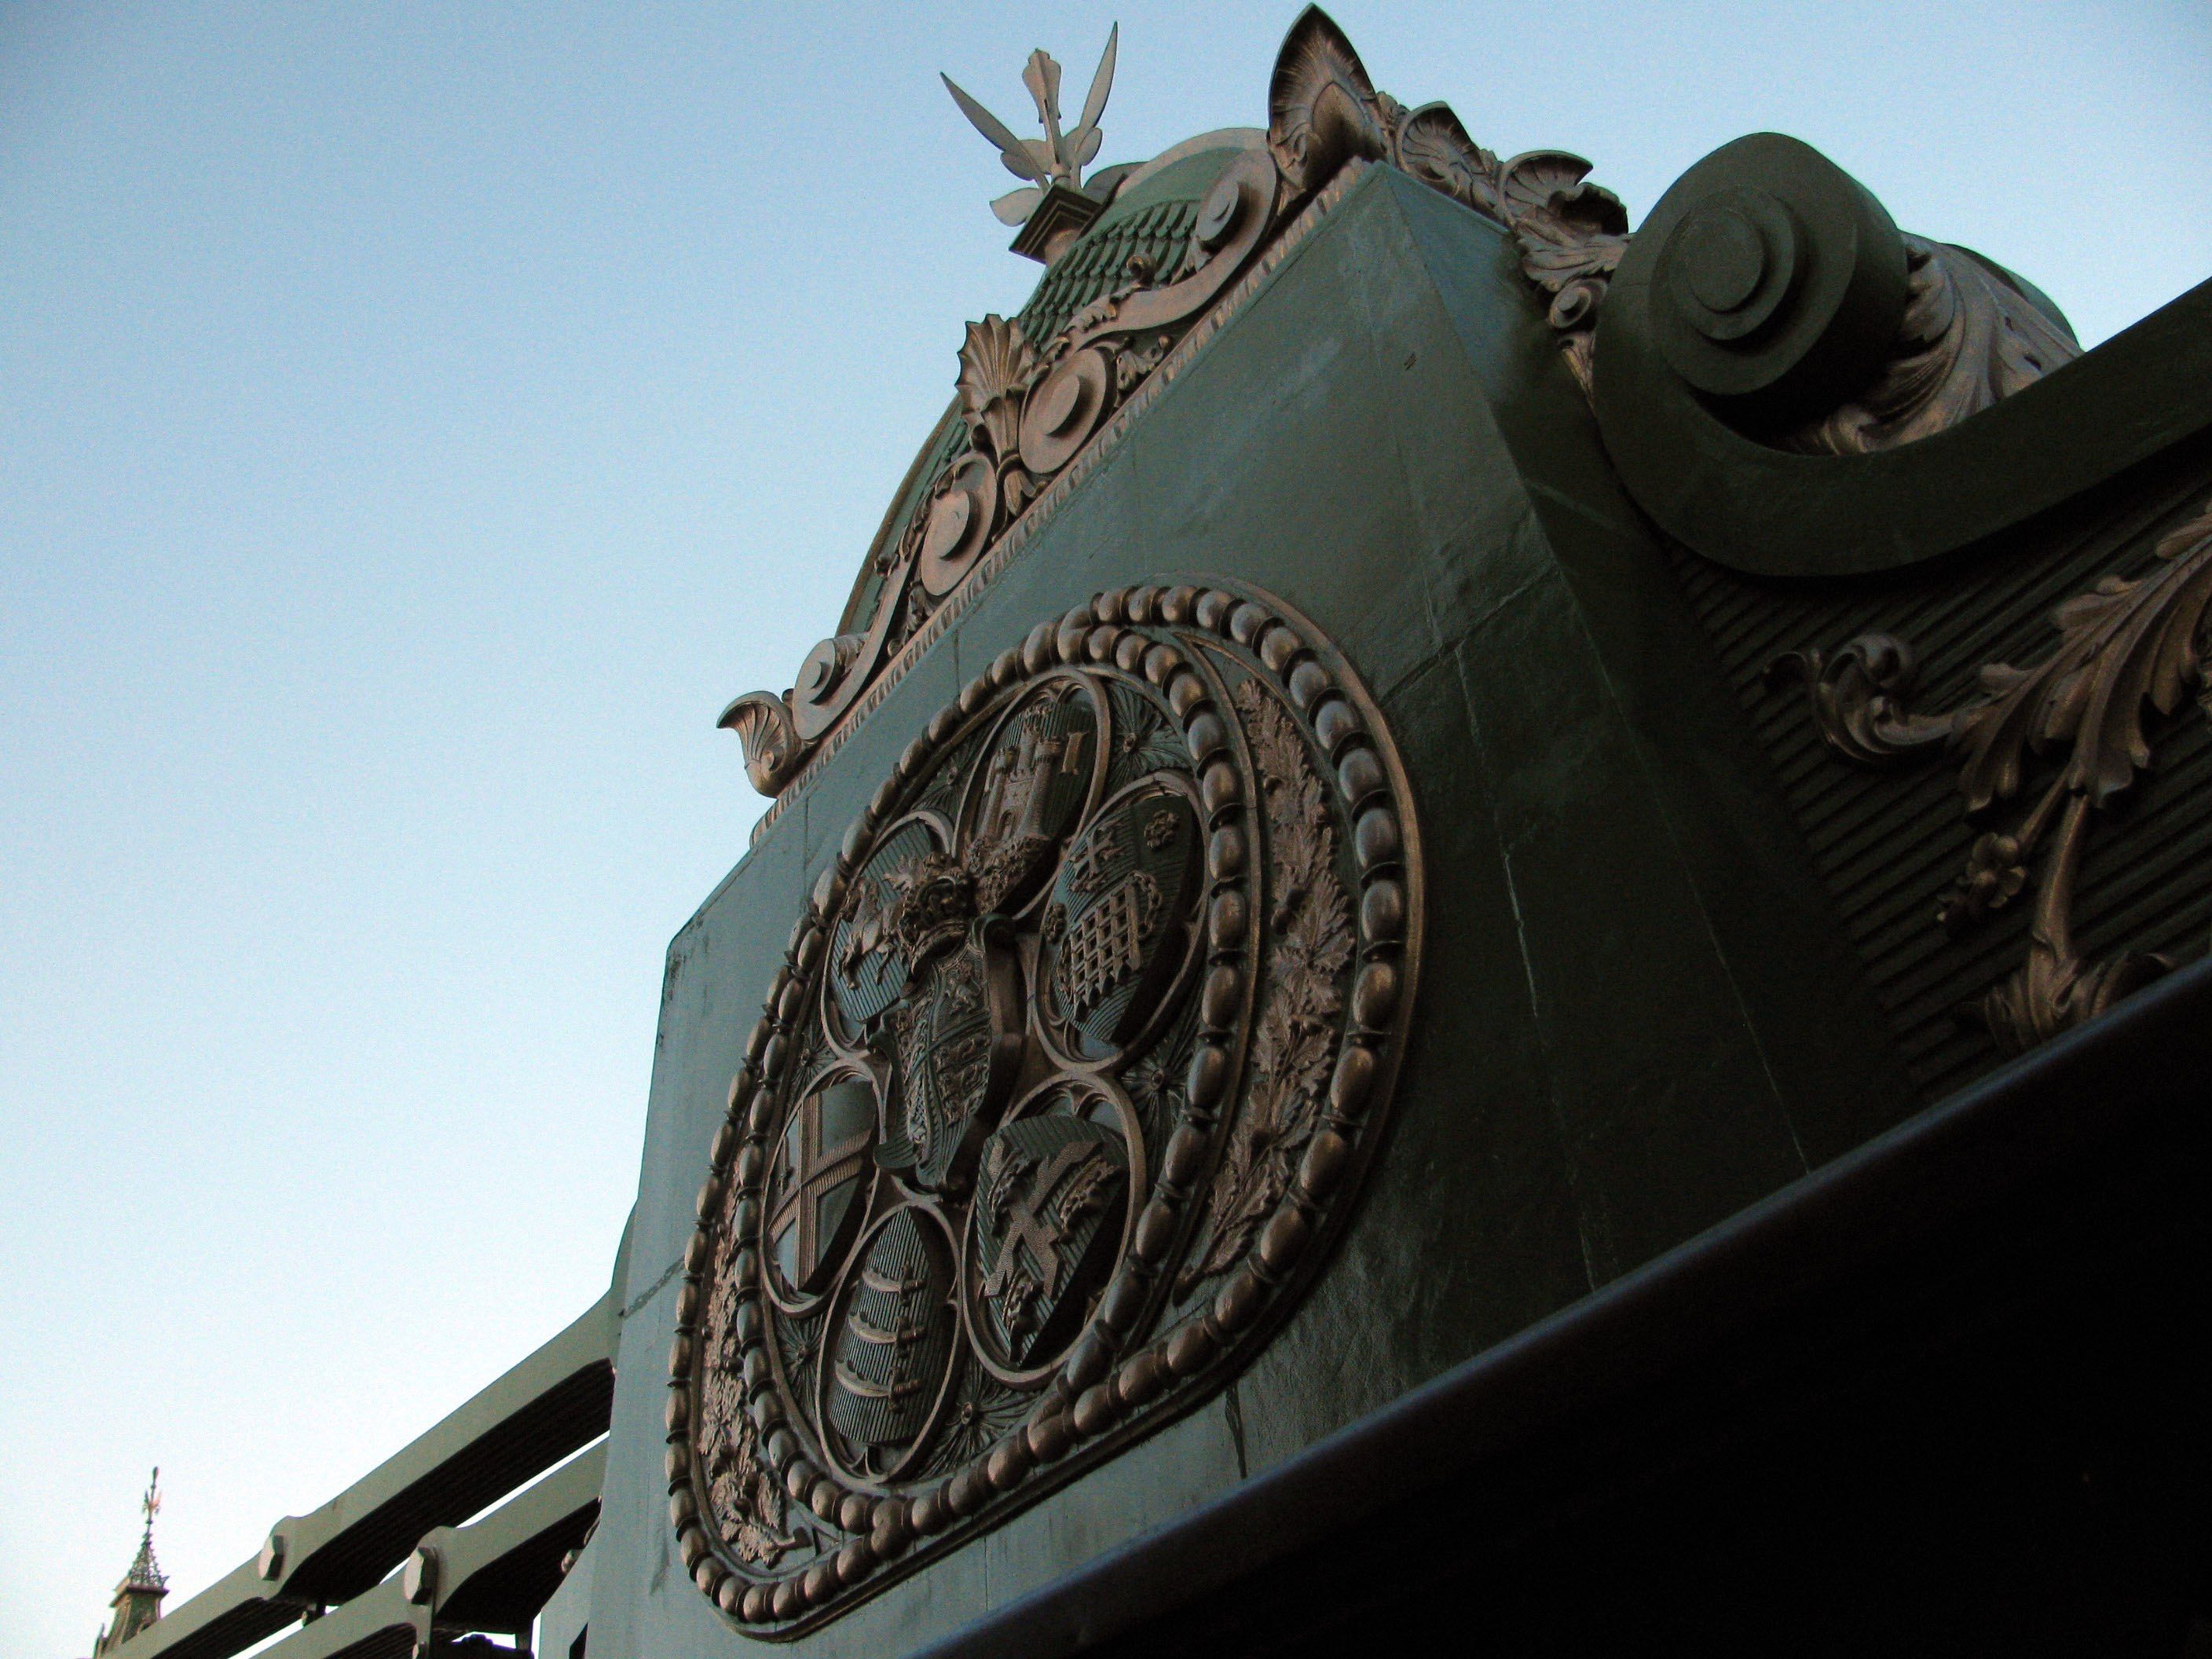
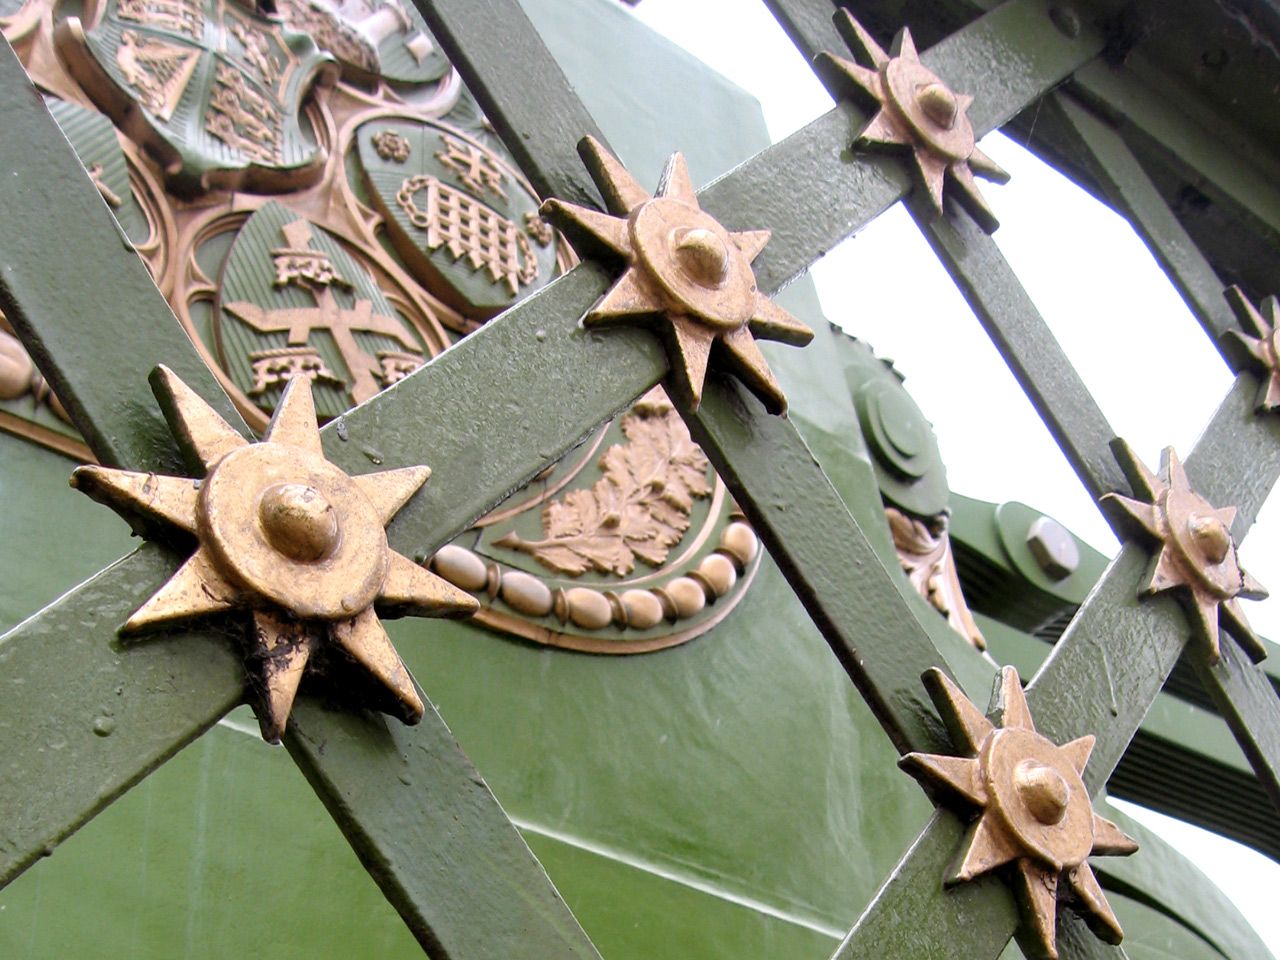
Decorative detail on anchorage.
![]()
 |
| Photo Credit: |
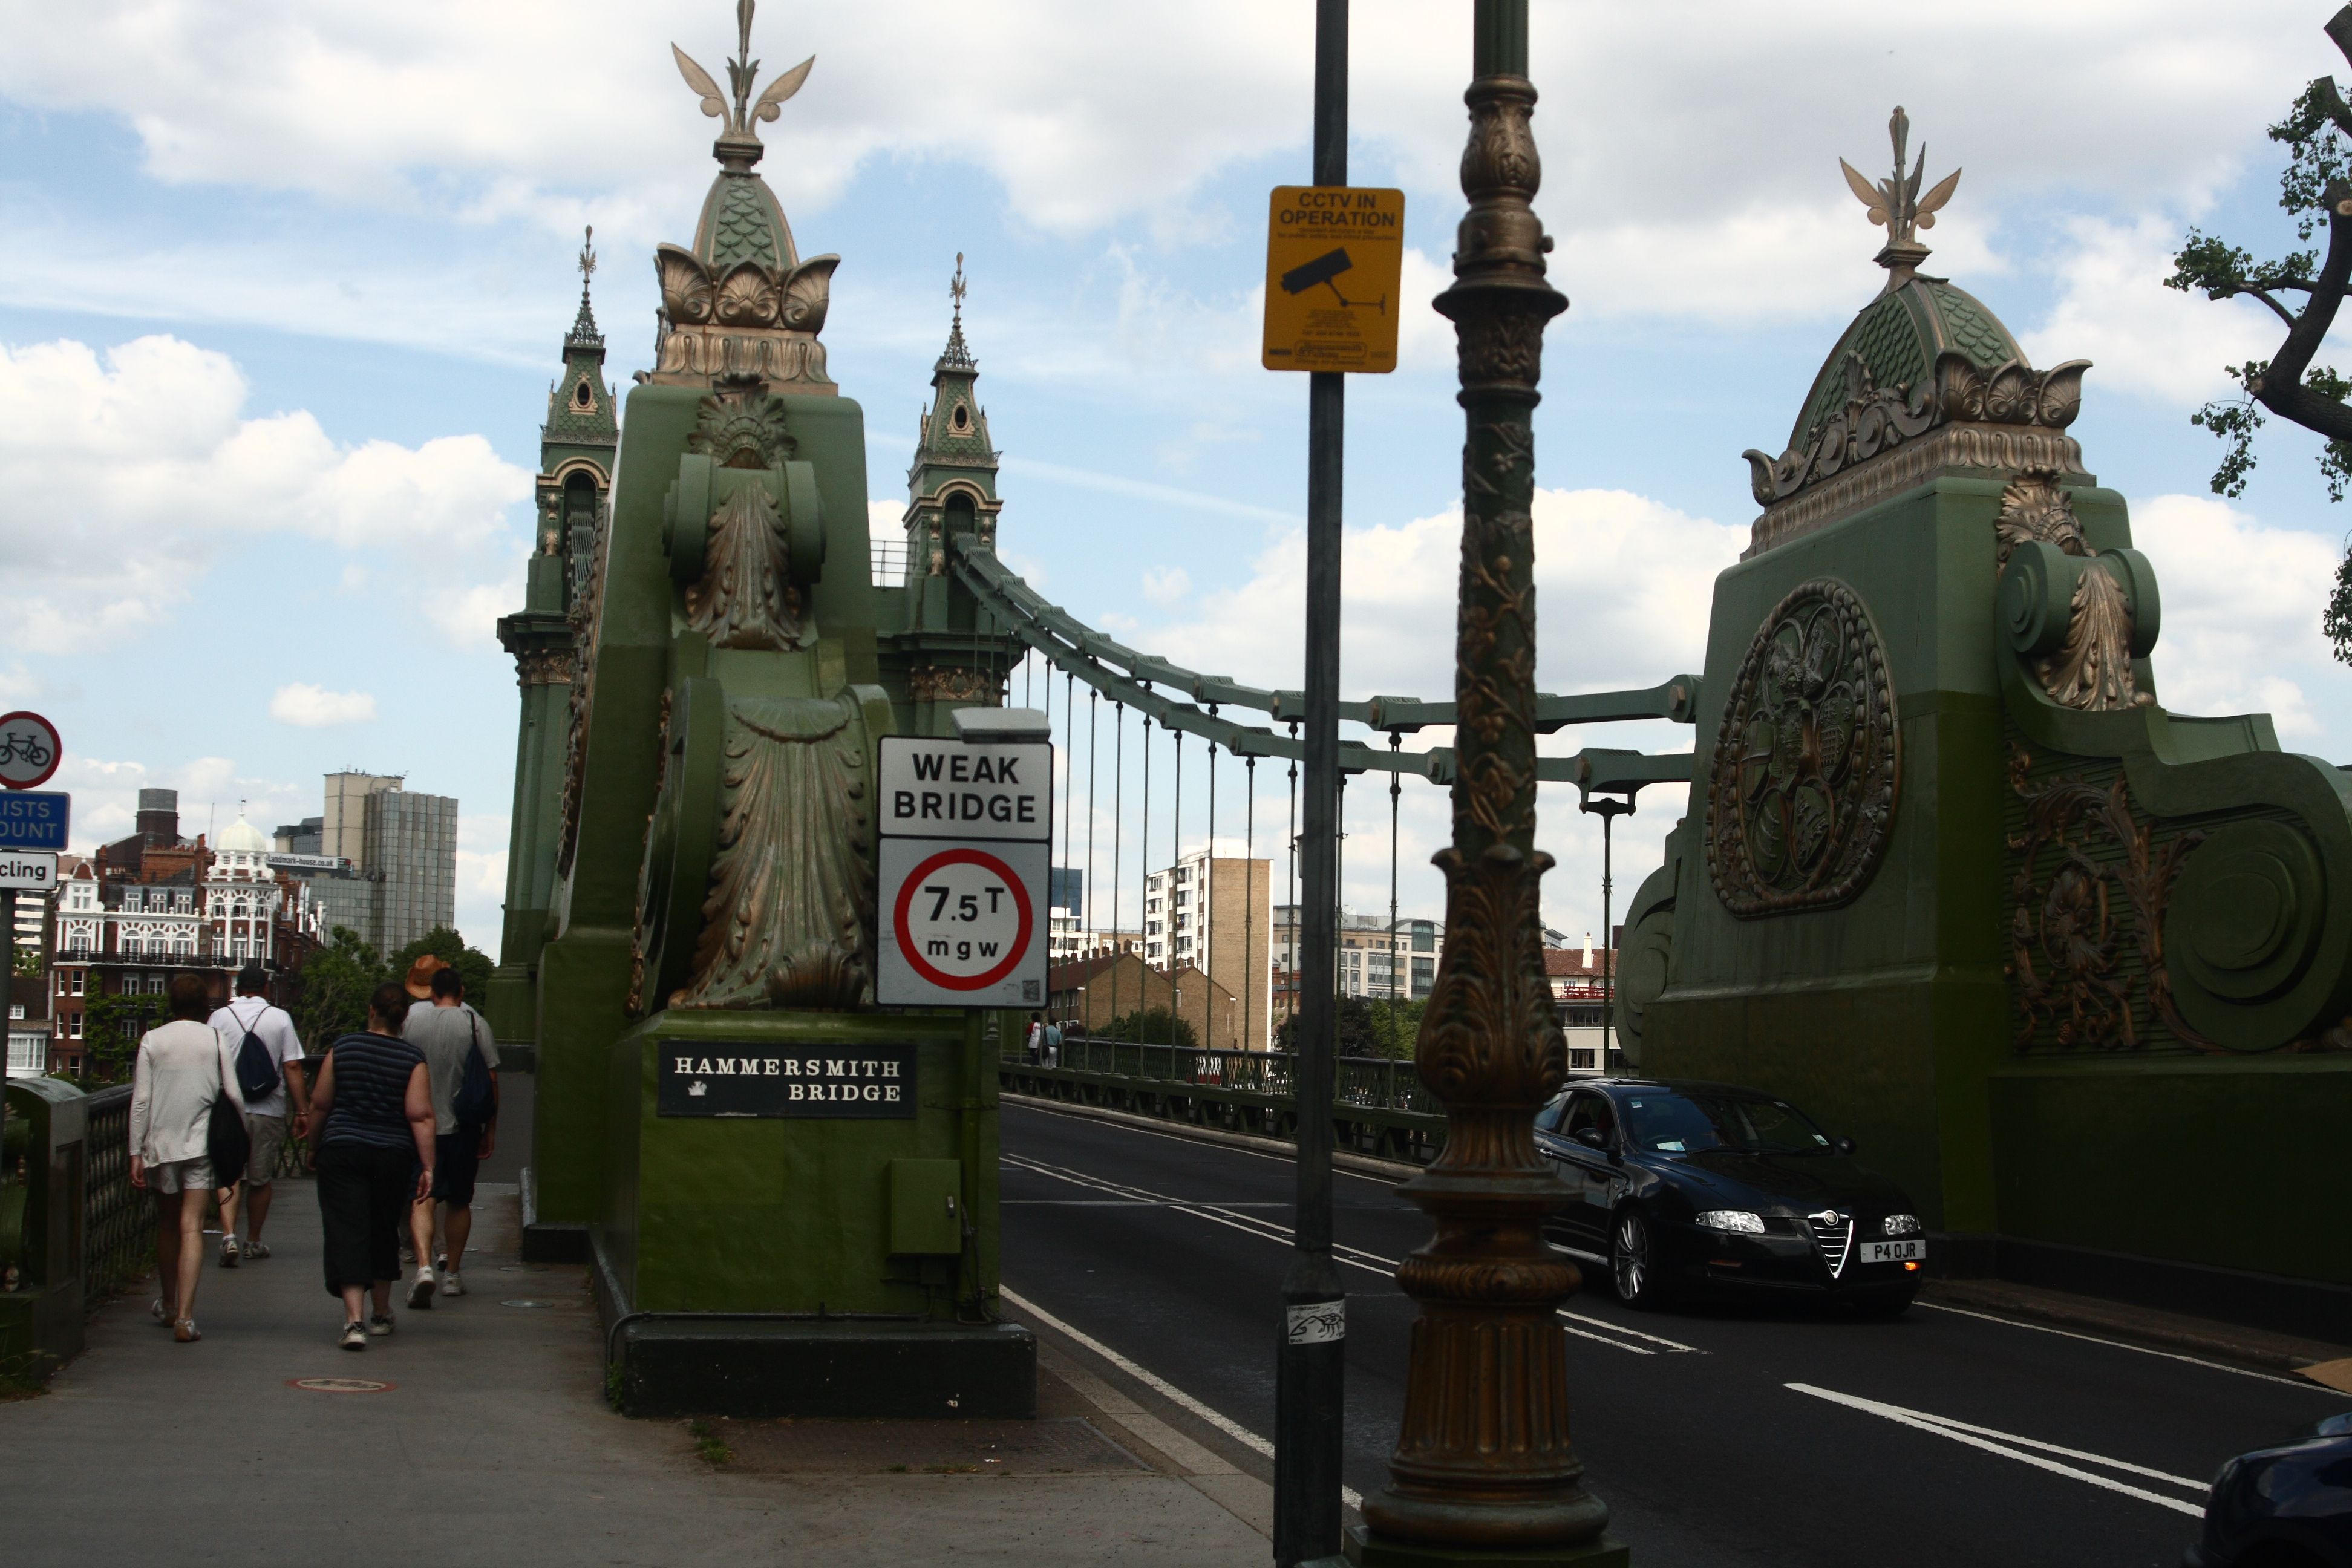
View from sidewalk just before bridge.
![]()
 |
| Photo Credit: |
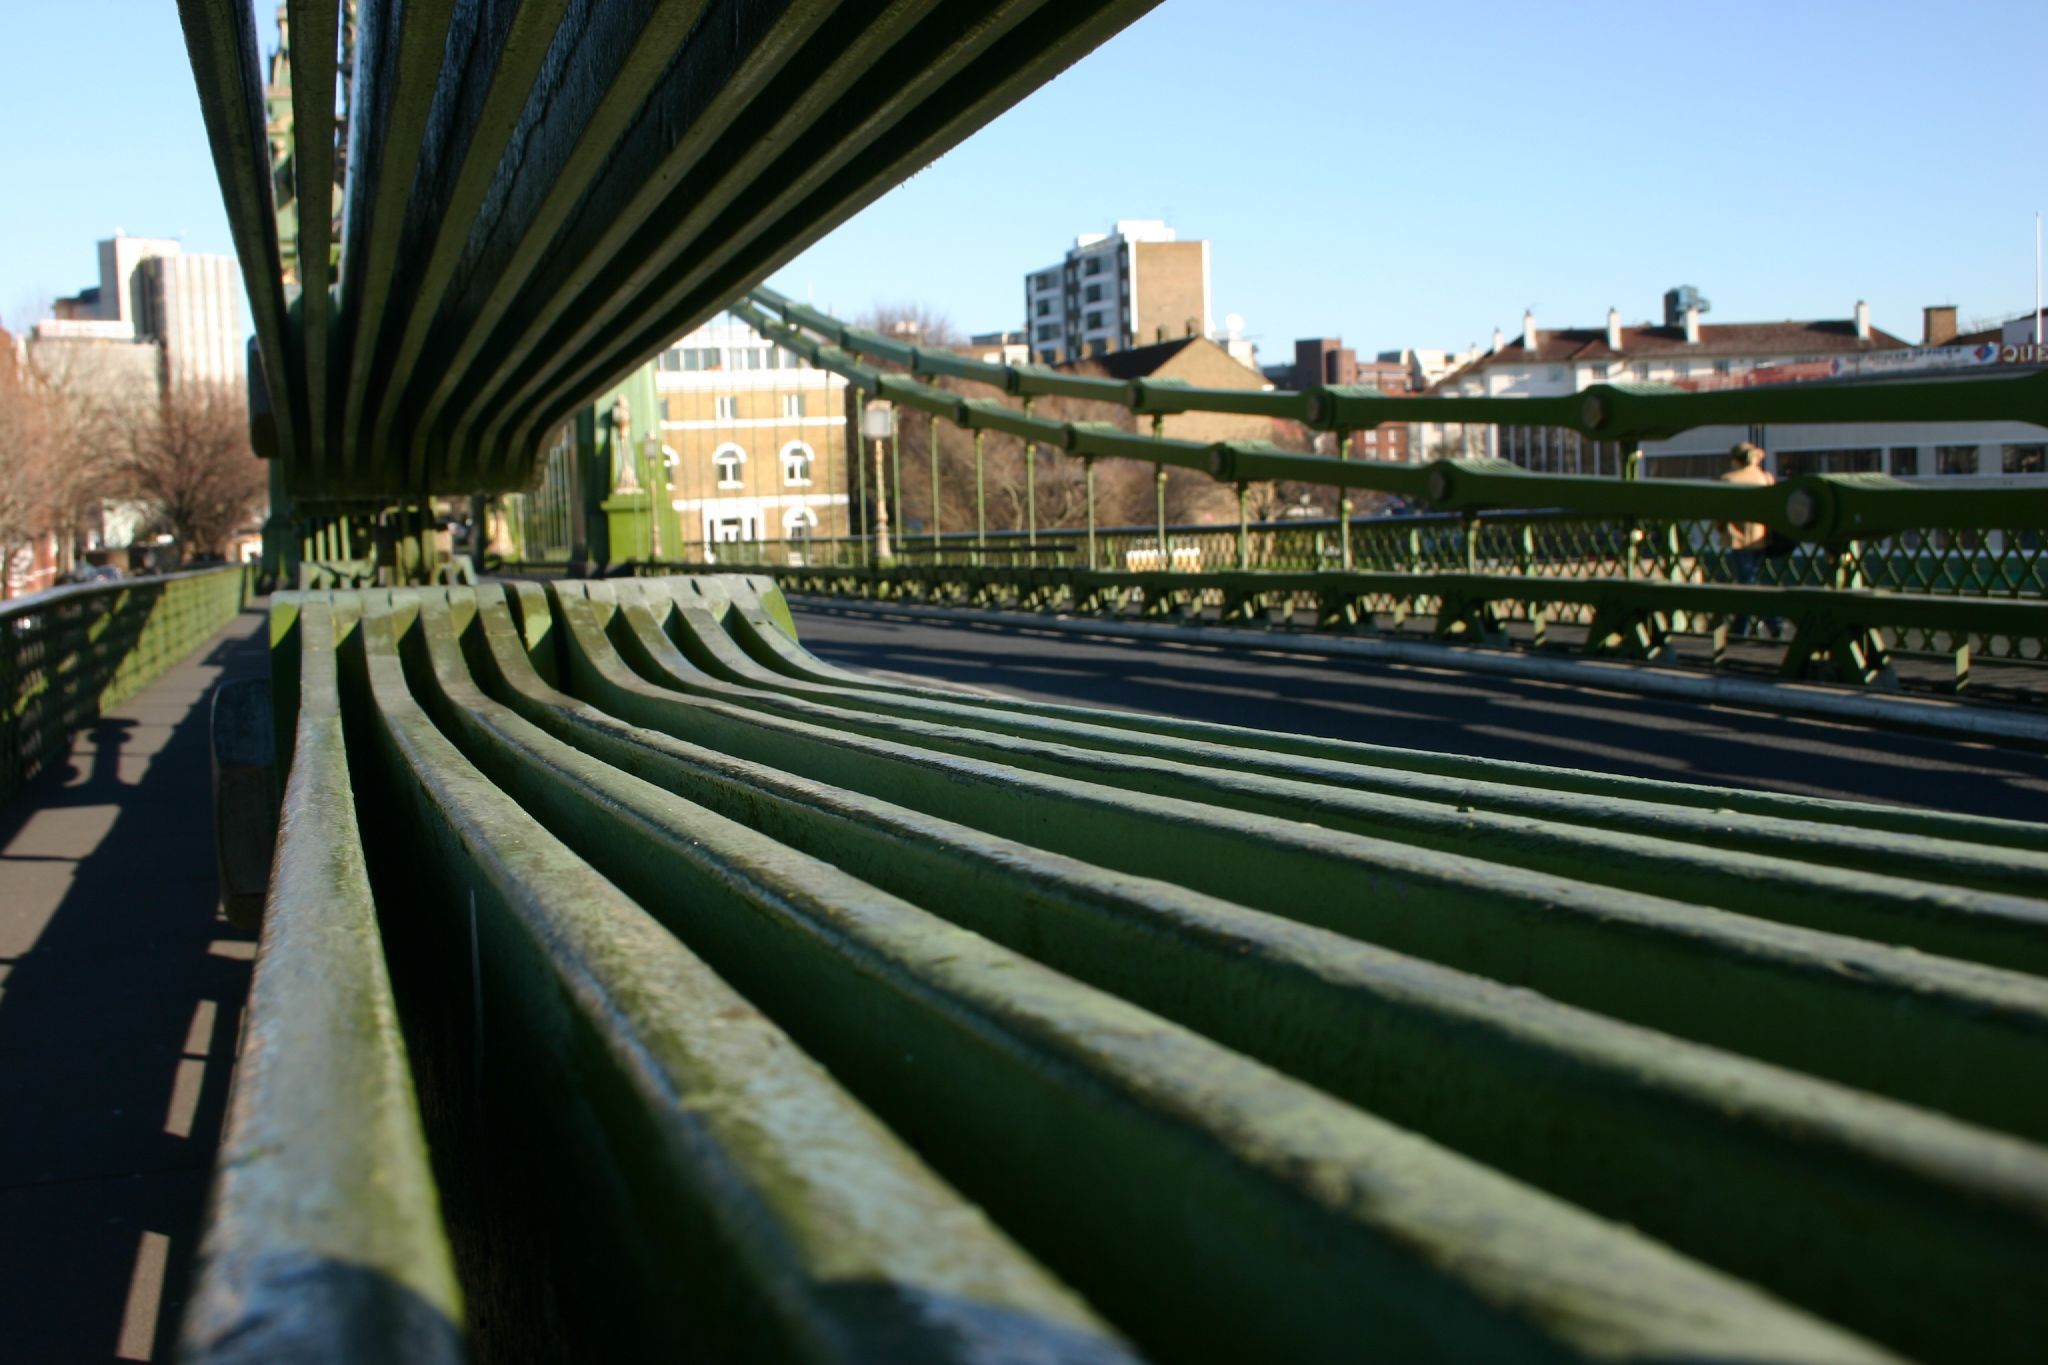
Railing detail.
![]()
![]()

![]()