Uncredited photos on this page taken by: Nathan Holth. Unless stated in a caption, all photos are Copyright with All Rights Reserved. Learn about reuse of our photos.
![]()
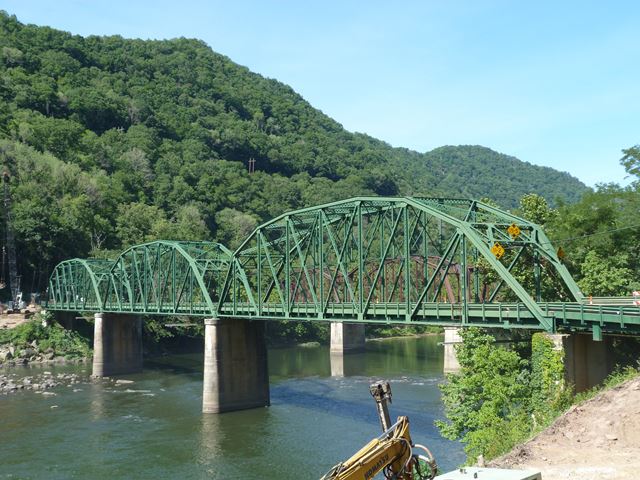

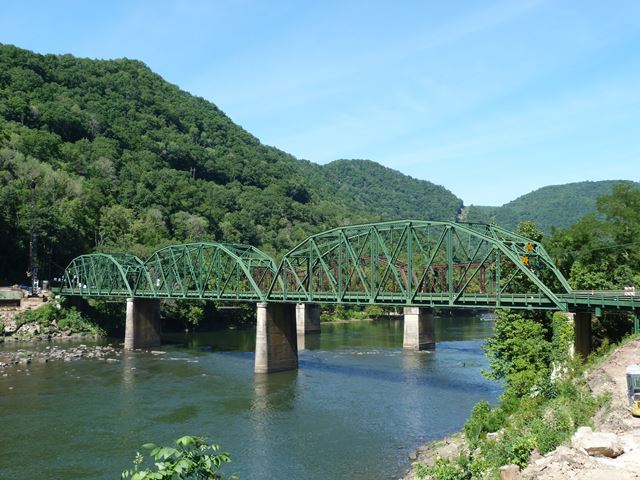

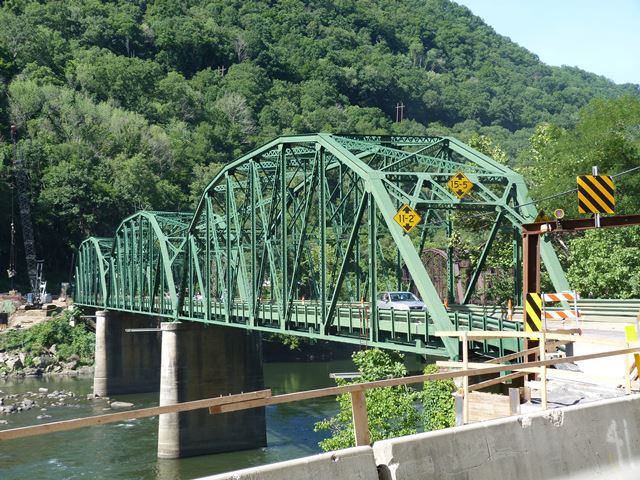
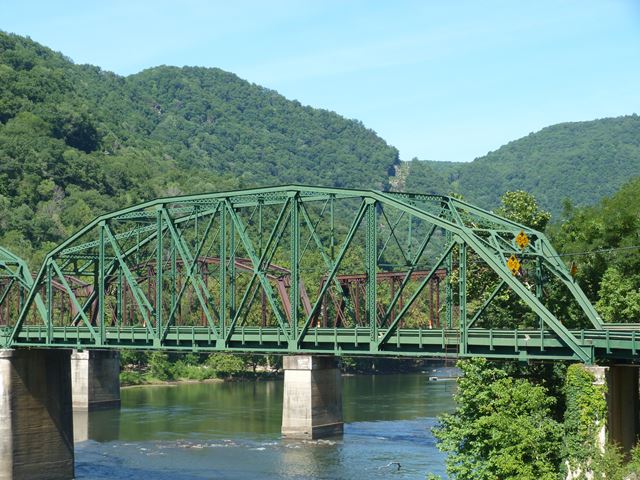
Elevation from southwest quadrant.
![]()
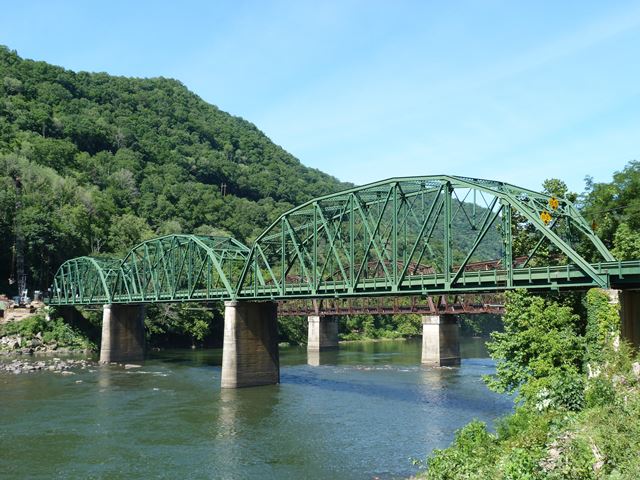
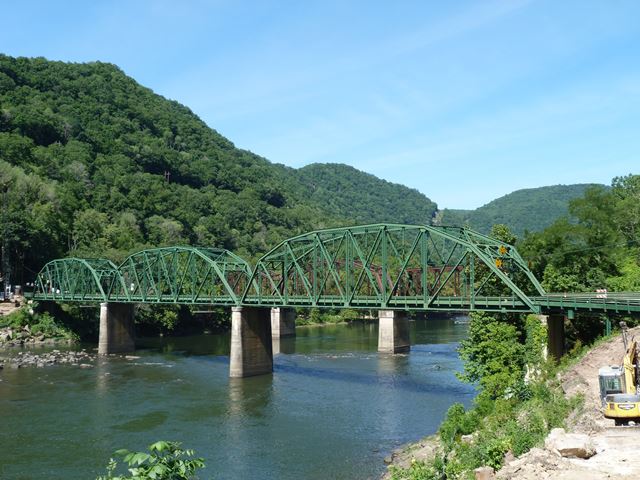
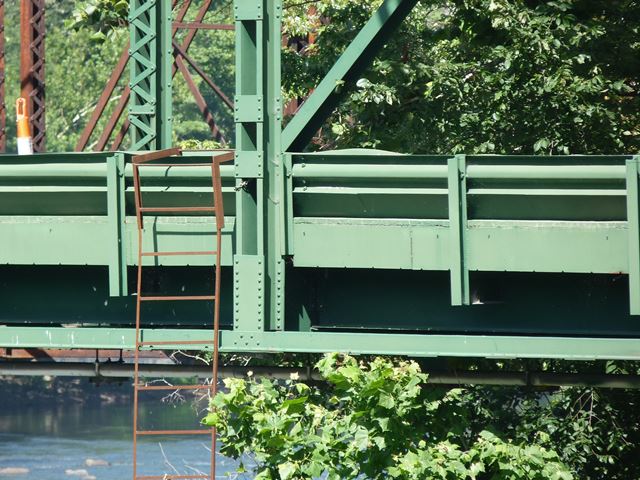
Views beside bridge from southwest quadrant.
![]()
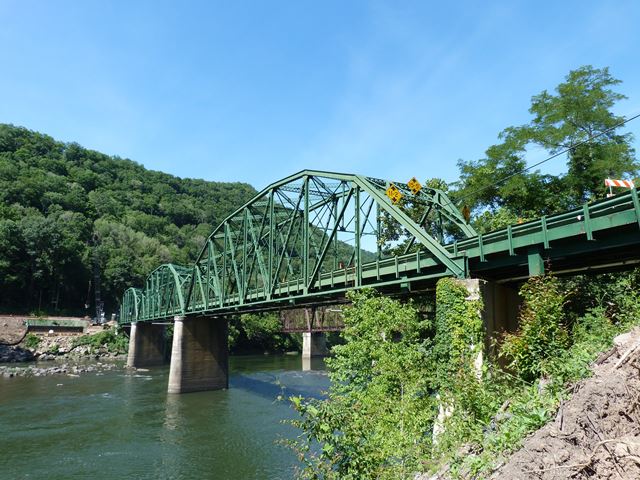
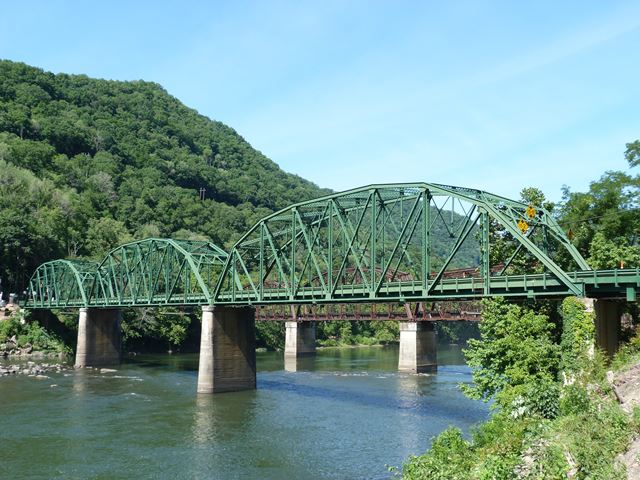
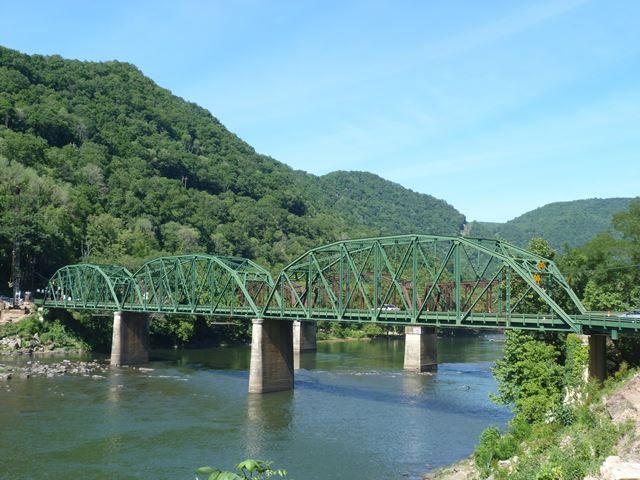
Elevation from southeast quadrant.
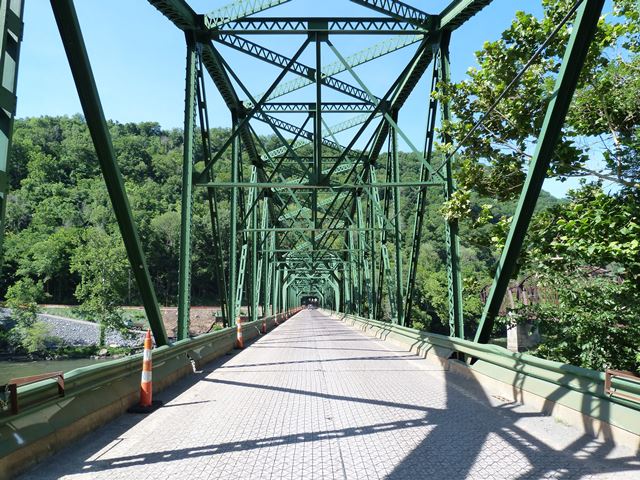
![]()
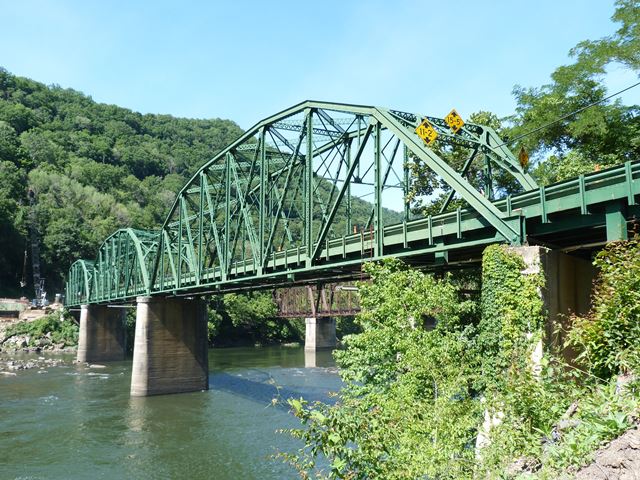
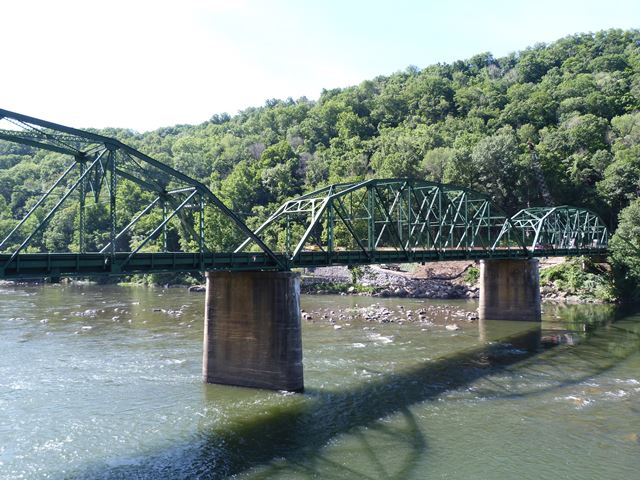
View of individual span.
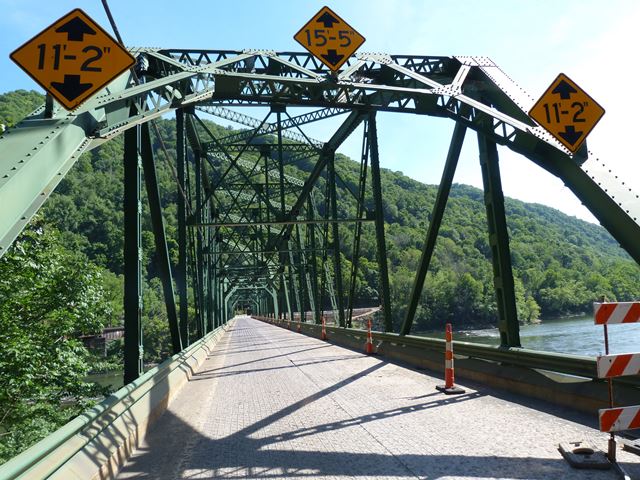
![]()
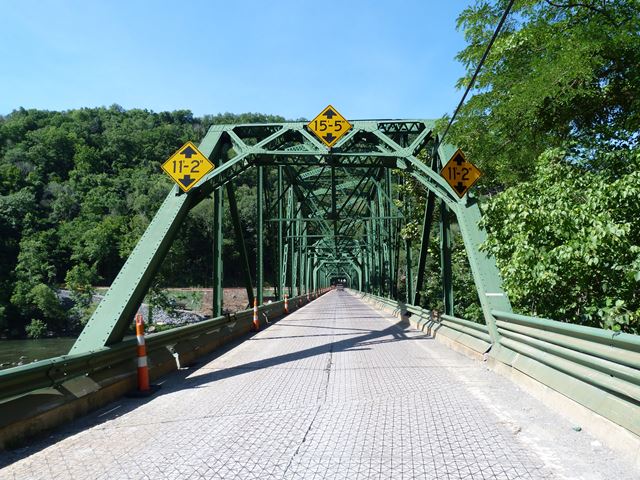
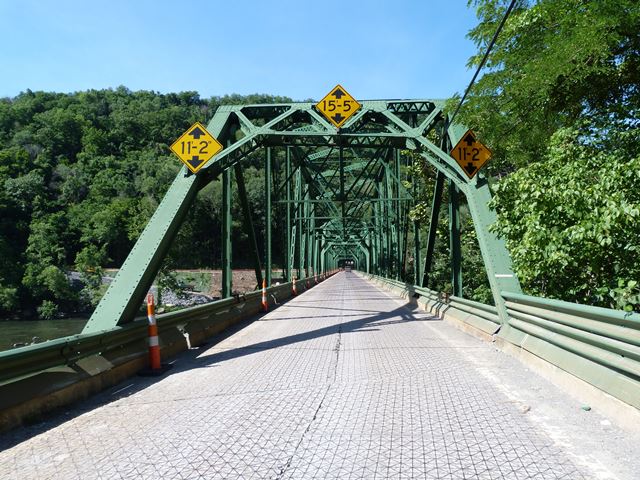
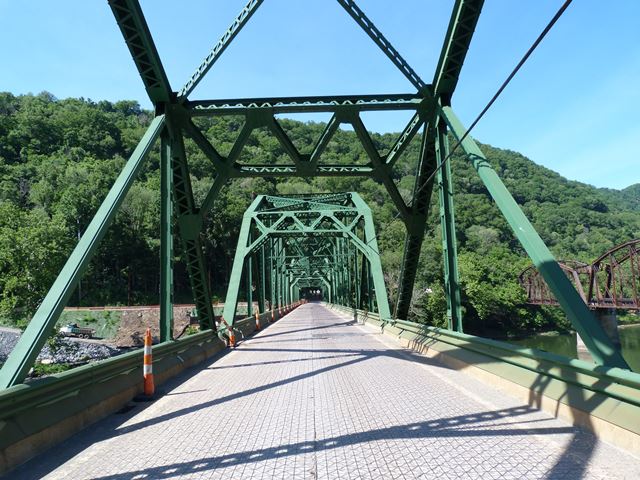
Portal views facing north.
![]()
Portal view on bridge facing south.
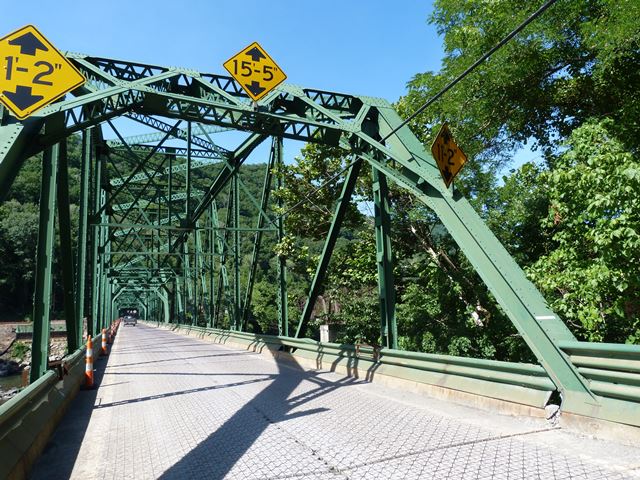
![]()
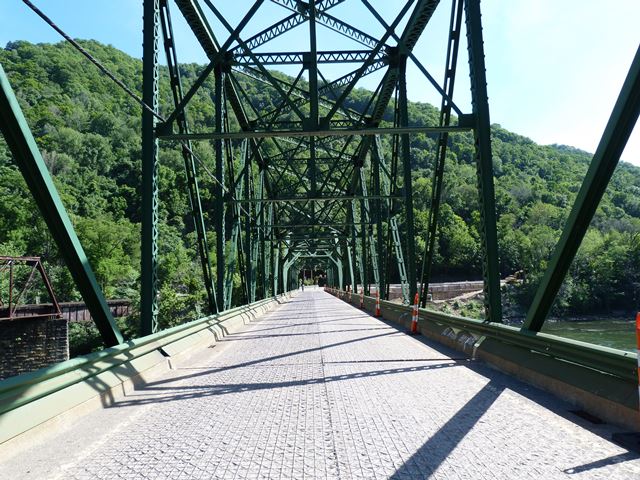
Portal views on bridge facing north.
![]()
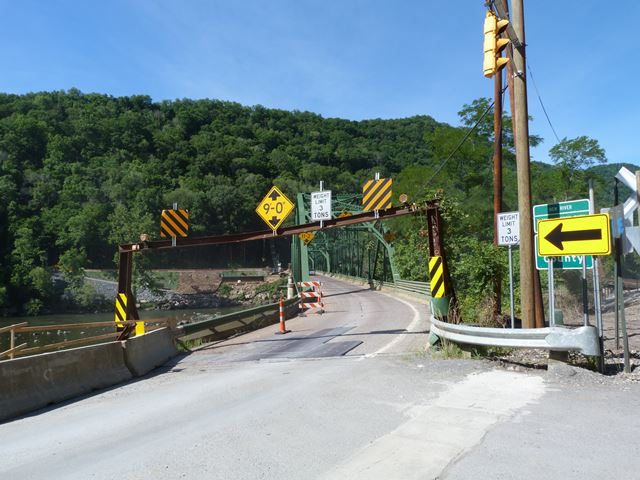
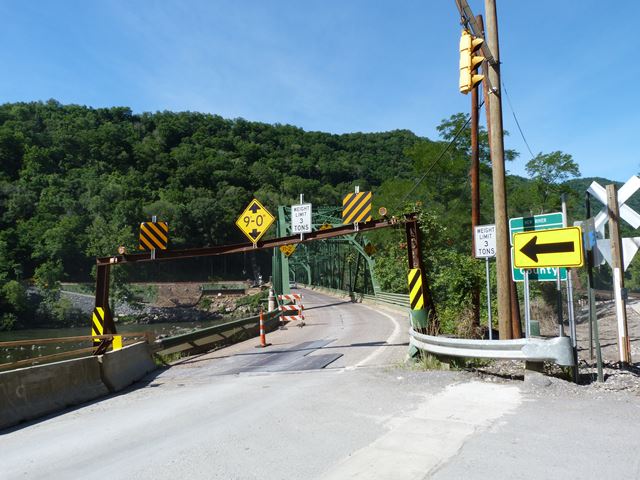
Headache bar.
![]()
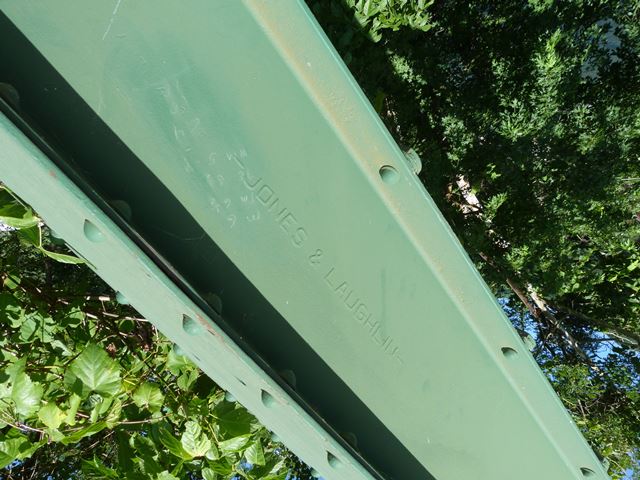
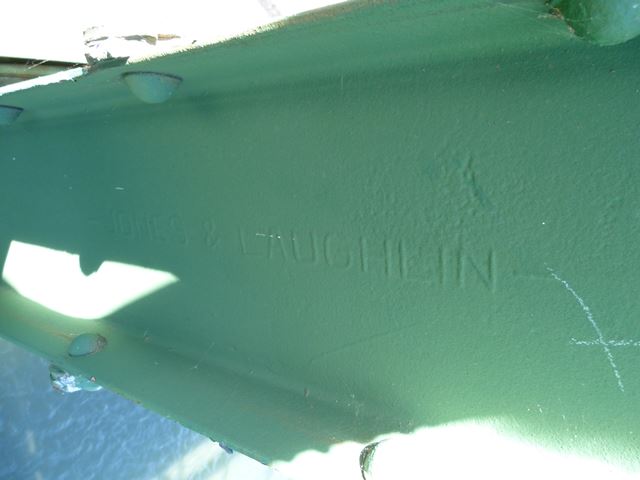
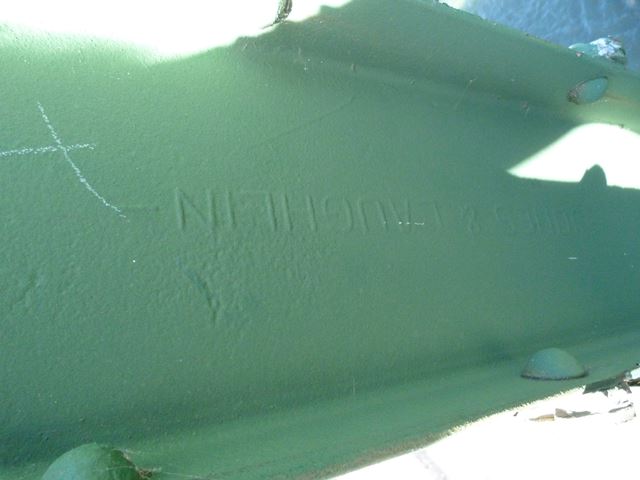
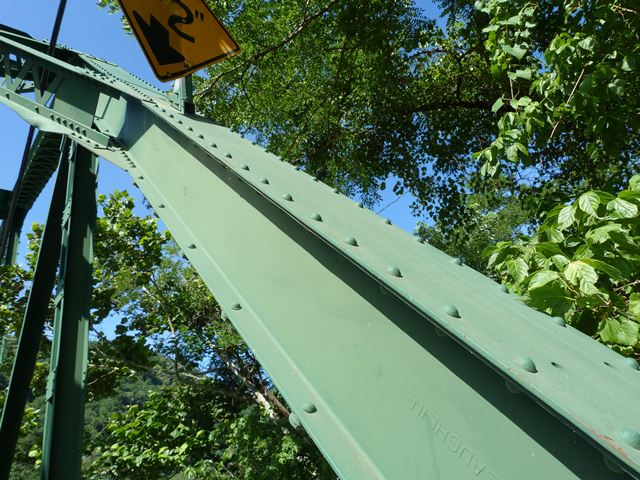
Jones and Laughlin brand.
![]()
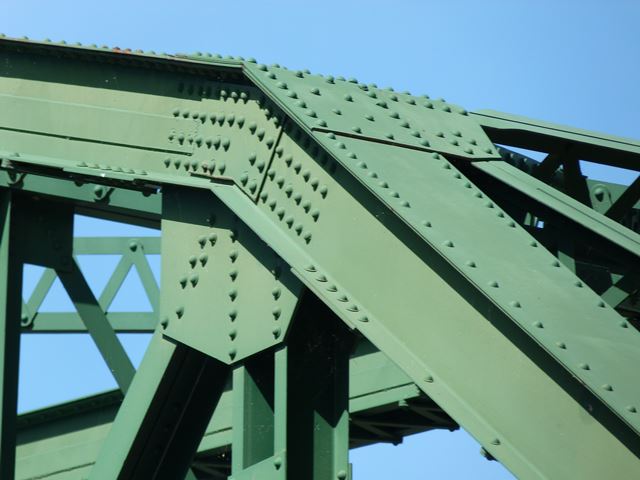
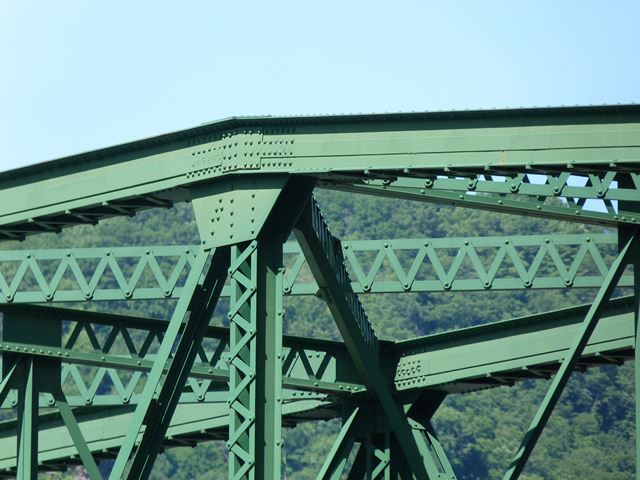
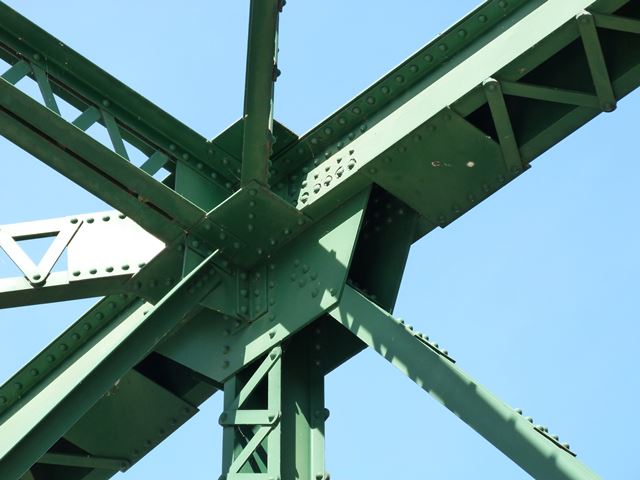
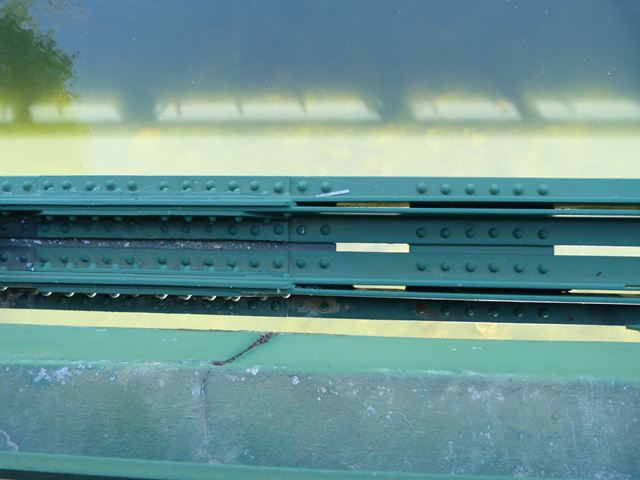
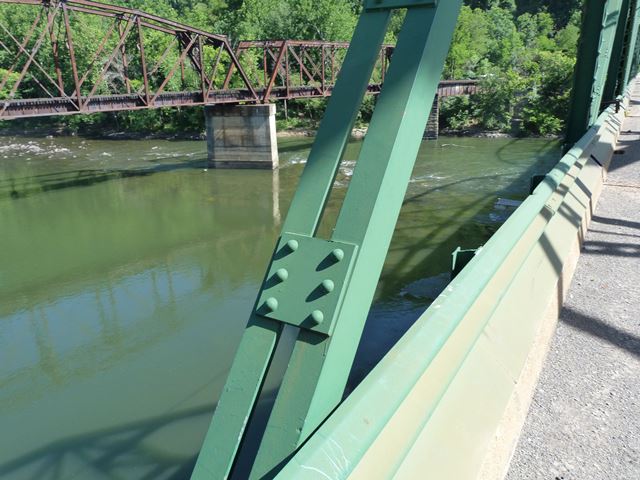
Top chord connections as viewed from beside bridge.
![]()
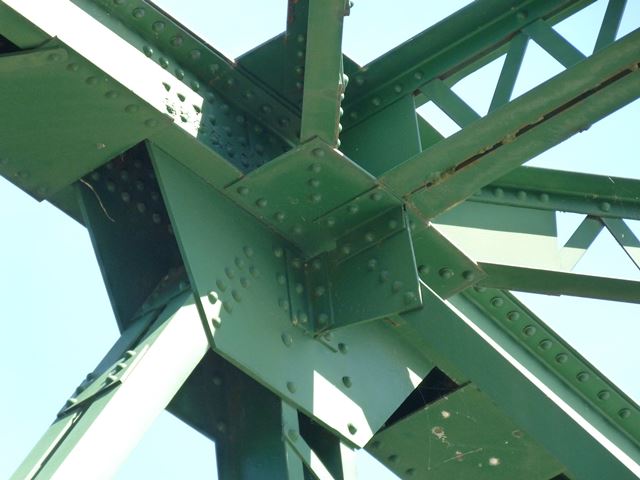
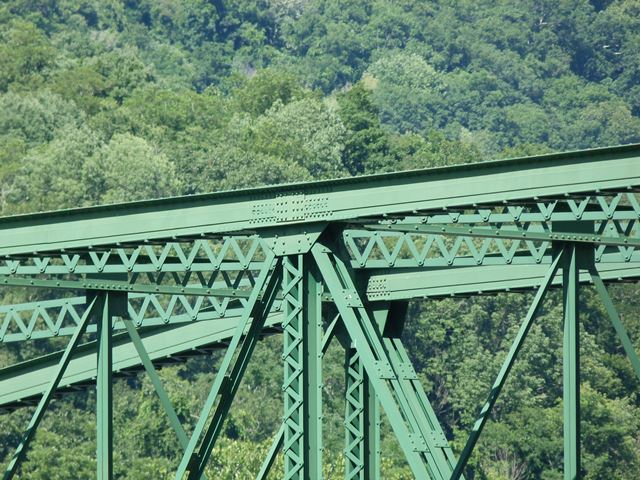
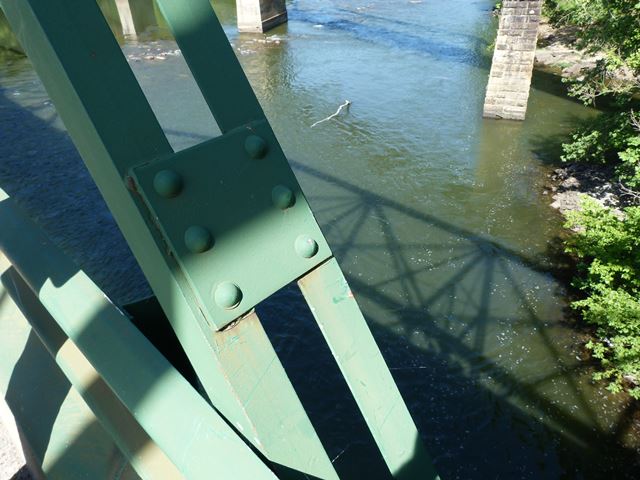
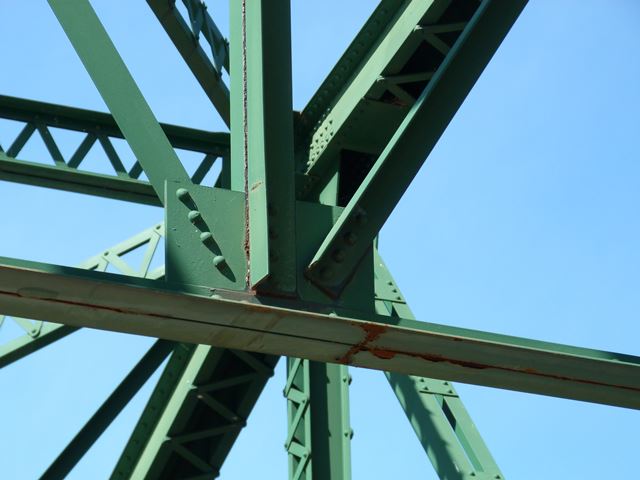
Top chord connections as viewed from on bridge.
![]()
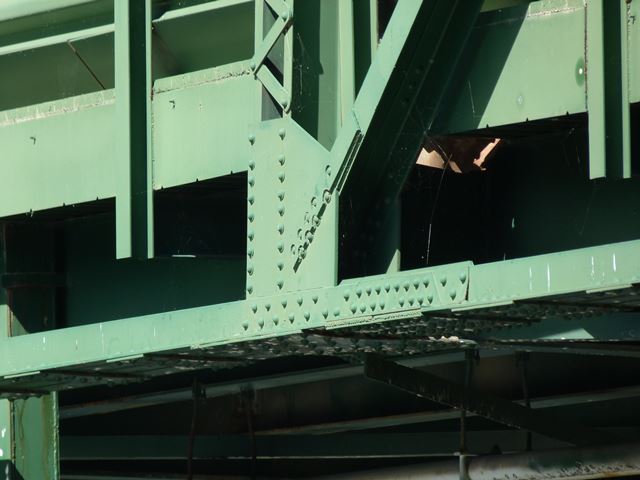
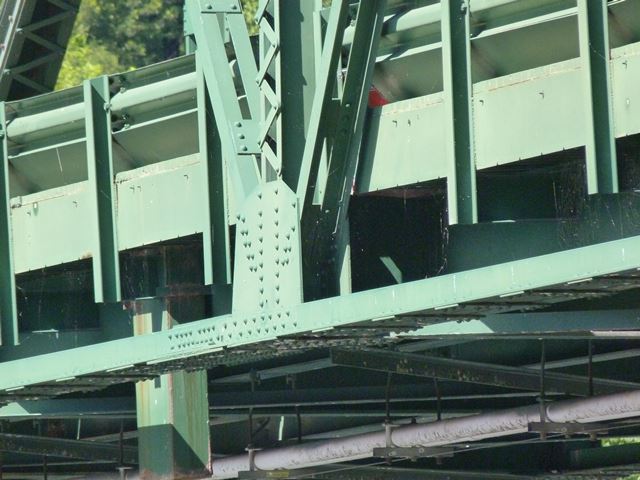
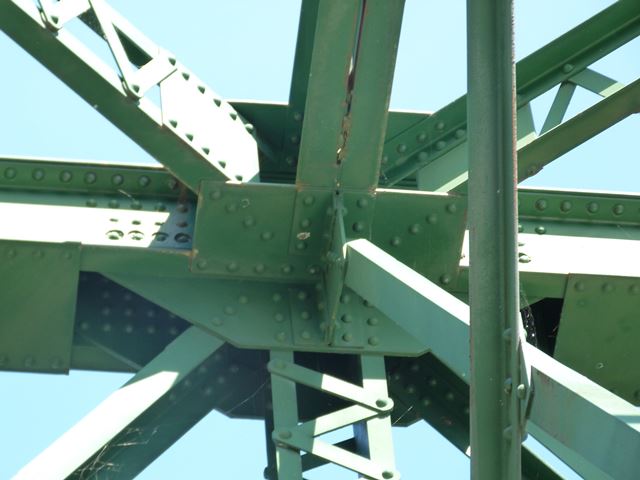
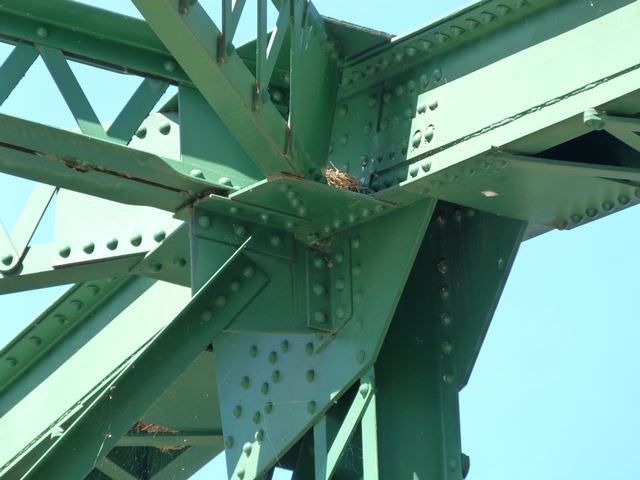
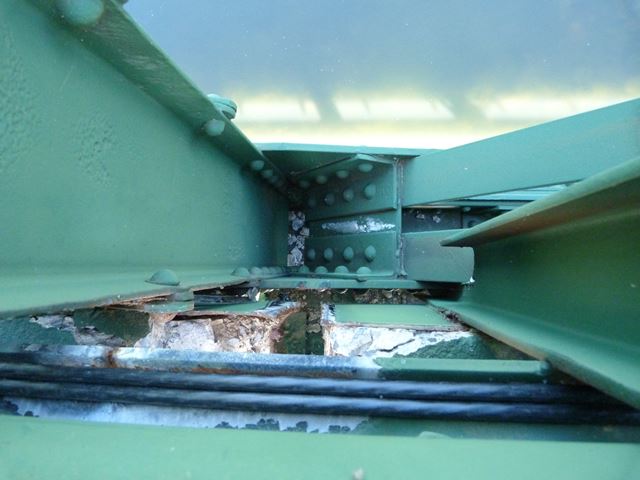
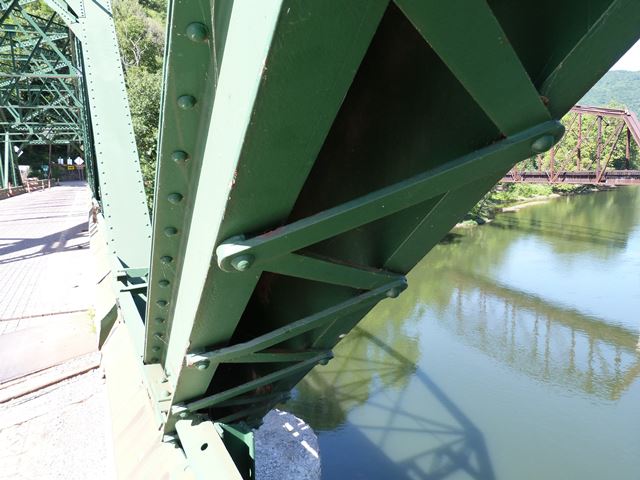
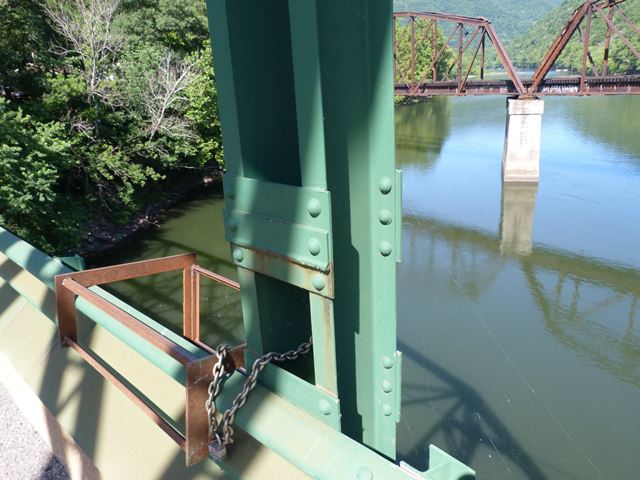
Bottom chord connections as viewed from beside bridge.
![]()
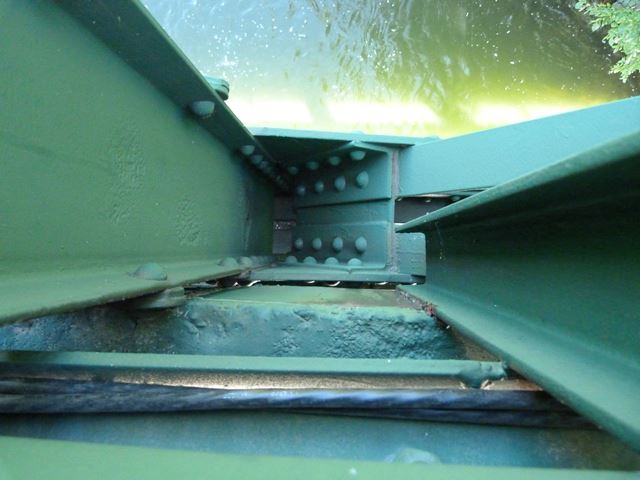
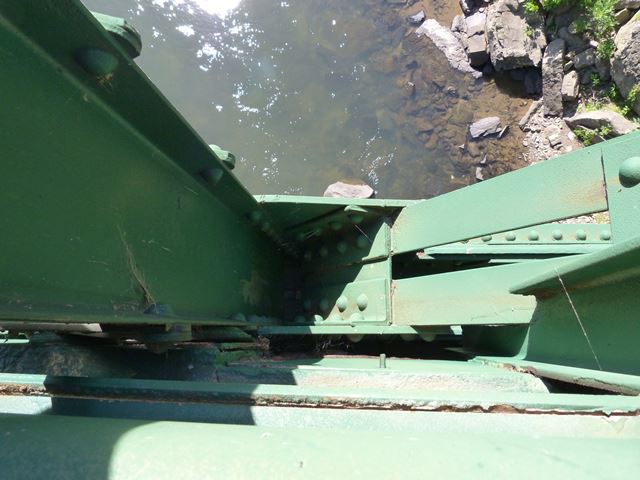
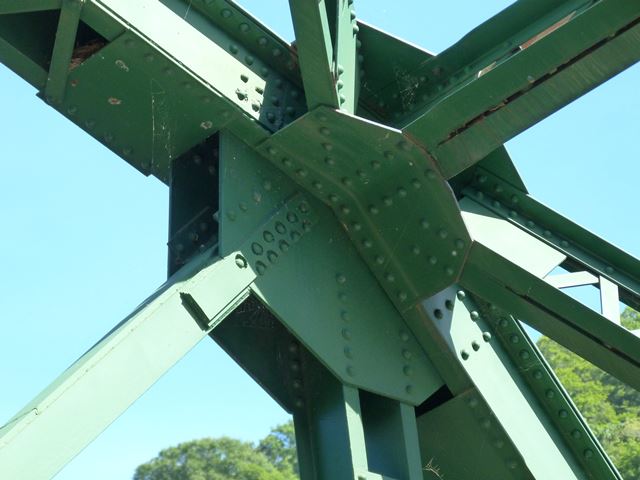
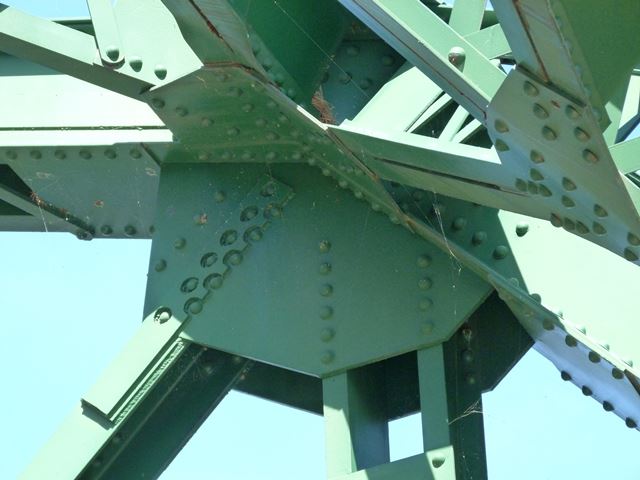
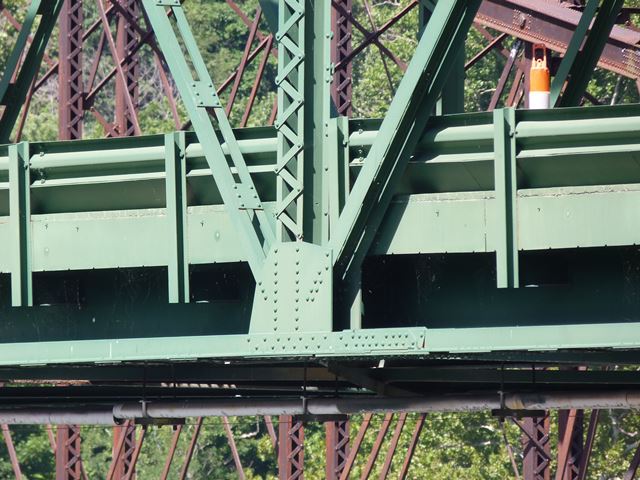
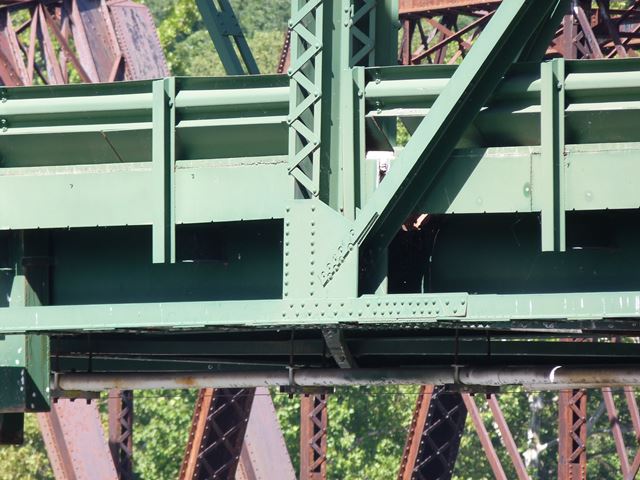
Bottom chord connections as viewed from on bridge.
![]()
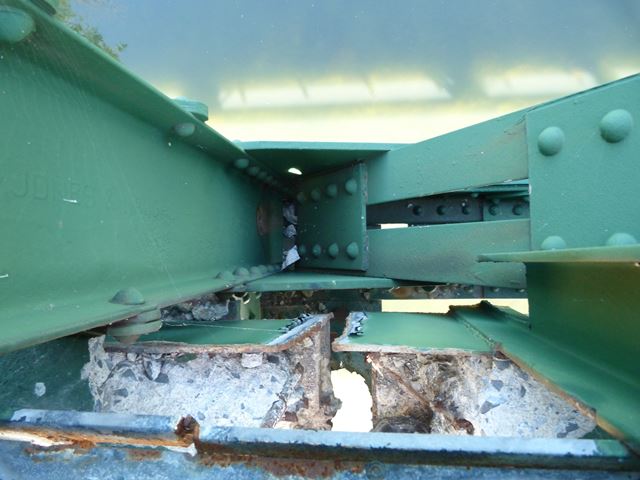
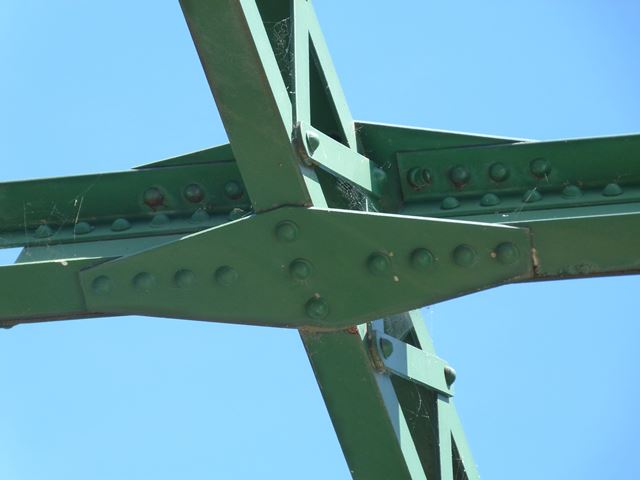
Intermediate connection as viewed from on bridge.
![]()
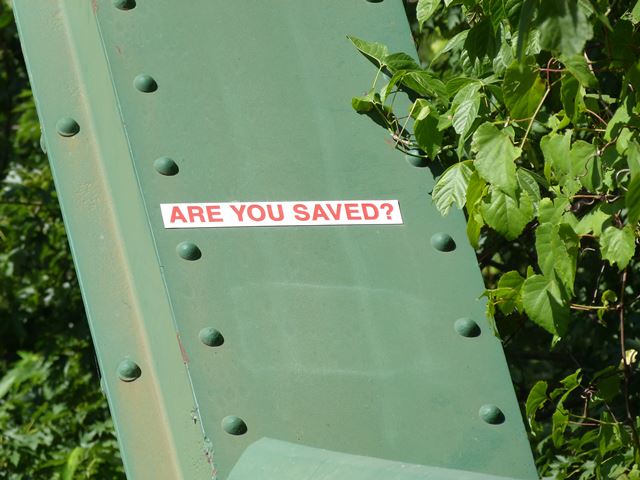
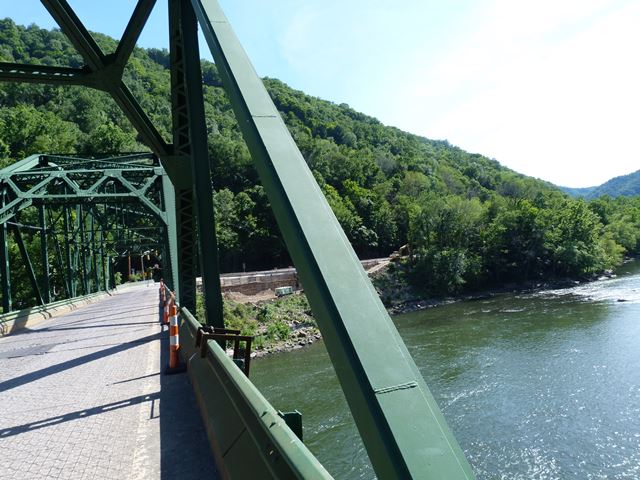
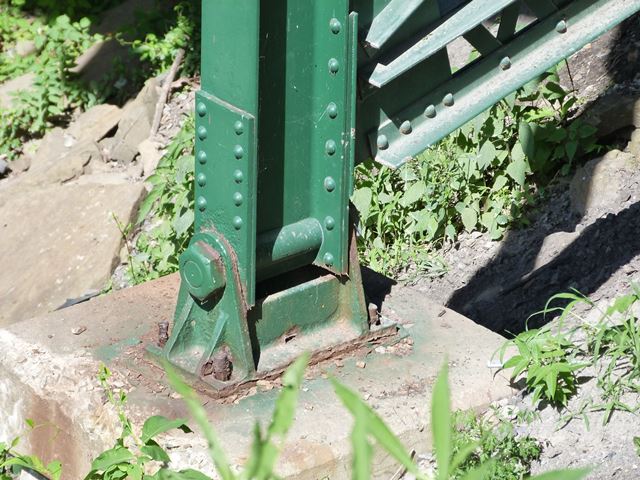
End post. The answer to the question someone stuck on the end post is a resounding no! This bridge was NOT saved!
![]()
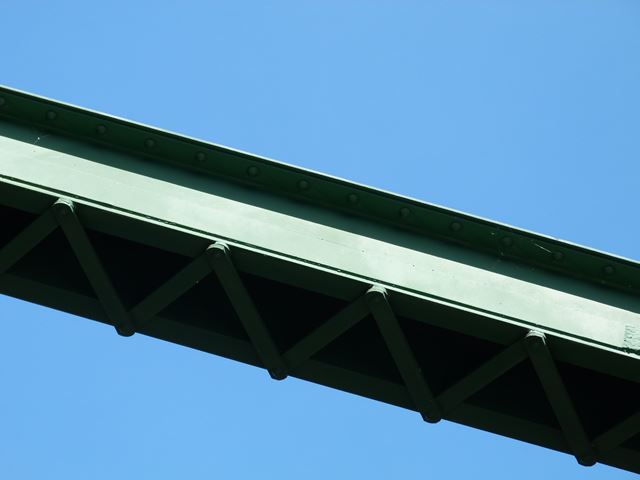
Top chord.
![]()
Bottom chord.
![]()
Diagonal members.
![]()
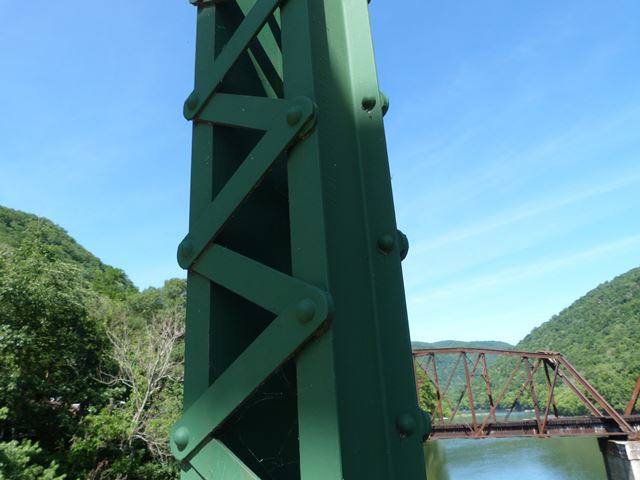
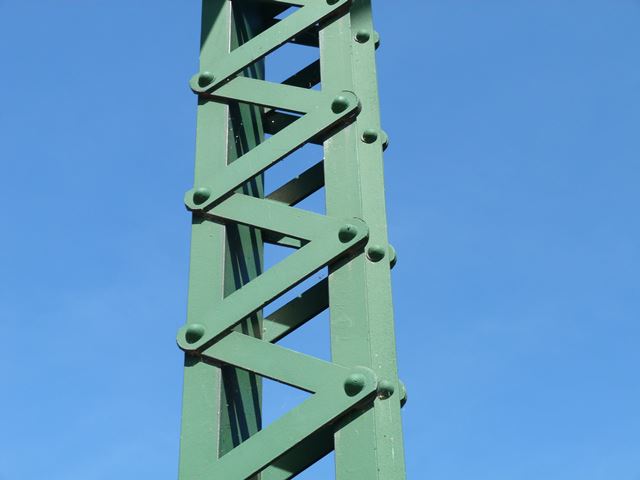
Vertical members.
![]()
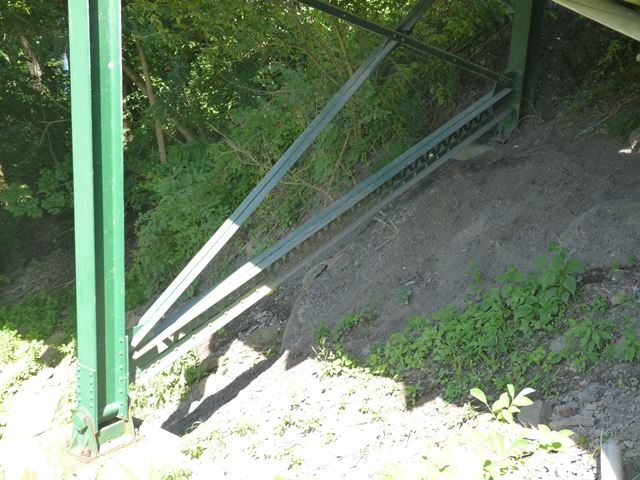
Sway bracing.
![]()
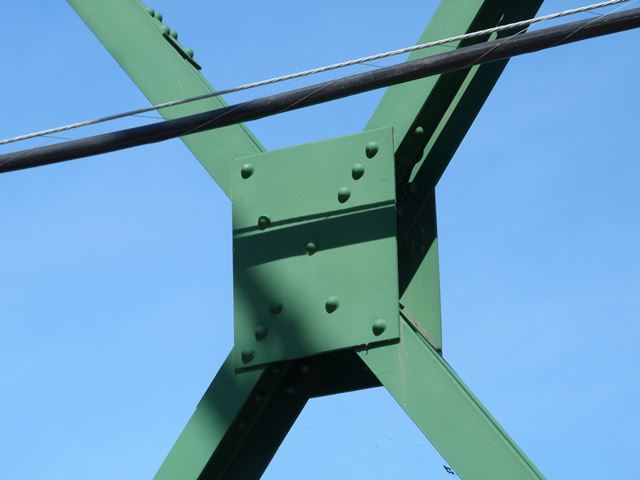
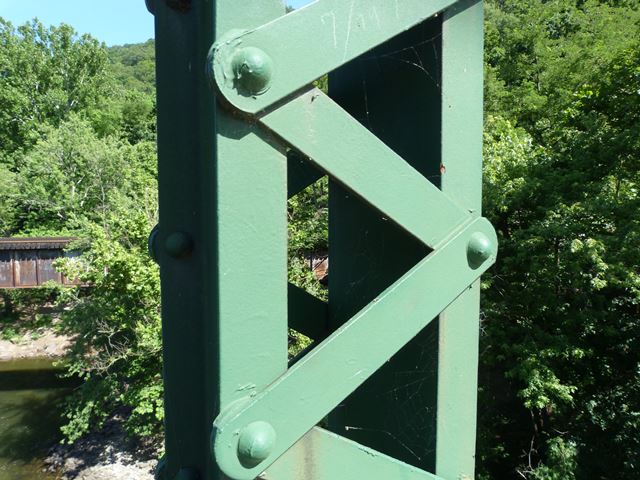
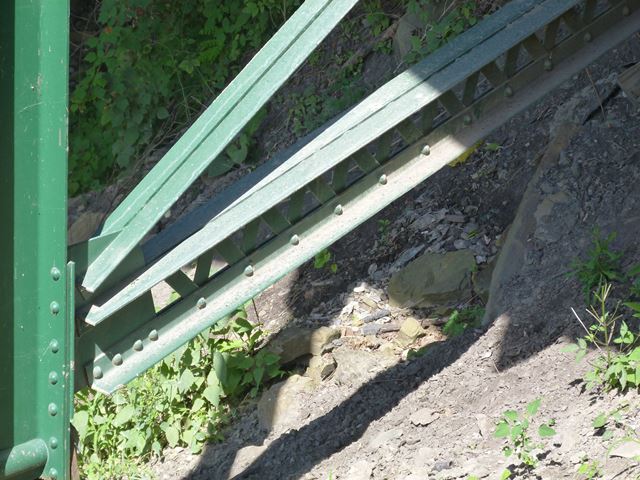
Sway bracing detail.
![]()
Lateral bracing detail.
![]()
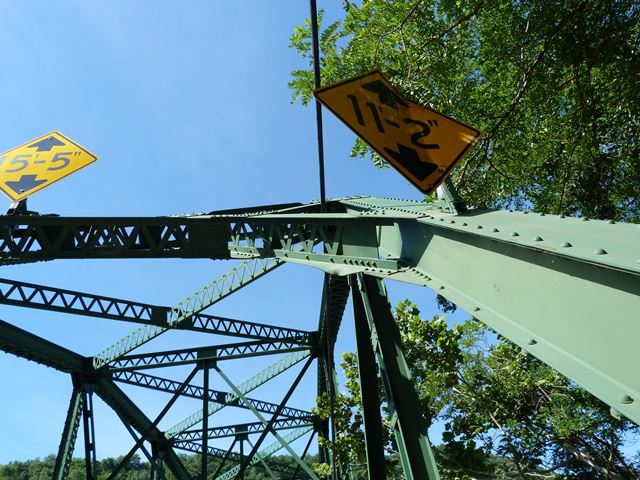
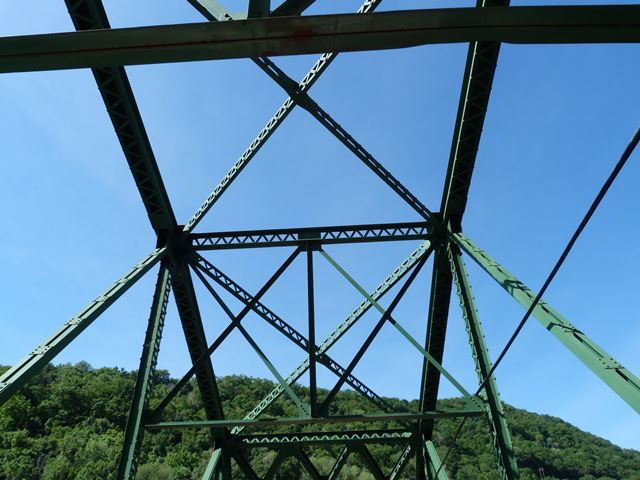
Looking up at portal bracing.
![]()
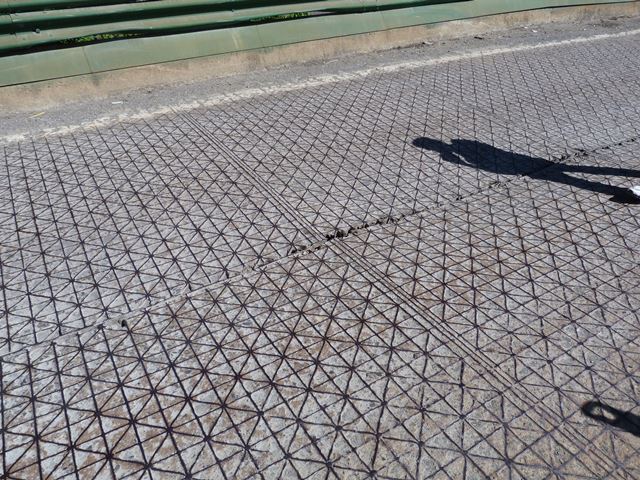
Deck.
![]()
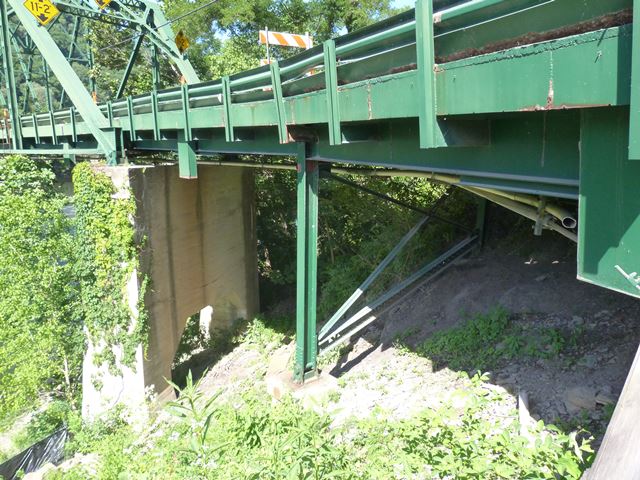
Approach spans.
![]()
Details of approach span bent.
![]()
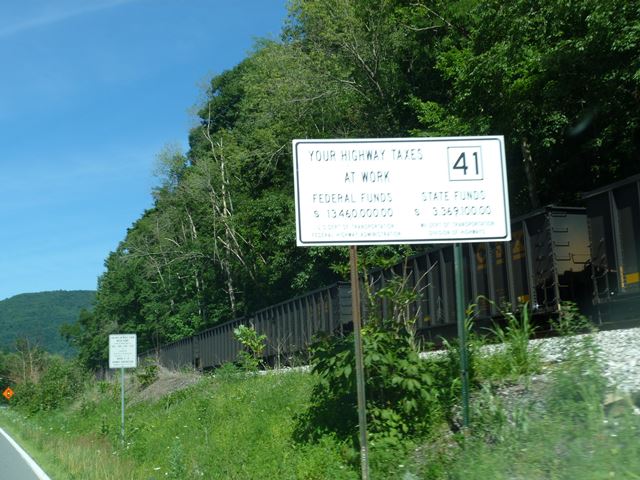
Sign on approaching roadway showing how much tax dollars were spent to destroy this historic bridge and erect an ugly modern bridge.
![]()
![]()
| Back |
| Home |
| Top |

![]()