Uncredited photos on this page taken by: Nathan Holth and Rick McOmber. Unless stated in a caption, all photos are Copyright with All Rights Reserved. Learn about reuse of our photos.
![]()
![]()
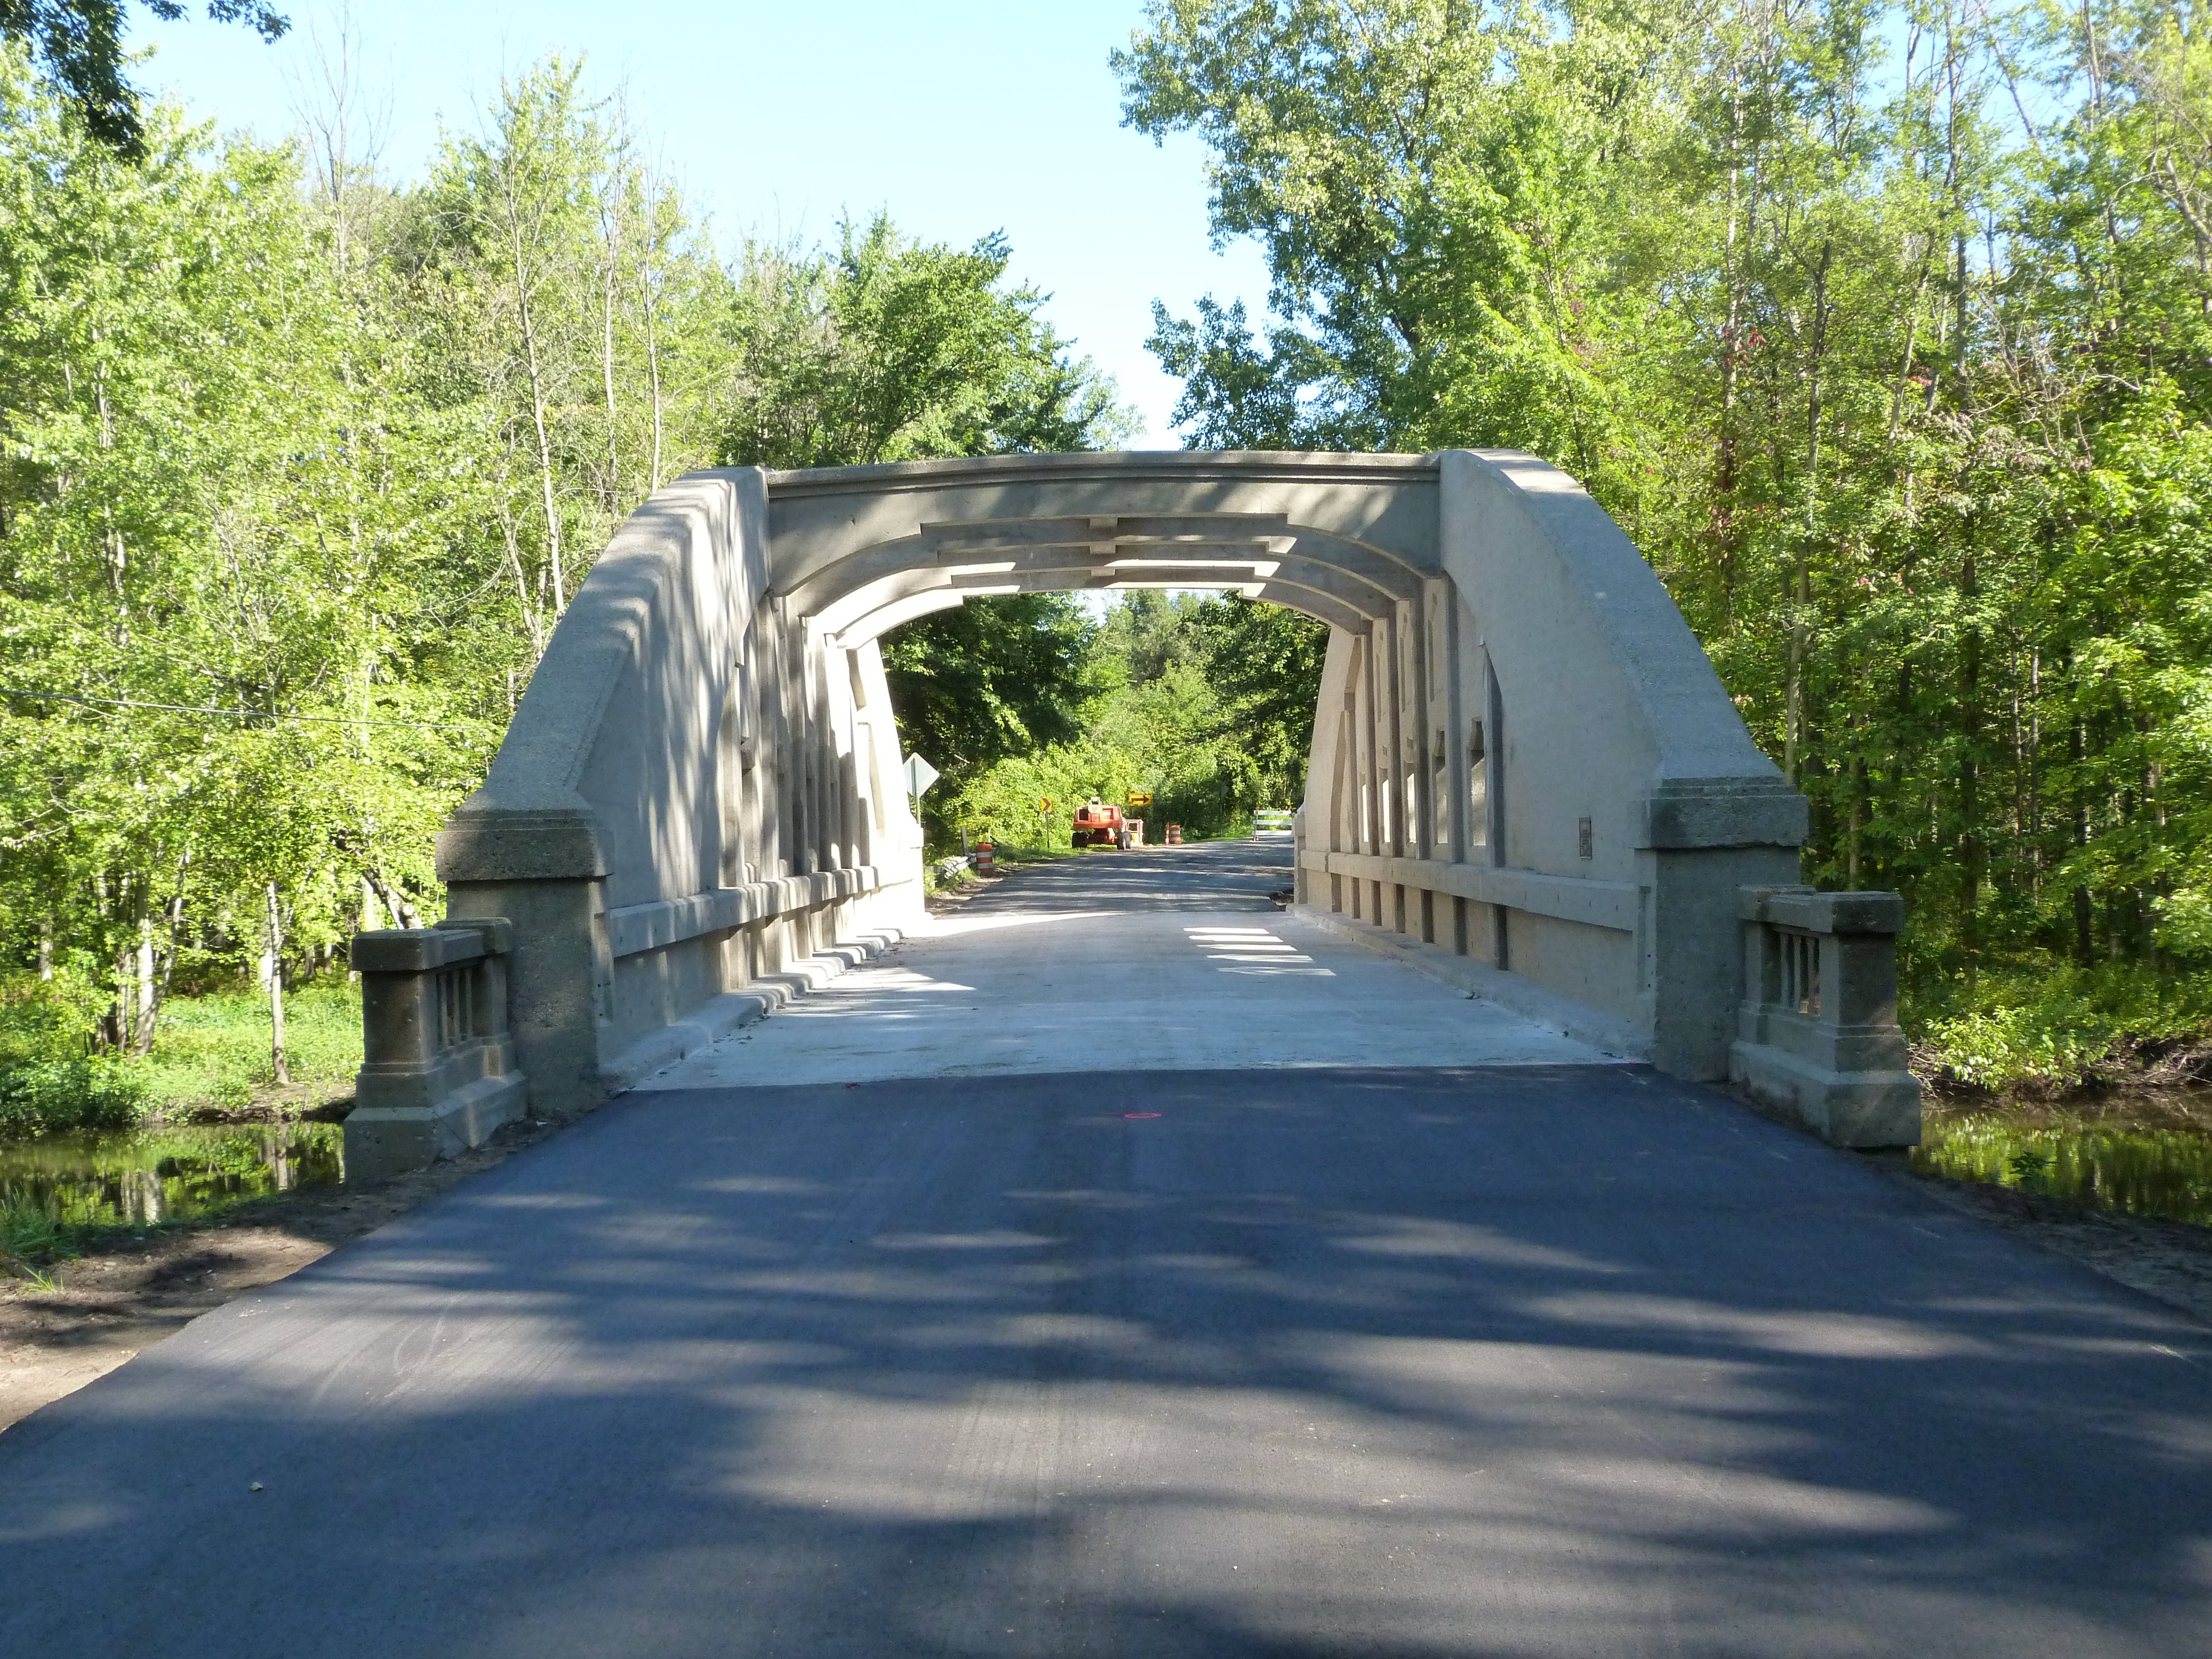
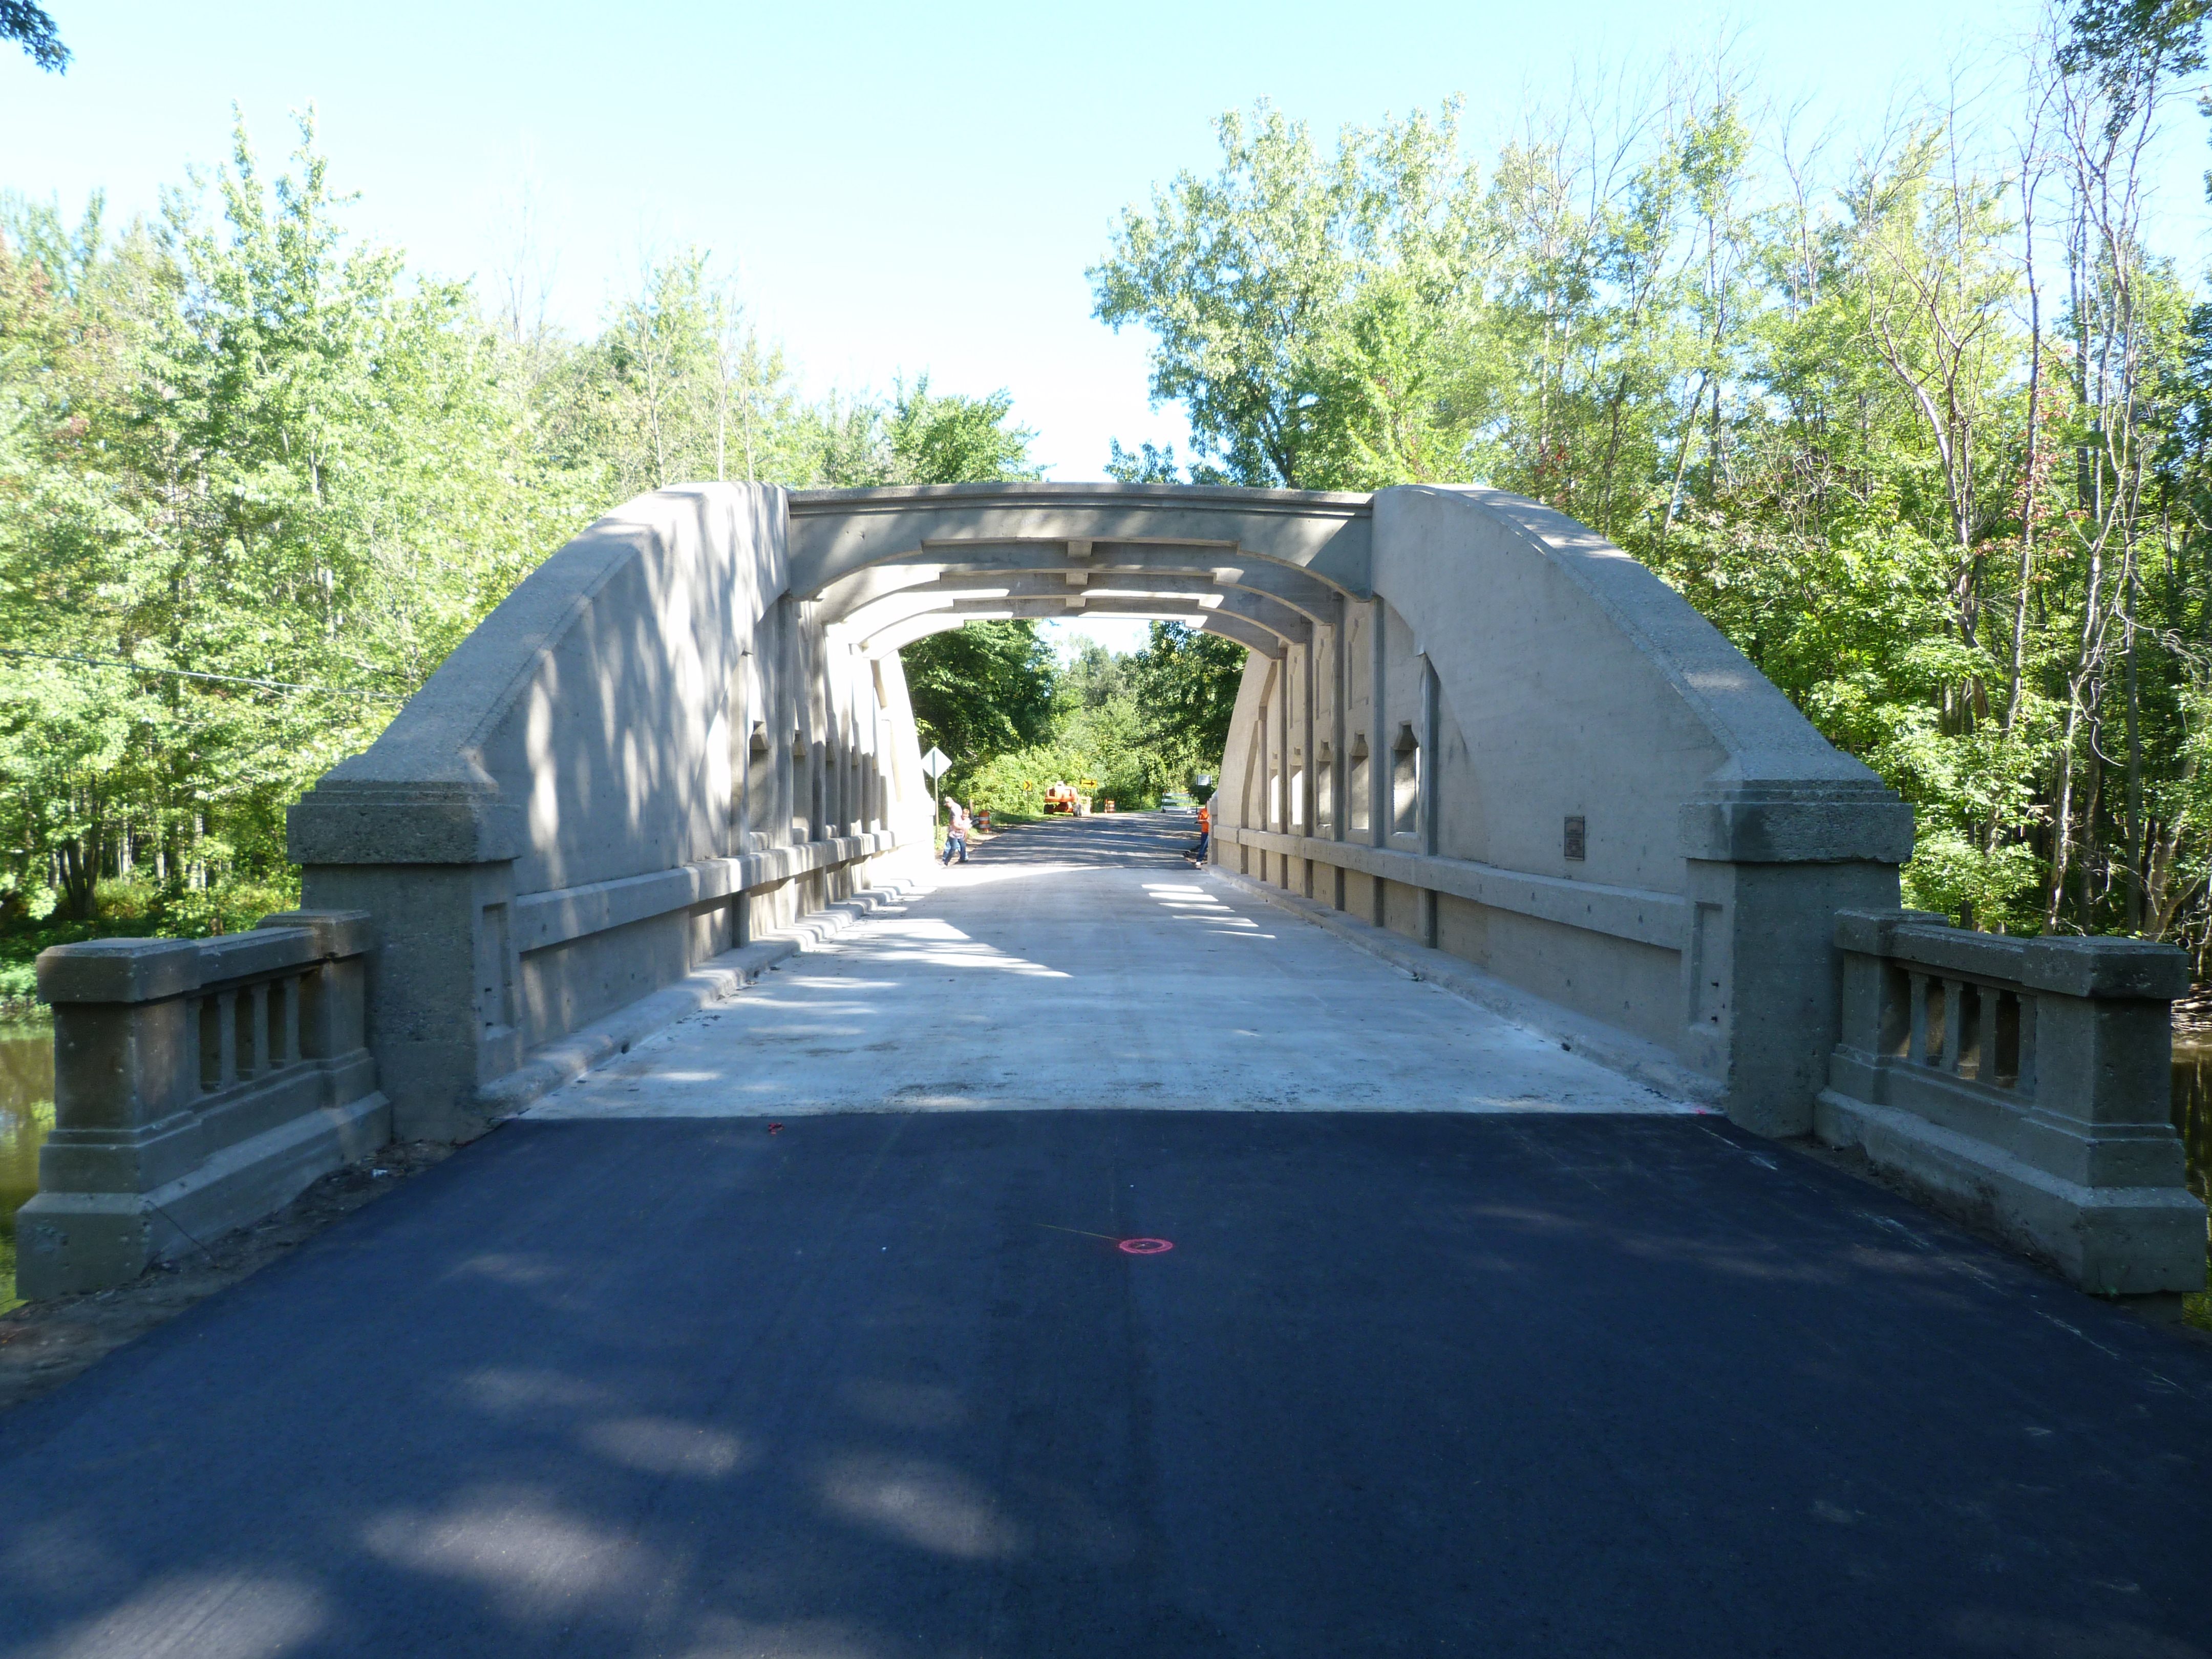
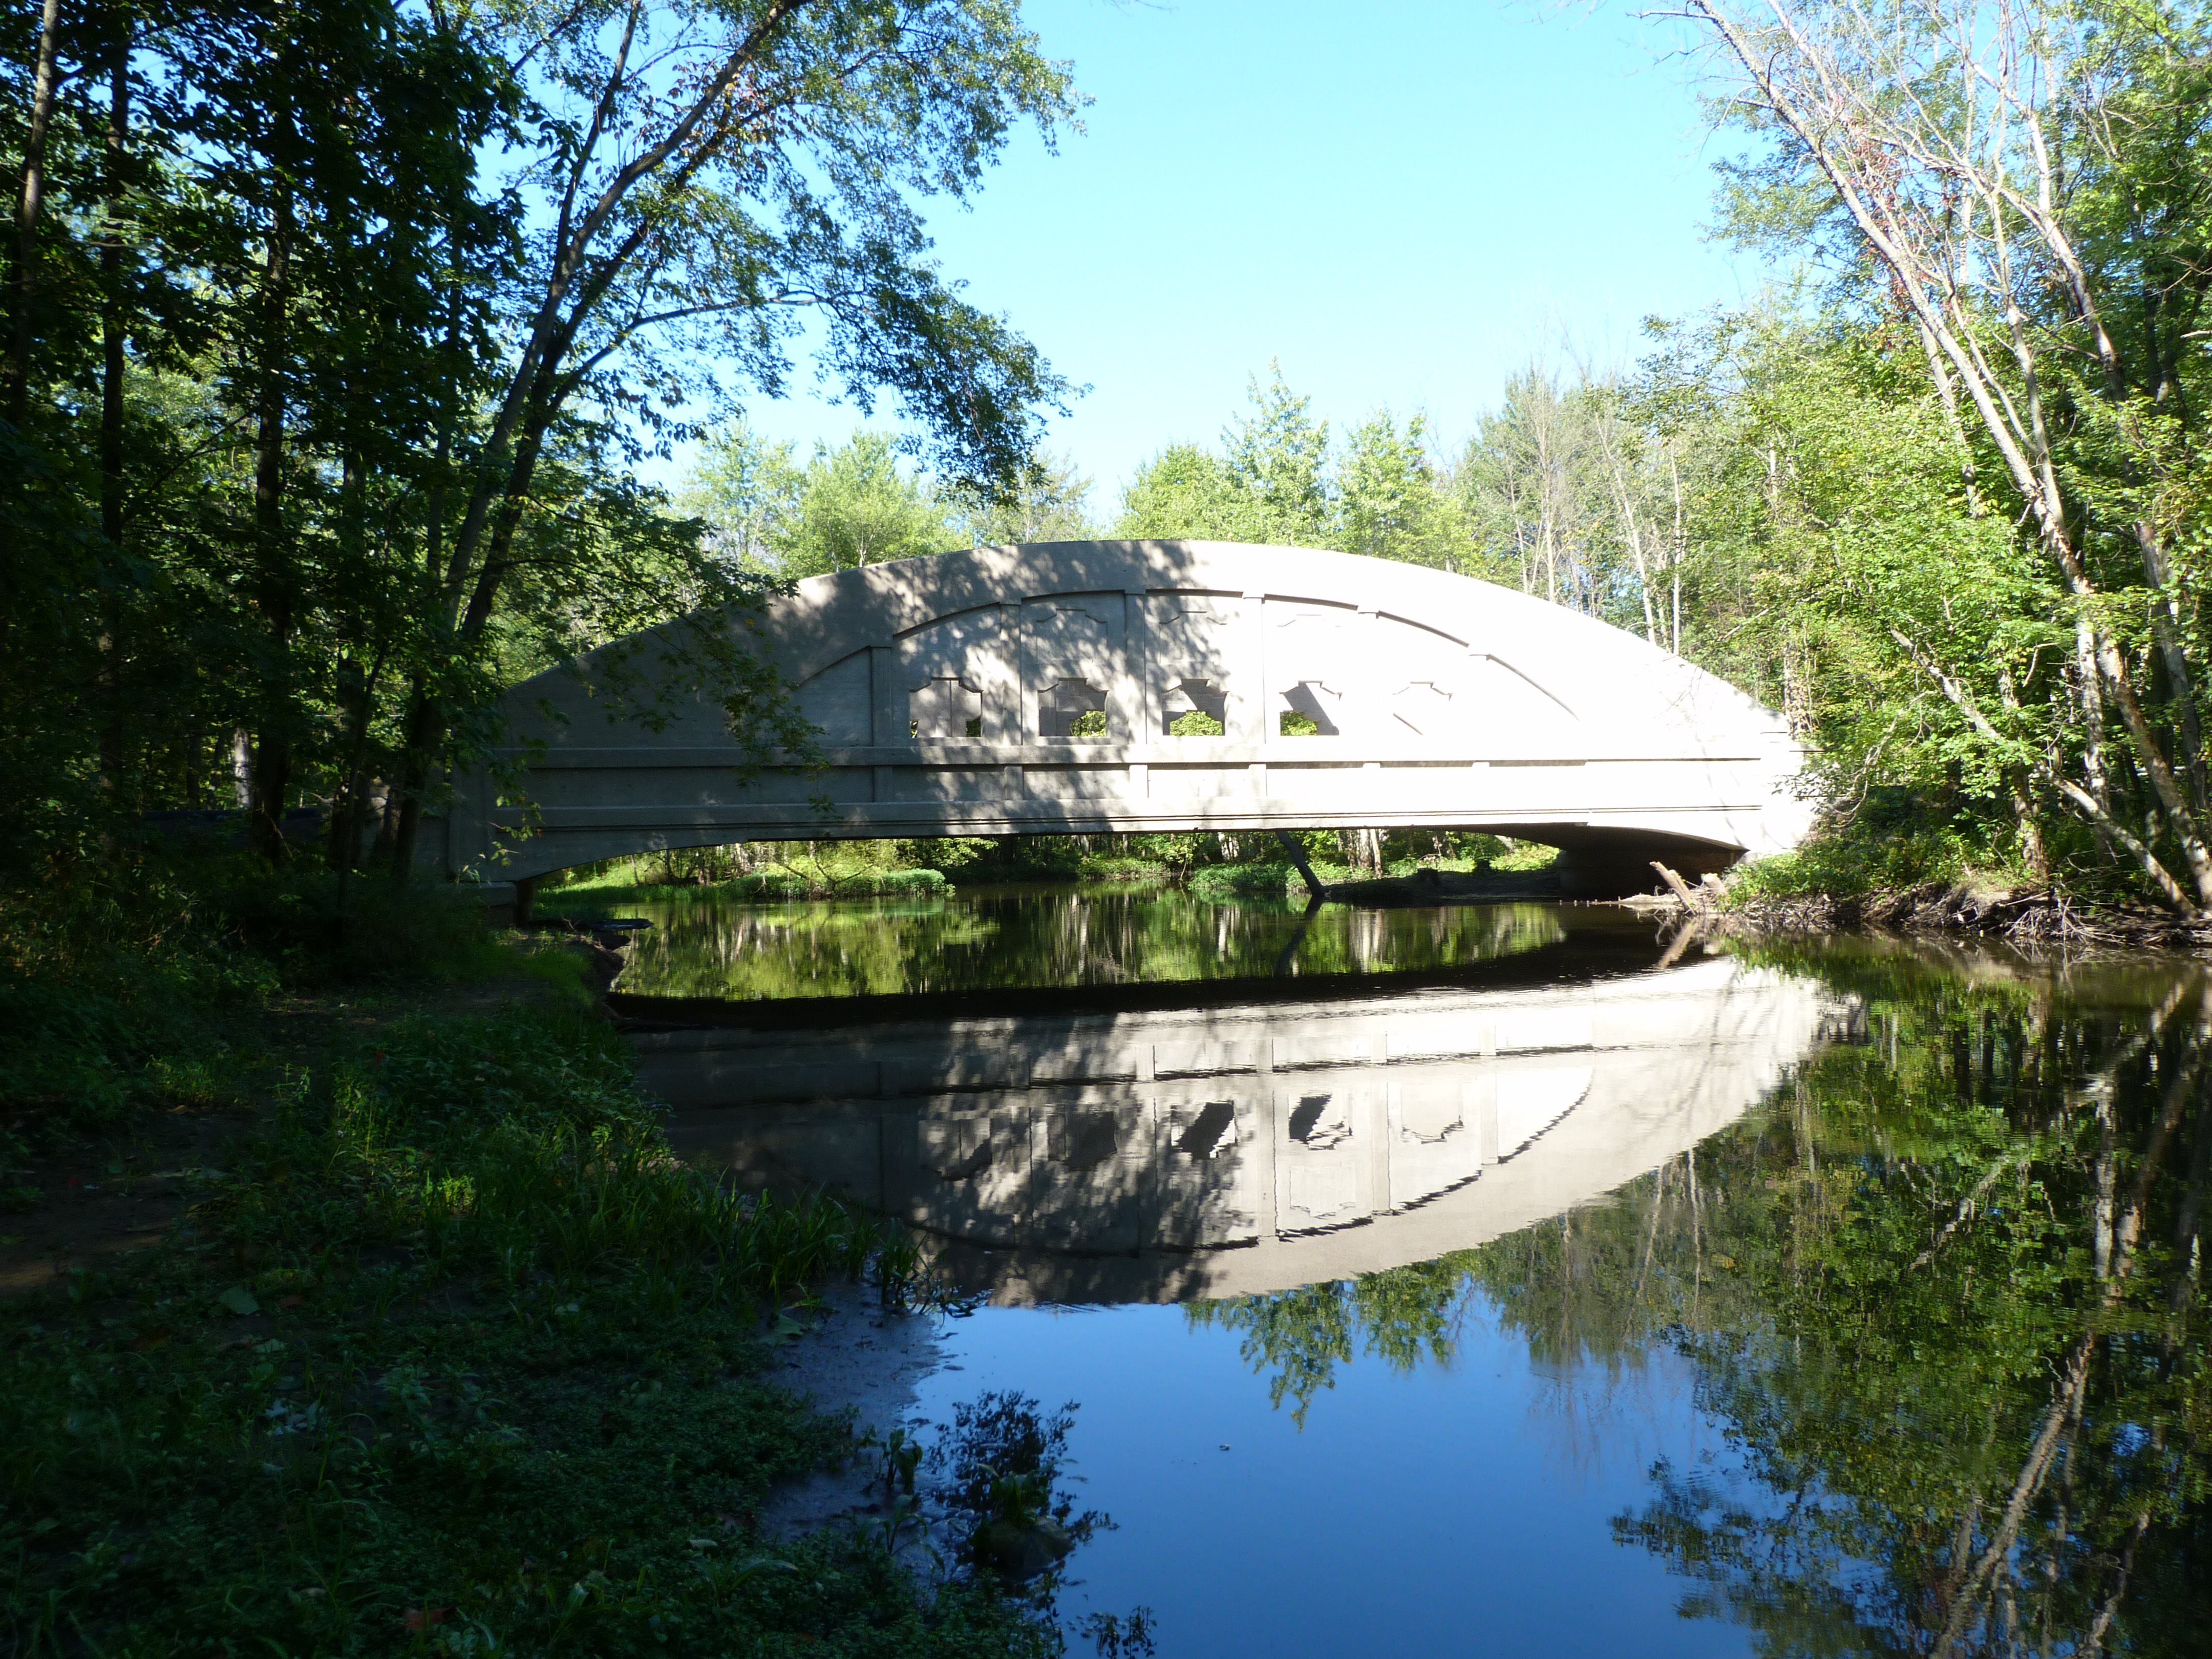
Portal views facing north.
![]()


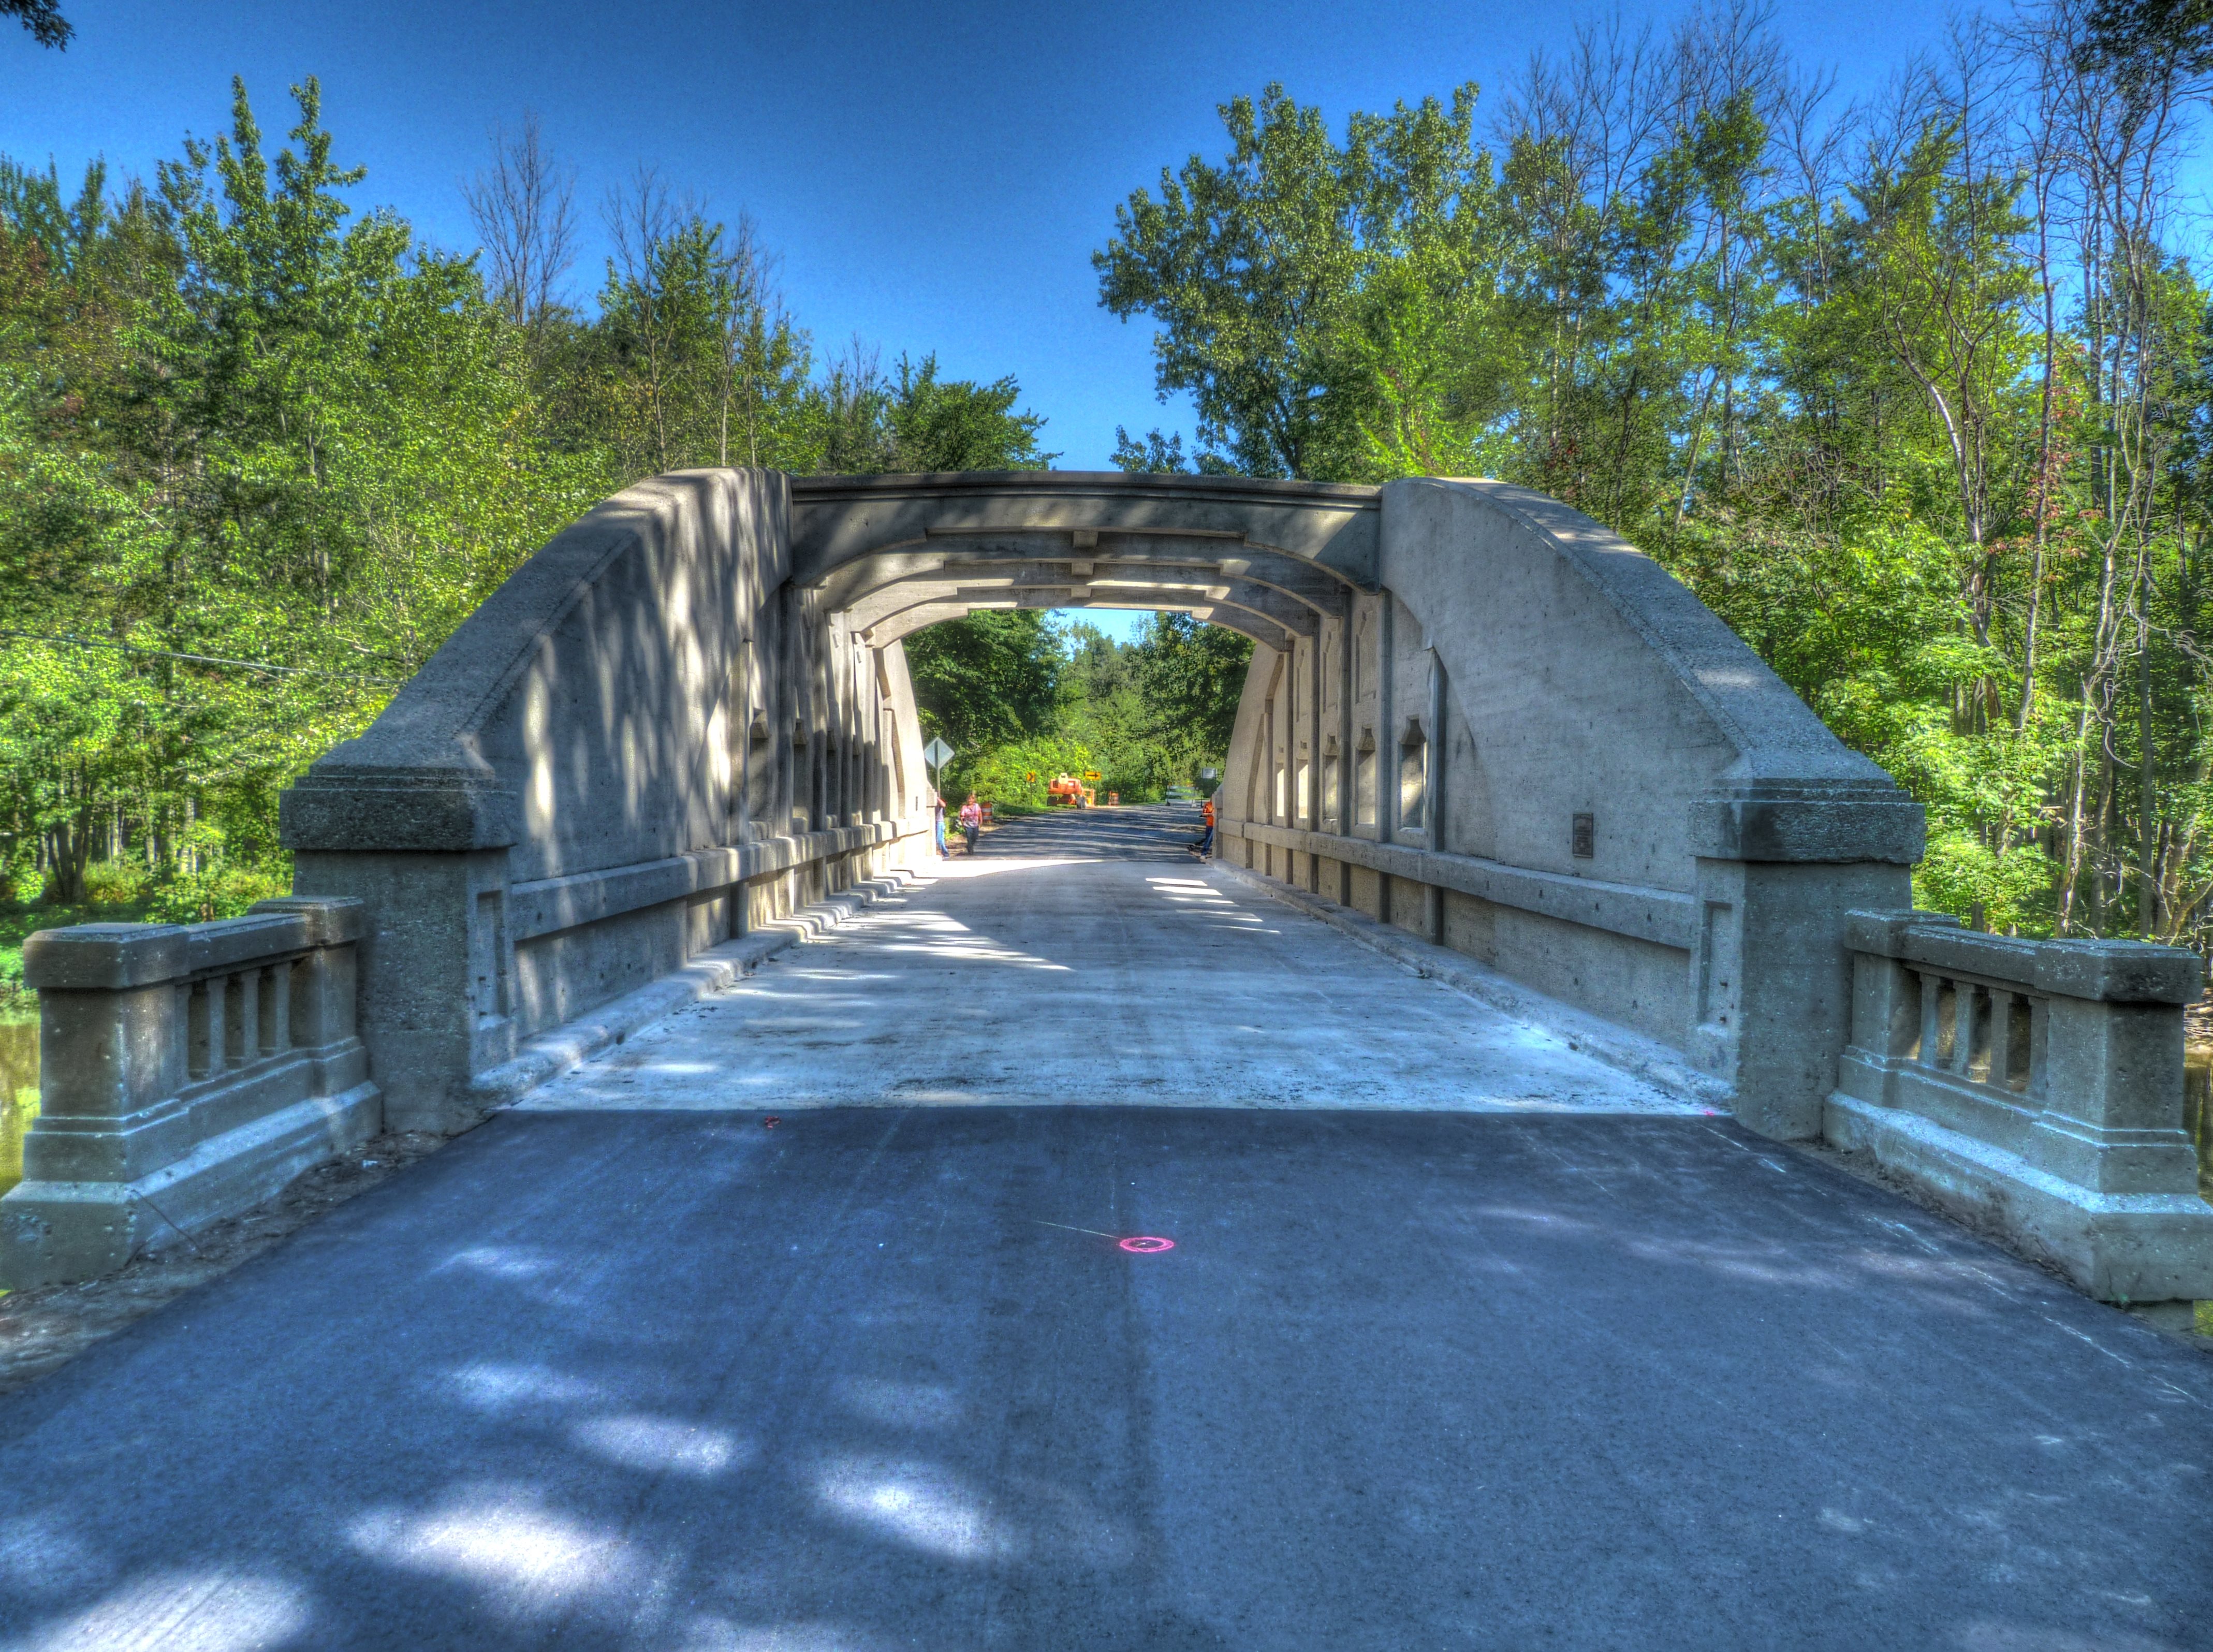


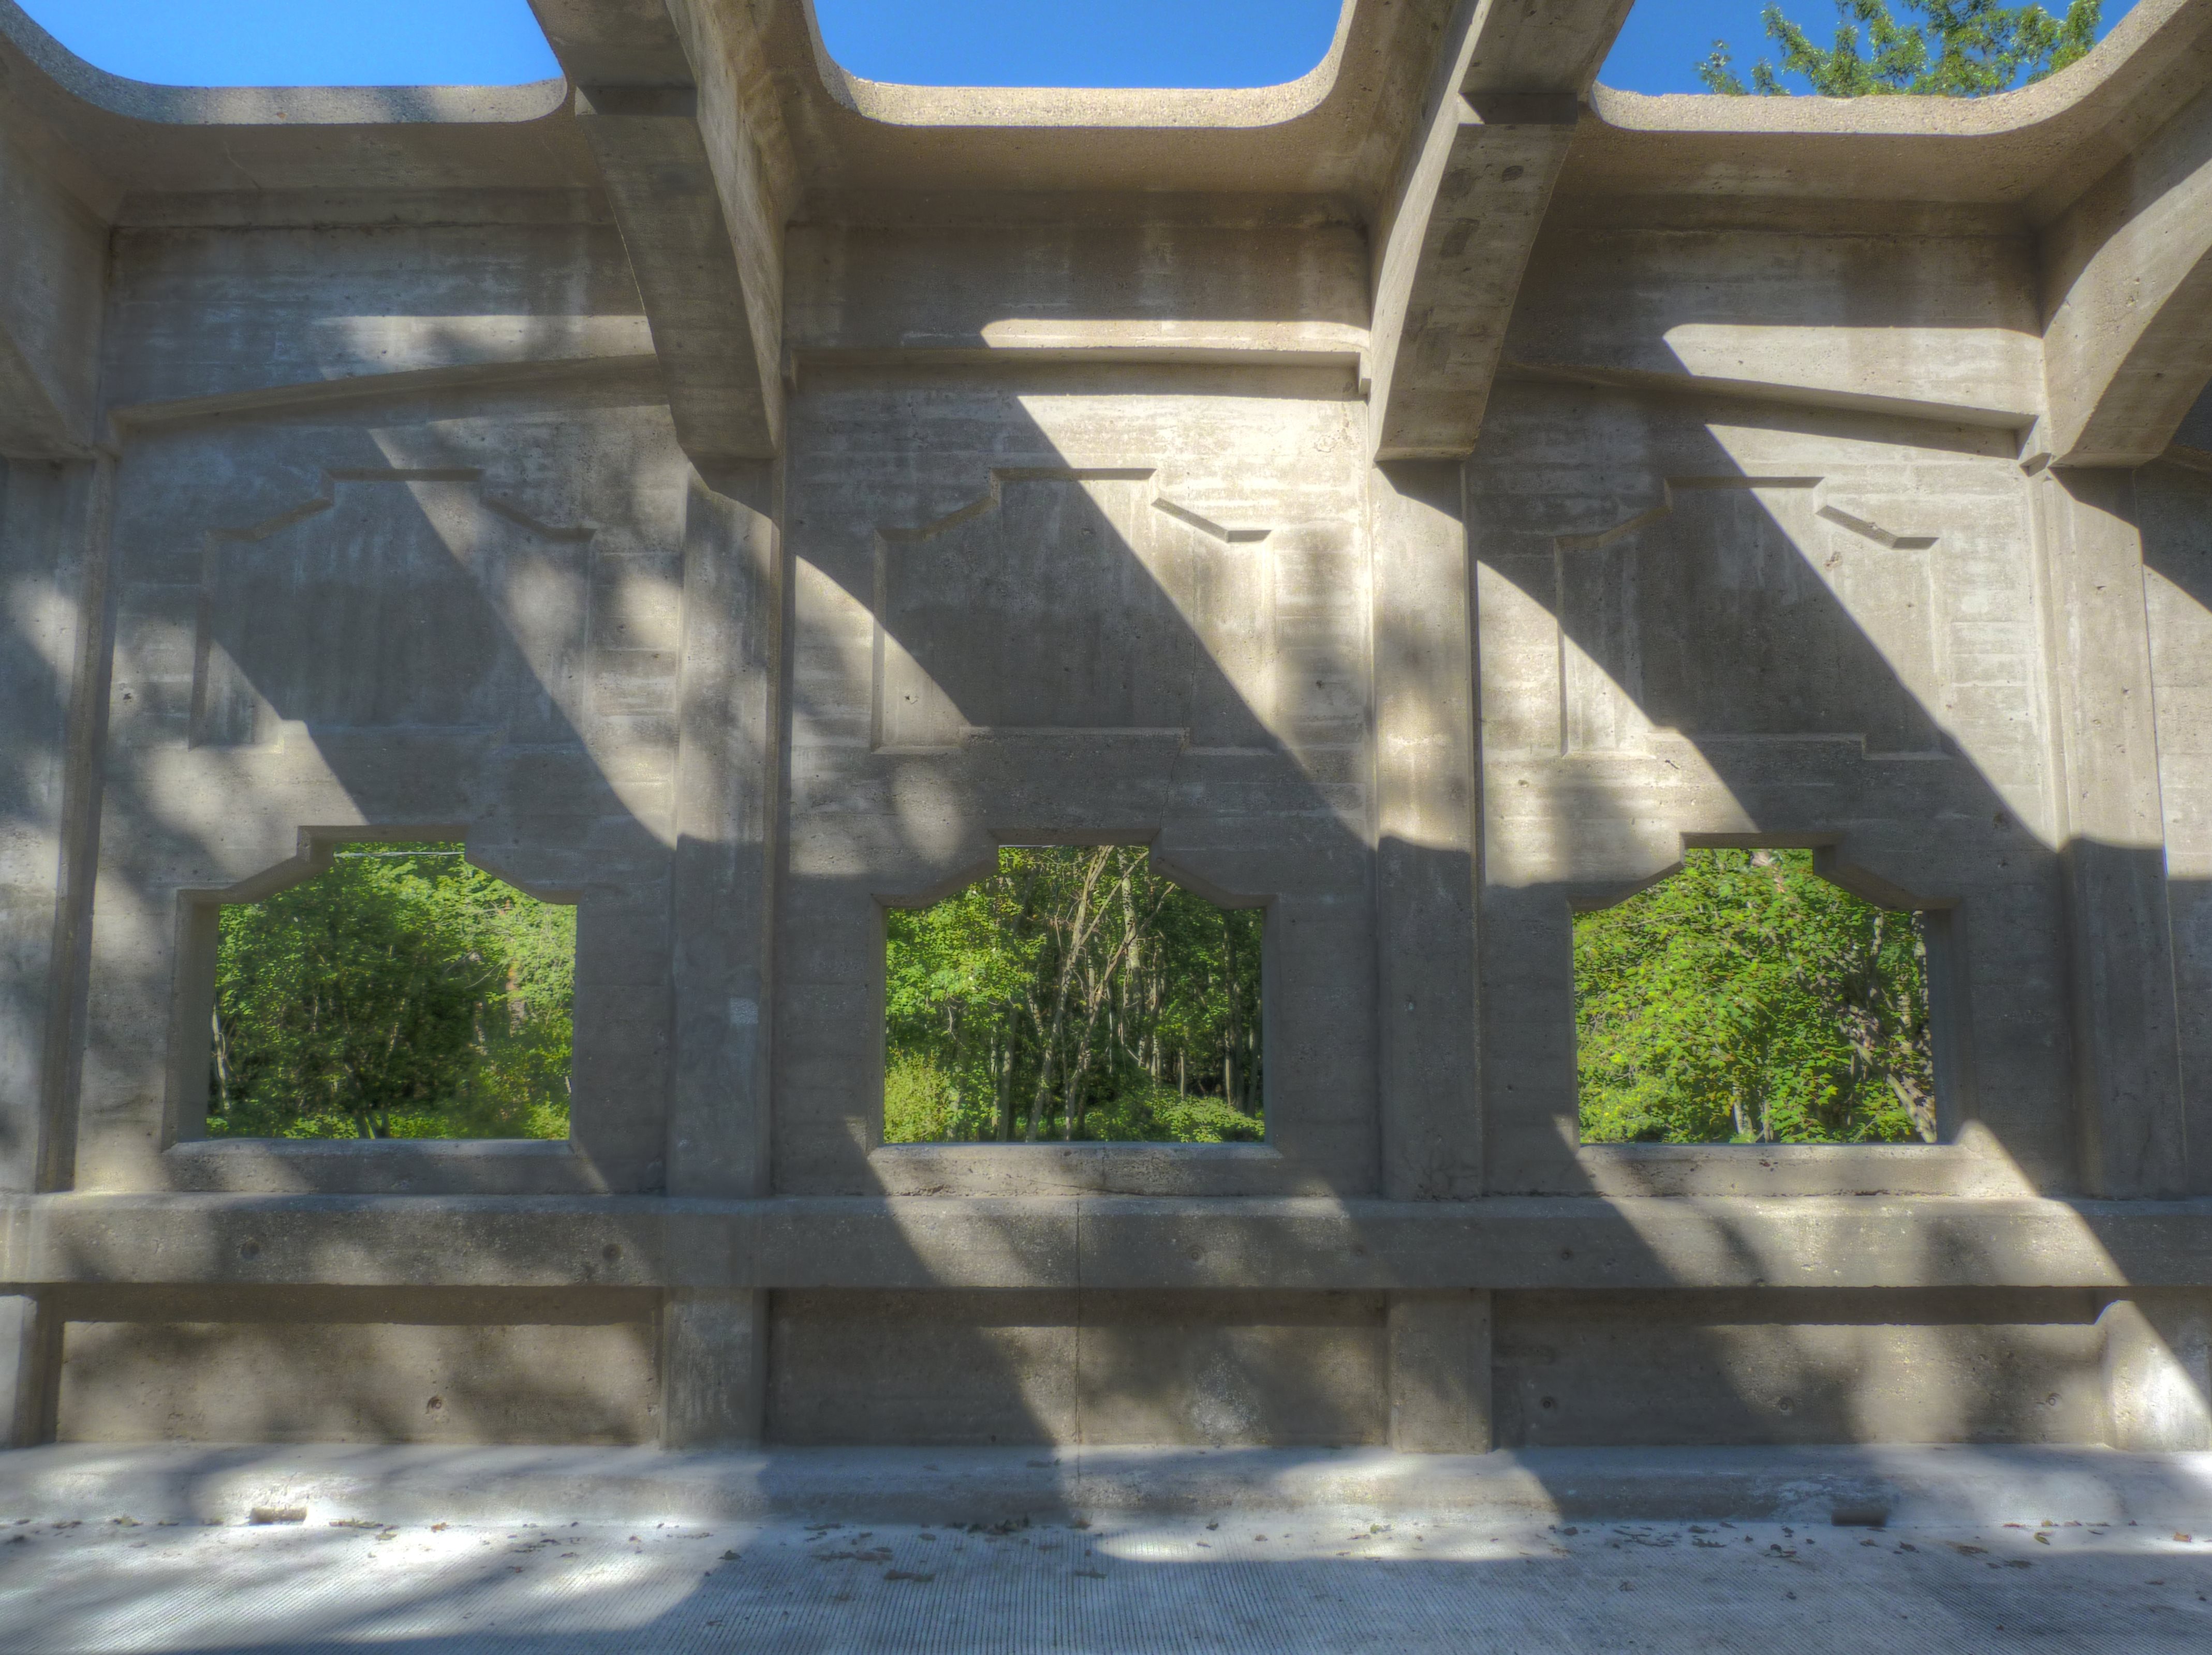
HDR Photos: Portal views facing north.
![]()


HDR Photos (Artistic): Portal views facing north.
![]()


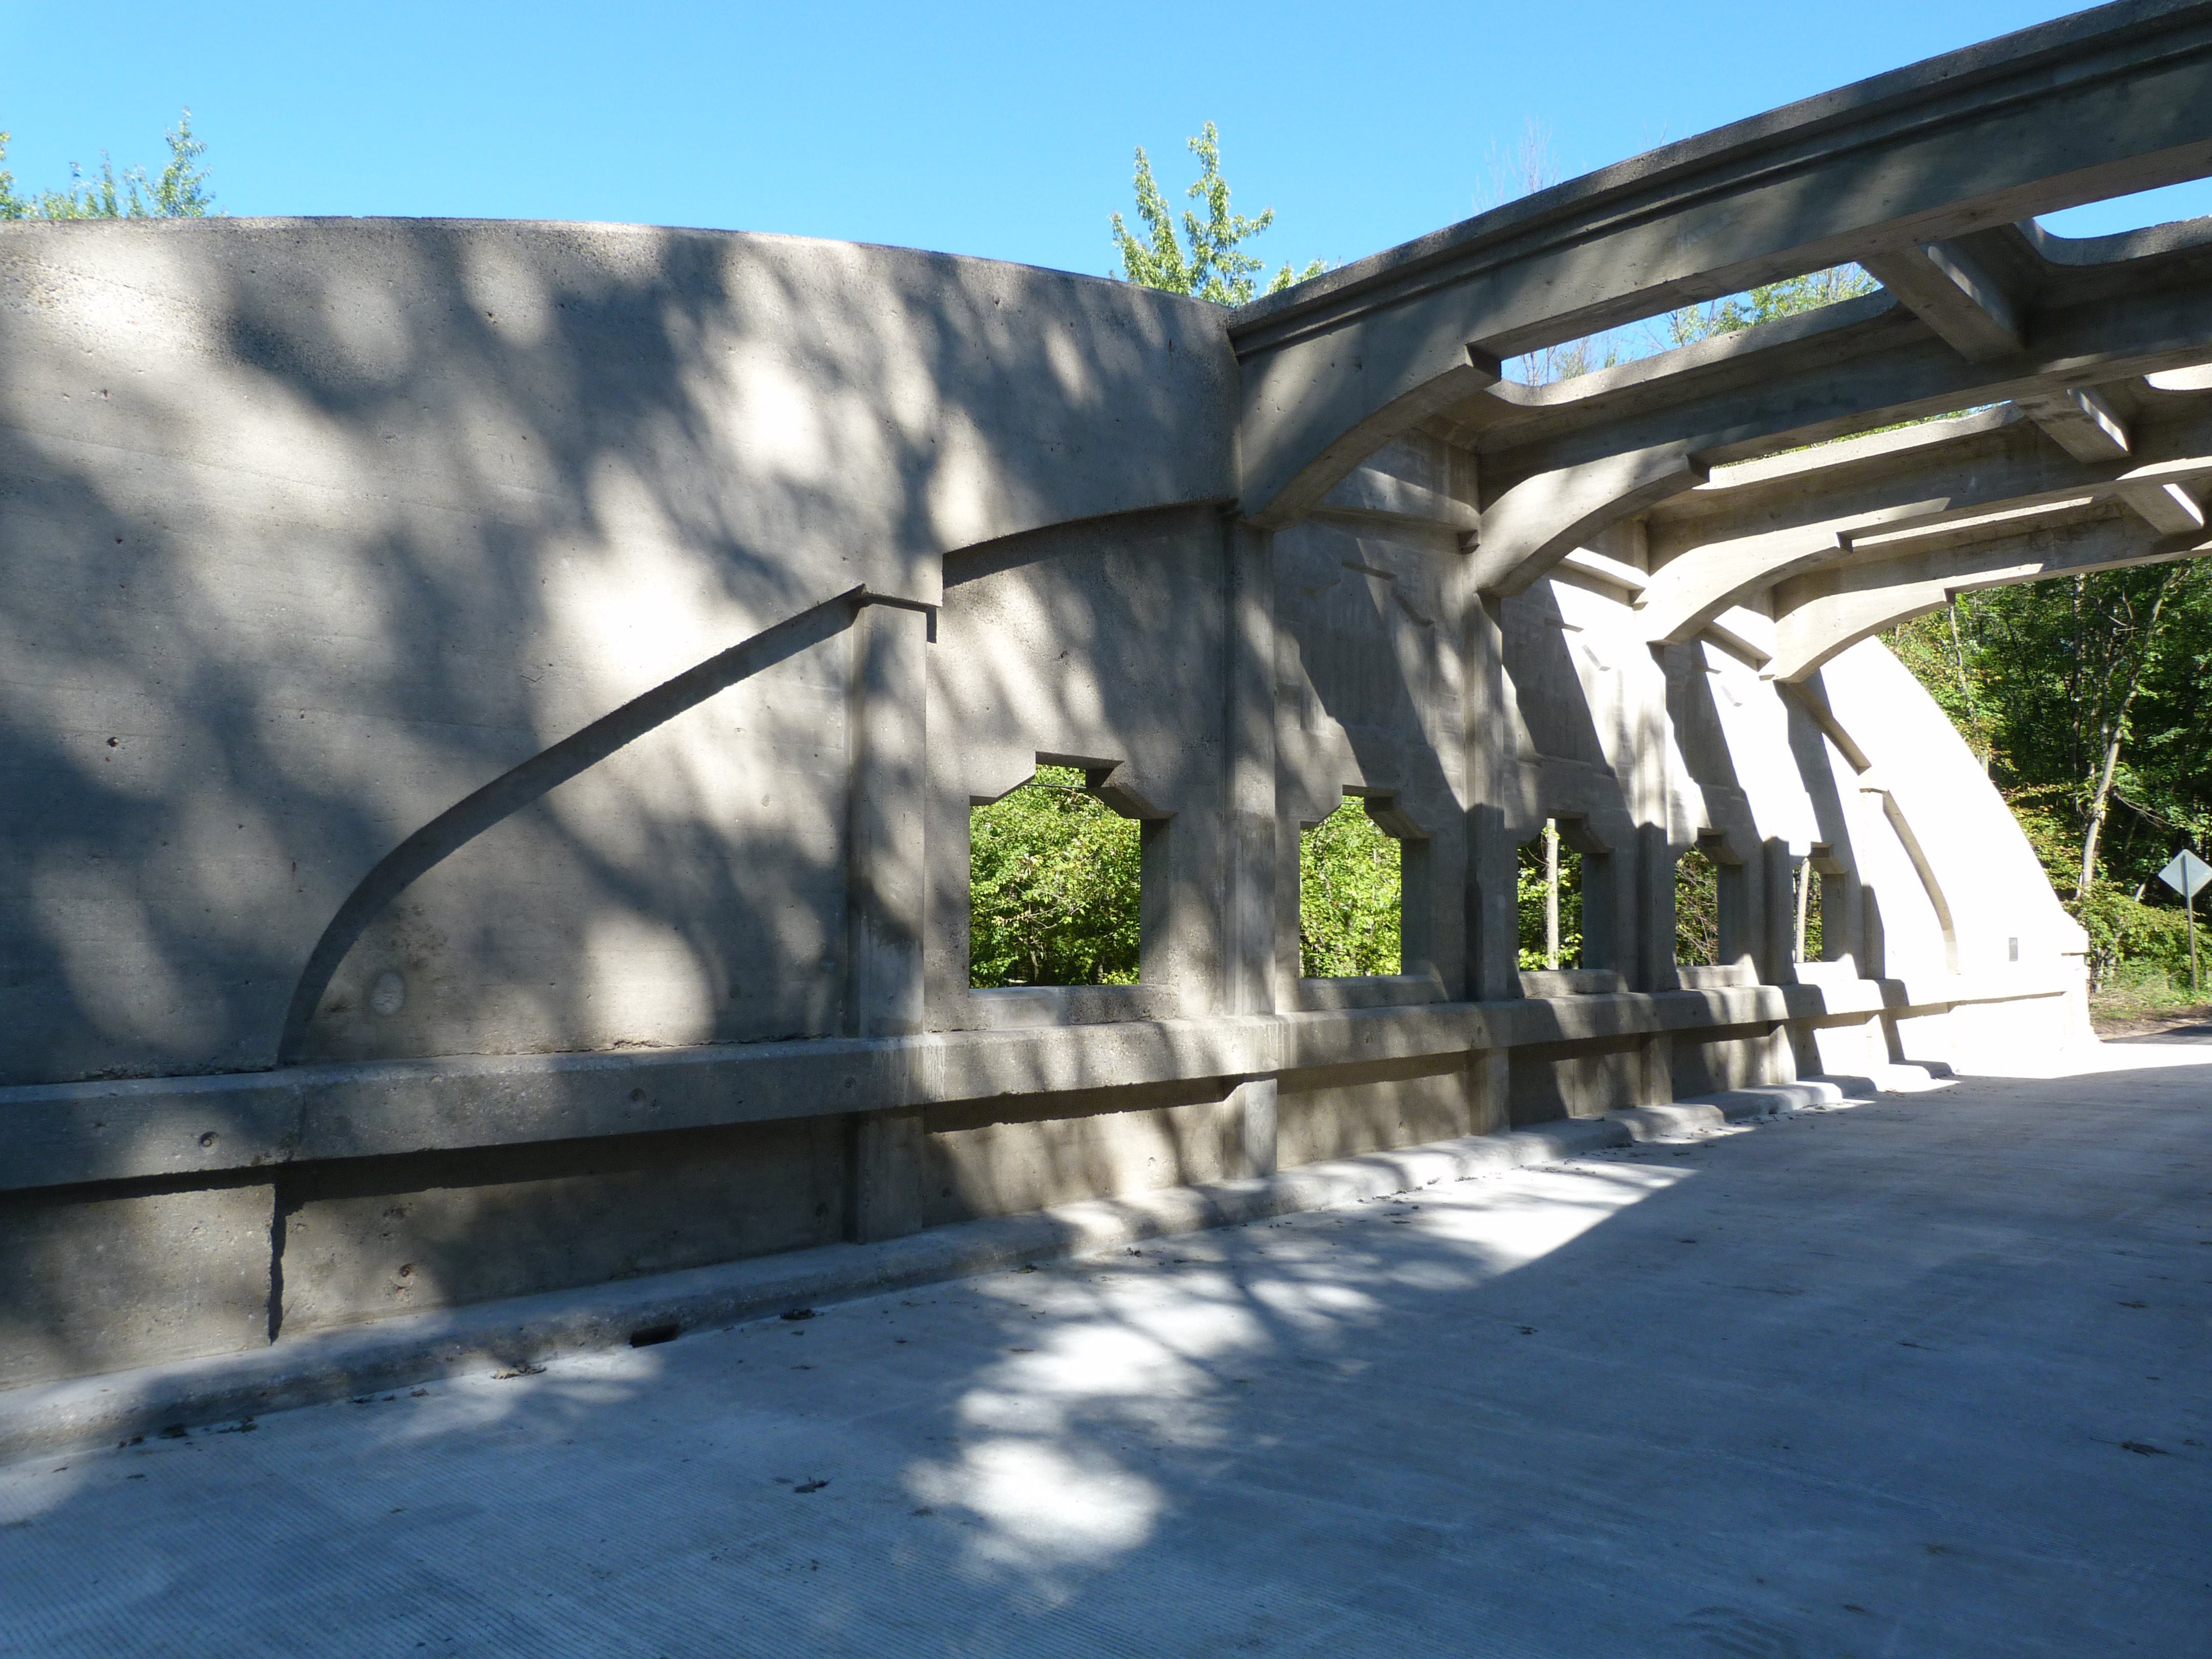
Views from beside roadway.
![]()

Oblique view from southeast quadrant.
![]()


HDR Photos: Oblique view from southeast quadrant.
![]()


HDR Photos: View beside bridge from southeast quadrant.
![]()
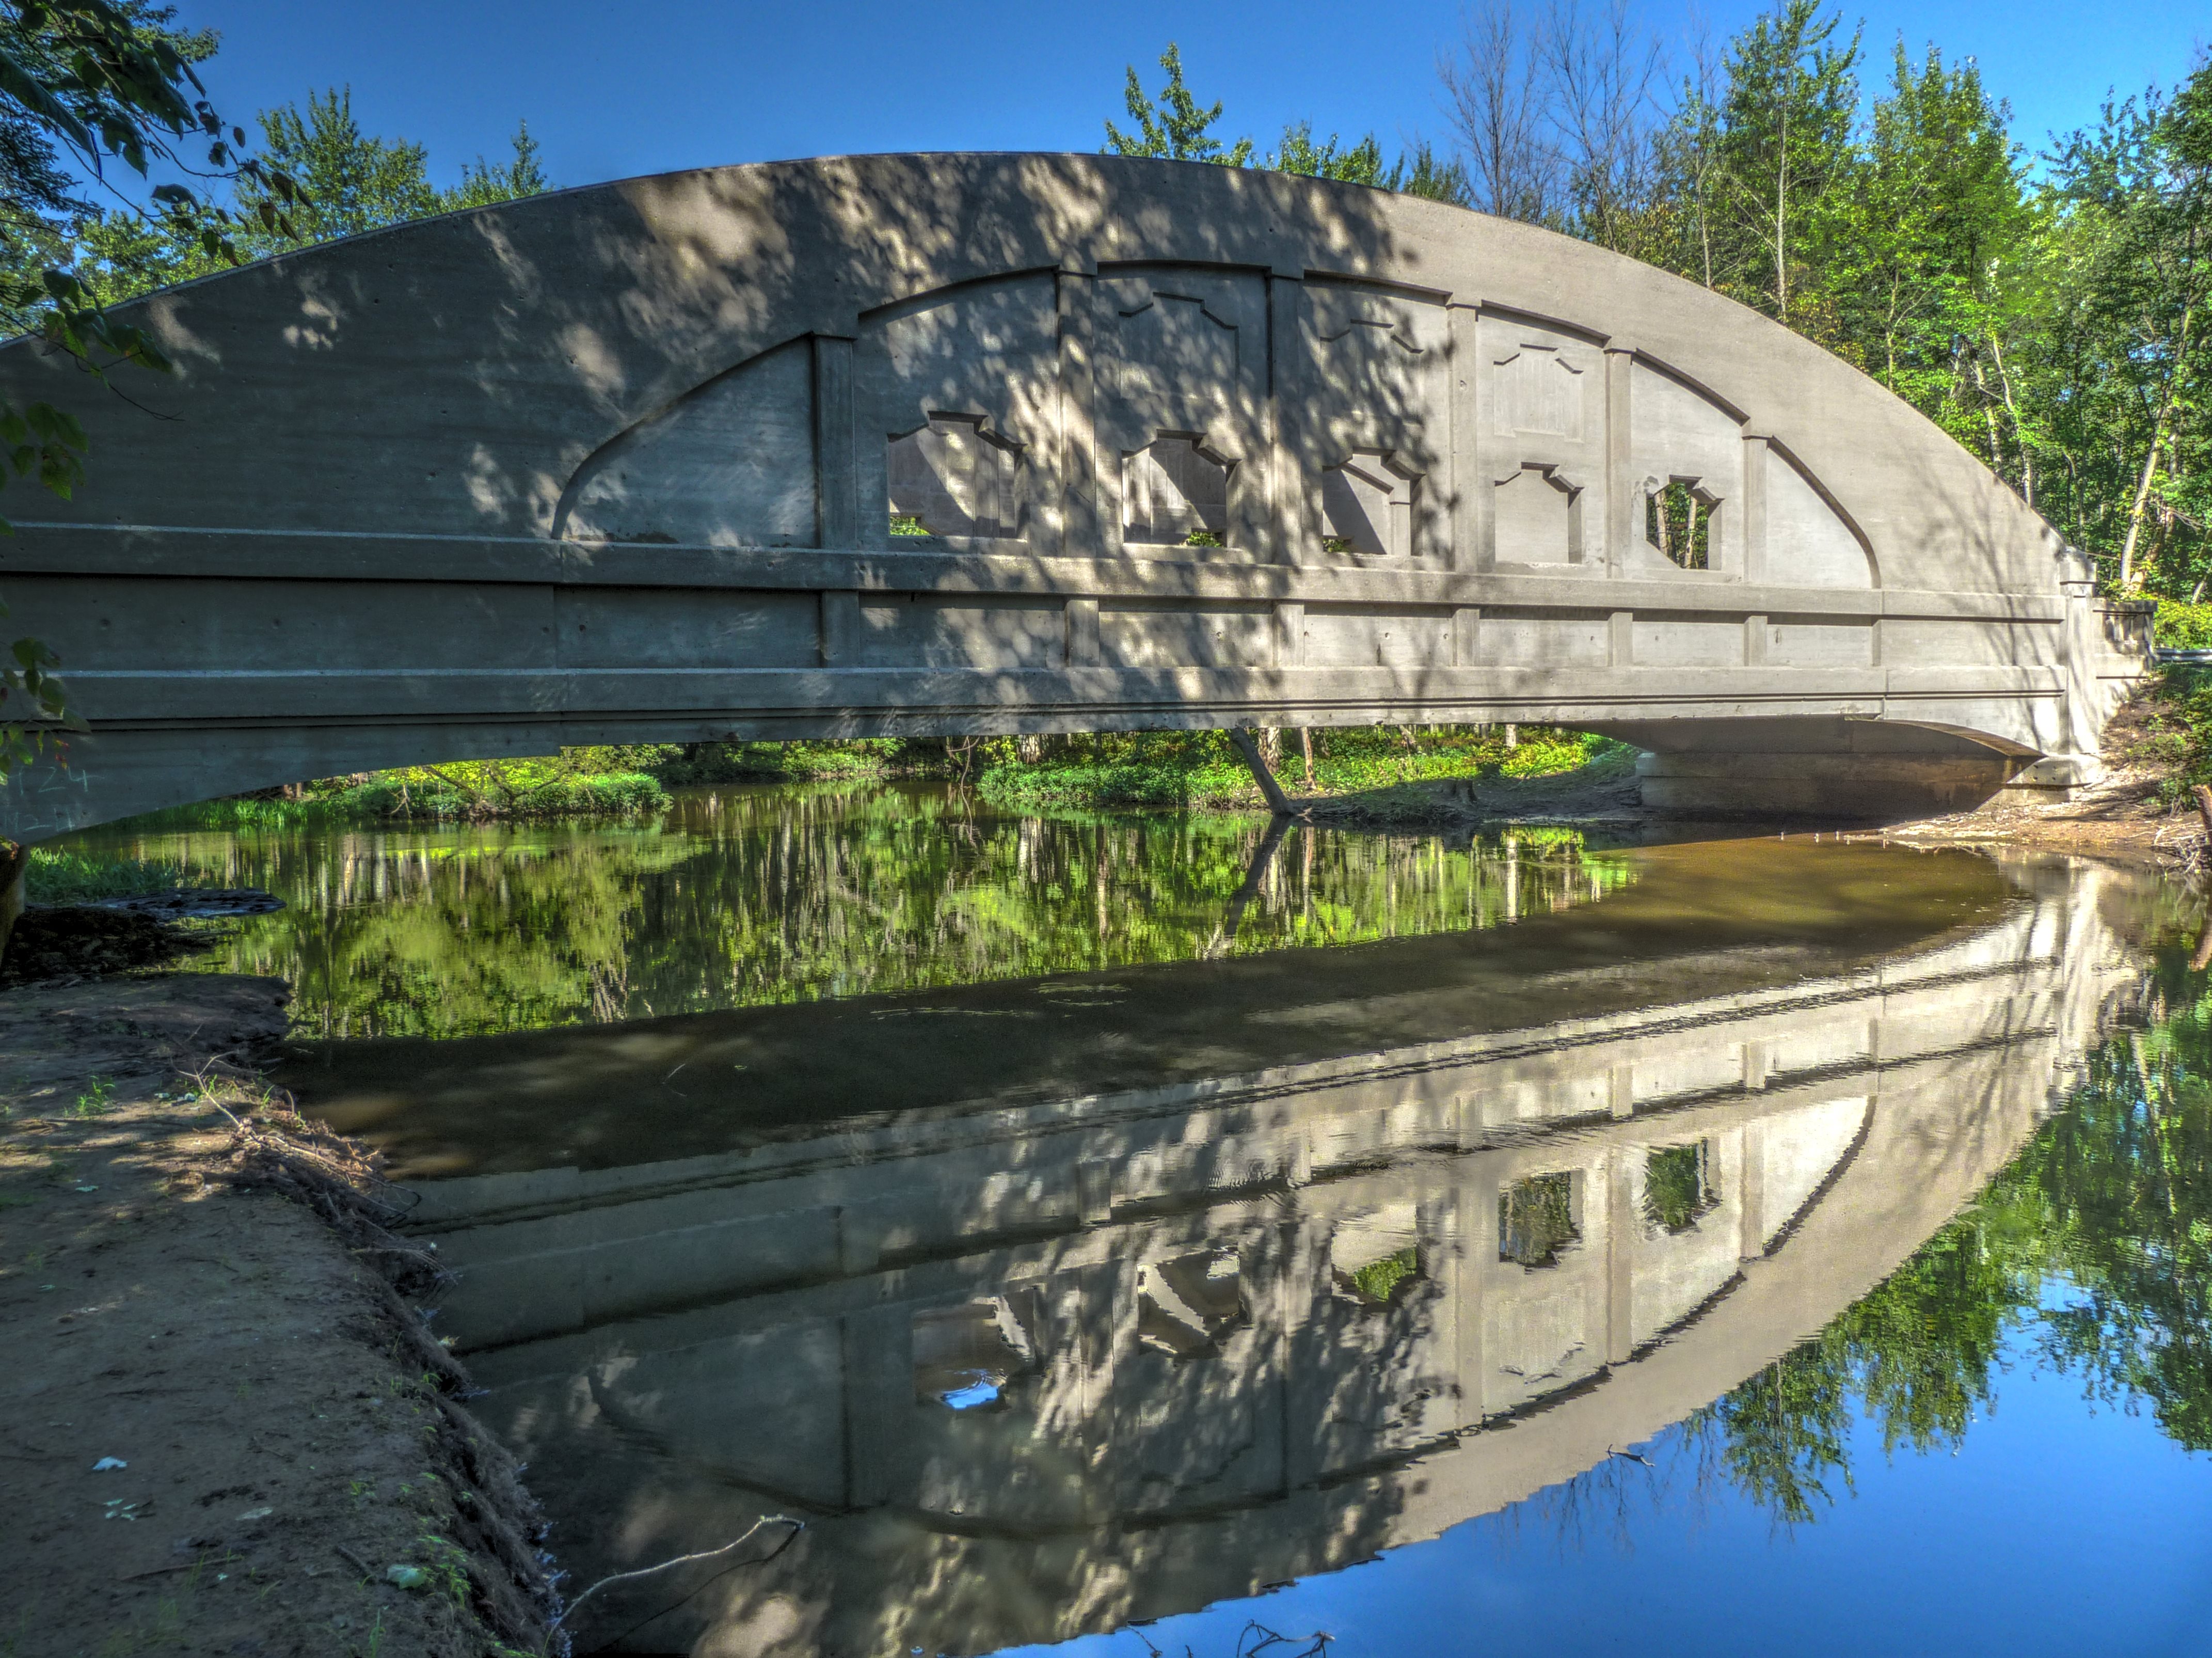


HDR Photos: View beside bridge from southeast quadrant with bridge reflection.
![]()
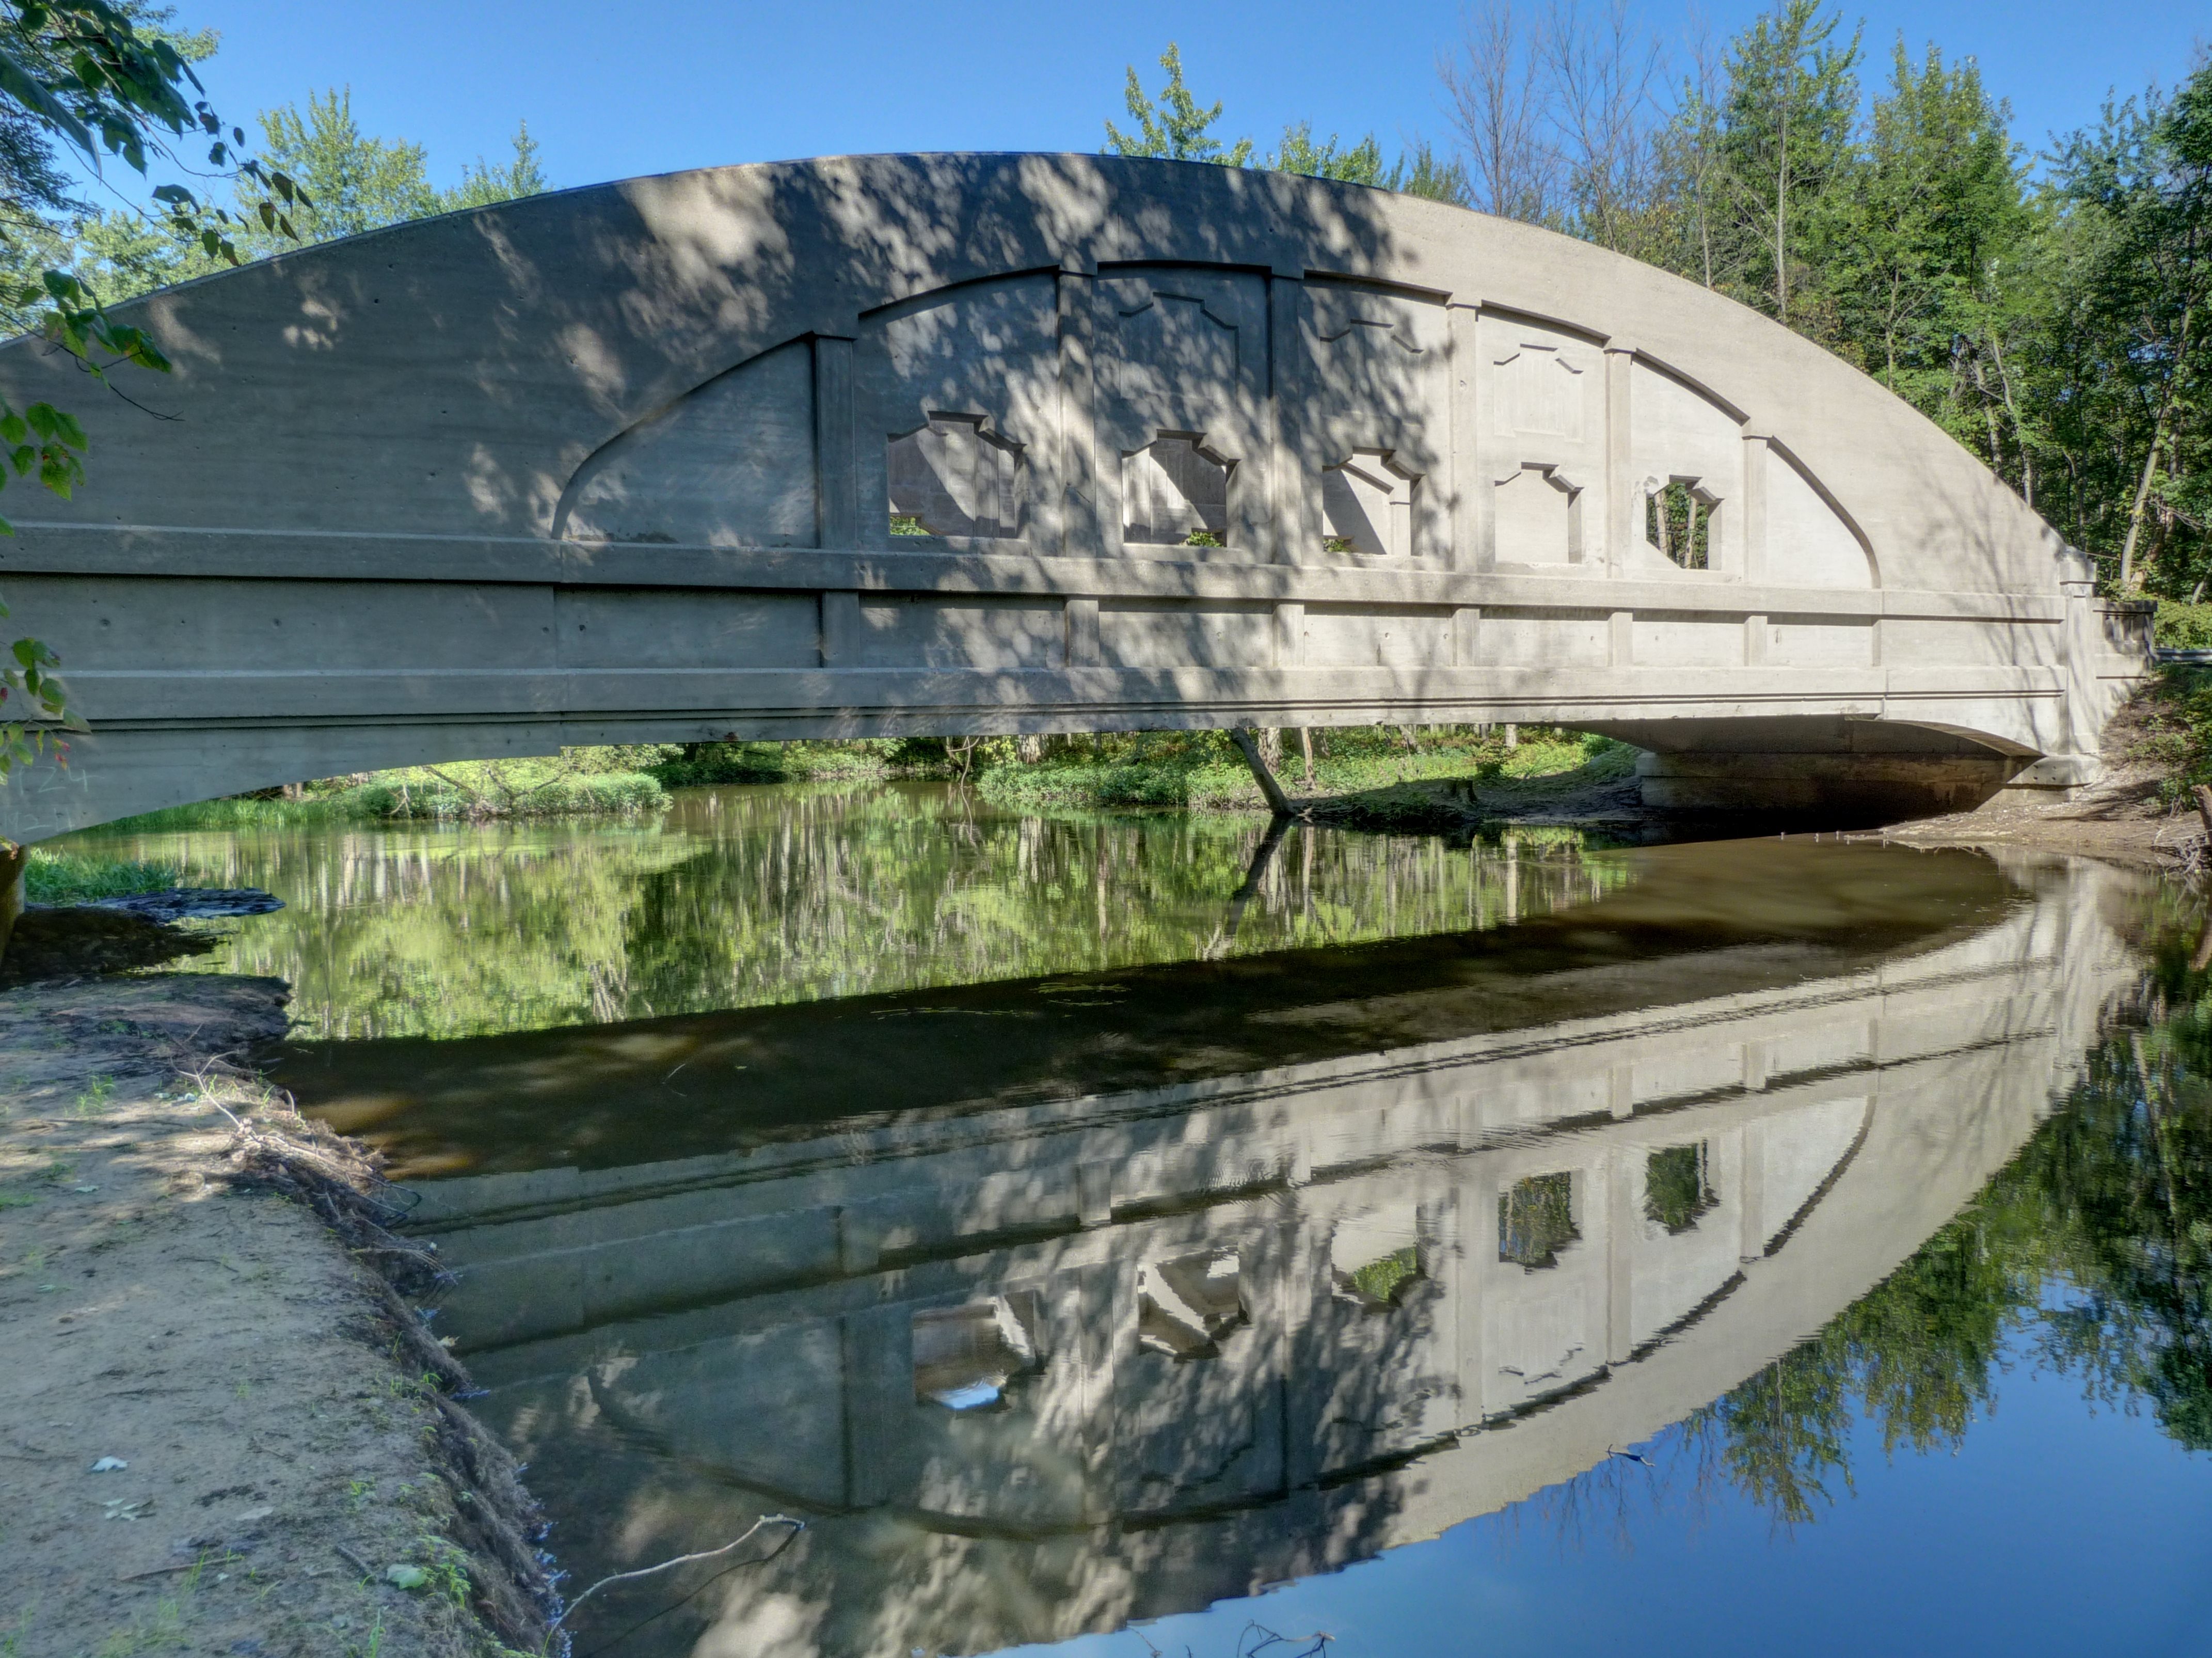
View beside bridge from southeast quadrant.
![]()


HDR Photos: Elevation from southeast quadrant.
![]()


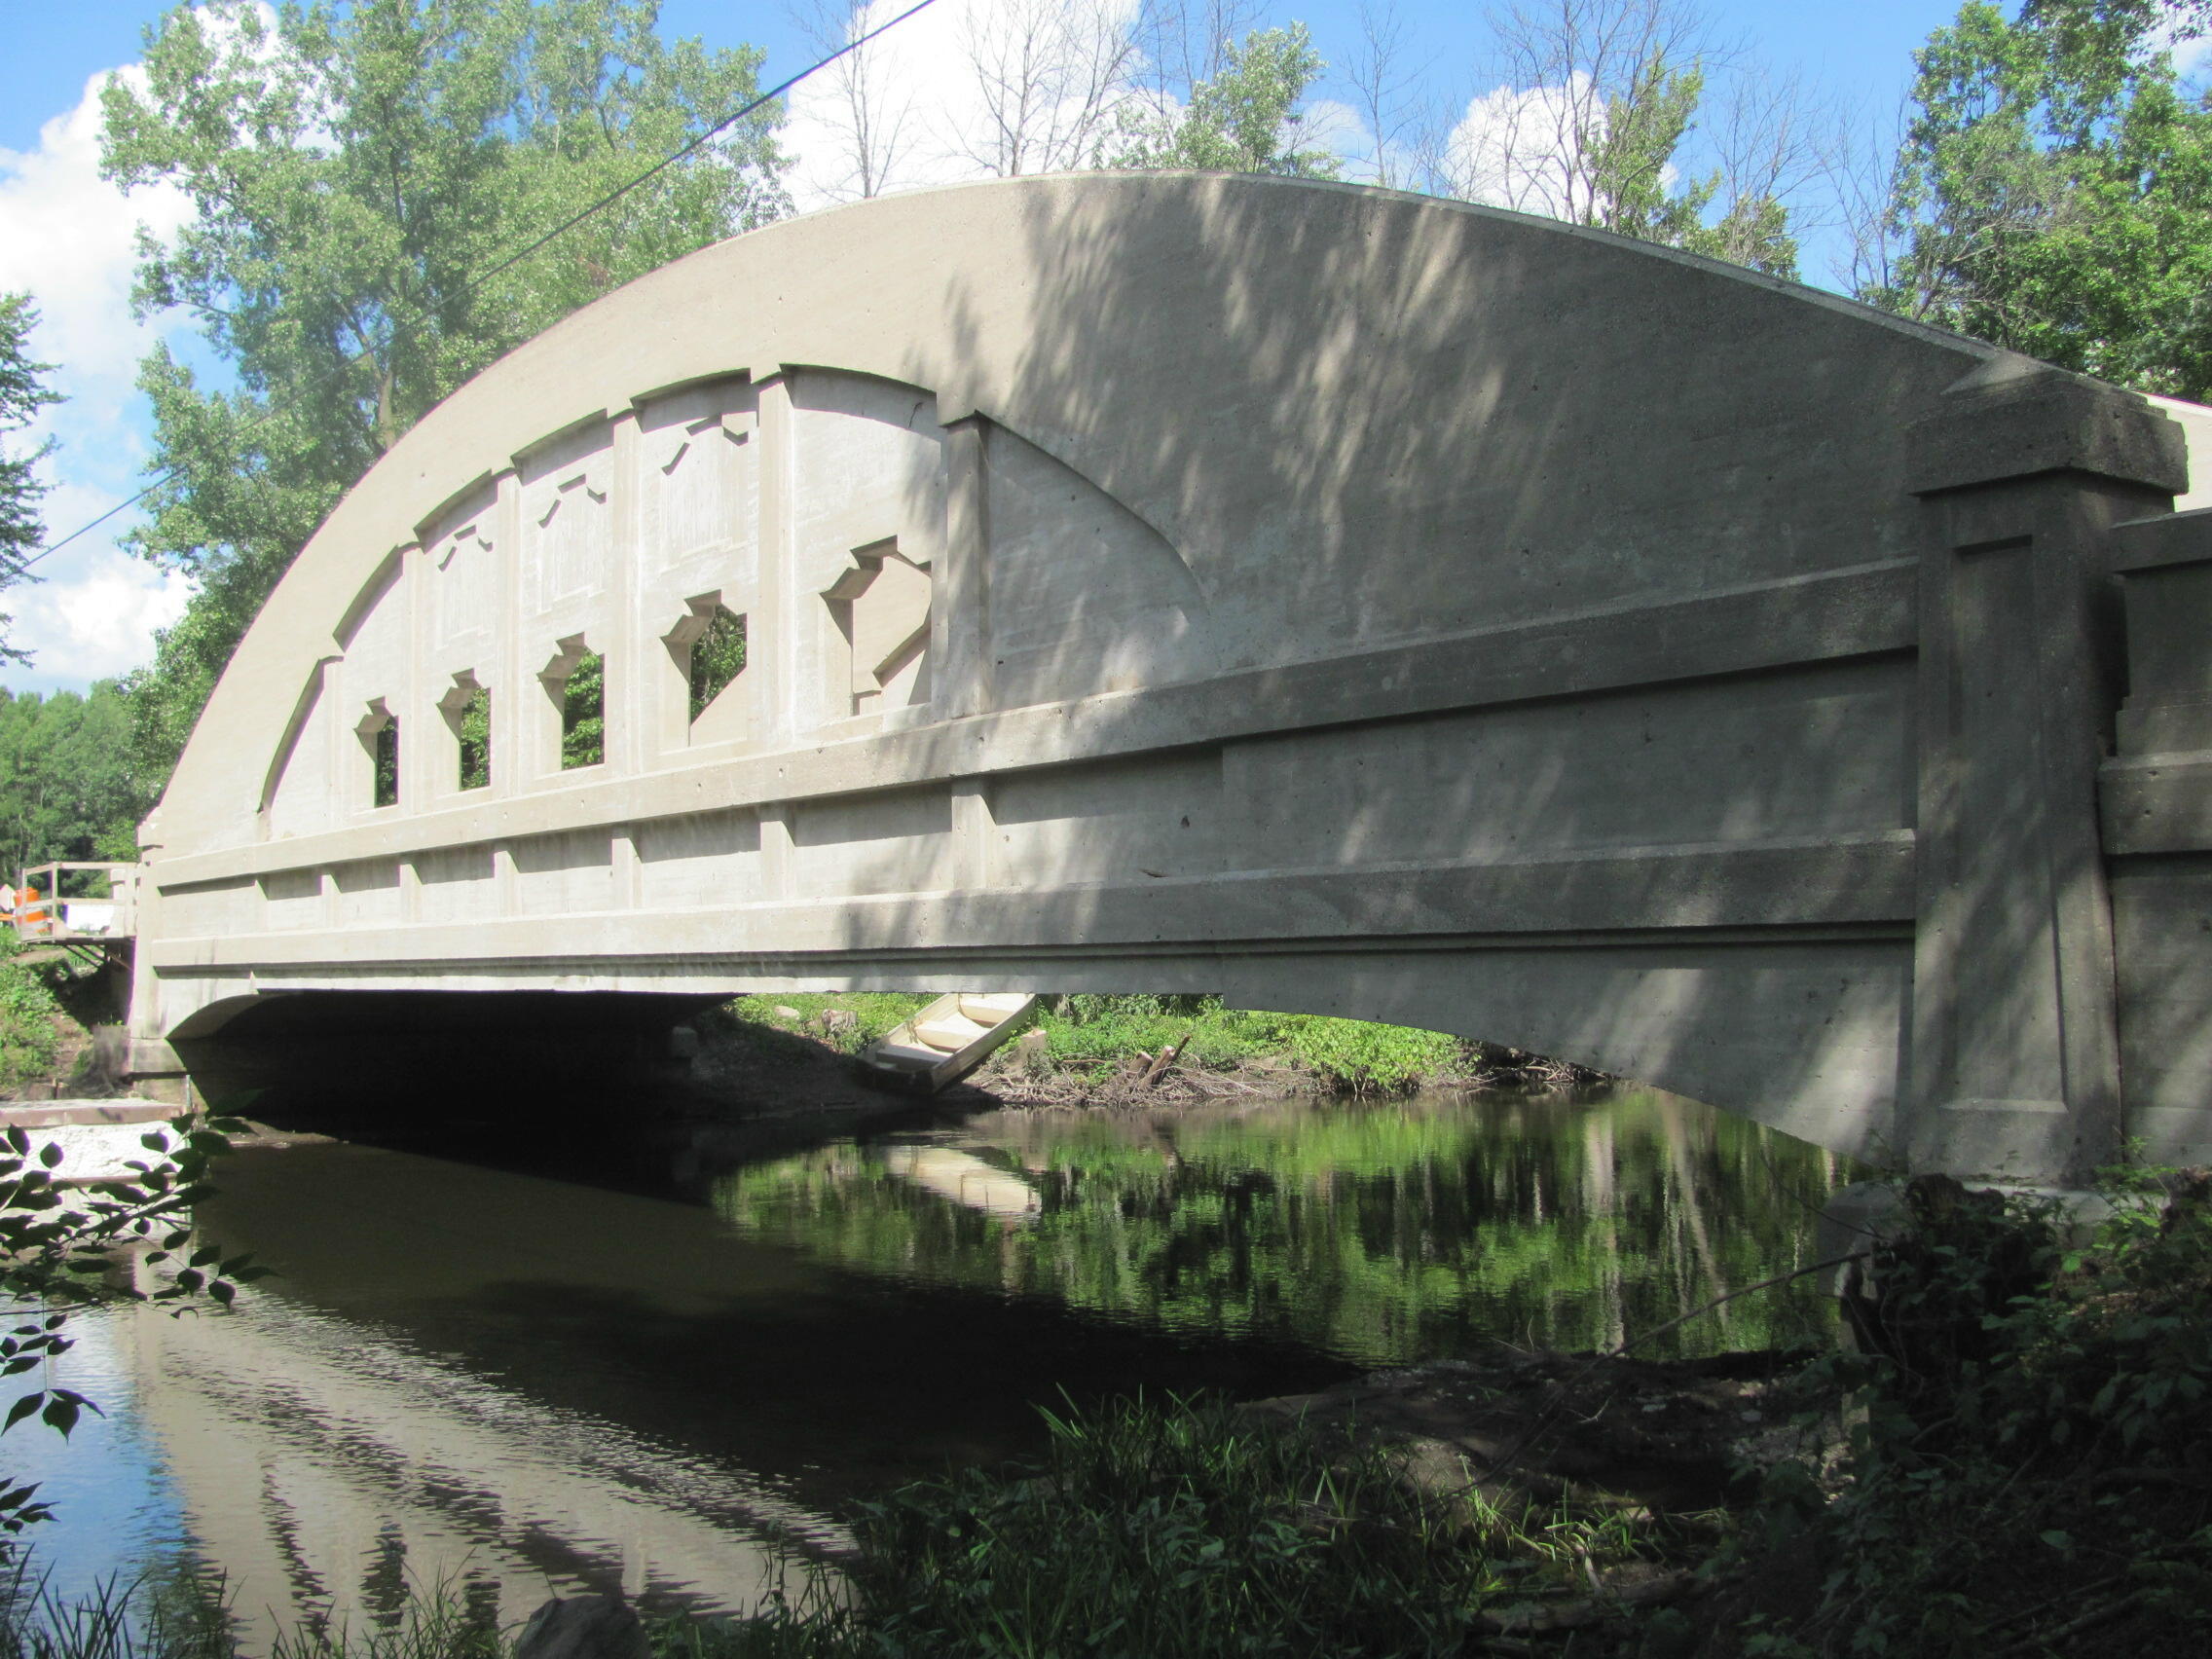
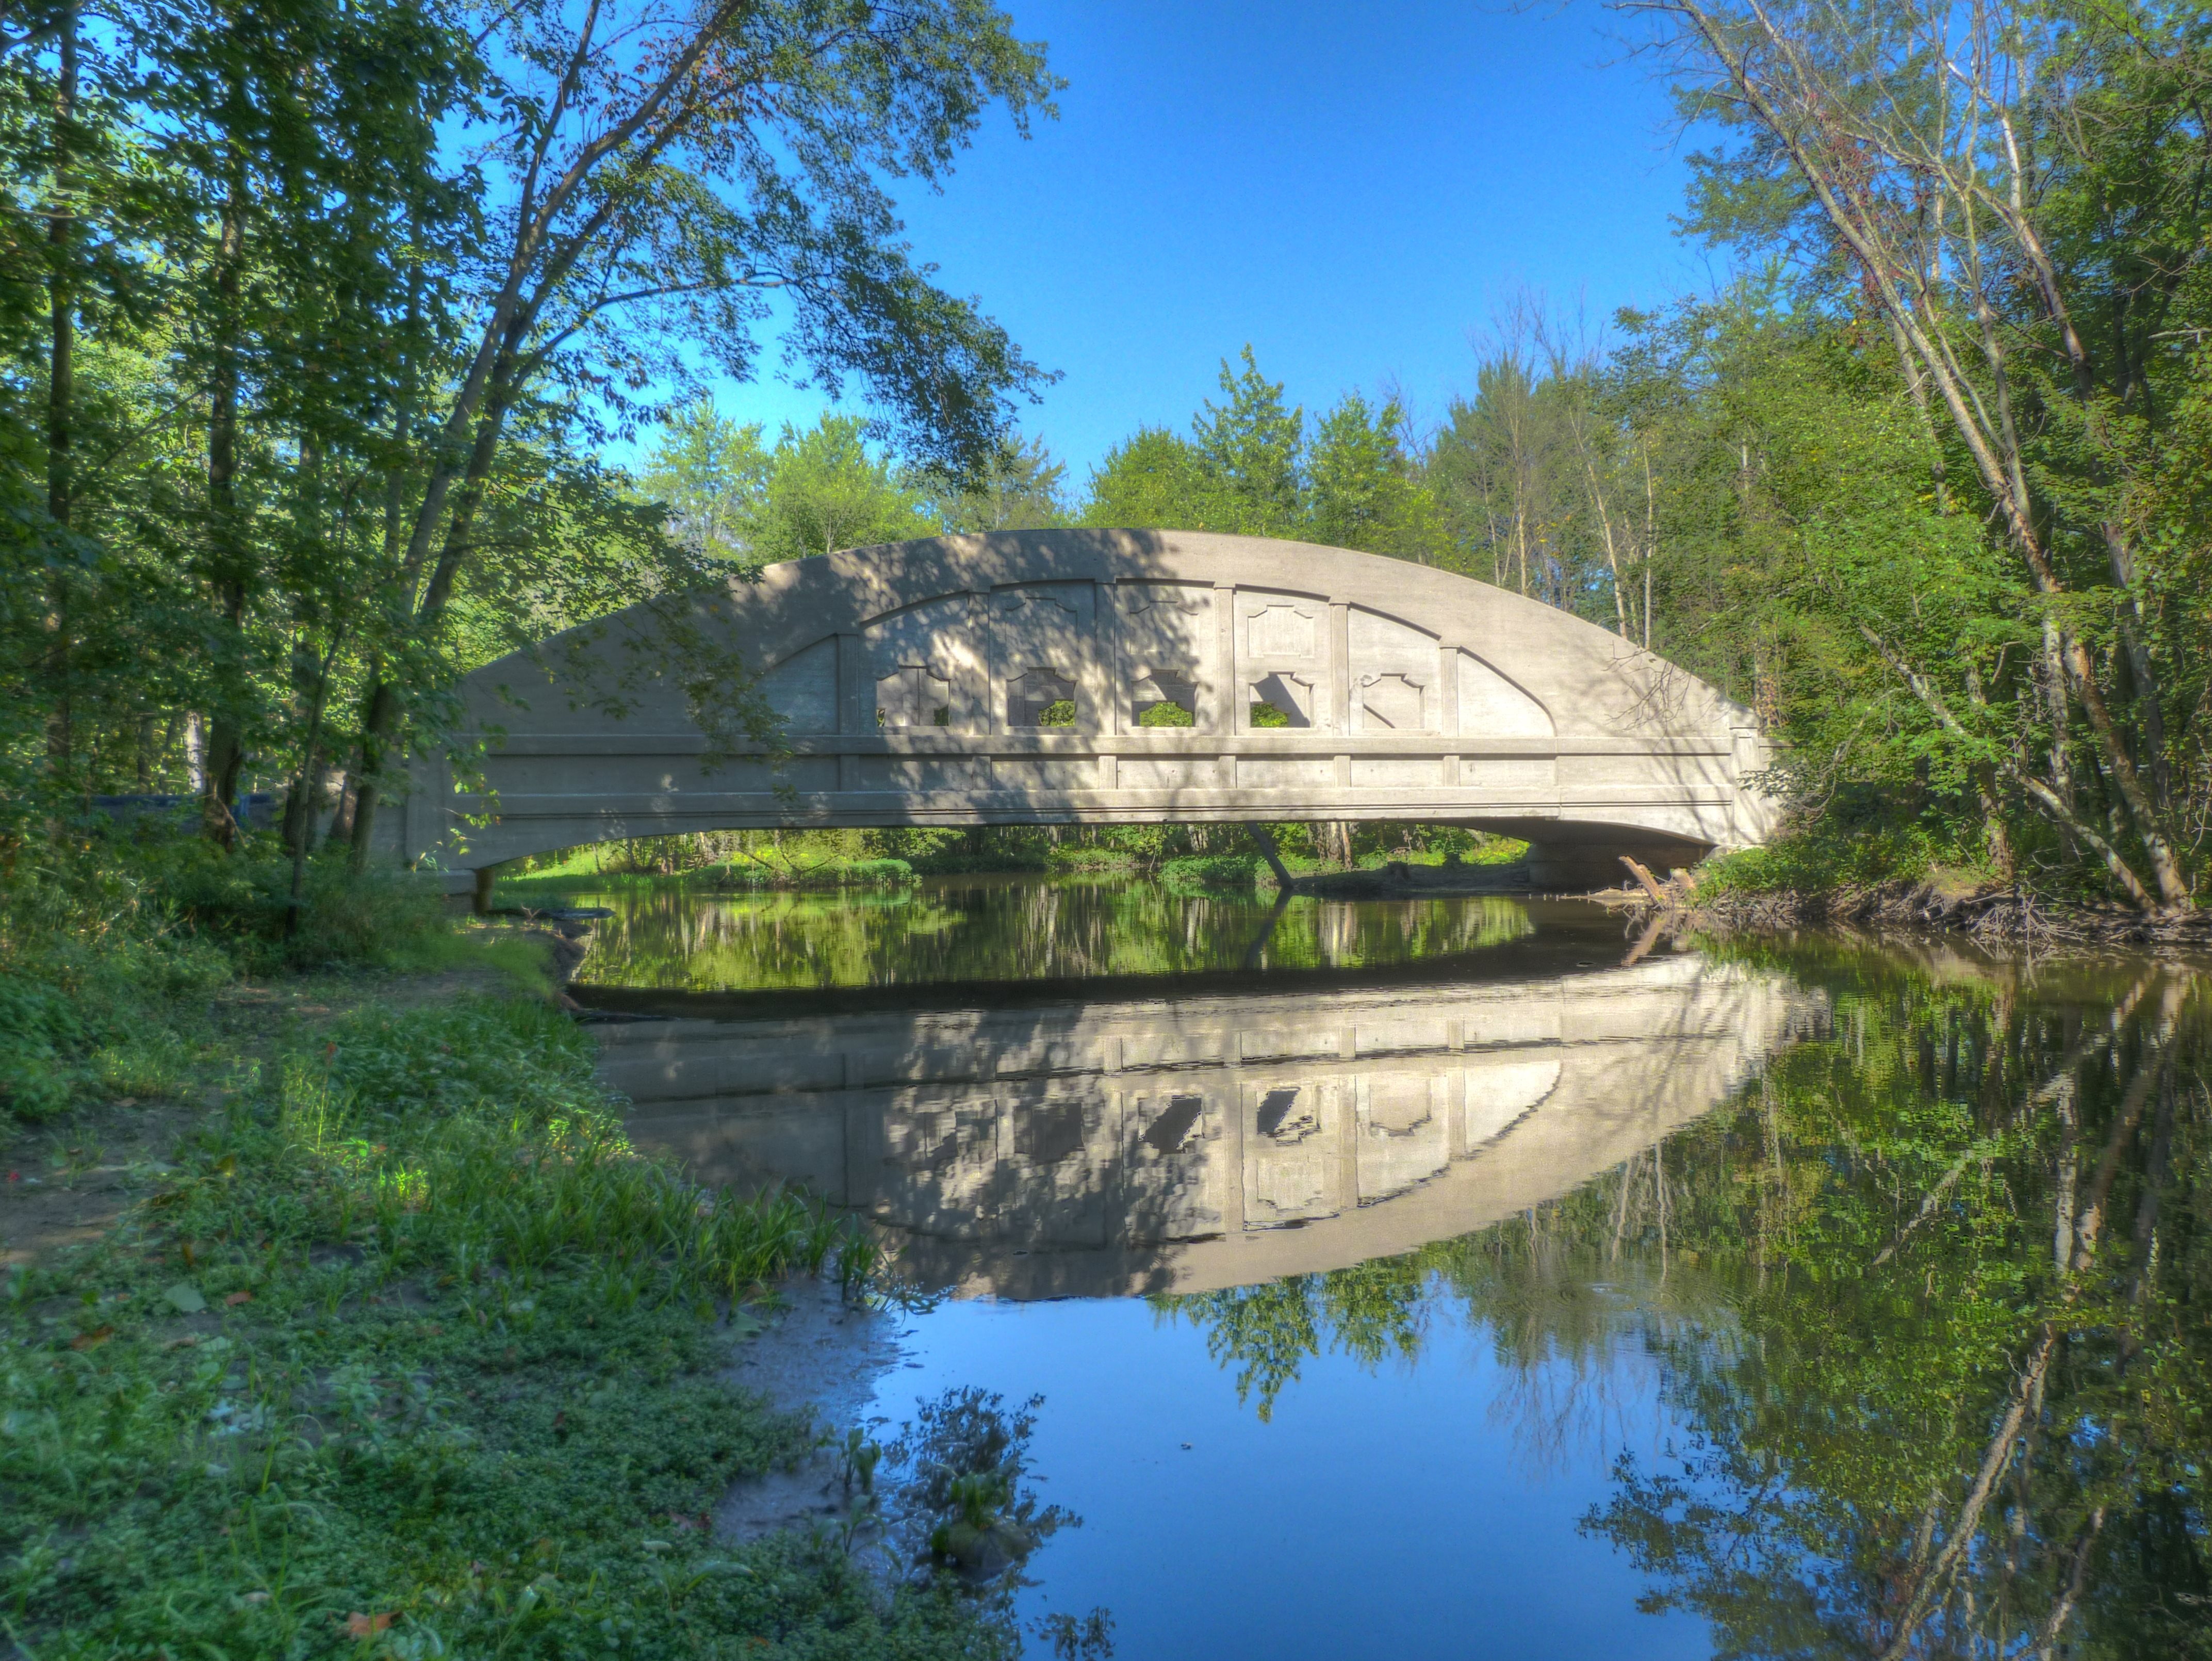
Elevation from southeast quadrant.
![]()

Girder overview.
![]()


HDR Photos: Girder overview.
![]()

Facing girder at mid span.
![]()


HDR Photos: Facing girder at mid span.
![]()


Plaques.
![]()


Looking up at bracing.
![]()


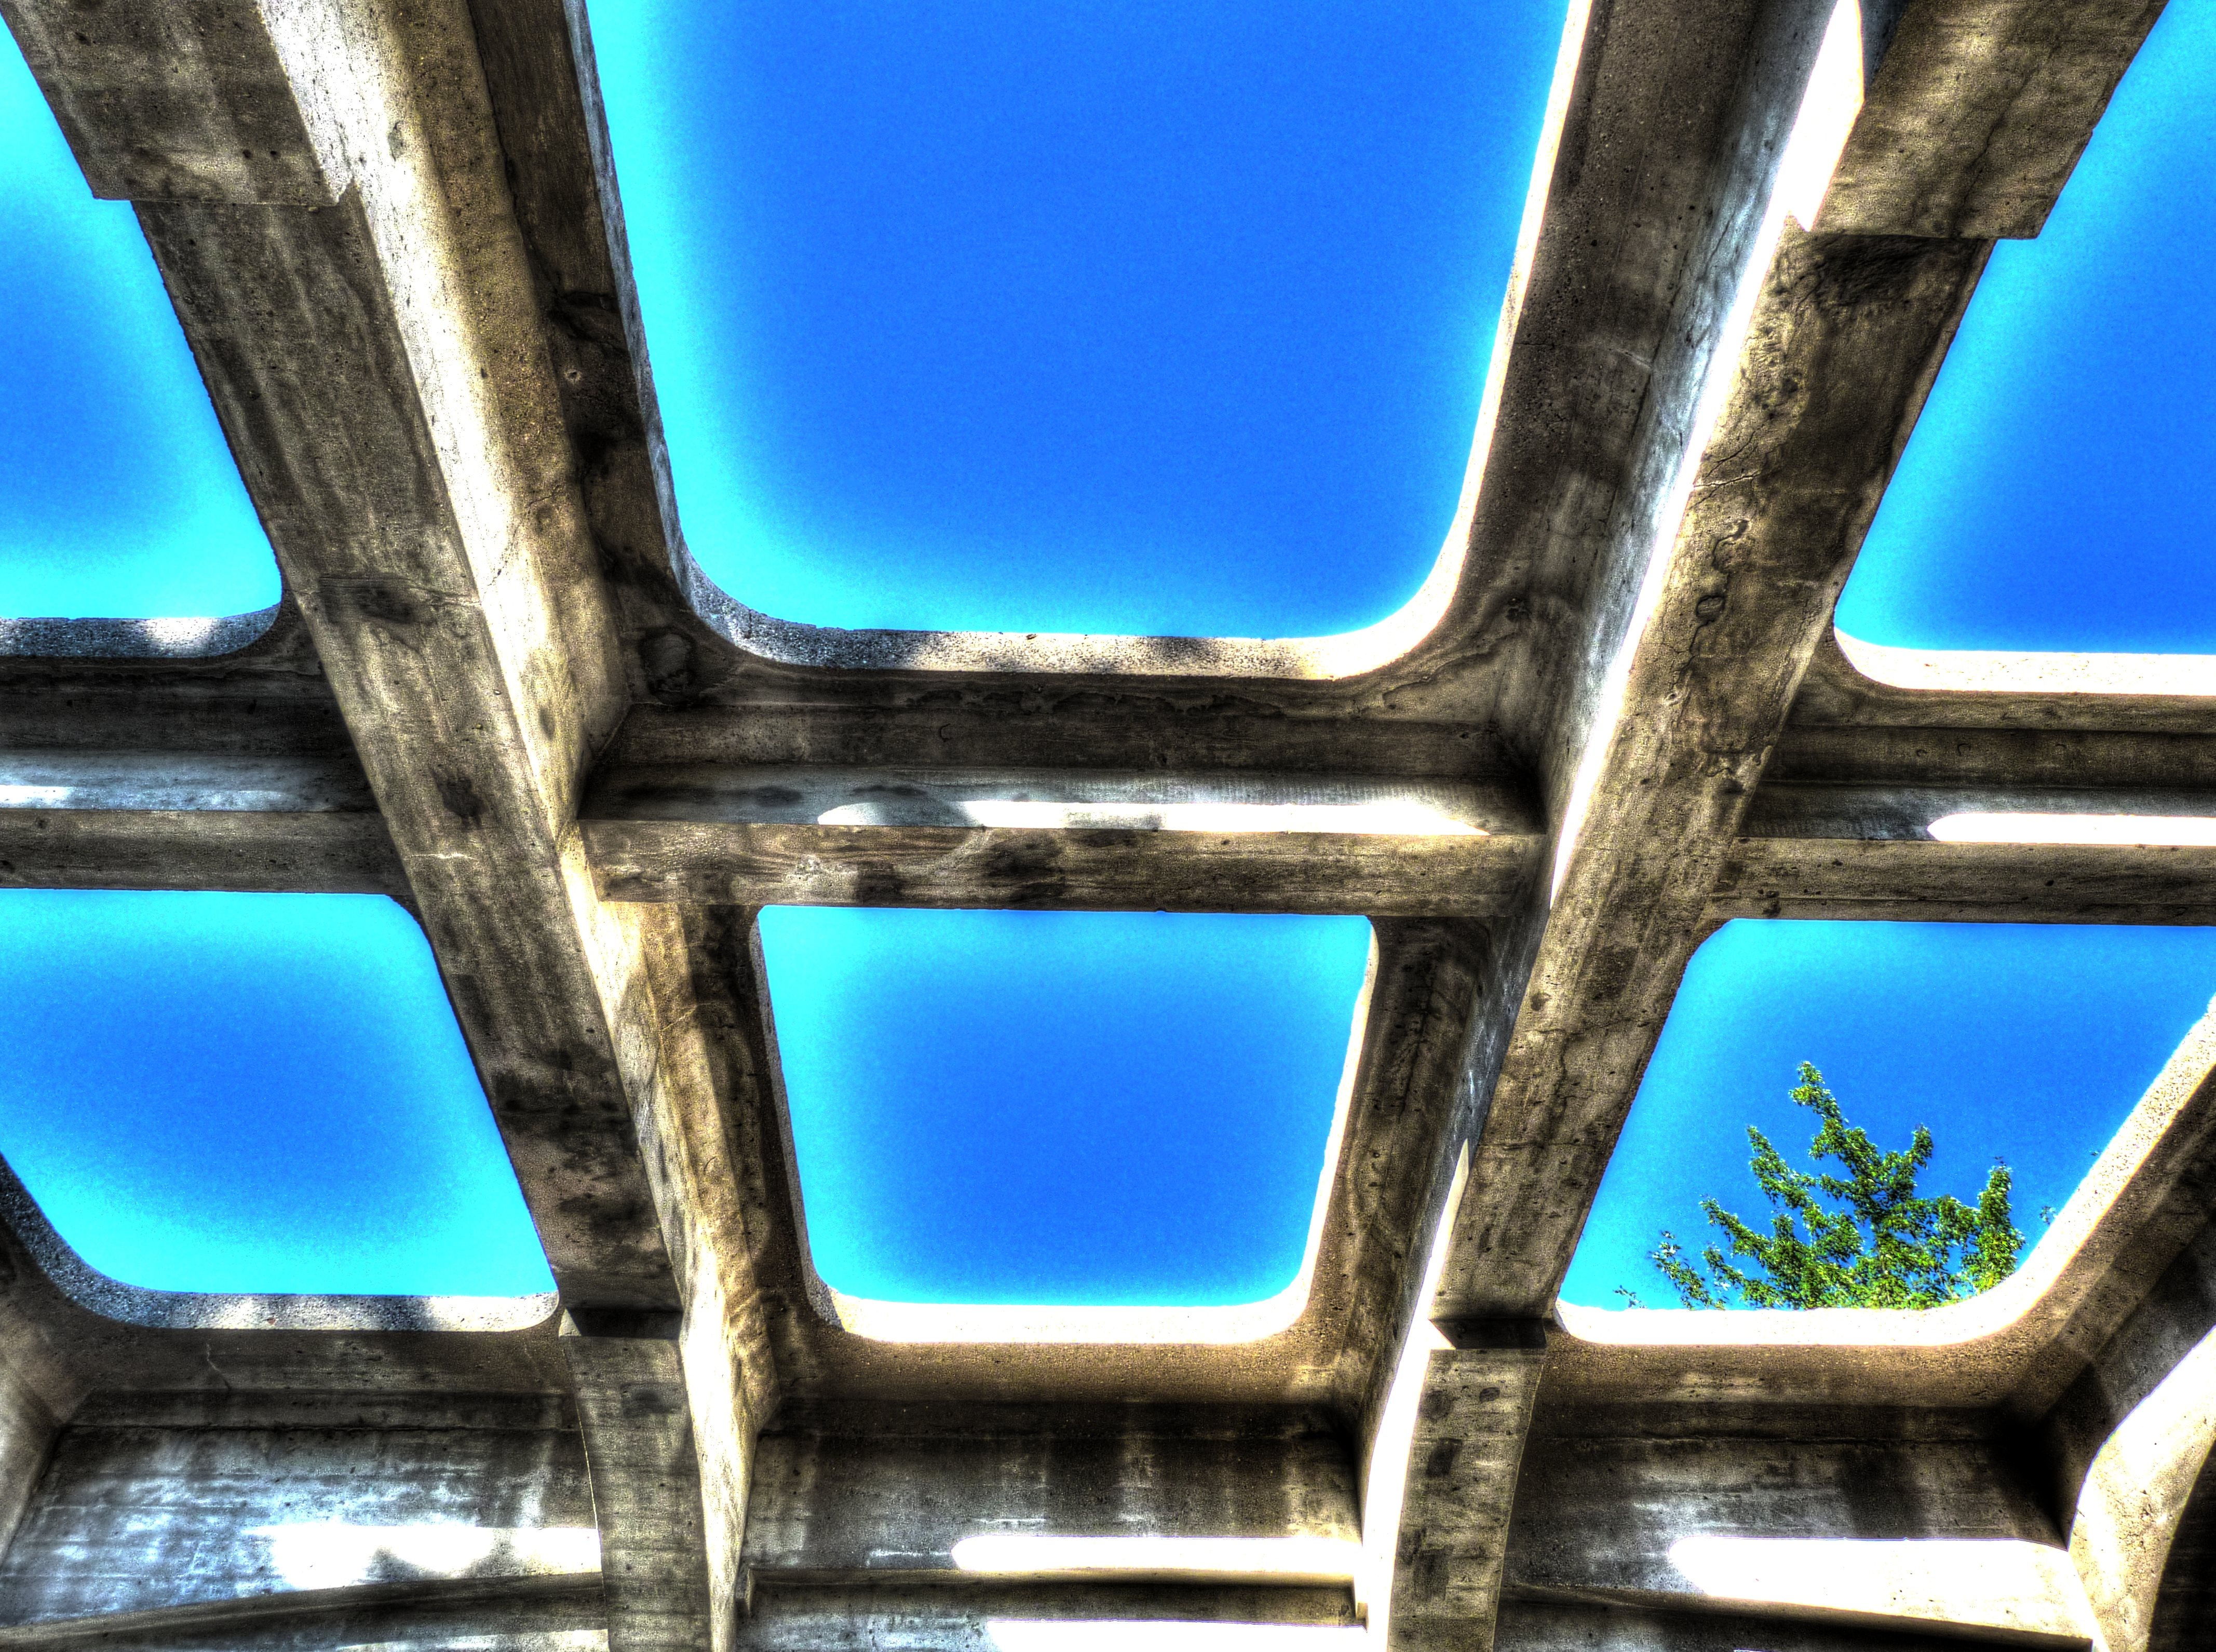
HDR Photos: Looking up at bracing.
![]()
Views of ends of girder.
![]()

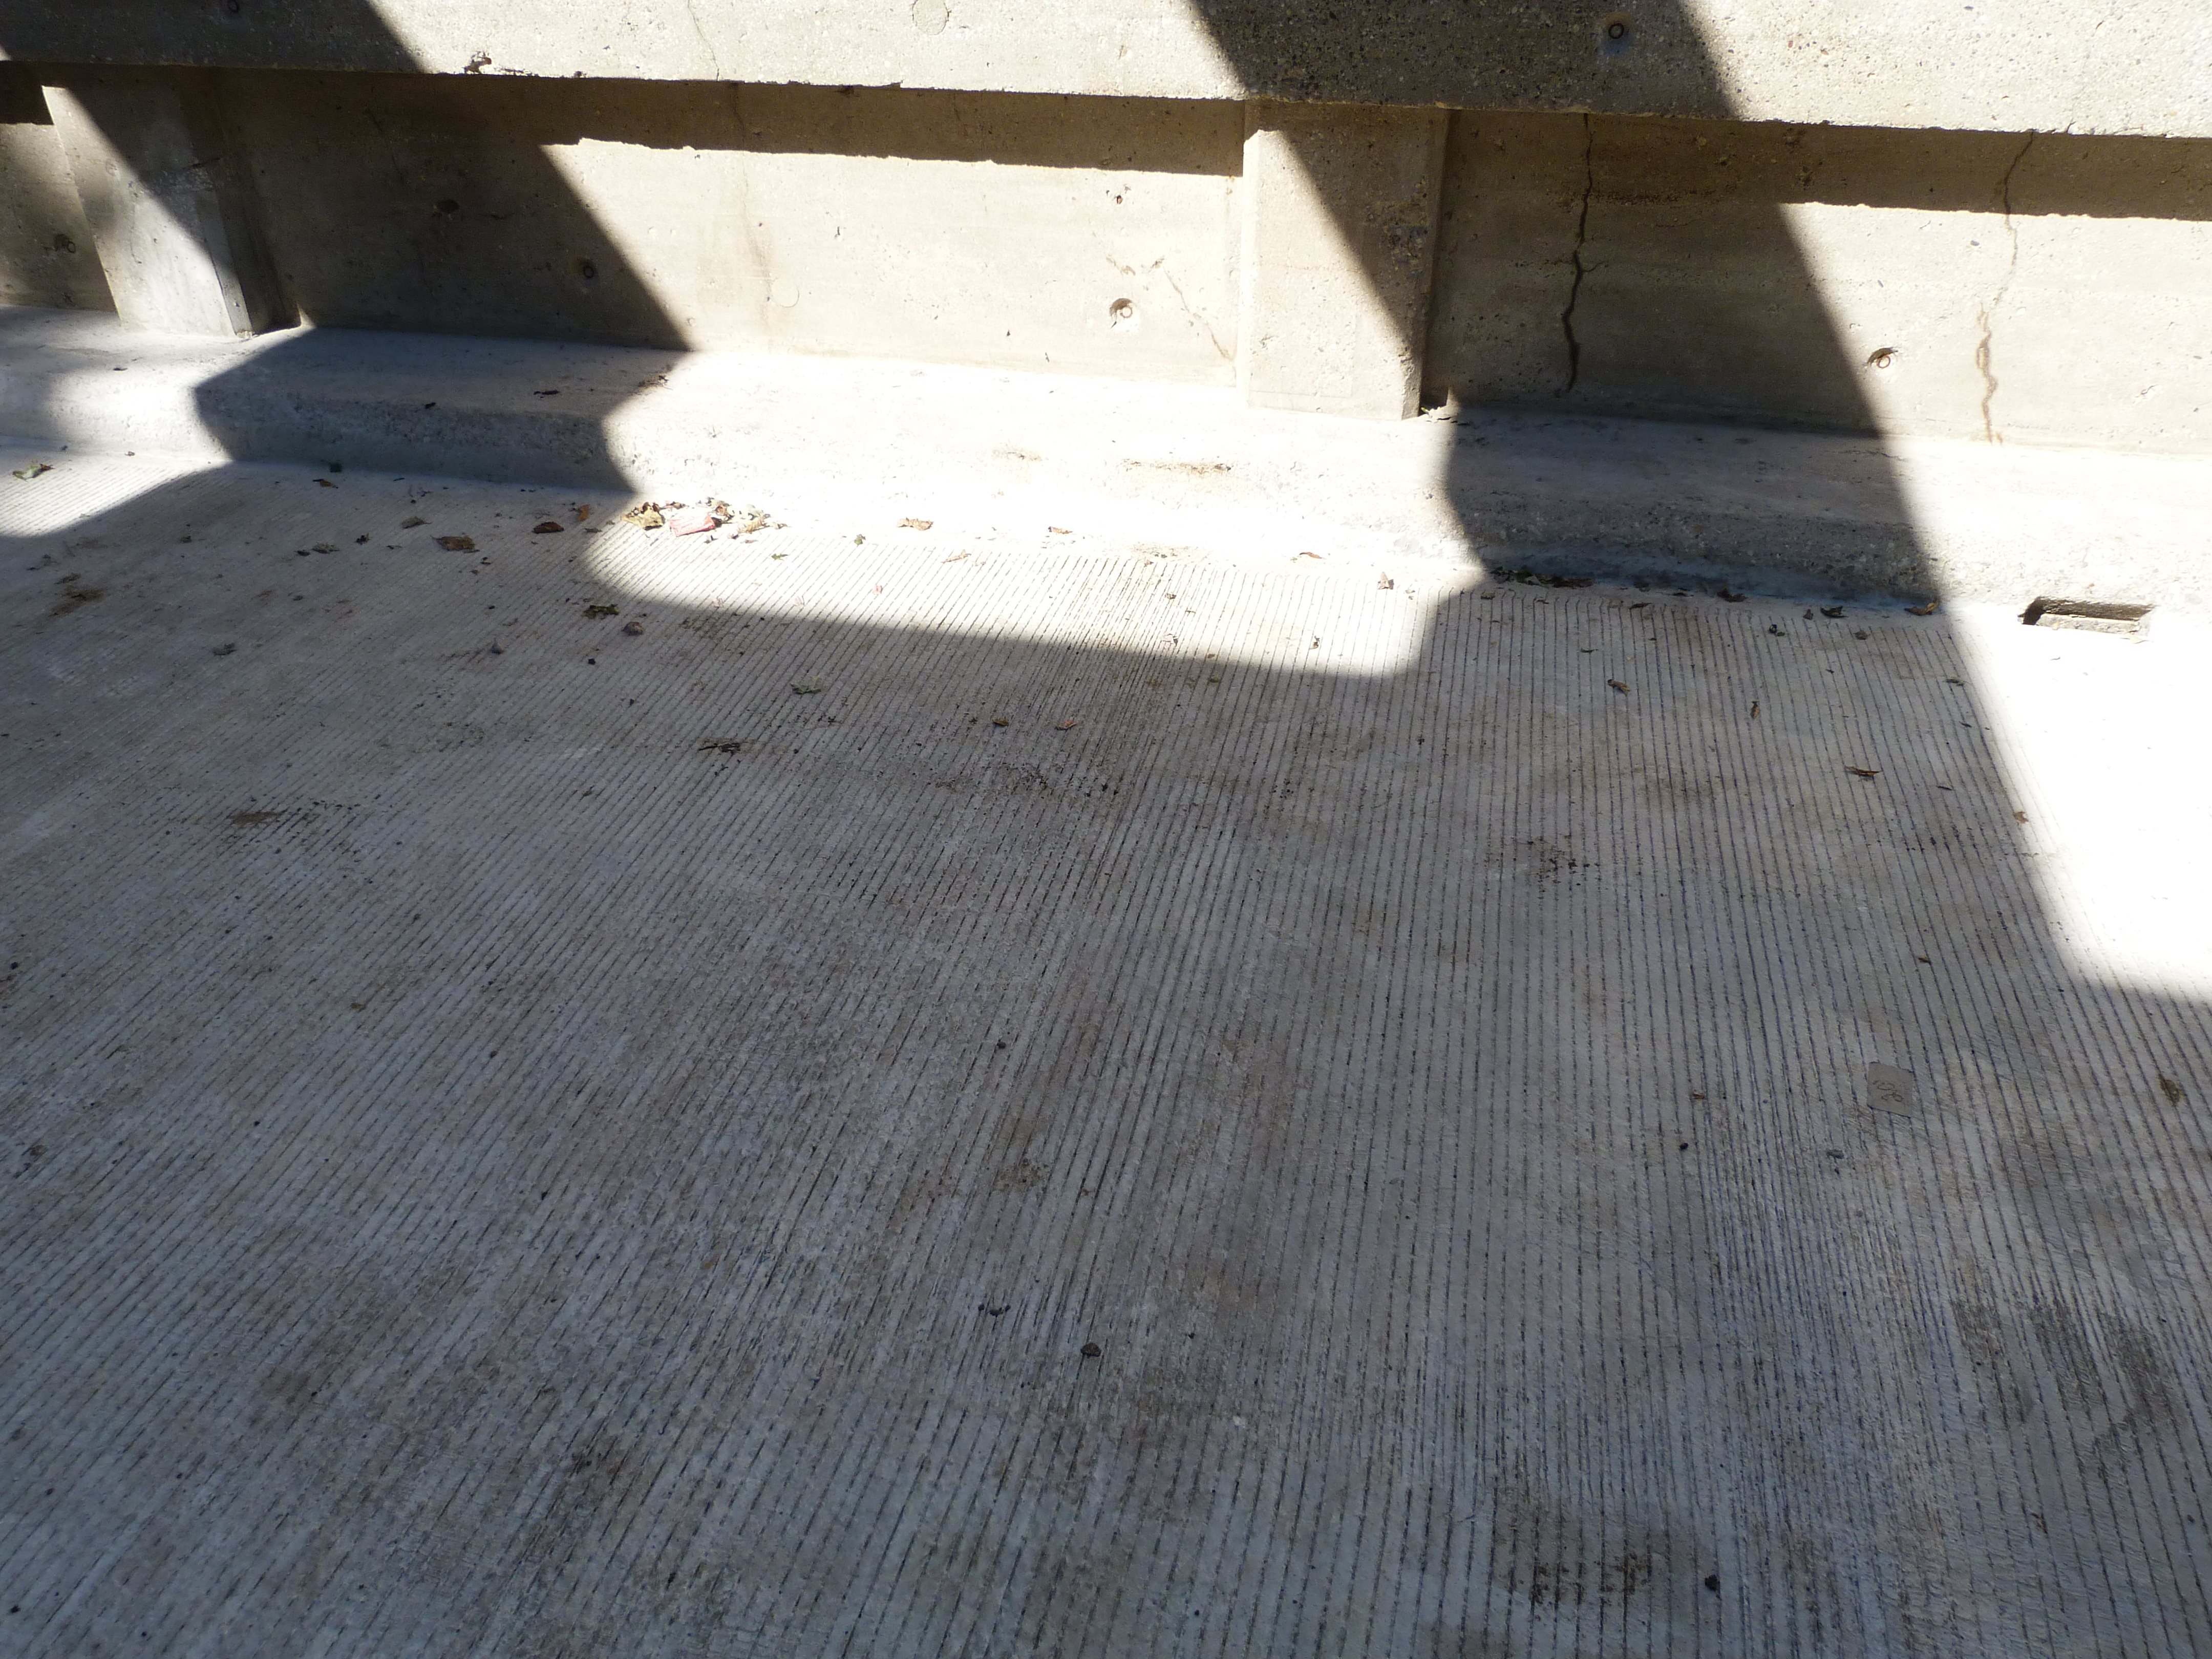
Deck.
![]()
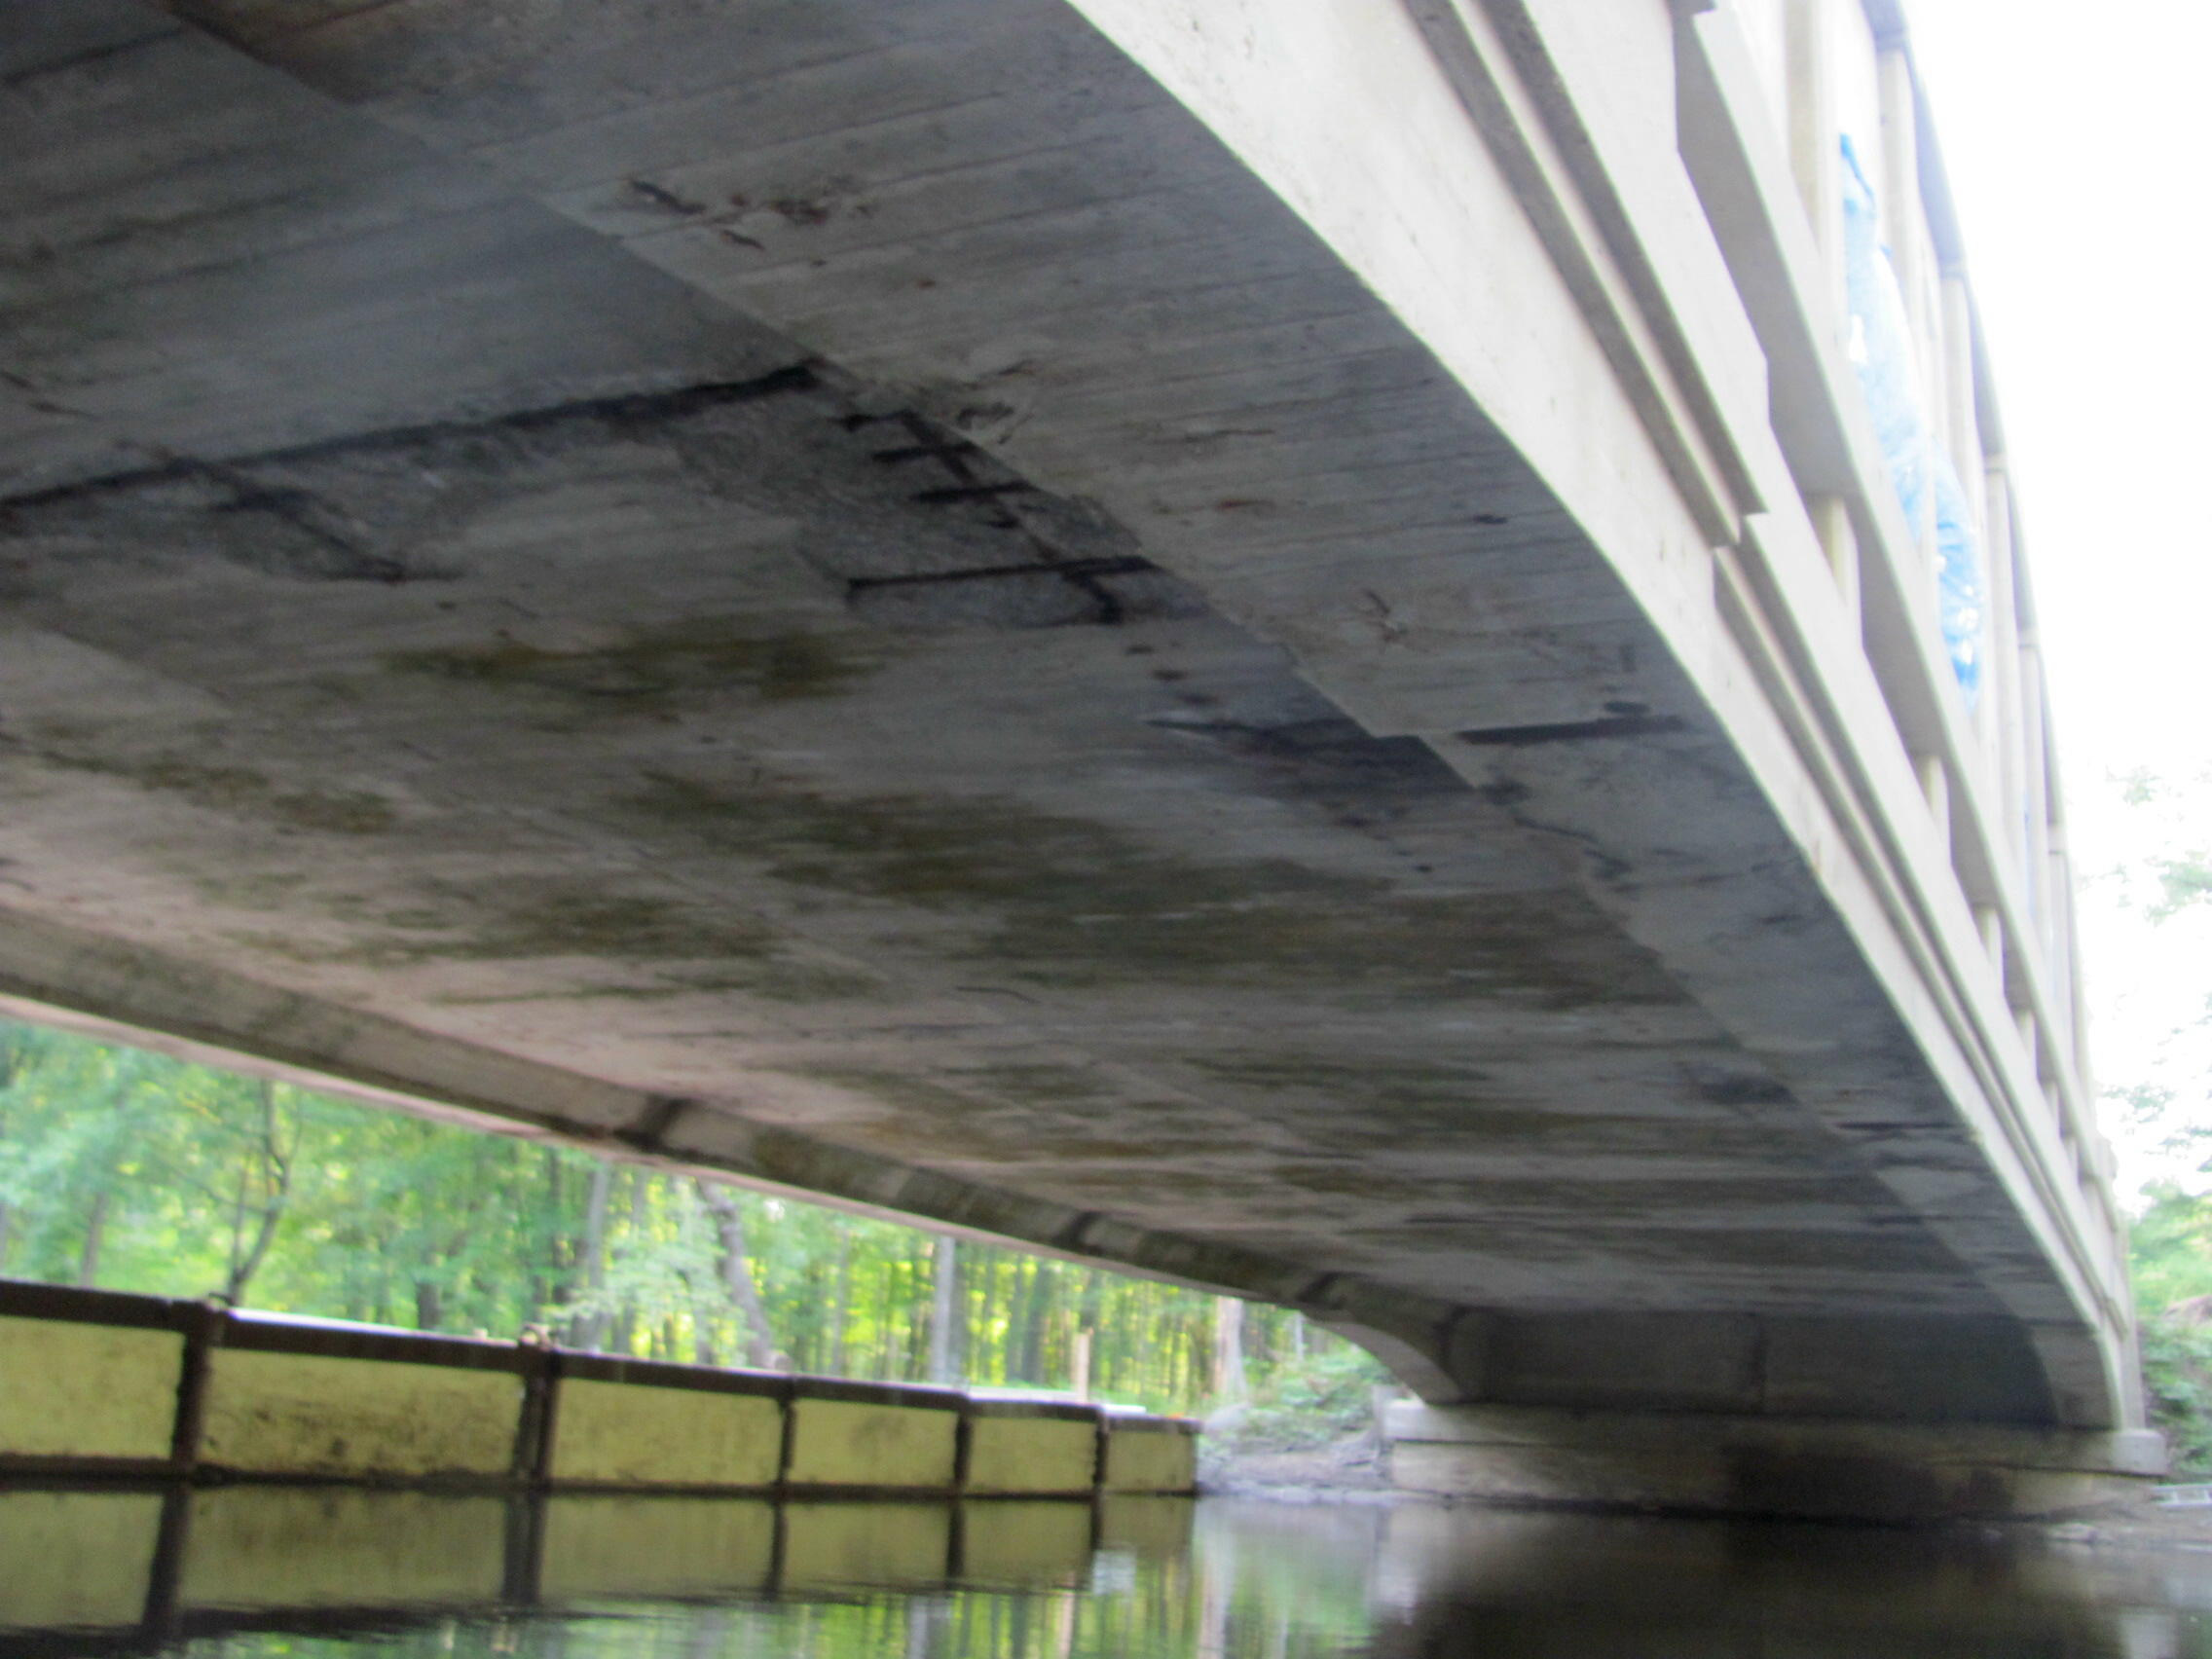
View under bridge.
![]()

Abutment.
![]()
![]()


Photo Credit: Randy Mulder
Portal views with containment in place.
![]()


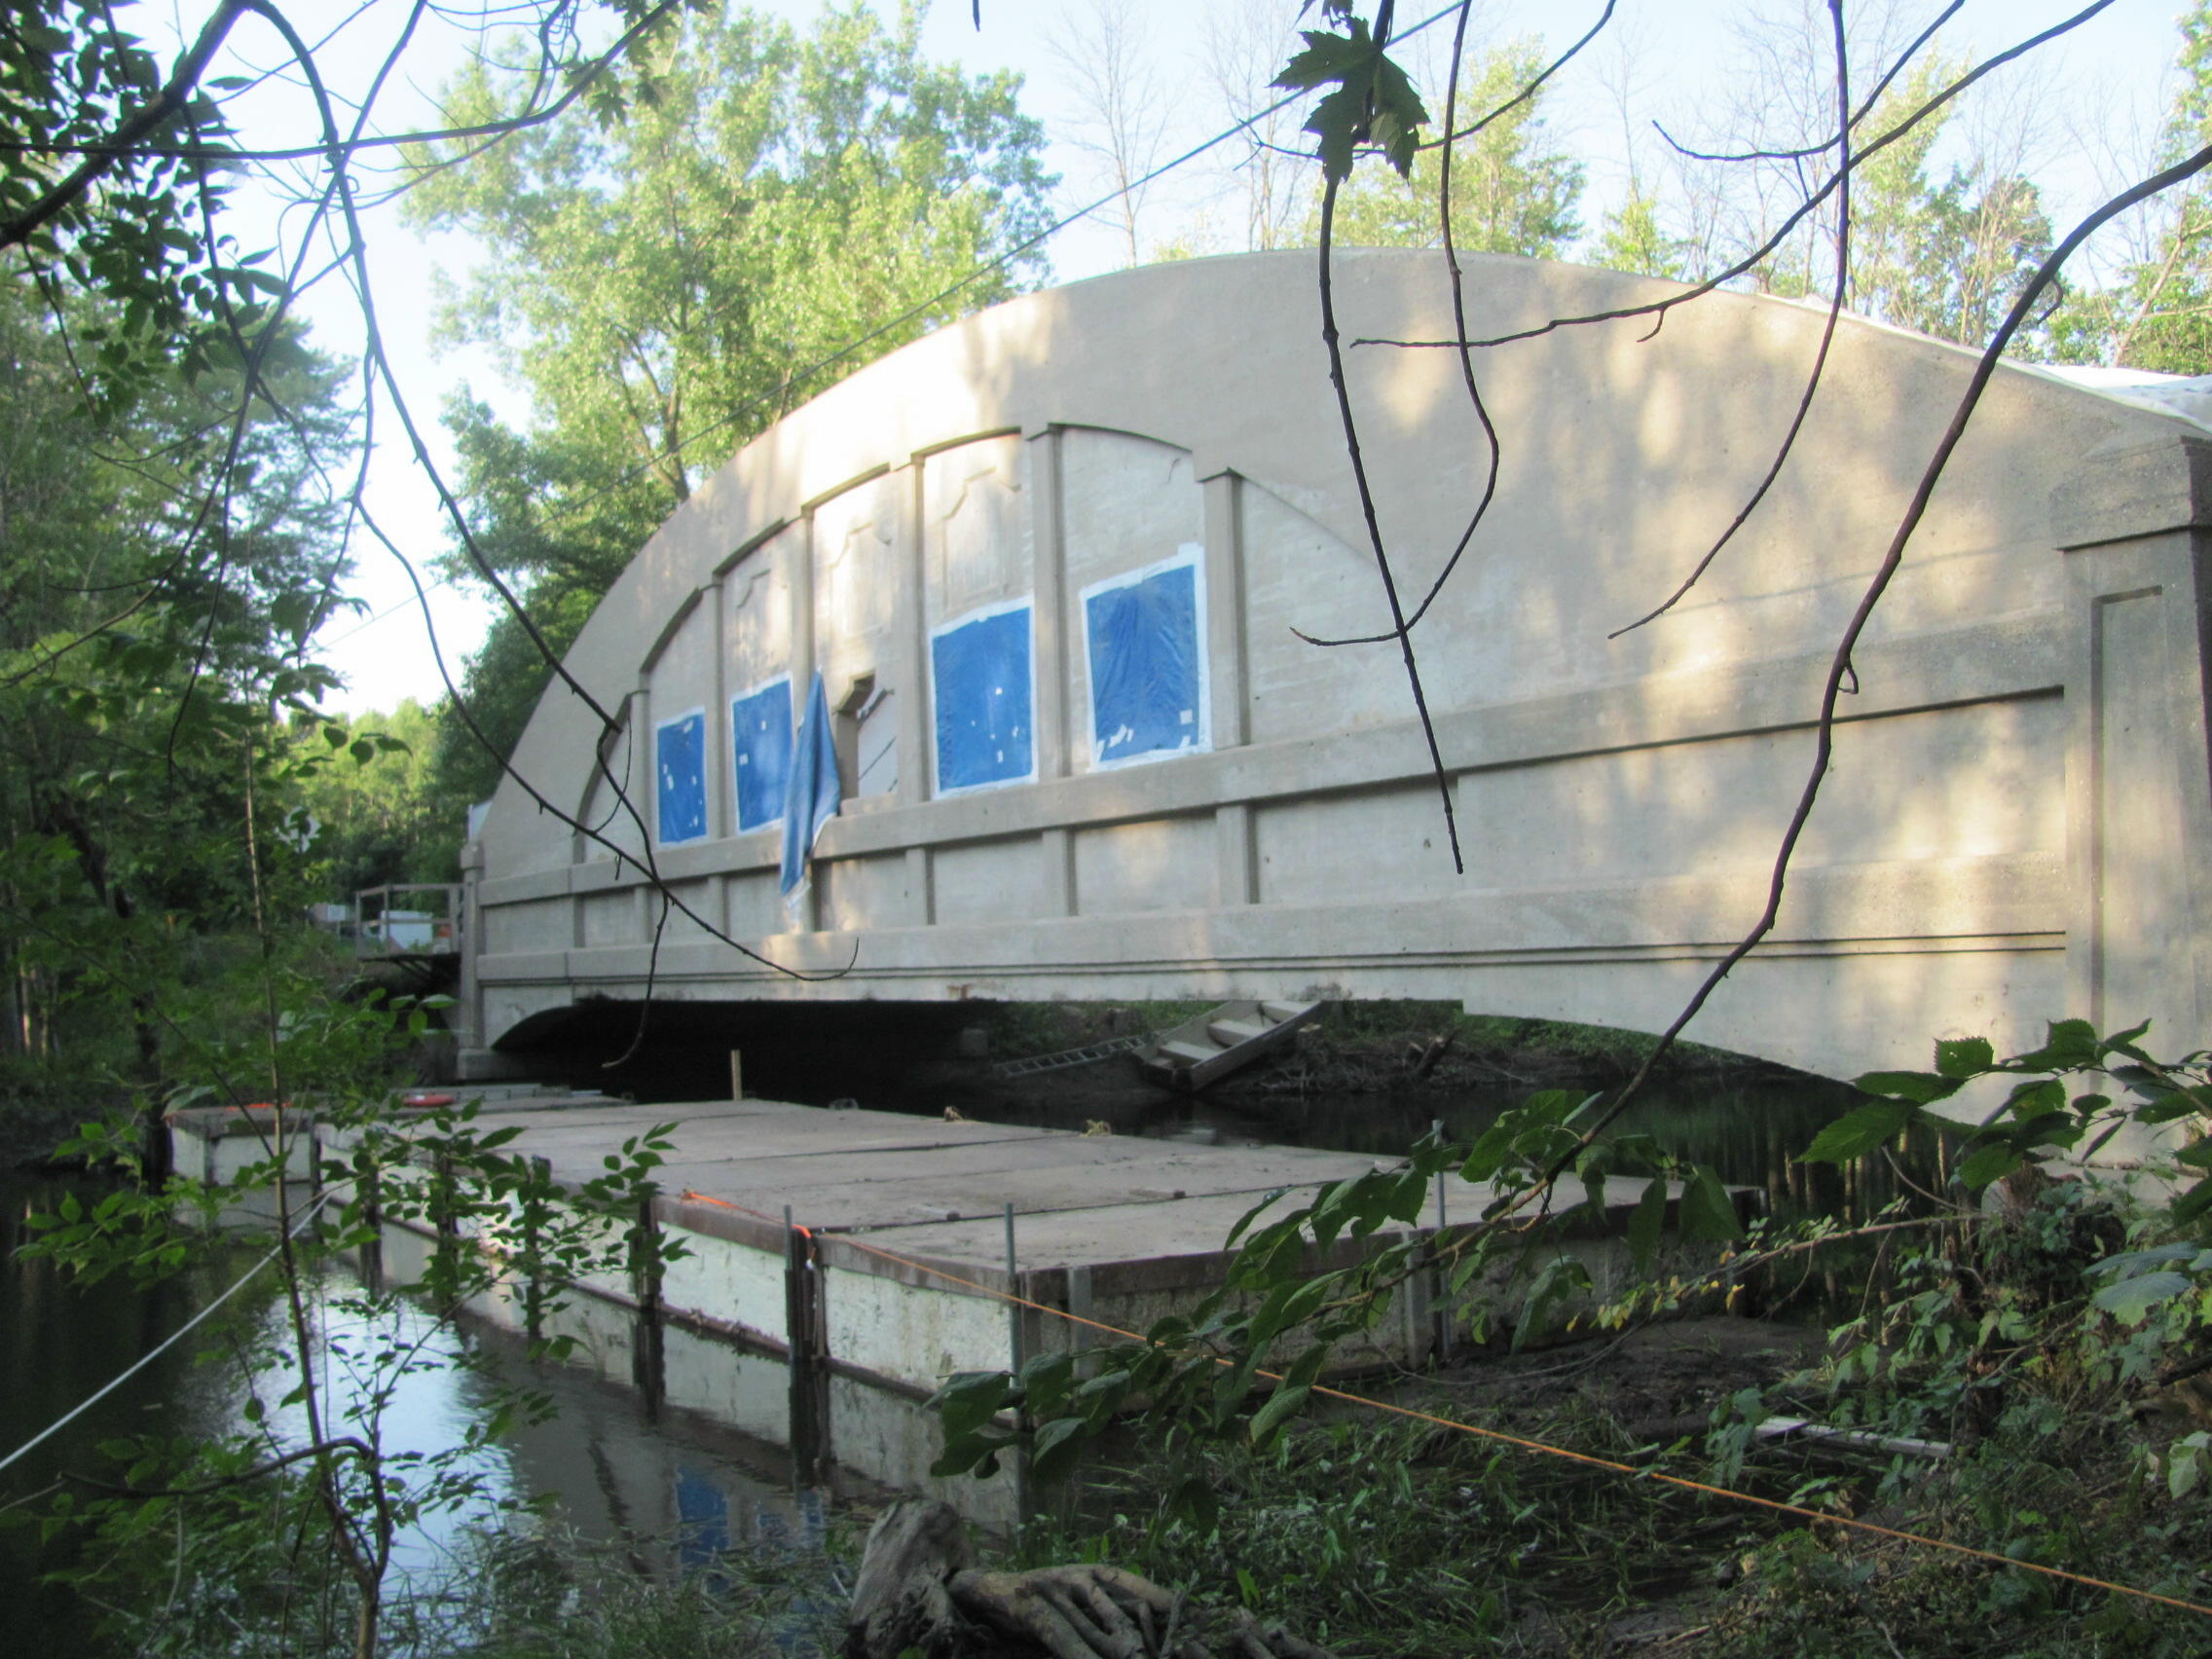


Photo Credit: Randy Mulder
Views beside bridge with containment in place.
![]()
Photo Credit: Randy Mulder
Abutment.
![]()
Photo Credit: Randy Mulder
Bridge after containment was removed.
![]()


Photo Credit: Randy Mulder
Girder after containment was removed.
![]()
Photo Credit: Randy Mulder
Repaired areas of concrete.
![]()
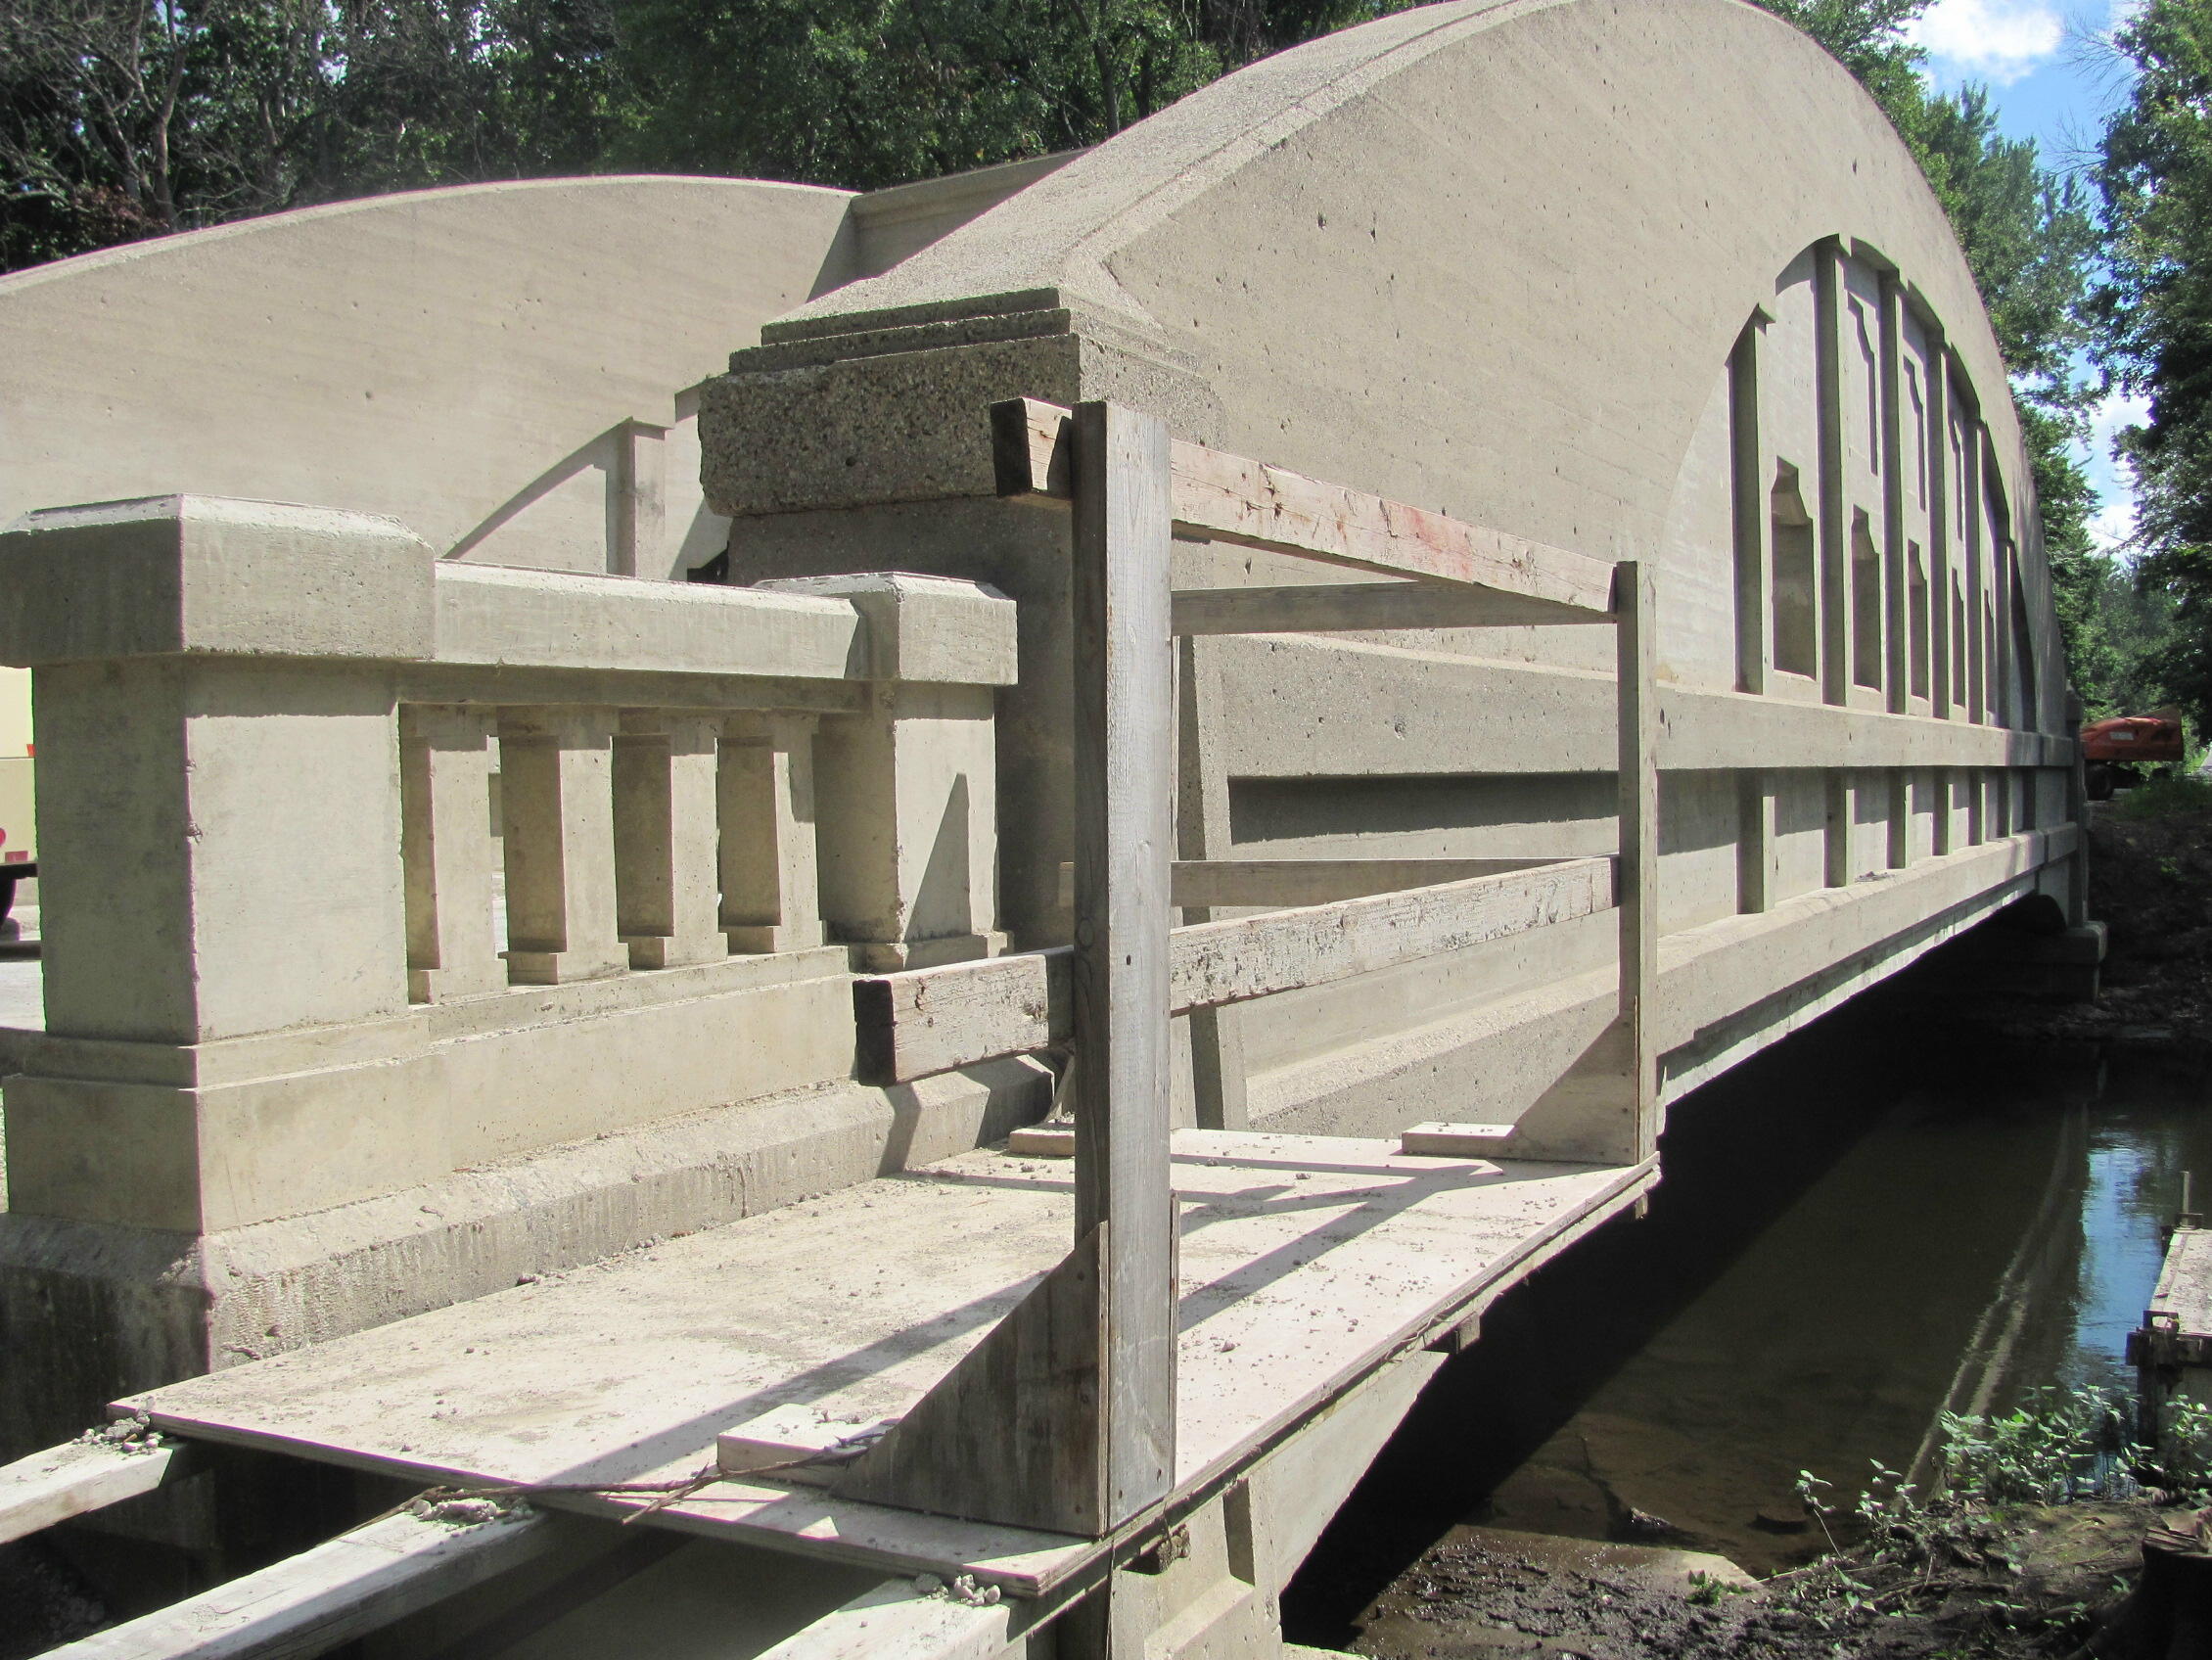
Photo Credit: Randy Mulder
Railing at the northwest quadrant, which was damaged and therefore replicated.
![]()


Photo Credit: Randy Mulder
Approach railing.
![]()


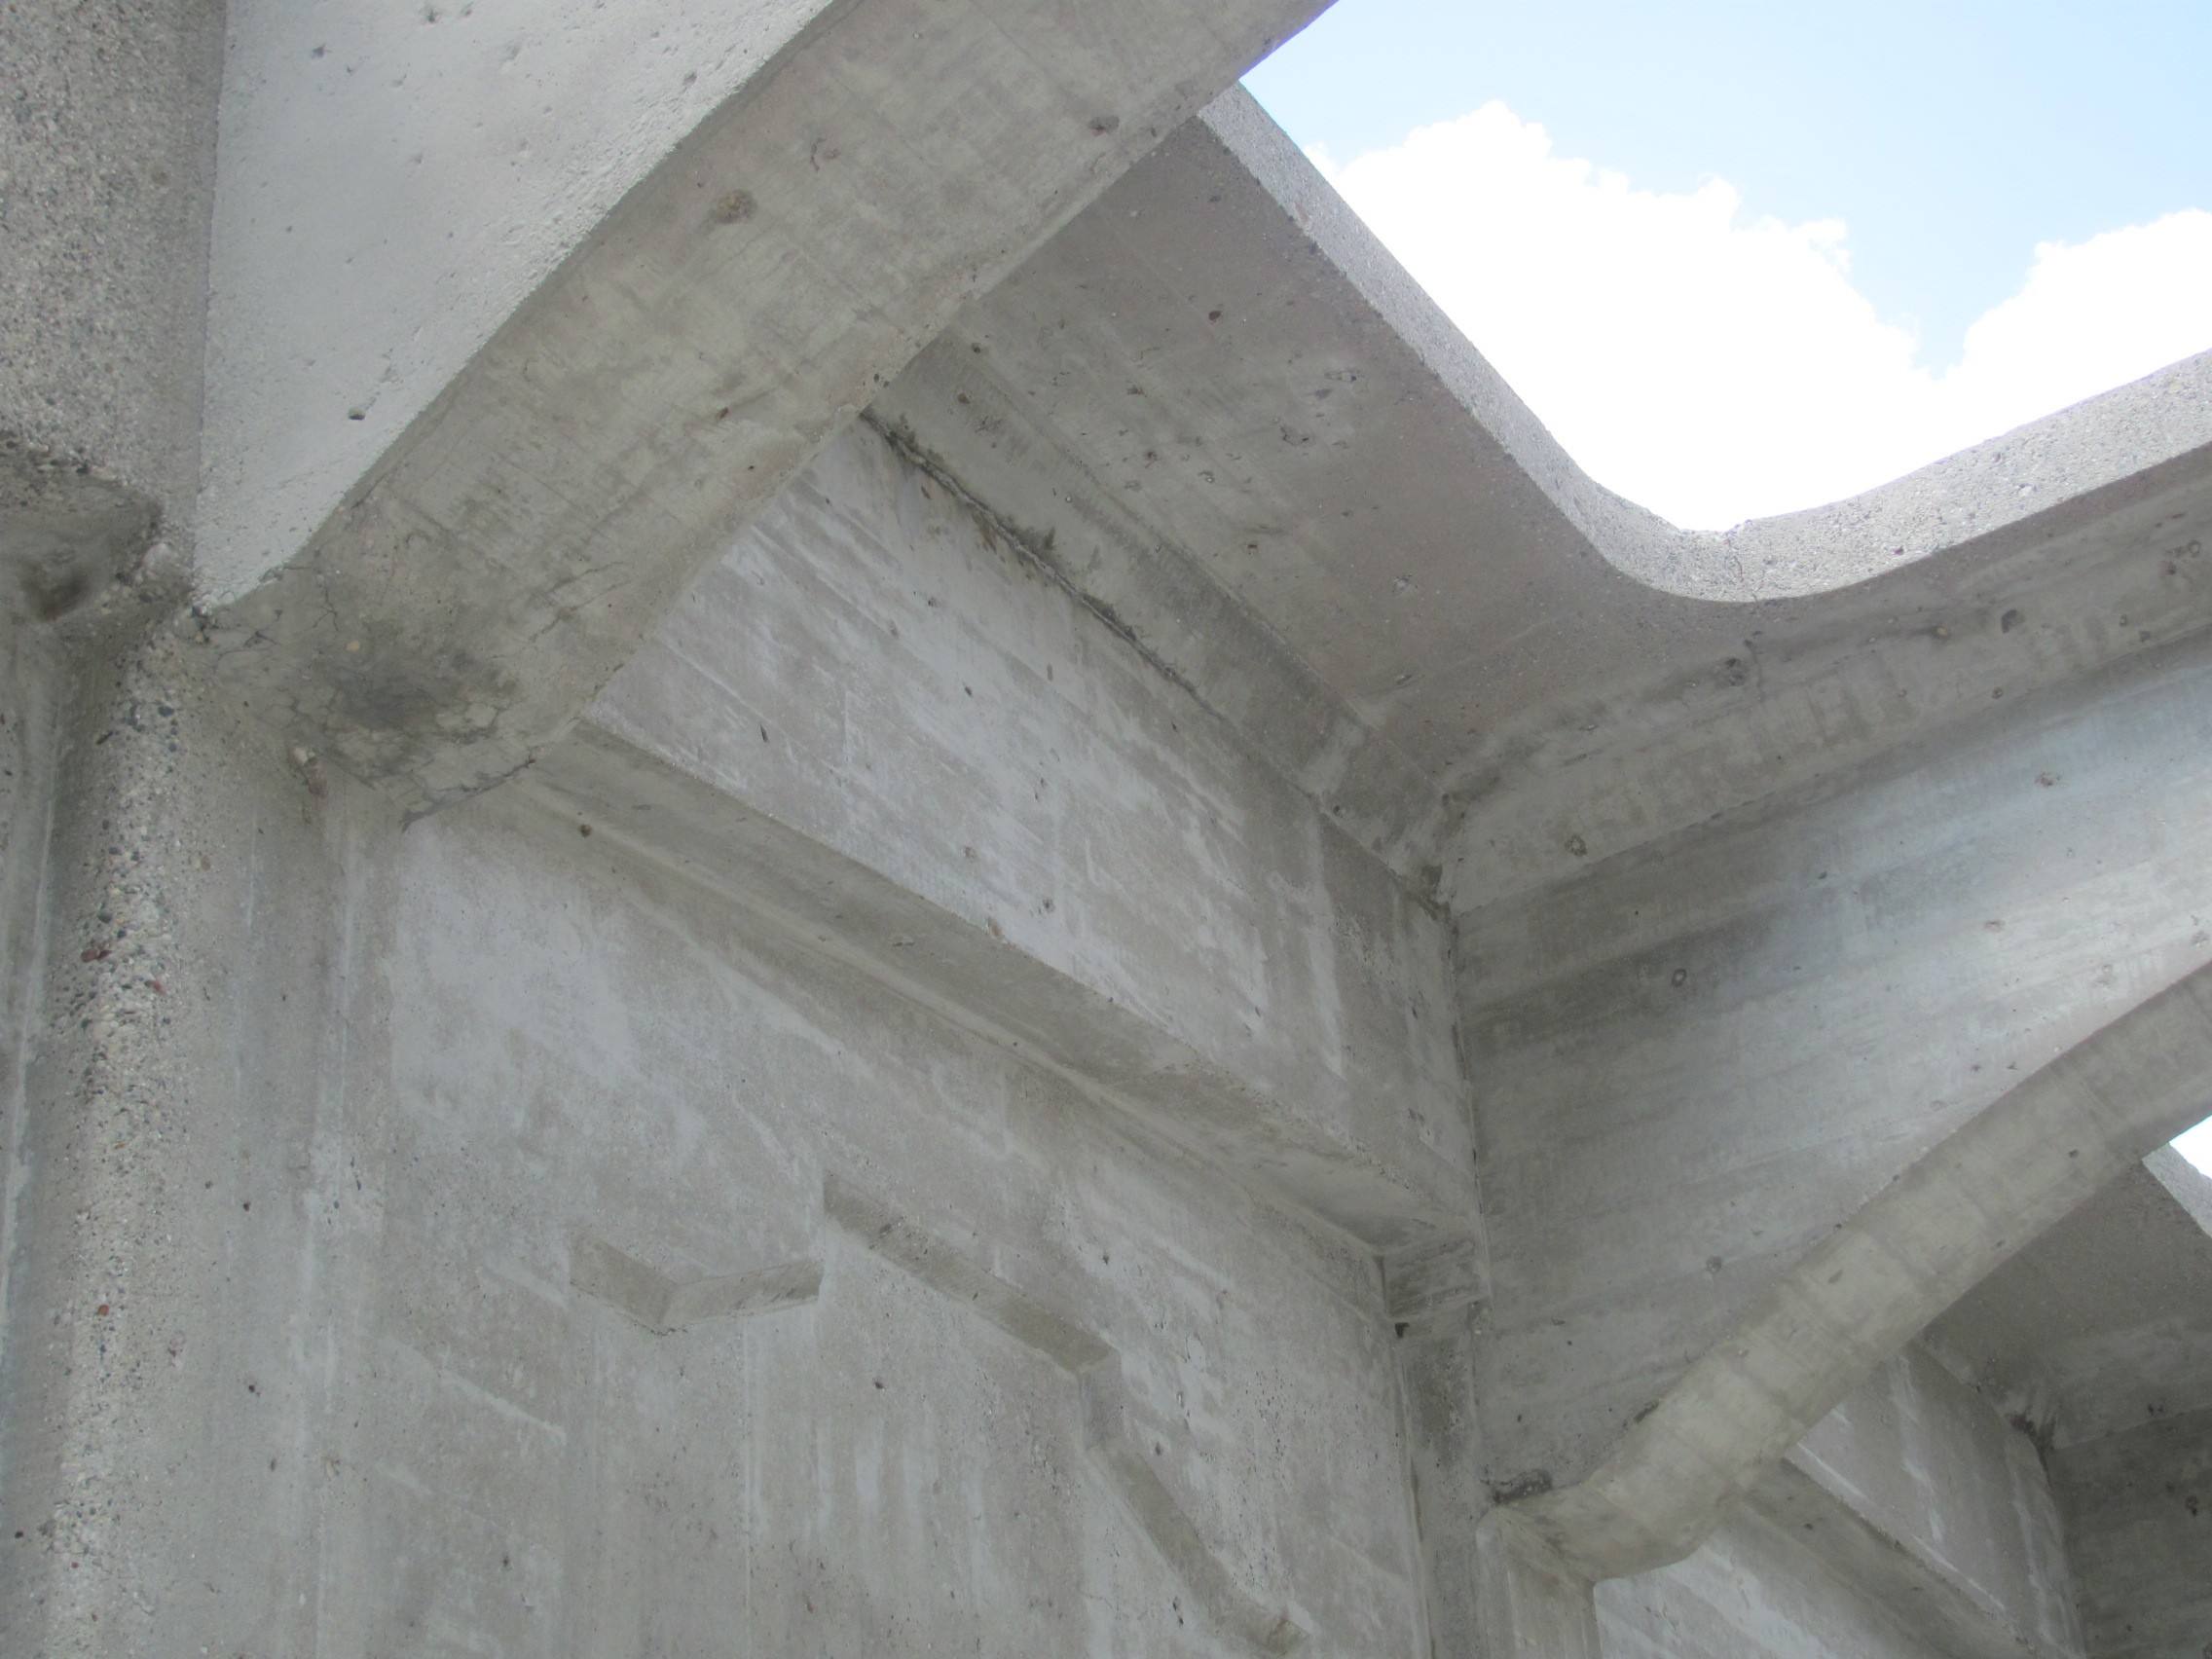

Photo Credit: Randy Mulder
Bracing.
![]()

Photo Credit: Randy Mulder
Plaque.
![]()

Photo Credit: Randy Mulder
Deck.
![]()


Photo Credit: Randy Mulder
Girder details.
![]()
![]()
| Back |
| Home |
| Top |

![]()