
Uncredited photos on this page taken by: Nathan Holth. Unless stated in a caption, all photos are Copyright with All Rights Reserved. Learn about reuse of our photos.
![]()


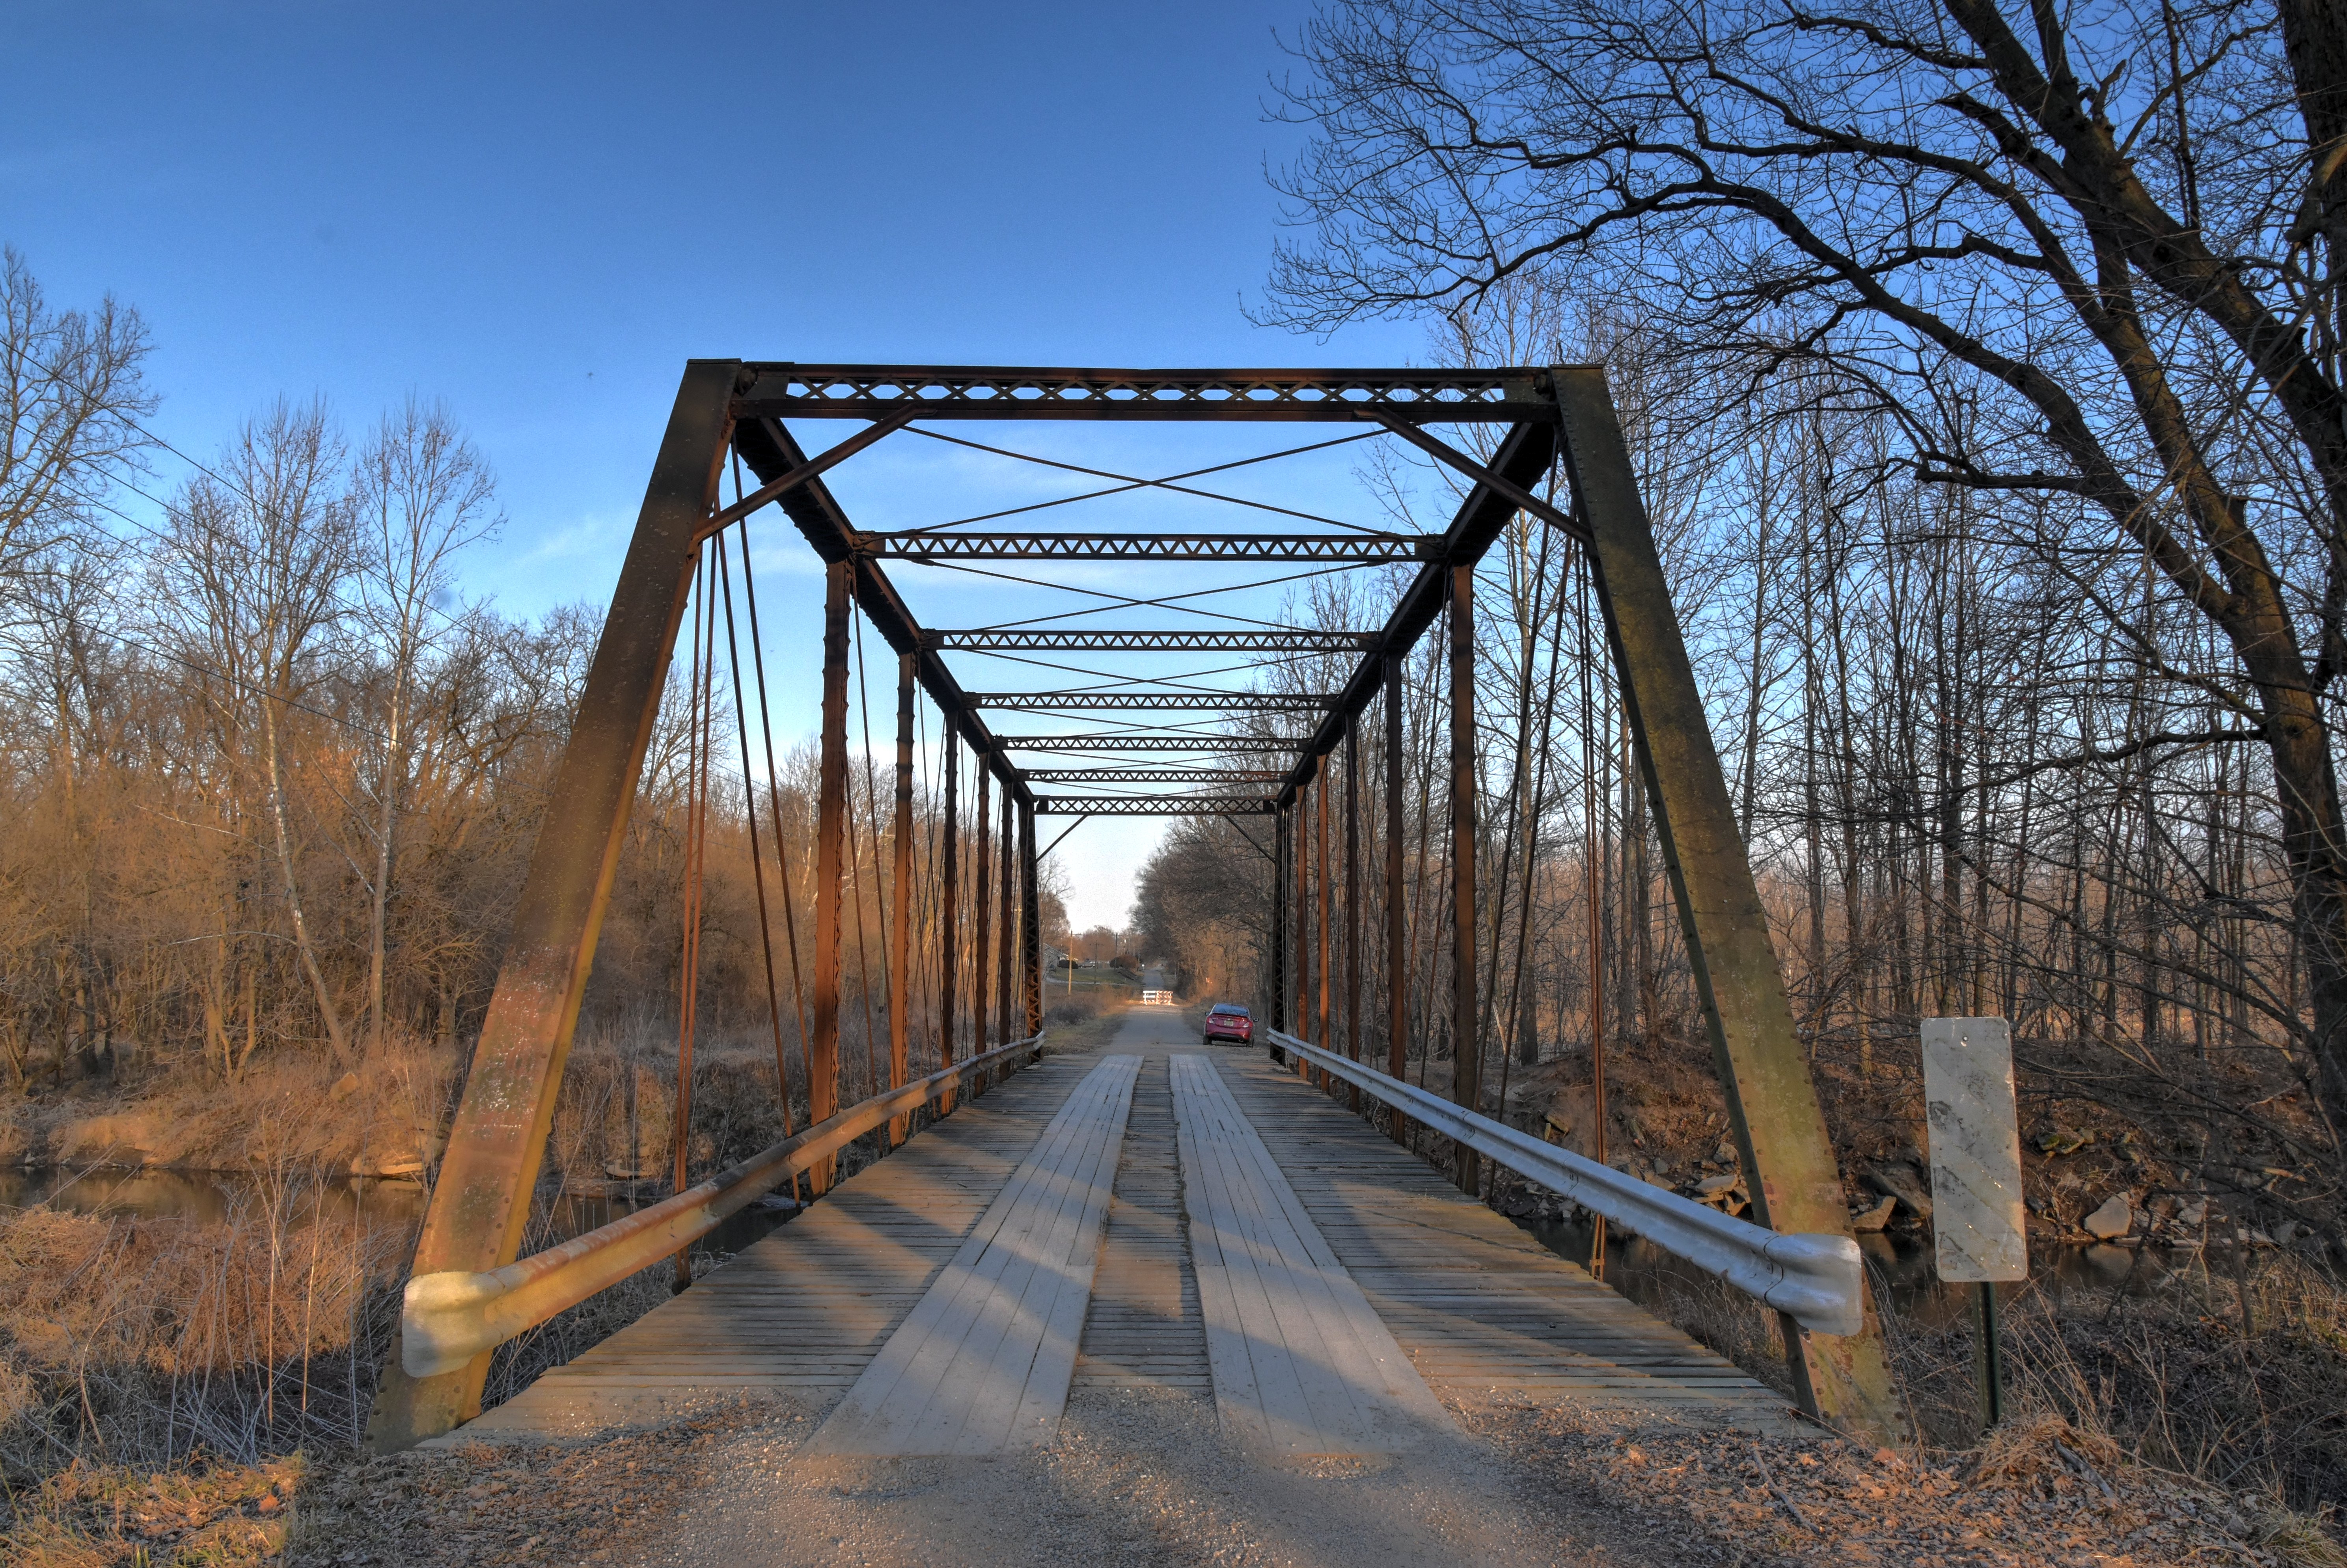
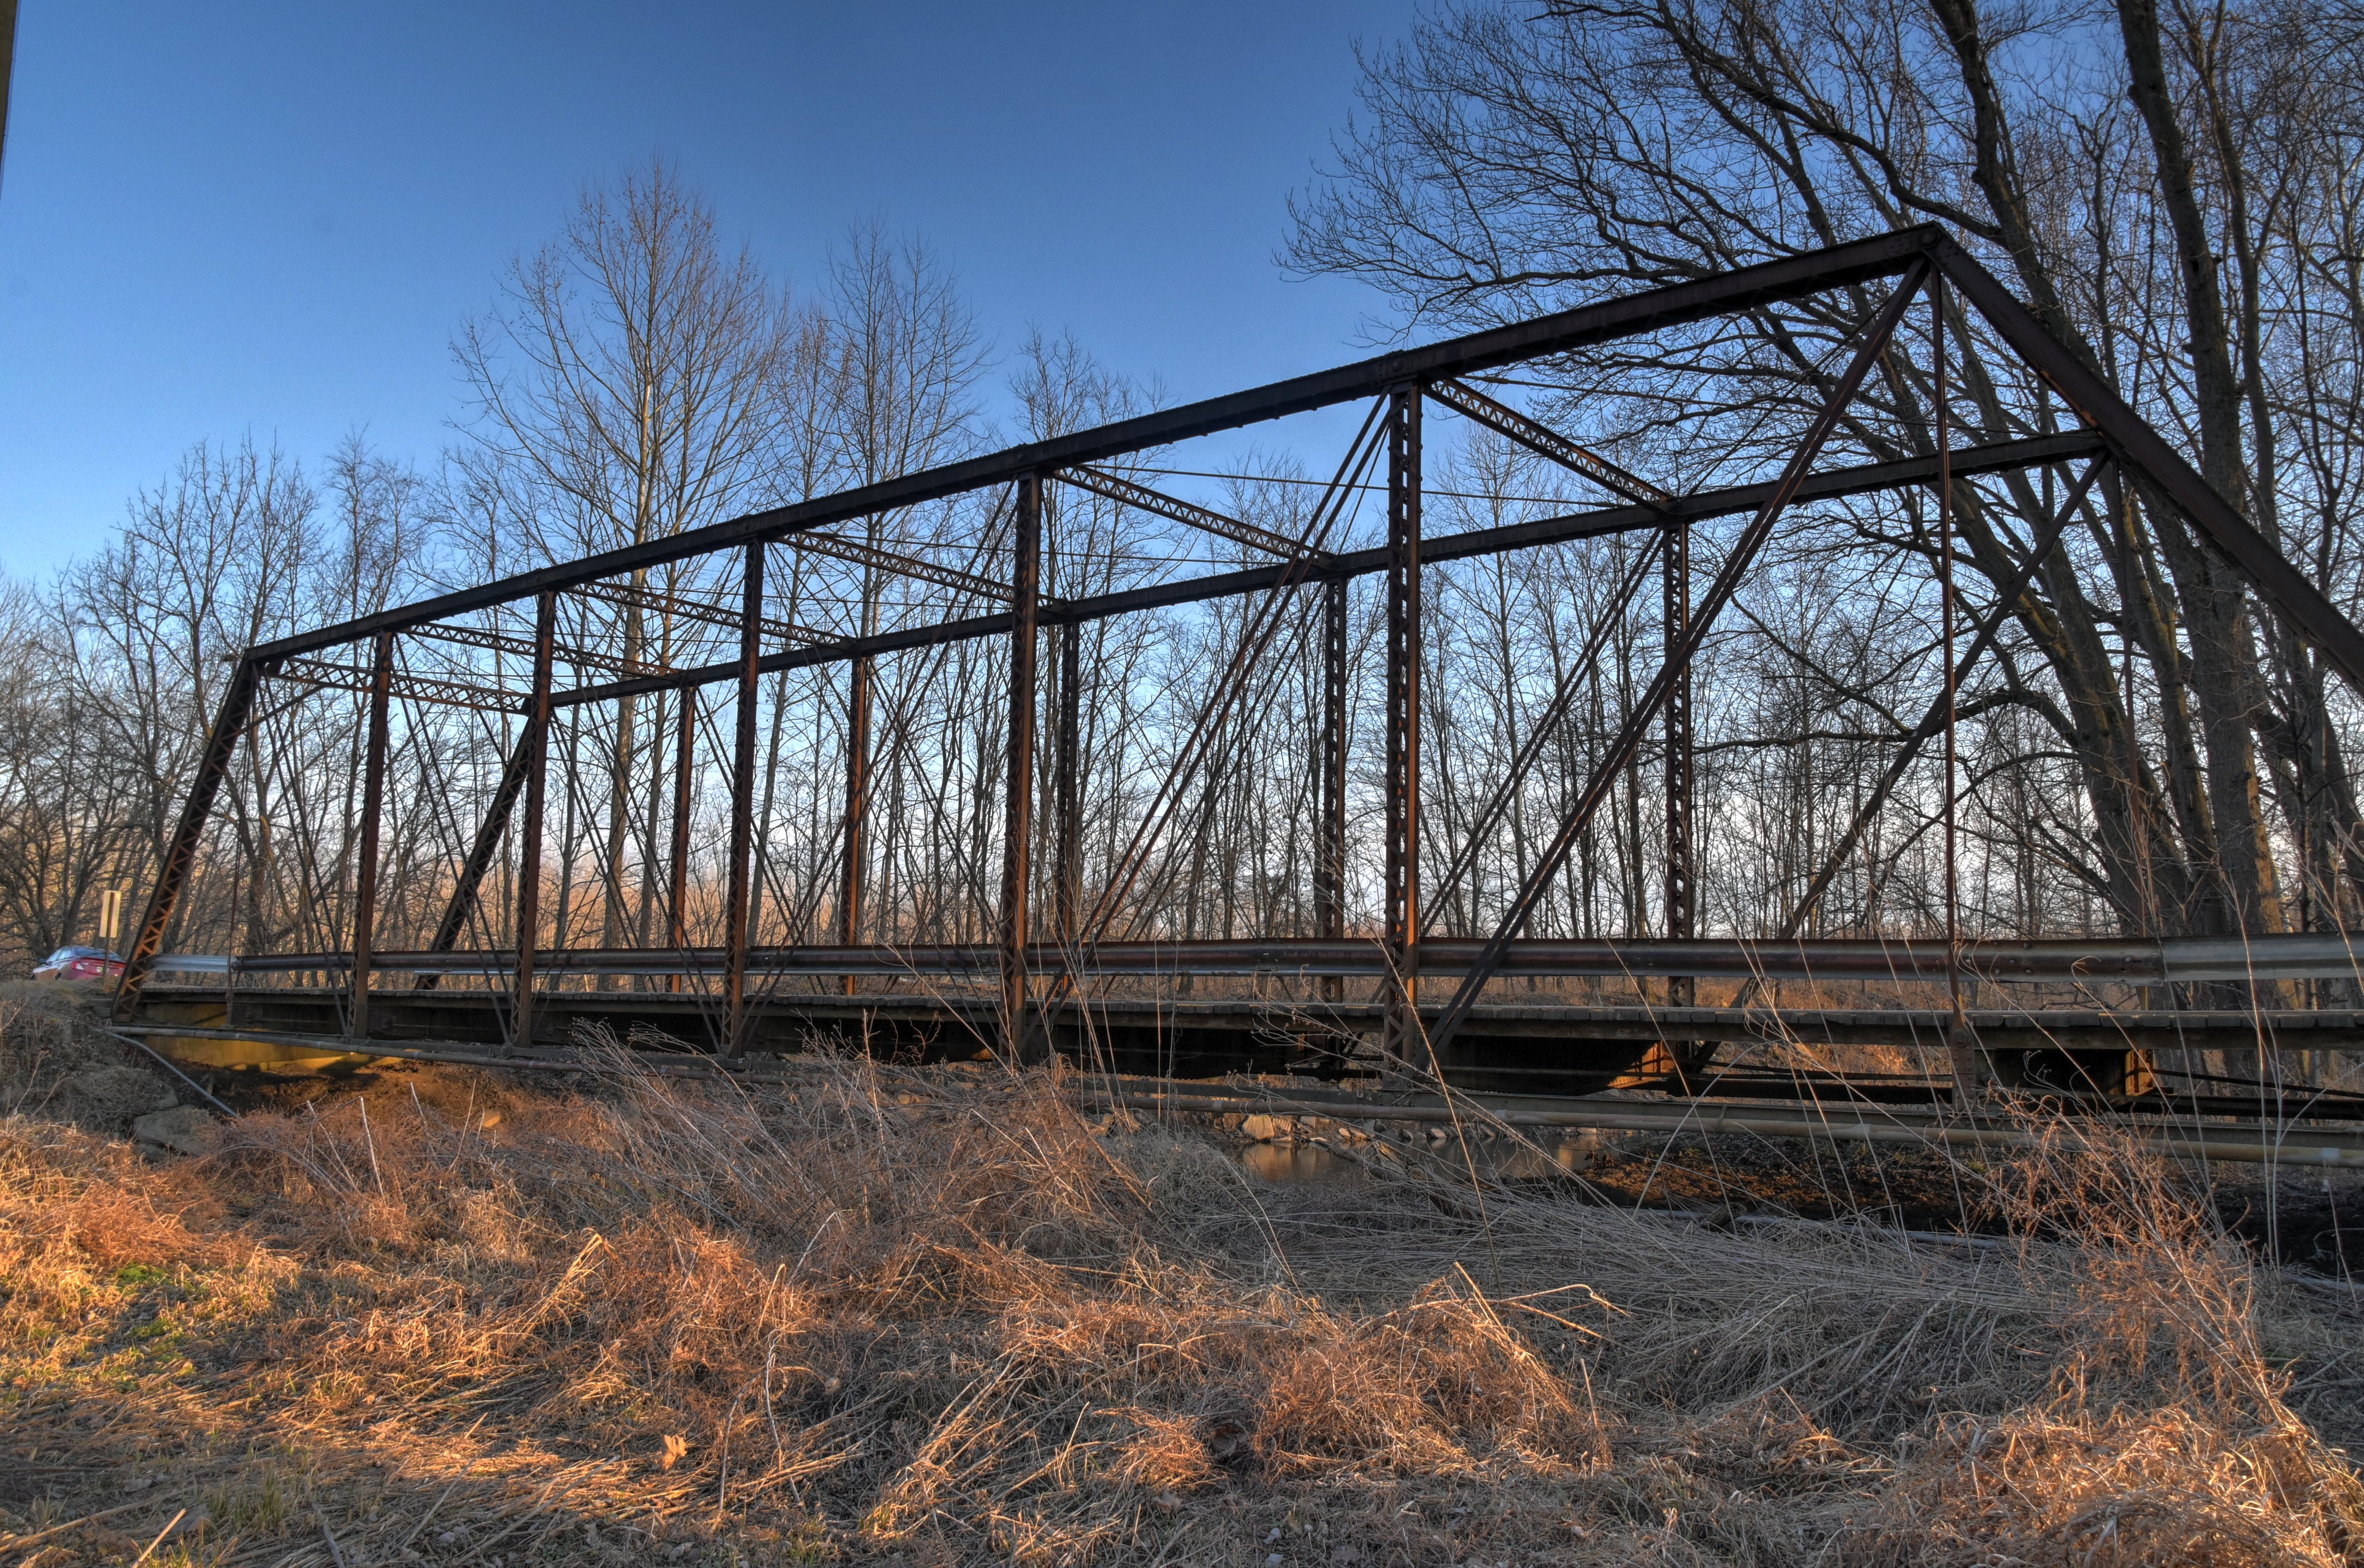
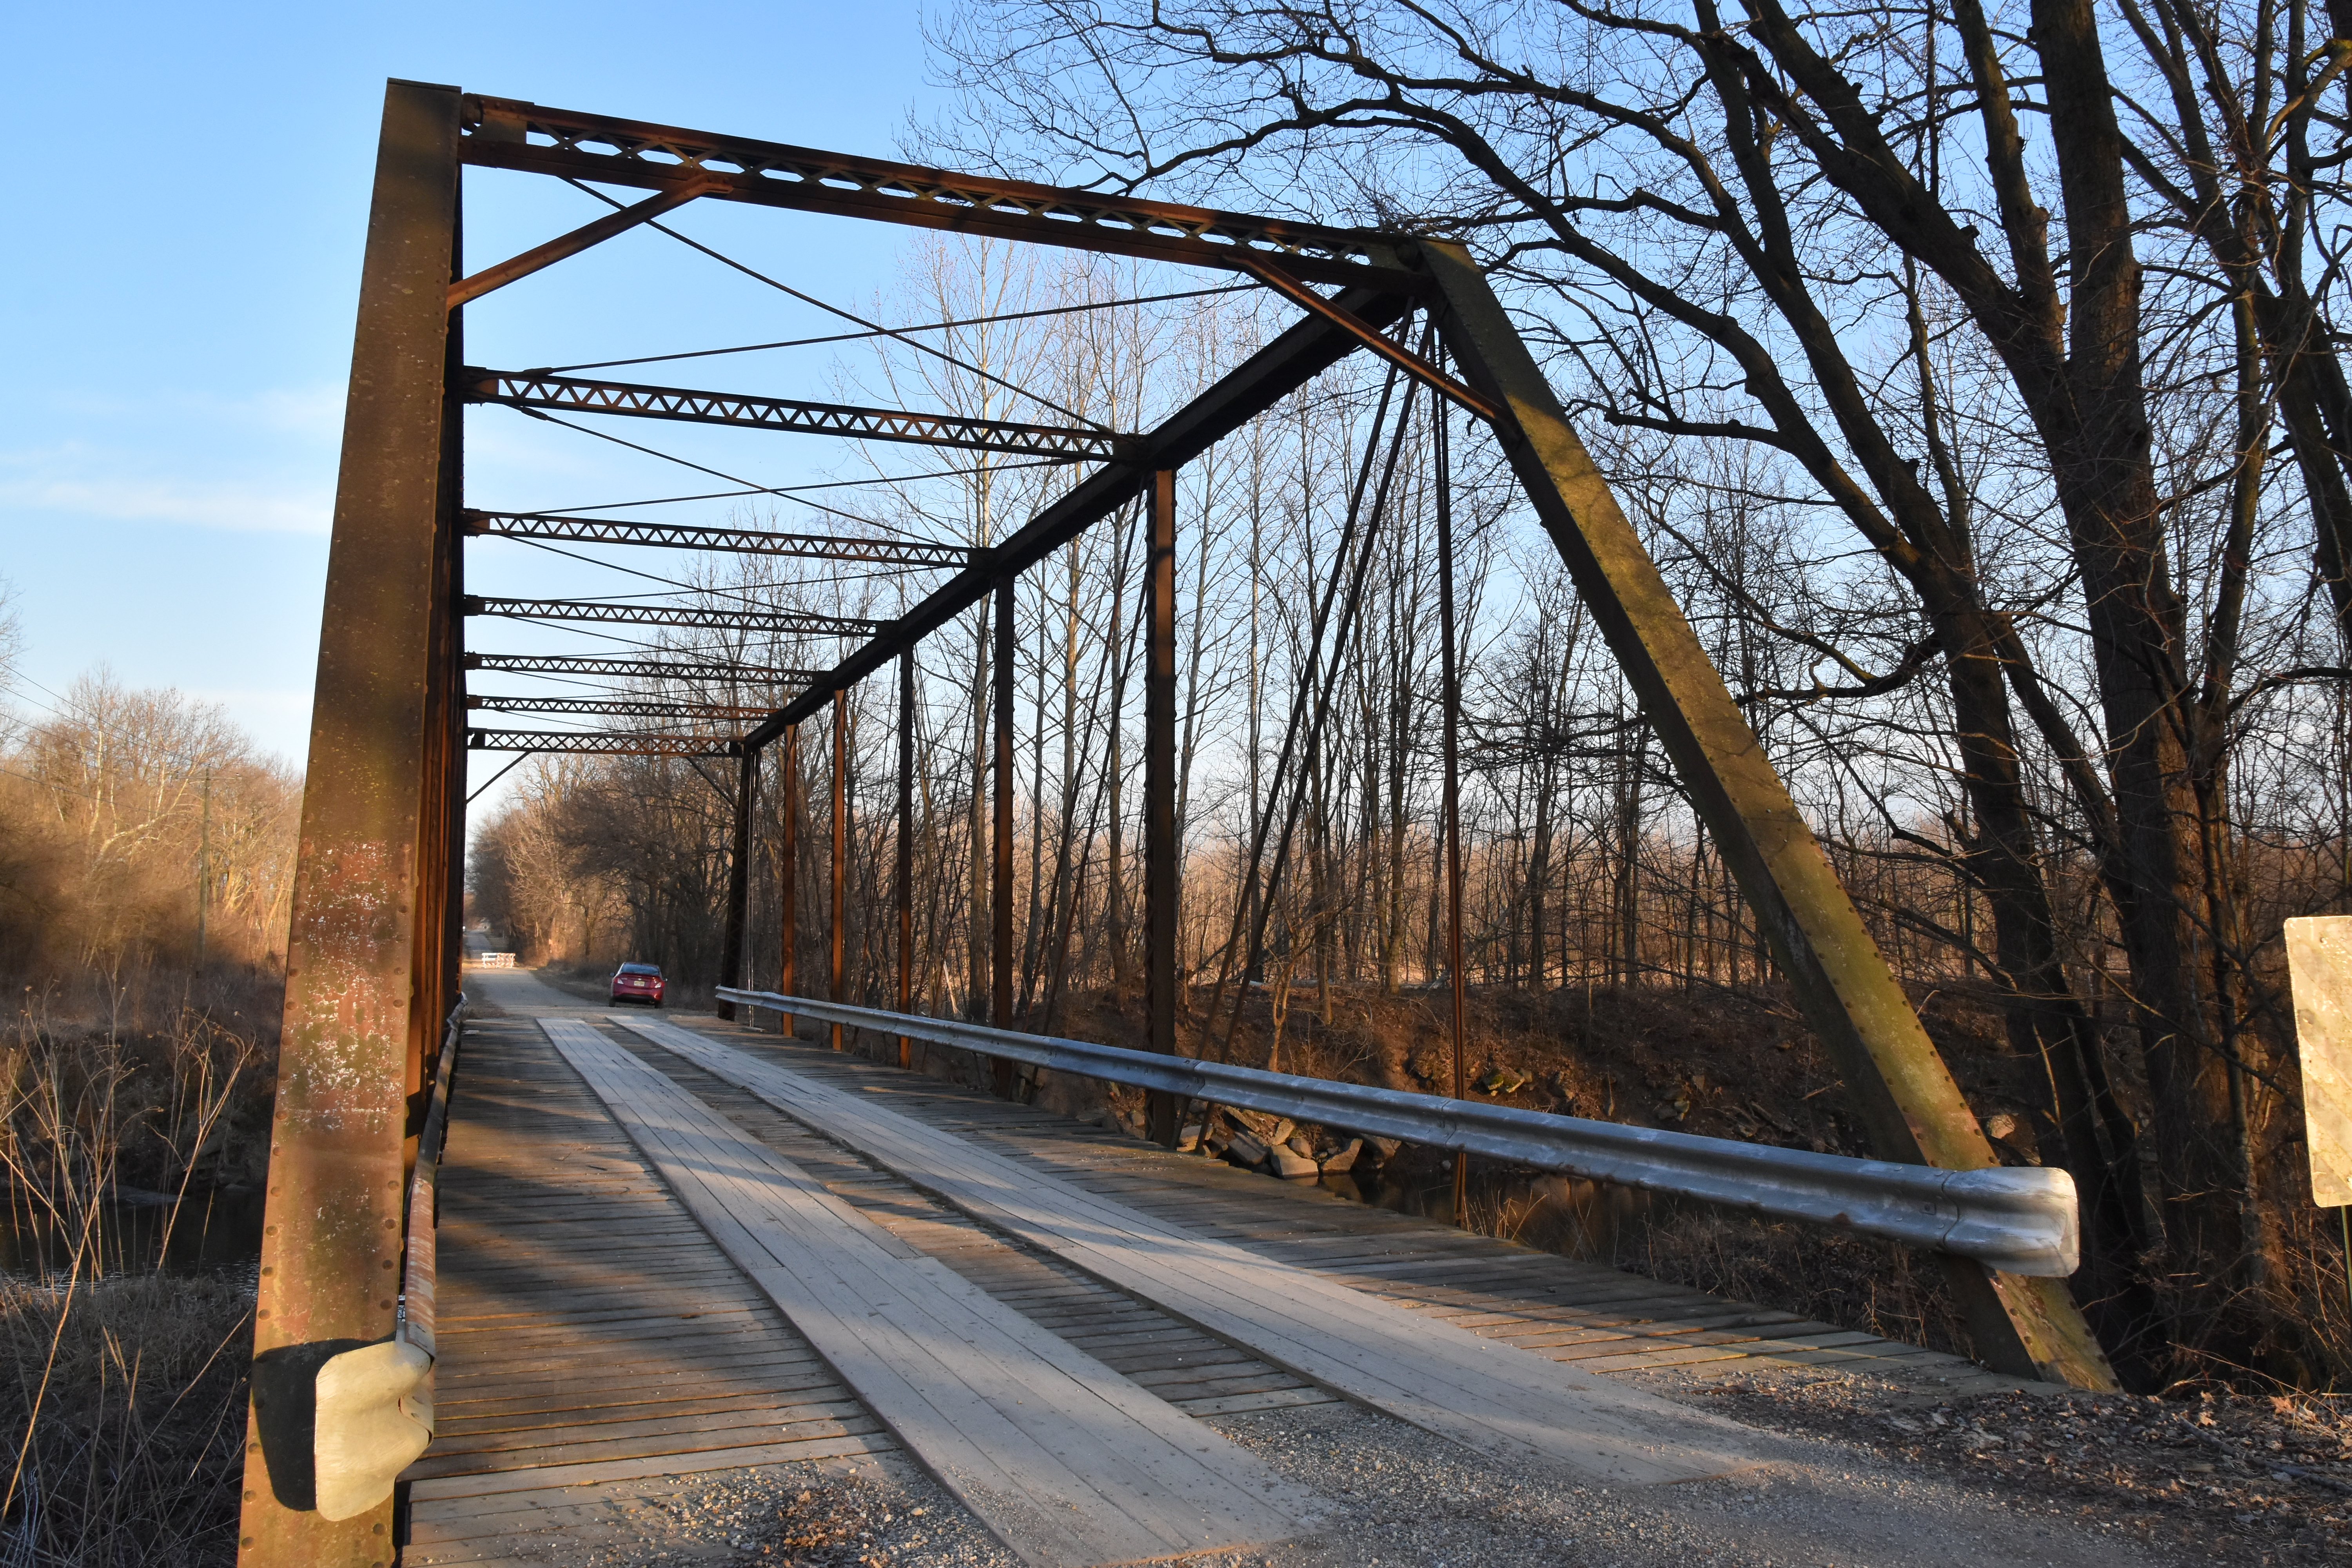
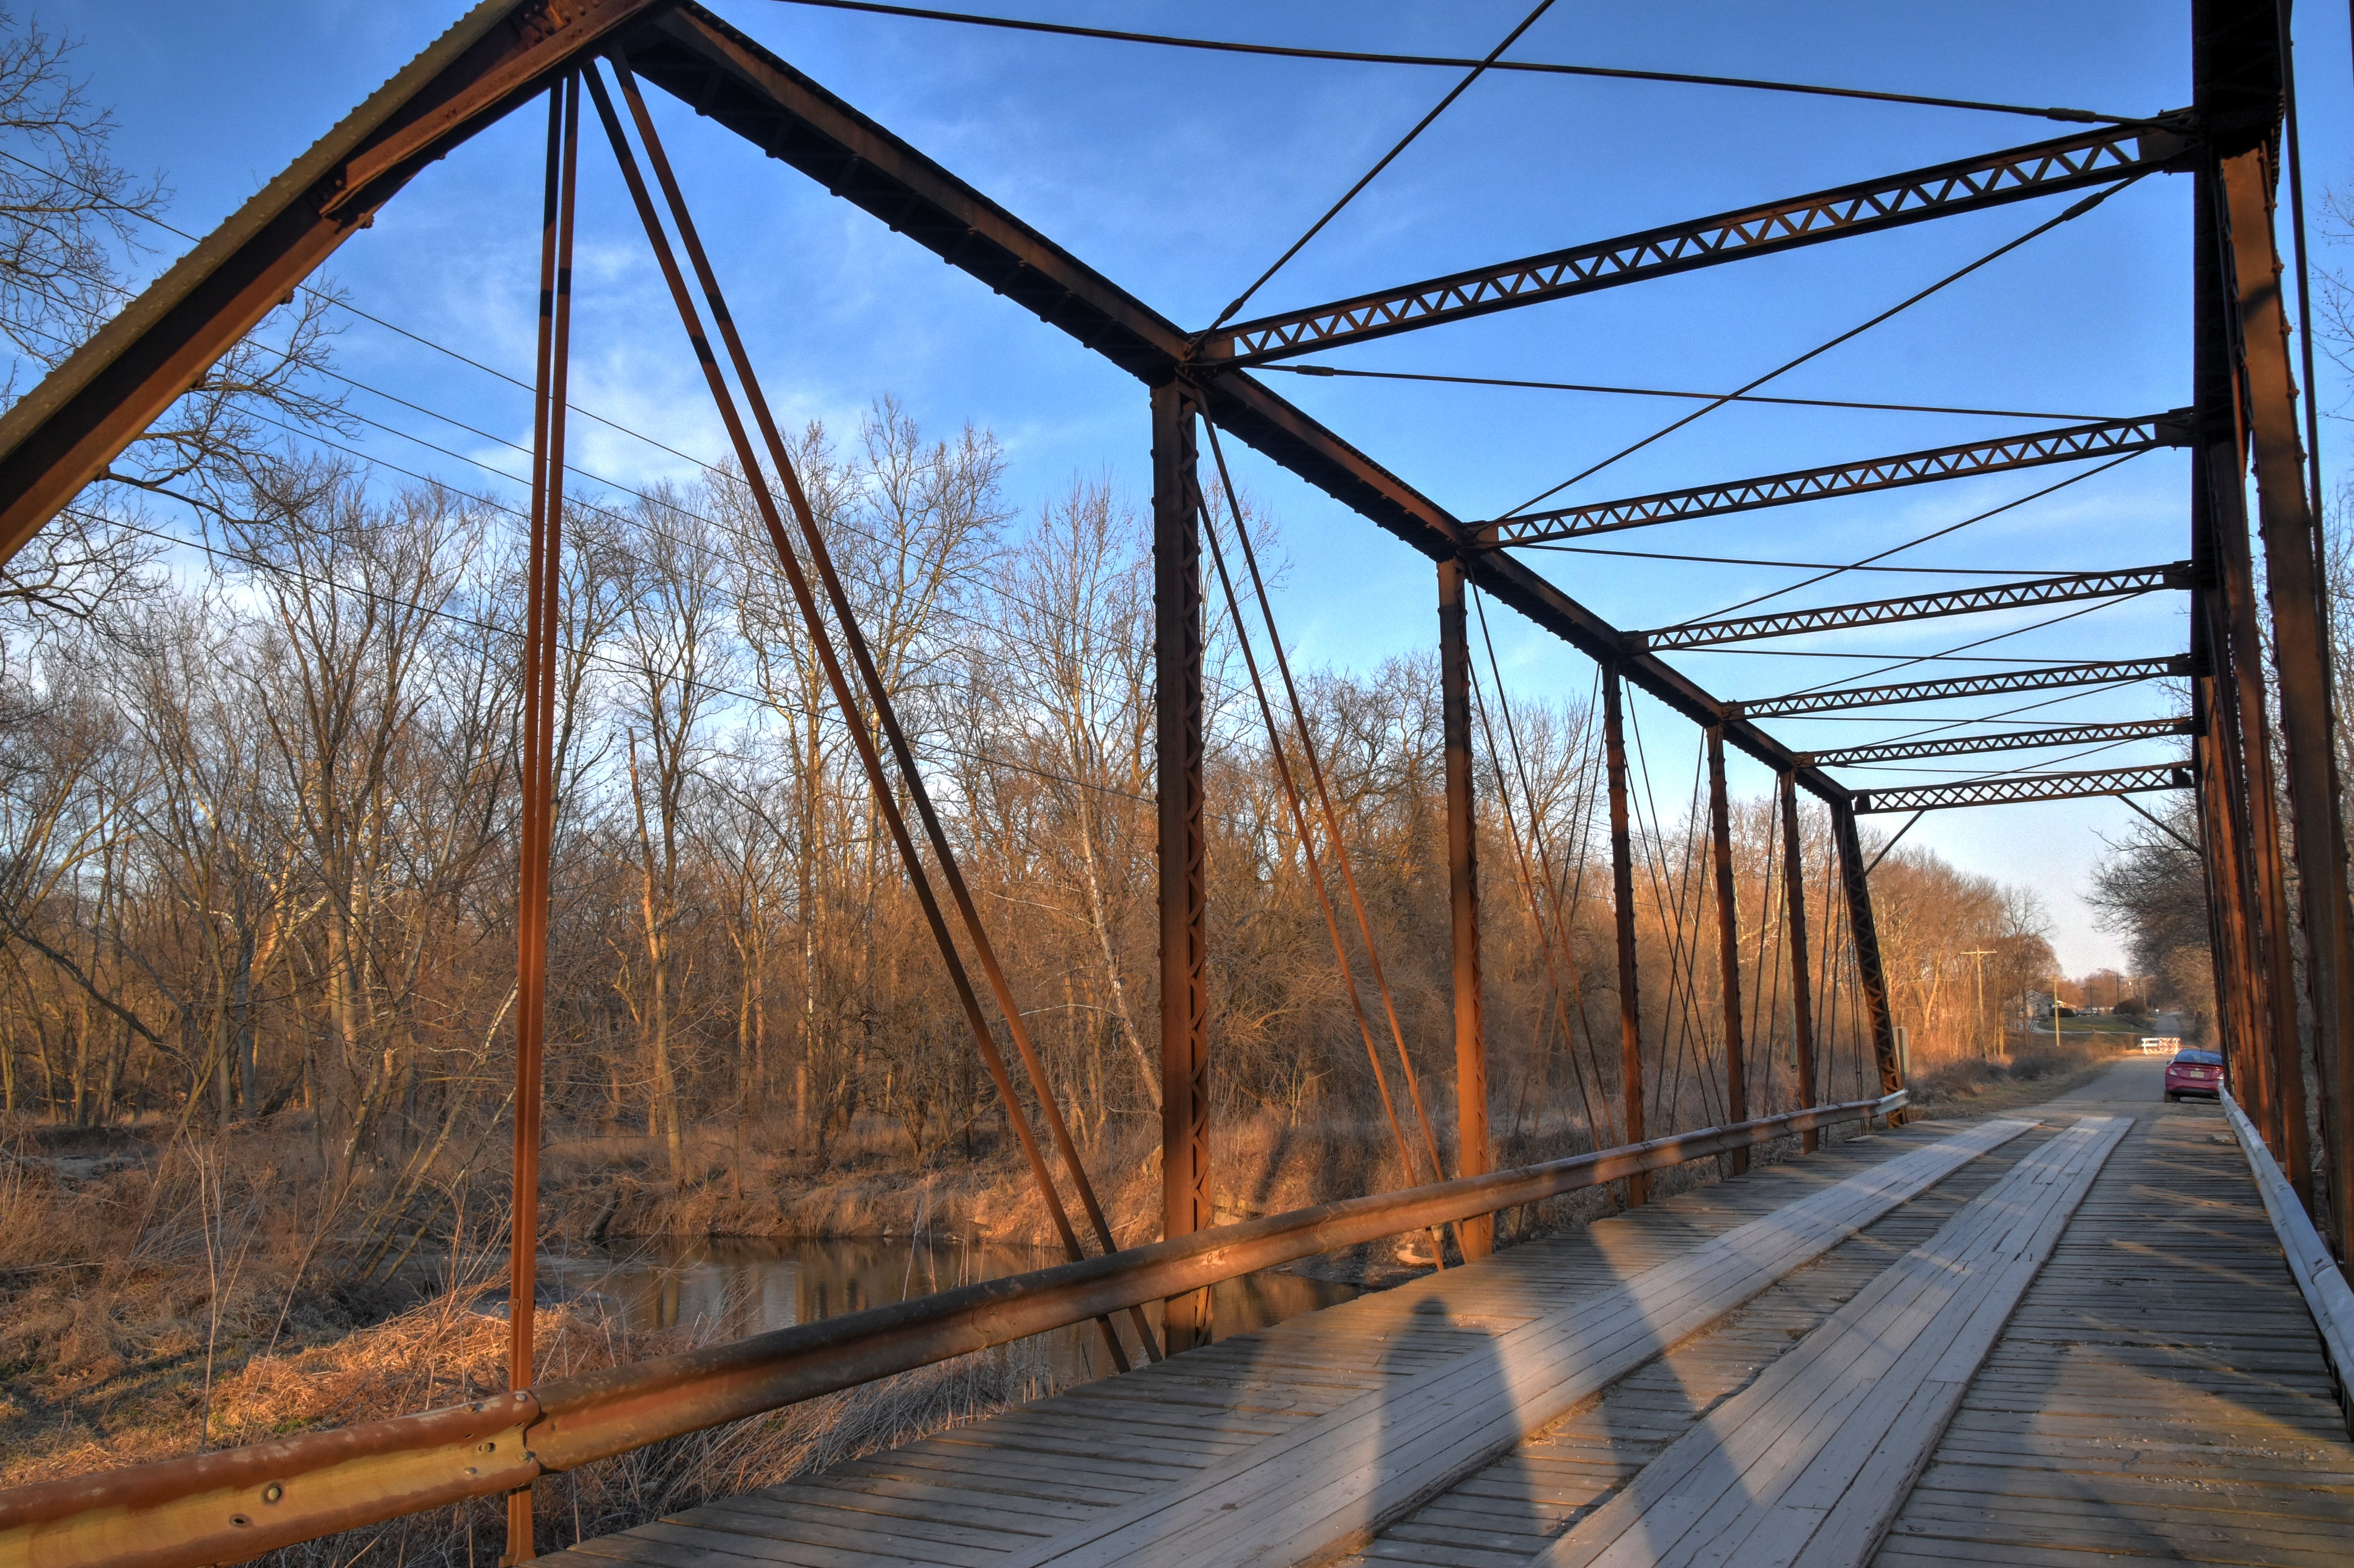
Portal views facing east.
![]()


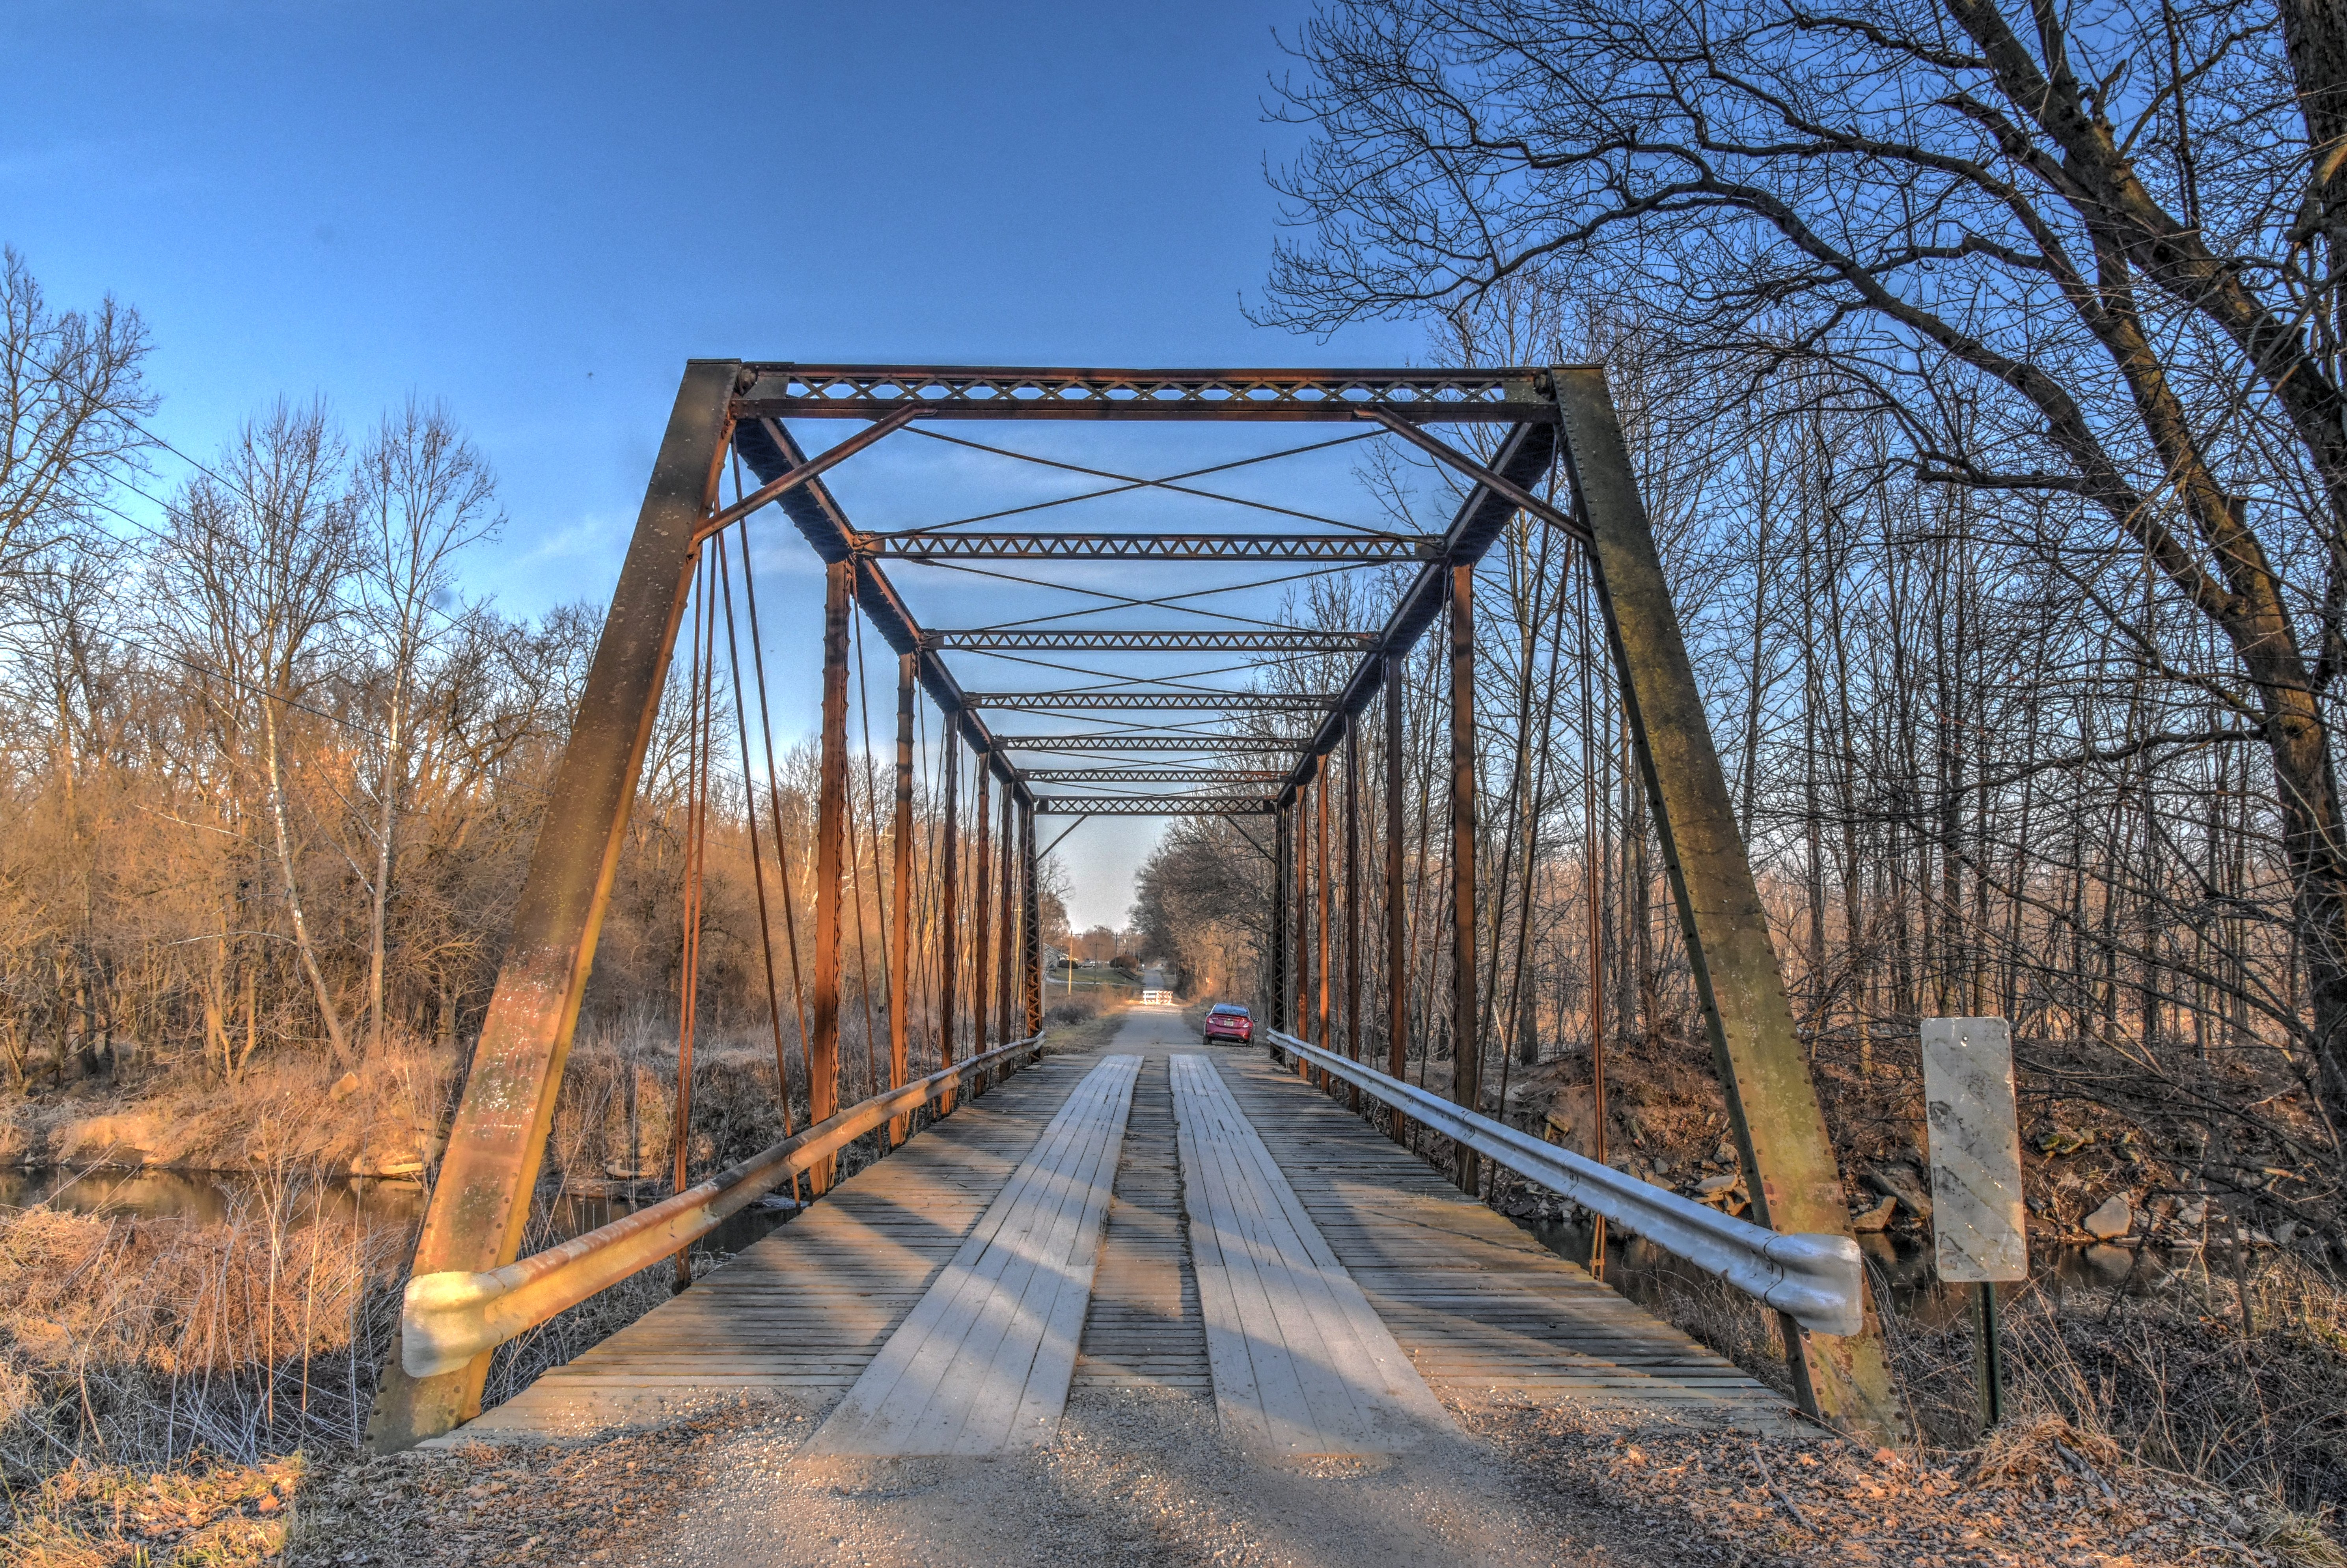
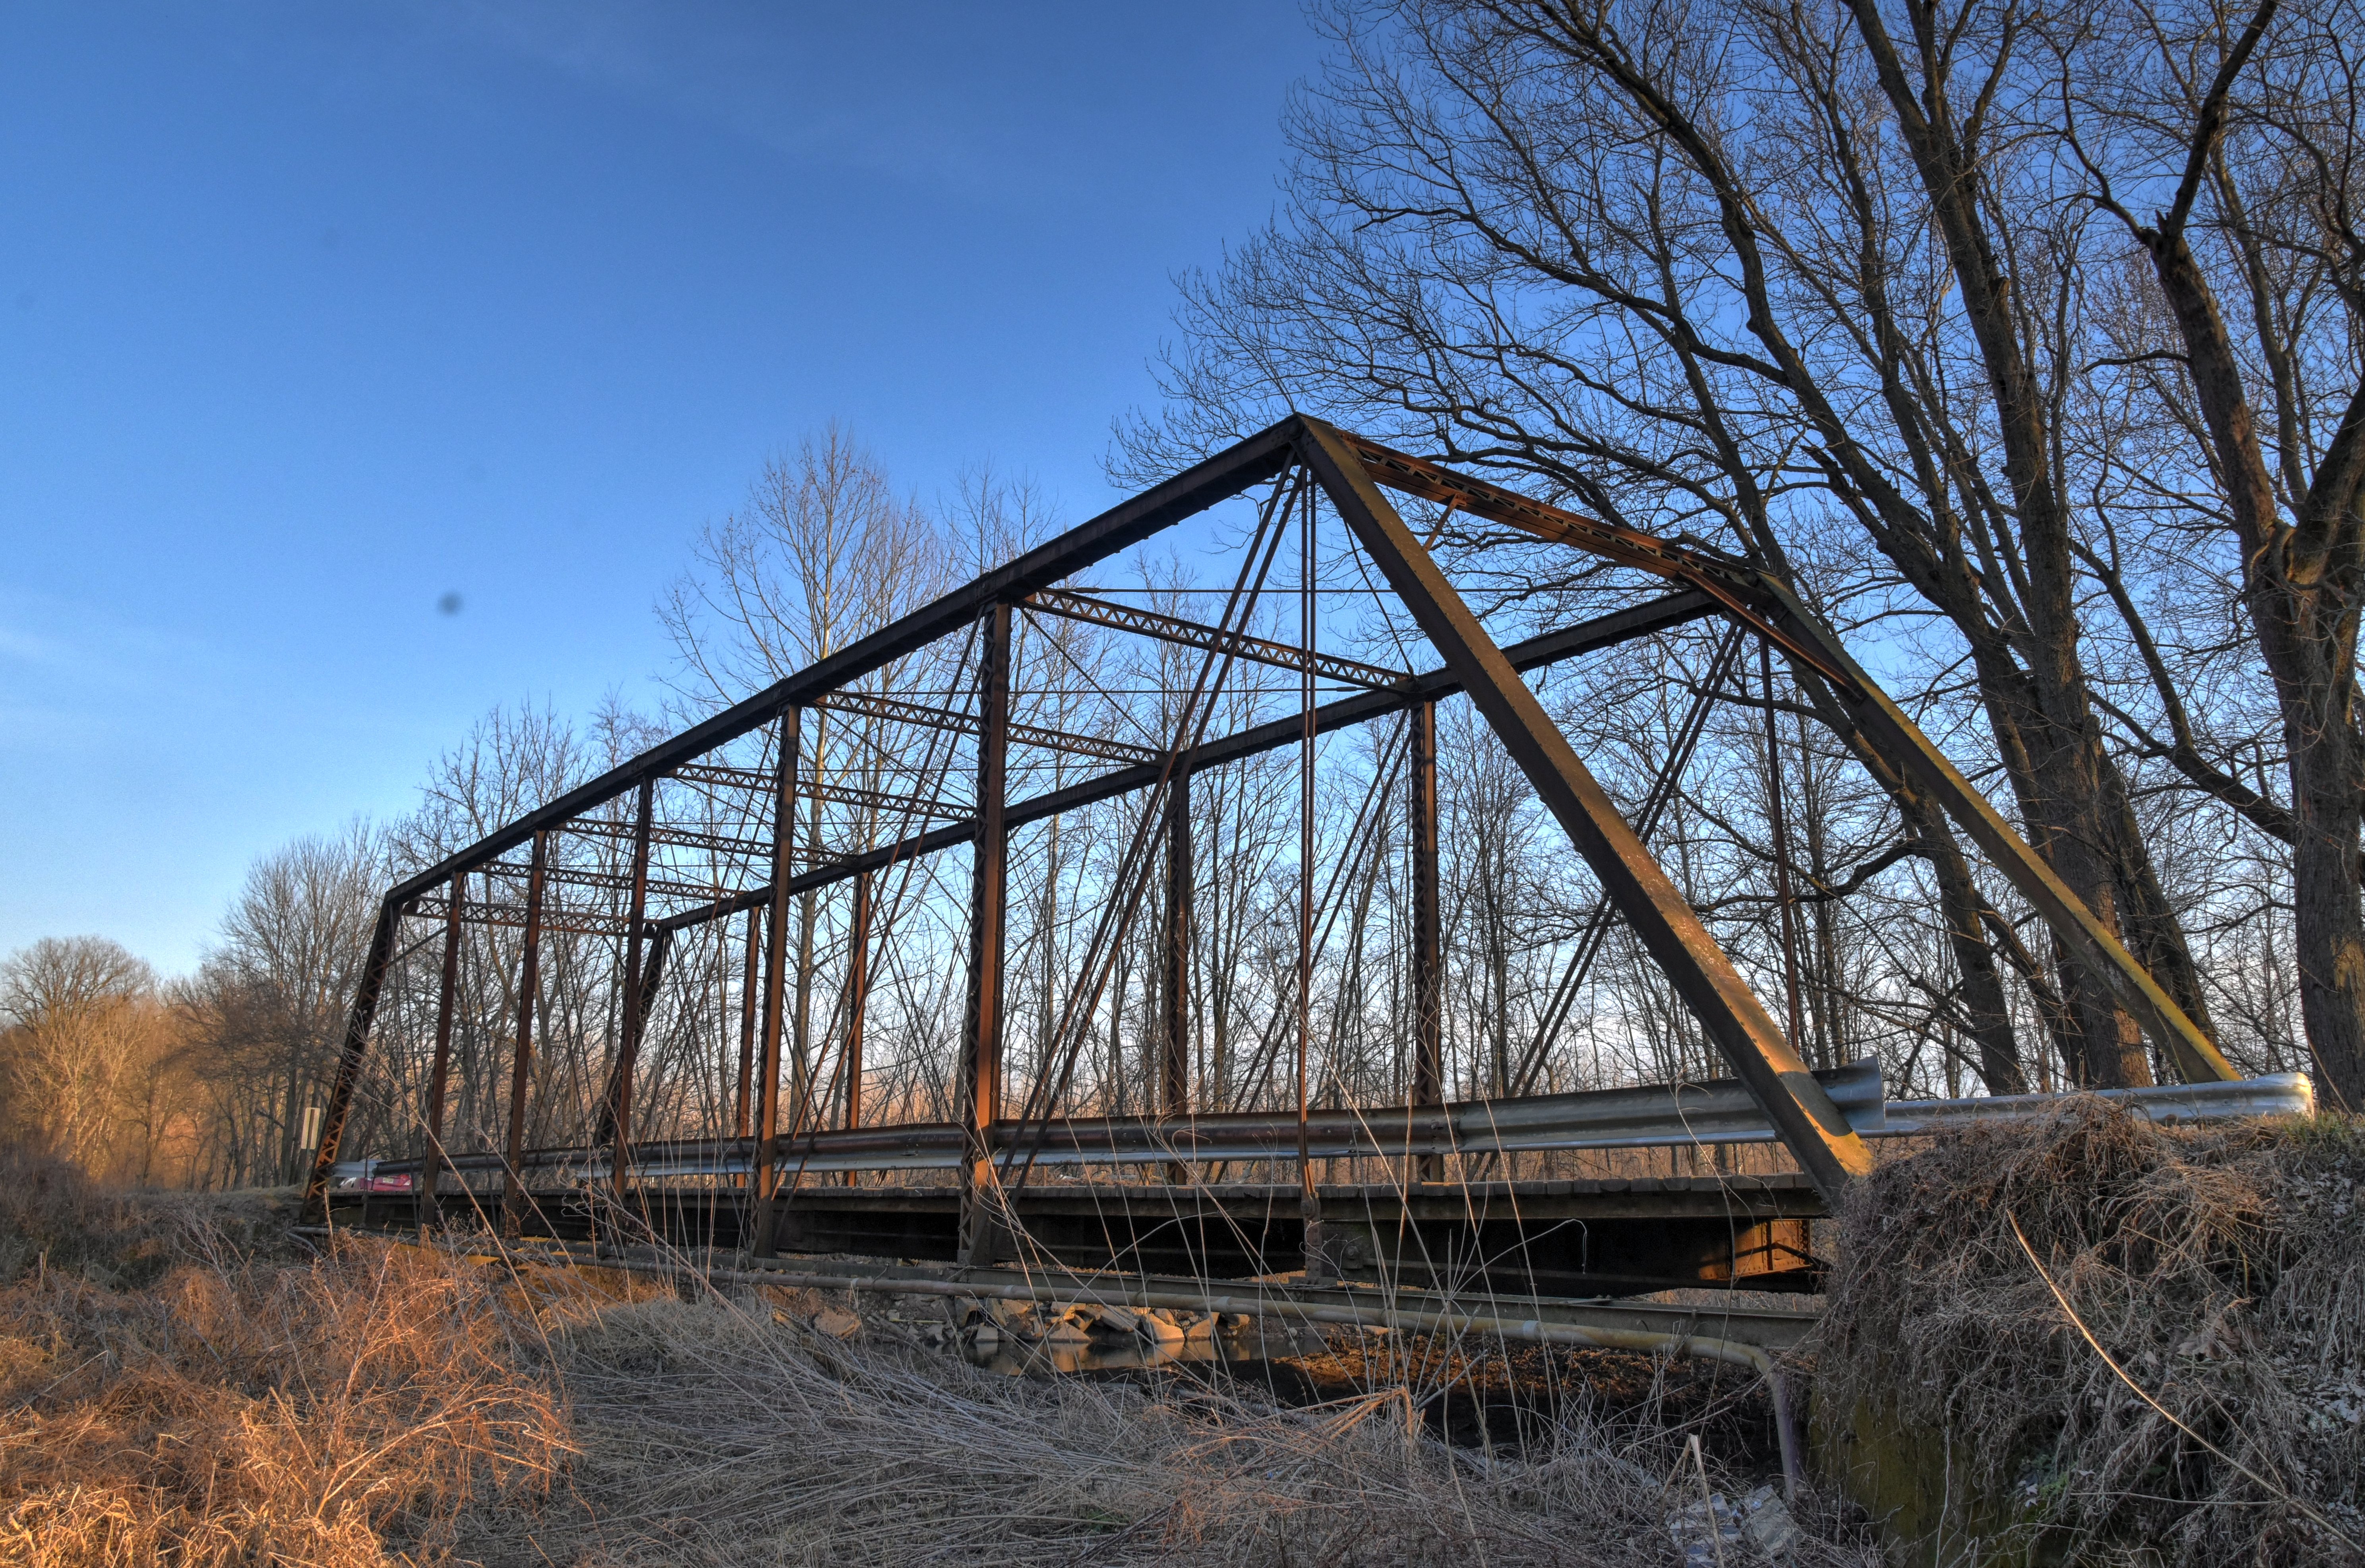
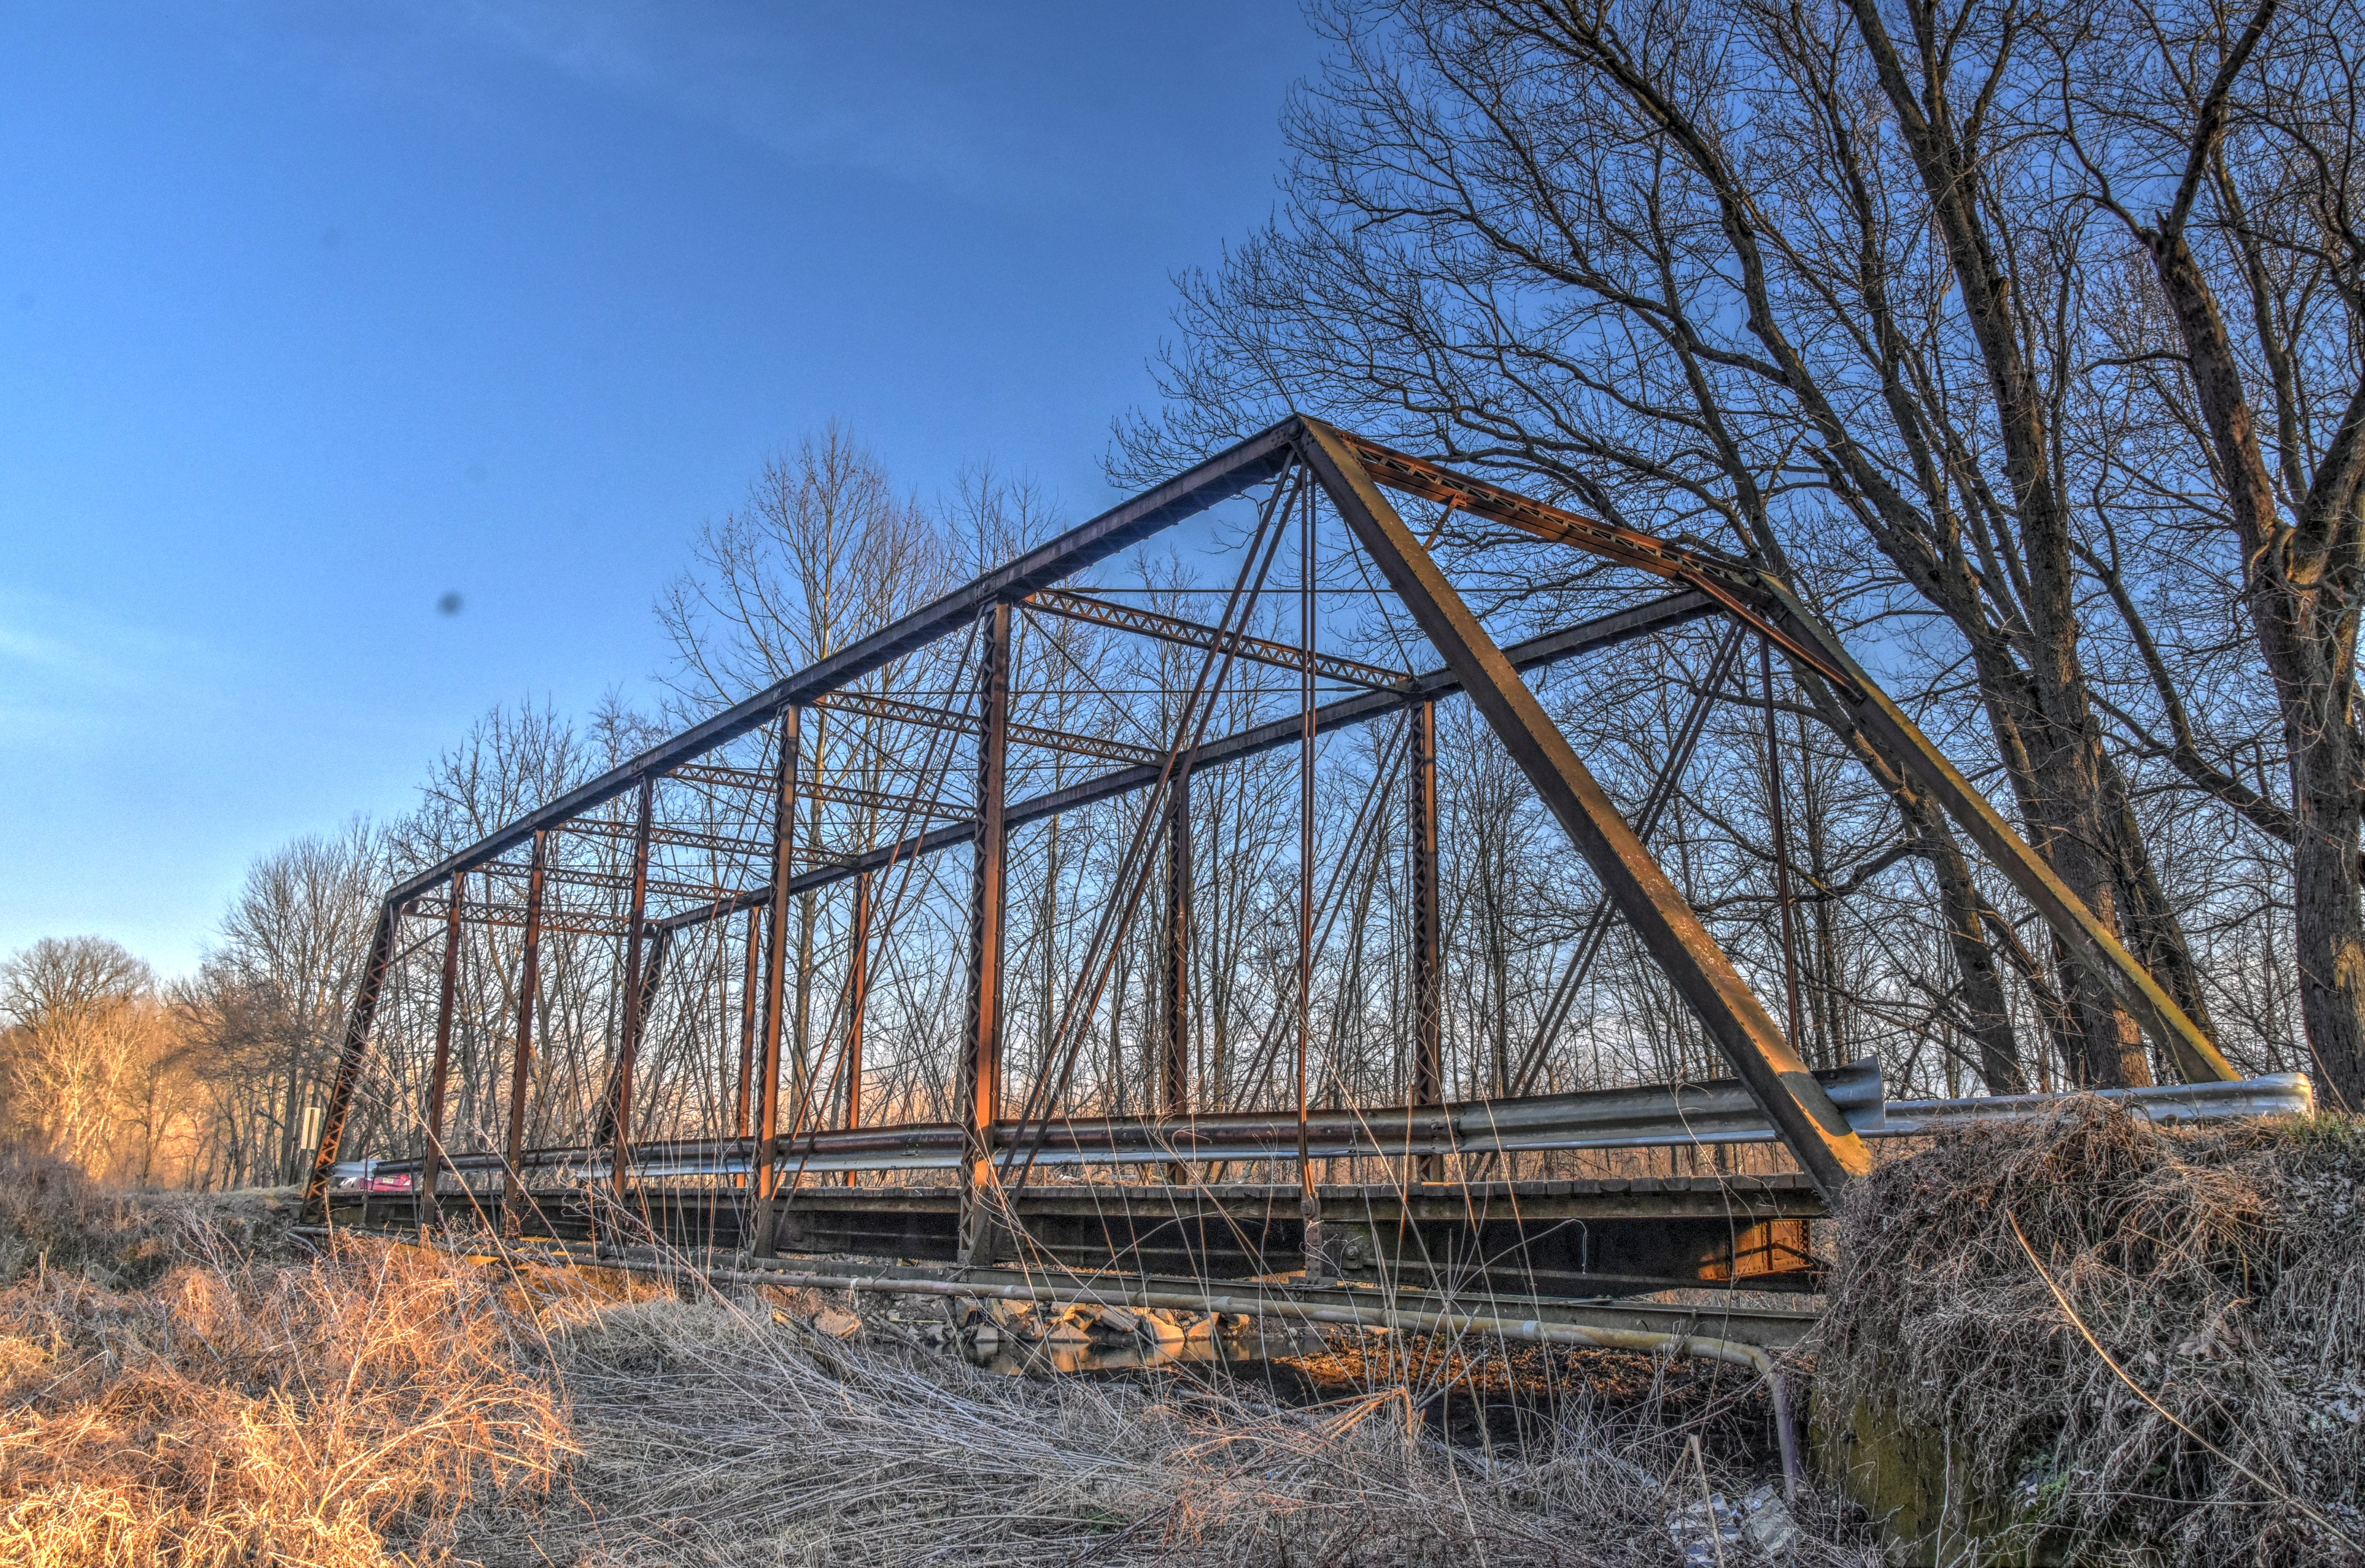
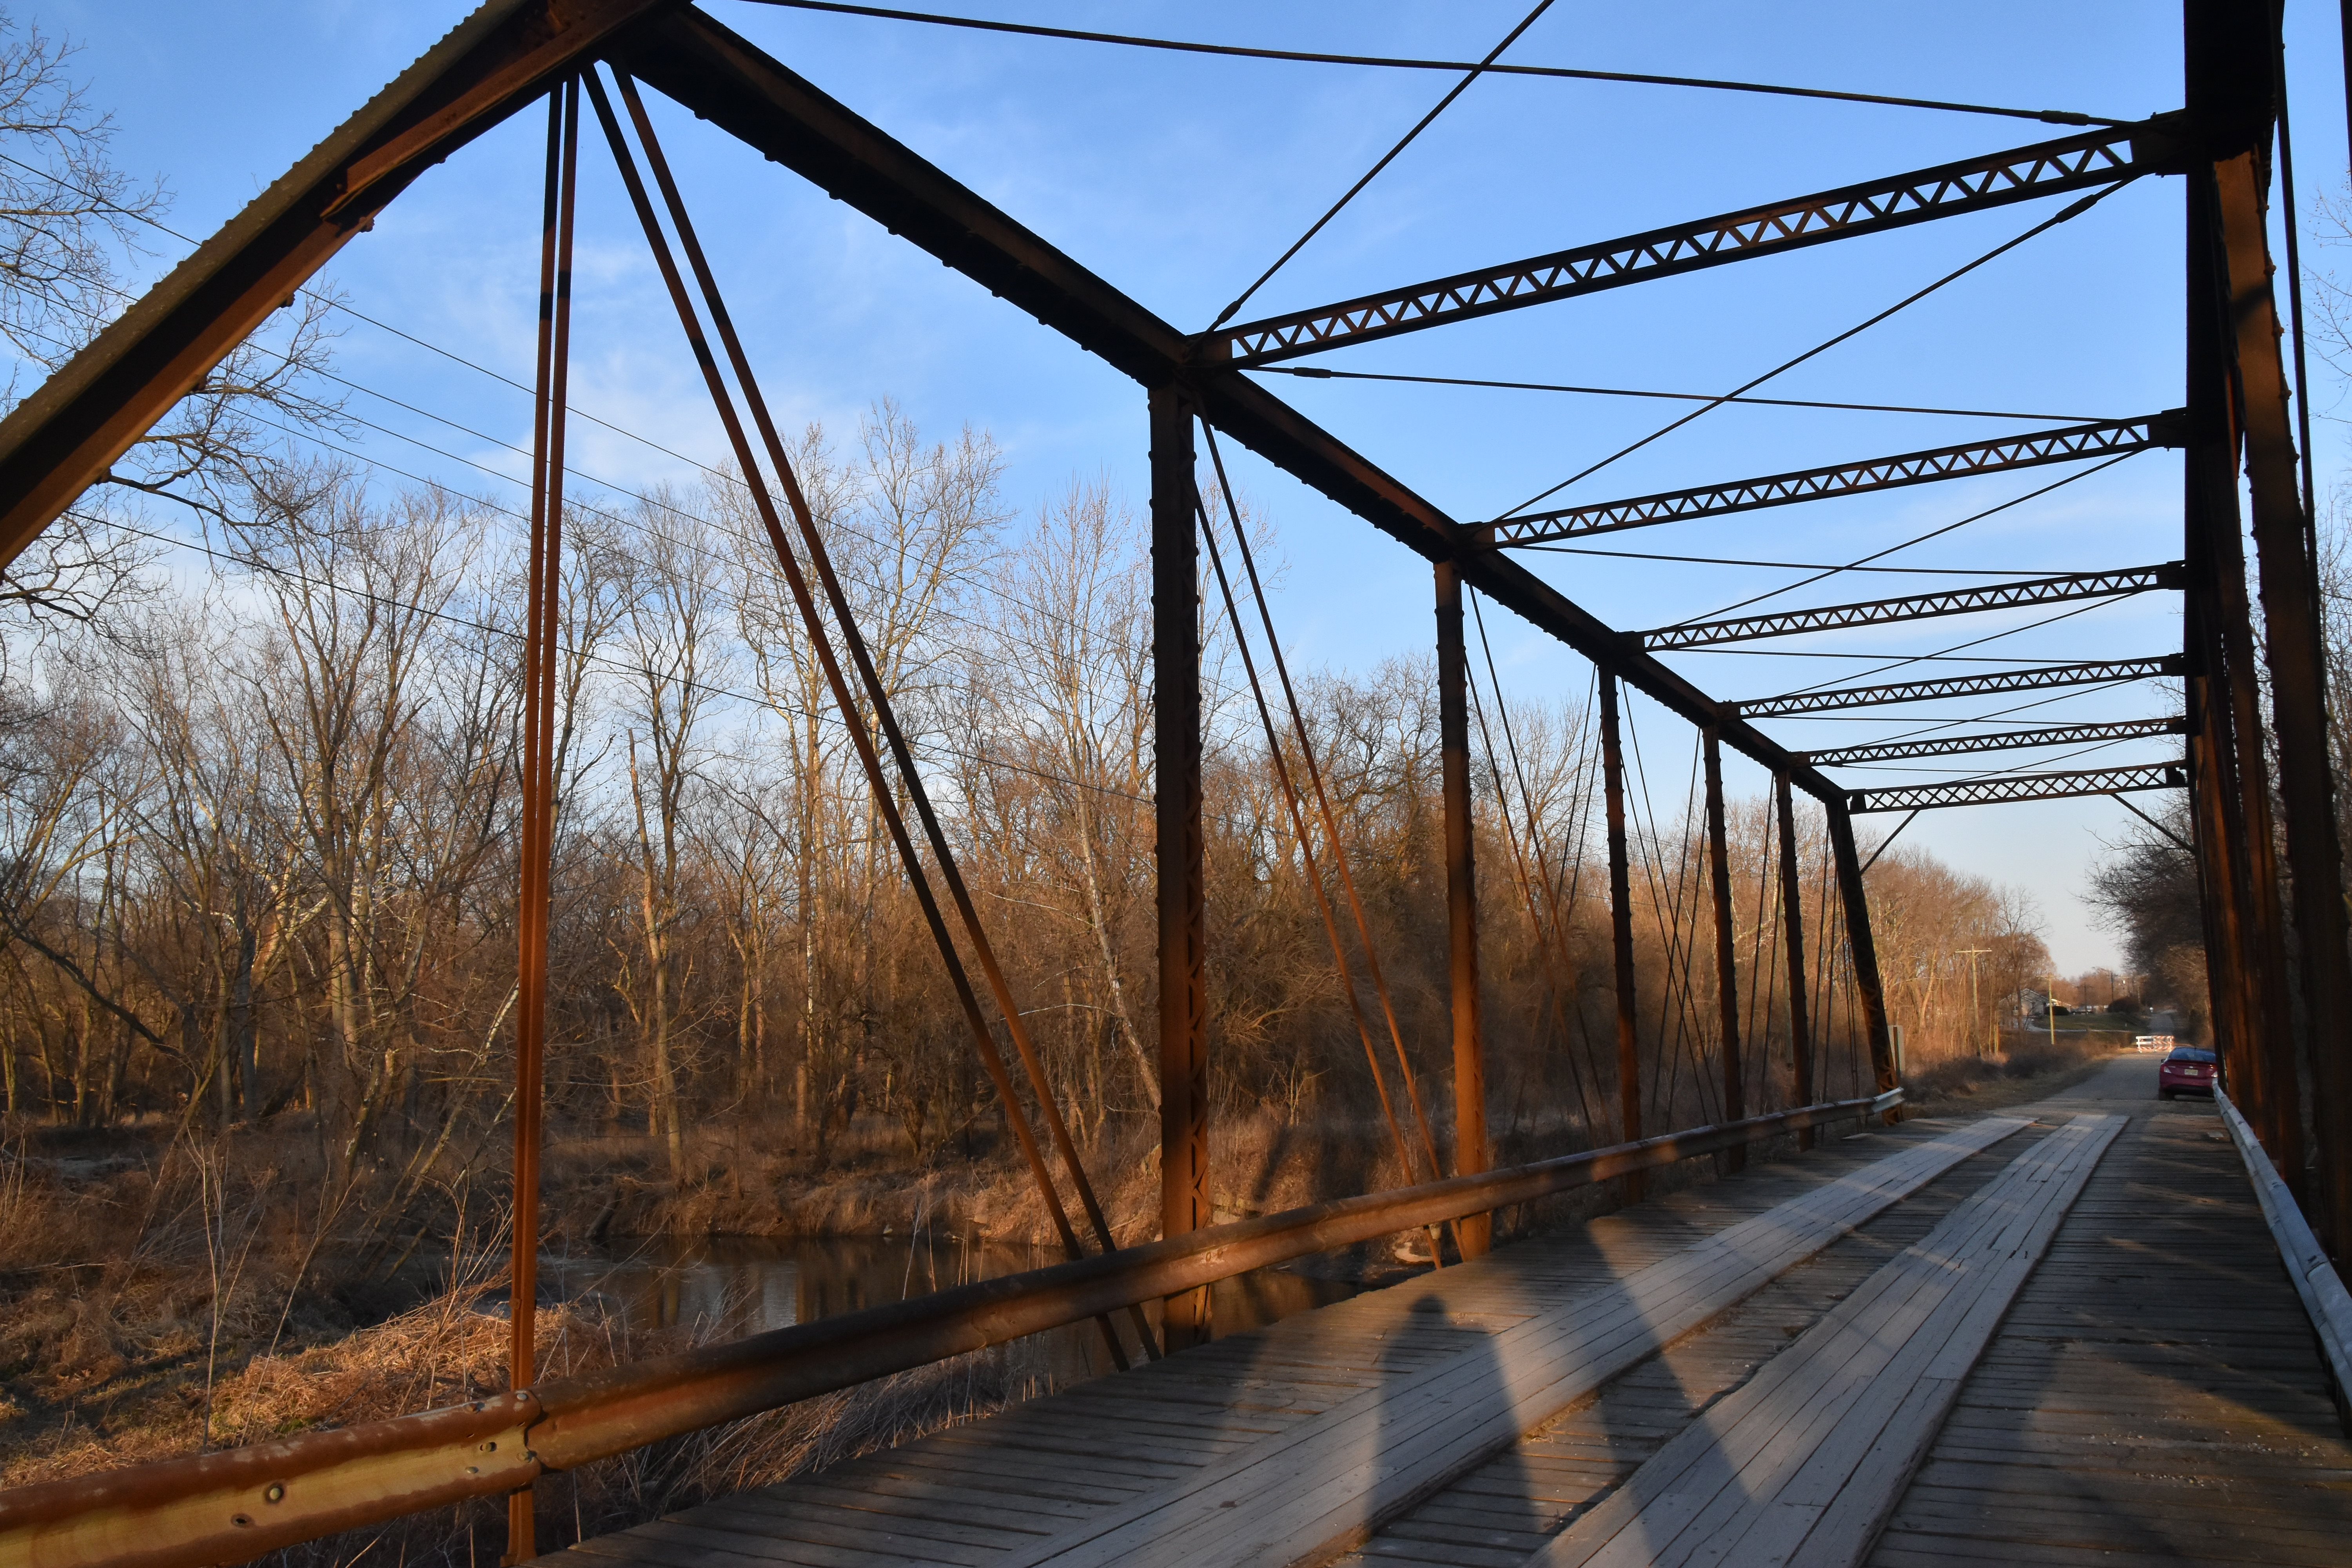
Portal views on bridge facing east.
![]()


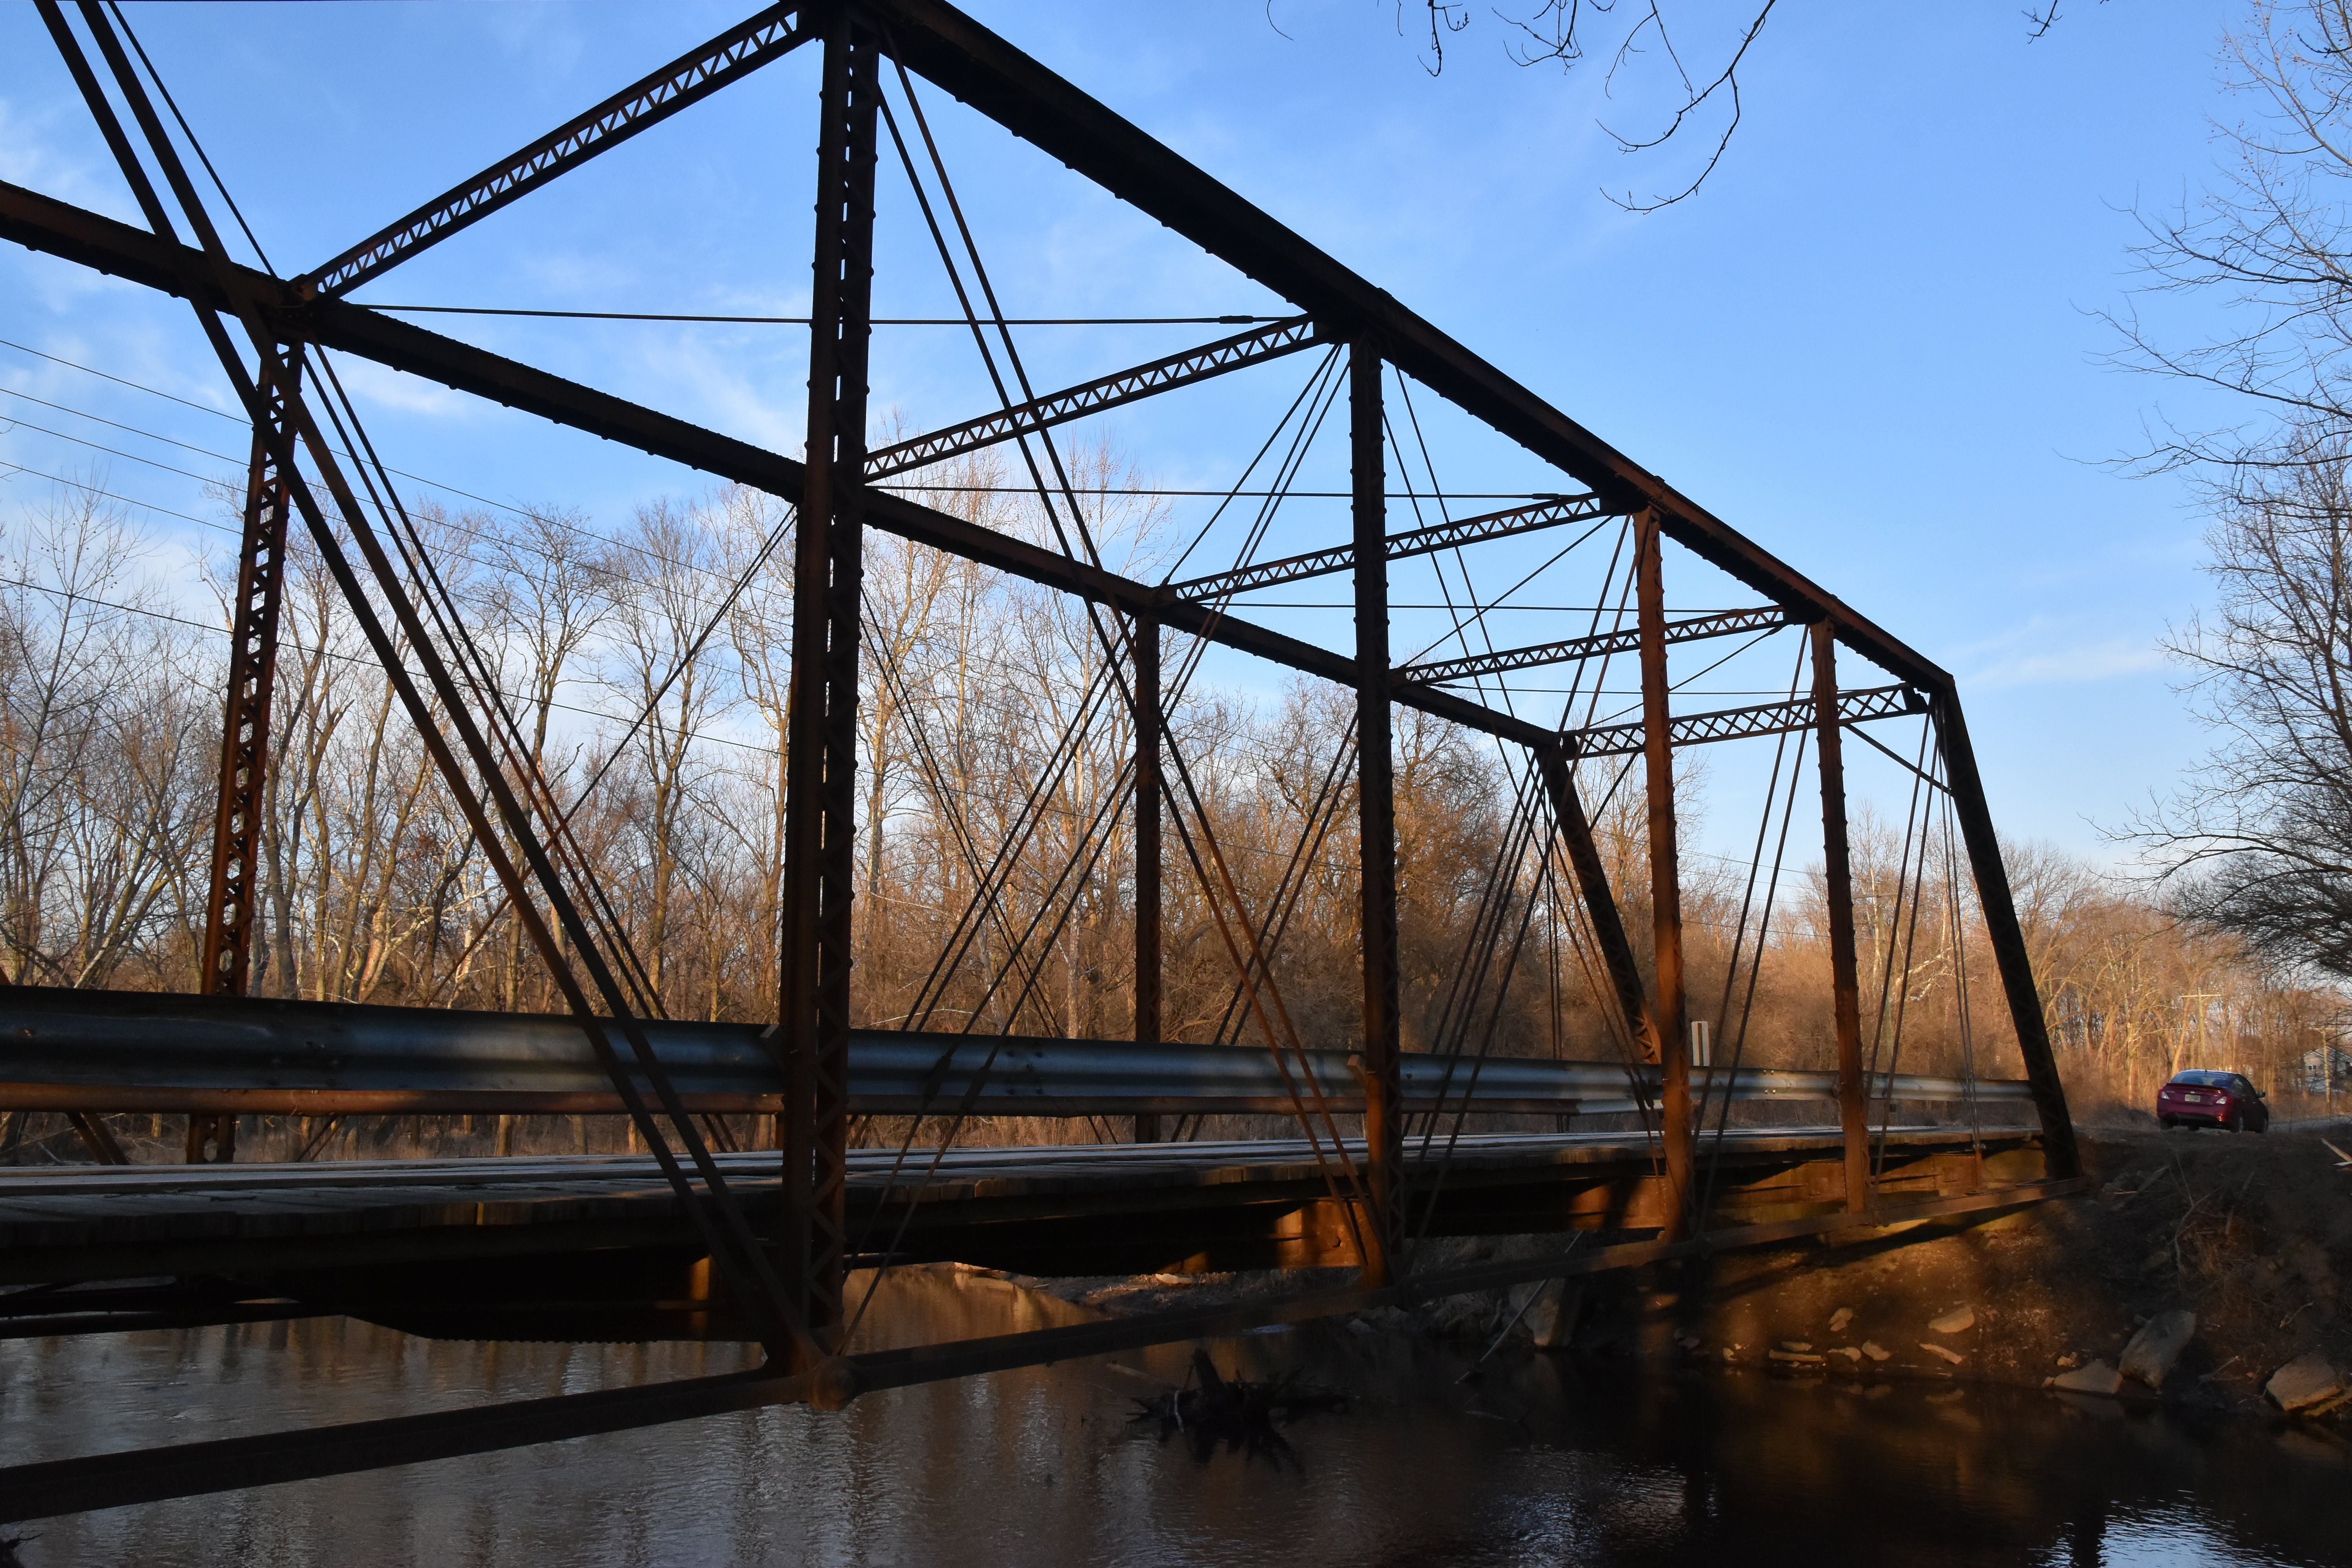
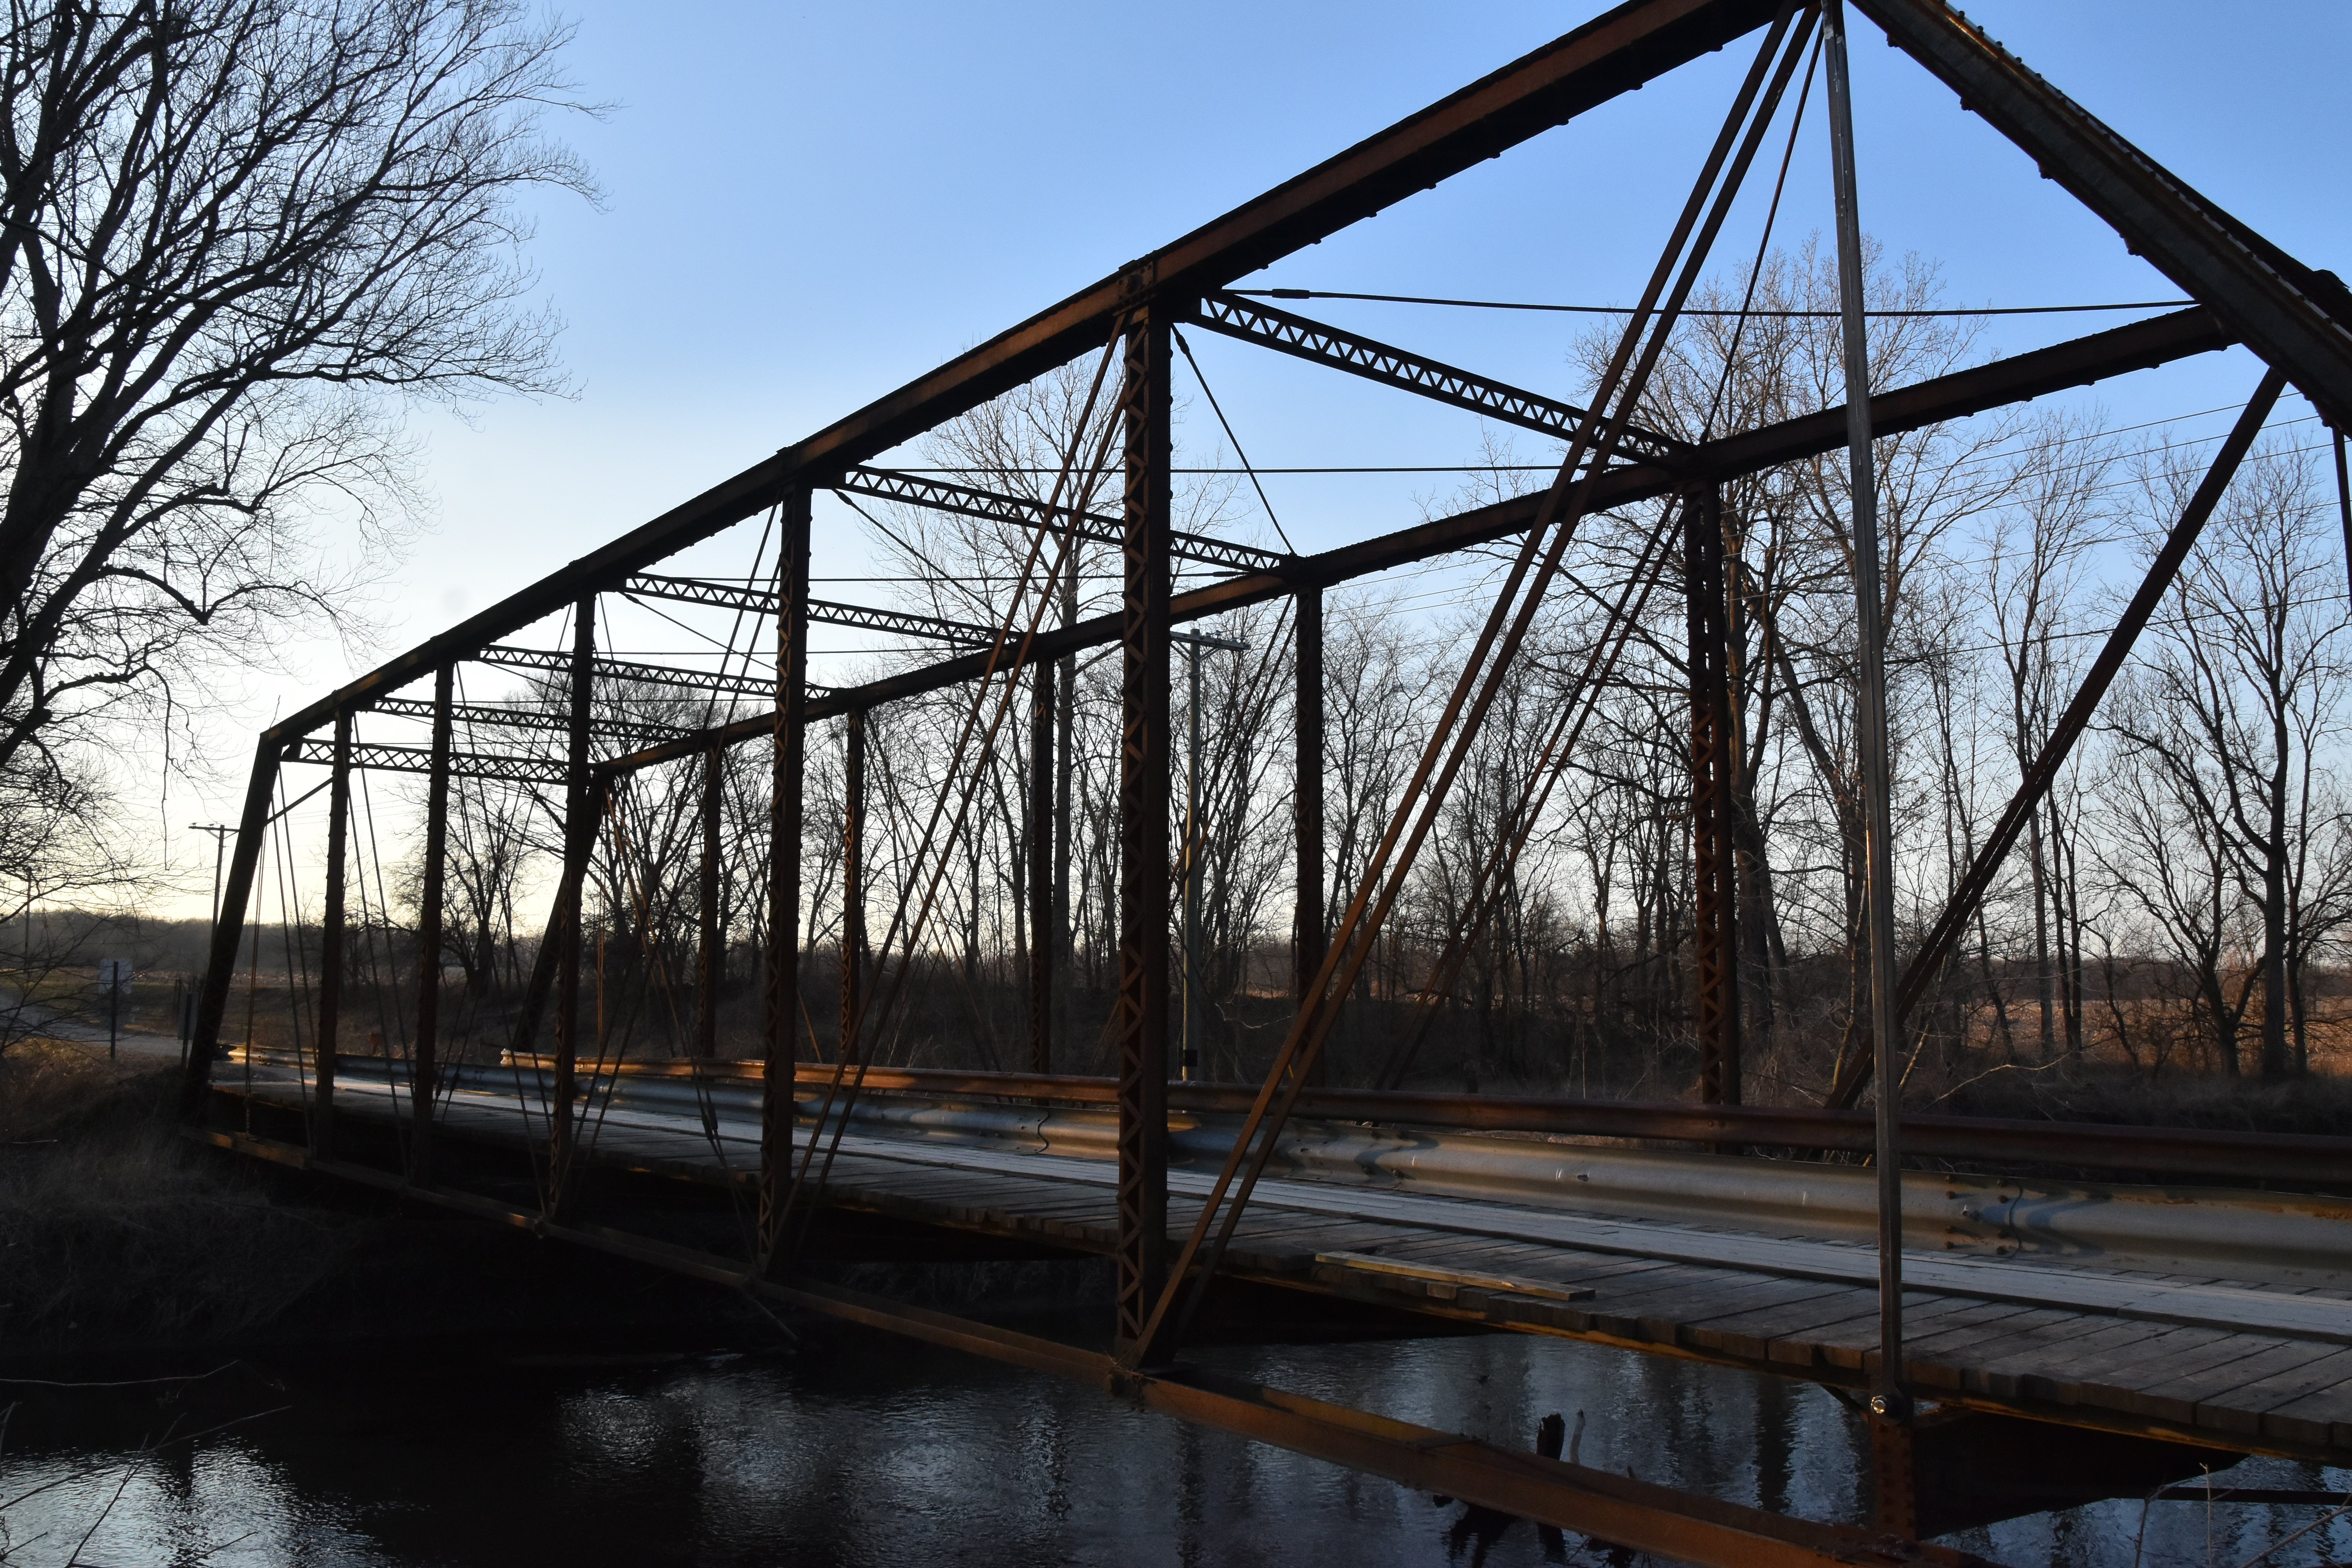
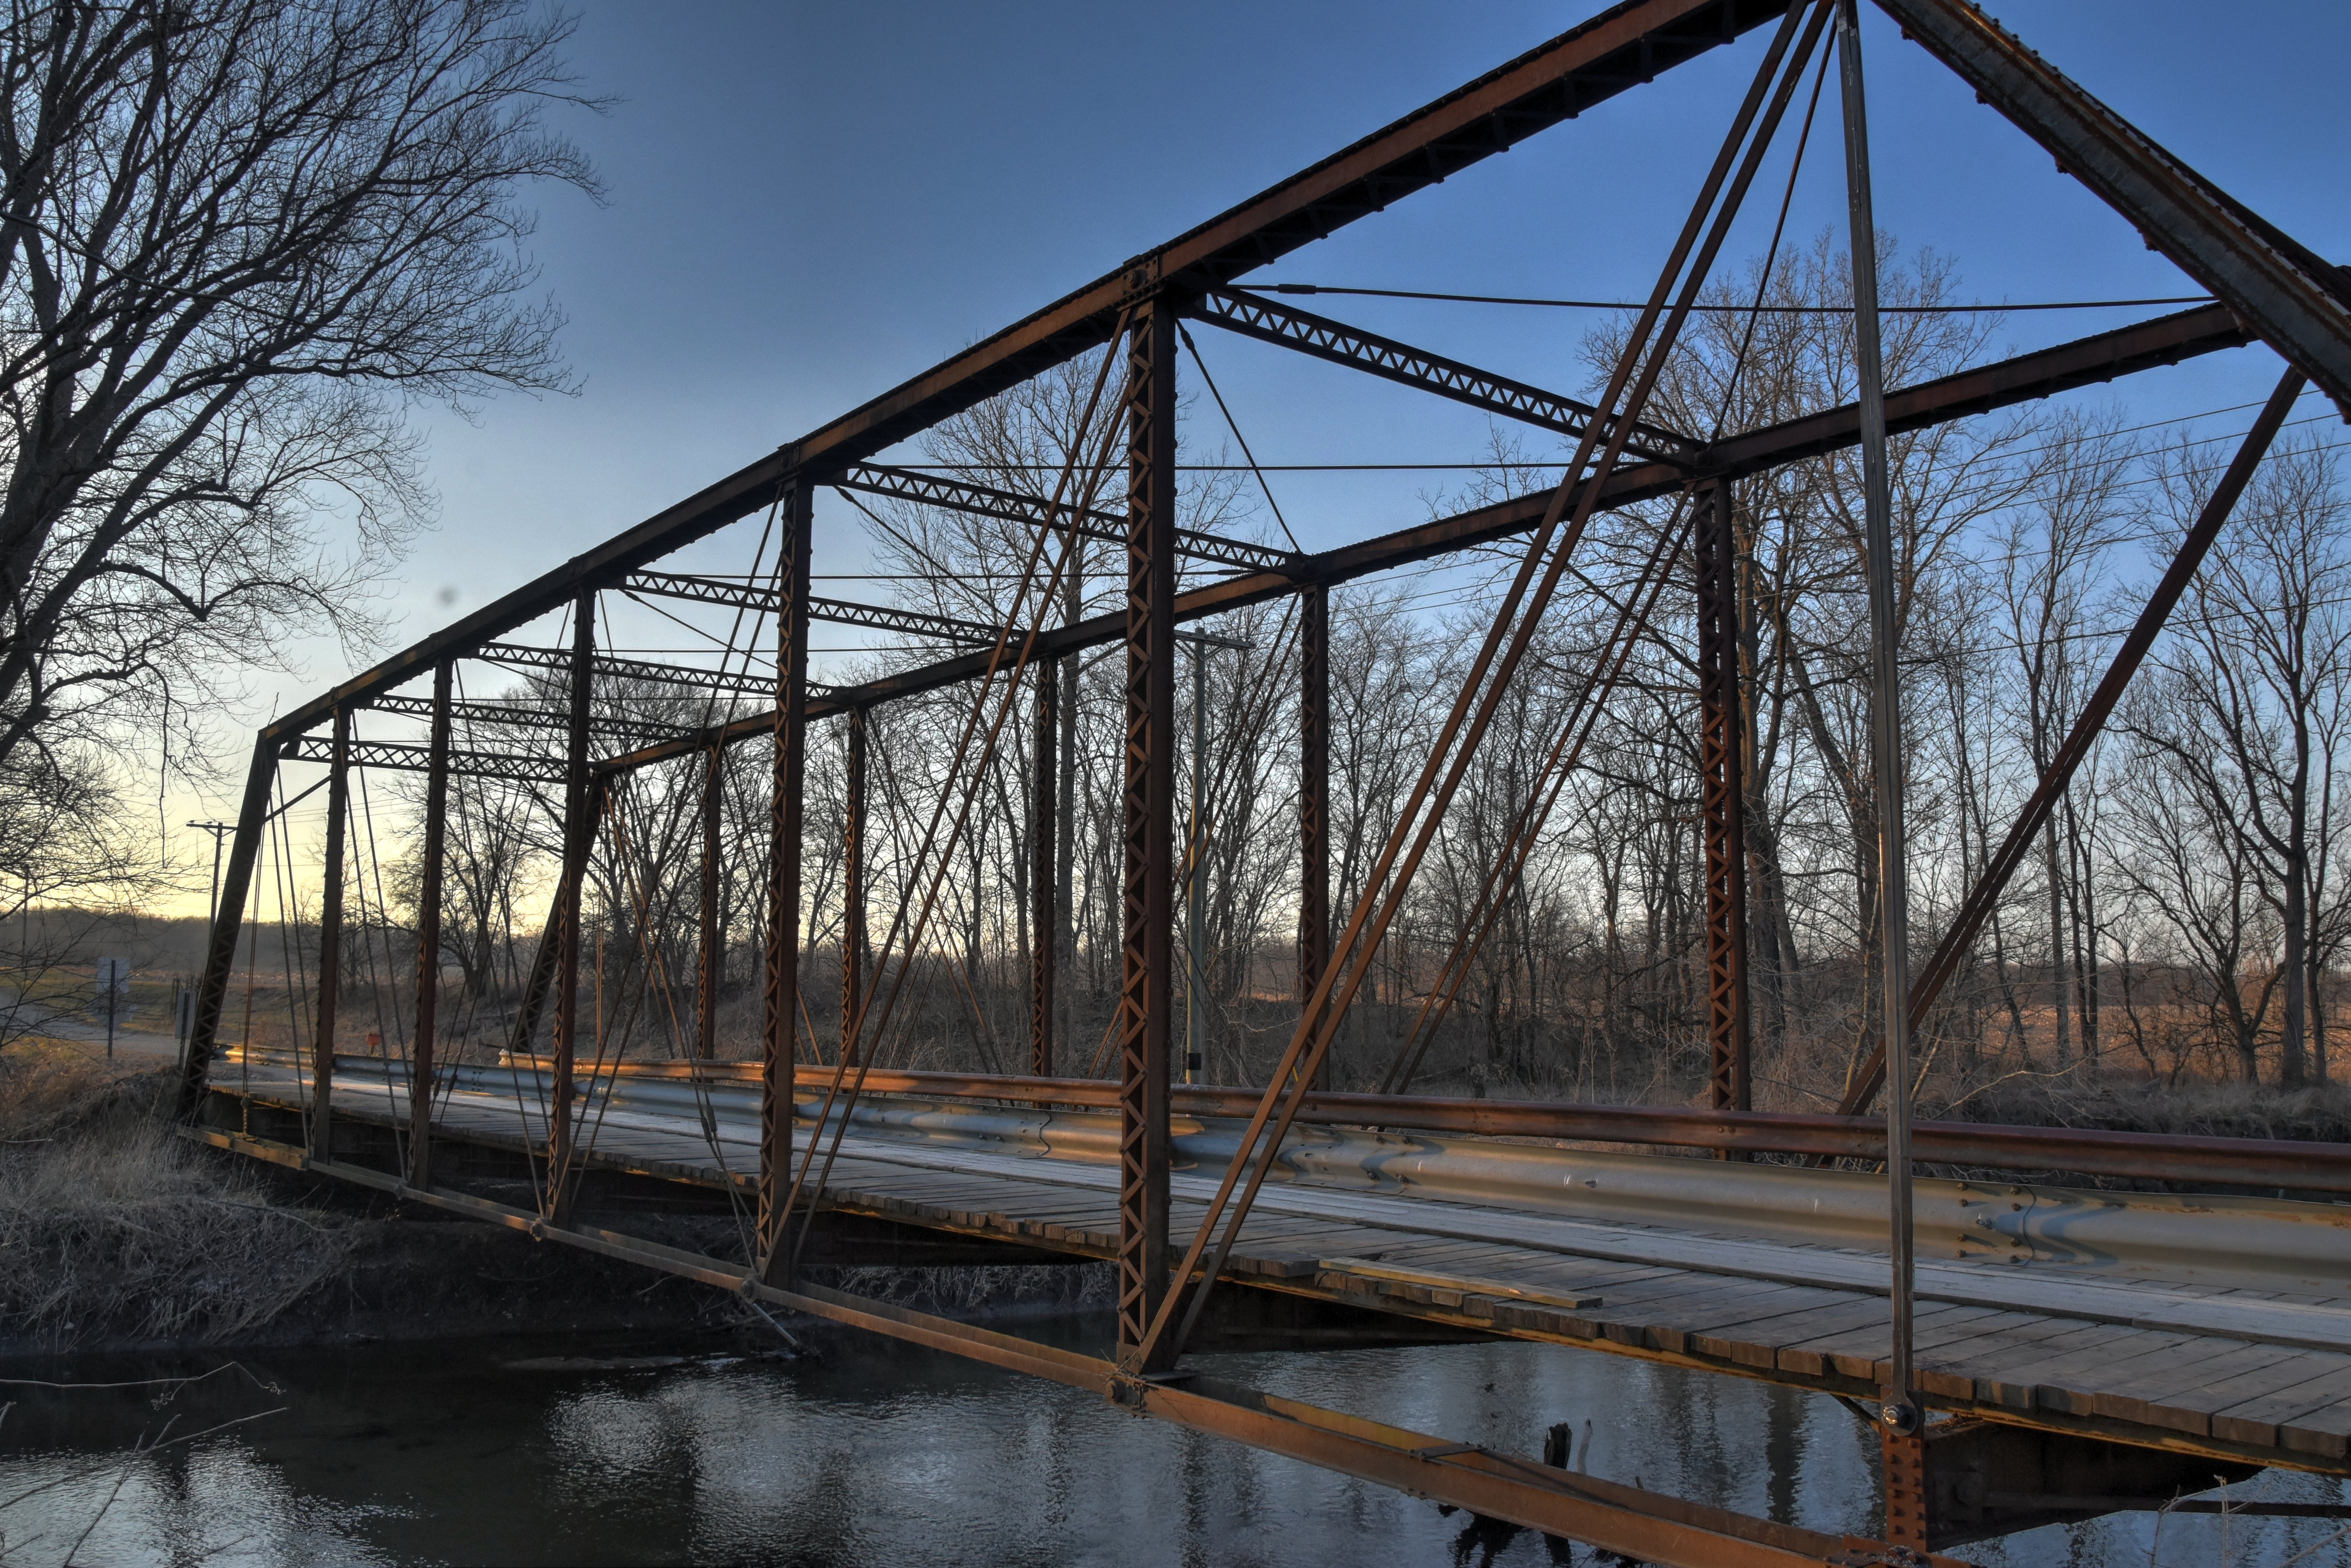
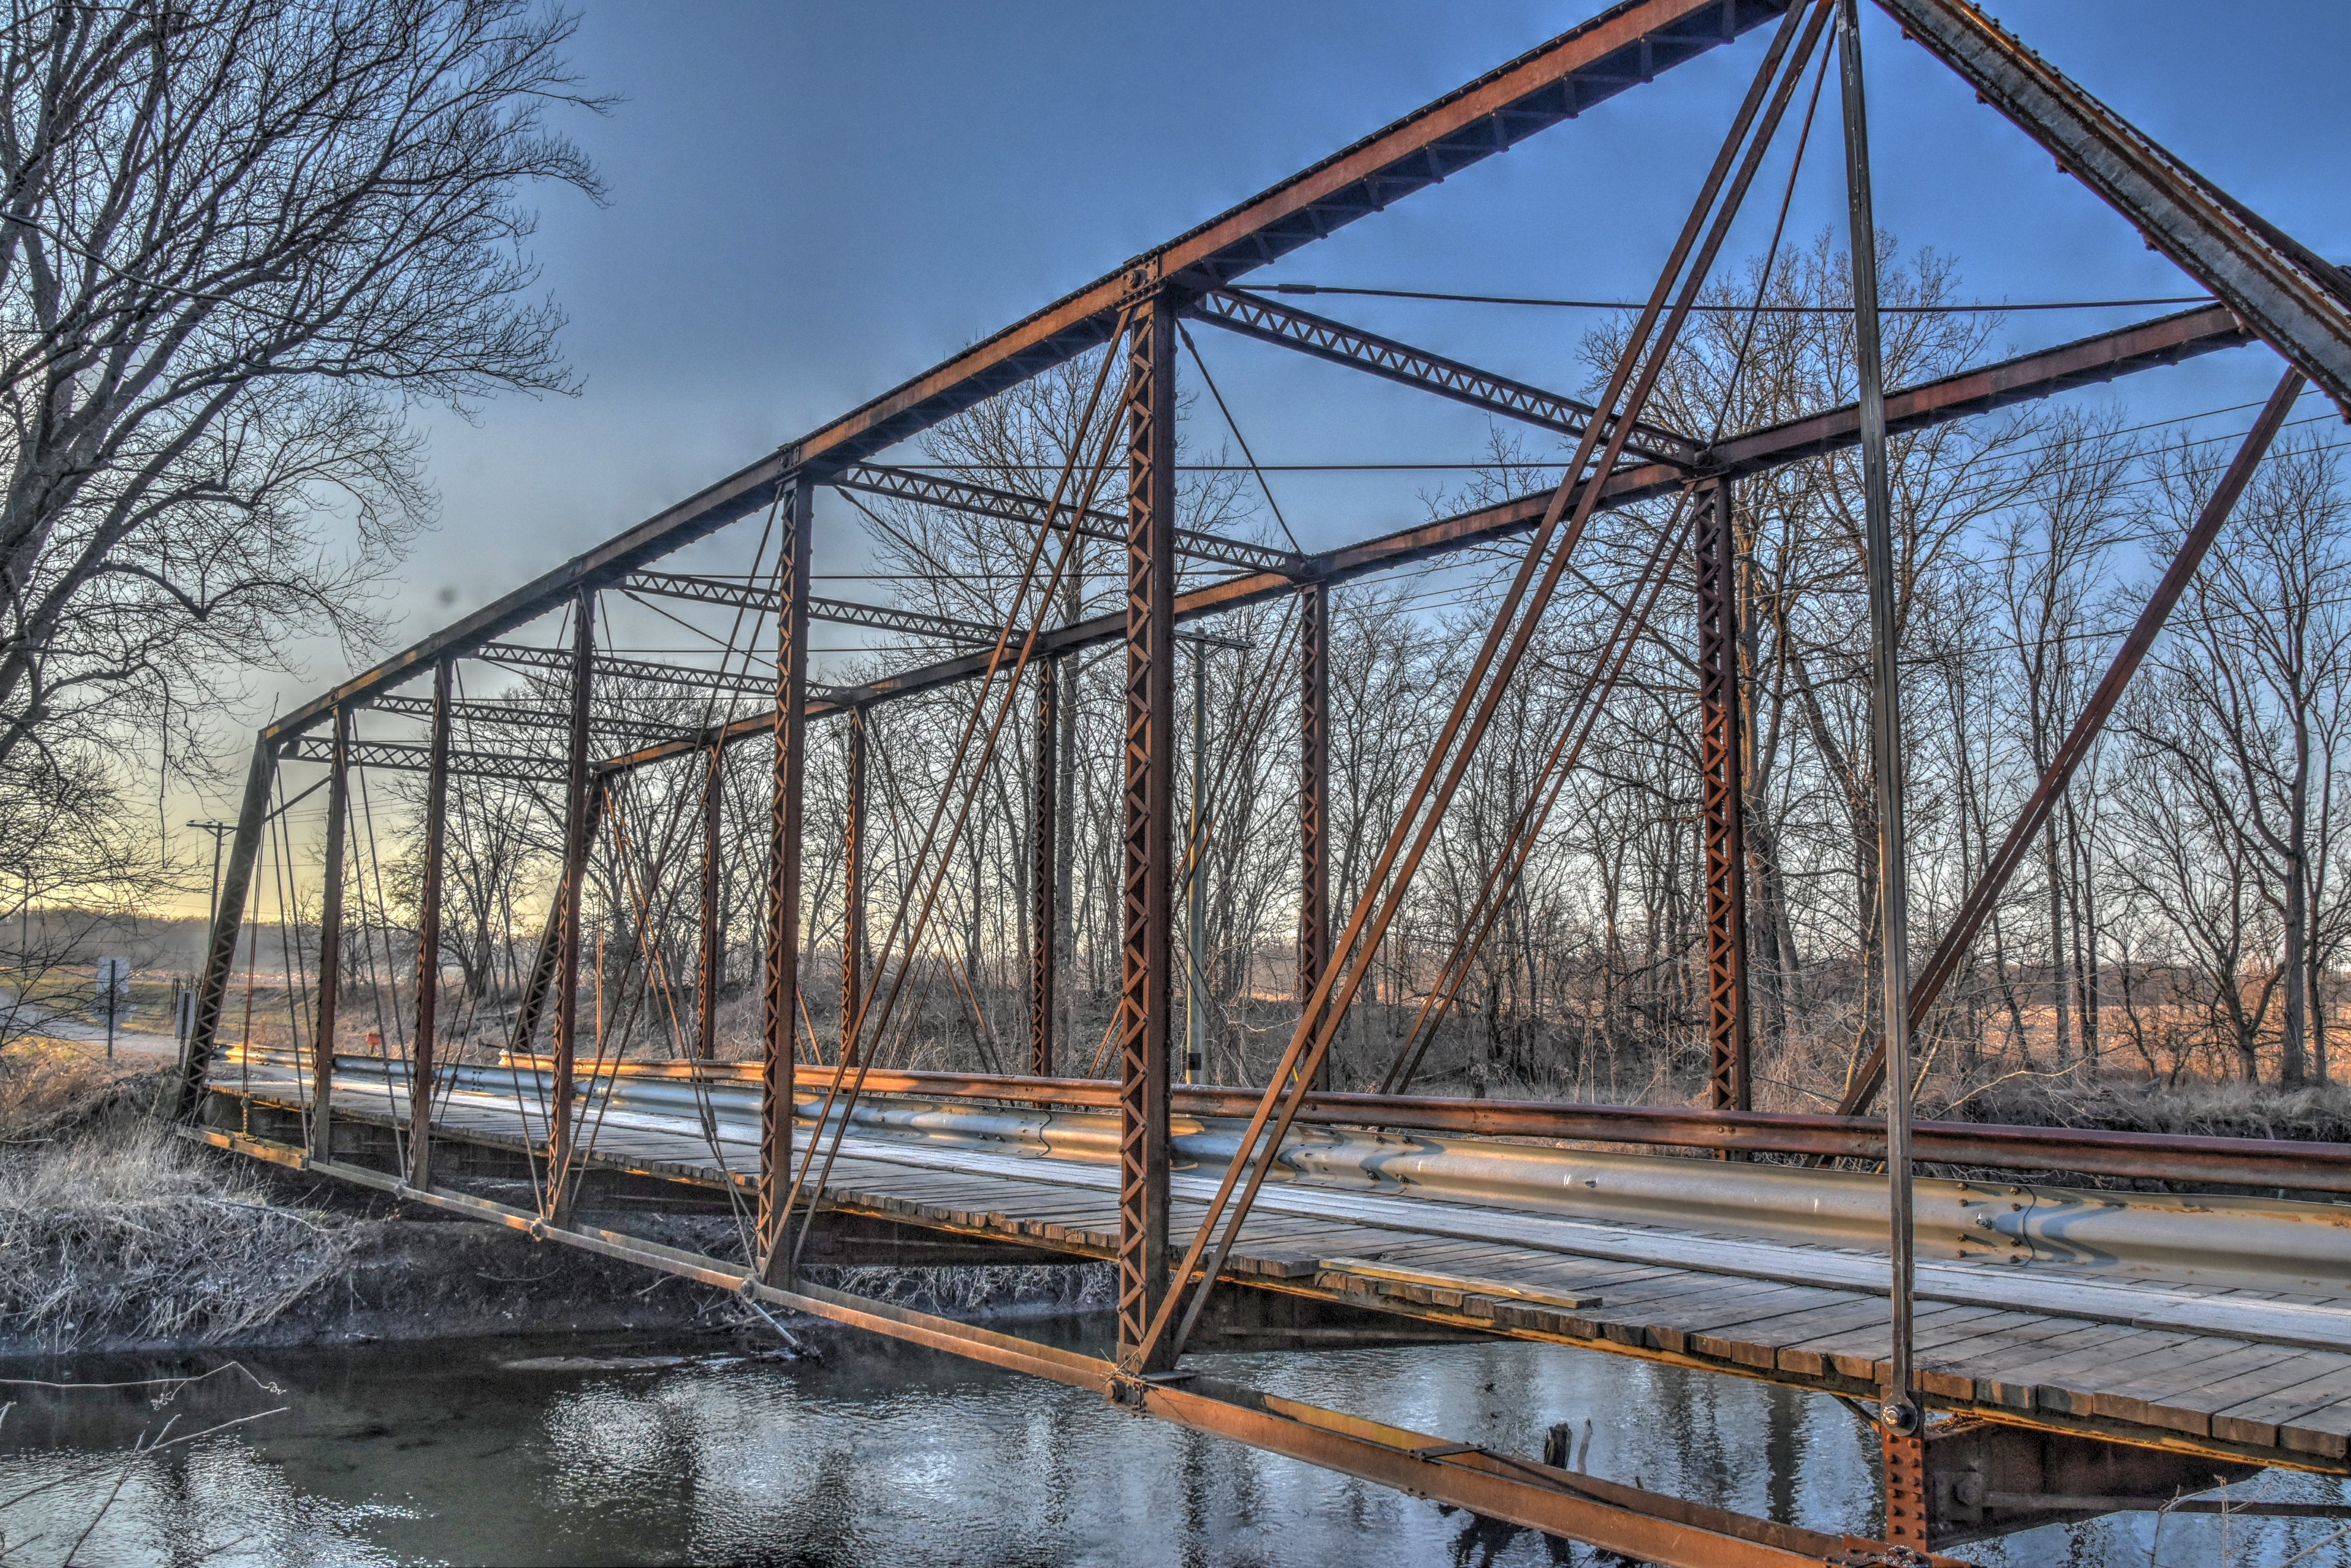
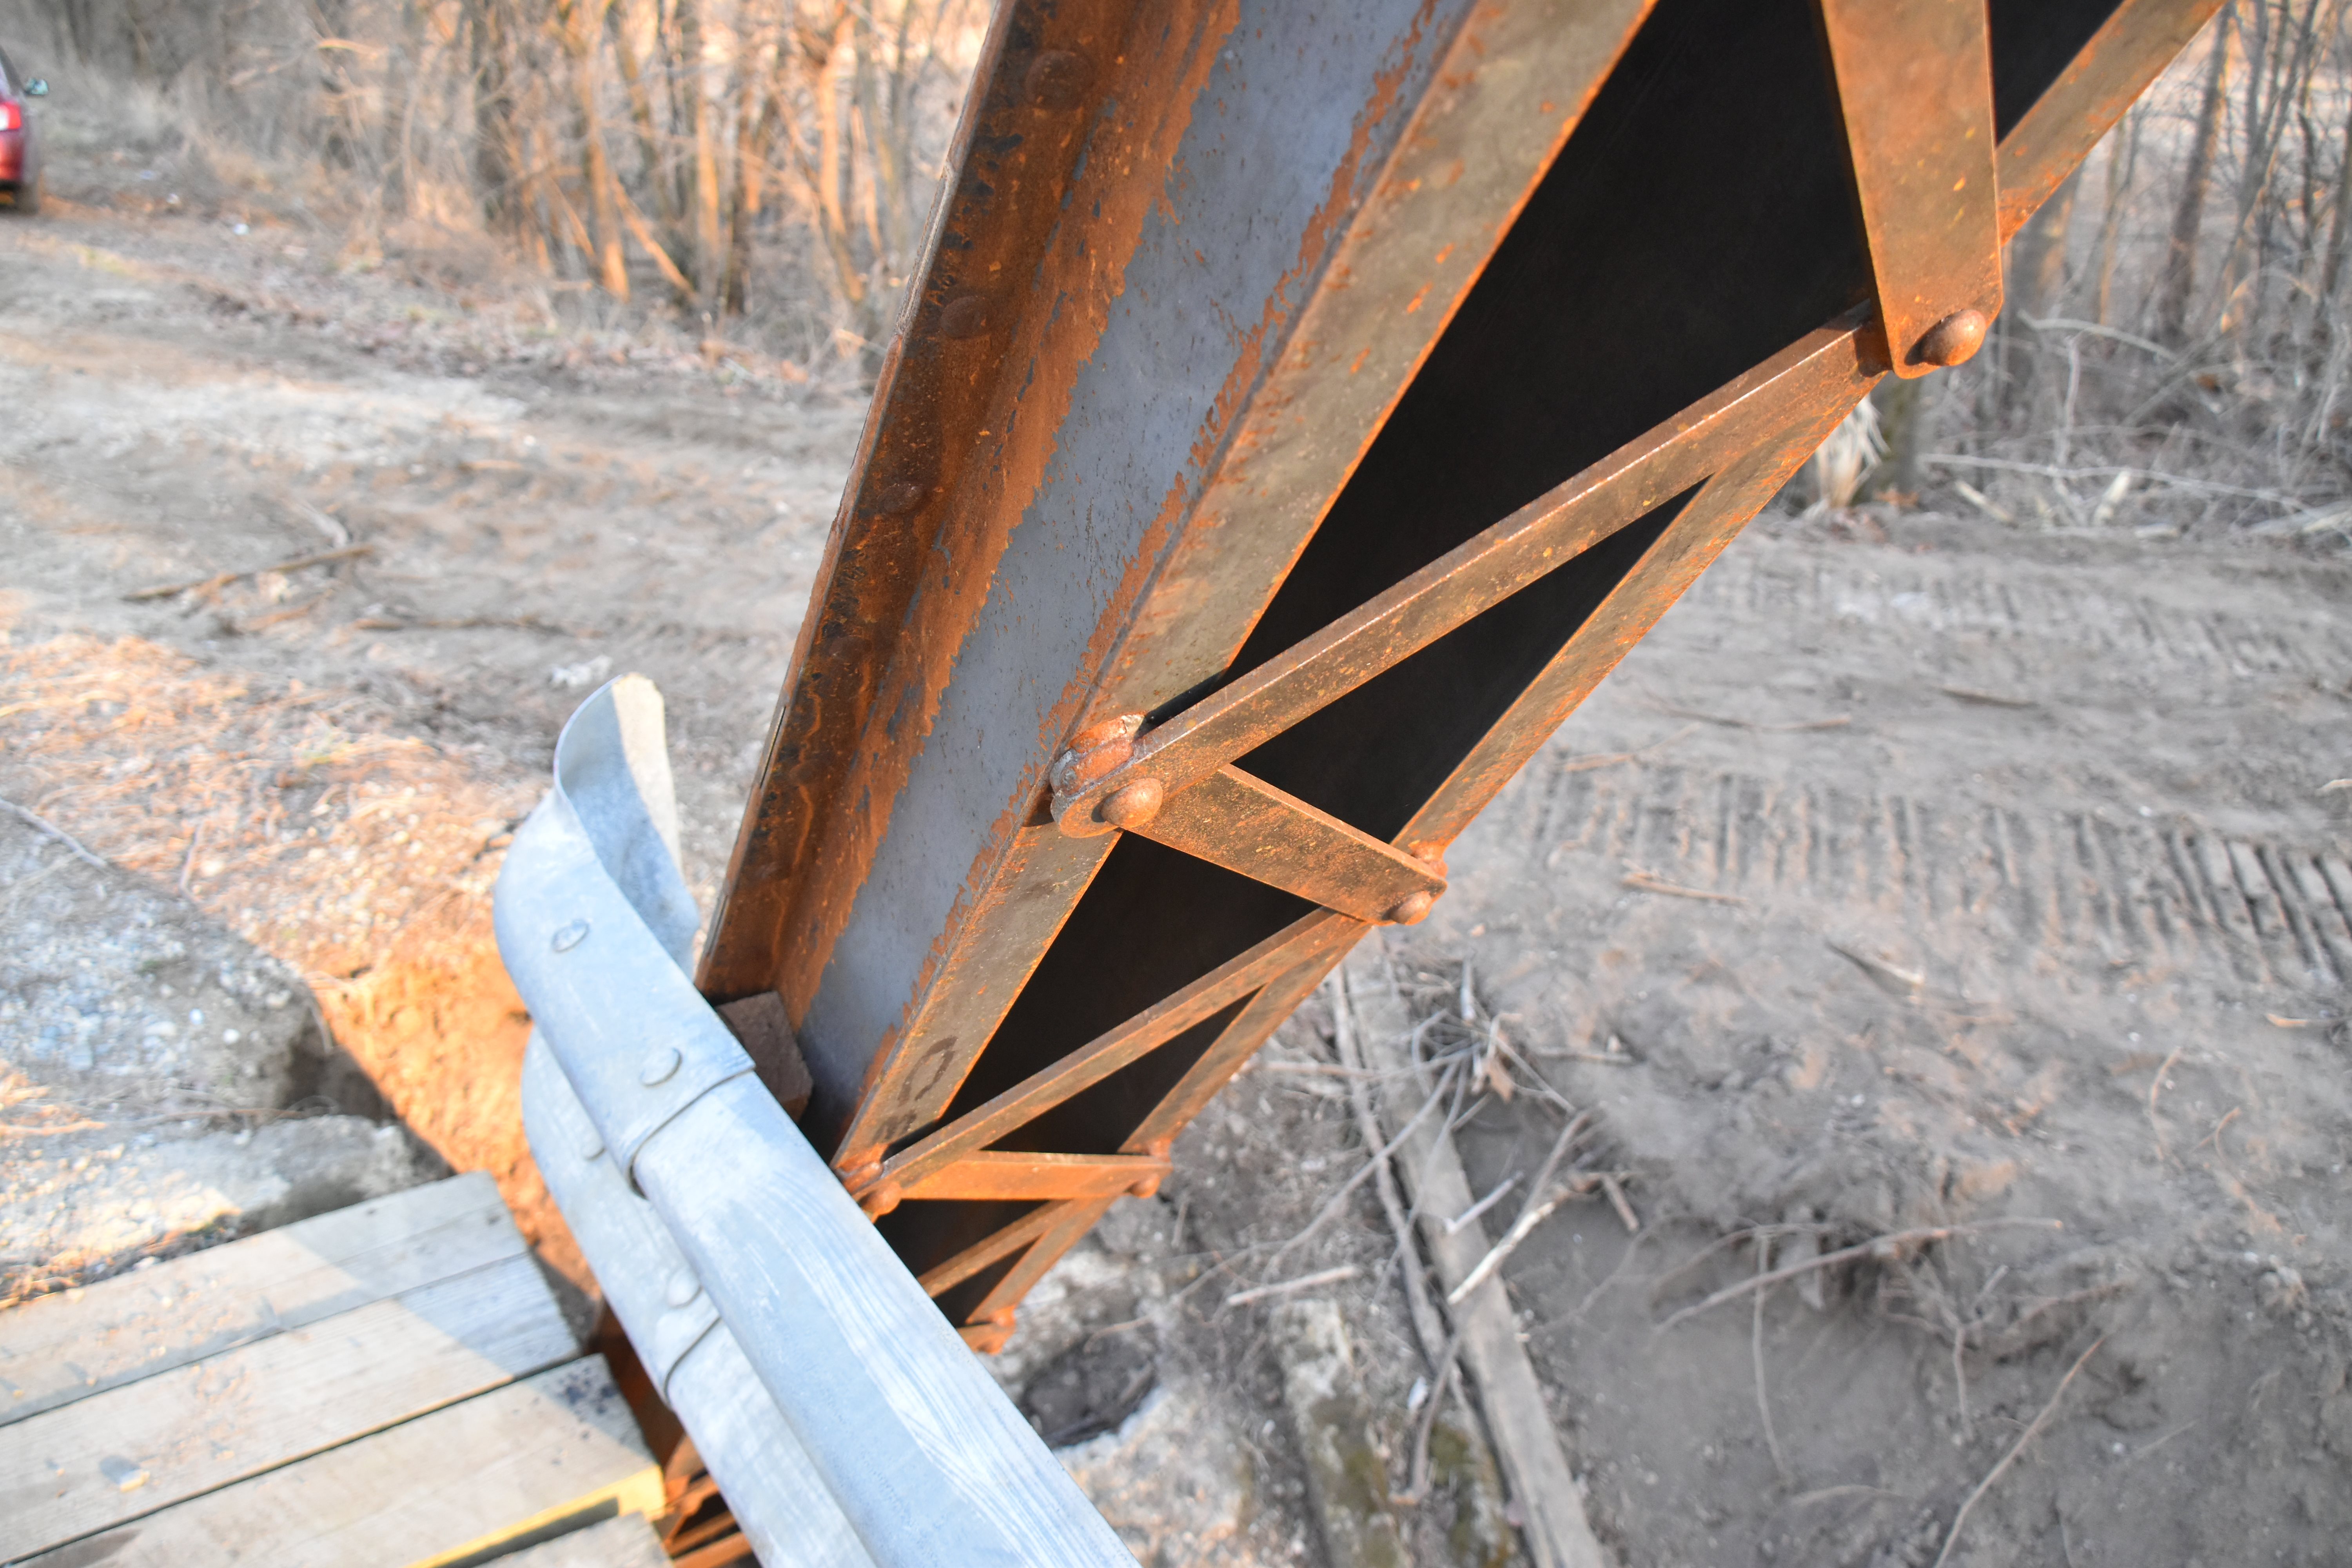
Oblique views from southwest quadrant.
![]()


Views beside bridge from southwest quadrant.
![]()
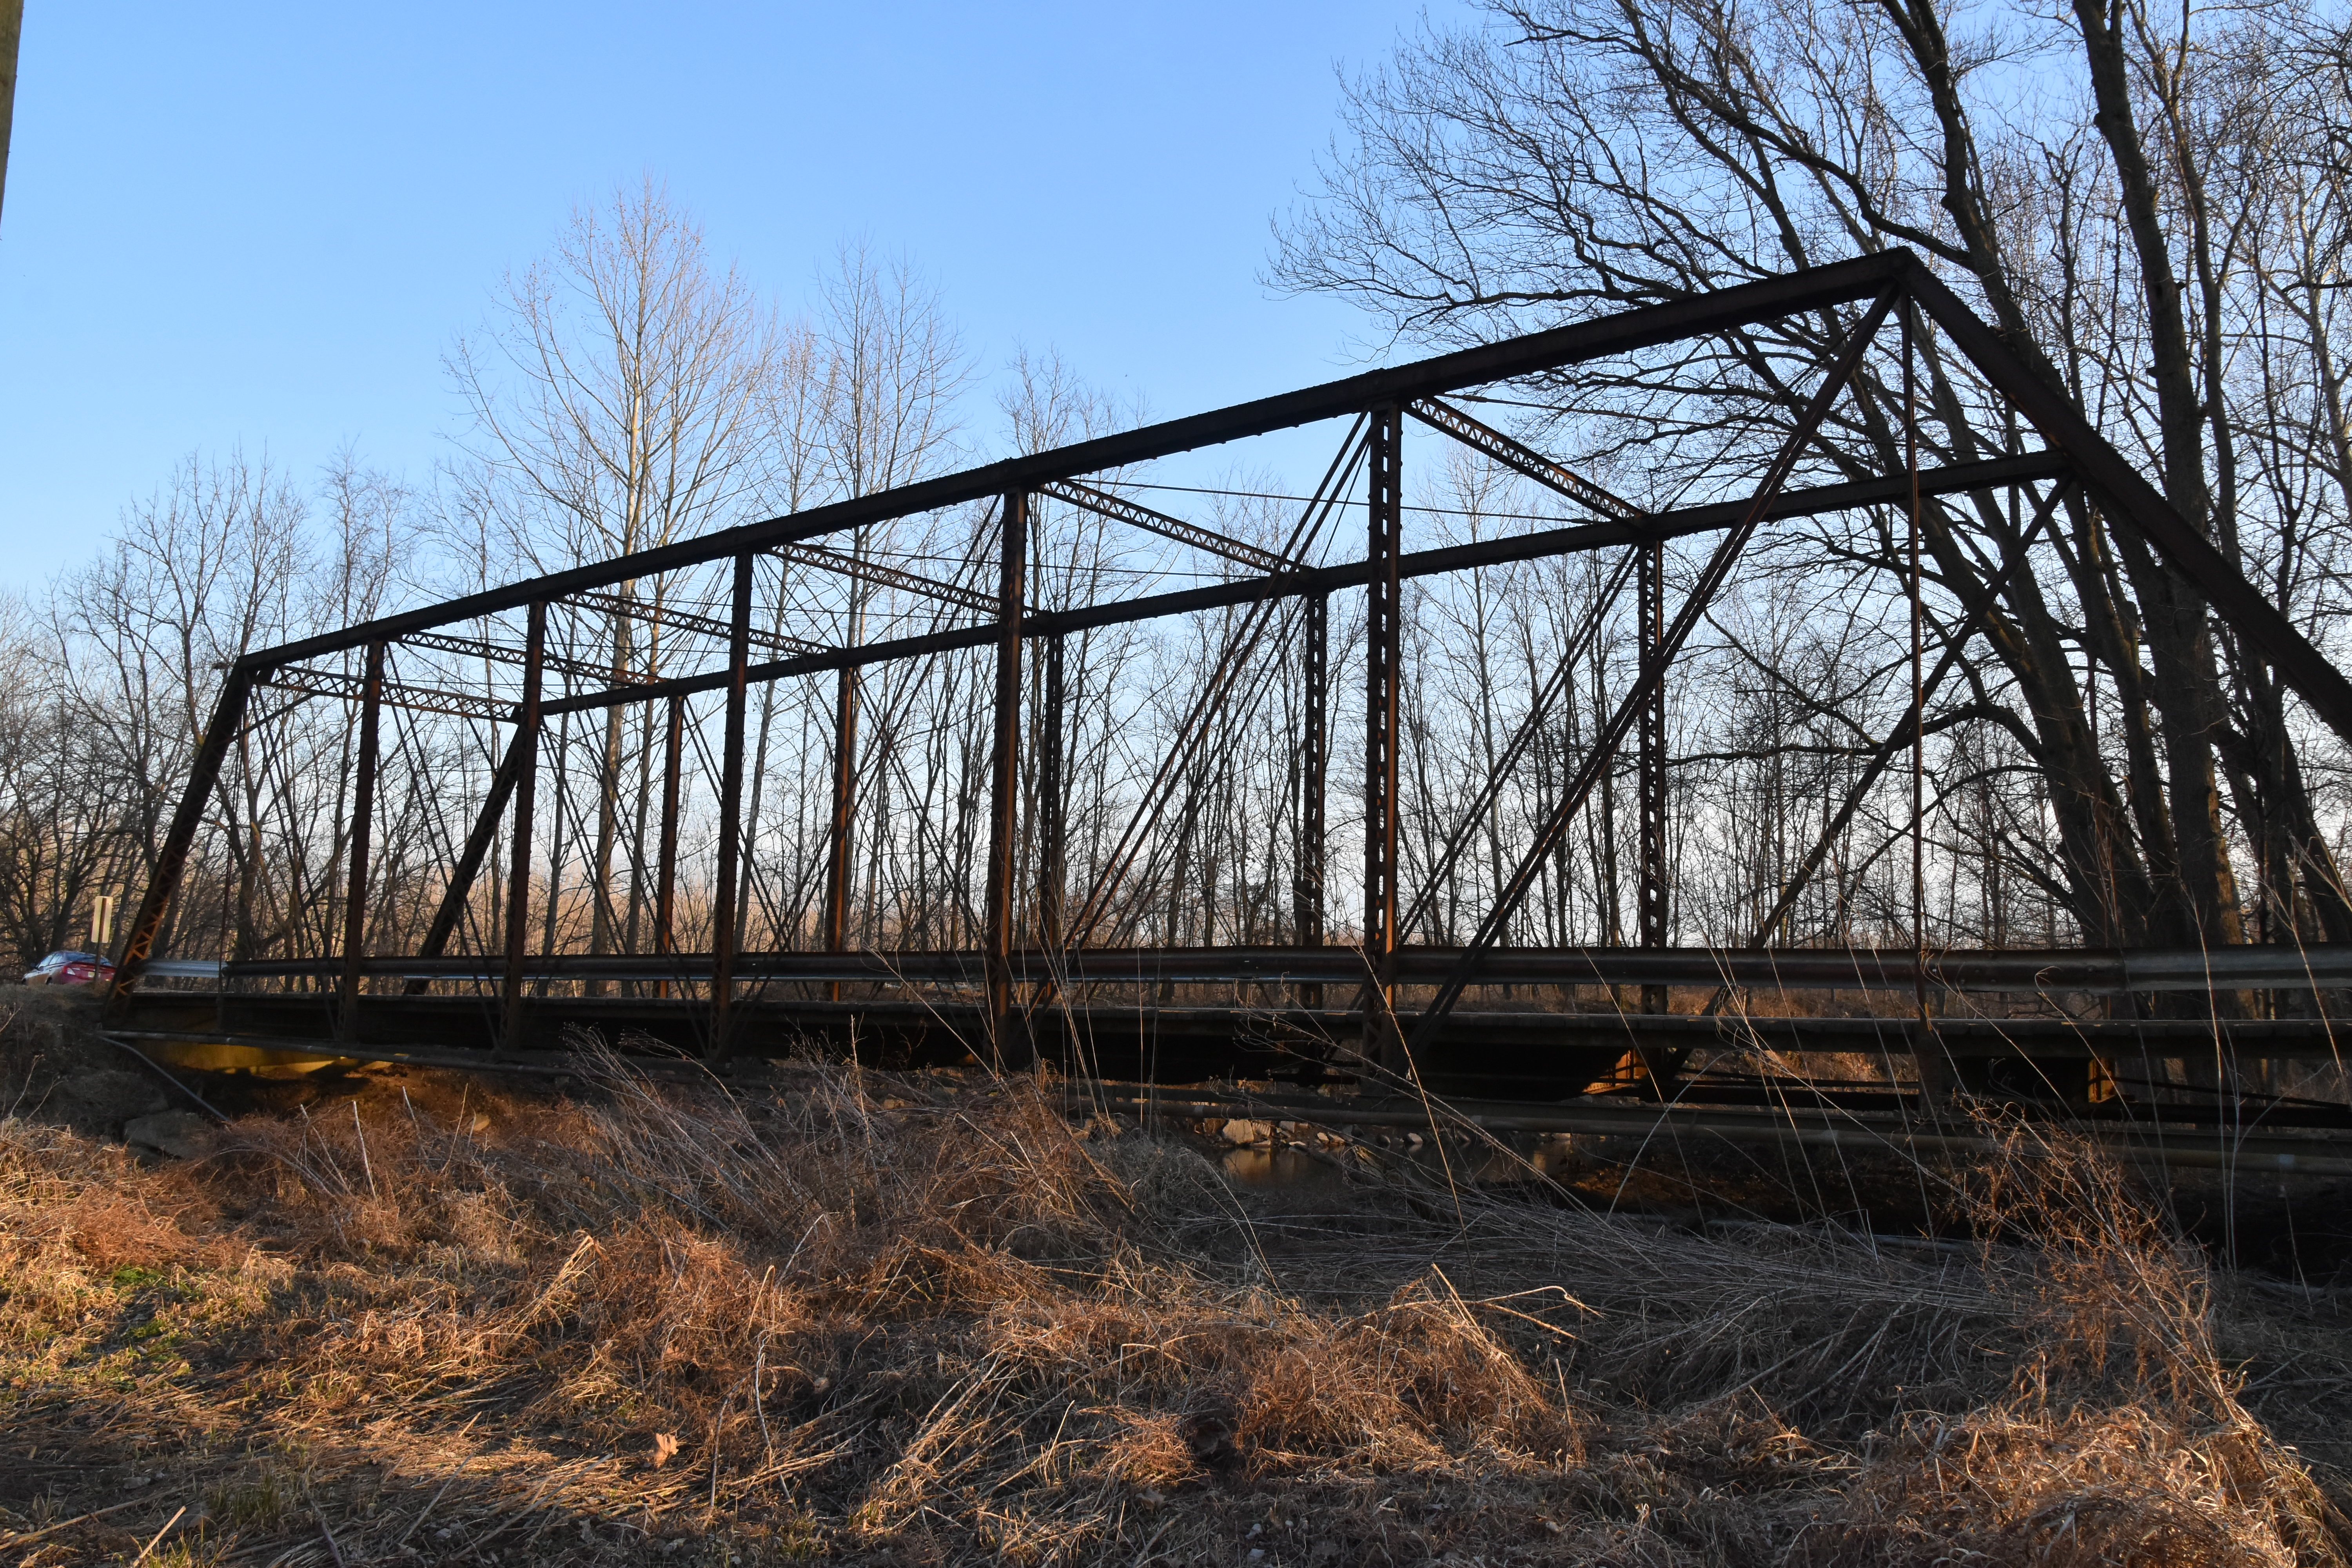


Elevation from northwest quadrant.
![]()

Oblique views from northwest quadrant.
![]()
Views beside bridge from southeast quadrant.
![]()
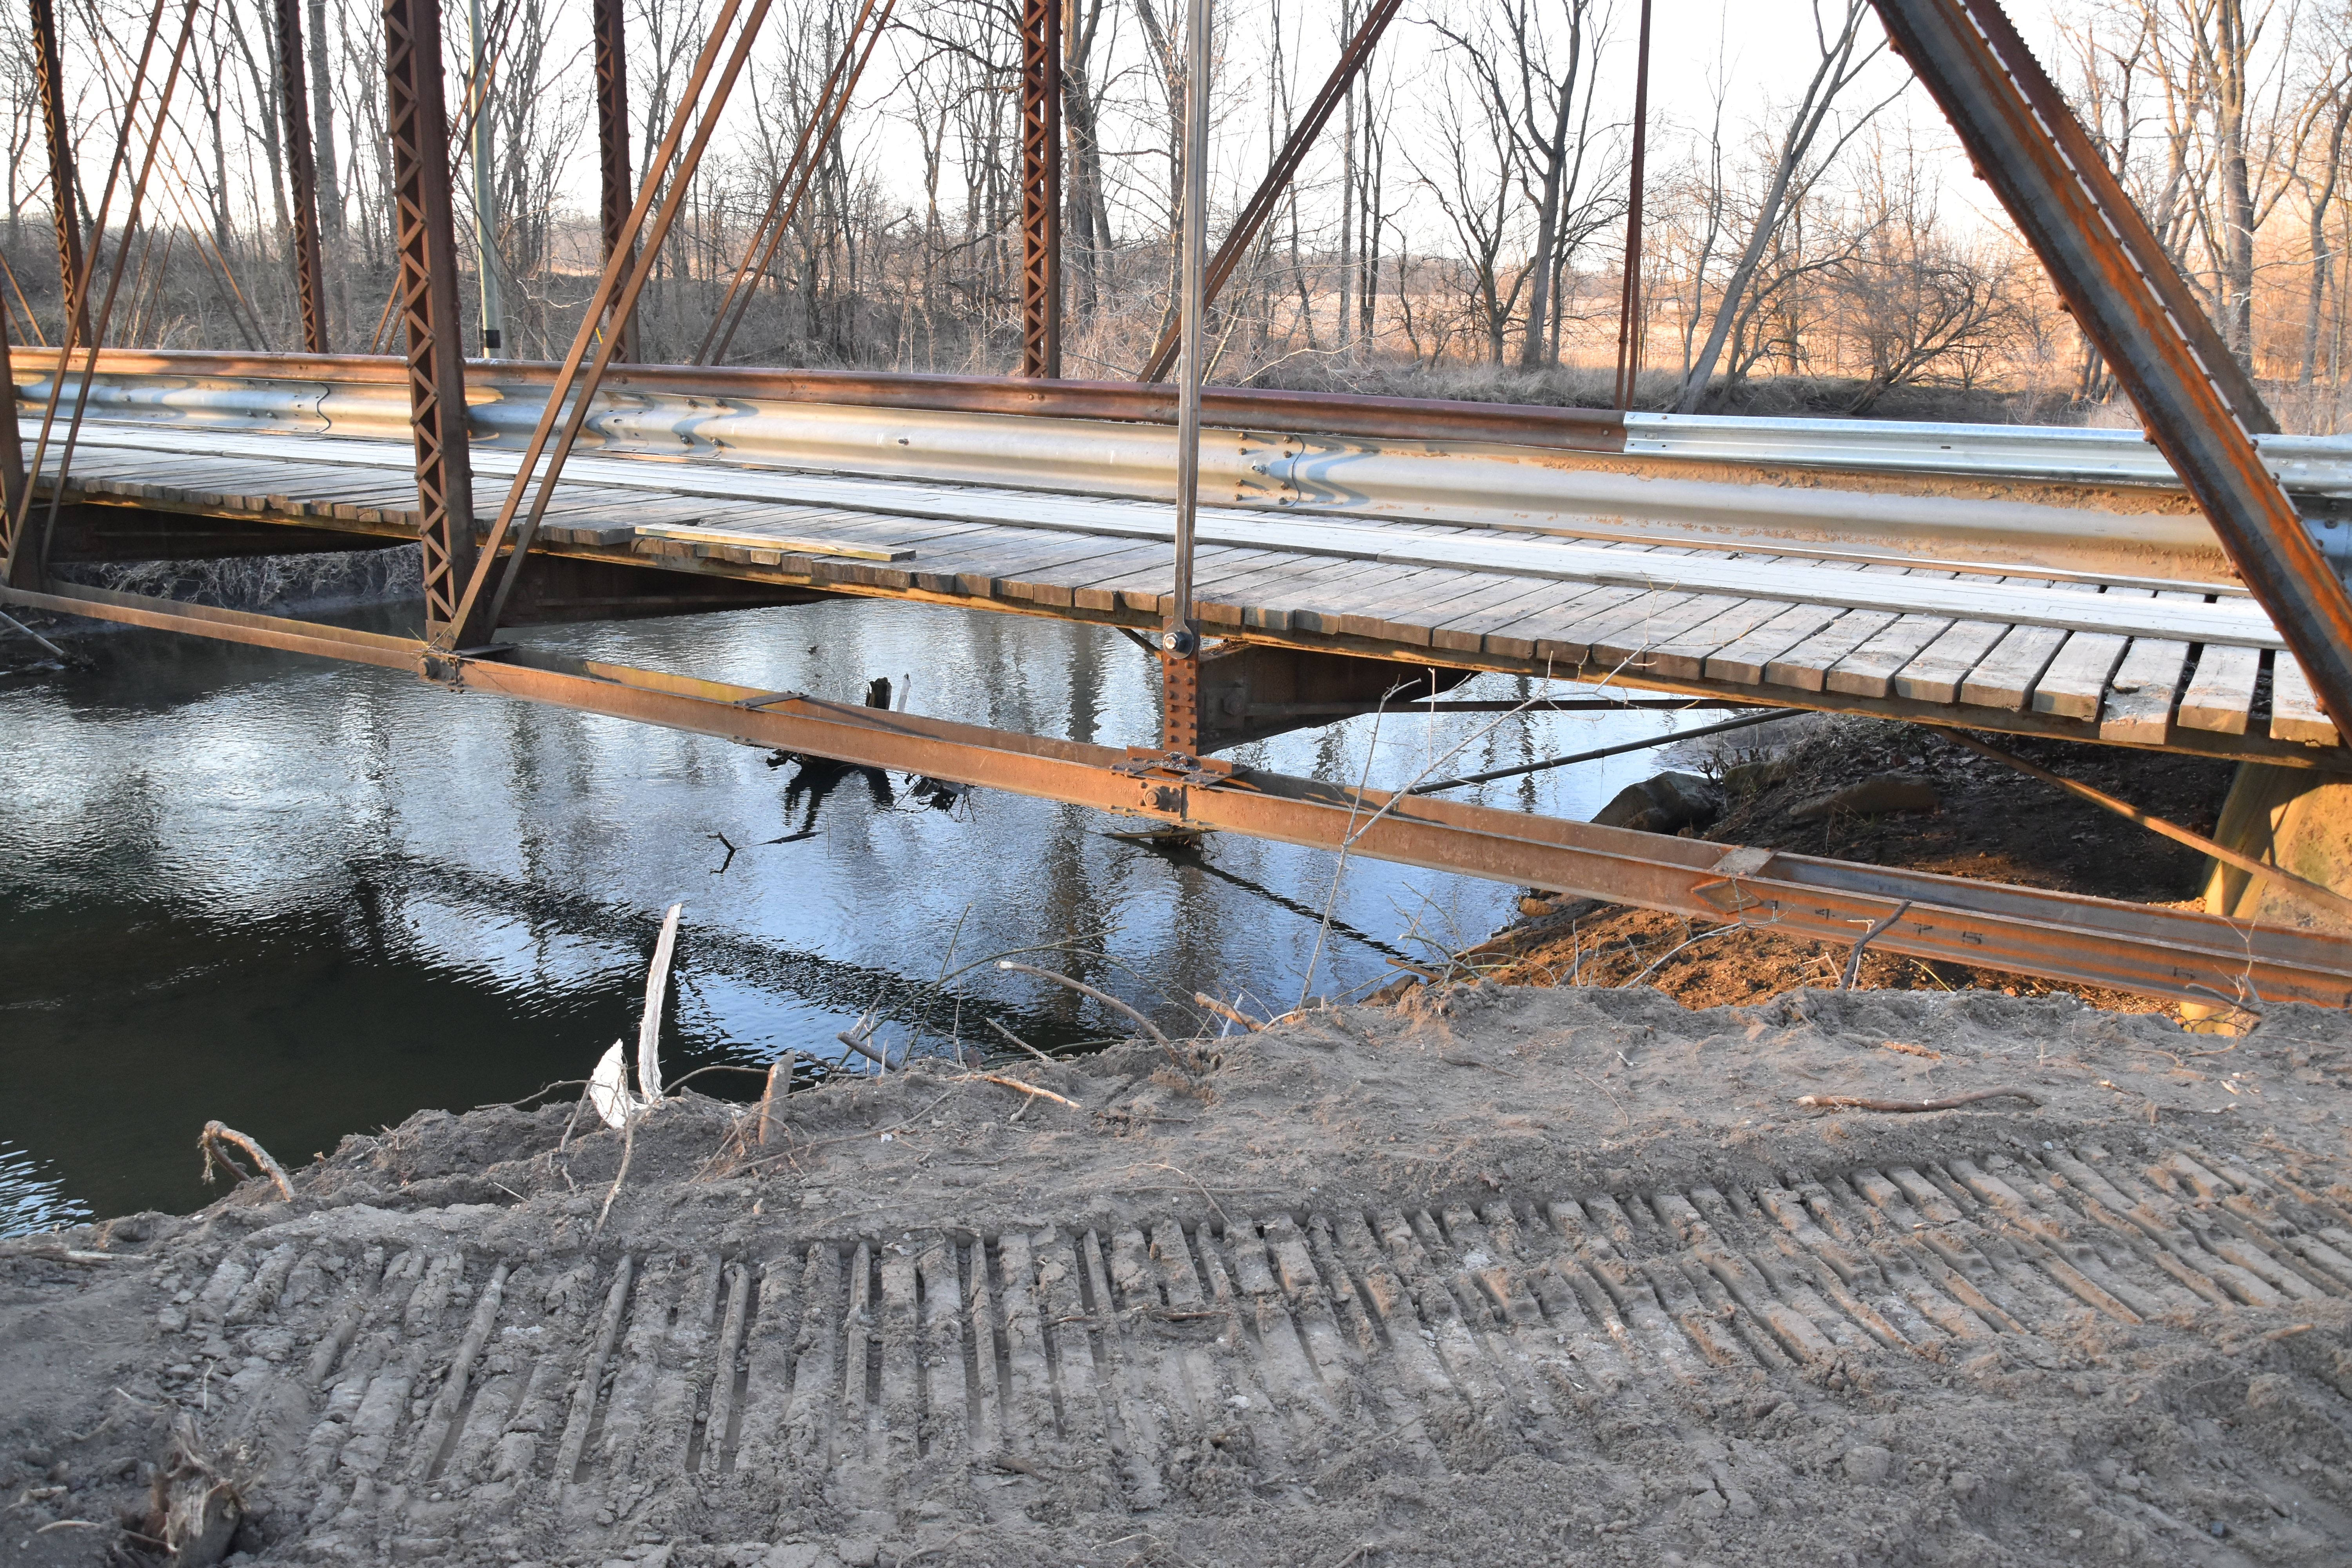
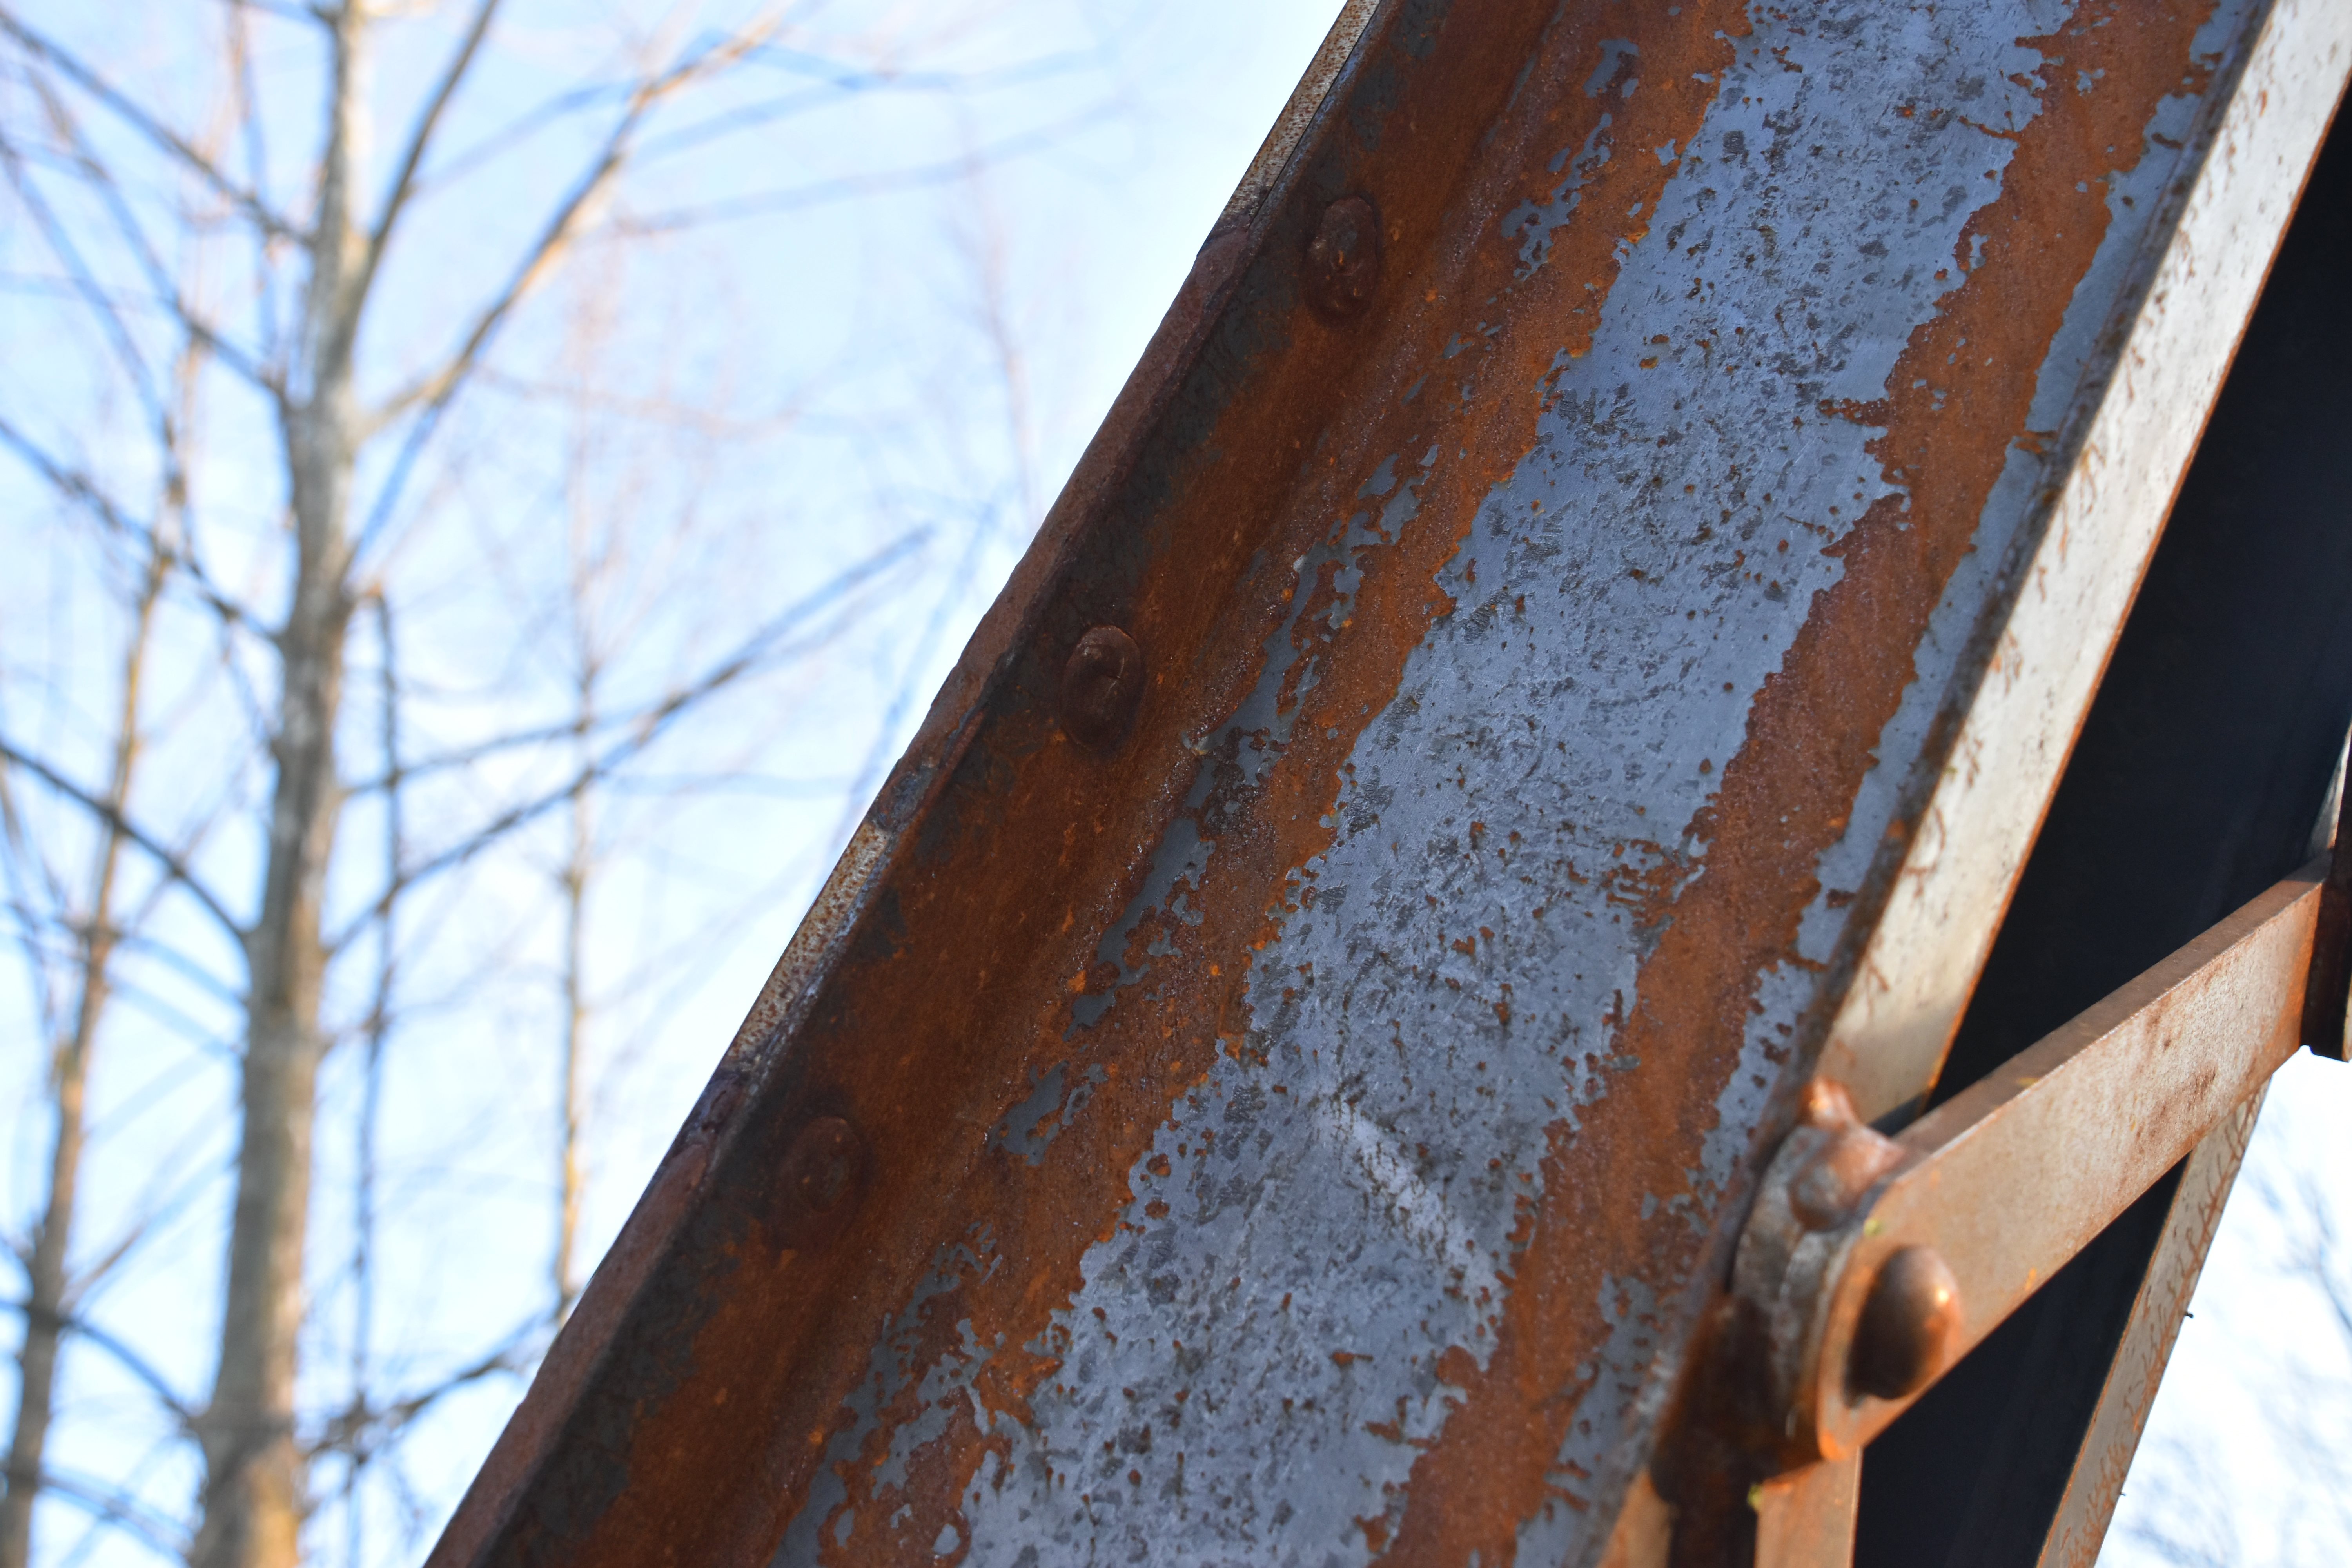
View from beside roadway.
![]()

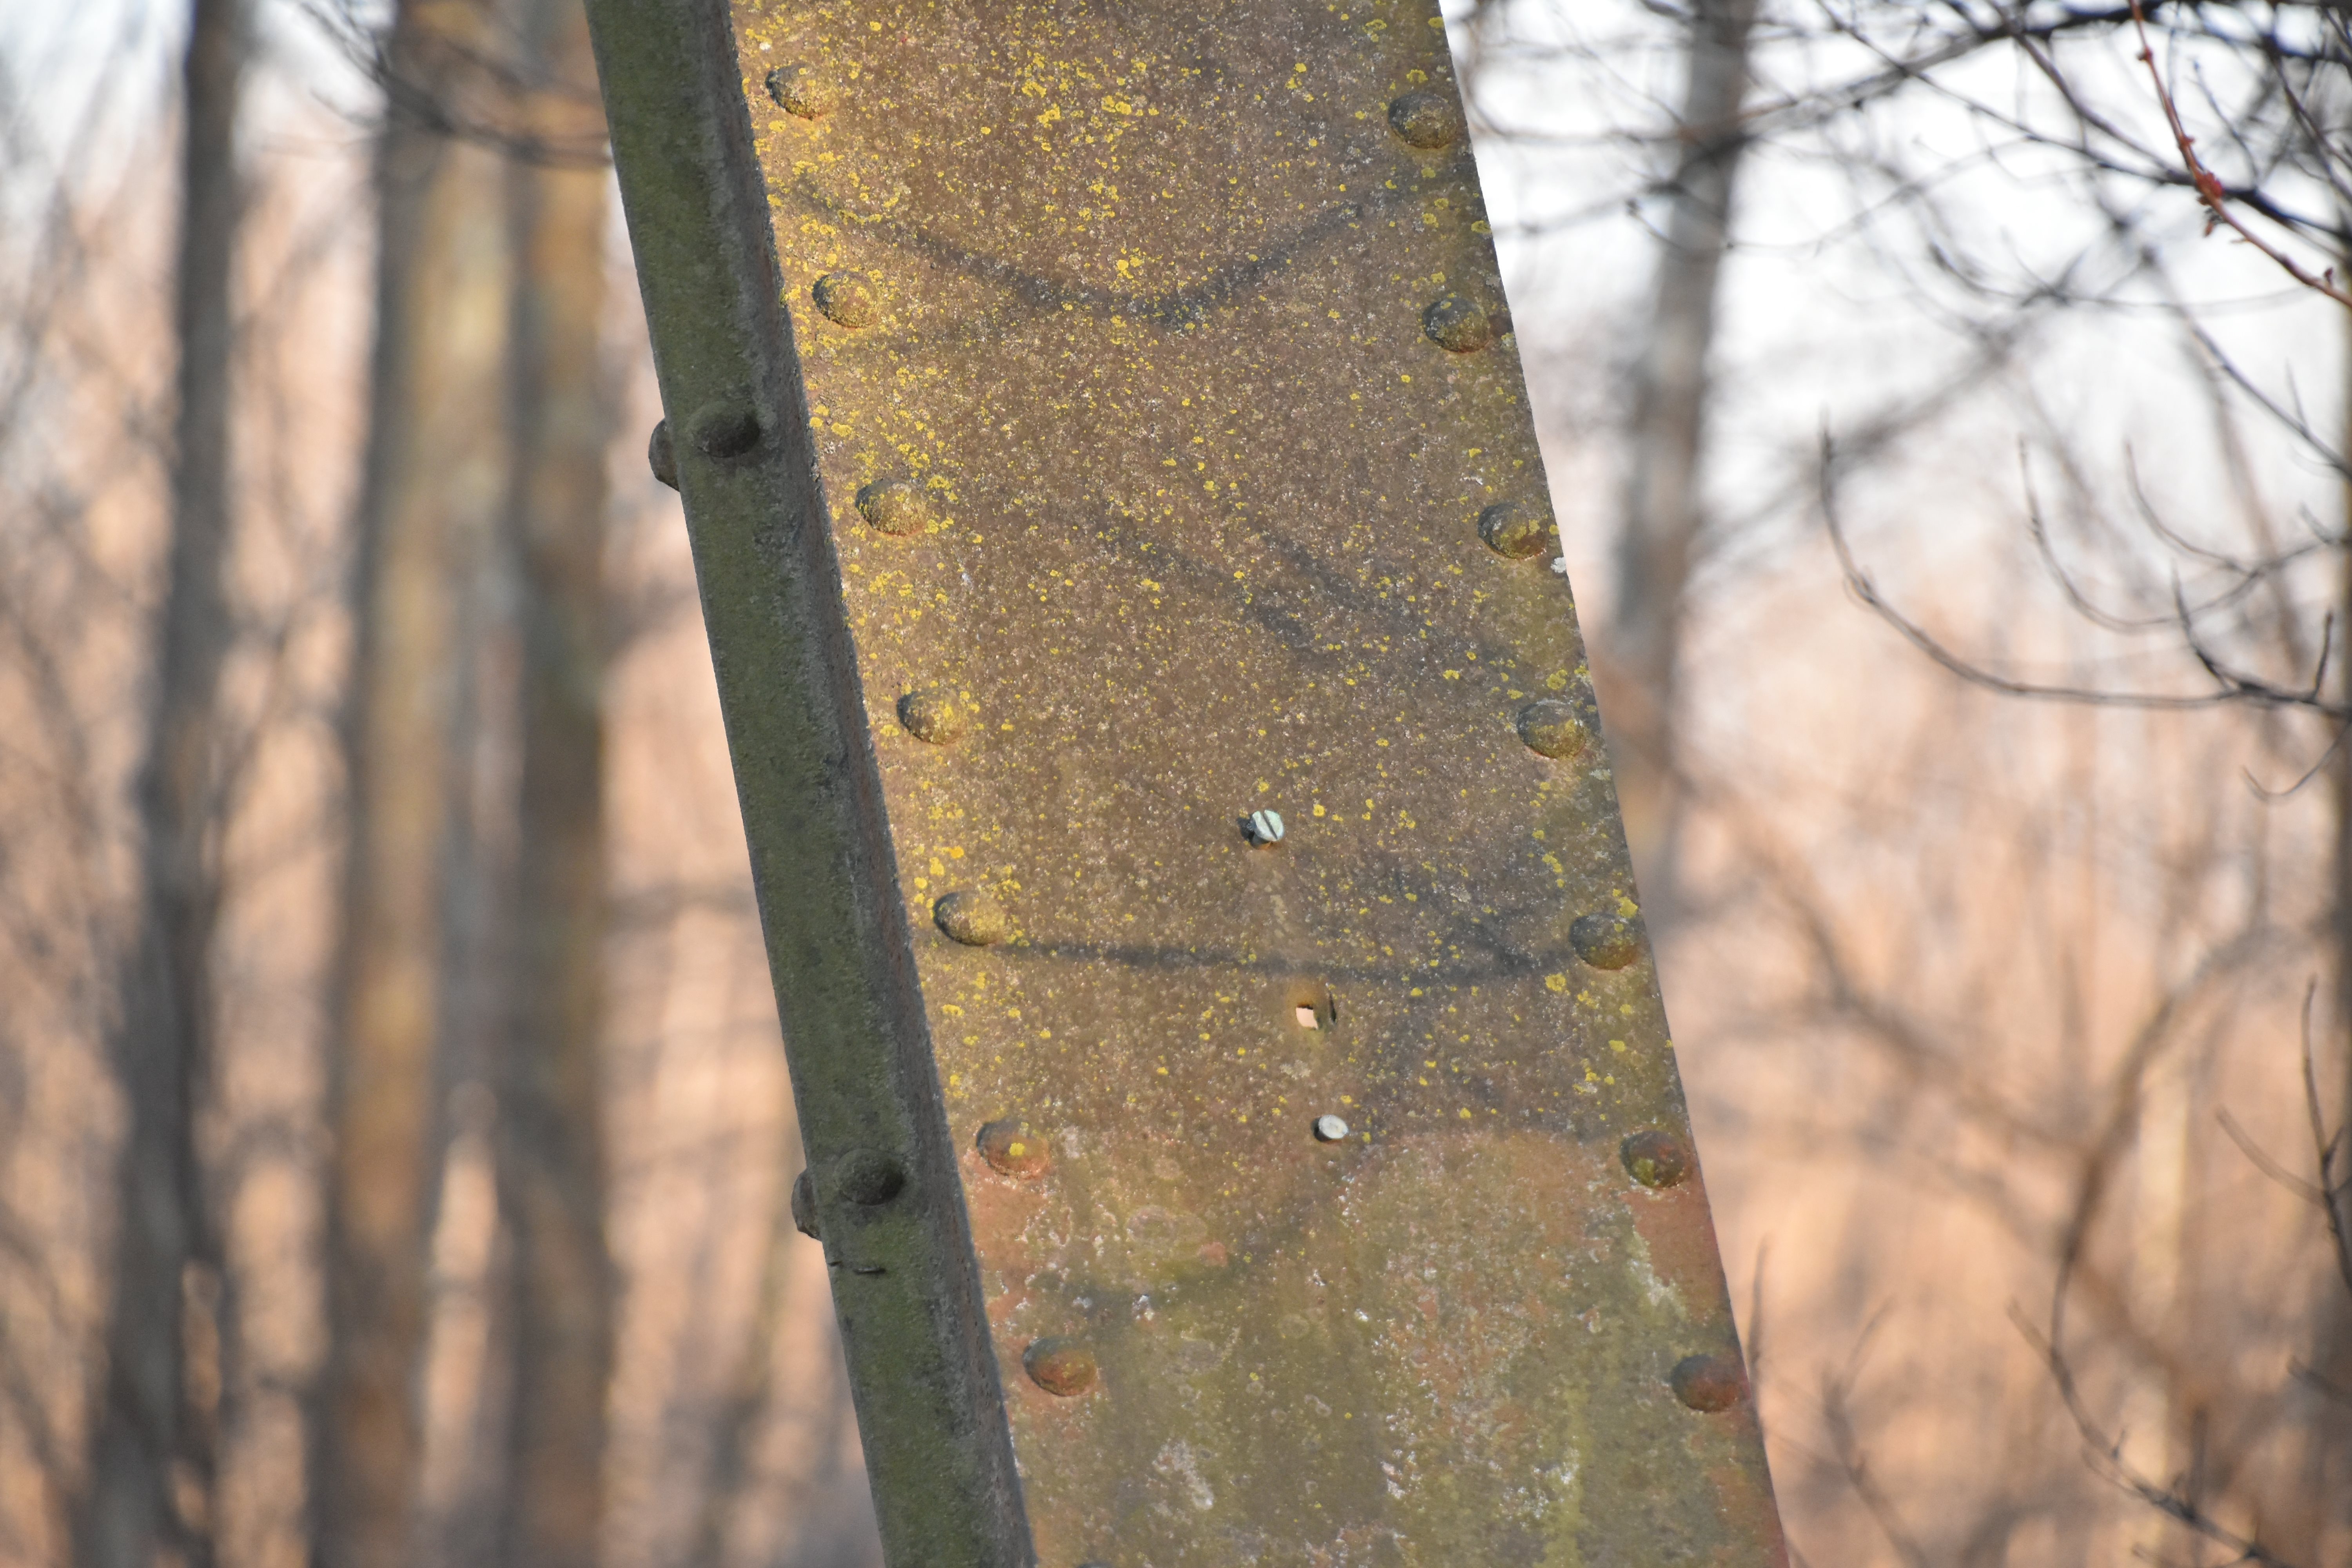
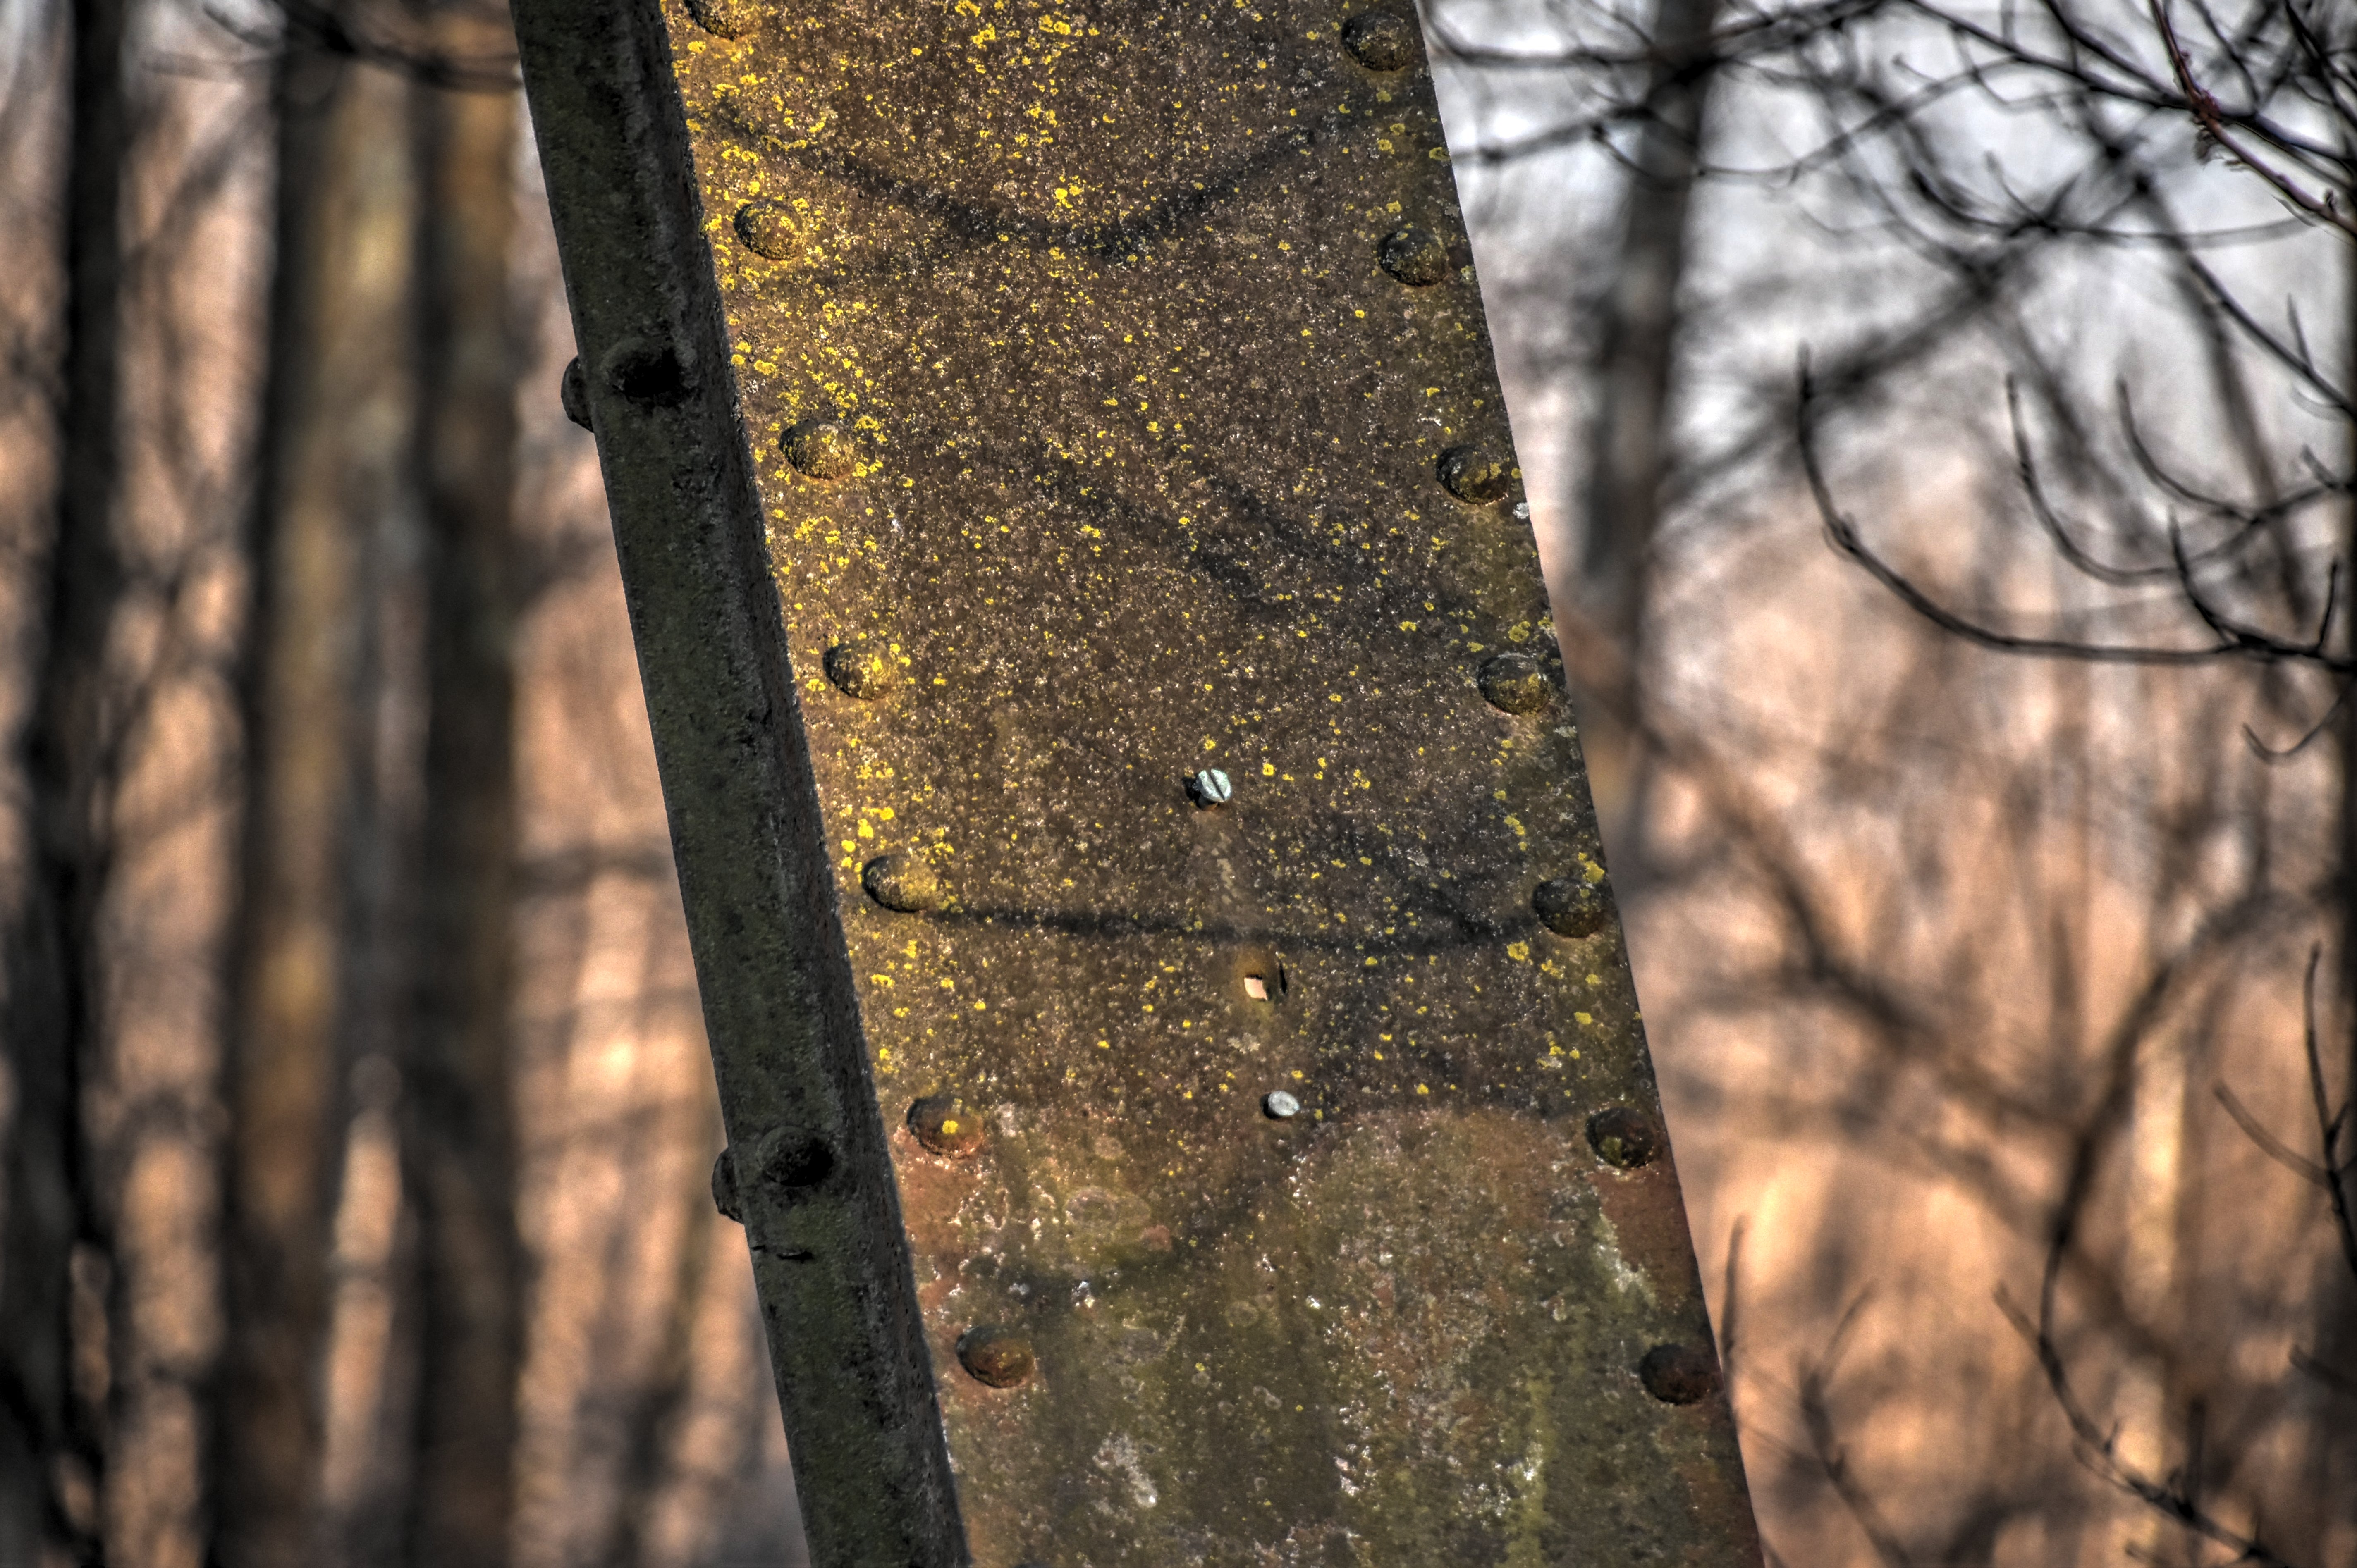
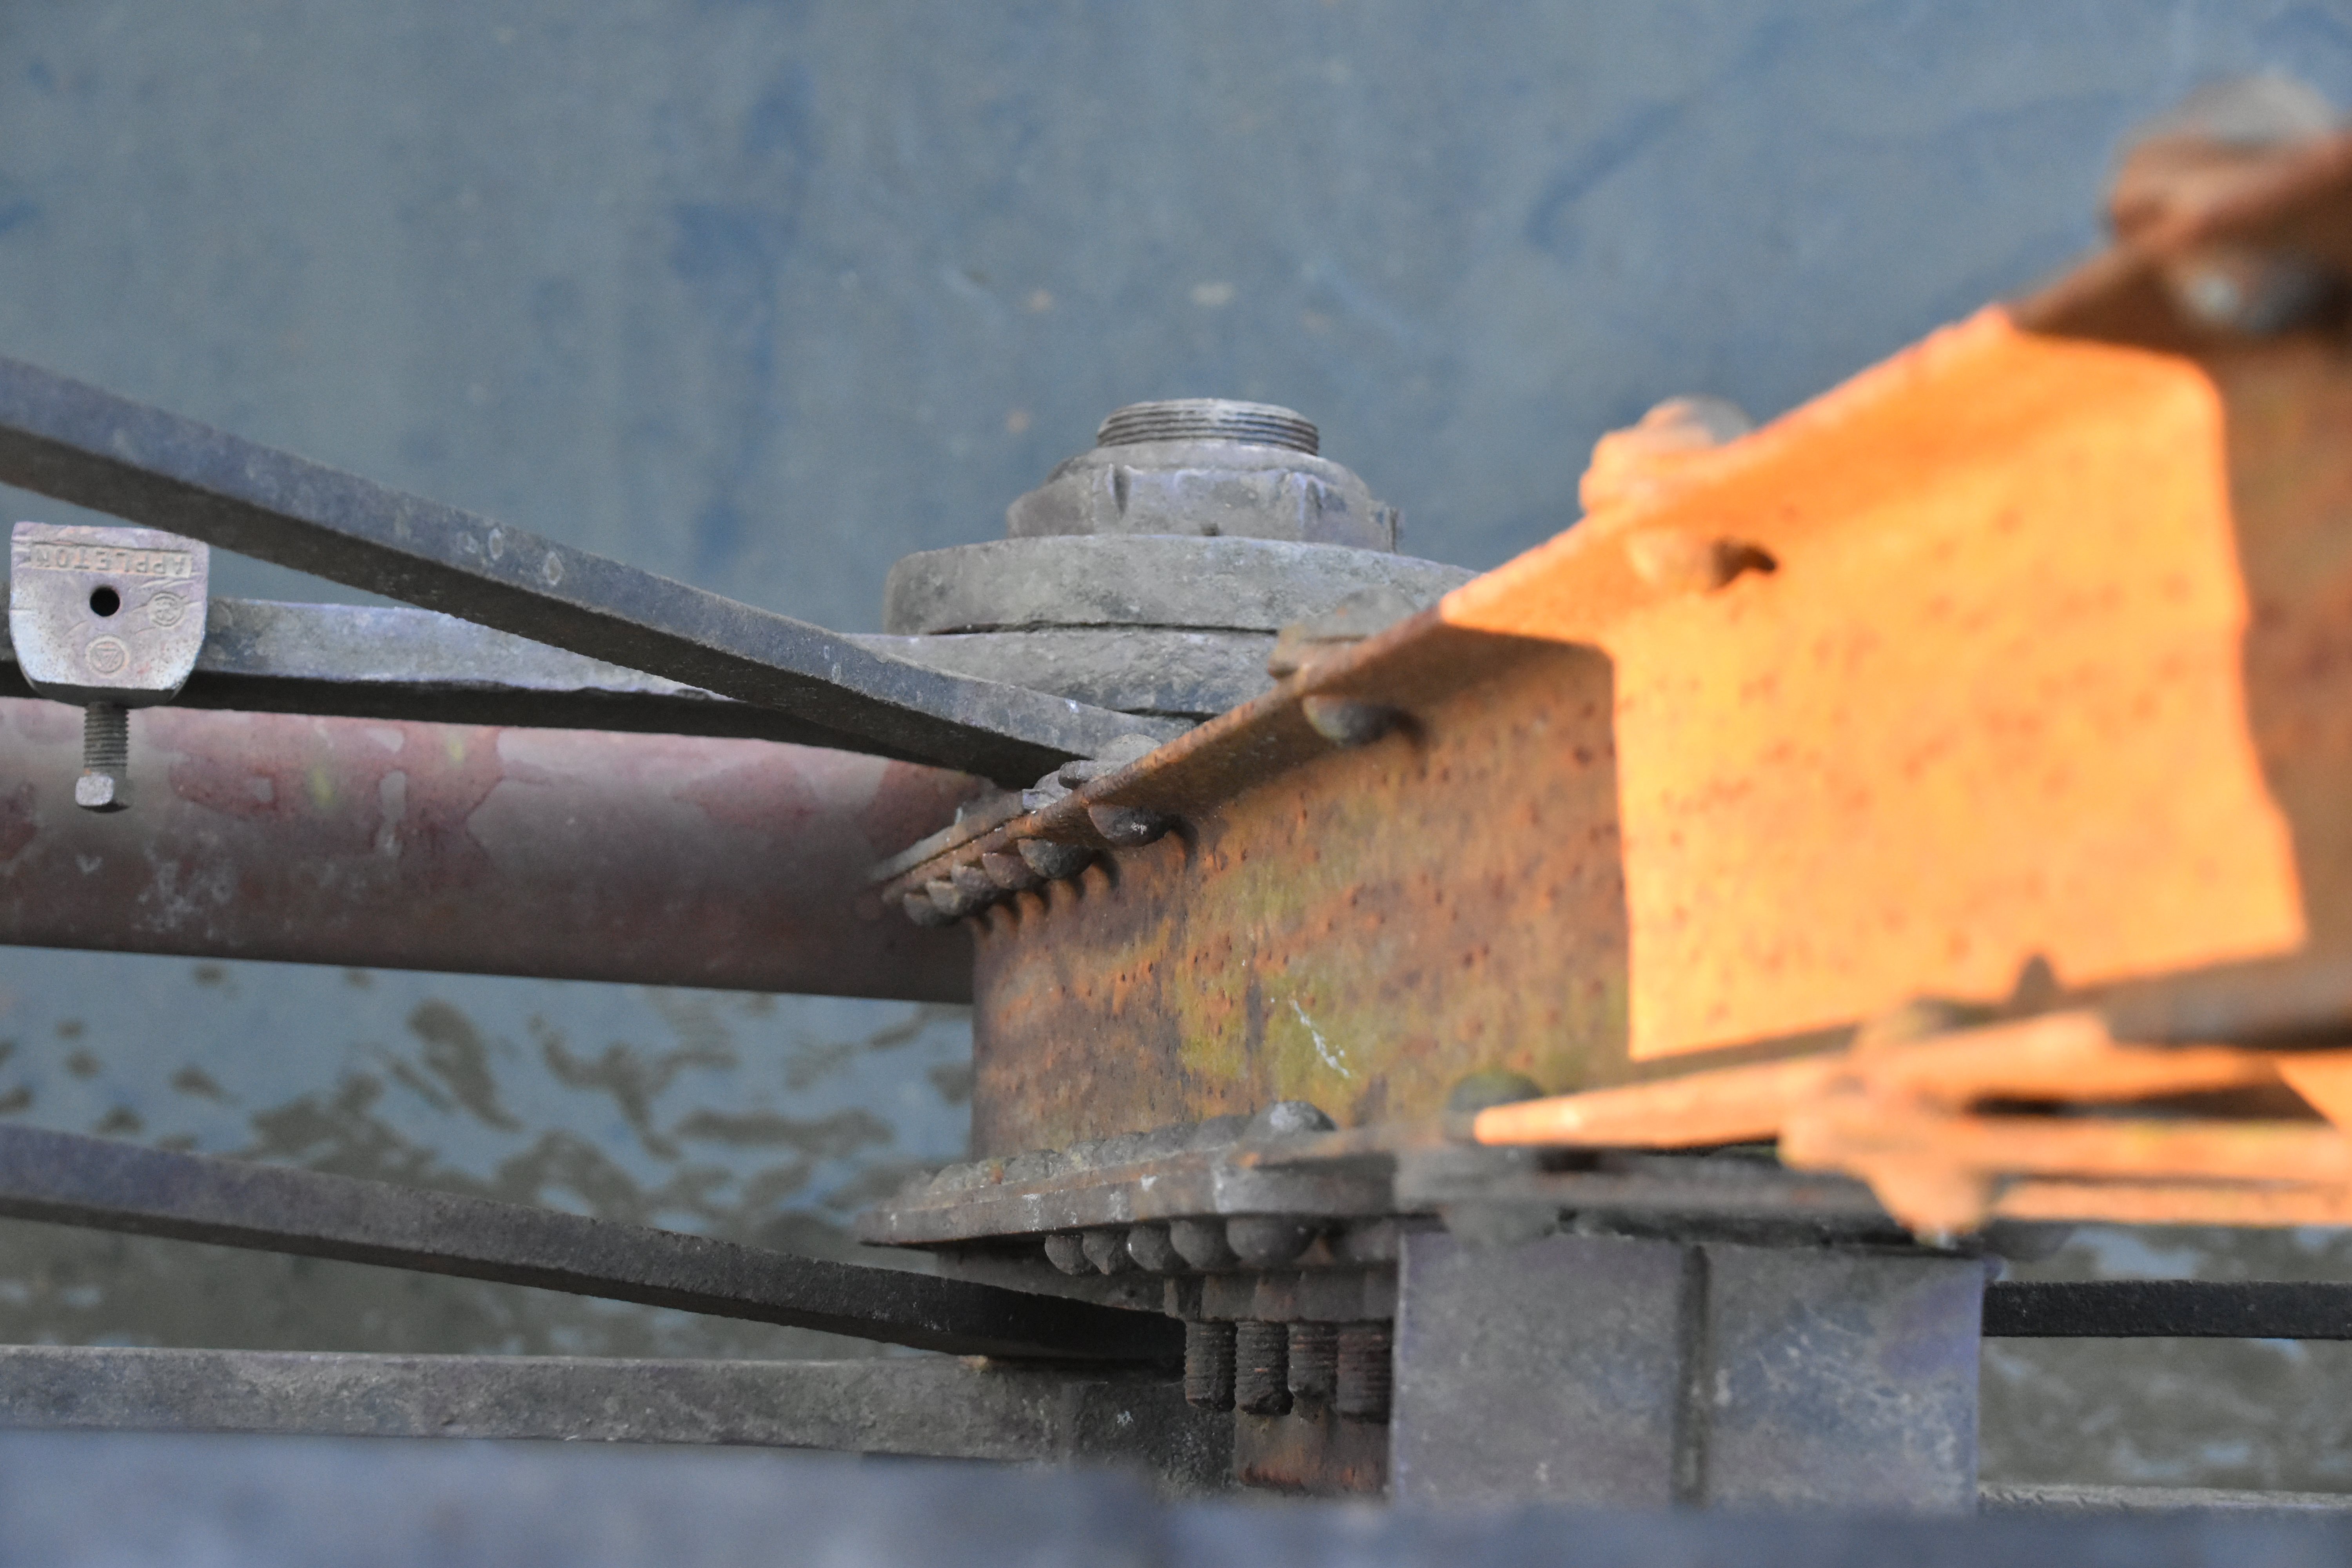
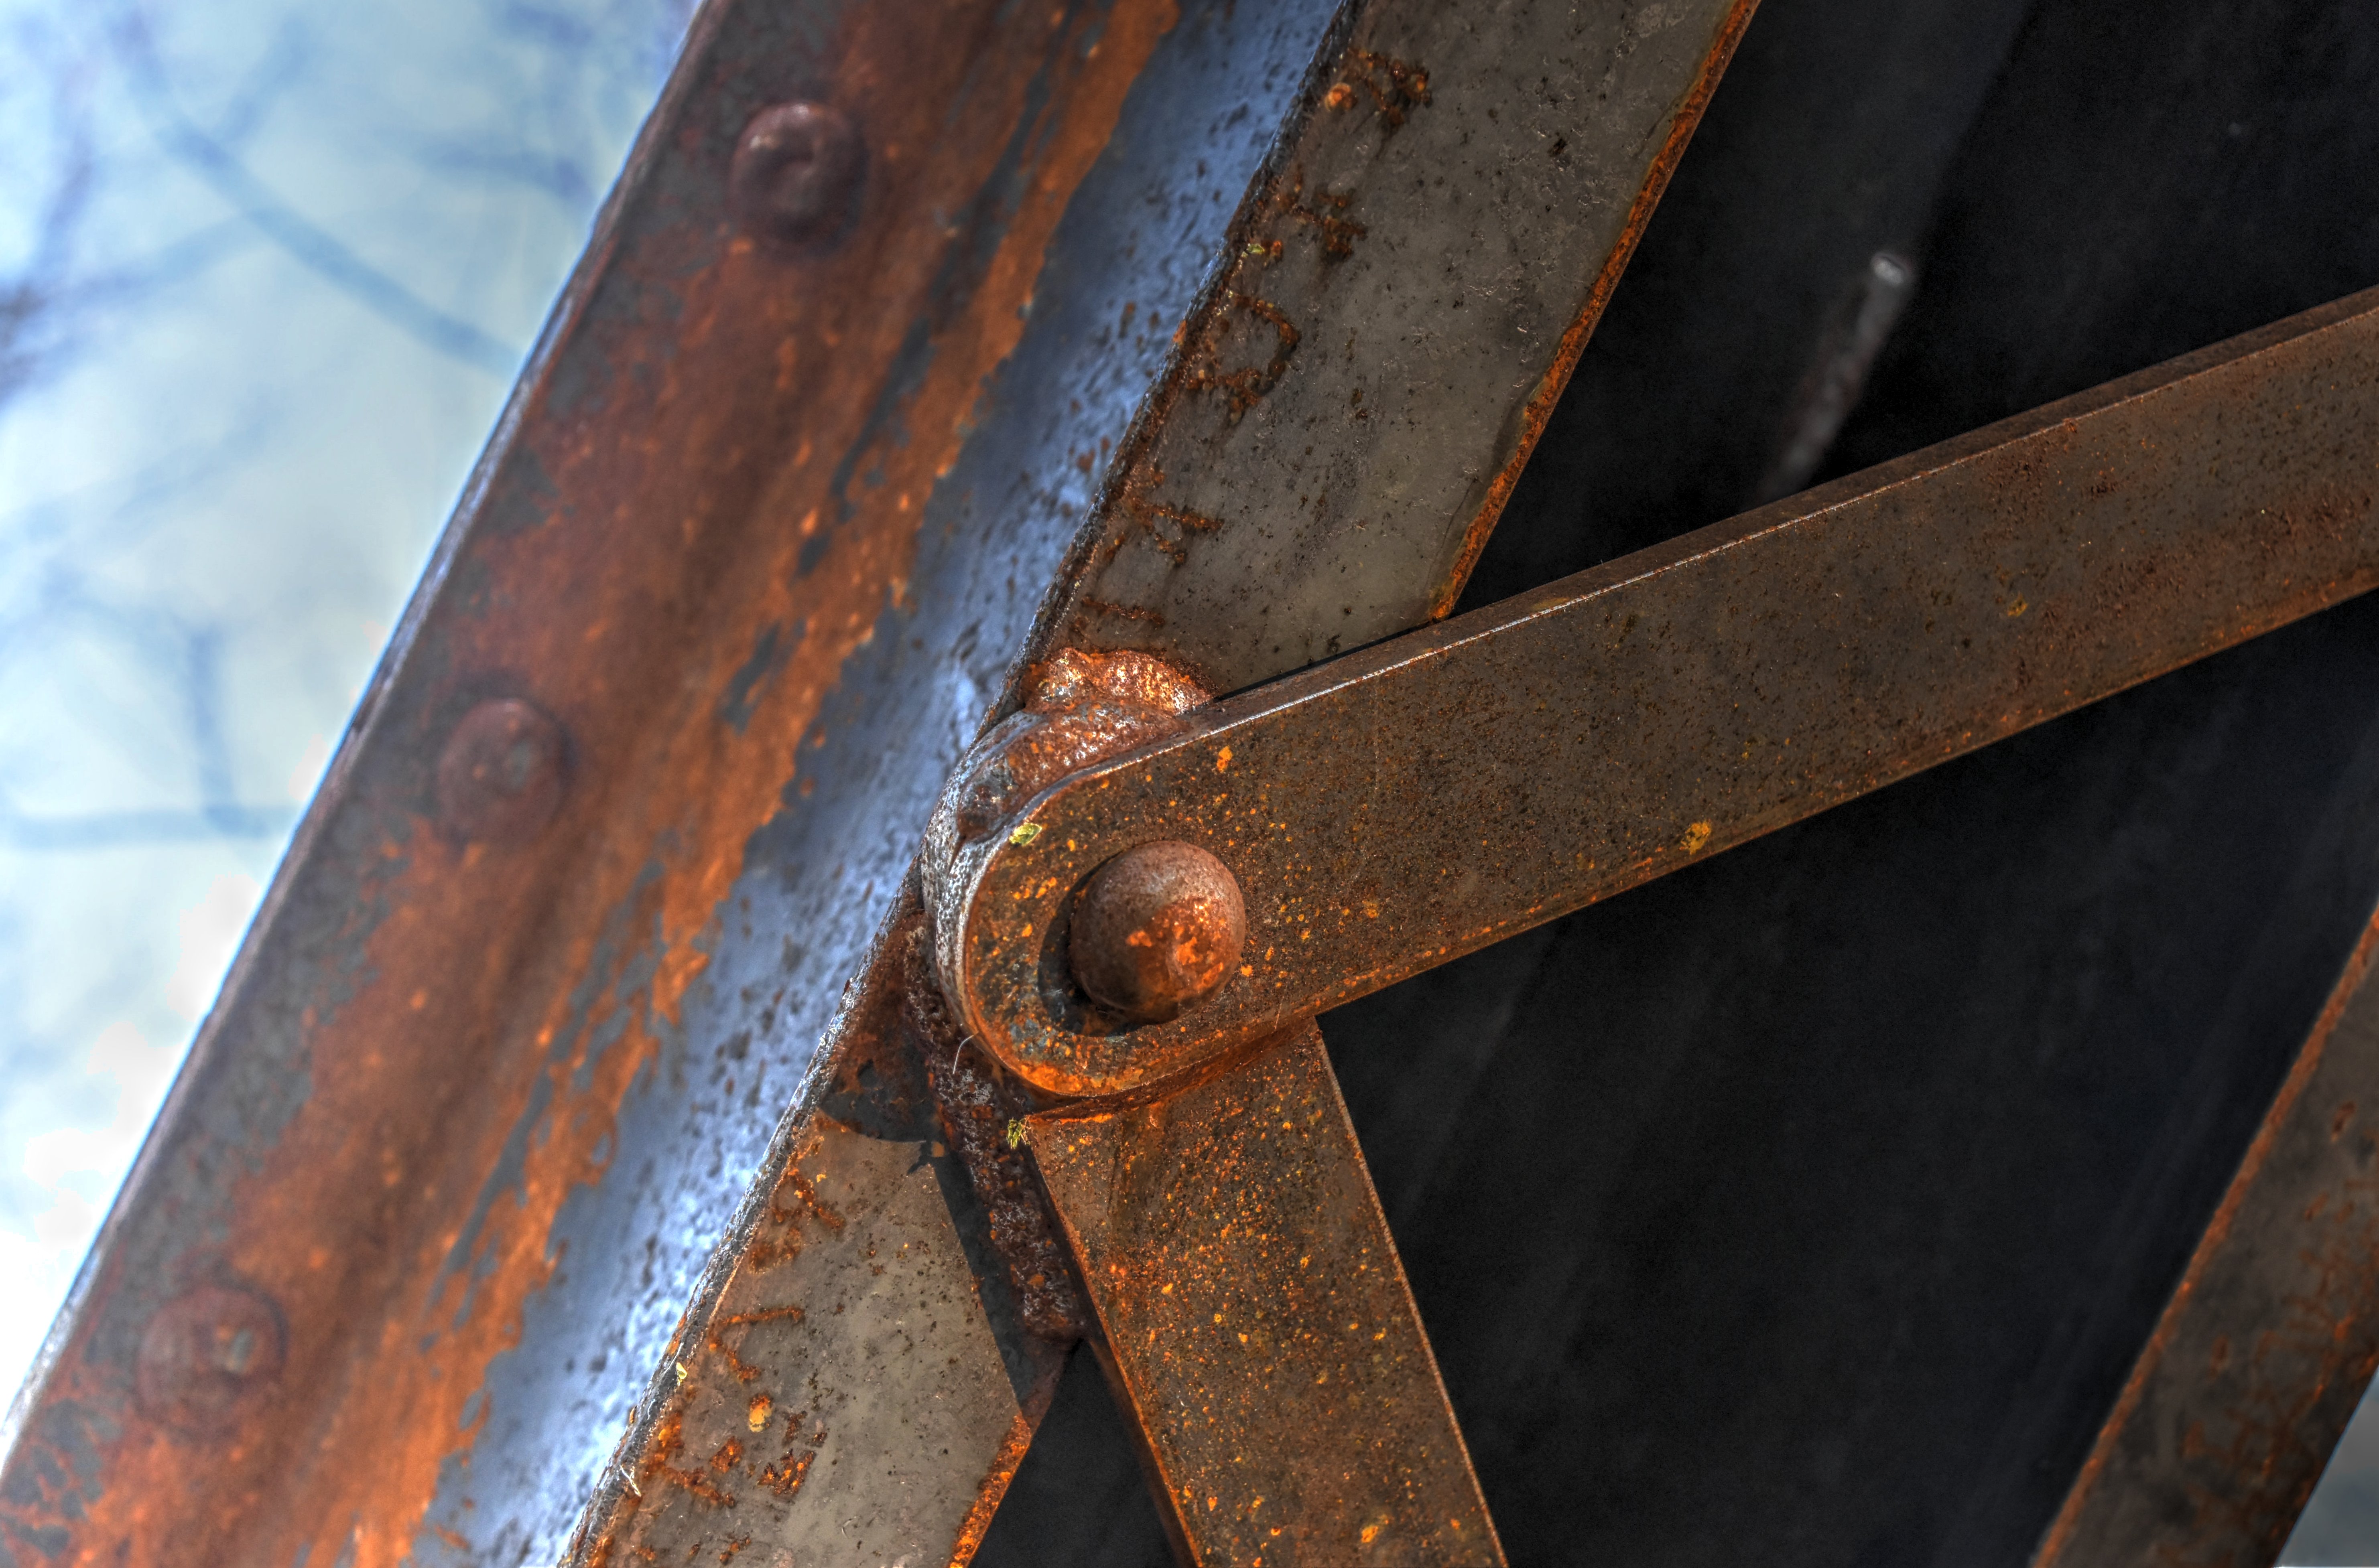
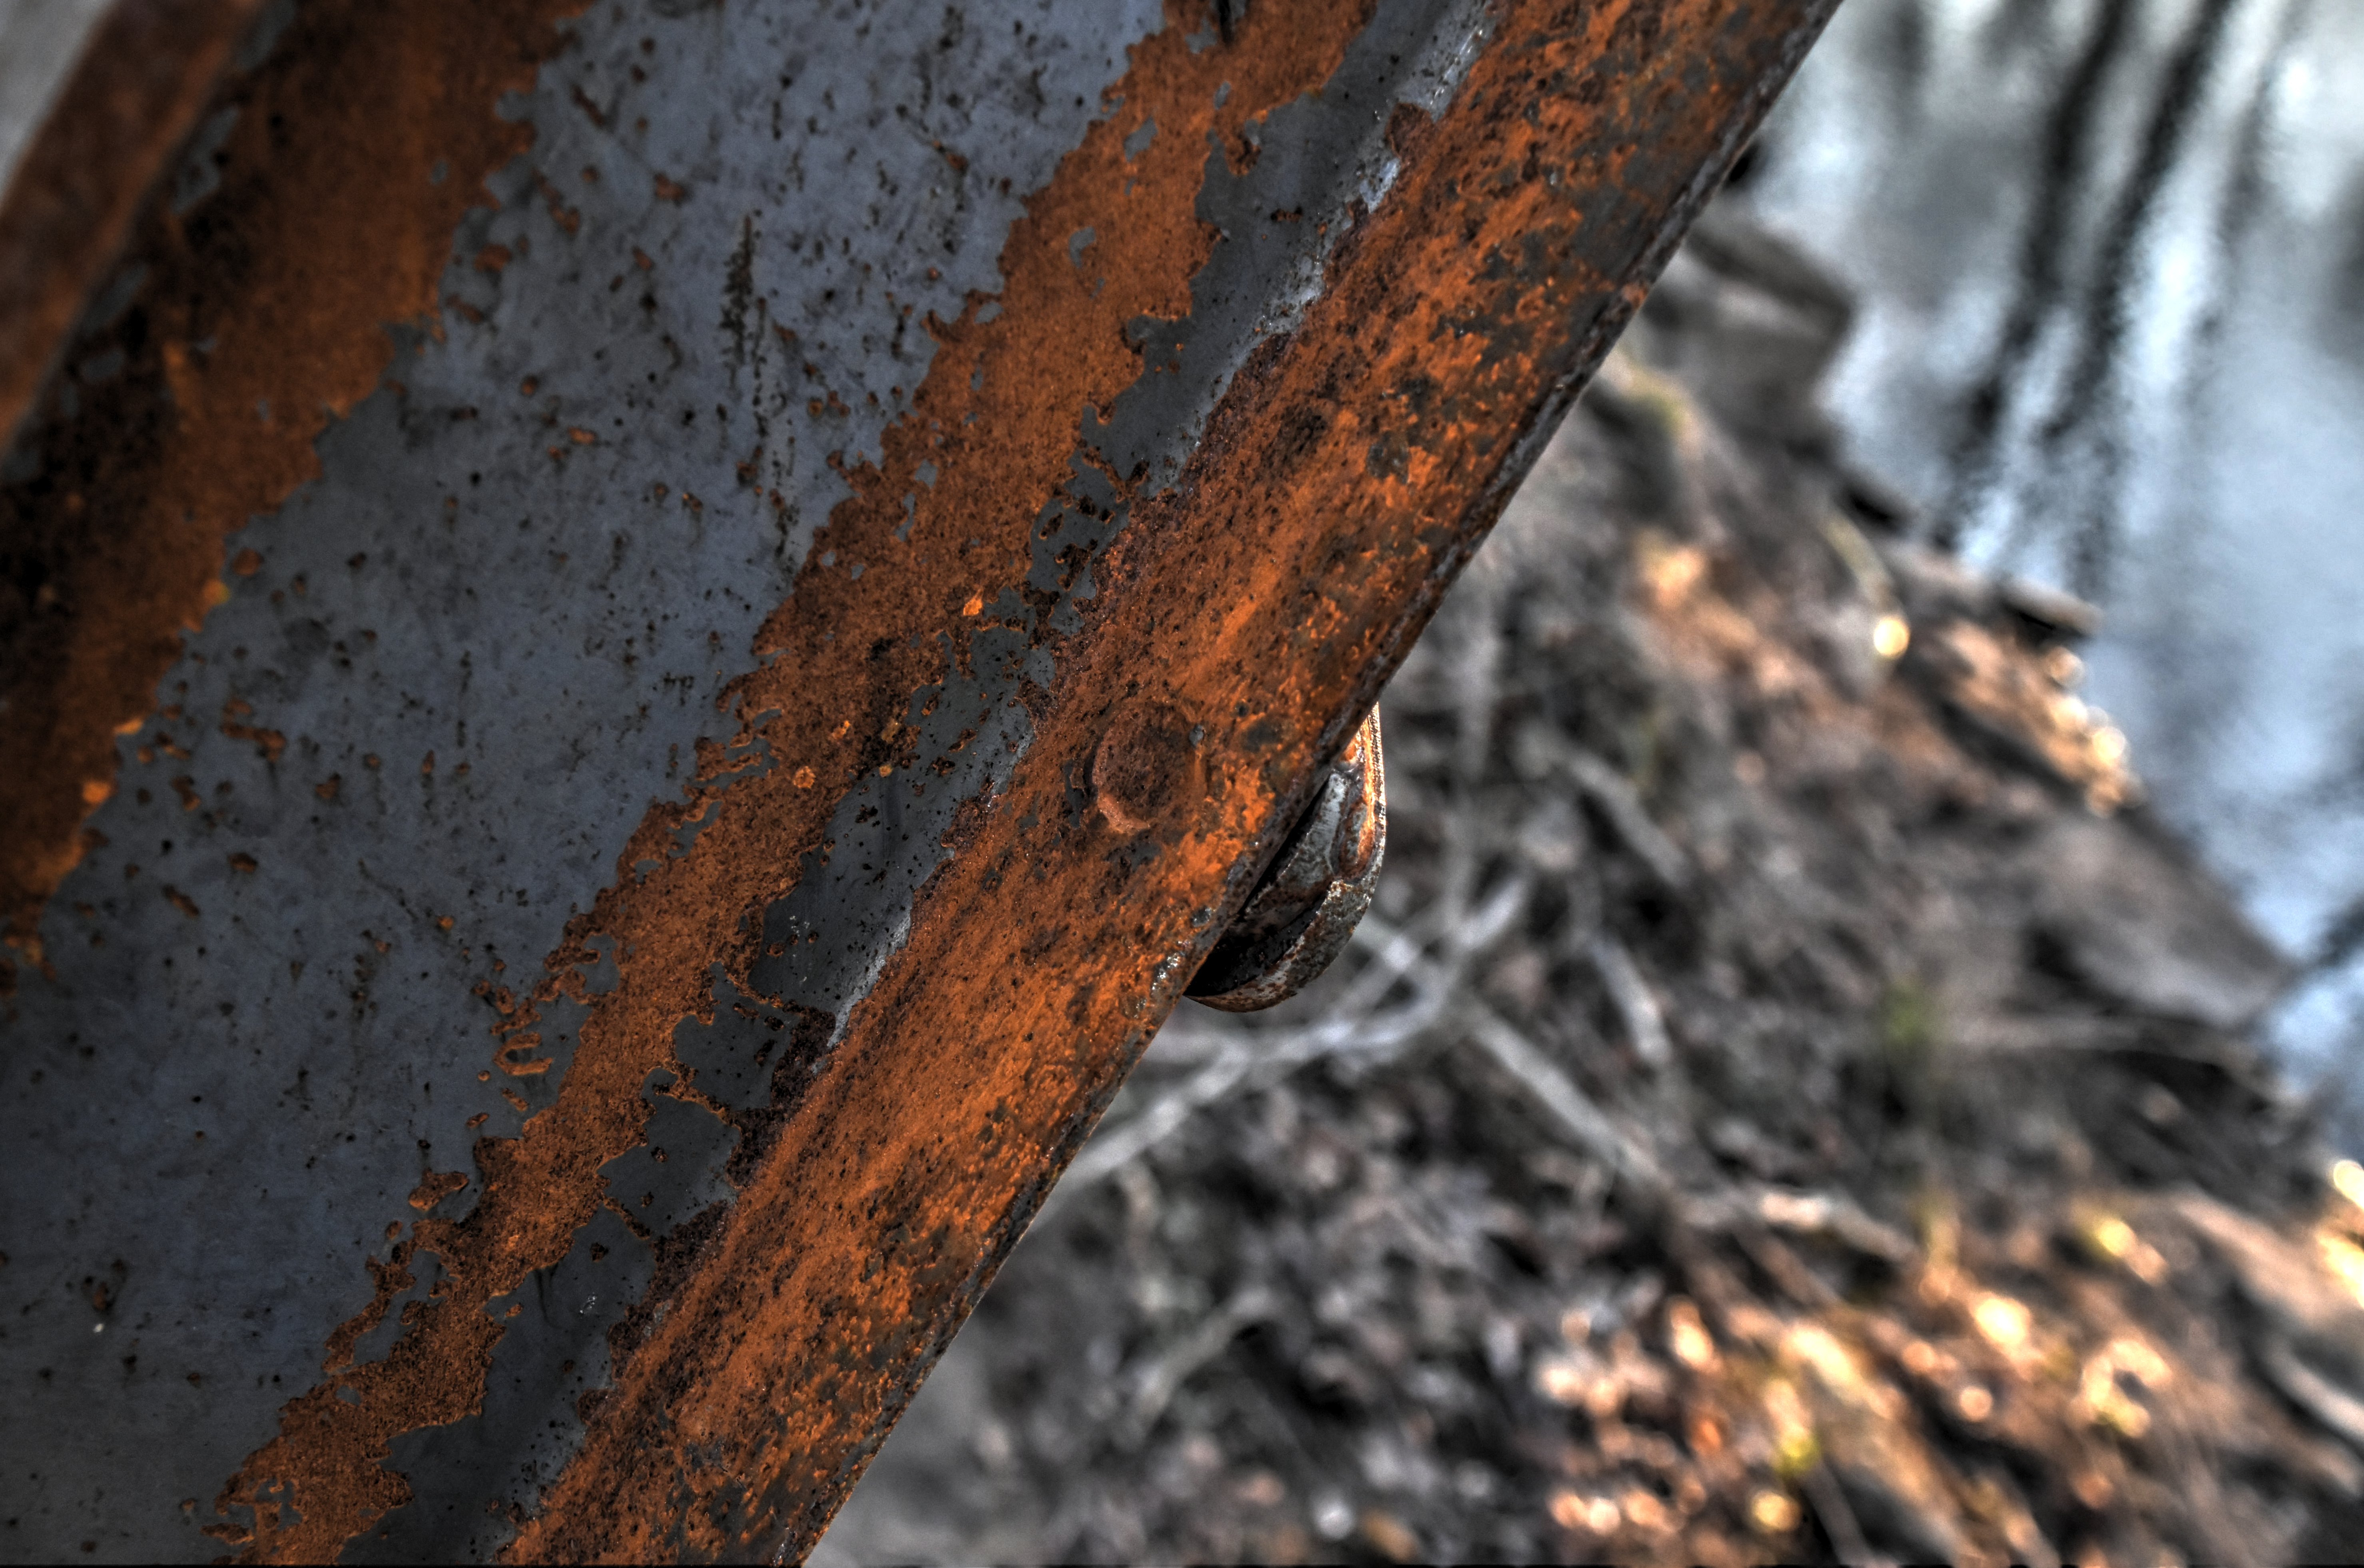
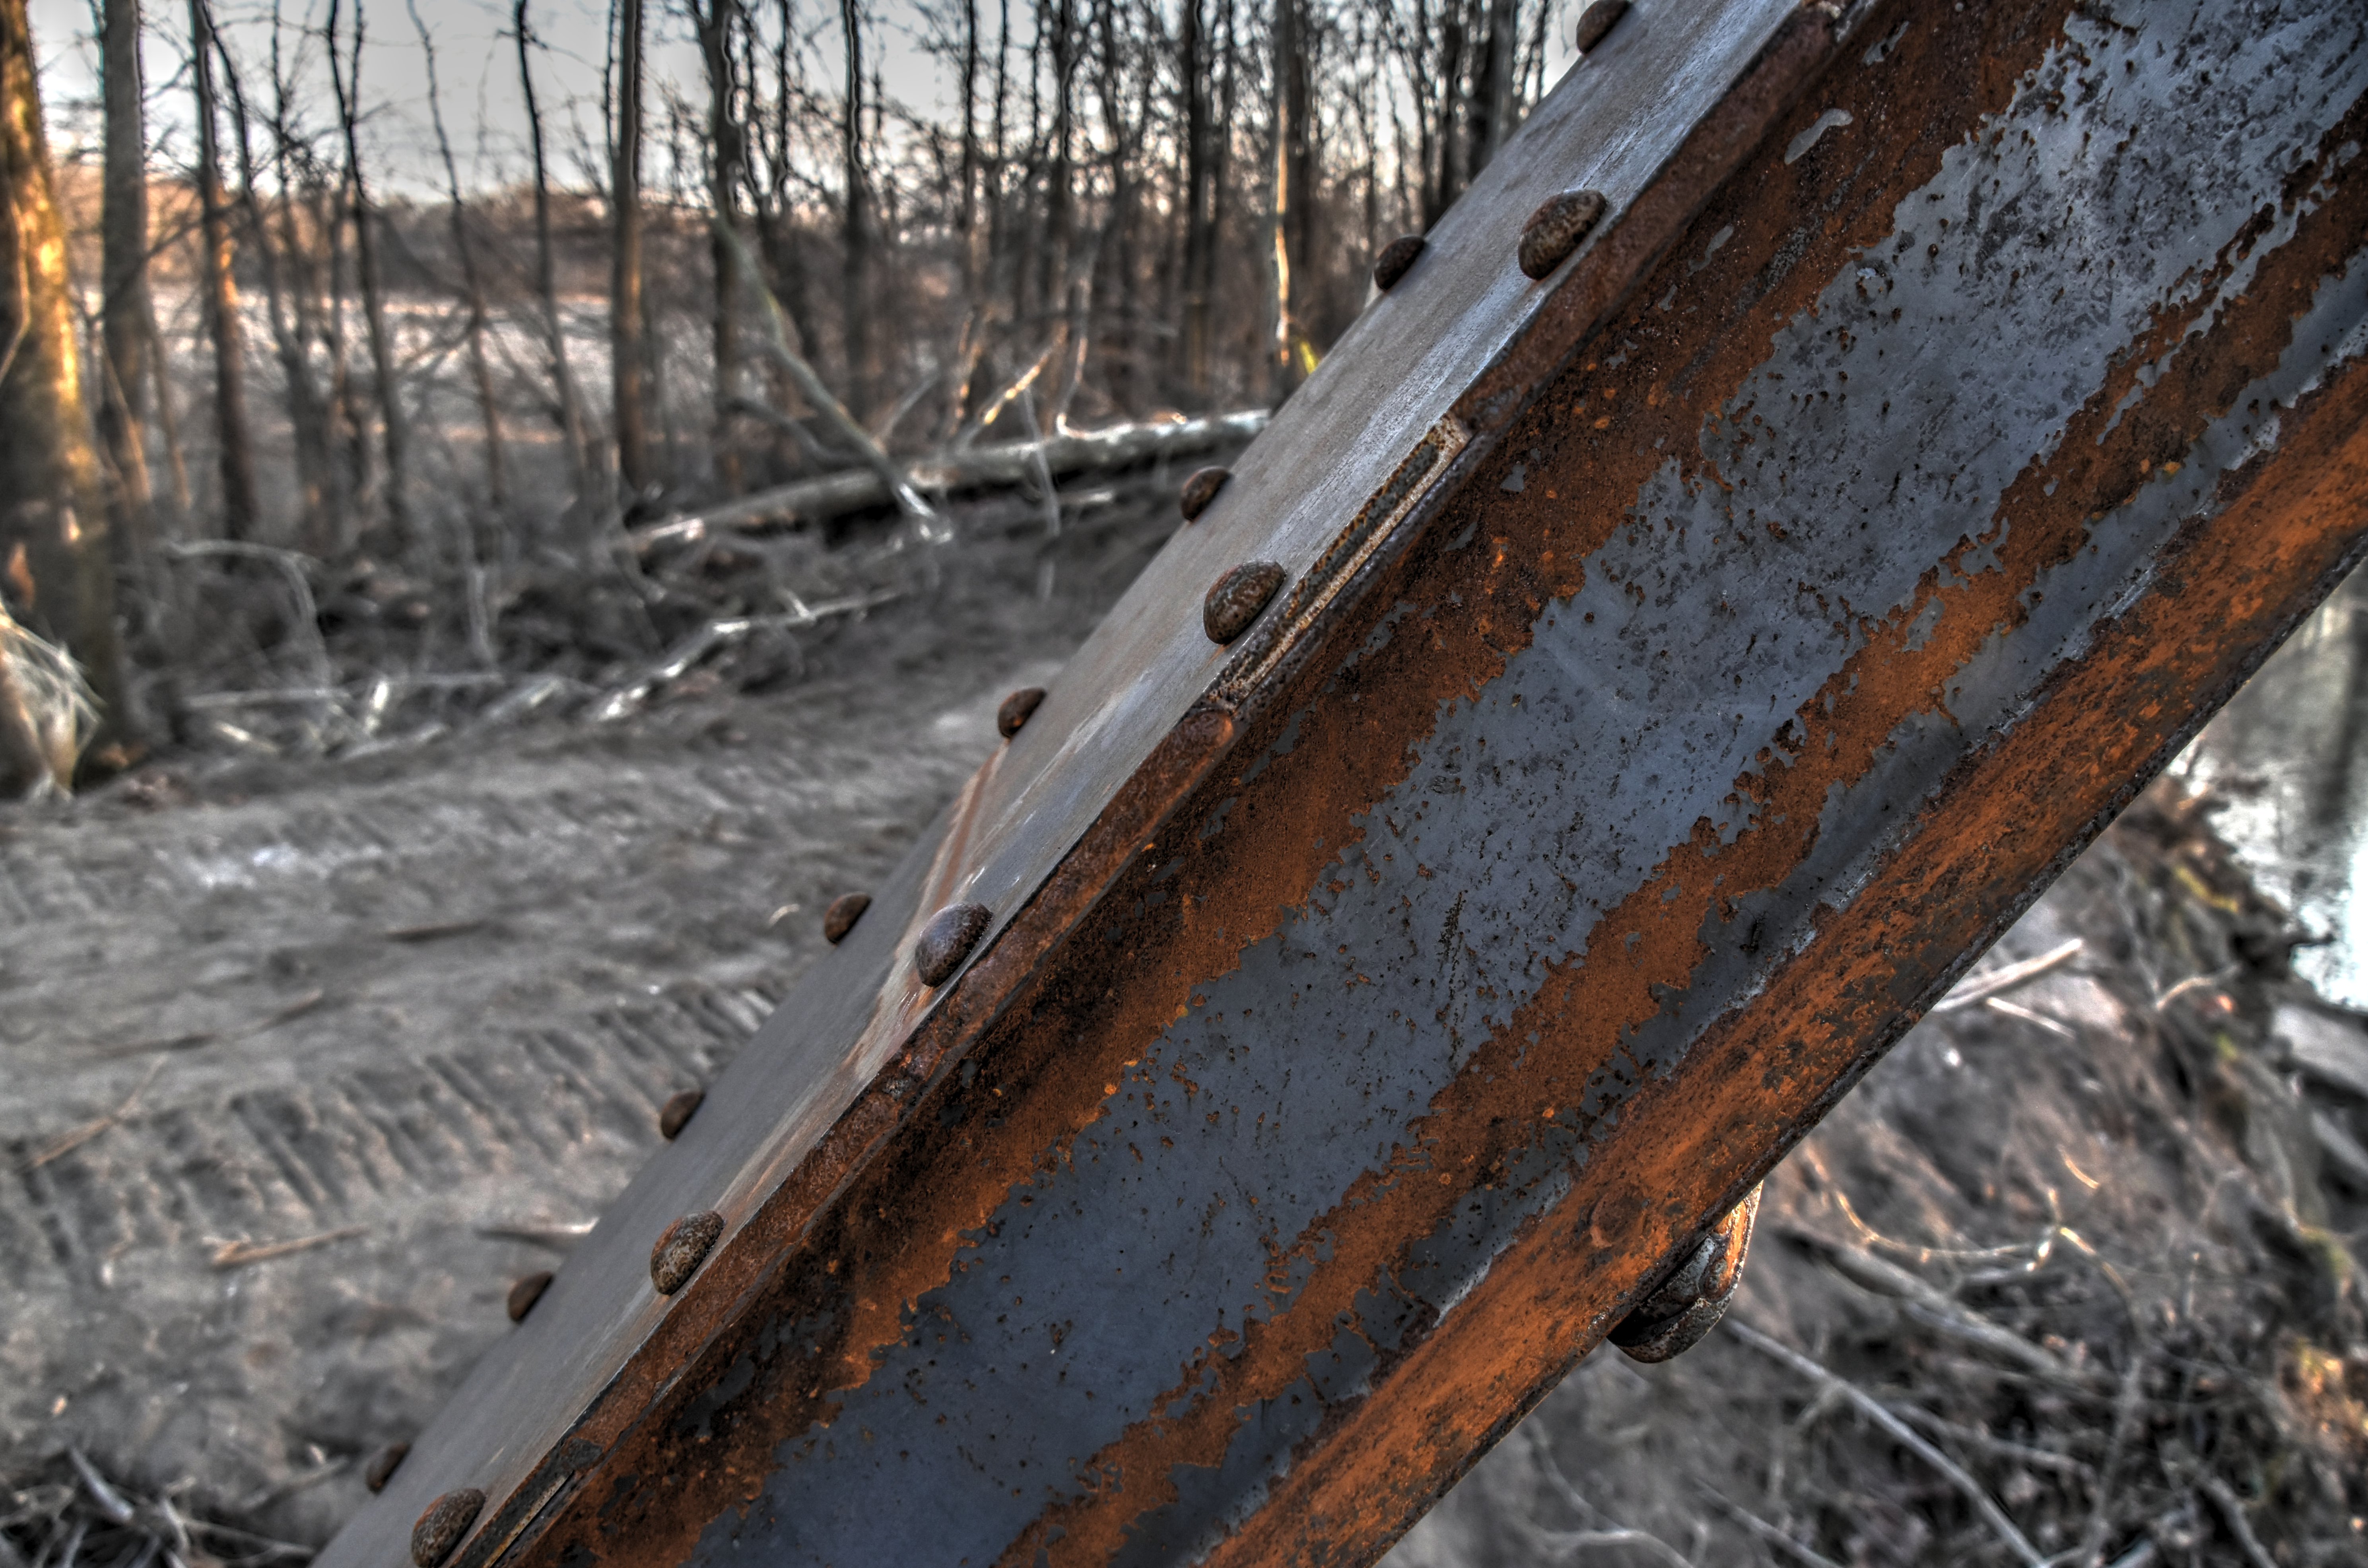
Views of truss web.
![]()

Missing 1924 relocation plaque.
![]()


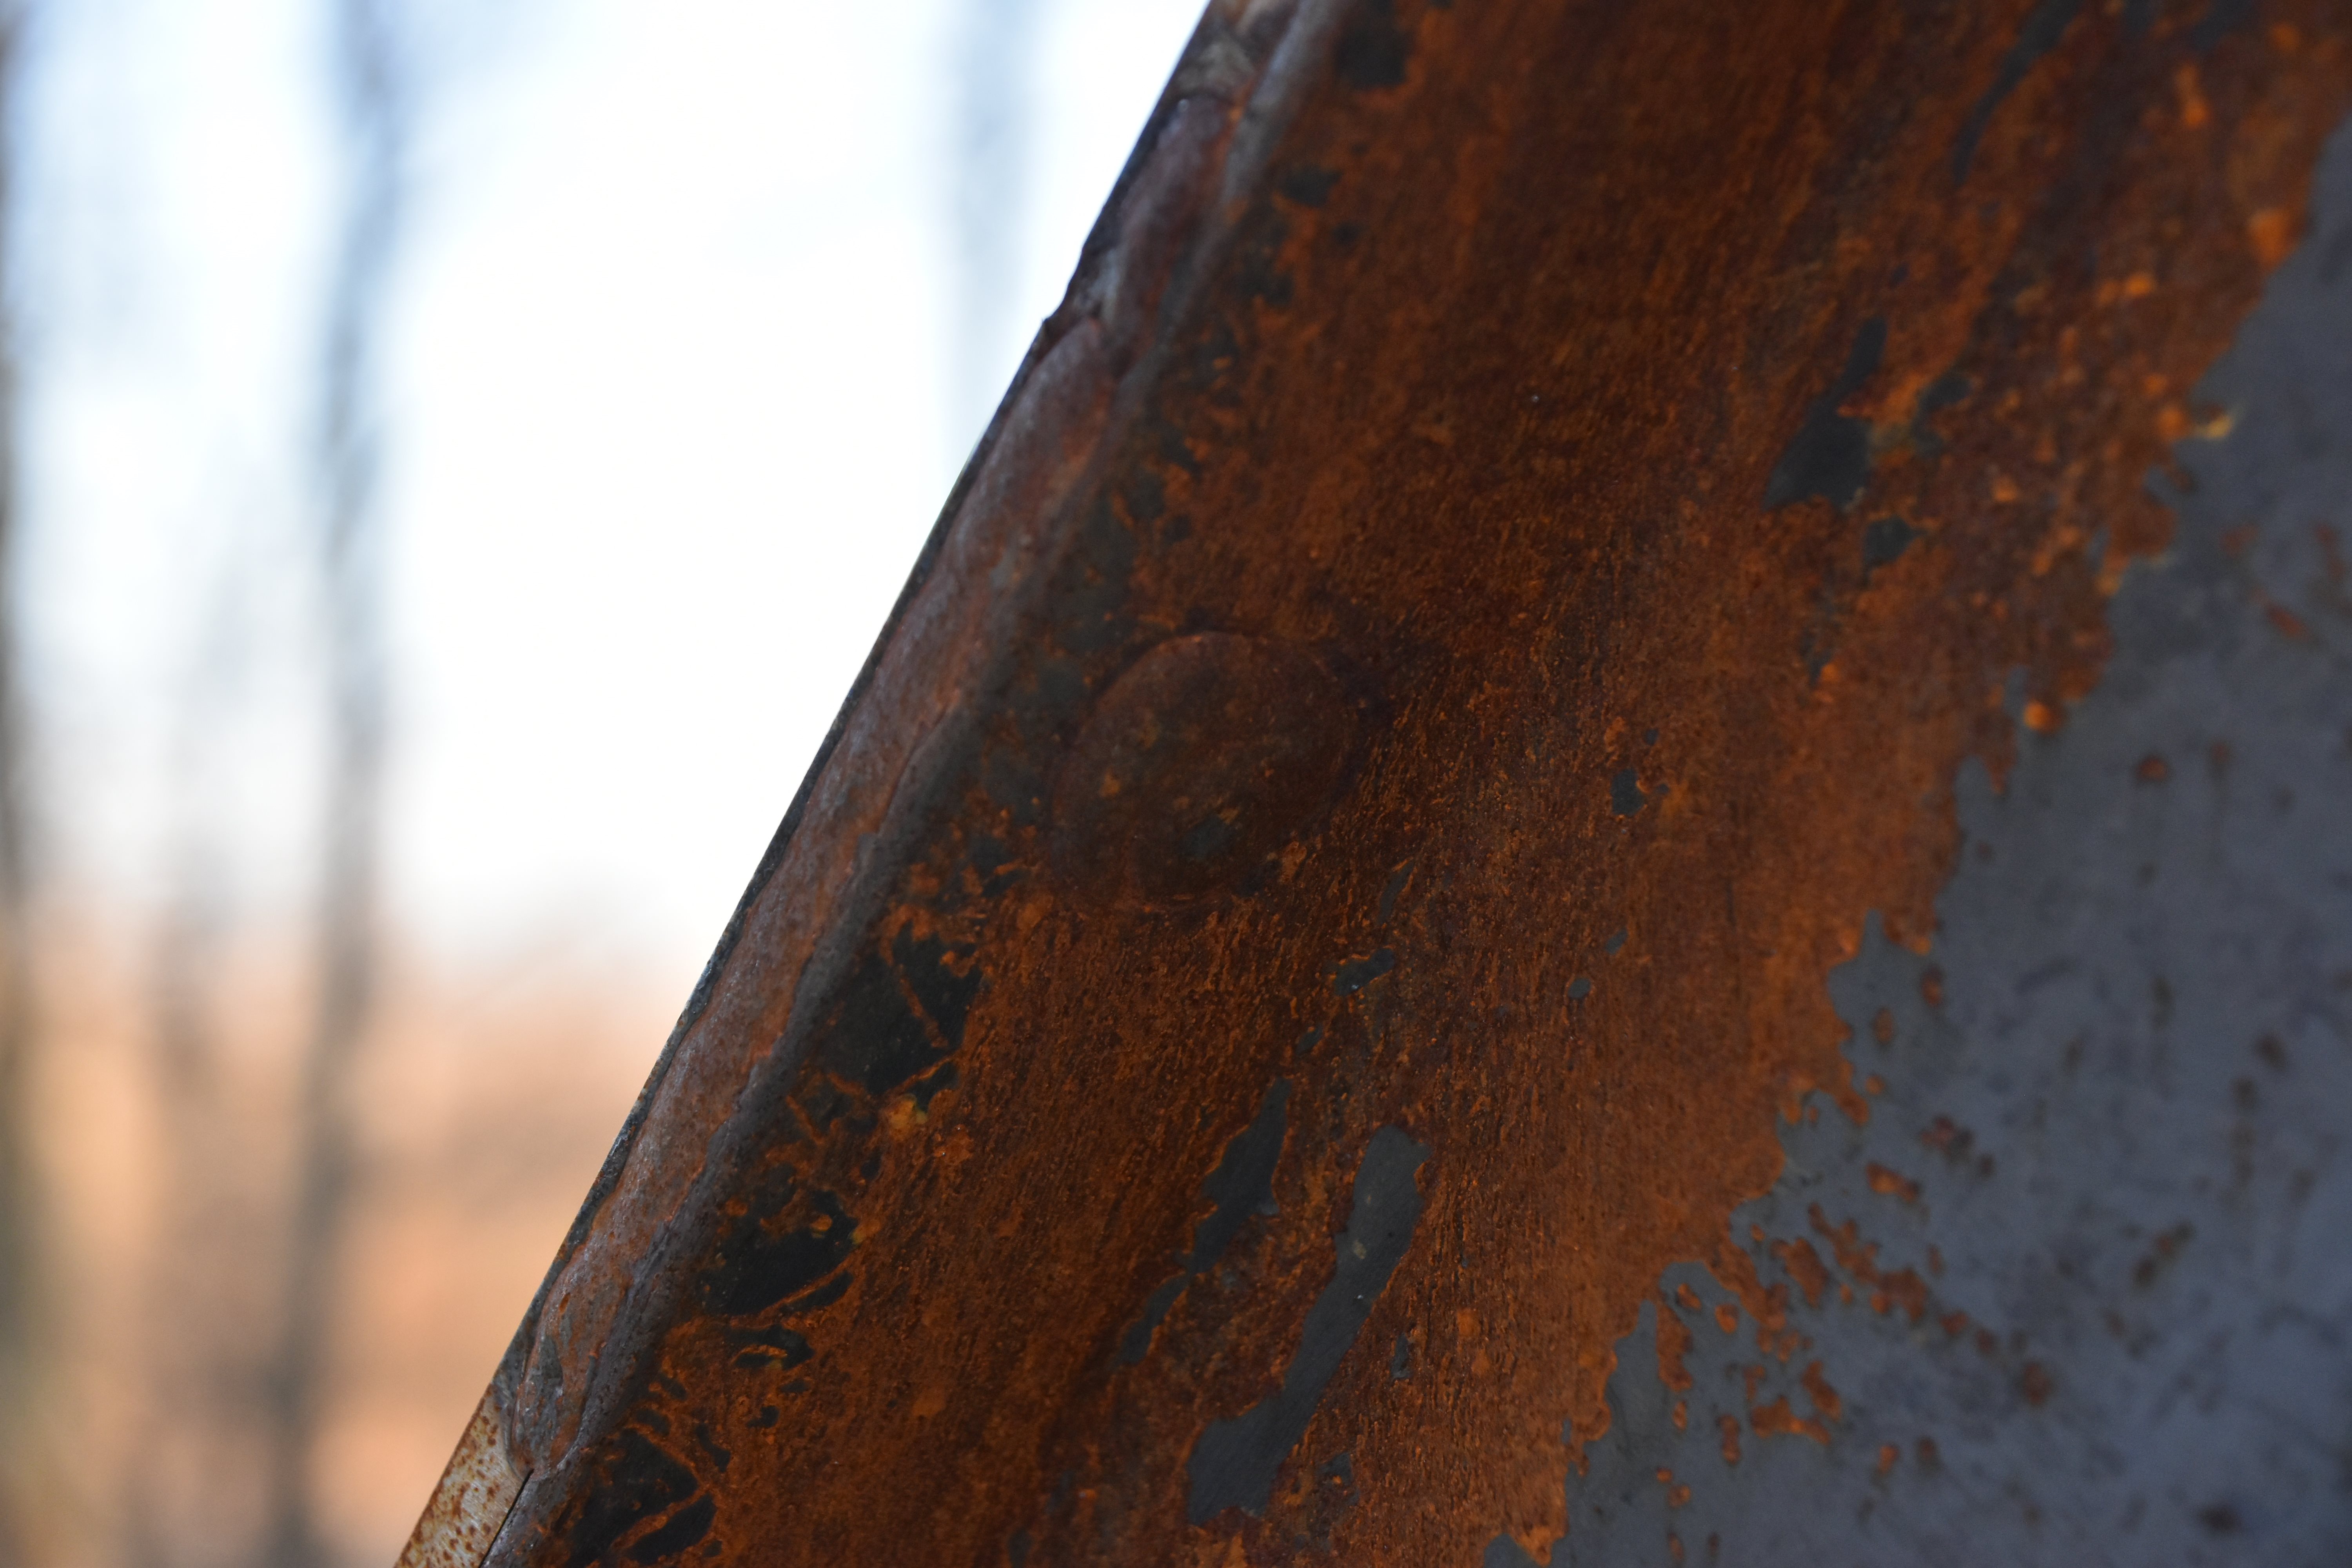
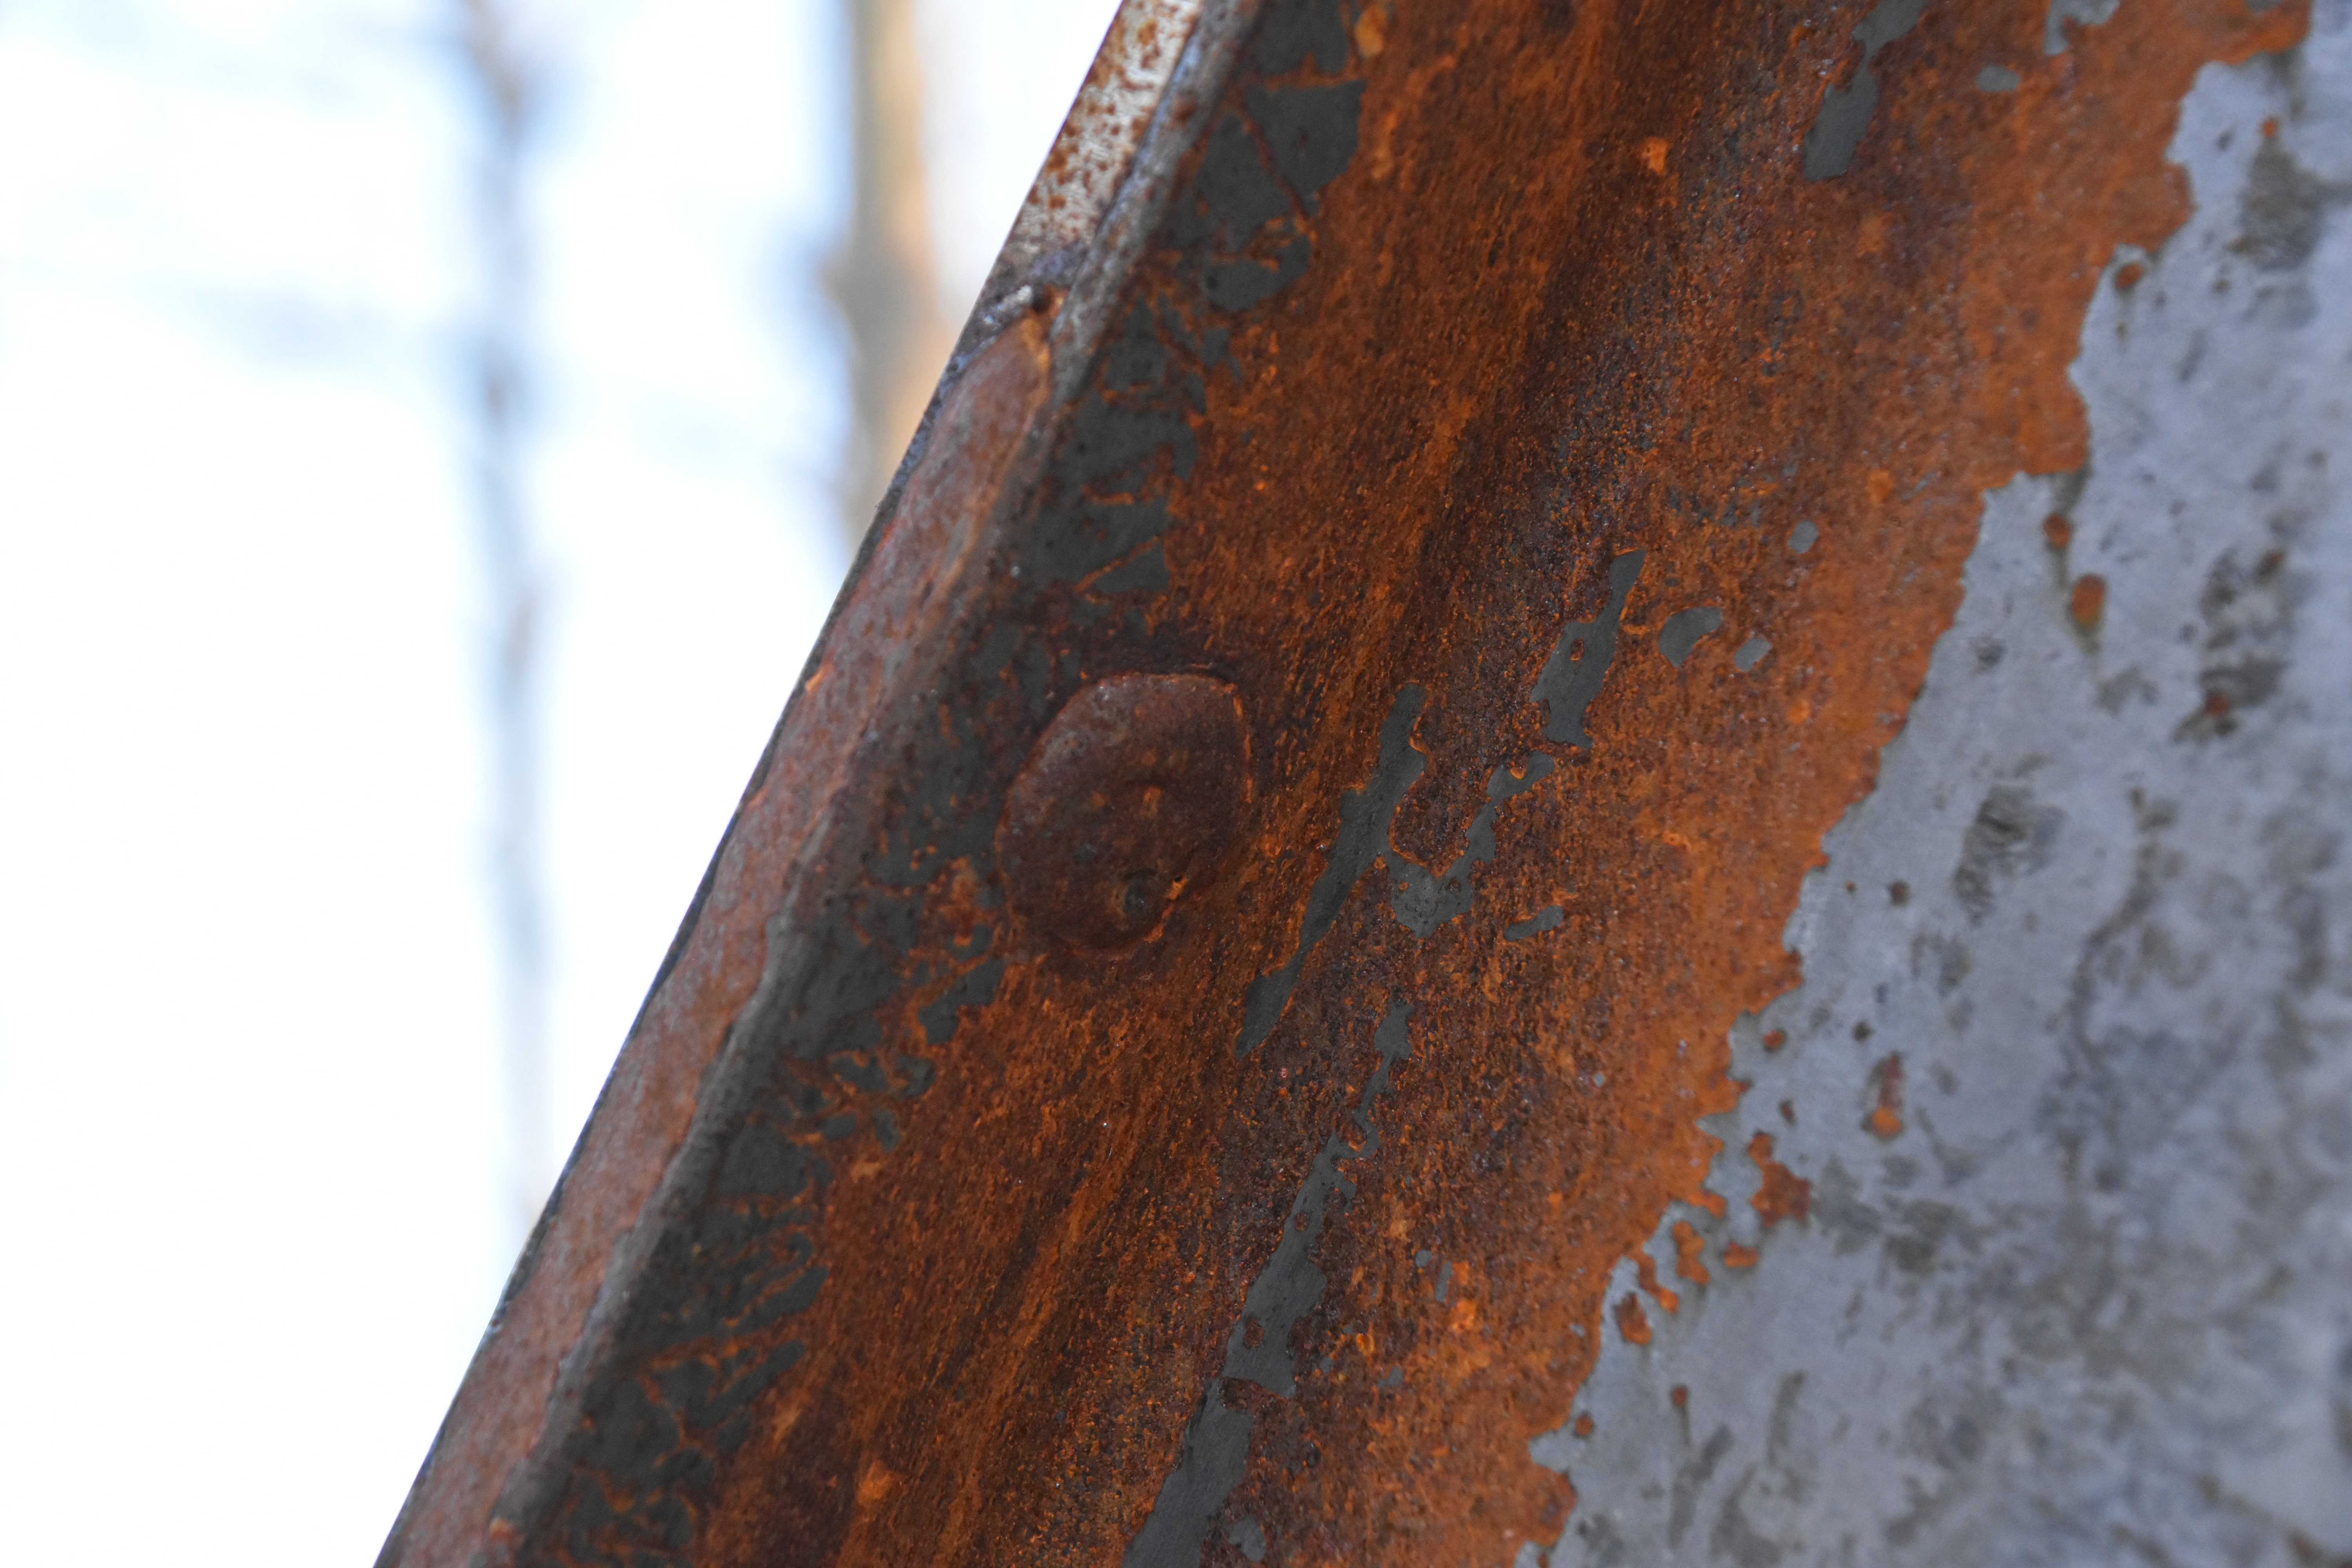
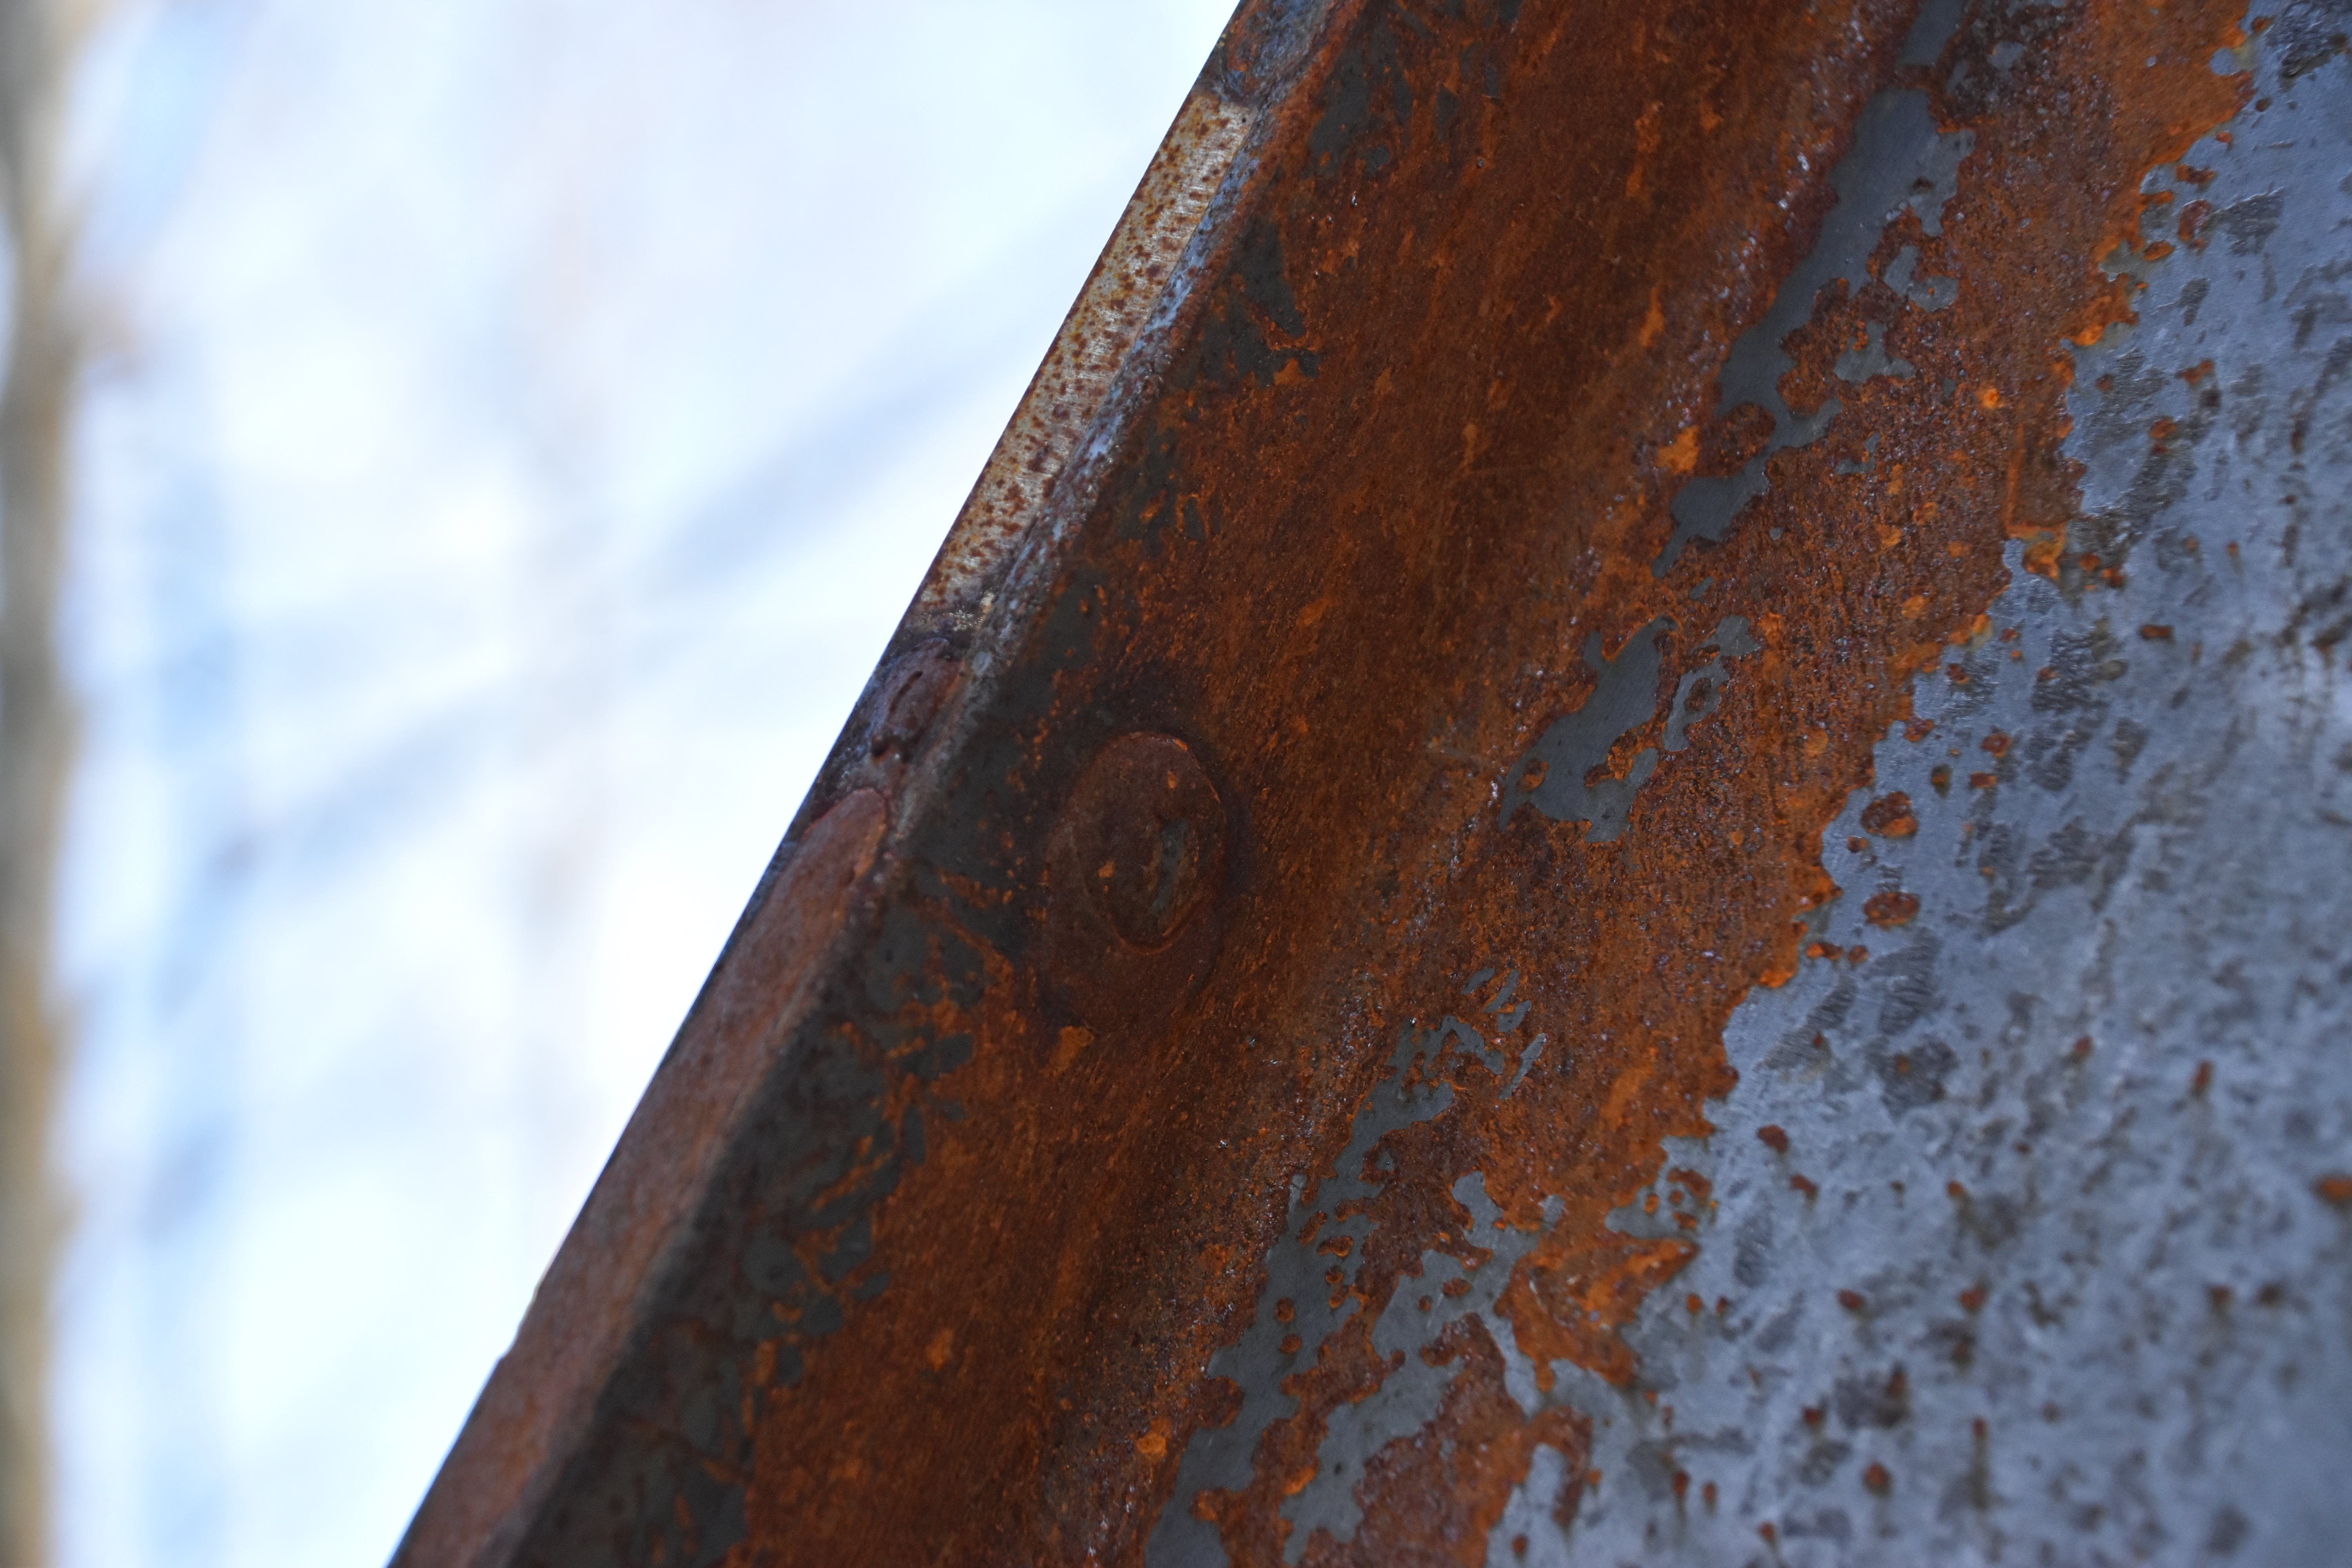
Carnegie brand.
![]()


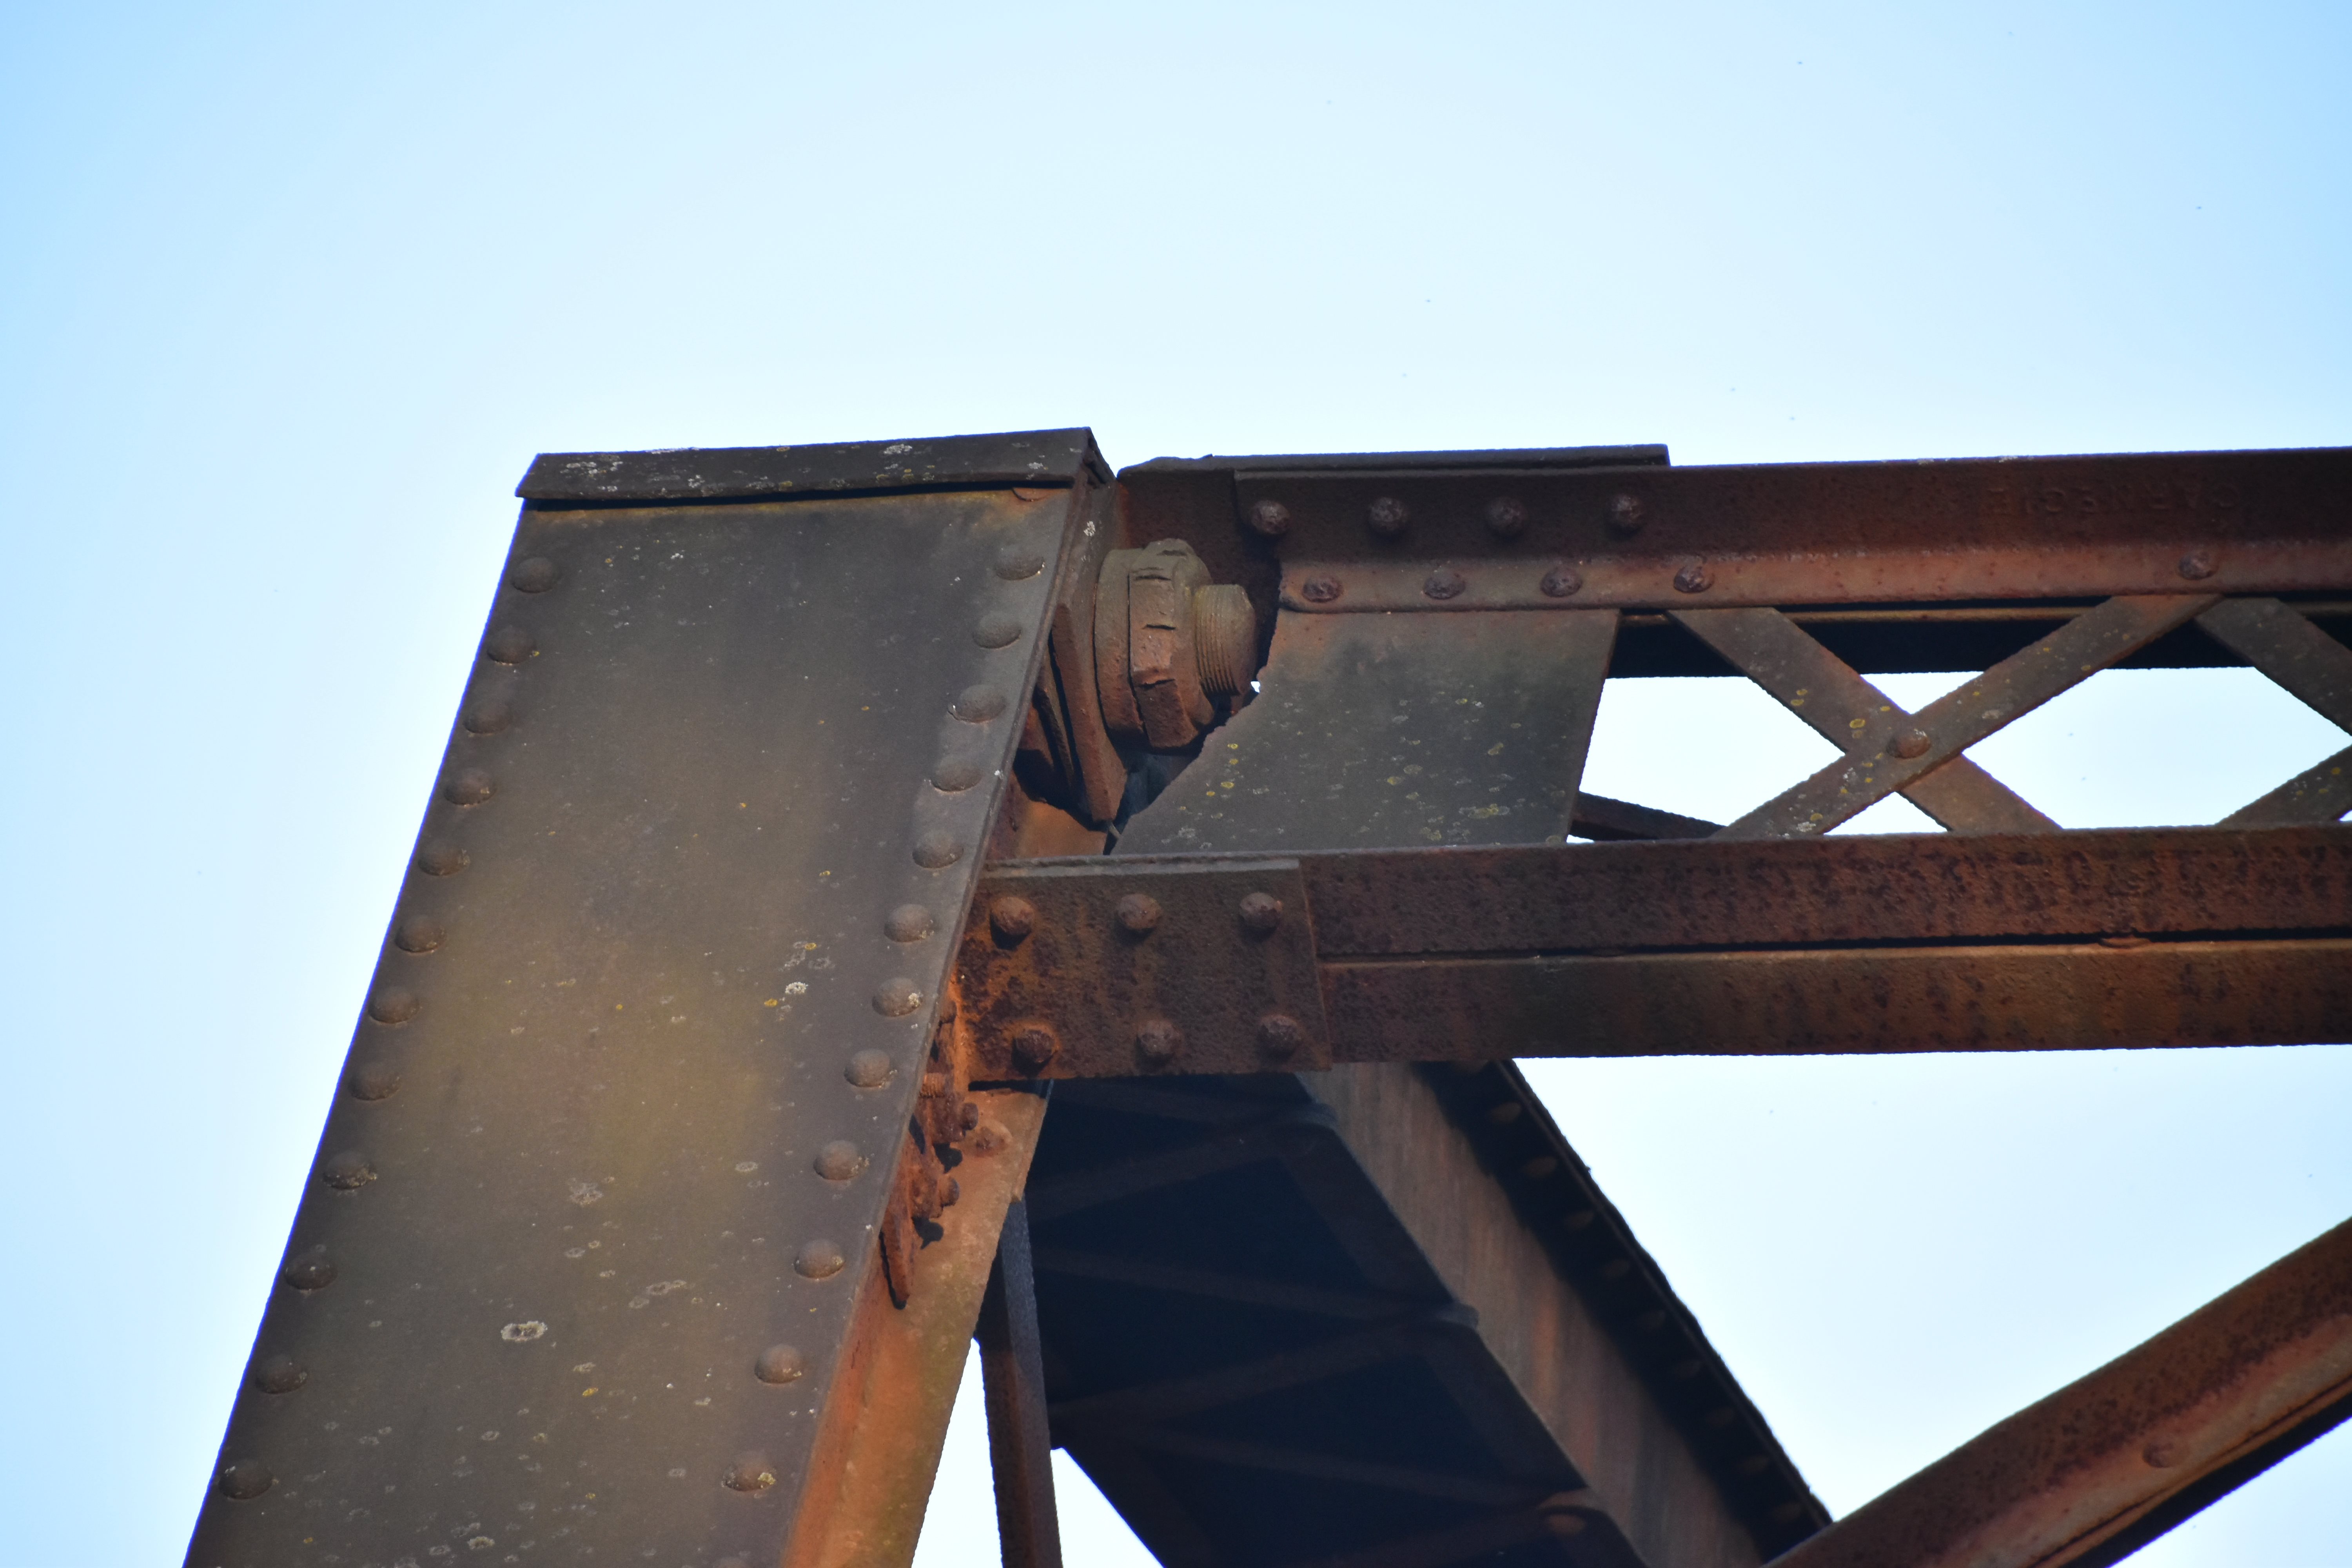
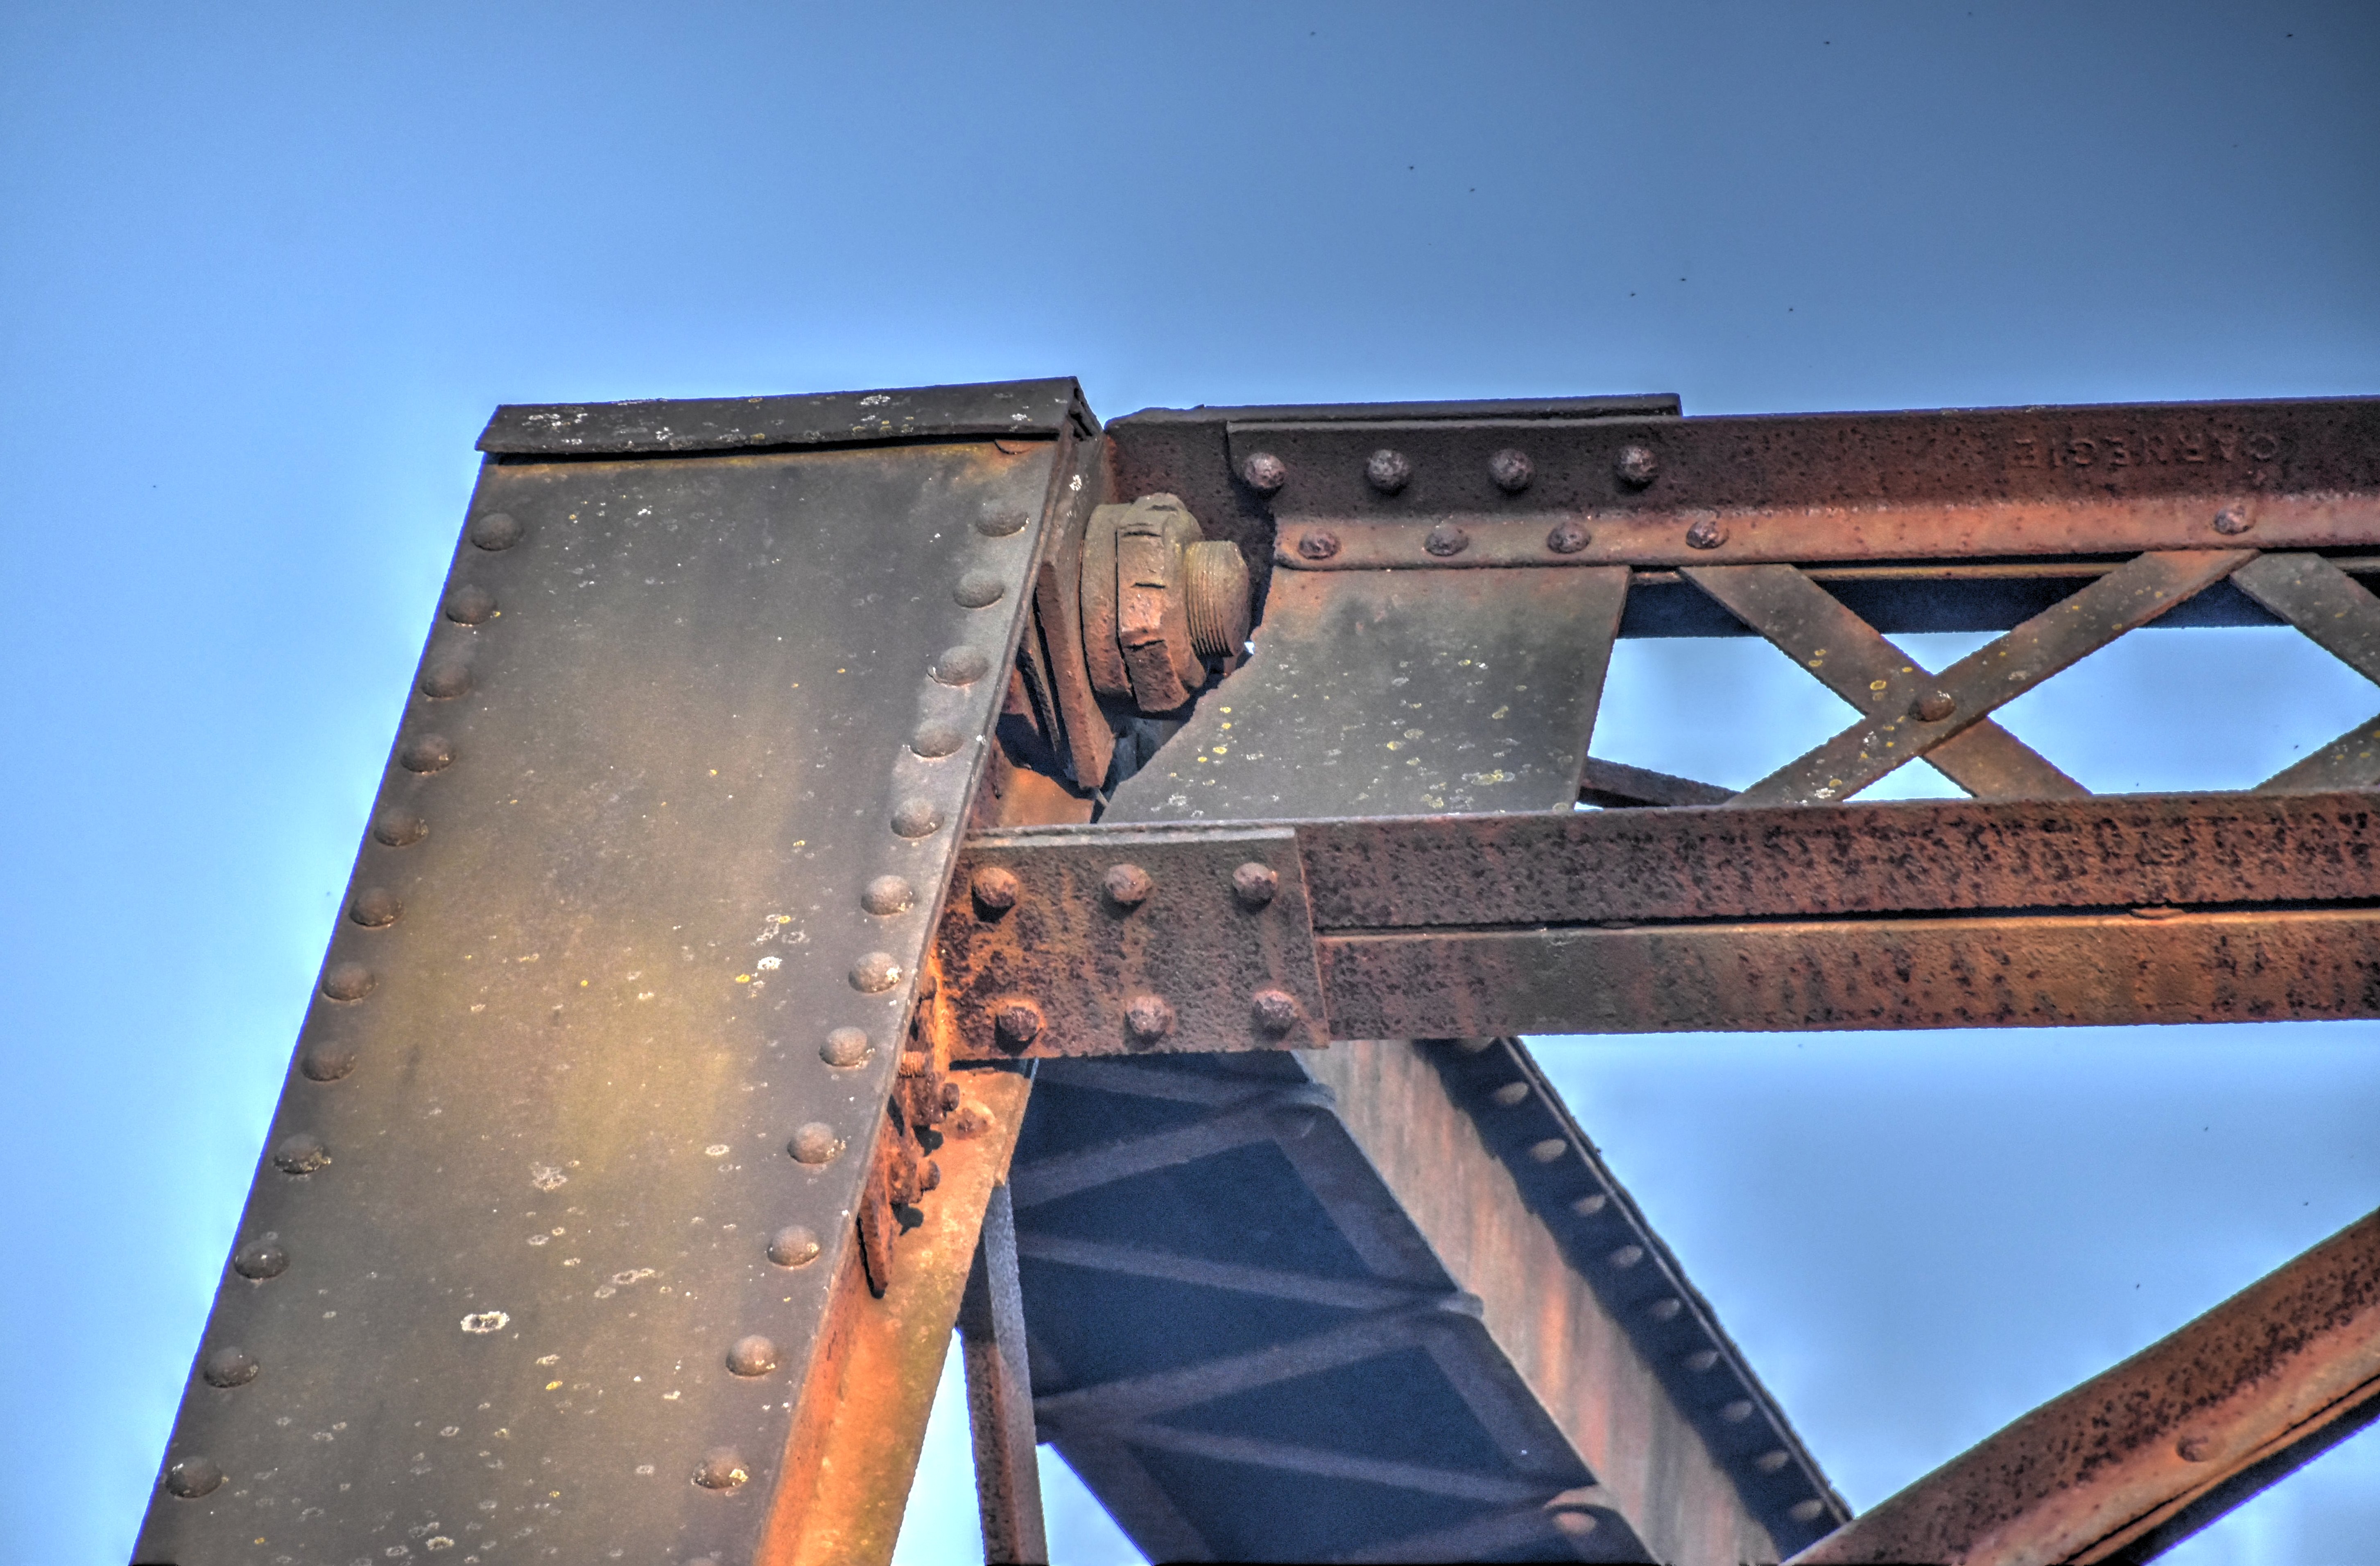
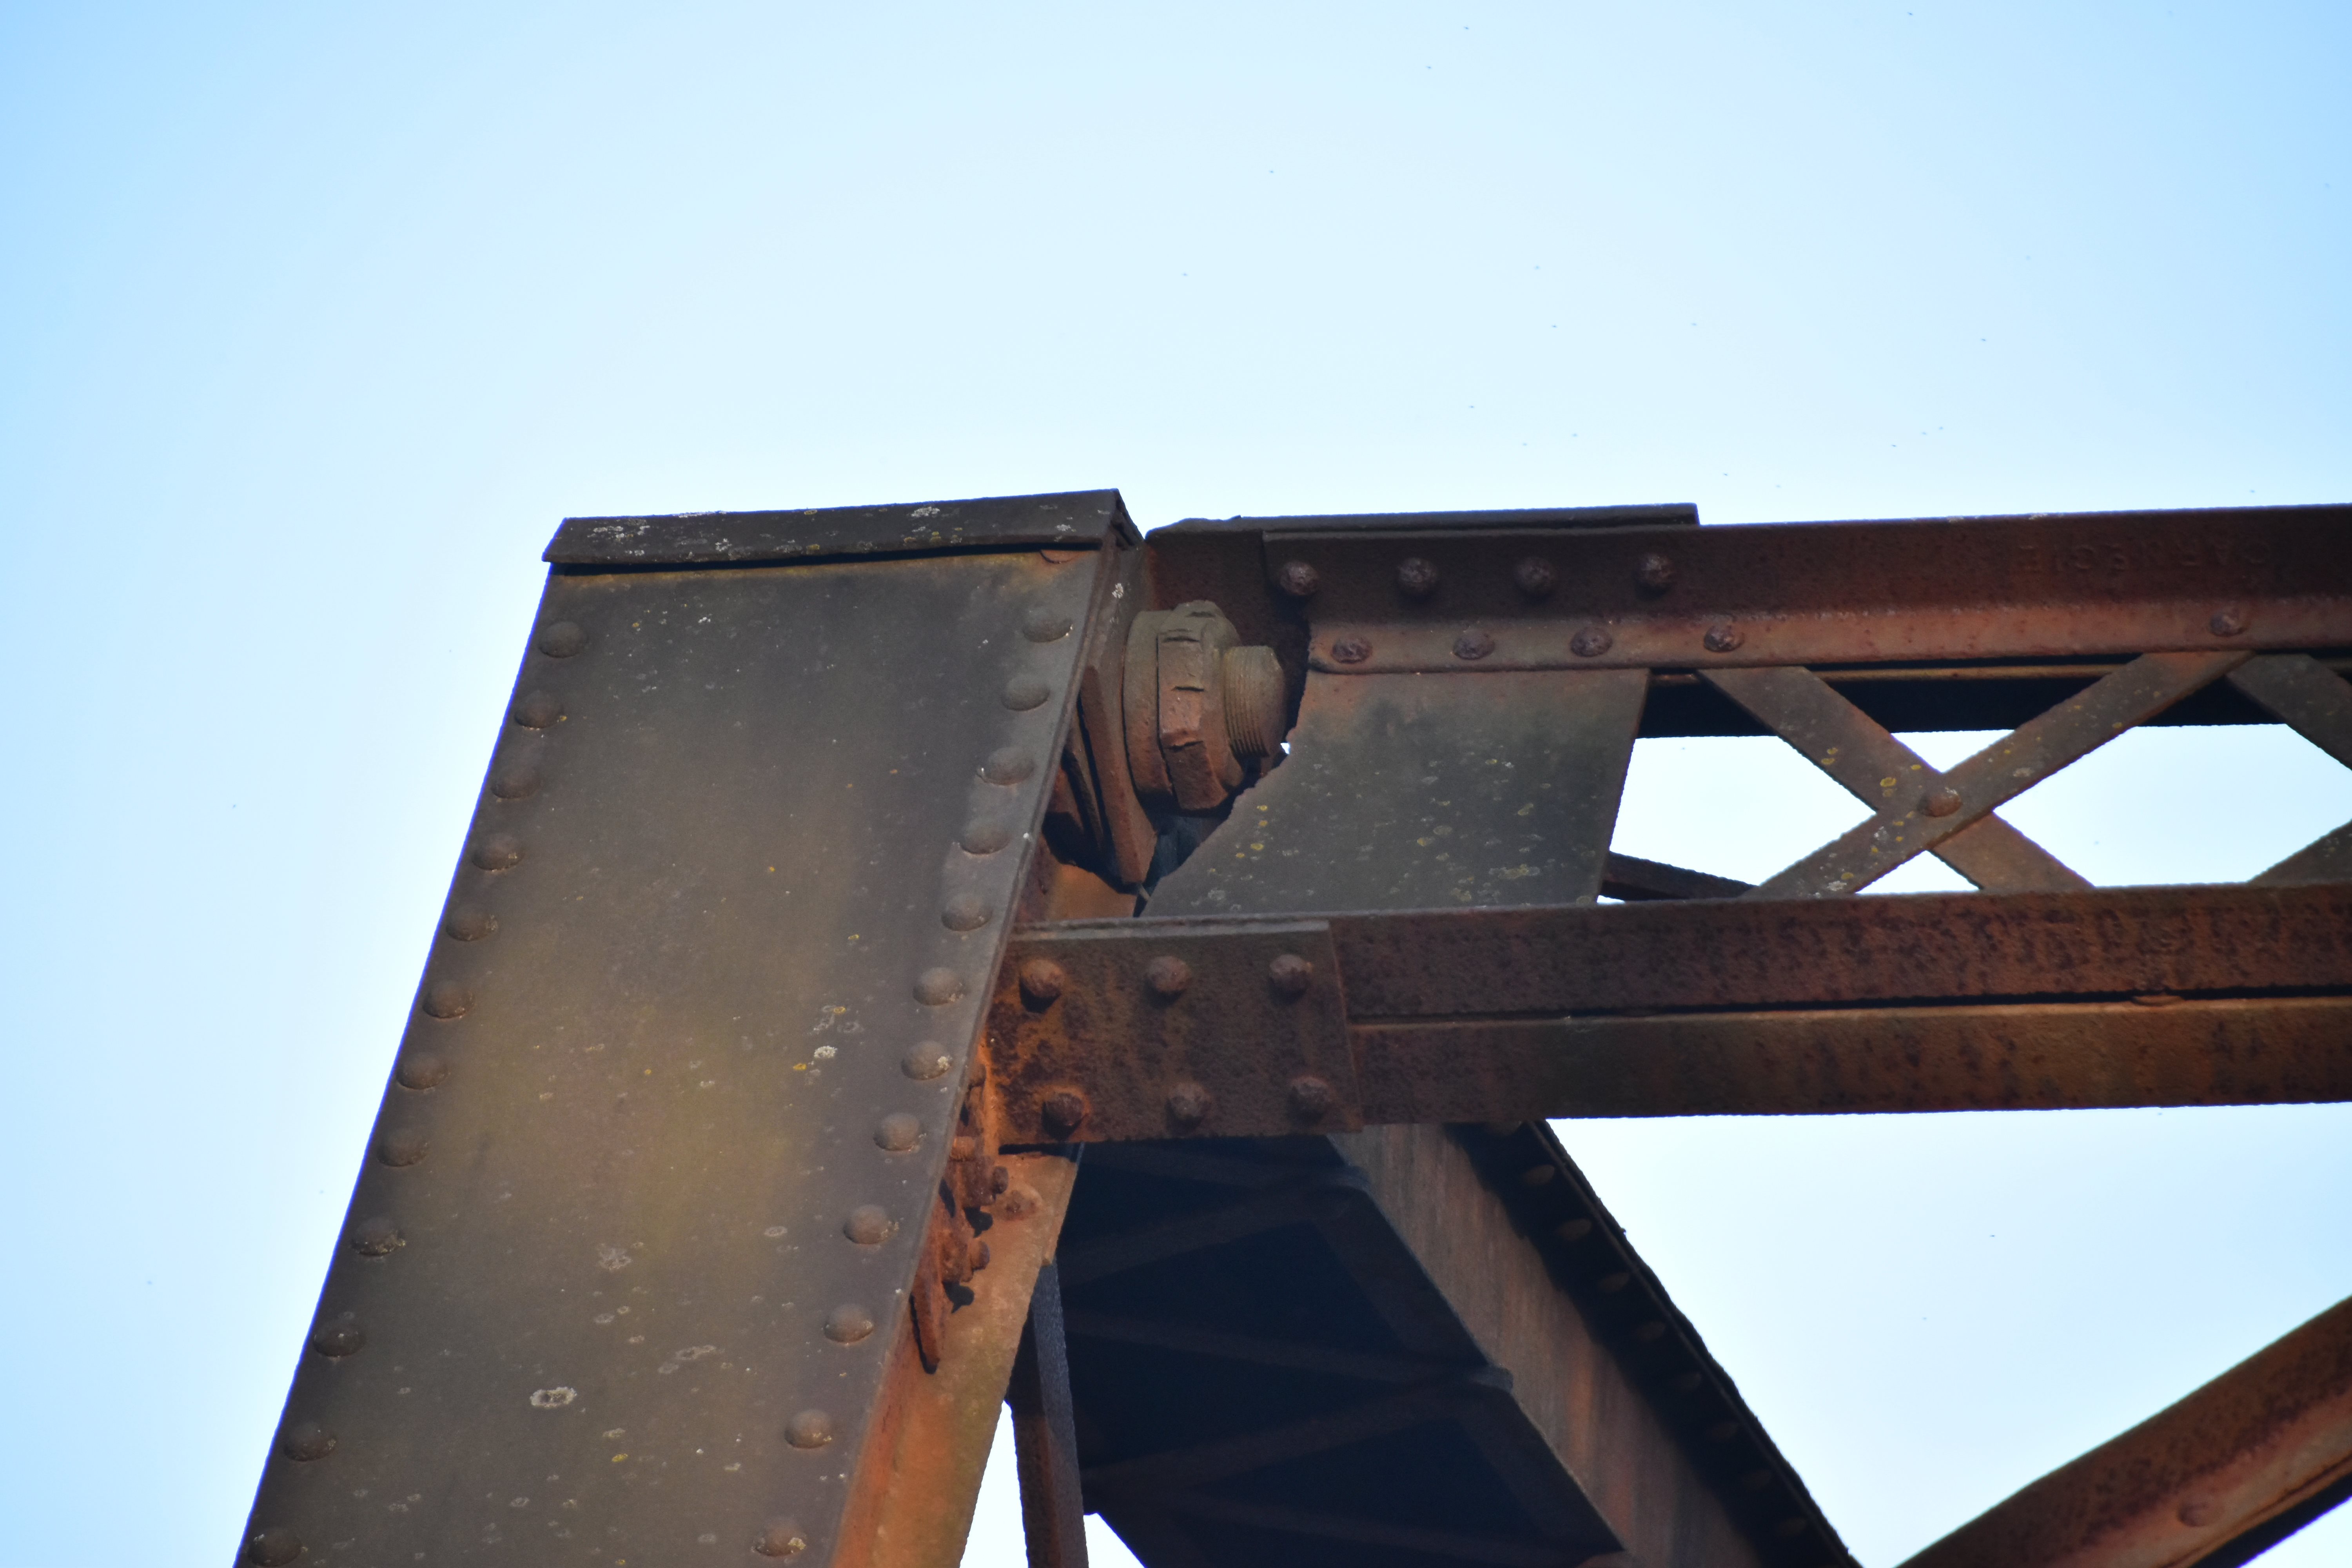
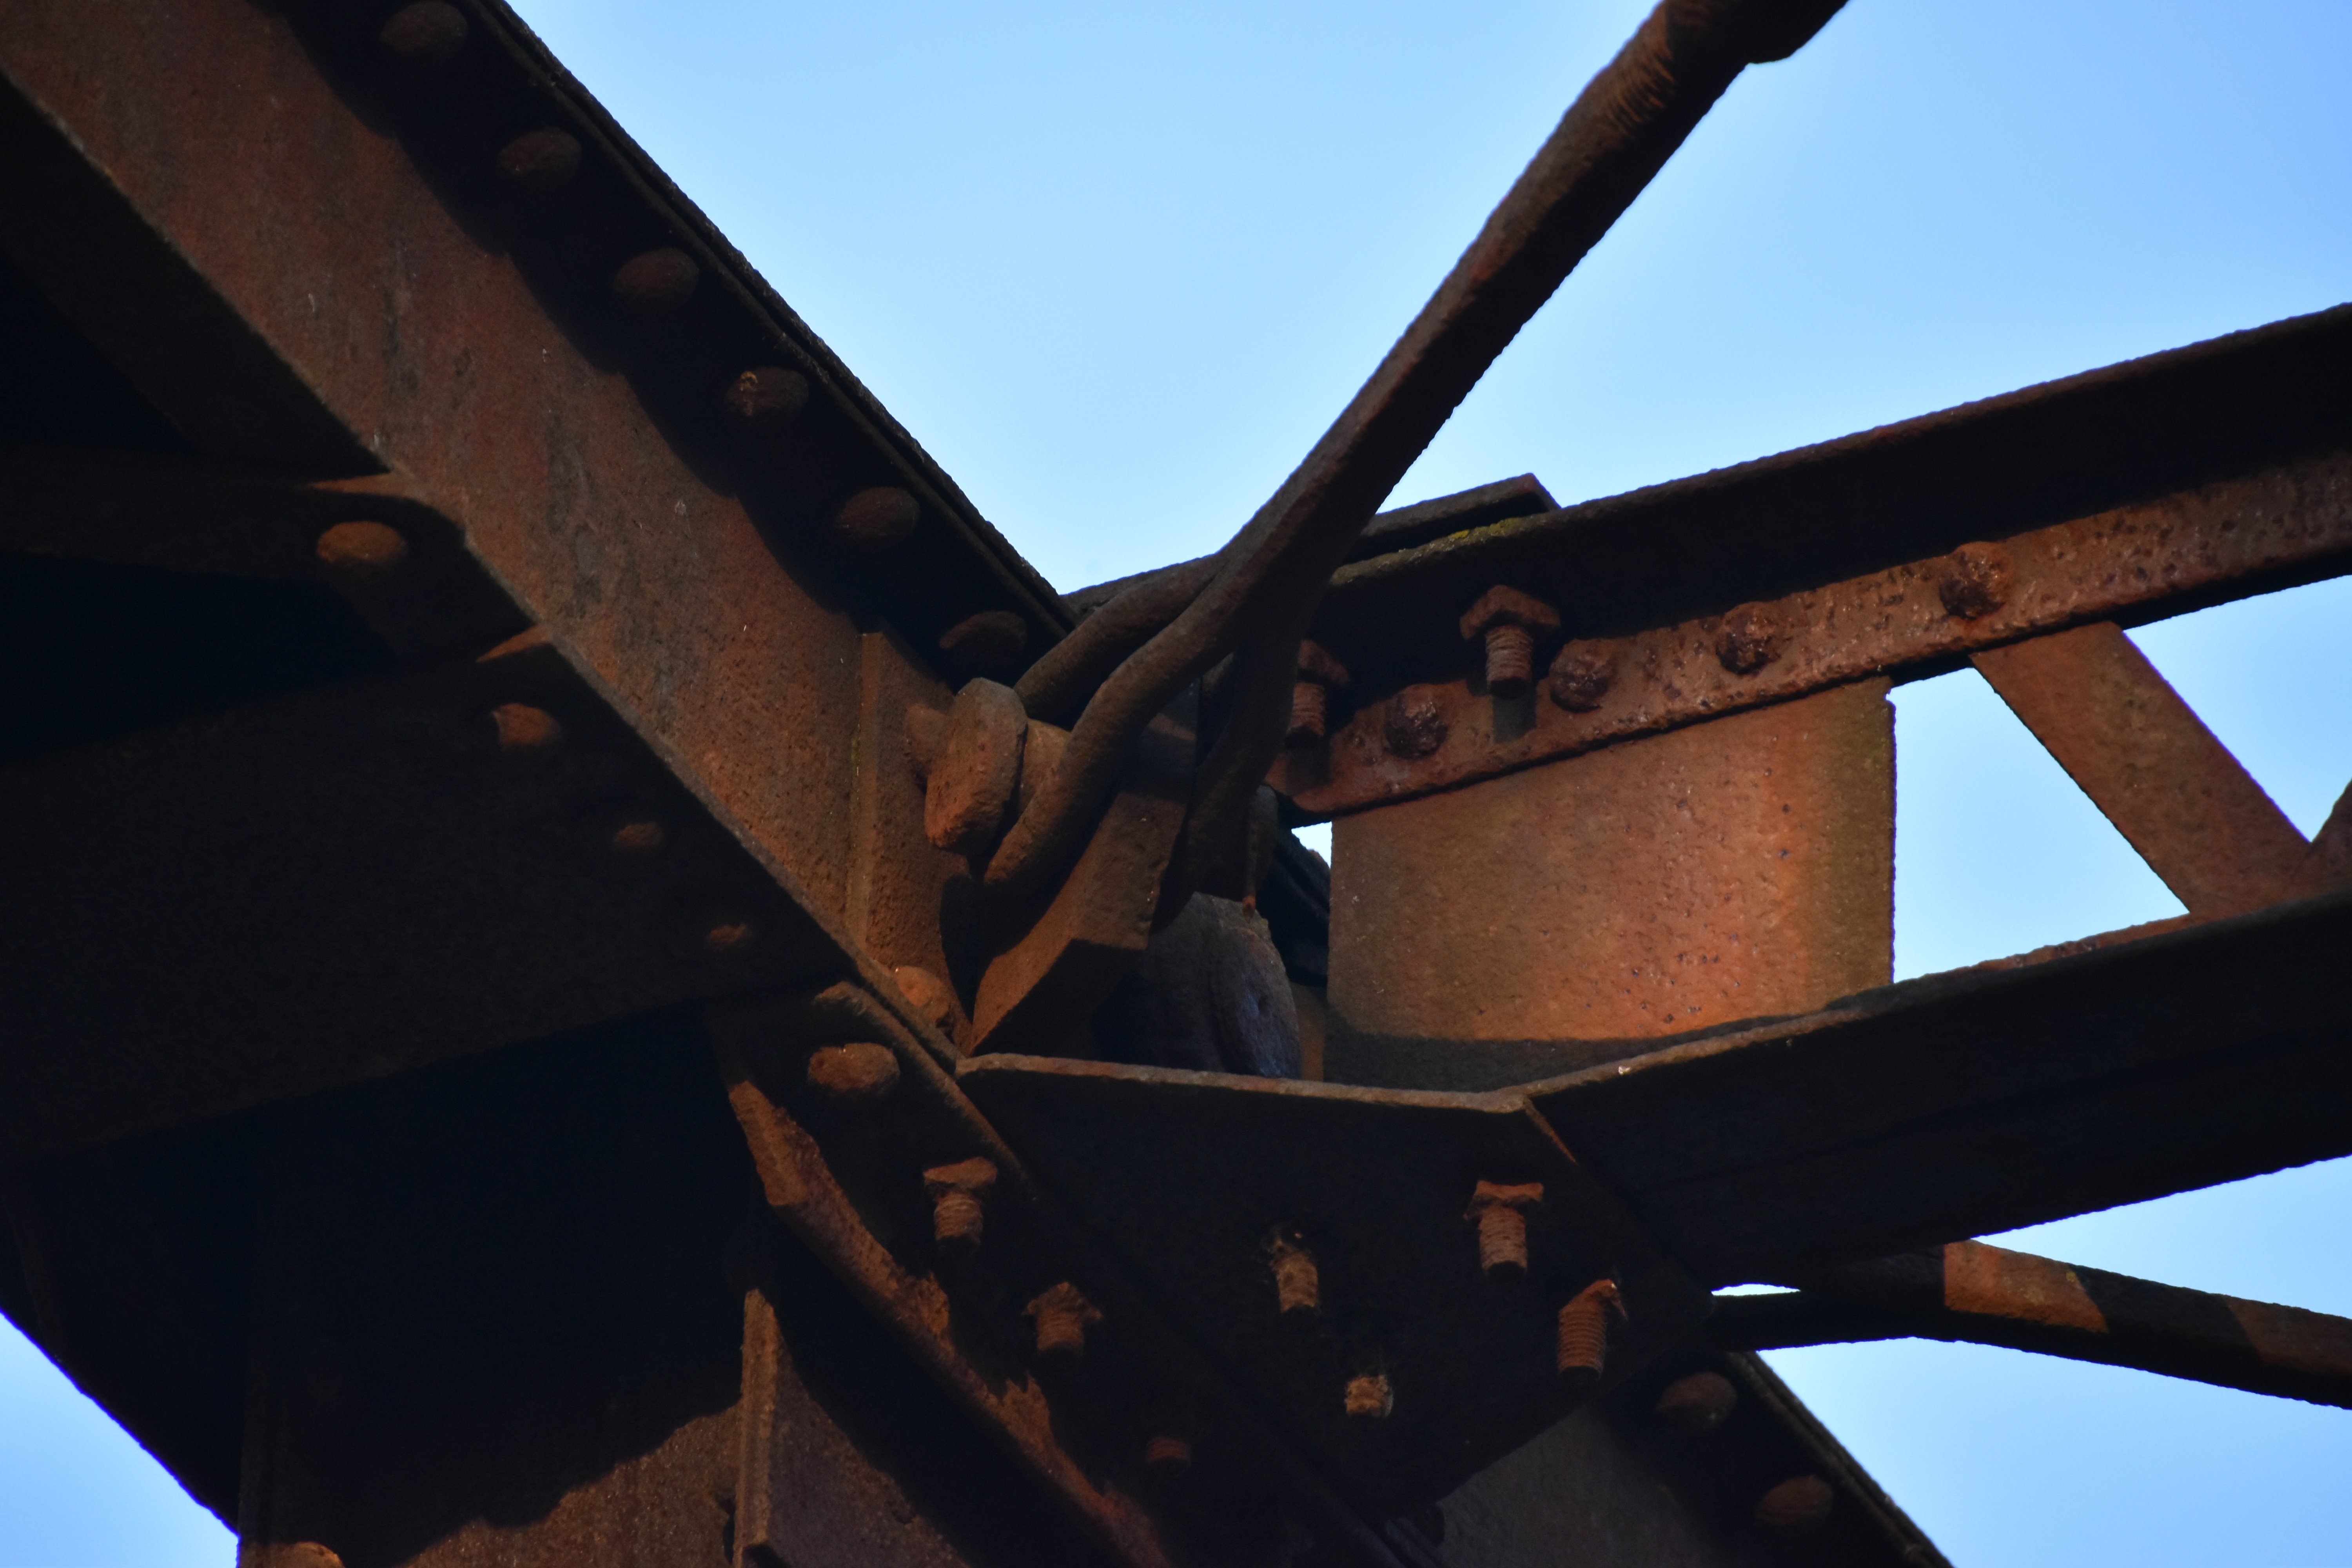
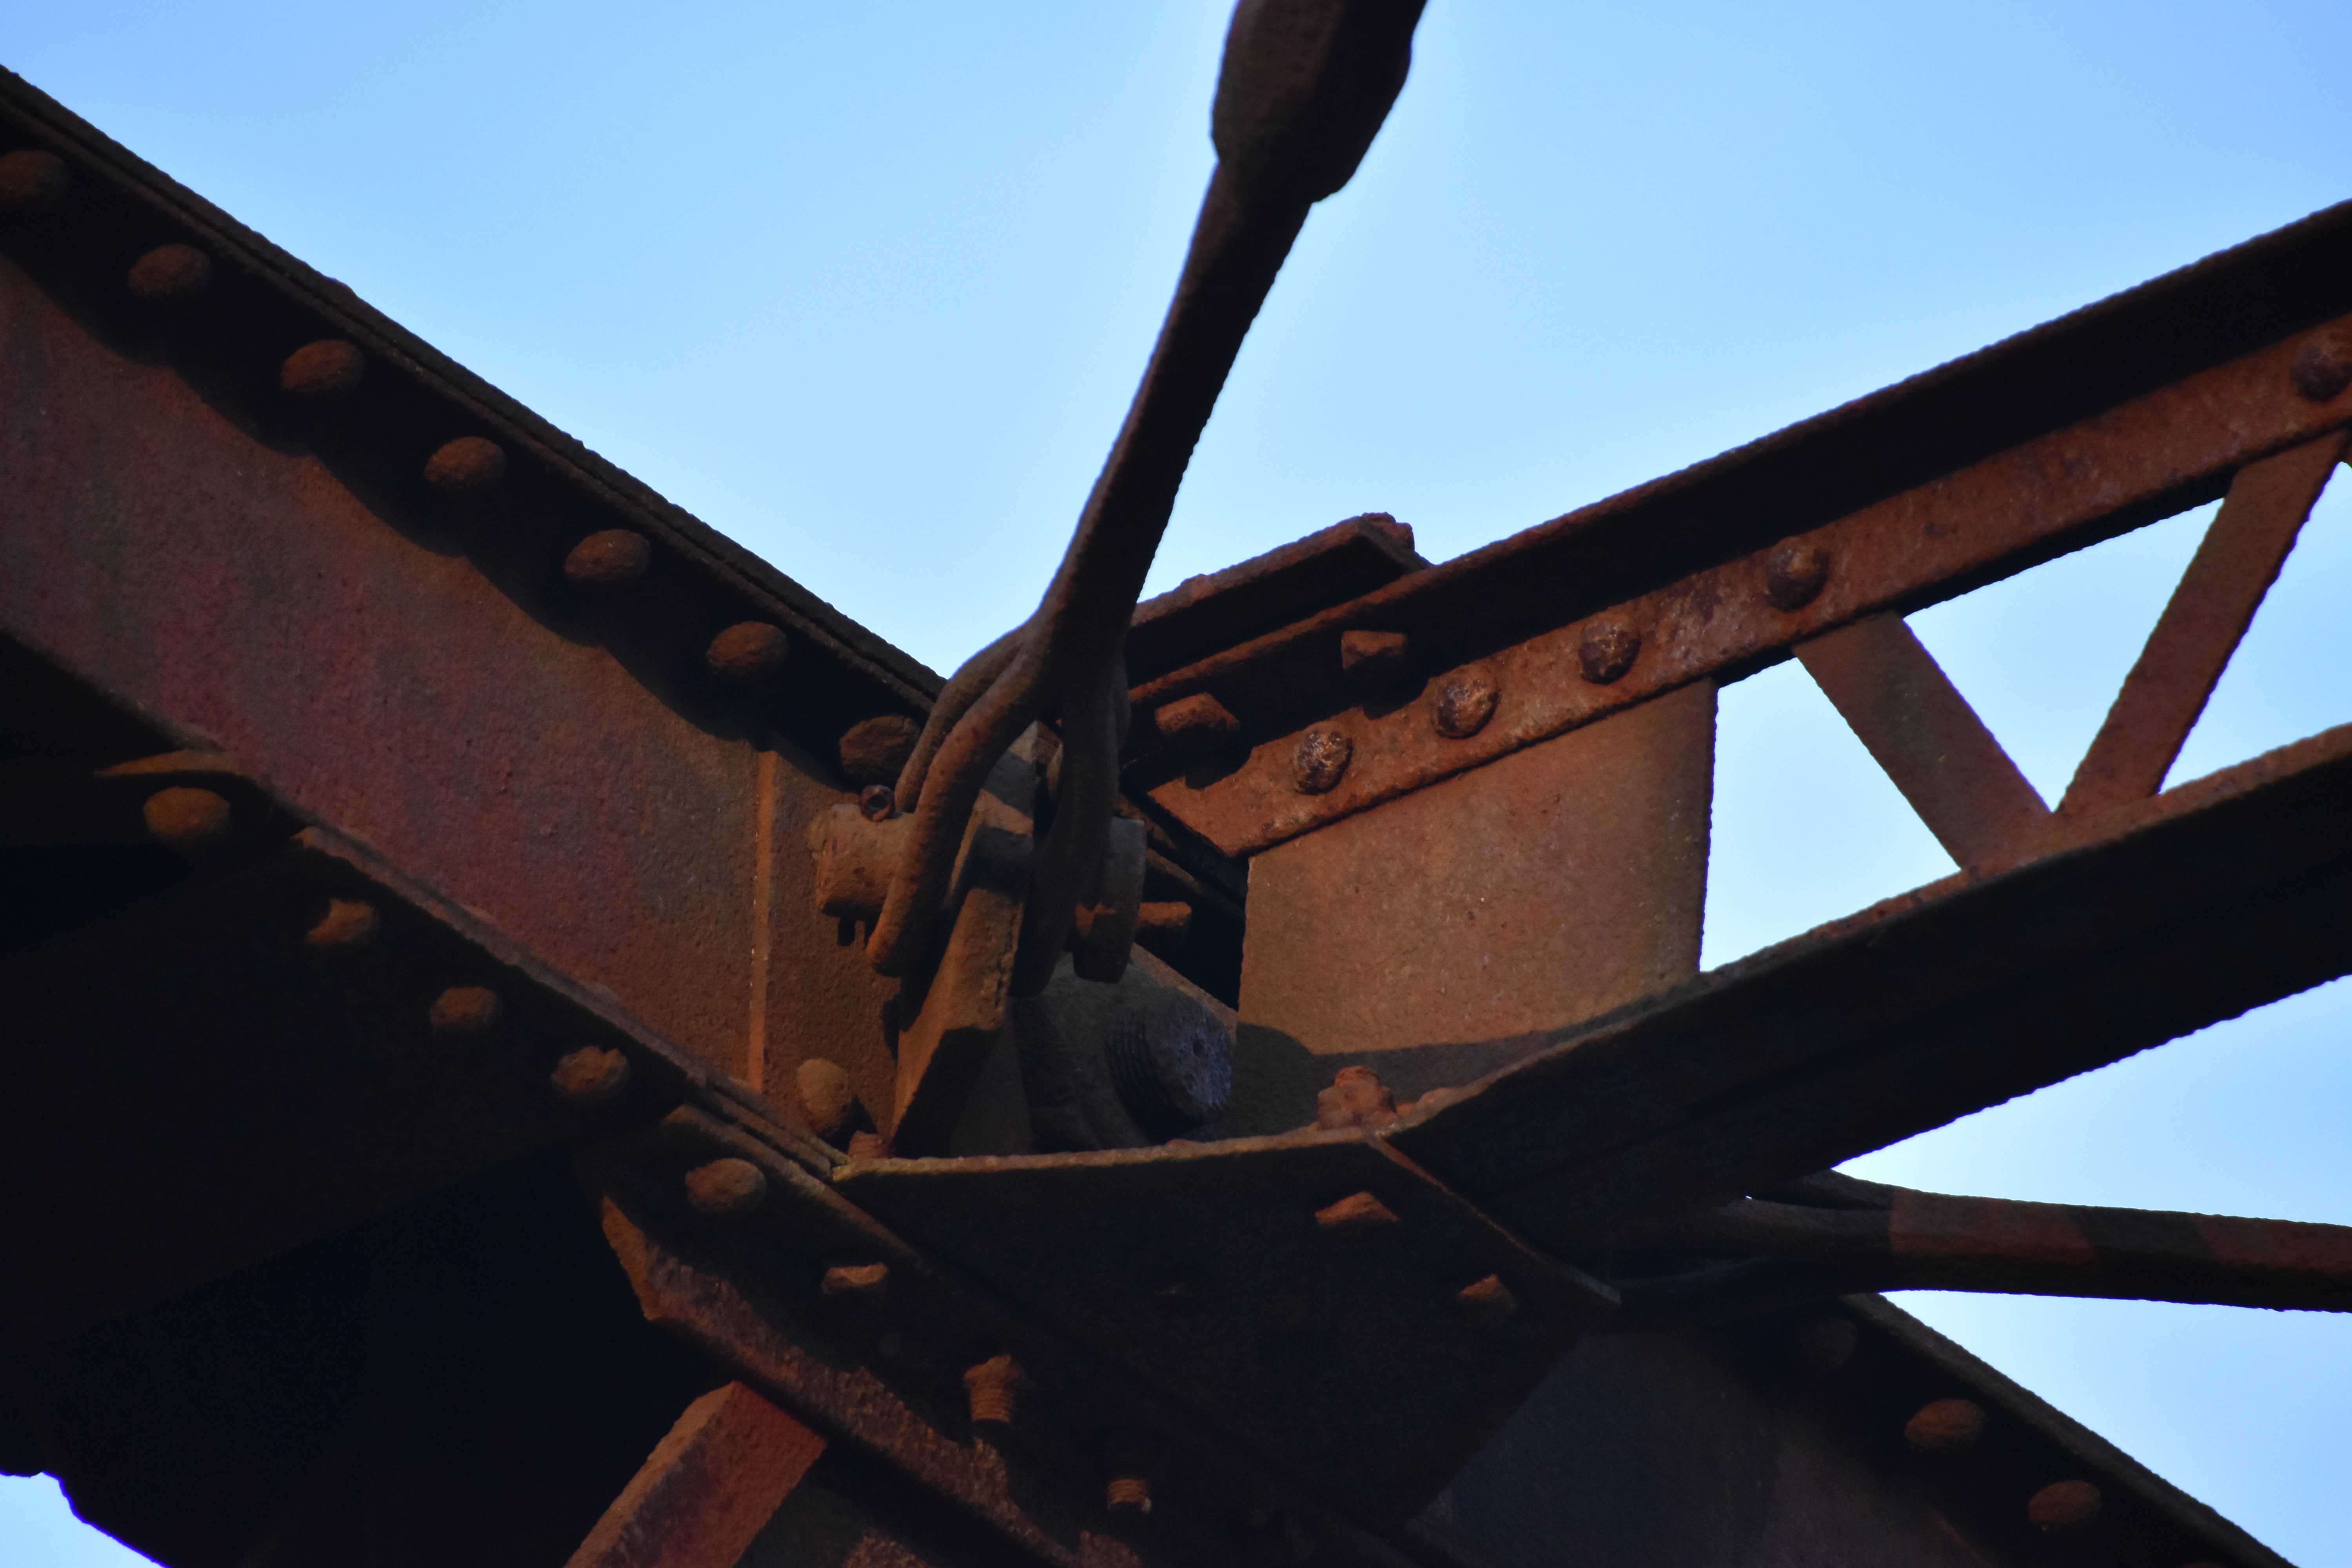
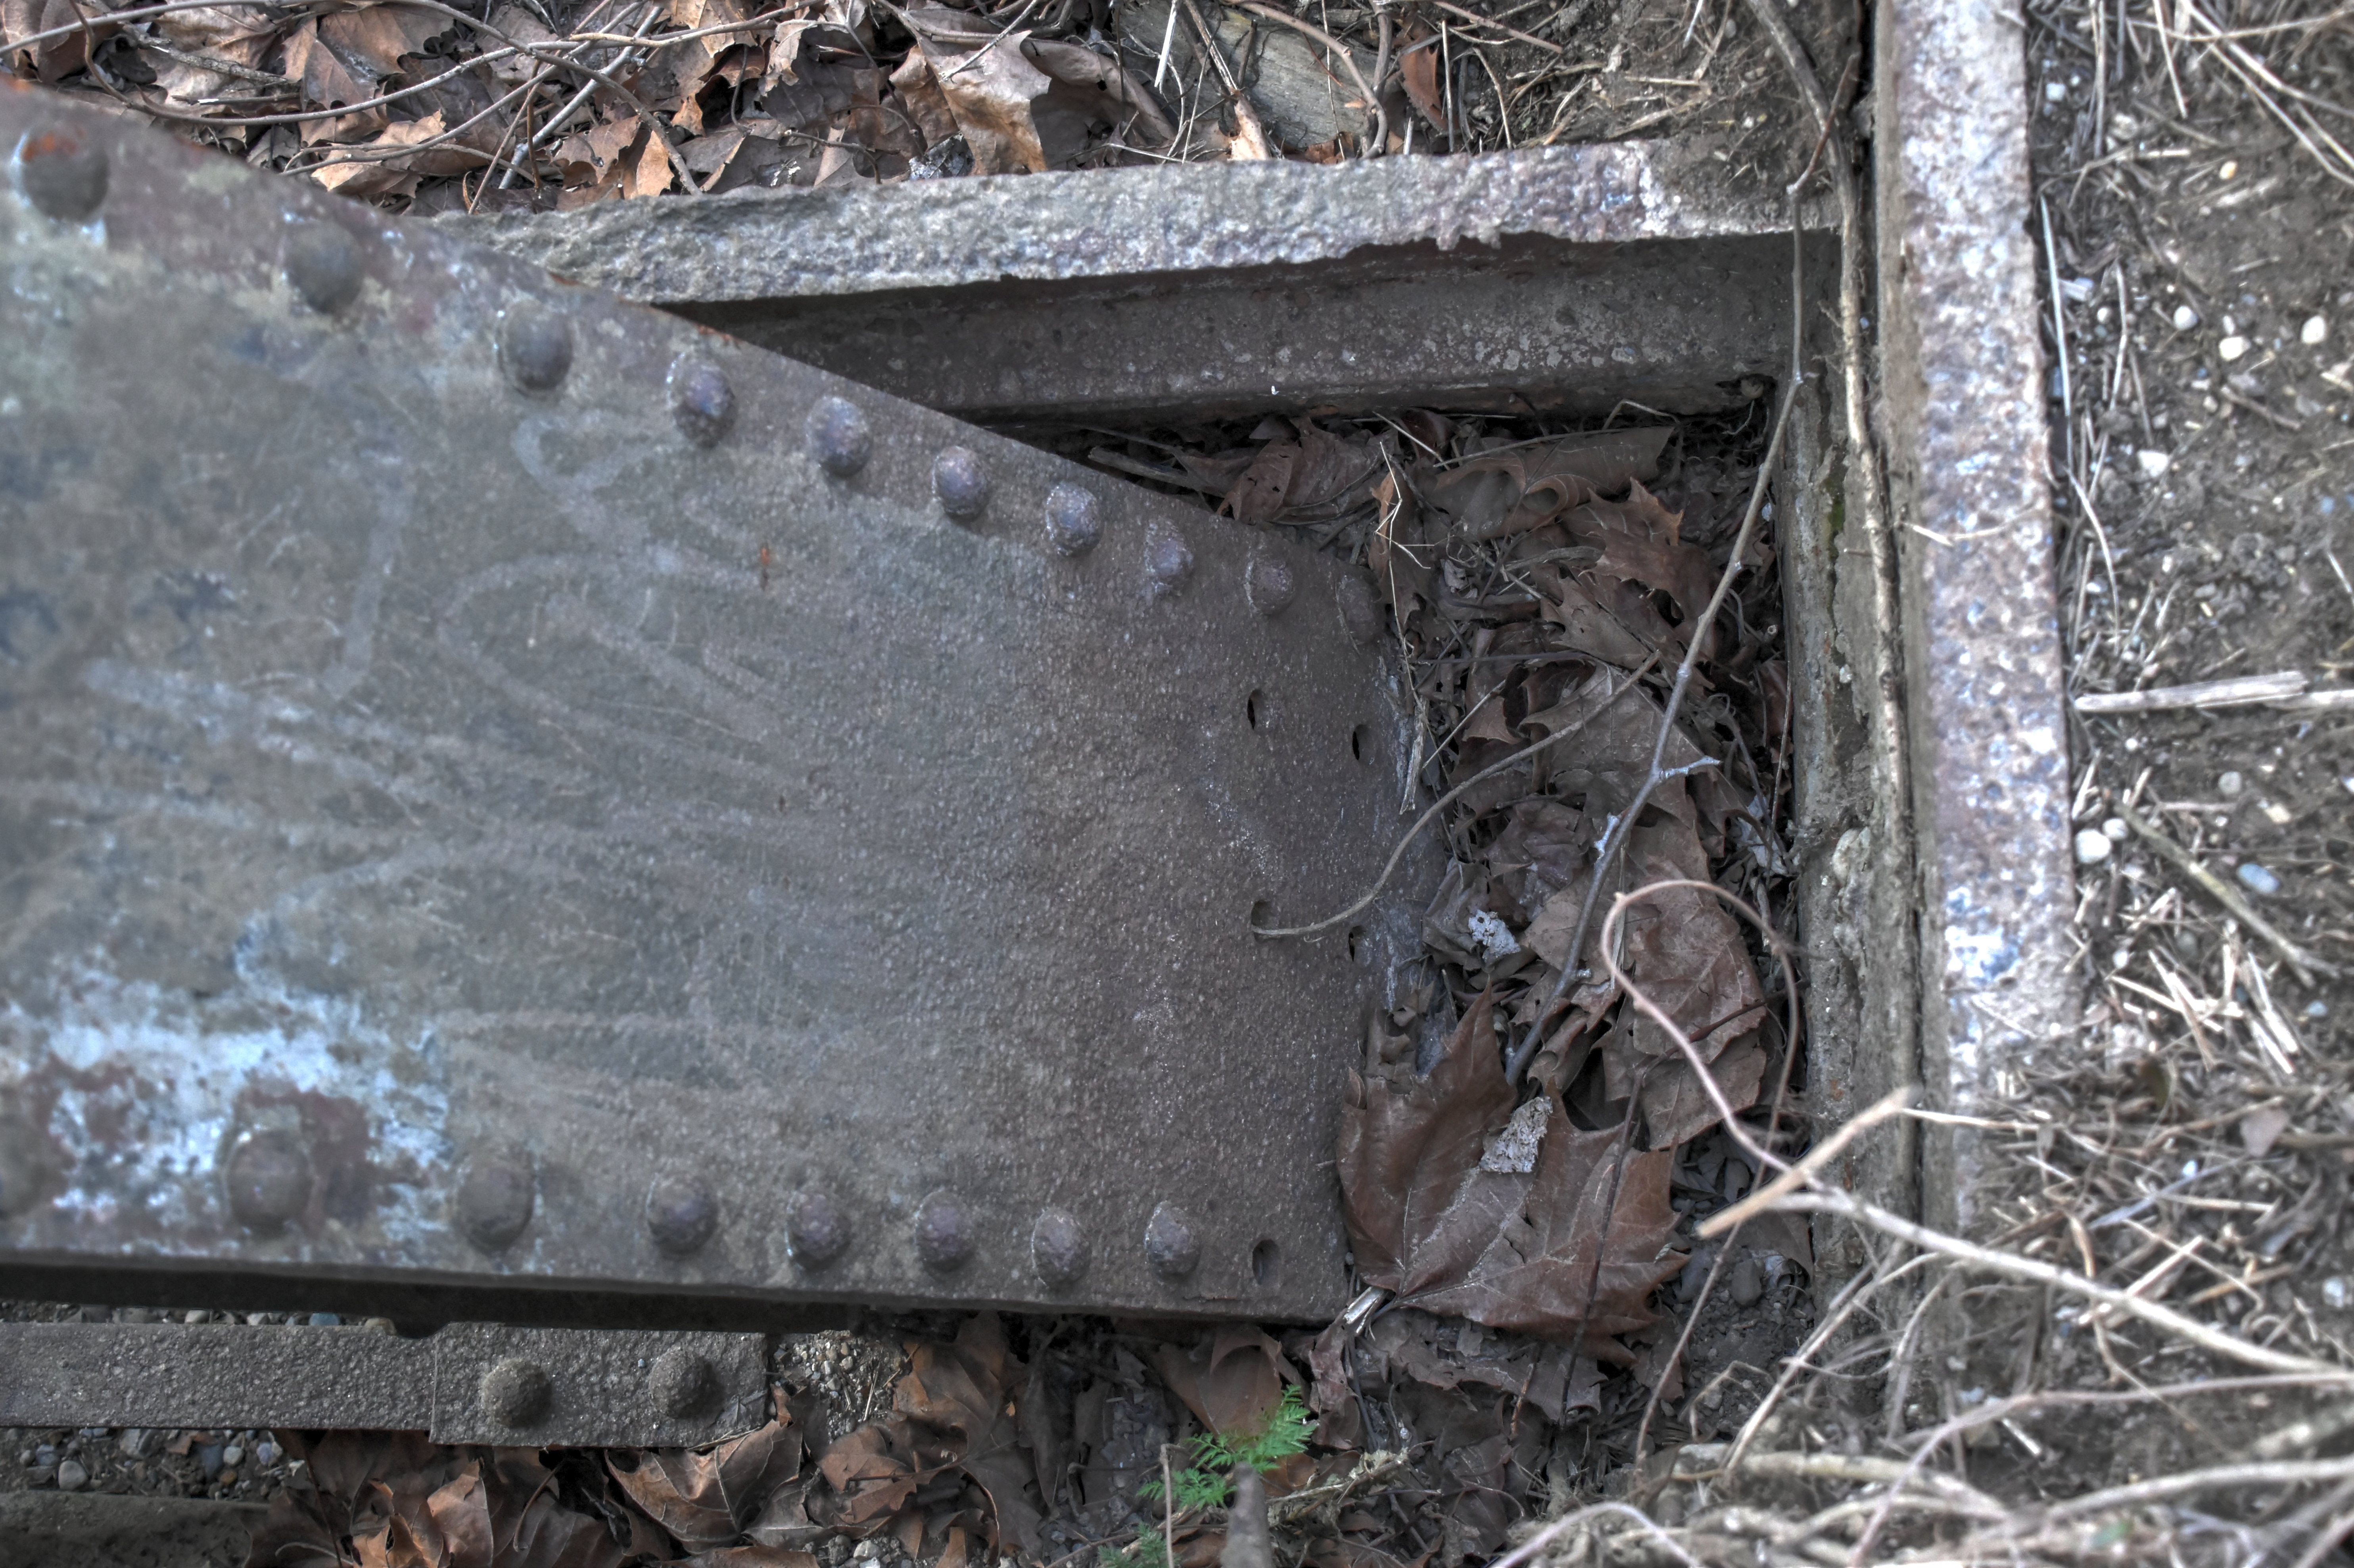
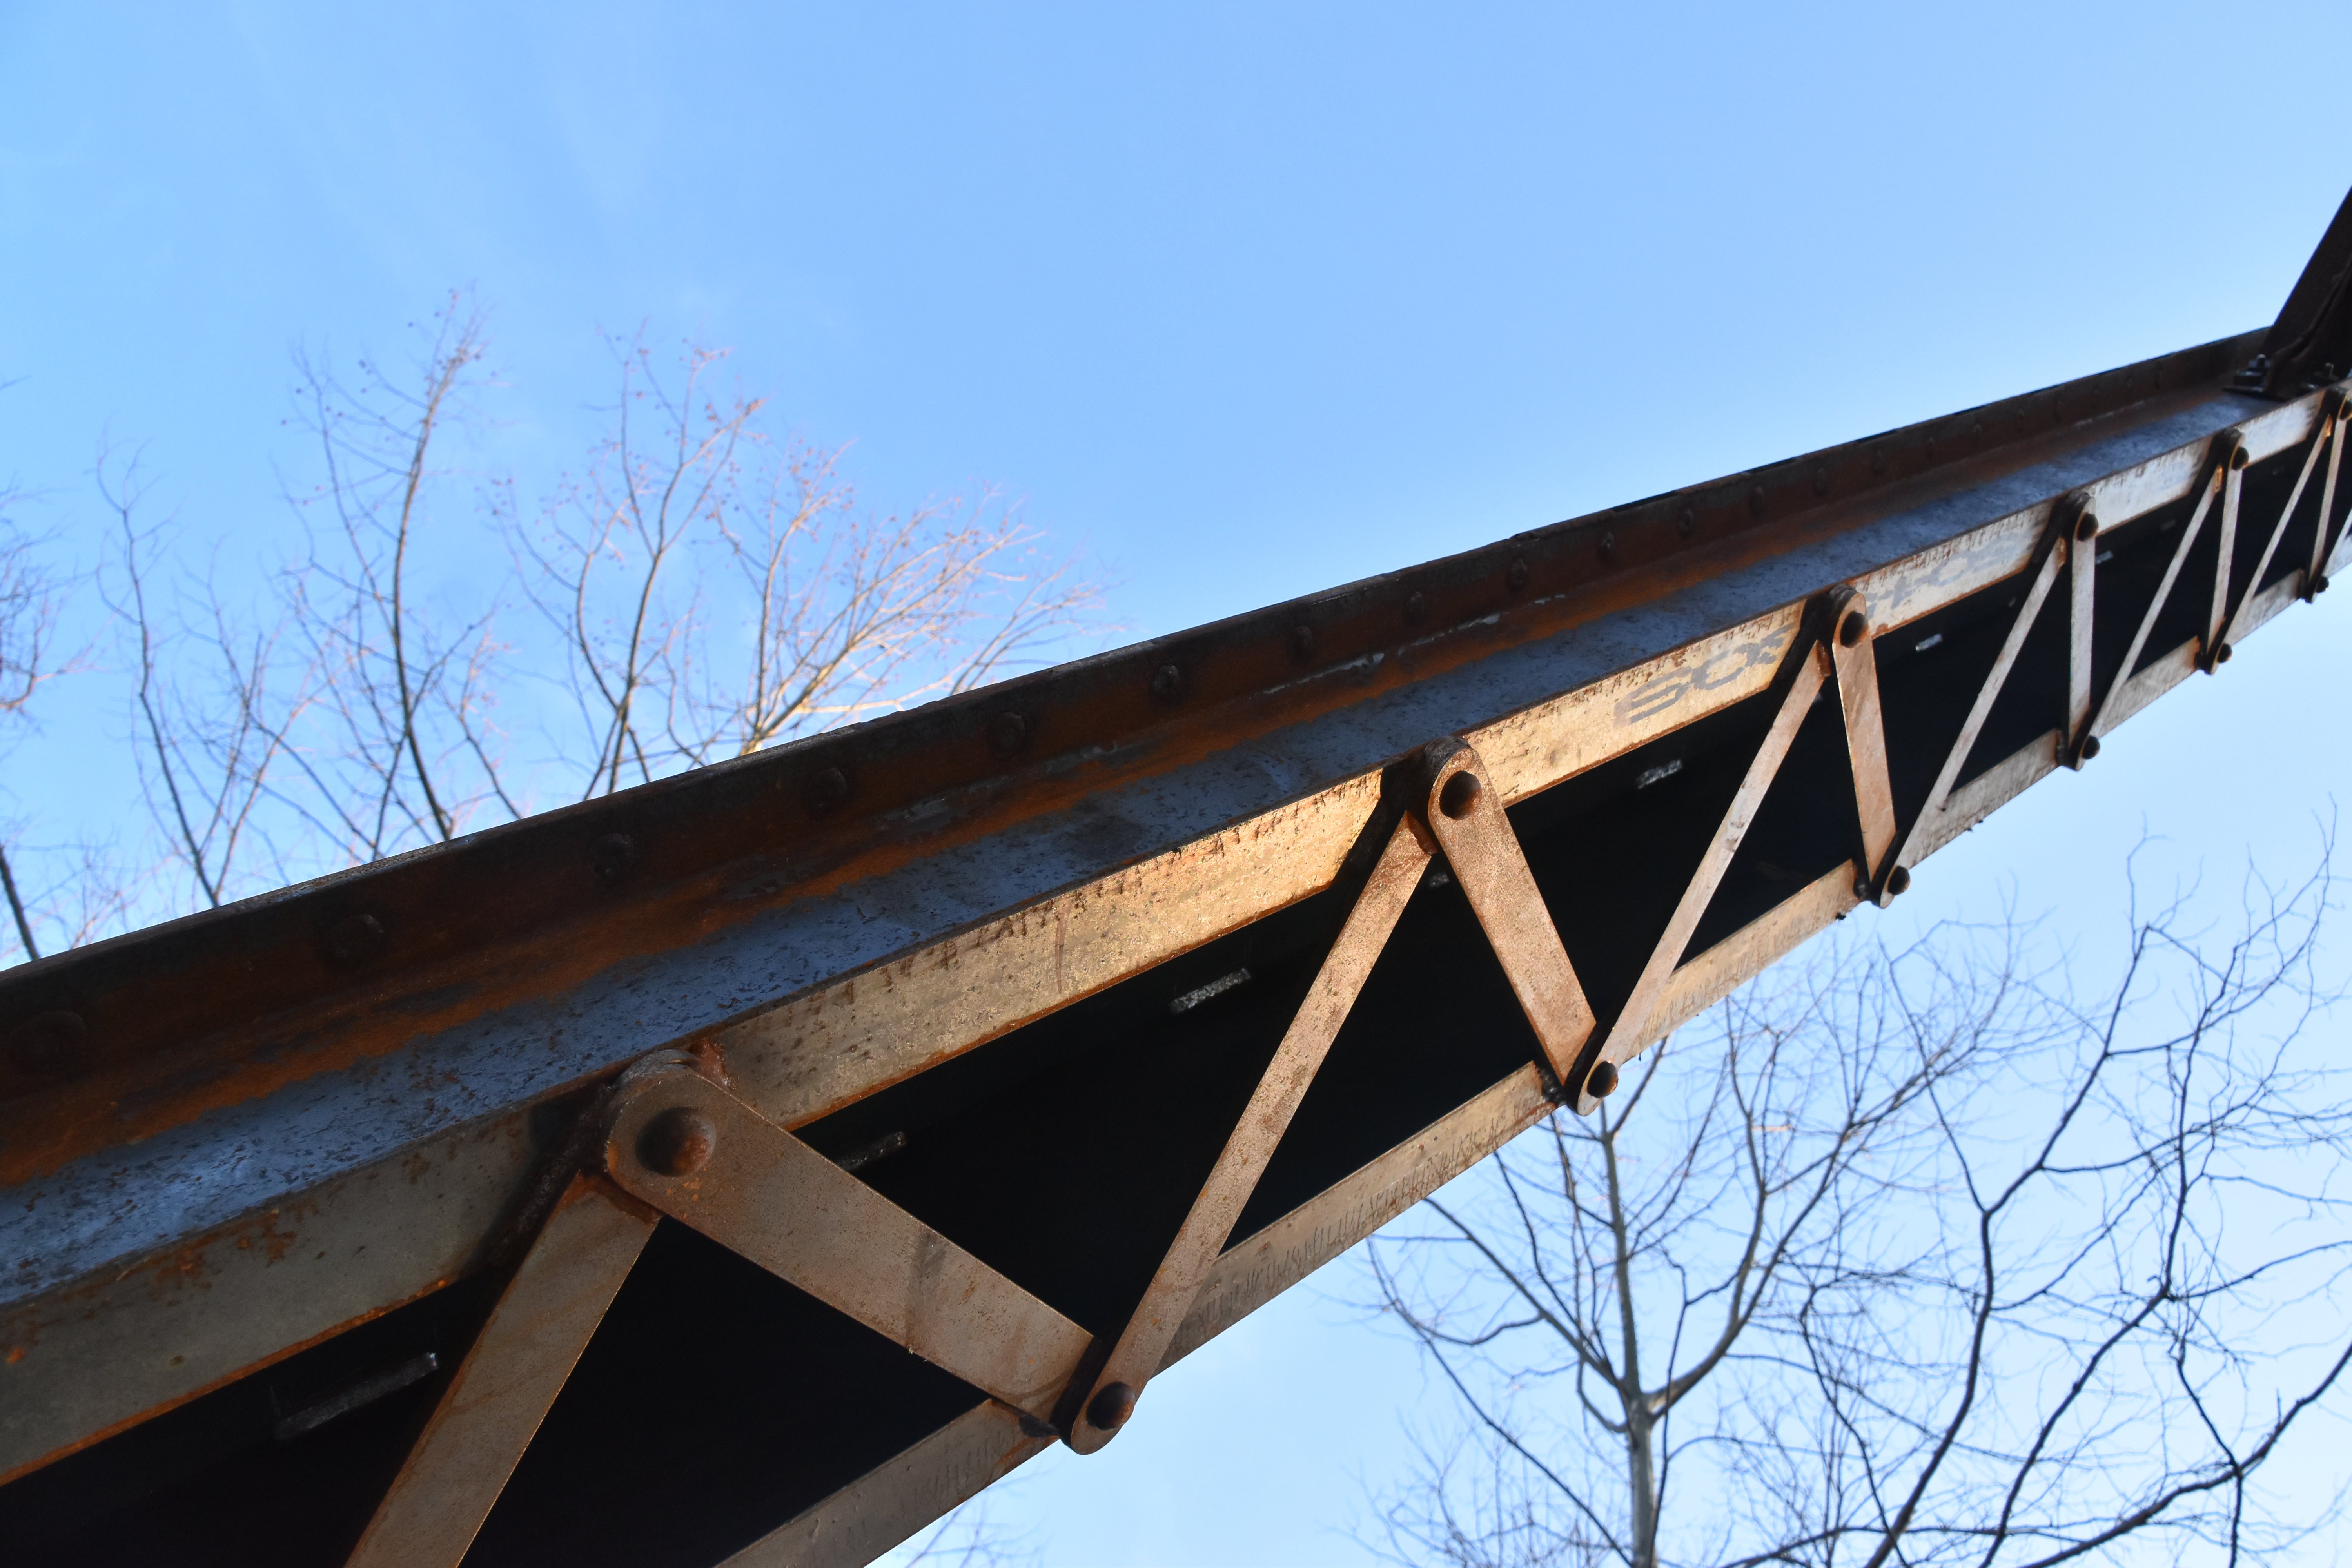
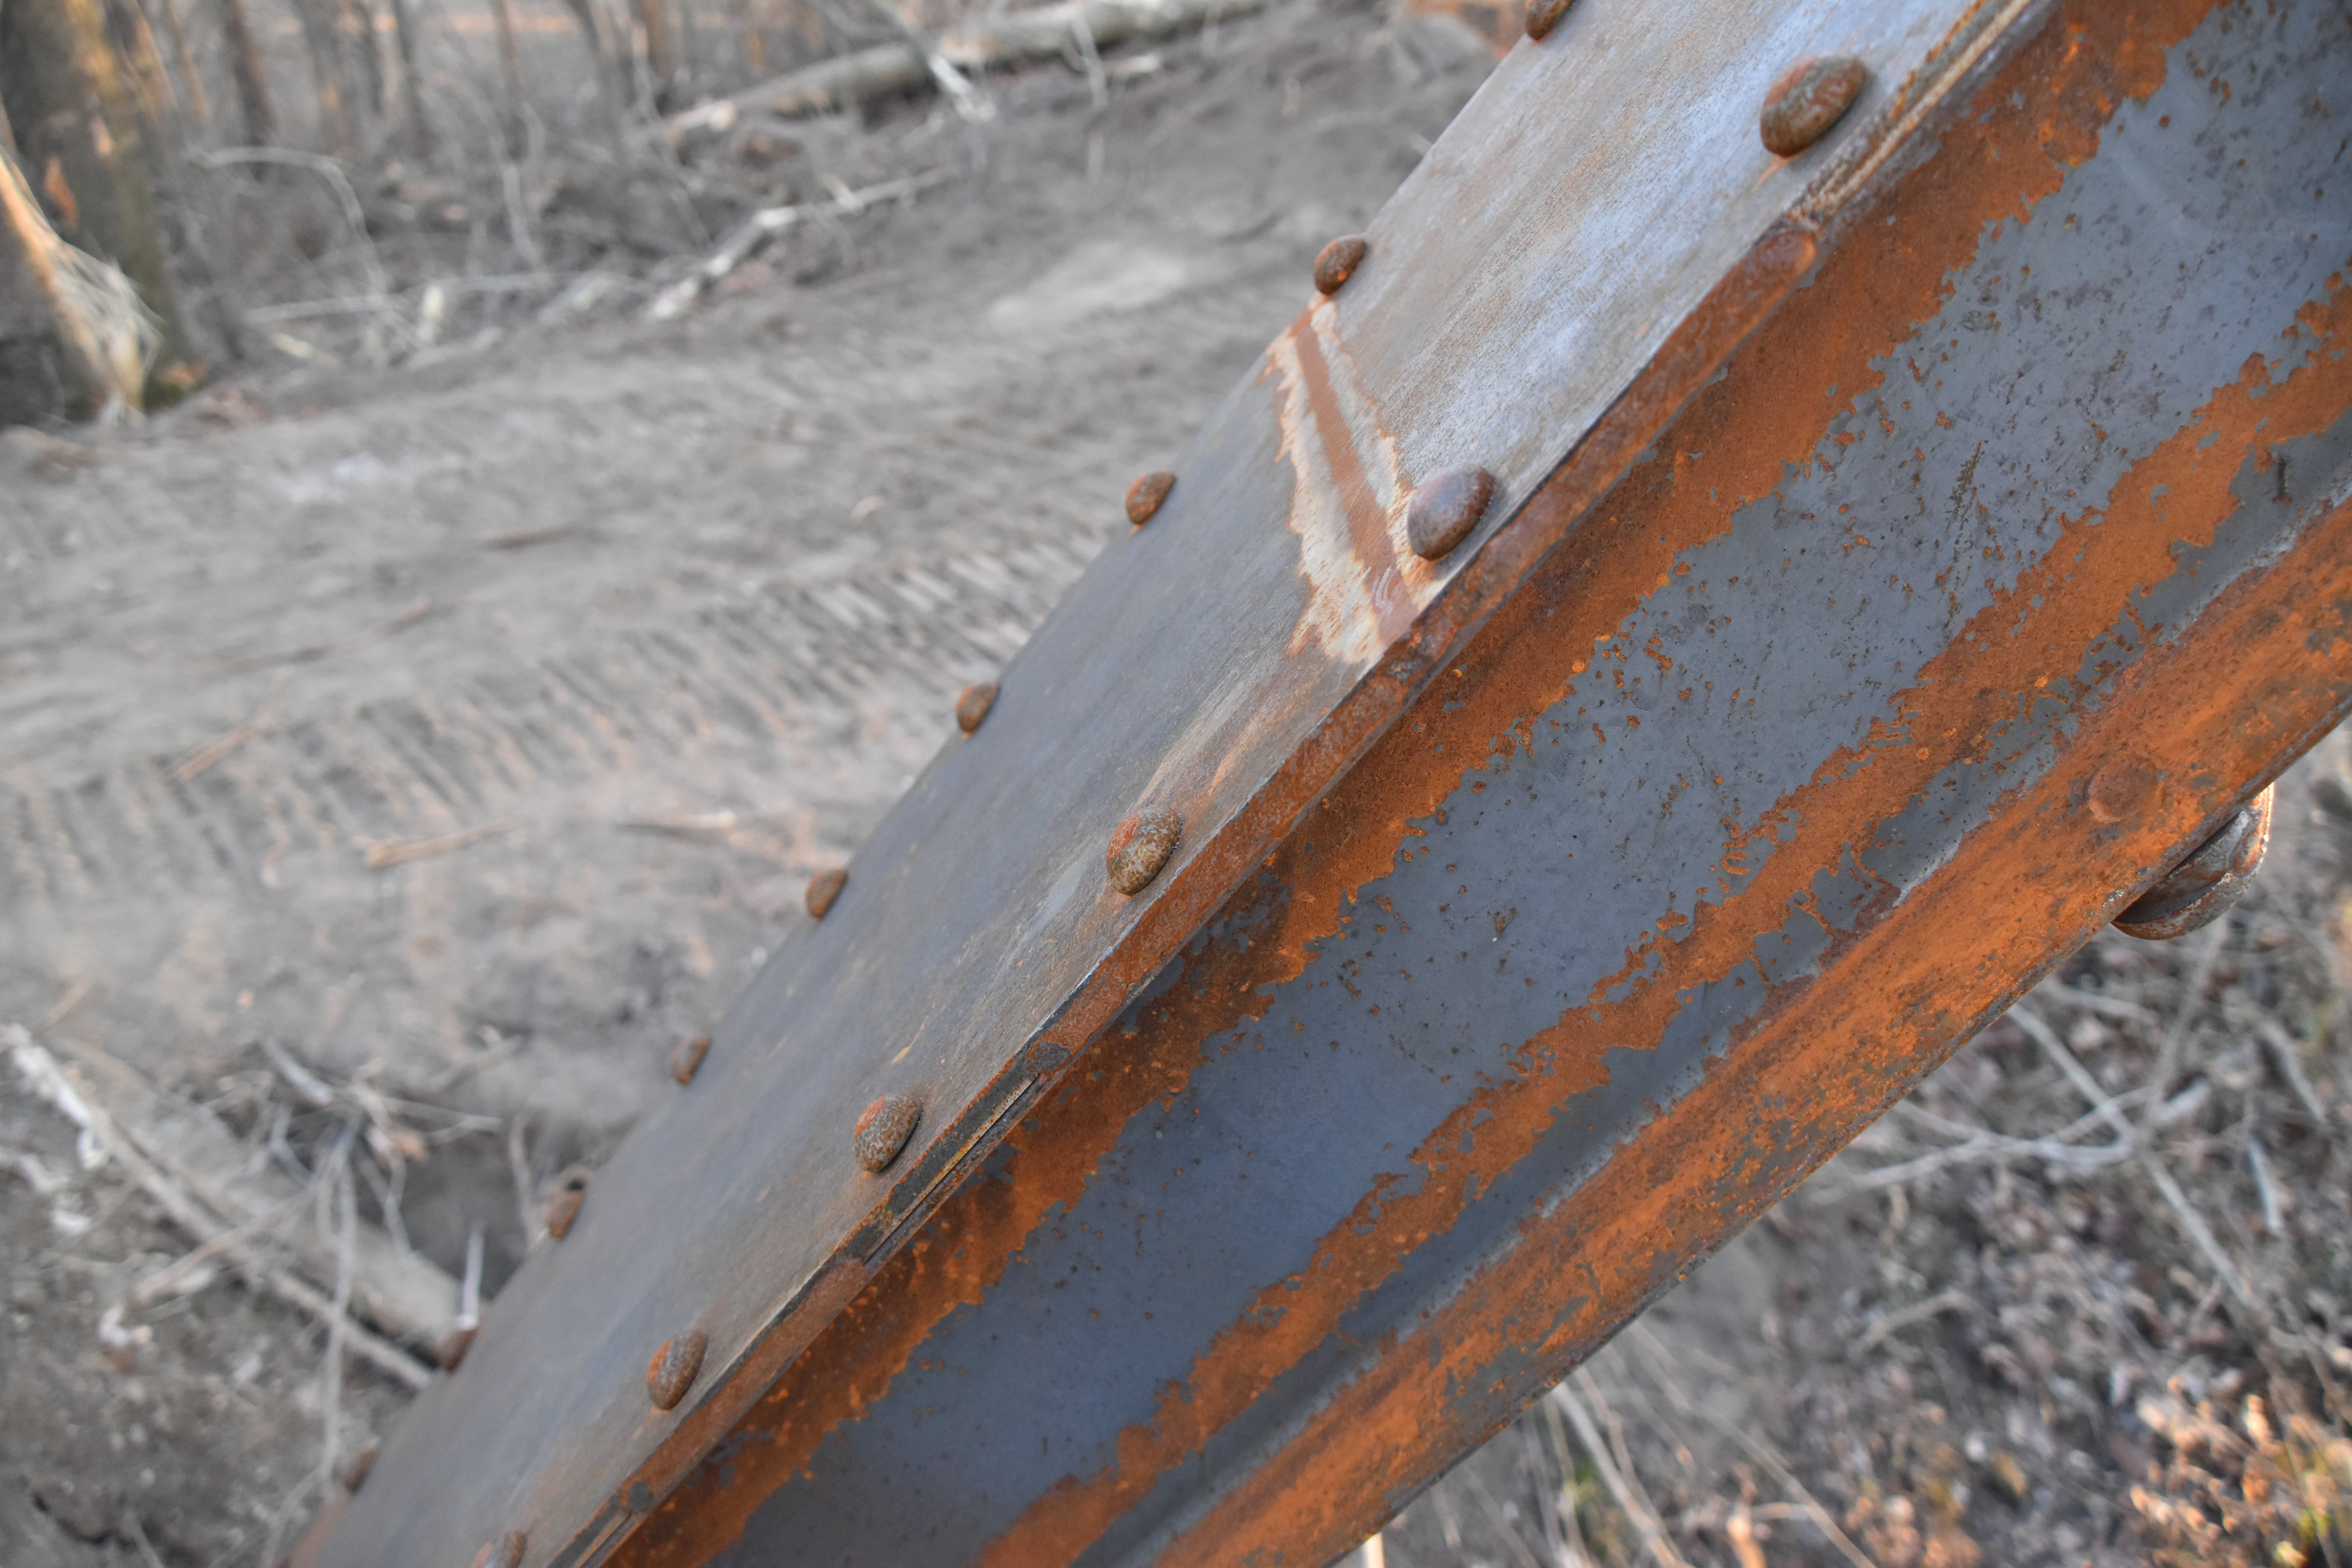
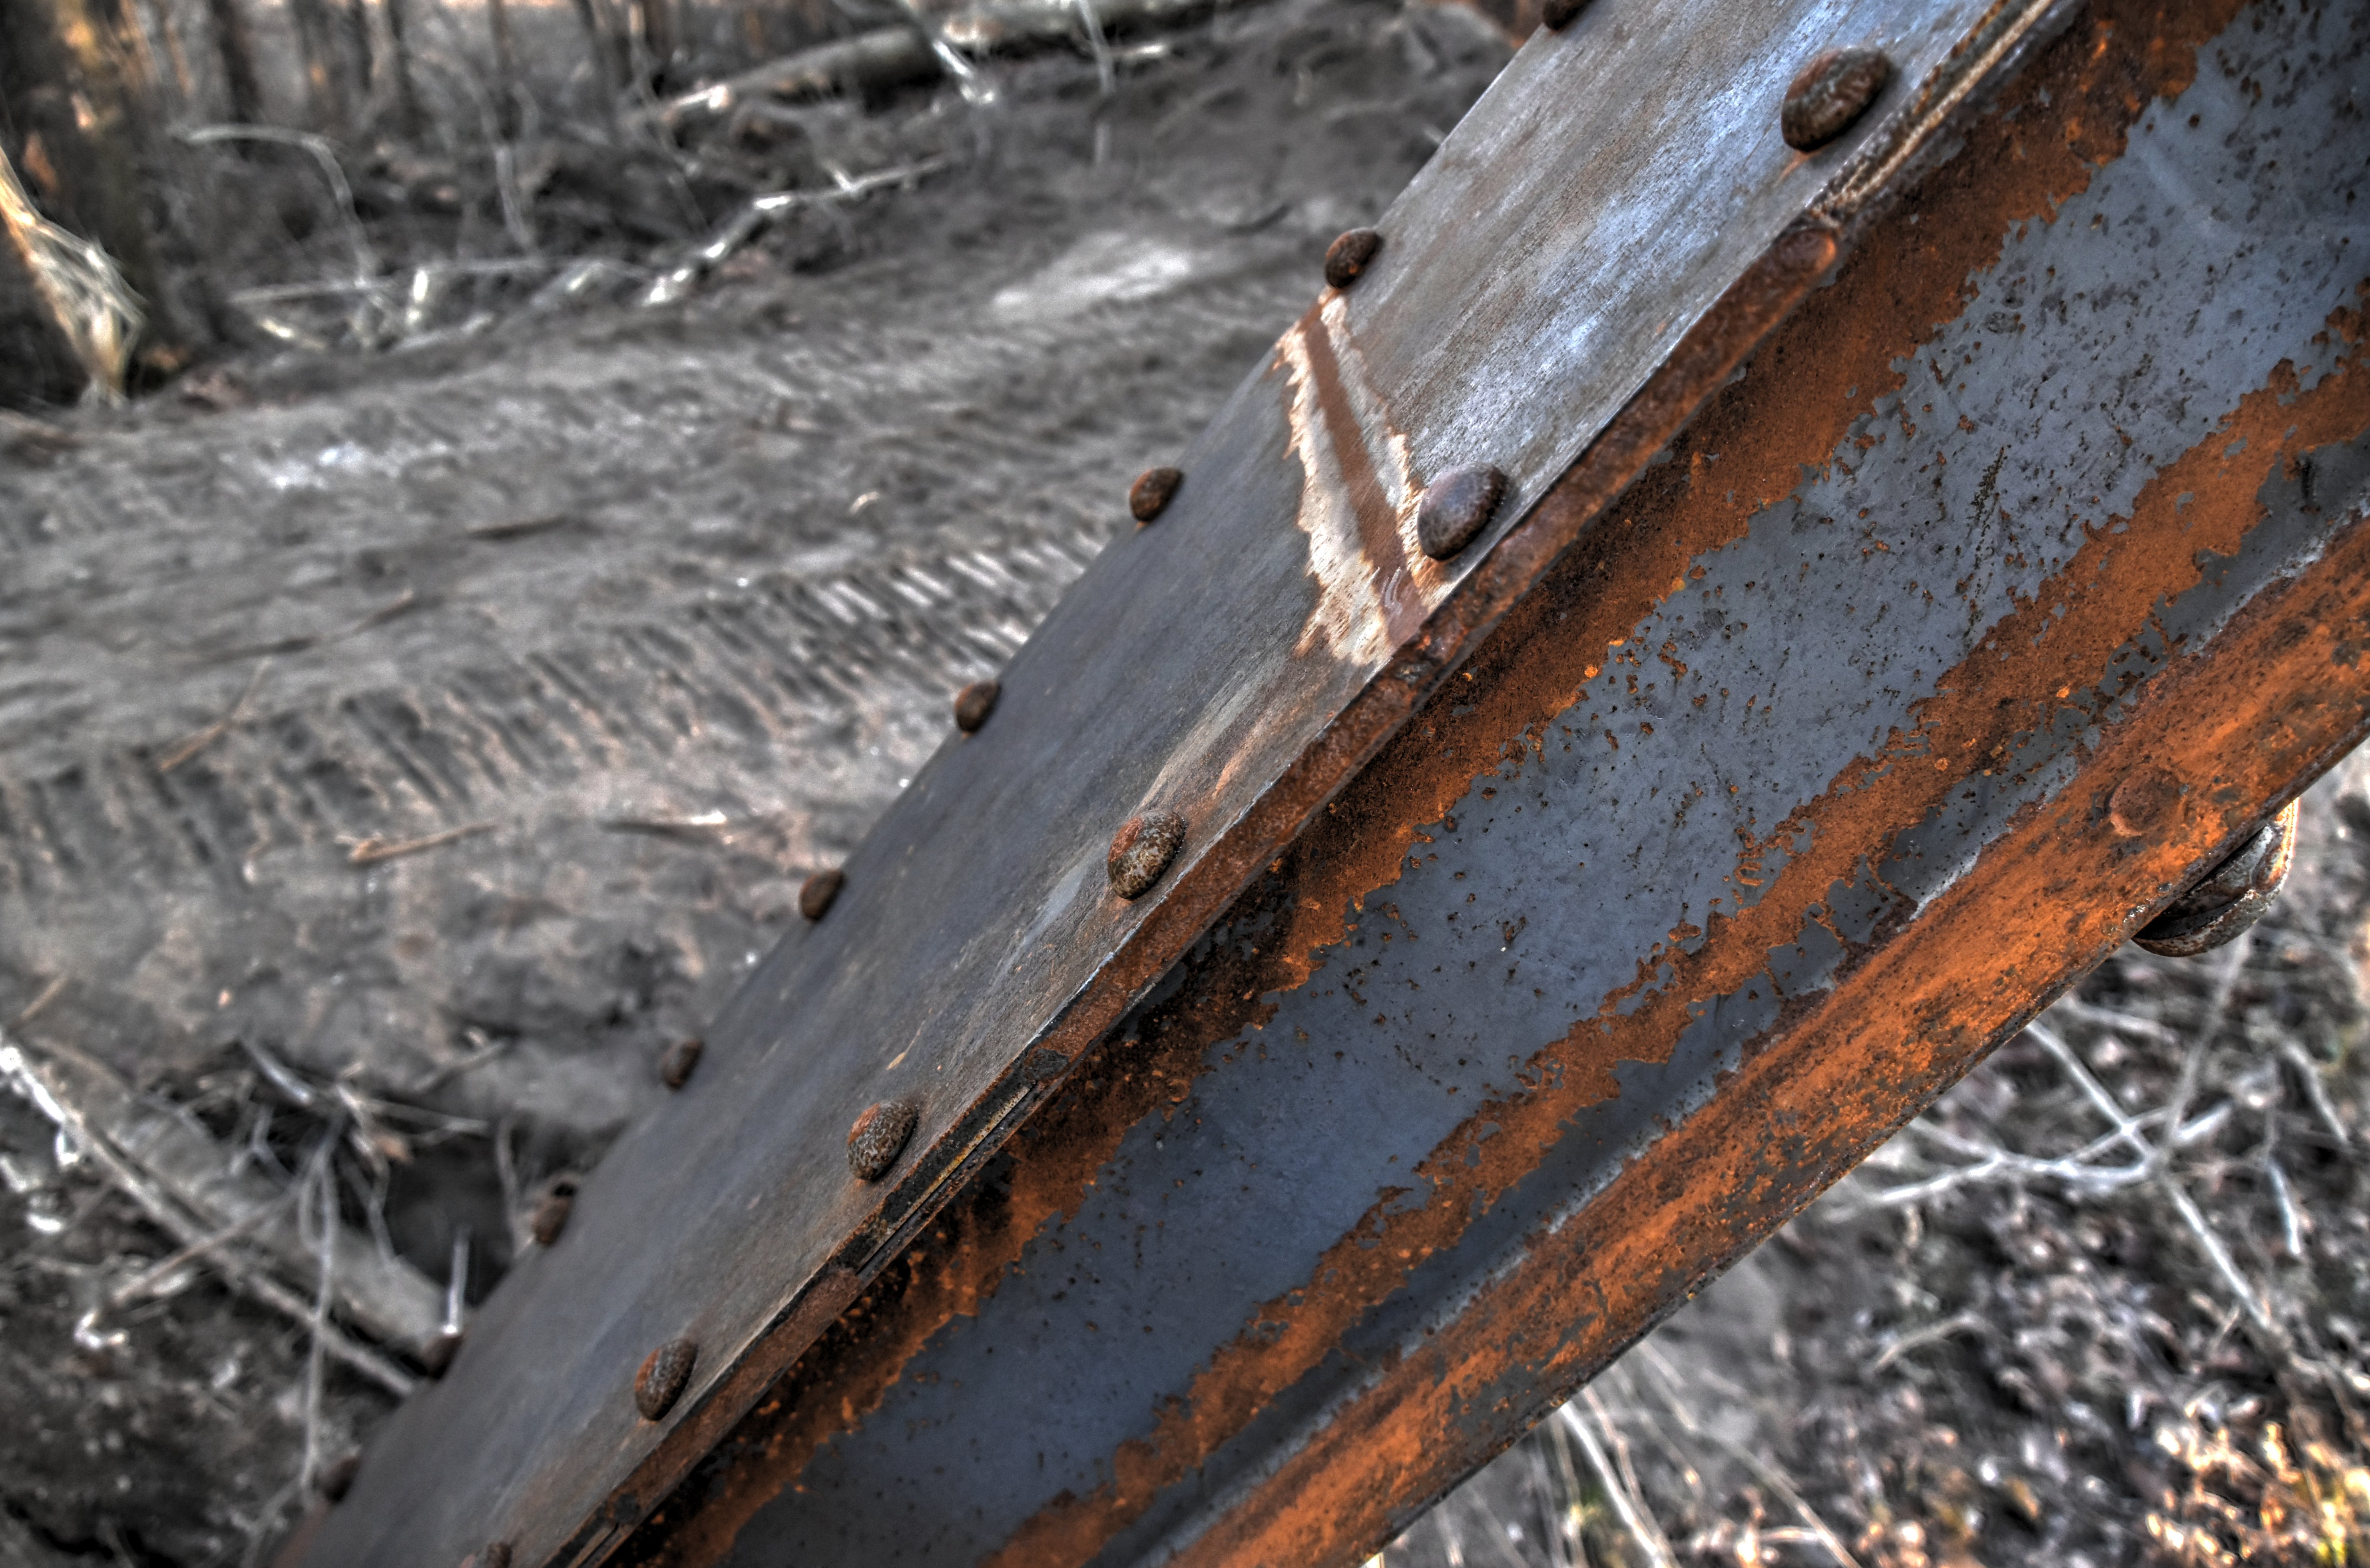
Top chord connections as viewed from beside bridge.
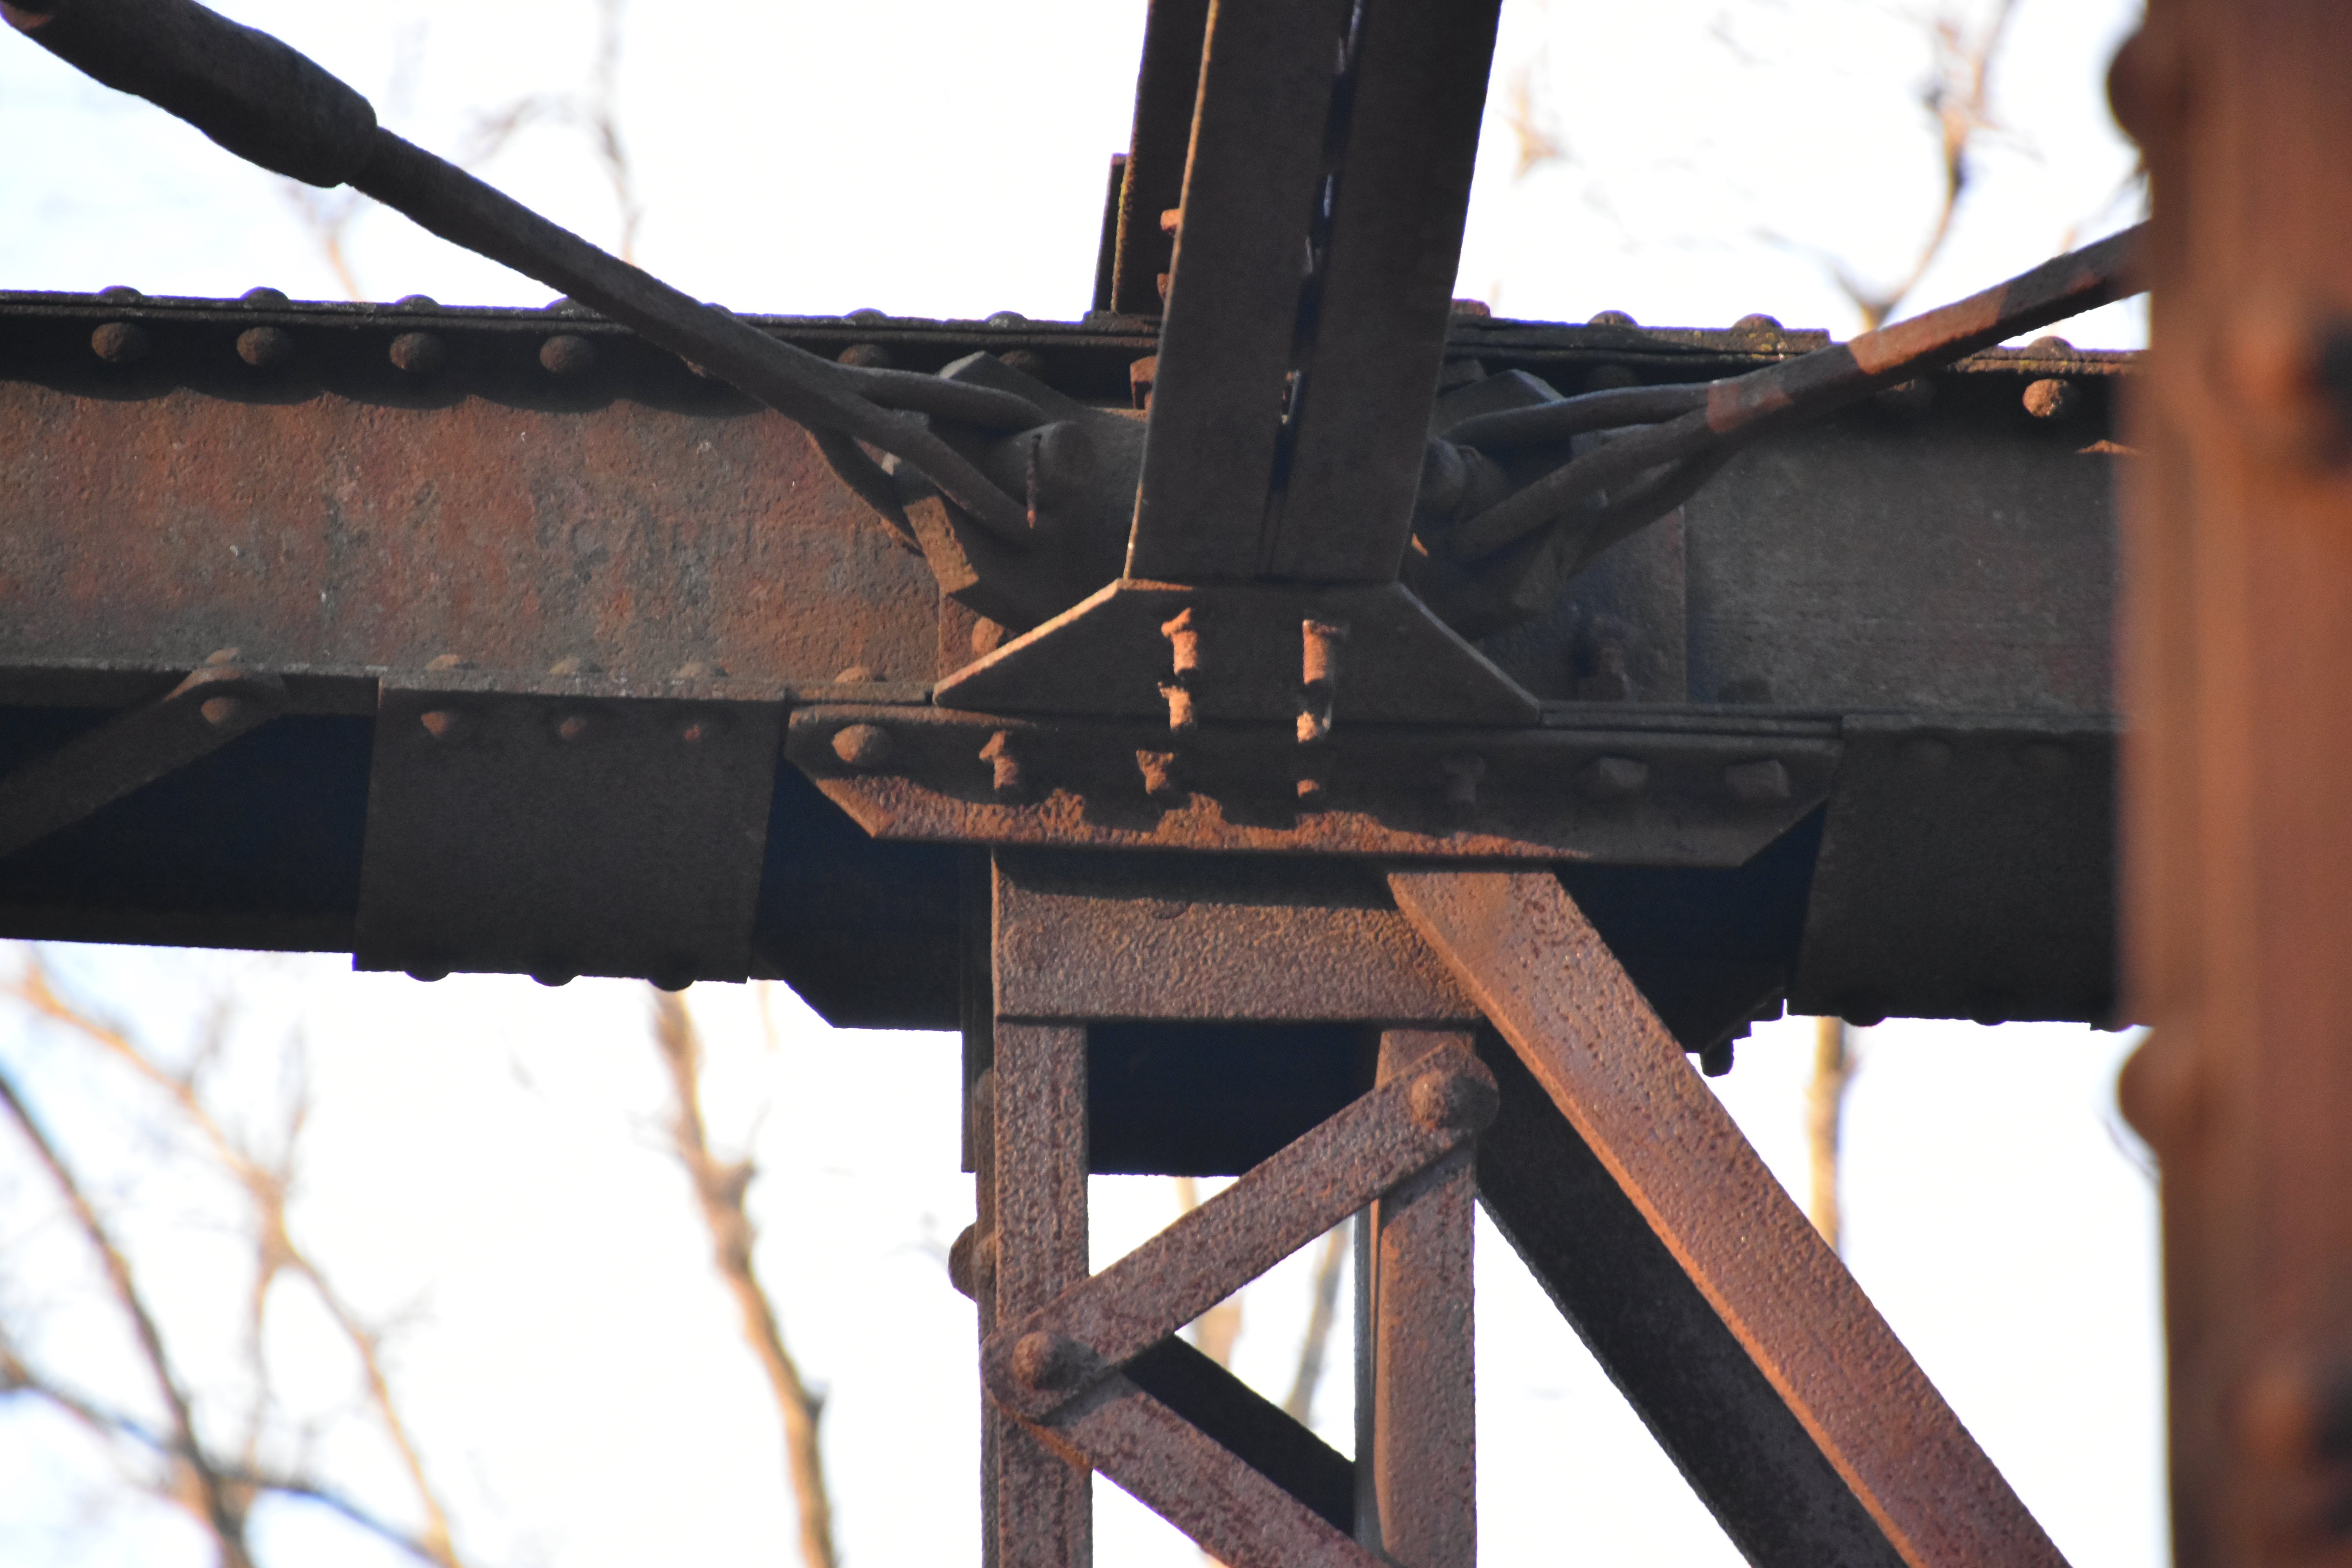


Top chord connections as viewed from on bridge.


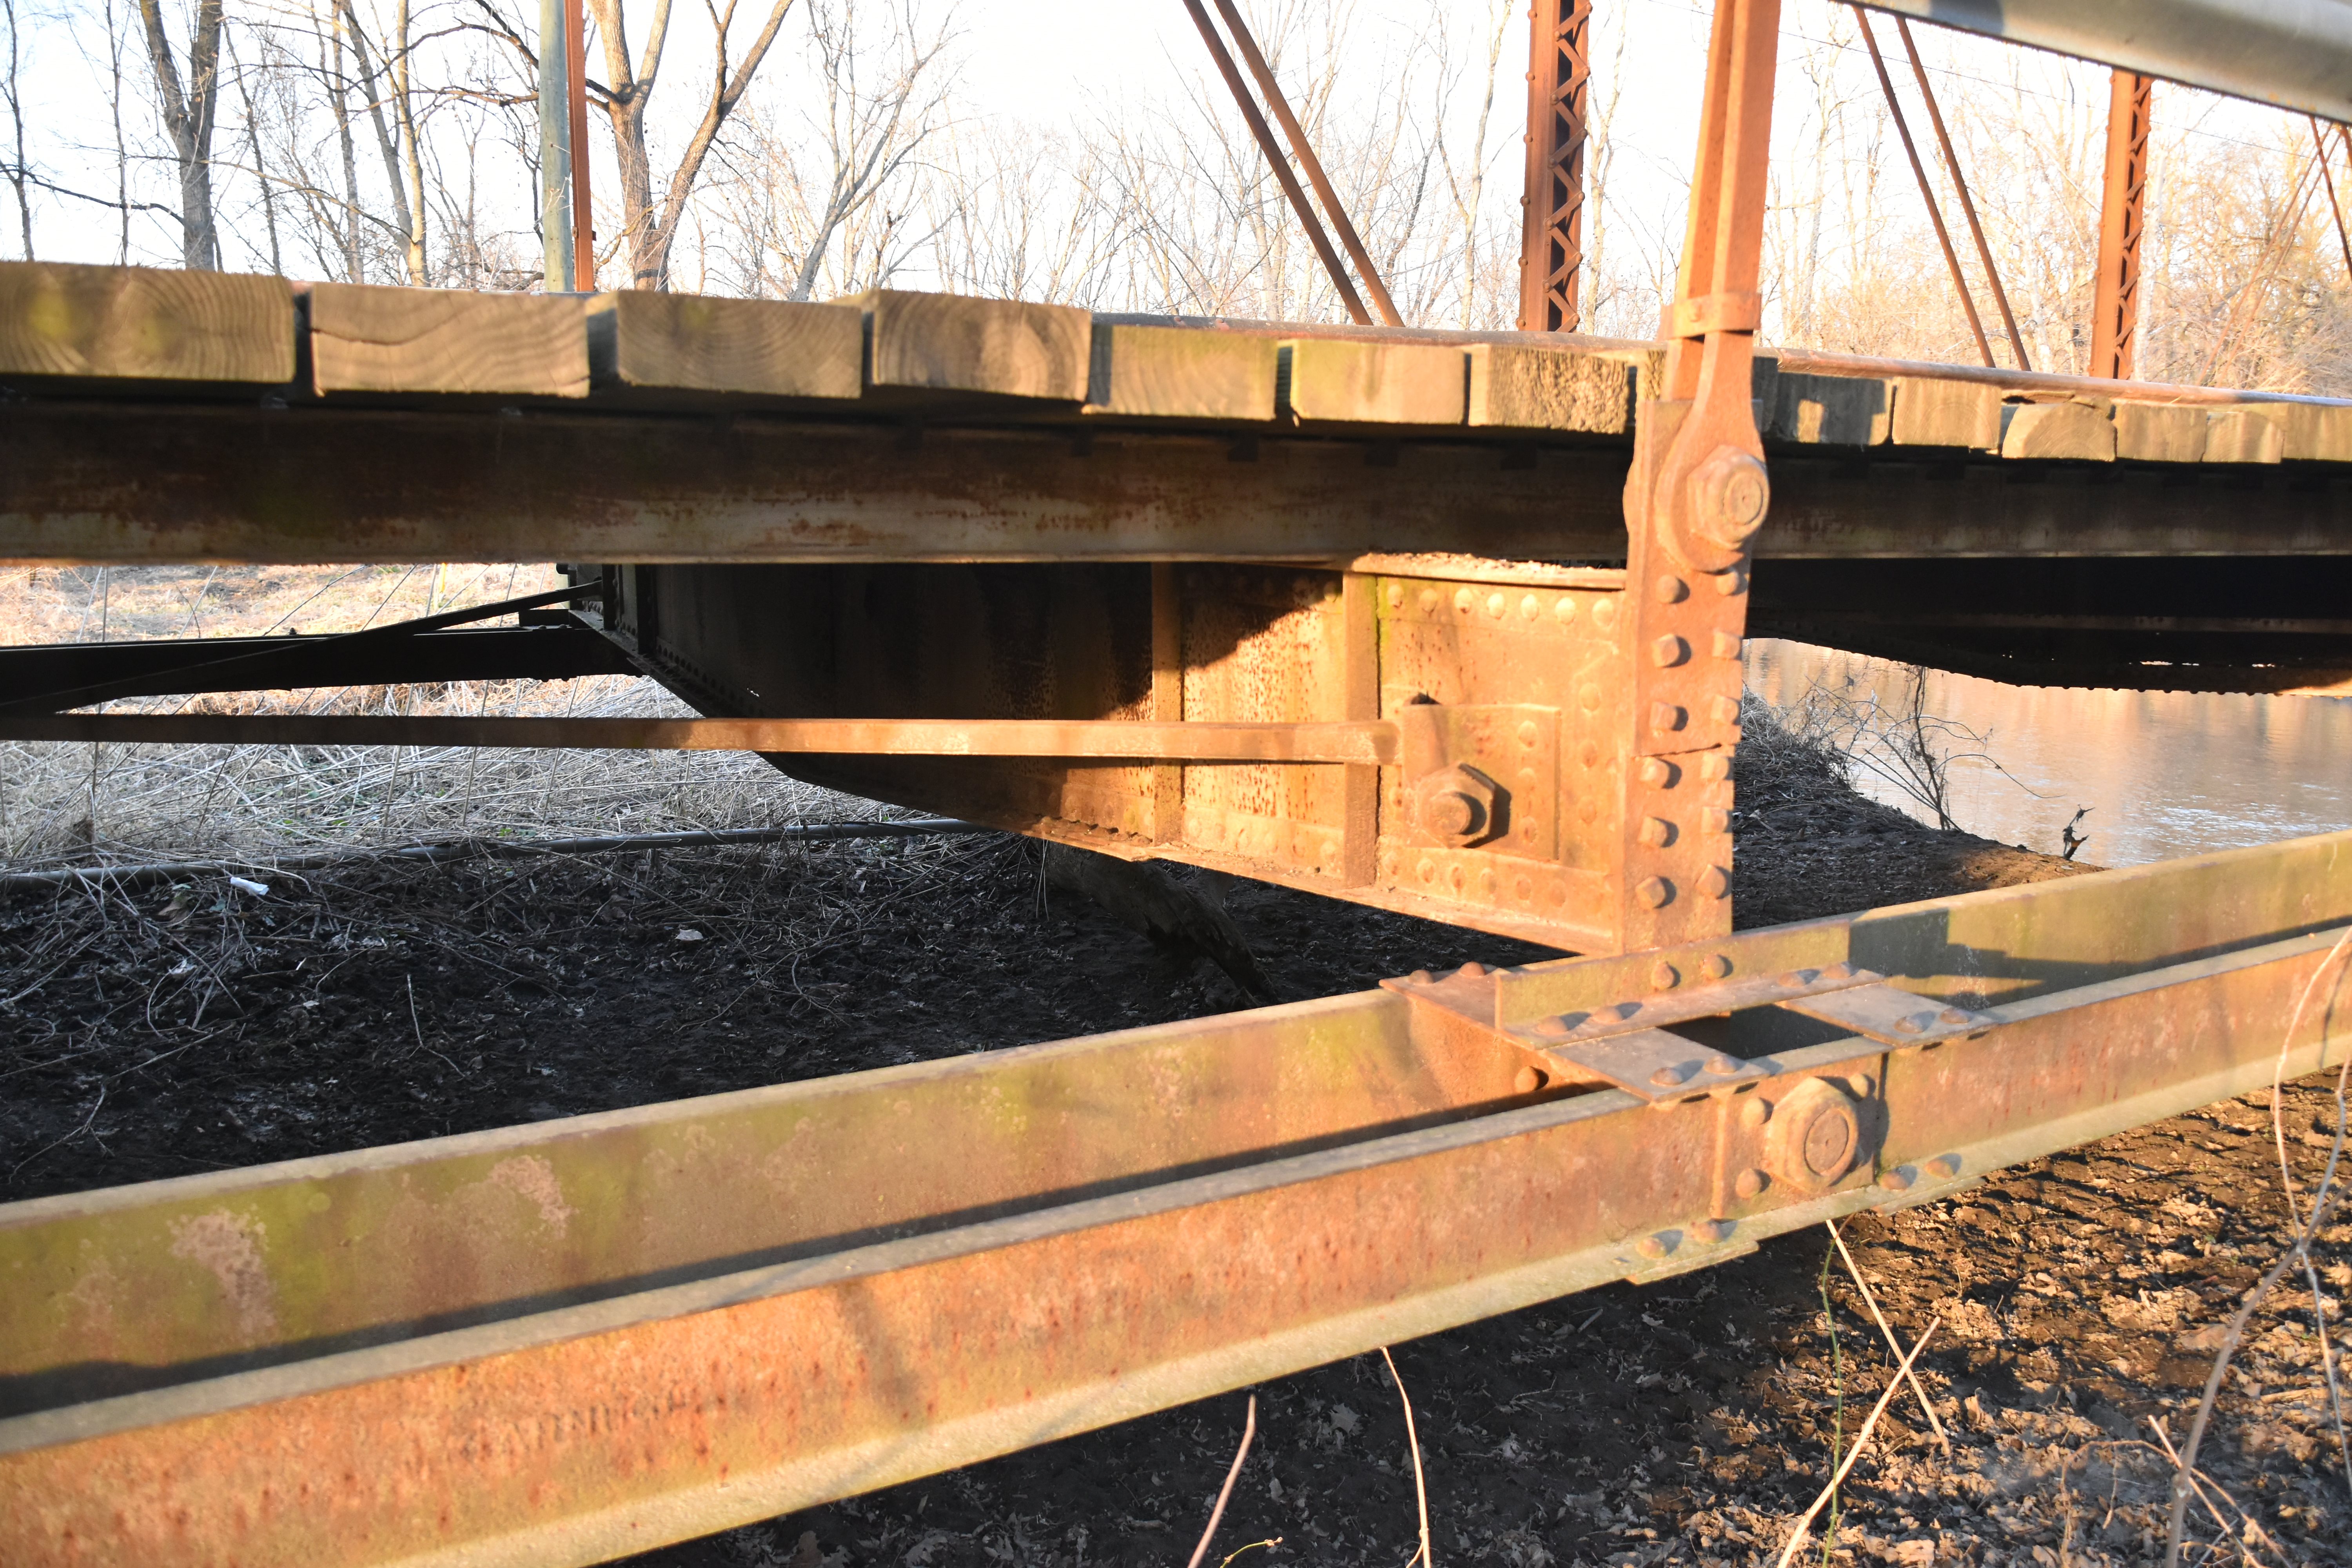


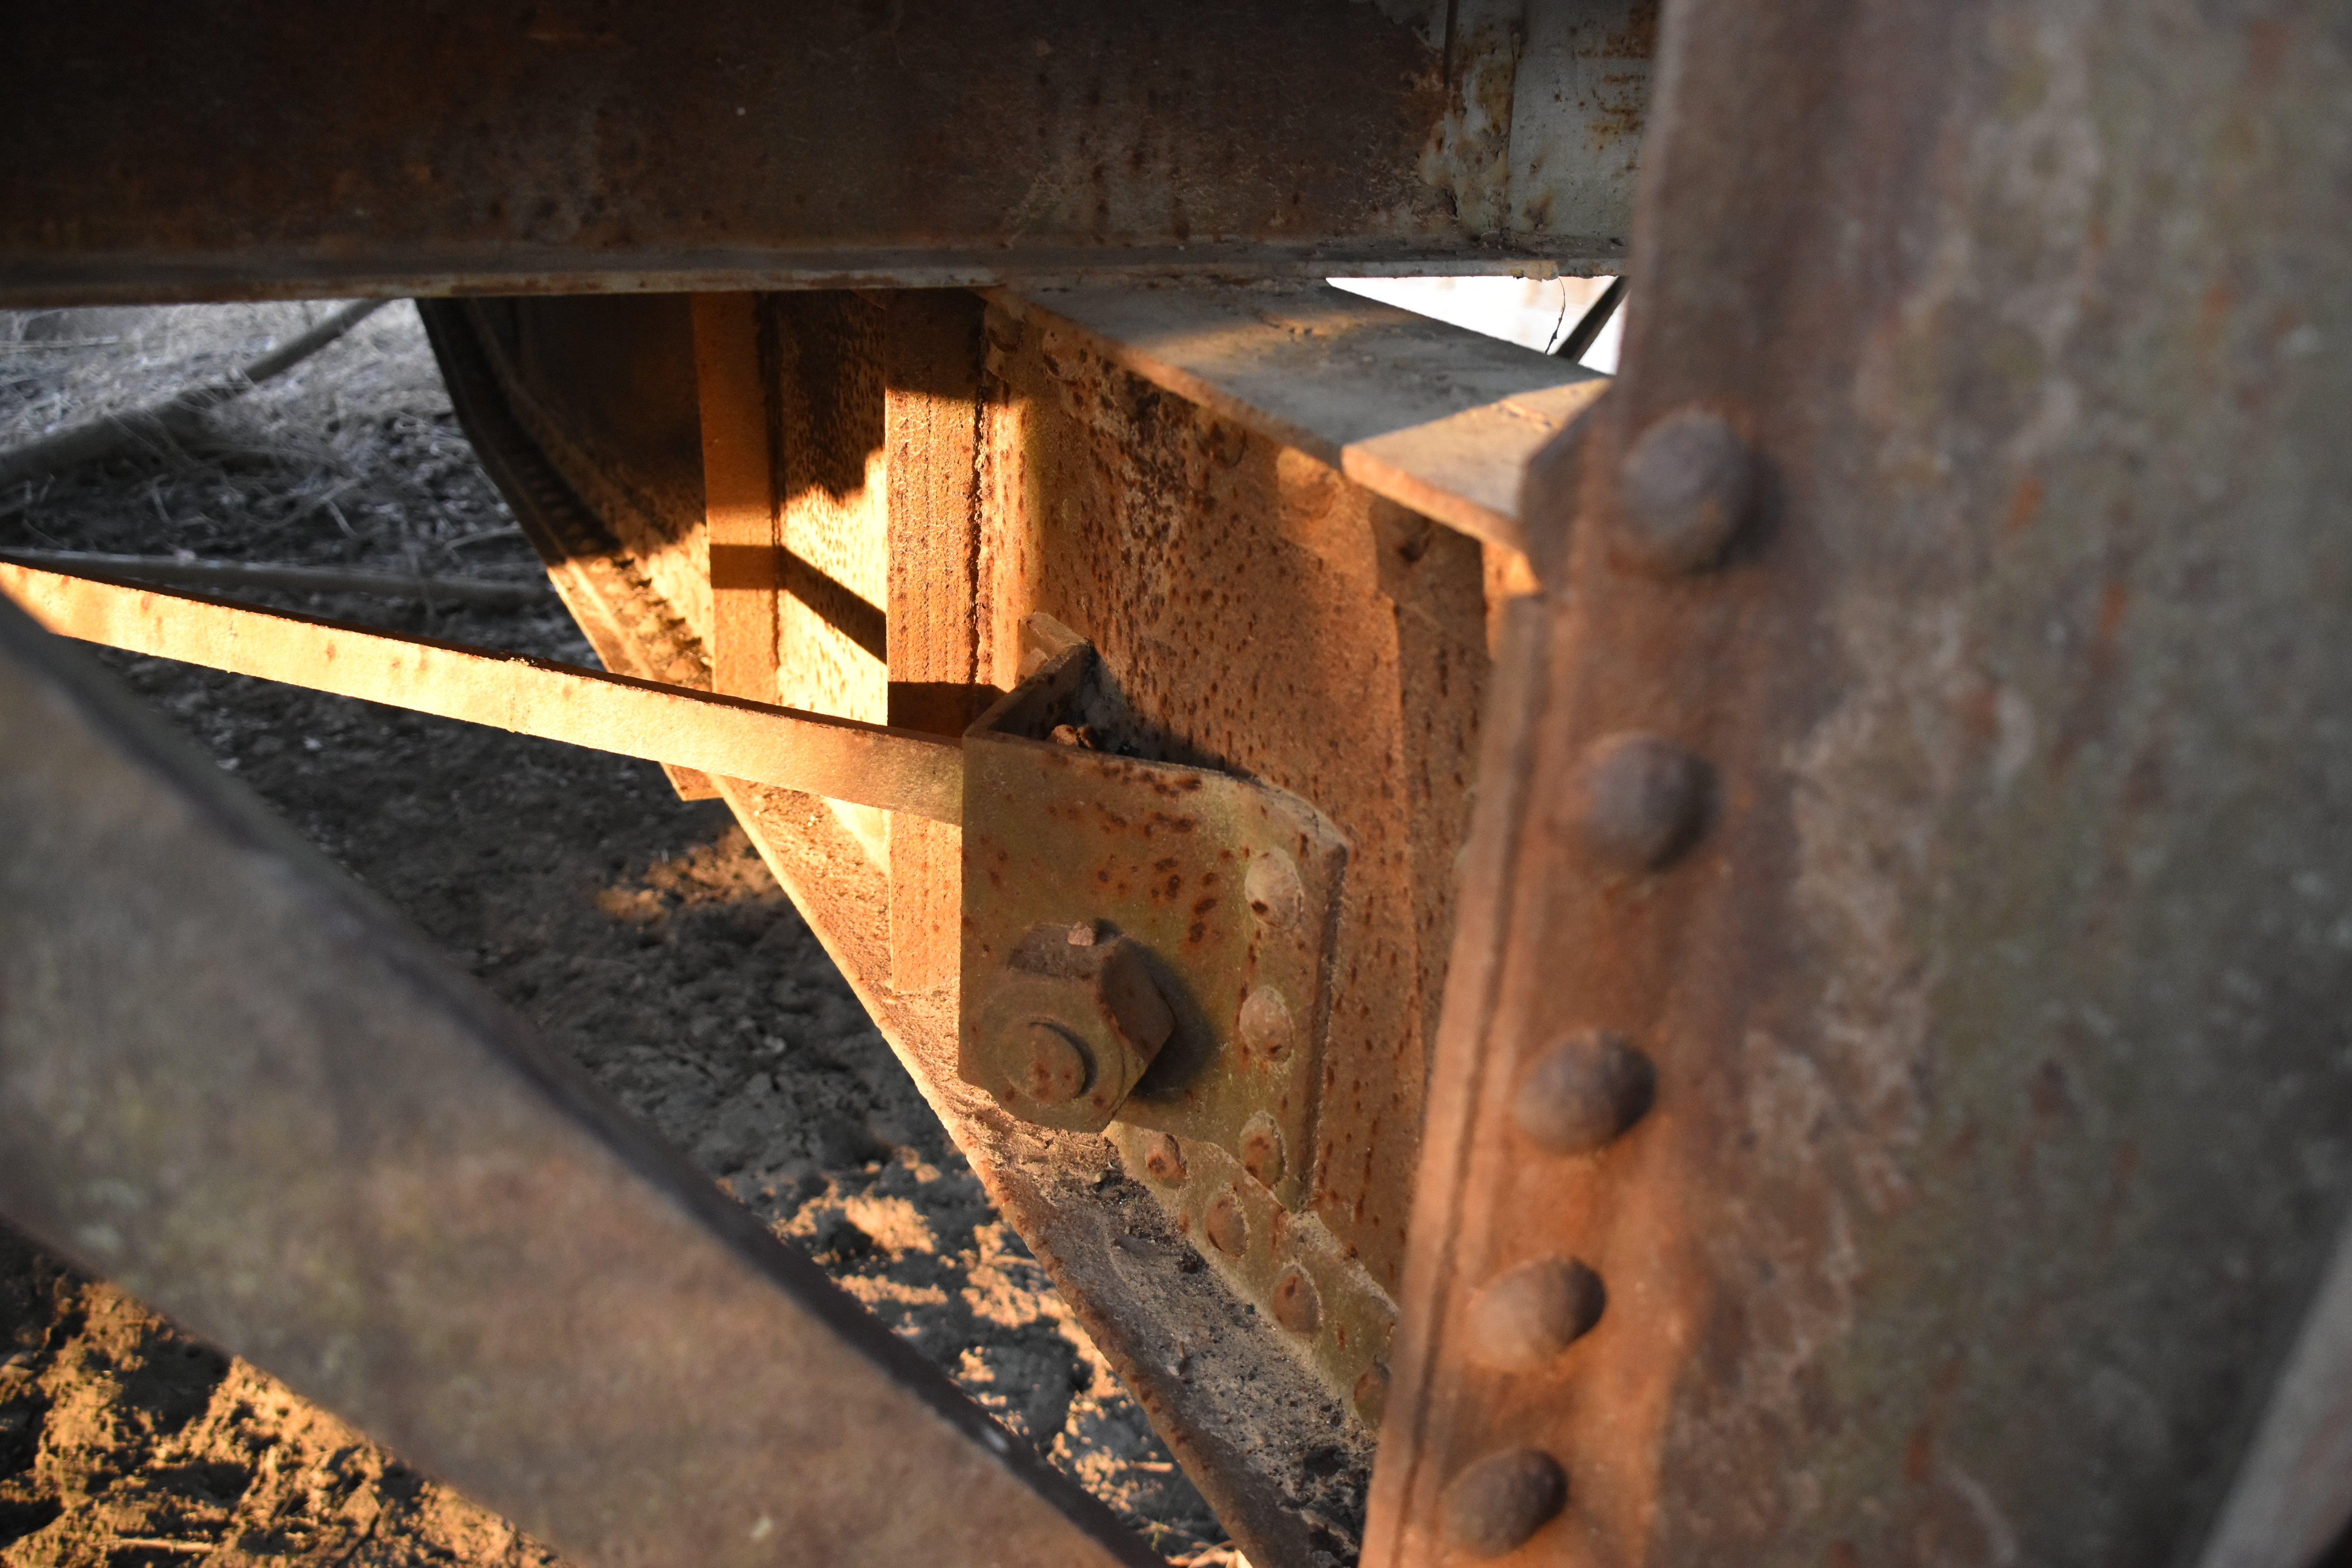
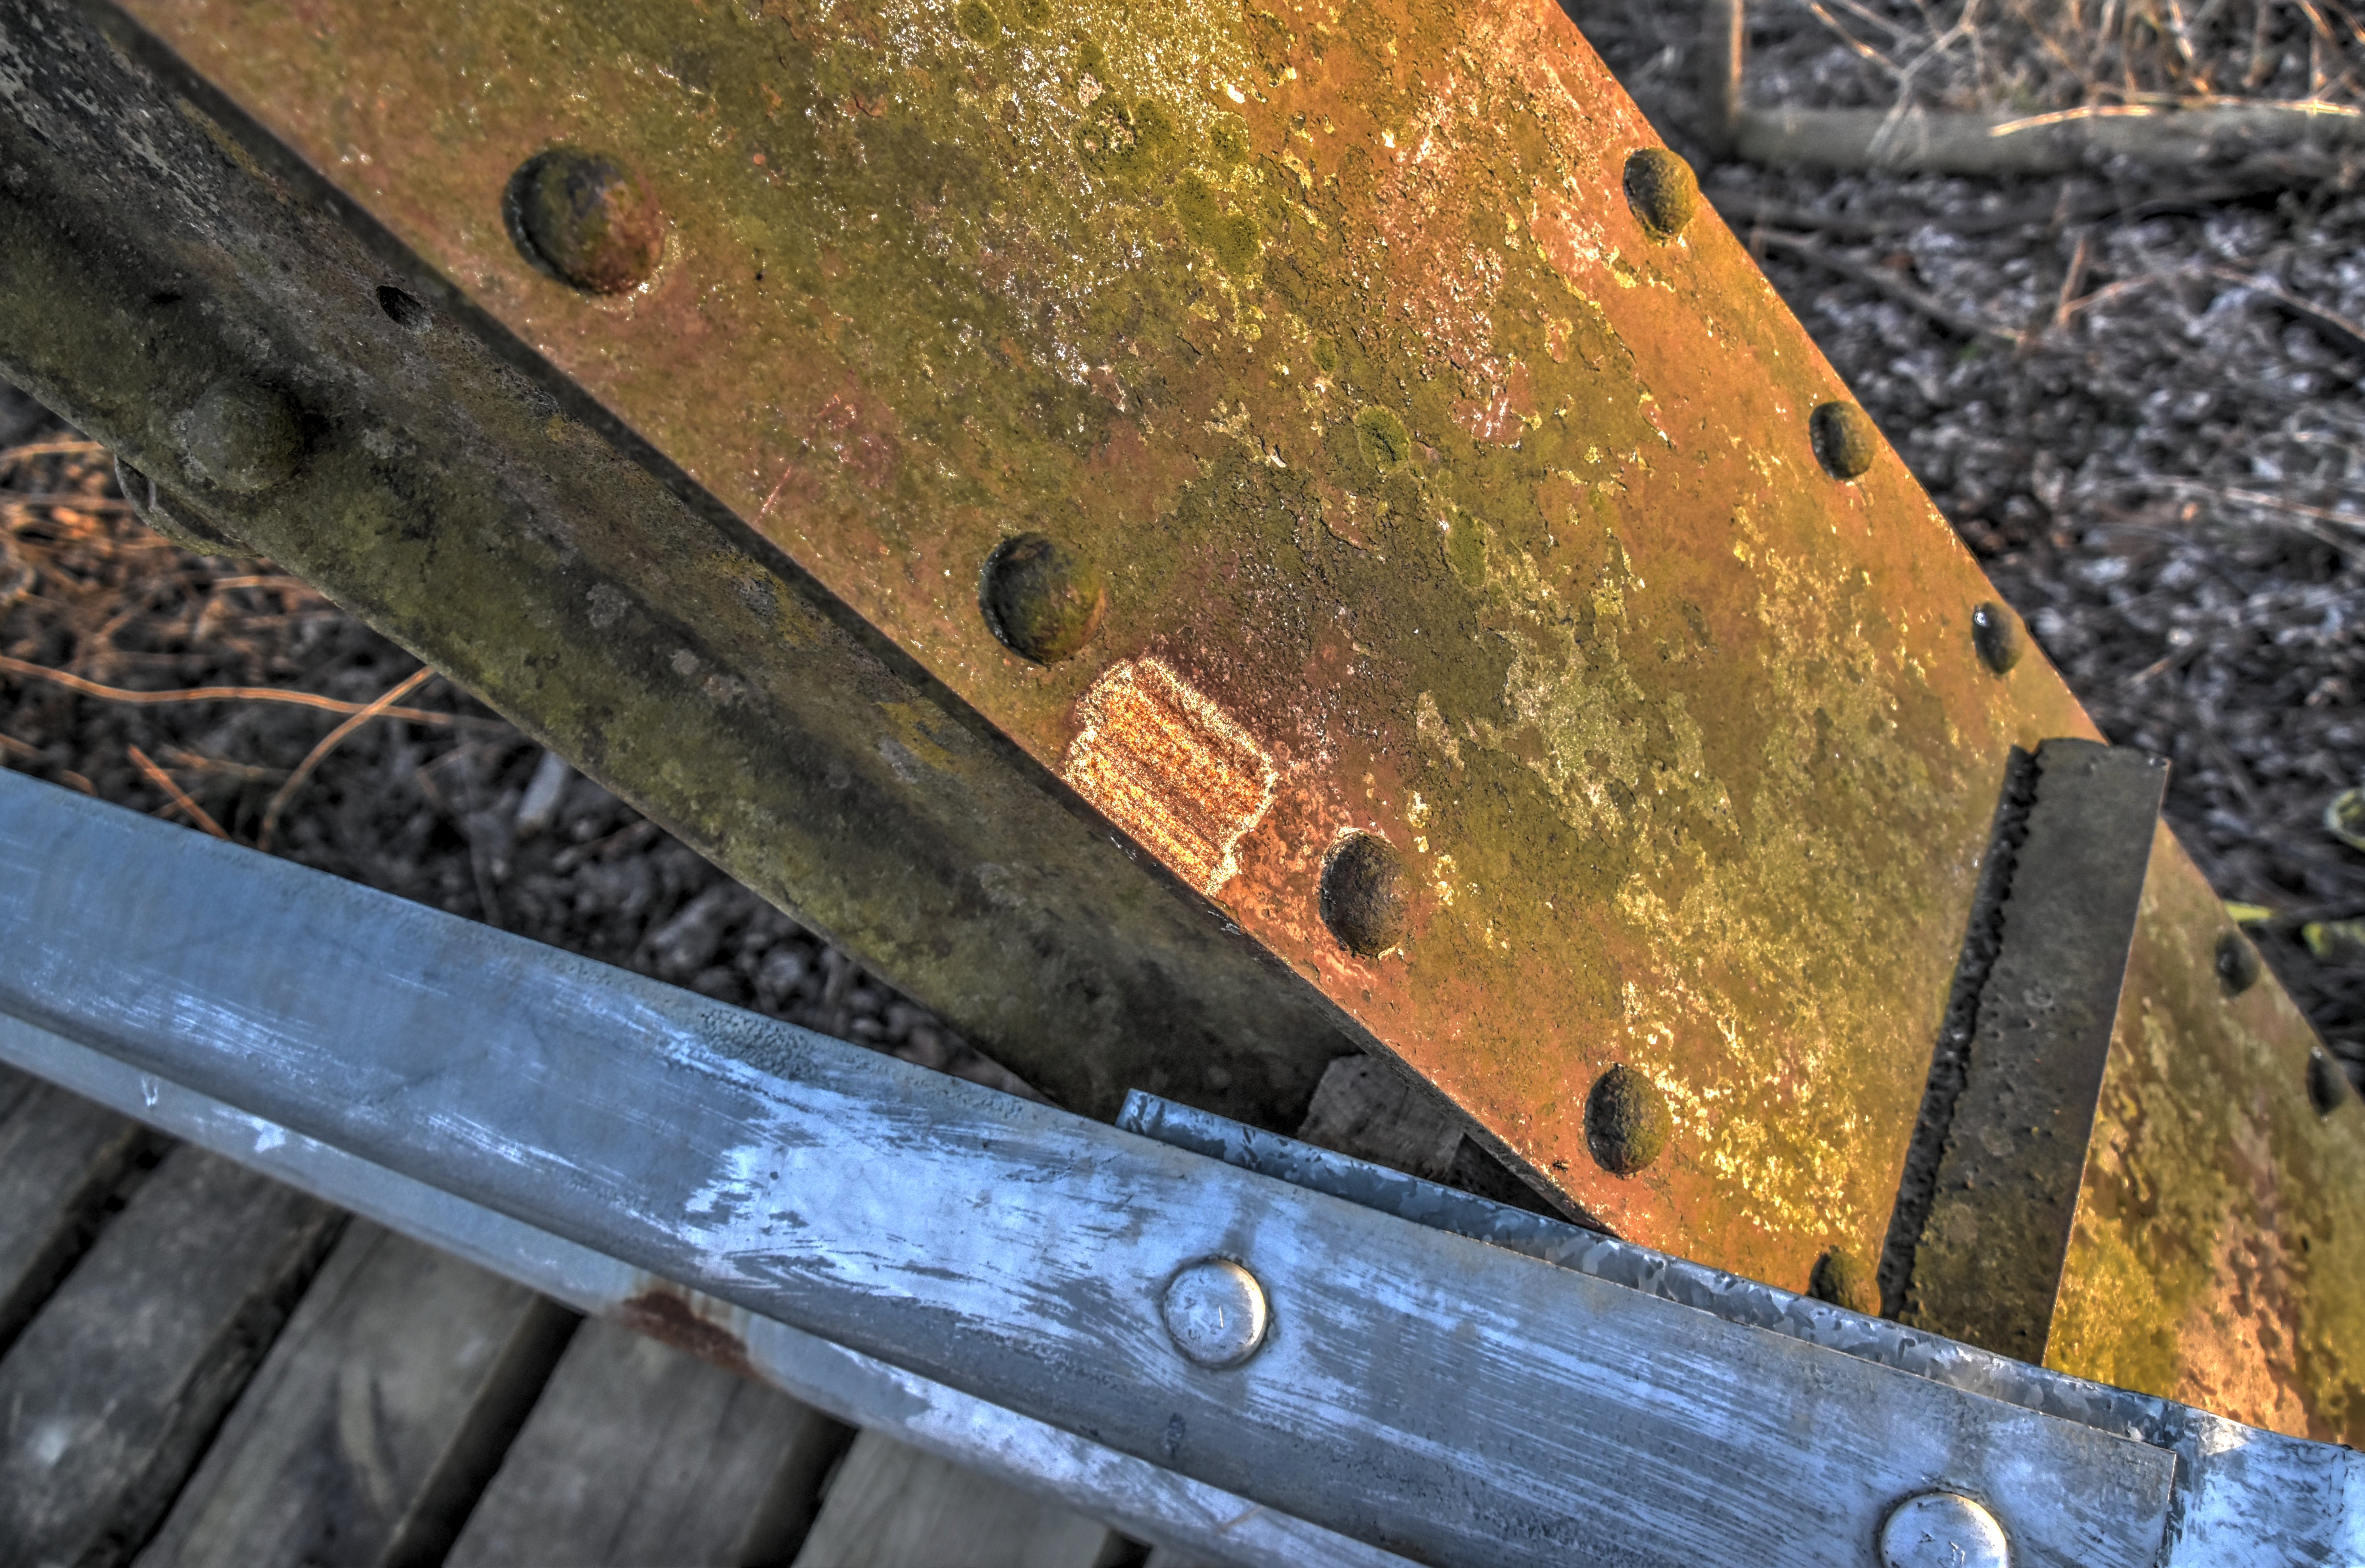
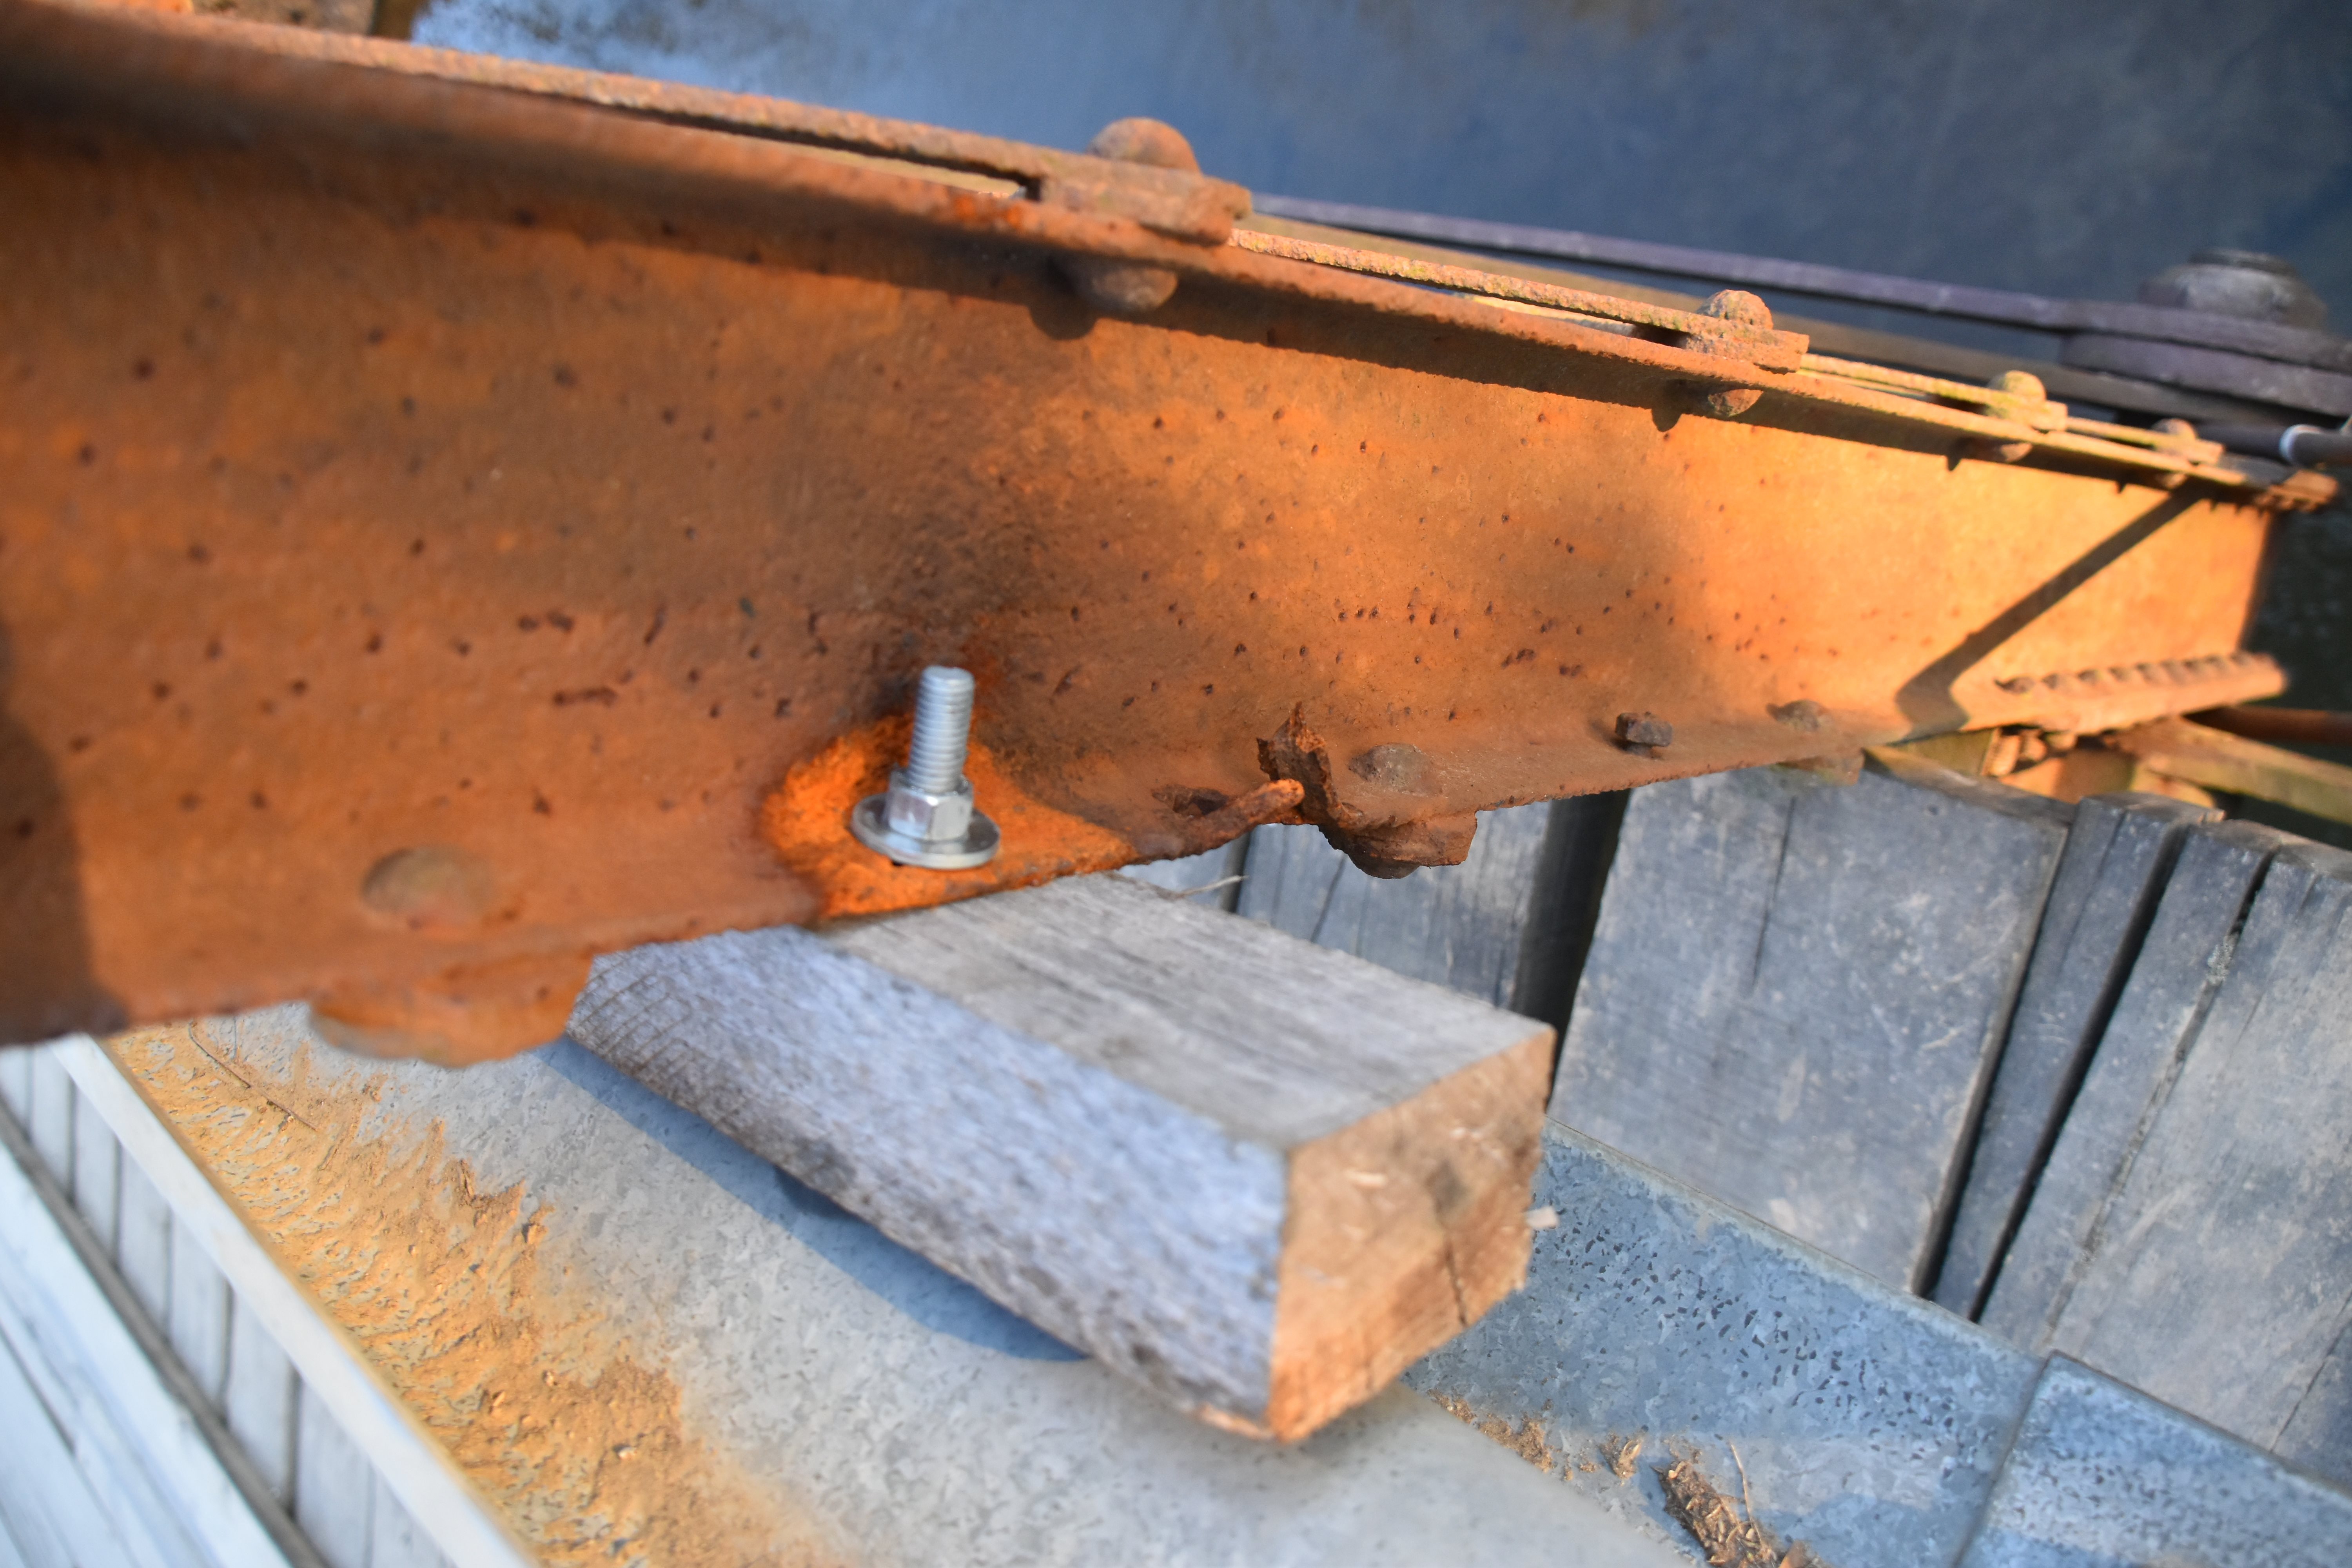
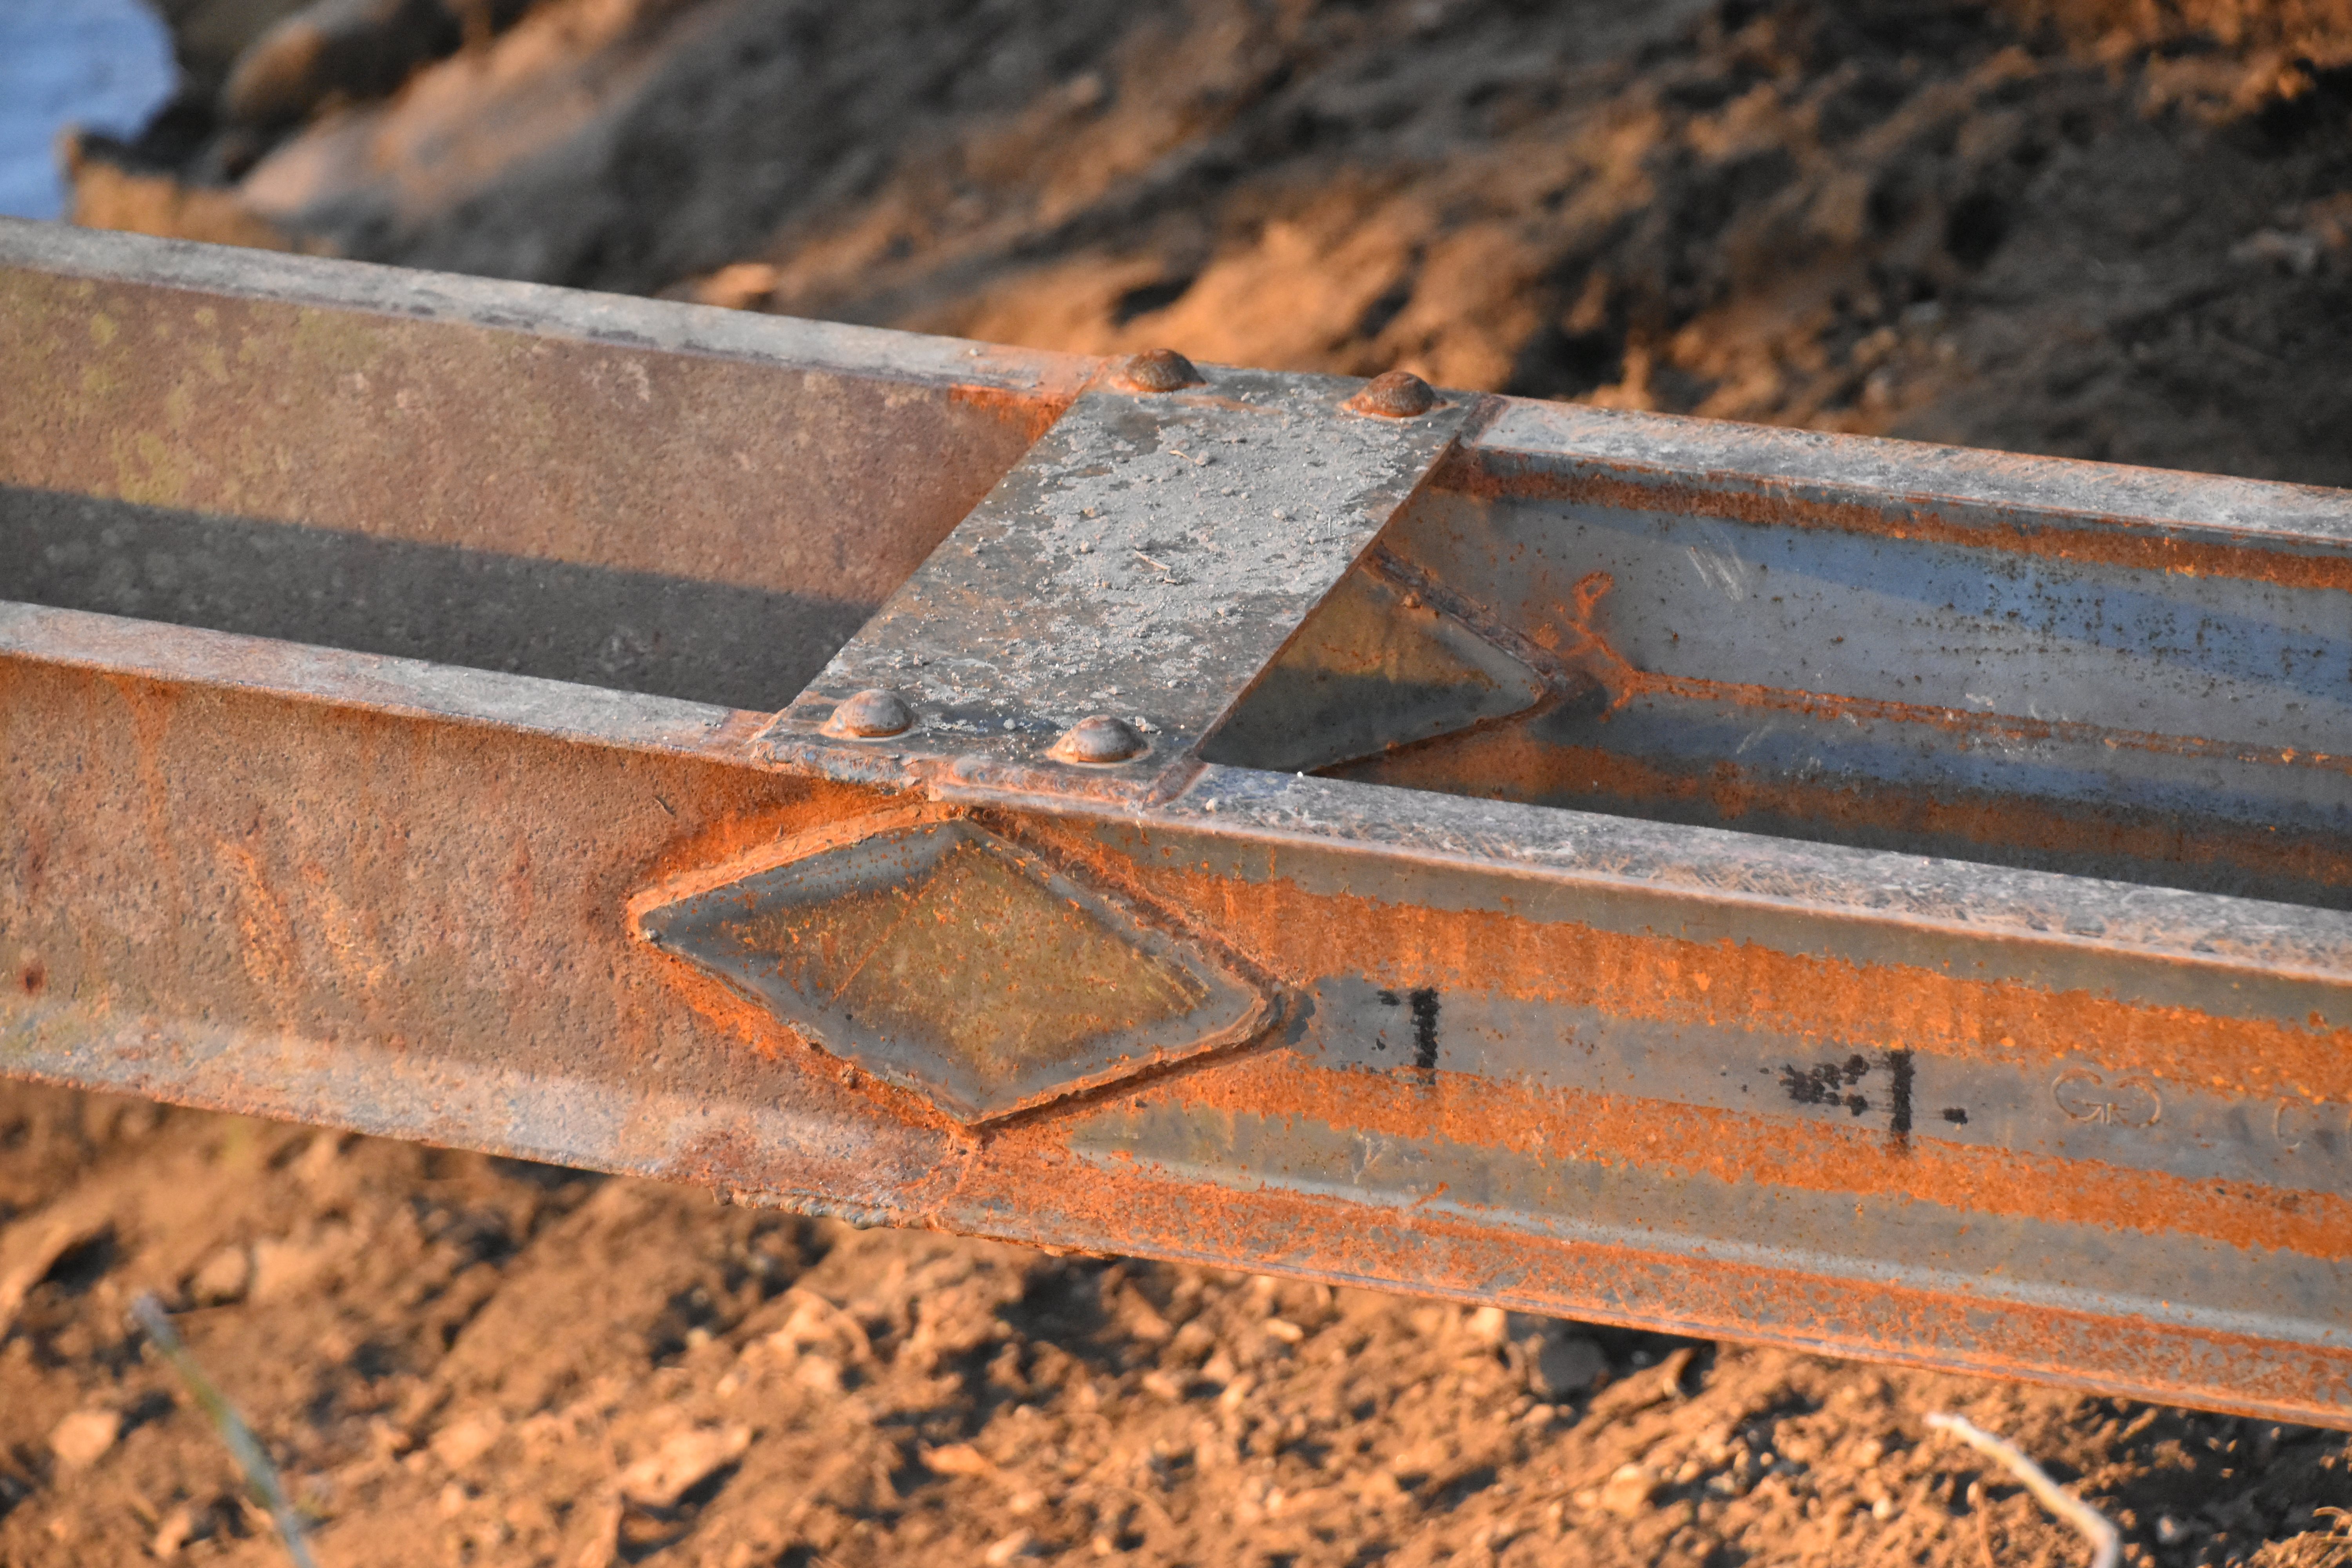
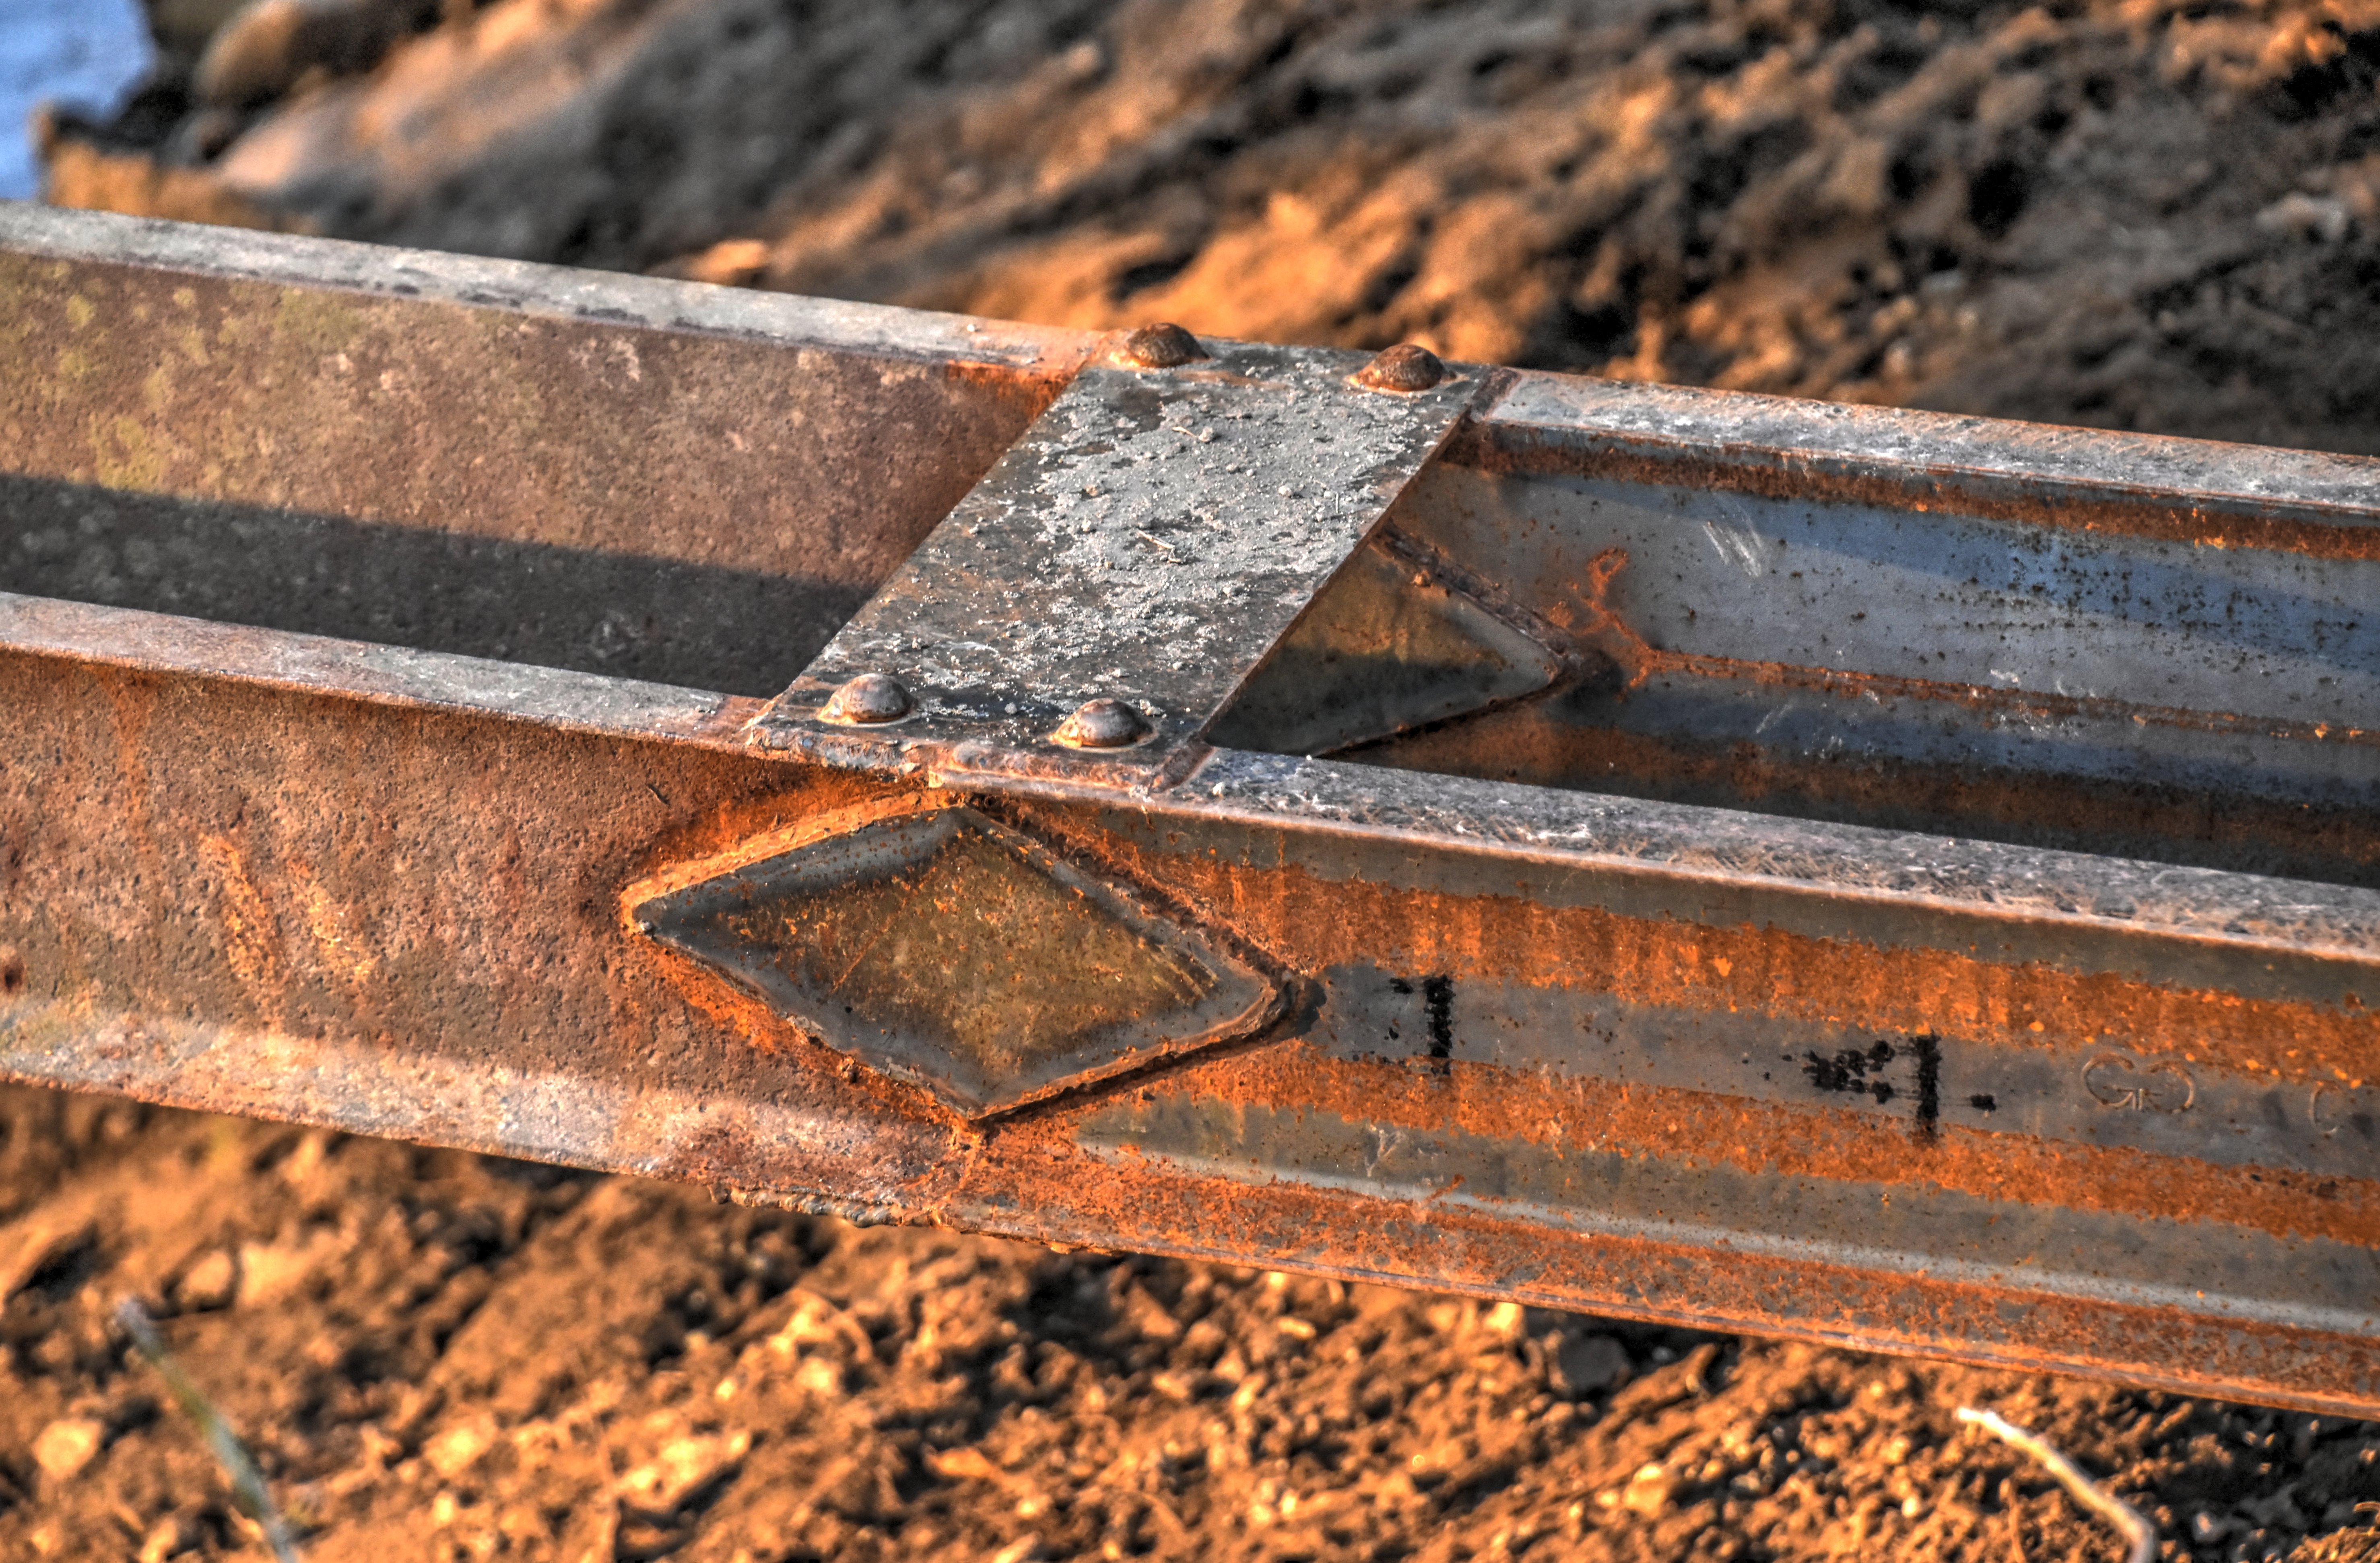
Bottom chord connections as viewed from beside bridge.


Bottom chord connections as viewed from on bridge.


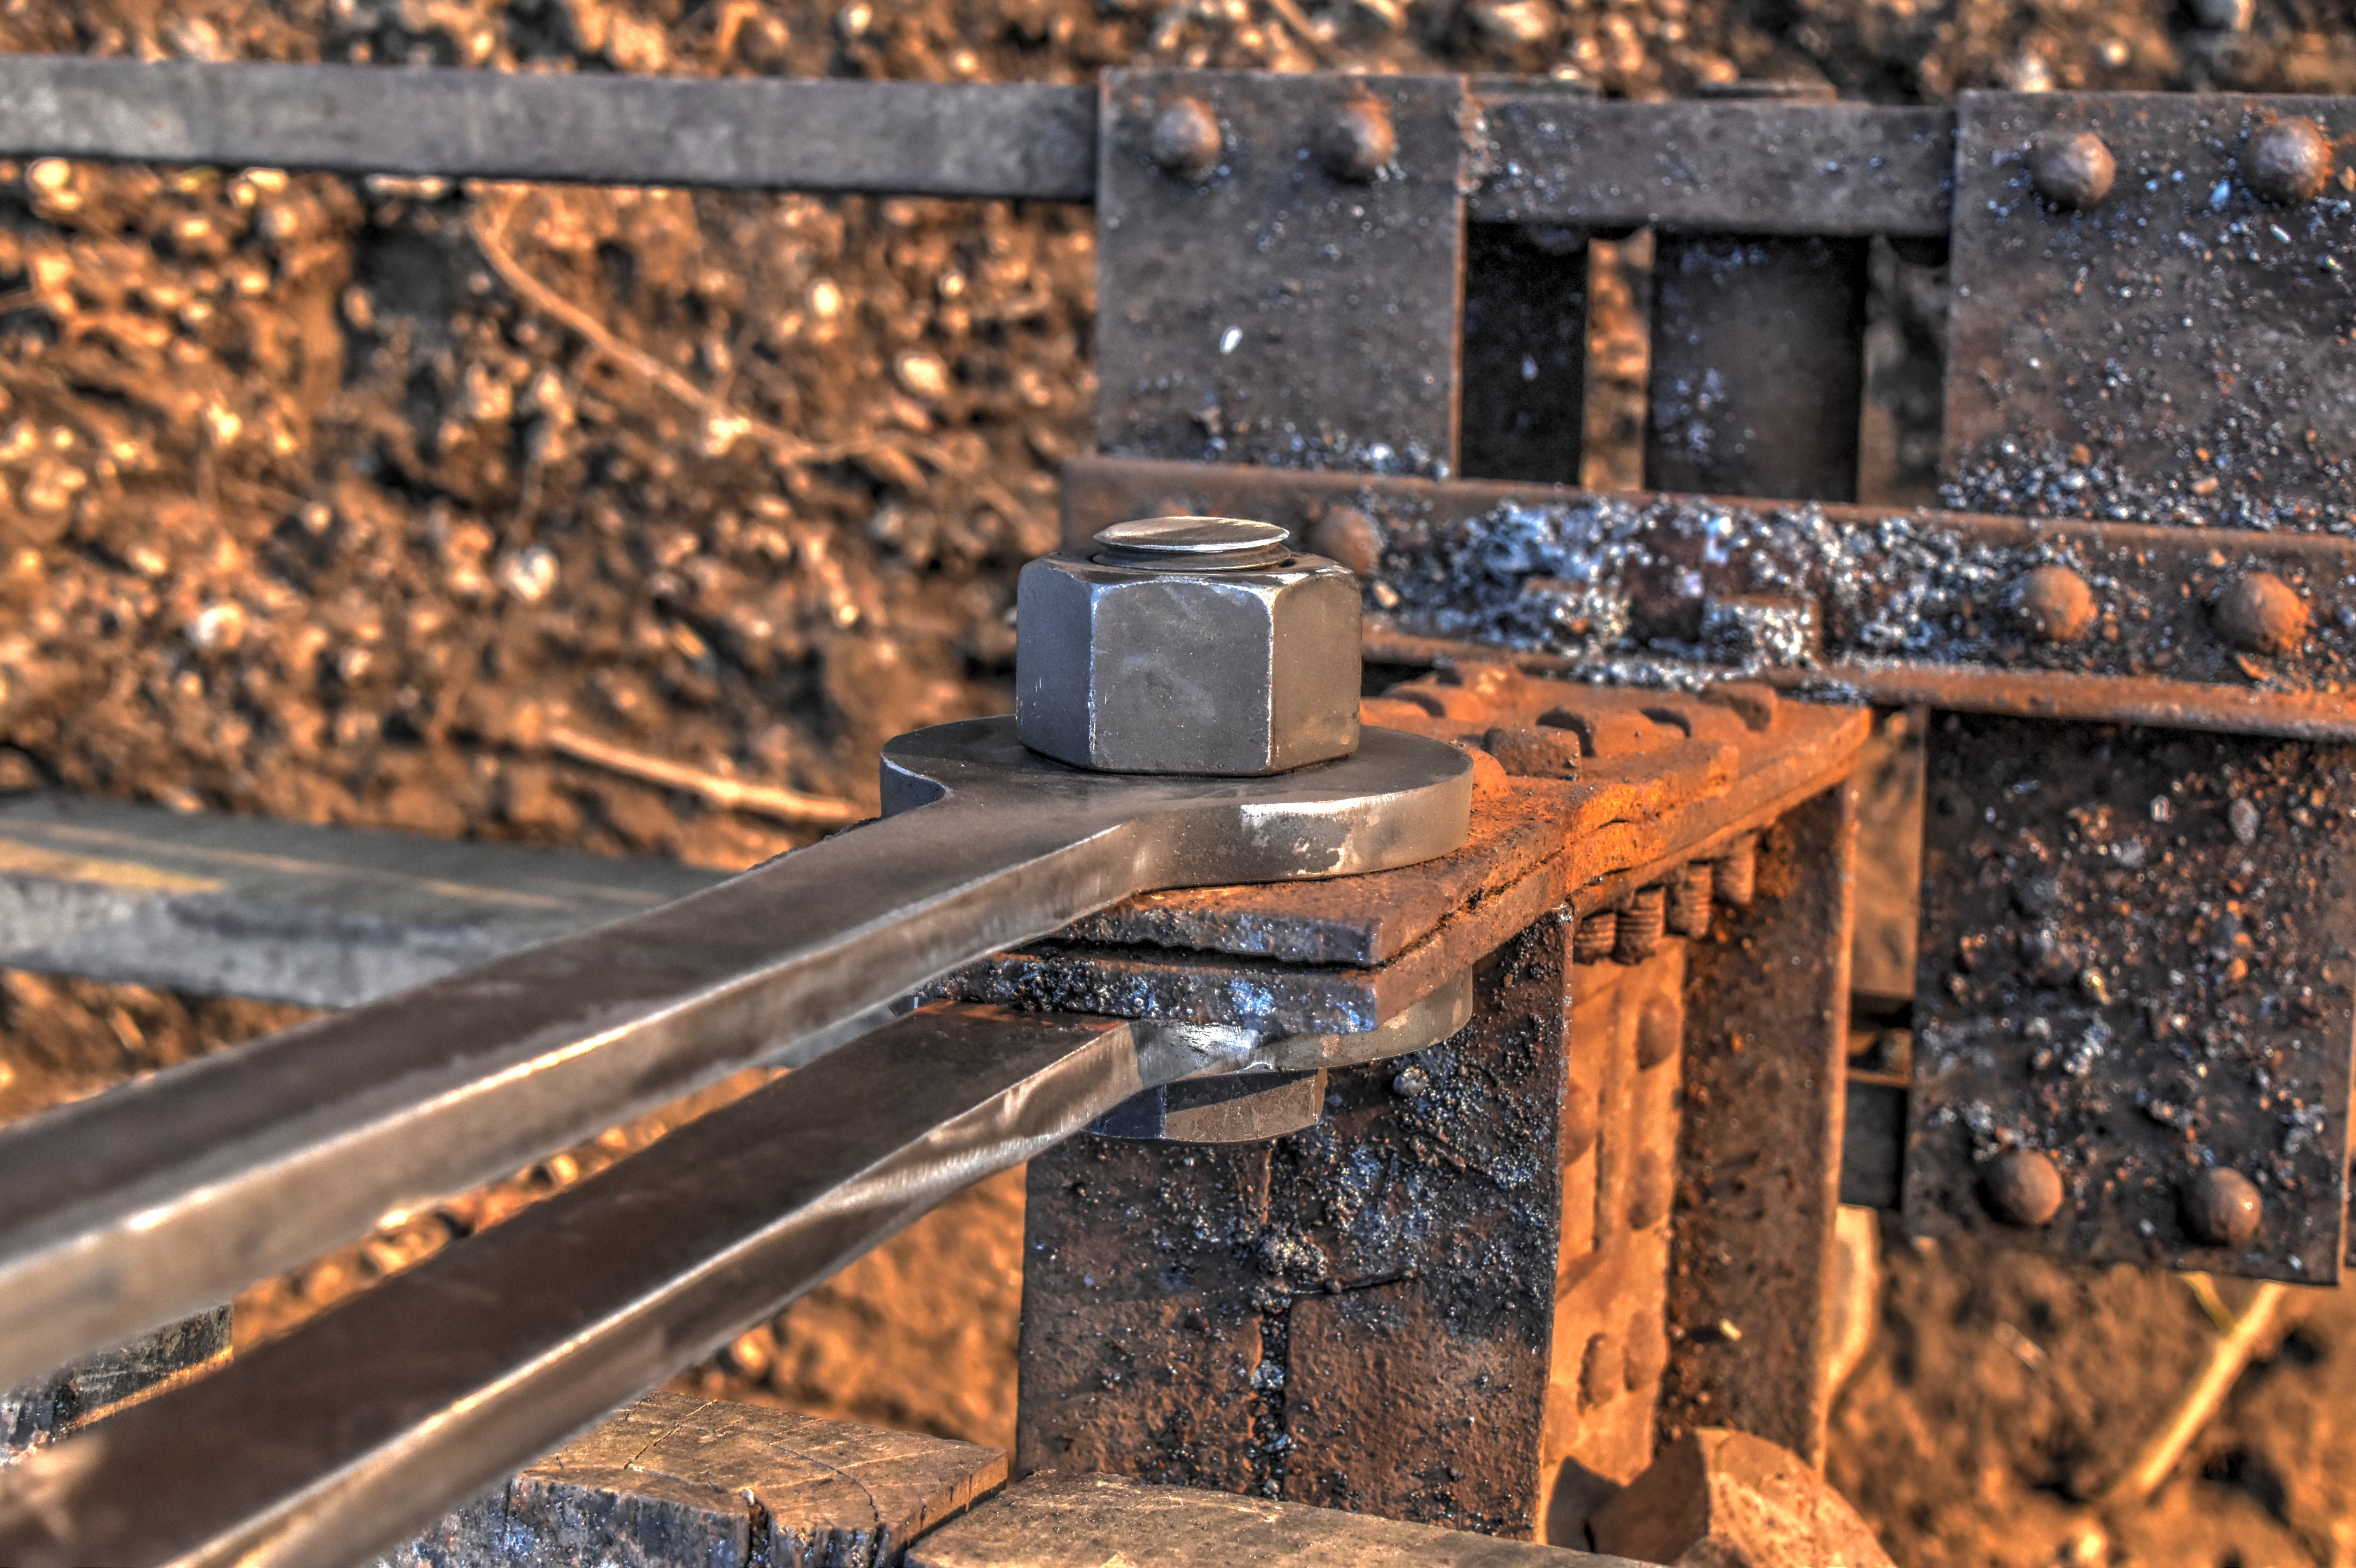
Portal bracing details. Note chisel marks on the nearby pin nut. This is from when the bridge was relocated: the workers would have hit the nut to get it to turn. It also looks like someone broke apart the portal bracing to access the nuts.
![]()


Strut.
![]()

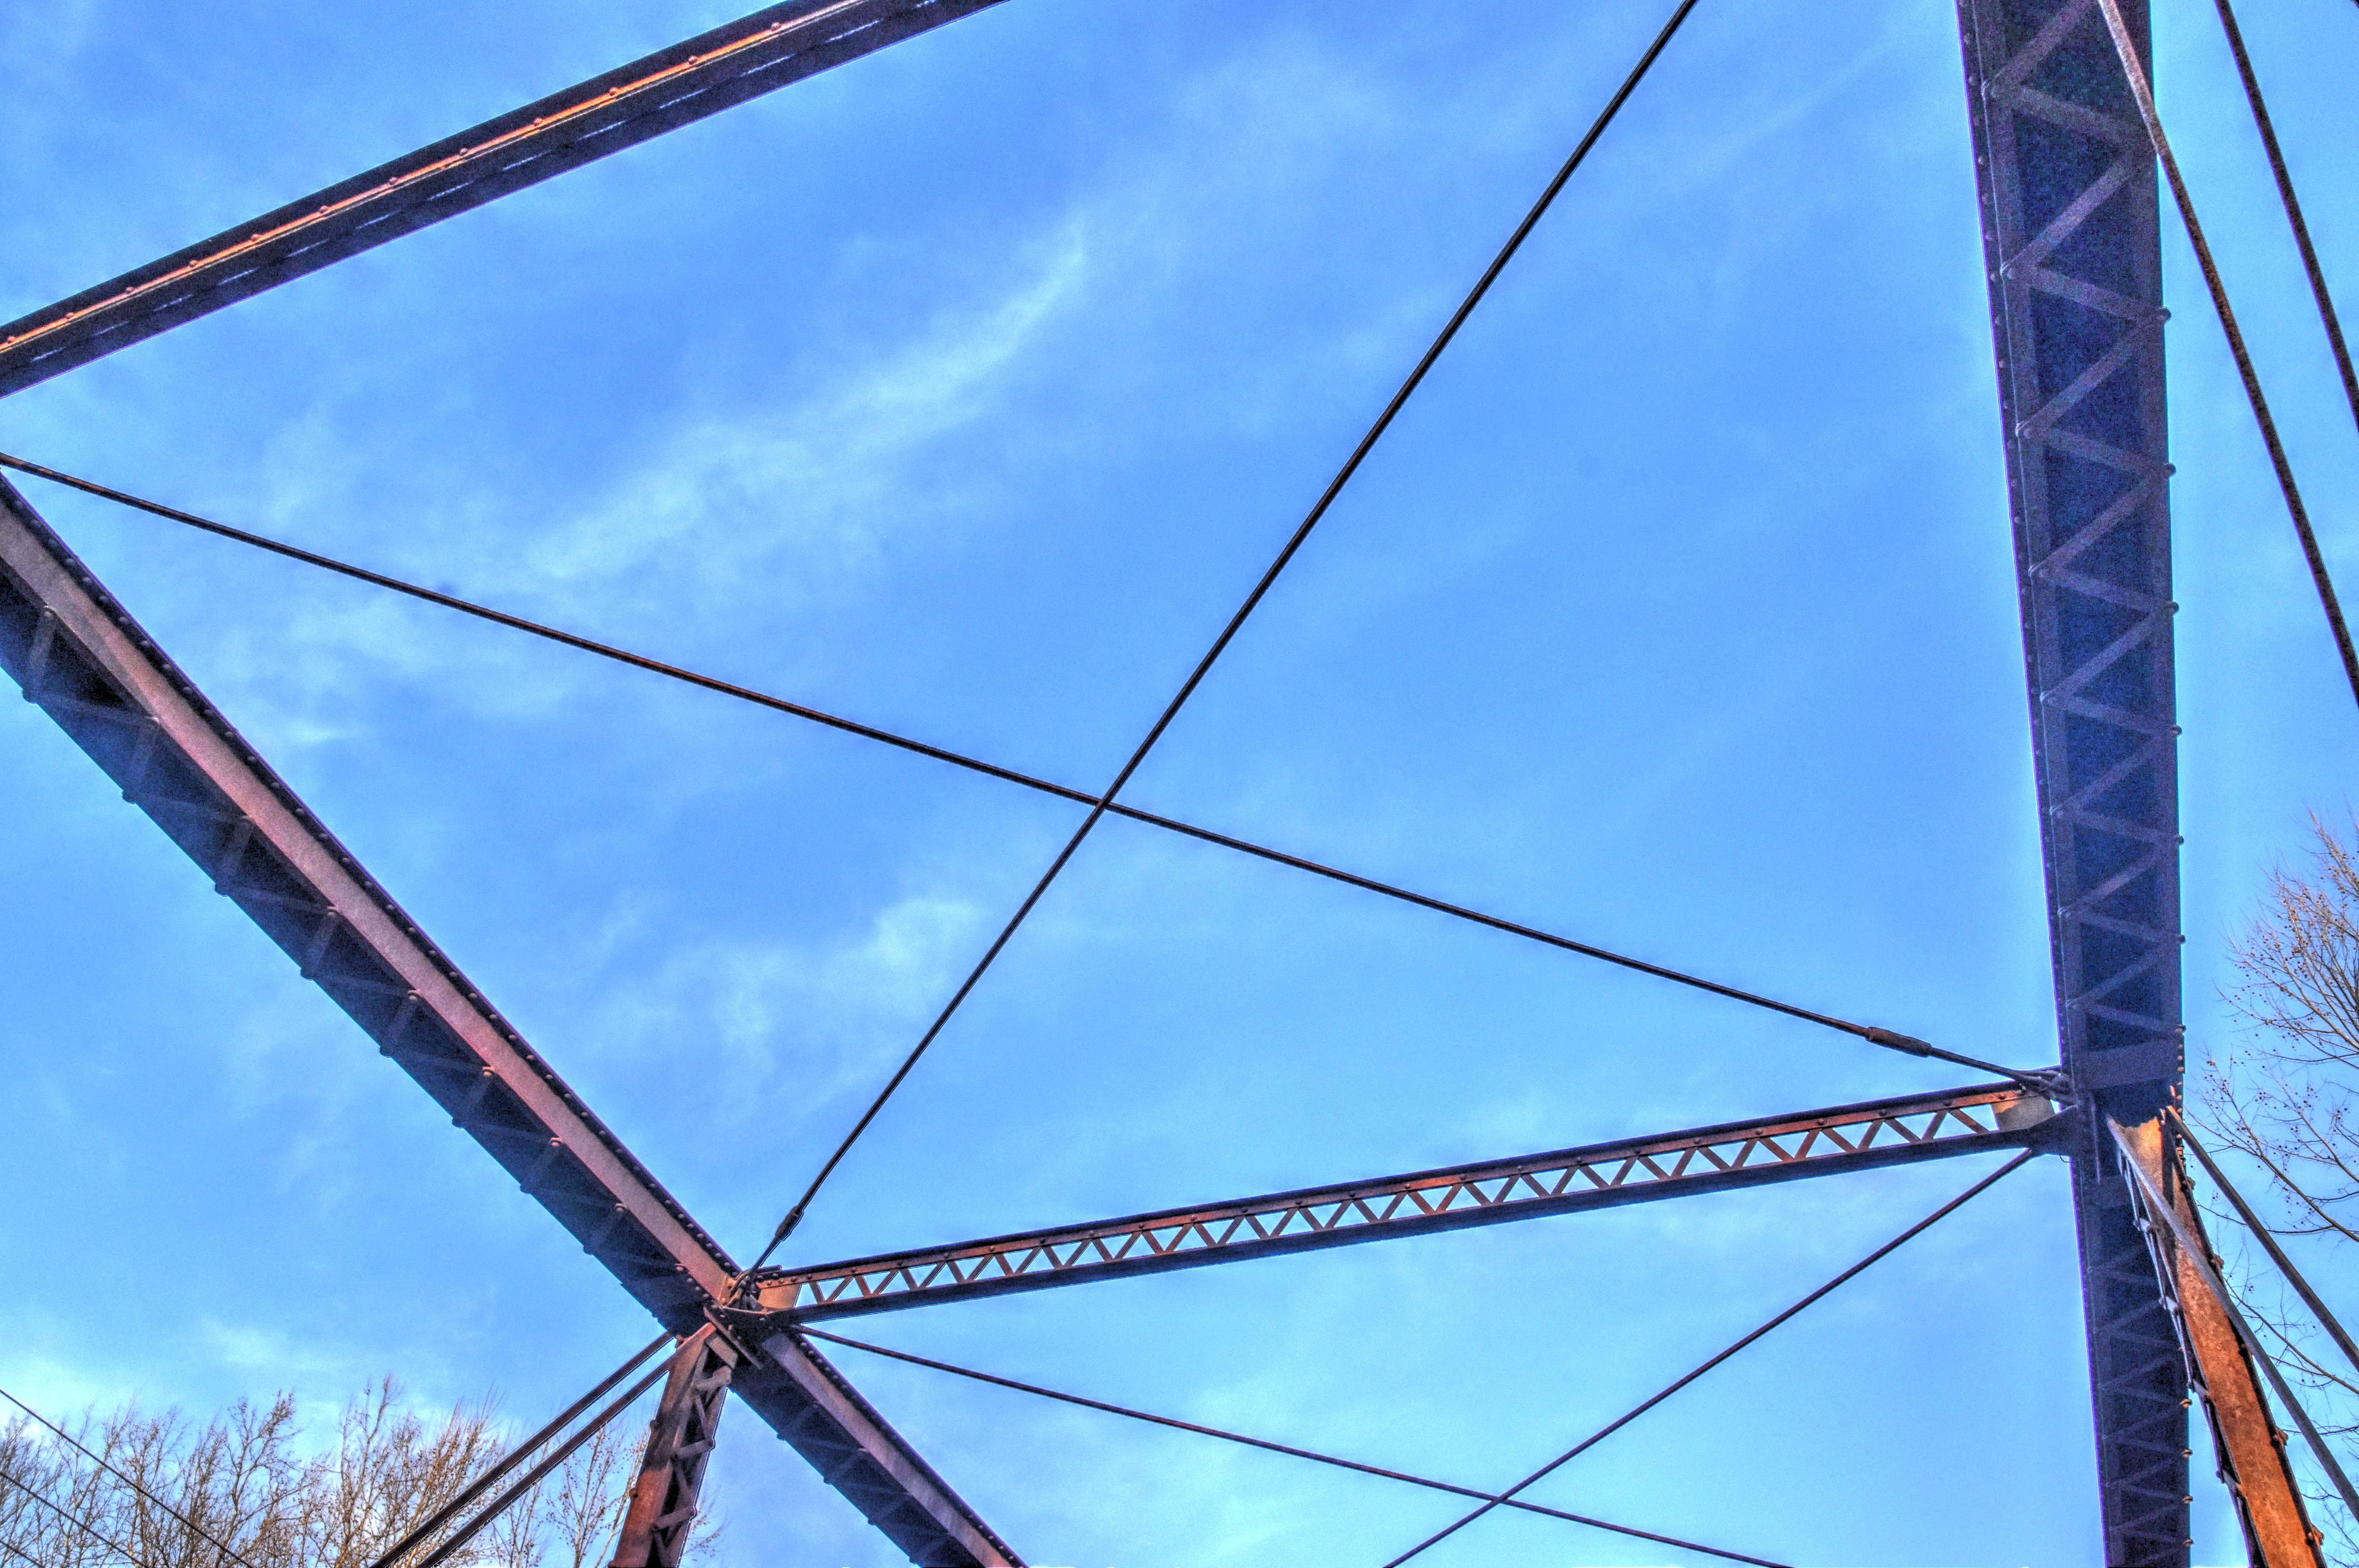

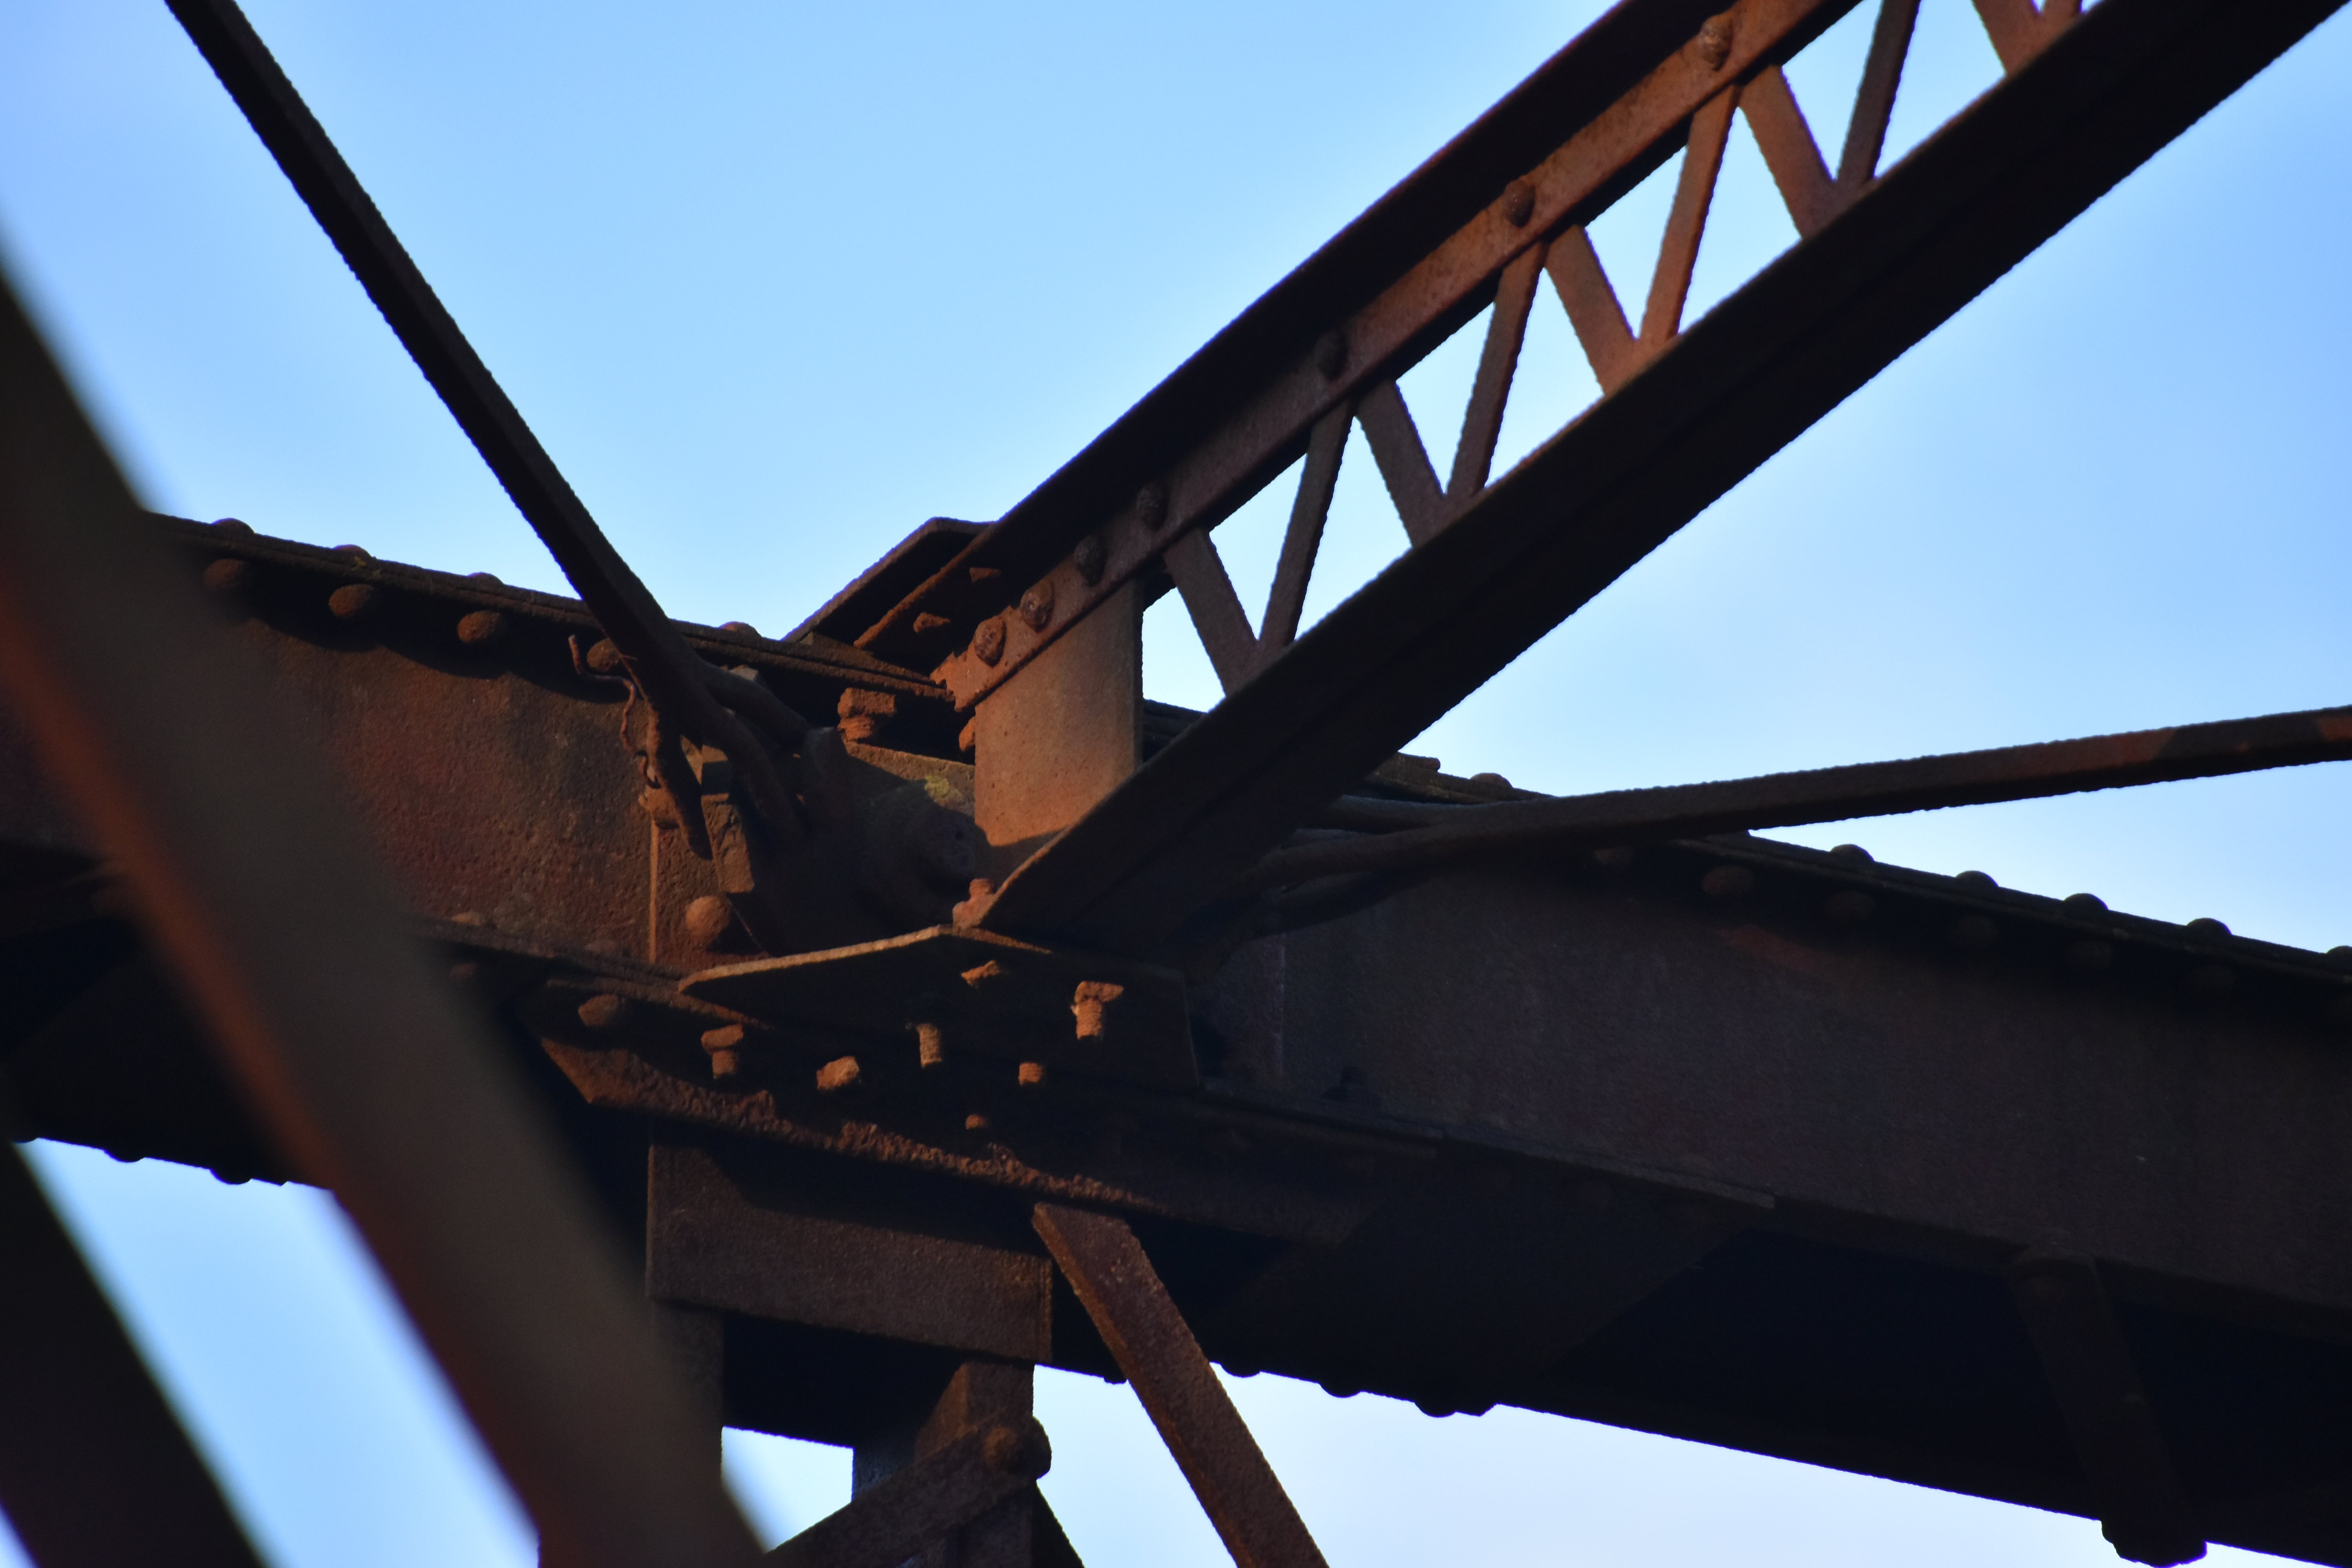
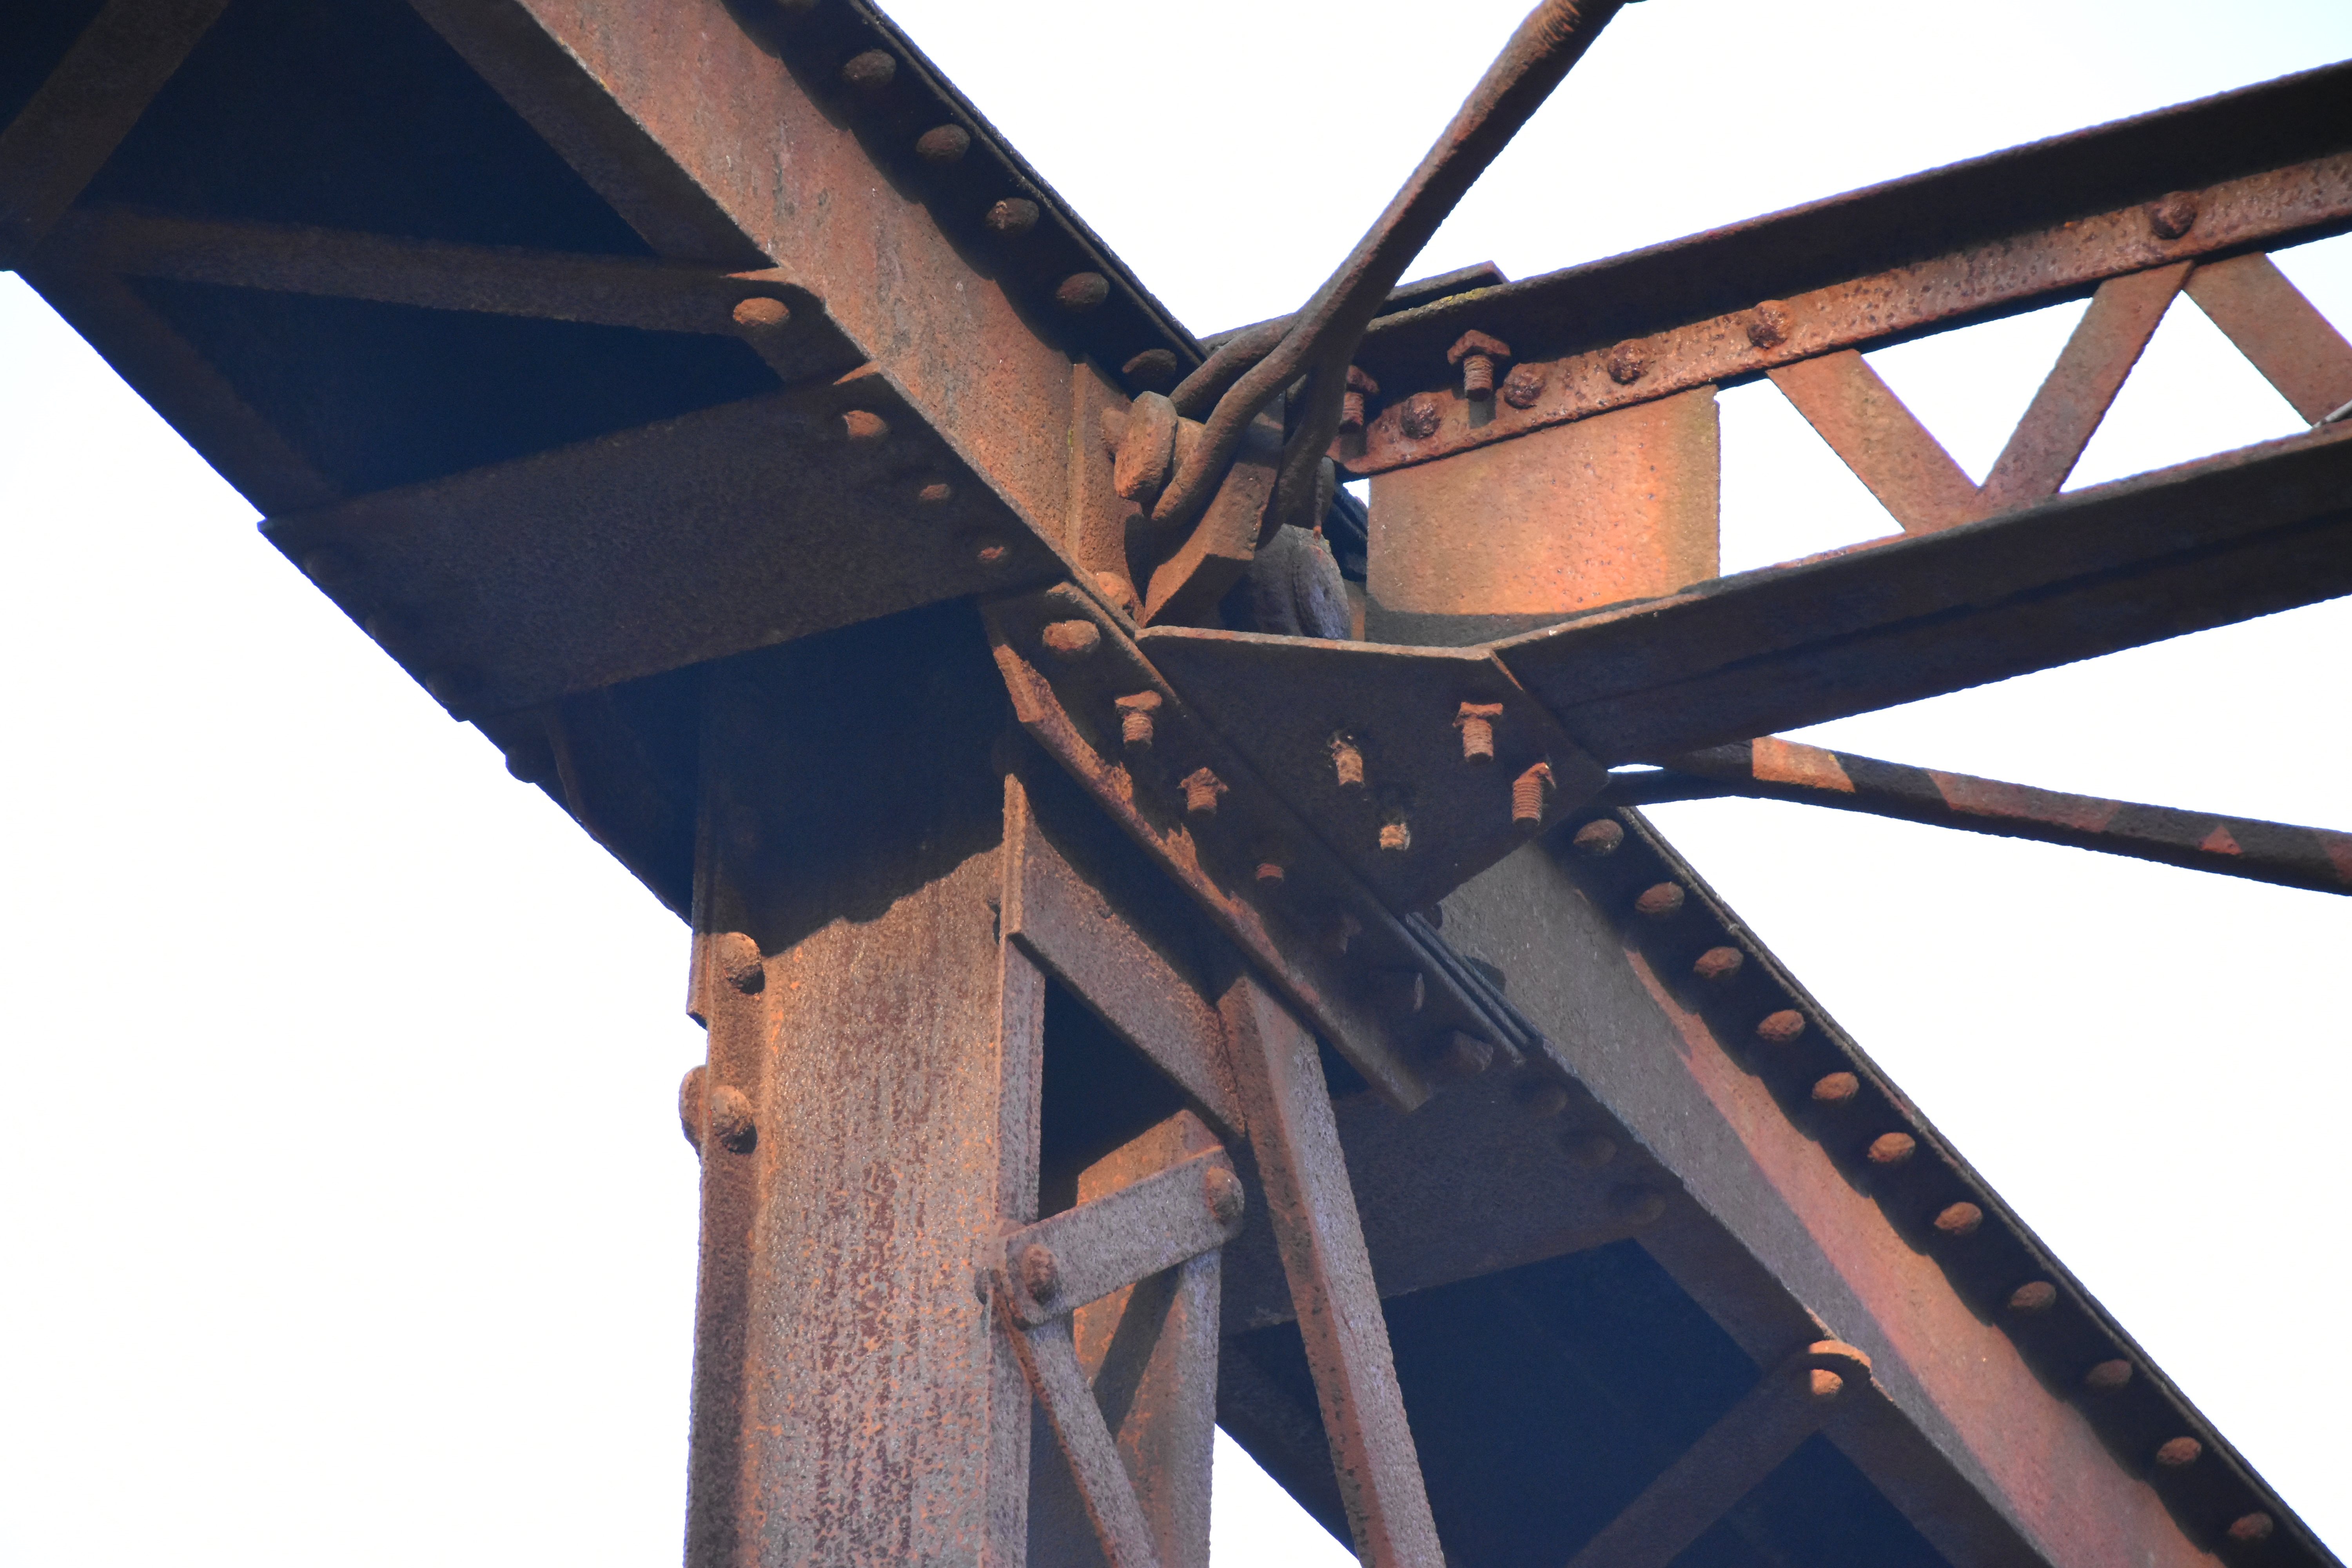
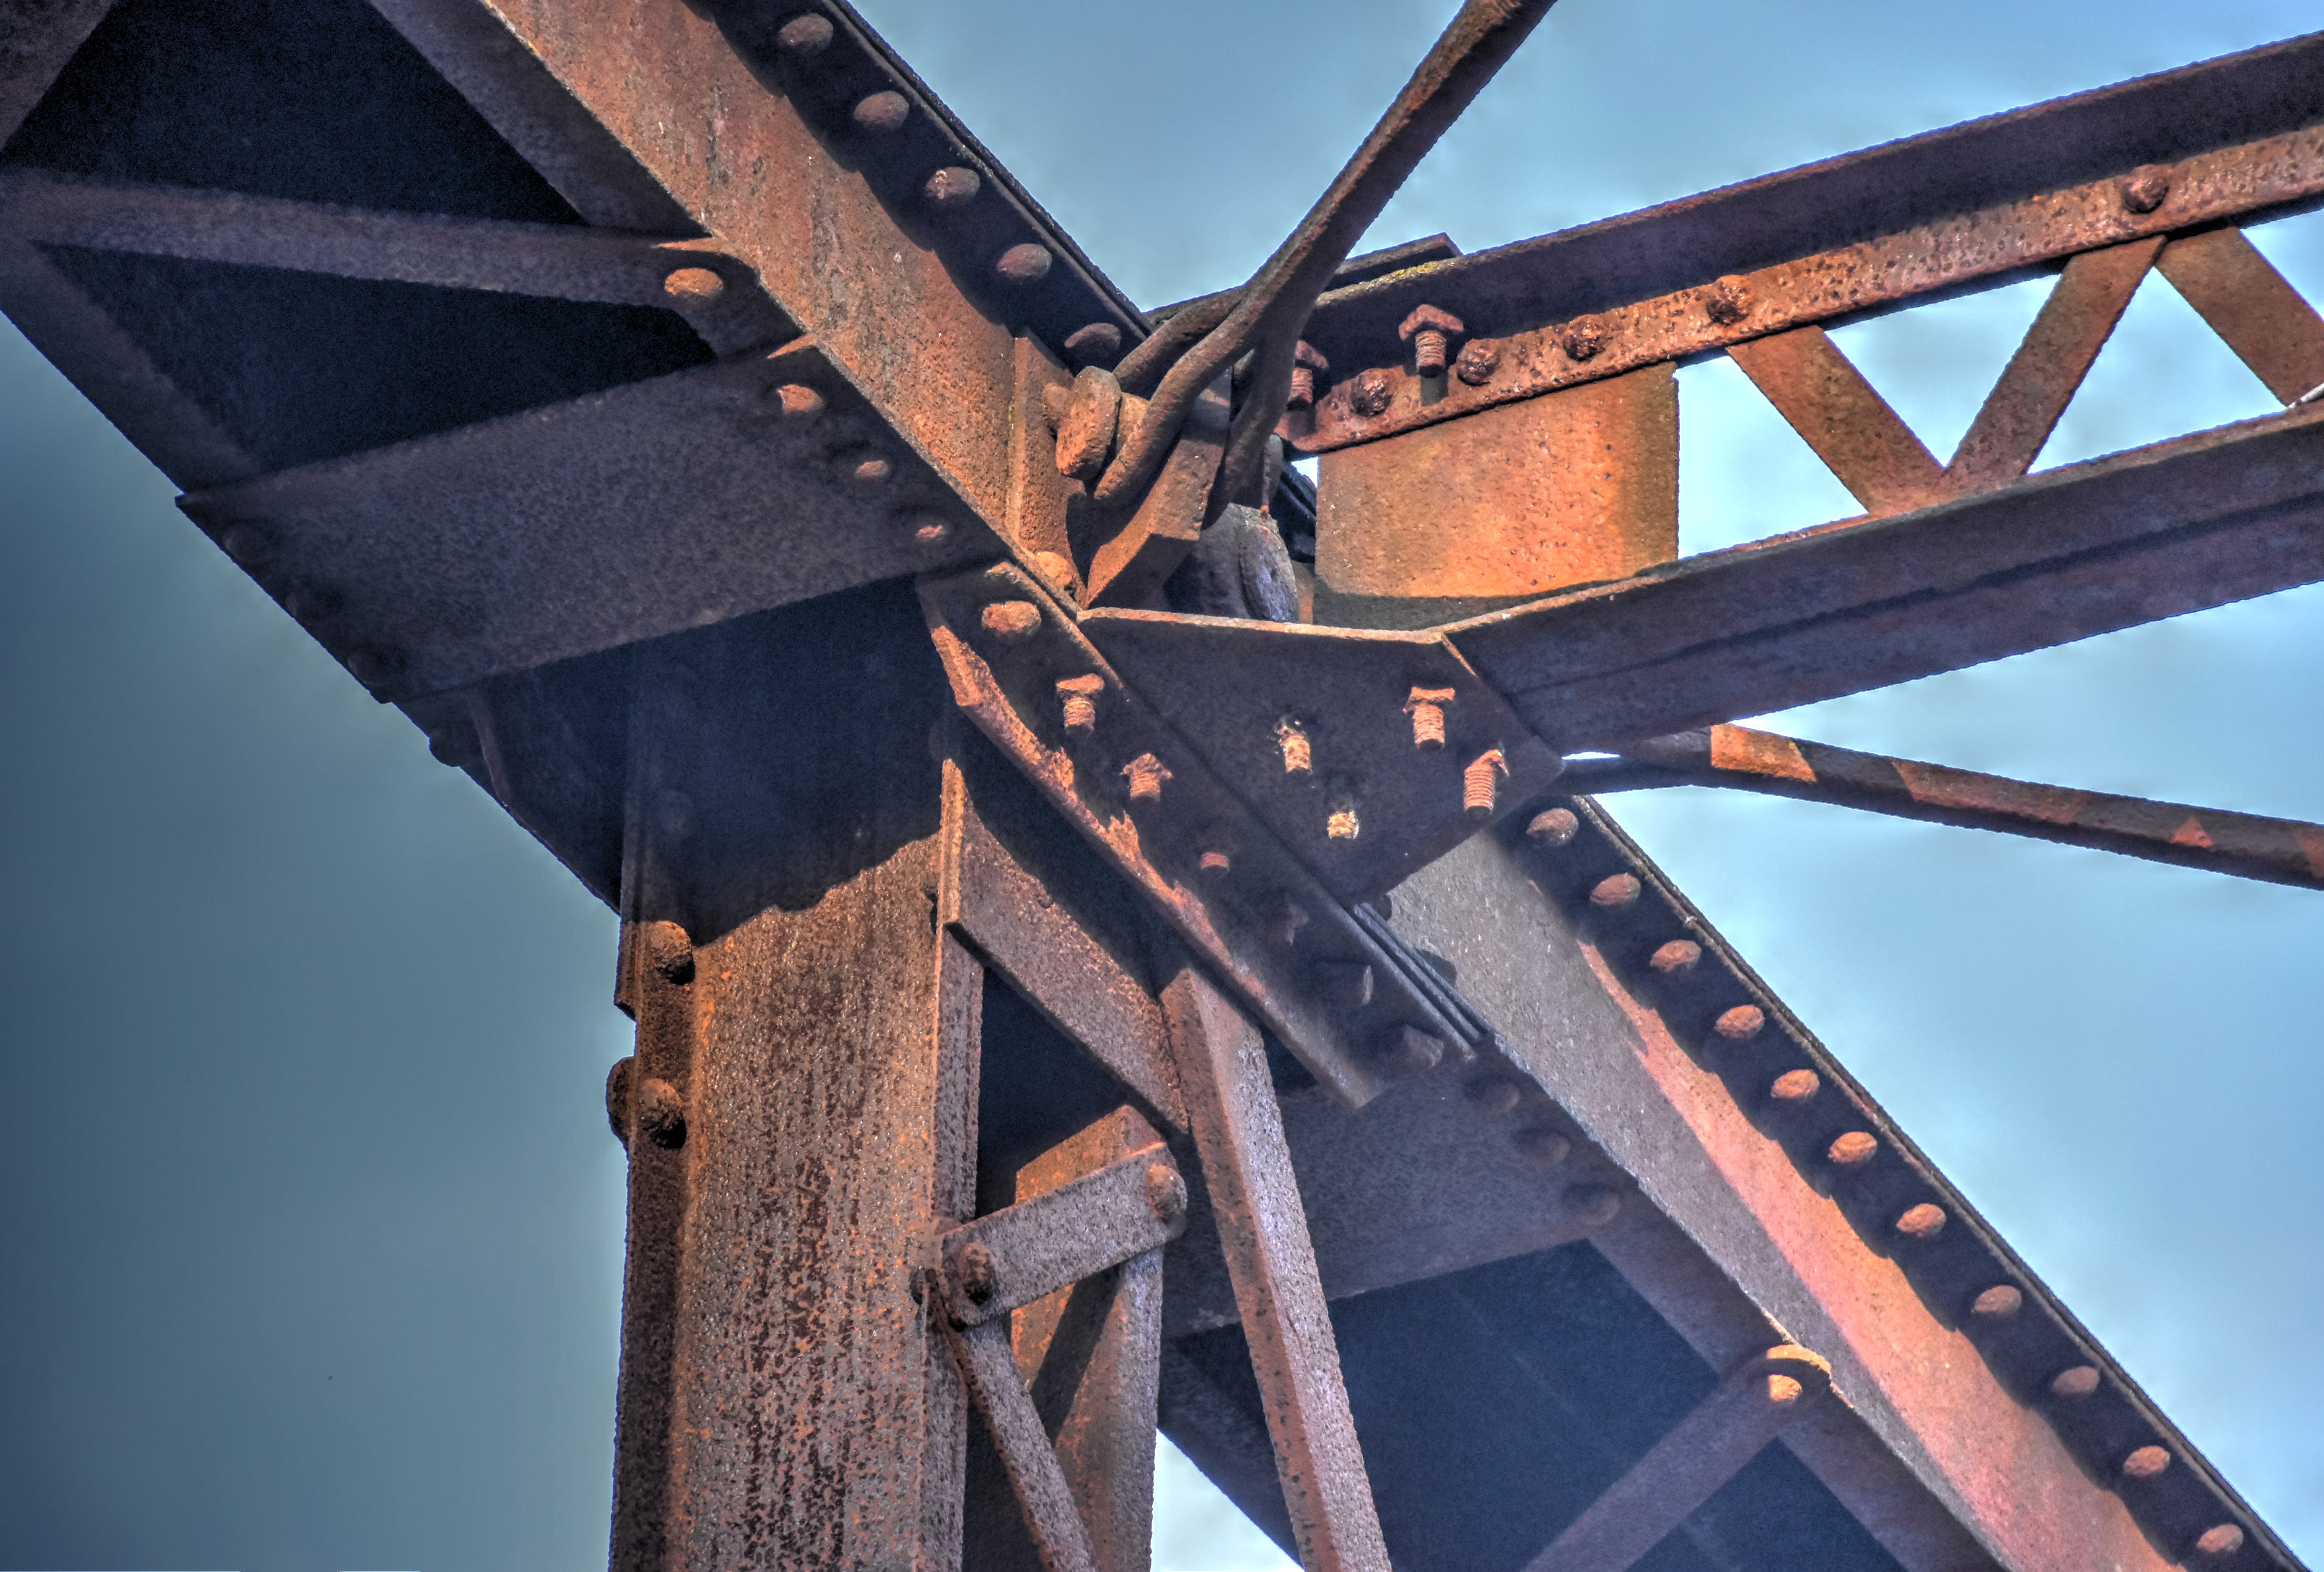
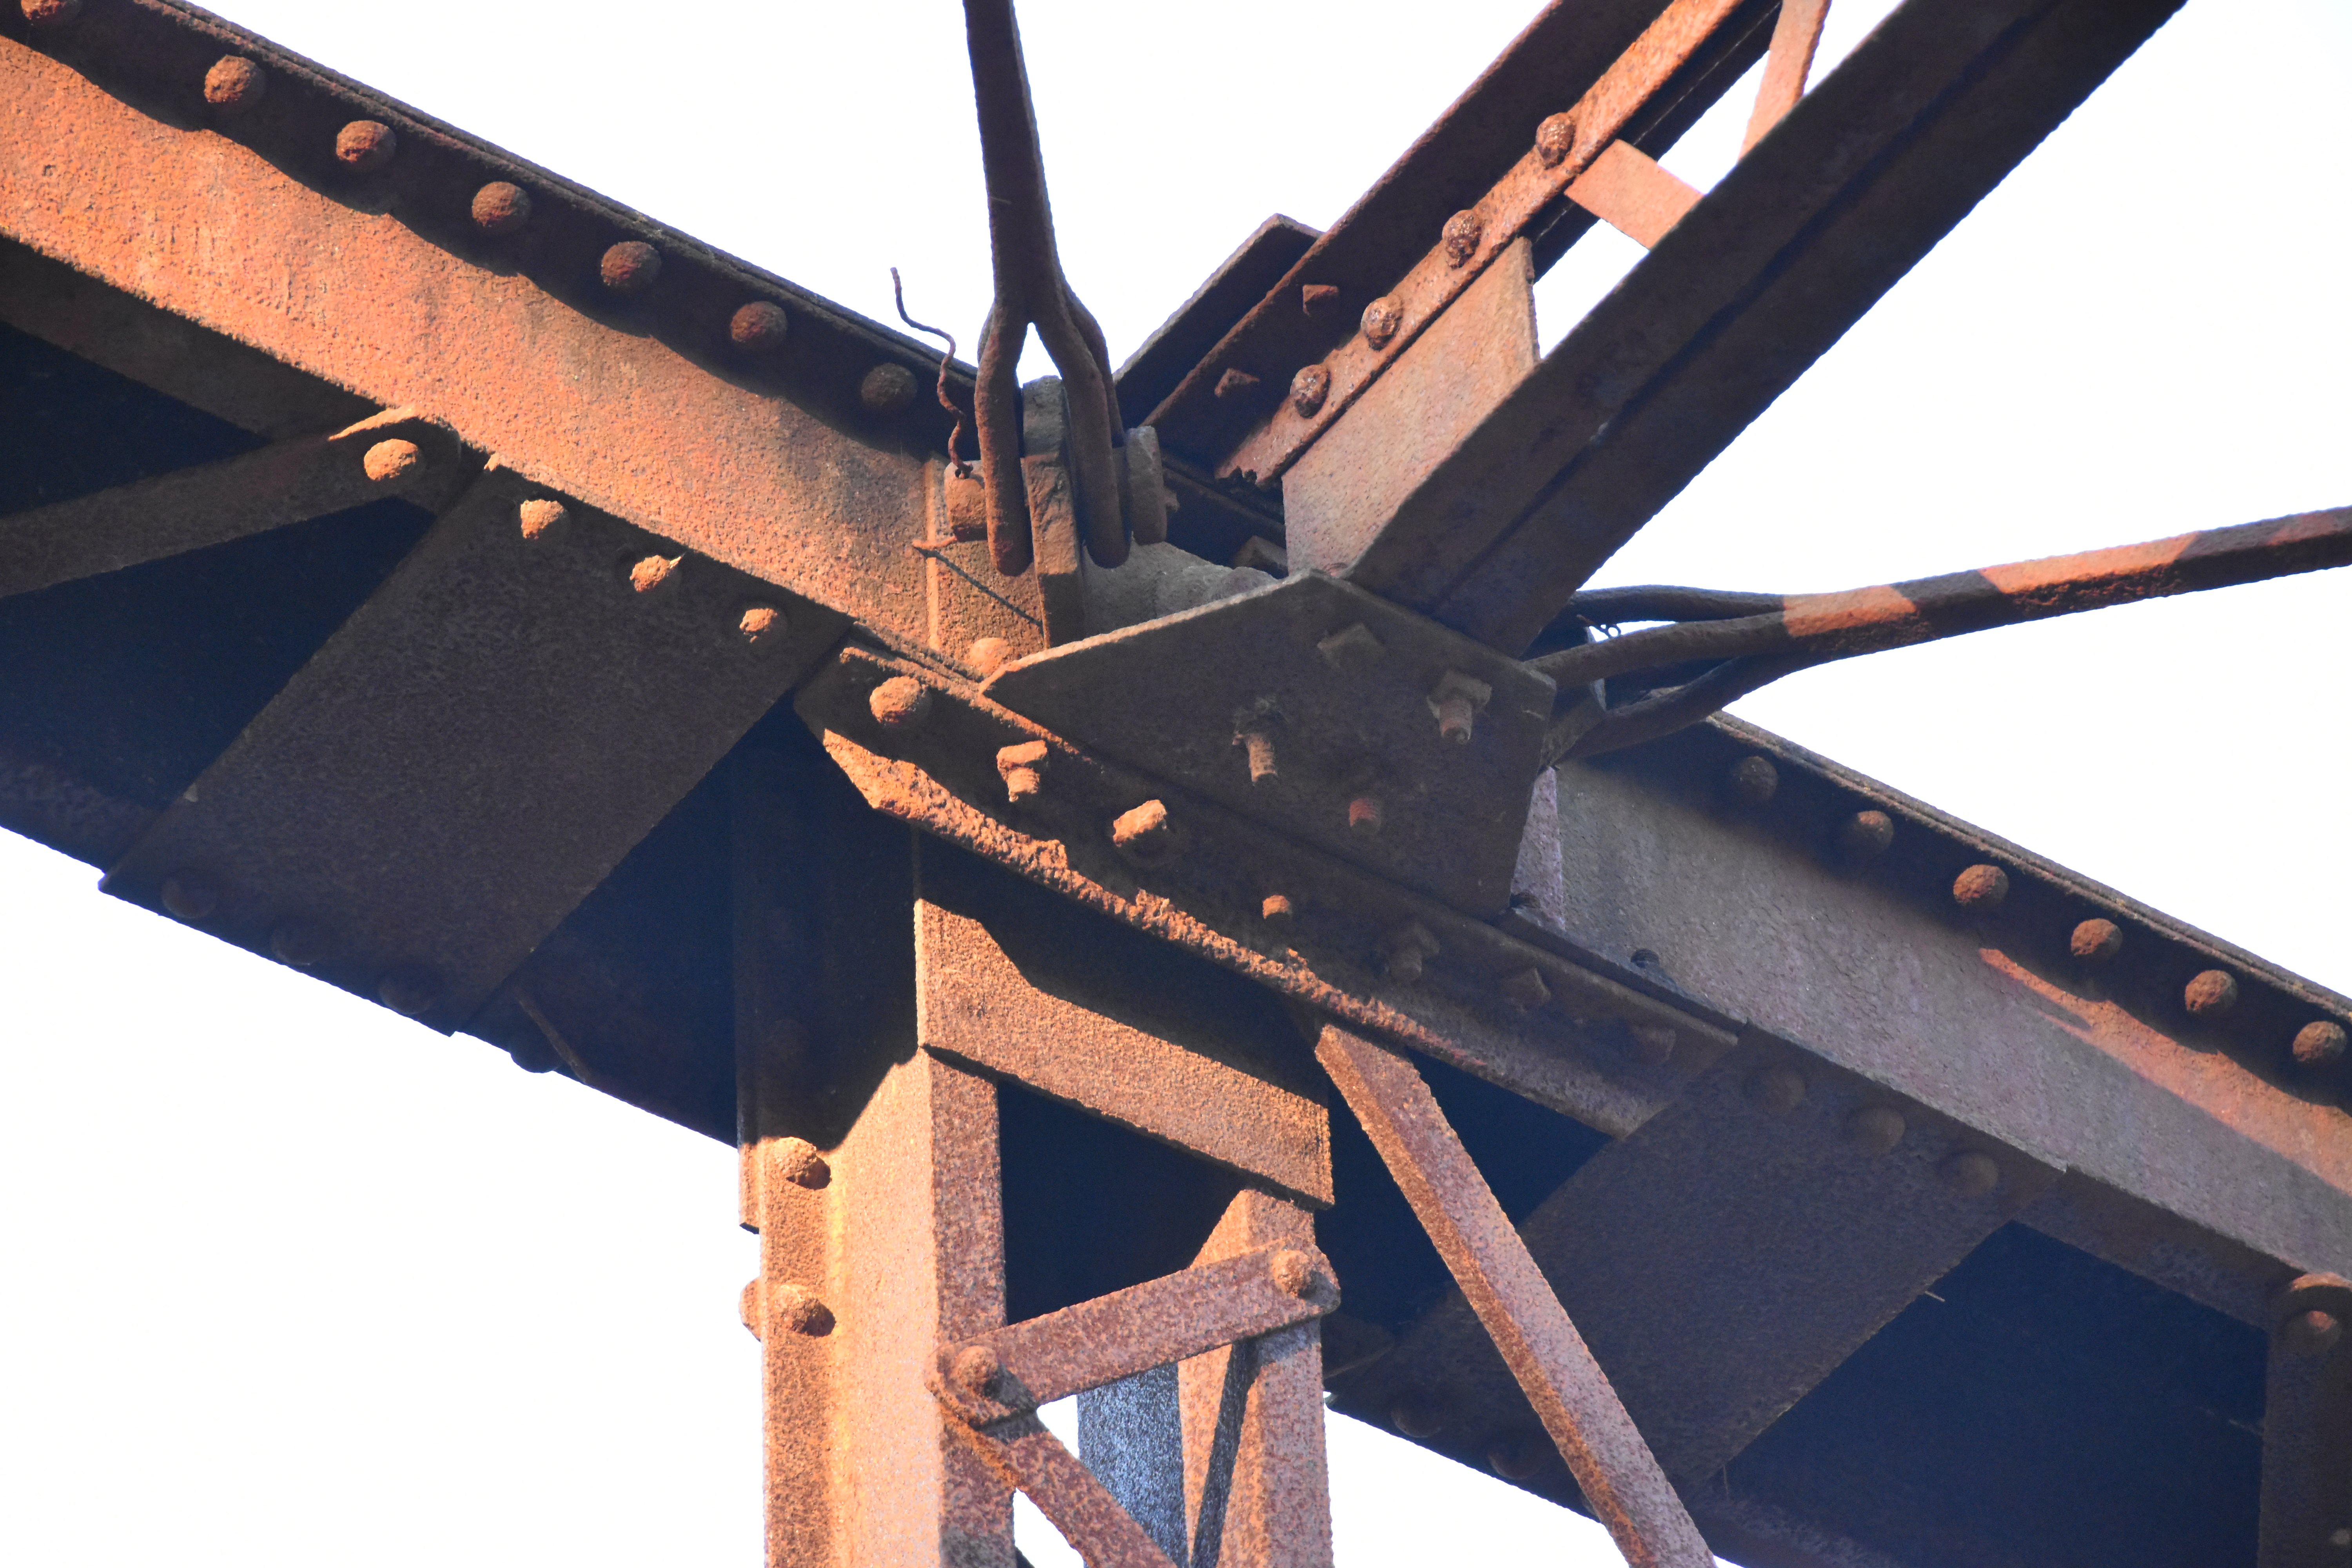
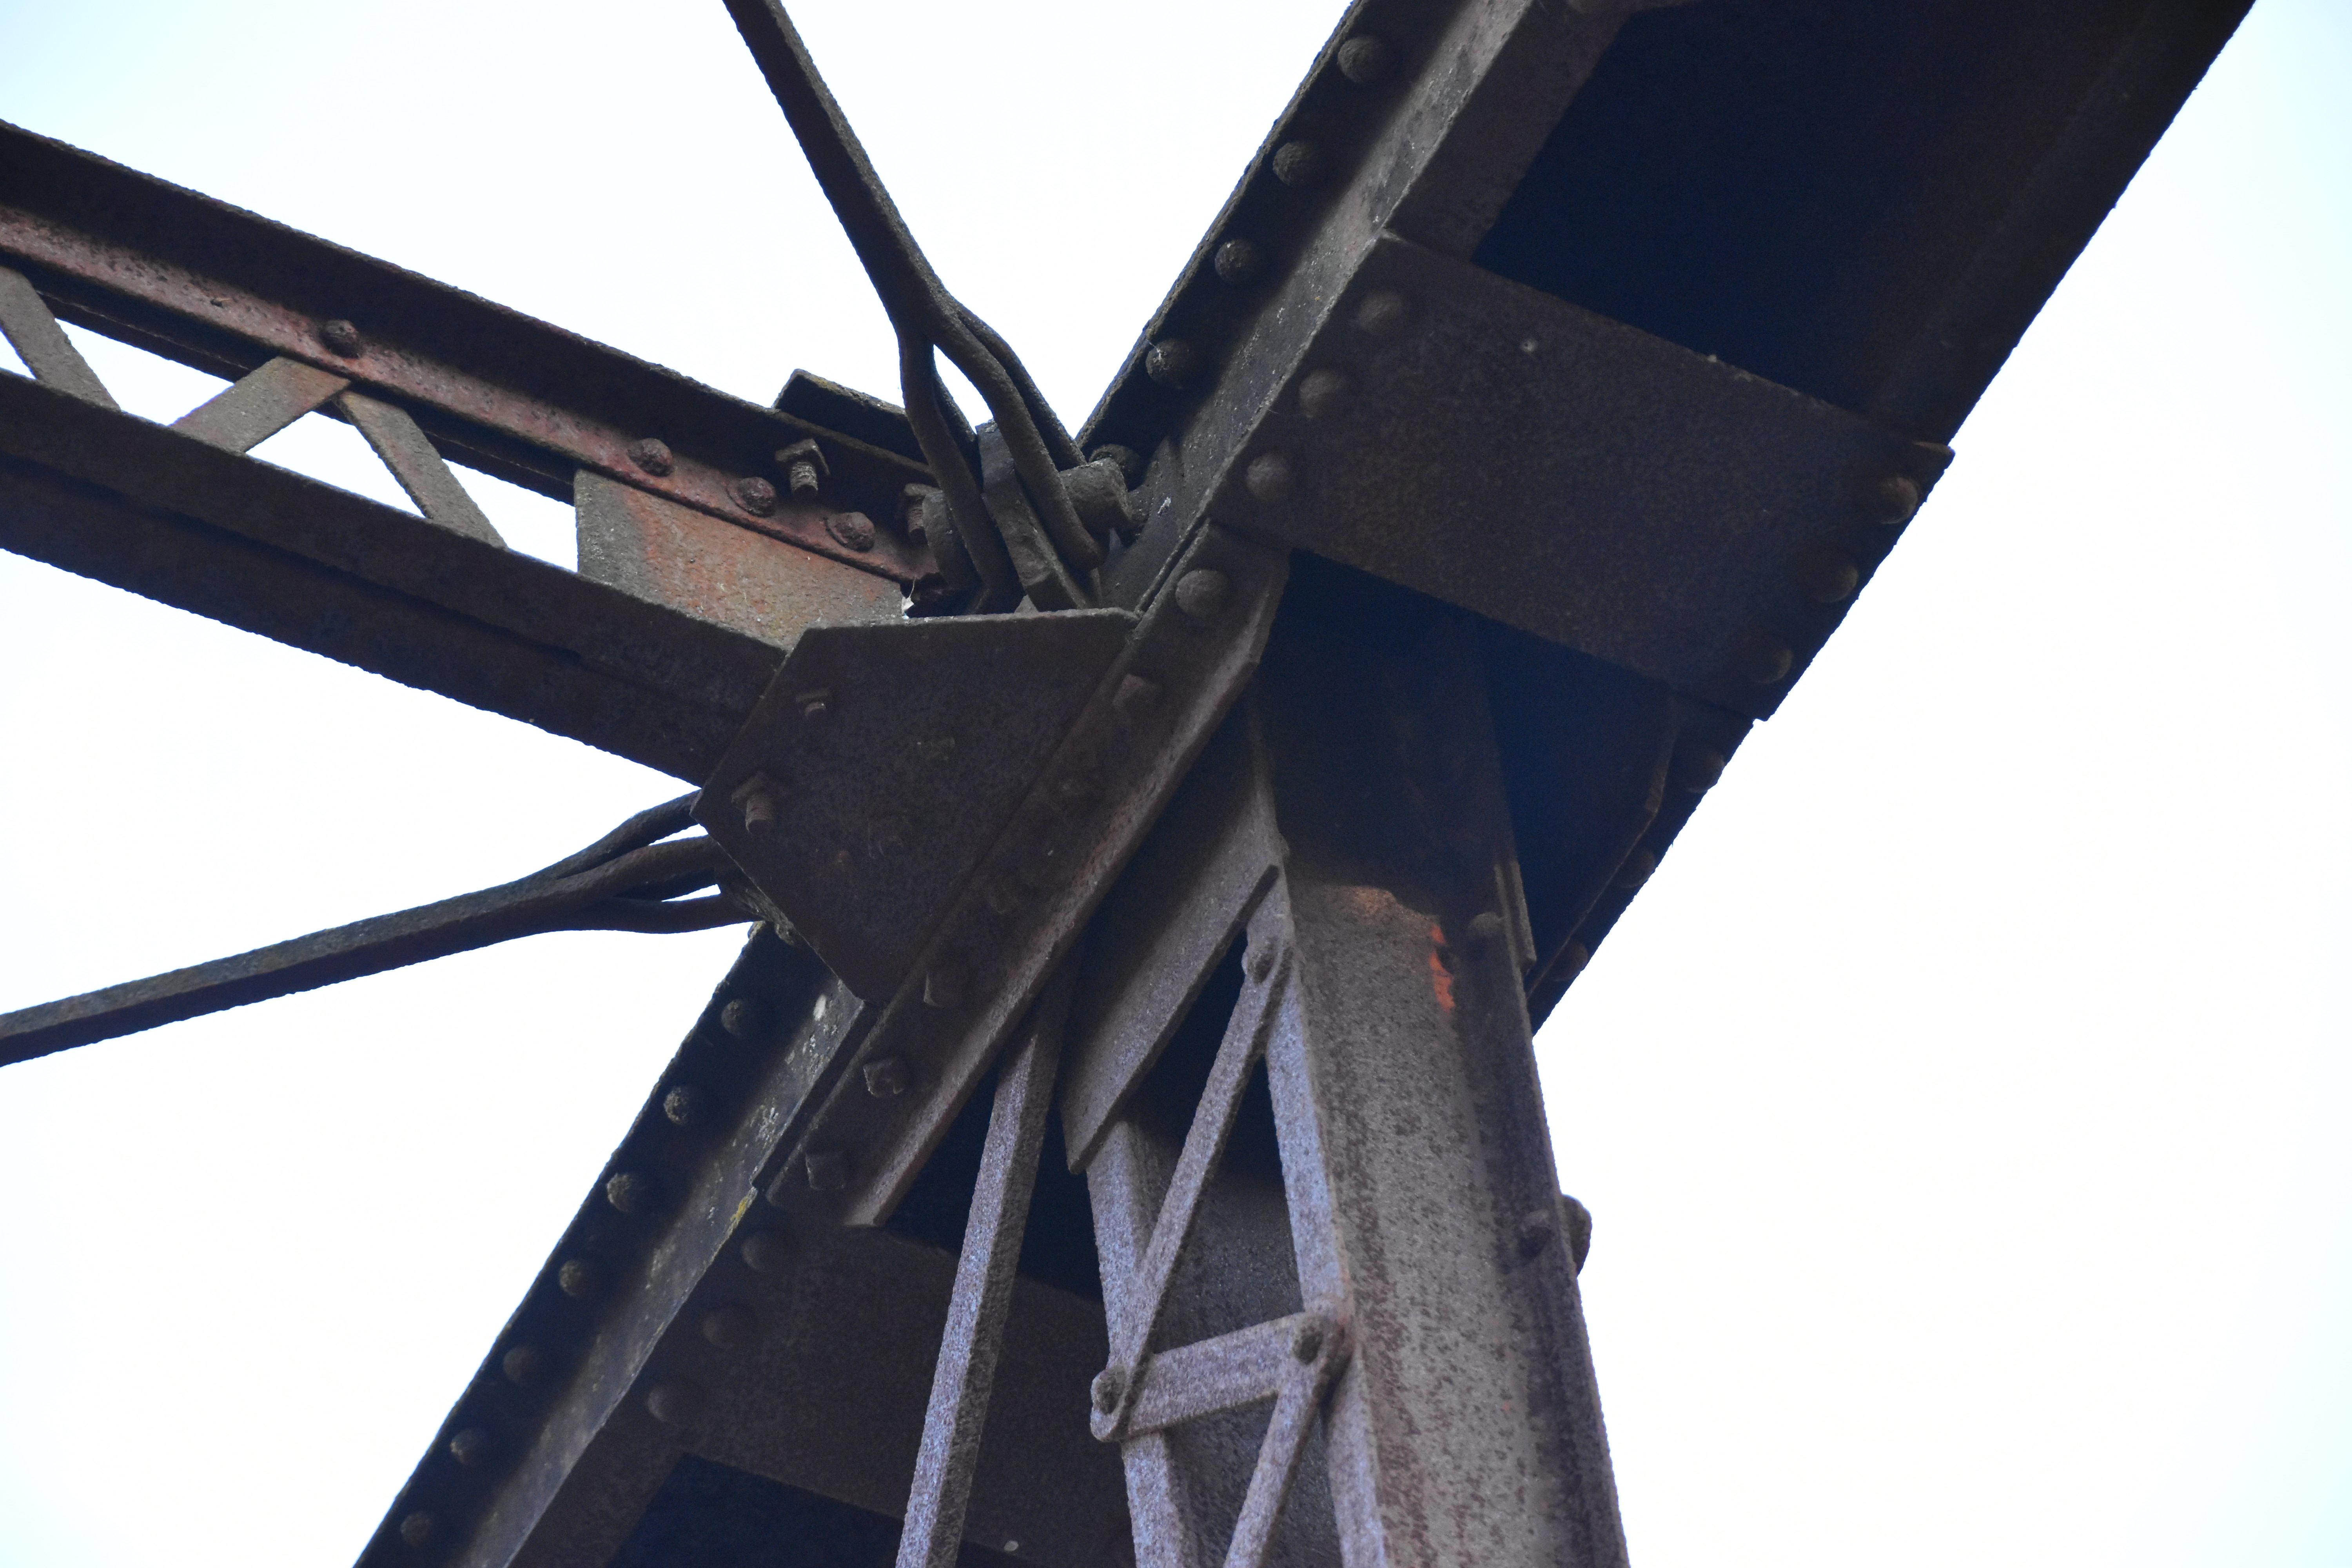
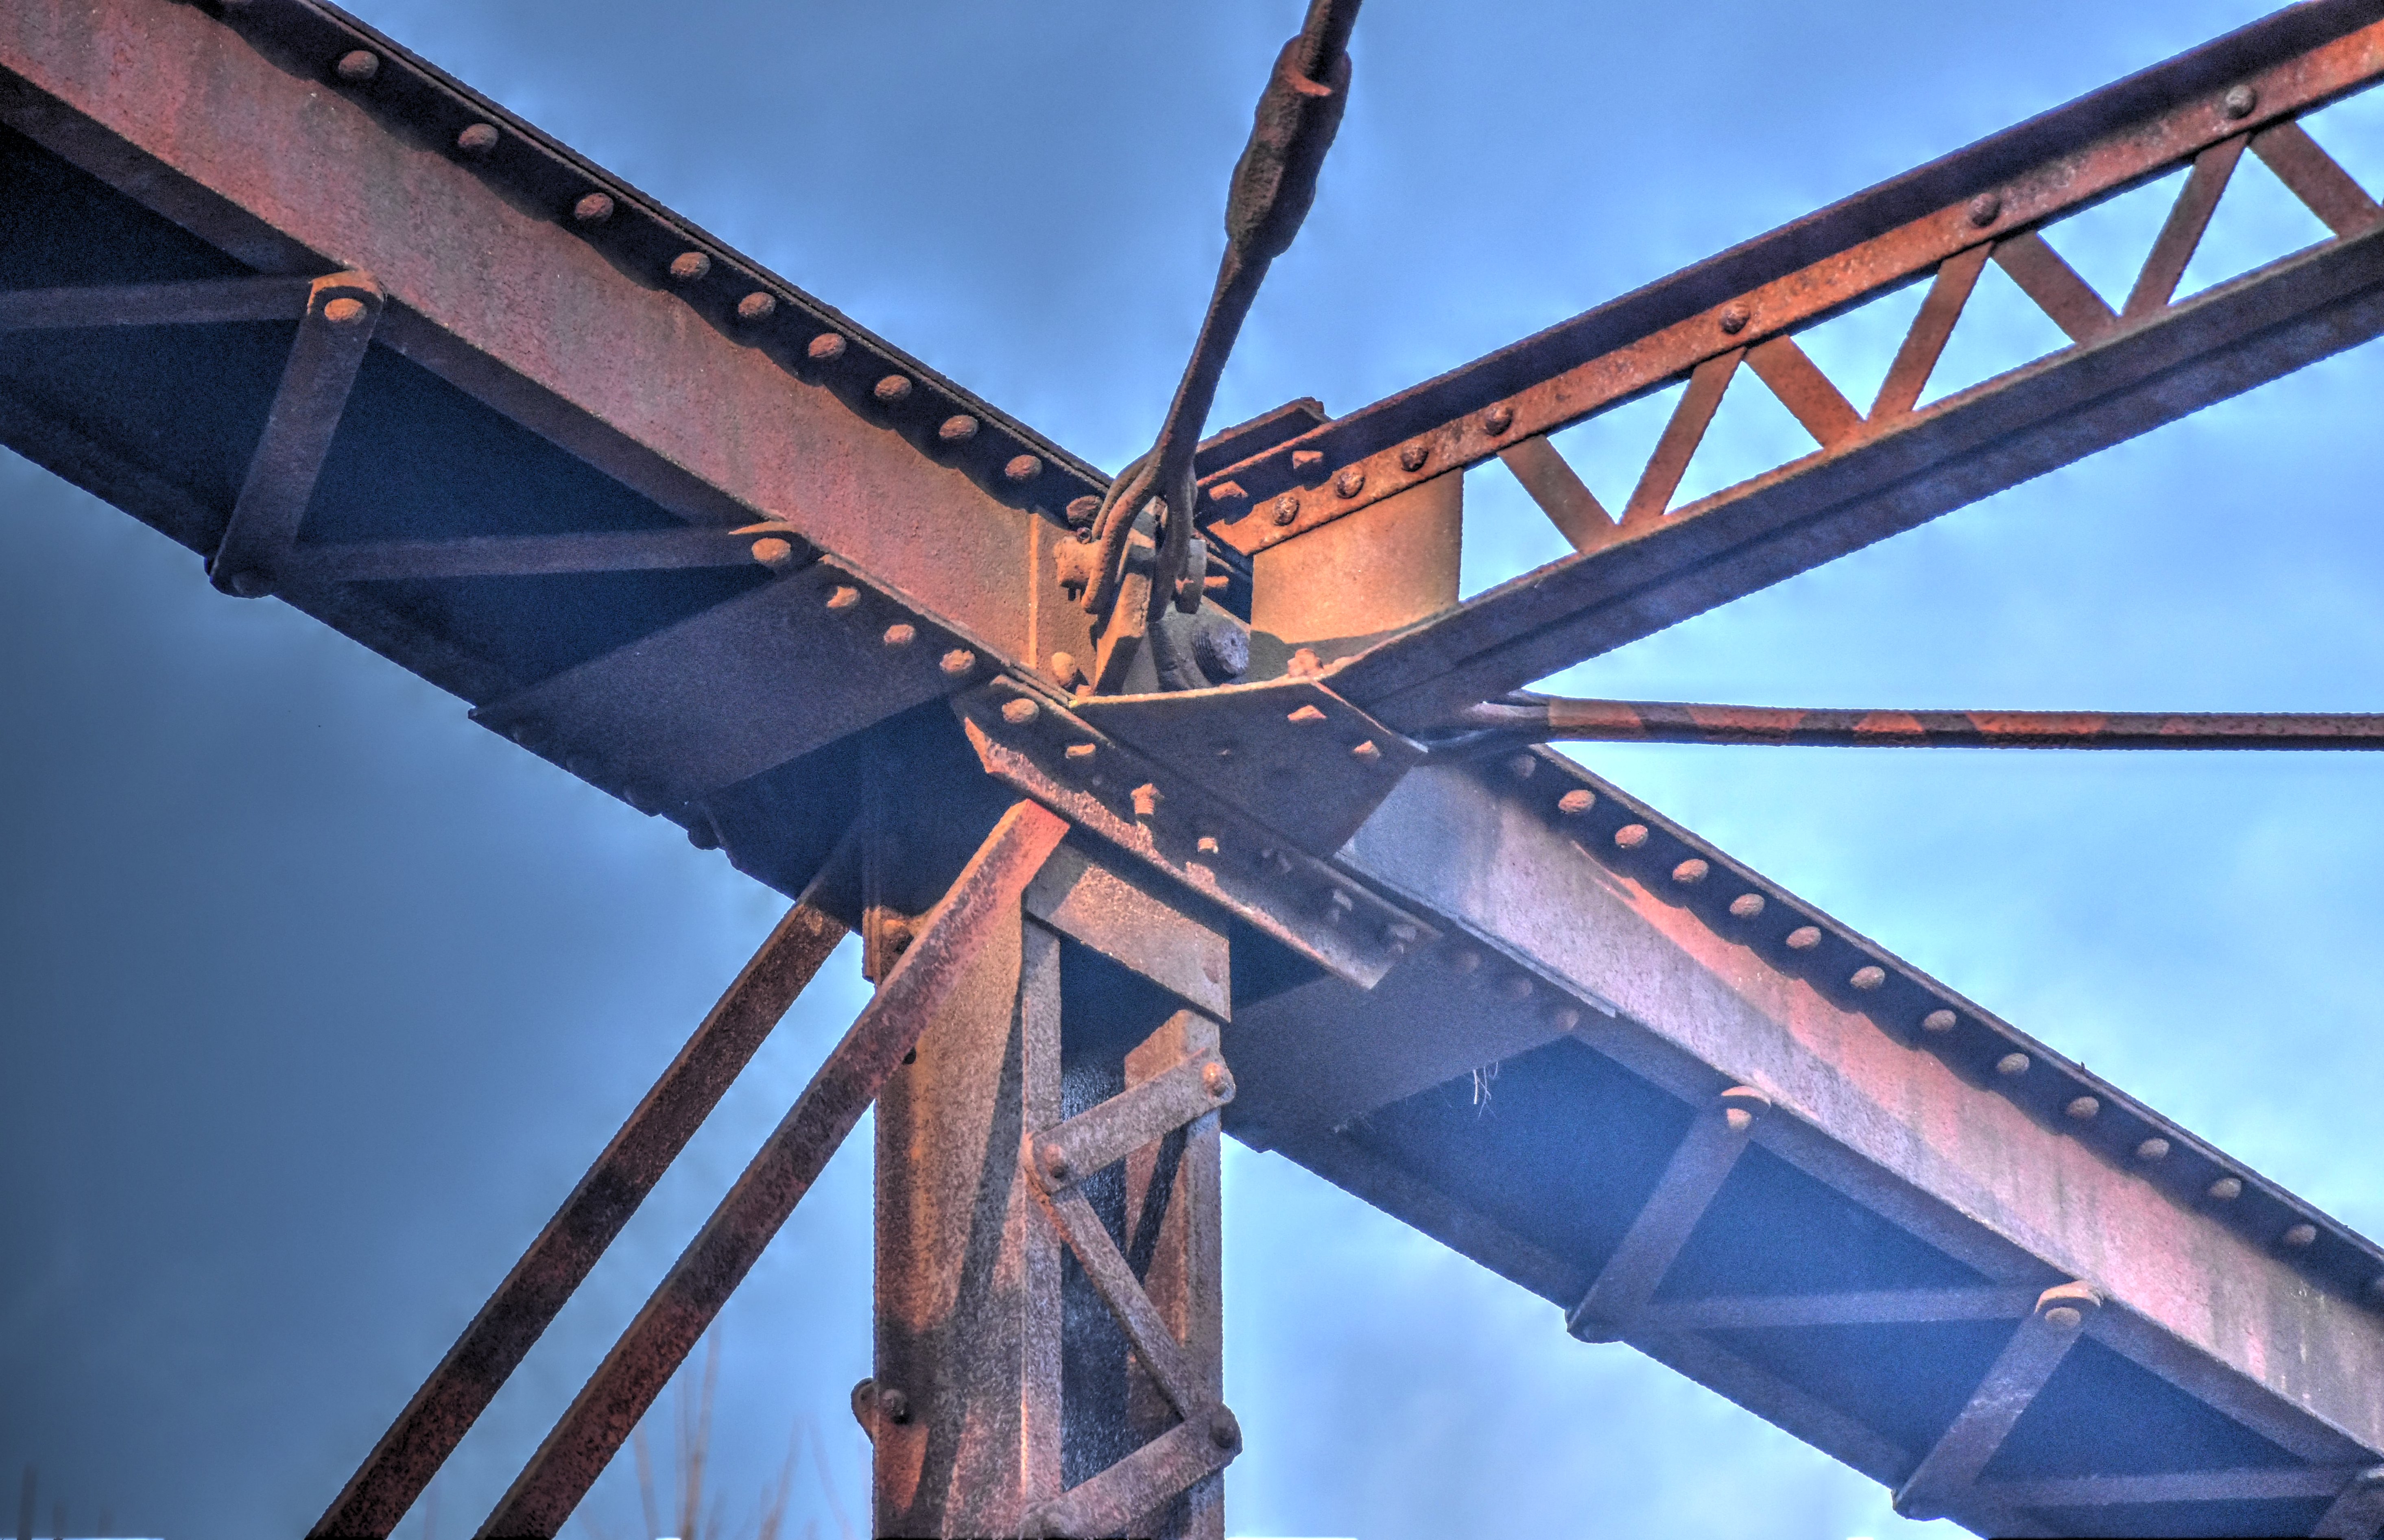
Upper lateral bracing.
![]()


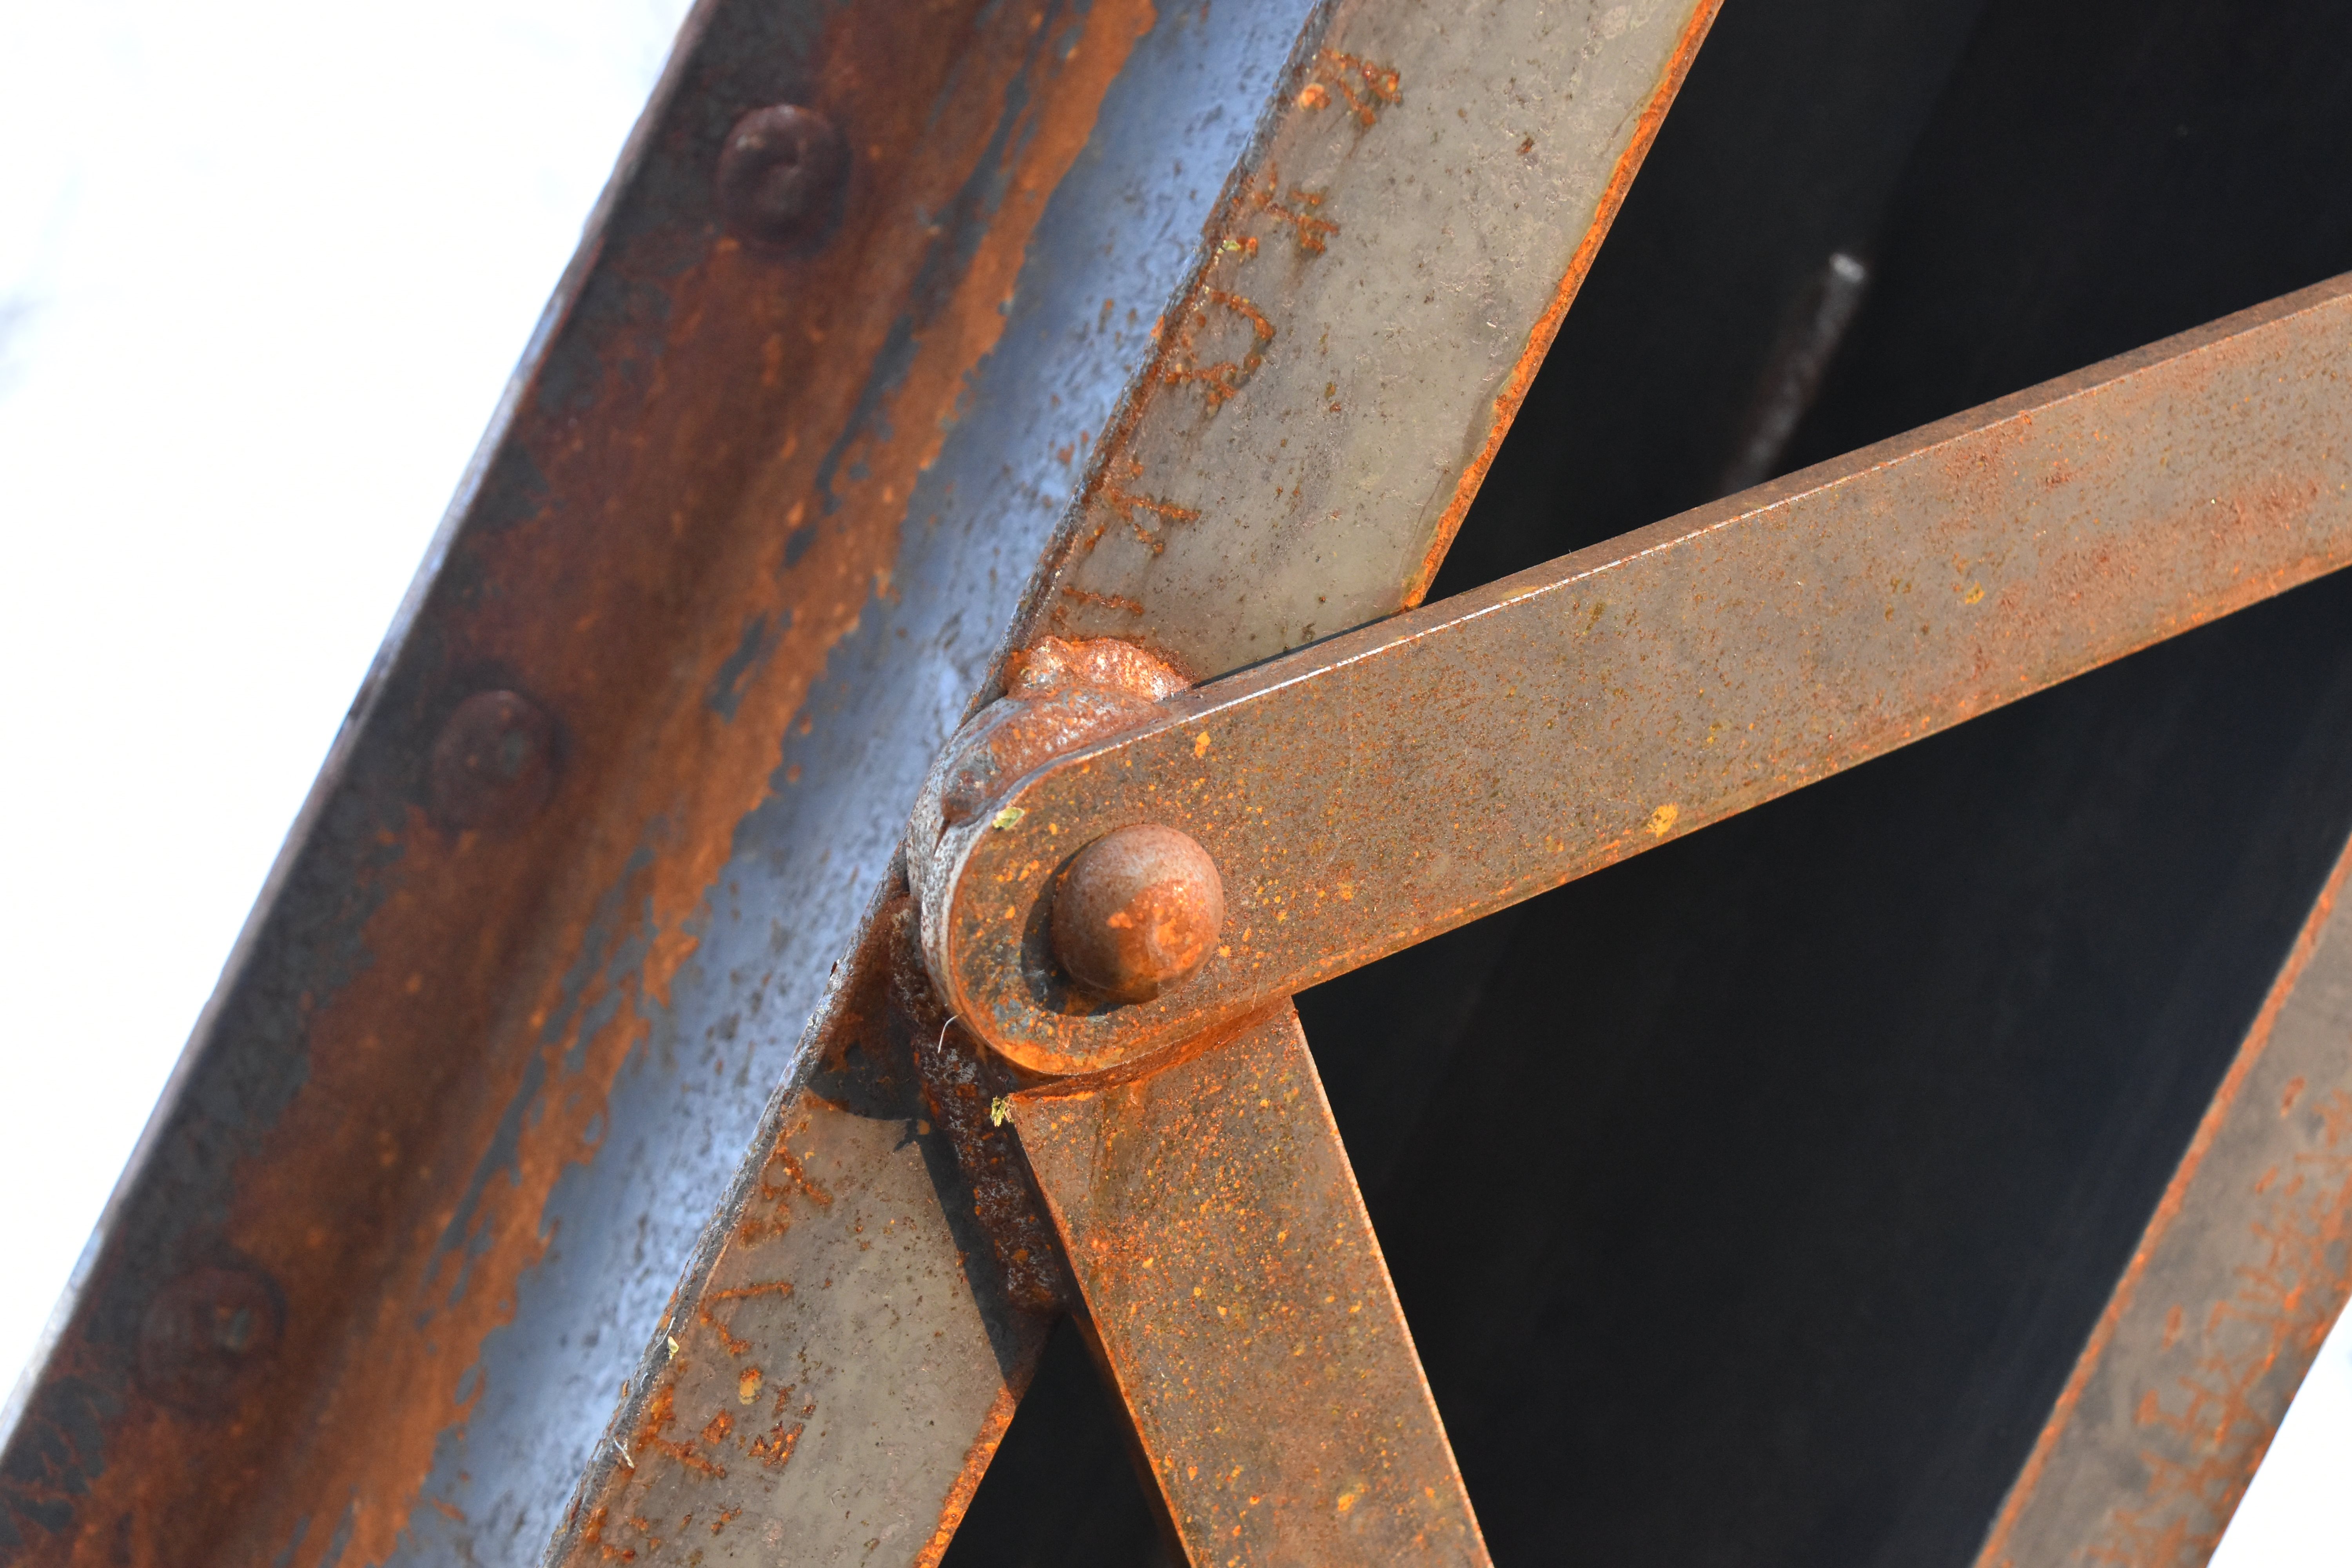
Upper lateral bracing connections.
![]()

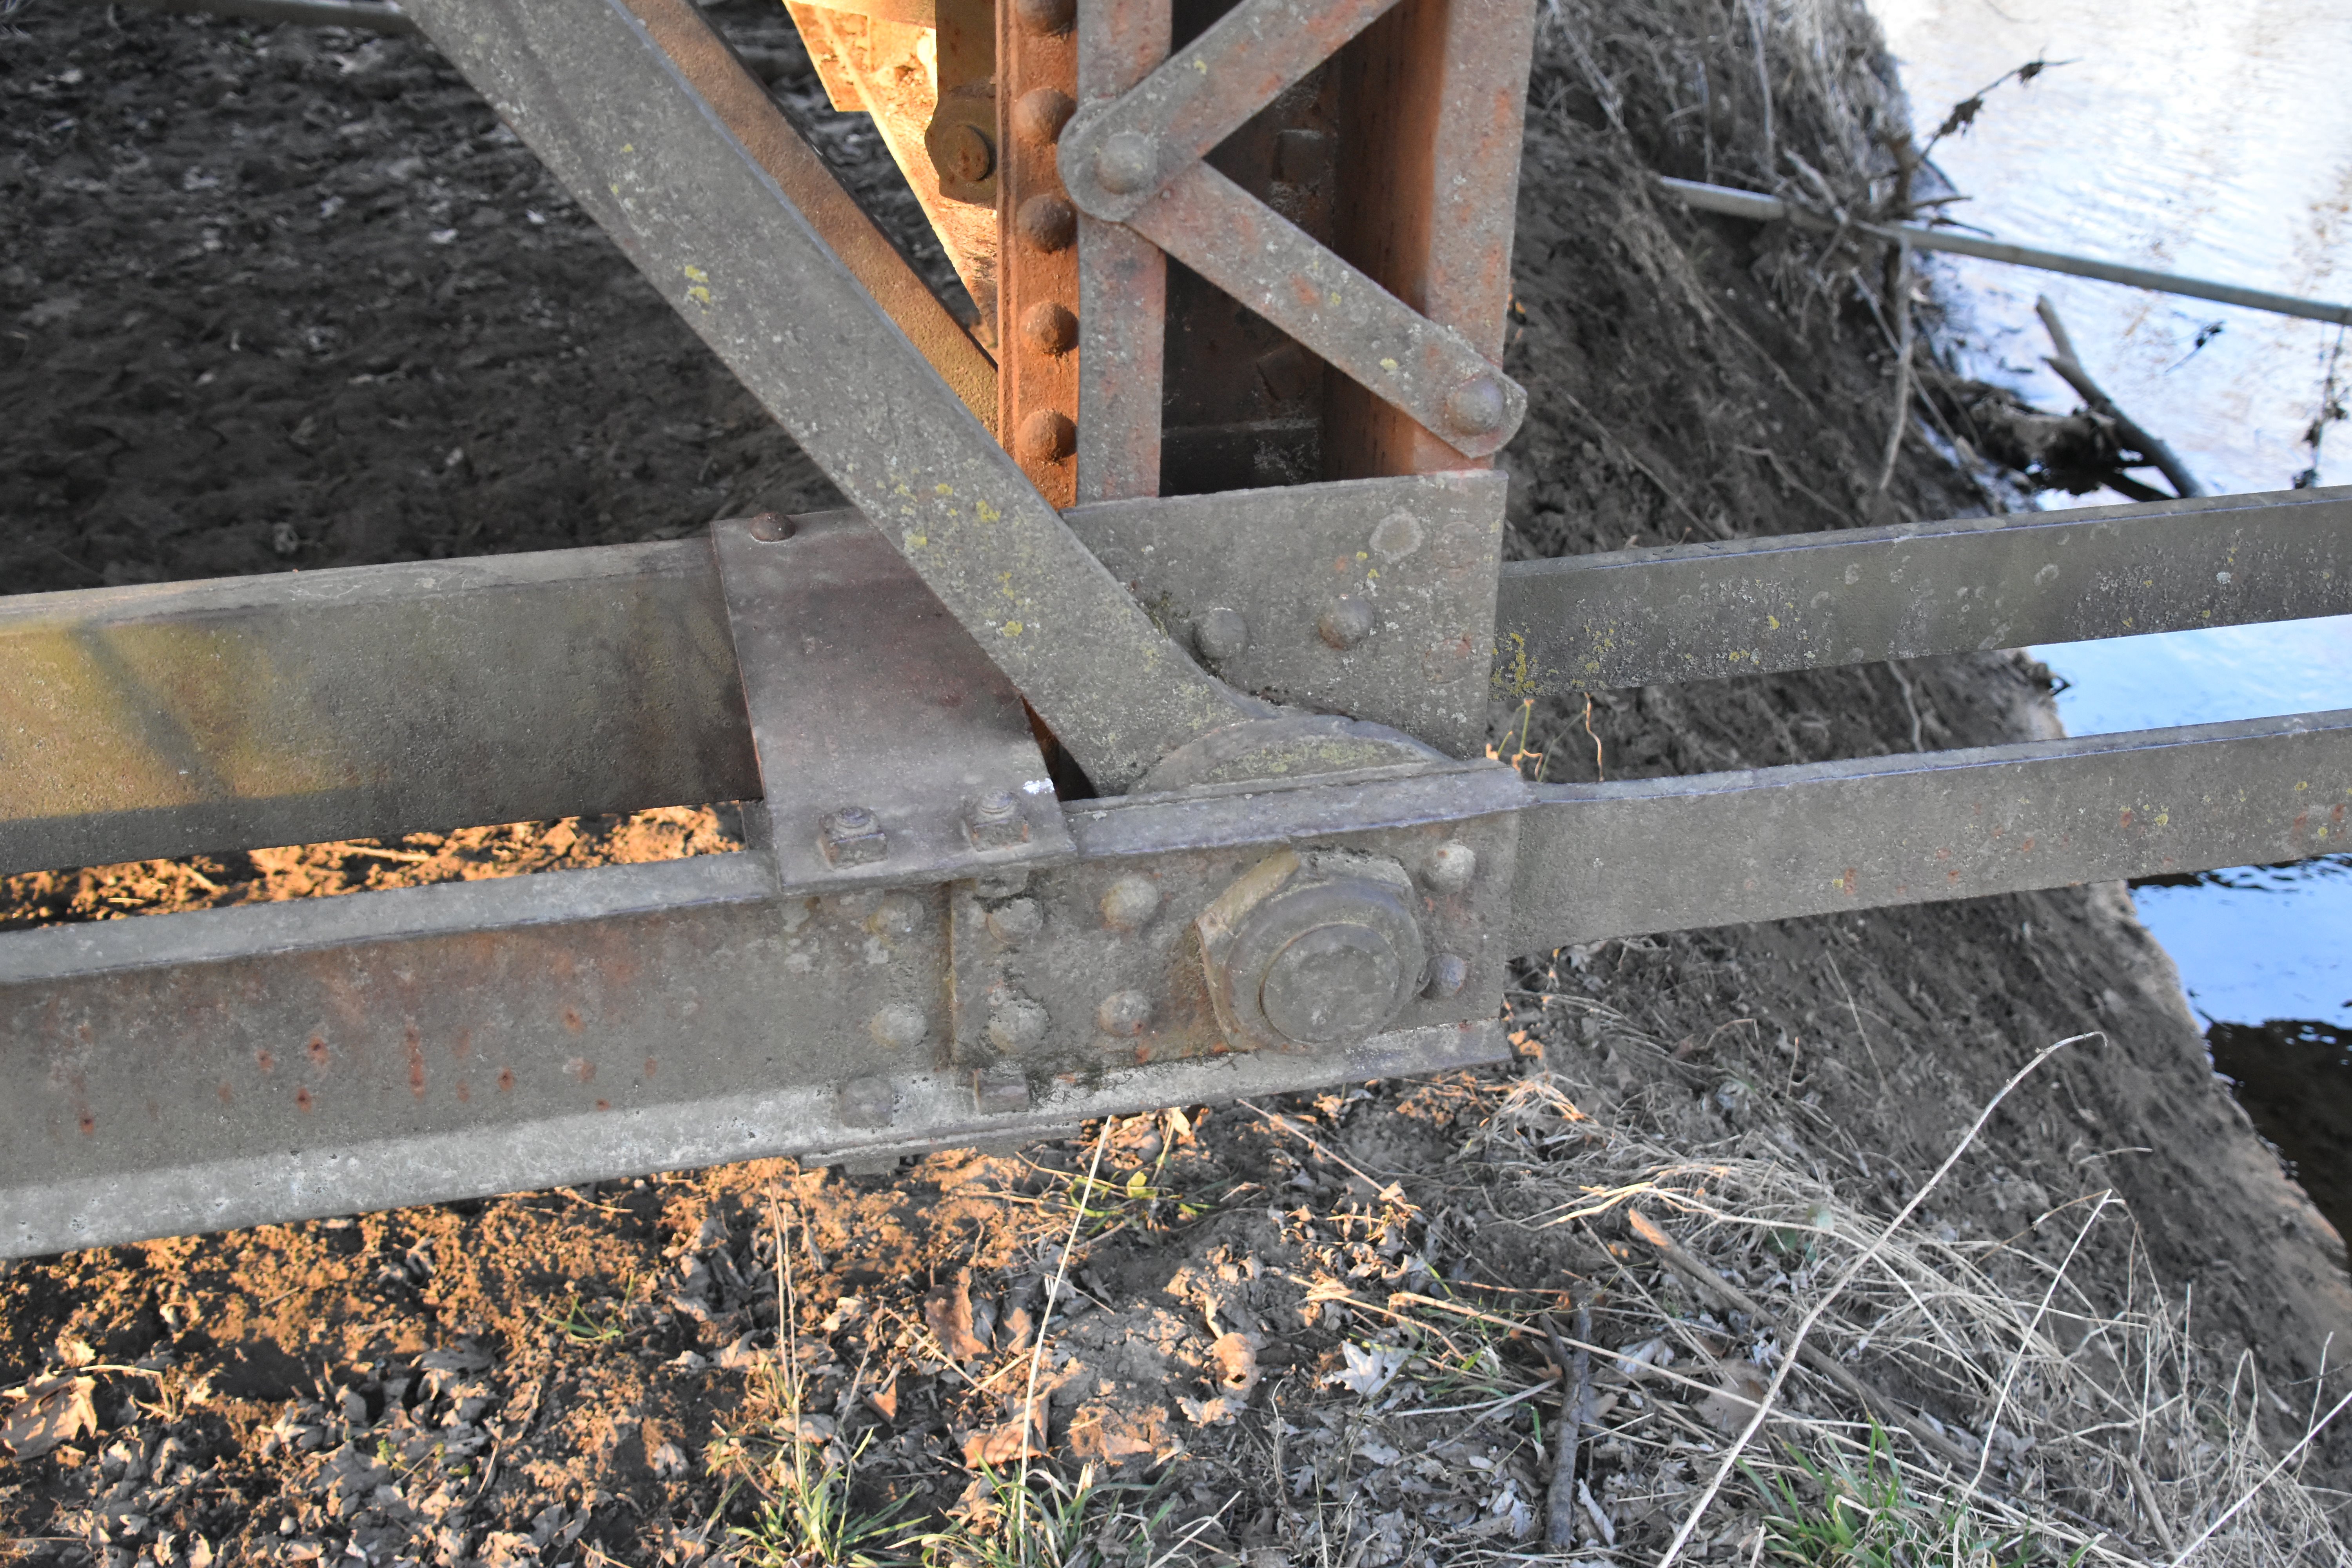
Lower lateral bracing connections.
![]()
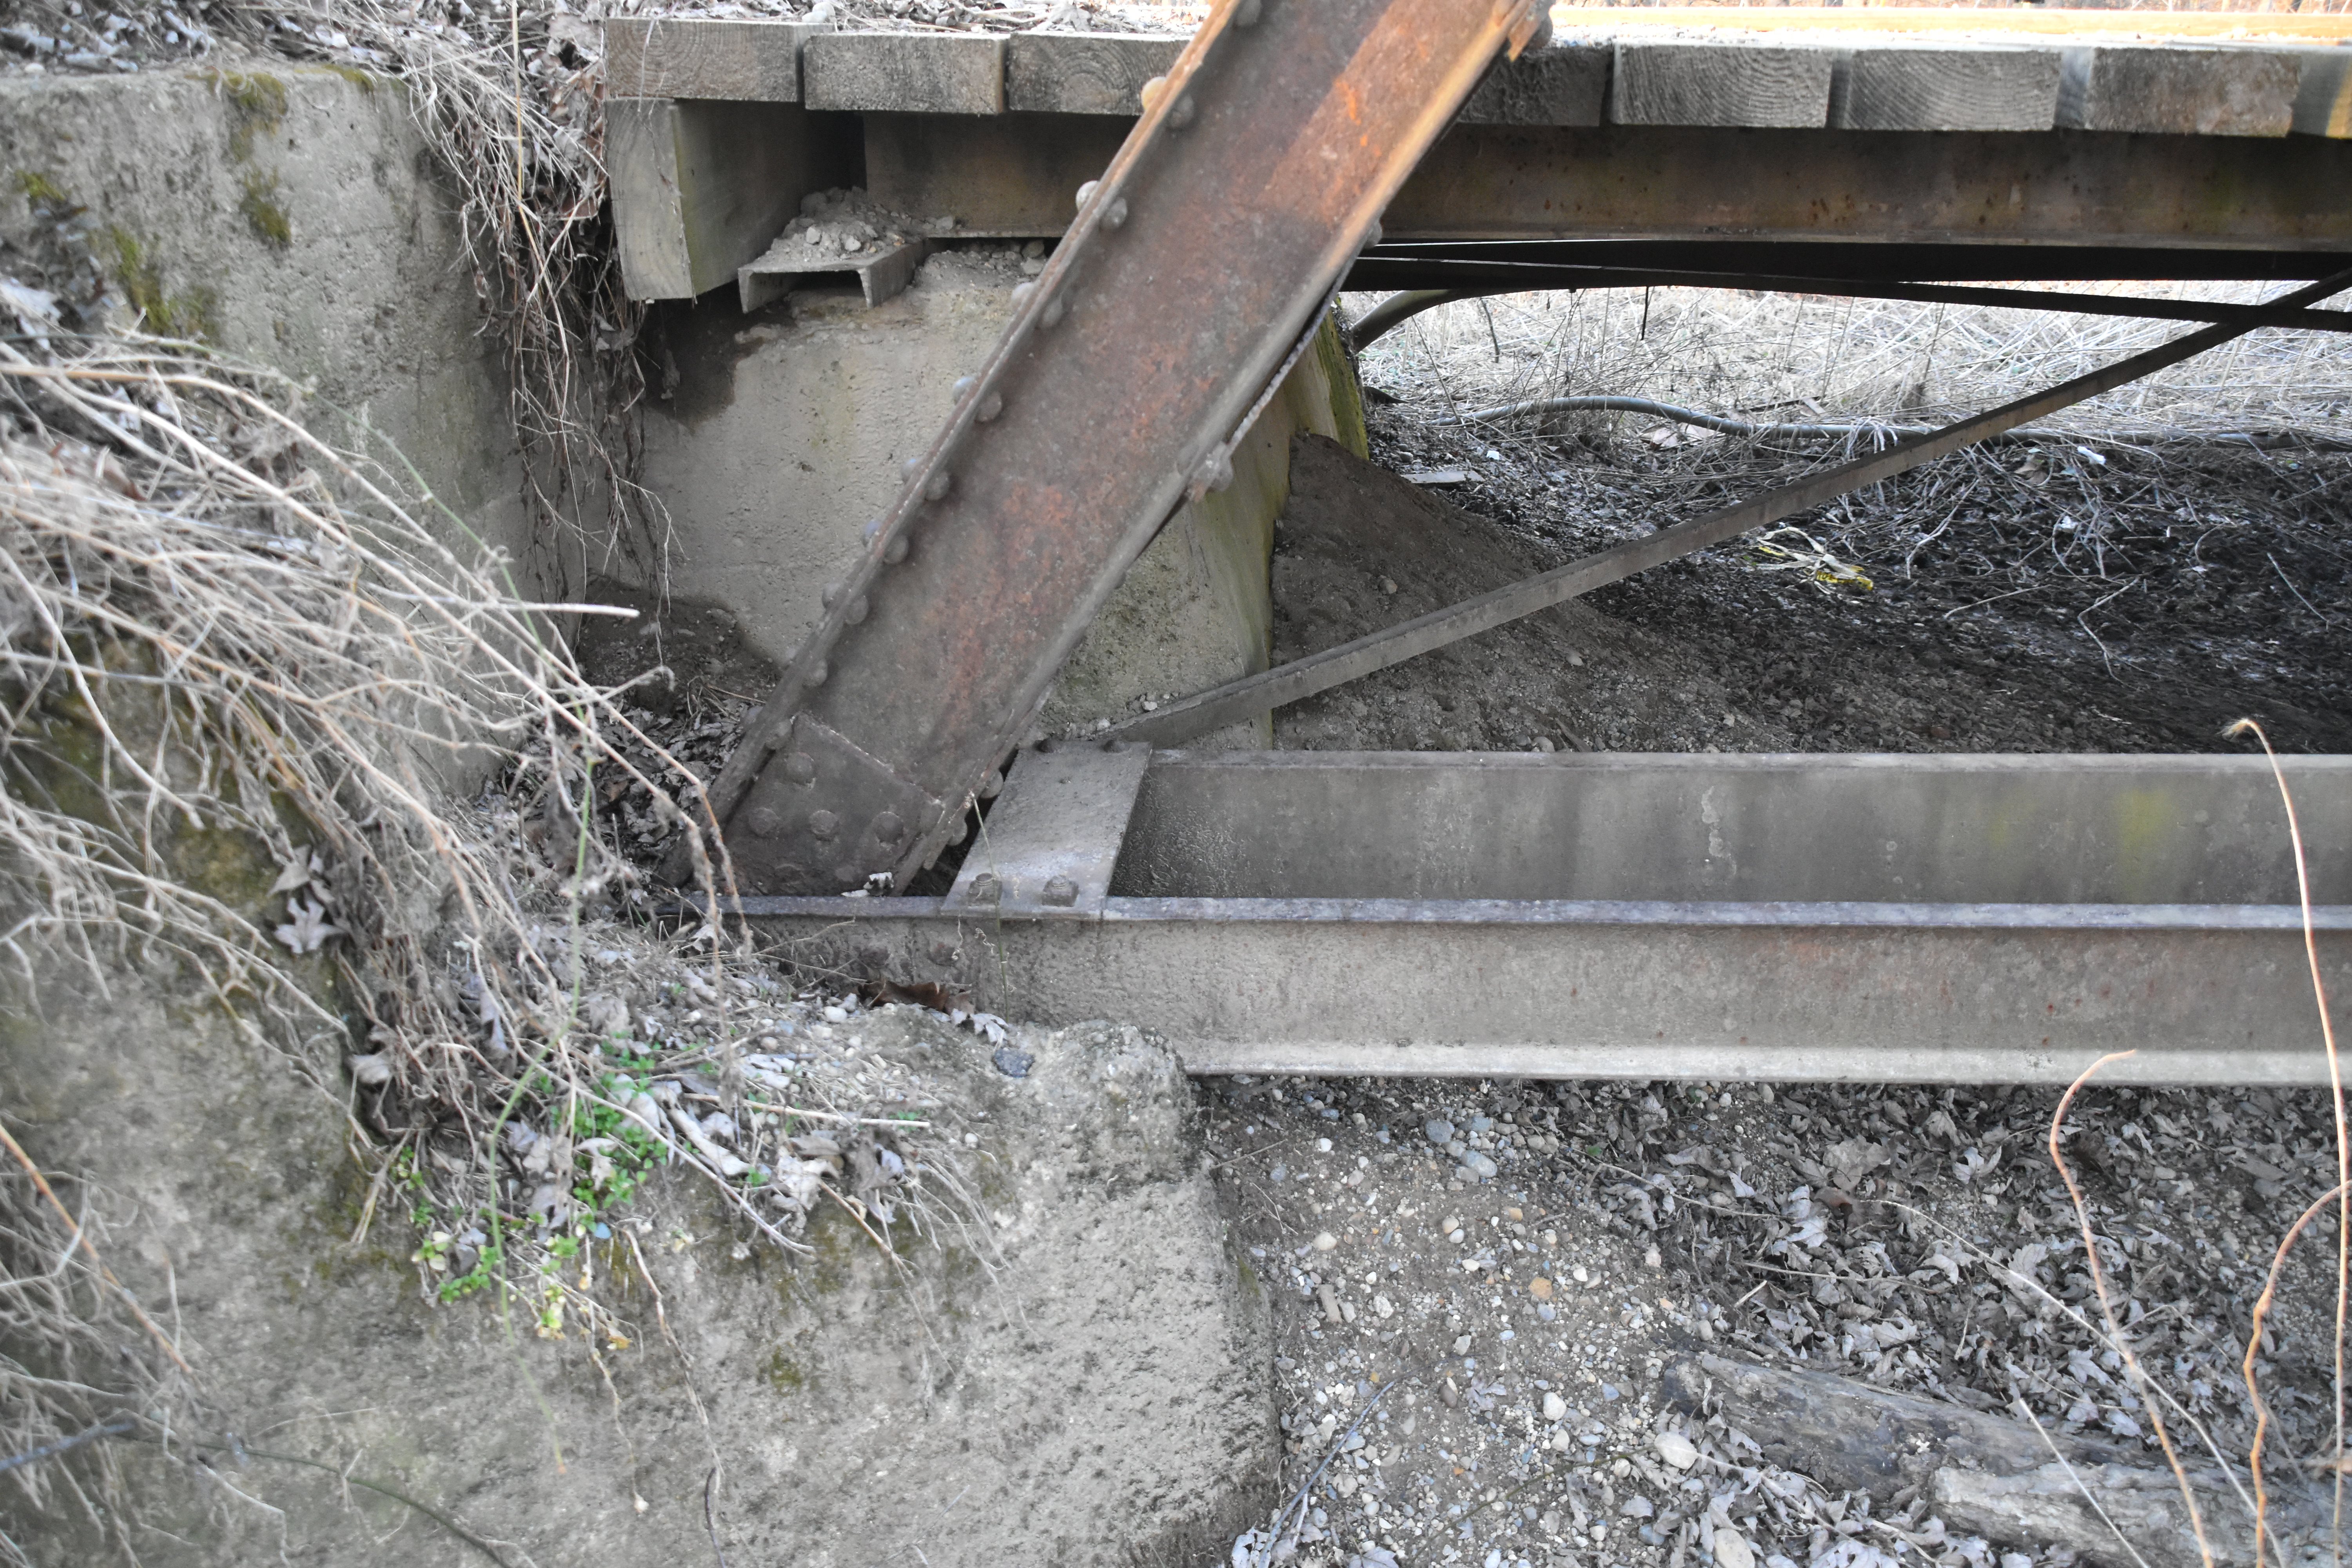


Bearings.
![]()

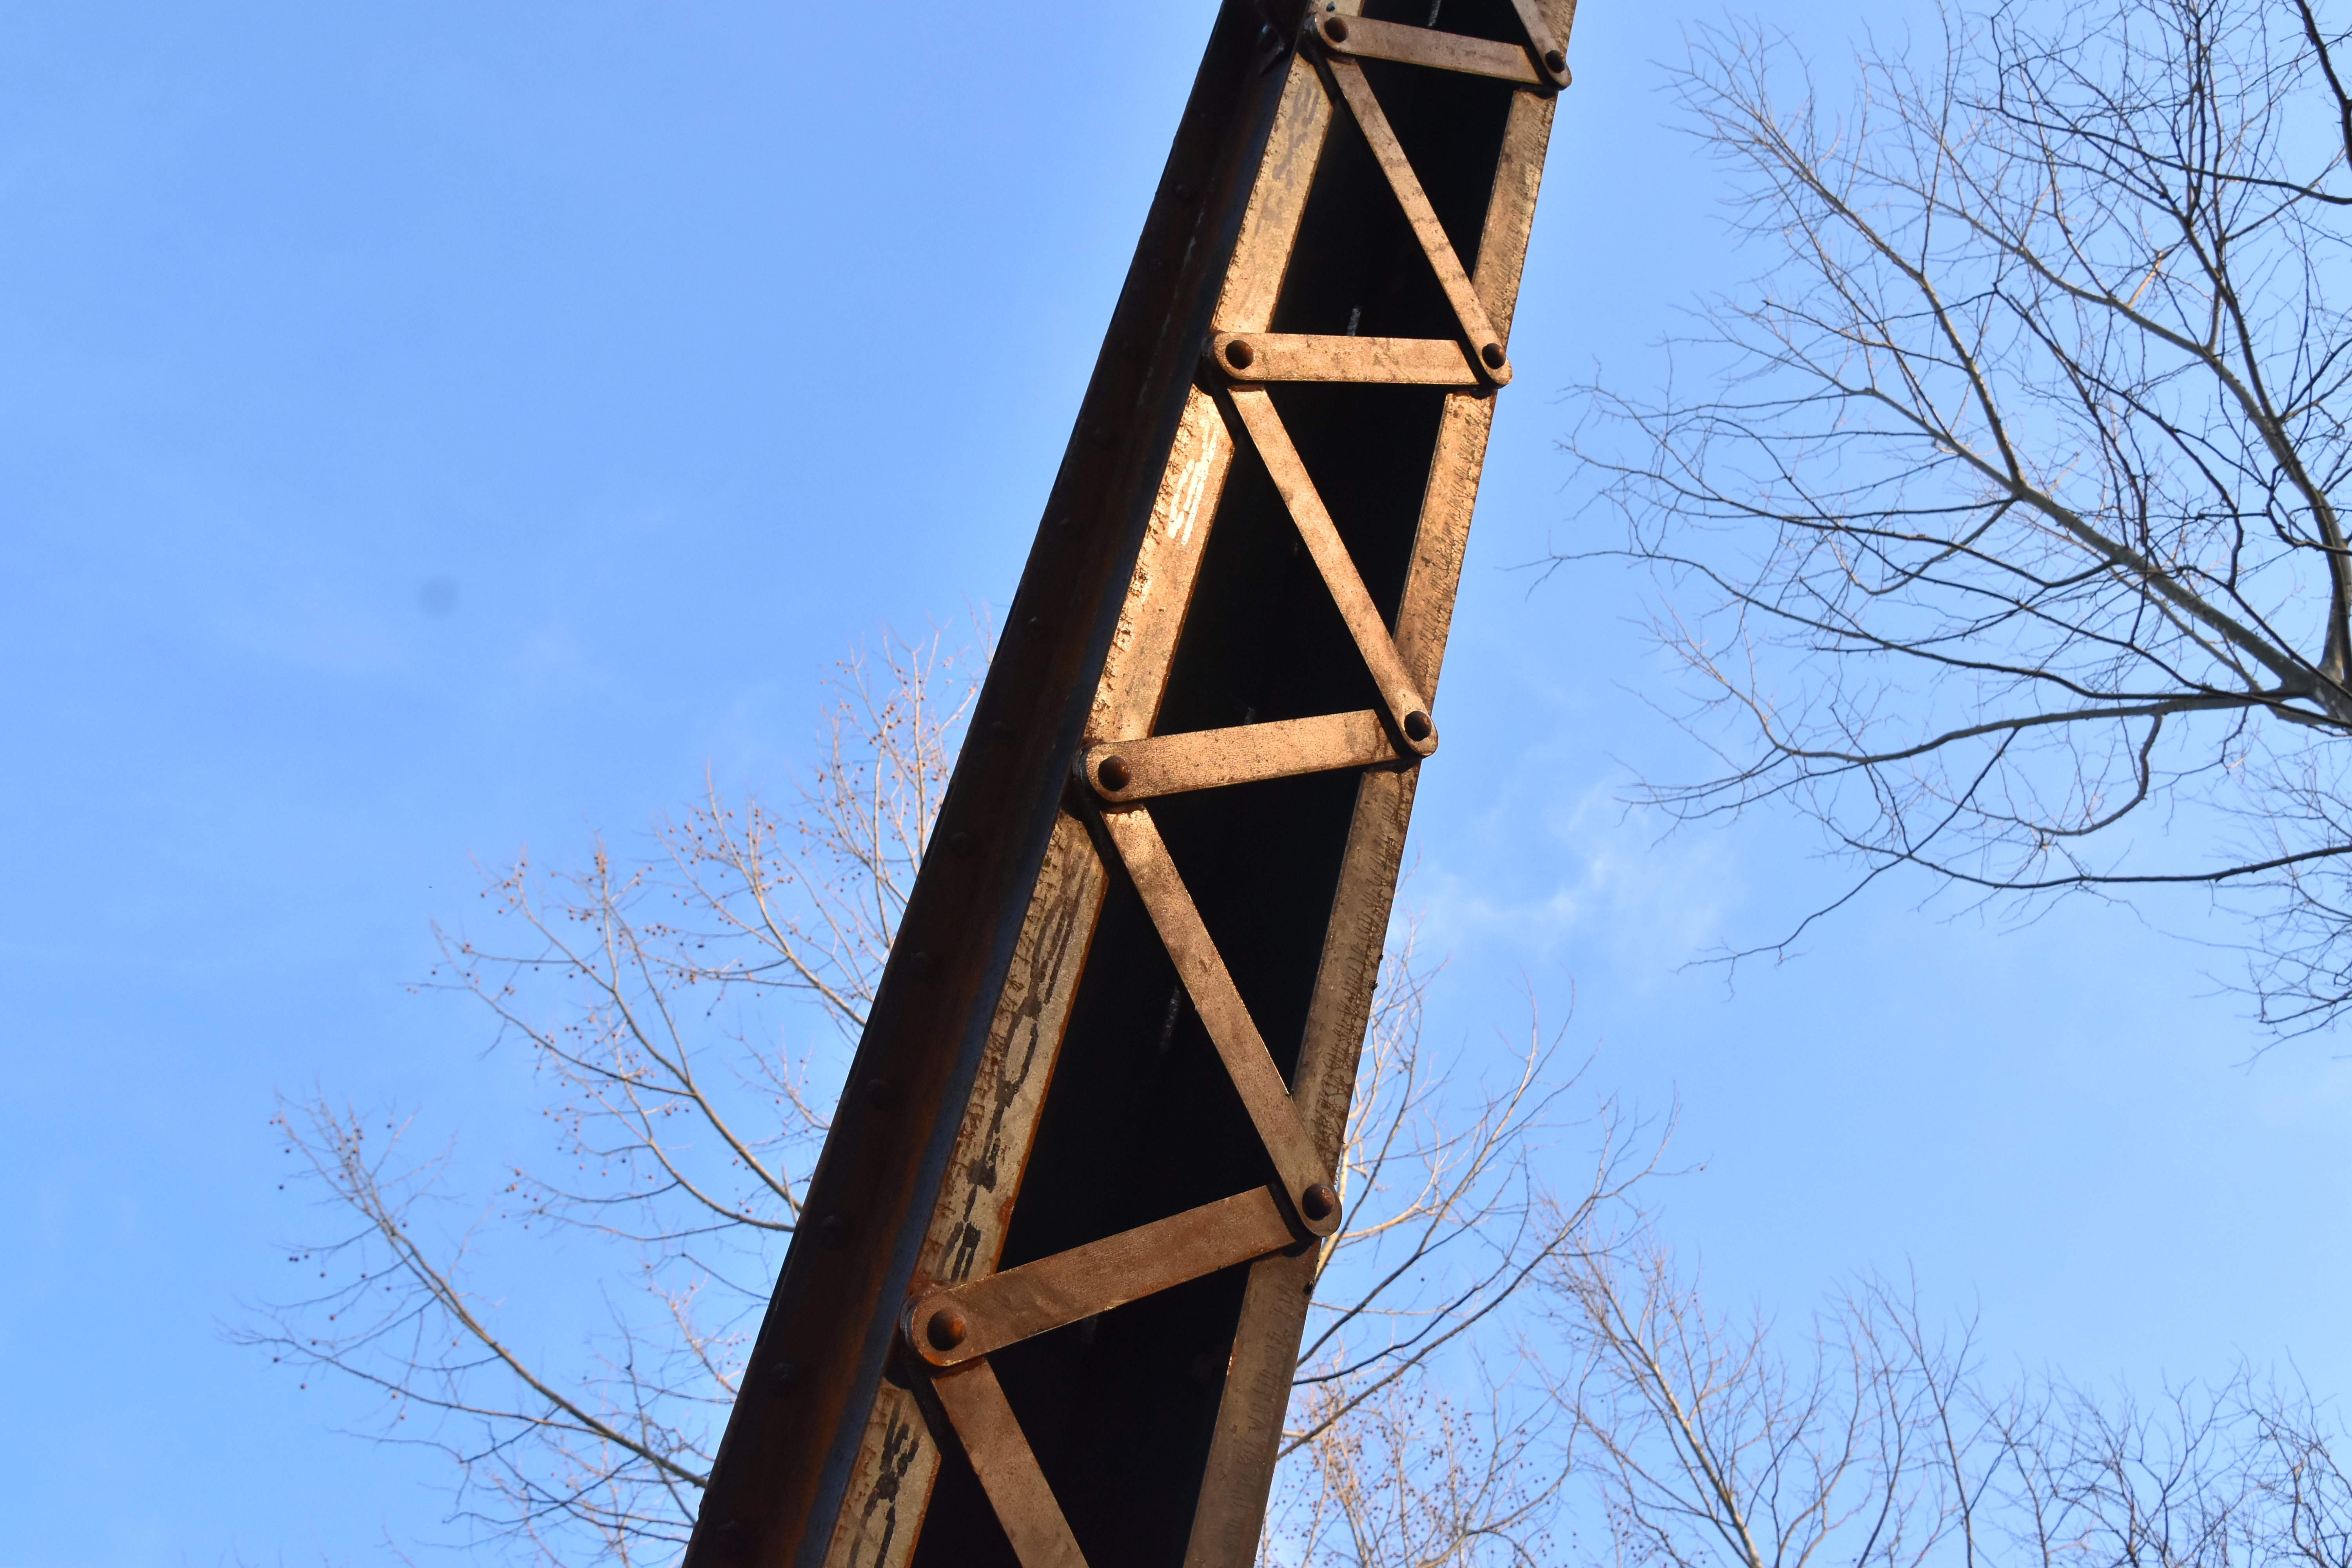
End posts.
![]()

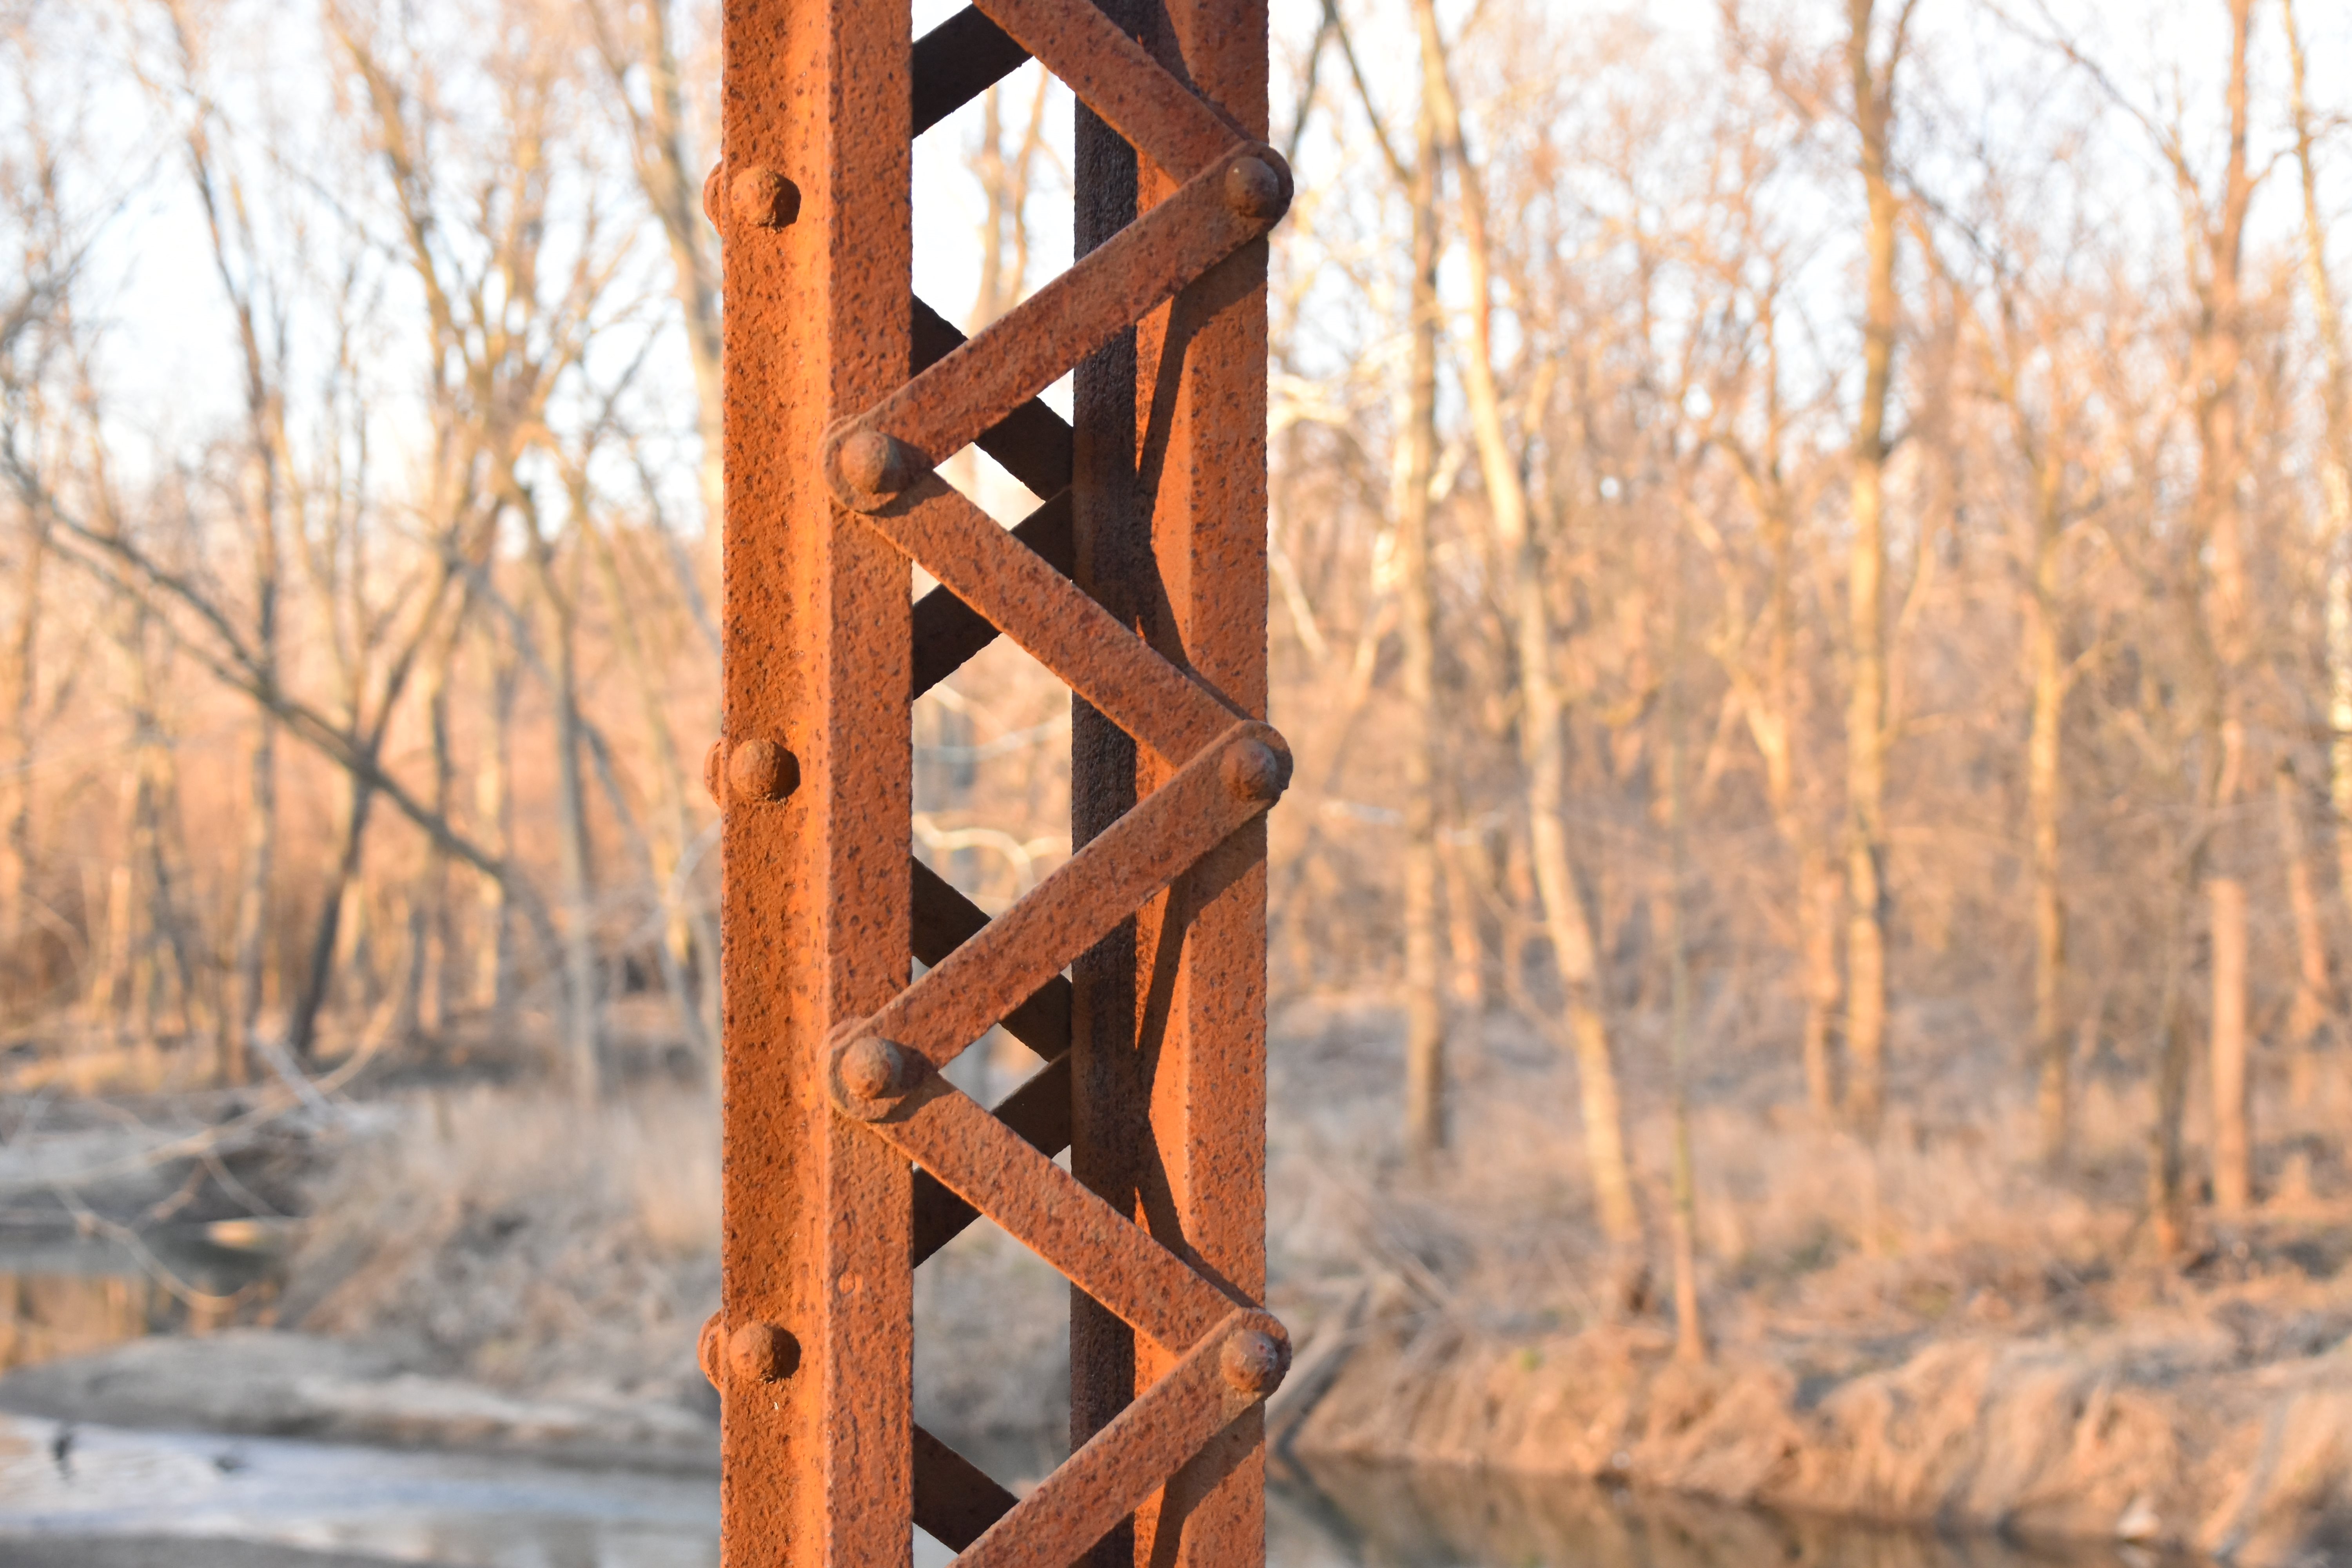

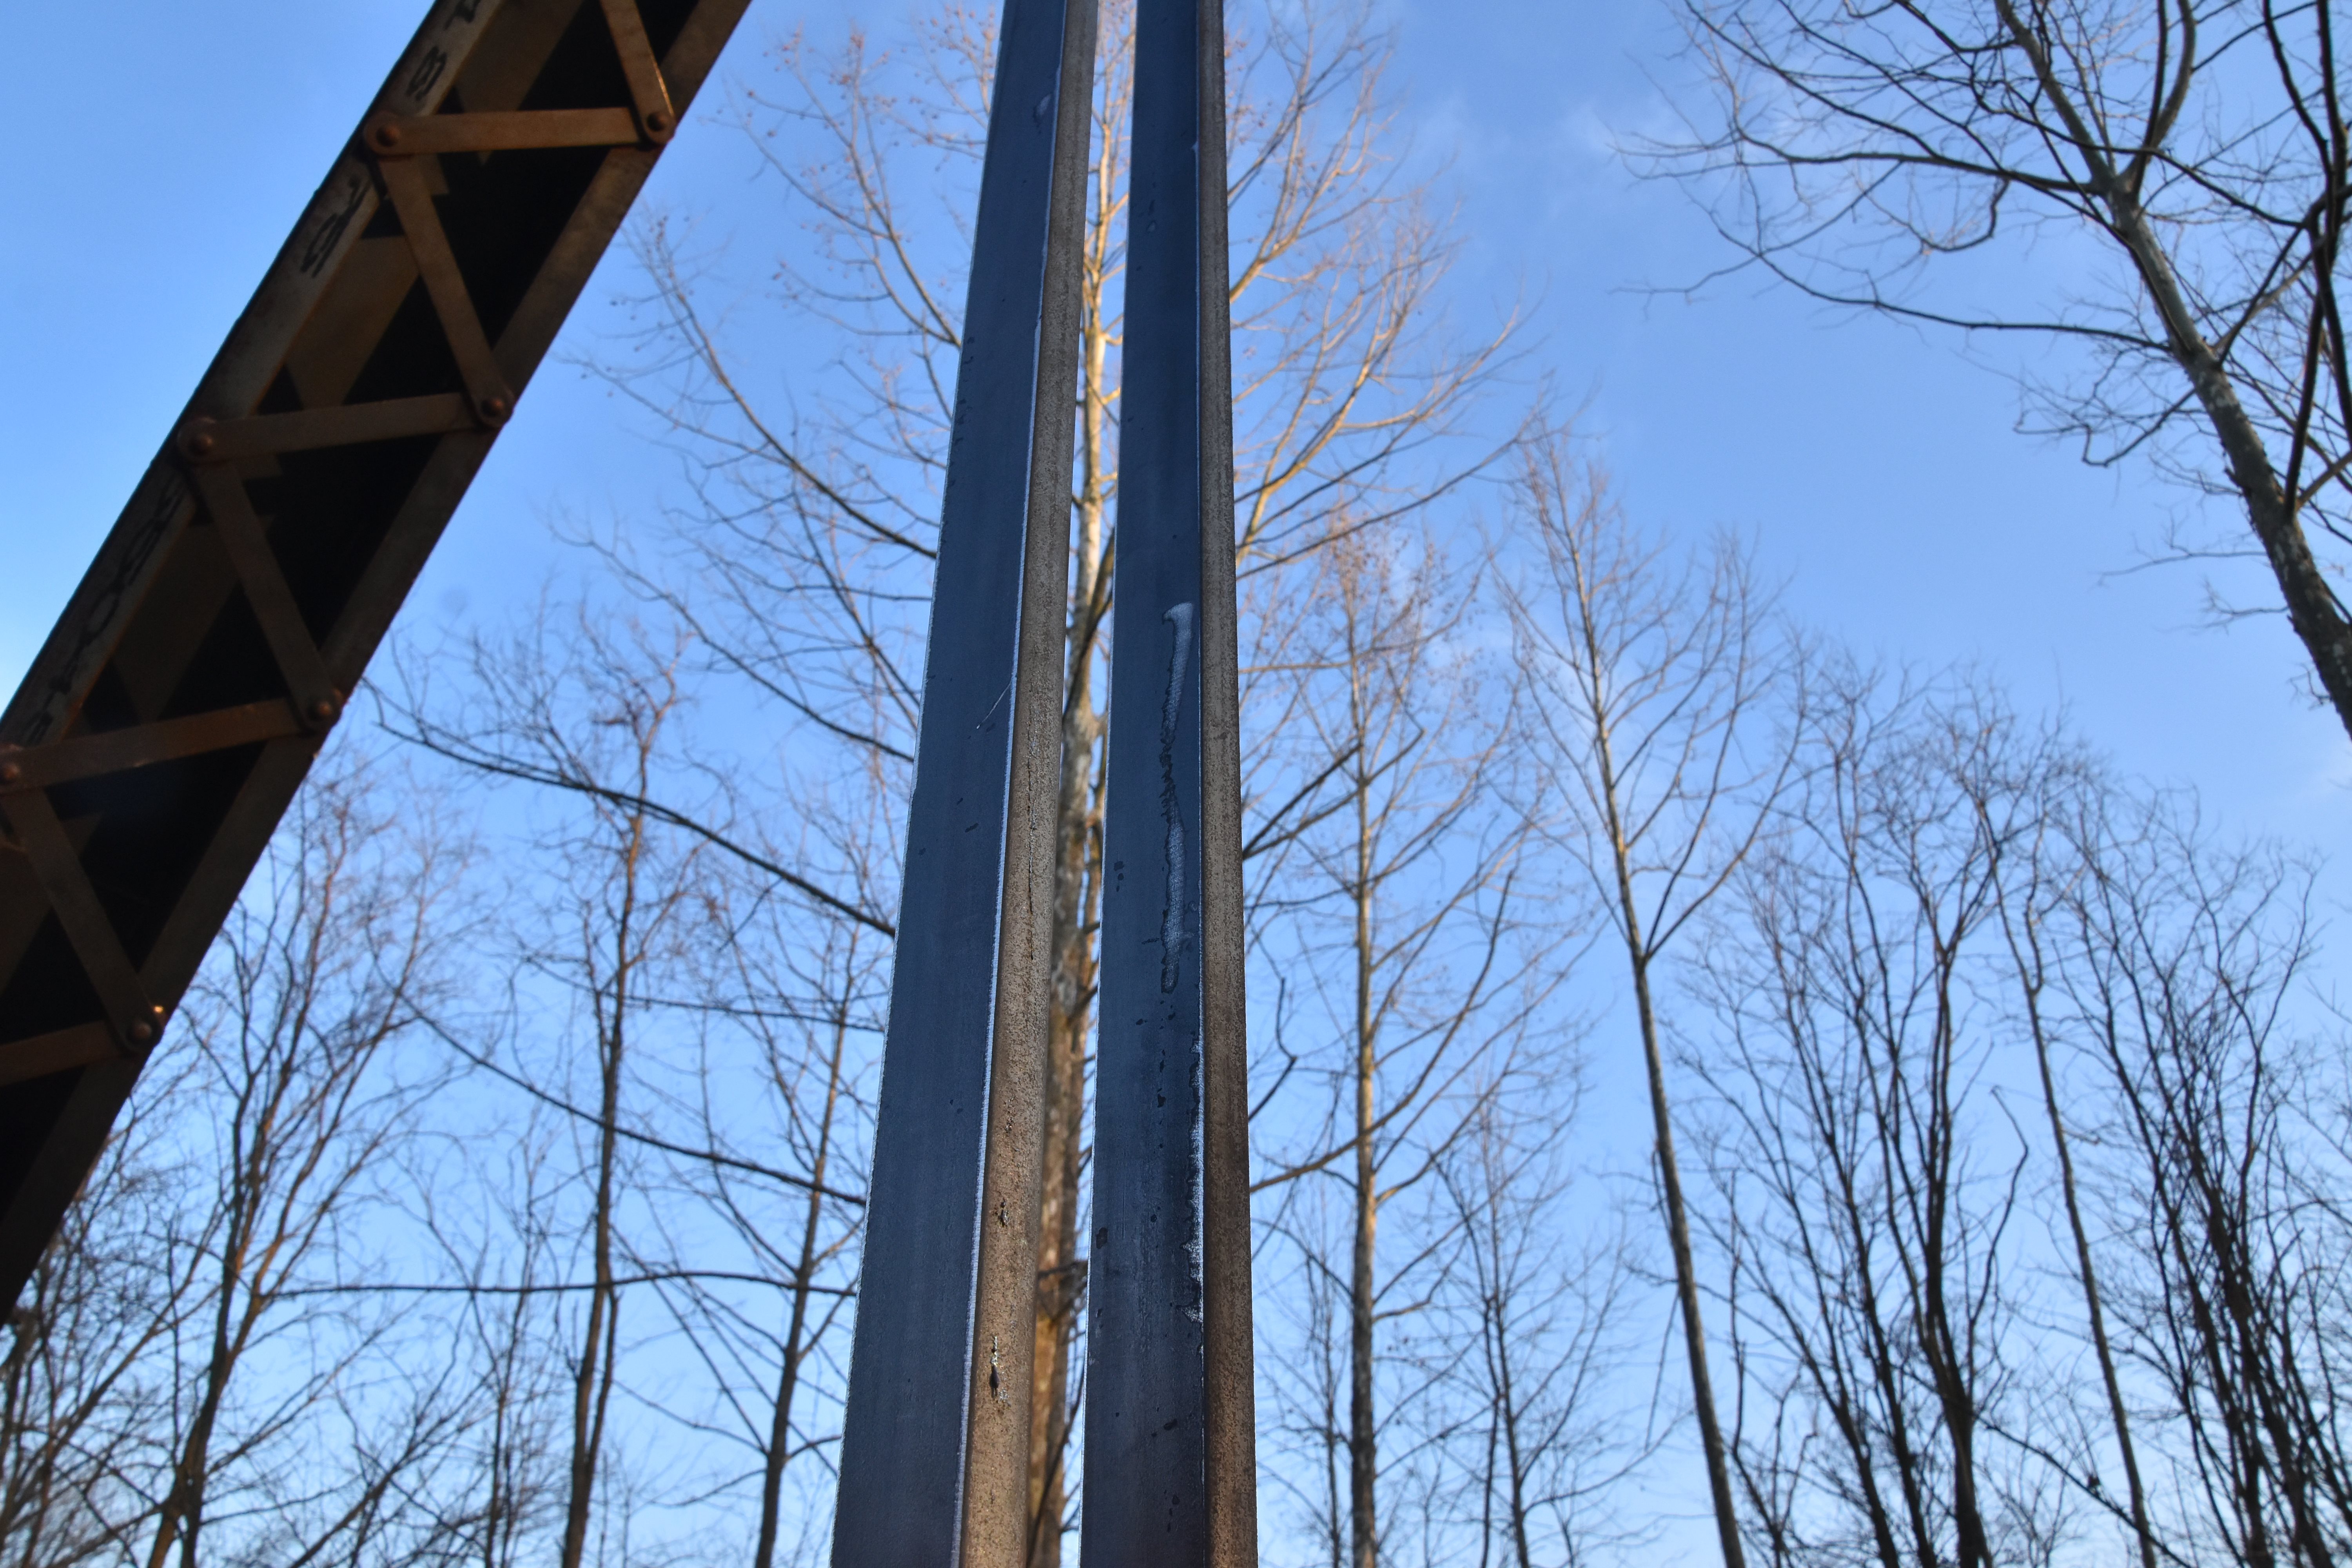
Vertical members.
![]()

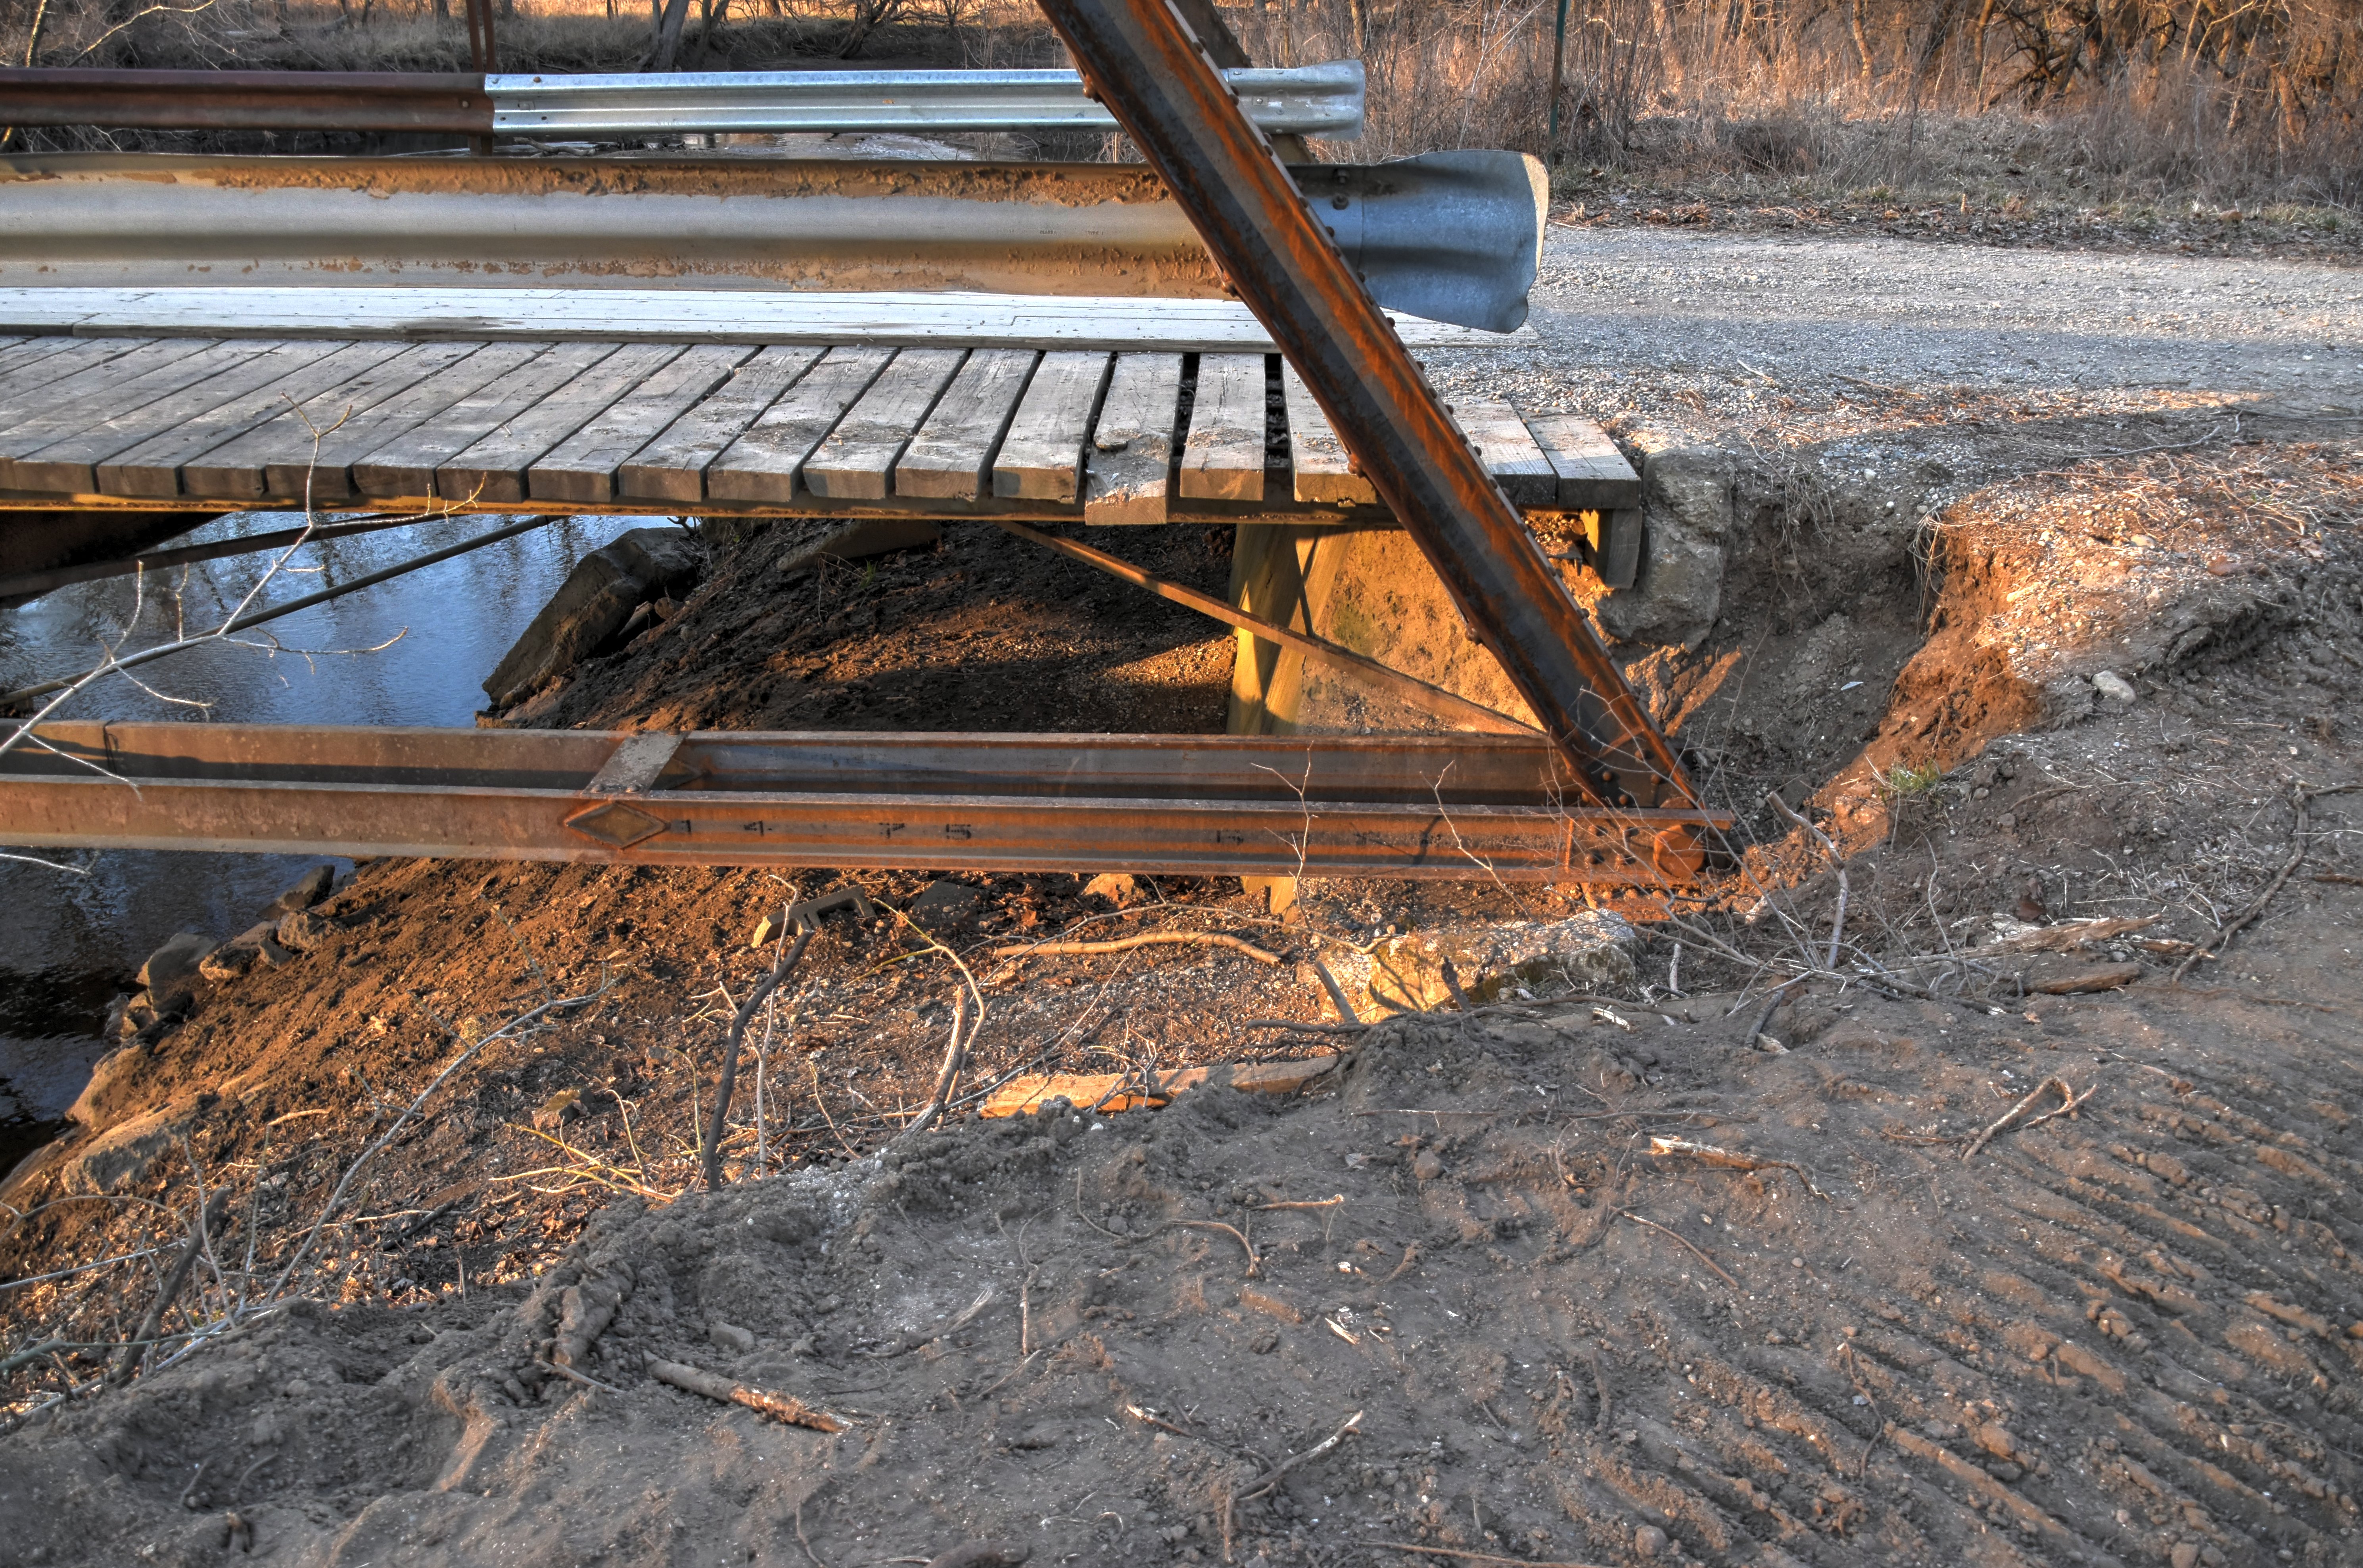
Bottom chord.
![]()
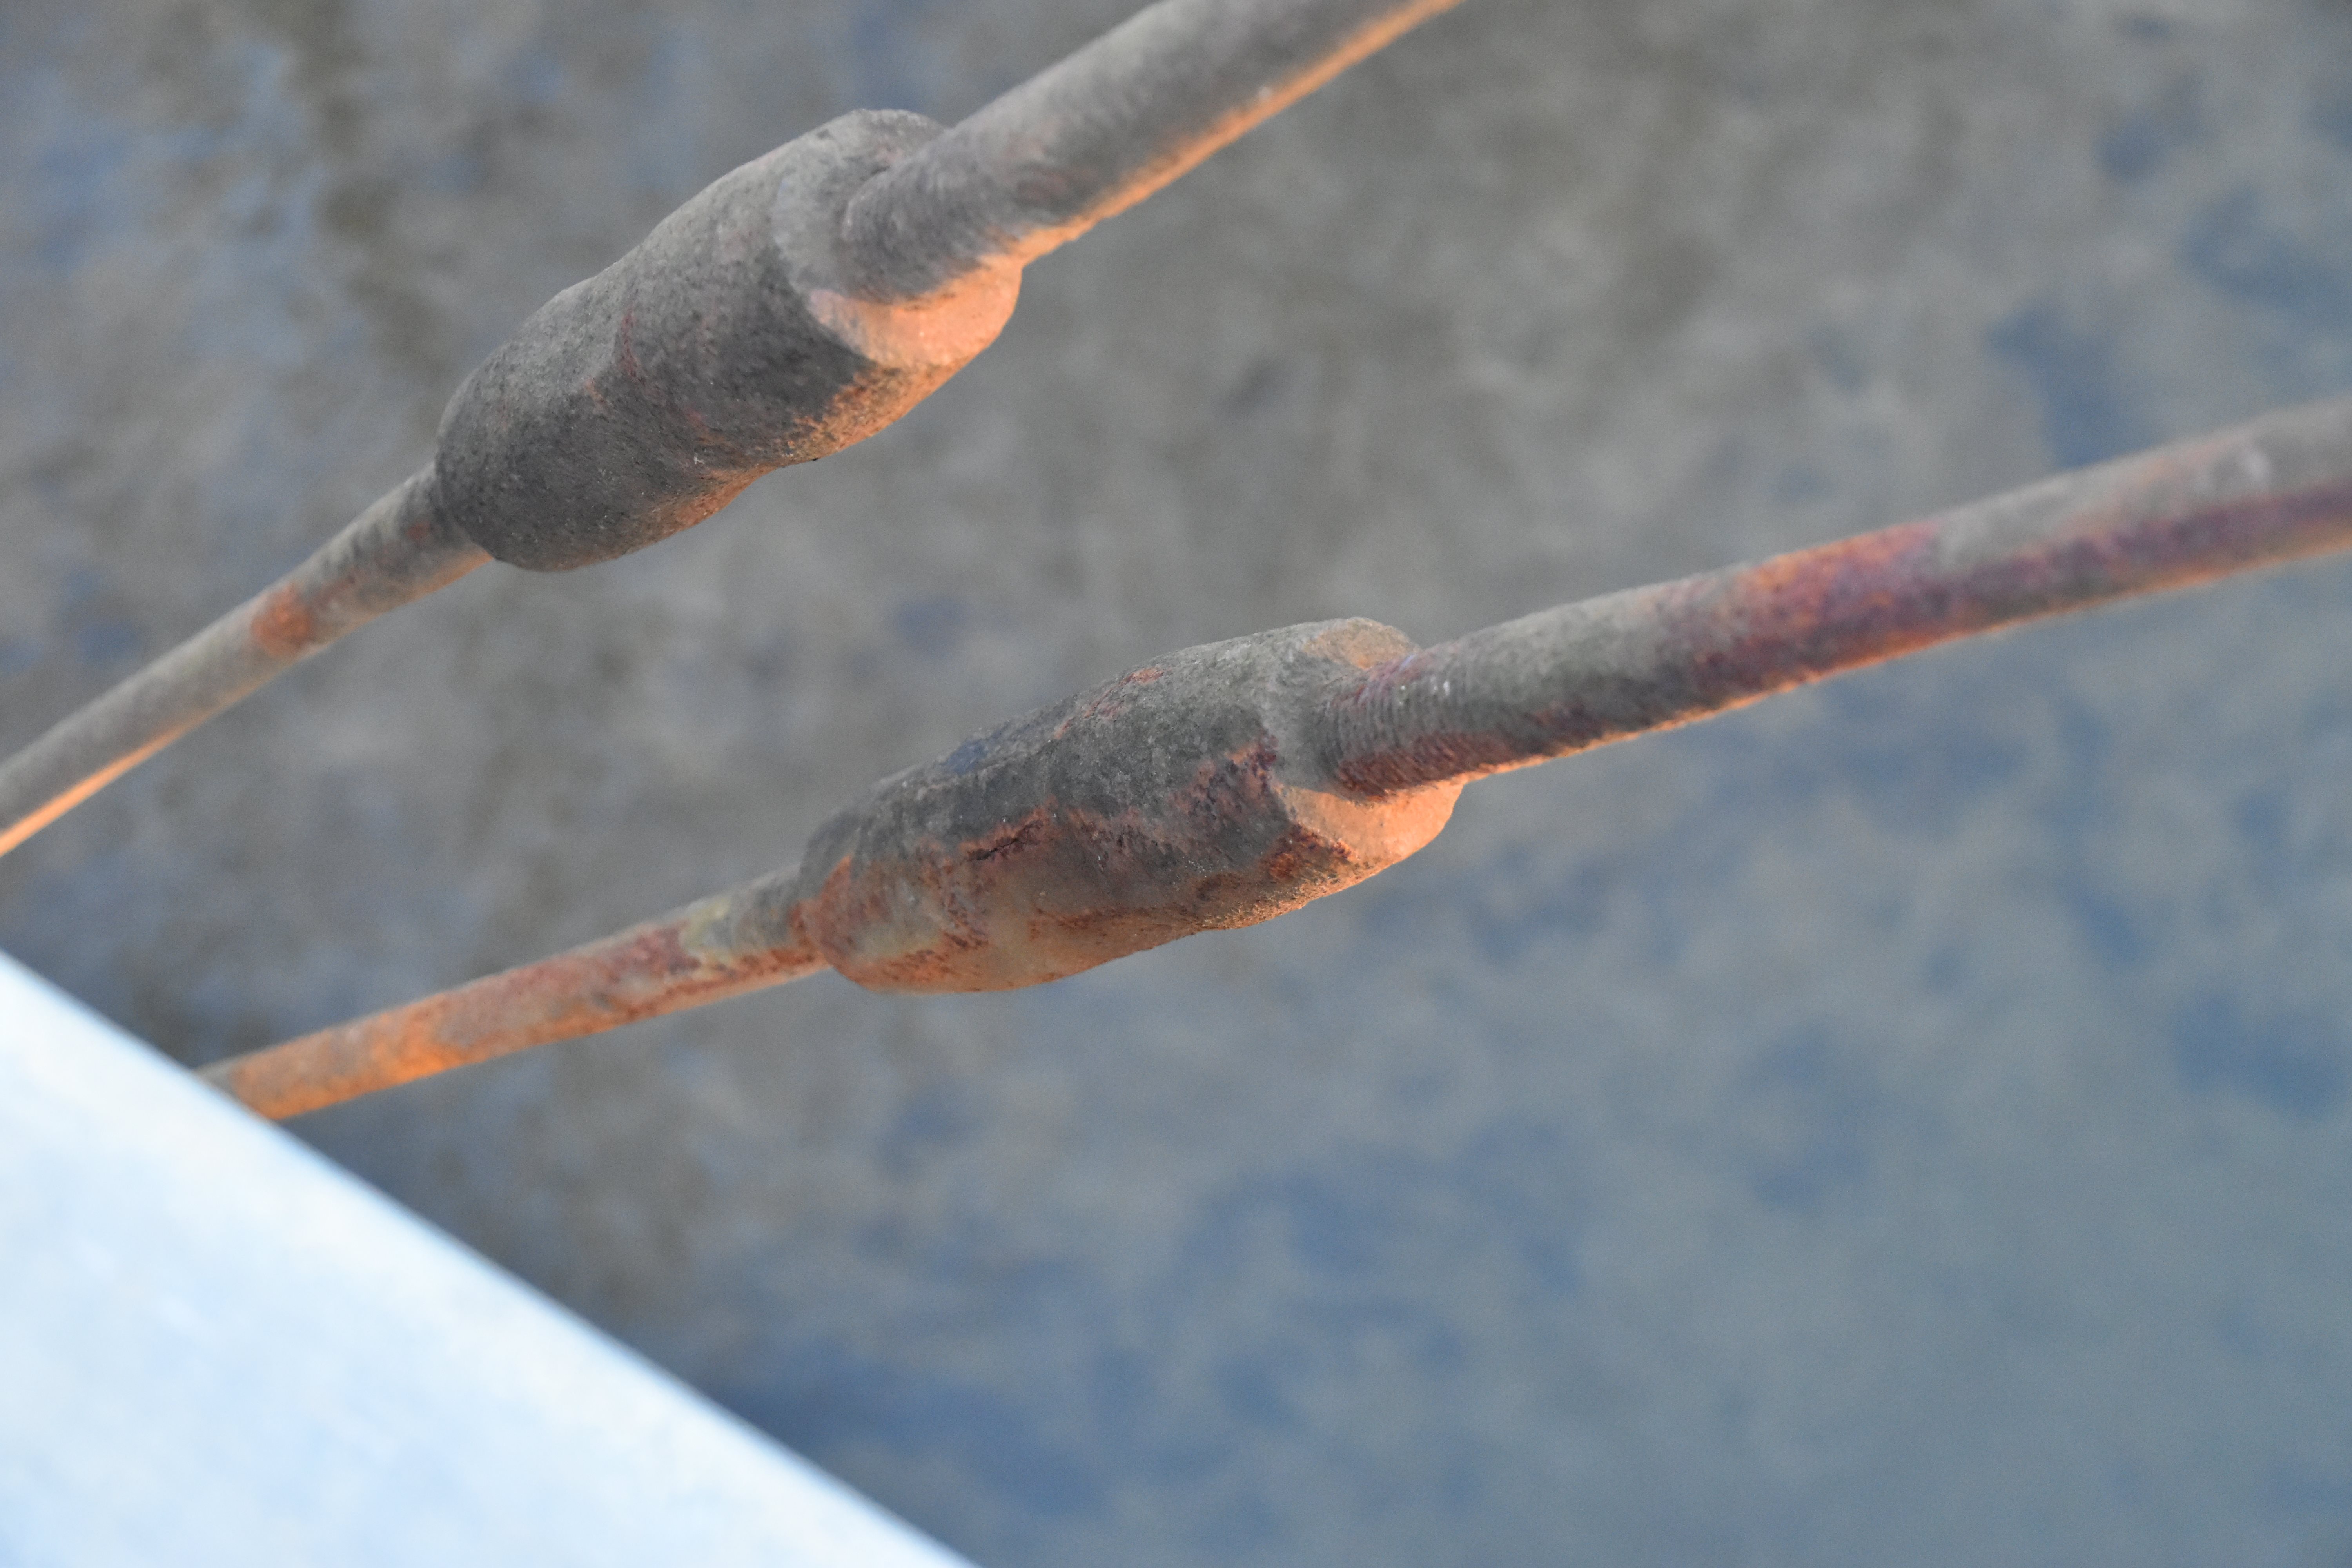

Turnbuckles on diagonal members.
![]()


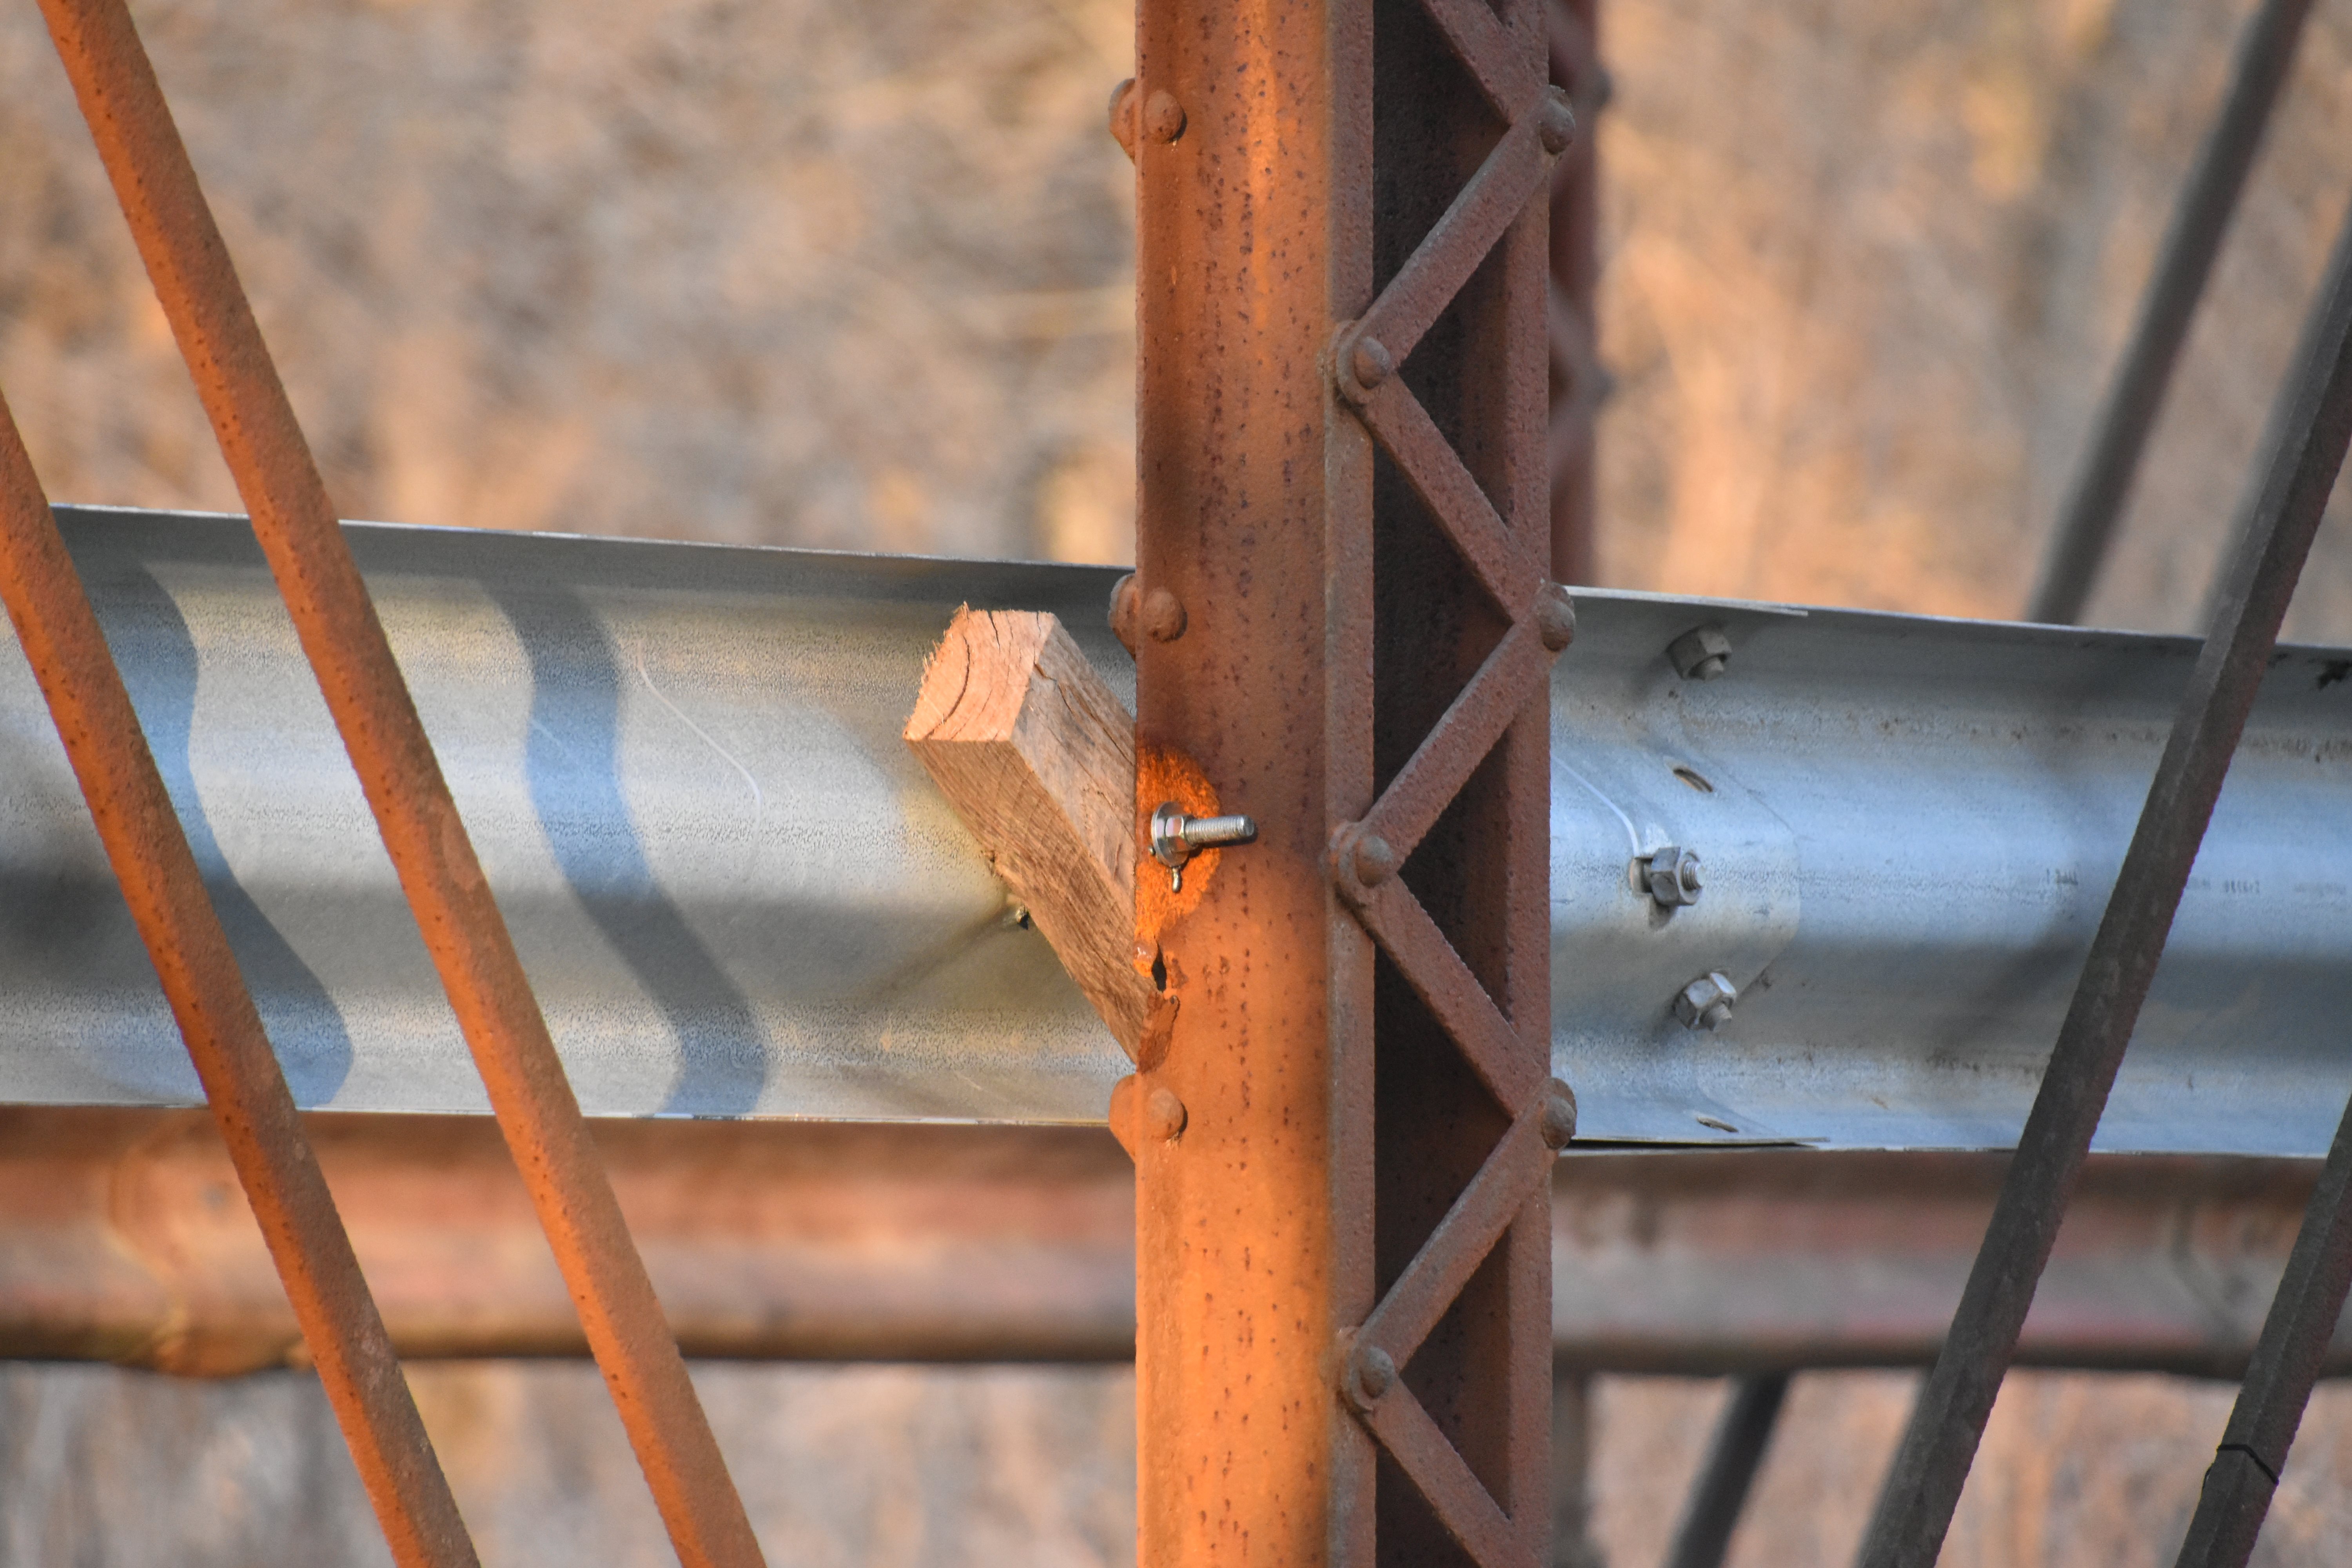


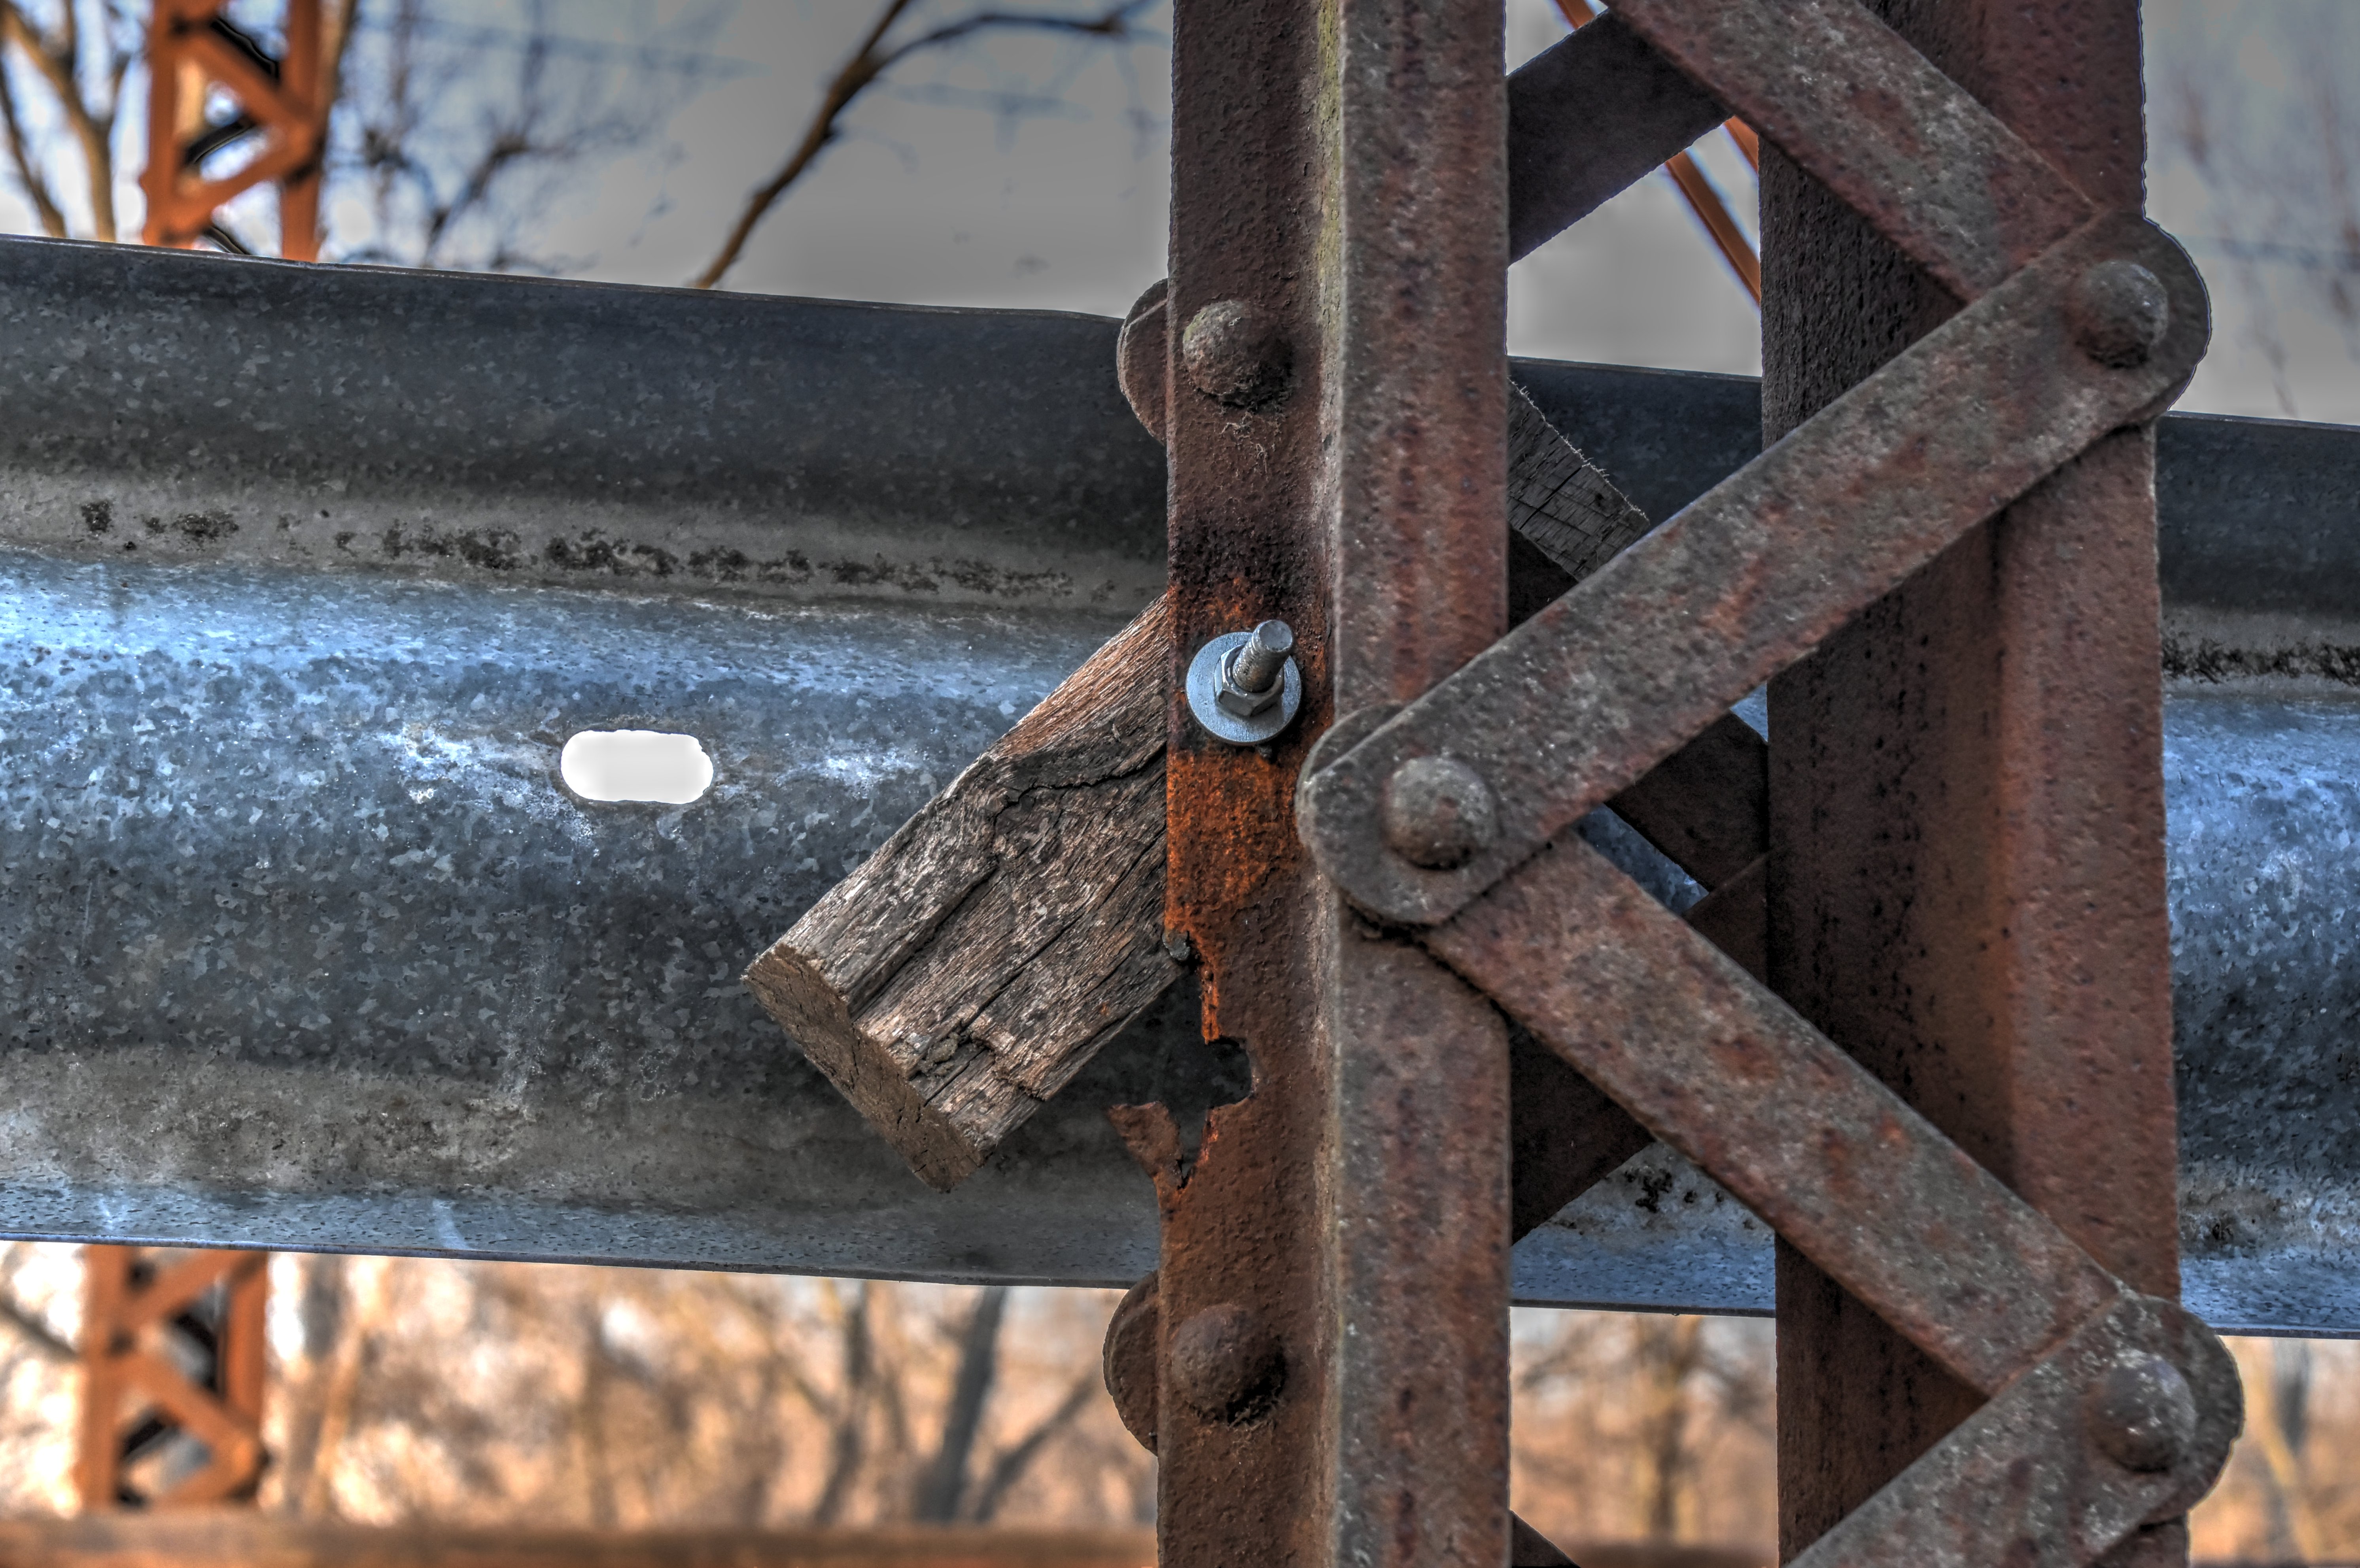


Views showing guardrail reattached to the vertical. Notice old hole torn out from the accident.
![]()


On the other side of the truss, this guardrail was not knocked off, and shows how crude the mounting method is.
![]()


Overviews of new end post.
![]()
Welds on inside of new end post.
![]()


Lacing bars welded to new end post.
![]()


New end post detail. These were real rivets but they look like they cut the field end of the rivets off and welded it flat. This looks stupid and also would have taken far more time and labor than to simply drive new rivets correctly.
![]()


New end post details.
![]()


New hip vertical.
![]()


New bottom chord welded to original bottom chord.
![]()
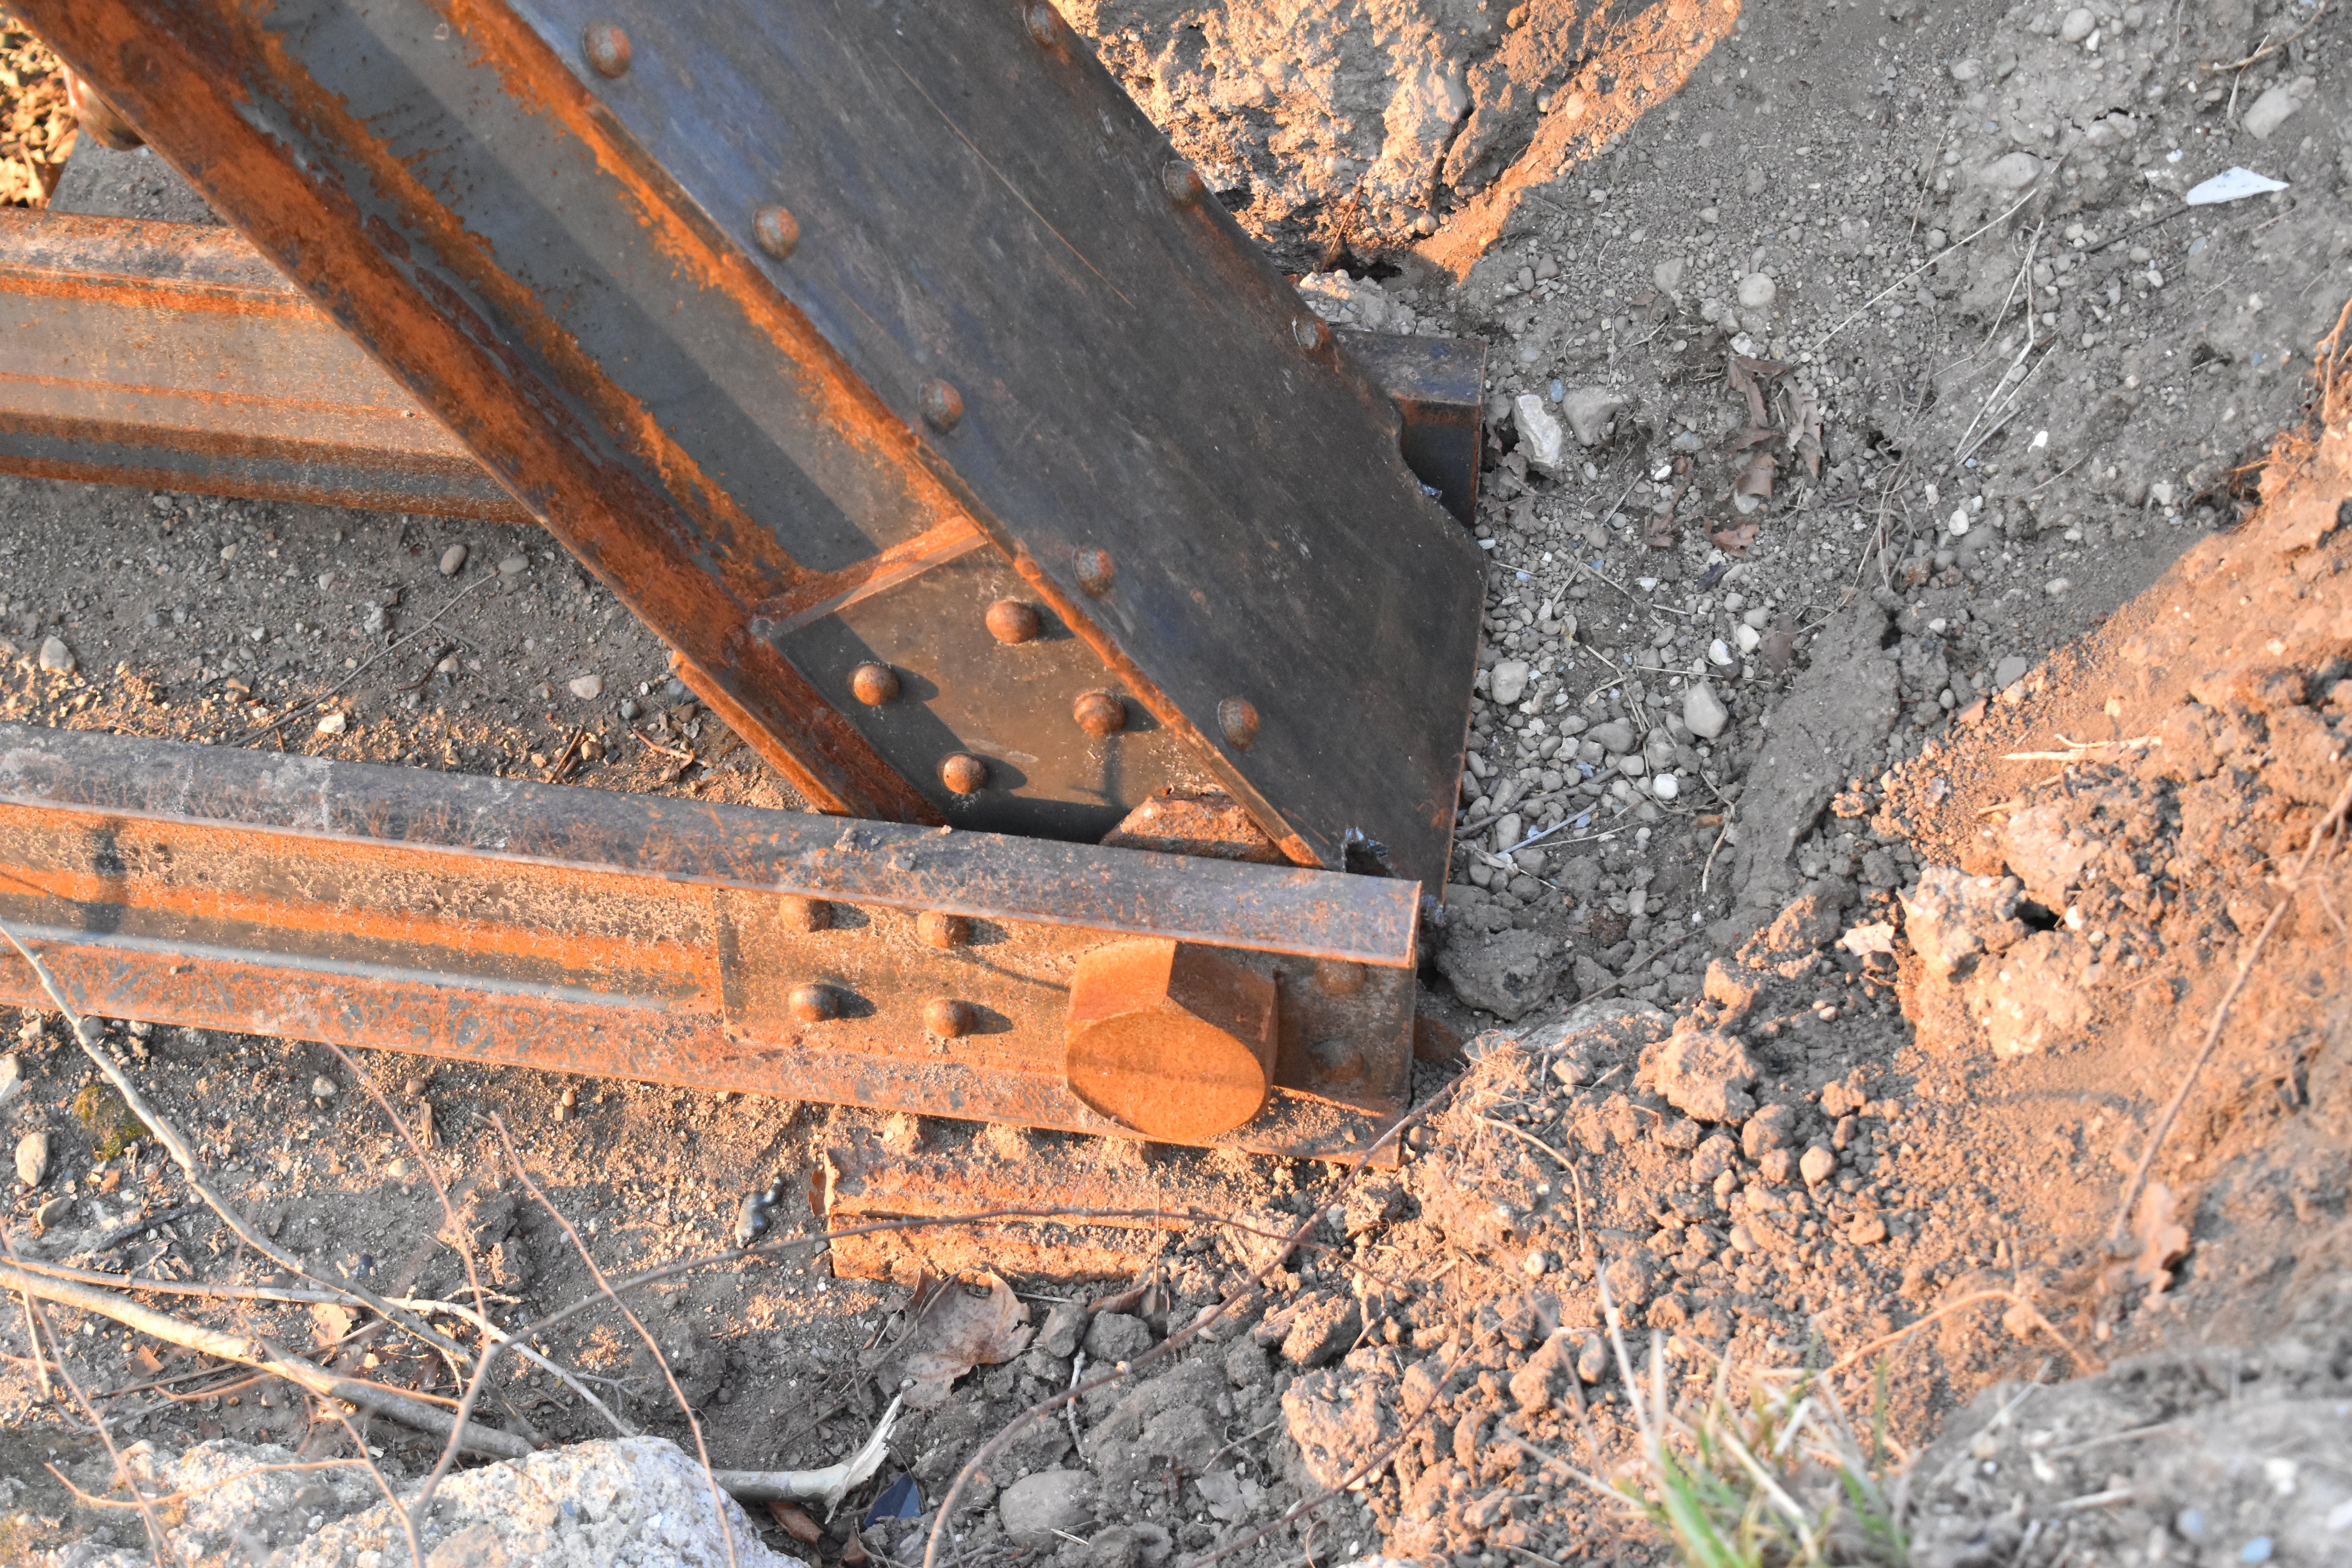


Bearing at new end post.
![]()
![]()
| Back |
| Home |
| Top |

![]()


