Uncredited photos on this page taken by: Nathan Holth and Rick McOmber. Unless stated in a caption, all photos are Copyright with All Rights Reserved. Learn about reuse of our photos.
![]()


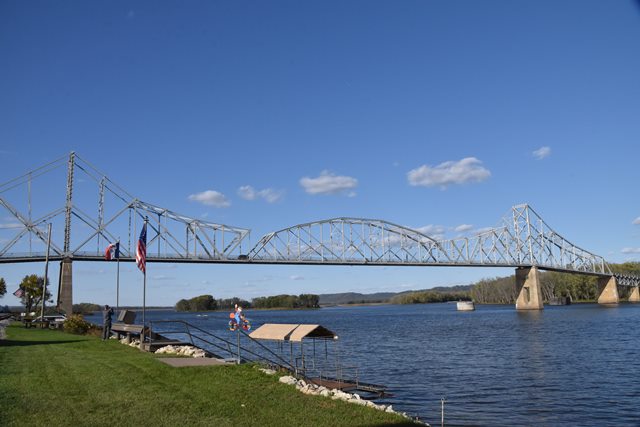


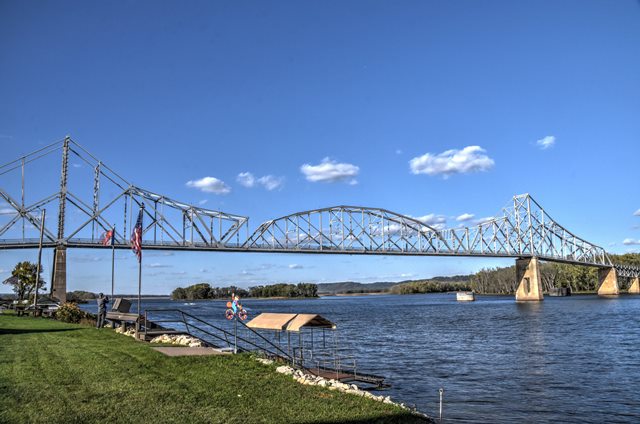


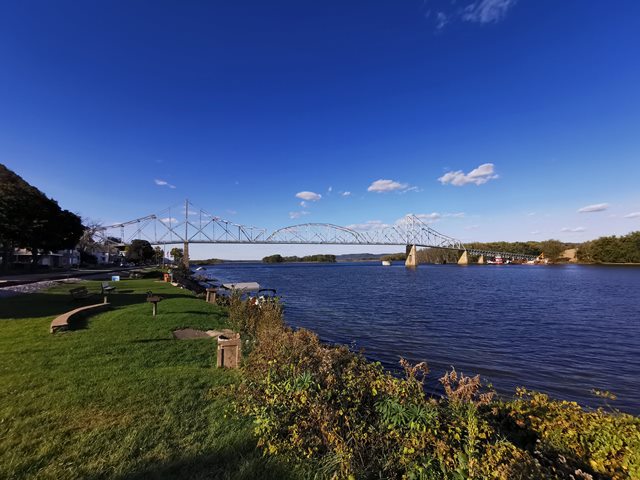


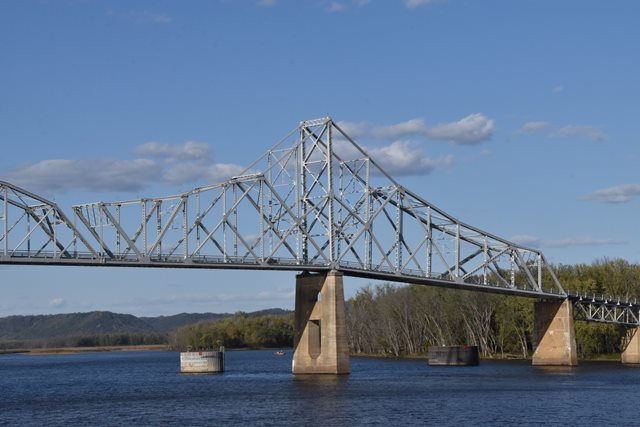
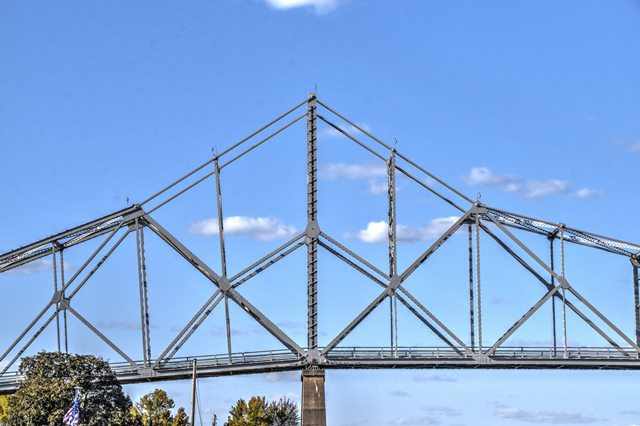
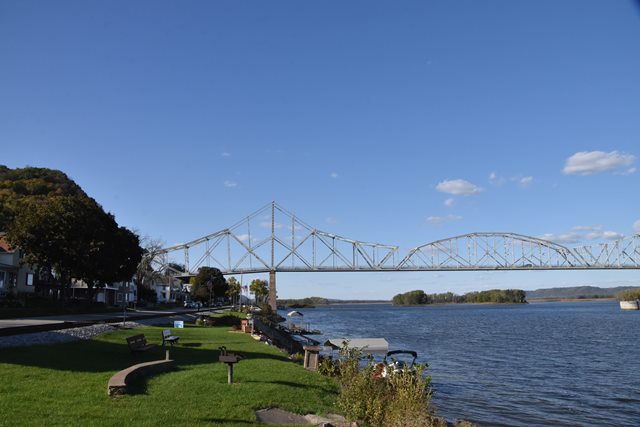
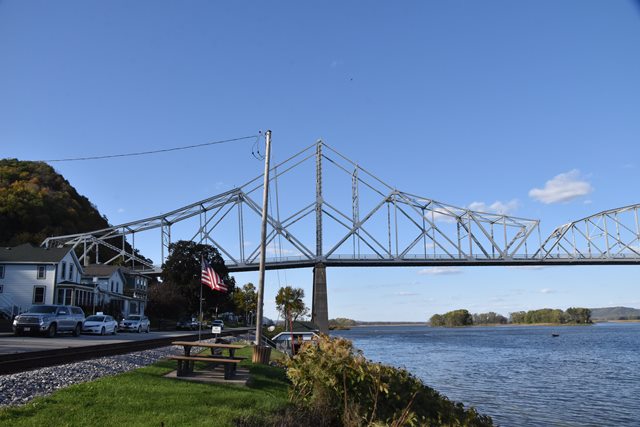
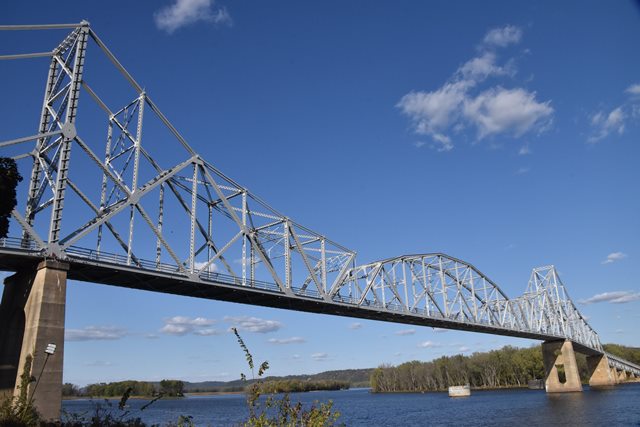
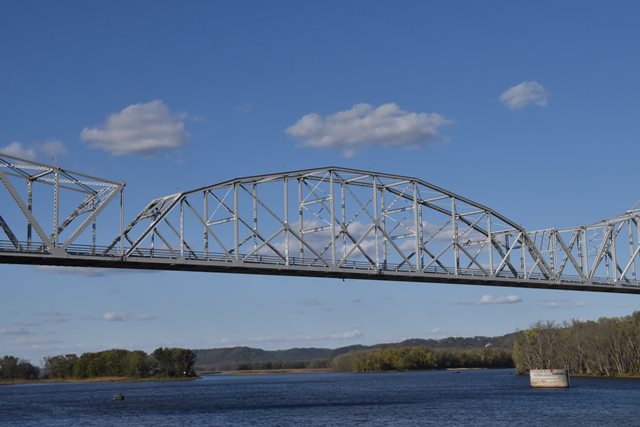
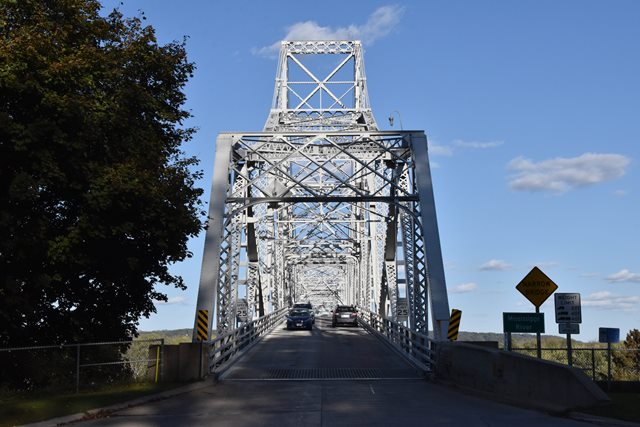
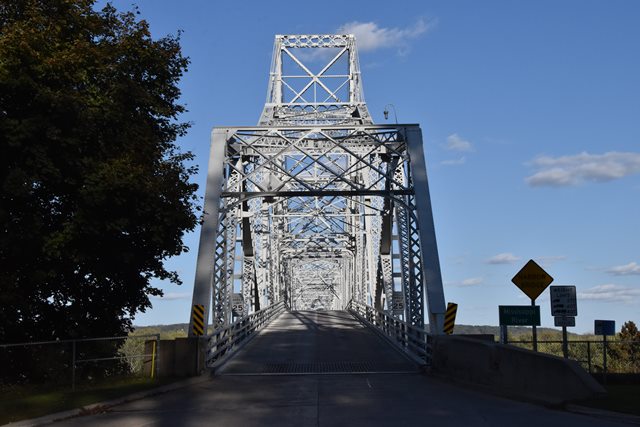
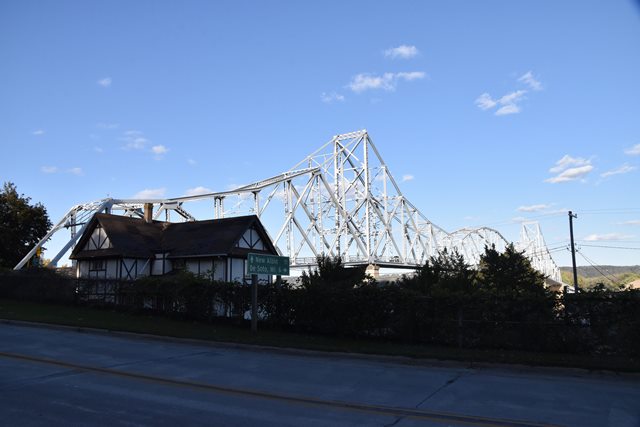
Elevation from southwest quadrant.
![]()
![]()
![]()
![]()
![]()
![]()
![]()
![]()
![]()
![]()
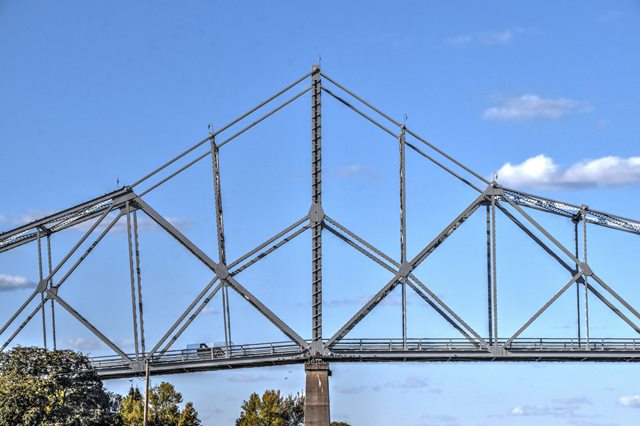
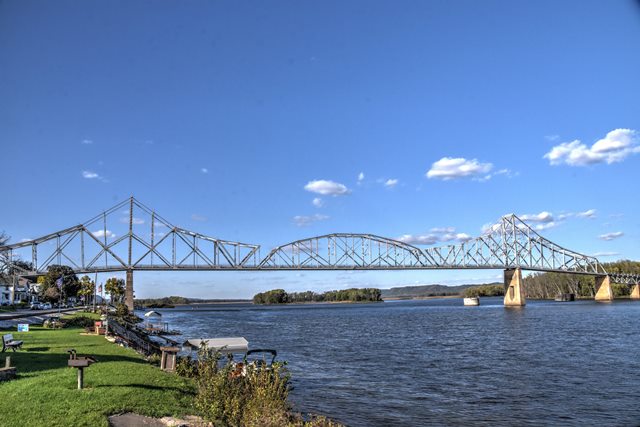
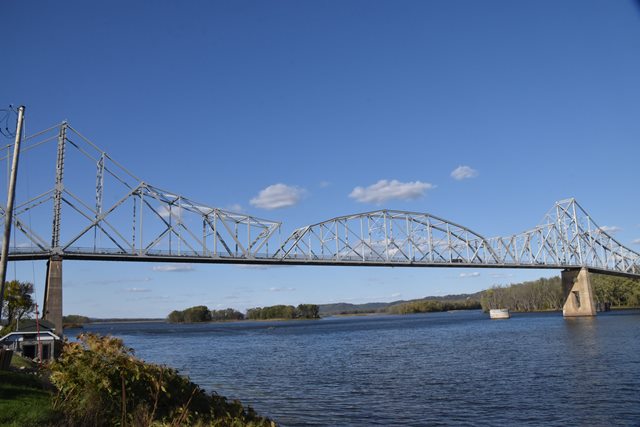
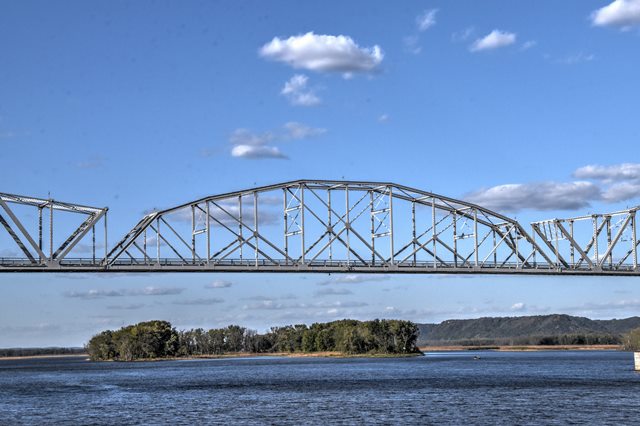
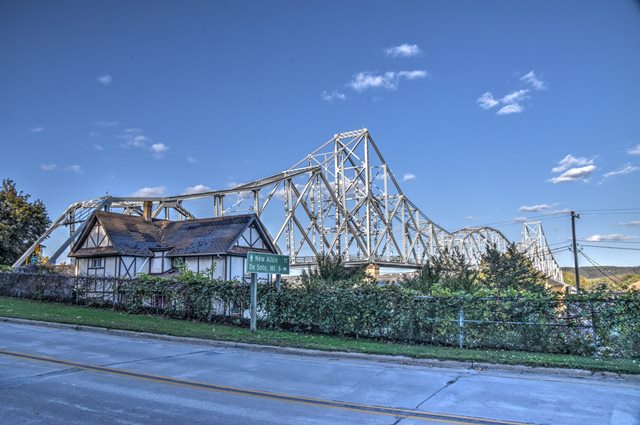
Panoramic elevation from southwest quadrant.
![]()

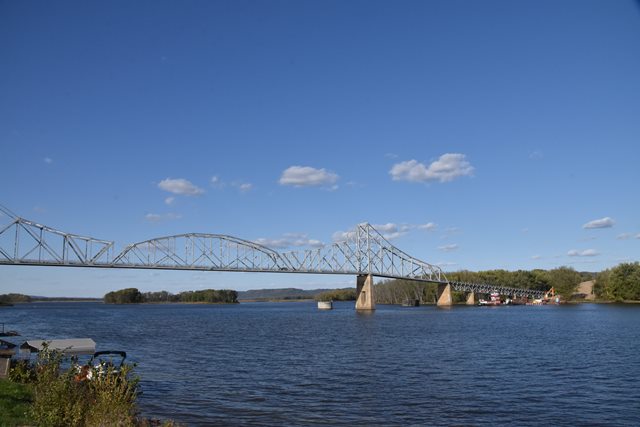


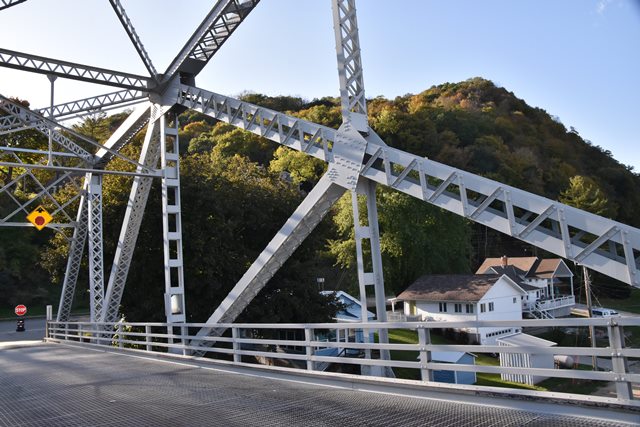
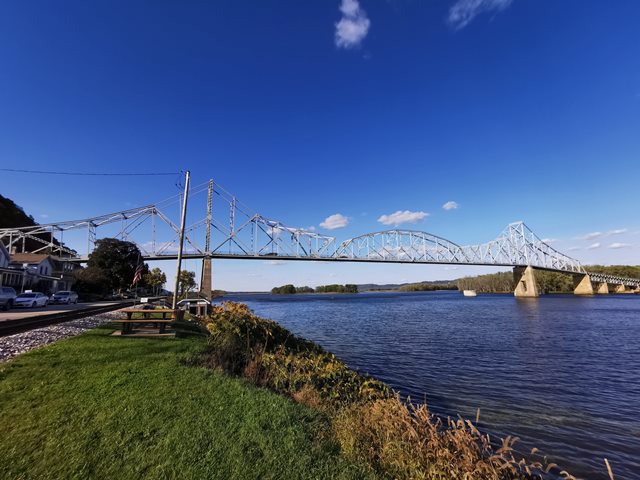
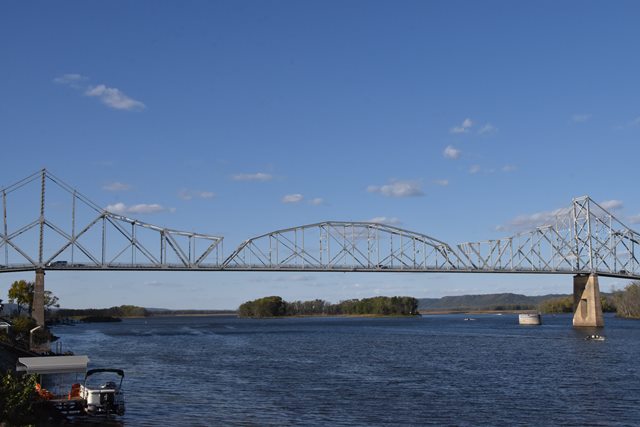
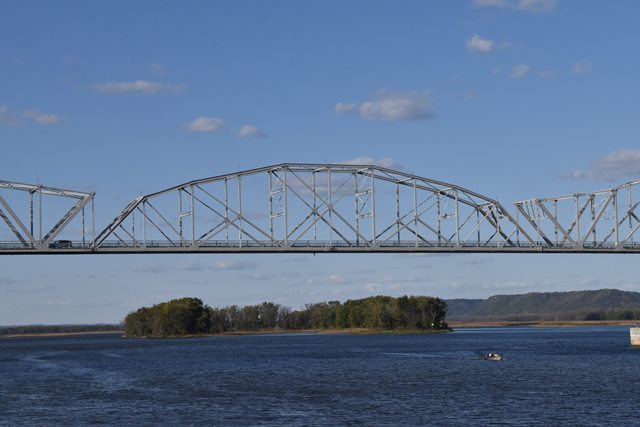
Partial elevation views from southwest quadrant.
![]()


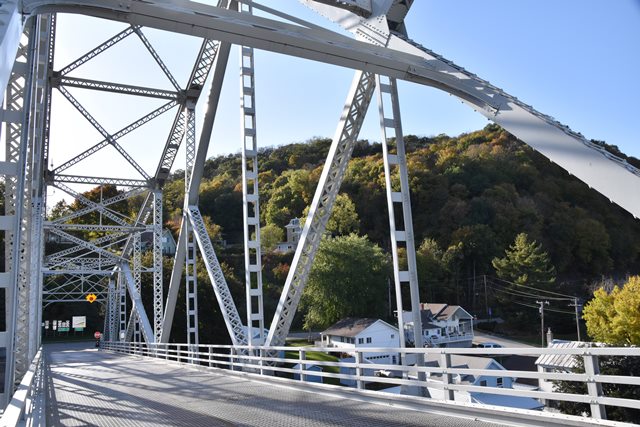
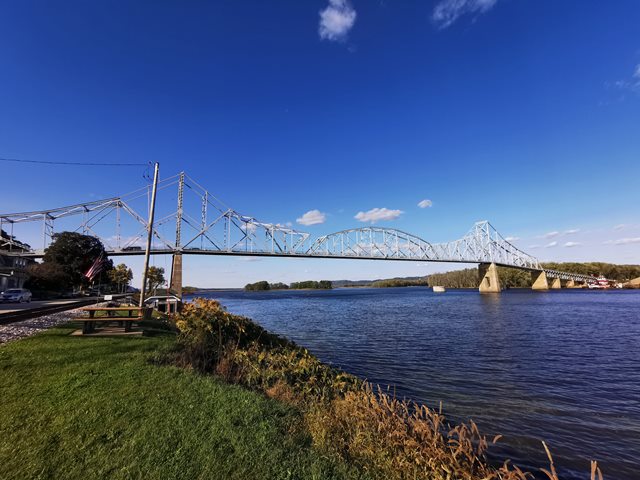
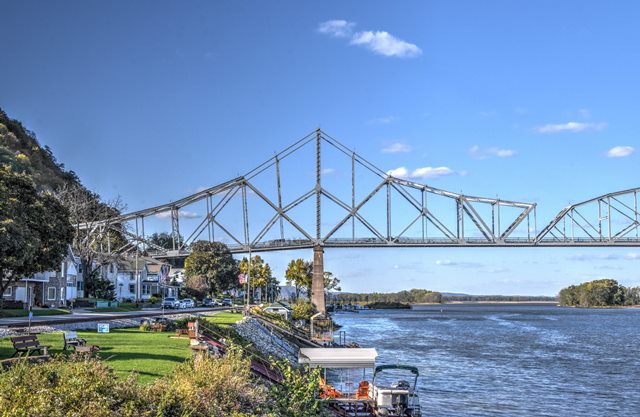
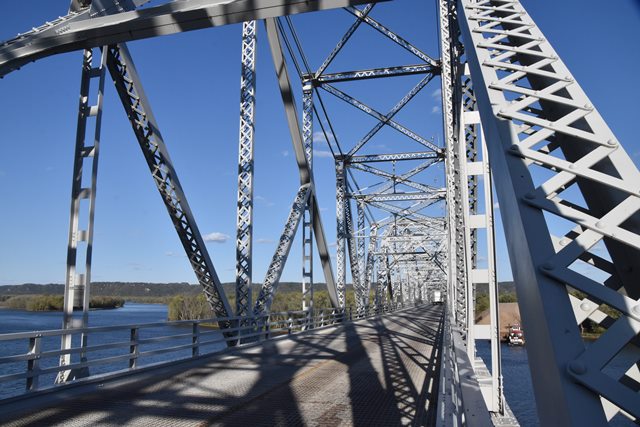
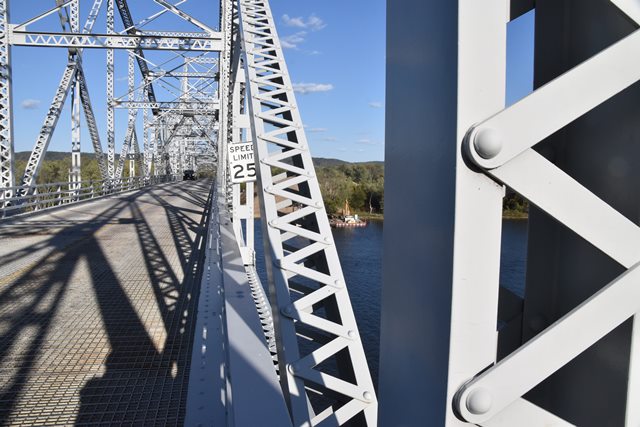
Views beside bridge from southwest quadrant.
![]()


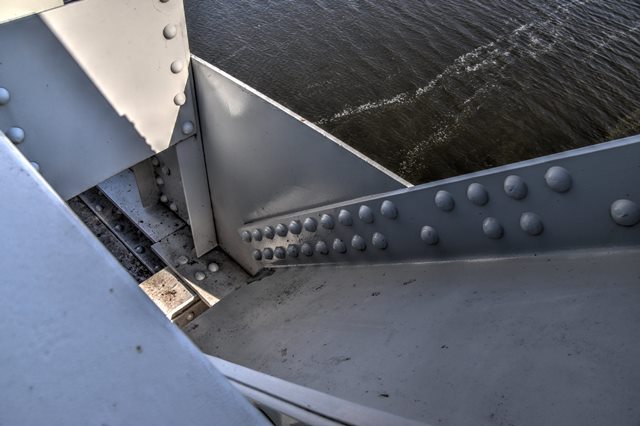
Views beside navigation span from southwest quadrant.
![]()


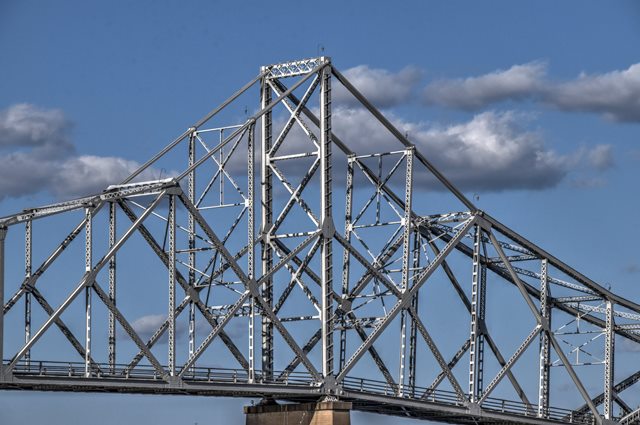
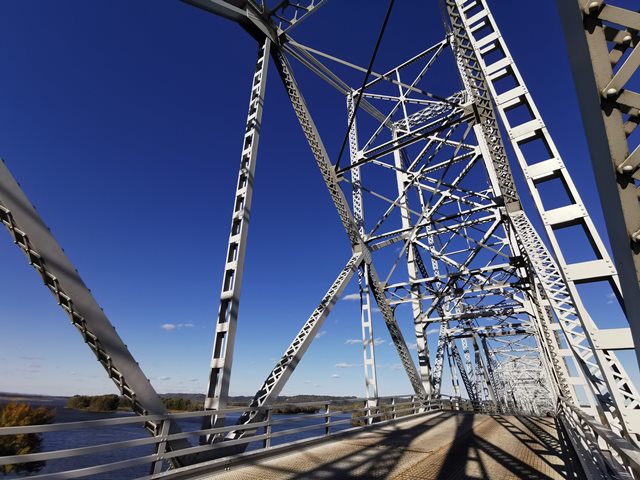
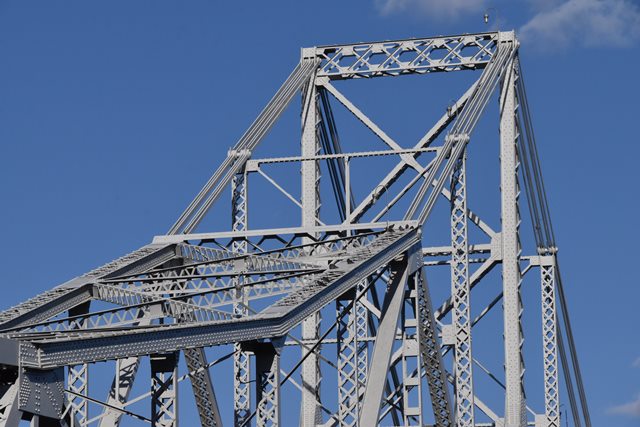
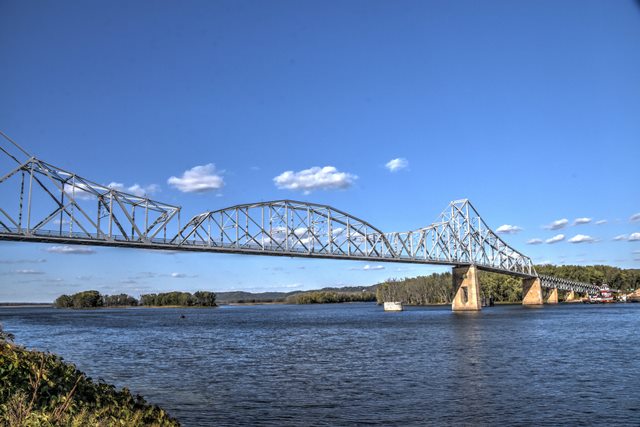
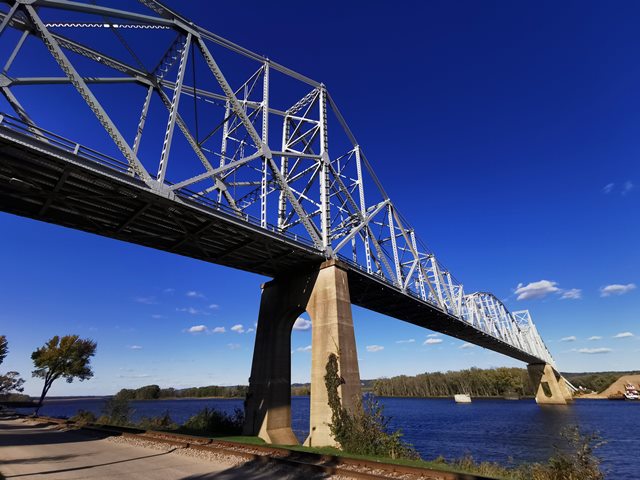
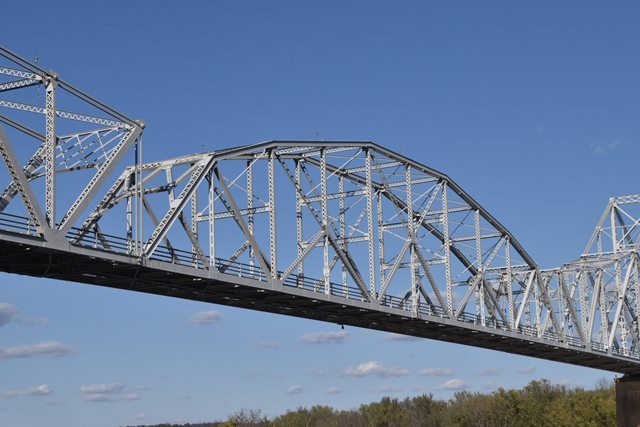
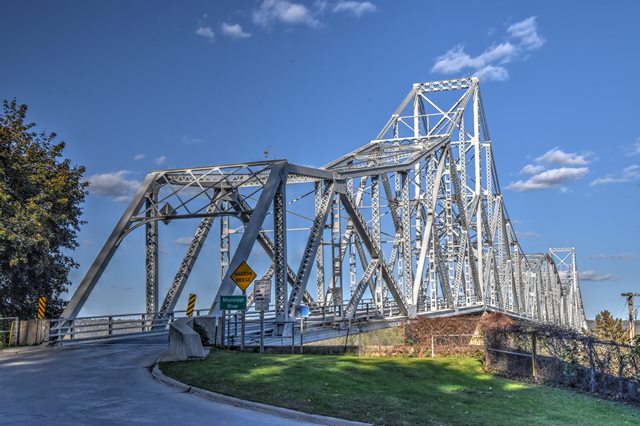
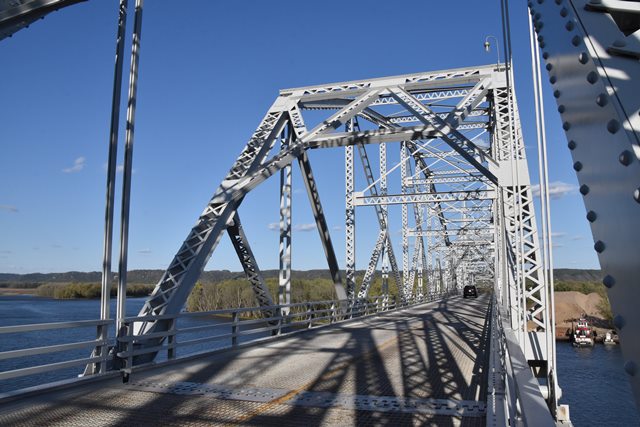
Elevation of navigation span from southwest quadrant.
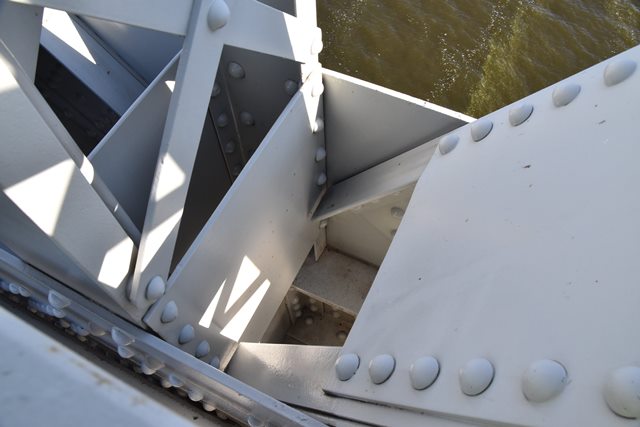
![]()


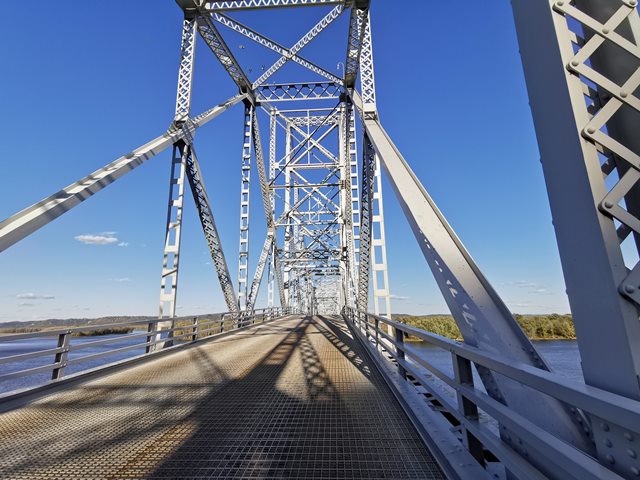
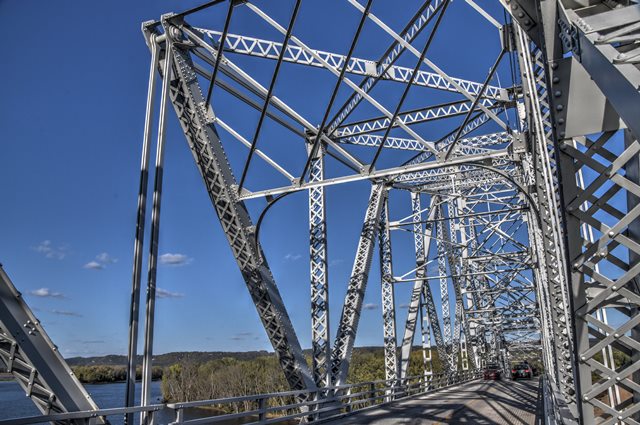
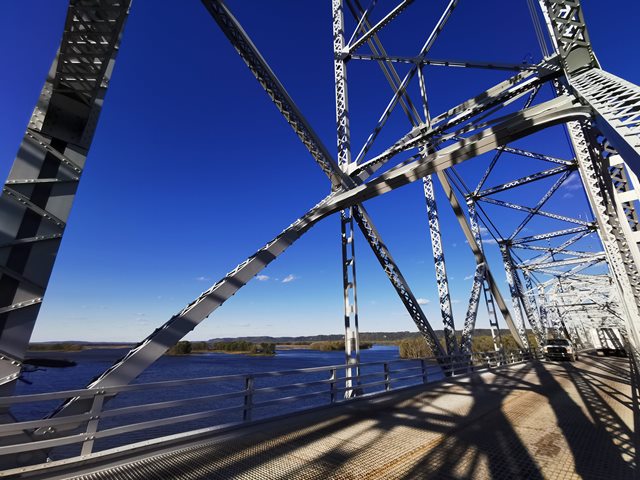
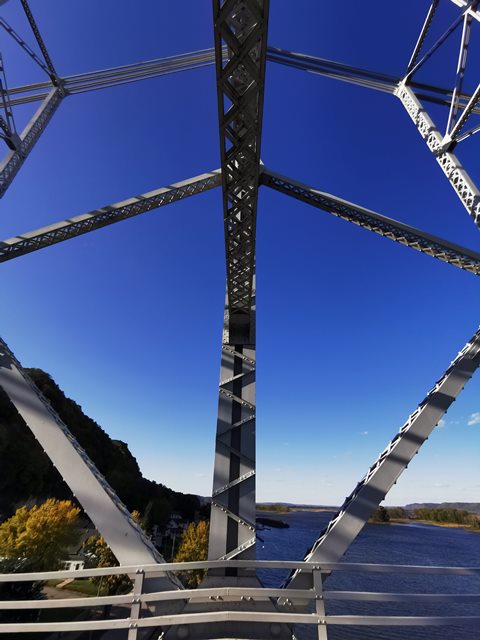
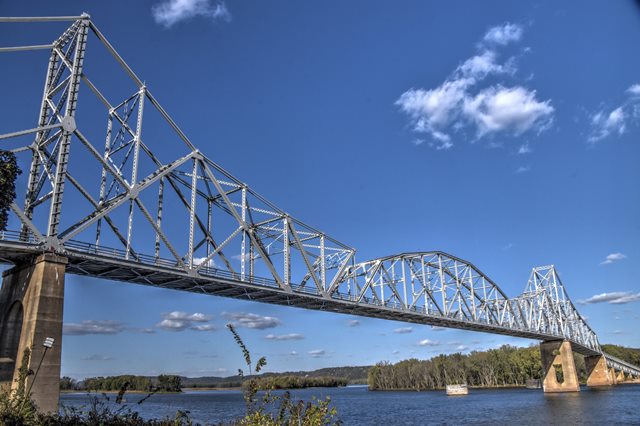
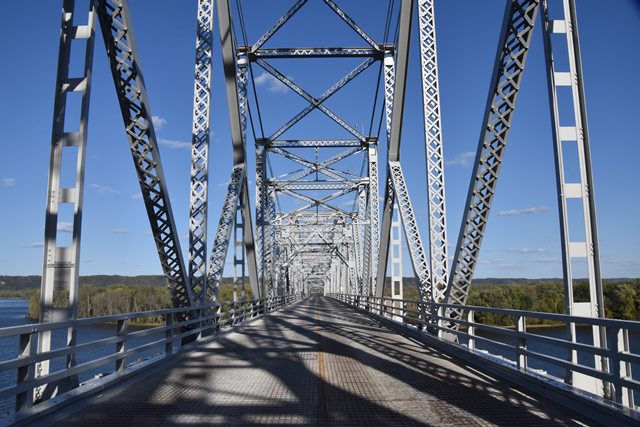
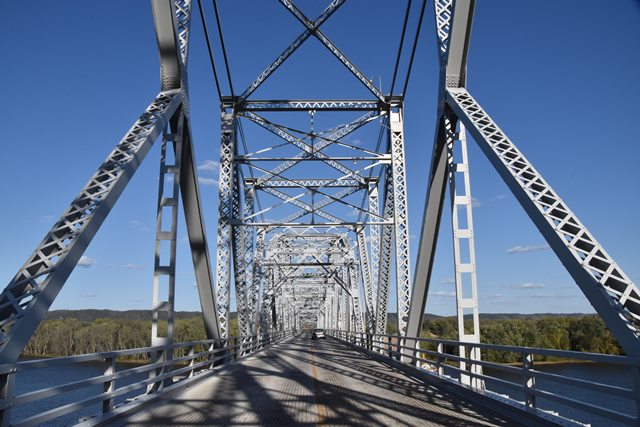
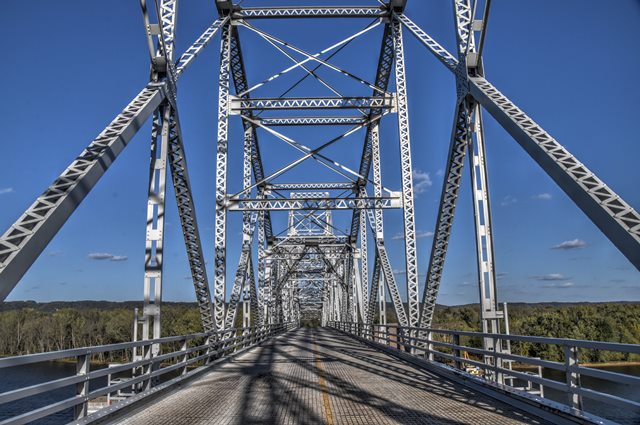
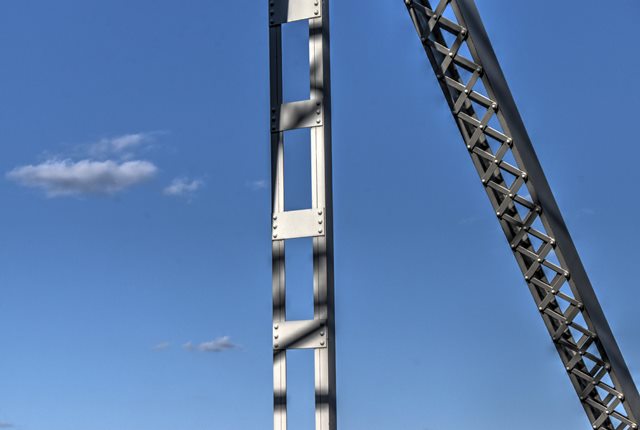
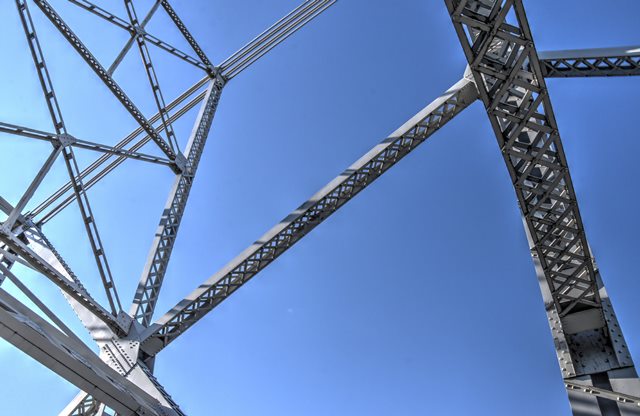
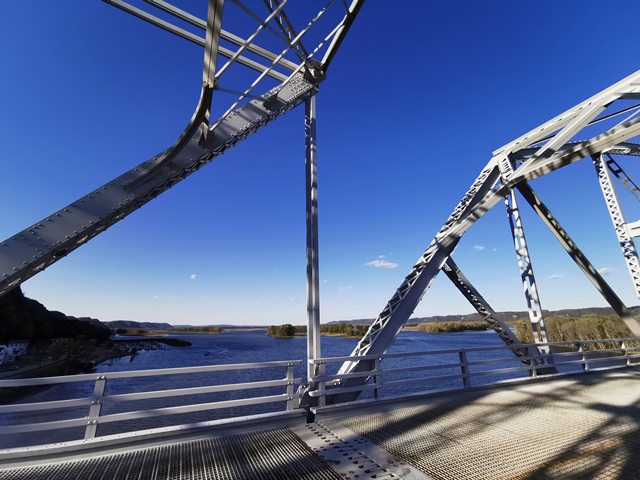
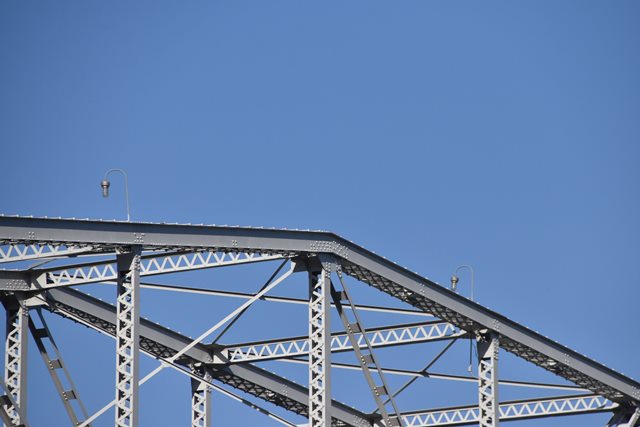
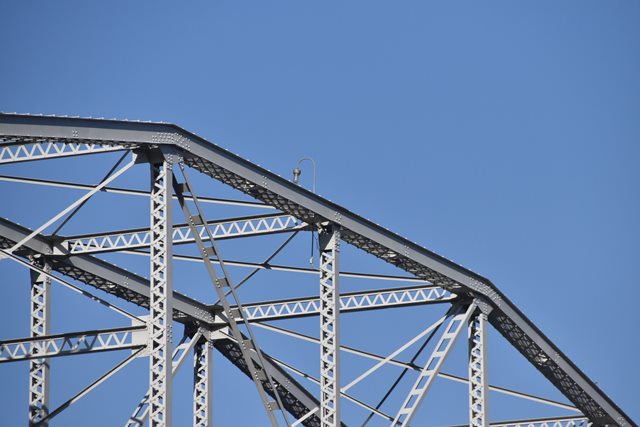
Views of suspended span from southwest quadrant.
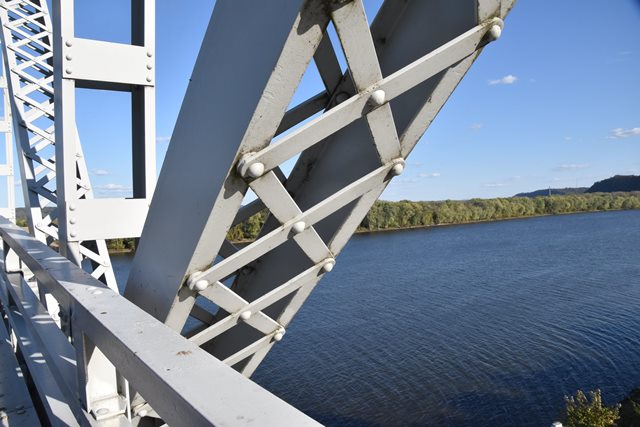
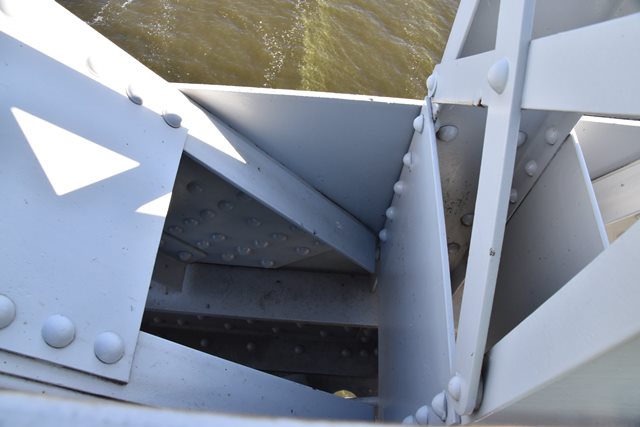
![]()
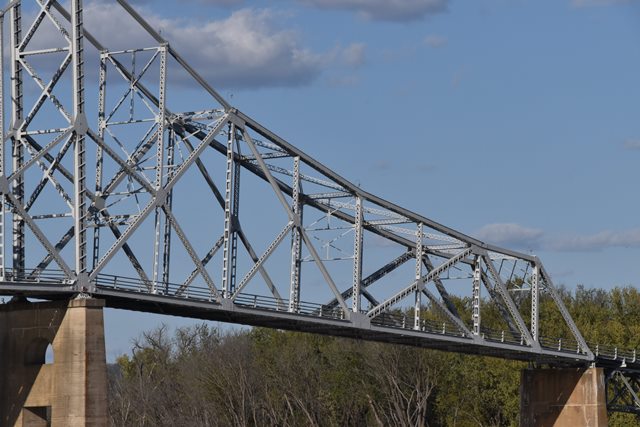
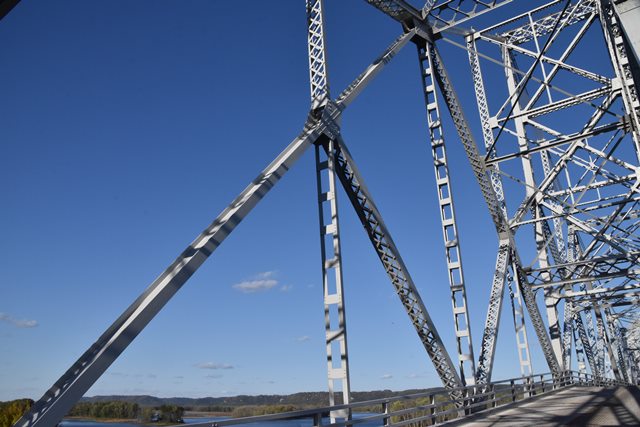
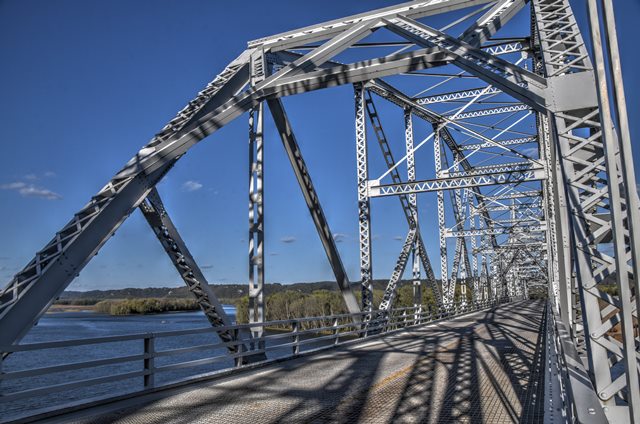
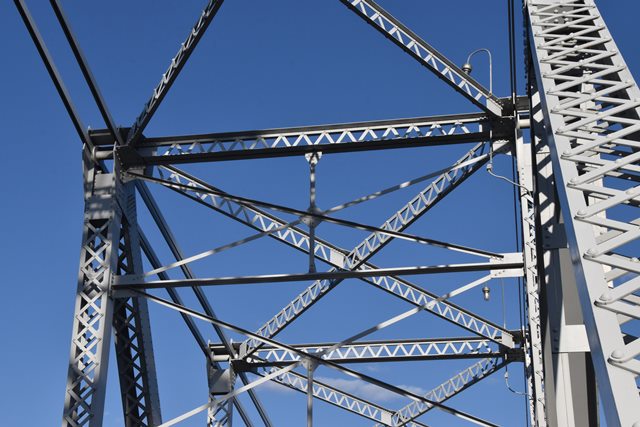
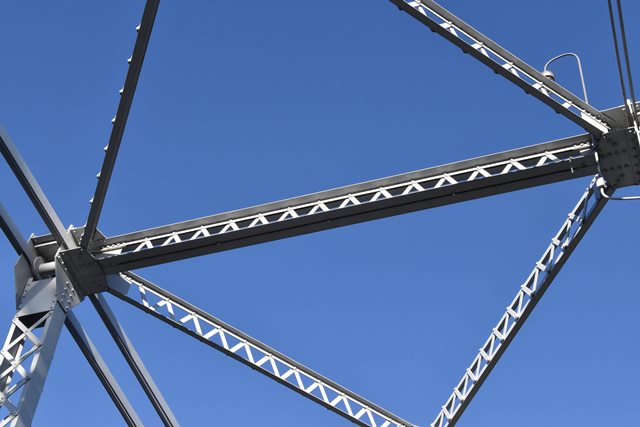
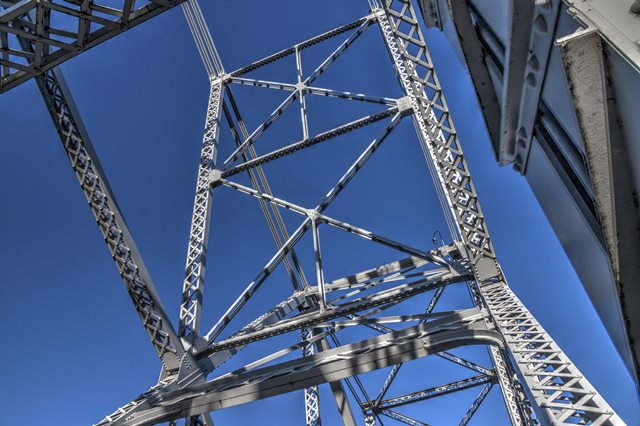
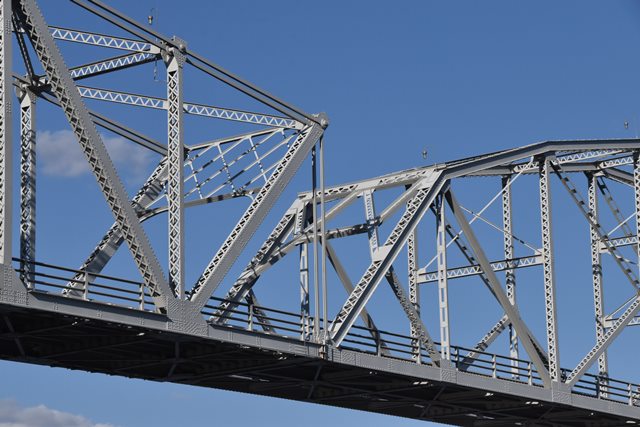
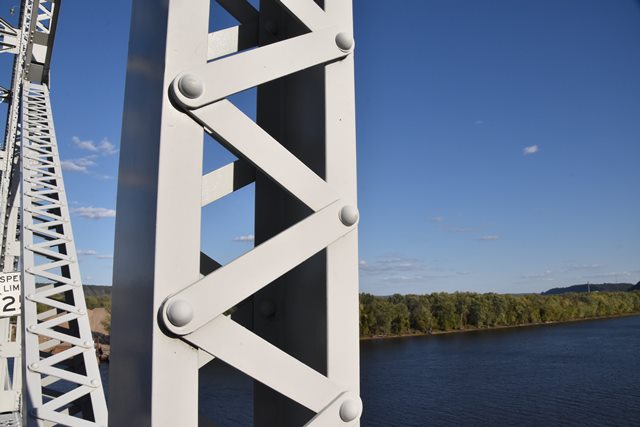
Truss web as viewed from beside bridge.
![]()
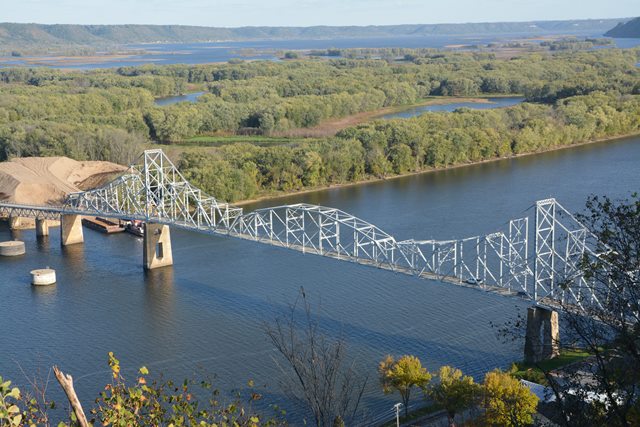


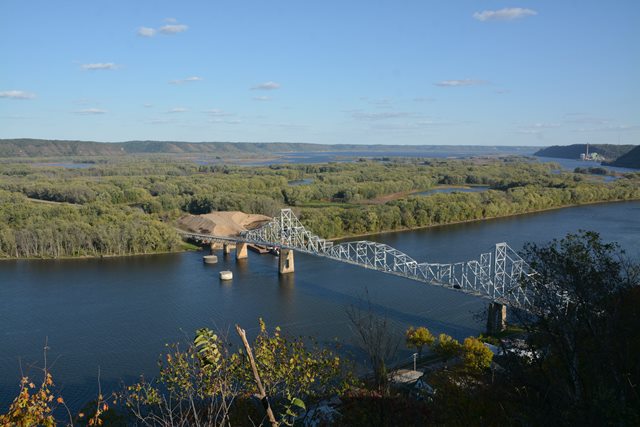


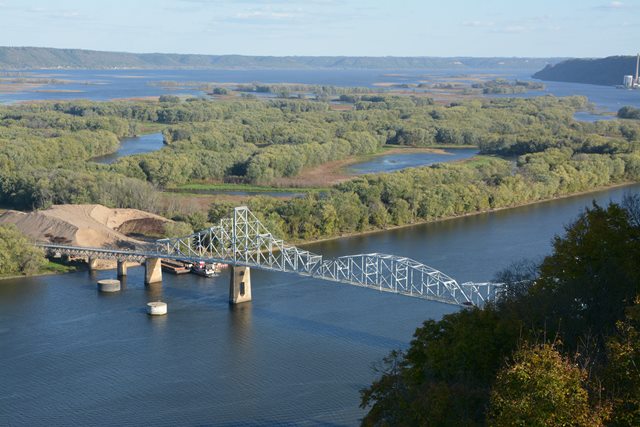


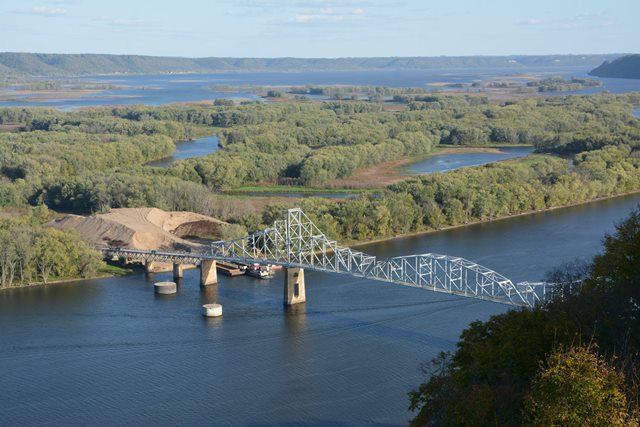


Photo Credit: Todd Wilson
Elevation from Mt. Hosmer.
![]()


Photo Credit: Lynda Waddington
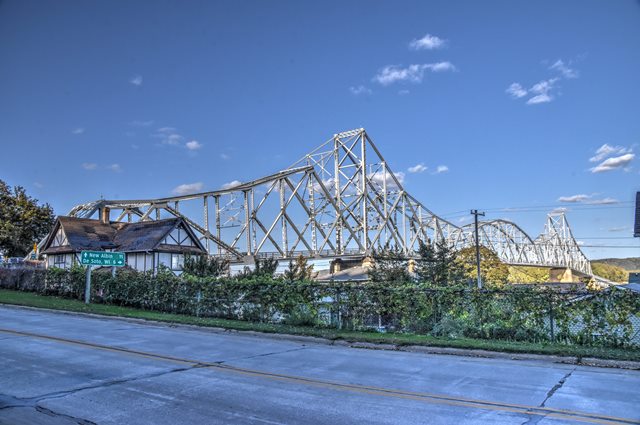
Distant south elevation from Driftless Area Education And Visitors Center.
![]()

Photo Credit: Guy Stalnaker
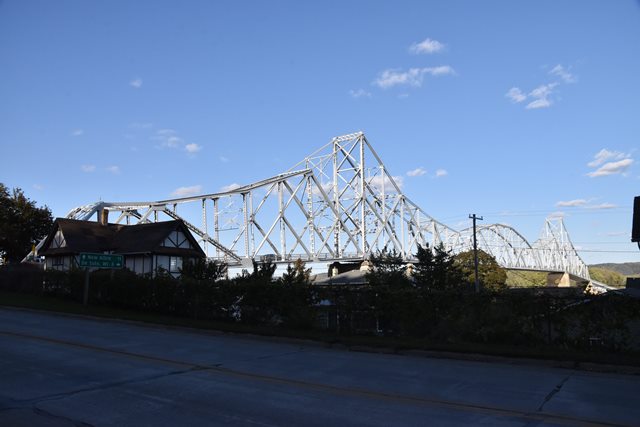
Distant south elevation from Driftless Area Education And Visitors Center.
![]()
![]()
Photo Credit: James Engh
Distant south elevation from Driftless Area Education And Visitors Center.
![]()


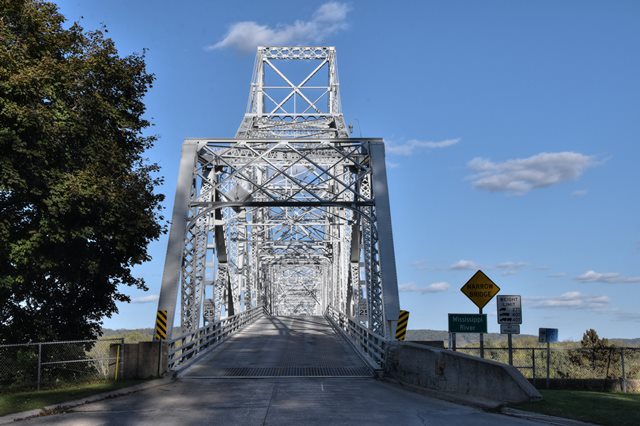


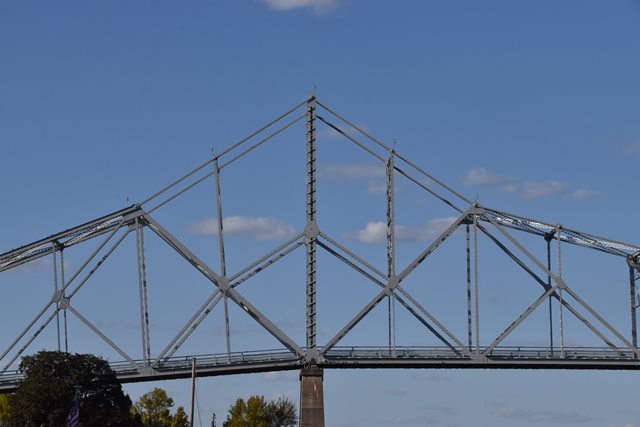
Portal views facing east.
![]()


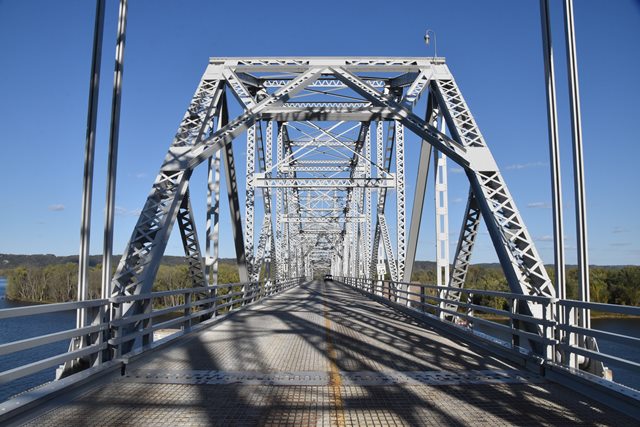
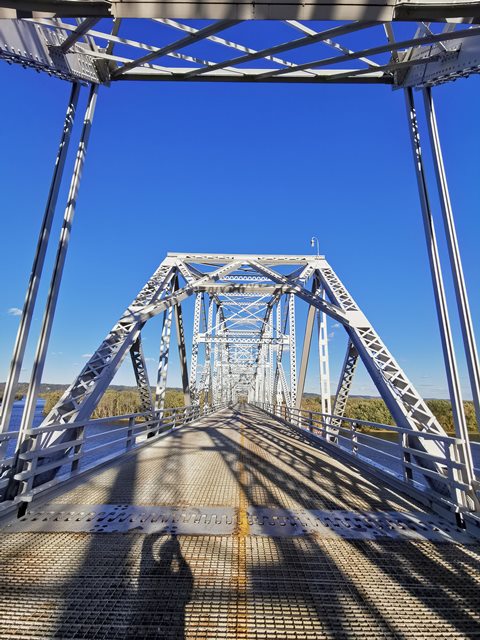
Elevation at deck level from southwest quadrant.
![]()


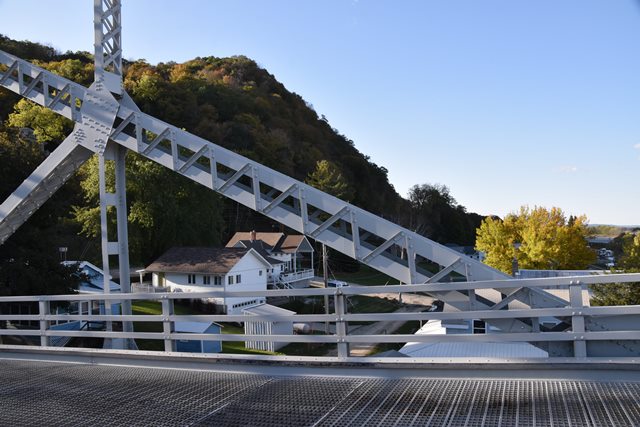
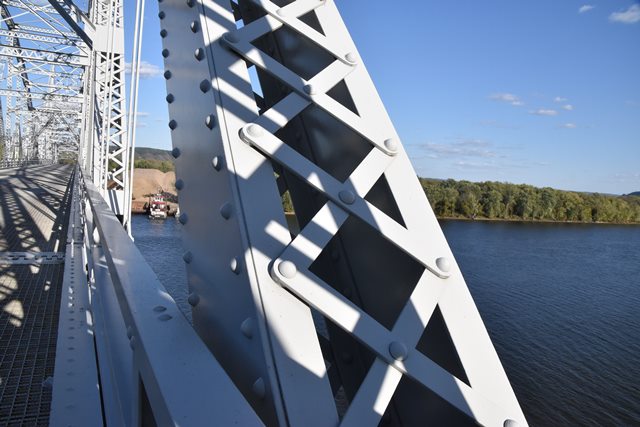
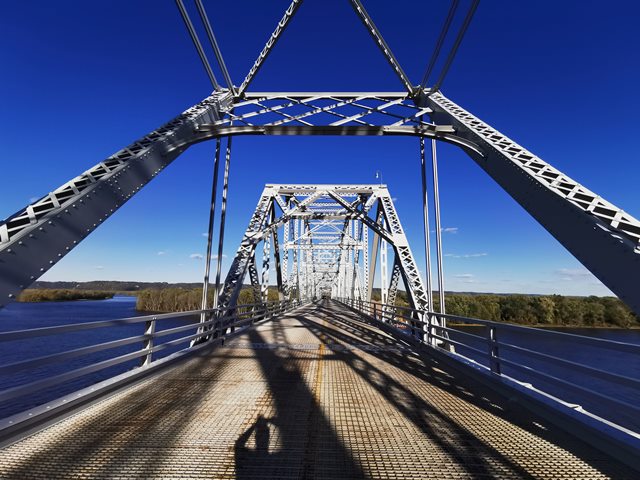
Oblique views from southwest quadrant.
![]()


Views beside bridge at deck level from southwest quadrant.
![]()
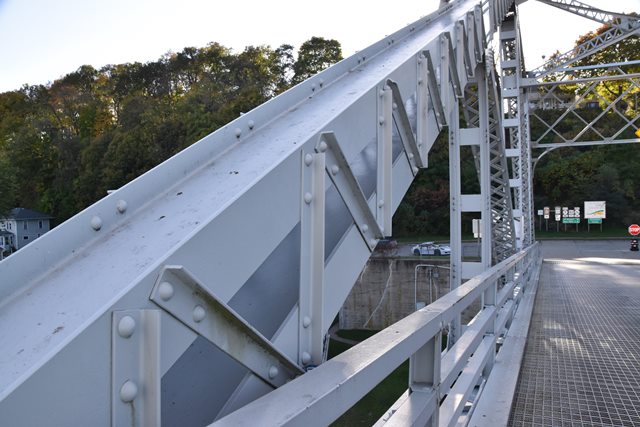
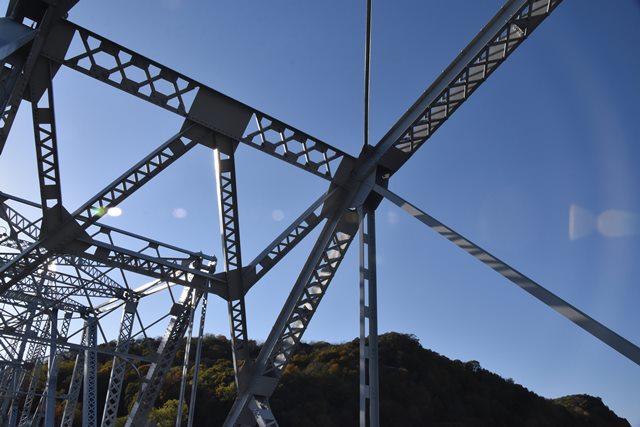
Portal views on anchor arm facing east.
![]()
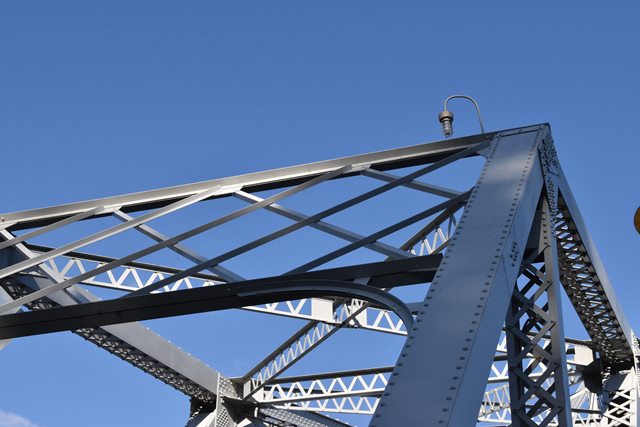
Anchor arm truss web.
![]()
Cantilever arm truss web.
![]()


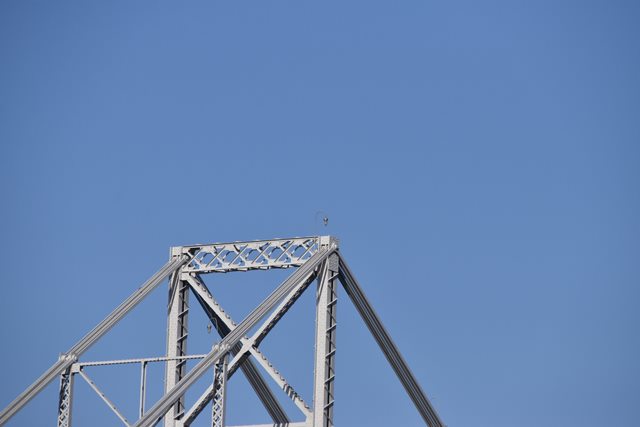
Portal views on cantilever arms facing east.
![]()


Suspended span portal view facing east.
![]()


Portal views on suspended span facing east.
![]()
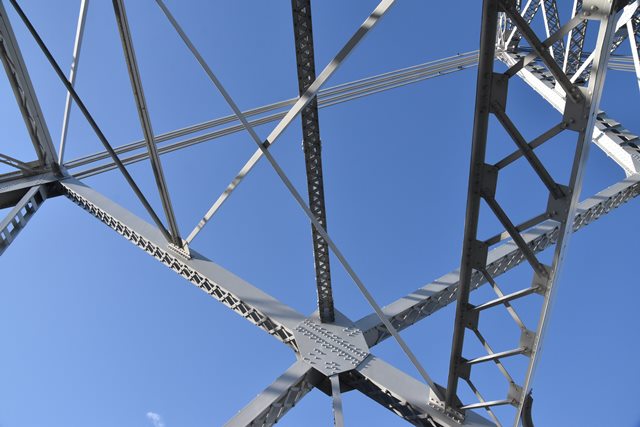
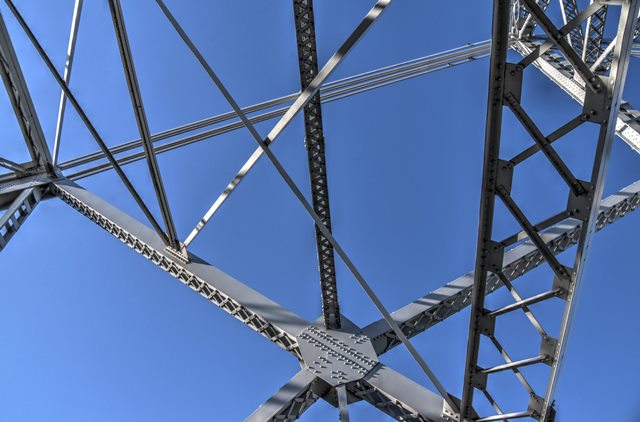
Suspended span truss web.
![]()


Oblique view of suspended span from on bridge.
![]()
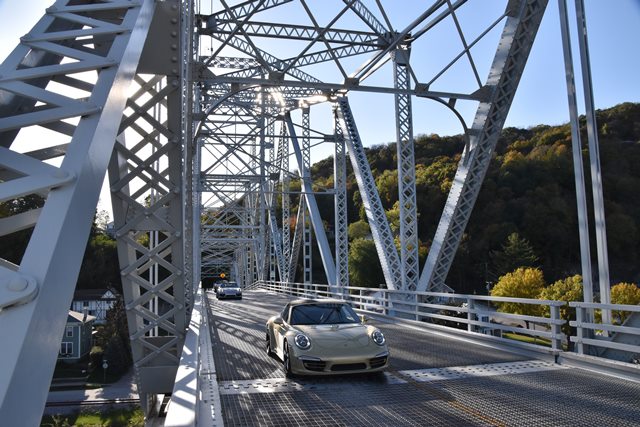
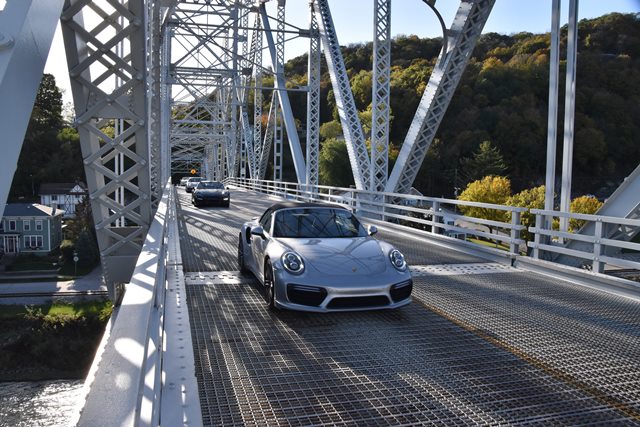


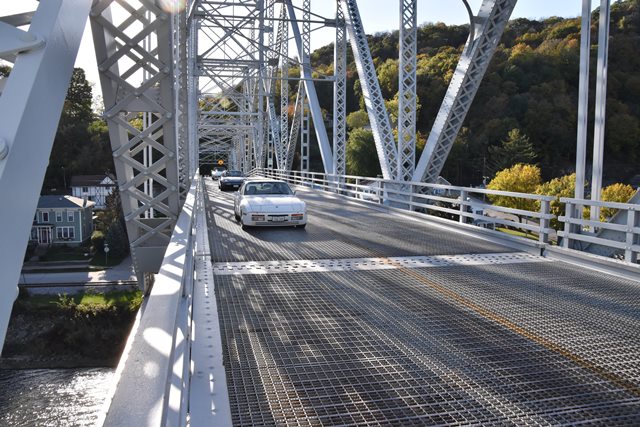

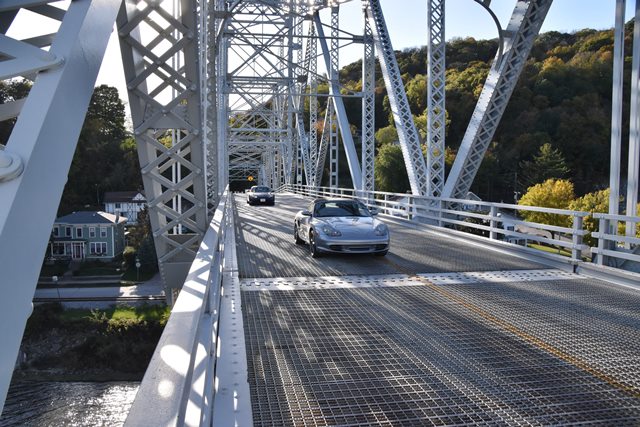
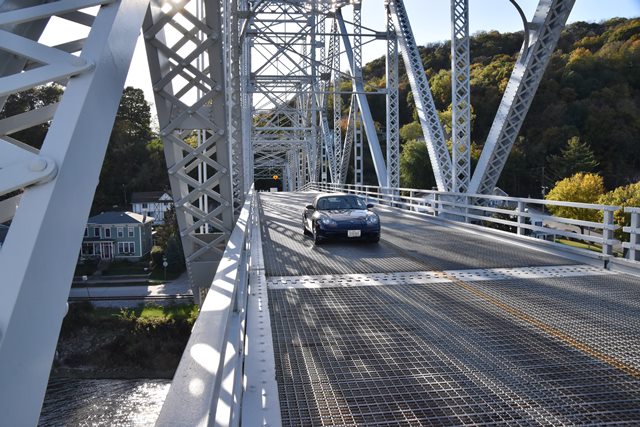
Porsches on bridge.
![]()
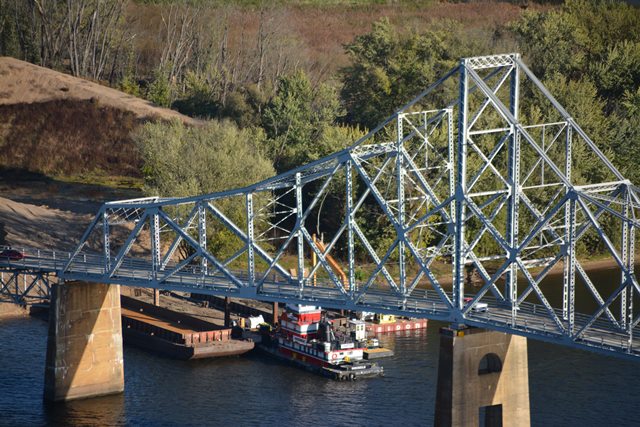
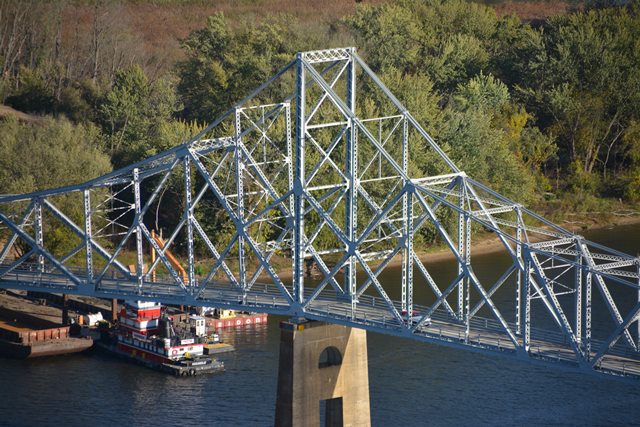
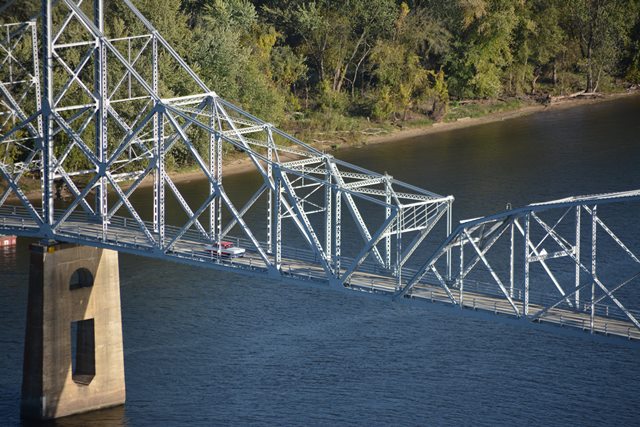
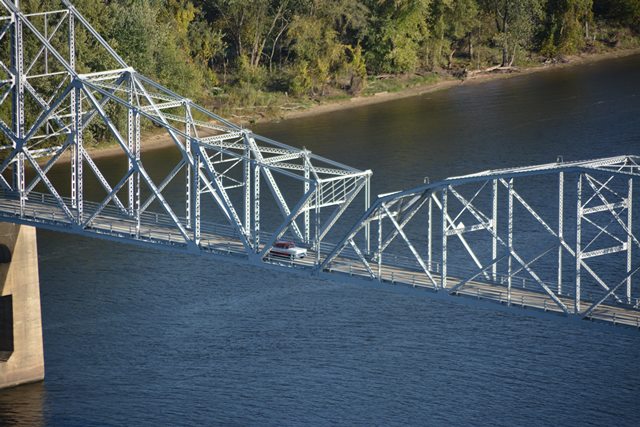


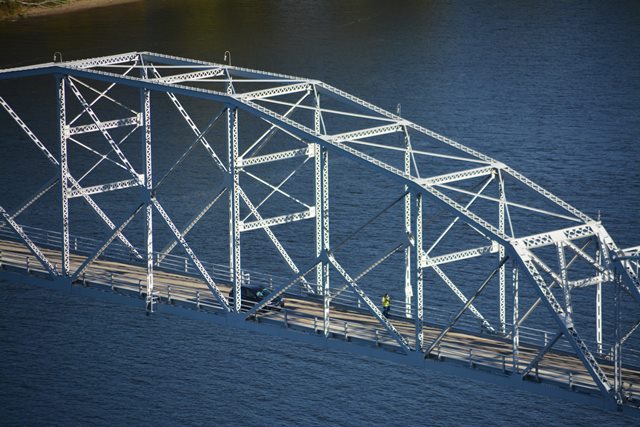


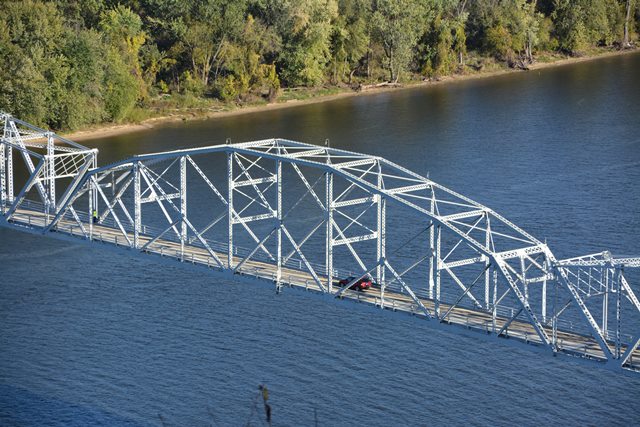


Photo Credit: Todd Wilson
Views of truss web as seen from Mr. Hosmer.
![]()

Photo Credit: Todd Wilson
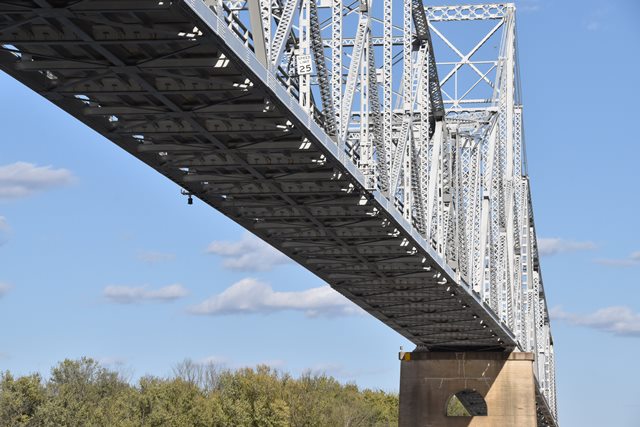
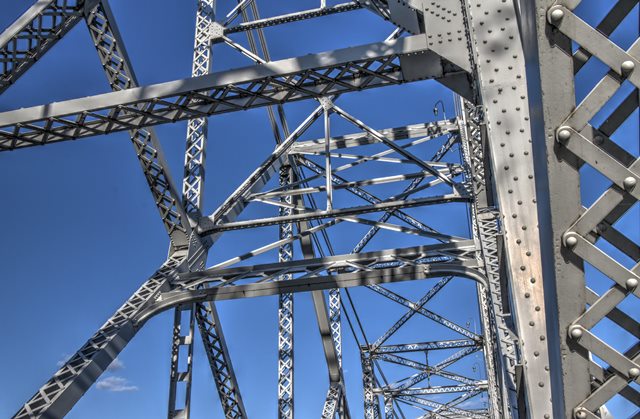
Deck truss spans as seen from Mr. Hosmer.
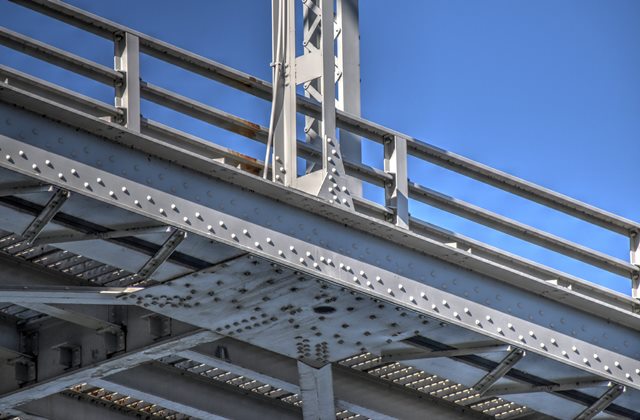
![]()


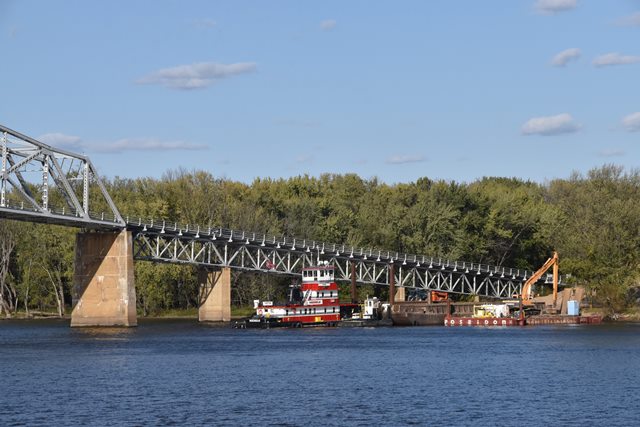

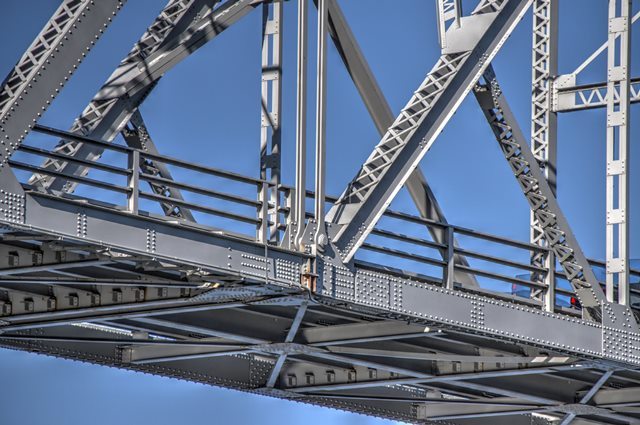
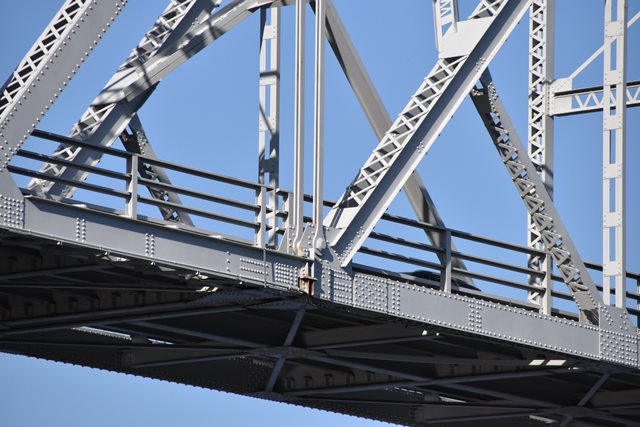
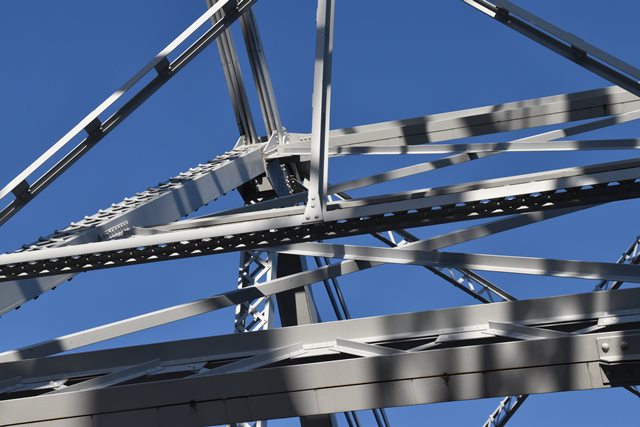
Deck truss spans.
![]()
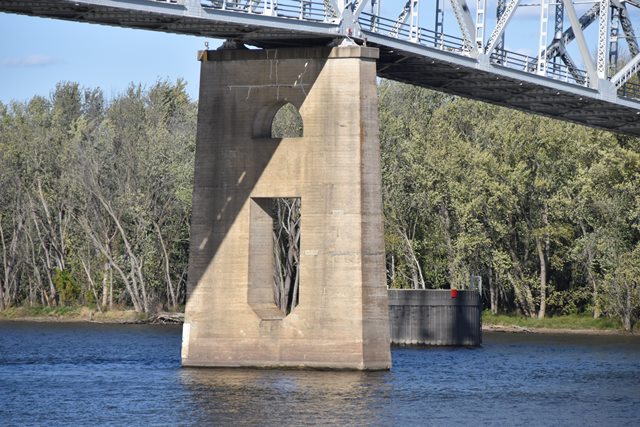
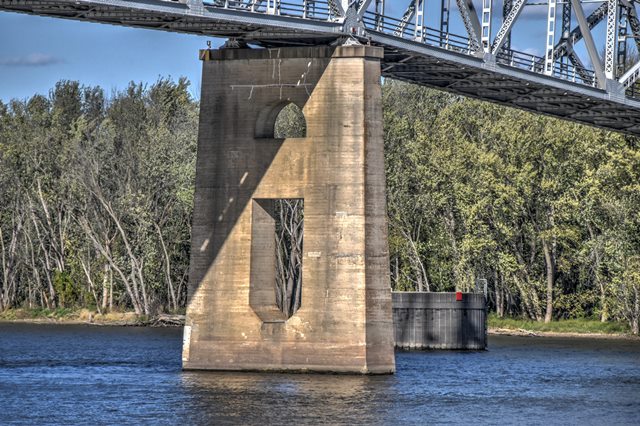
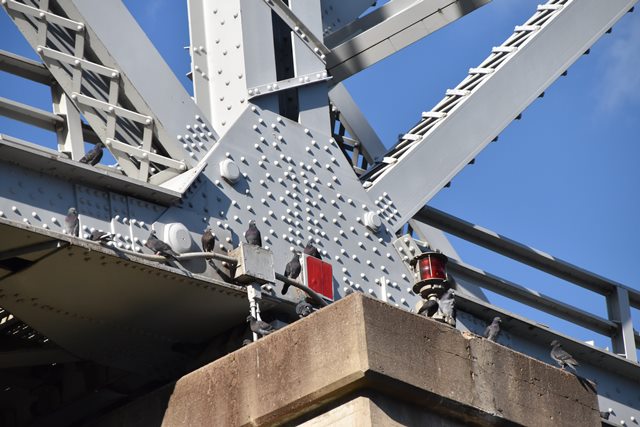
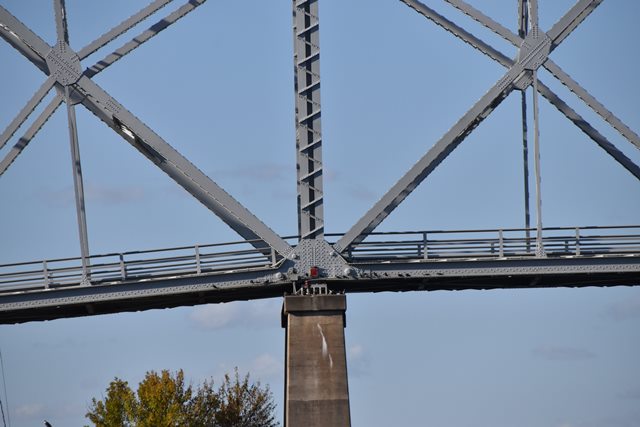
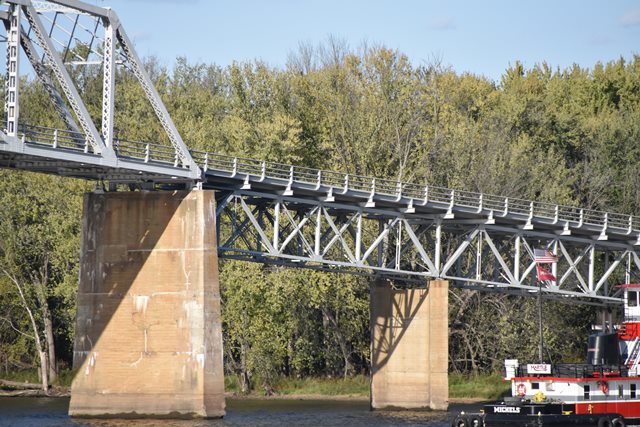
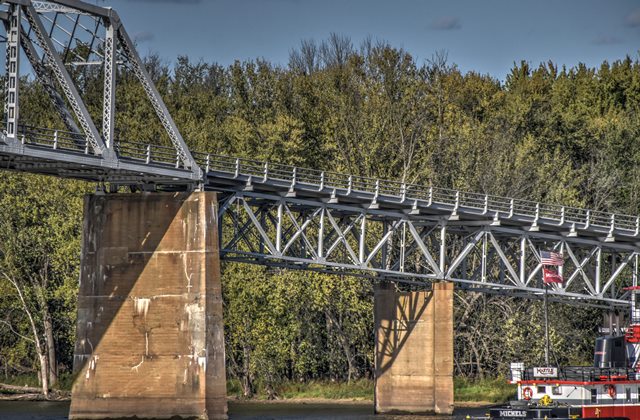
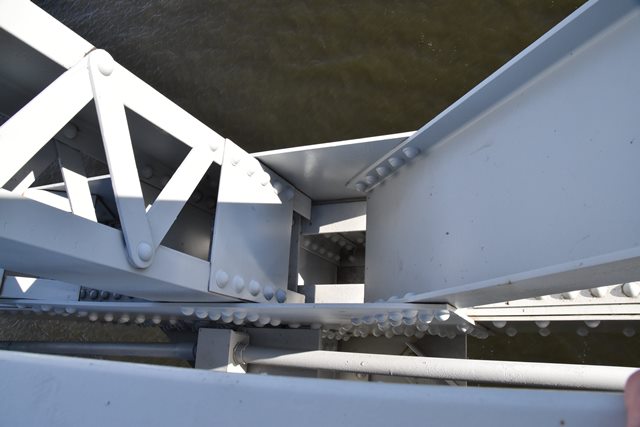
Piers.
![]()
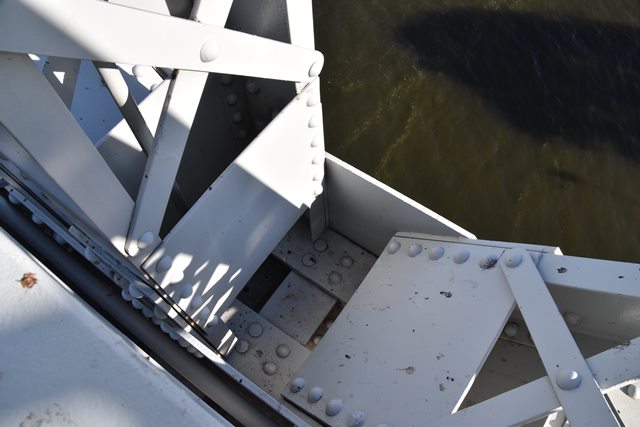
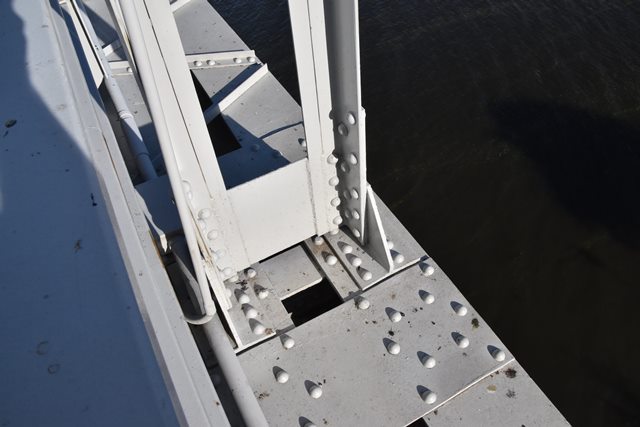
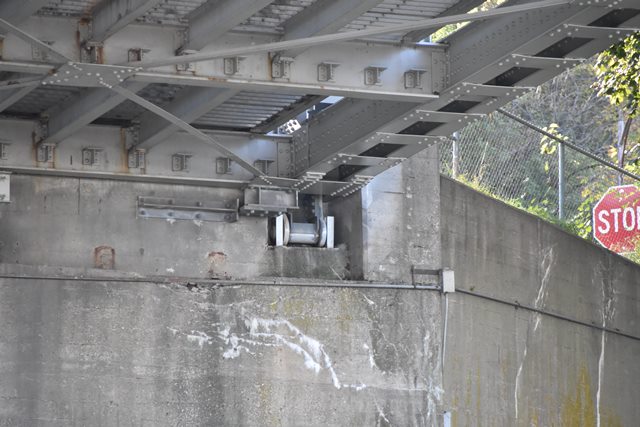
View looking through pier under bridge.
![]()


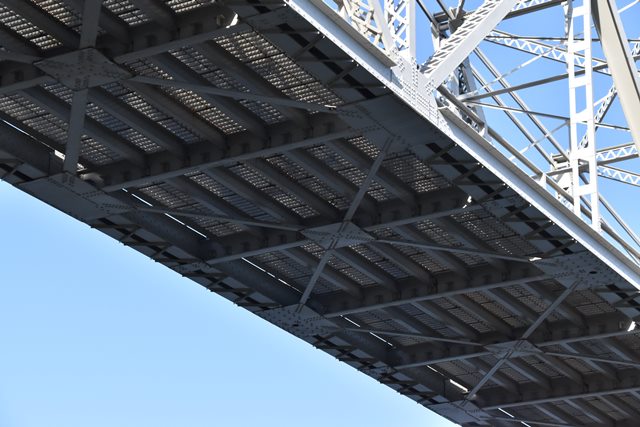

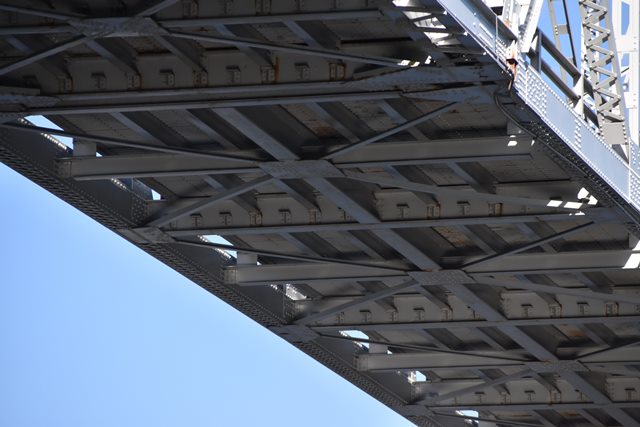


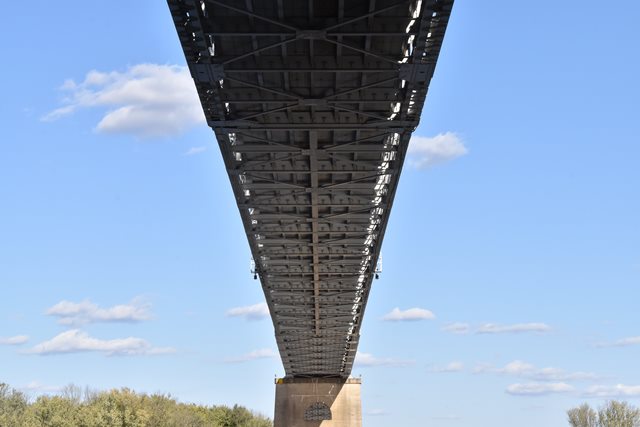
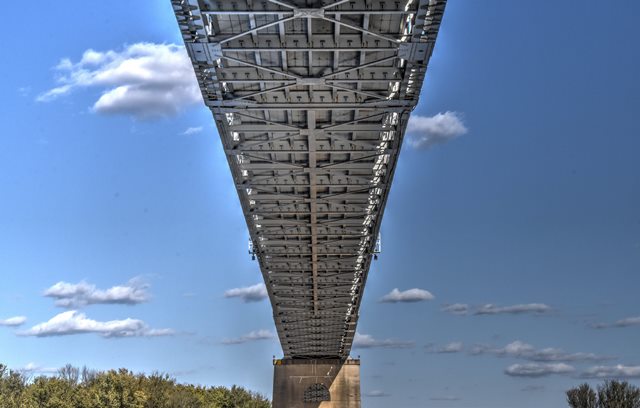
Views under bridge.
![]()

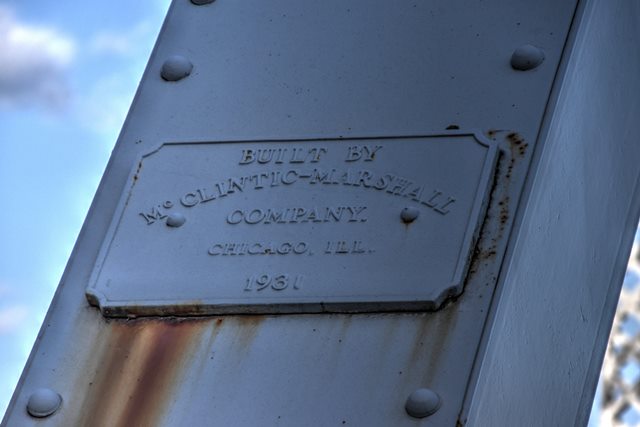
Plaque.
![]()

Interpretive sign.
![]()

Paint information.
![]()


Illinois brand.
![]()


Inland brand.
![]()
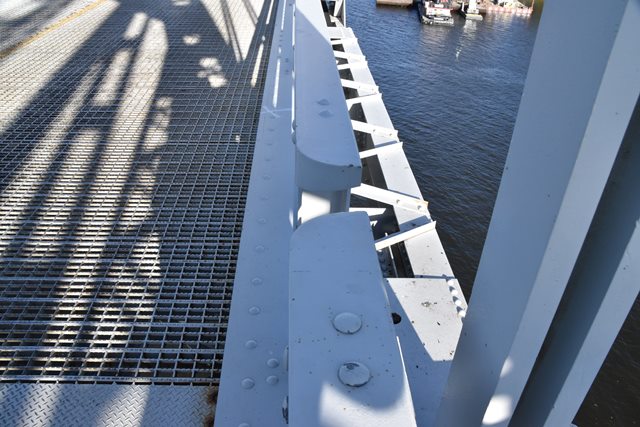
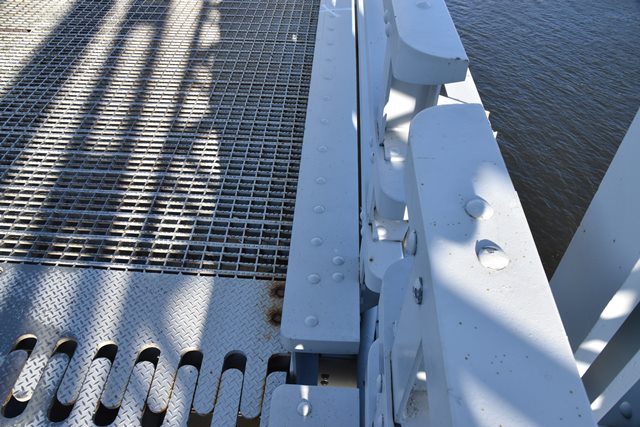
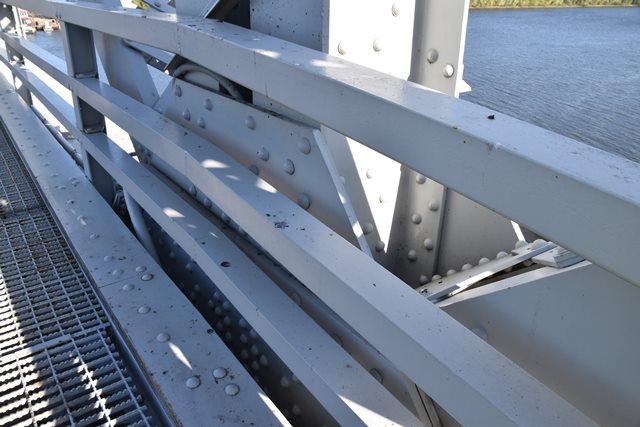
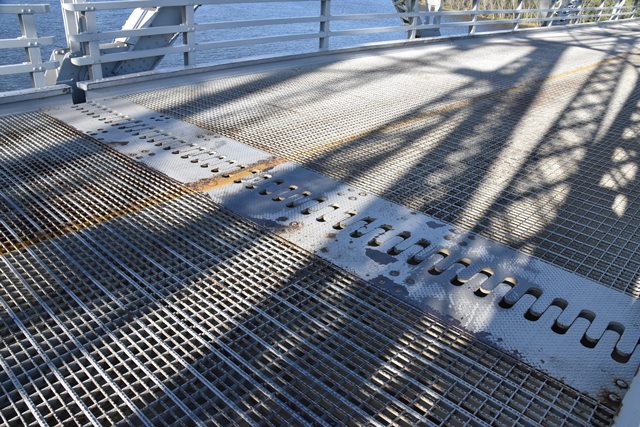
Railing.
![]()

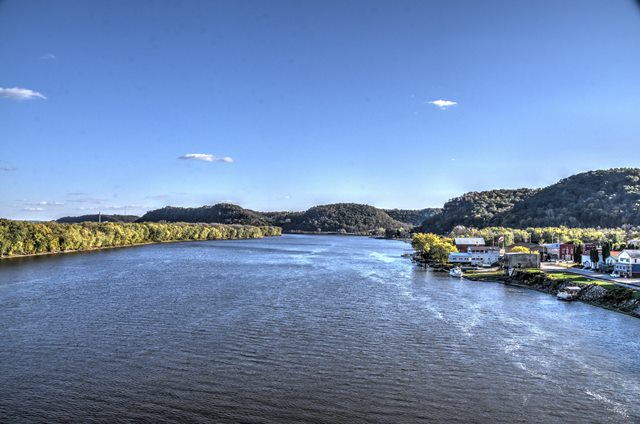
View from bridge.
![]()

City banner.
![]()

Signage at bridge.
![]()
Details Near Anchor Arm
![]()


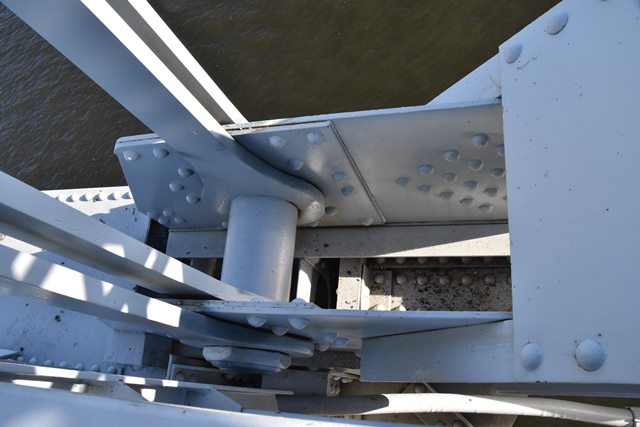
Anchor arm bearing.
![]()


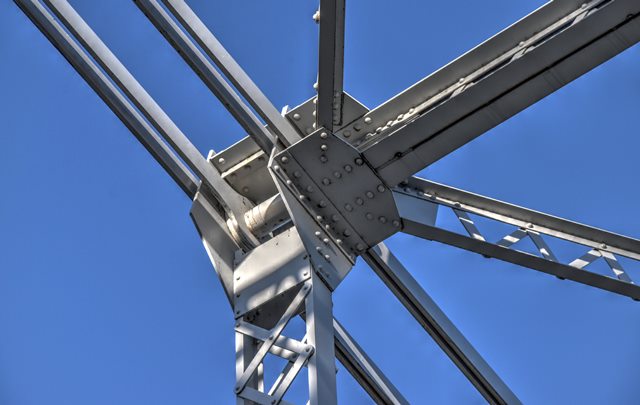
Top chord connections as viewed from beside bridge.
![]()
Top chord connections as viewed from on bridge.
![]()


Bottom chord connections as viewed from beside bridge.
![]()

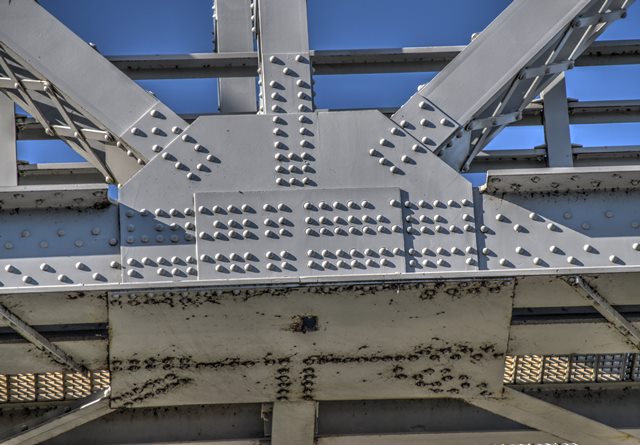
Bottom chord connections as viewed from on bridge.
![]()

Intermediate connections as viewed from on bridge.
![]()


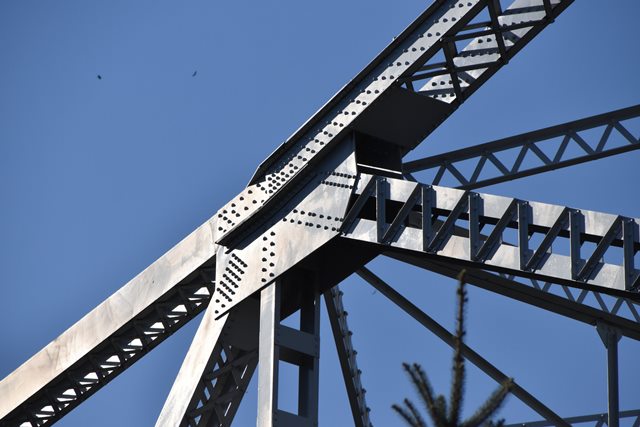
Portal bracing.
![]()
Top chord.
![]()
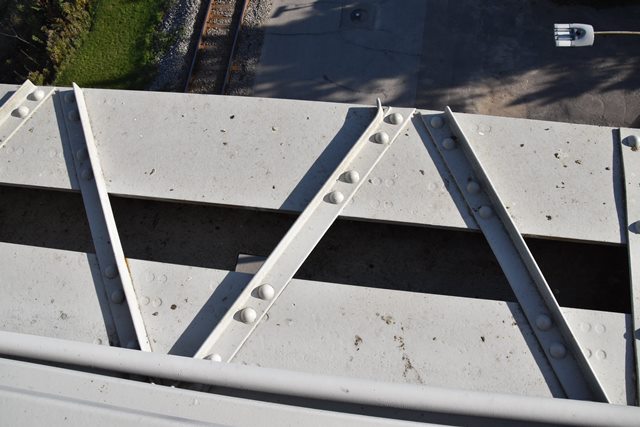


Bottom chord.
![]()


End post.
![]()
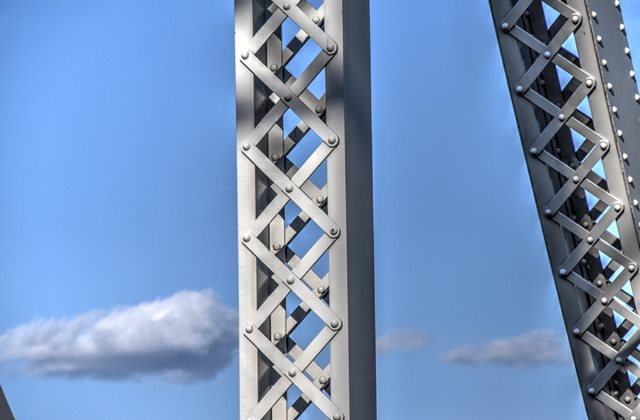
Diagonals.
![]()


Verticals.
![]()
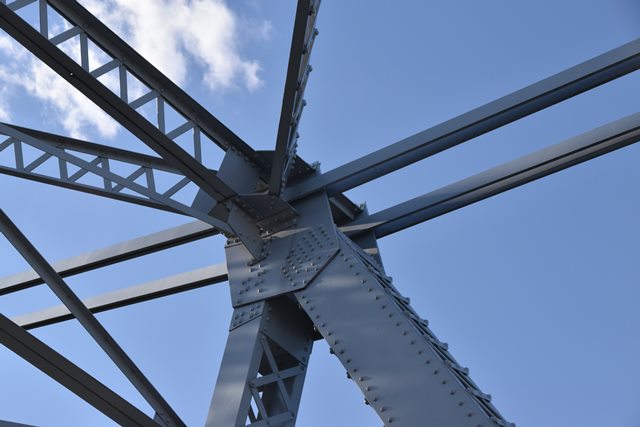
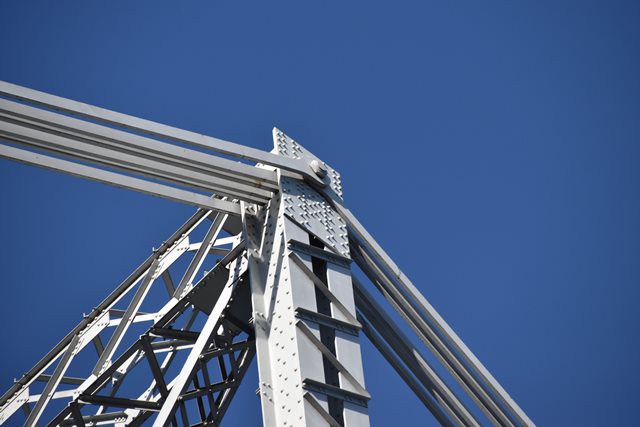
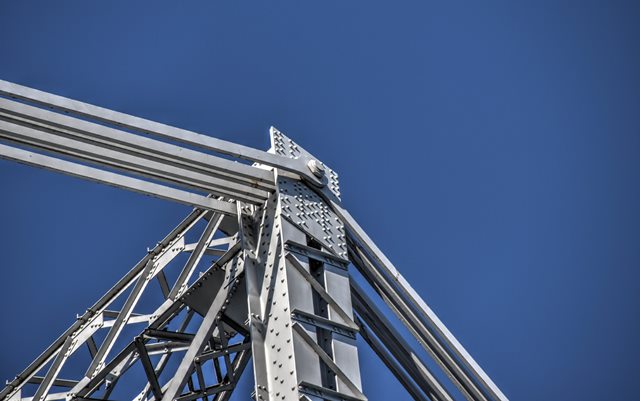
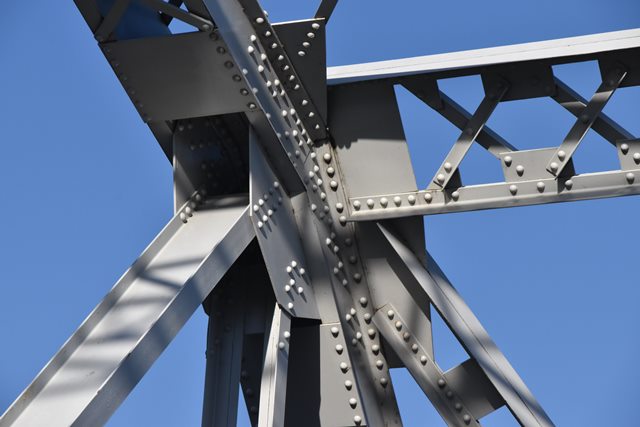
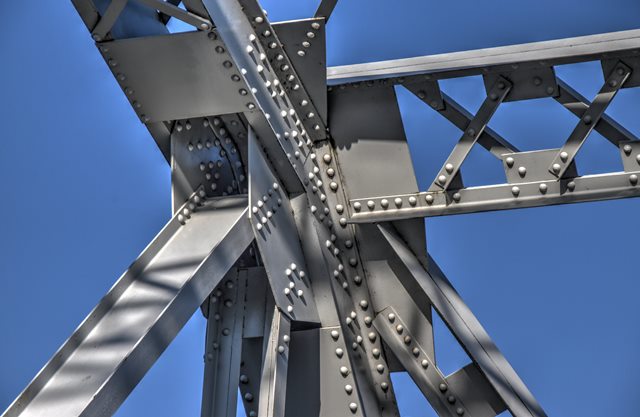
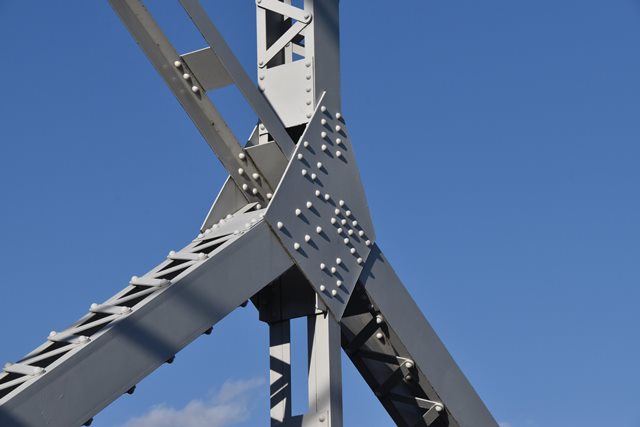
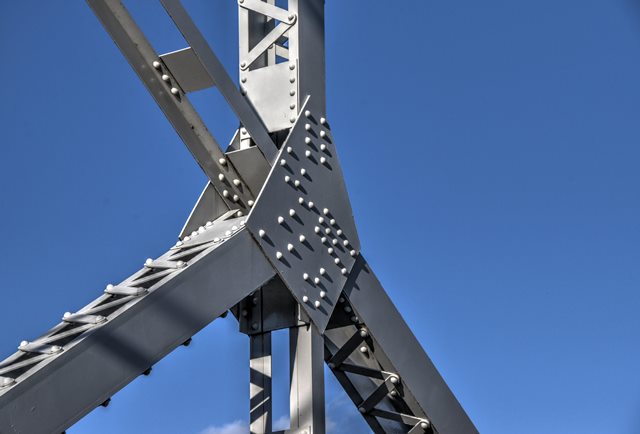
Details Near Main Post
![]()
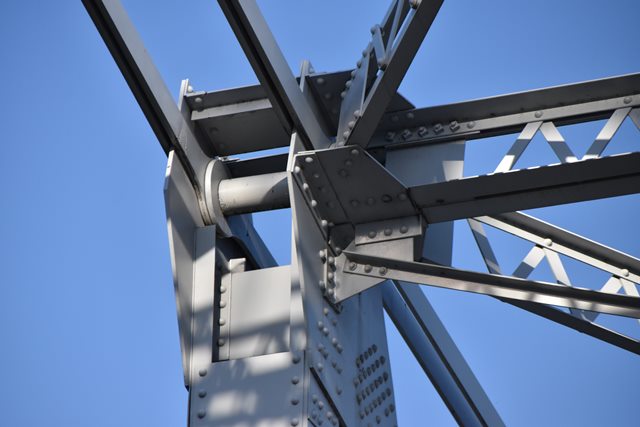
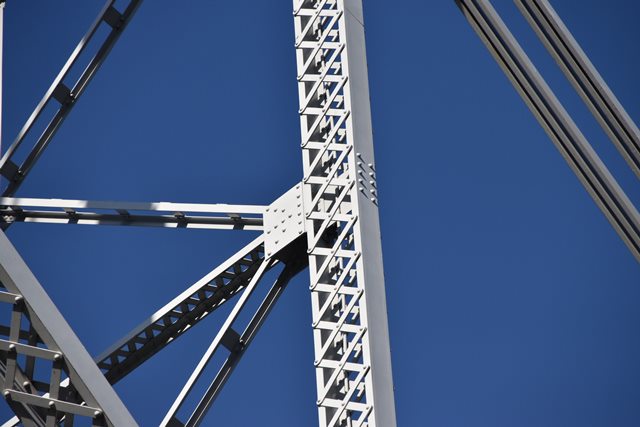
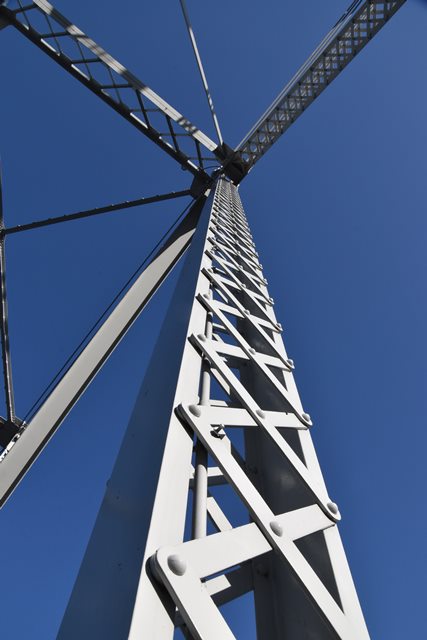
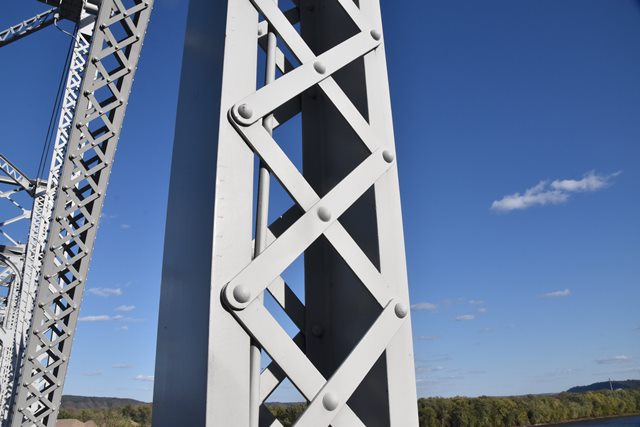
Main post.
![]()


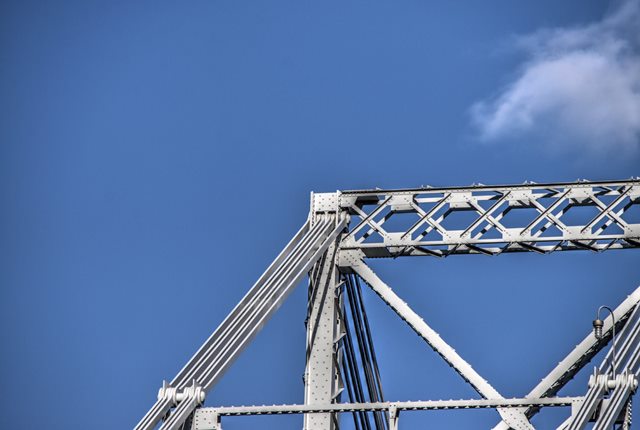
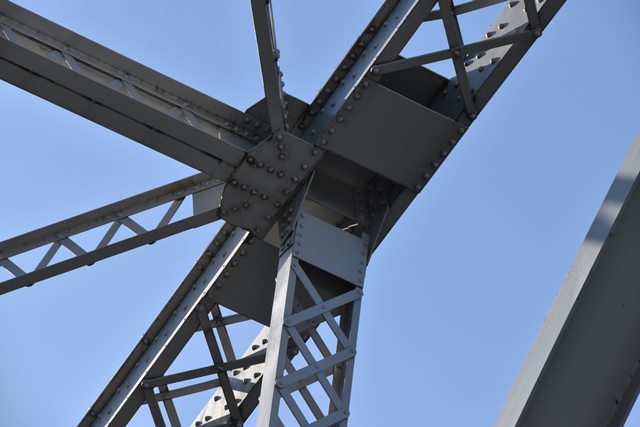
Bracing at top of main posts.
![]()


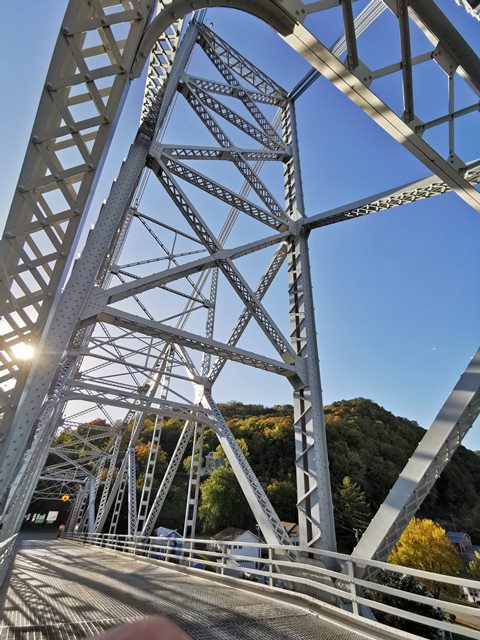

Main post sway bracing.
![]()
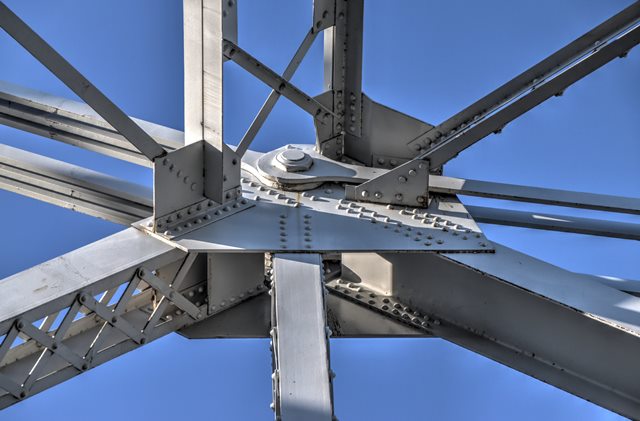
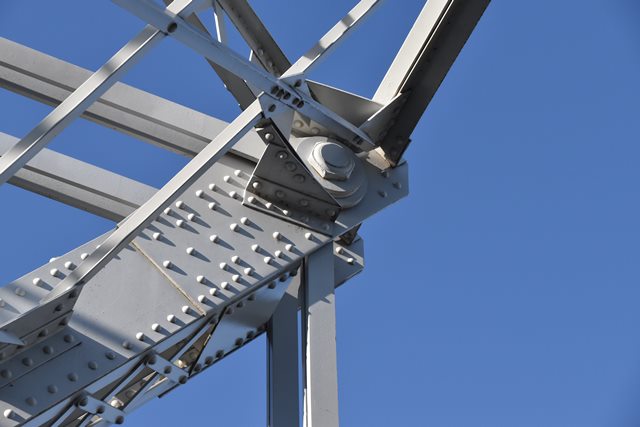
Top chord connection as viewed from beside bridge at main post.
![]()
Bottom chord connection as viewed from beside bridge at main post.
![]()


Top chord connection as viewed from on bridge at main post.
![]()


Bottom chord connection as viewed from on bridge at main post.
![]()

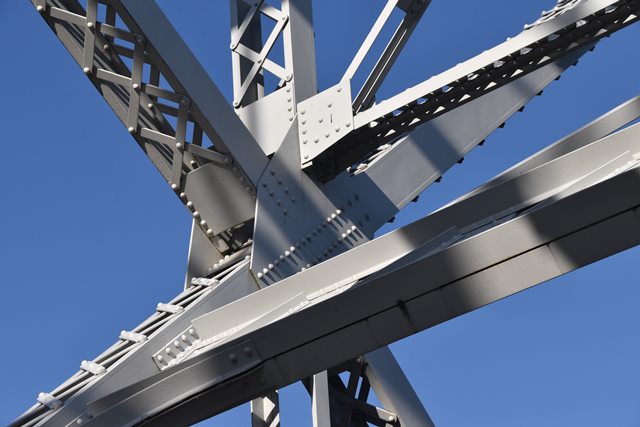


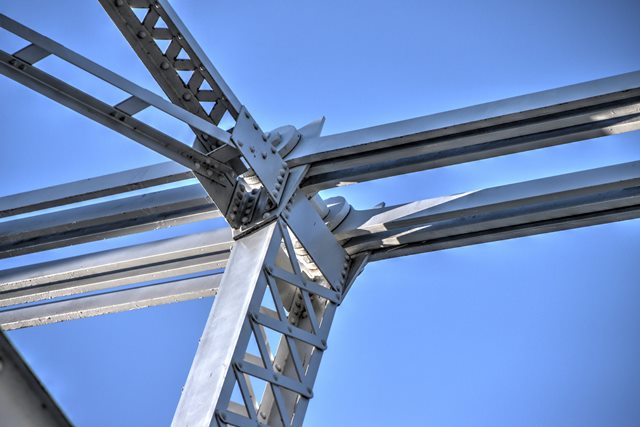
Diagonal next to main post and associated connections.
![]()


Sway bracing adjacent to main post.
![]()
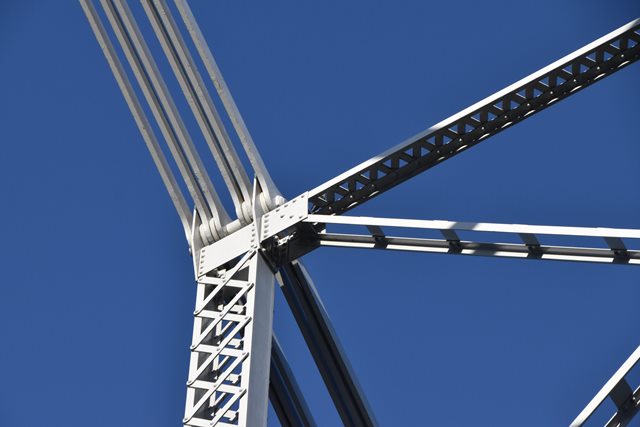
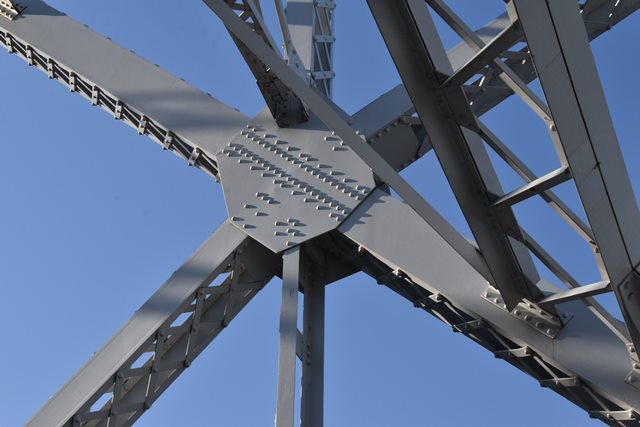
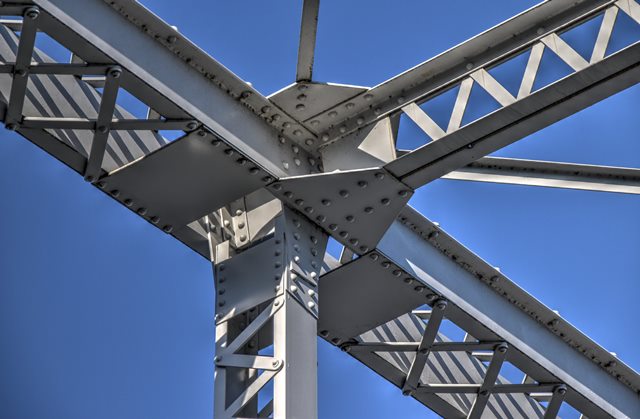
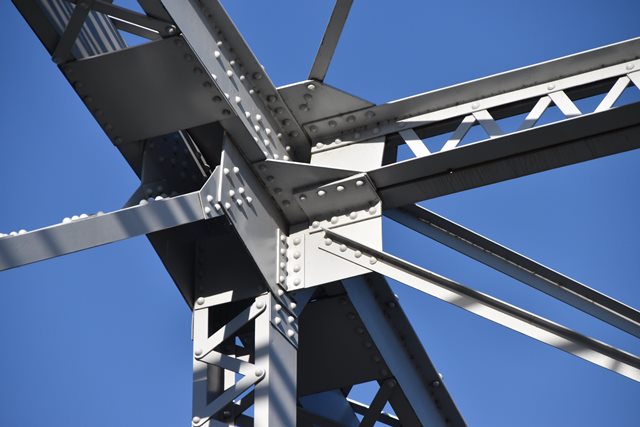
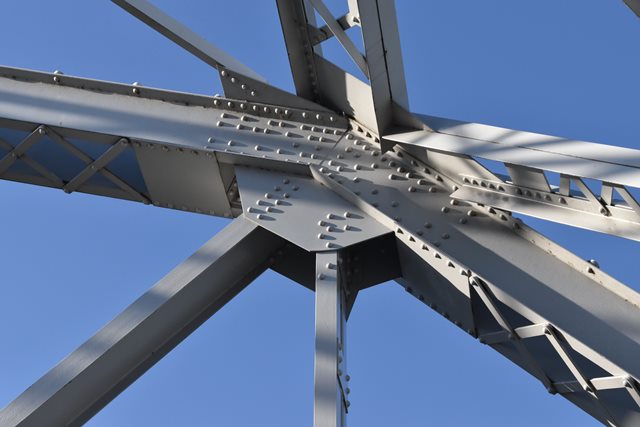
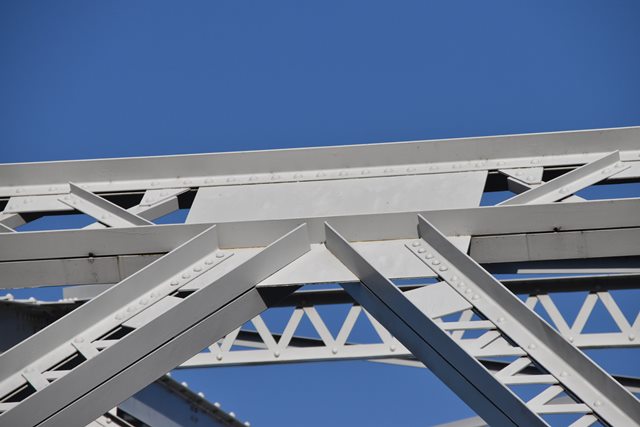
Details Near Cantilever Arm
![]()


Top chord connections as viewed from beside bridge.
![]()
Top chord connections as viewed from on bridge.
![]()


Bottom chord connections as viewed from beside bridge.
![]()
Bottom chord connections as viewed from on bridge.
![]()

Intermediate connections as viewed from beside bridge.
![]()


Intermediate connections as viewed from on bridge.
![]()

Top chord.
![]()

Bottom chord.
![]()
Diagonals.
![]()


Verticals.
![]()
Sway bracing.
![]()


Upper lateral bracing.
![]()

Bracing at end of cantilever arm.
![]()
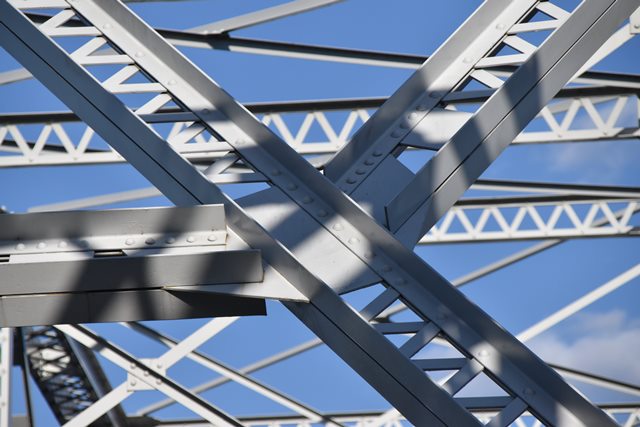
Details Near of Suspended Span and Suspended Span Hangers
![]()


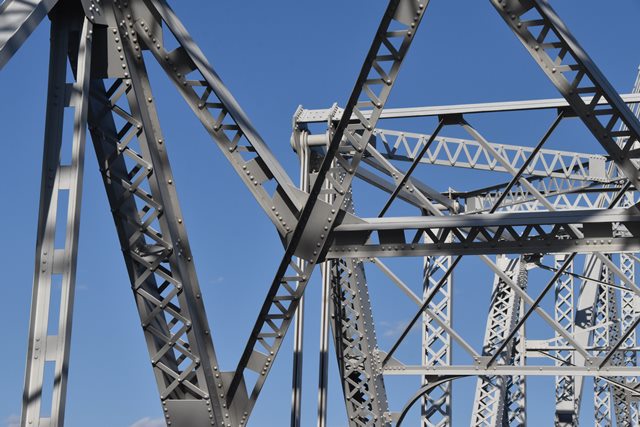
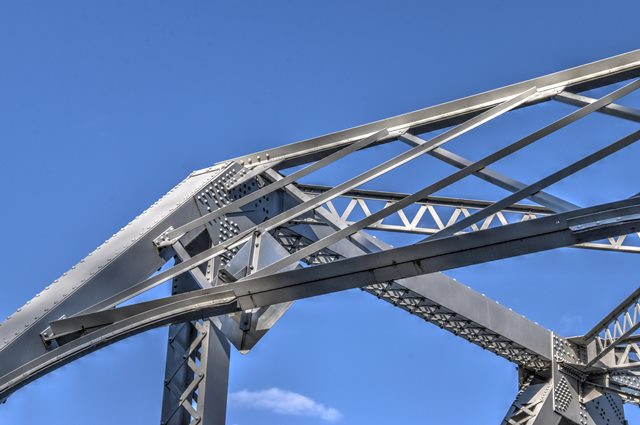
View beside bridge showing transition from cantilever arm to suspended span.
![]()


View on bridge showing transition from cantilever arm to suspended span.
![]()


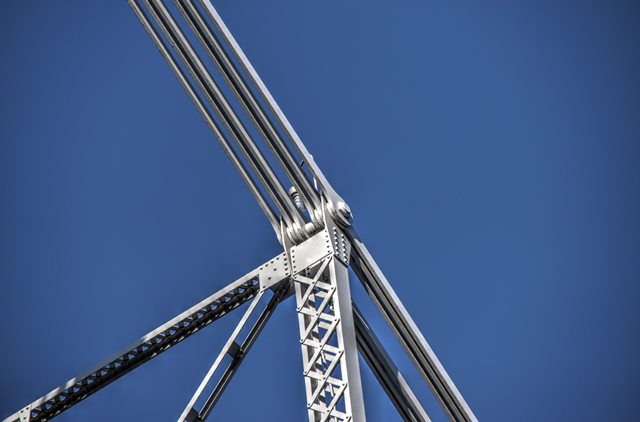
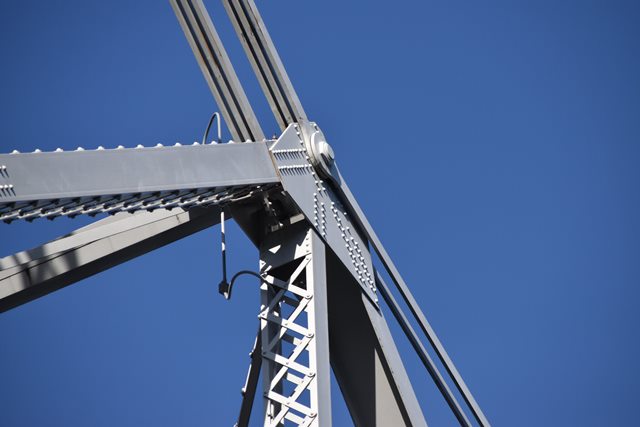
Top chord connection as viewed from beside bridge showing hanger connection to cantilever arm.
![]()


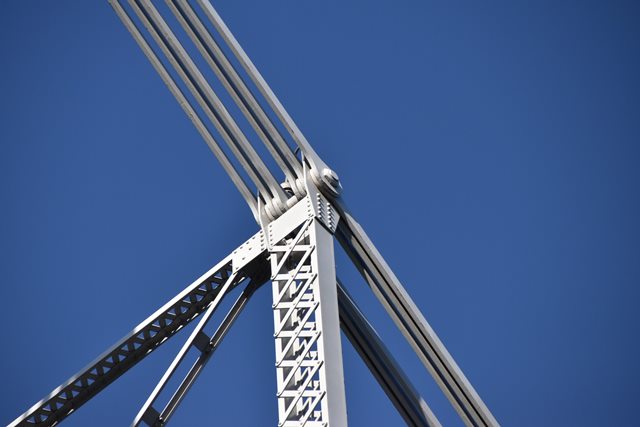
Top chord connection as viewed from on bridge showing hanger connection to cantilever arm.
![]()
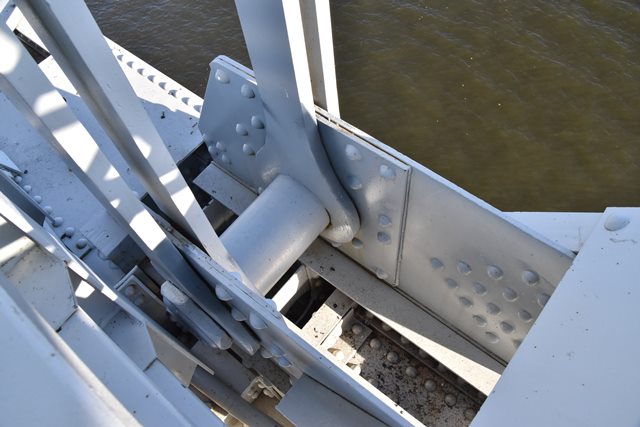
Bottom chord connection as viewed from beside bridge showing hanger connection to suspended span.
![]()
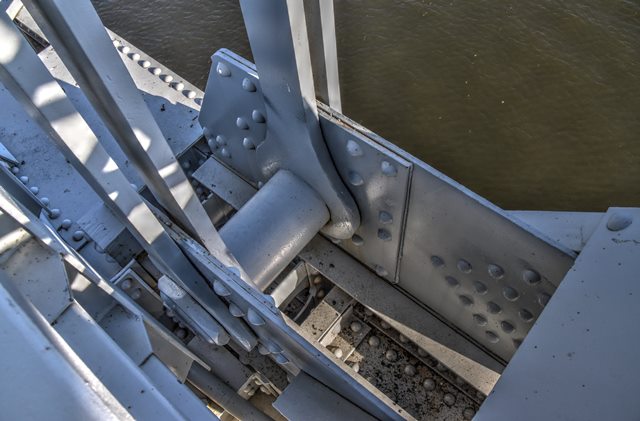
Bottom chord connection as viewed from on bridge showing hanger connection to suspended span.
![]()
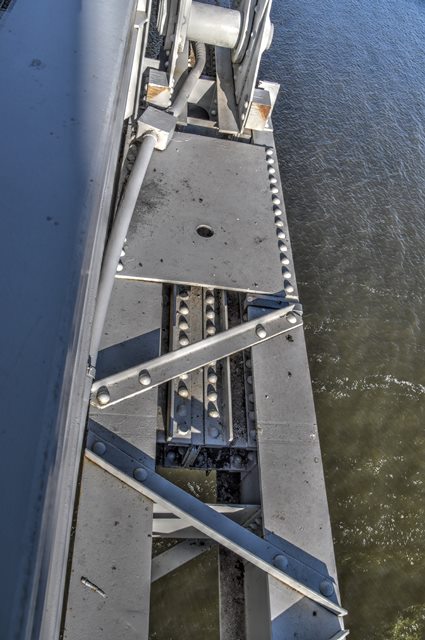
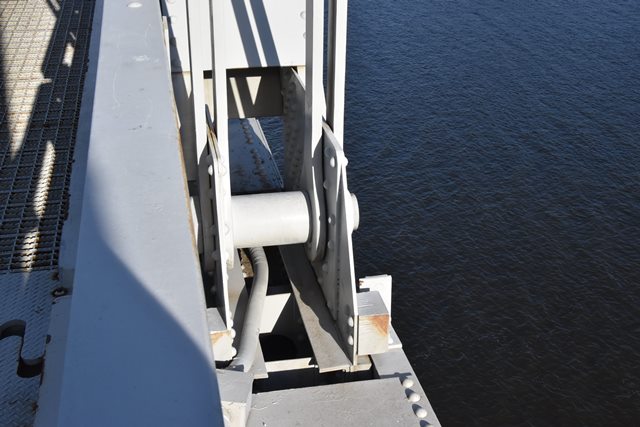
Hanger extending from cantilever arm.
![]()
Expansion joint.
![]()


Top chord connections as viewed from beside bridge.
![]()


Top chord connections as viewed from on bridge.
![]()


Bottom chord connections as viewed from beside bridge.
![]()


Bottom chord connections as viewed from on bridge.
![]()


Intermediate connections as viewed from on bridge.
![]()
Portal bracing for suspended span.
![]()


Details of portal bracing for suspended span.
![]()


Sway bracing.
![]()

Upper lateral bracing.
![]()

Top chord.
![]()


End post.
![]()


Bottom chord.
![]()


Diagonals.
![]()
Verticals.
![]()


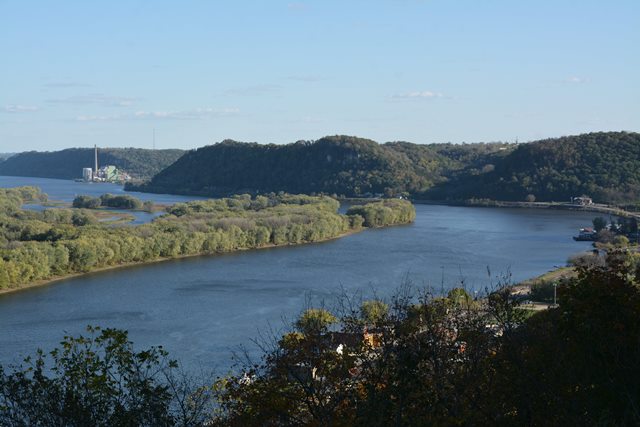


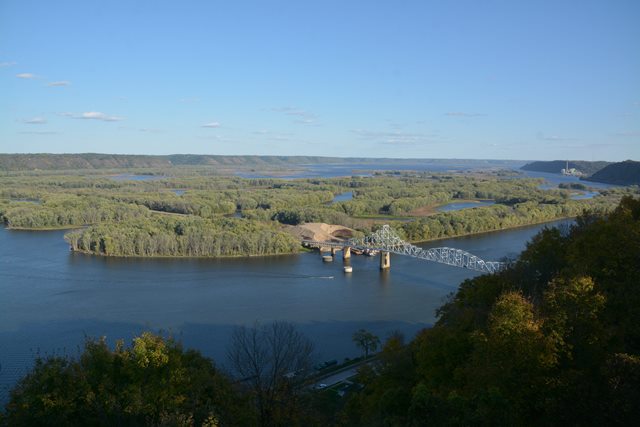
Photo Credit: Todd Wilson
Scenery at bridge as seen from Mt. Hosmer.
![]()
![]()

![]()