
Uncredited photos on this page taken by: Dave Michaels. Unless stated in a caption, all photos are Copyright with All Rights Reserved. Learn about reuse of our photos.
![]()


Original / Full Size
Views of the main spans.
![]()

Original / Full Size
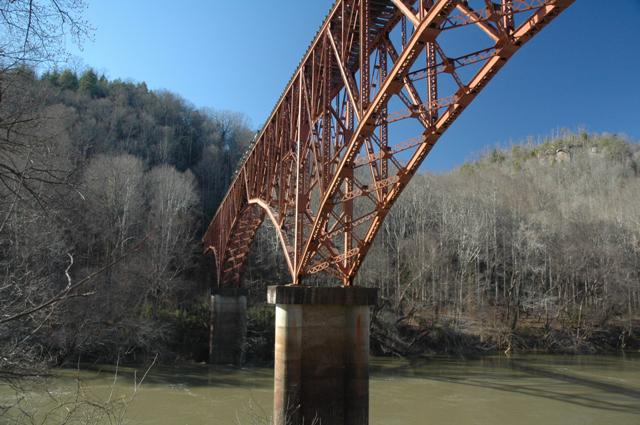
View of the end of the main span.
![]()

Original / Full Size
True side views are hard with this bridge, but the bridge left a shadow showing the unusual design at mid-span, that highlights the cantilever design of the bridge. No support is needed at the center of the bridge.
![]()

Historical photo of bridge from when it was still used by trains.
![]()


Tipple at Mine 18 at Blue Heron.
![]()

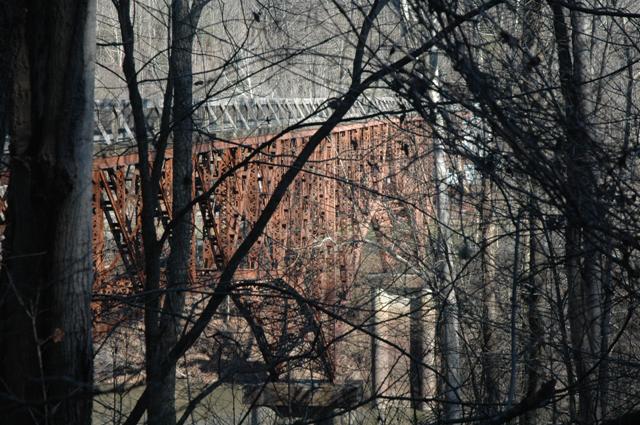
Zoom on the bridge.
![]()

View from bridge.
![]()

View of steel bent support.
![]()


Top chord connections.
![]()

Views beside bridge.
![]()

View under bridge.
![]()


Views of the end of the main span.
![]()


Views of main span.
![]()

True side views are hard with this bridge, but the bridge left a shadow showing the unusual design at mid-span, that highlights the cantilever design of the bridge. No support is needed at the center of the bridge.
![]()
![]()
| Back |
| Home |
| Top |

![]()