
Uncredited photos on this page taken by: Nathan Holth. Unless stated in a caption, all photos are Copyright with All Rights Reserved. Learn about reuse of our photos.
![]()


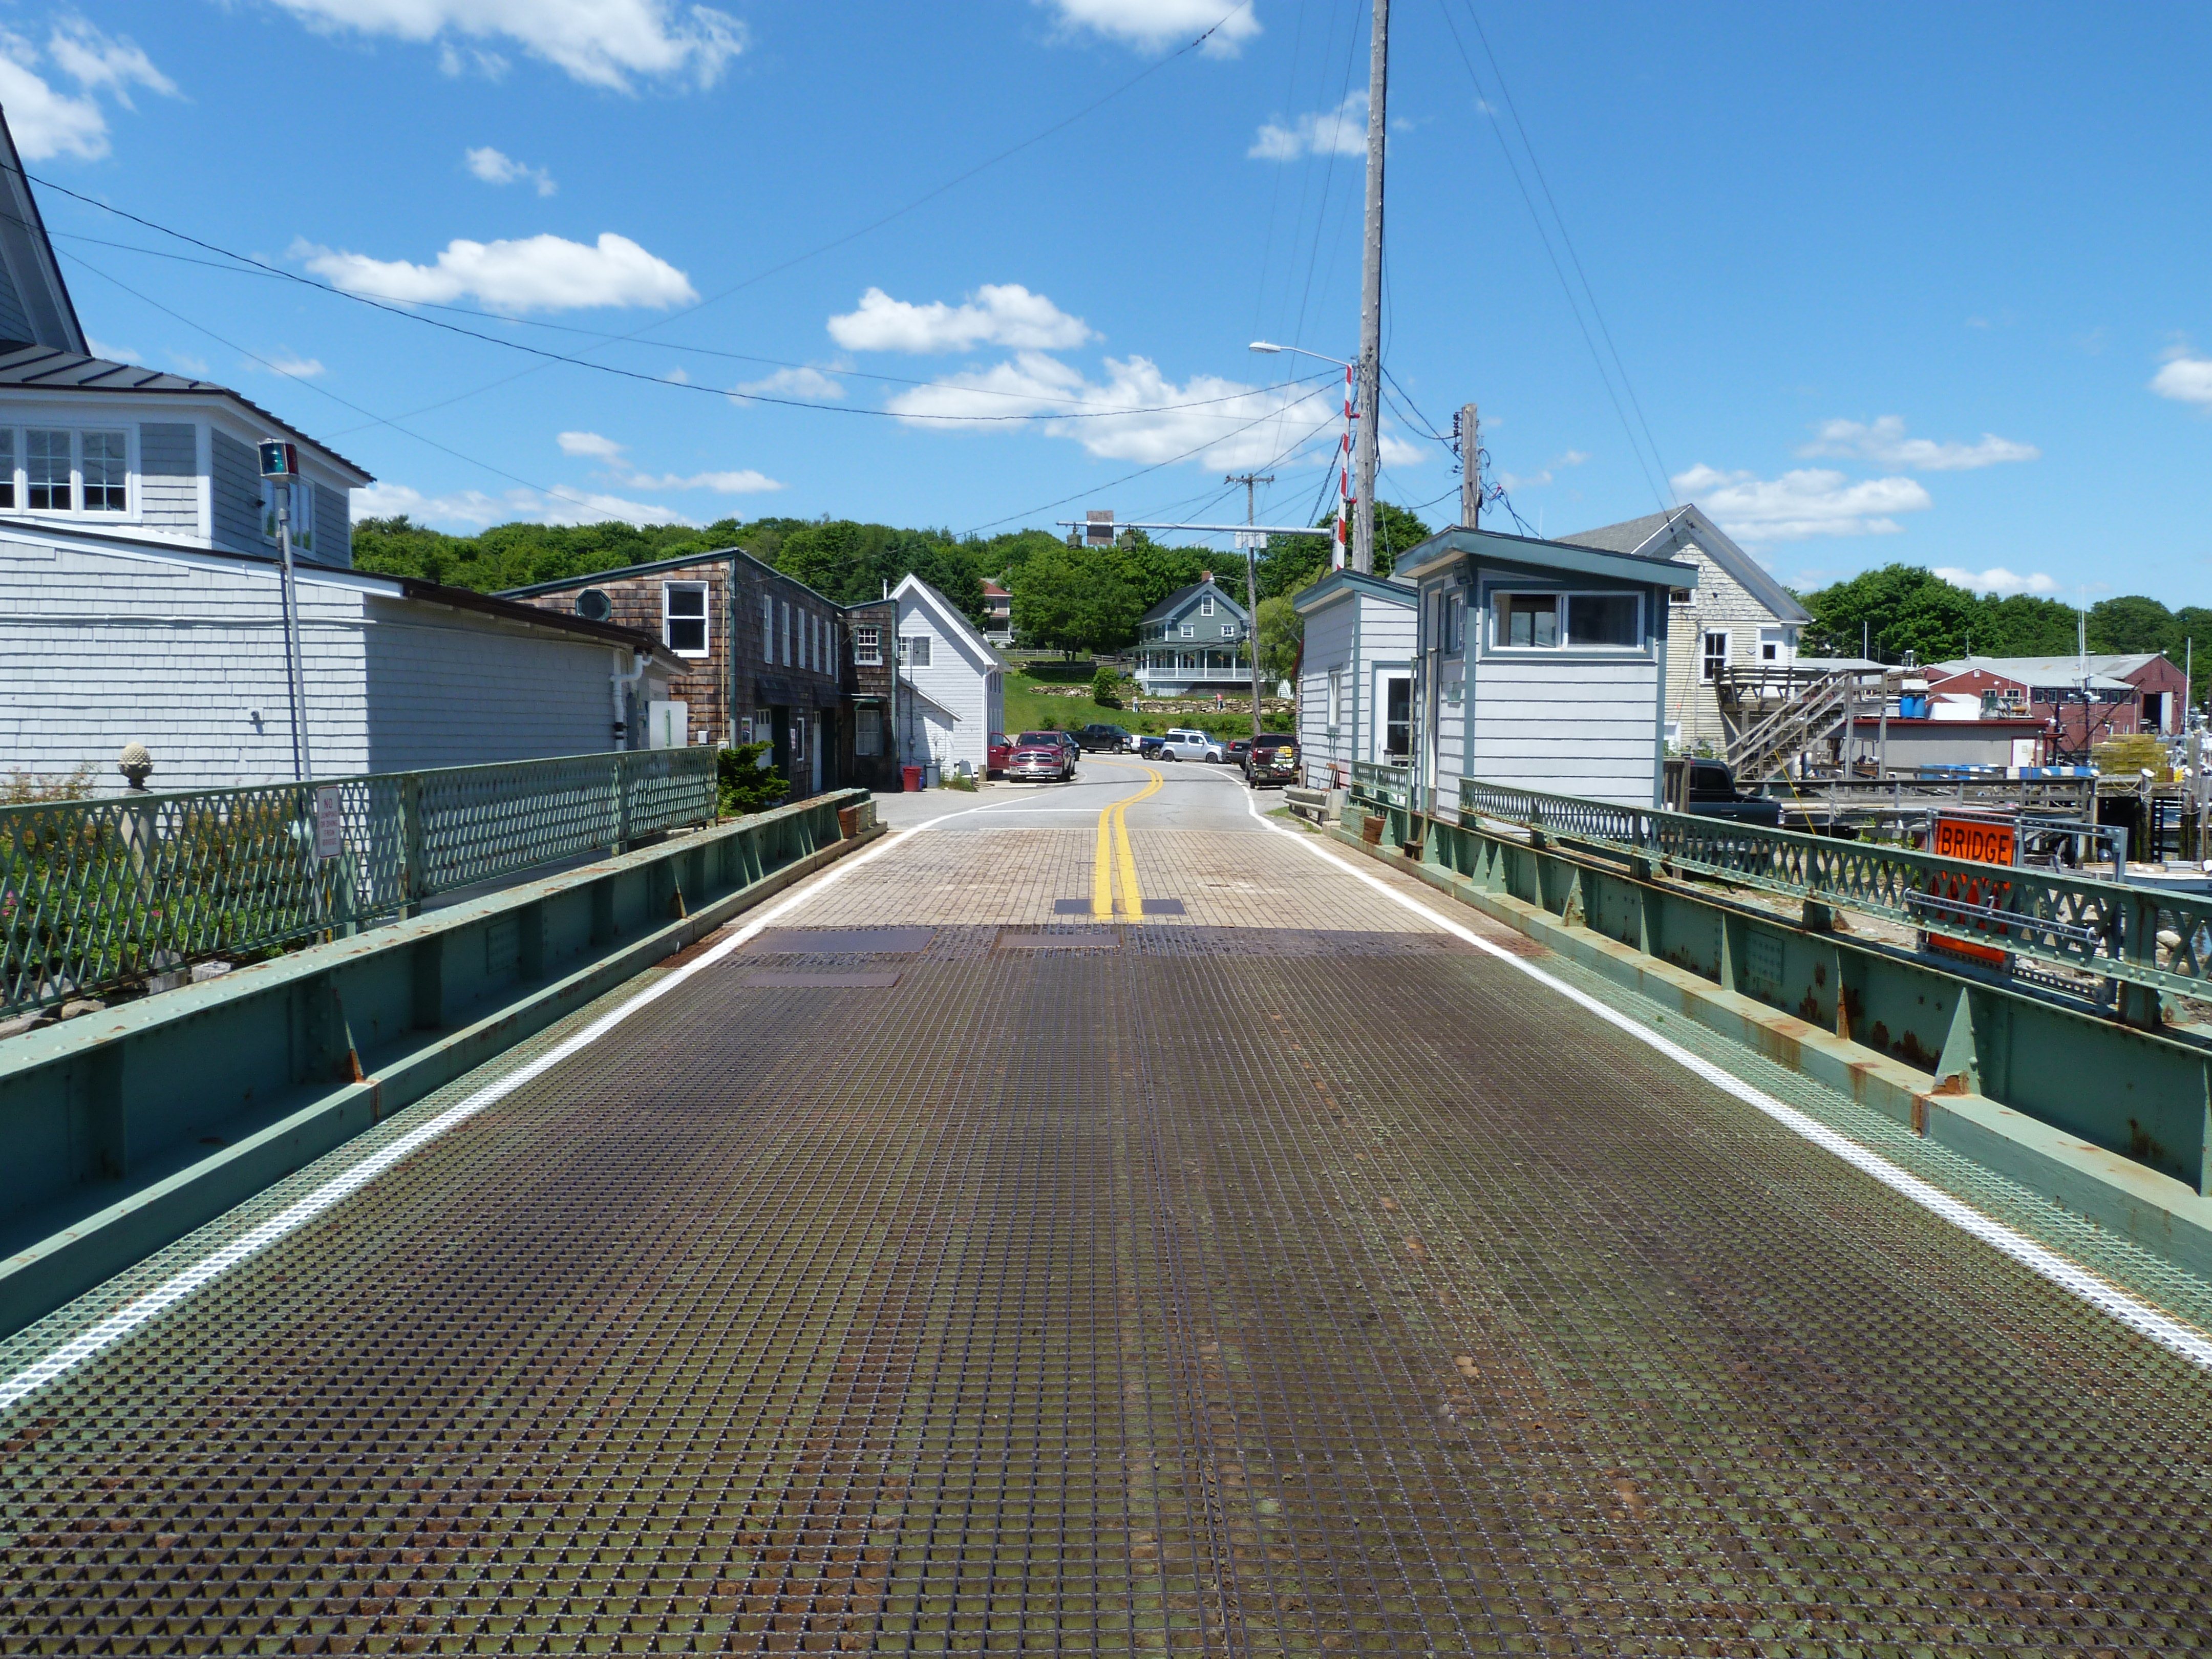
Portal views facing north.
![]()

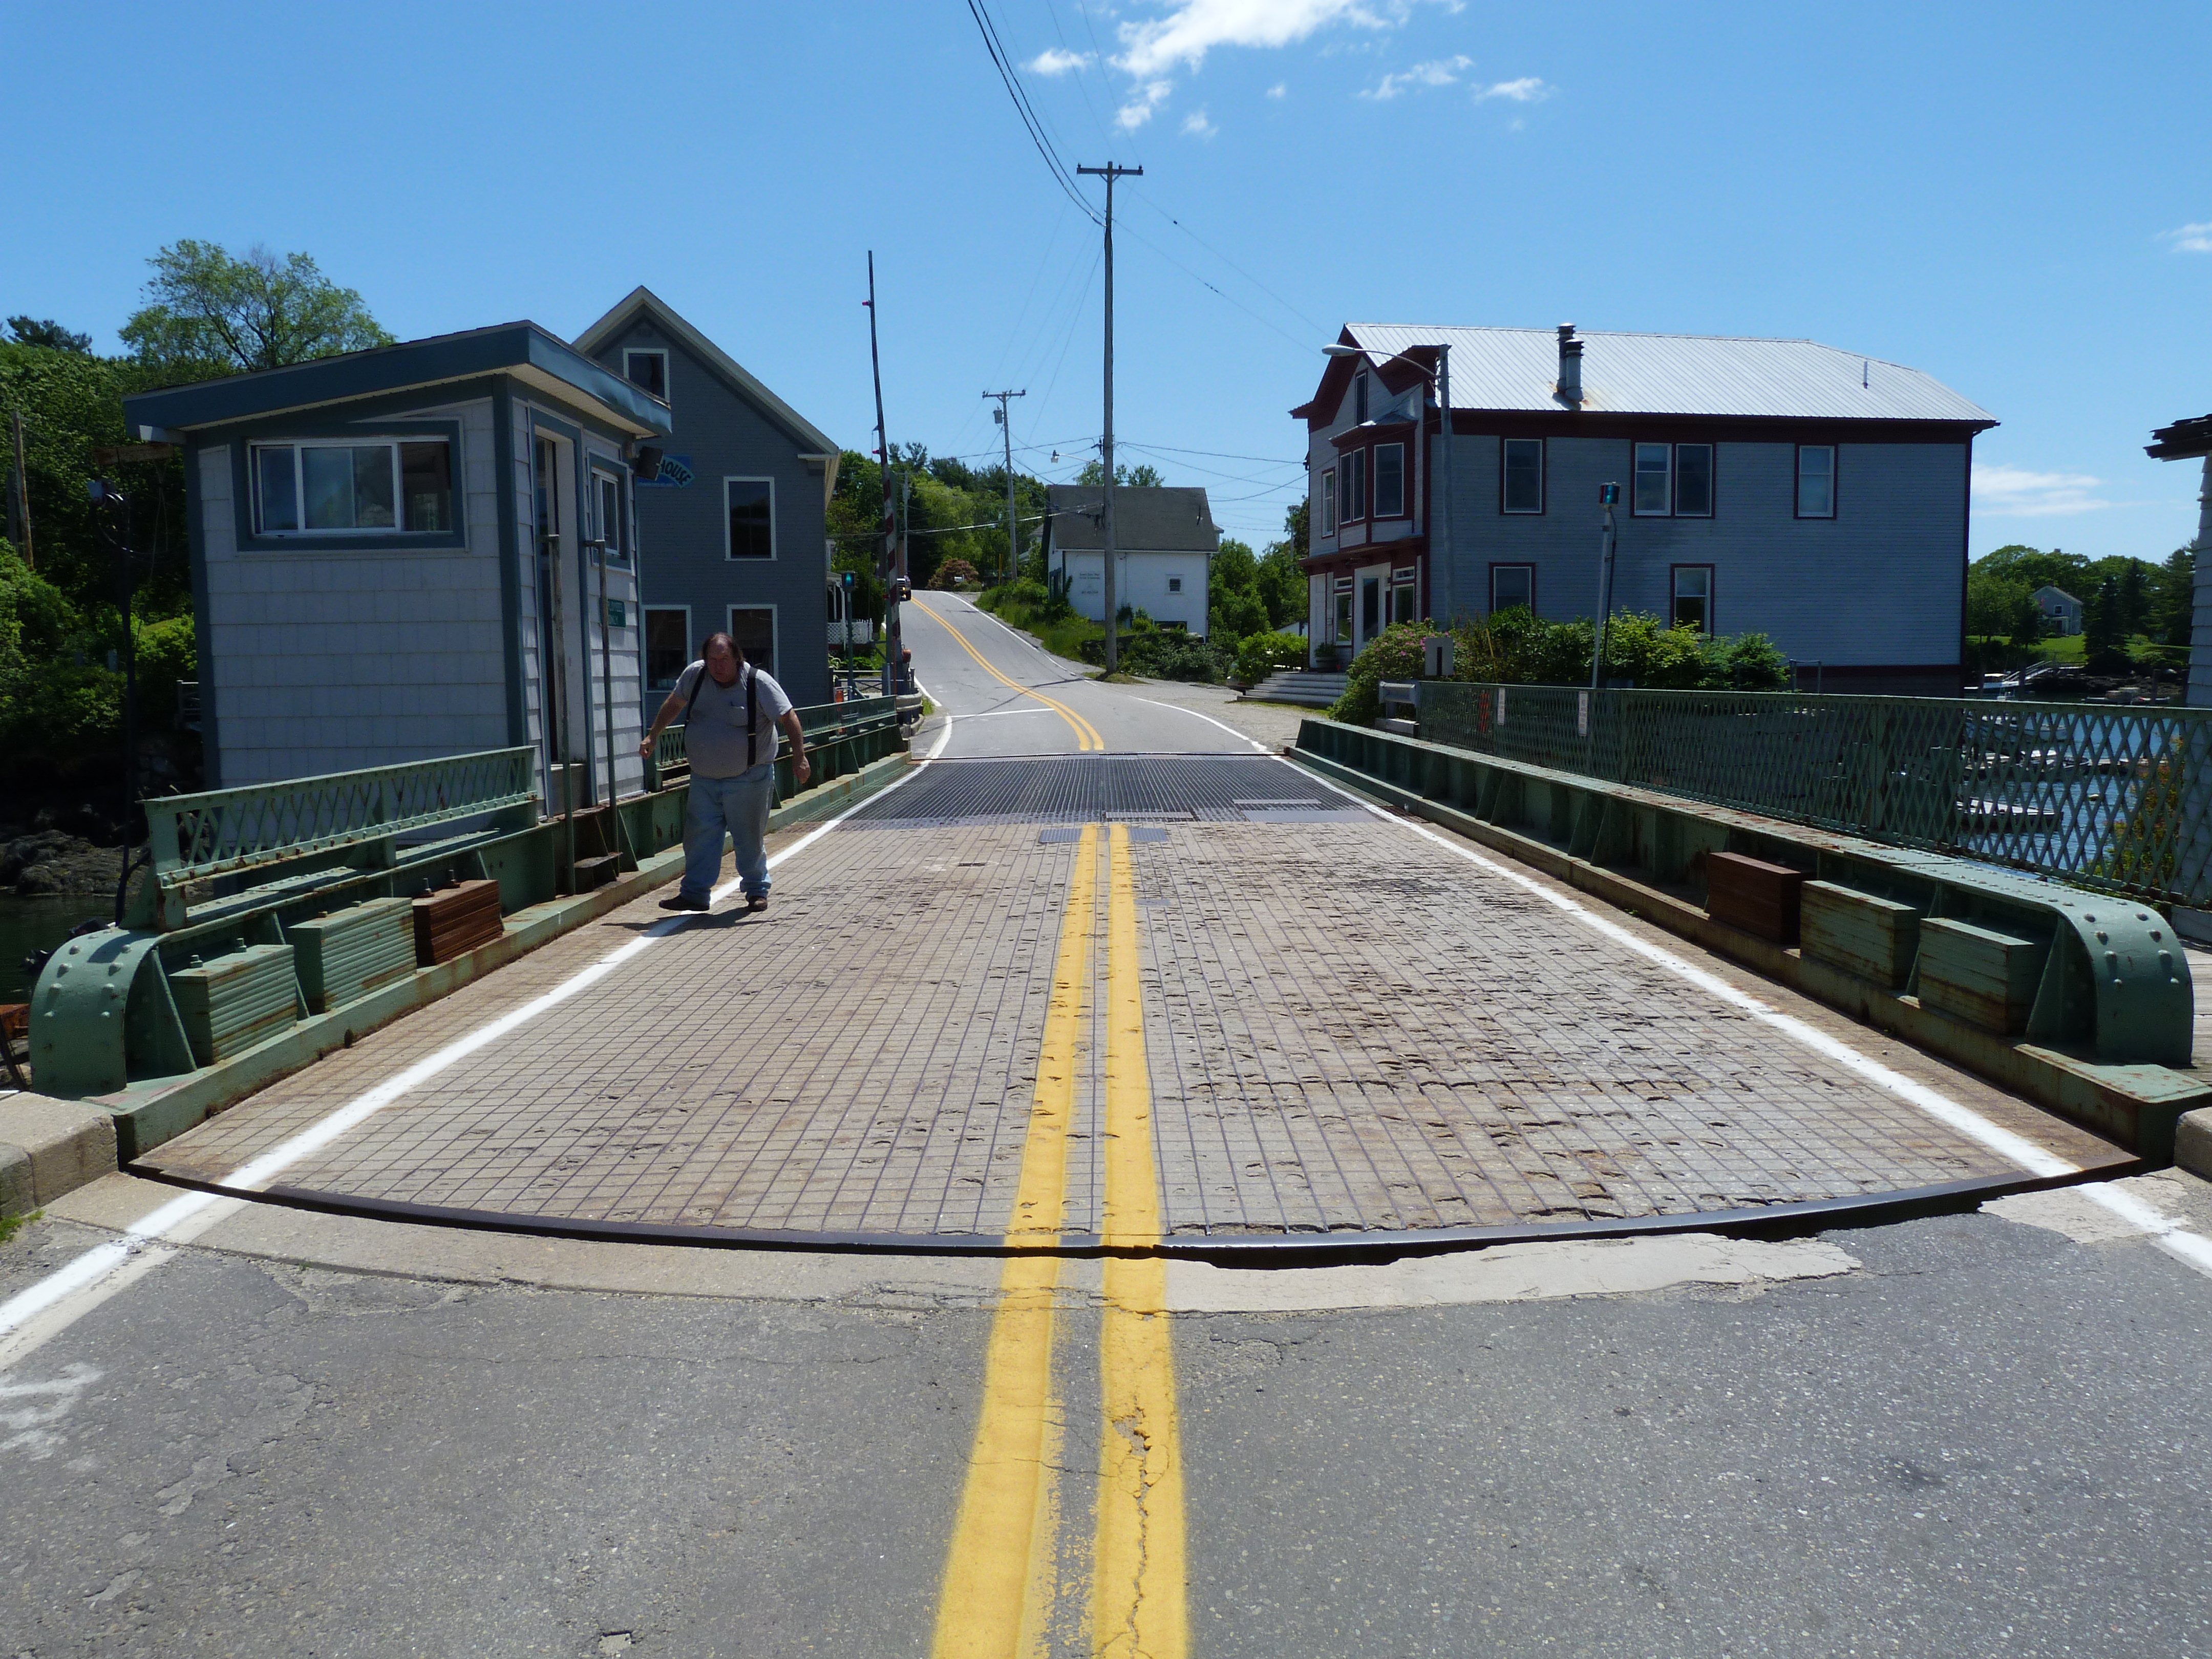
Portal views on bridge facing north.
![]()

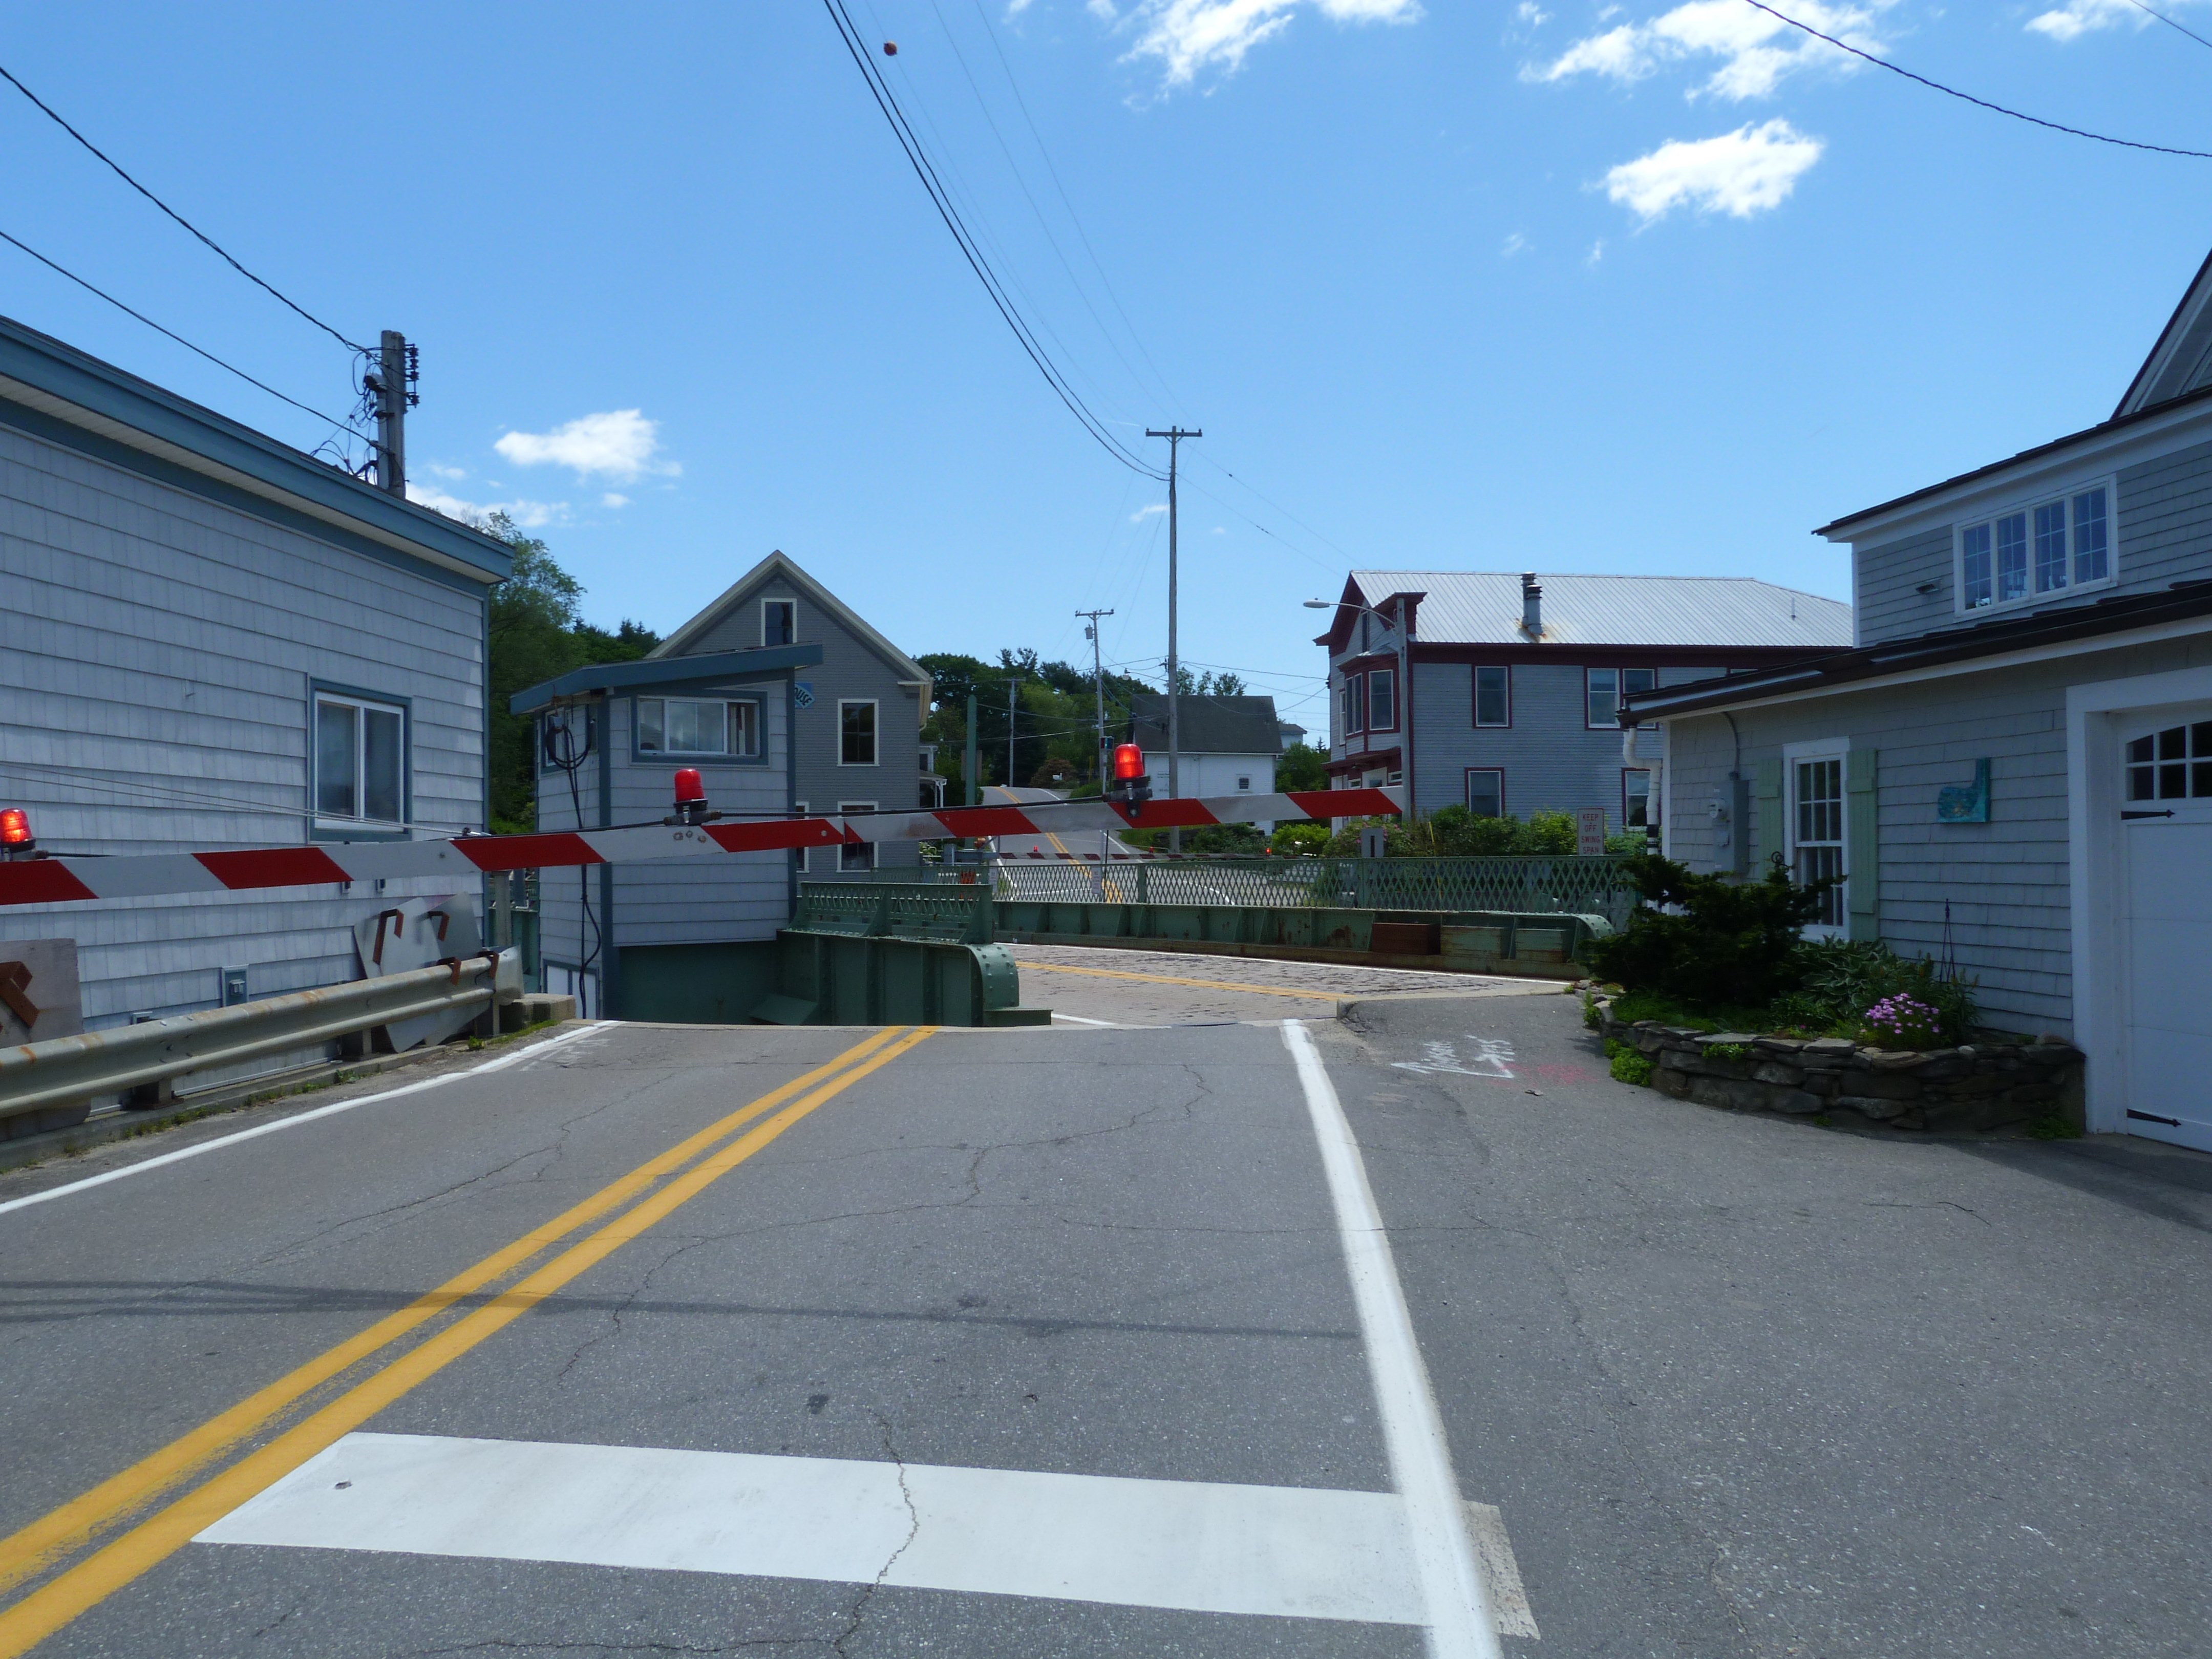
Portal view facing south.
![]()


A sequence of photos showing the bridge opening.
![]()


Bridge in open position. View facing south.
![]()


Photo Credit: Courtesy, MaineDOT, Project Manager Stephen Bodge
West elevation.
![]()

Photo Credit: Courtesy, MaineDOT, Project Manager Stephen Bodge
East elevation.
![]()


Photo Credit: Courtesy, MaineDOT, Project Manager Stephen Bodge
Views from northeast quadrant, bridge in open position.
![]()
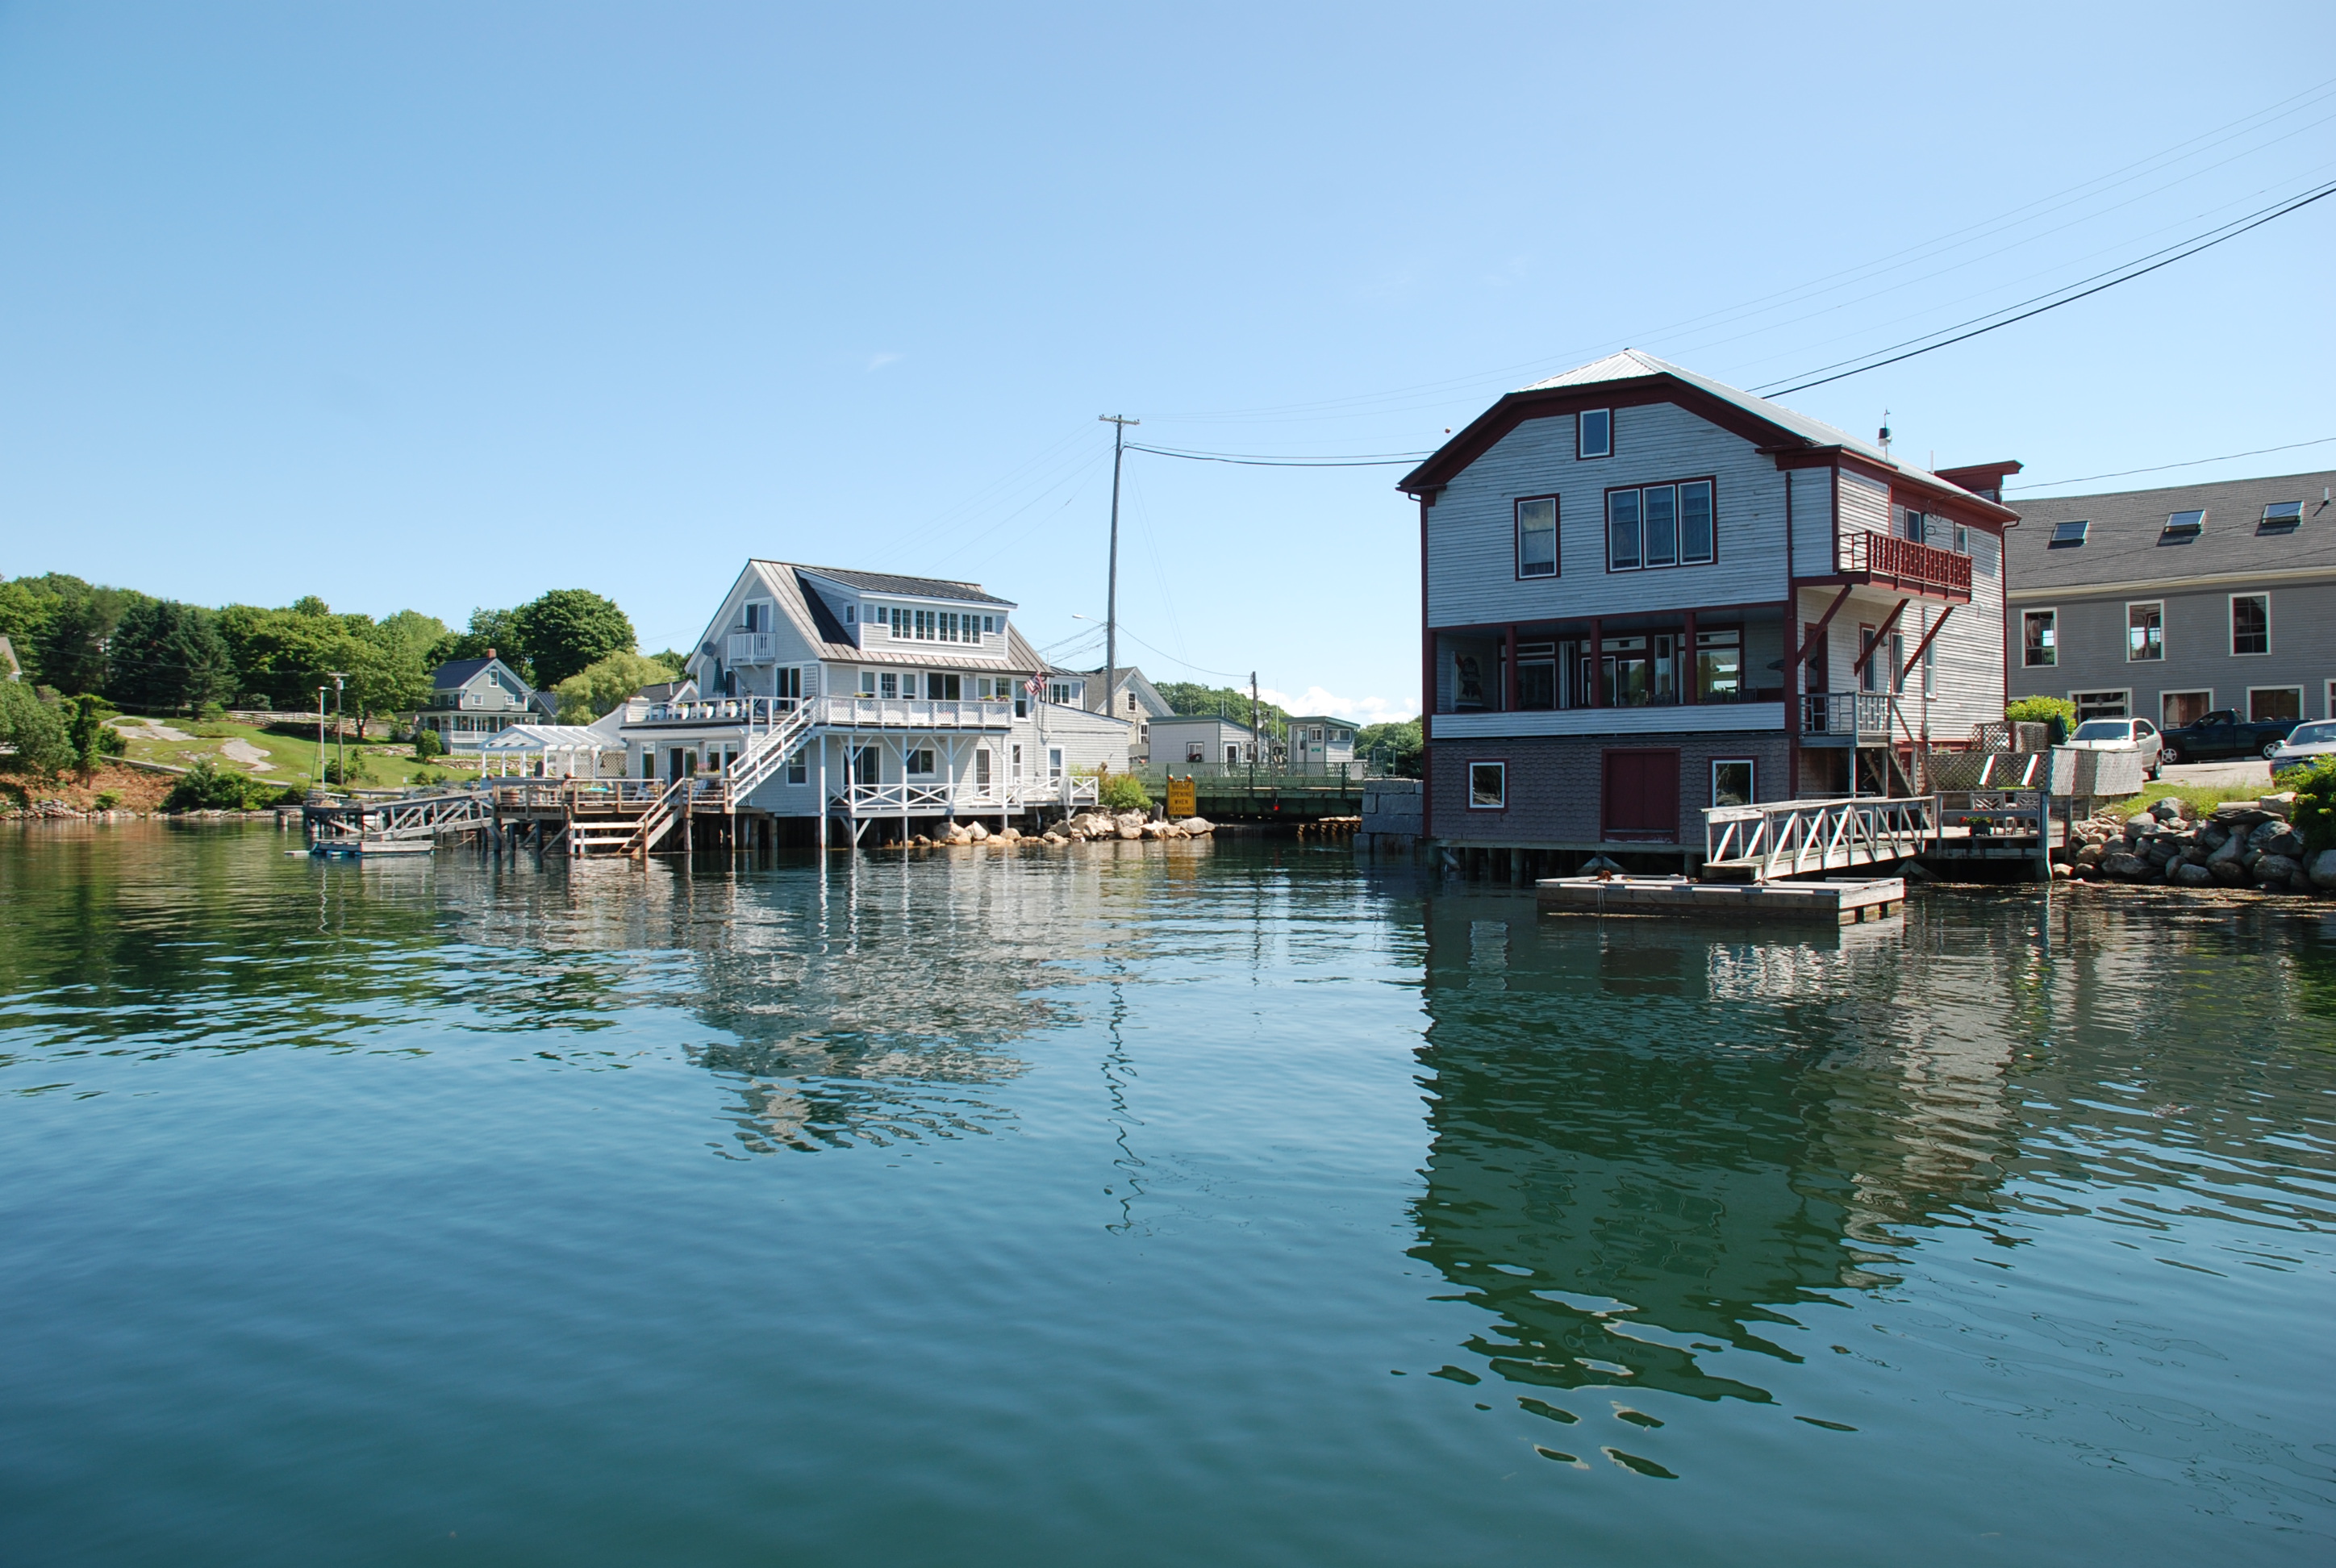
Photo Credit: Courtesy, MaineDOT, Project Manager Stephen Bodge
Elevation from southwest quadrant.
![]()

Photo Credit: Courtesy, MaineDOT, Project Manager Stephen Bodge
Portal view facing south, bridge in partially open position.
![]()


Distant elevation.
![]()

View from beside approaching roadway from southwest quadrant.
![]()


View from beside approaching roadway from southeast quadrant.
![]()


View from beside approaching roadway from northwest quadrant.
![]()
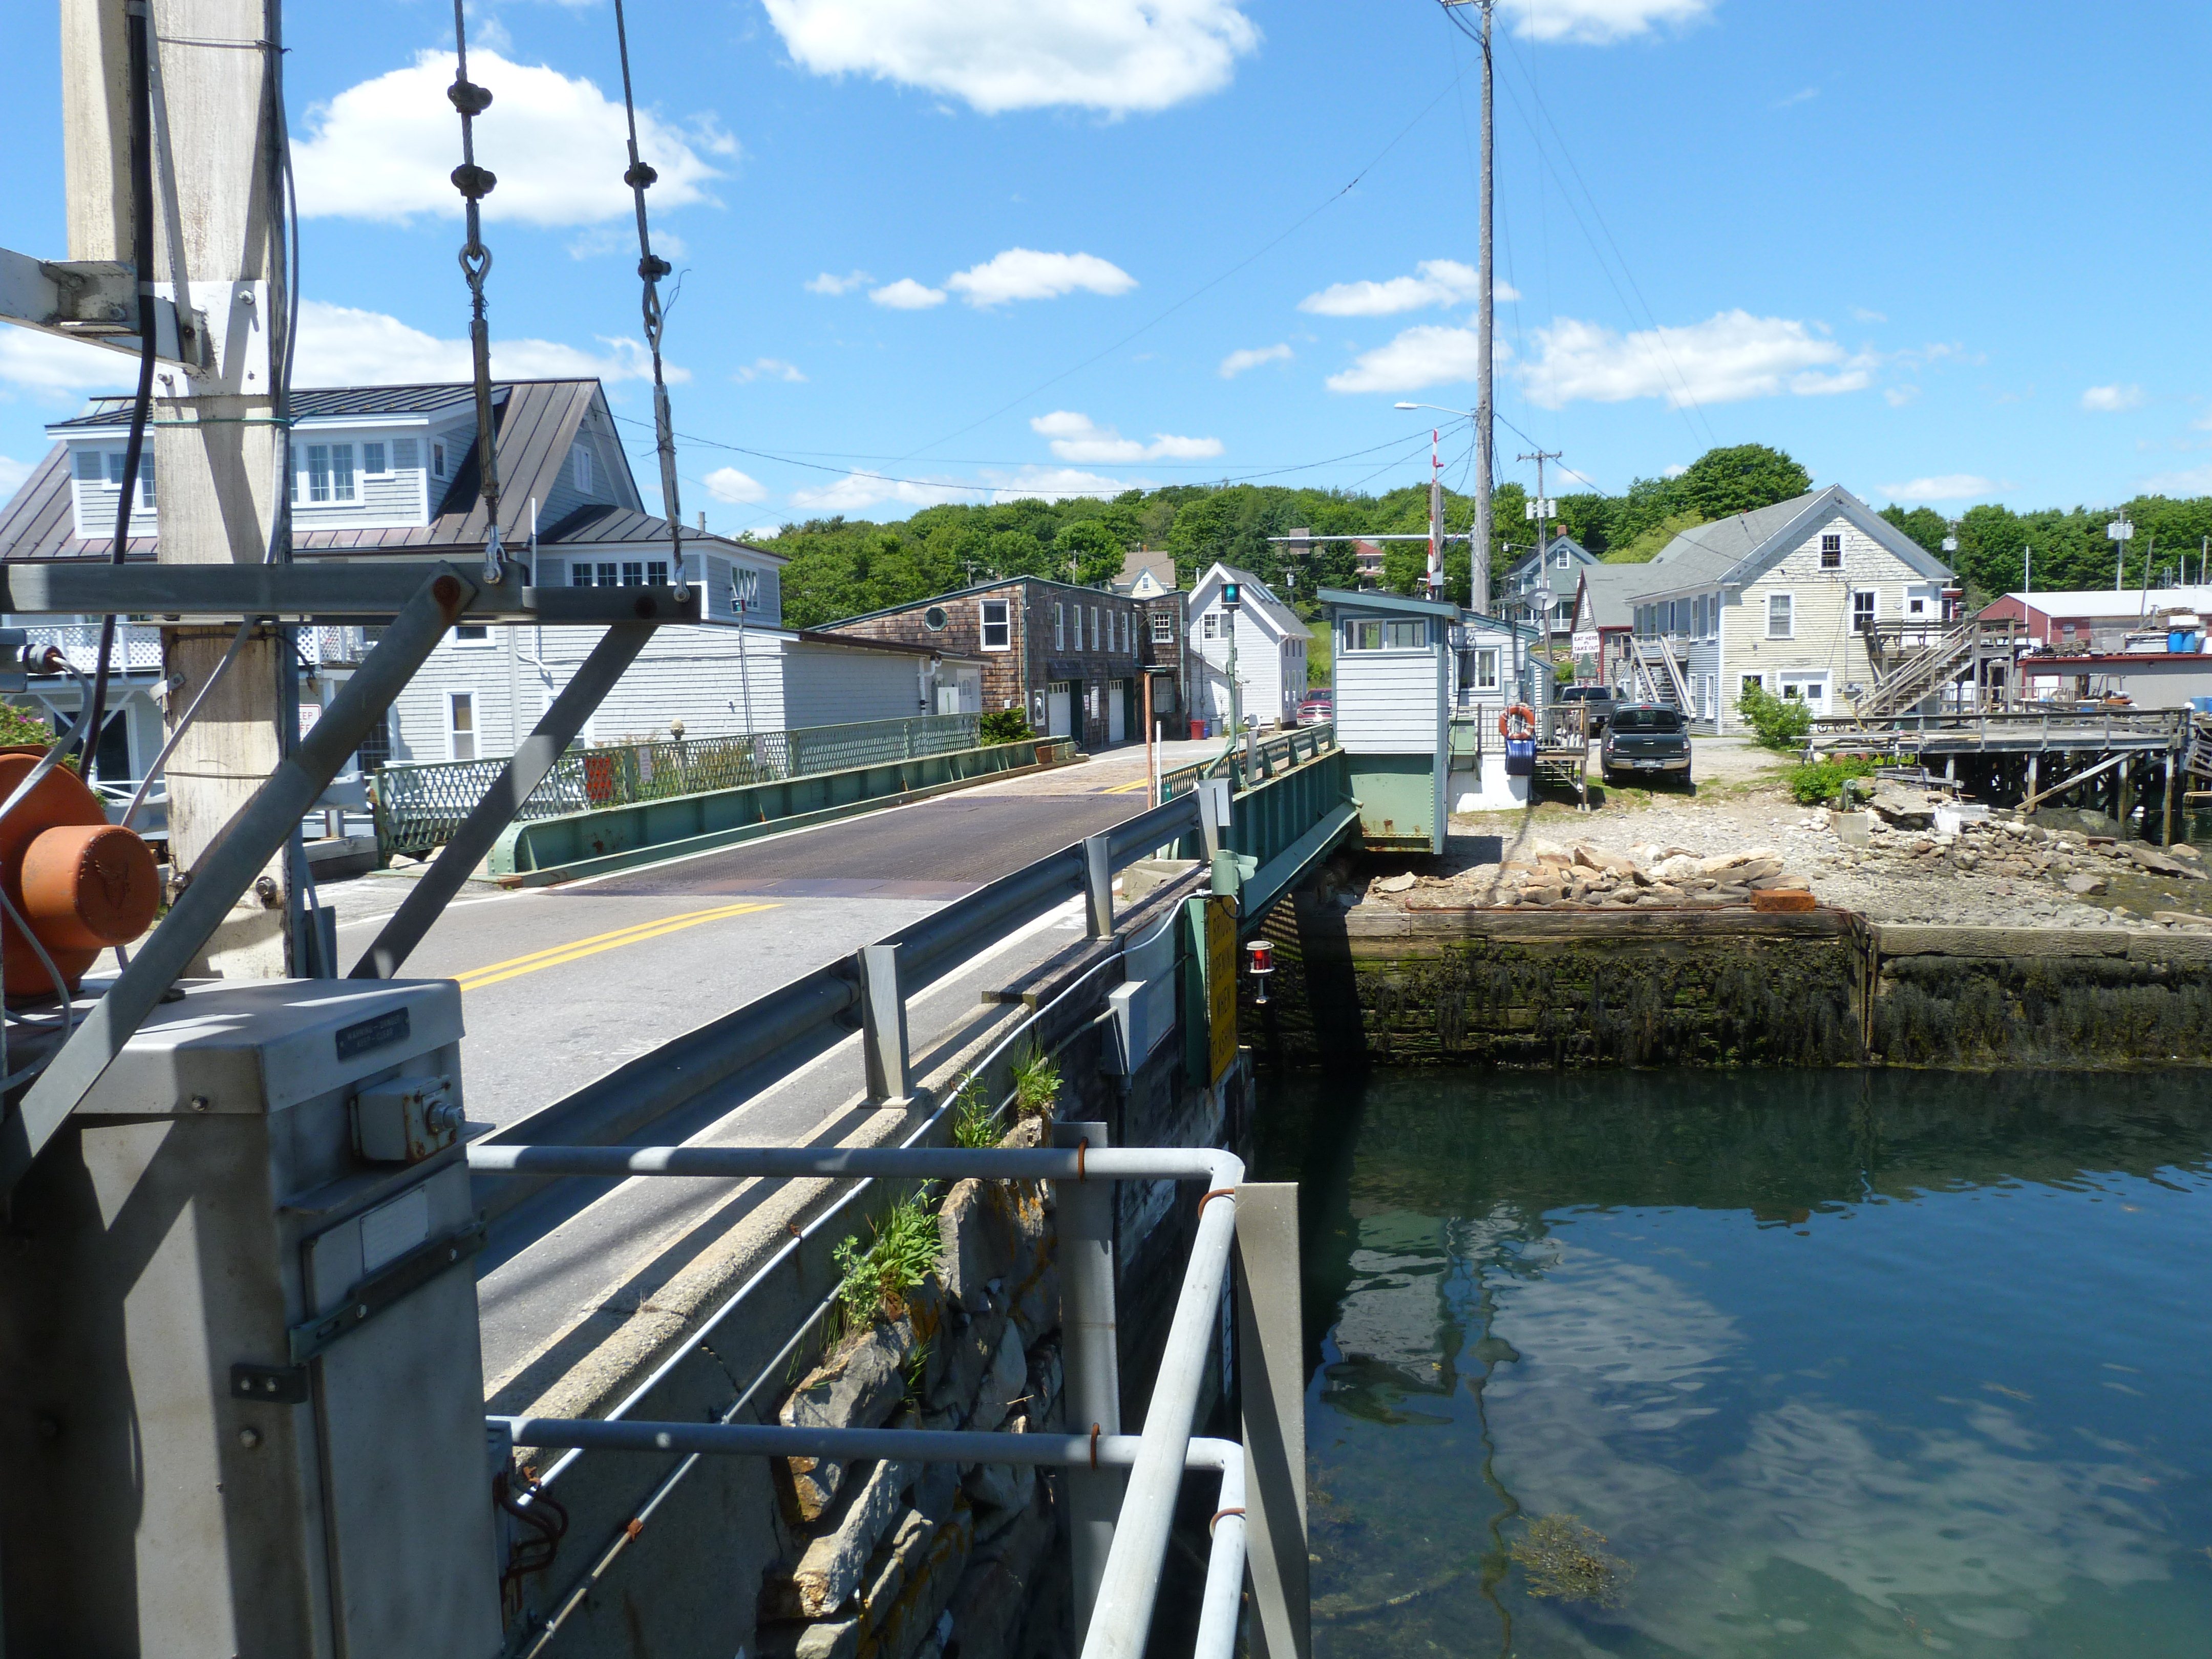

View beside bridge from southeast quadrant.
![]()

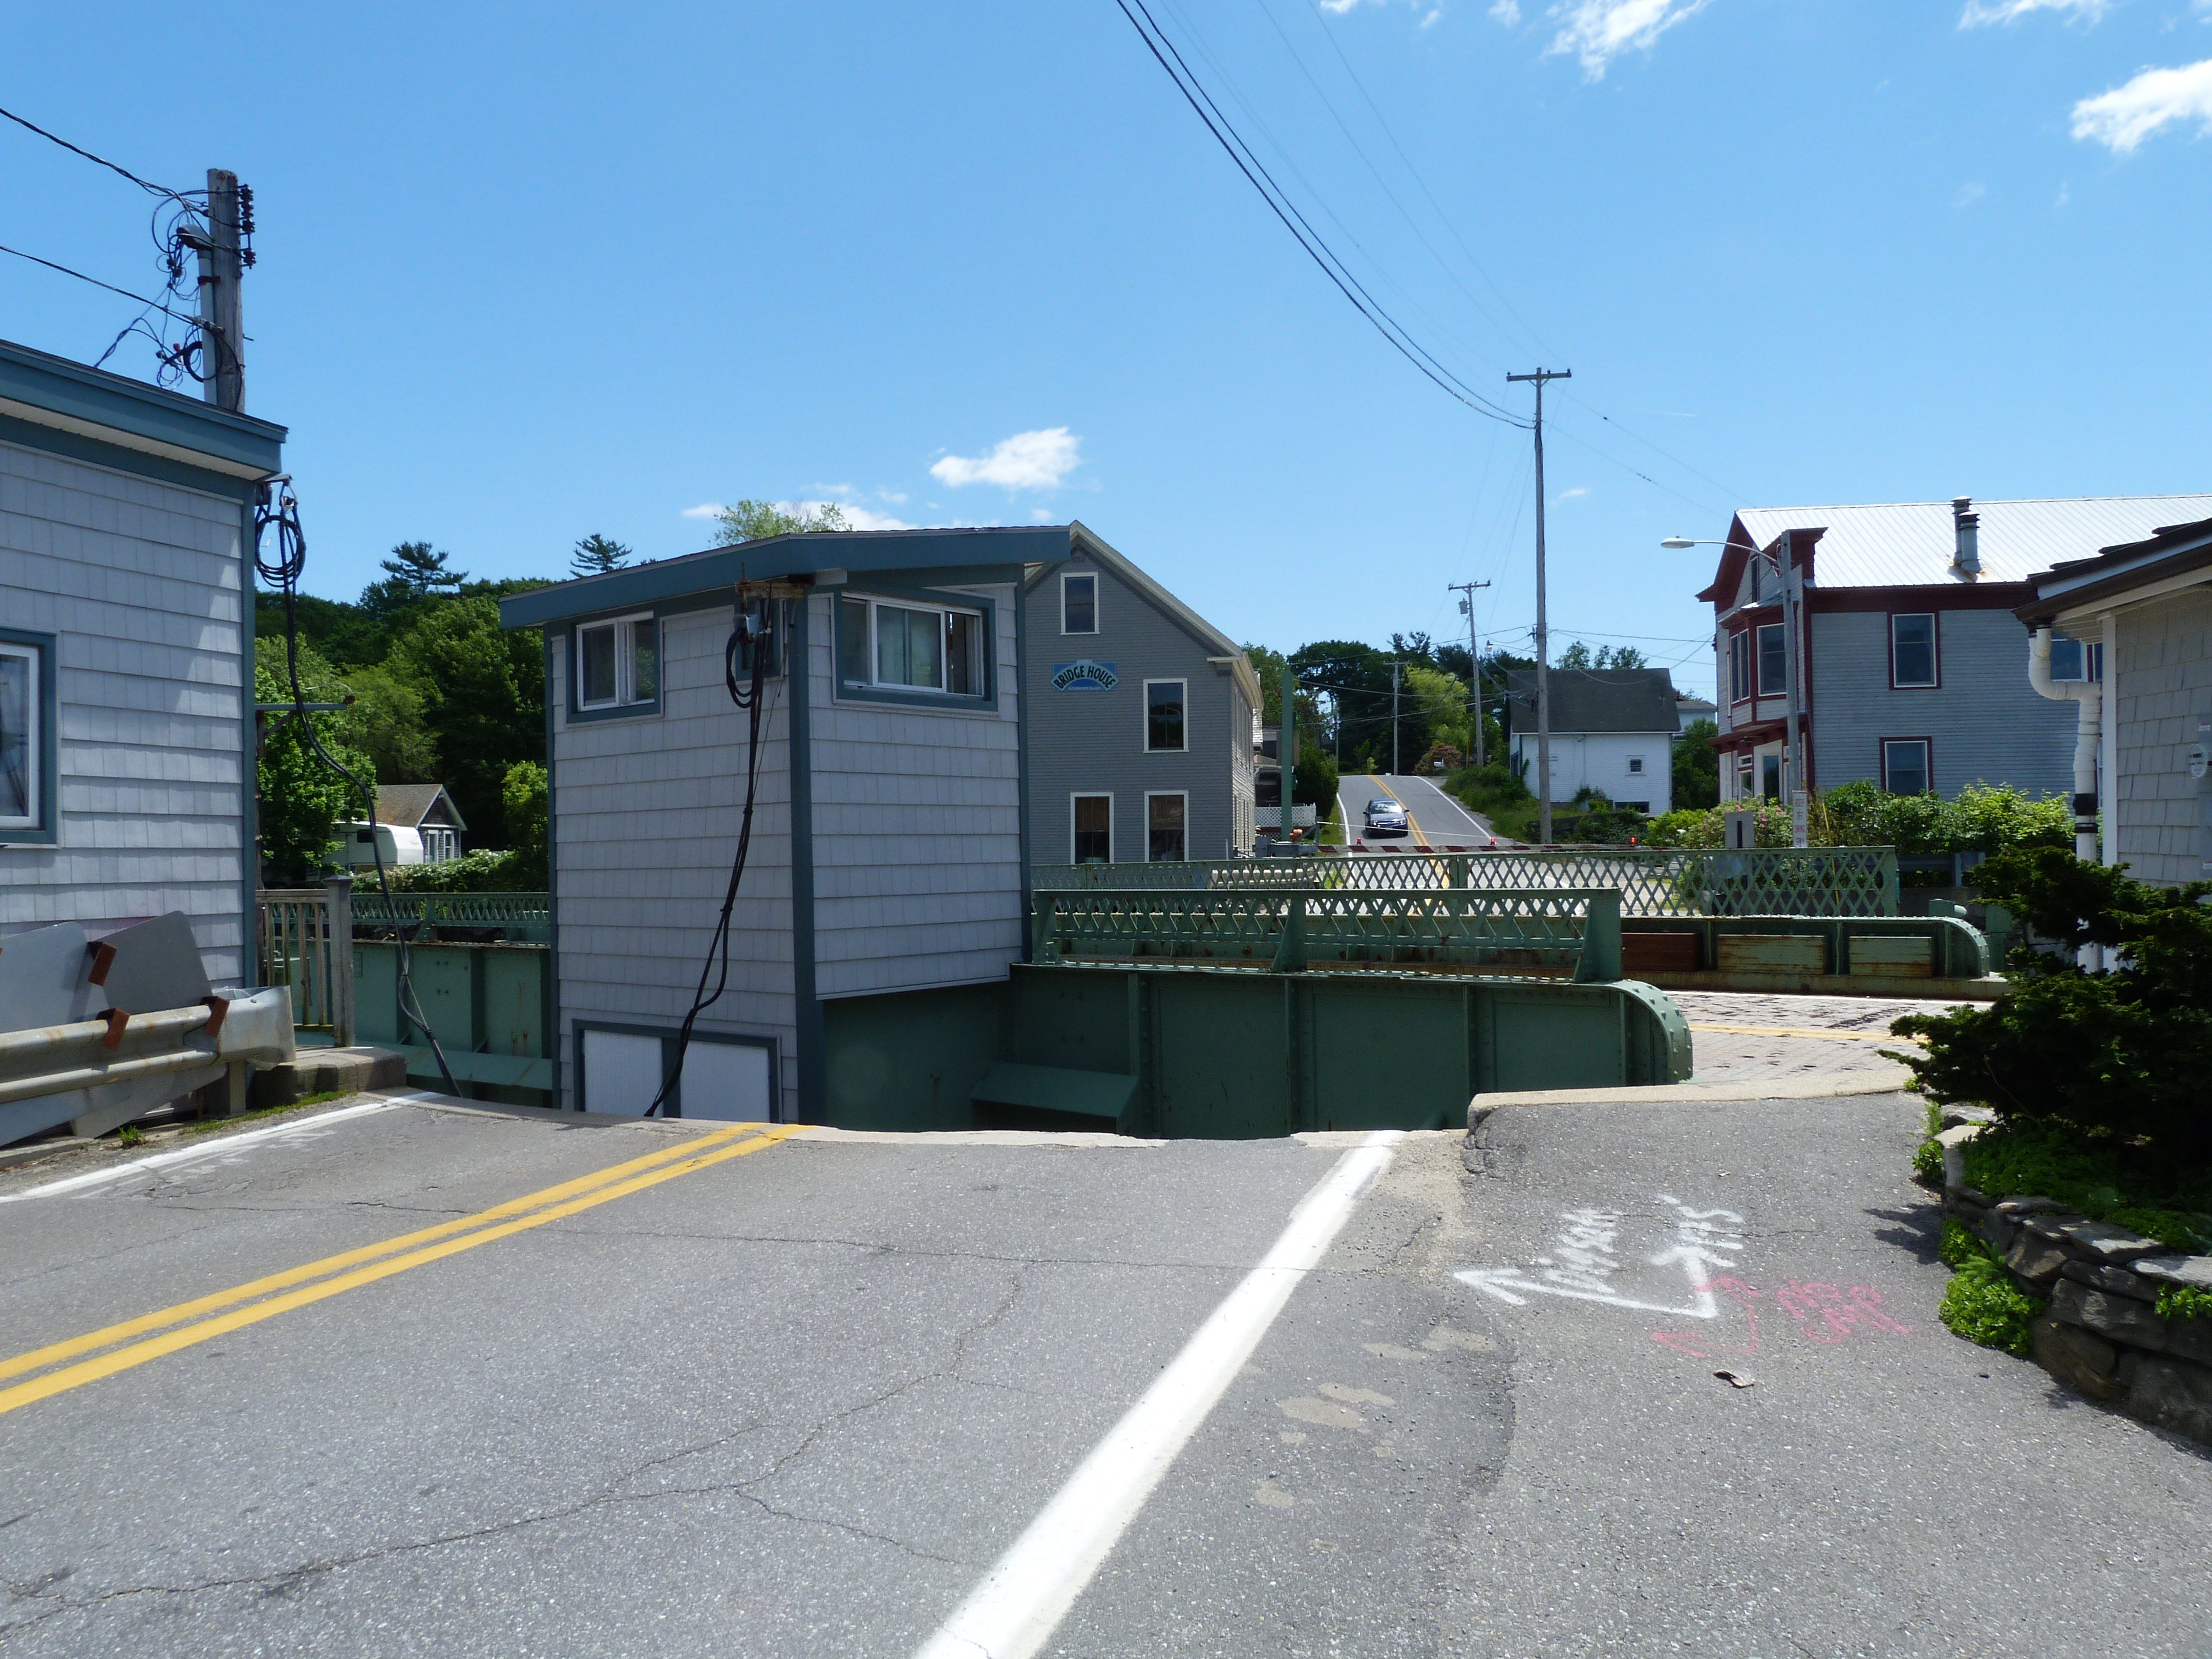
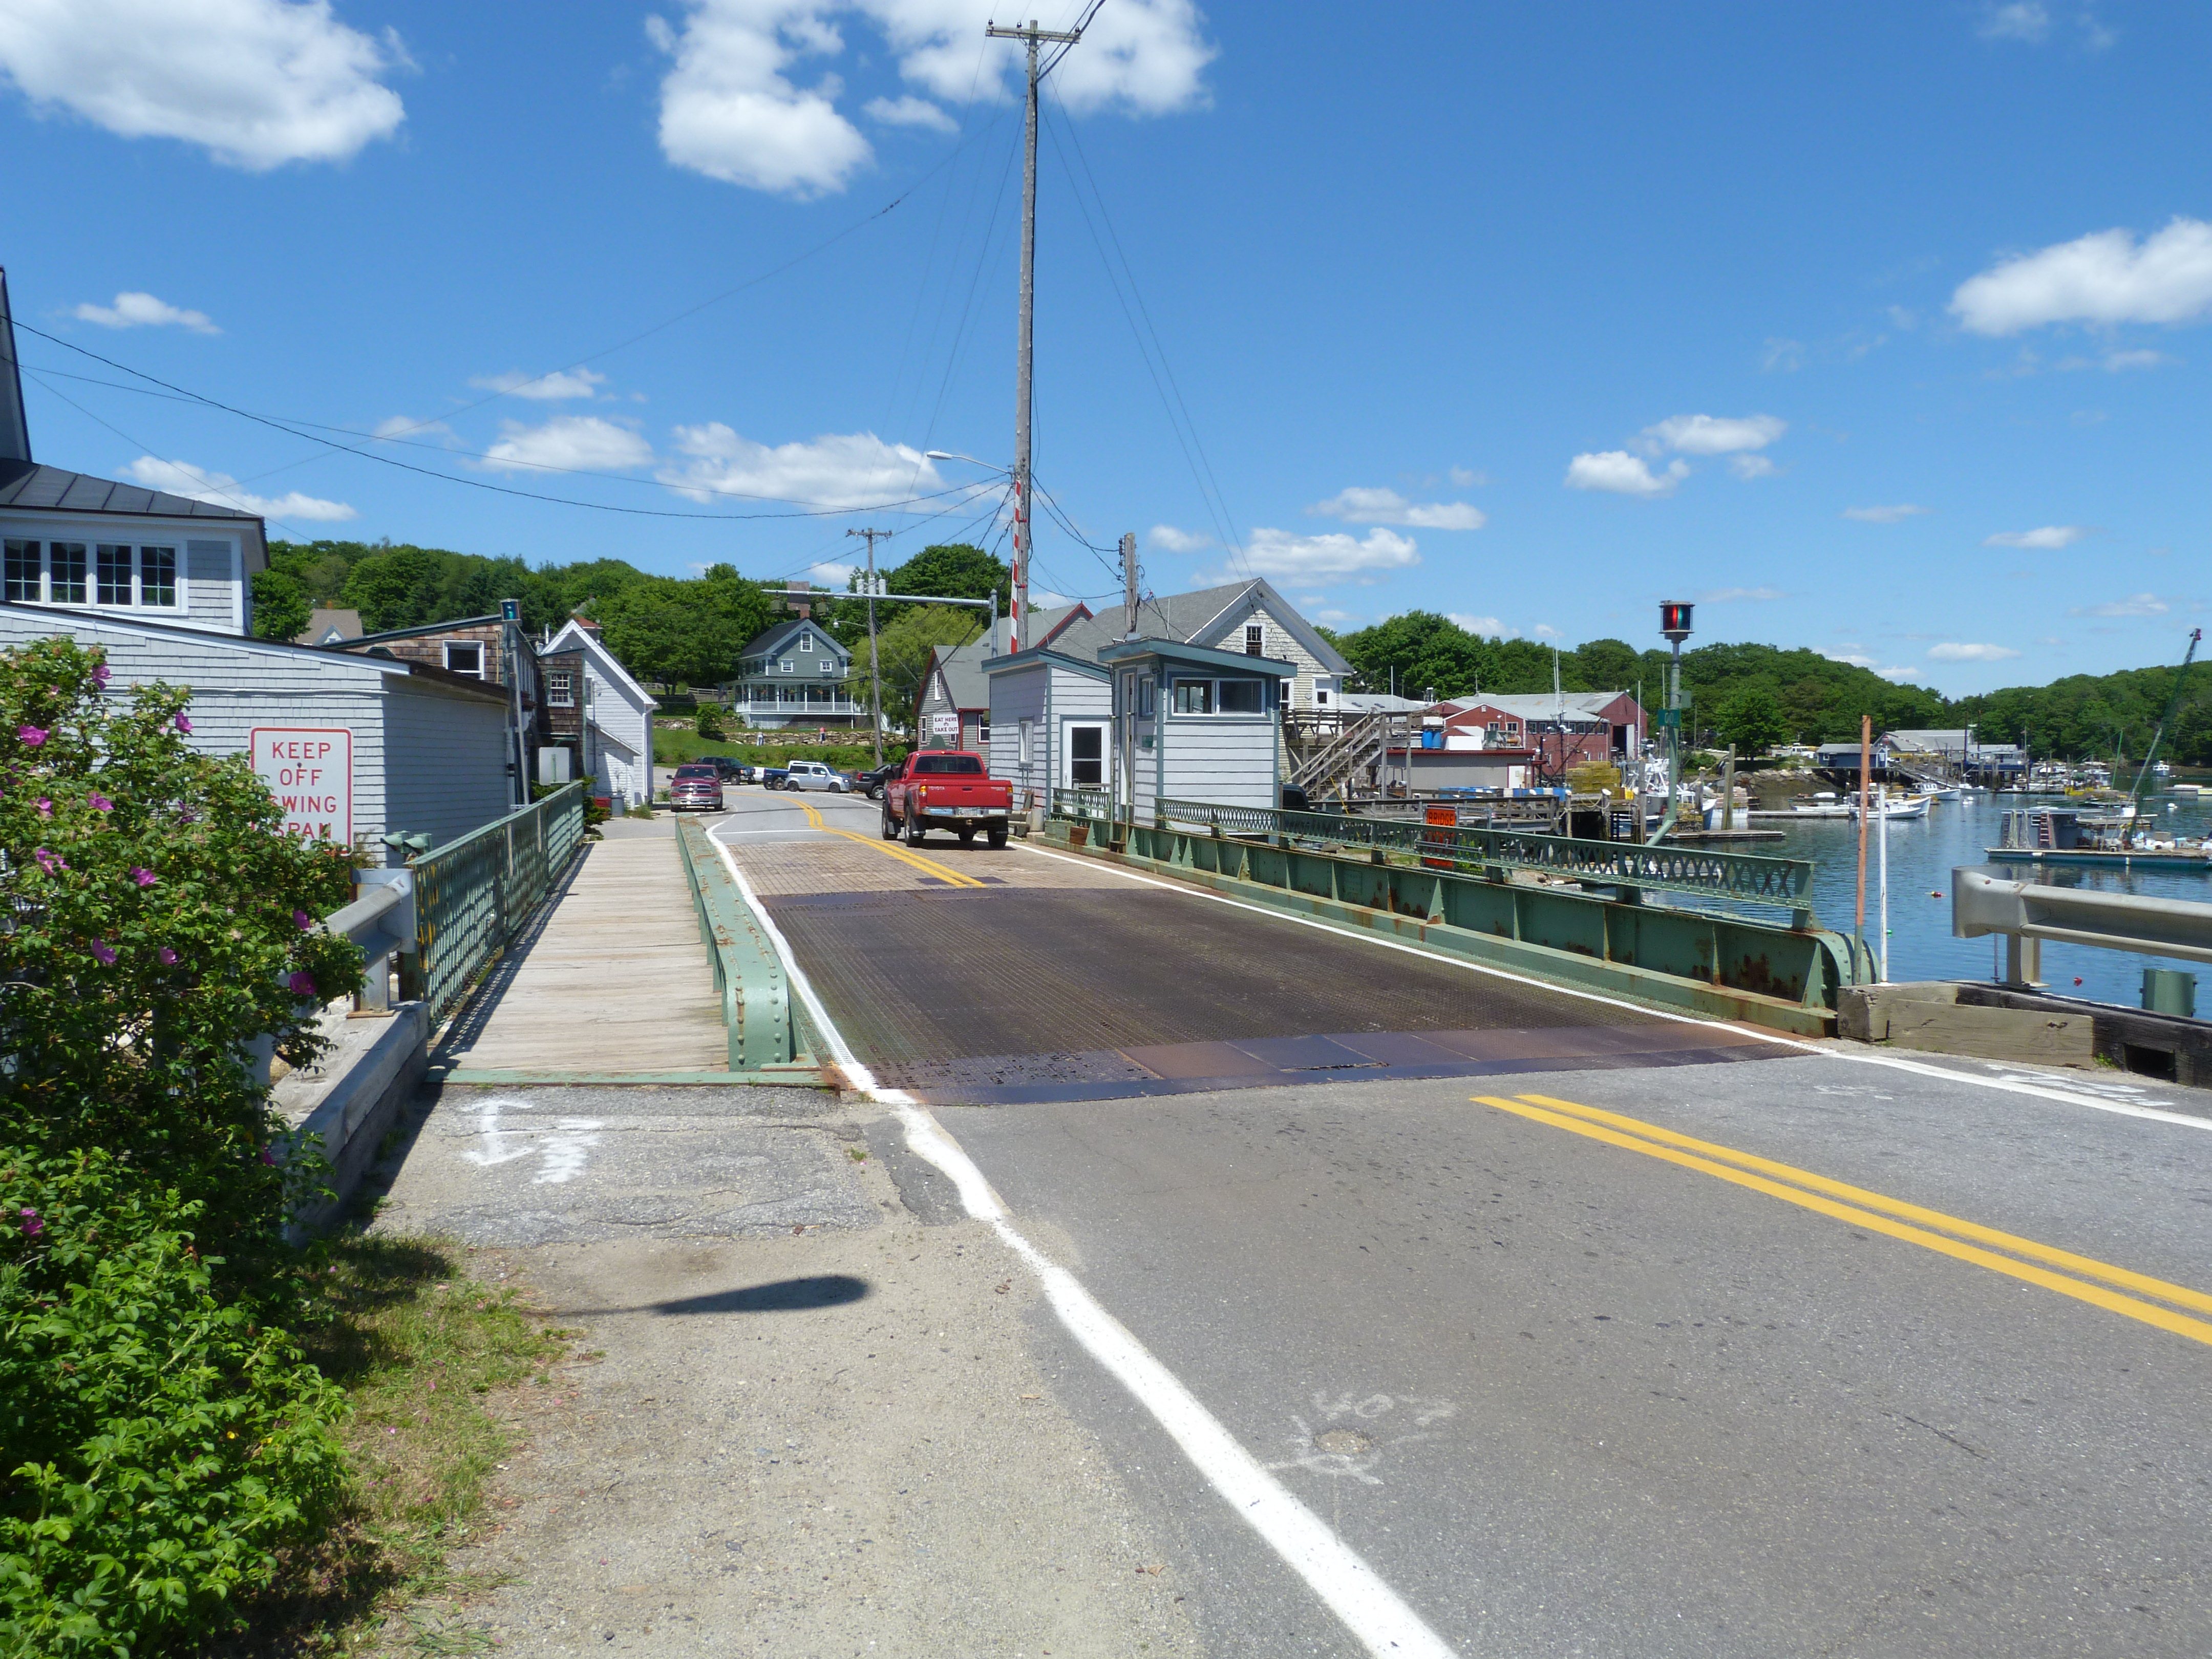
View on sidewalk facing north.
![]()


Views on sidewalk facing south.
![]()


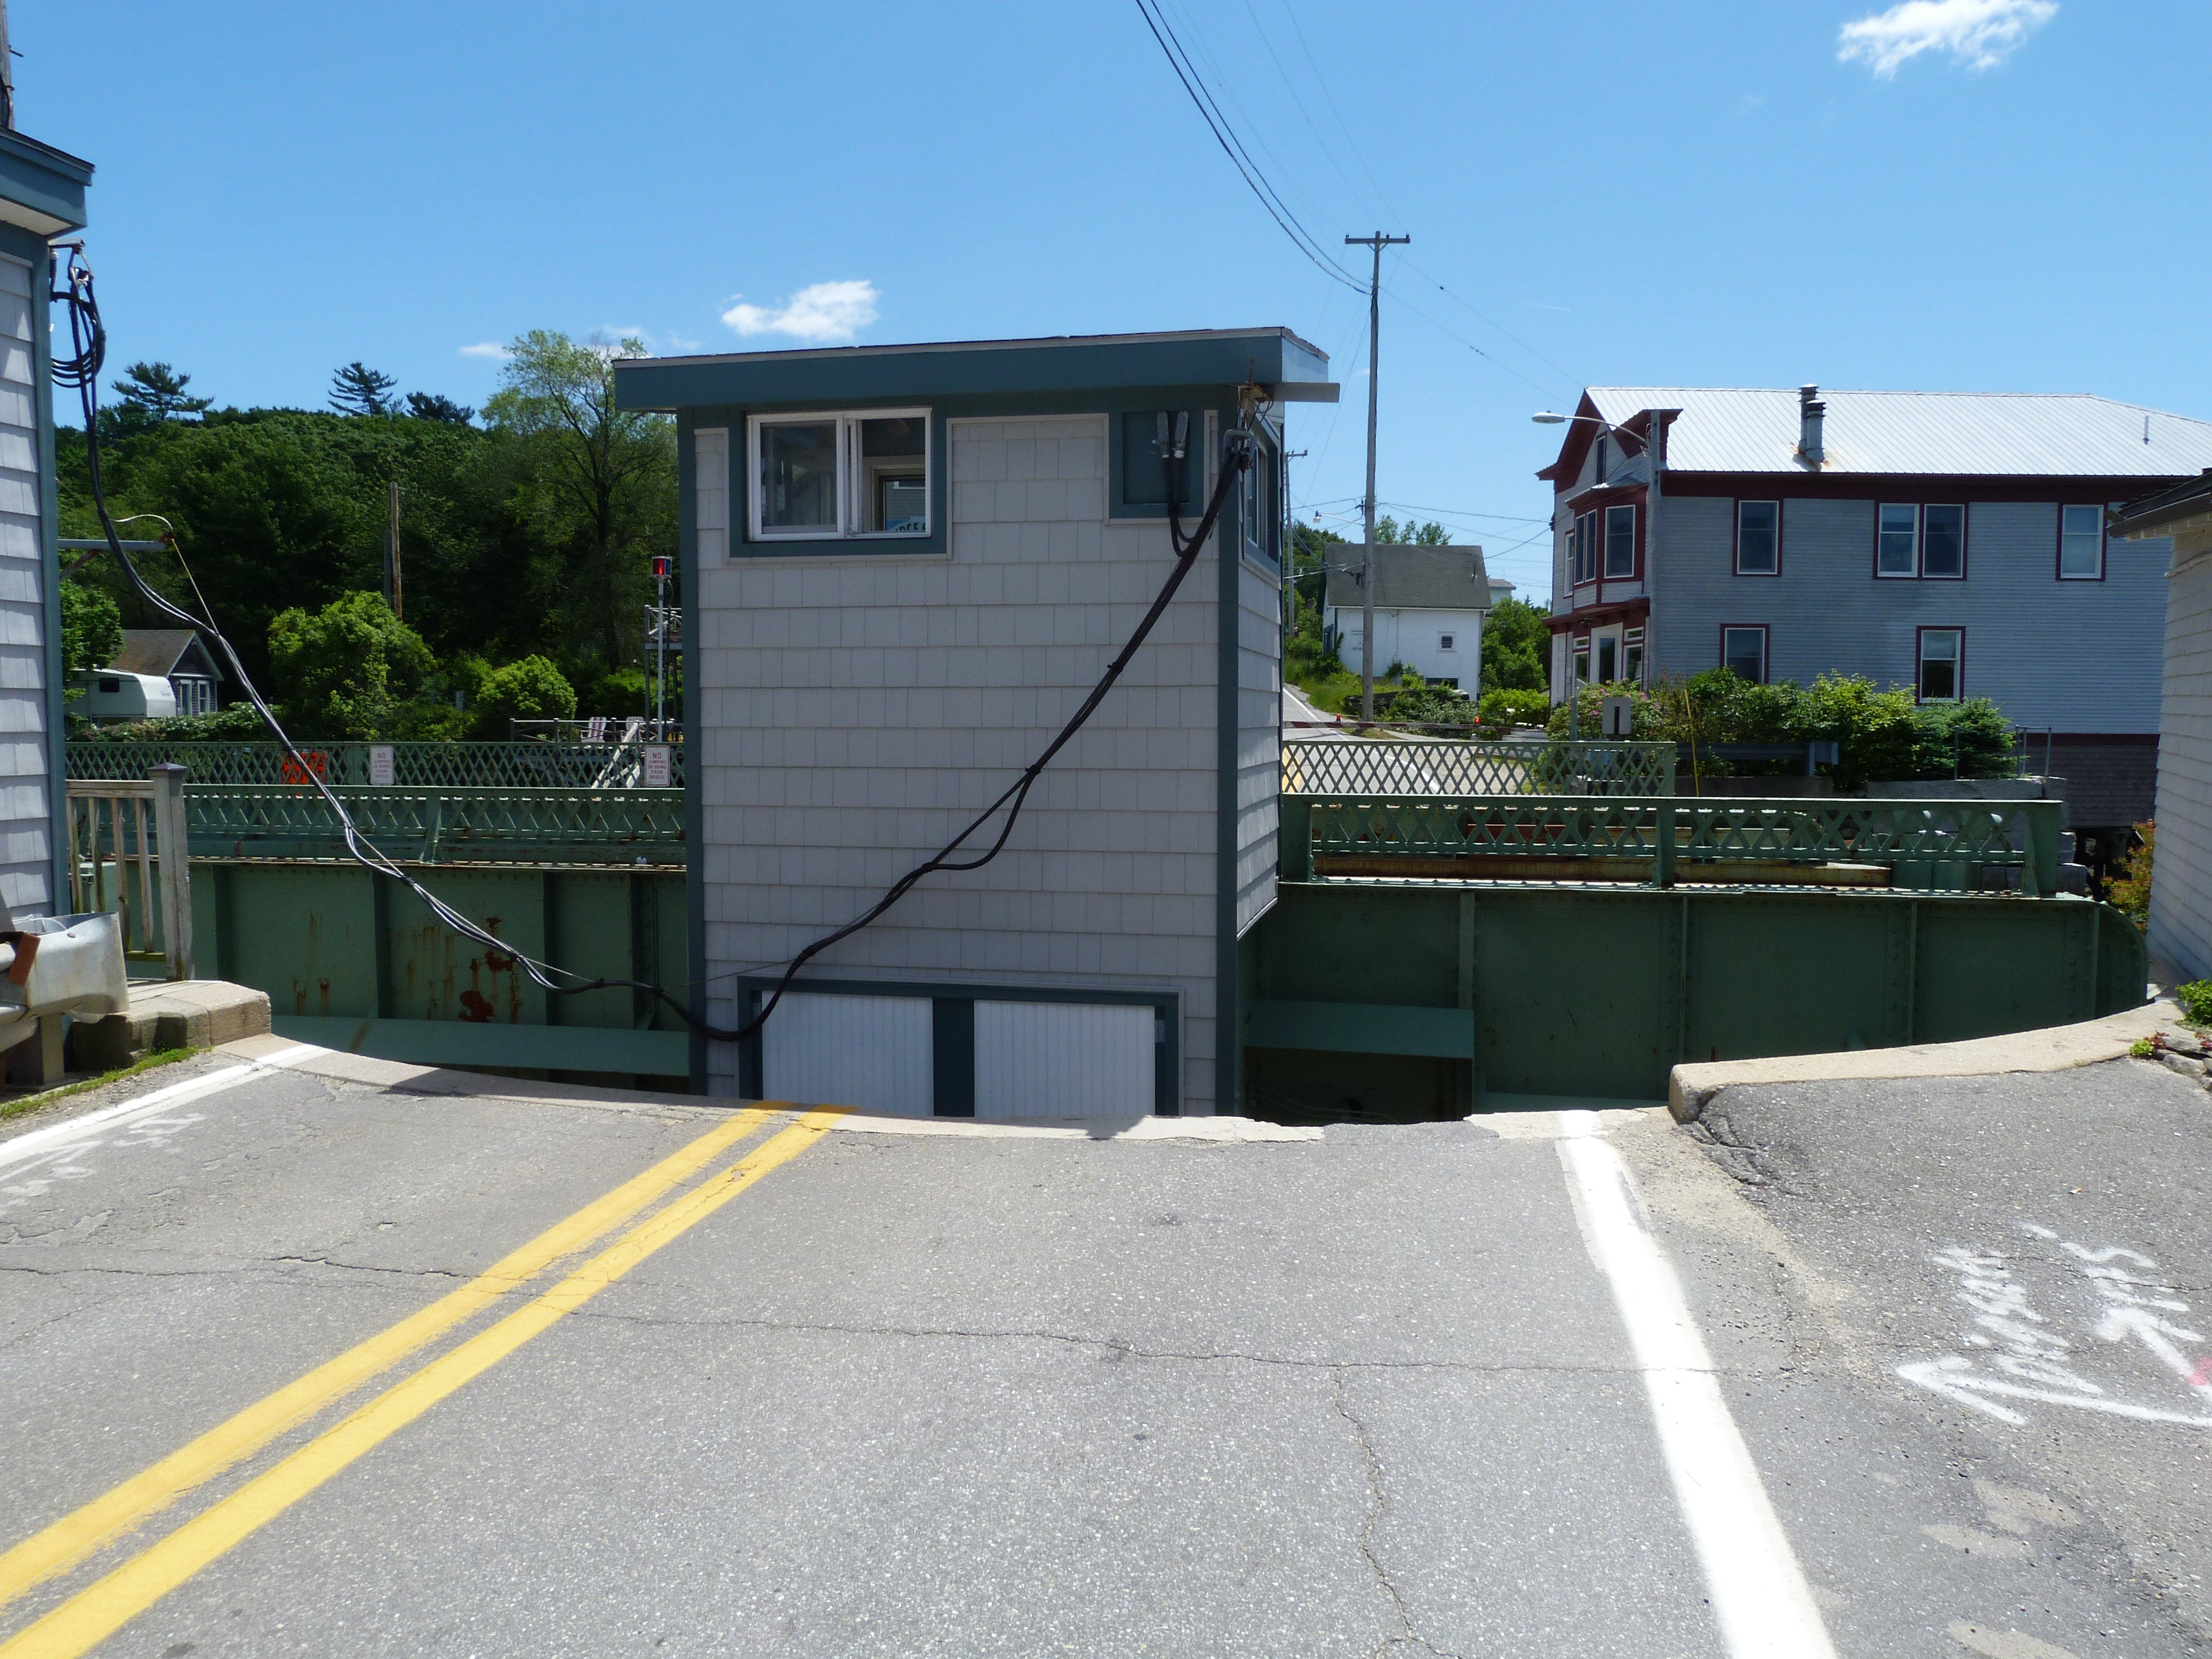
Bridge tender house.
![]()

Detail under bridge tender house.
![]()


Bridge control panel inside bridge tender house.
![]()


Overview of girders.
![]()


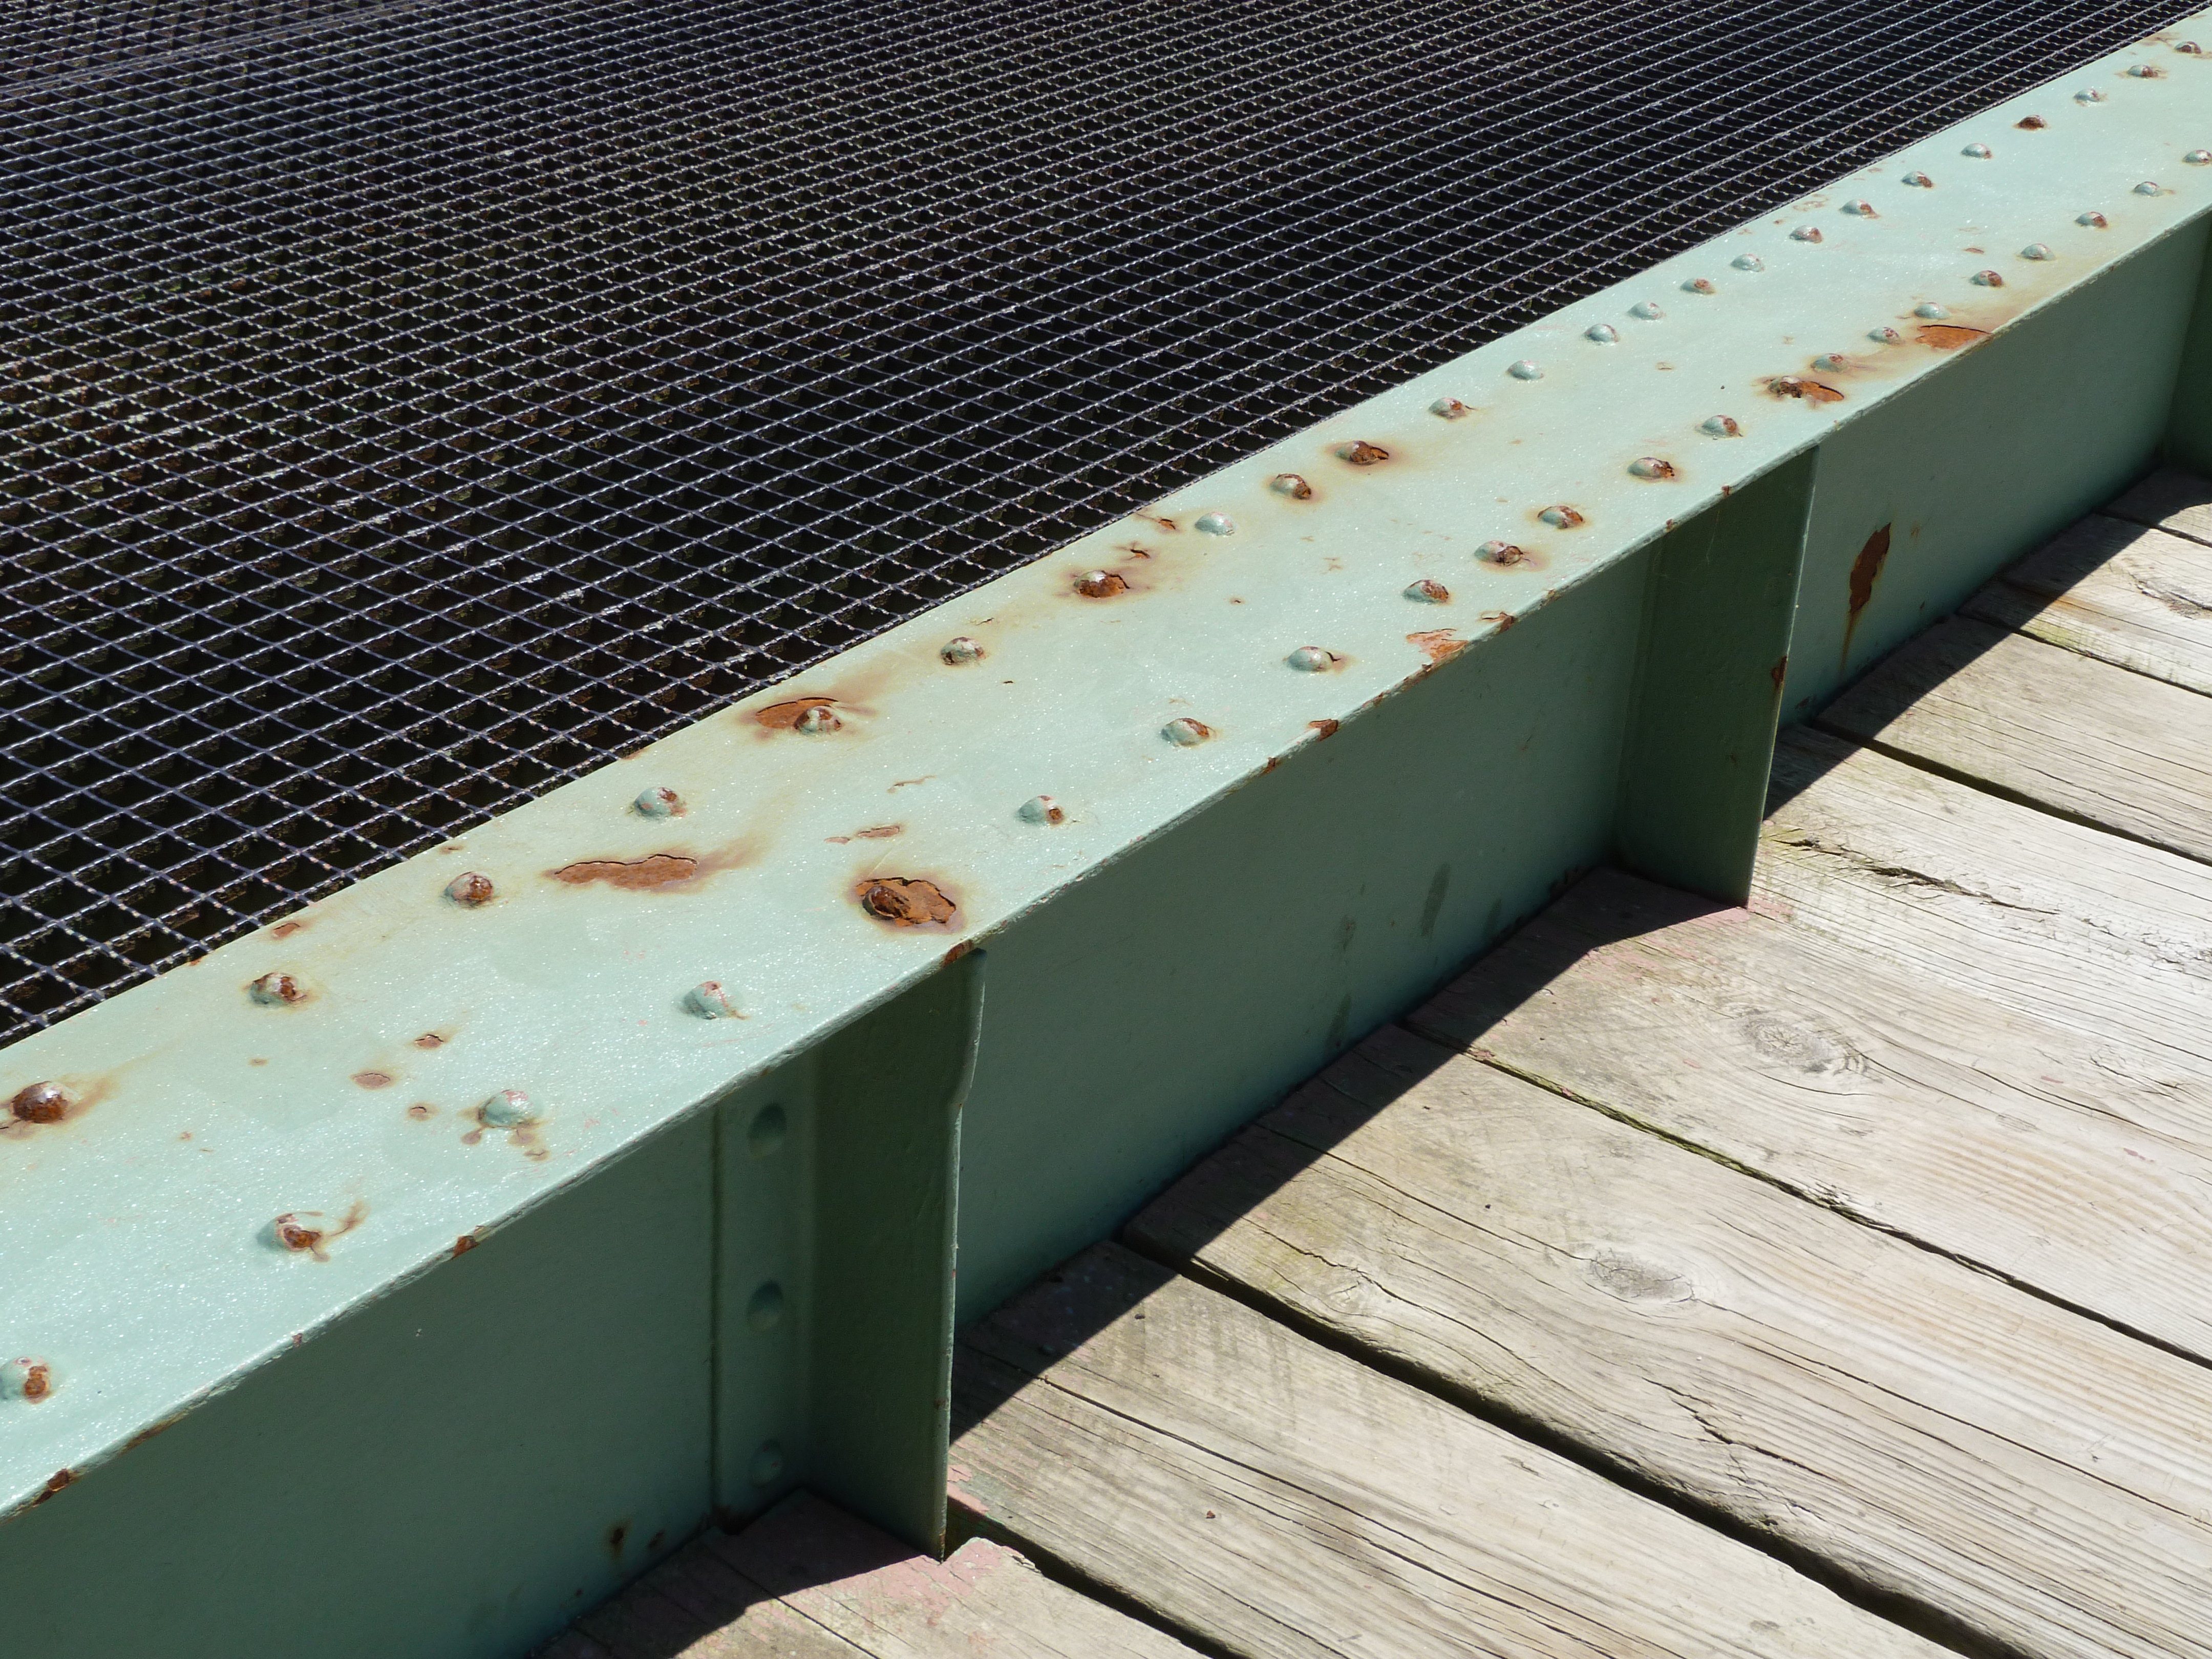


Girder details.
![]()


Sidewalk railing.
![]()


Views of girder and vehicular railing.
![]()


Vehicular railing detail.
![]()

Deck.
![]()

Joint at end of bridge.
![]()

Counterweight on shorter northern end of swing span.
![]()

Abutment.
![]()

Scenery at bridge.
![]()

Bridge number.
![]()
![]()
| Back |
| Home |
| Top |

![]()