
Uncredited photos on this page taken by: Nathan Holth. Unless stated in a caption, all photos are Copyright with All Rights Reserved. Learn about reuse of our photos.
![]()


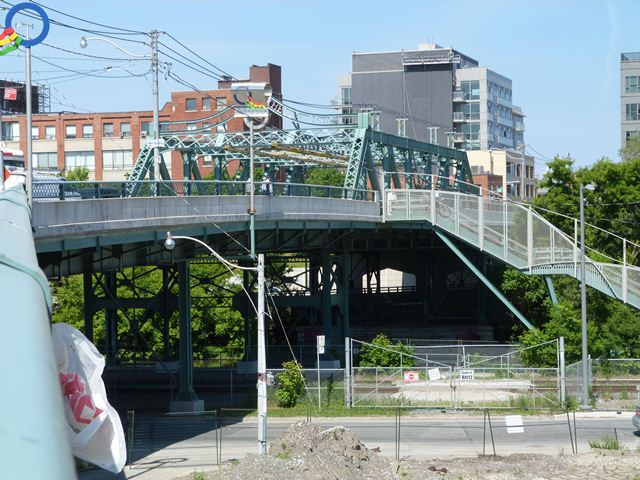
River span elevation from southwest quadrant.
![]()


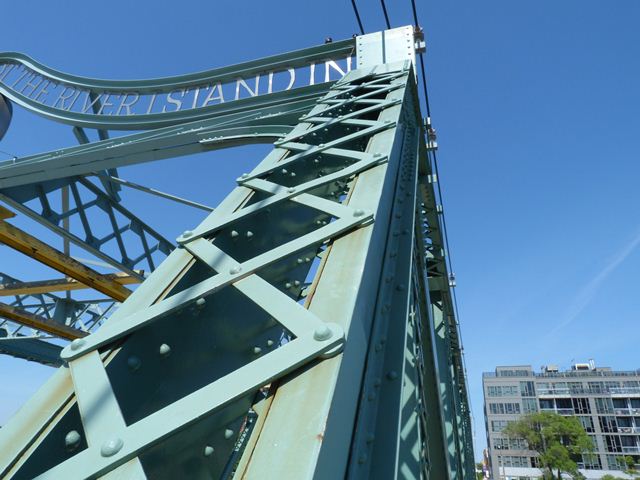
Main span view from beside roadway from southwest quadrant.
![]()

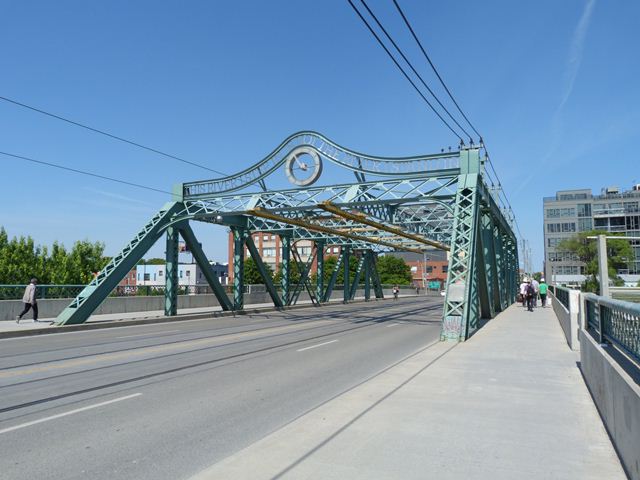
Main span view from beside roadway from southeast quadrant.
![]()

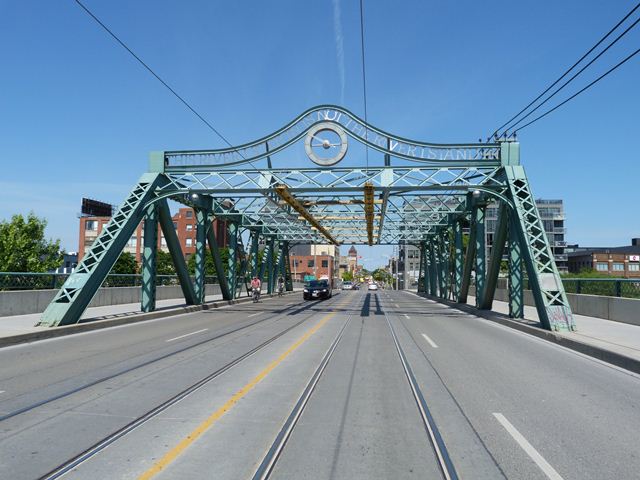
Portal views of main span facing east.
![]()


Views beside main span from southwest quadrant as seen from stairway.
![]()


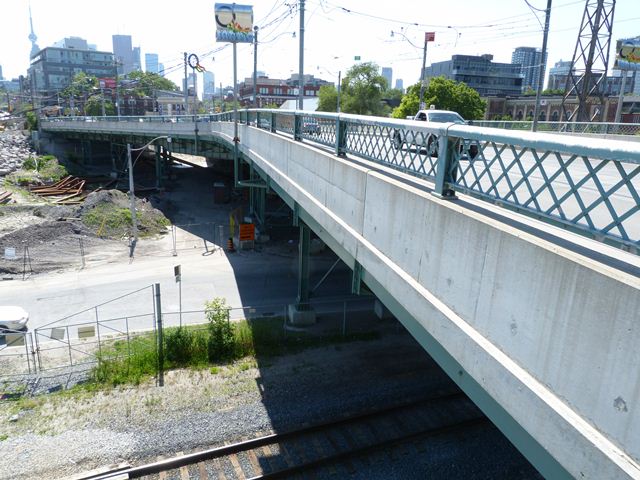

Views of western approach from stairway south of bridge.
![]()


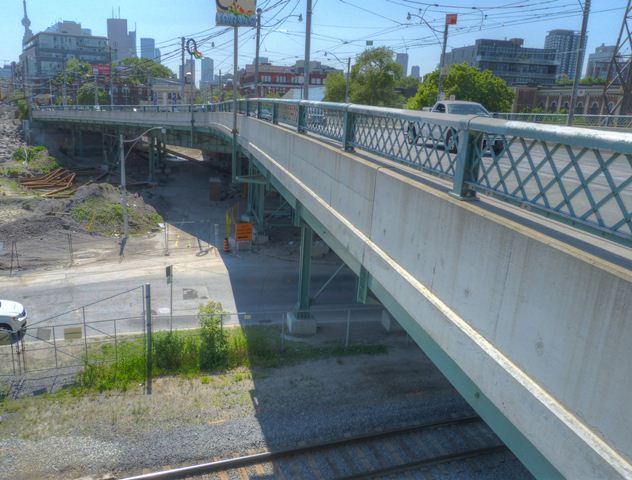

HDR Photos: Views of western approach from stairway south of bridge.
![]()


Western approach spans as viewed from stairway south of bridge.
![]()


South elevation of western approach spans.
![]()

Views of bridge from King Street ramp.
![]()


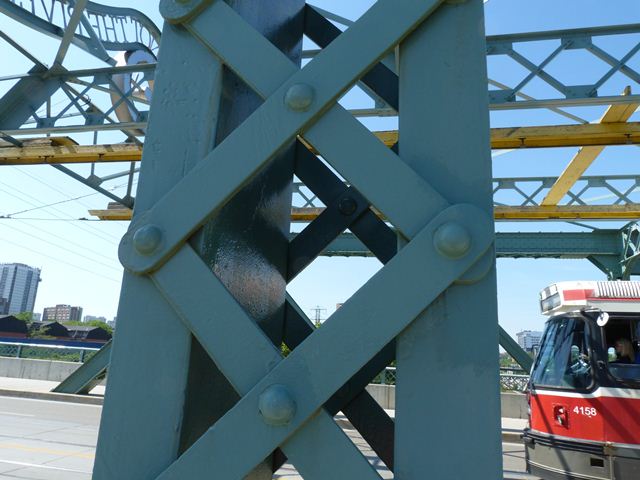
Views of truss web.
![]()


View of easternmost Queen street approach ramp span from King Street ramp.
![]()
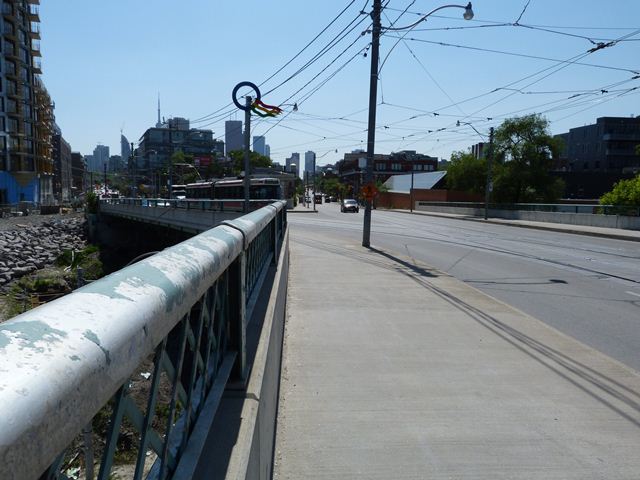
View on south sidewalk facing west toward western approach.
![]()
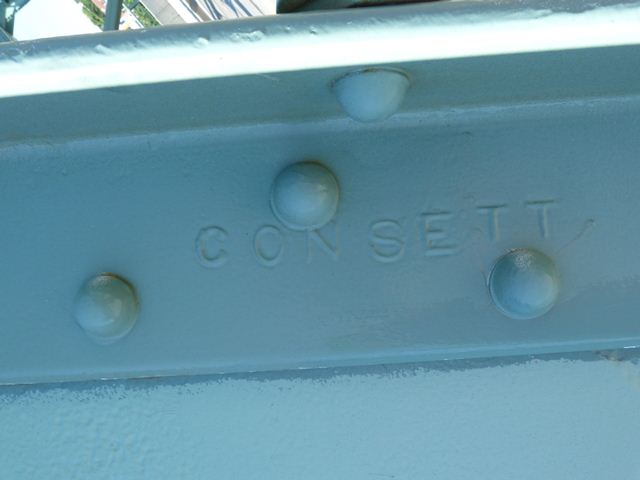


Consett brand.
![]()
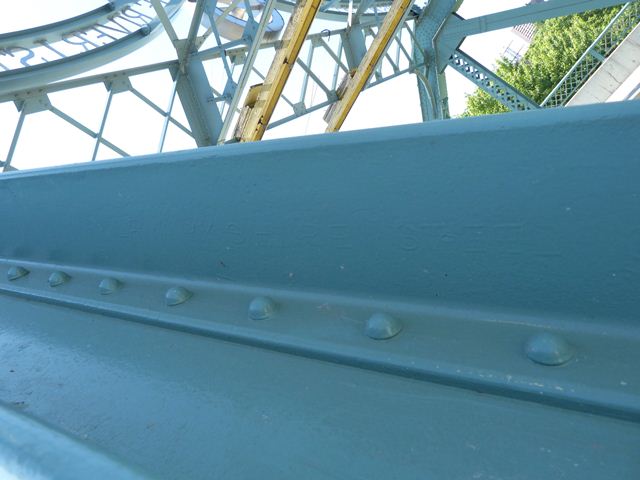


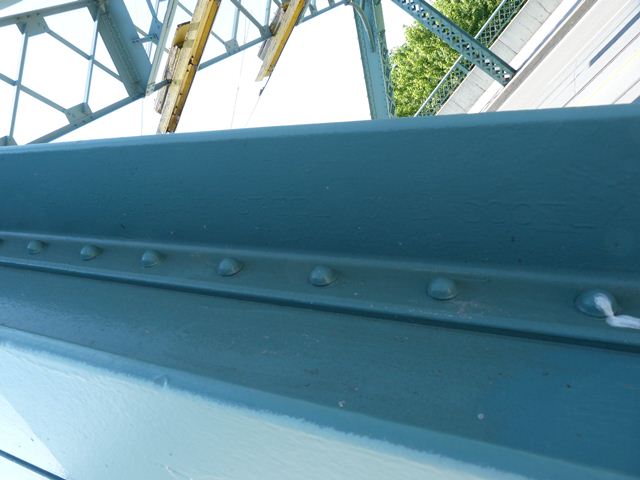
Very faint Shire Steel Scotland brand.
![]()
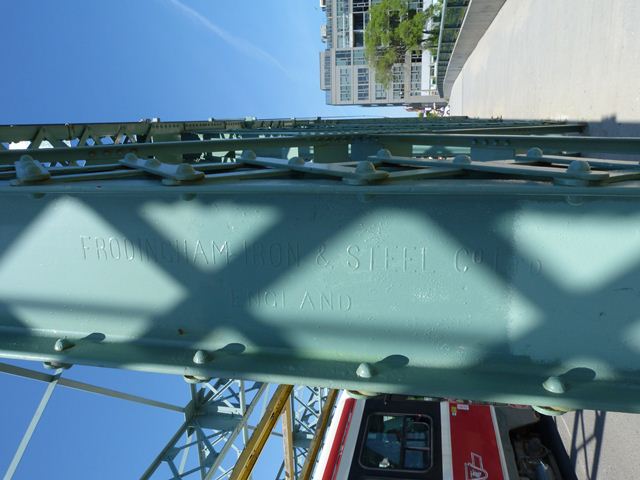
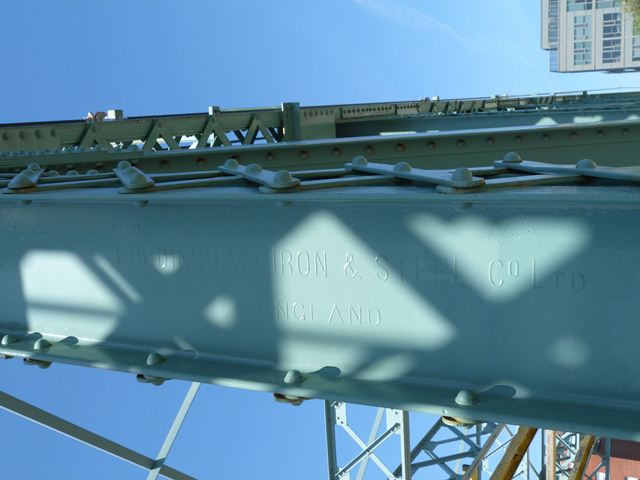

Frodingham Iron and Steel Company Ltd England.
![]()

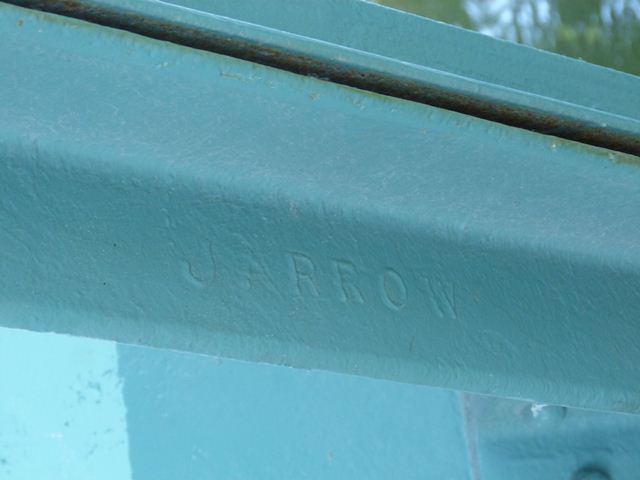


Jarrow Steel brand.
![]()

Cargo Fleet England.
![]()

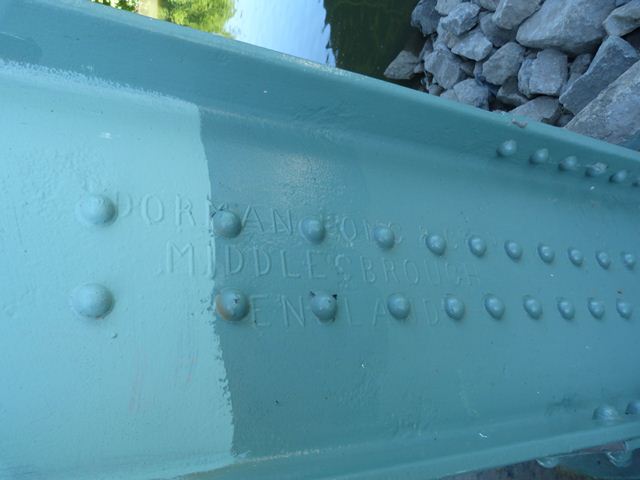
Dorman Long and Co. Middlesbrough England brand.
![]()

Interpretive signage: Straightening the Don.
![]()
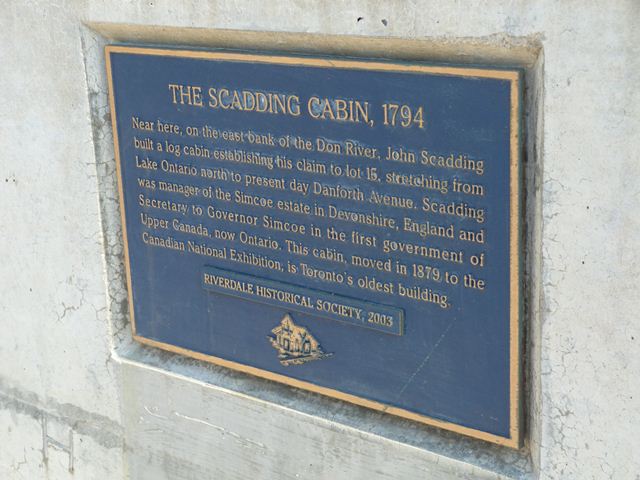
Interpretive signage: The Scadding Cabin.
![]()

Interpretive signage: Earlier Don River Bridge at location.
![]()

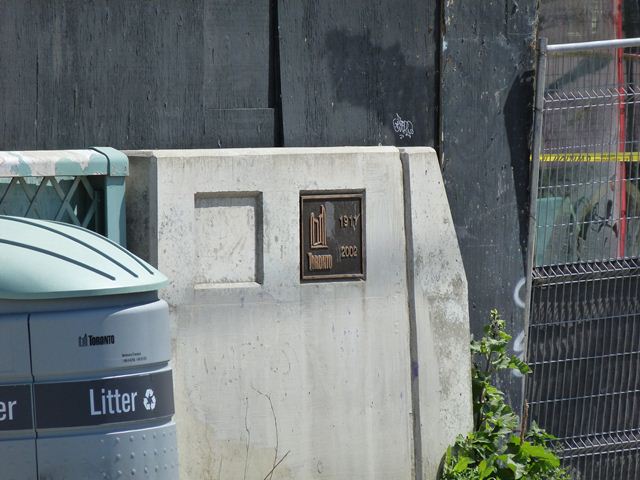
Rehabilitation plaque.
![]()

Plaque for portal bracing art.
![]()
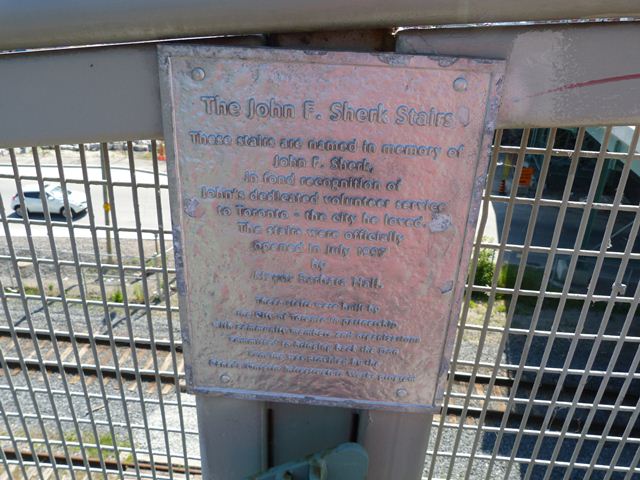
Plaque for stairway.
![]()


Top chord connections as viewed from beside bridge.
![]()


Top chord connections as viewed from on bridge.
![]()


Bottom chord connections as viewed from beside bridge.
![]()


Bottom chord connections as viewed from on bridge.
![]()


Portal bracing details.
![]()
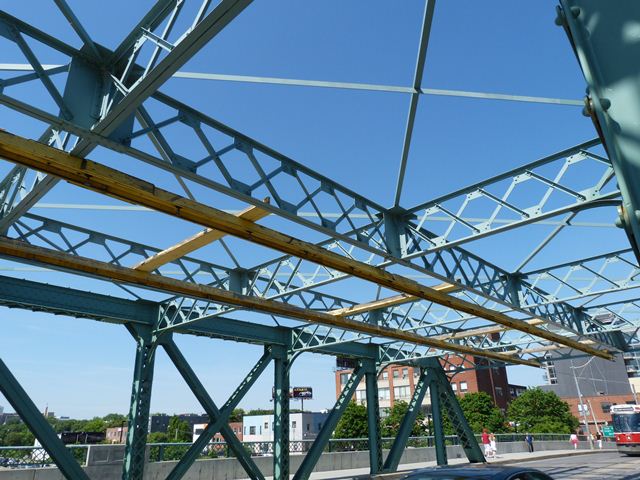


Overhead bracing.
![]()


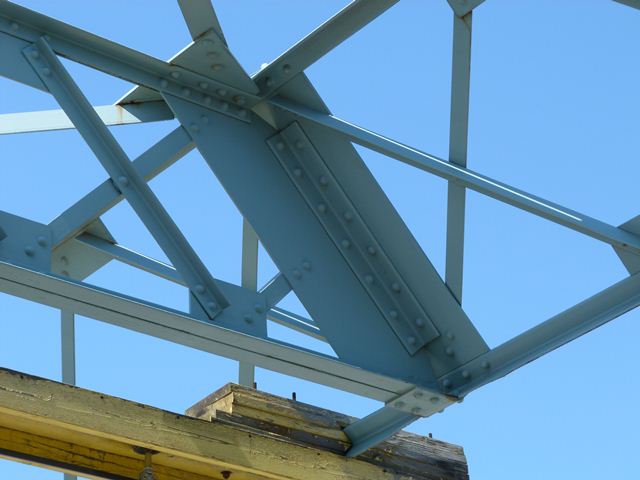
Overhead bracing connections.
![]()
Longitudinal bracing connection to portal bracing.
![]()


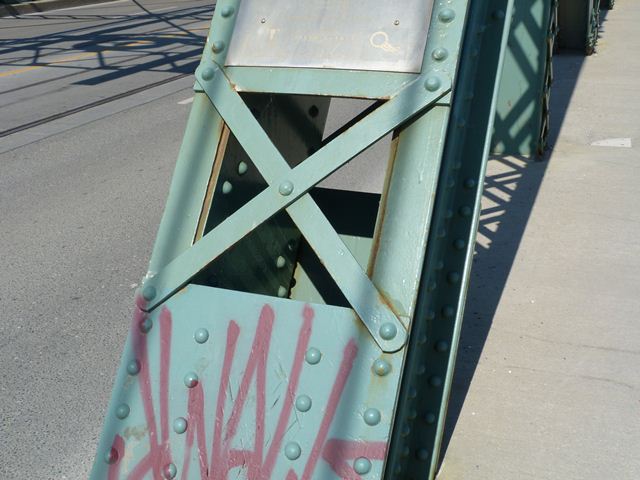


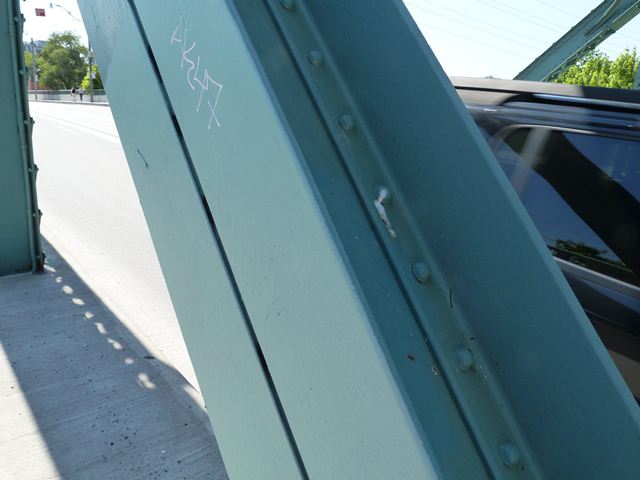
End posts.
![]()

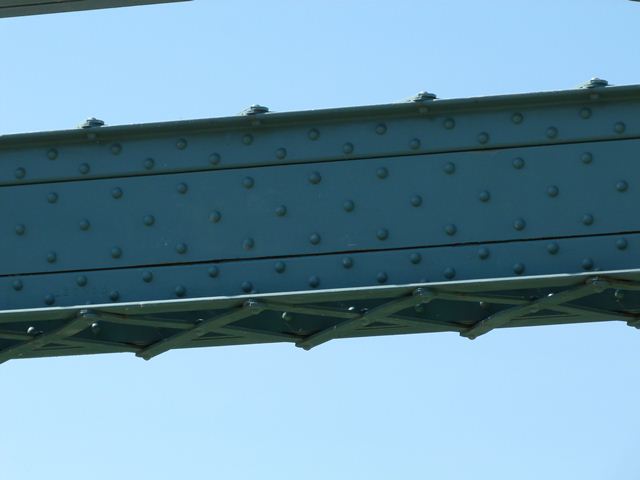
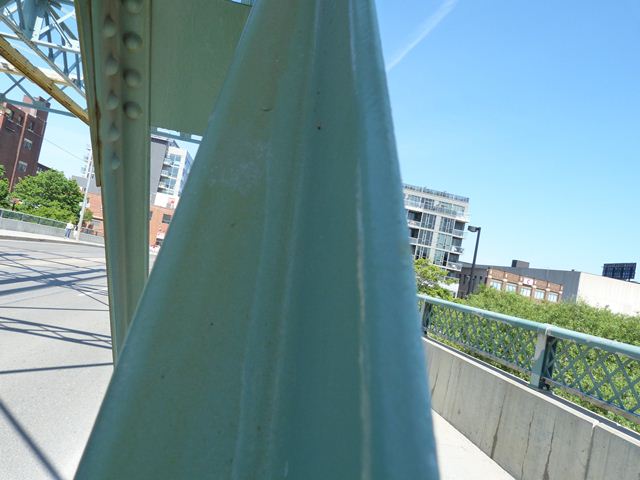
Top chord.
![]()


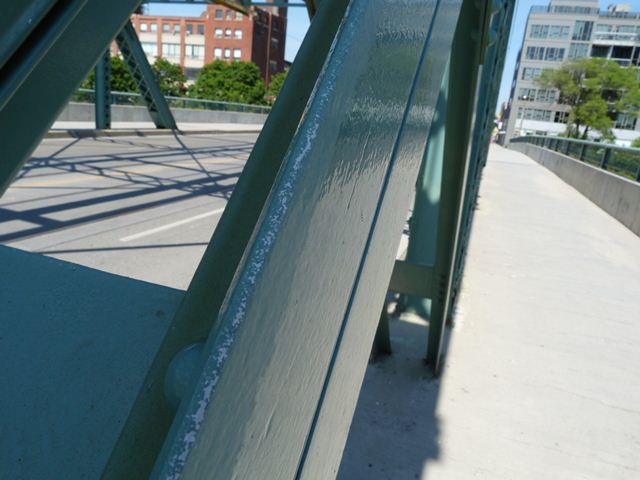
Vertical members.
![]()


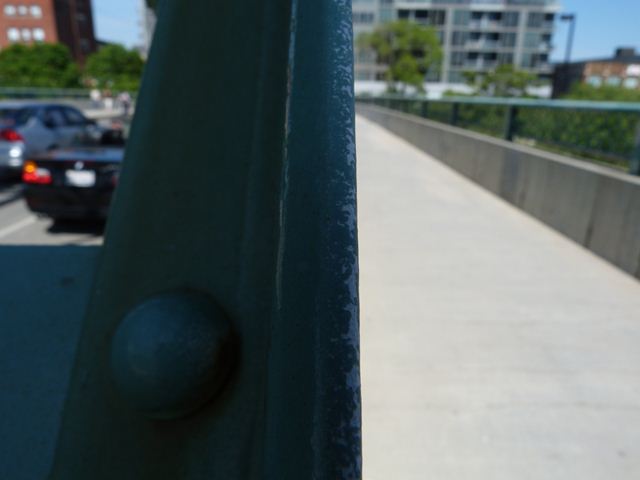
Diagonal members.
![]()

Details of diagonal member angles.
![]()


Bent for truss span.
![]()
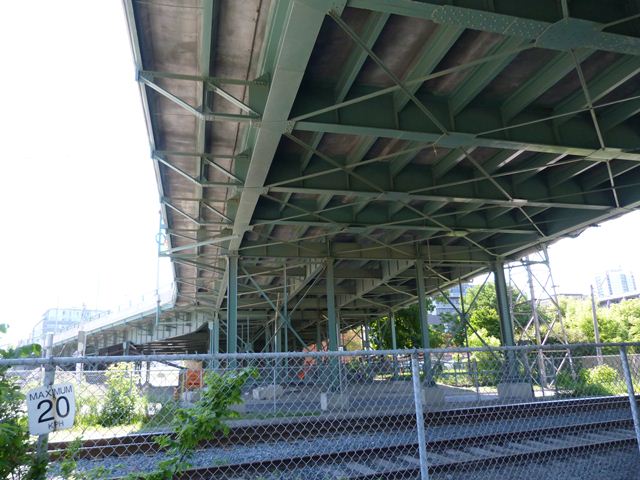


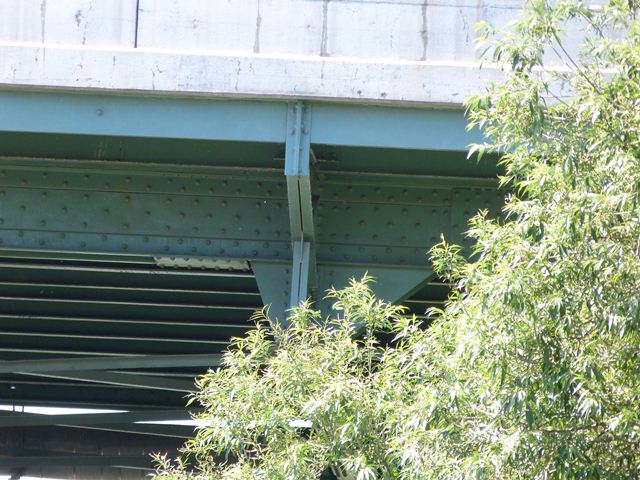
Views under western approach spans.
![]()


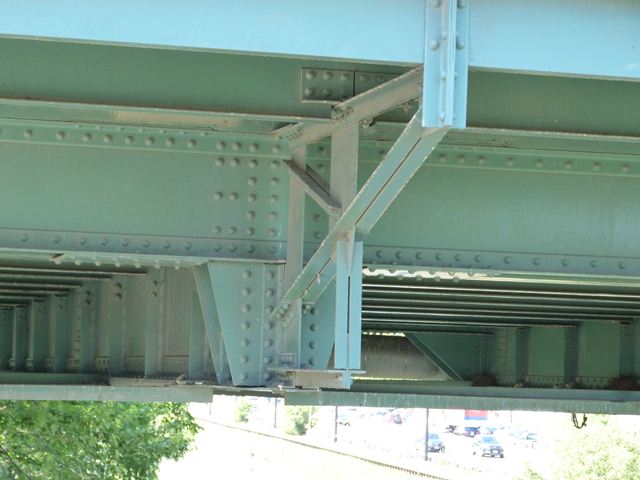
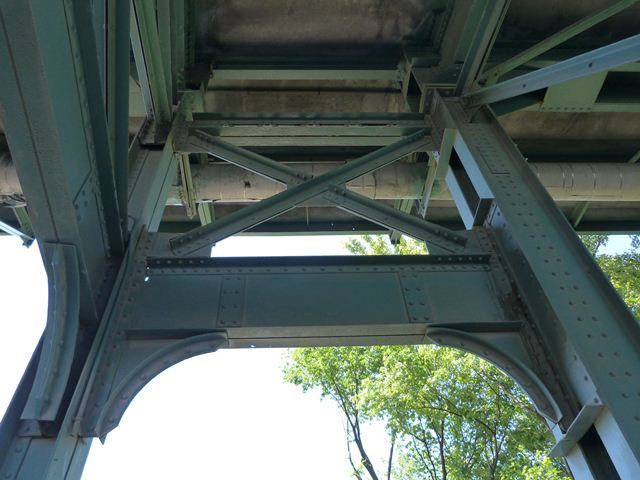
Views under main span.
![]()


Floor beams.
![]()


Sidewalk cantilevers.
![]()
![]()
| Back |
| Home |
| Top |

![]()