Uncredited photos on this page taken by: Nathan Holth. Unless stated in a caption, all photos are Copyright with All Rights Reserved. Learn about reuse of our photos.
![]()
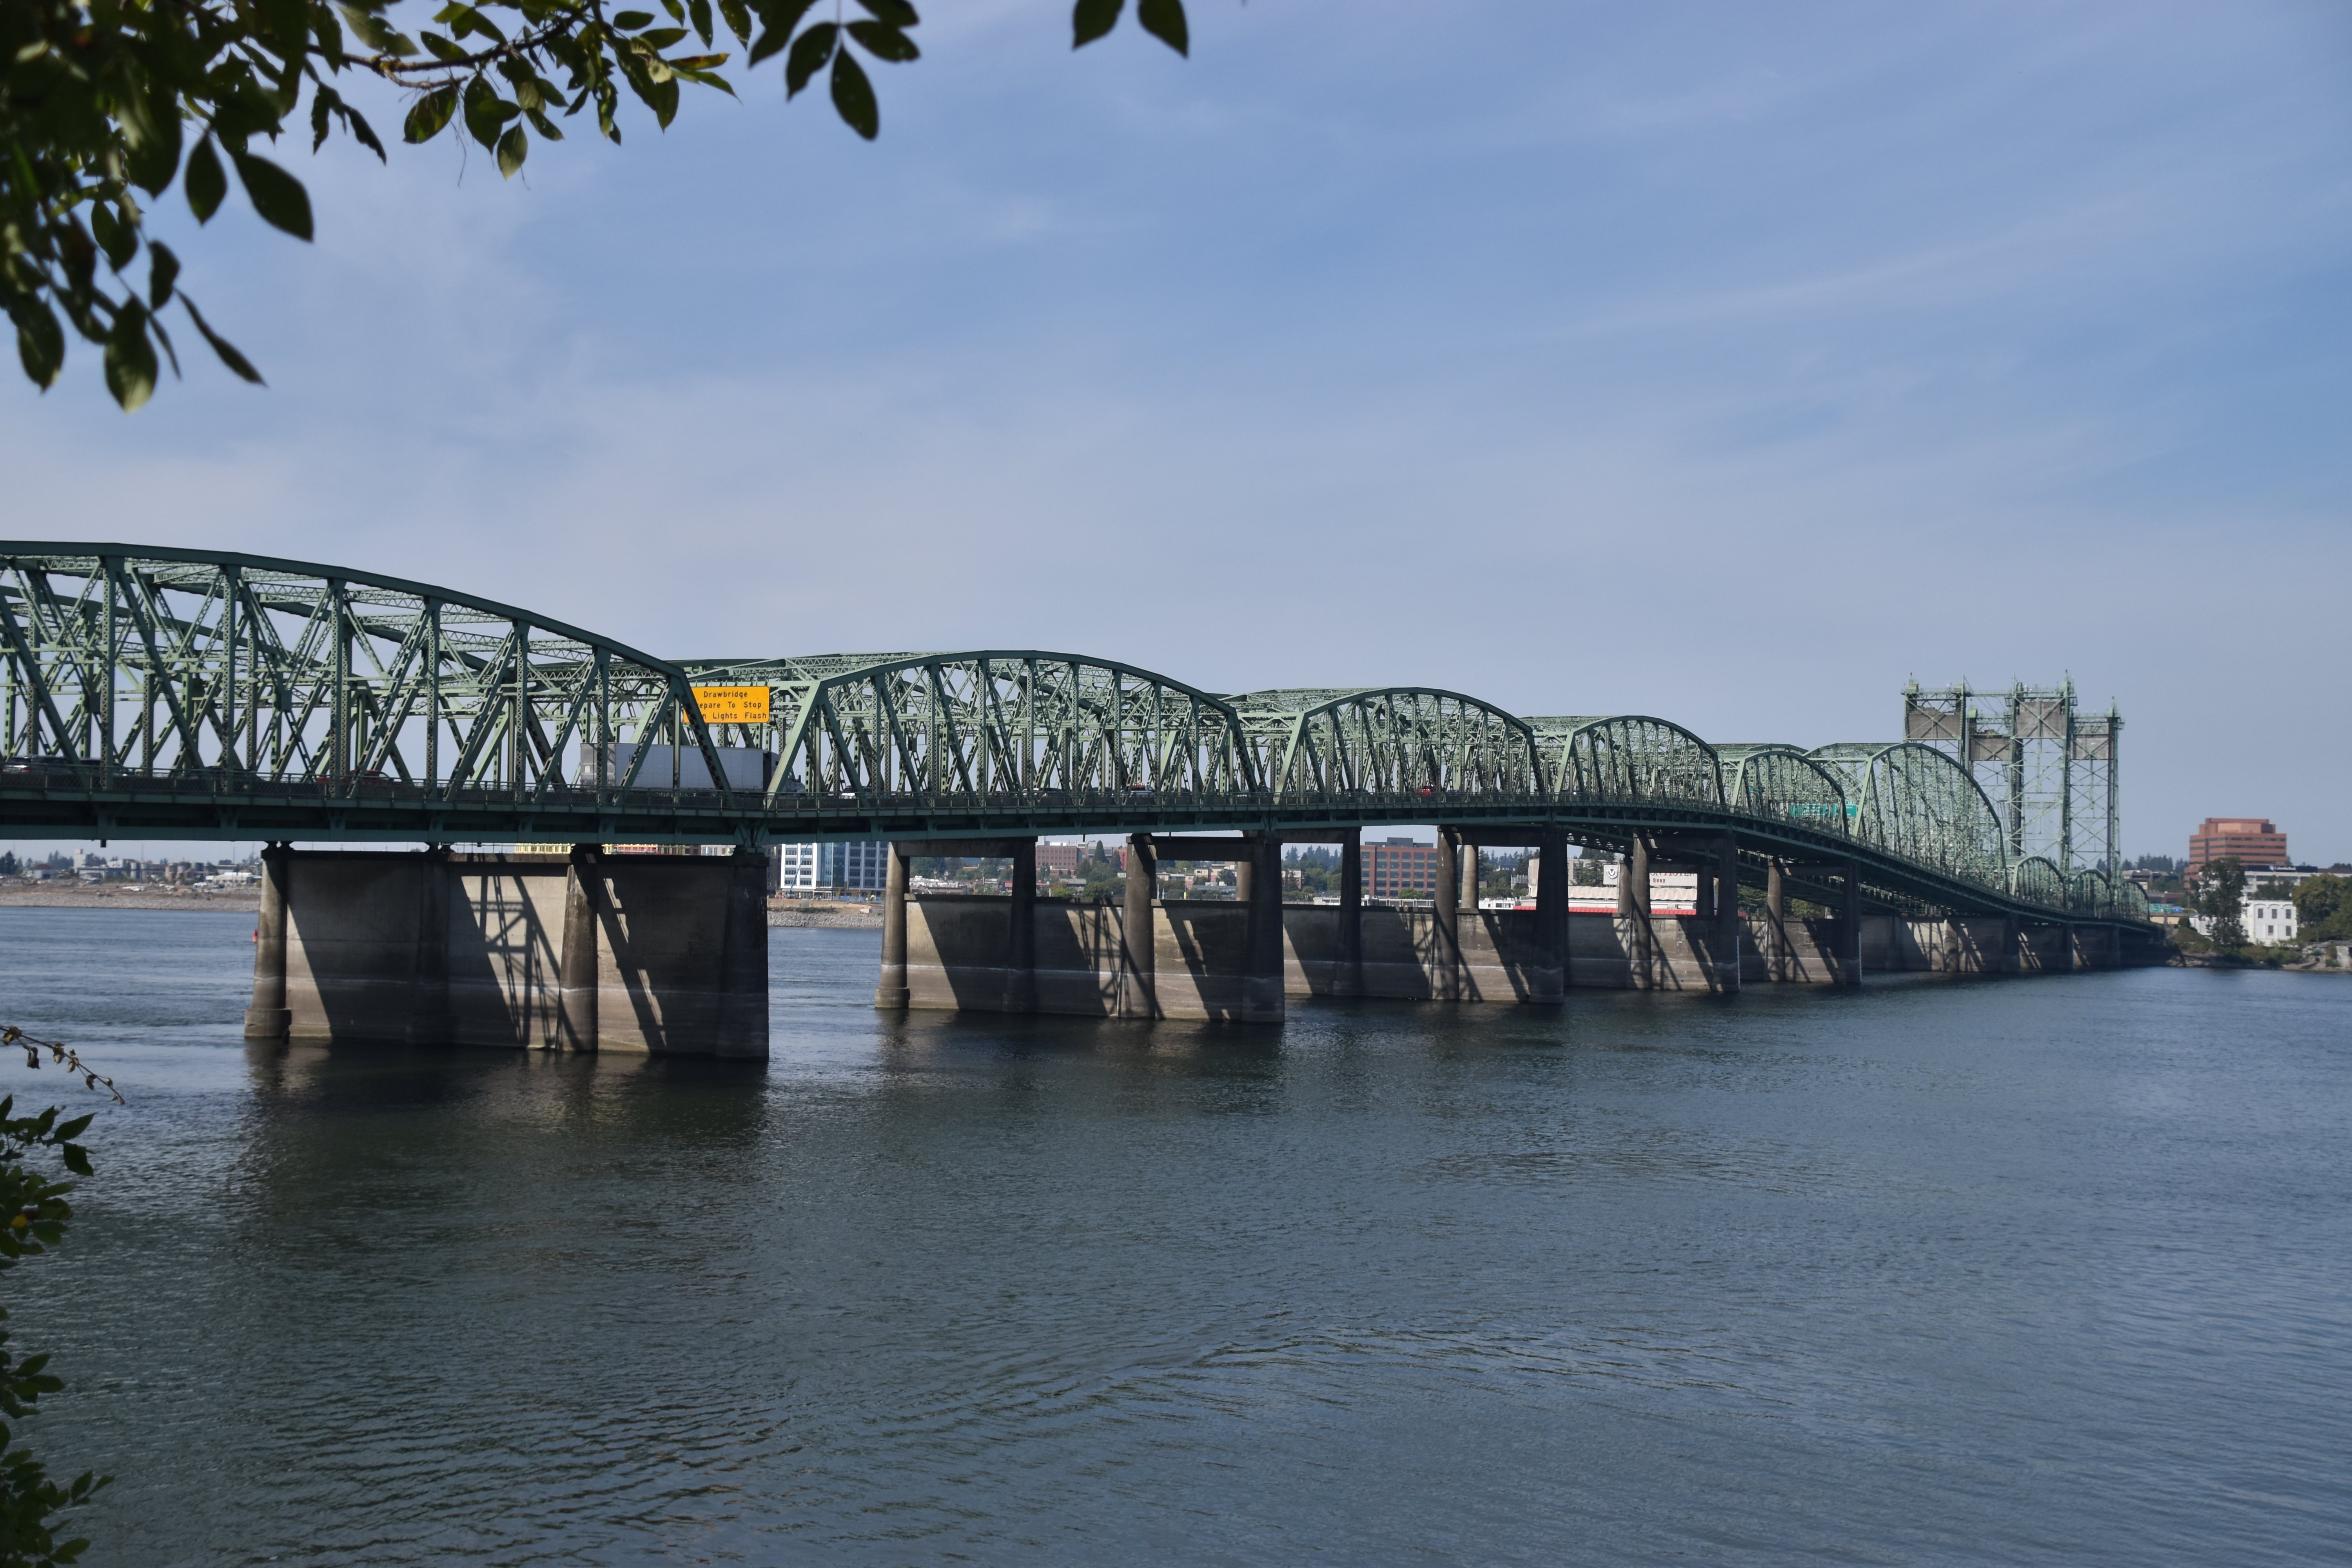
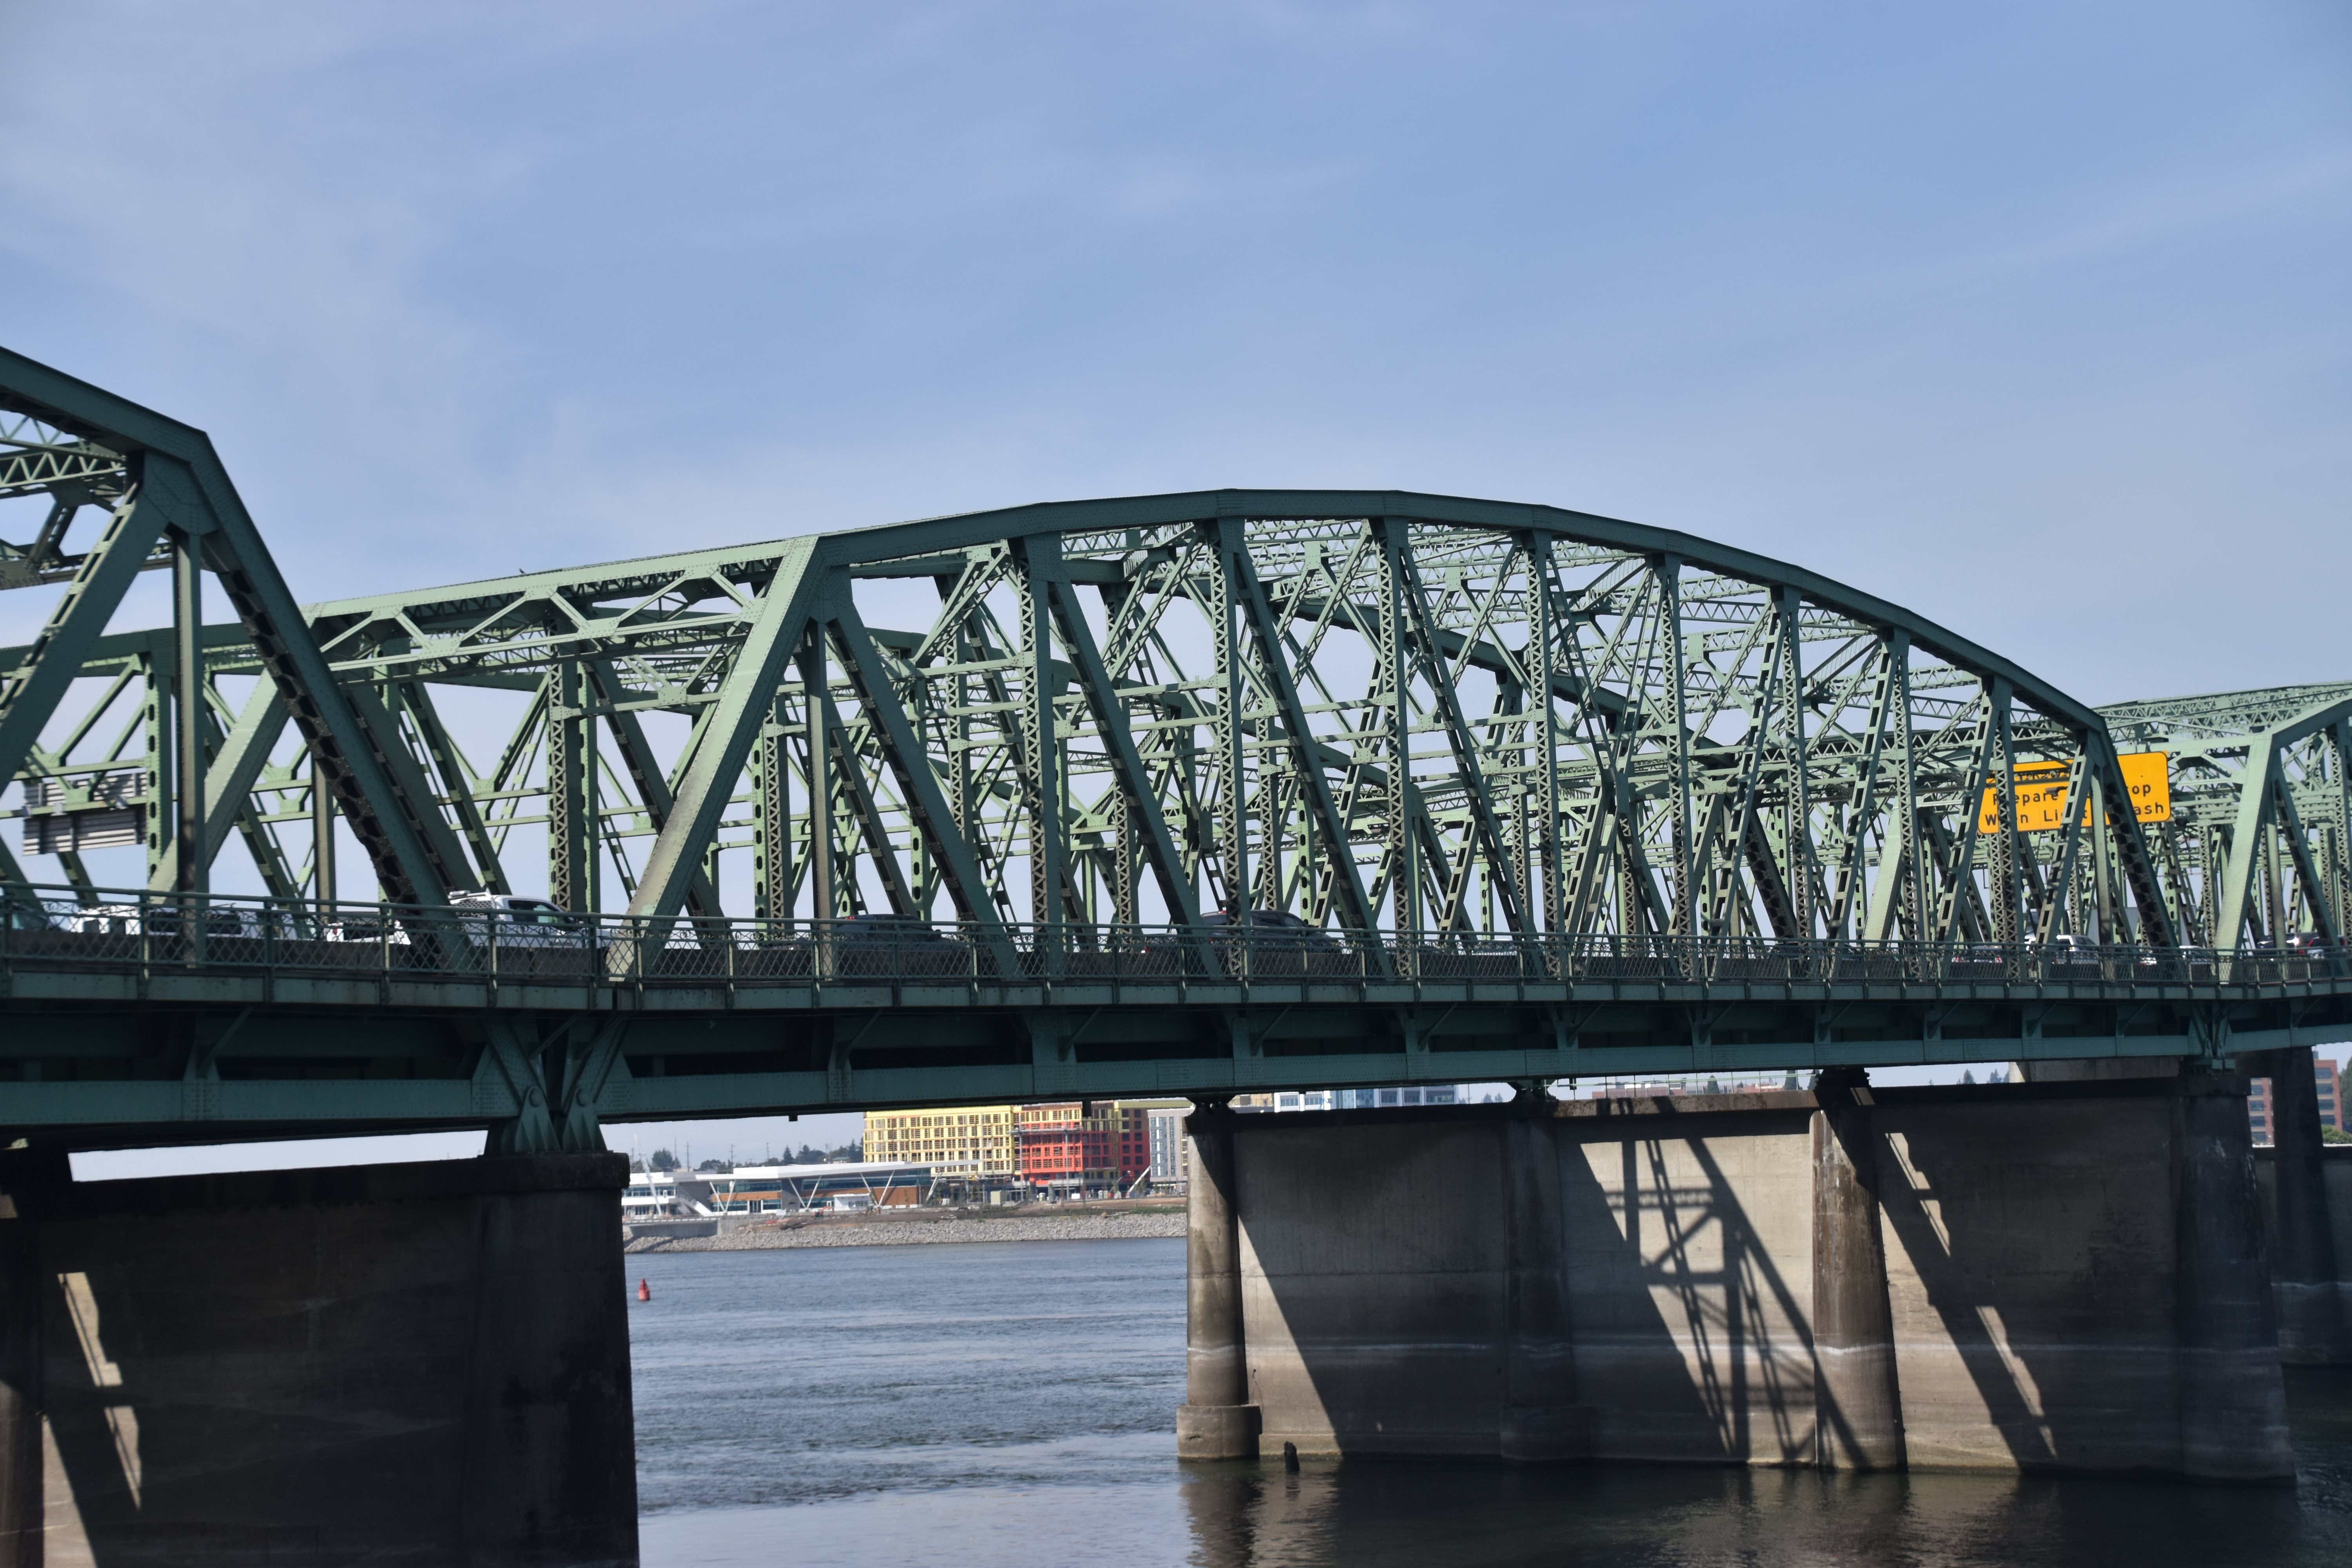
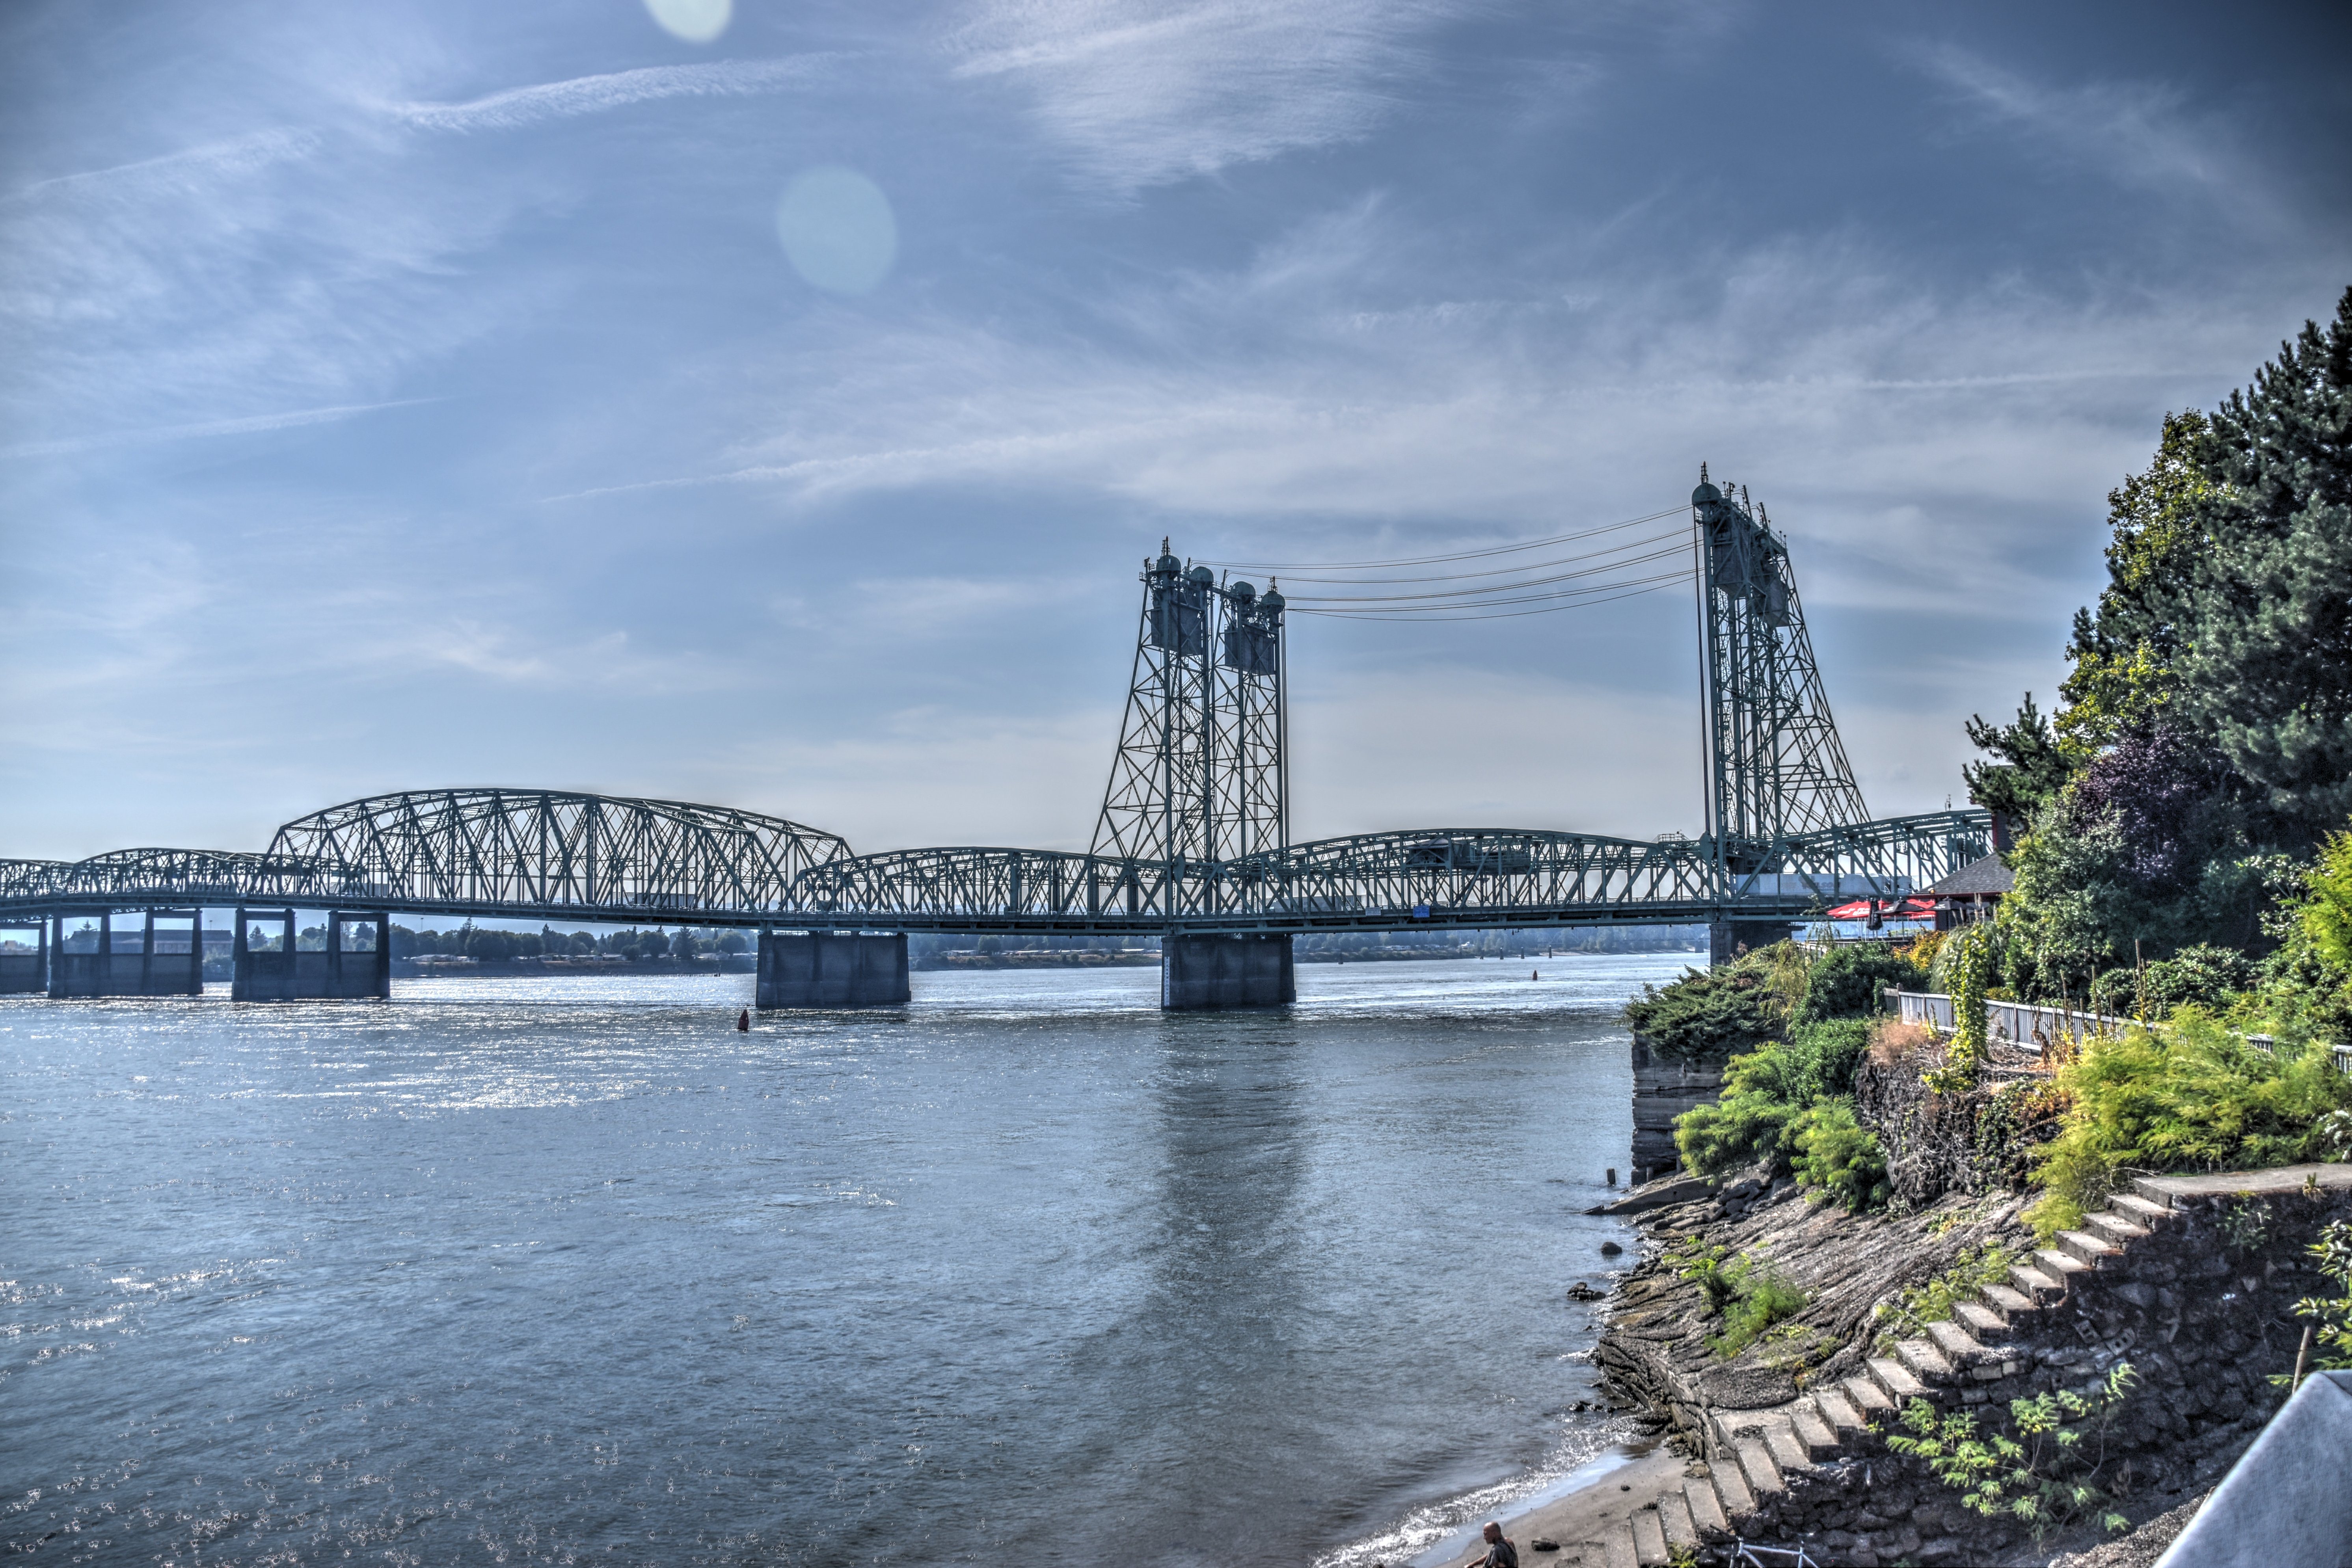
Elevation from southeast quadrant.
![]()
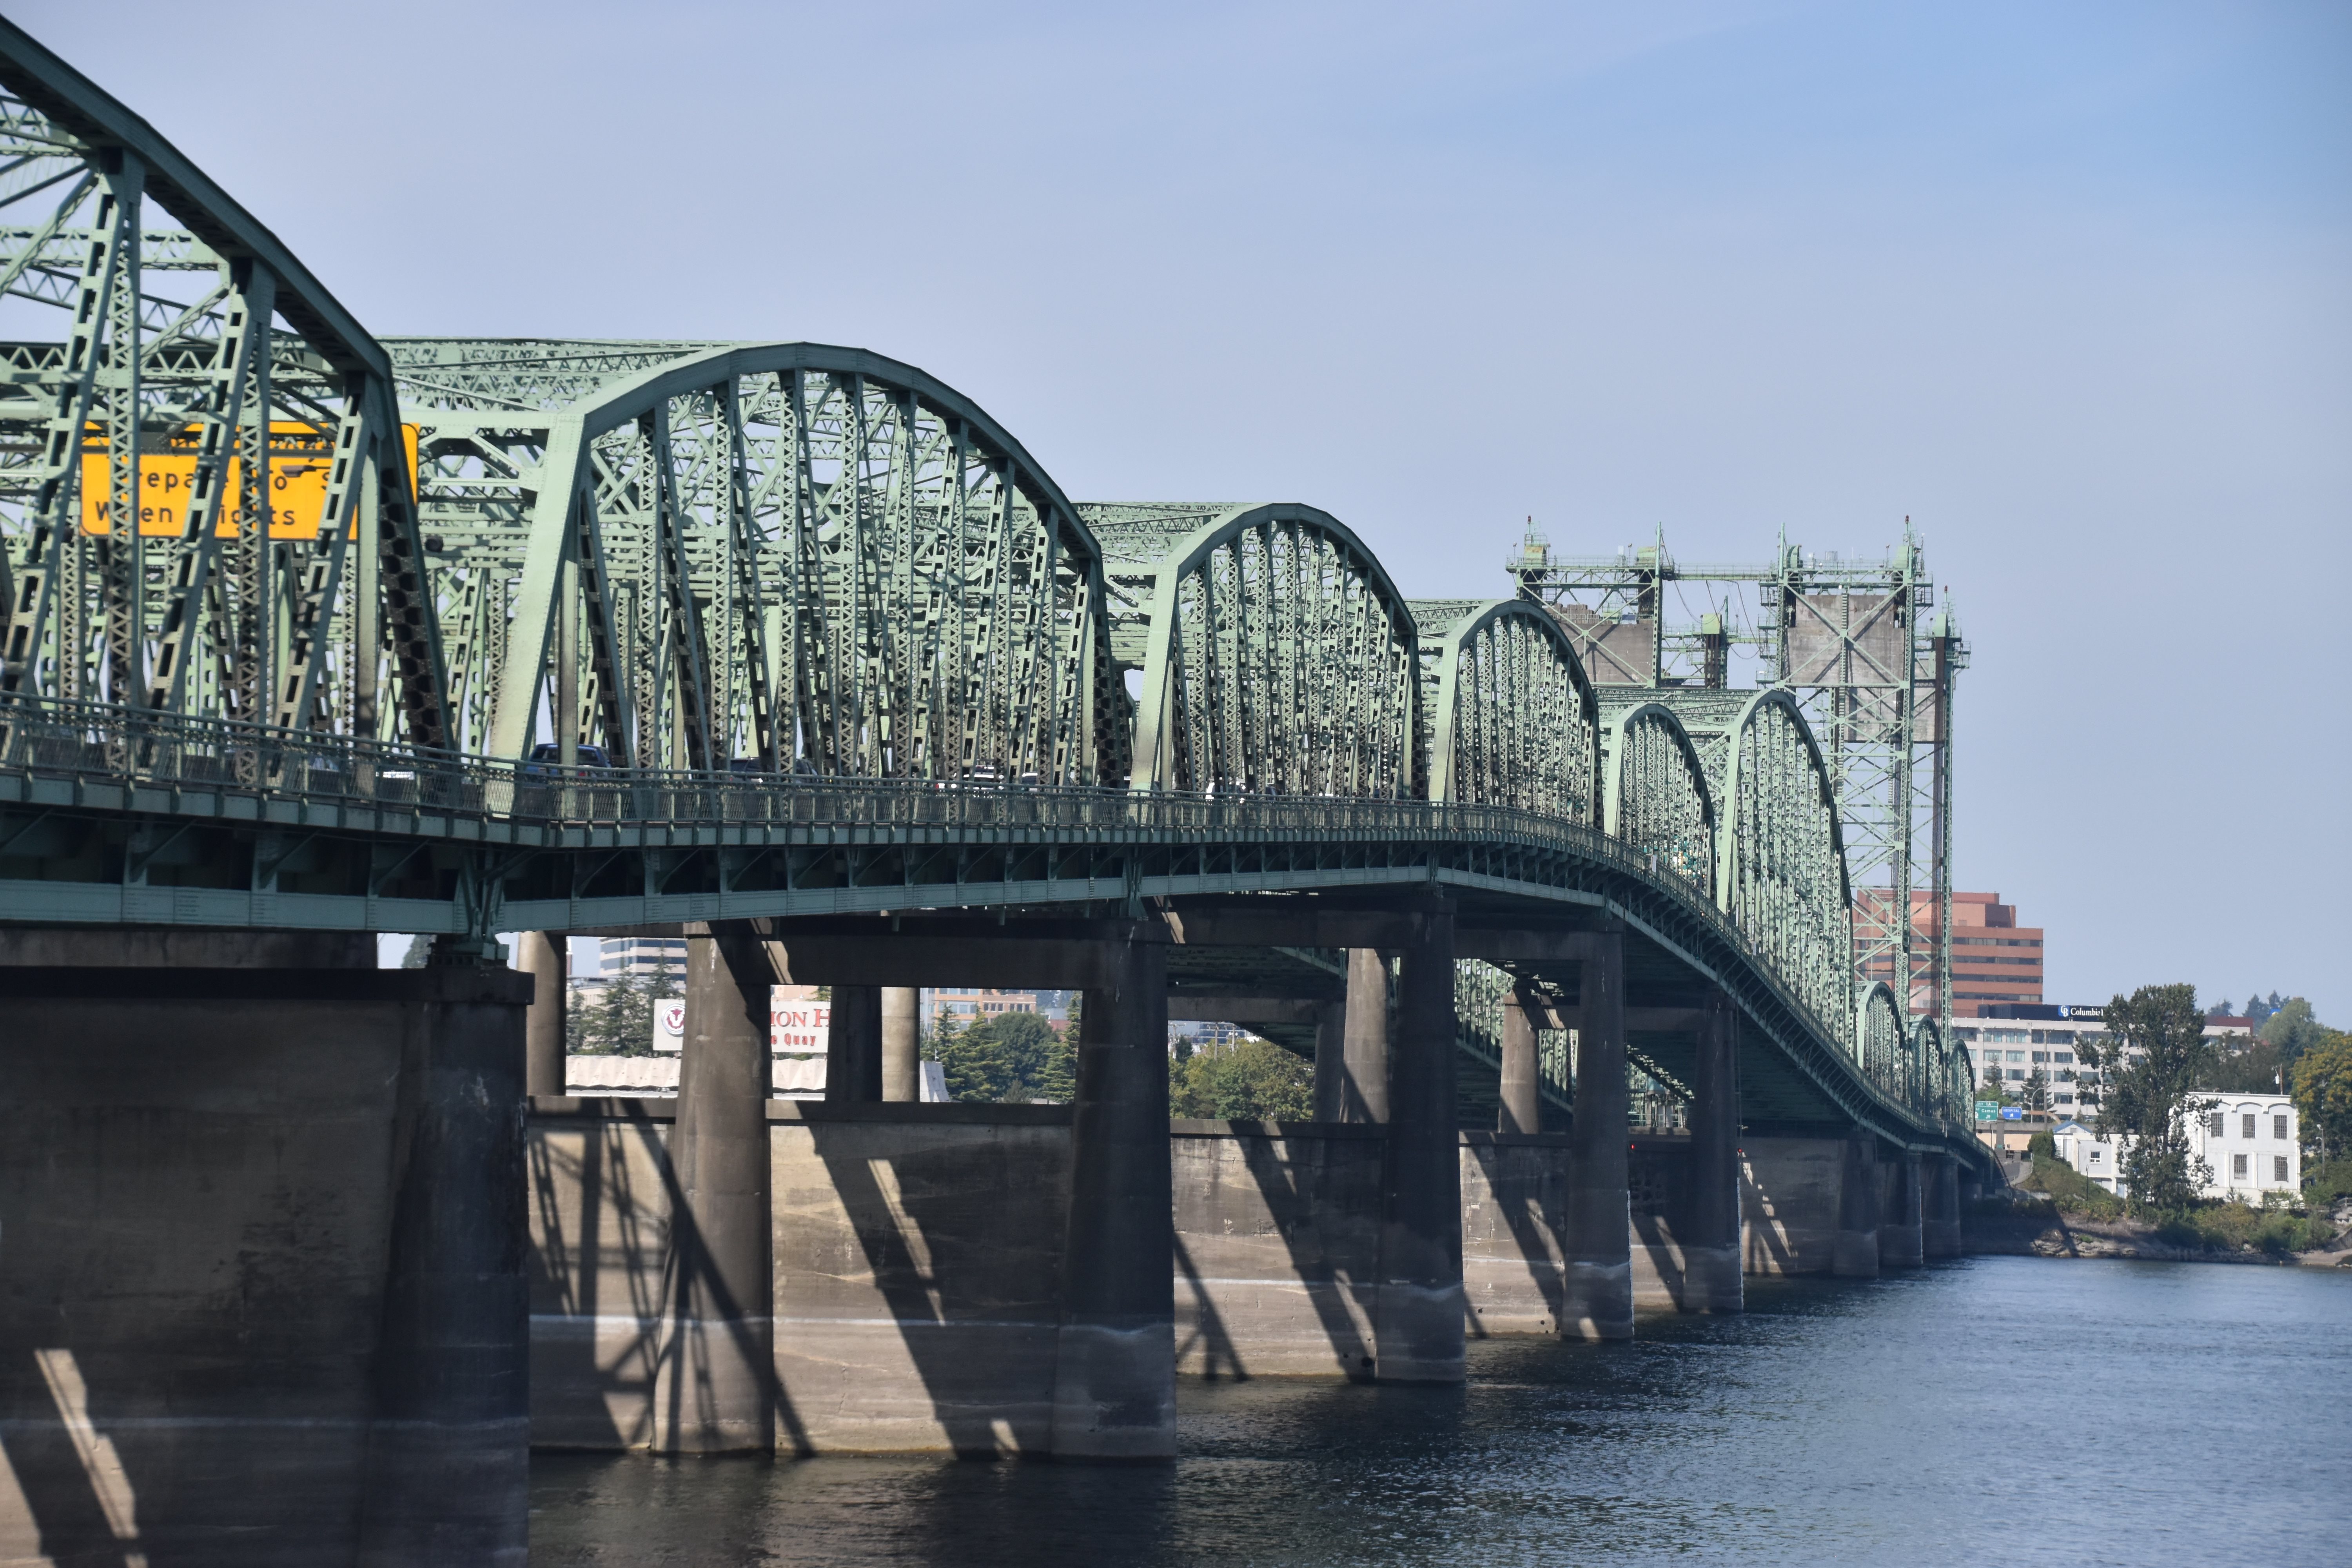


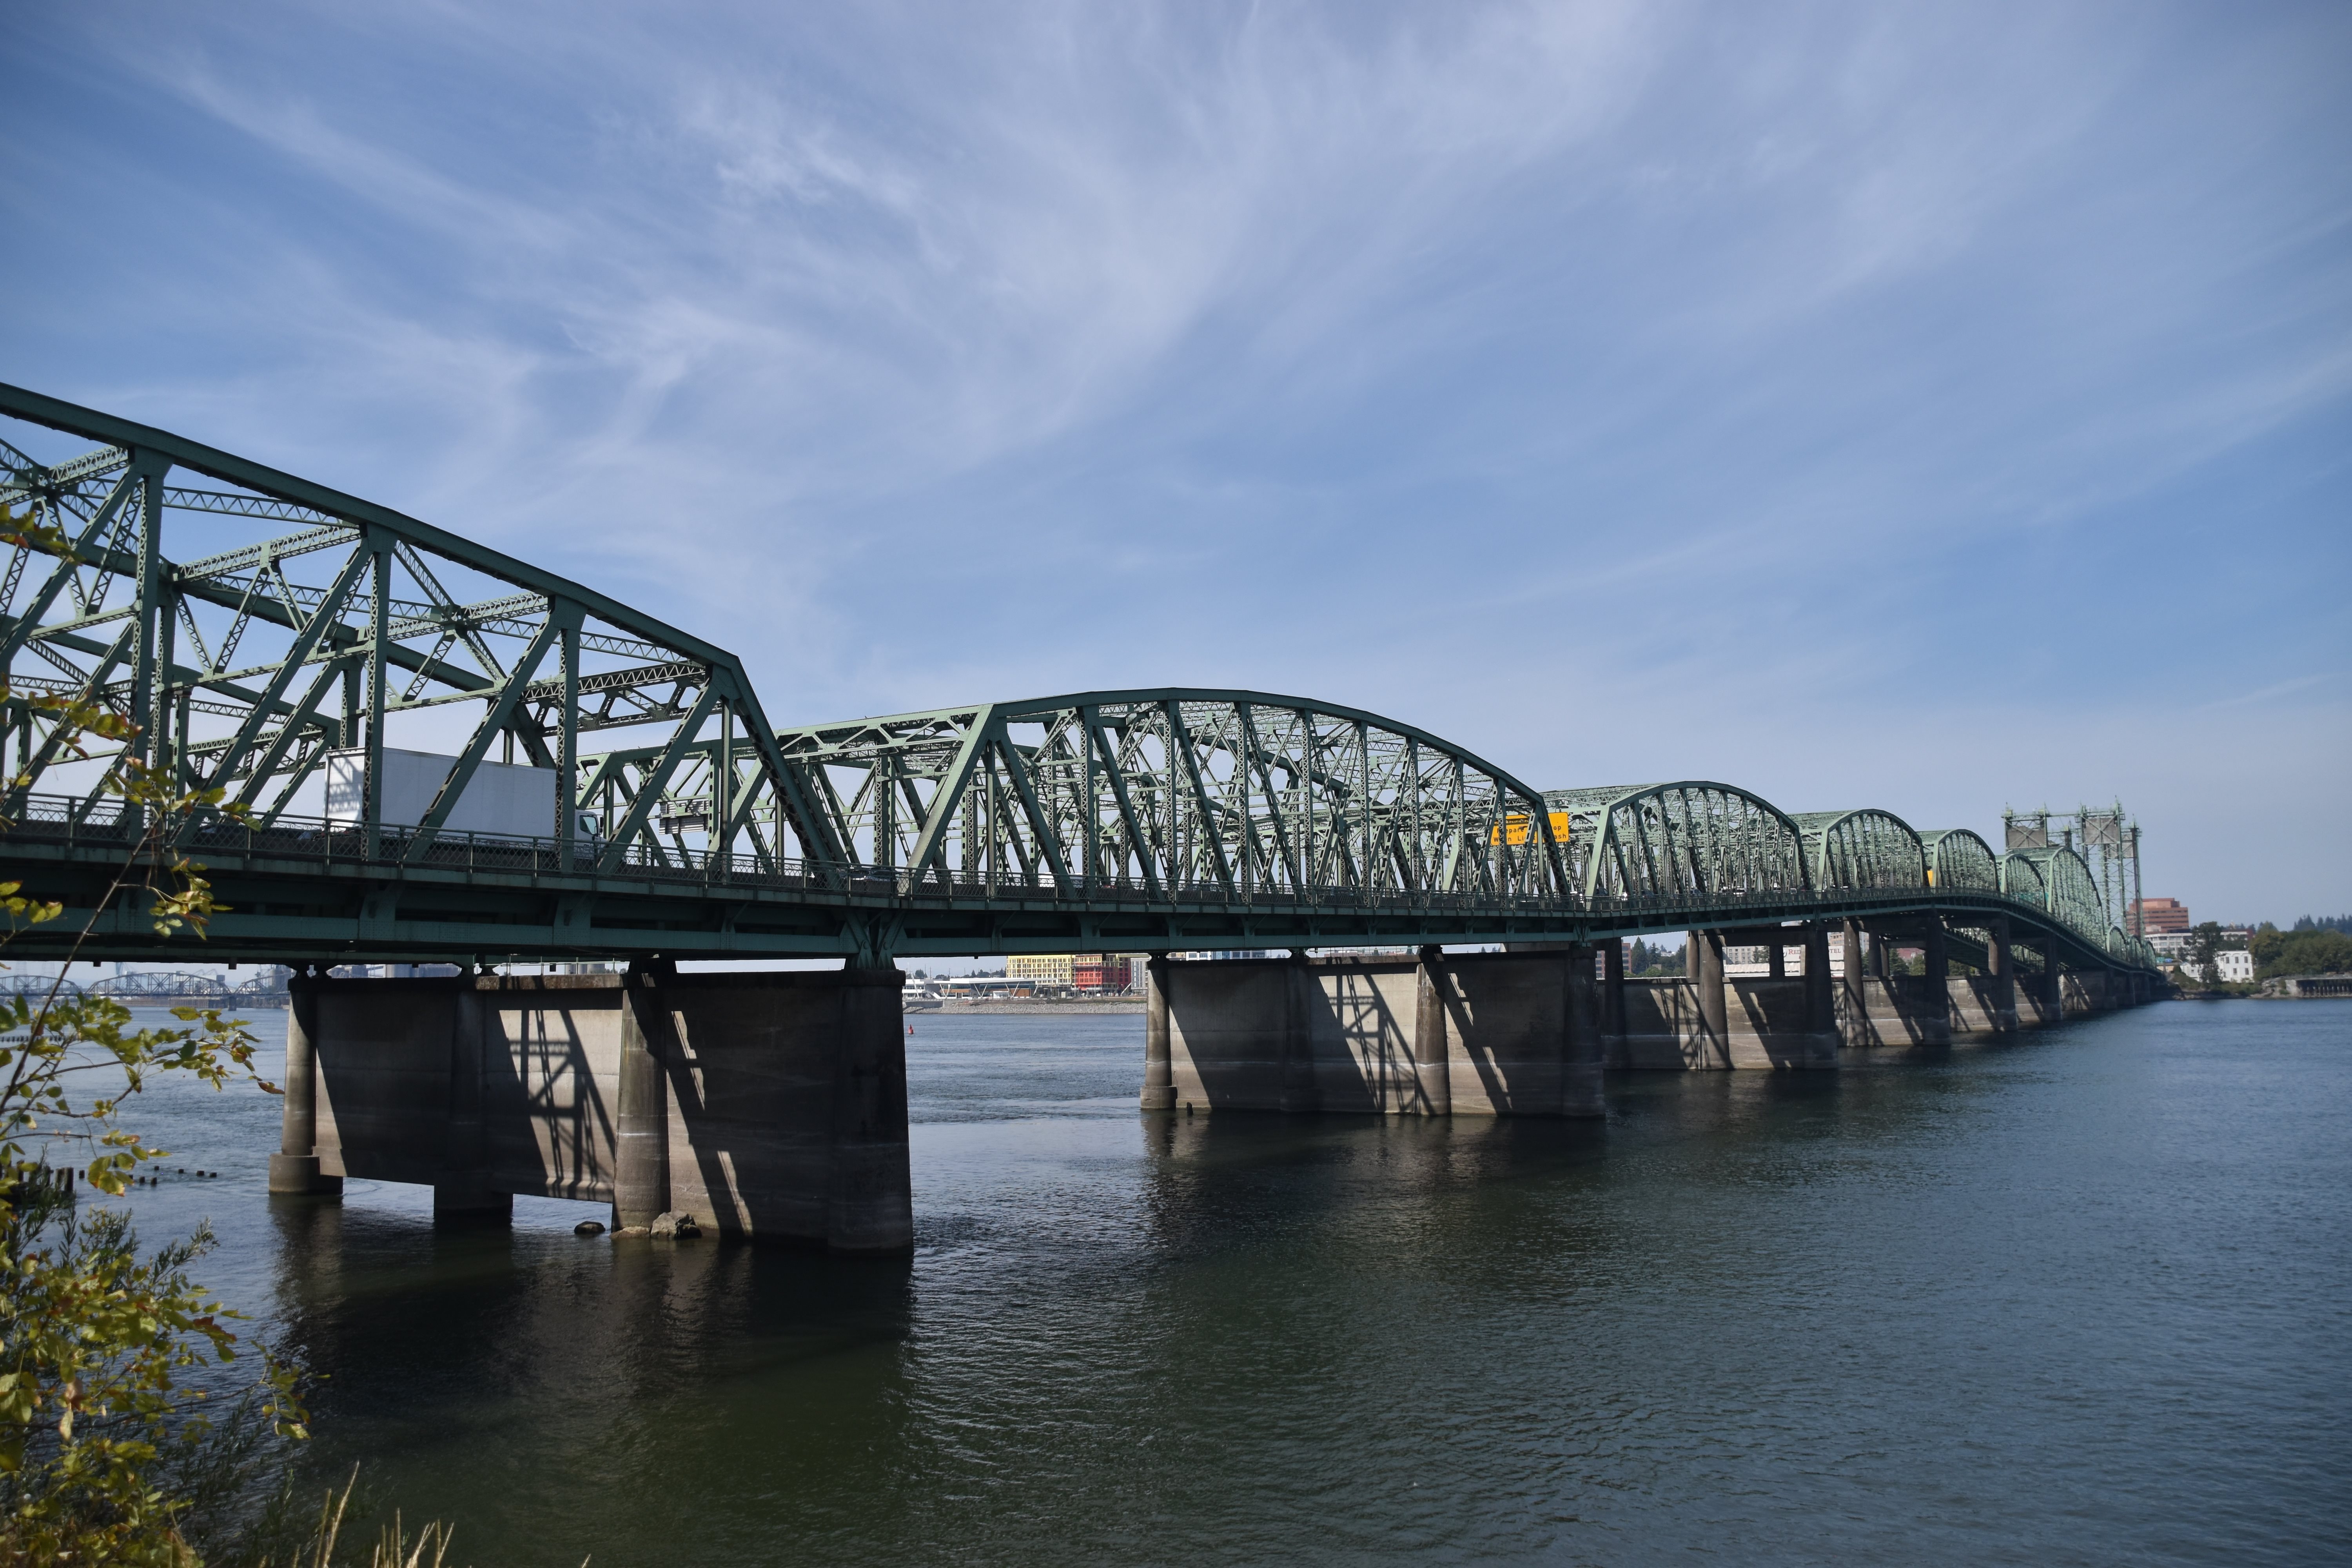
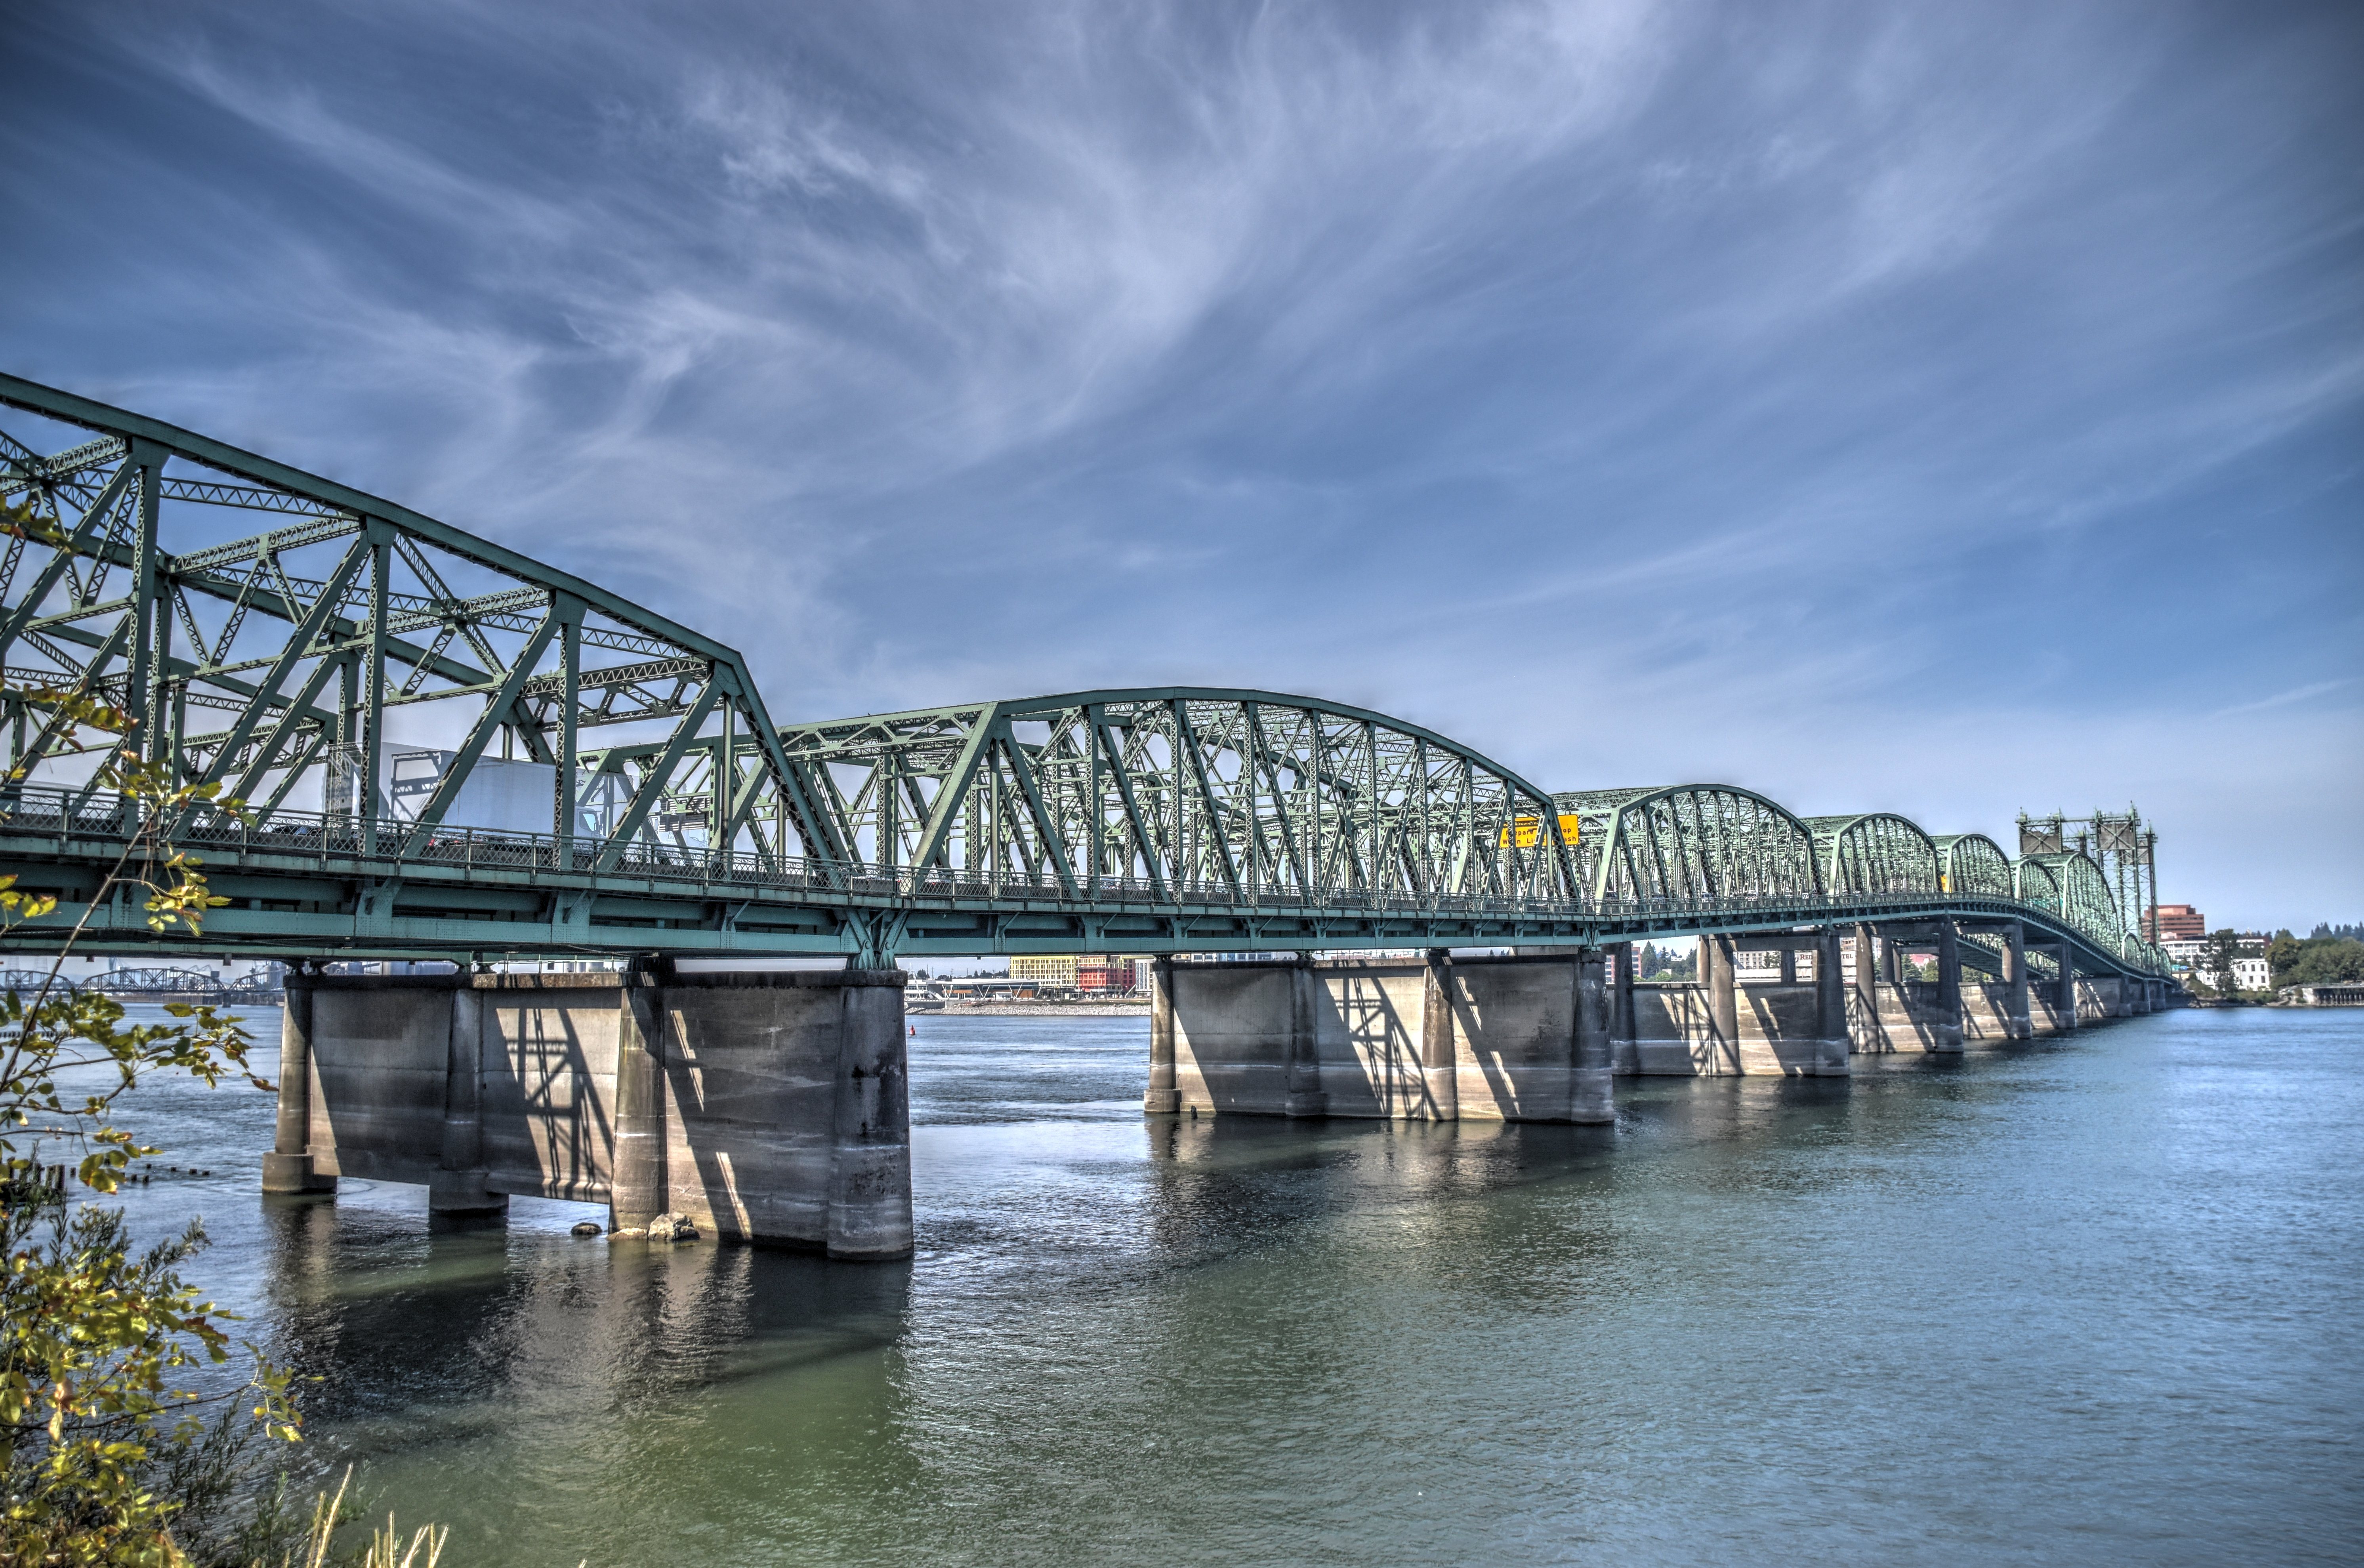

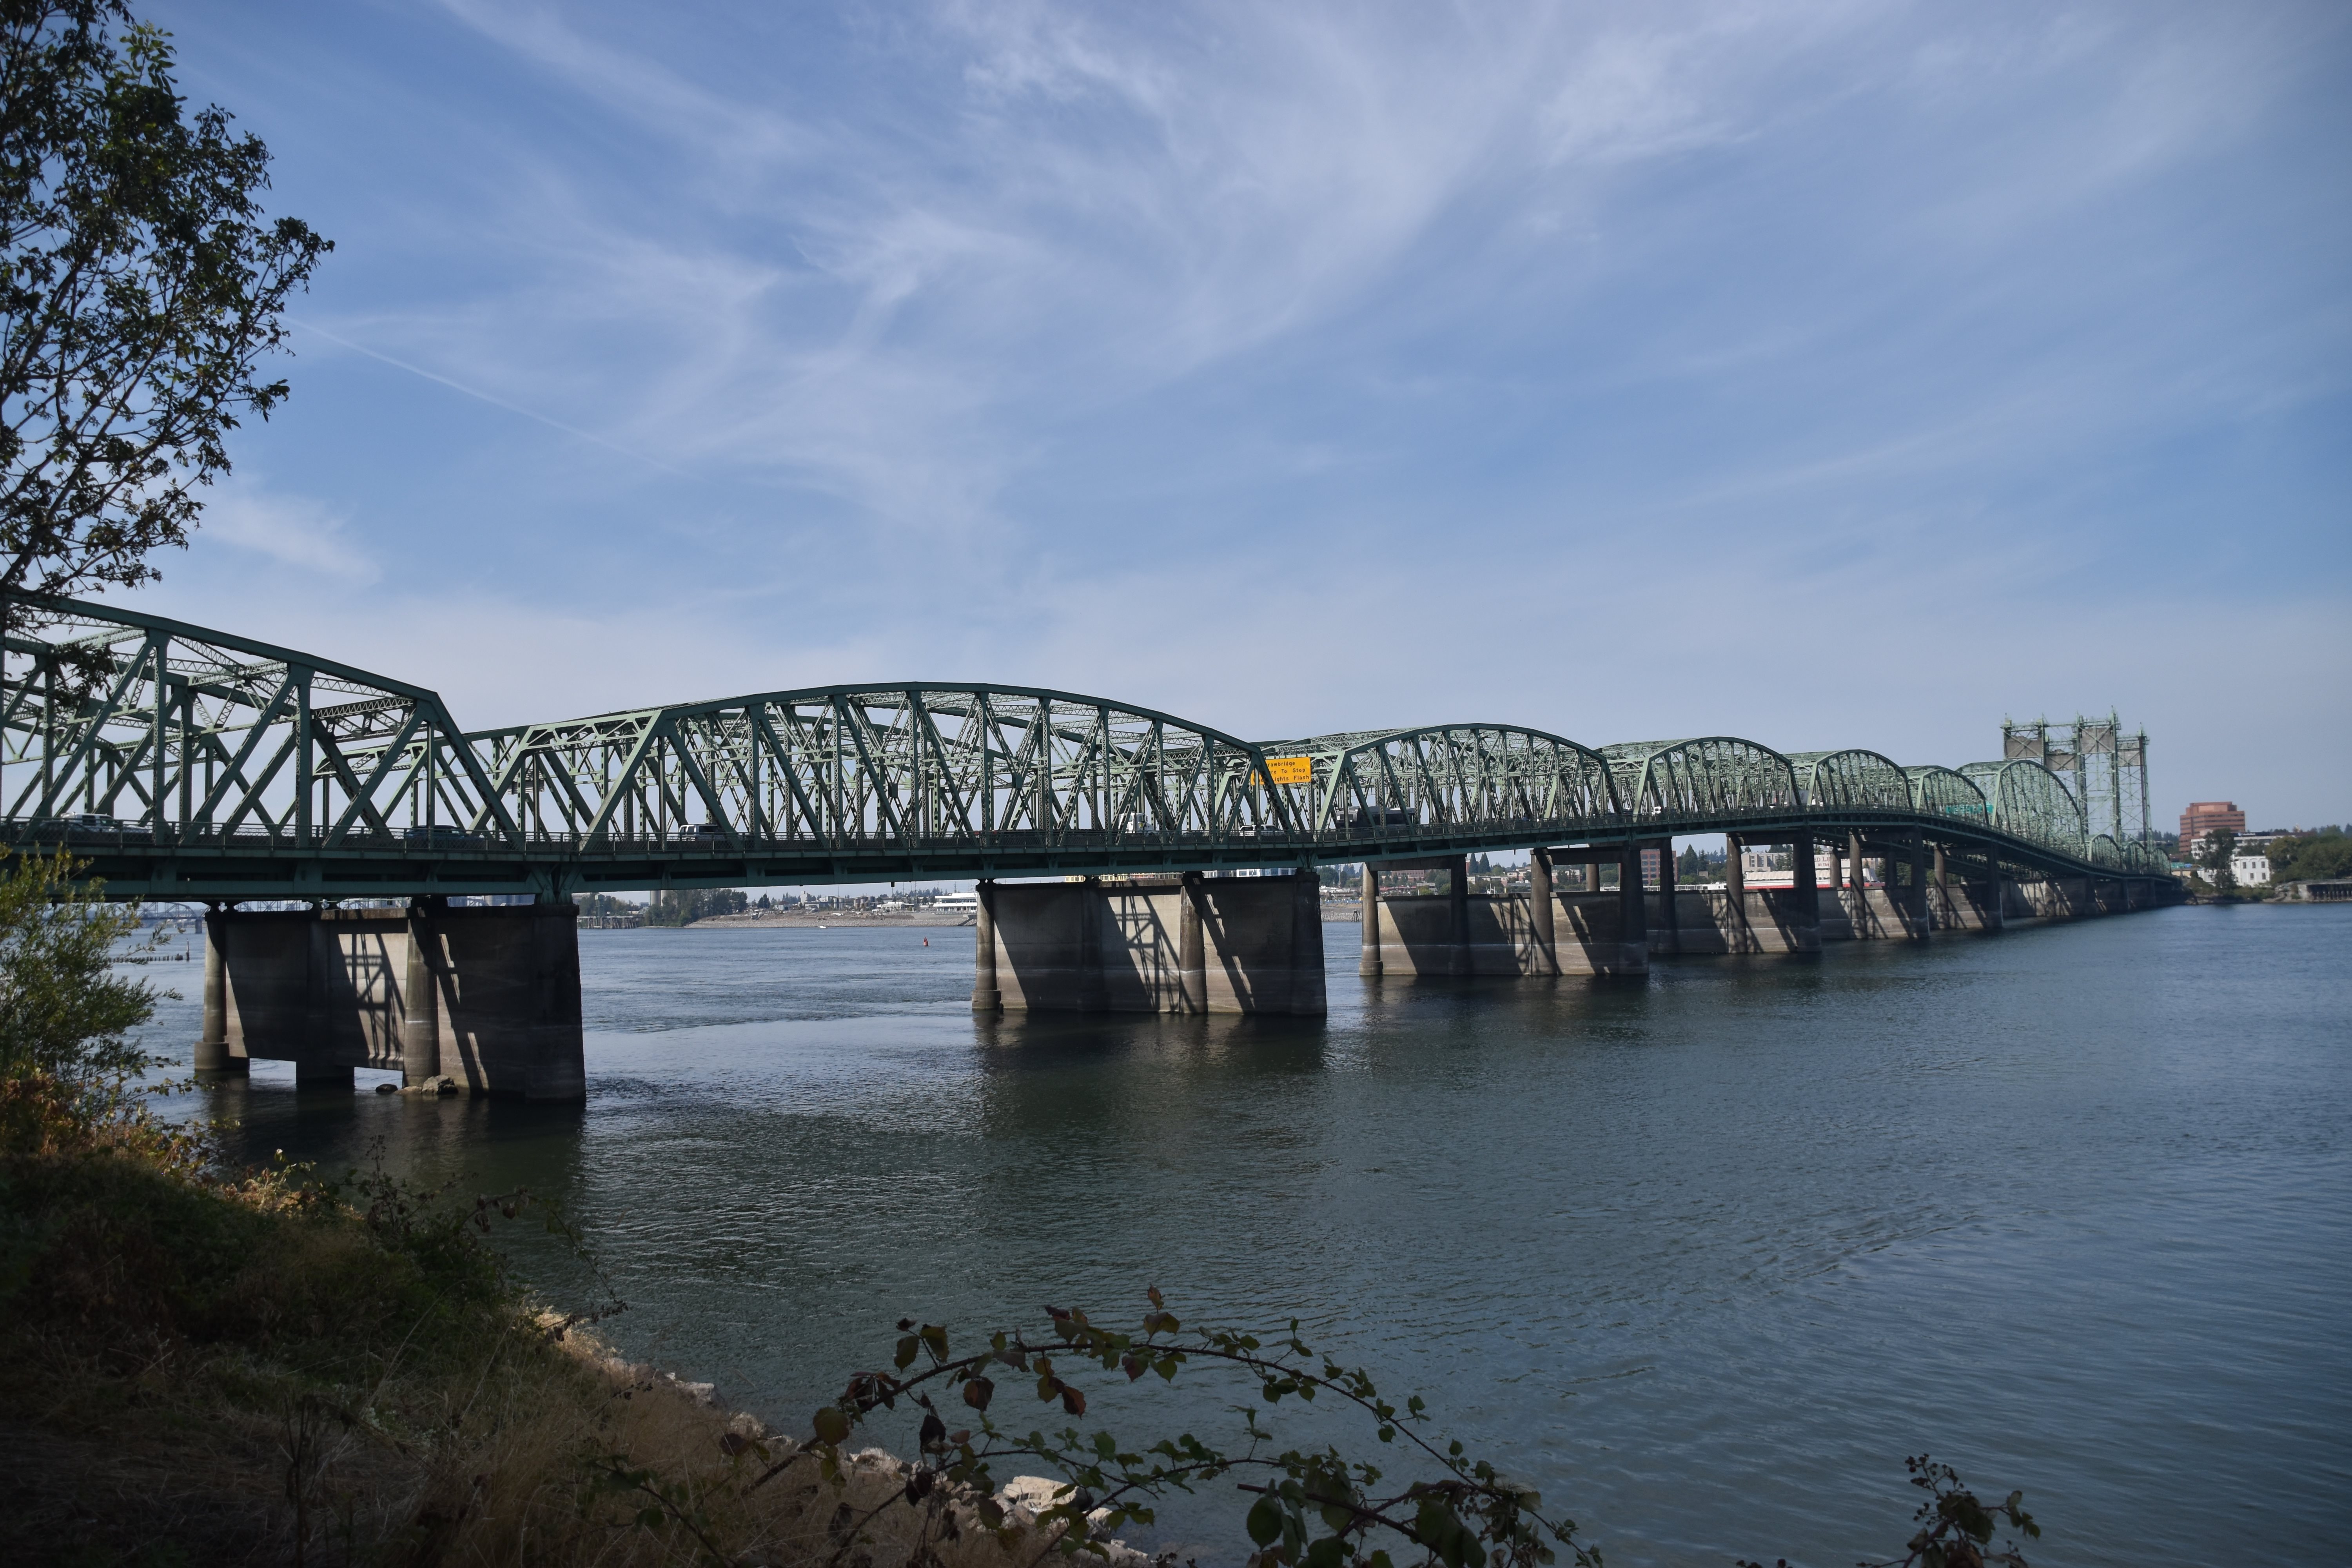
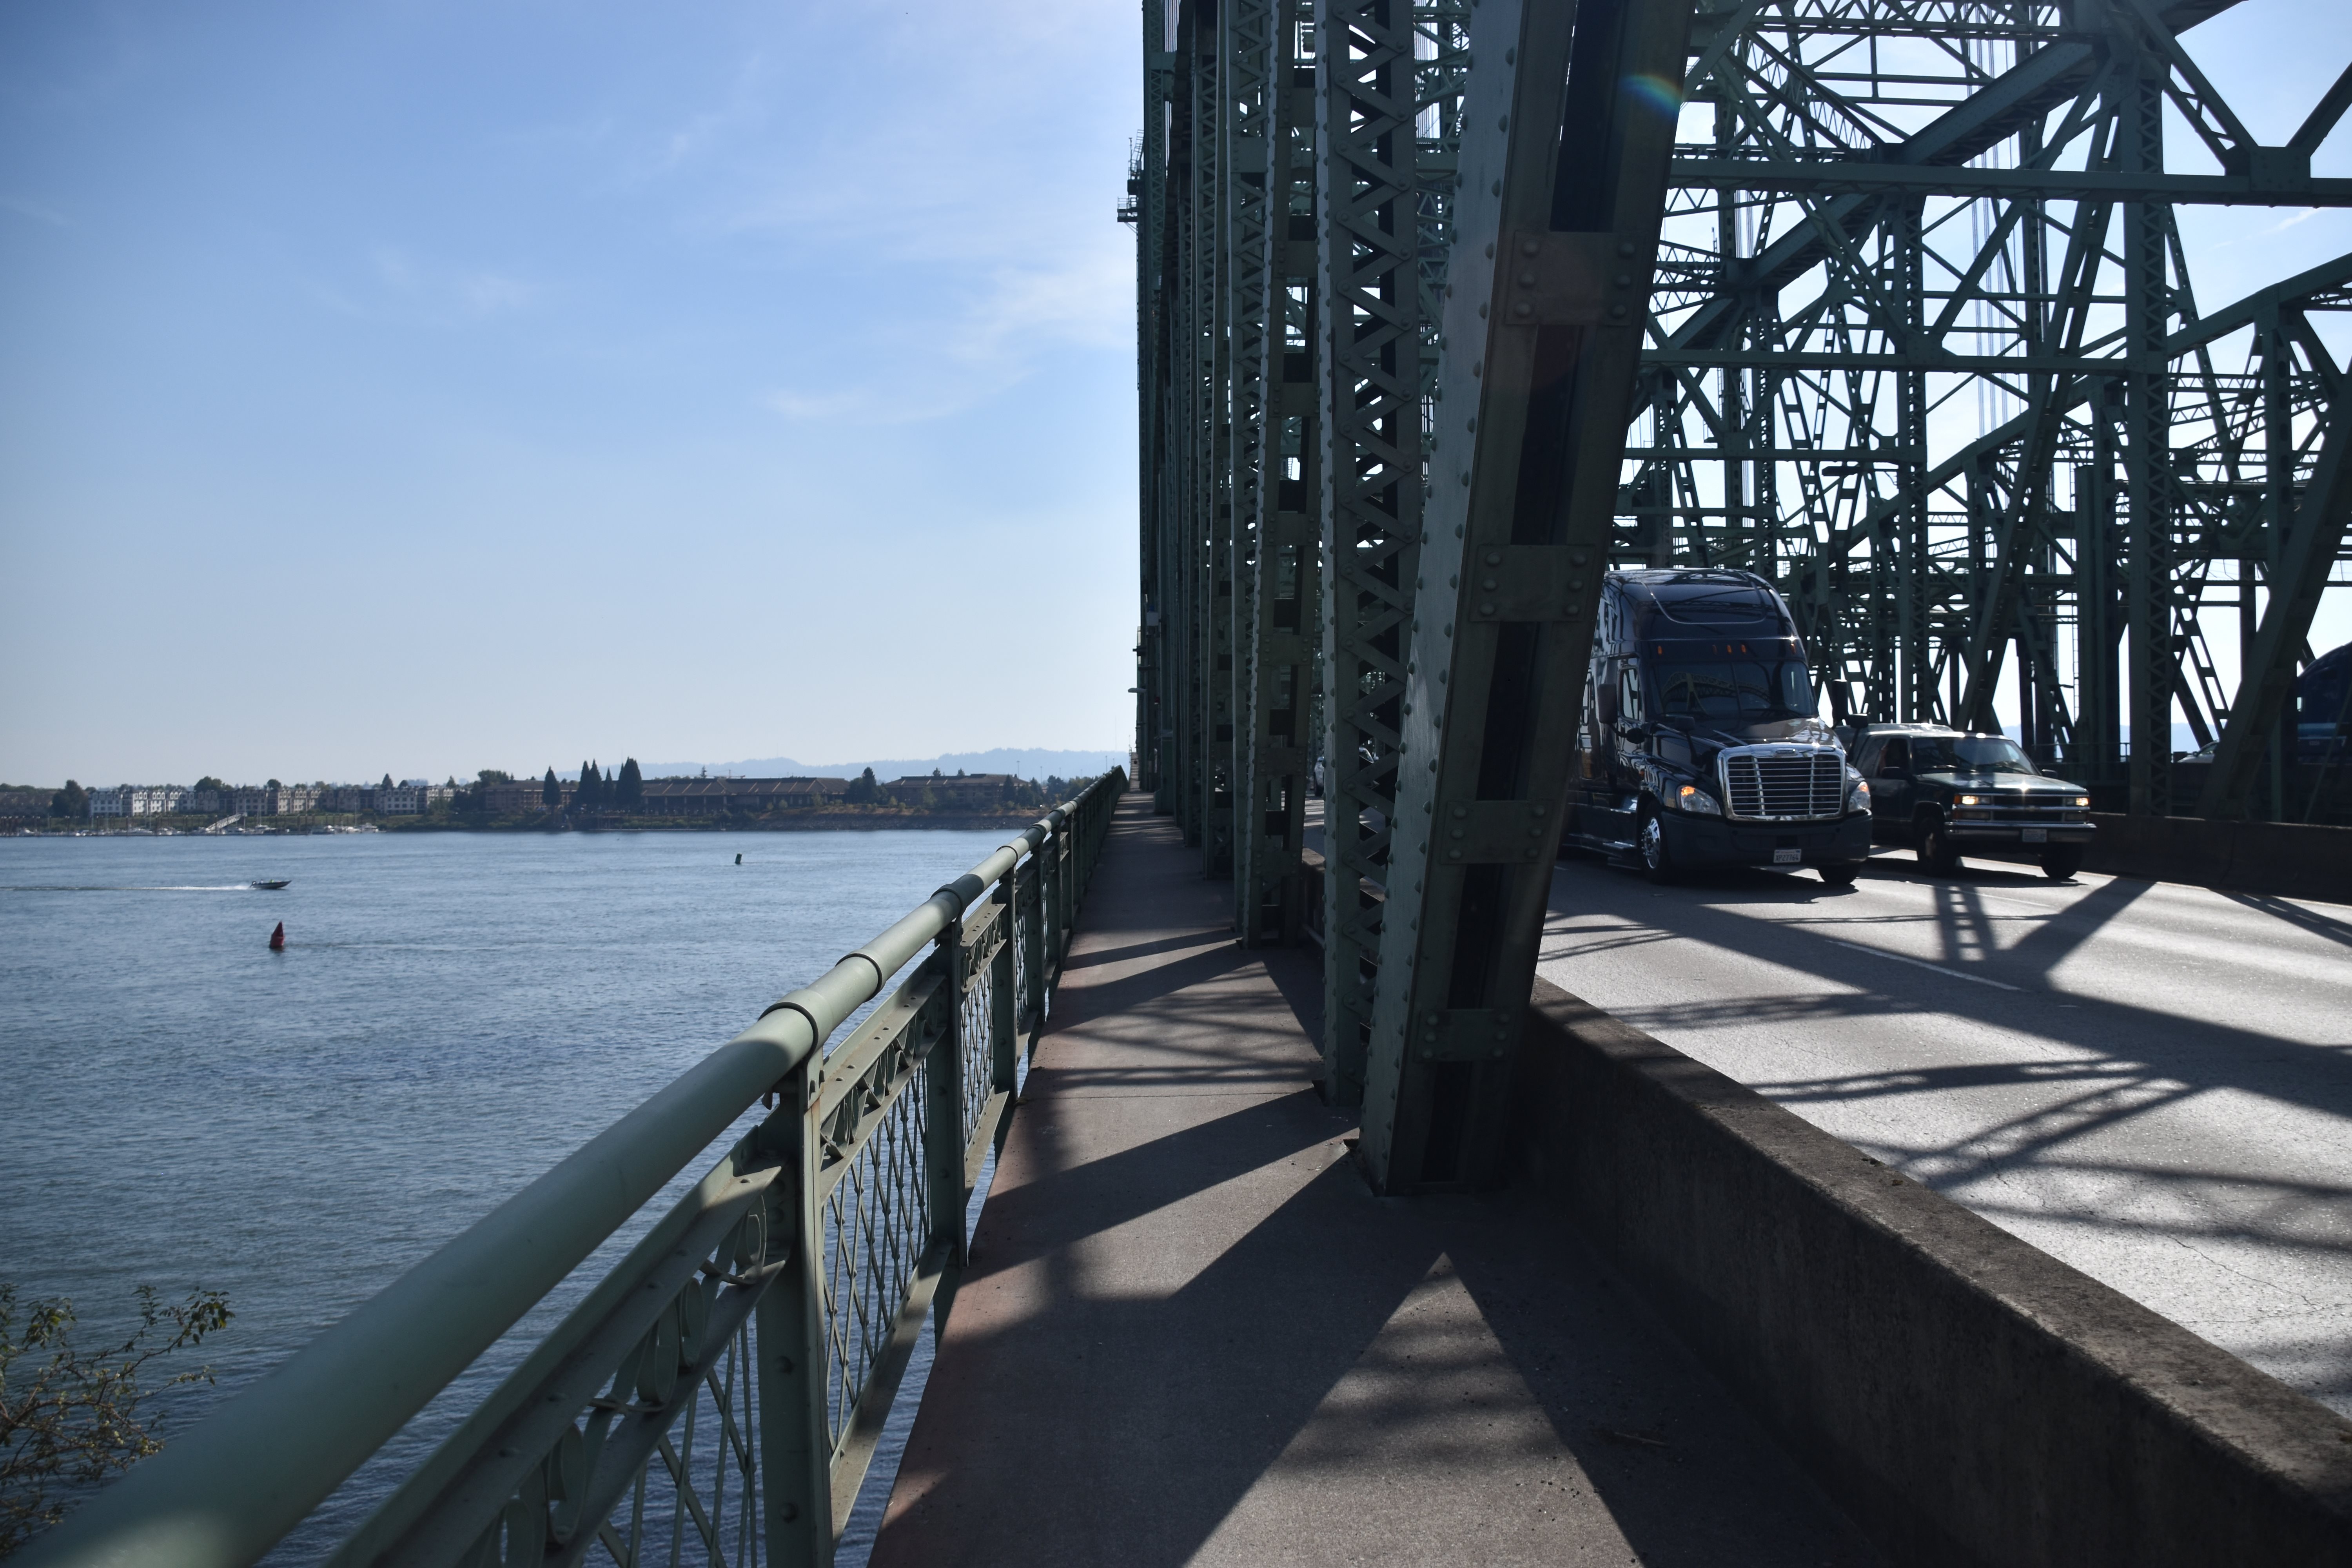
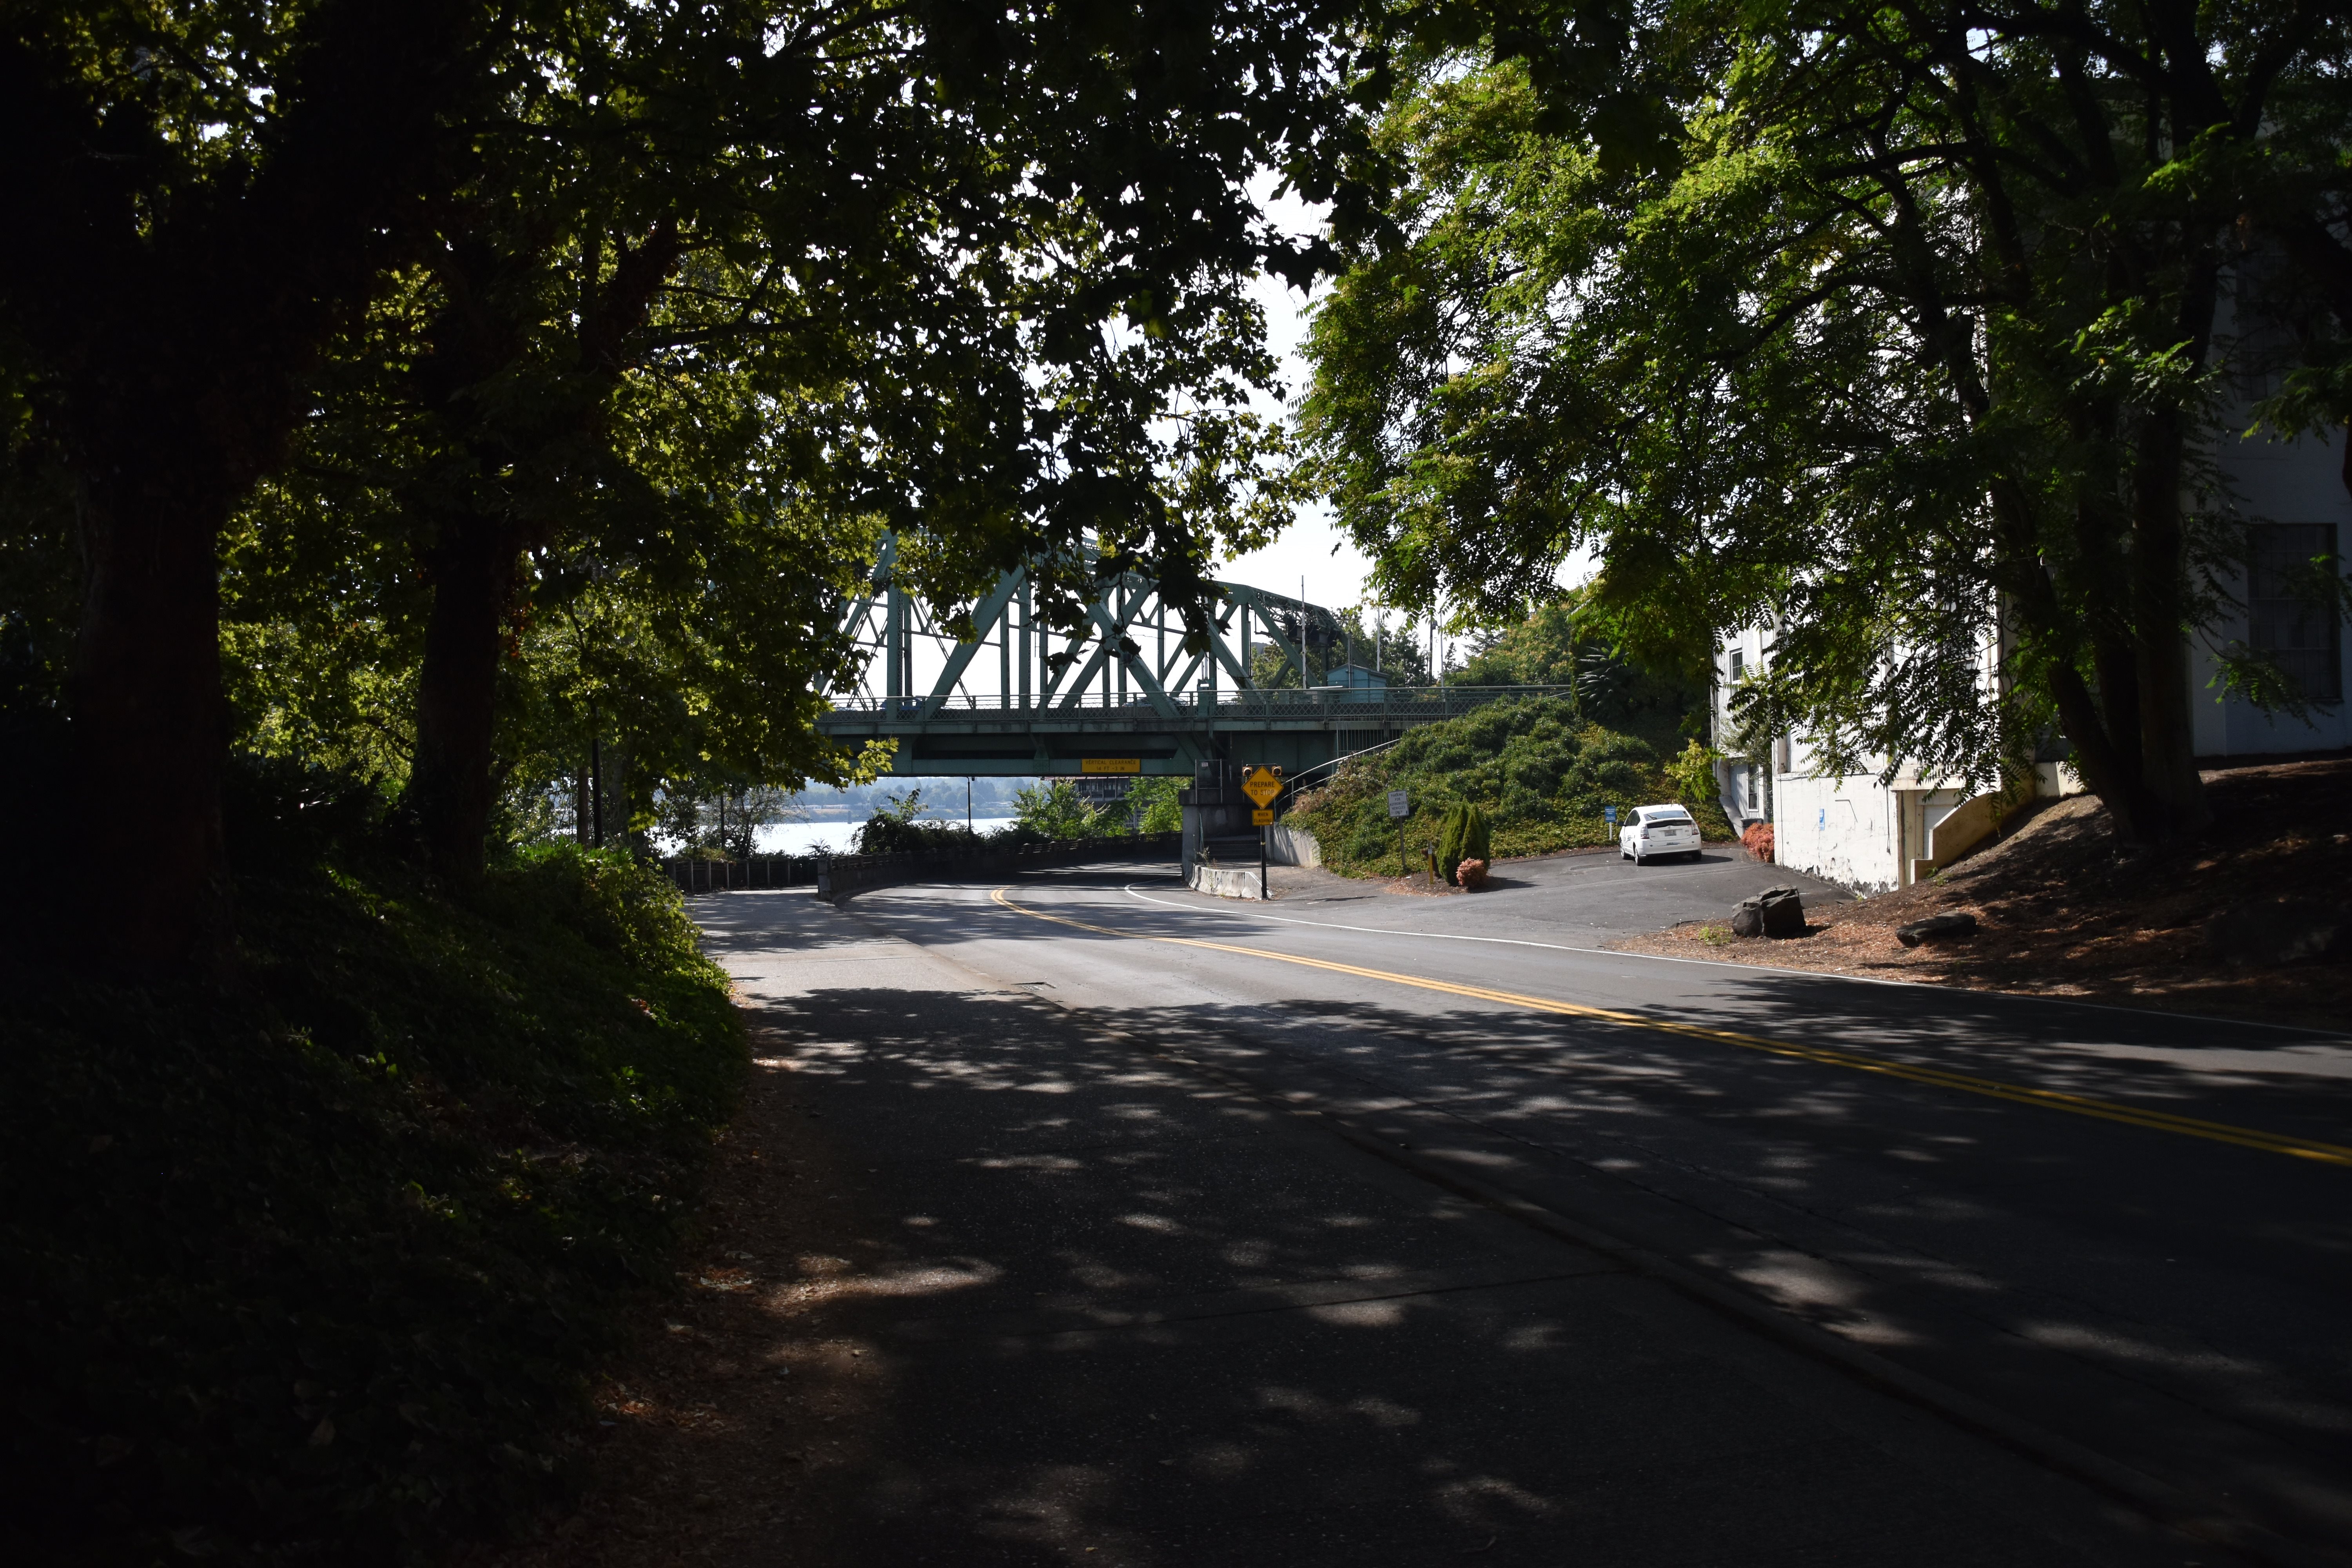
Views beside bridge from southeast quadrant.
![]()


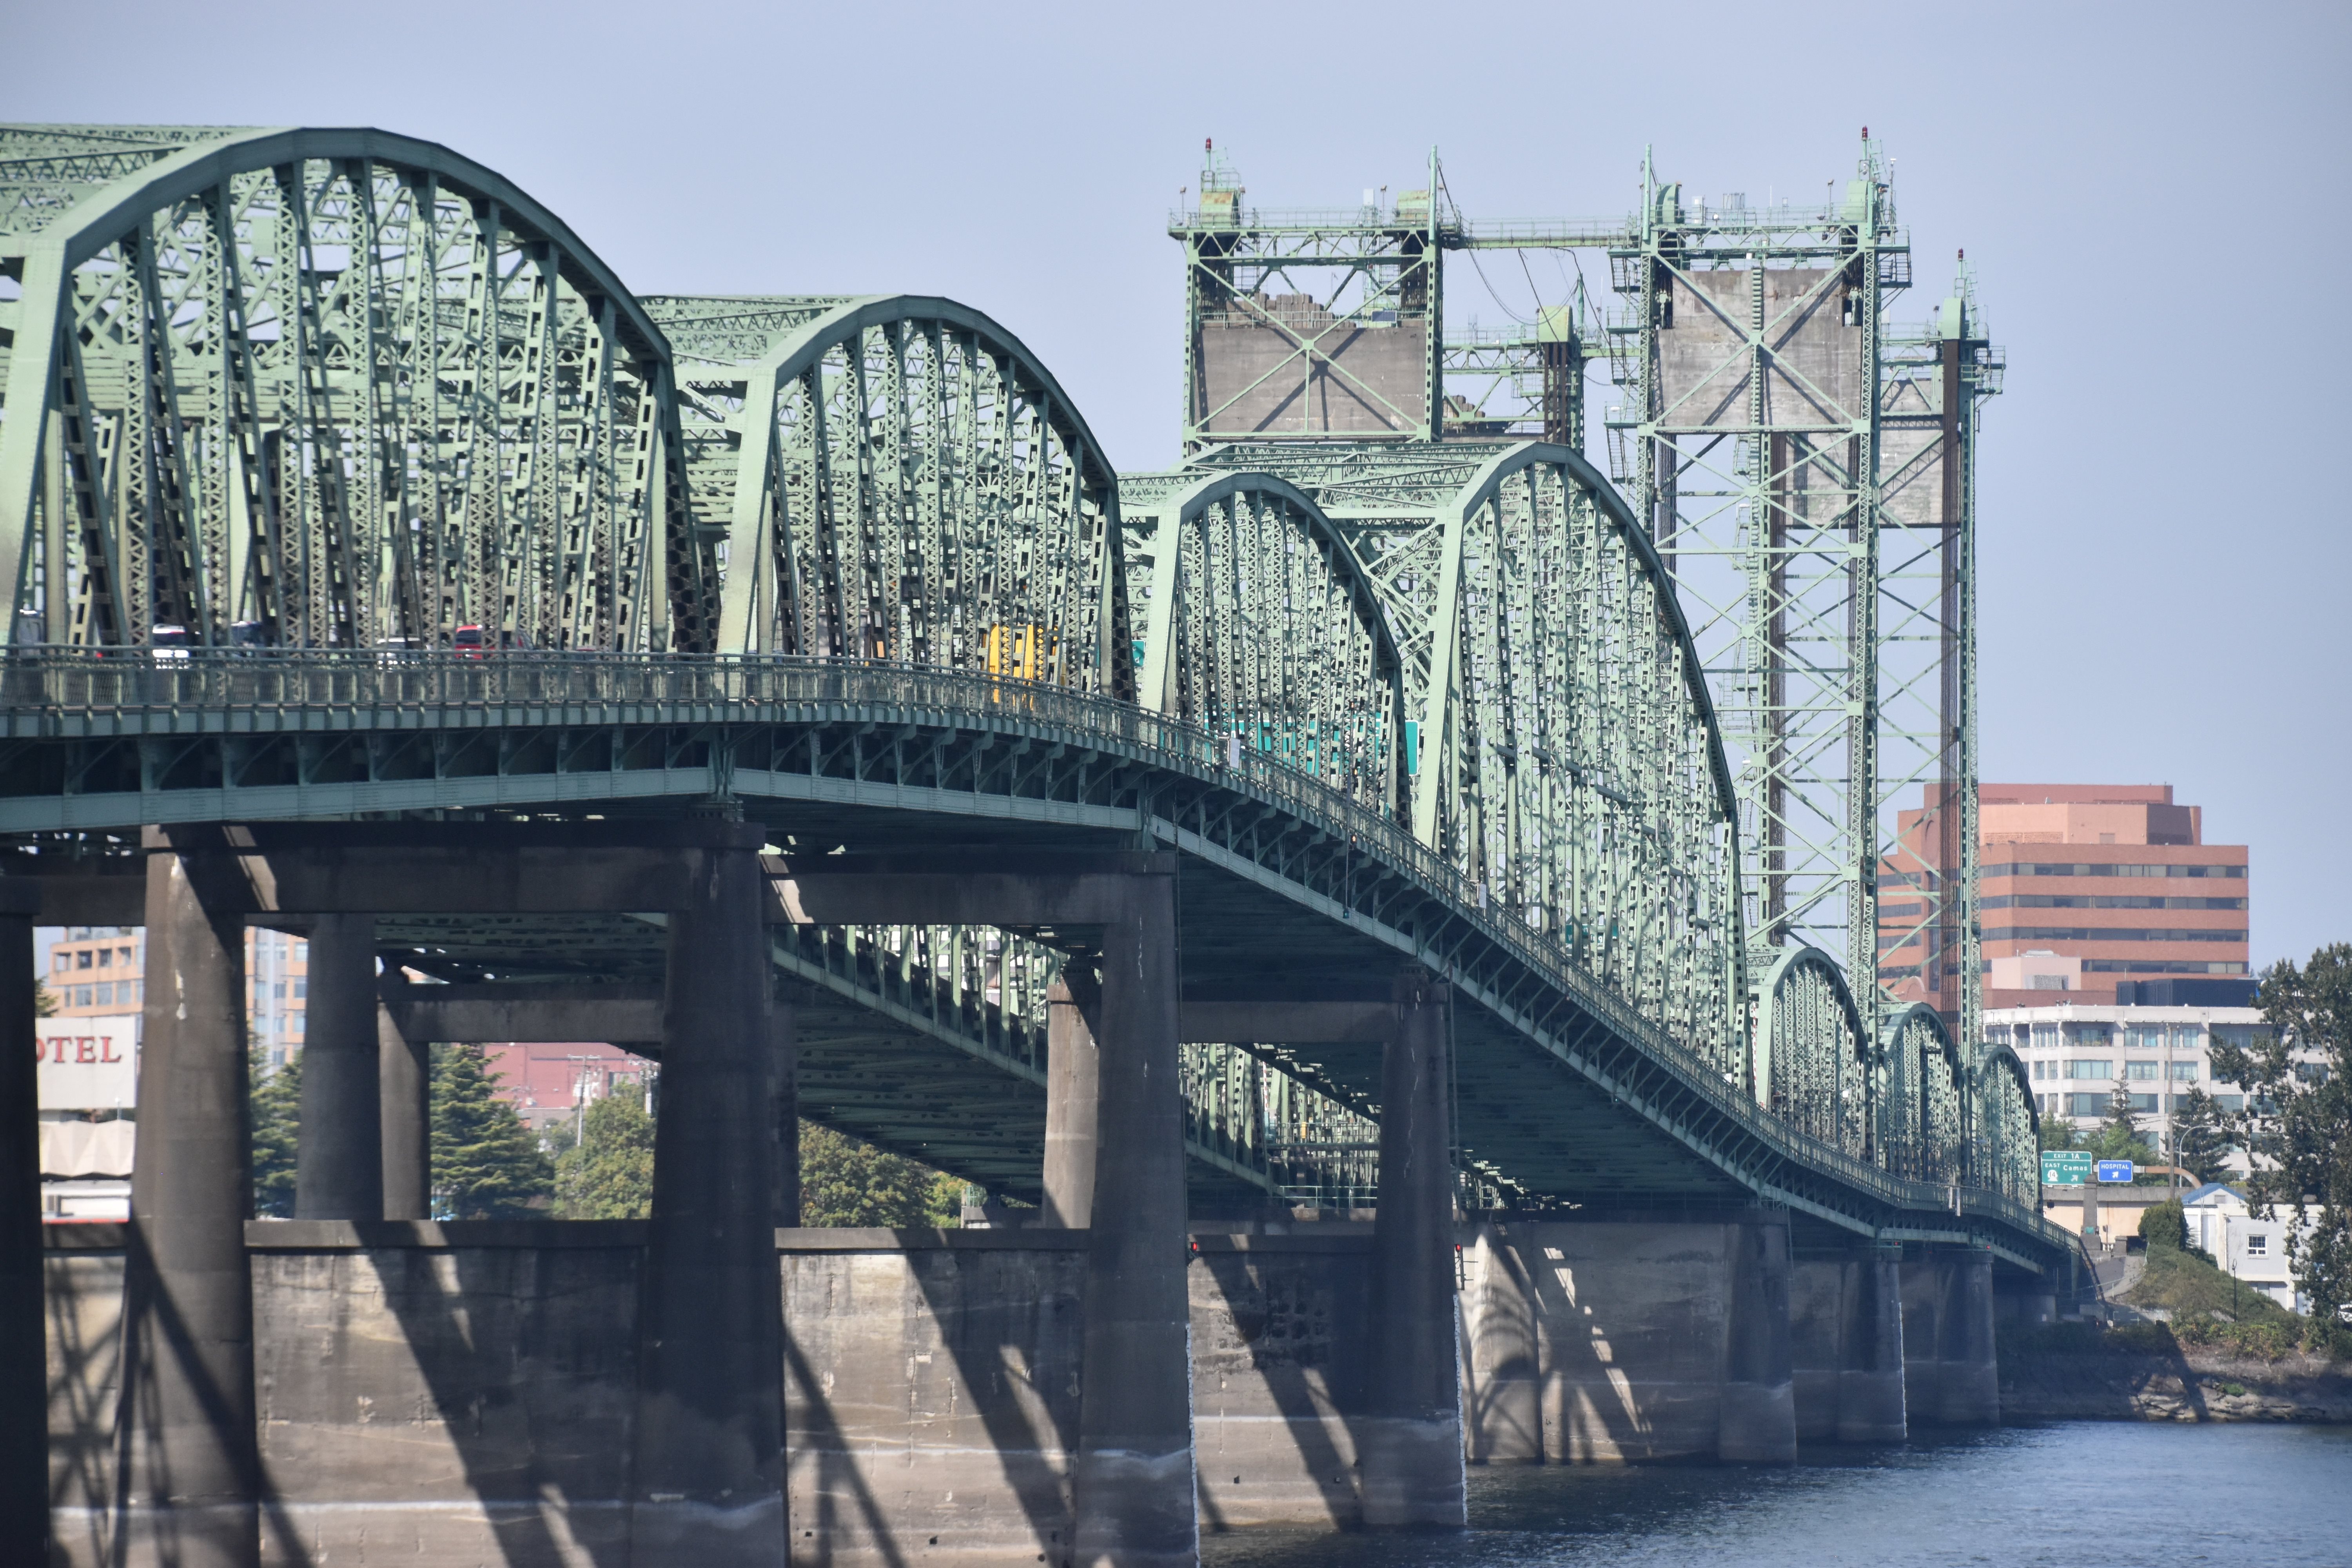


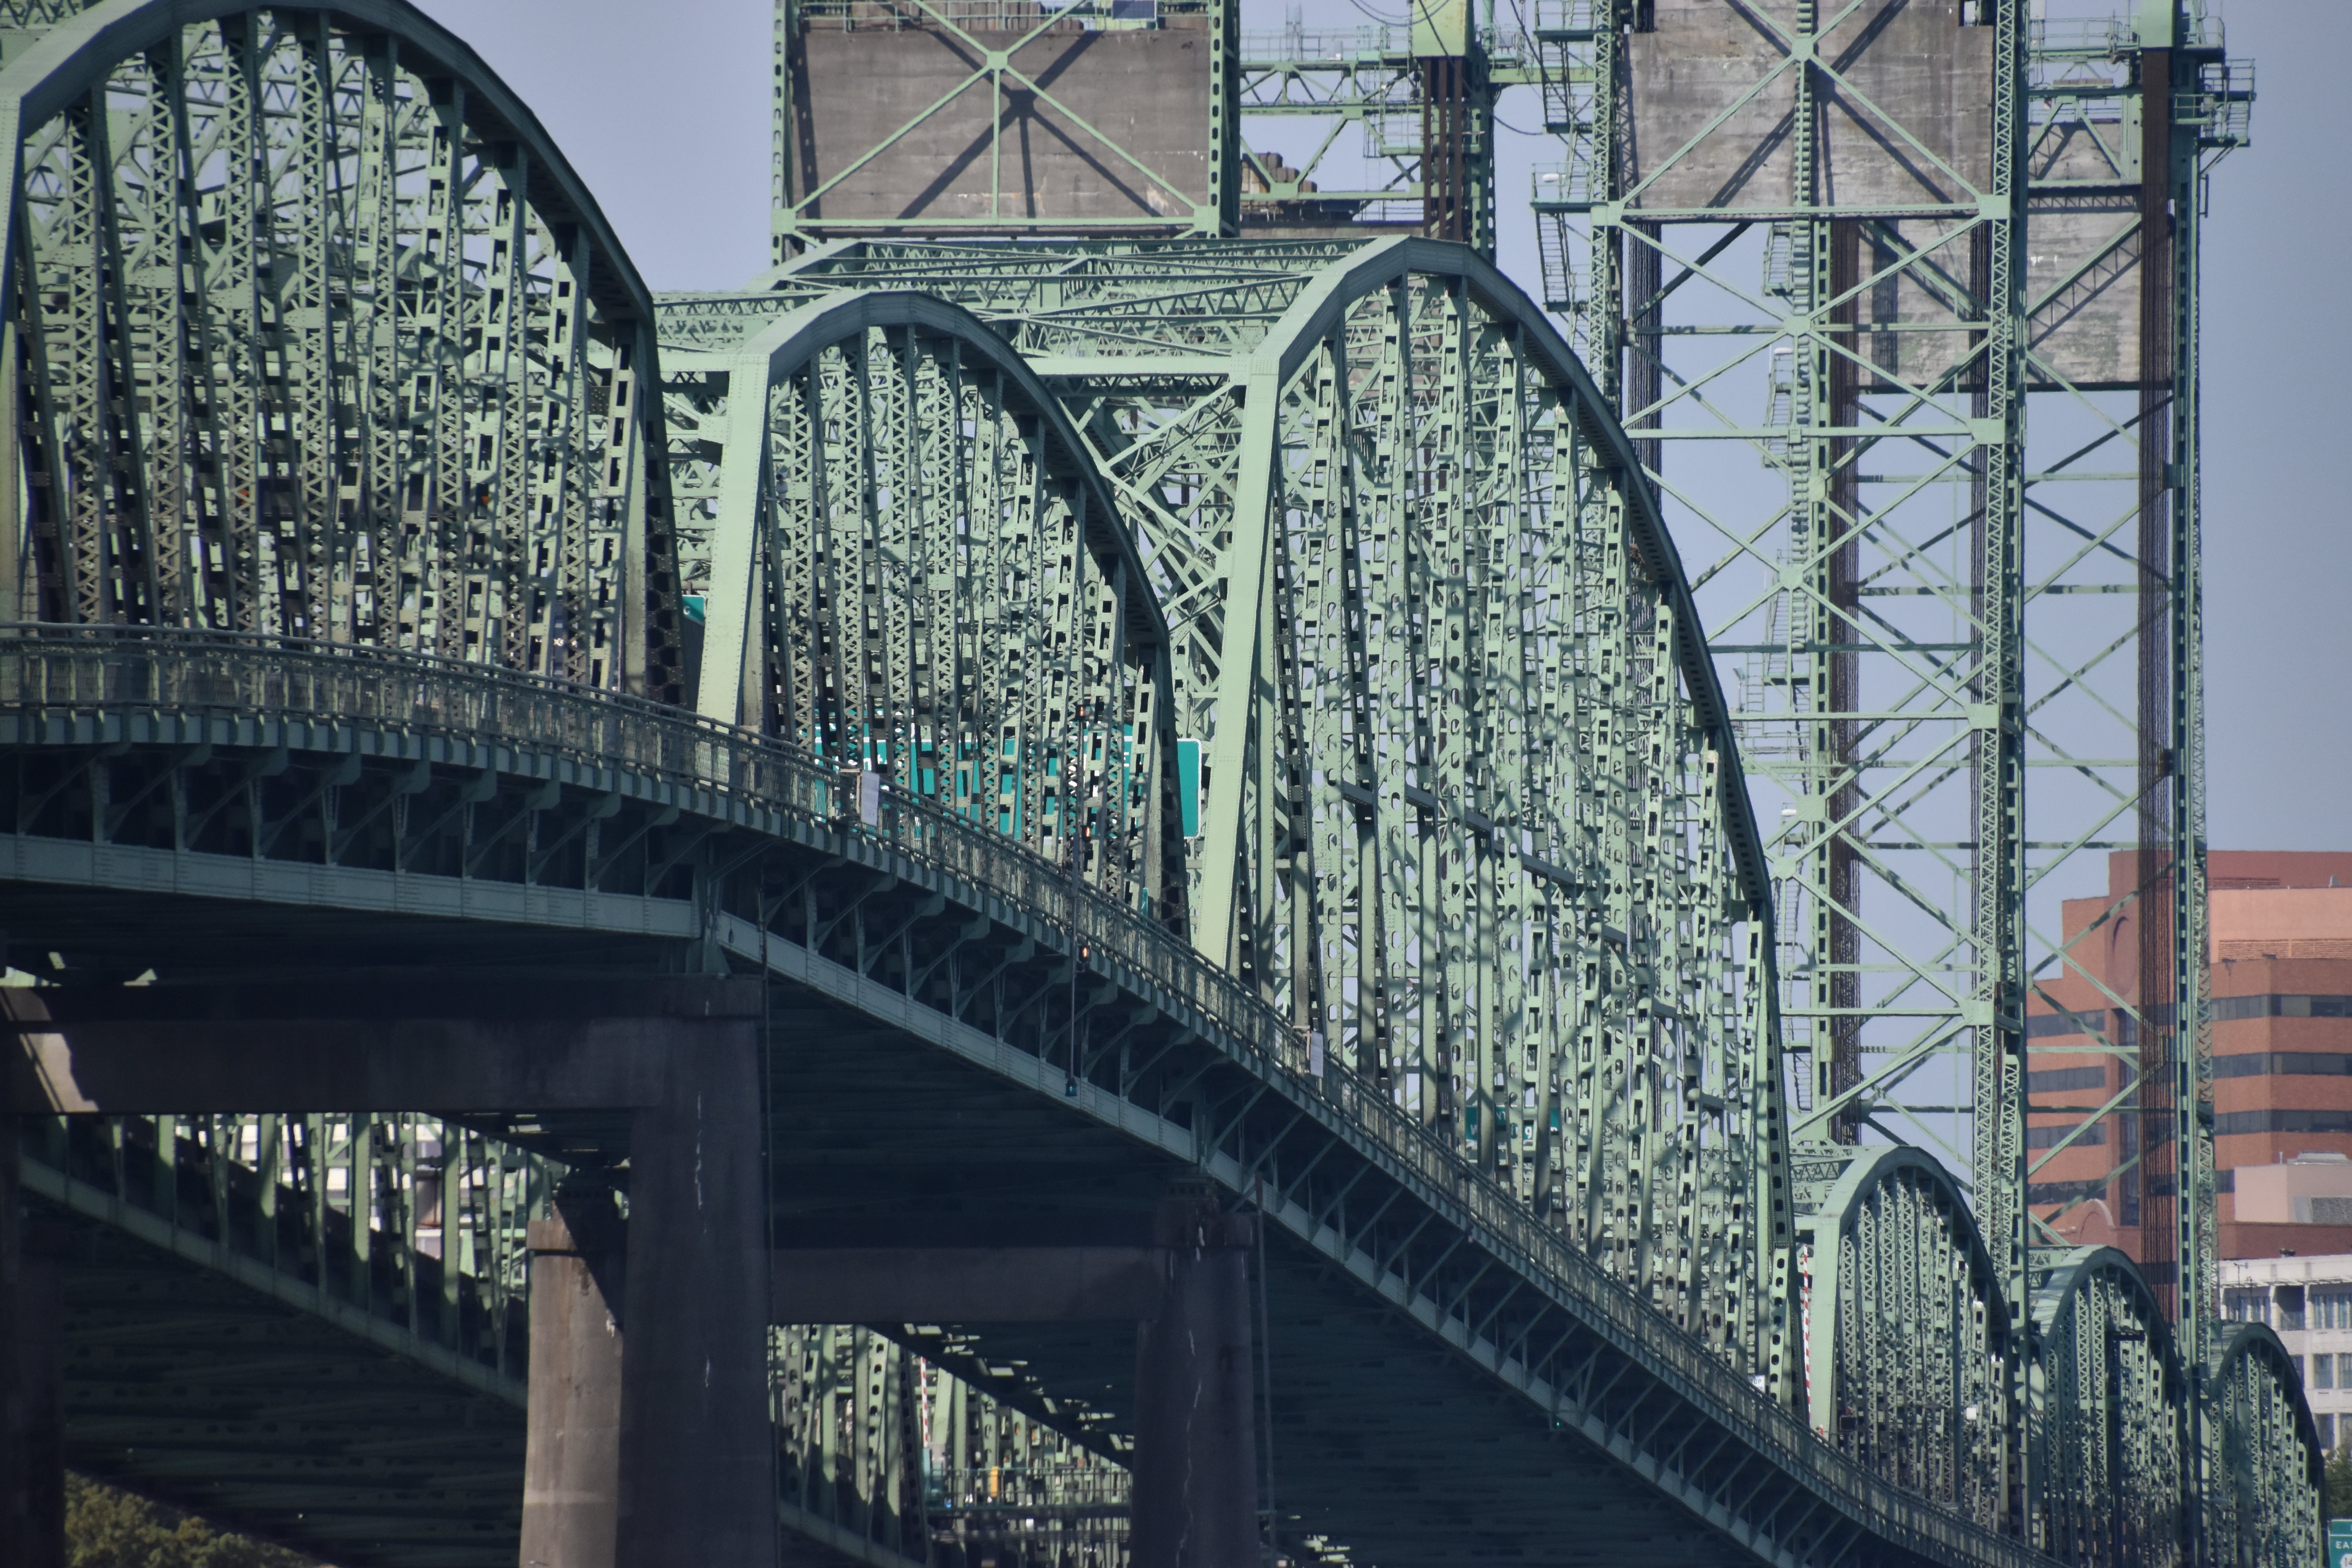
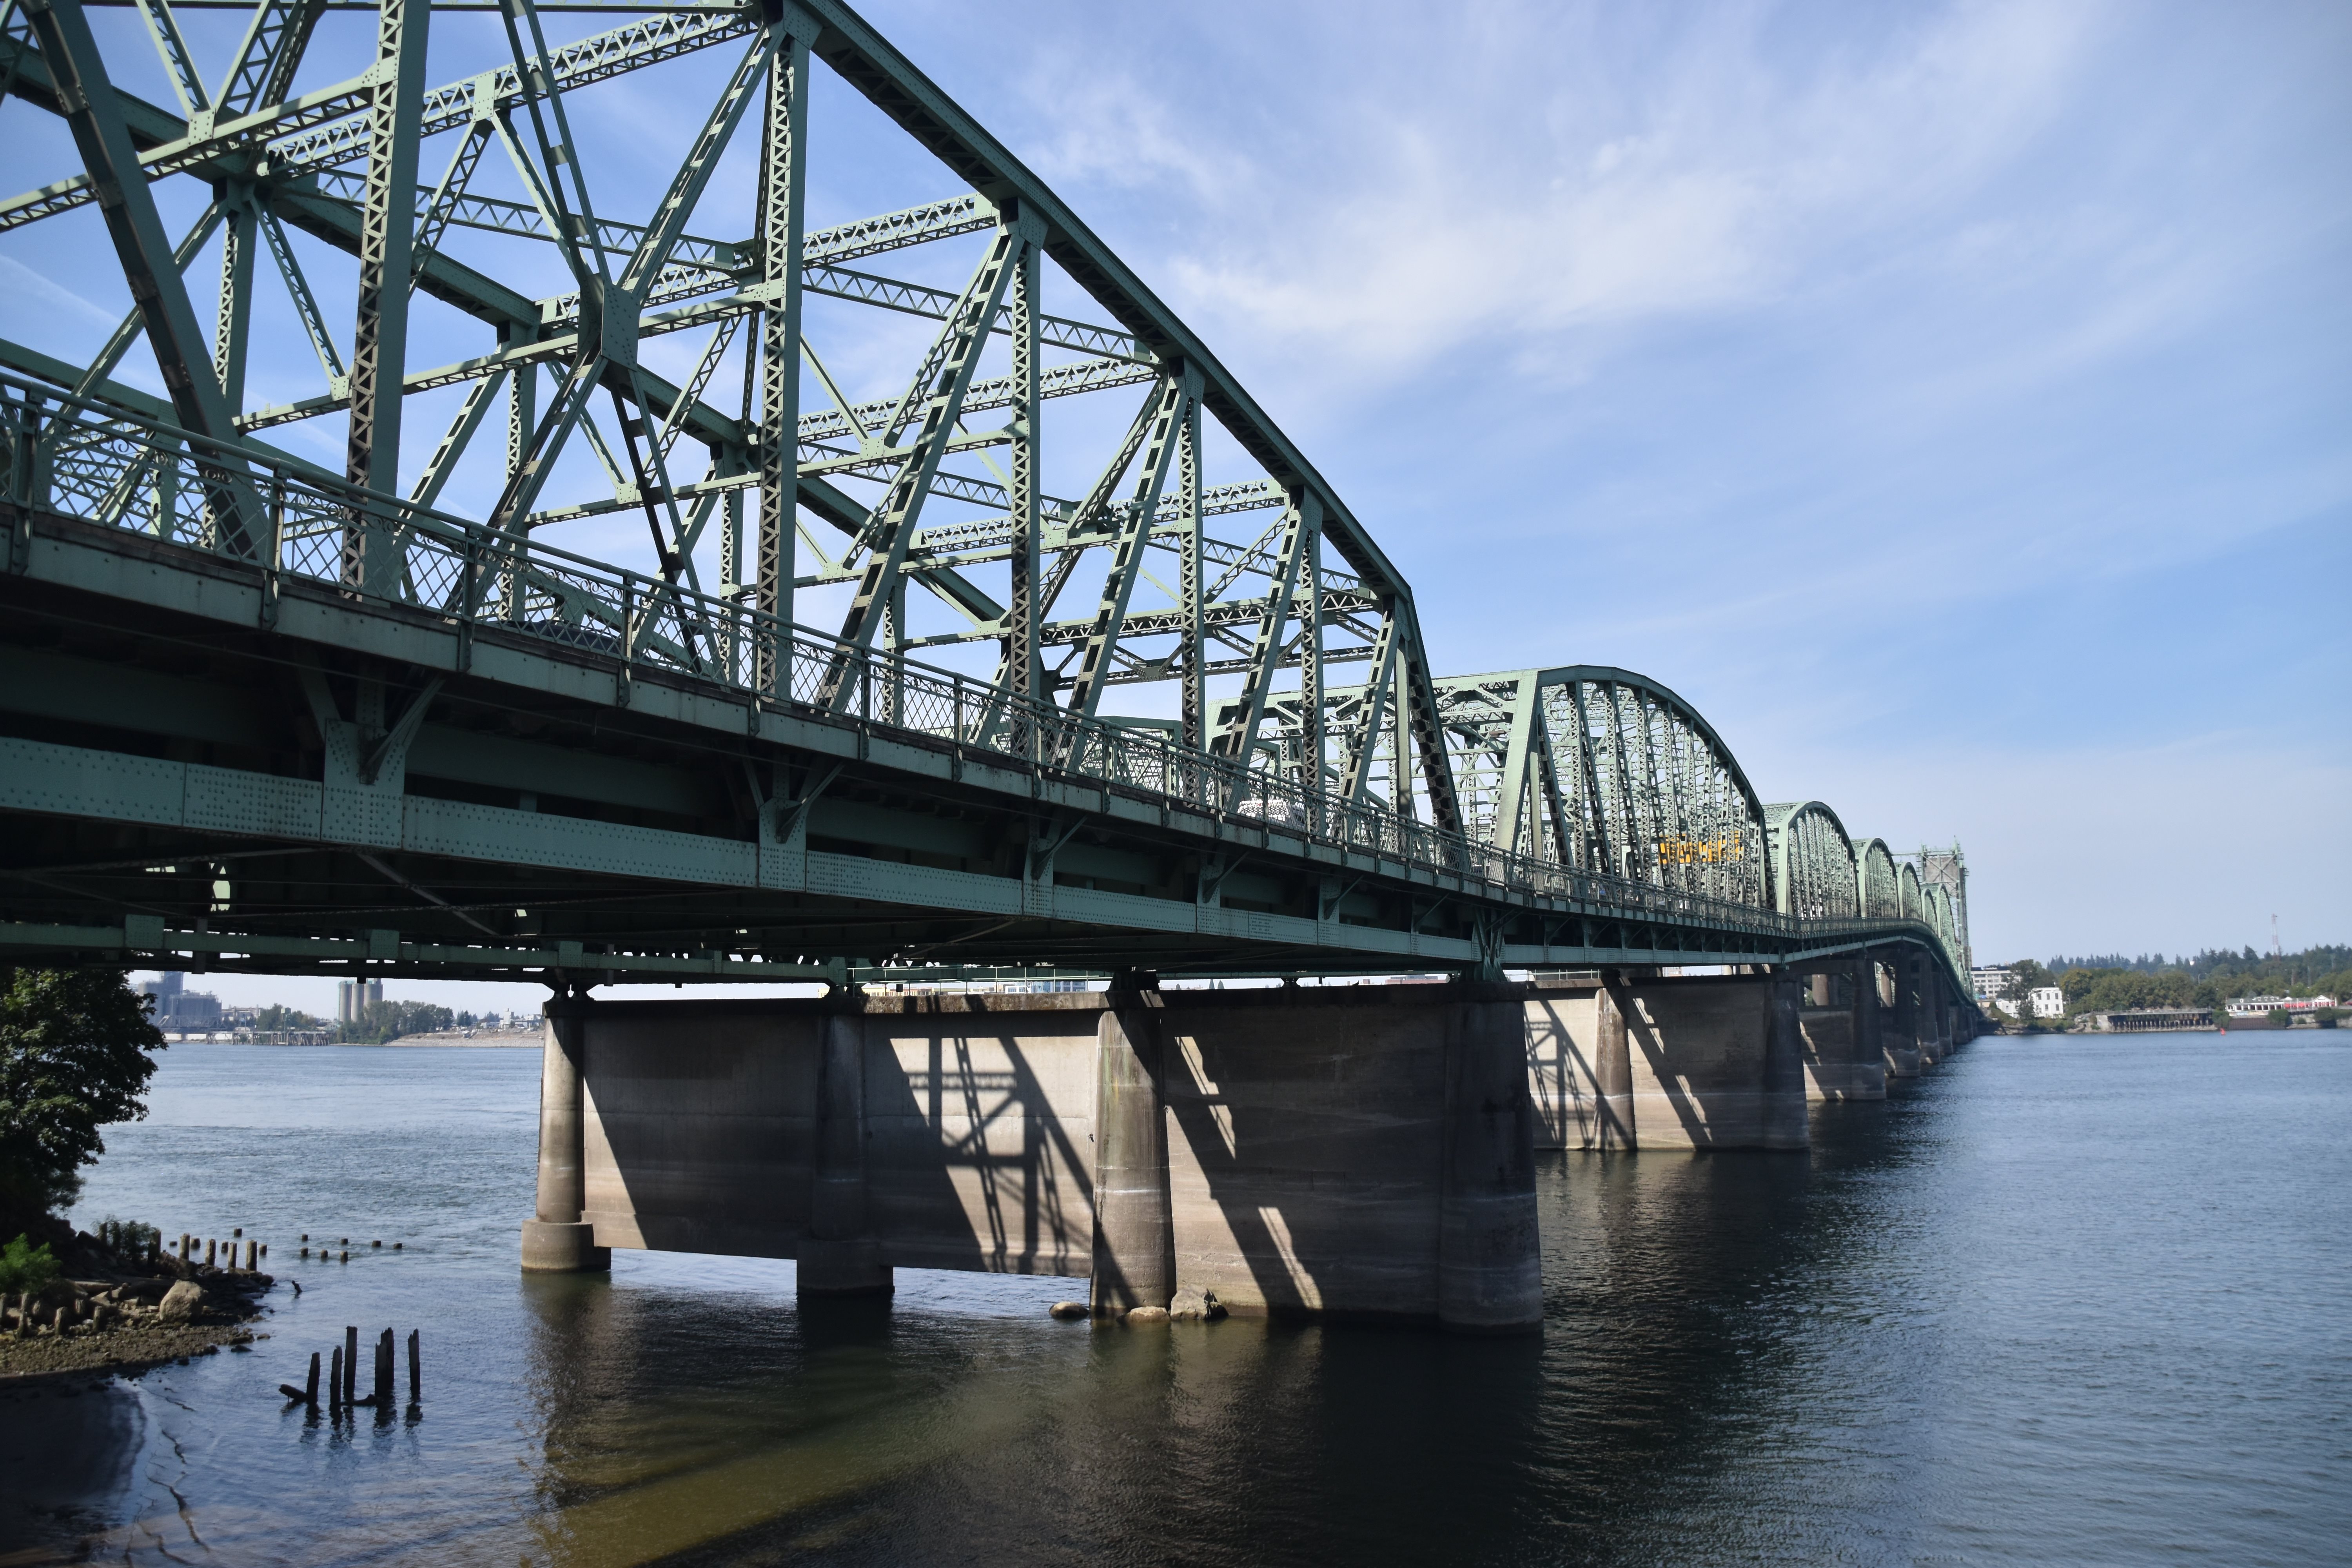
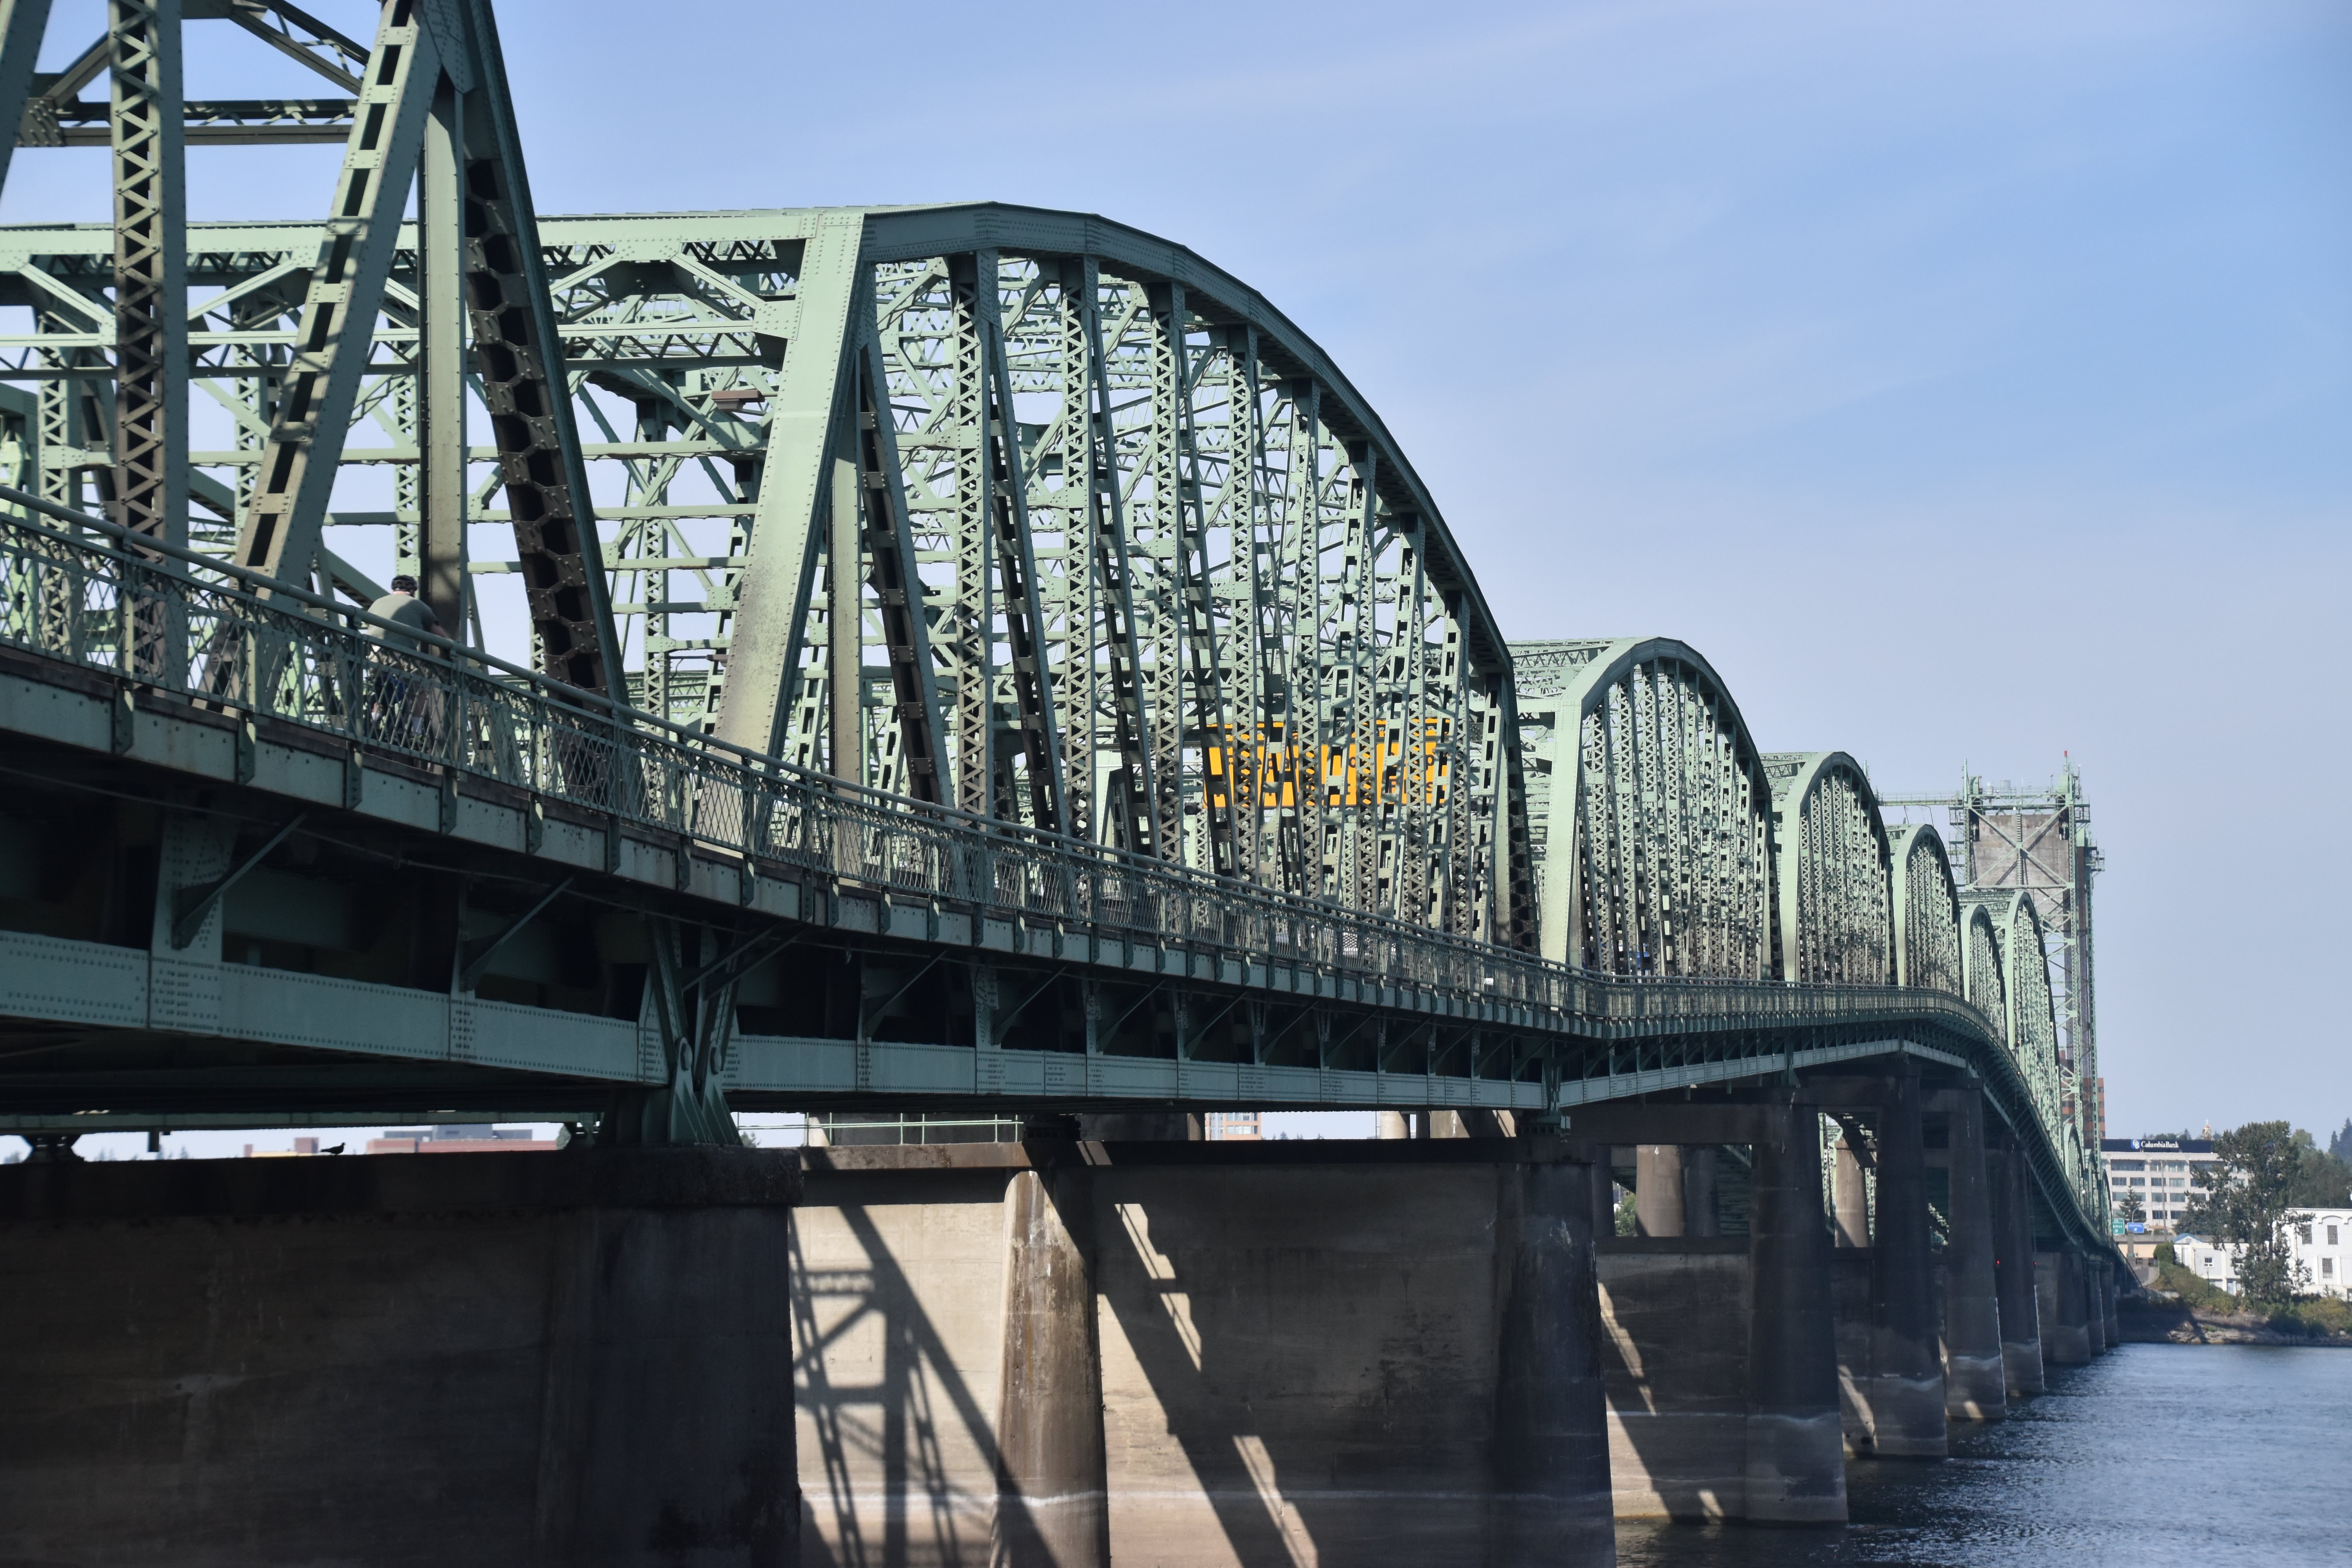
Zoomed views beside bridge from southeast quadrant.
![]()


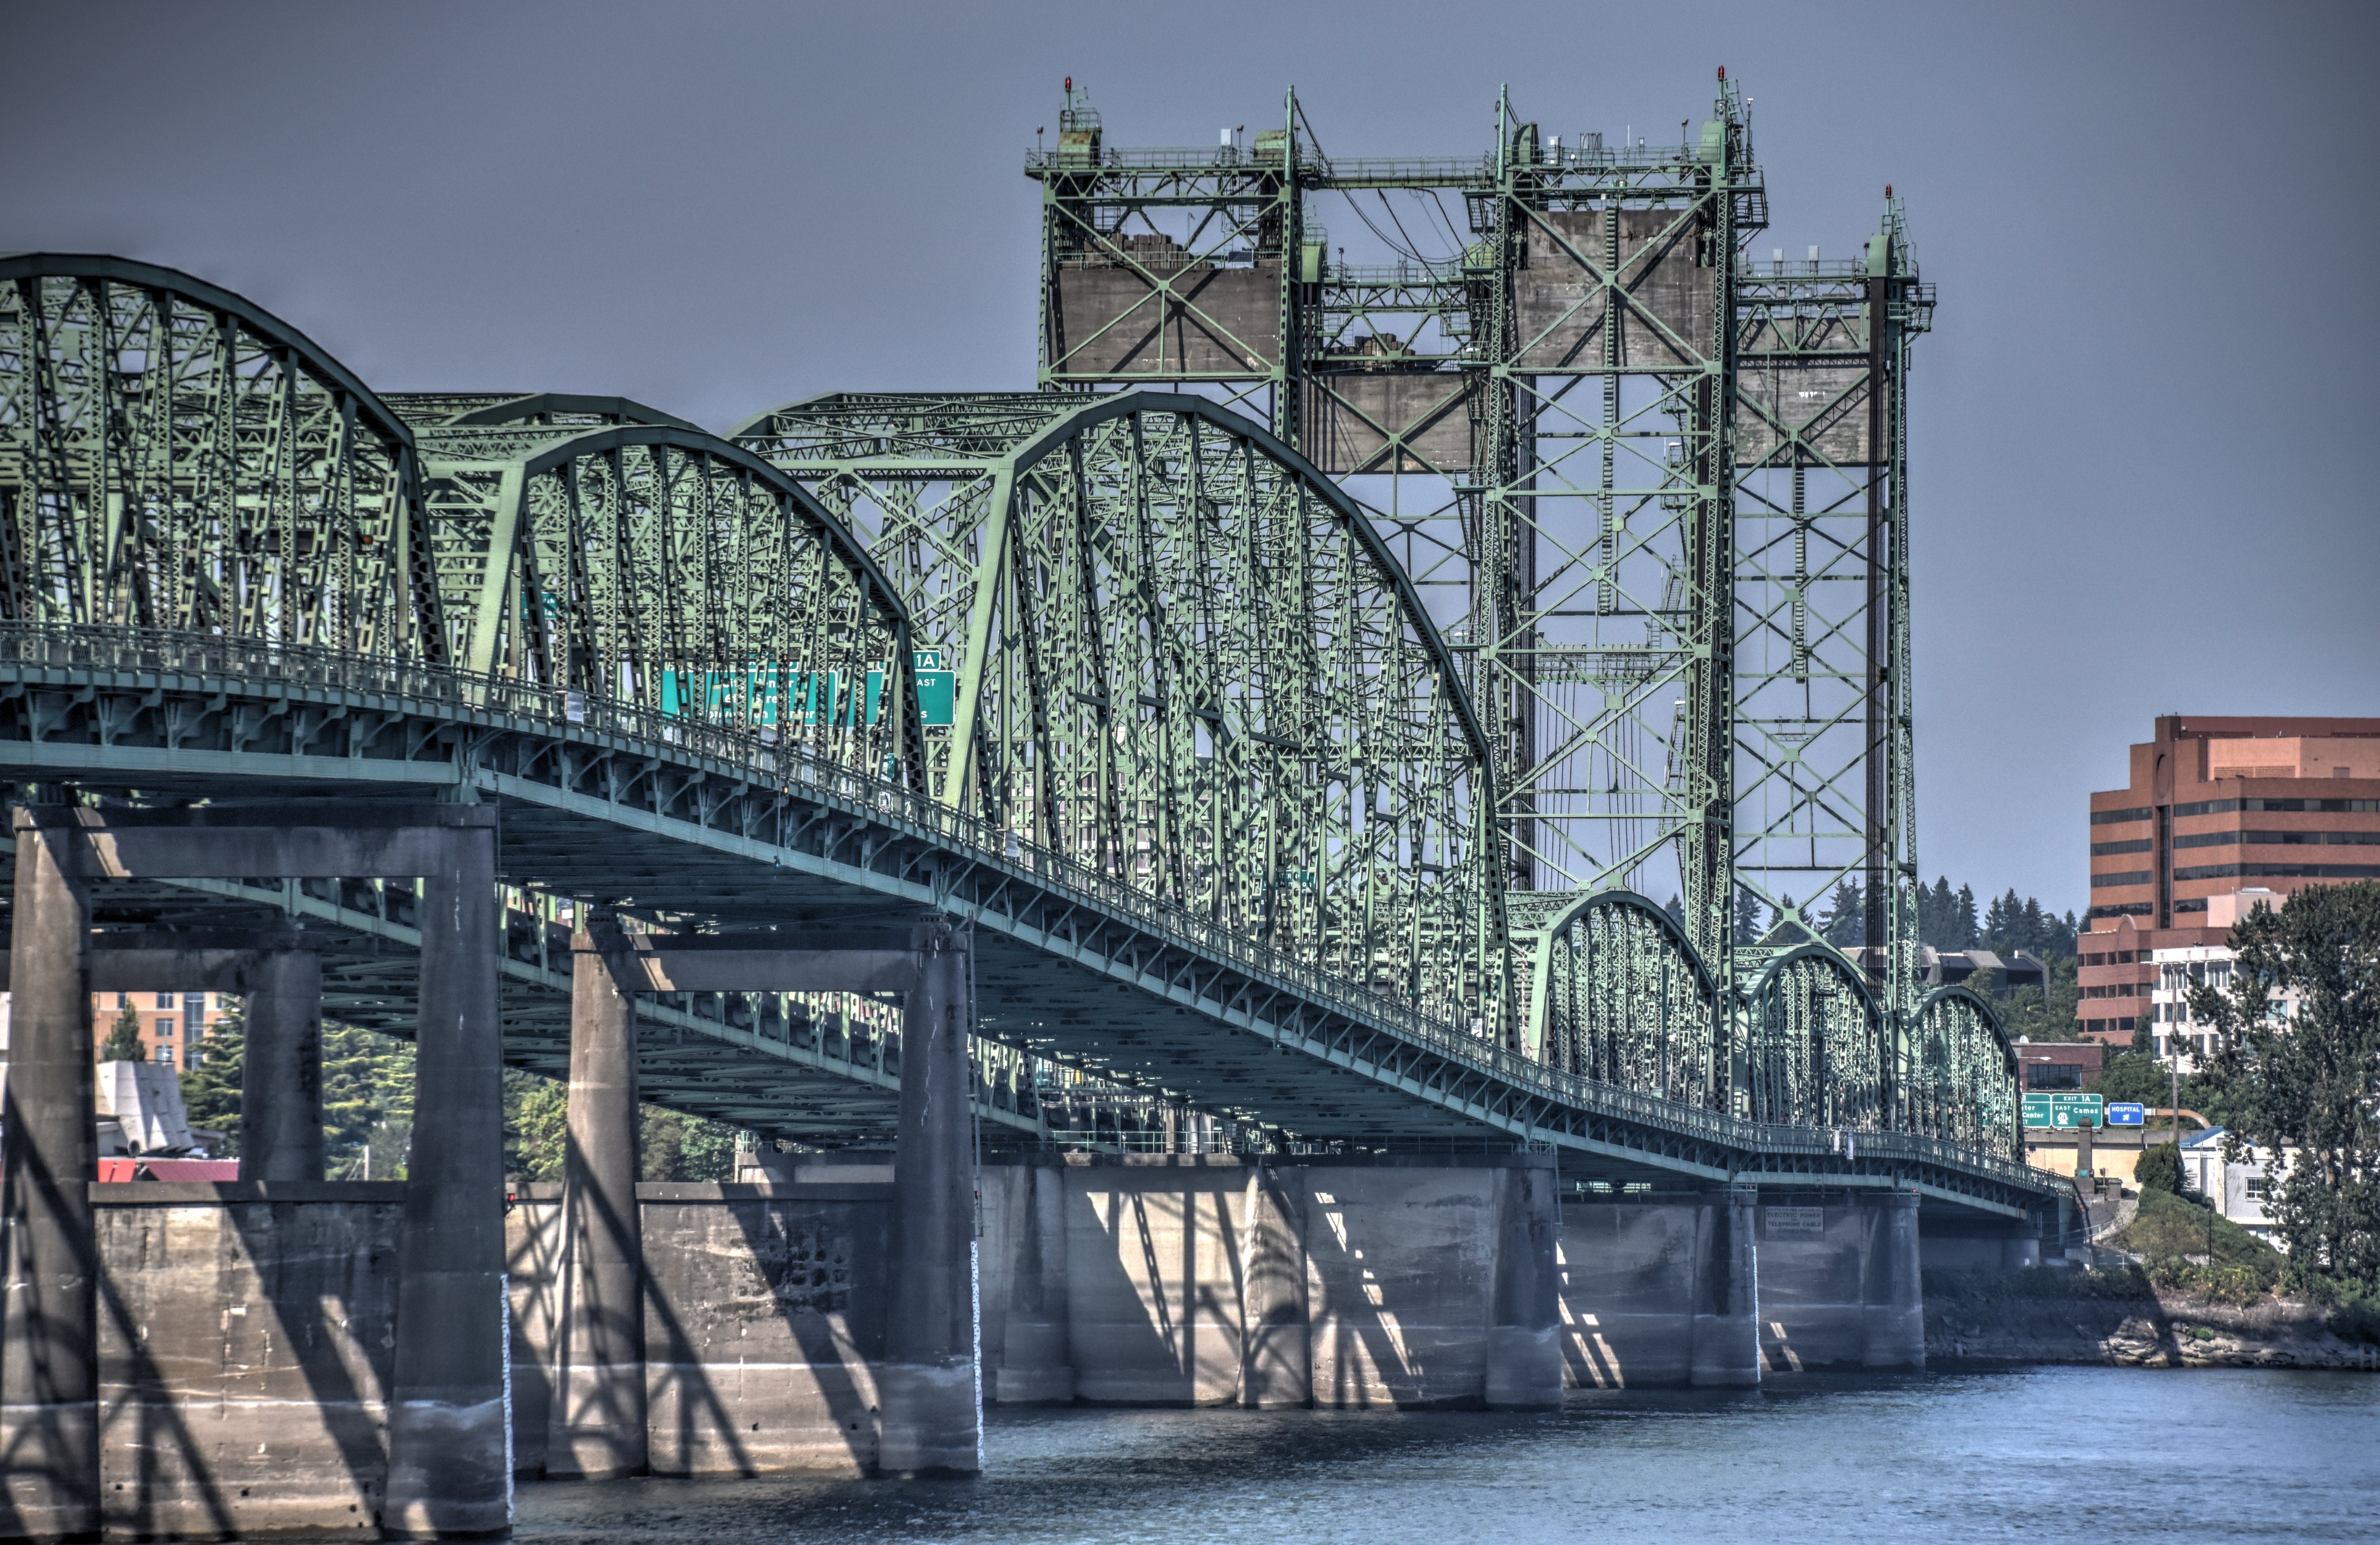


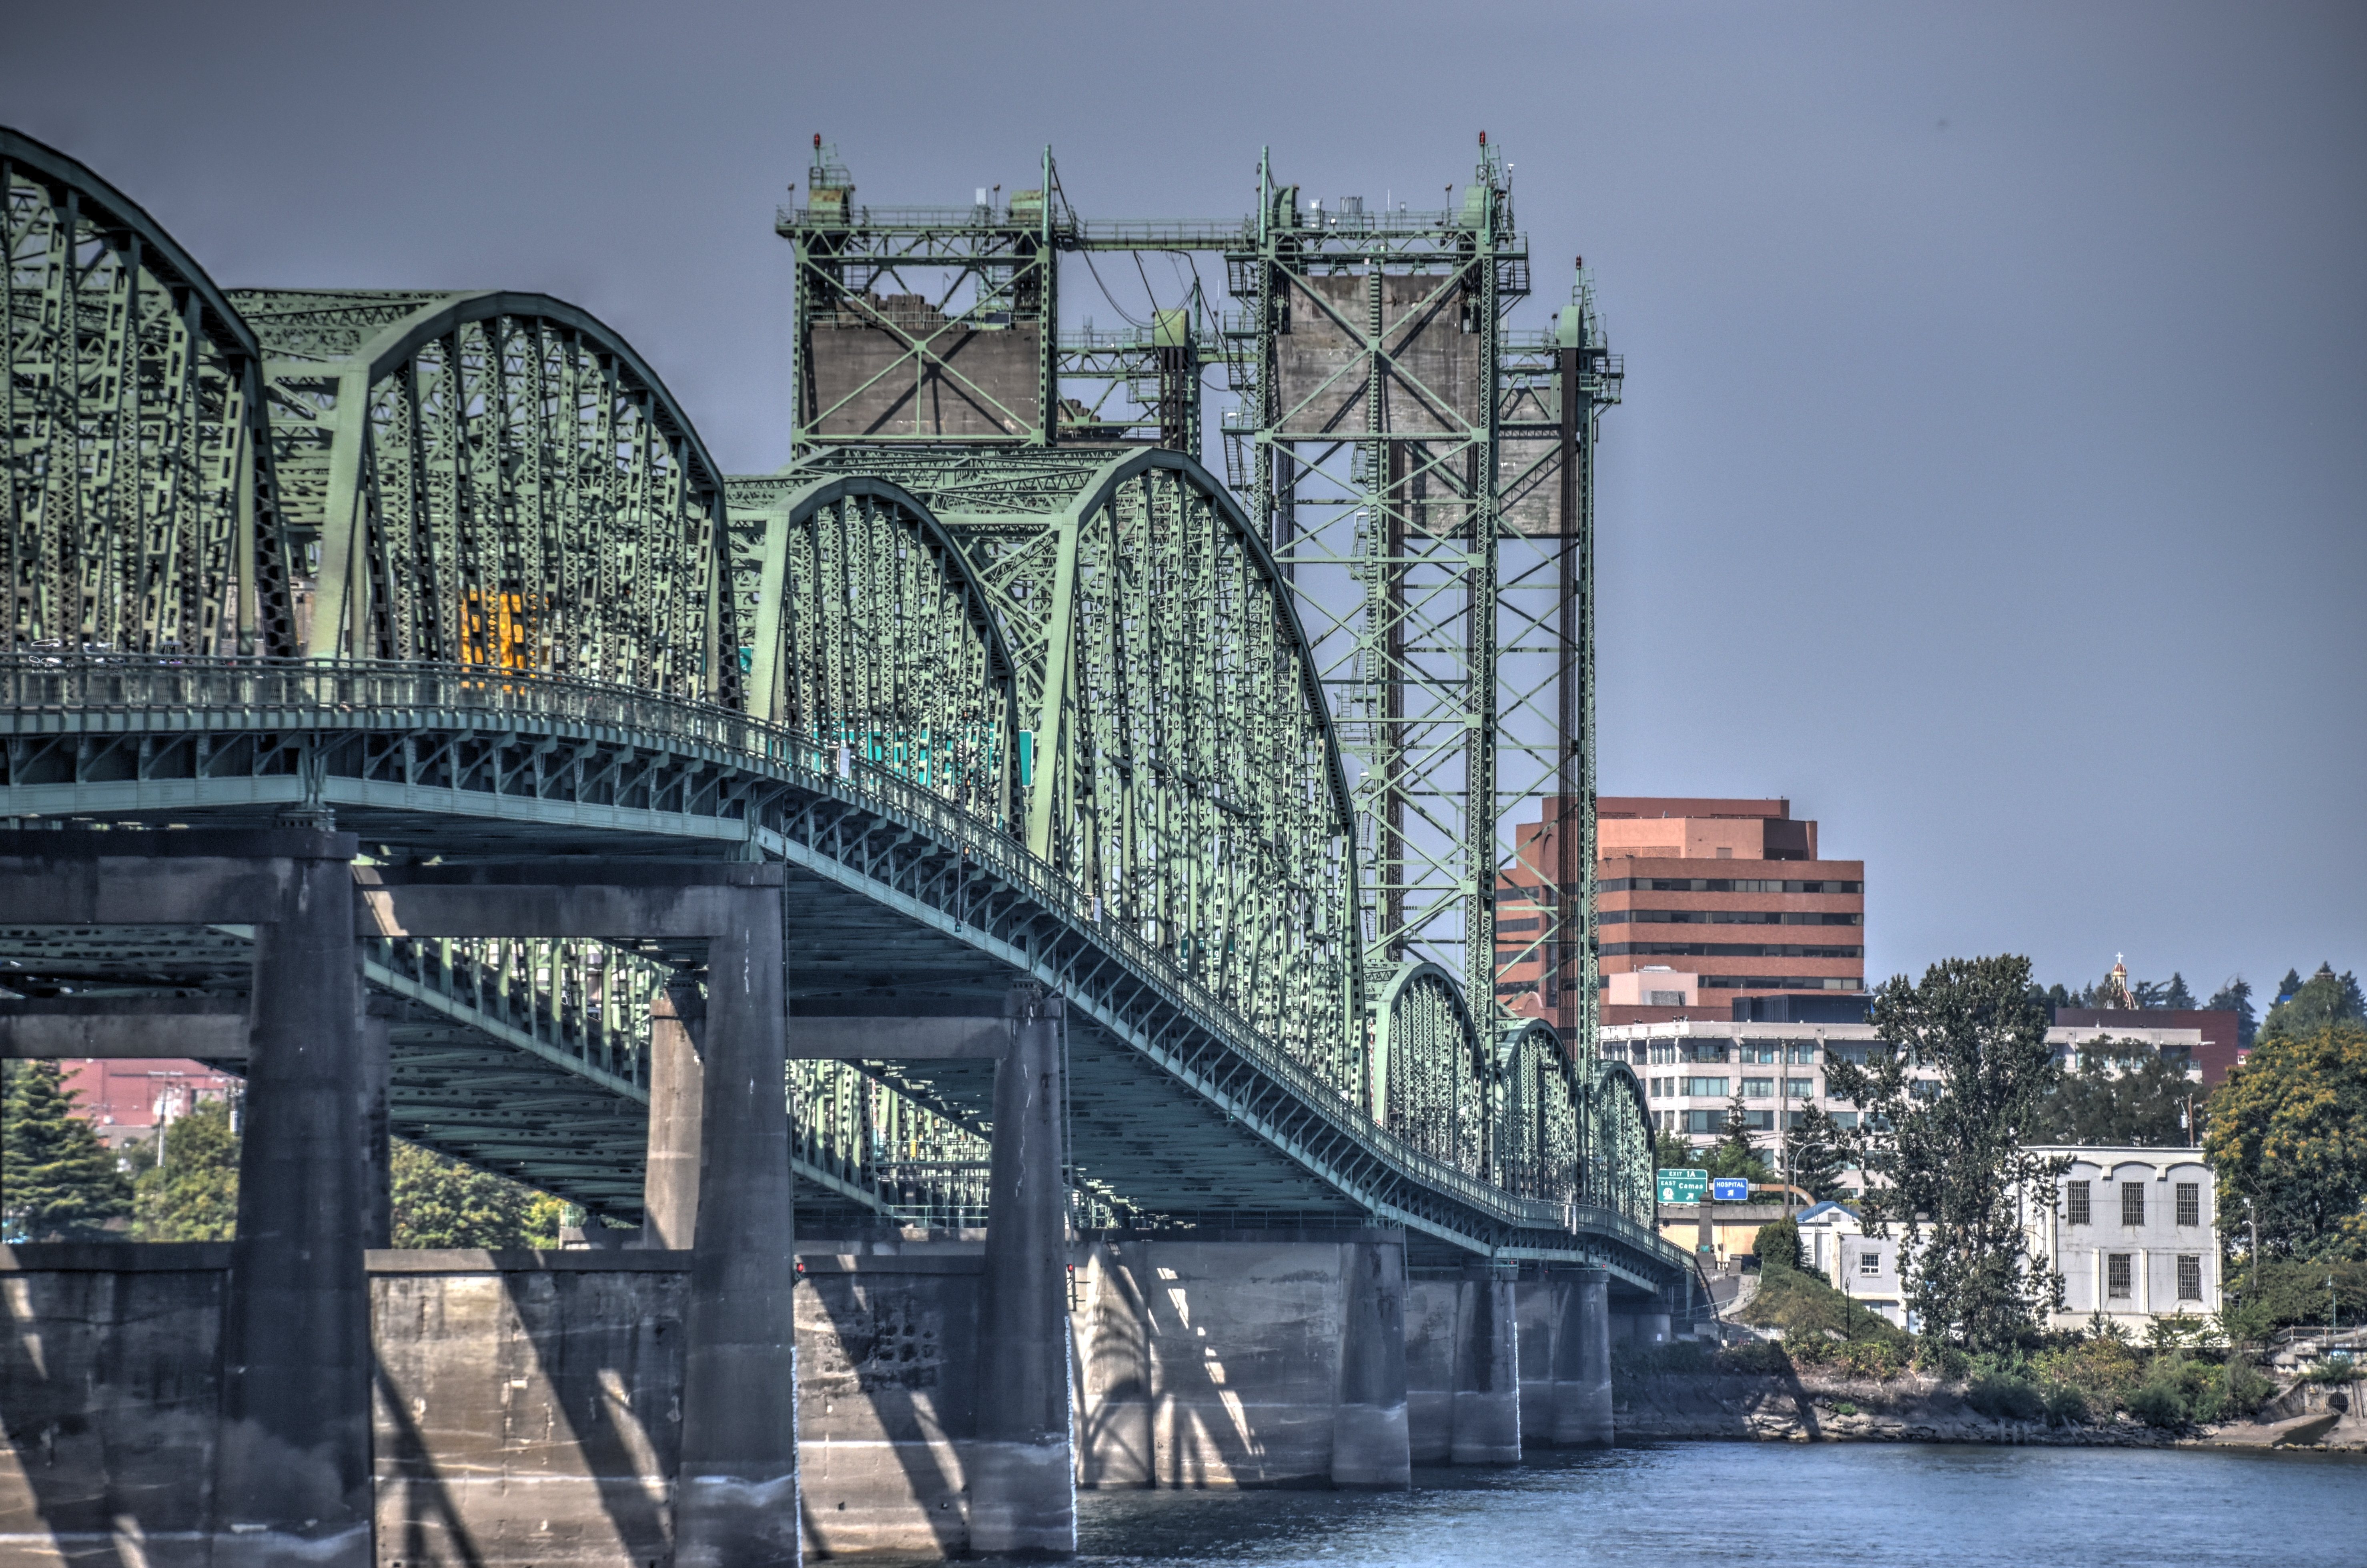
Zoomed views beside bridge showing lift span in distance from southeast quadrant.
![]()
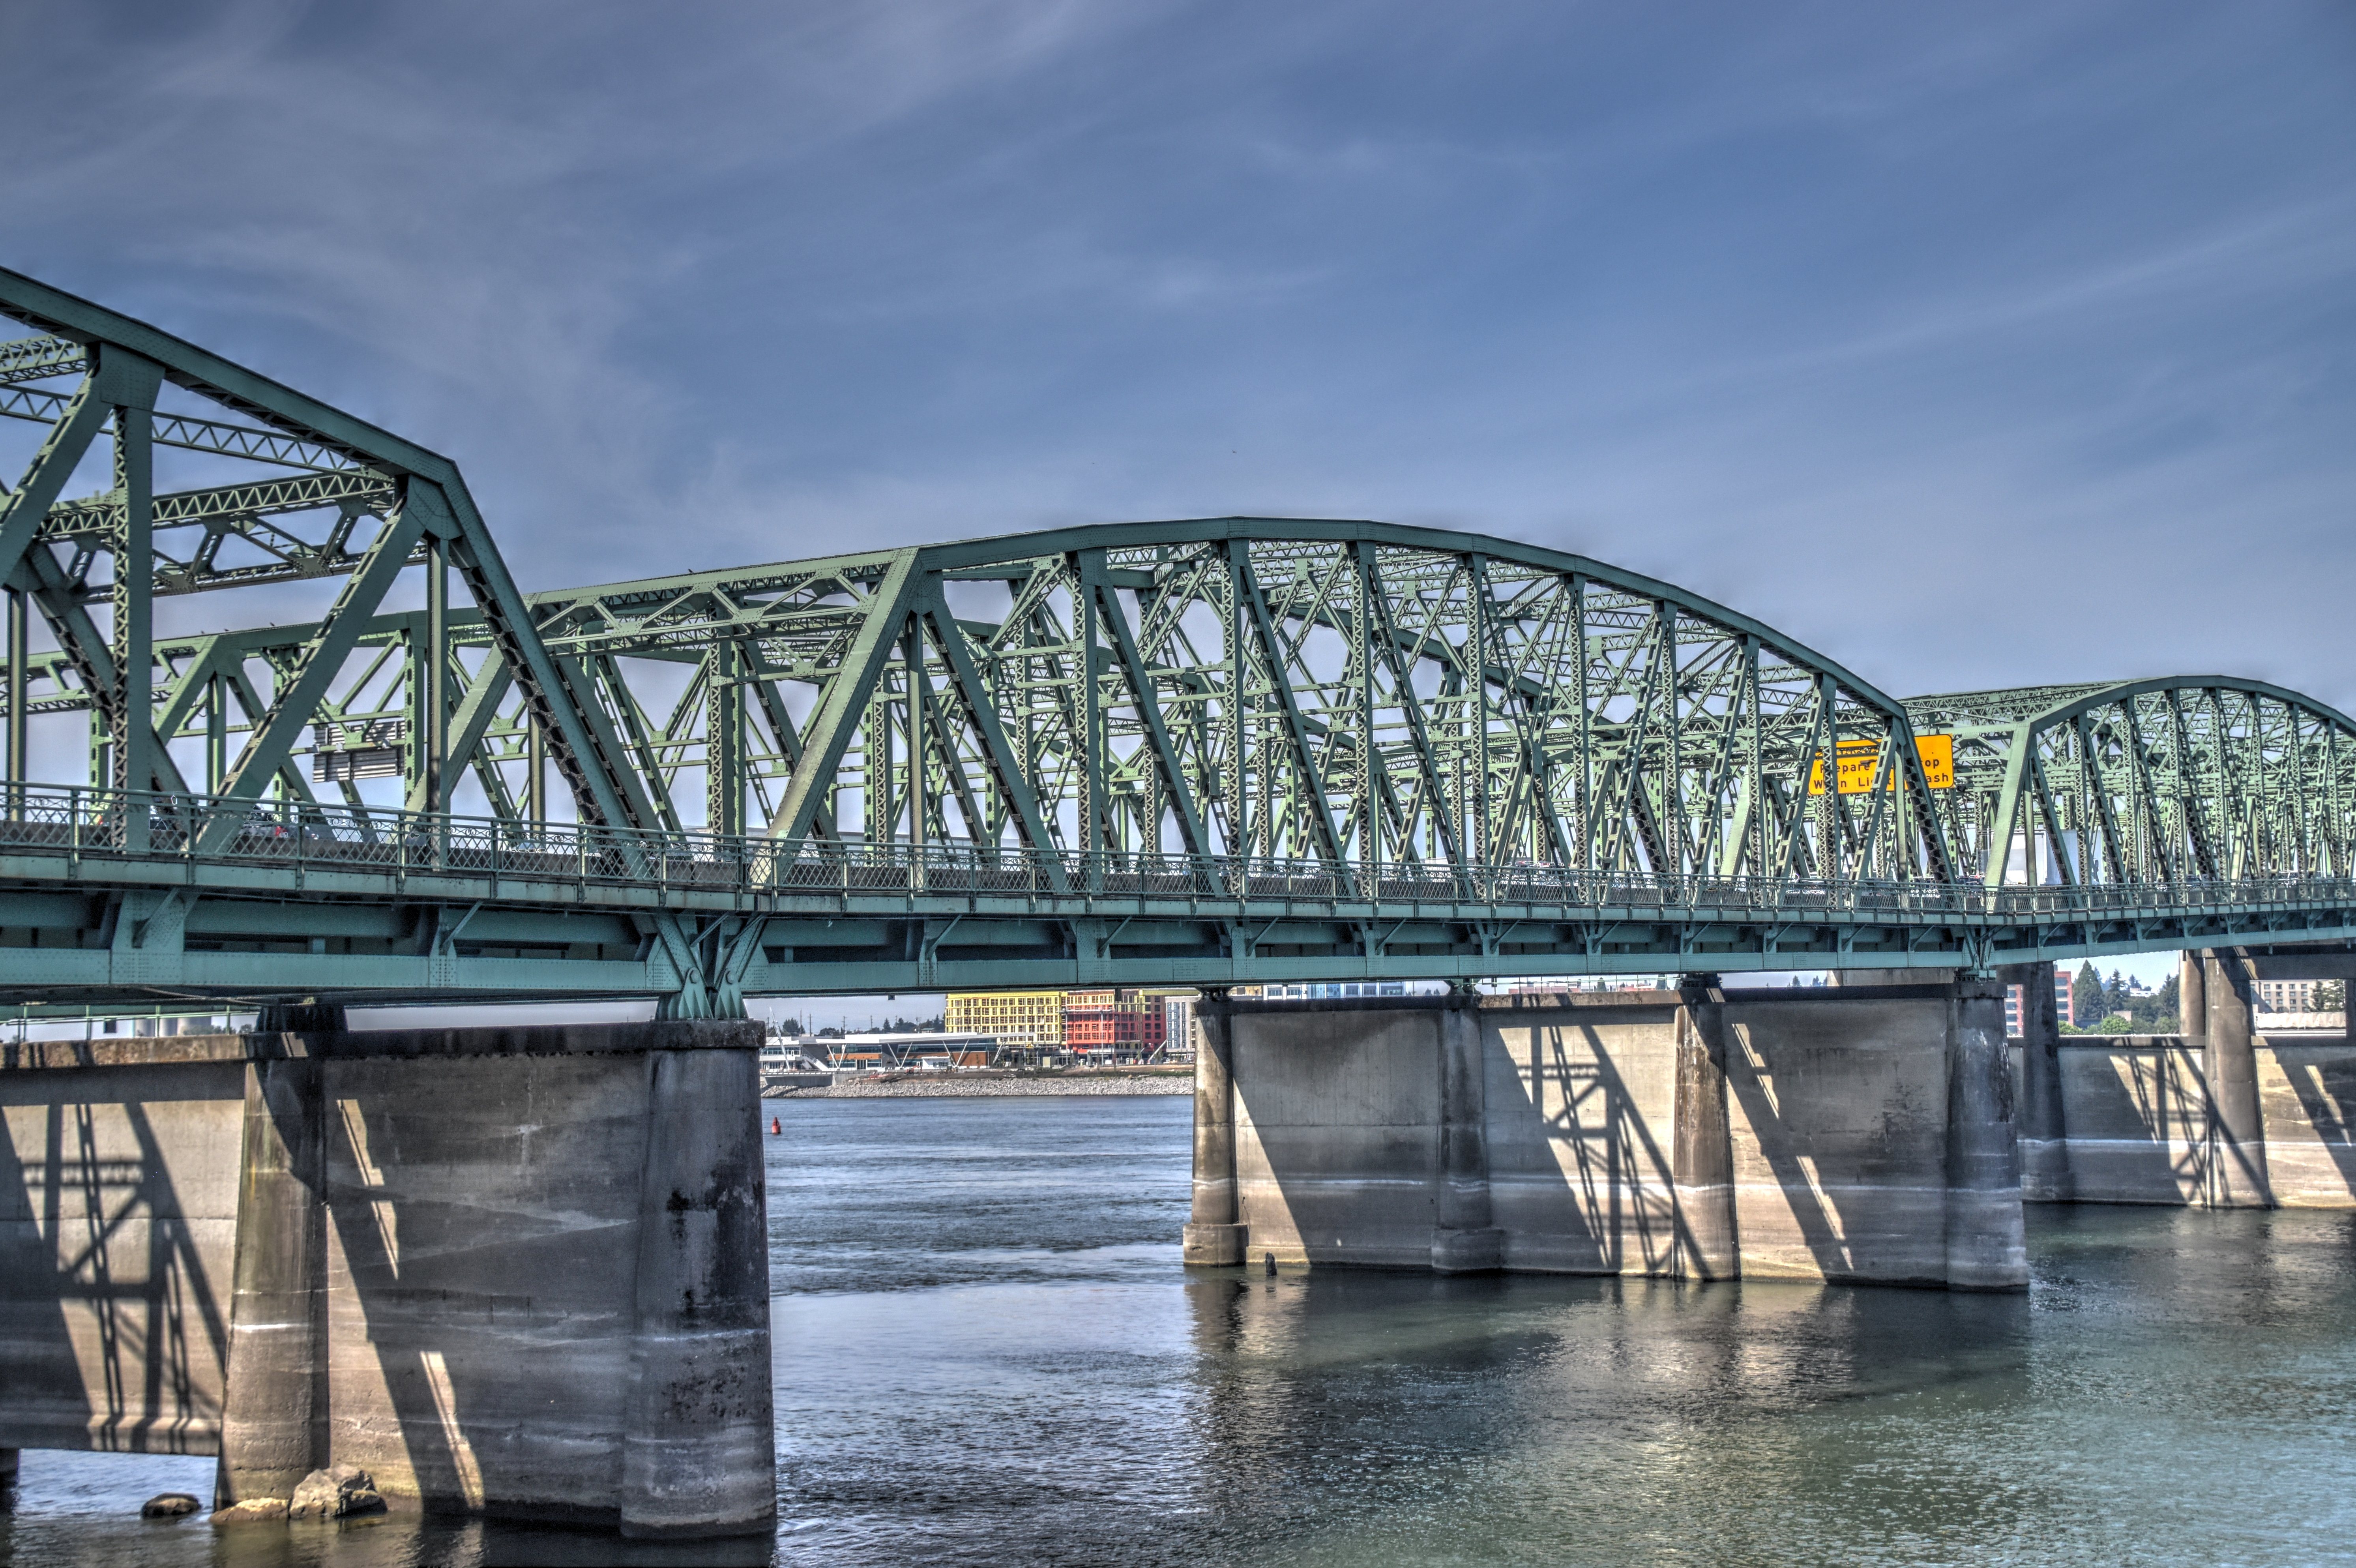
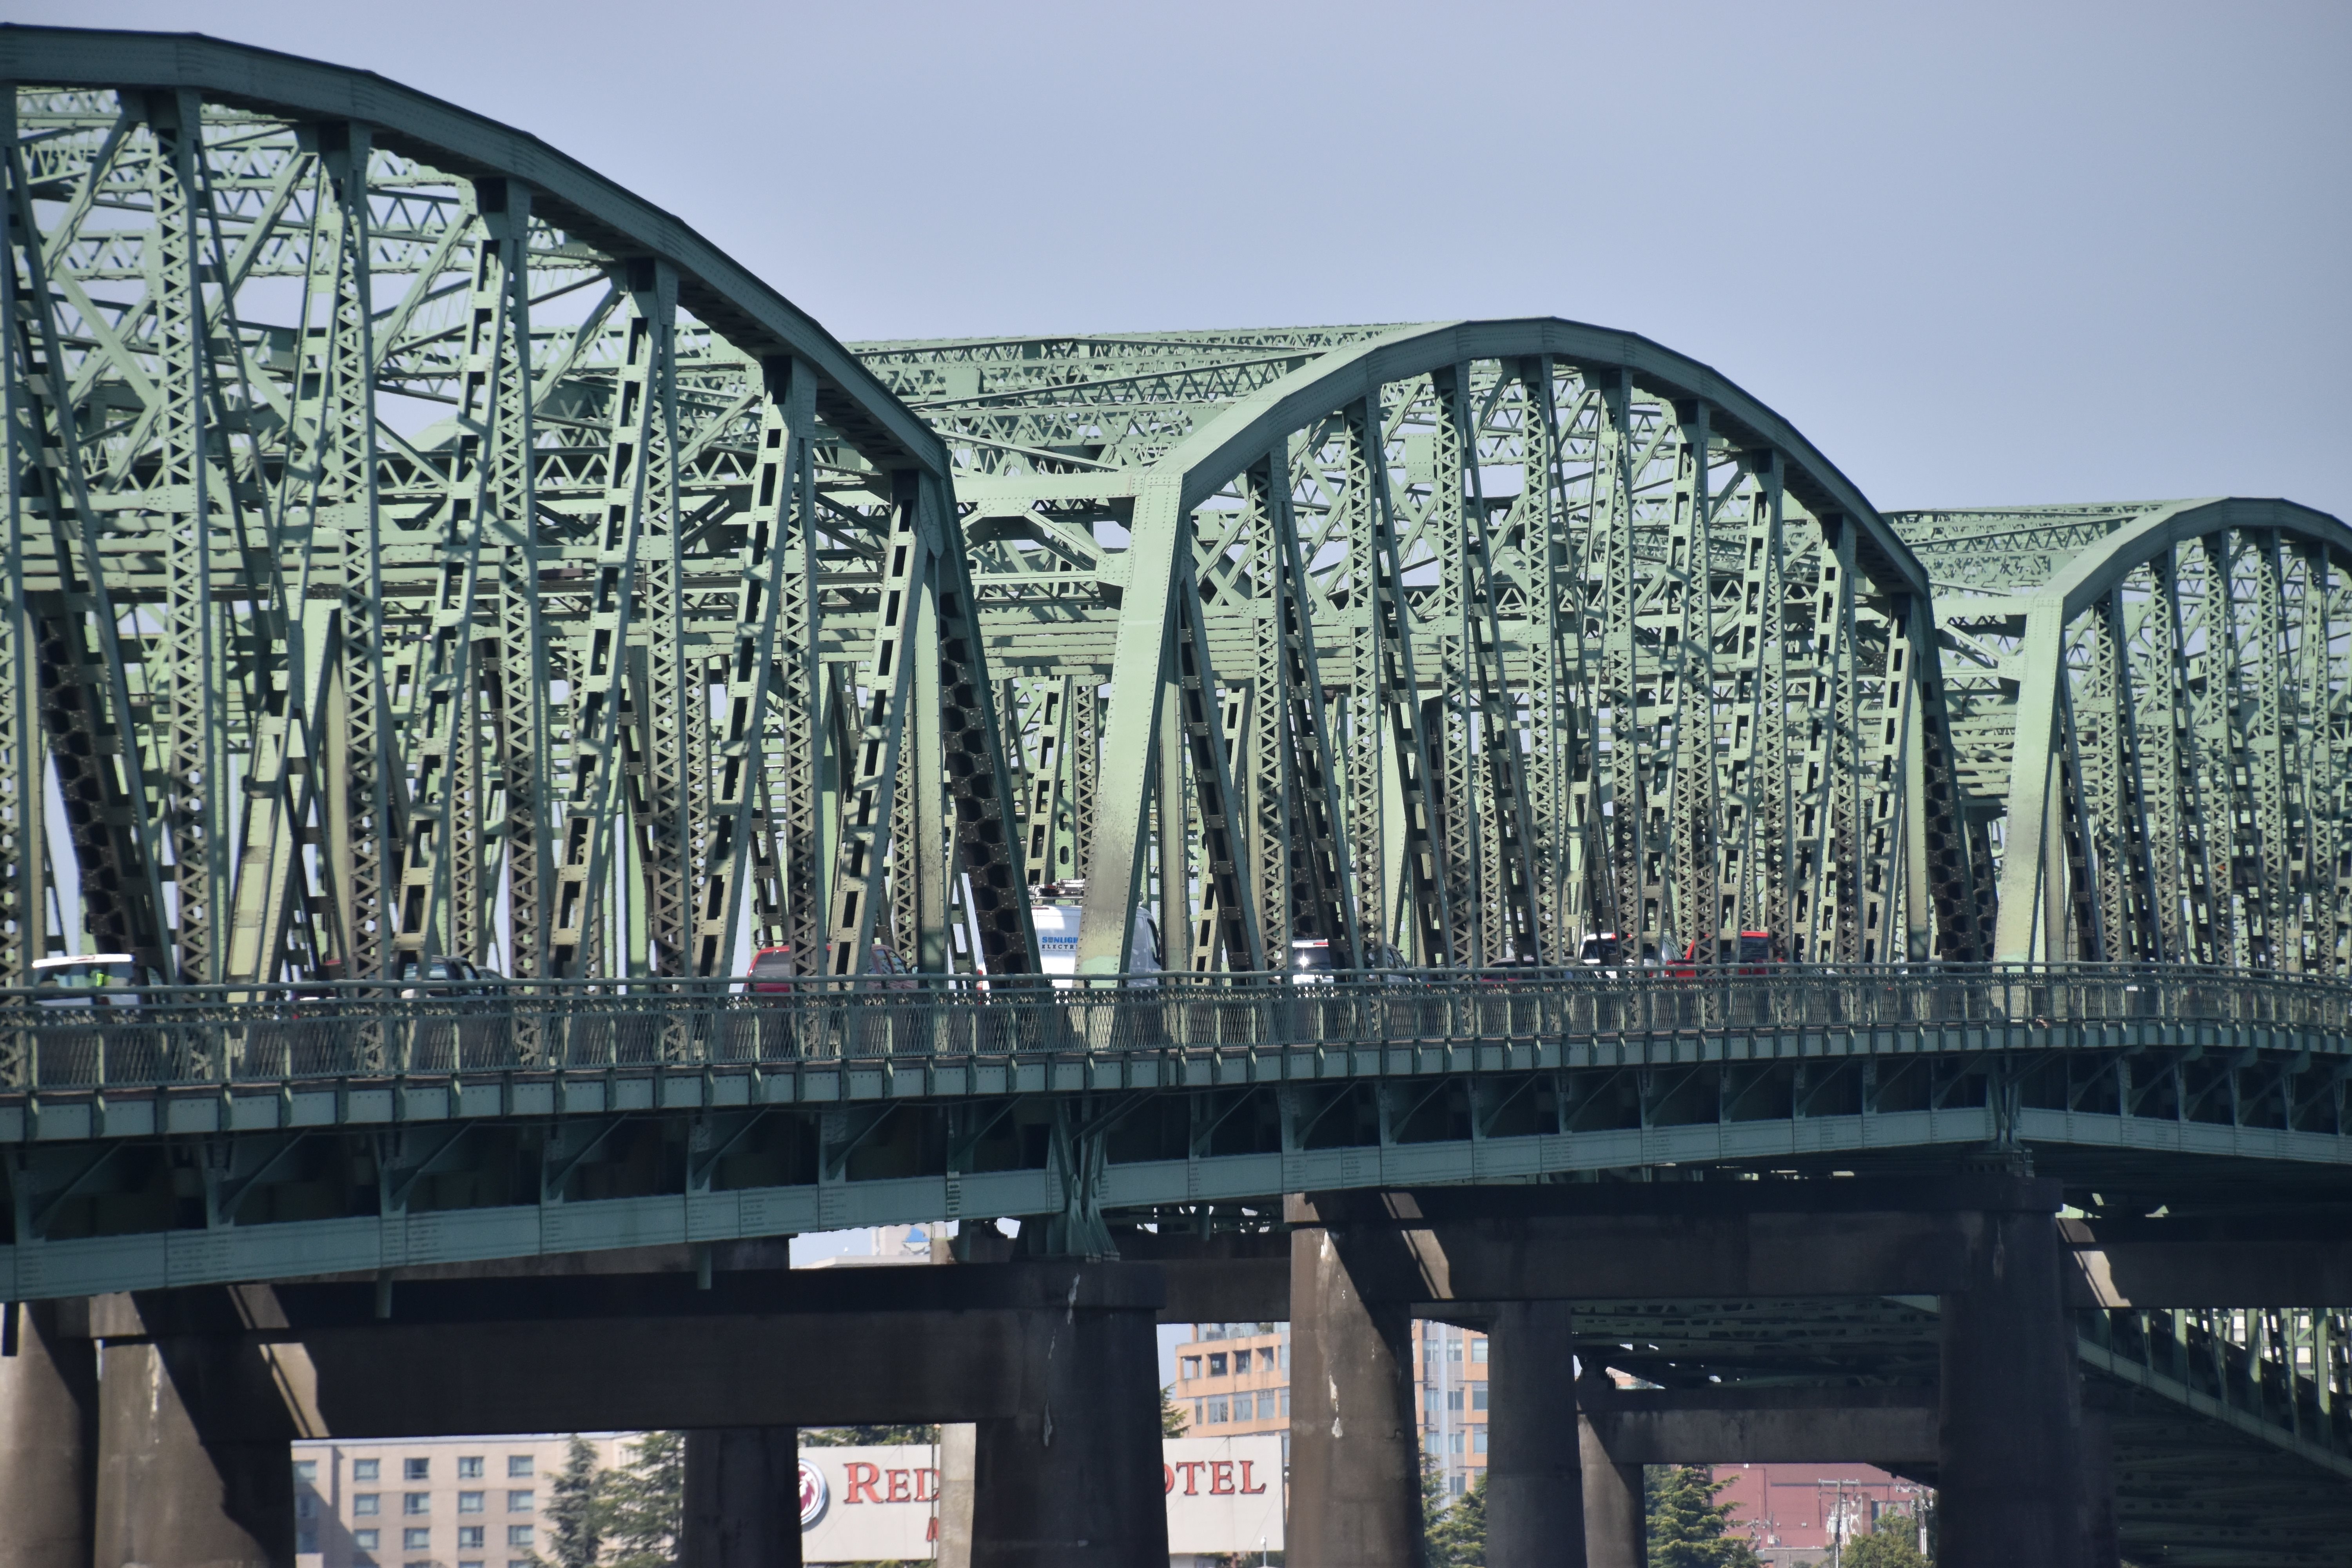
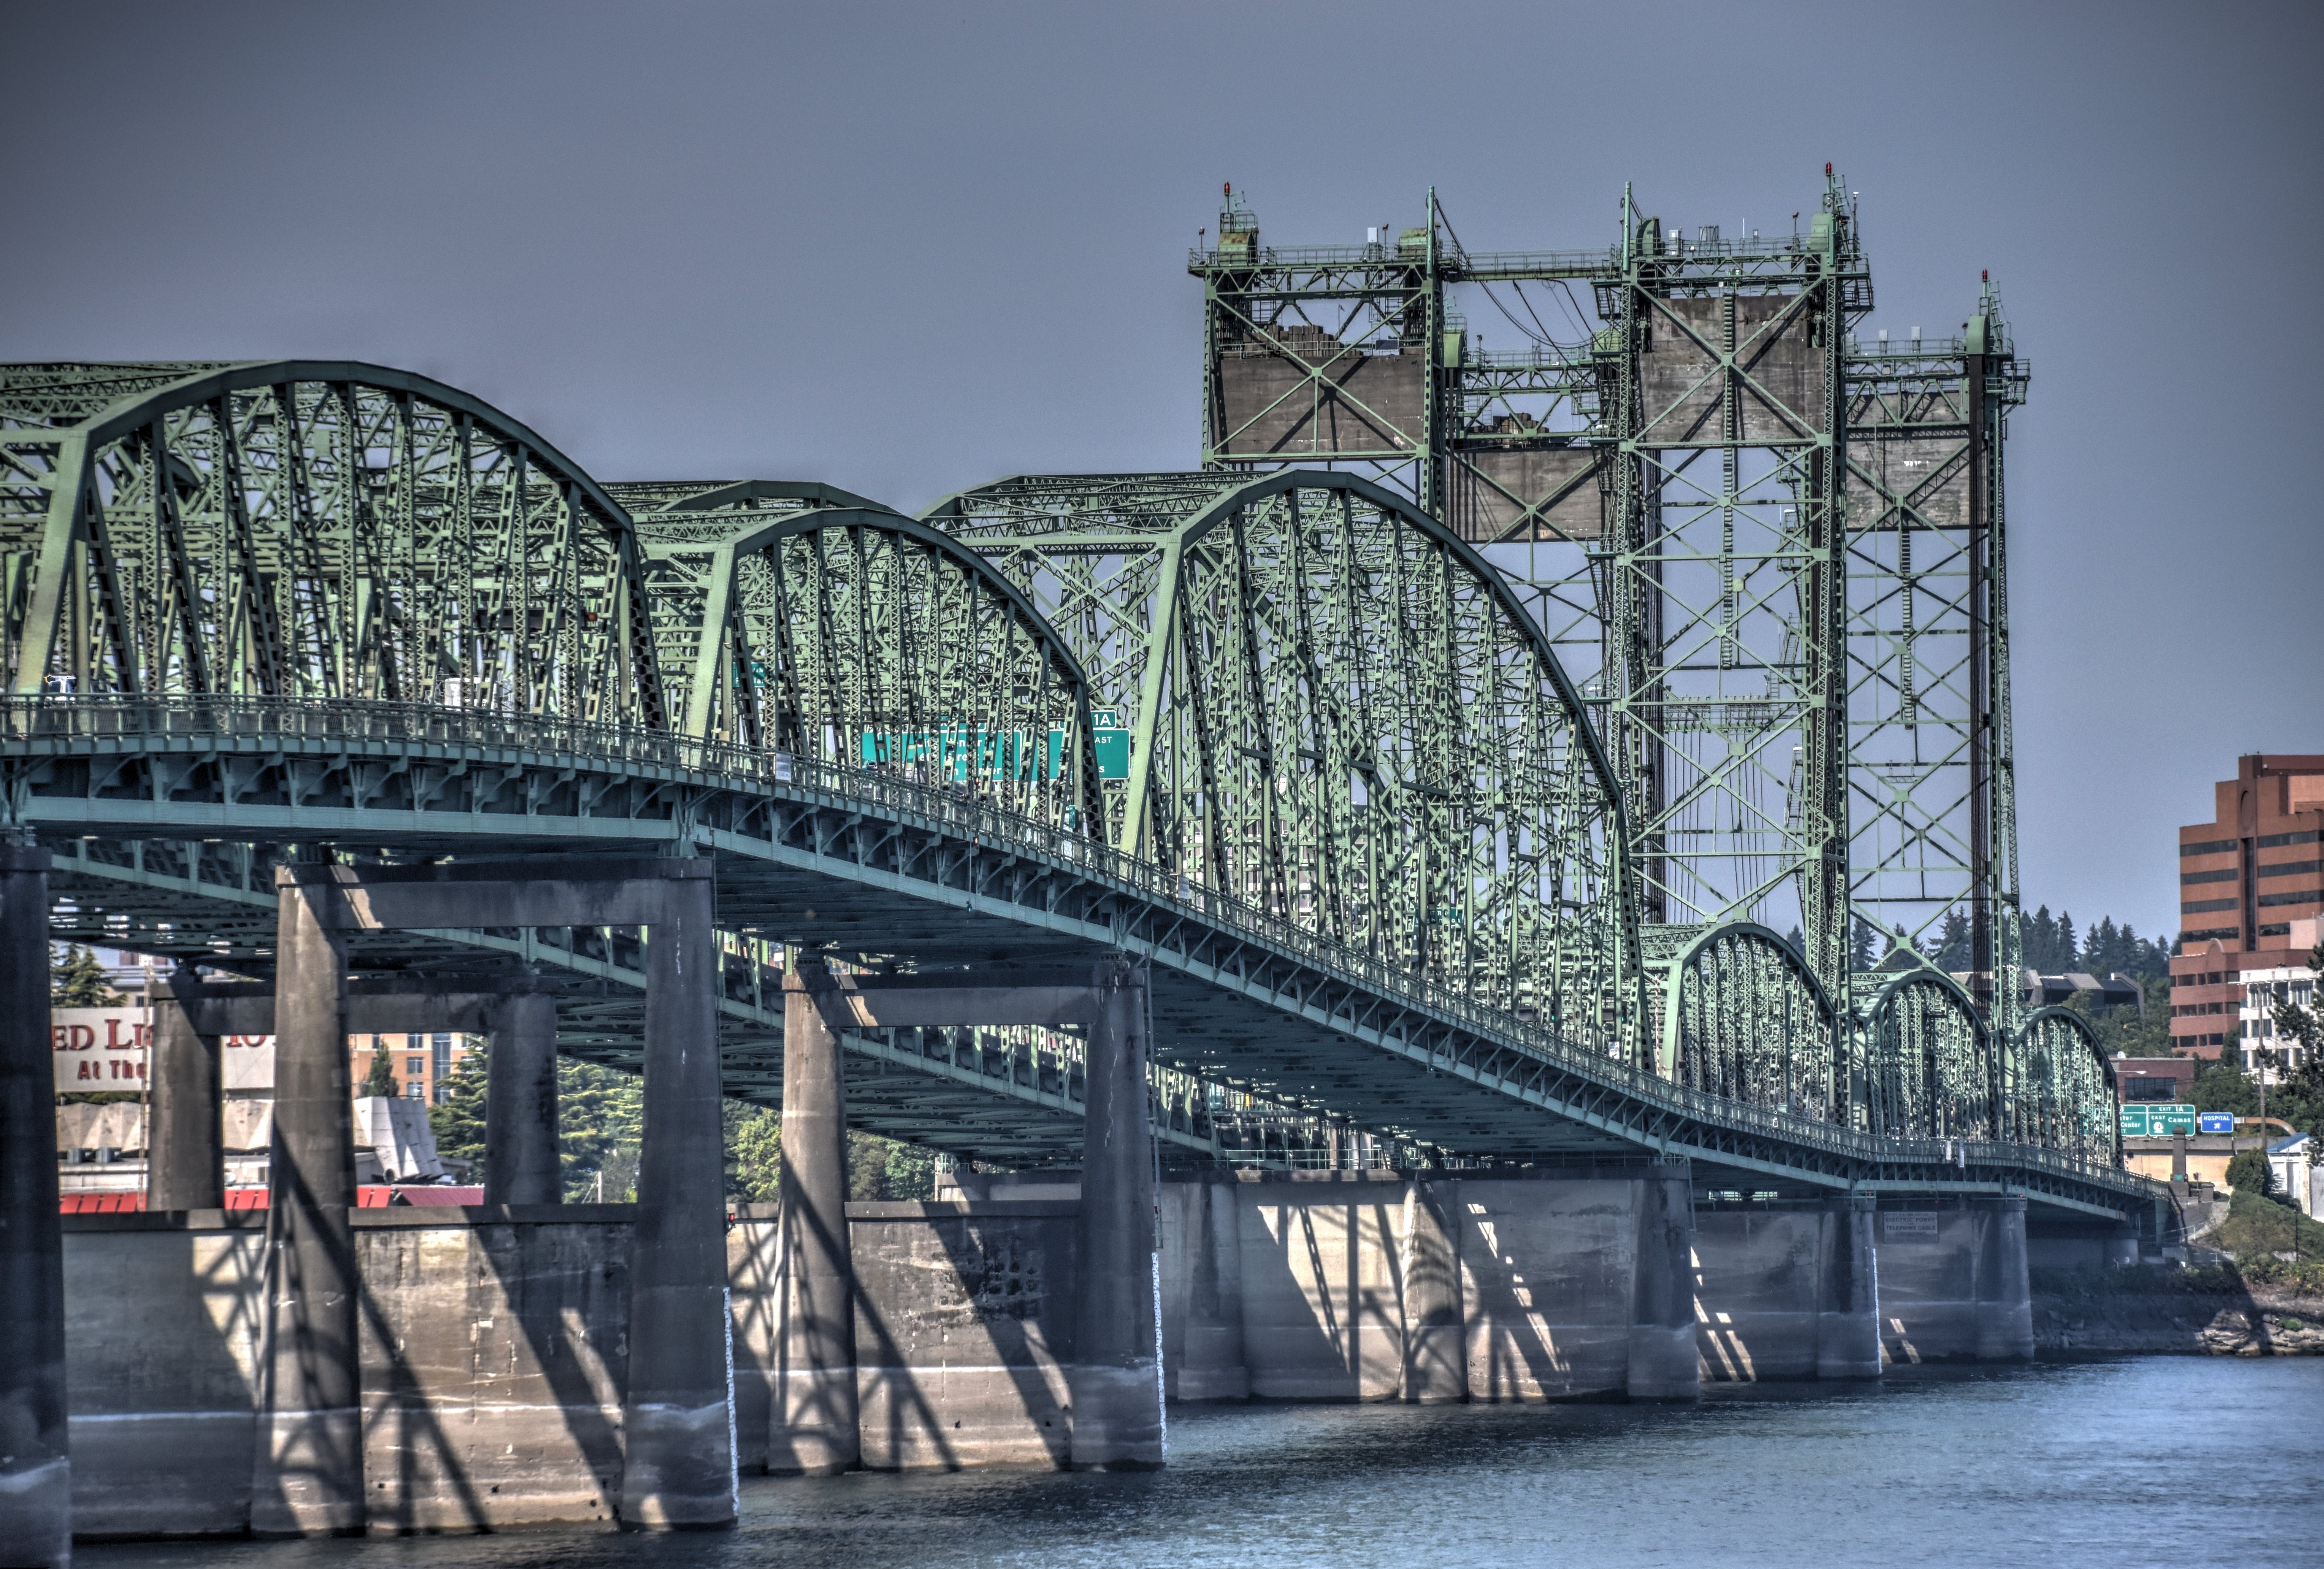
Zoomed views beside bridge showing large fixed truss span in distance from southeast quadrant.
![]()
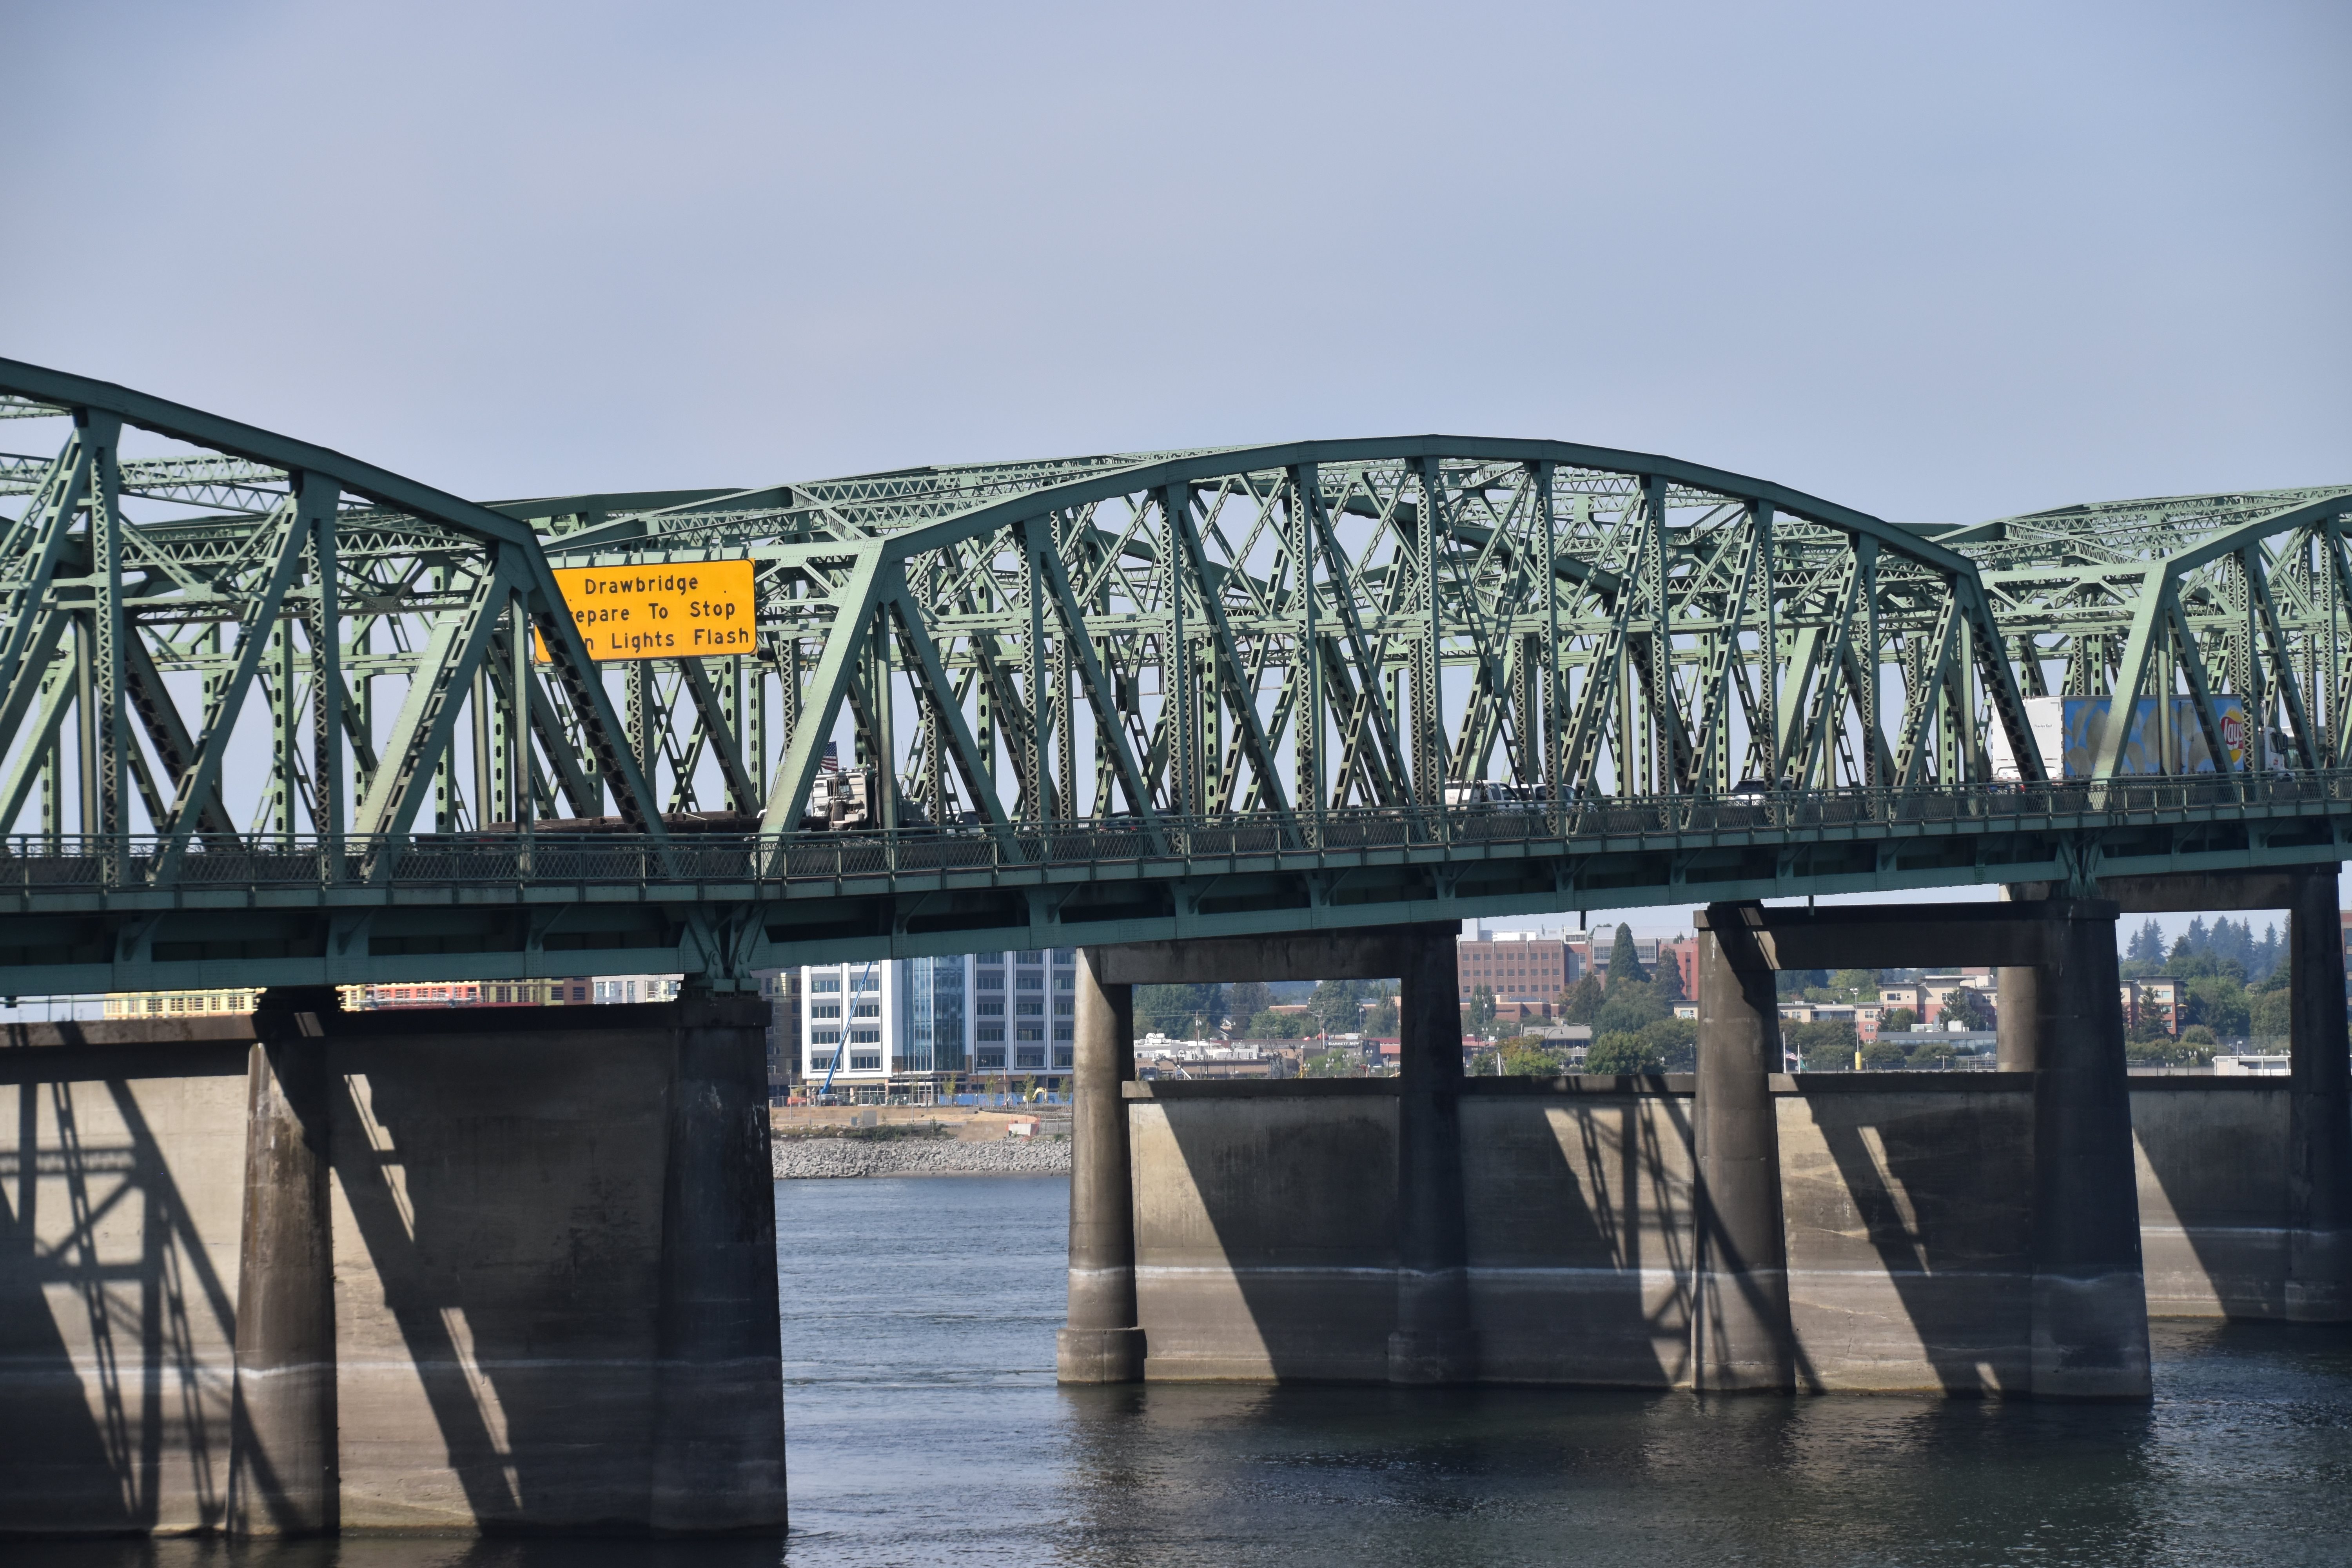
Fixed spans as seen from southeast quadrant.
![]()

Oblique view from northeast quadrant.
![]()


Elevation from northeast quadrant.
![]()

Elevation of lift span from northeast quadrant.
![]()


Large fixed truss span as seen from from northeast quadrant.
![]()


Views beside bridge from northeast quadrant.
![]()

East elevation of northernmost truss span.
![]()

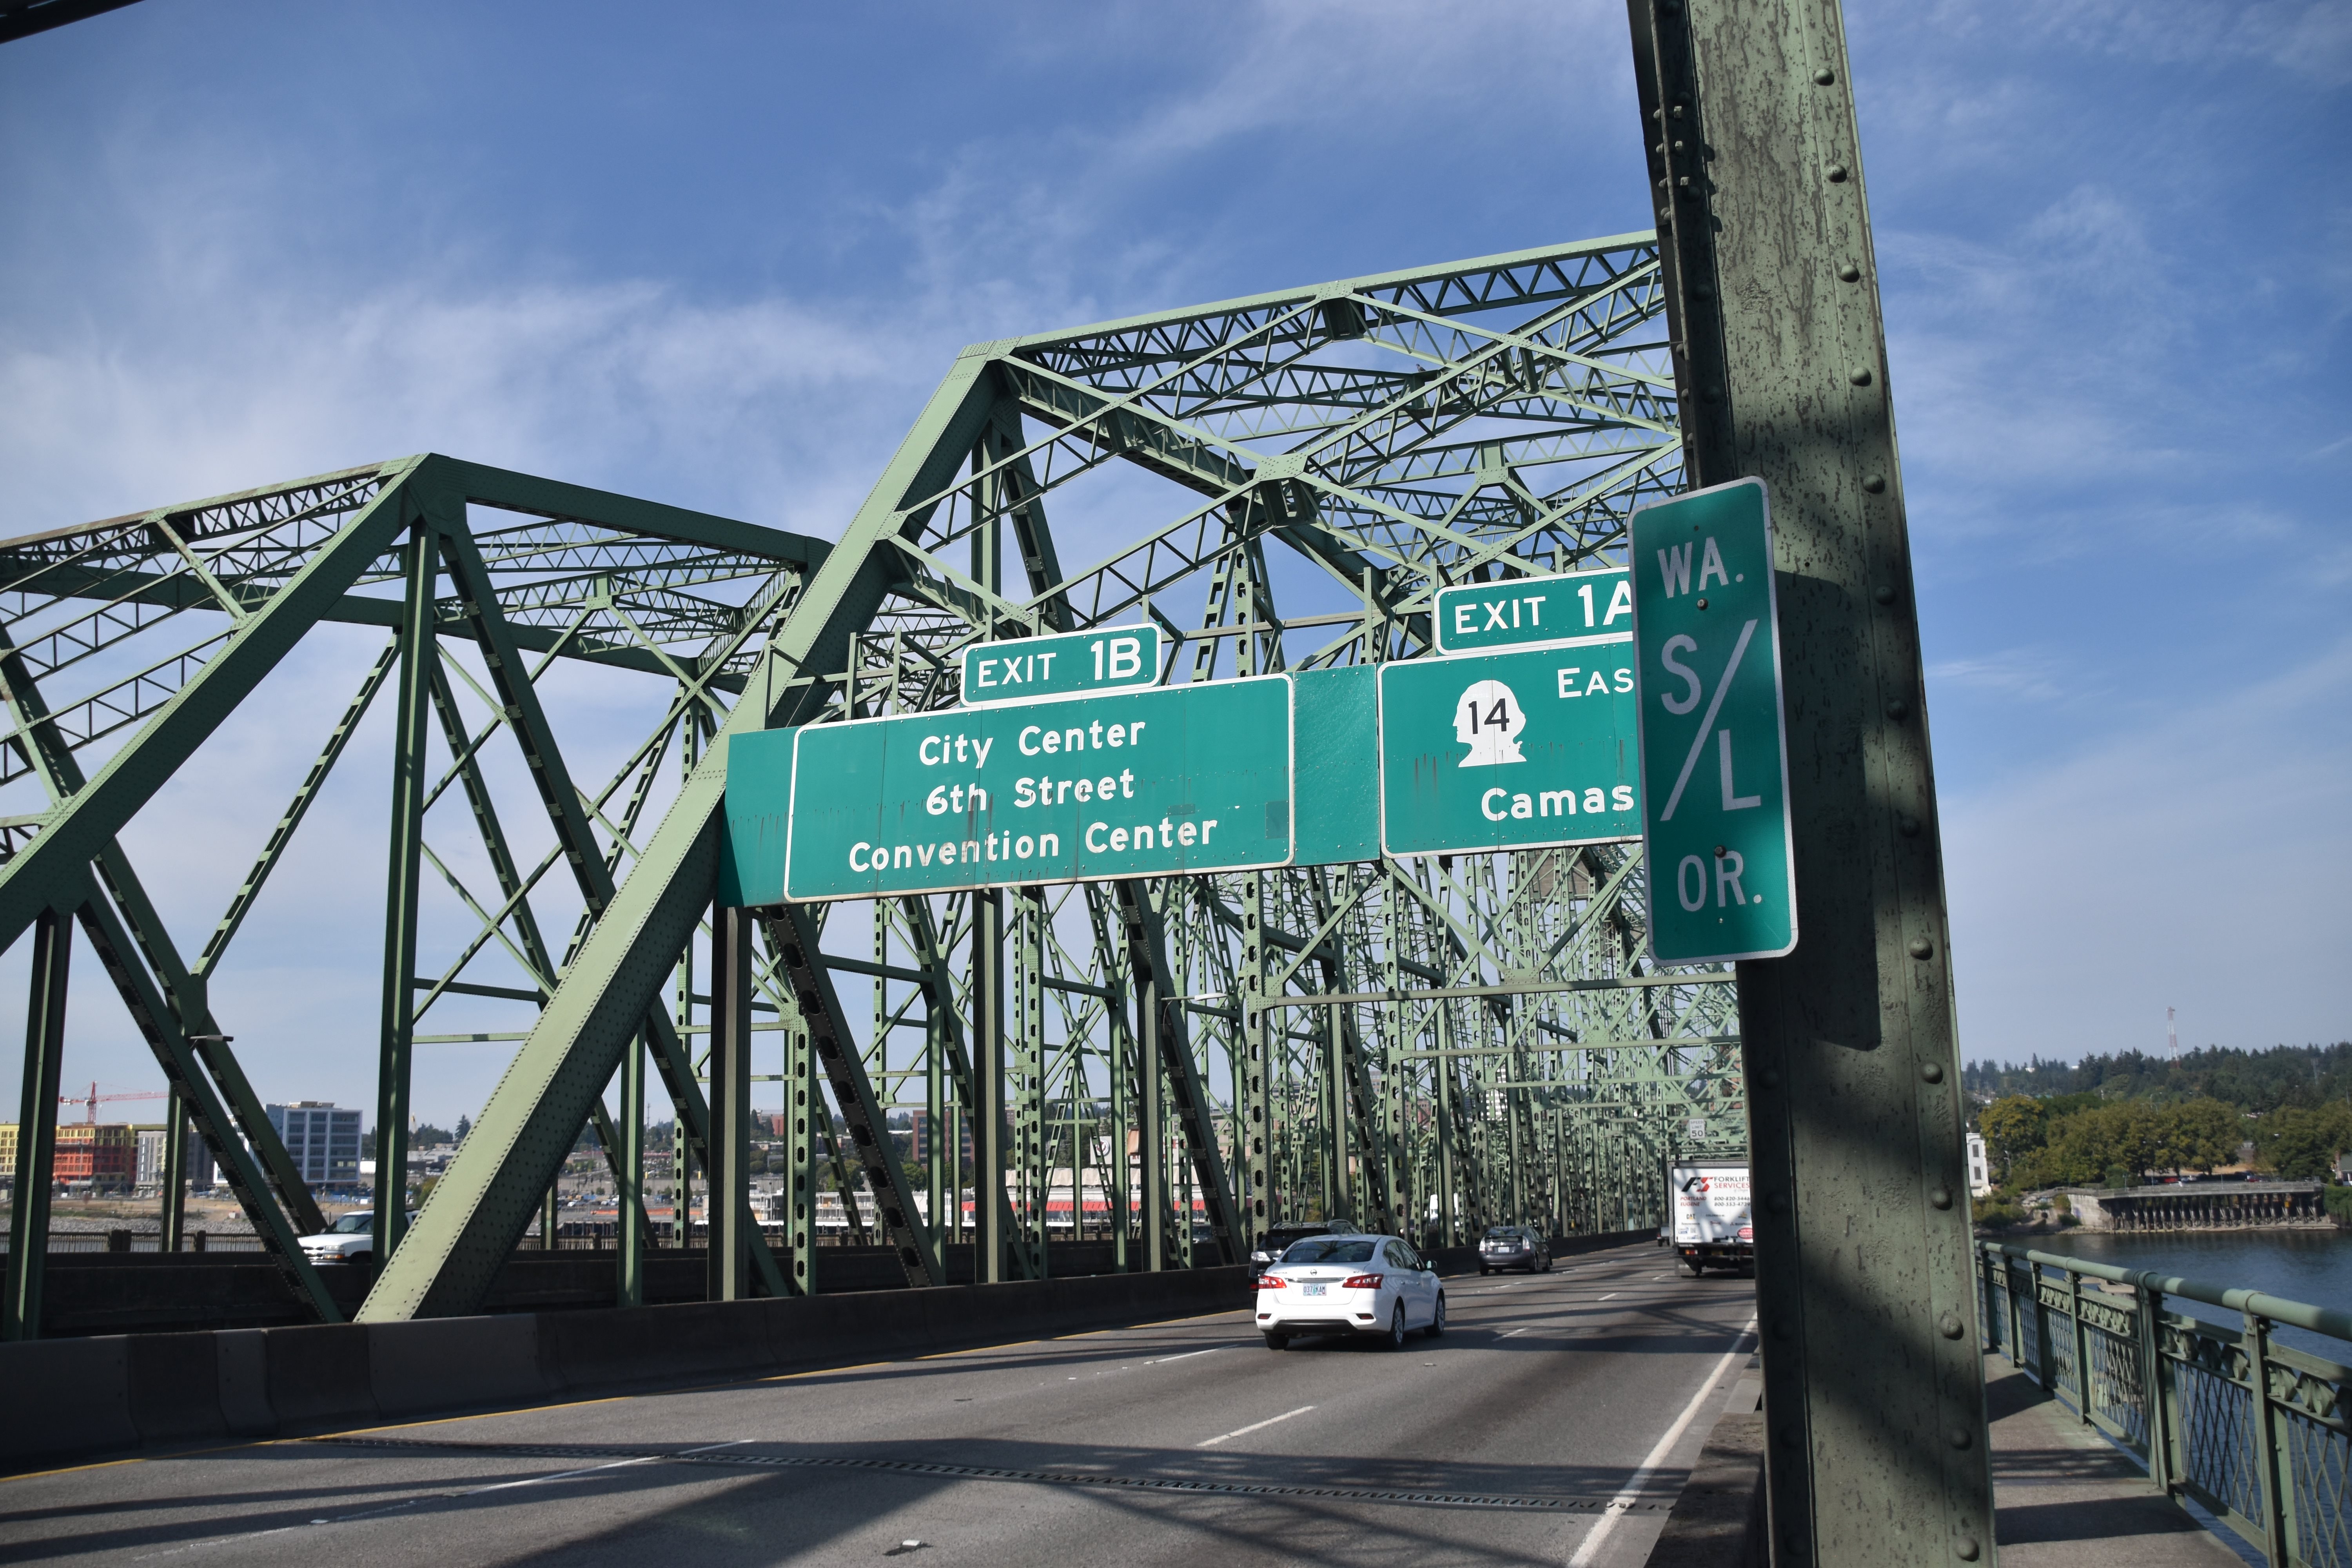
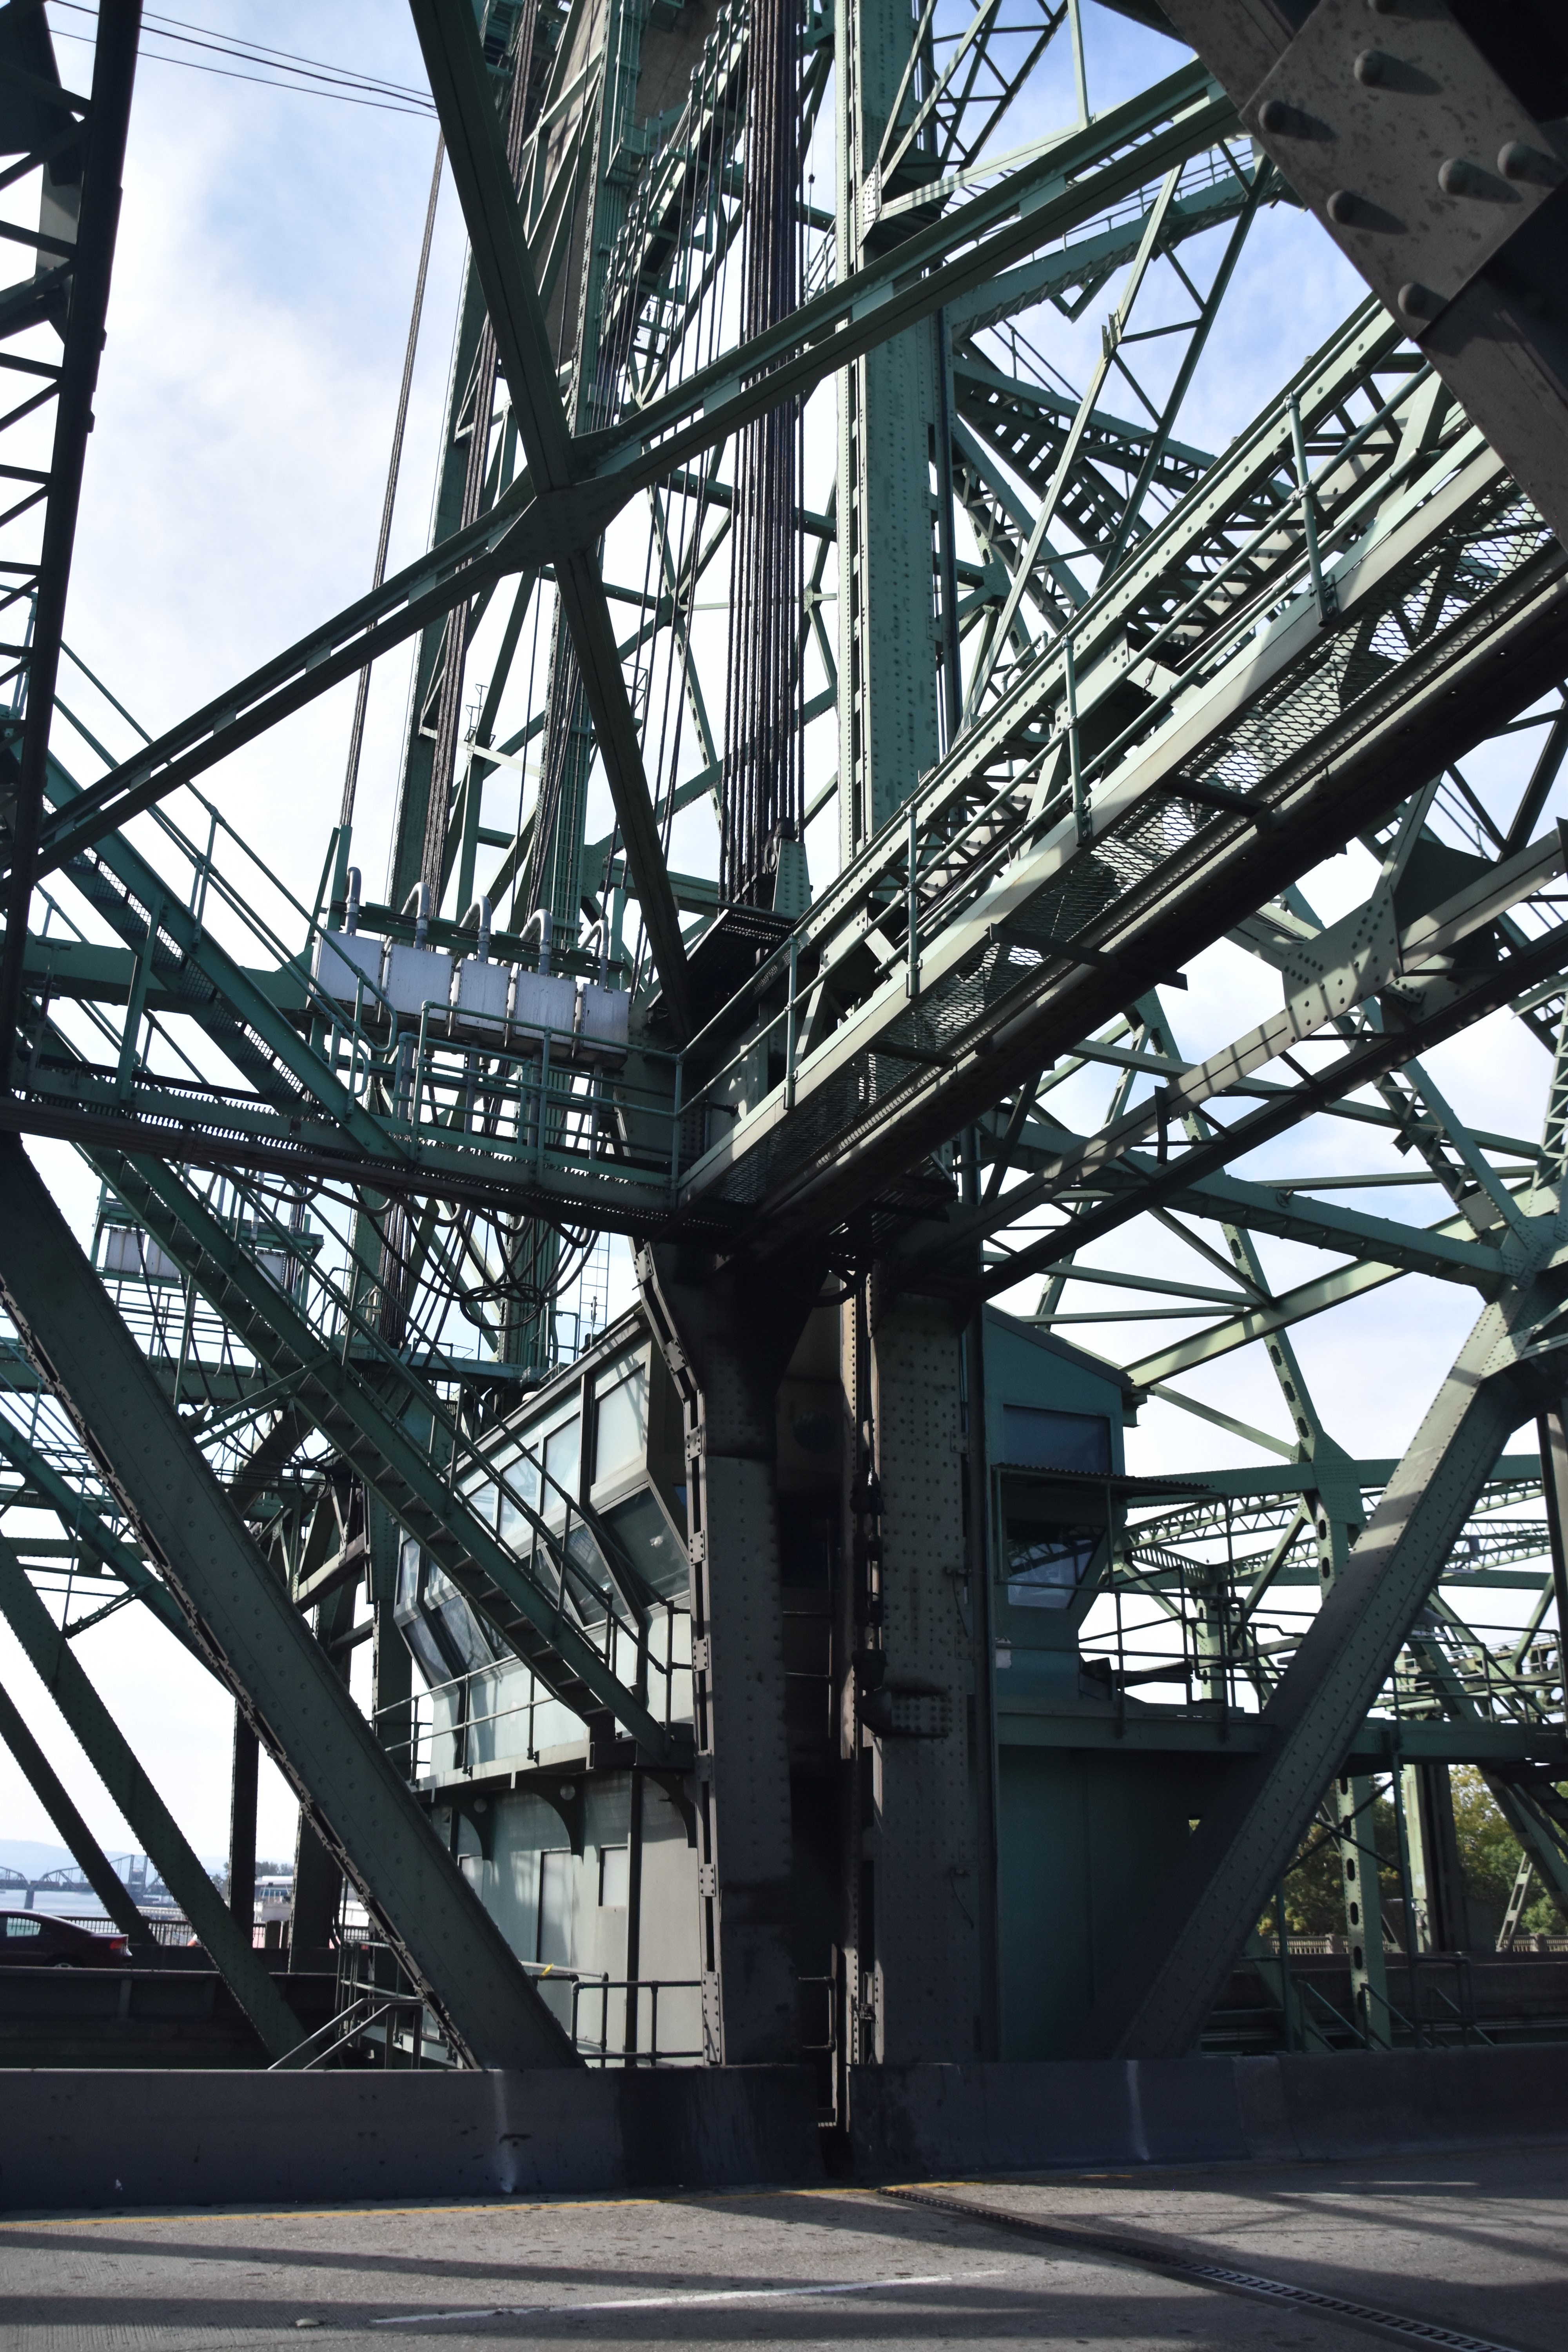
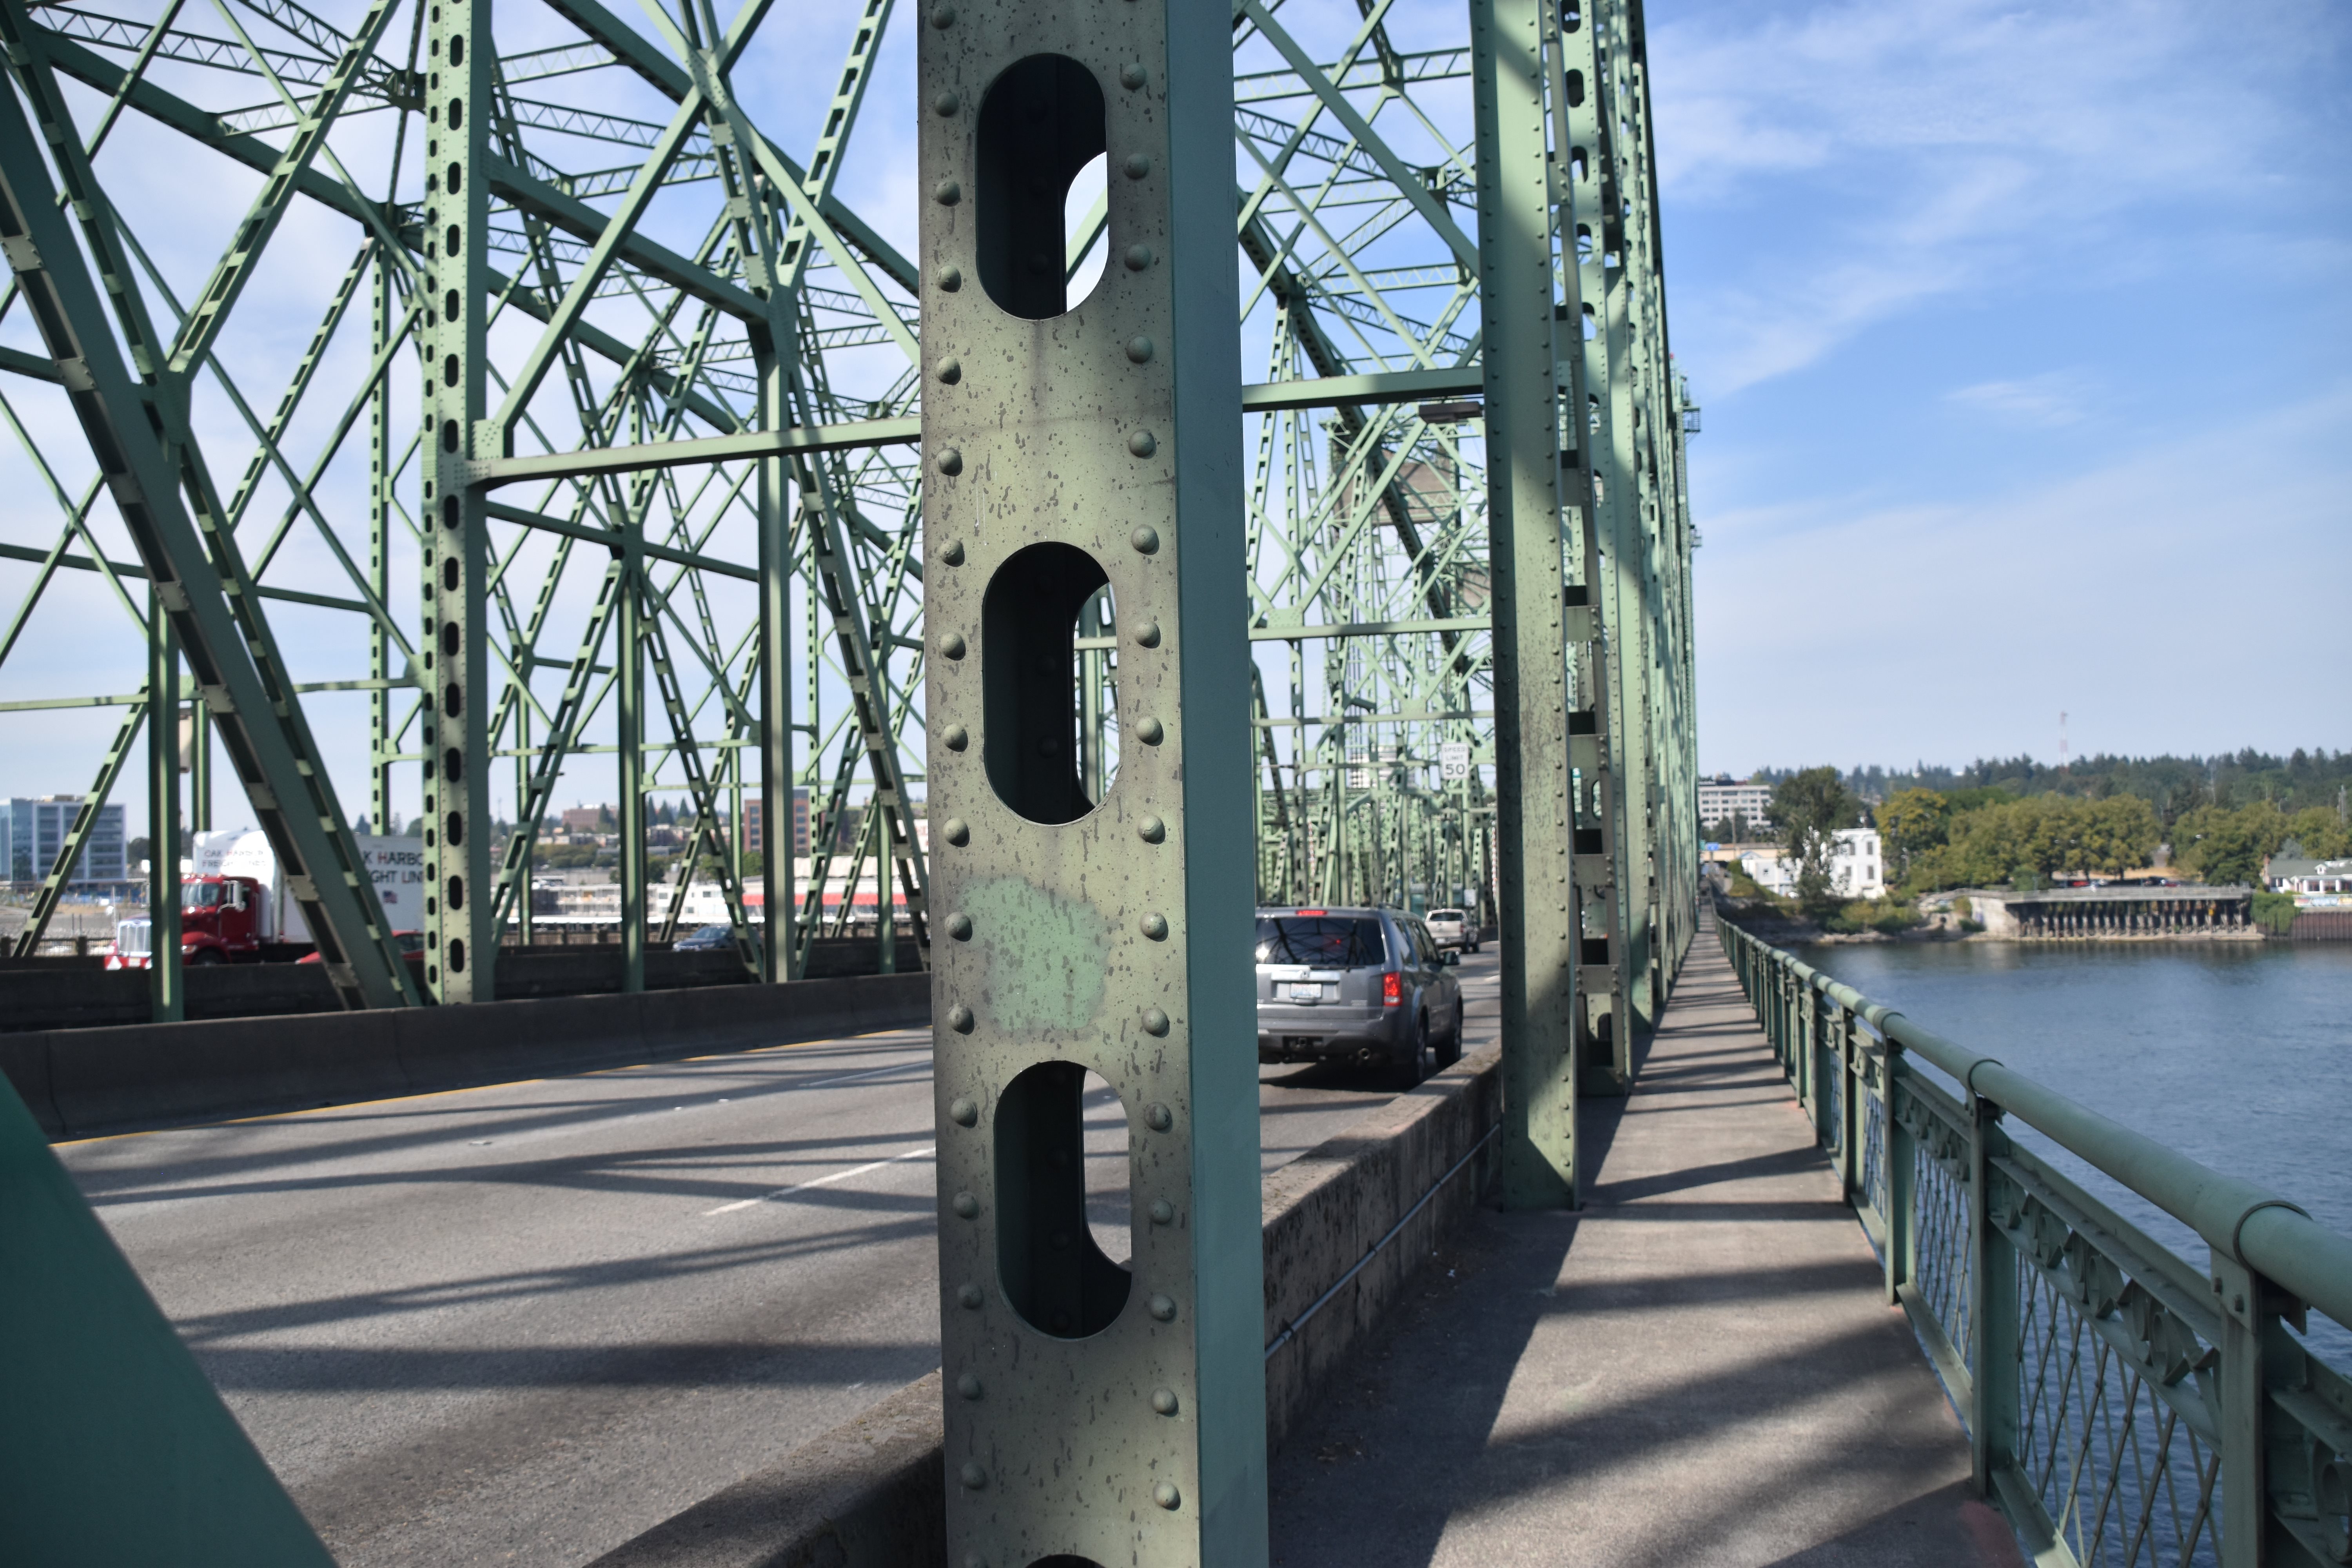
Portal view on sidewalk facing south.
![]()


View beside southern concrete approach span.
![]()

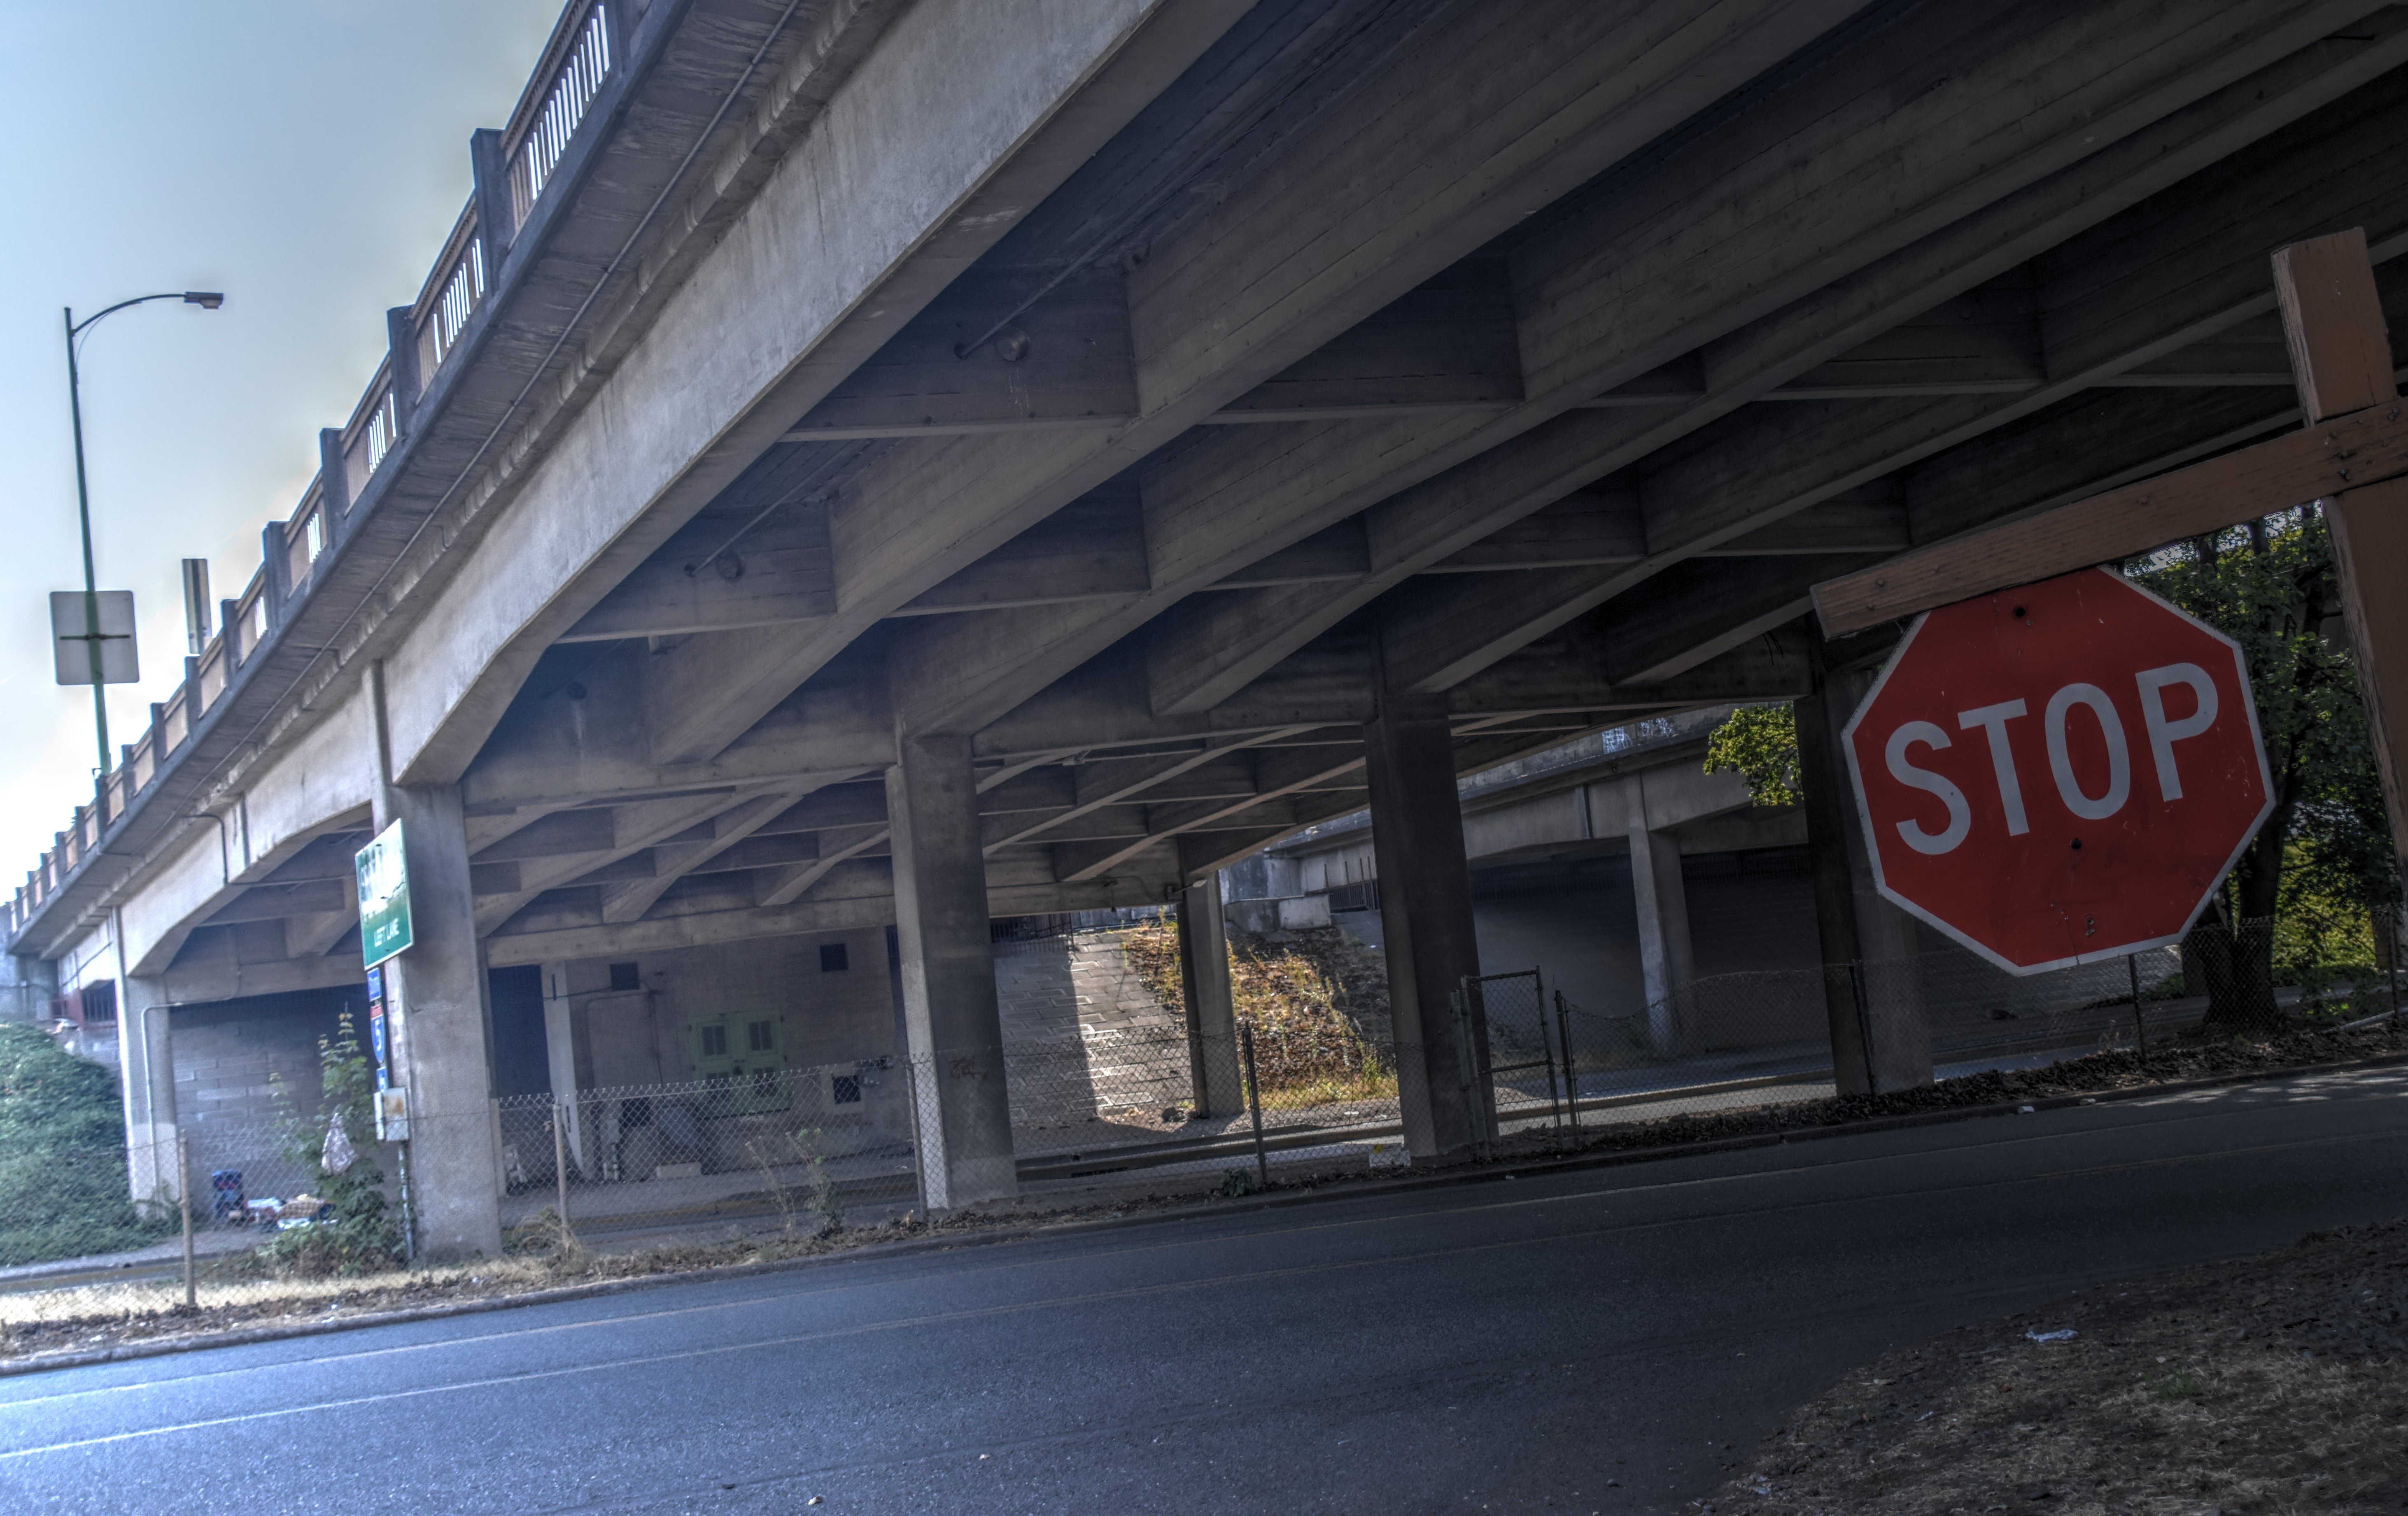

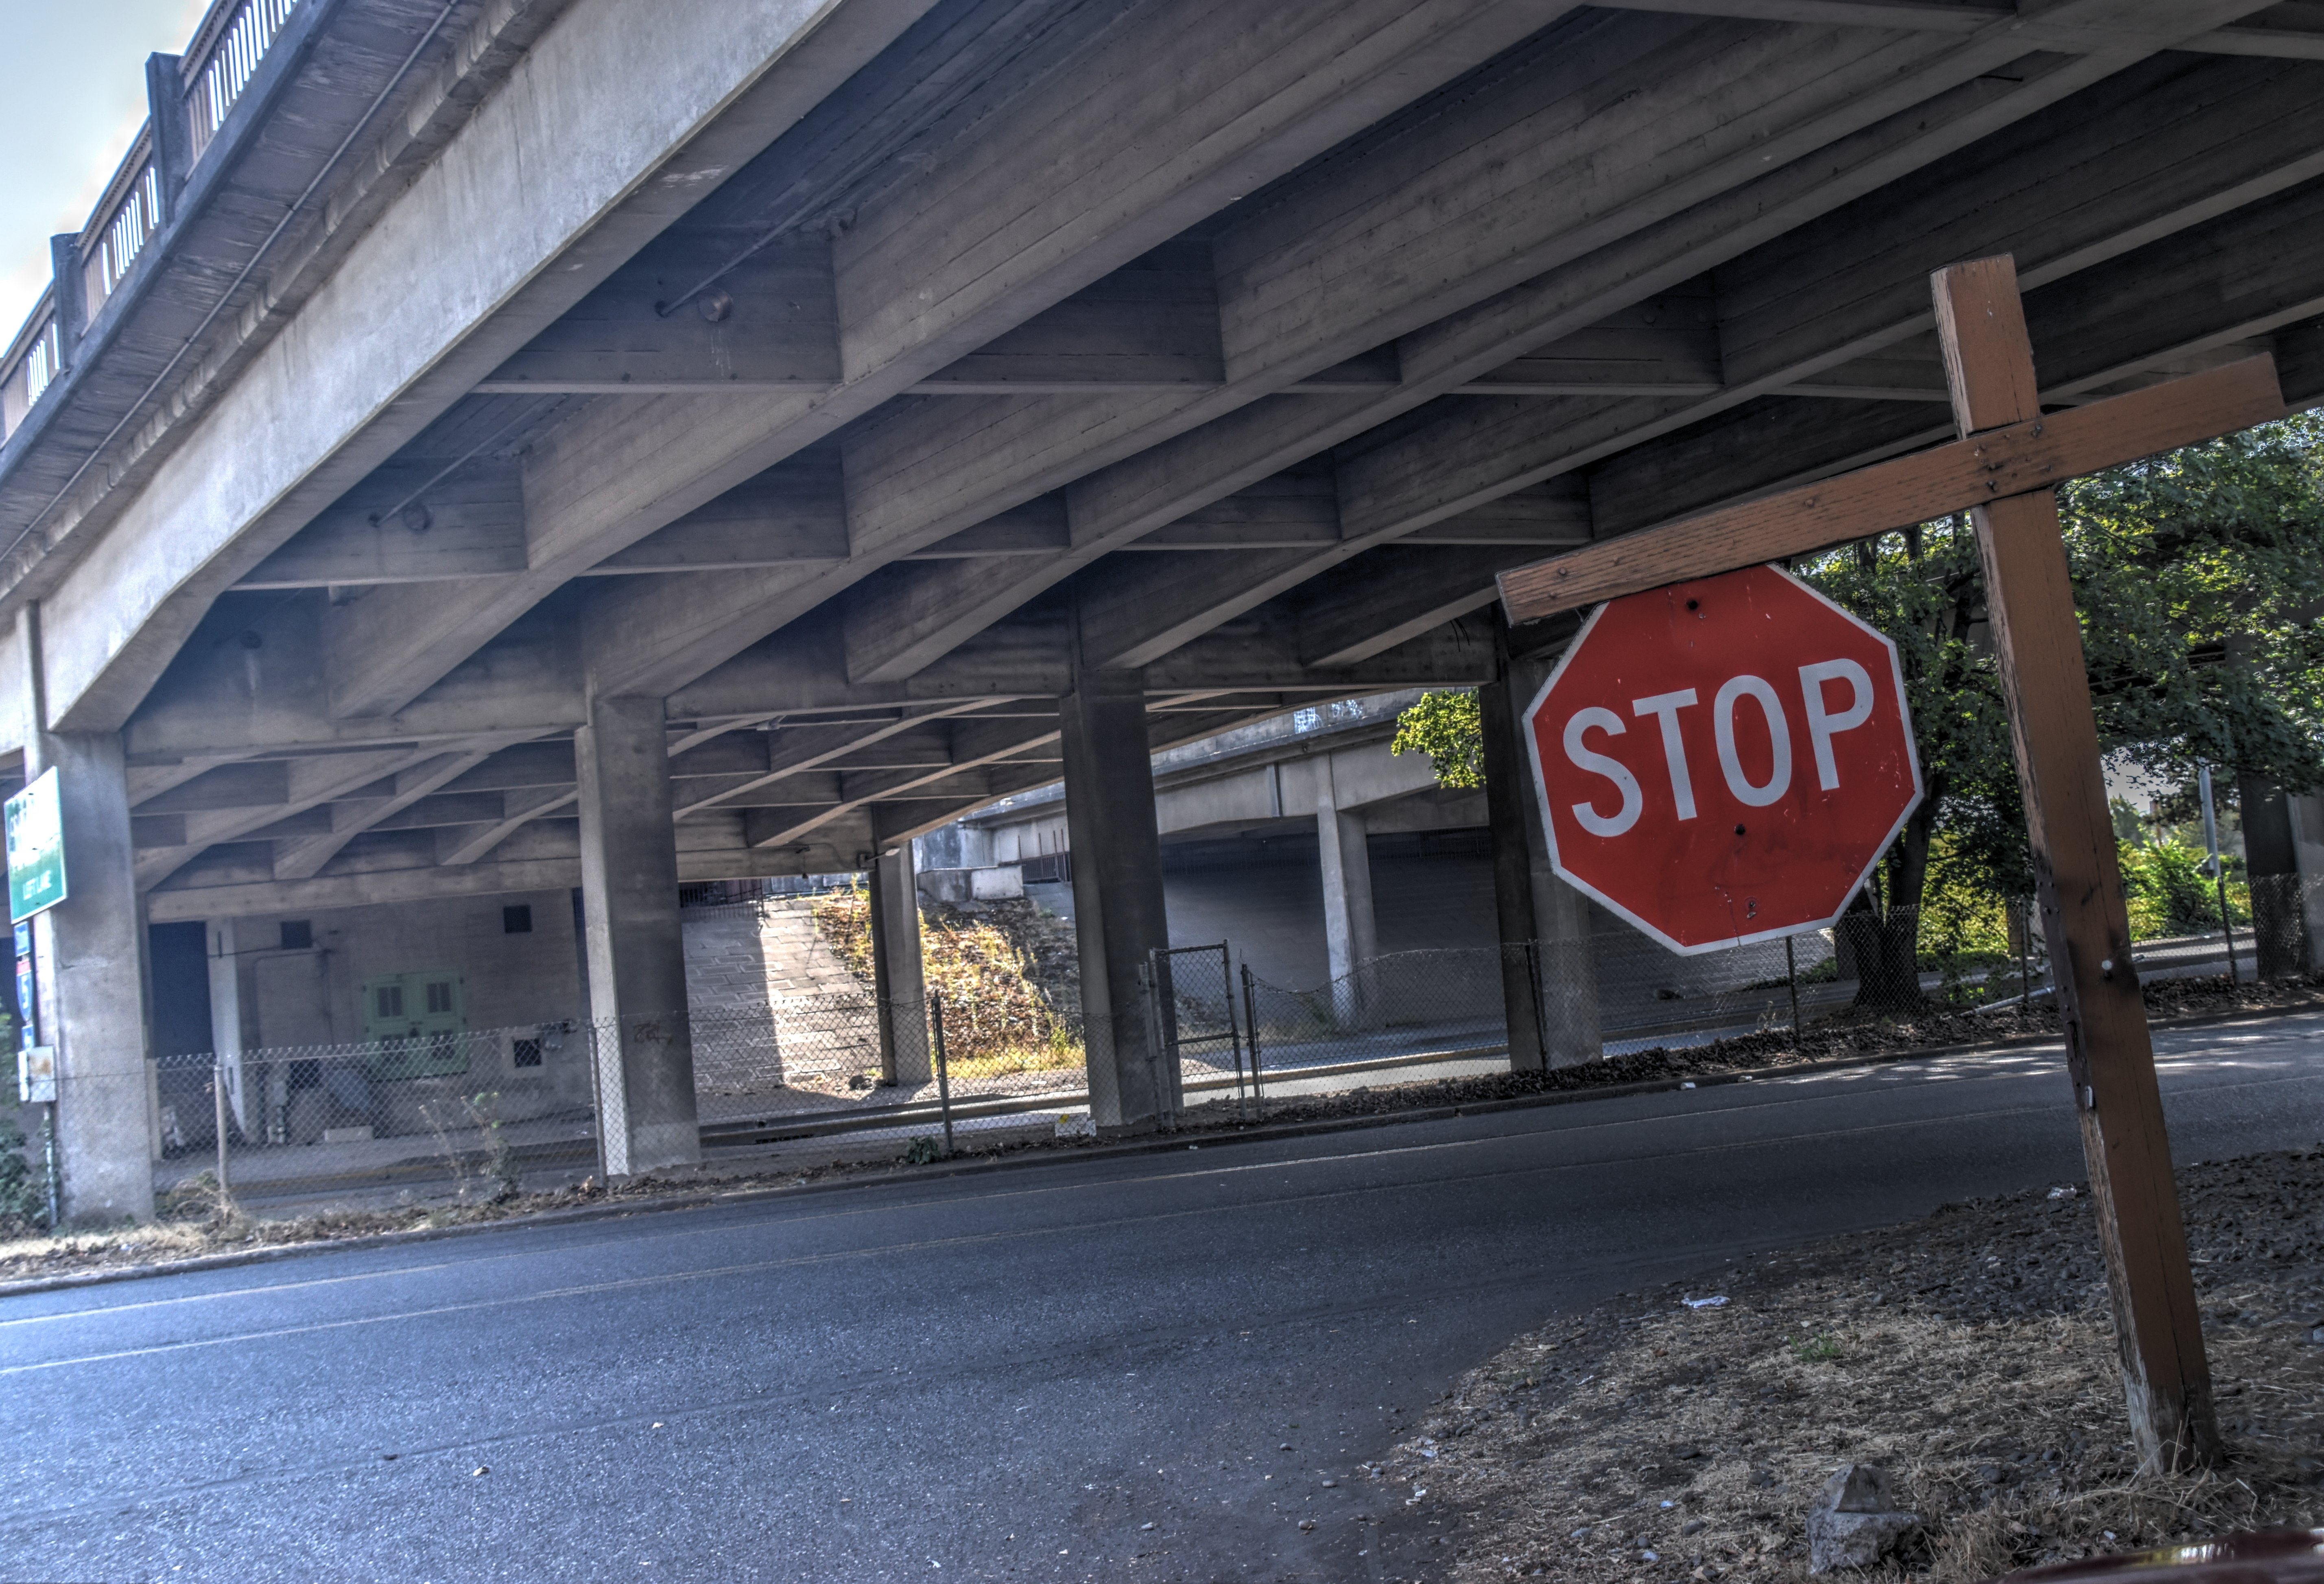
View under southern concrete approach span.
![]()
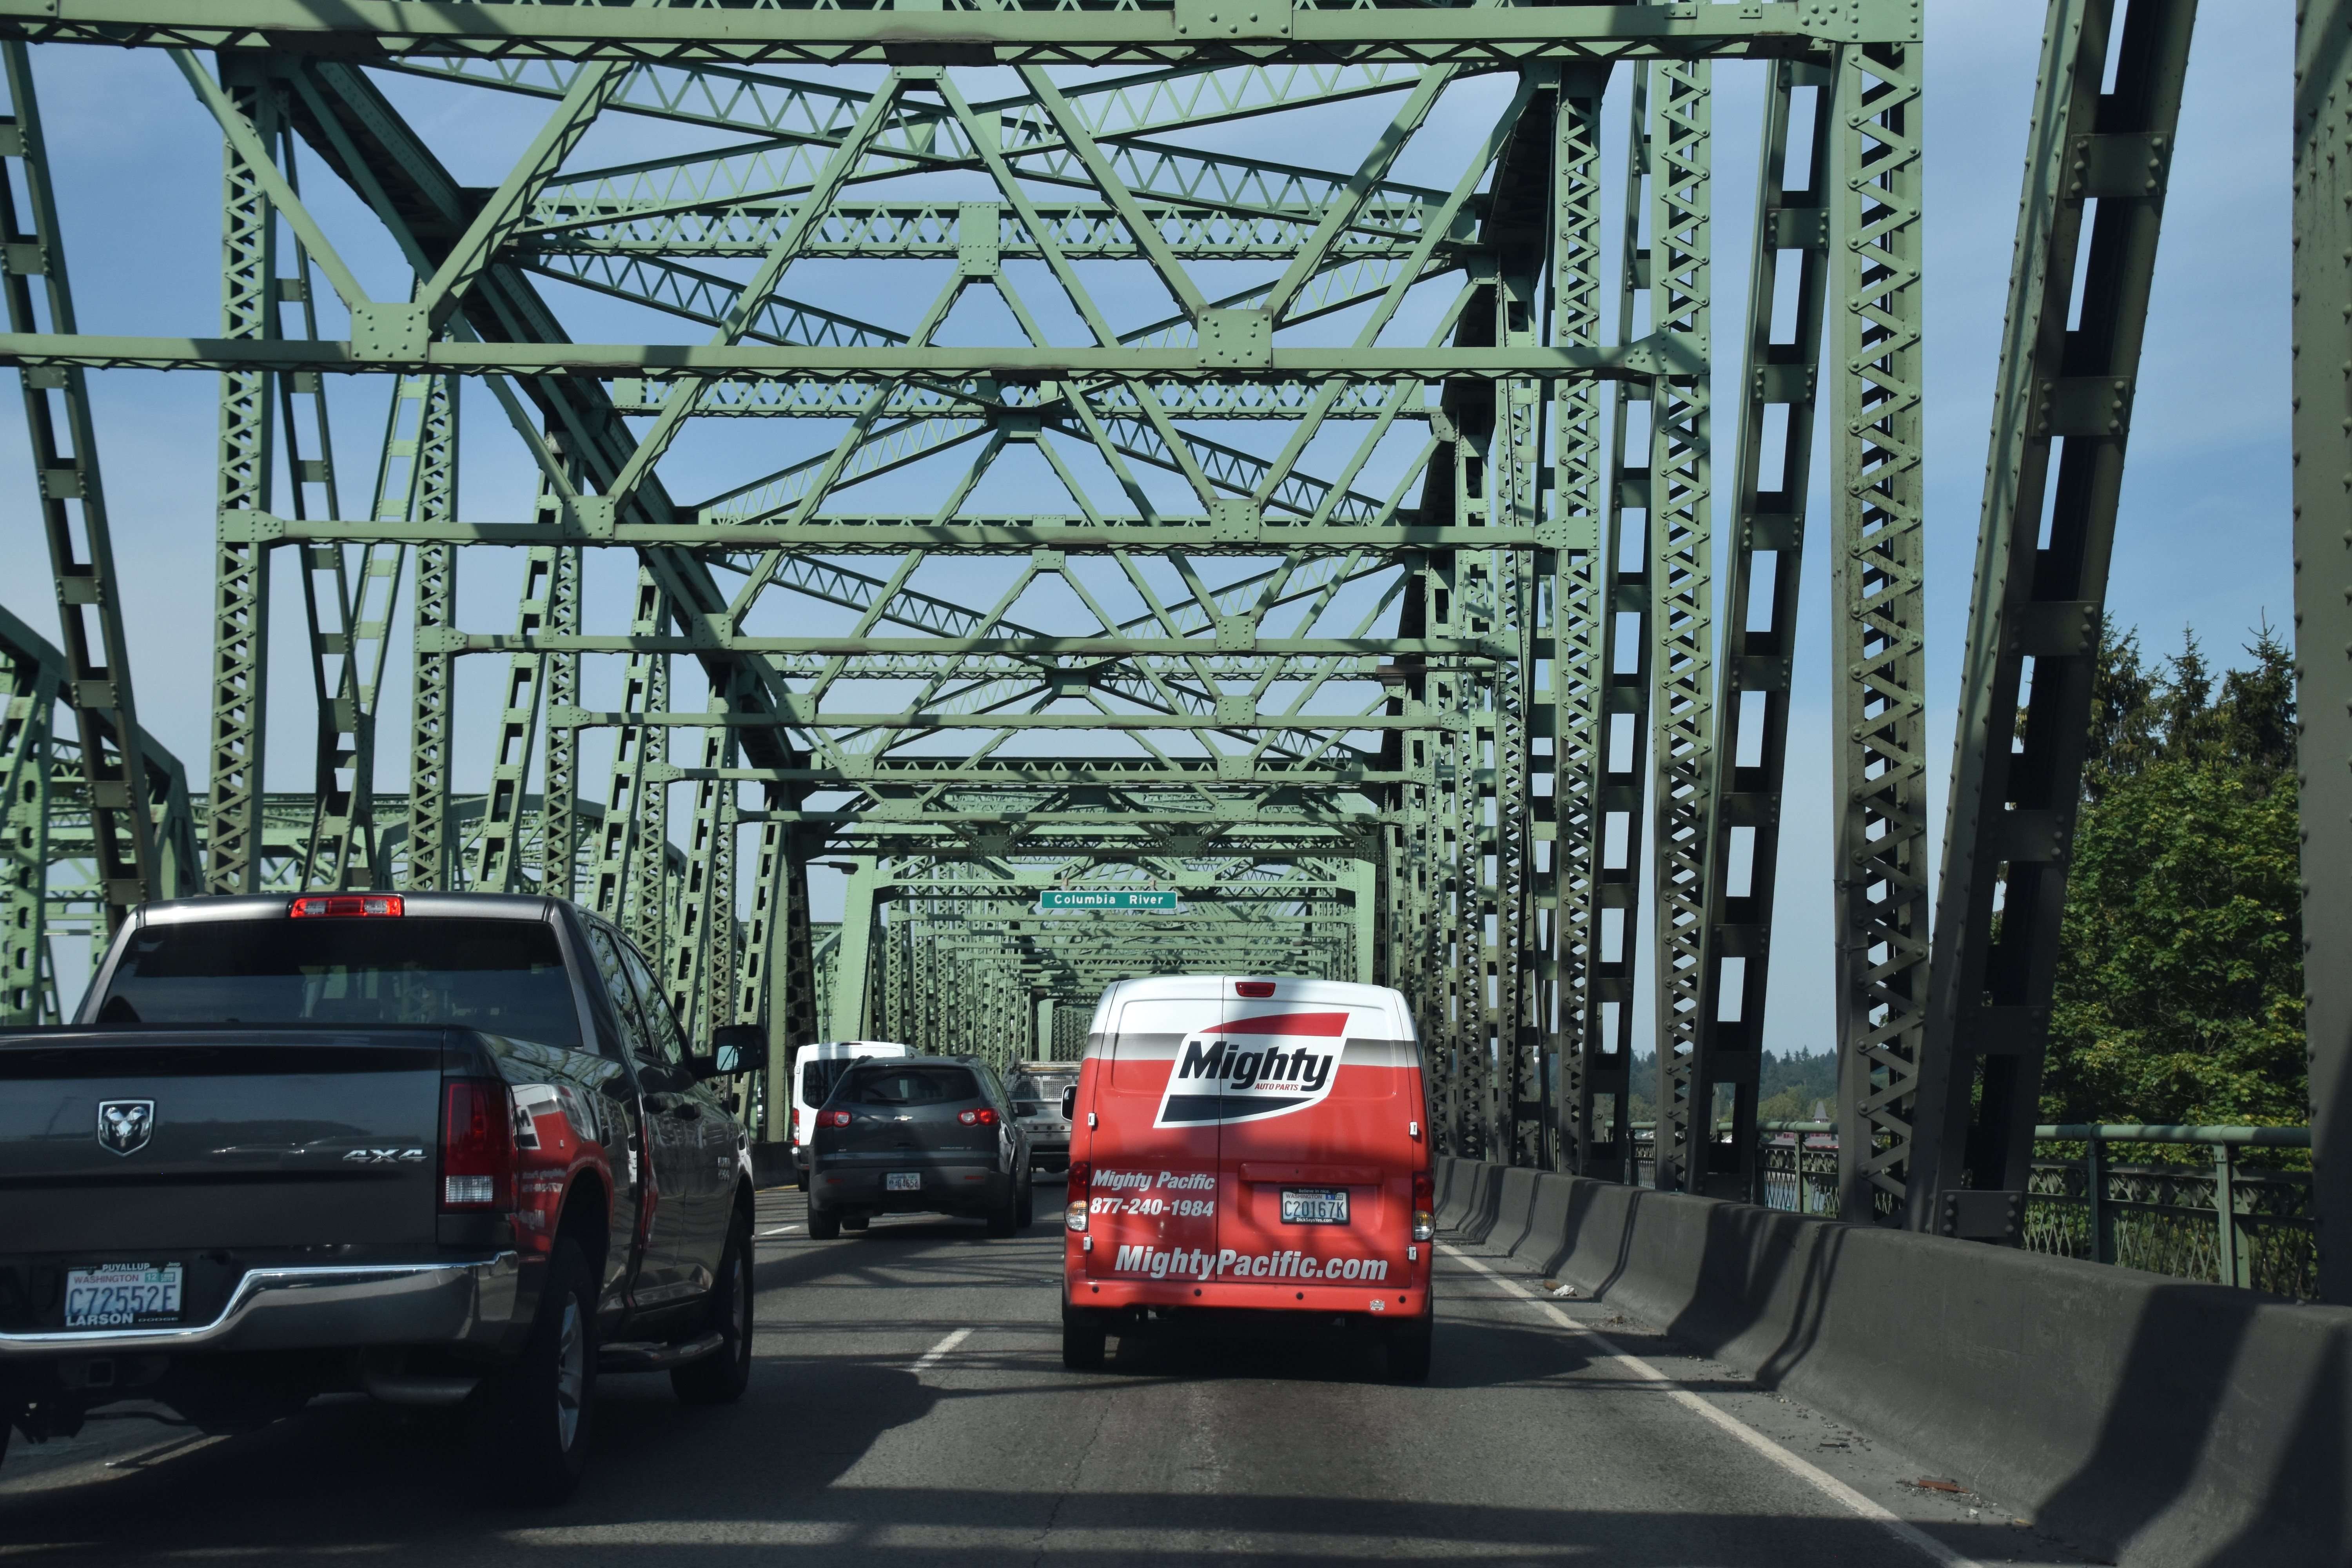
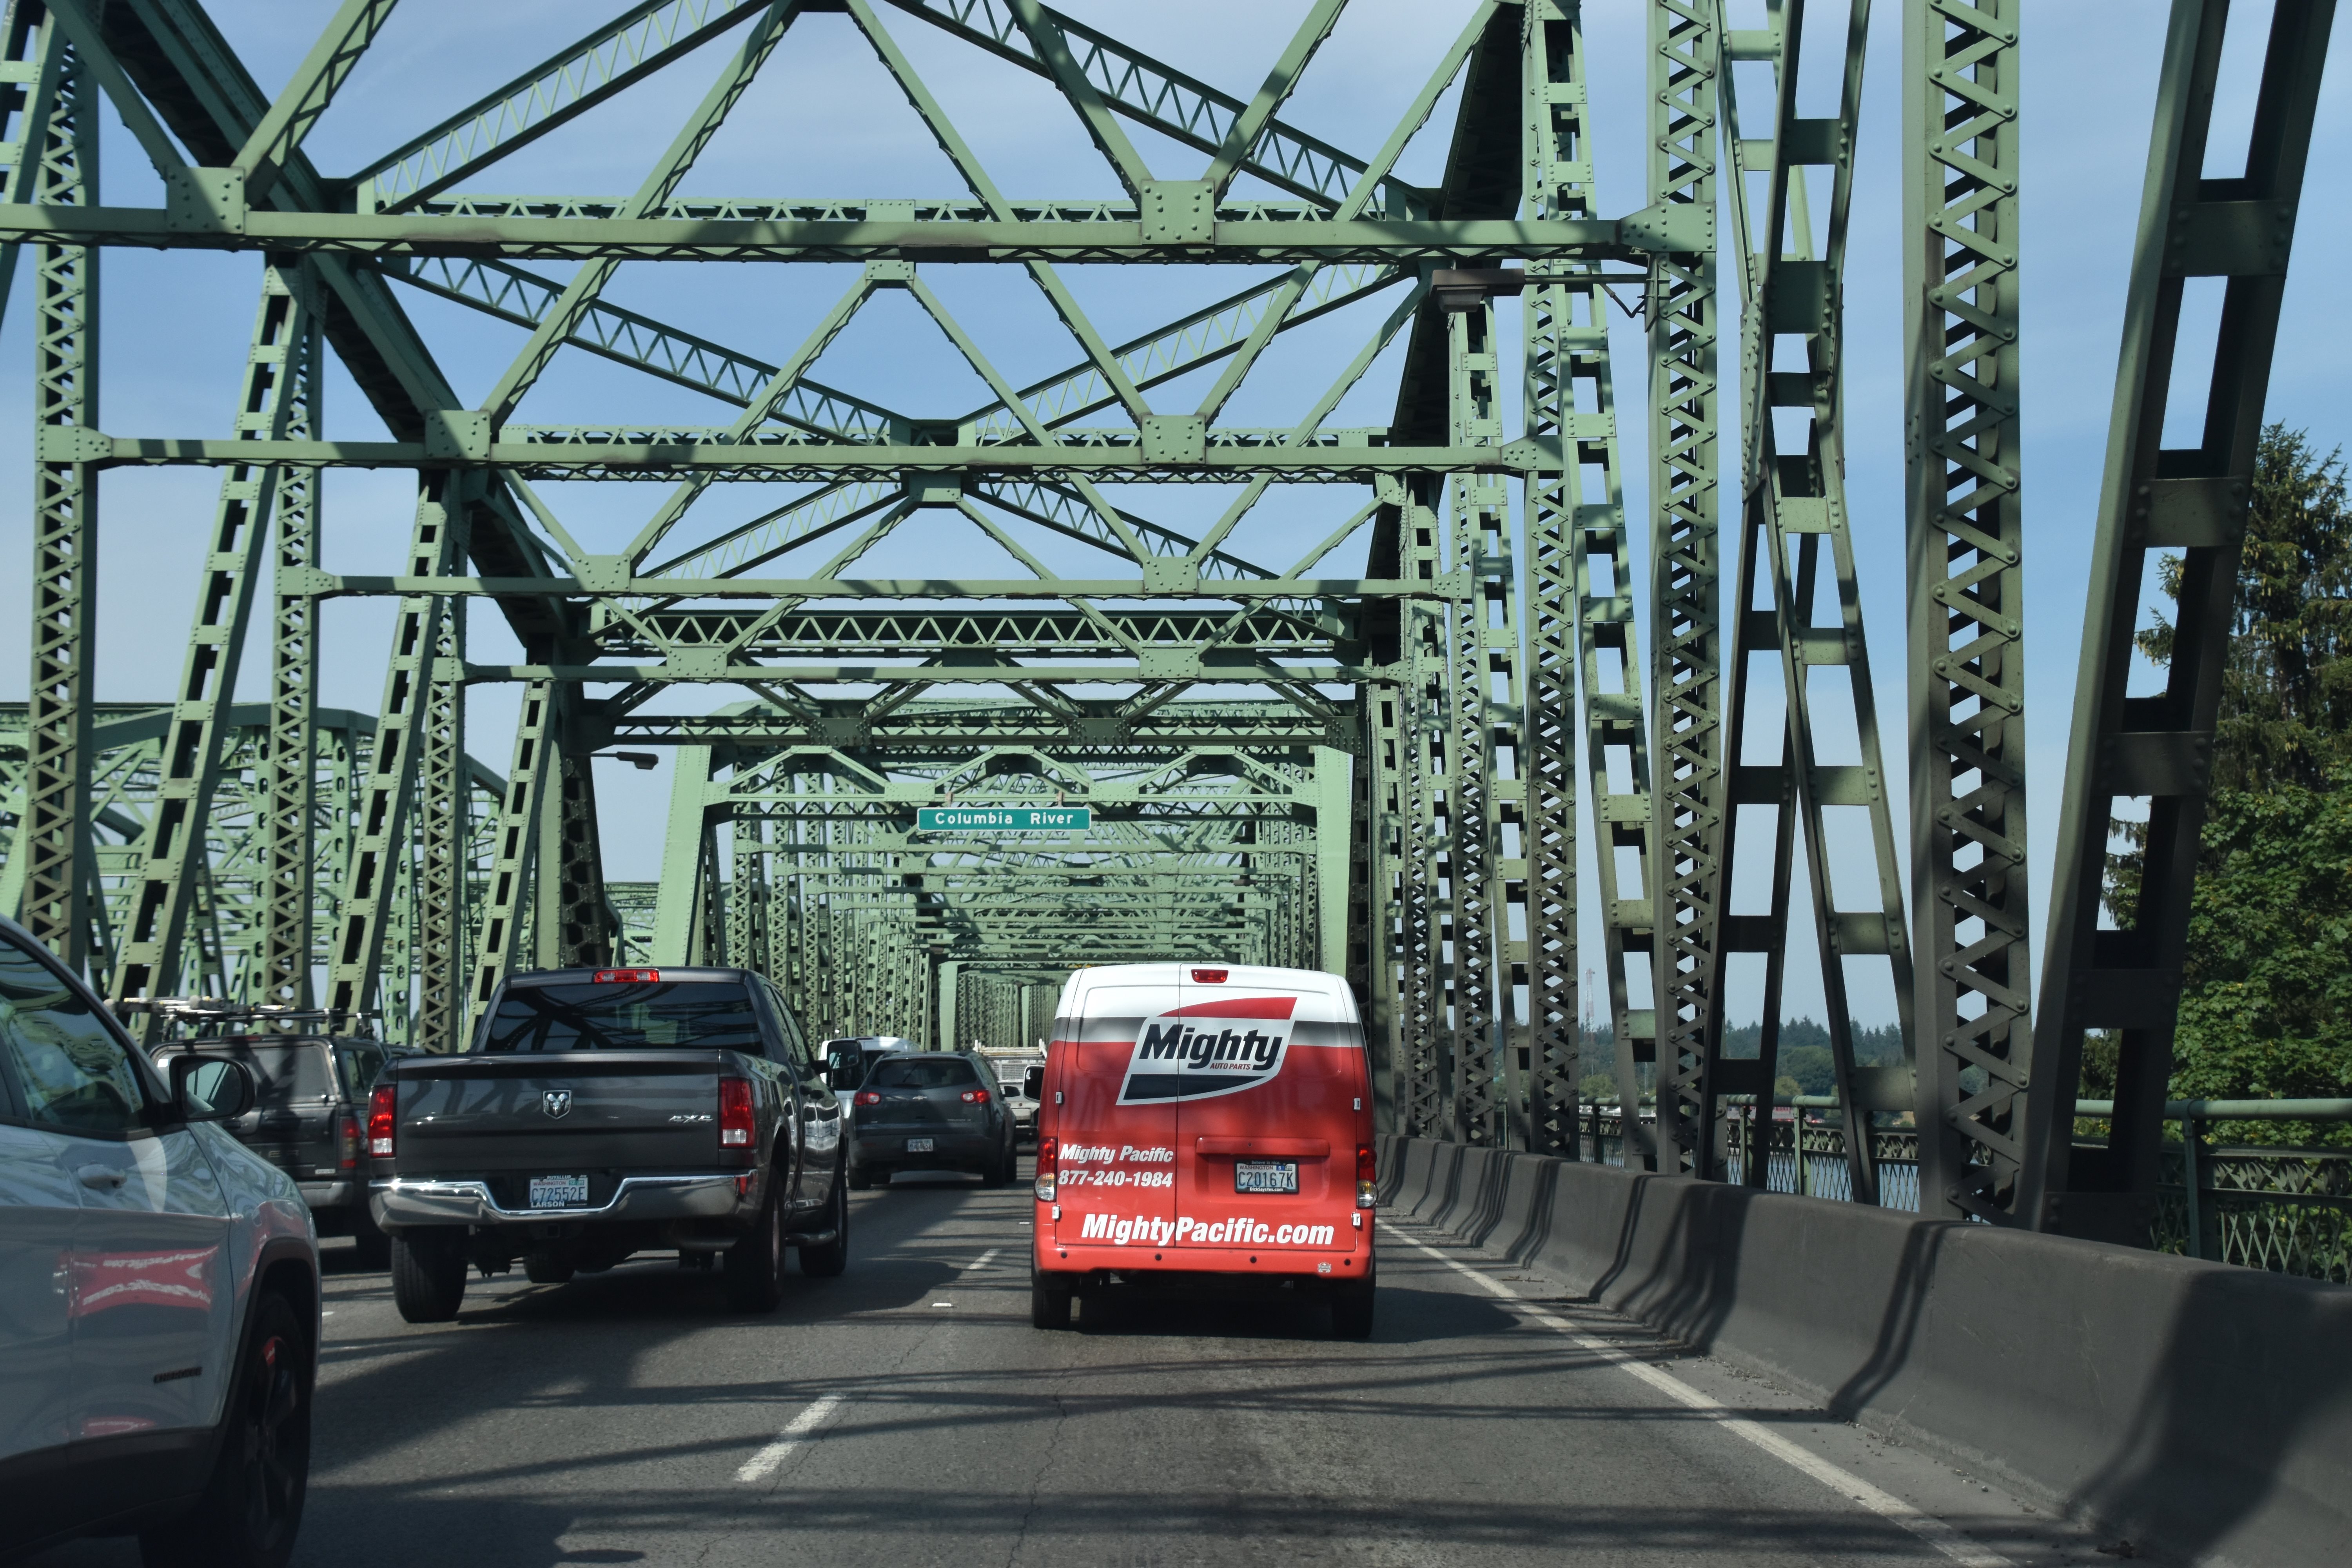


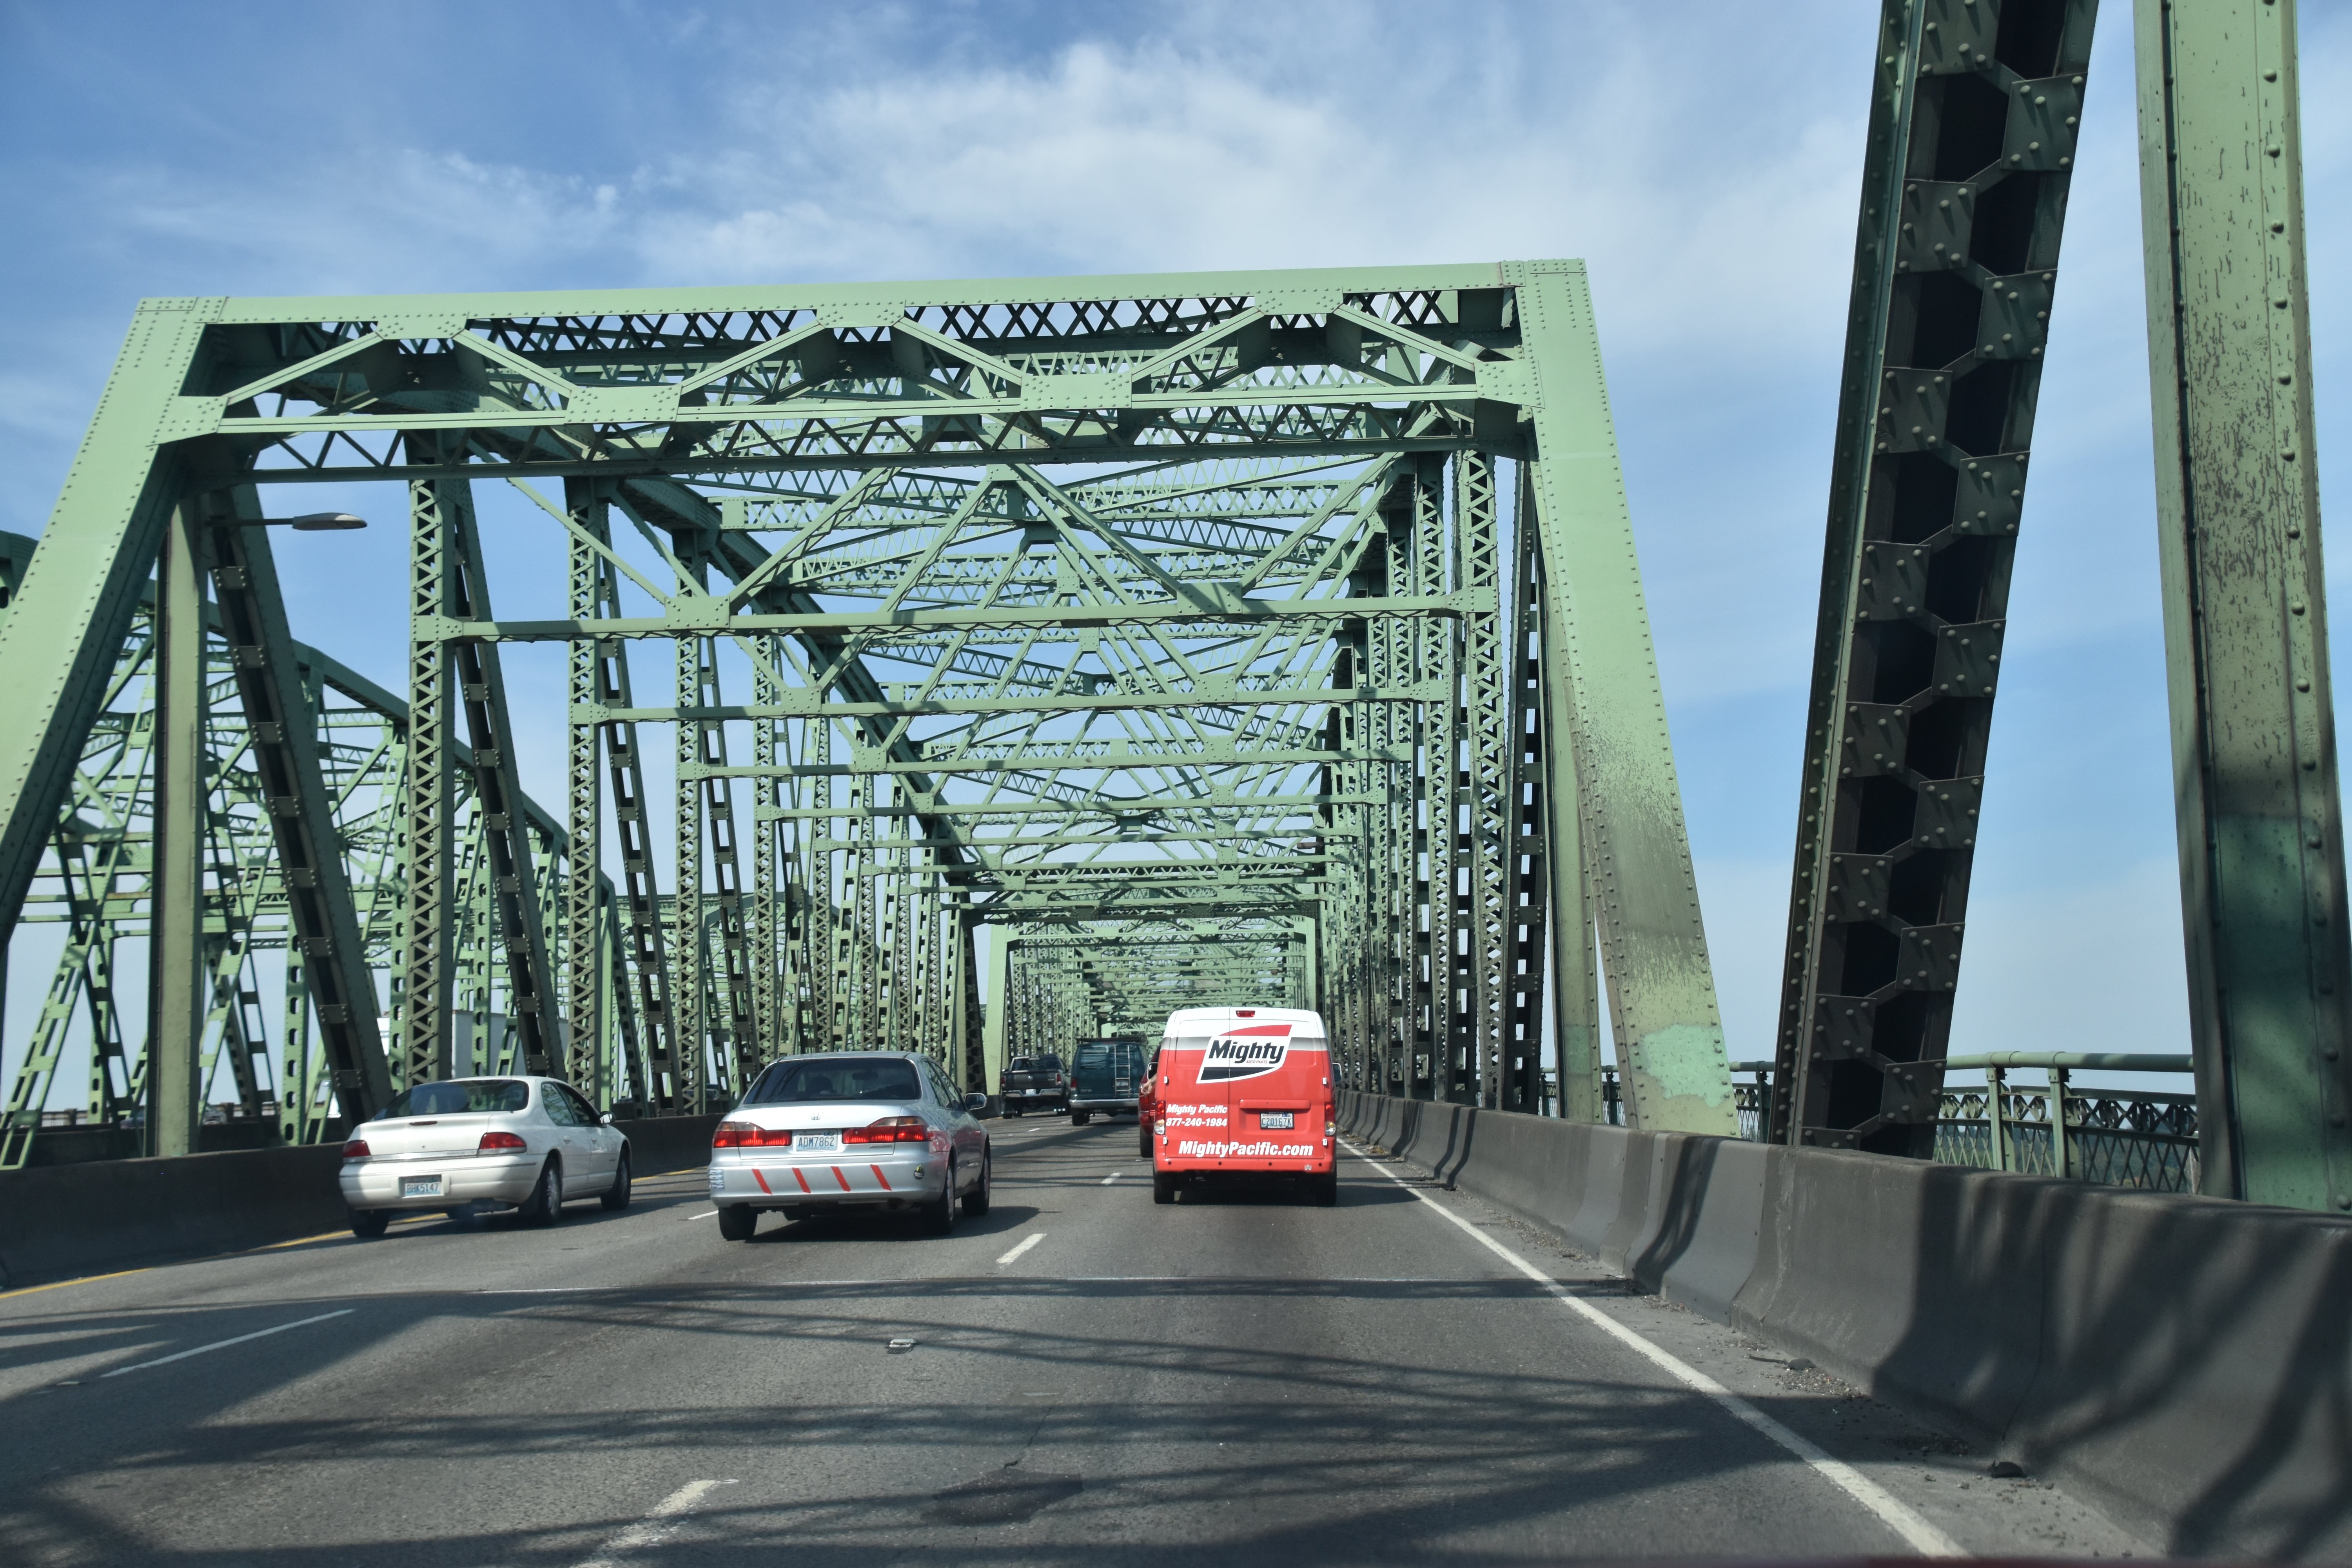

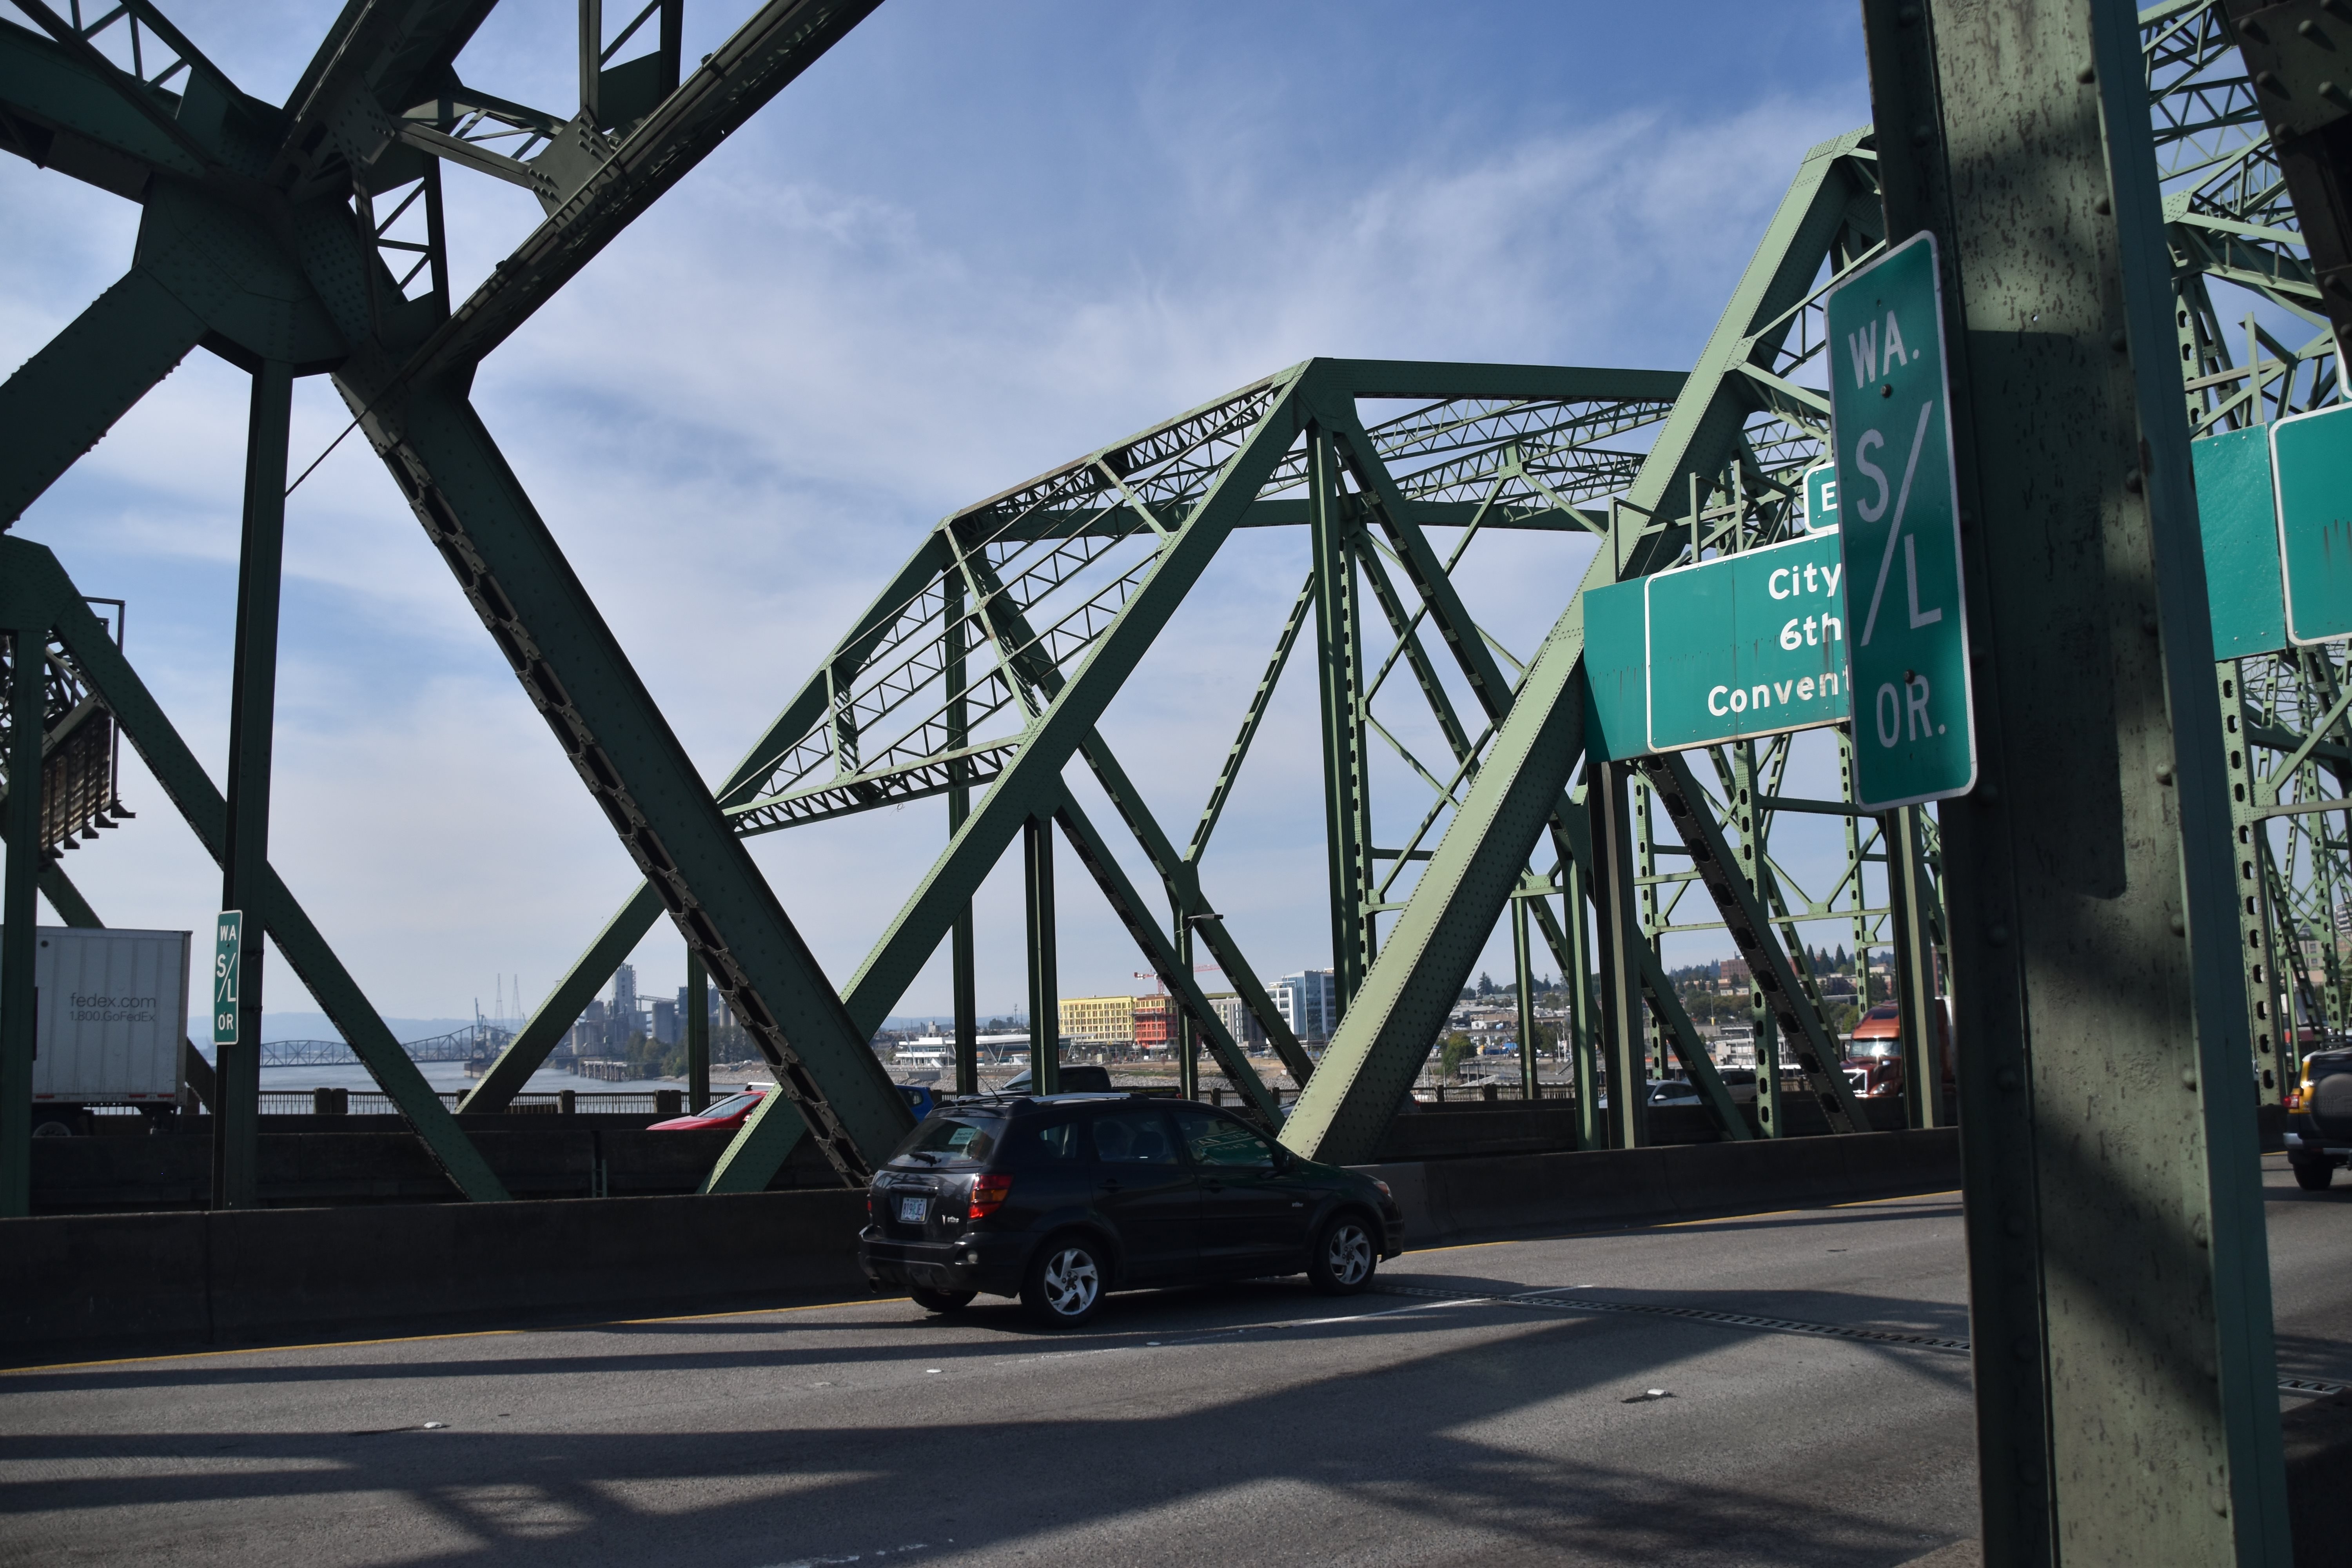
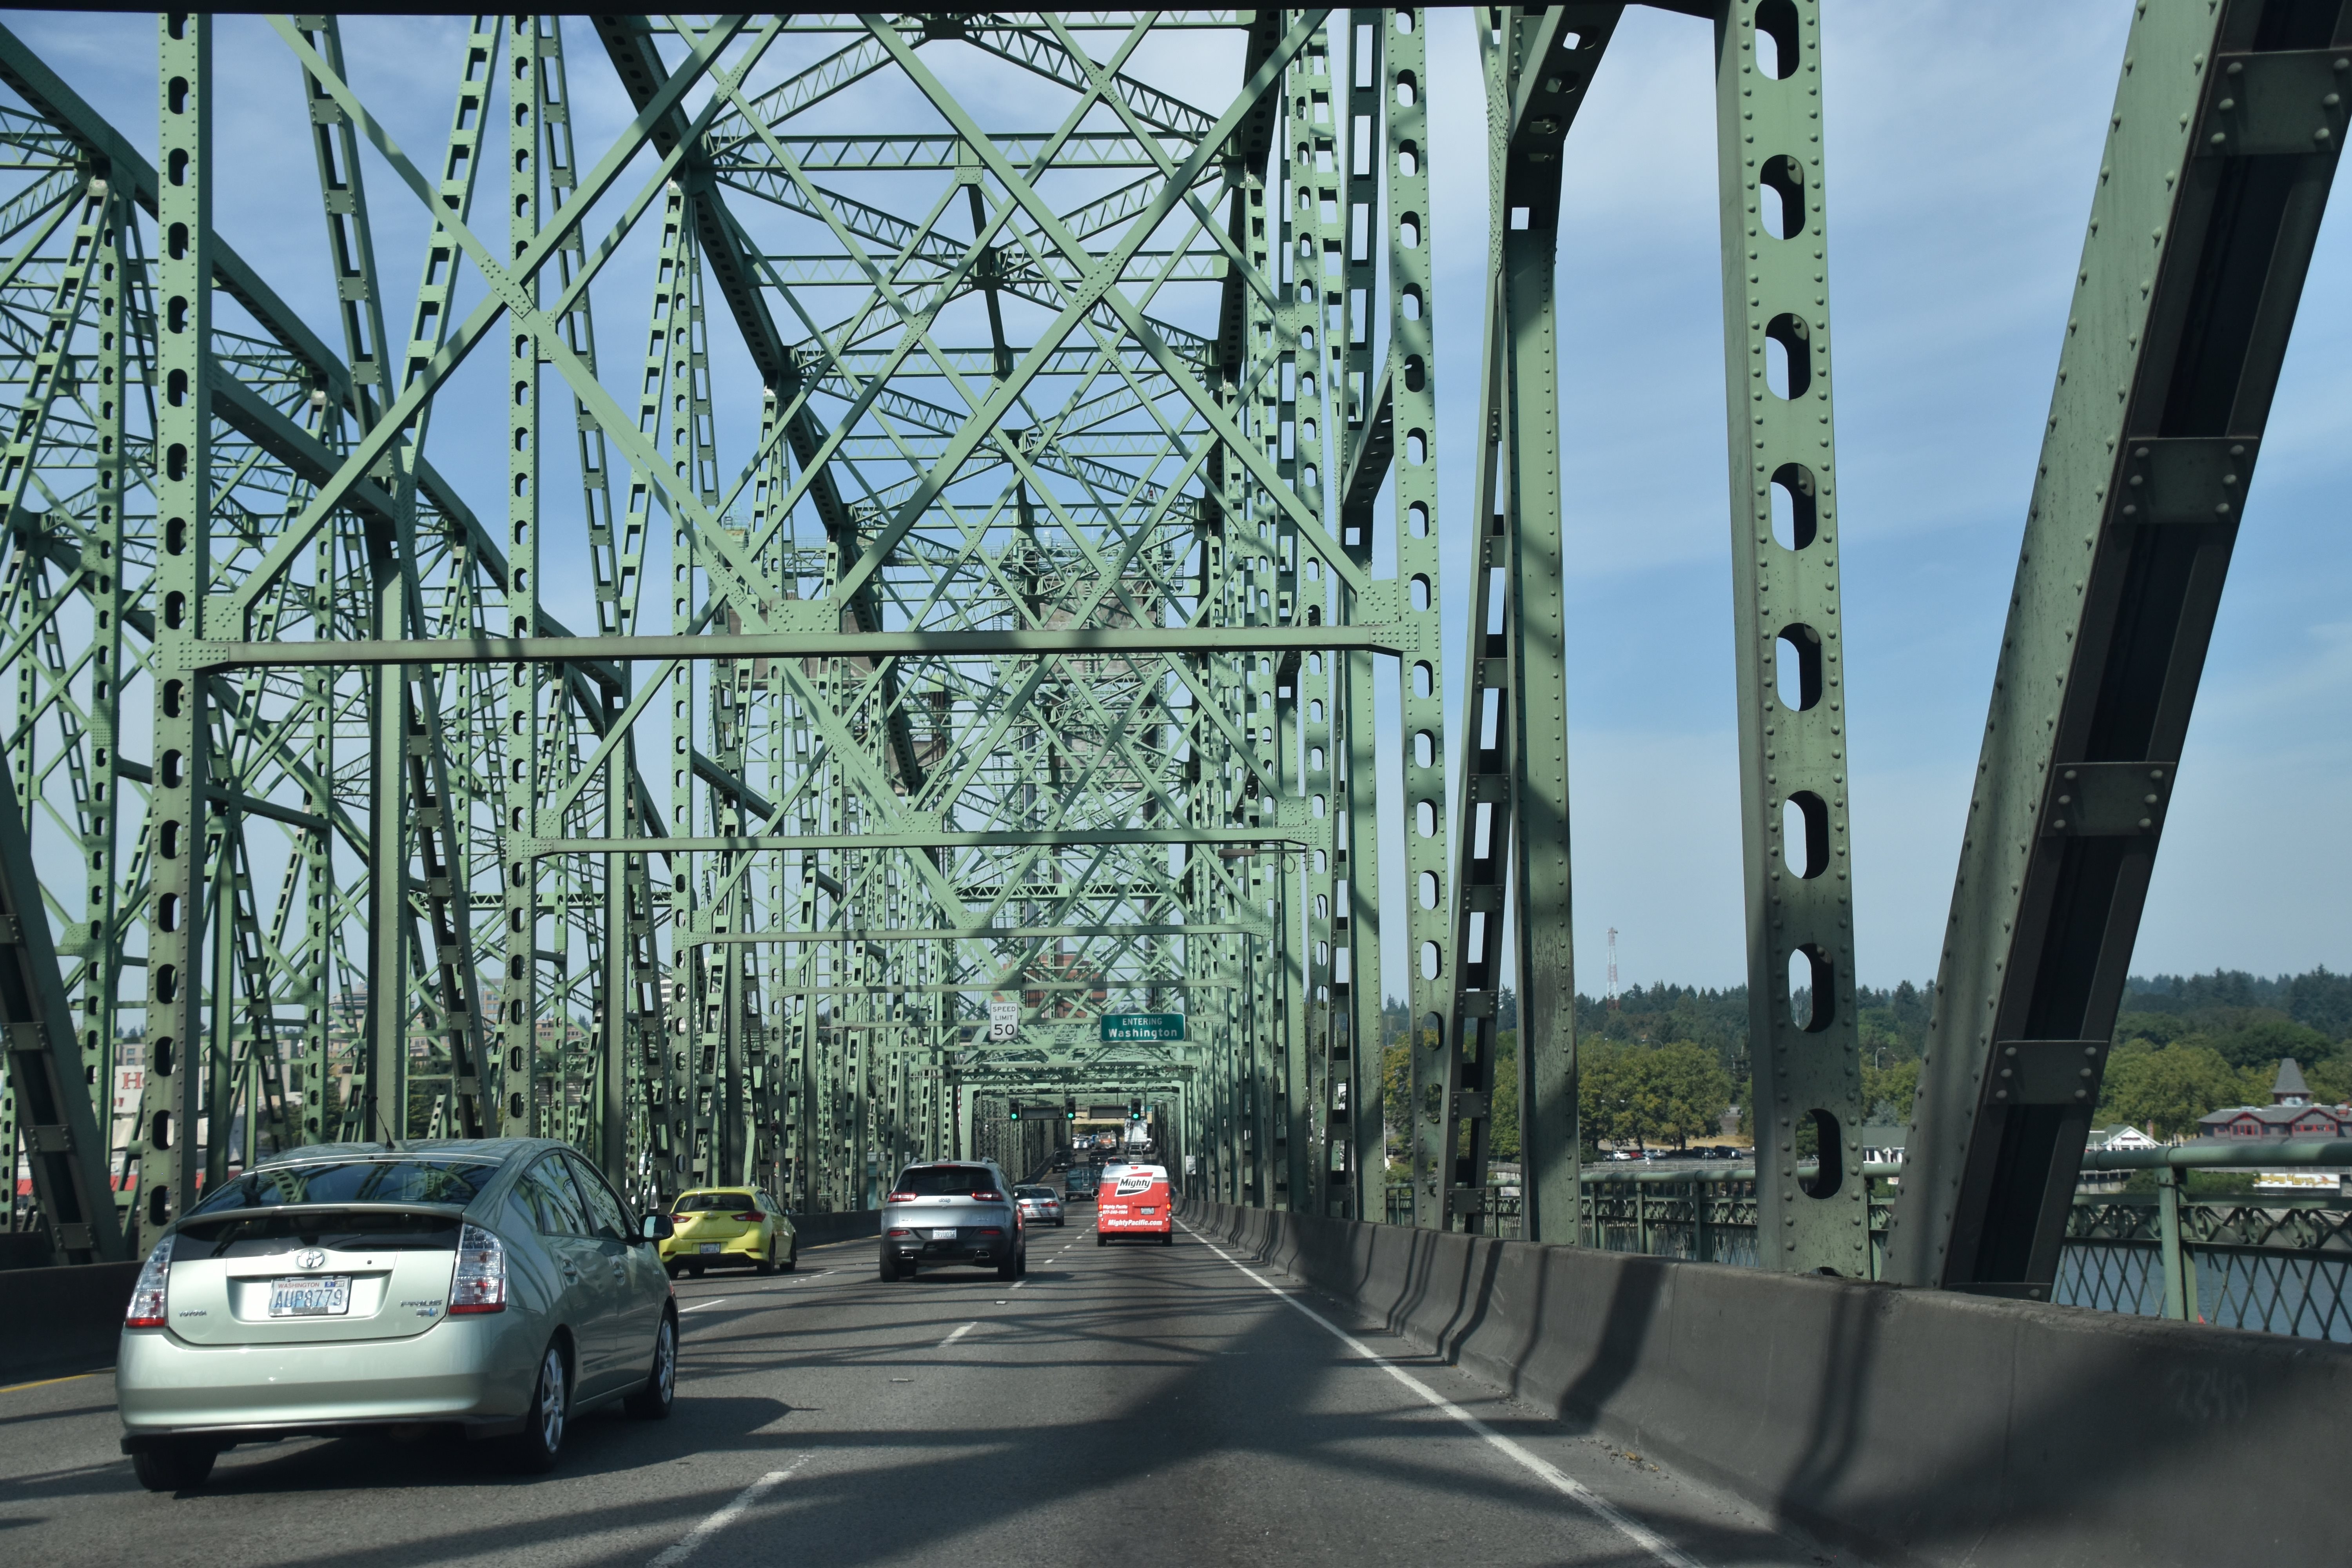
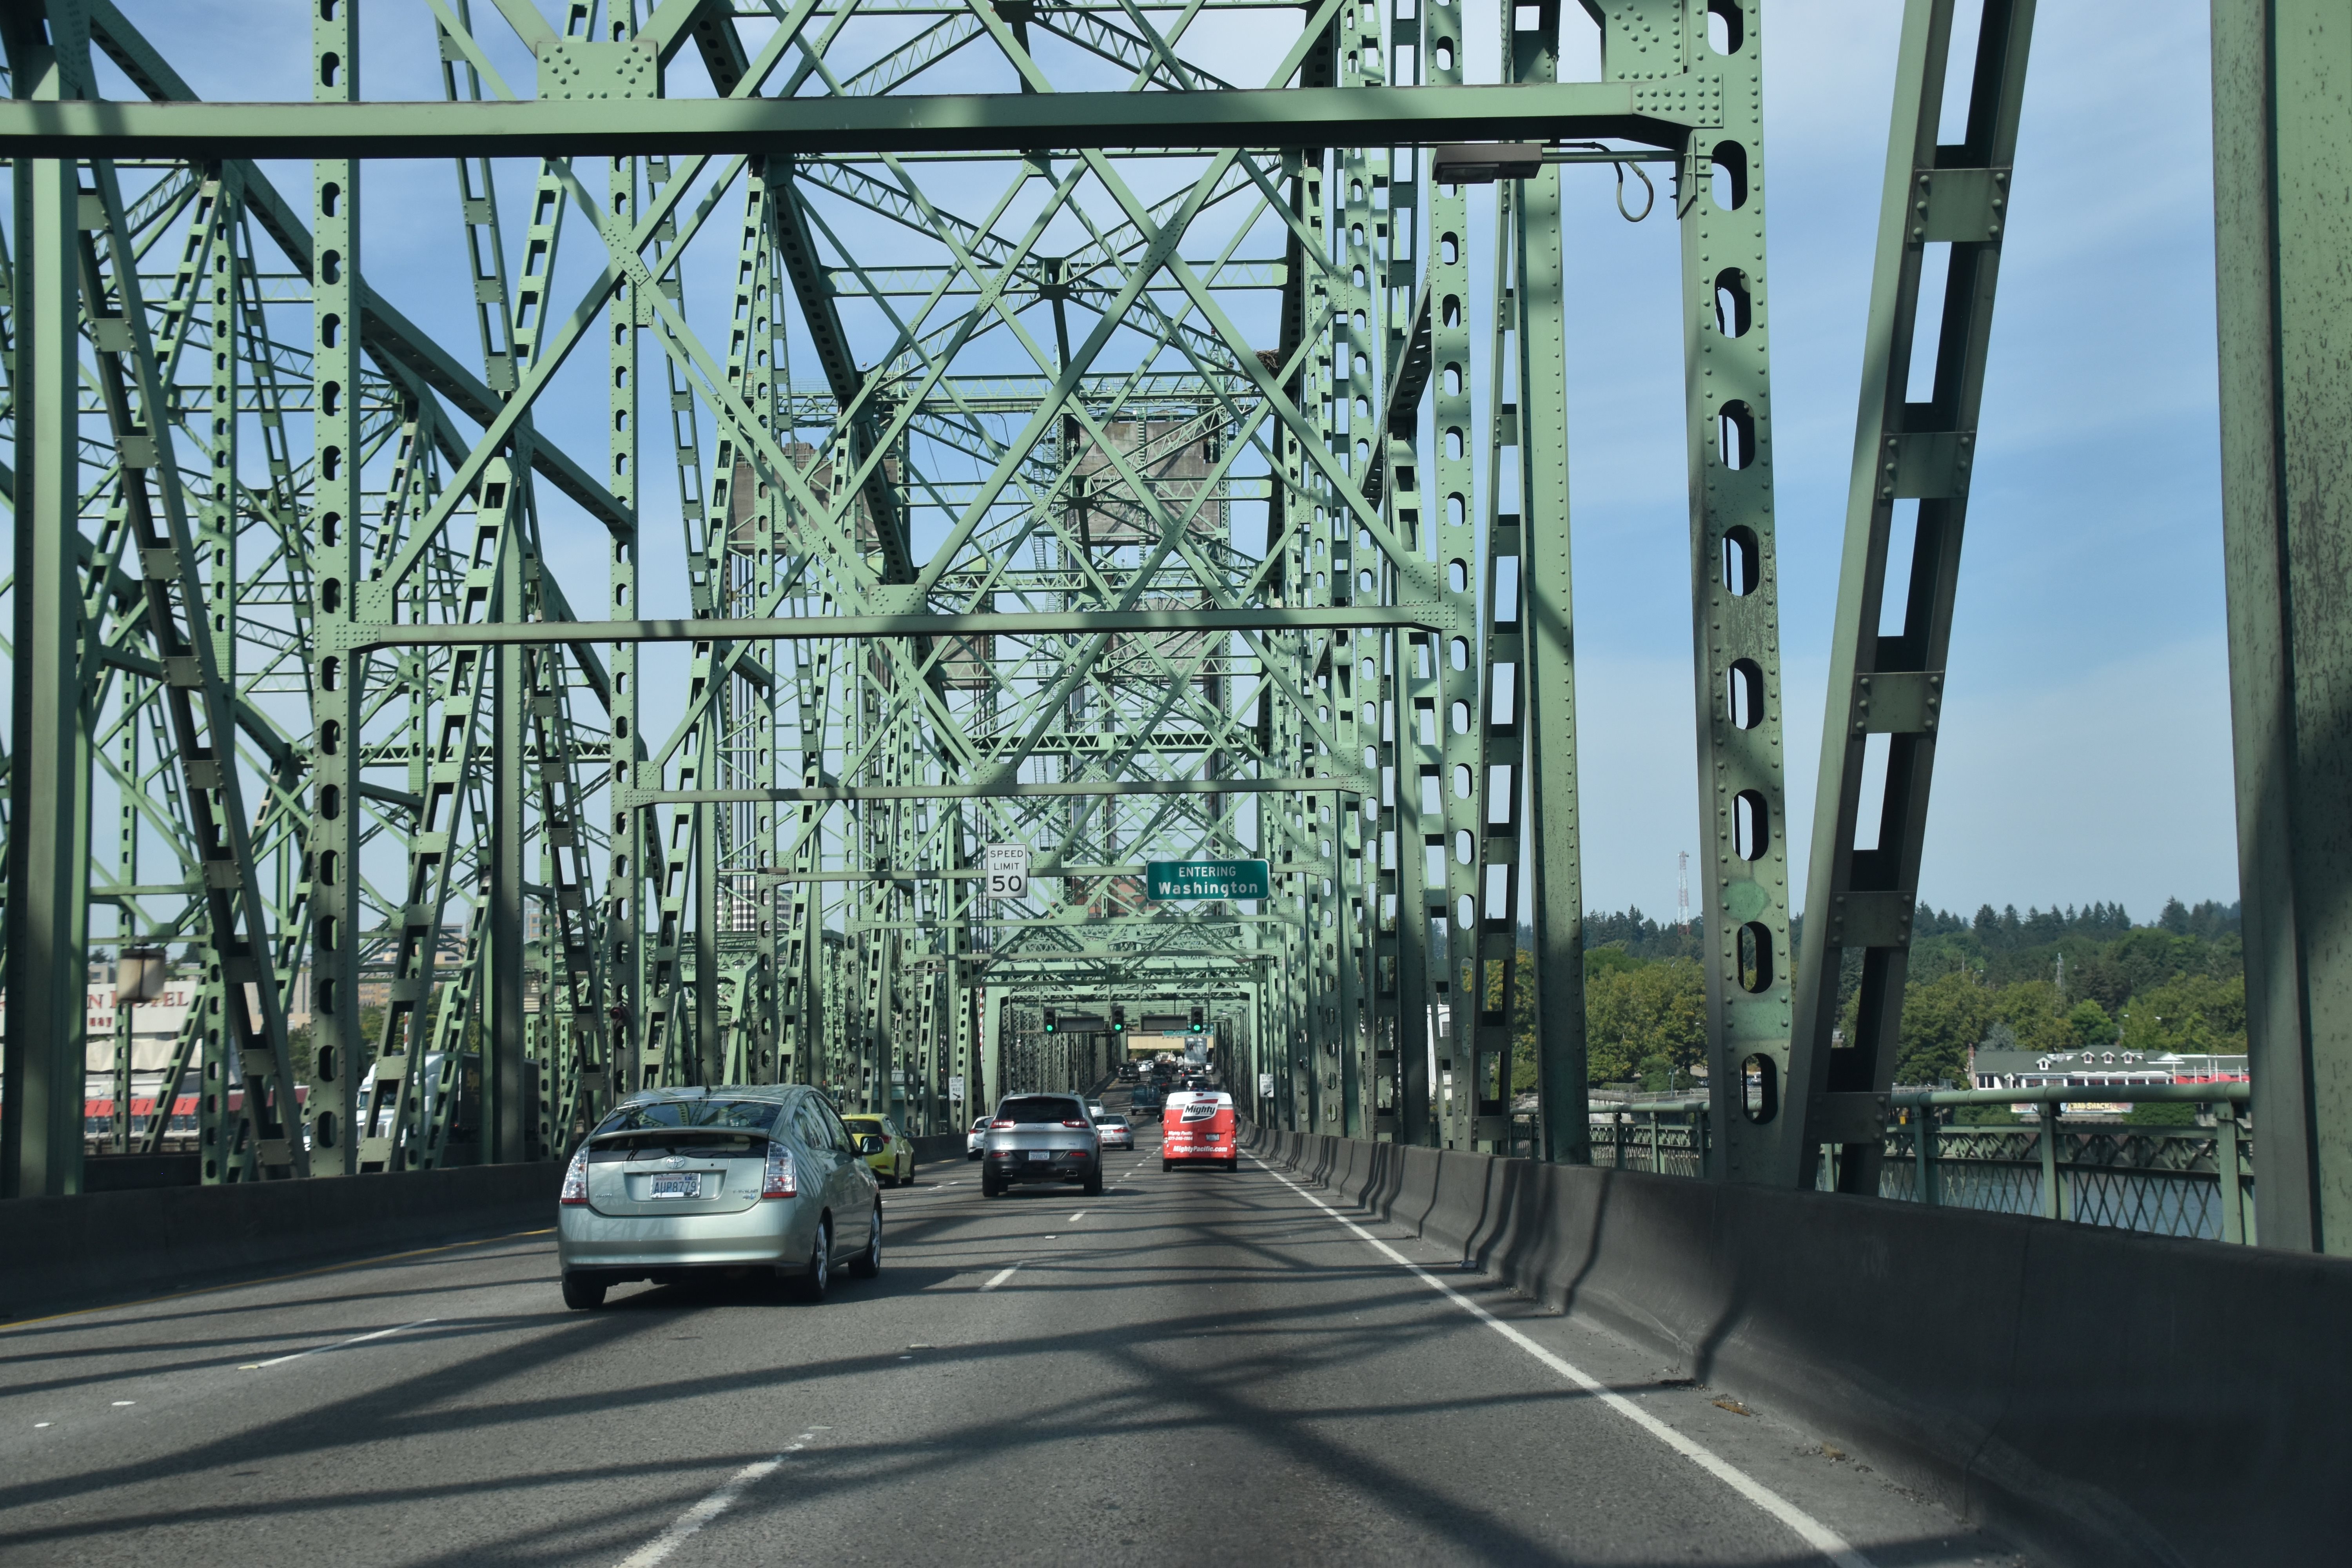
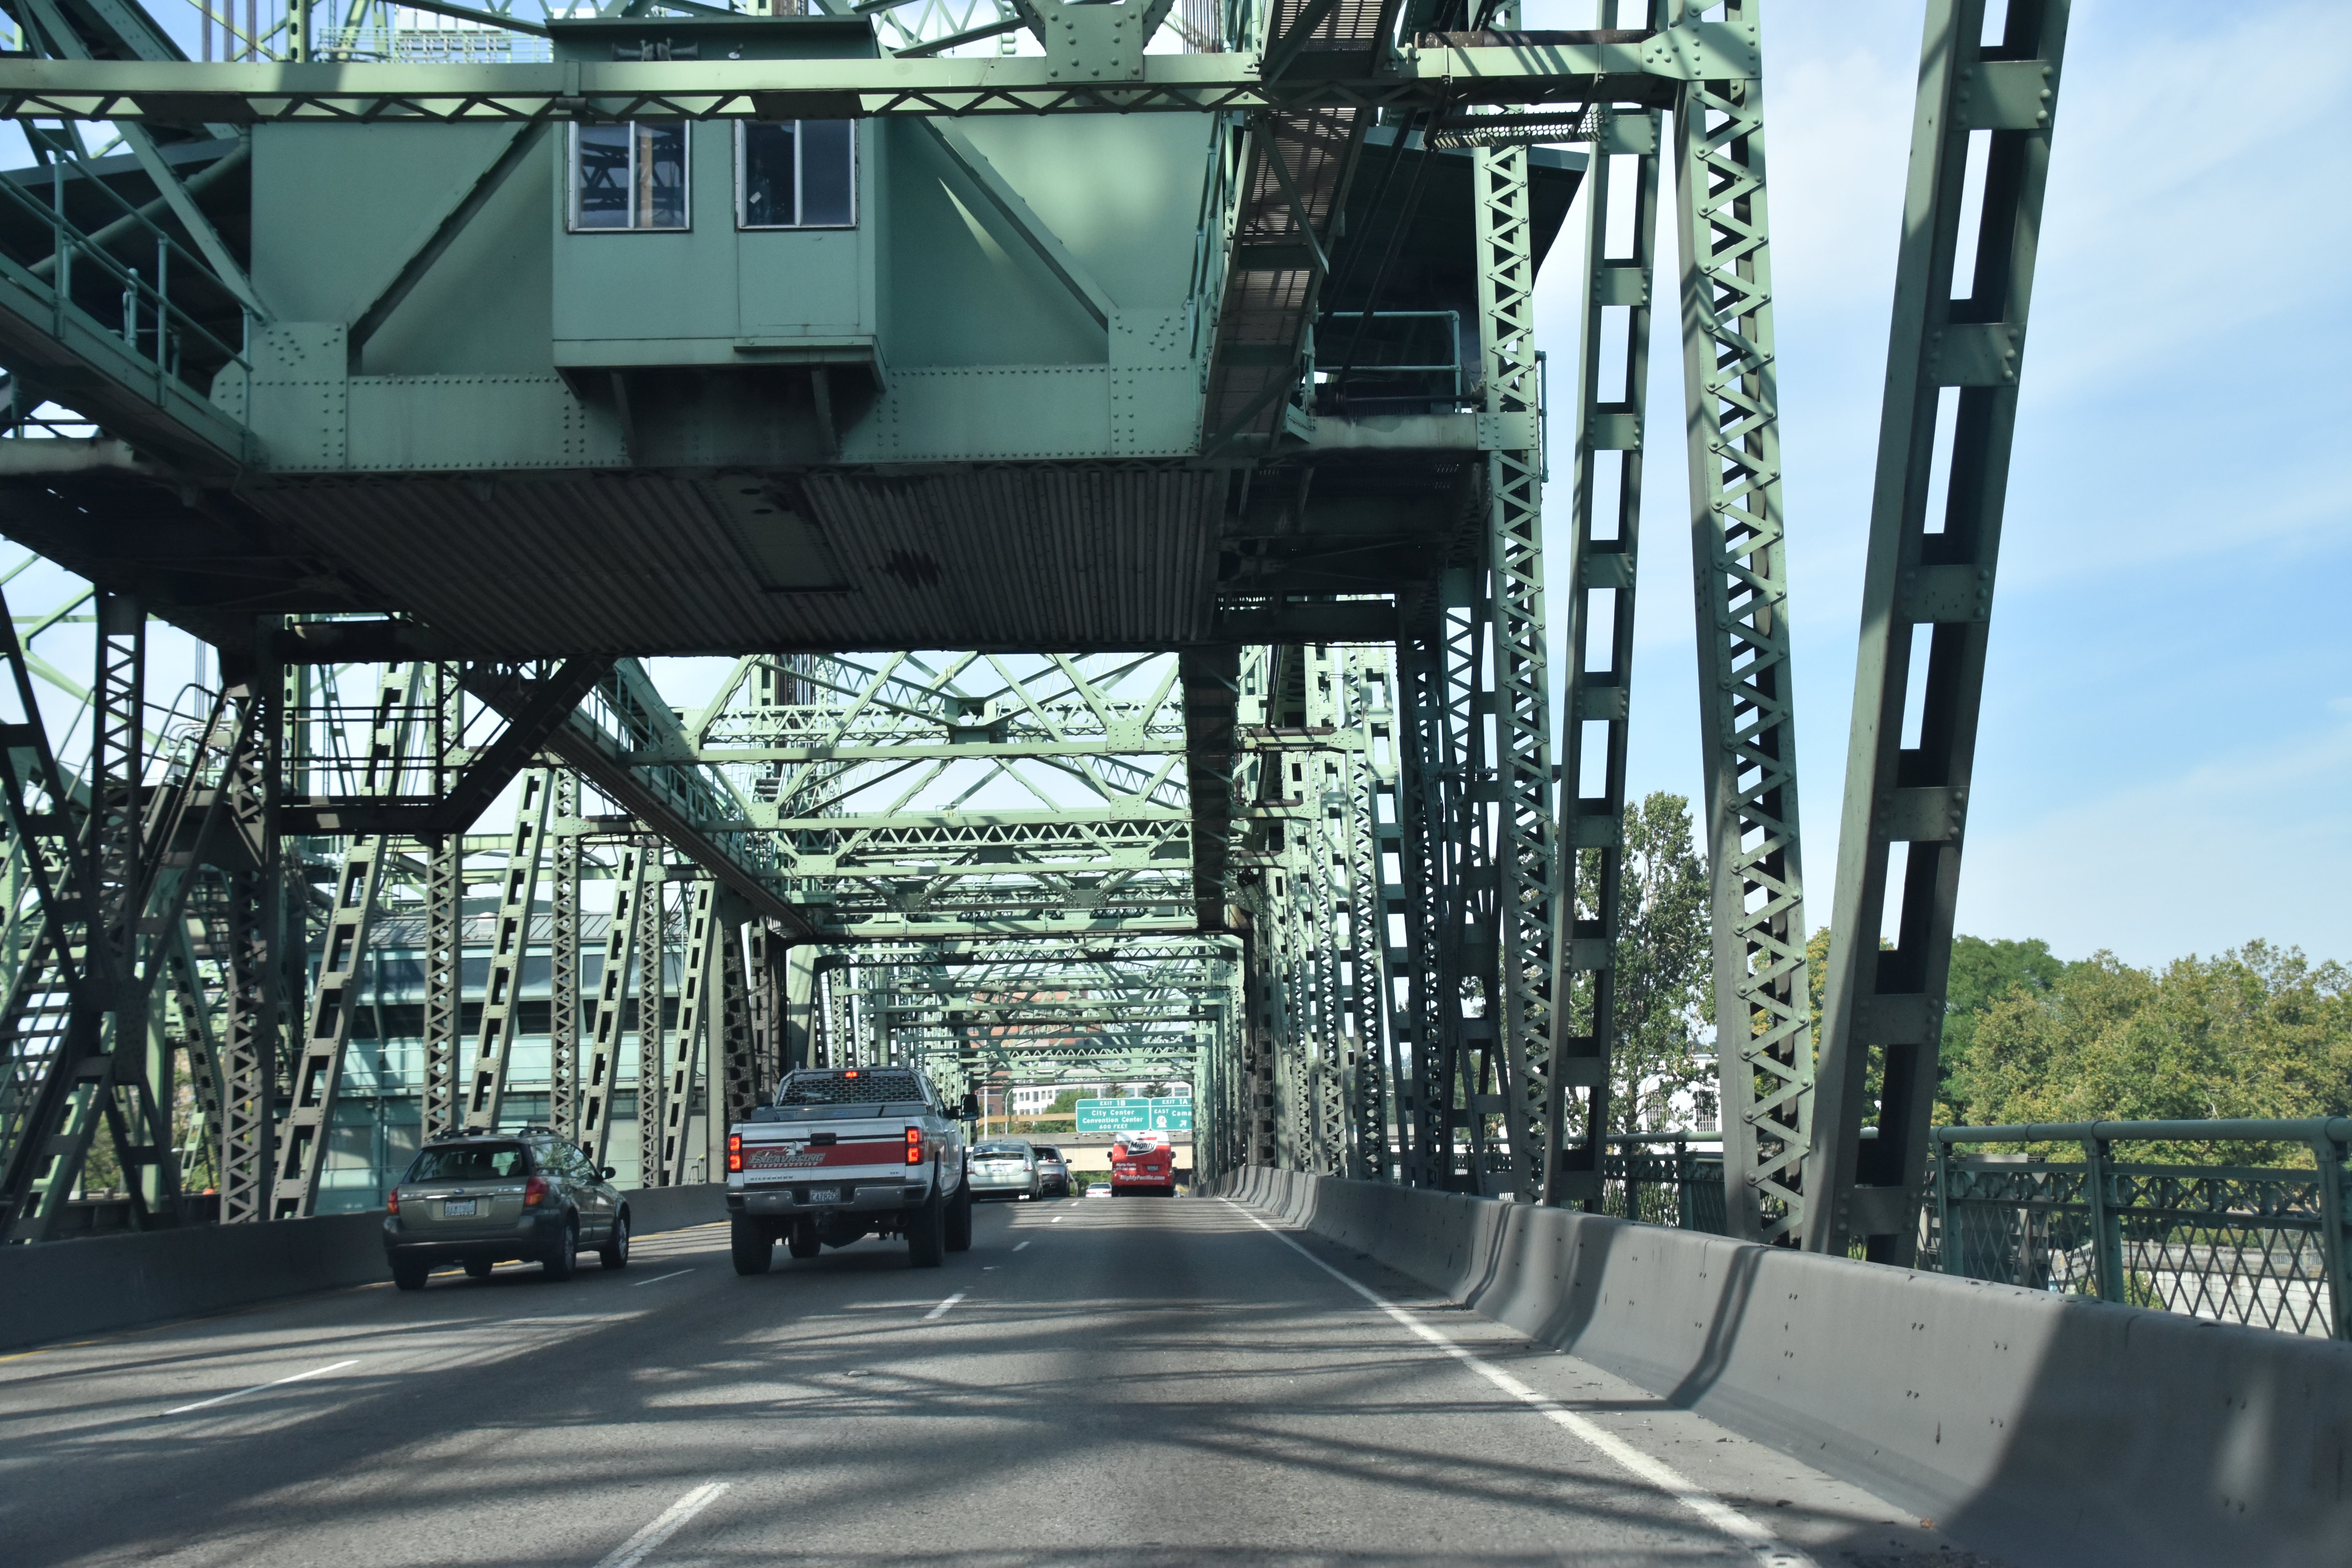
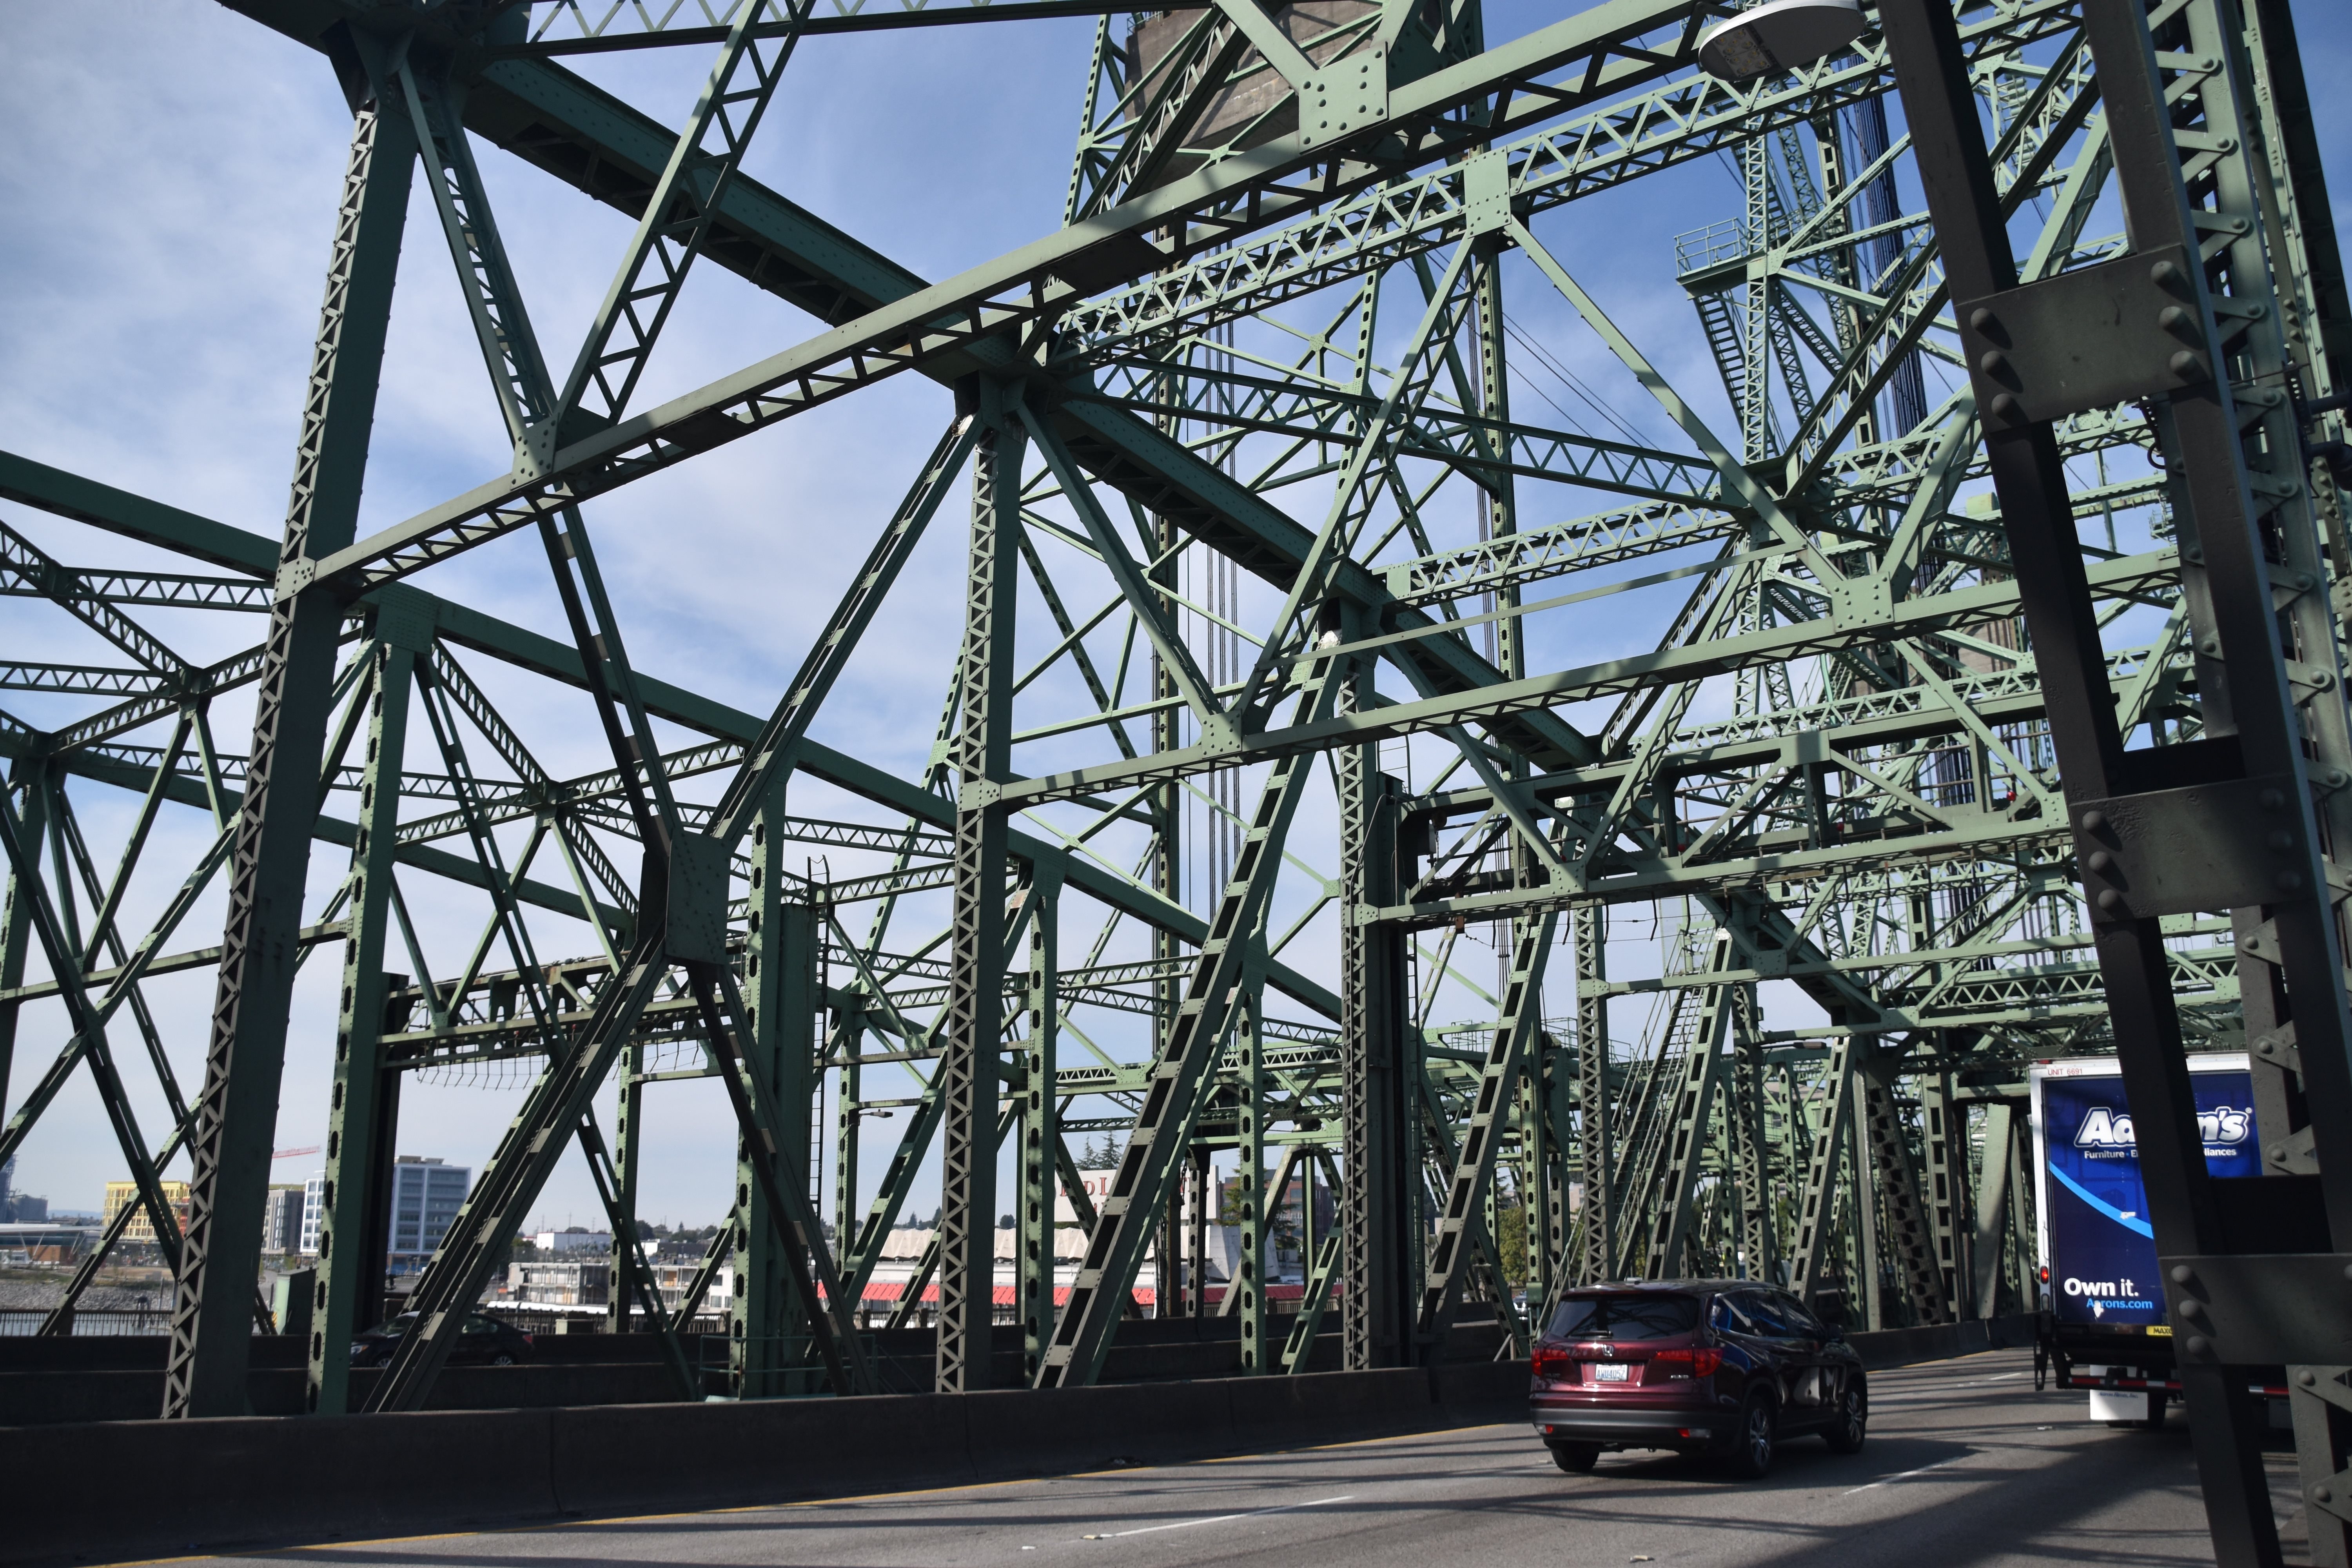
Driving northbound over bridge, views on southern fixed through truss spans.
![]()


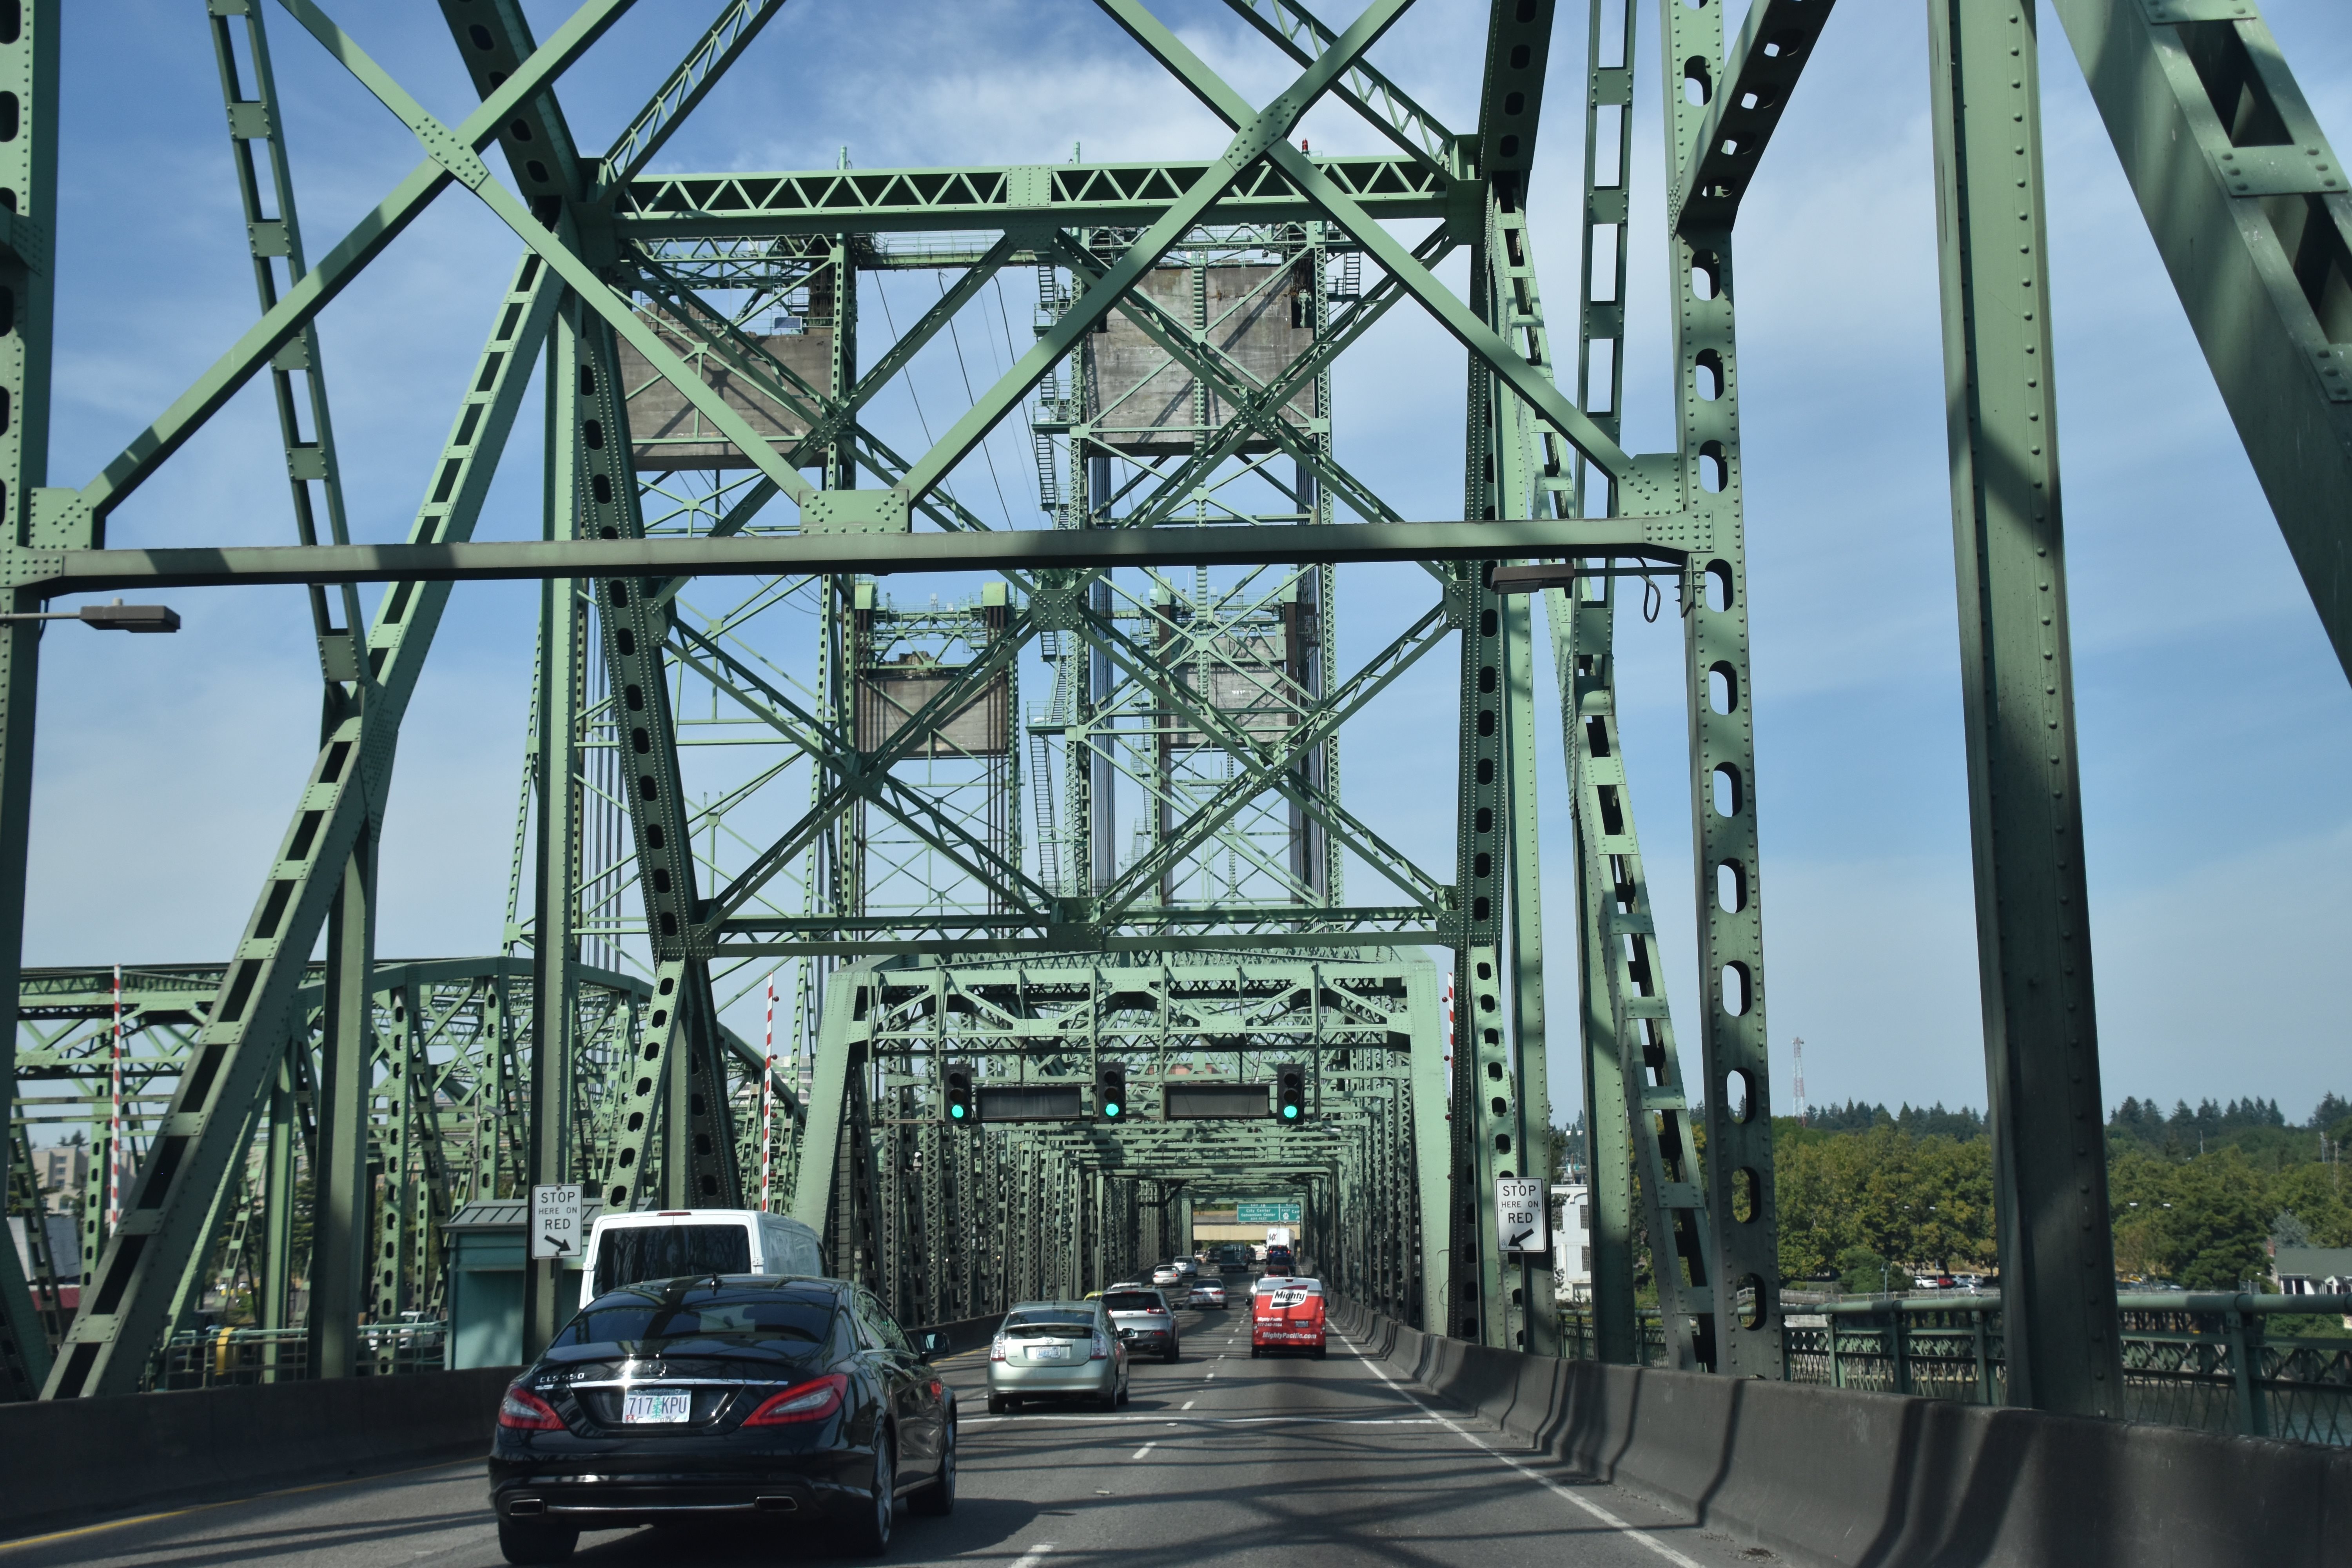
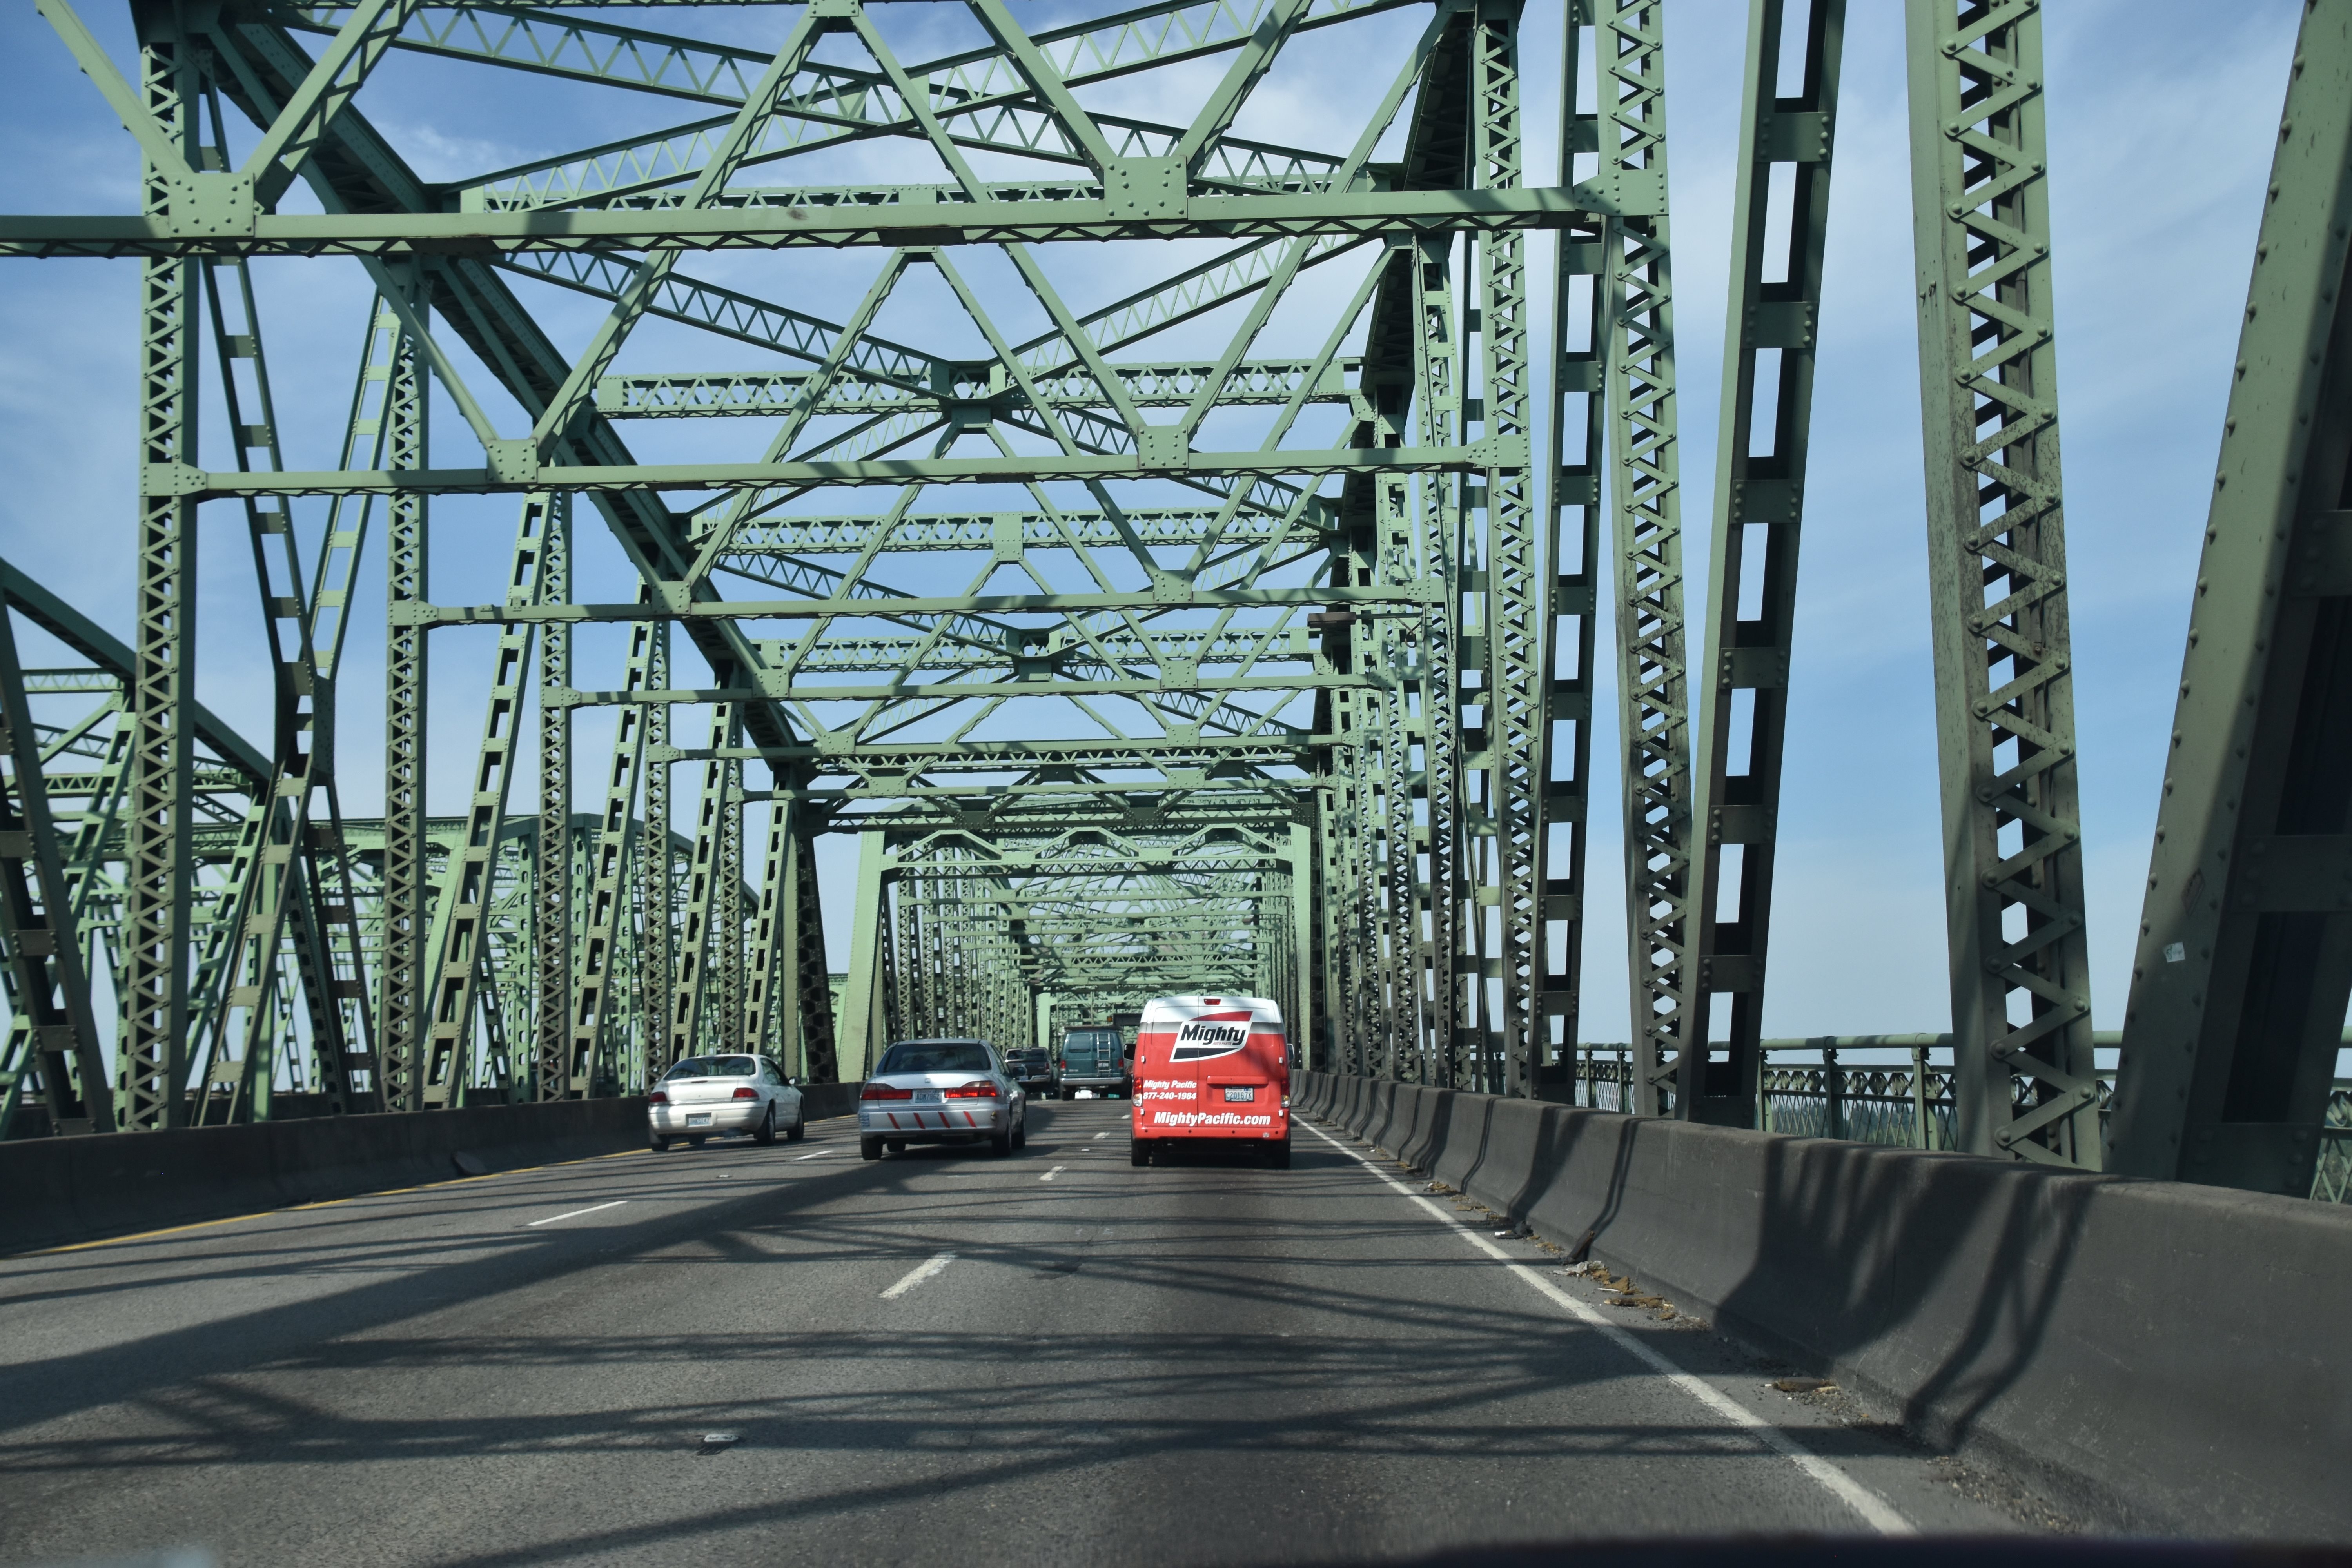
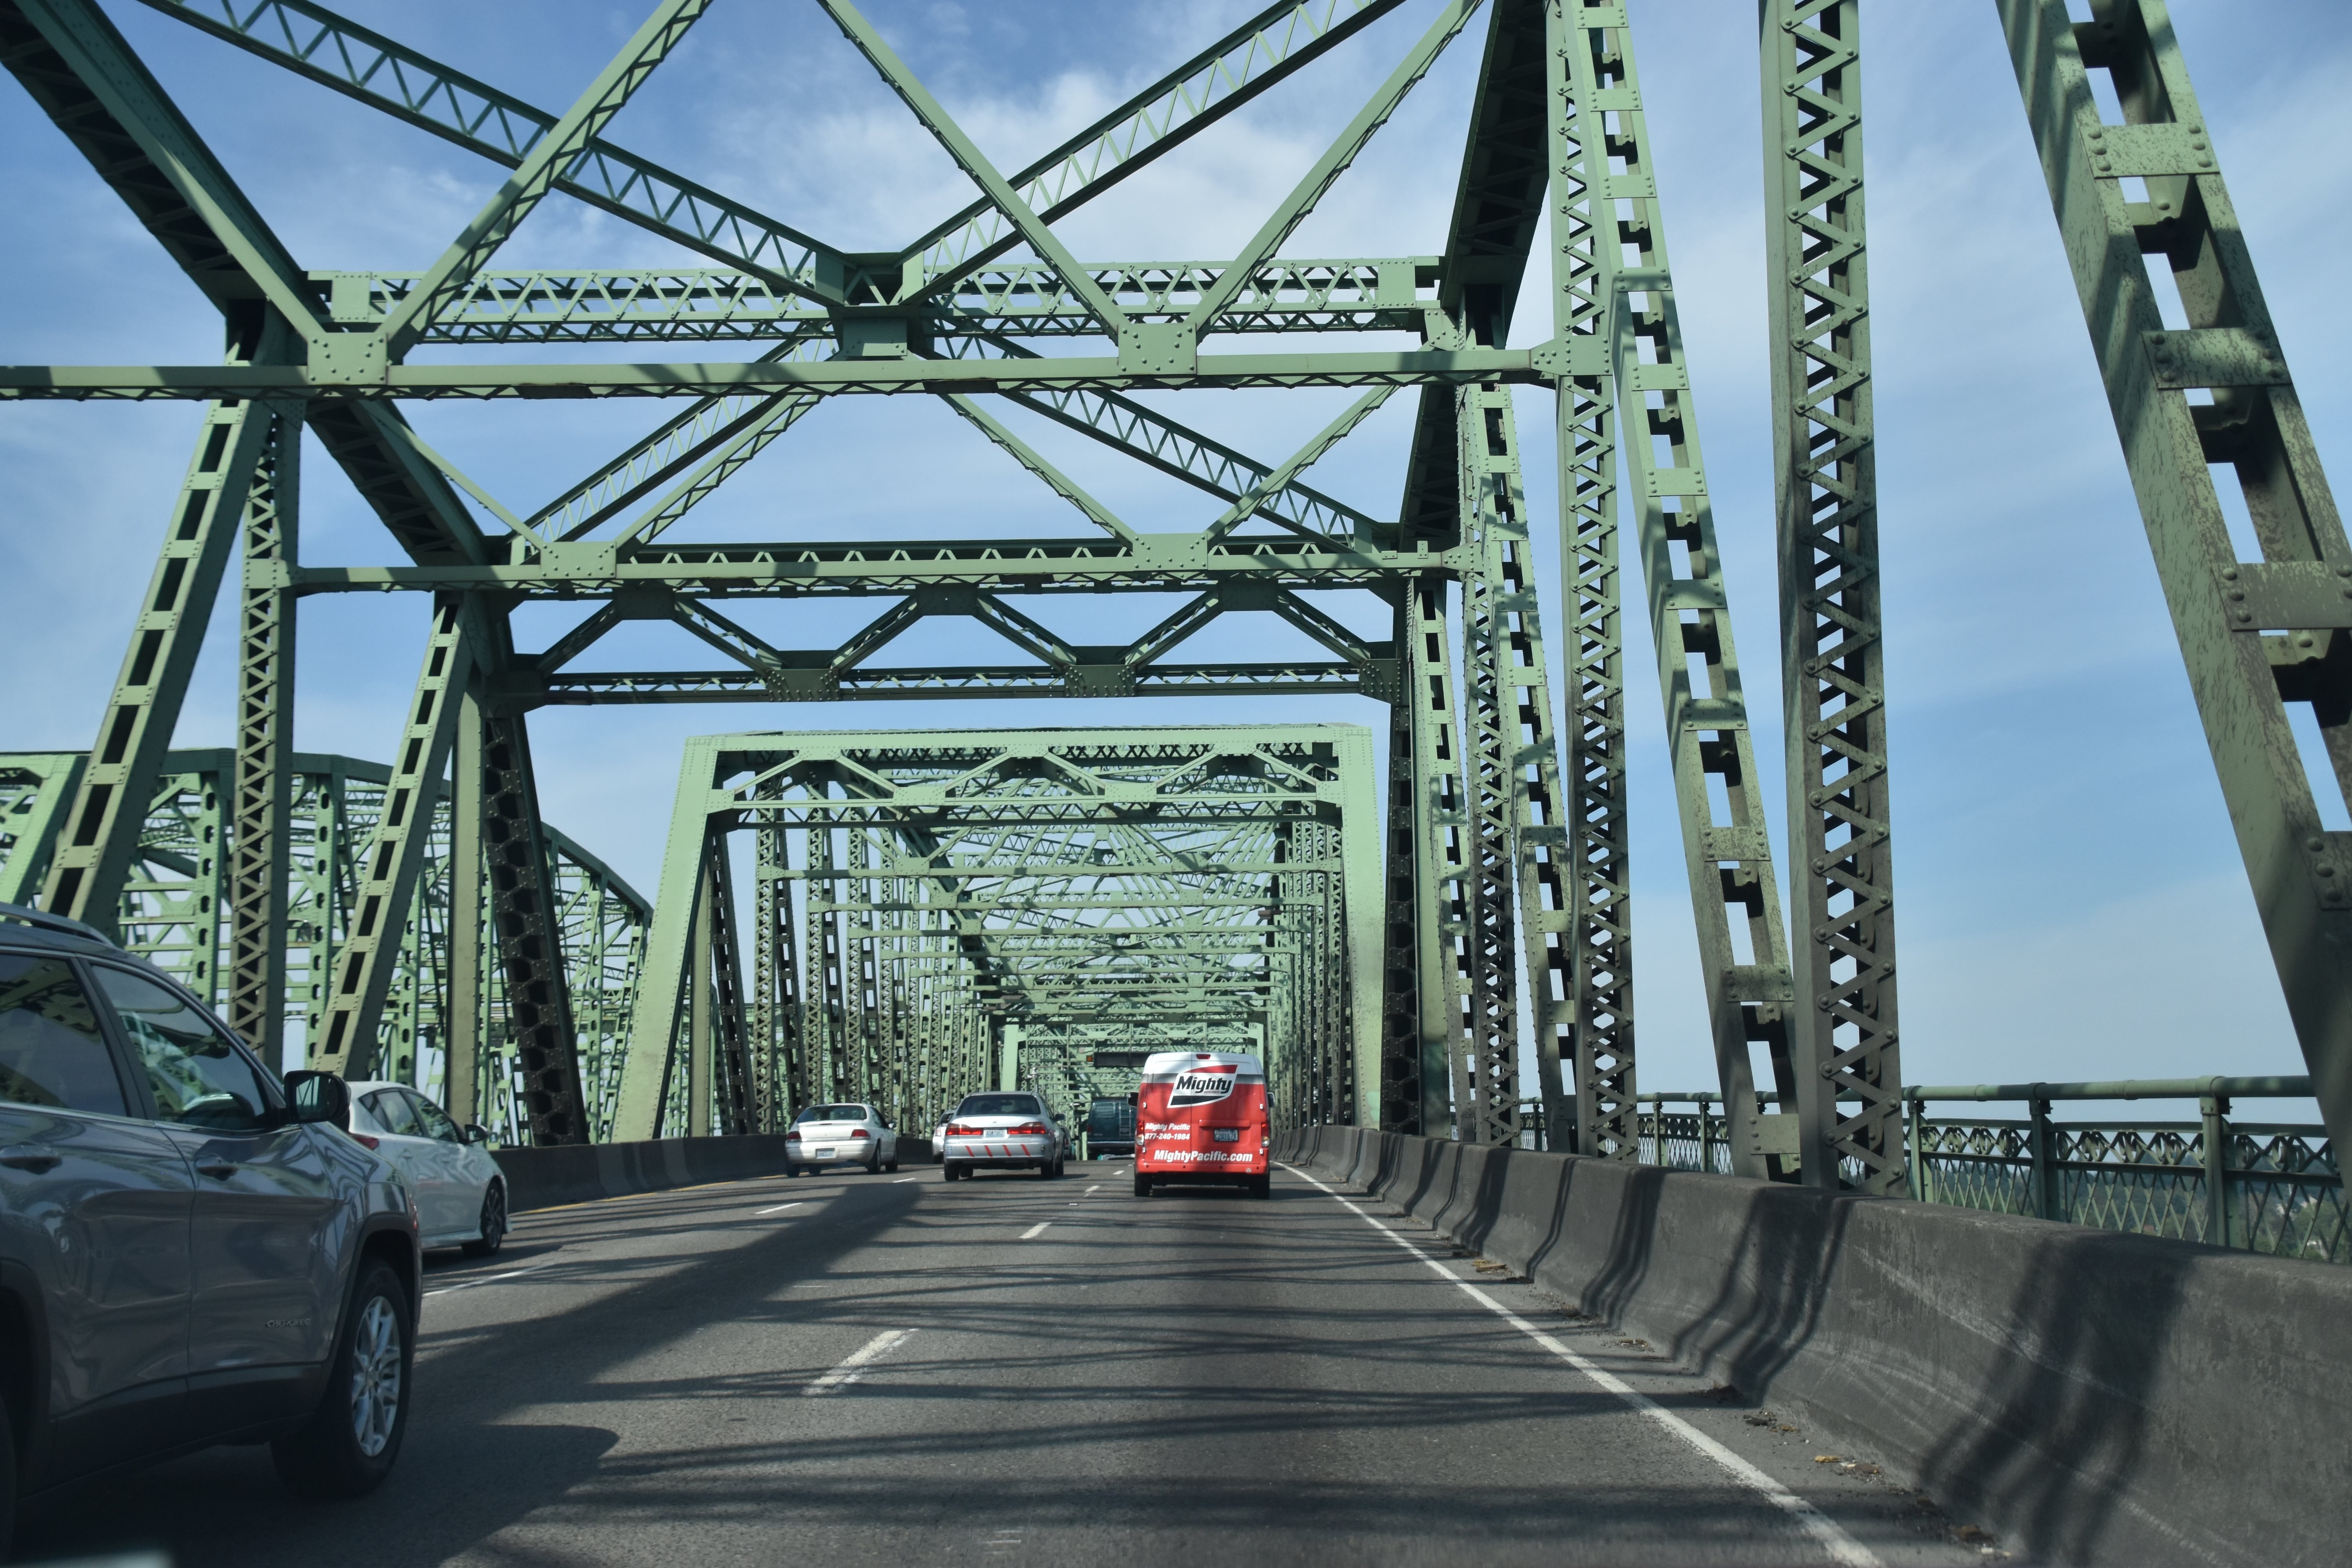
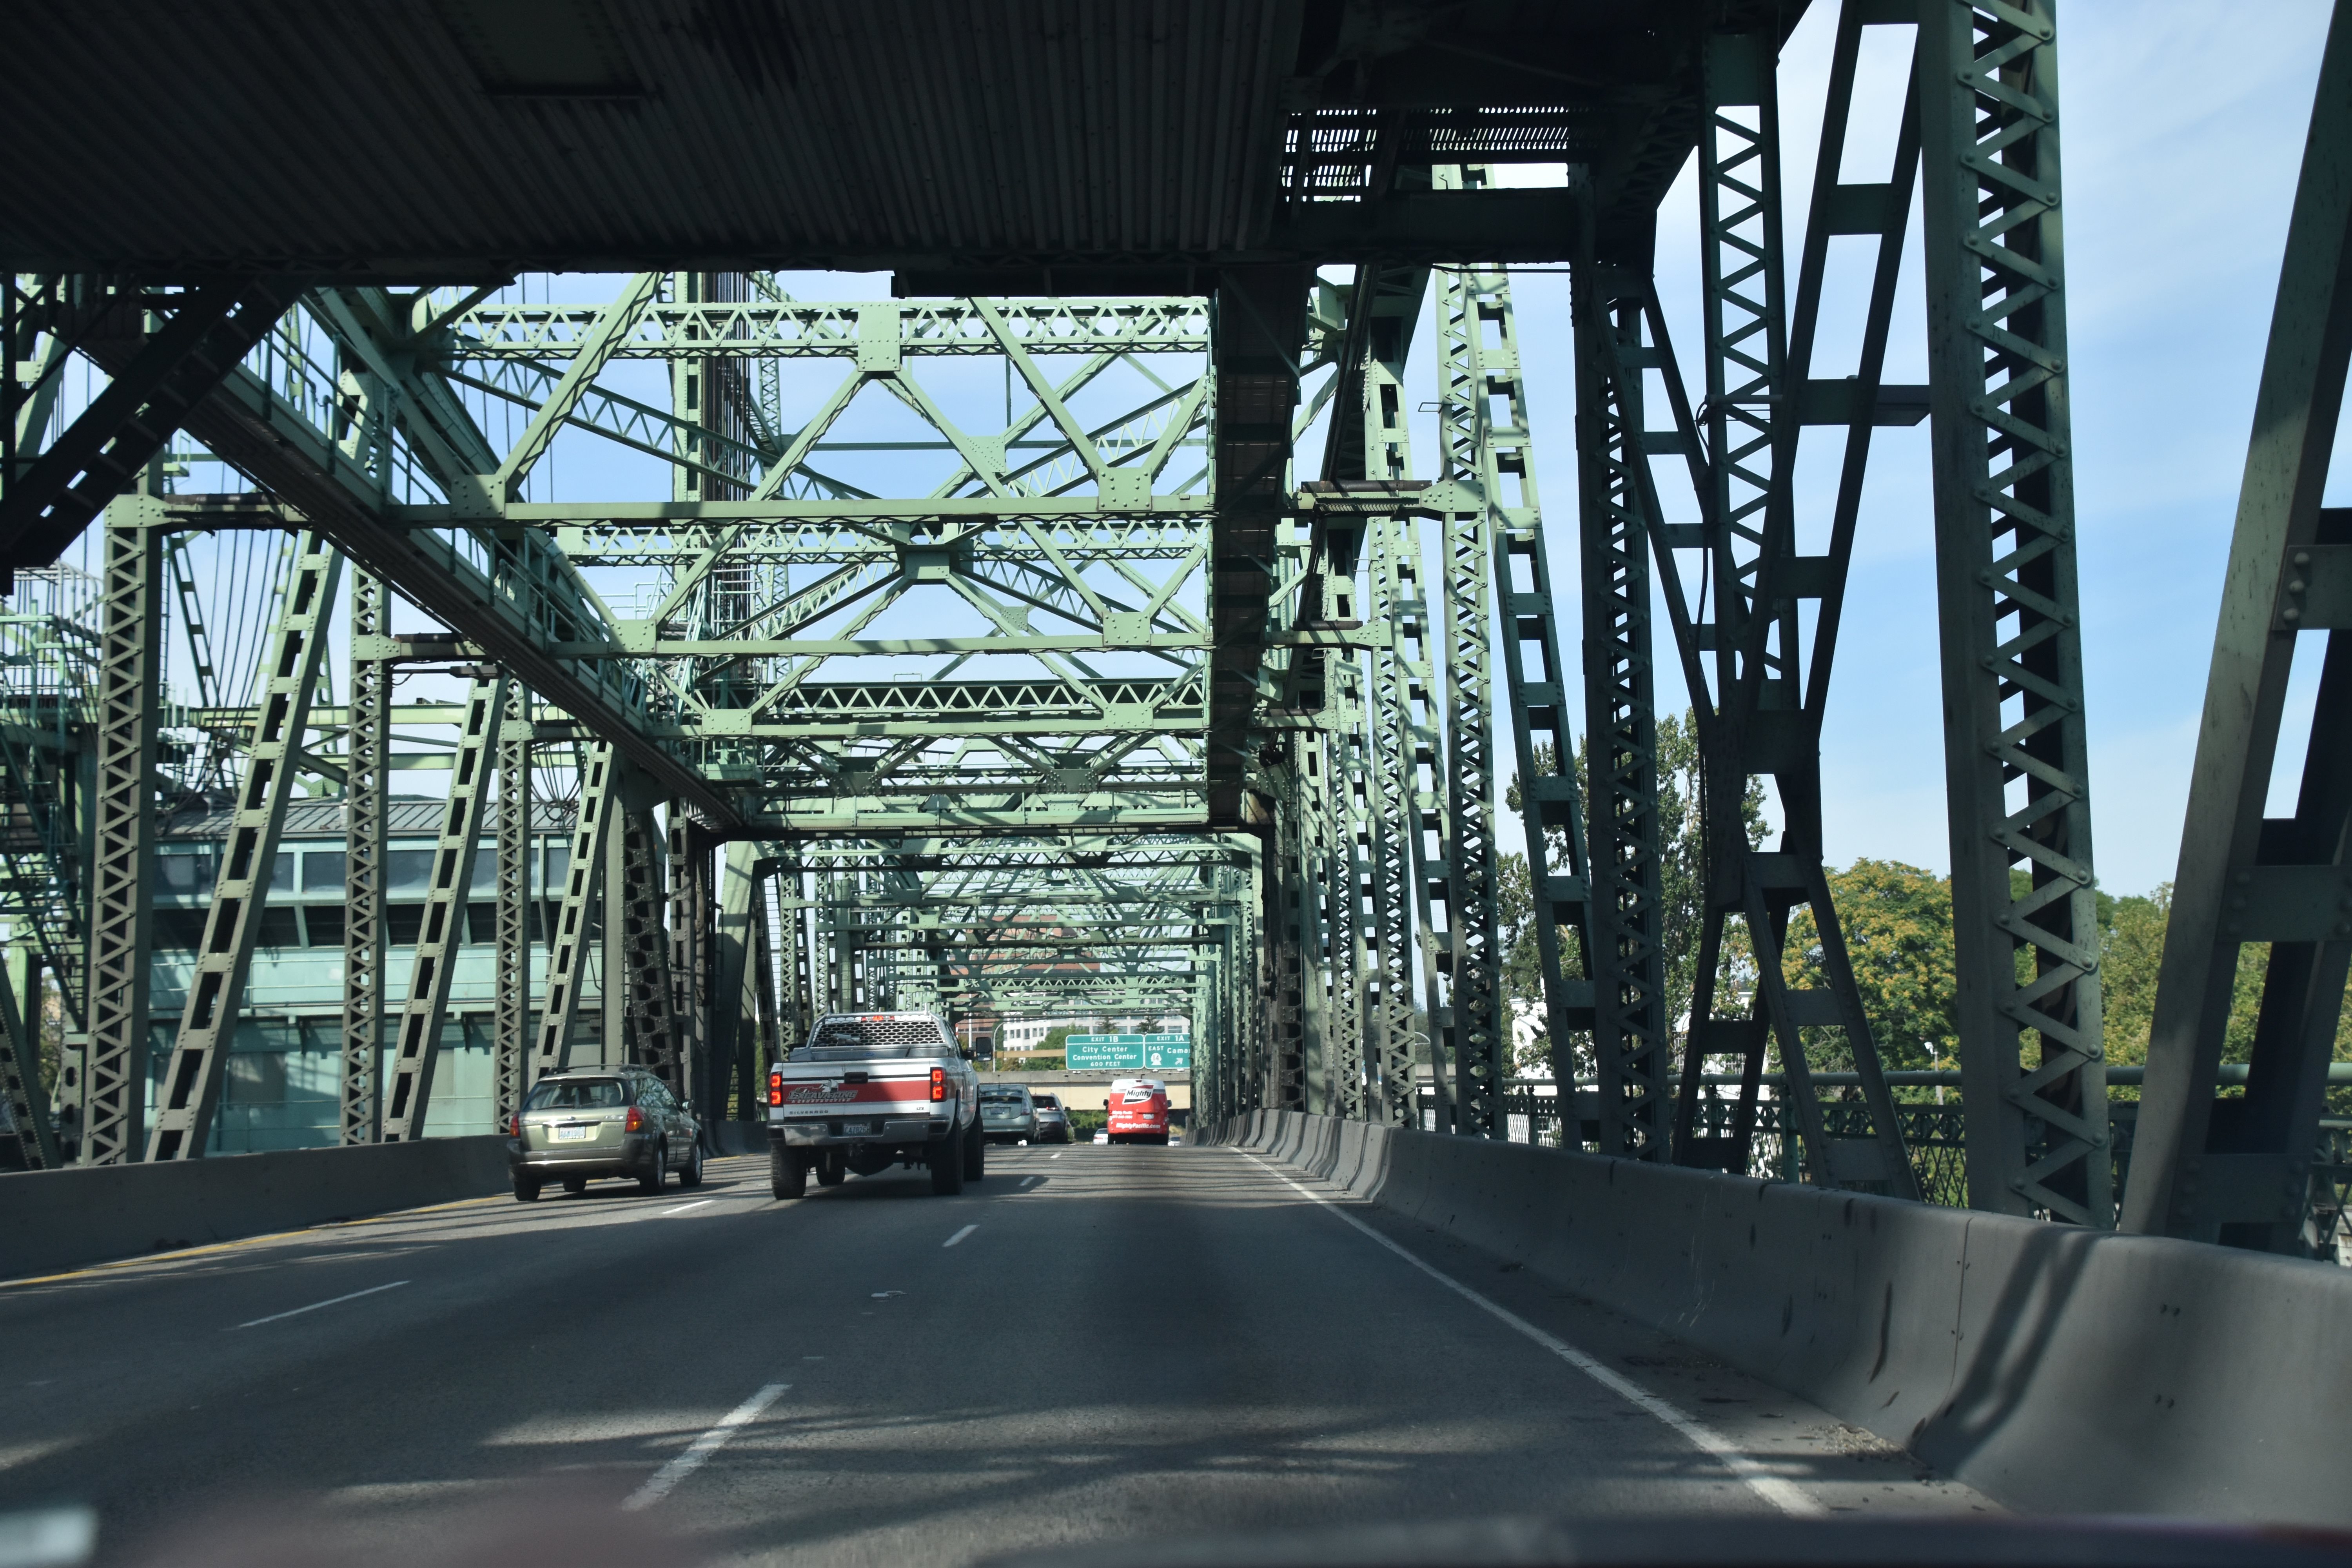
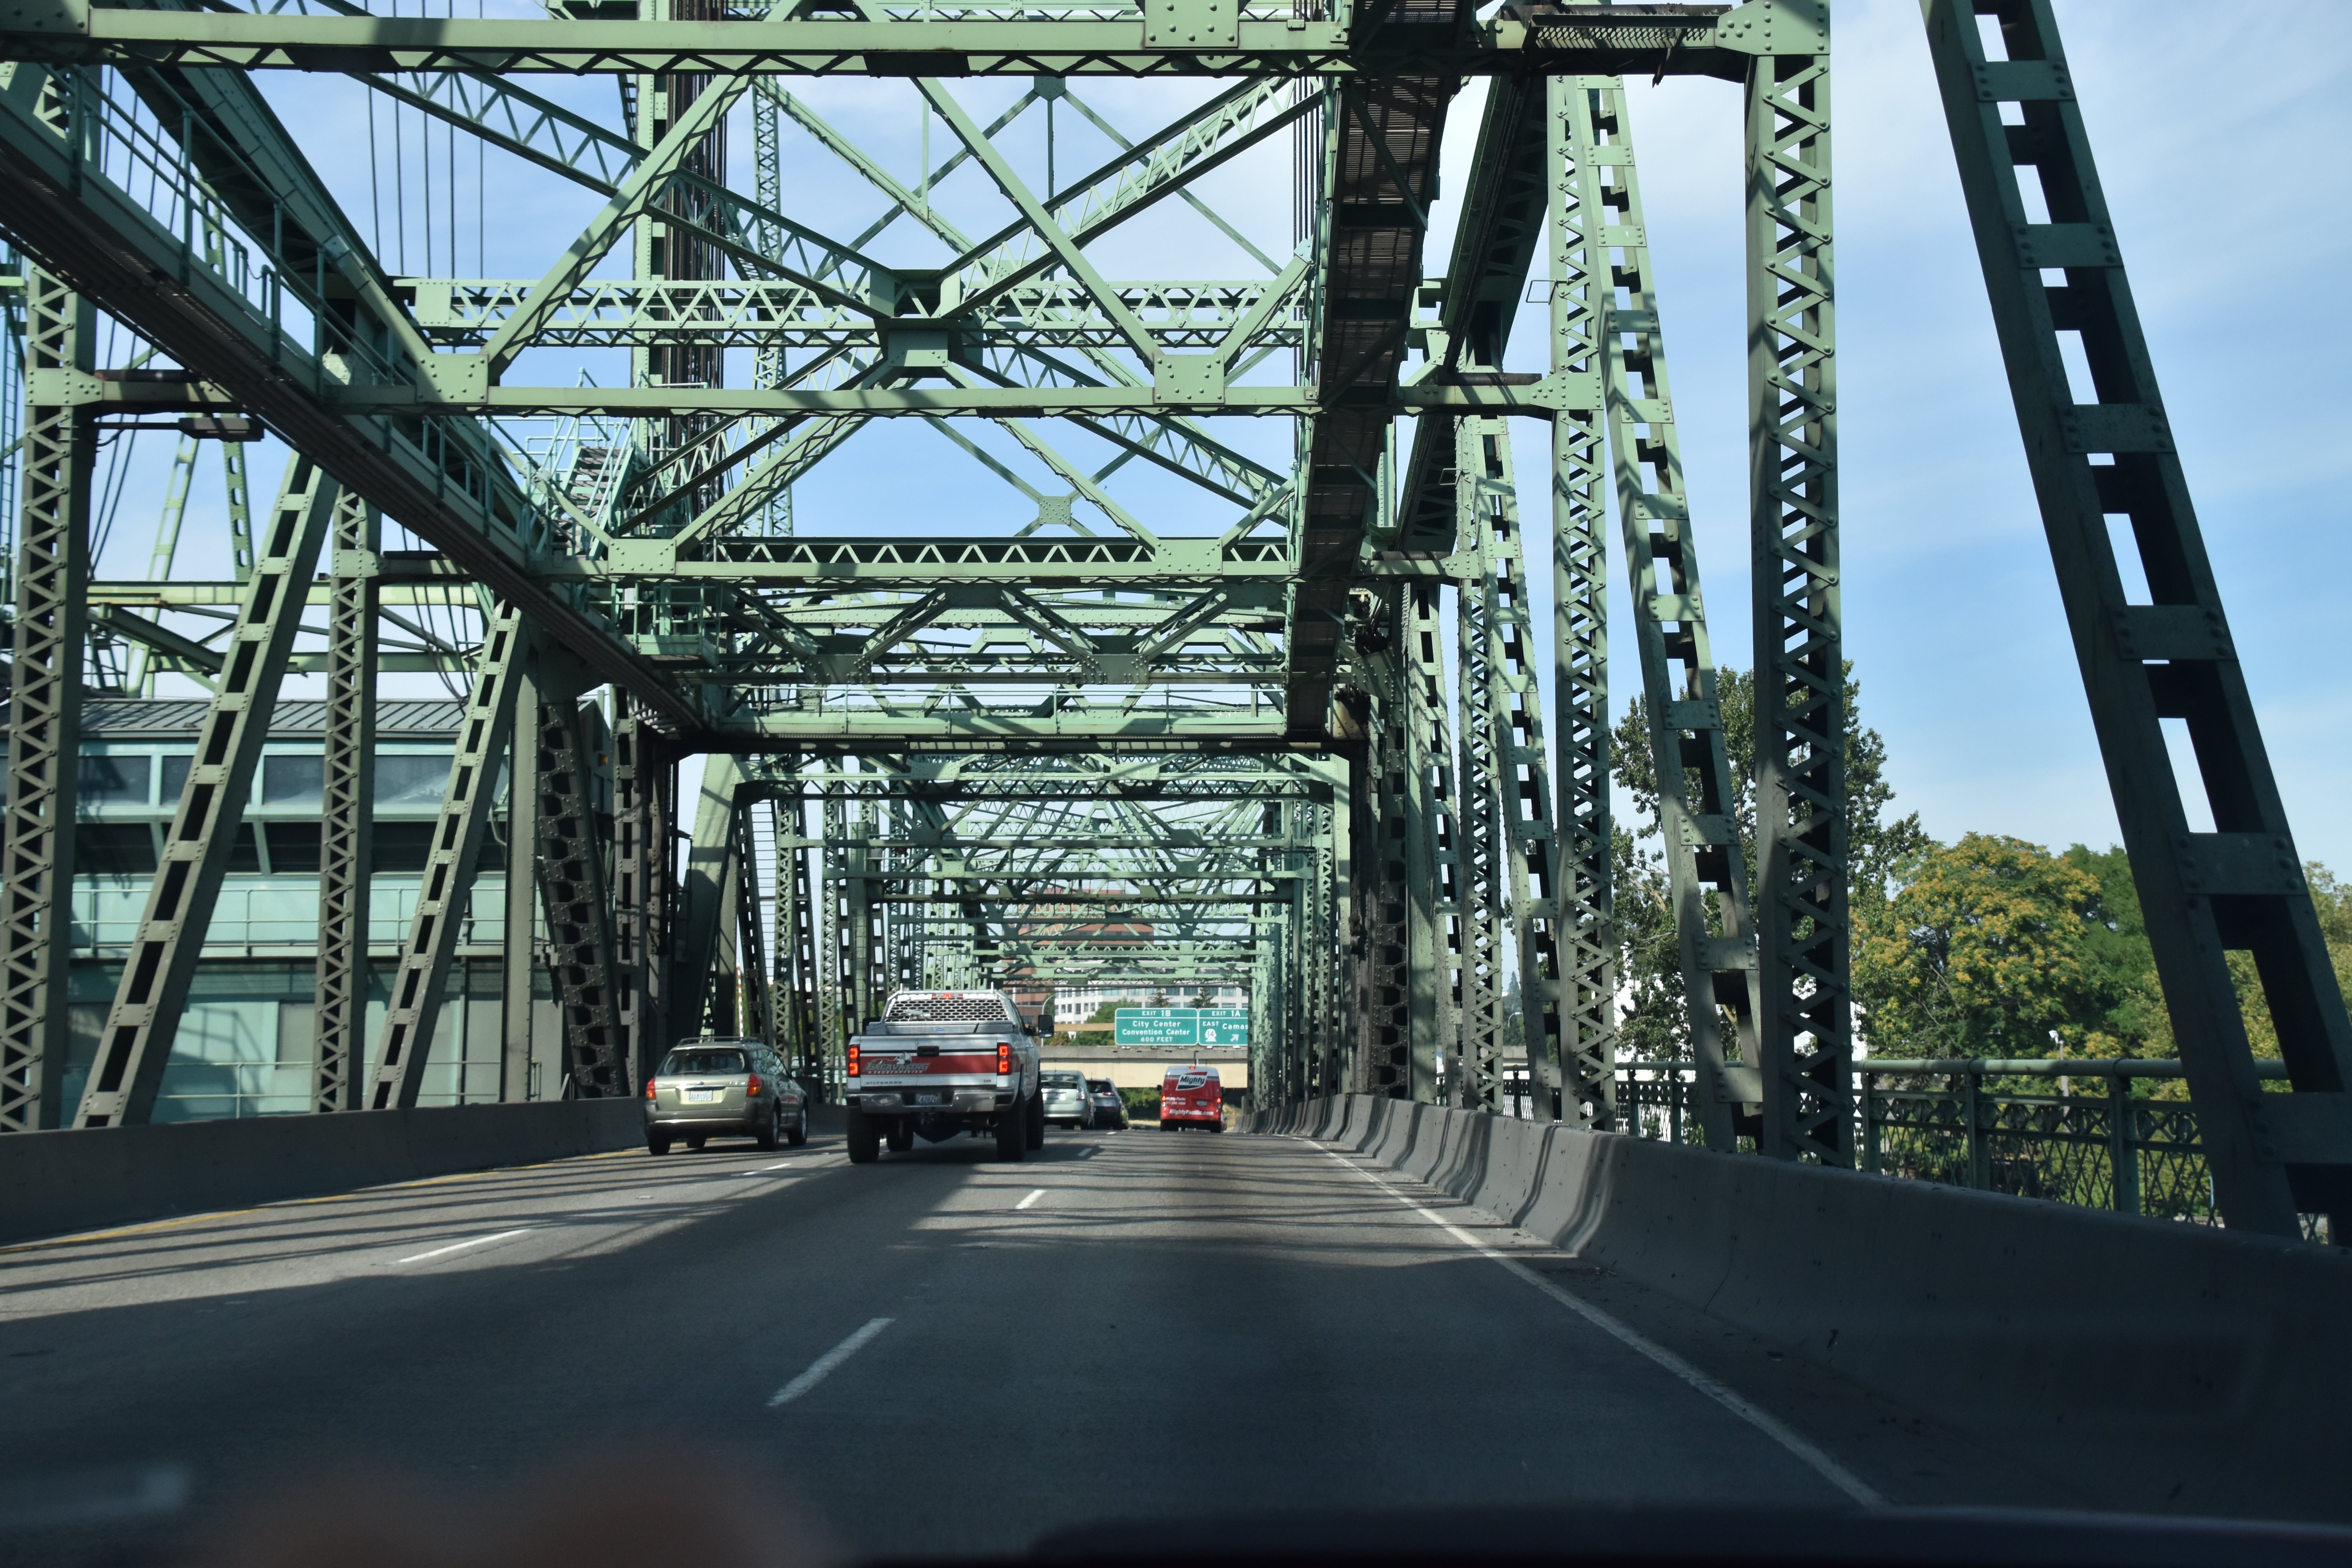
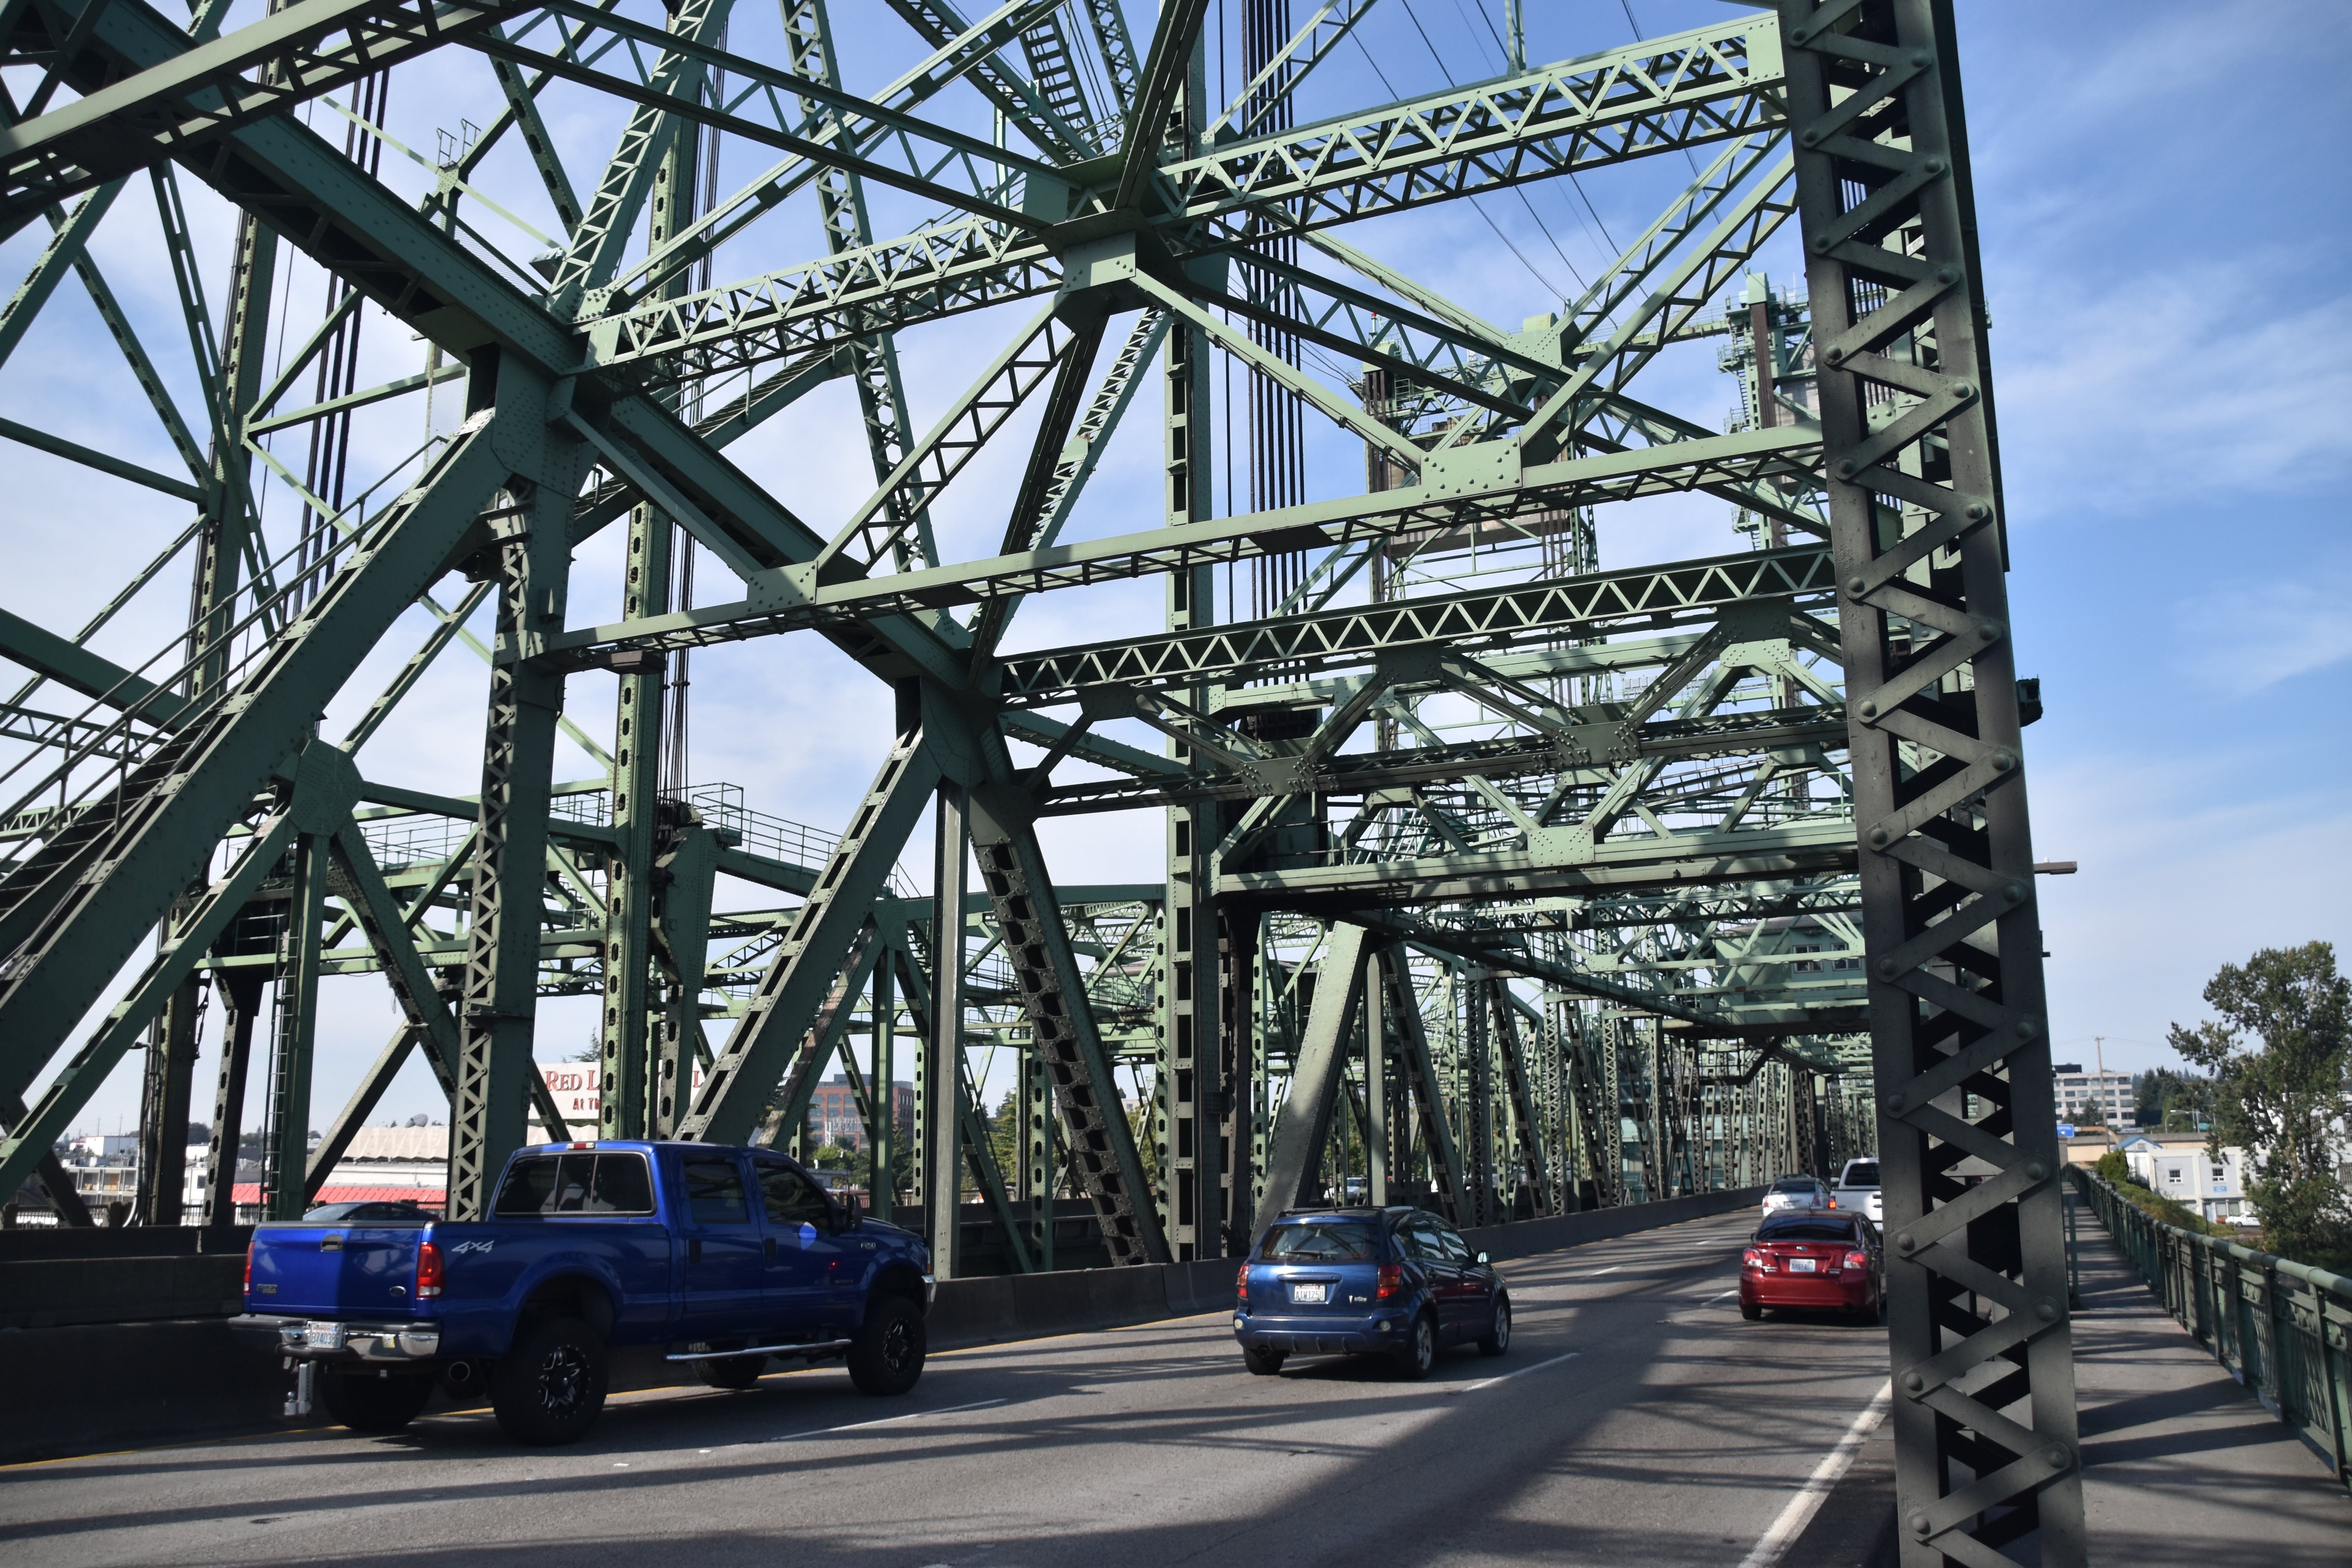
Driving northbound over bridge, views on large fixed truss span.
![]()


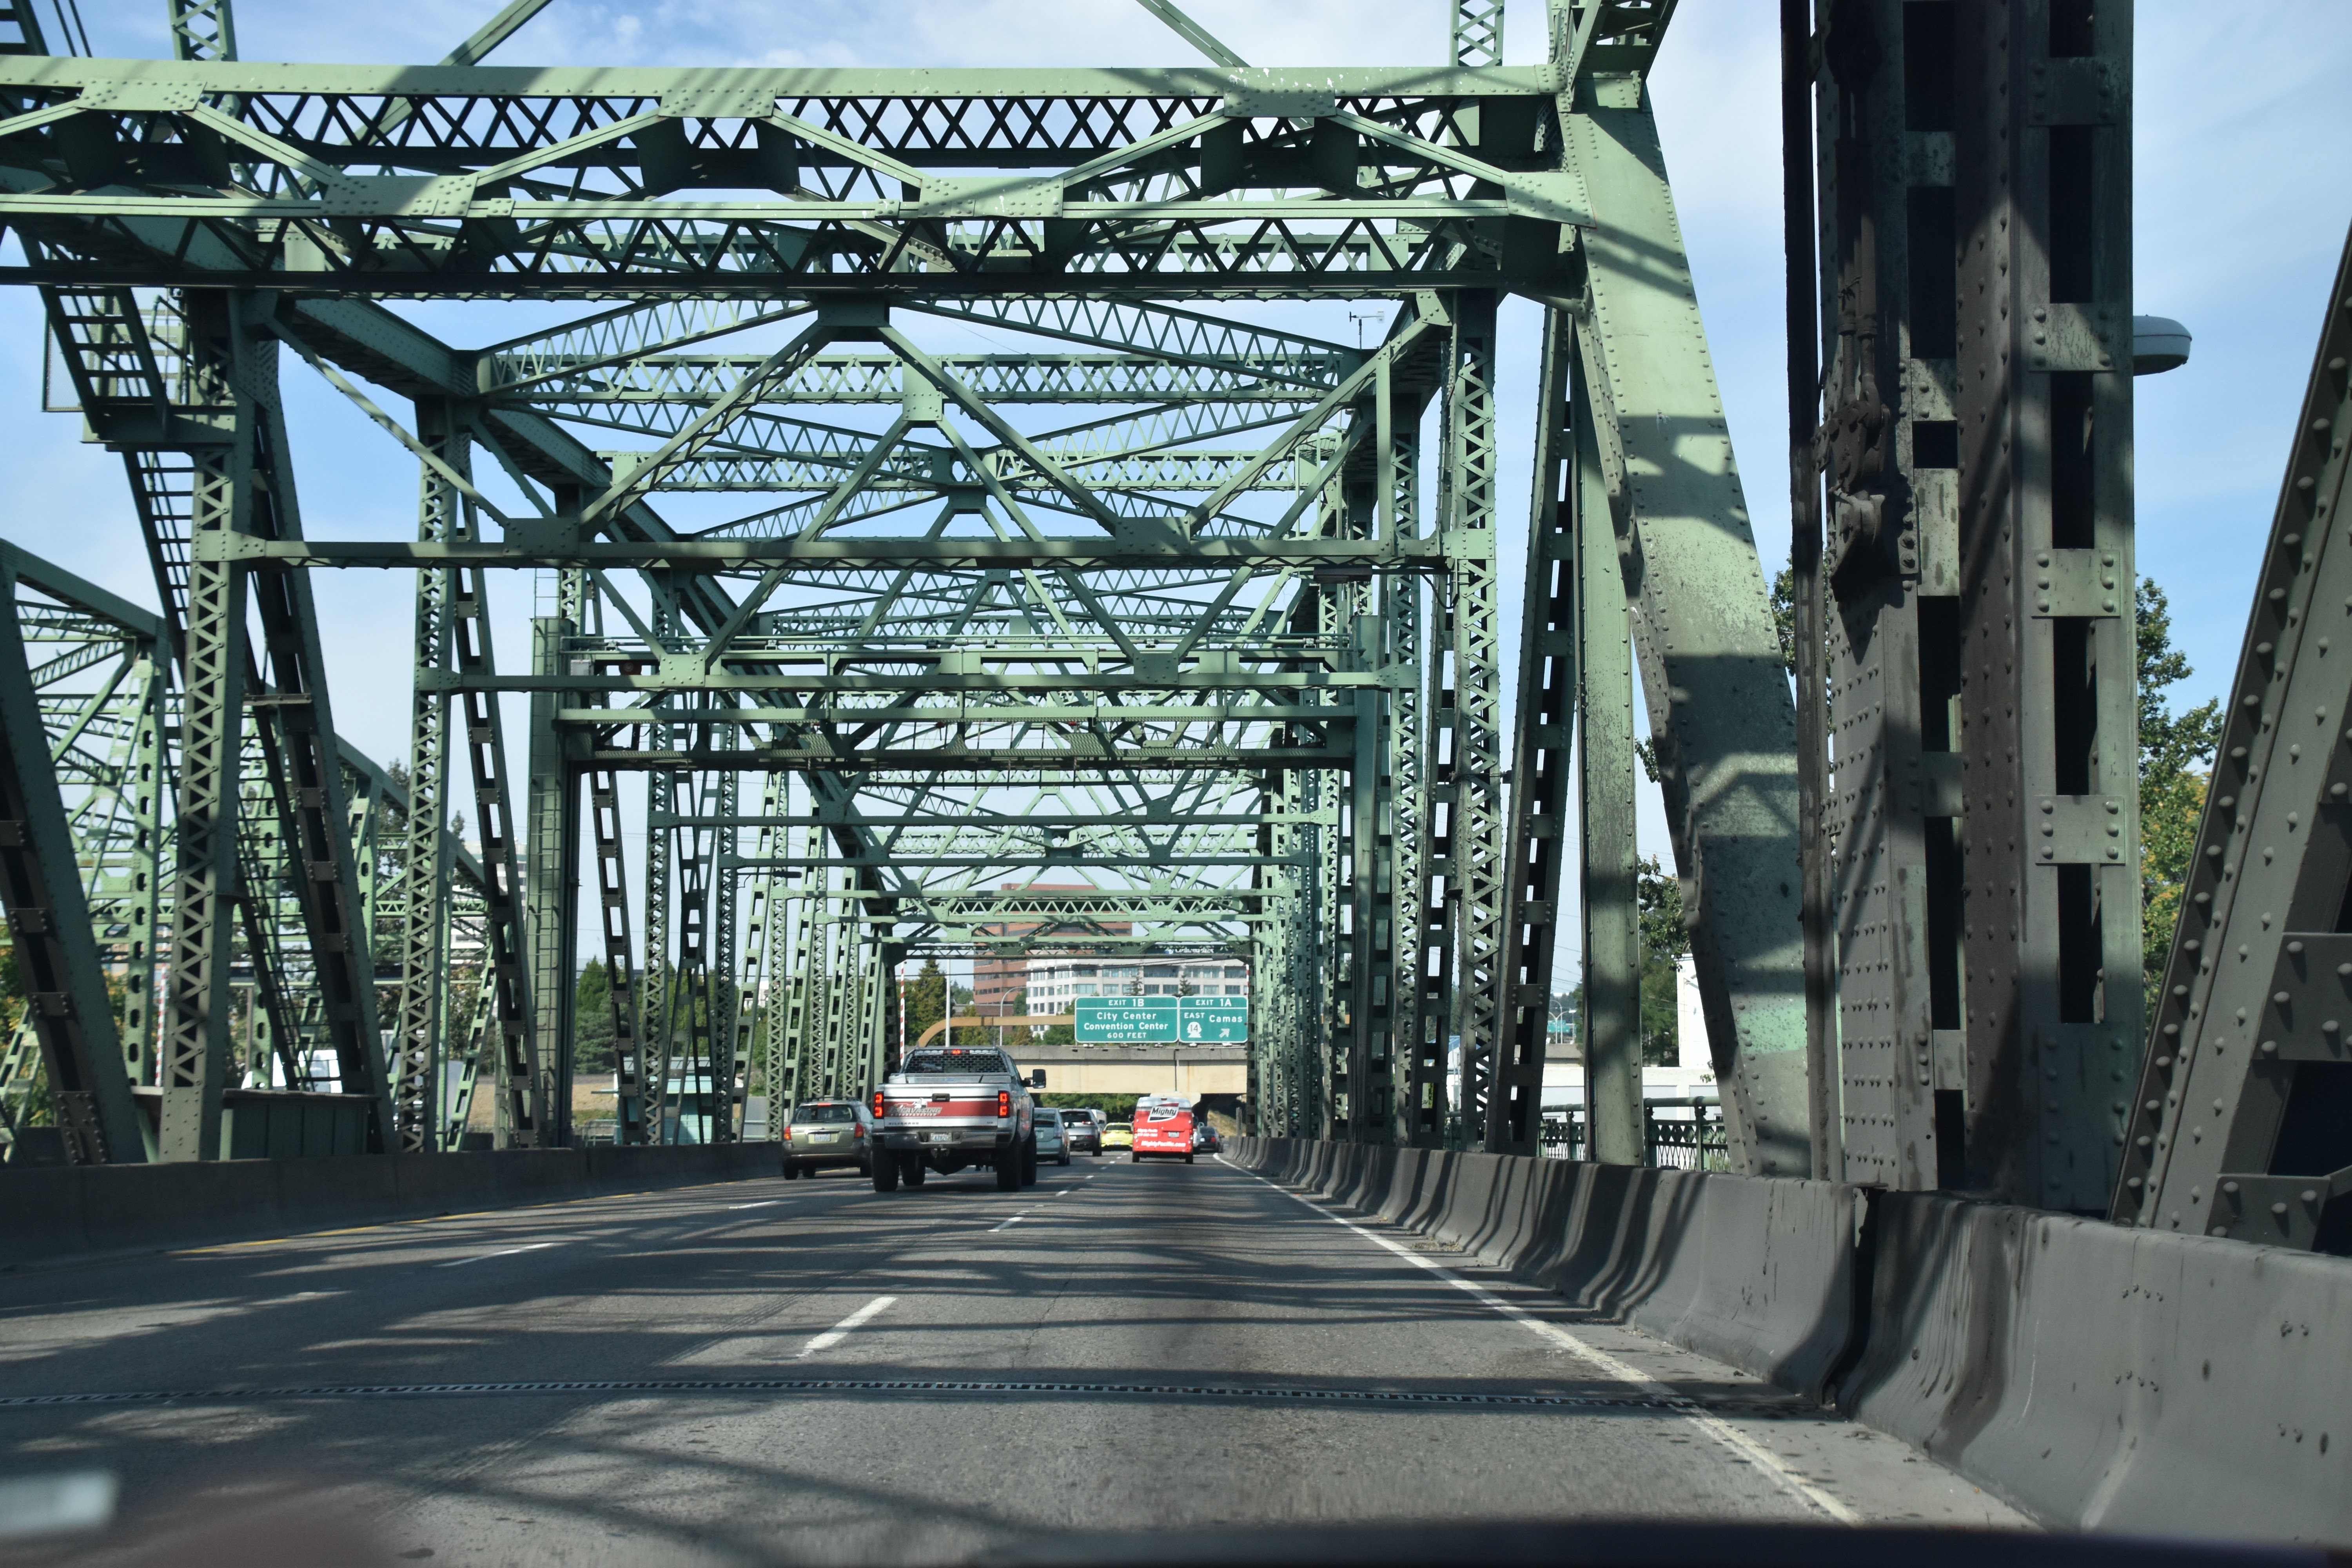


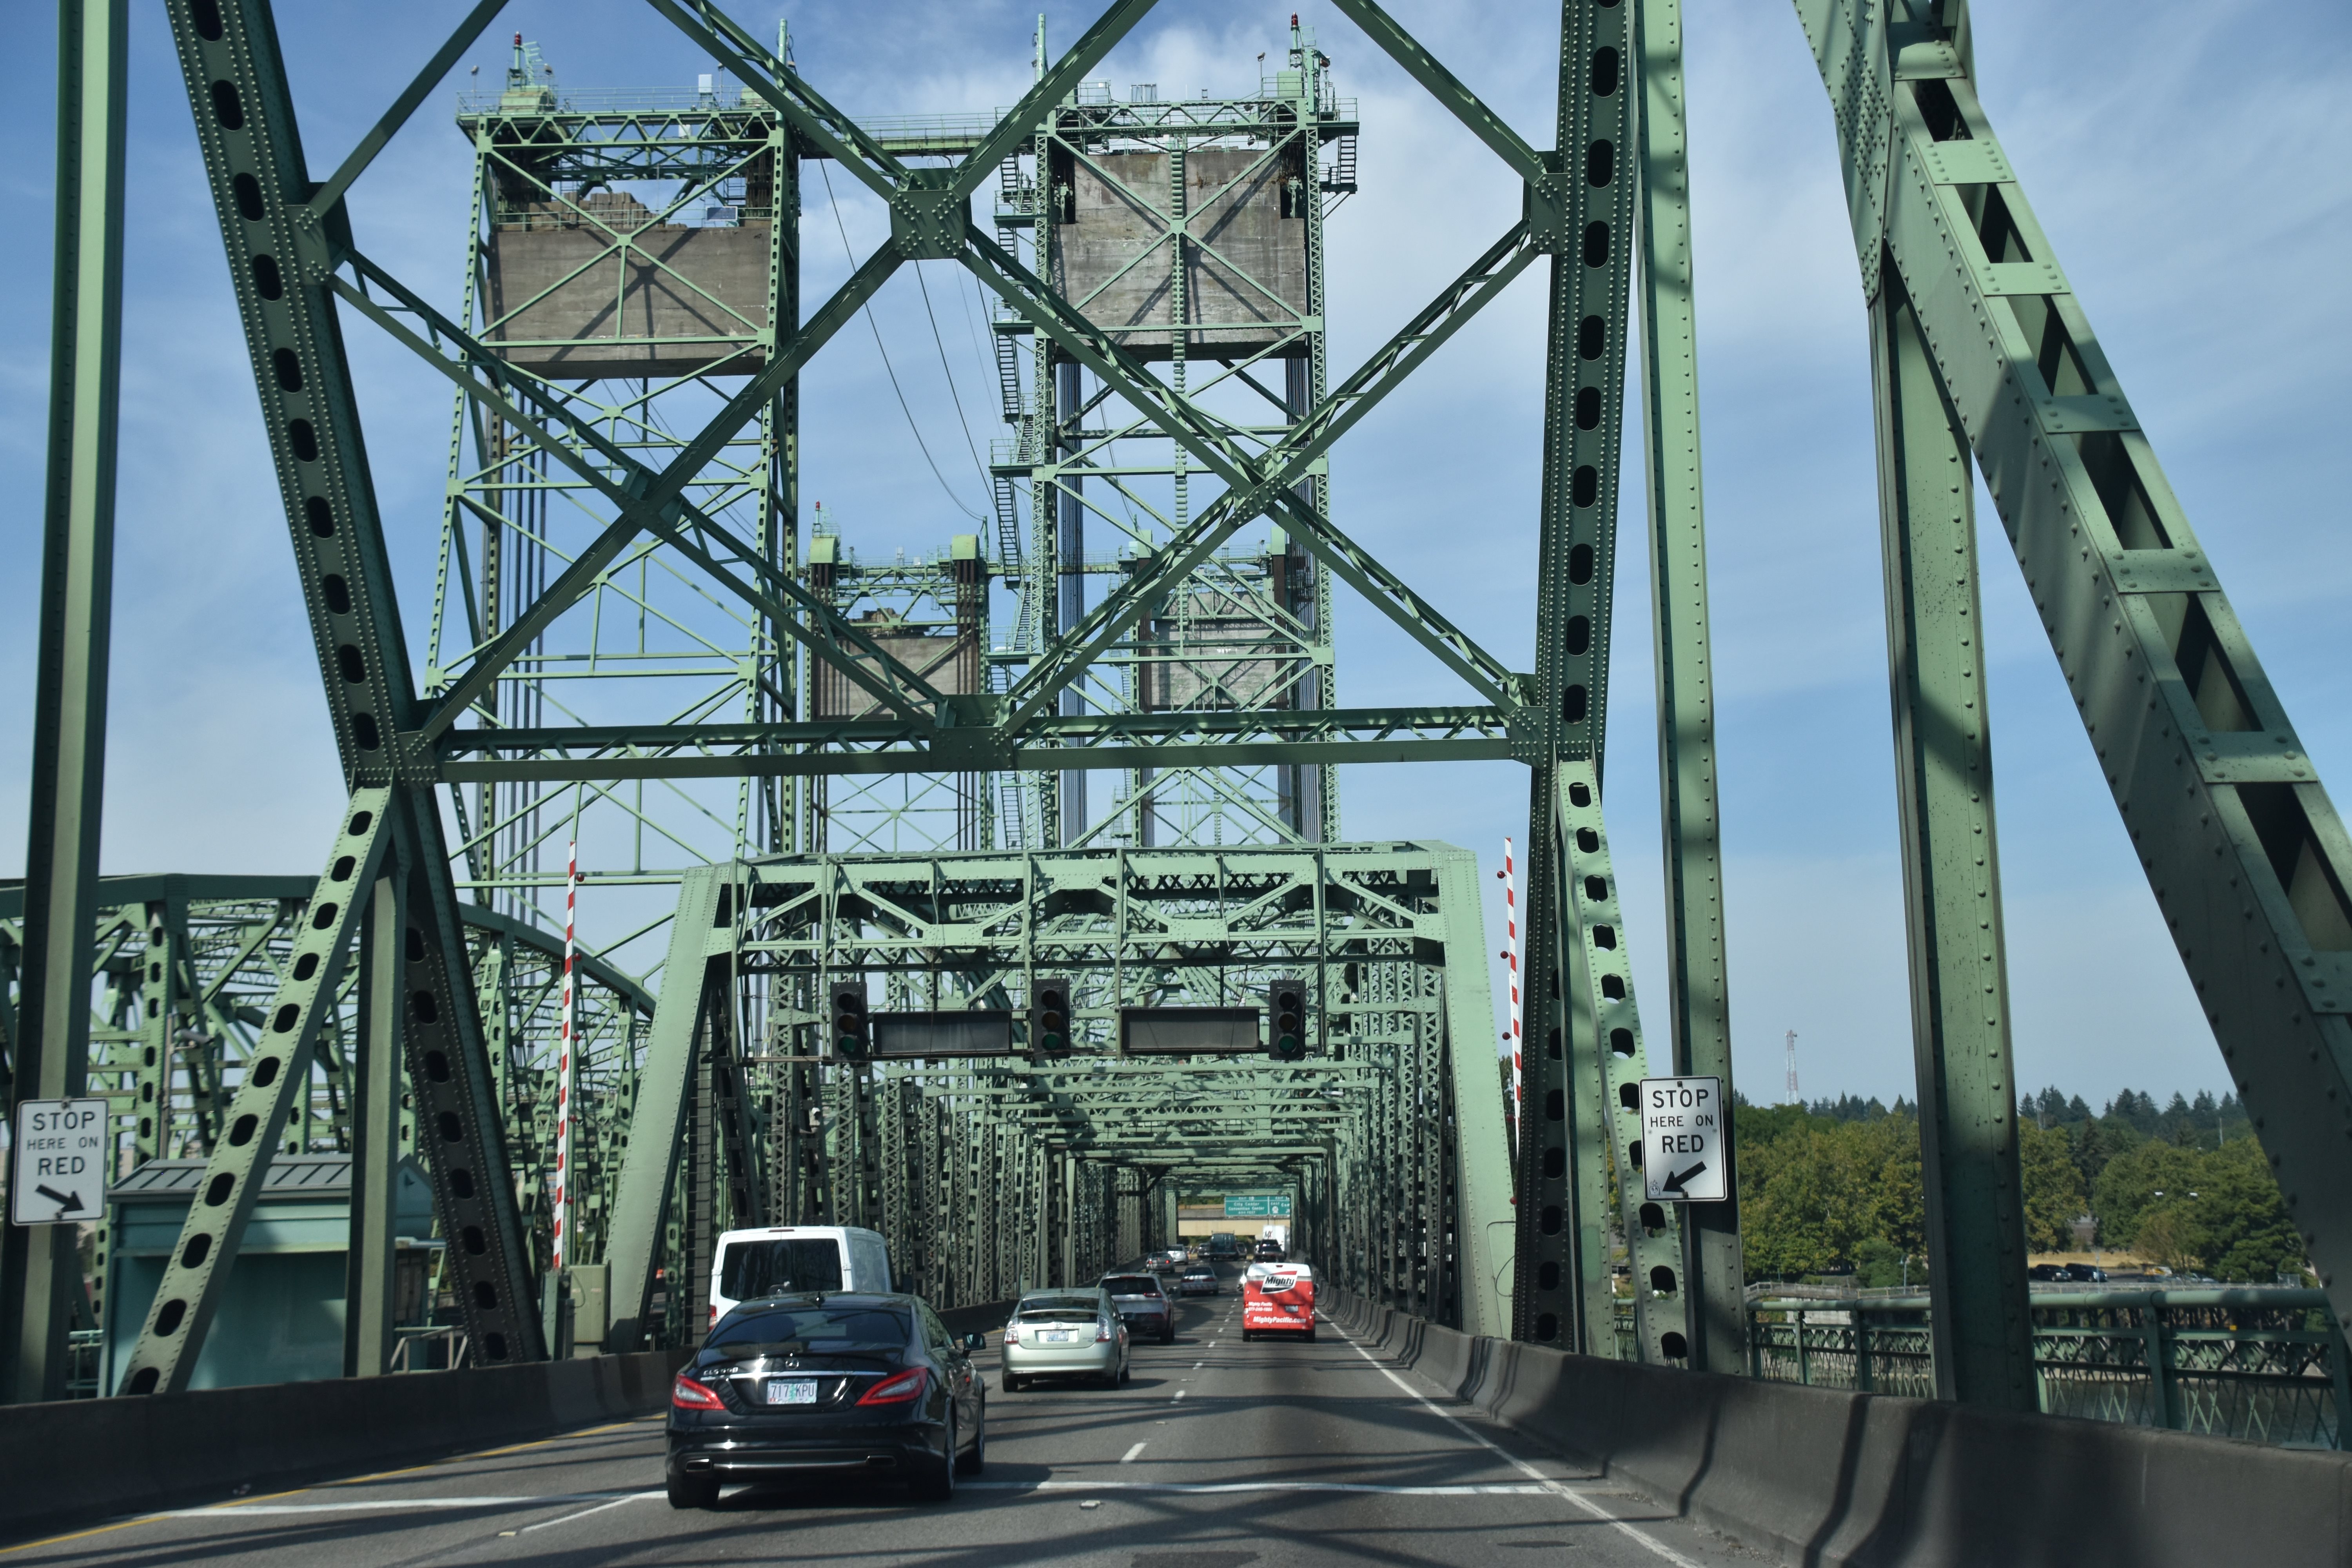
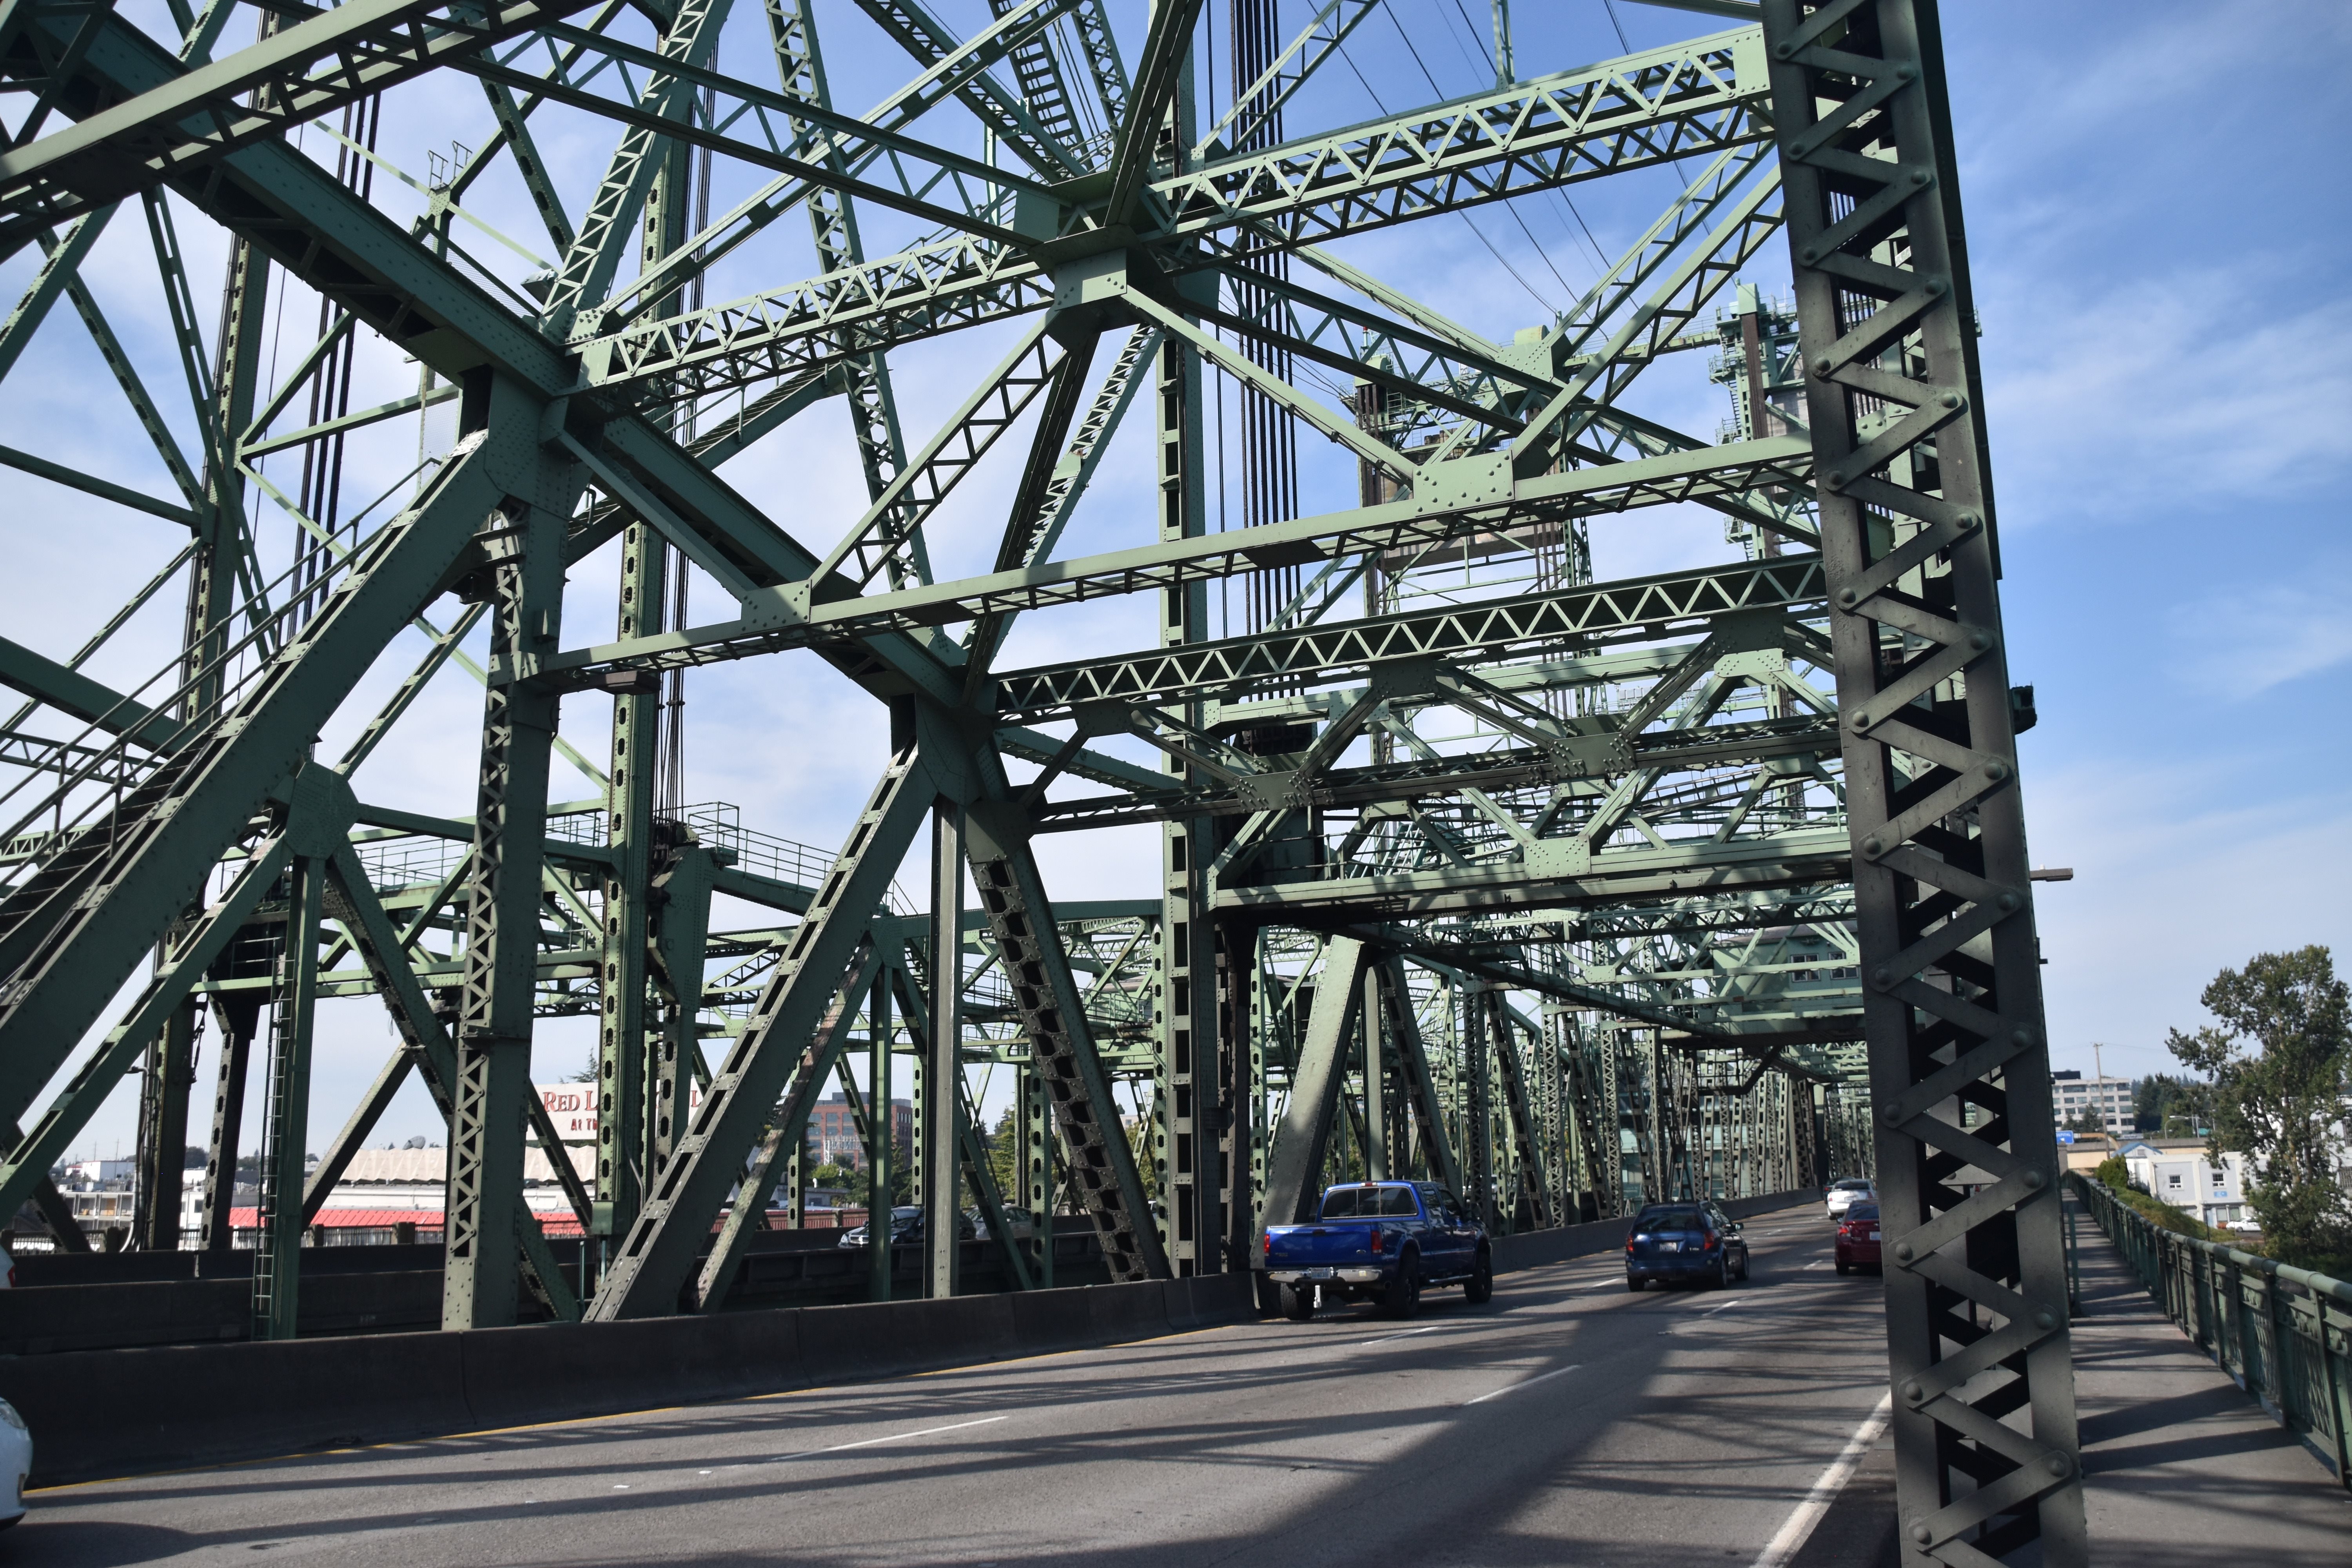
Driving northbound over bridge, views on lift span and northern fixed truss span.
![]()


Views of truss web for lift span and adjacent spans.
![]()


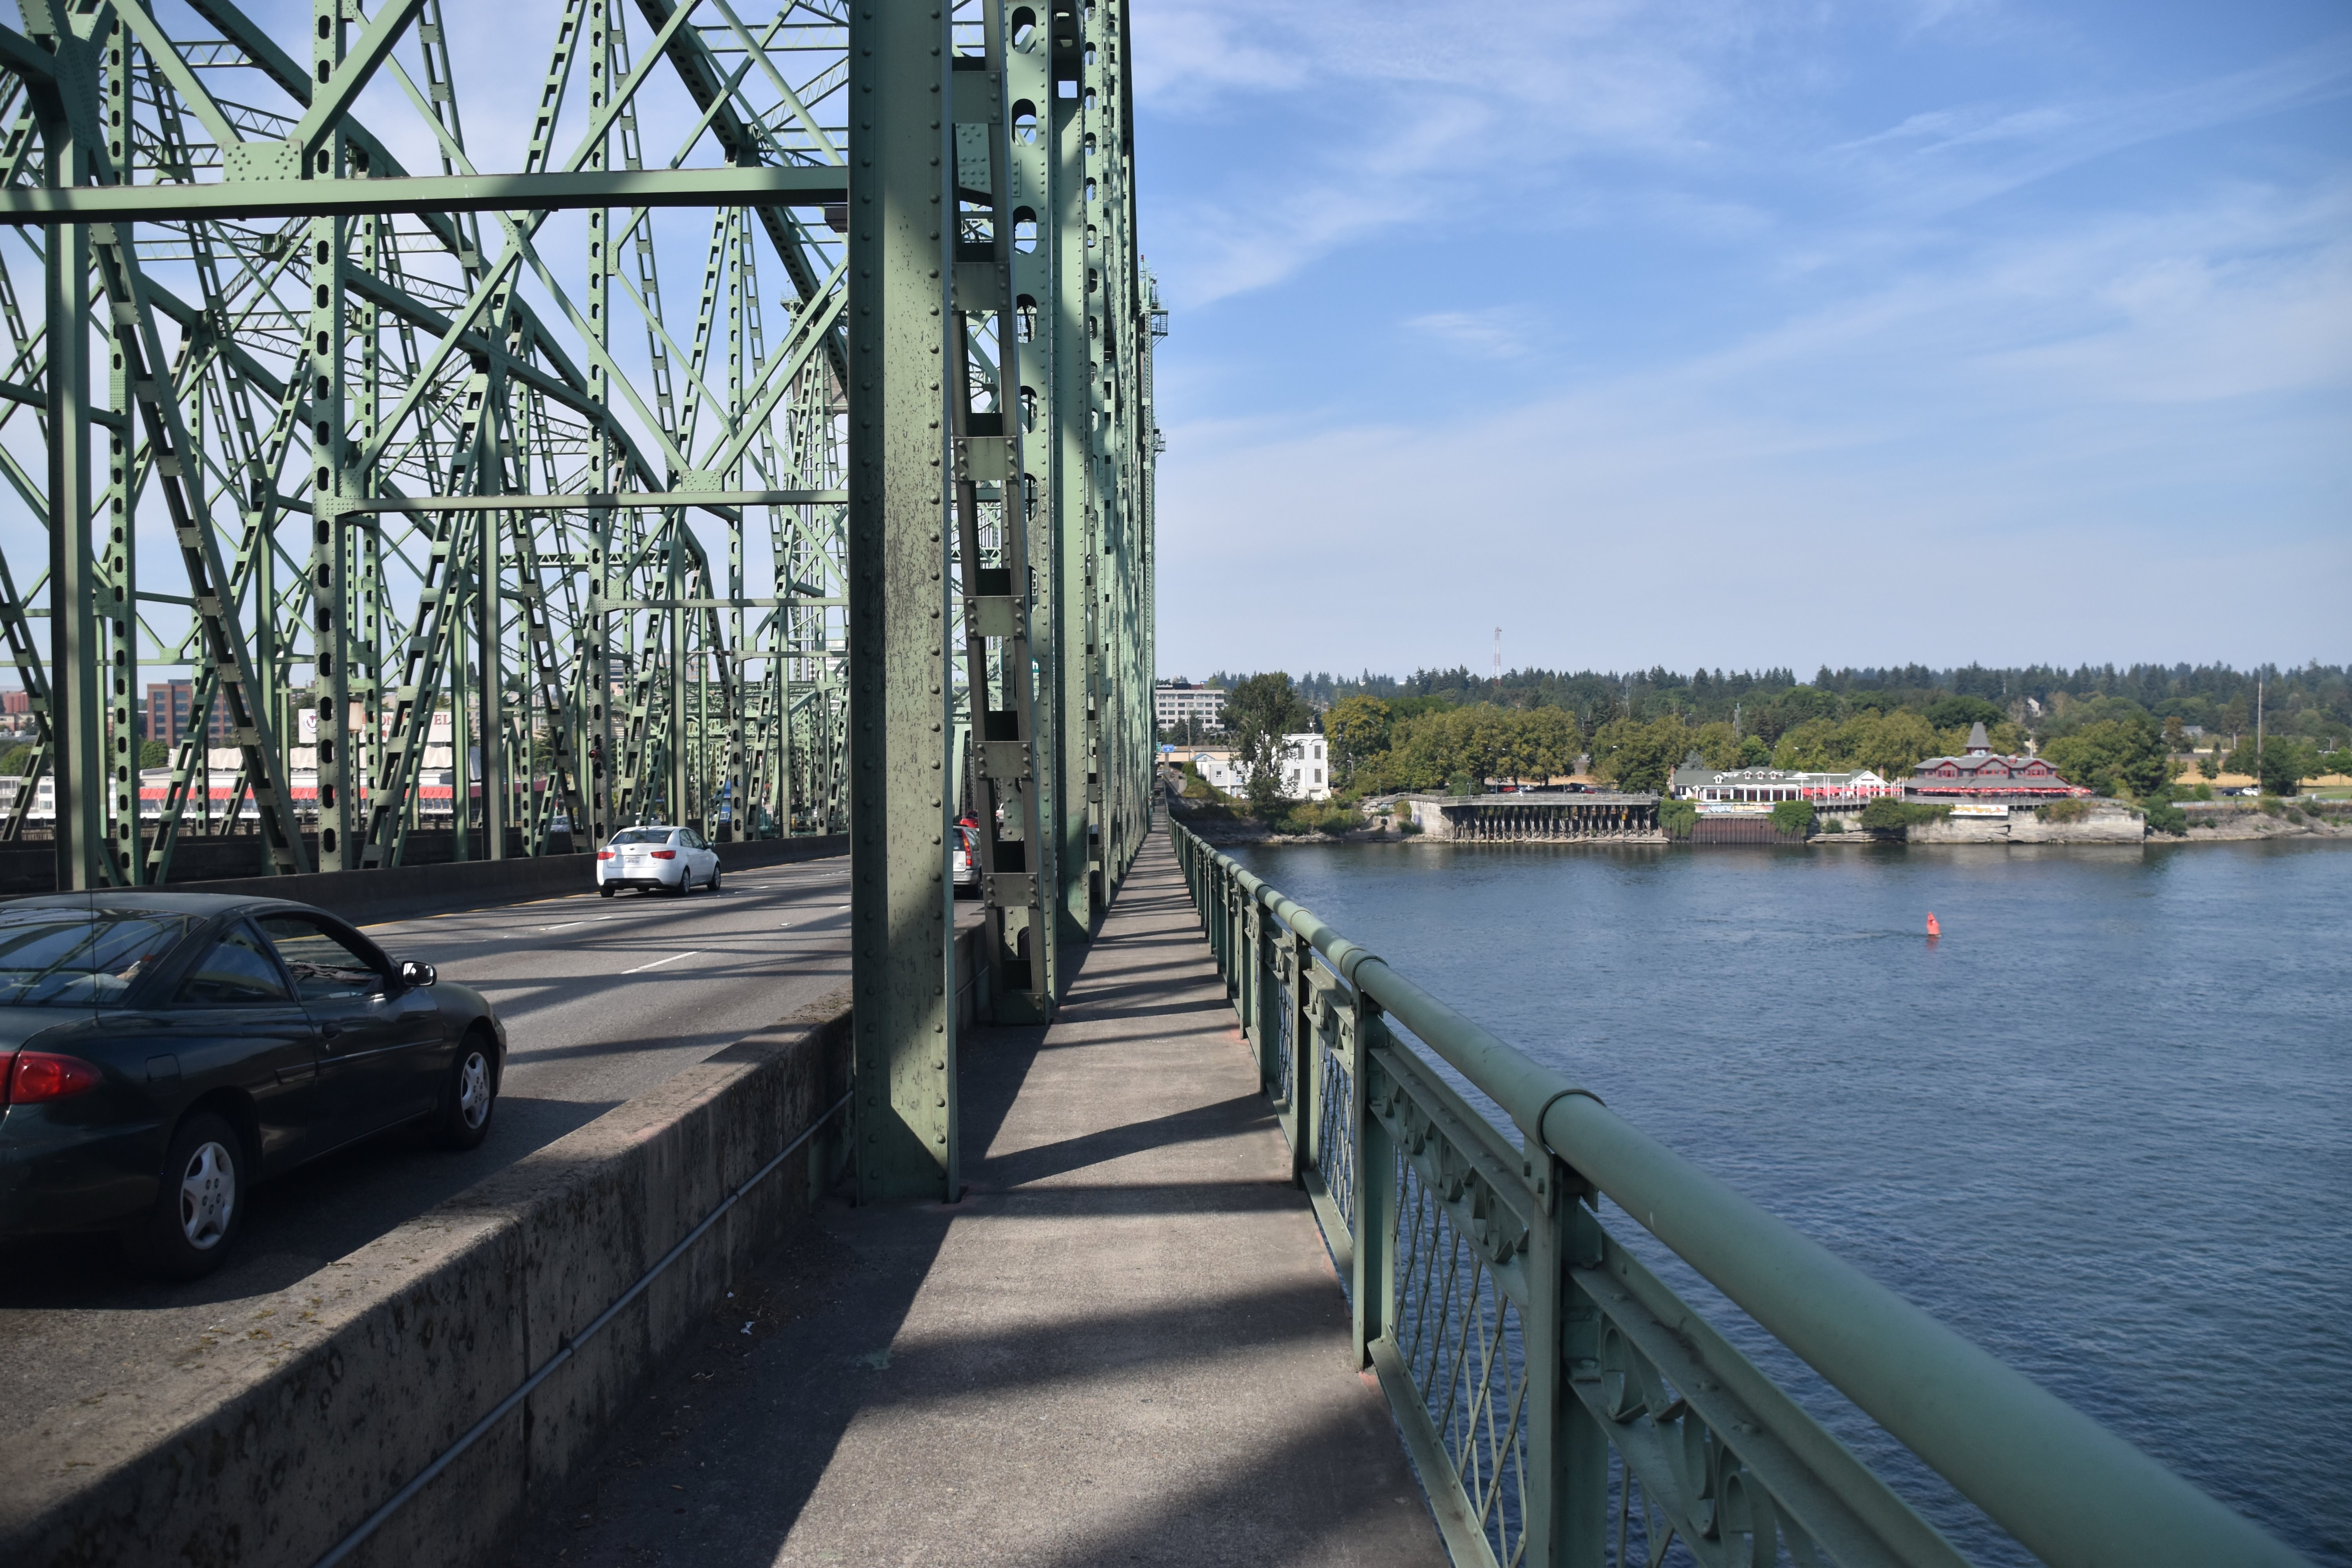
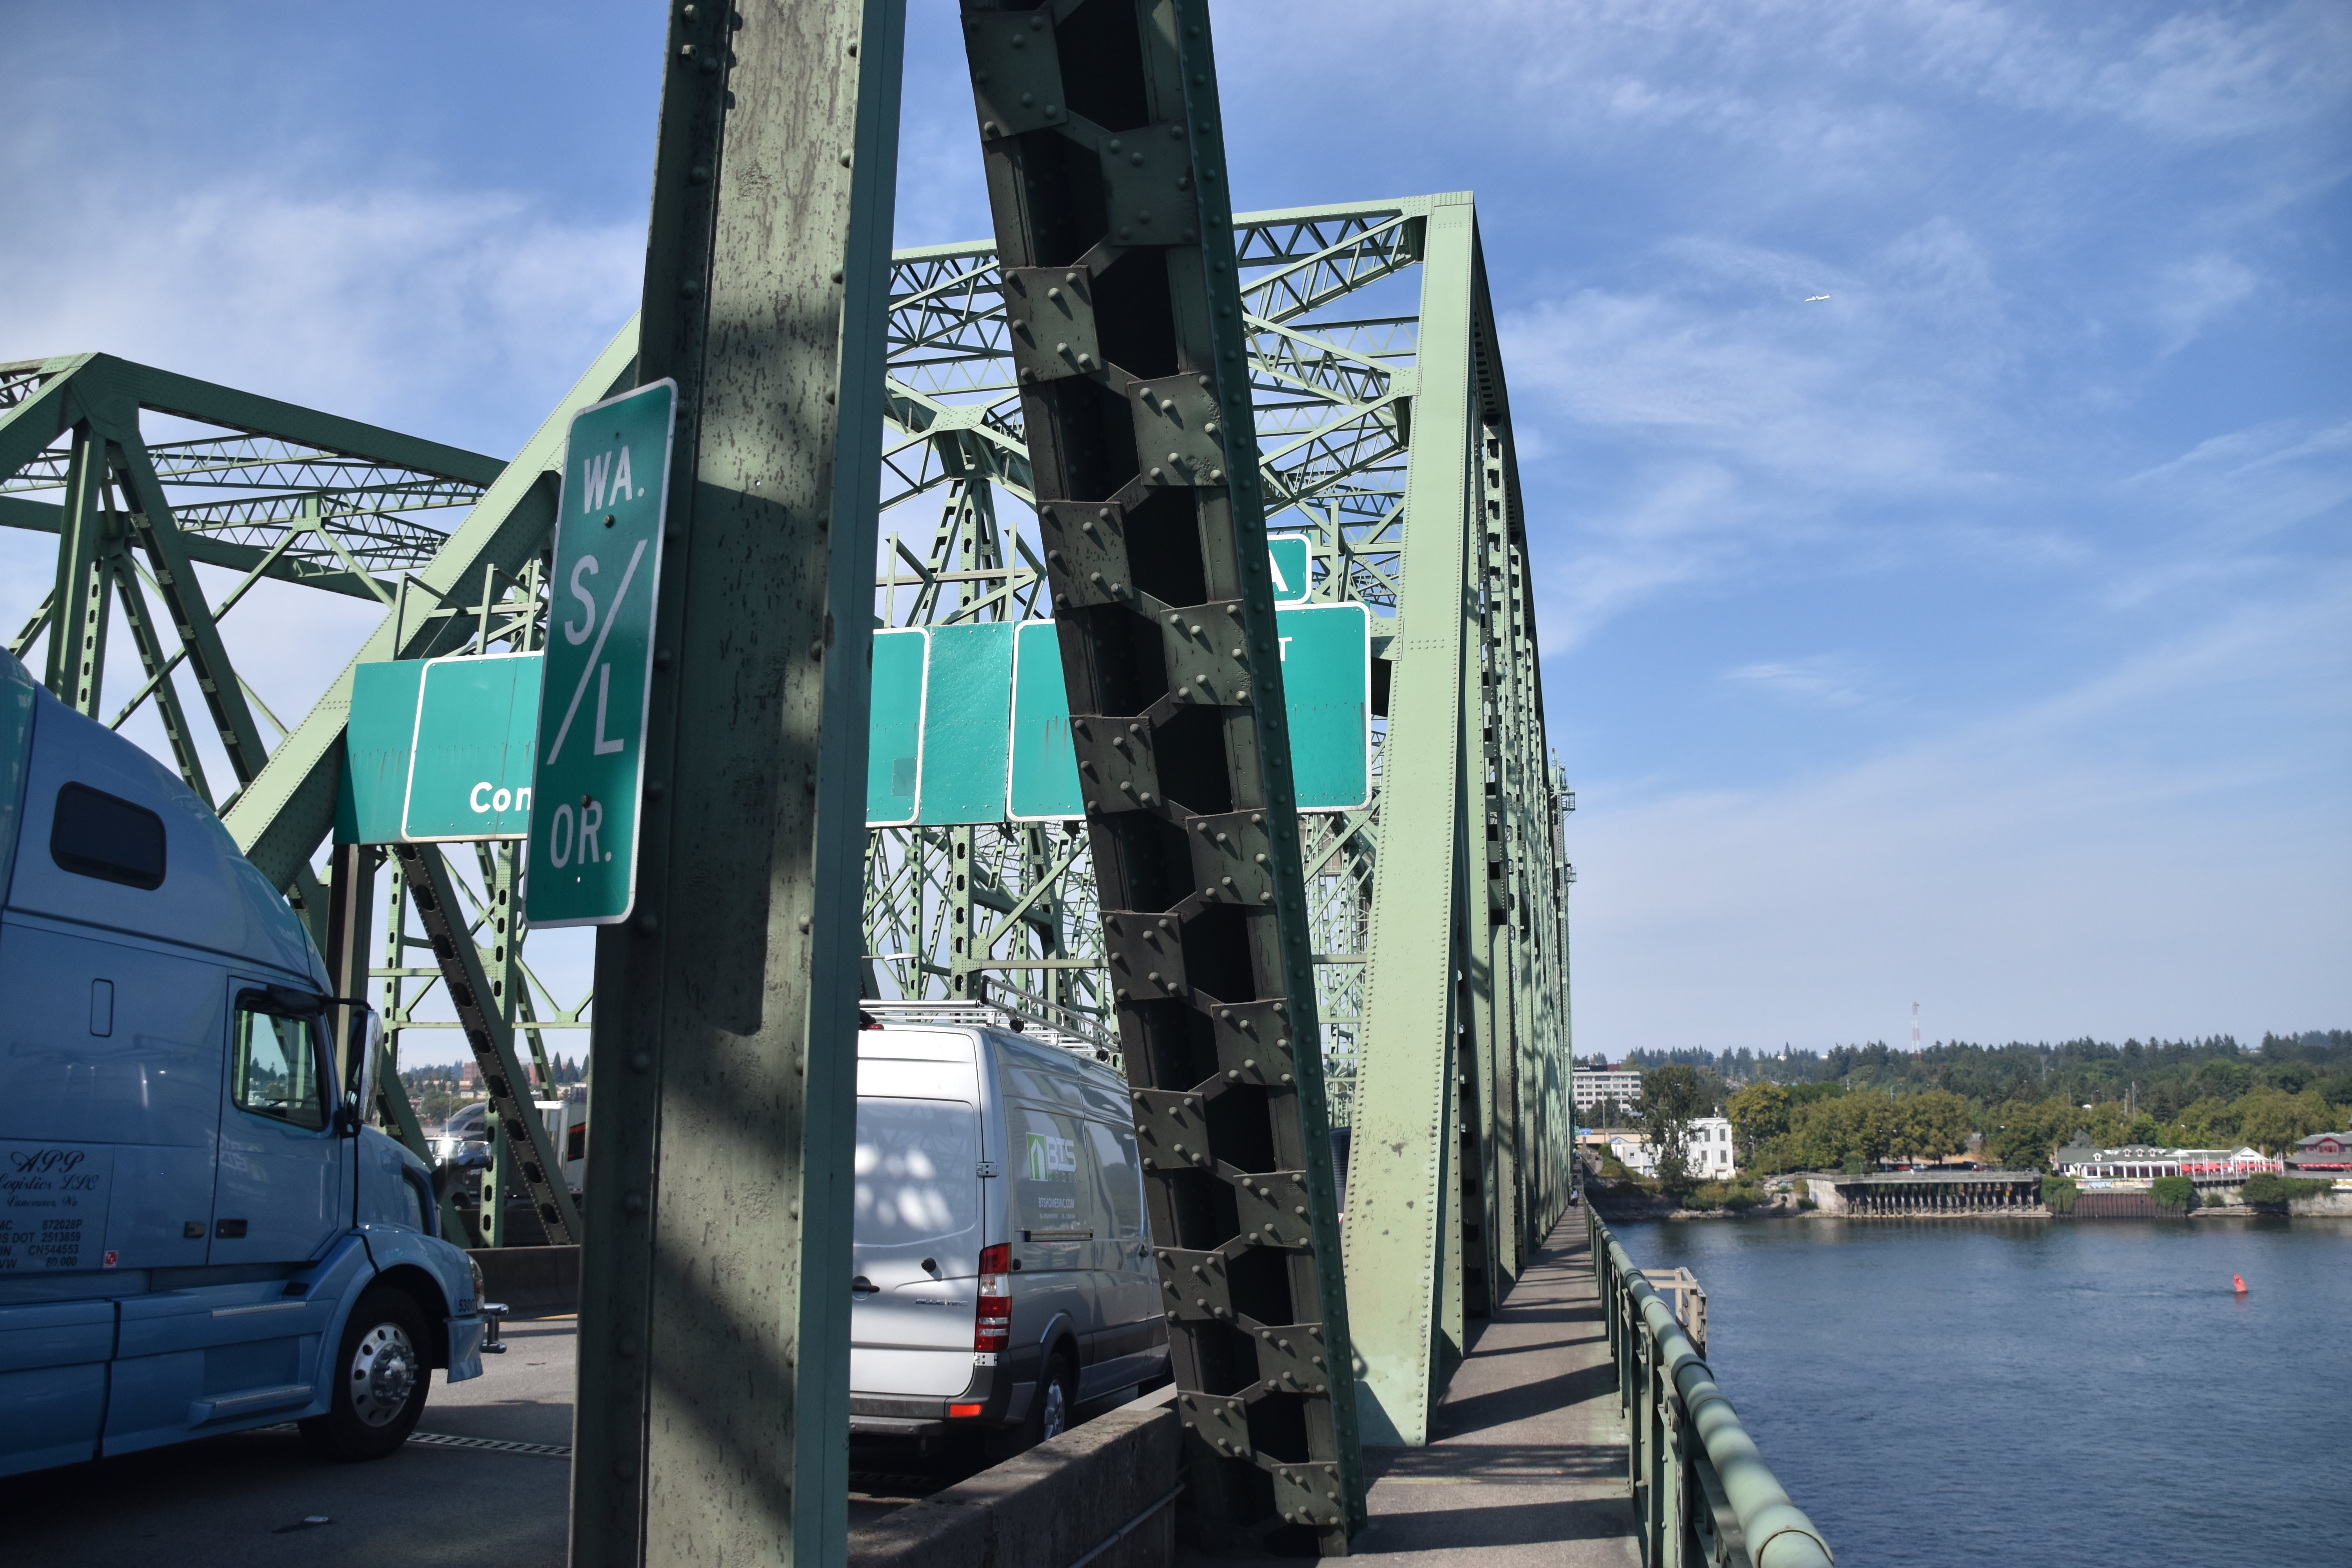
View on sidewalk facing north toward lift spans.
![]()
View on sidewalk facing south.
![]()
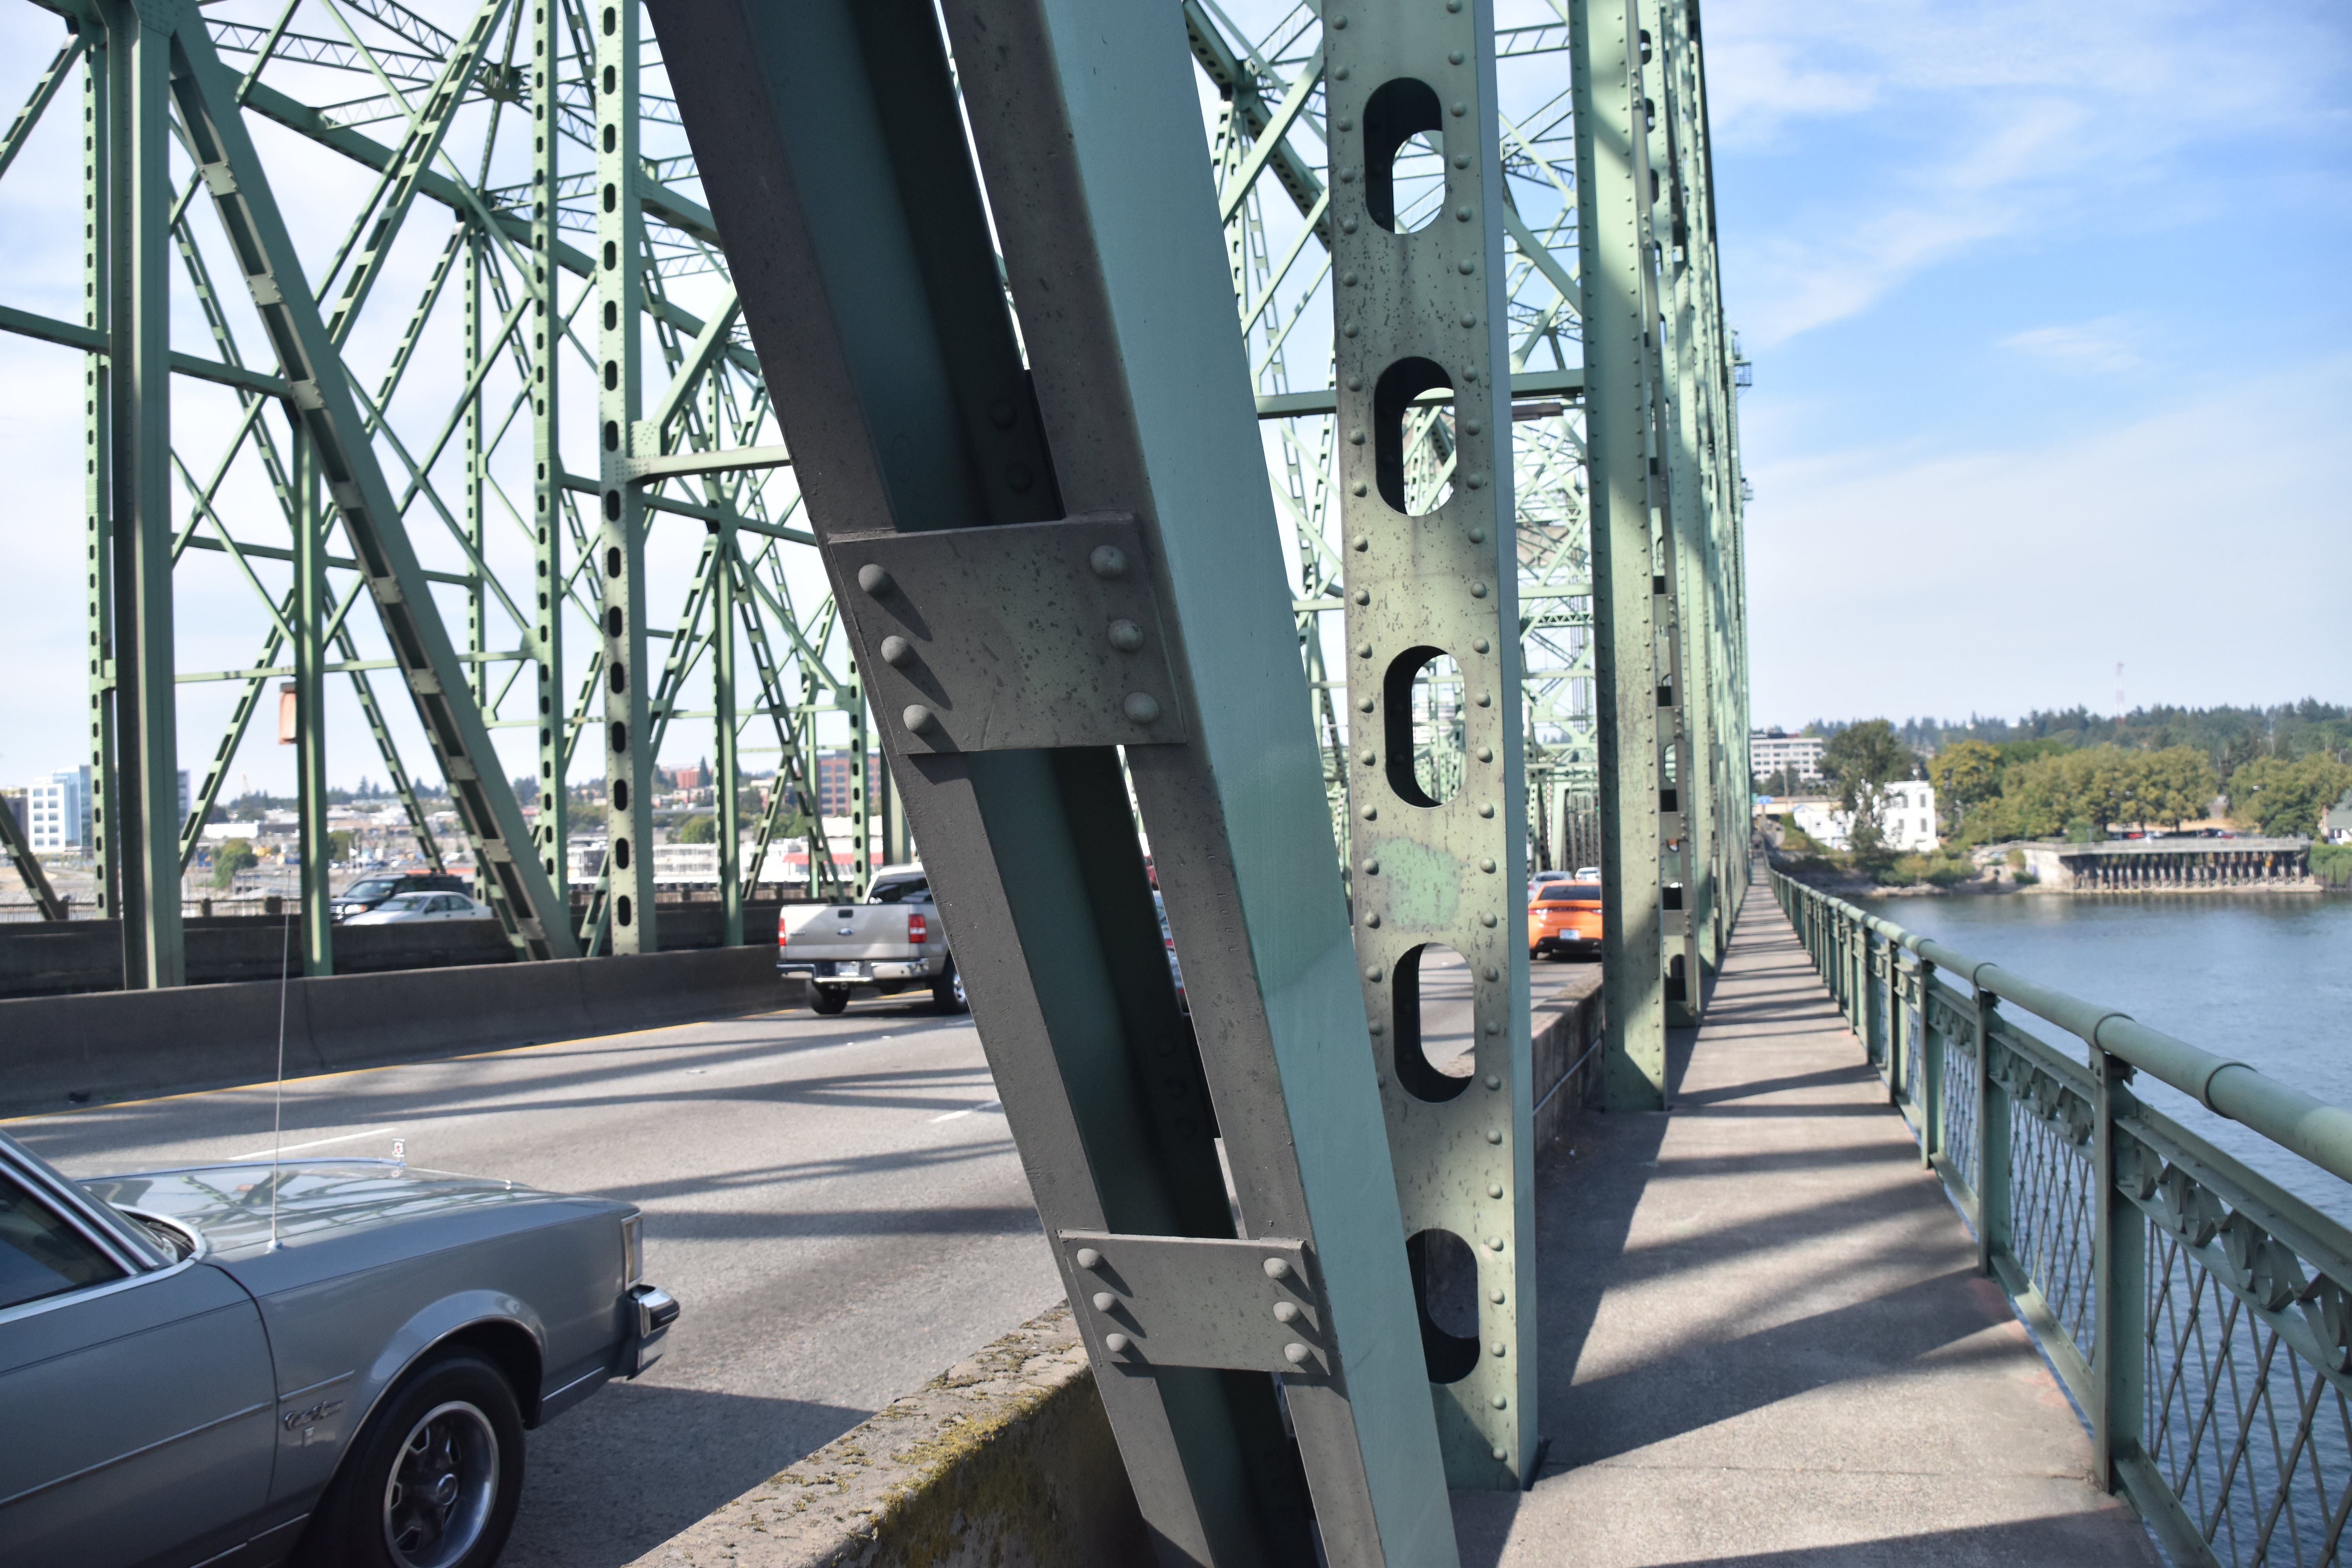
View on sidewalk facing north on large fixed truss span.
![]()


Oblique view of large fixed truss span from southeast quadrant on sidewalk.
![]()


Large fixed truss span web.
![]()


North end decorative pillar.
![]()


Decorative pillar at south end. Plaque is identical to the one at the north end.
![]()


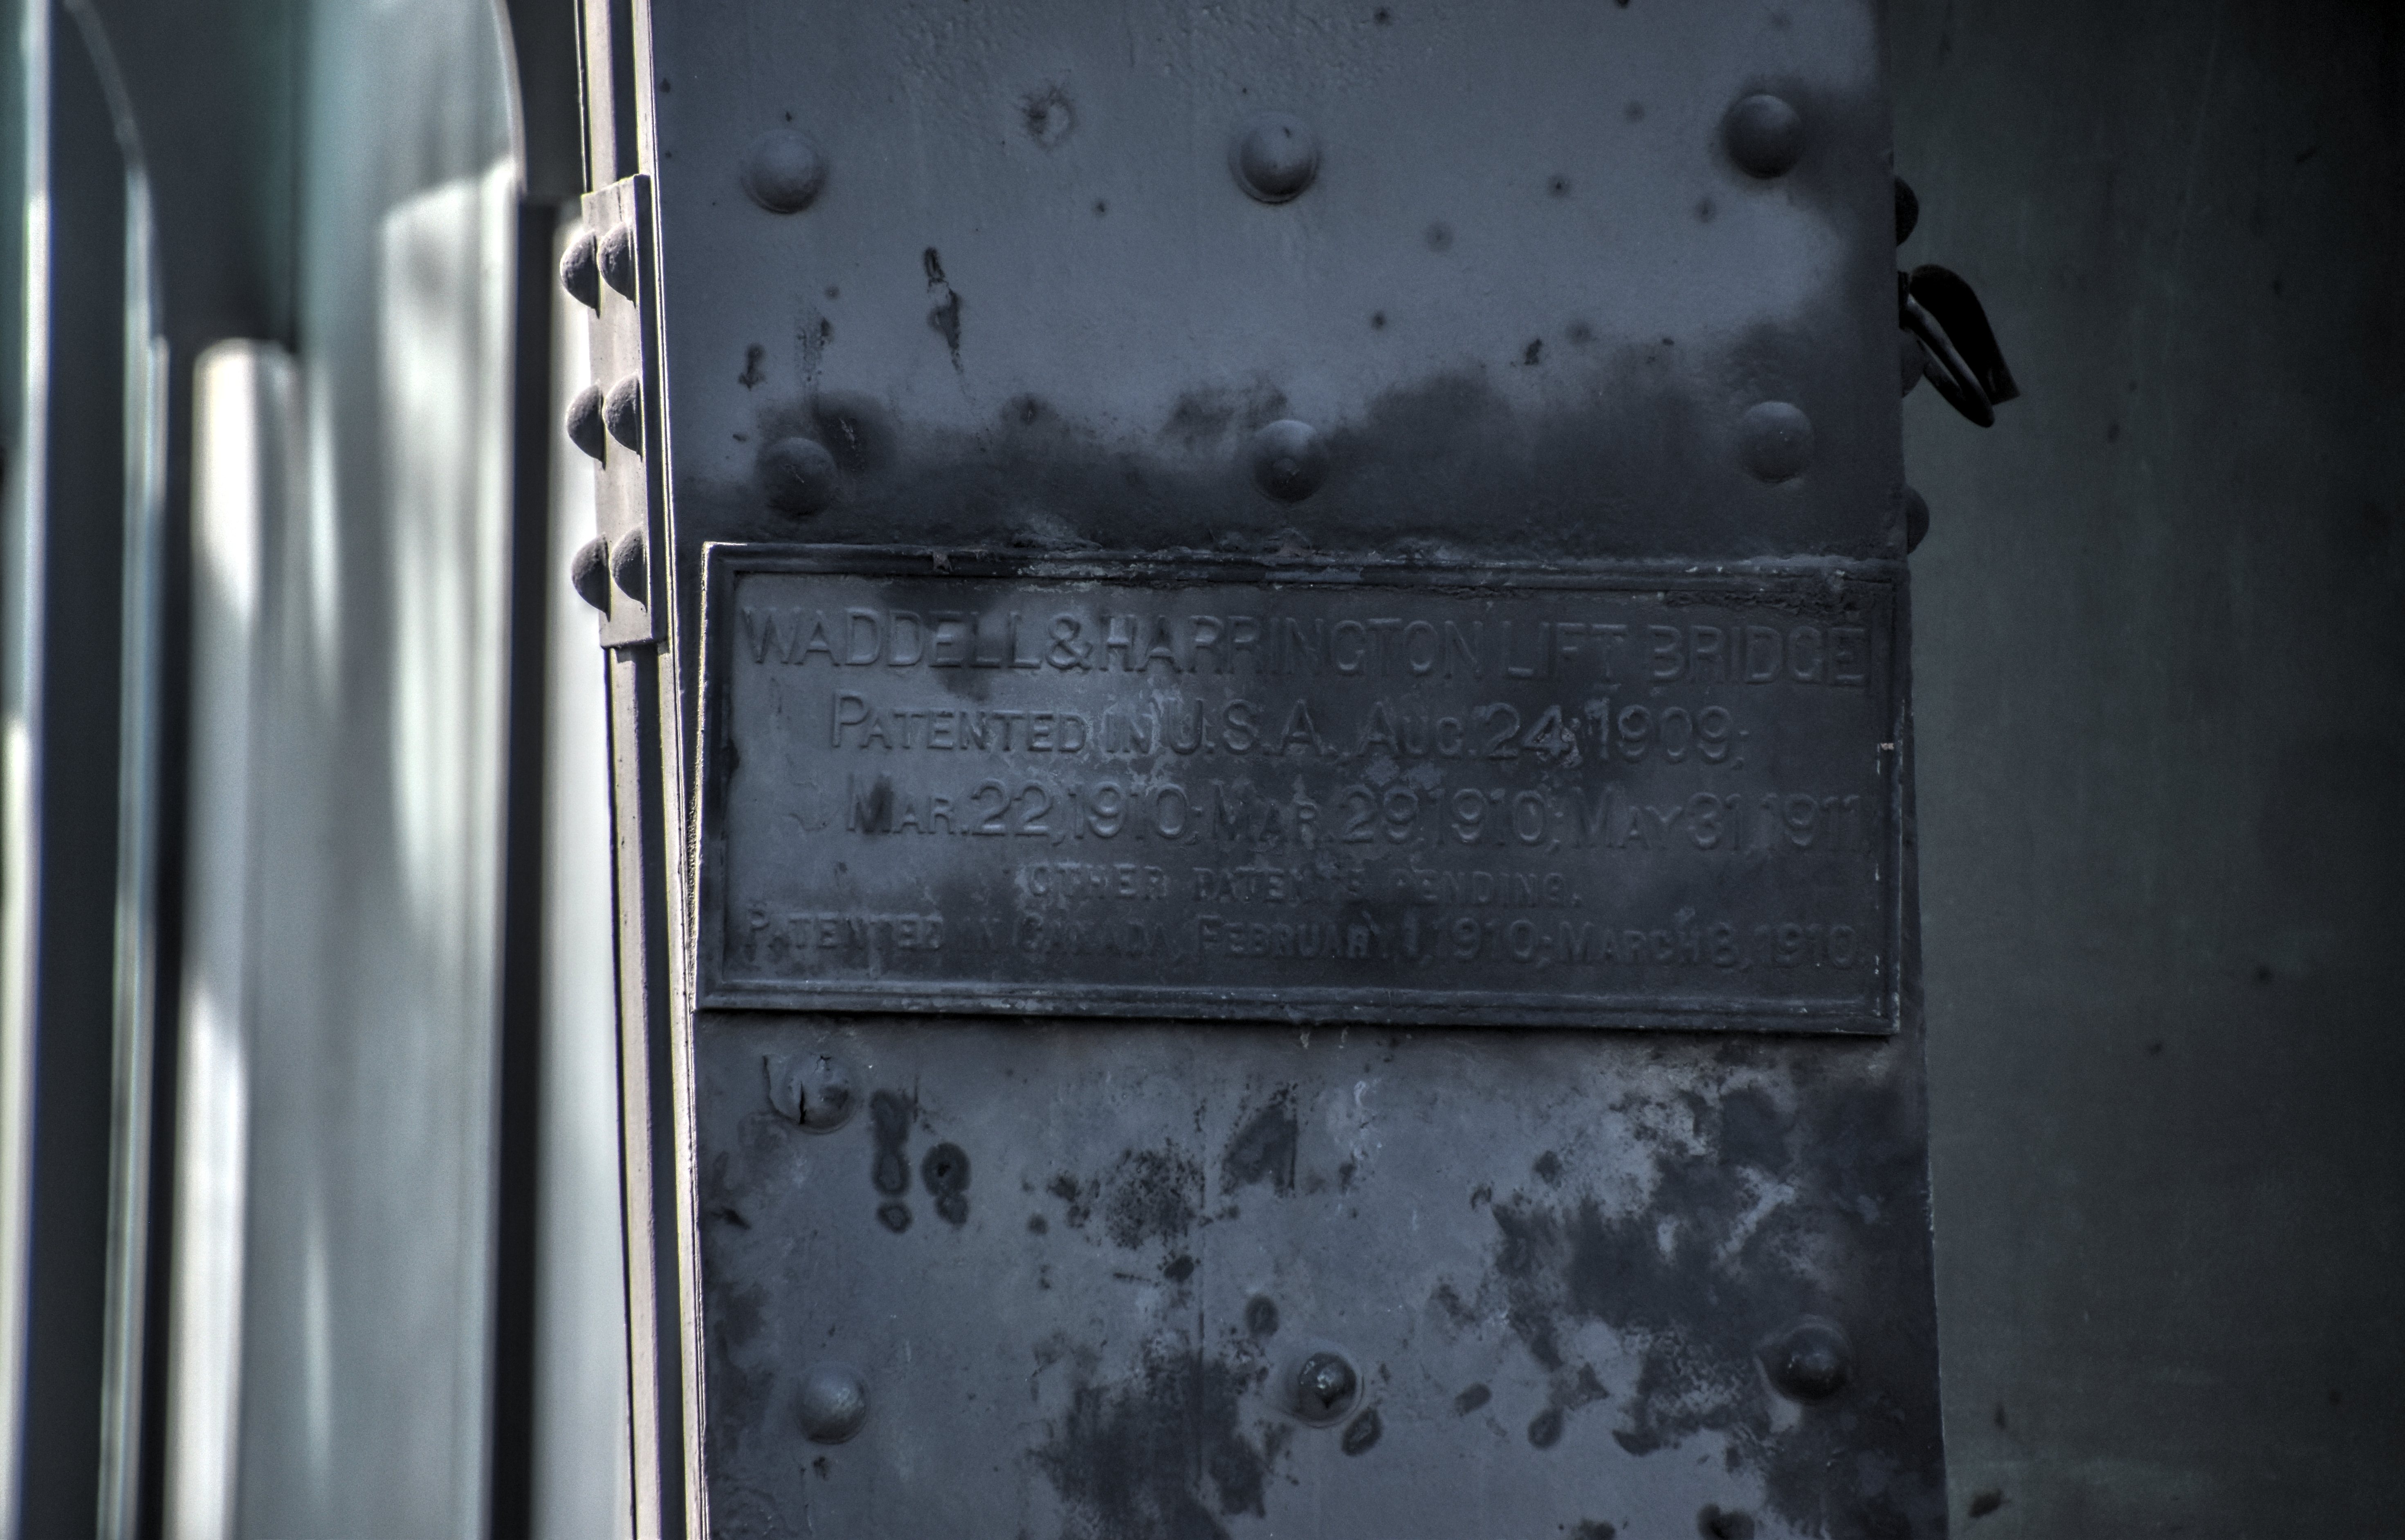

Waddell plaque.
![]()

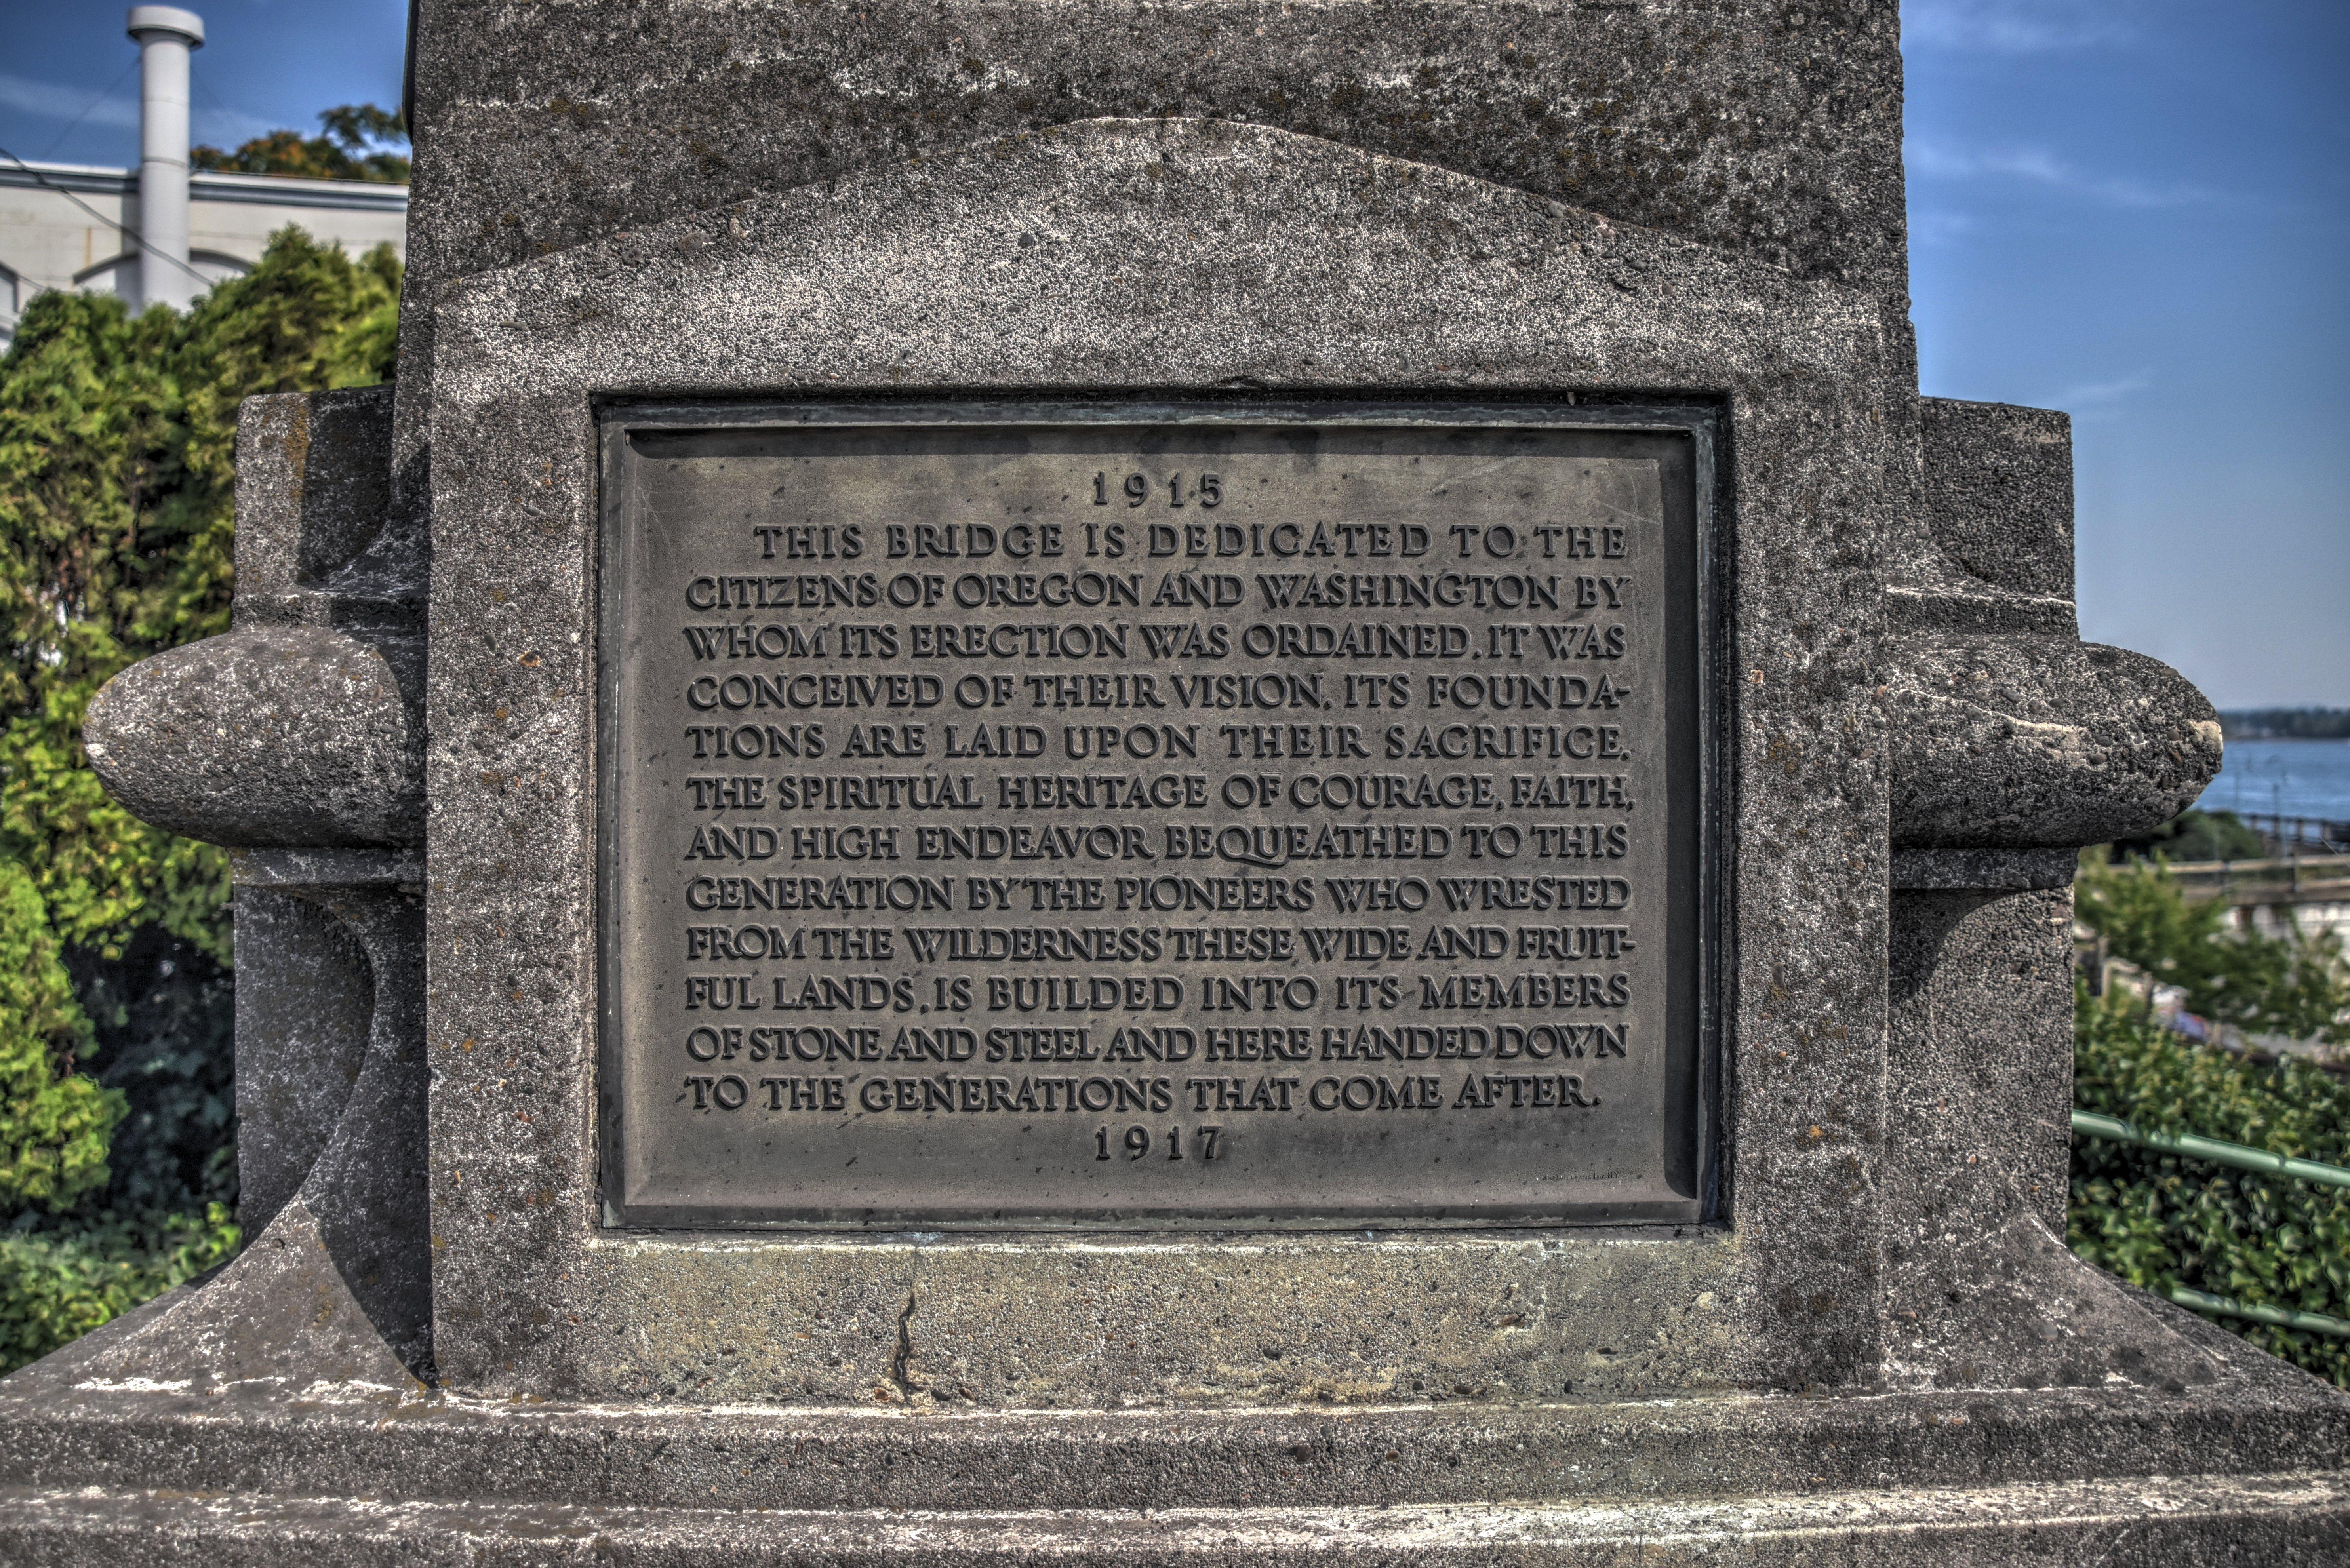
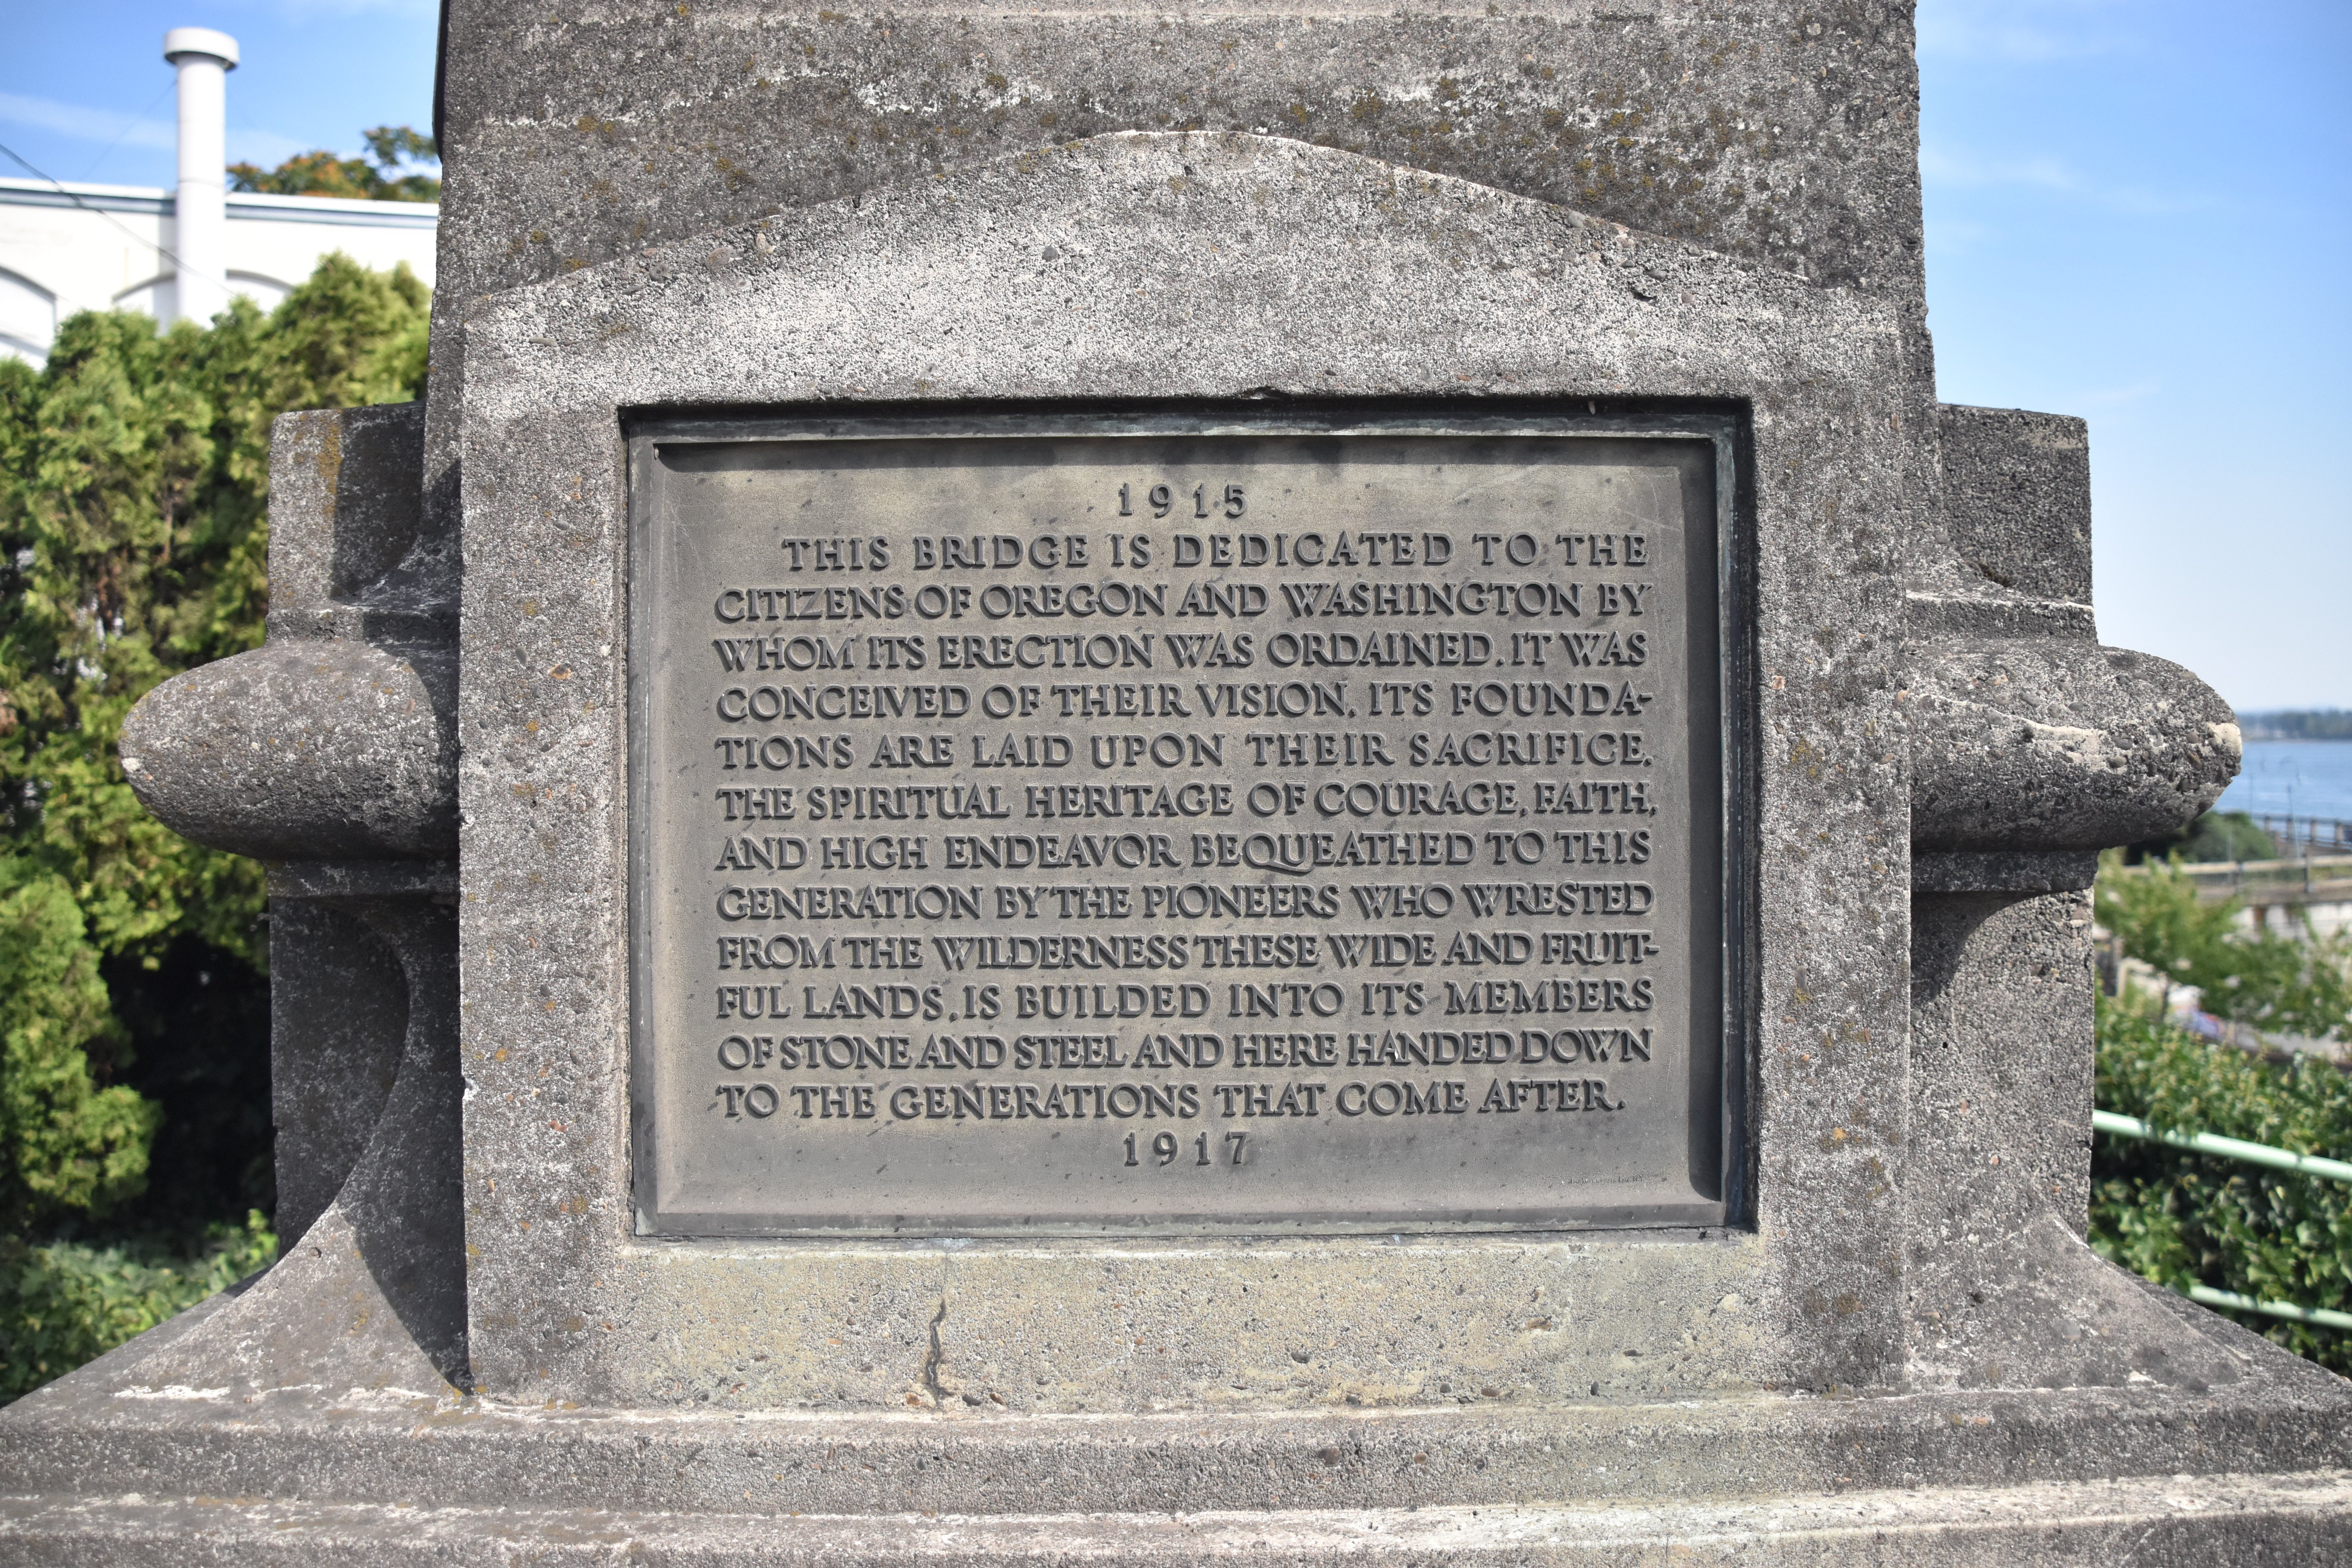
Dedication plaque on north end pillar. Identical to plaque on south end pillar.
![]()


Main engineer/builder plaque on south pillar.
![]()

Interpretive signage about the river.
![]()


Illinois S brand, on original span.
![]()


USS (United States Steel) brand, on large fixed truss span.
![]()


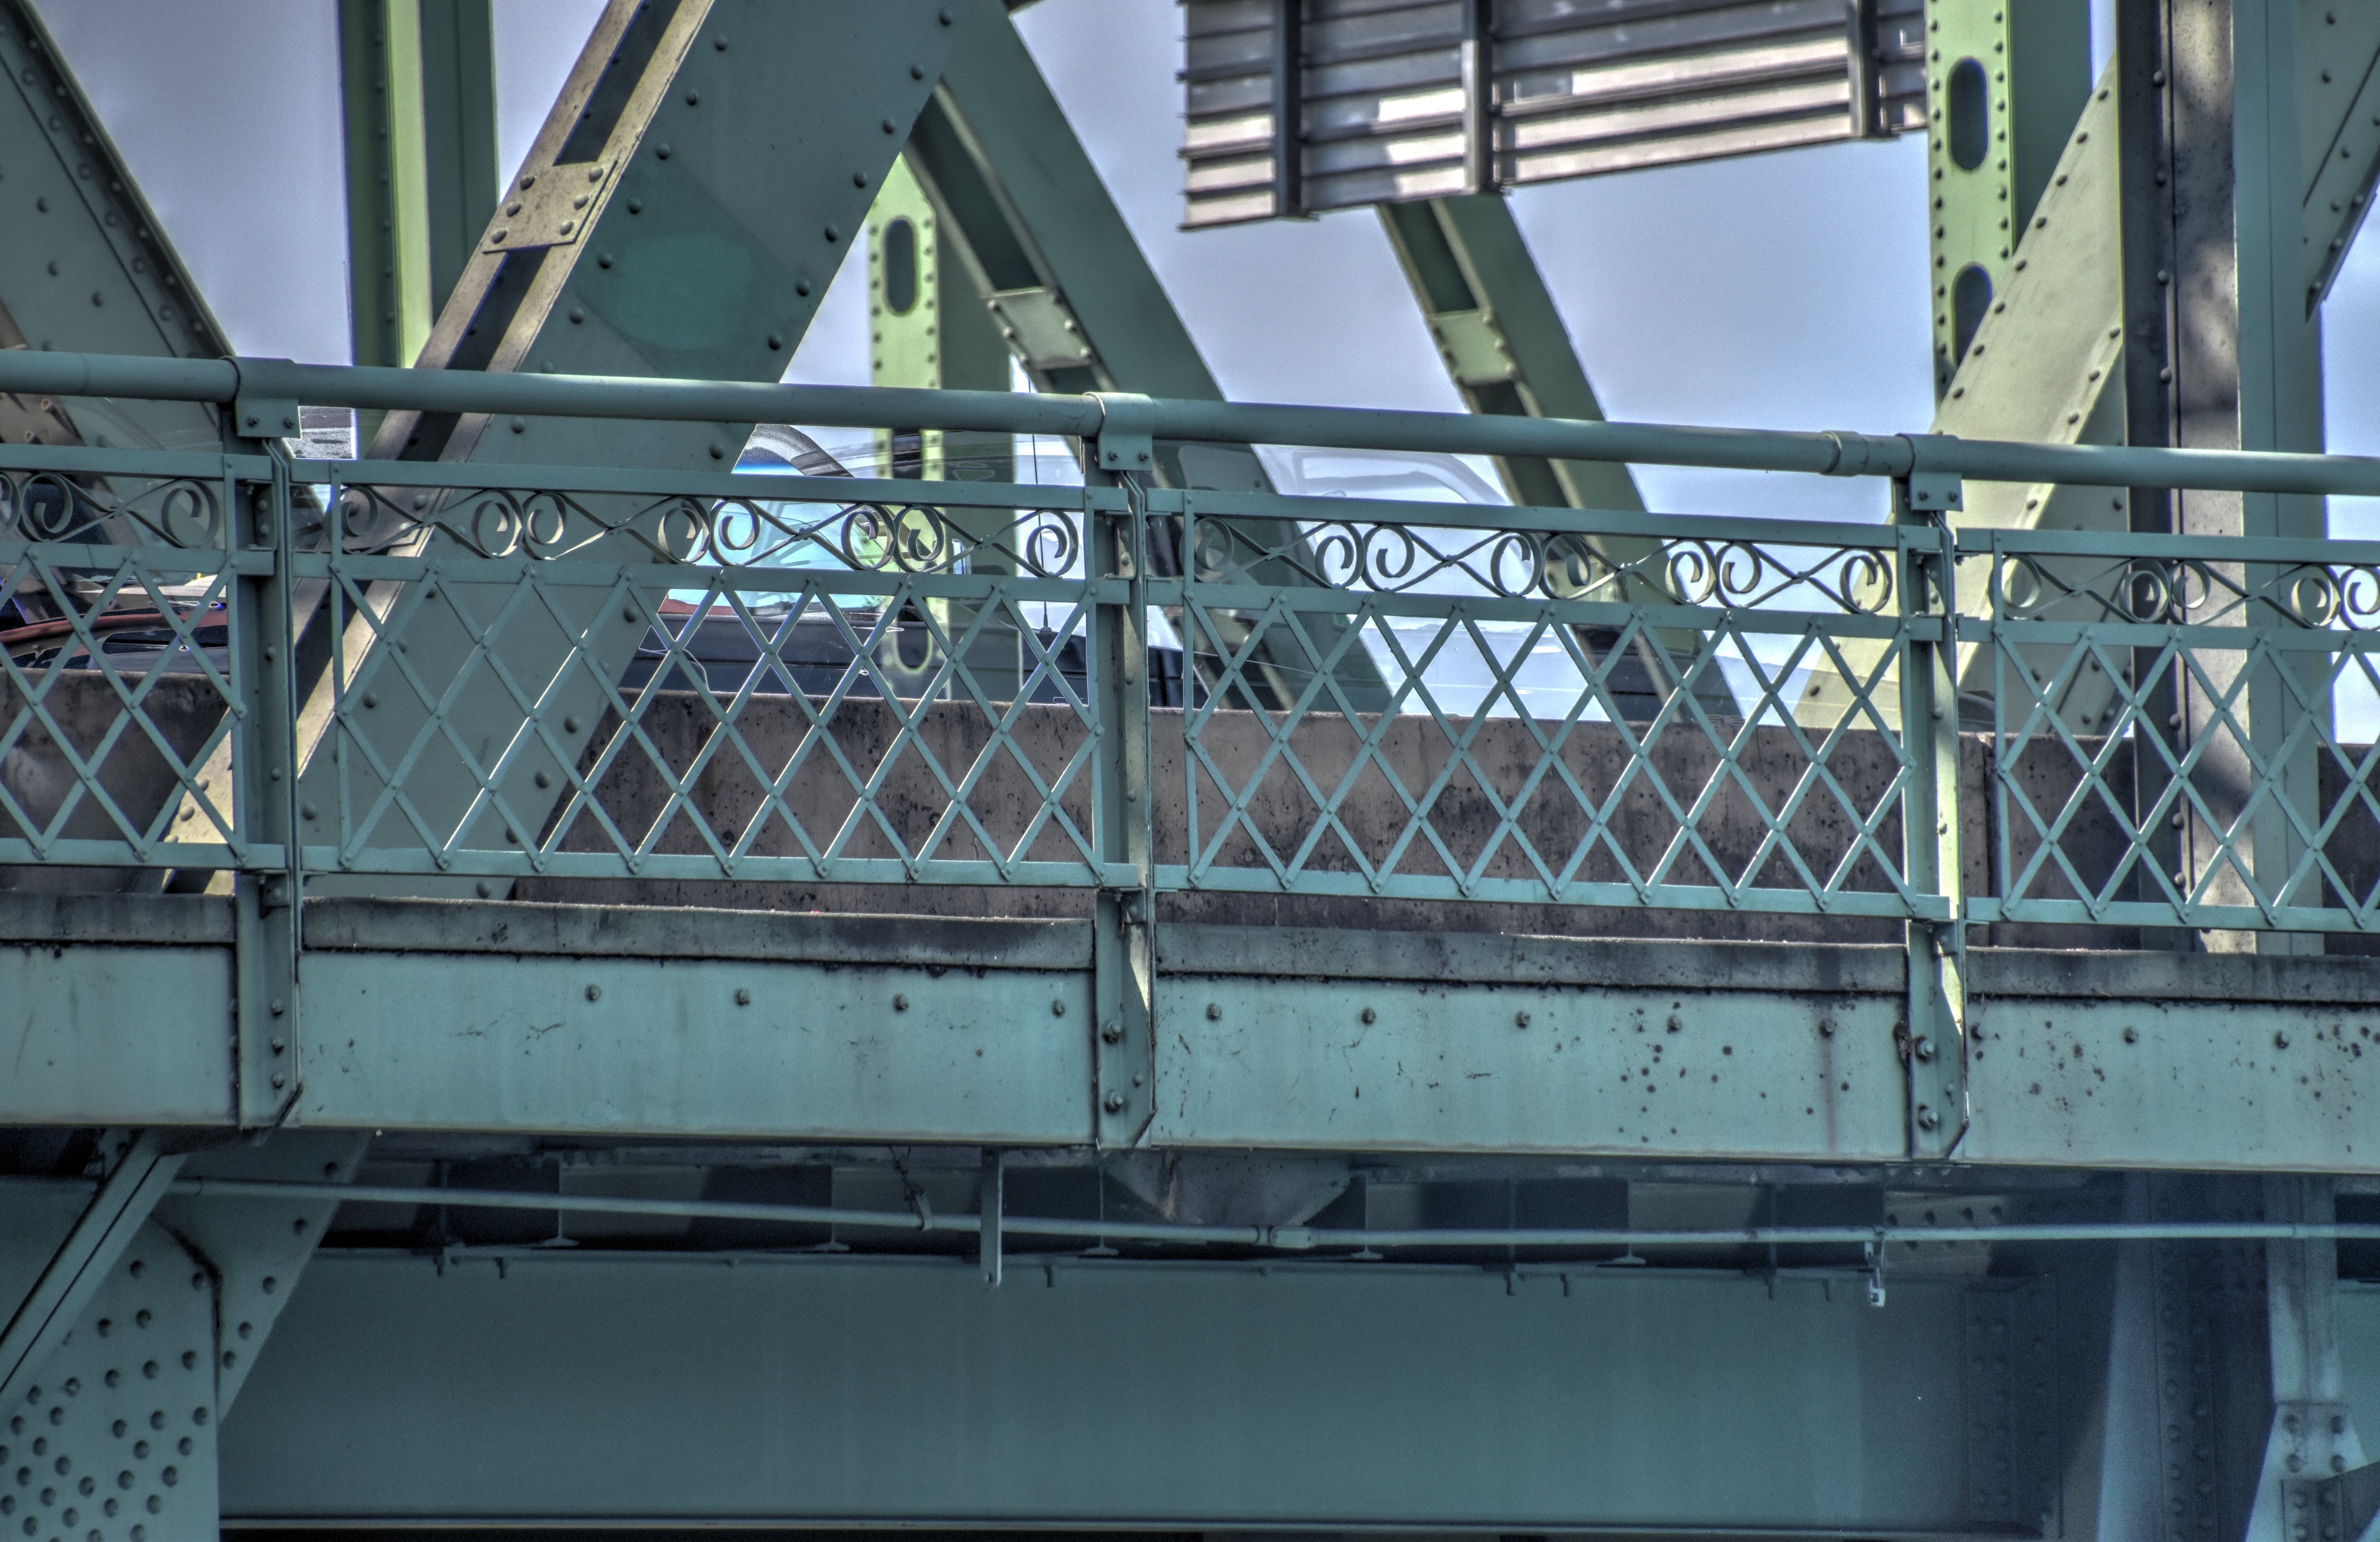


Railing as seen from beside bridge.
![]()
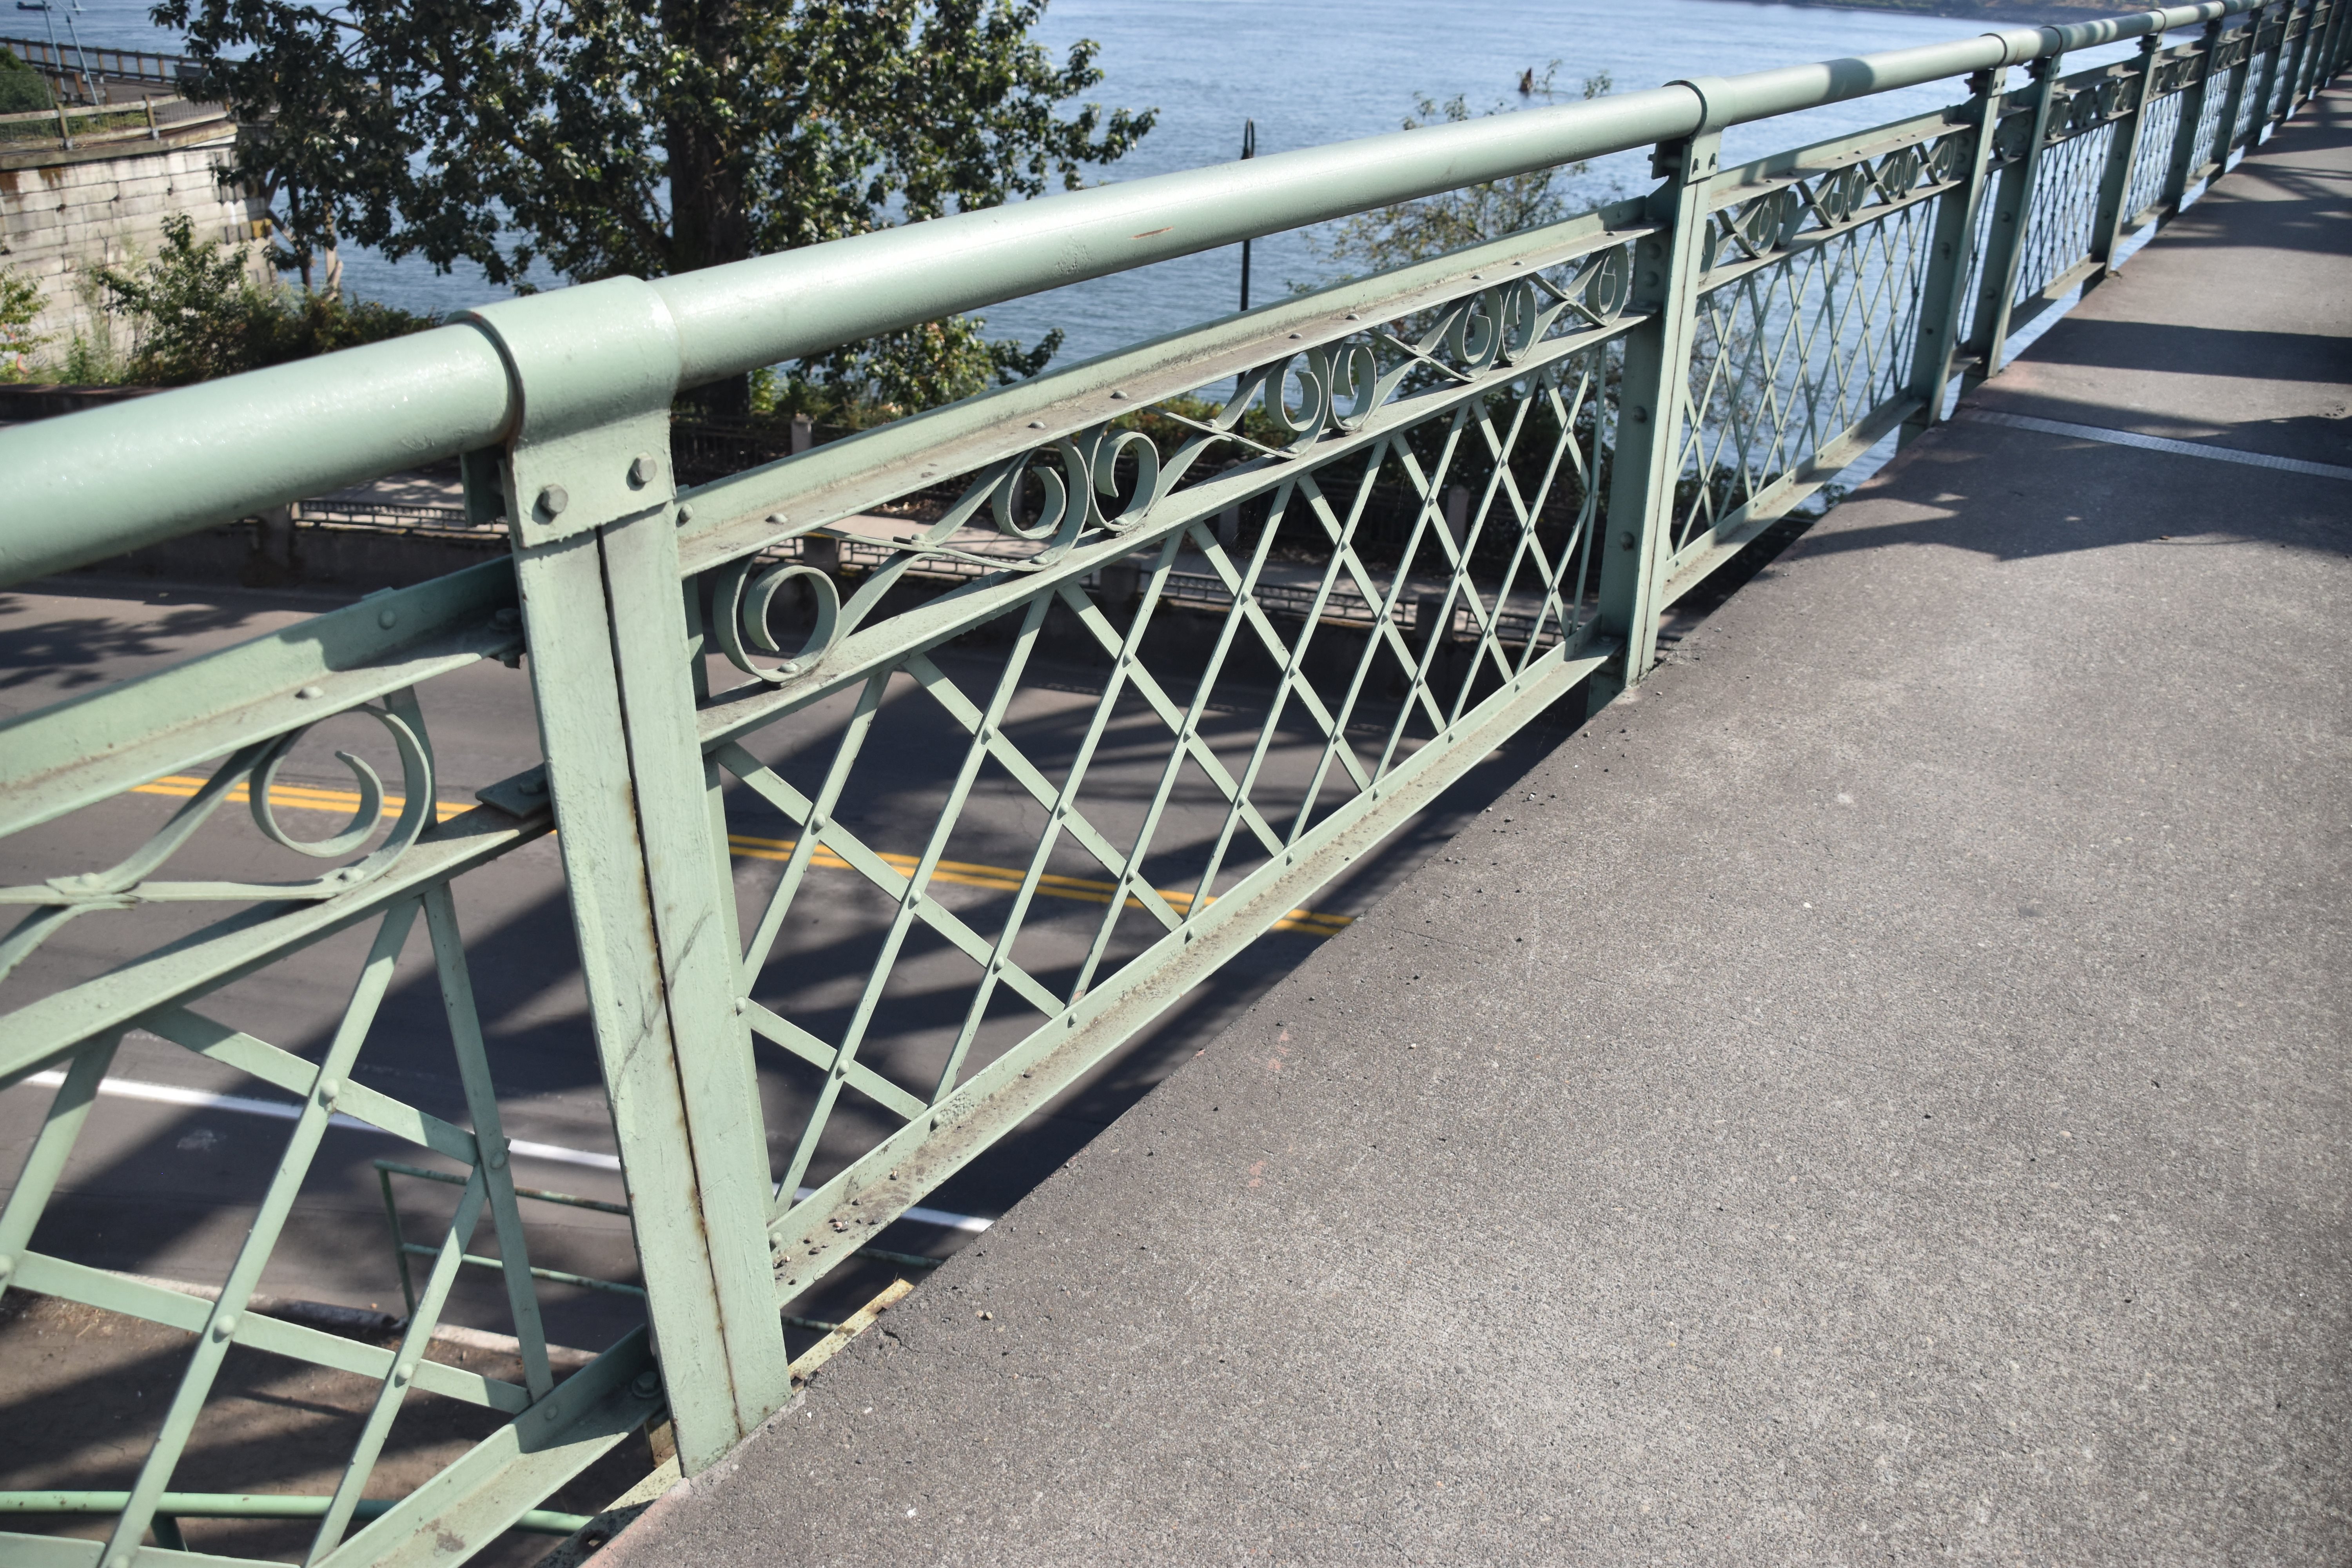


Railing as seen from on bridge.
![]()
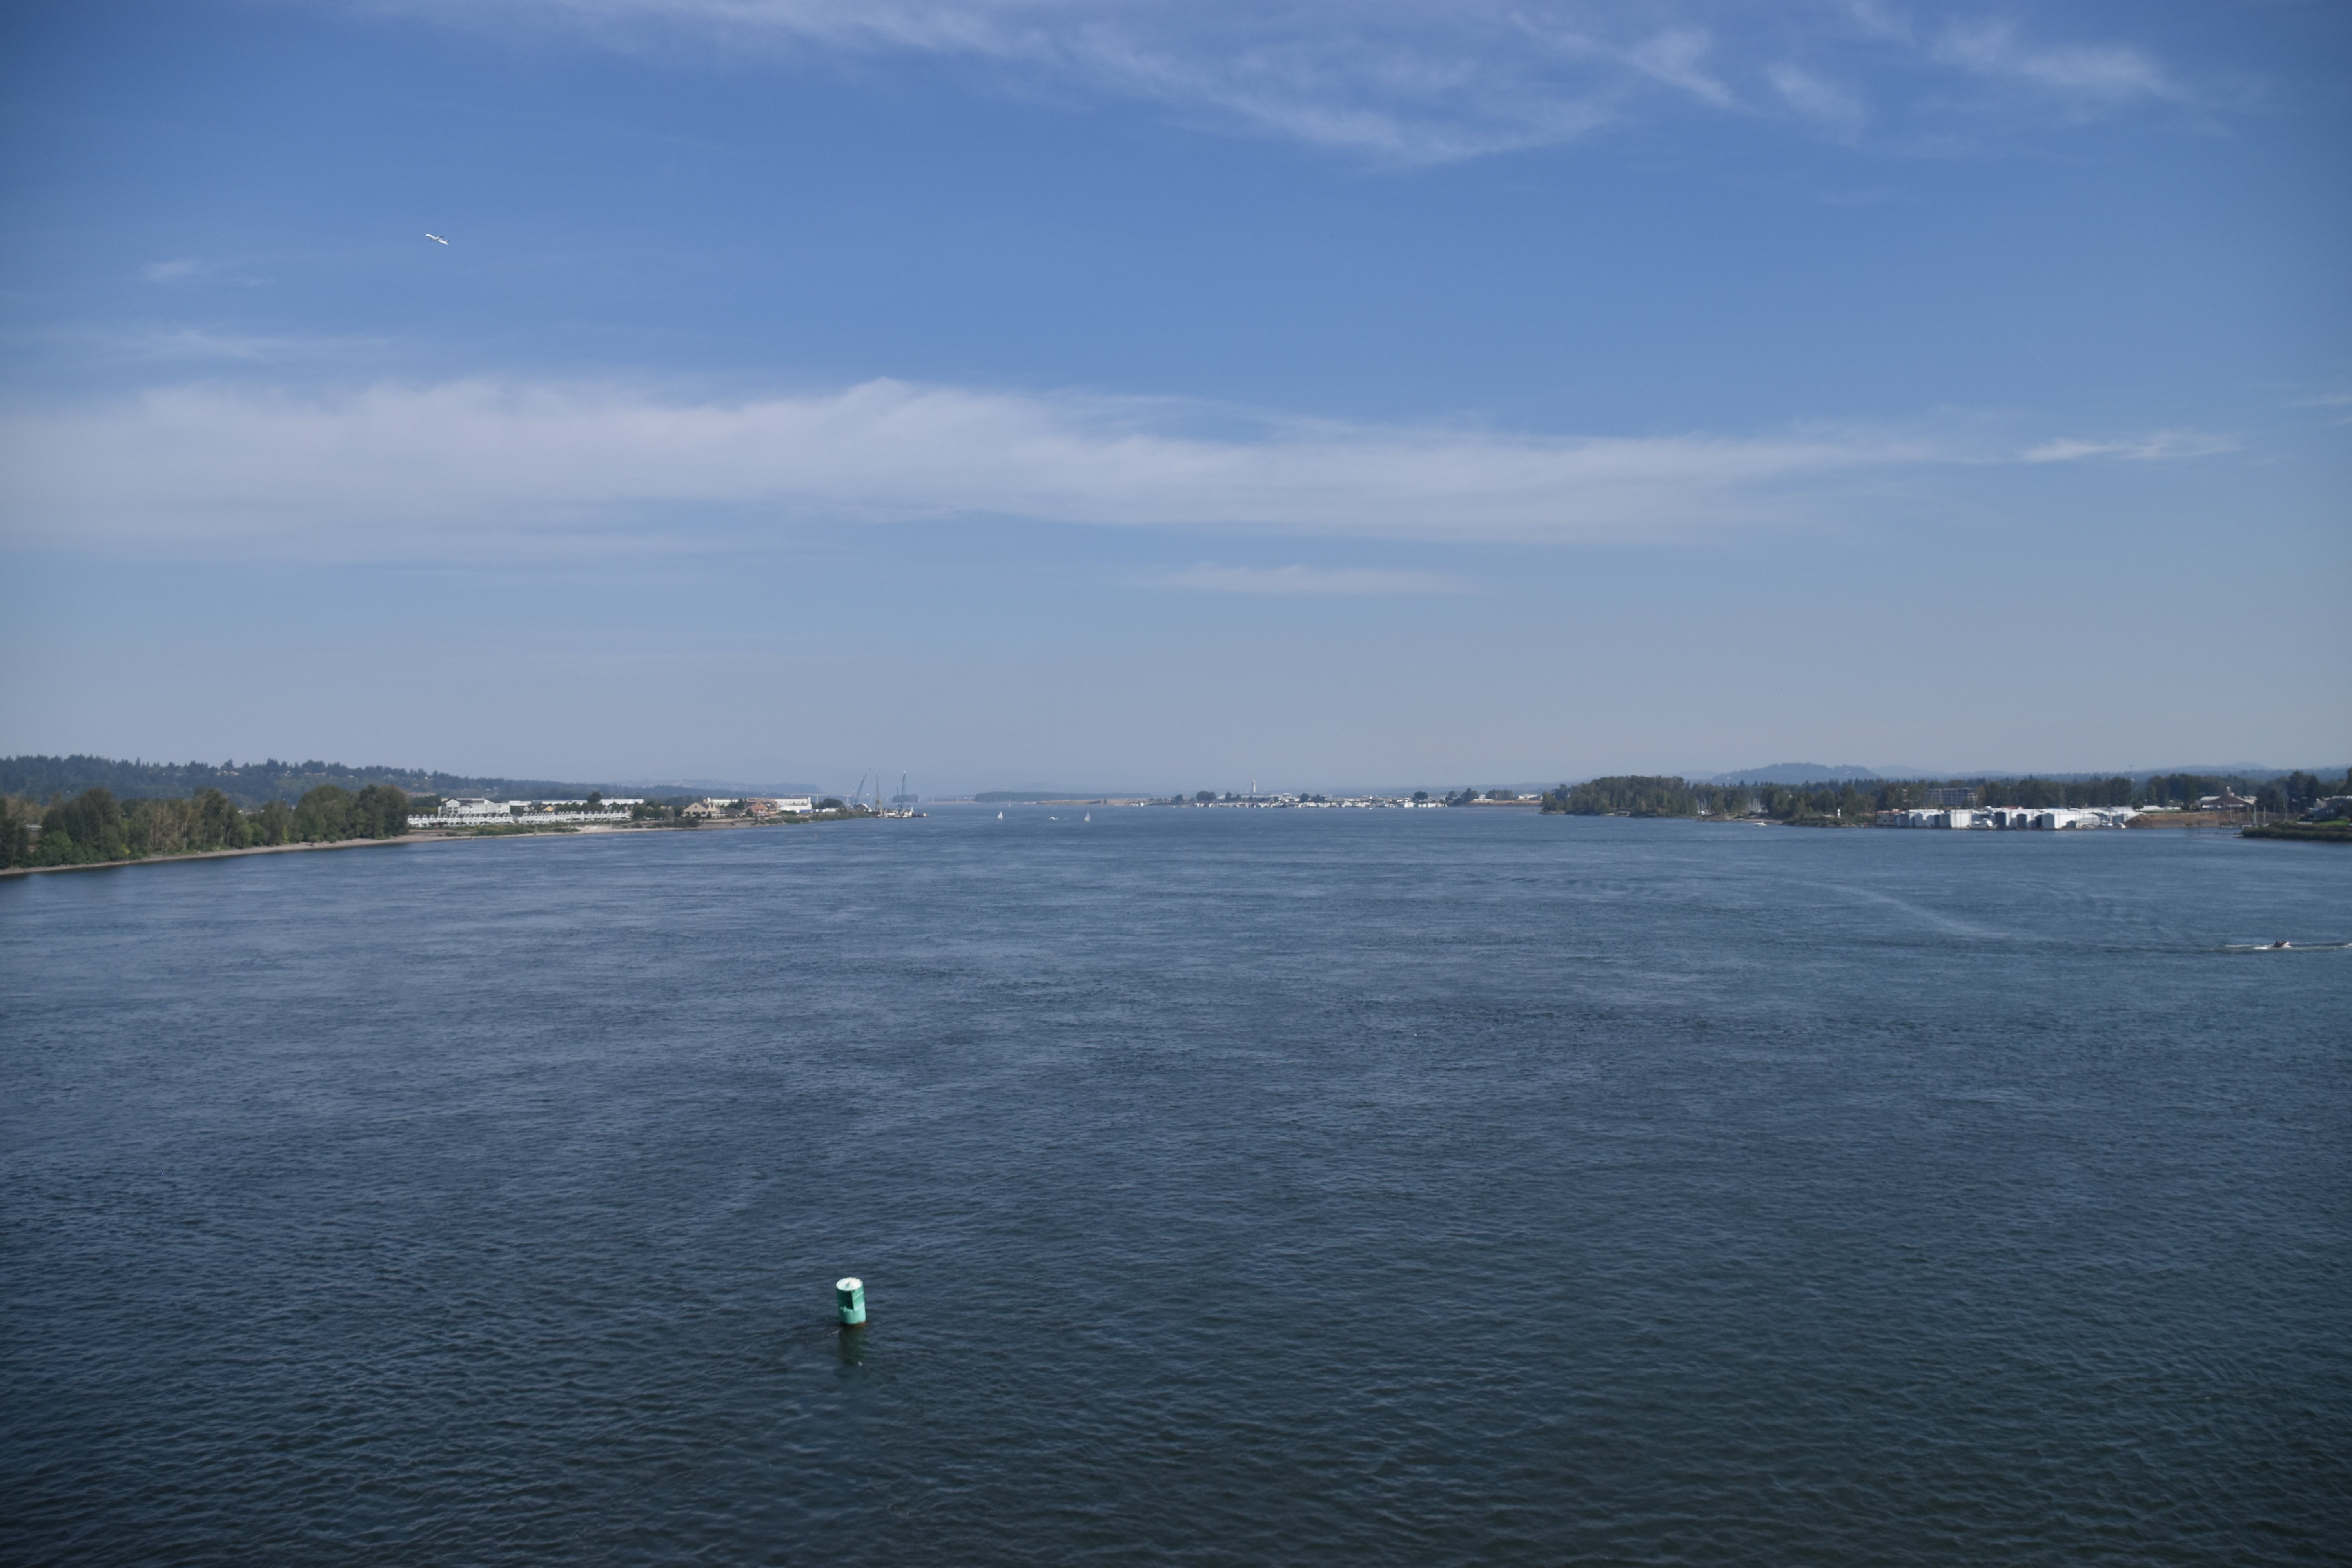
View from bridge.
![]()
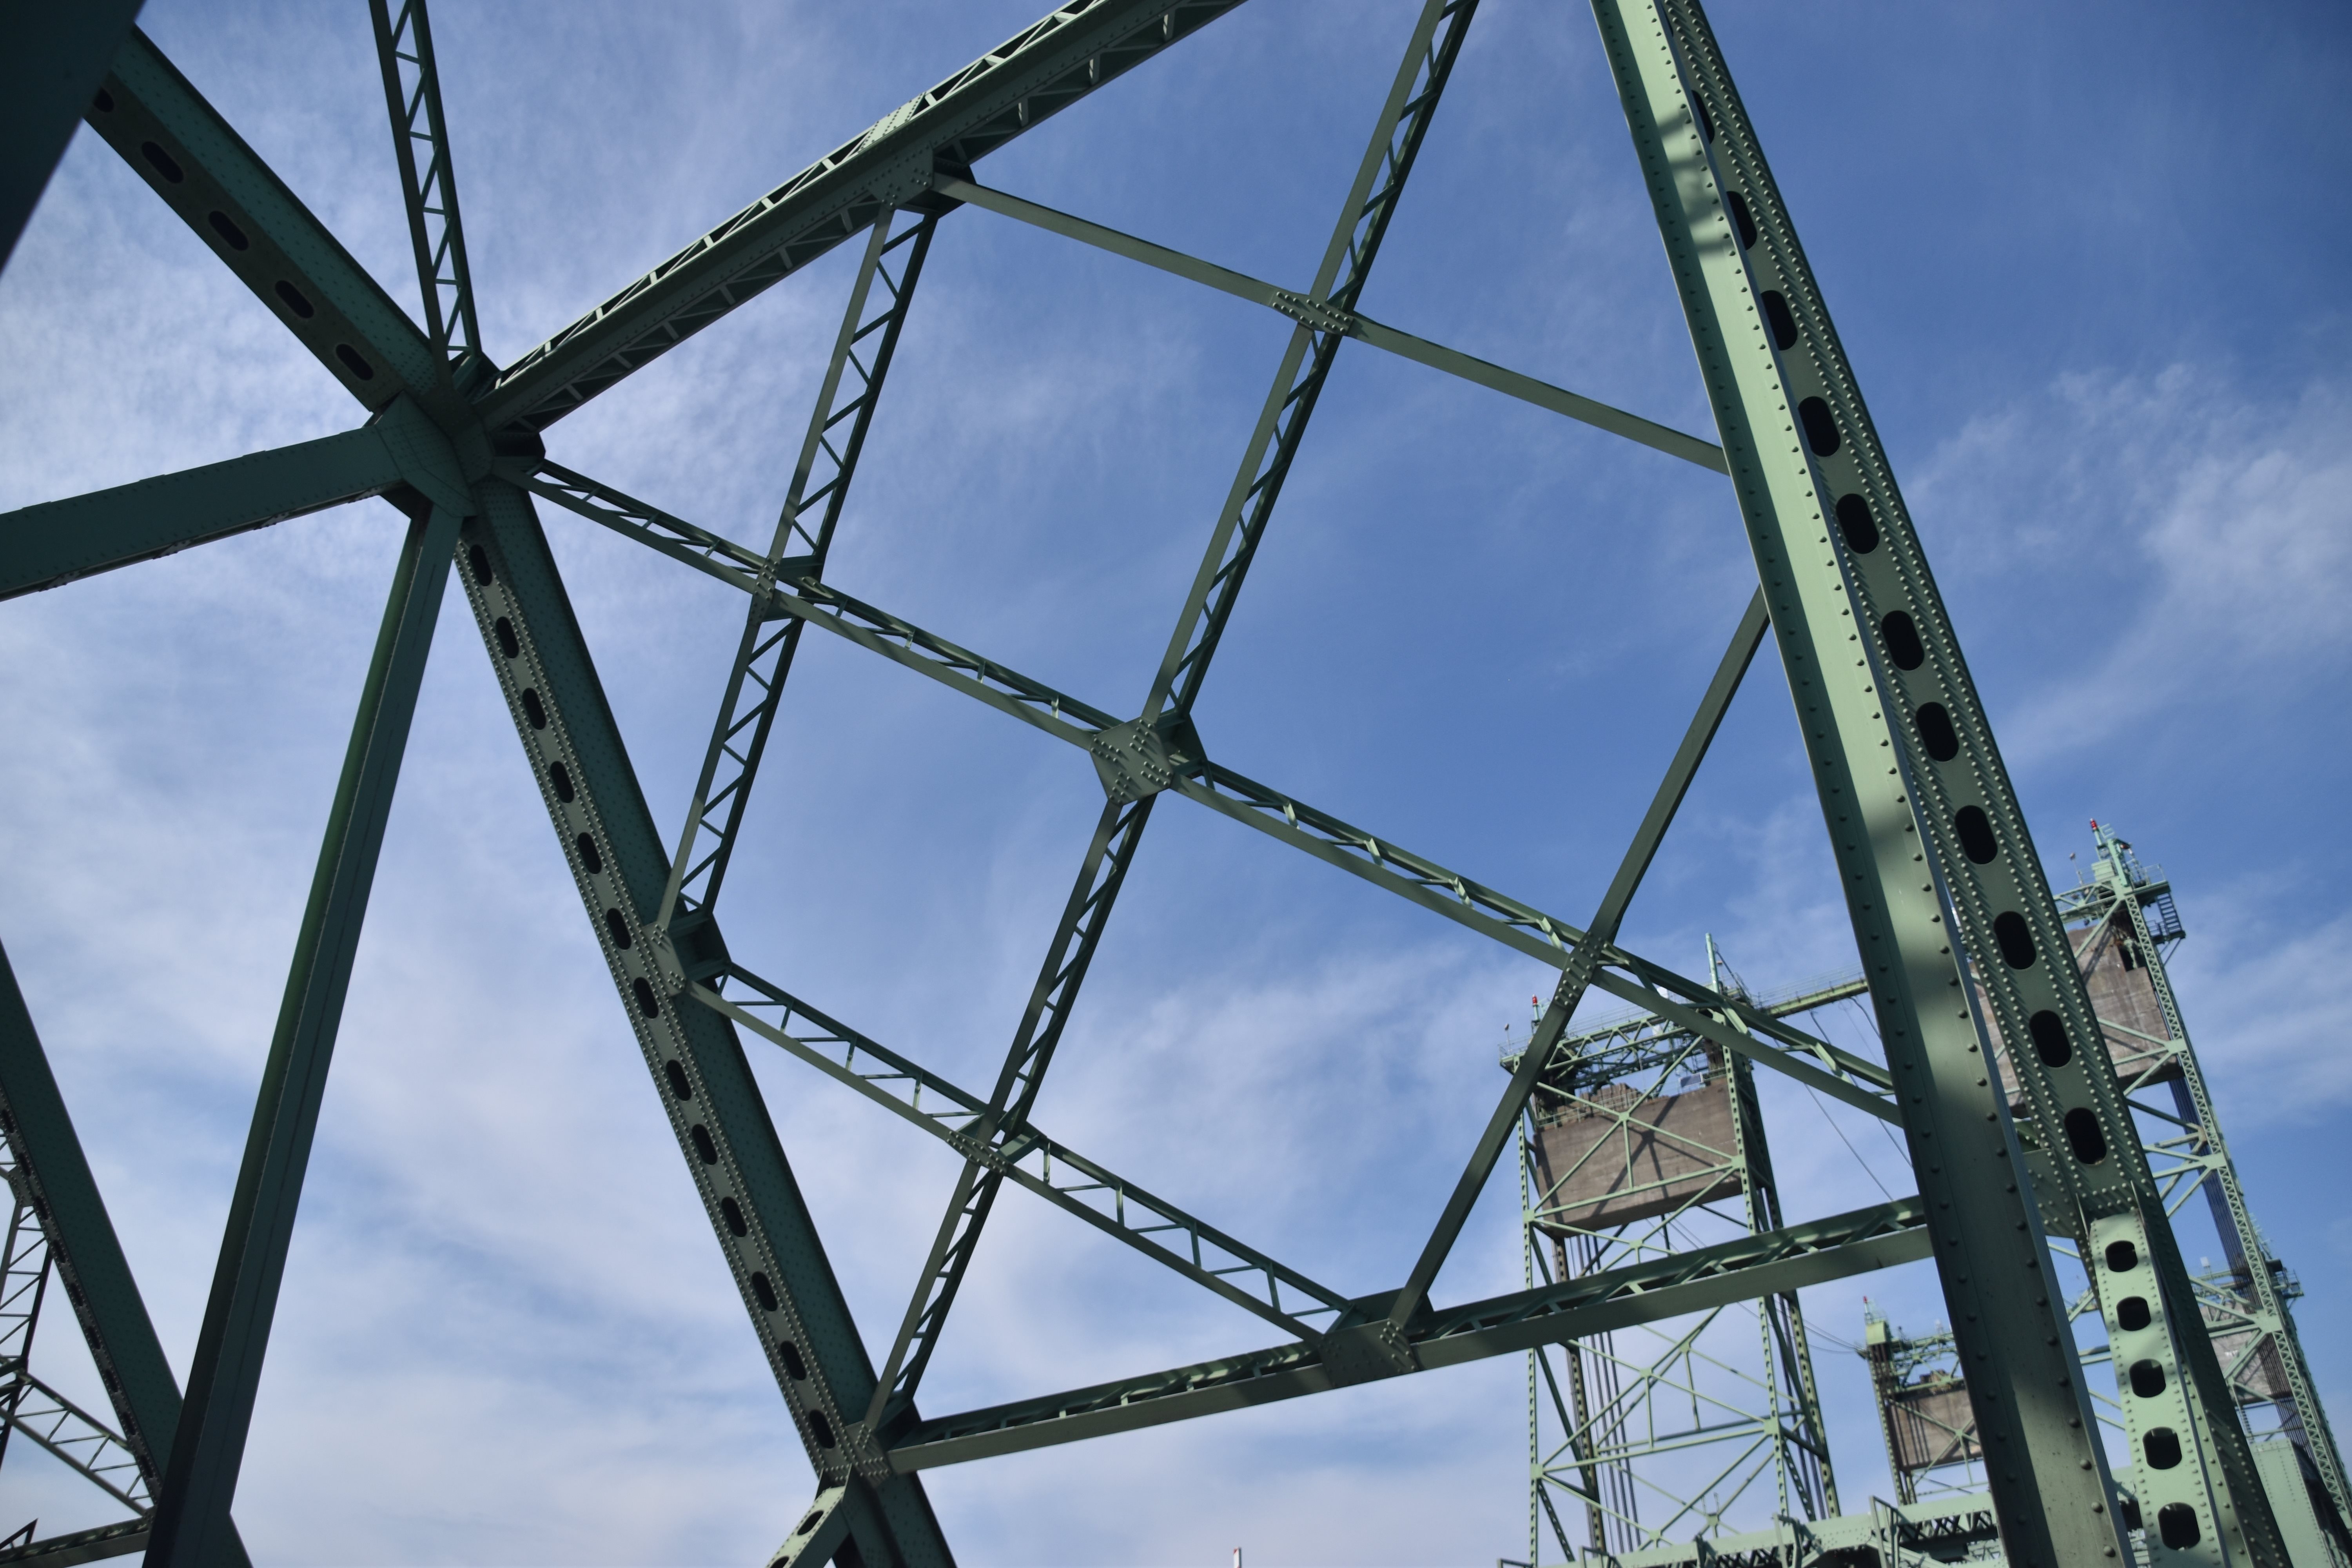
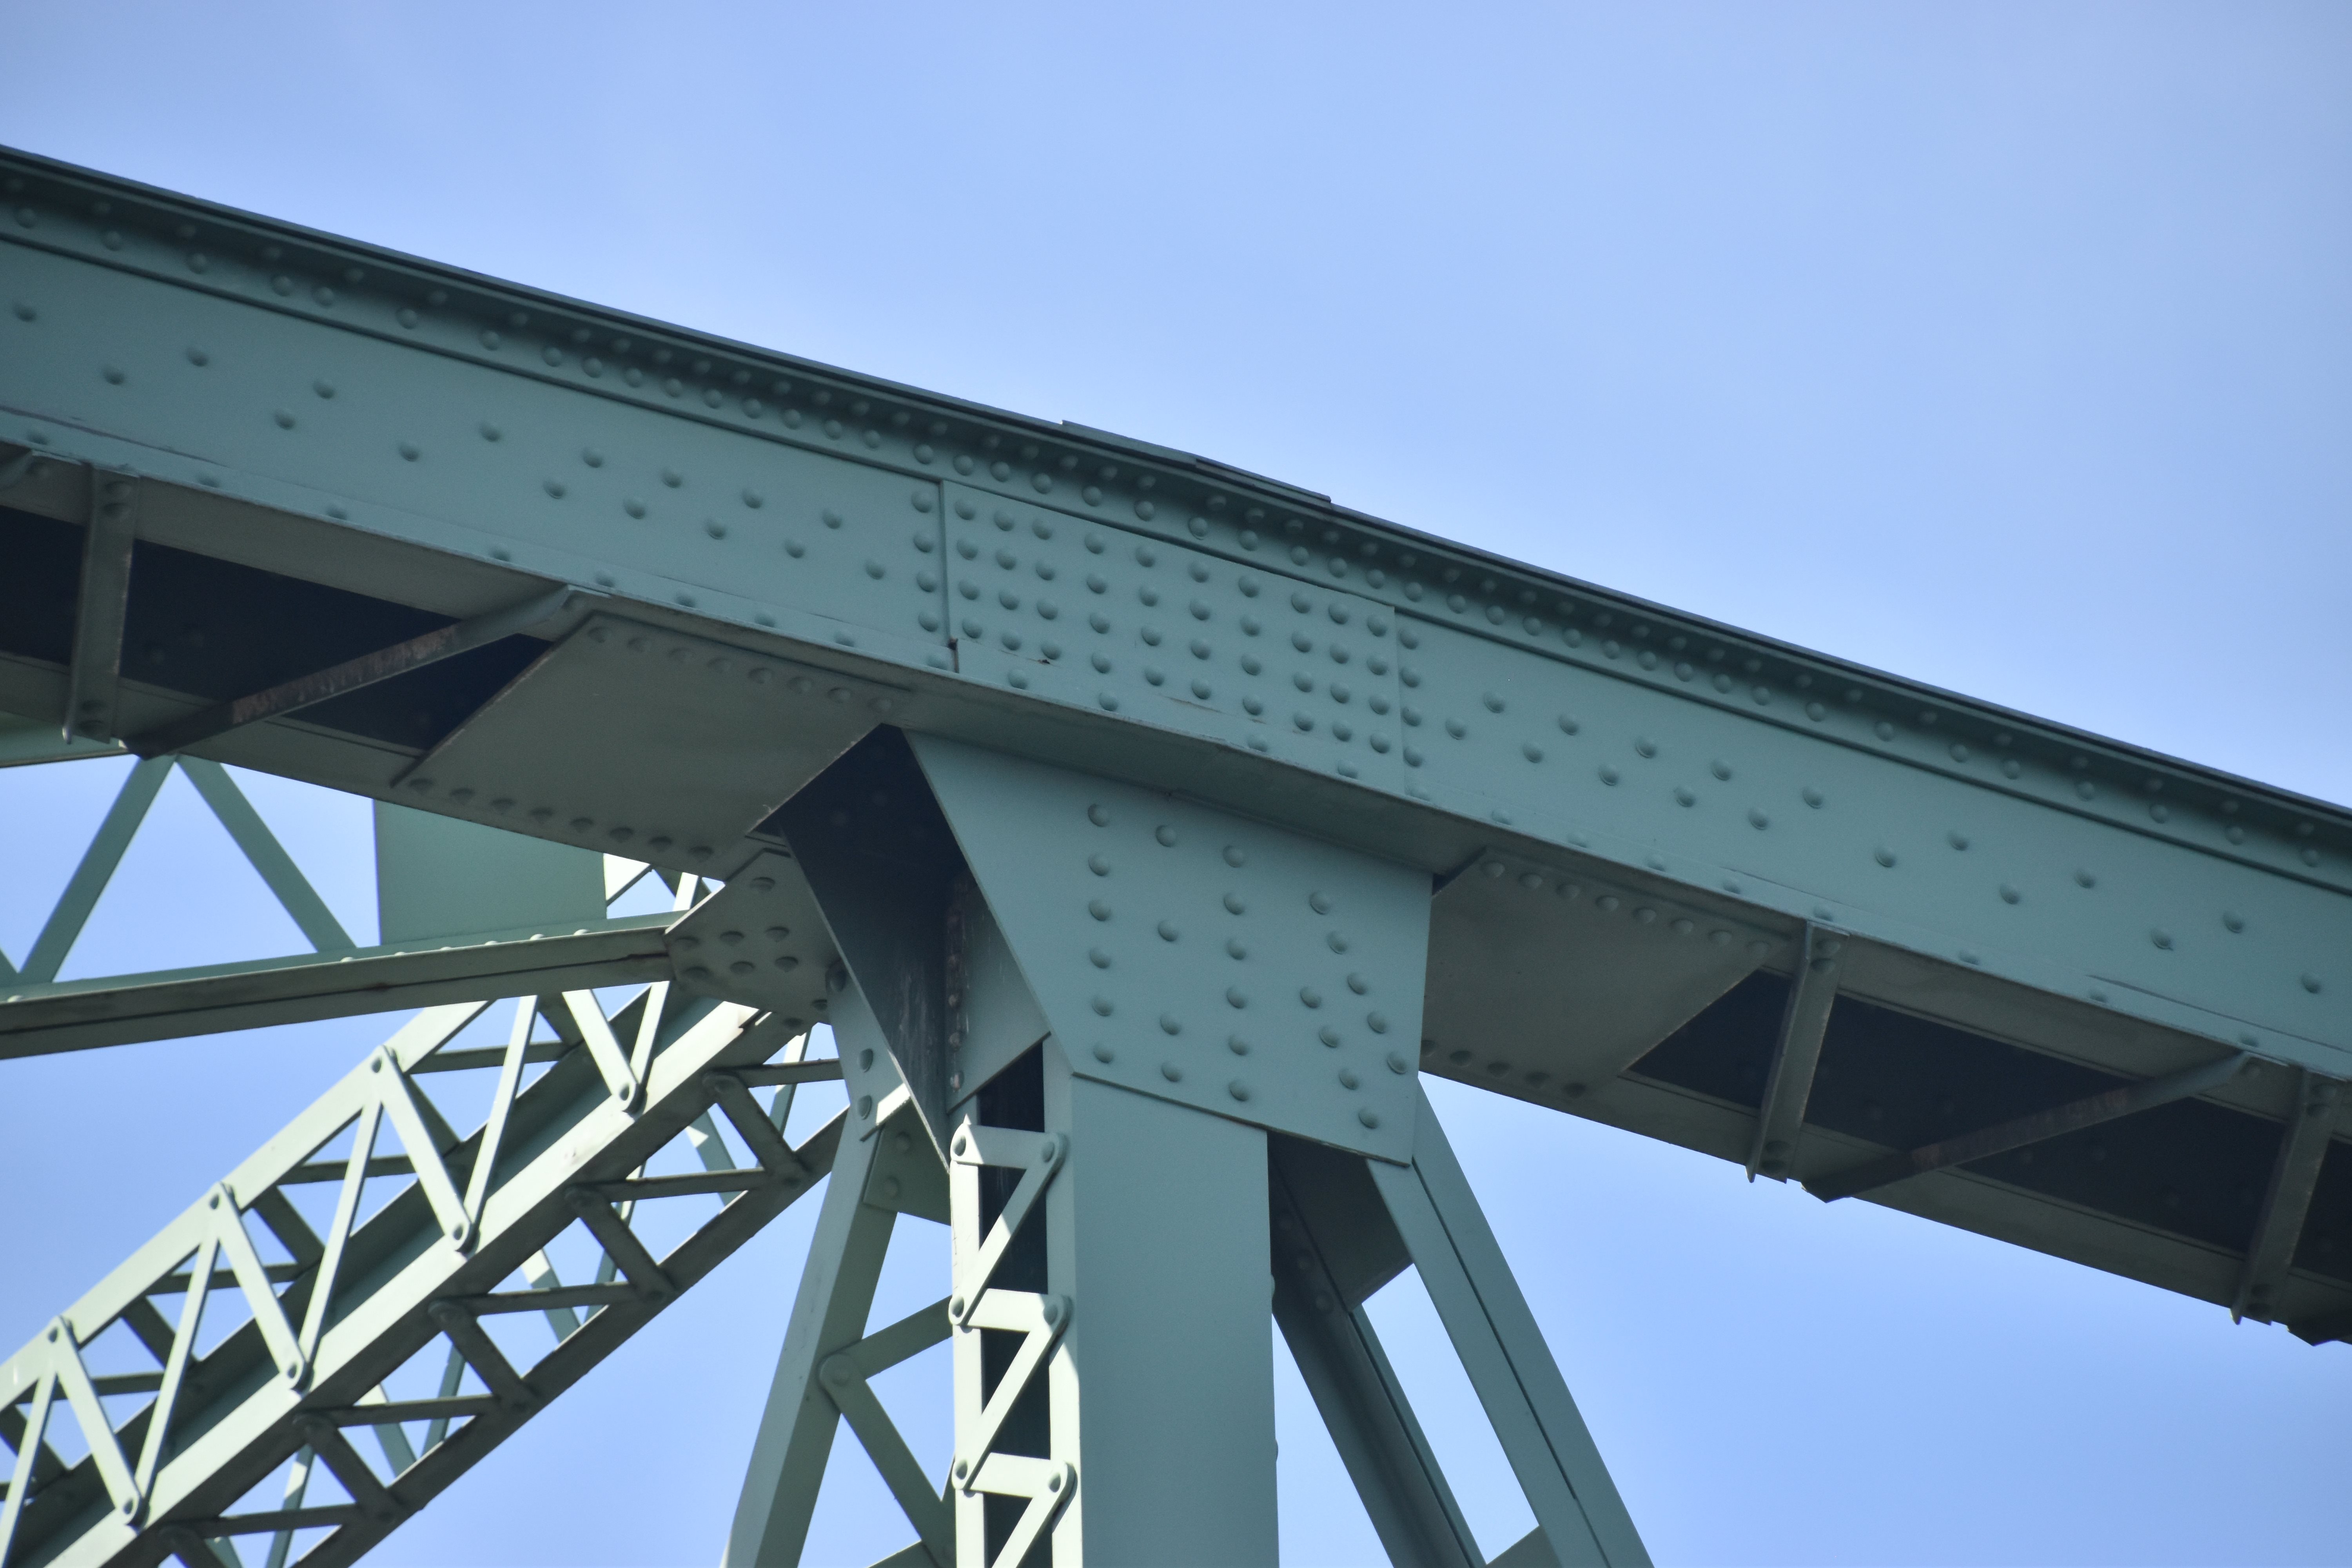
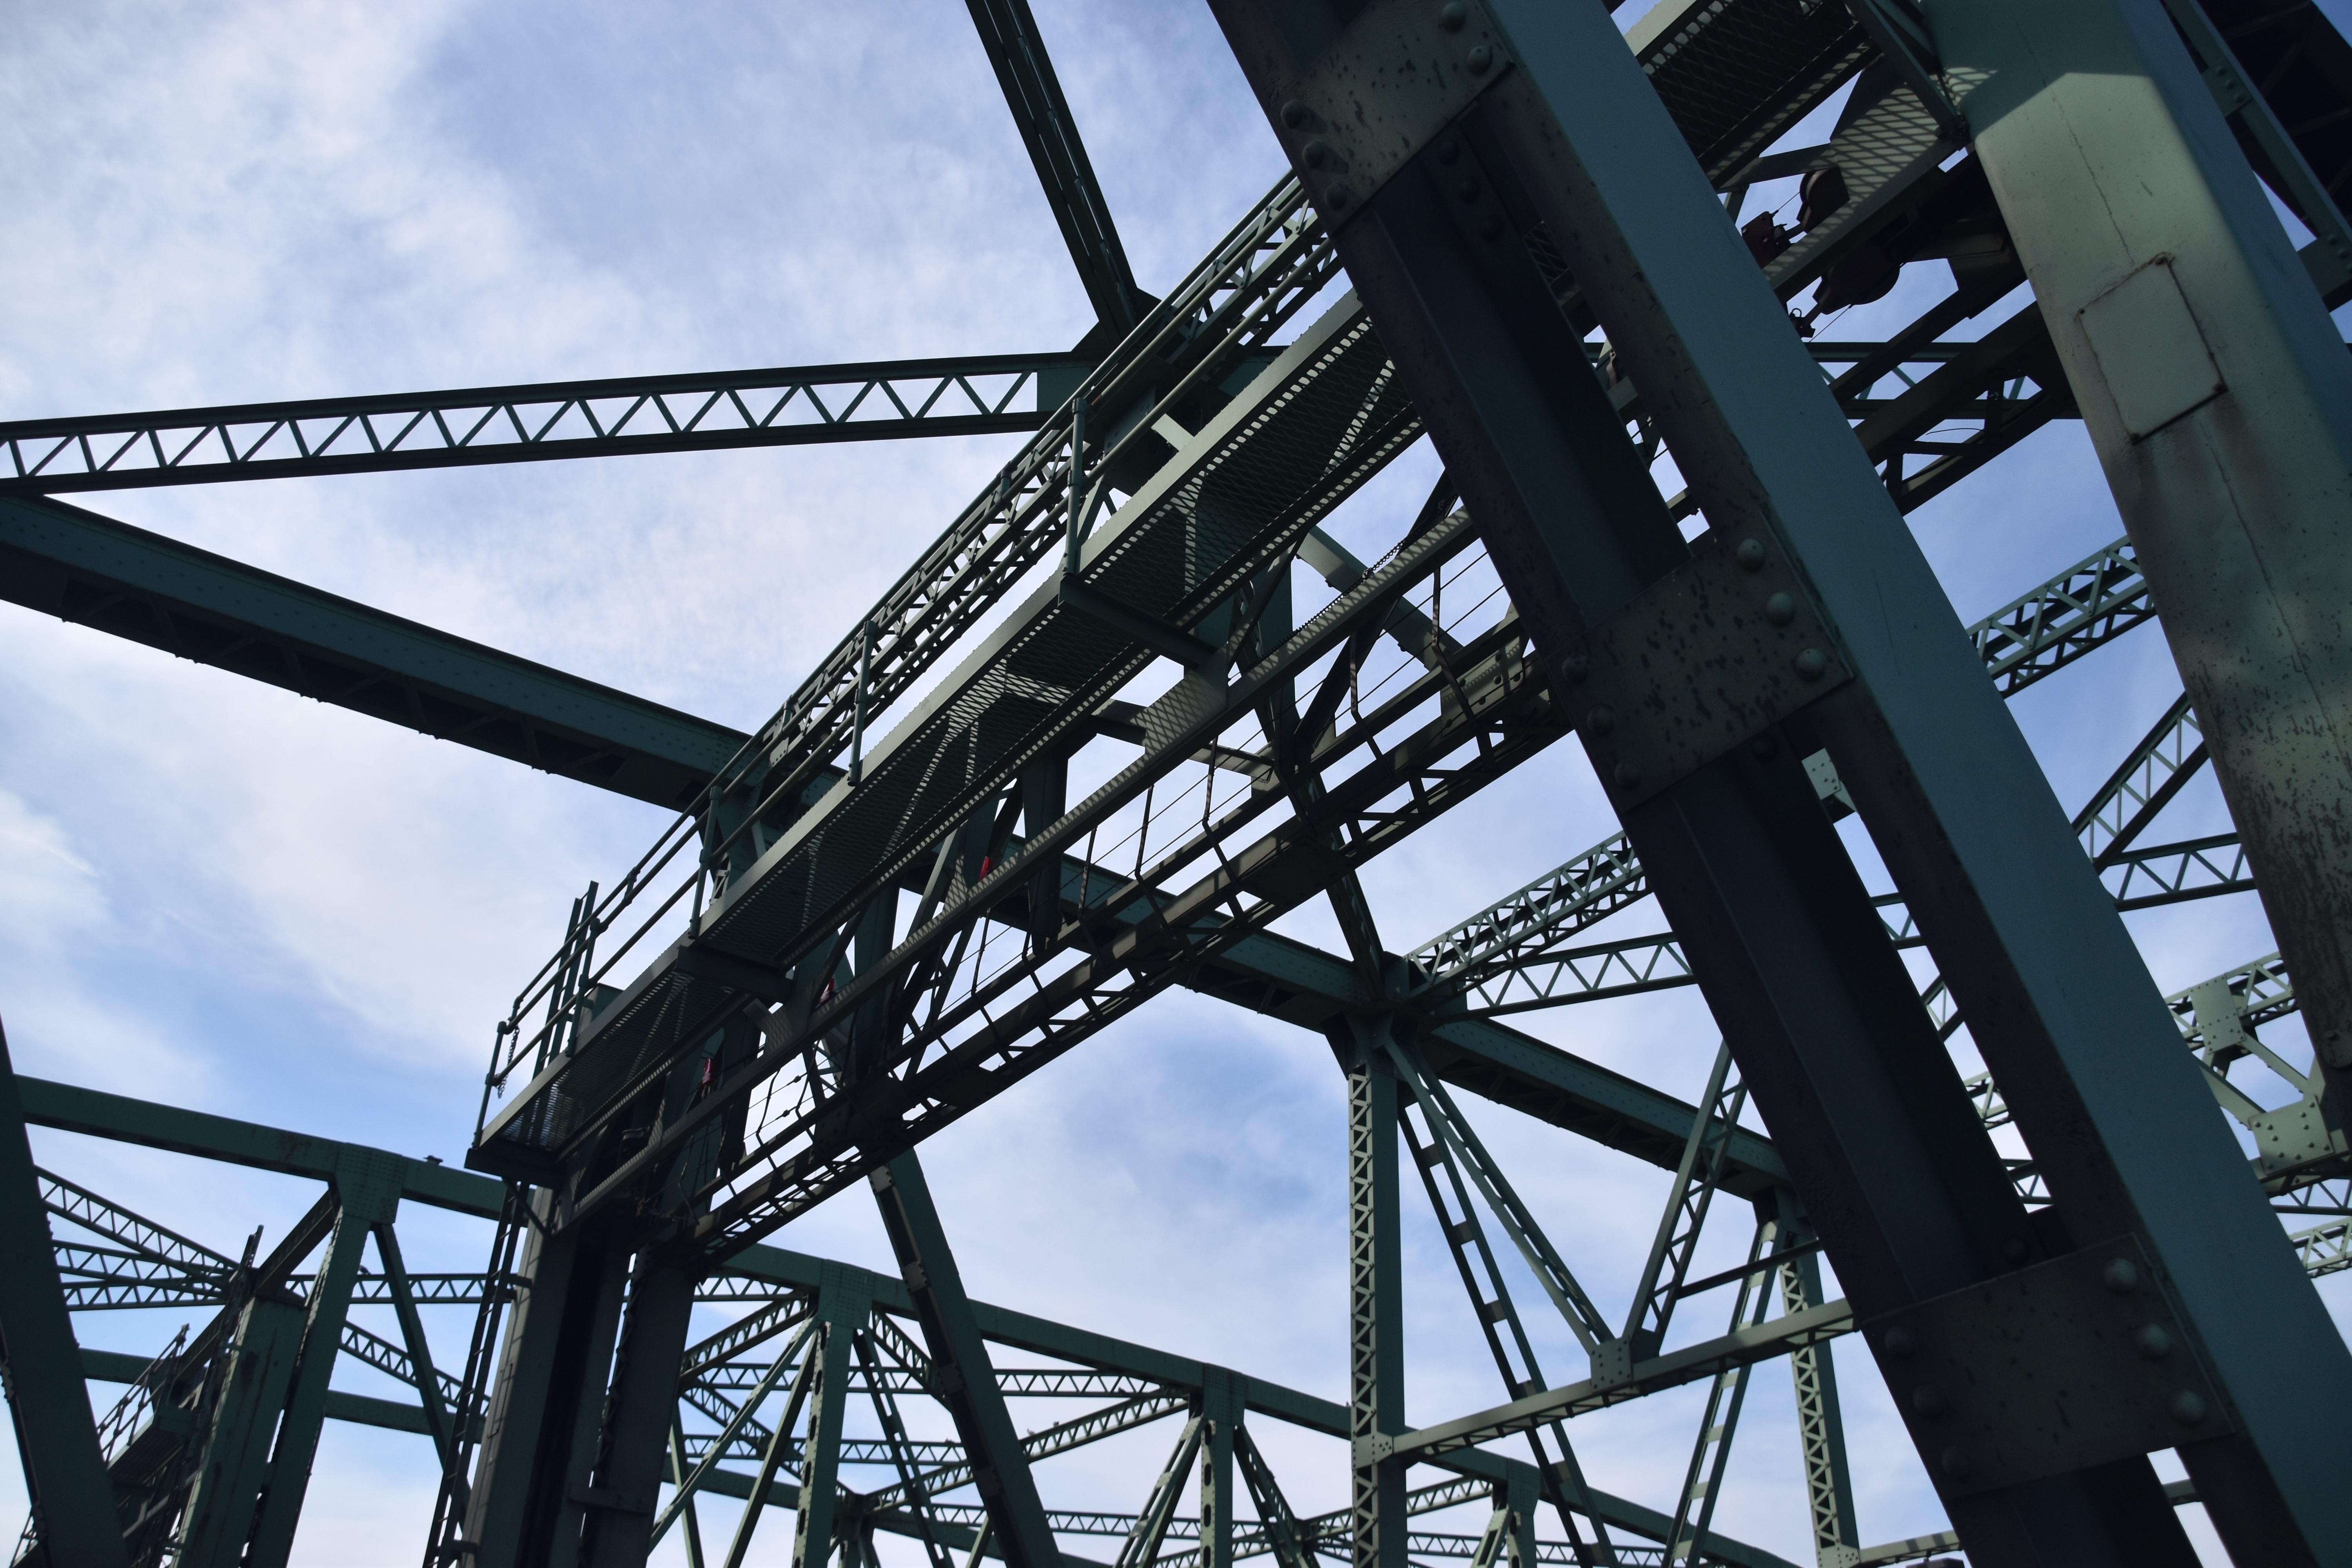
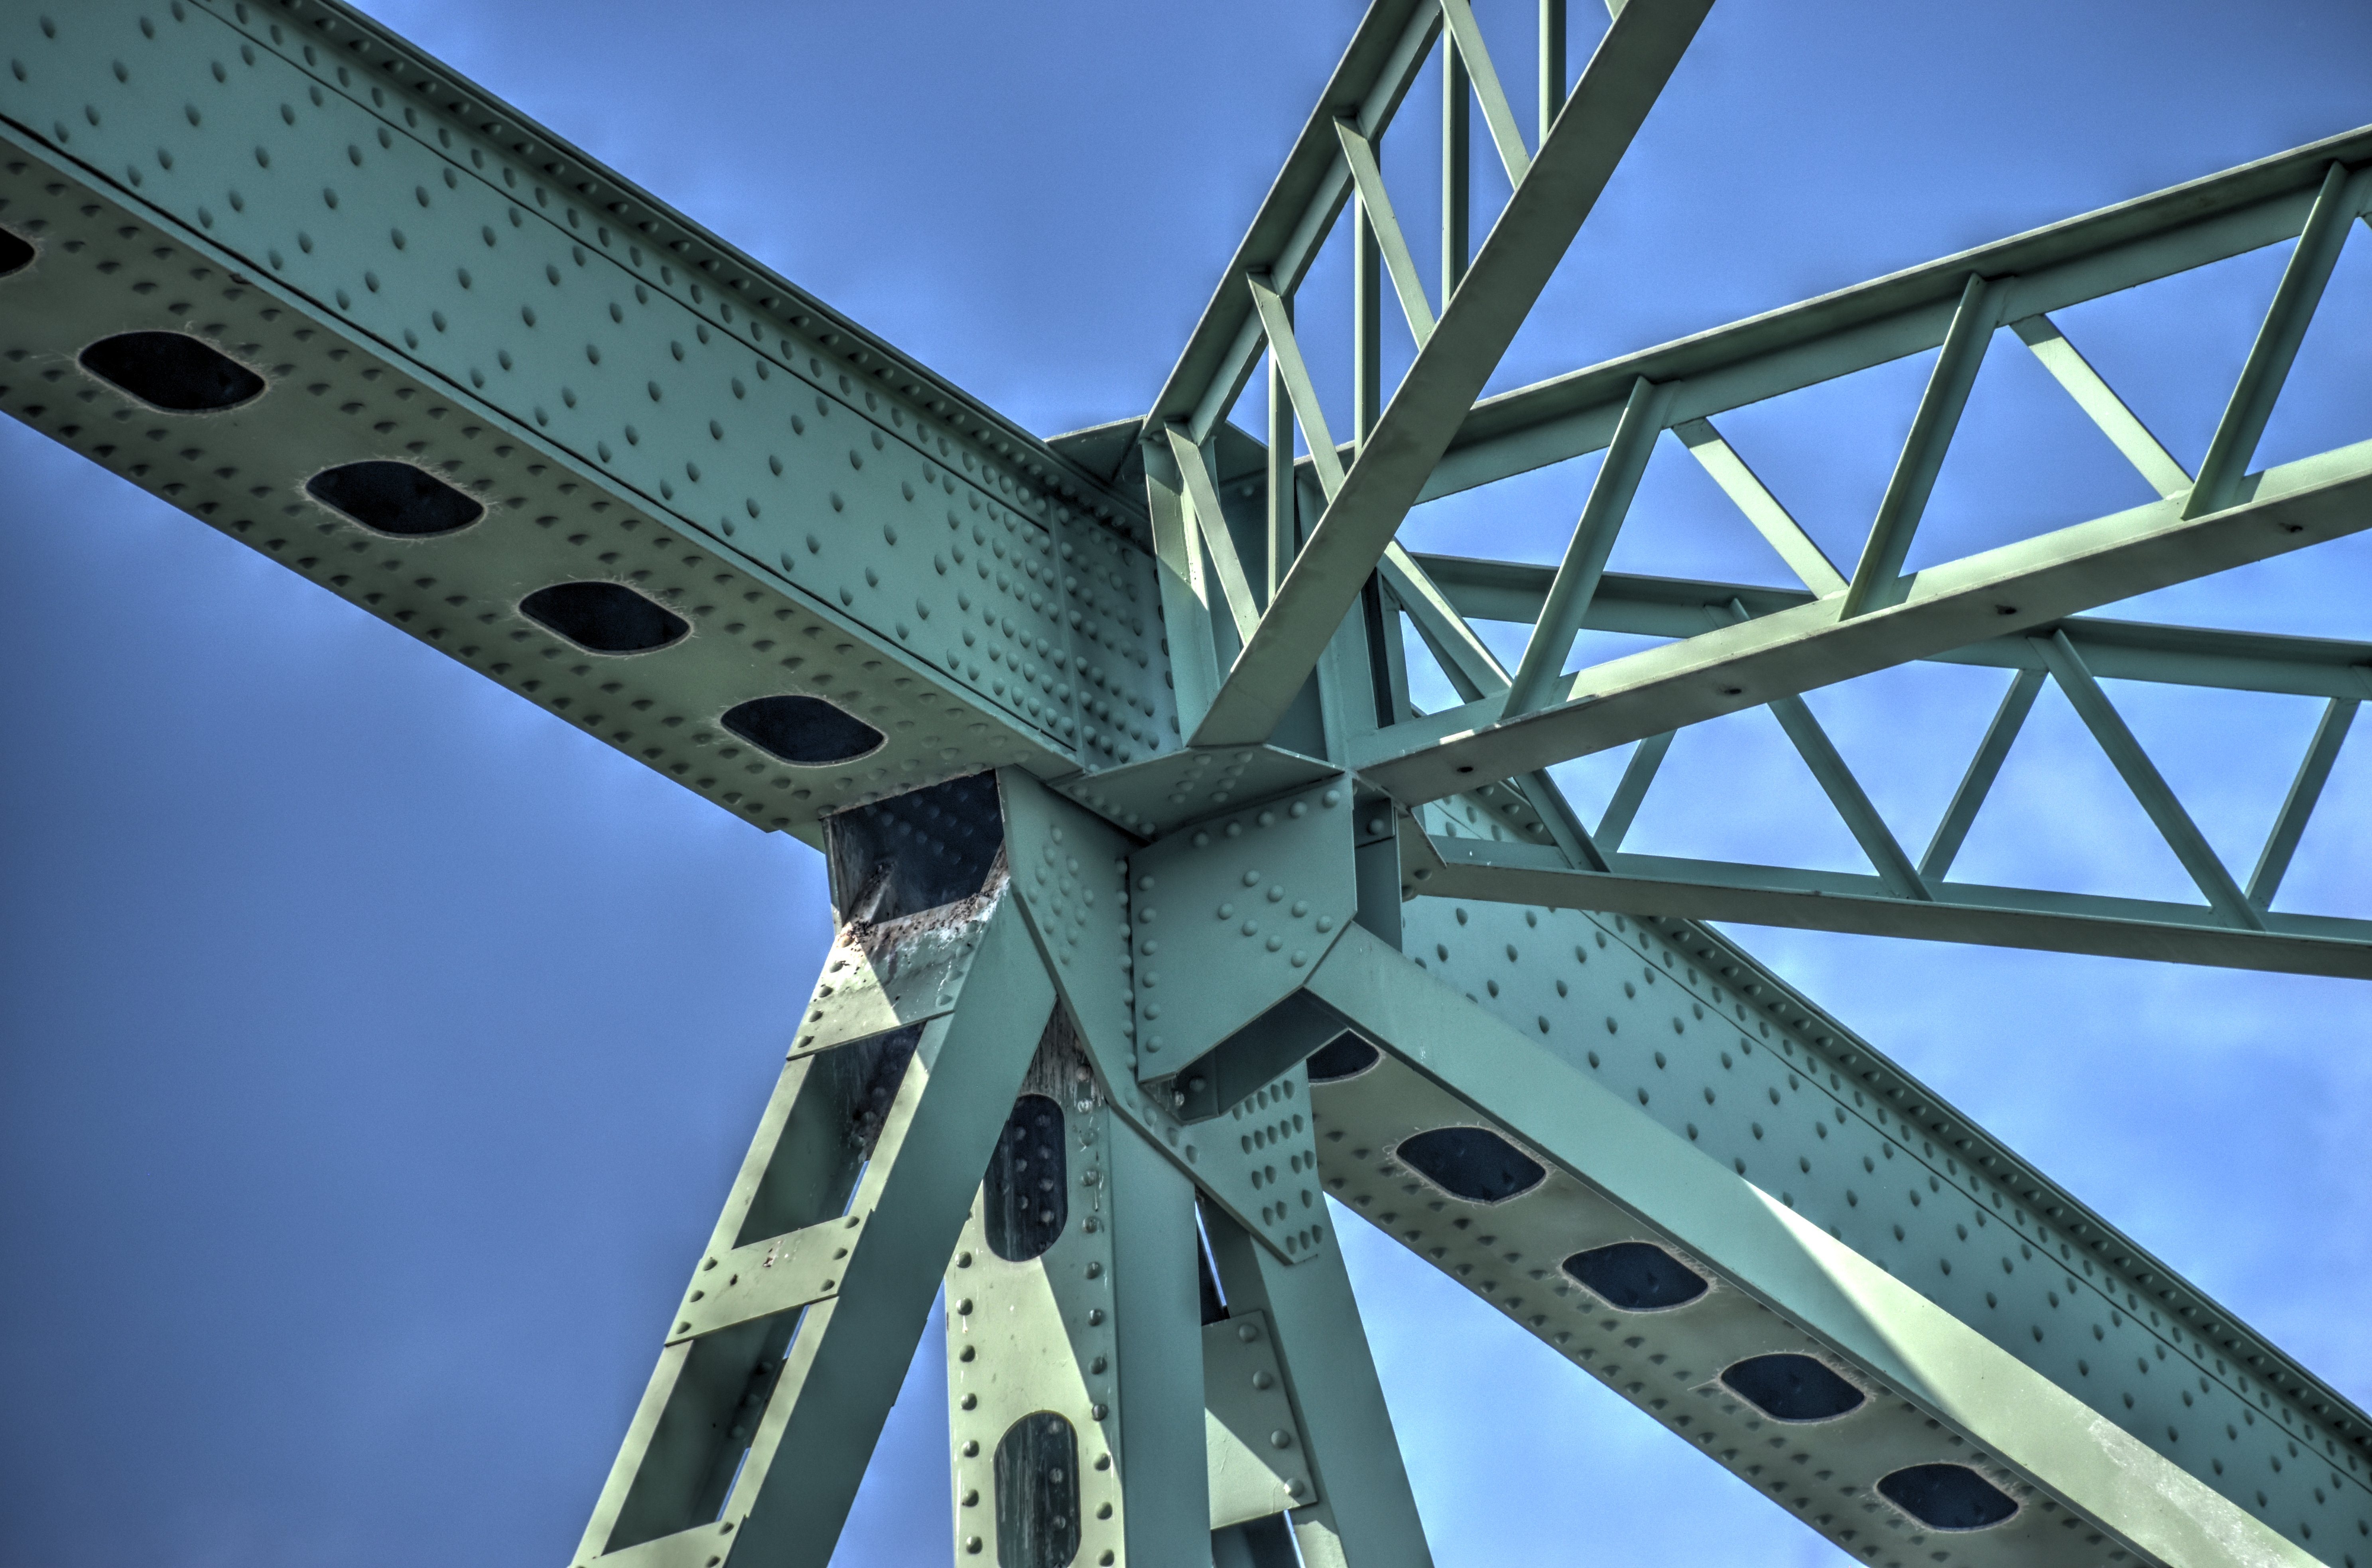
Details of Lift Span and Small Fixed Truss Spans (Truss Member Details Are Similar)
![]()
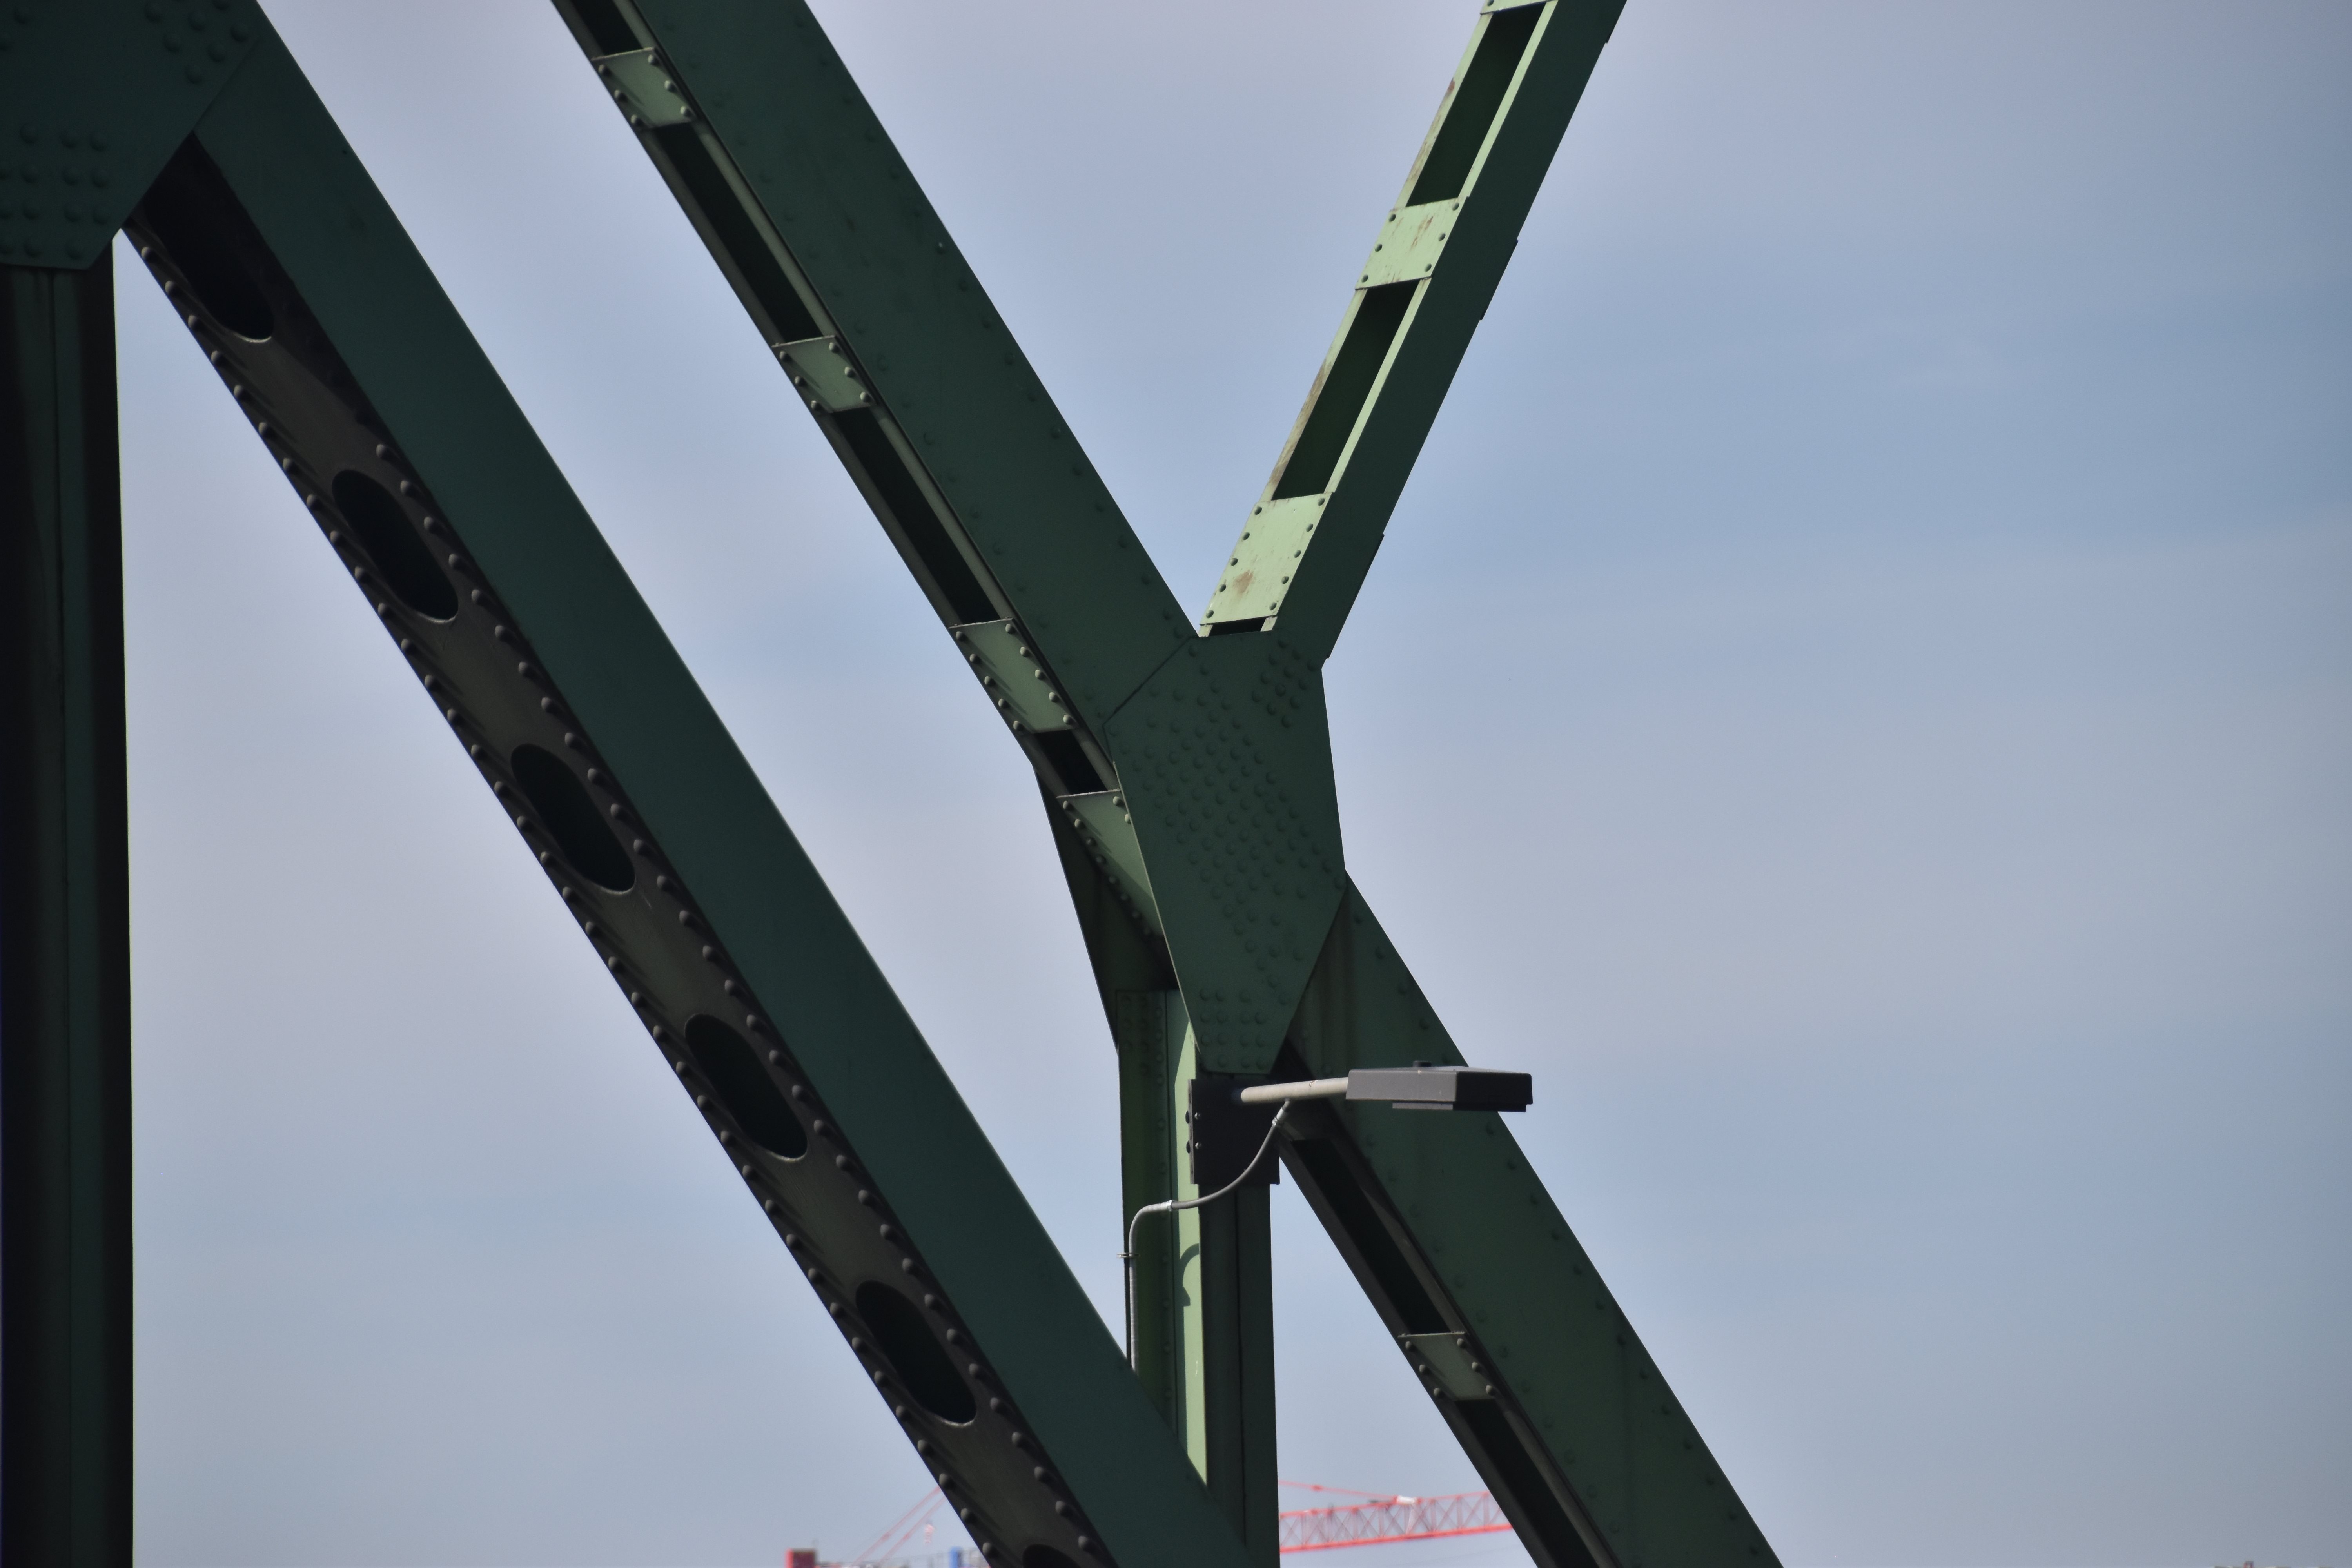
Top chord connections as viewed from beside bridge. Distant views.
![]()


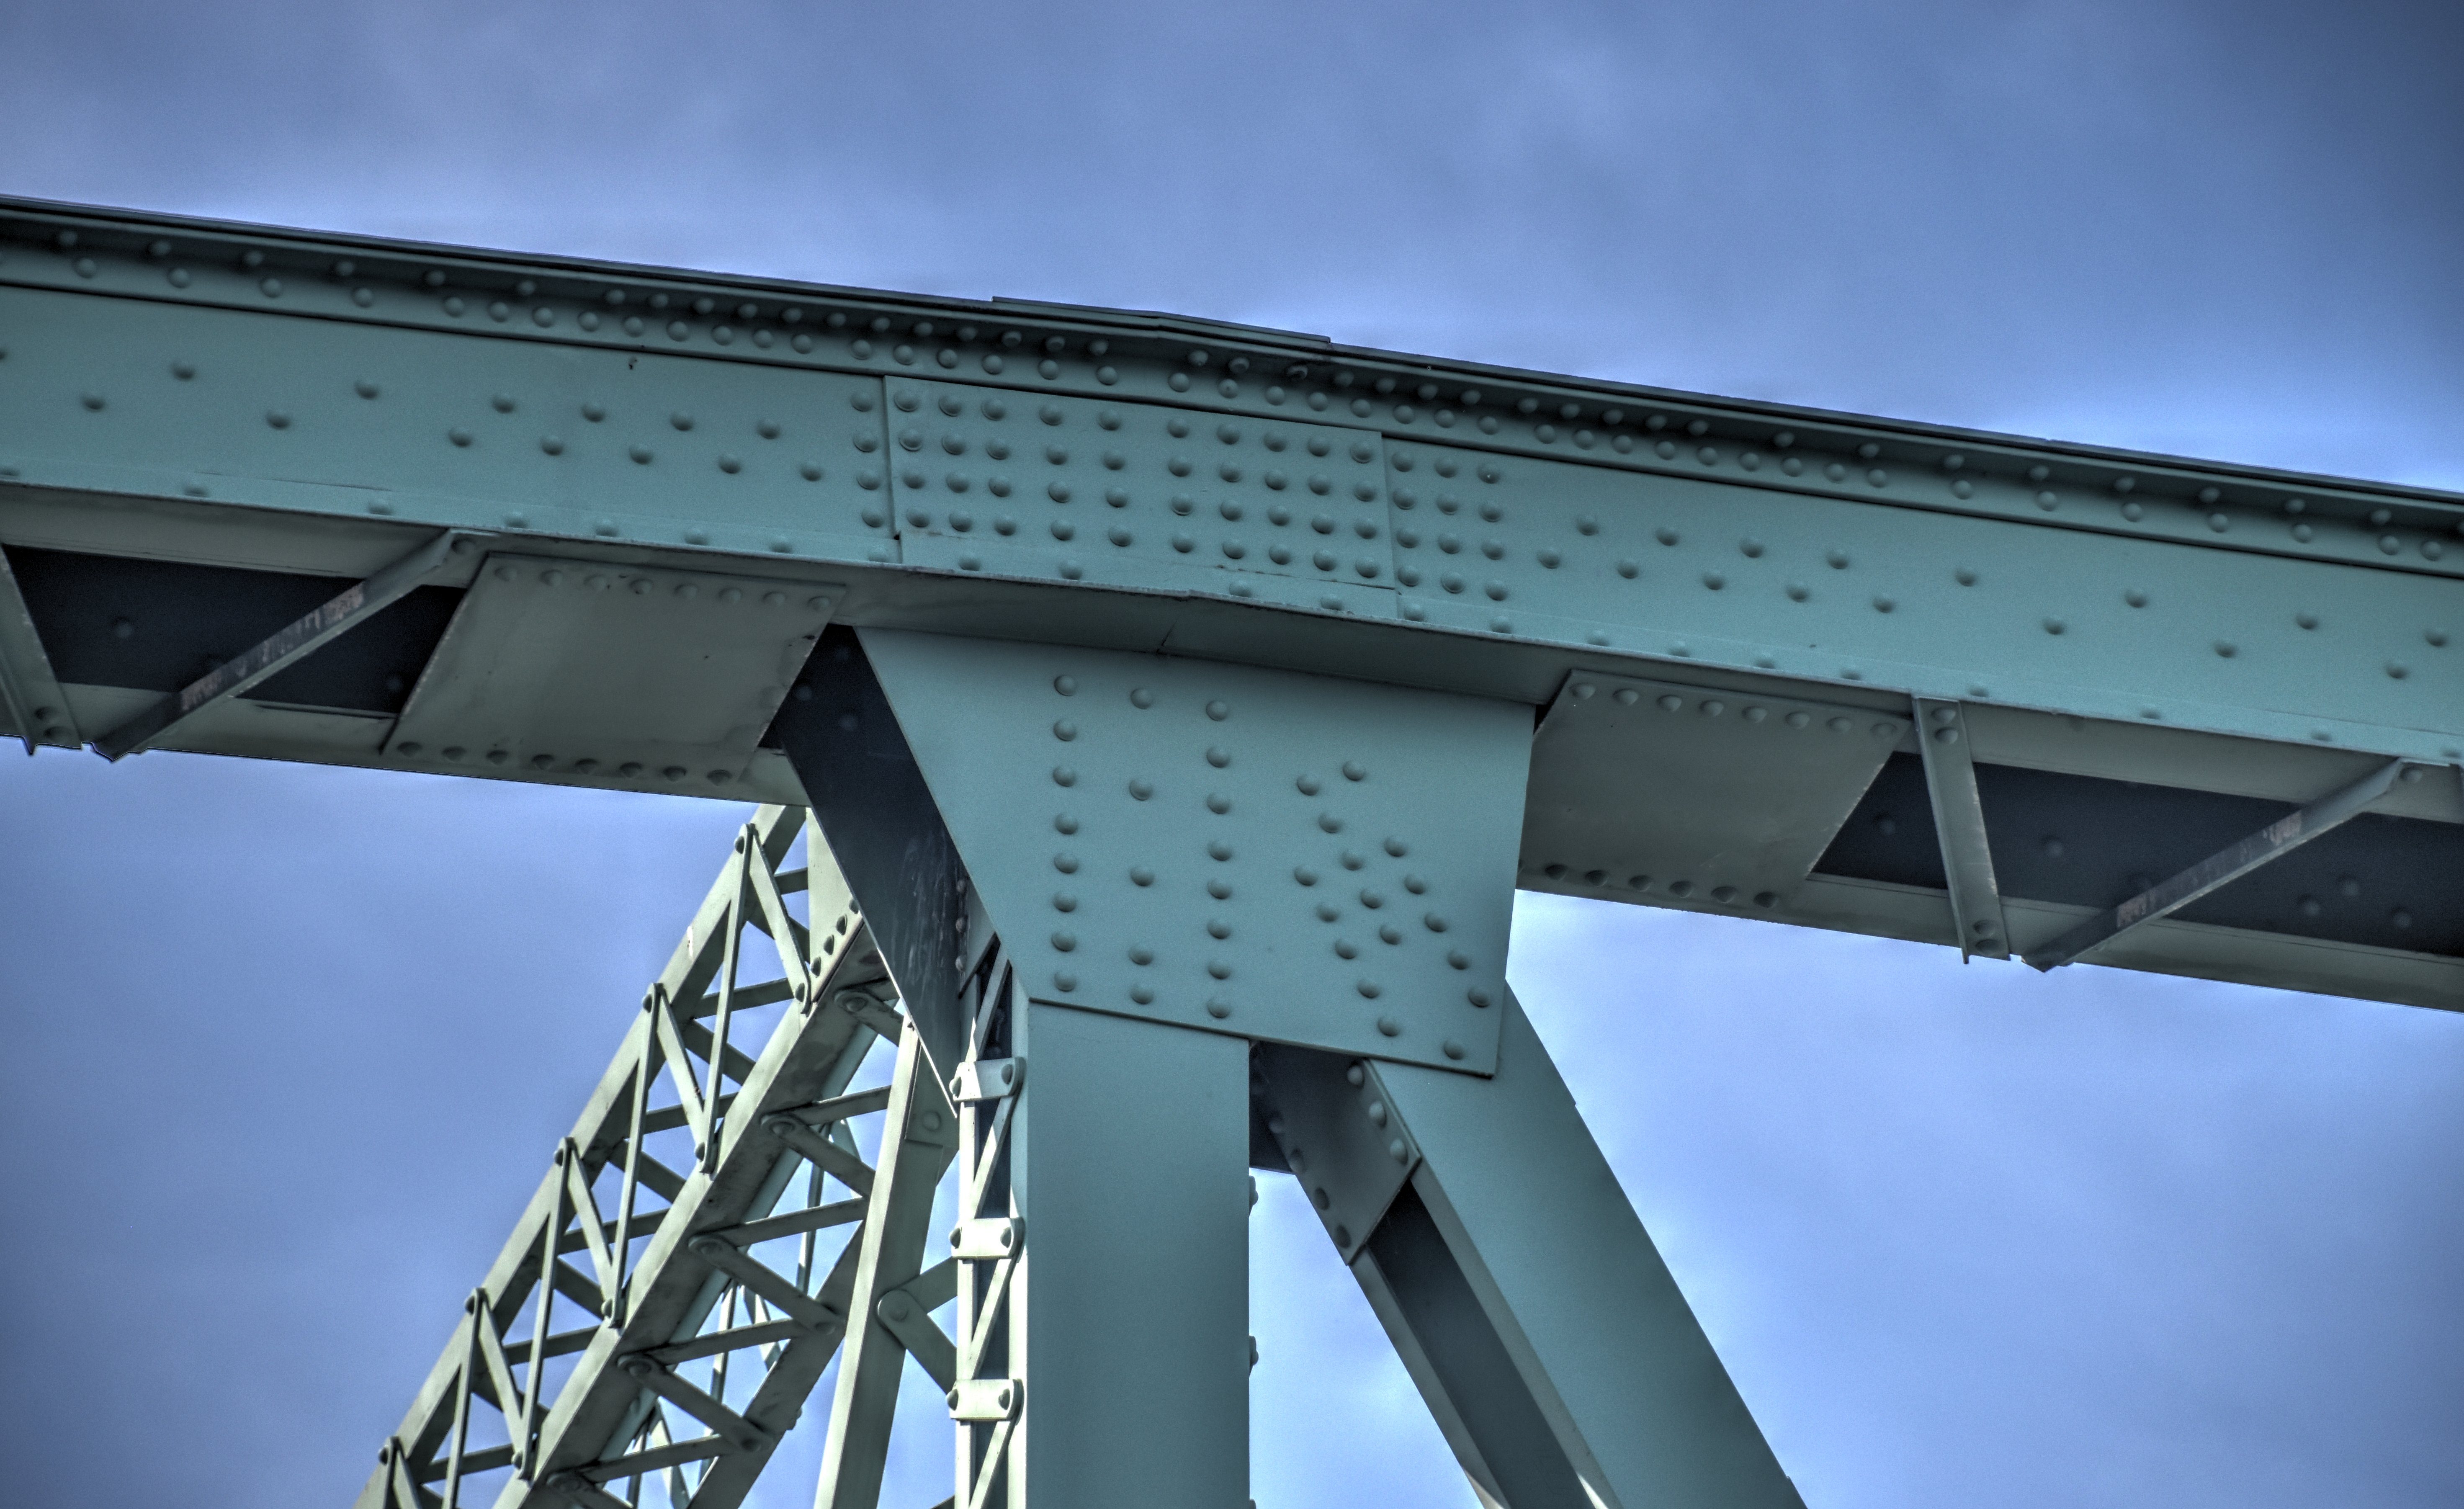


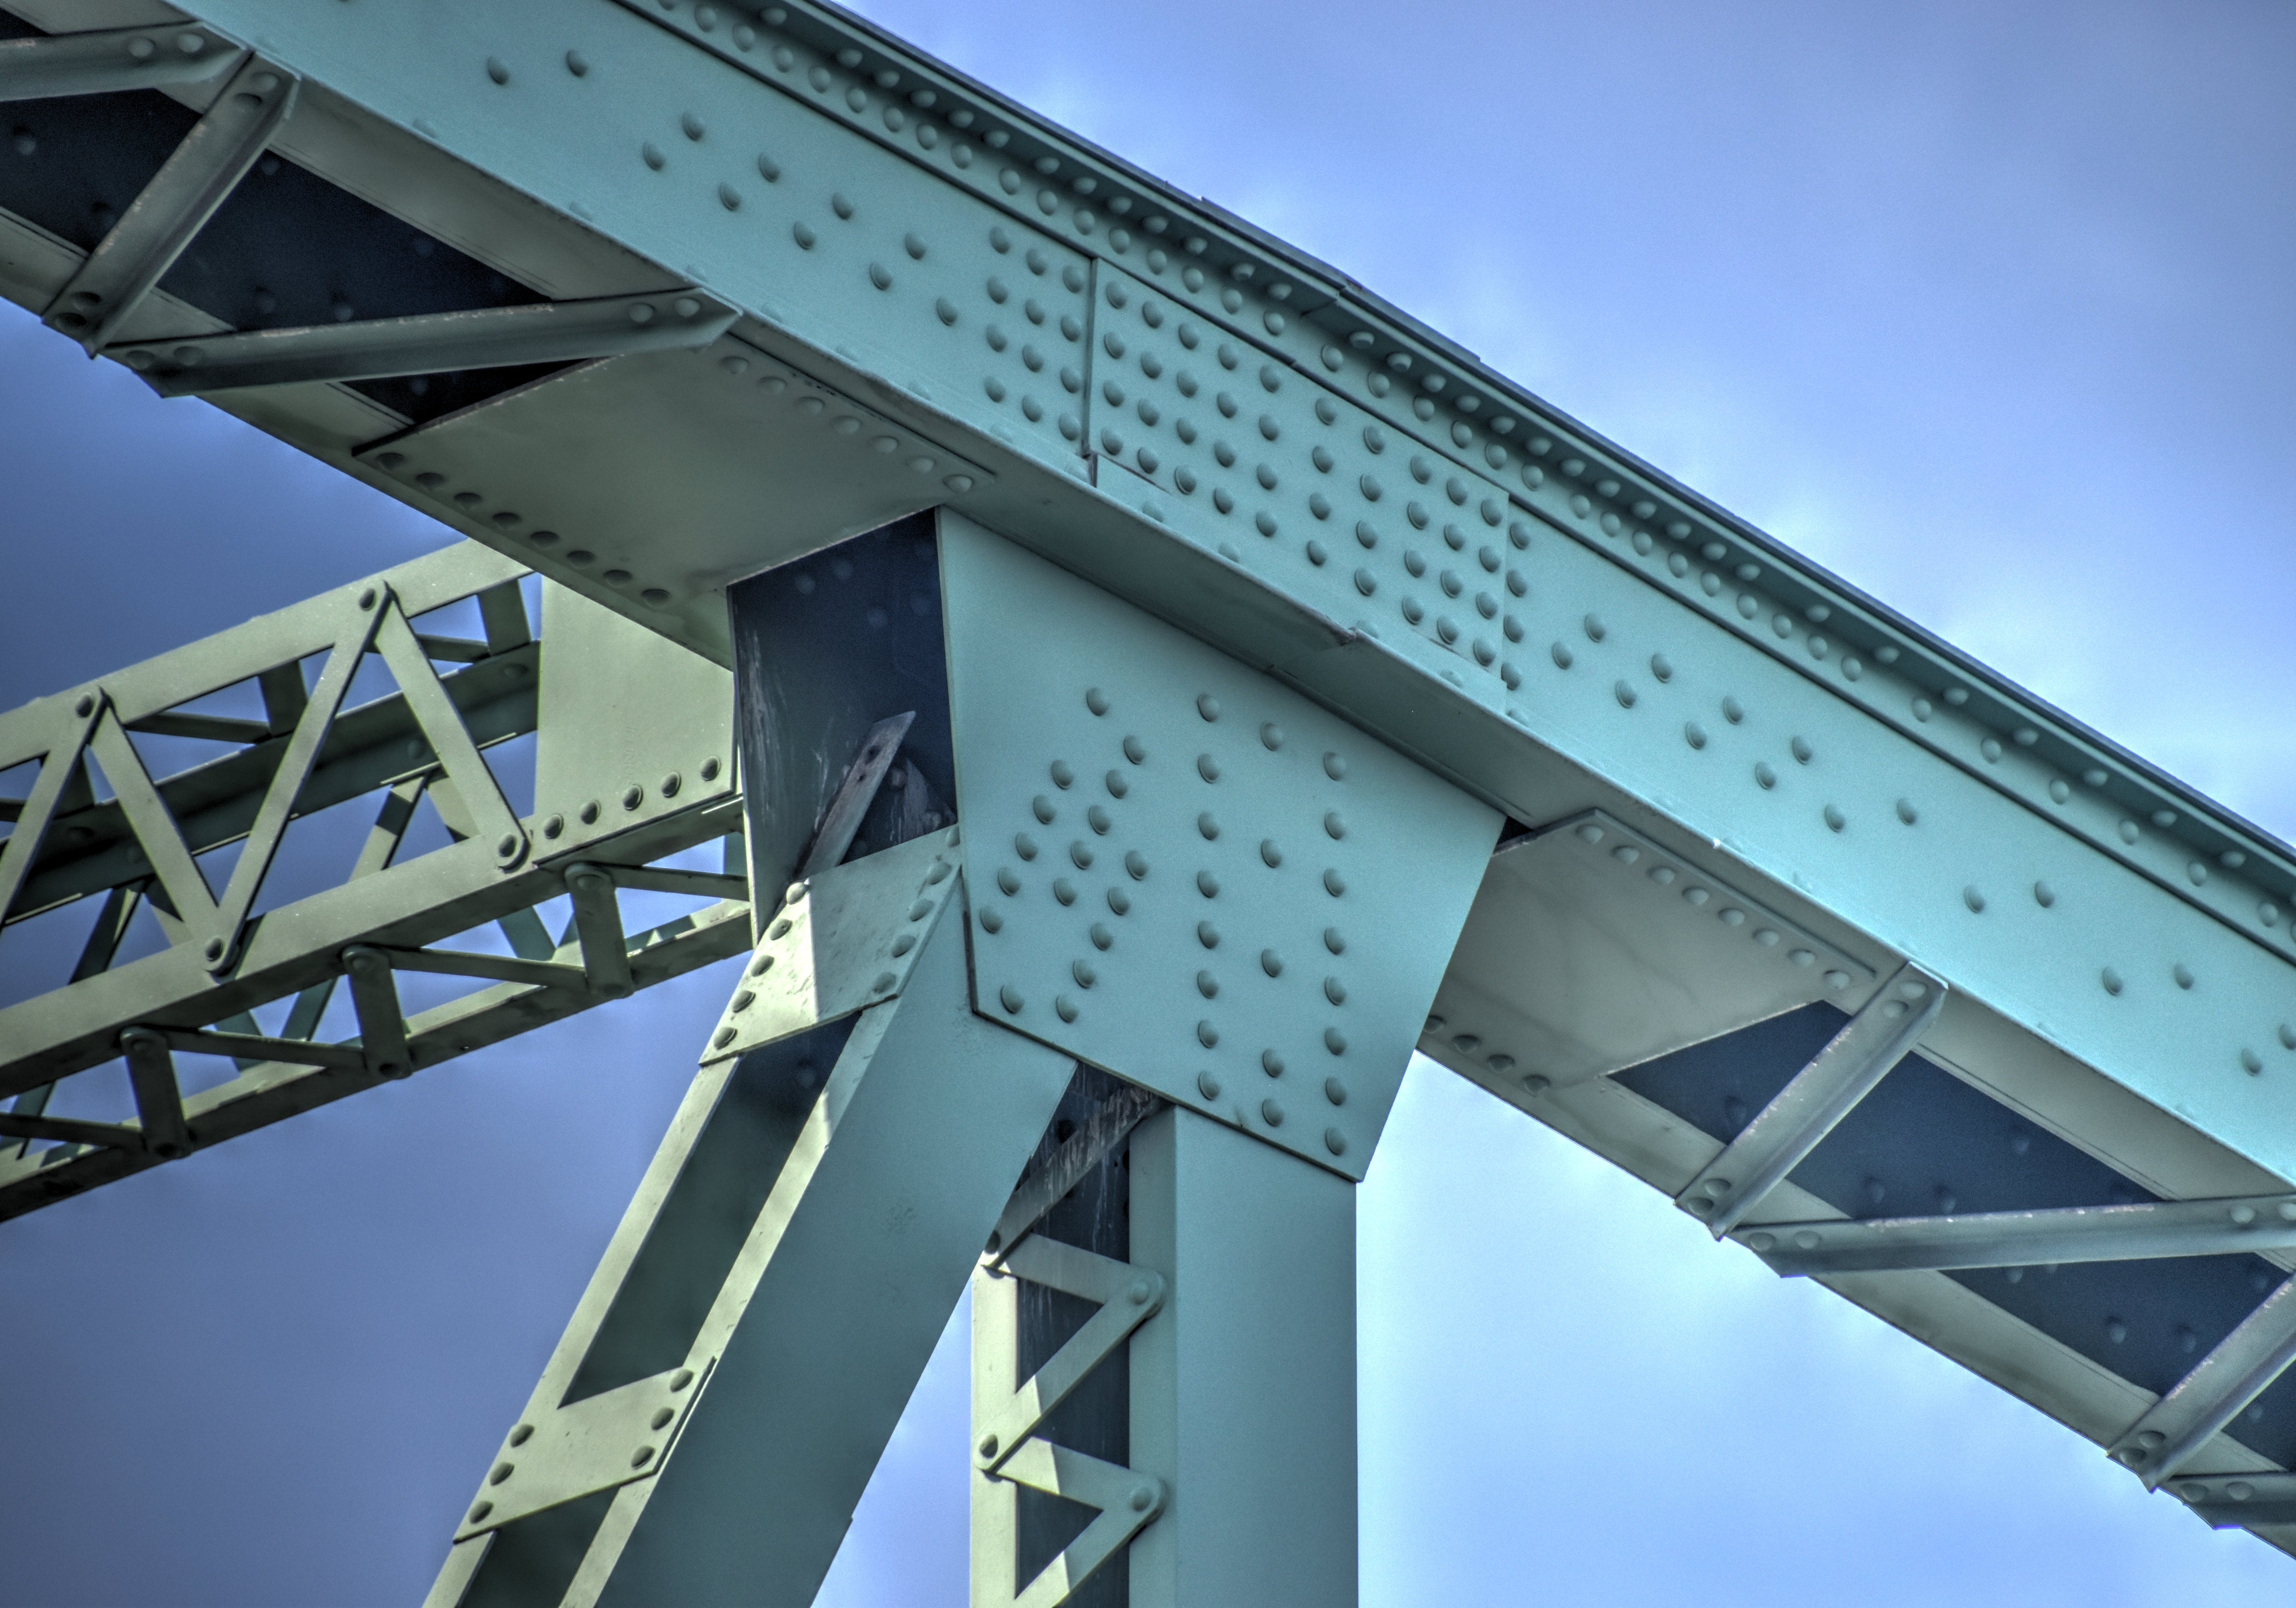


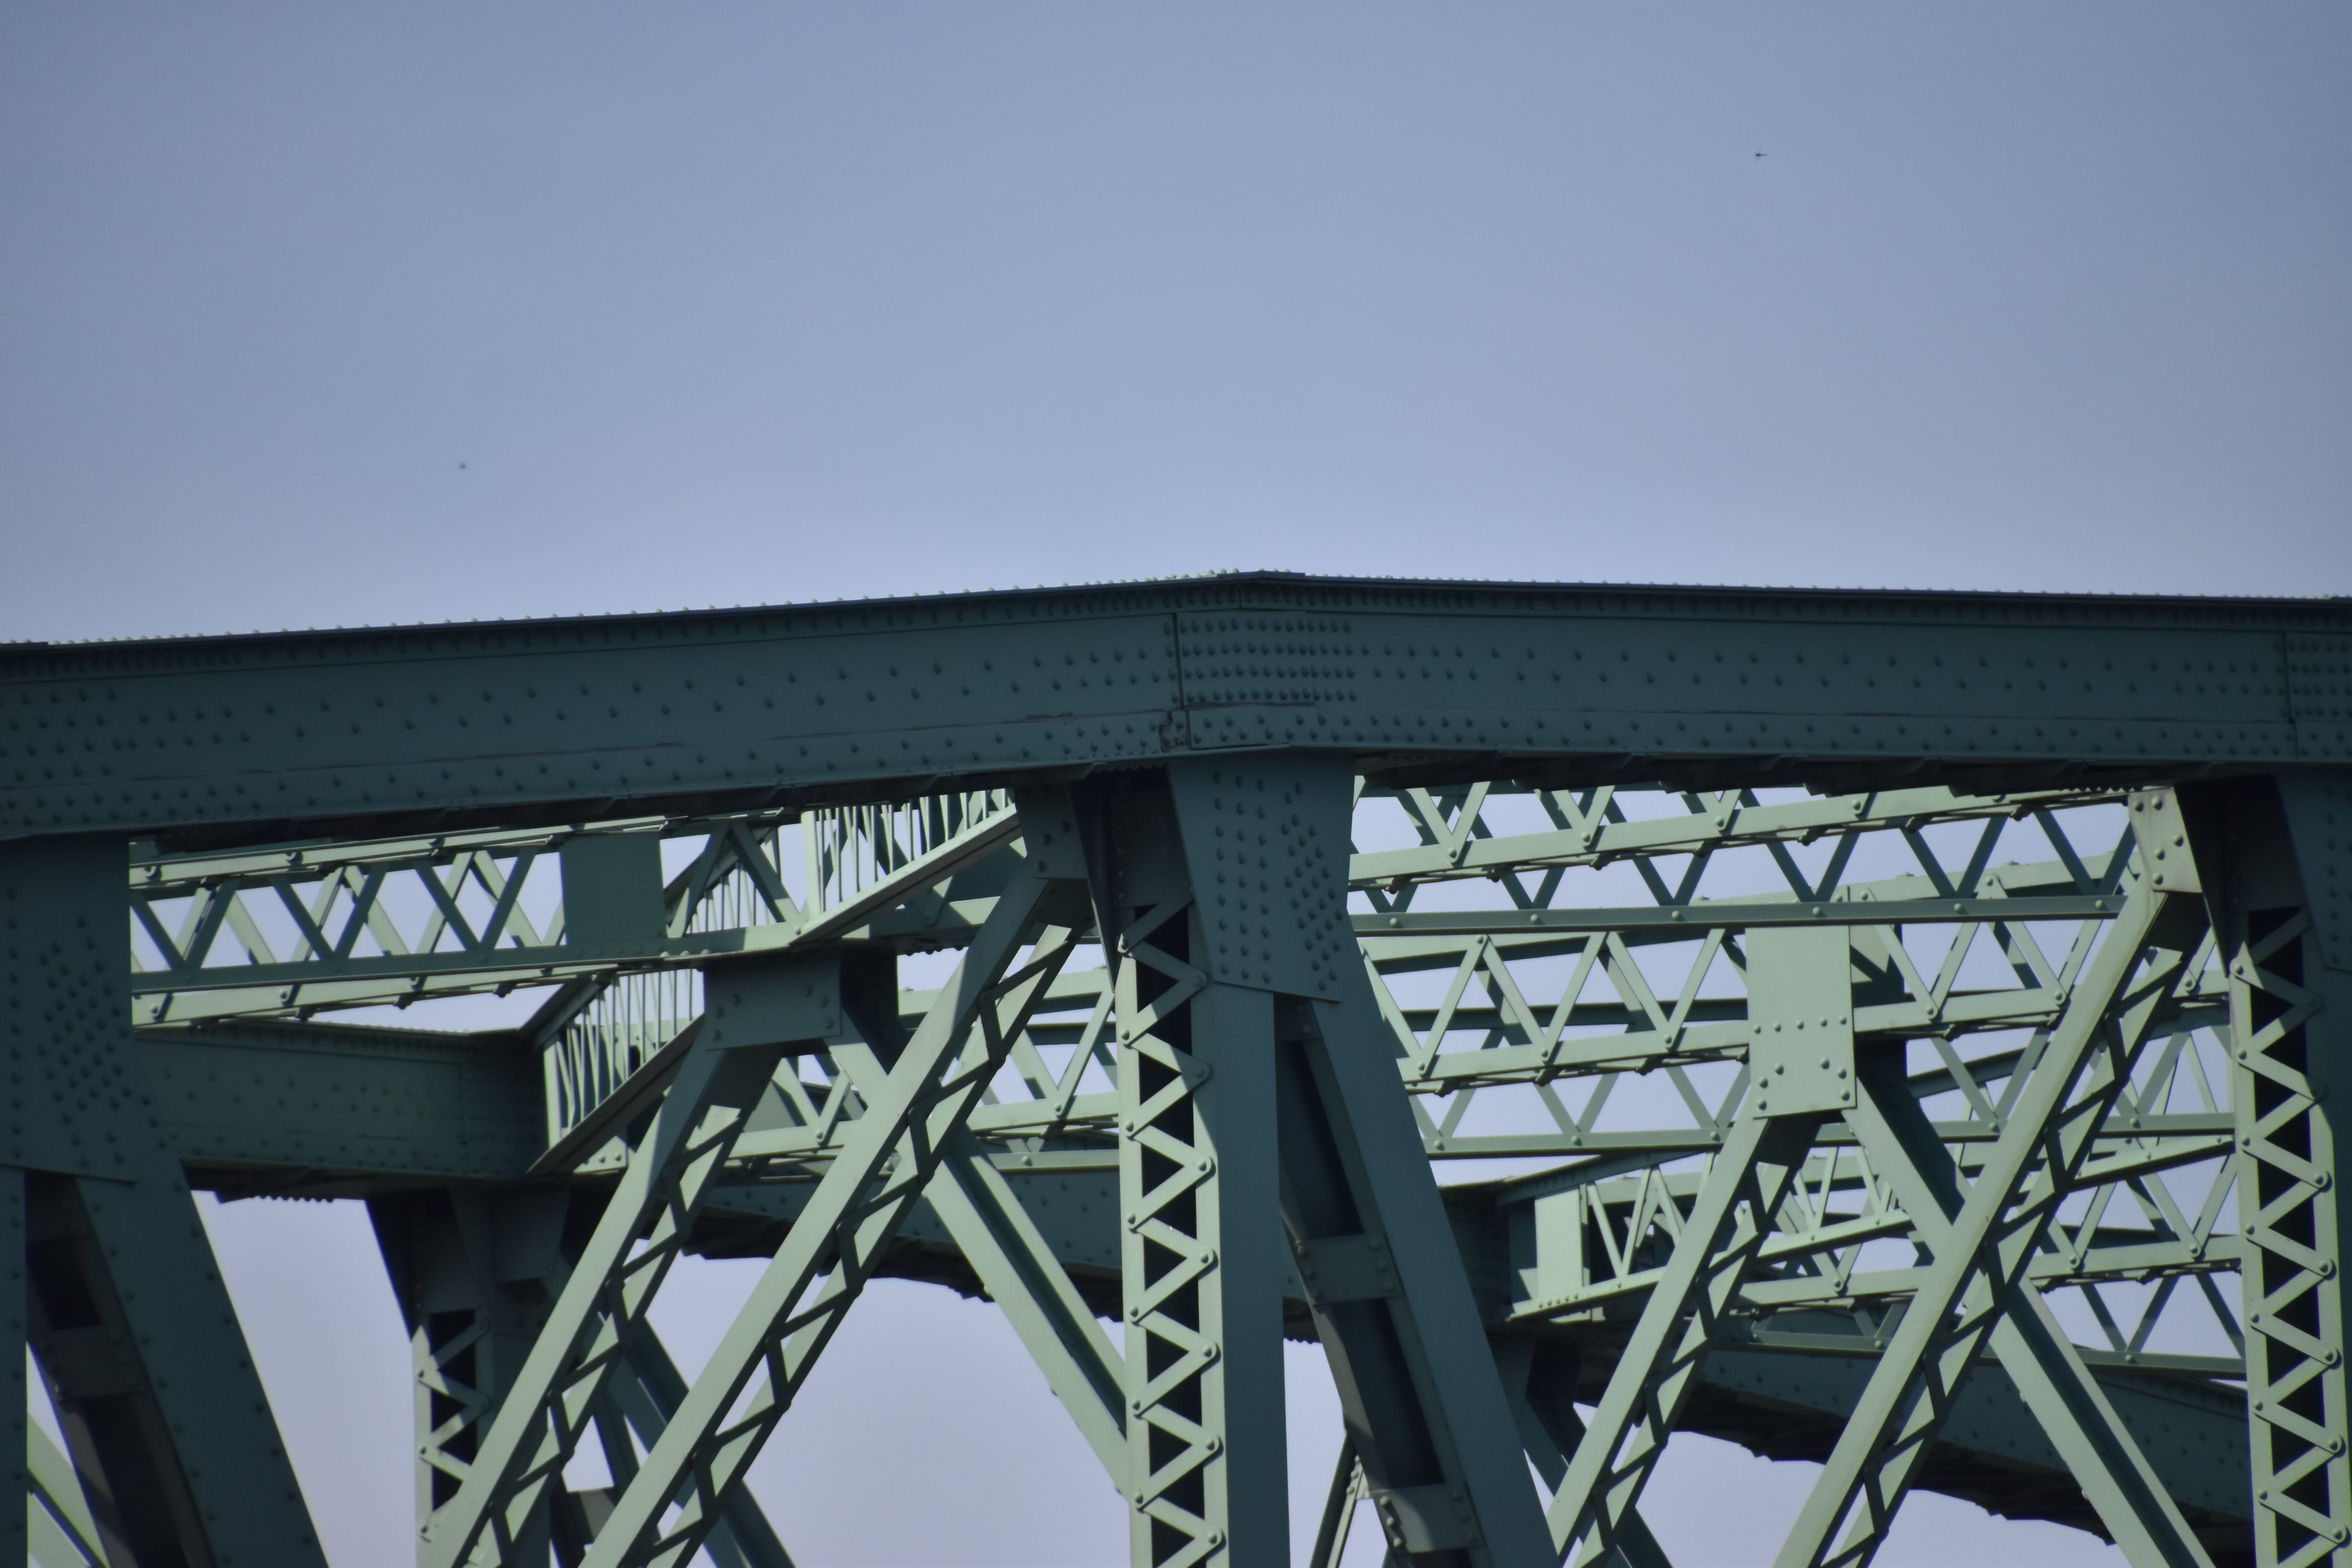
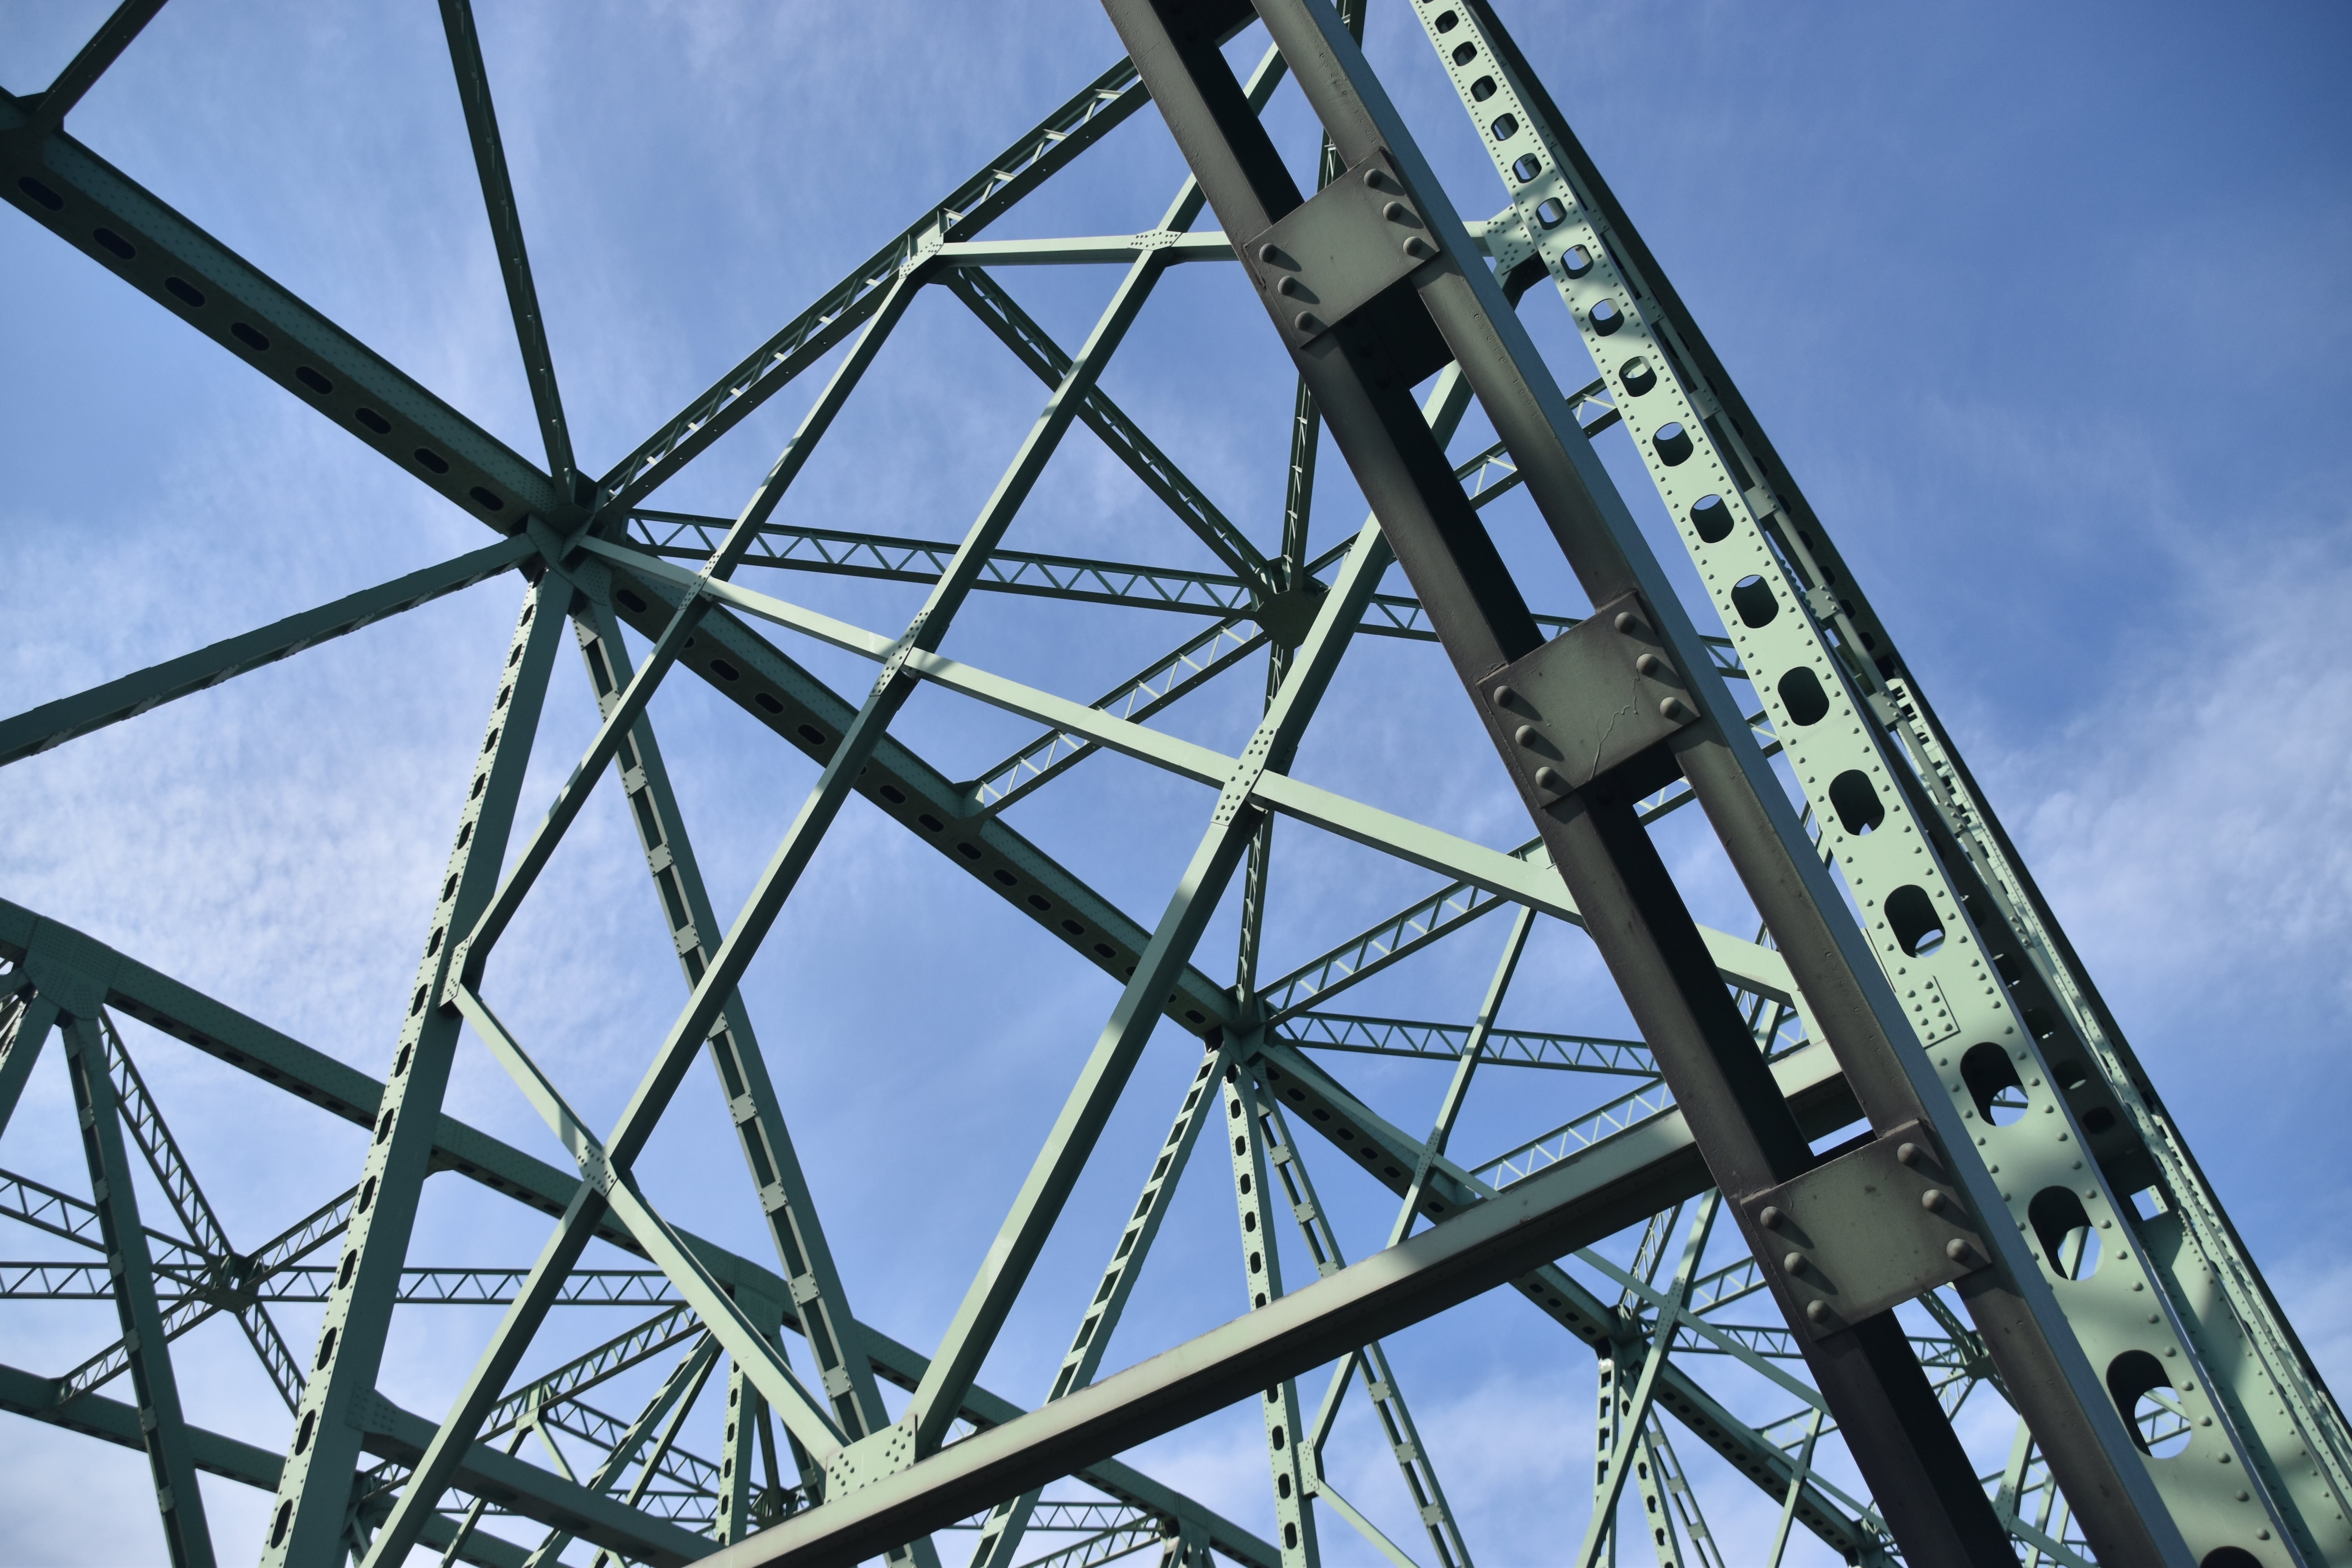
Top chord connections as viewed from beside bridge.
![]()


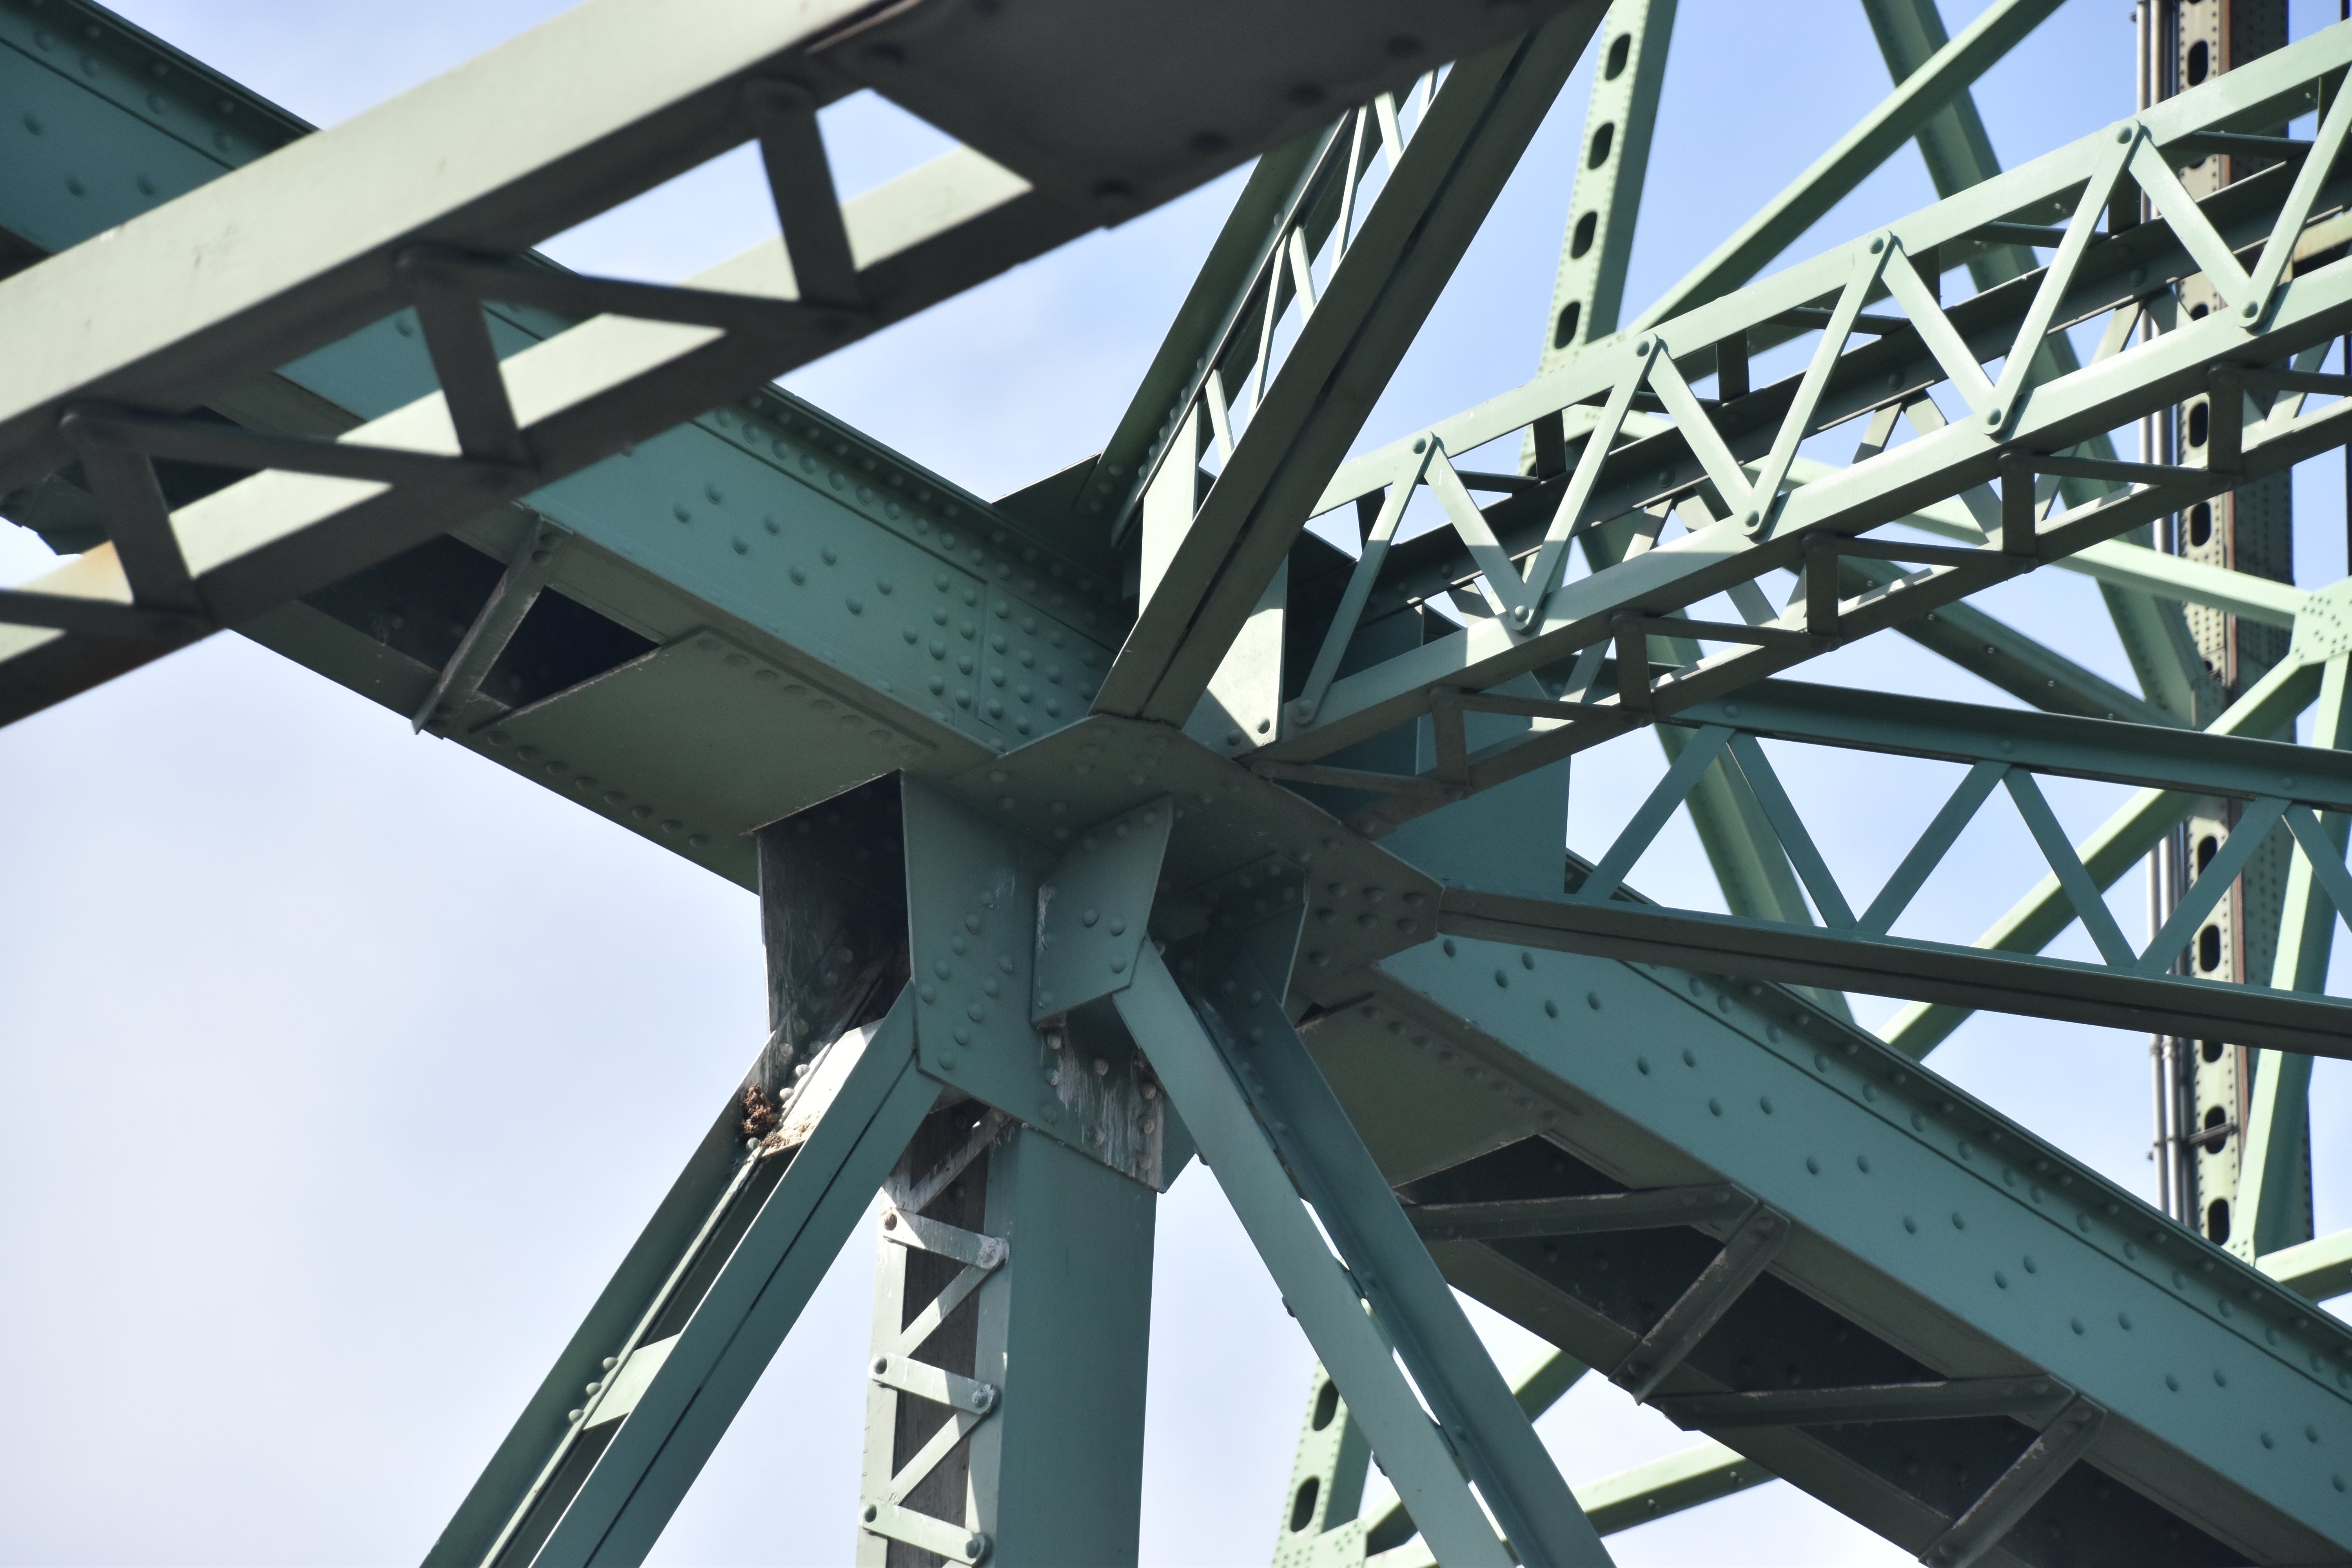


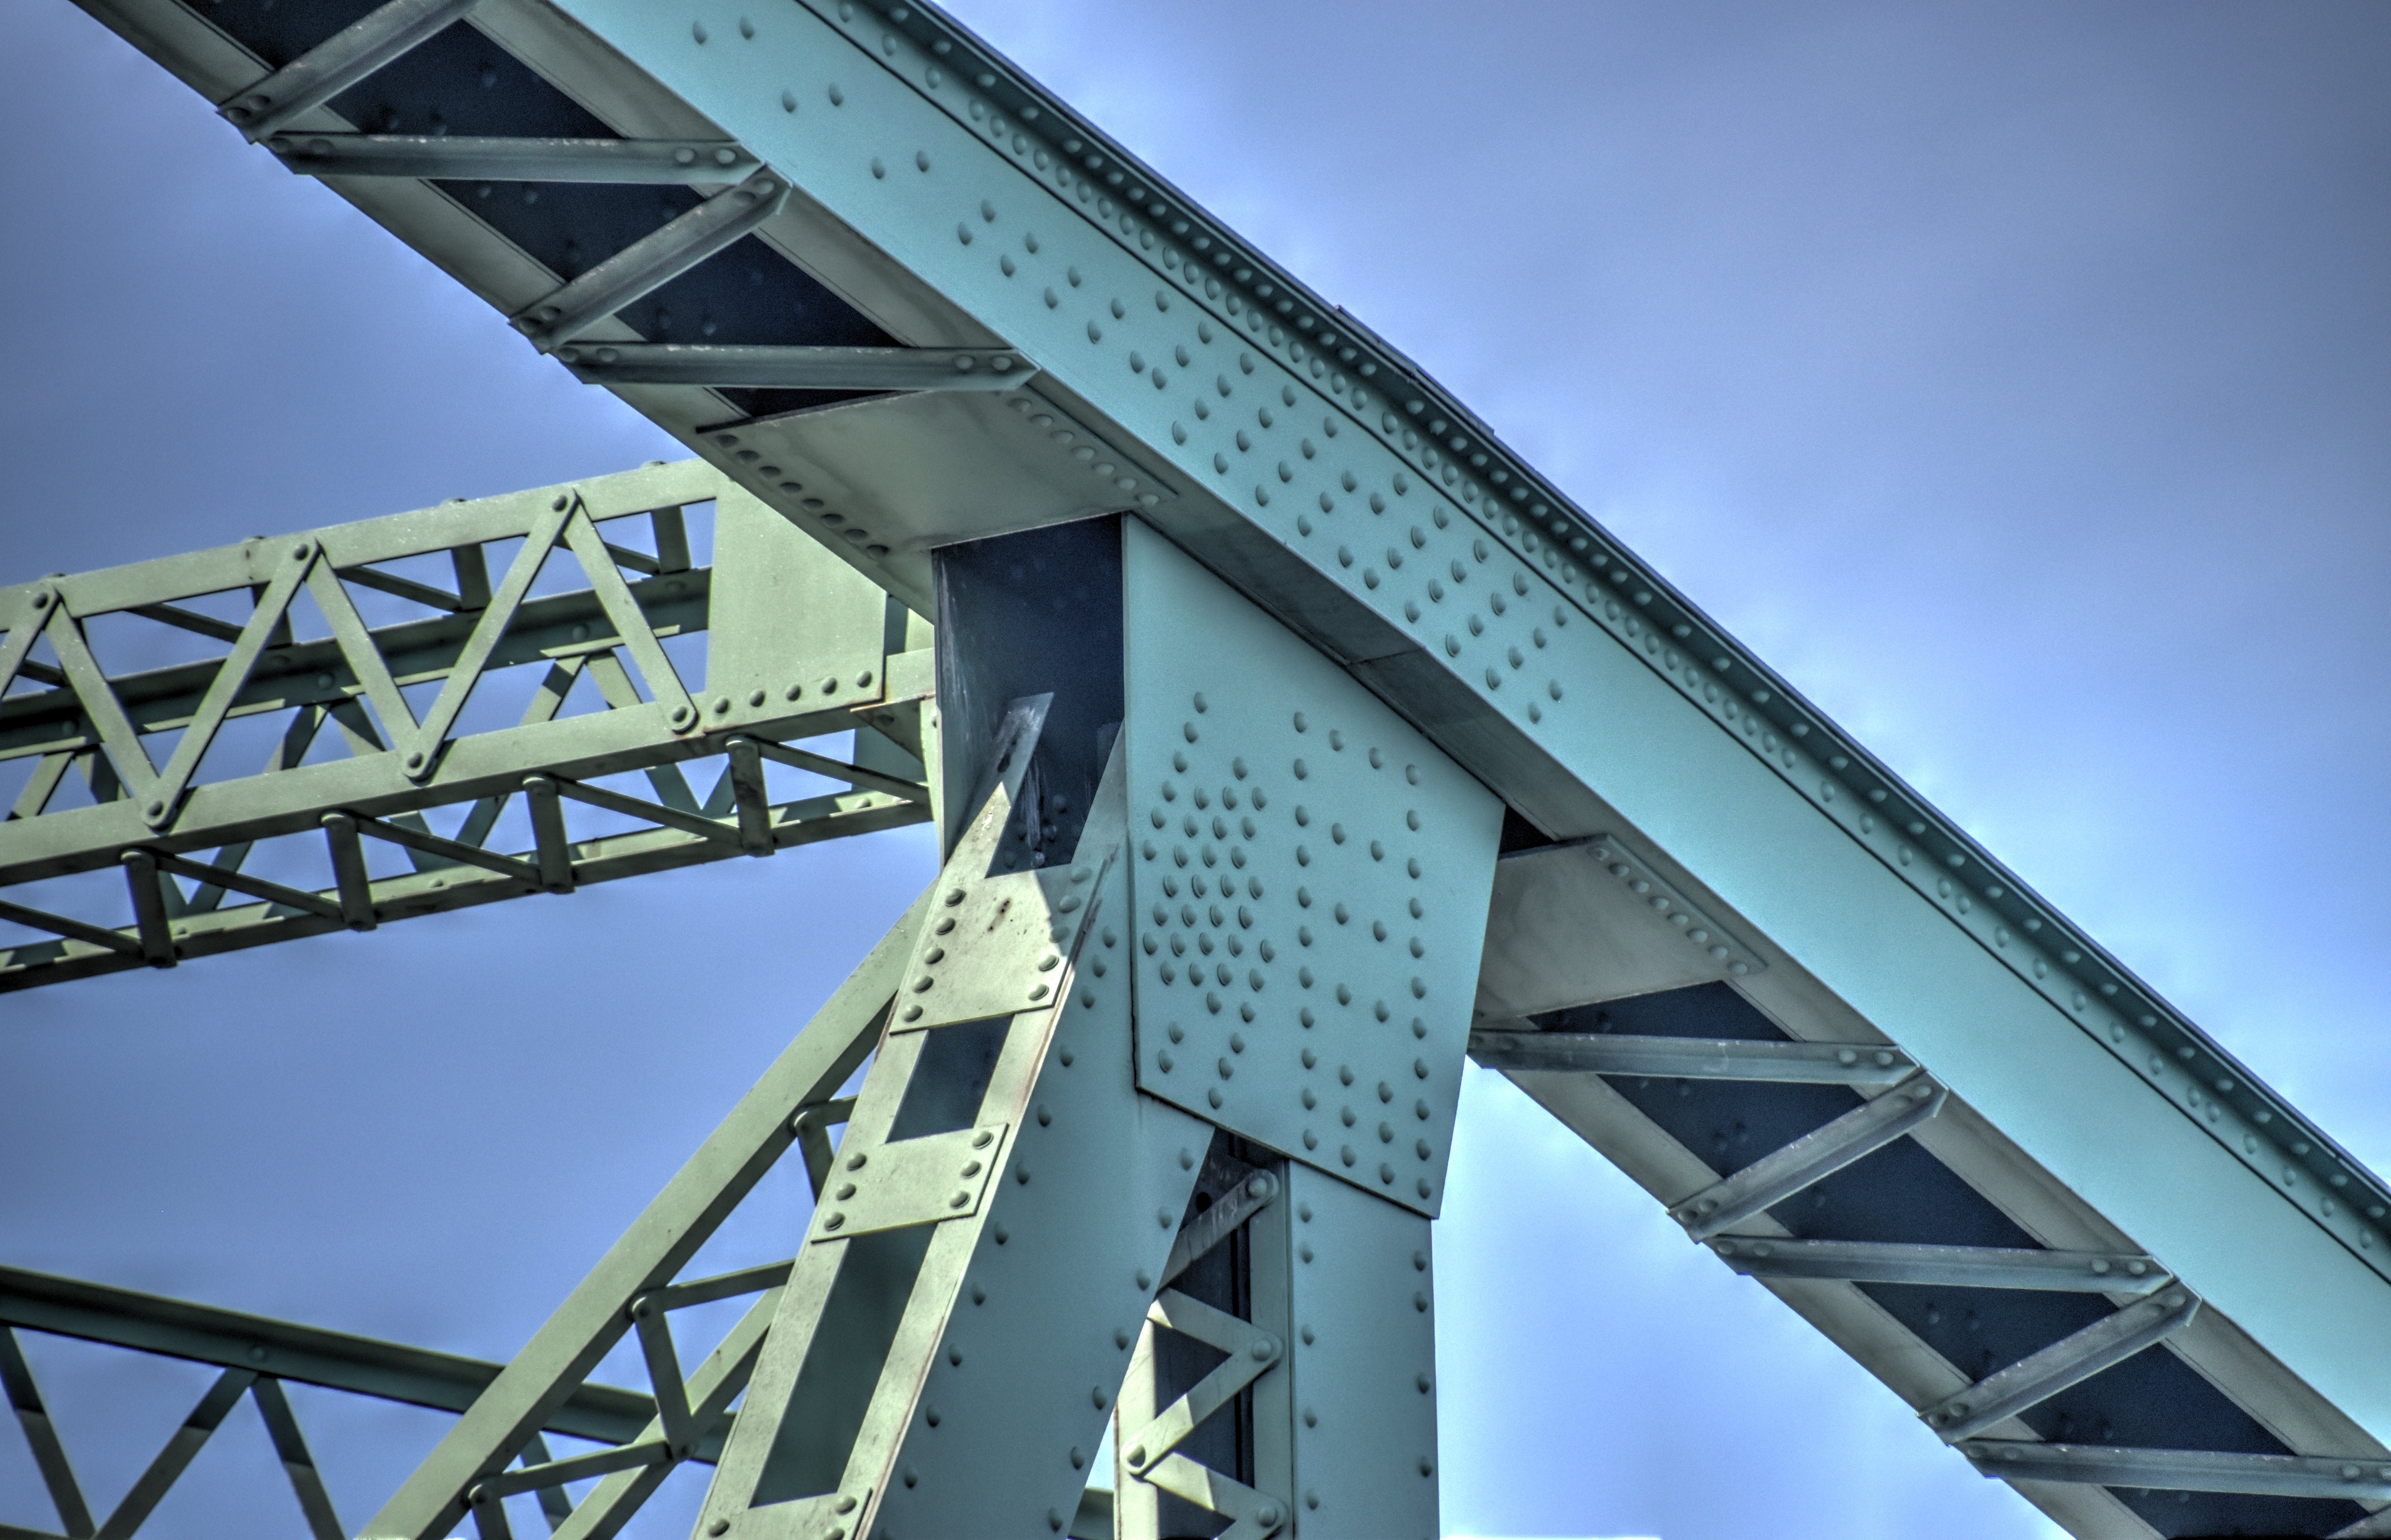
Top chord connections as viewed from on bridge.
![]()


Bottom chord connections as viewed from beside bridge. Distant views.
![]()


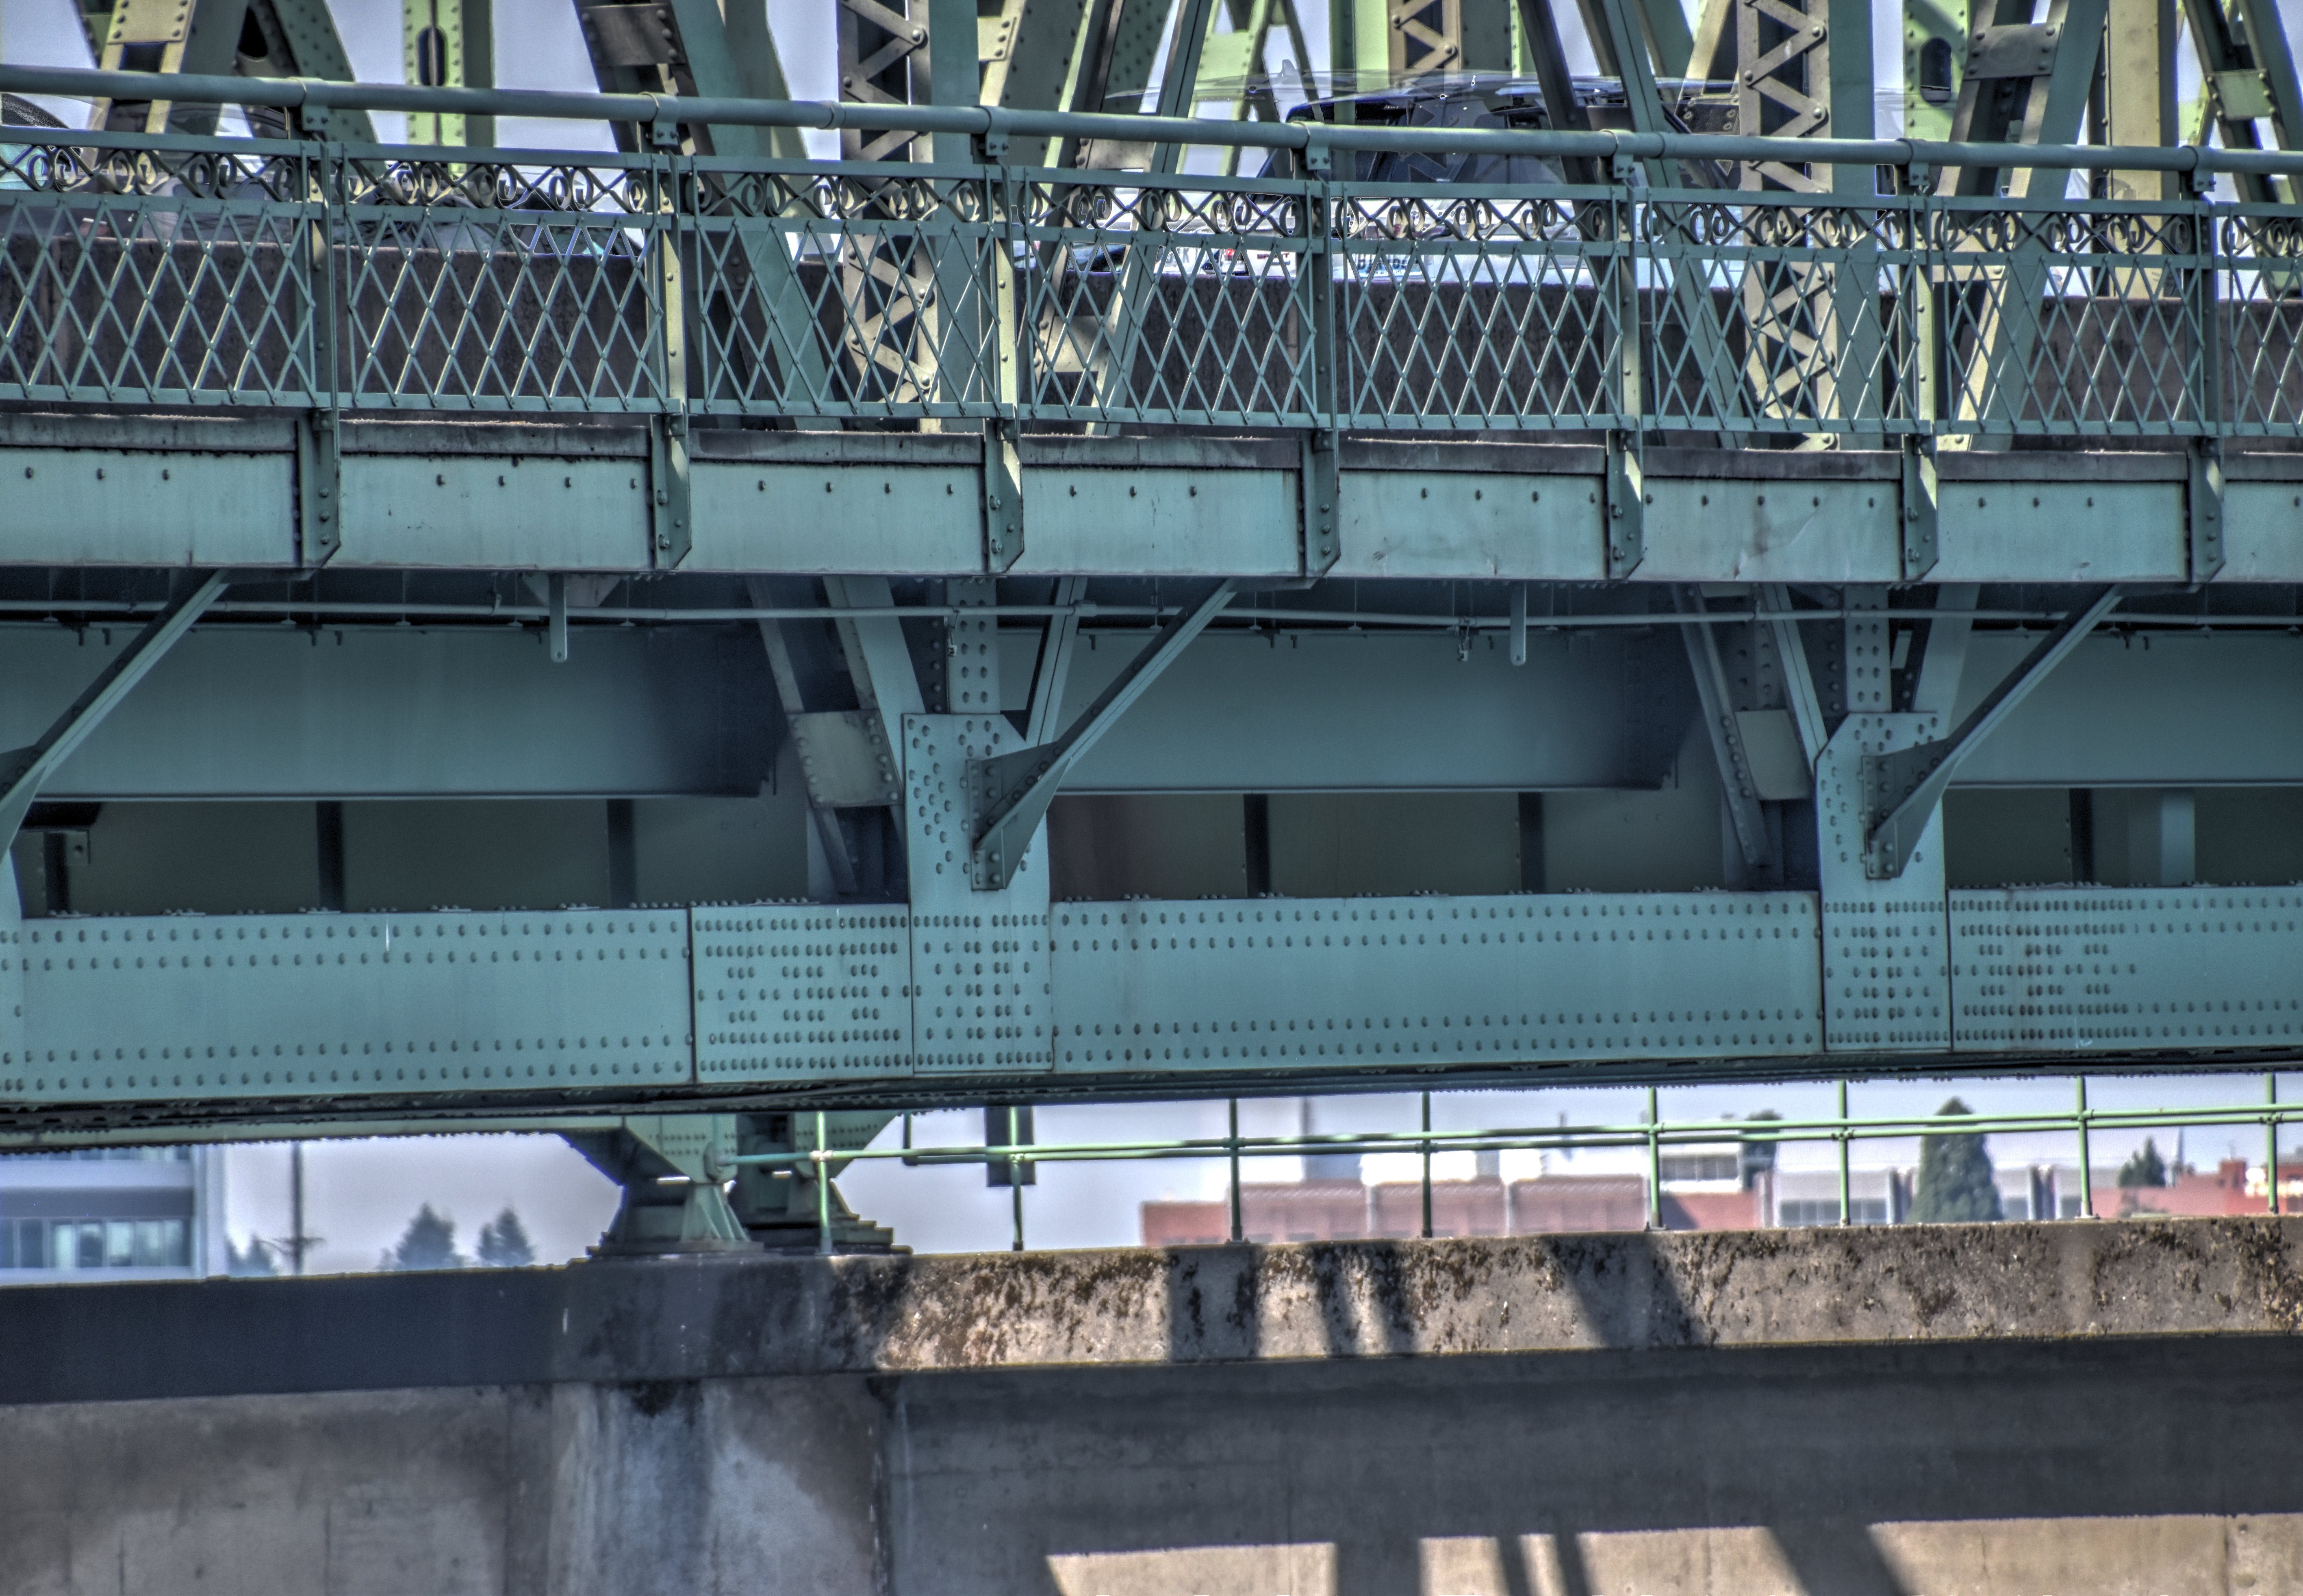
Bottom chord connections as viewed from beside bridge.
![]()


Pier.
![]()
Bearings.
![]()
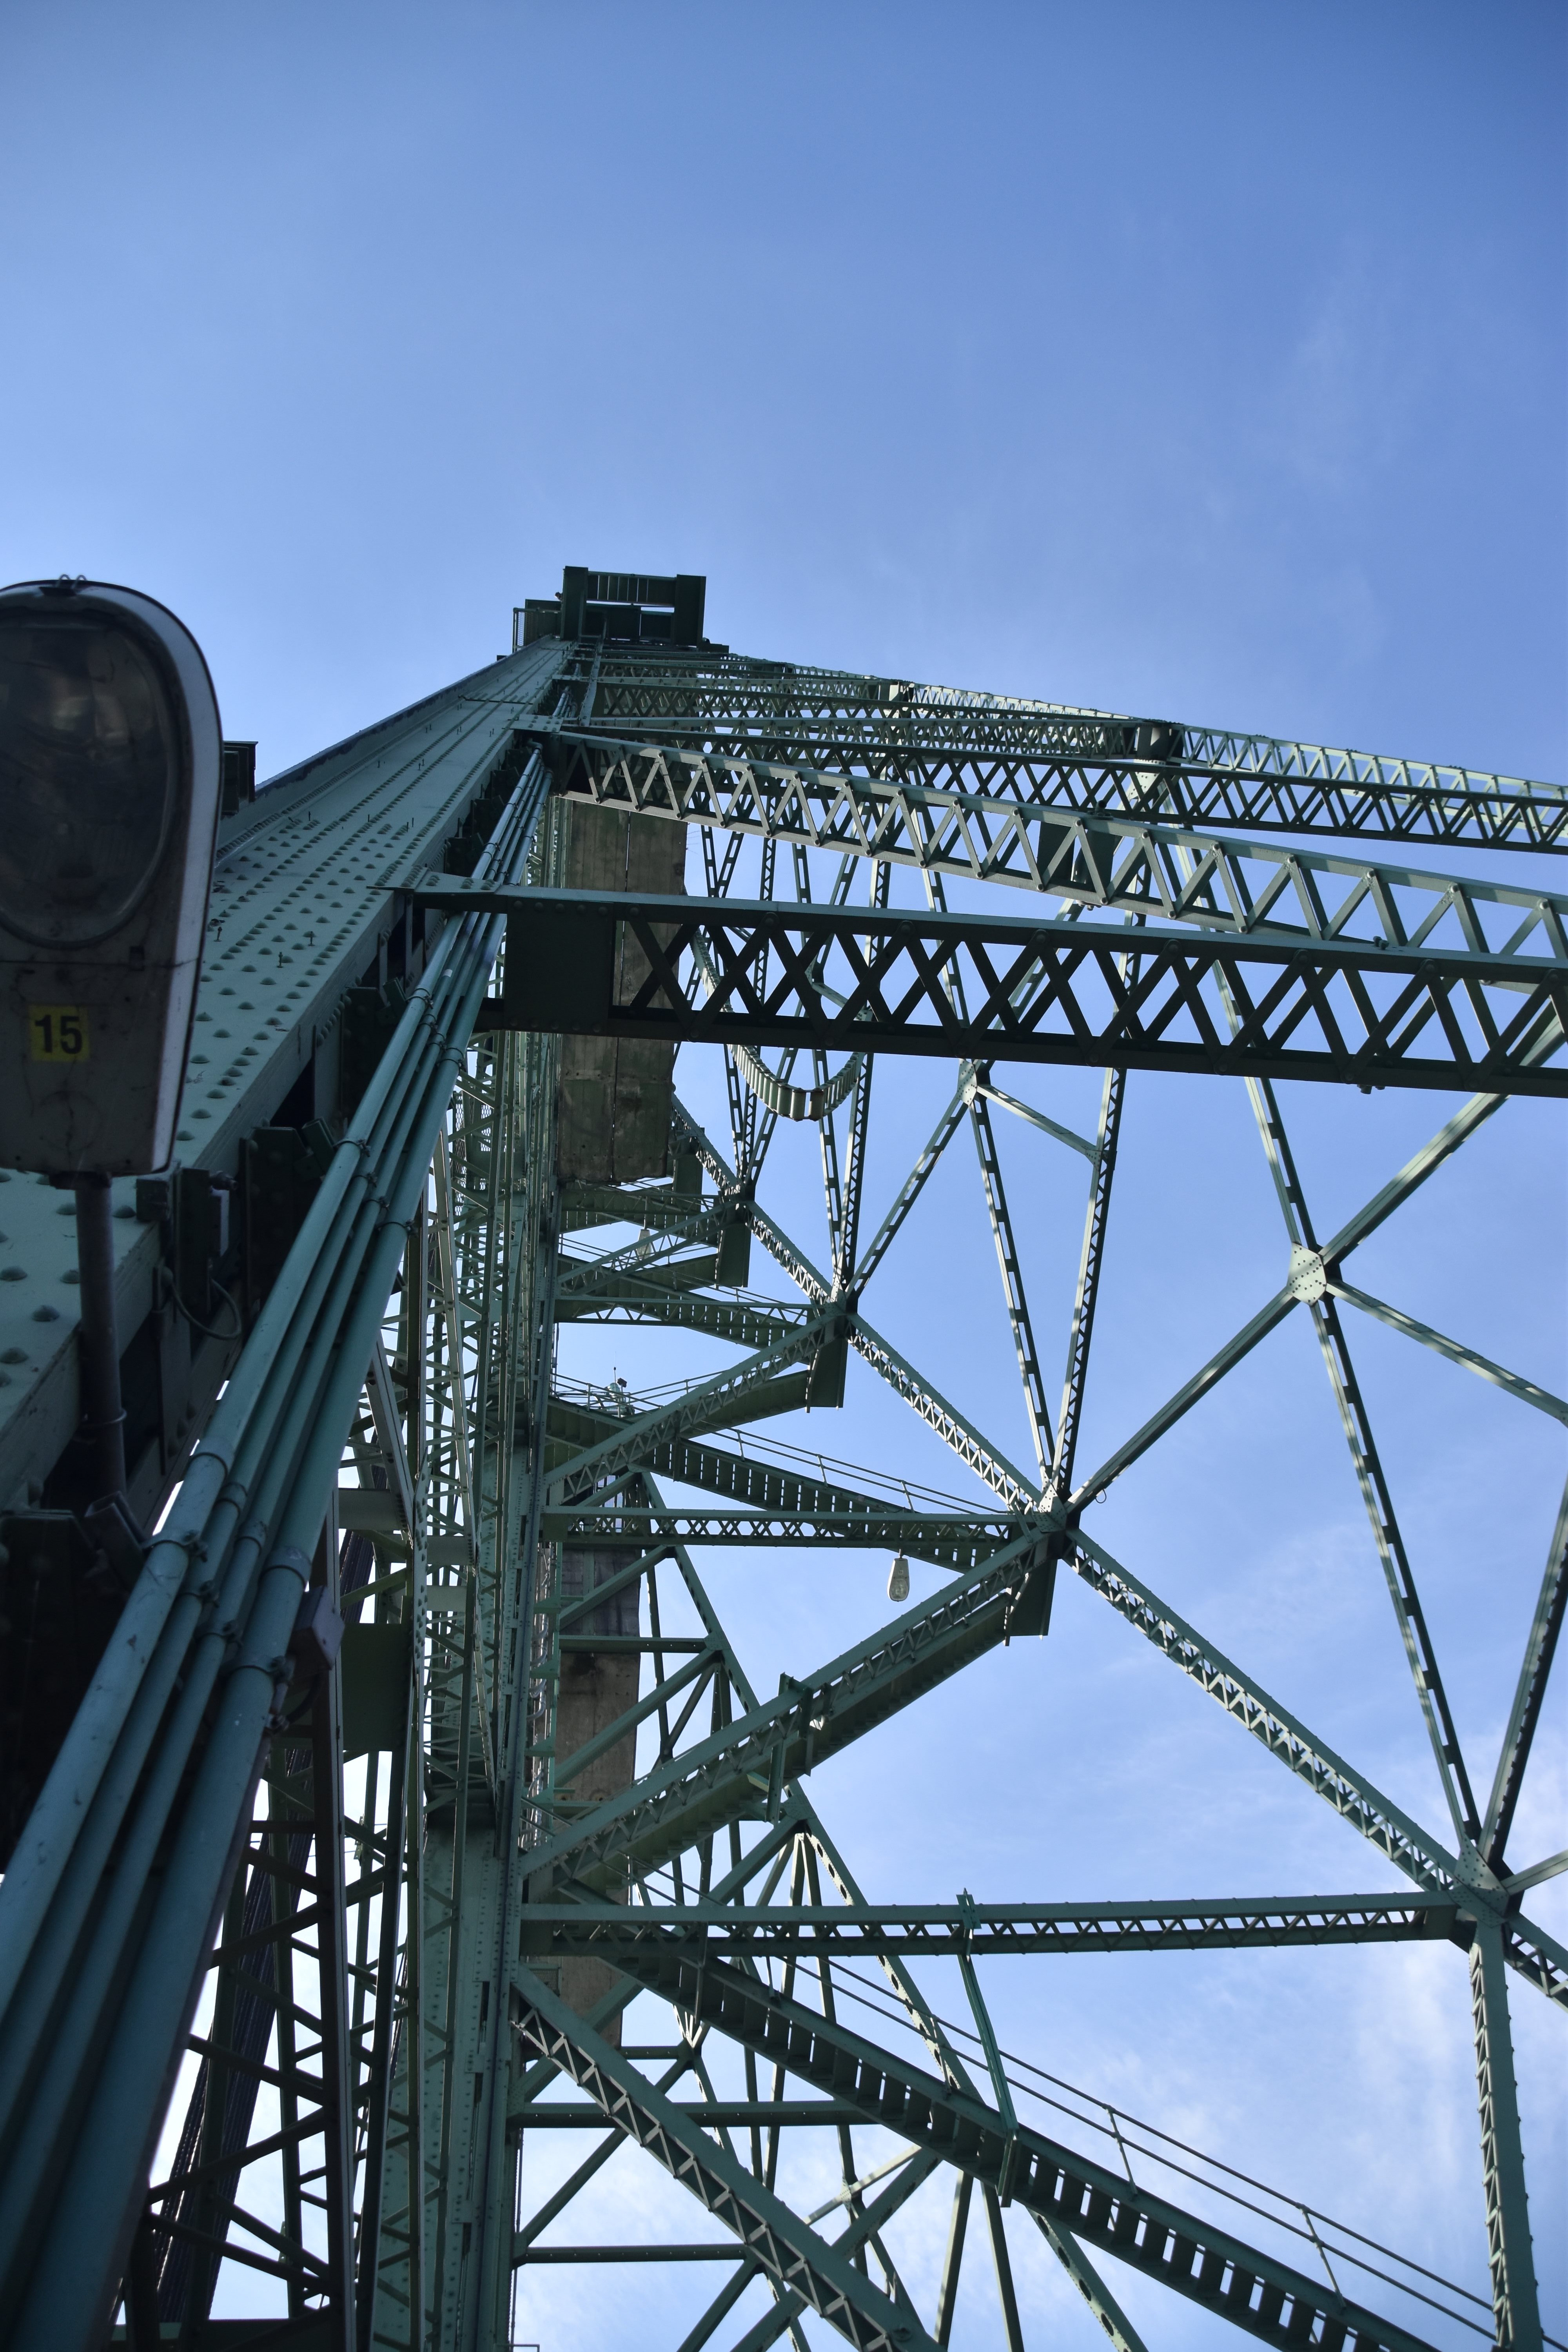


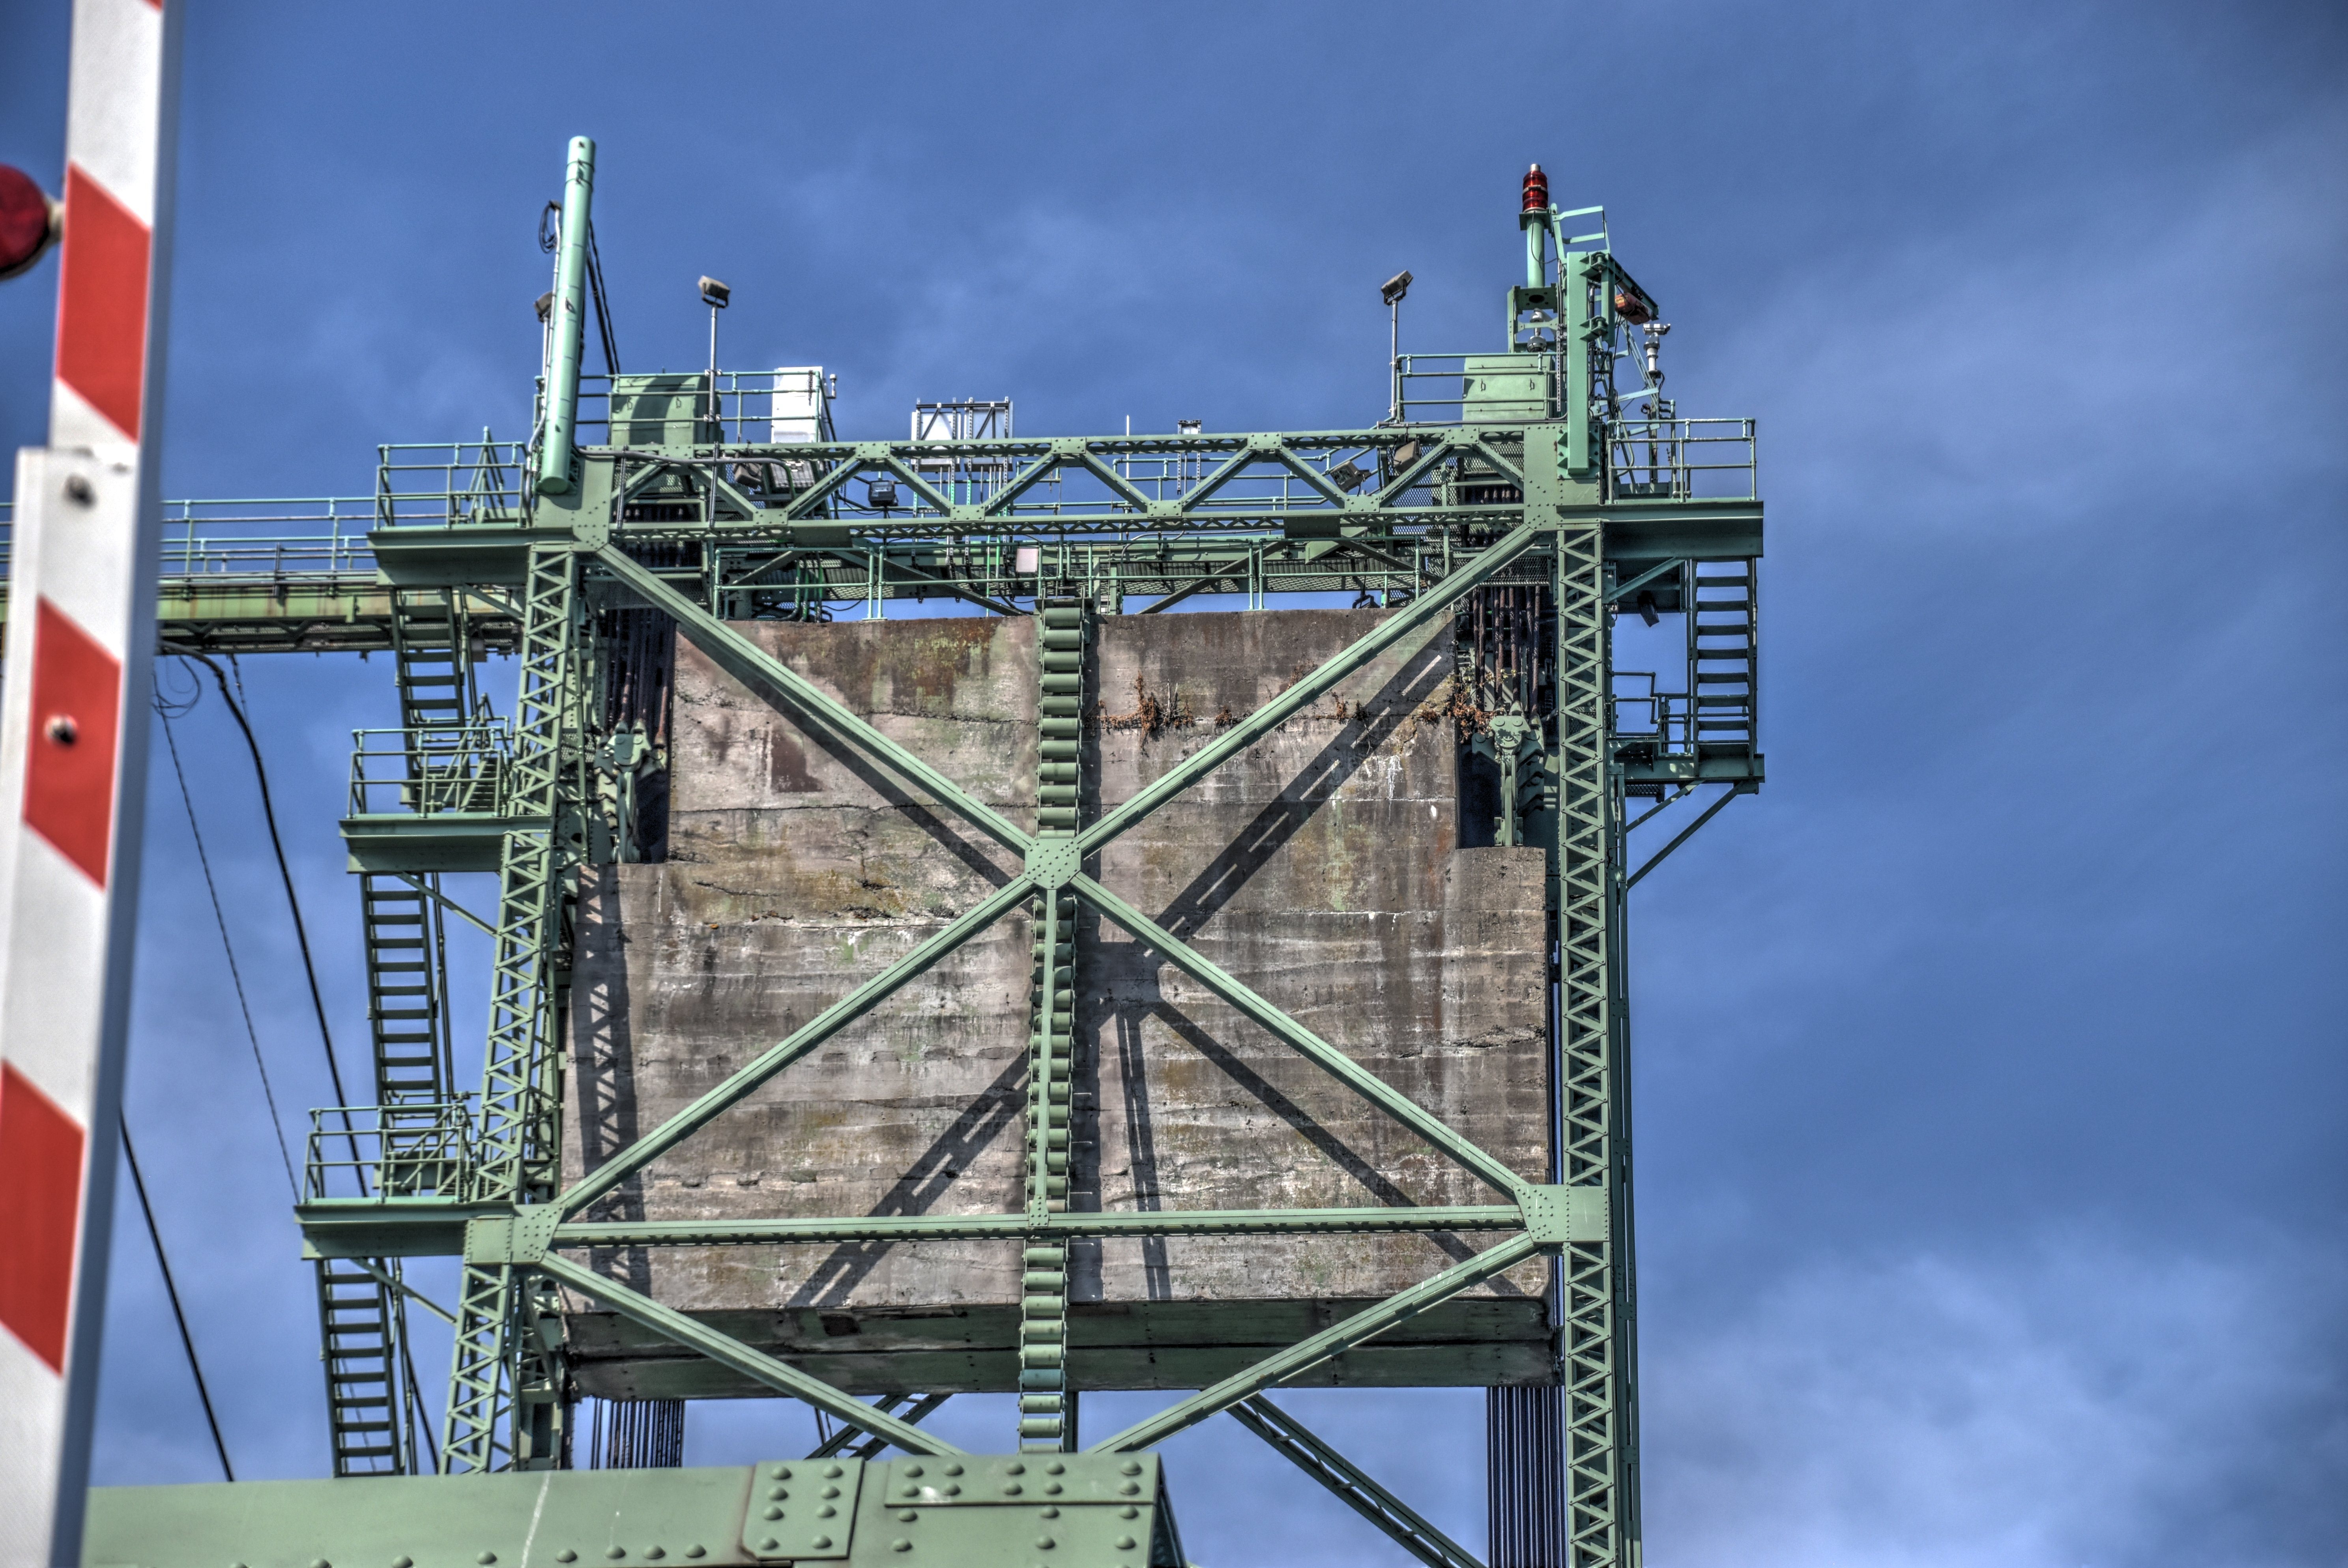
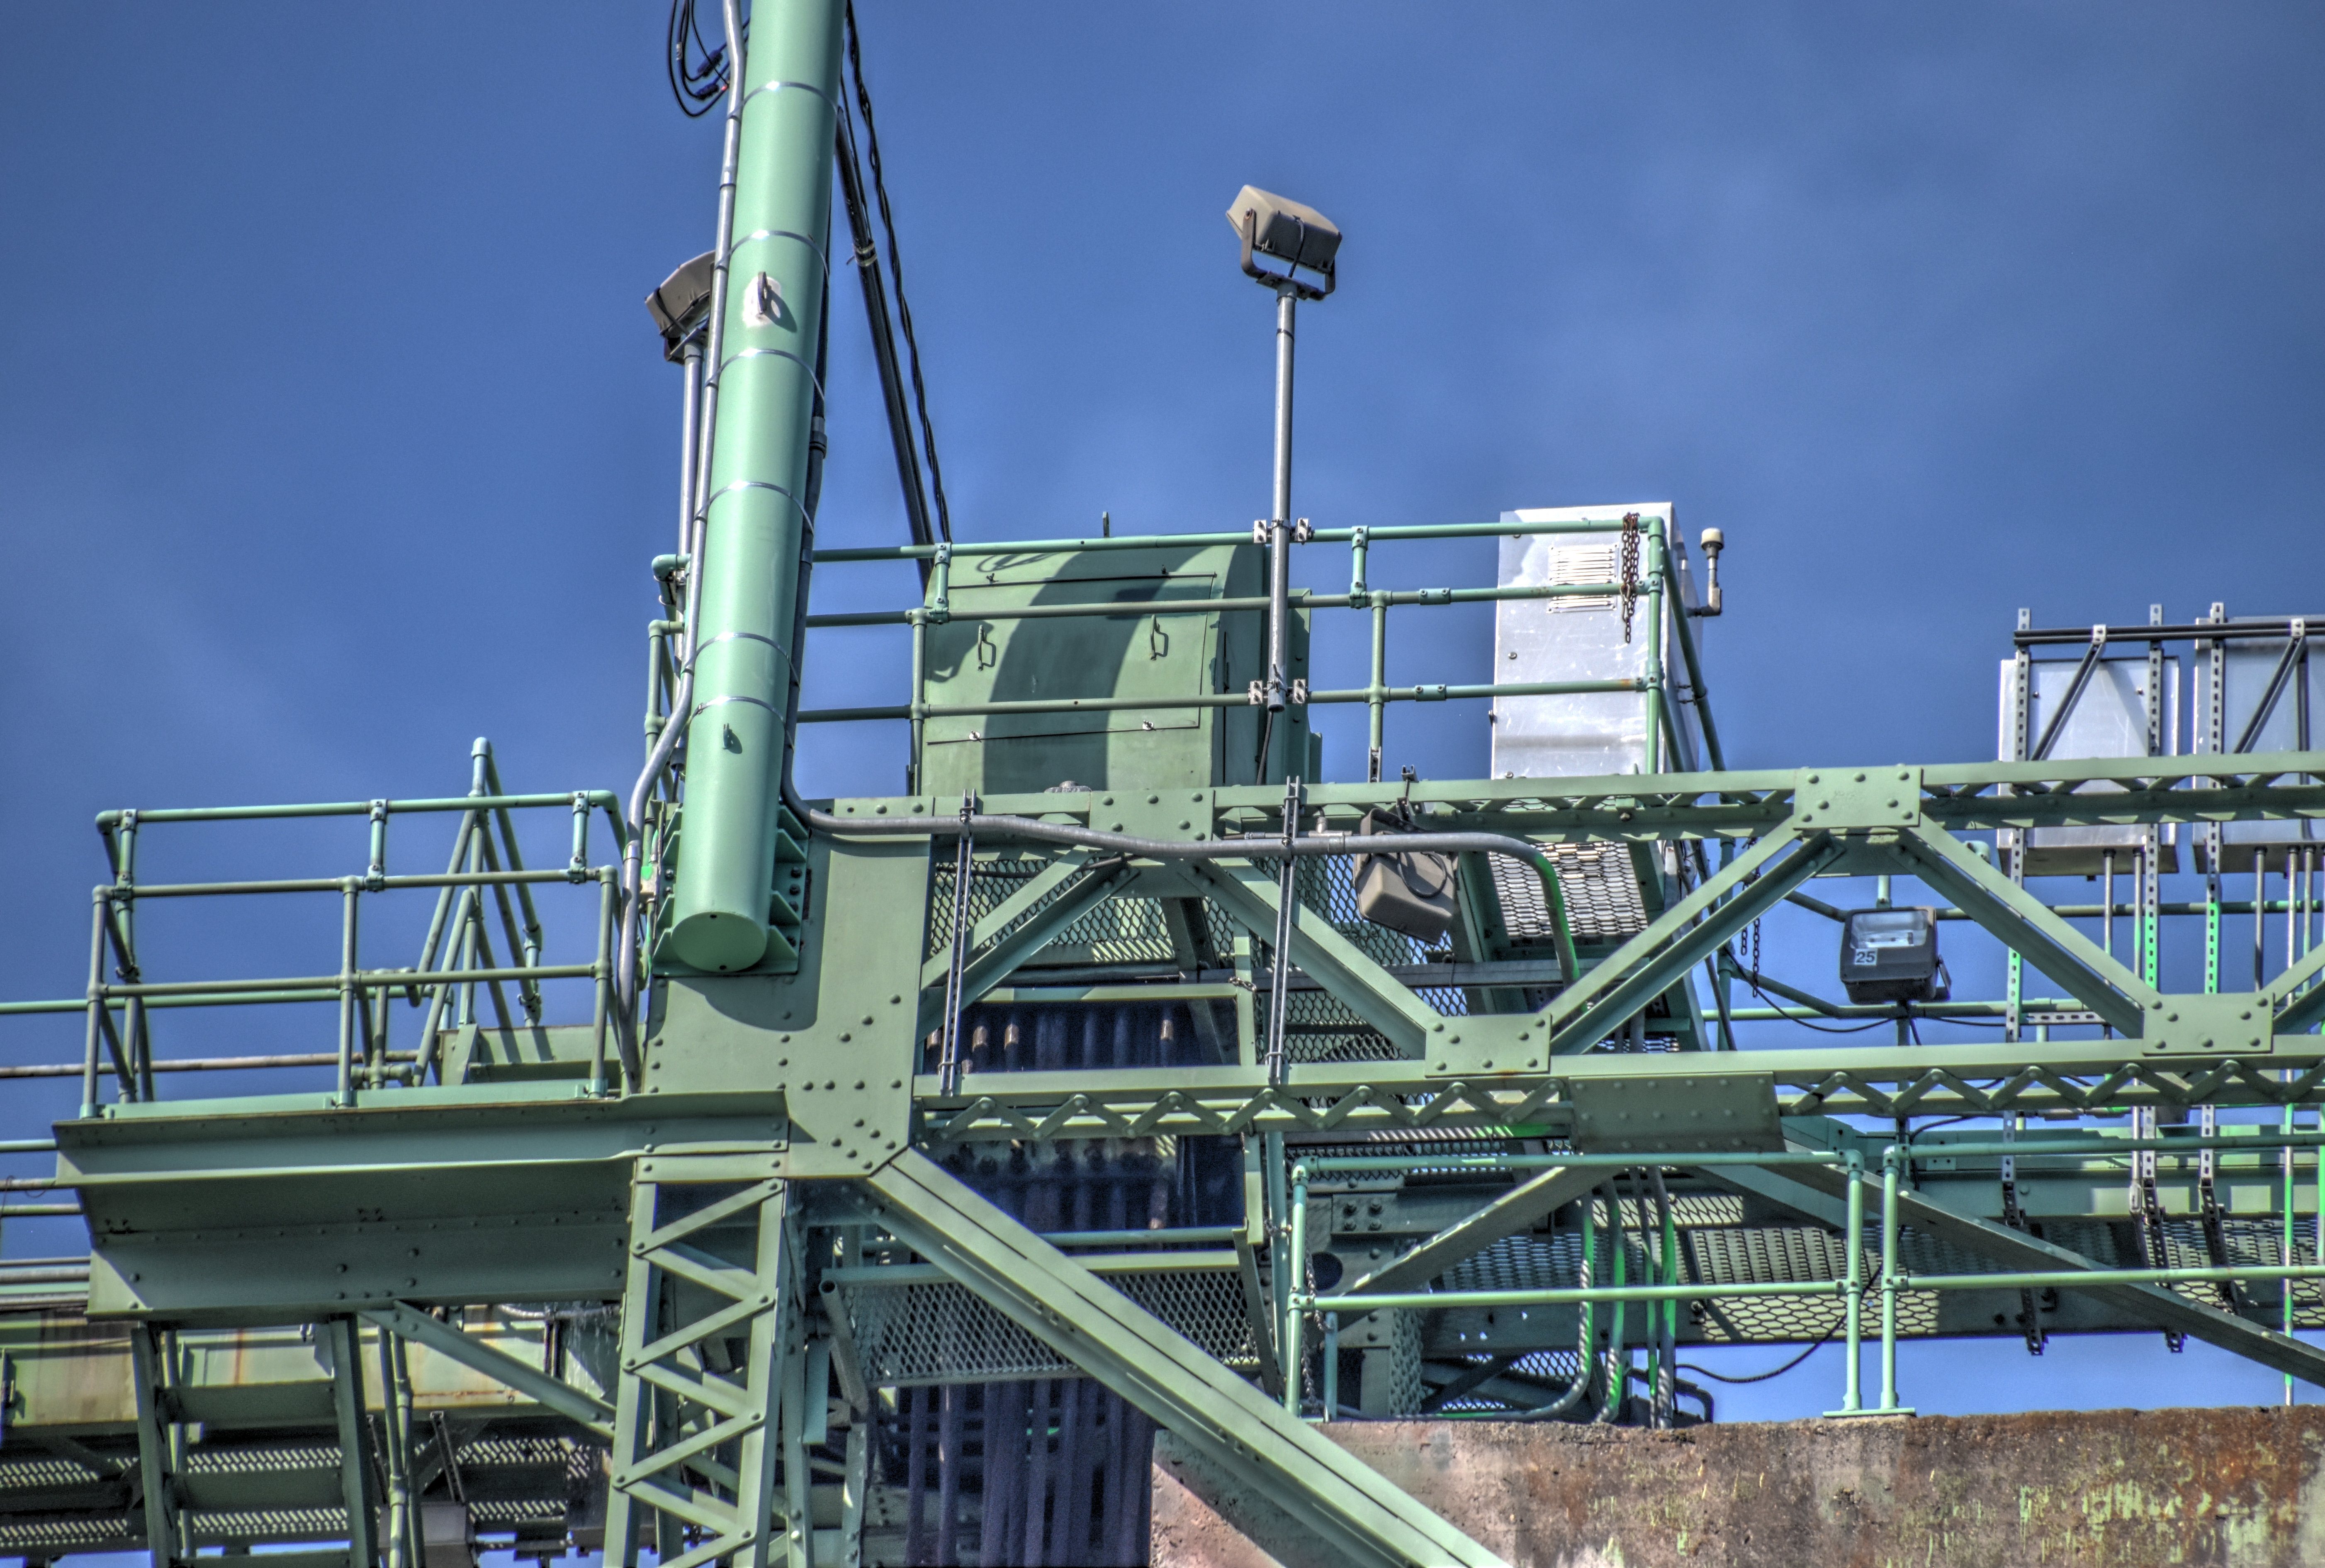
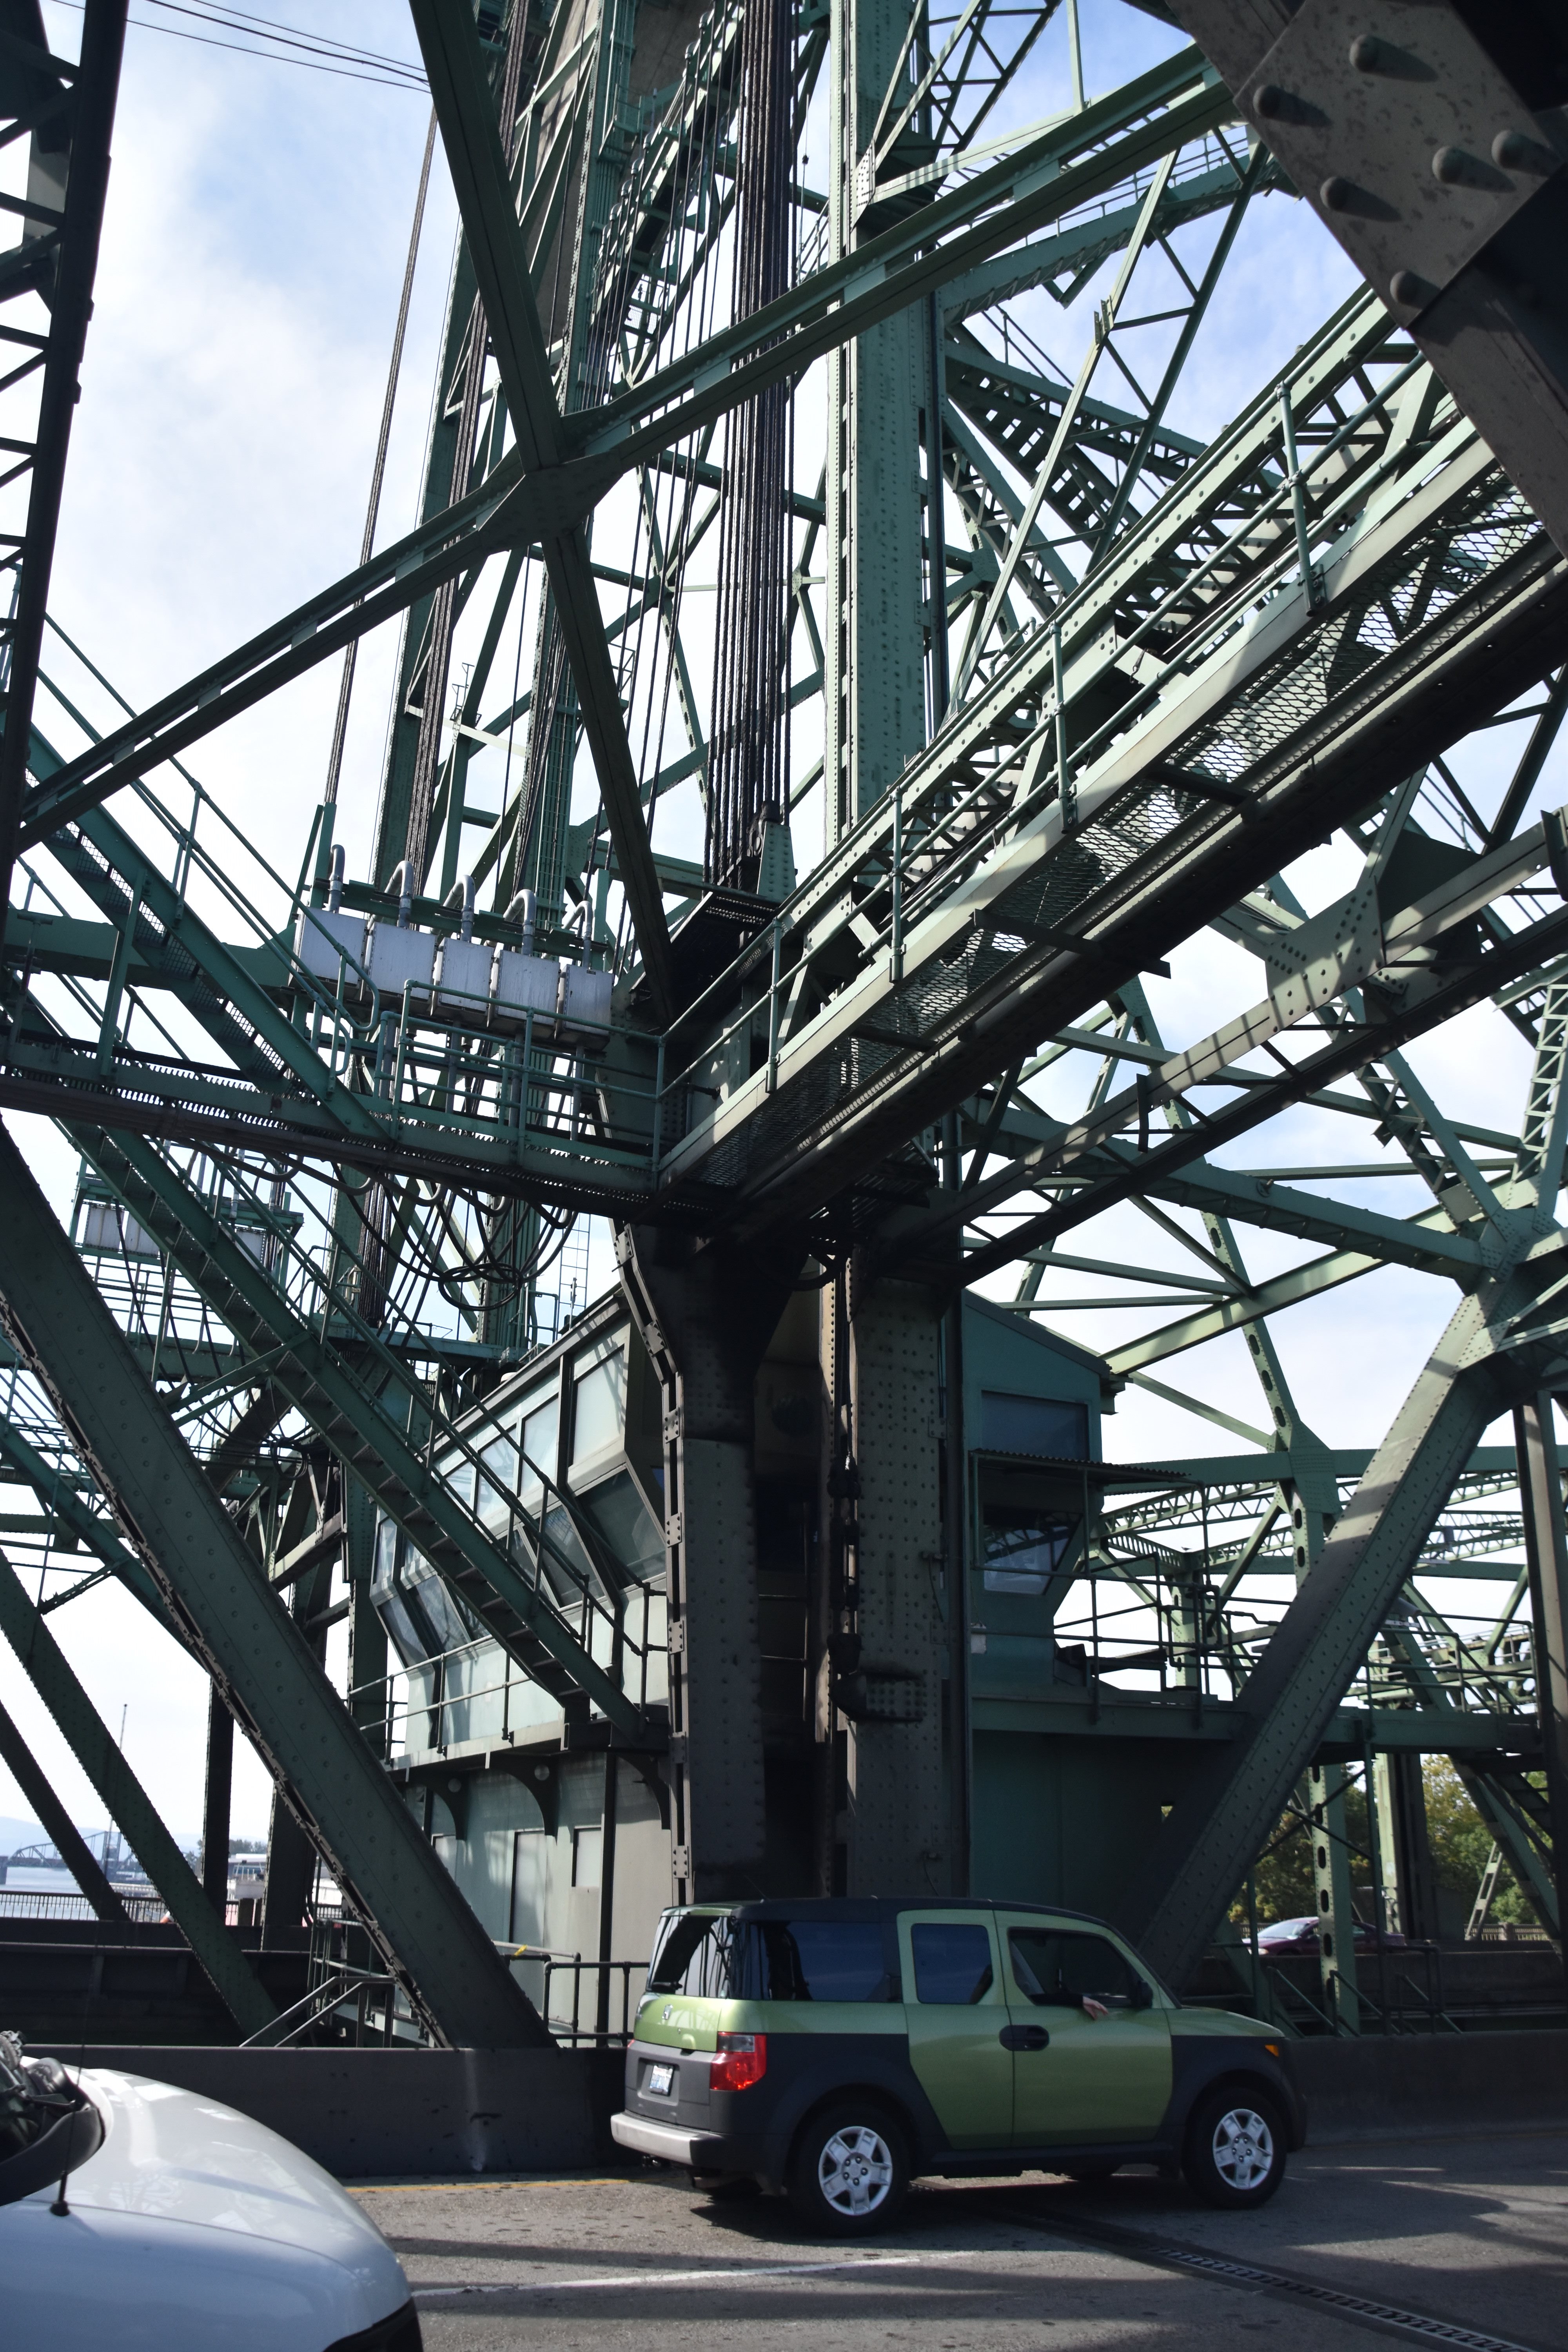
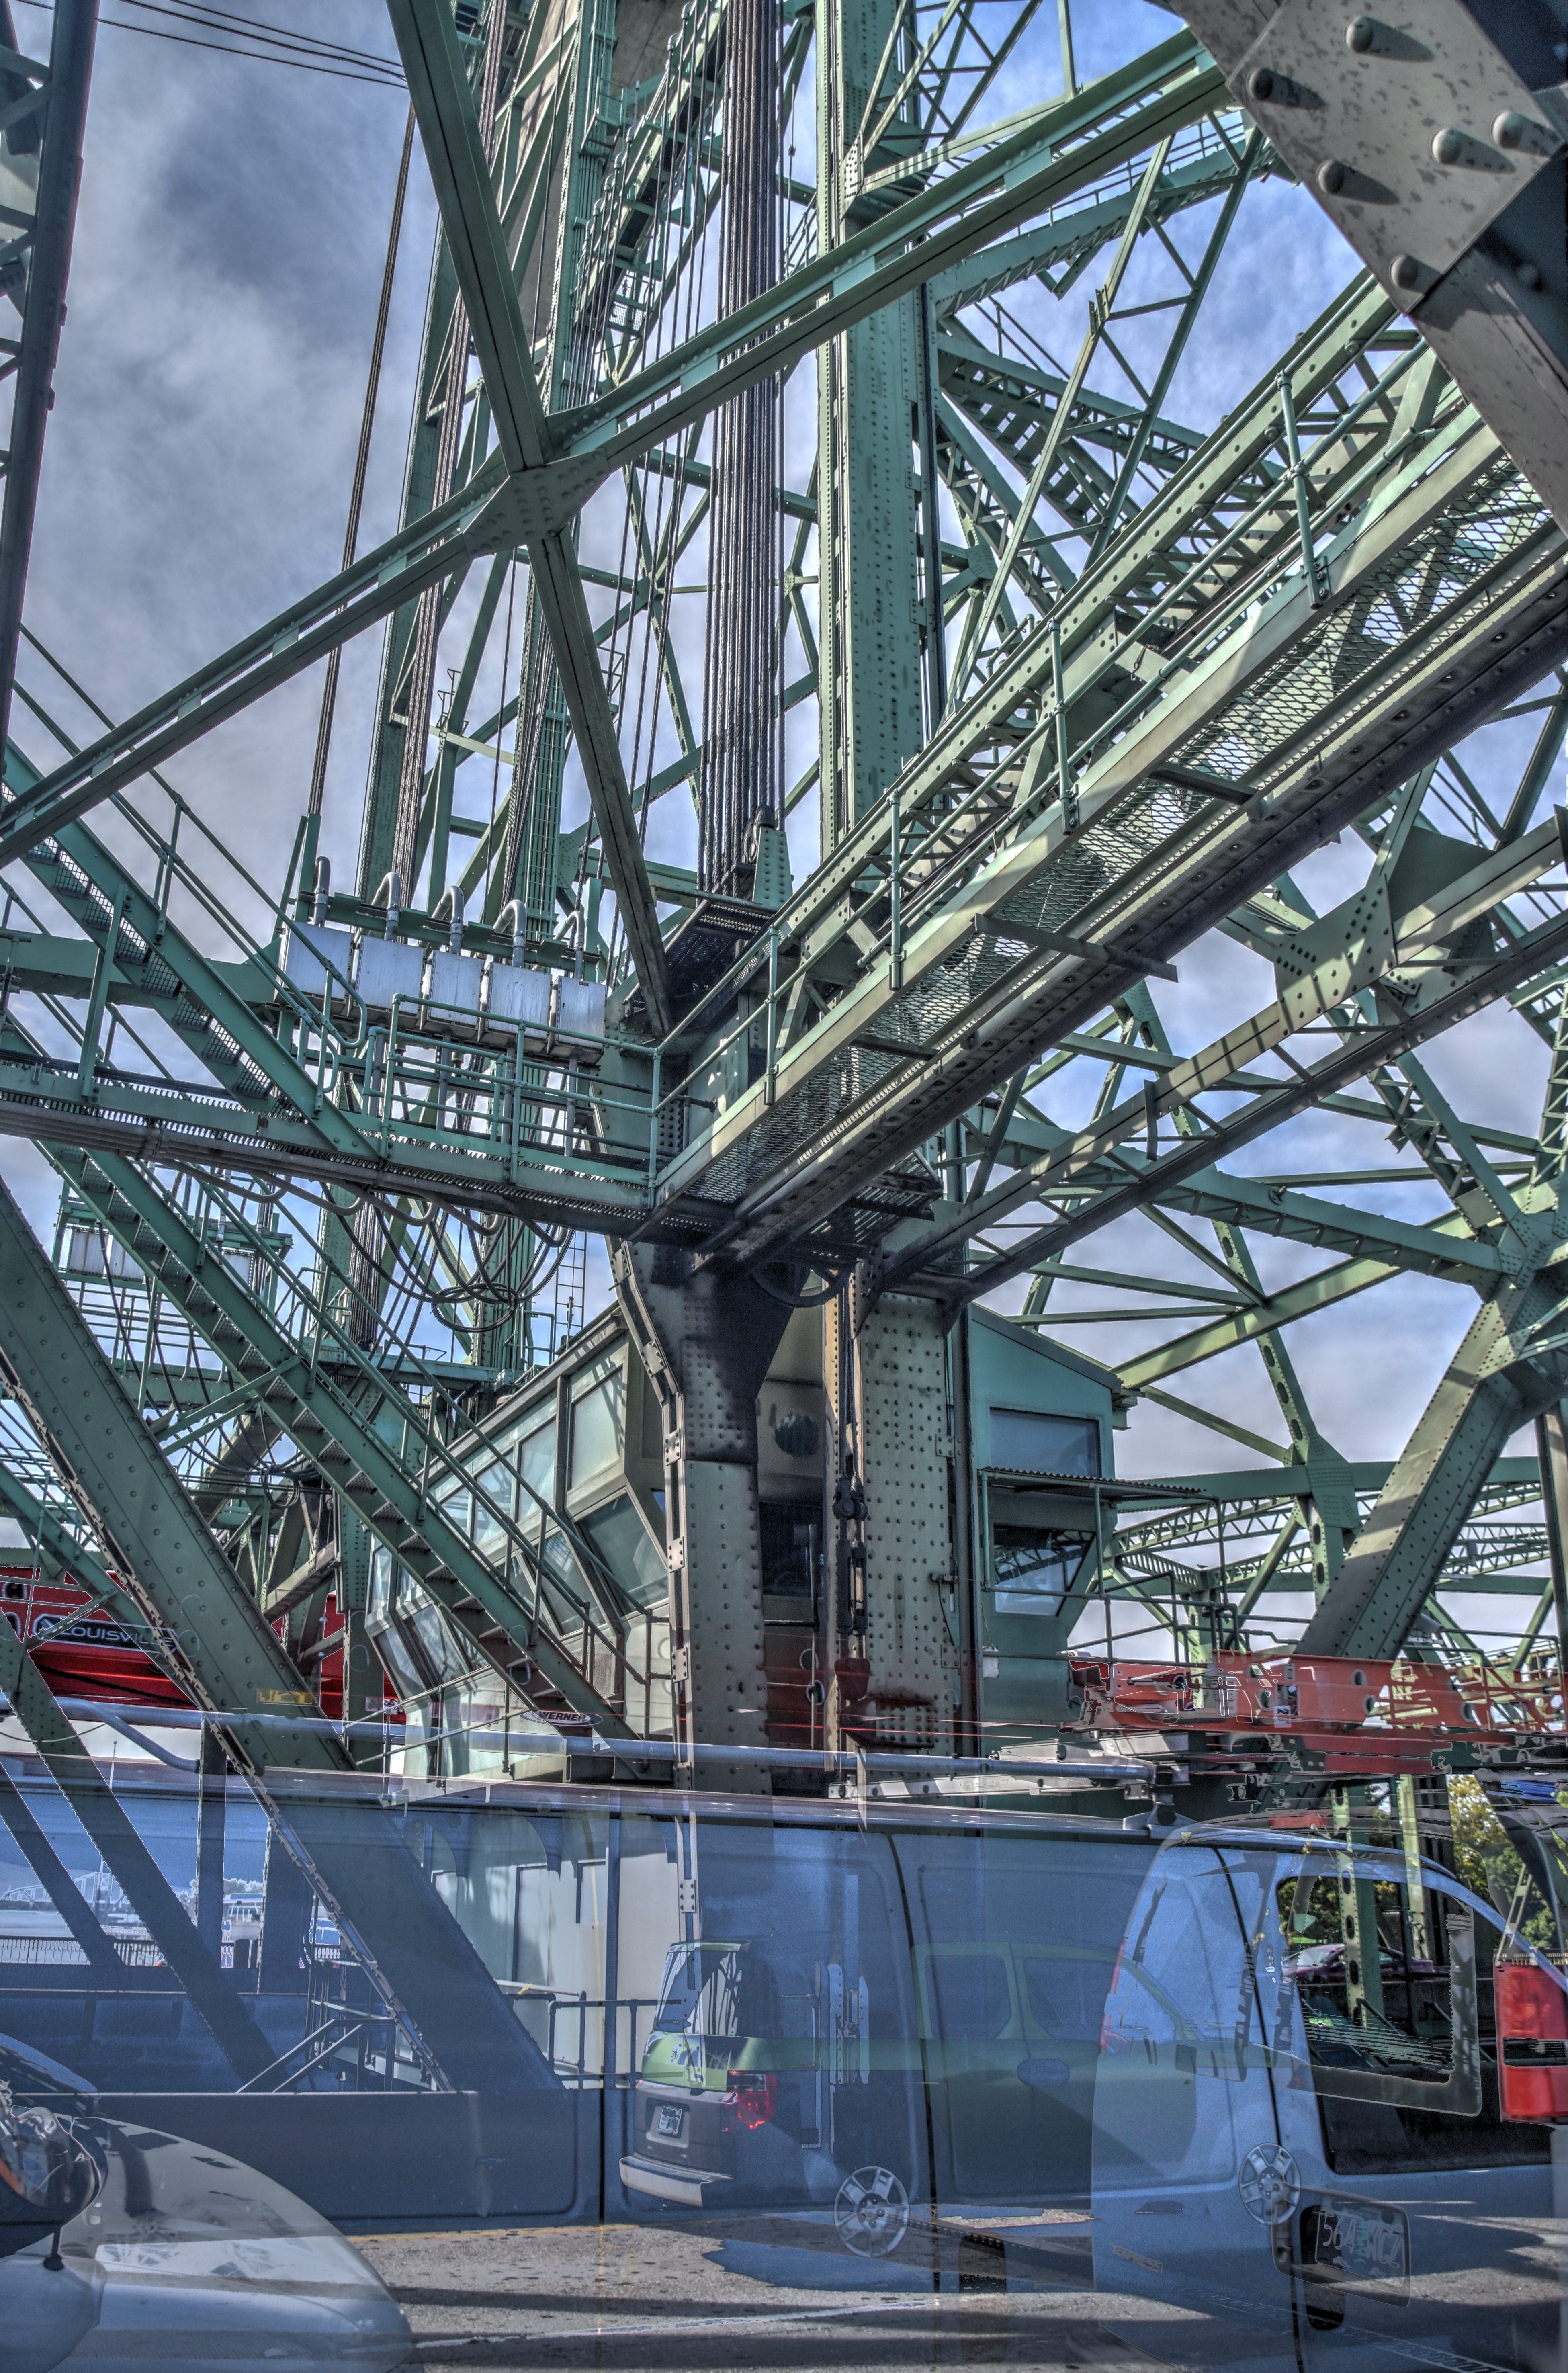
Looking up at towers.
![]()

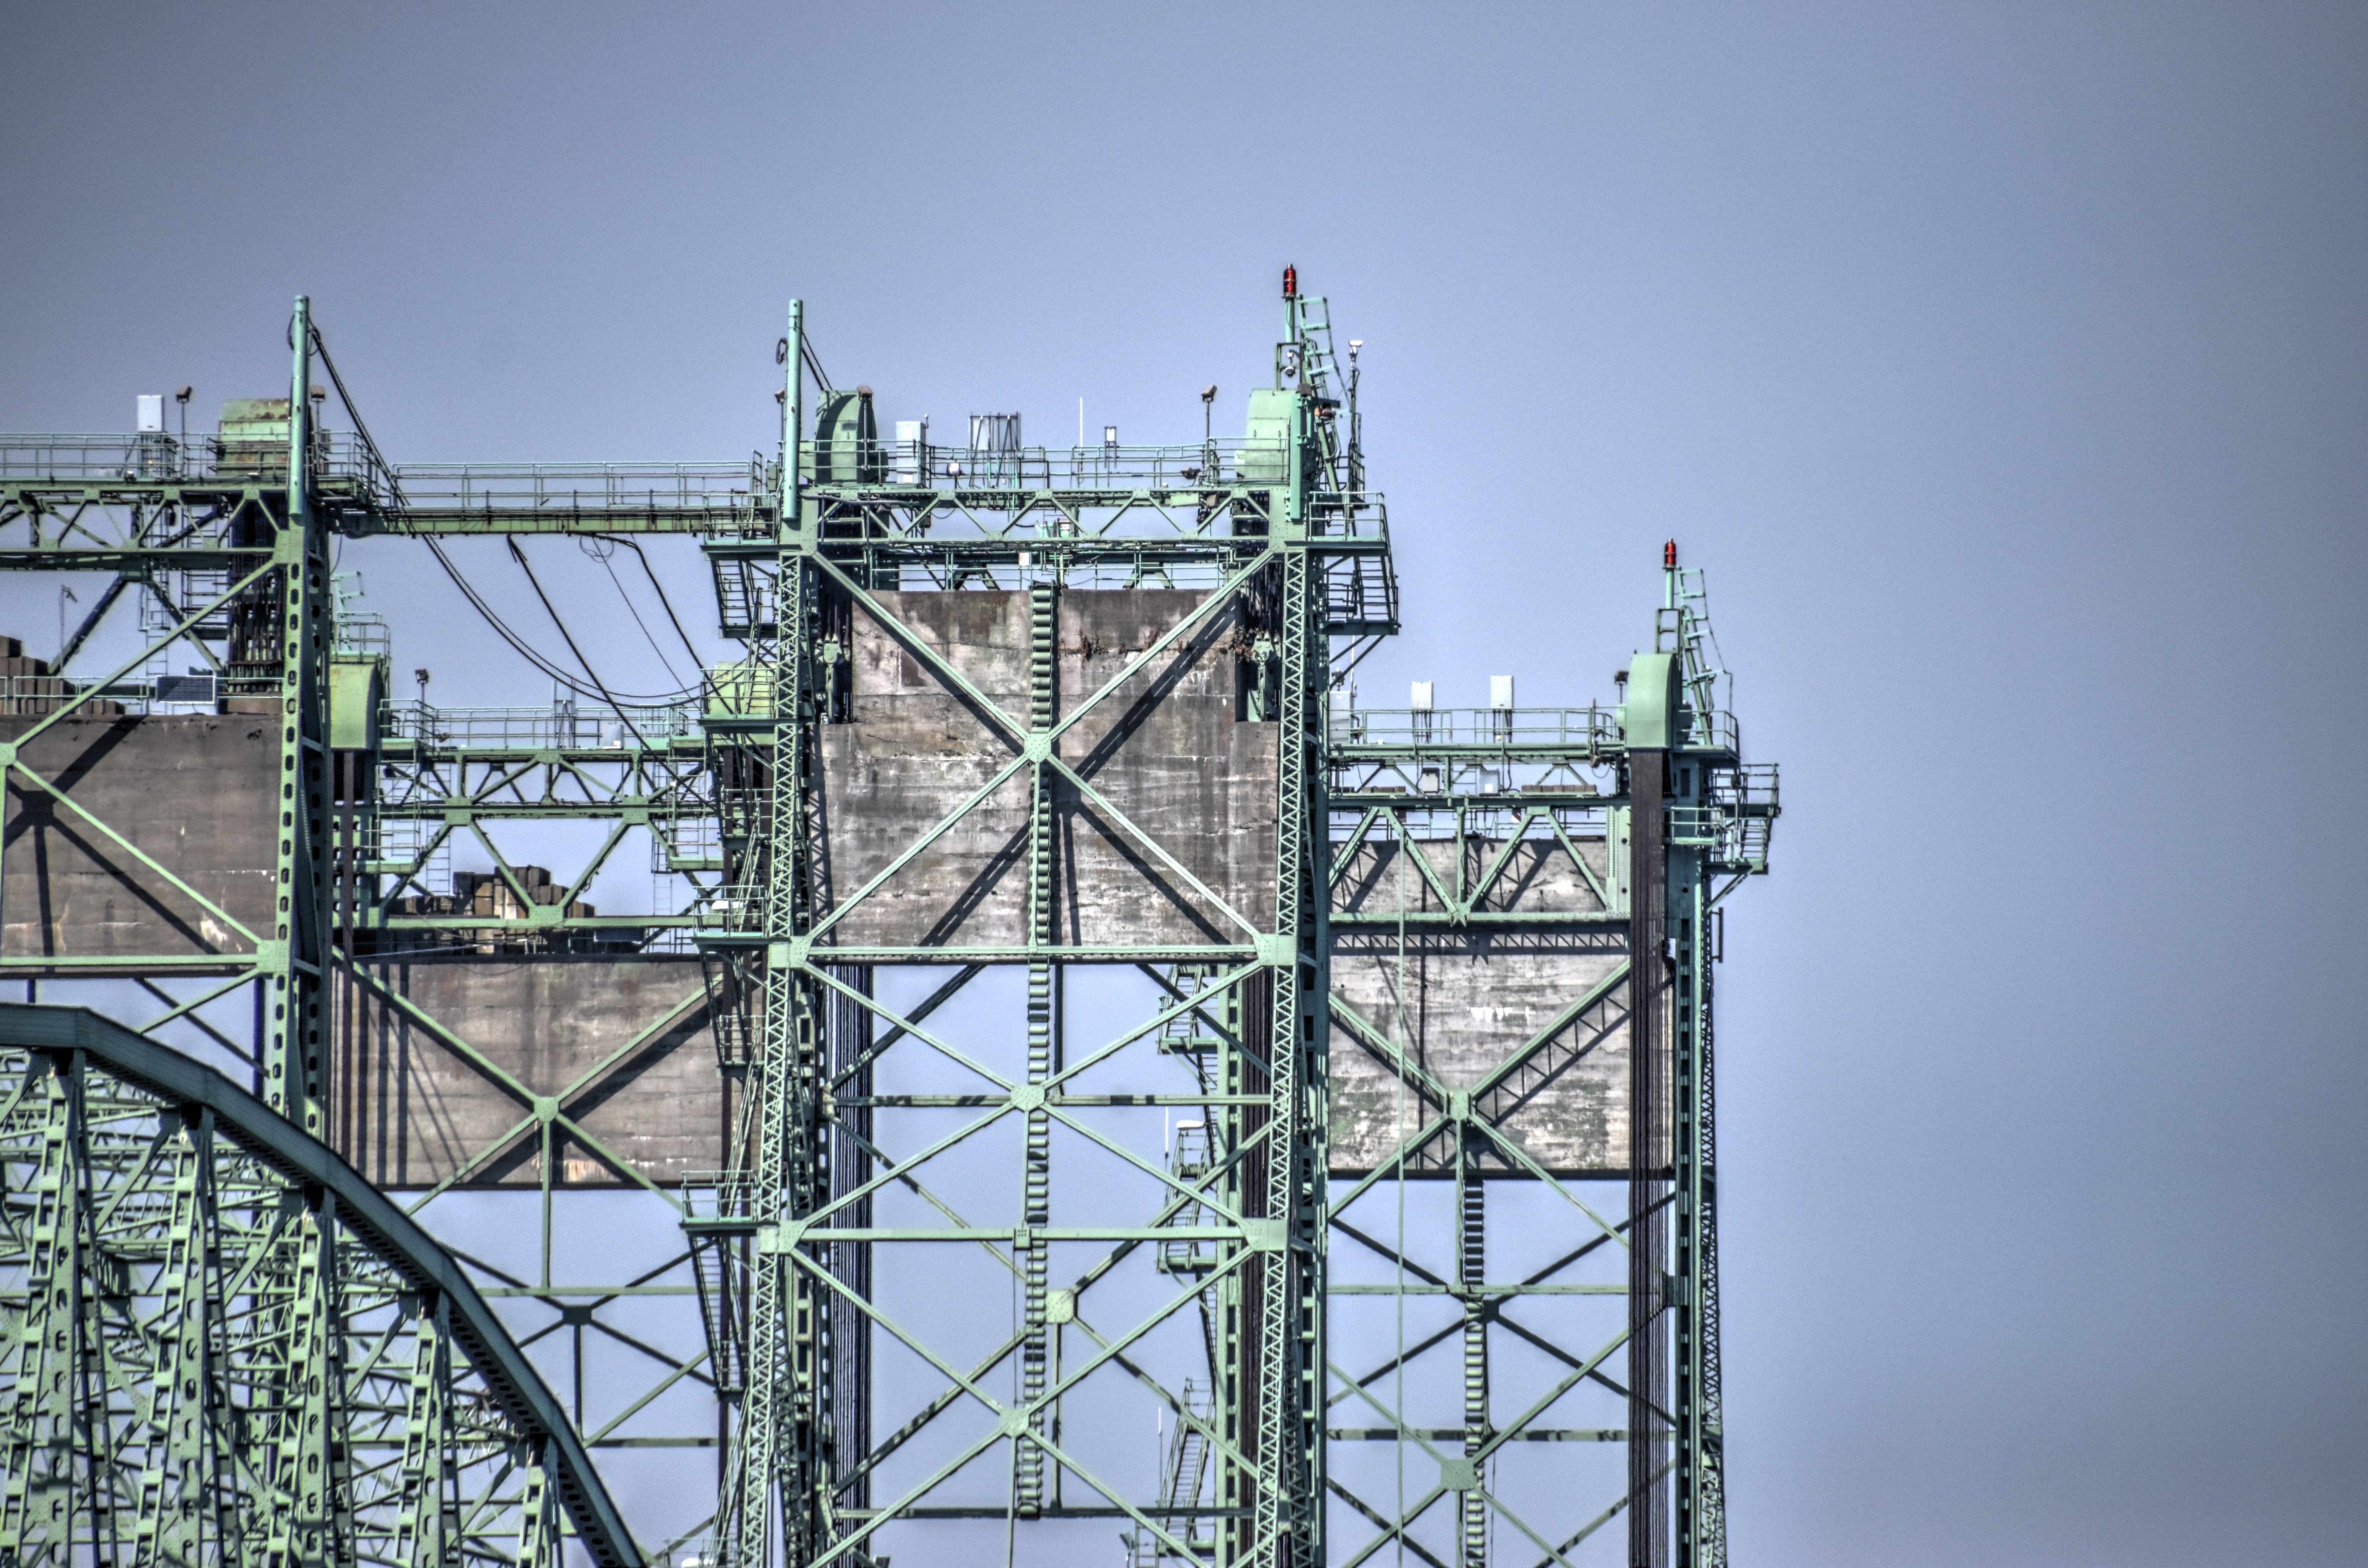
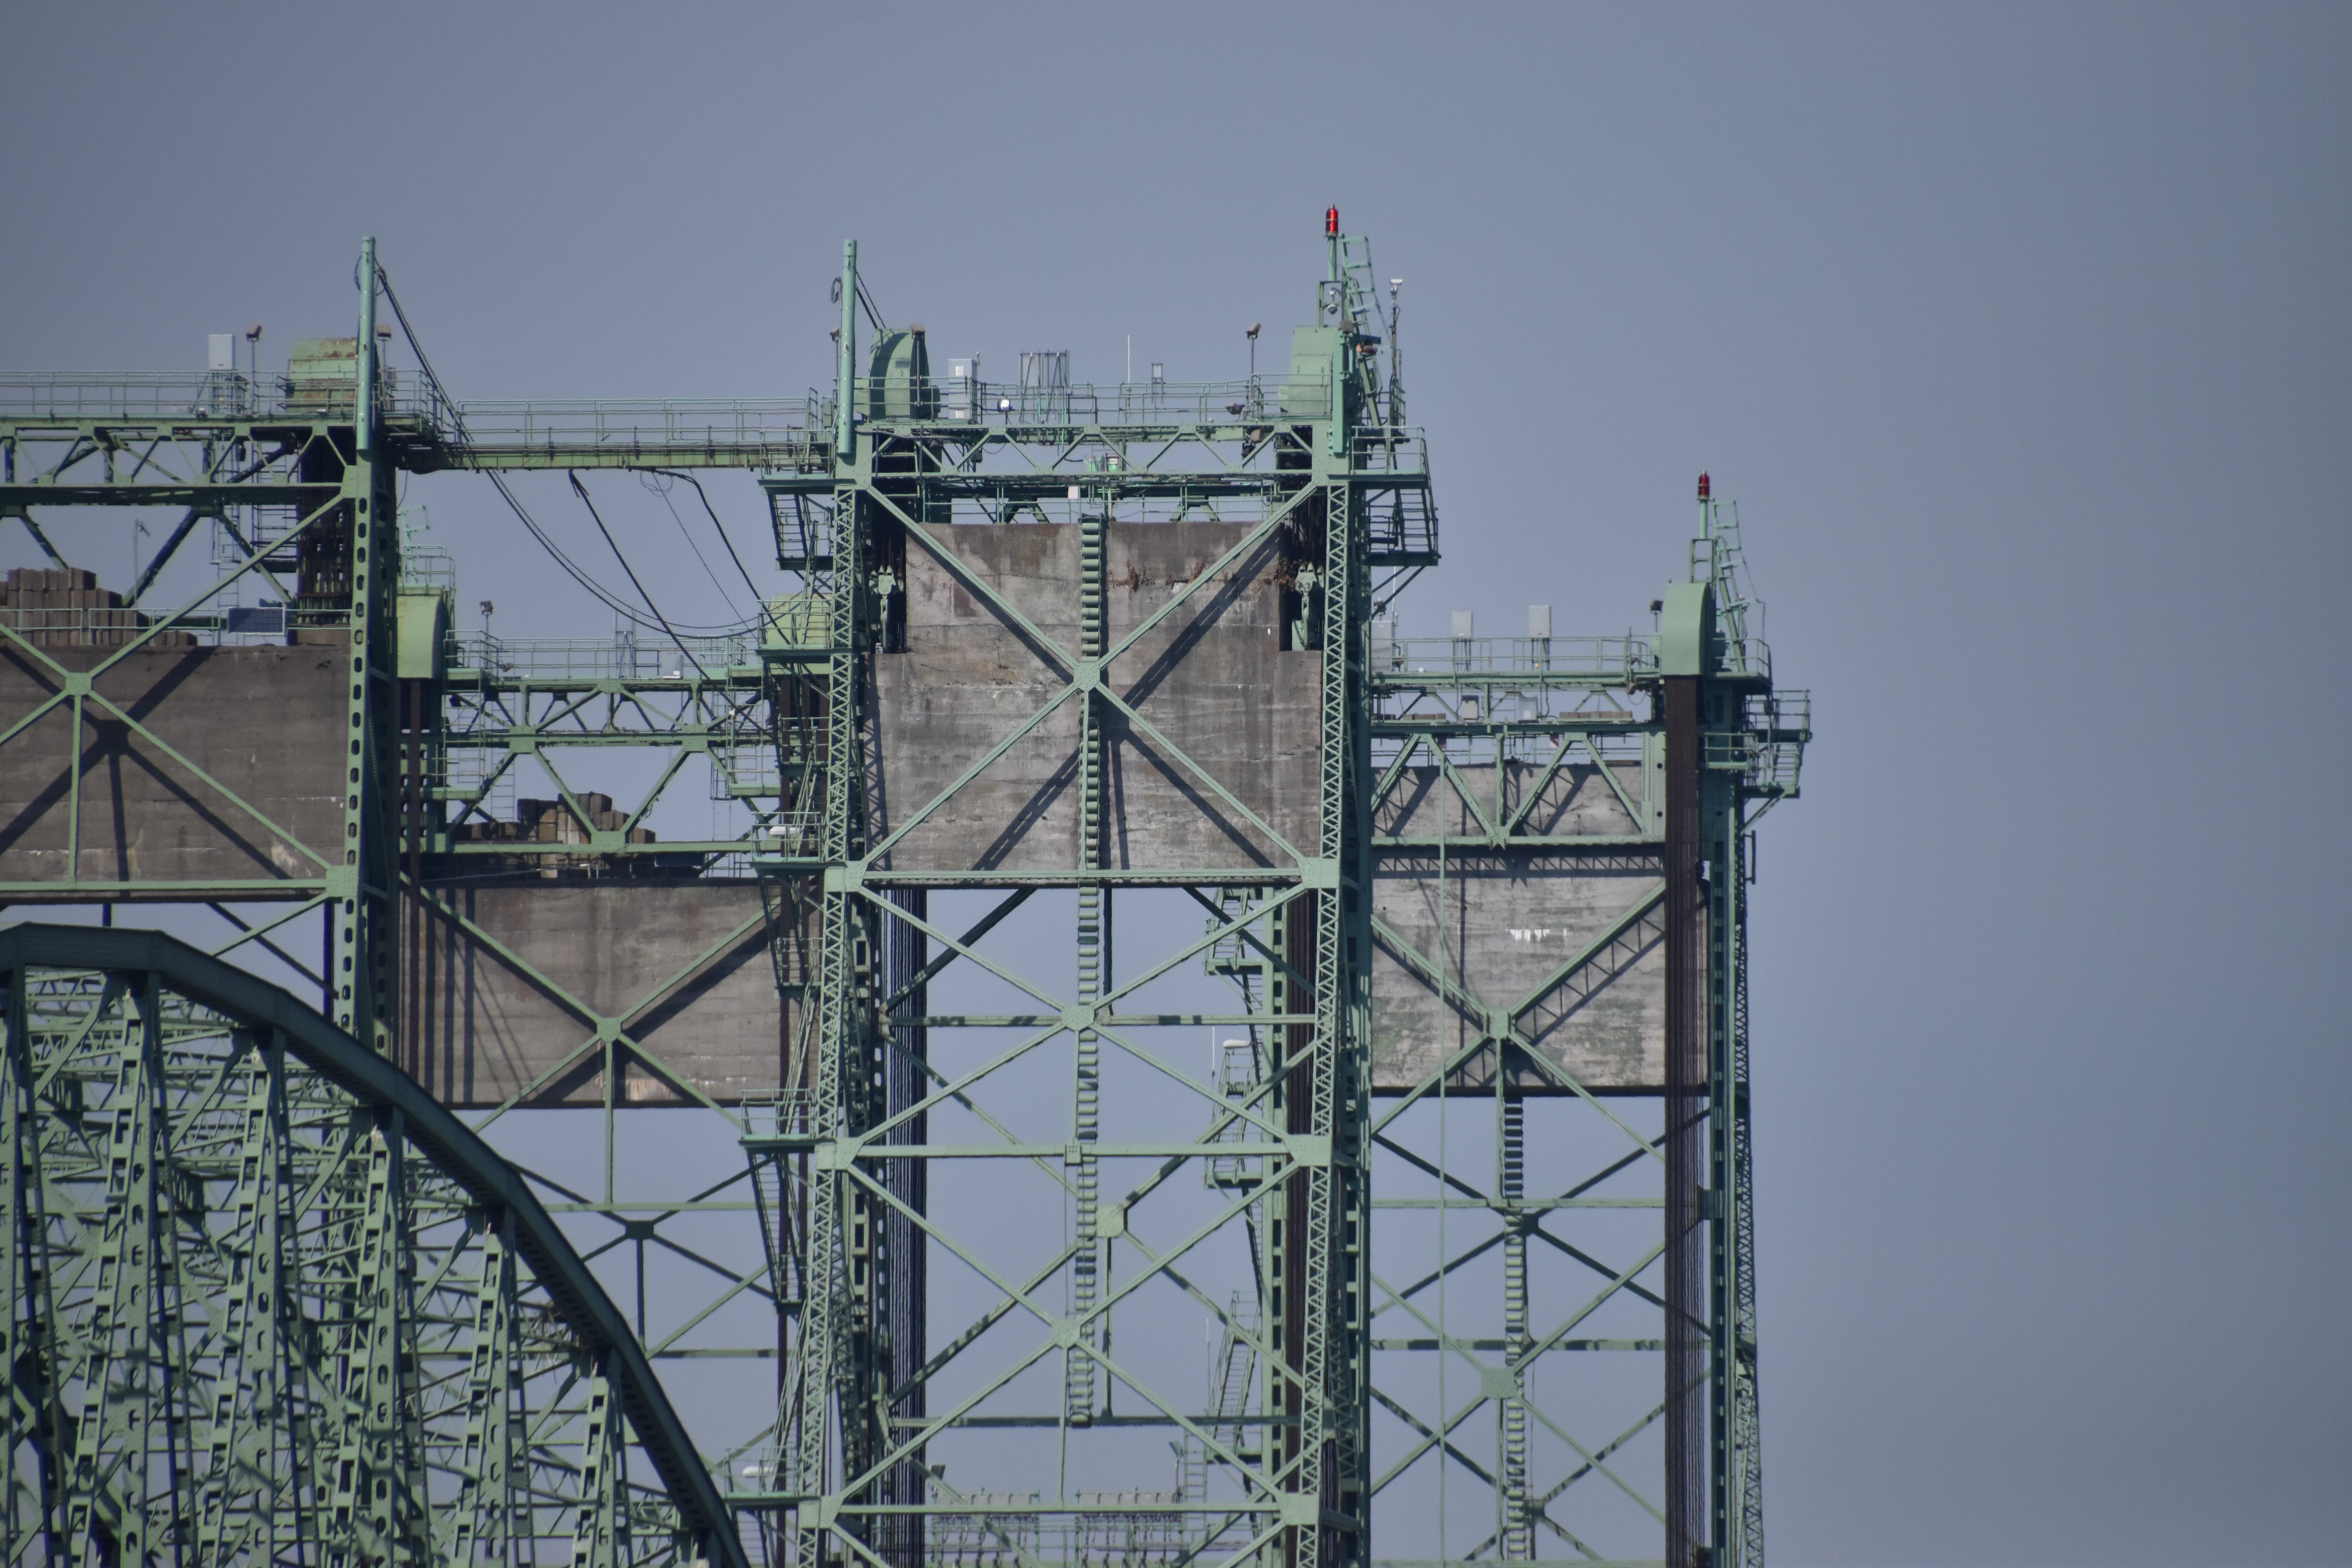


Distant view of top of lift towers.
![]()


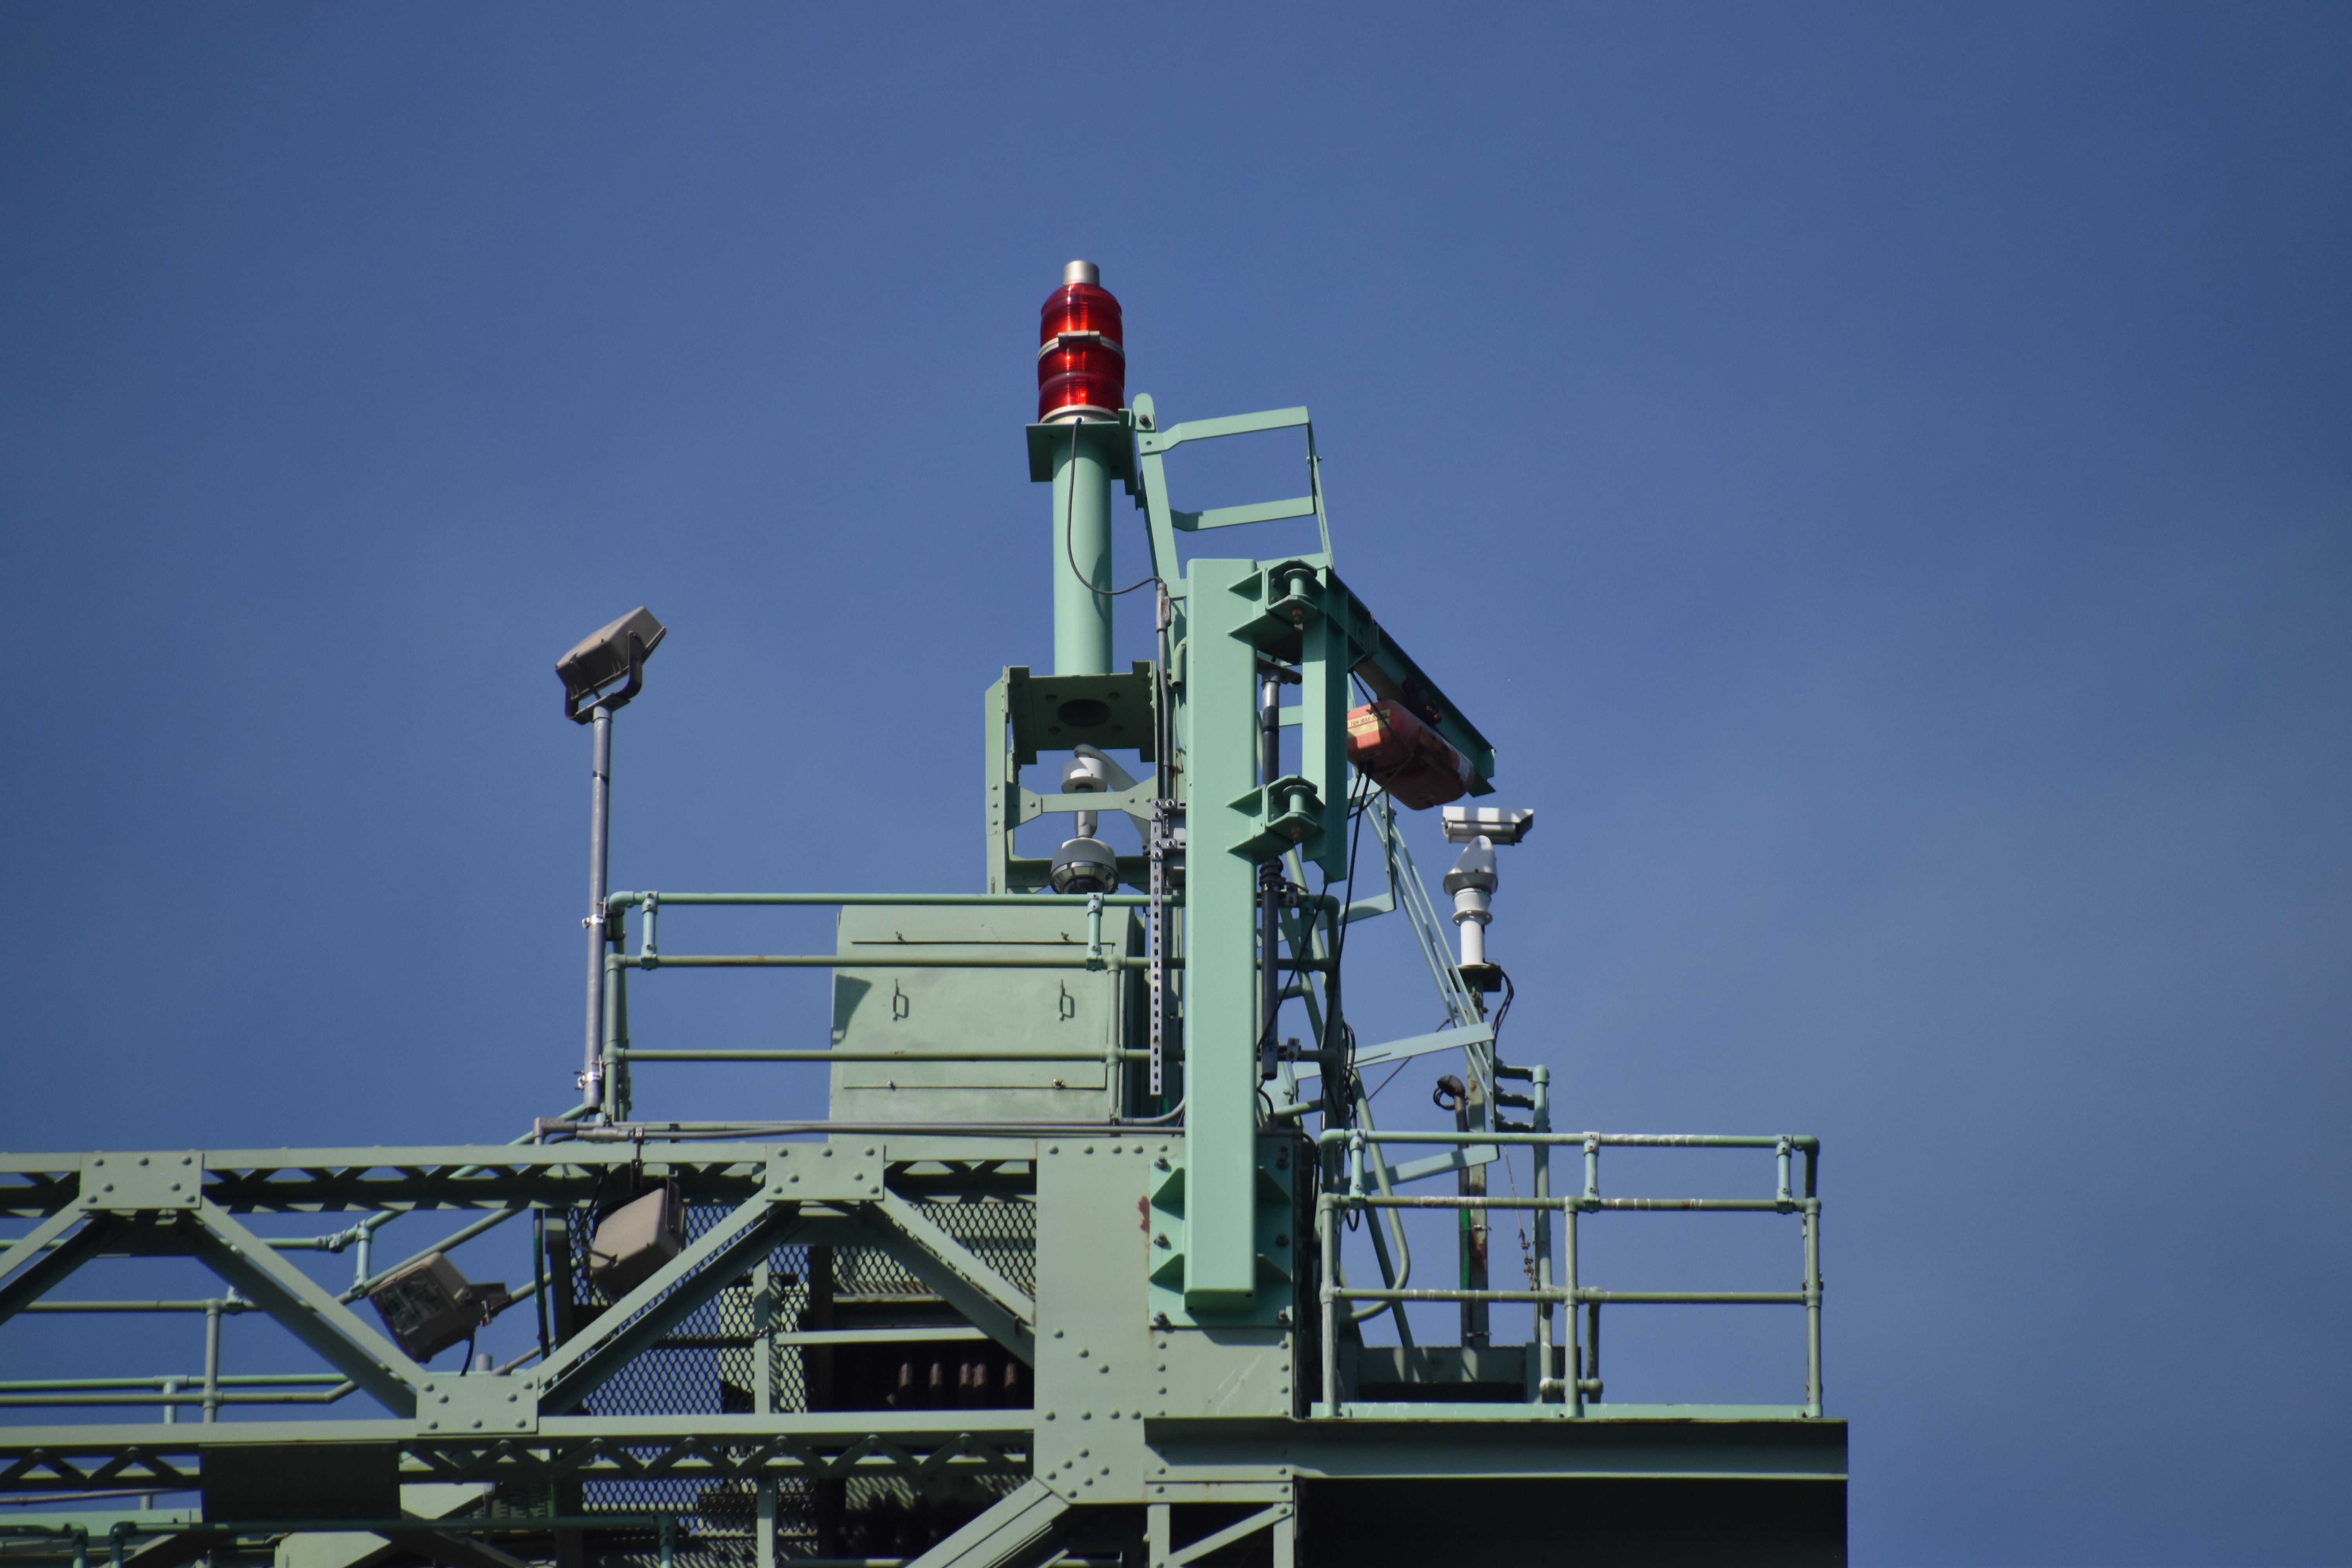
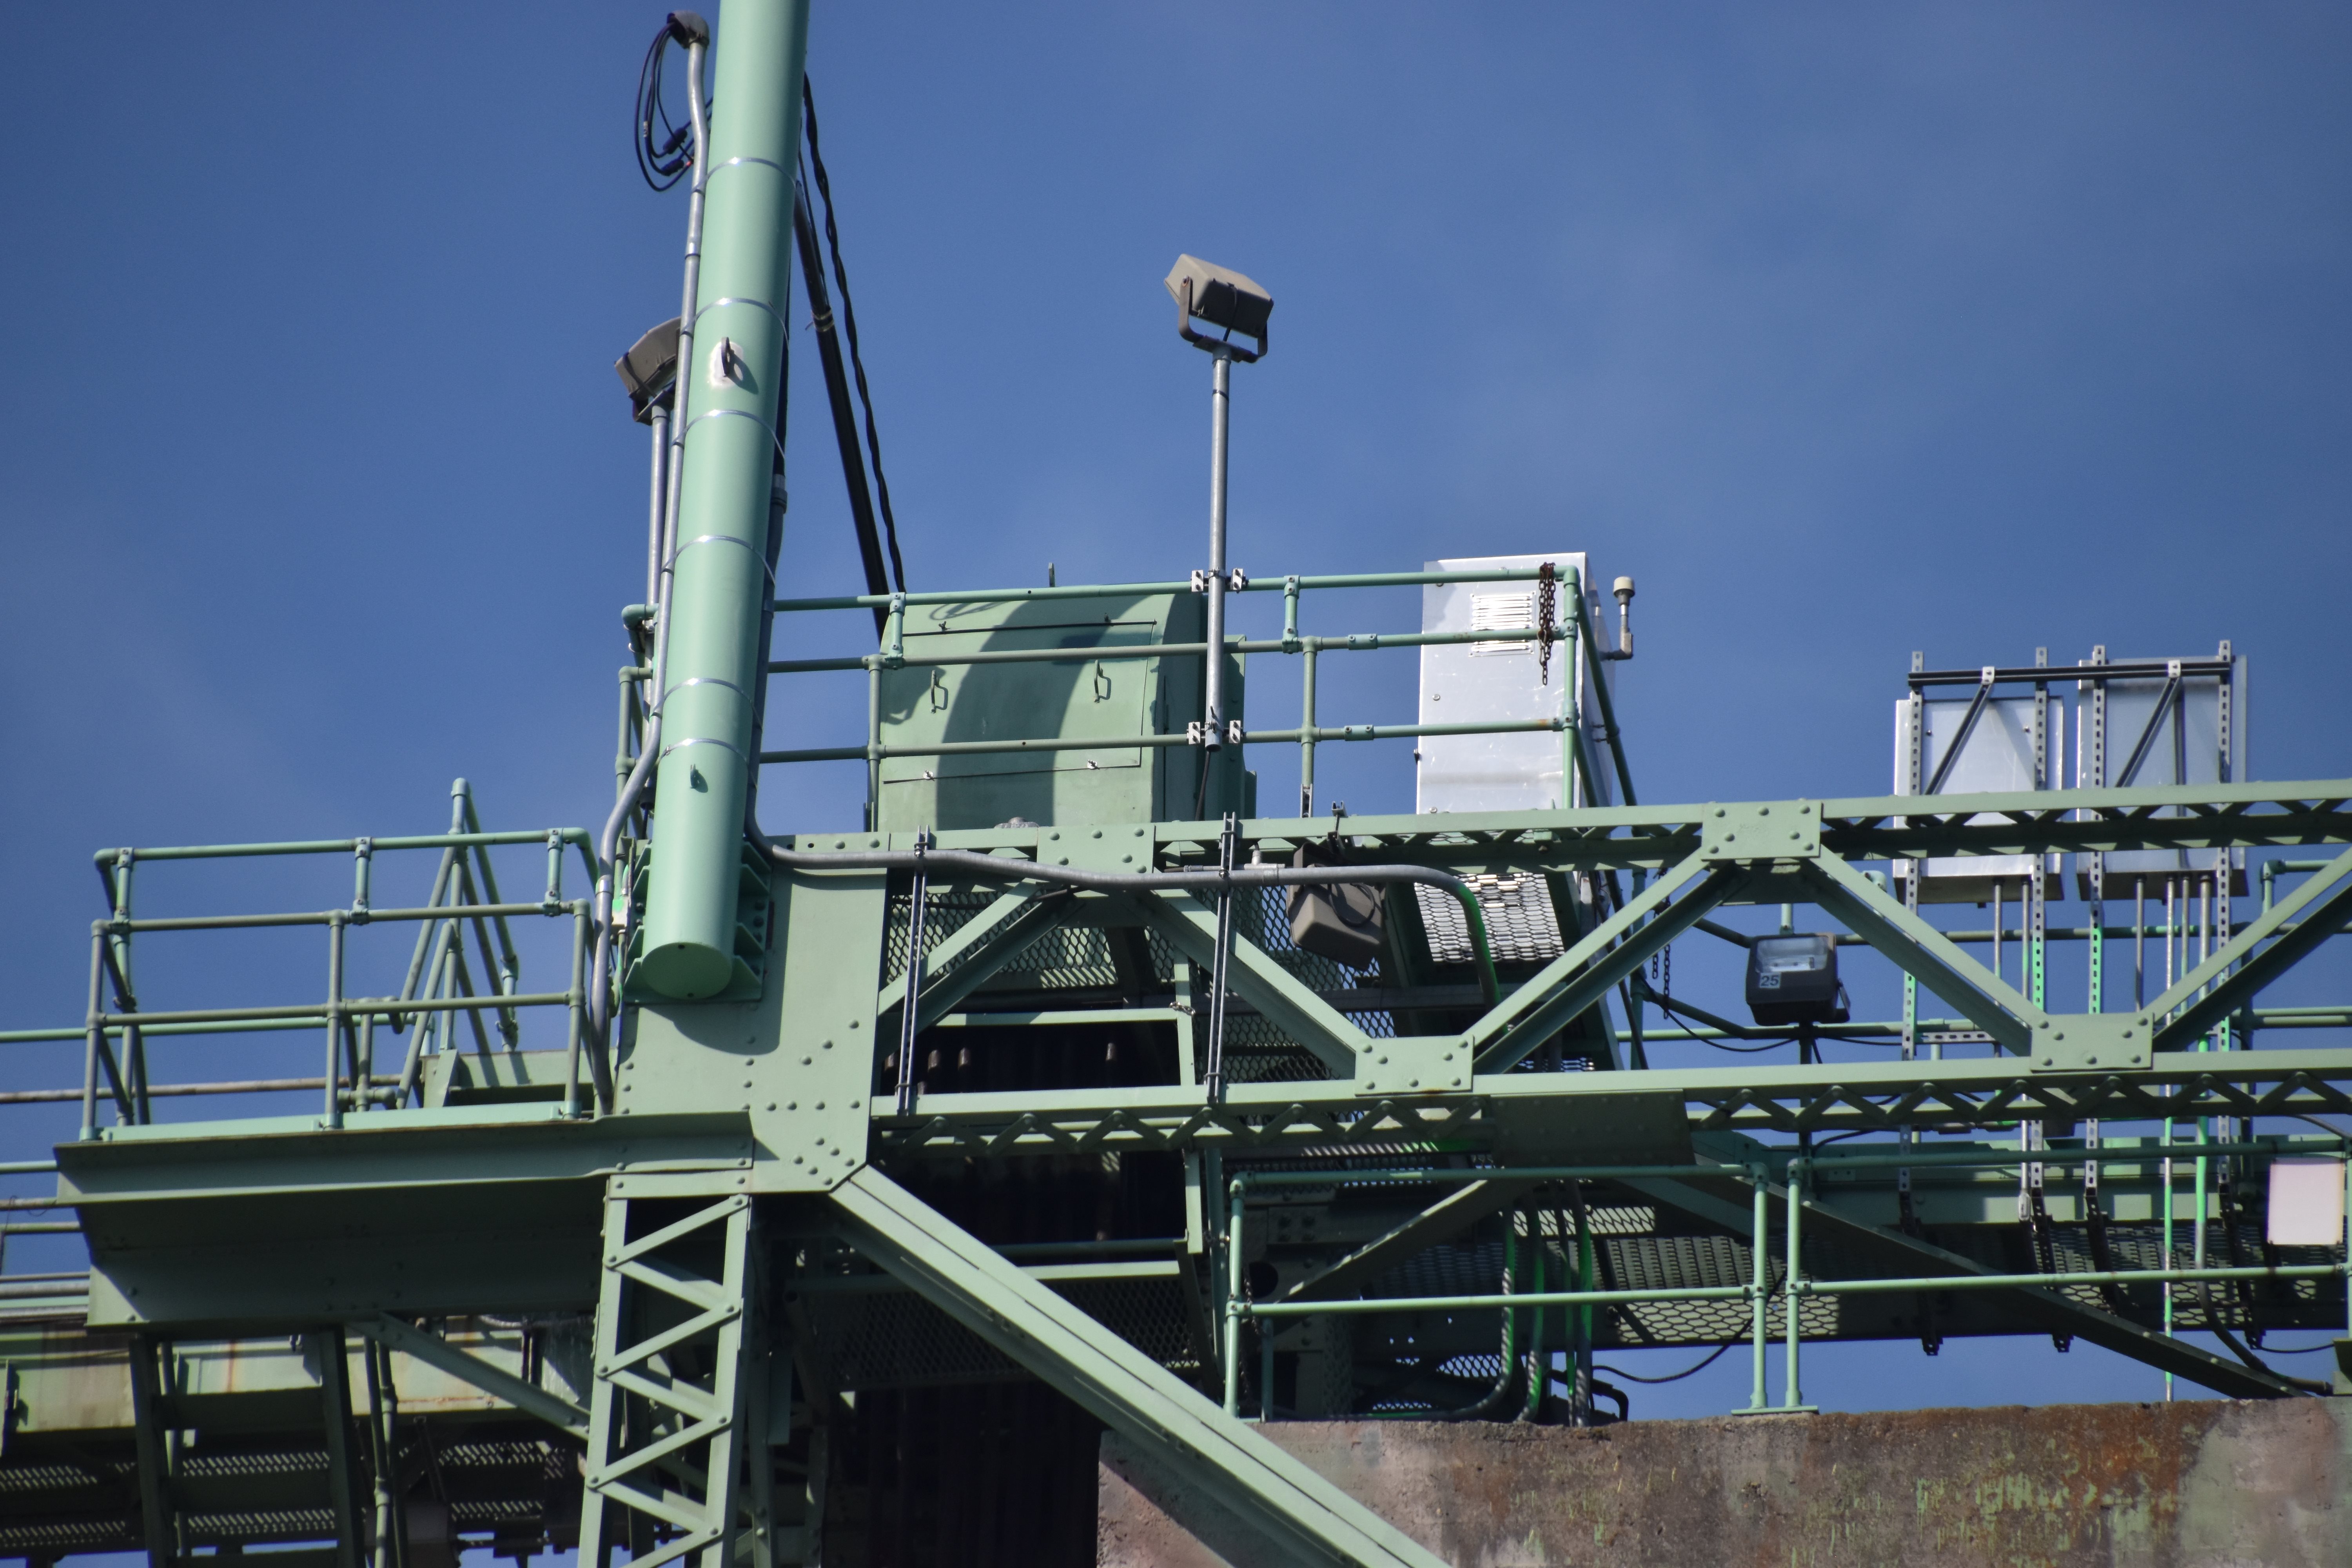
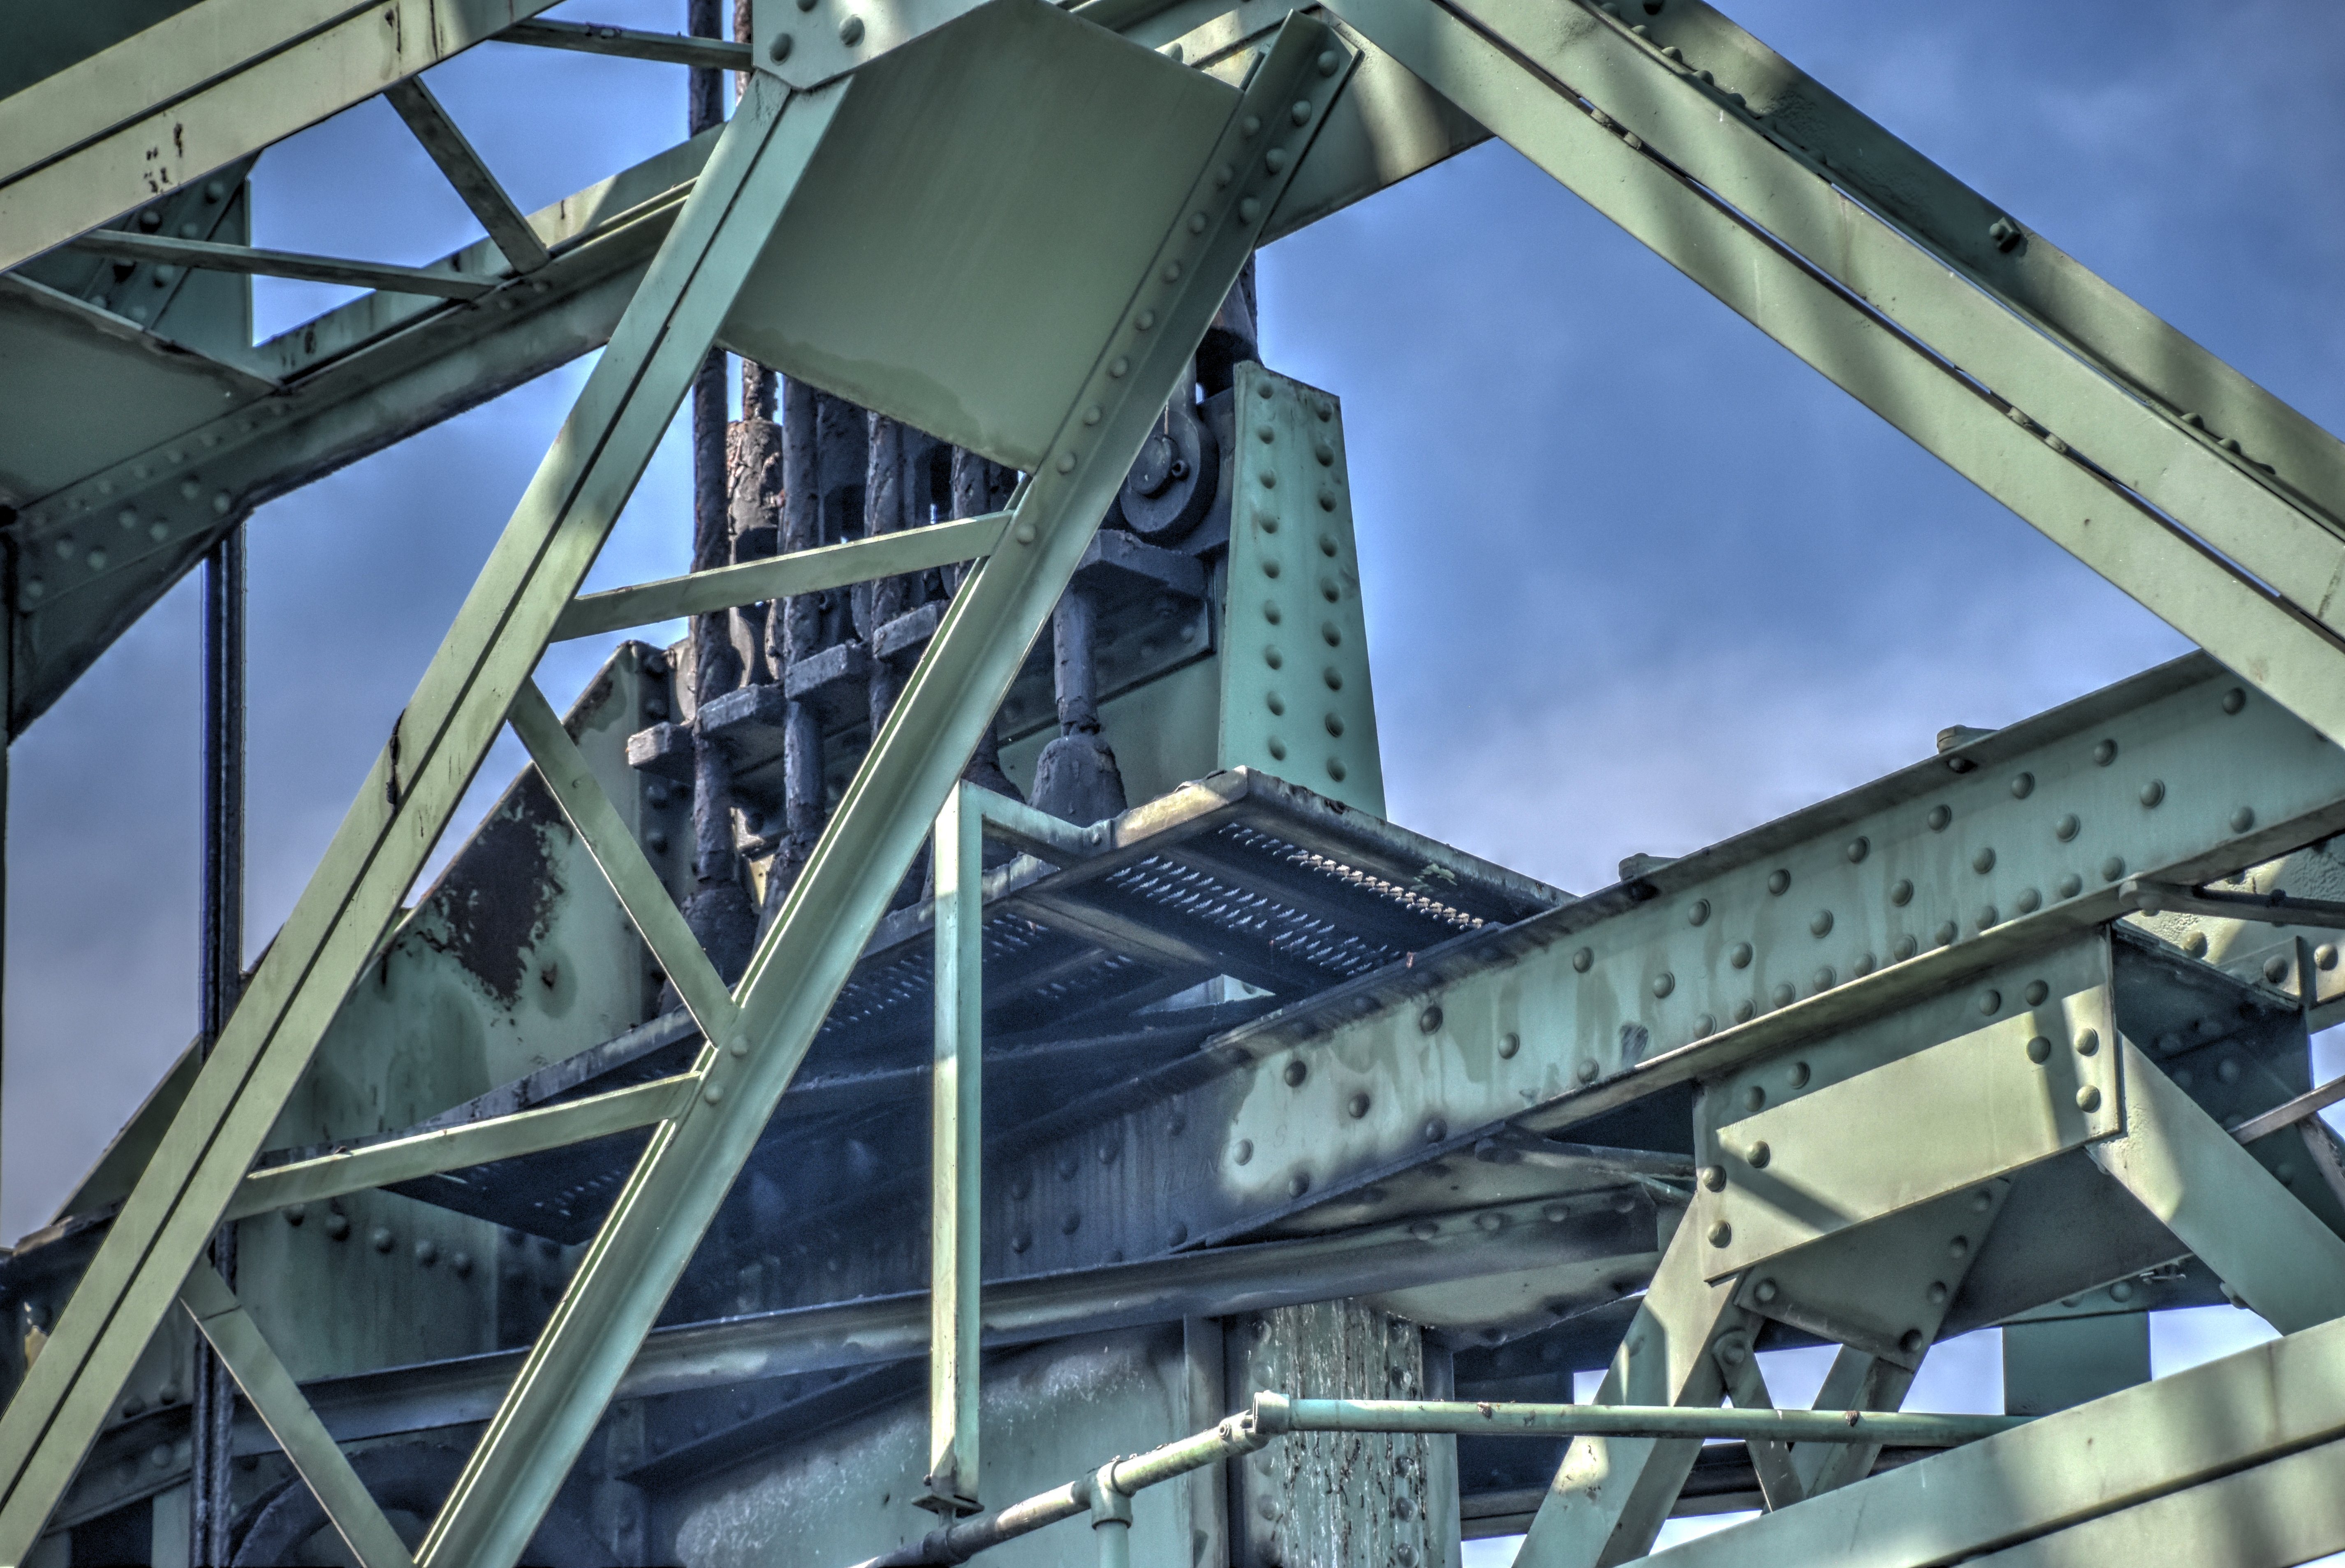
Detail at top of tower.
![]()


Counterweight.
![]()

Counterweight sheave at top of tower.
![]()


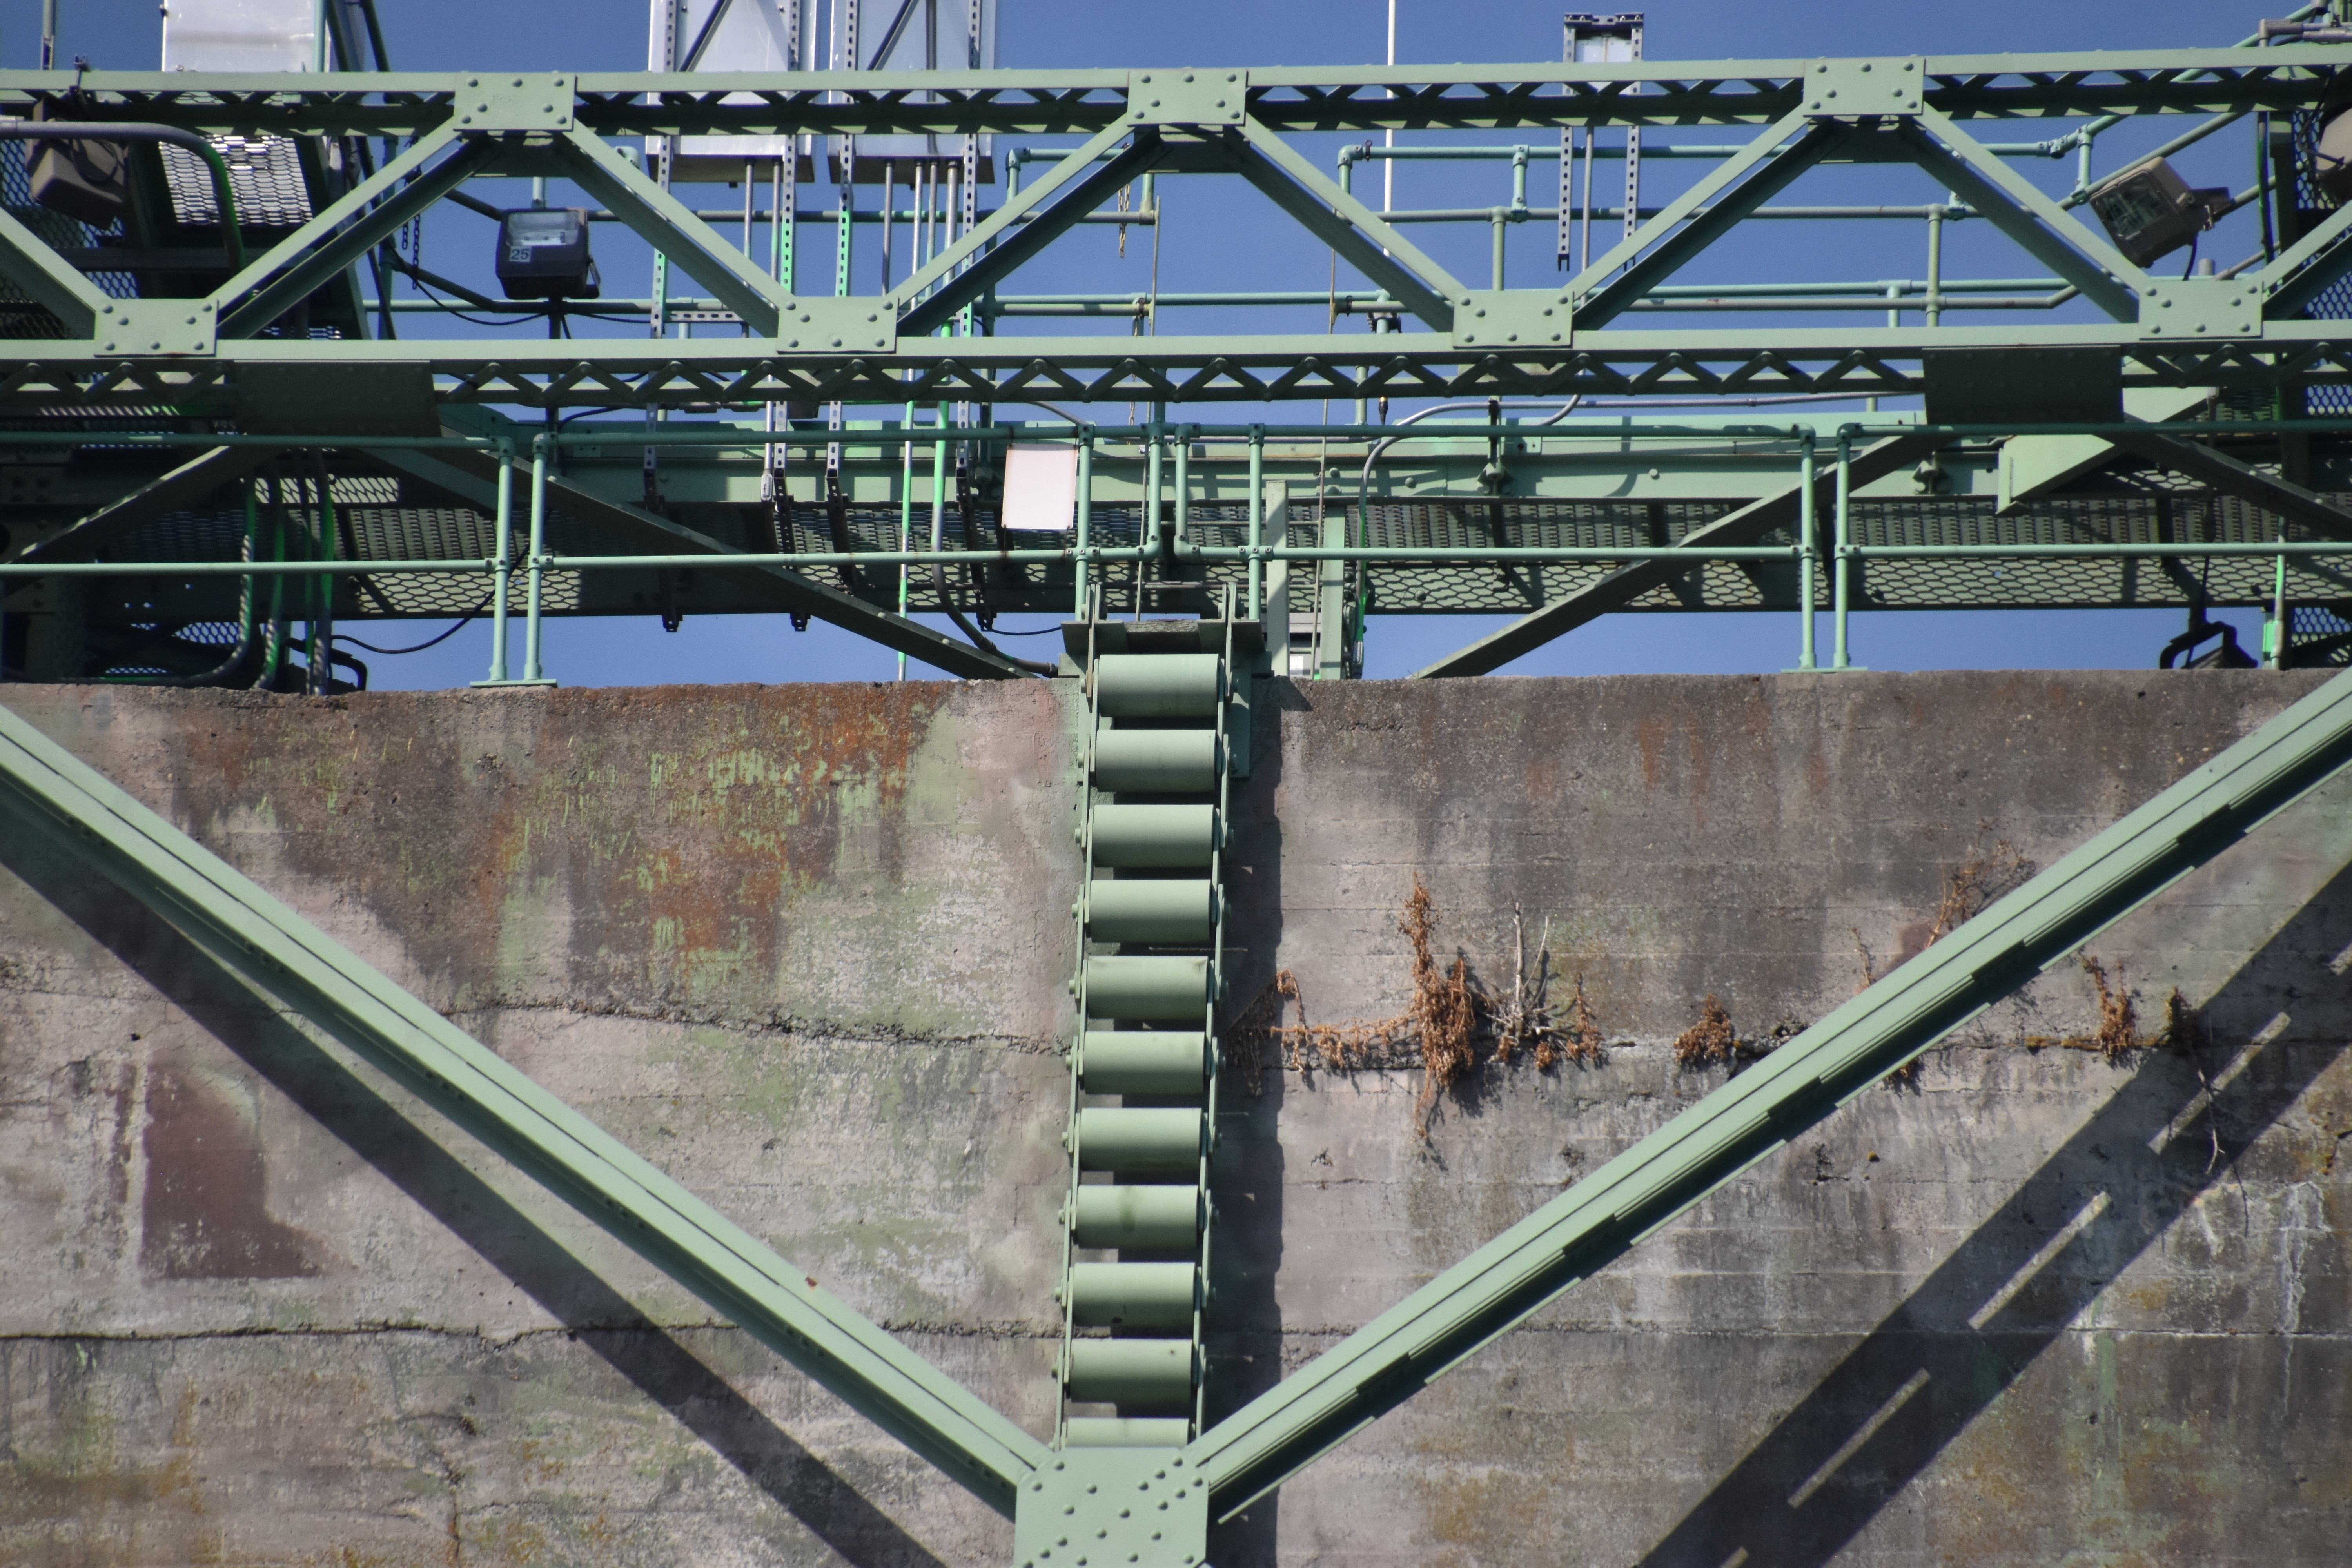
Looking up at counterweight and counterchain.
![]()


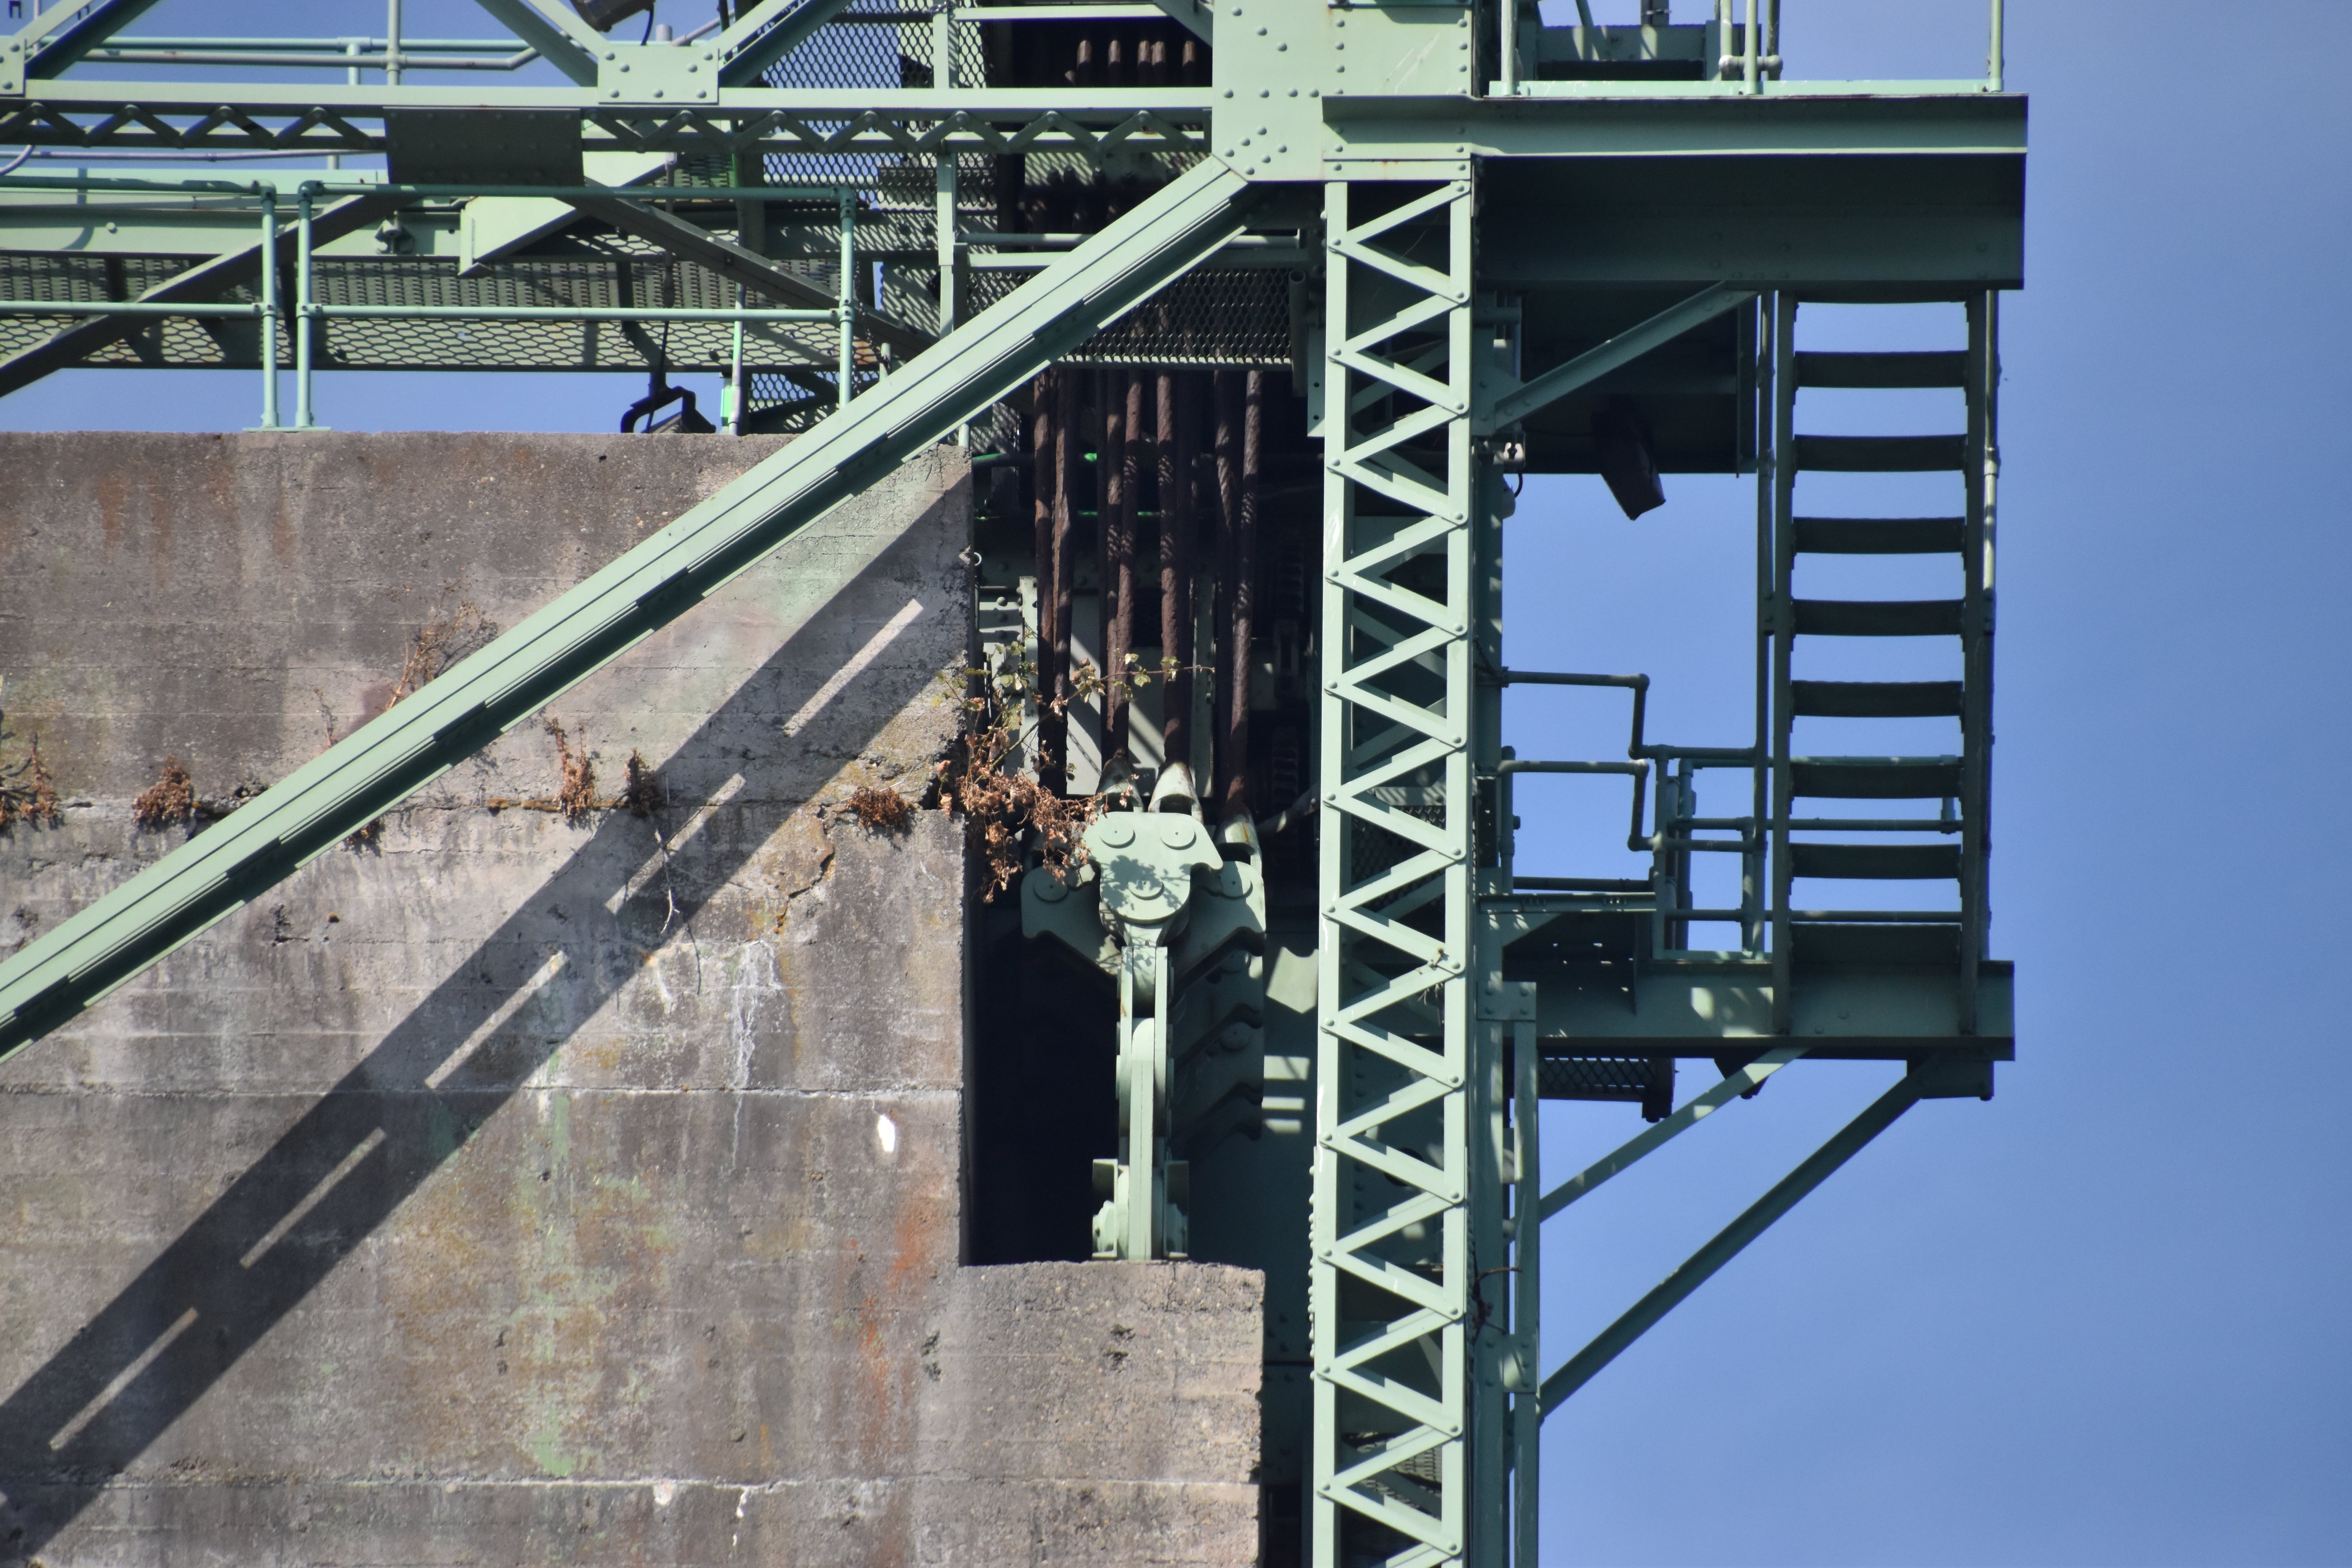
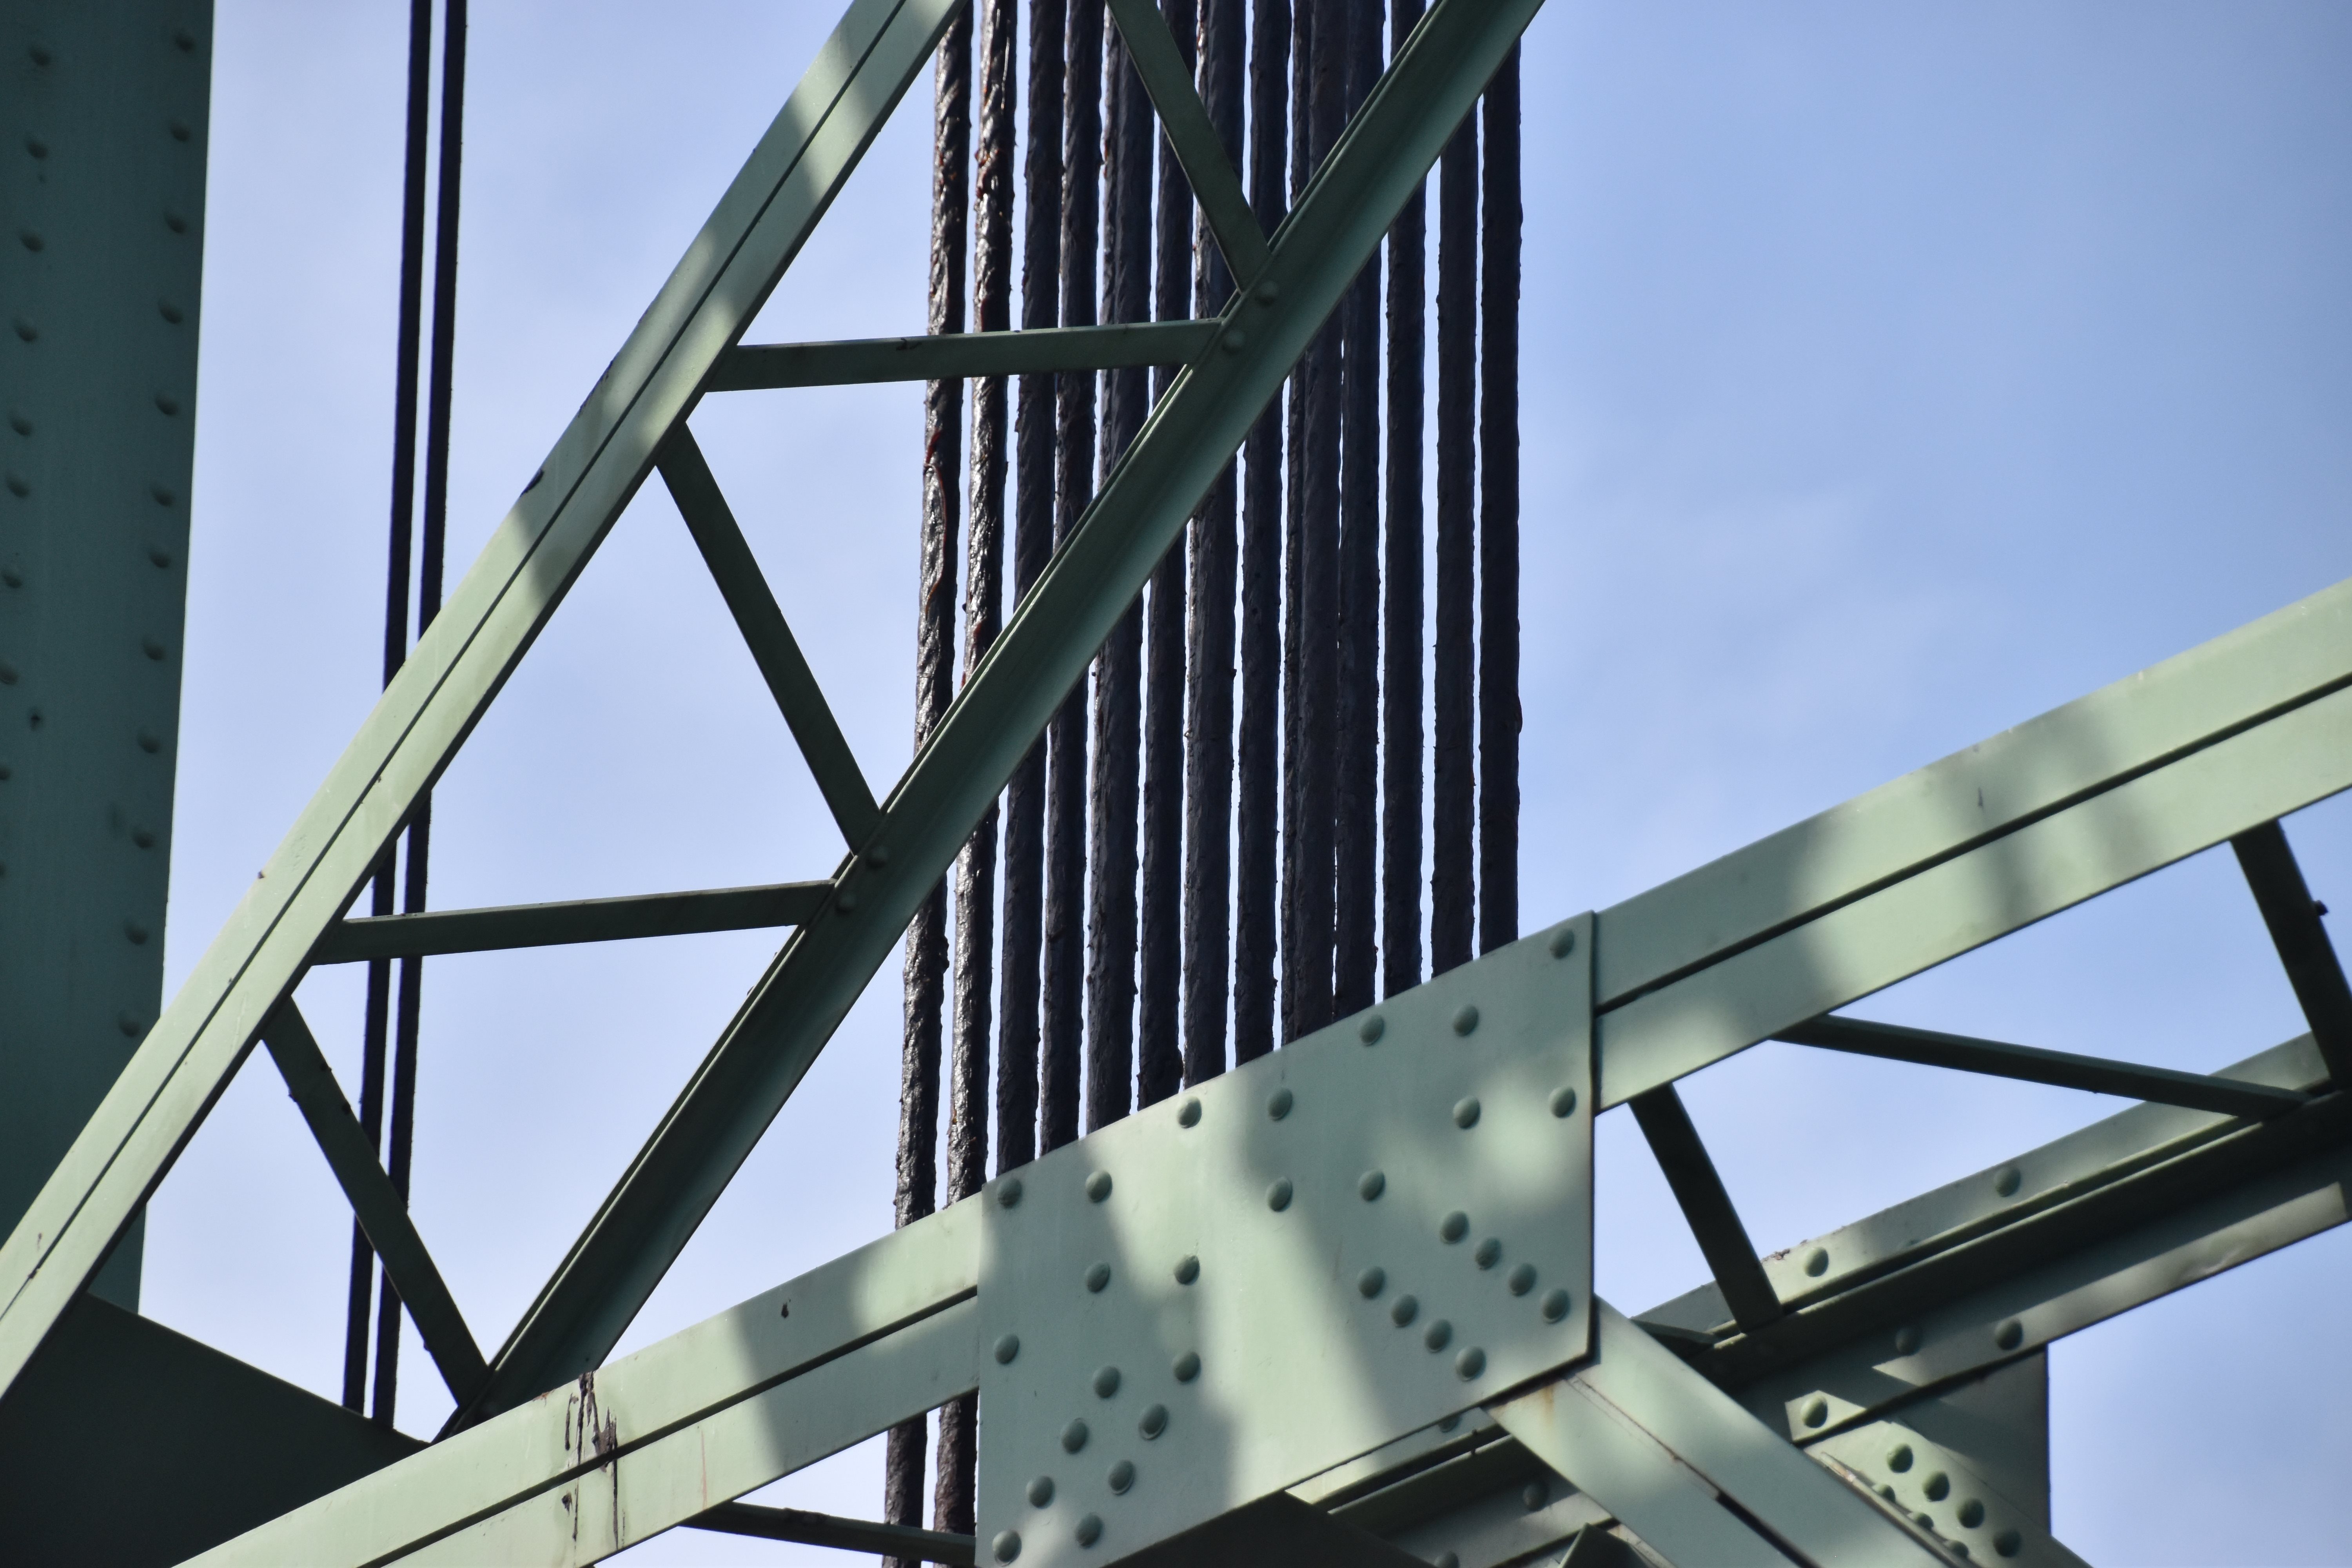
View showing counterchain.
![]()

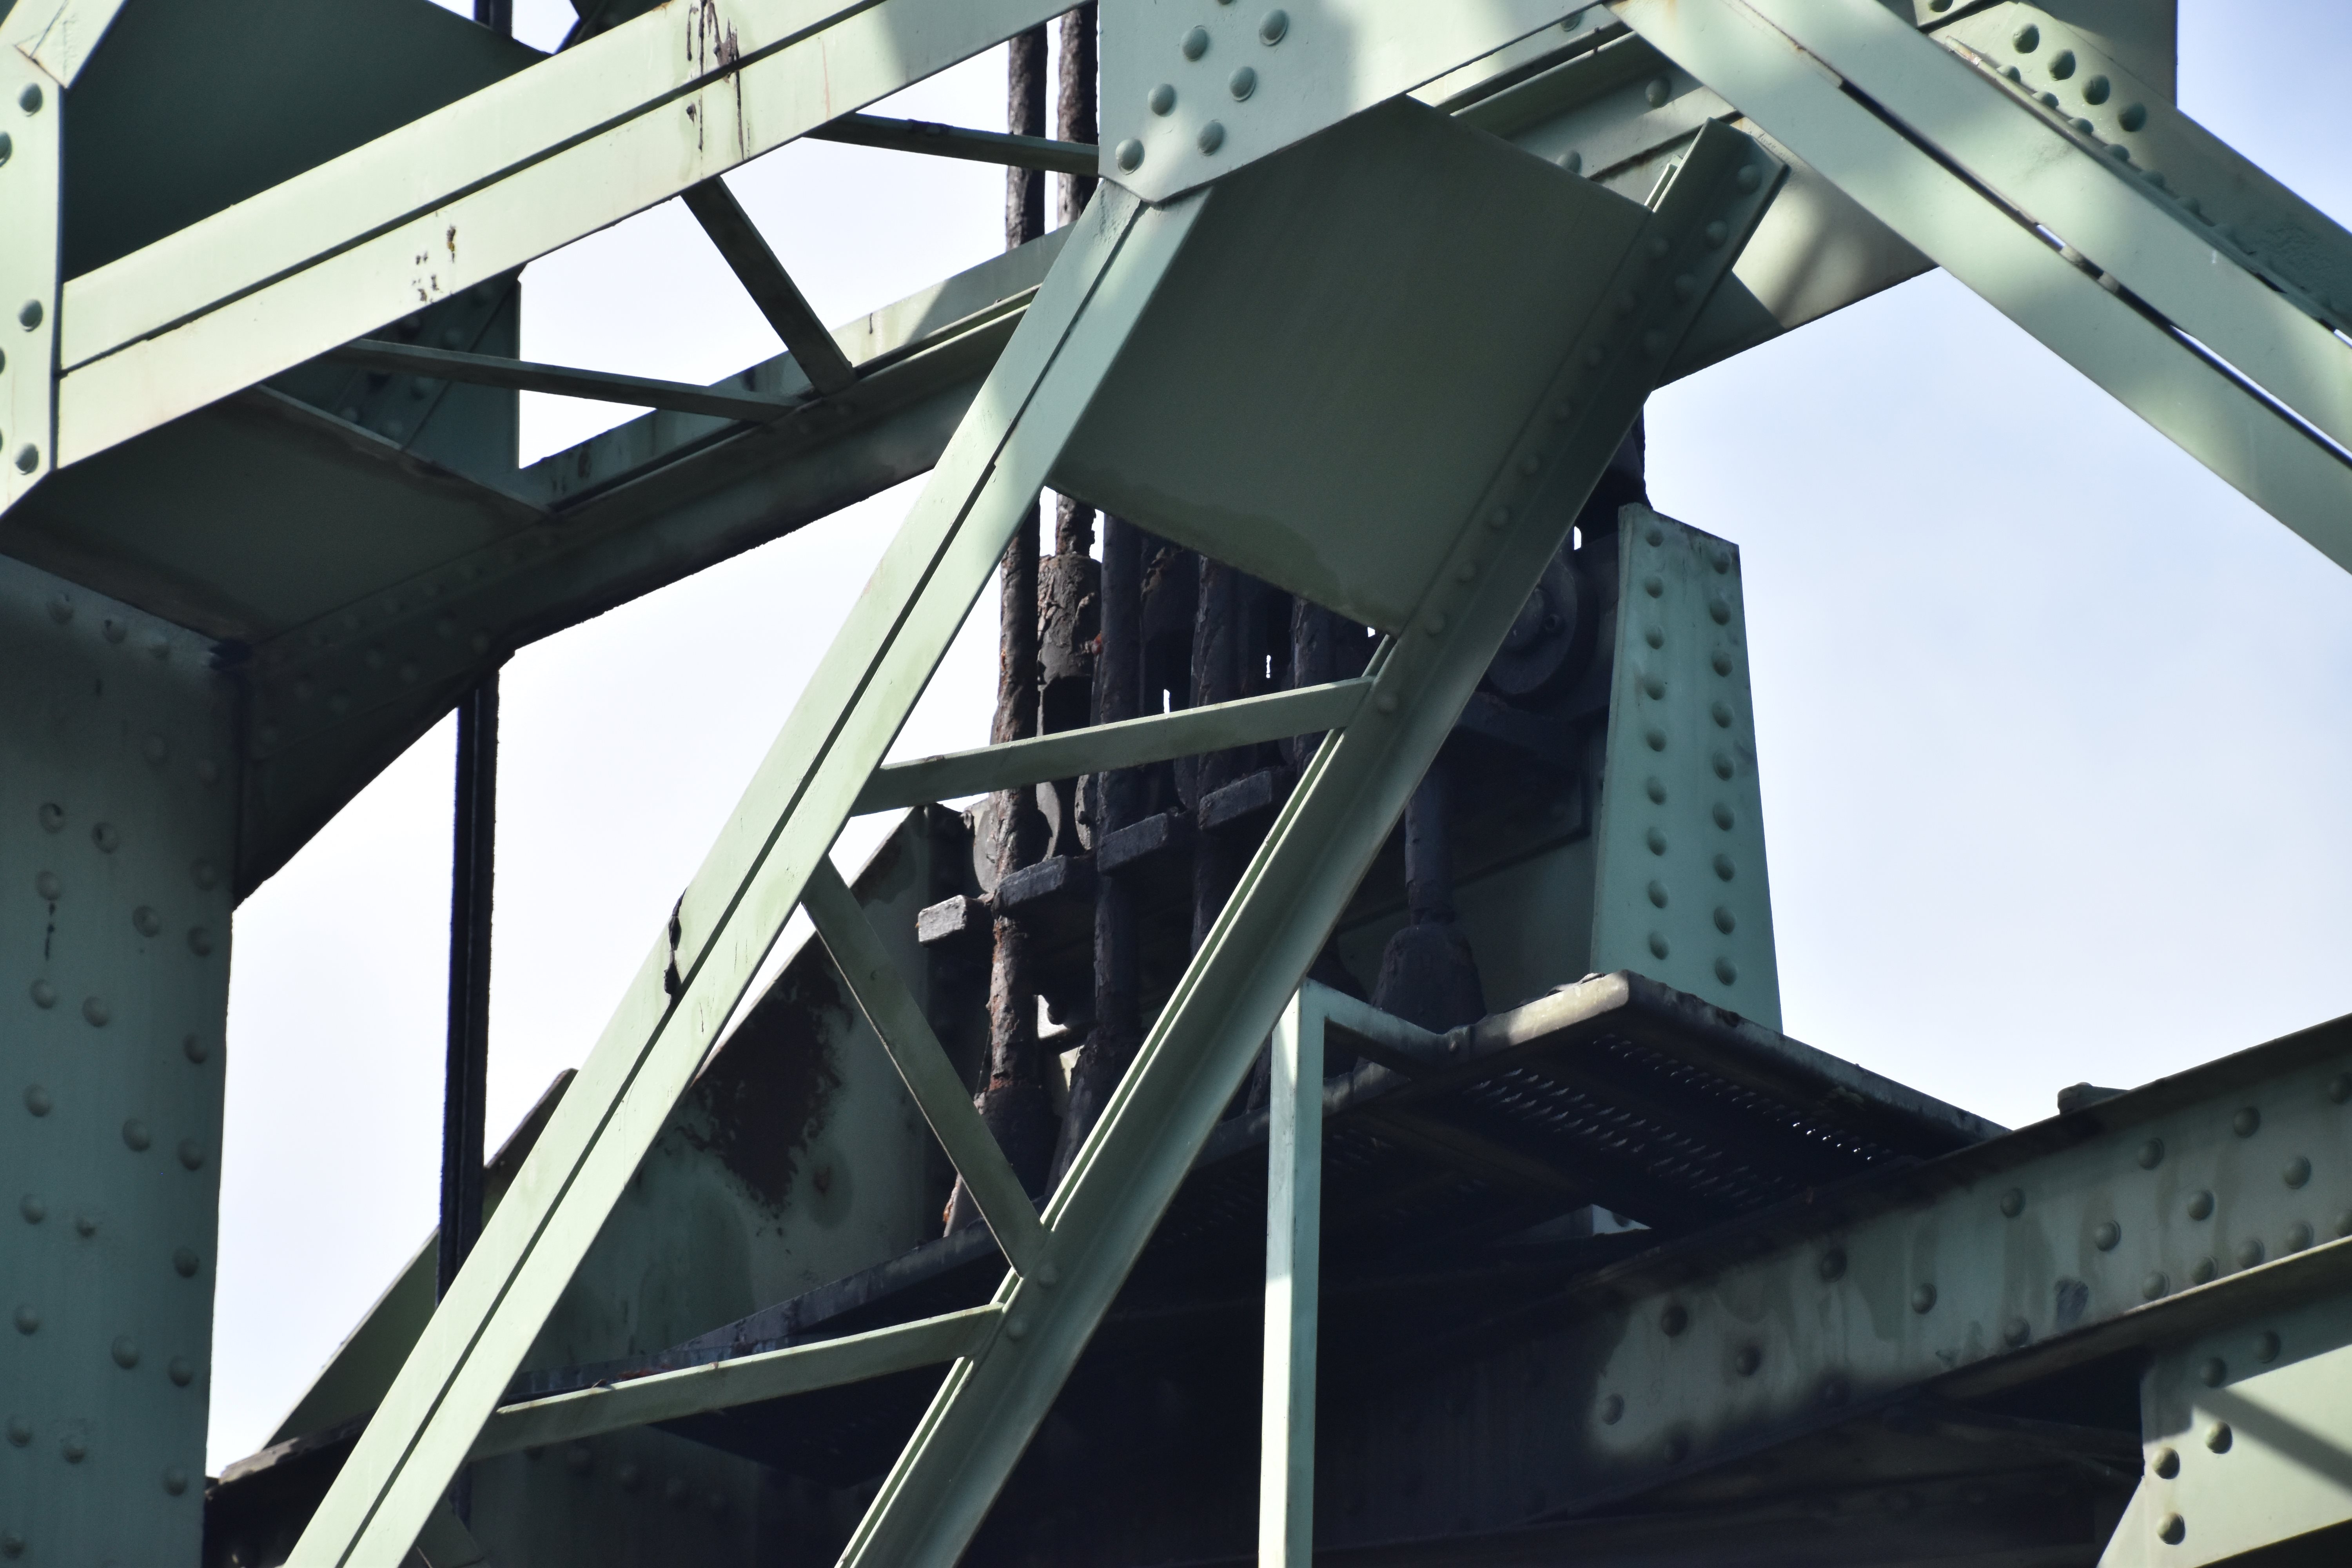
Cable connections to counterweight.
![]()


Cable connections to lift span.
![]()
Cable detail.
![]()


Tower bracing.
![]()

Portal bracing.
![]()


Sway bracing.
![]()
Sway bracing details.
![]()


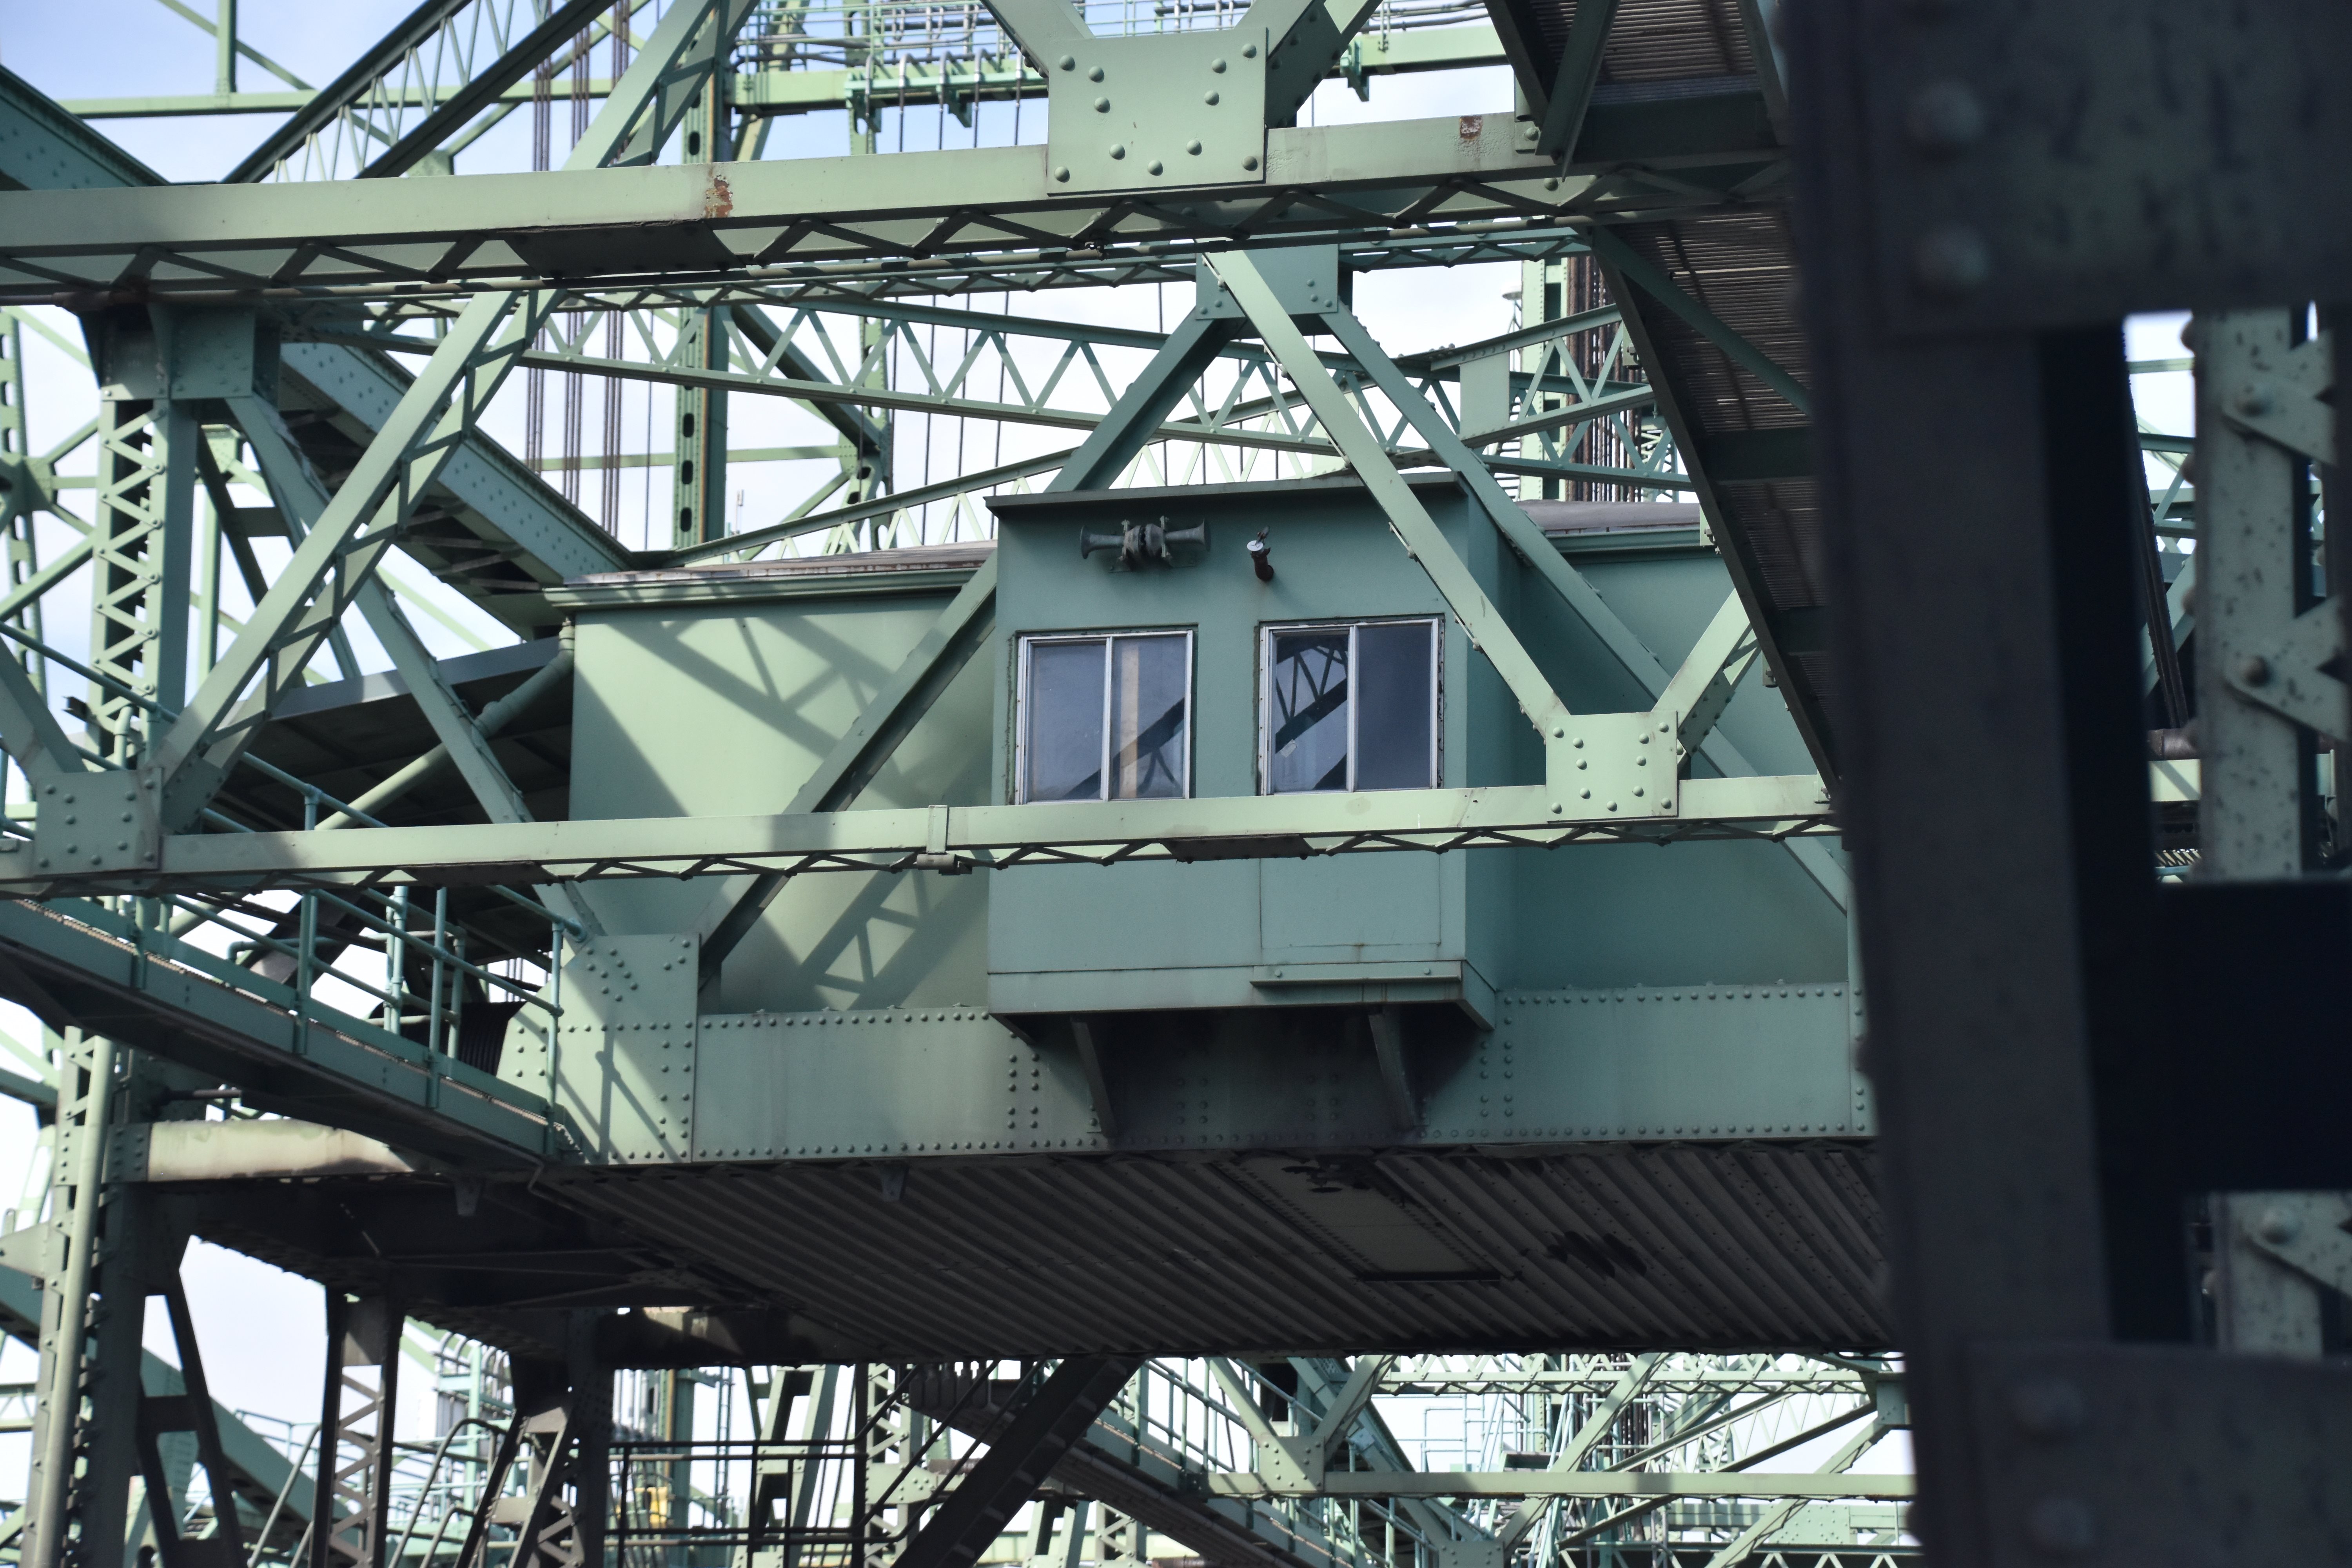


Machinery house, northbound bridge.
![]()


Machinery house, southbound bridge.
![]()

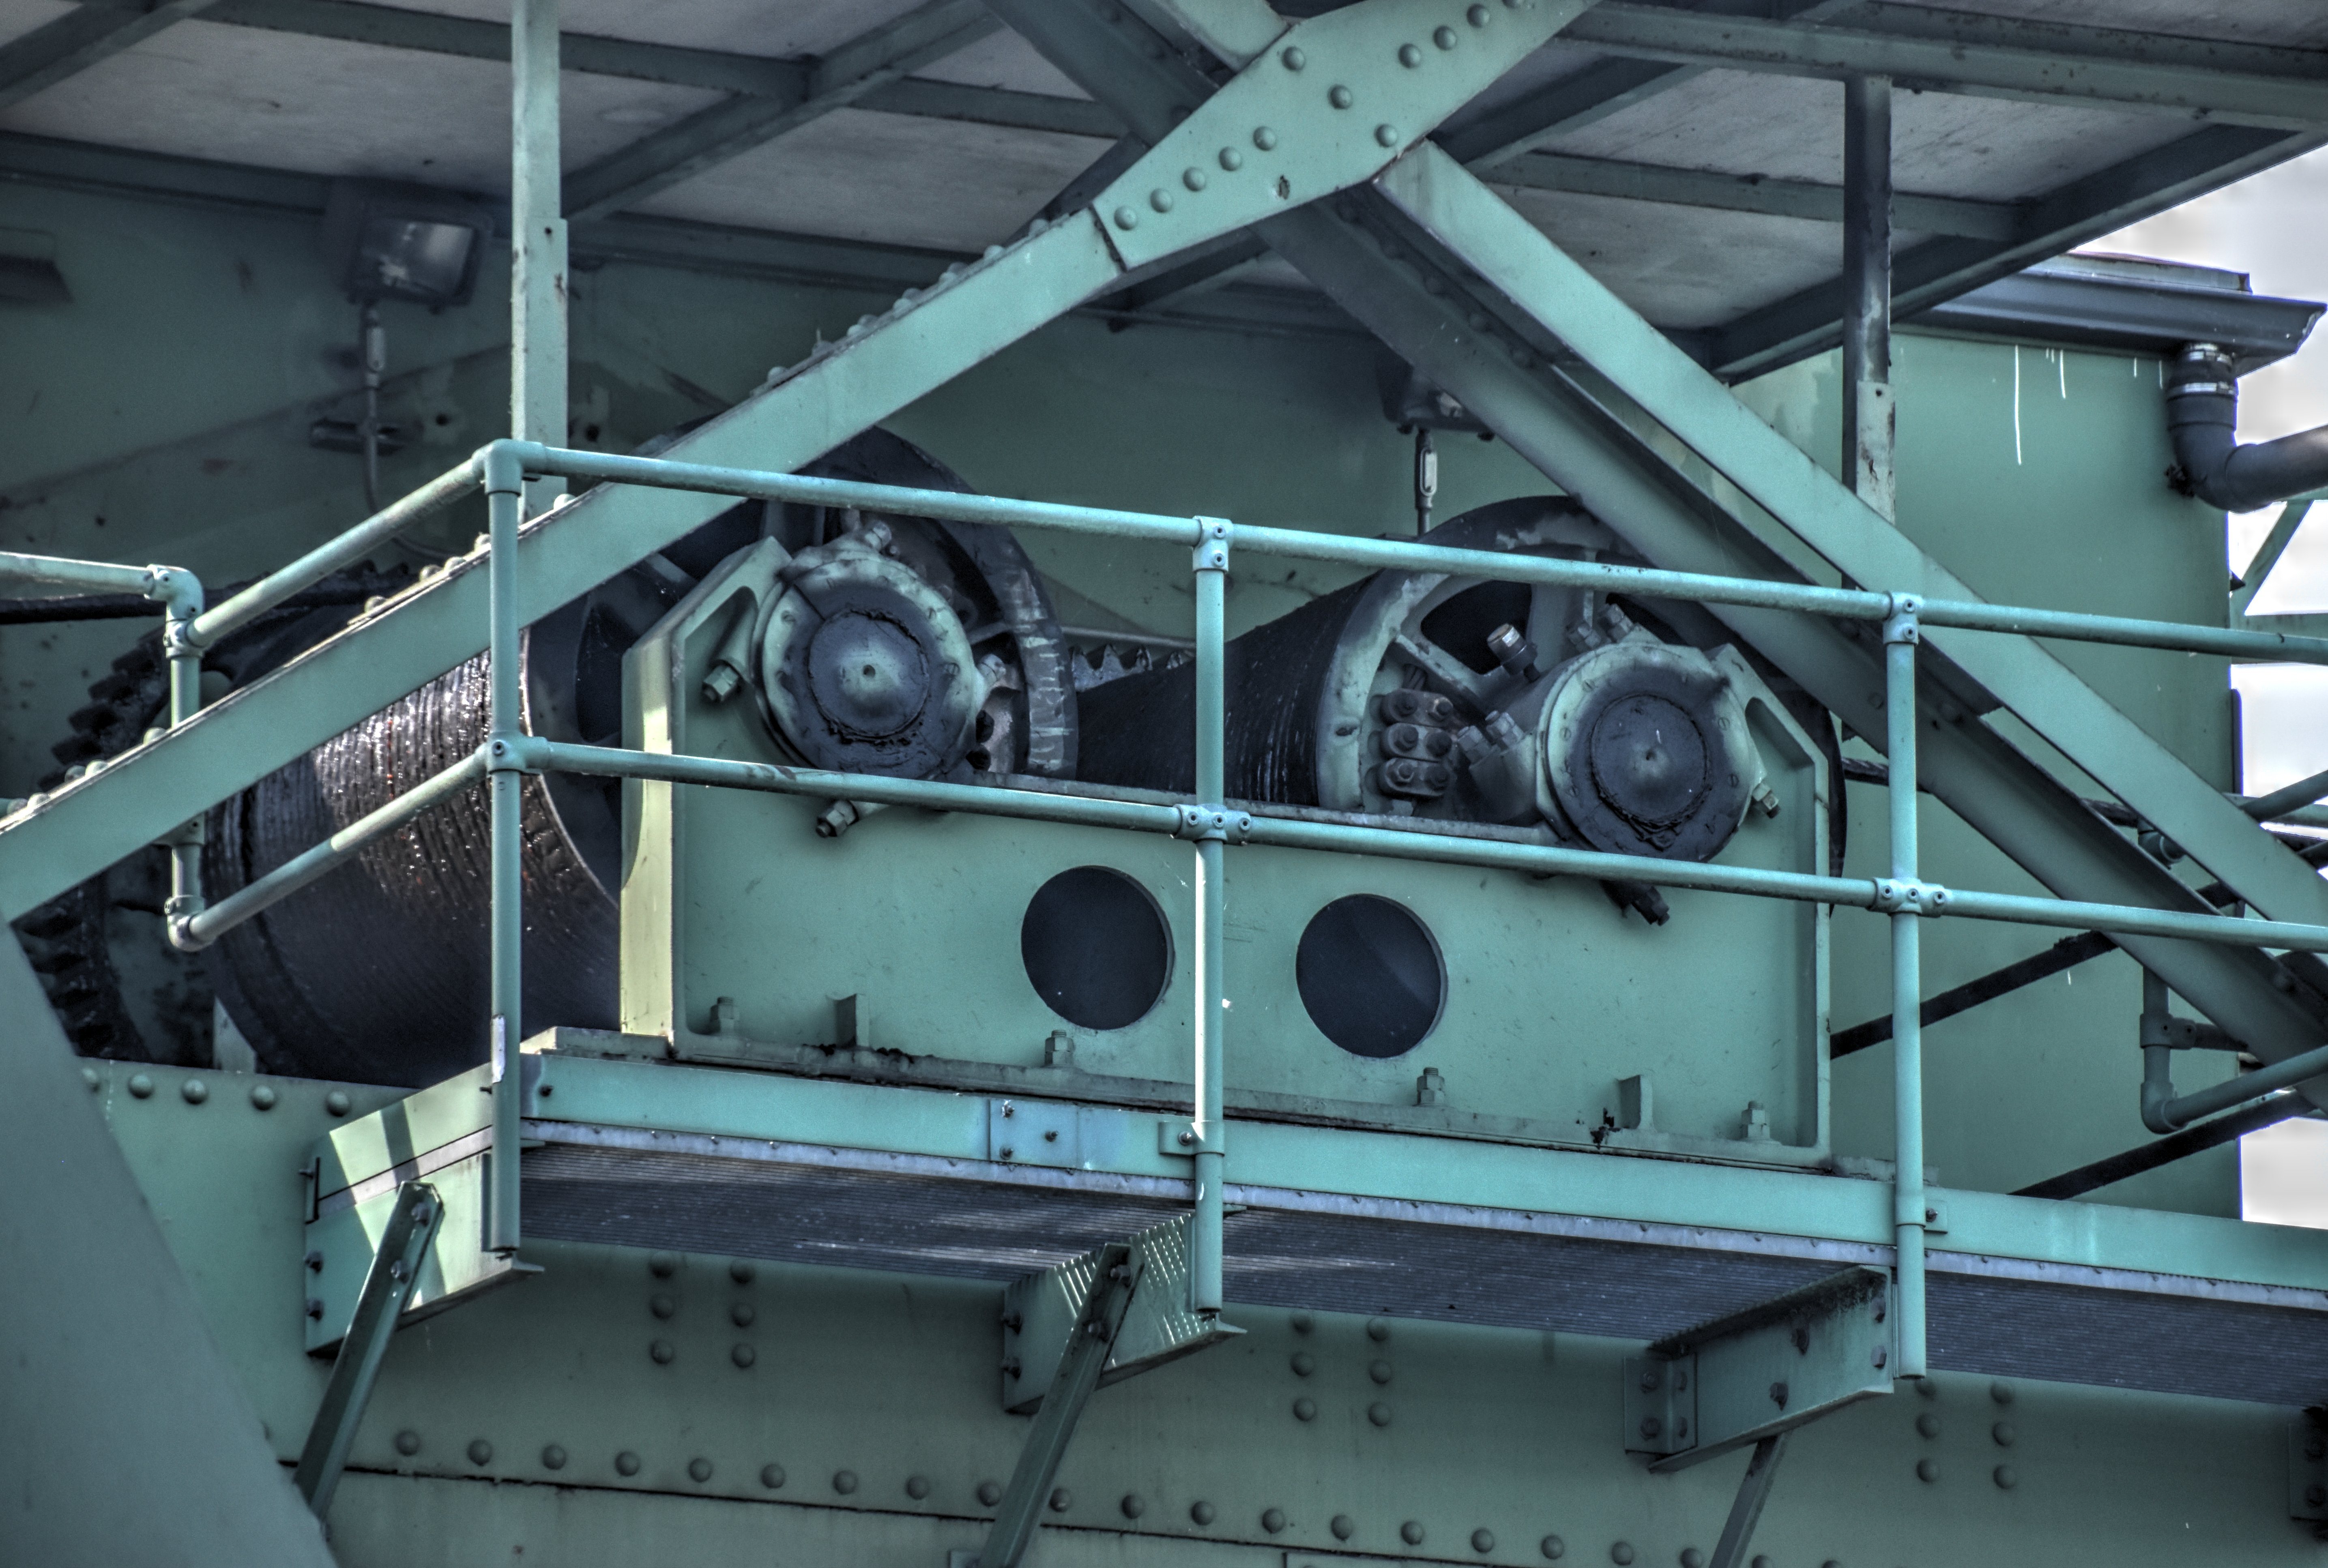


Machinery details on machinery house (southbound bridge).
![]()


Lift span top chord. Note cables to left.
![]()

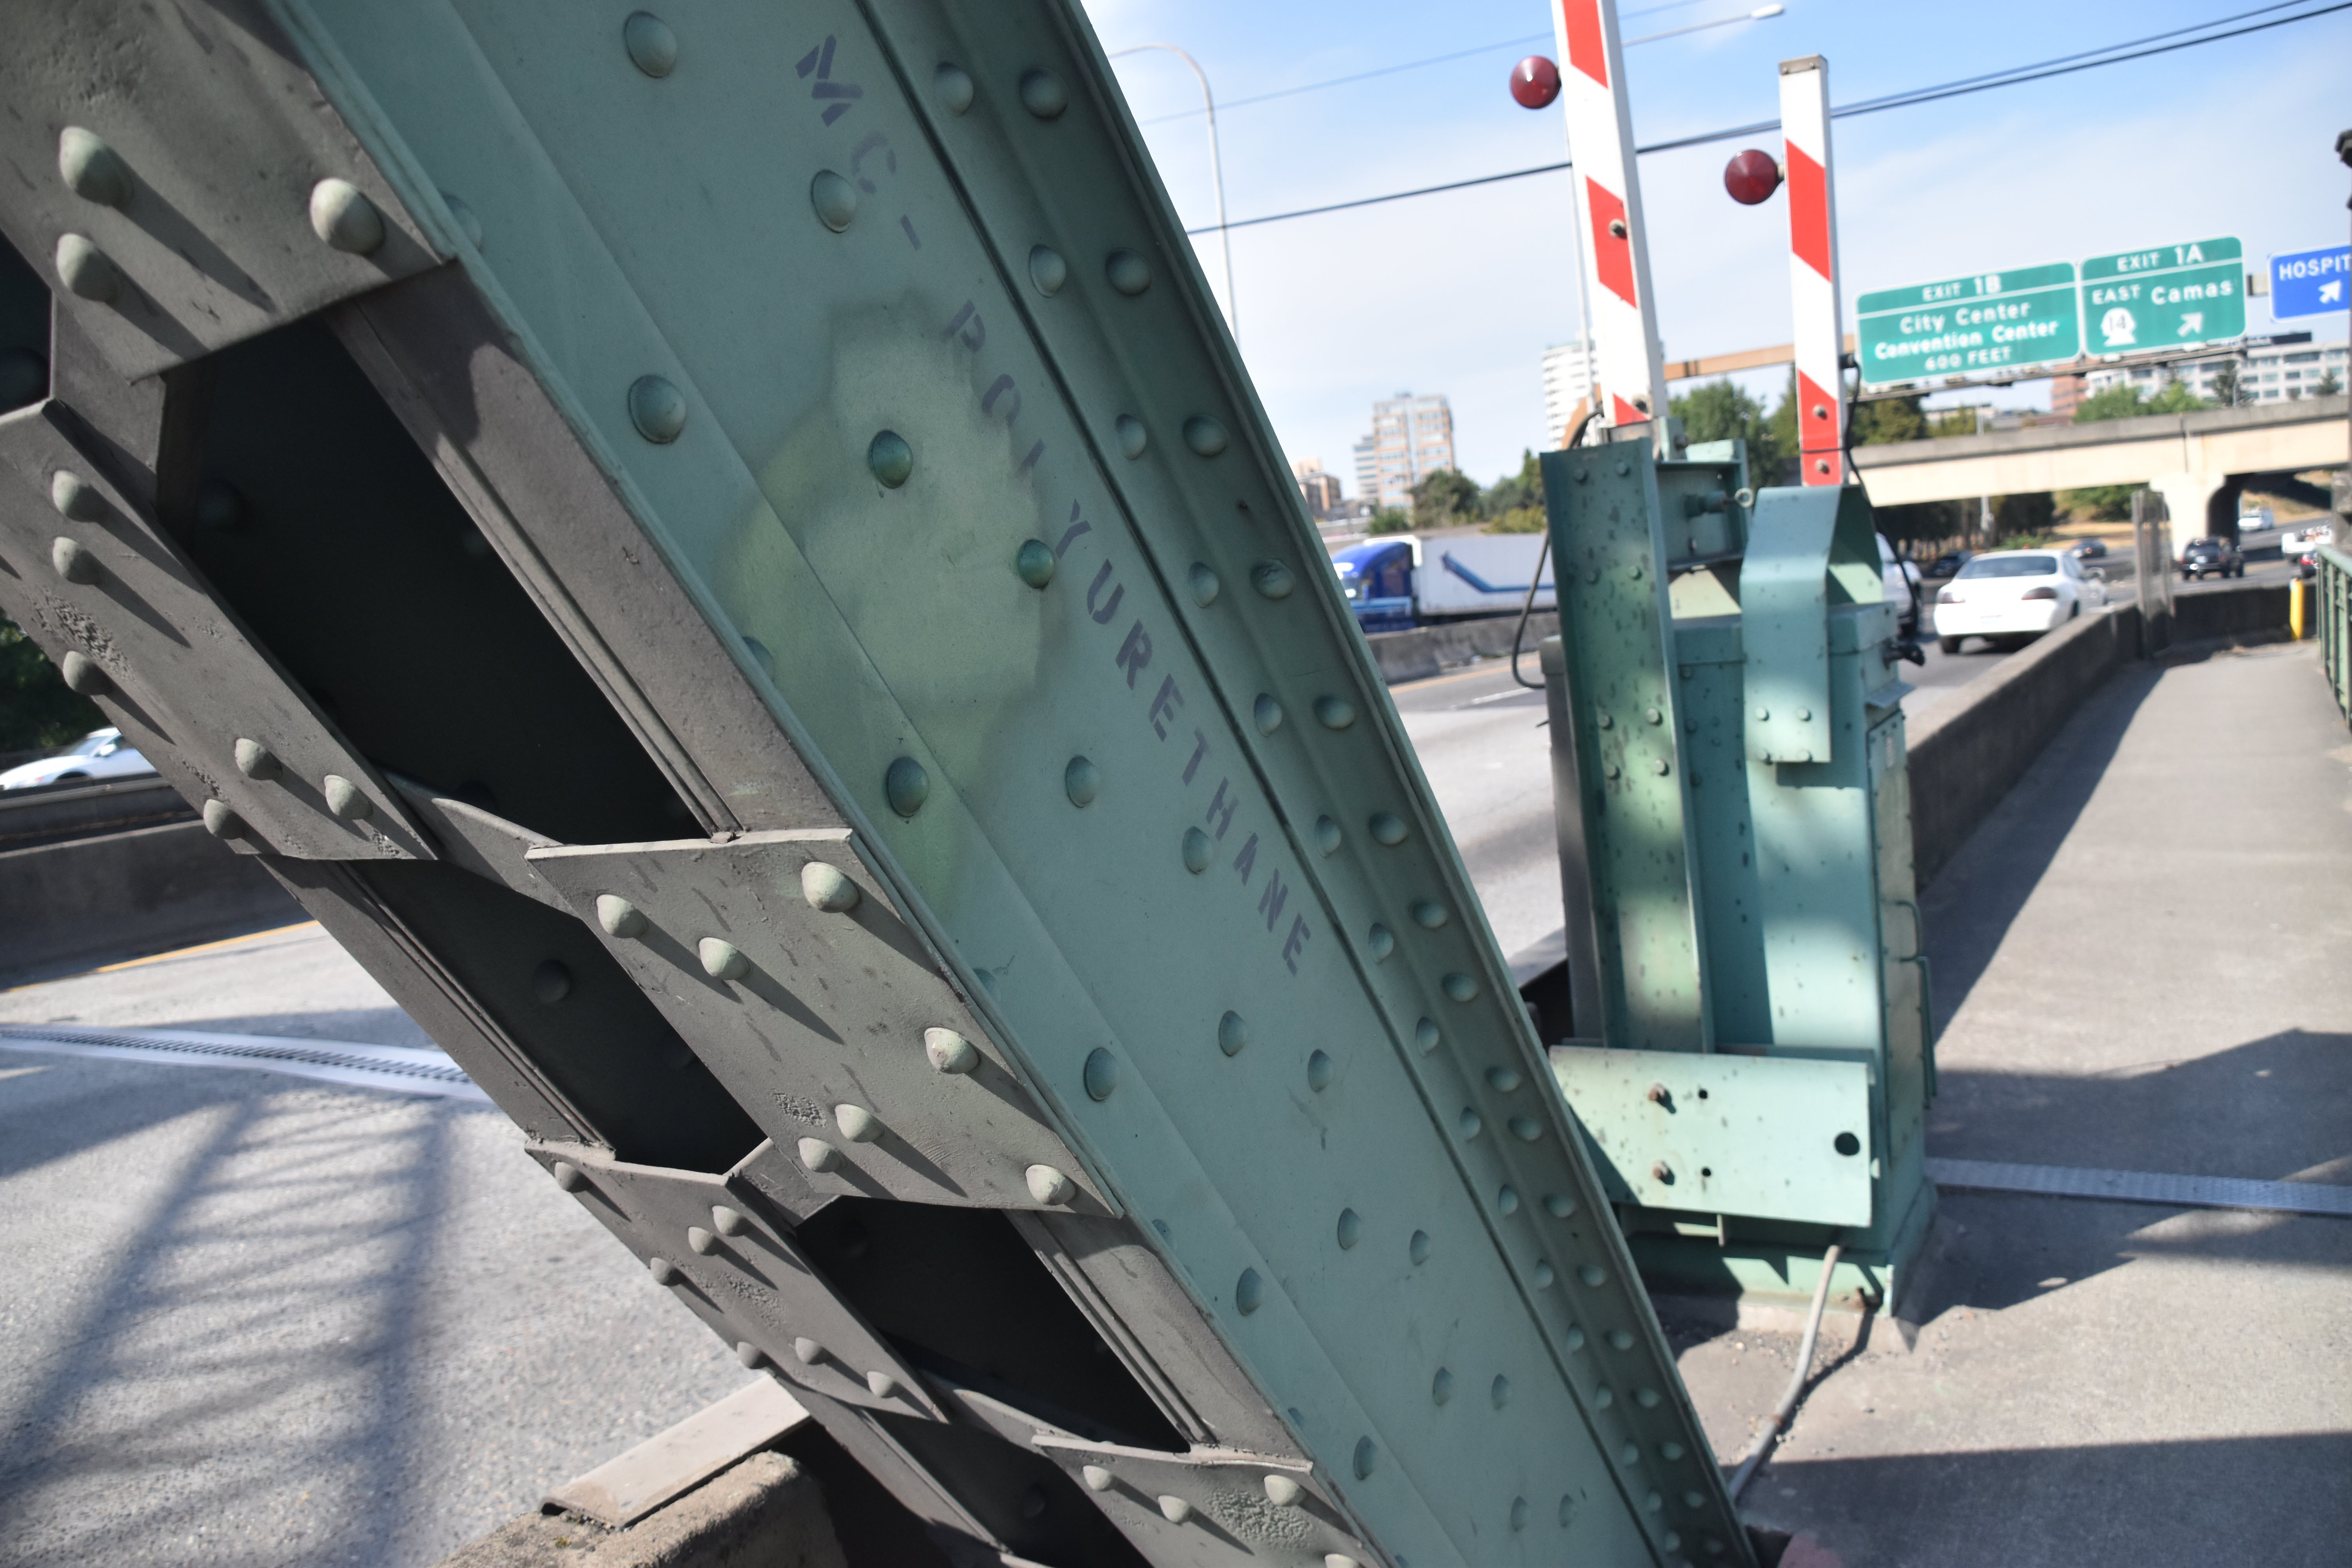
Barrier for lift span.
![]()


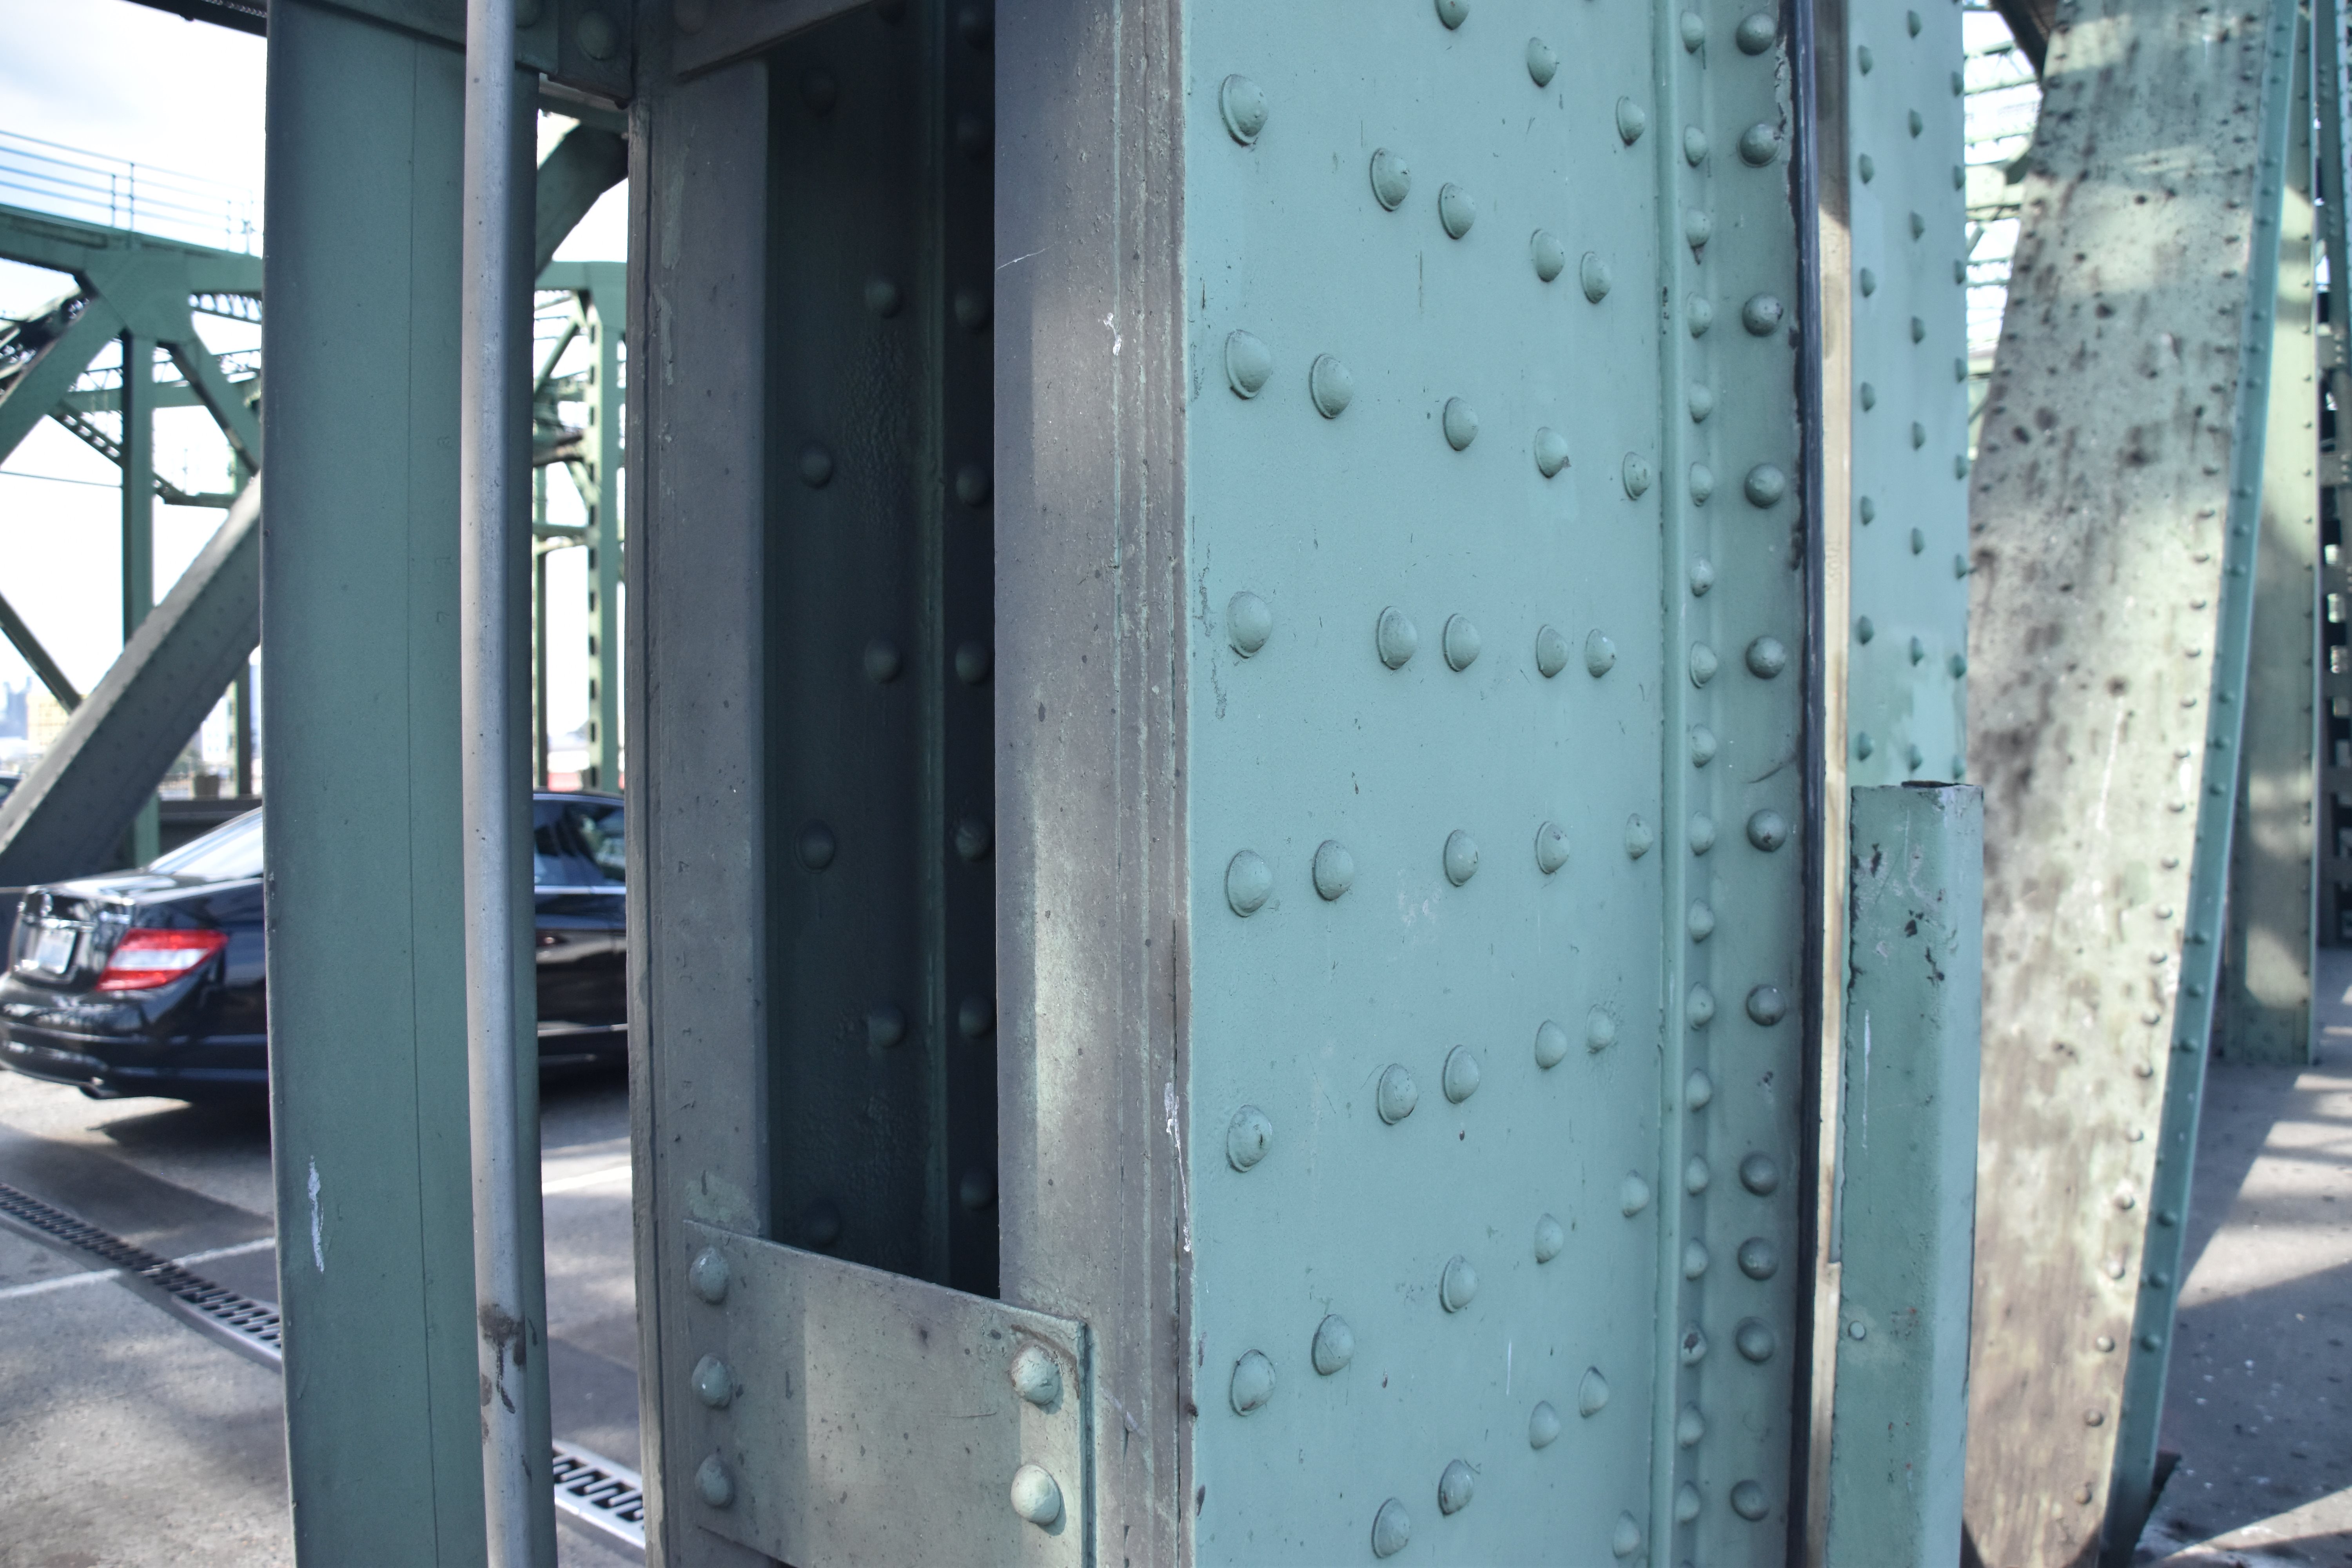
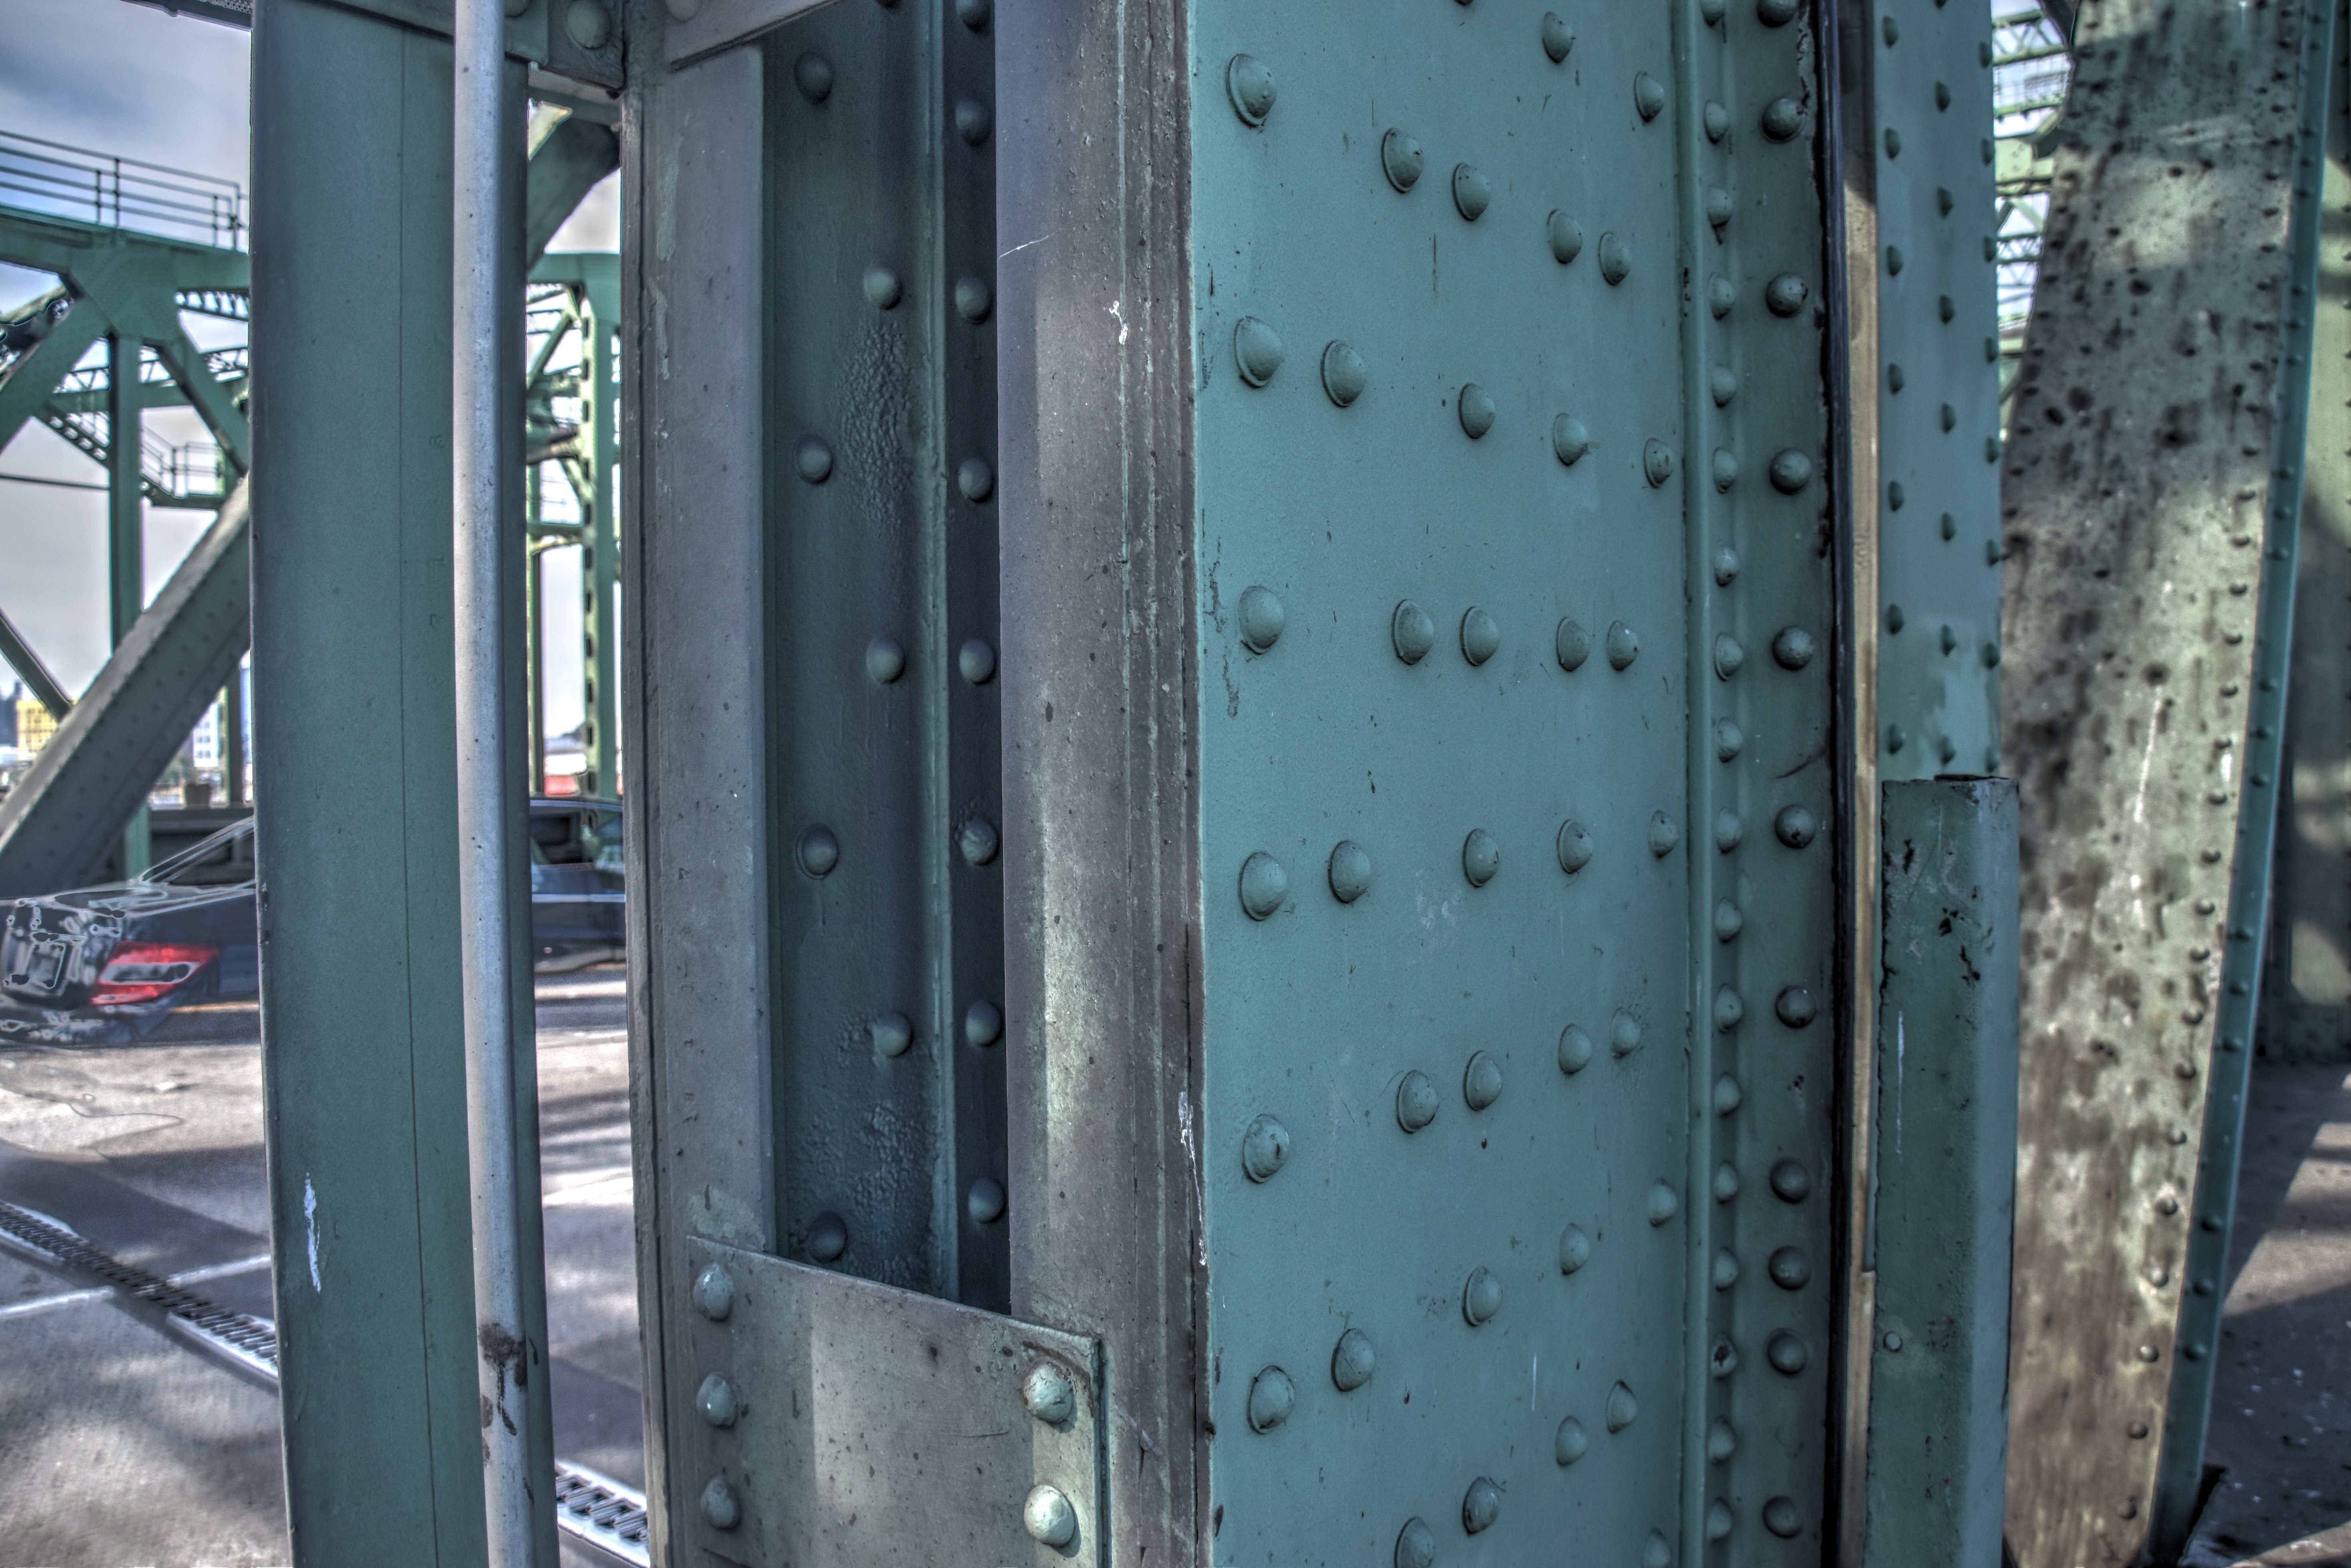
End post.
![]()


Lift span end post and tower post.
![]()


Details showing tower post and end post of lift span.
![]()

Vertical member.
![]()

Diagonal member.
![]()
Vertical member and end post.
![]()
Details of Large Fixed Truss Span
![]()


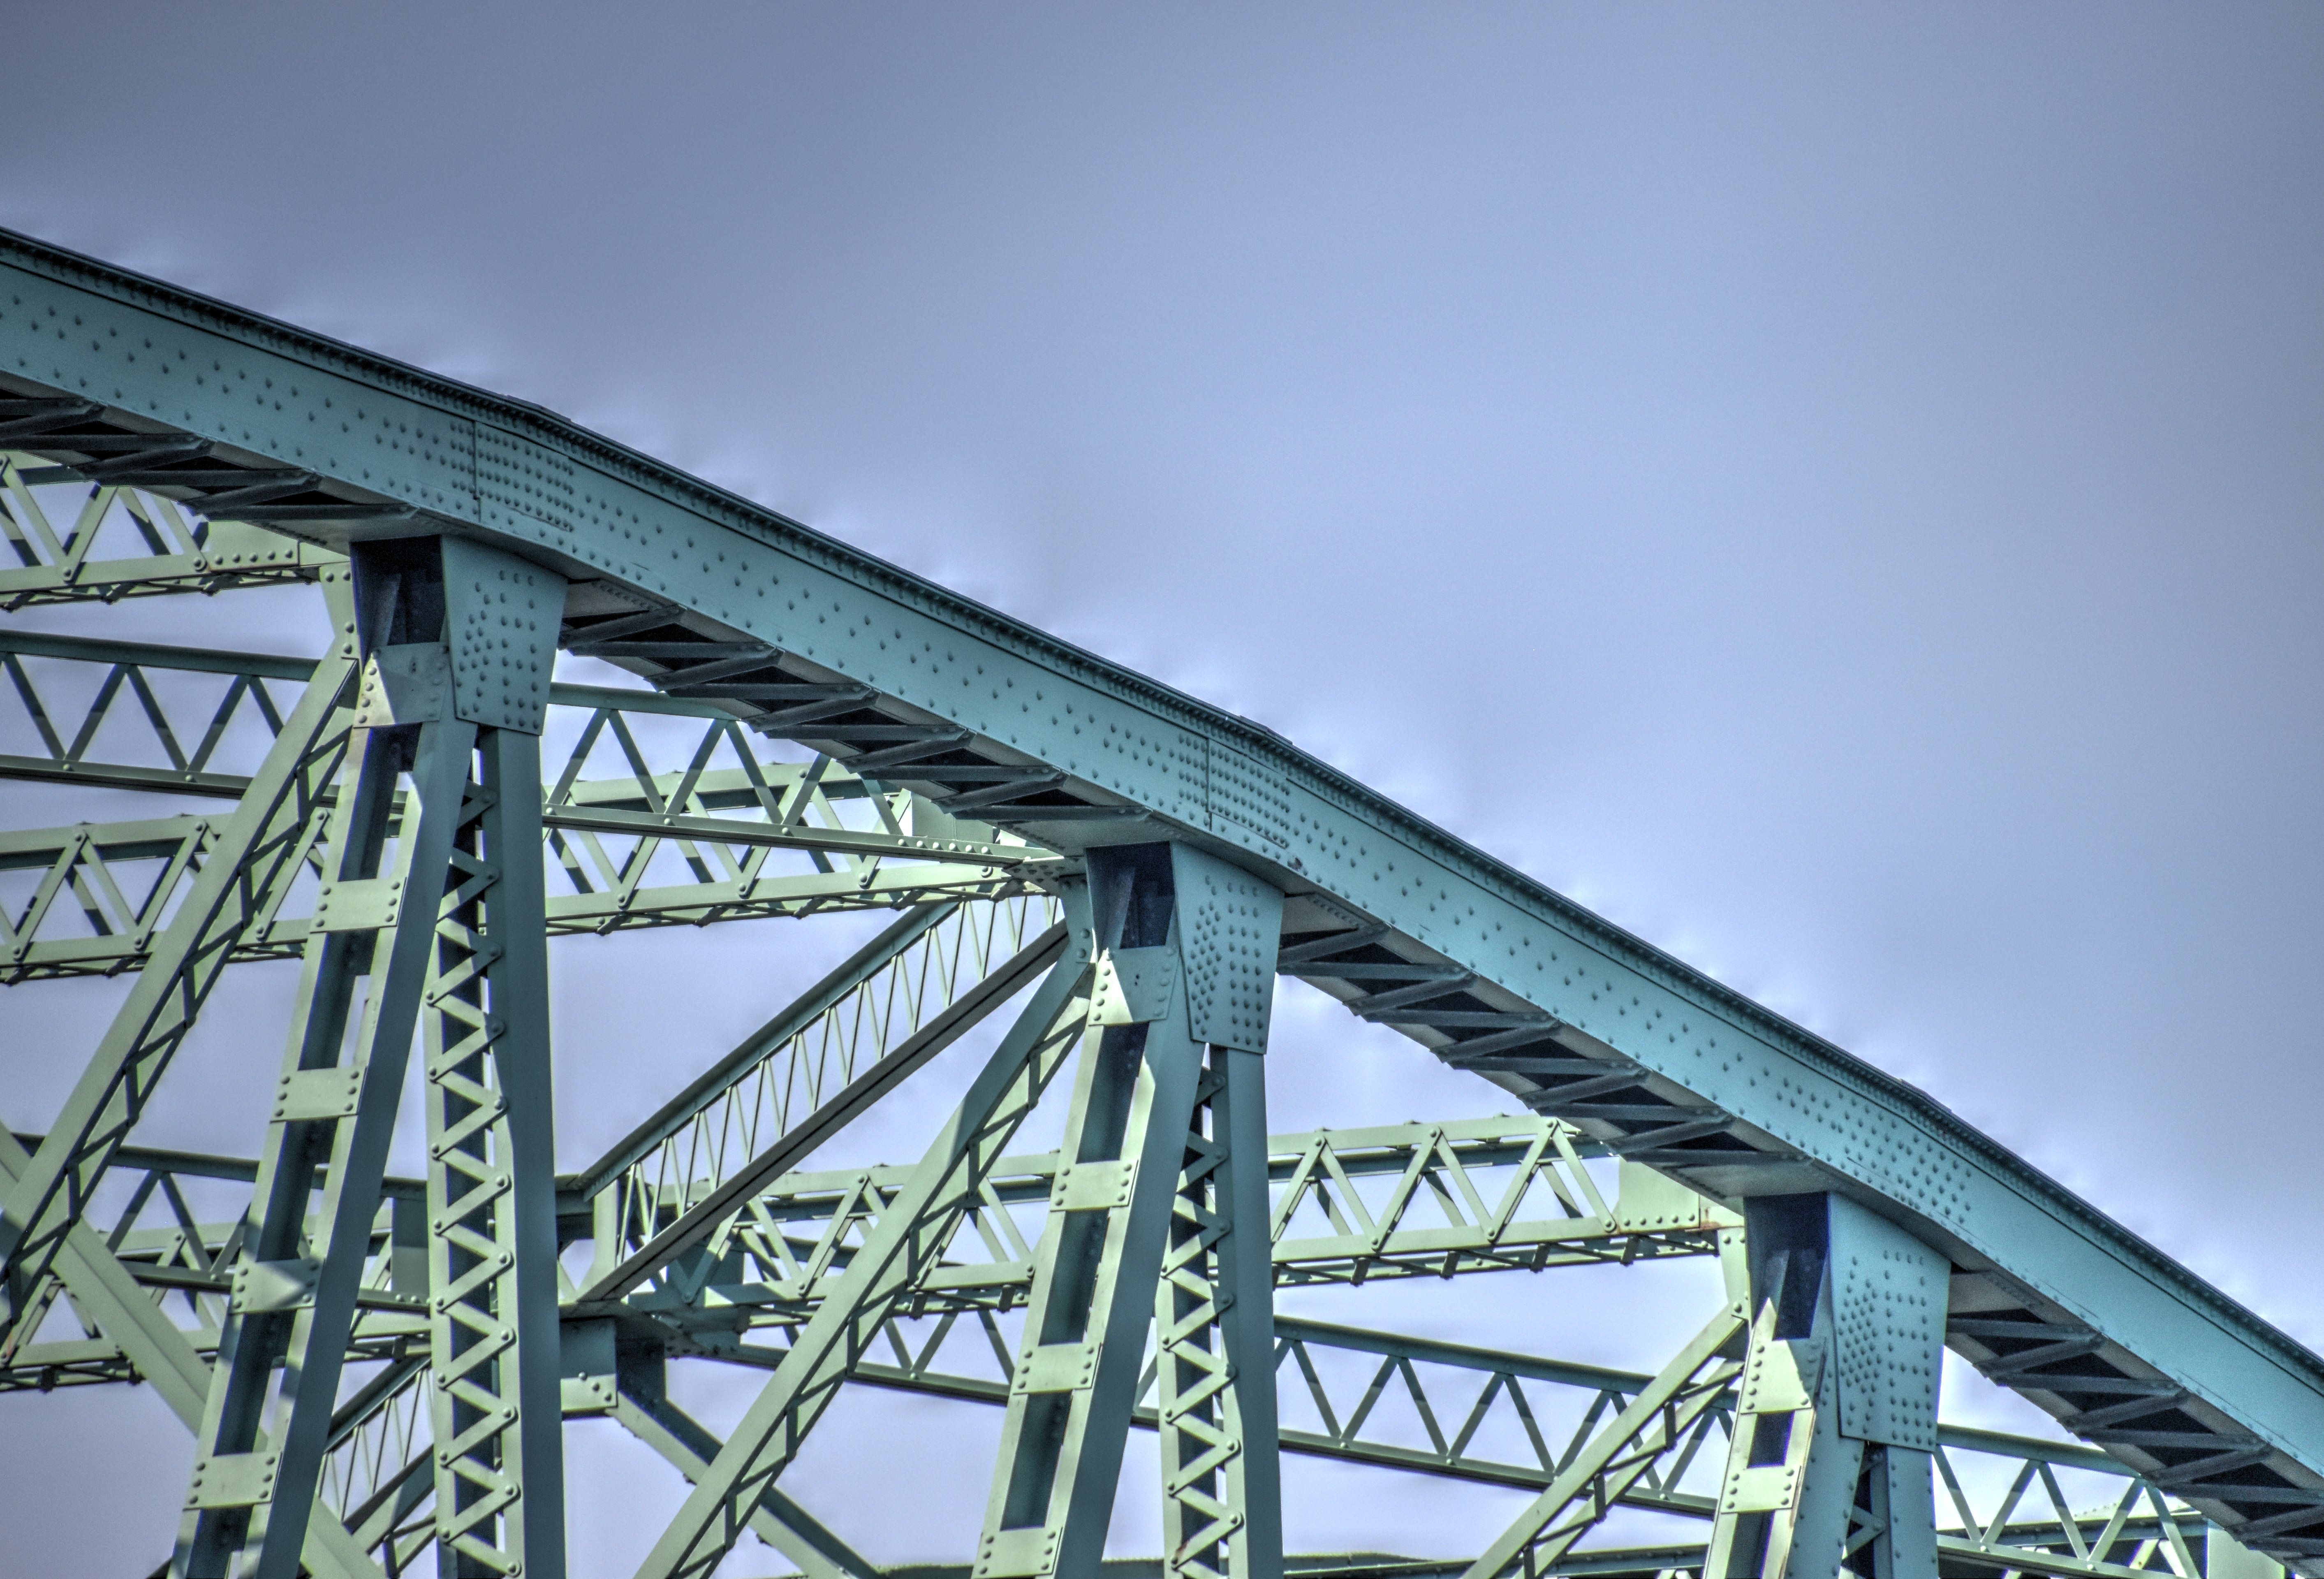
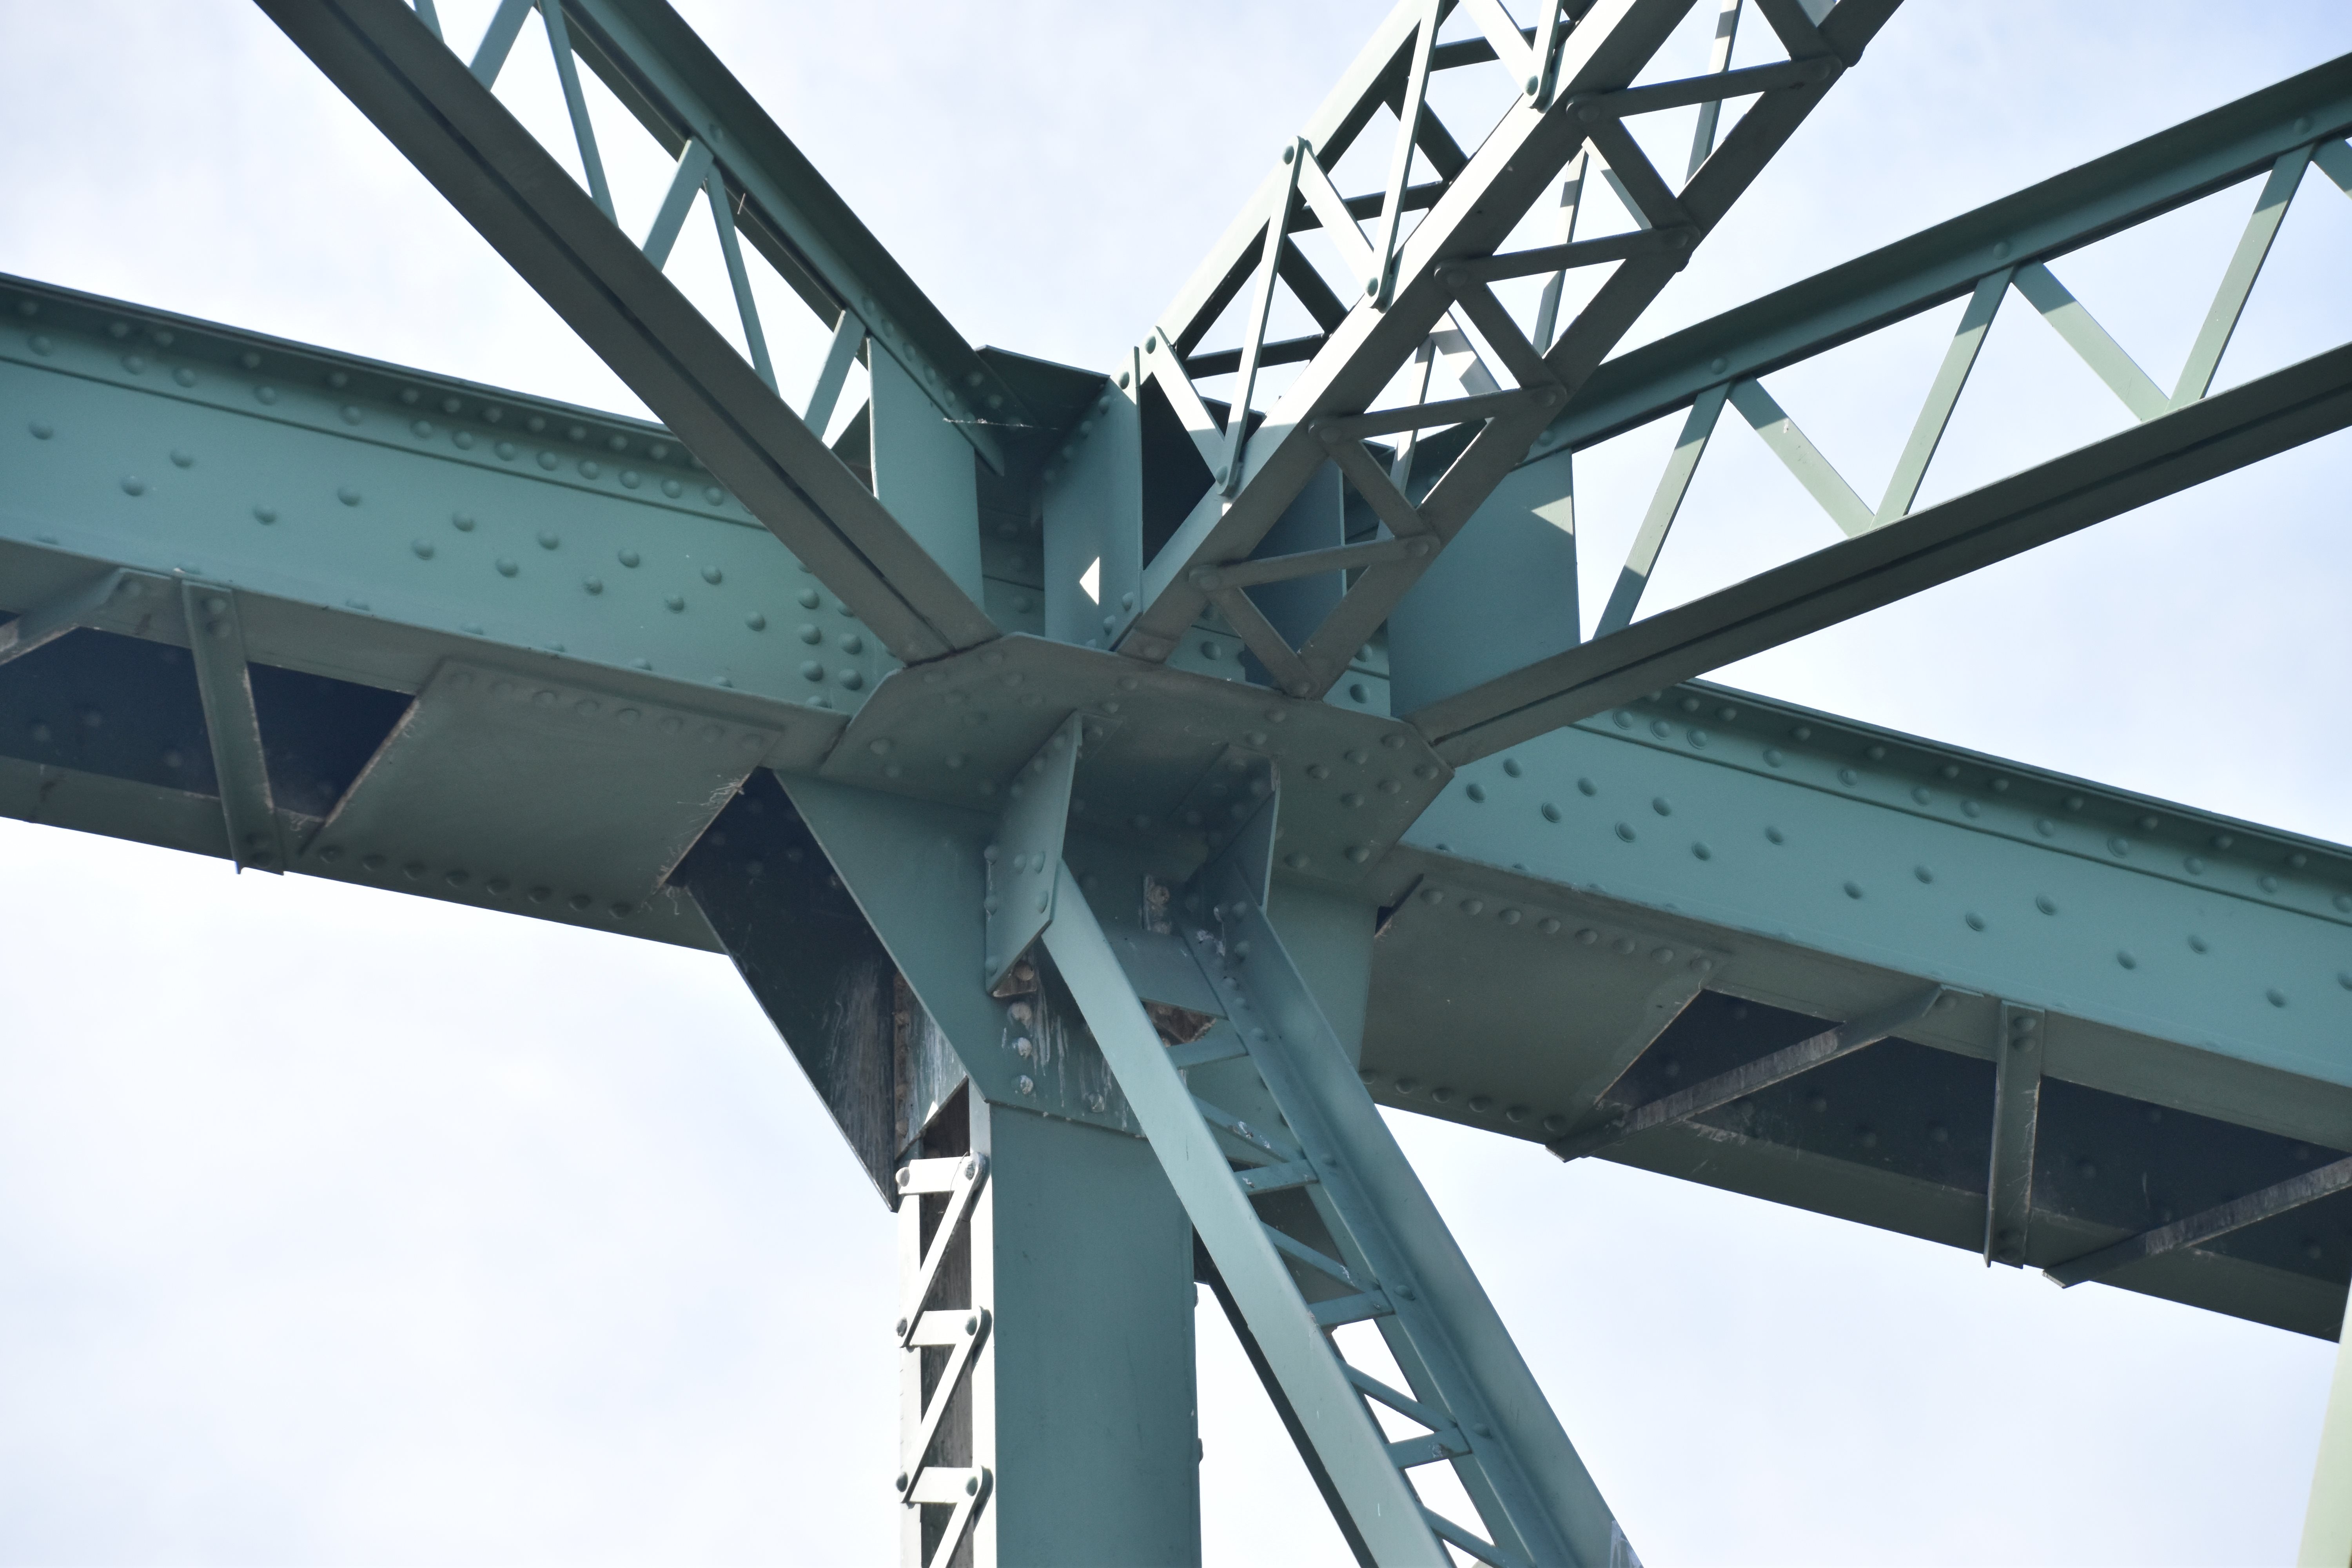
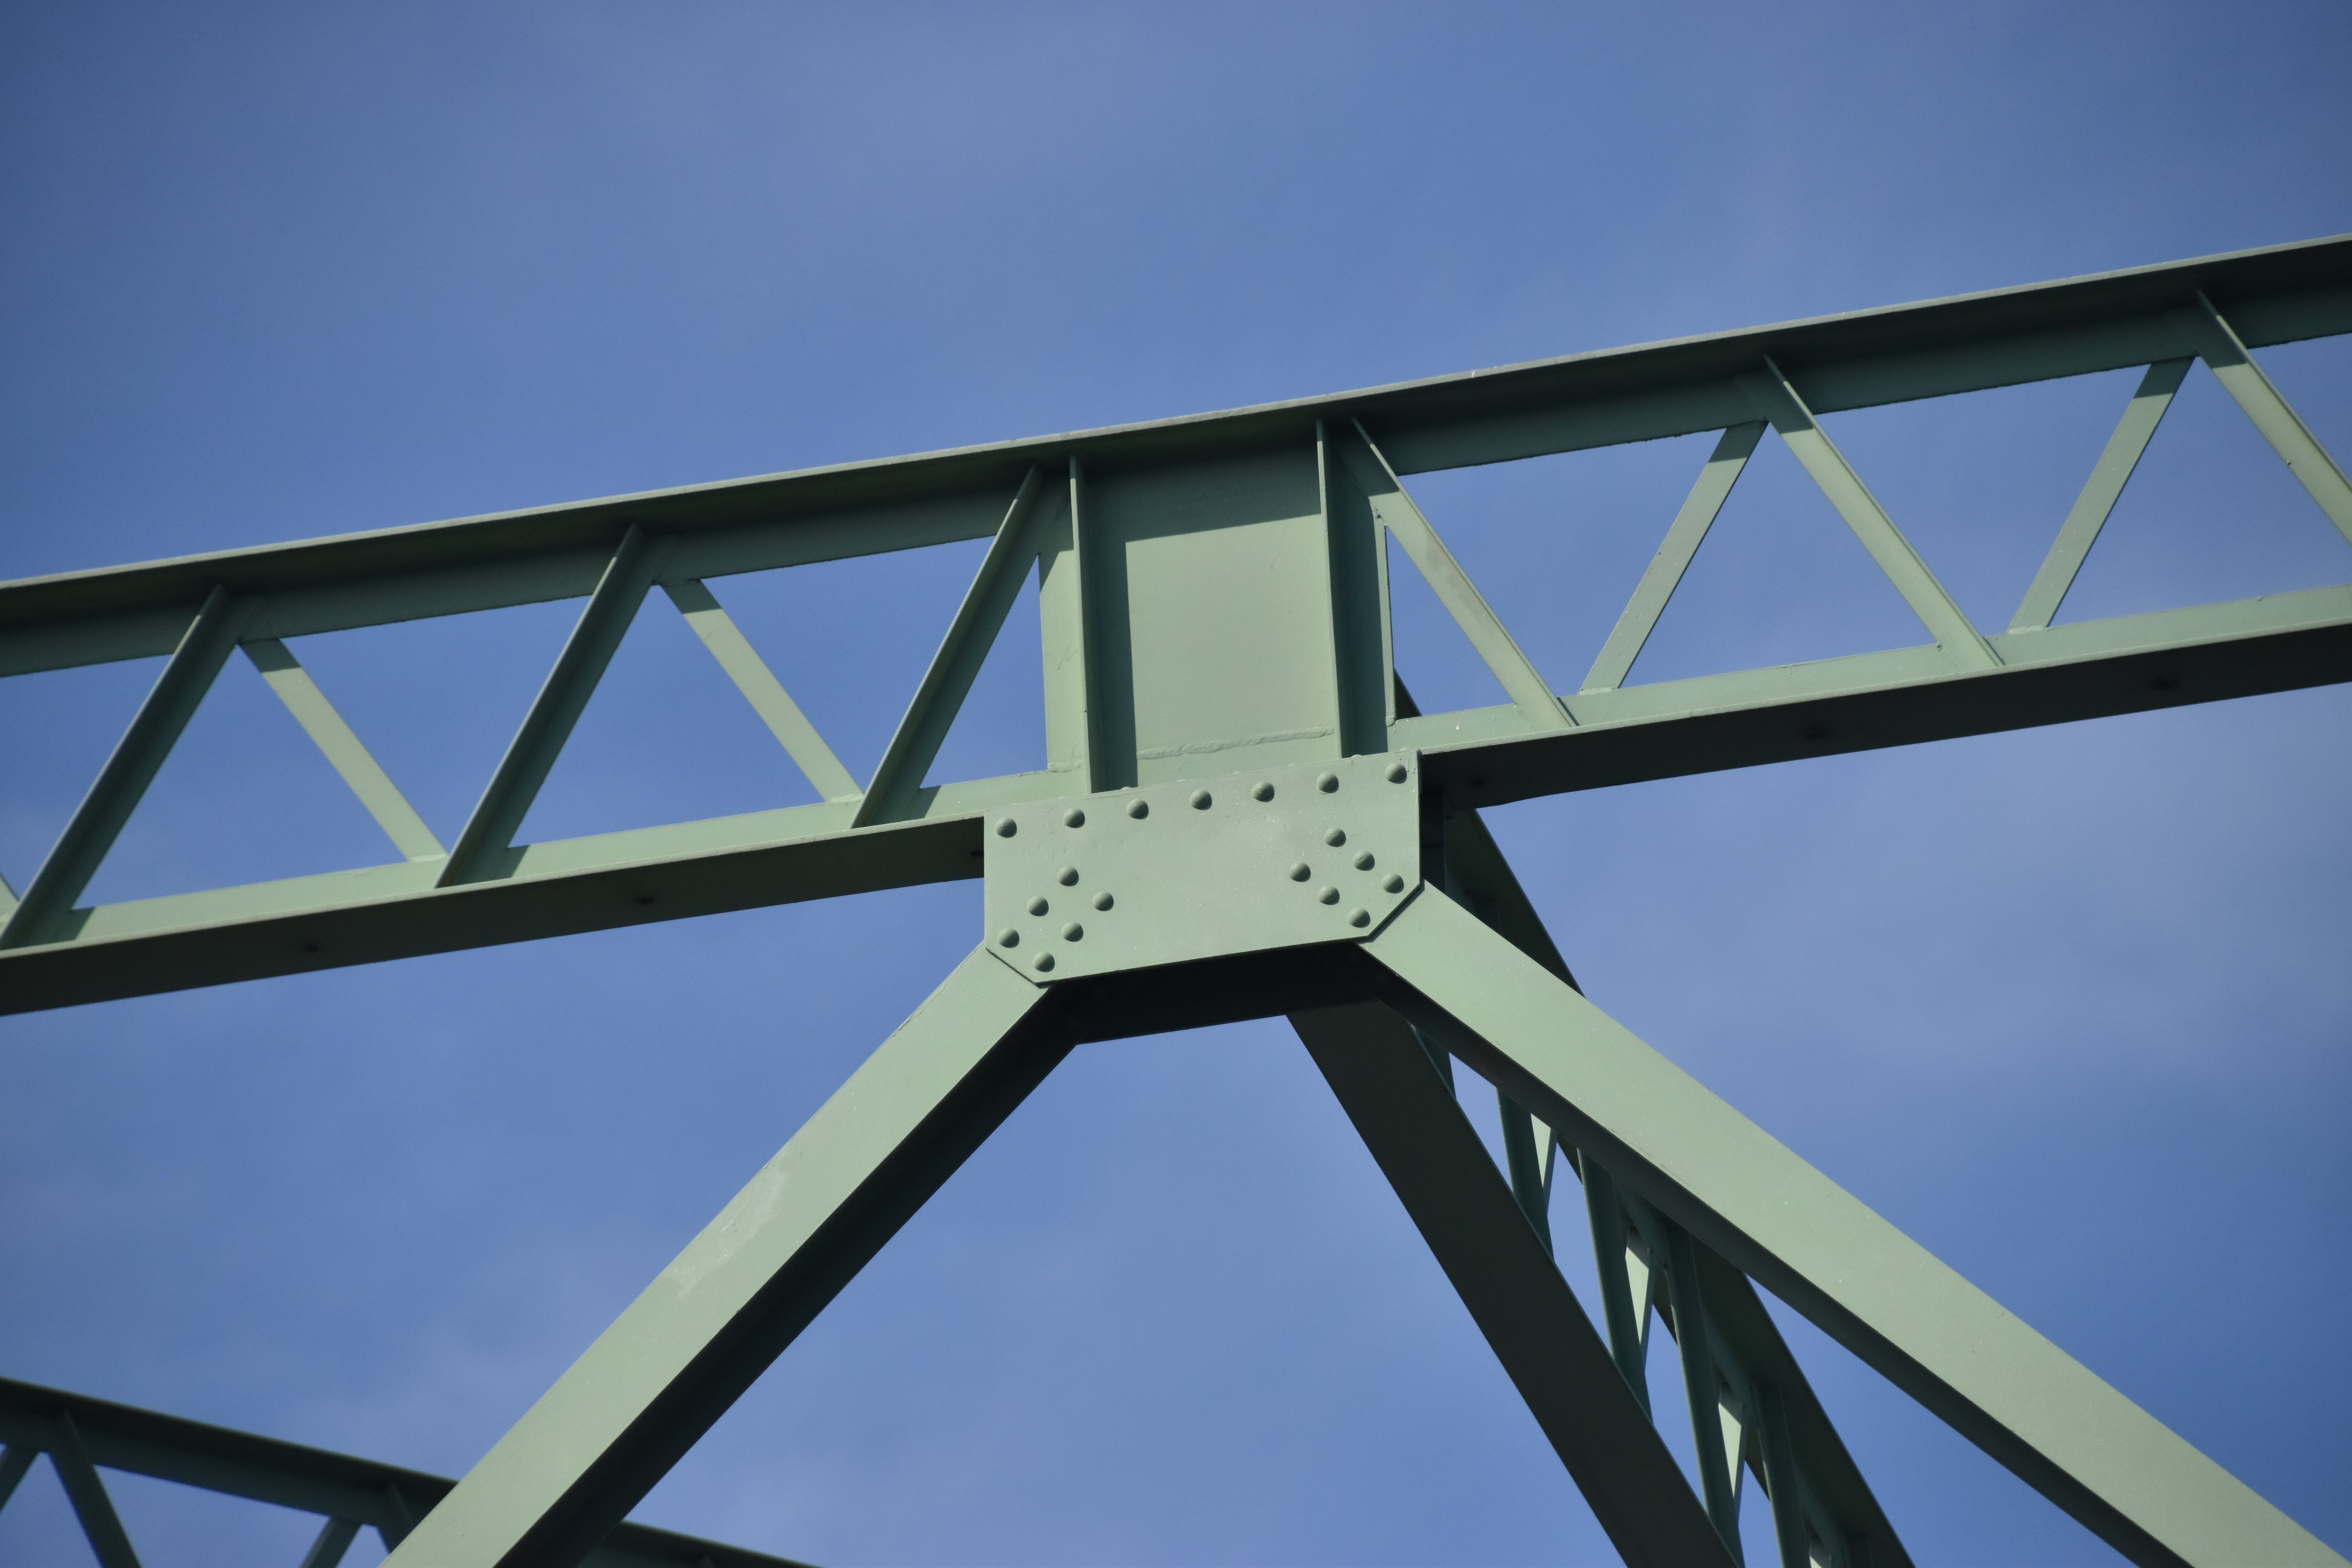
Large fixed truss span top chord connections as viewed from beside bridge.
![]()

Large fixed truss span top chord connections as viewed from on bridge.
![]()

Large fixed truss span intermediate connections as viewed from beside bridge.
![]()
Portal bracing.
![]()
Sway bracing.
![]()
Sway bracing details.
![]()


Upper lateral bracing.
![]()


Upper lateral bracing details.
![]()


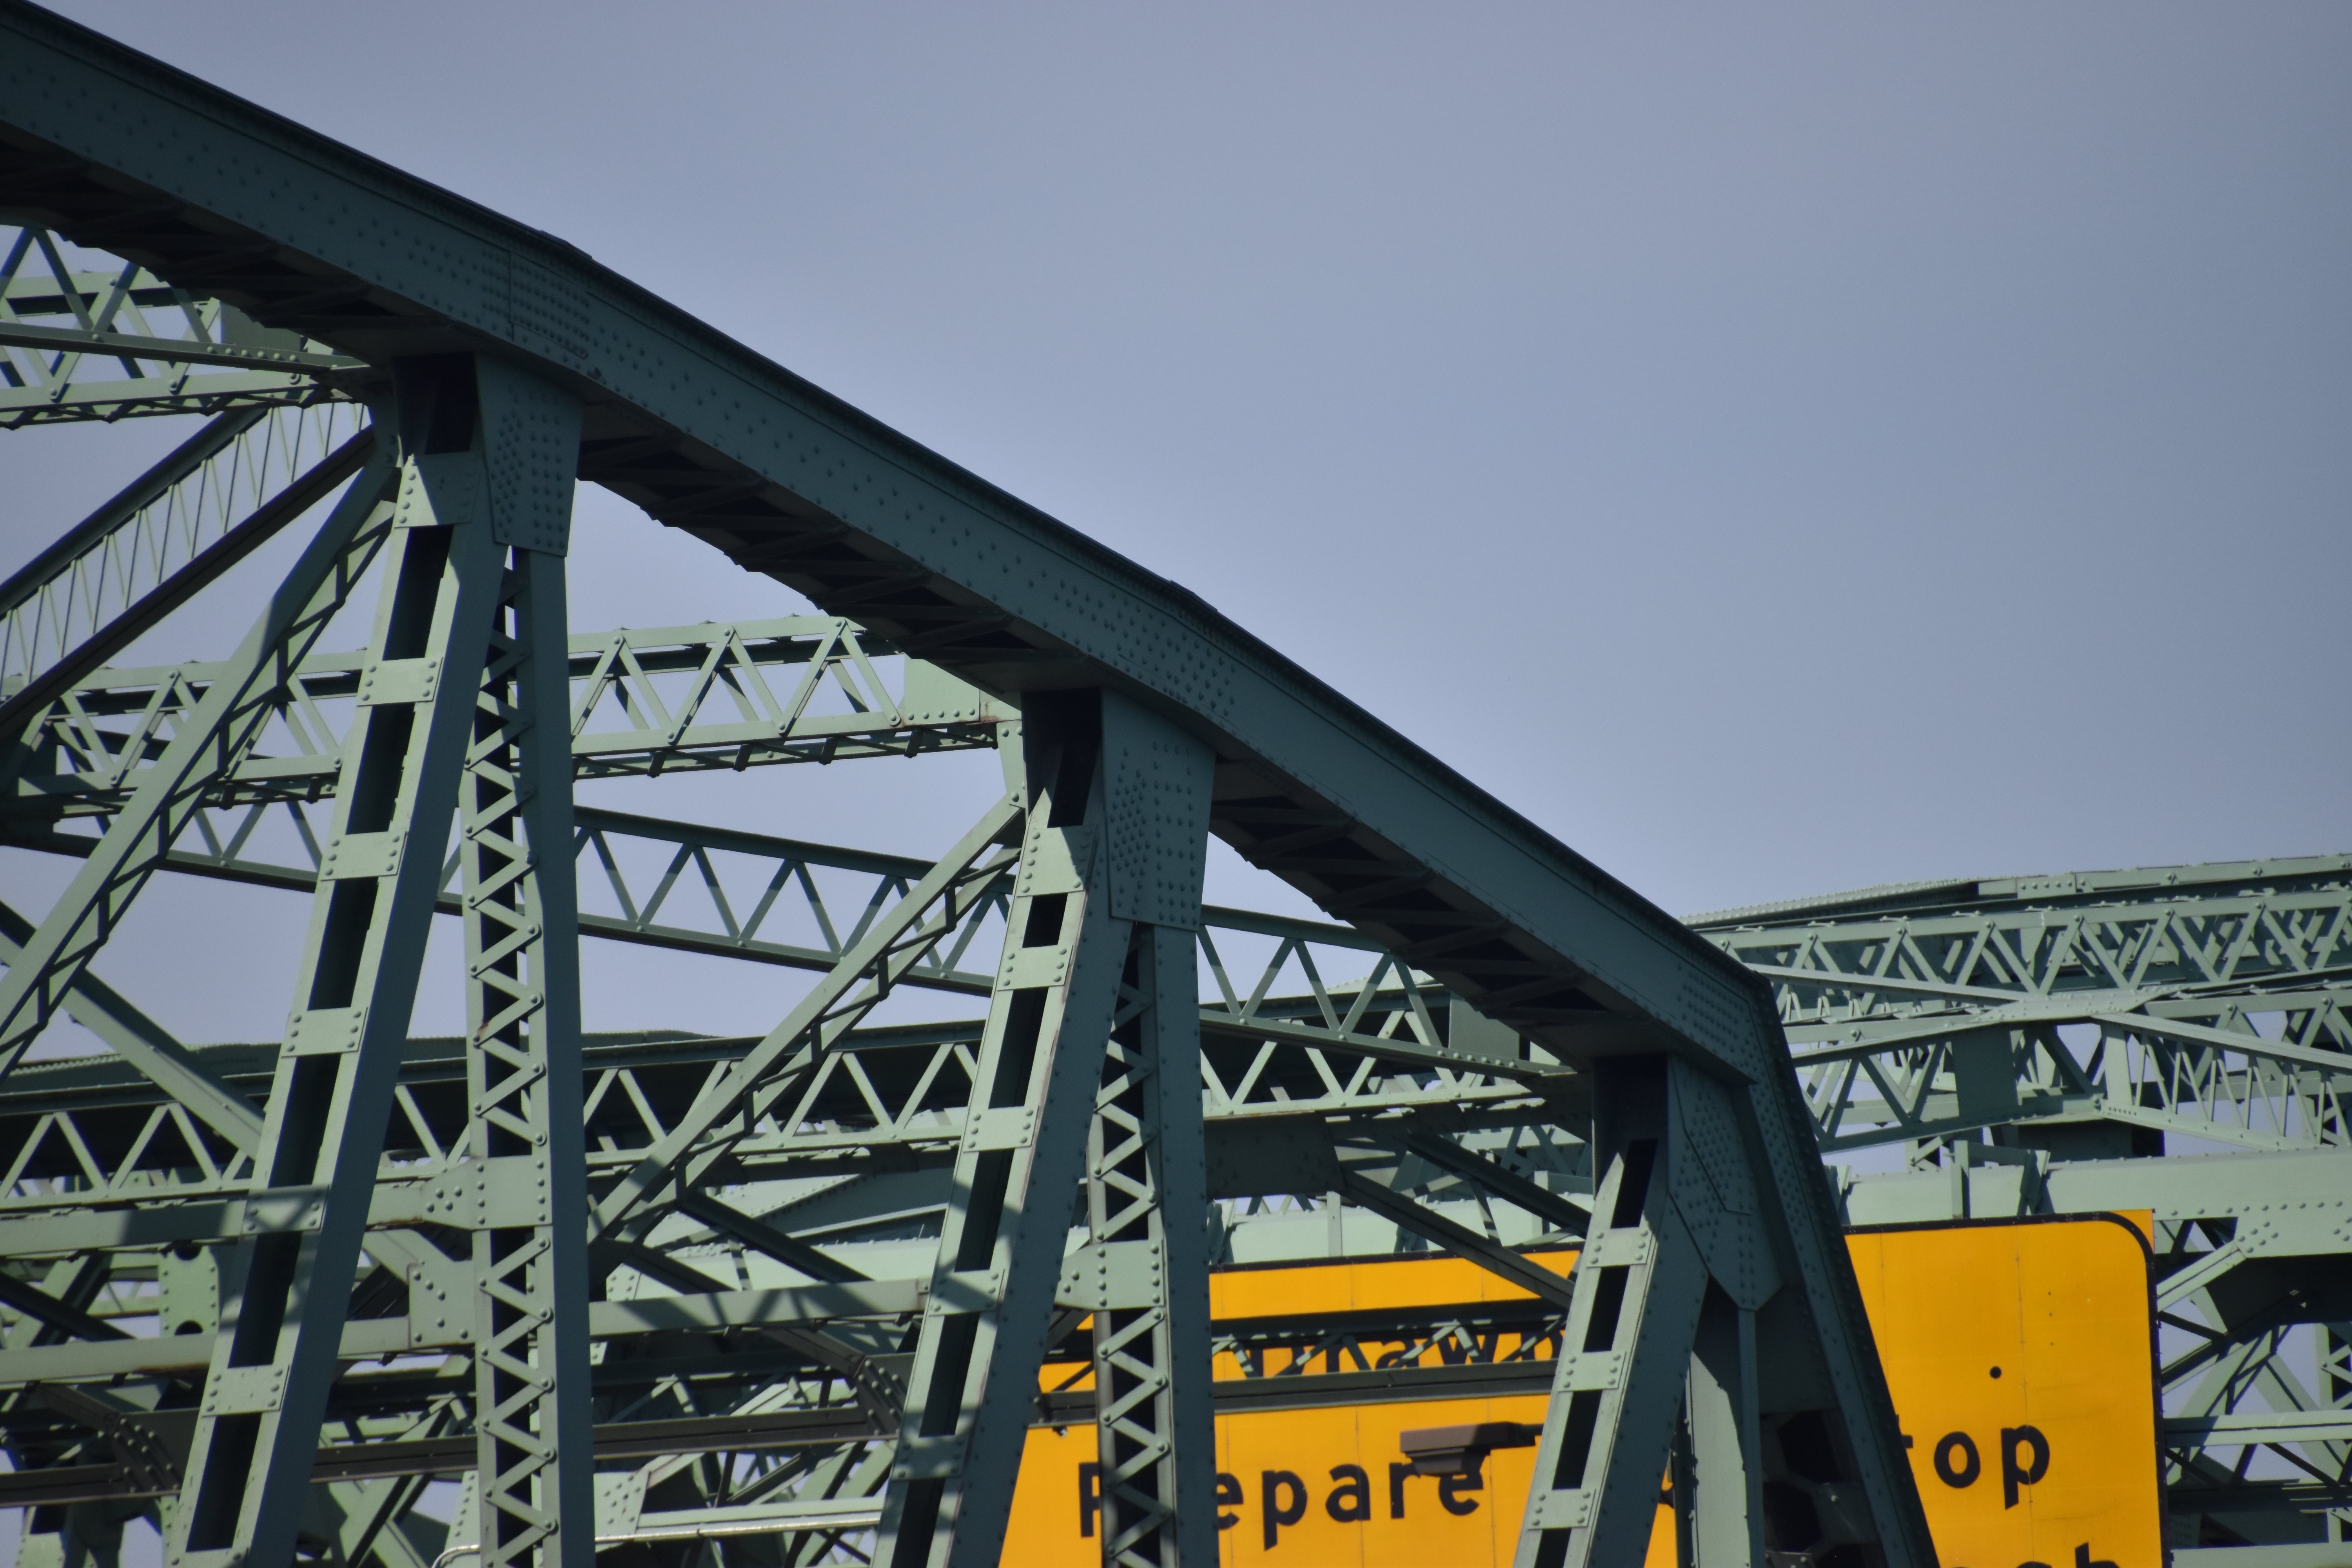
Top chord.
![]()

End post.
![]()
Diagonal member.
![]()
Vertical member.
![]()


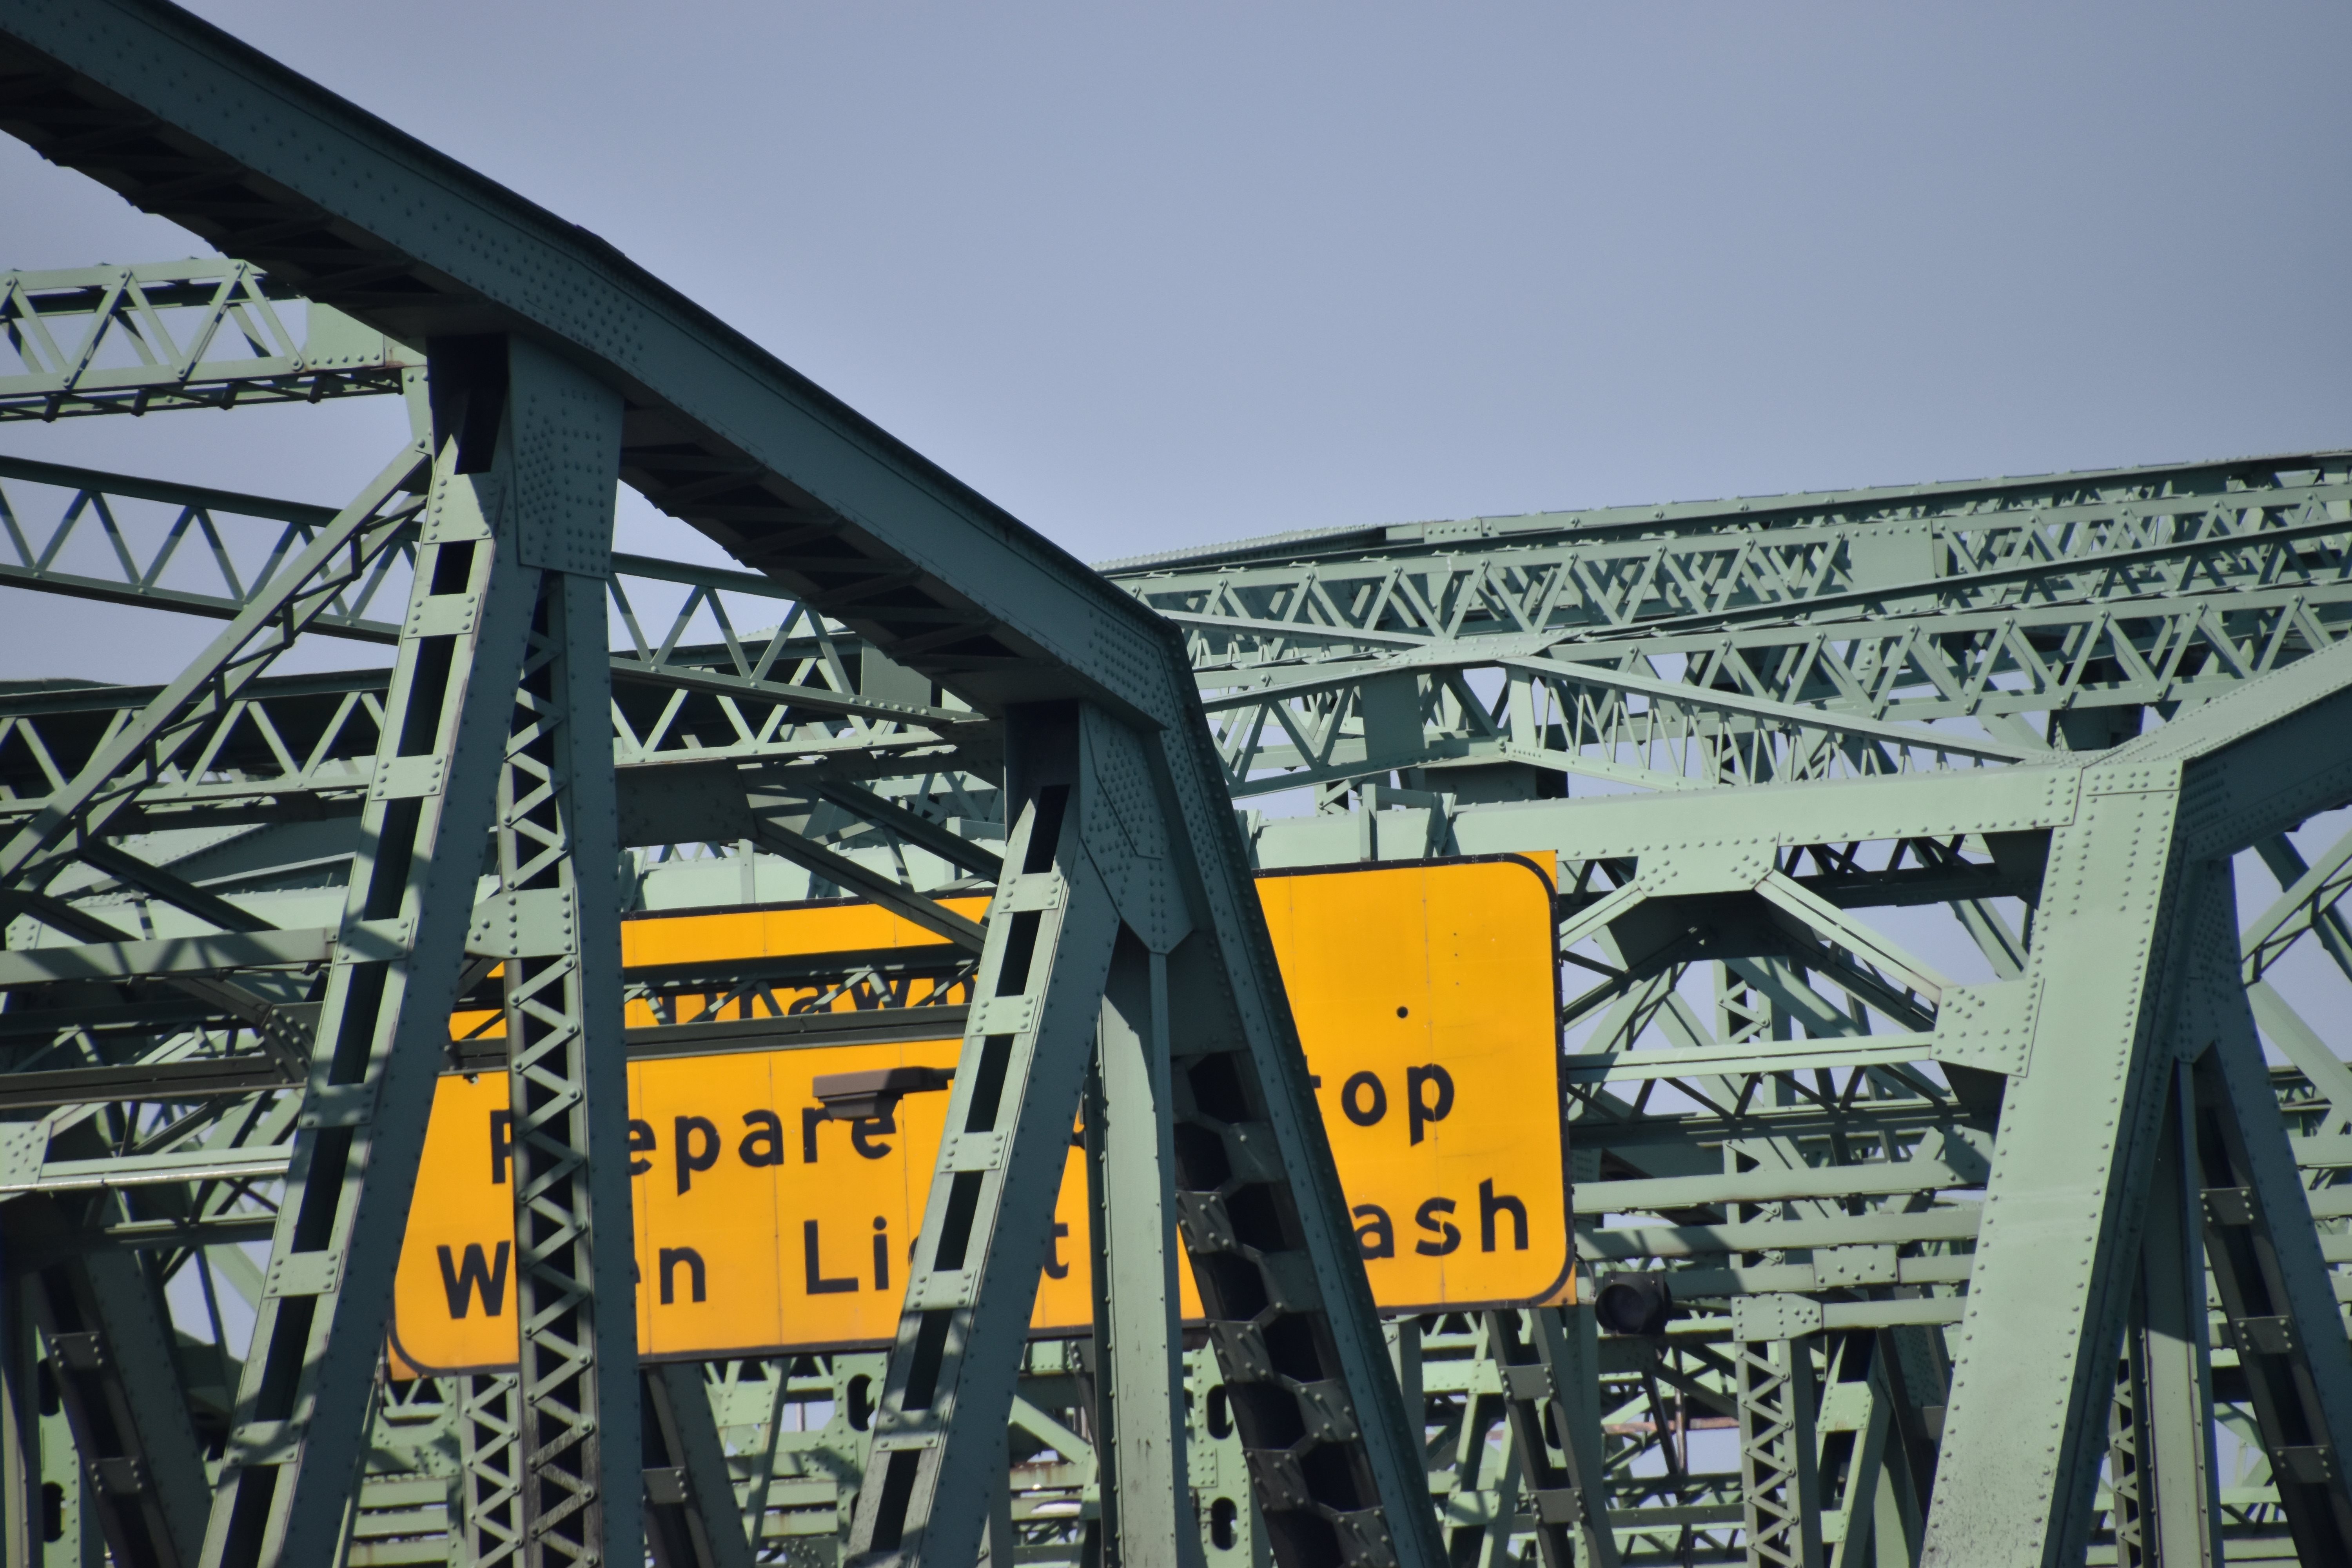
Truss members.
![]()
Additional Photos From ODOT
![]()
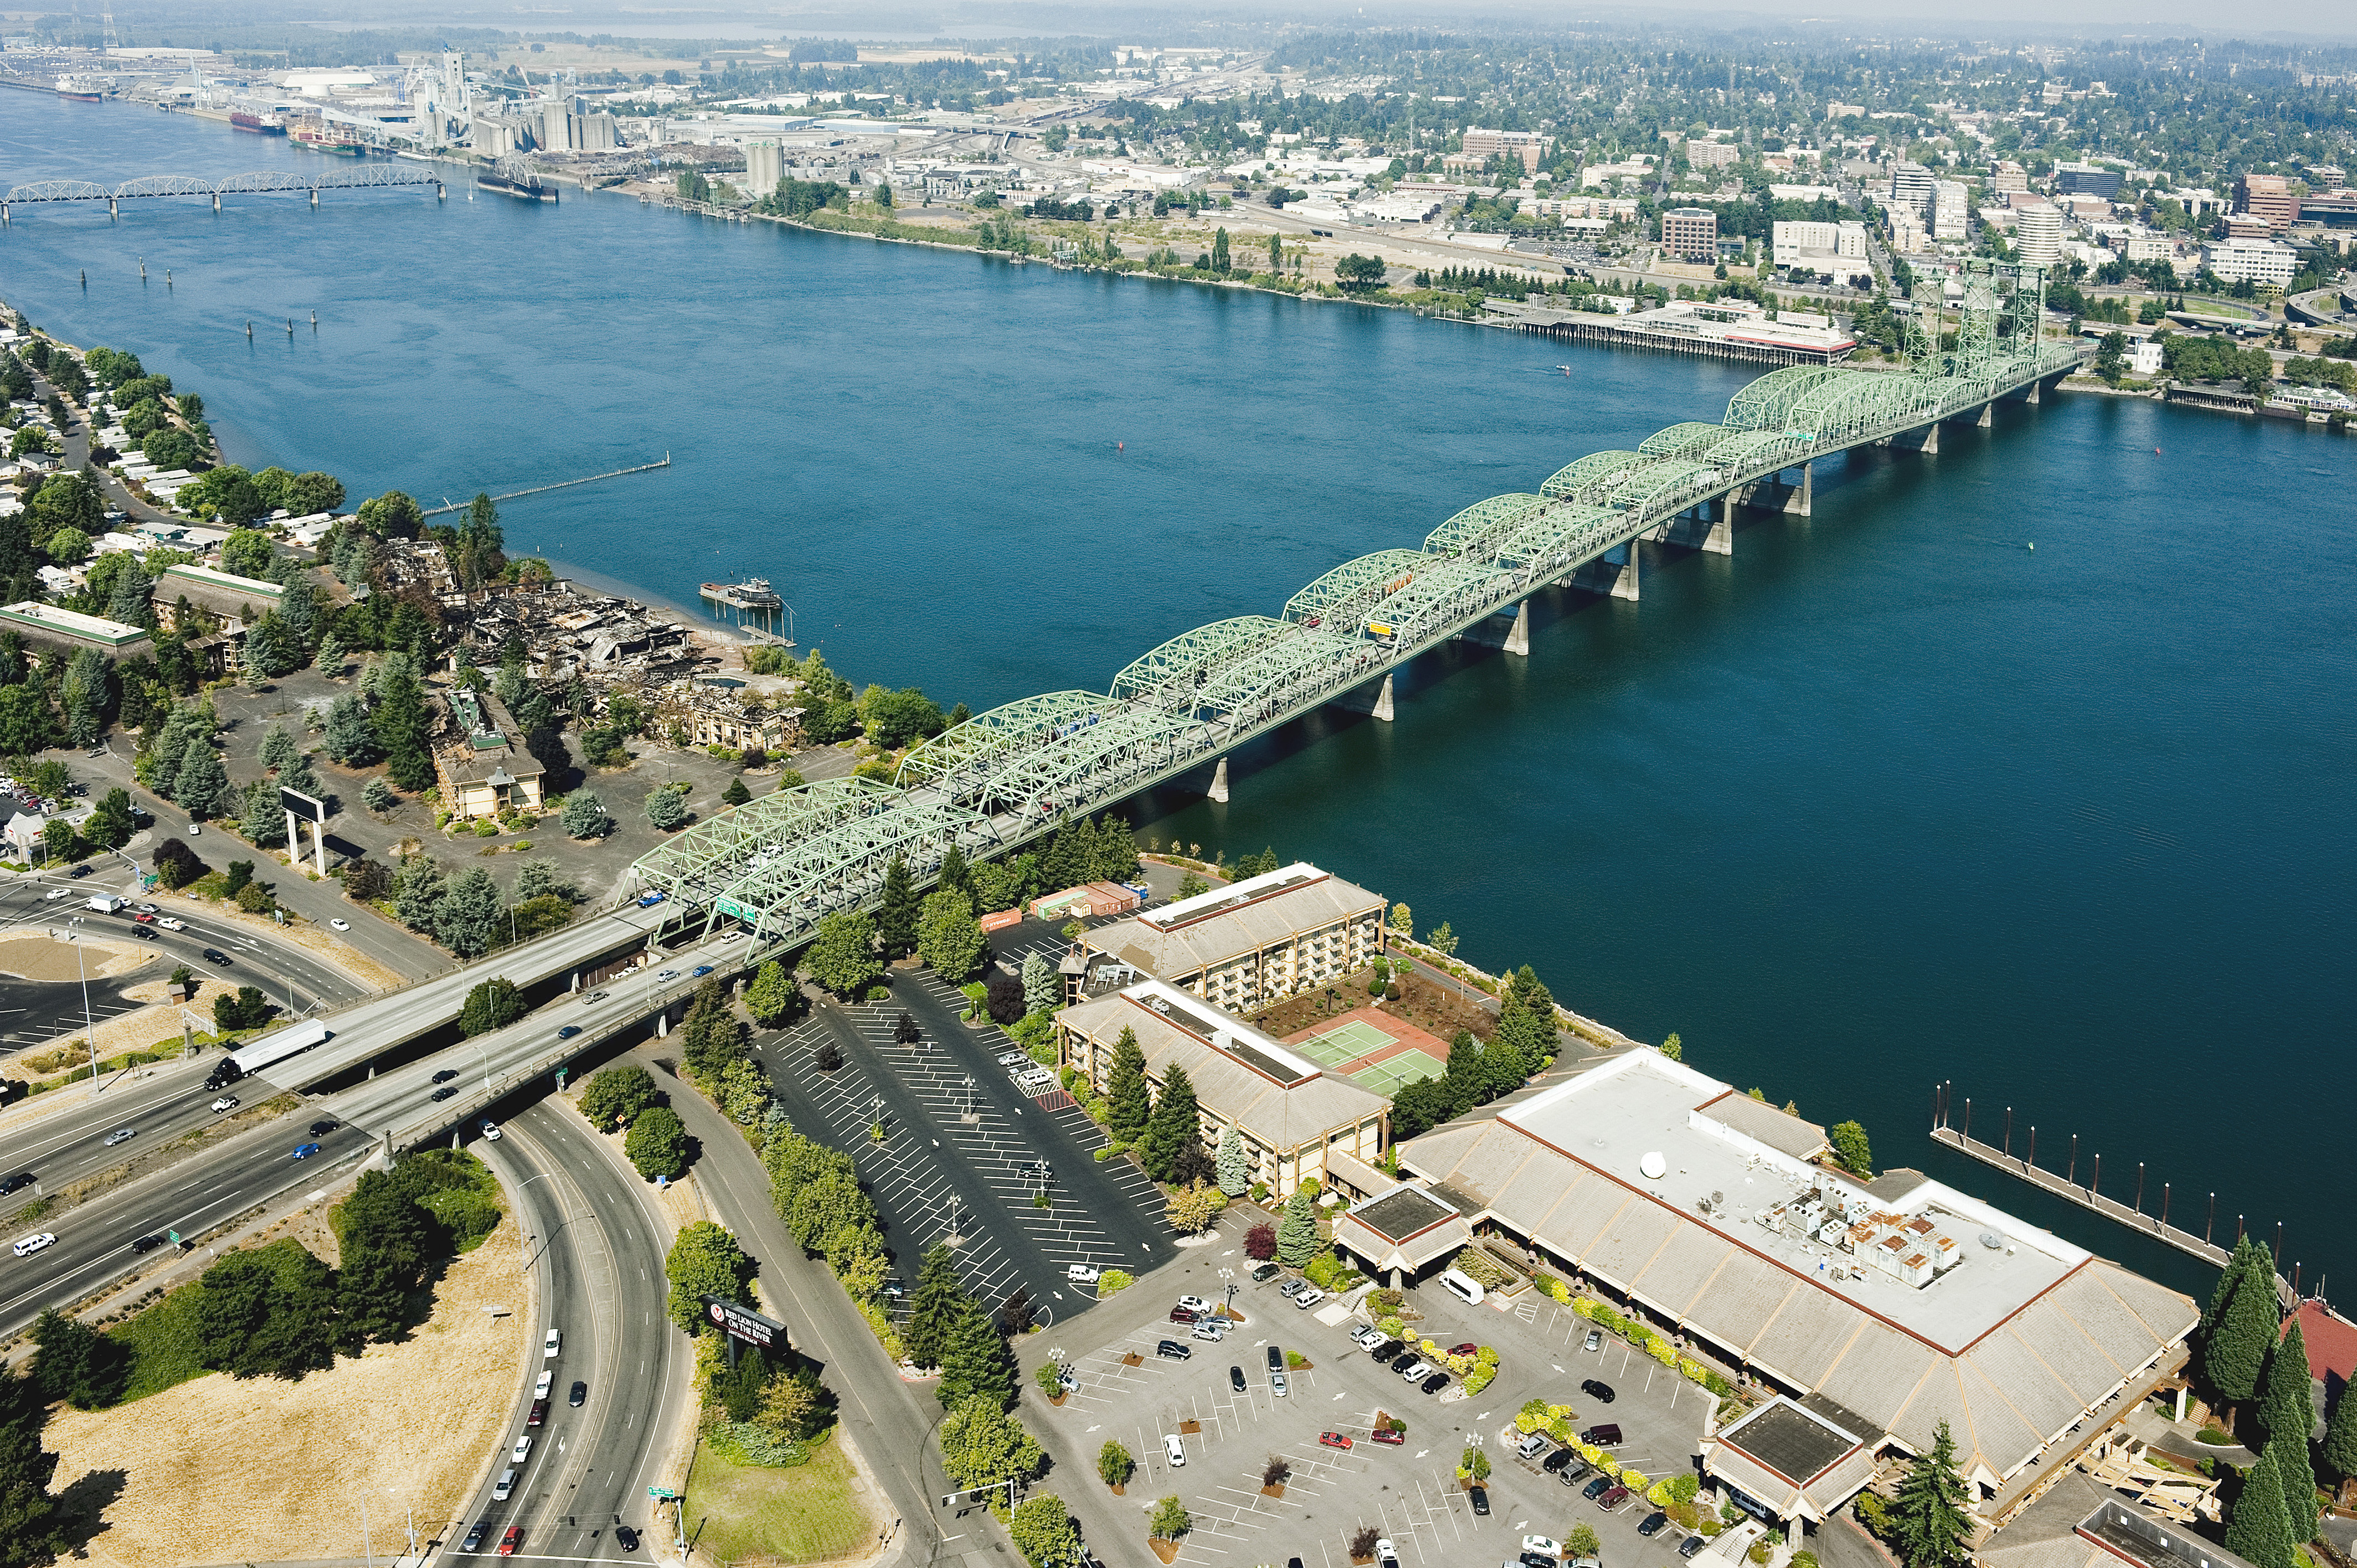


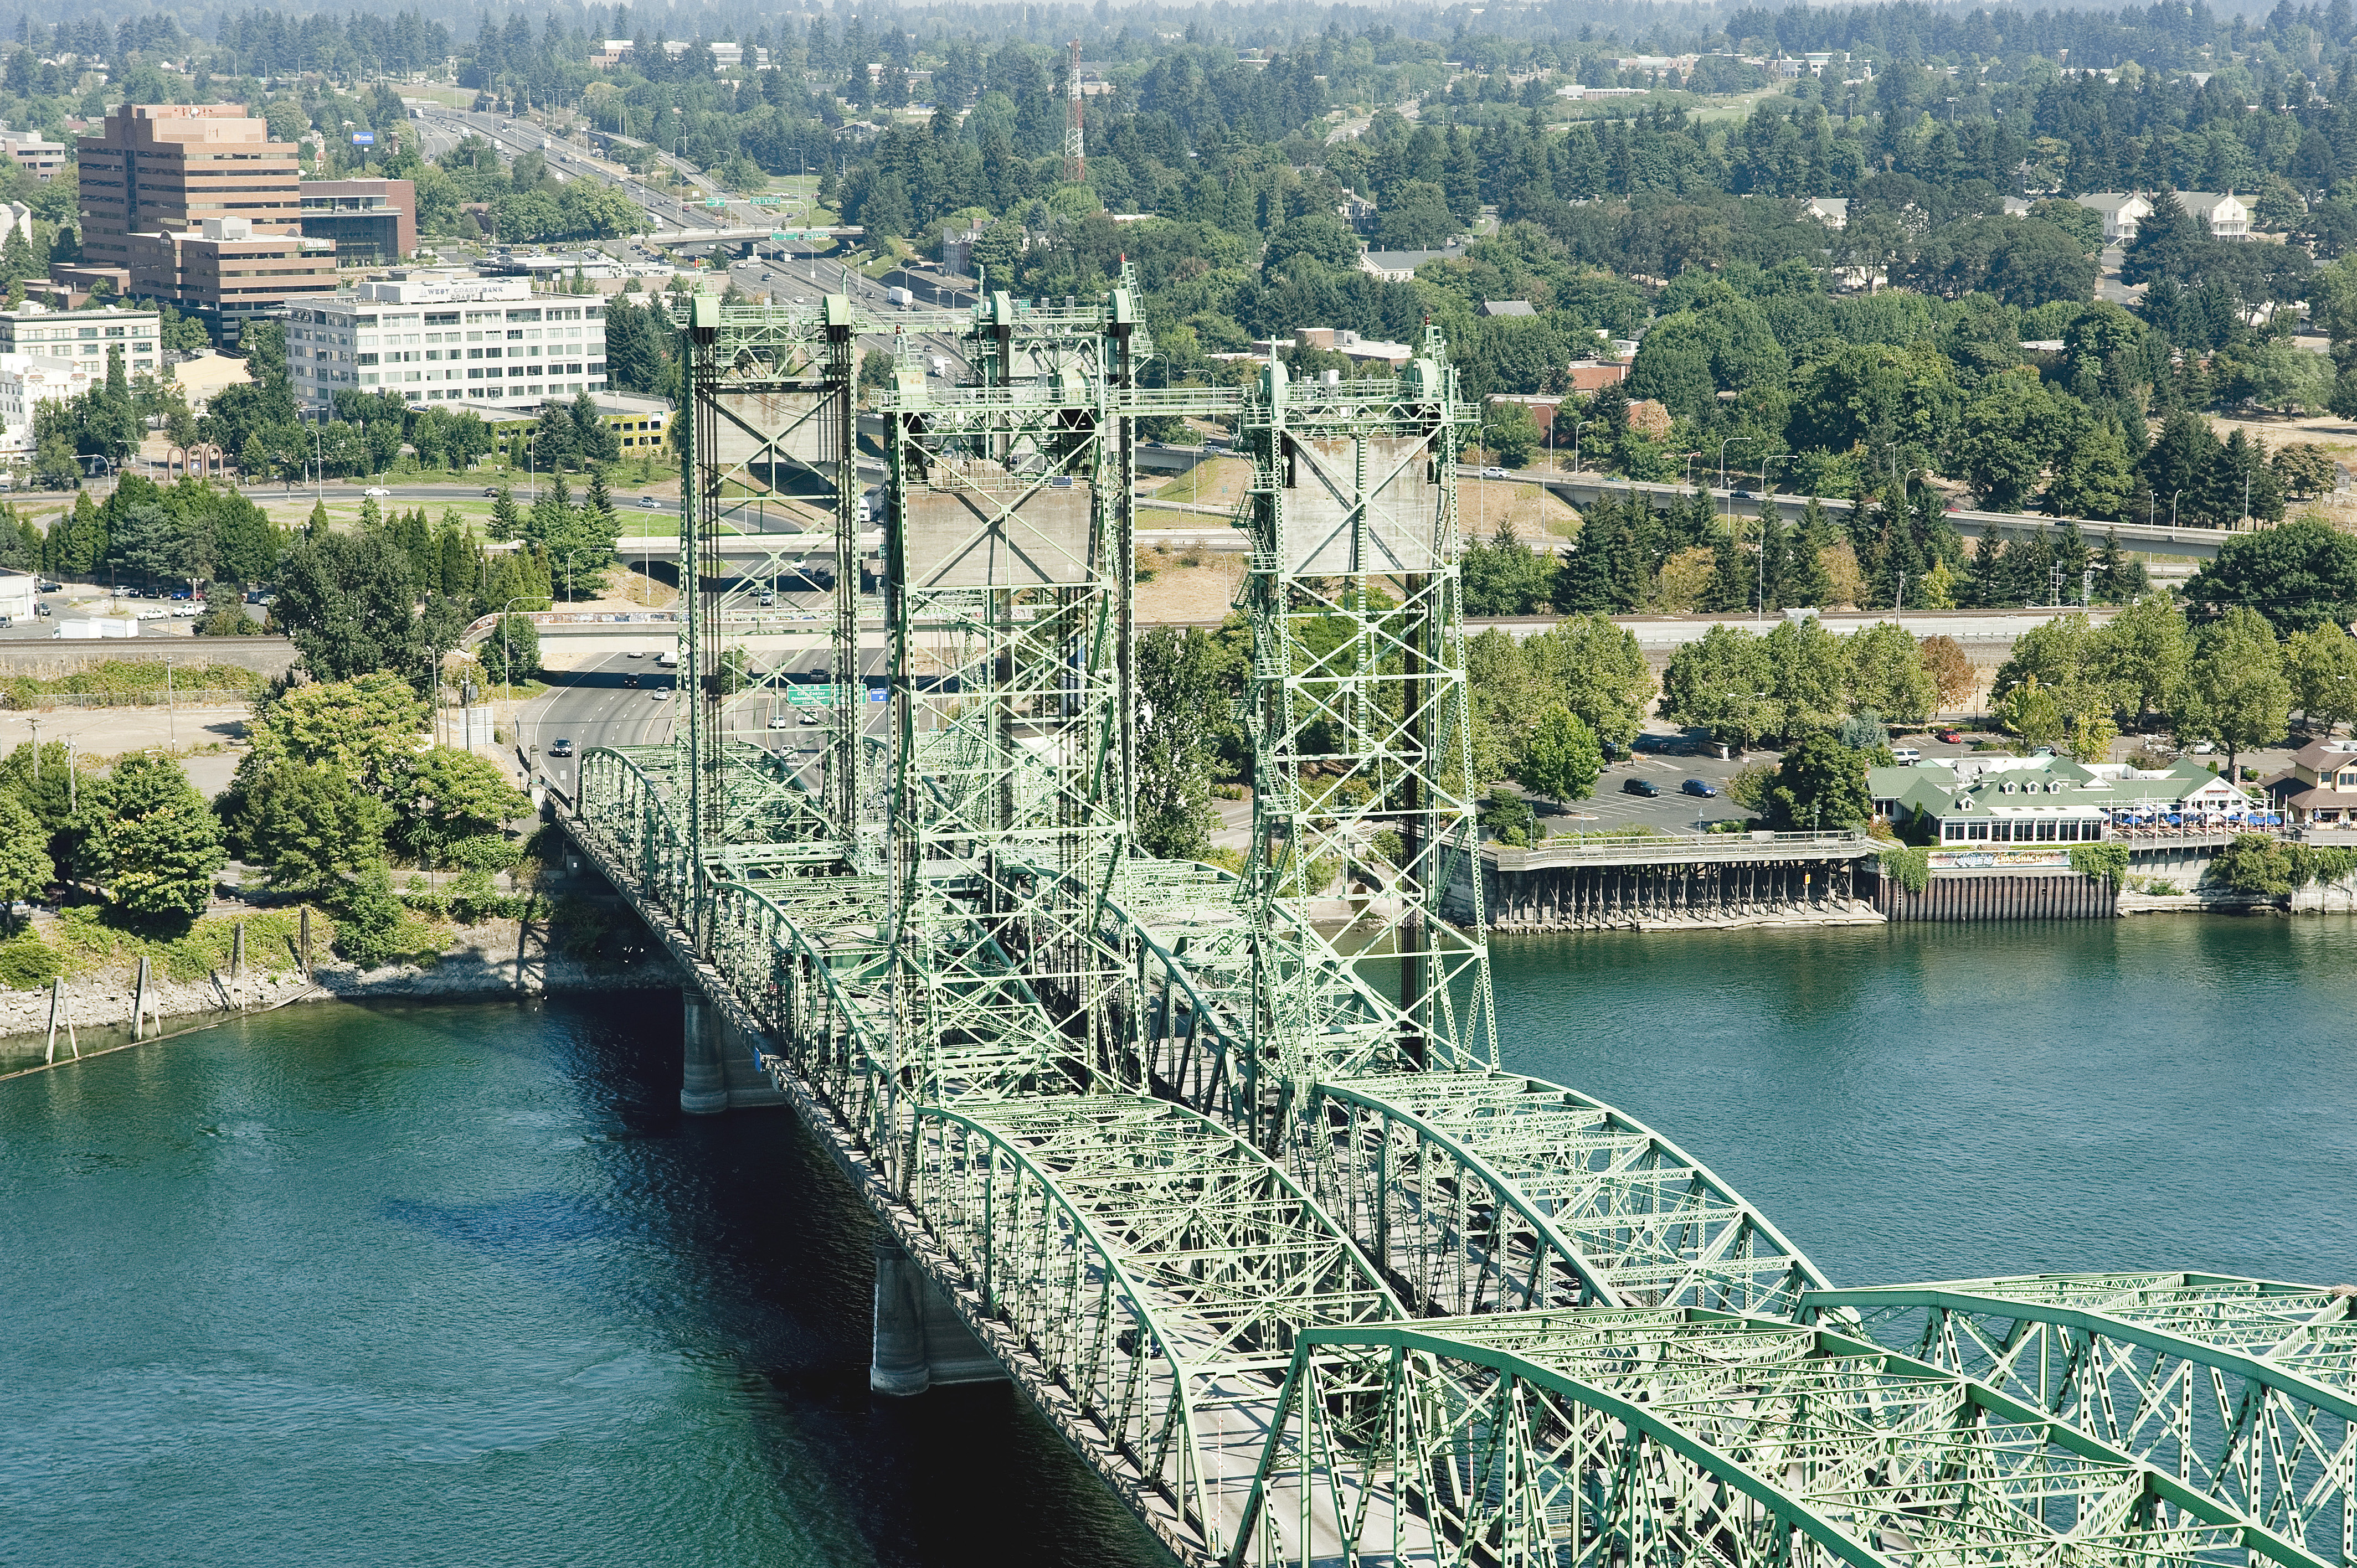
Photo Credit: ODOT
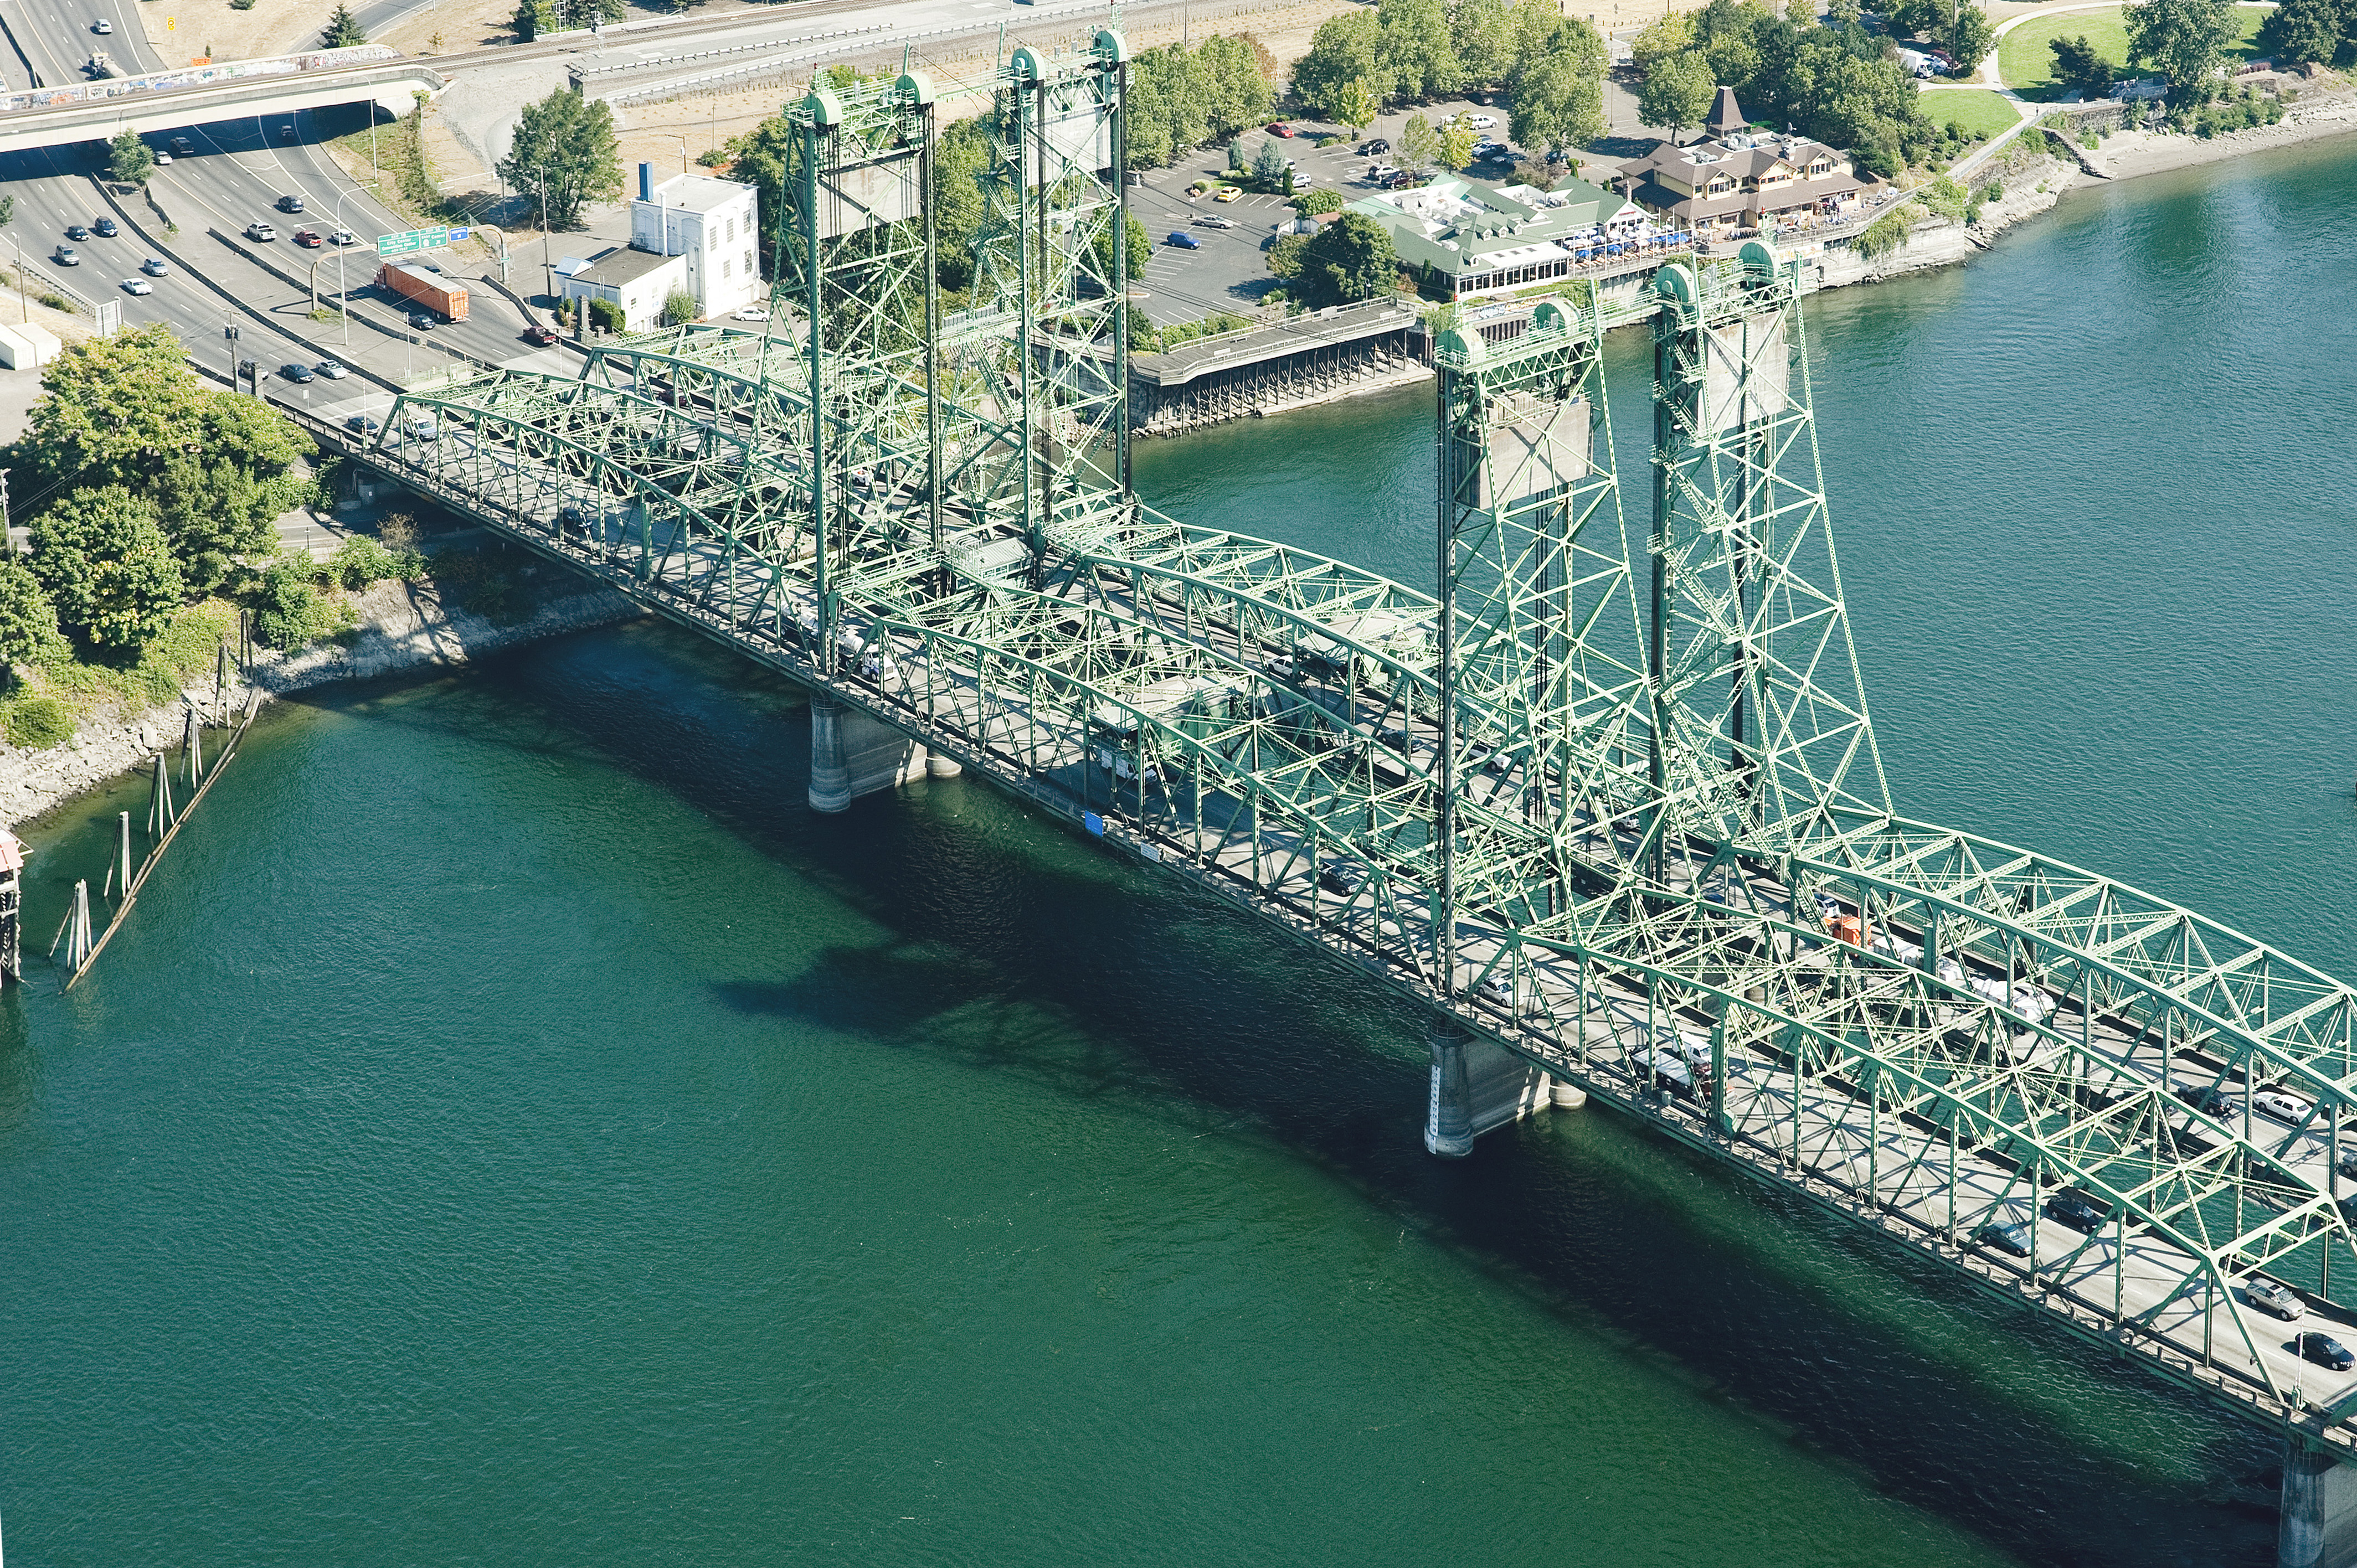
Aerial view looking northwest.
![]()
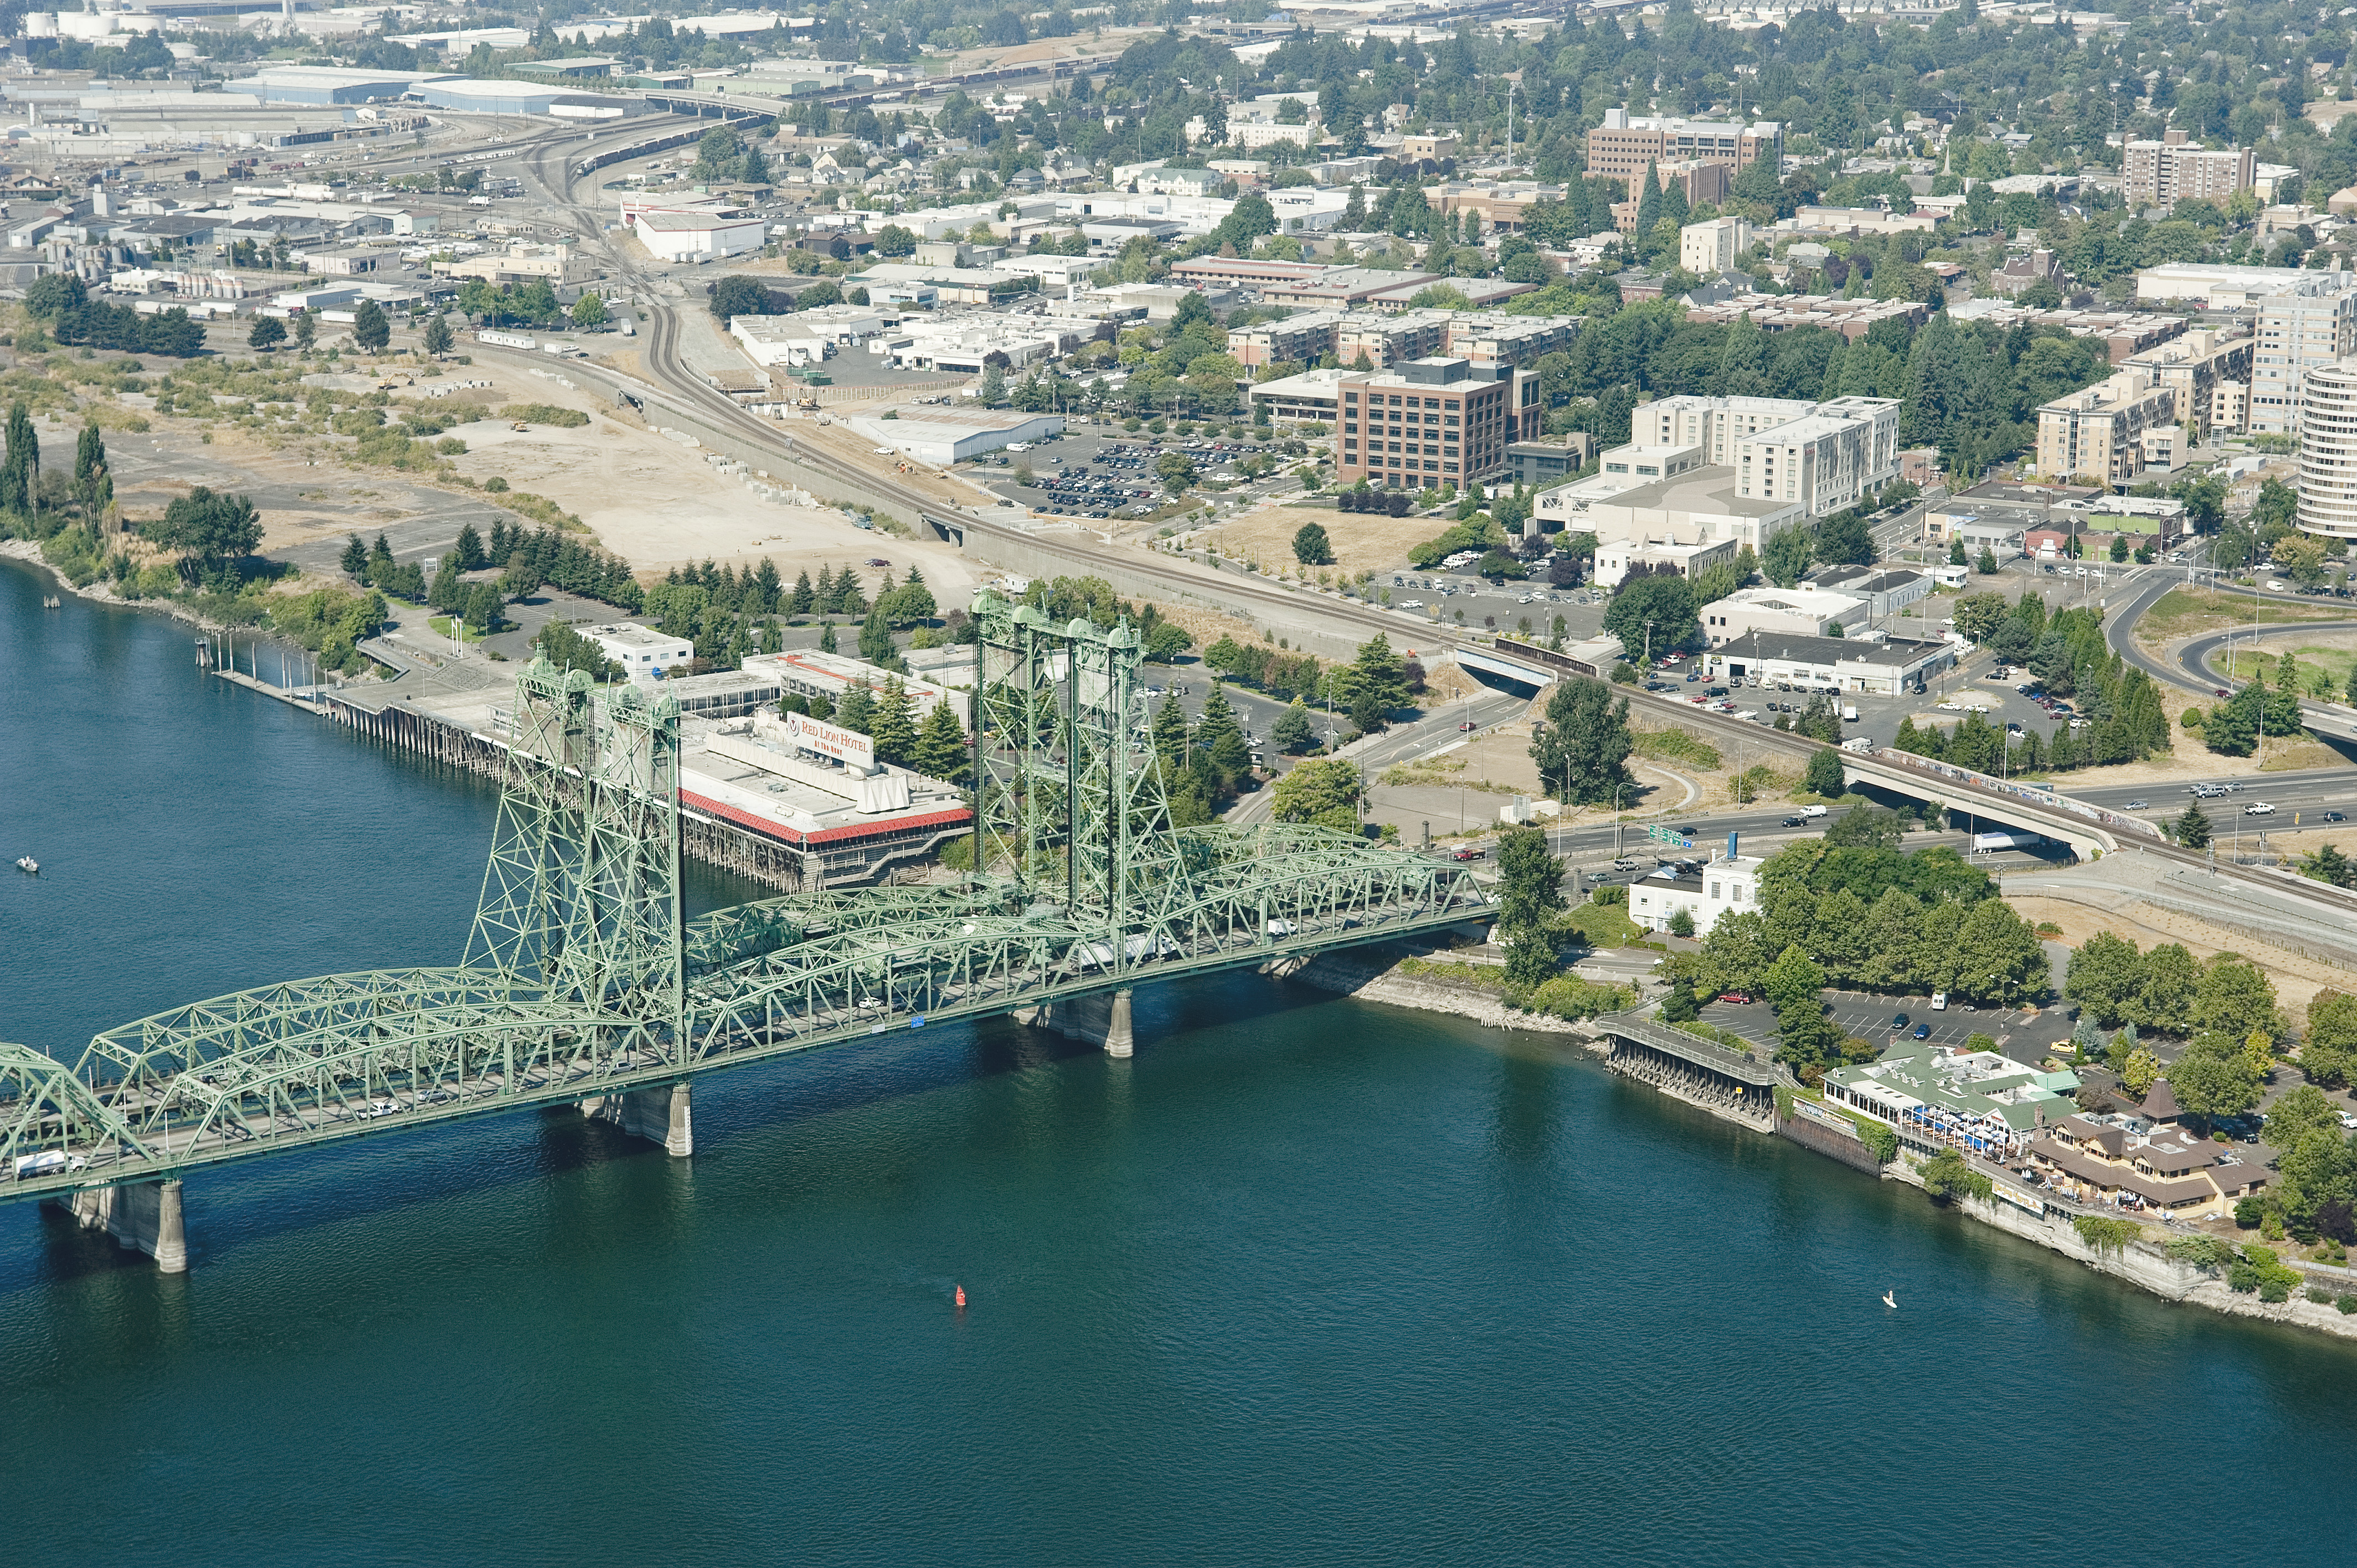


Photo Credit: ODOT
Aerial view looking northwest at lift spans.
![]()
Photo Credit: ODOT
Aerial view looking northeast at lift spans.
![]()
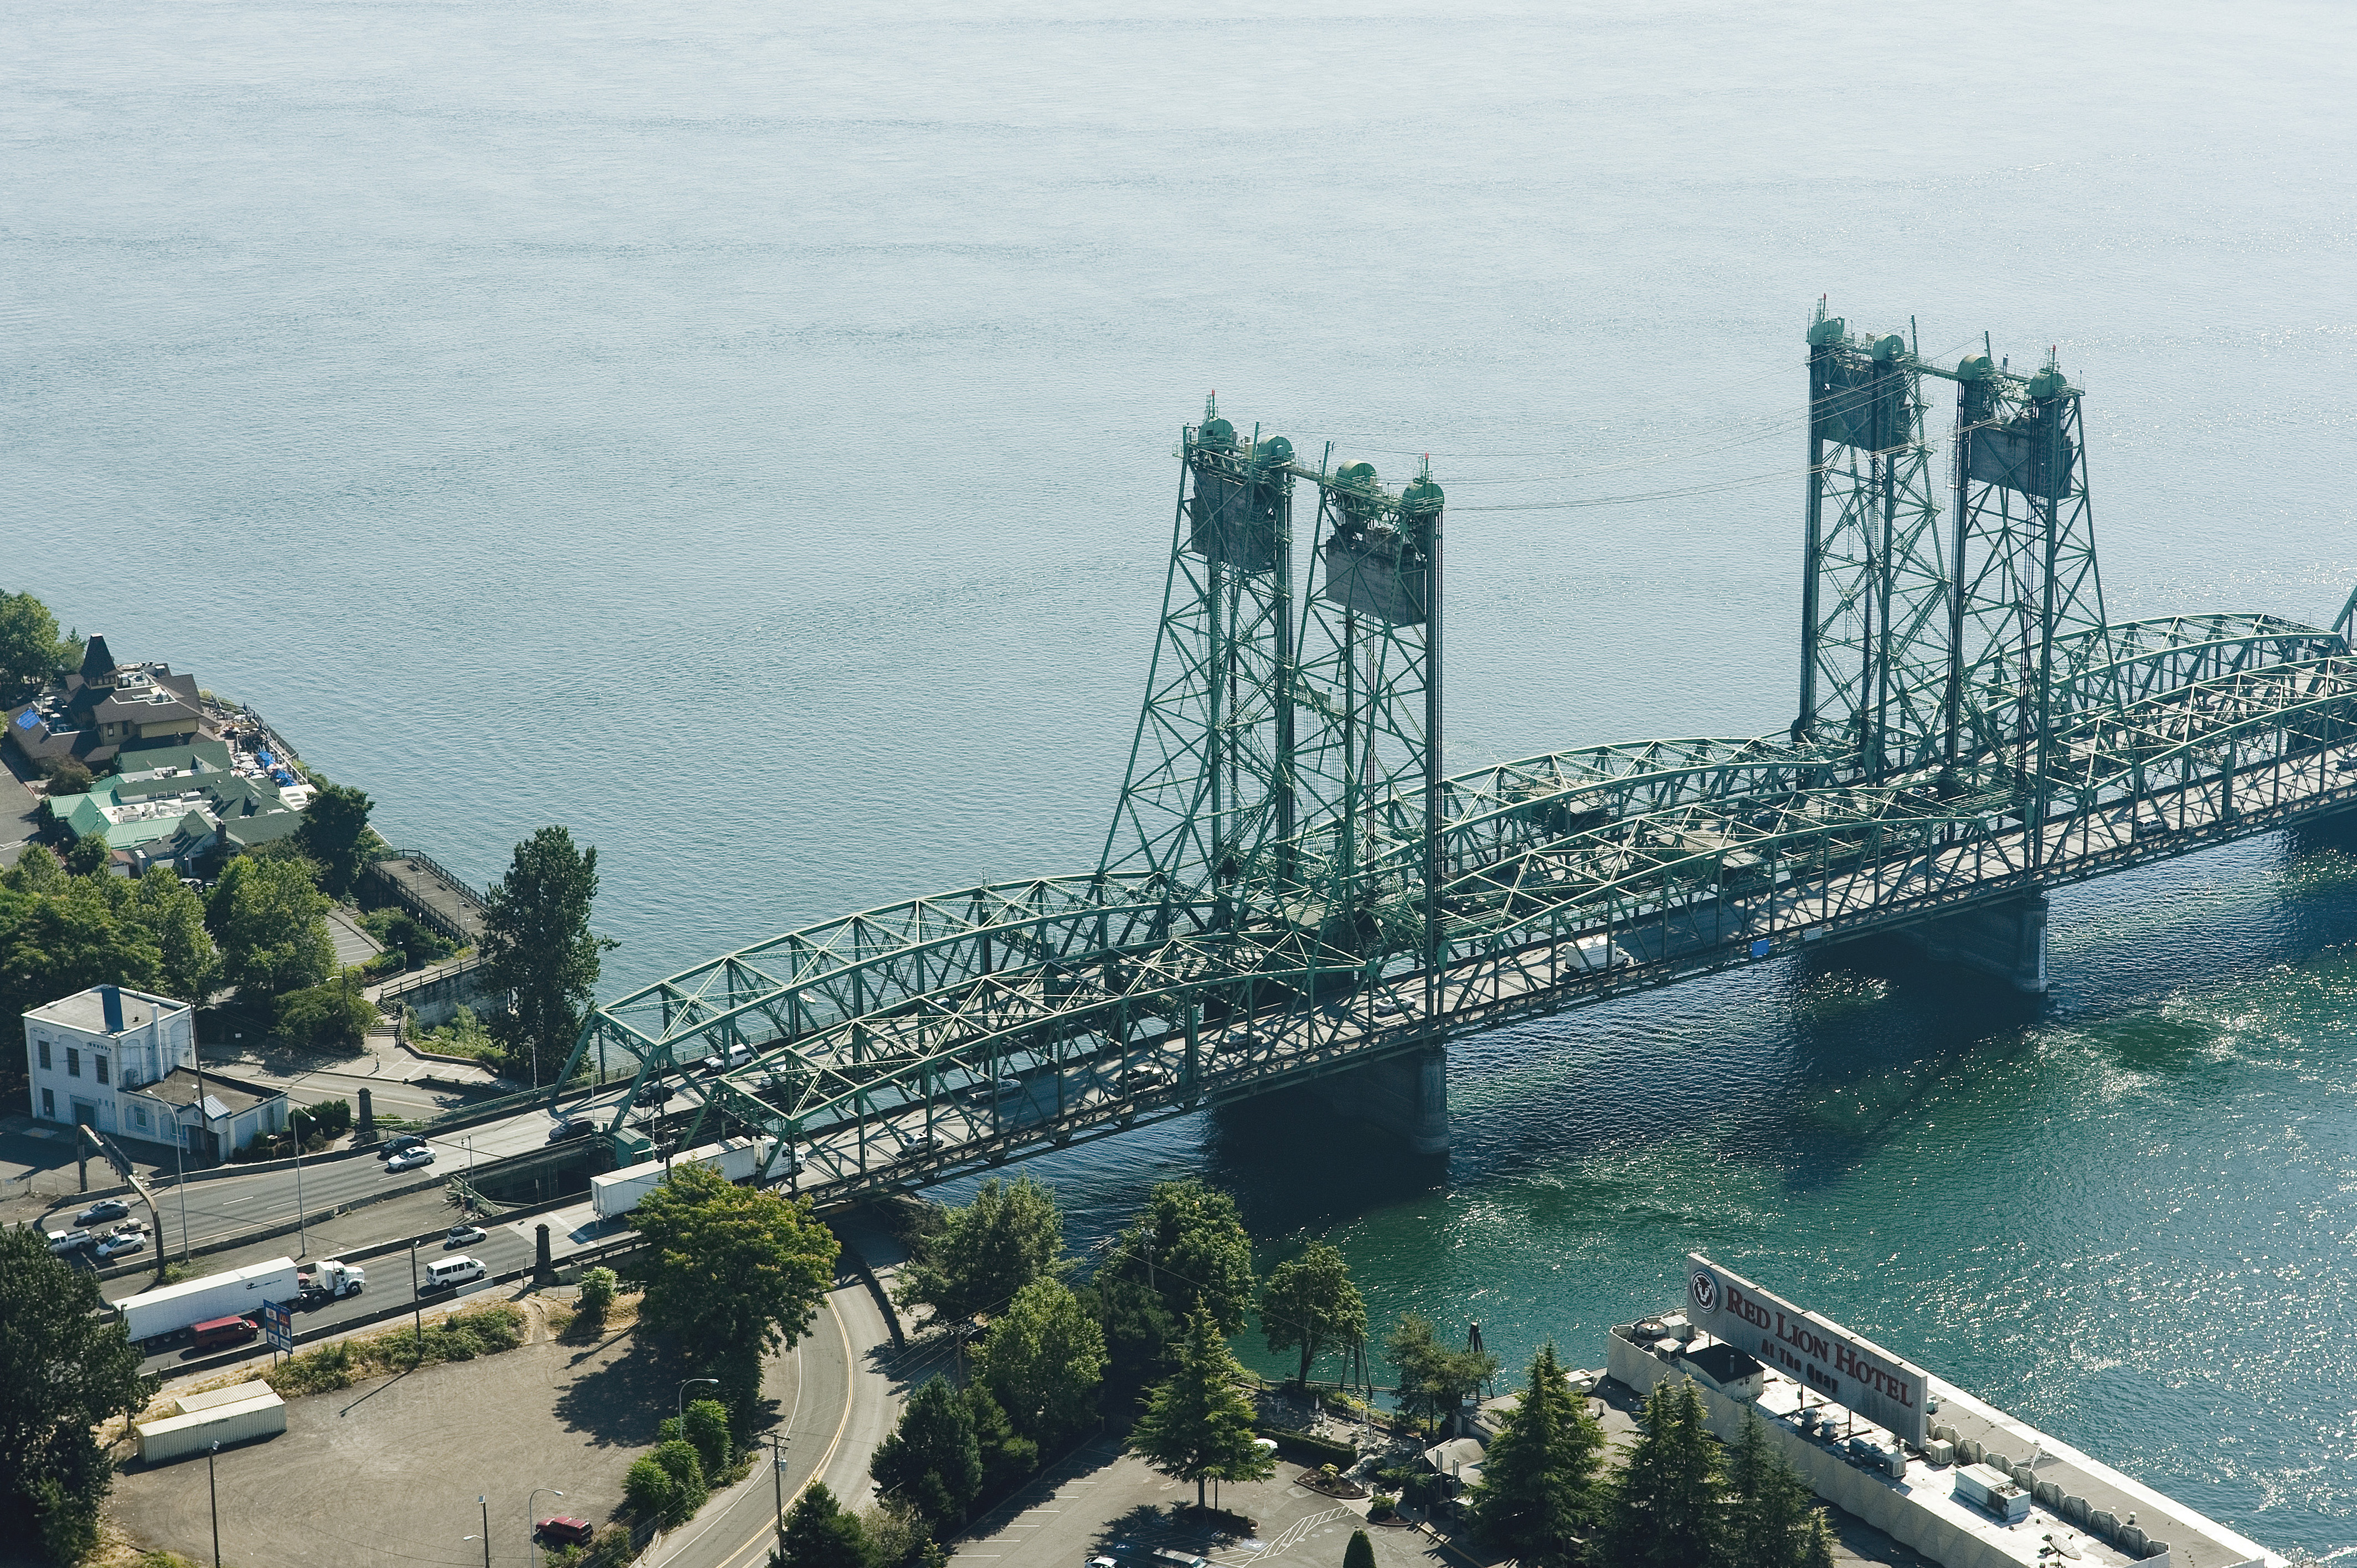
Photo Credit: ODOT
Aerial view looking southeast at lift spans.
![]()
Photo Credit: ODOT
Aerial view of lift span, east elevation.
![]()

Photo Credit: ODOT
Aerial view of lift span, west elevation.
![]()
Photo Credit: ODOT
Aerial view looking south.
![]()

Photo Credit: ODOT
Aerial view looking southwest.
![]()


Photo Credit: ODOT
Aerial view of lift spans looking southwest.
![]()

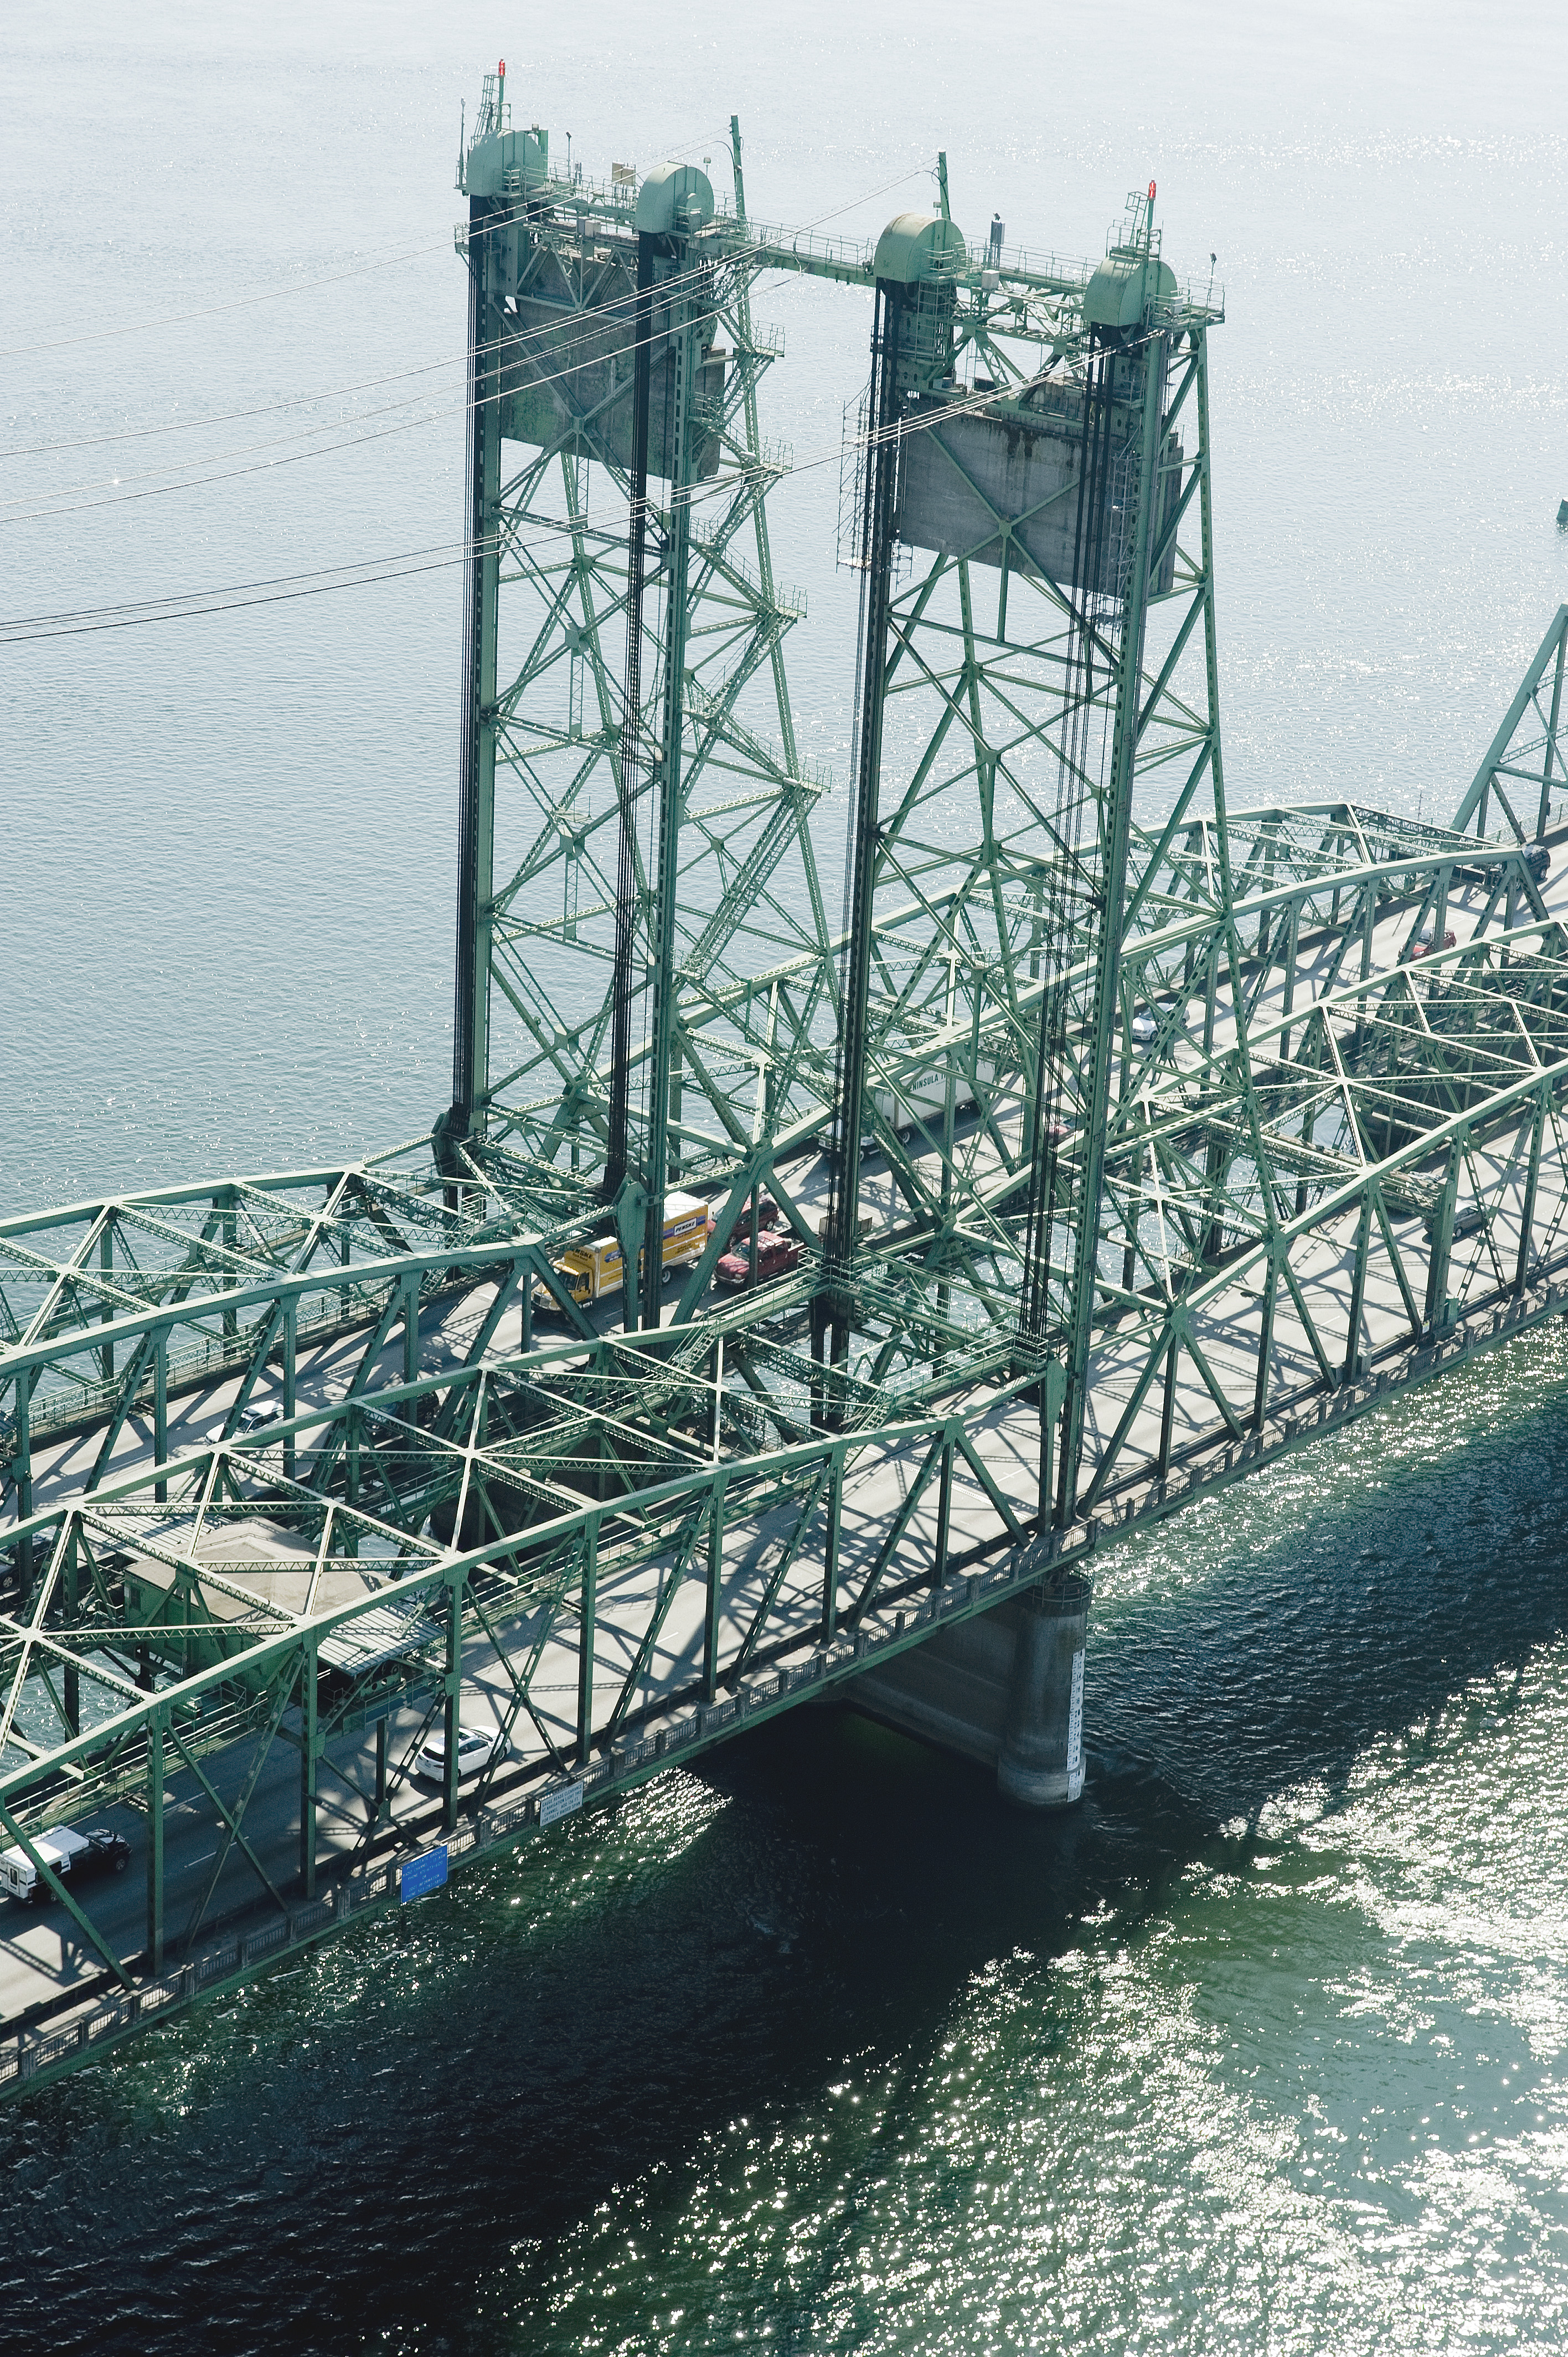
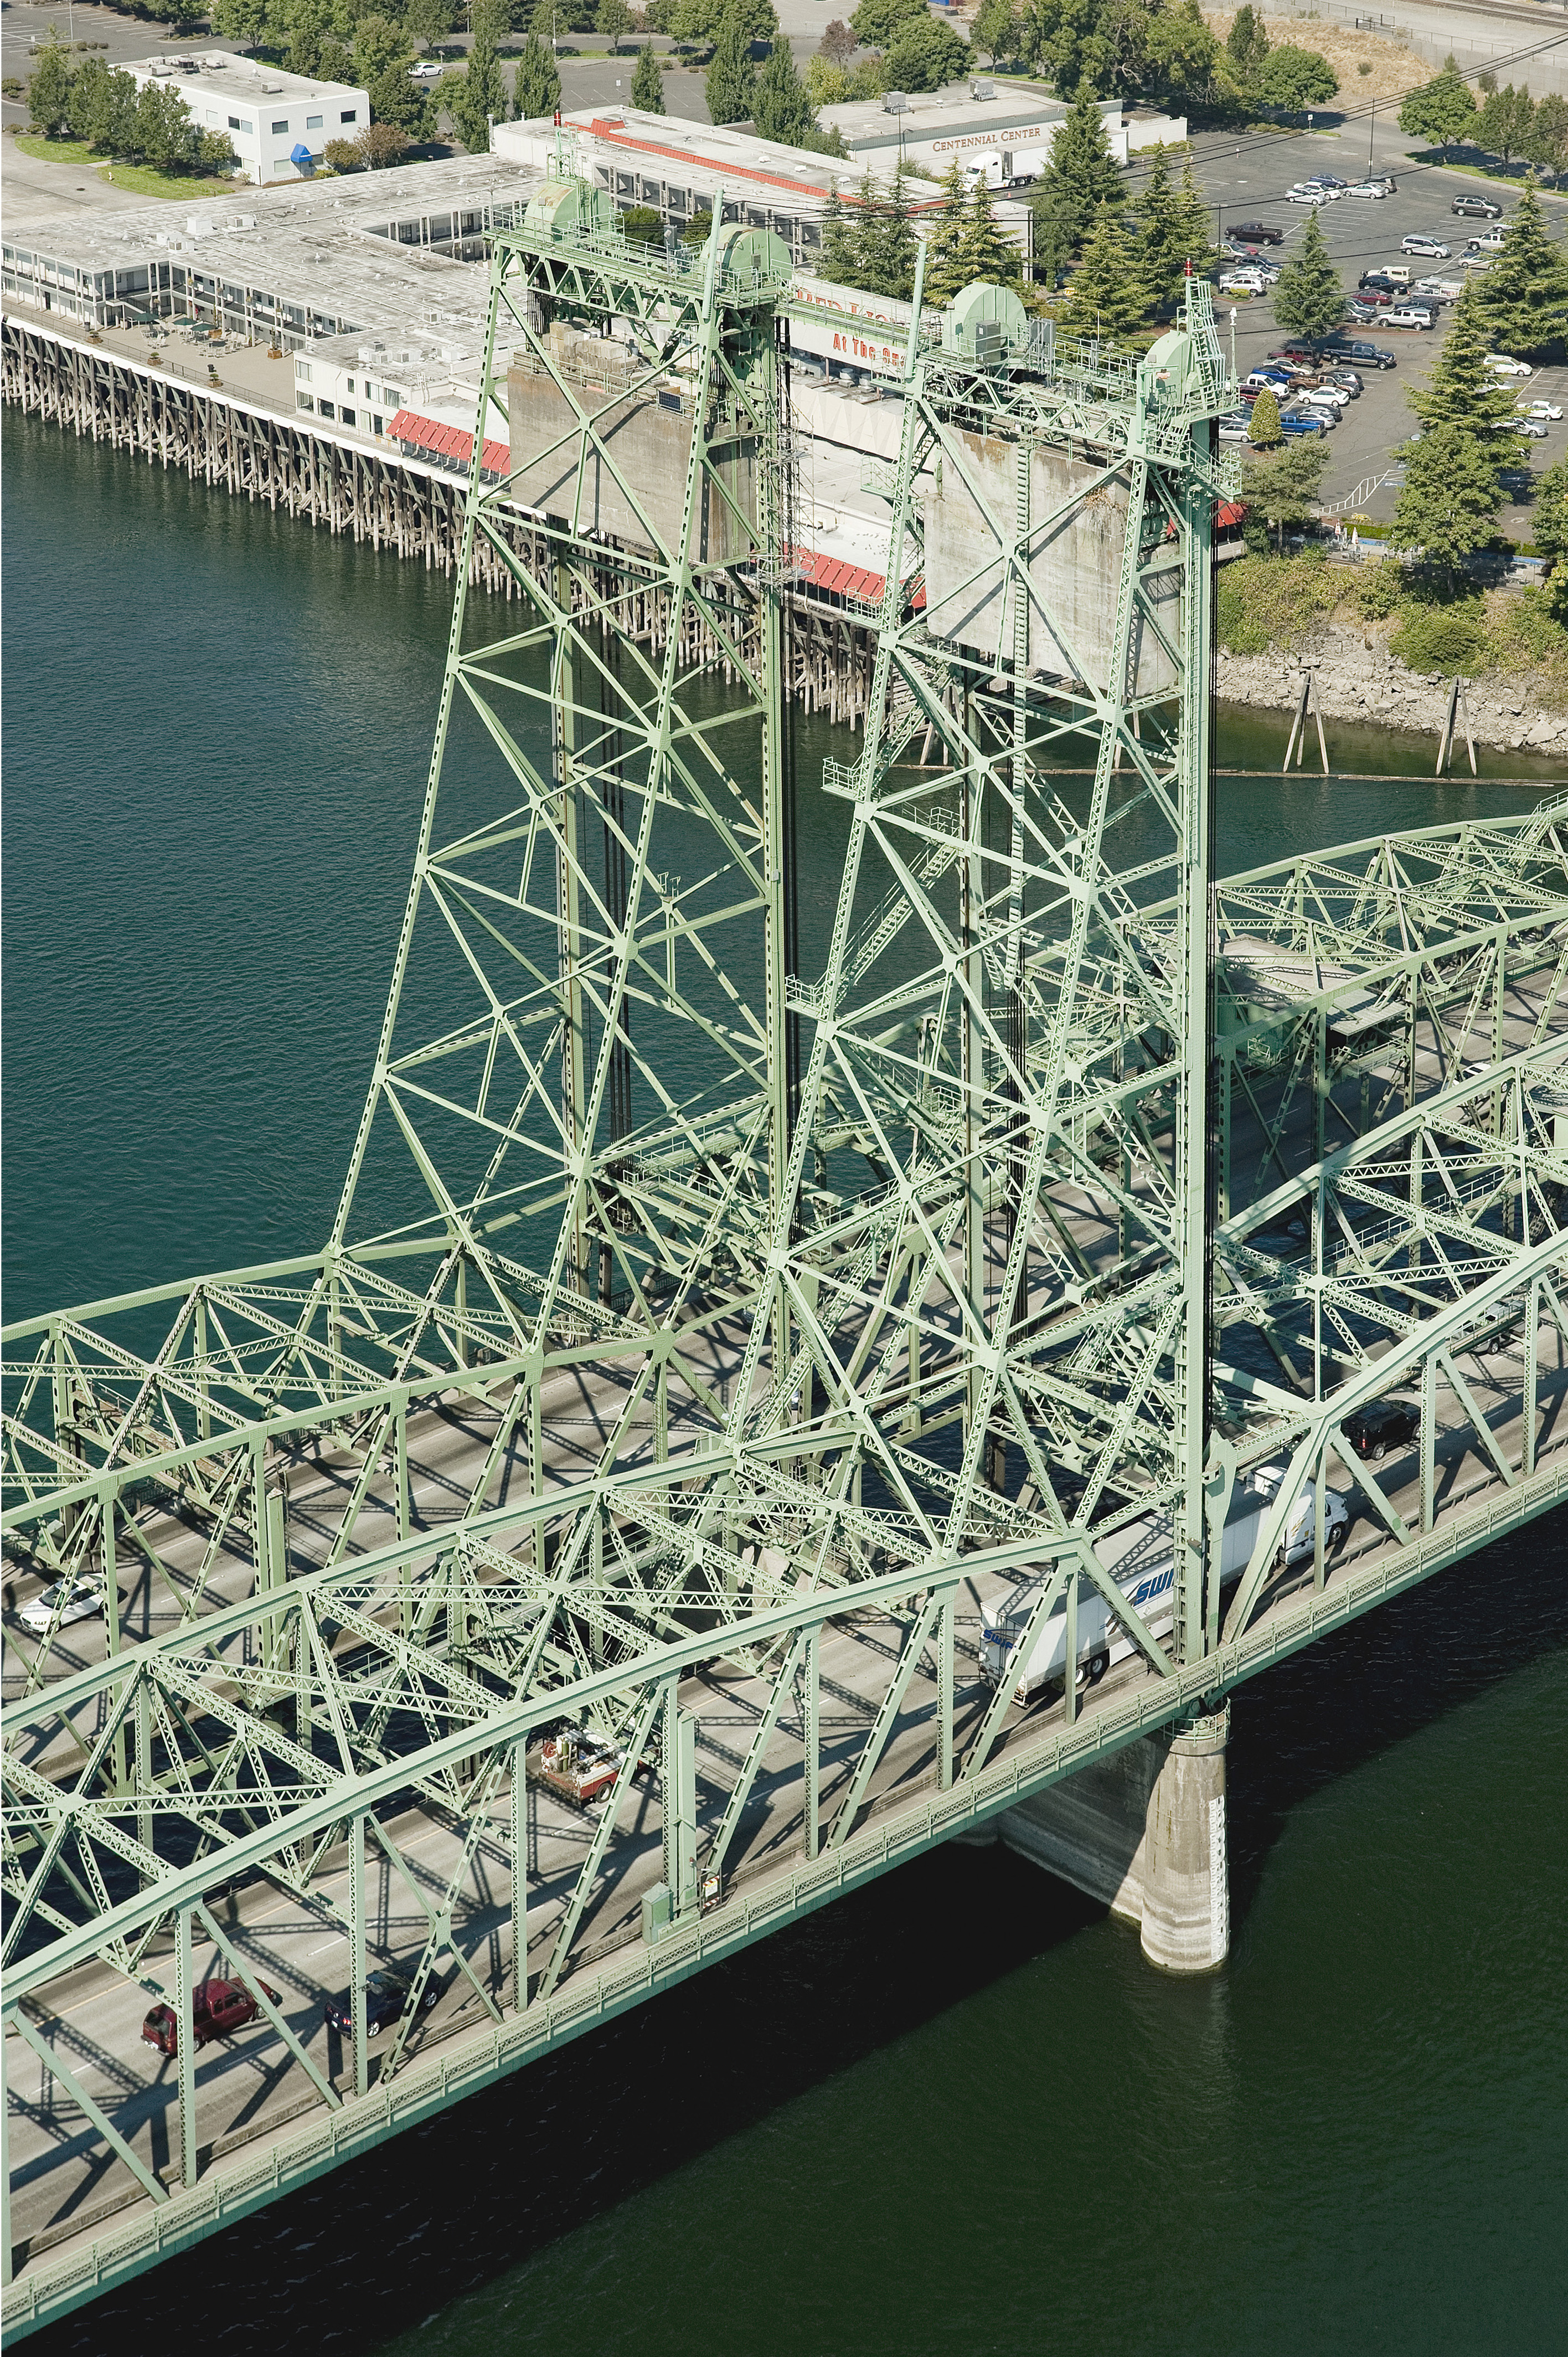

Photo Credit: ODOT
Aerial view of lift towers.
![]()
Photo Credit: ODOT
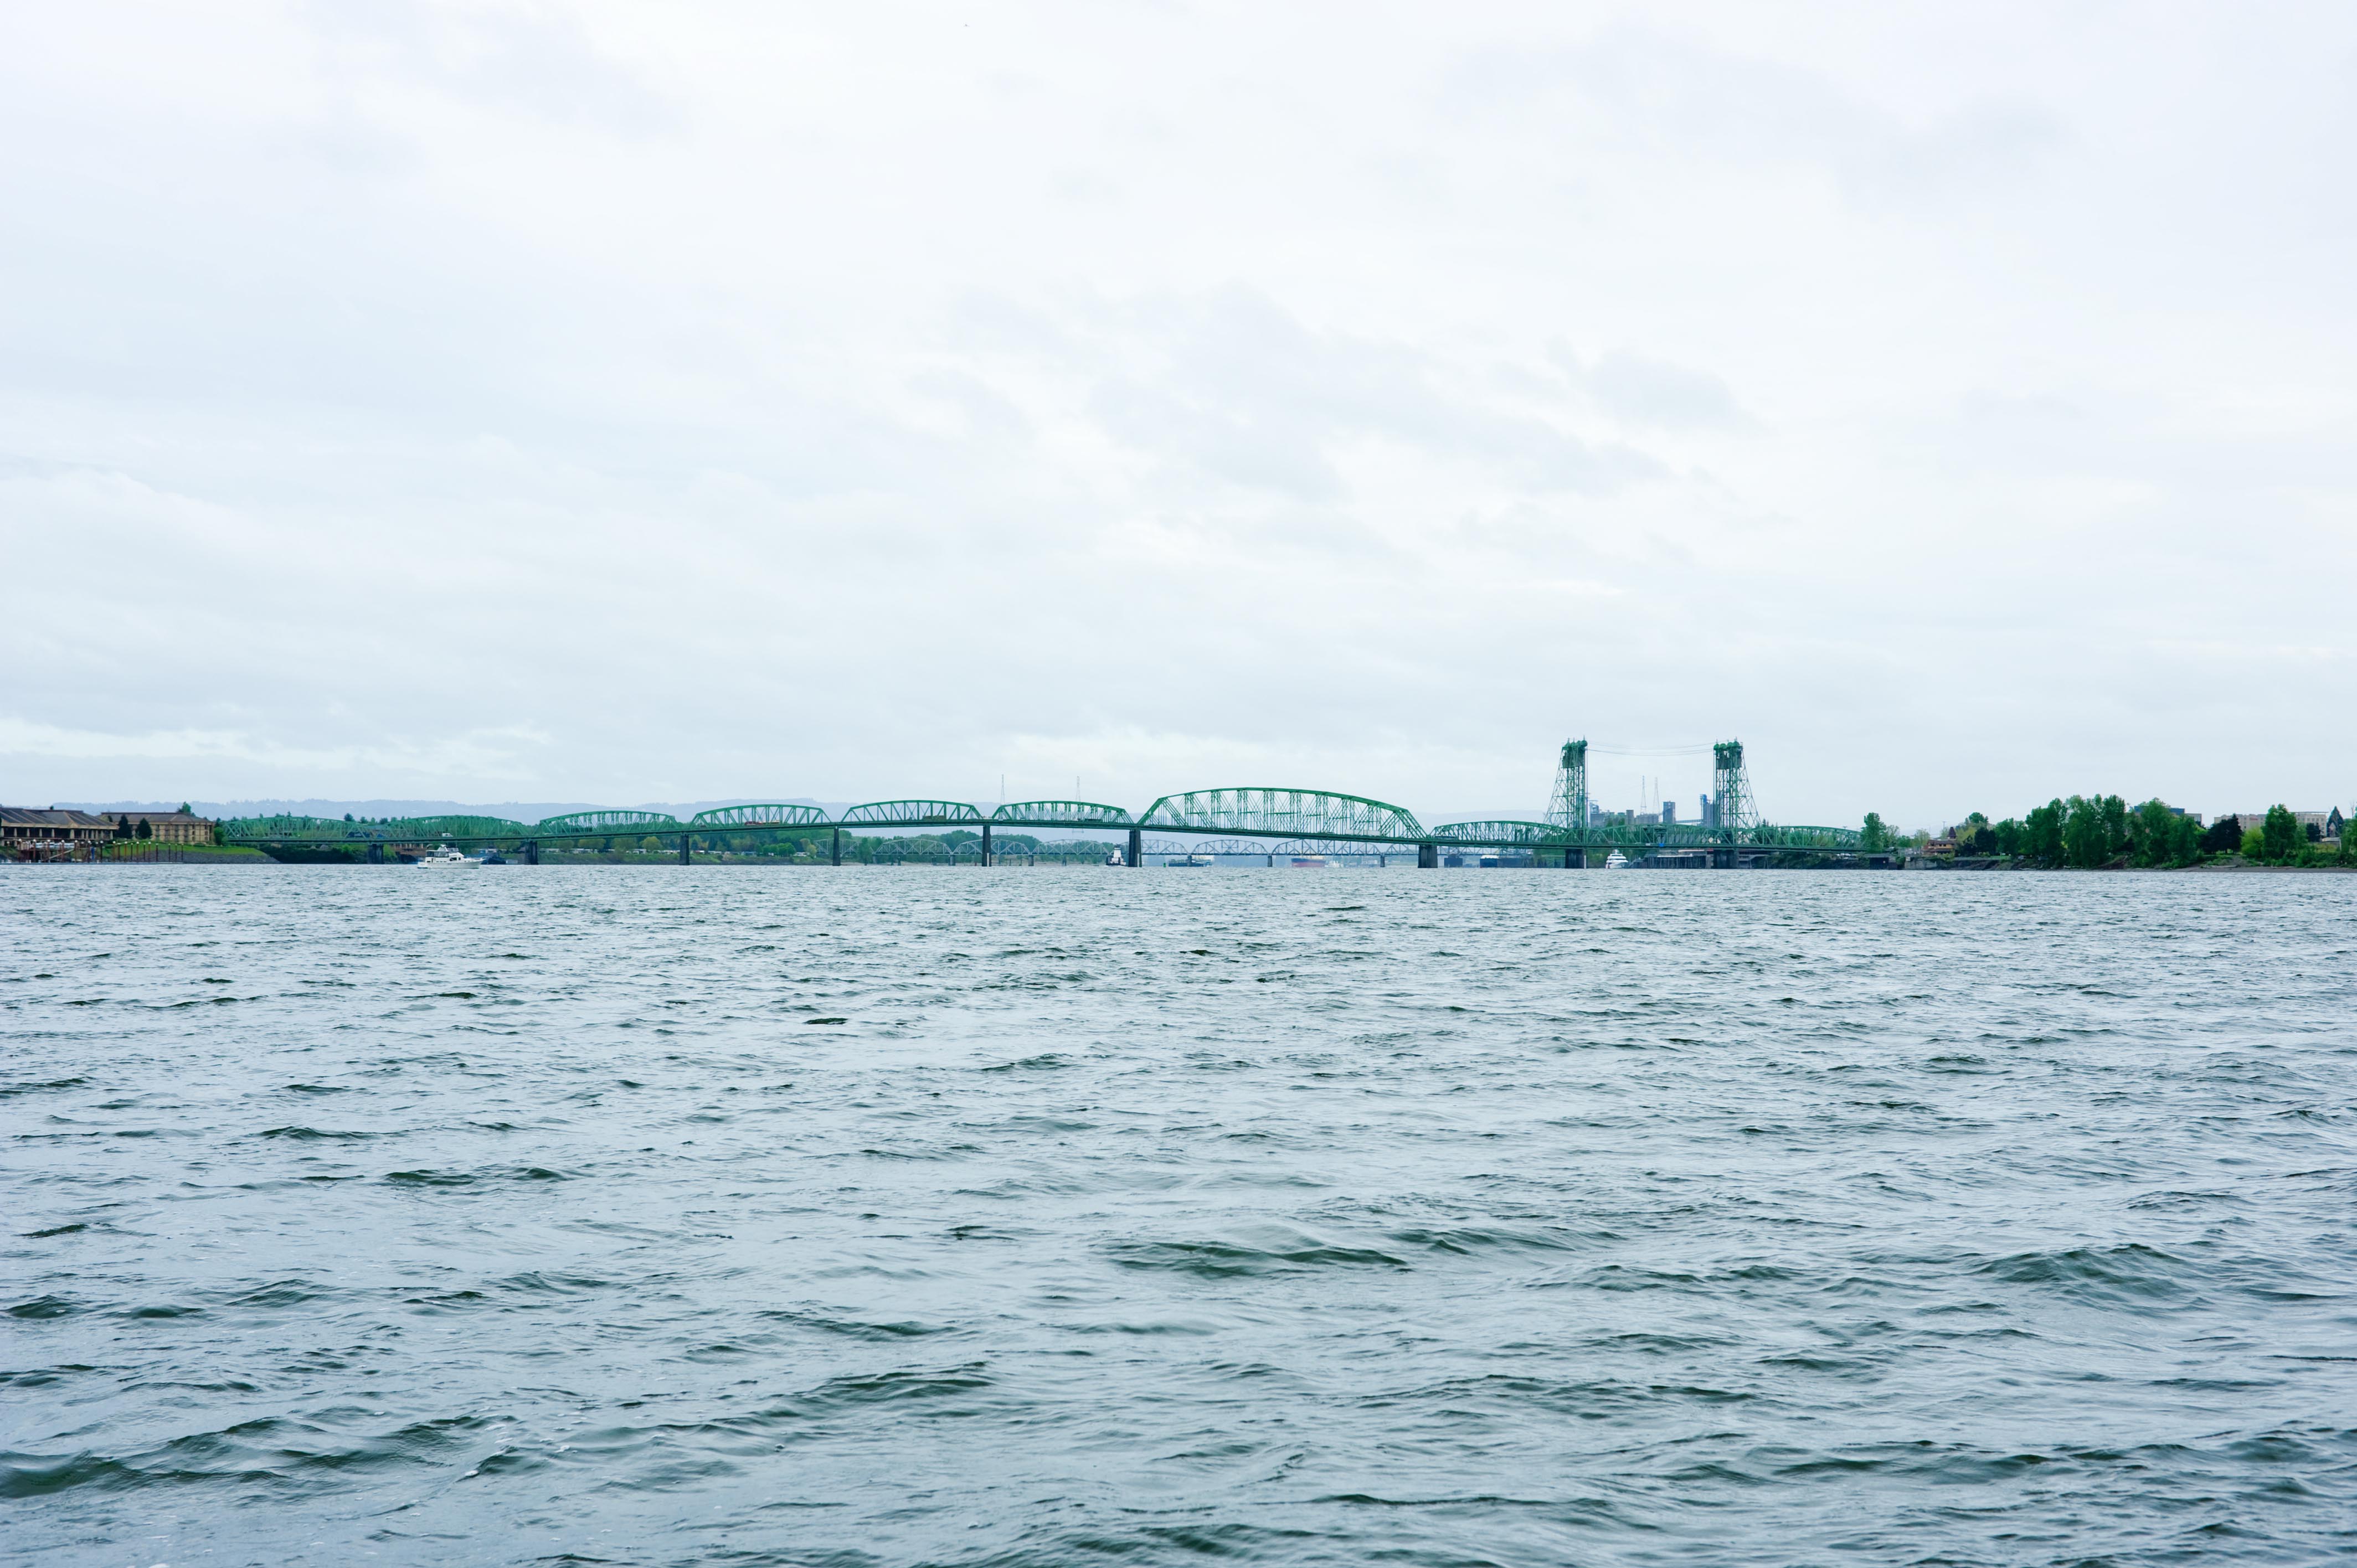
Views from boat. Distant east elevation.
![]()
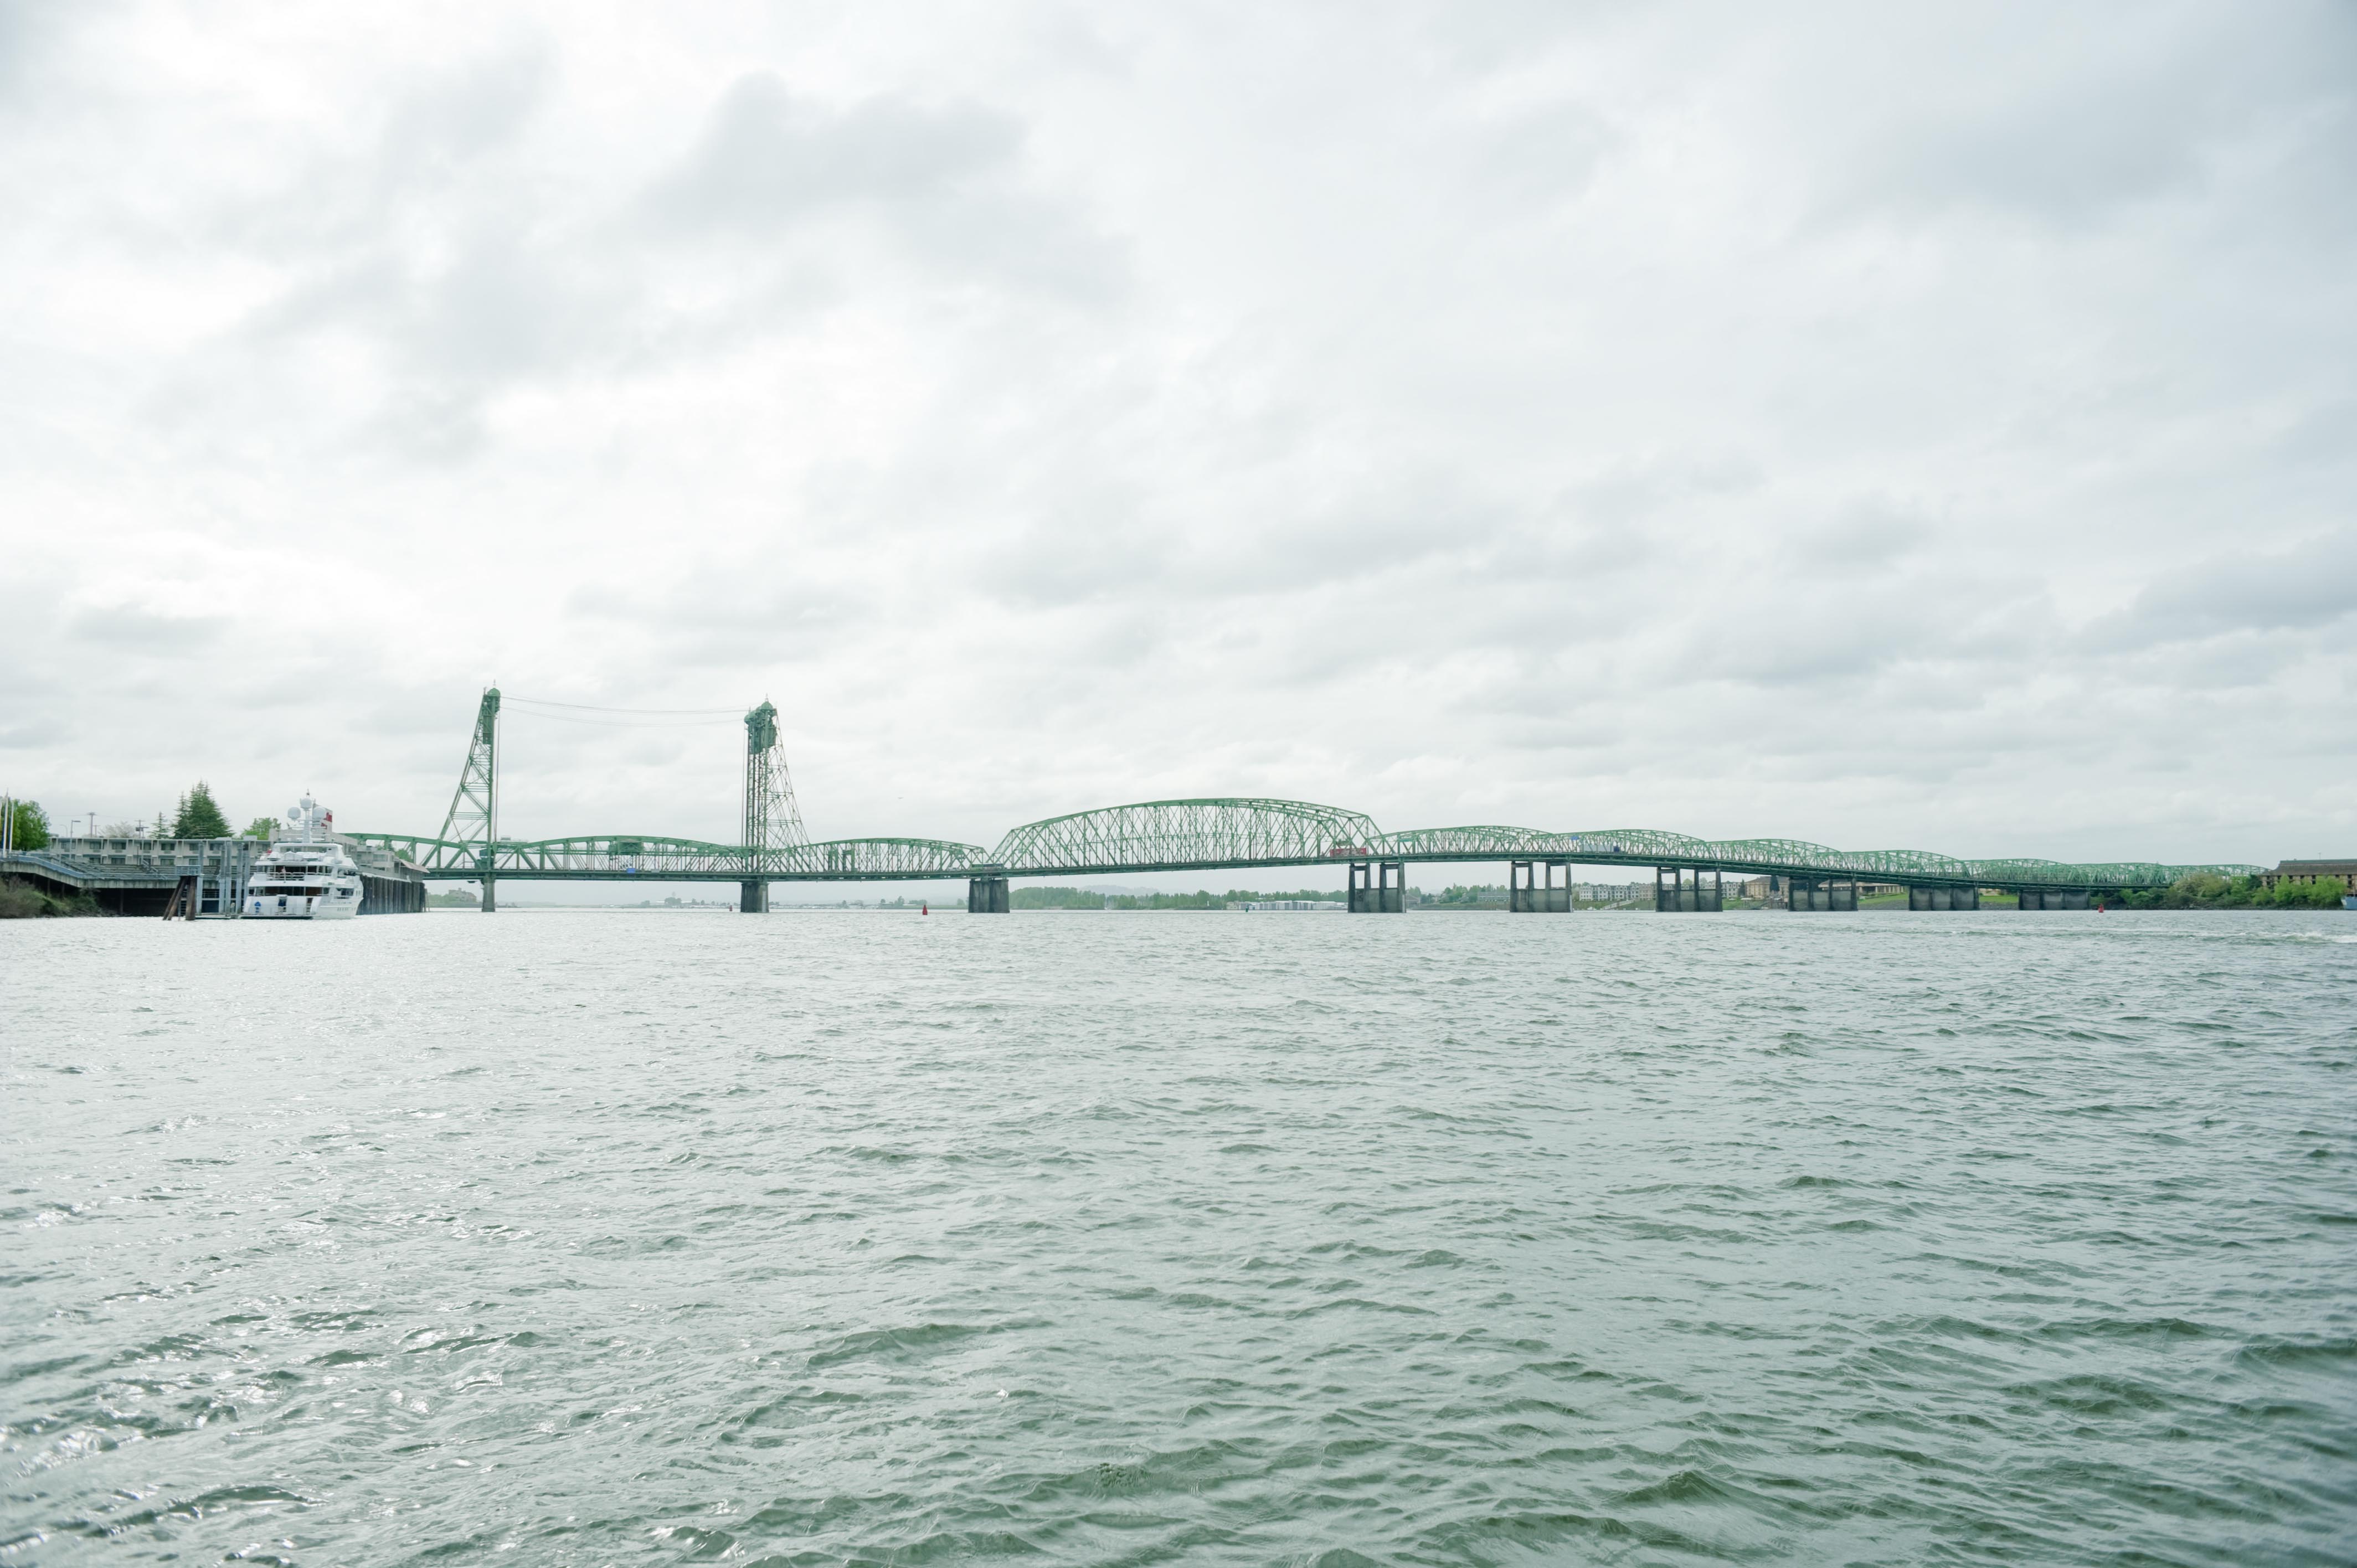

Photo Credit: ODOT
Views from boat. Distant west elevation.
![]()


Photo Credit: ODOT
Views from boat. East elevation of lift span.
![]()


Photo Credit: ODOT
Views from boat. West elevation of lift span.
![]()


Photo Credit: ODOT
Views from boat. Elevation of large fixed truss span.
![]()
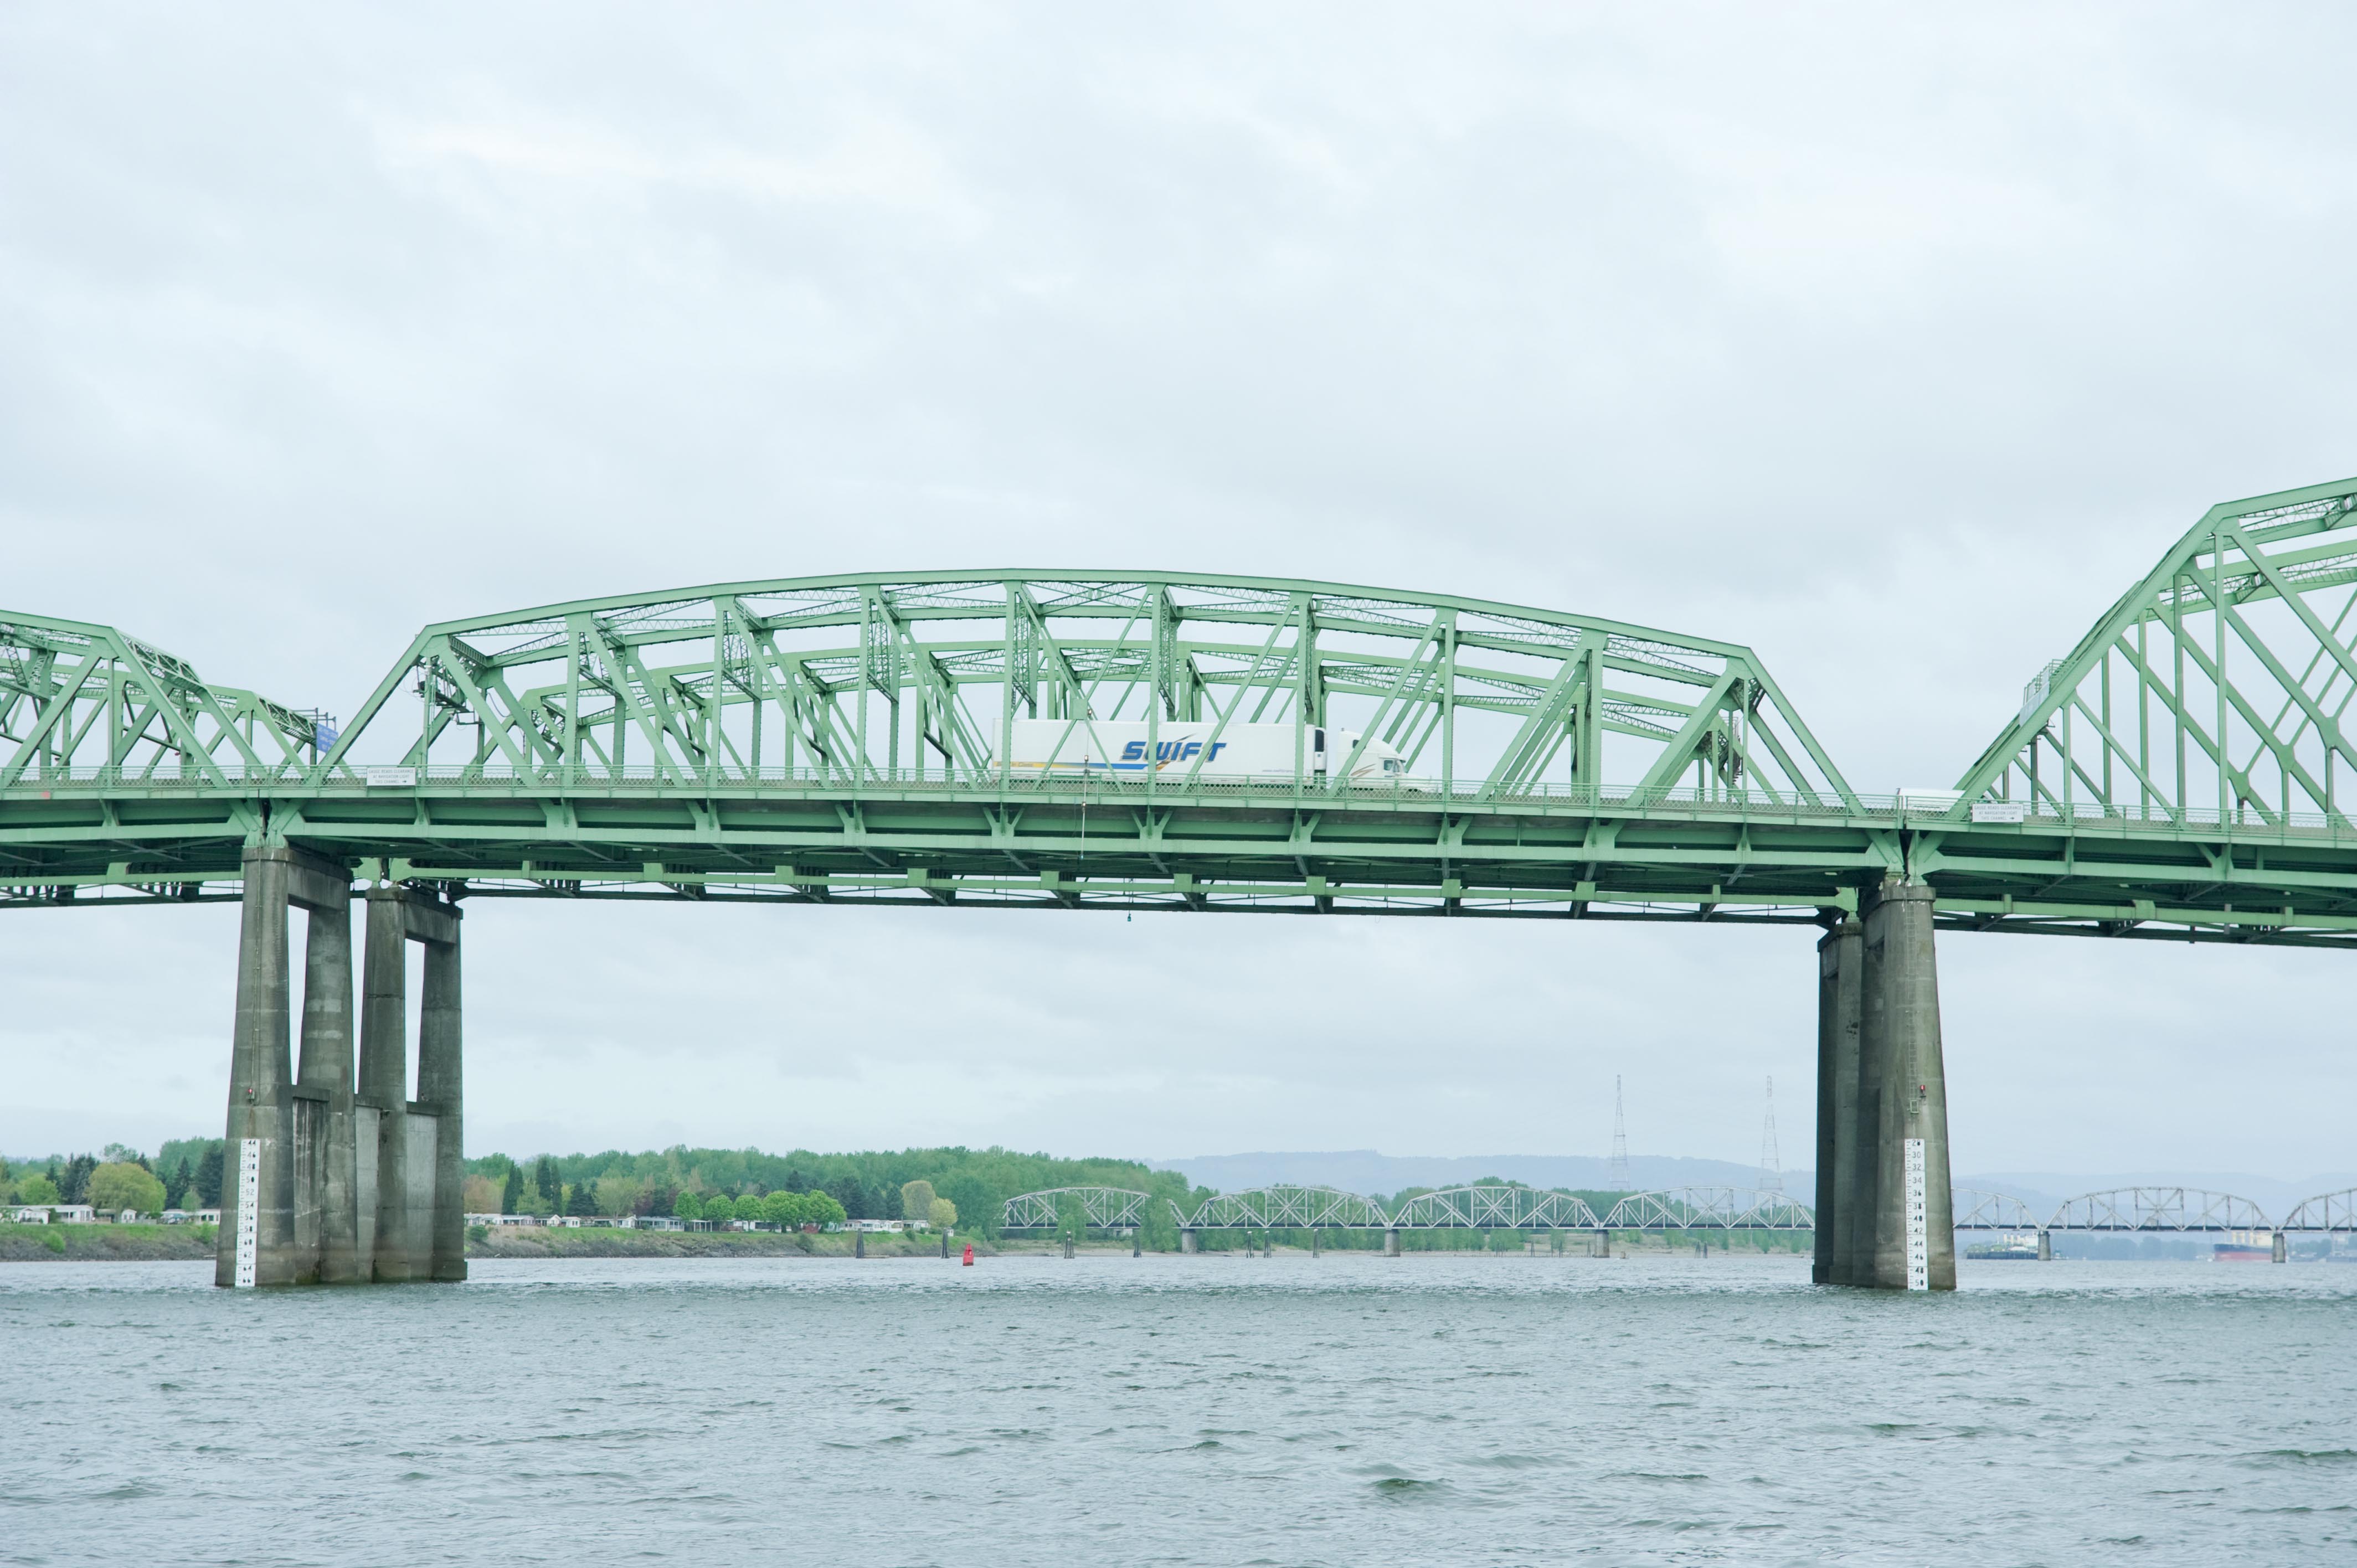
Photo Credit: ODOT
Views from boat. Elevation of fixed truss spans.
![]()


Photo Credit: ODOT
Views from boat. Oblique views of lift spans from southwest quadrant.
![]()
Photo Credit: ODOT
Views from boat. Oblique views of lift spans from northeast quadrant.
![]()
Photo Credit: ODOT
Views from boat. Oblique views of lift spans from northwest quadrant.
![]()
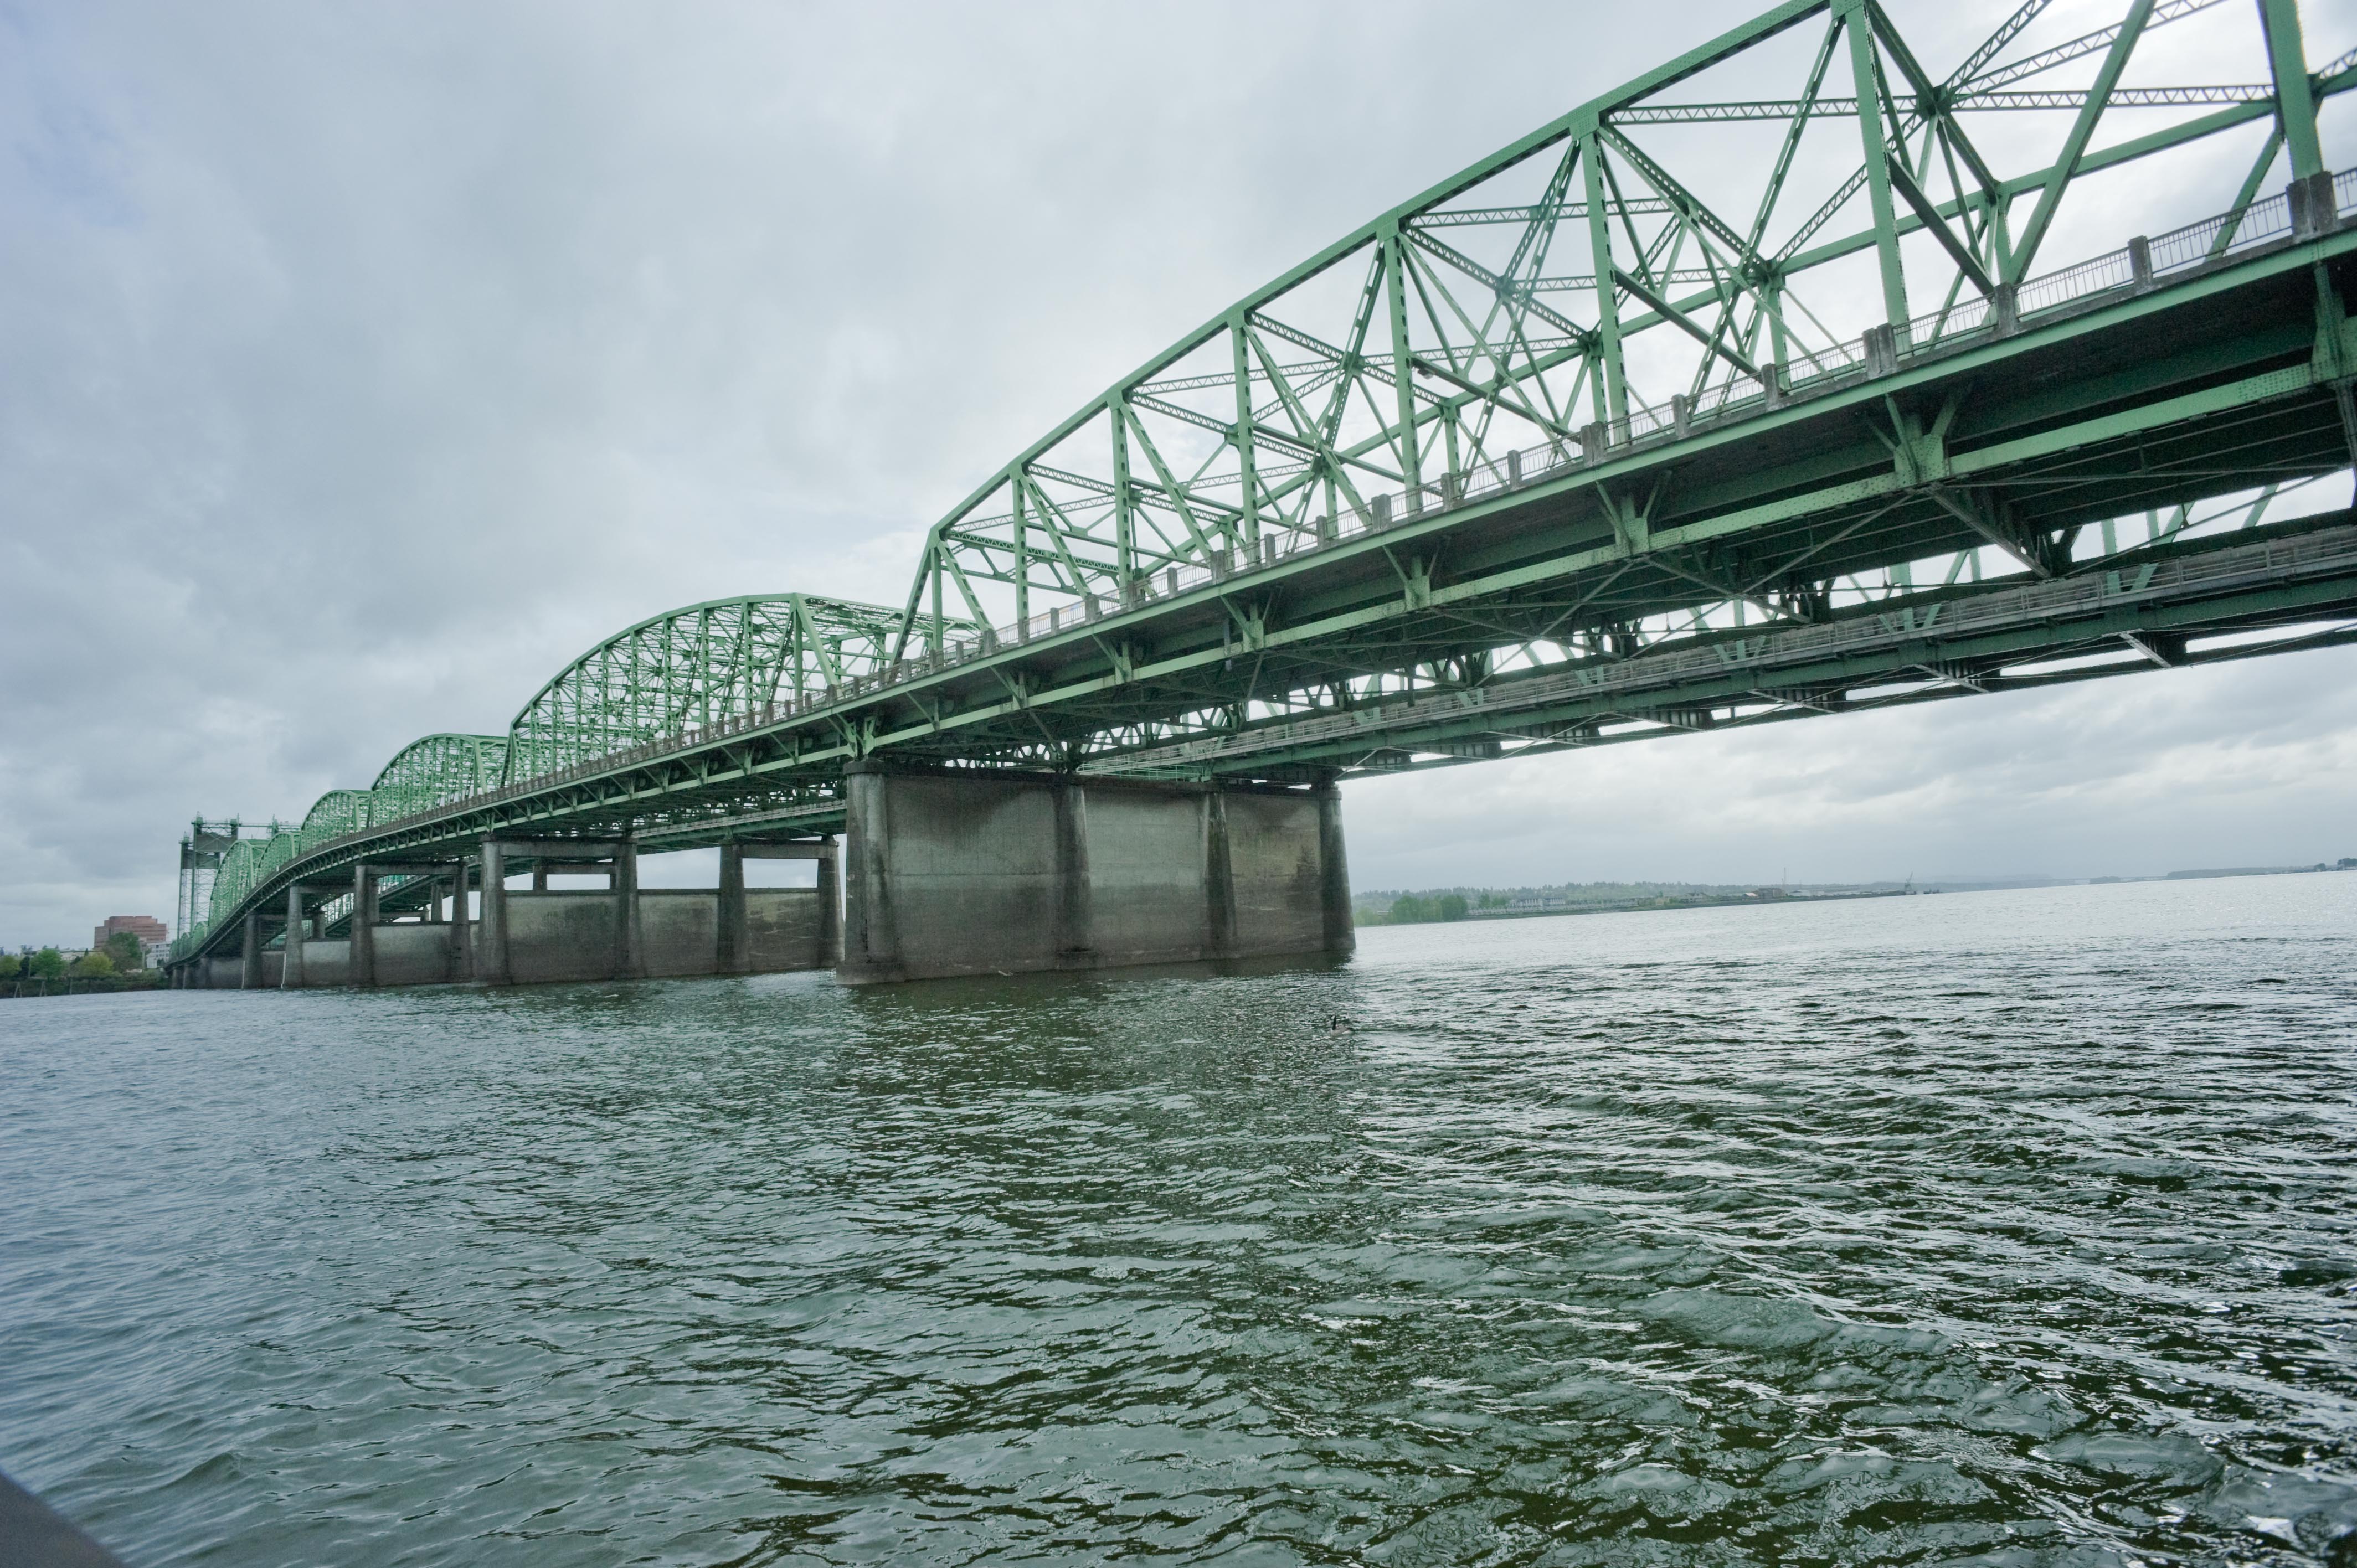
Photo Credit: ODOT
Views from boat. View beside bridge from southwest quadrant.
![]()


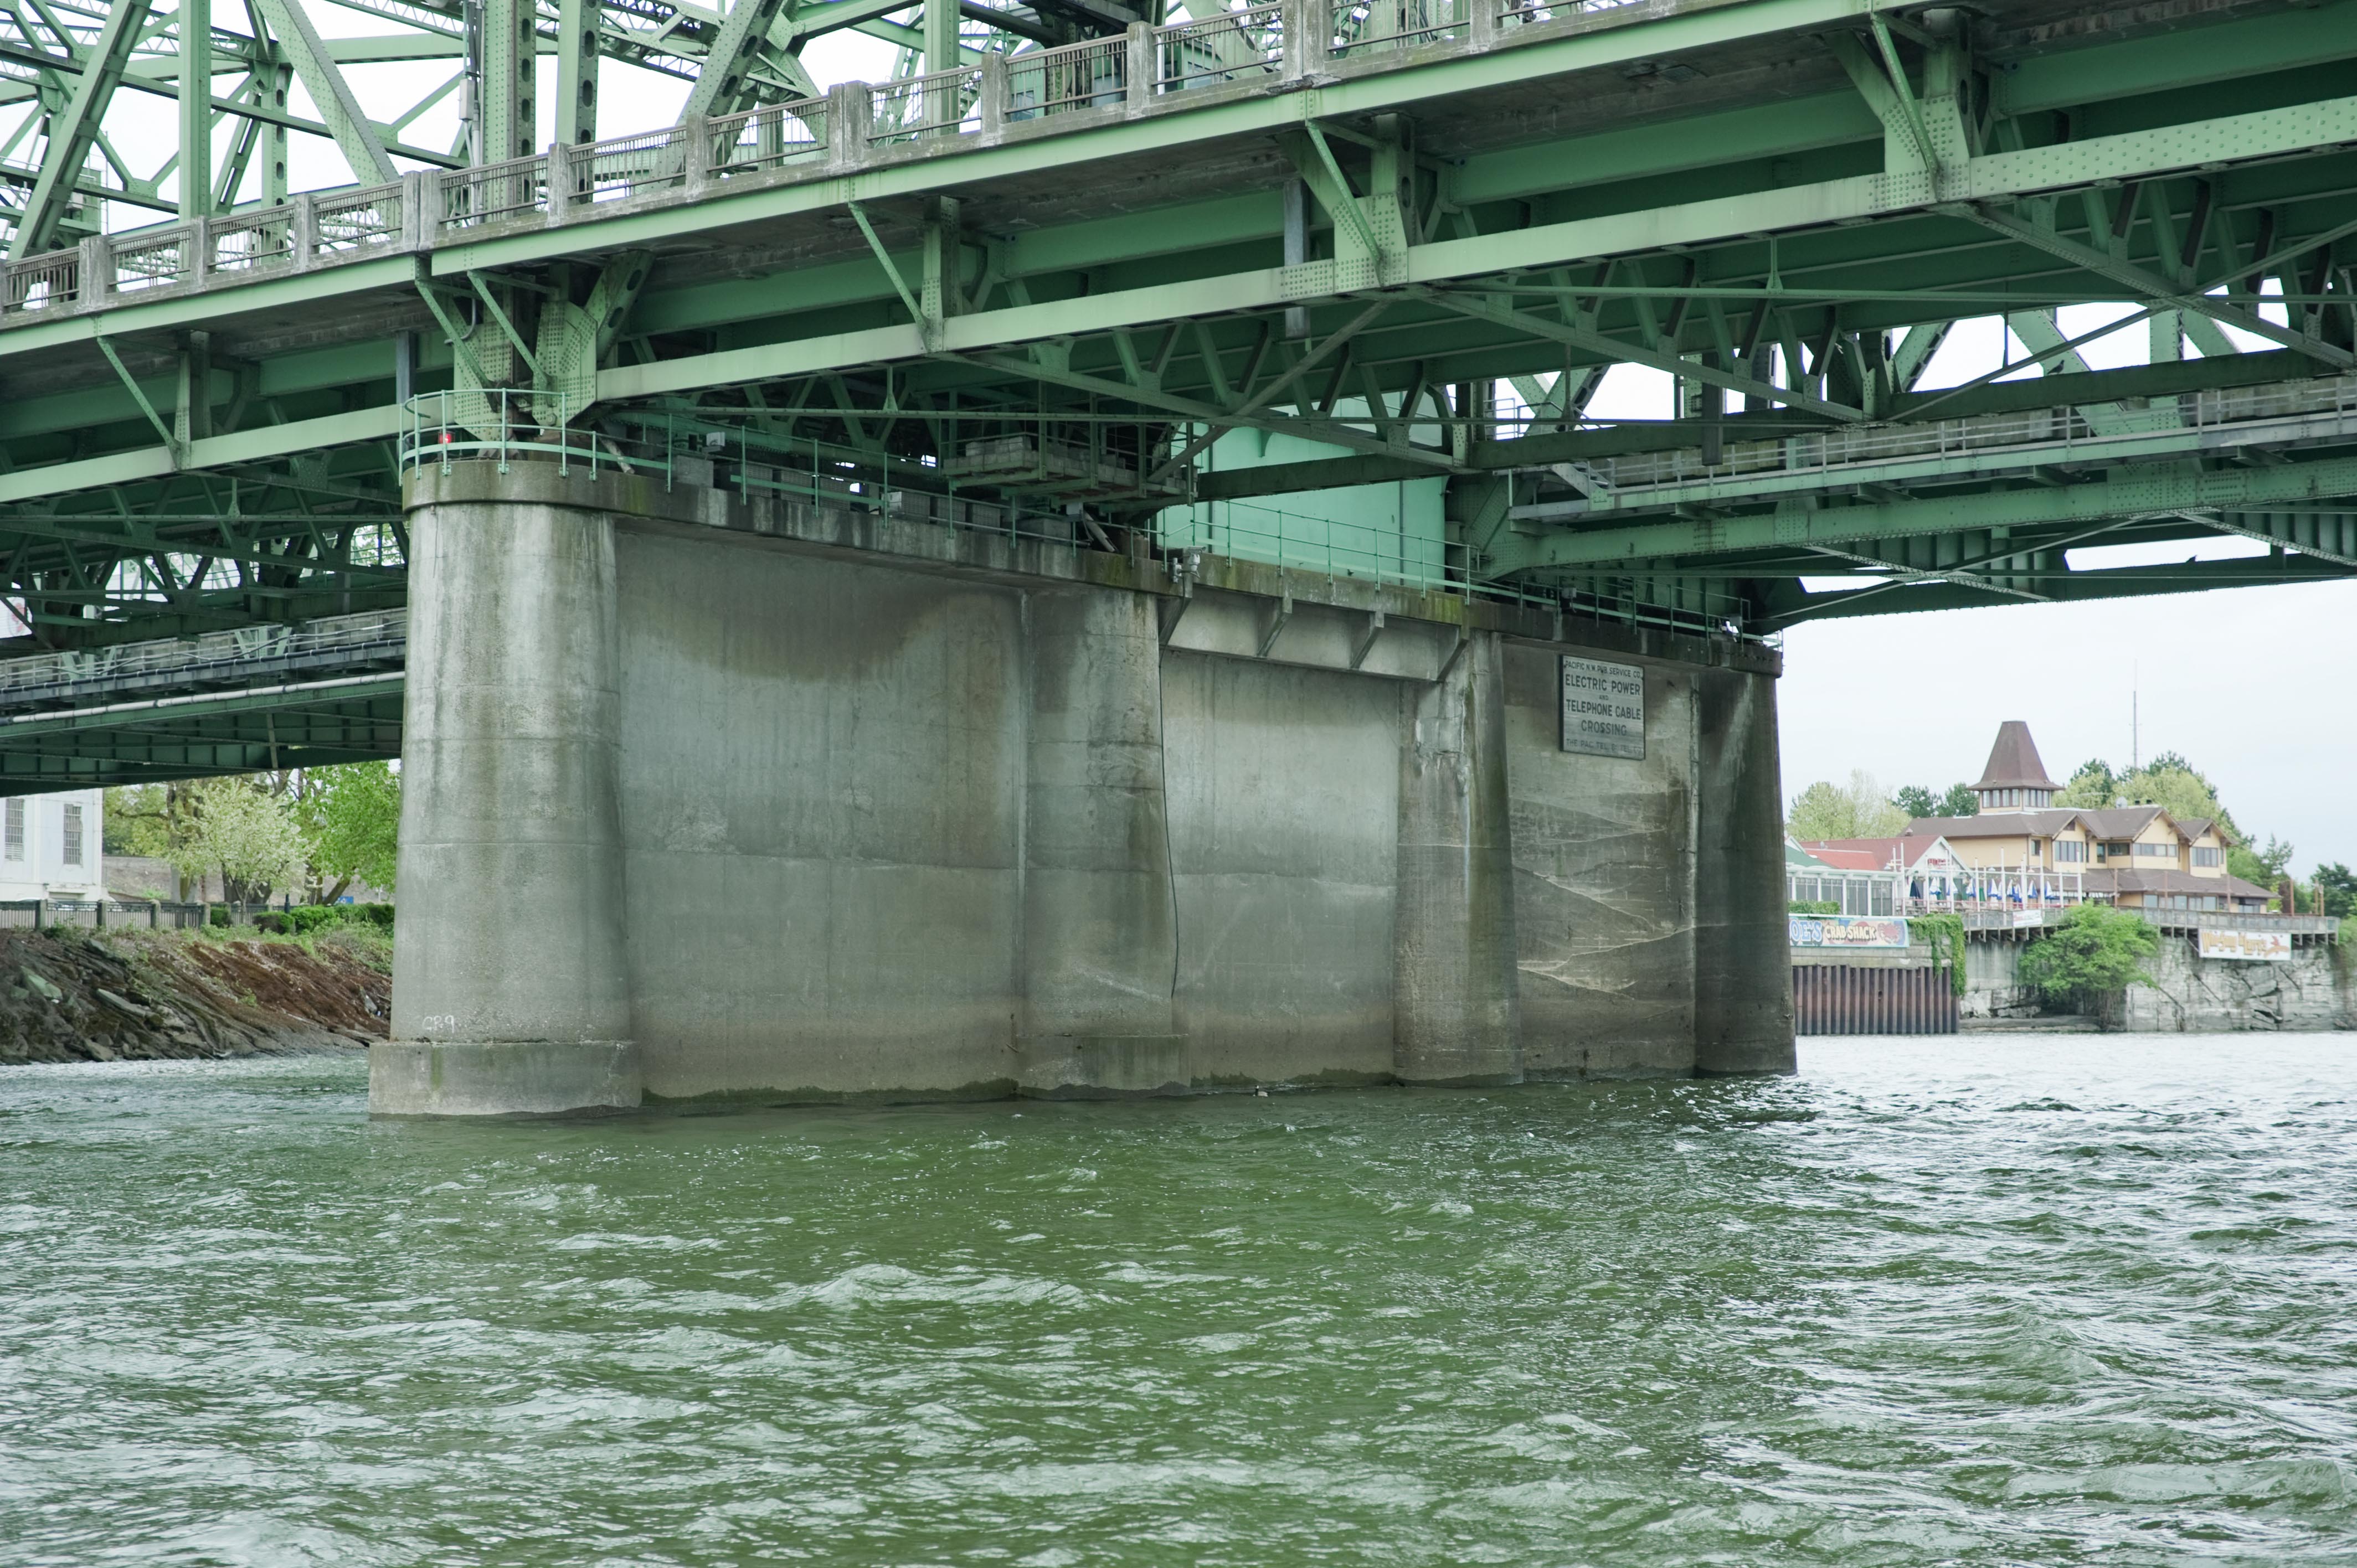

Photo Credit: ODOT
Views from boat. Piers.
![]()


Photo Credit: ODOT
Views from boat. Views under approach span. This span is not original, so both the northbound and southbound span are identical, having been built at the same time.
![]()

Photo Credit: ODOT
Views from boat. Views under approach span. Original/northbound span to the right. Note difference in floorbeams.
![]()
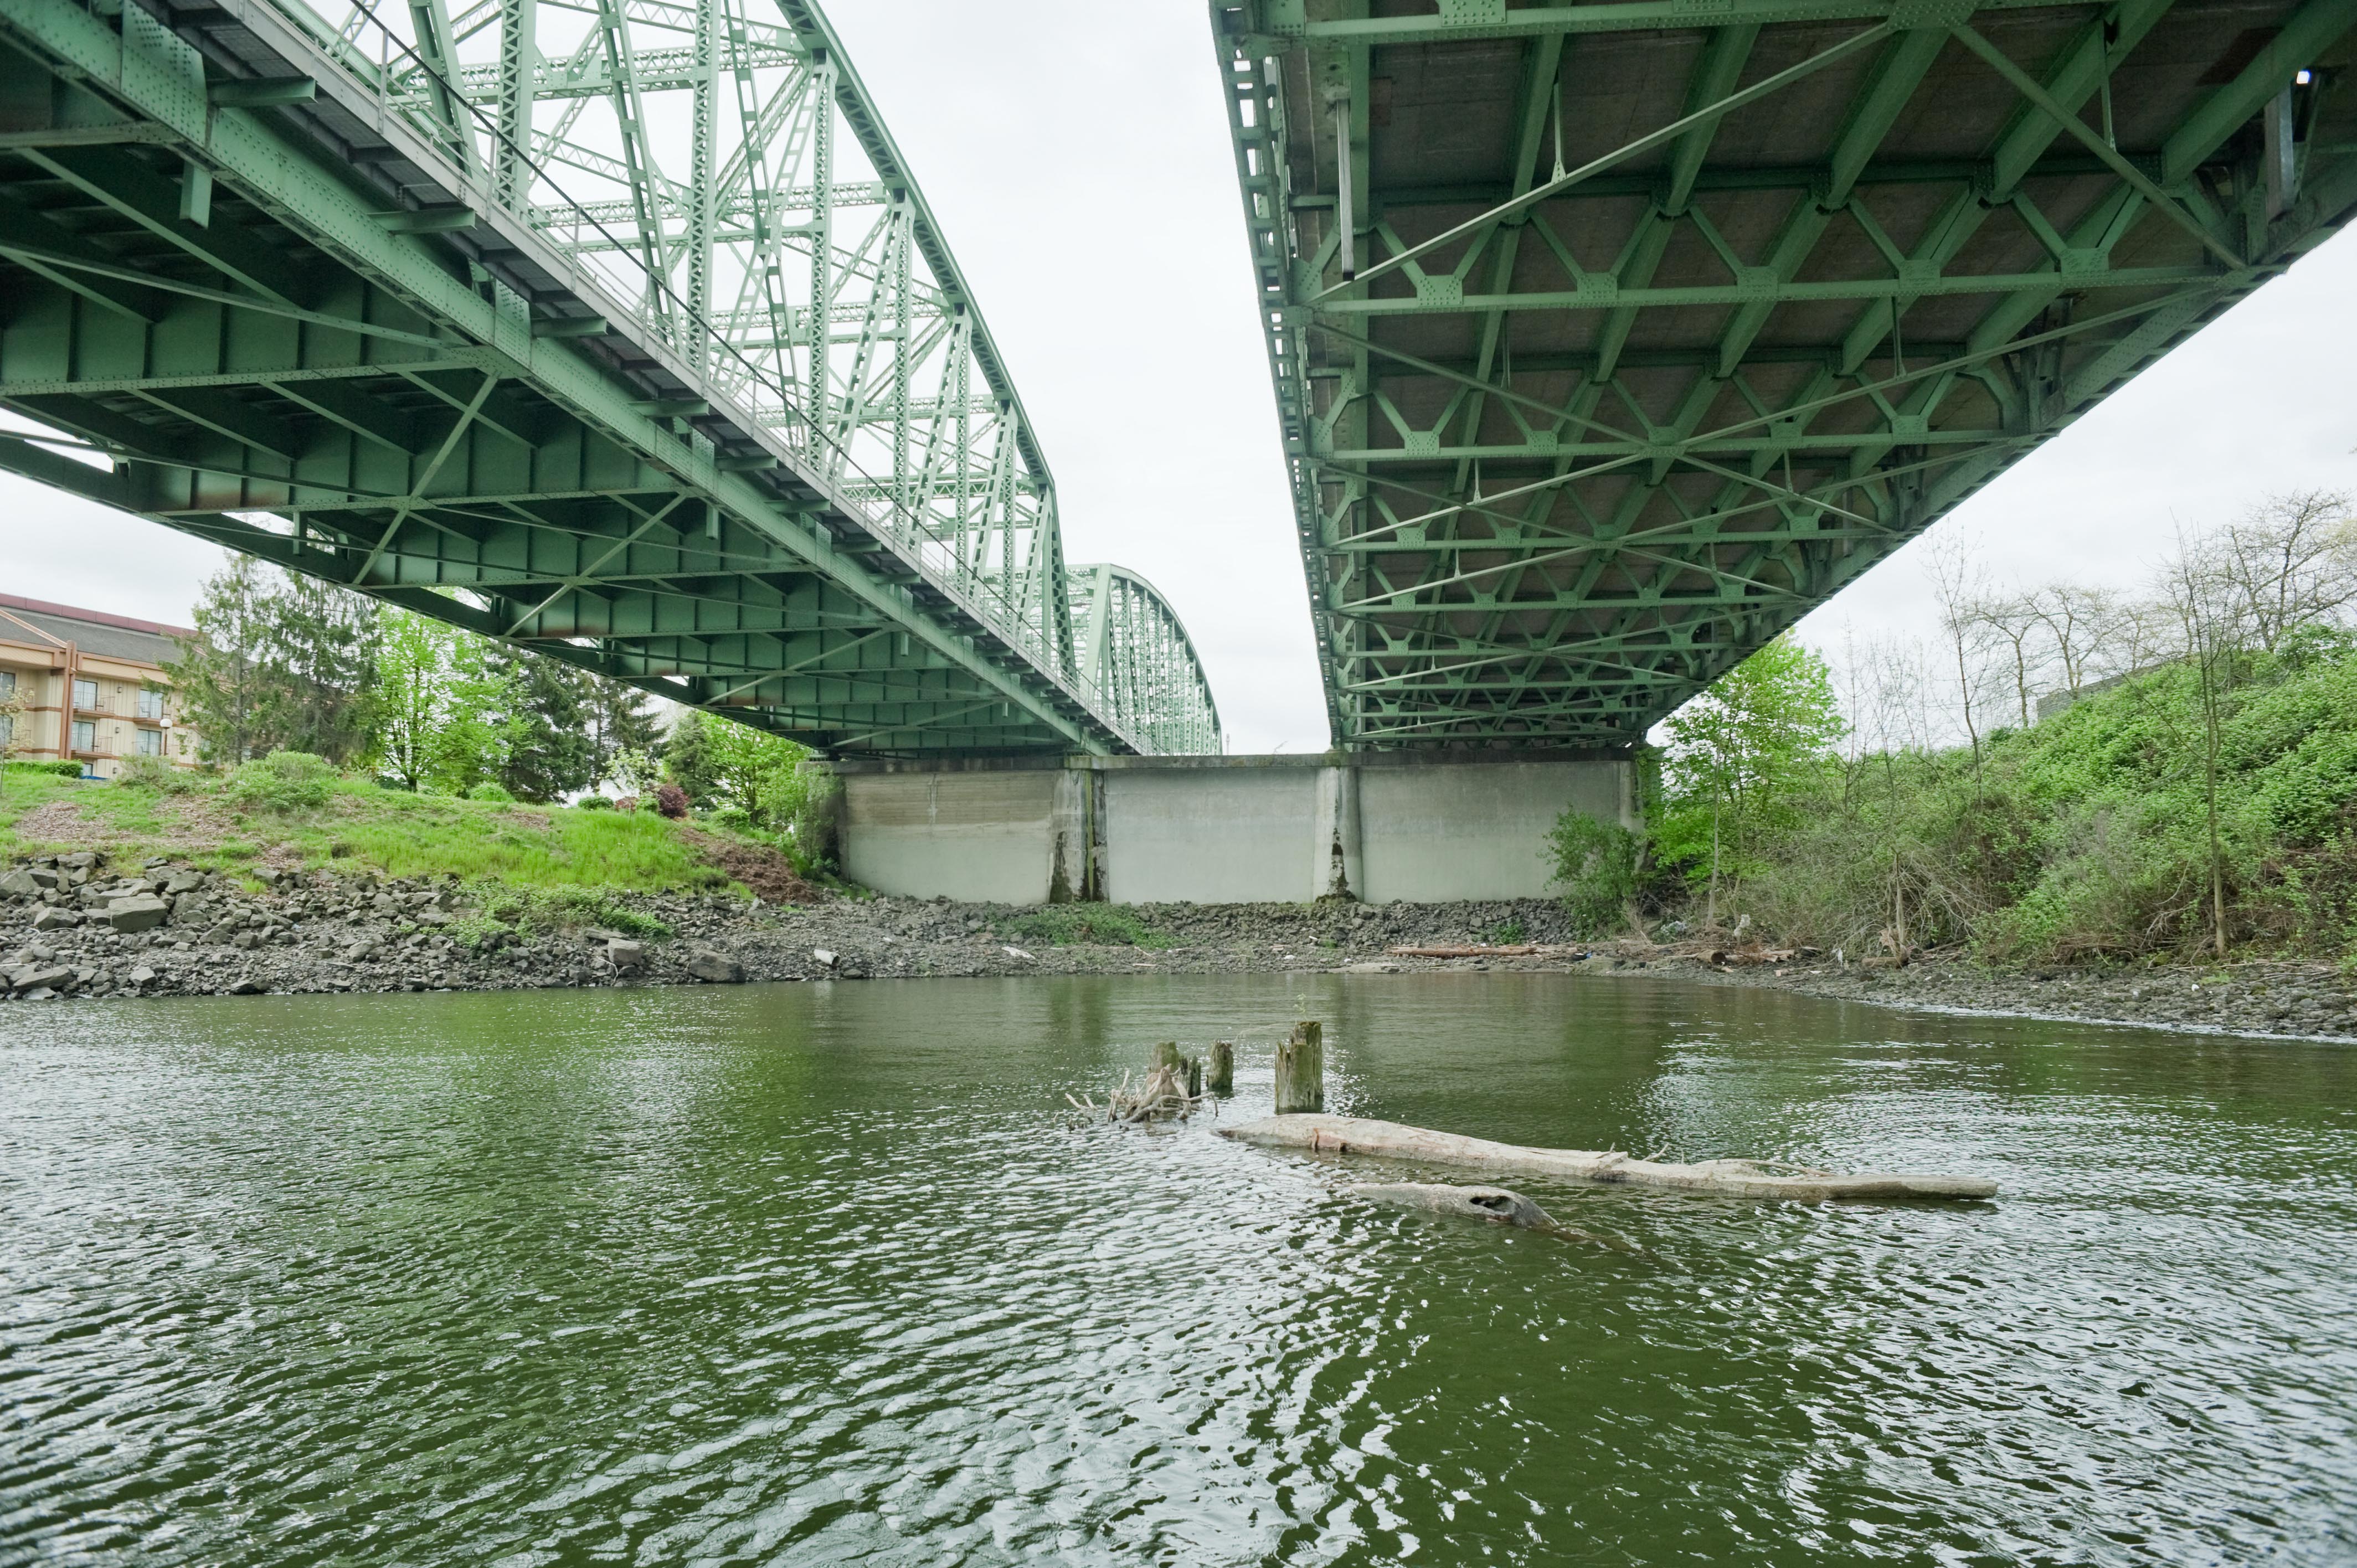

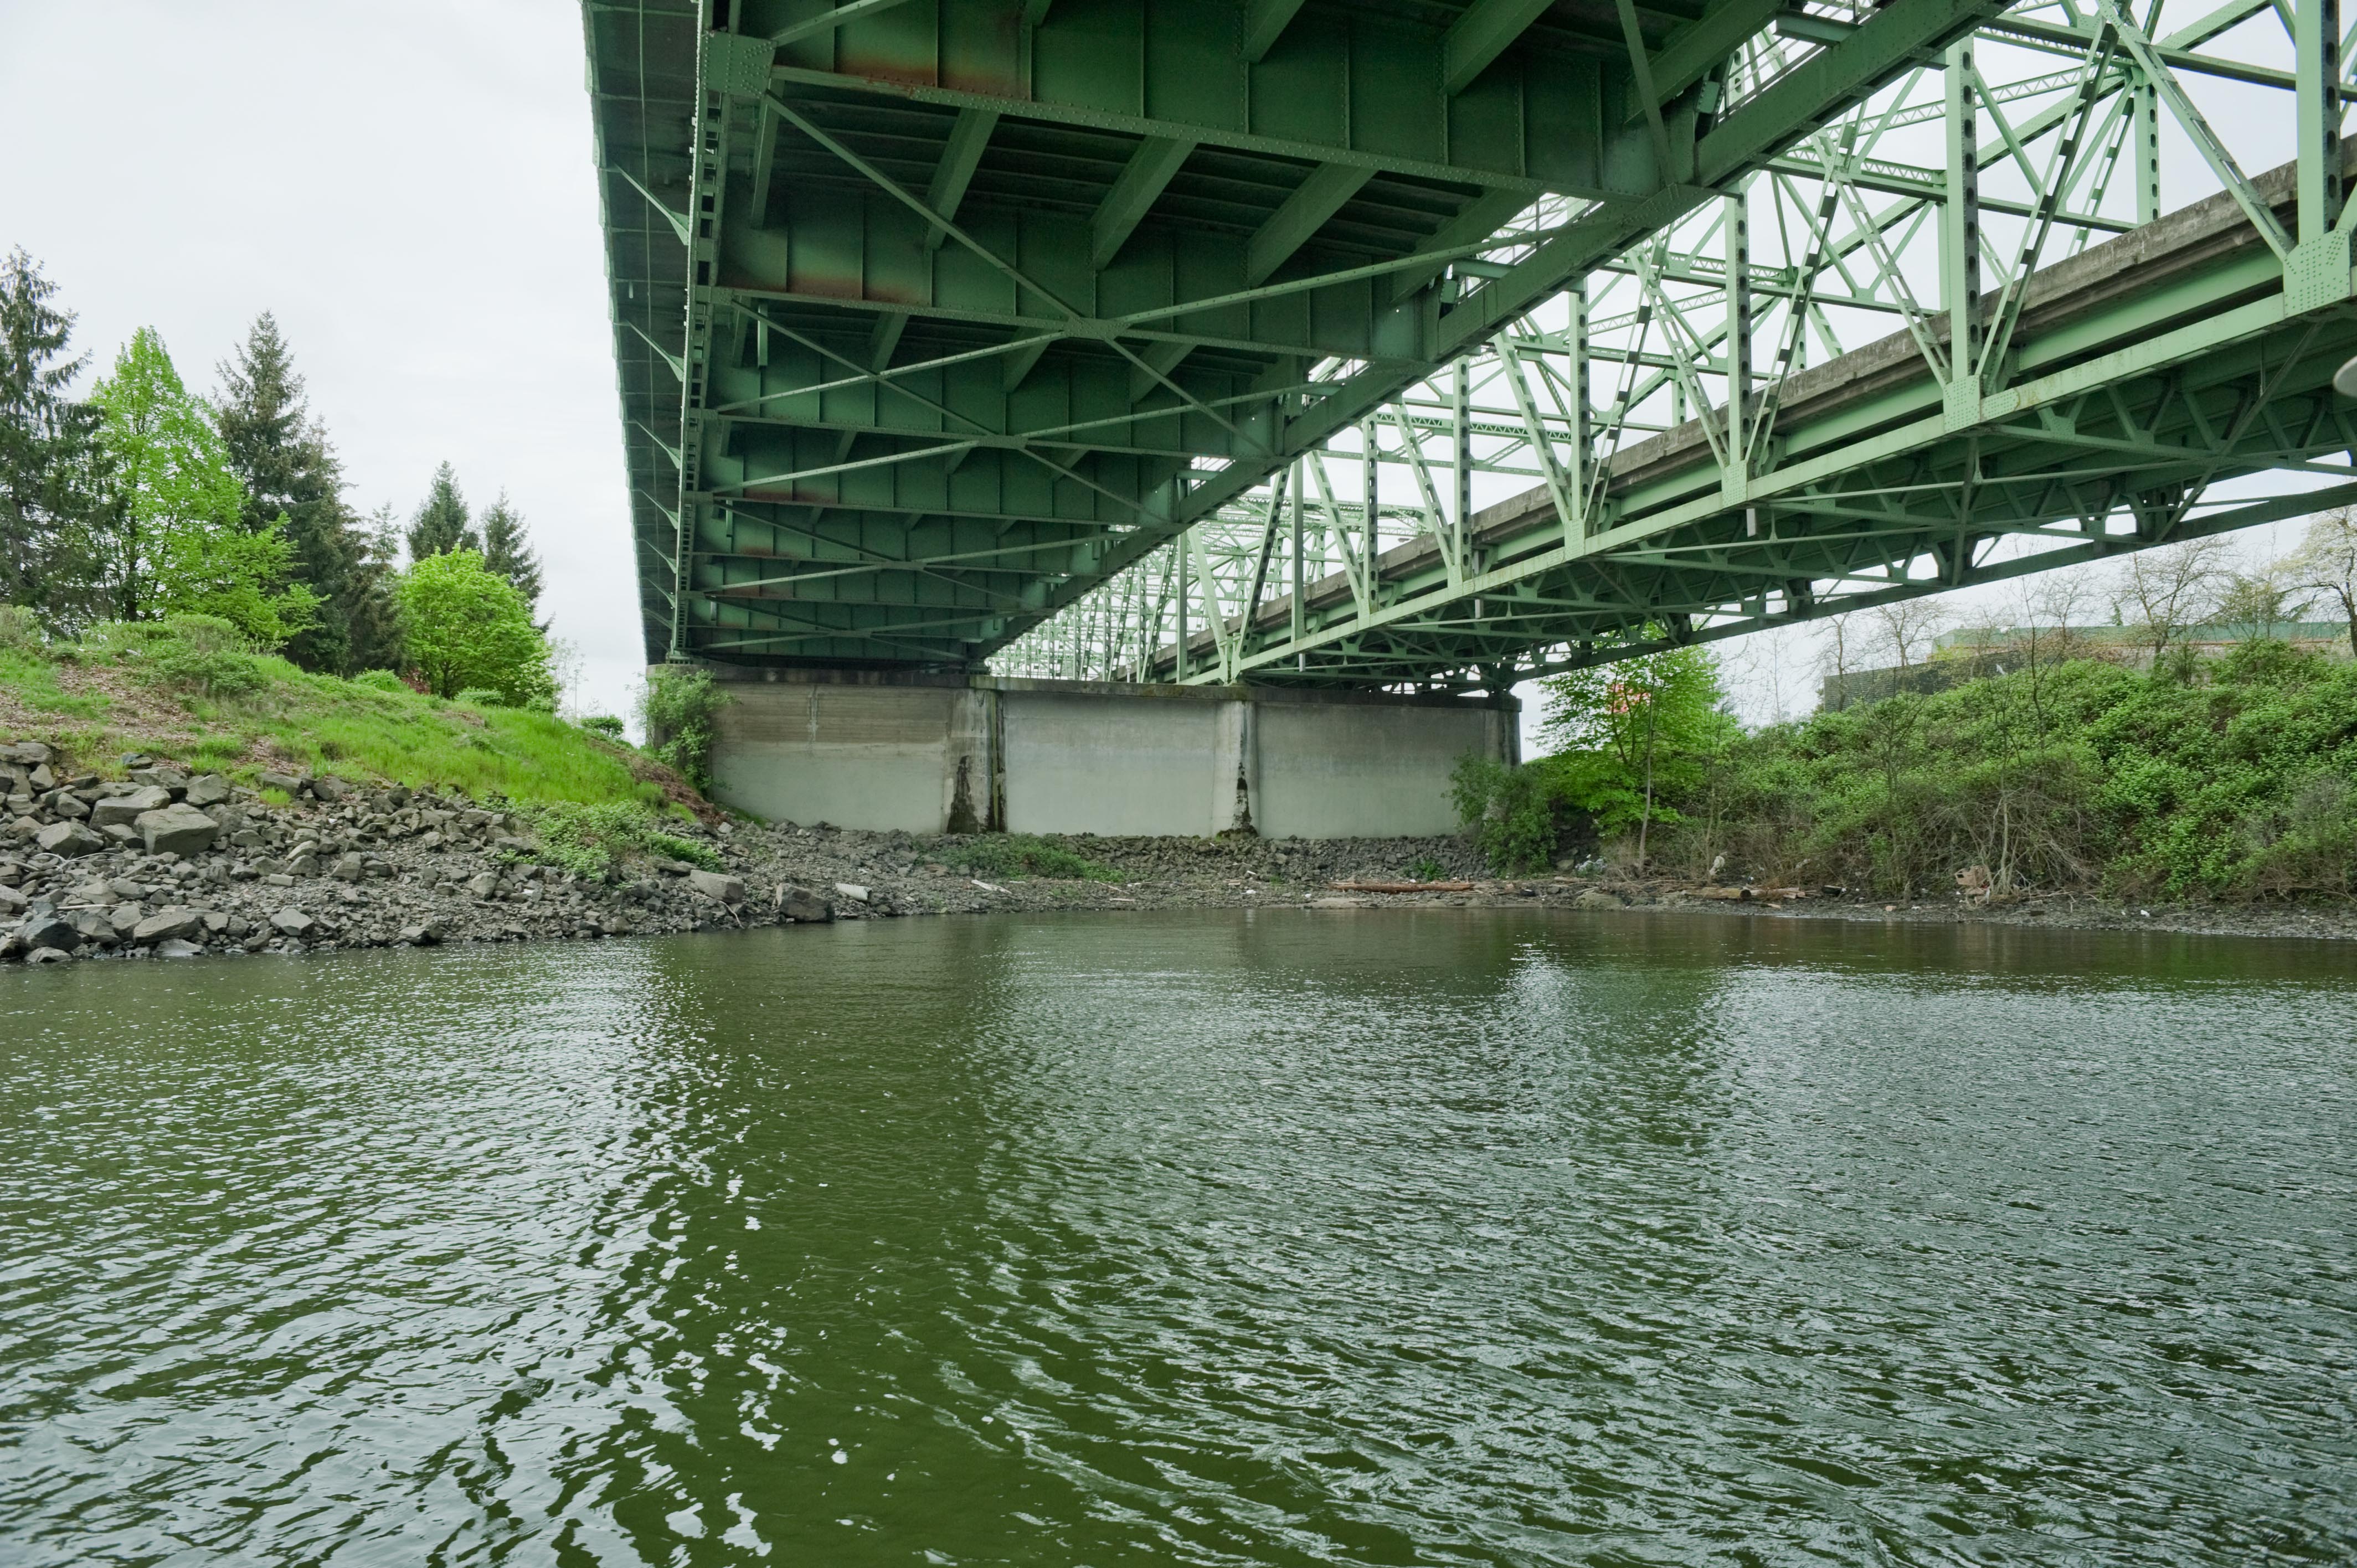
Photo Credit: ODOT
Views from boat. Views under approach span. Original/northbound span to the left. Note difference in floorbeams.
![]()


Photo Credit: ODOT
Views from boat. Various views beside bridge.
![]()
![]()

![]()