Uncredited photos on this page taken by: Nathan Holth and Susie Babcock. Unless stated in a caption, all photos are Copyright with All Rights Reserved. Learn about reuse of our photos.
![]()
River Bridge Overview Photos
![]()


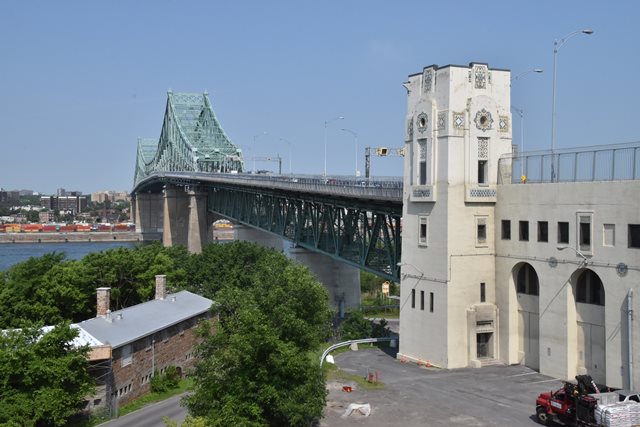

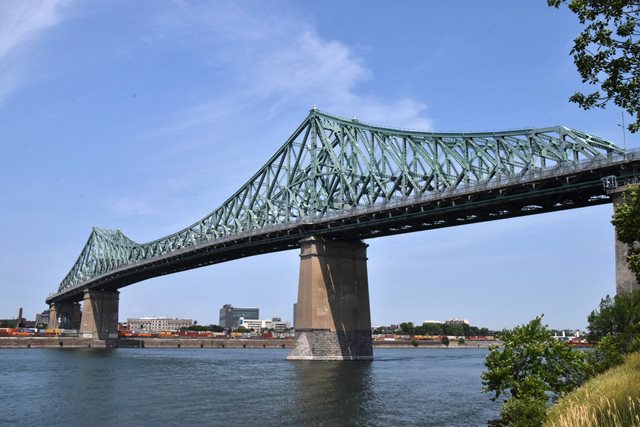
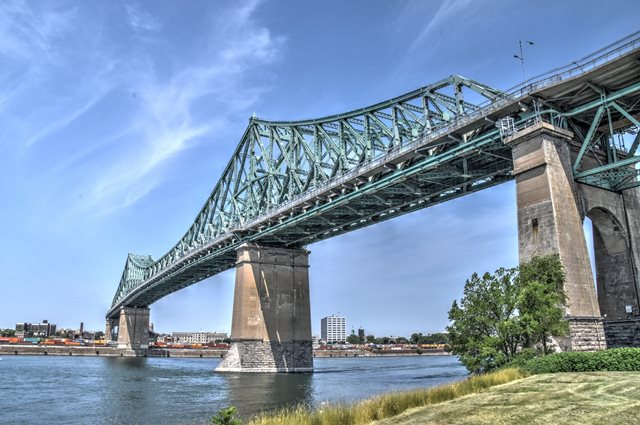
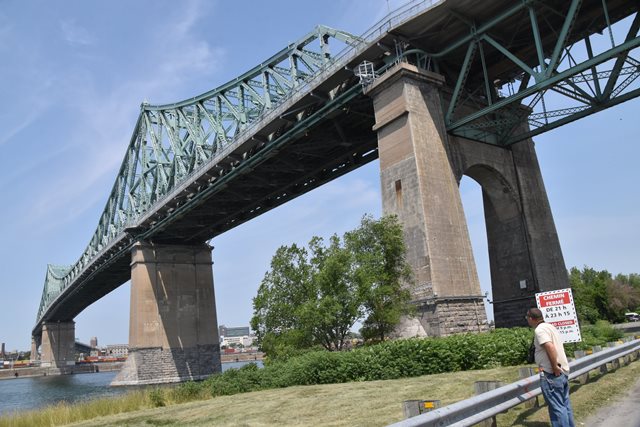
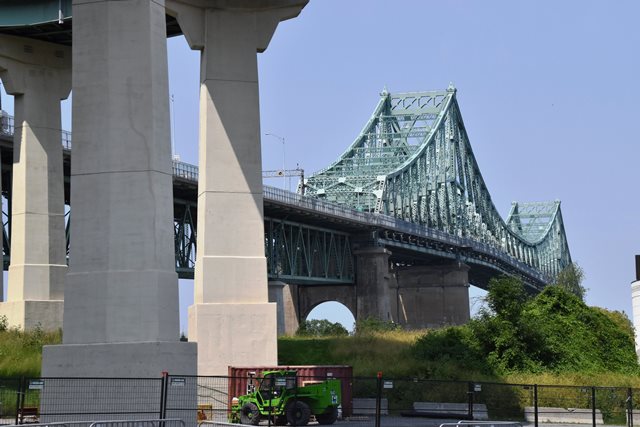
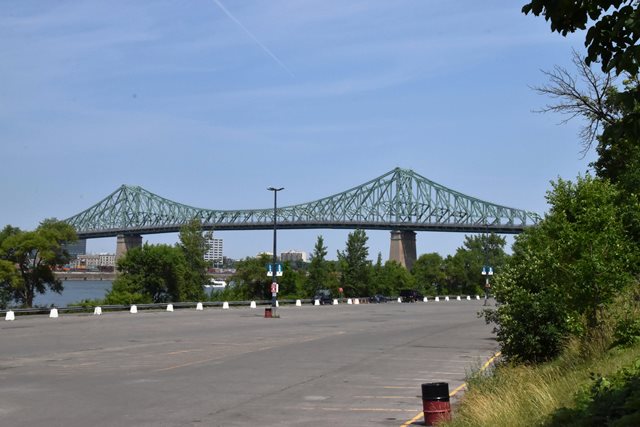
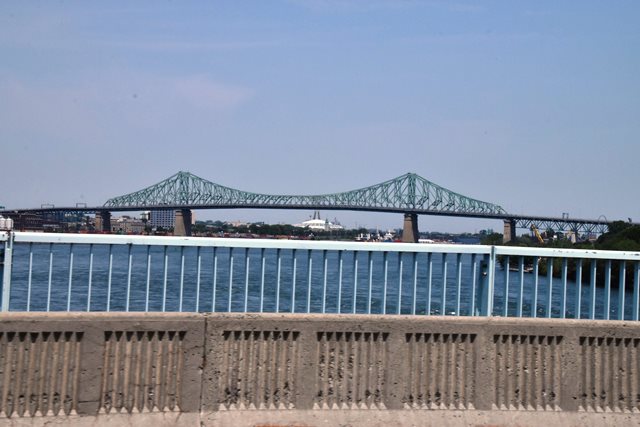
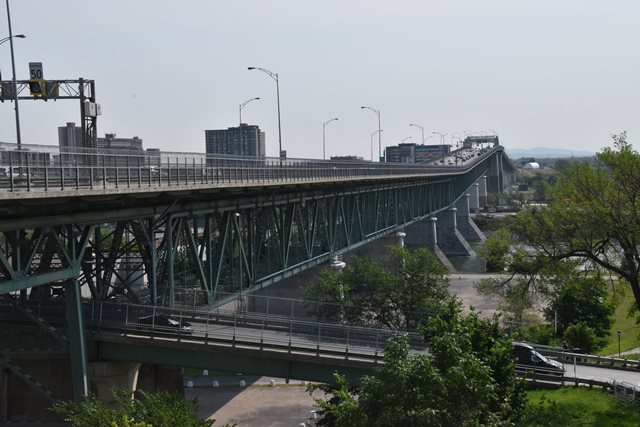
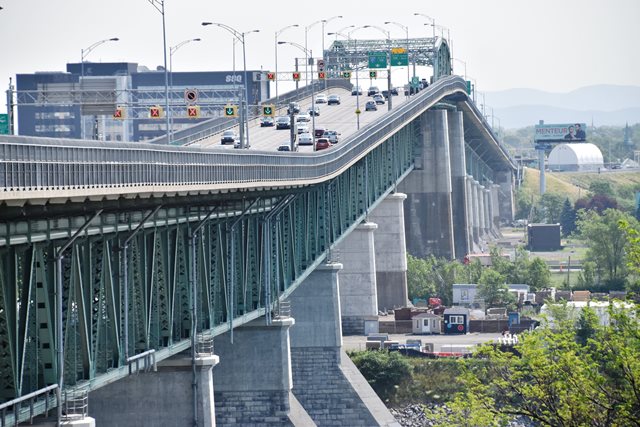
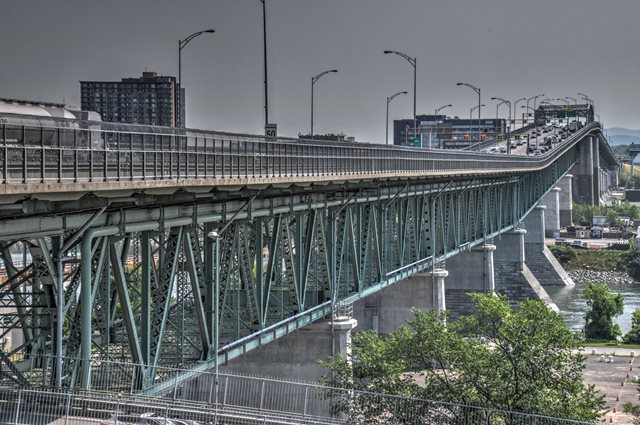
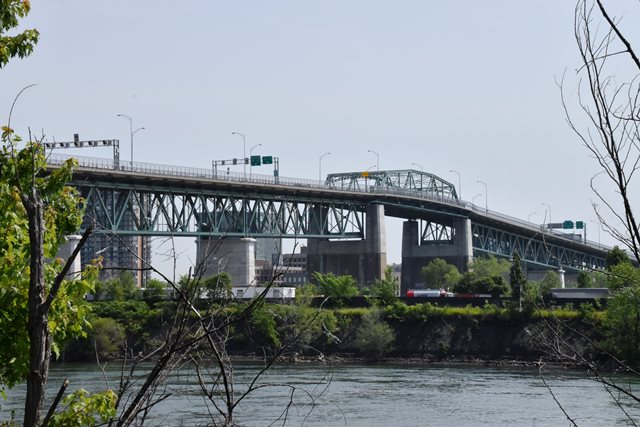
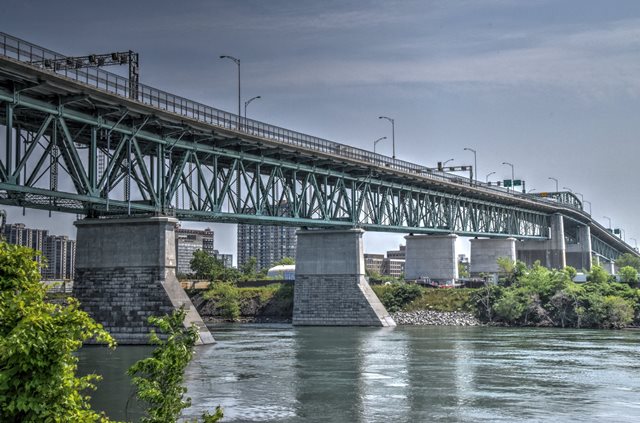
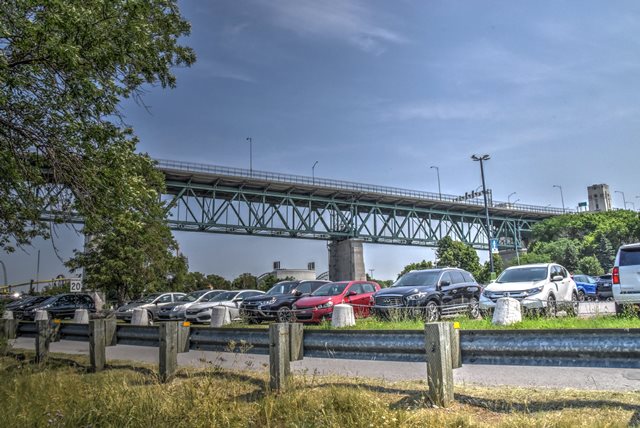
View beside river bridge from island ramp.
![]()

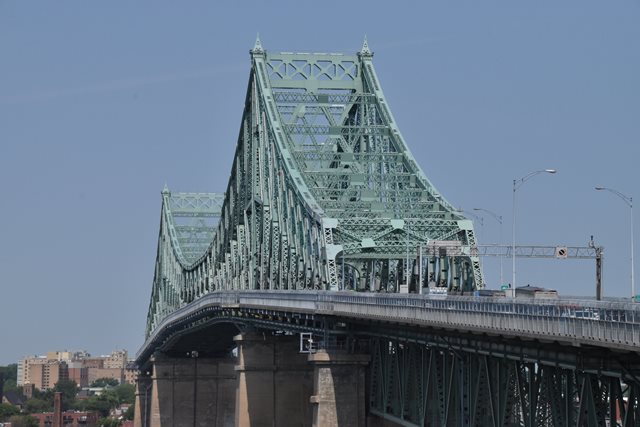

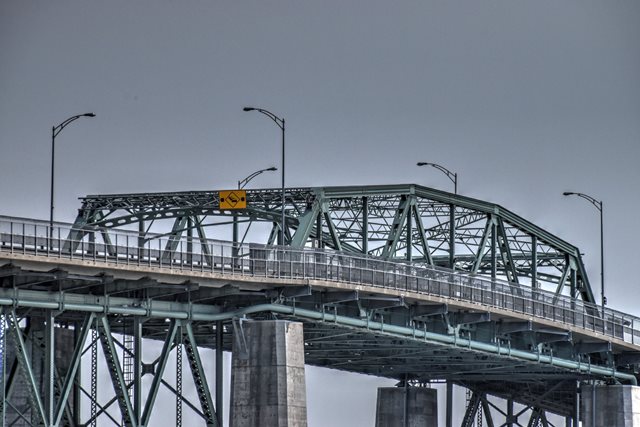
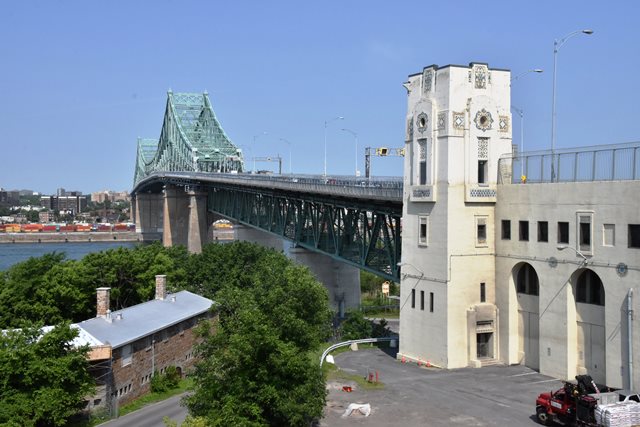
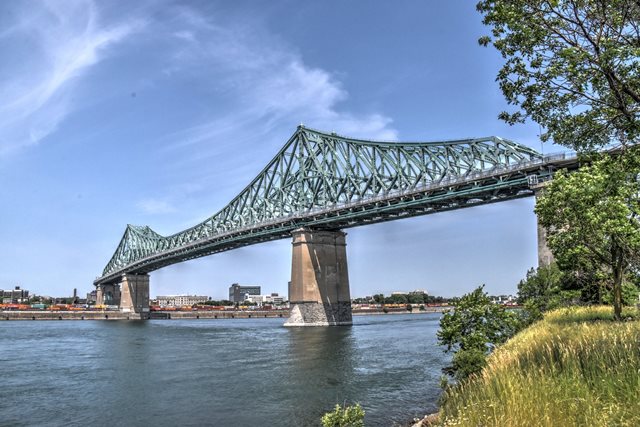
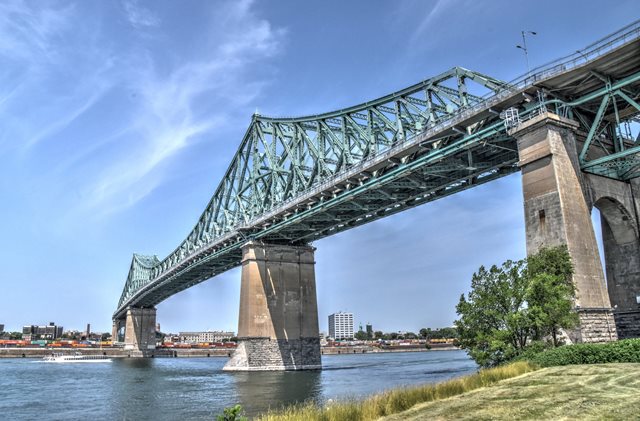
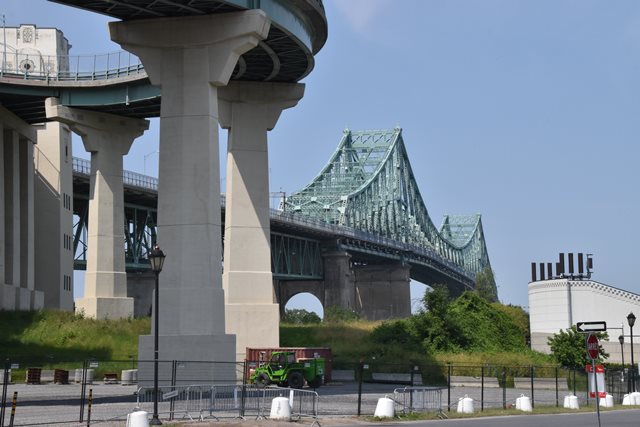
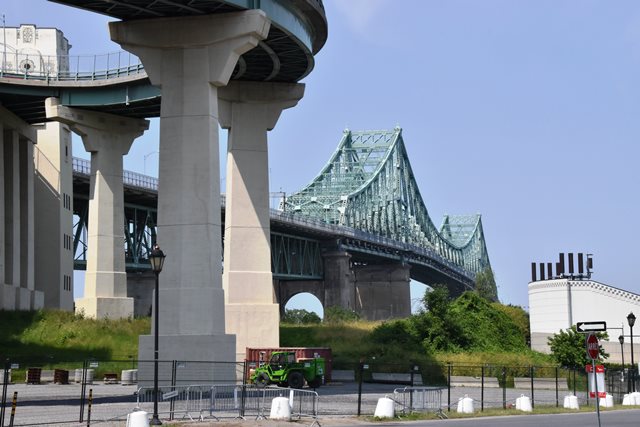
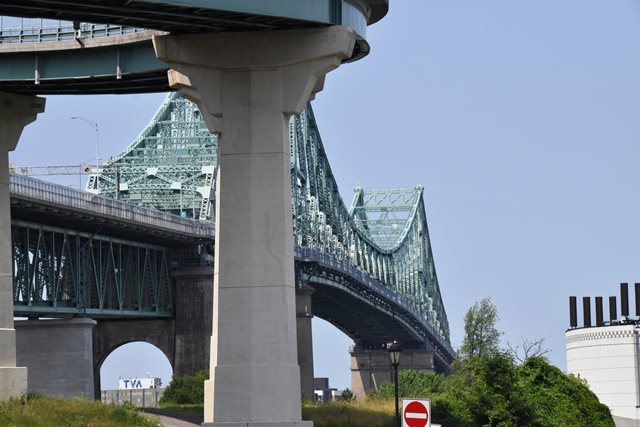
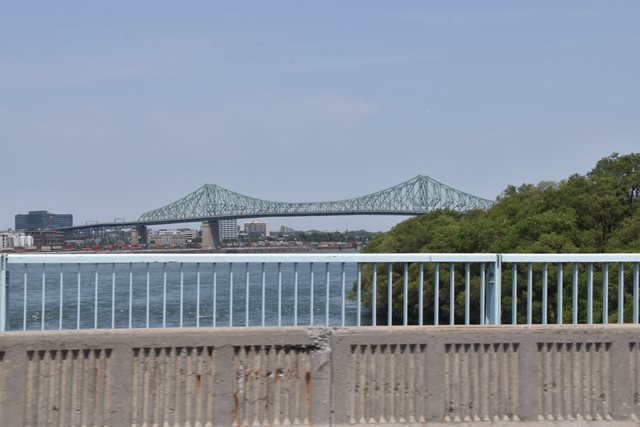
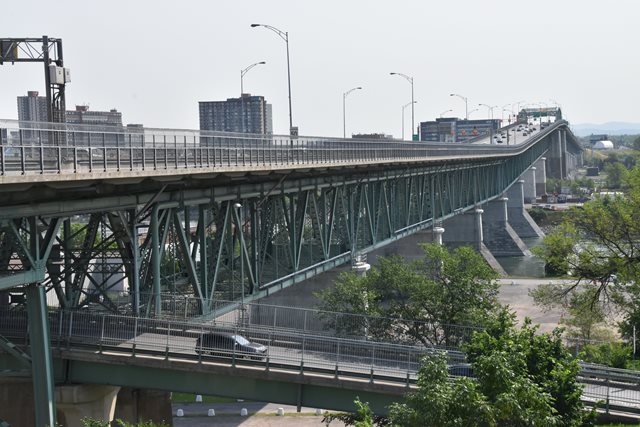
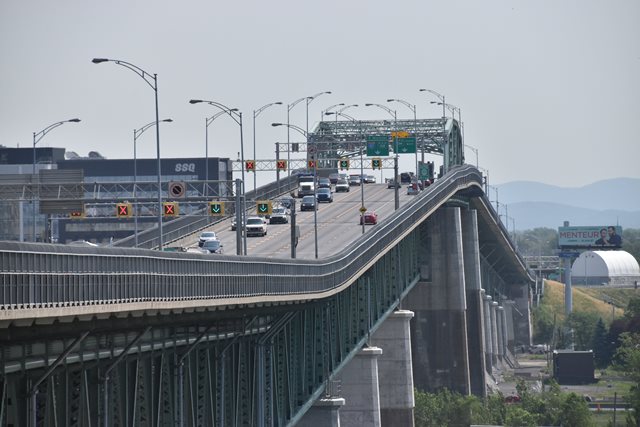
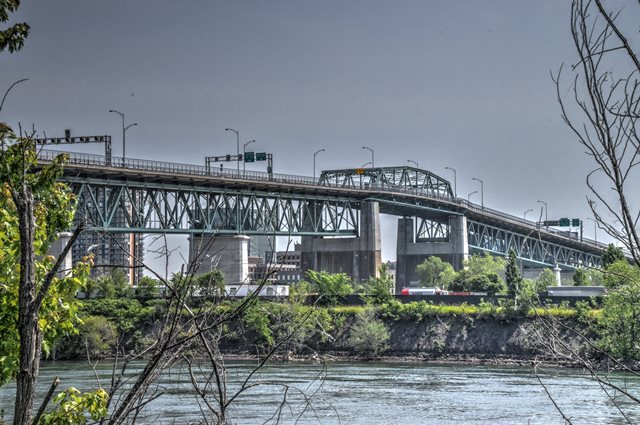
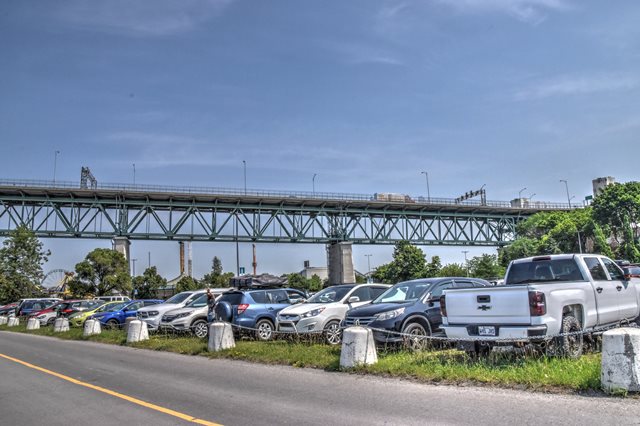
View of main river spans from south island ramp.
![]()


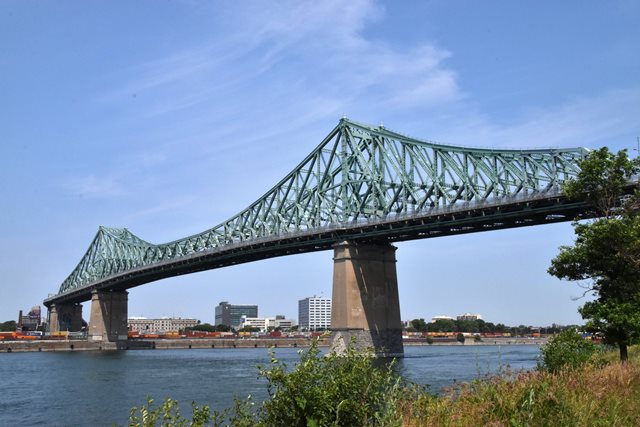


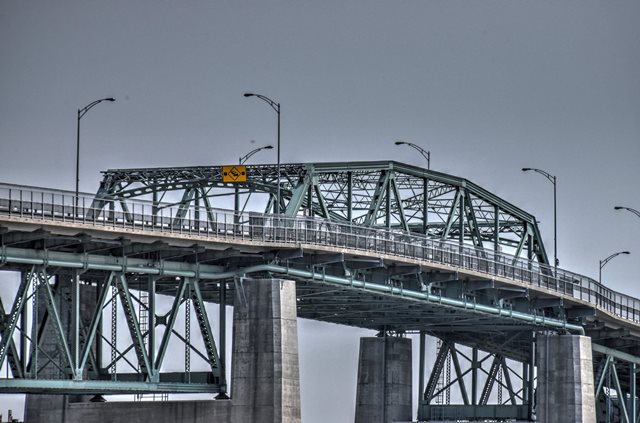
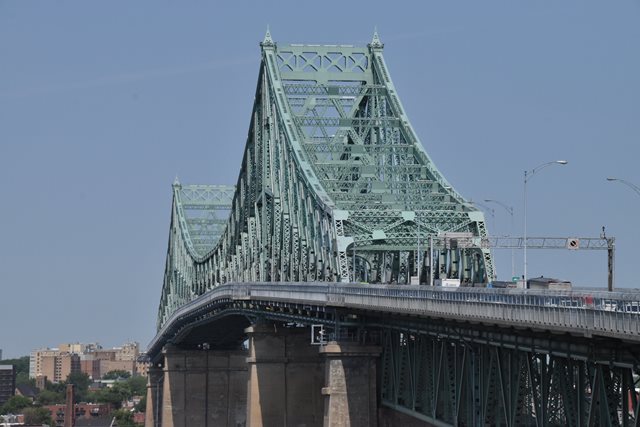
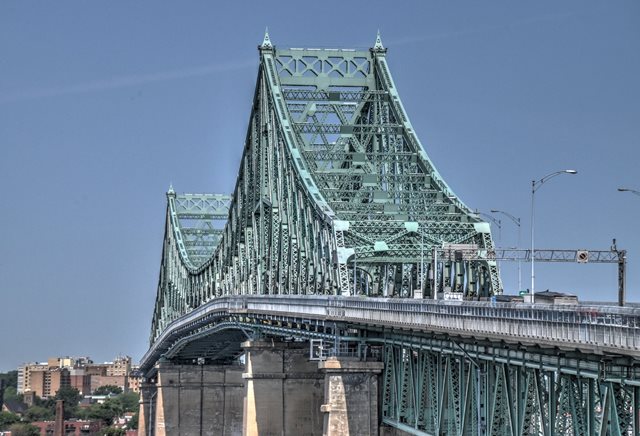
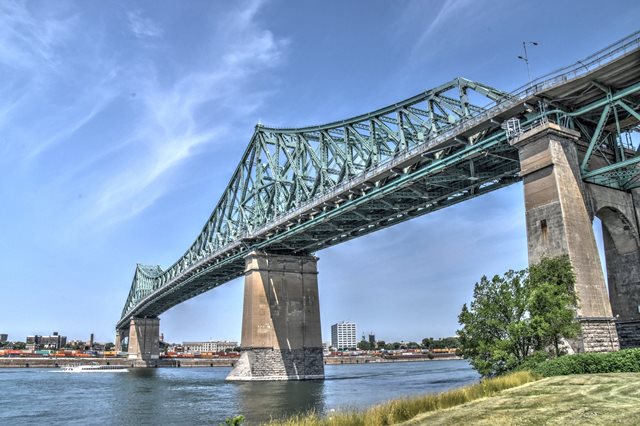
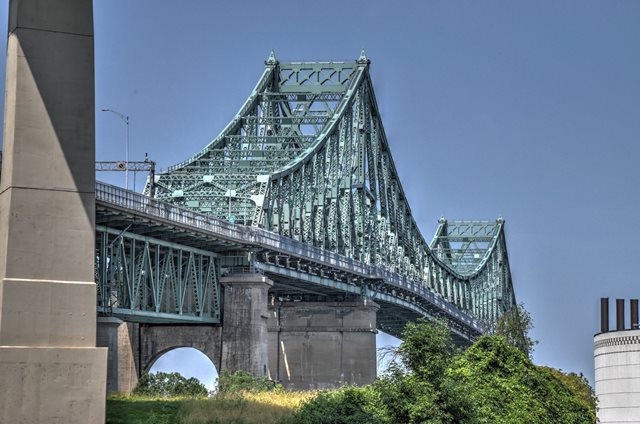
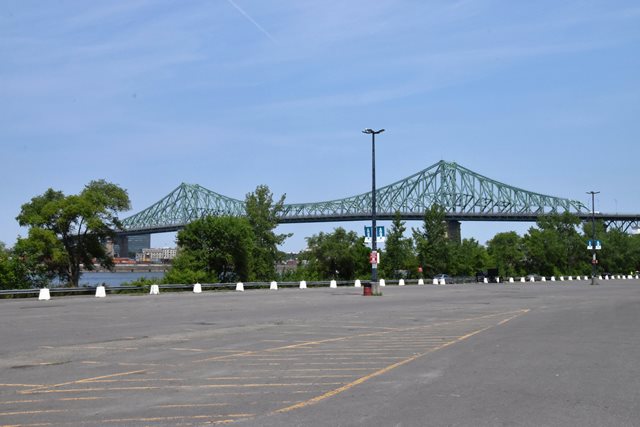
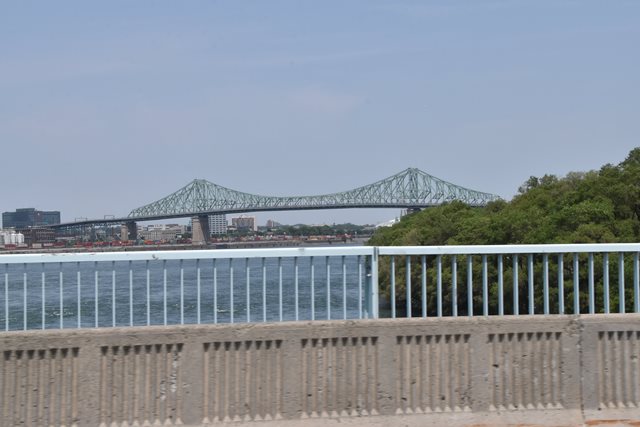
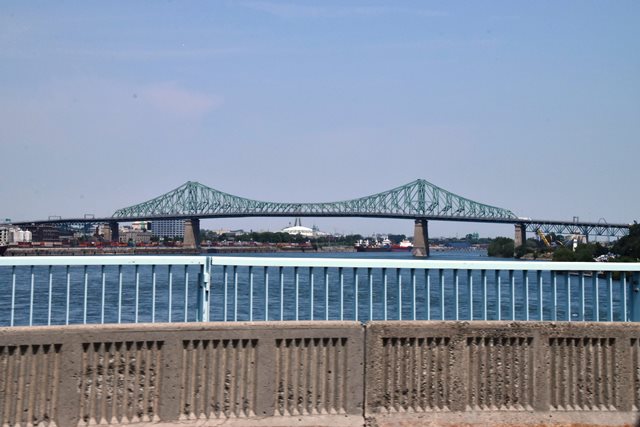
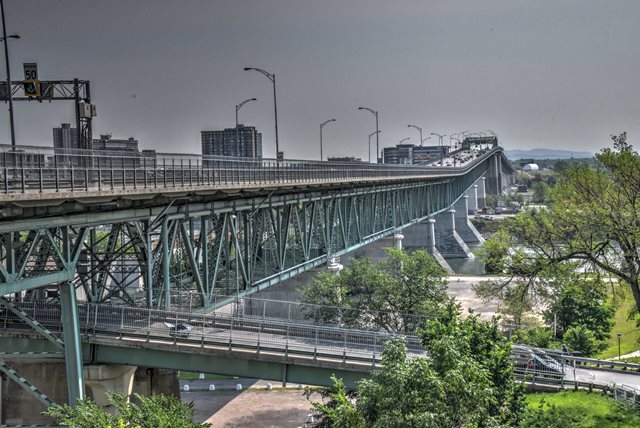
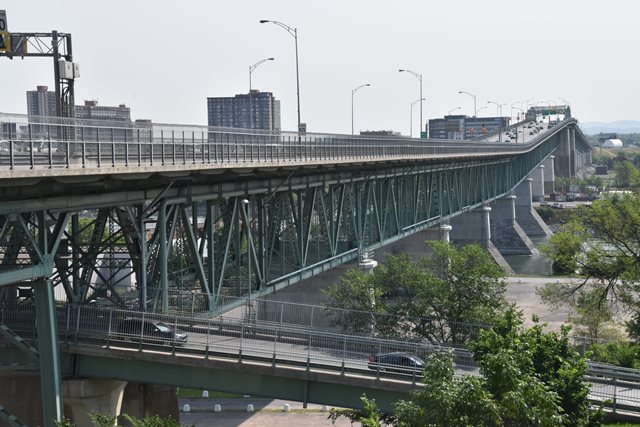
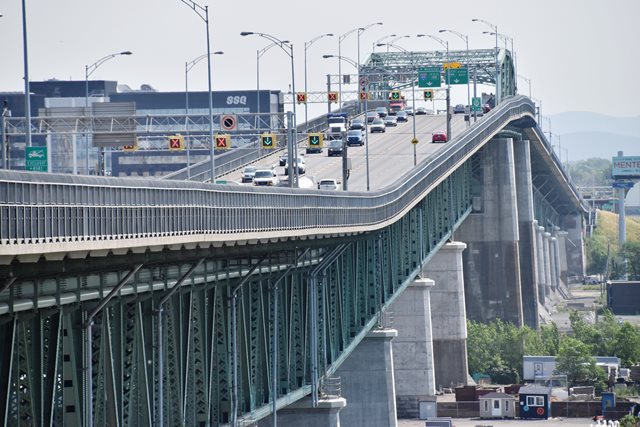
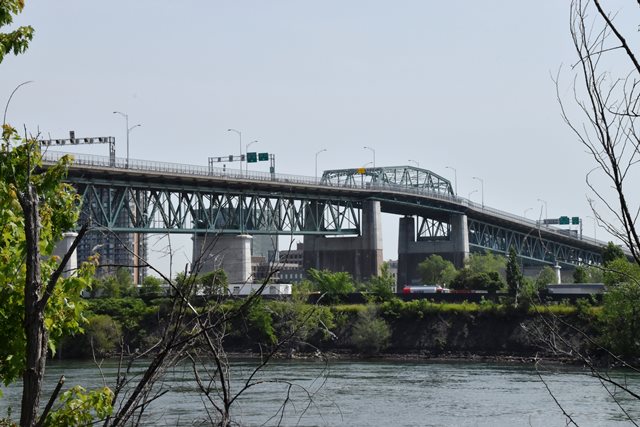
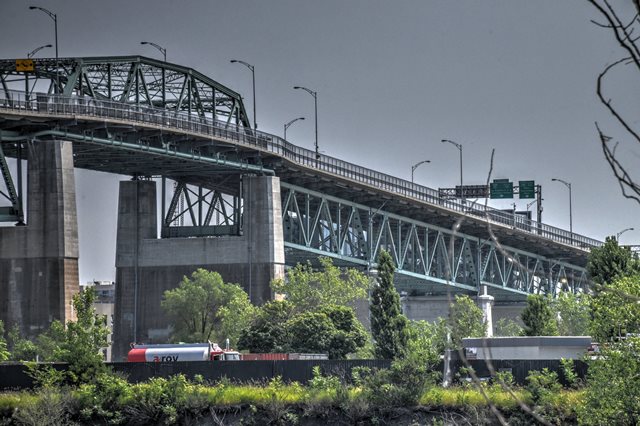
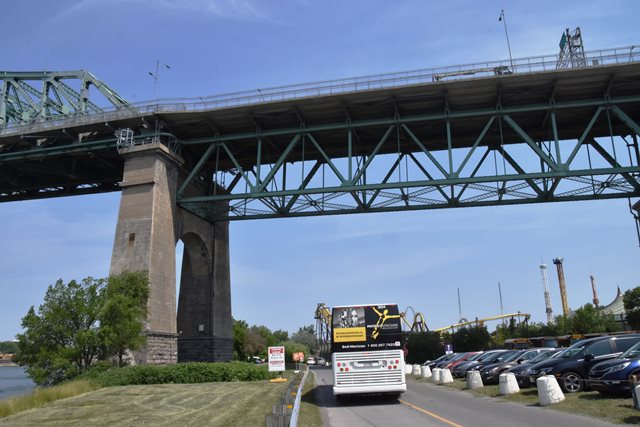
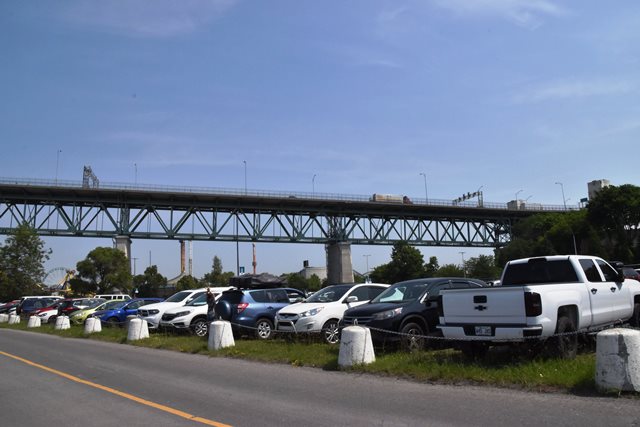
South elevation from island.
![]()

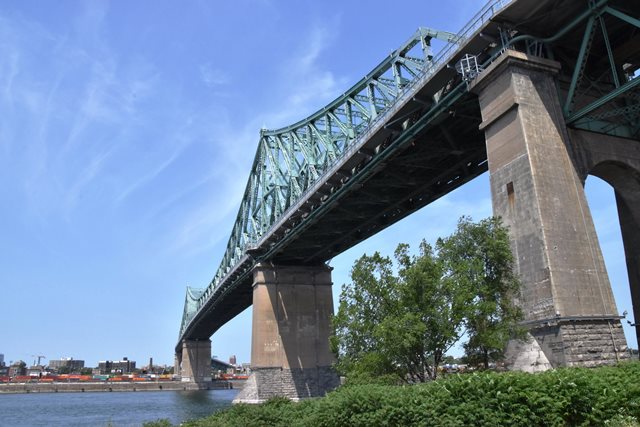


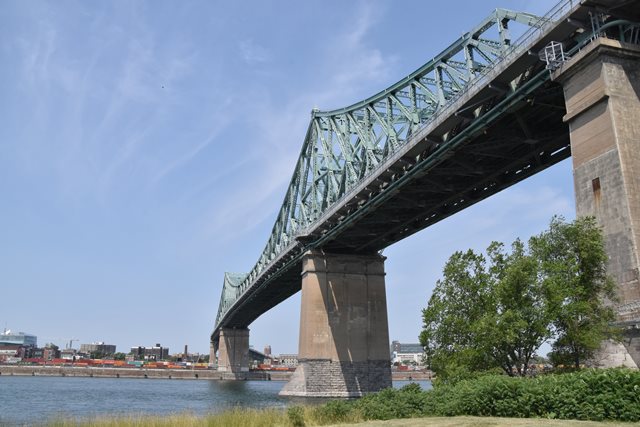

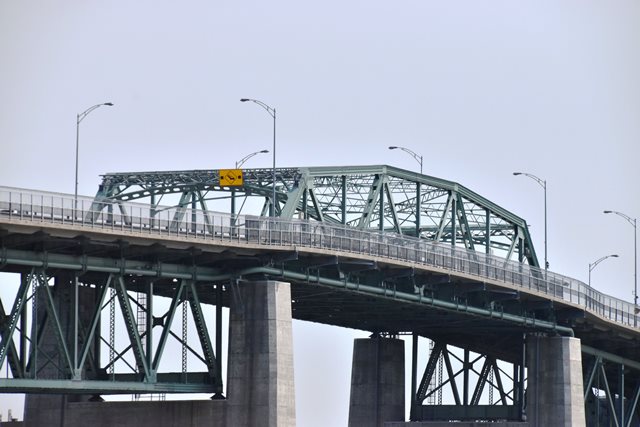
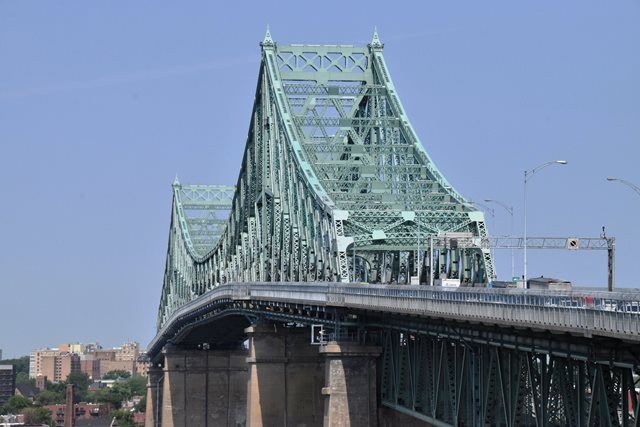
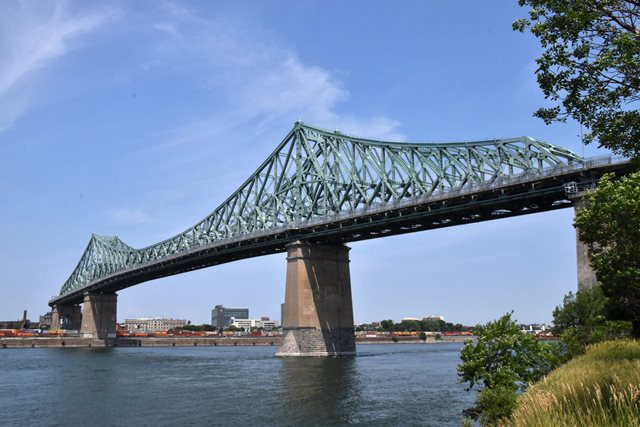
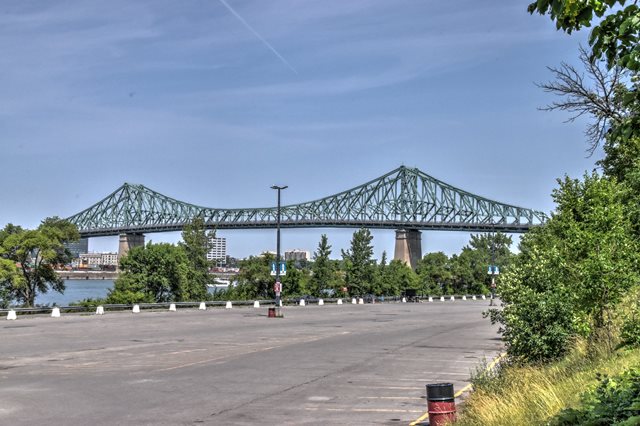
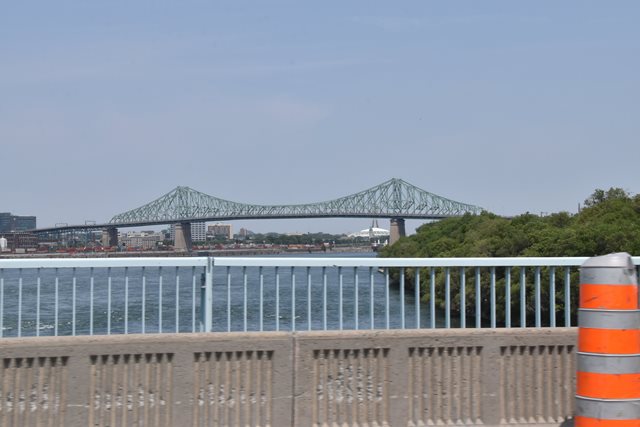
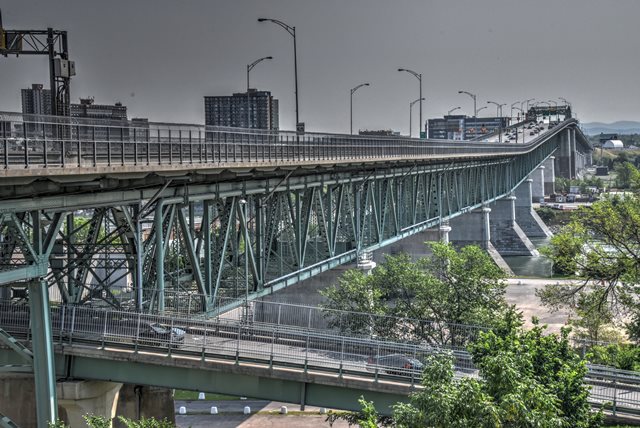
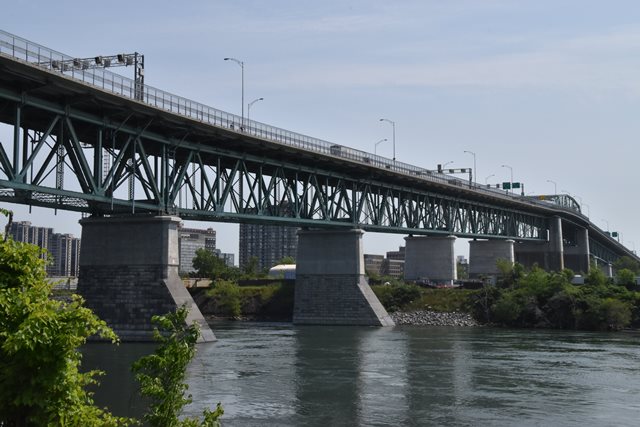
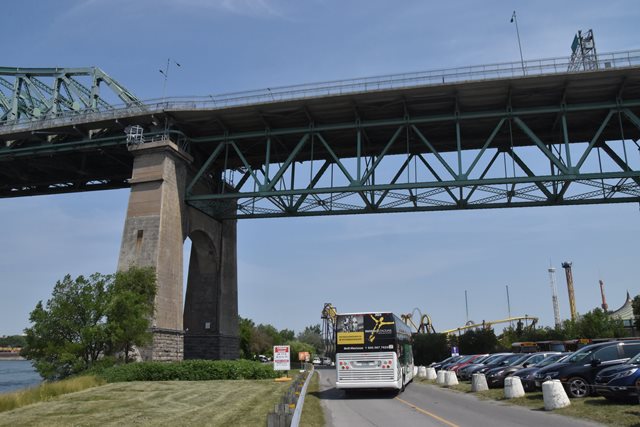
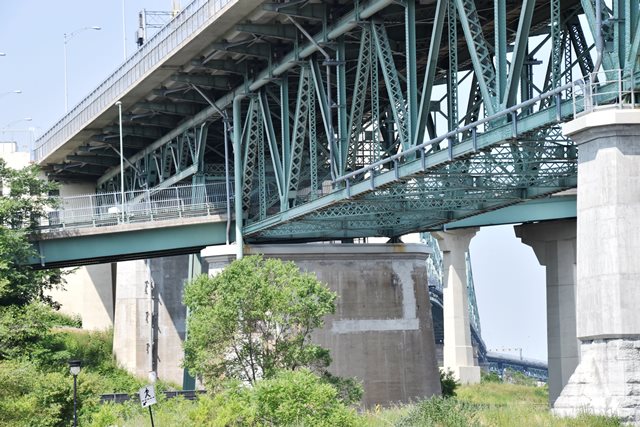
View beside bridge from island, south elevation.
![]()
![]()
![]()
![]()
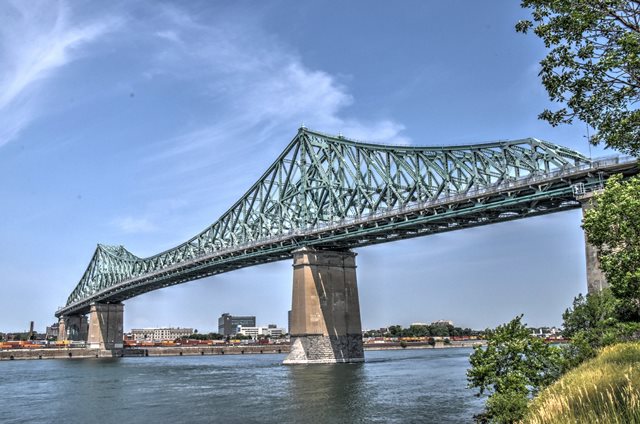
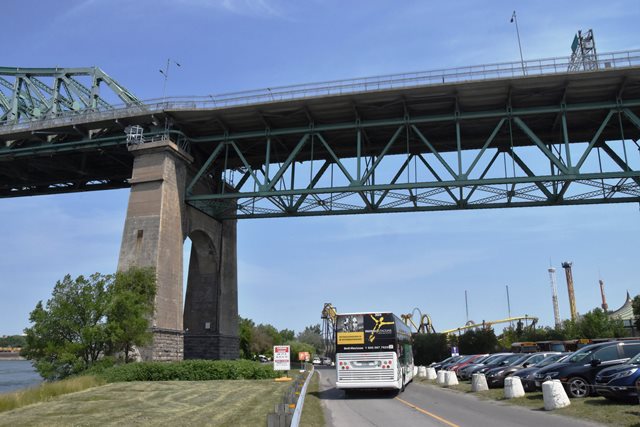
Panoramic view beside bridge from island, south elevation.
![]()
![]()
![]()
![]()
![]()
Panoramic south elevation from island.
![]()


Oblique view from island, north elevation.
![]()


Distant south elevation from island.
![]()

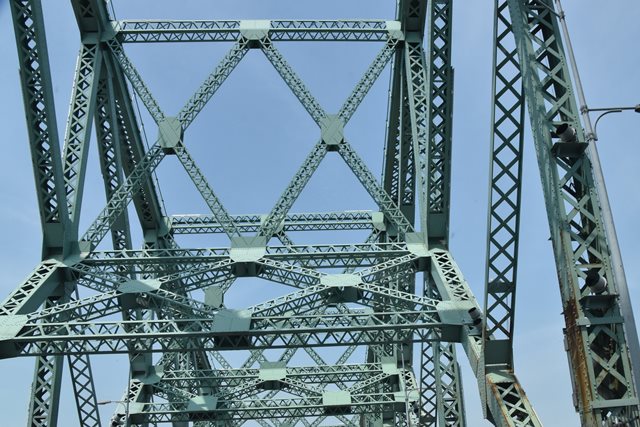
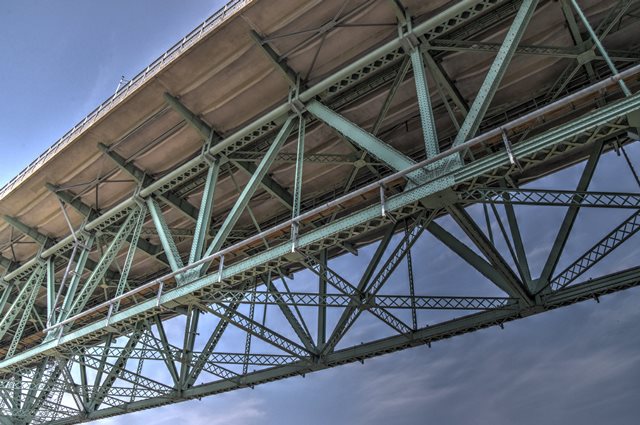
Looking up at main span.
![]()


Distant south elevation of river span.
![]()


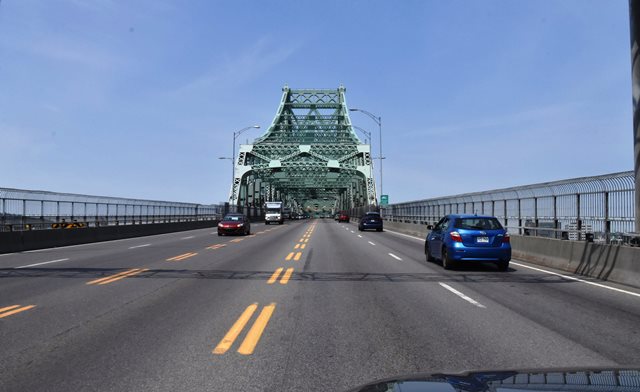


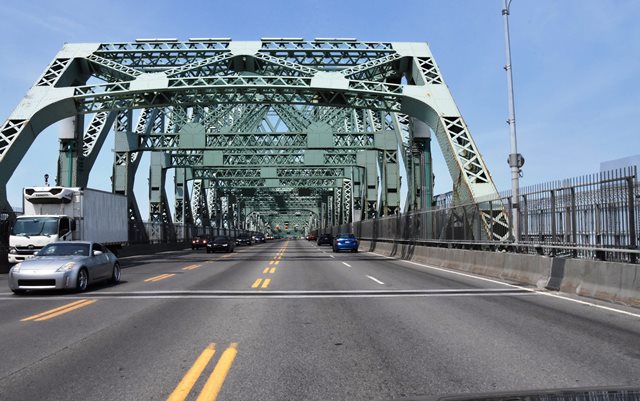


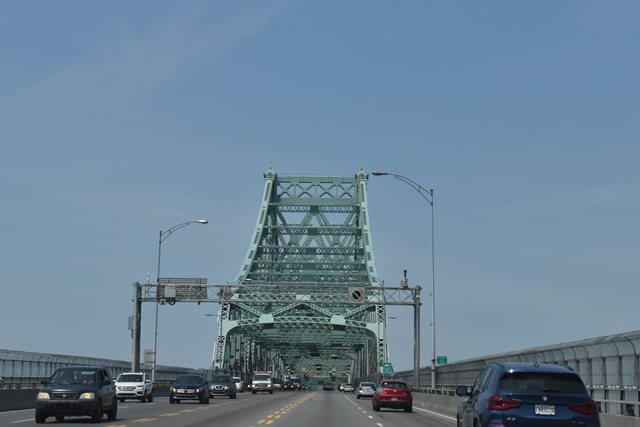


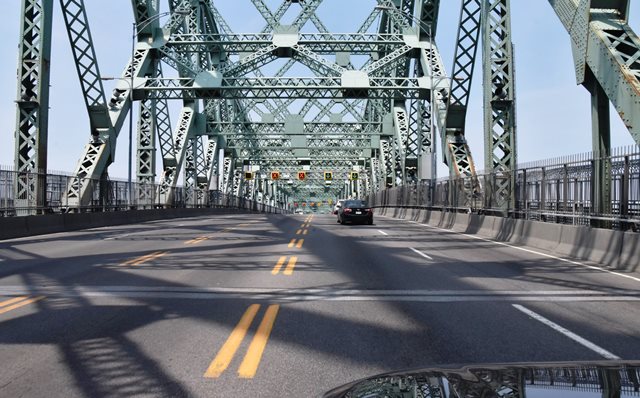
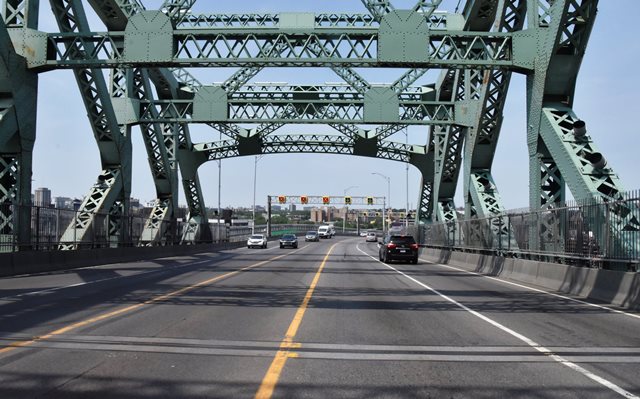
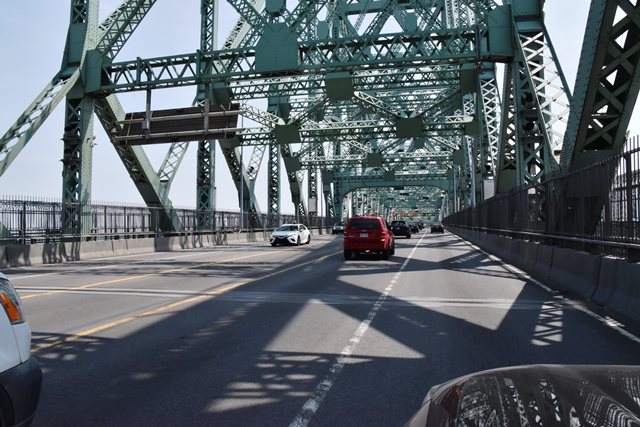
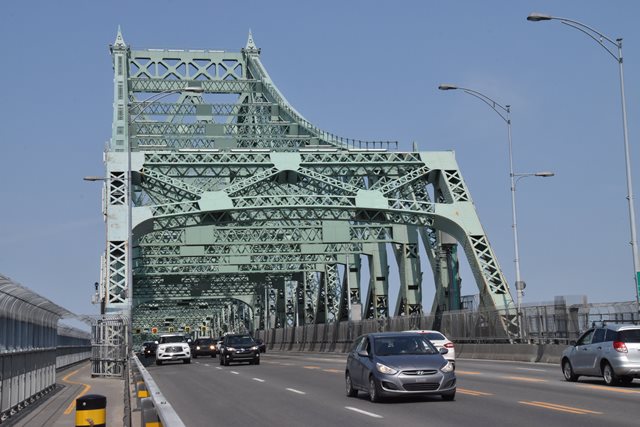
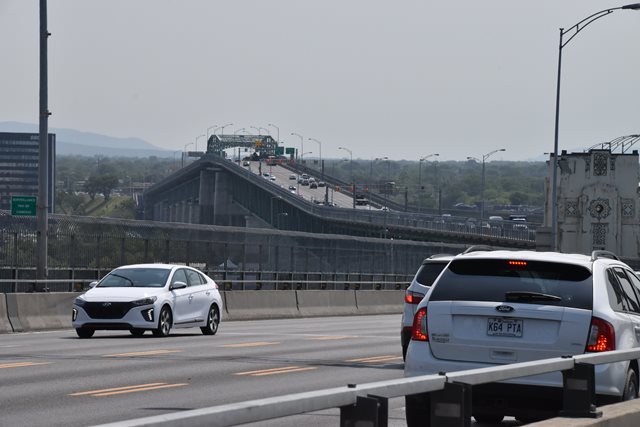
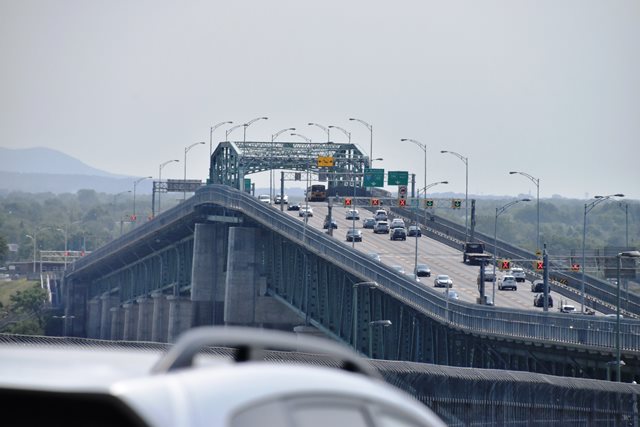
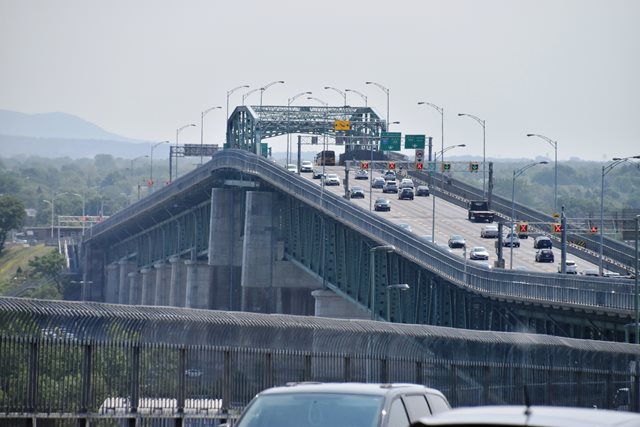
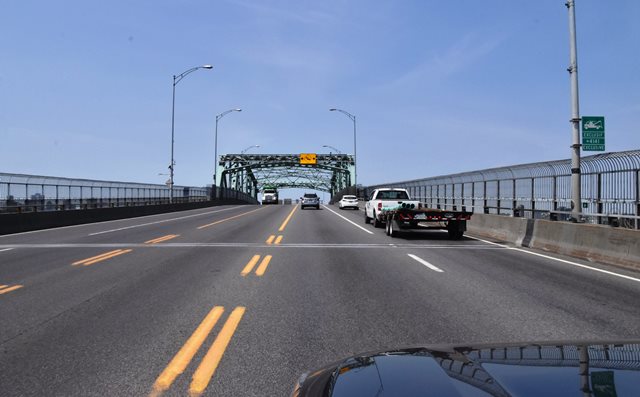
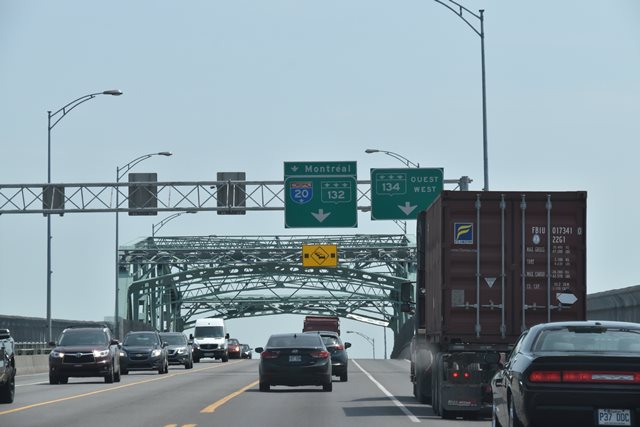
Driving westbound approaching river spans.
![]()


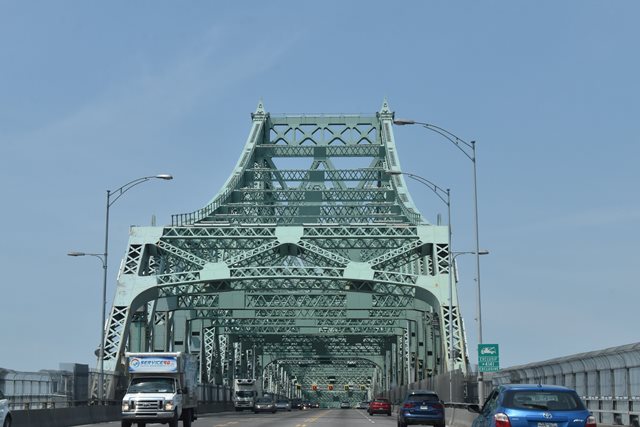
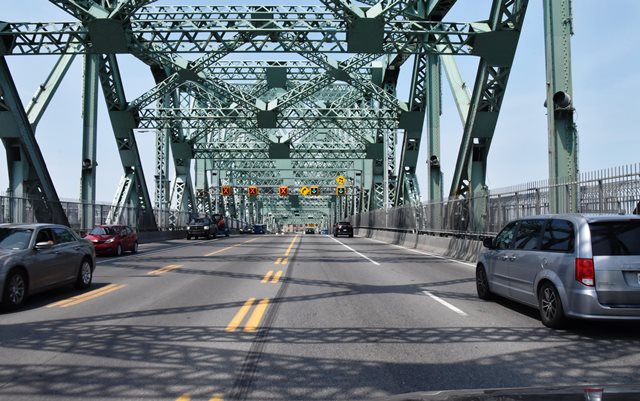
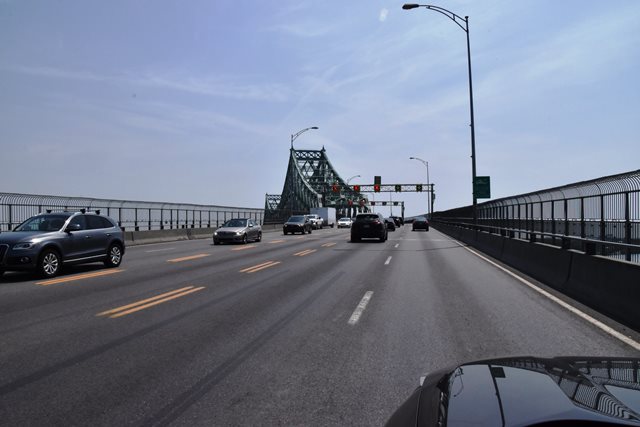
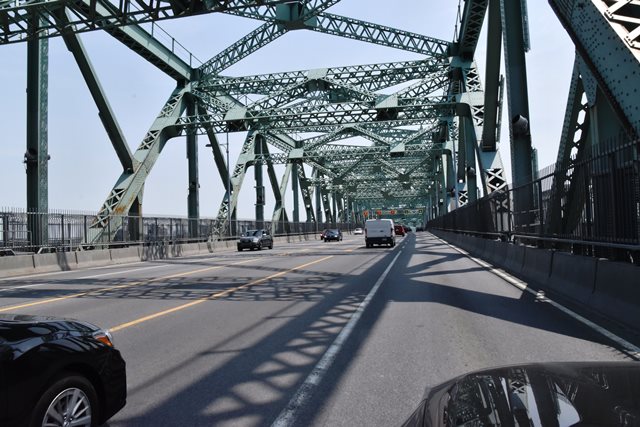
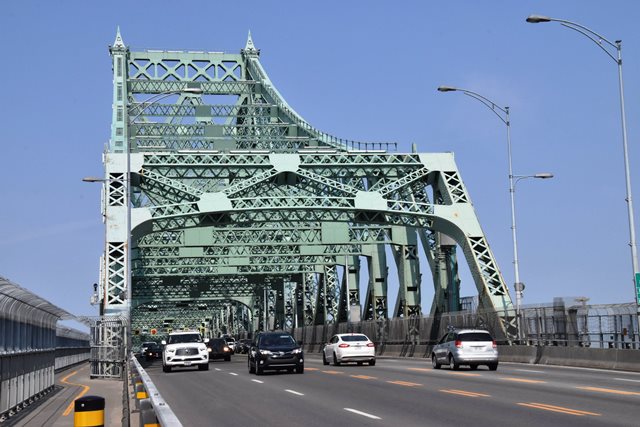
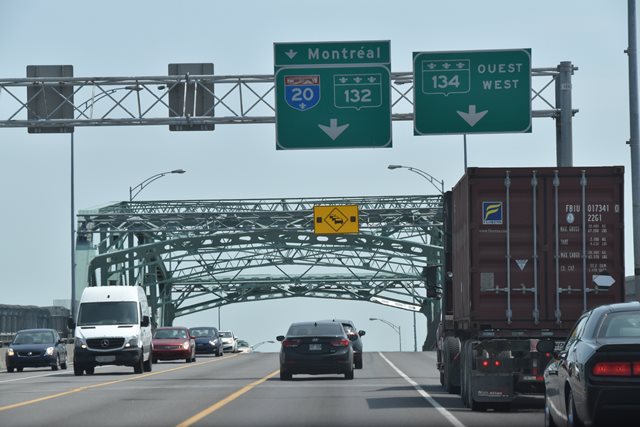
Driving westbound over river spans, on east anchor arm.
![]()


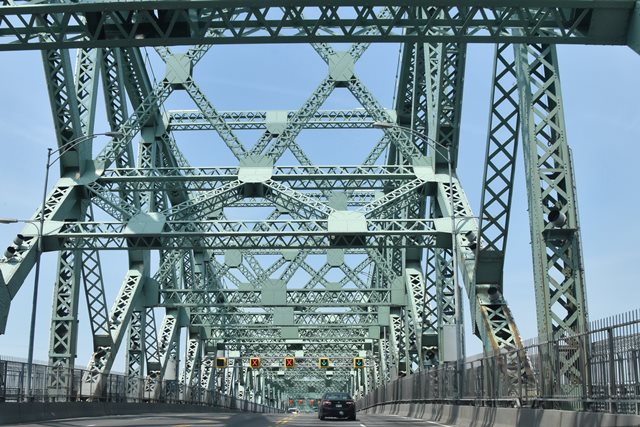


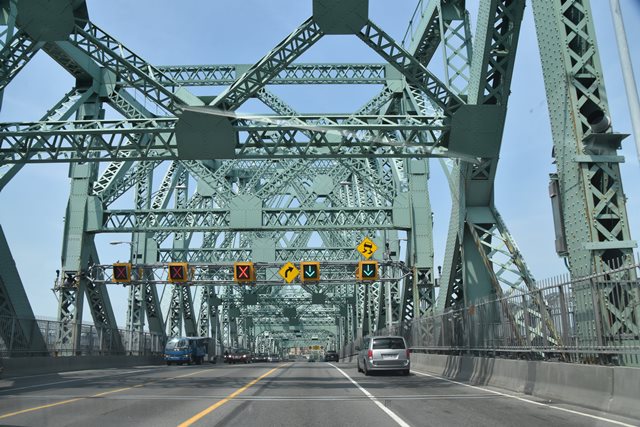
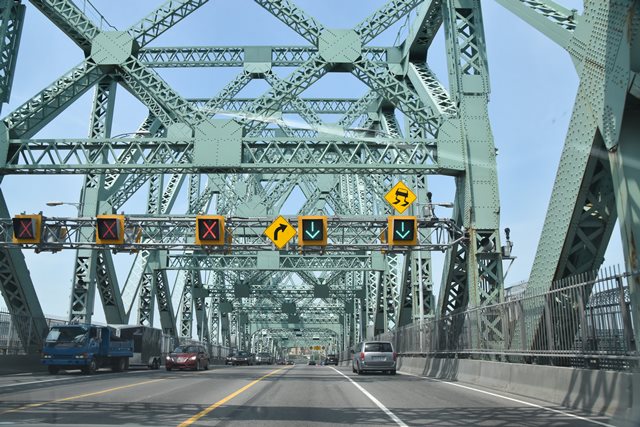


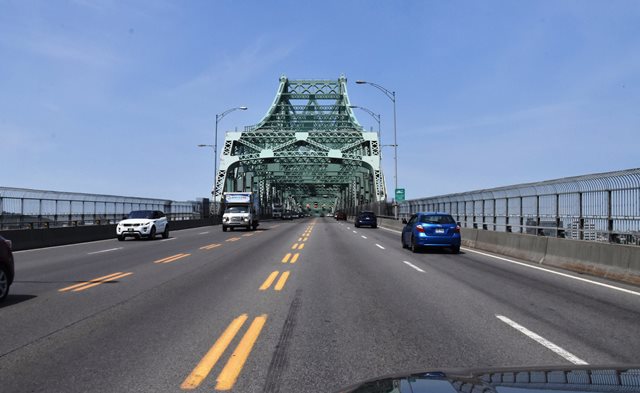
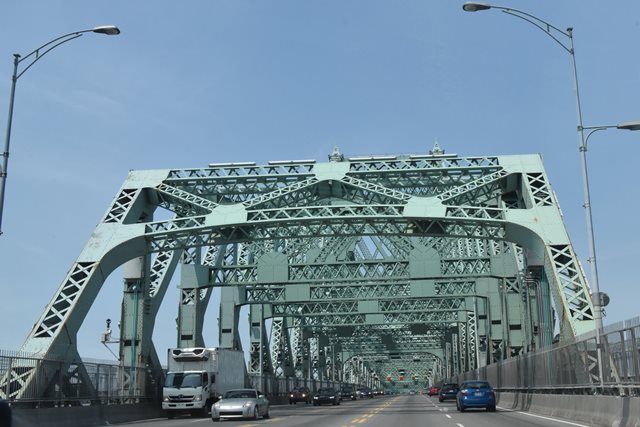
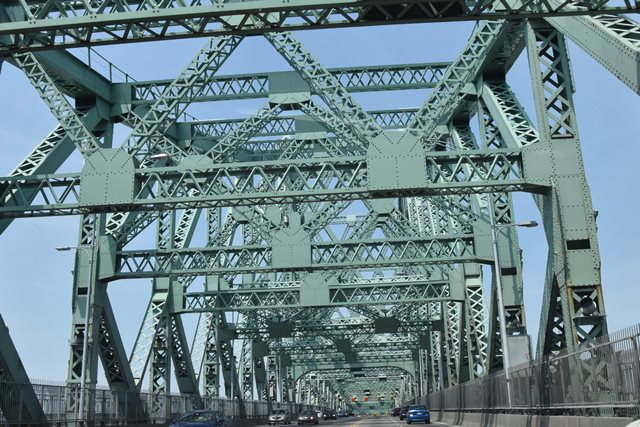
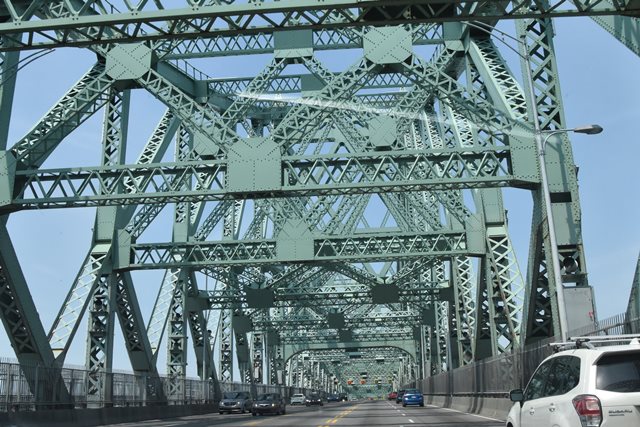
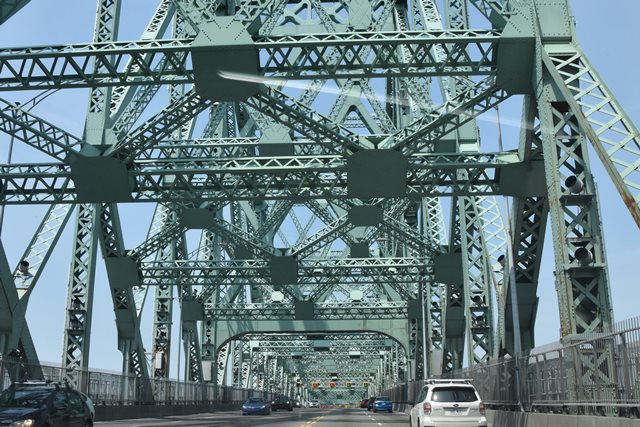
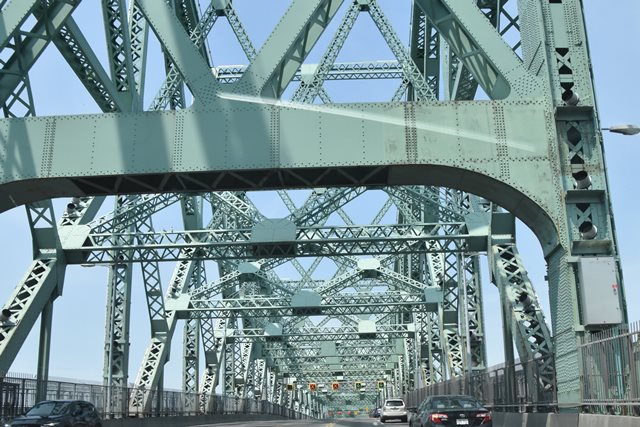
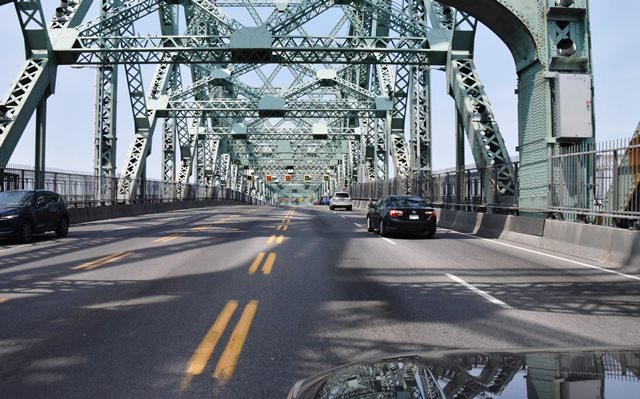
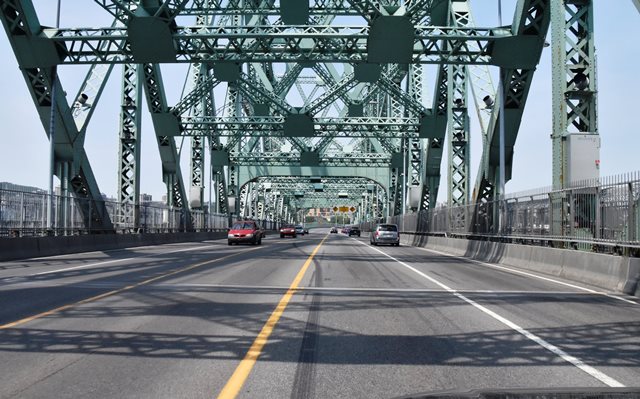
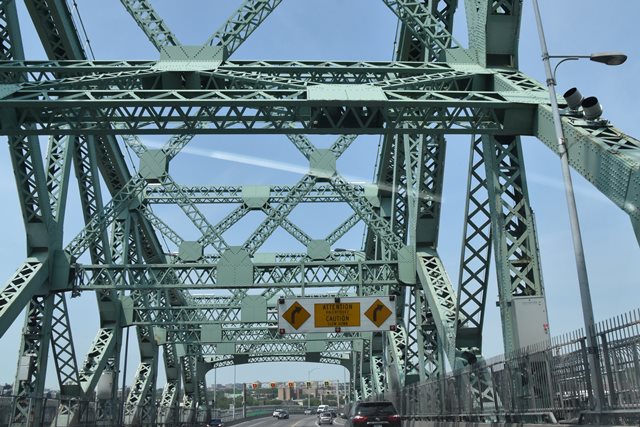
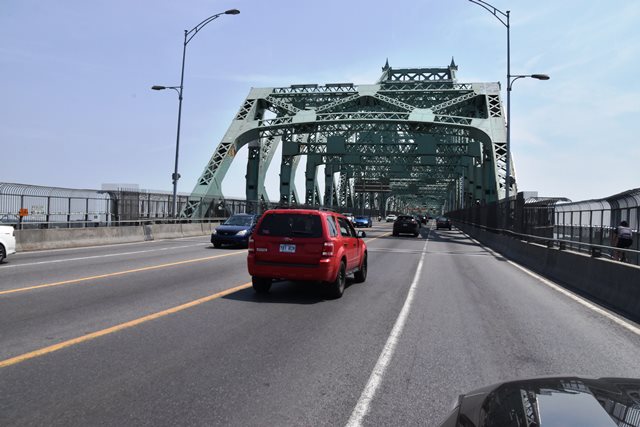
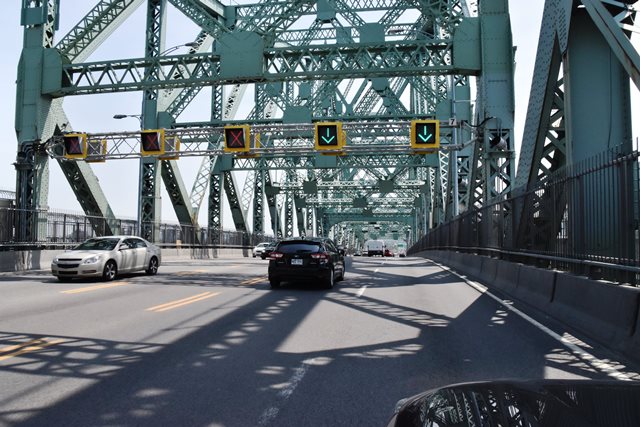
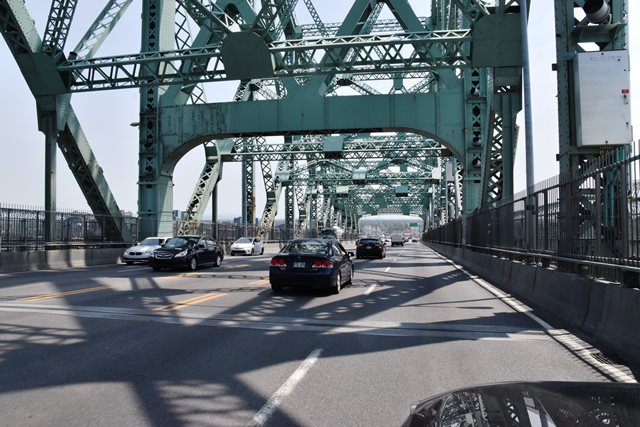
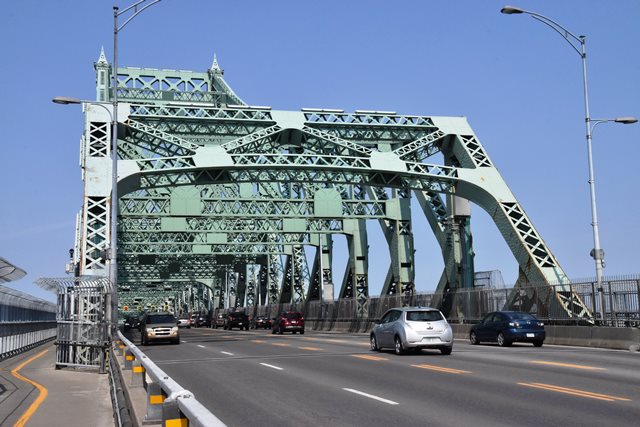
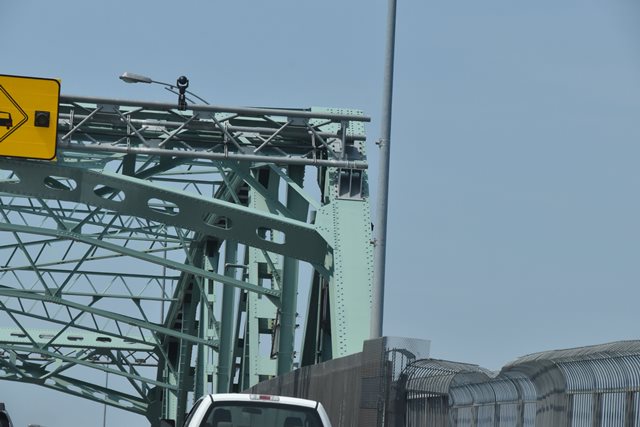
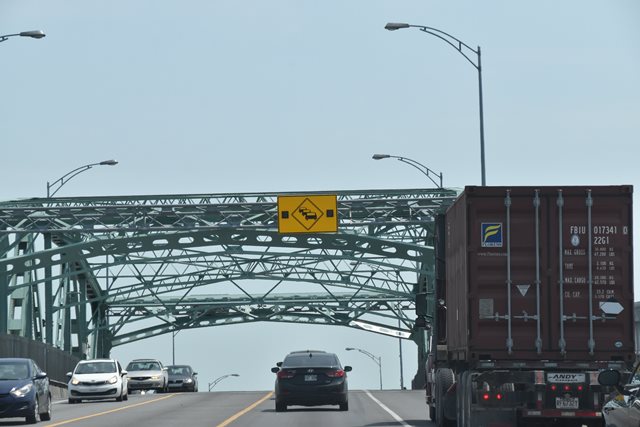
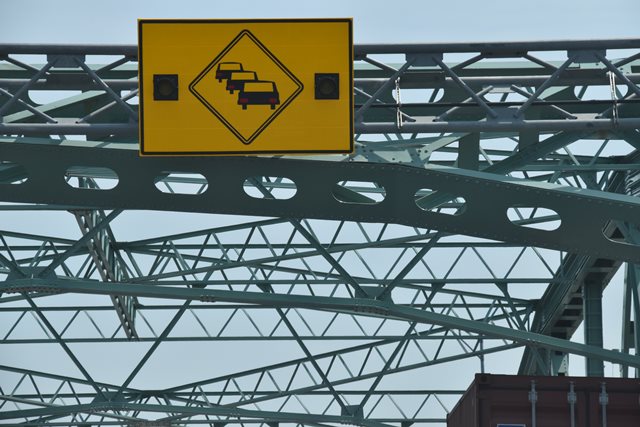
Driving westbound over river spans, on cantilever span, in-car views.
![]()


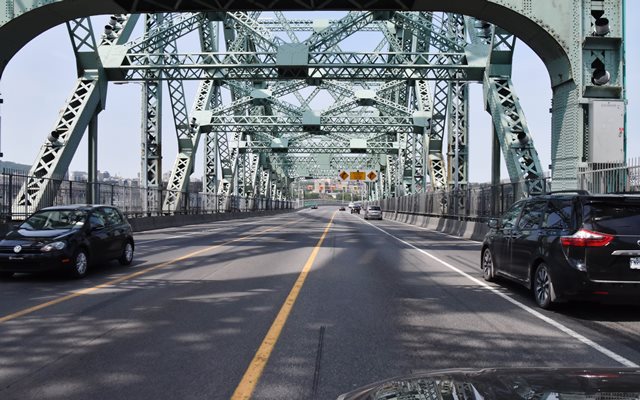
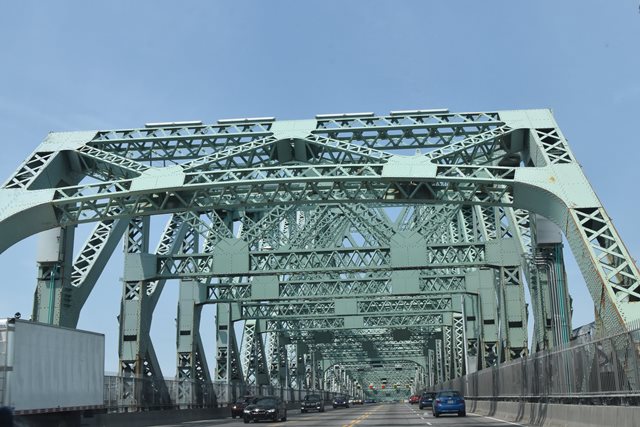
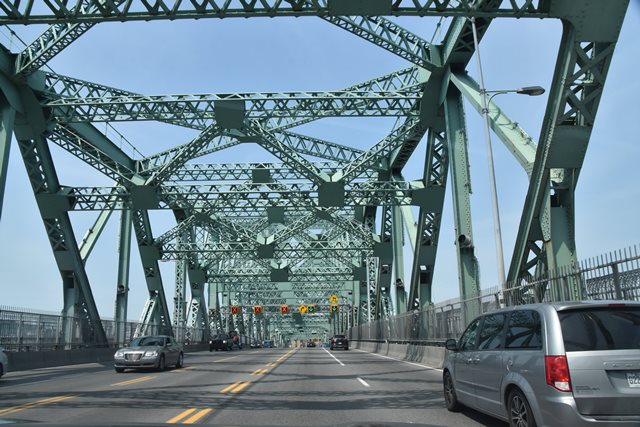
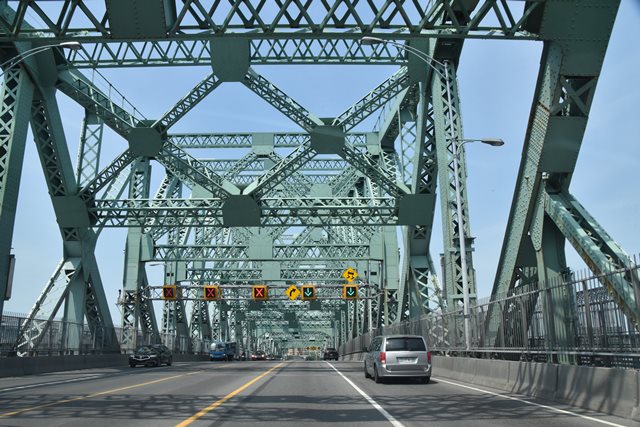
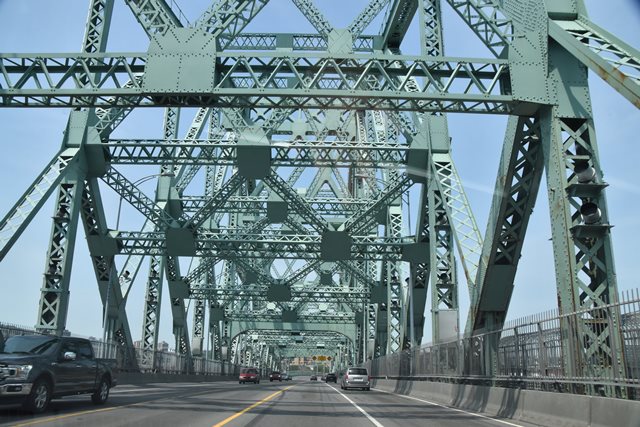
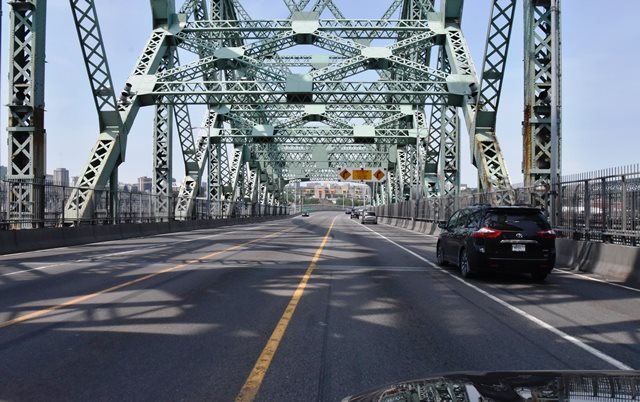
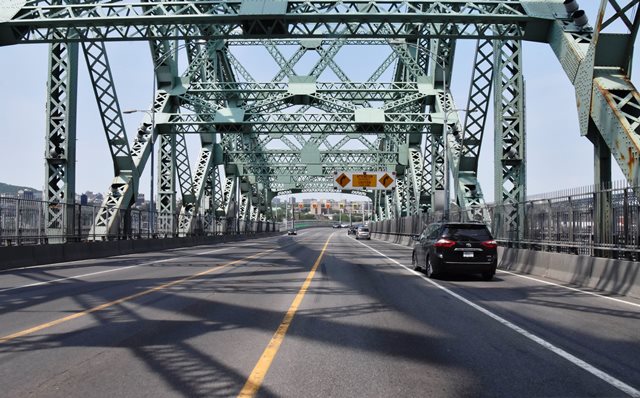
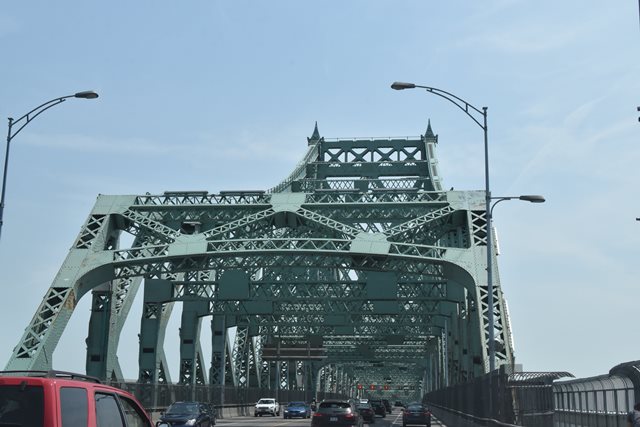
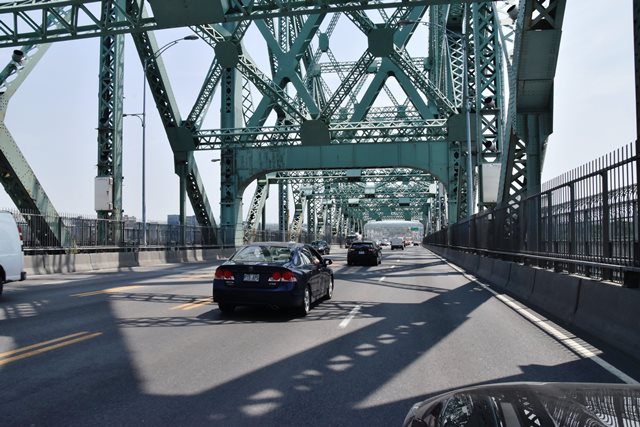
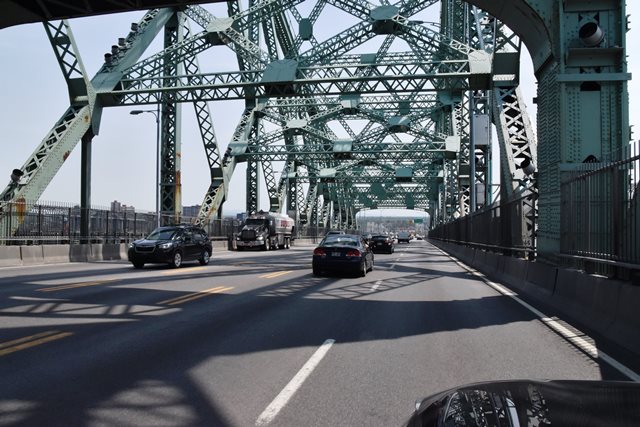
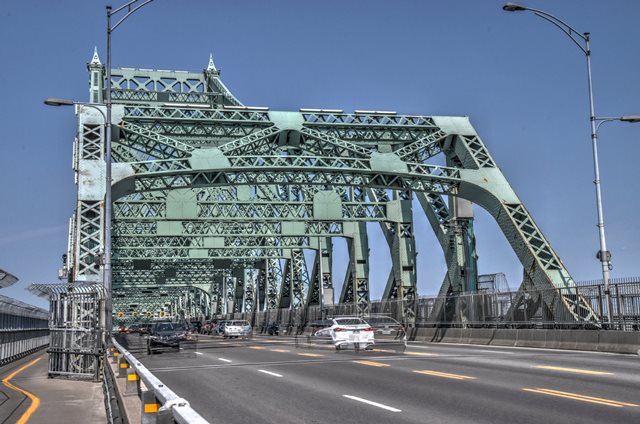
Driving westbound over river spans, on cantilever span, beside-car views.
![]()


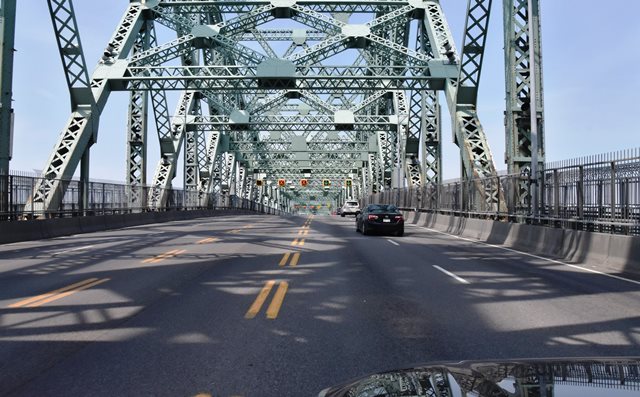
Driving westbound over river spans, on west anchor arm.
![]()


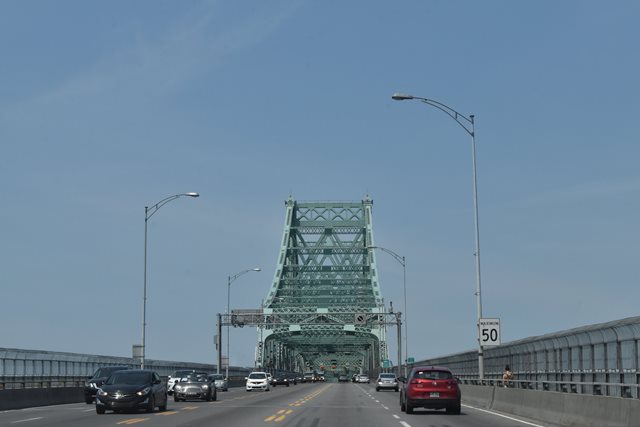
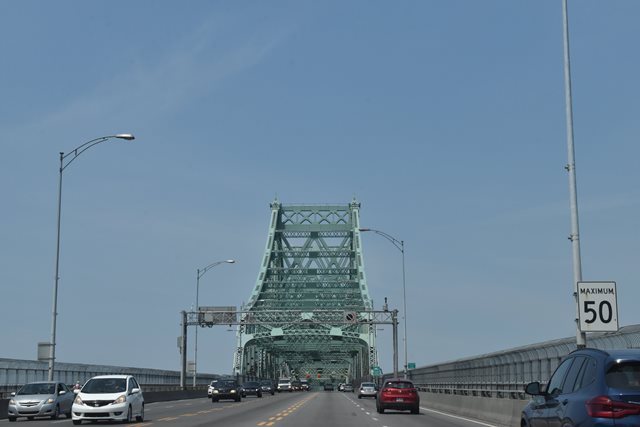
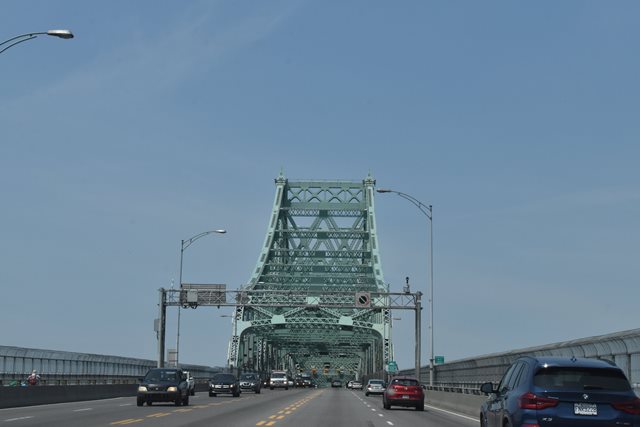
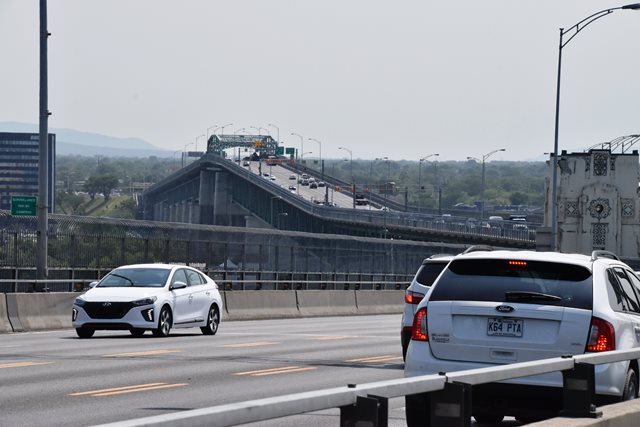
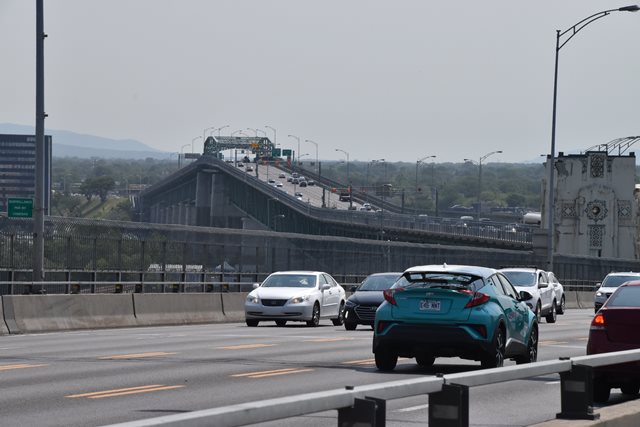
Driving eastbound approaching river spans.
![]()


Driving eastbound over river spans.
![]()


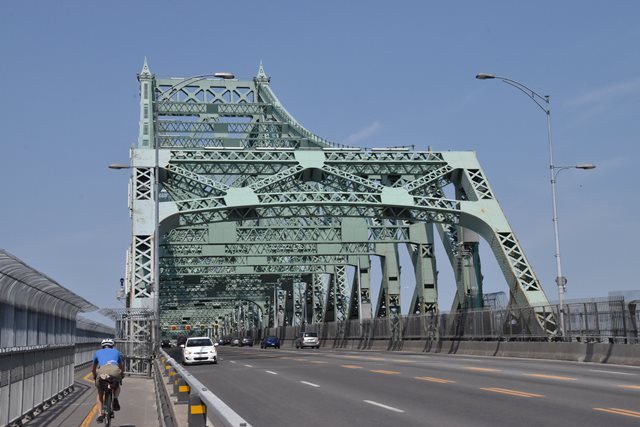
Distant portal views from sidewalk facing west.
![]()


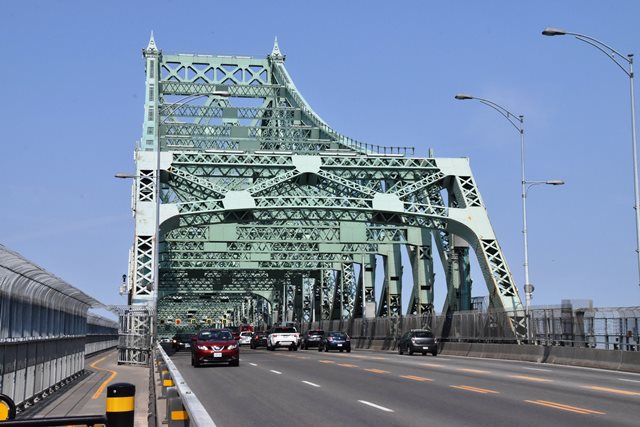


Portal views from sidewalk facing west.
![]()
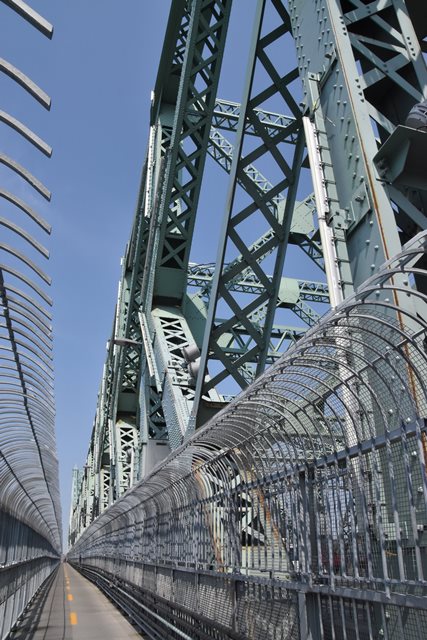
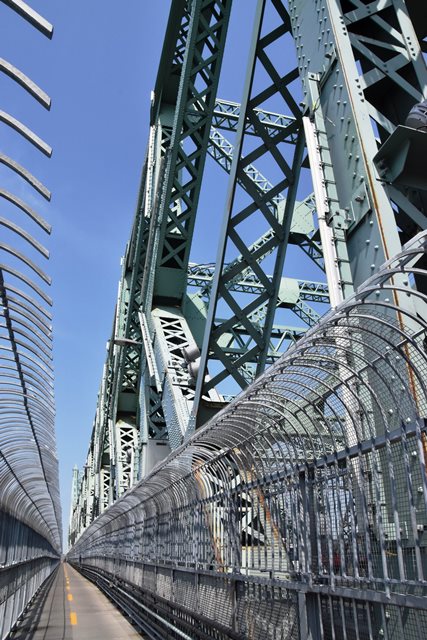
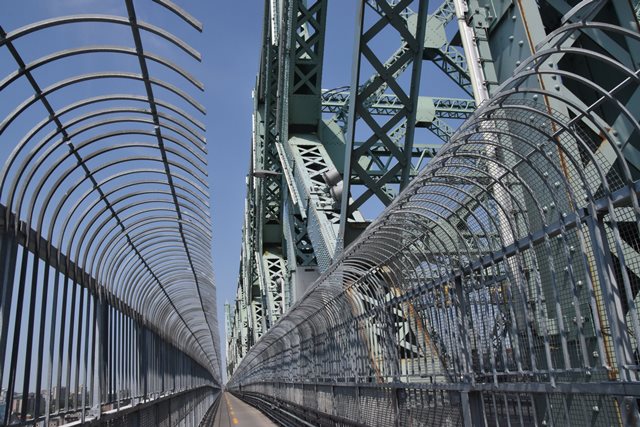
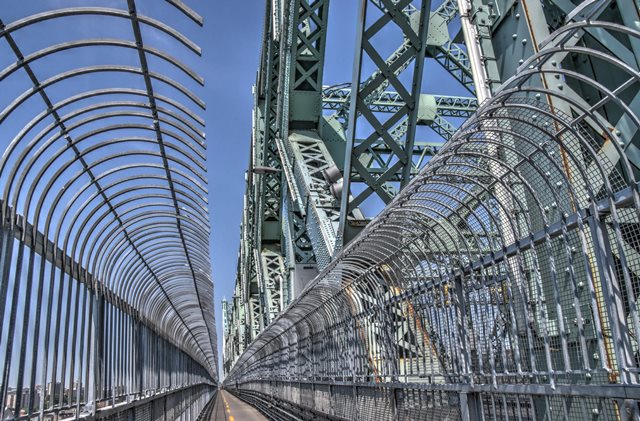
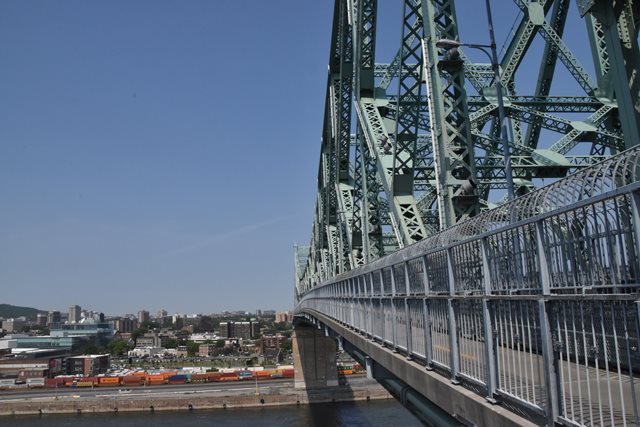
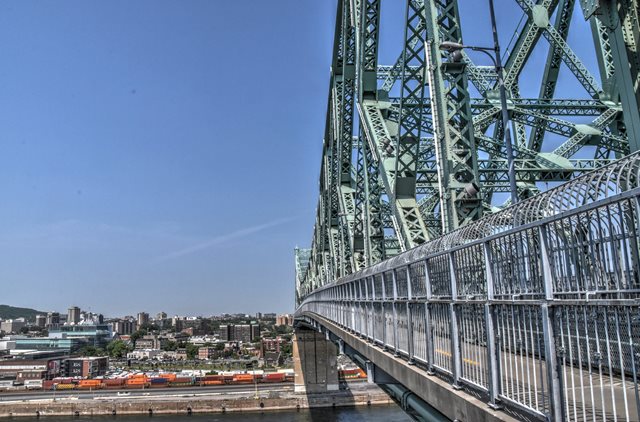
Views on sidewalk.
![]()


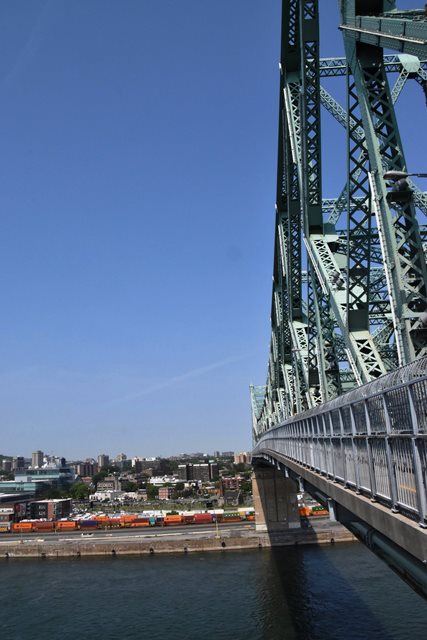
Cantilever span as viewed from sidewalk outlook.
![]()

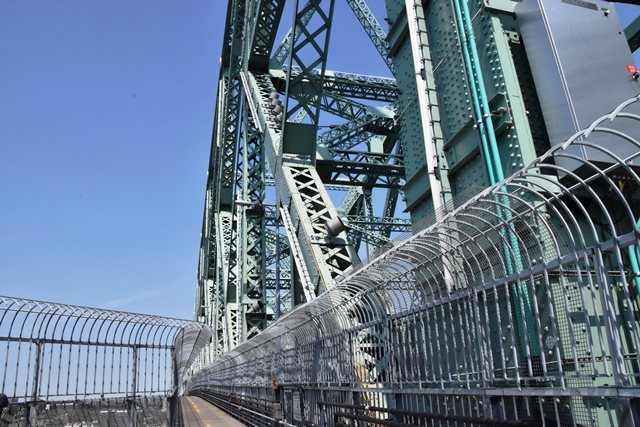

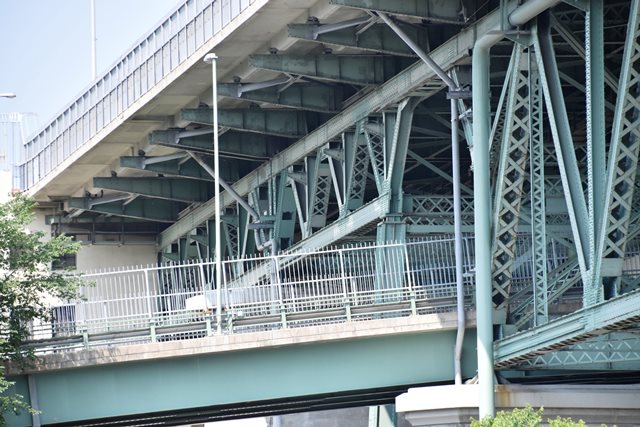
View of truss web as seen from on bridge.
![]()

View from island.
![]()

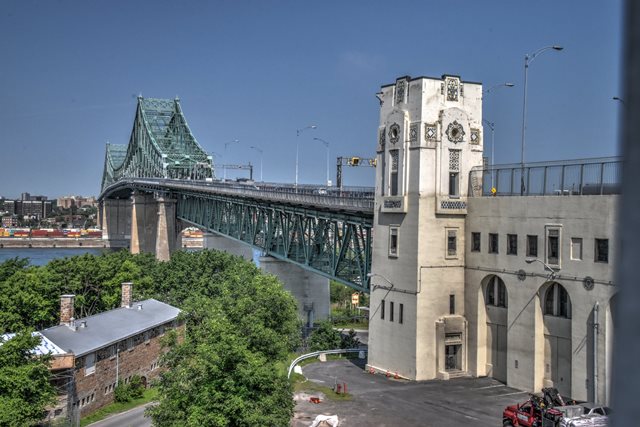
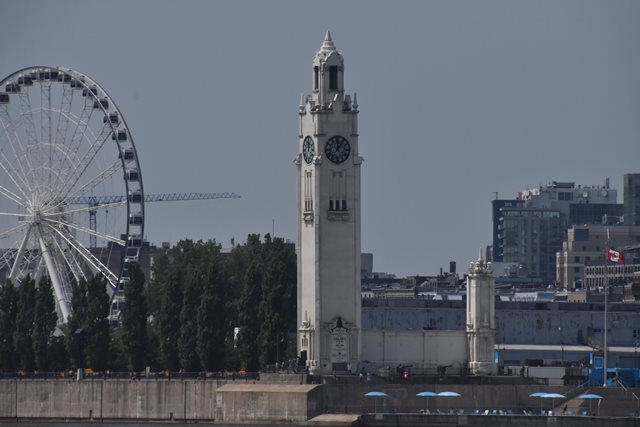
Lighthouse near bridge.
![]()


Scenery at bridge.
![]()

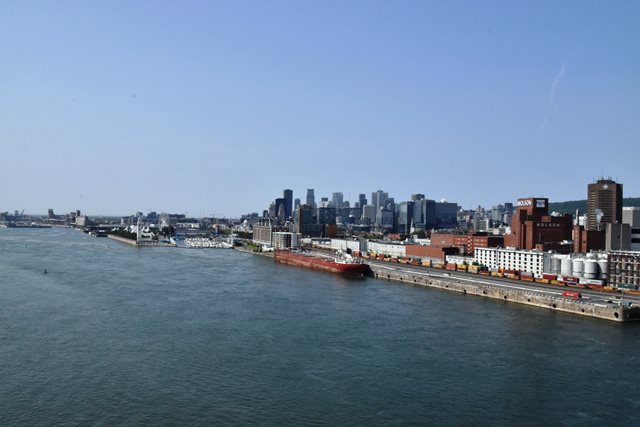
Views from bridge.
![]()
Canal Bridge Overview Photos
![]()


View beside canal bridge from south island ramp.
![]()


Oblique view of canal bridge from river bridge.
![]()

South elevation from island.
![]()


South view beside bridge from island.
![]()
Main span over canal as seen from island, south elevation.
![]()

Eastern approach spans seen from island, south elevation.
![]()


Driving westbound over canal span.
![]()


Driving eastbound over canal span.
![]()


Views of overhead bracing on canal span.
![]()
West Approach Overview Photos
![]()
Note: Due to time limitations this section of the bridge was not fully documented by HistoricBridges.org.
![]()
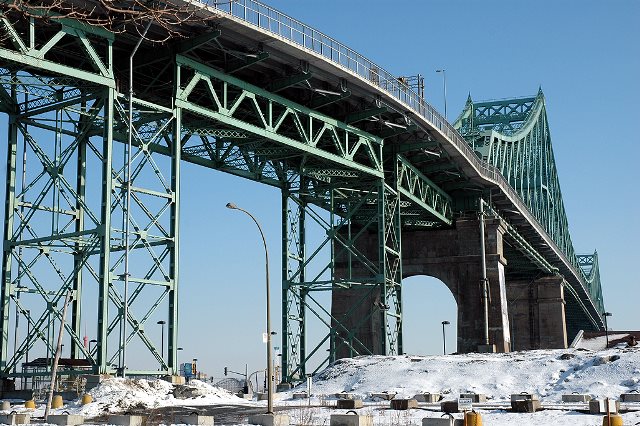
Photo Credit: Caribb, CC BY-NC-ND 2.0, https://flickr.com/photos/caribb/92277529/
View beside bridge showing western approach spans.
![]()

Photo Credit: Maxime FORT, CC BY-NC-ND 2.0, https://flickr.com/photos/maxime_fort/17431273063/
View beside bridge showing western approach spans.
![]()


West approach spans as seen from island, south elevation.
![]()
Island Deck Truss Spans Overviews
![]()


South elevation of island spans.
![]()


View beside deck truss spans over island.
![]()


Deck truss spans near where north ramp passes under them.
![]()


Deck truss web.
![]()
![]()

![]()