
Uncredited photos on this page taken by: Nathan Holth. Unless stated in a caption, all photos are Copyright with All Rights Reserved. Learn about reuse of our photos.
![]()


This informative sign next to the bridge explains how the bridge operates.
![]()
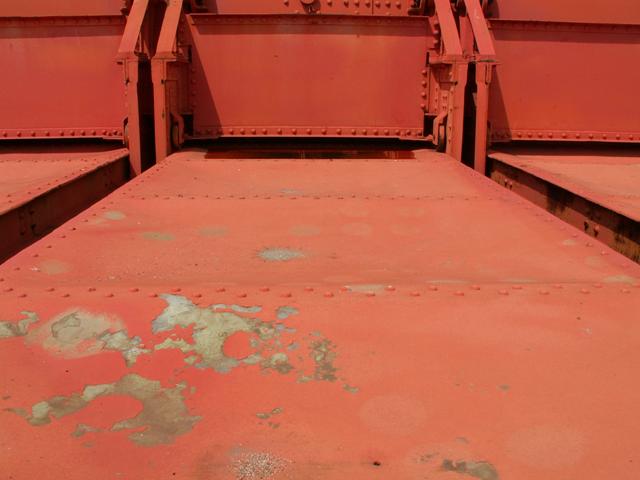
Views of the shutters.
![]()

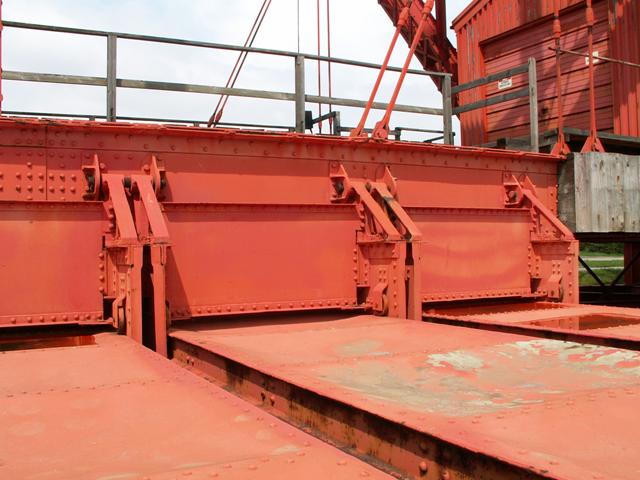
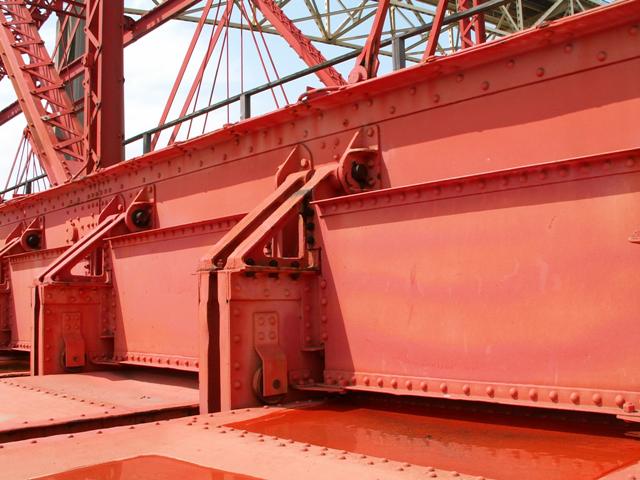
Views of the wickets.
![]()
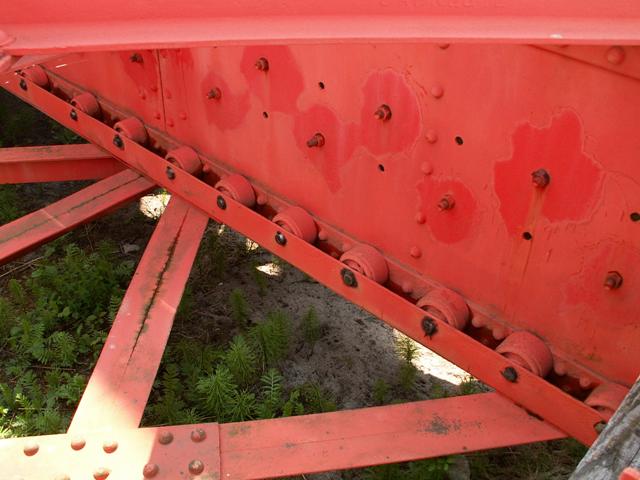
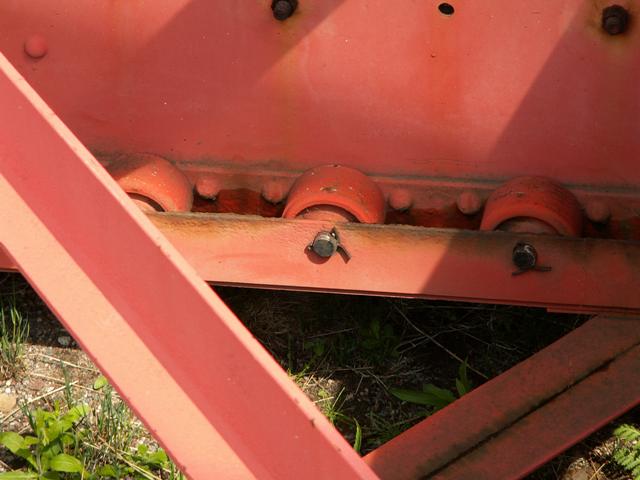
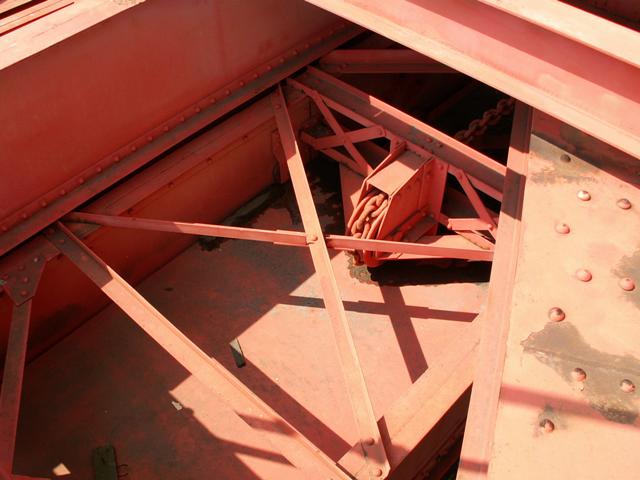
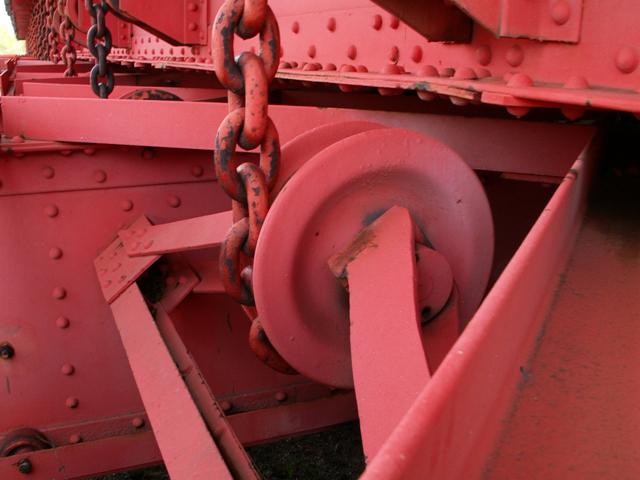

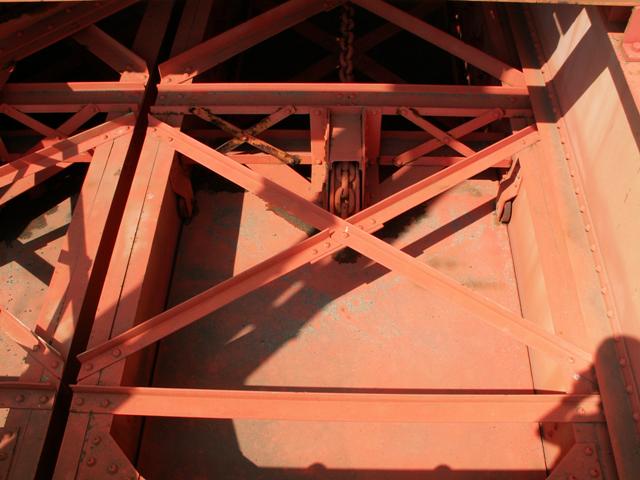
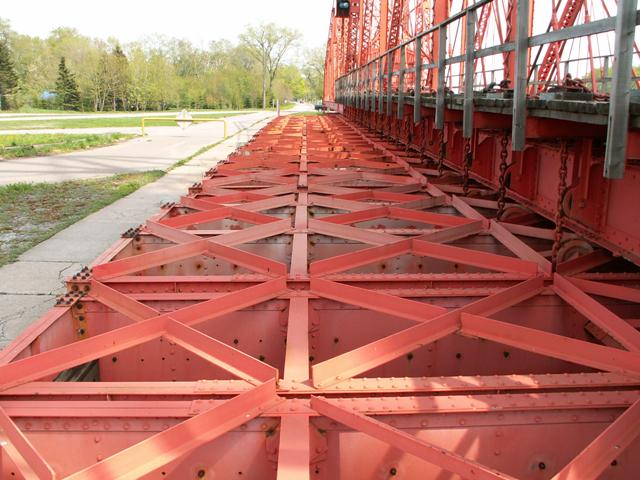
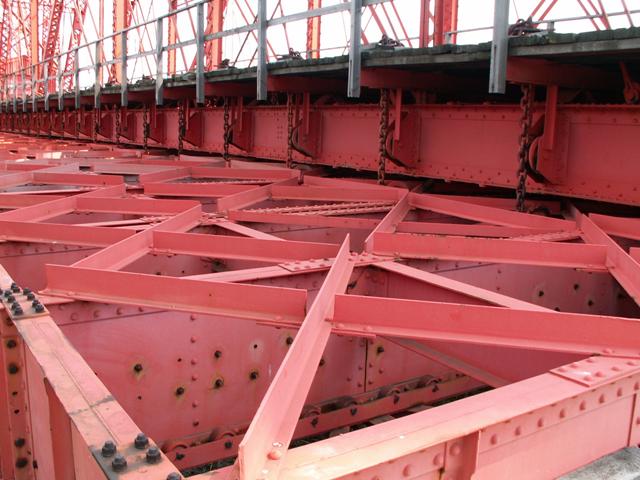
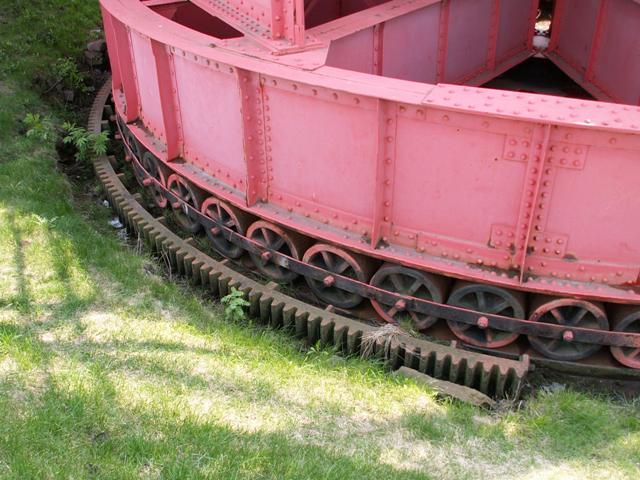
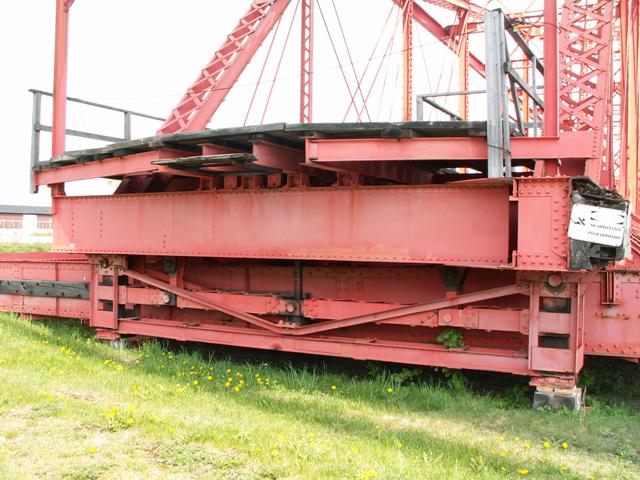
Various views of the rollers and chains.
![]()
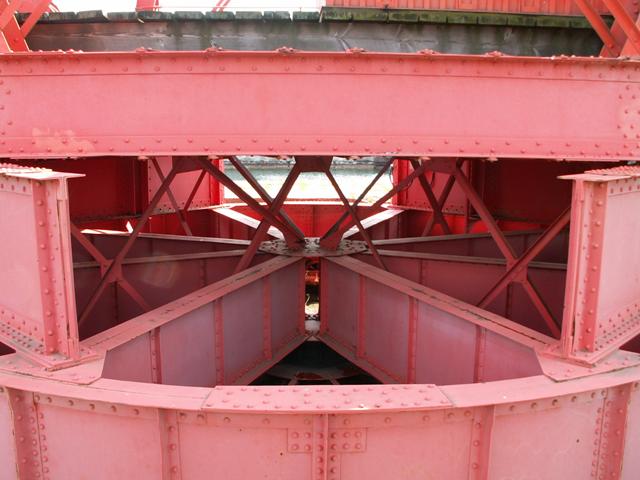
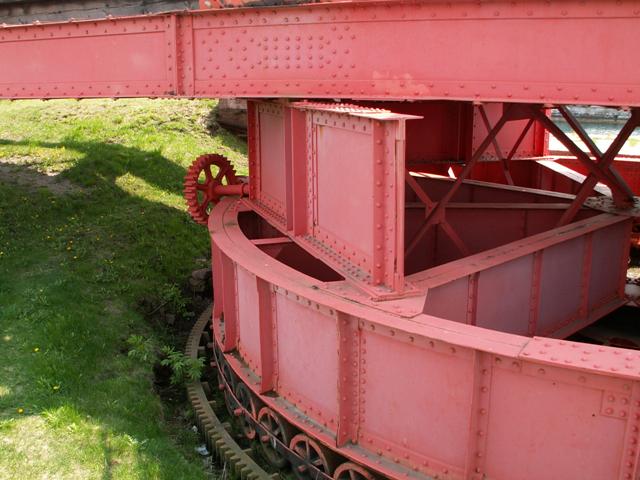
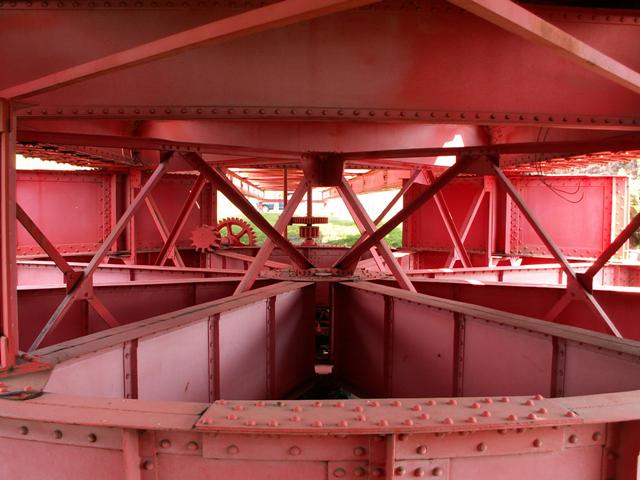
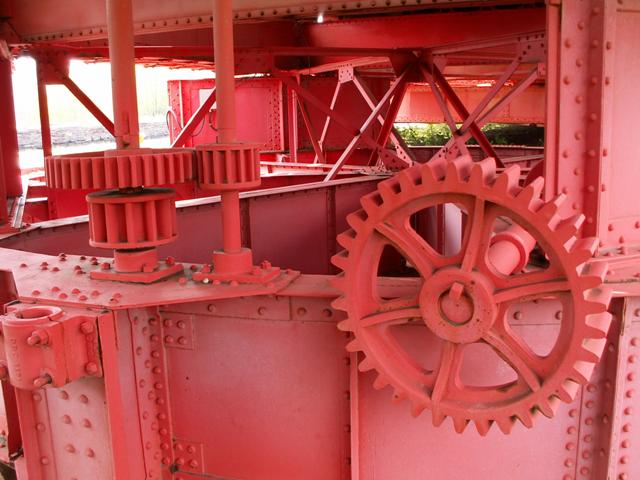
Various views of the center pier where the mechanics for swinging the bridge are.
![]()
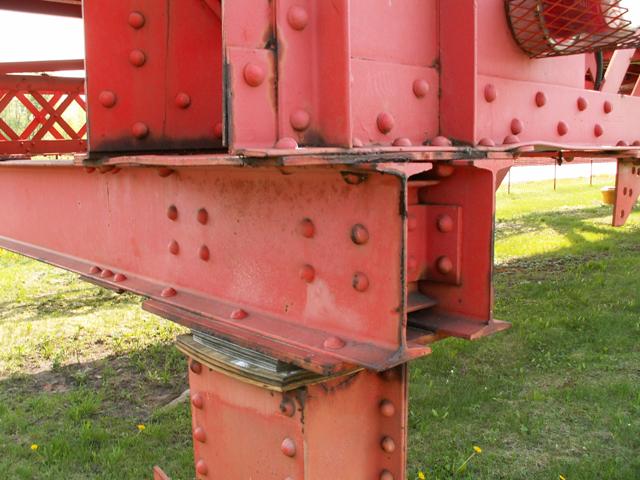


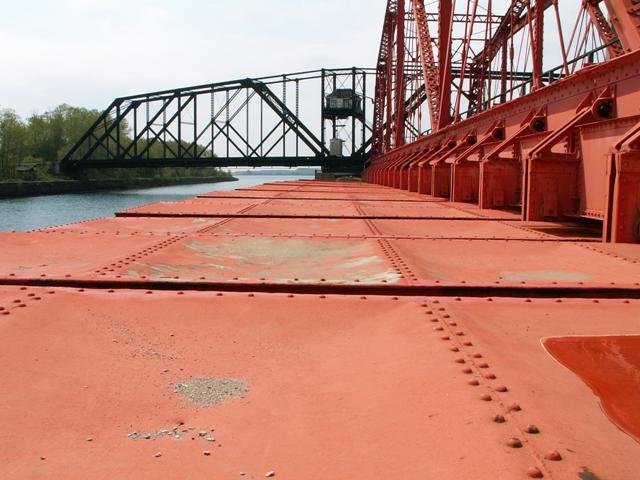
Views of the end of the bridge where end end rests.
![]()
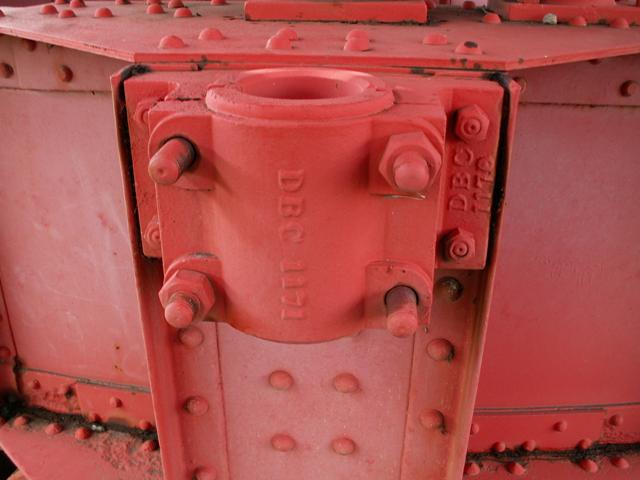
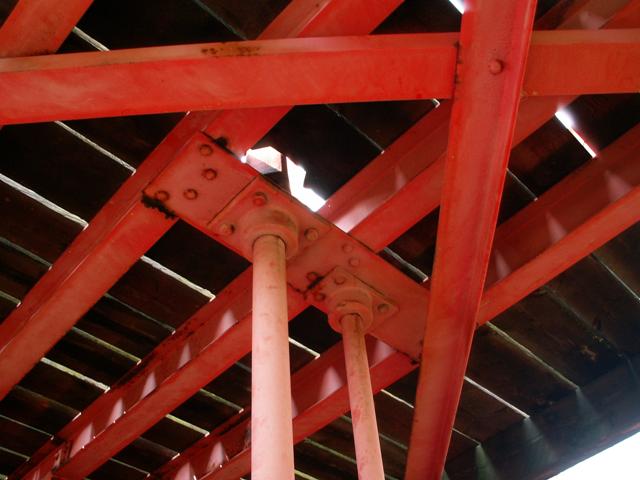
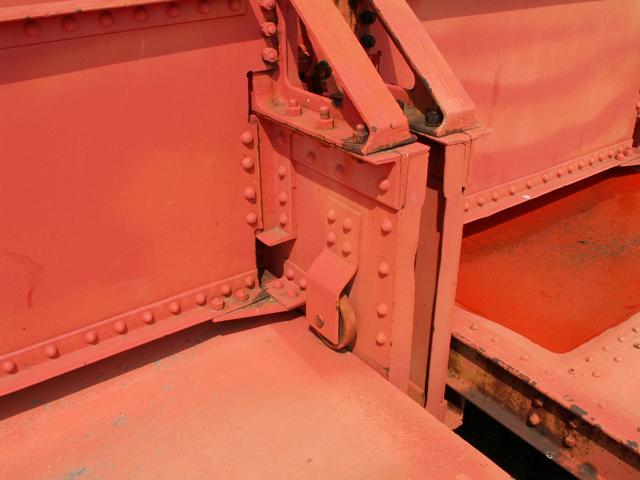
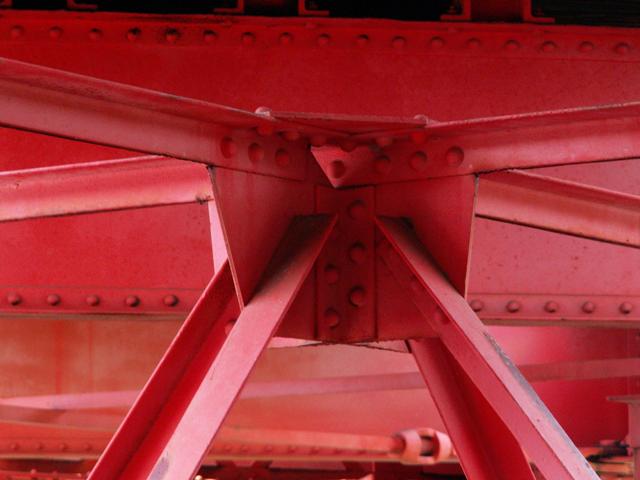
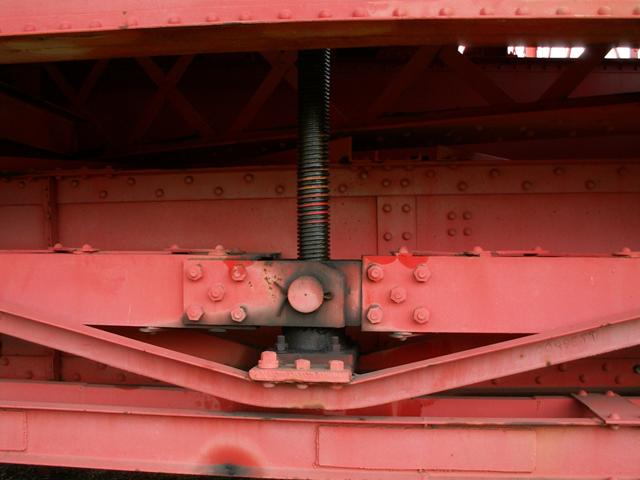
Other miscellaneous elements.
![]()
![]()
| Back |
| Home |
| Top |

![]()