
Uncredited photos on this page taken by: Nathan Holth. Unless stated in a caption, all photos are Copyright with All Rights Reserved. Learn about reuse of our photos.
![]()
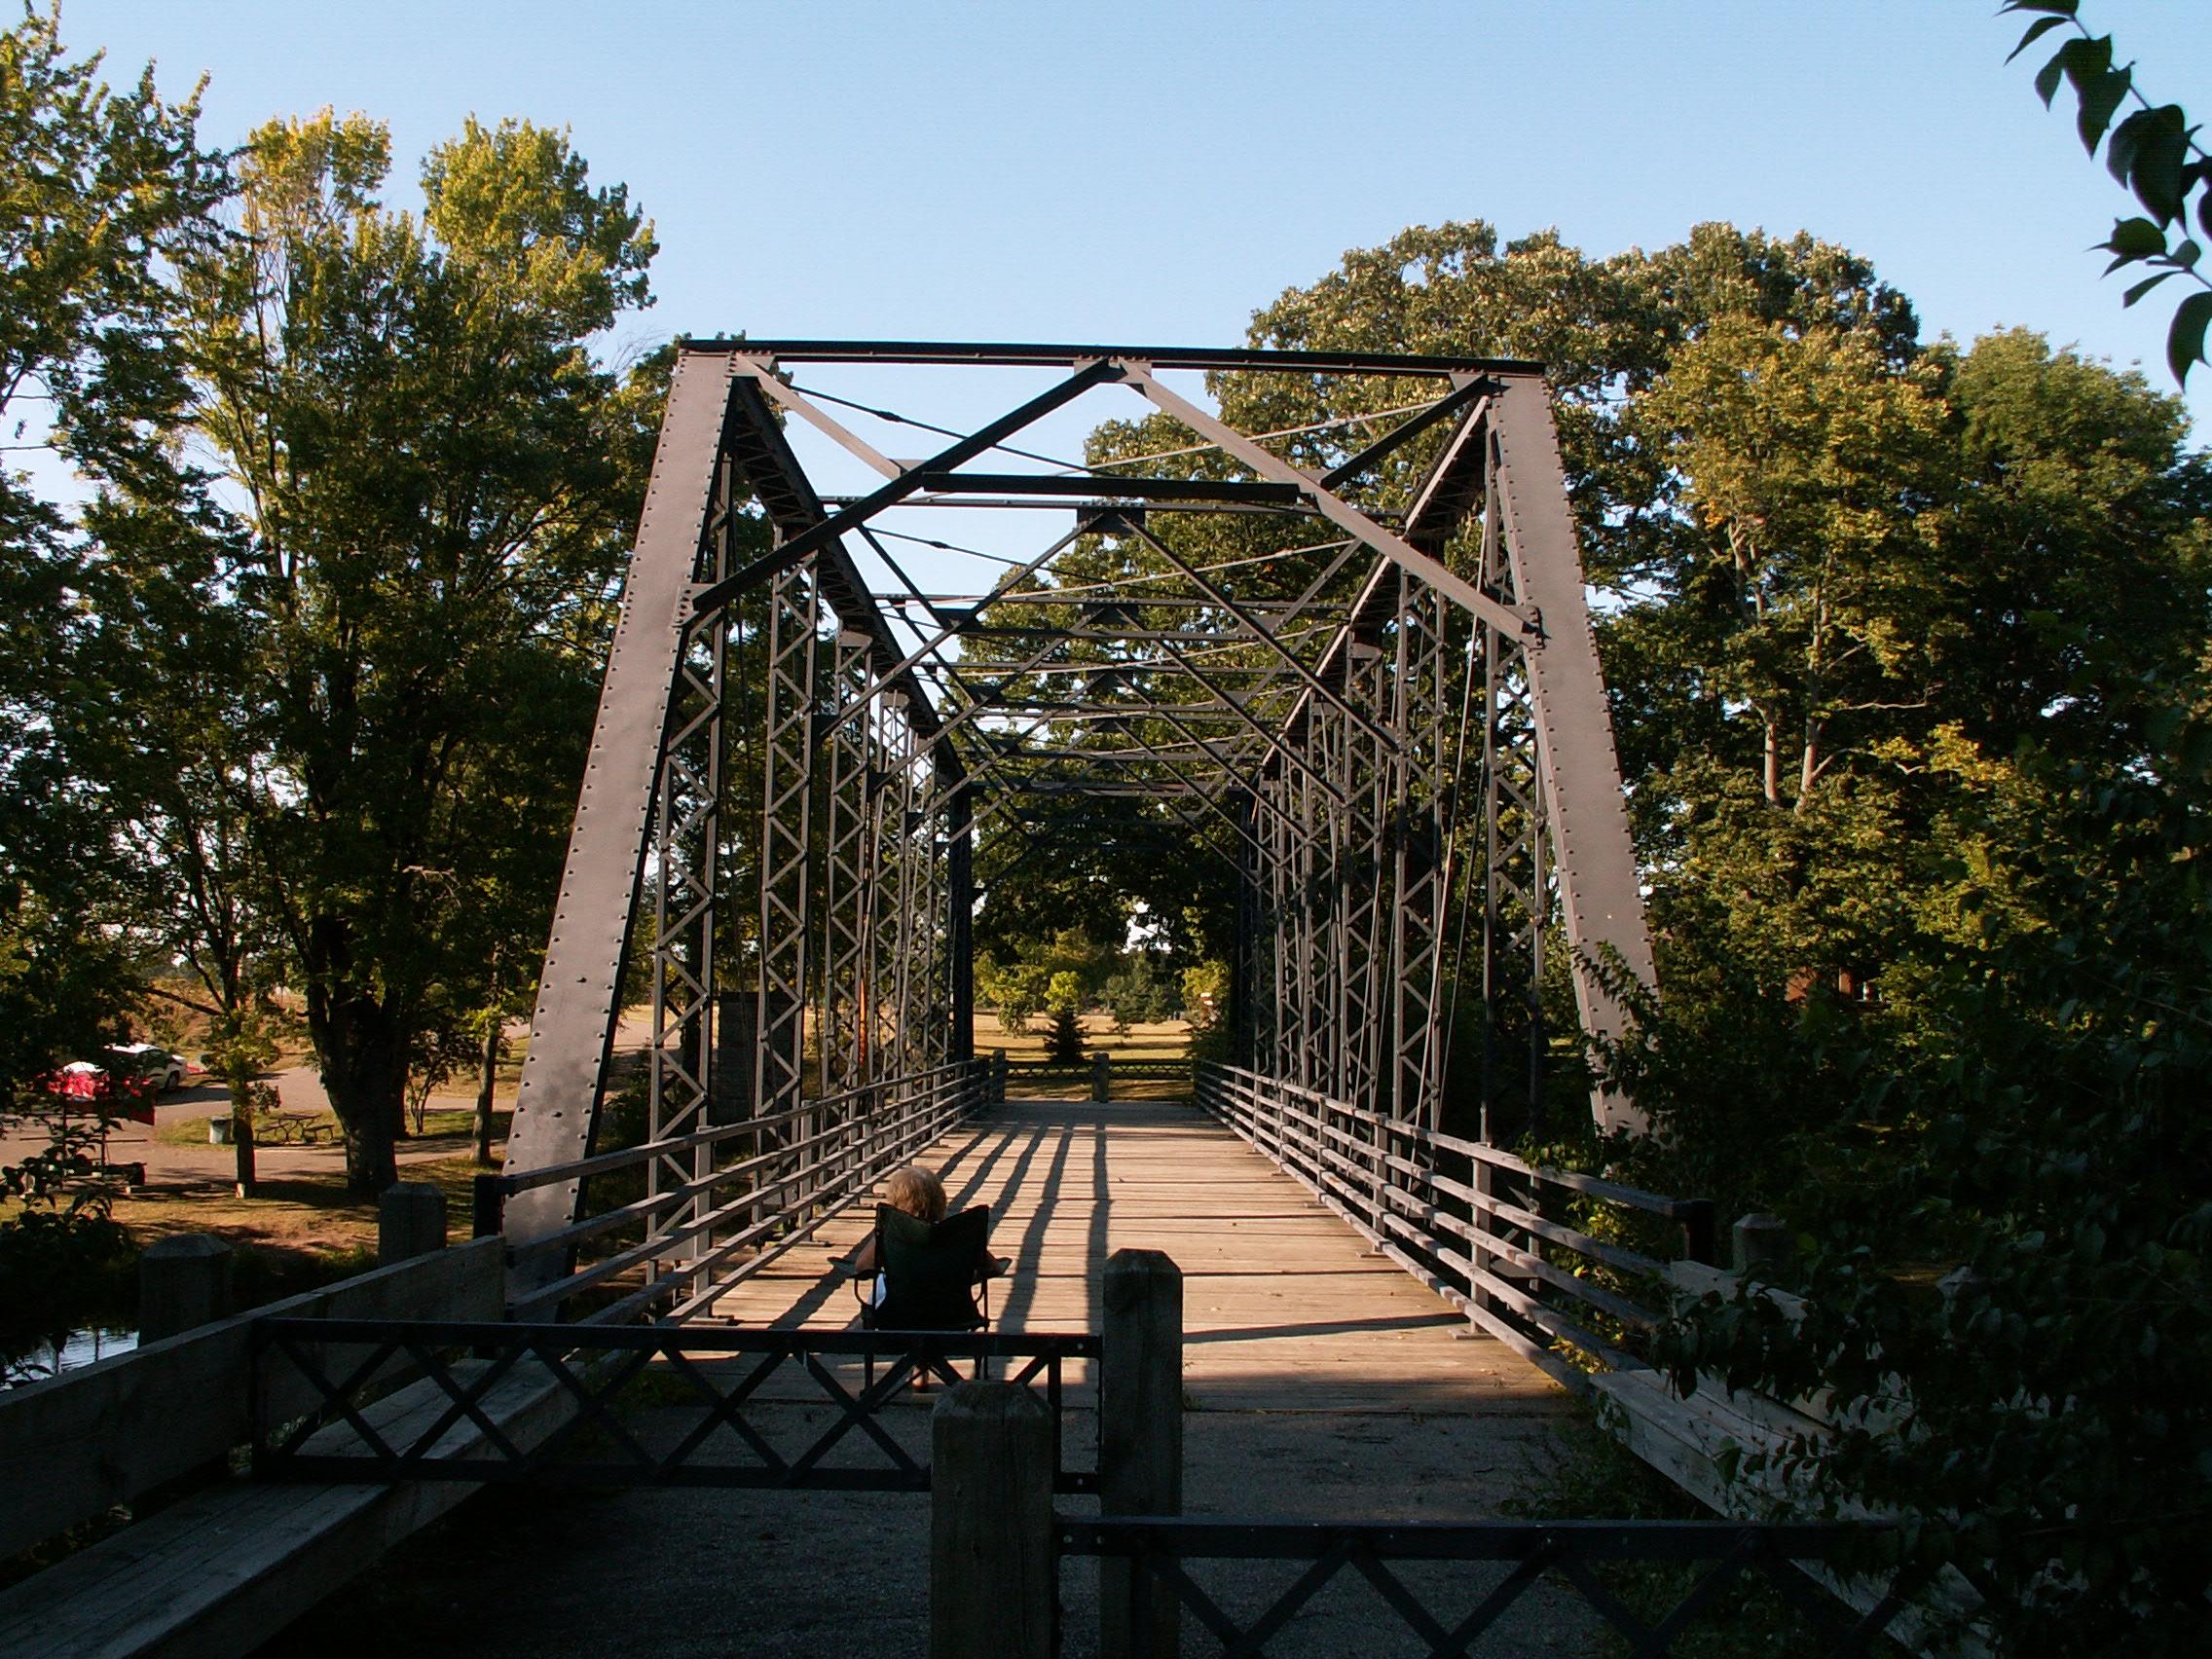
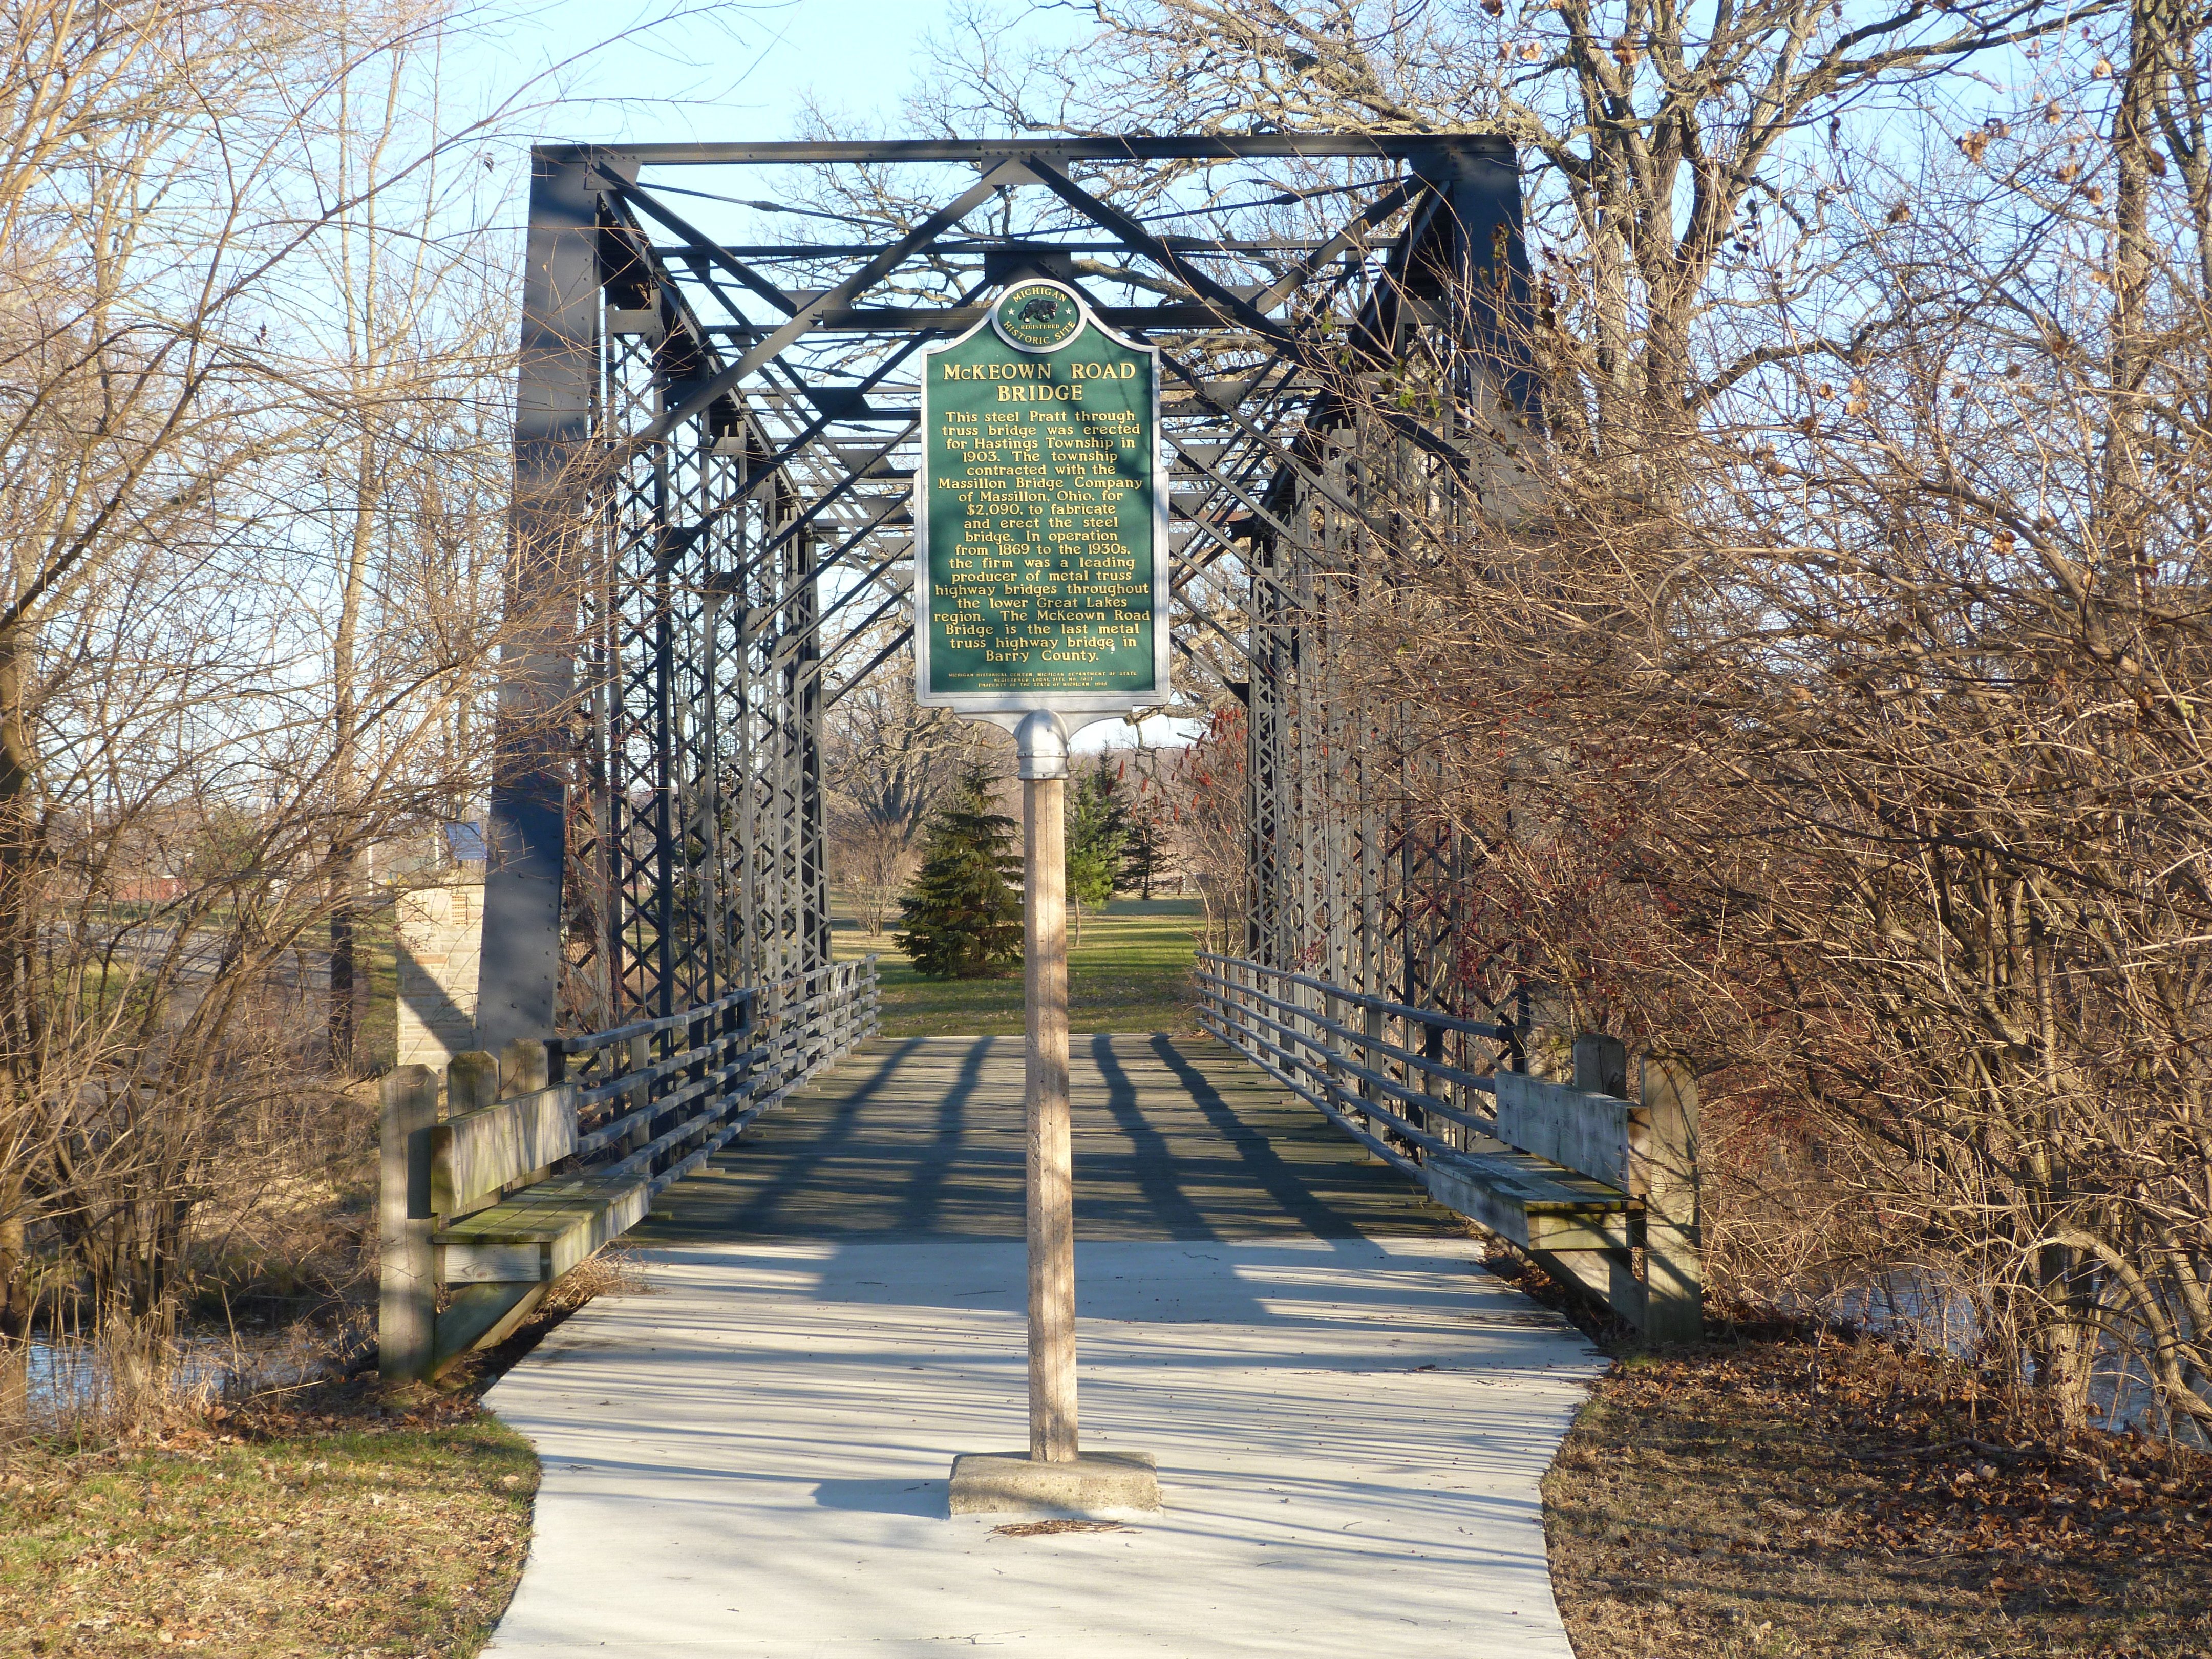
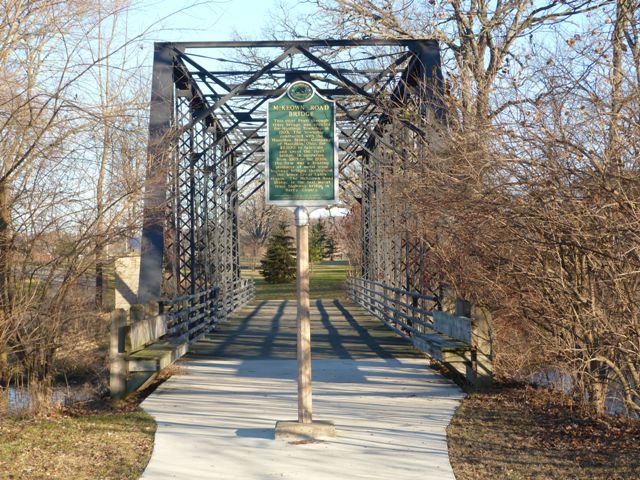
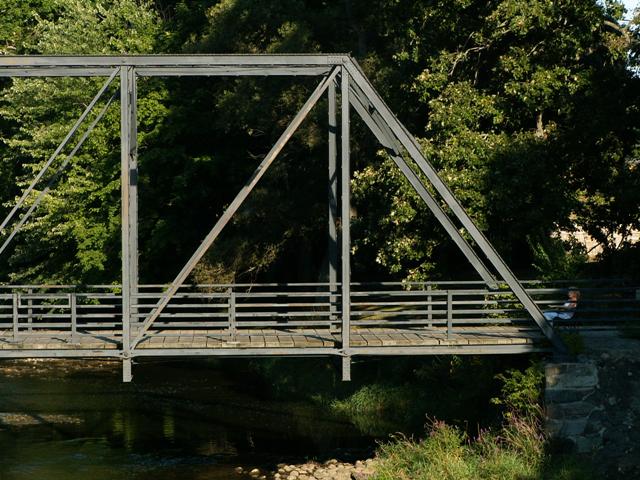
Portal views facing north.
![]()
Original / Full Size
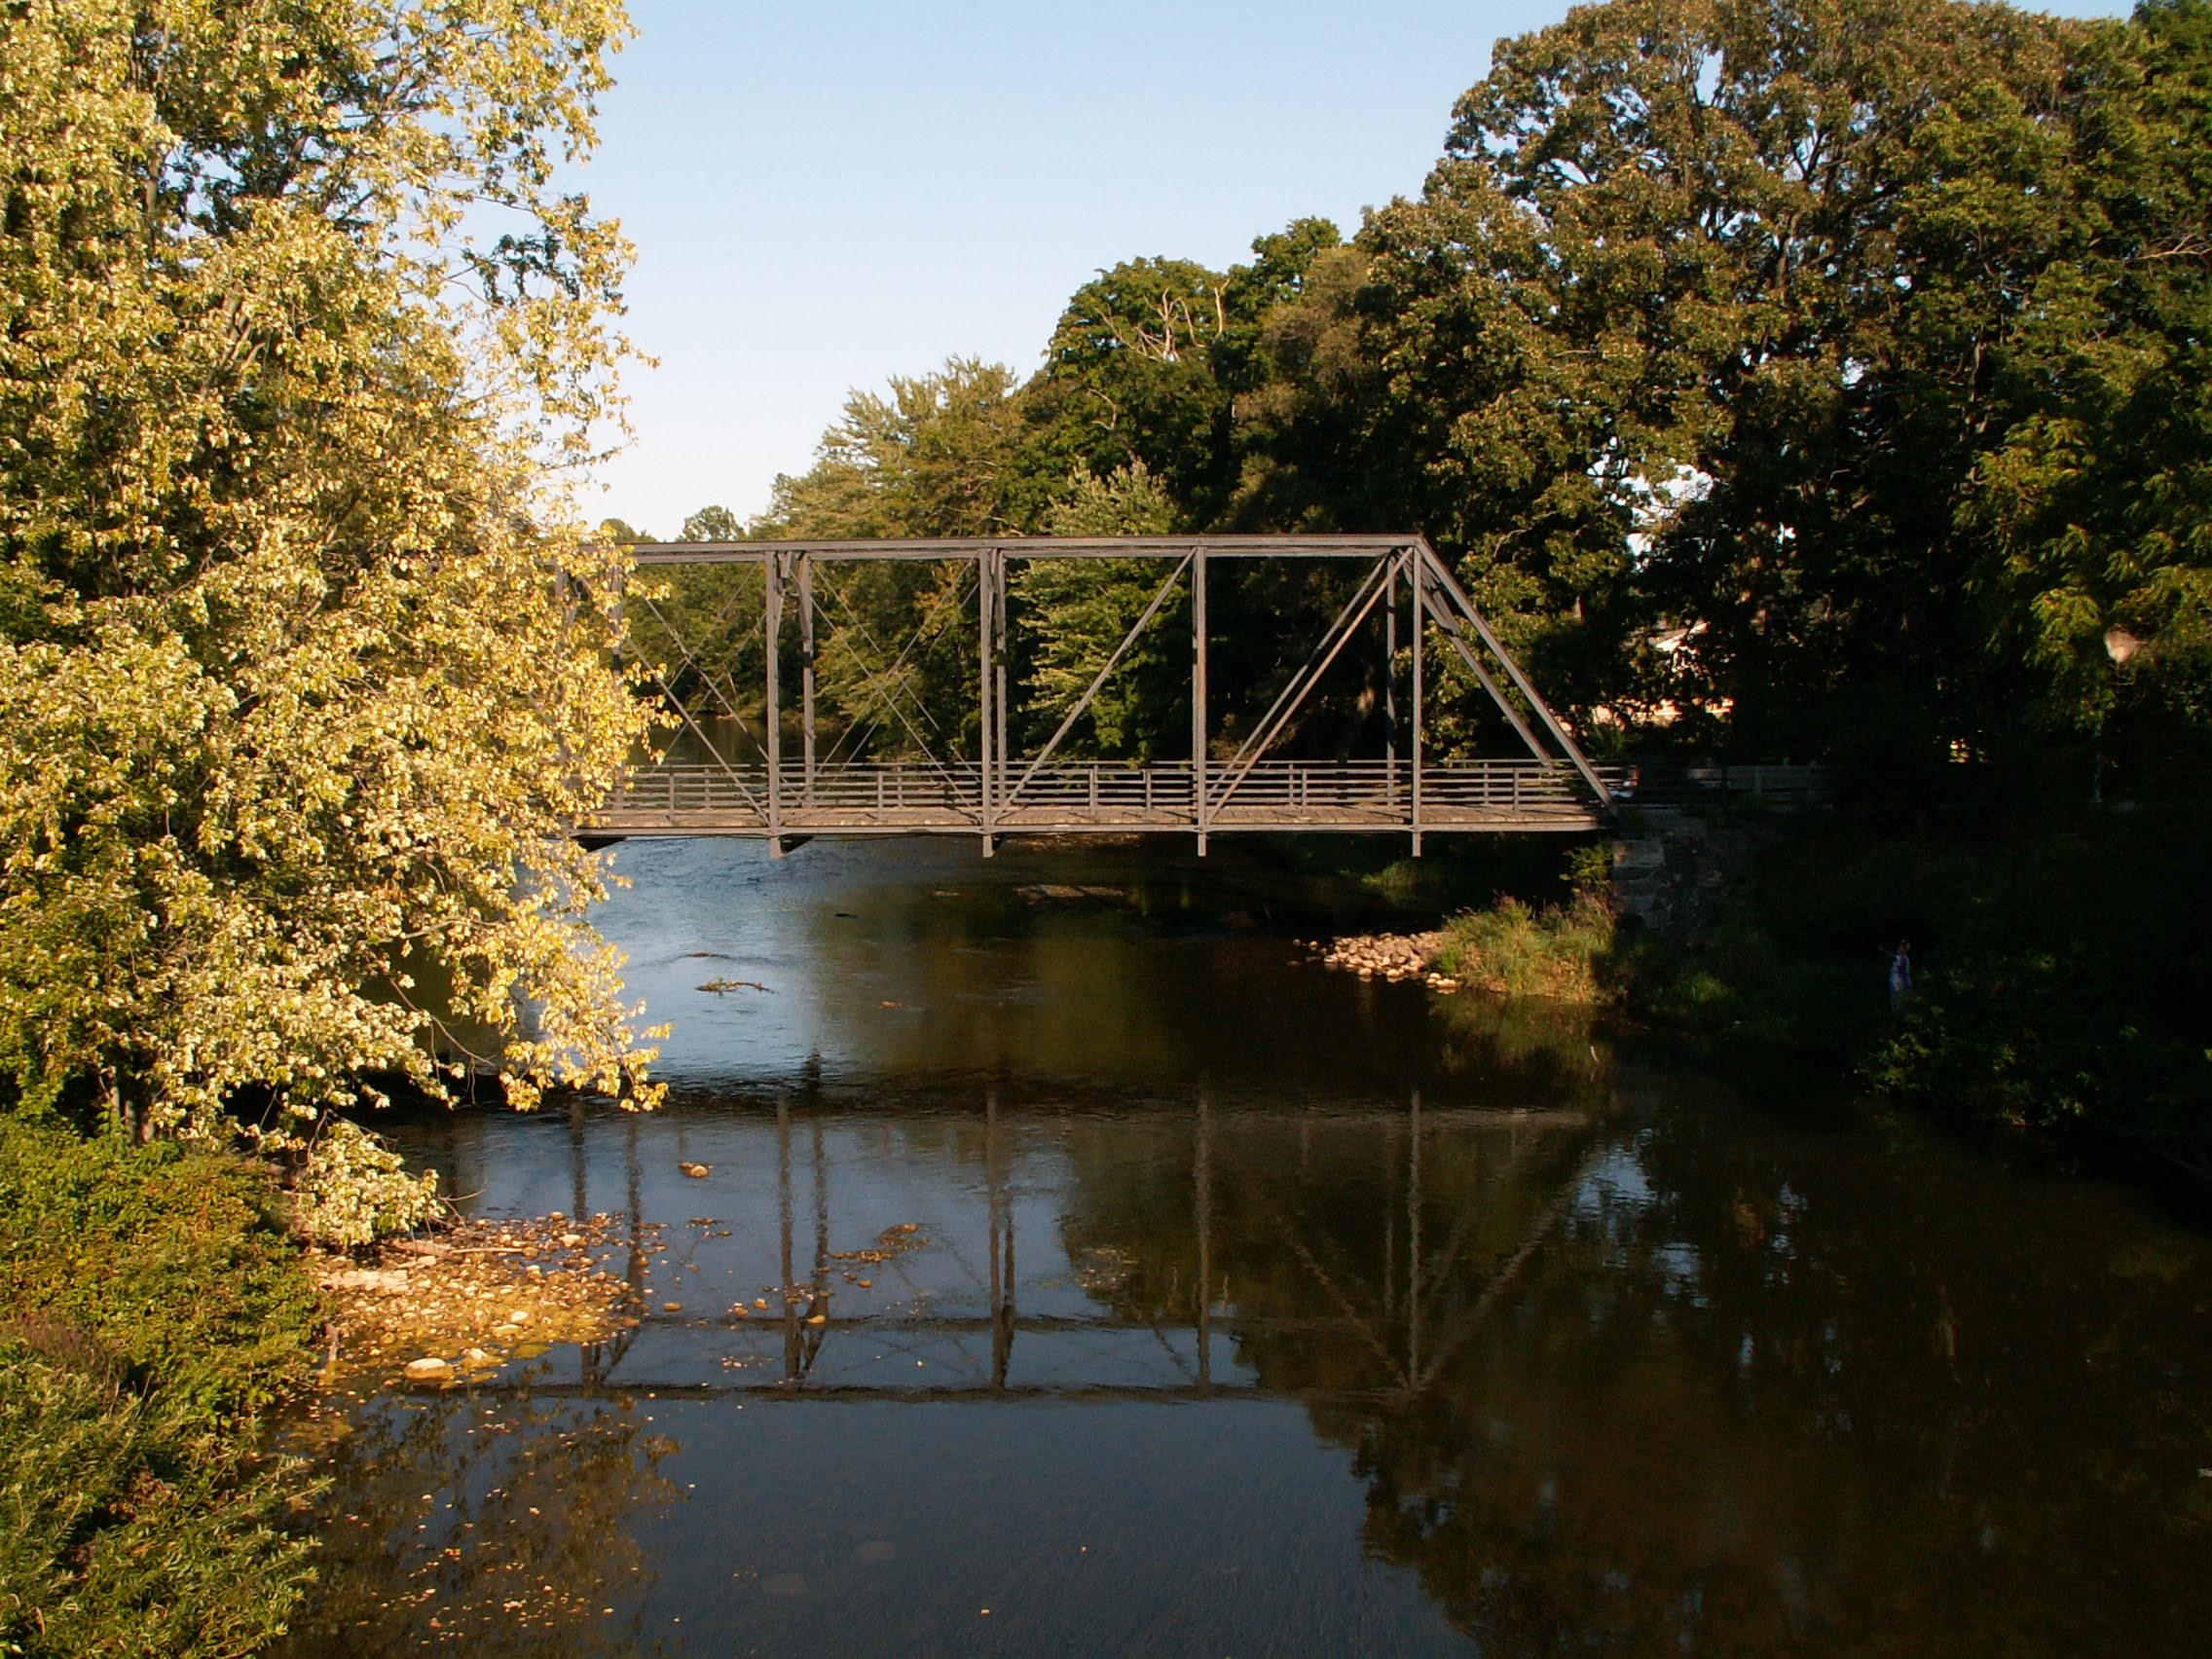
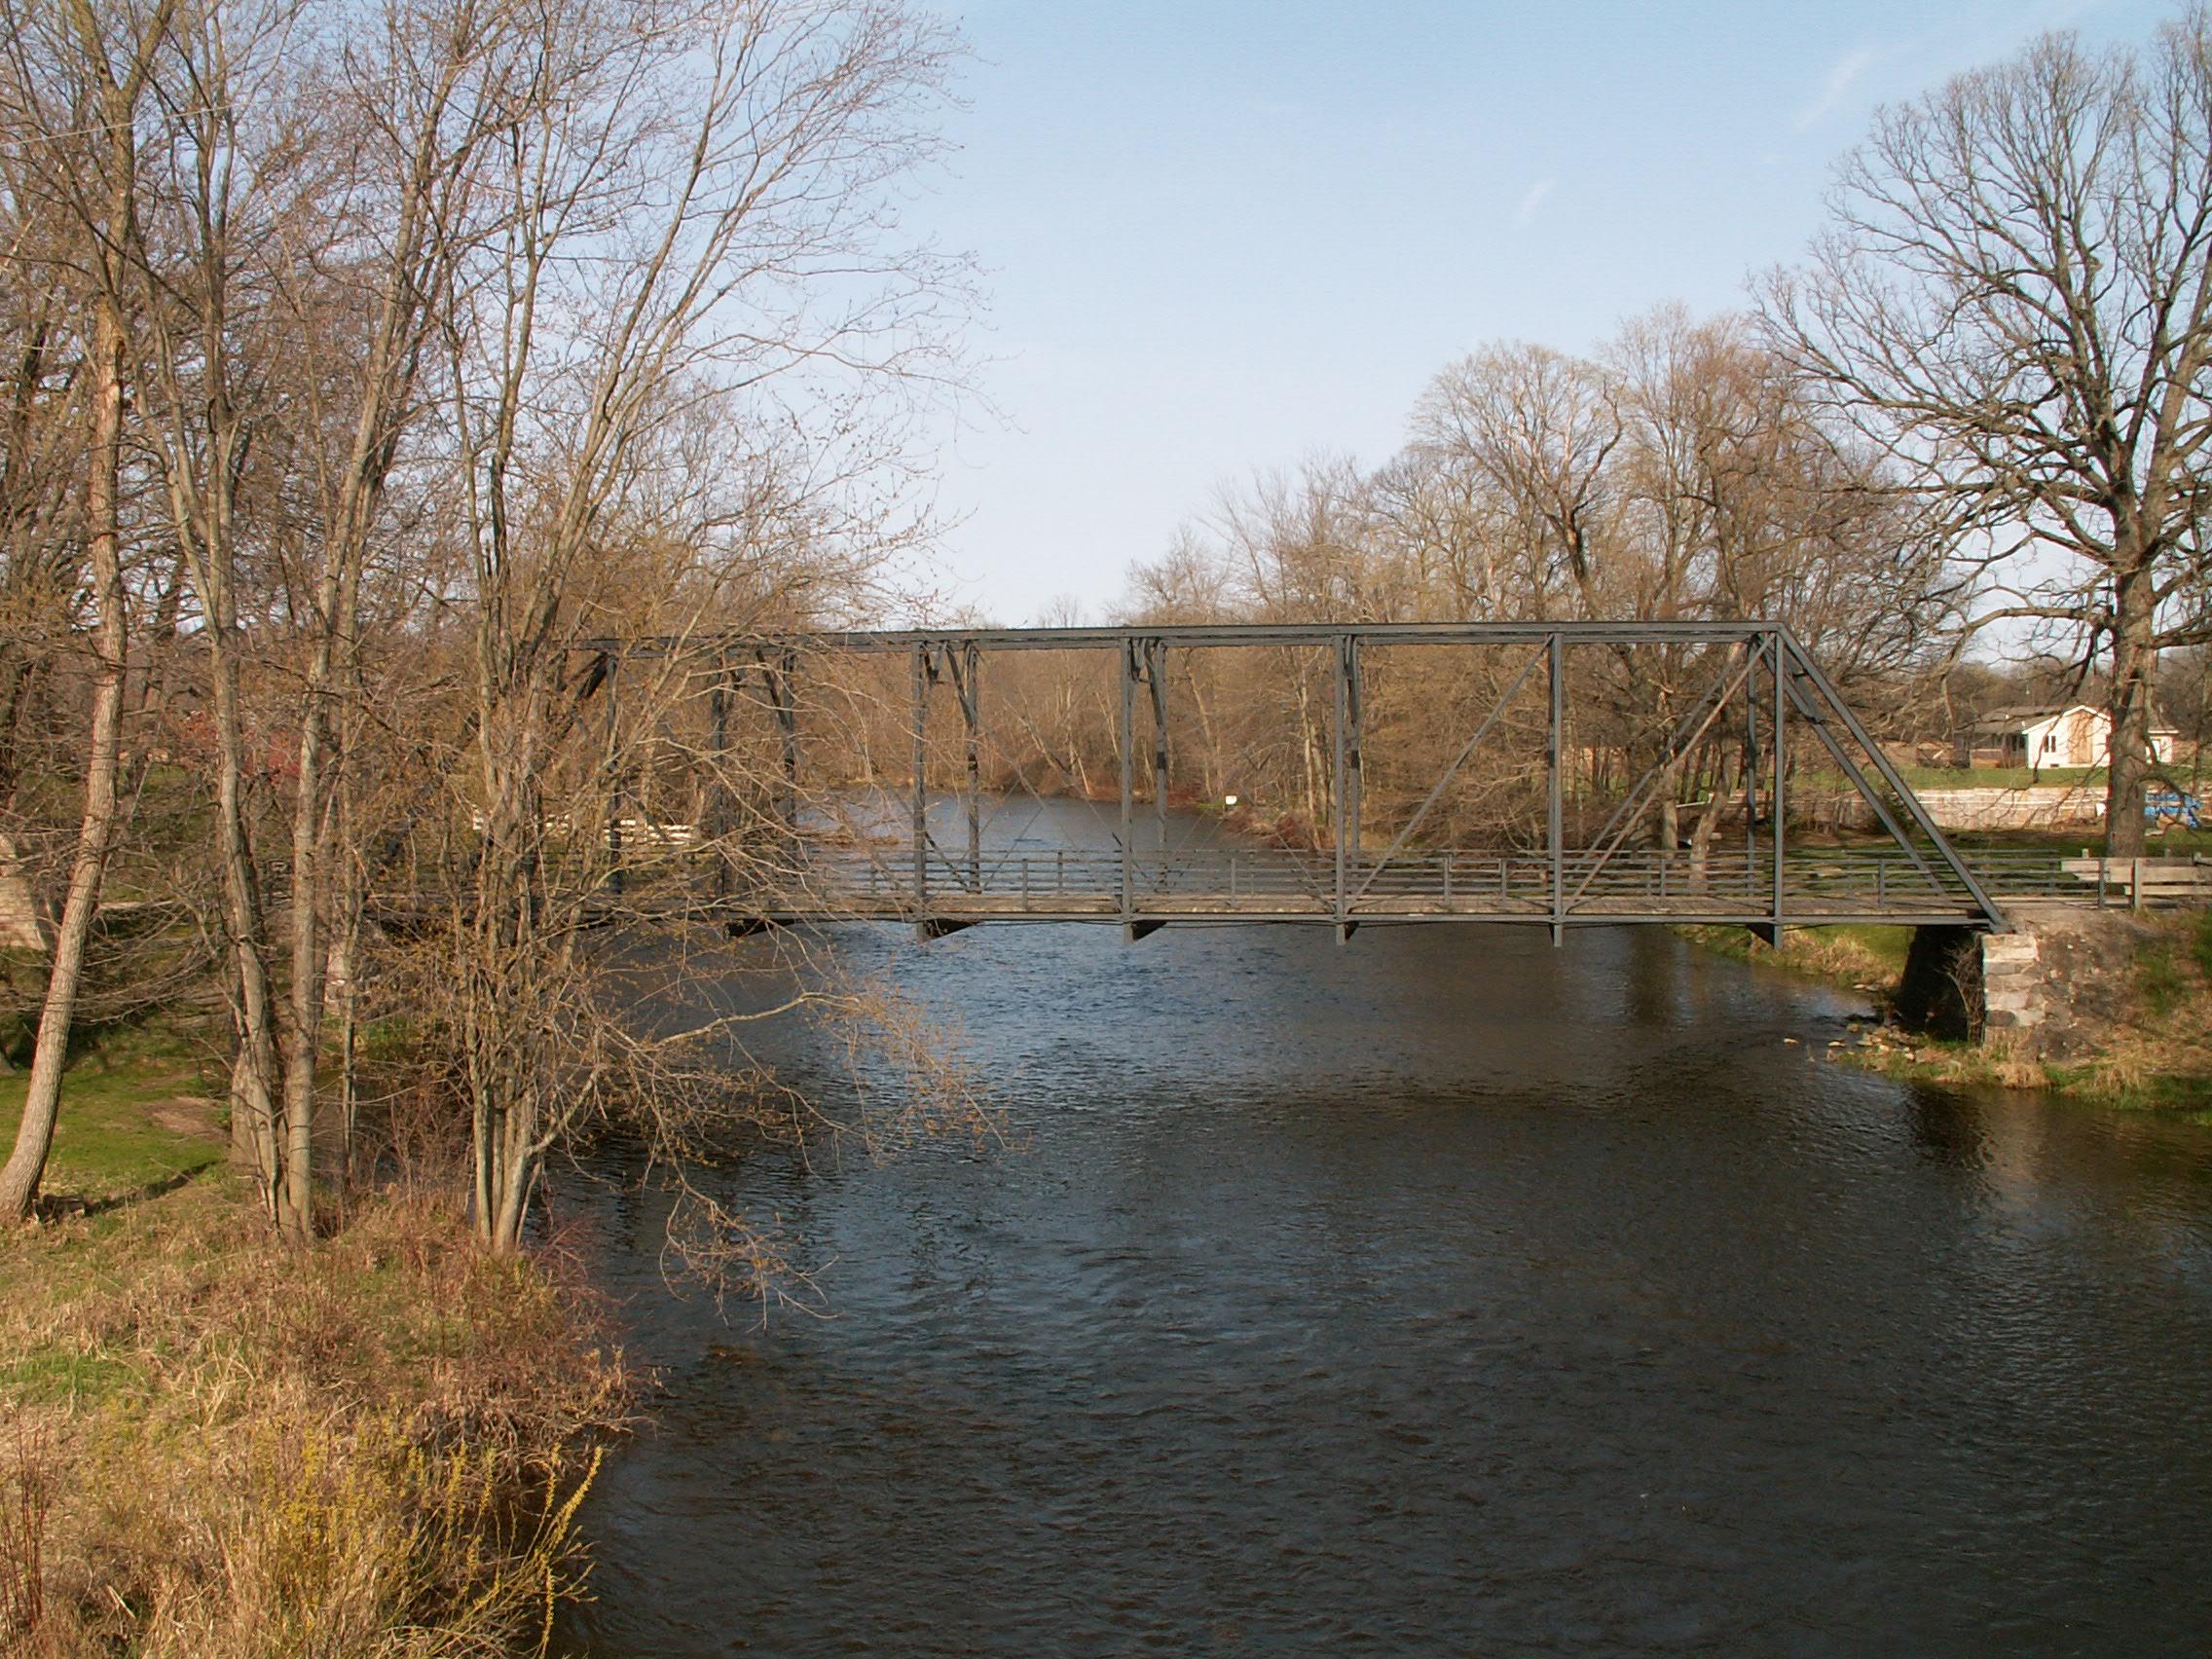
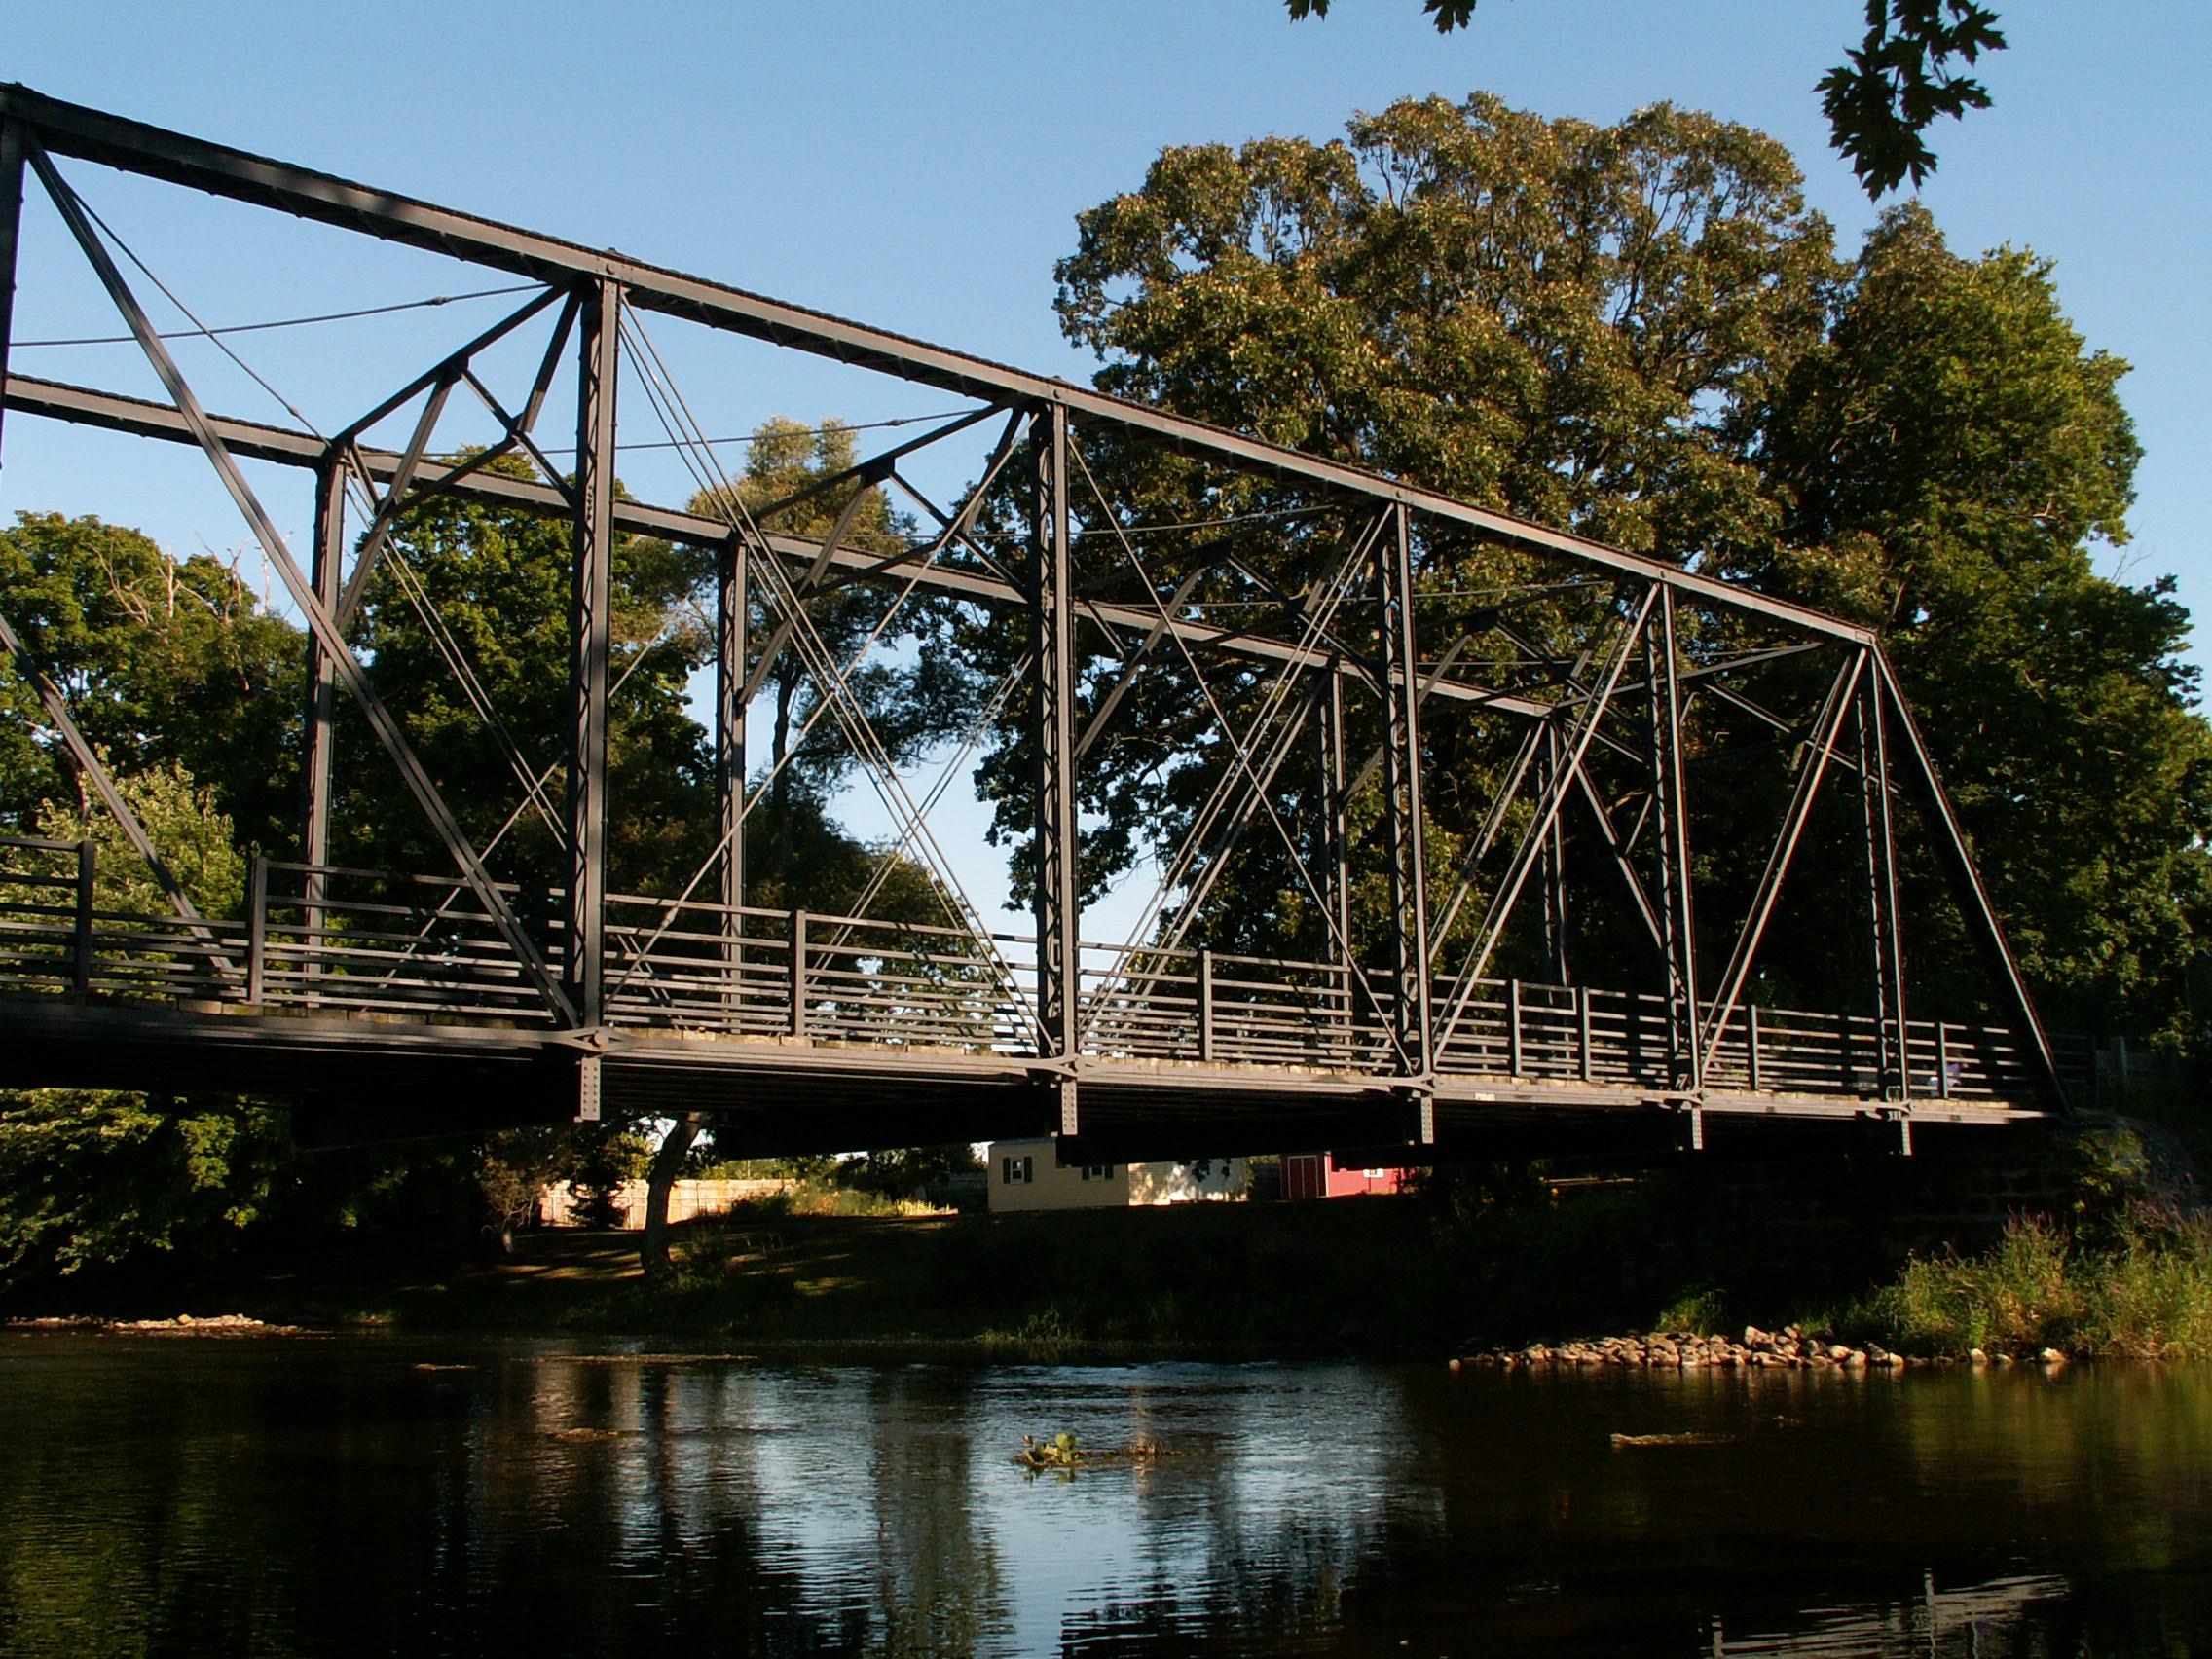
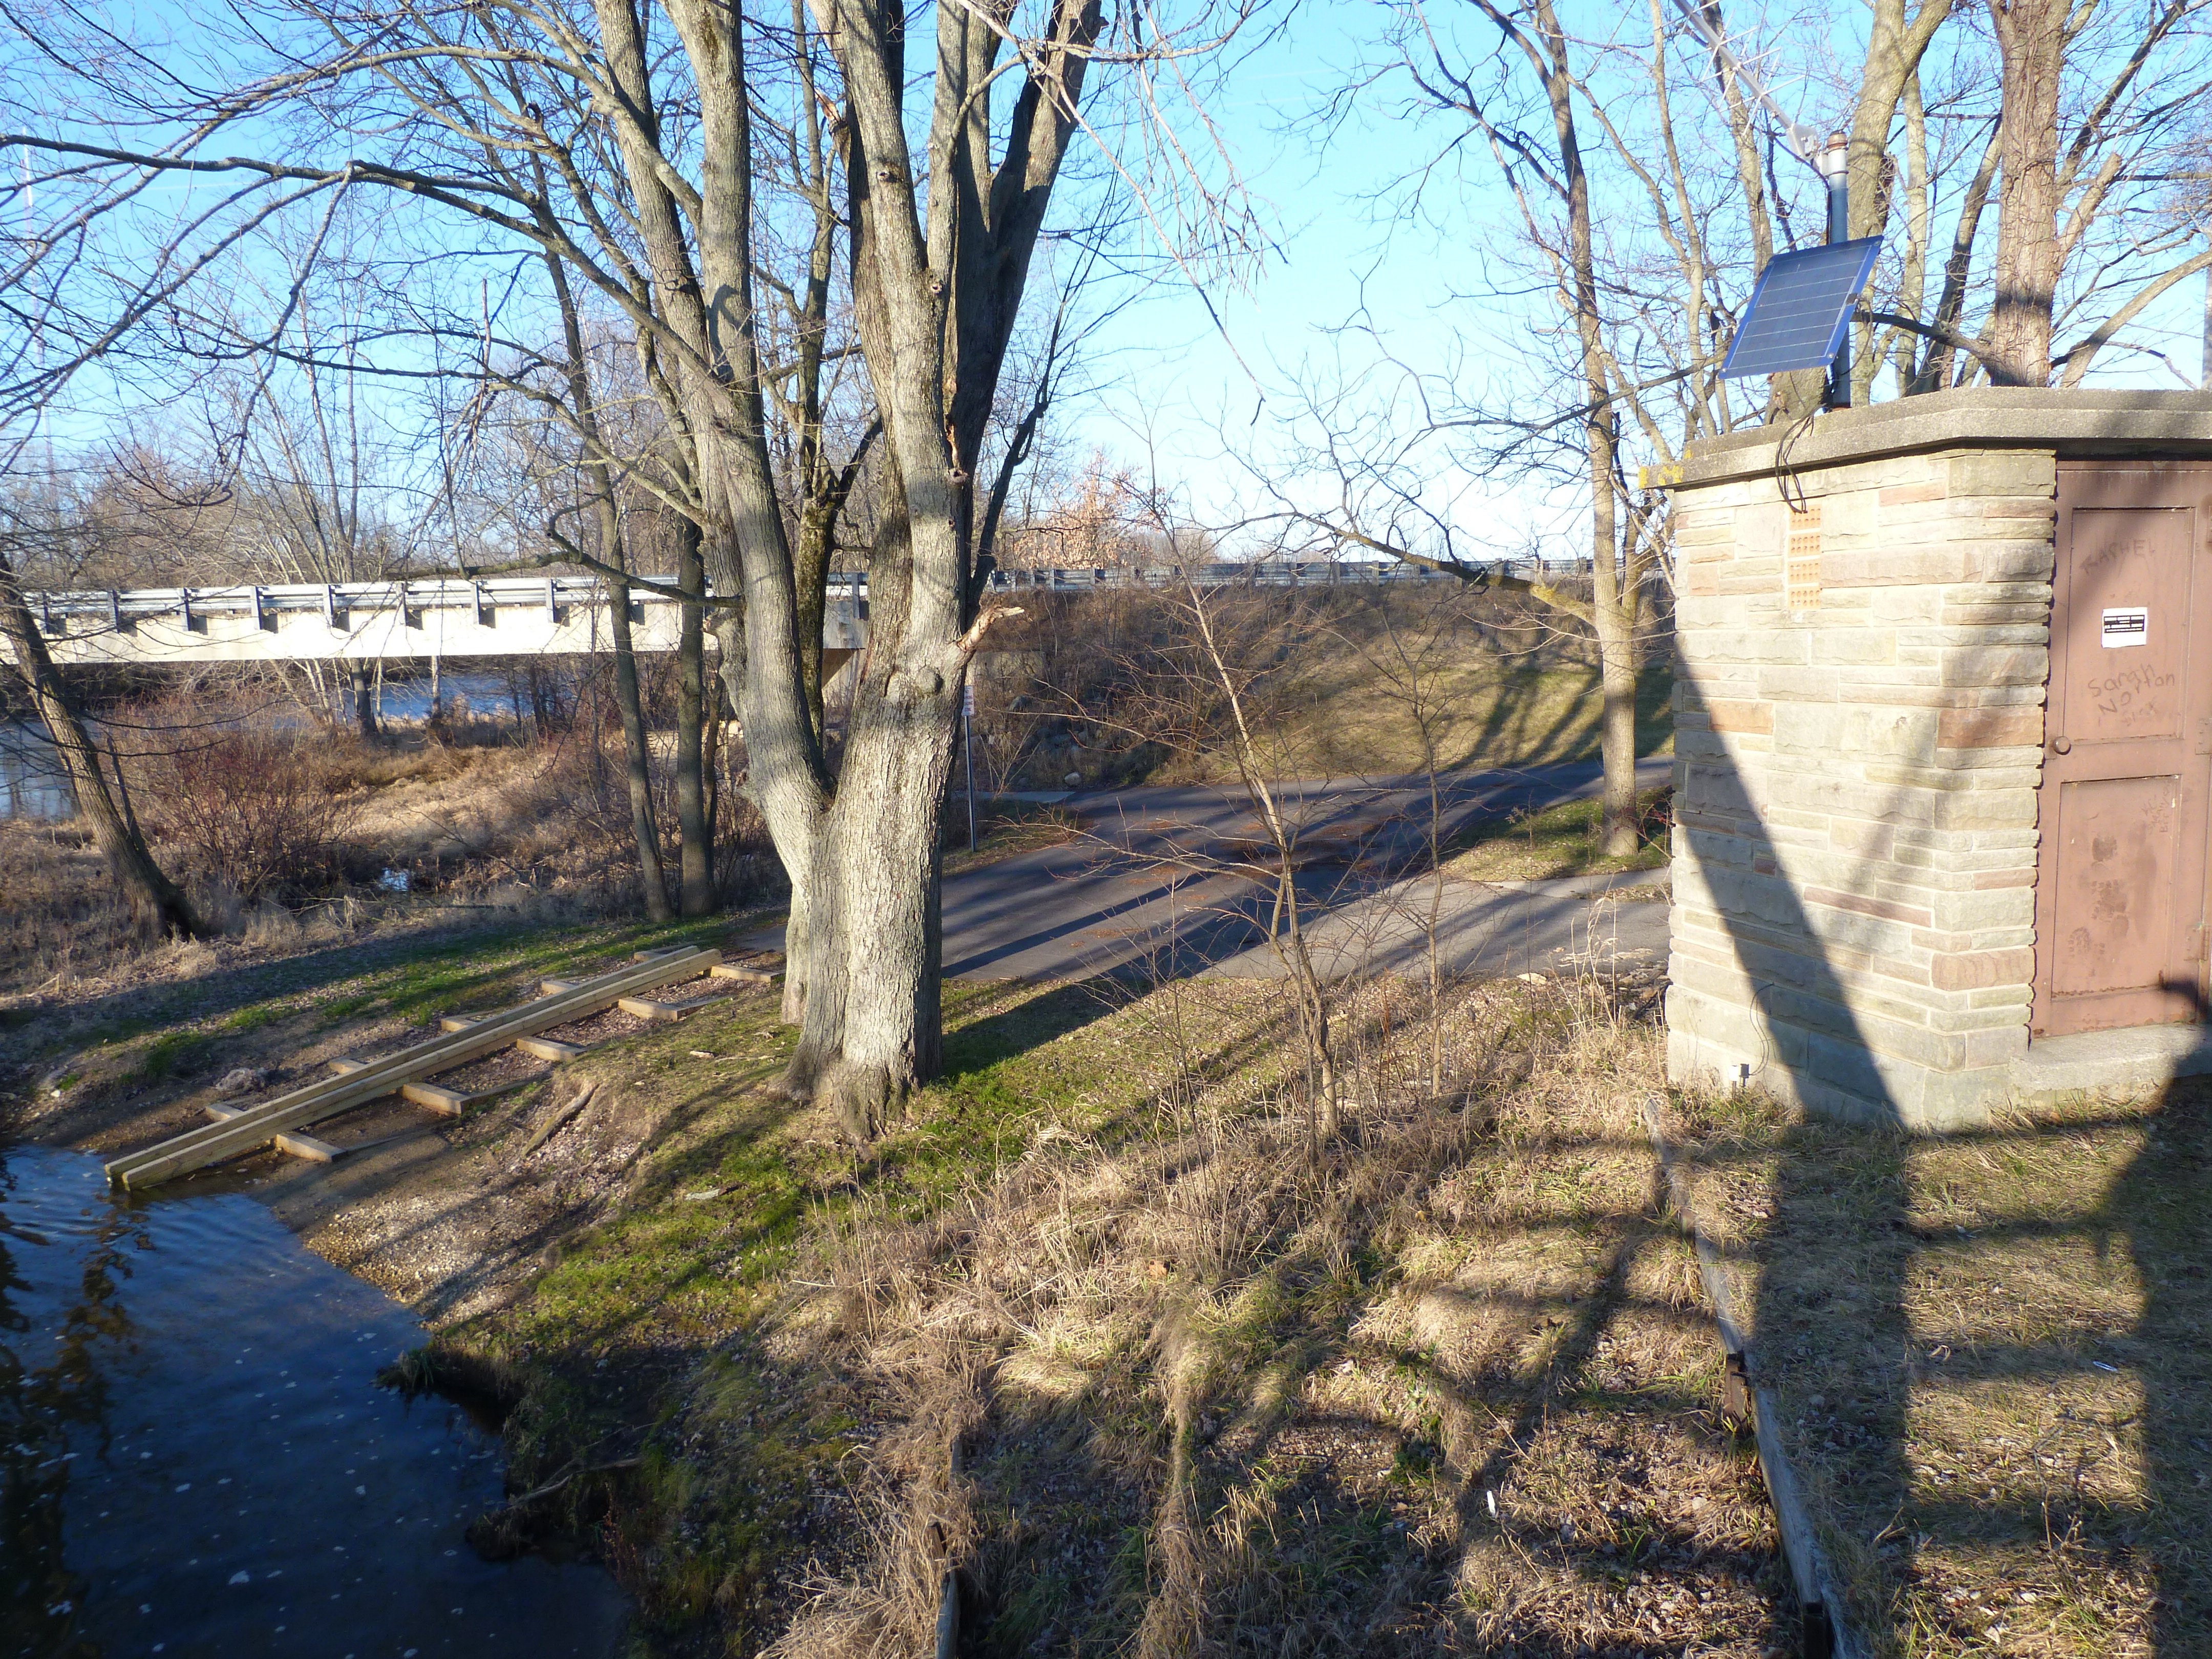
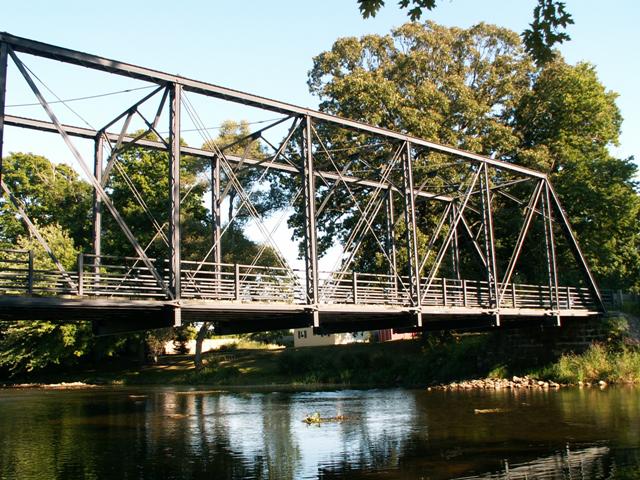
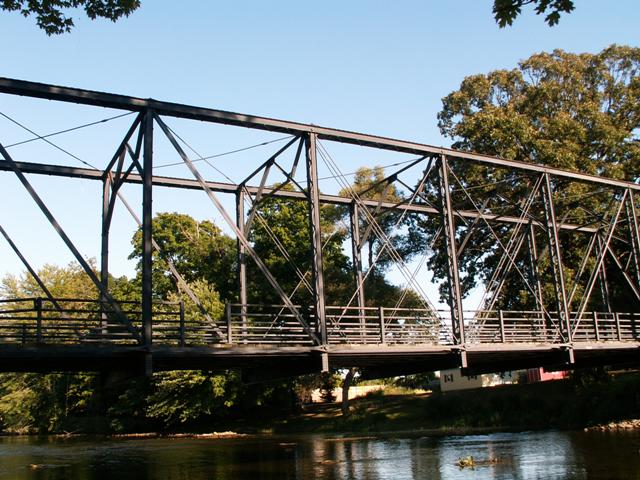
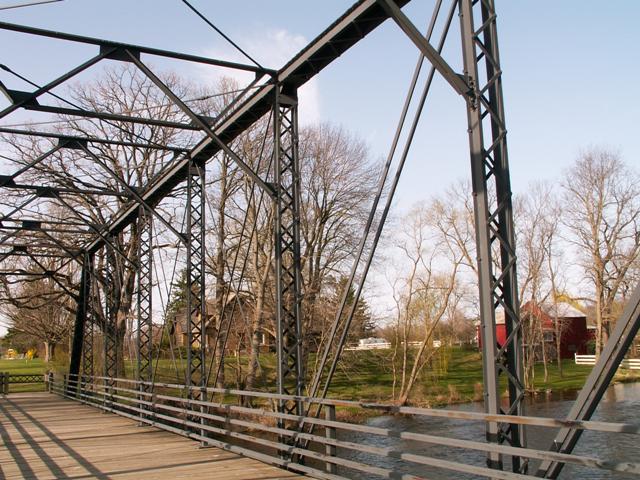
Views of the bridge from the nearby modern bridge; west elevation of bridge.
![]()

Original / Full Size
Views beside the bridge.
![]()

Original / Full Size
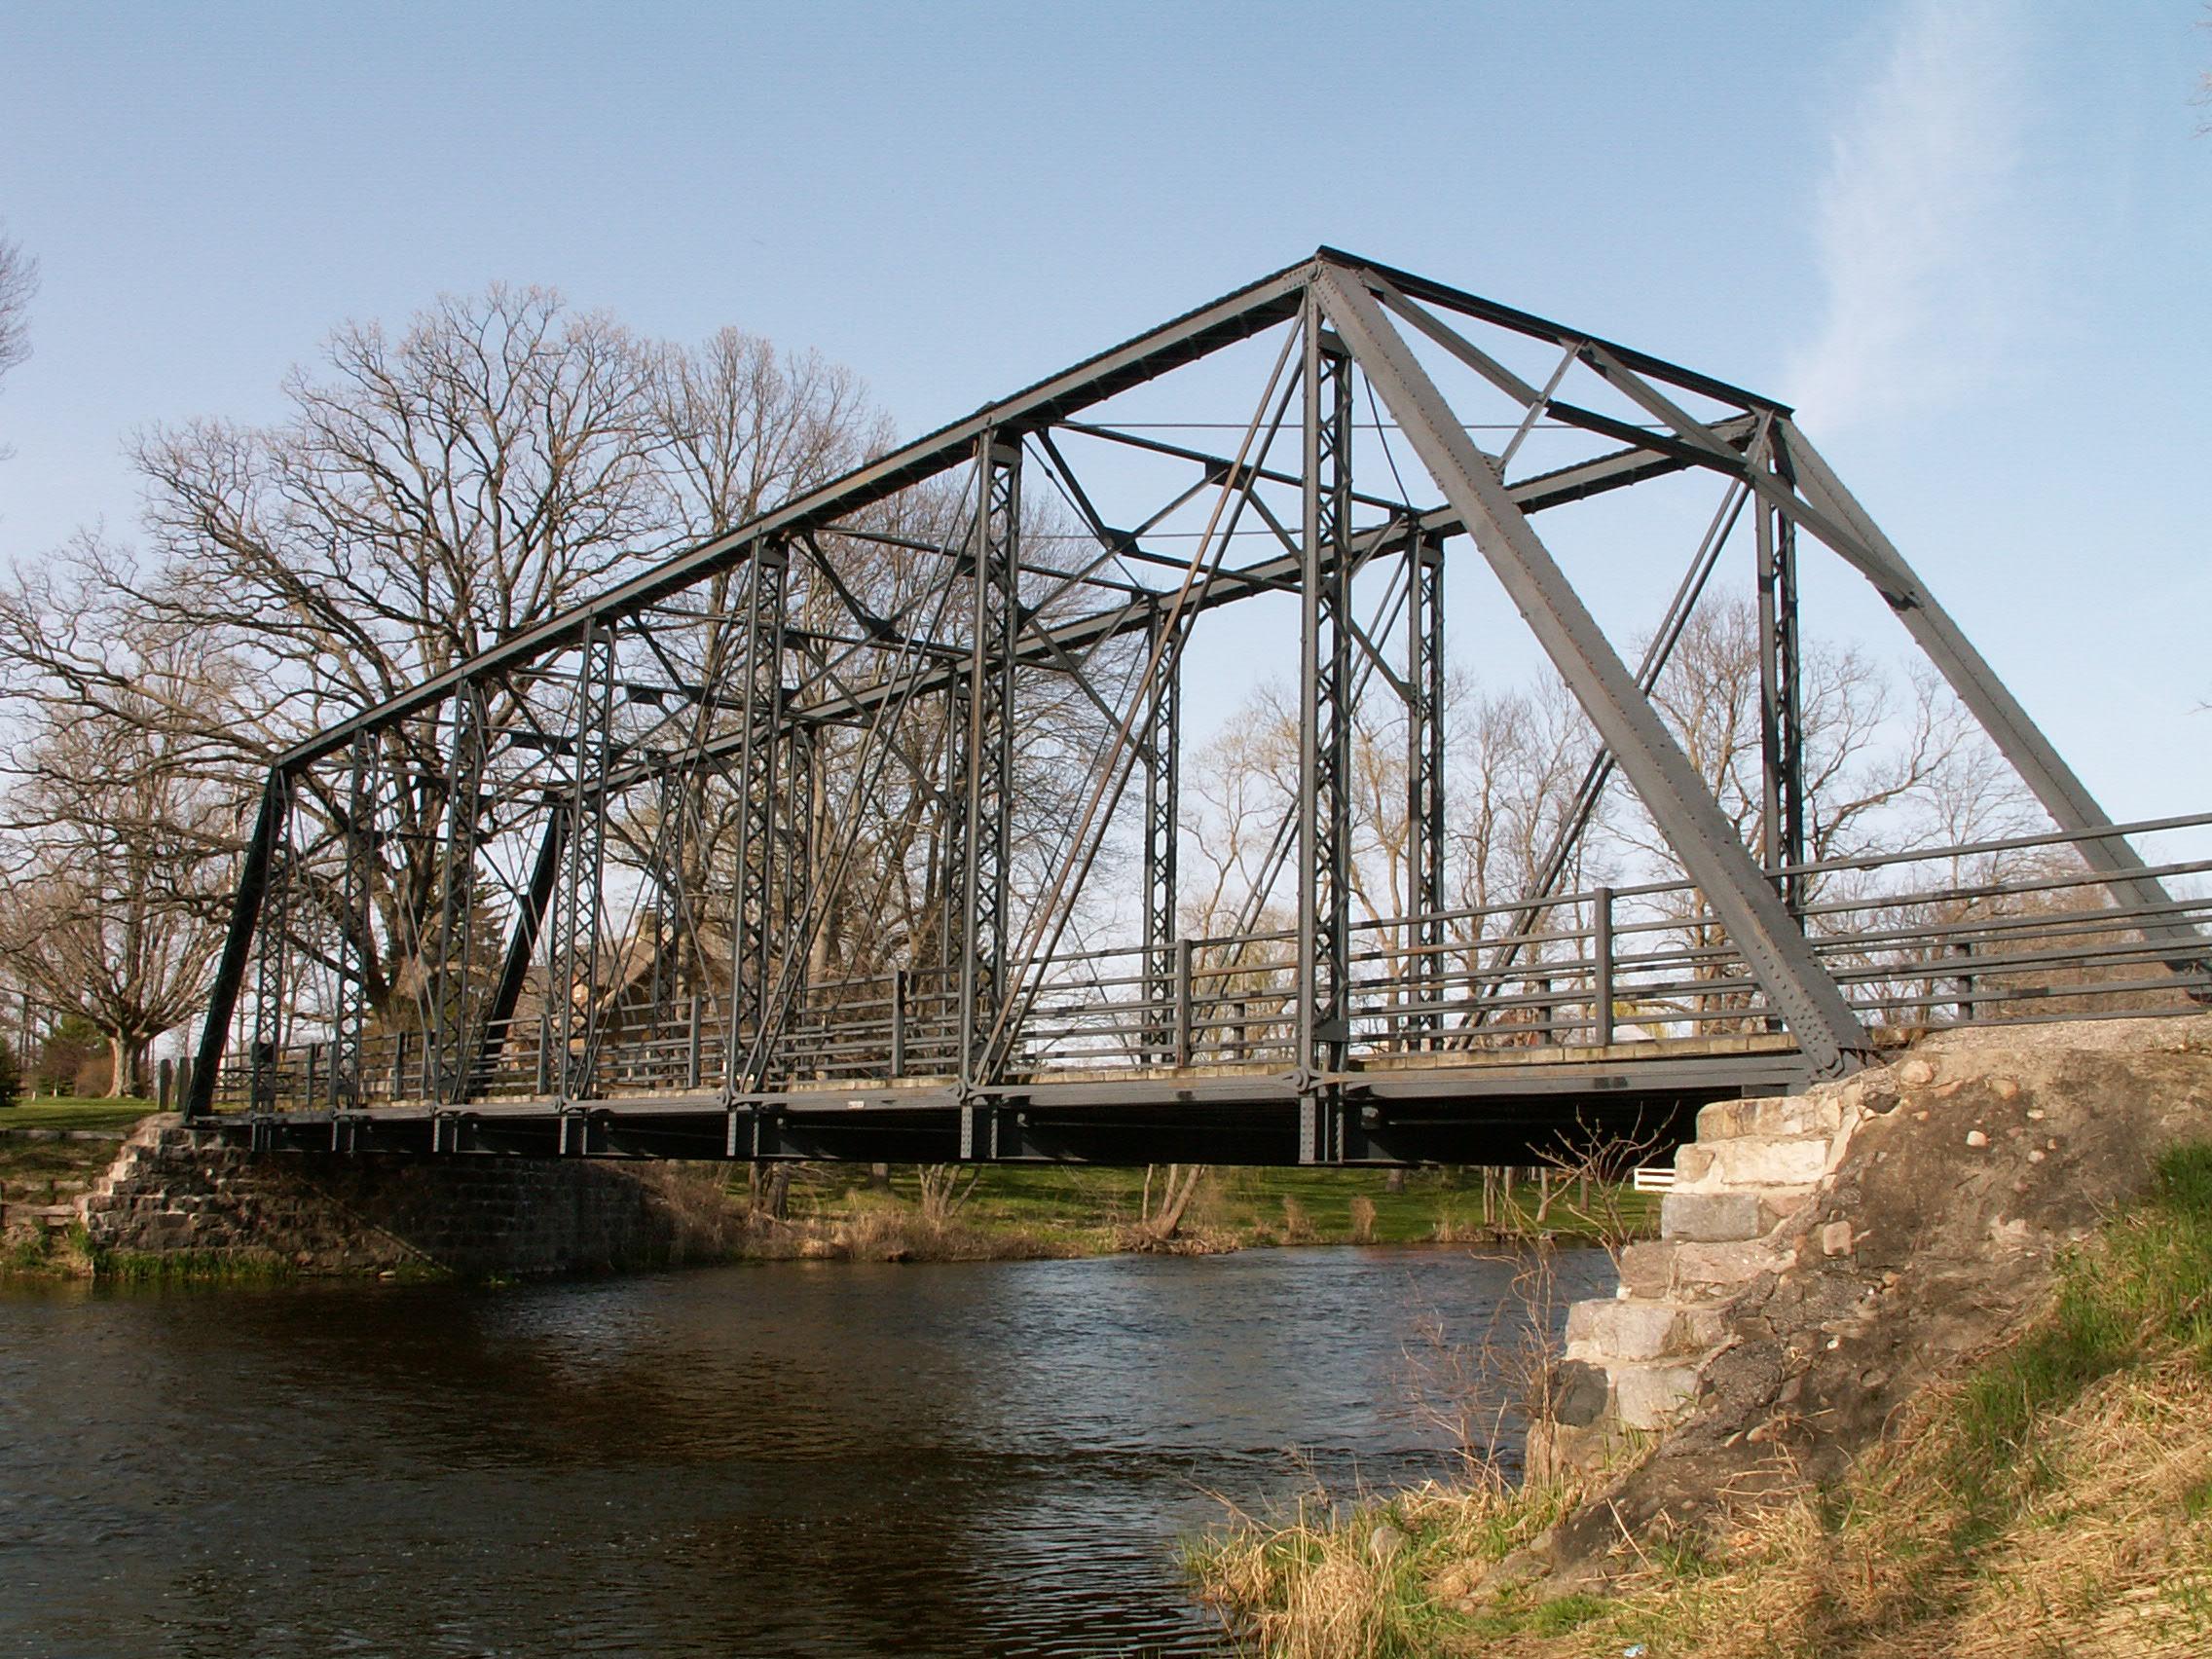
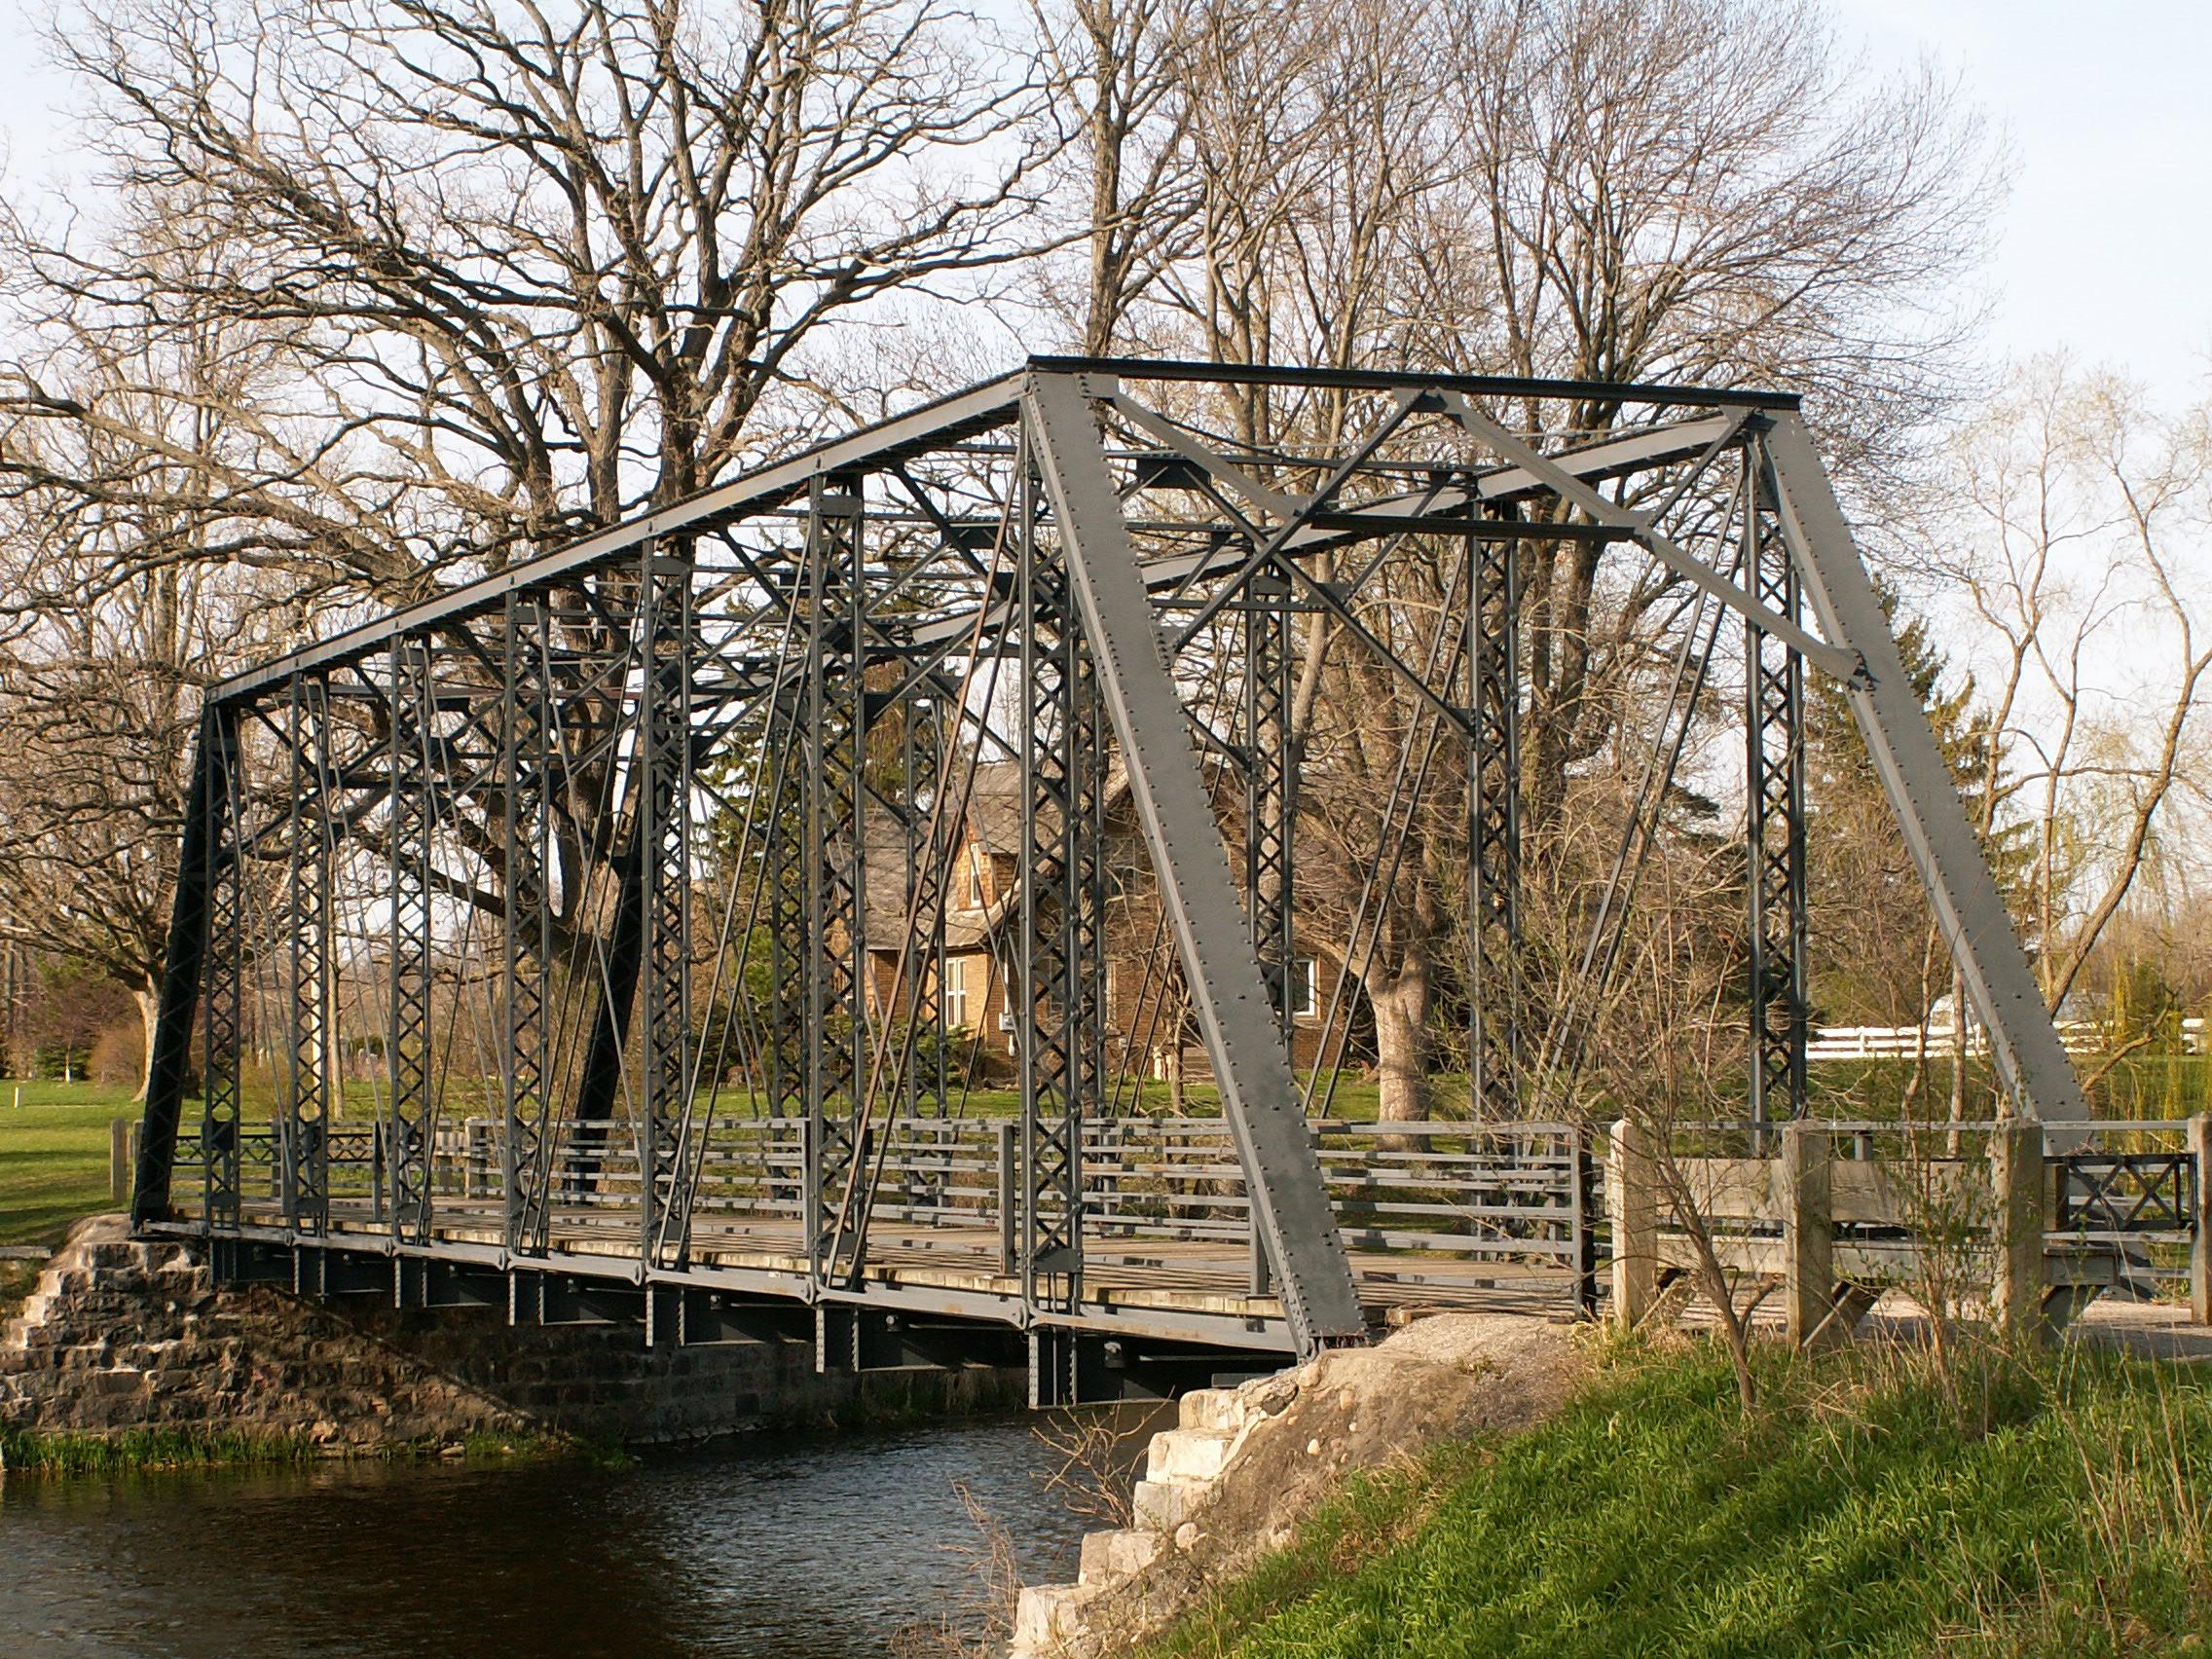
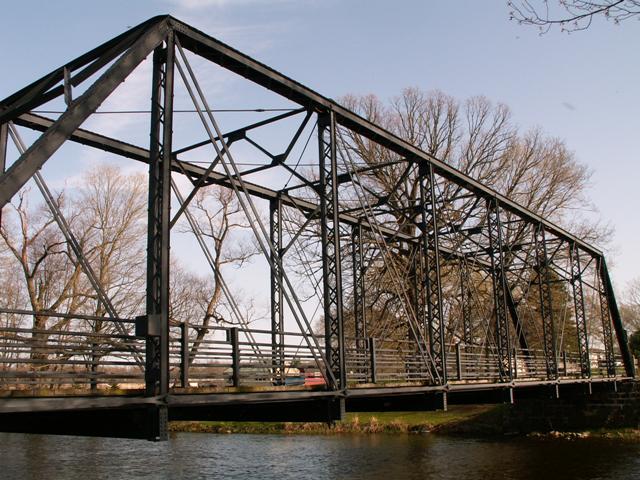
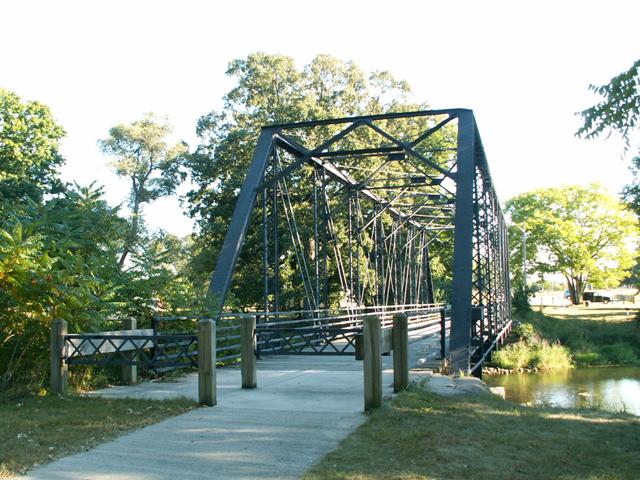
Oblique views of the bridge from southwest quadrant.
![]()
Original / Full Size
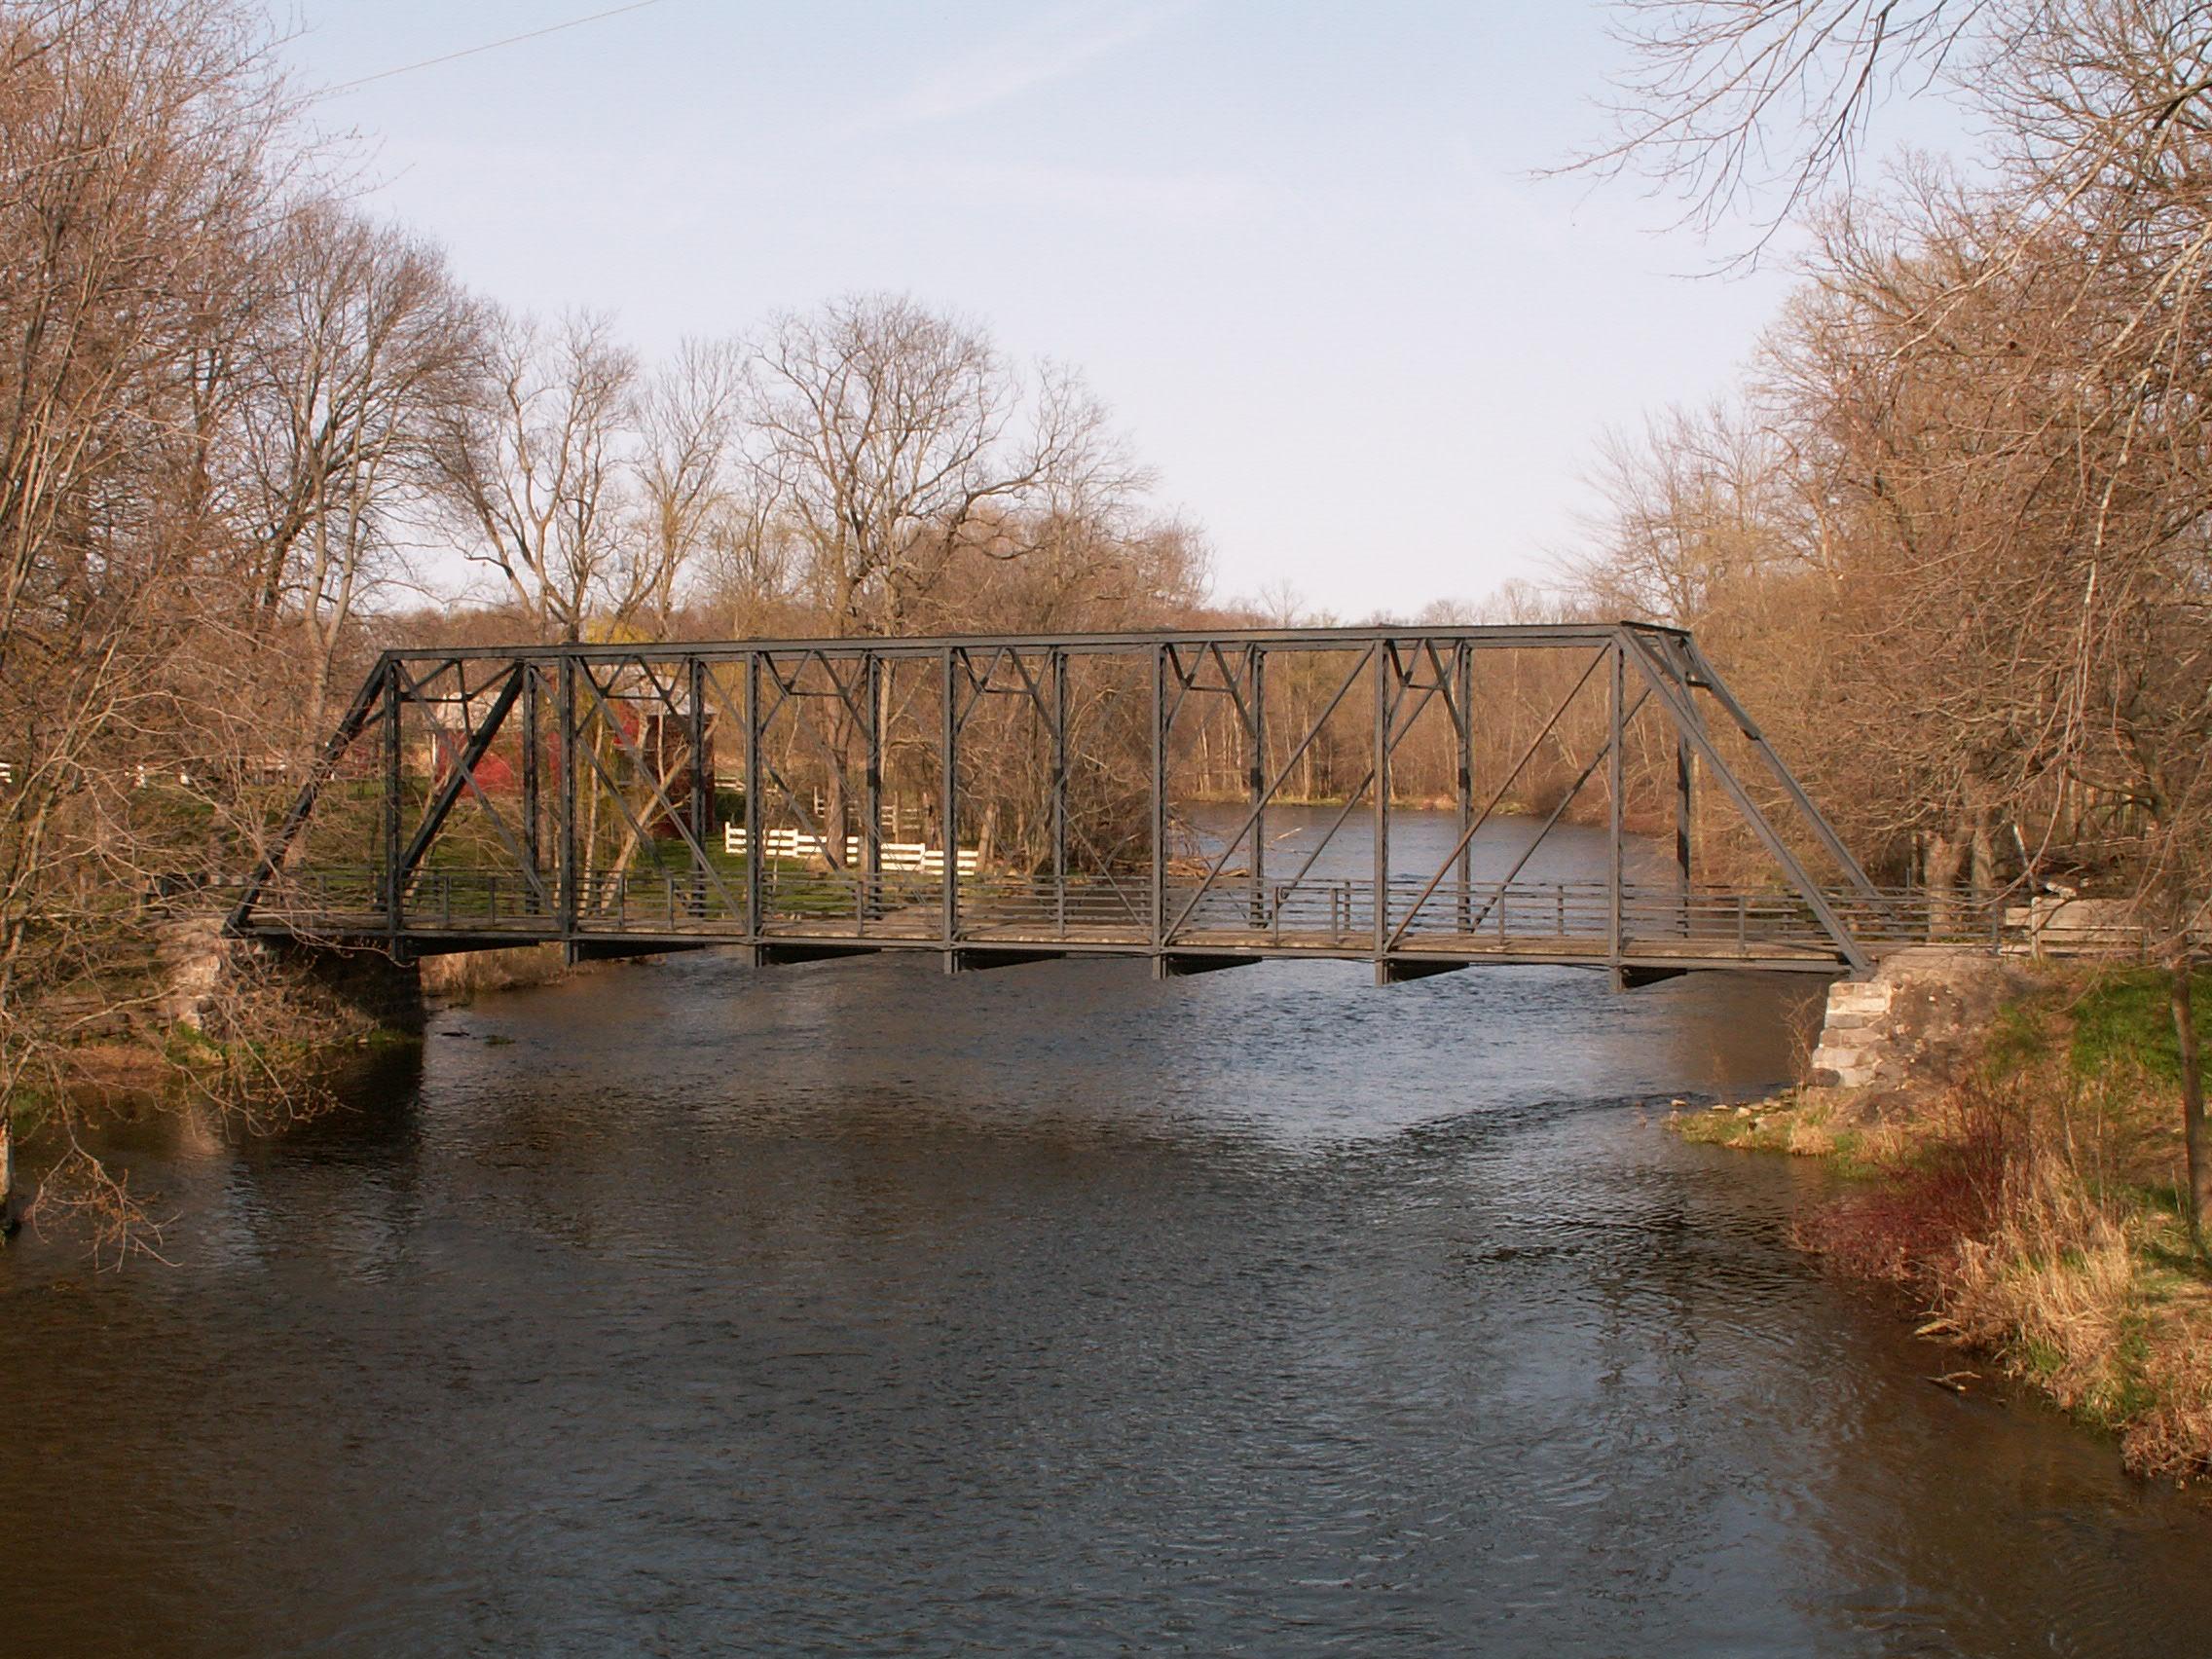
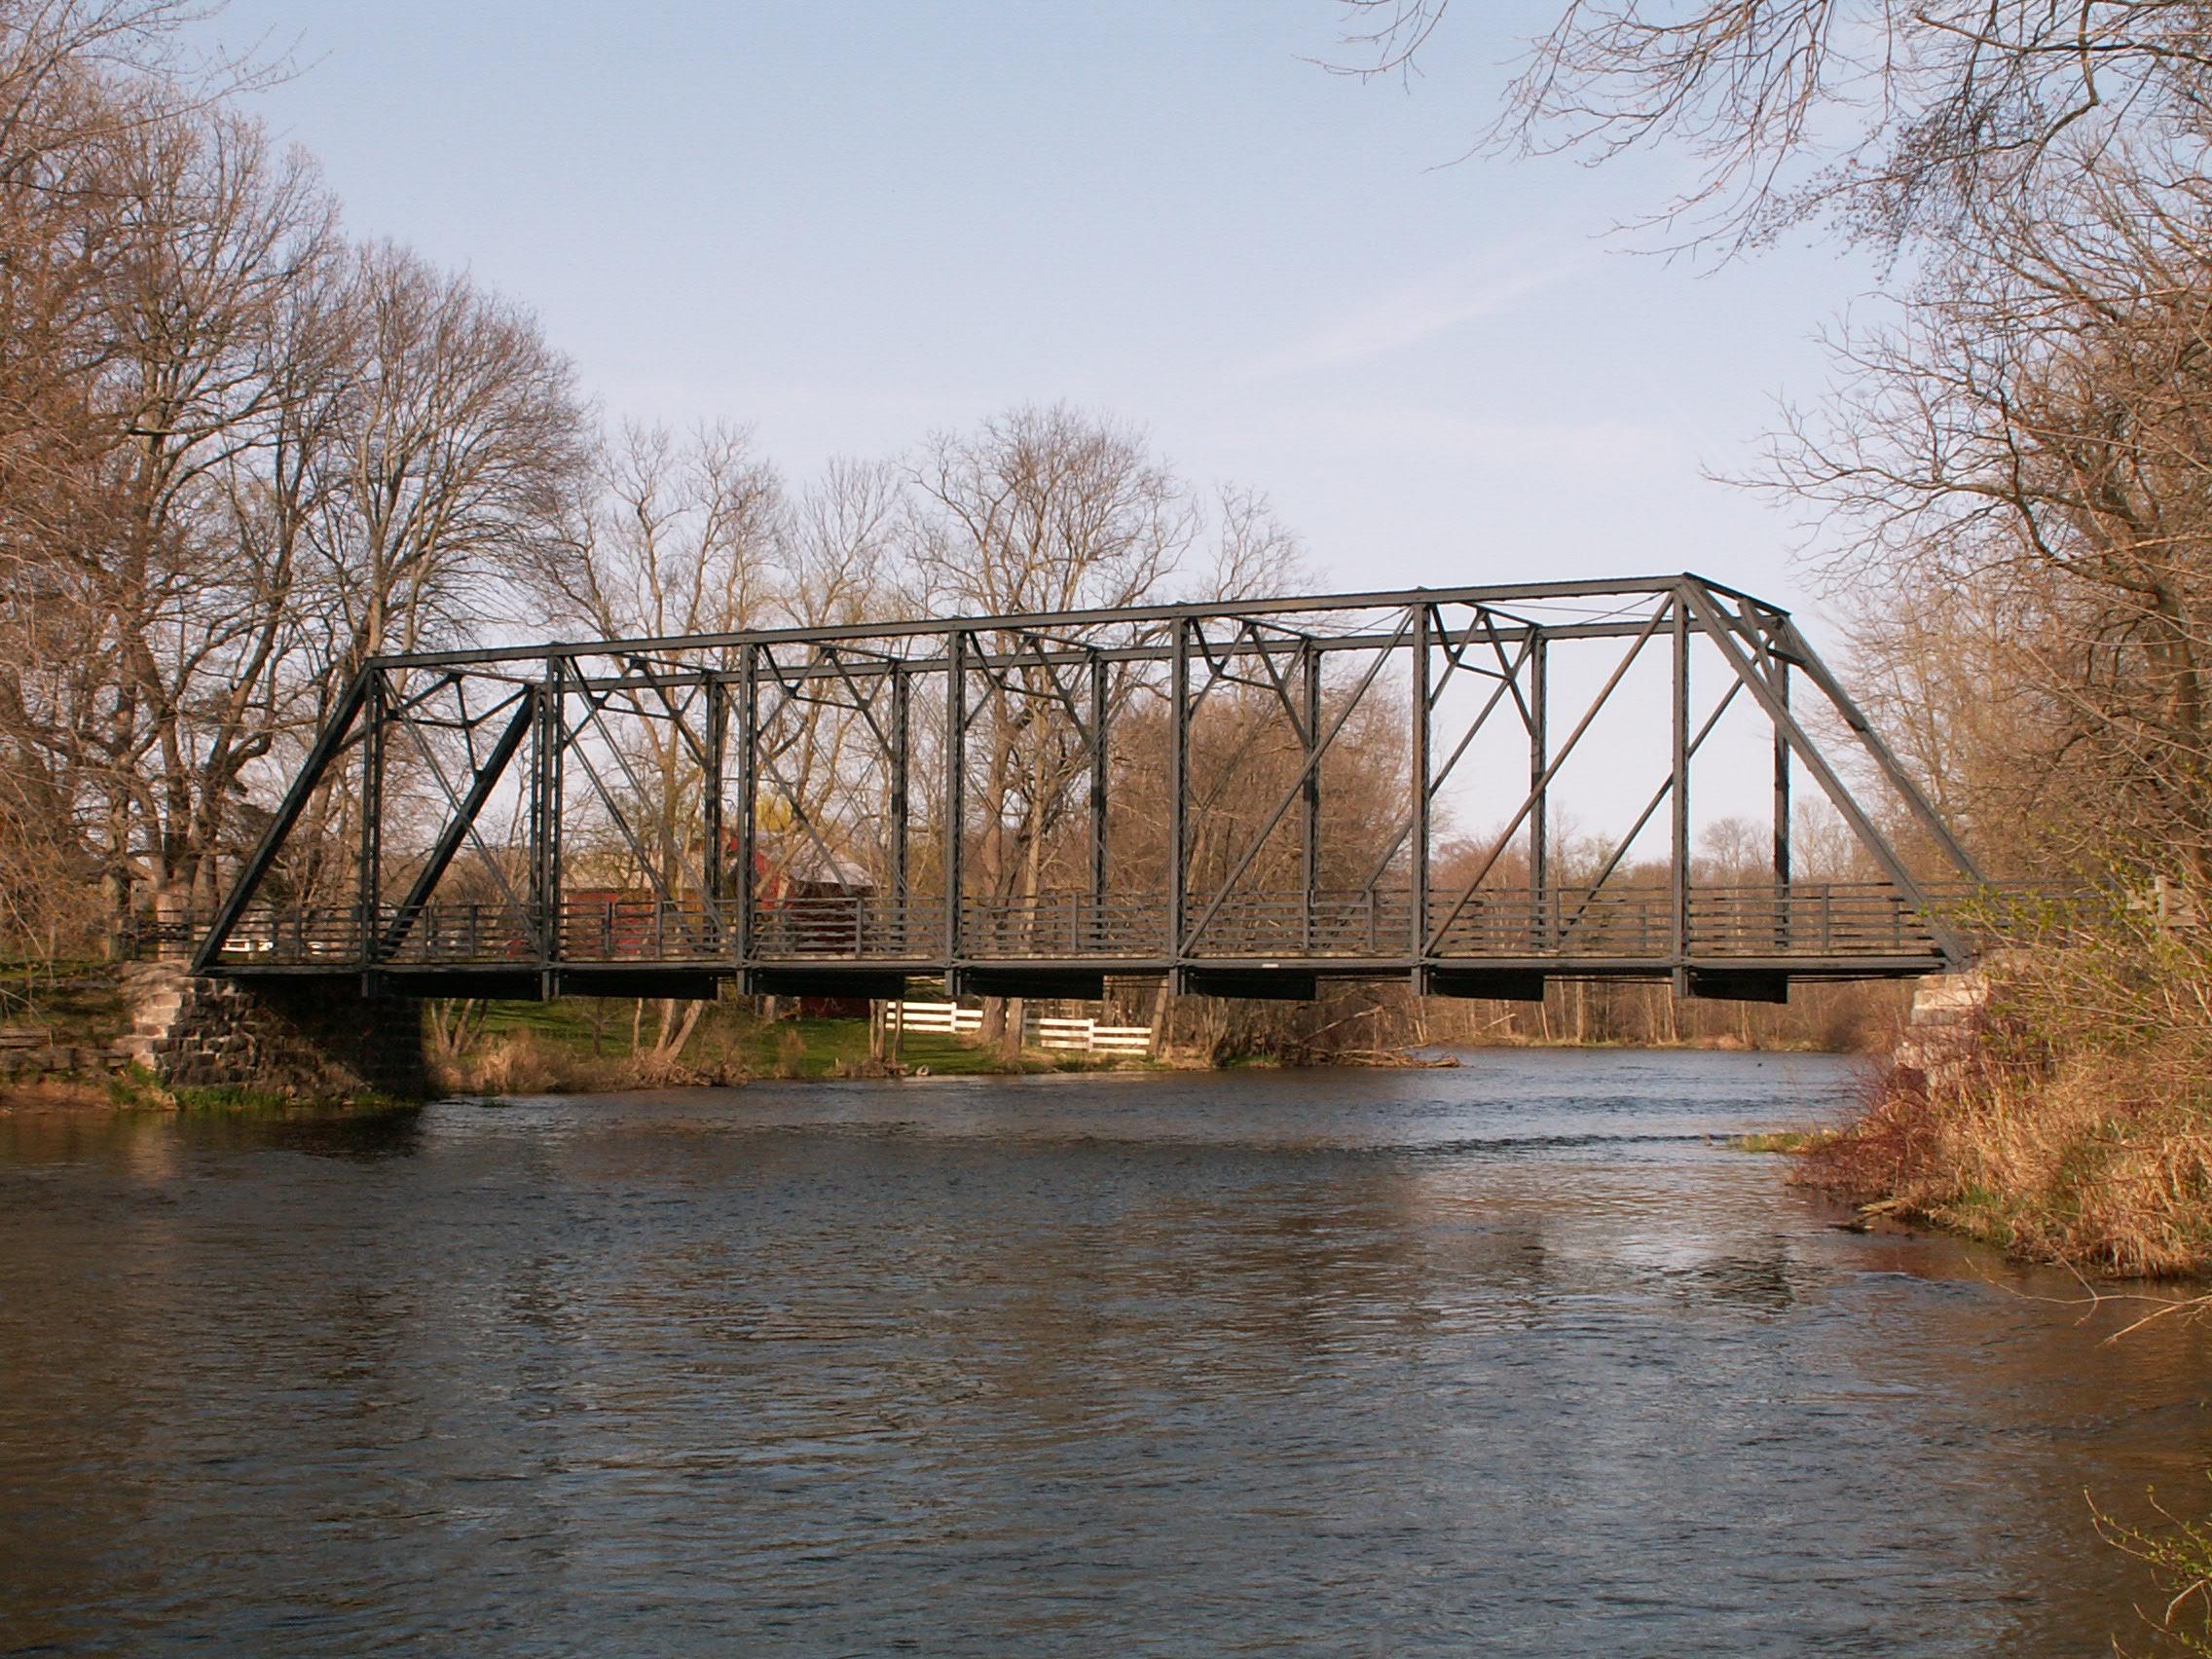
West elevation of bridge, taken from southwest quadrant.
![]()

Original / Full Size
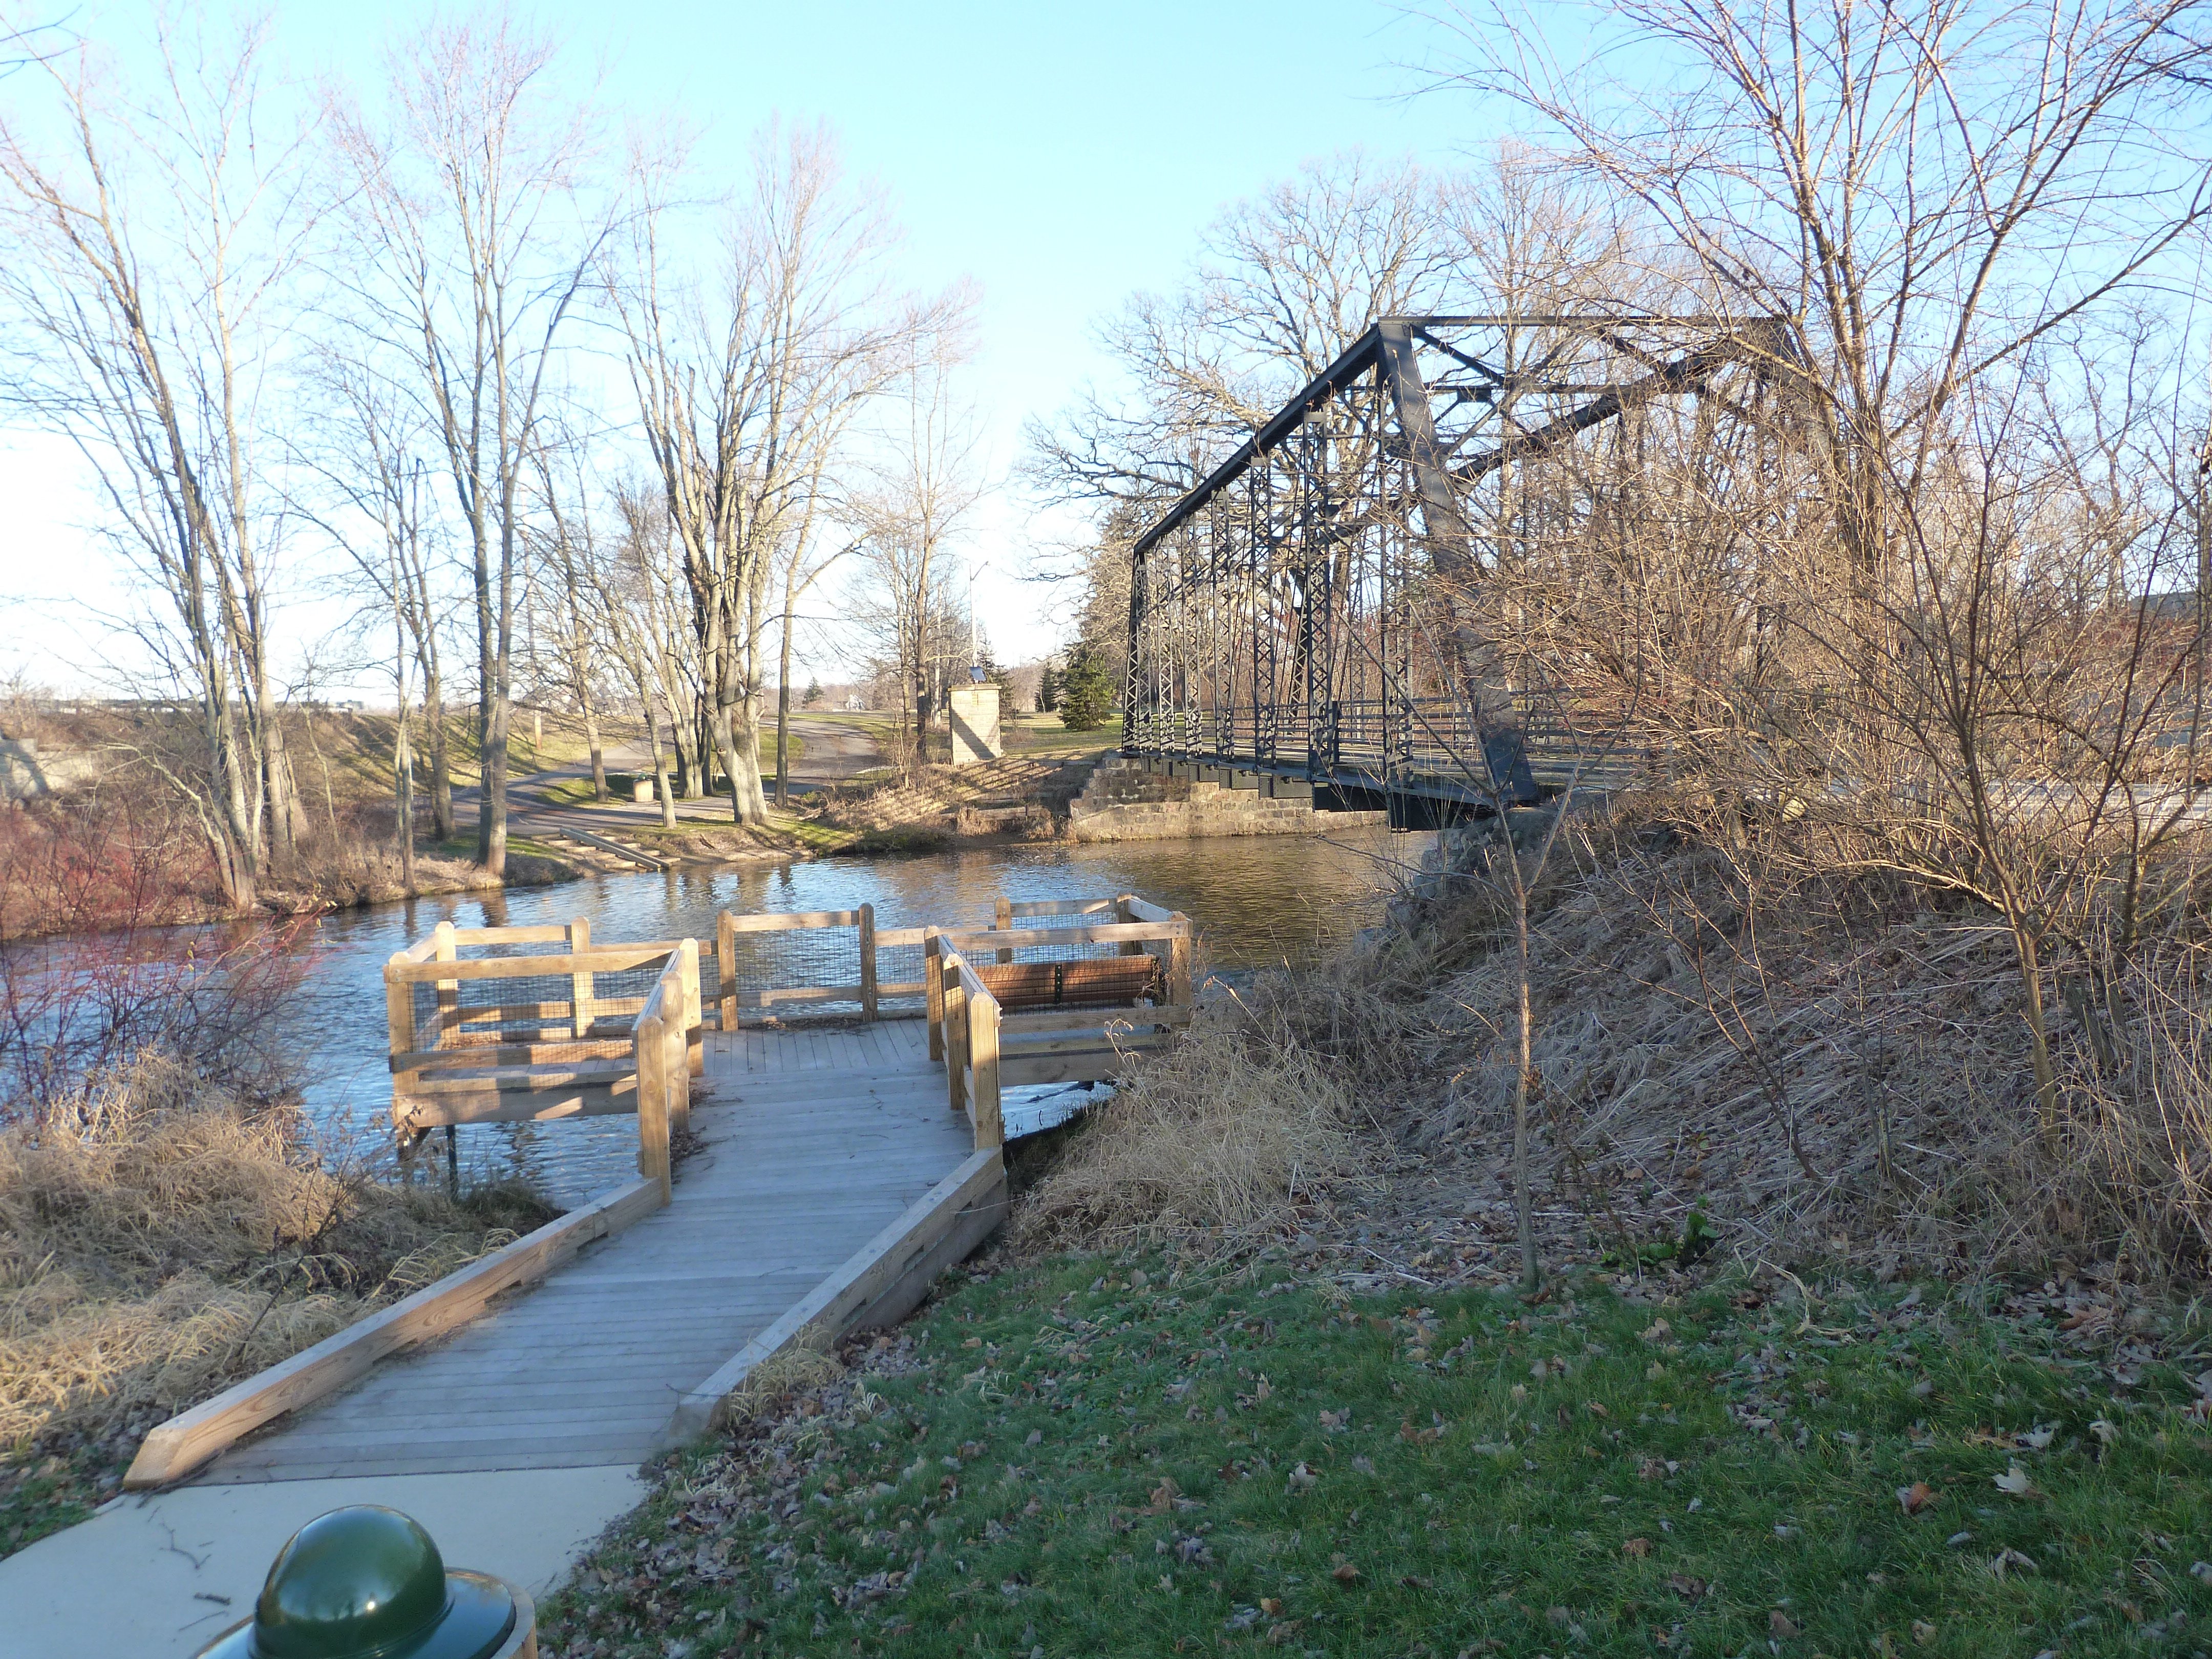
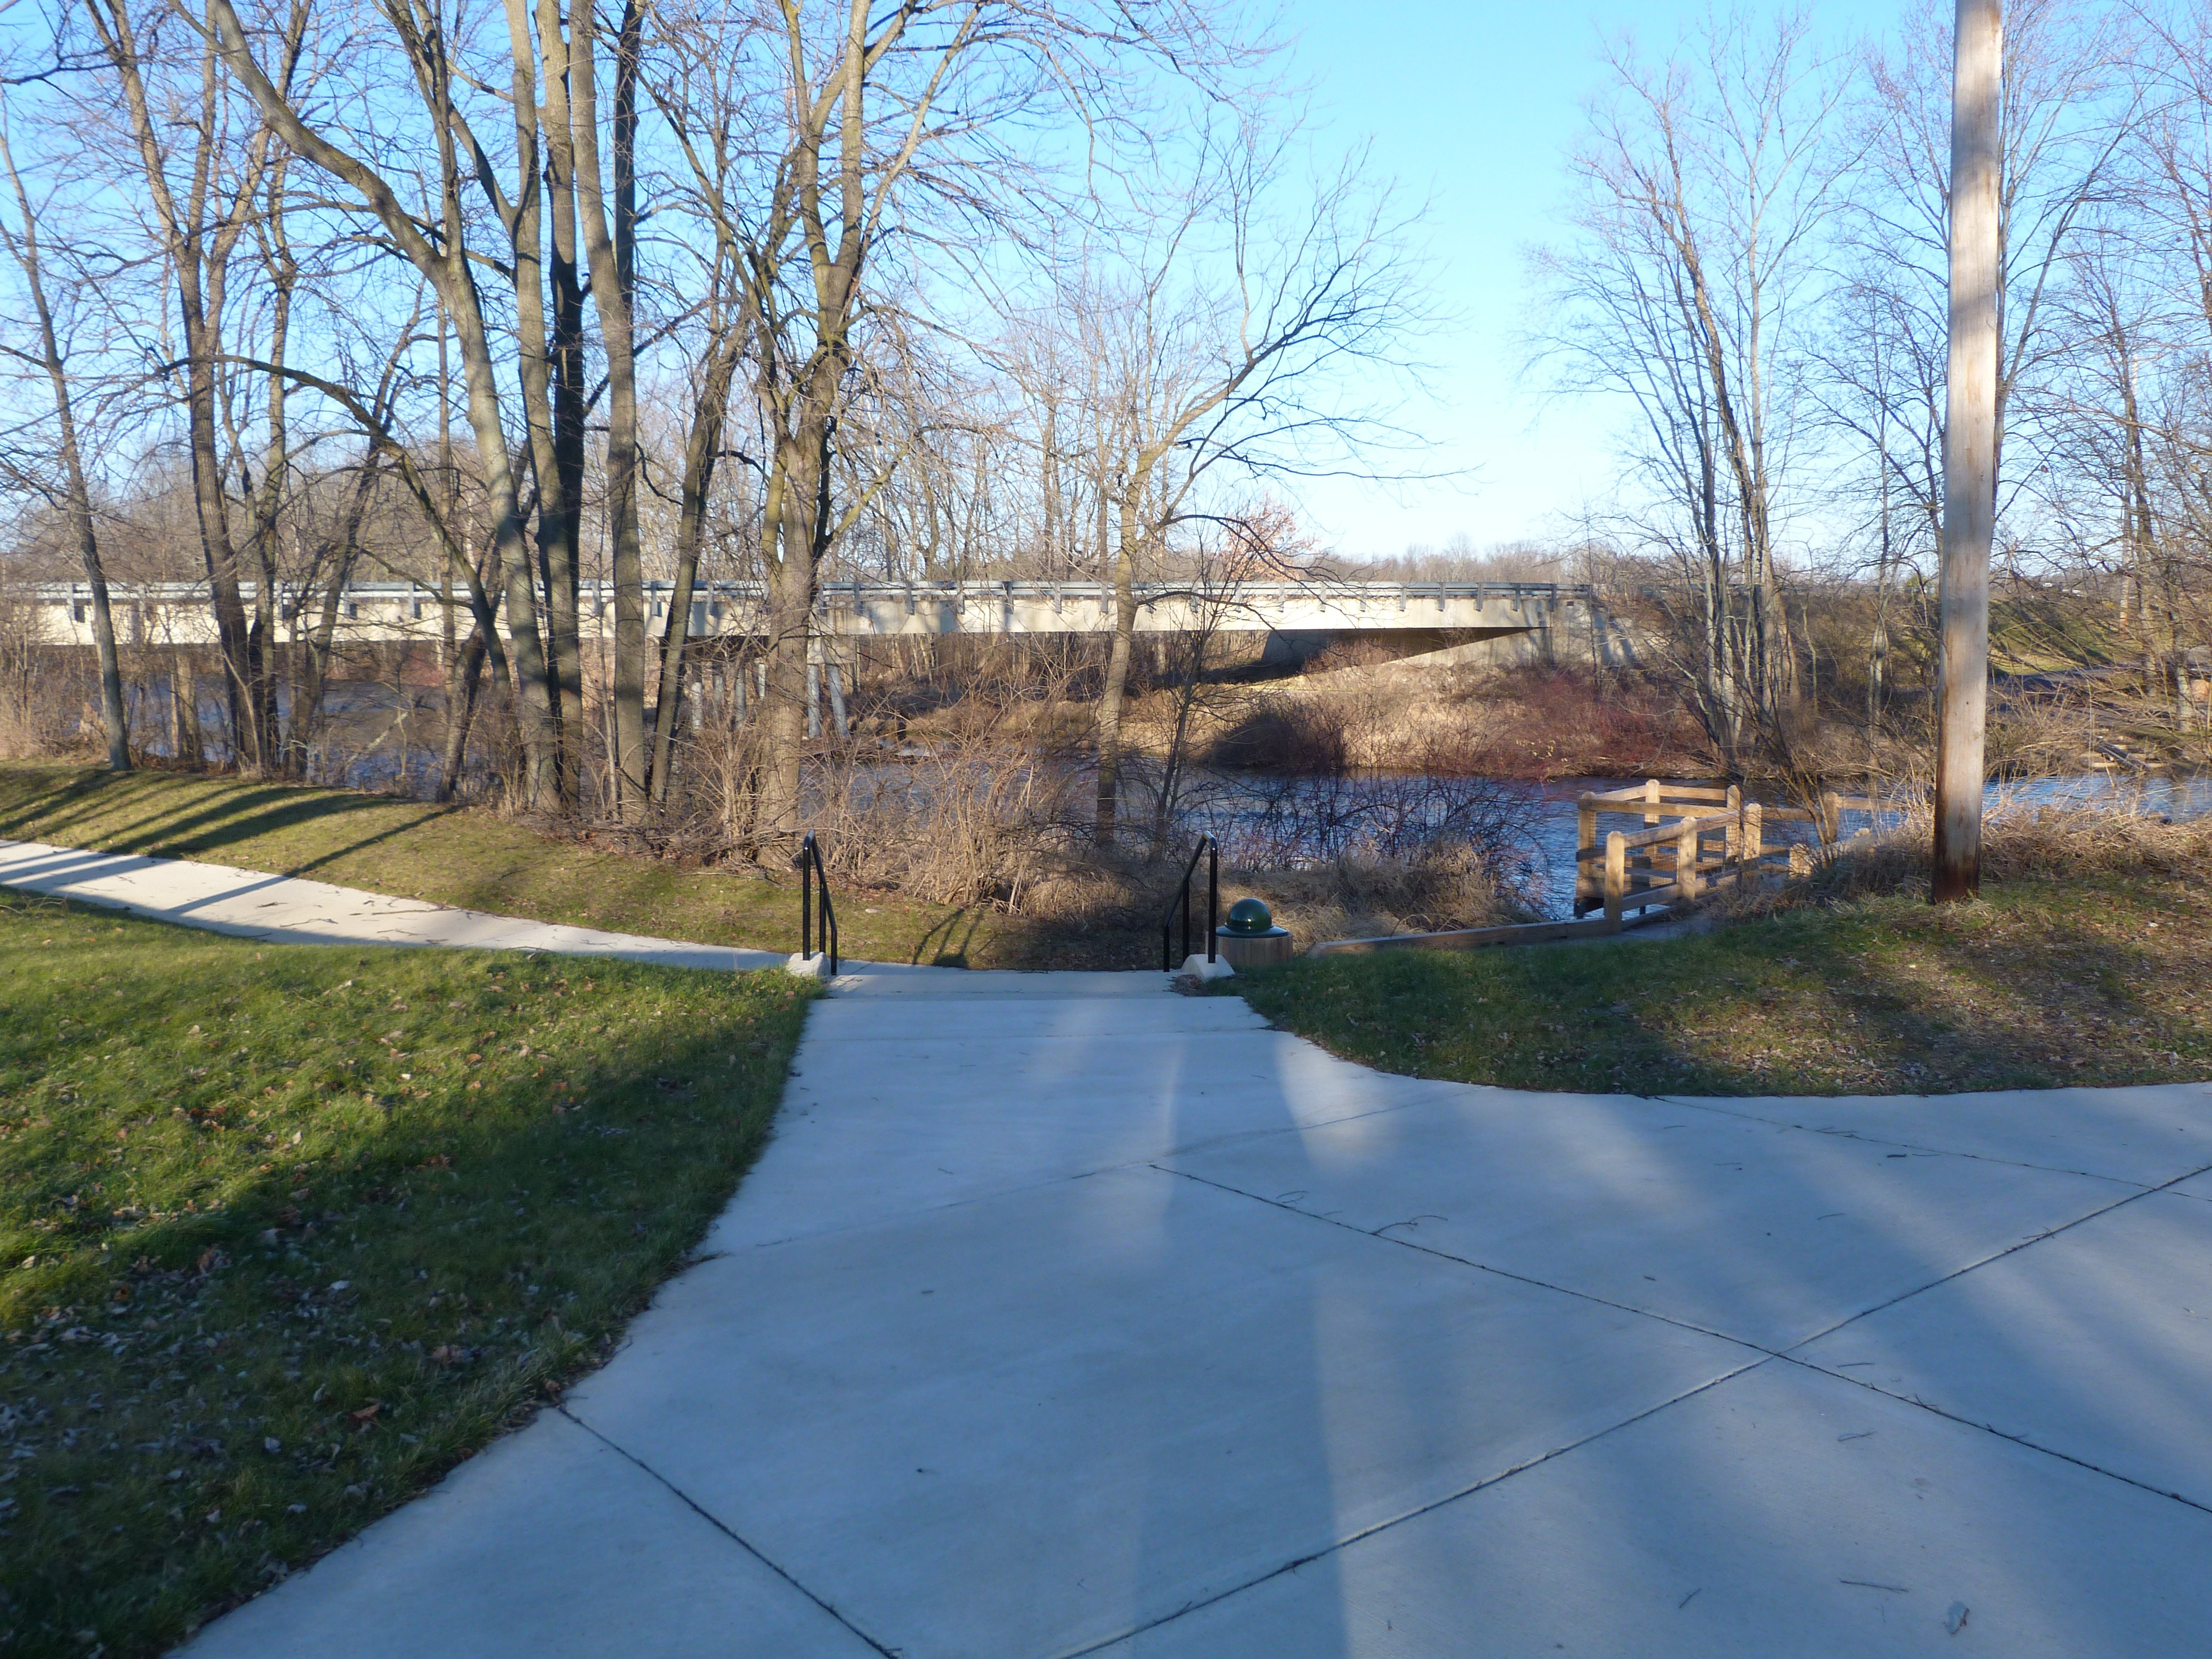
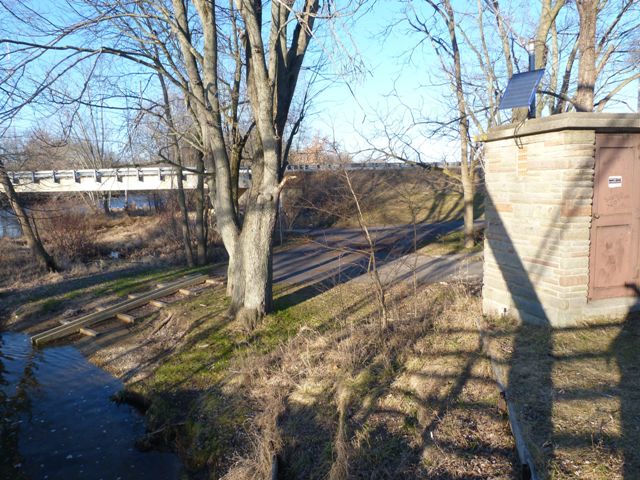
Scenic outlook next to bridge.
![]()


Original / Full Size
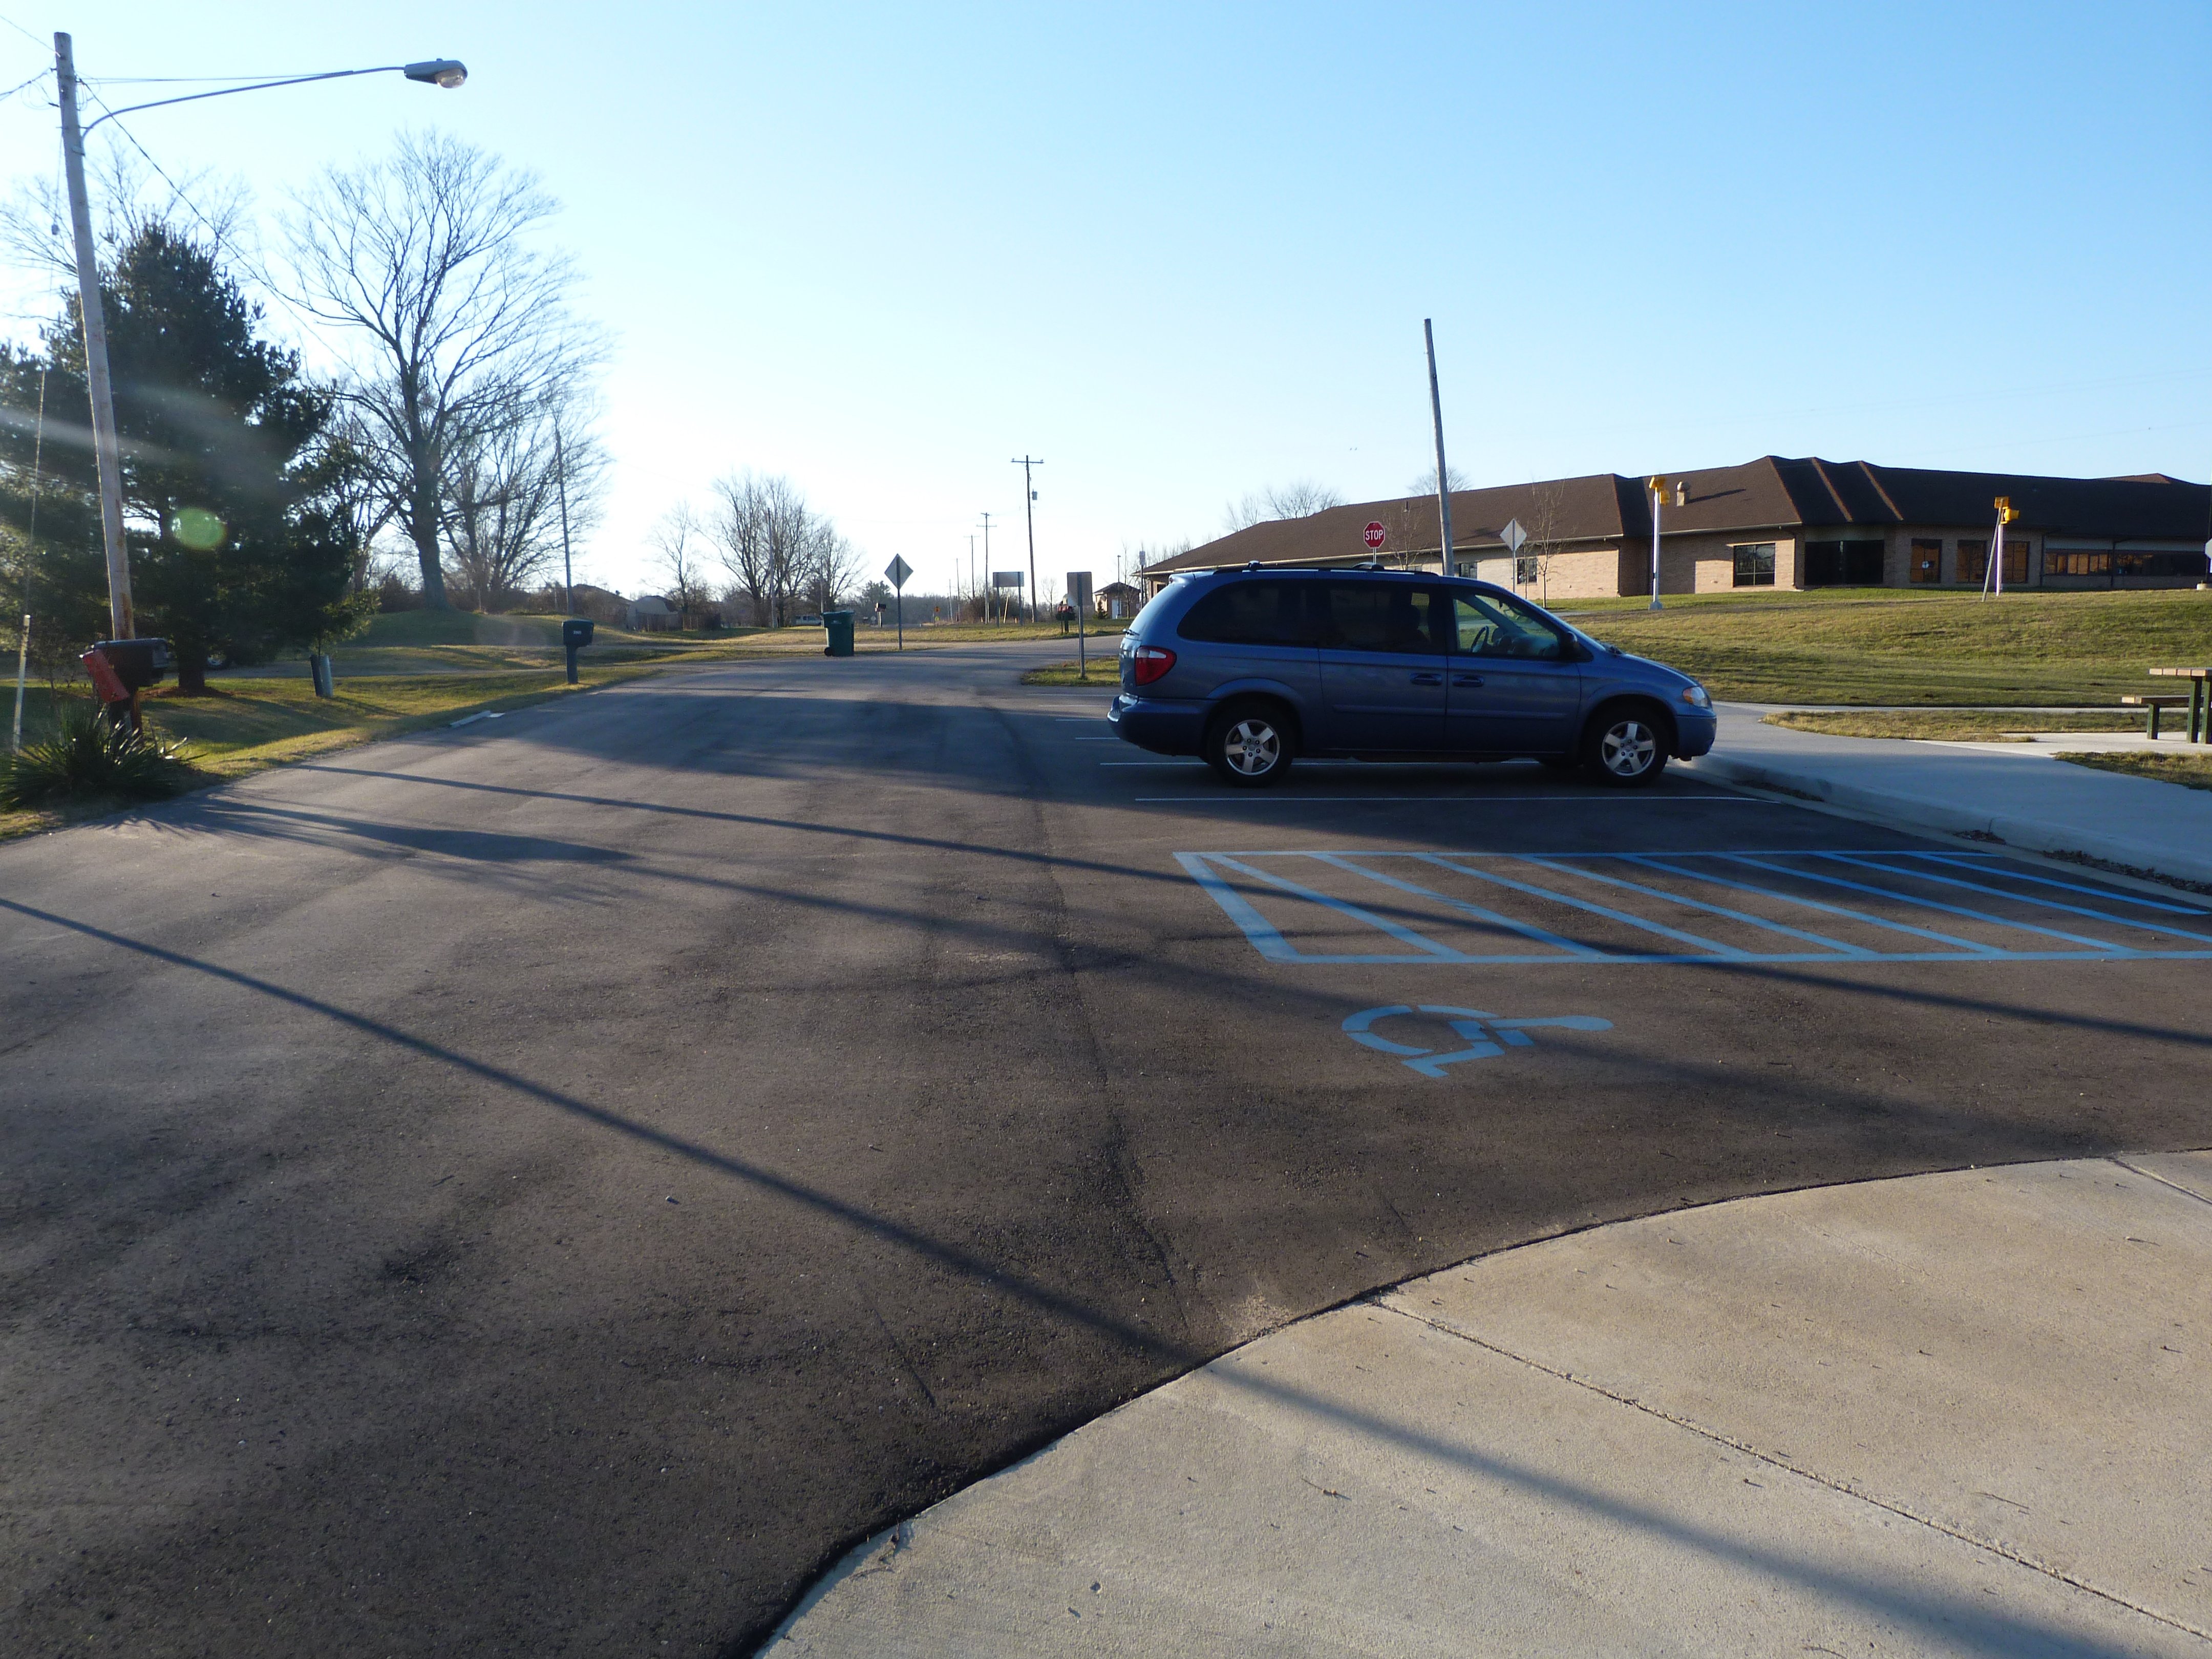
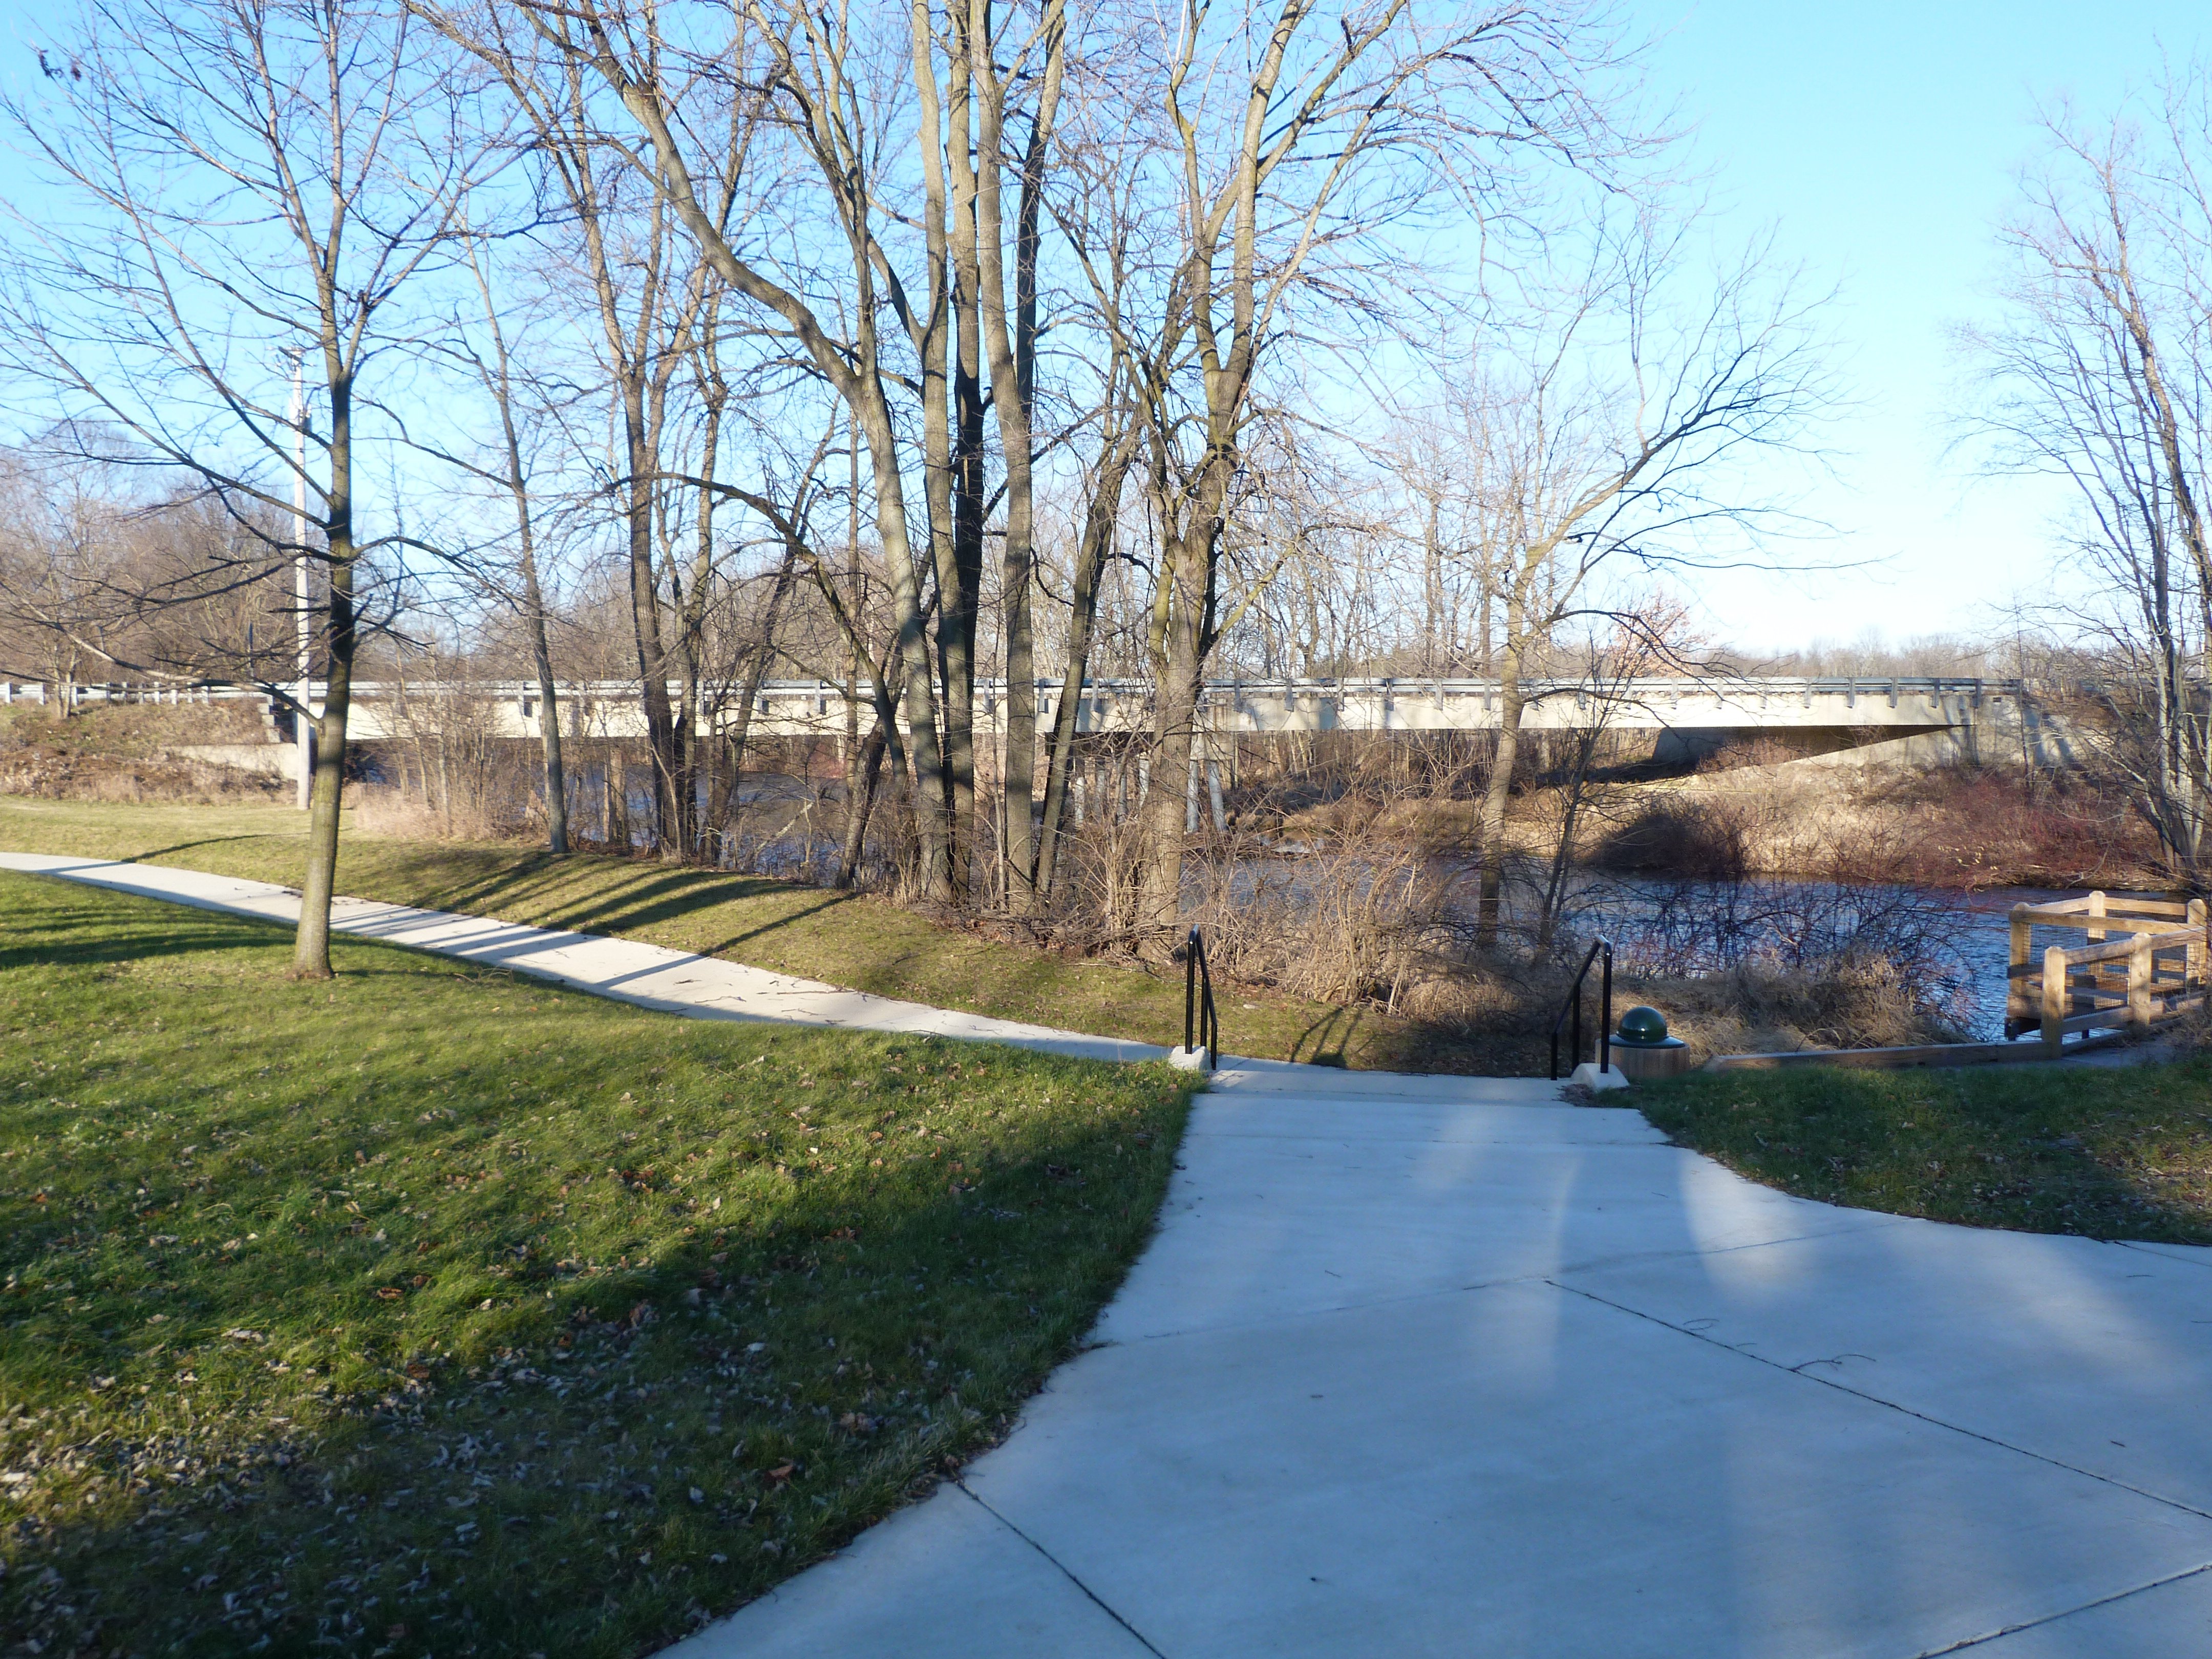
Parking lot for bridge and park land south of bridge.
![]()

Original / Full Size
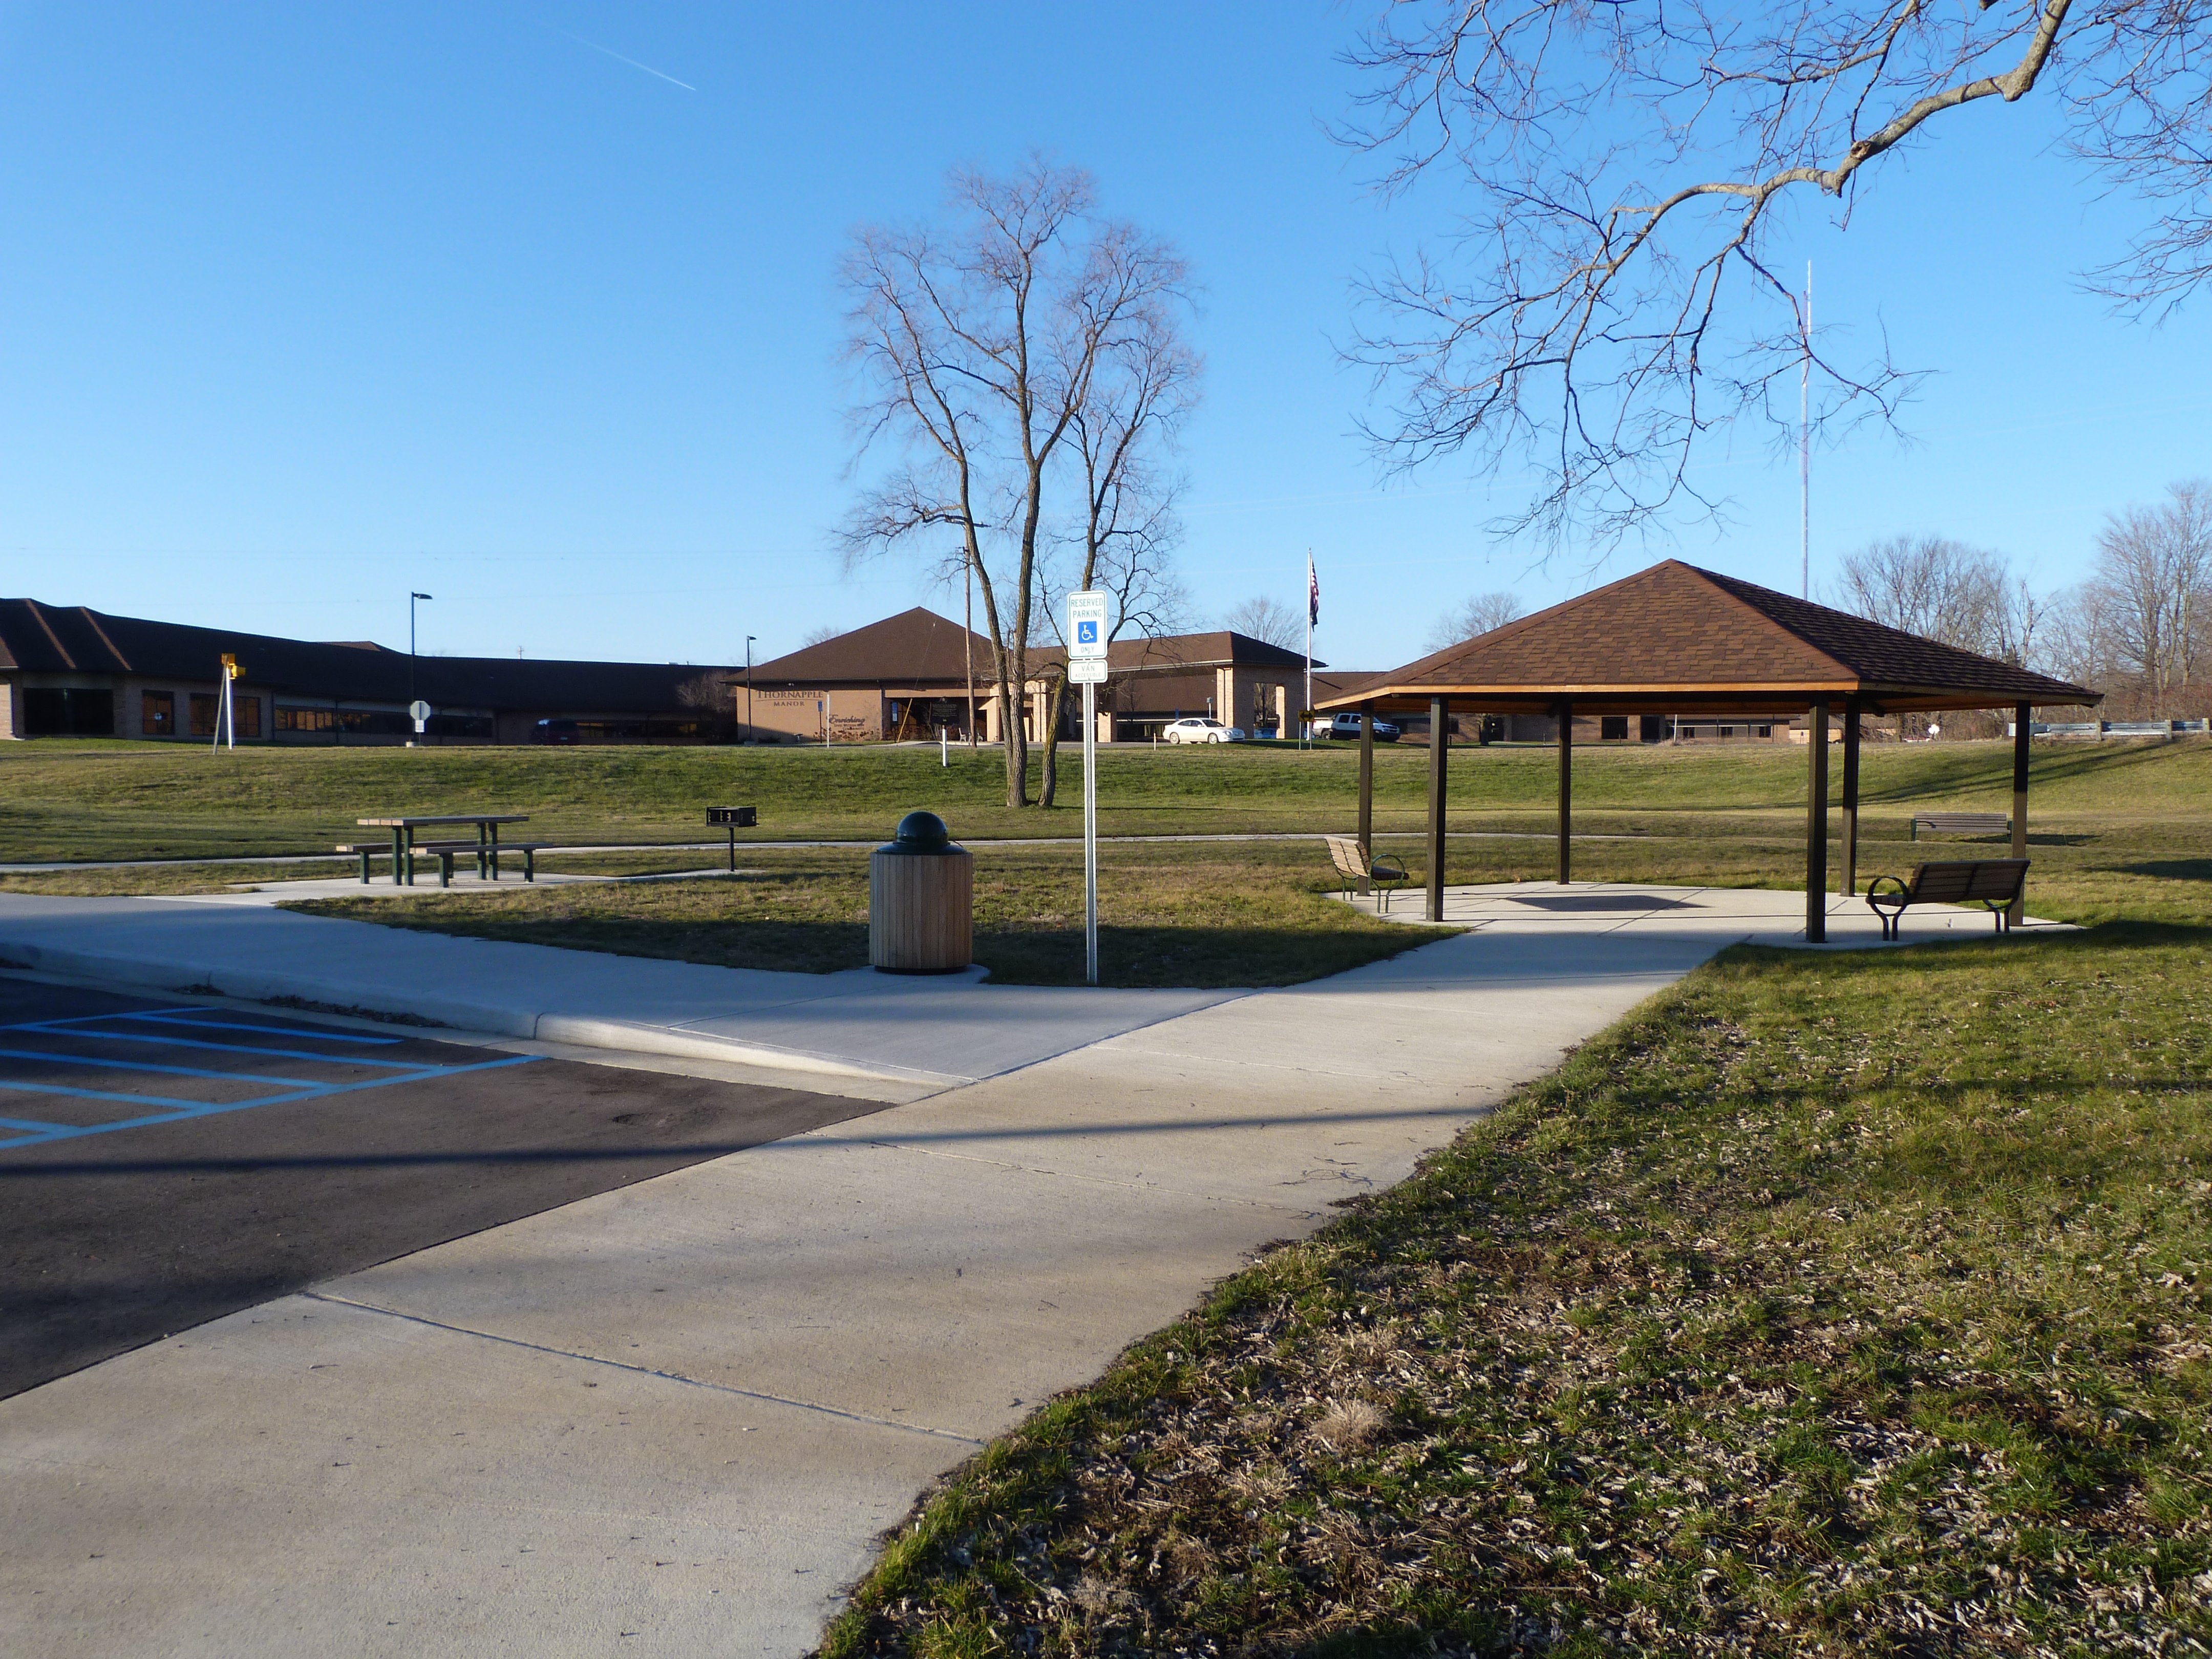
Views of the park north of the bridge.
![]()
Original / Full Size
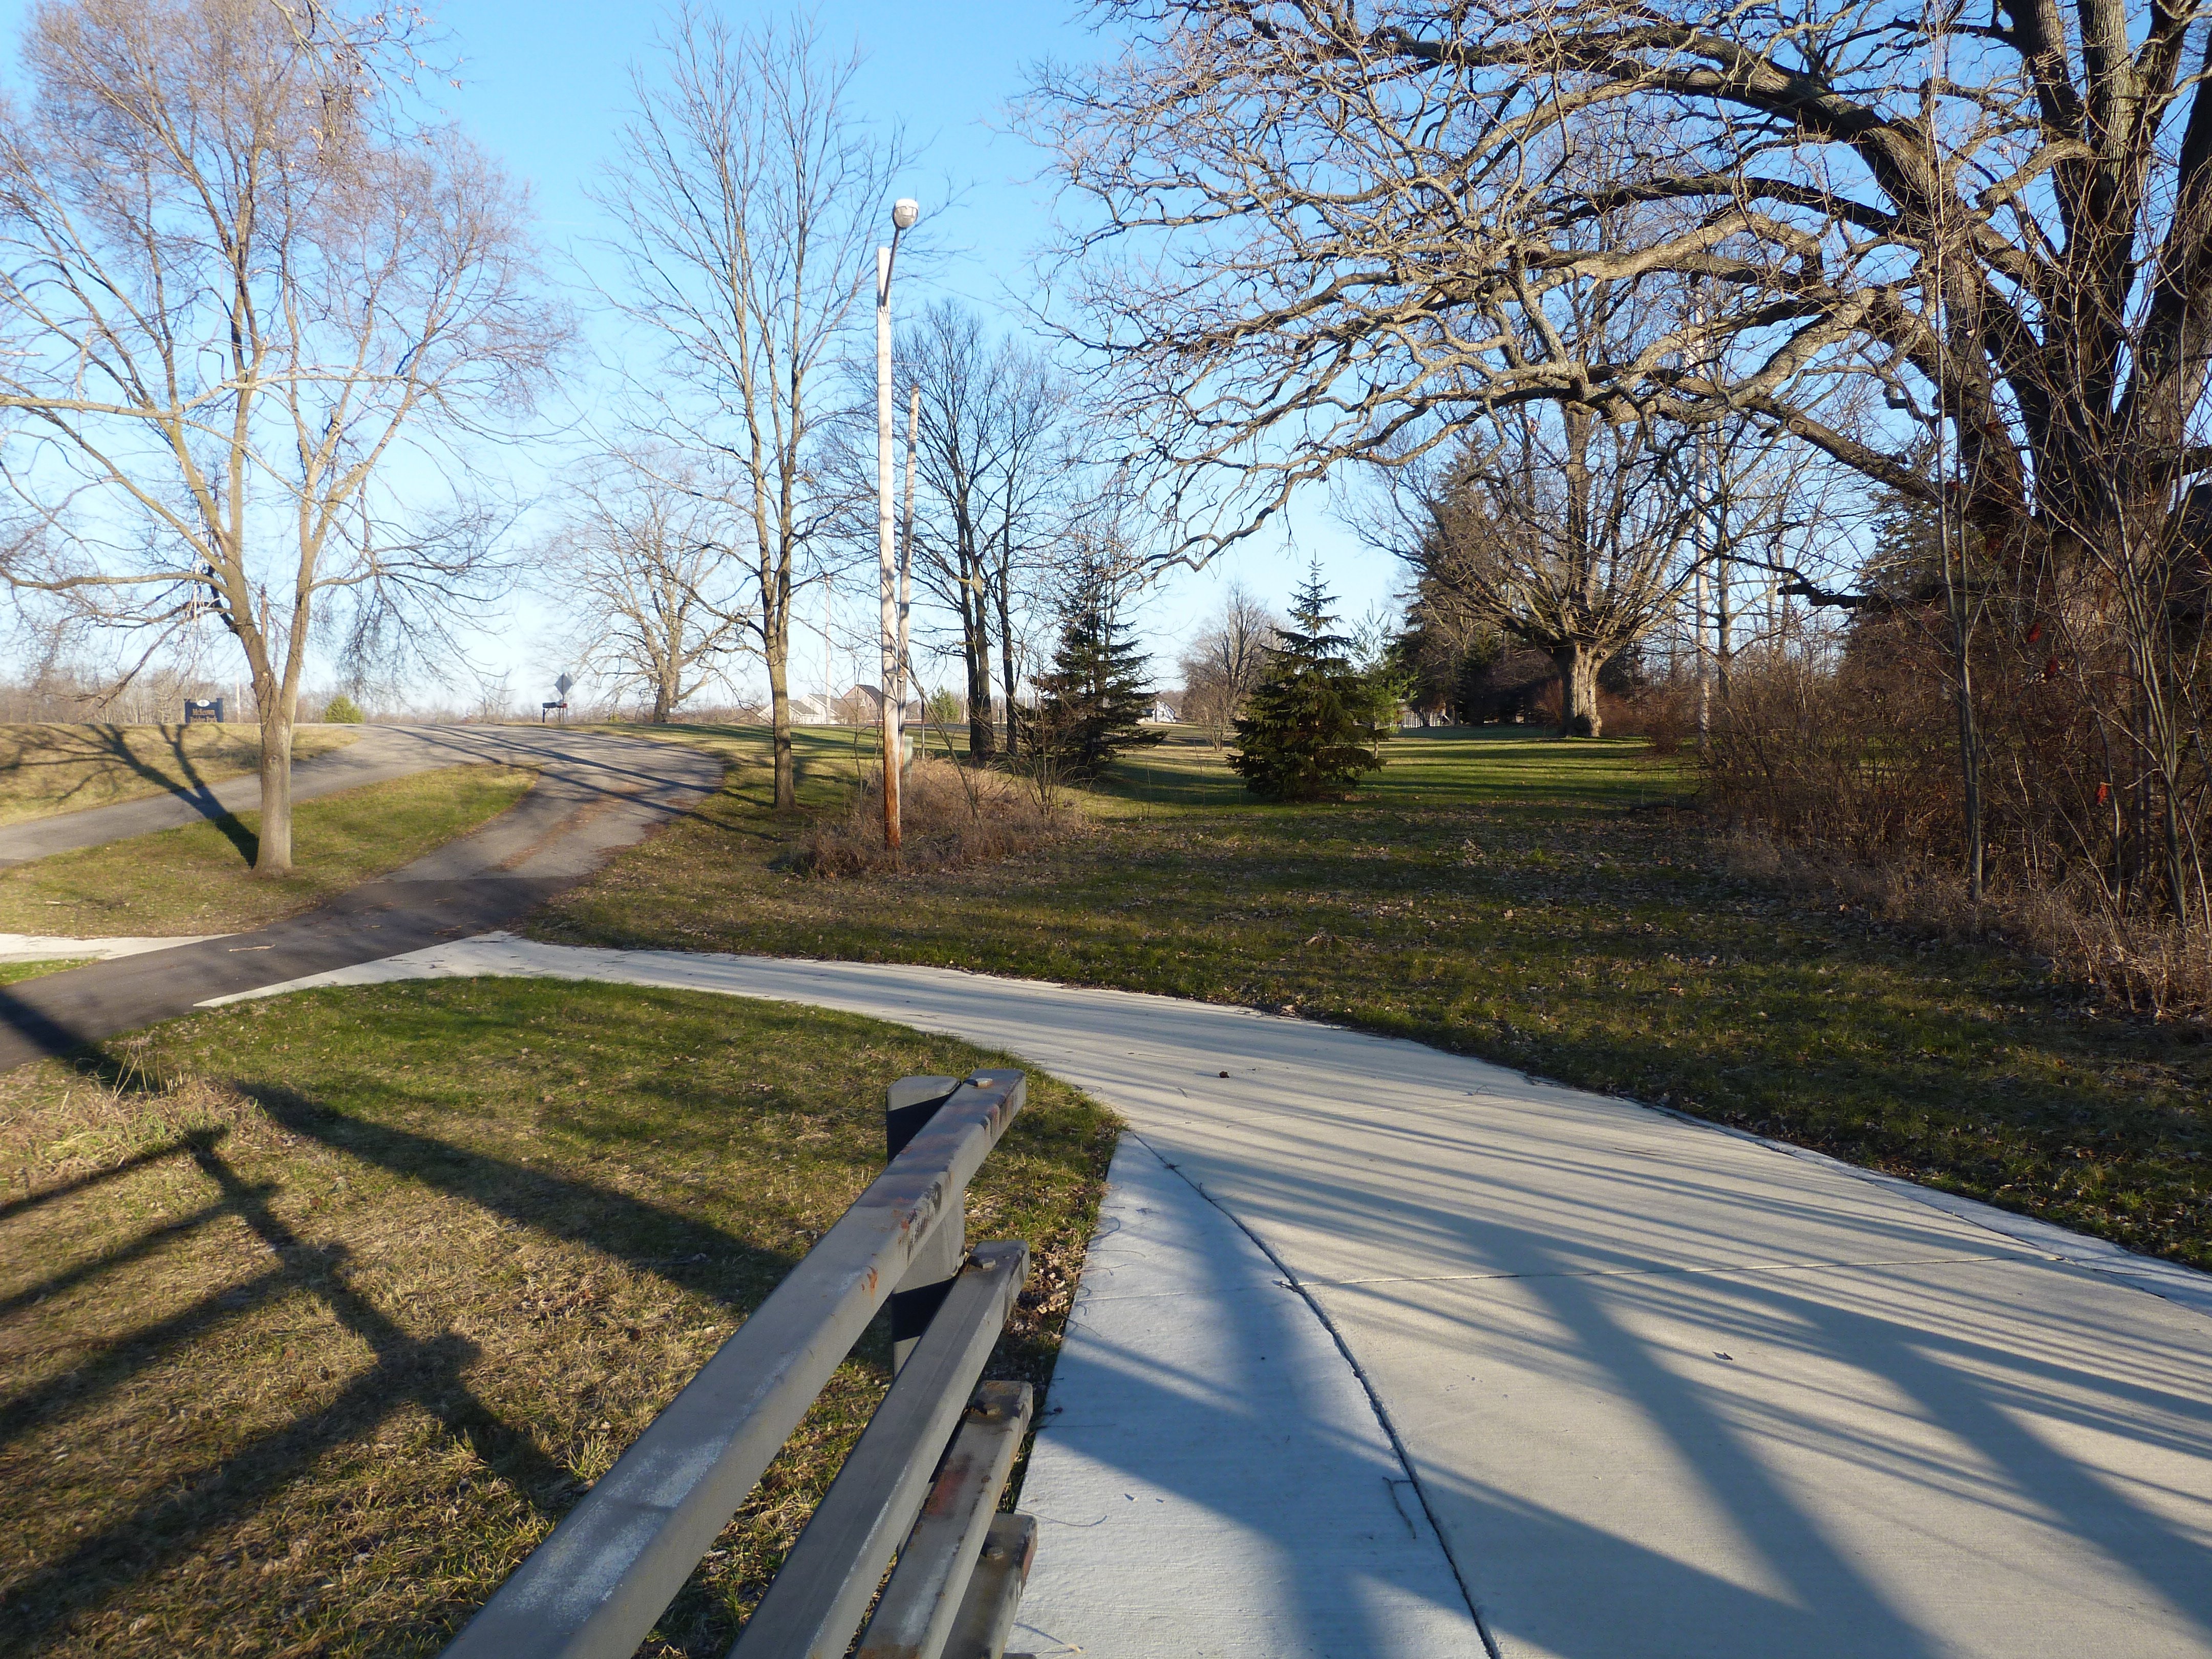
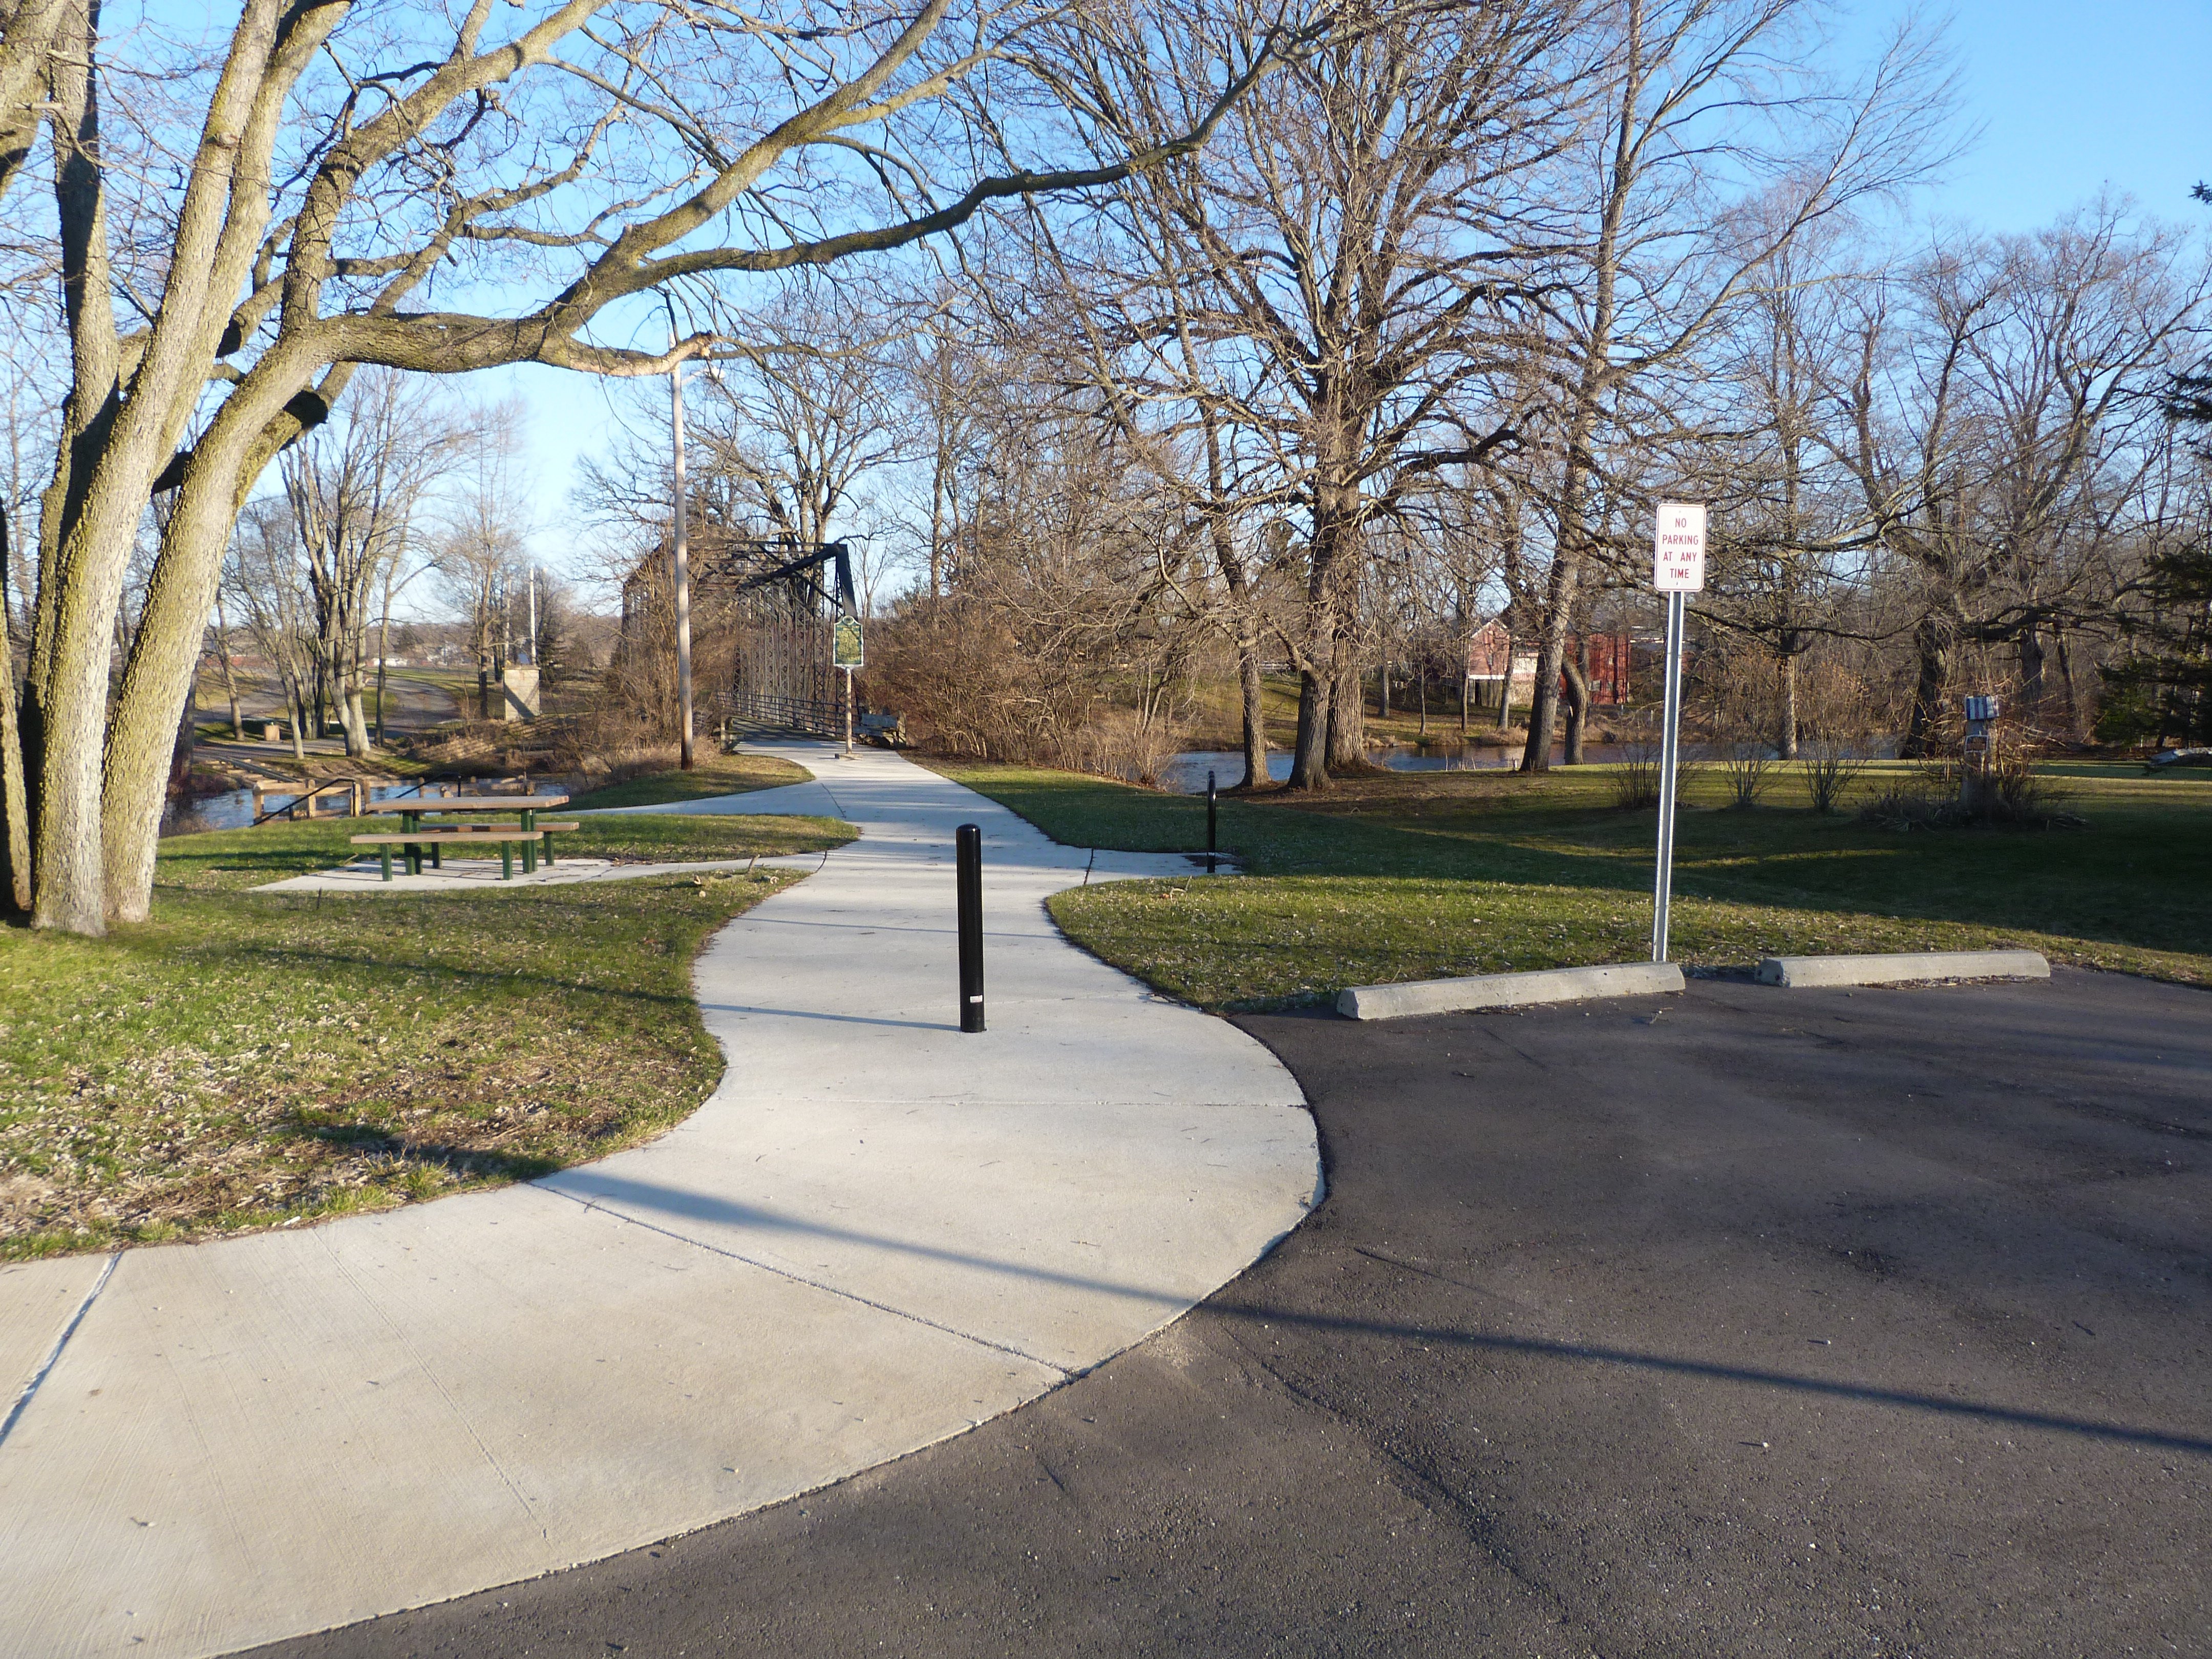
Looking toward bridge from parking lot.
![]()
Original / Full Size
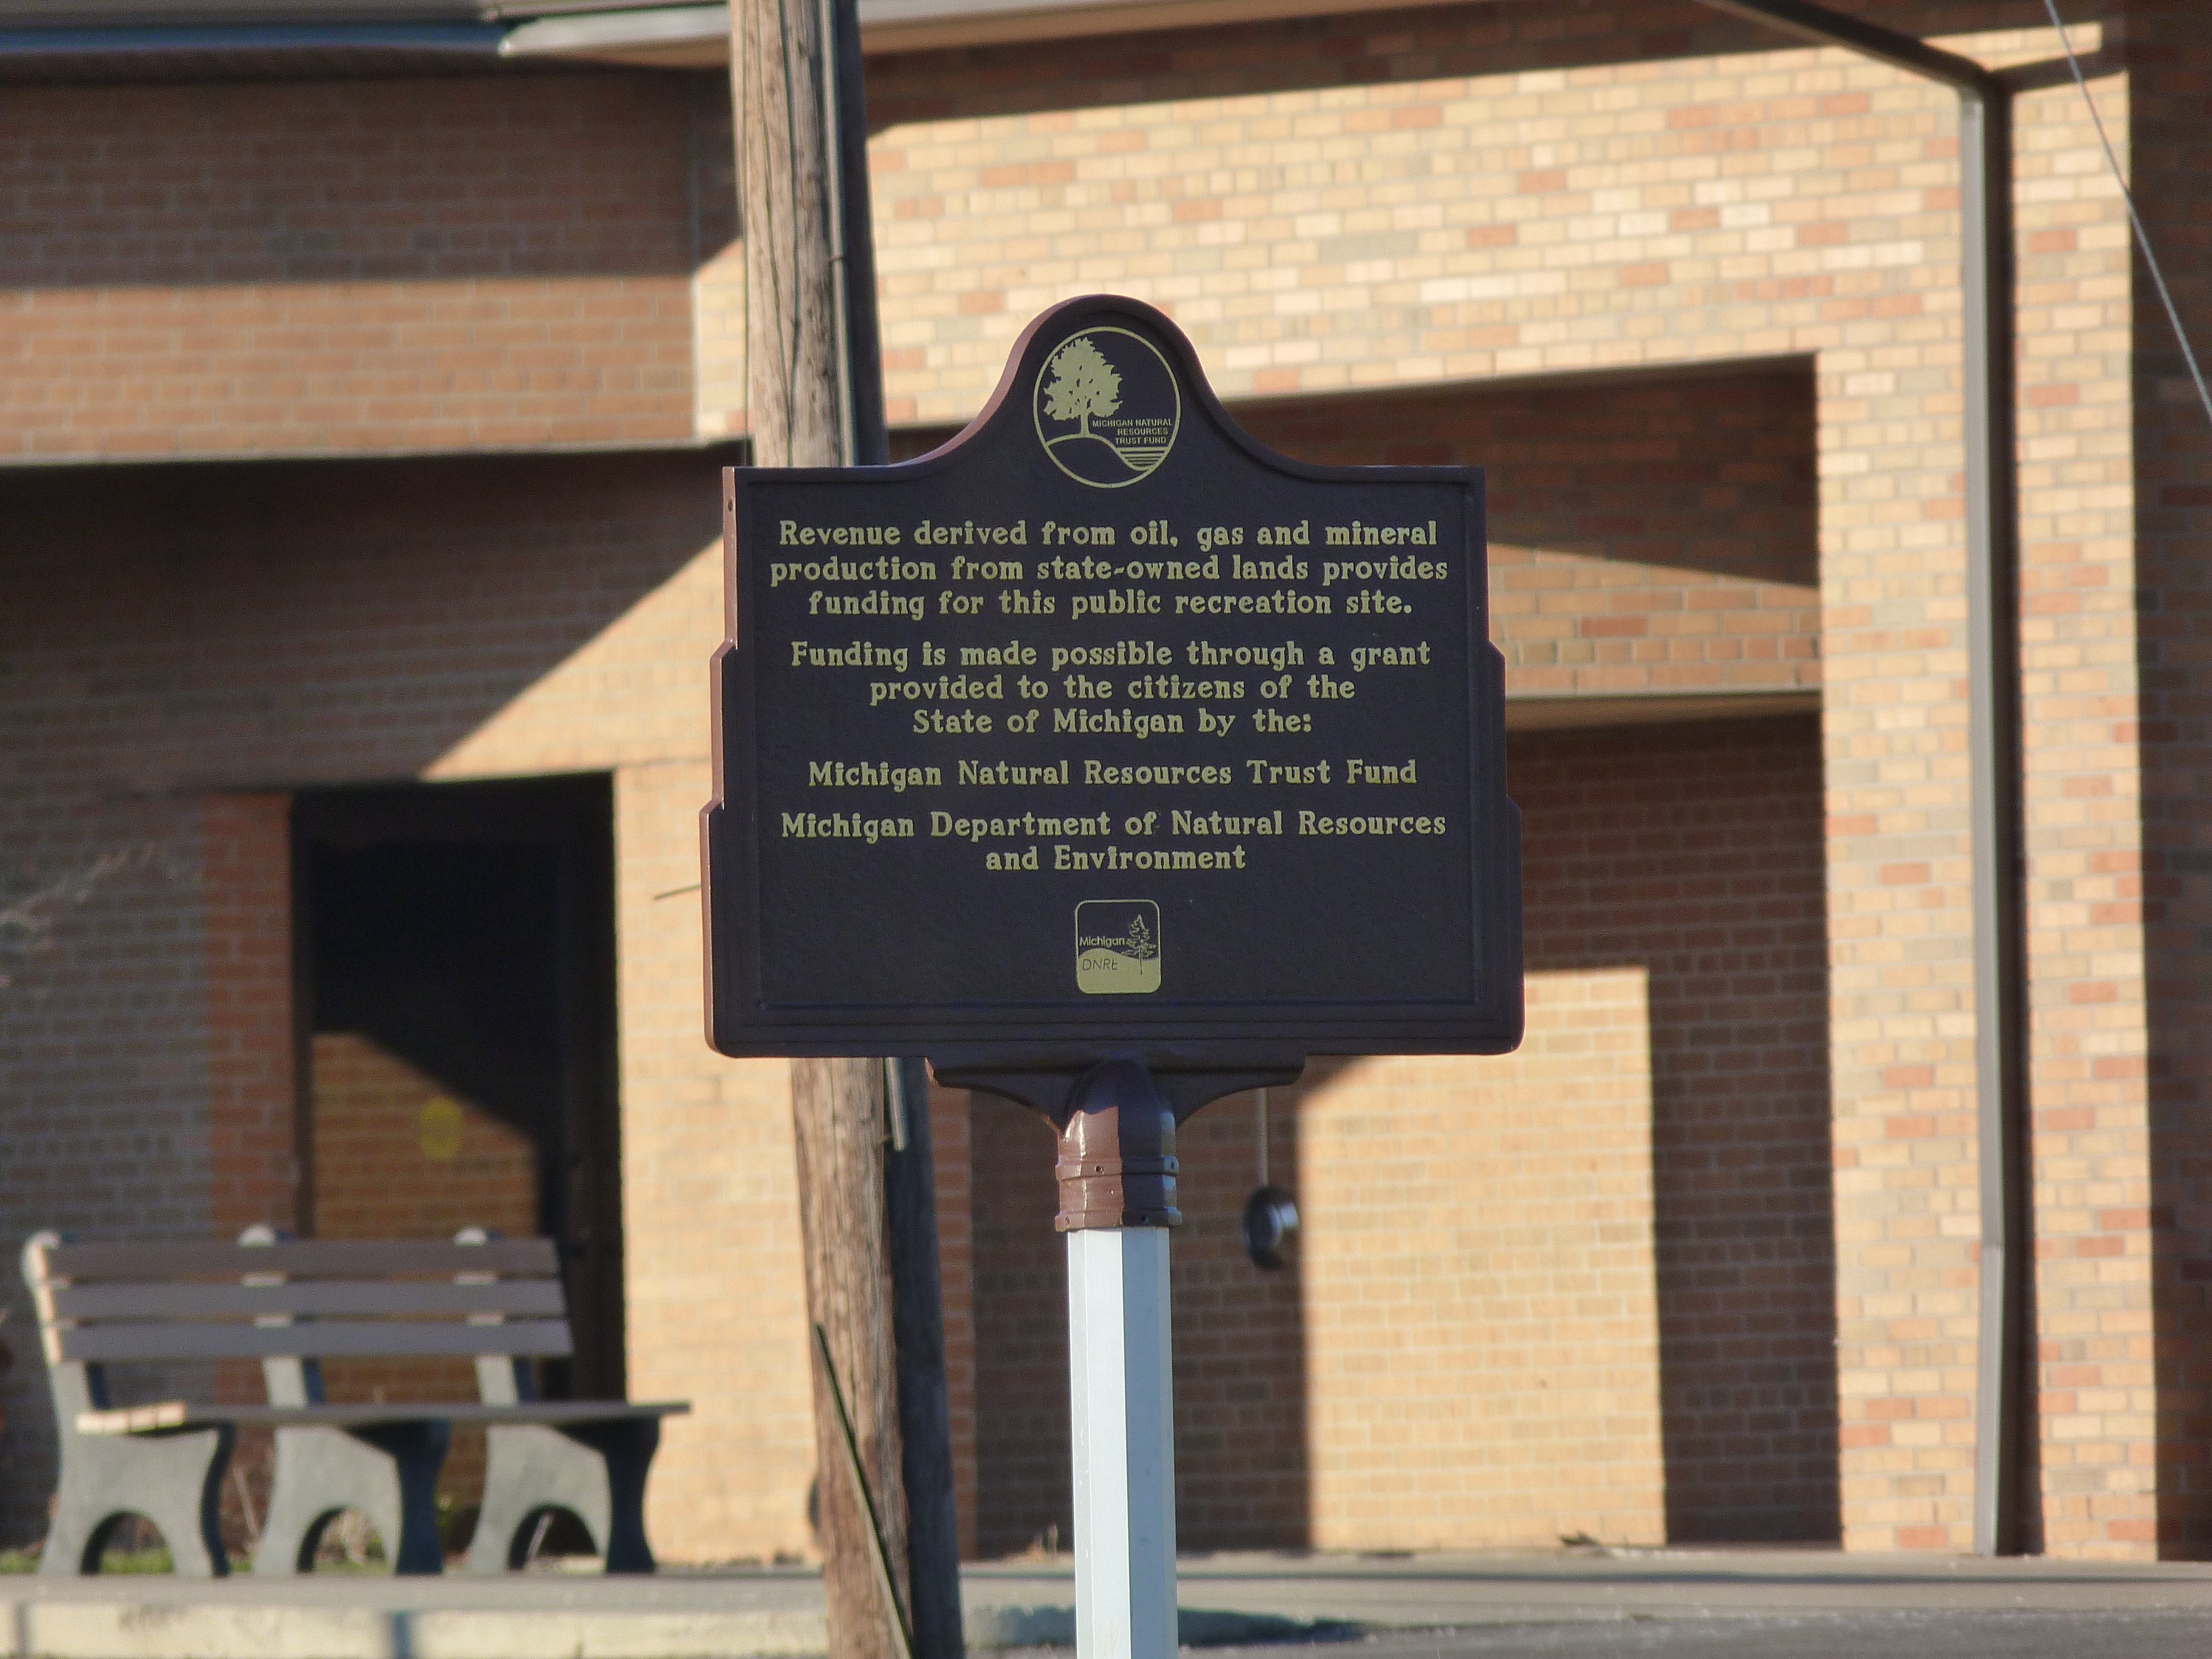
Sign in park.
![]()

Original / Full Size
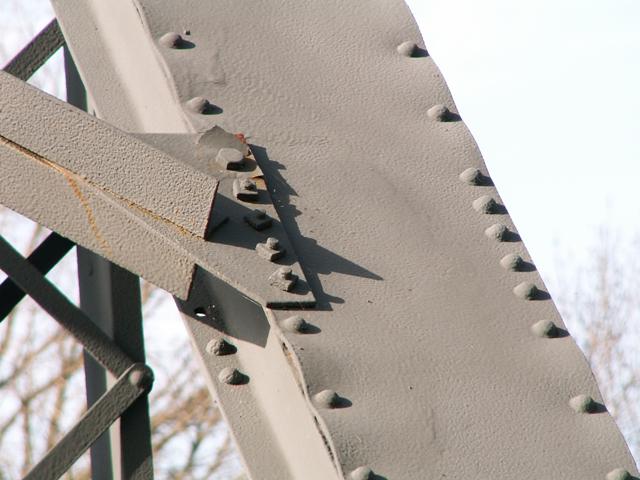
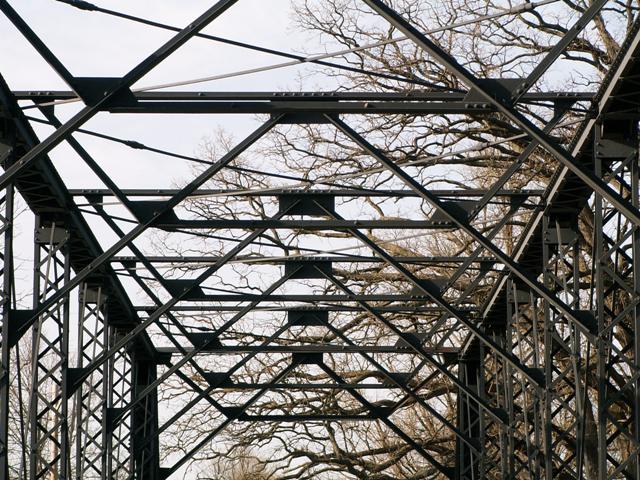
Top chord connections as viewed from on bridge.
![]()


Original / Full Size
Bottom chord connections as viewed from on bridge.
![]()

Original / Full Size
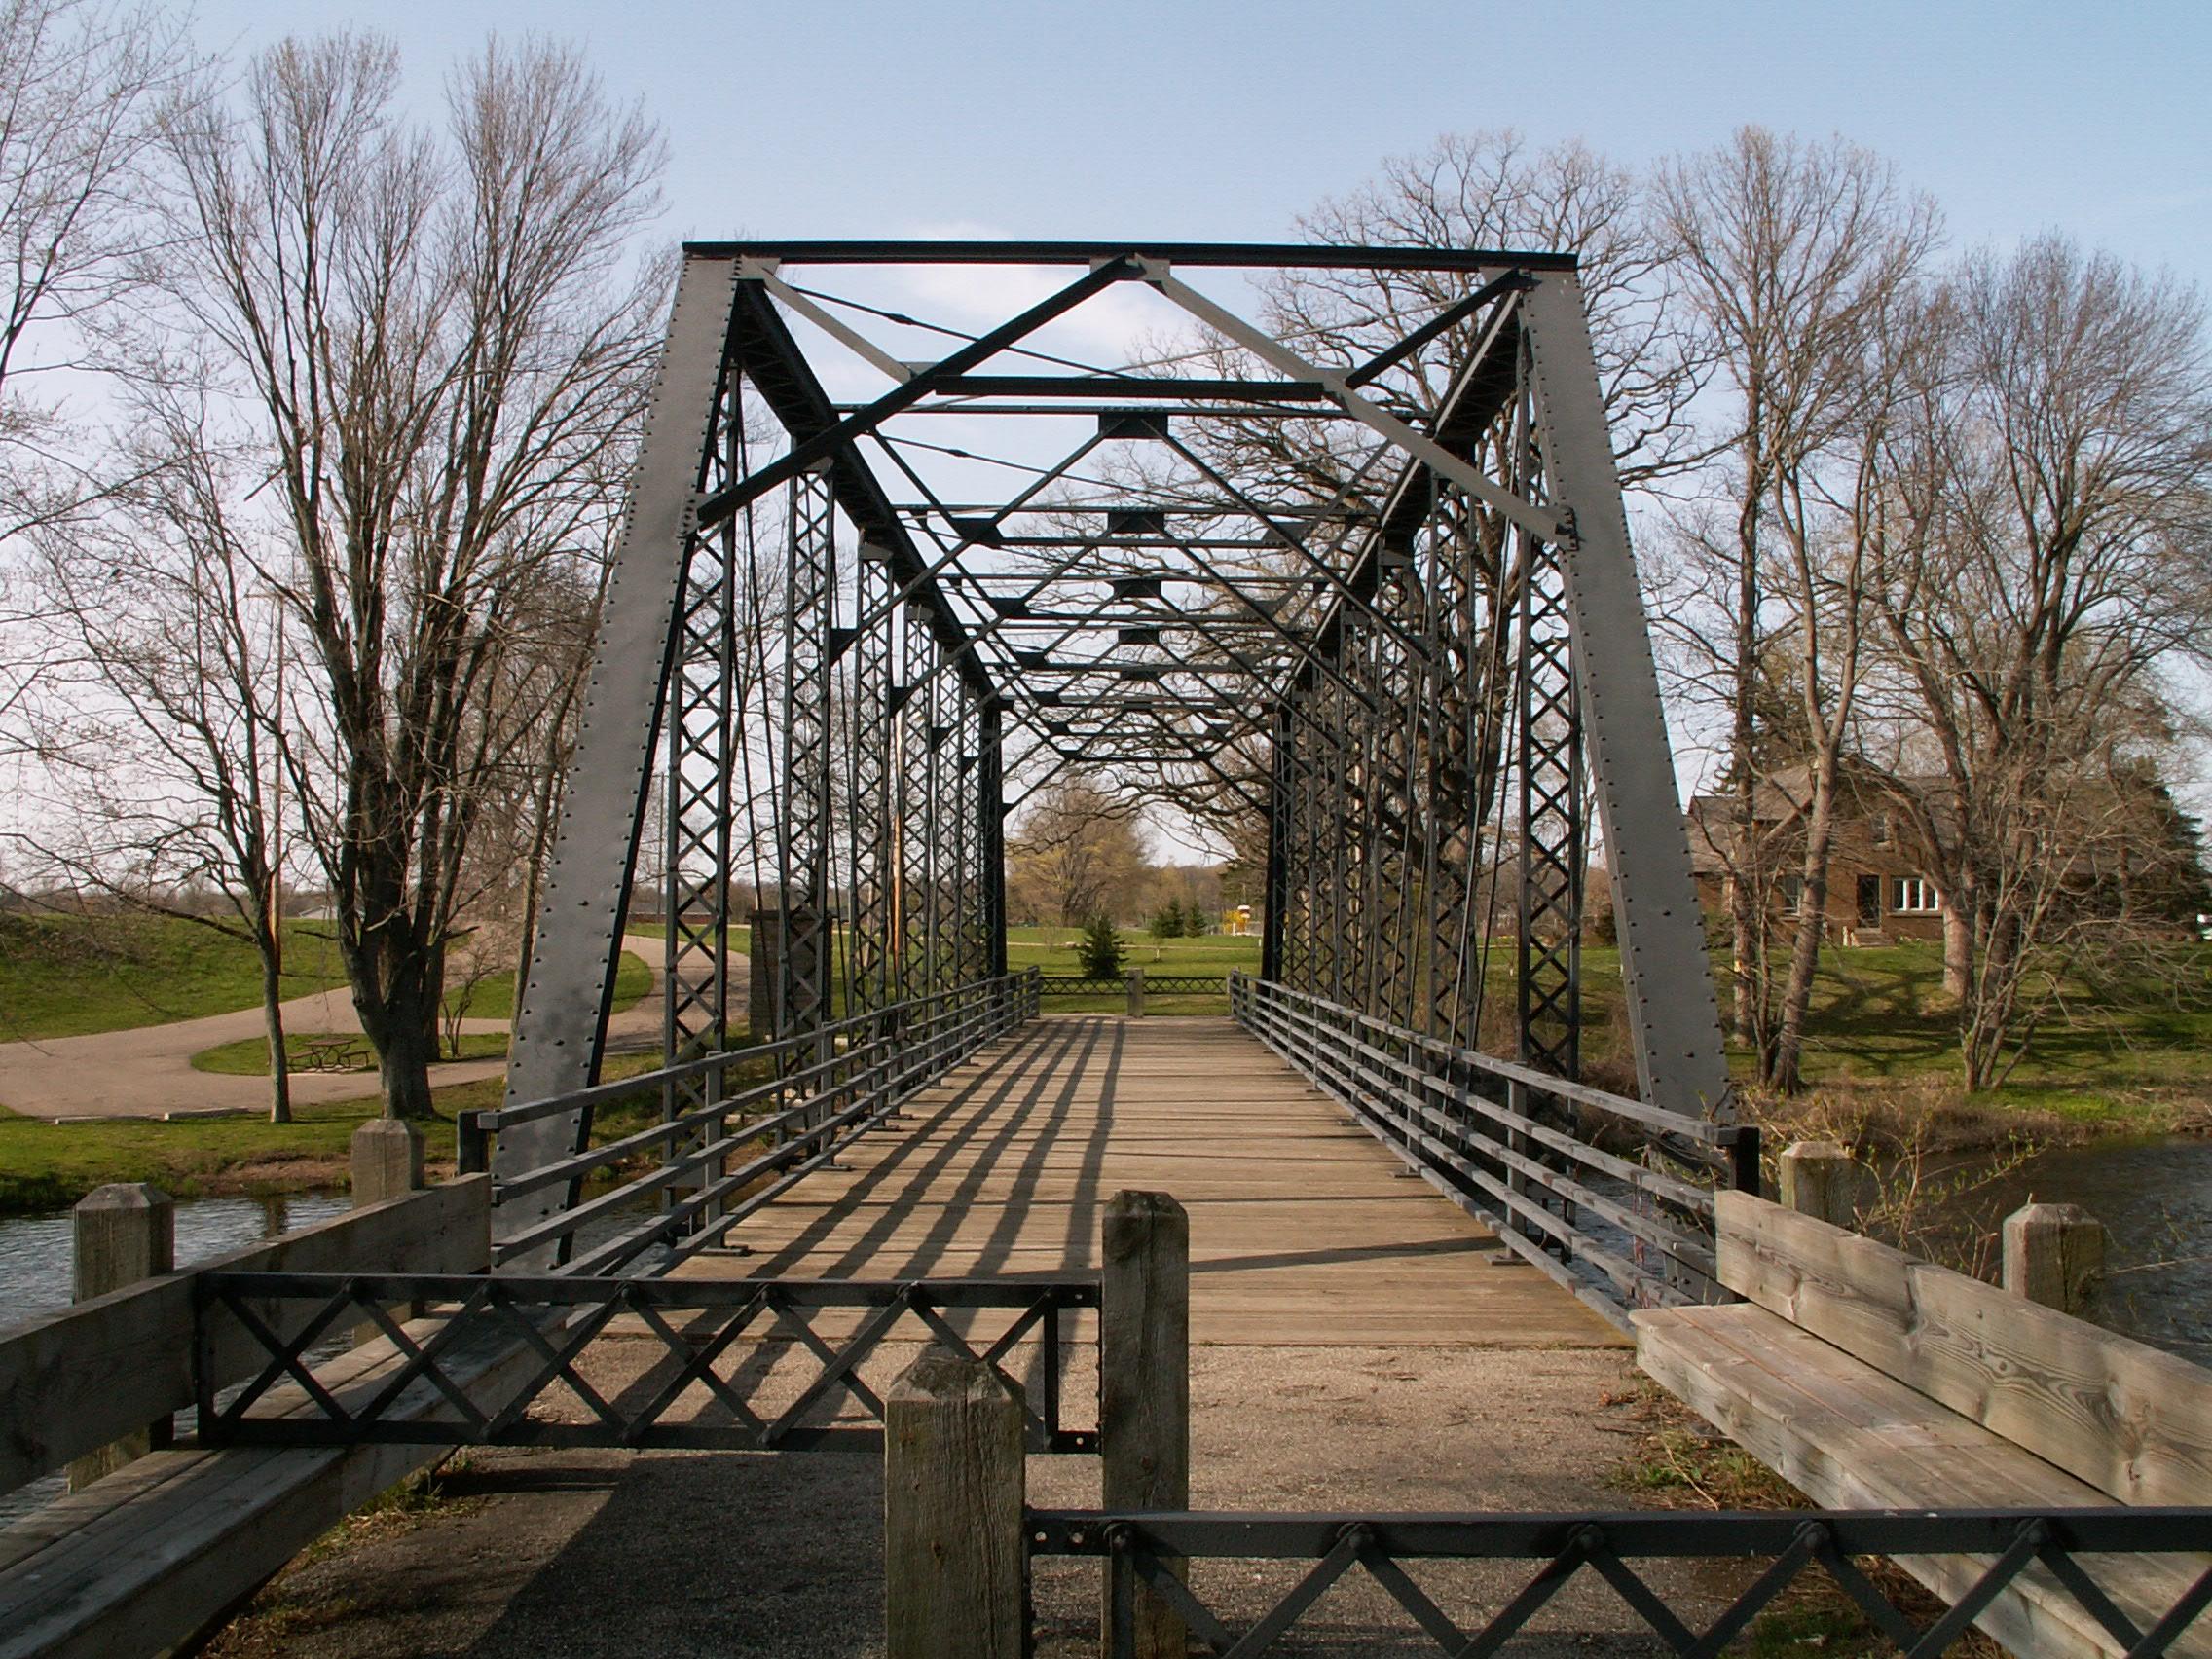
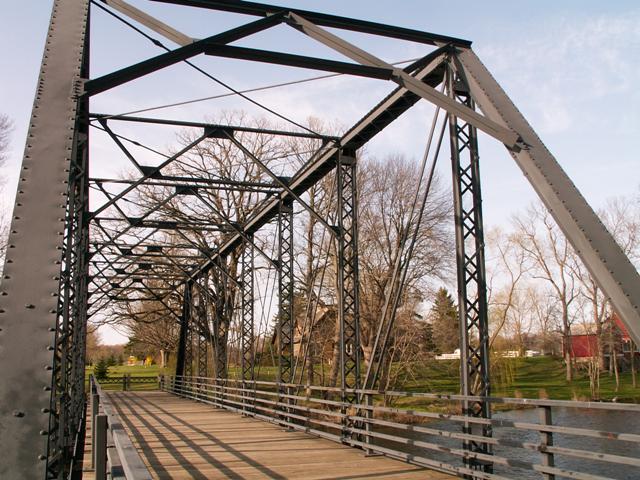
Portal view facing north.
![]()

Original / Full Size
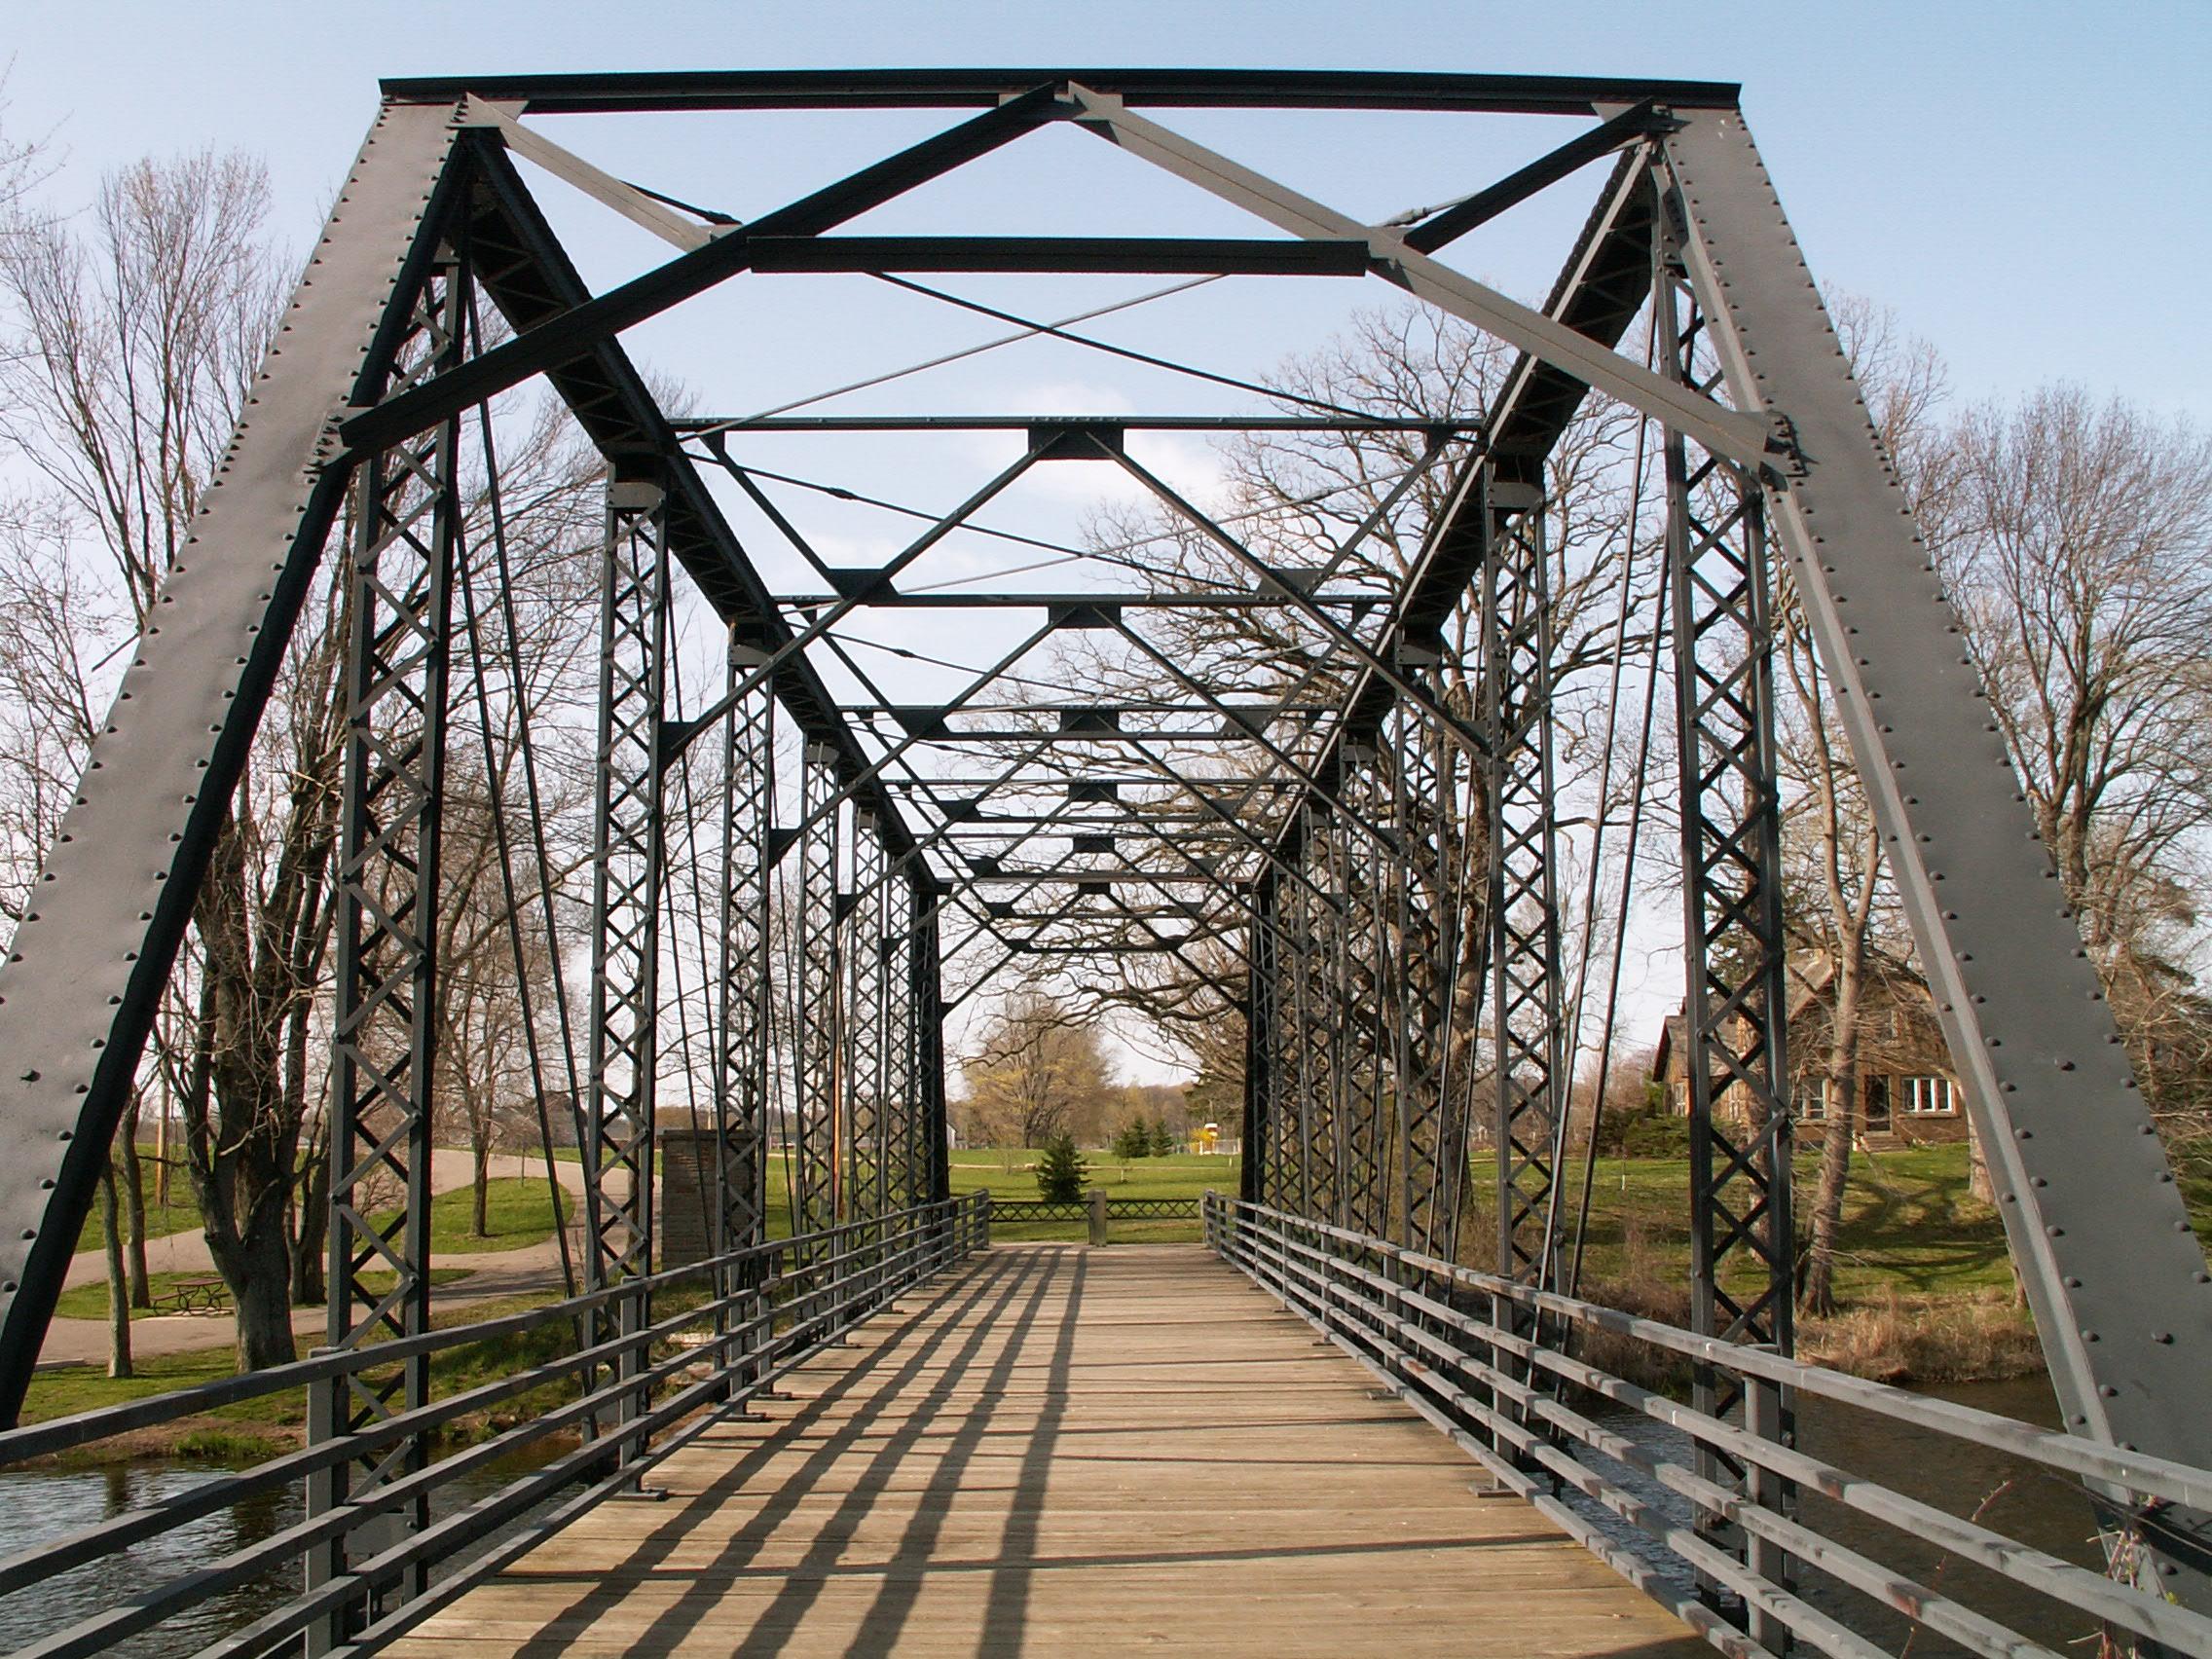
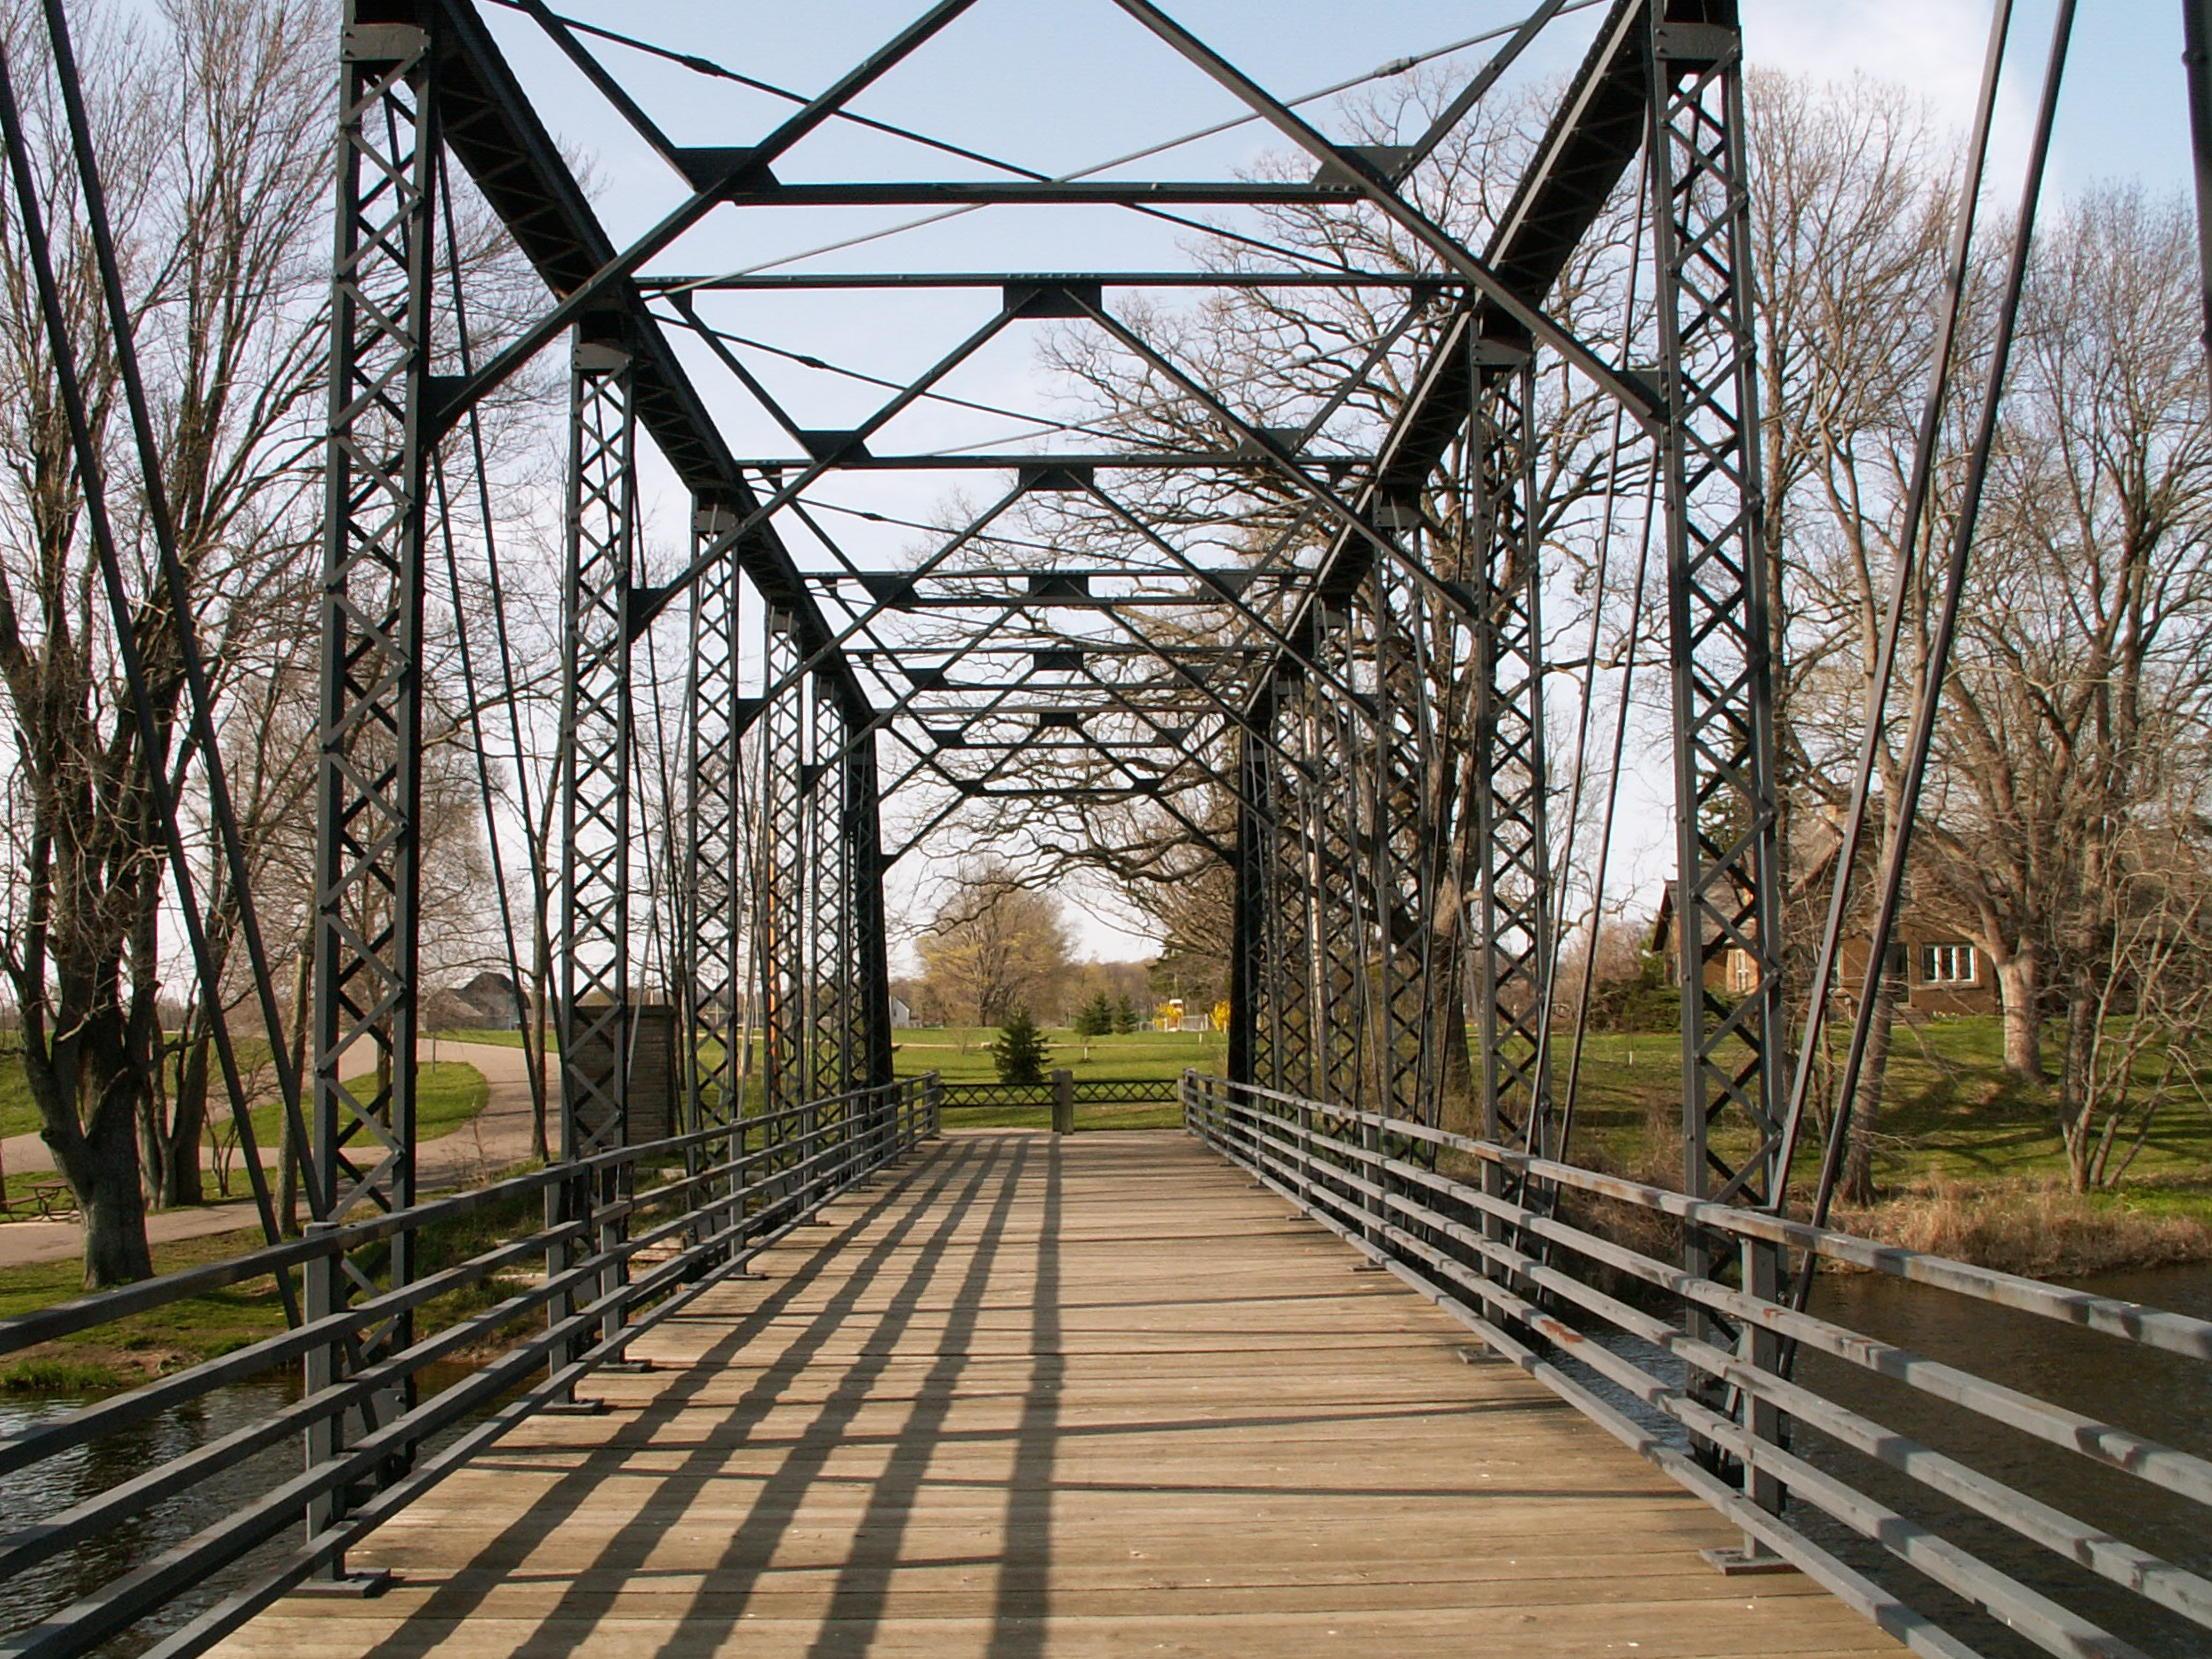
Portal view on bridge facing north.
![]()

Original / Full Size
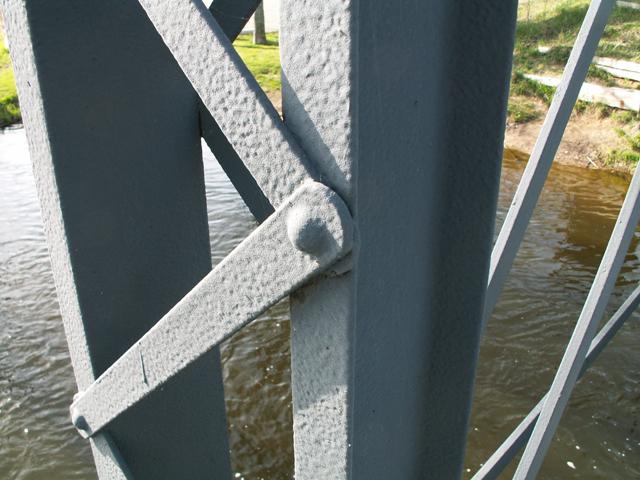
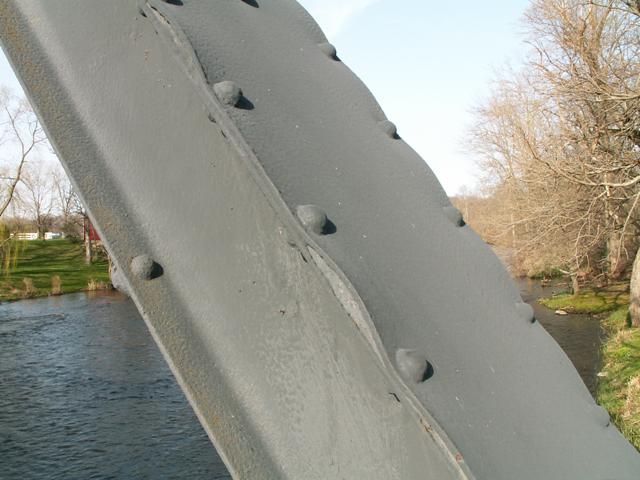
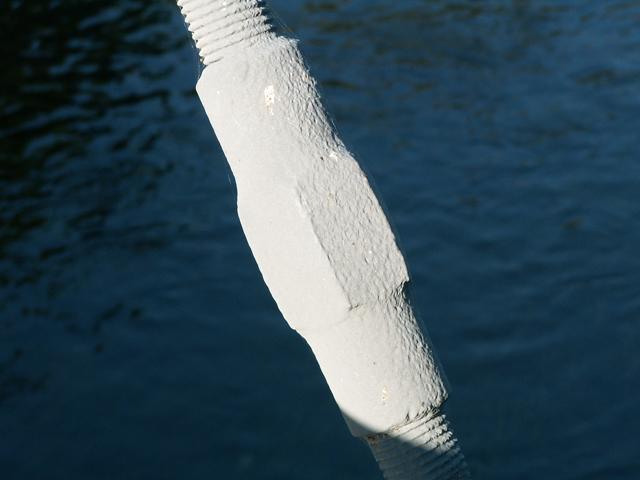
Cambria brand on vertical member.
![]()
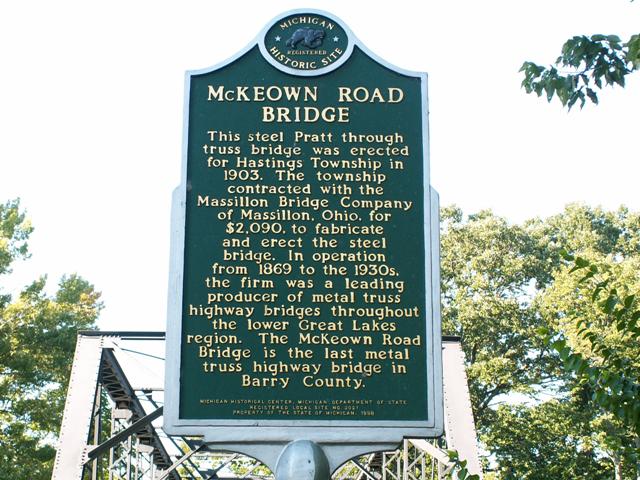
Interpretive signage.
![]()
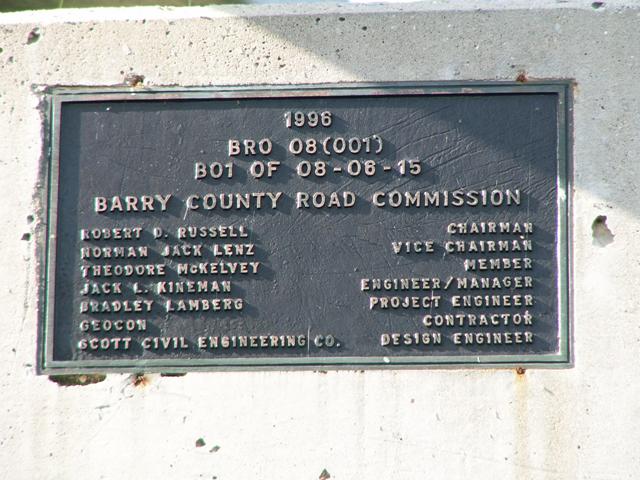
Plaque on modern bridge showing a 1996 date.
![]()
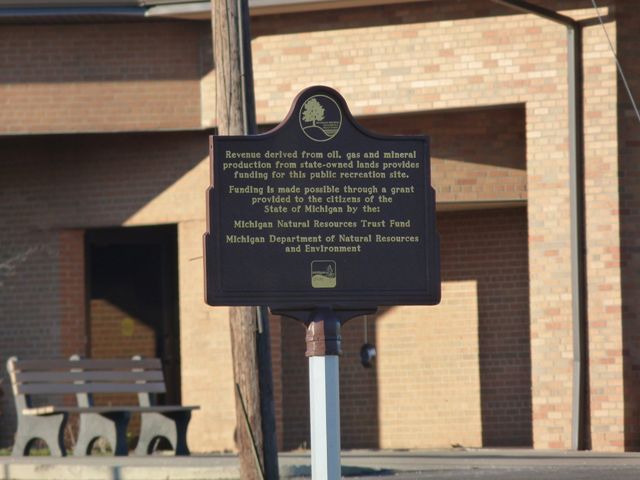
Sign in park.
![]()
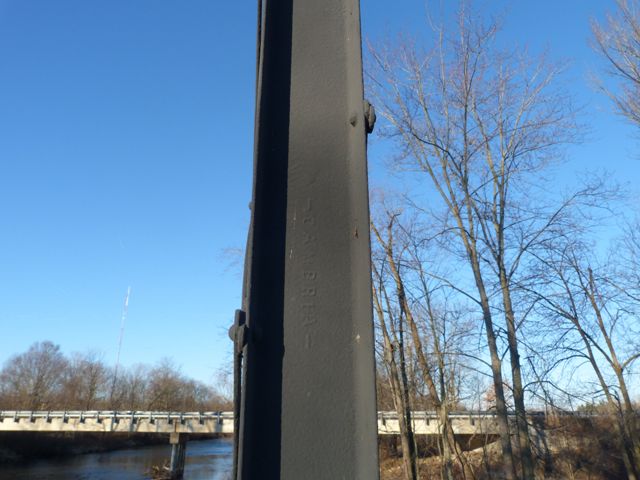
Cambria brand on vertical member.
![]()
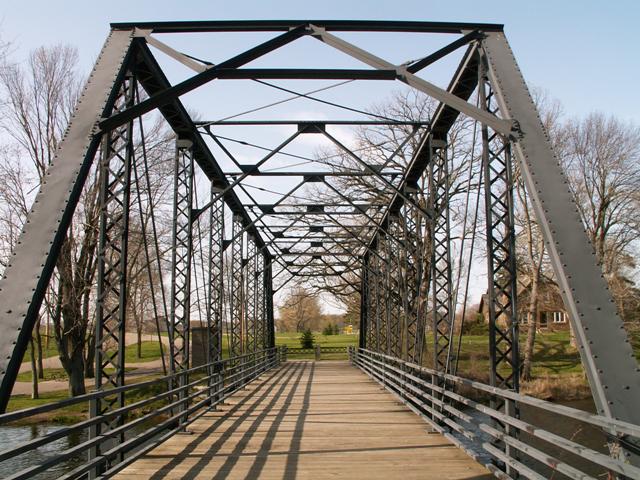

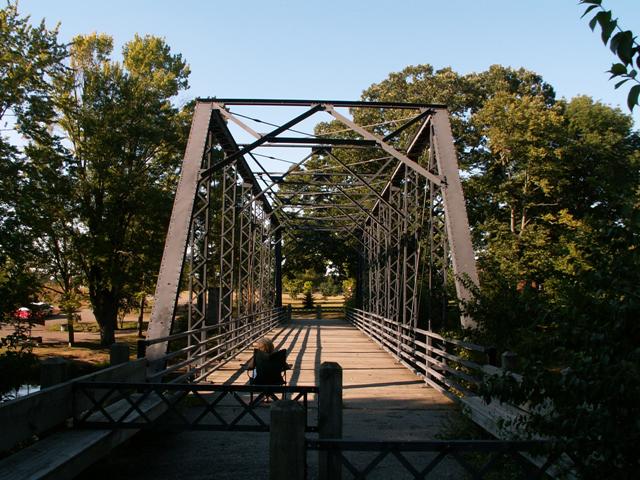
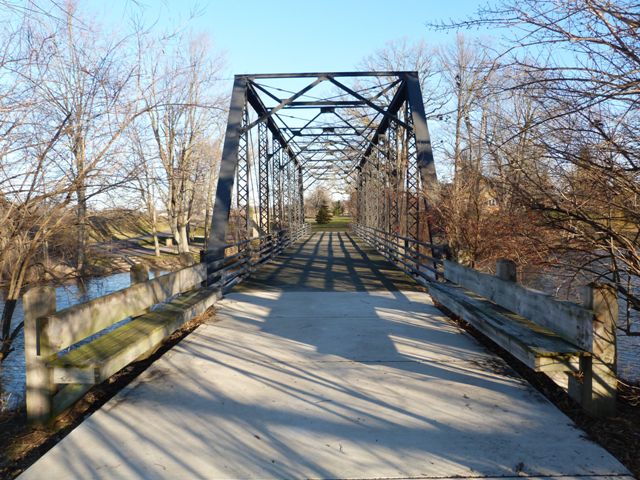
Portal views facing north.
![]()
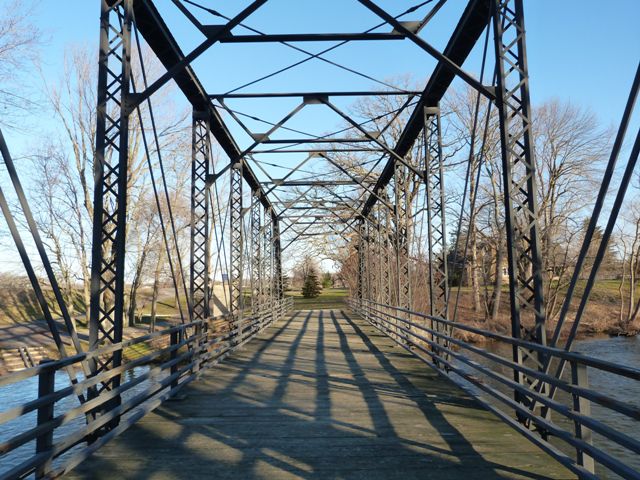

Portal views on bridge facing north.
![]()


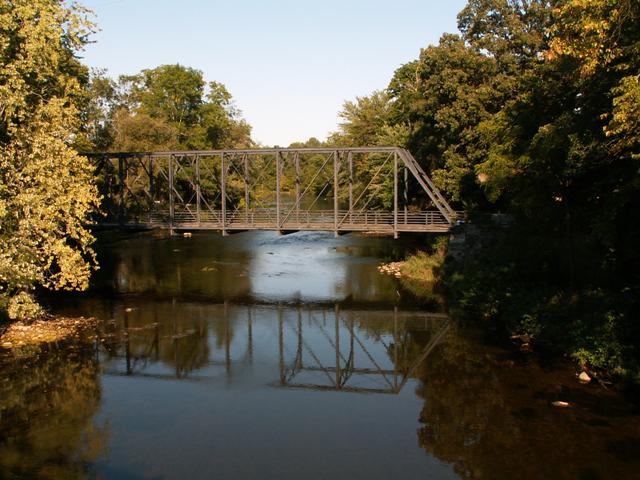
Views of the bridge from the nearby modern bridge; west elevation of bridge.
![]()
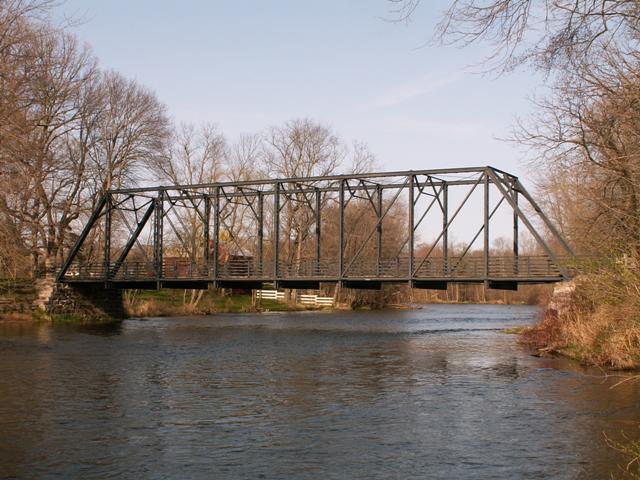
West elevation of bridge, taken from southwest quadrant.
![]()


Views beside the bridge.
![]()
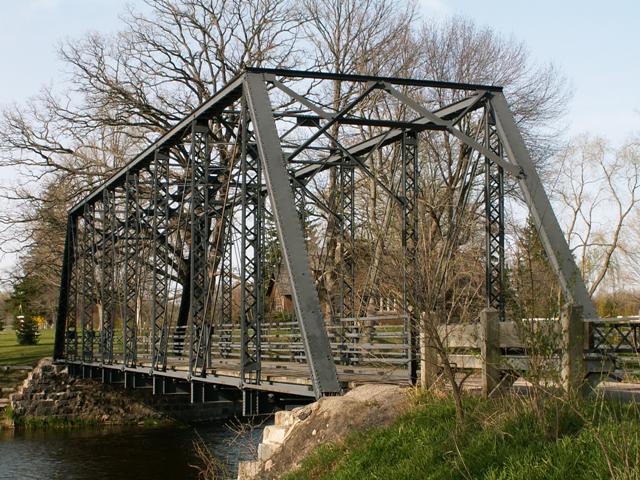

Oblique views of the bridge from southwest quadrant.
![]()
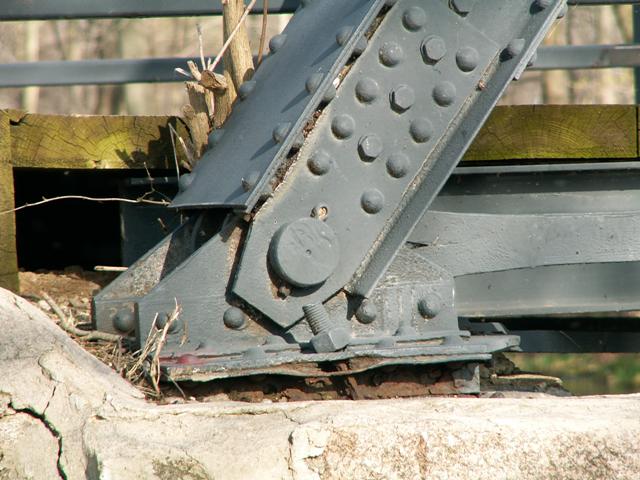
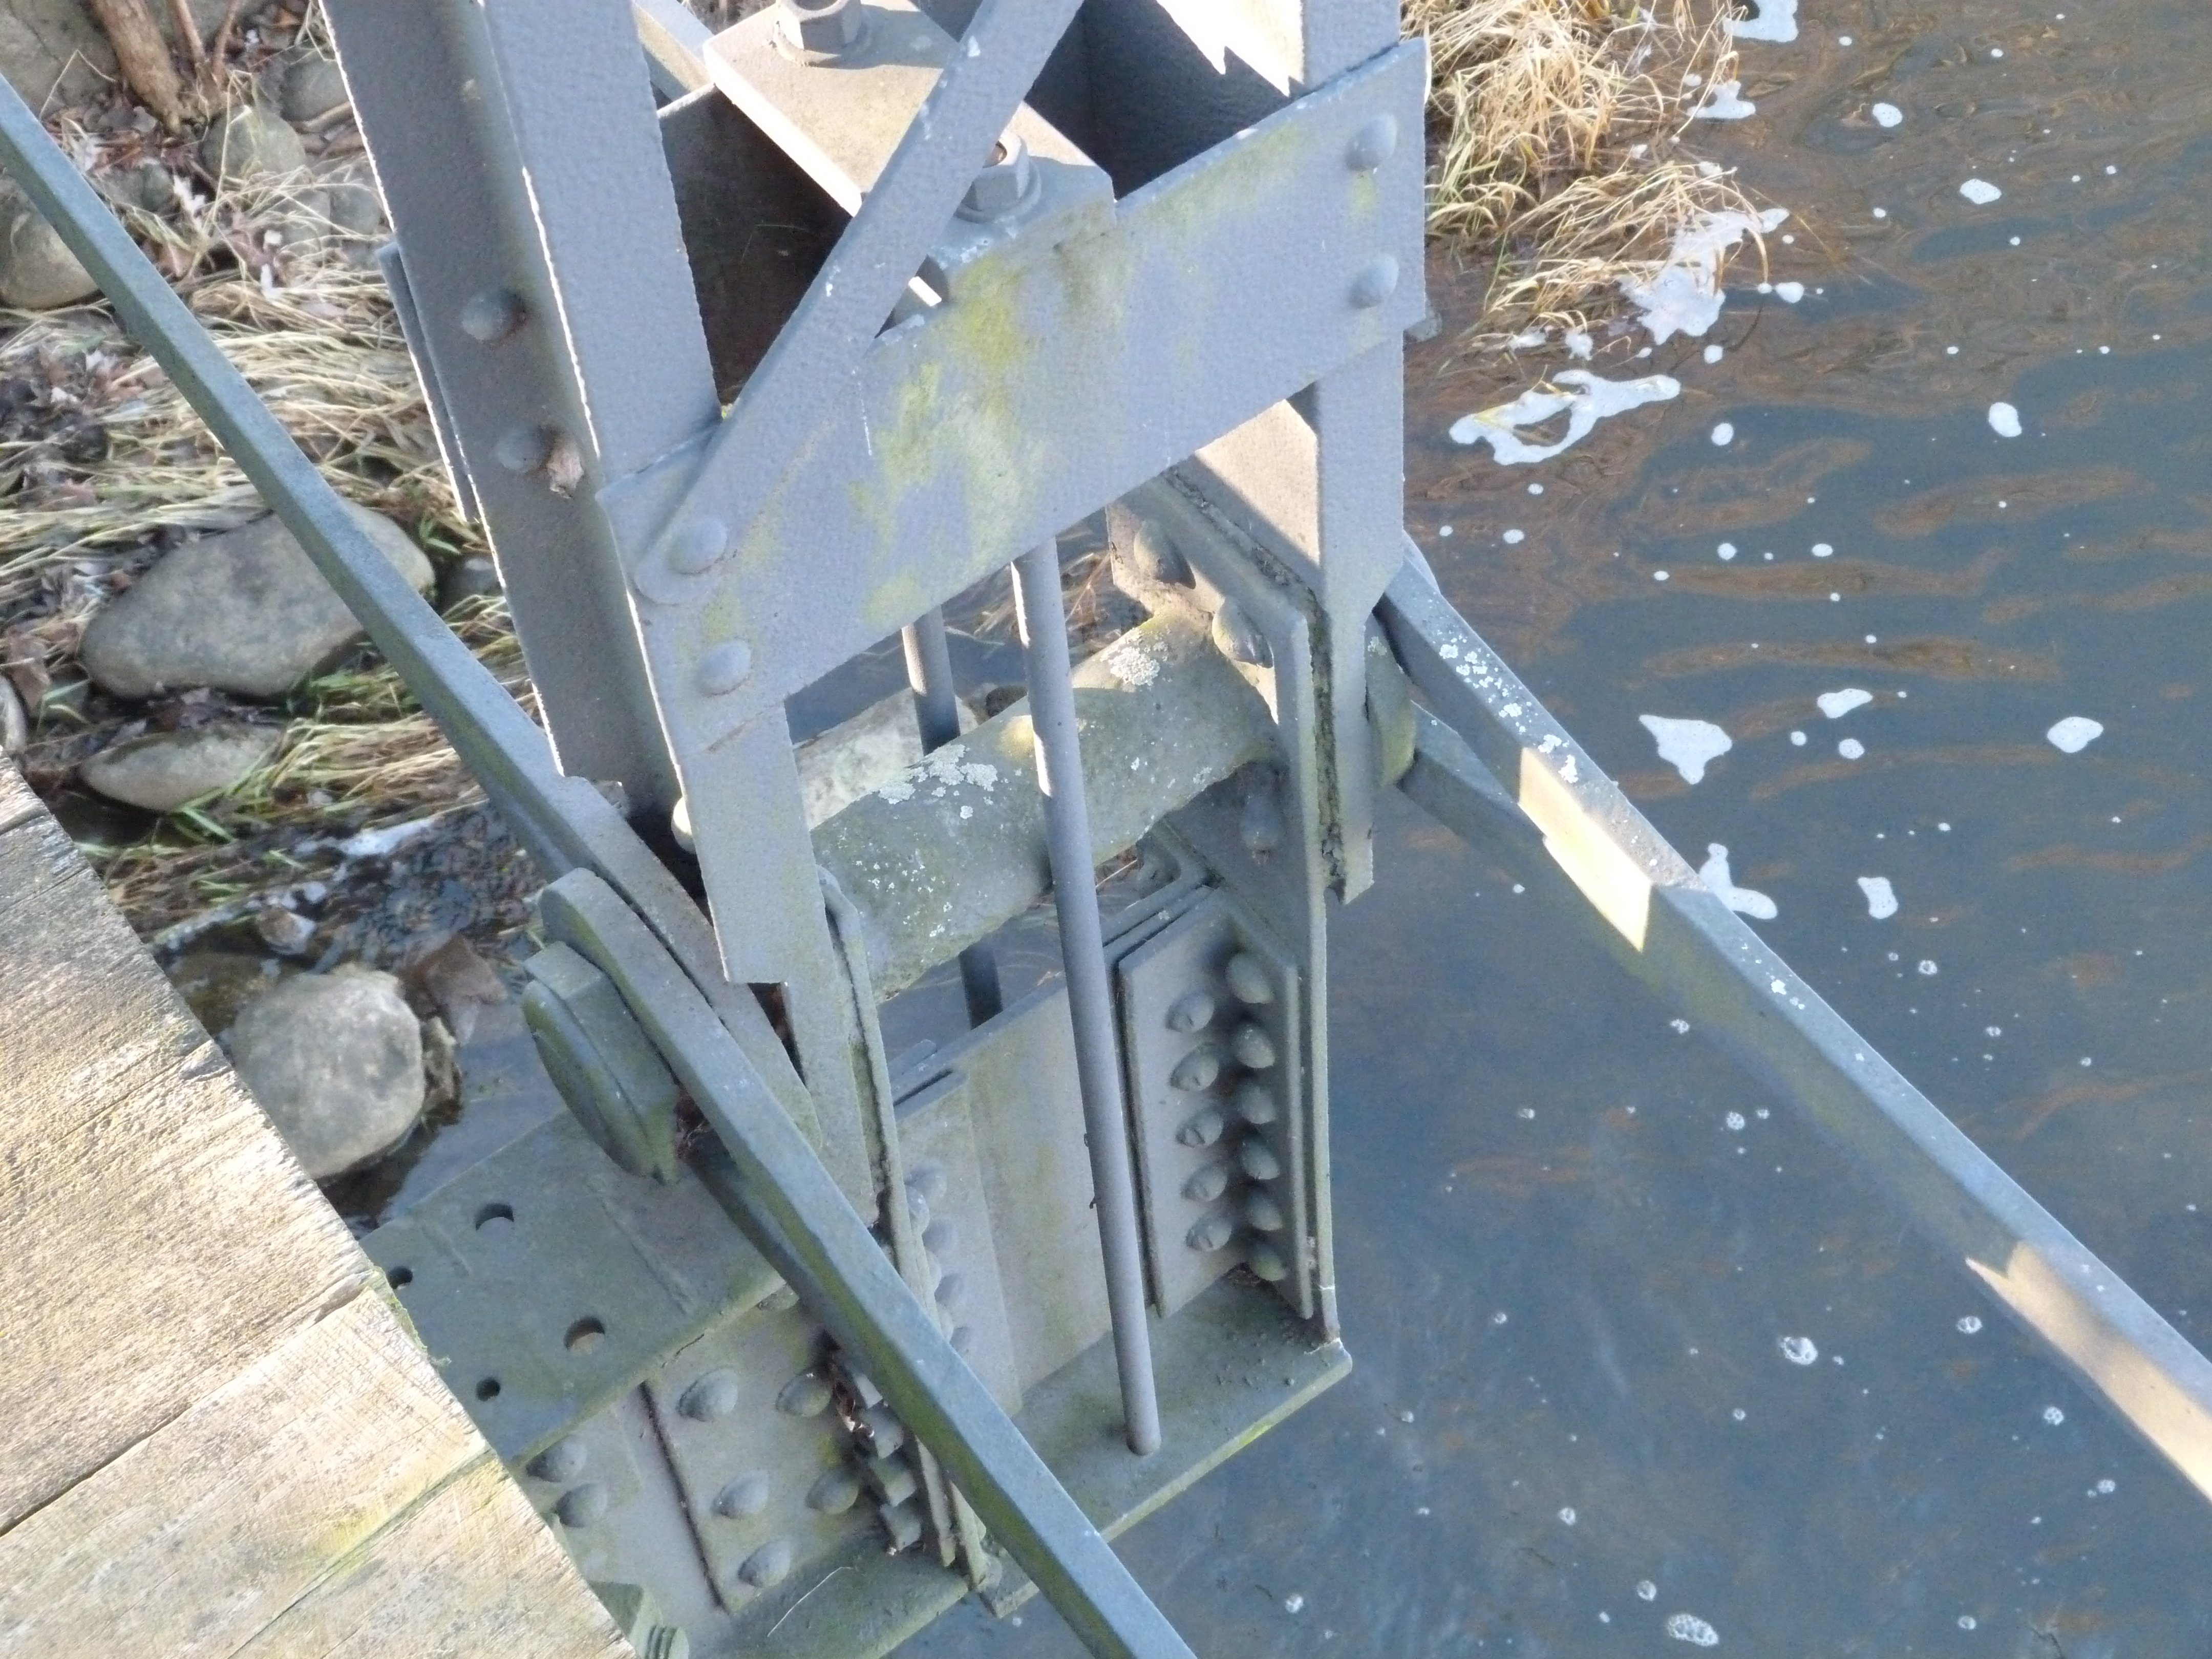
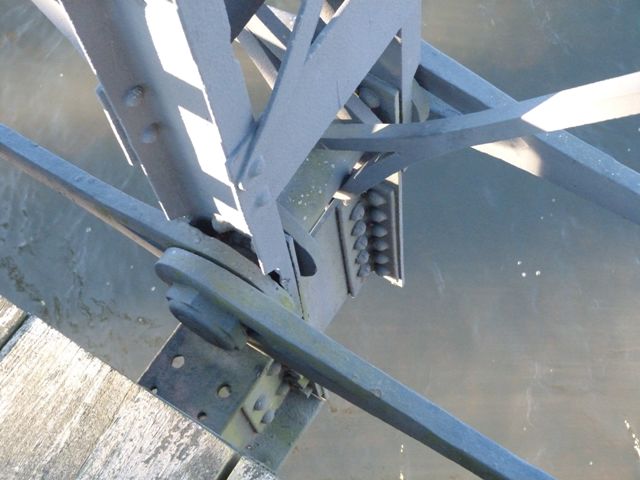
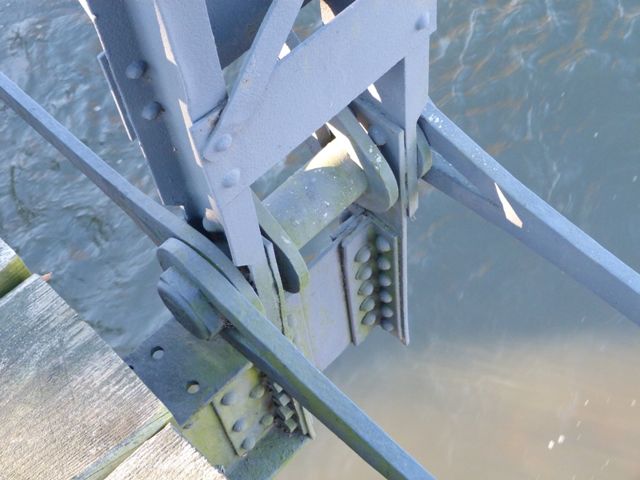
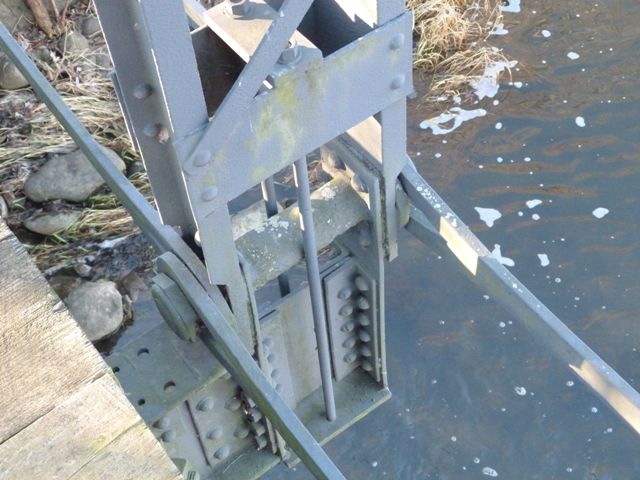
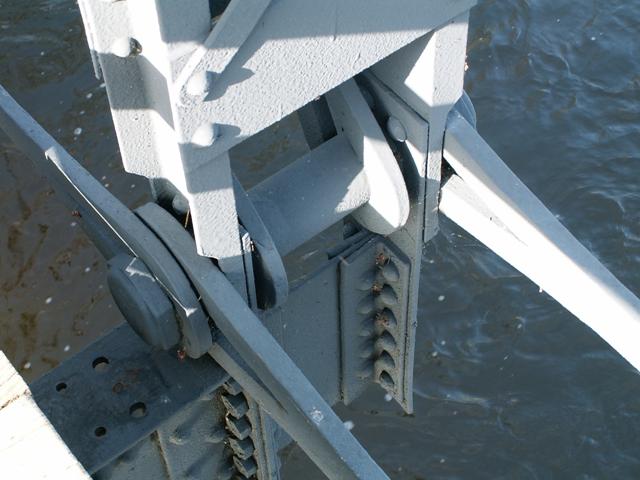
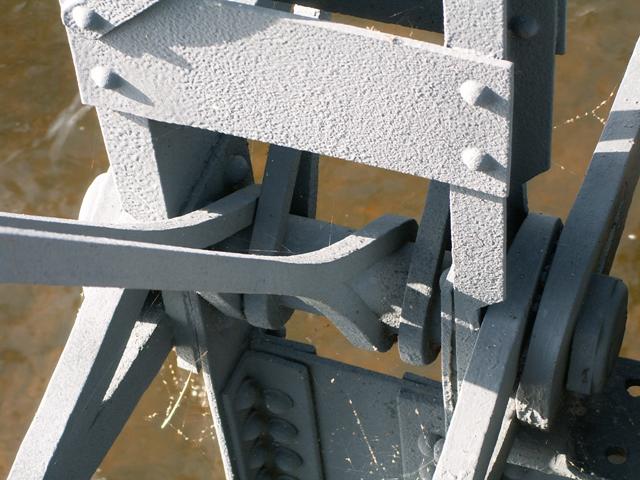
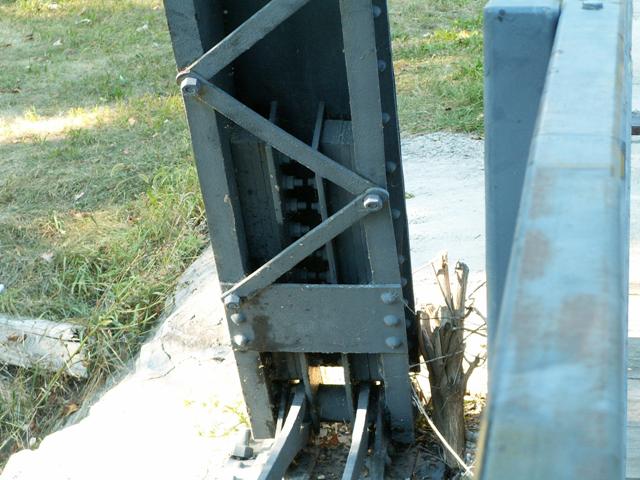
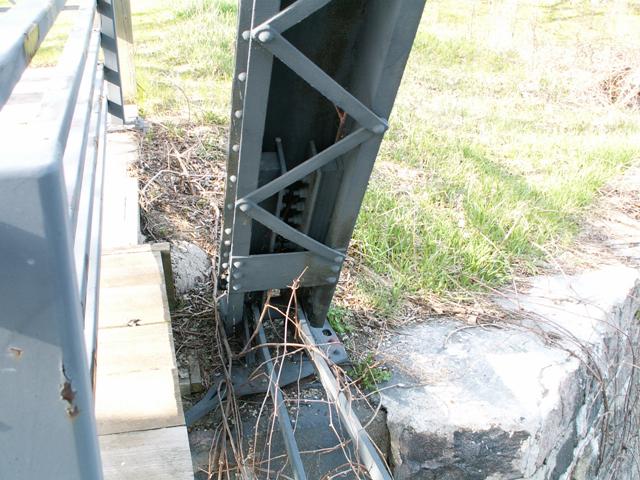
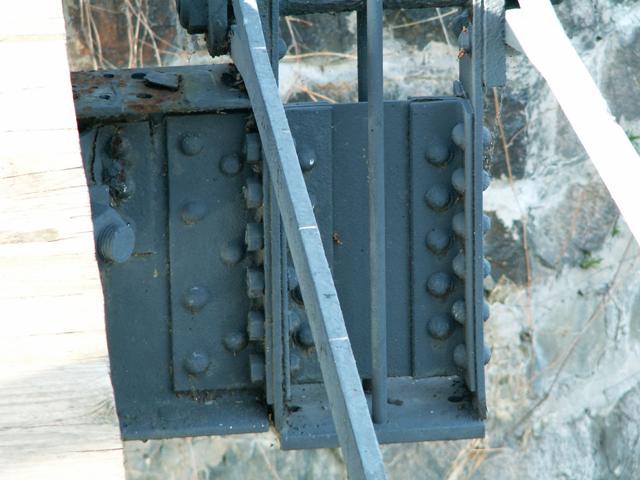
Bottom chord connection at end post / view of bridge foot. A badly rusted roller bearing nest is visible.
![]()
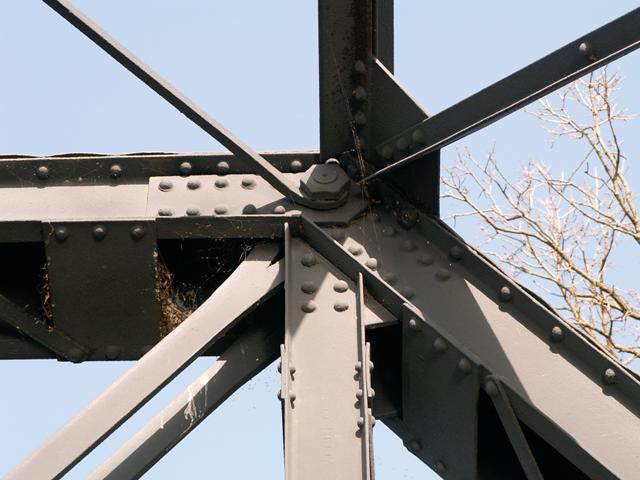
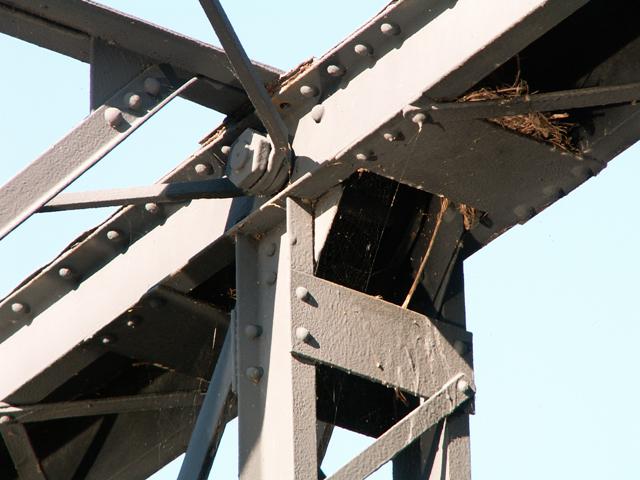
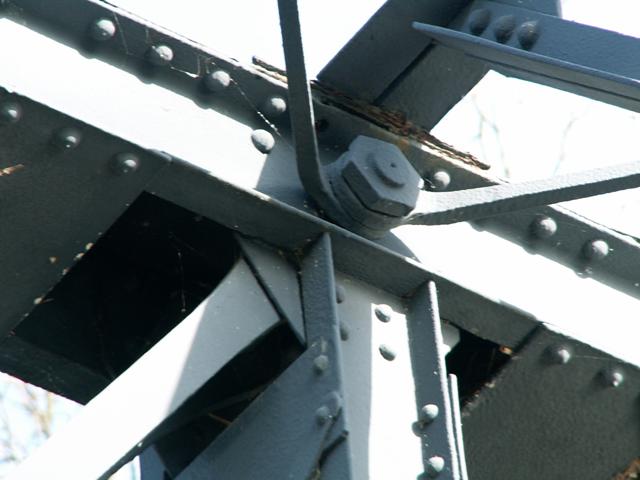
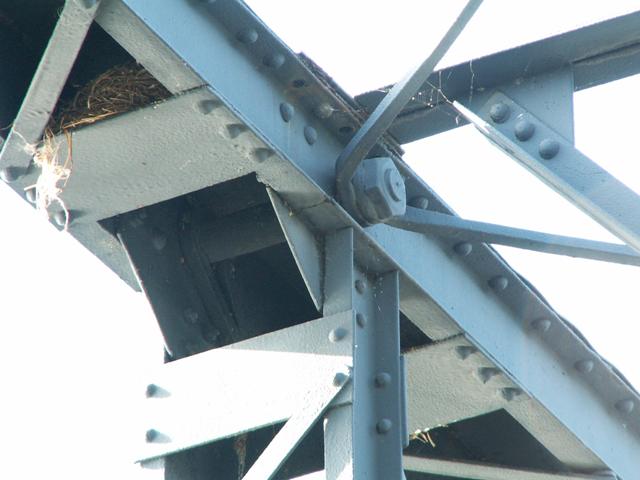
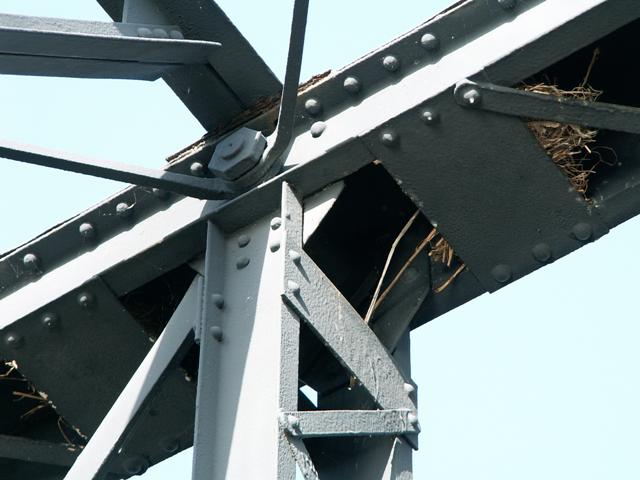
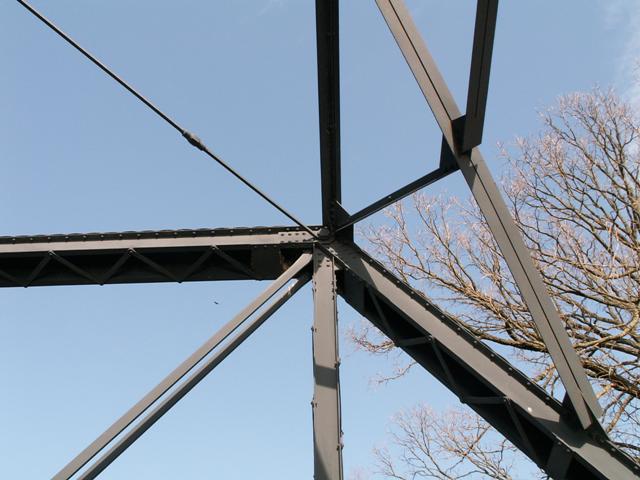


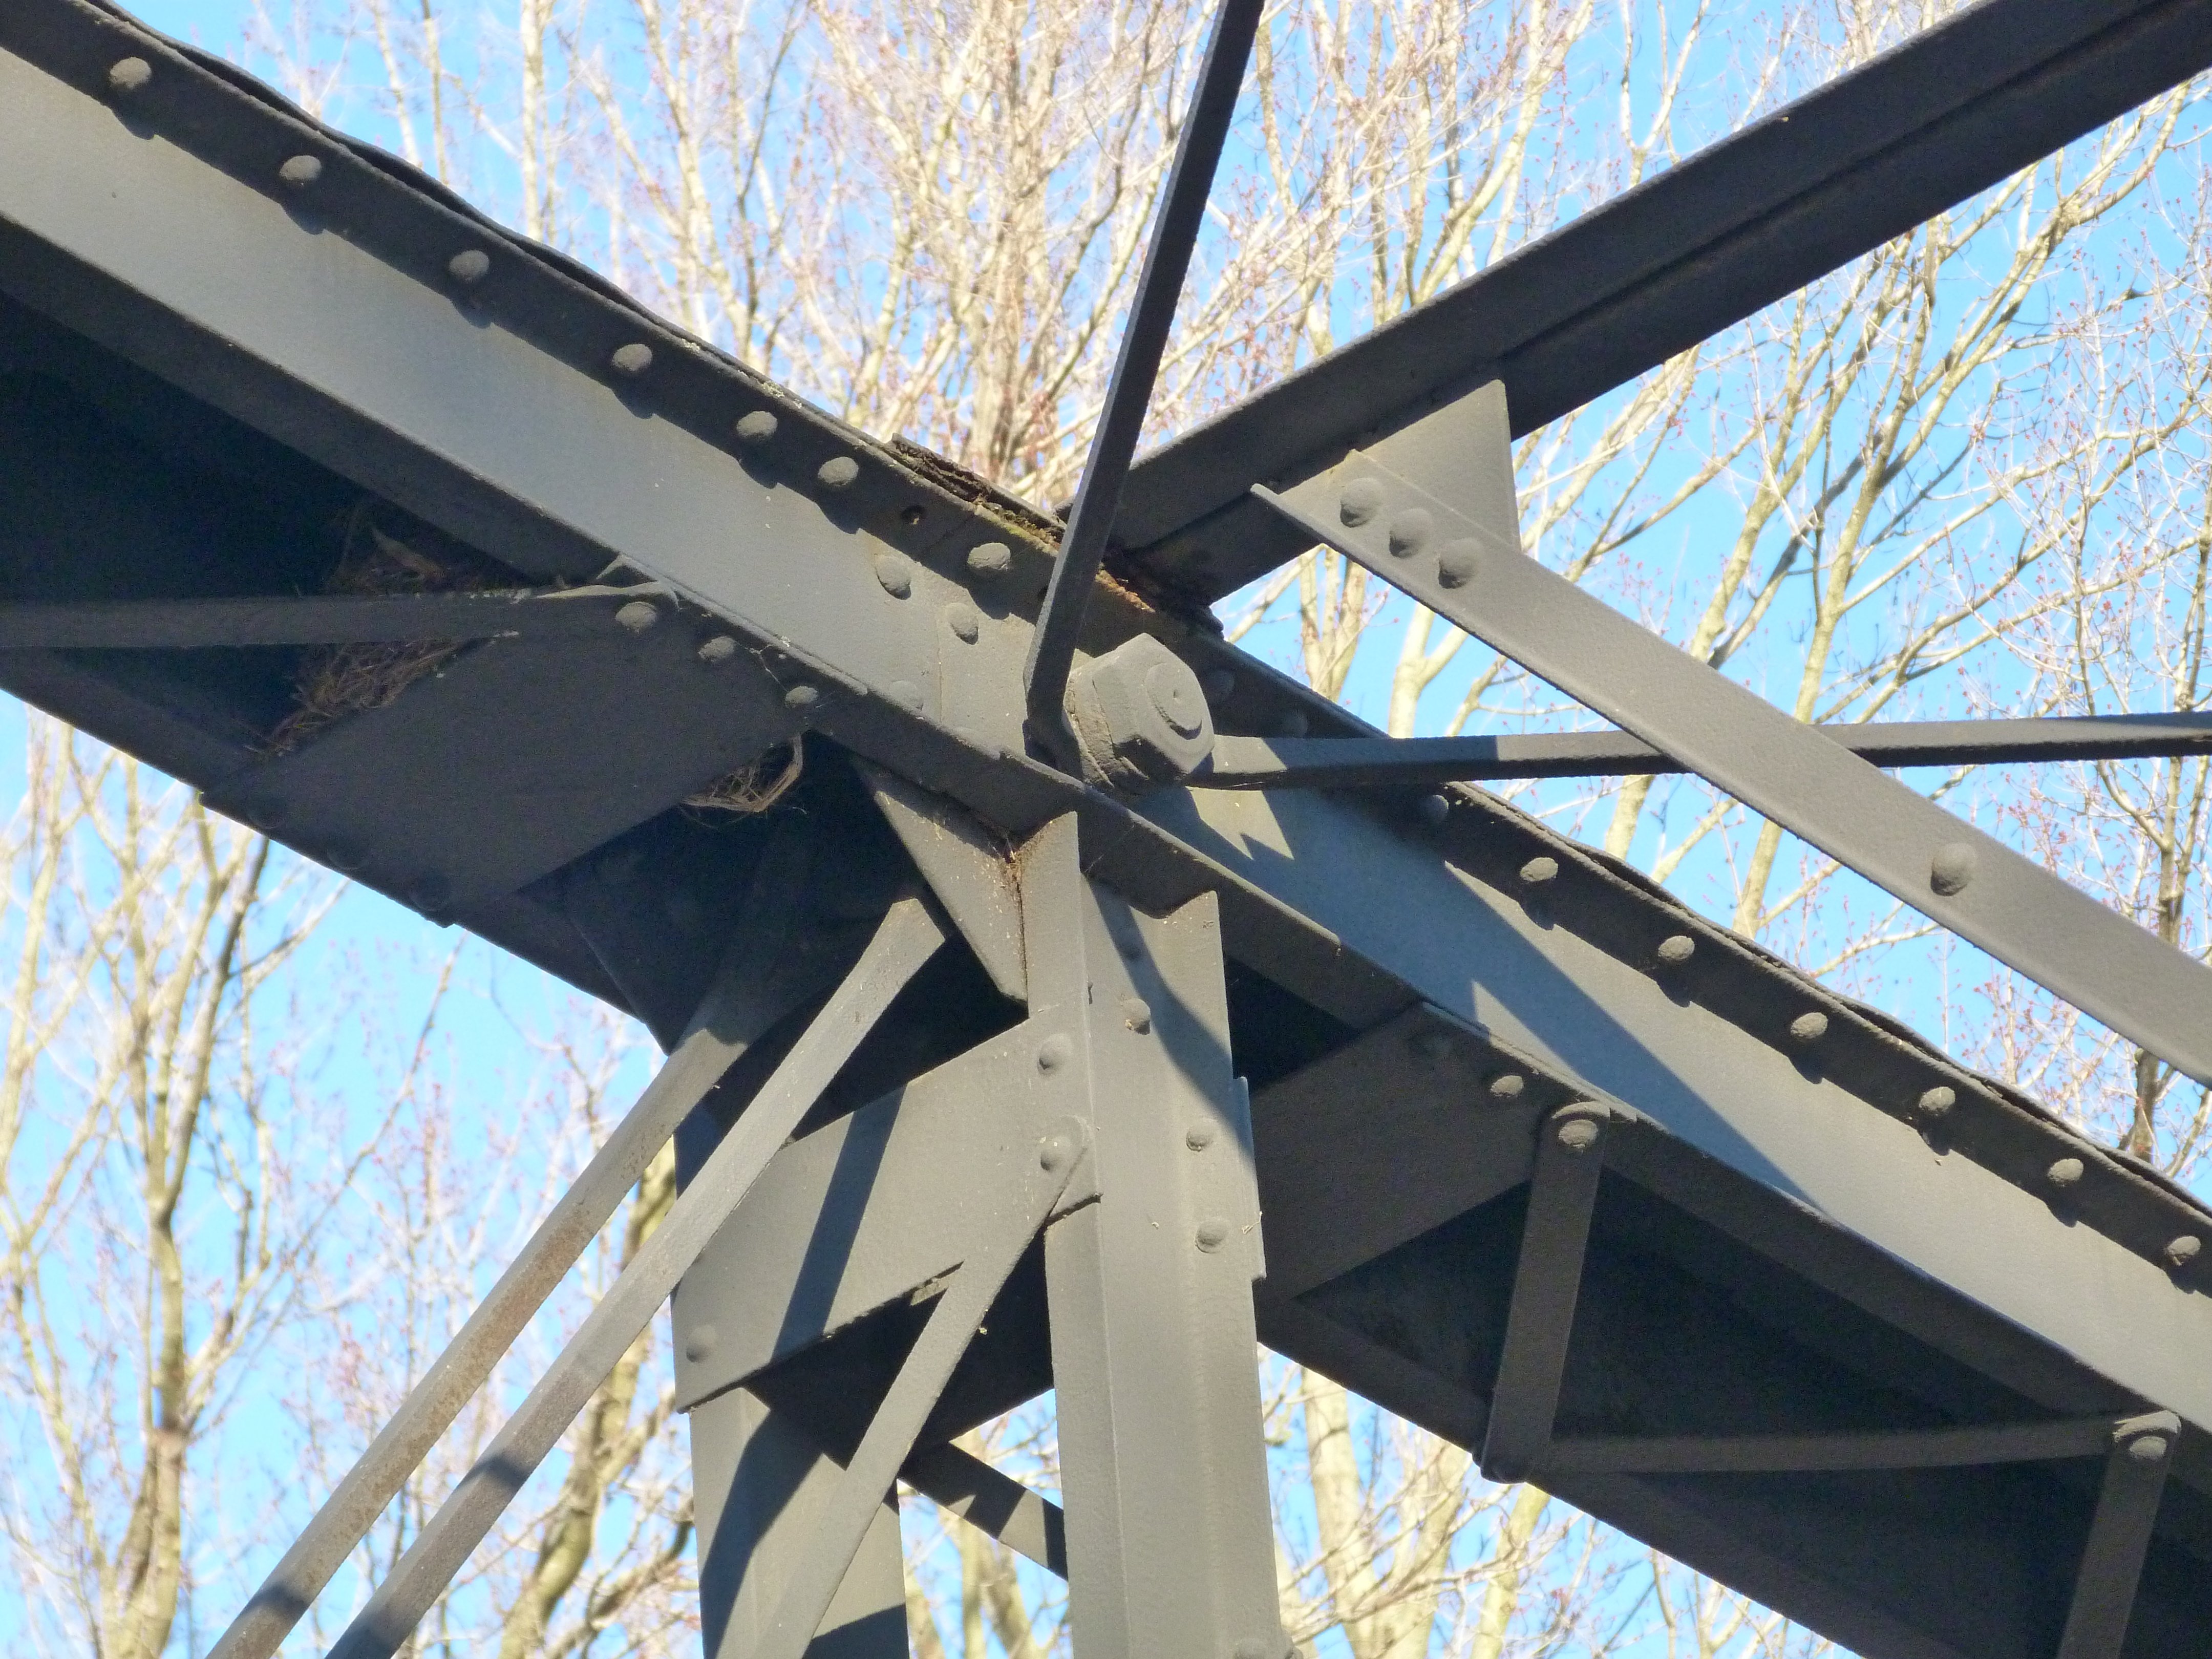
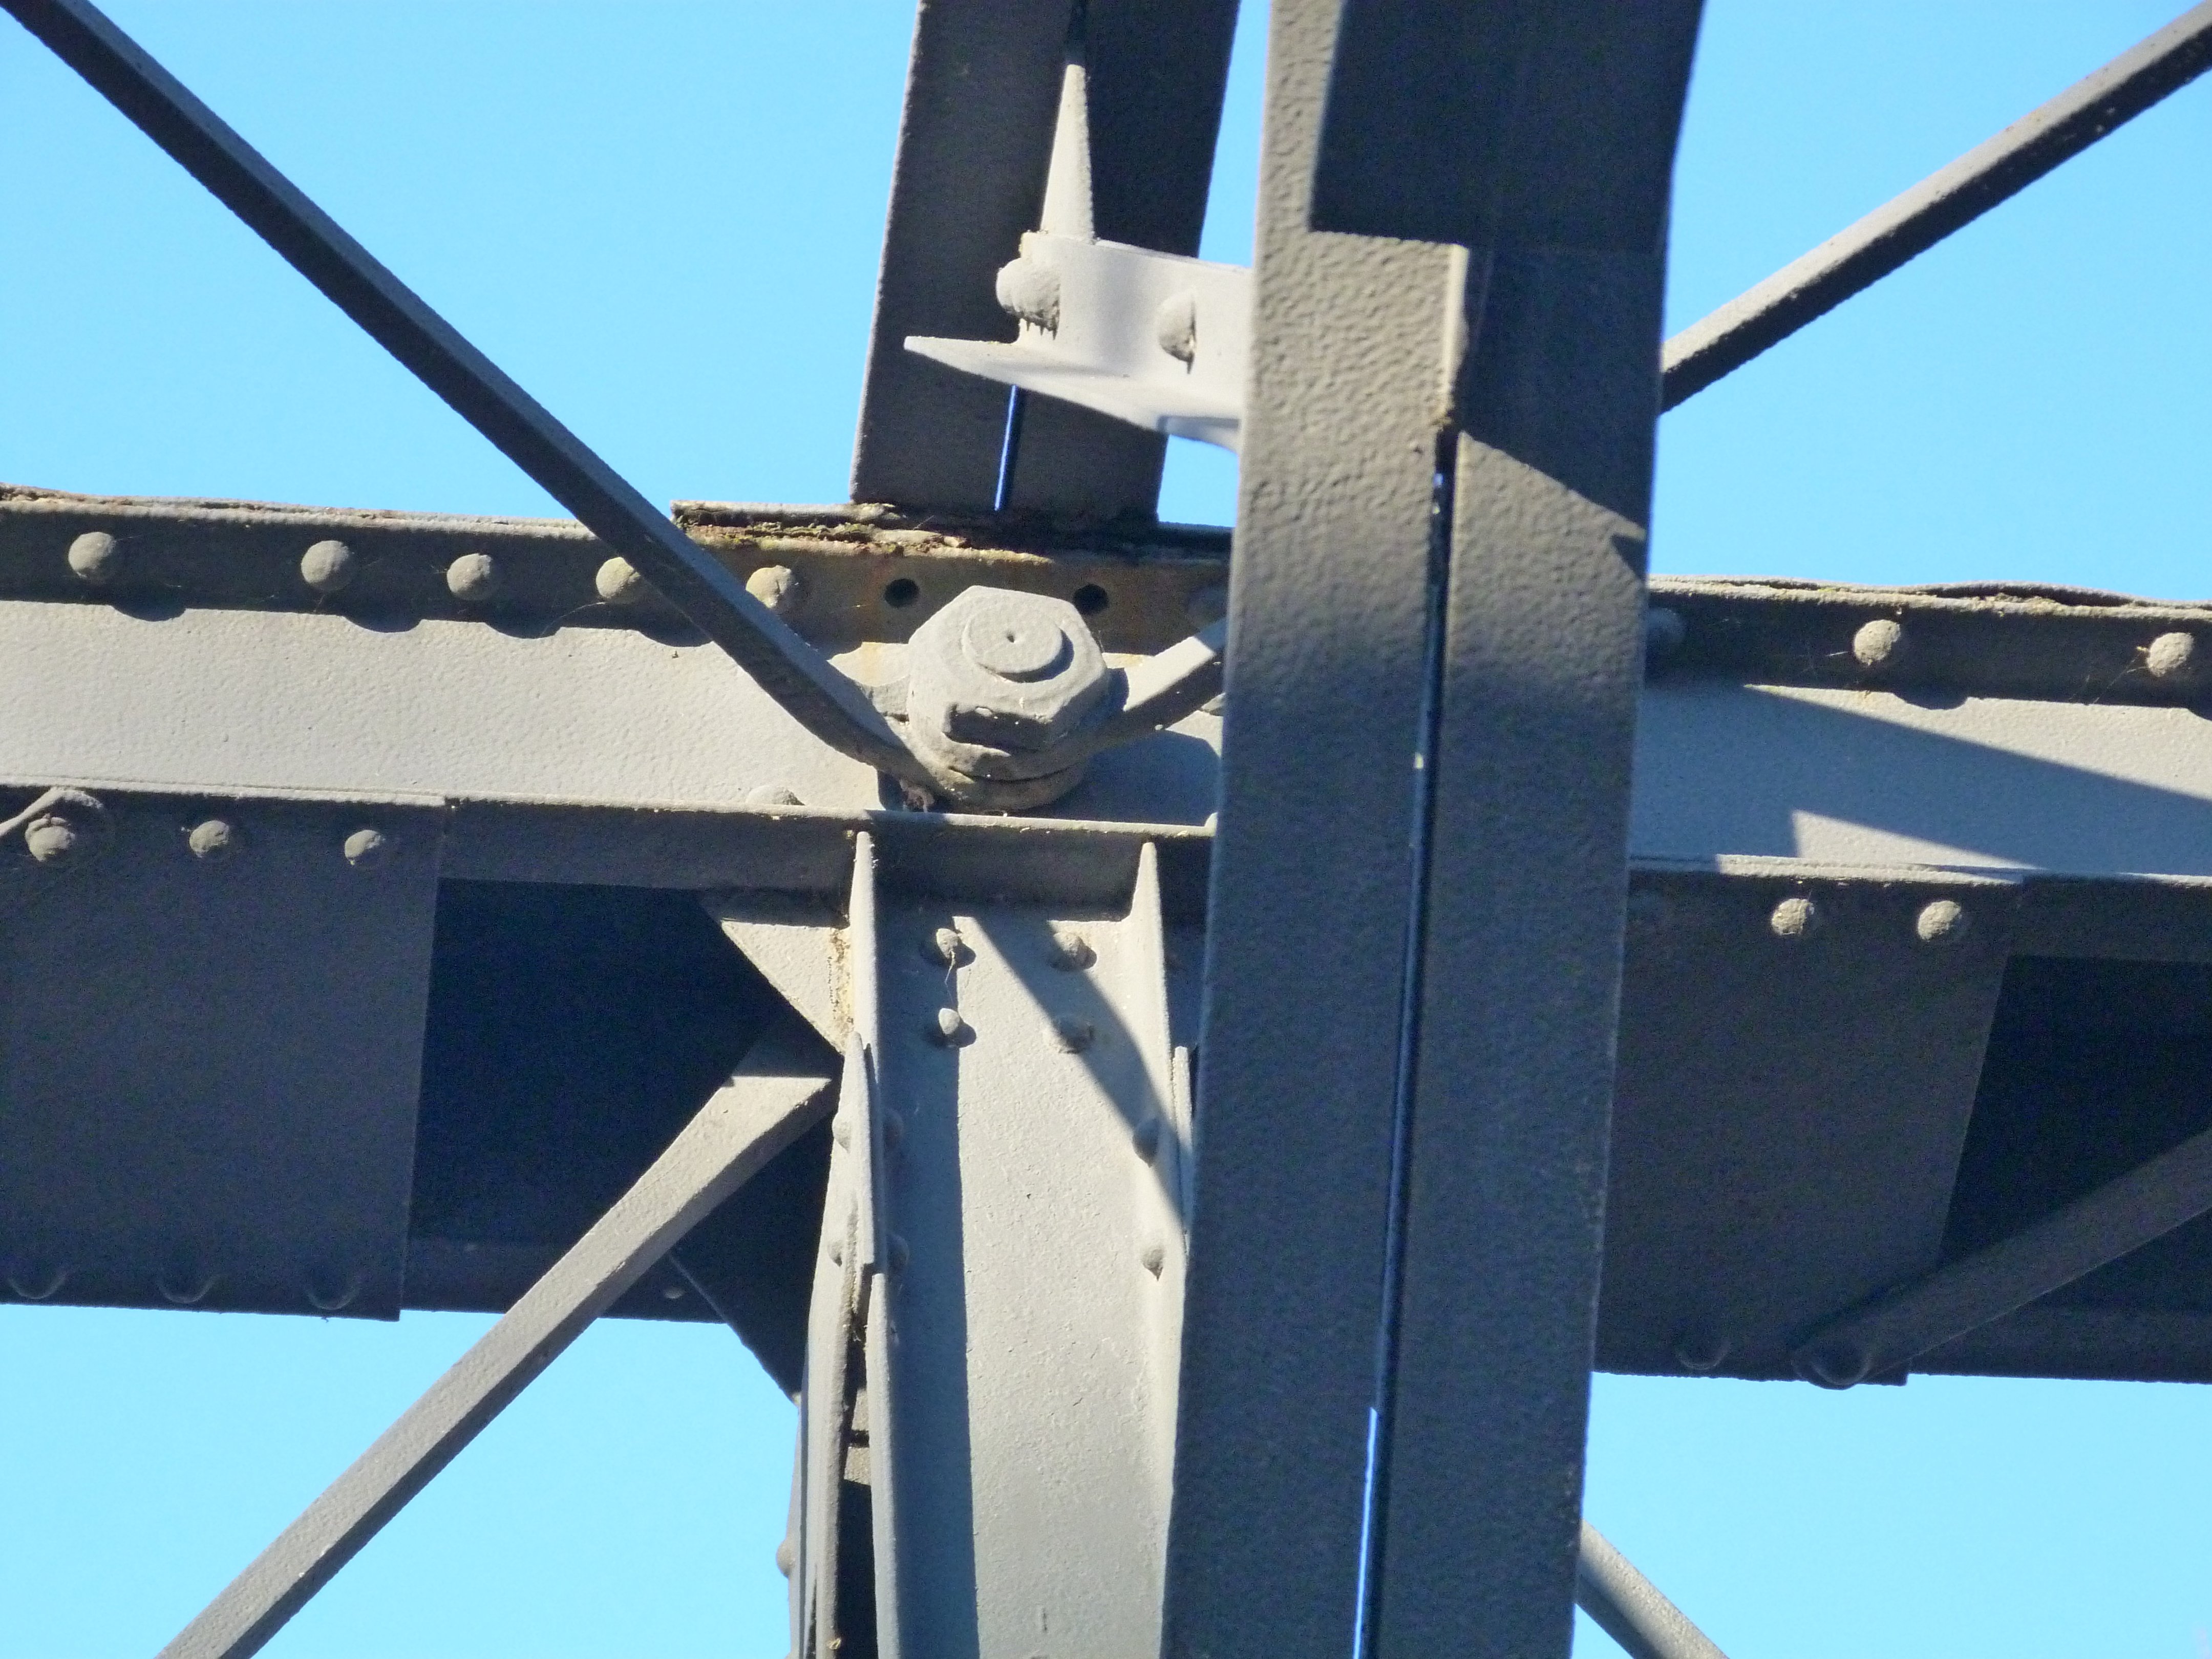
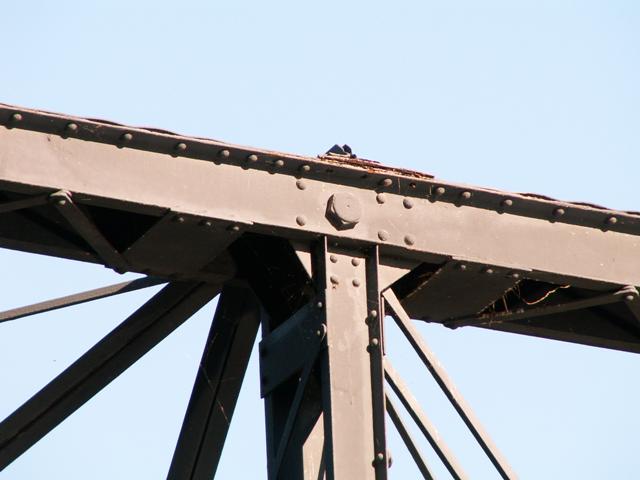
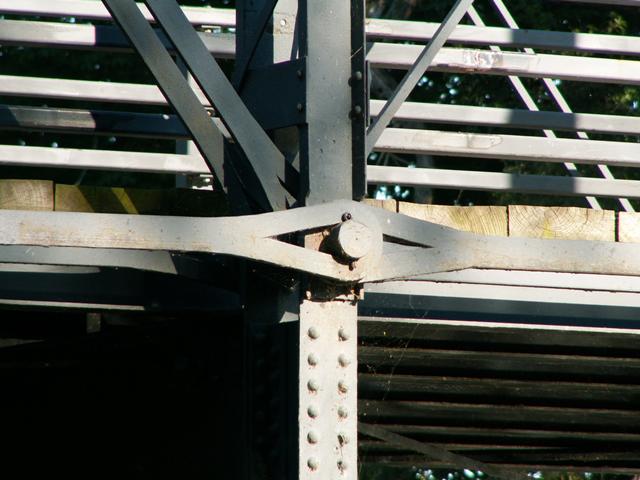
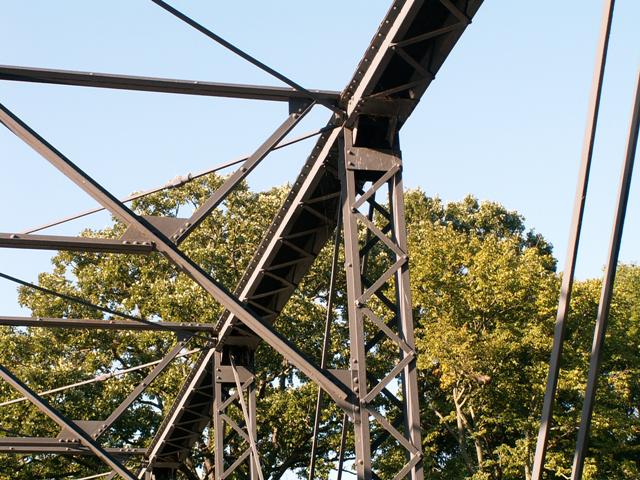
Top chord connections as viewed from on bridge.
![]()
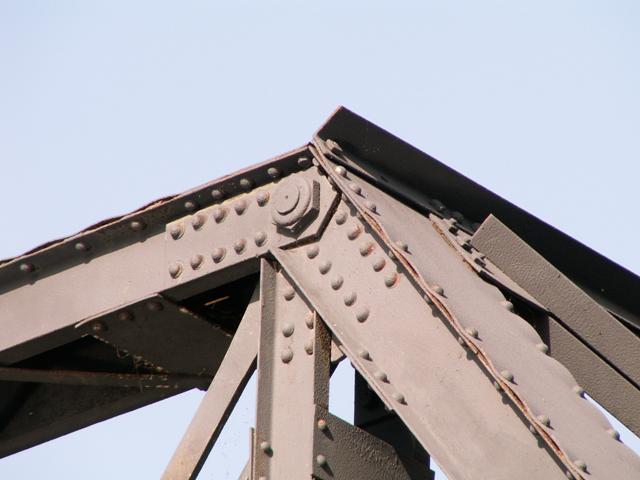
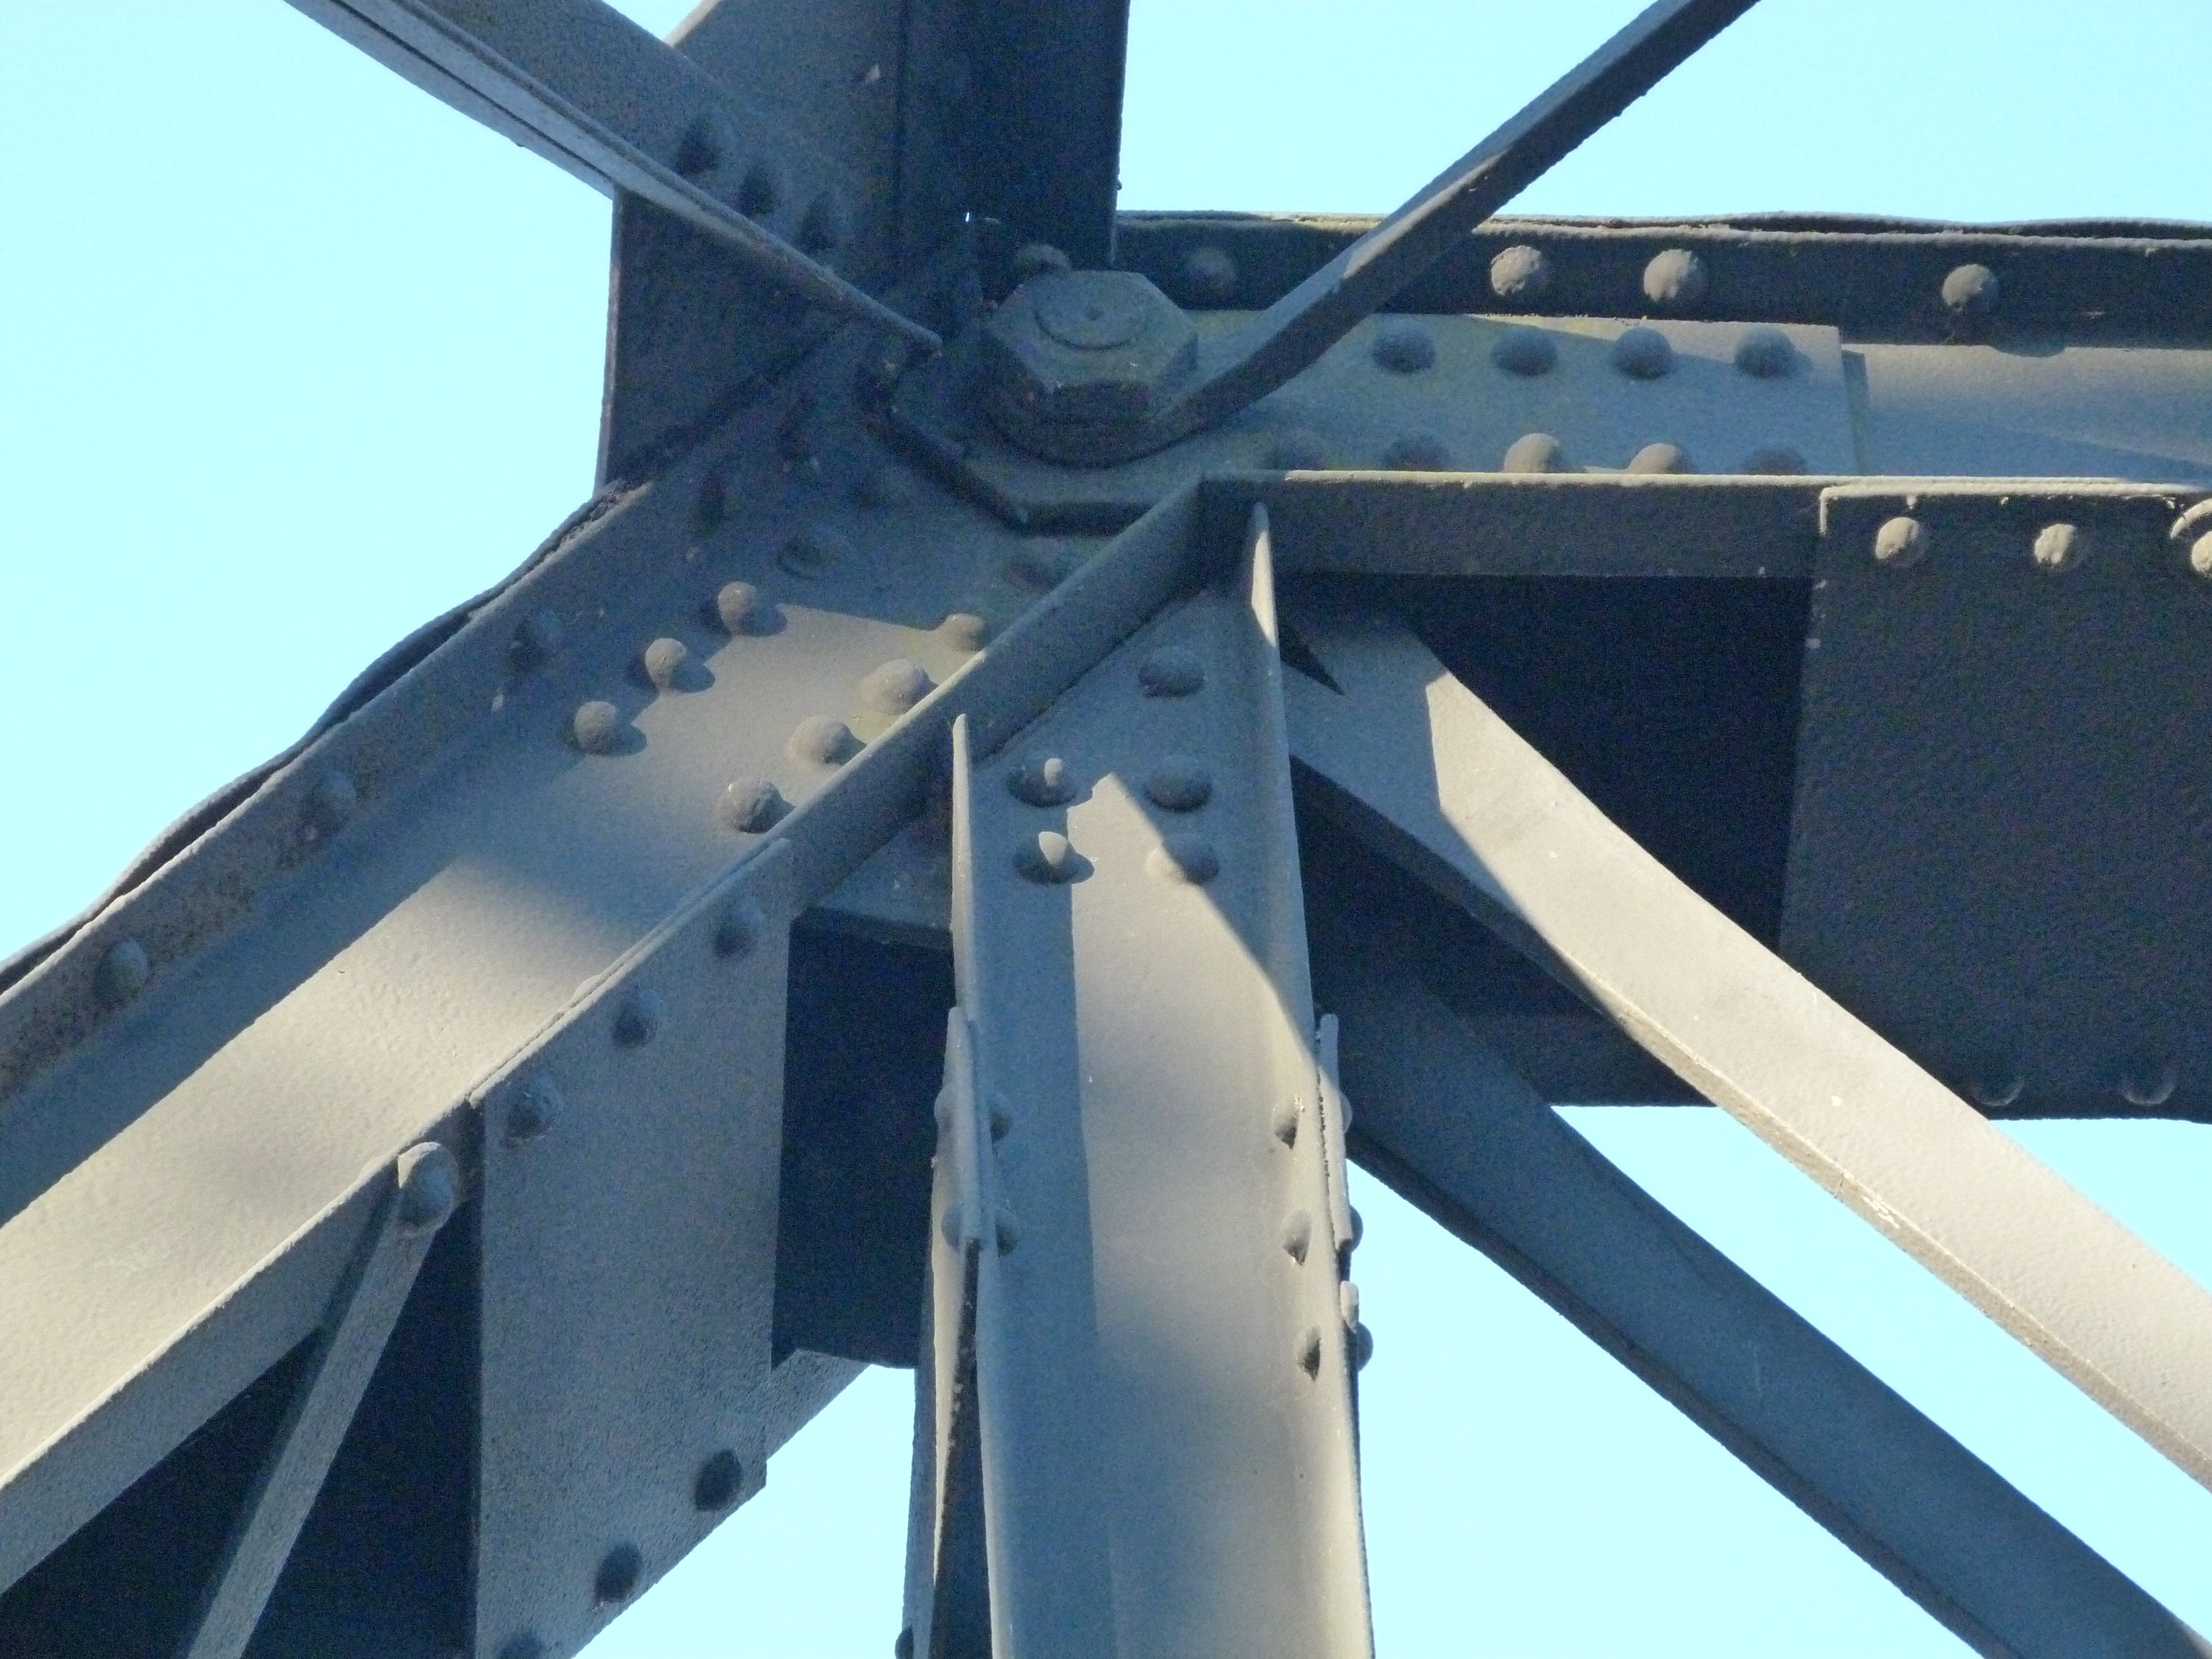
Top chord connections as viewed from beside bridge.
![]()

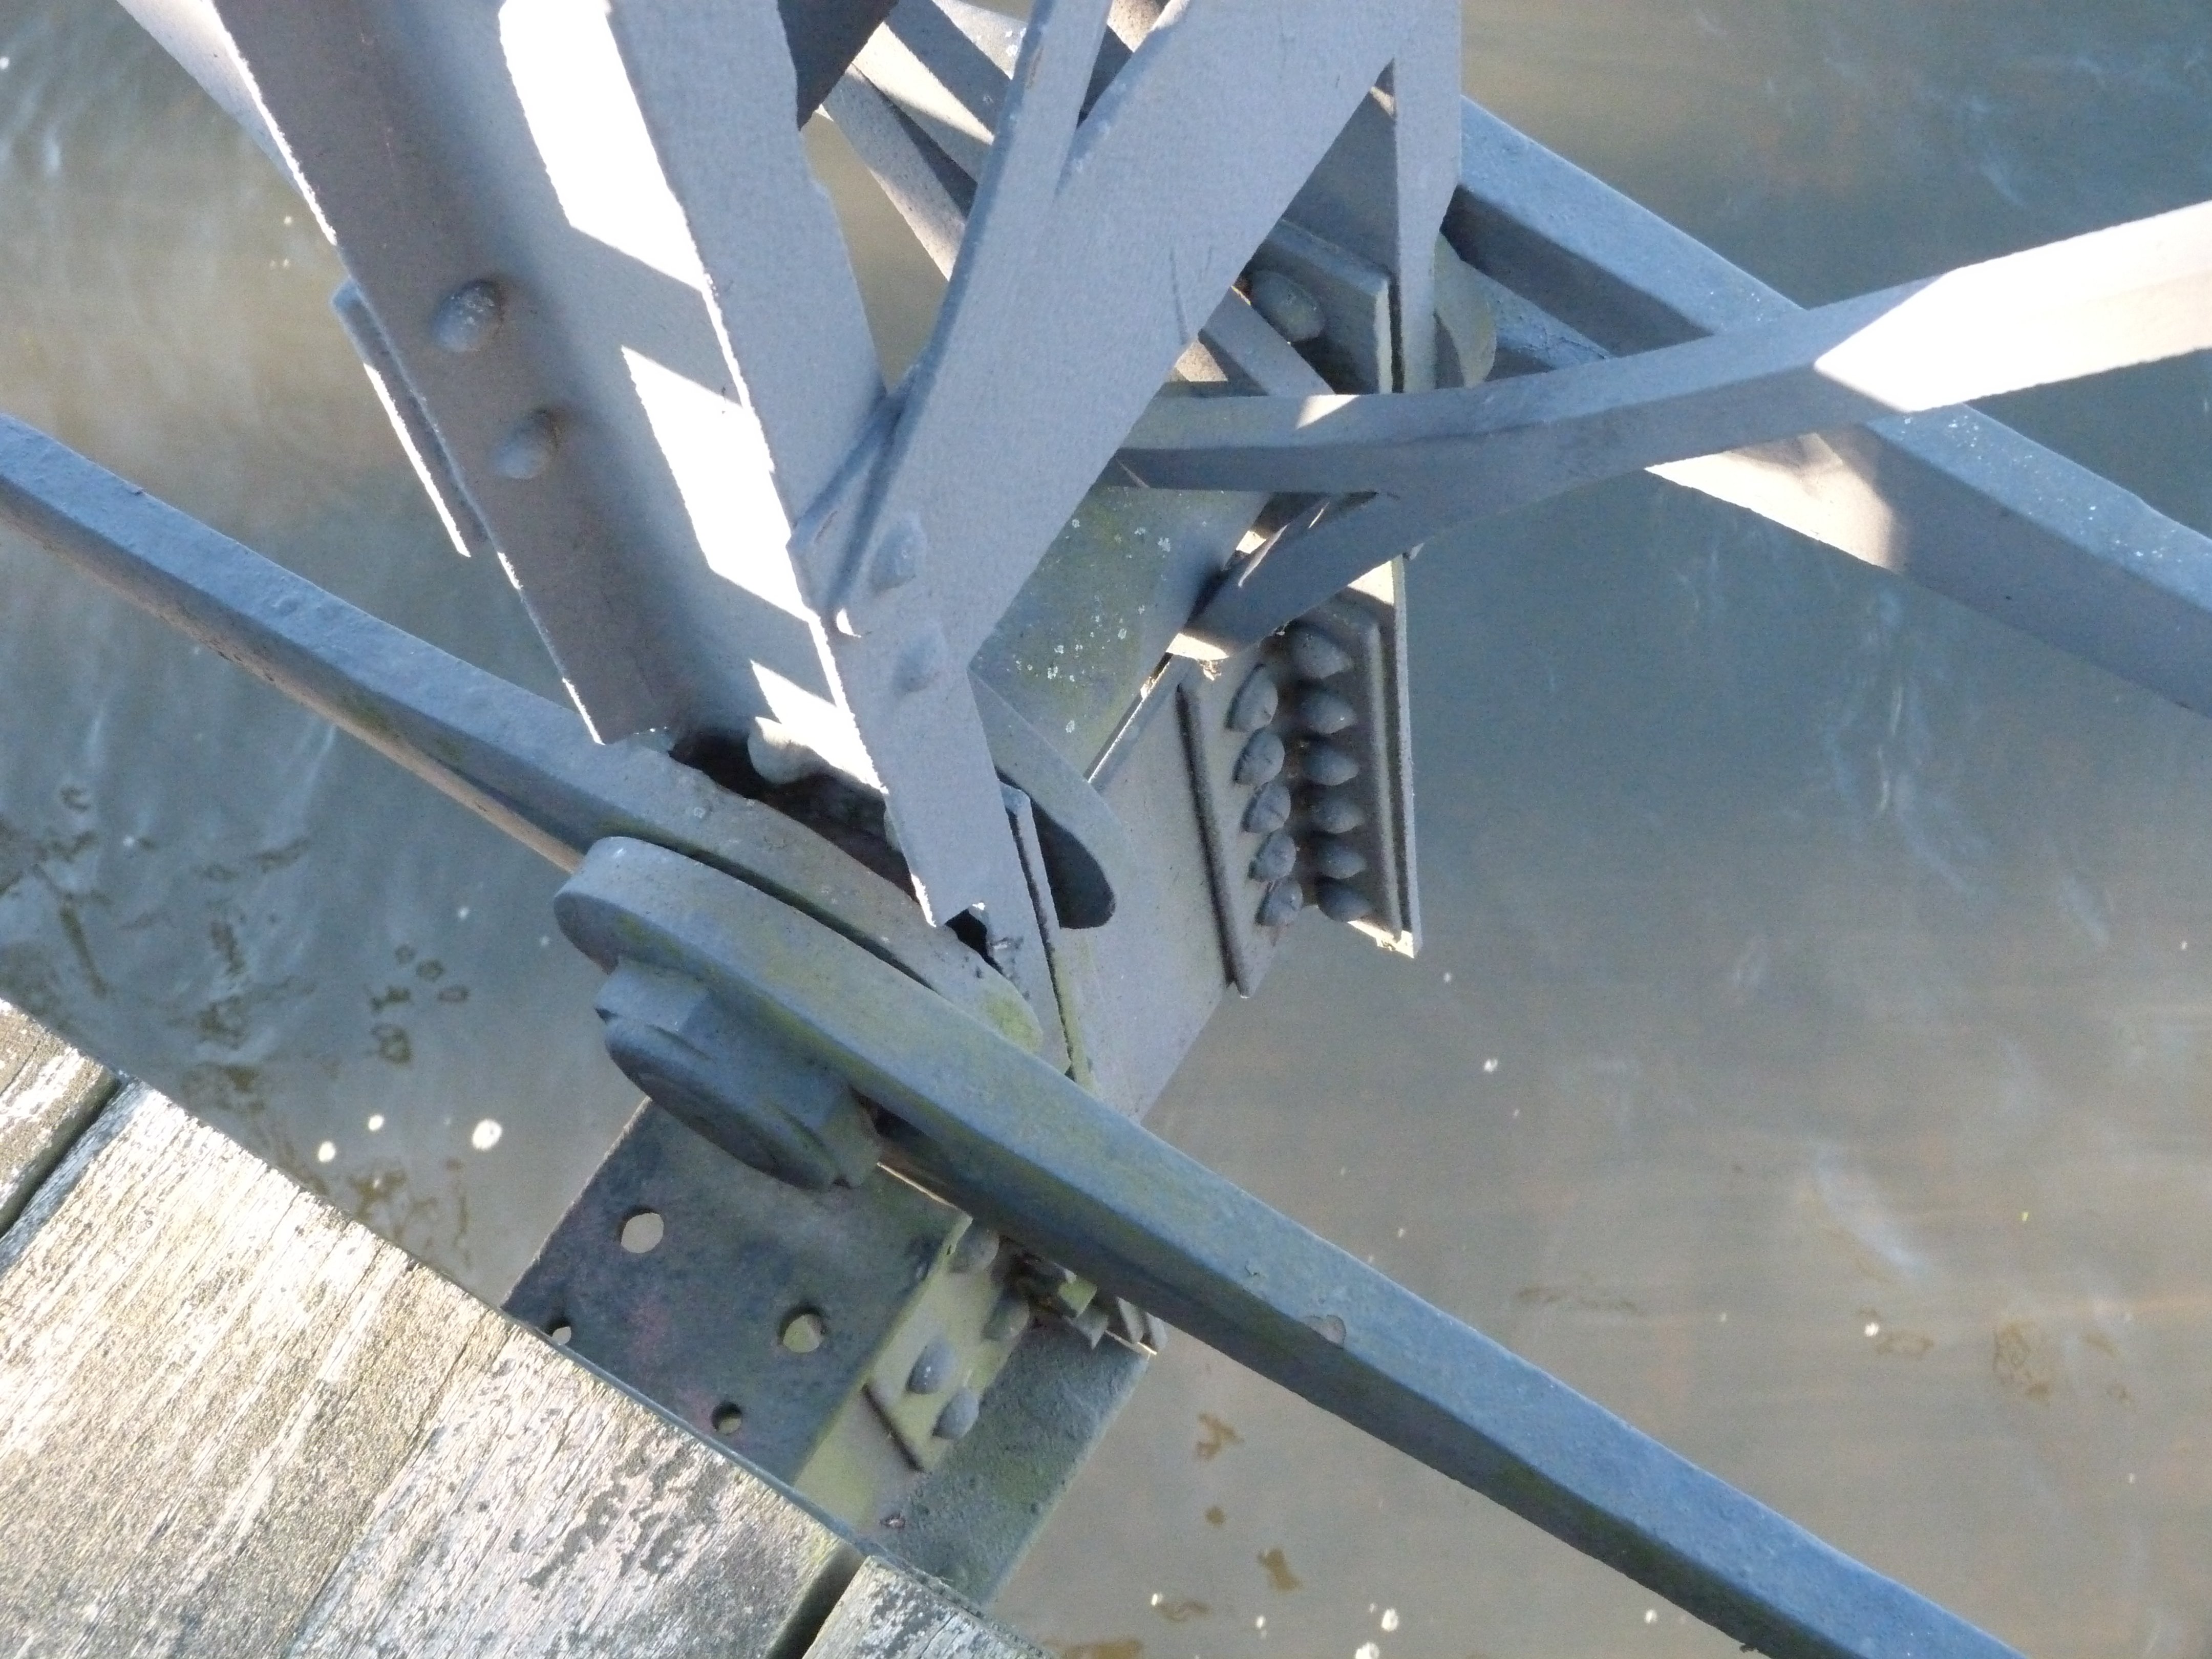
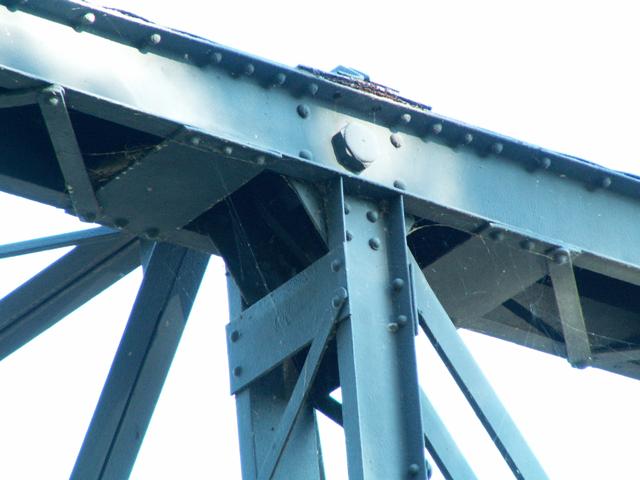
Bottom chord connections as viewed from on bridge.
![]()
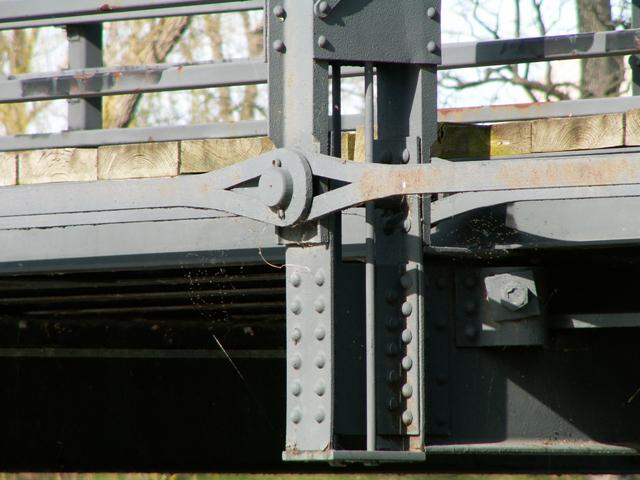
Bottom chord connections as viewed from beside bridge.
![]()
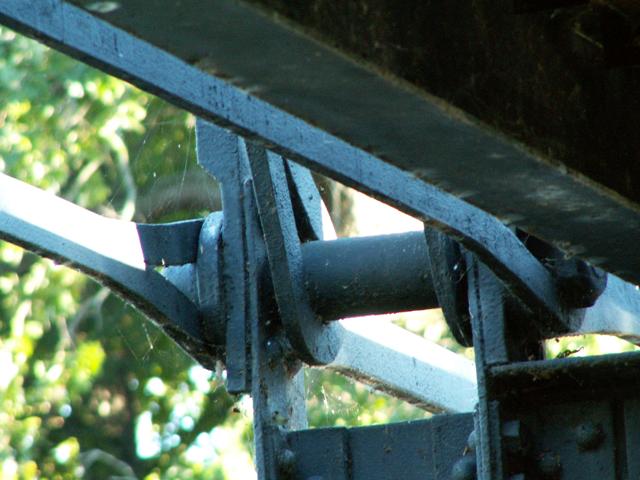
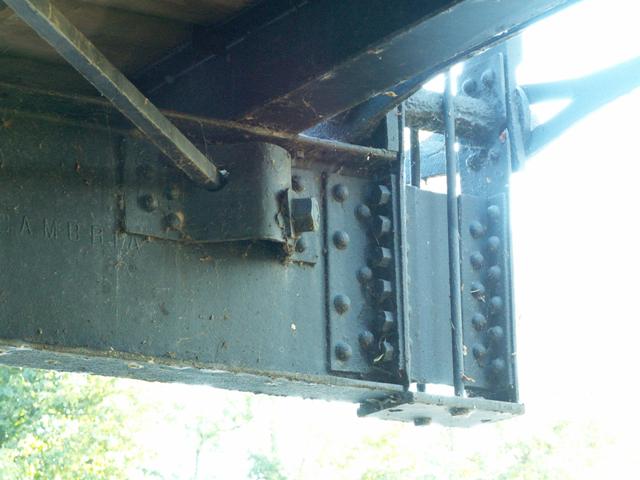
Bottom chord connections as viewed from under bridge.
![]()
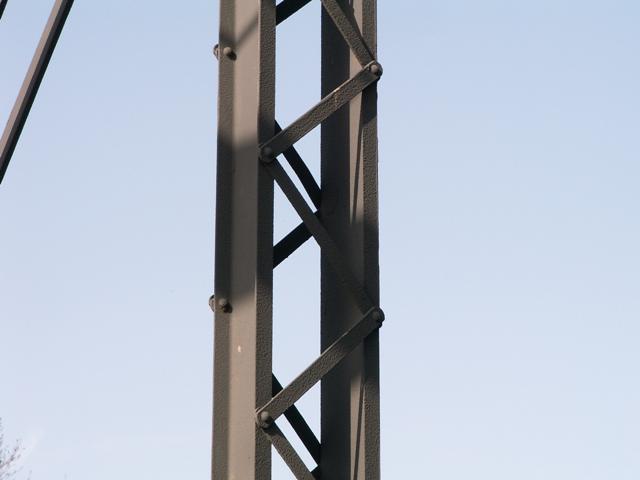
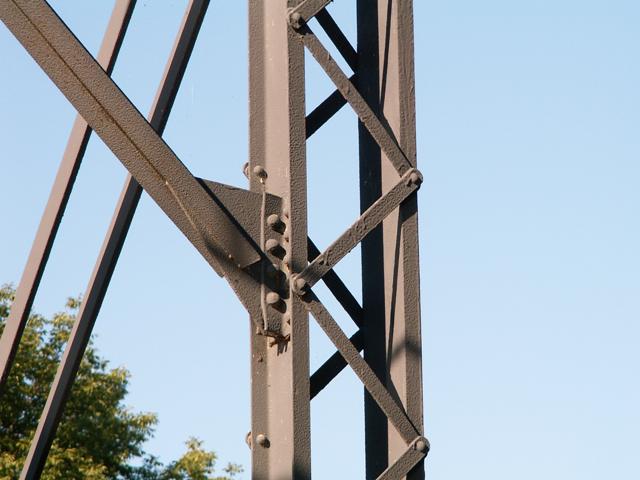
Vertical members.
![]()
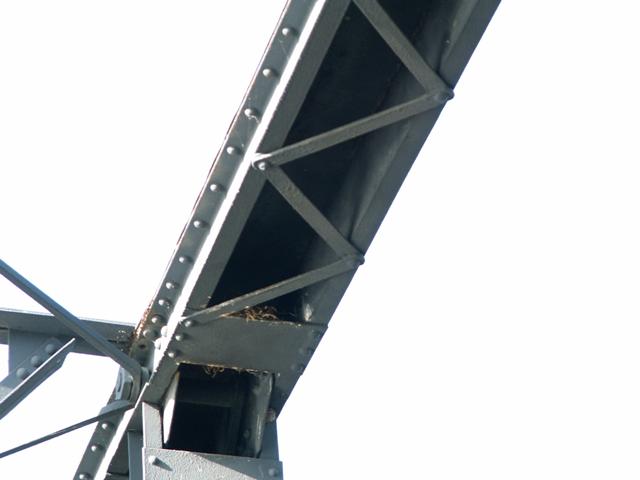

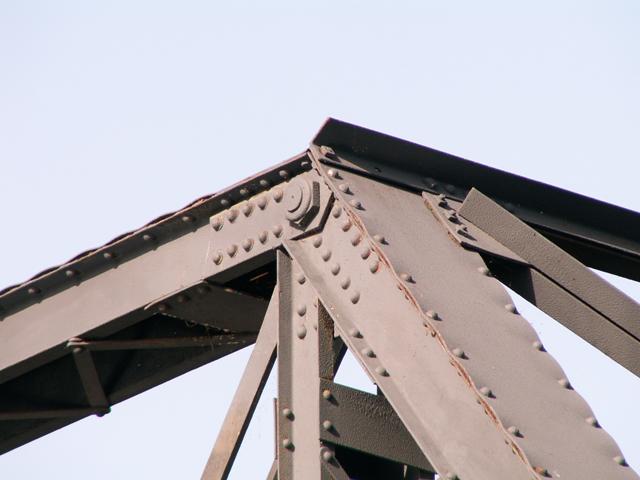
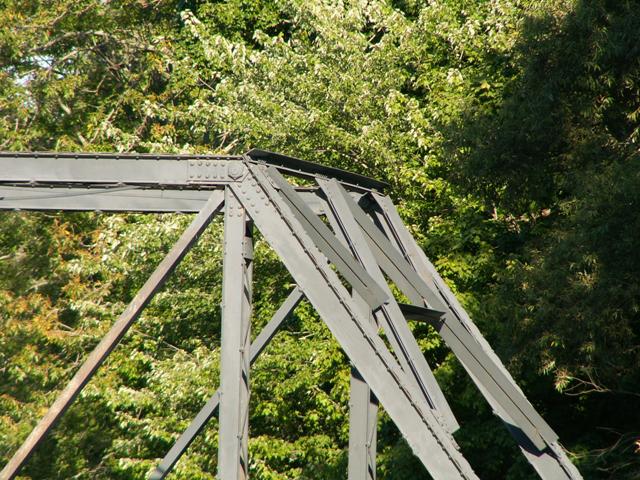
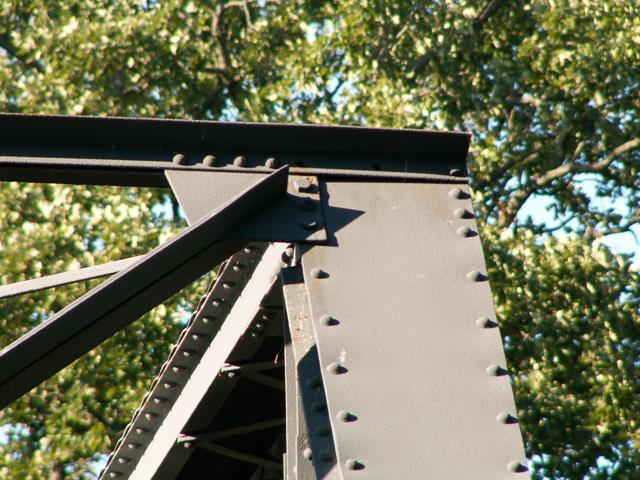
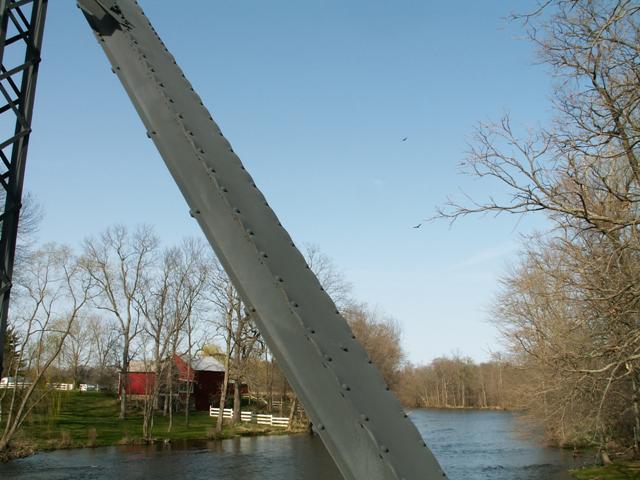
Top chord / end post details.
![]()
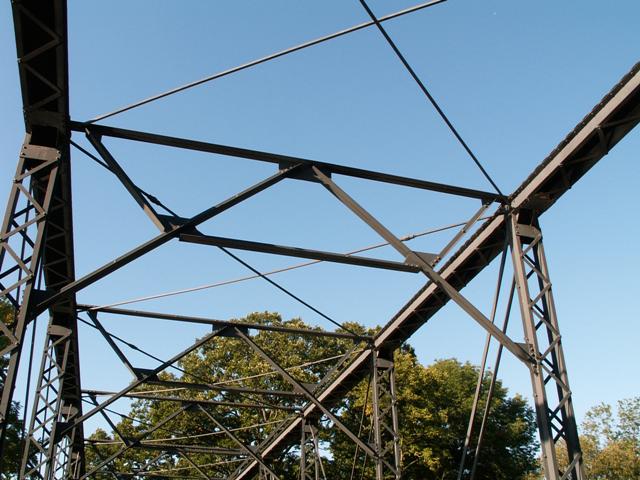
Sway bracing.
![]()

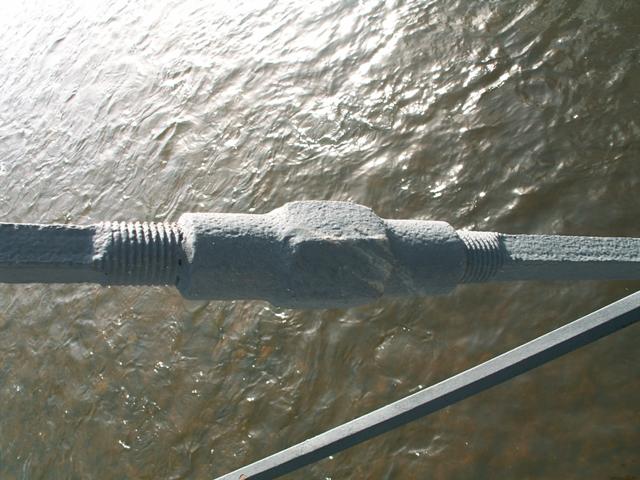
Turnbuckles.
![]()
Sway bracing details.
![]()
Portal bracing details.
![]()
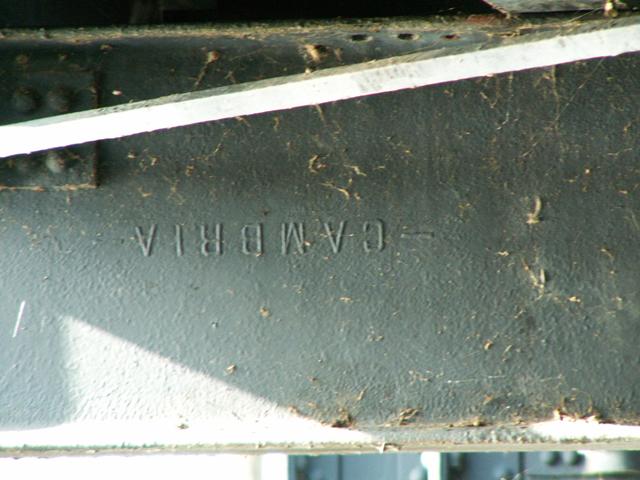
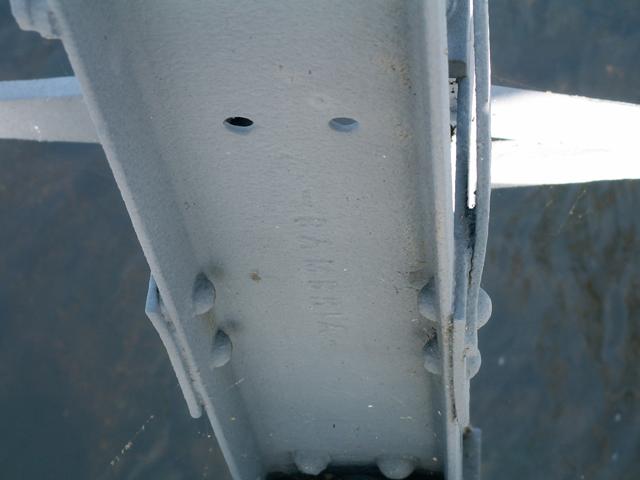
Cambria stamp.
![]()


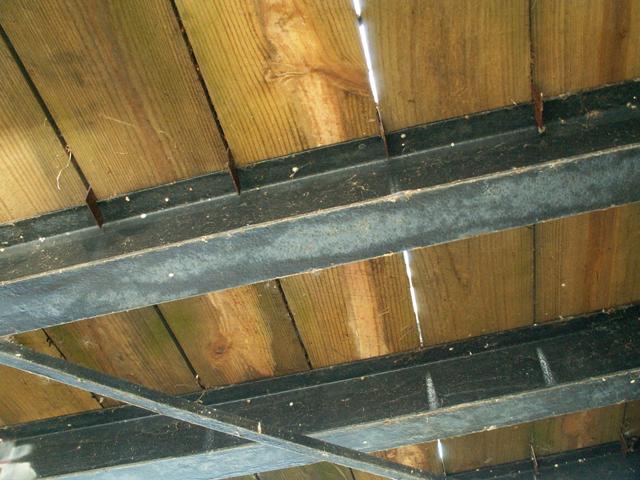
Floor beam details.
![]()
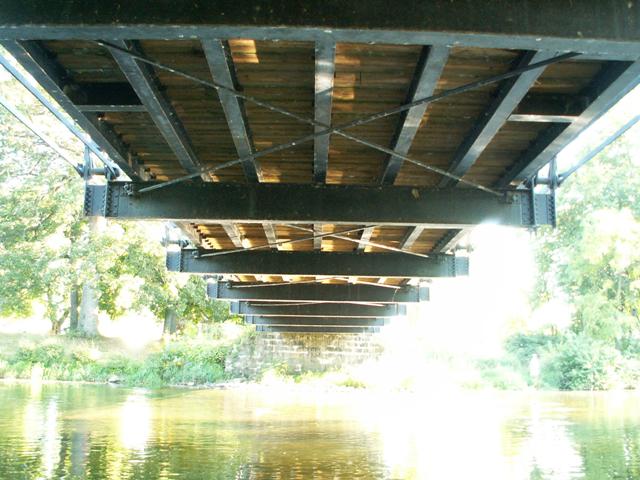
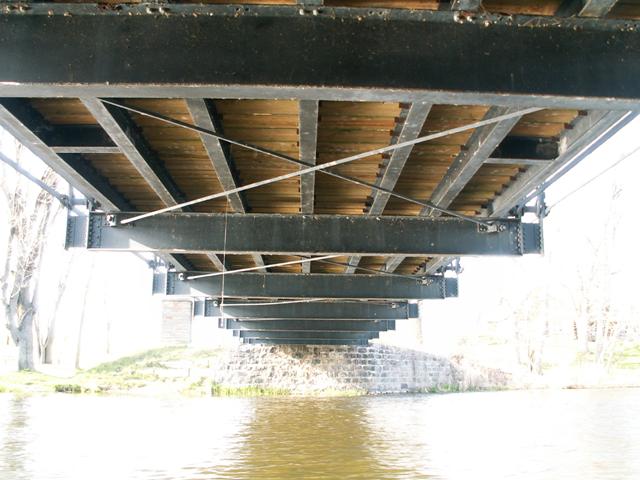
Views under bridge.
![]()
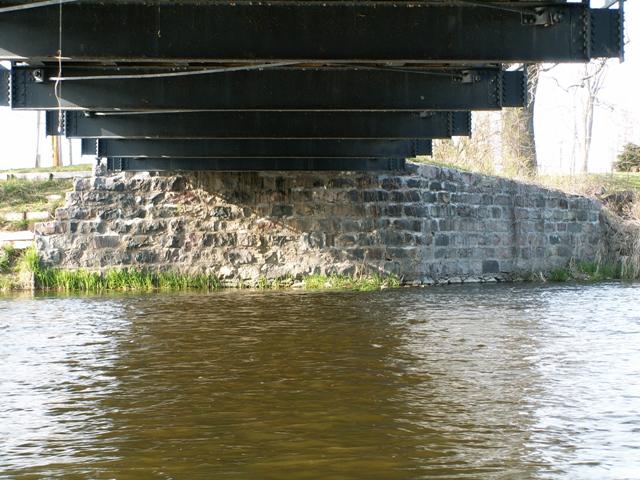
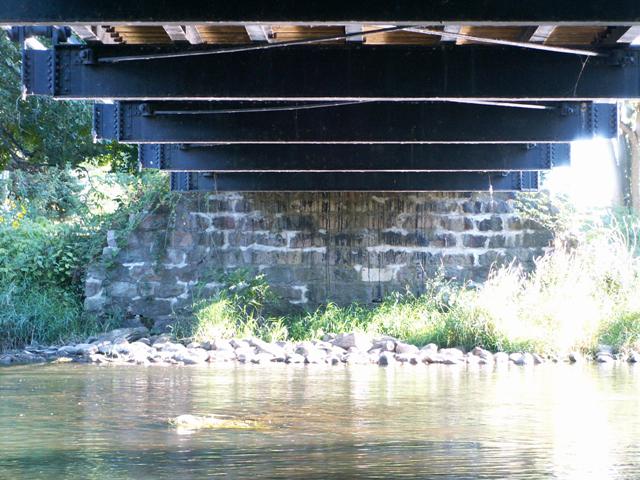
View of stone abutment.
![]()
Diagonal member.
![]()
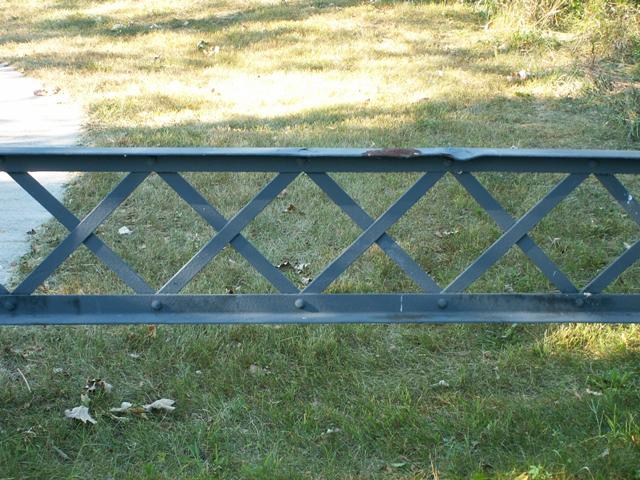
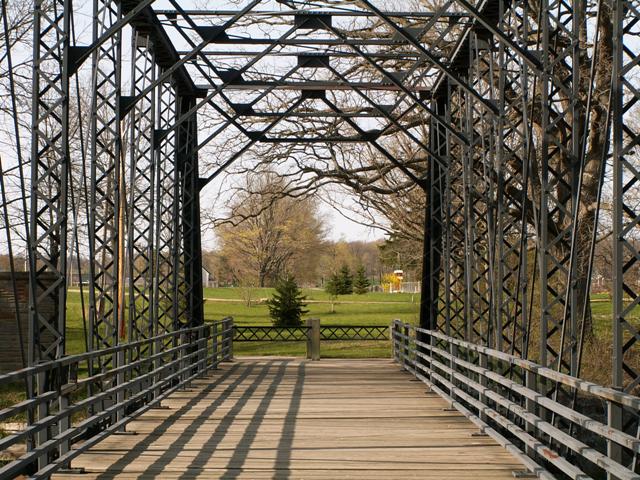
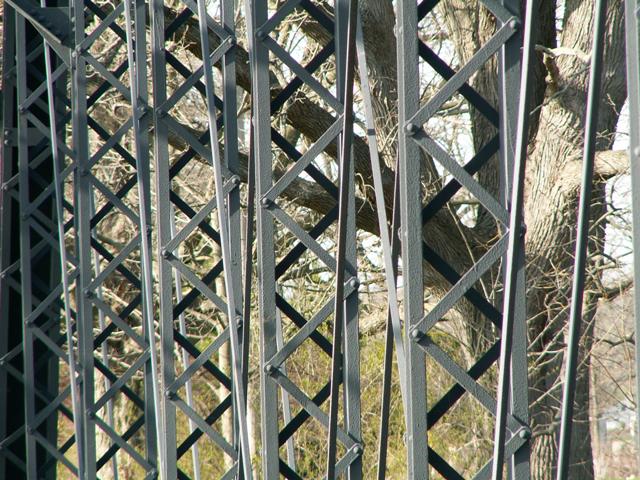
The original lattice railings were unfortunately removed, although a couple were reused as gates to keep motor vehicles off of the bridge.

Miscellaneous views.
![]()
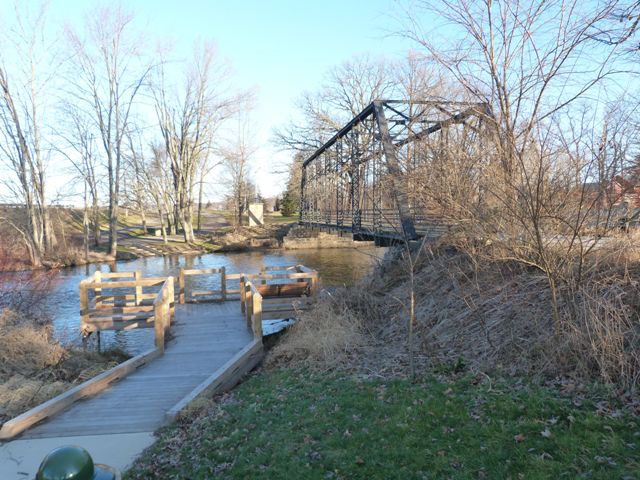
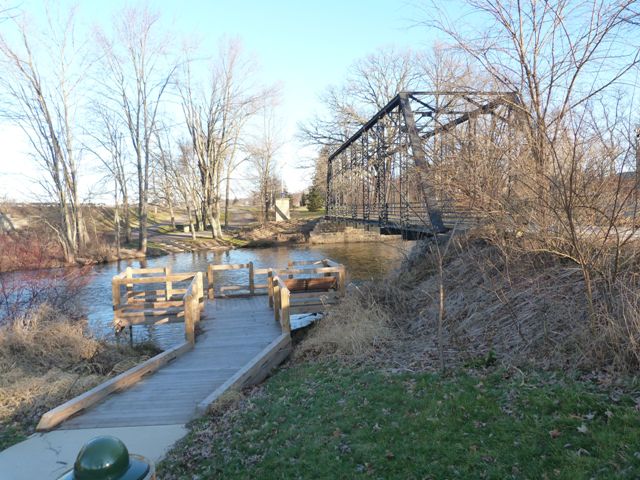
Scenic outlook next to bridge.
![]()
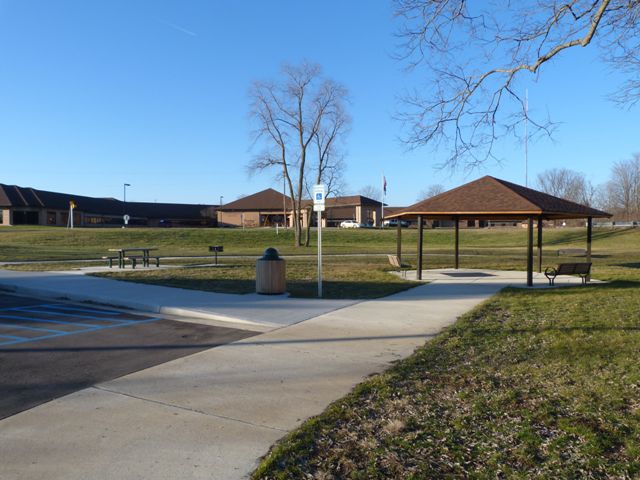

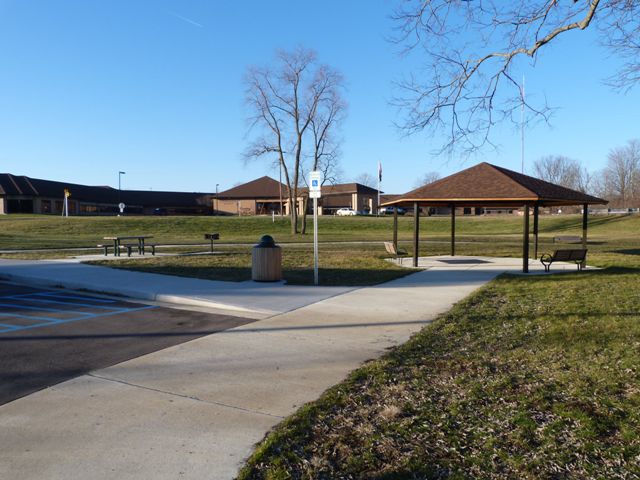
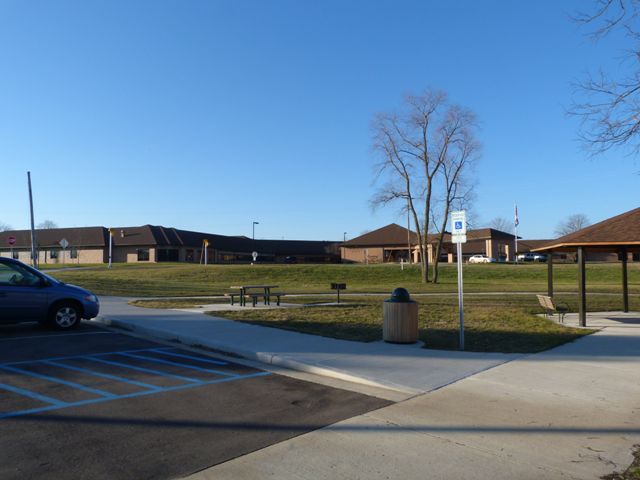
Parking lot for bridge and park land south of bridge.
![]()
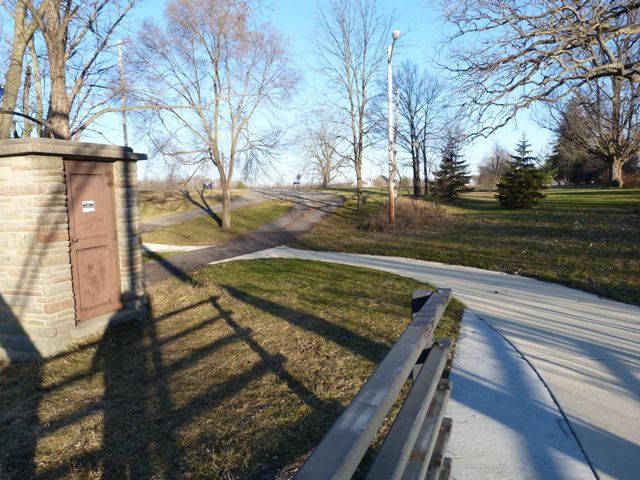
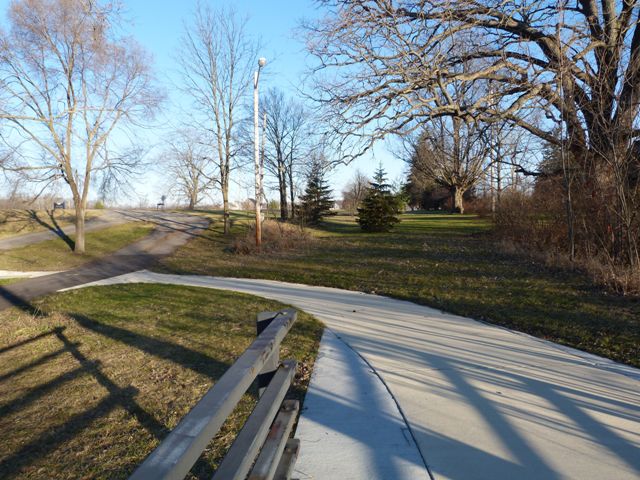


Views of the park north of the bridge.
![]()

Looking toward bridge from parking lot.
![]()
![]()

![]()